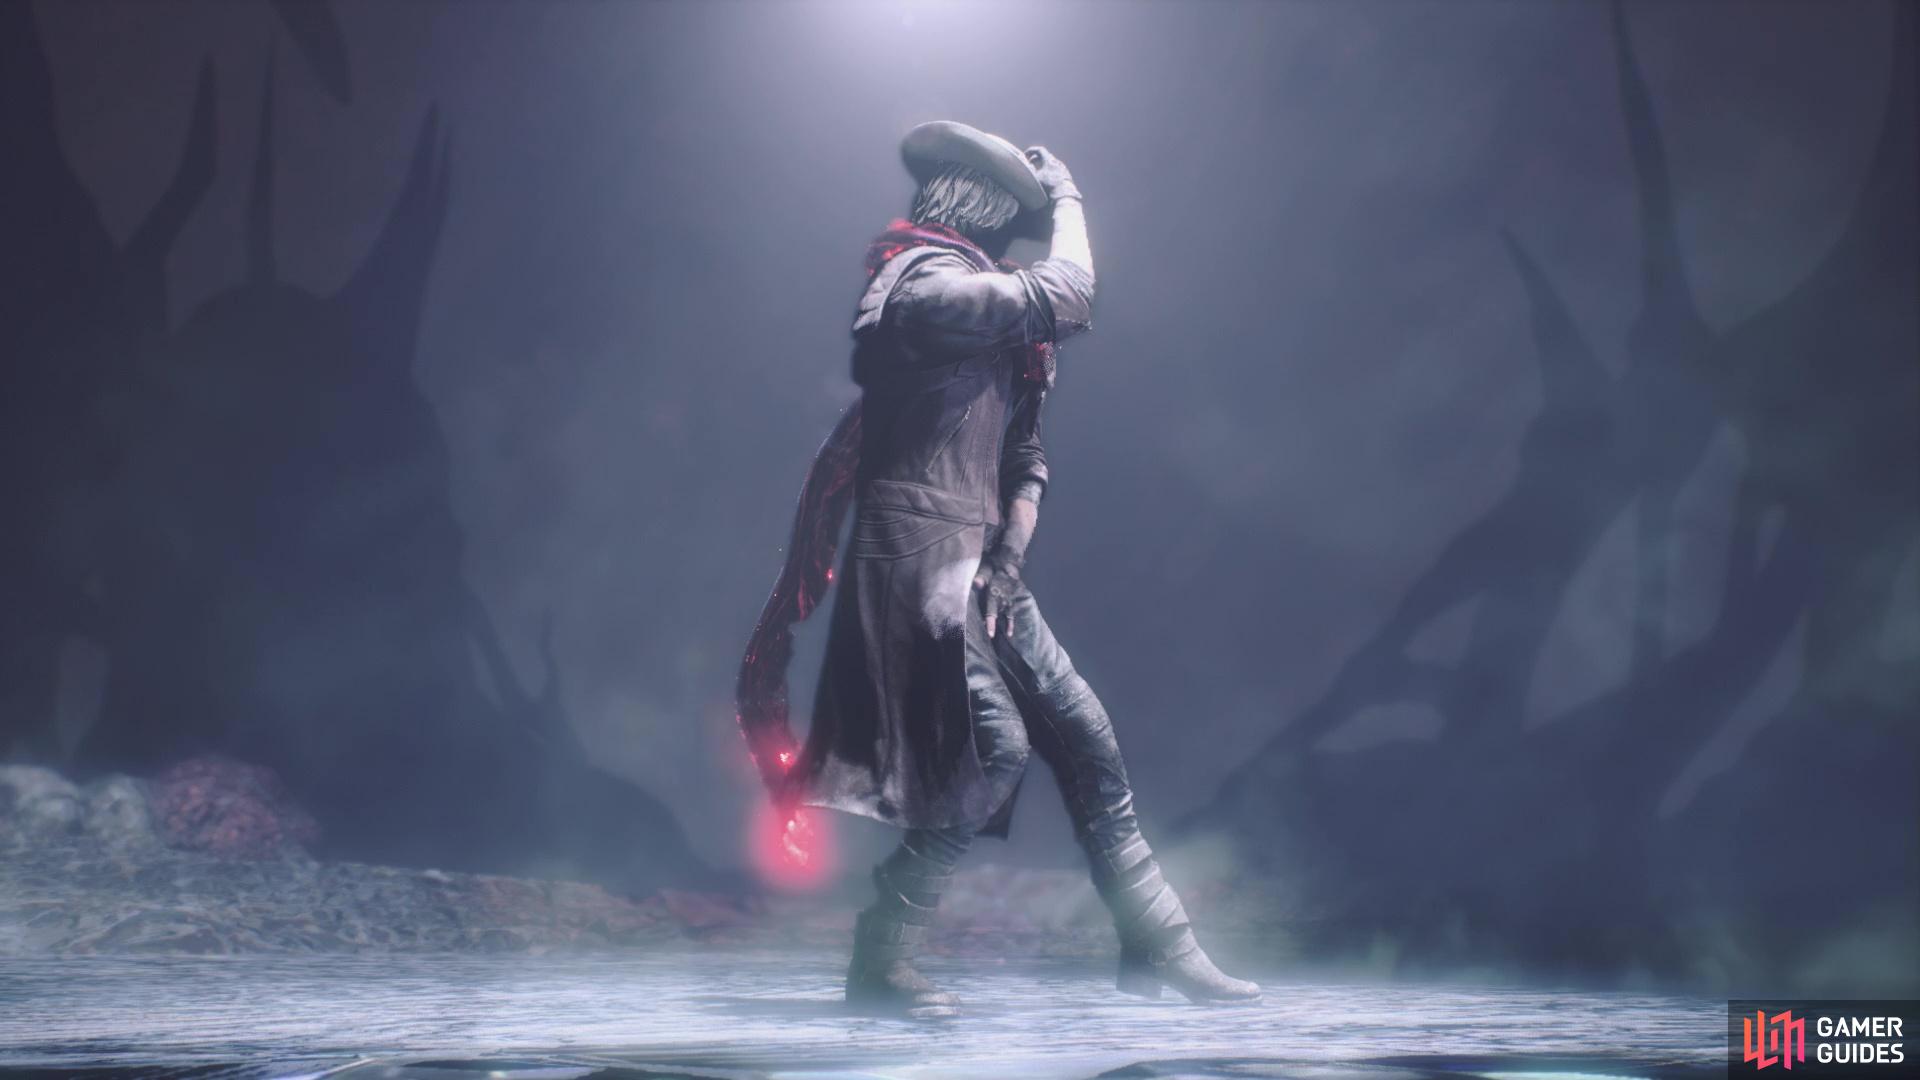
Similar to Main Mission 07, you have the option of choosing your character at the beginning of this one, with your choice being all three playable characters. The mission will be the exact same for all three characters, so you don’t have to worry about there being different walkthroughs for it. Also, Dante receives yet another new weapon at the beginning of this mission, Dr. Faust. This stylish hat consumes Red Orbs to launch special attacks, but you will receive more from the enemies you defeat with it.
You will see the Red Orbs getting deducted from your total amount in the upper right corner as you use skills that spend orbs. One of the better moves in the Faust’s arsenal is called Set Hat, which is done by holding R1/RB, then pressing forward and Square/X. This will place a hat on the enemy and they will cough up more Red Orbs as you dish out your punishment. There’s an area-of-effect version of this with the Gunslinger action, by holding down R1/RB, then pressing Circle/B. However, getting hit while doing maneuver will take away Red Orbs from you.
As already mentioned, this mission is largely the same across all three characters, so when you gain control, drop down the large hole to be introduced to the final normal enemy of the game, the Lusachia.
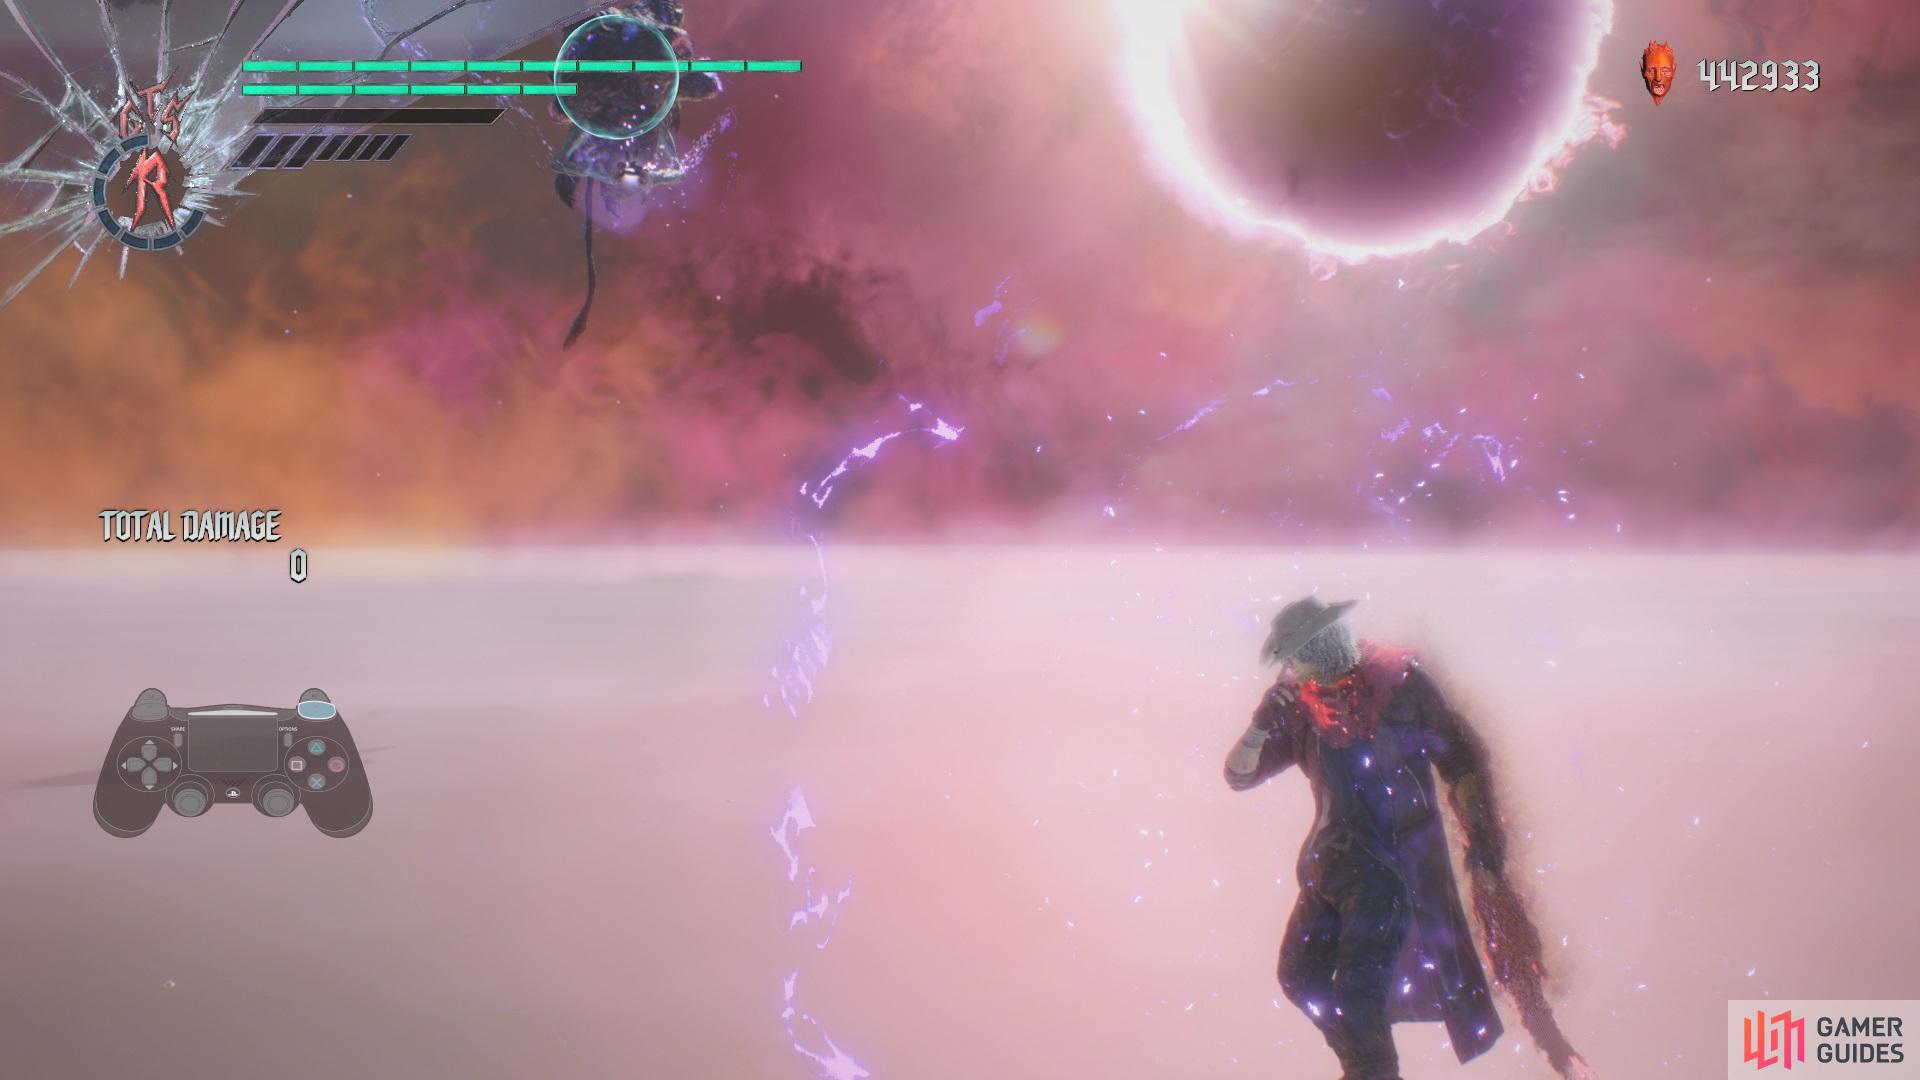
(1 of 2) The purple aura surrounding your character will lead to the Lusachia’s most dangerous attack
The purple aura surrounding your character will lead to the Lusachia’s most dangerous attack (left), Luckily, the Lusachia is pretty easy to knock to the ground (right)
While the damage output of the Lusachia is pretty high, its spells come out very, very slow. There is a big one that takes a long time to charge, indicated by some purple stuff surrounding your character, as well as a laser, ice shards and electric orbs. Rush the Lusachia and knock it to the ground, where it’s pretty much vulnerable to immense pain from Dante. With that thing dead, find the opening and drop down the next hole to face your next challenge. There is a single enemy Spawner here, which spits out Hell Antenoras, as well as a few Scudo Angelos and a Behemoth.
The arena here is fairly big, so leave the Behemoth along for now and get rid of the Spawner first. This will limit the number of Antenoras on the field, then you can concentrate on those and the Scudo Angelos. From there, you can whittle down the Behemoth and take it out for good. Destroy the blood clot on the map, opening up the hole in the middle, than fall through and into your next gauntlet. There are two enemy Spawners here, which seem to be spitting out Riots, plus there’s a rogue Nobody also in the arena. Since you’ll likely have help here, go after whatever the other person isn’t concentrating on at the outset.
The Nobody can be especially annoying, depending on the mask equipped, so that should be your first target. If the Nobody isn’t being problematic, then go after the Spawners, as a random Riot leaping and attacking you could be a hindrance. When the fighting is over, you’ll have two blood clots on the map, one of which opens up an alcove that contains some green and white orbs; the other uncovers the hole in the center that leads to the next area. This will be a resting area, with some Red Orbs, as well as some green orbs and a Divinity Statue. The next hole is to the right of the statue and will lead to the final combat section.
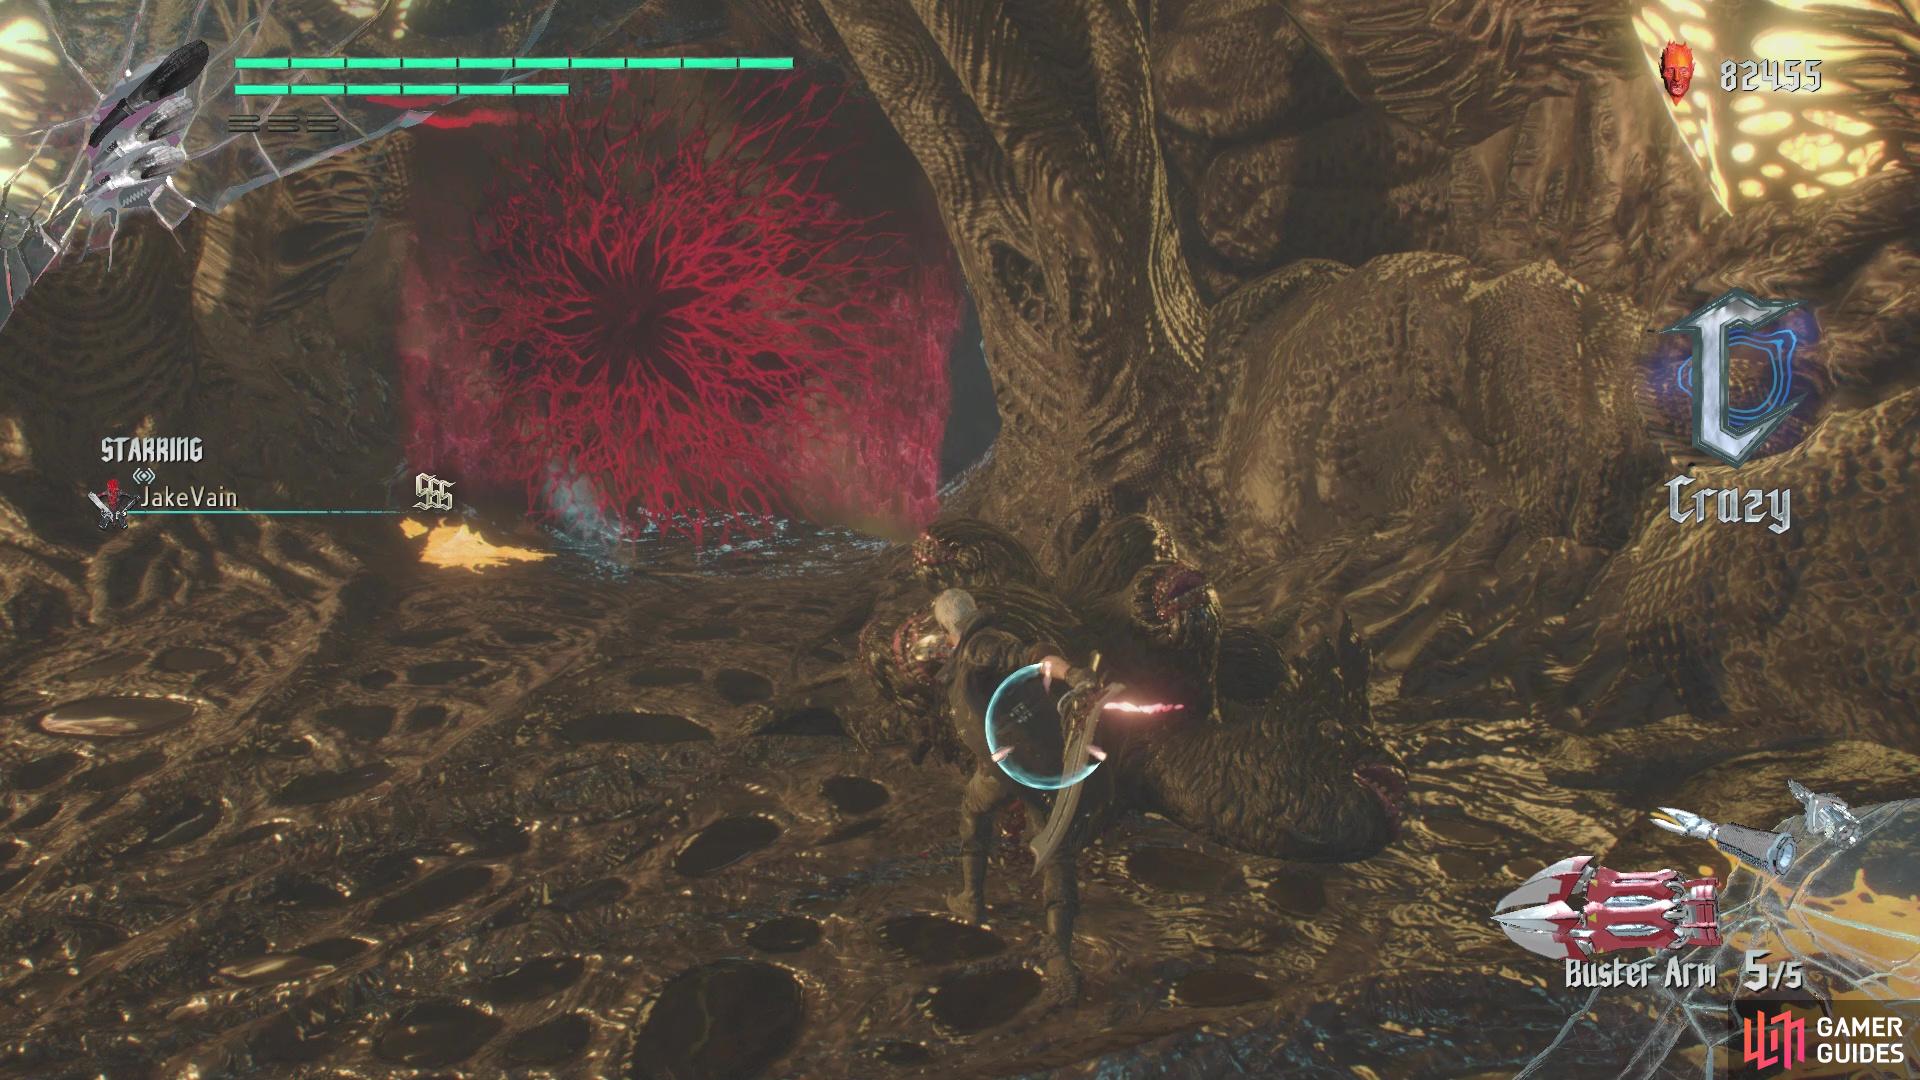
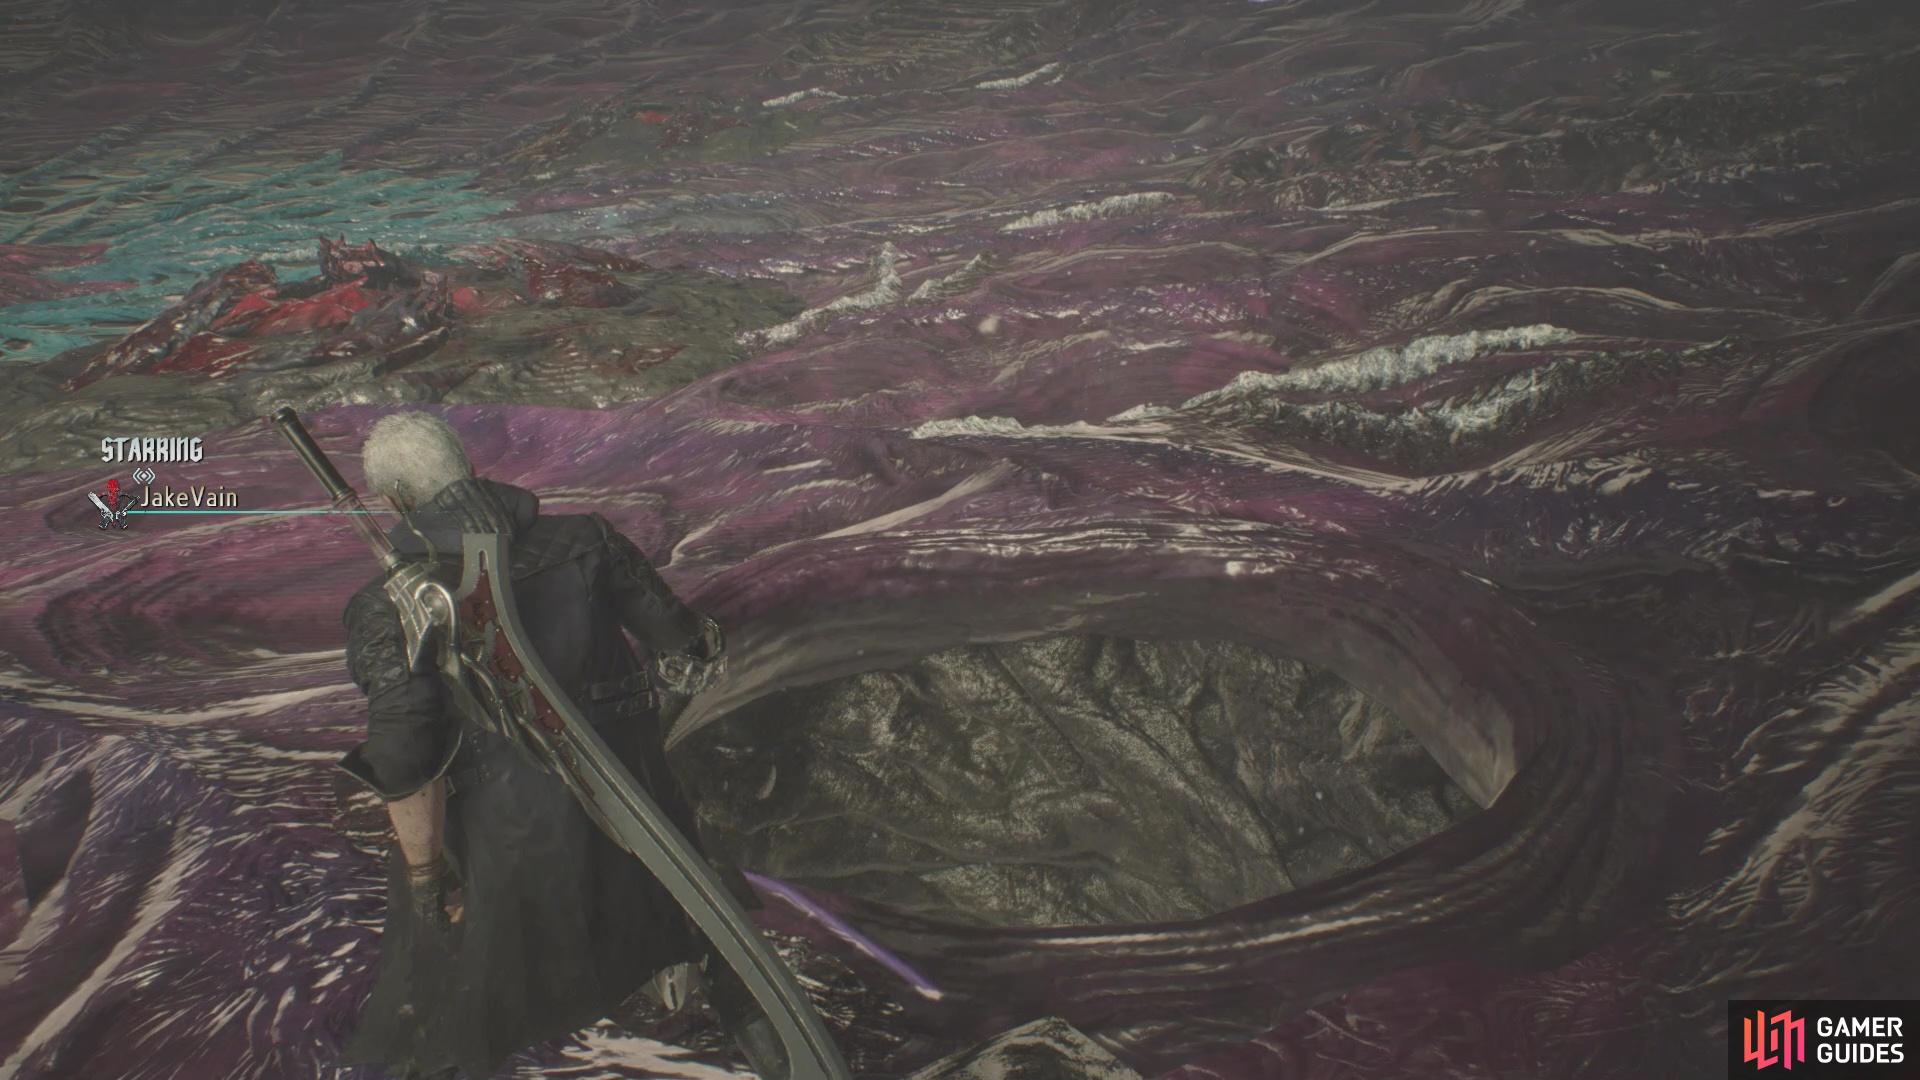
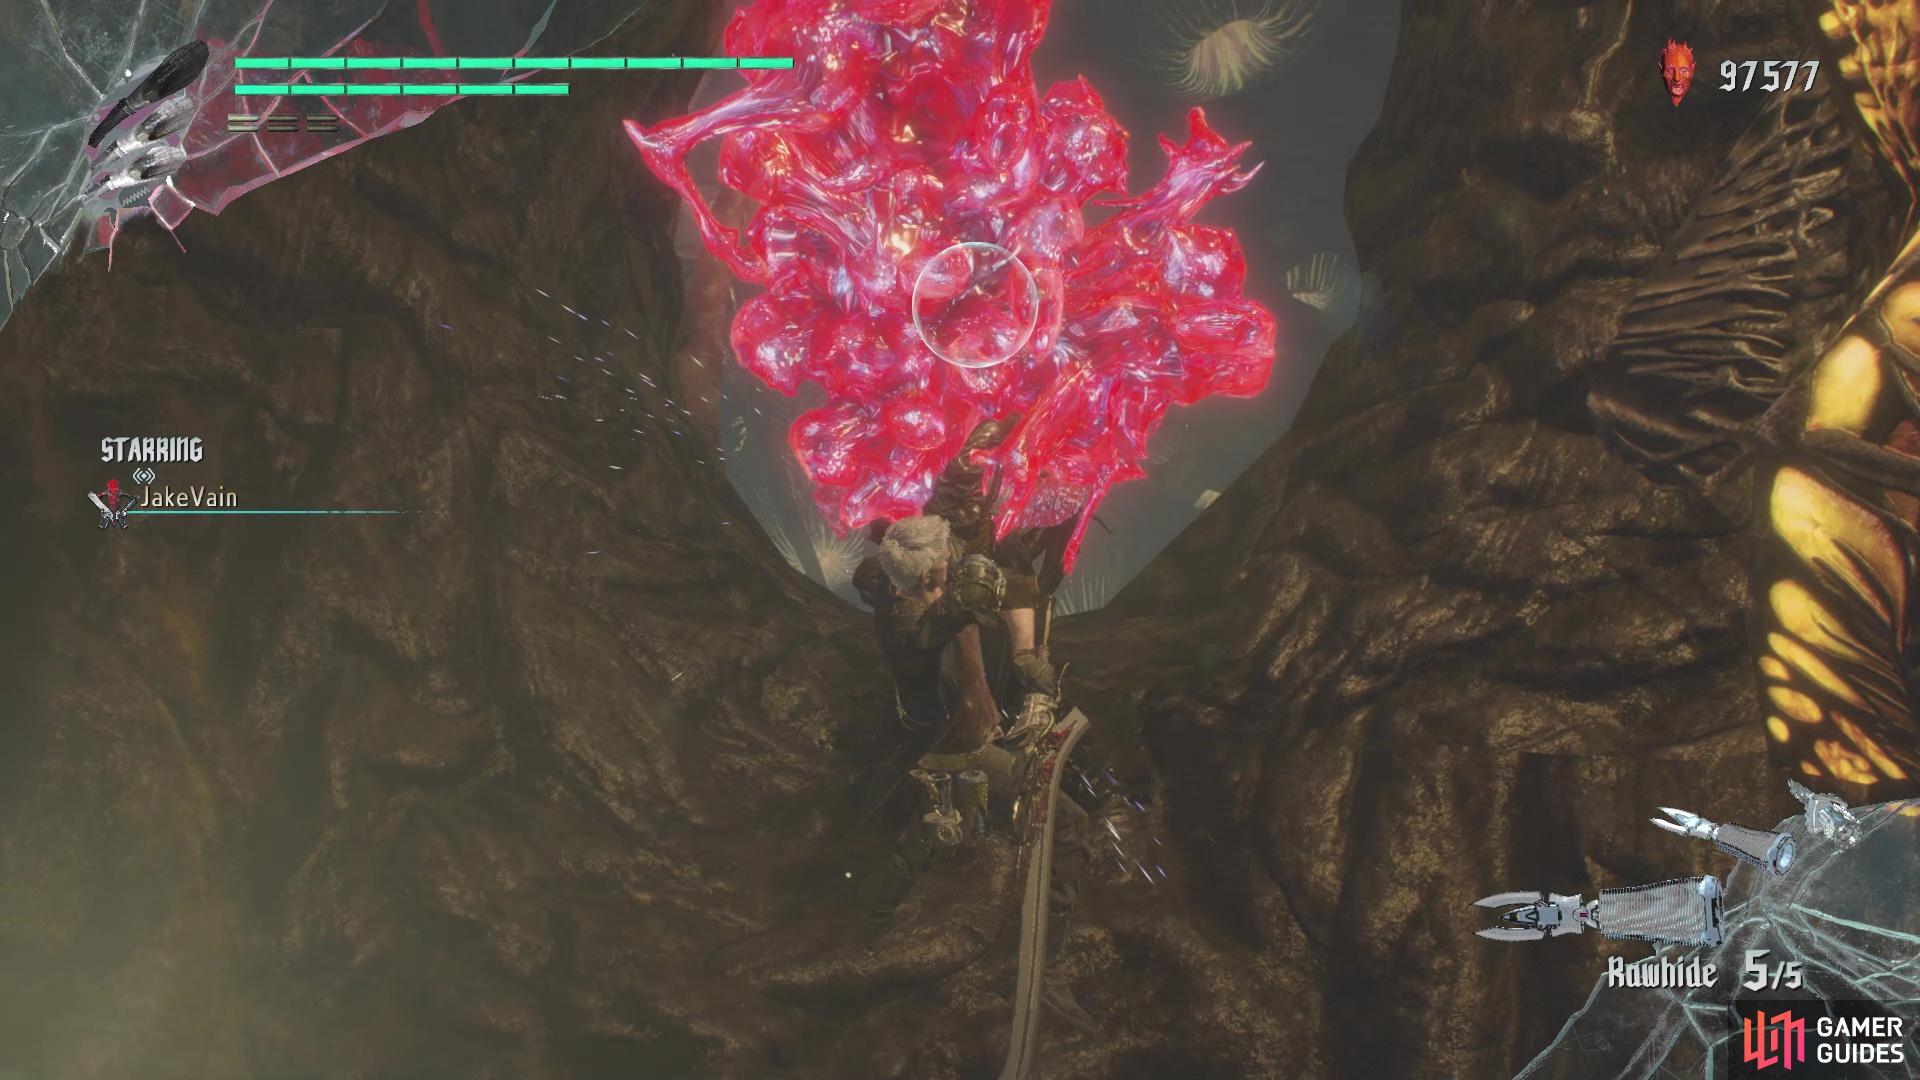
(1 of 2) There is a small hole in the final combat area that leads to a bunch of goodies
There is a small hole in the final combat area that leads to a bunch of goodies (left), including a large Red Orb Cluster at the very end (right)
The final gauntlet of enemies will undoubtedly be the toughest one, as there are multiple enemy Spawners, spitting out Chaos and Hell Antenoras. Depending on what the Chaos do when you first drop down can determine your course of action, which should be to go straight after the Spawners. This will help limit the number of enemies in the arena, making it a lot easier to manage things. When that’s done, you can begin thinning out the Chaos and Antenoras. Once you’re all done, break the blood clots and look for a small hole; drop down it and you’ll find a bunch of Red Orbs on the path, with a large Red Orb Cluster at the very end. This path will drop you back into the room with all of the Chaos, so clean up if necessary and drop down the hole in the middle to finish the mission.


 Sign up
No Comments