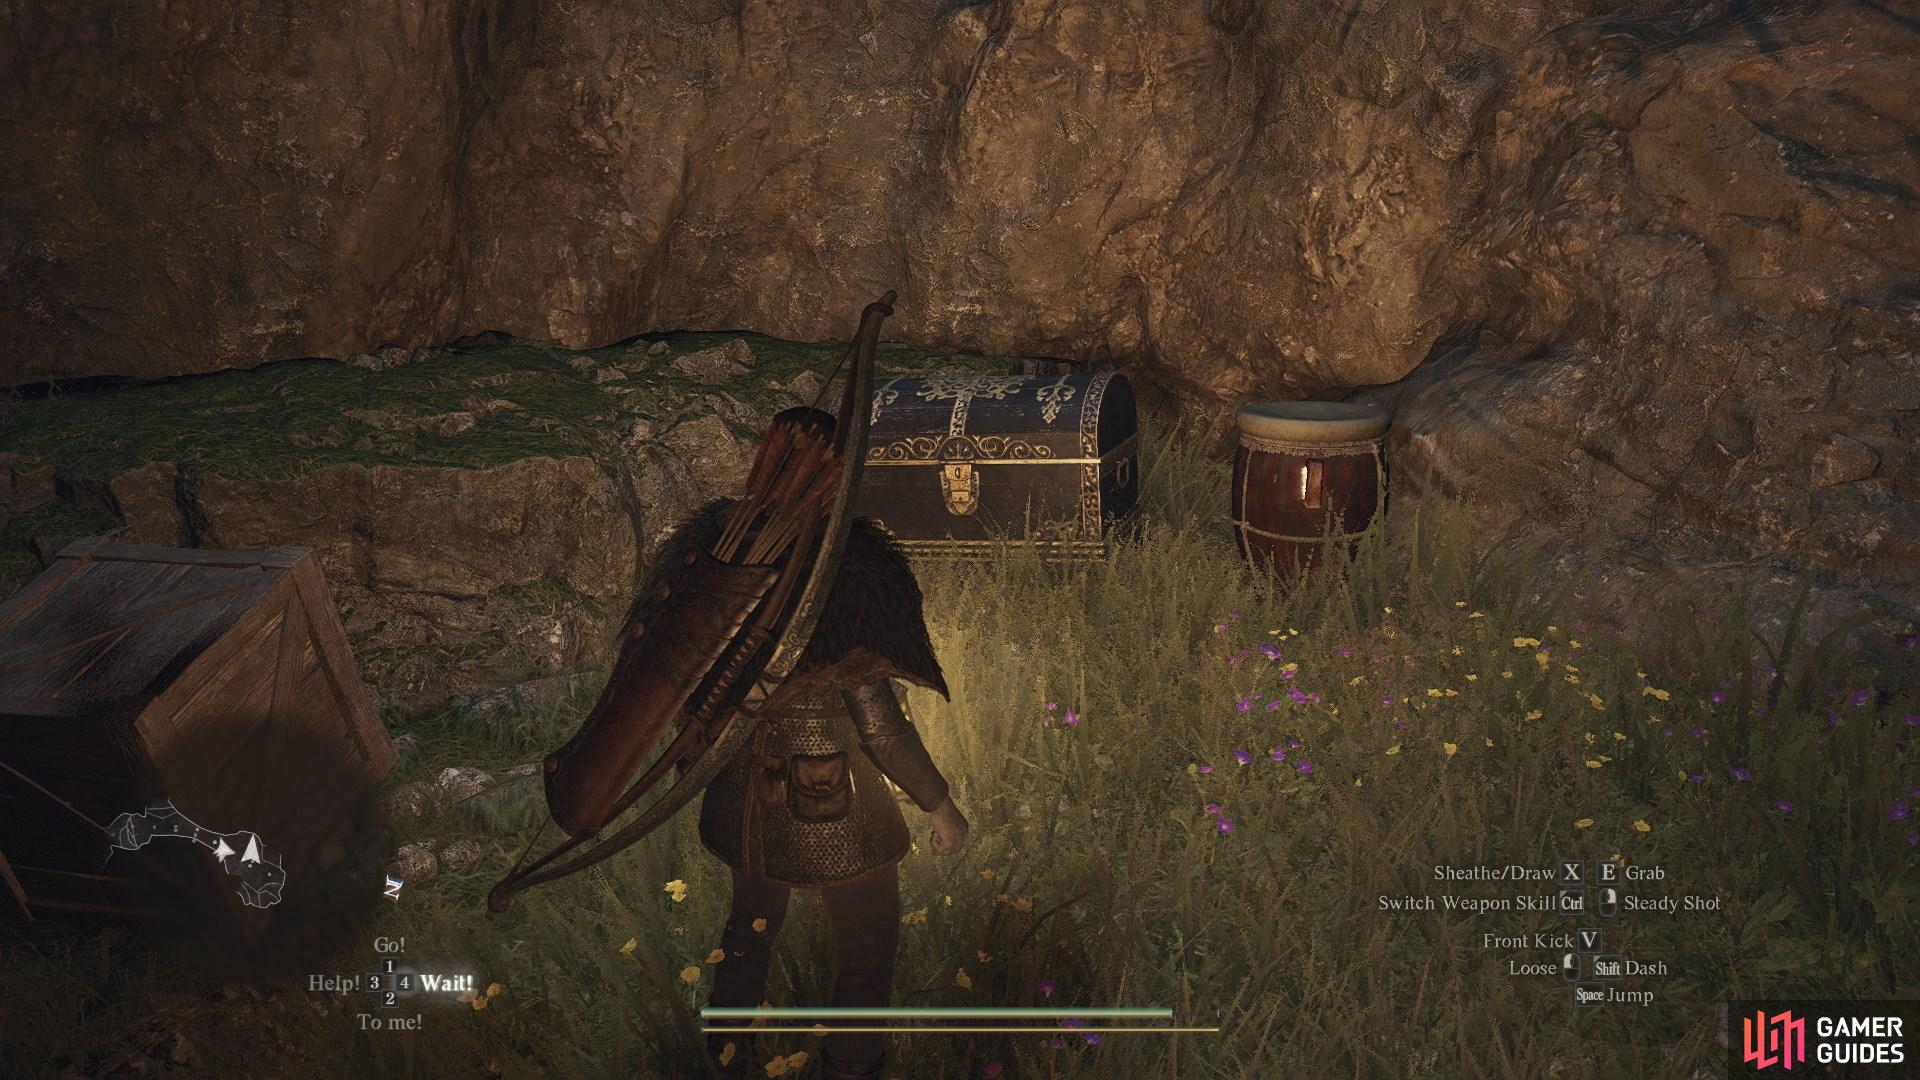
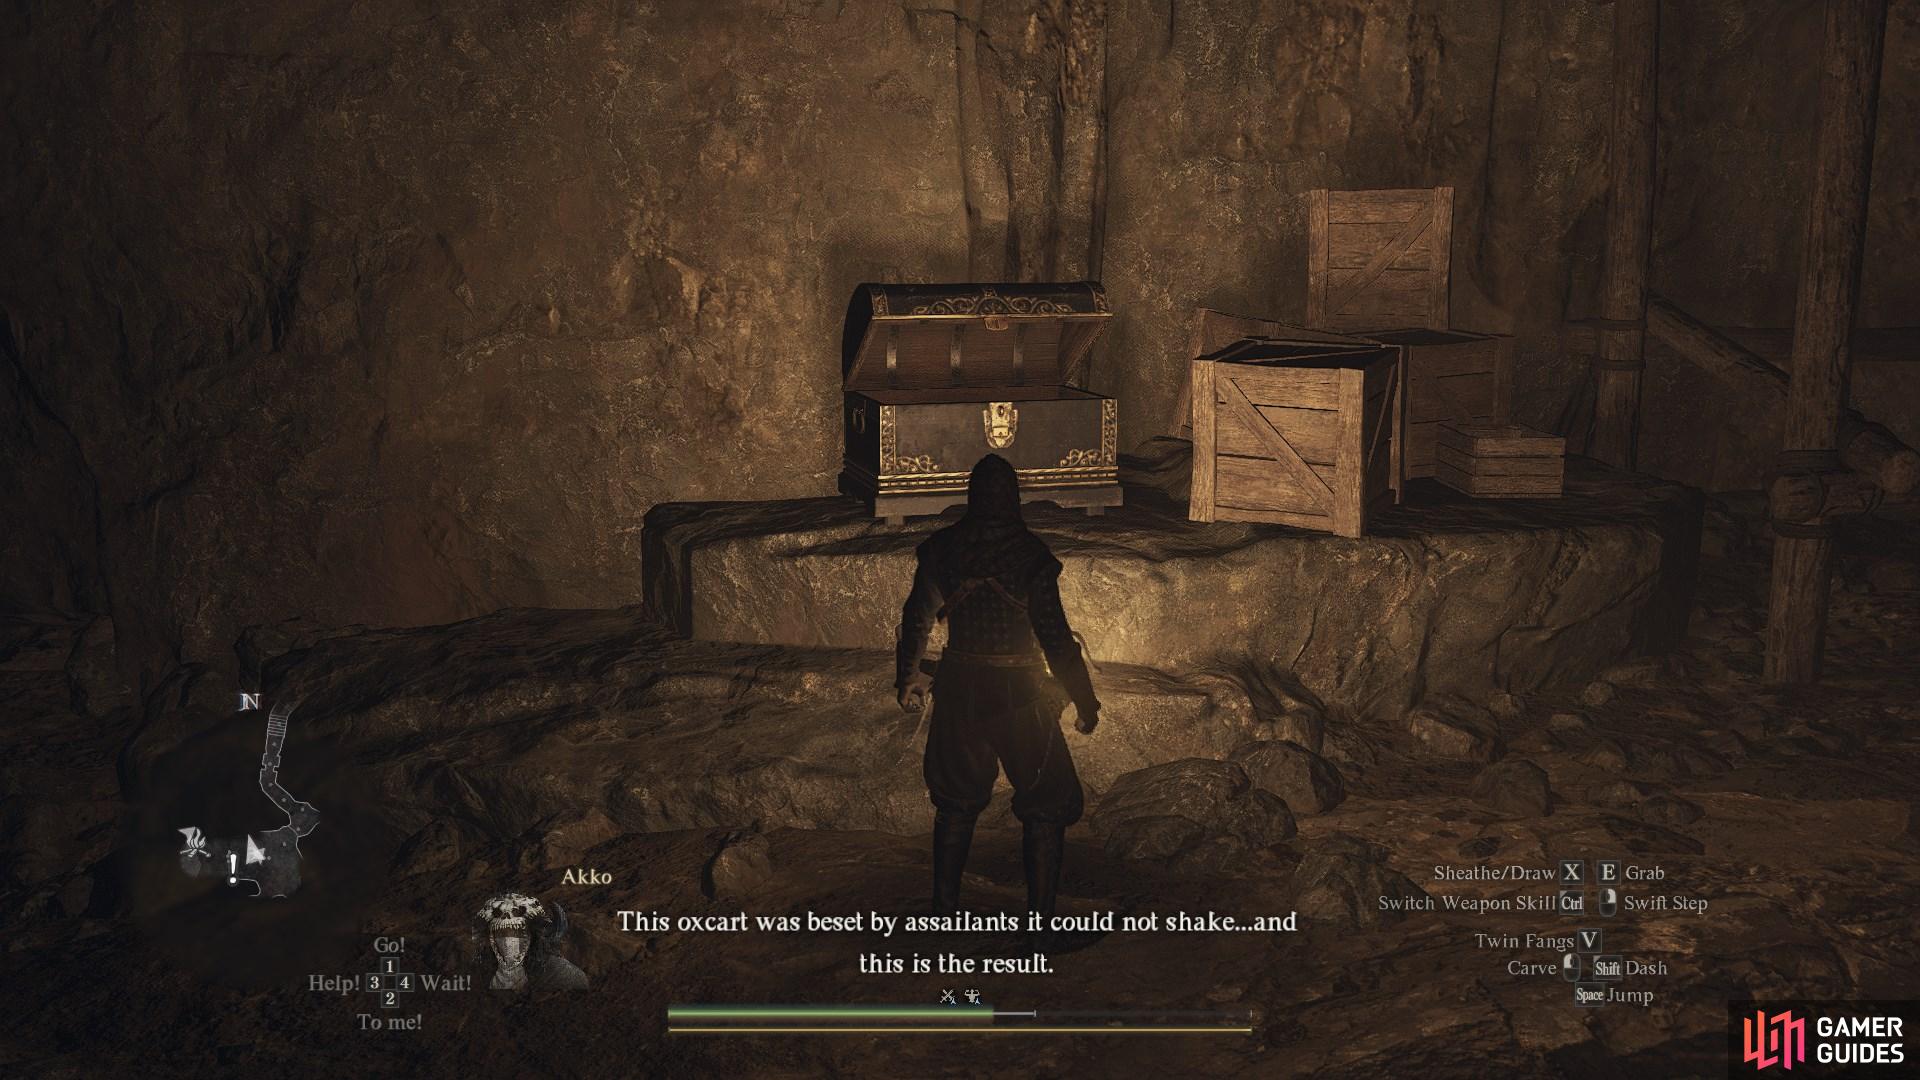
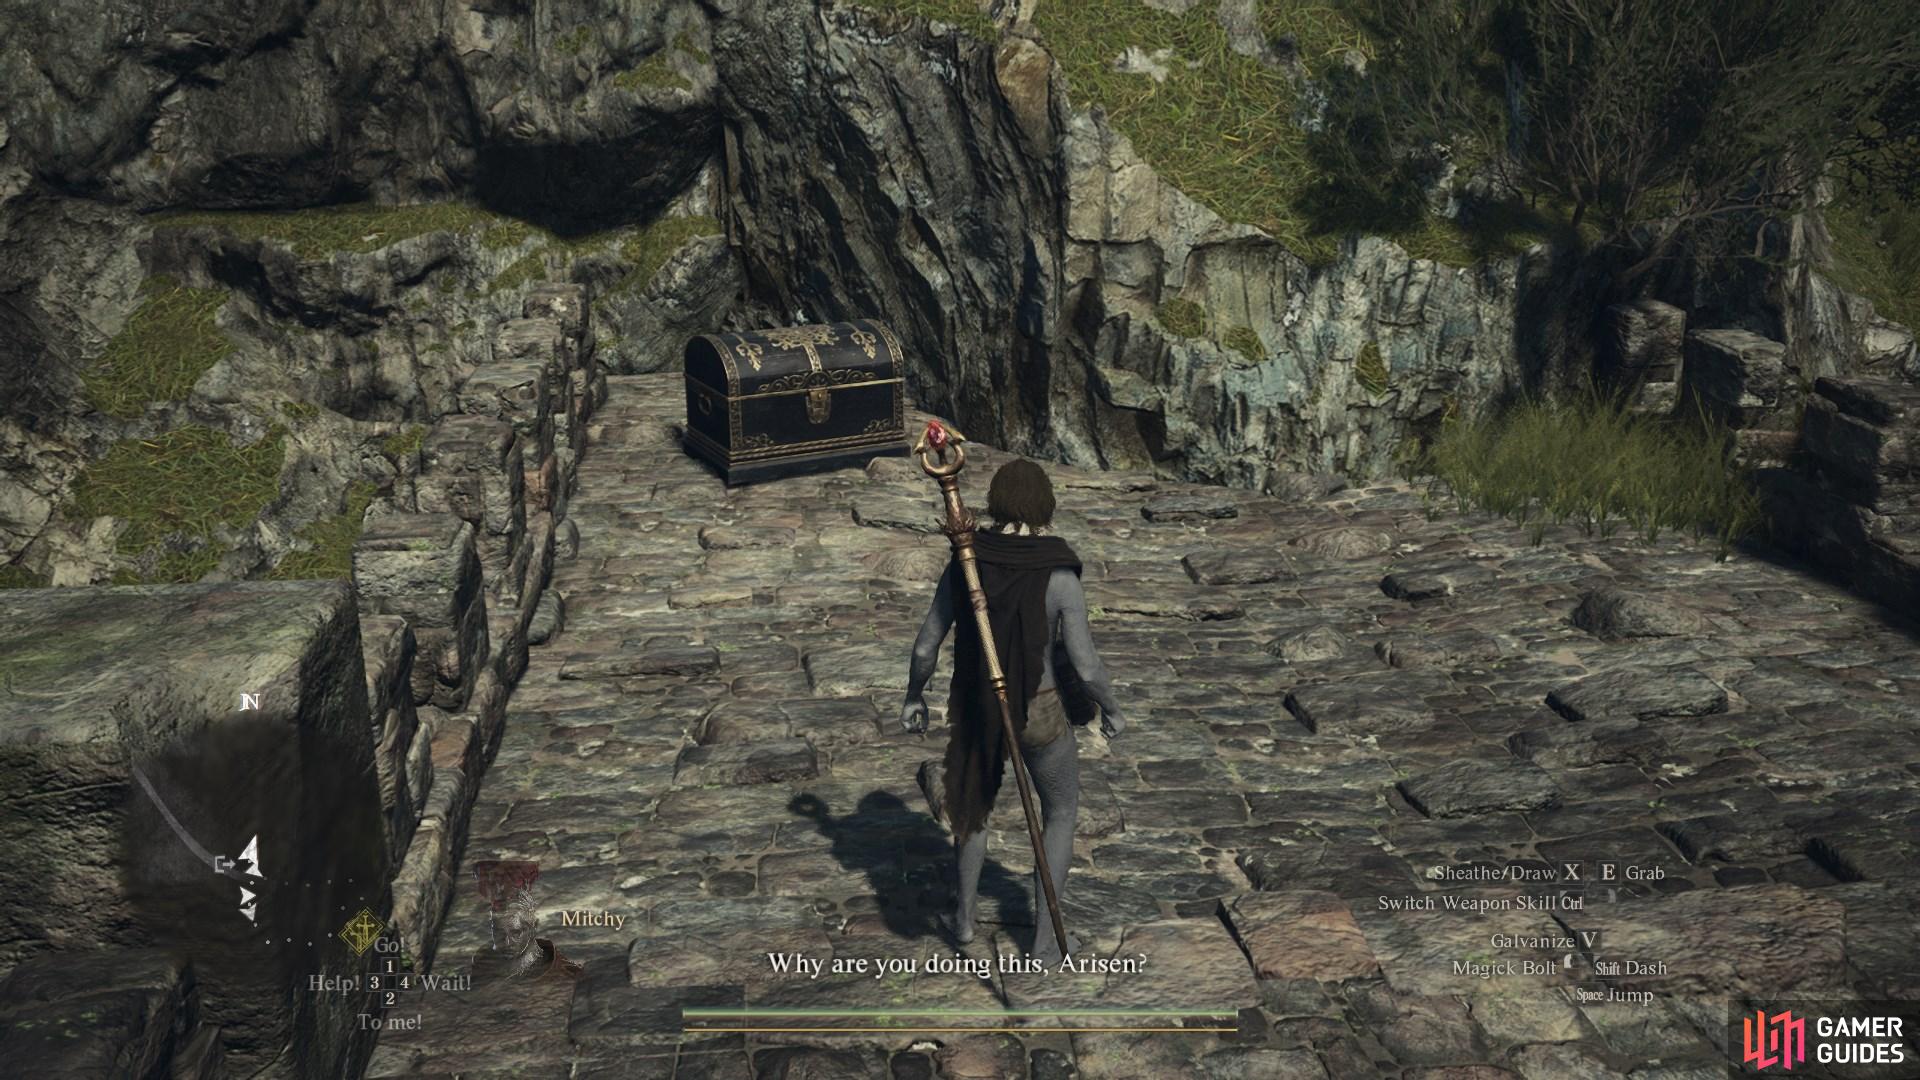
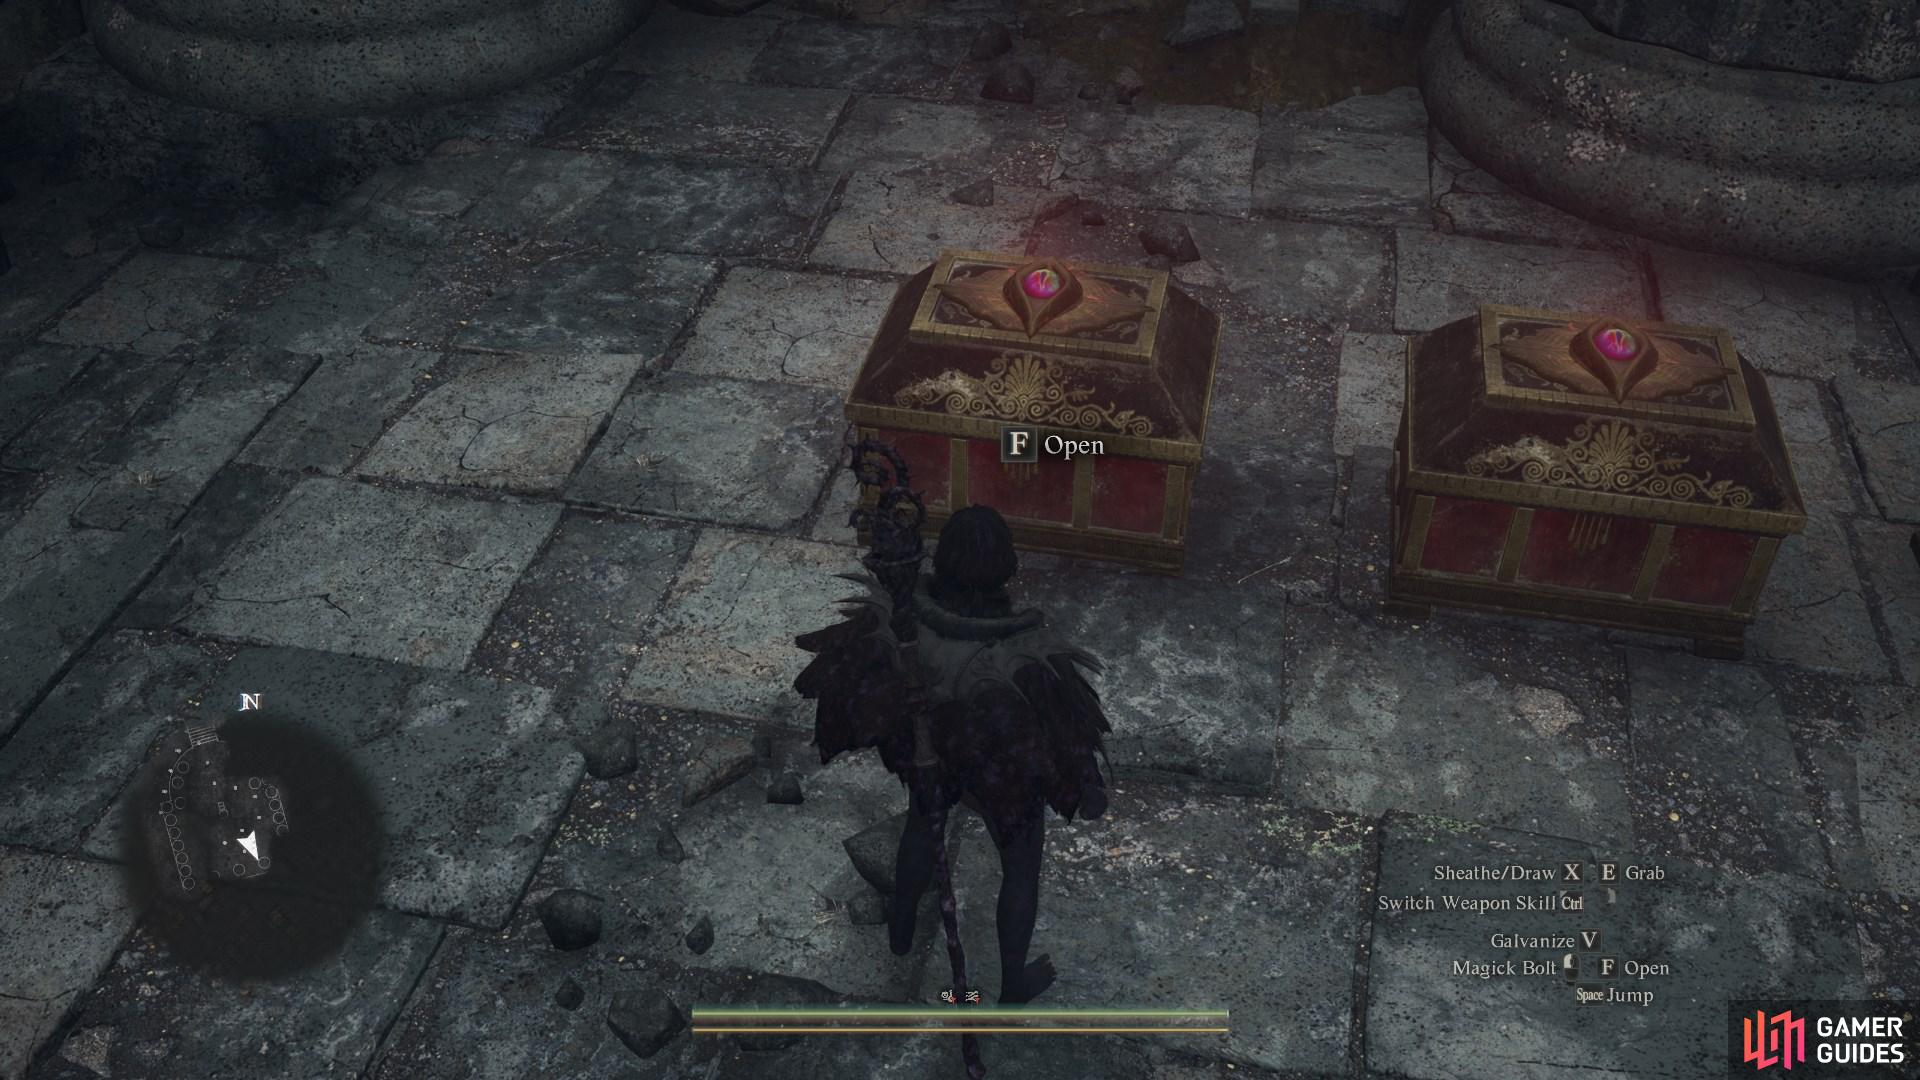
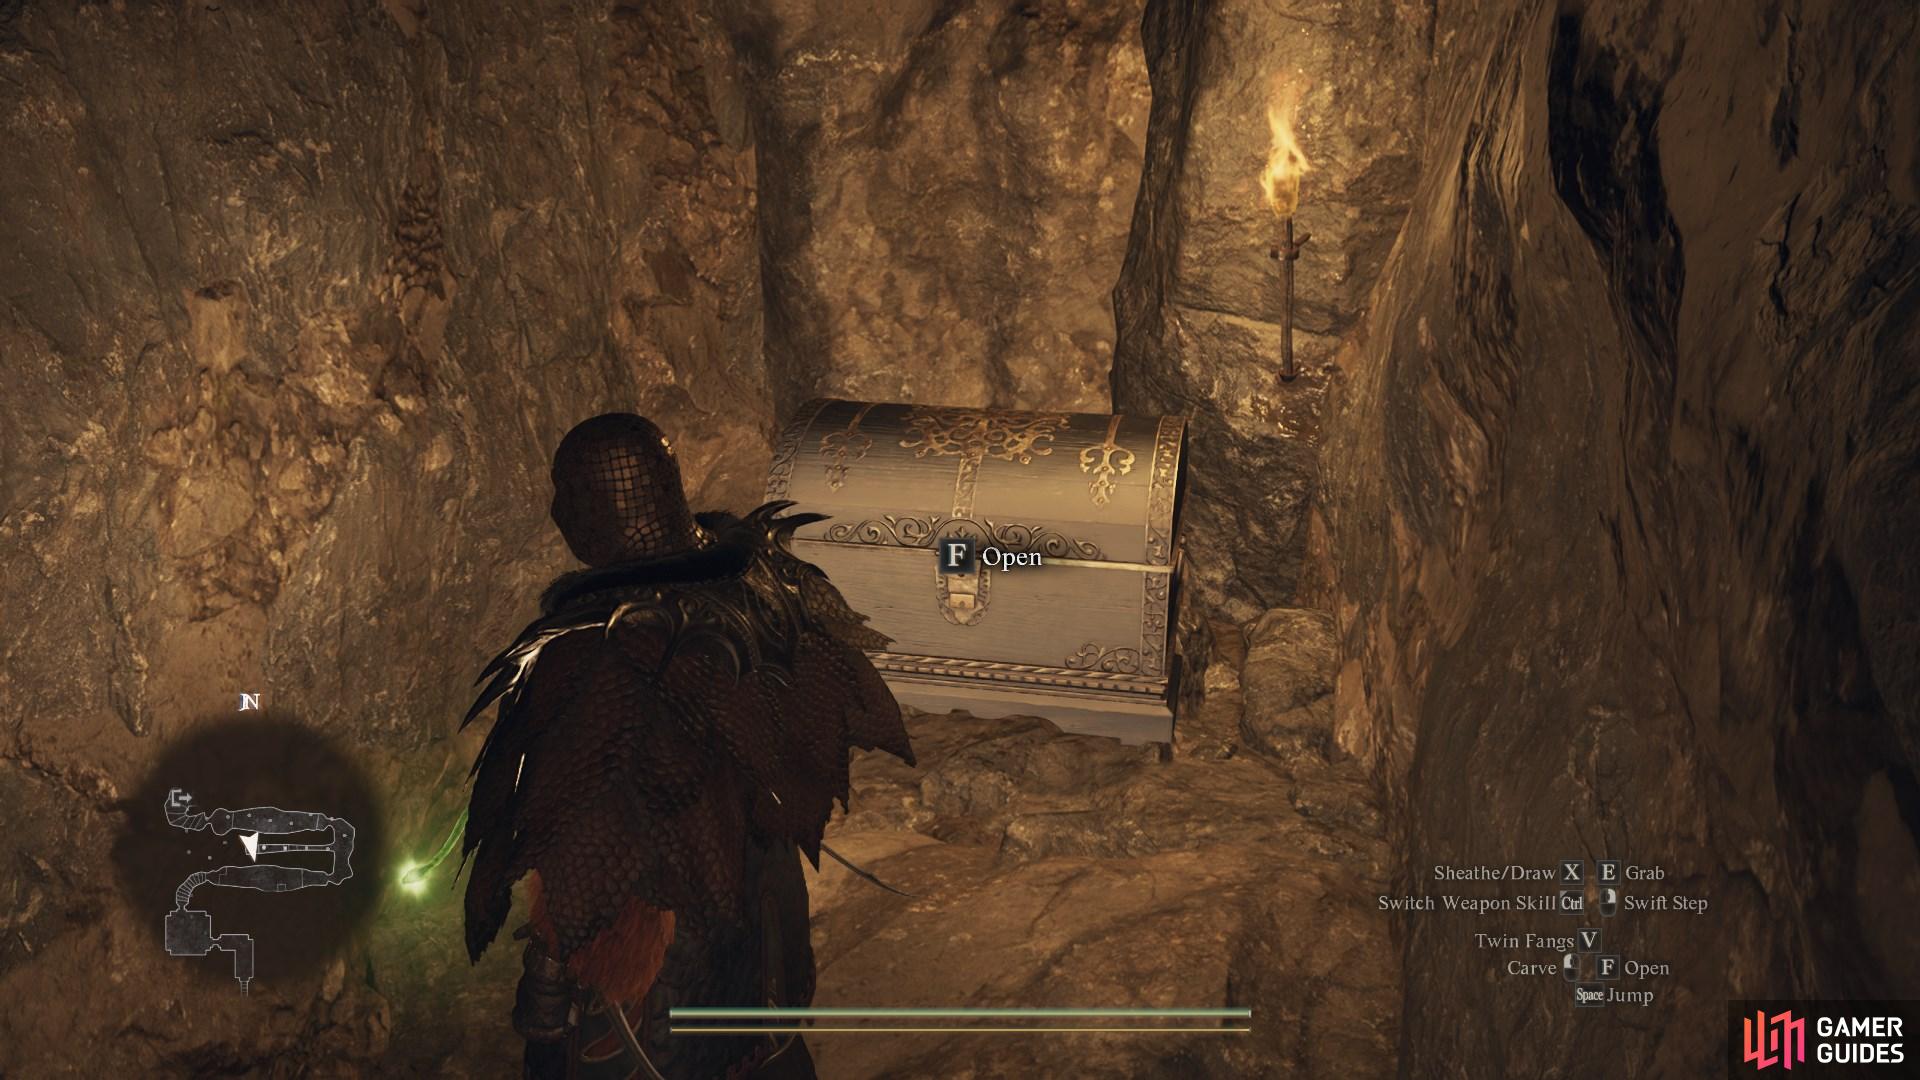
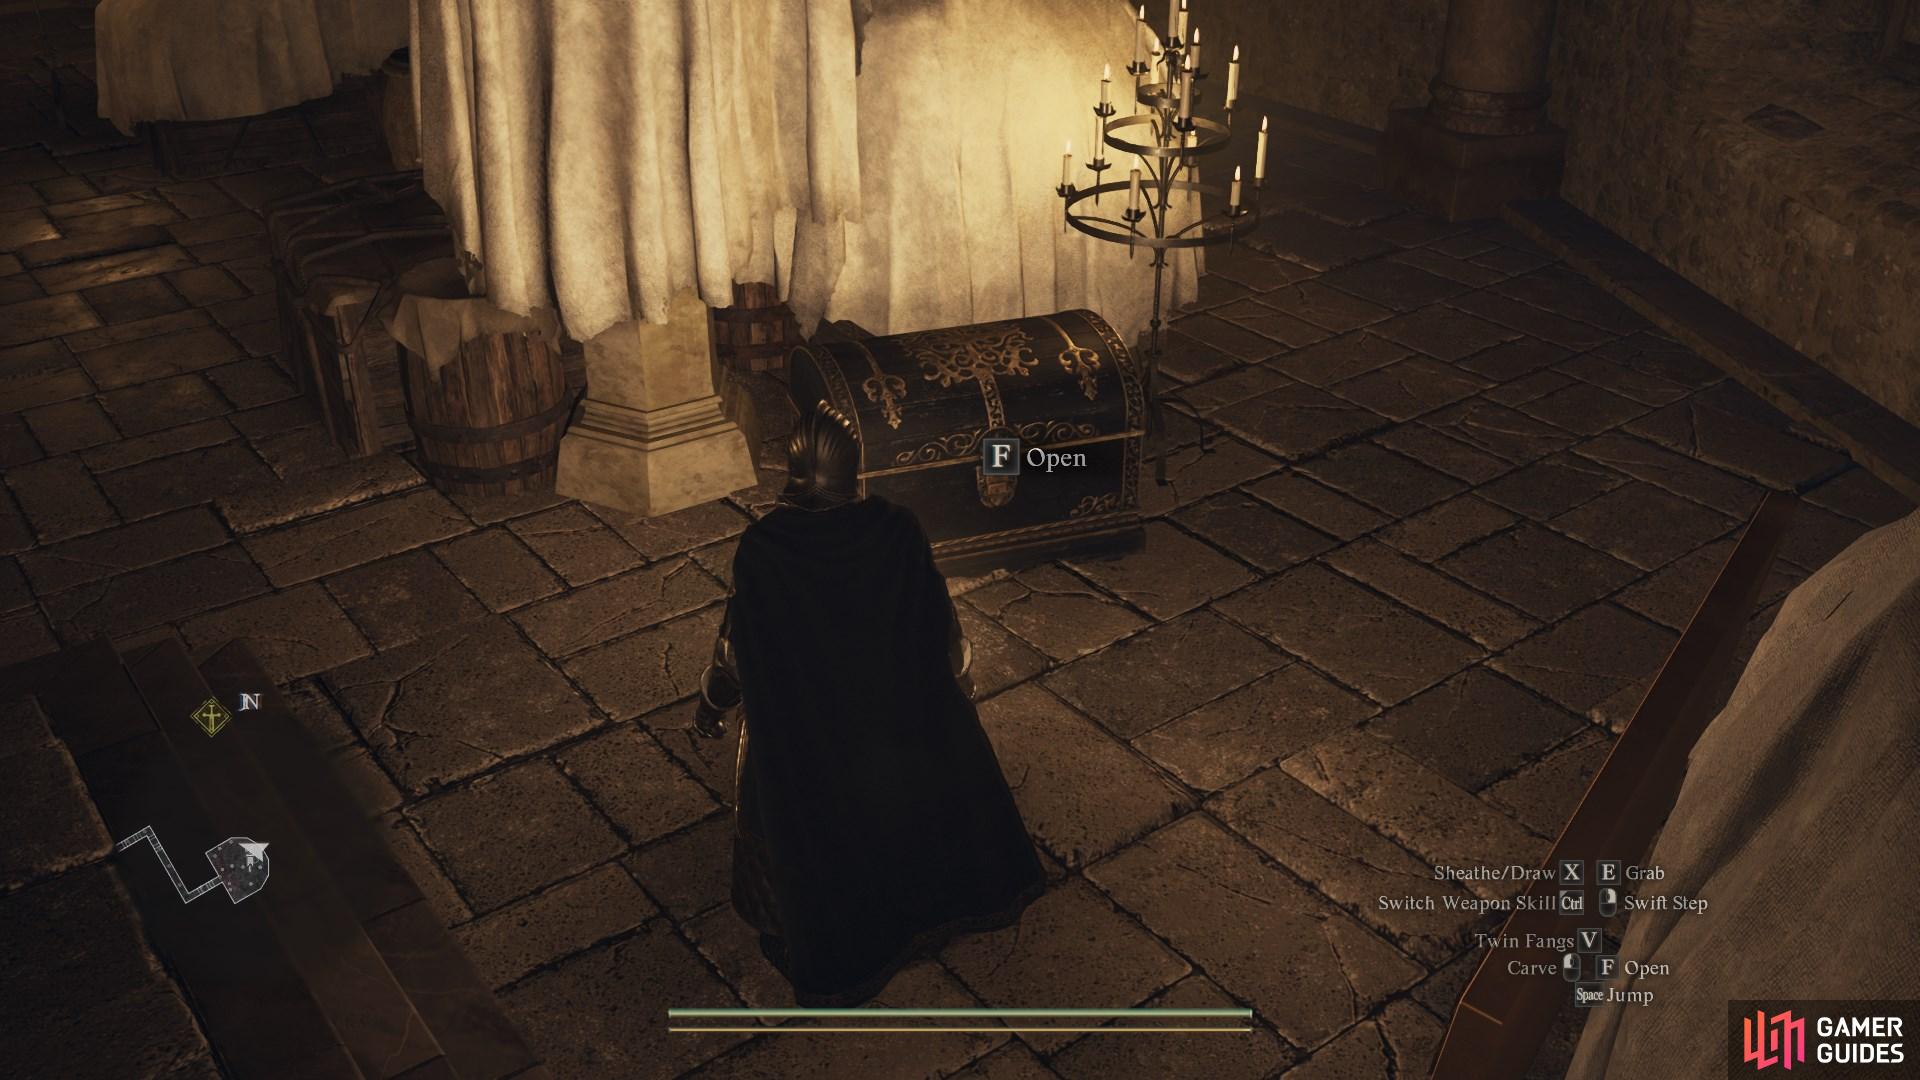
Unique Chest Chests
Description
An ornate chest, typically contains better loot than its common counterpart.
Interactive Map Locations
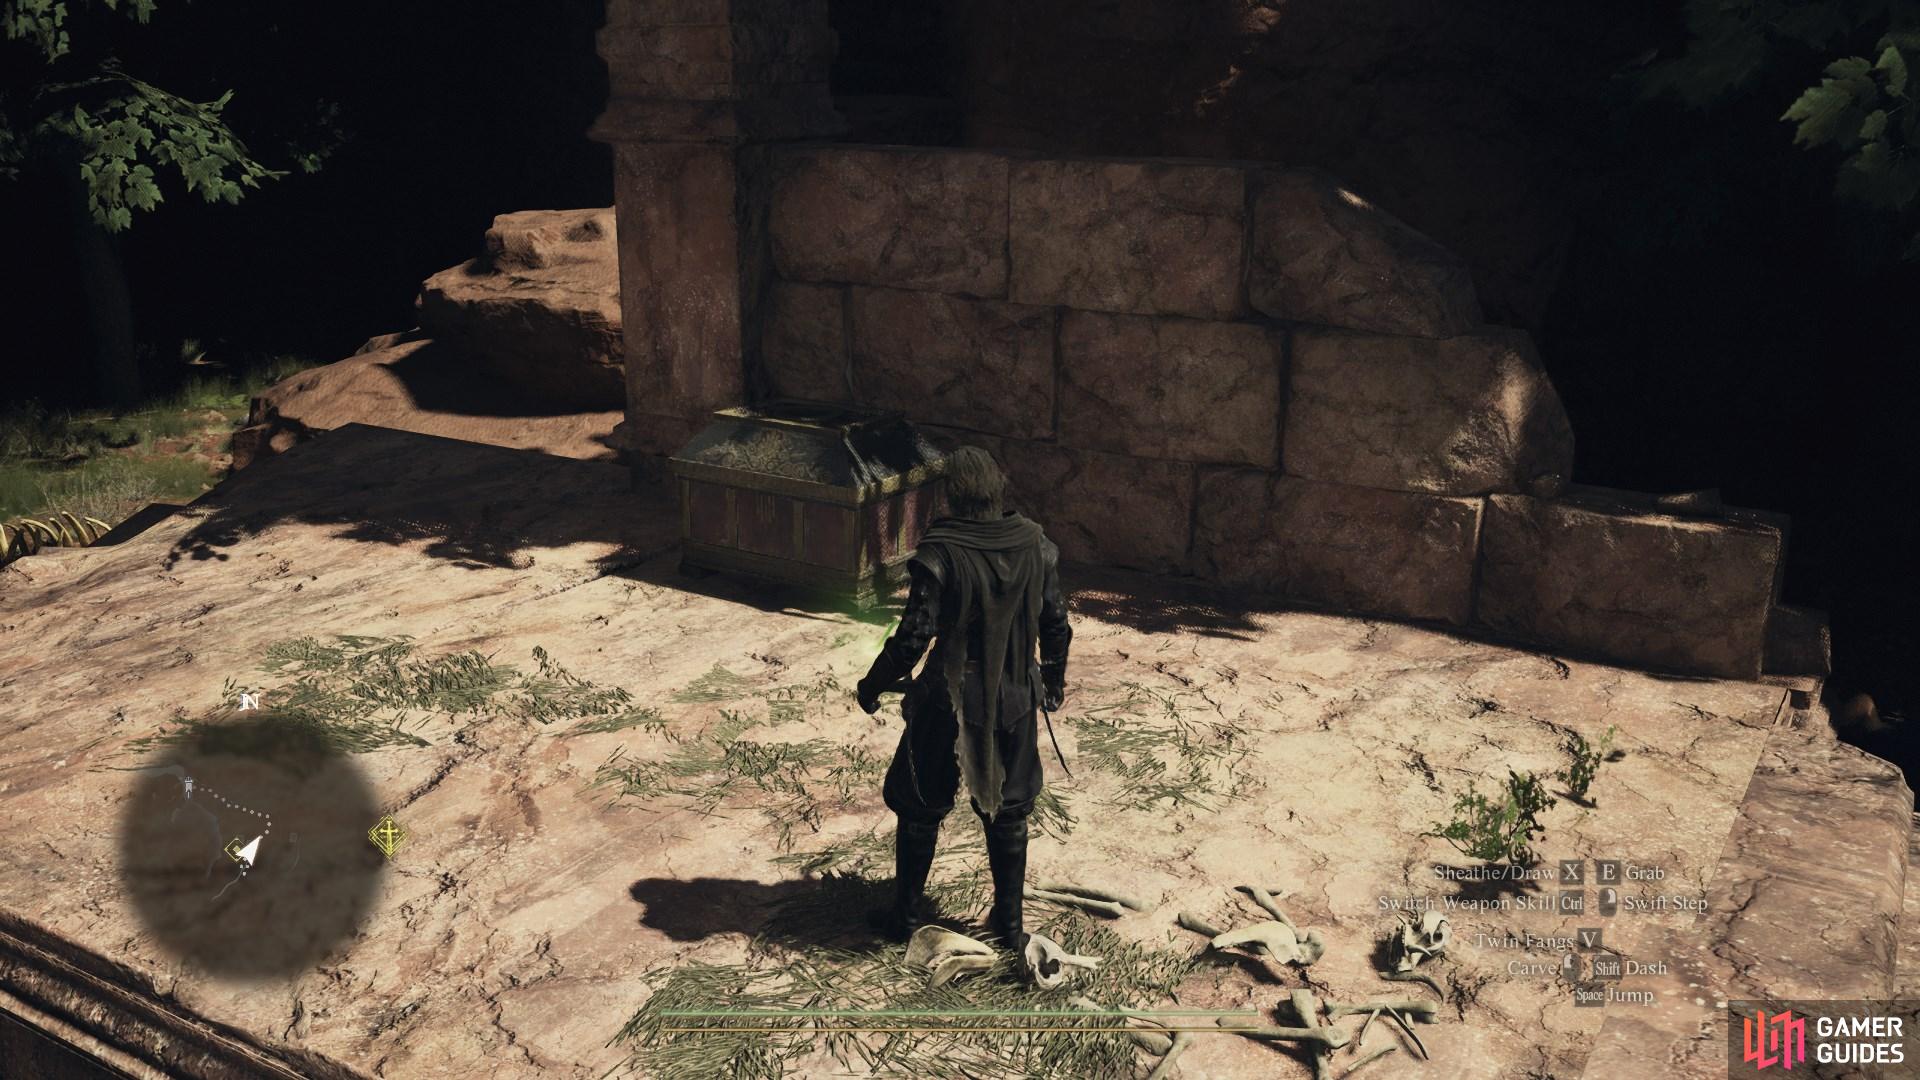
1. World Map
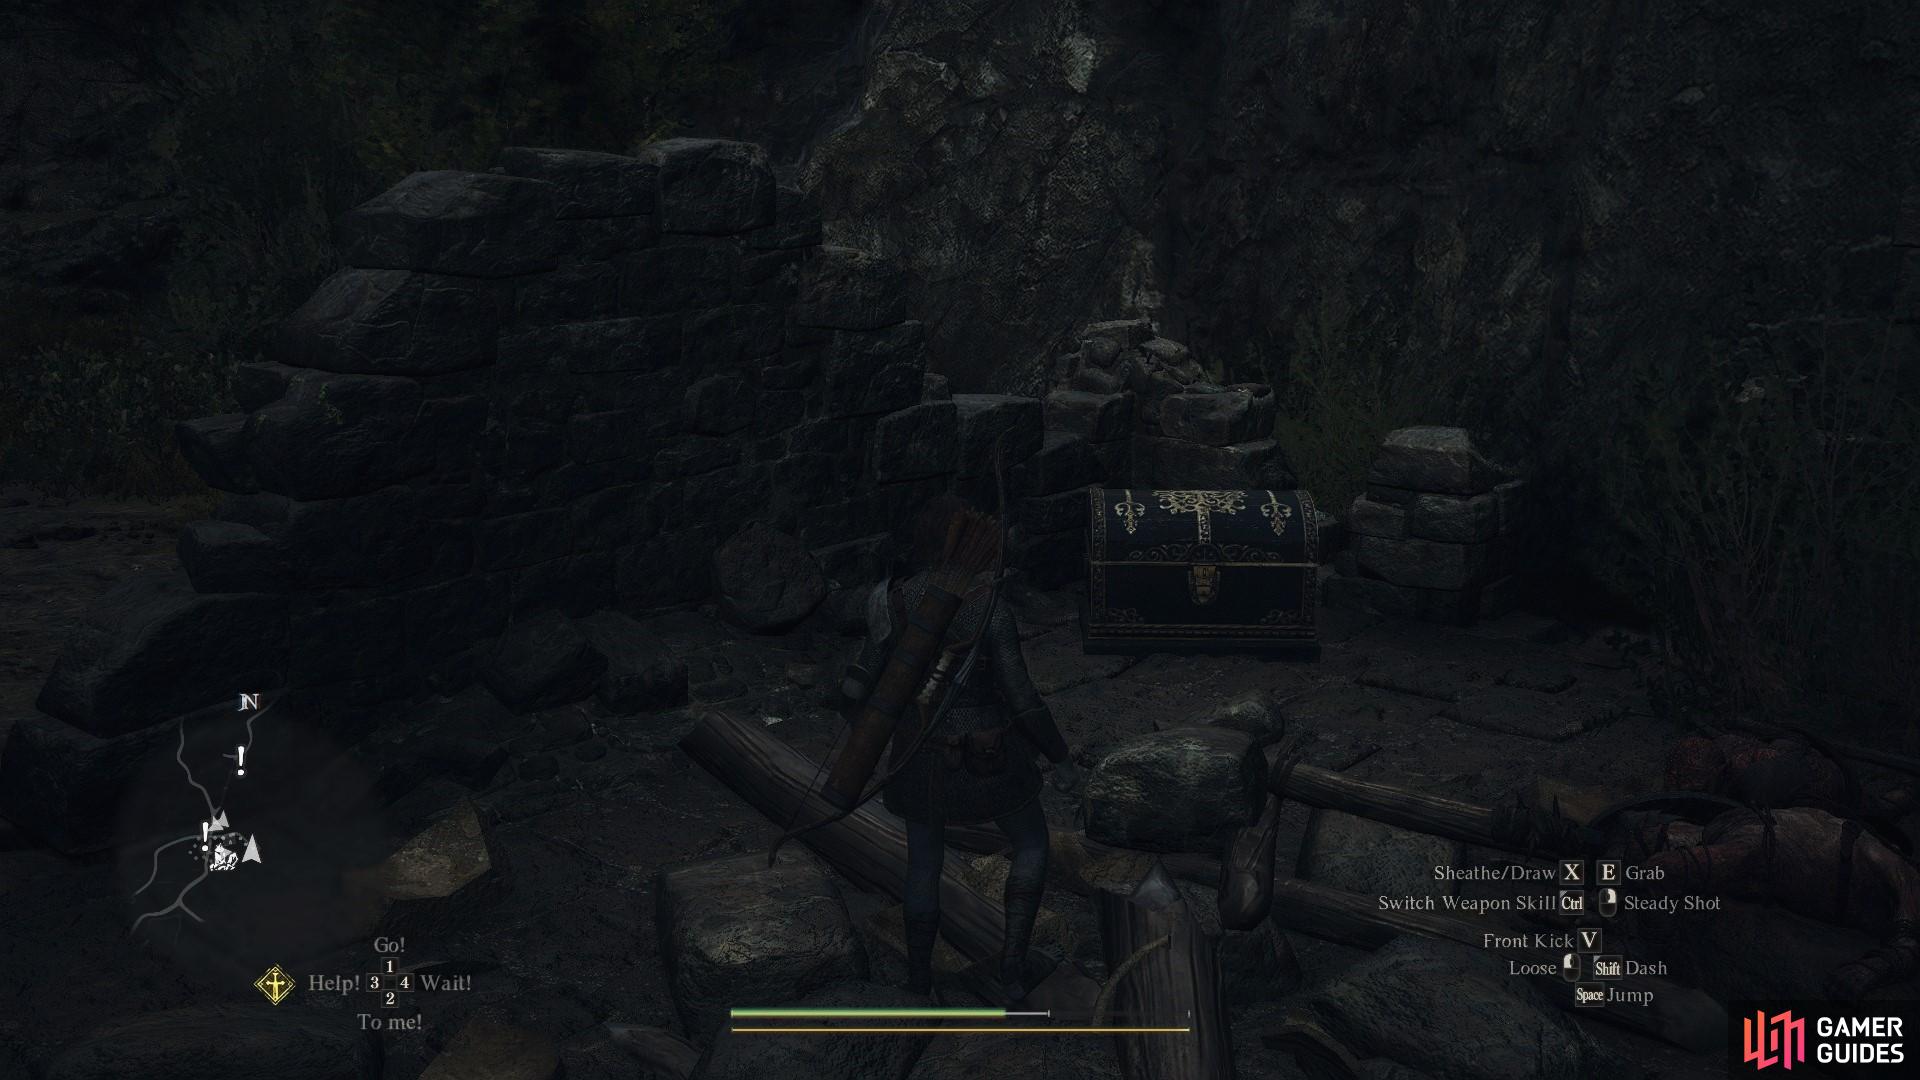
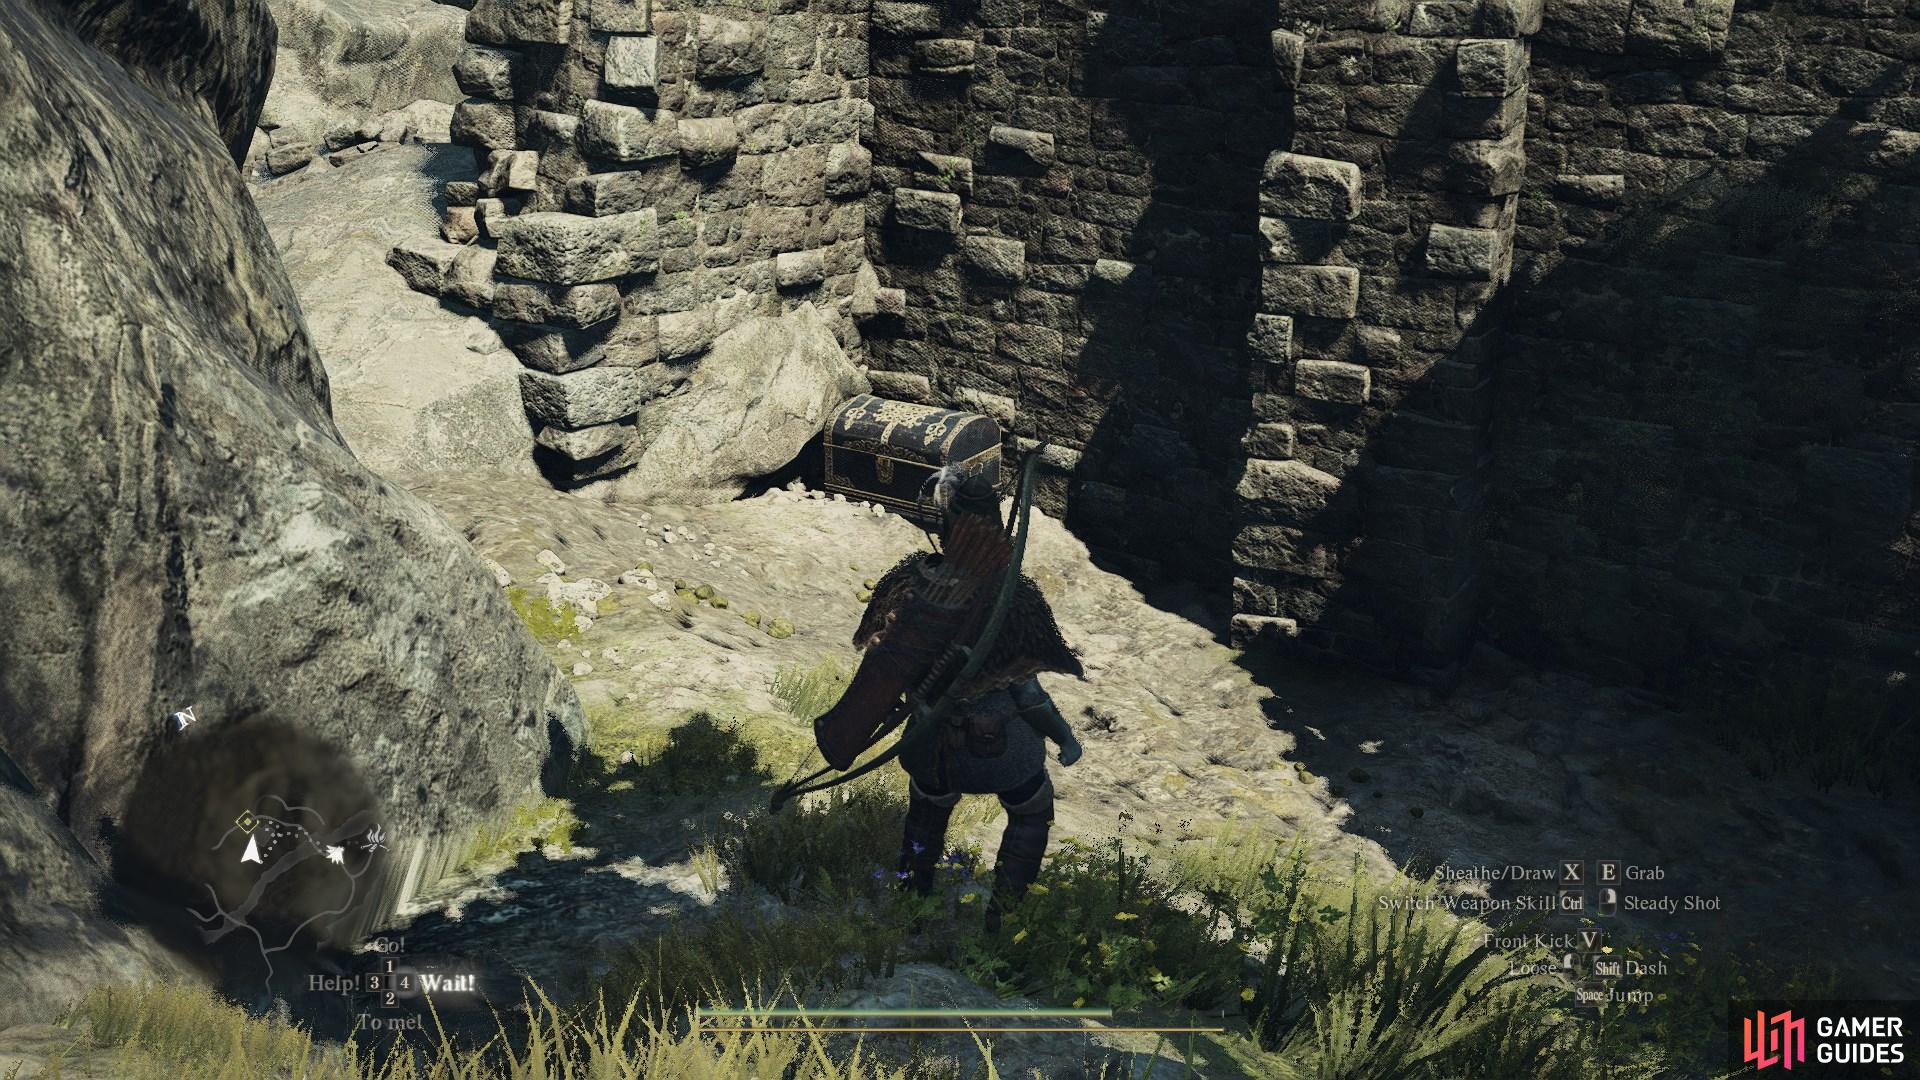
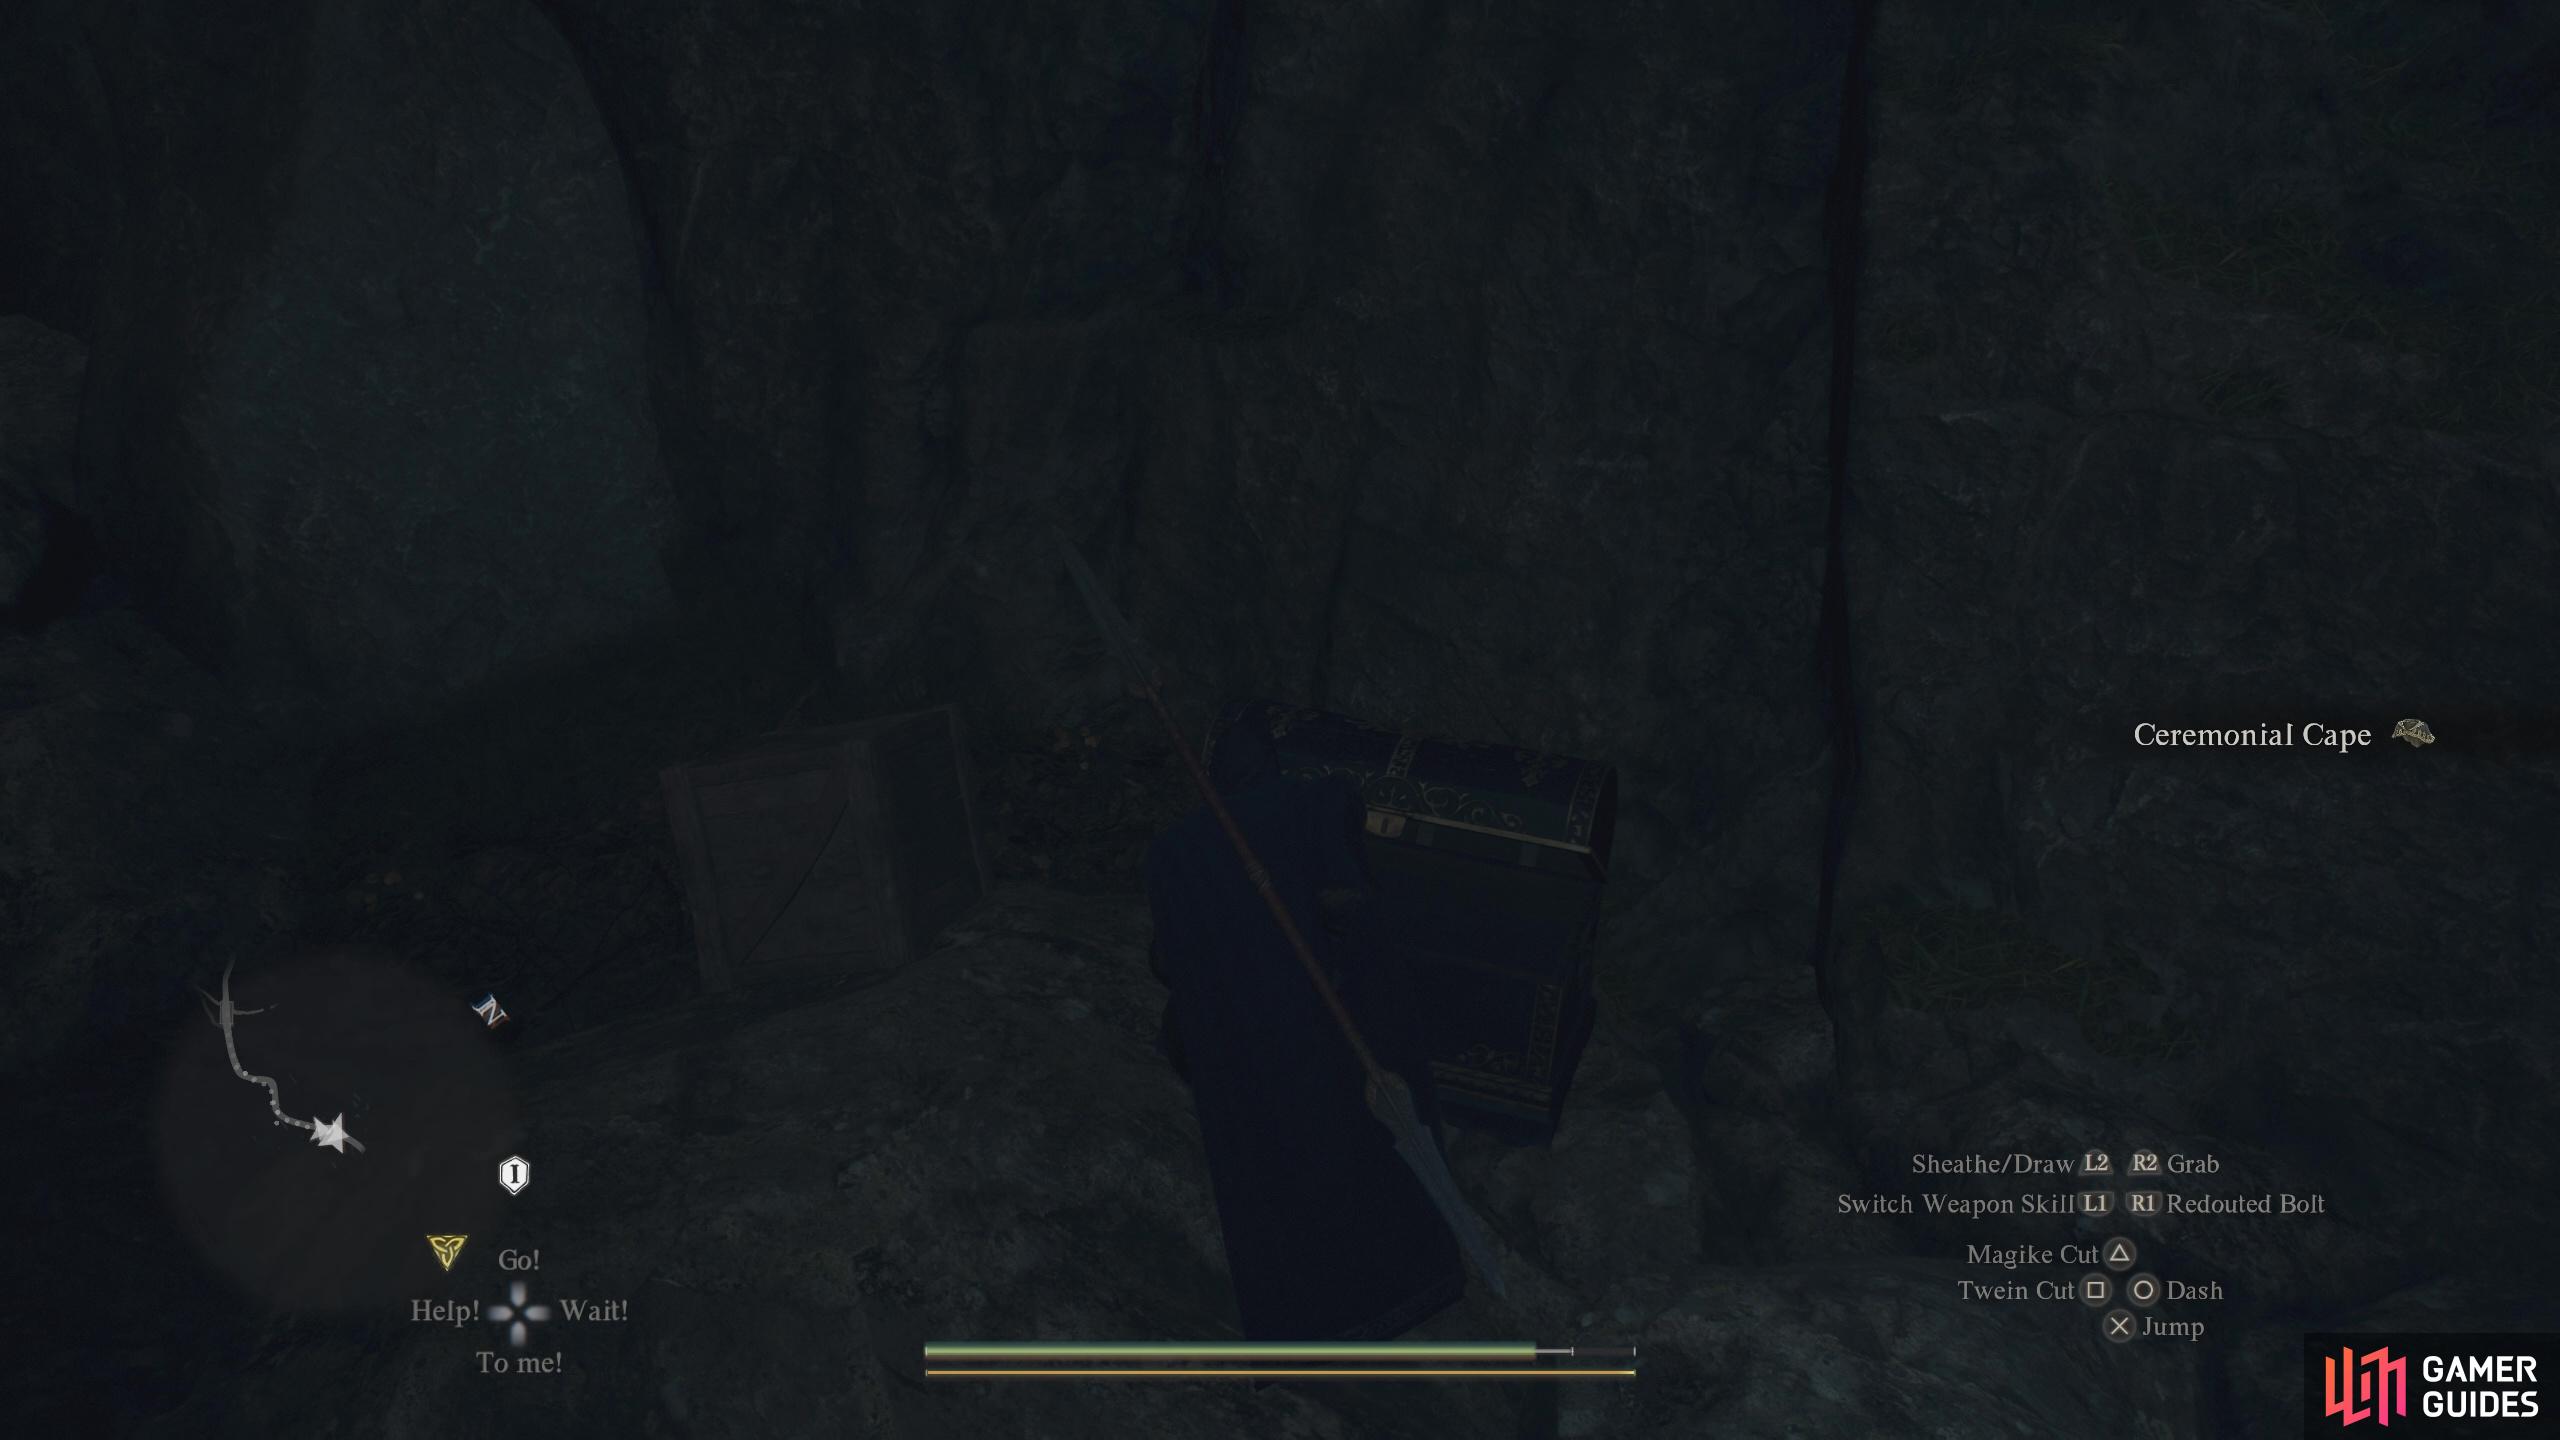
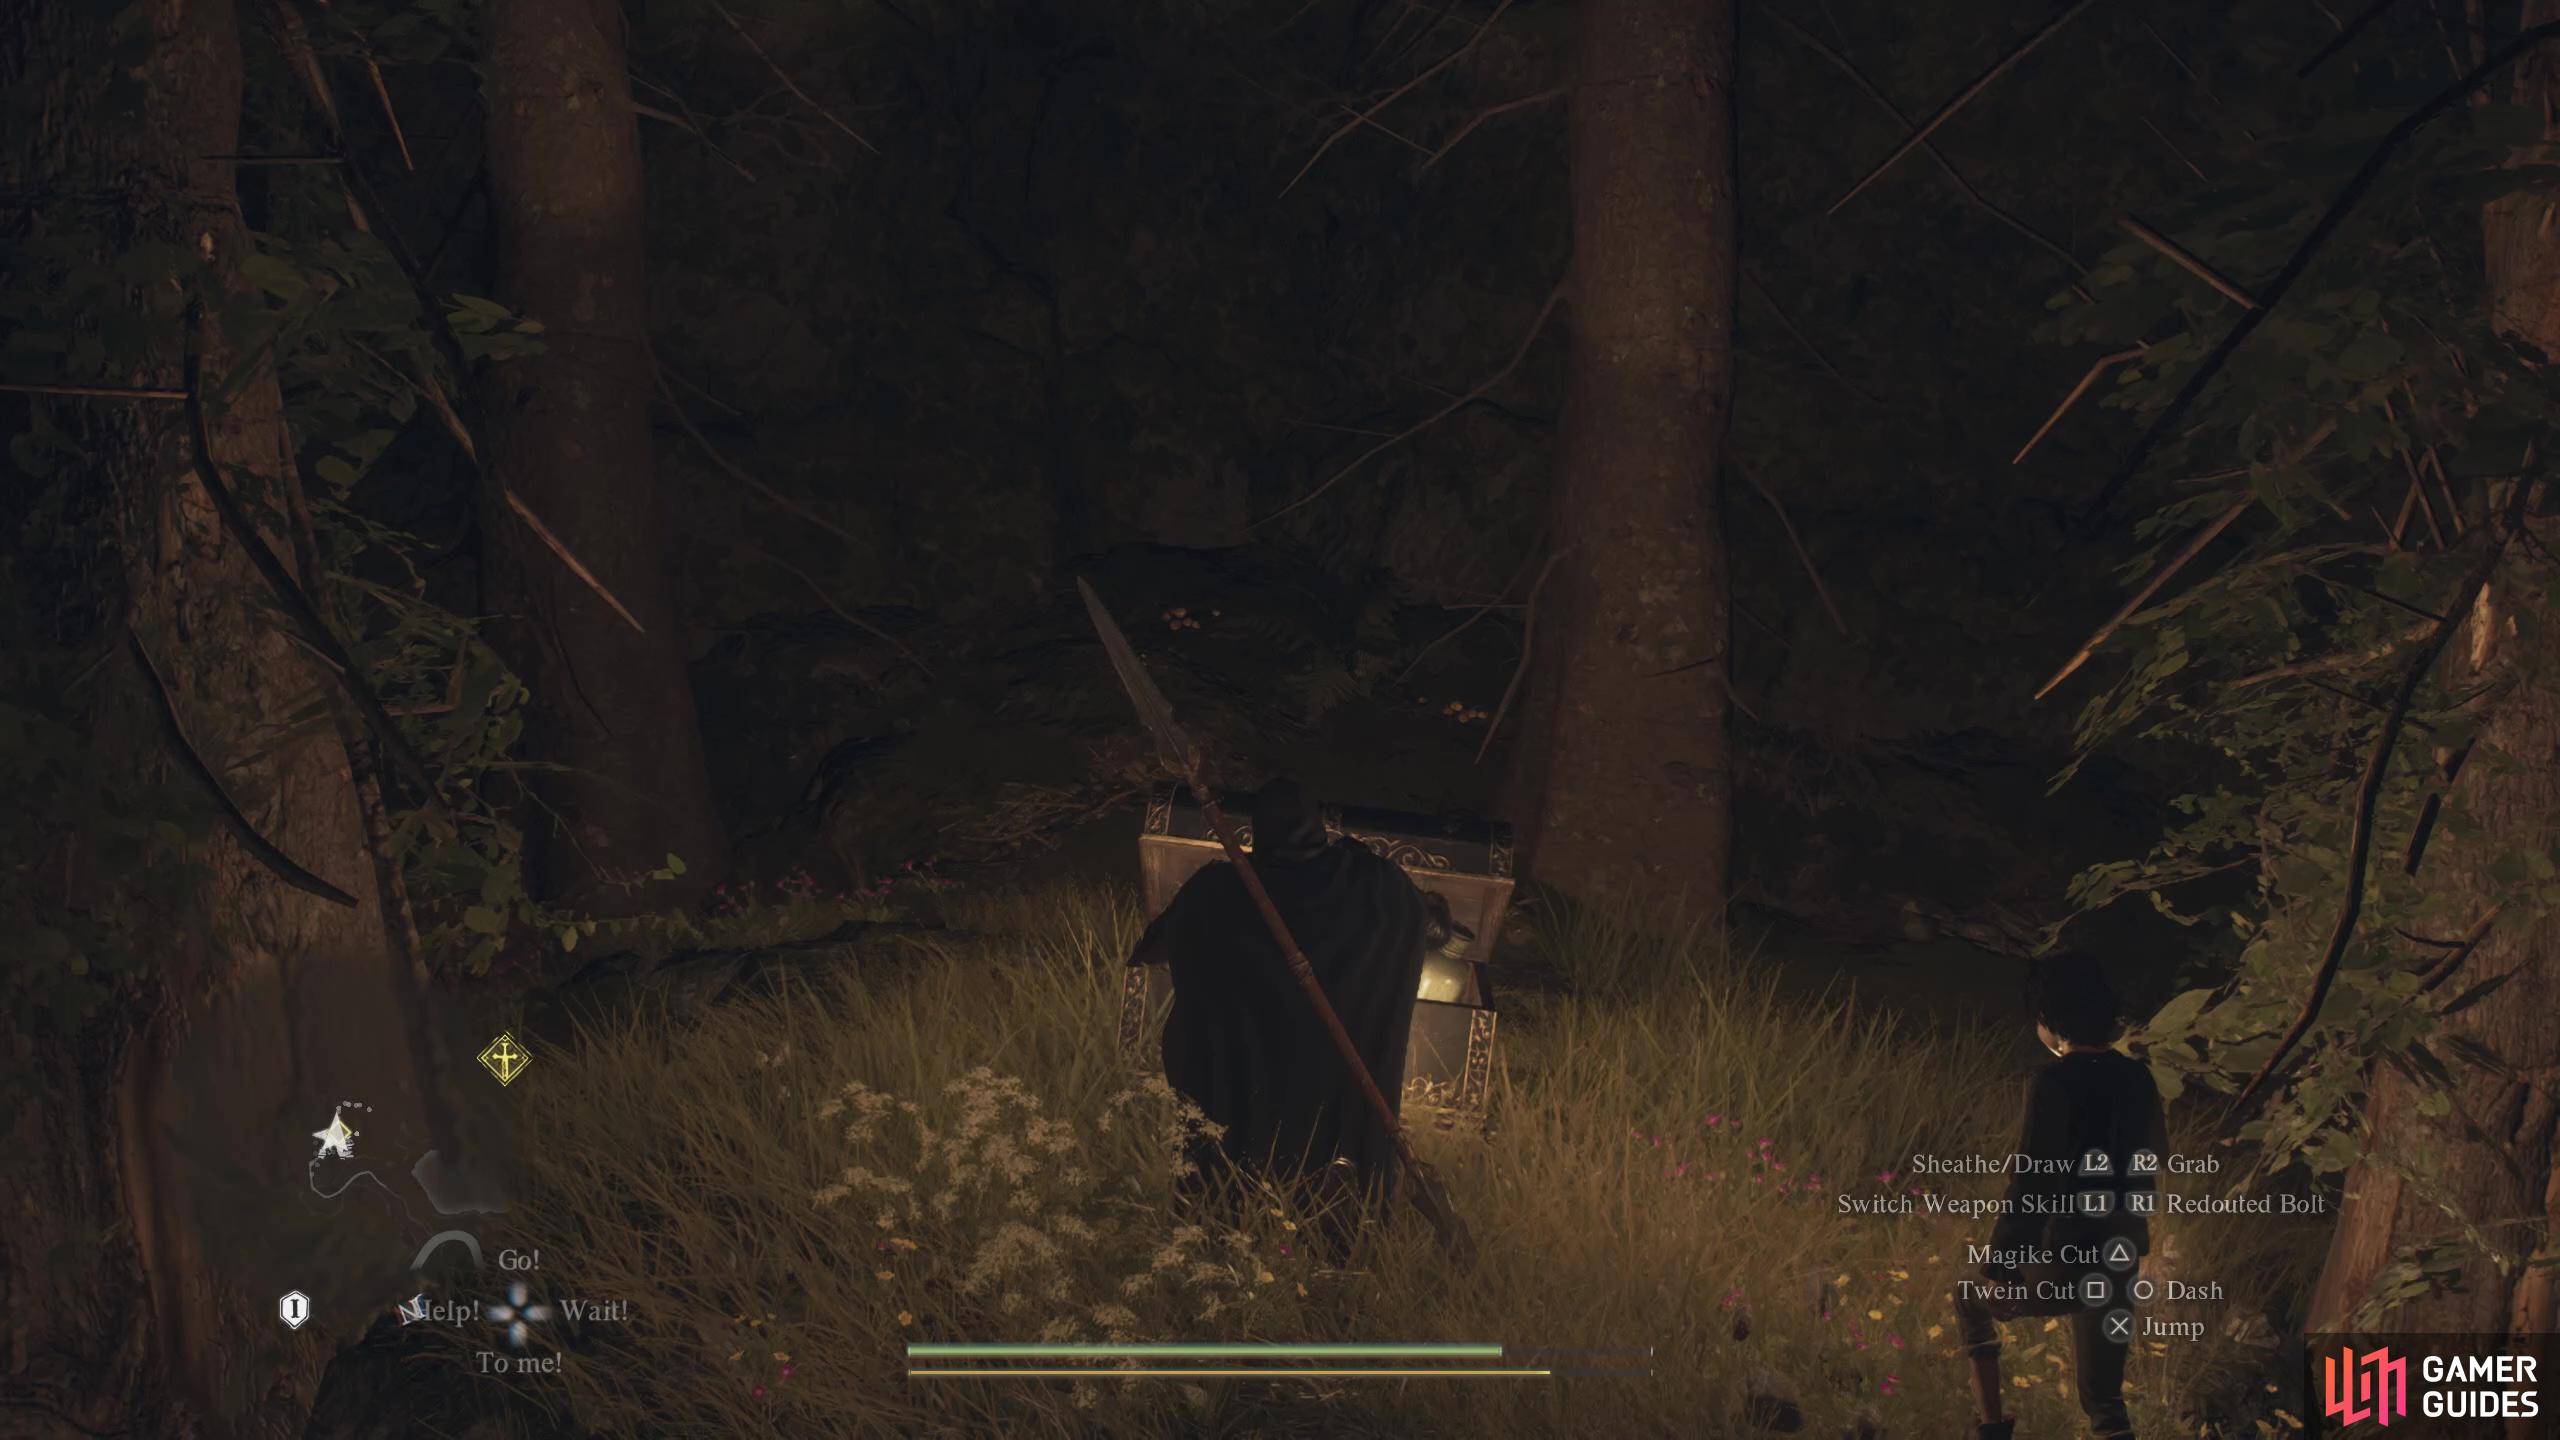
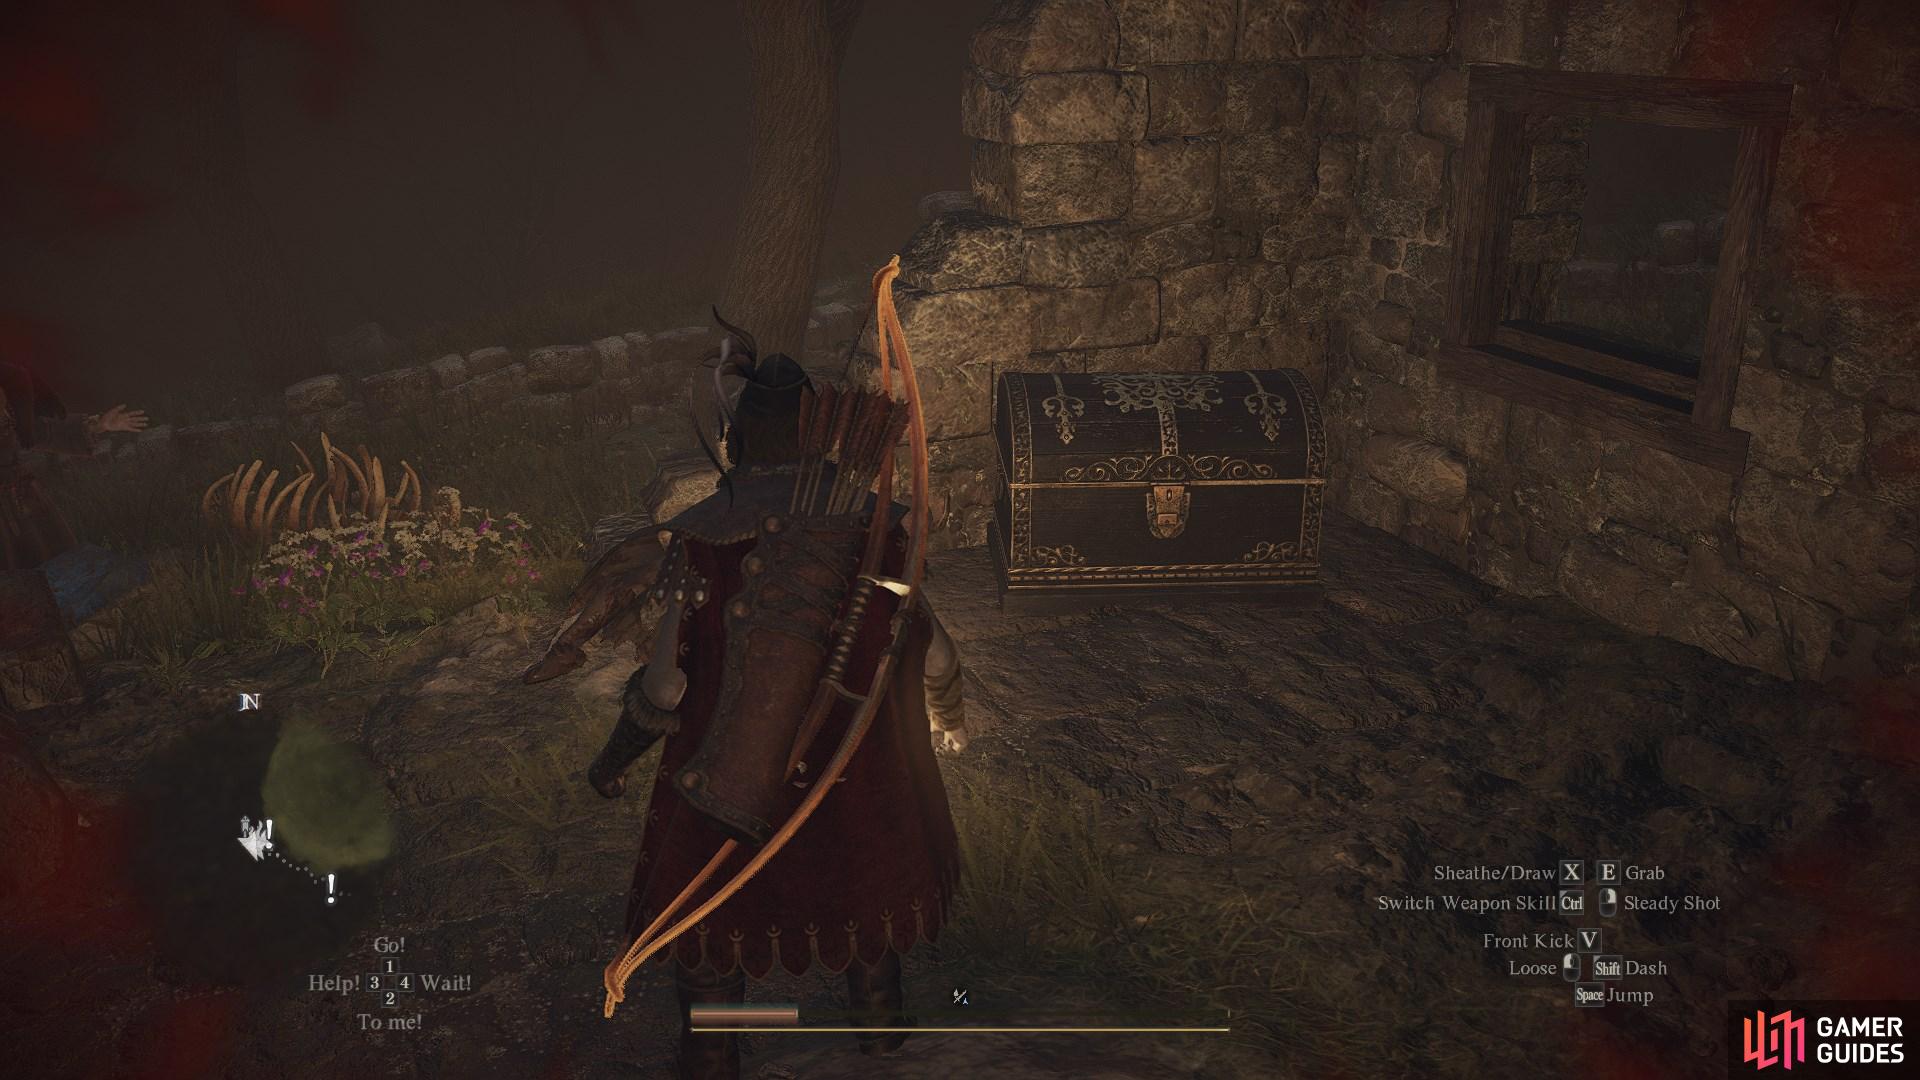
In the corner of a ruined stone house, near the wooden shack. Has a ![]() Hide Cape inside.
Hide Cape inside.
2. World Map
Head into the ![]() Mountain Ruins, approach the nearby
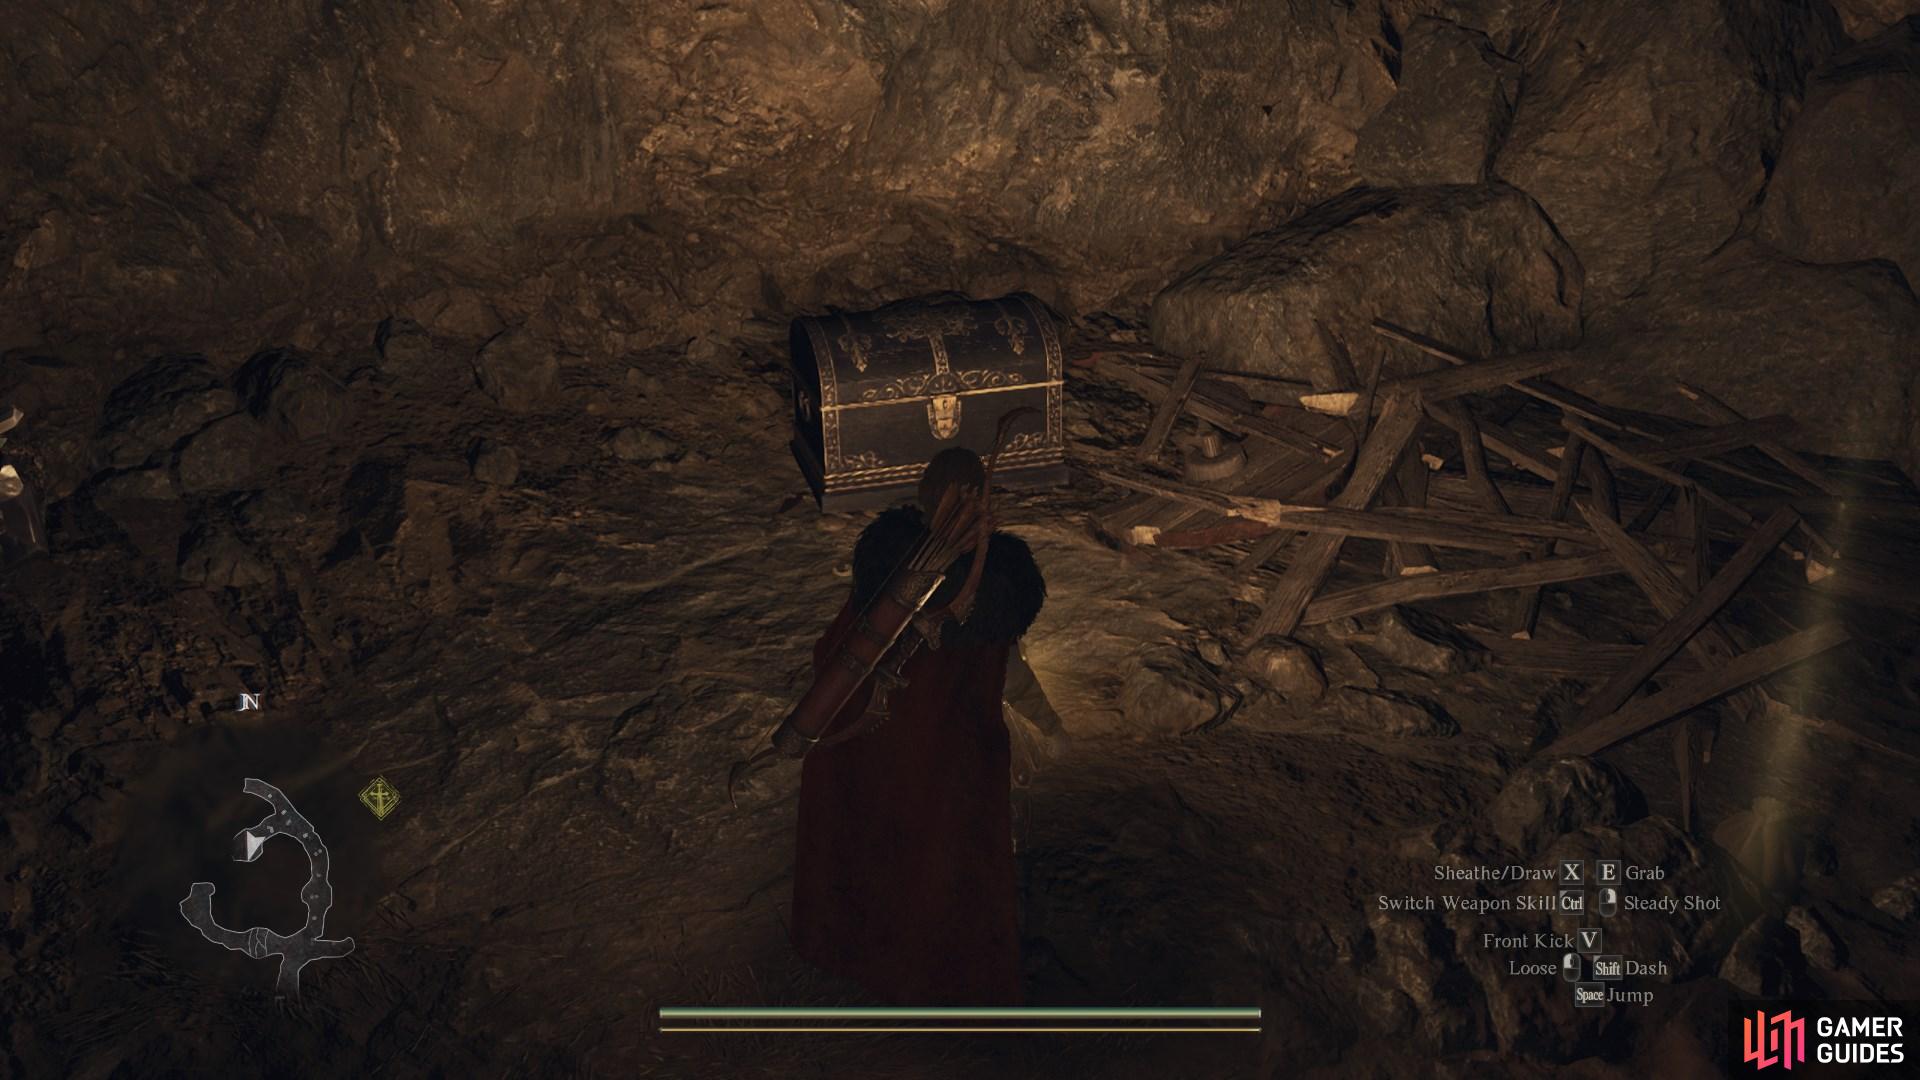
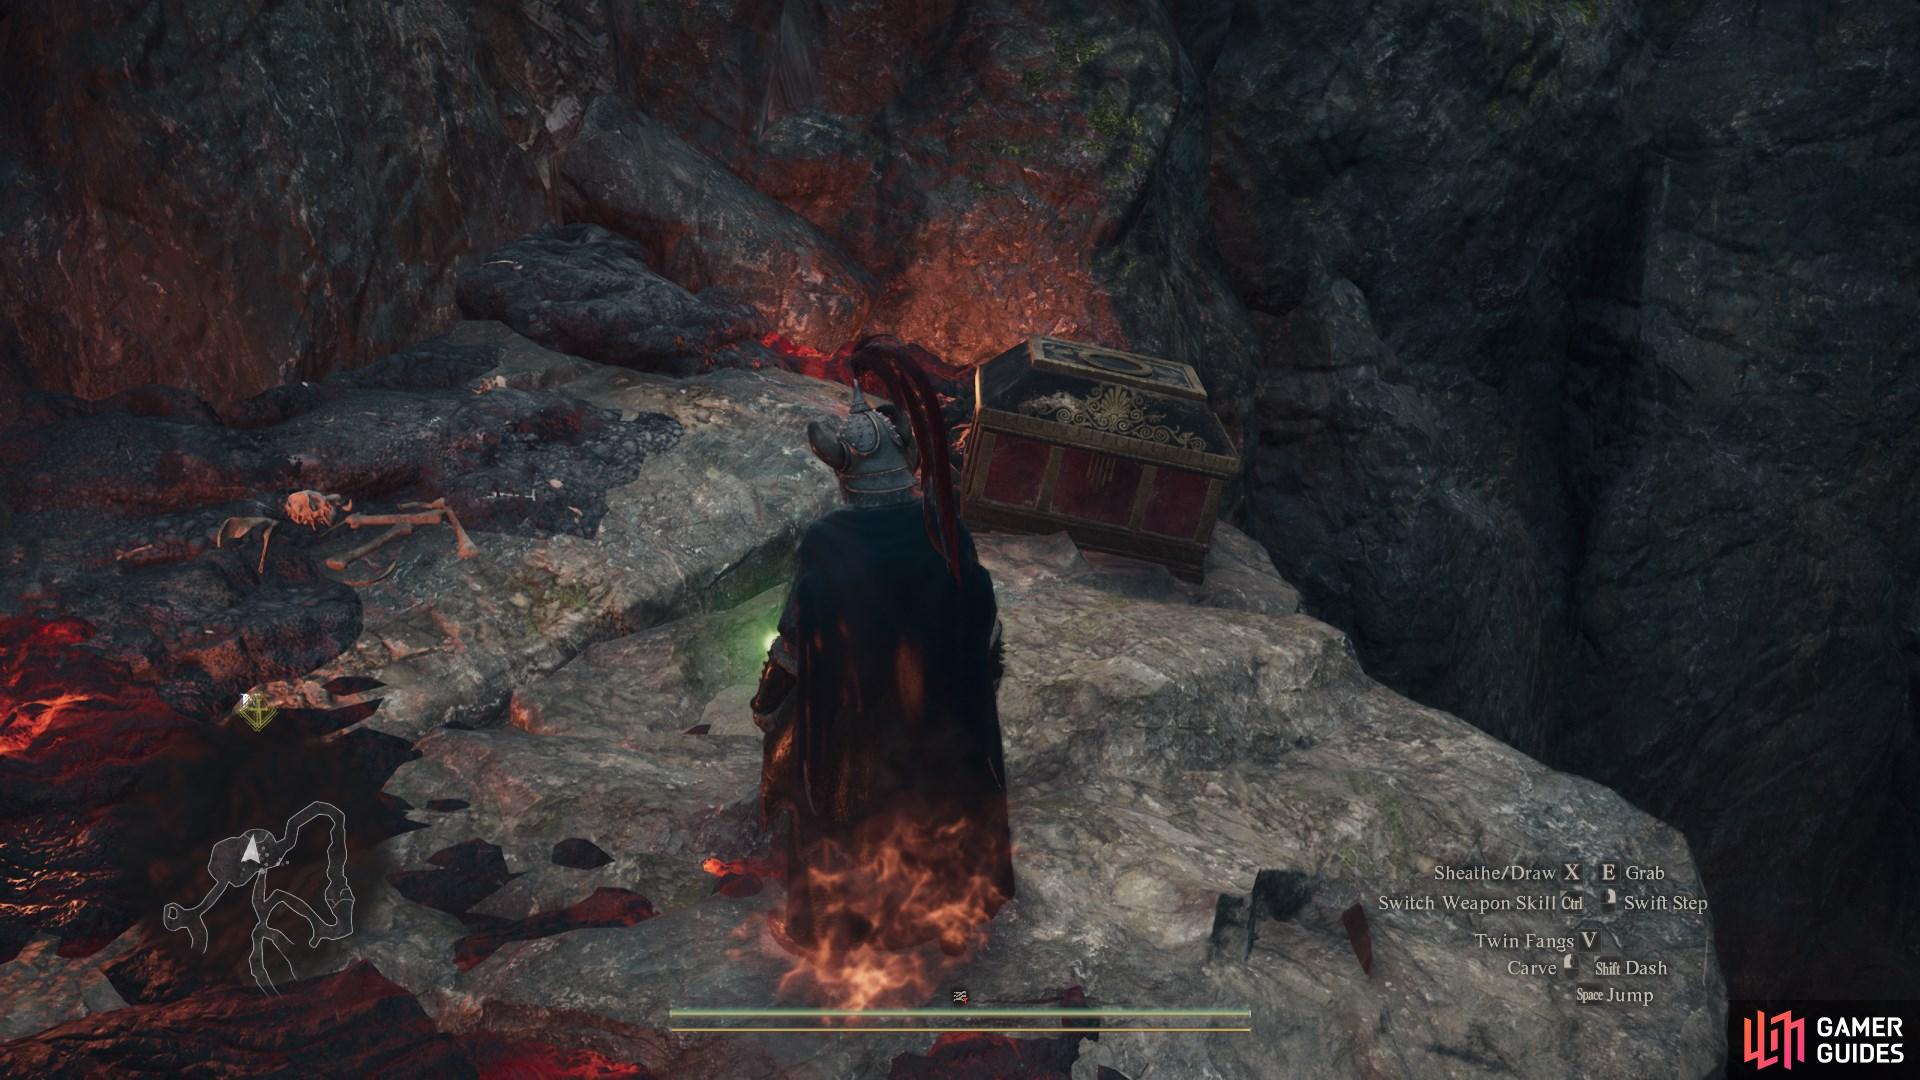
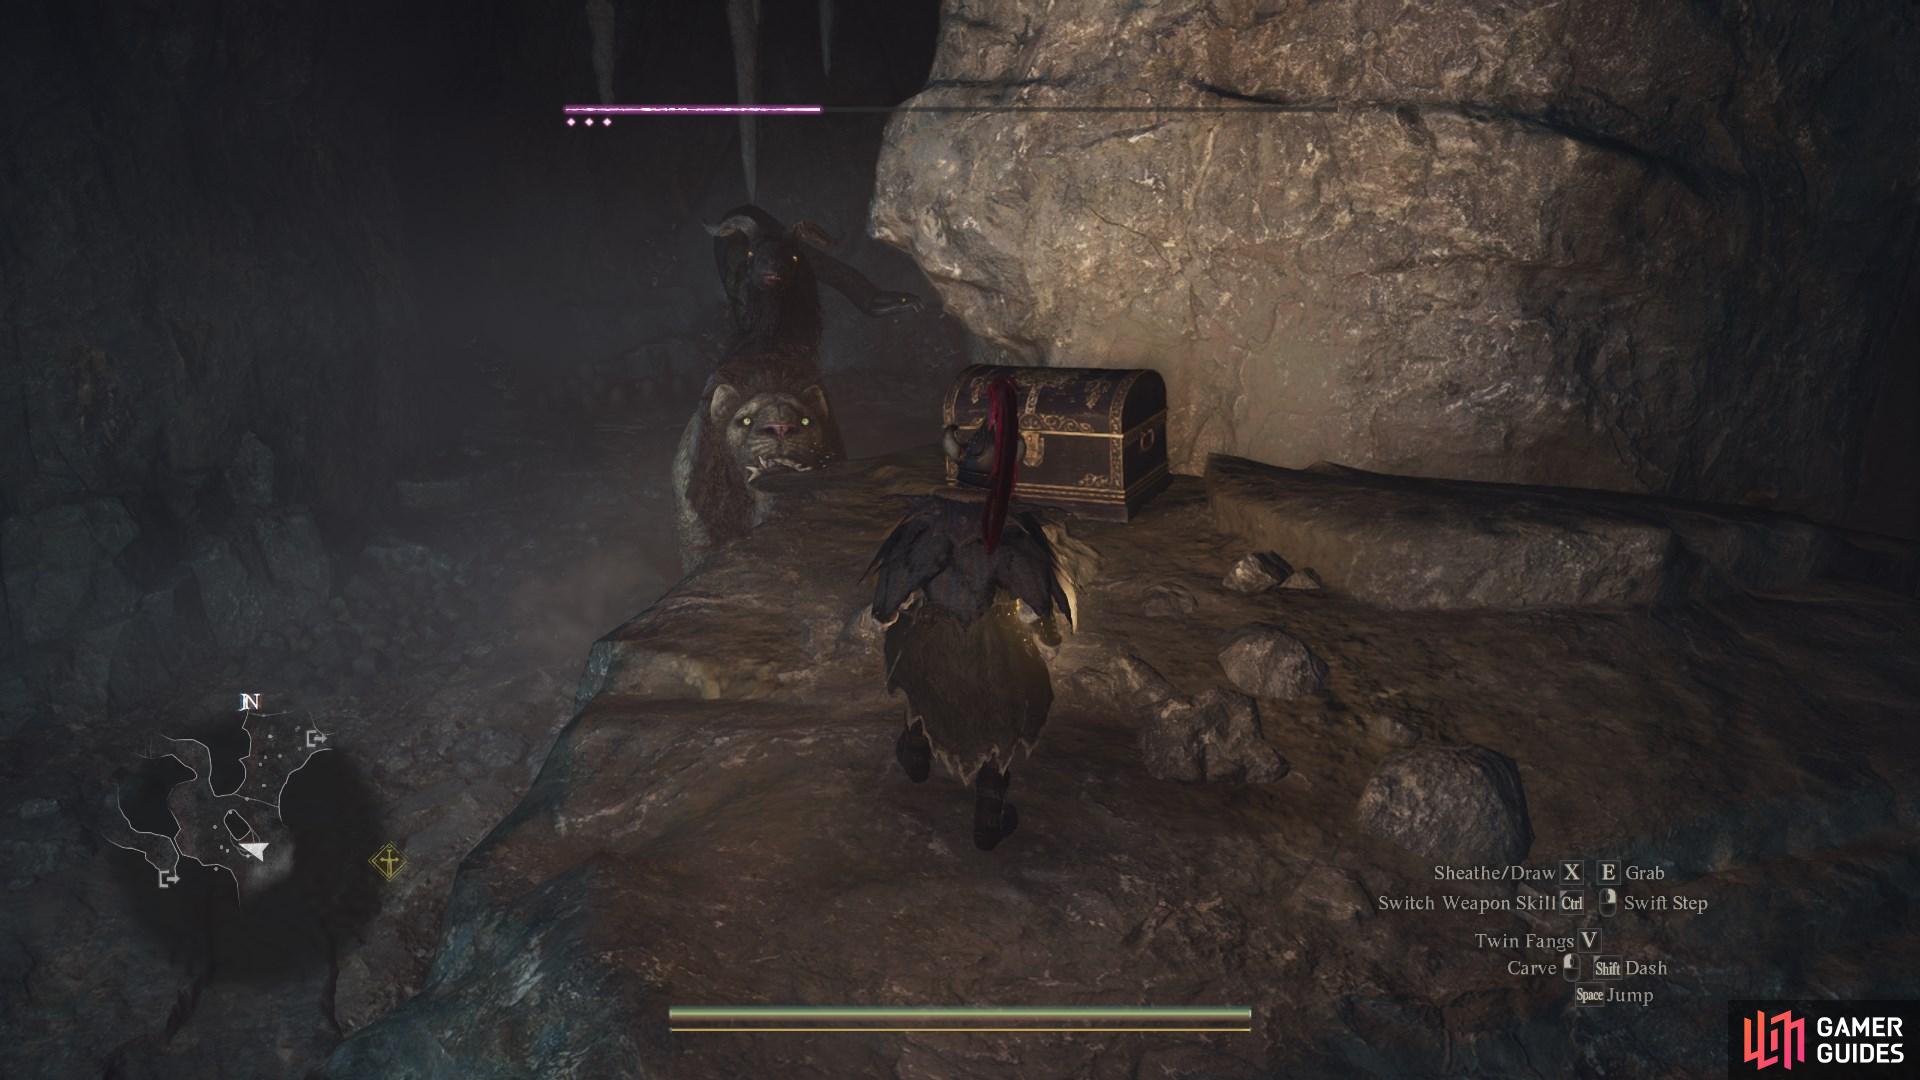
Mountain Ruins, approach the nearby ![]() Forgotten Tunnel entrance, and turn around. There will be a platform on your right you can climb up. Climb up and jump across to the adjacent platform and you’ll find the chest on your right.
Forgotten Tunnel entrance, and turn around. There will be a platform on your right you can climb up. Climb up and jump across to the adjacent platform and you’ll find the chest on your right.
Contains: ![]() Savagery Extract
Savagery Extract
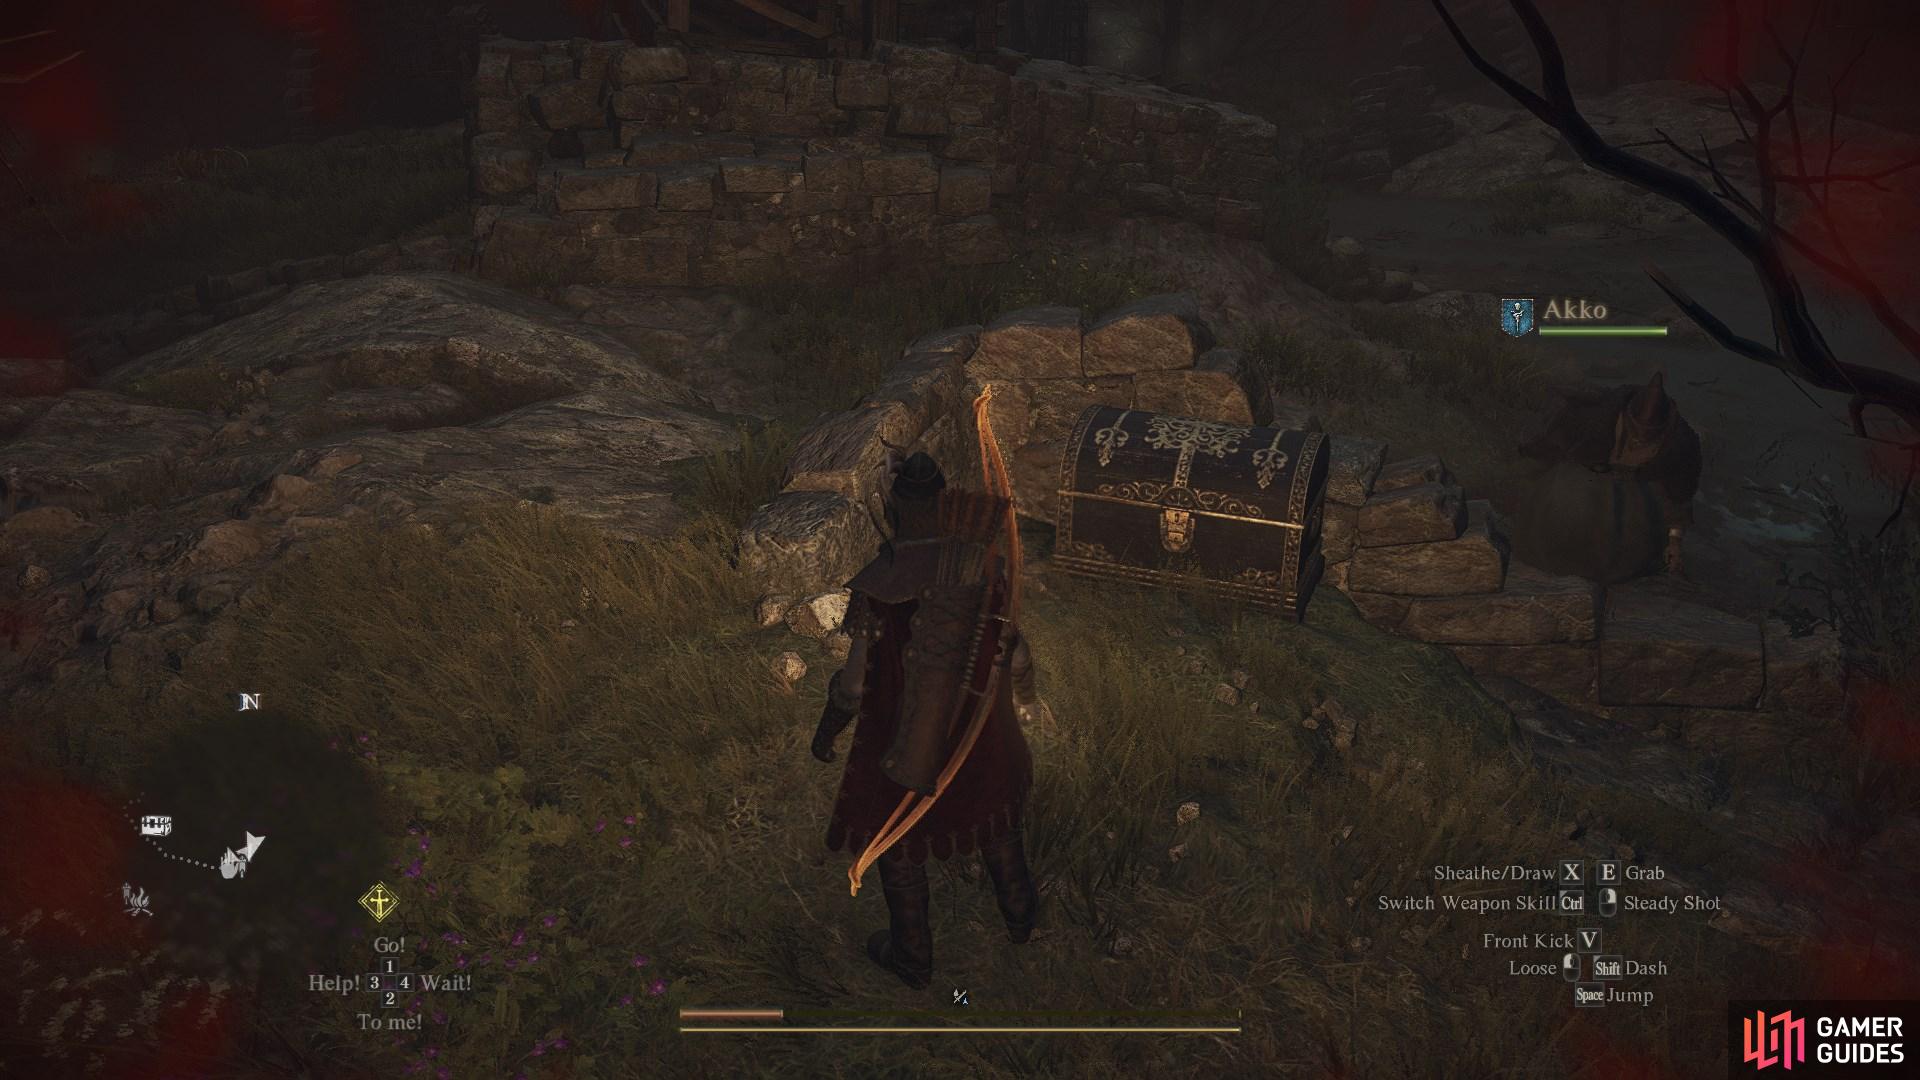
3. World Map
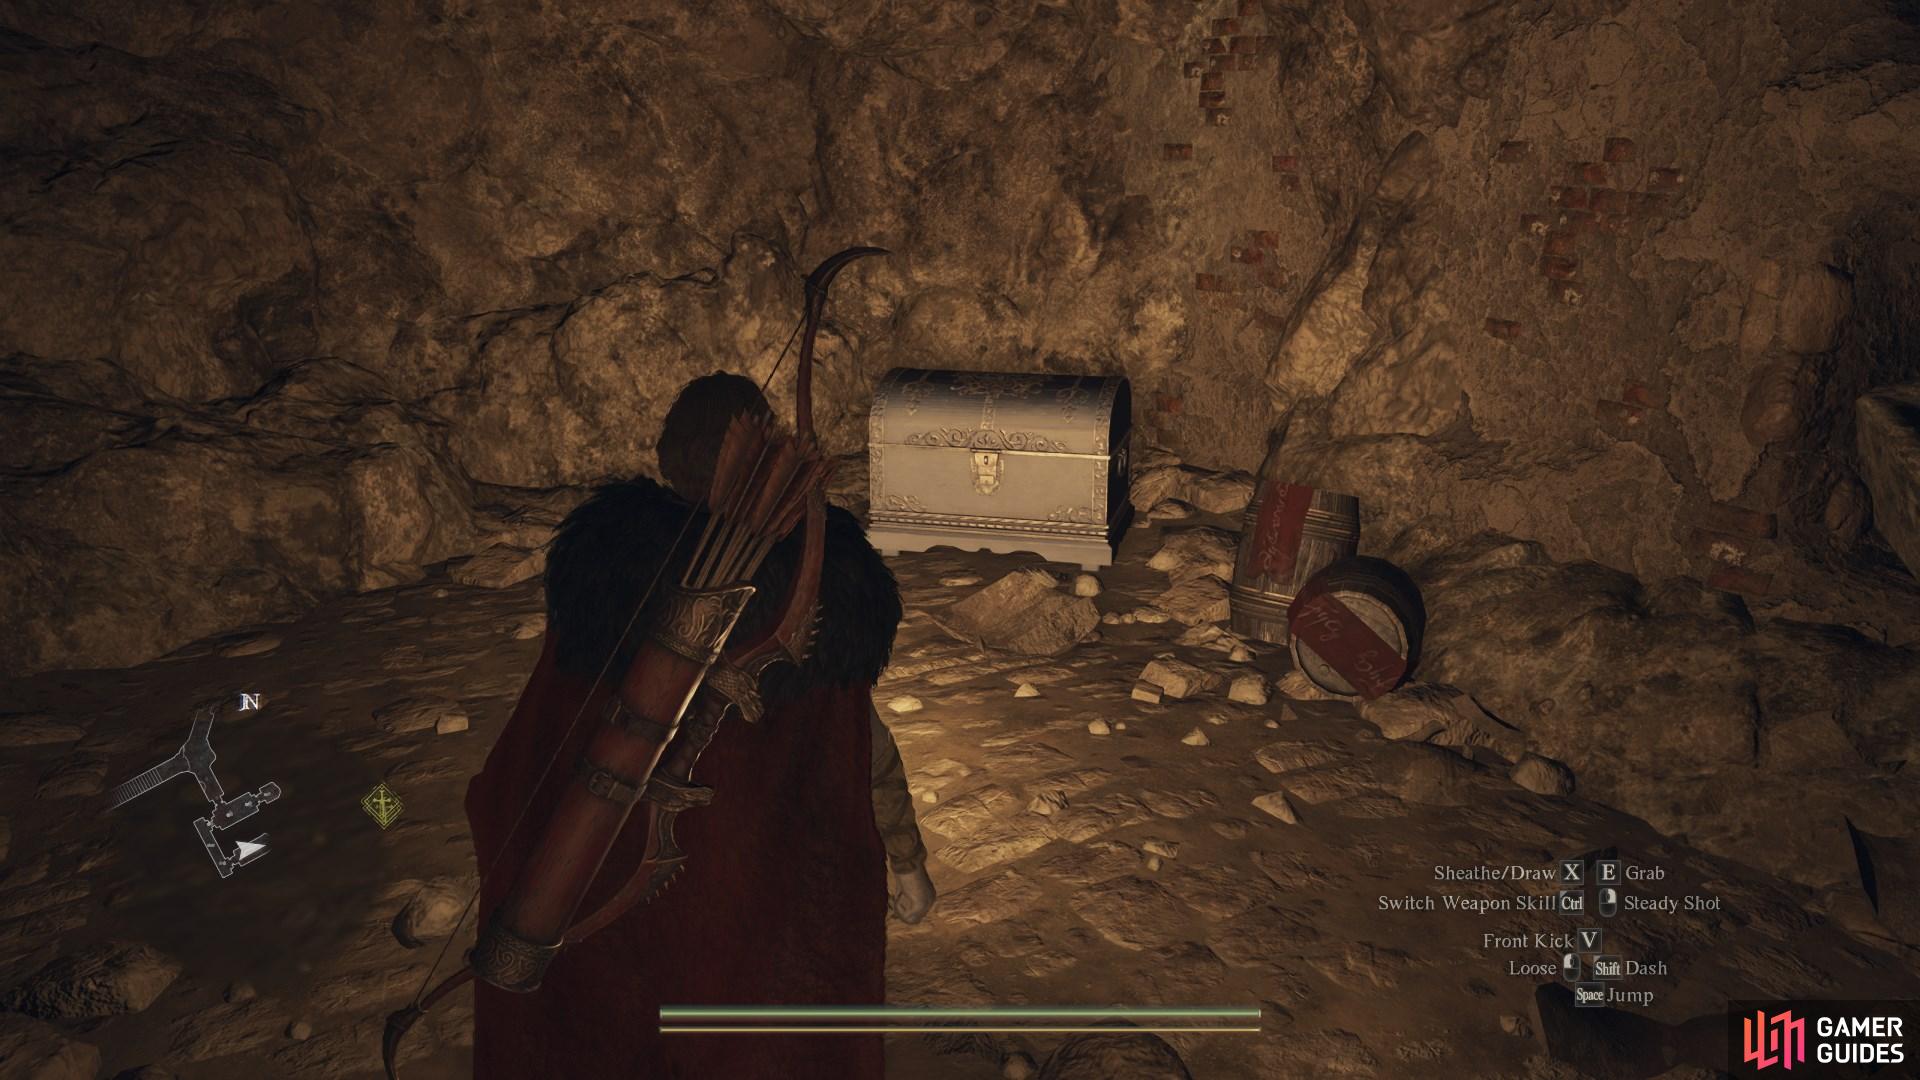
Head into the ![]() Mountain Ruins, approach the entrance to the
Mountain Ruins, approach the entrance to the ![]() Forgotten Tunnel, and turn around. There will be a platform on your left you can climb up. Do so, and jump across to the opposite platform. Now use the rubble to reach the platform above where you’ll find the chest.
Forgotten Tunnel, and turn around. There will be a platform on your left you can climb up. Do so, and jump across to the opposite platform. Now use the rubble to reach the platform above where you’ll find the chest.
Contains: 300 RC.
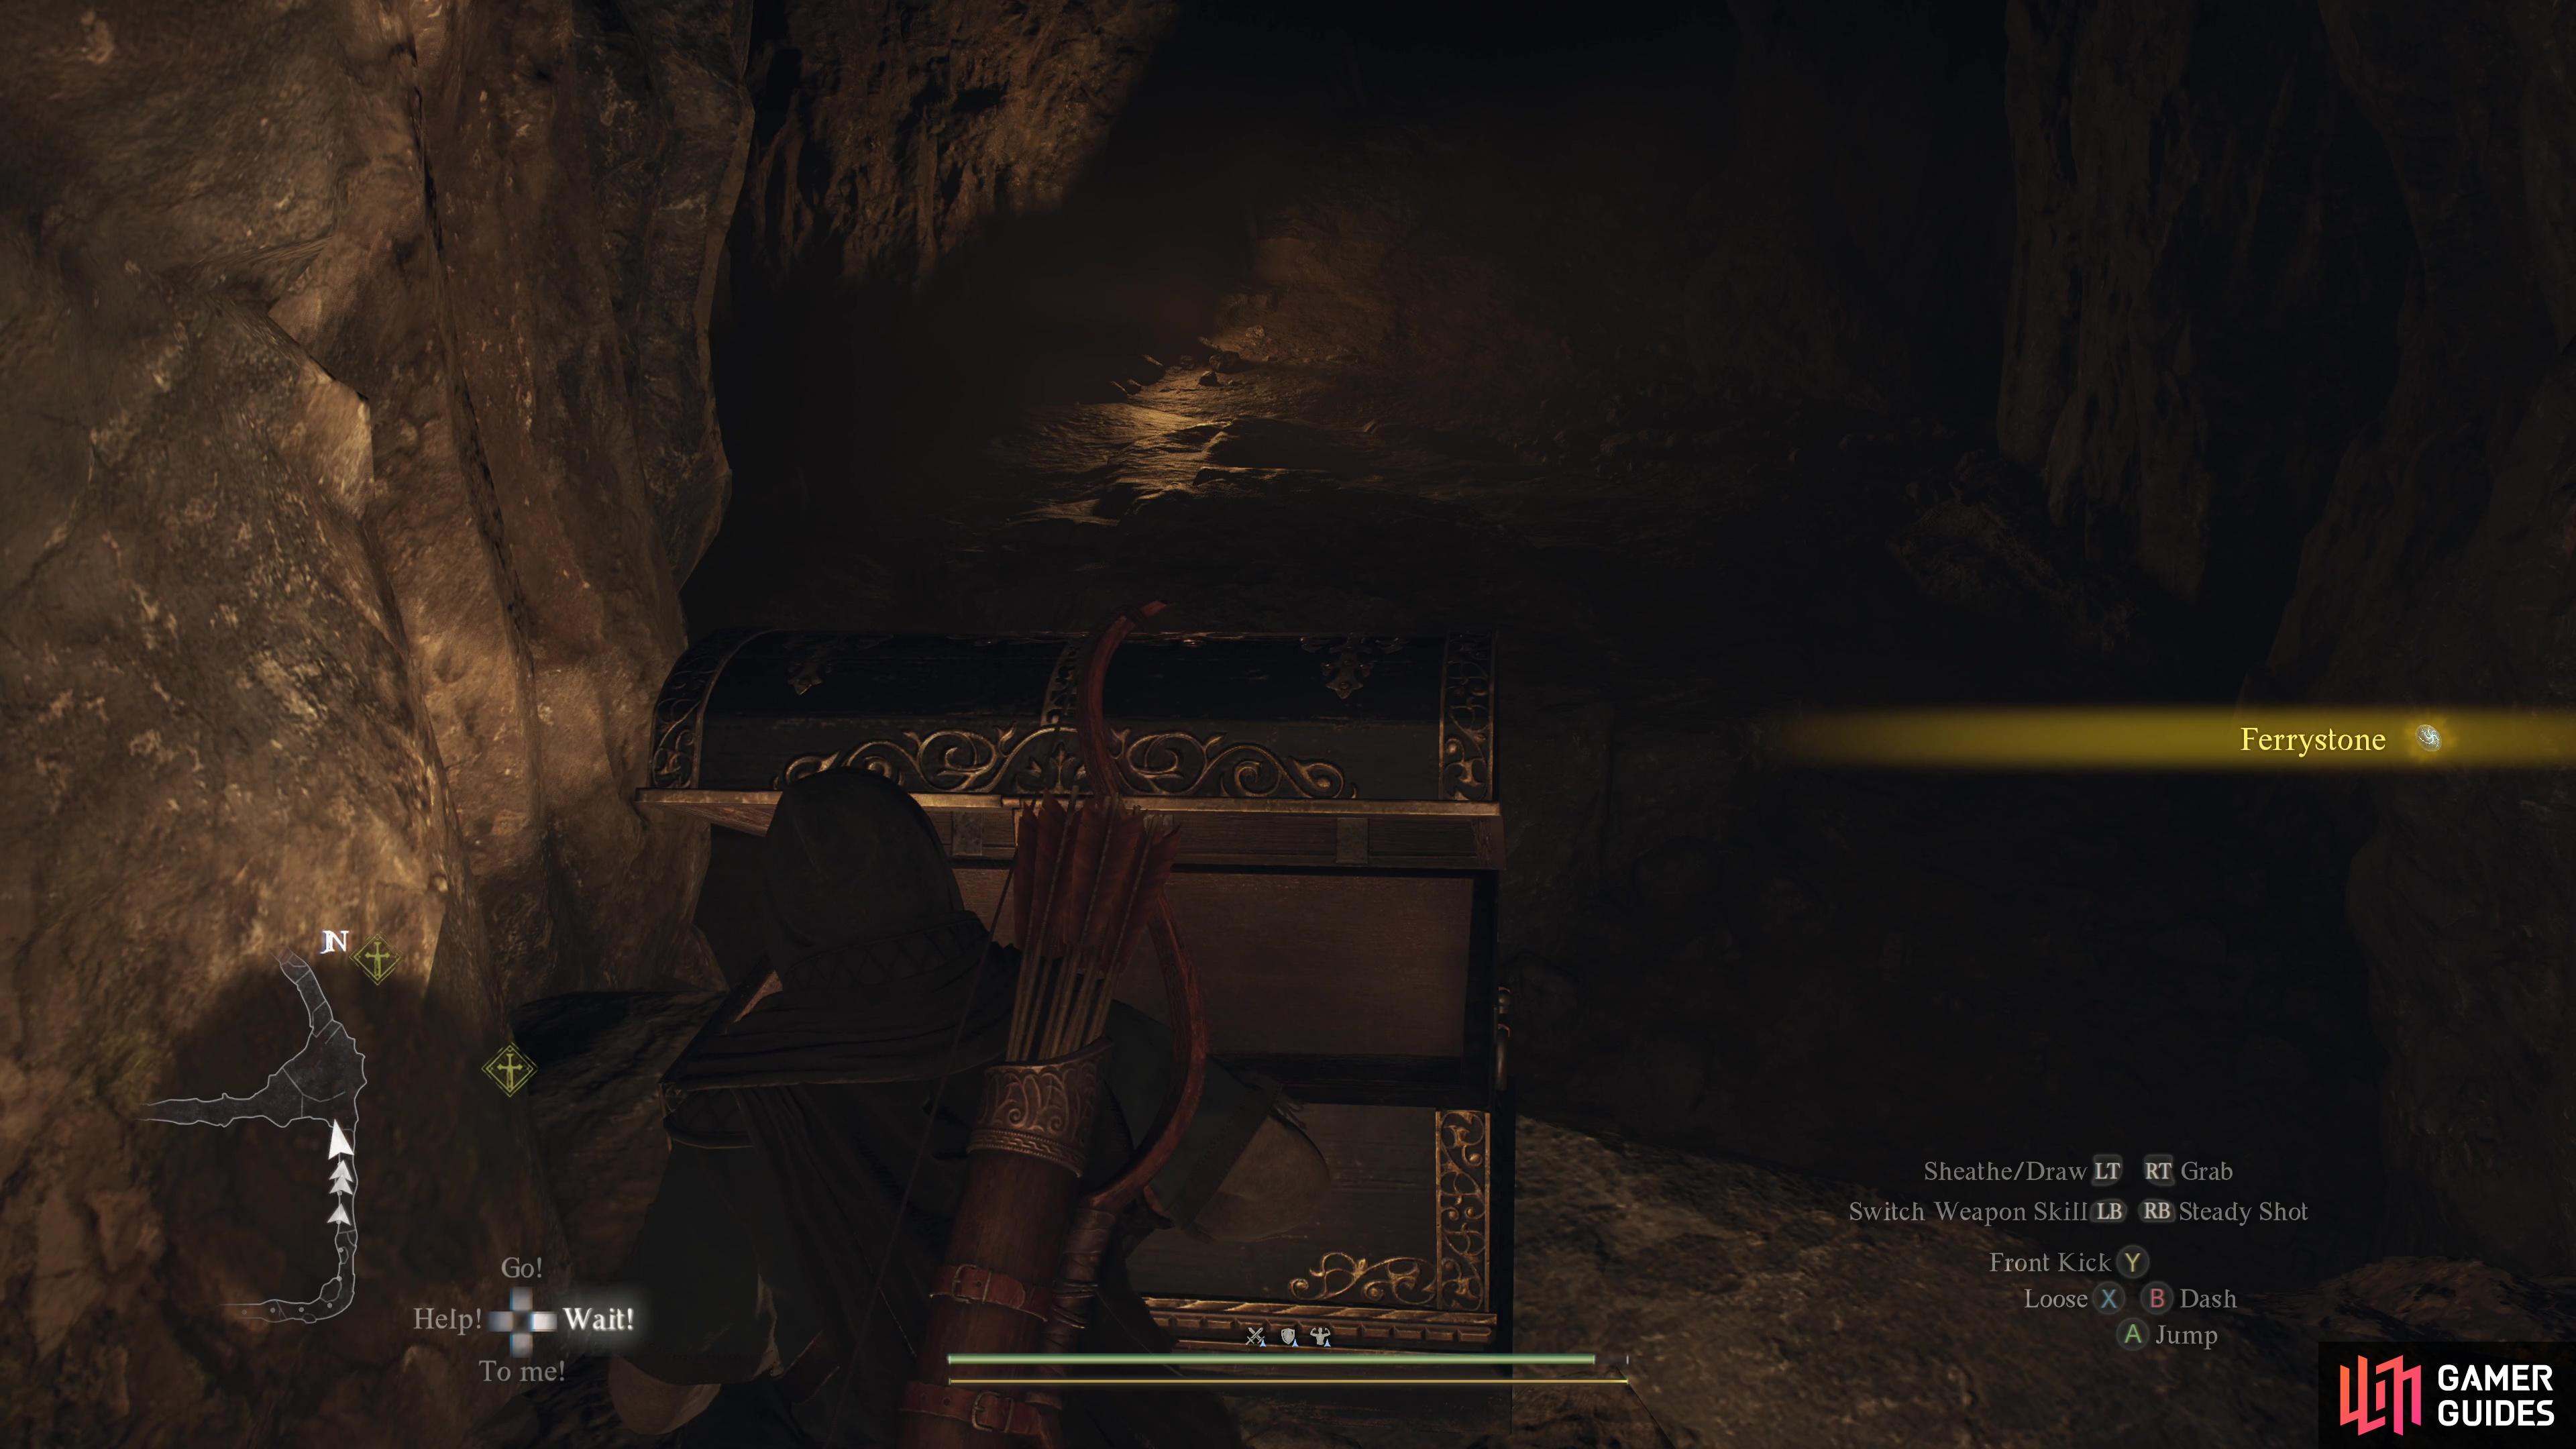
4. World Map
This can be accessed by climbing the hill west of the ![]() Mountain Ruins and jump across the broken ruin platforms while heading north to reach it. The chest is left of the
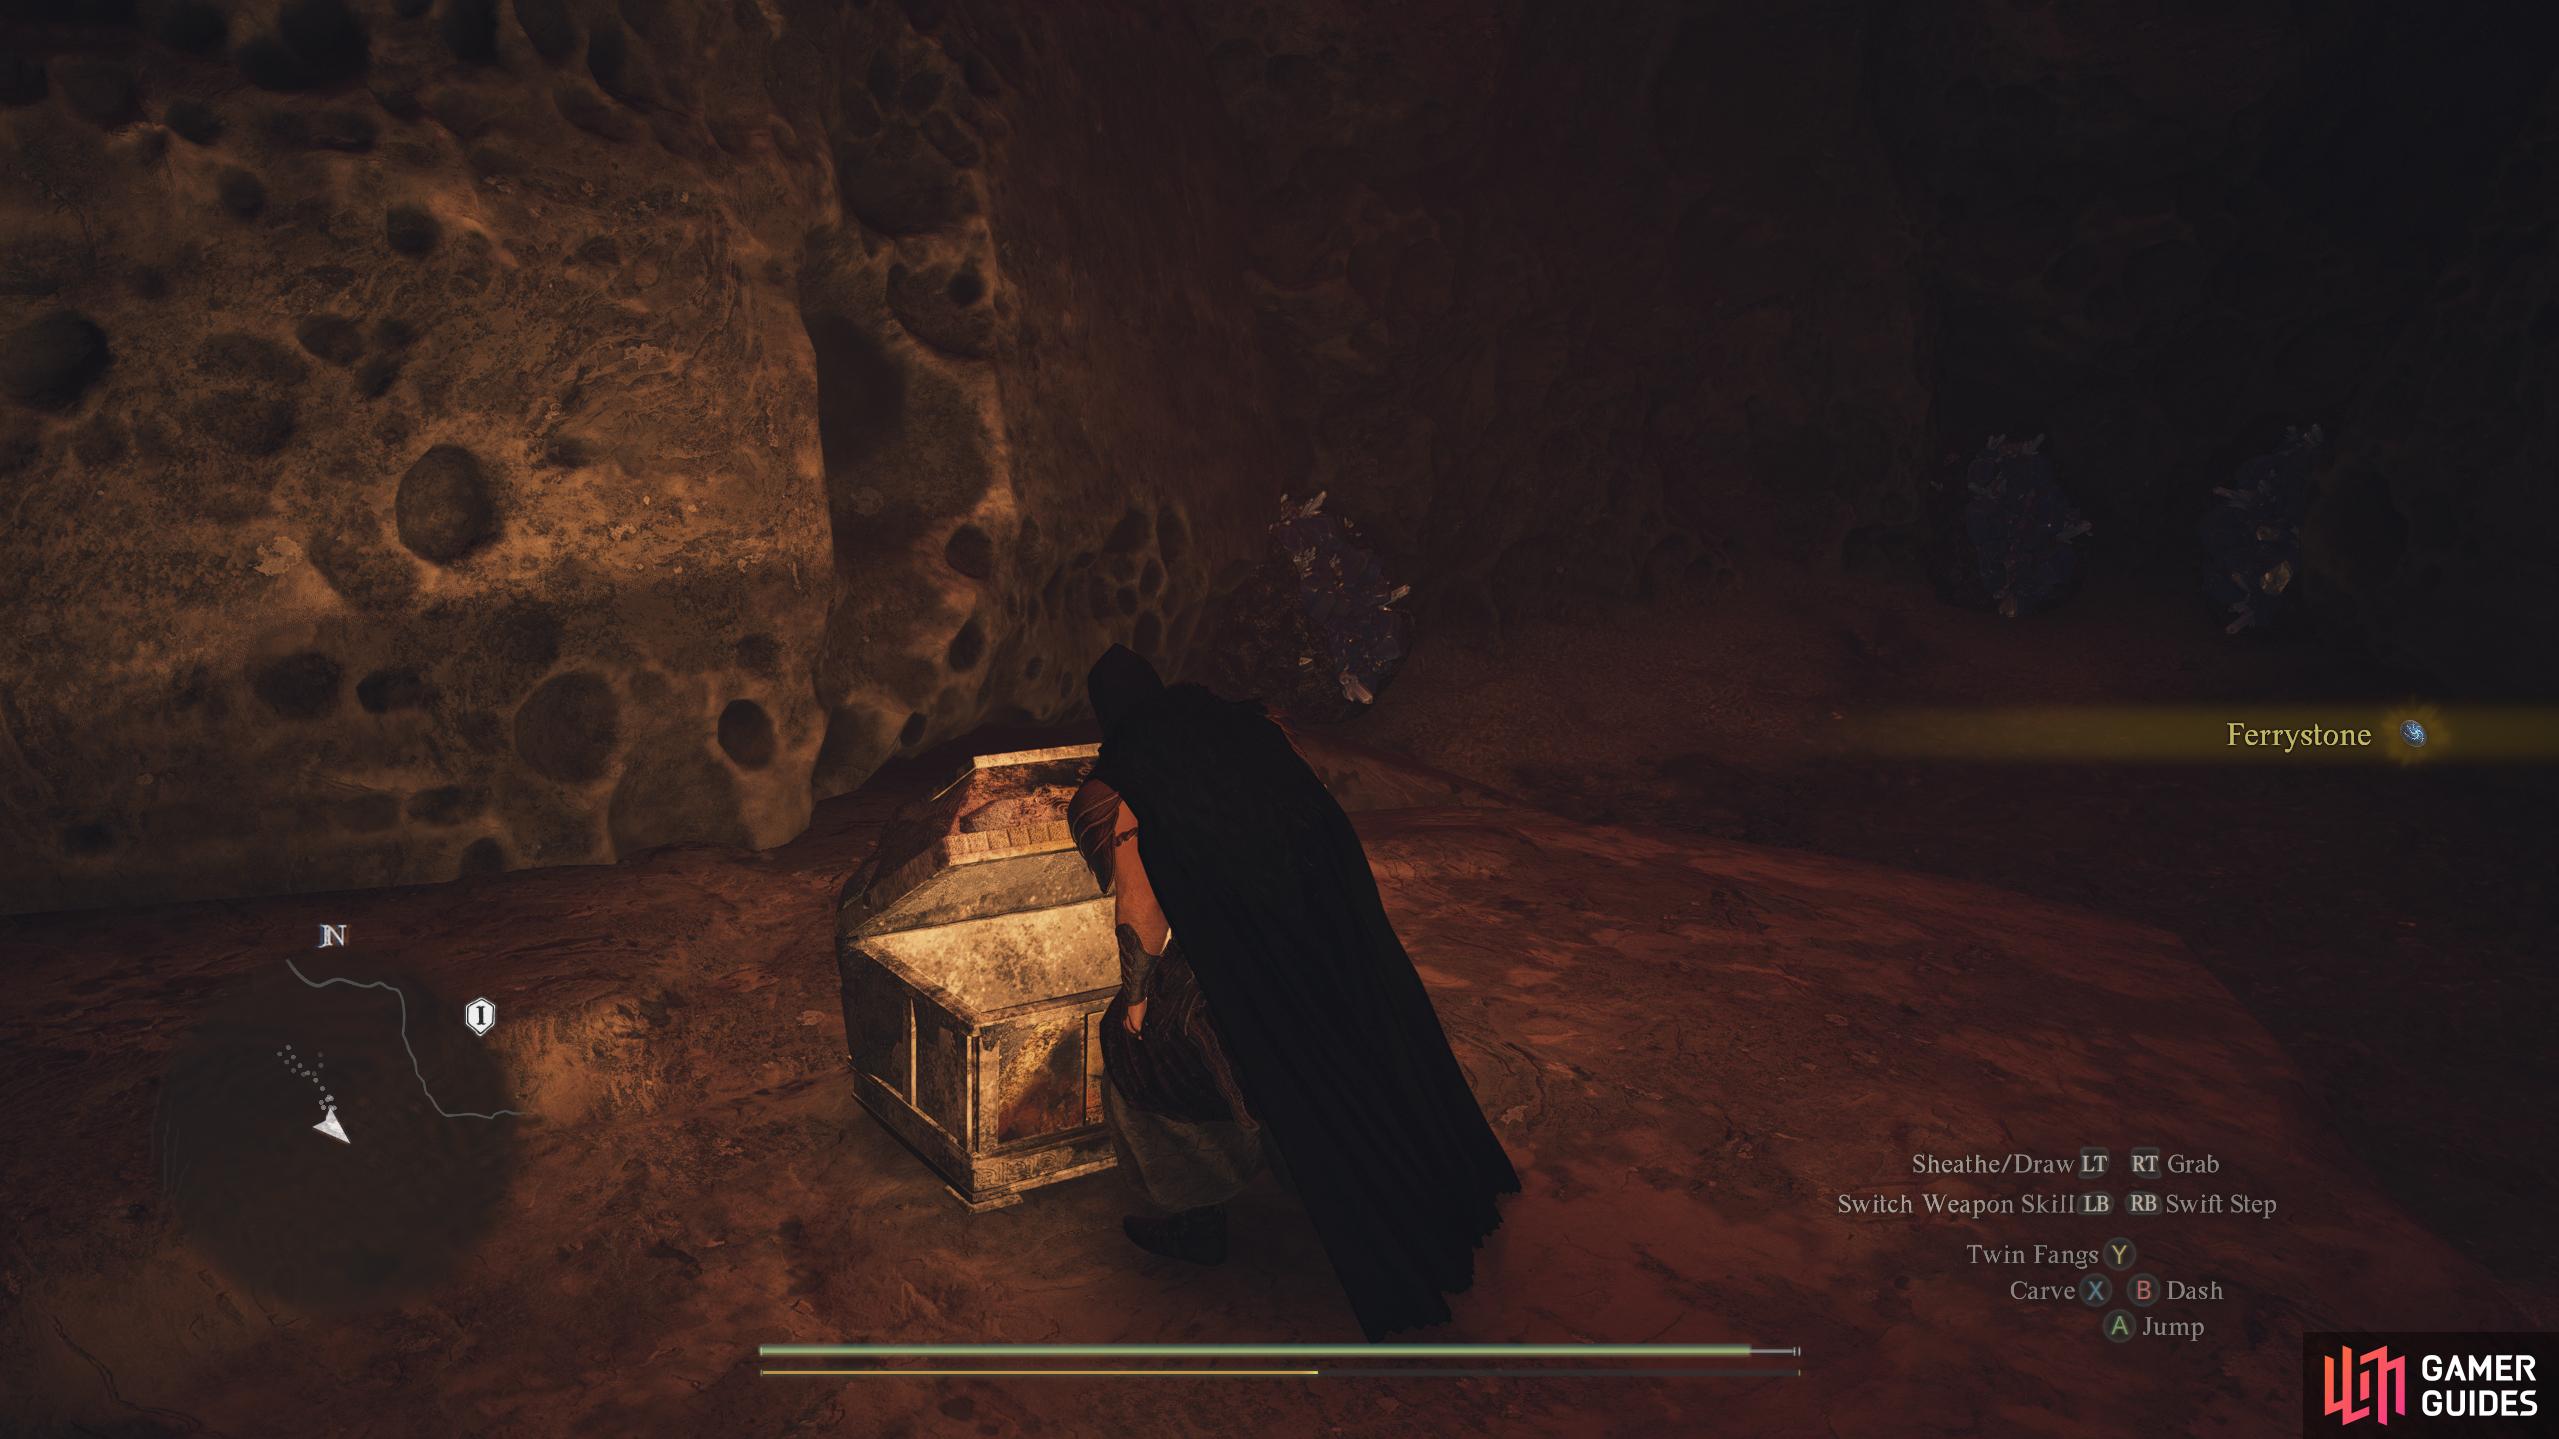
Mountain Ruins and jump across the broken ruin platforms while heading north to reach it. The chest is left of the ![]() Forgotten Tunnel entrance and contains a
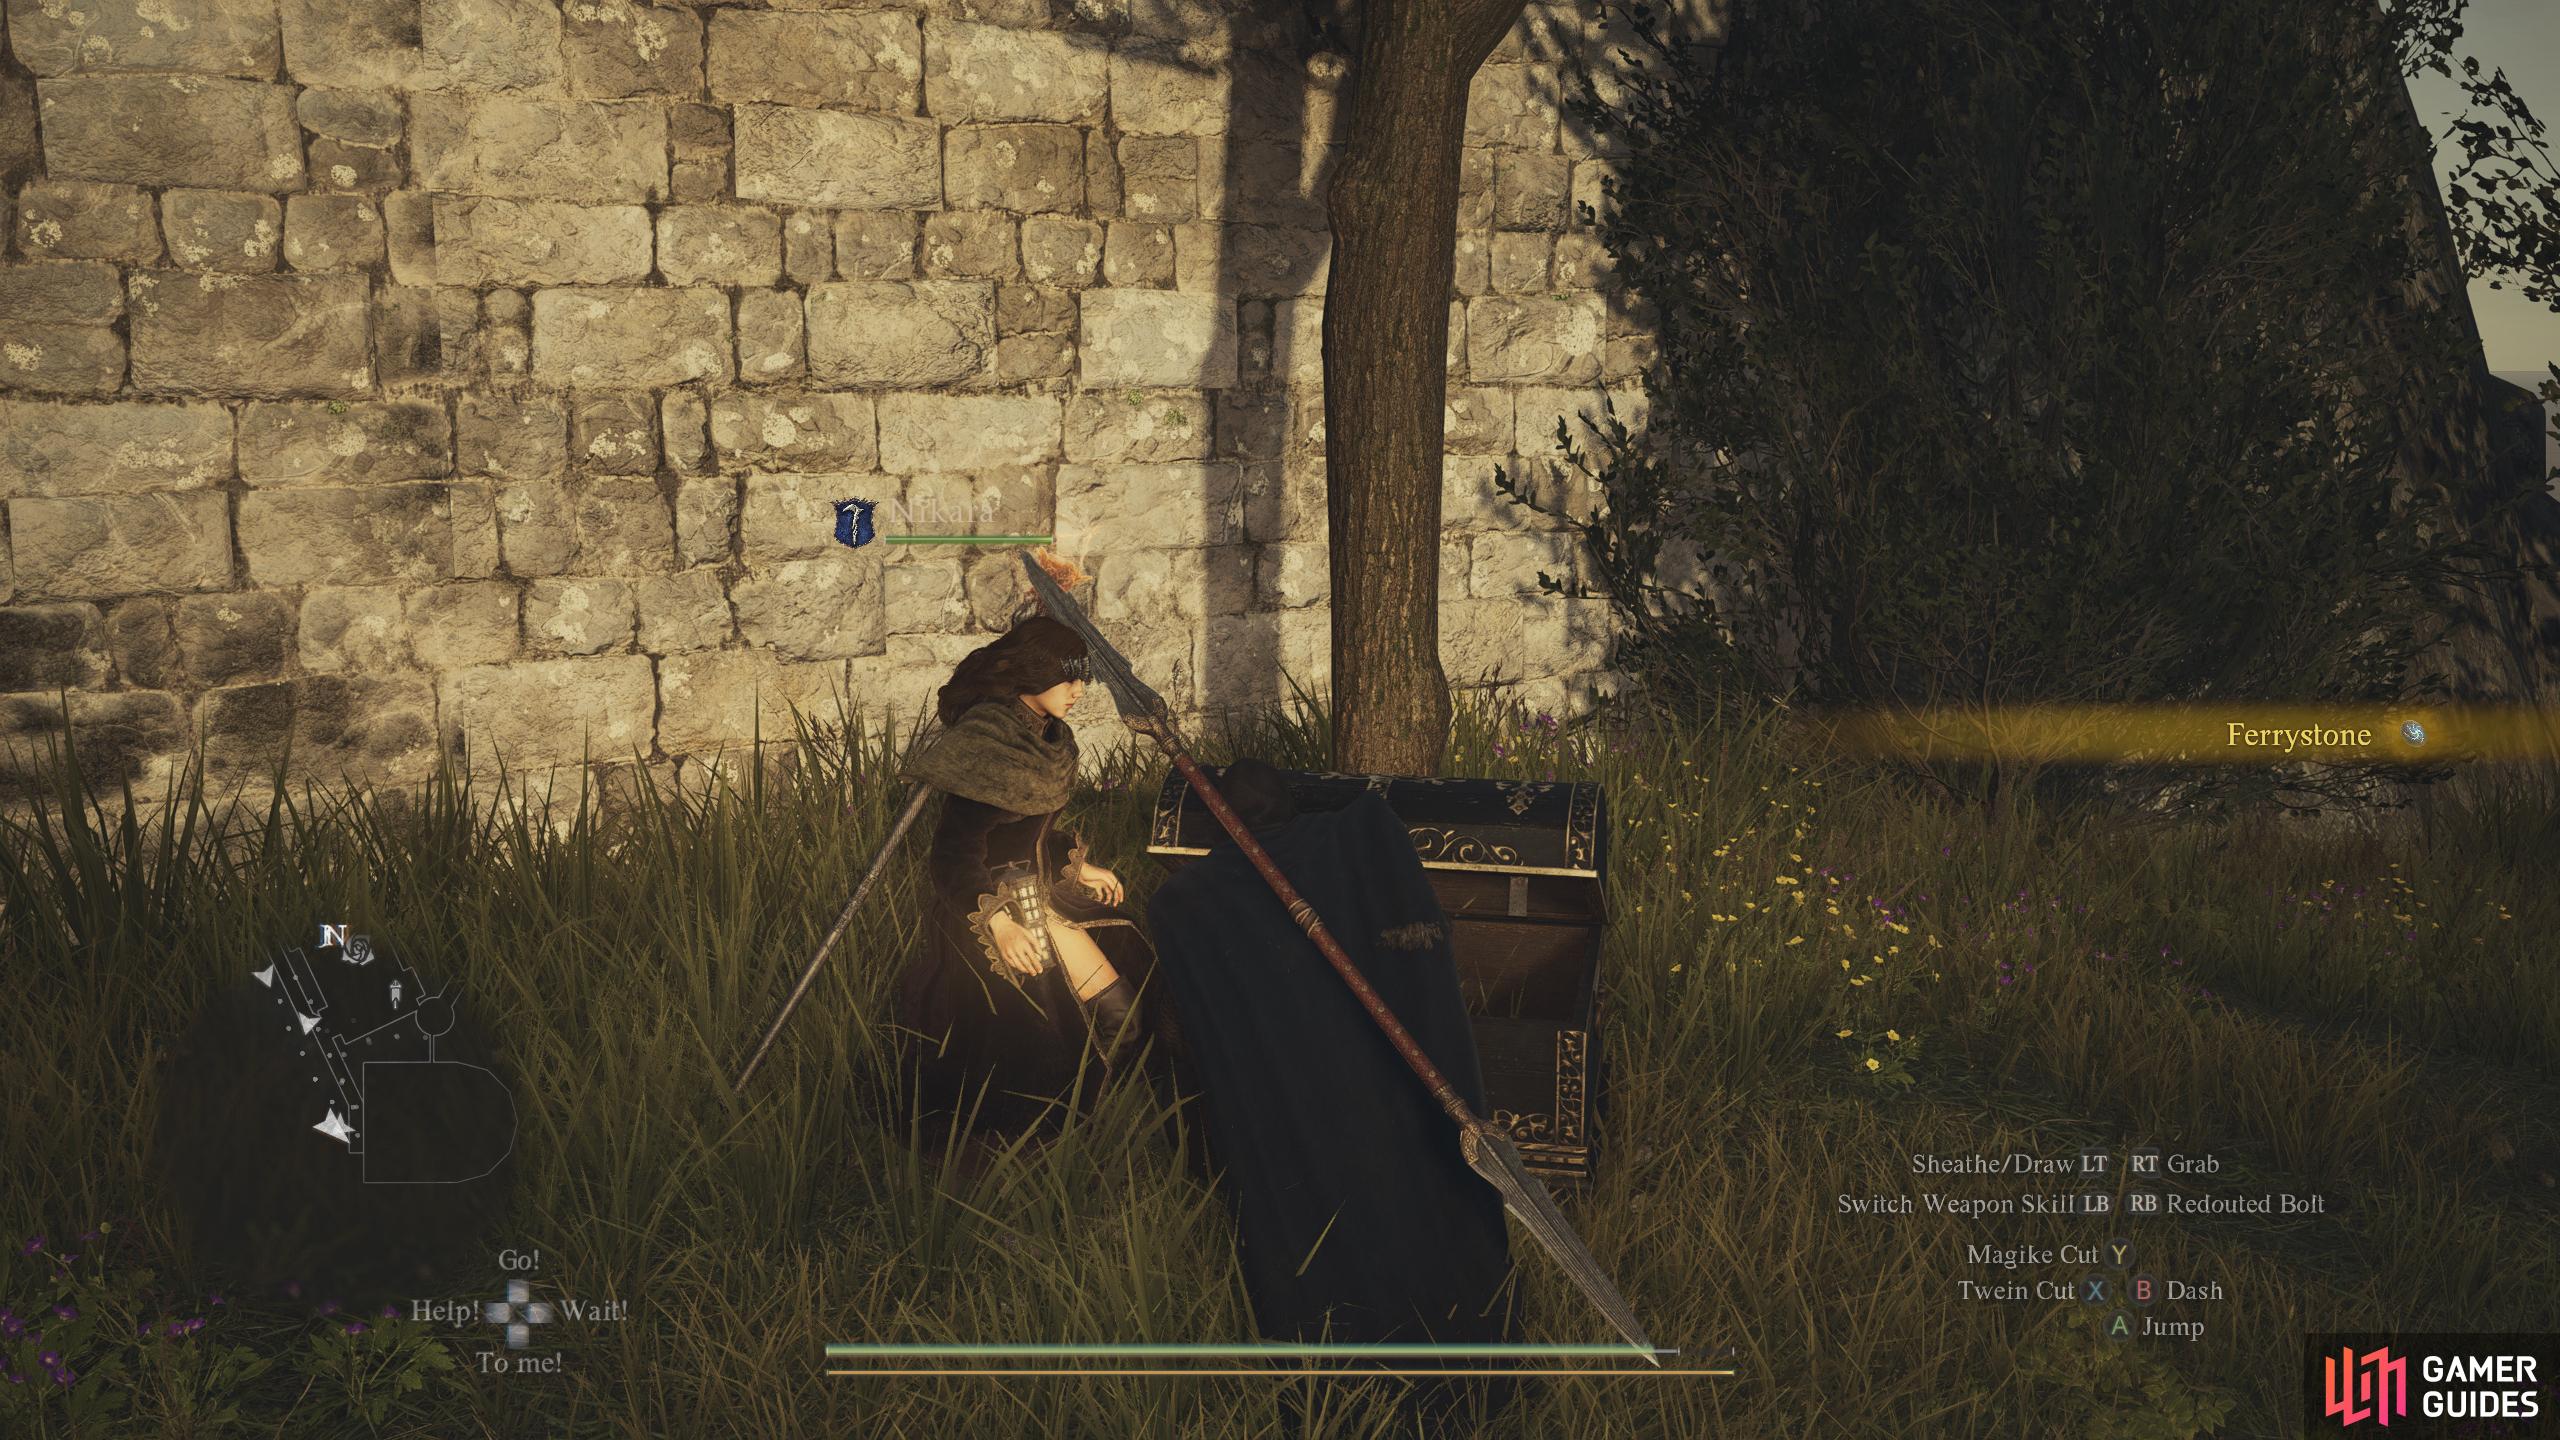
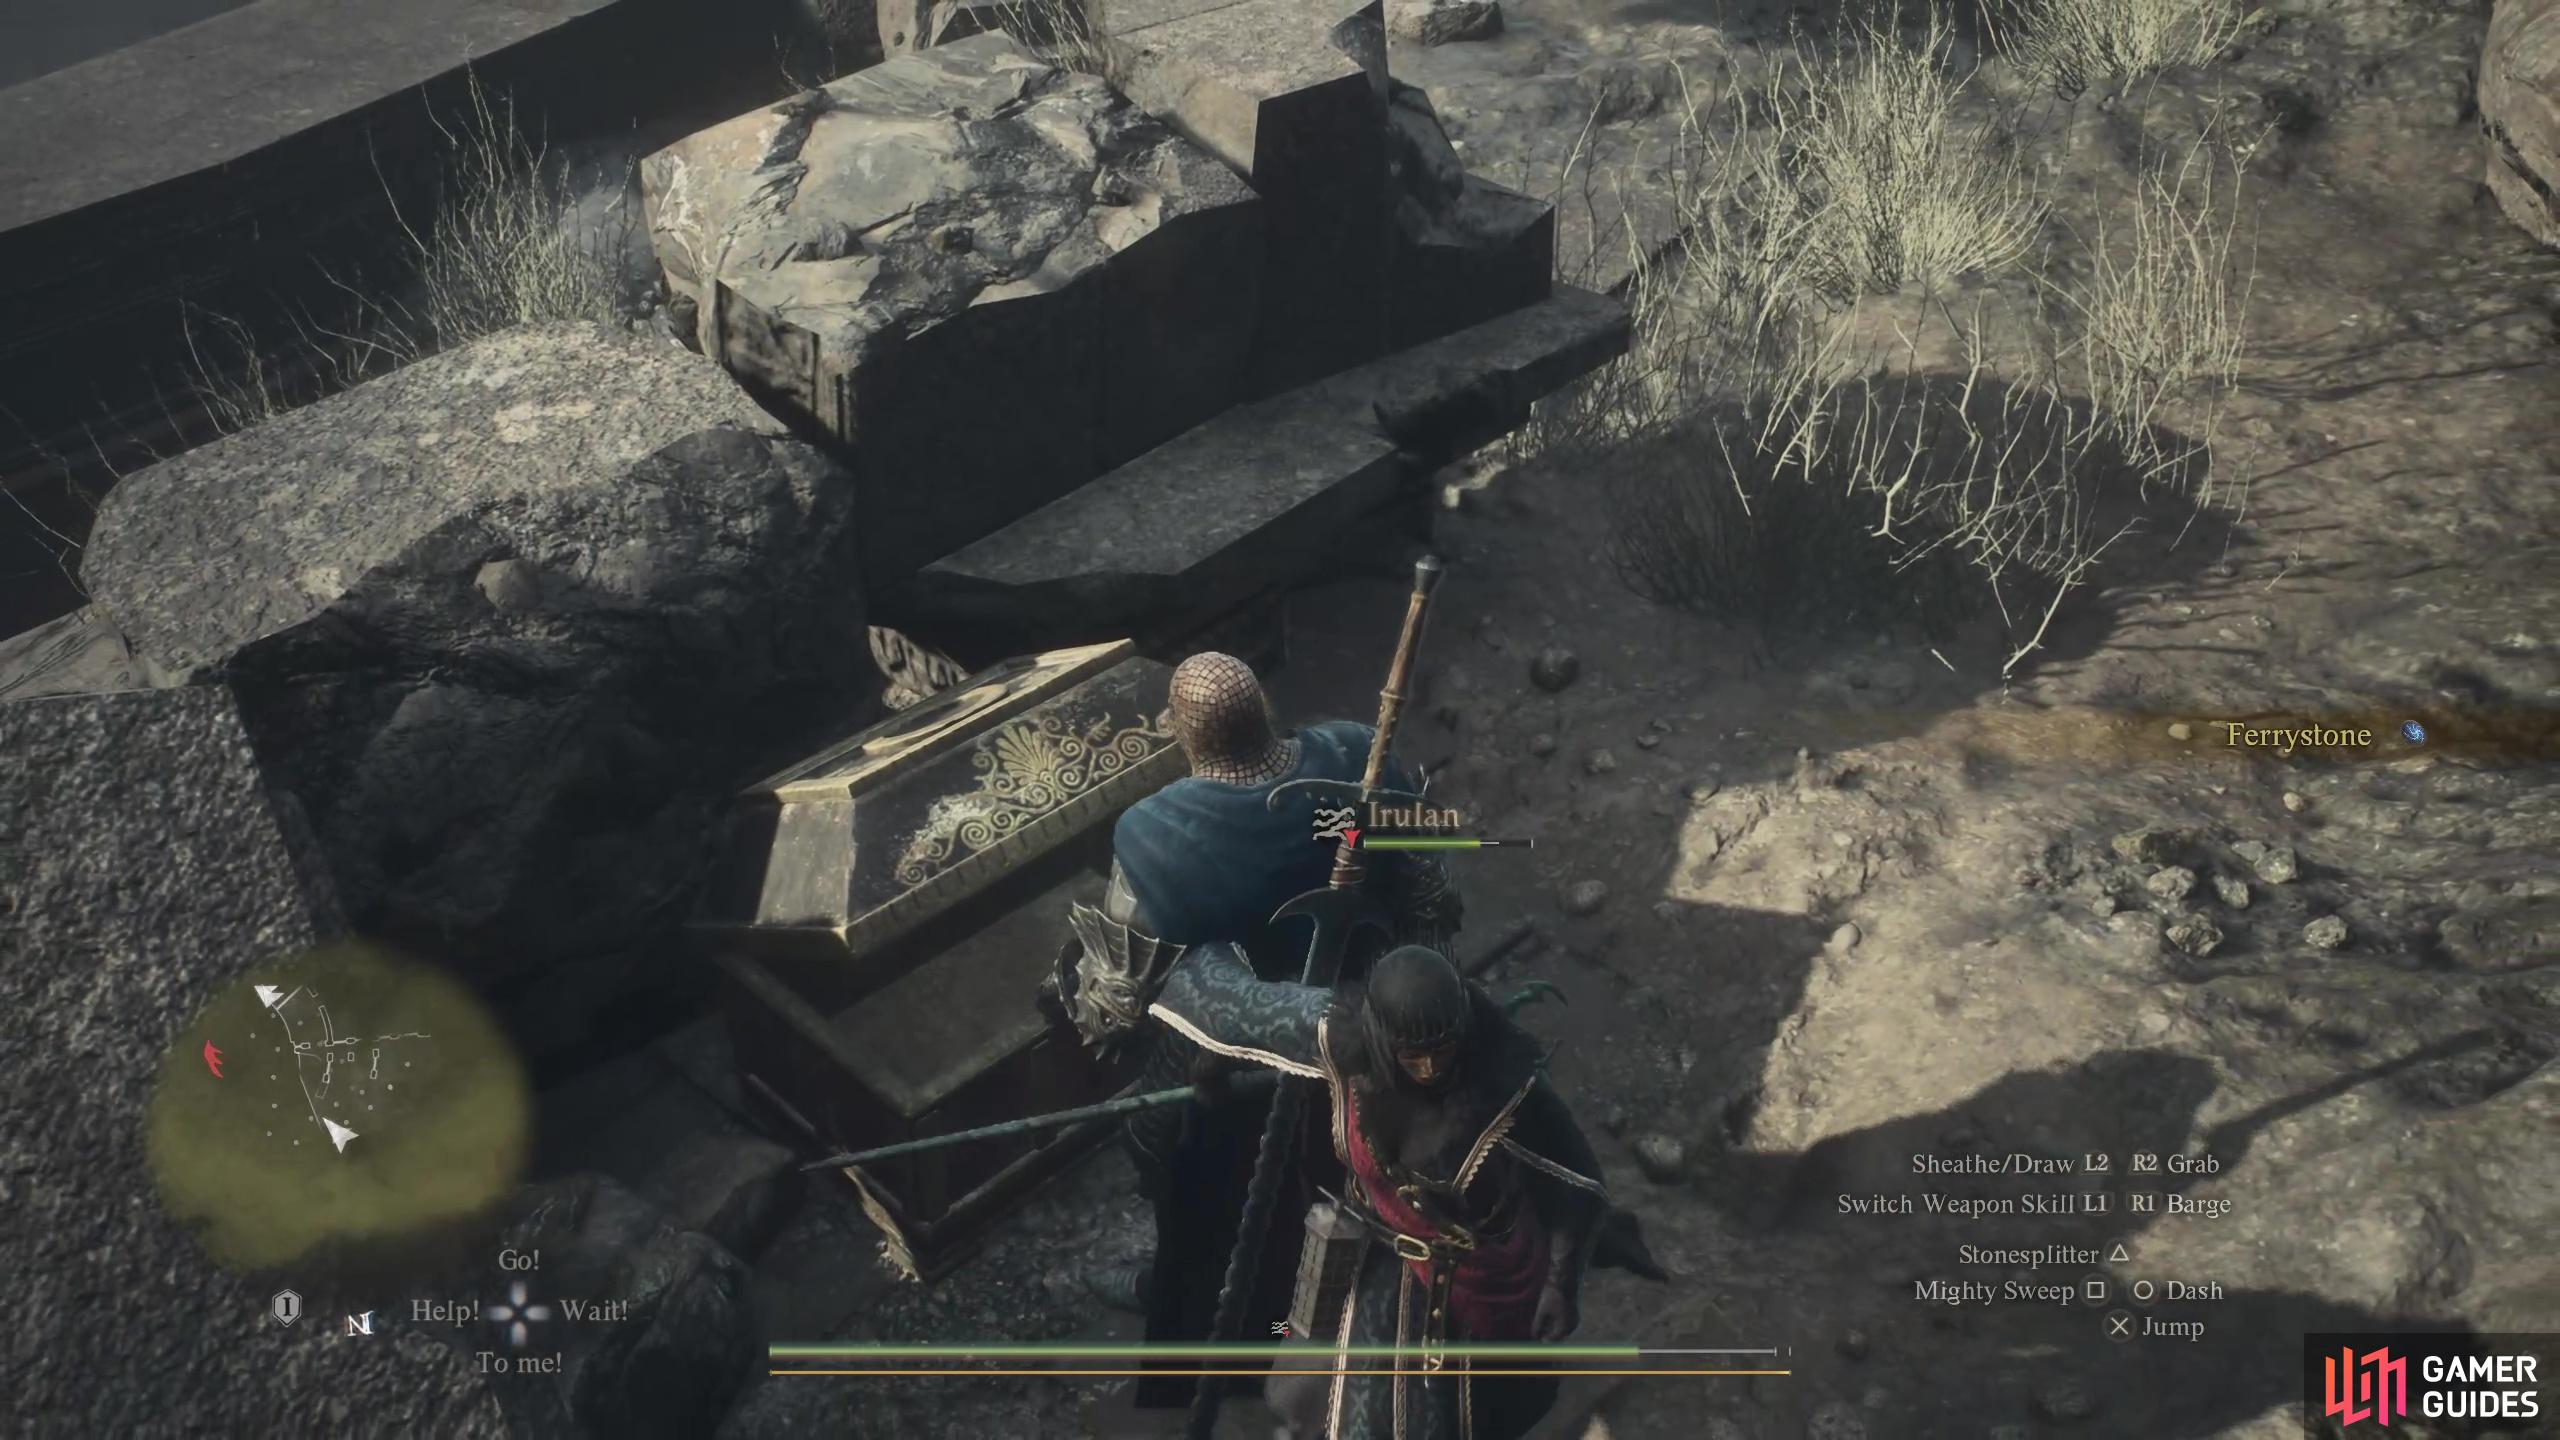
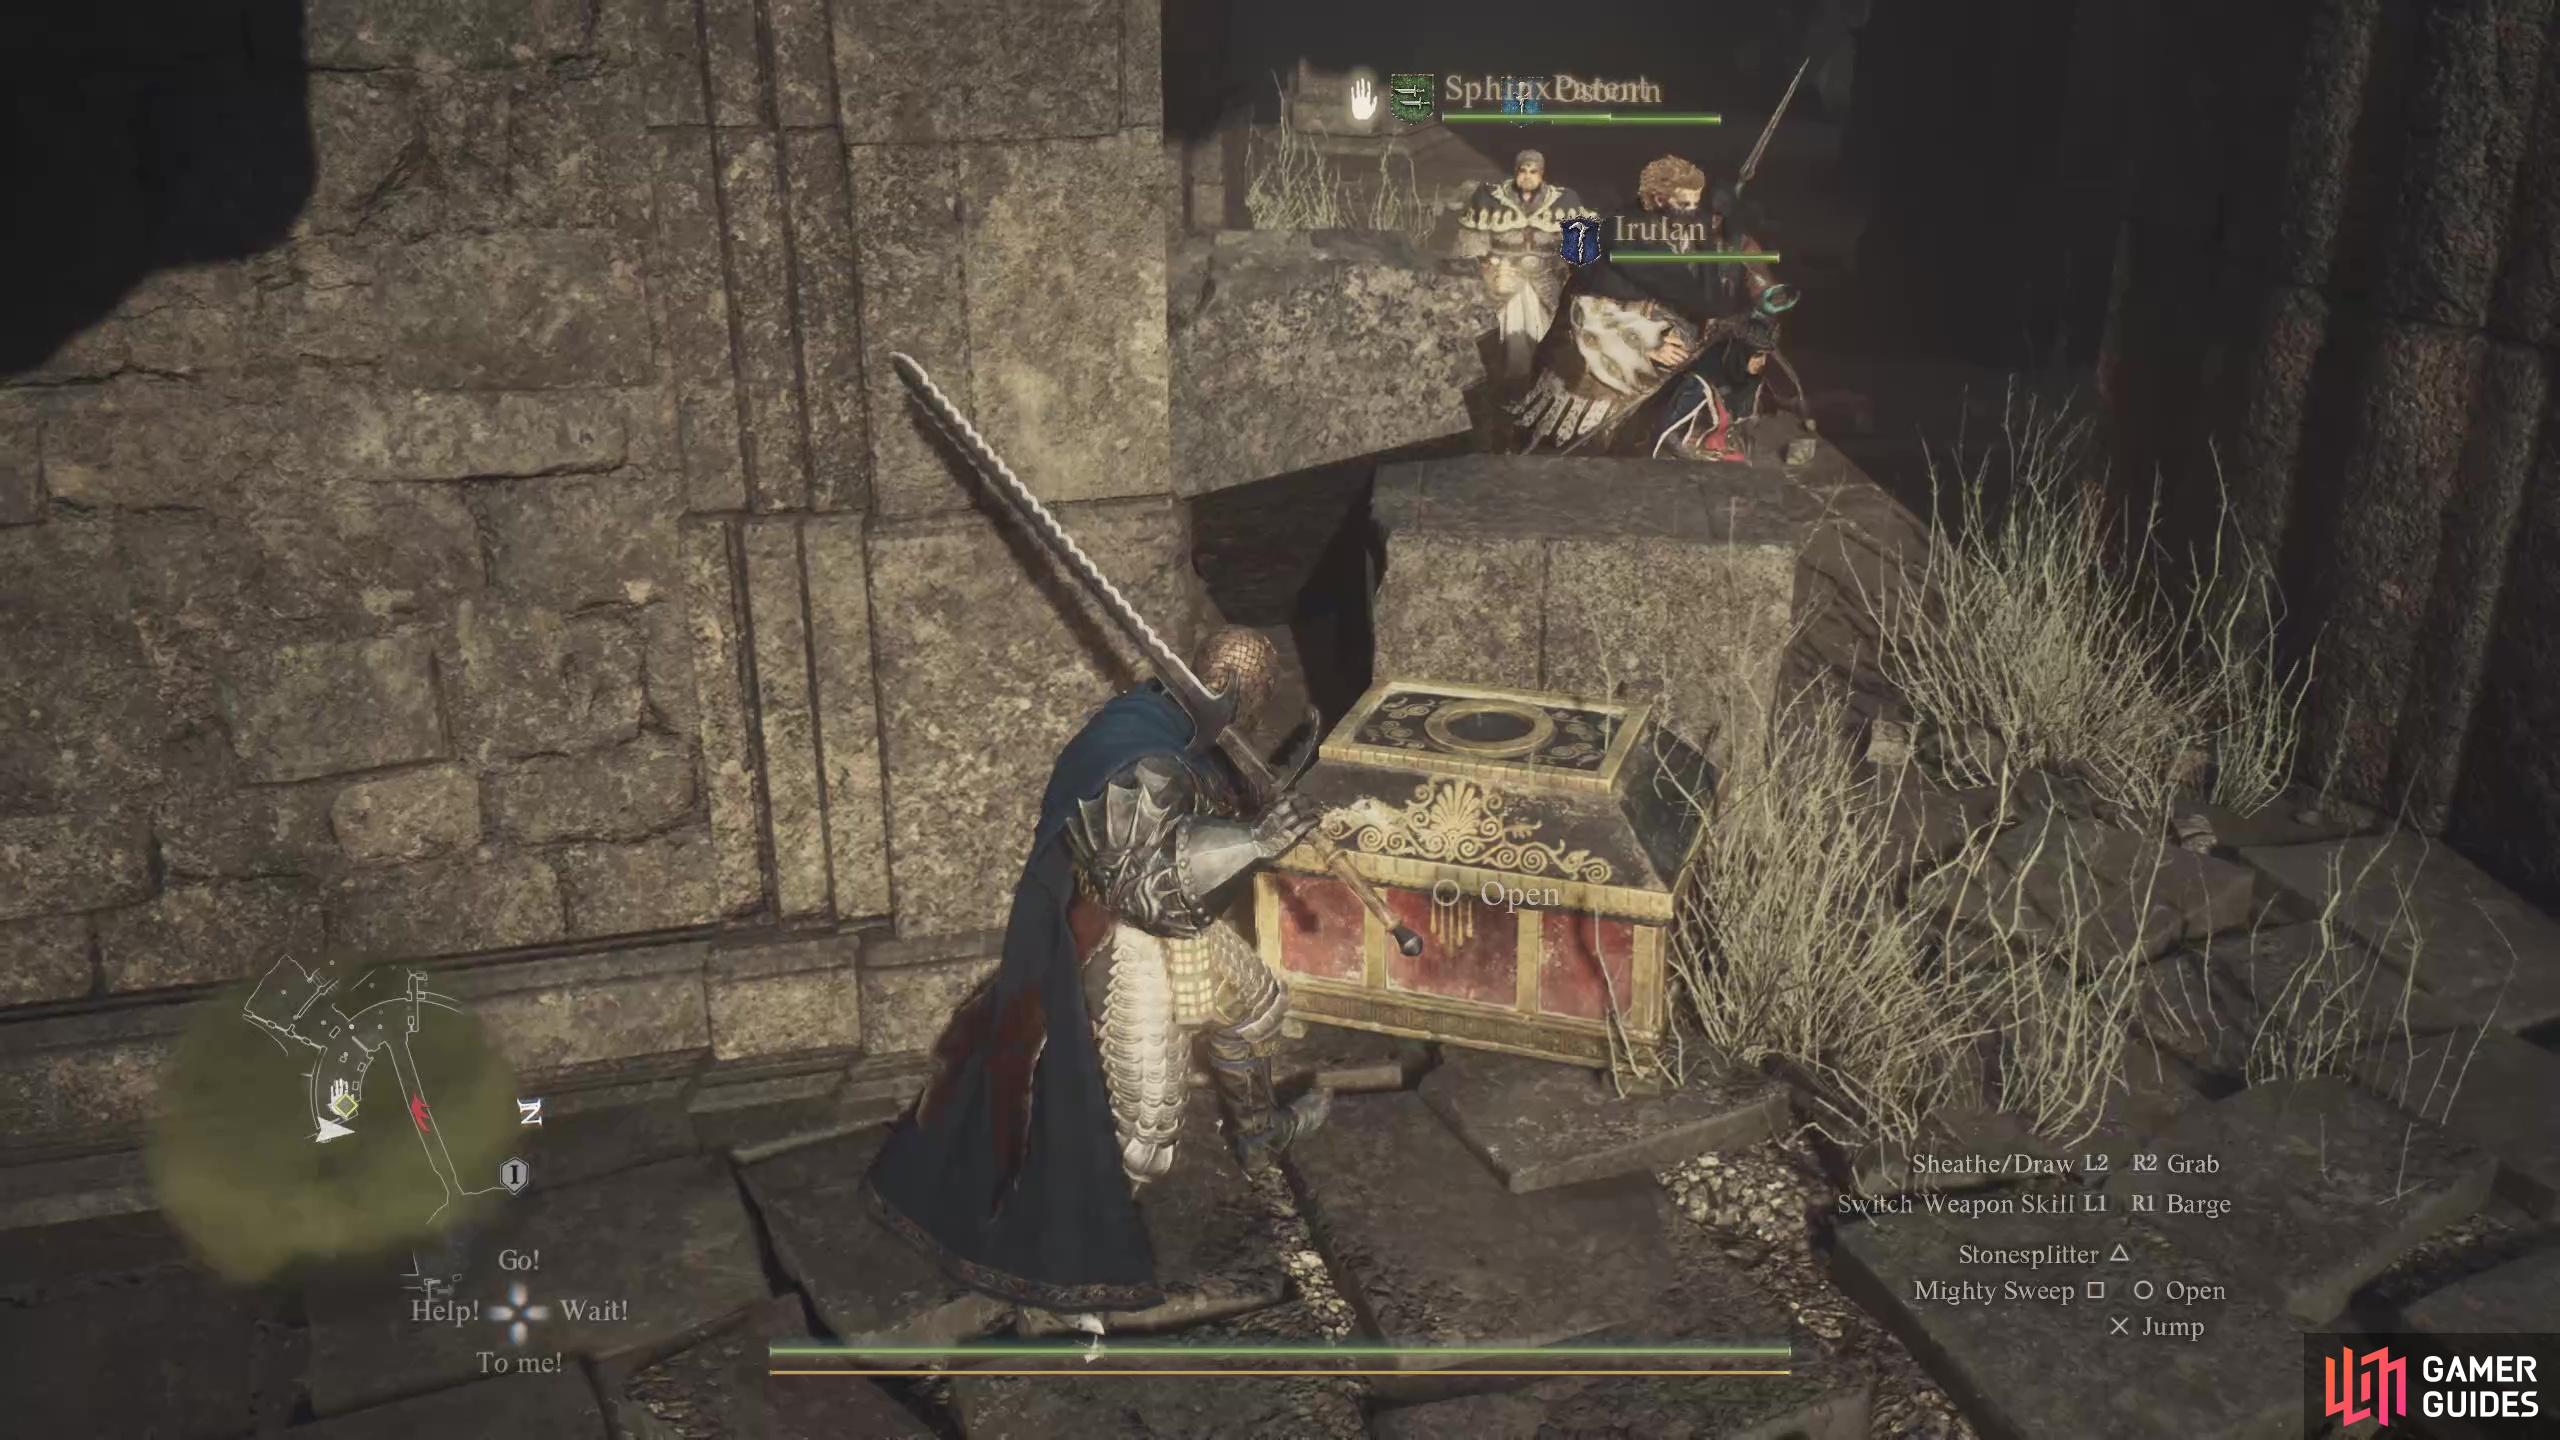
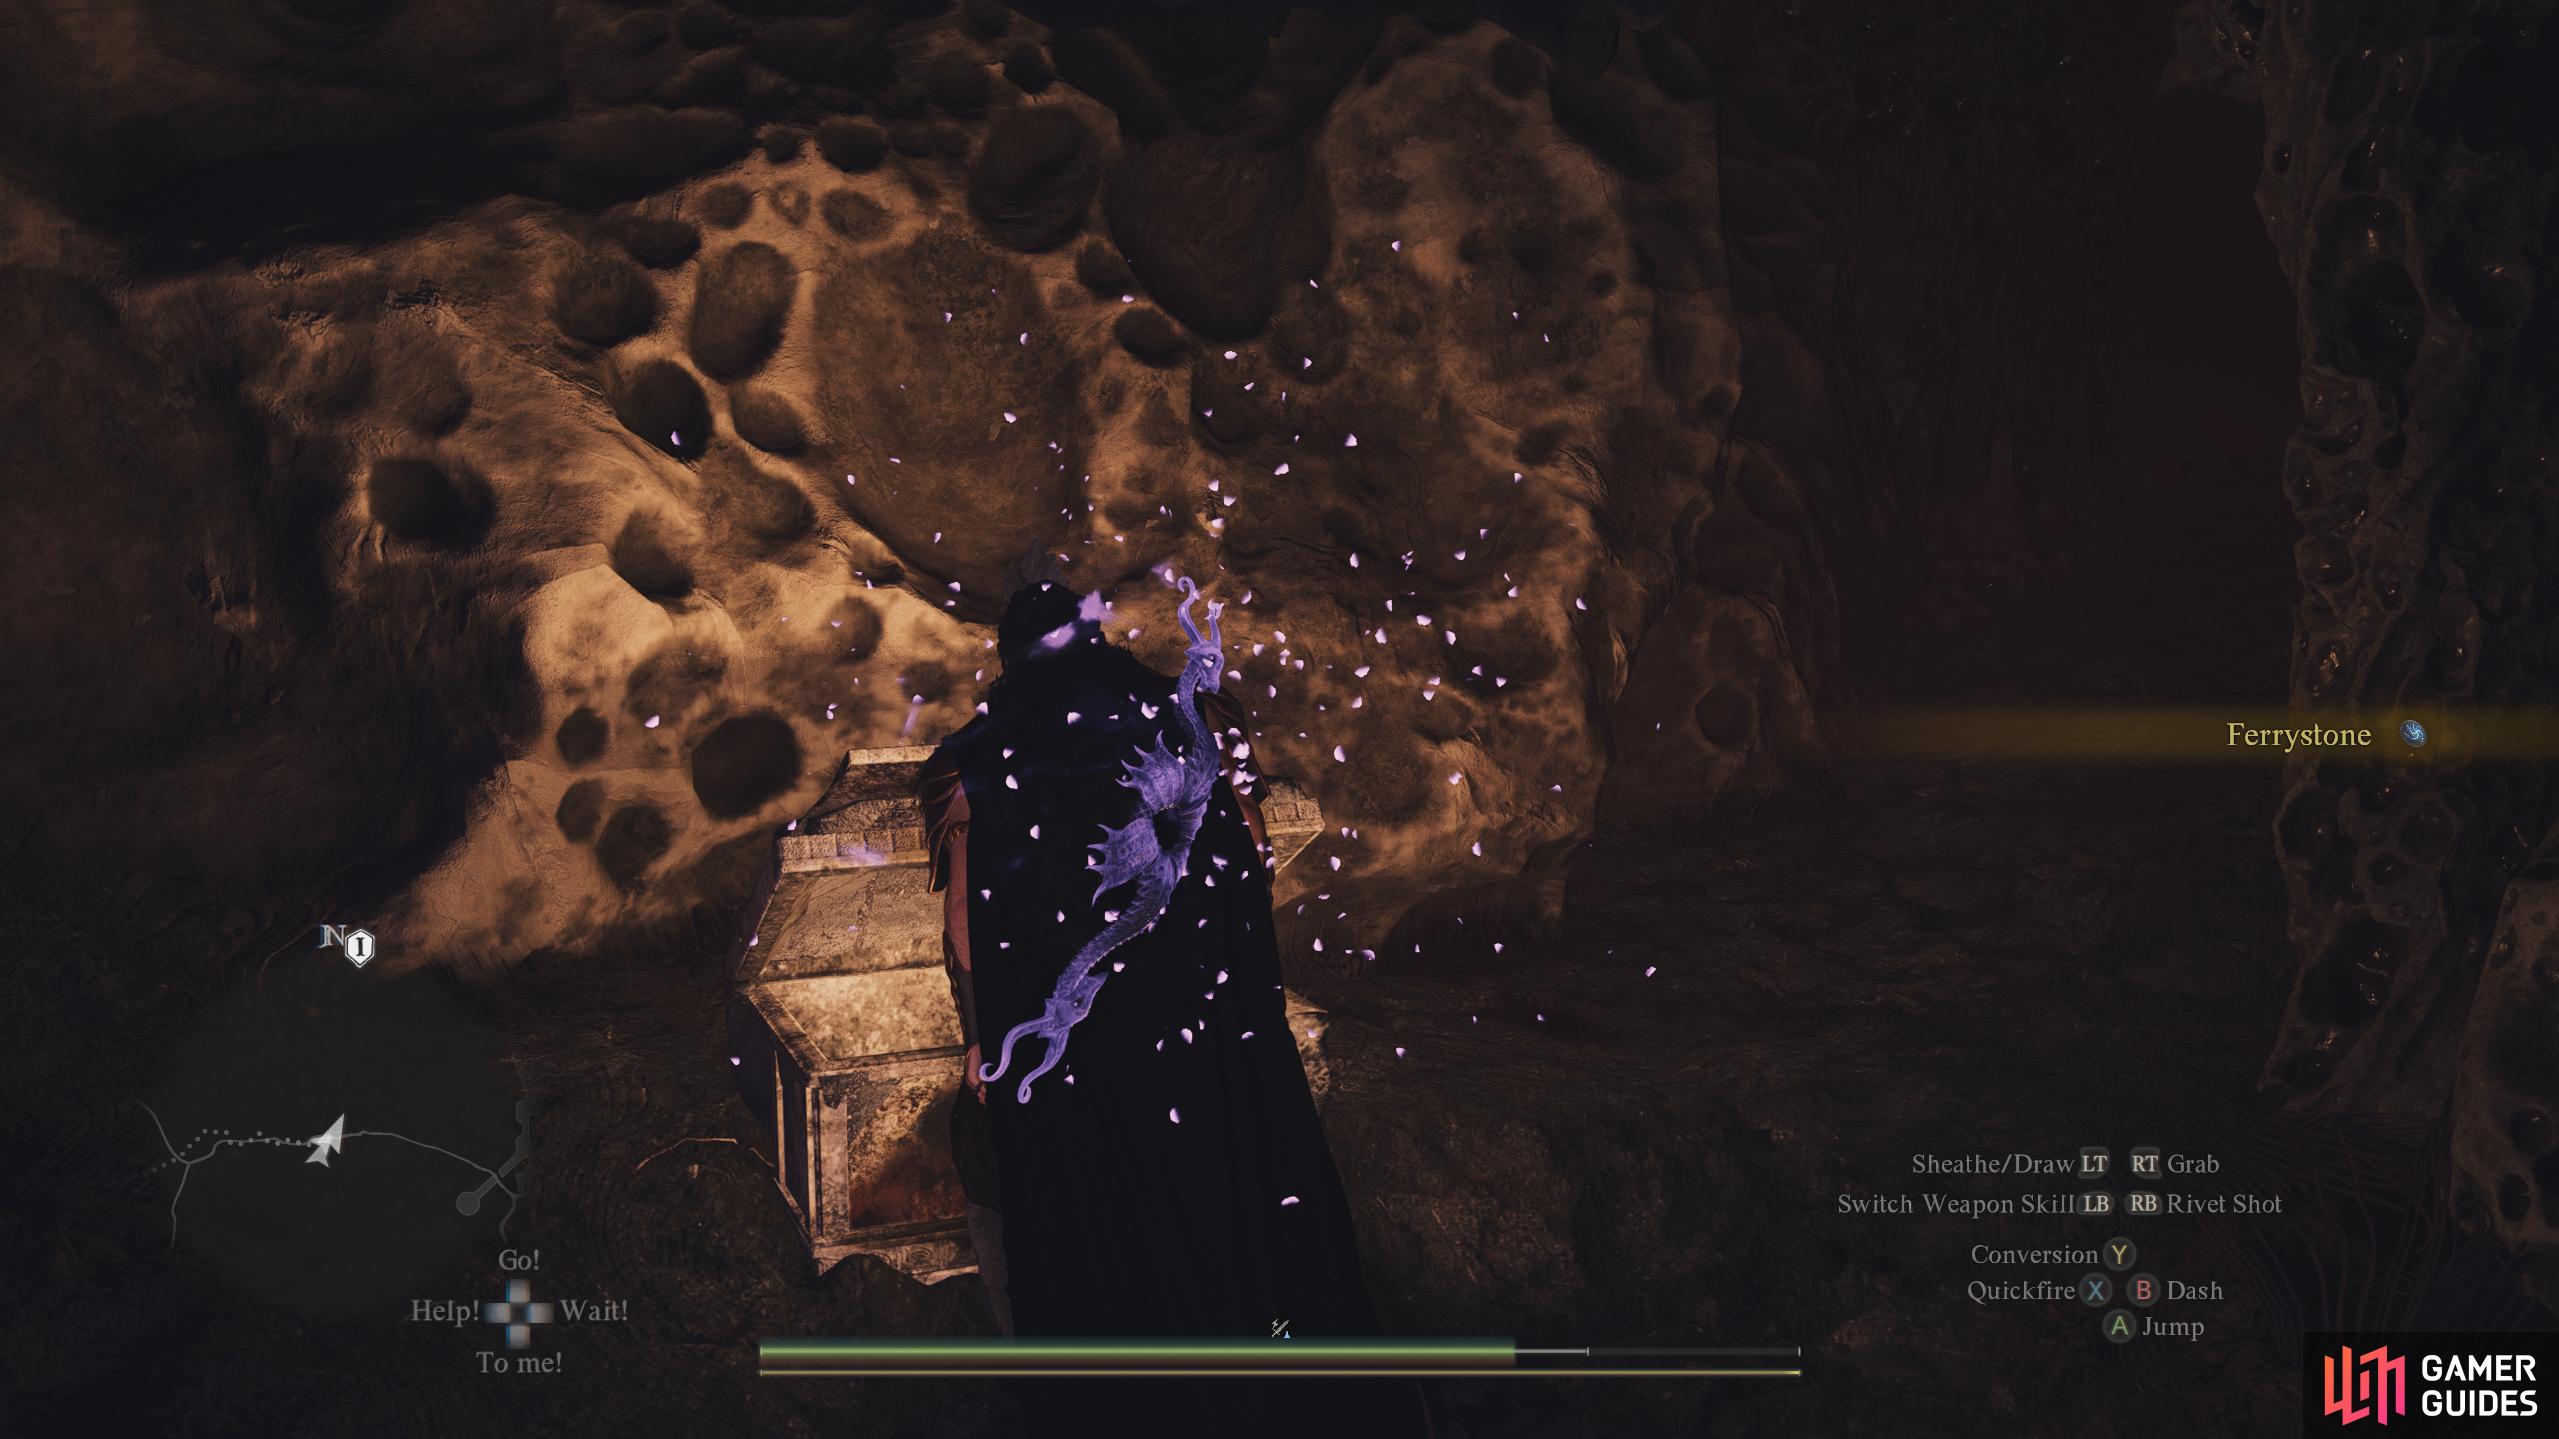
Forgotten Tunnel entrance and contains a ![]() Ferrystone.
Ferrystone.


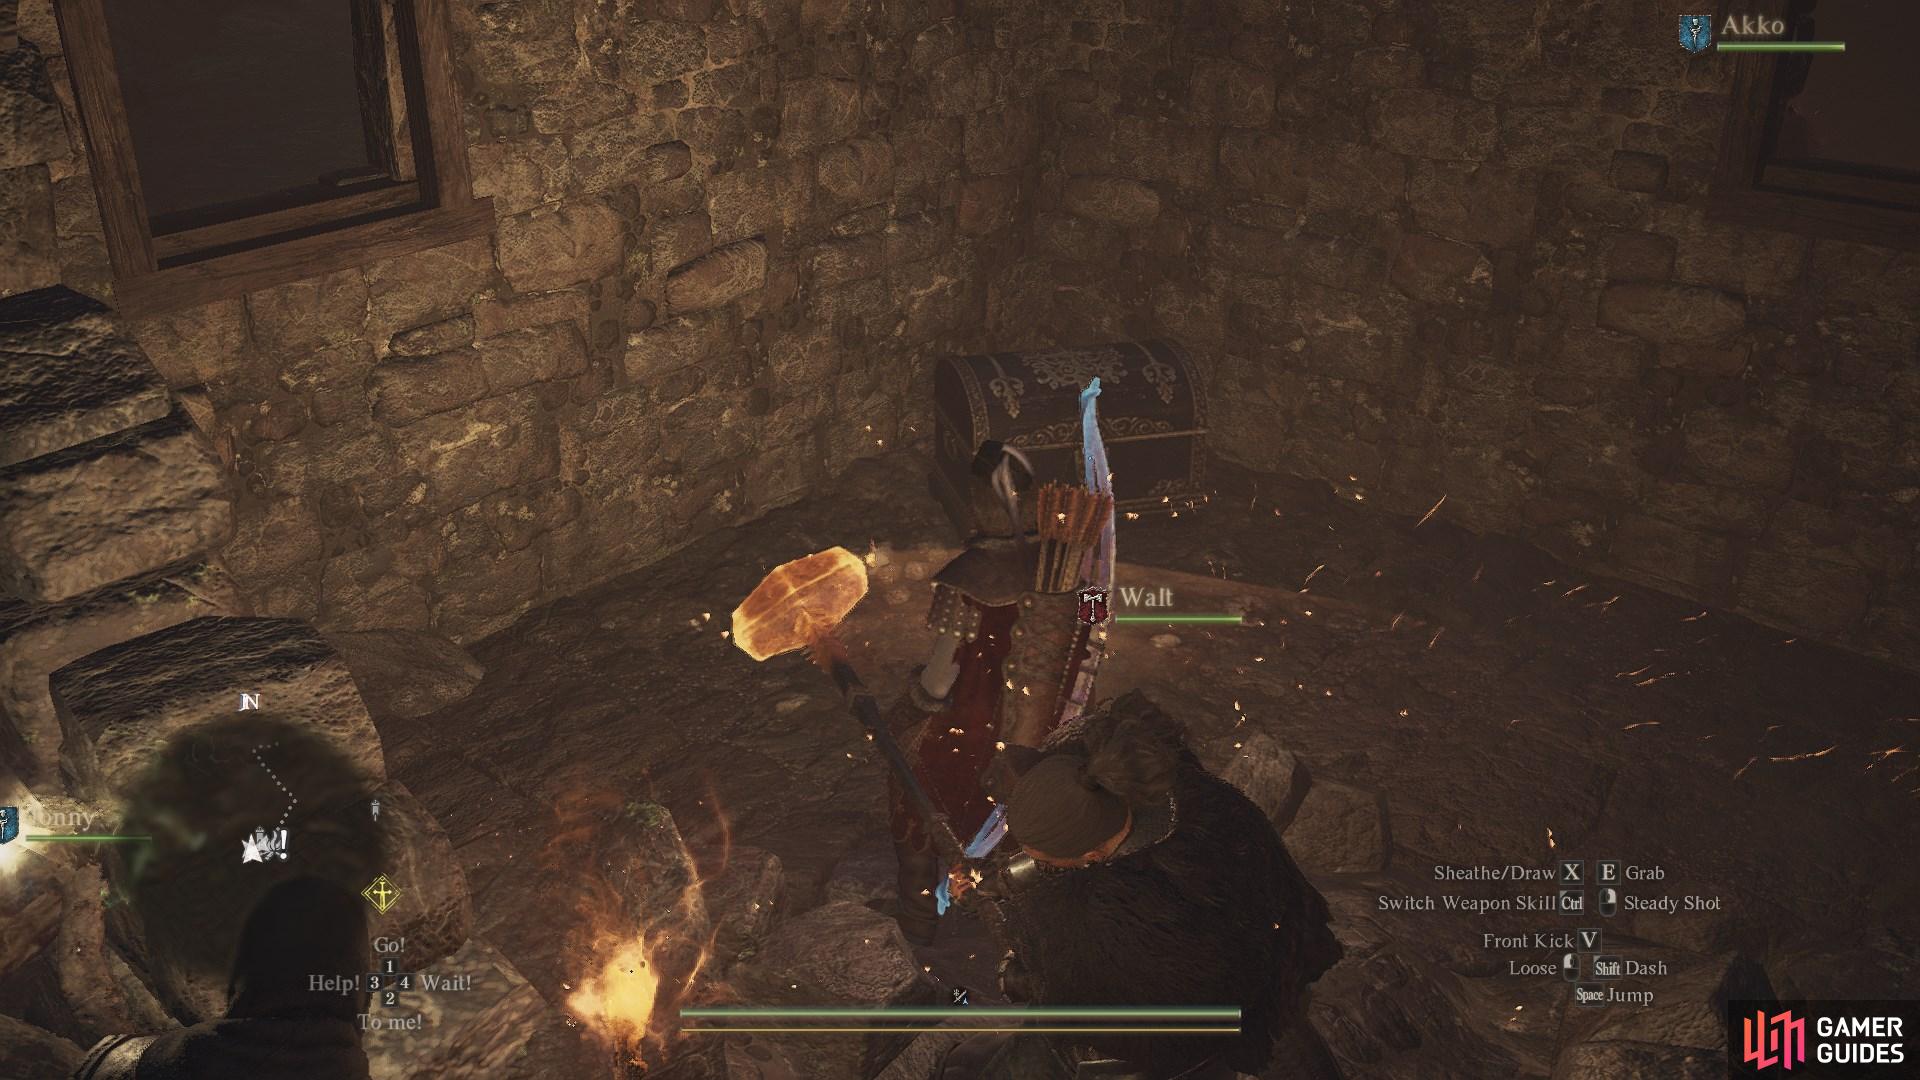
6. World Map
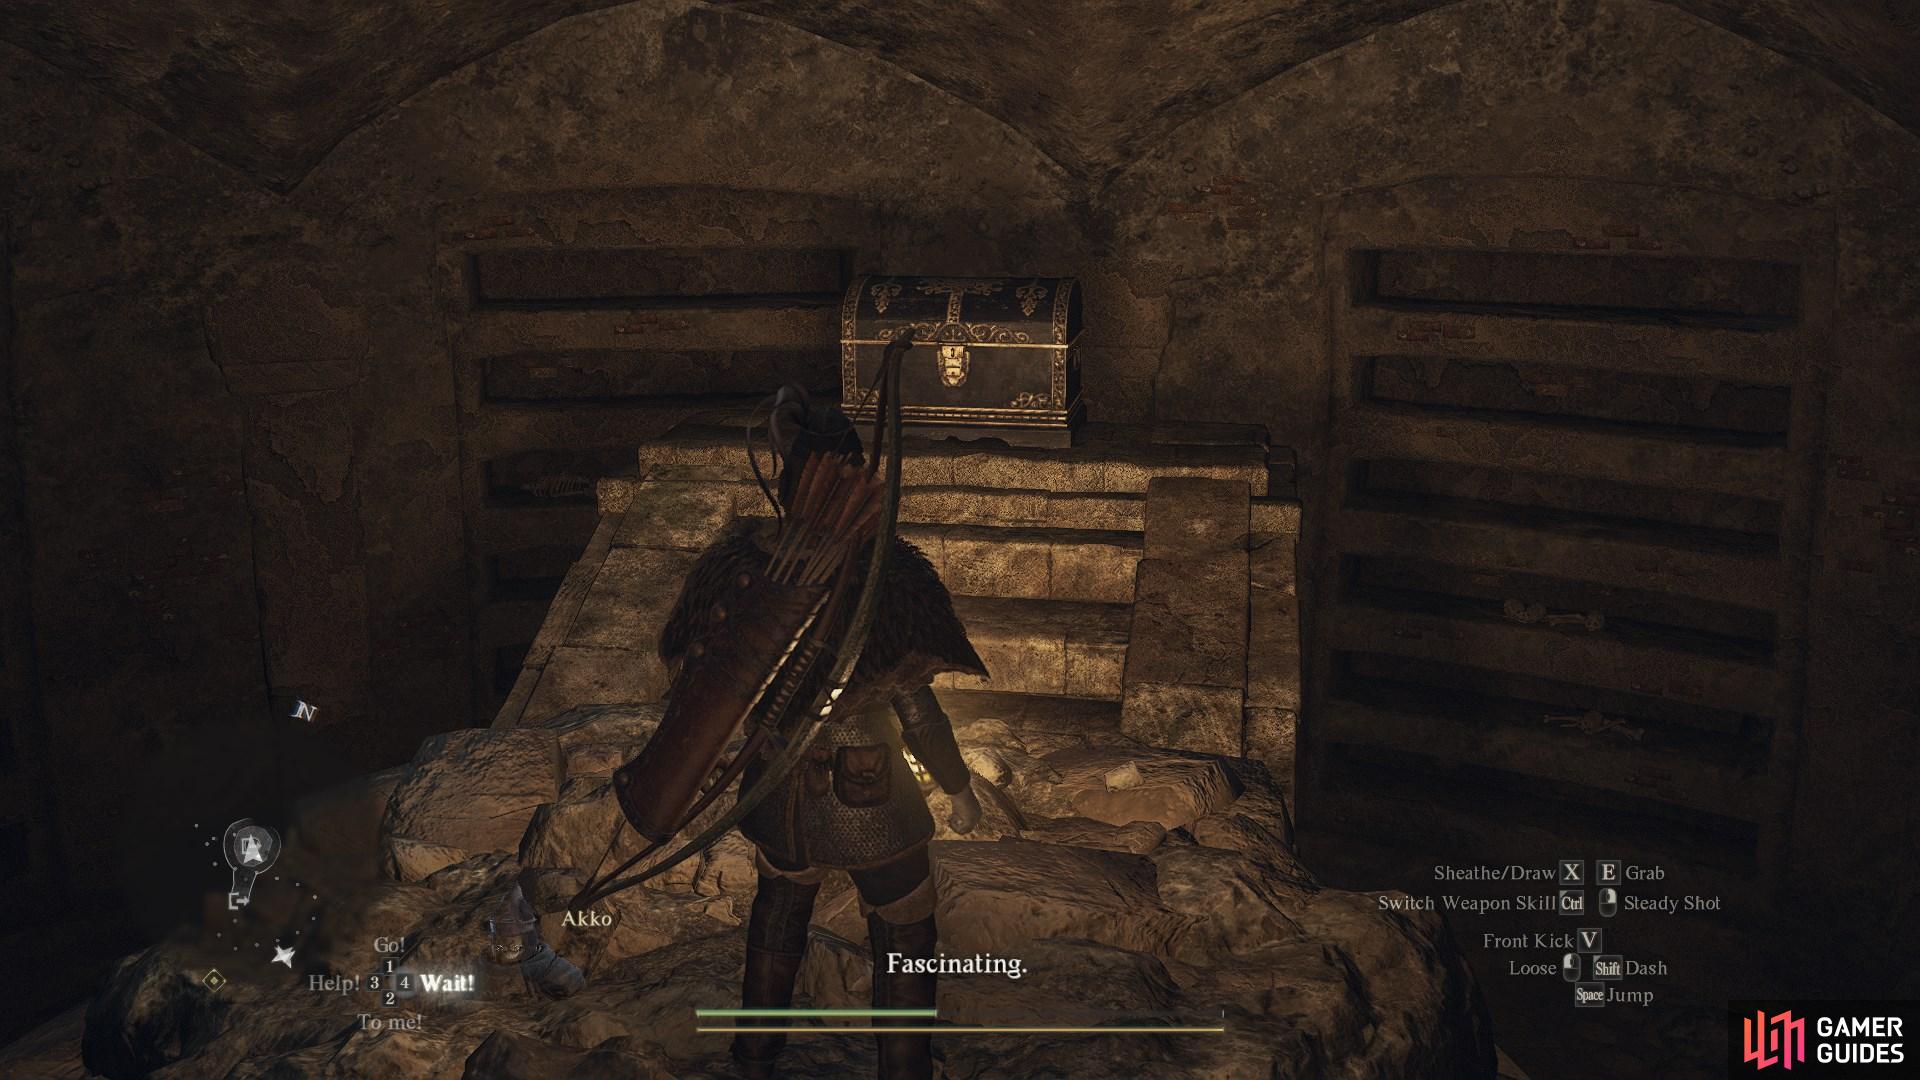
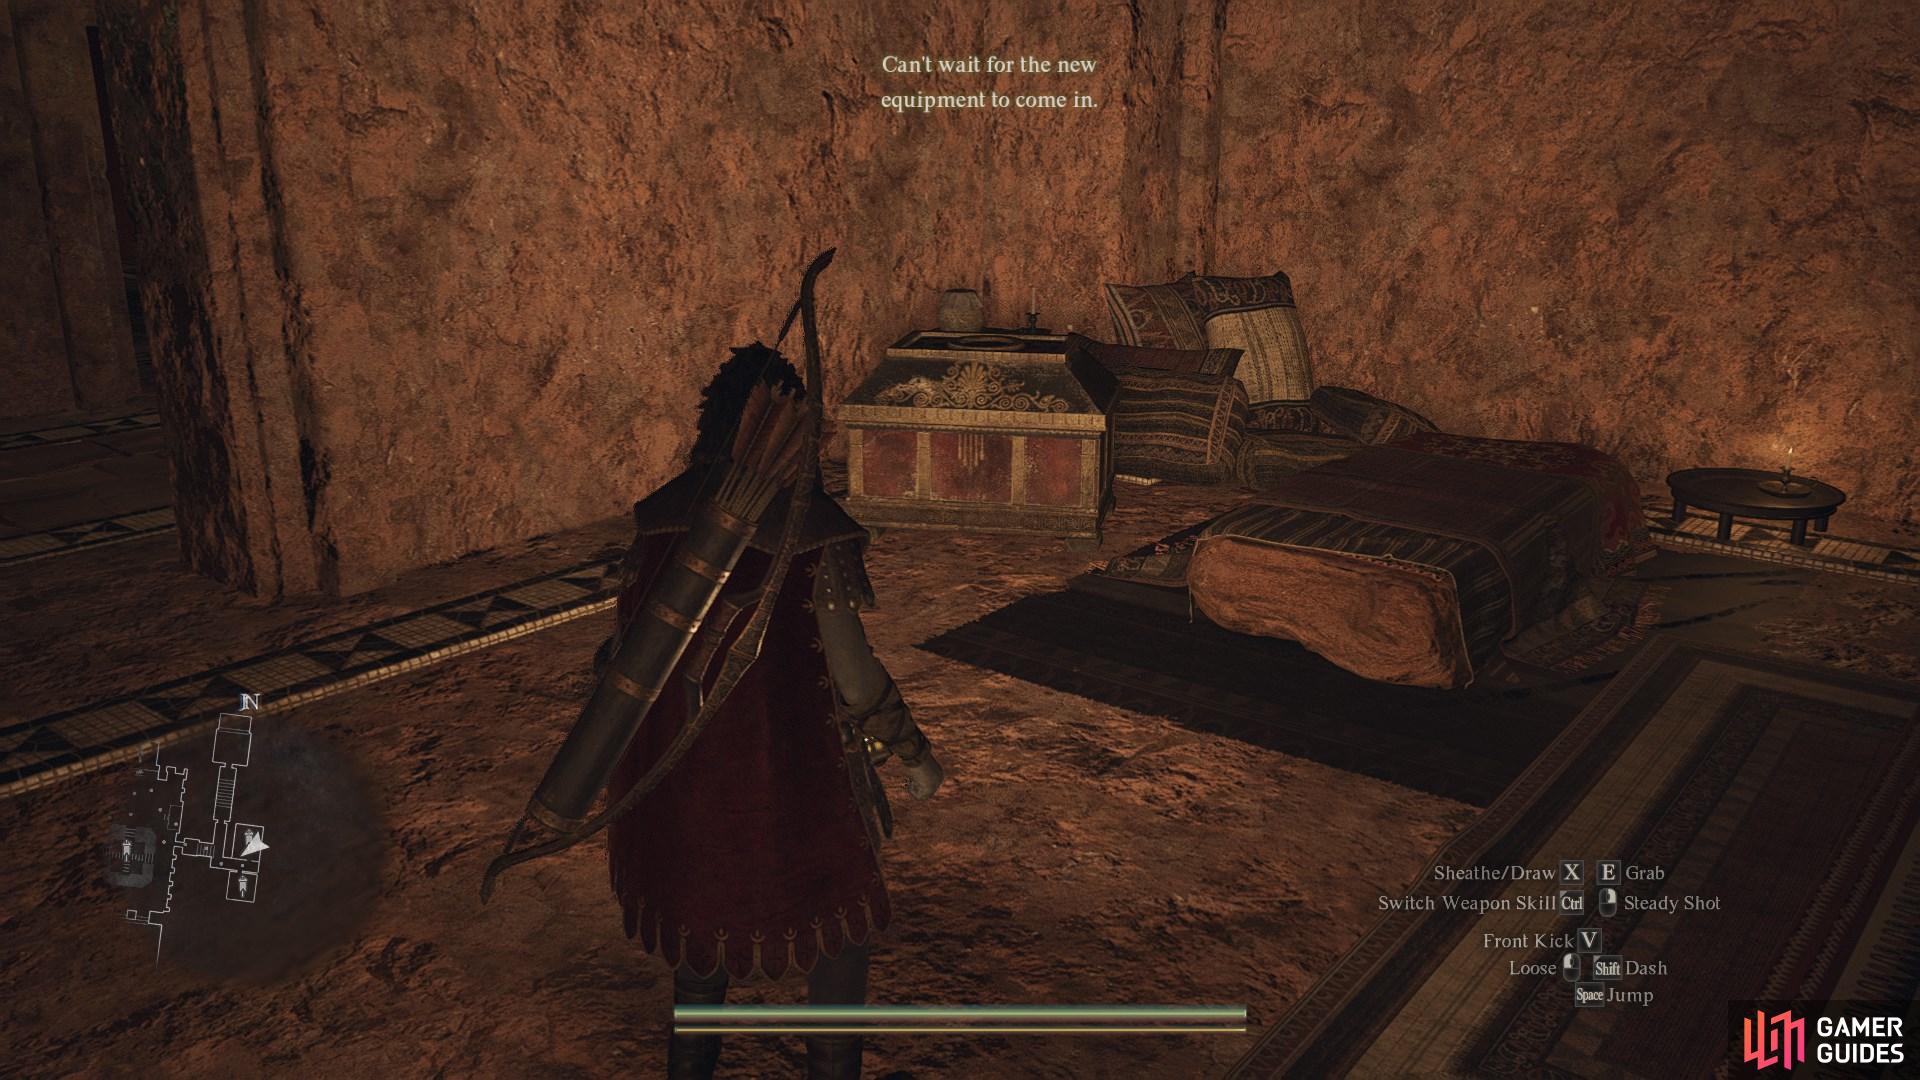
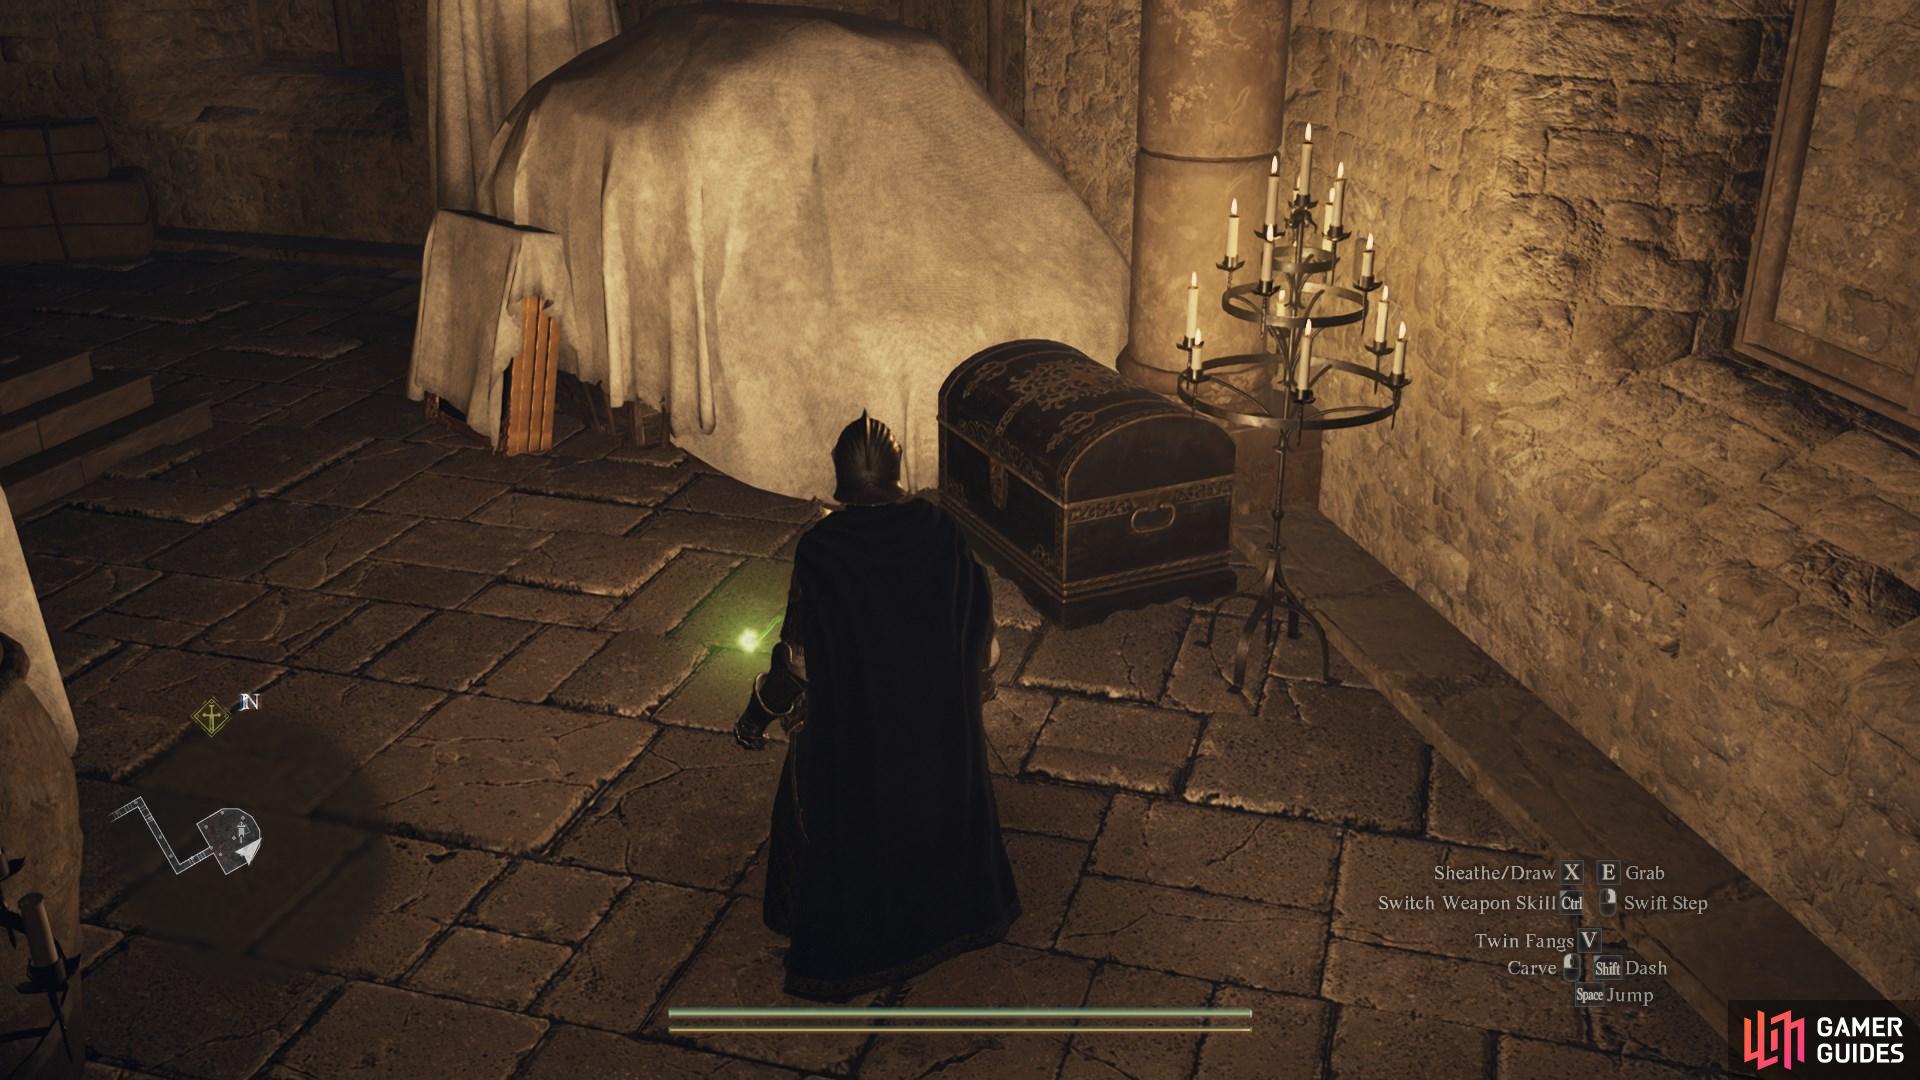
Go up the stairs in ![]() The Guardhouse and head to the end of the room where you’ll find a chest opposite the beds.
The Guardhouse and head to the end of the room where you’ll find a chest opposite the beds.
Contains: ![]() Fluted Bow
Fluted Bow
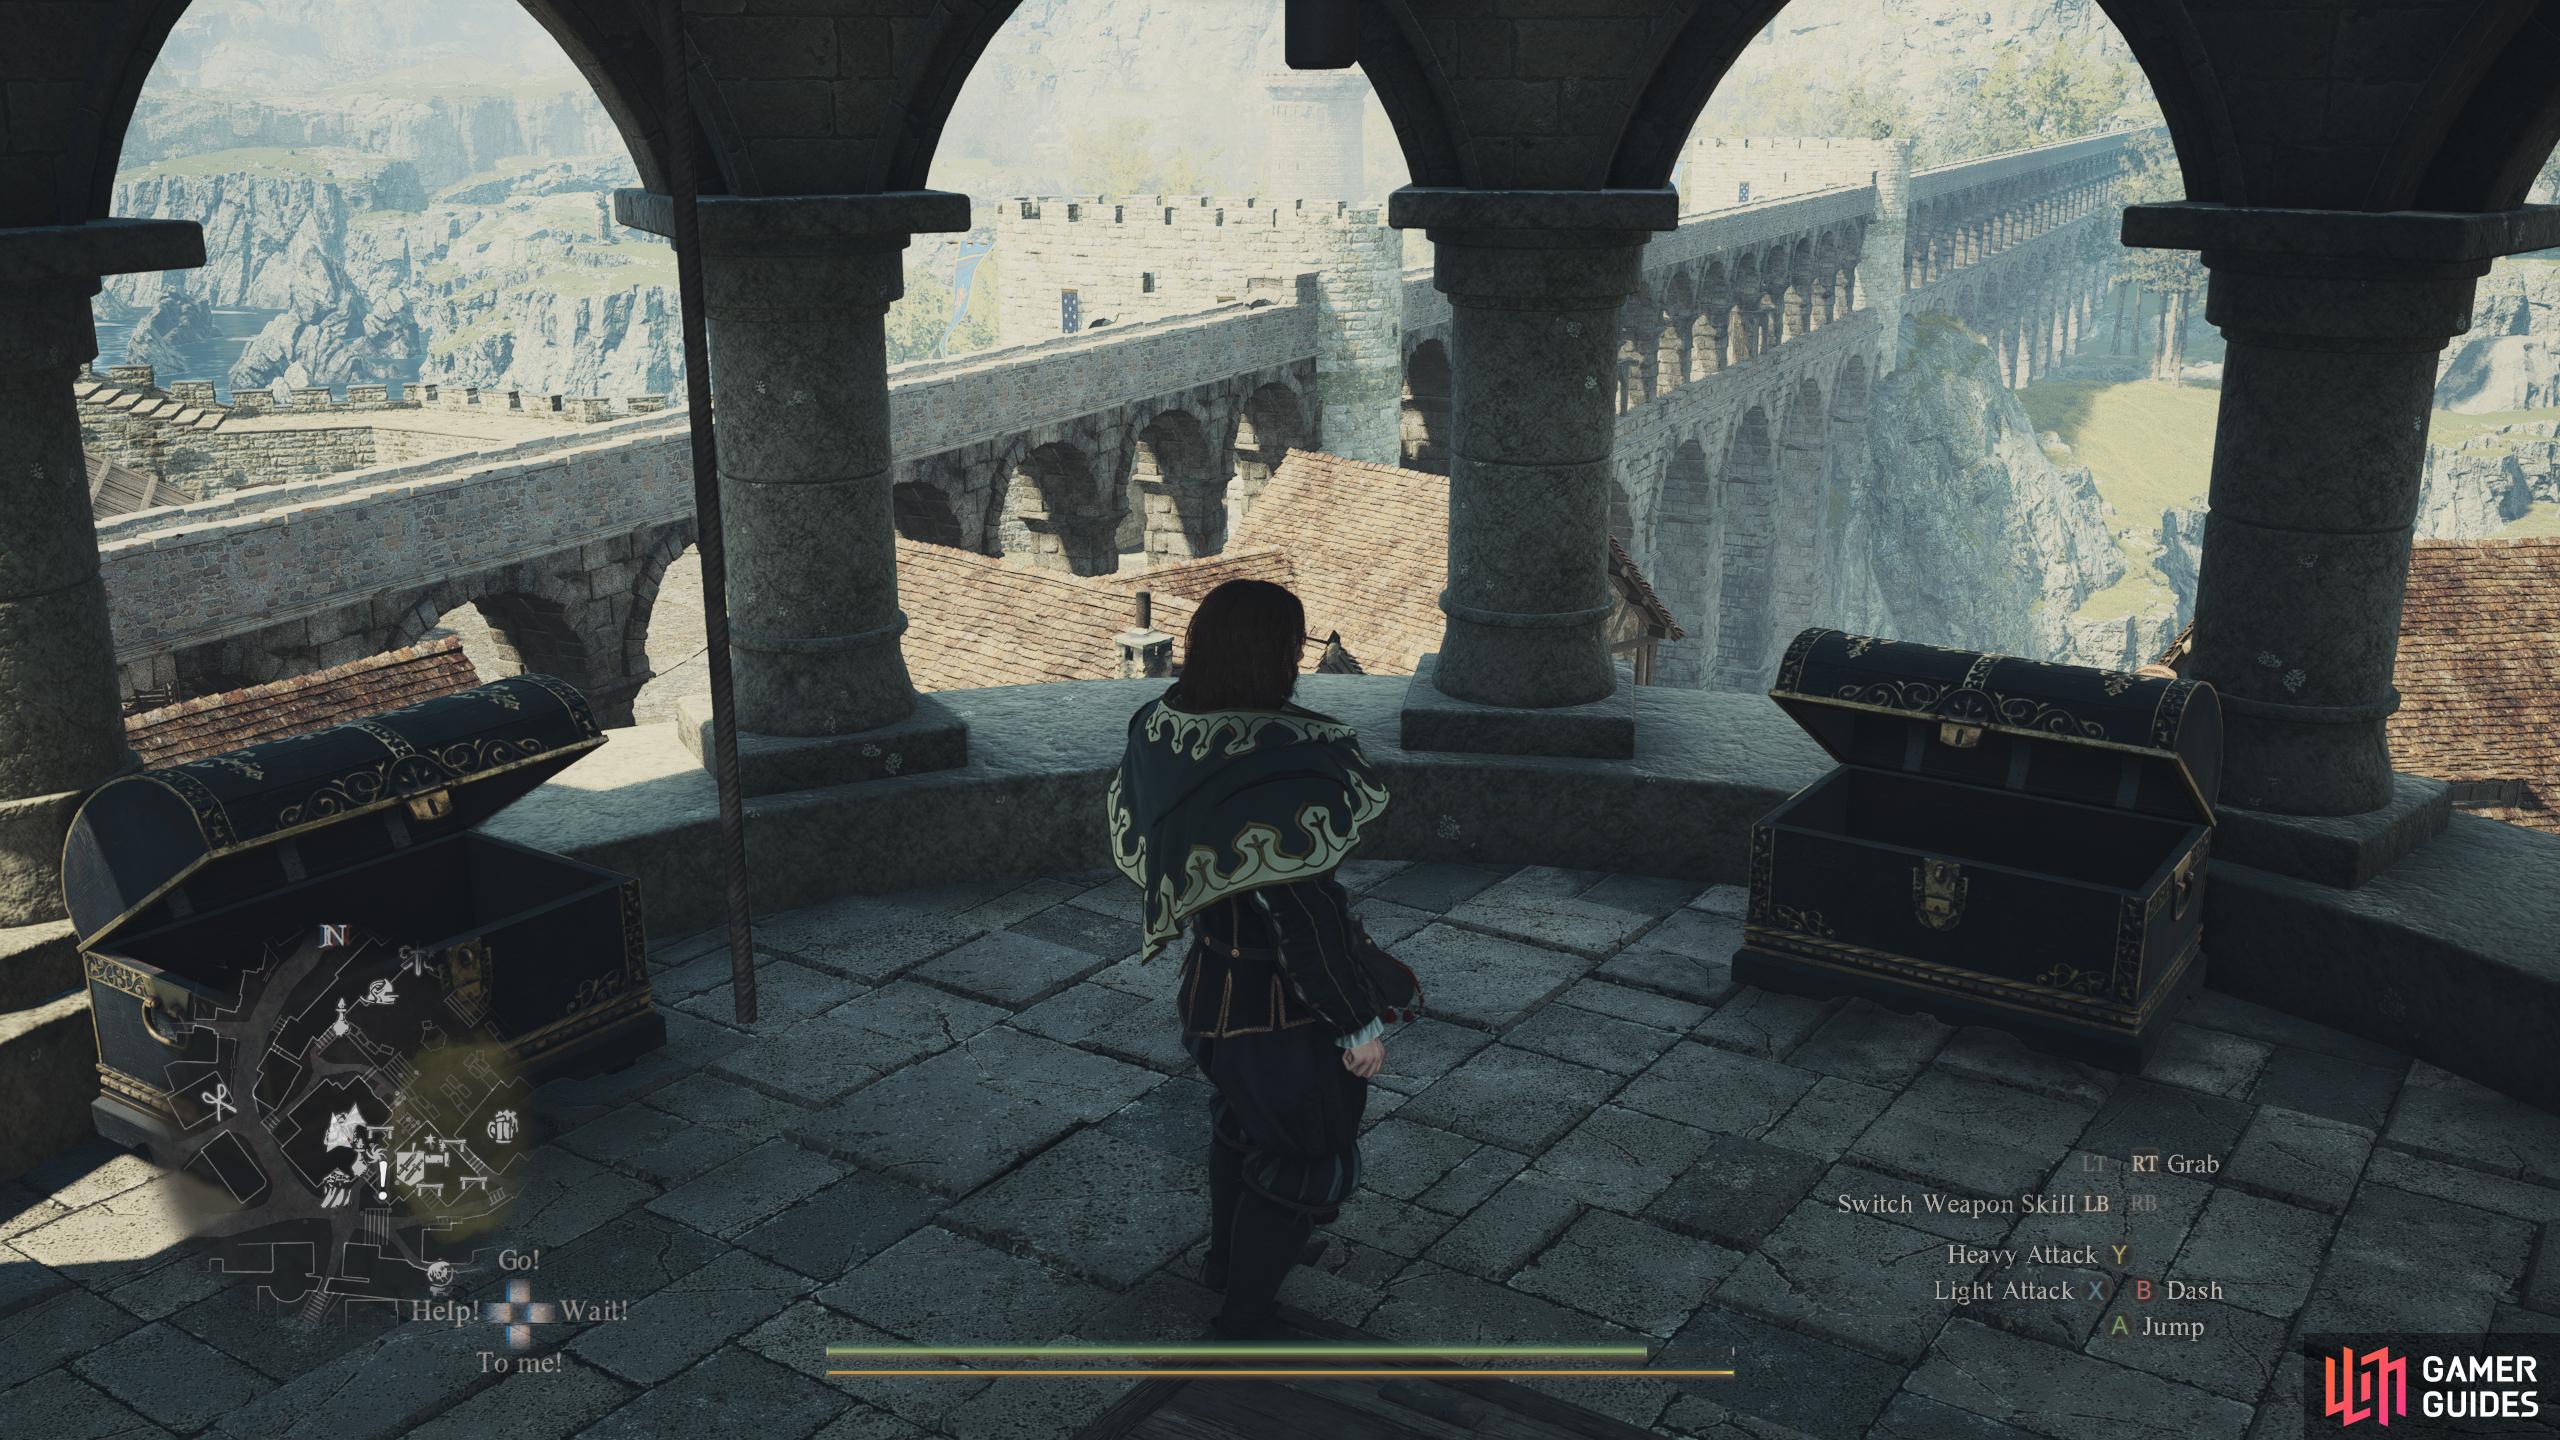
7. World Map
On top of the ![]() Grand Riftstone of Vermund building. Head inside
Grand Riftstone of Vermund building. Head inside ![]() Shakir’s Inn and head upstairs. Go out to the balcony and climb up the ladder to your right. Jump over to the wooden boards ahead of you before jumping over toward the tower to the west. This chest is inside the tower.
Shakir’s Inn and head upstairs. Go out to the balcony and climb up the ladder to your right. Jump over to the wooden boards ahead of you before jumping over toward the tower to the west. This chest is inside the tower.
Contains: ![]() Ferrystone.
Ferrystone.

8. World Map
On top of the ![]() Grand Riftstone of Vermund building. Head inside
Grand Riftstone of Vermund building. Head inside ![]() Shakir’s Inn and head upstairs. Go out to the balcony and climb up the ladder to your right. Jump over to the wooden boards ahead of you before jumping over toward the tower to the west. This chest is inside the tower.
Shakir’s Inn and head upstairs. Go out to the balcony and climb up the ladder to your right. Jump over to the wooden boards ahead of you before jumping over toward the tower to the west. This chest is inside the tower.
Contains: ![]() Savant’s Boots.
Savant’s Boots.
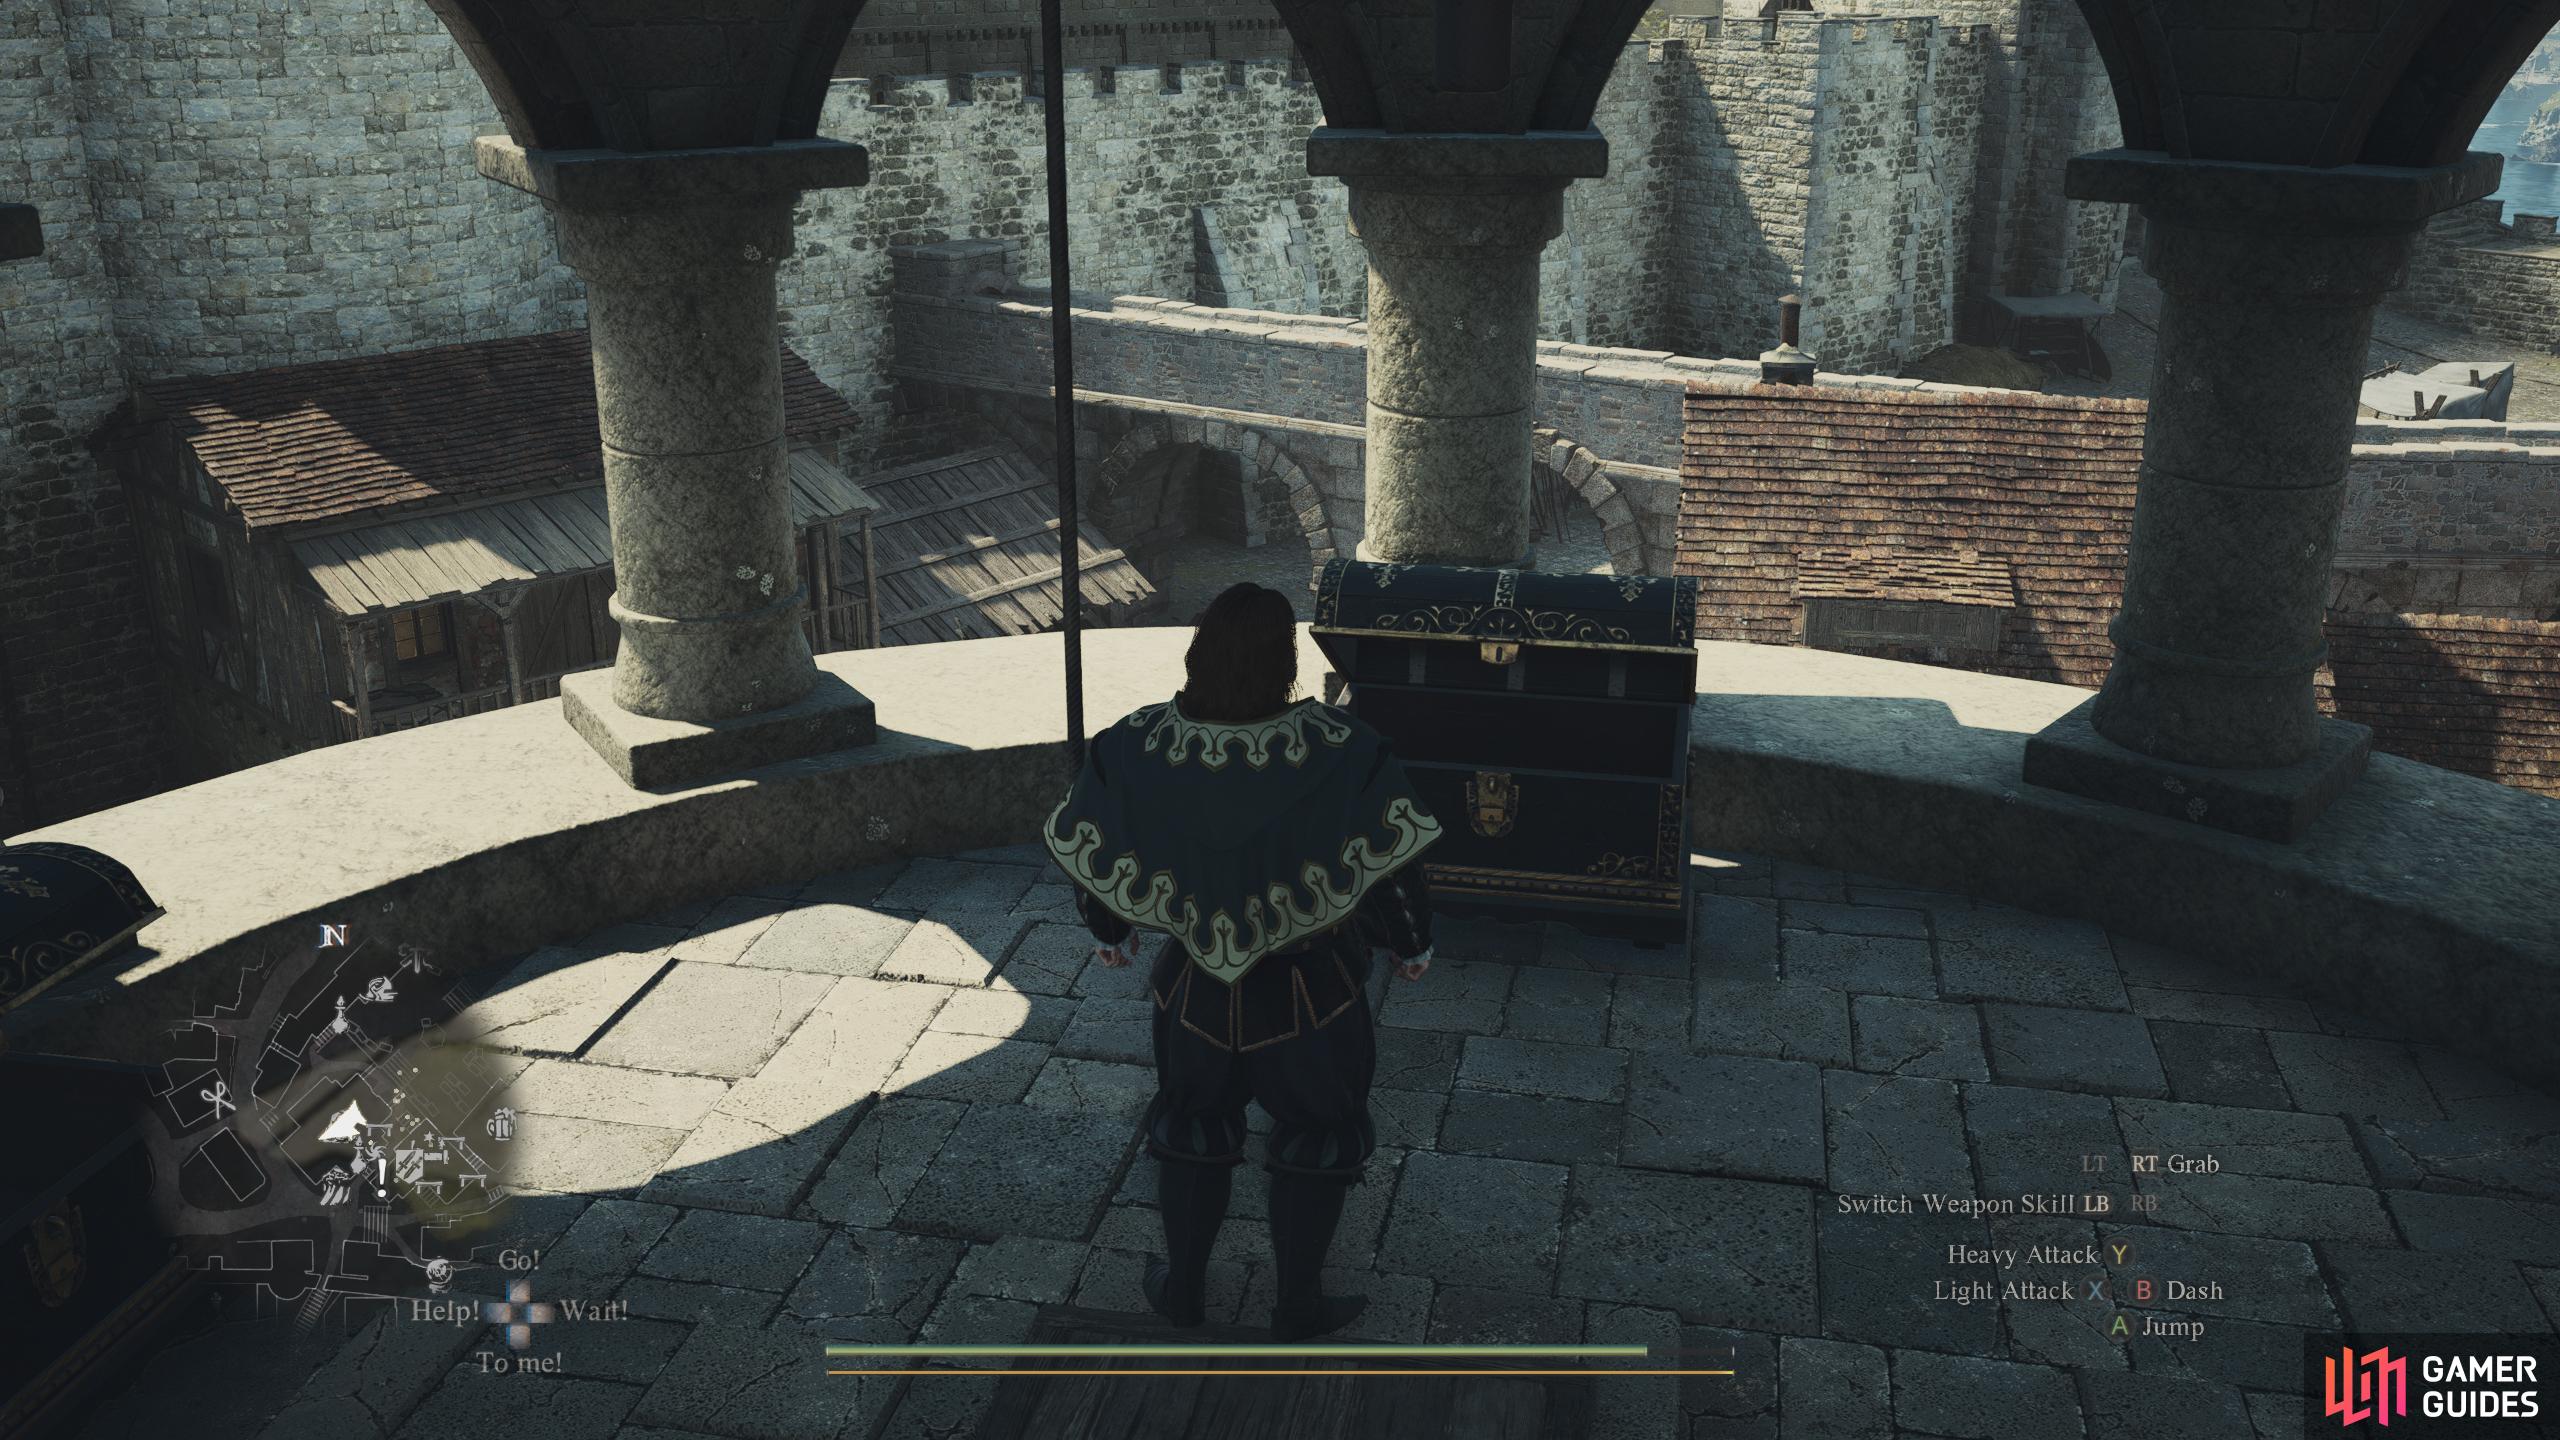
9. World Map
On top of the ![]() Grand Riftstone of Vermund building. Head inside
Grand Riftstone of Vermund building. Head inside ![]() Shakir’s Inn and head upstairs. Go out to the balcony and climb up the ladder to your right. Jump over to the wooden boards ahead of you before jumping over toward the tower to the west. This chest is inside the tower.
Shakir’s Inn and head upstairs. Go out to the balcony and climb up the ladder to your right. Jump over to the wooden boards ahead of you before jumping over toward the tower to the west. This chest is inside the tower.
Contains: ![]() Silver Rapier
Silver Rapier

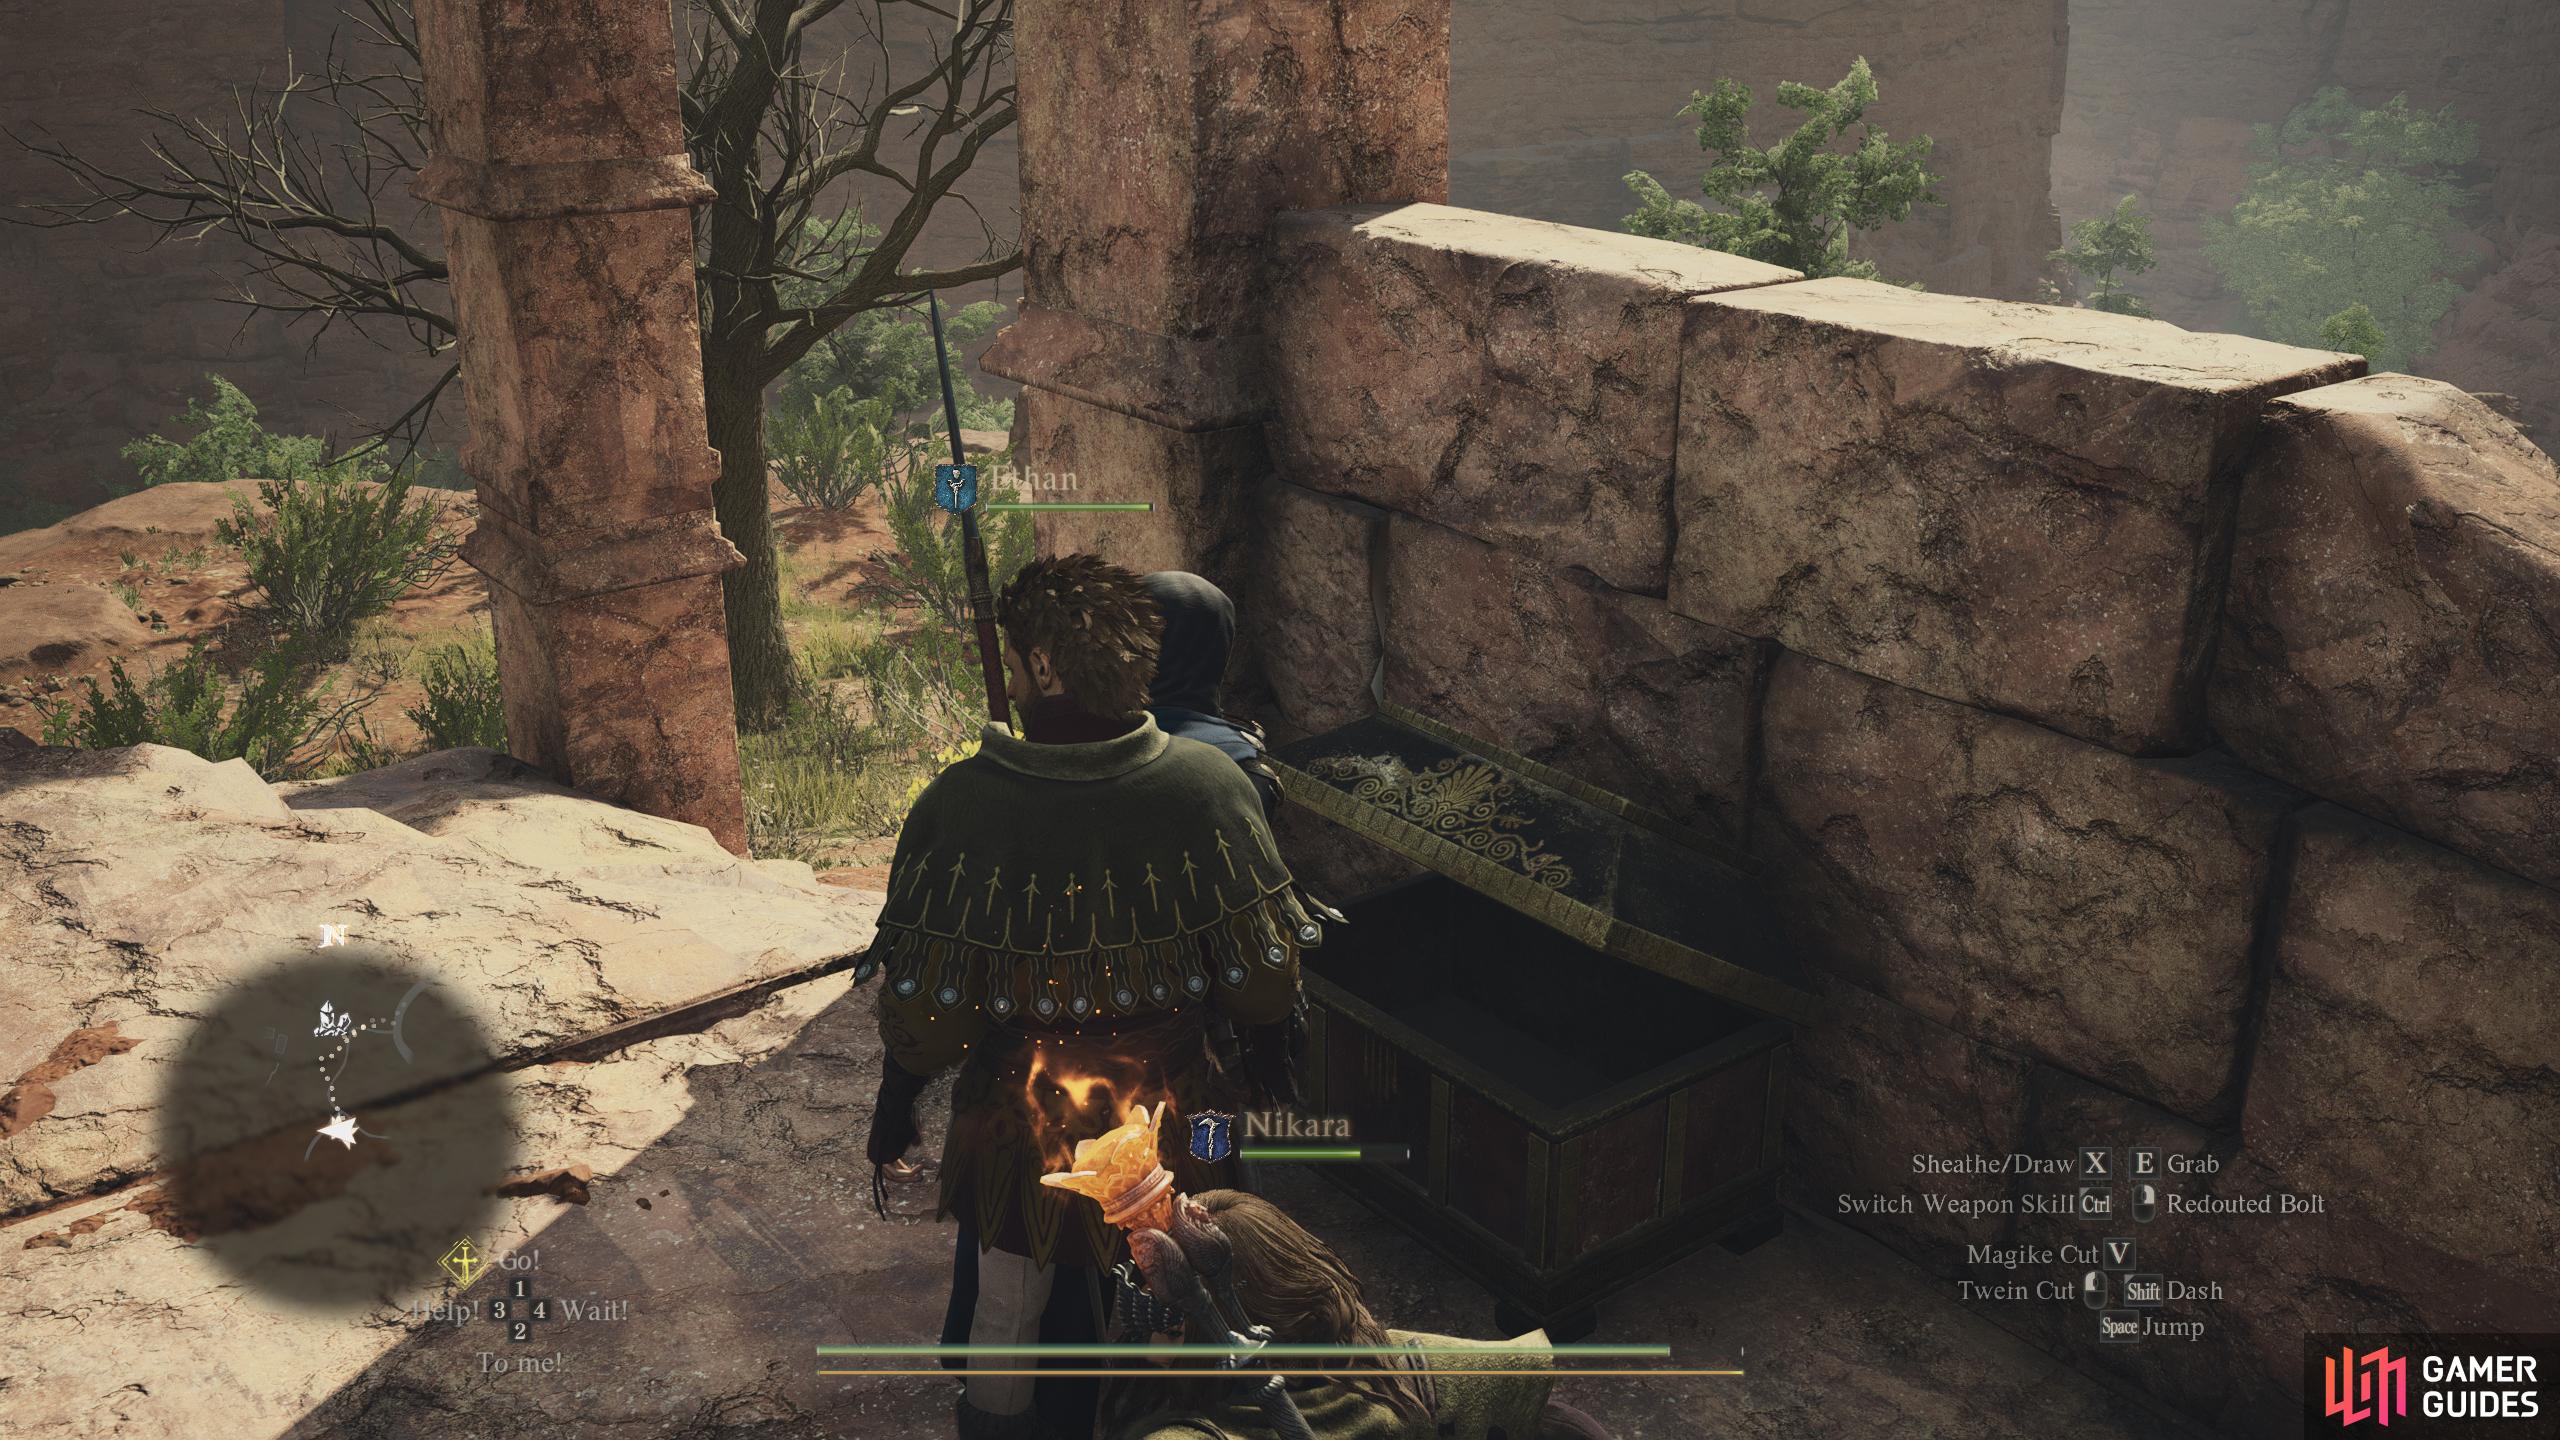
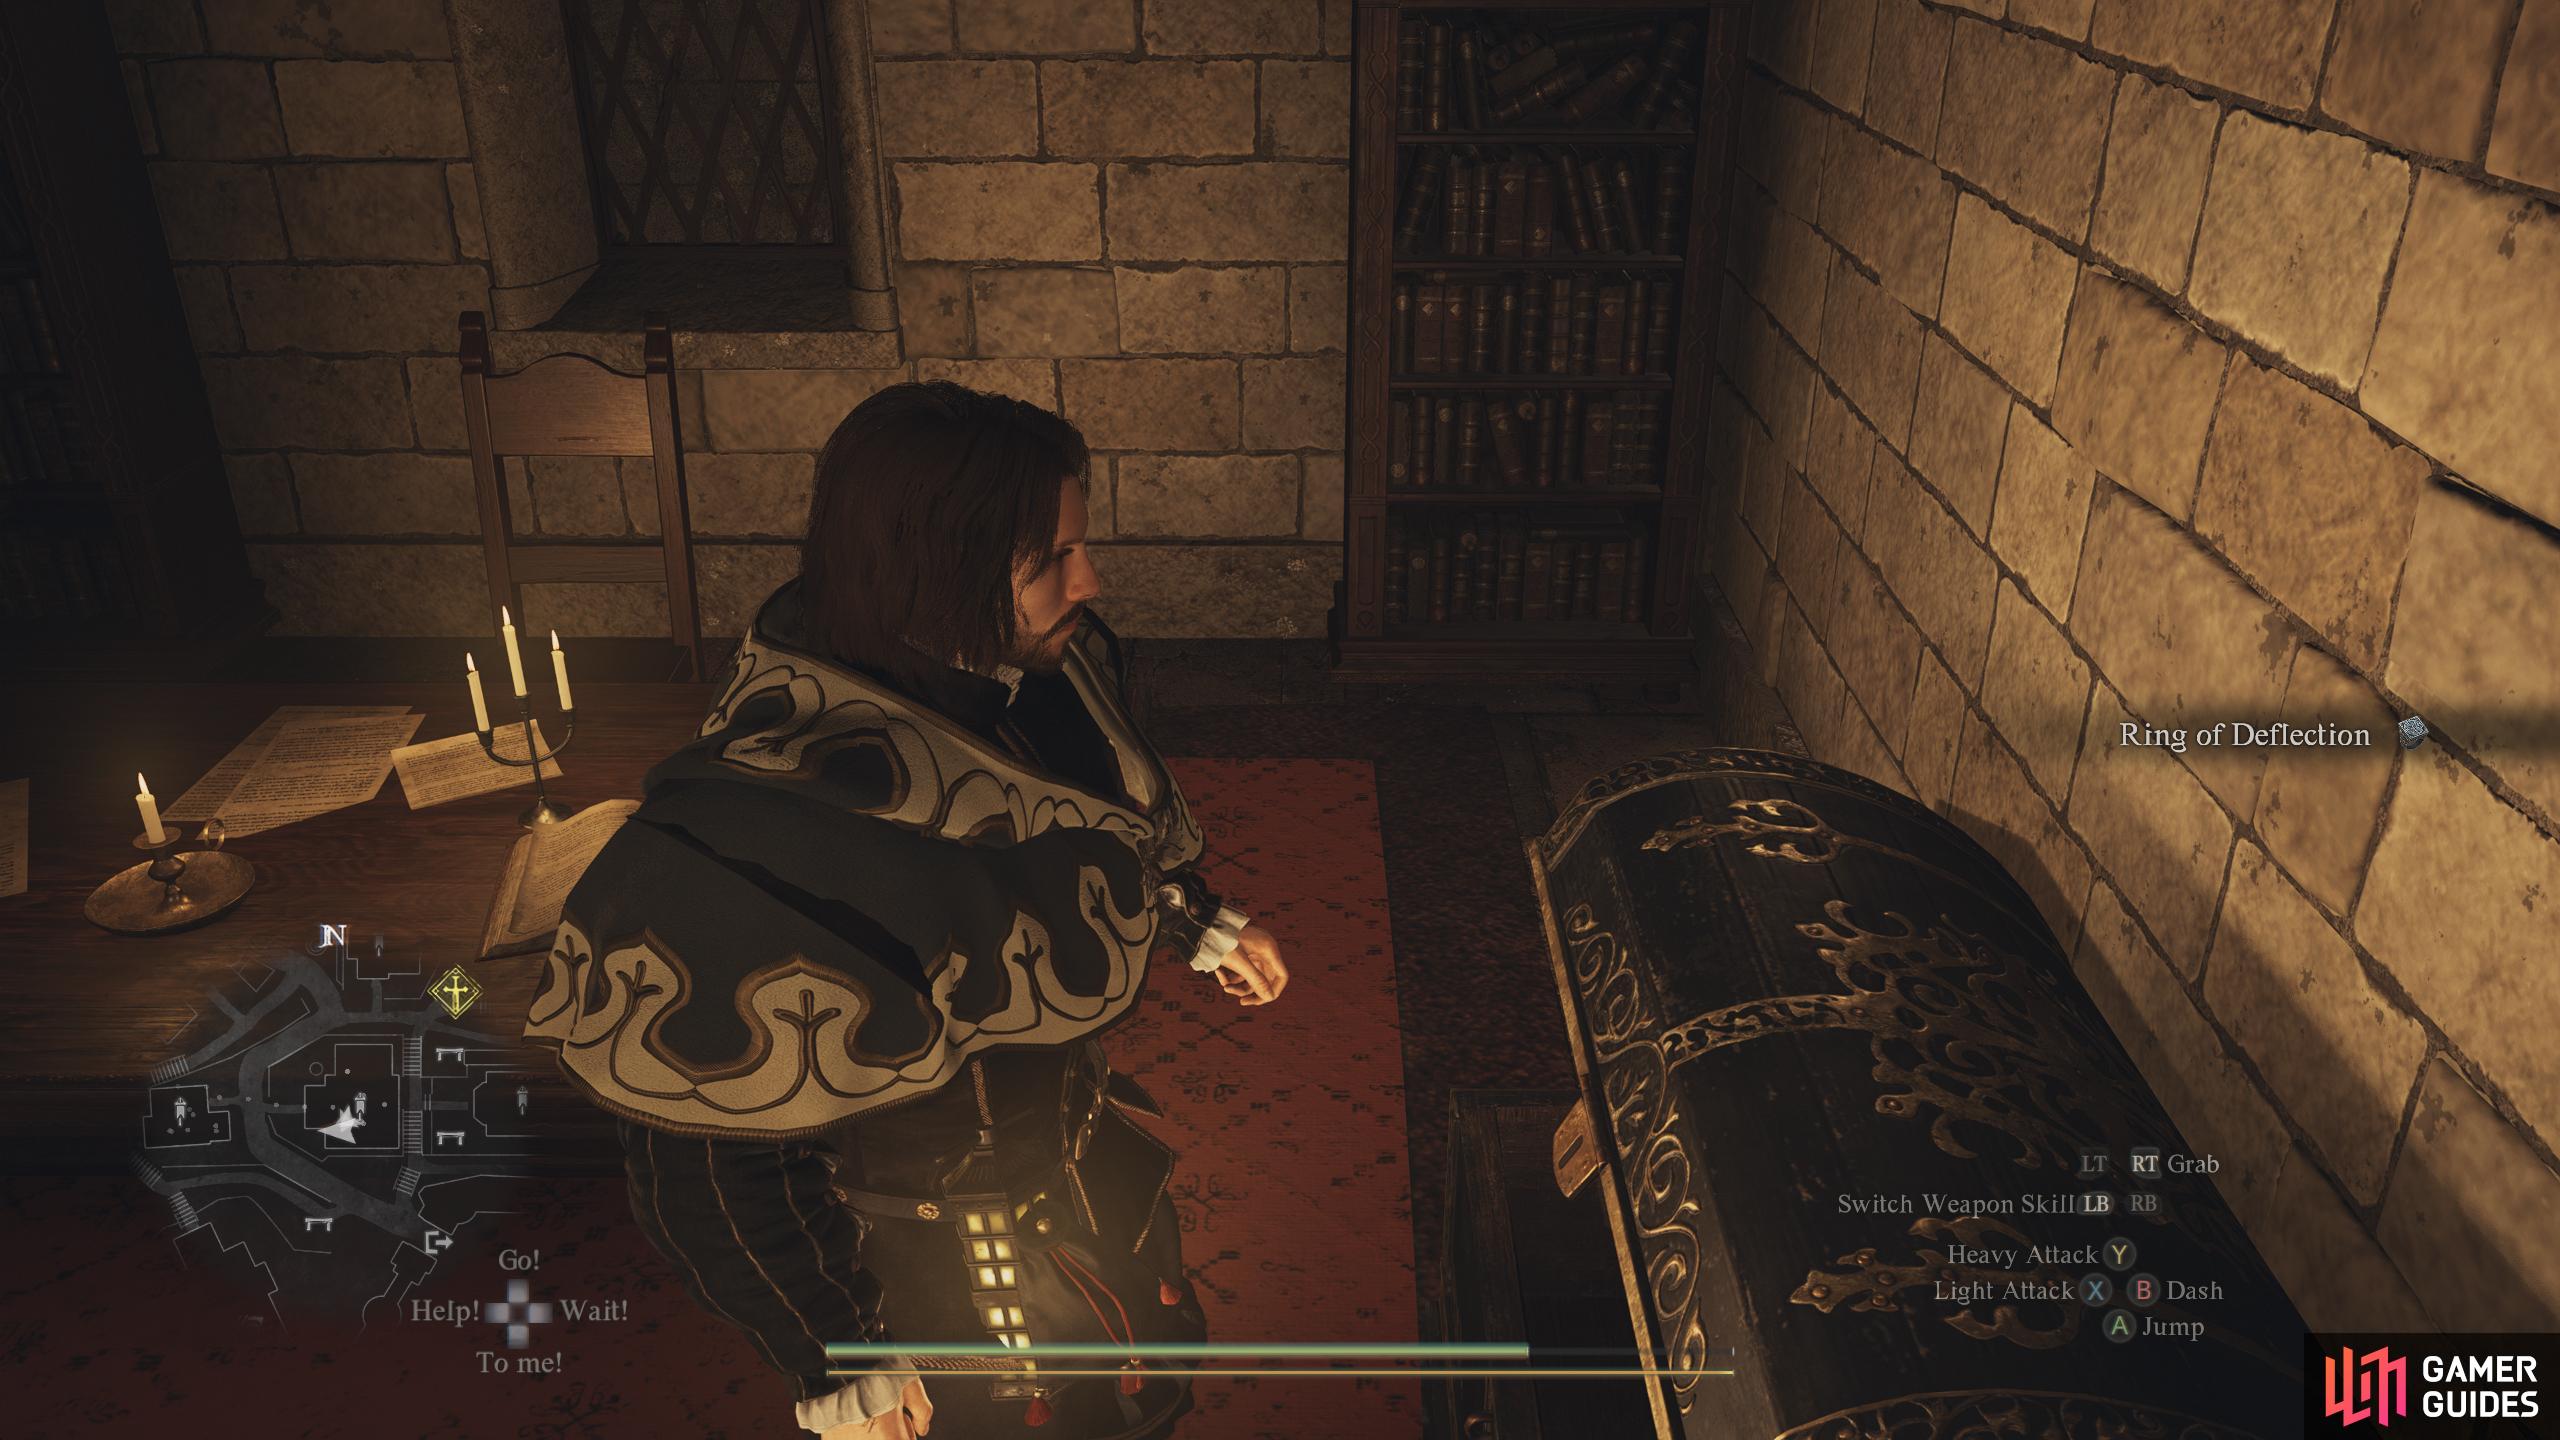
10. World Map
Inside ![]() Comptroller’s Home. Head up the first set of stairs and then take the stairs up on your right. Now enter the second room on your left where you’ll find the chest against the wall to your right. Contains
Comptroller’s Home. Head up the first set of stairs and then take the stairs up on your right. Now enter the second room on your left where you’ll find the chest against the wall to your right. Contains ![]() Ring of Deflection x1.
Ring of Deflection x1.
11. World Map
In the bushes halfway up a cliff near the ![]() Gathering of Beasts.
Gathering of Beasts.
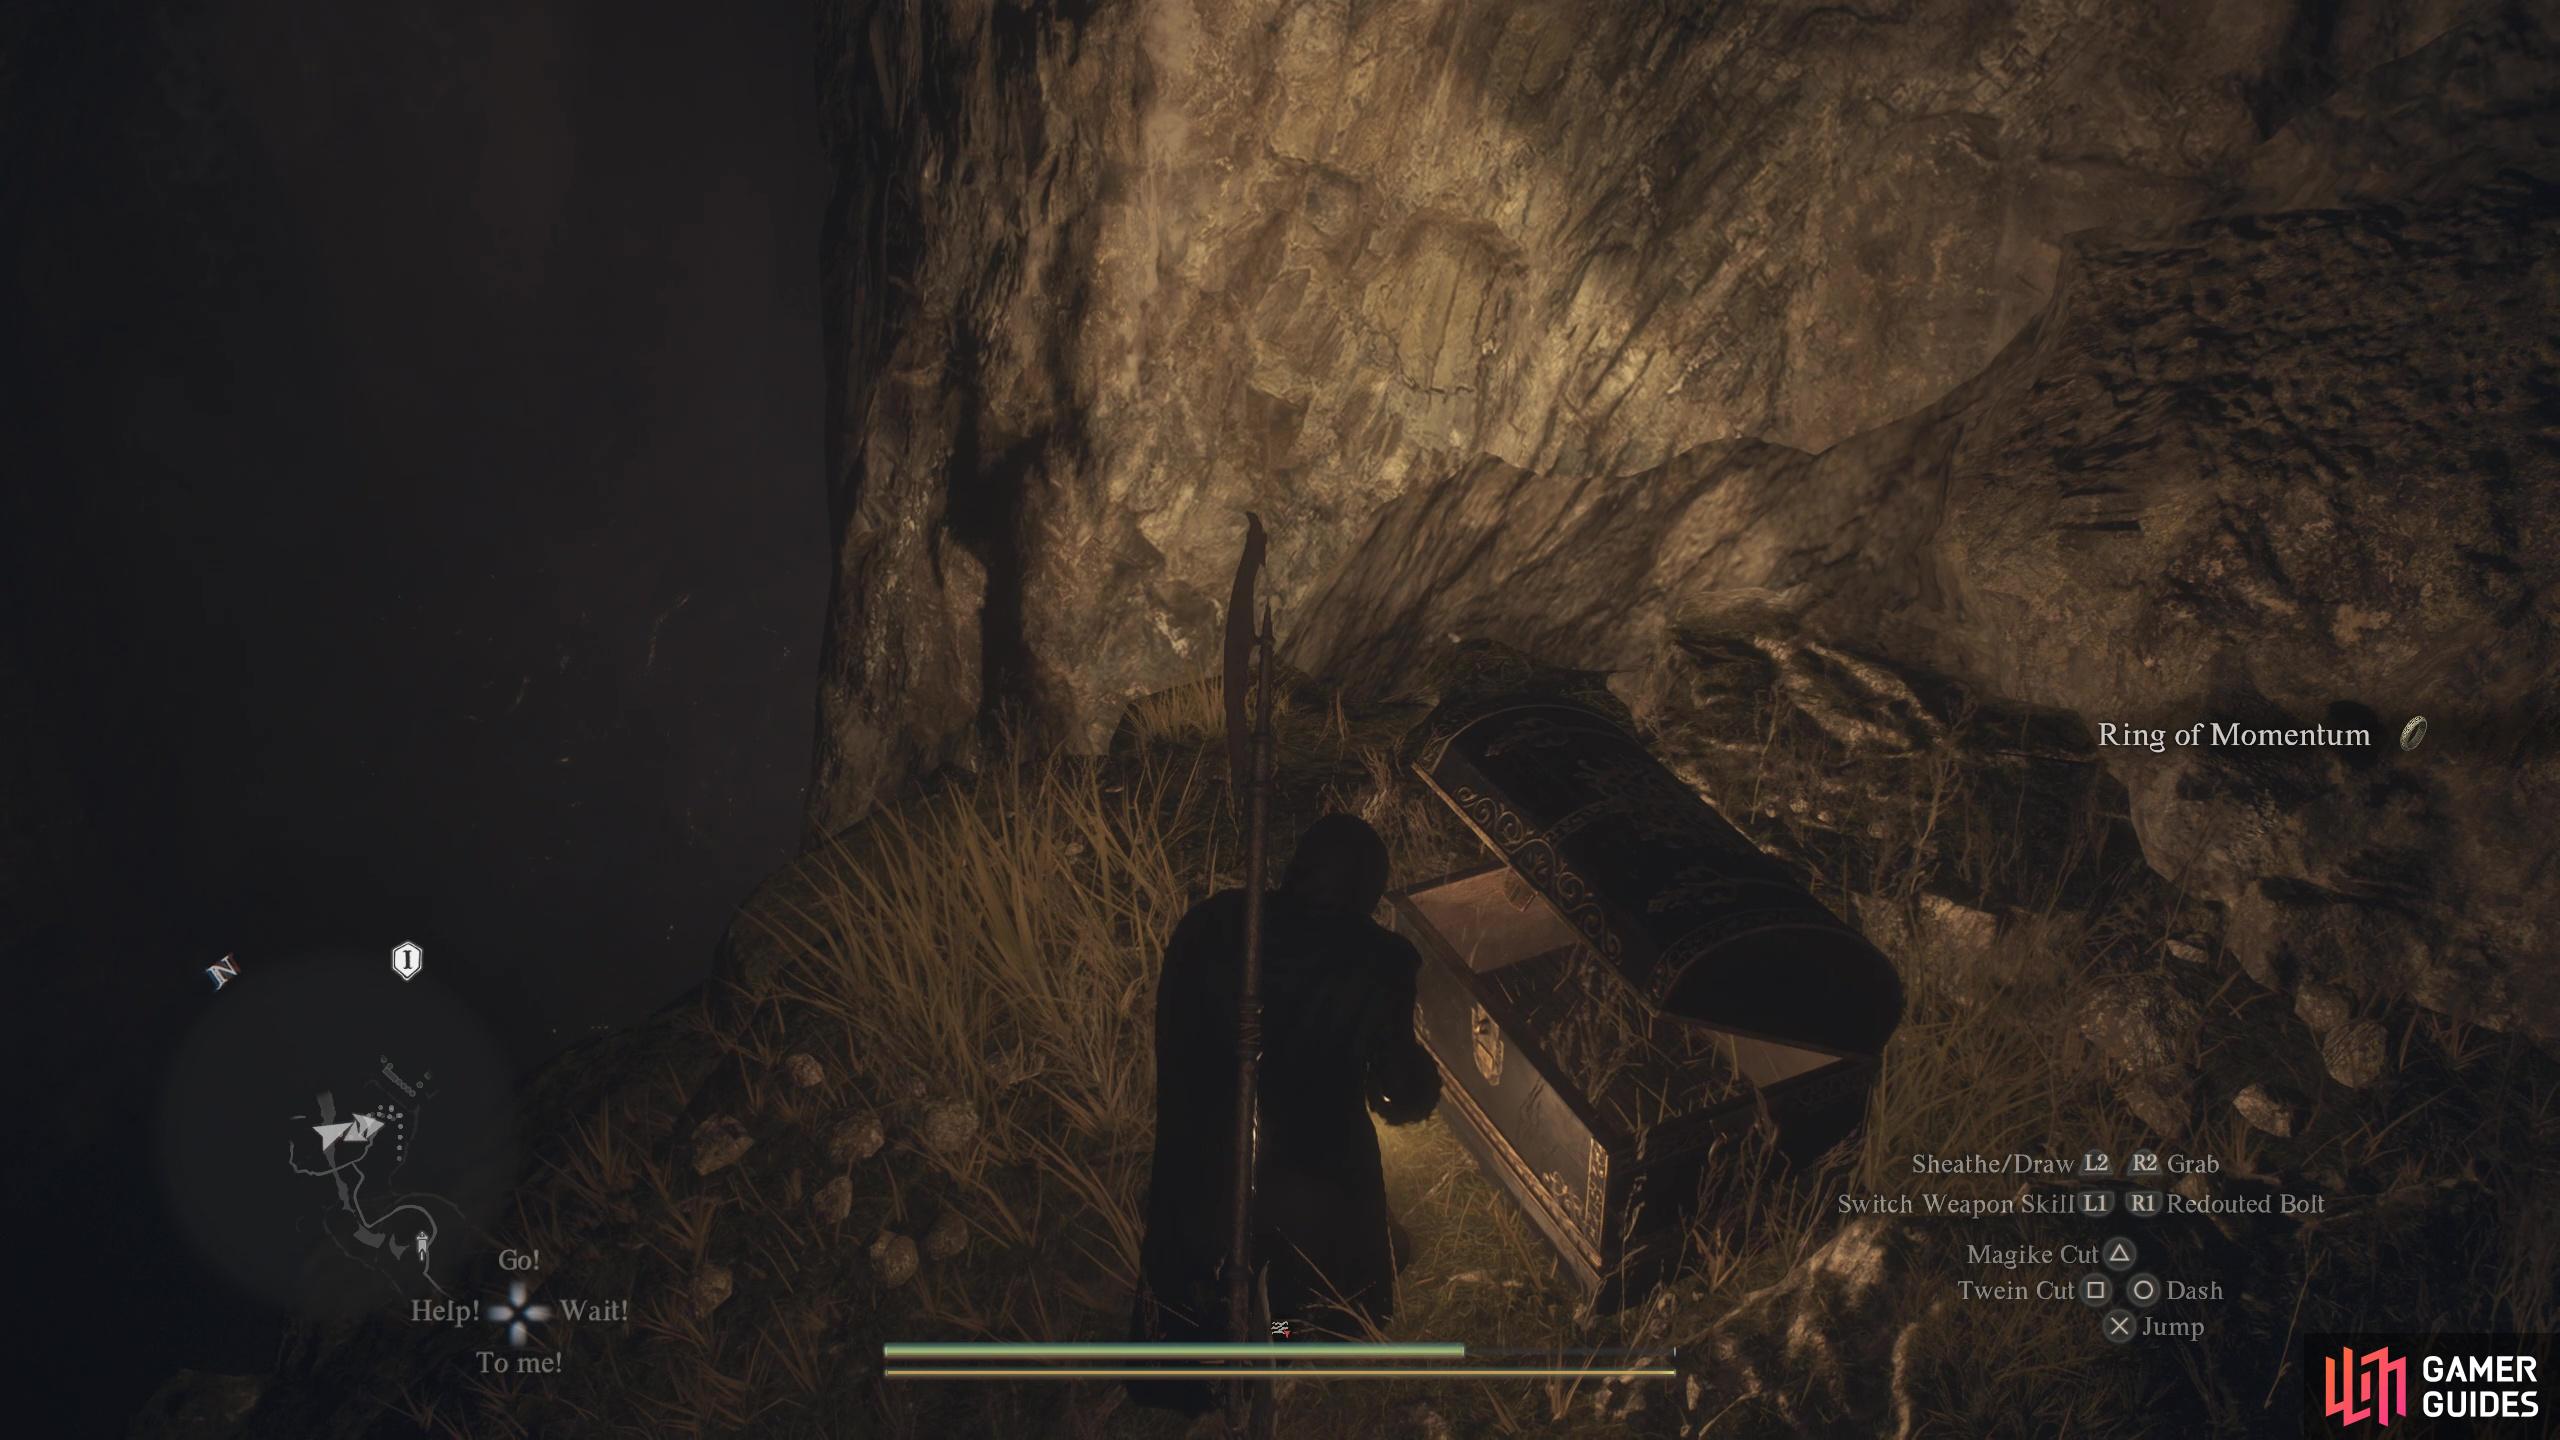
Contains: ![]() Ring of Indifference
Ring of Indifference
12. World Map
At the top of the ruined wall near the ![]() Gathering of Beasts.
Gathering of Beasts.
Contains: ![]() Soft Neck Wrap and 500G
Soft Neck Wrap and 500G
13. World Map
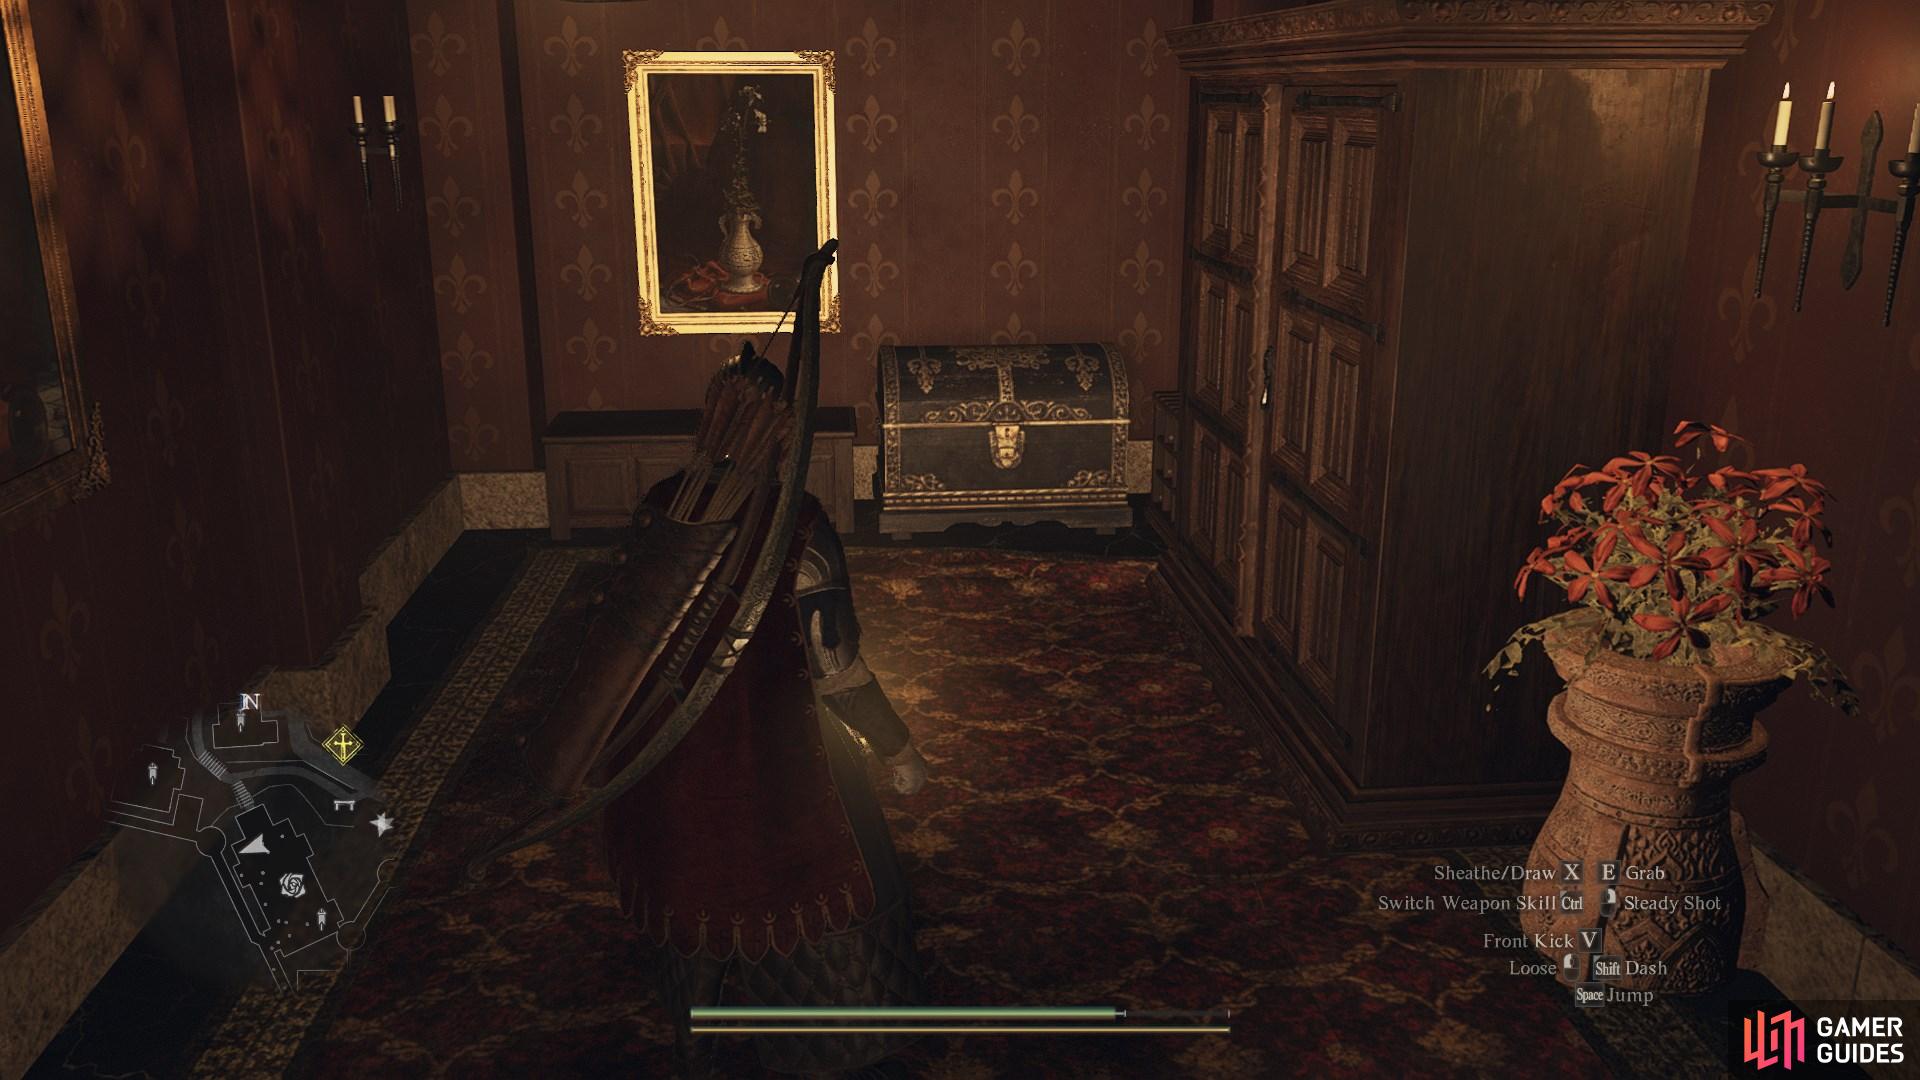
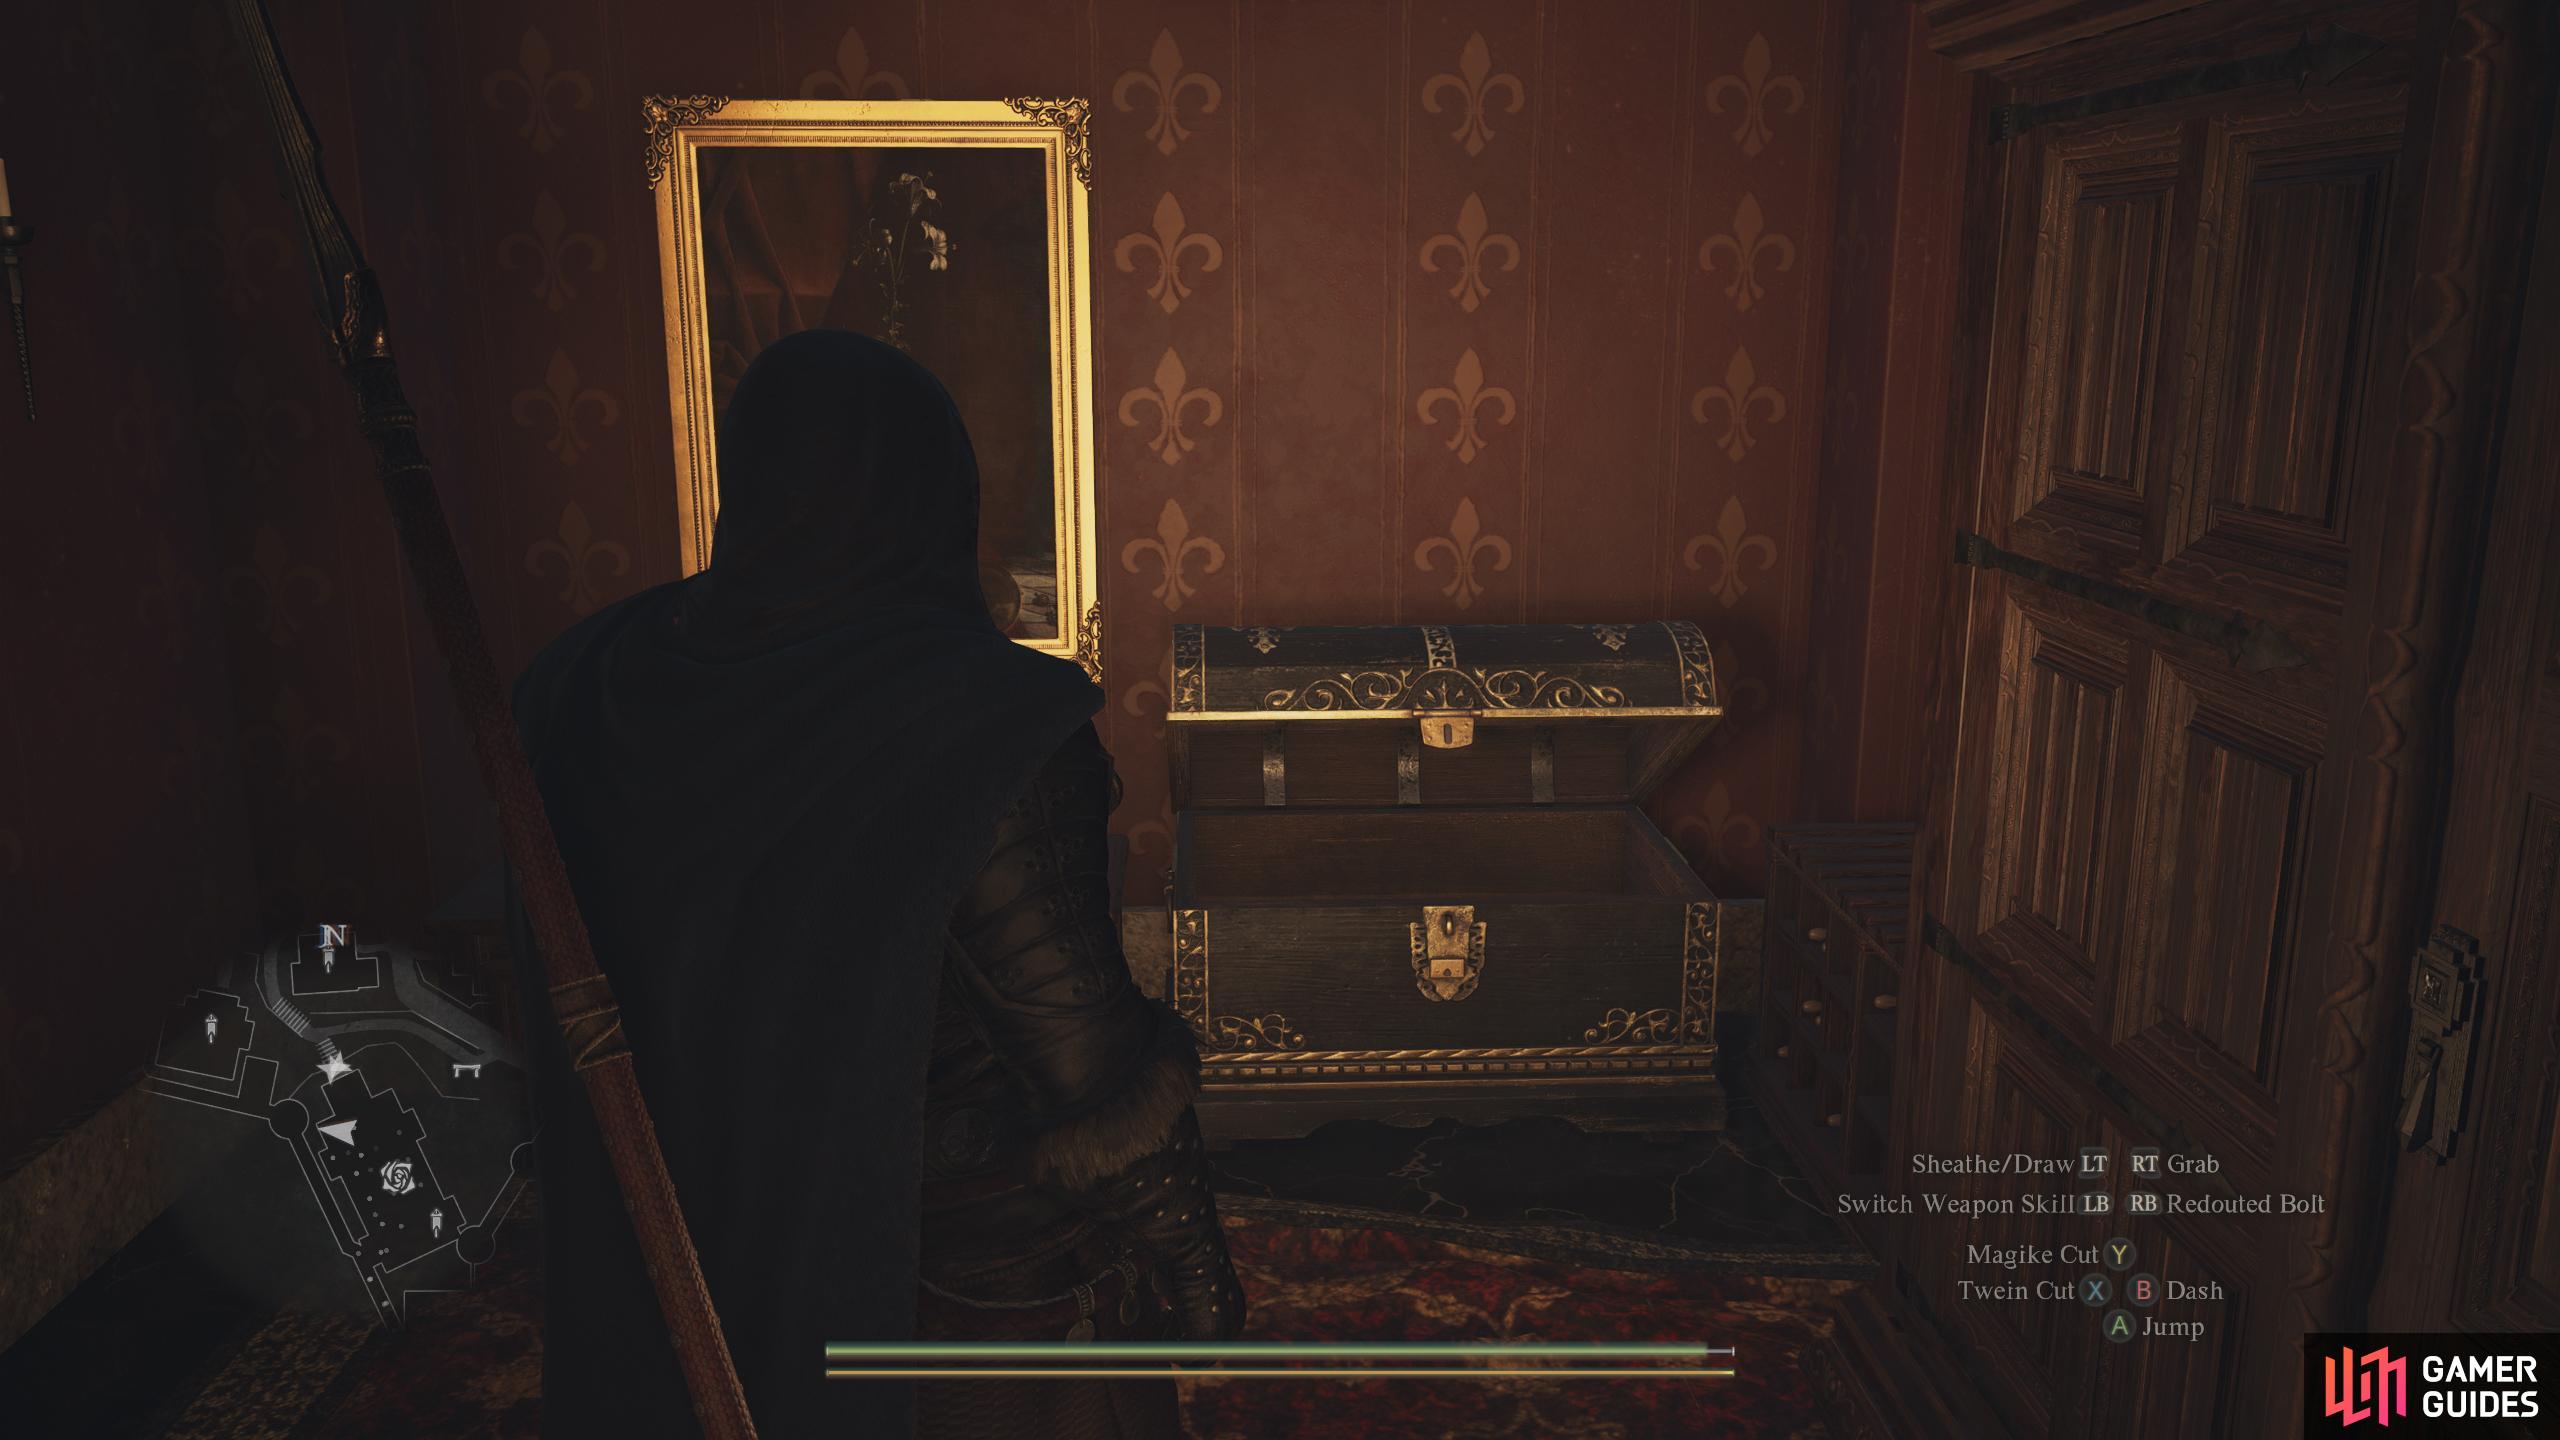
In the ![]() Rose Chateau Bordelrie. Make your way to the very top of the establishment and enter the double doors into Lady Wilhelmina’s room. The chest will be in the corner to your left.
Rose Chateau Bordelrie. Make your way to the very top of the establishment and enter the double doors into Lady Wilhelmina’s room. The chest will be in the corner to your left.
Contains: ![]() Bunch of Flowers
Bunch of Flowers
14. World Map
Outside by the edge of the cliff. You can access this area via the ![]() Rose Chateau Bordelrie. Exit the establishment via a door in the western corridor, and then take the ladder down on the ramparts.
Rose Chateau Bordelrie. Exit the establishment via a door in the western corridor, and then take the ladder down on the ramparts.
Contains ![]() Ferrystone x1.
Ferrystone x1.
15. World Map
Inside the cabin near the ![]() Riftstone of Remembrance.
Riftstone of Remembrance.
Contains: ![]() Napped-Leather Boots.
Napped-Leather Boots.

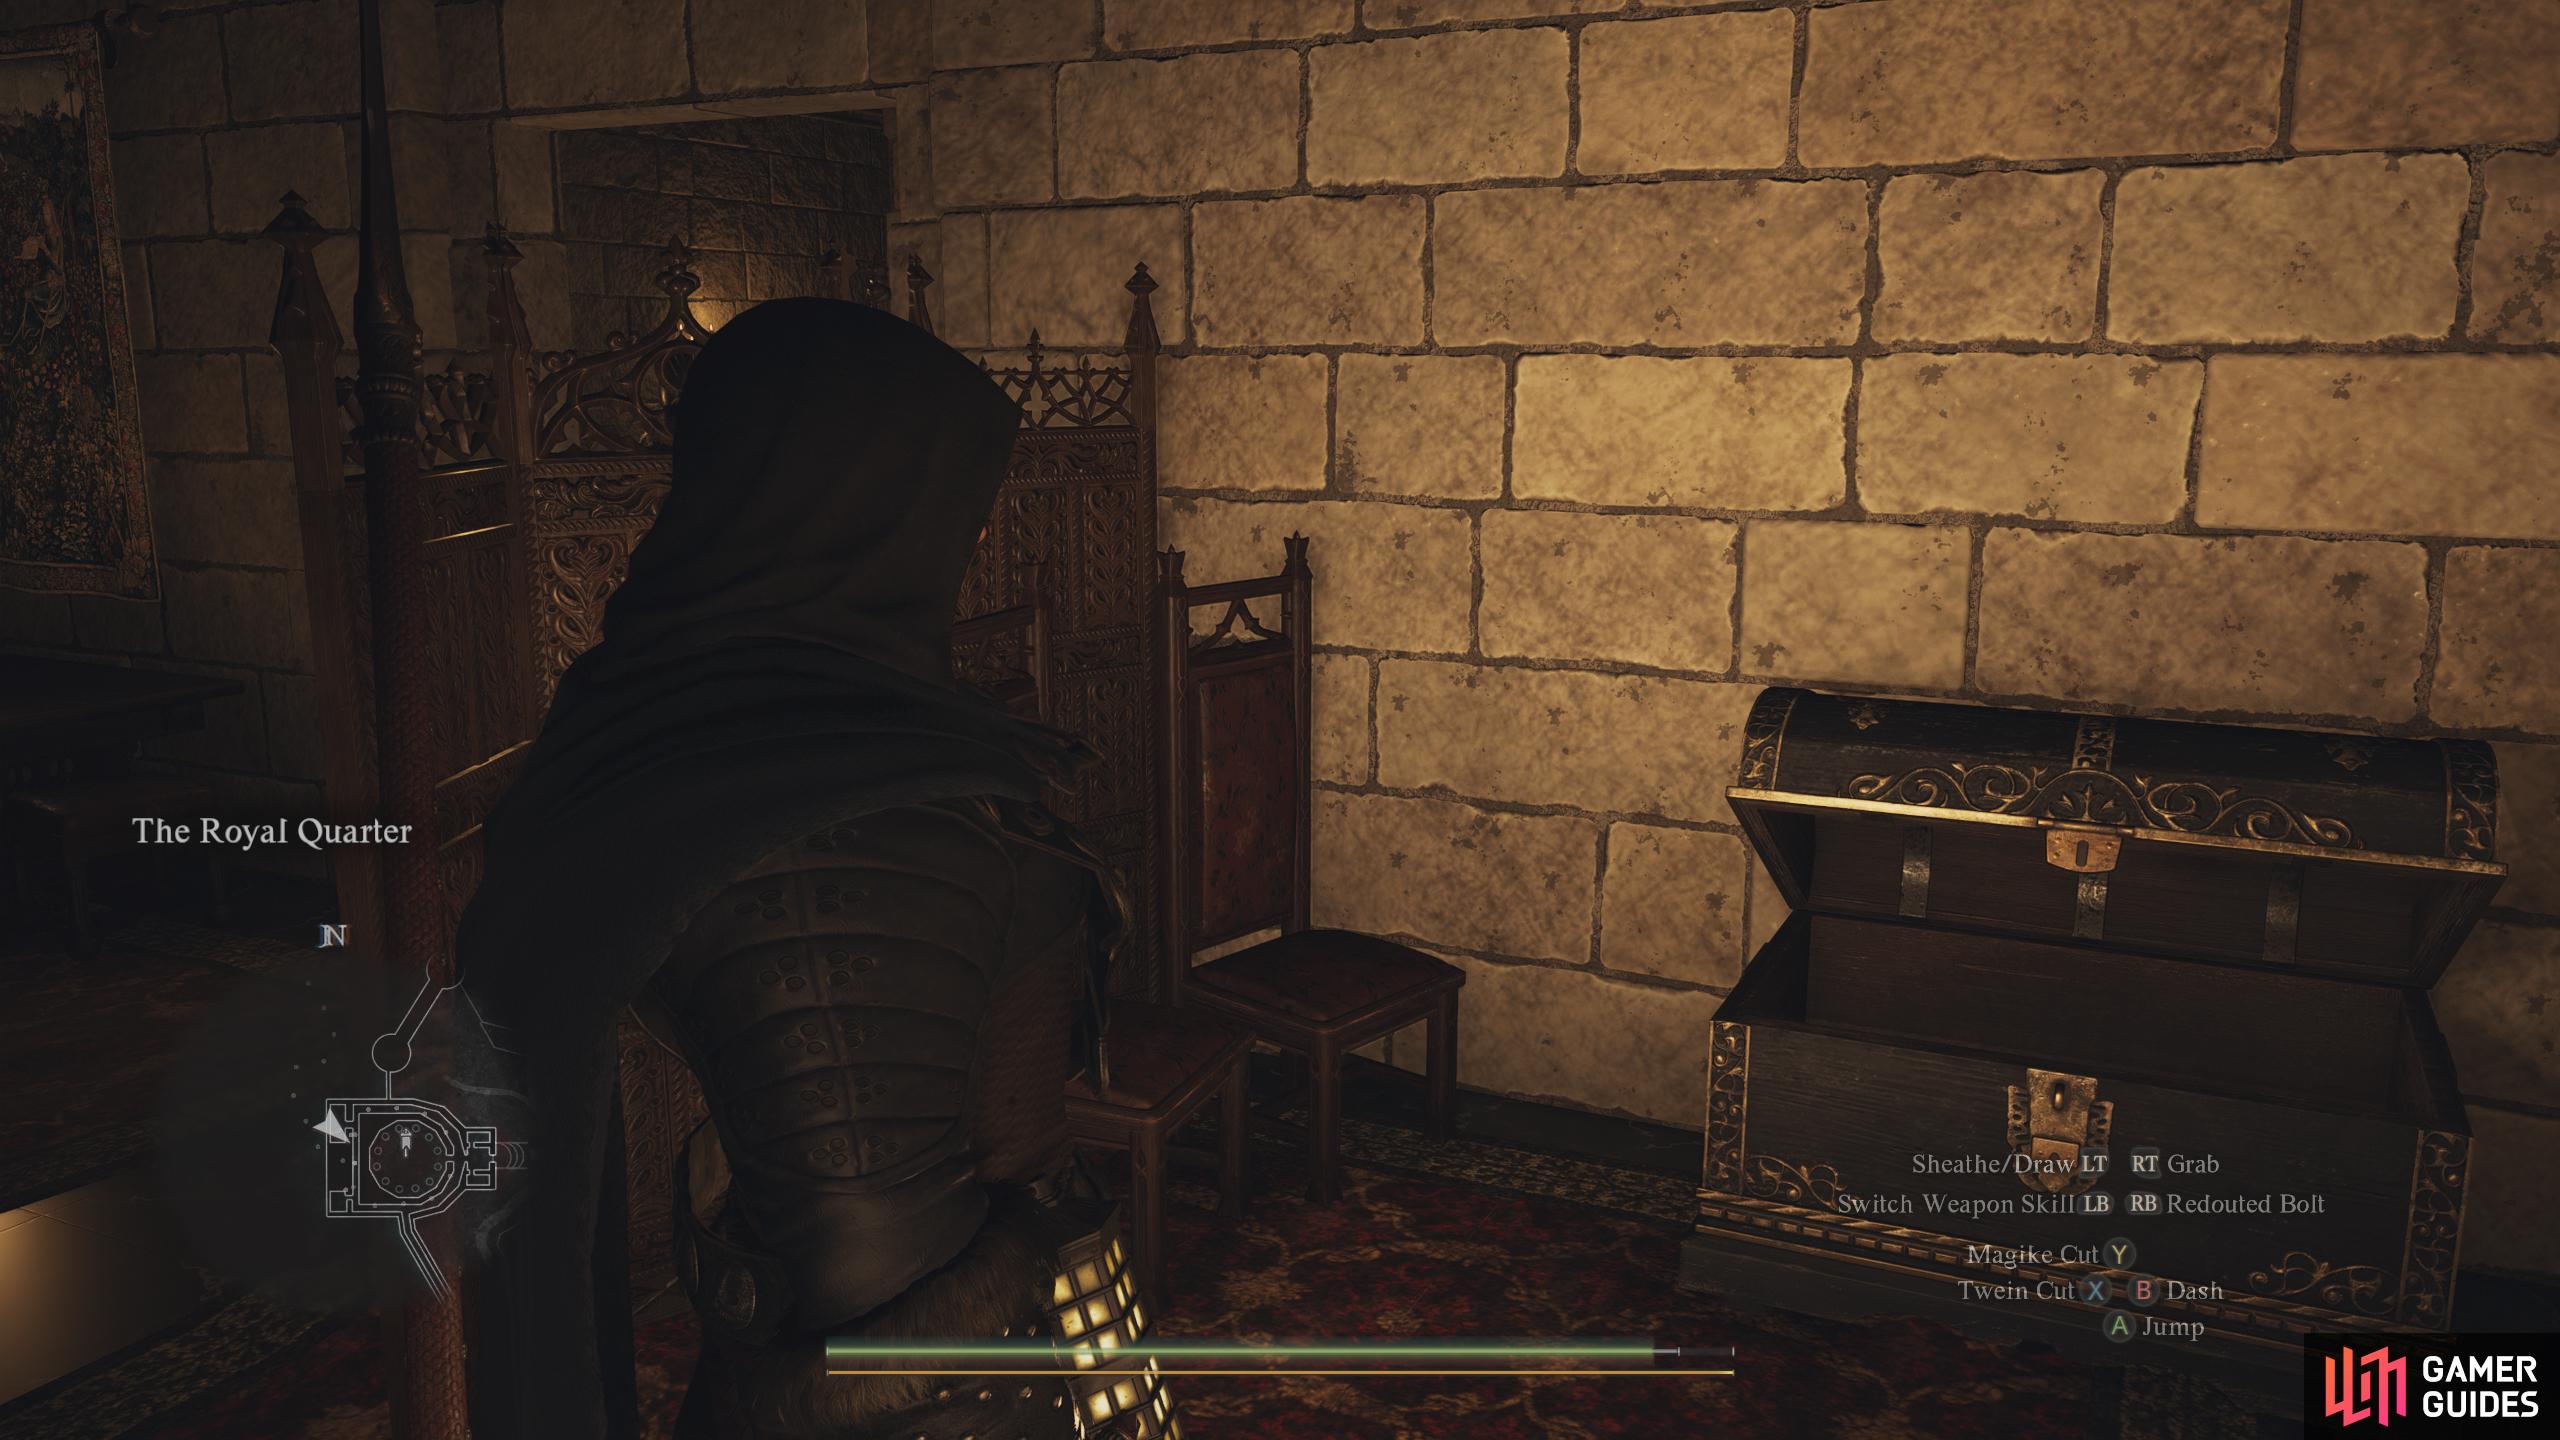
16. World Map
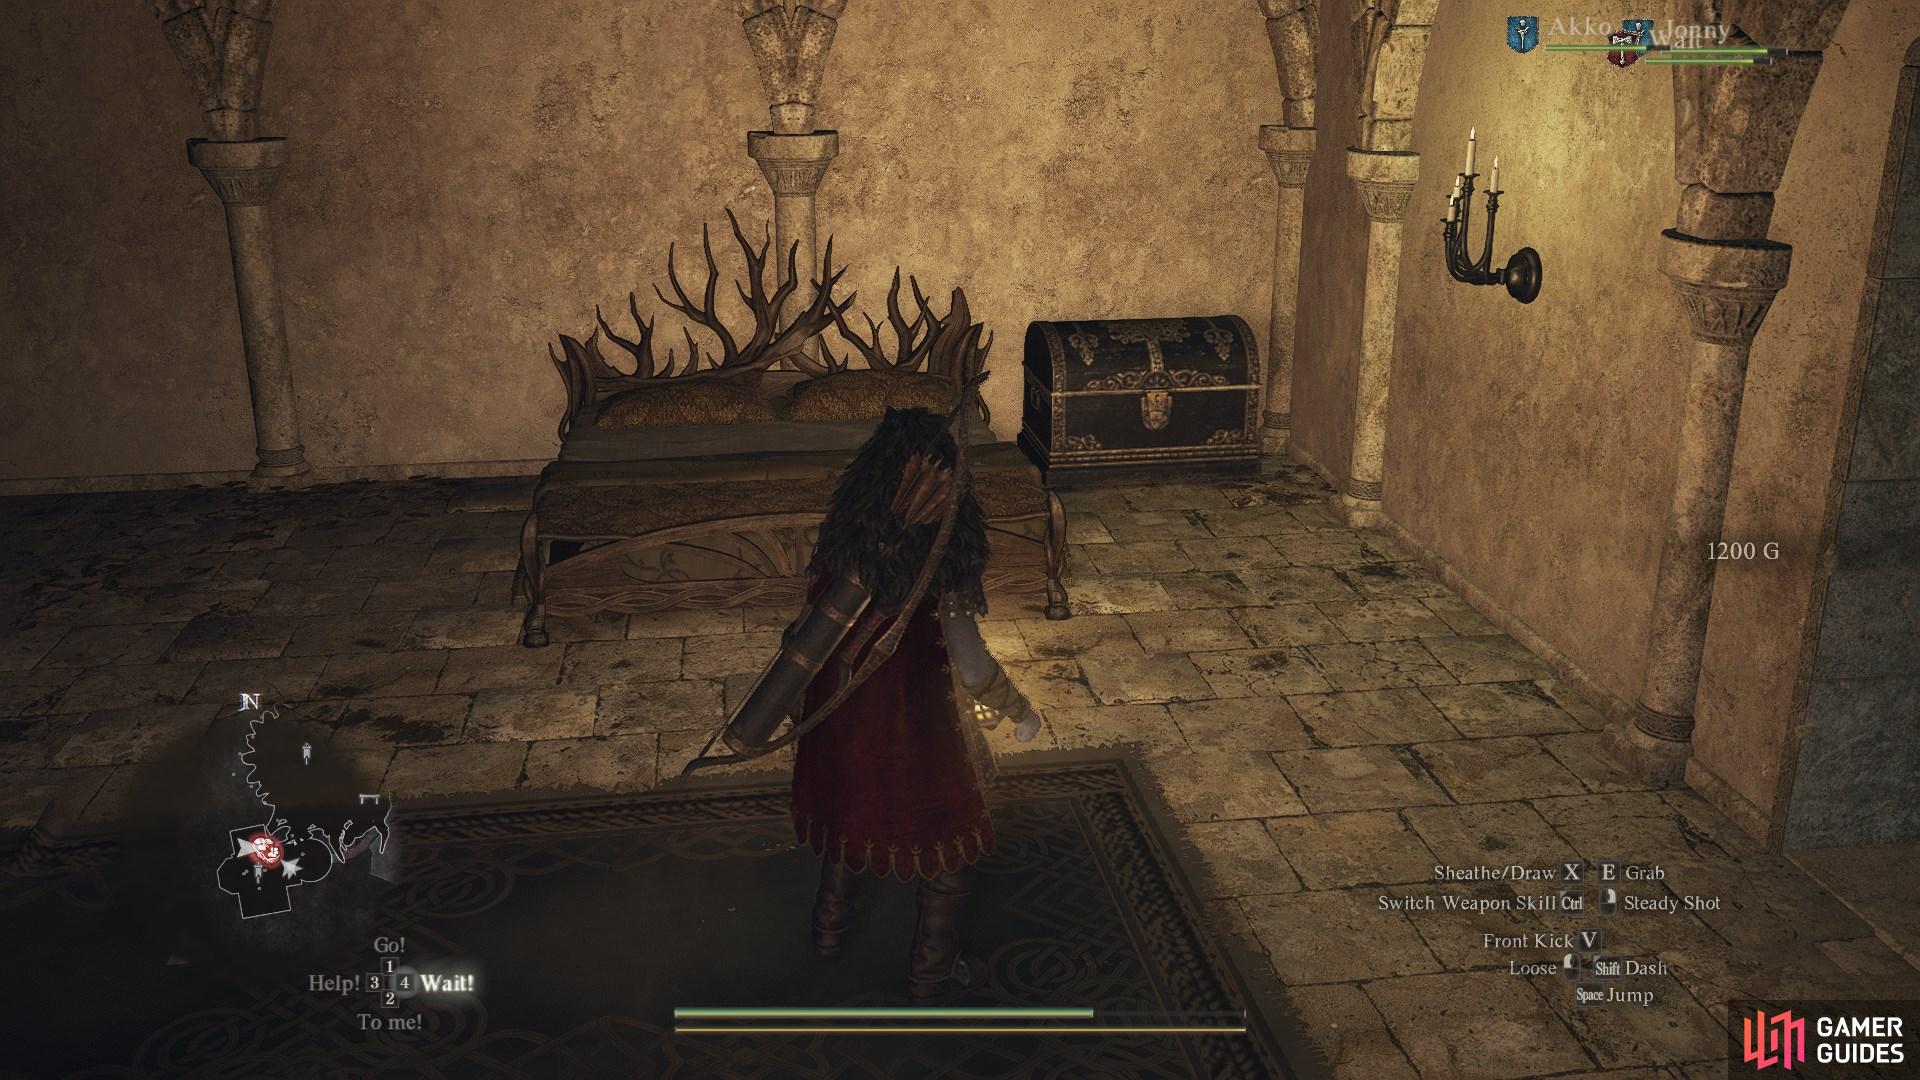
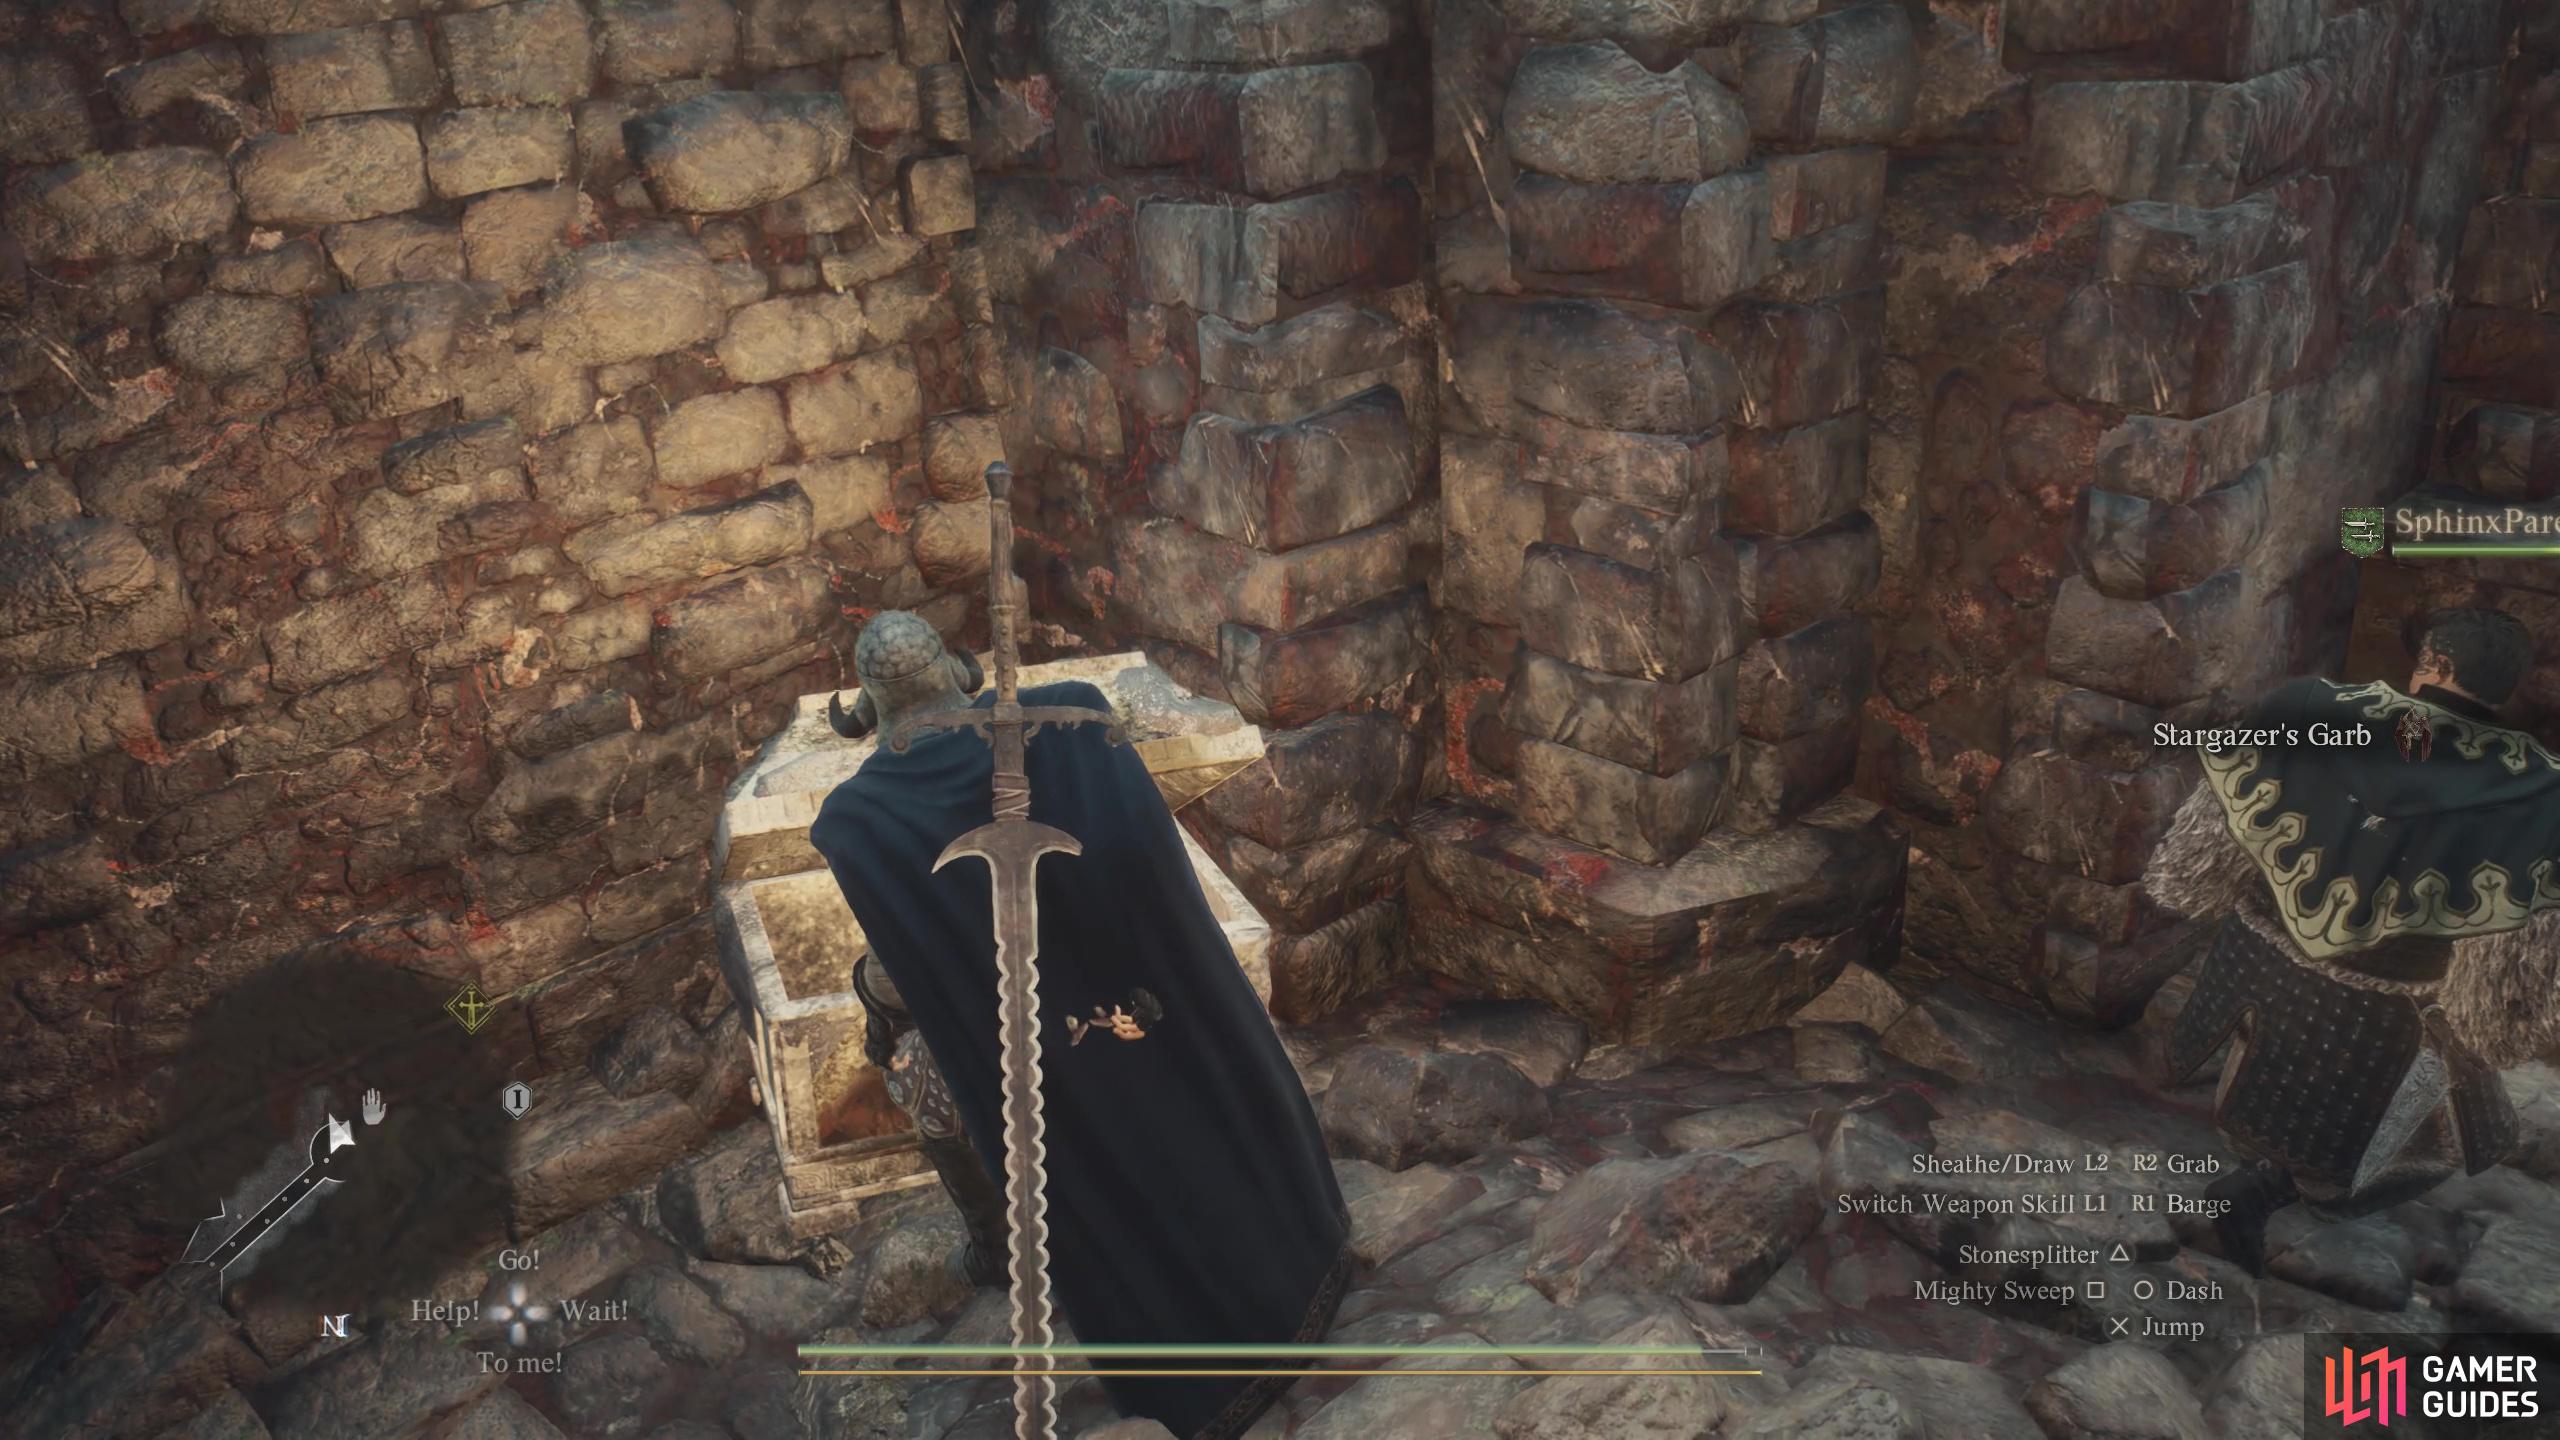
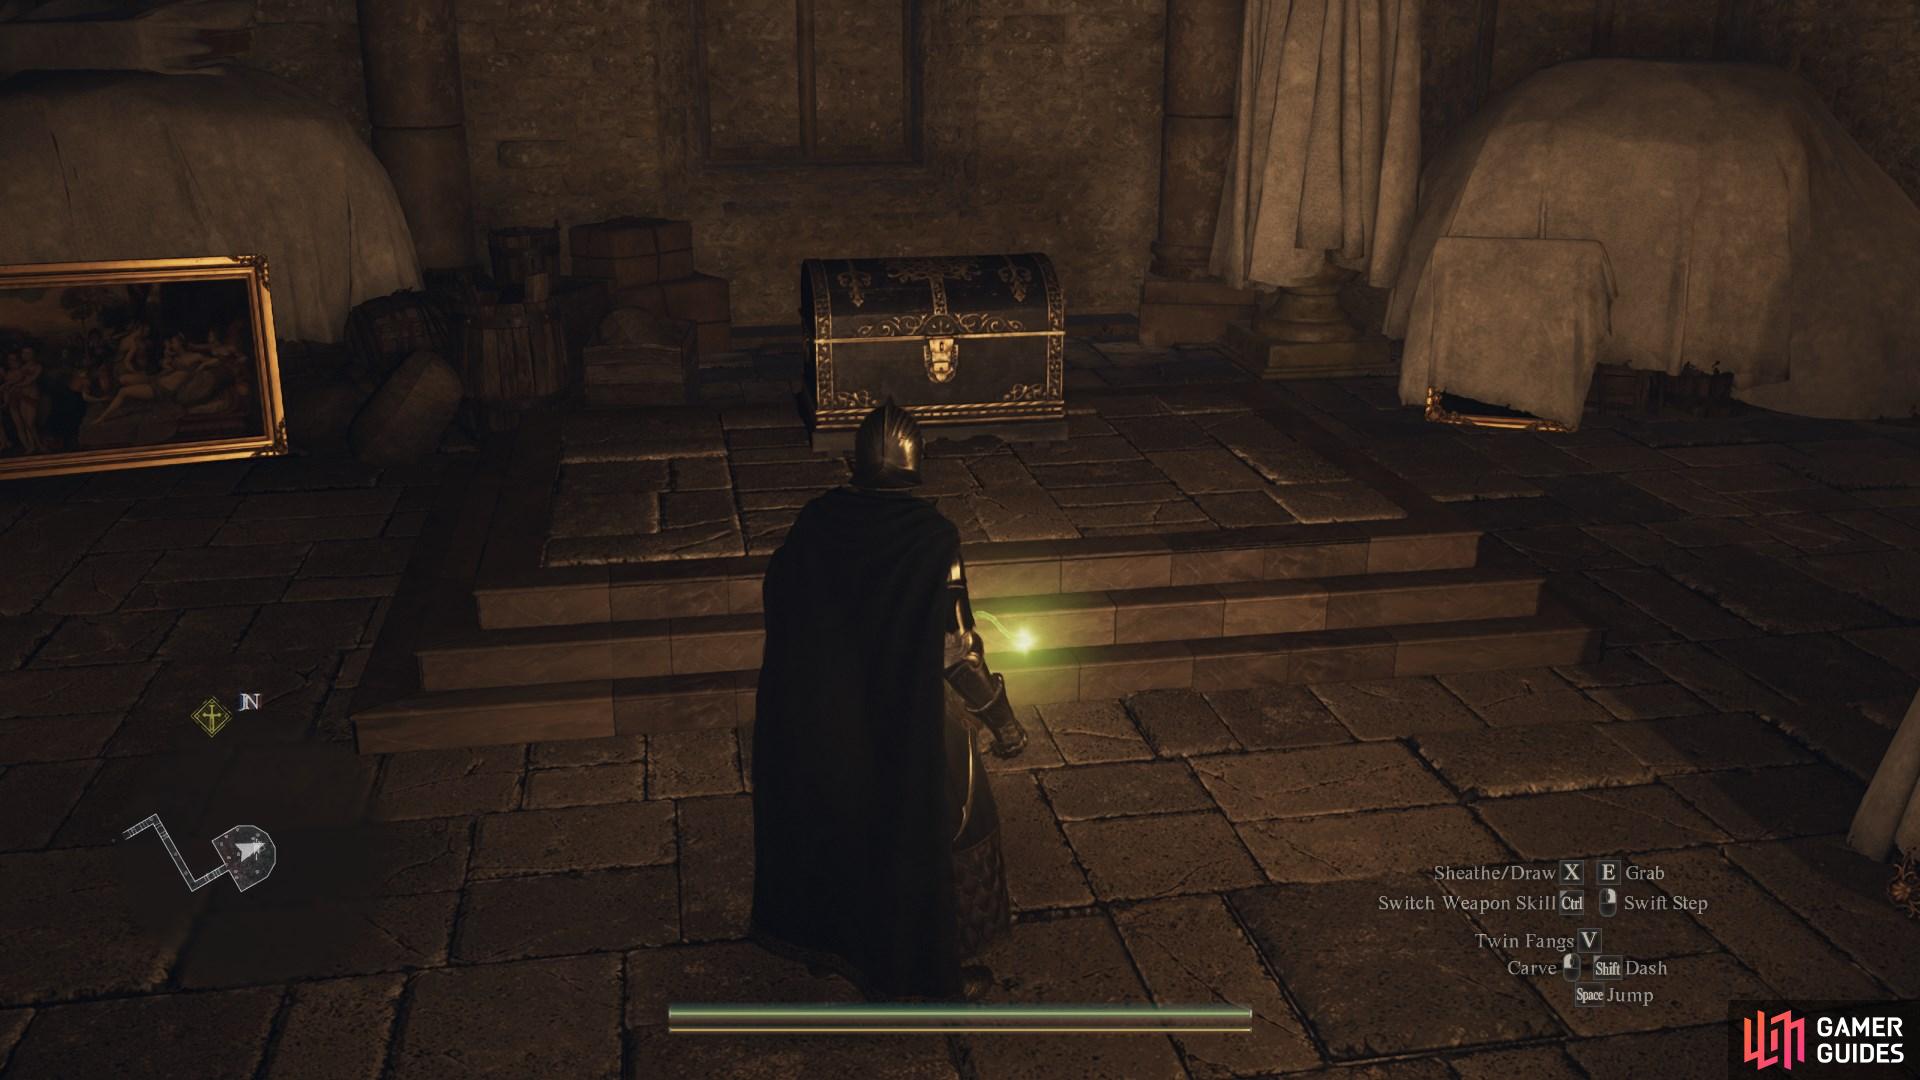
Inside ![]() Vernworth Hall. The chest can be found at the back of the hall in a small room in the northwestern corner.
Vernworth Hall. The chest can be found at the back of the hall in a small room in the northwestern corner.
Contains: ![]() Courtly Breeches and
Courtly Breeches and ![]() Courtly Tunic
Courtly Tunic

18. Vernworth Map
Go up the stairs in ![]() The Guardhouse an head to the end of the room where you’ll find a chest opposite the beds.
The Guardhouse an head to the end of the room where you’ll find a chest opposite the beds.
19. Vernworth Map
On the balcony. You will need to go up to the watchtower (where another chest is). From there, drop onto the roof via the northern side of the watchtower, and continue north over to the wooden boarding. Now jump on the small awnings over to the balcony to the northeast where you’ll find the chest at the end. Contains ![]() Ferrystone x1.
Ferrystone x1.
20. World Map
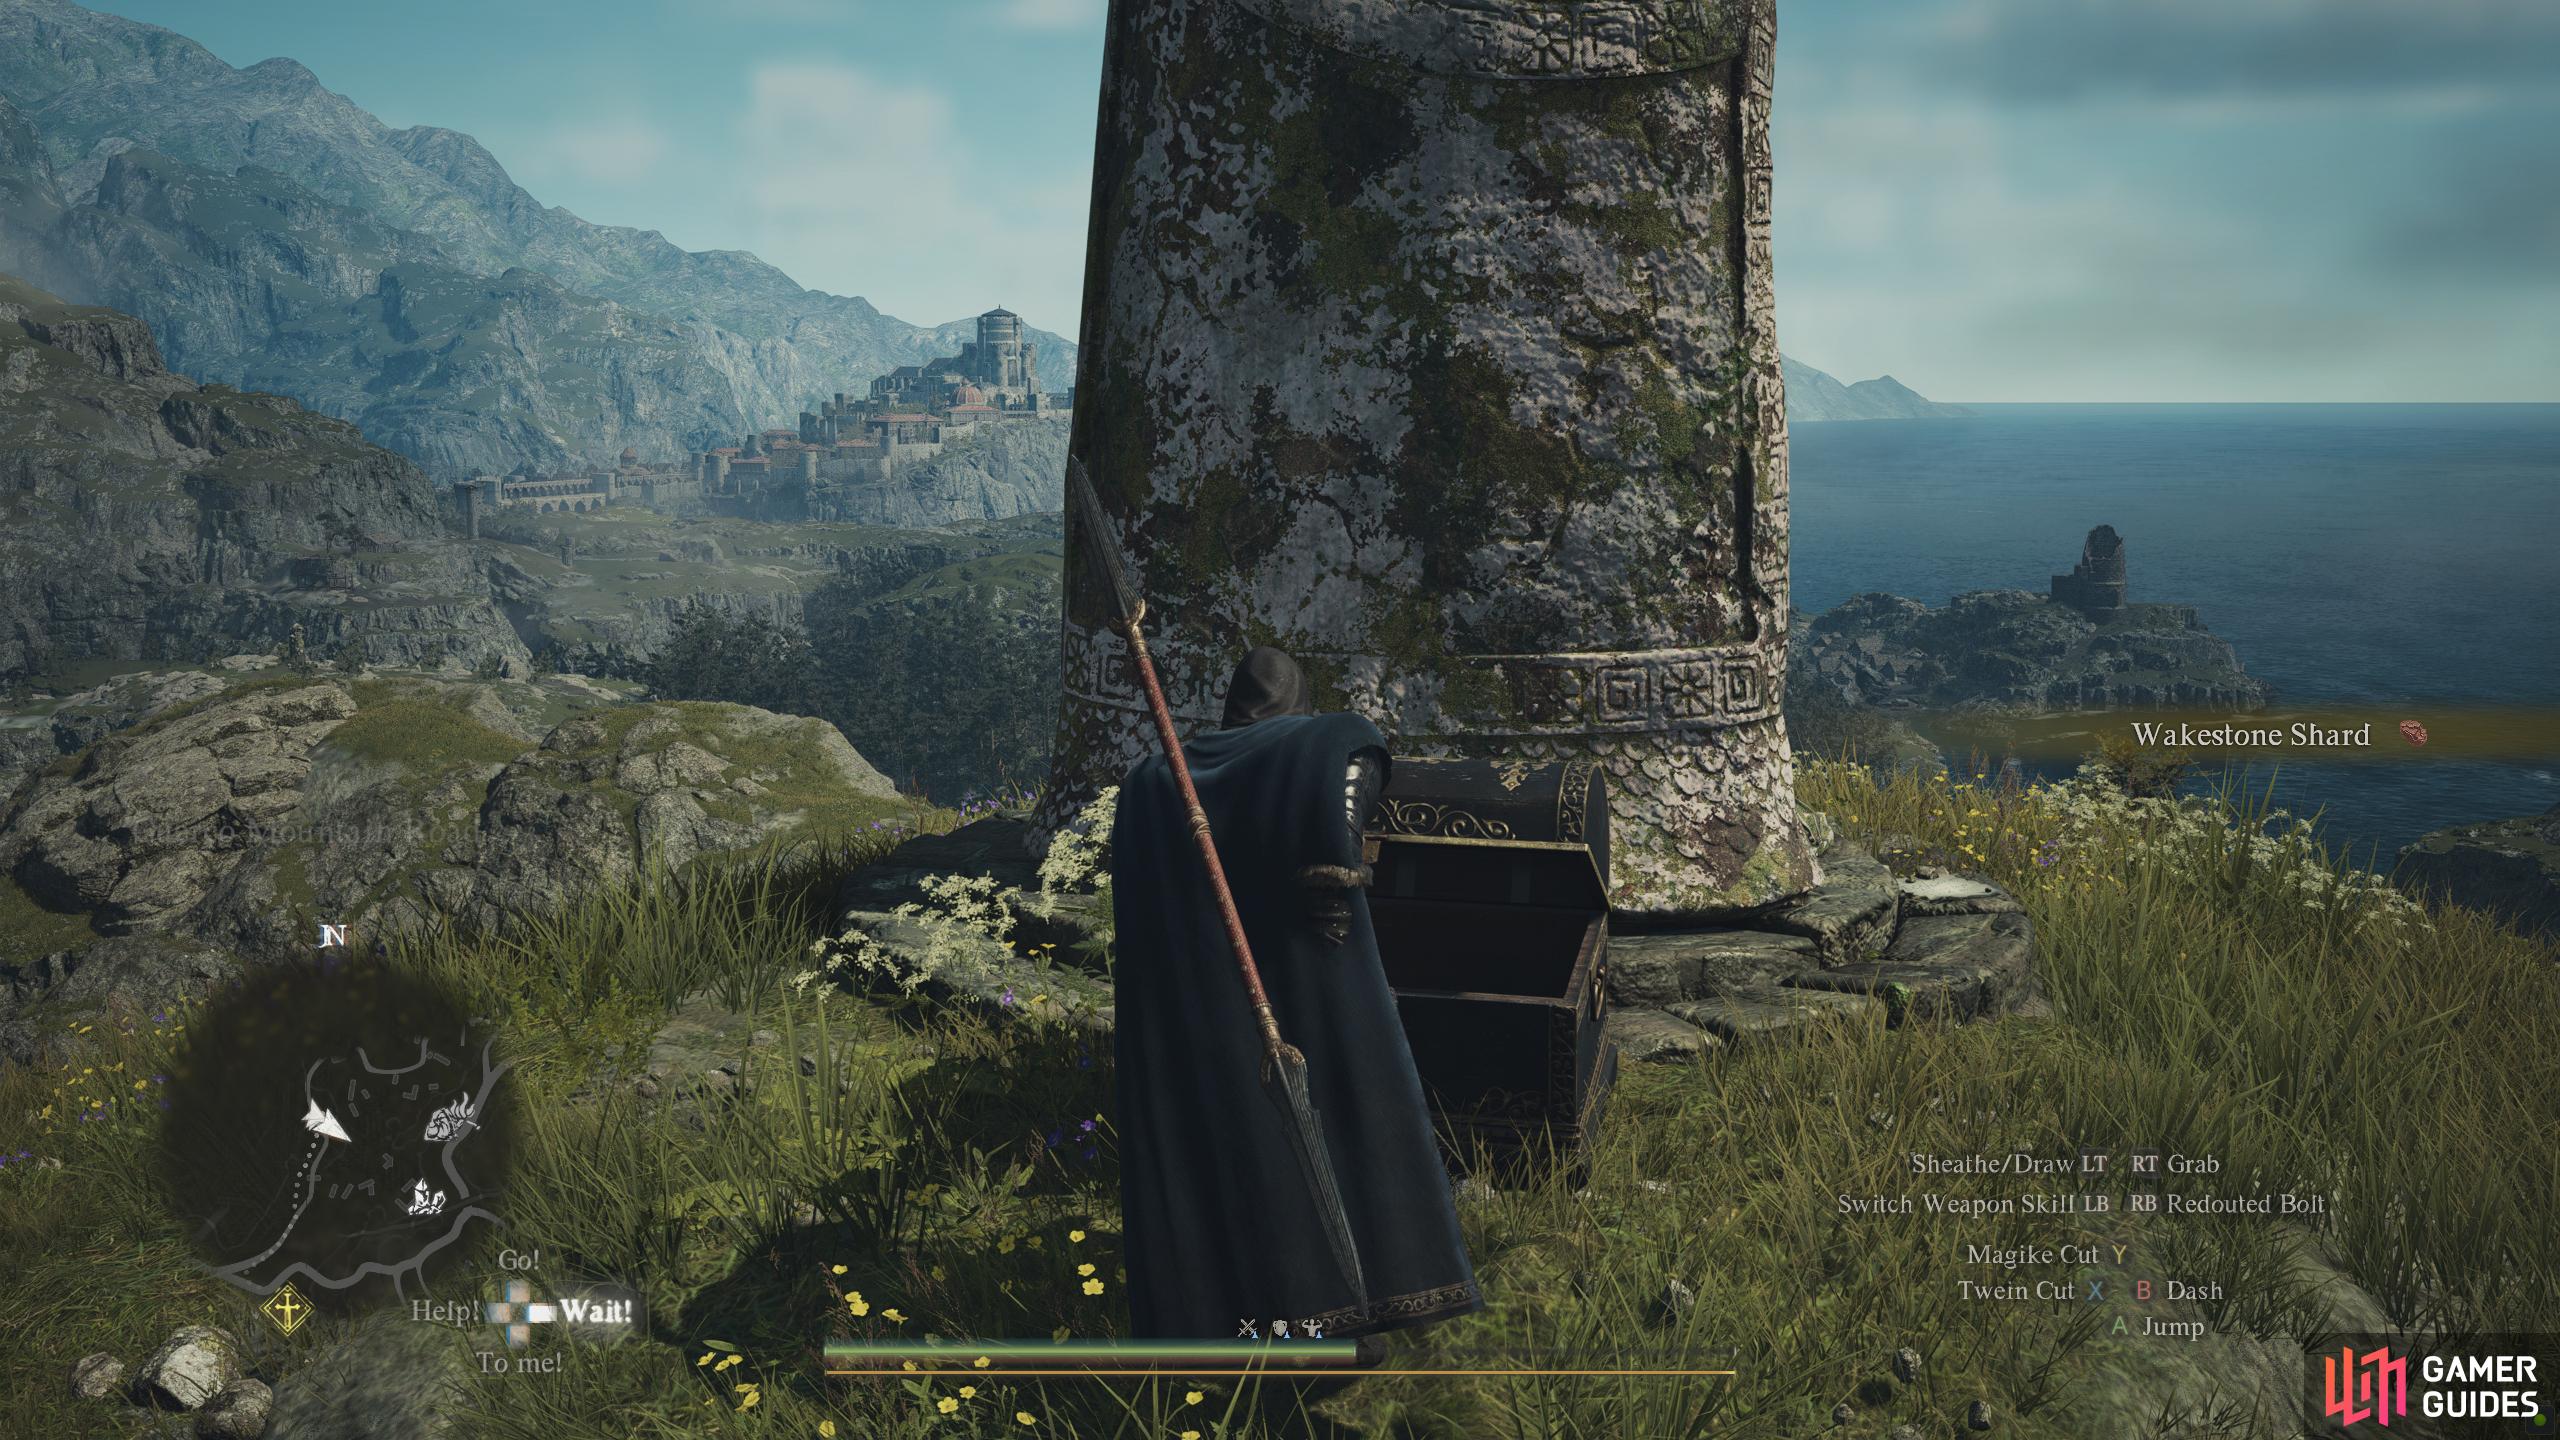
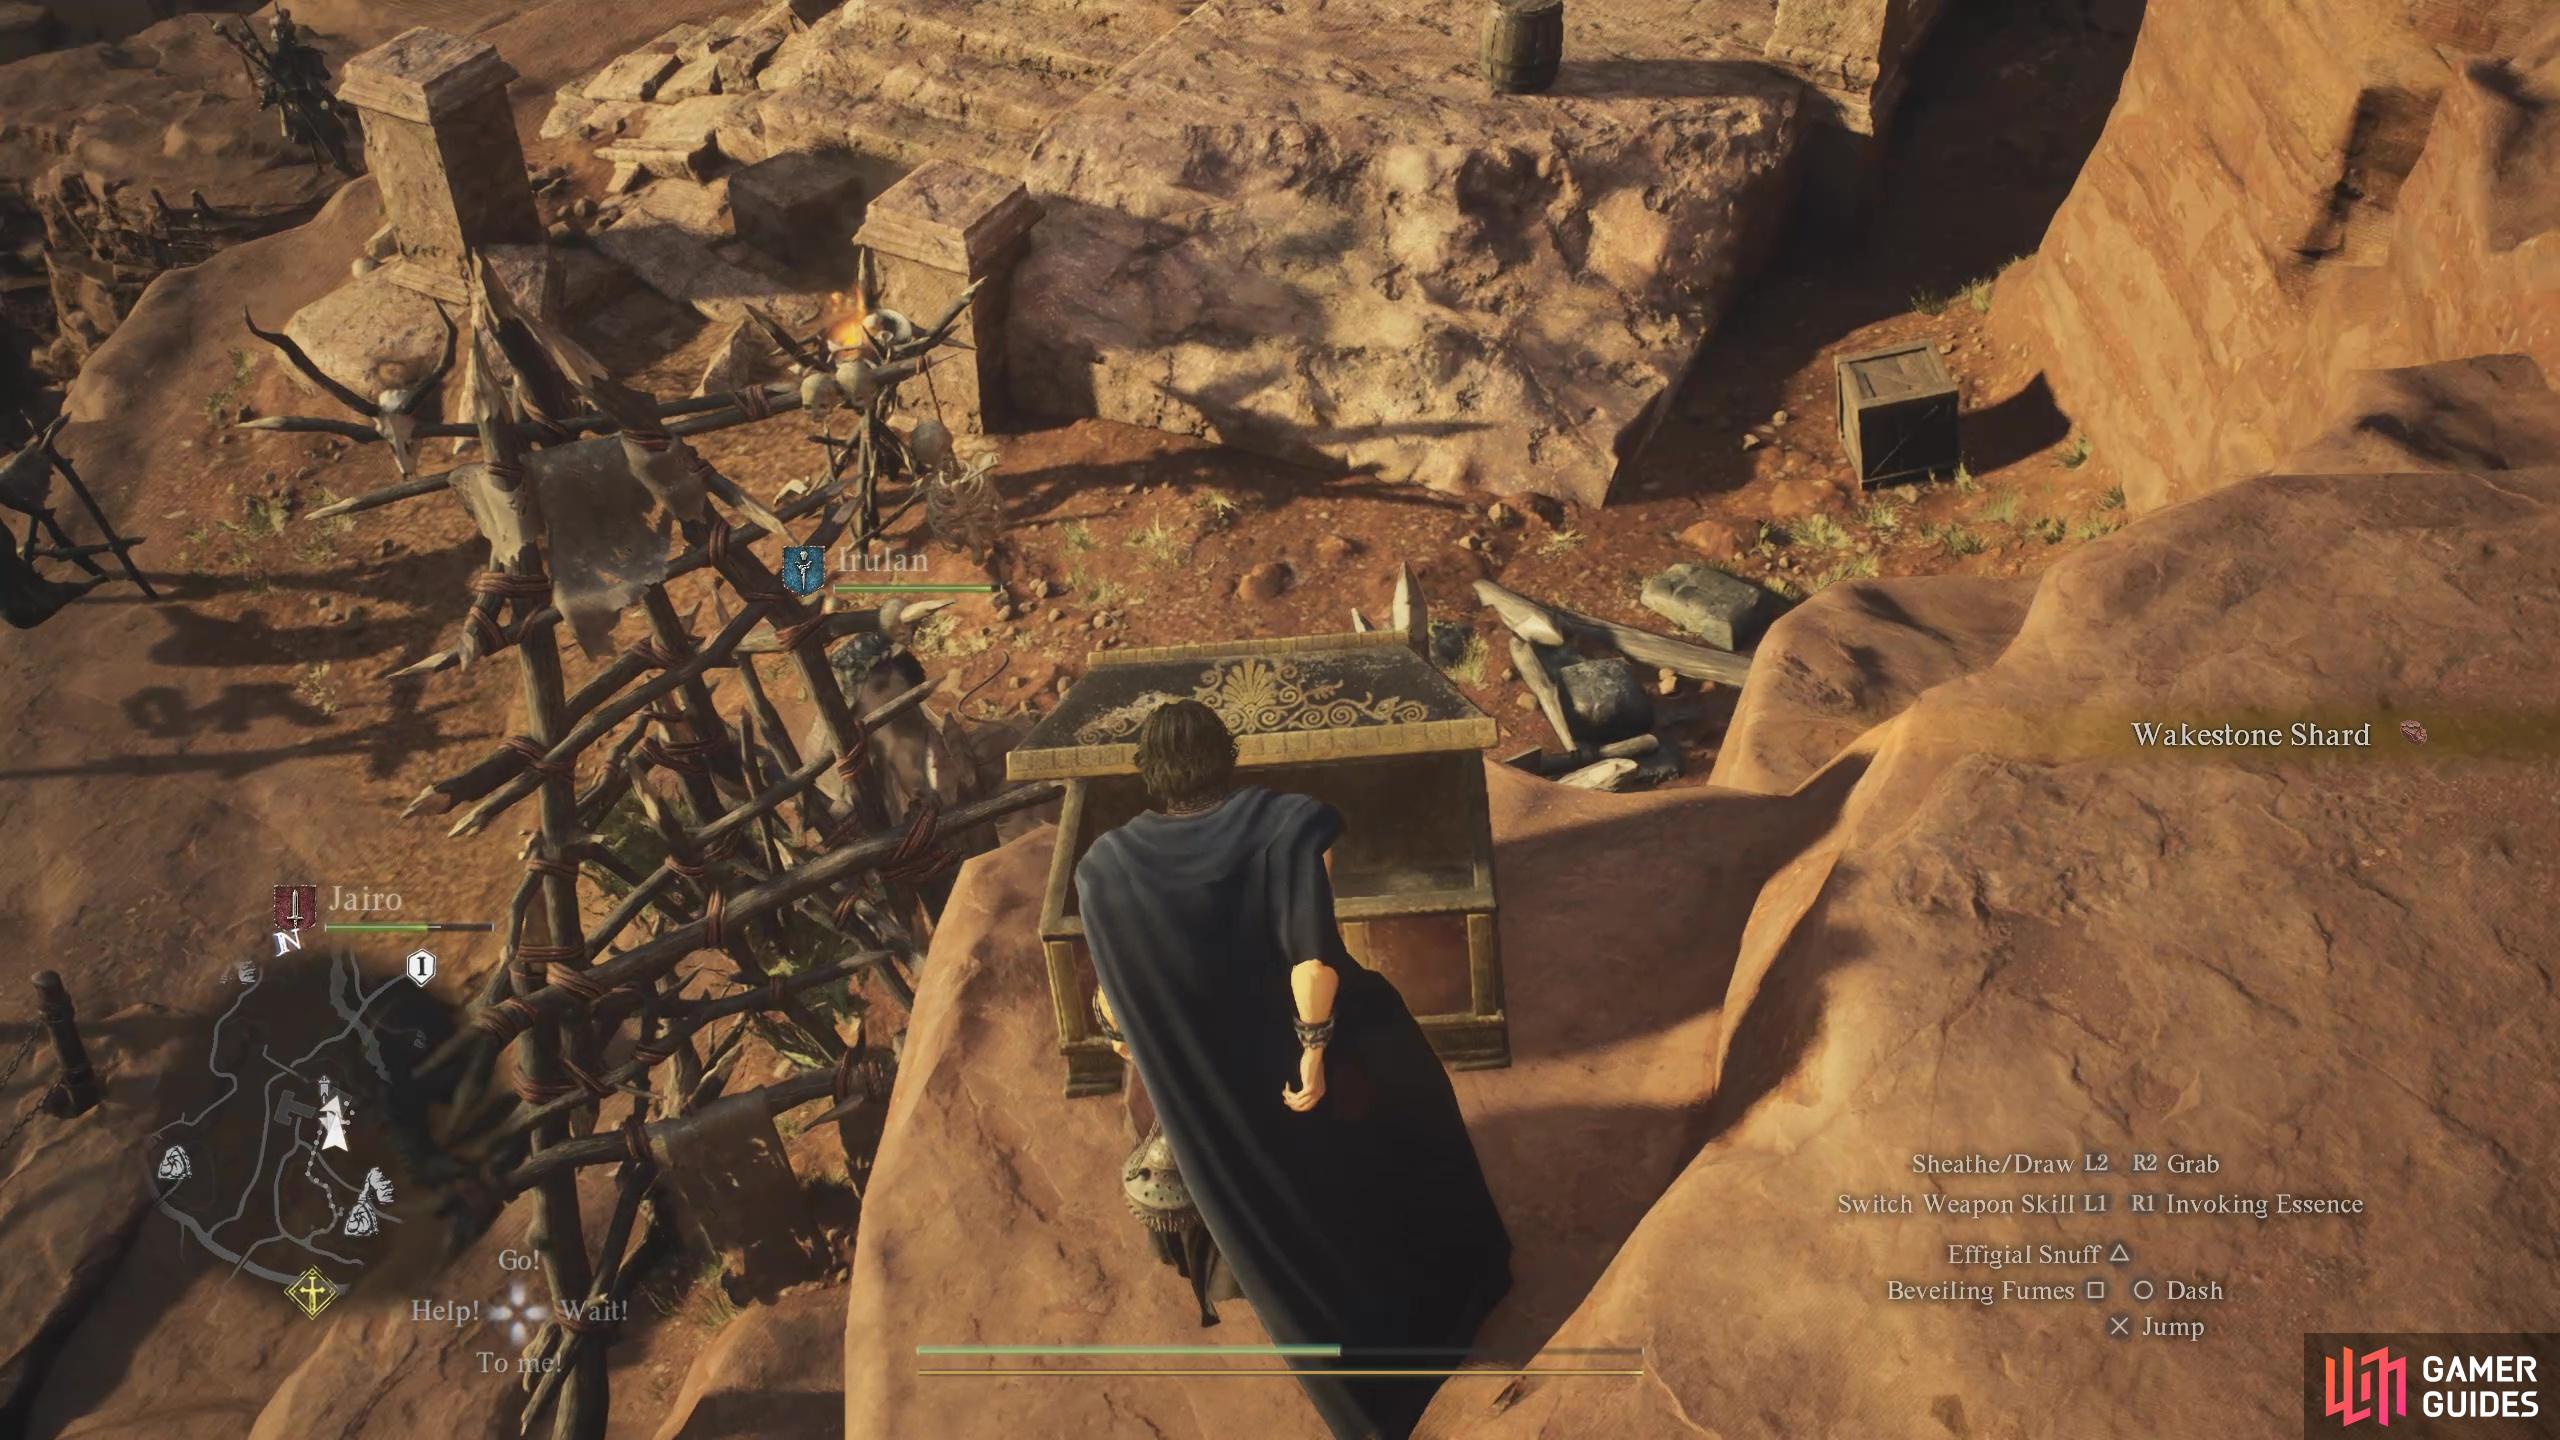
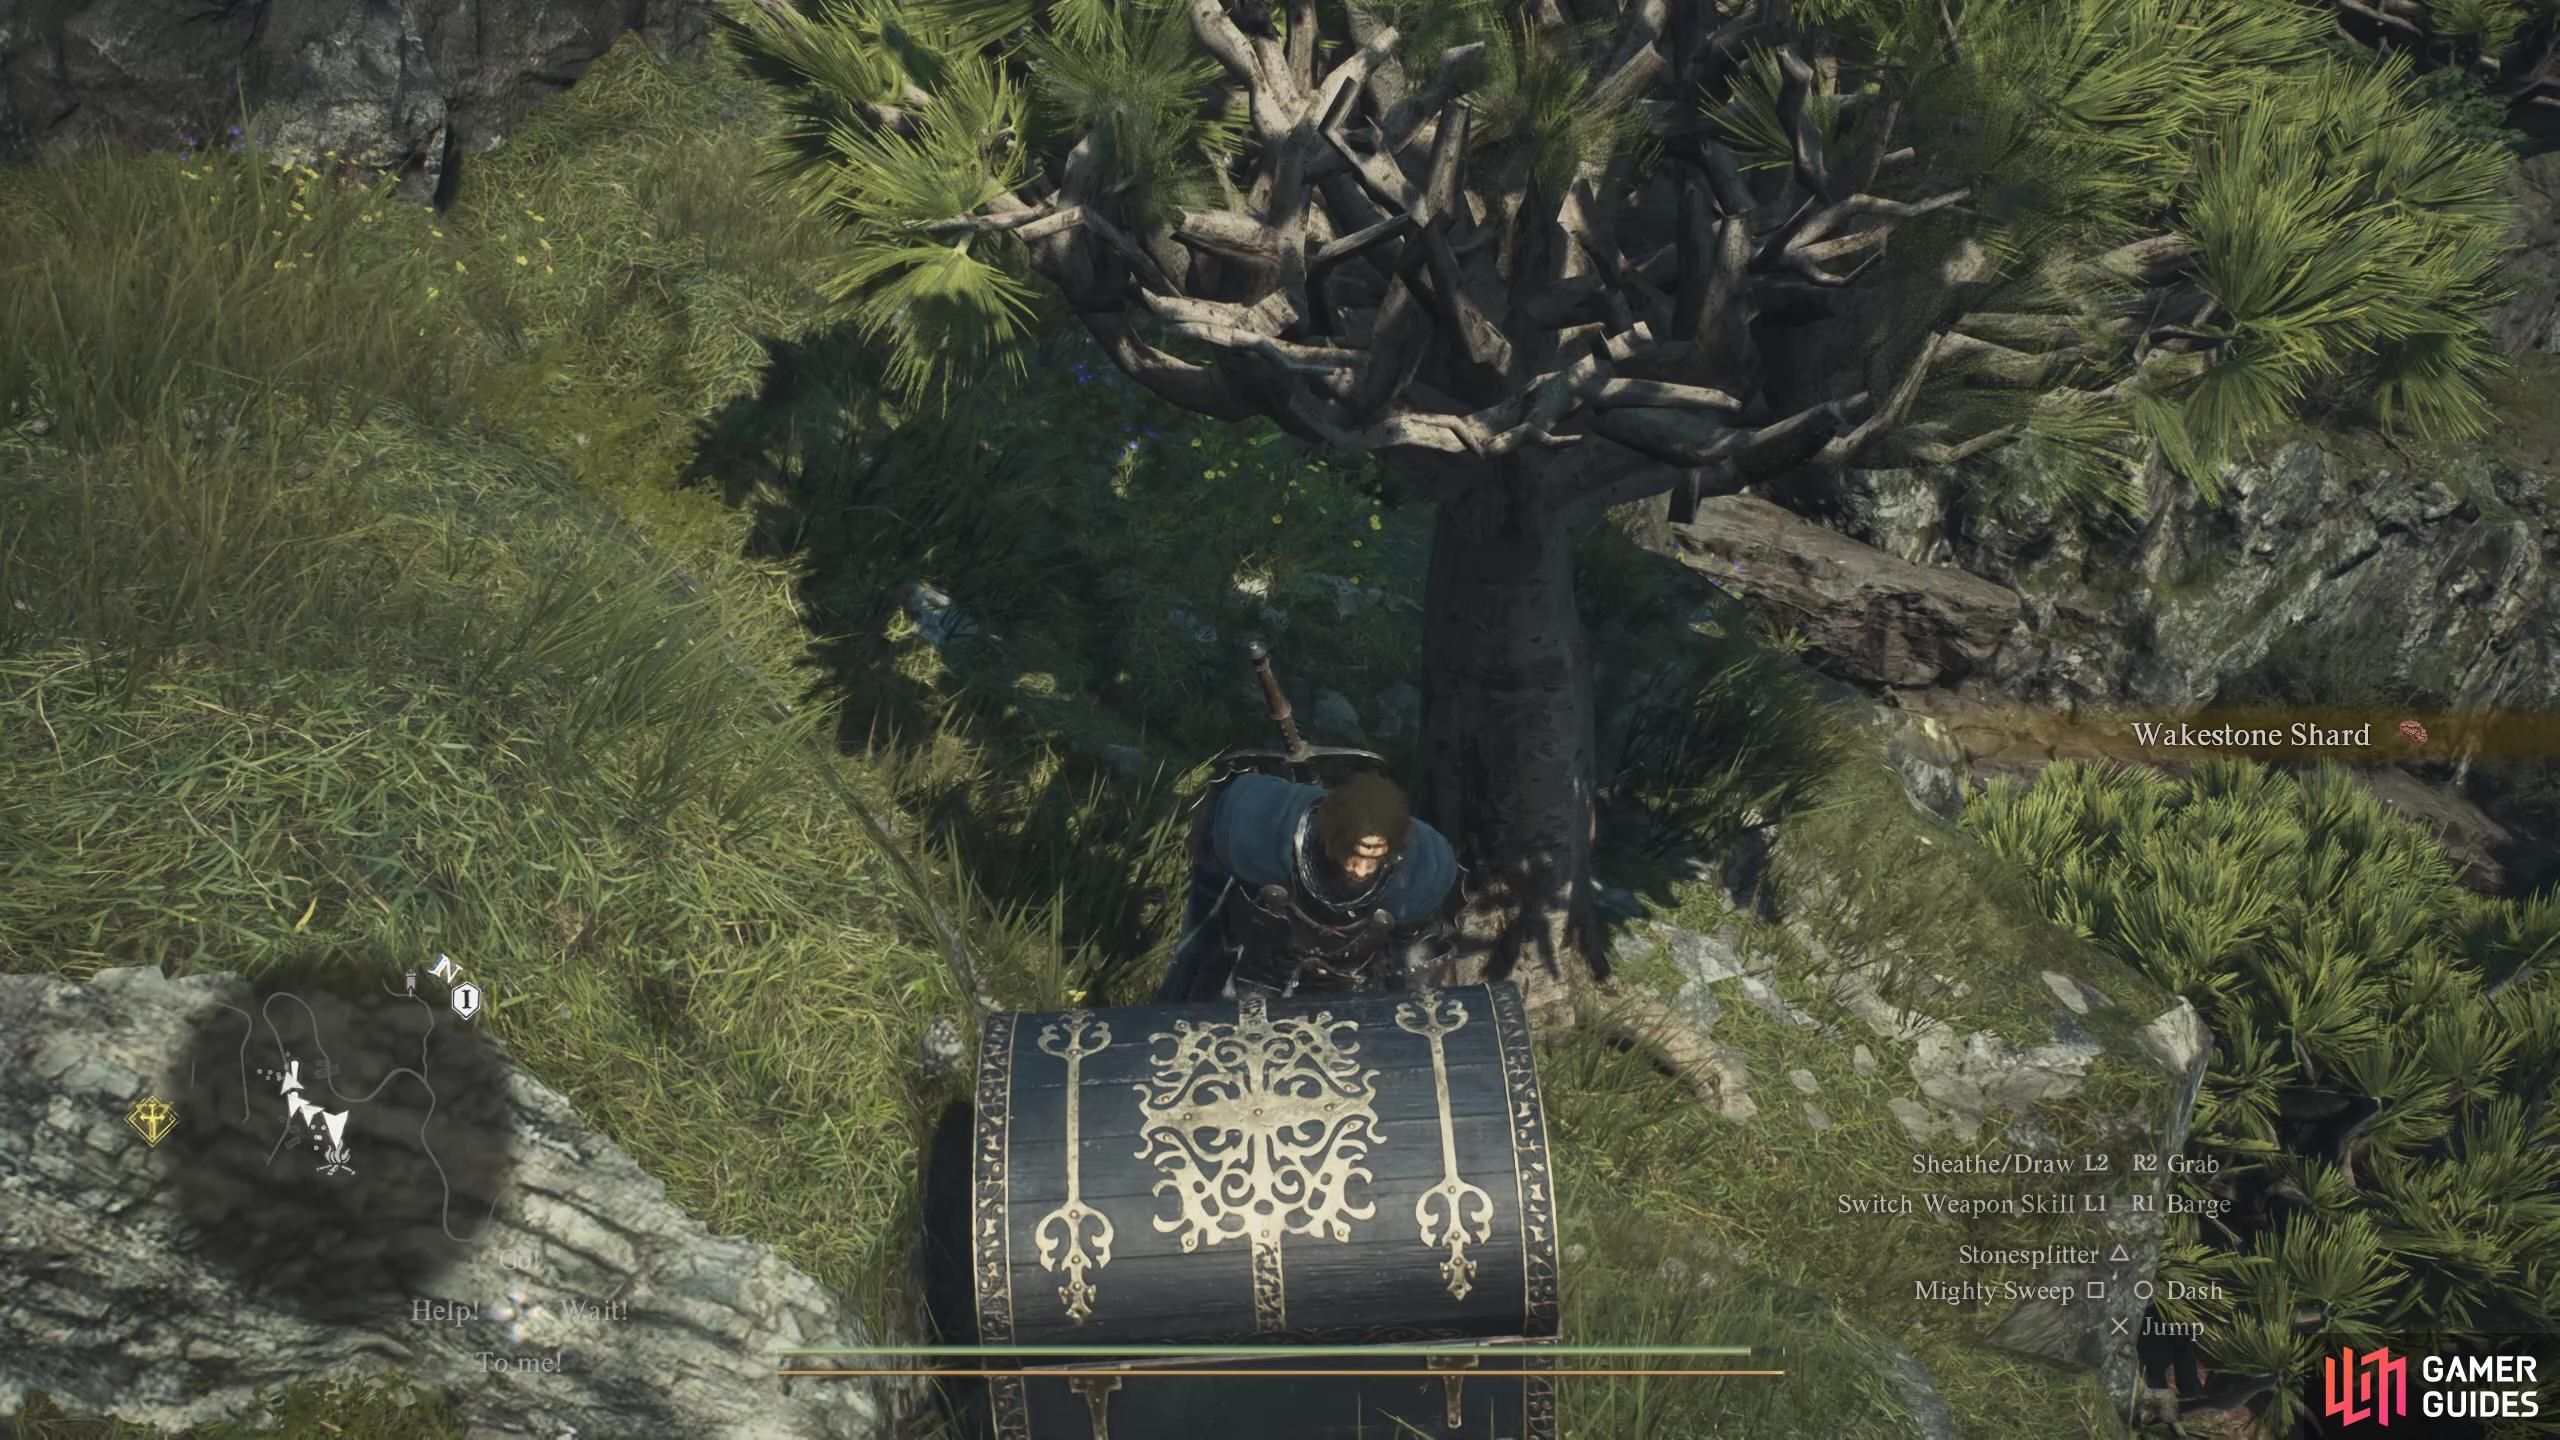
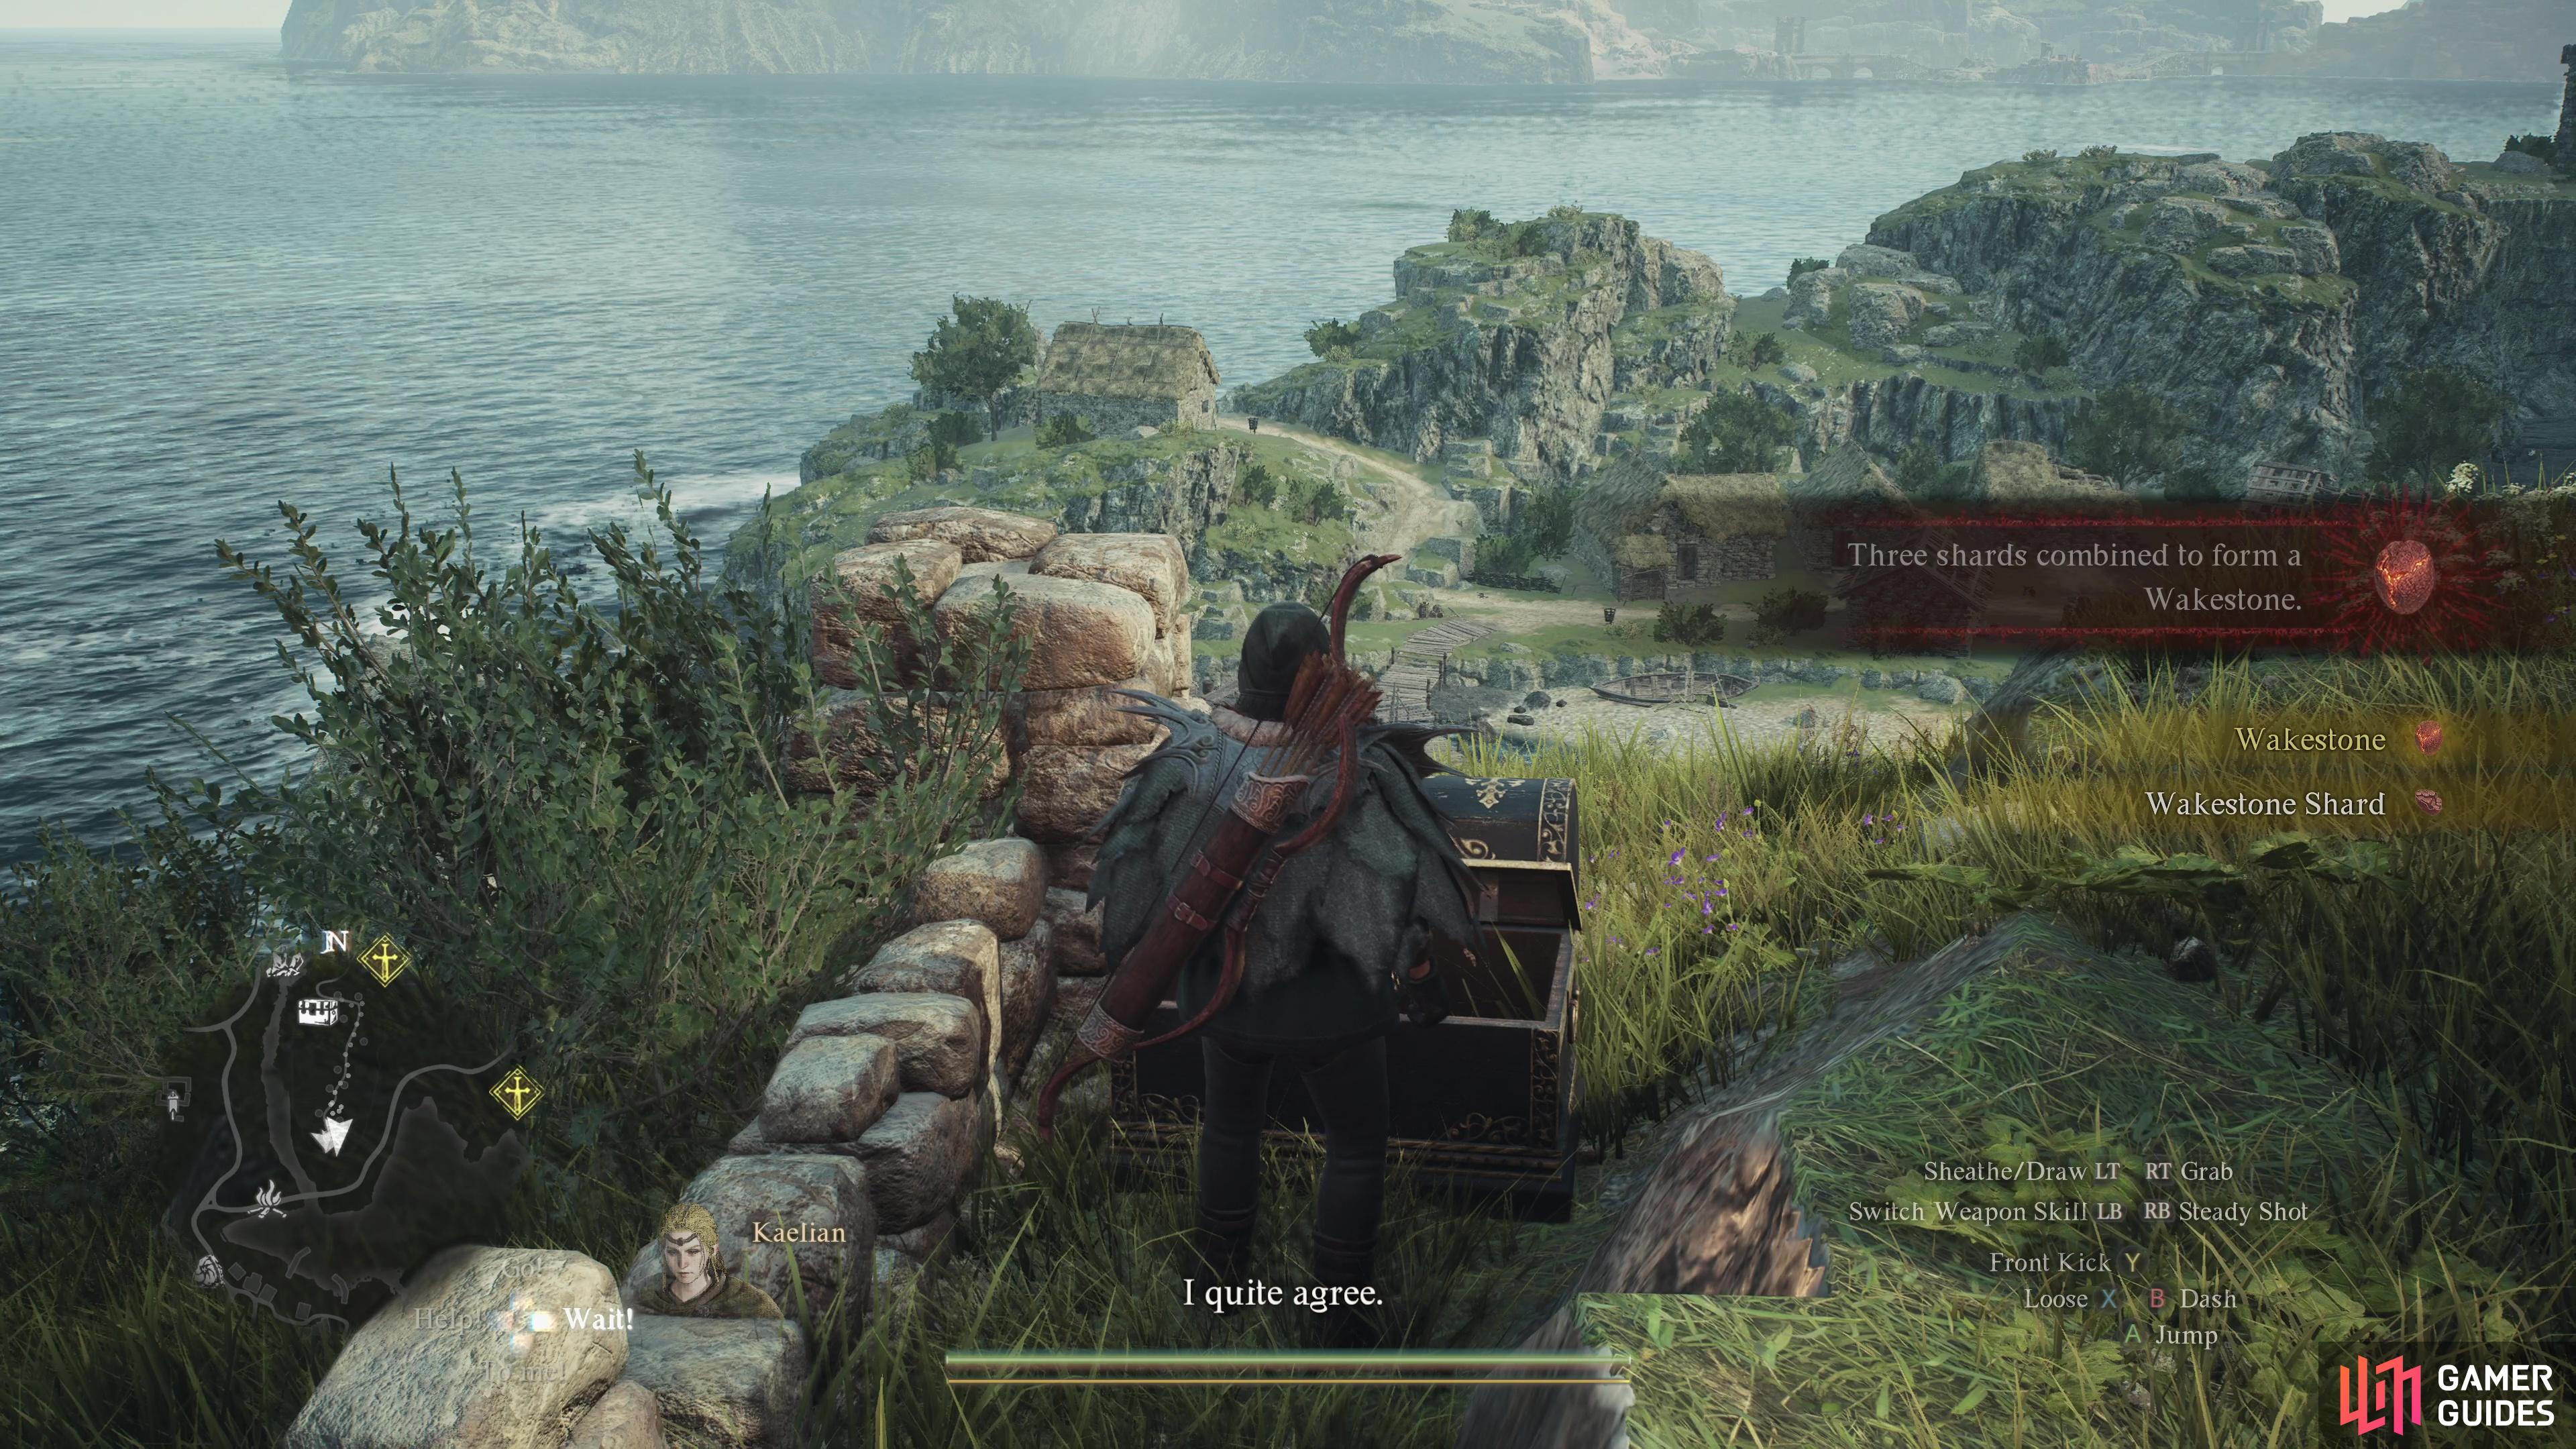
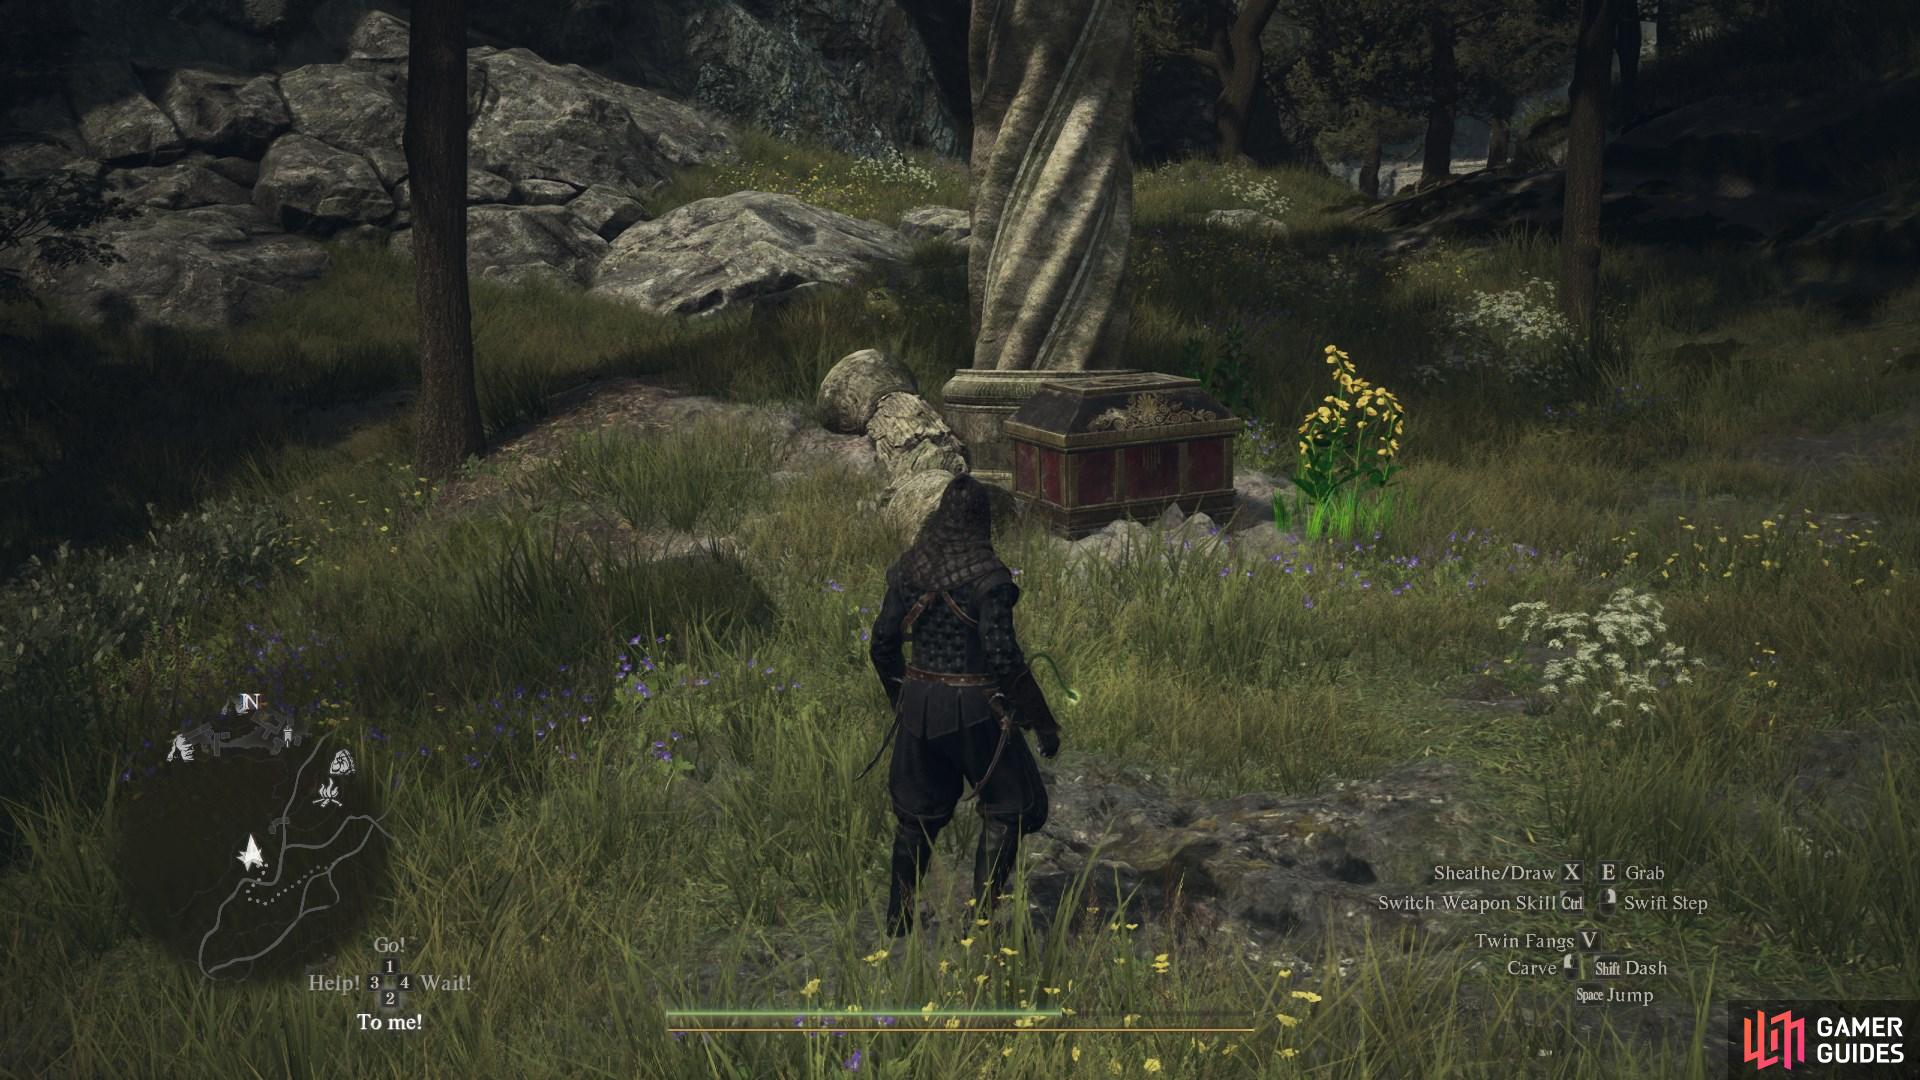
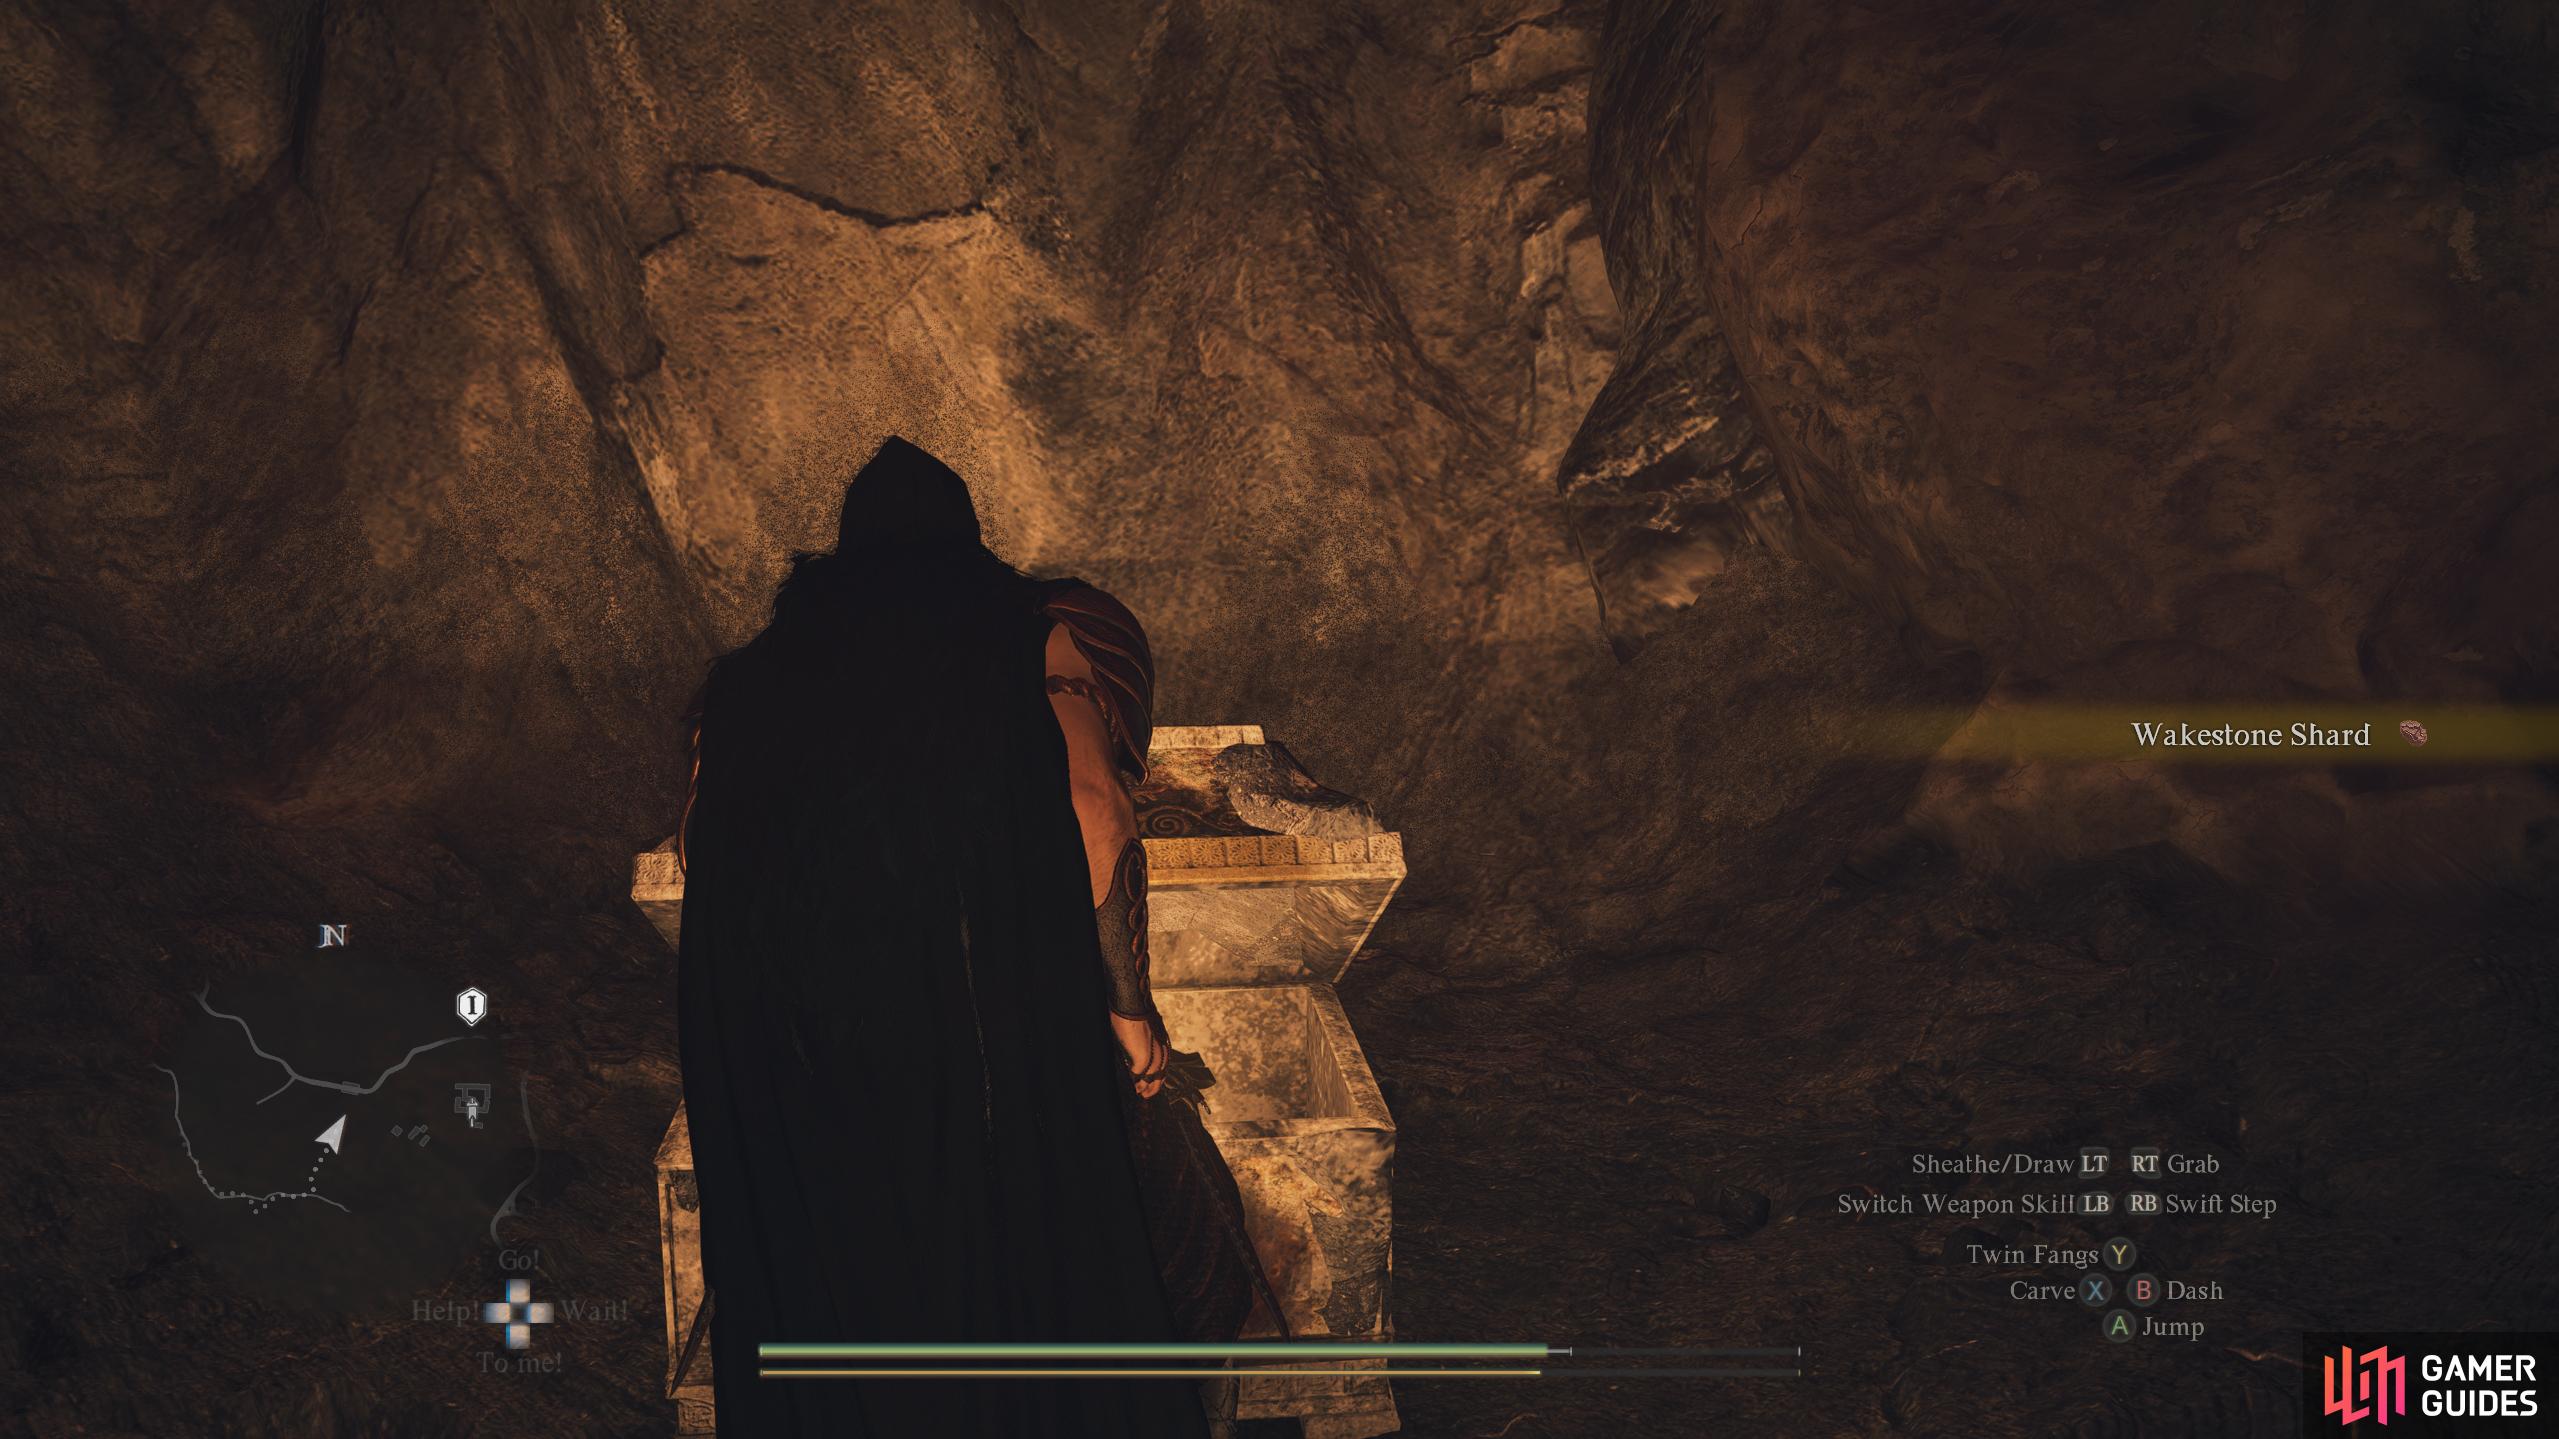
Sitting at the base of the statue on the hill to the east. There may be a ![]() Cyclops guarding it. Contains
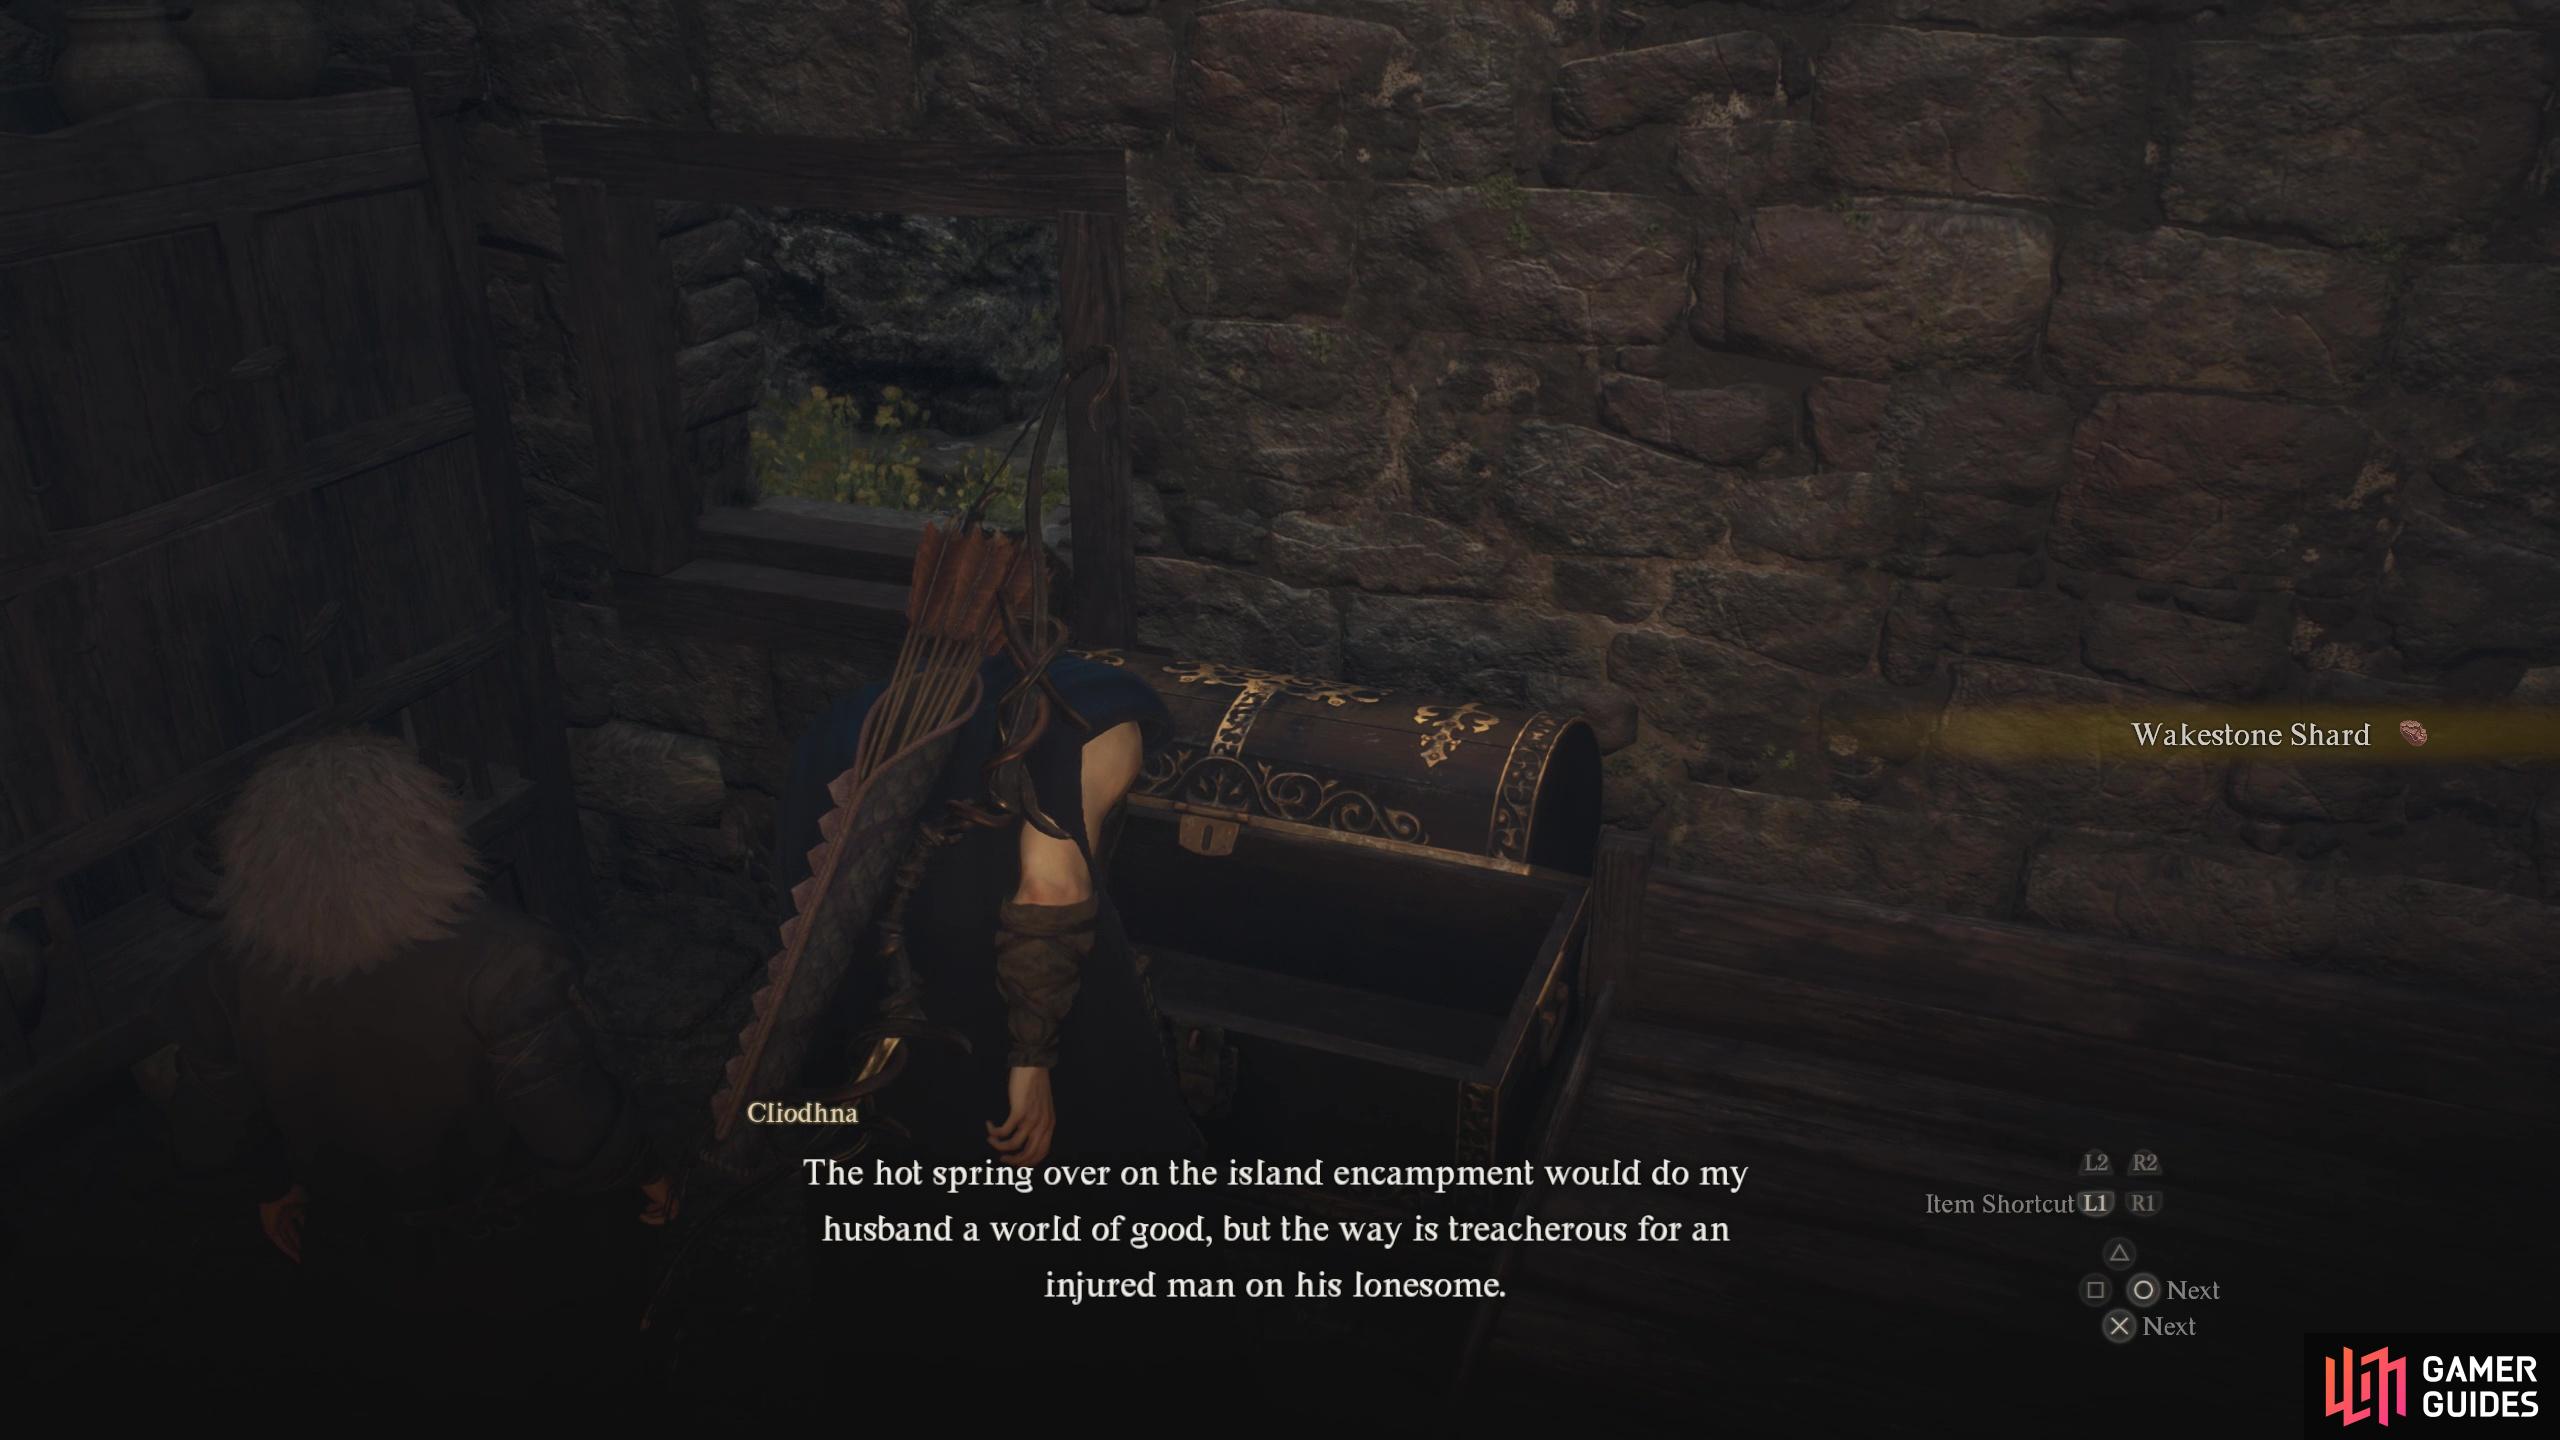
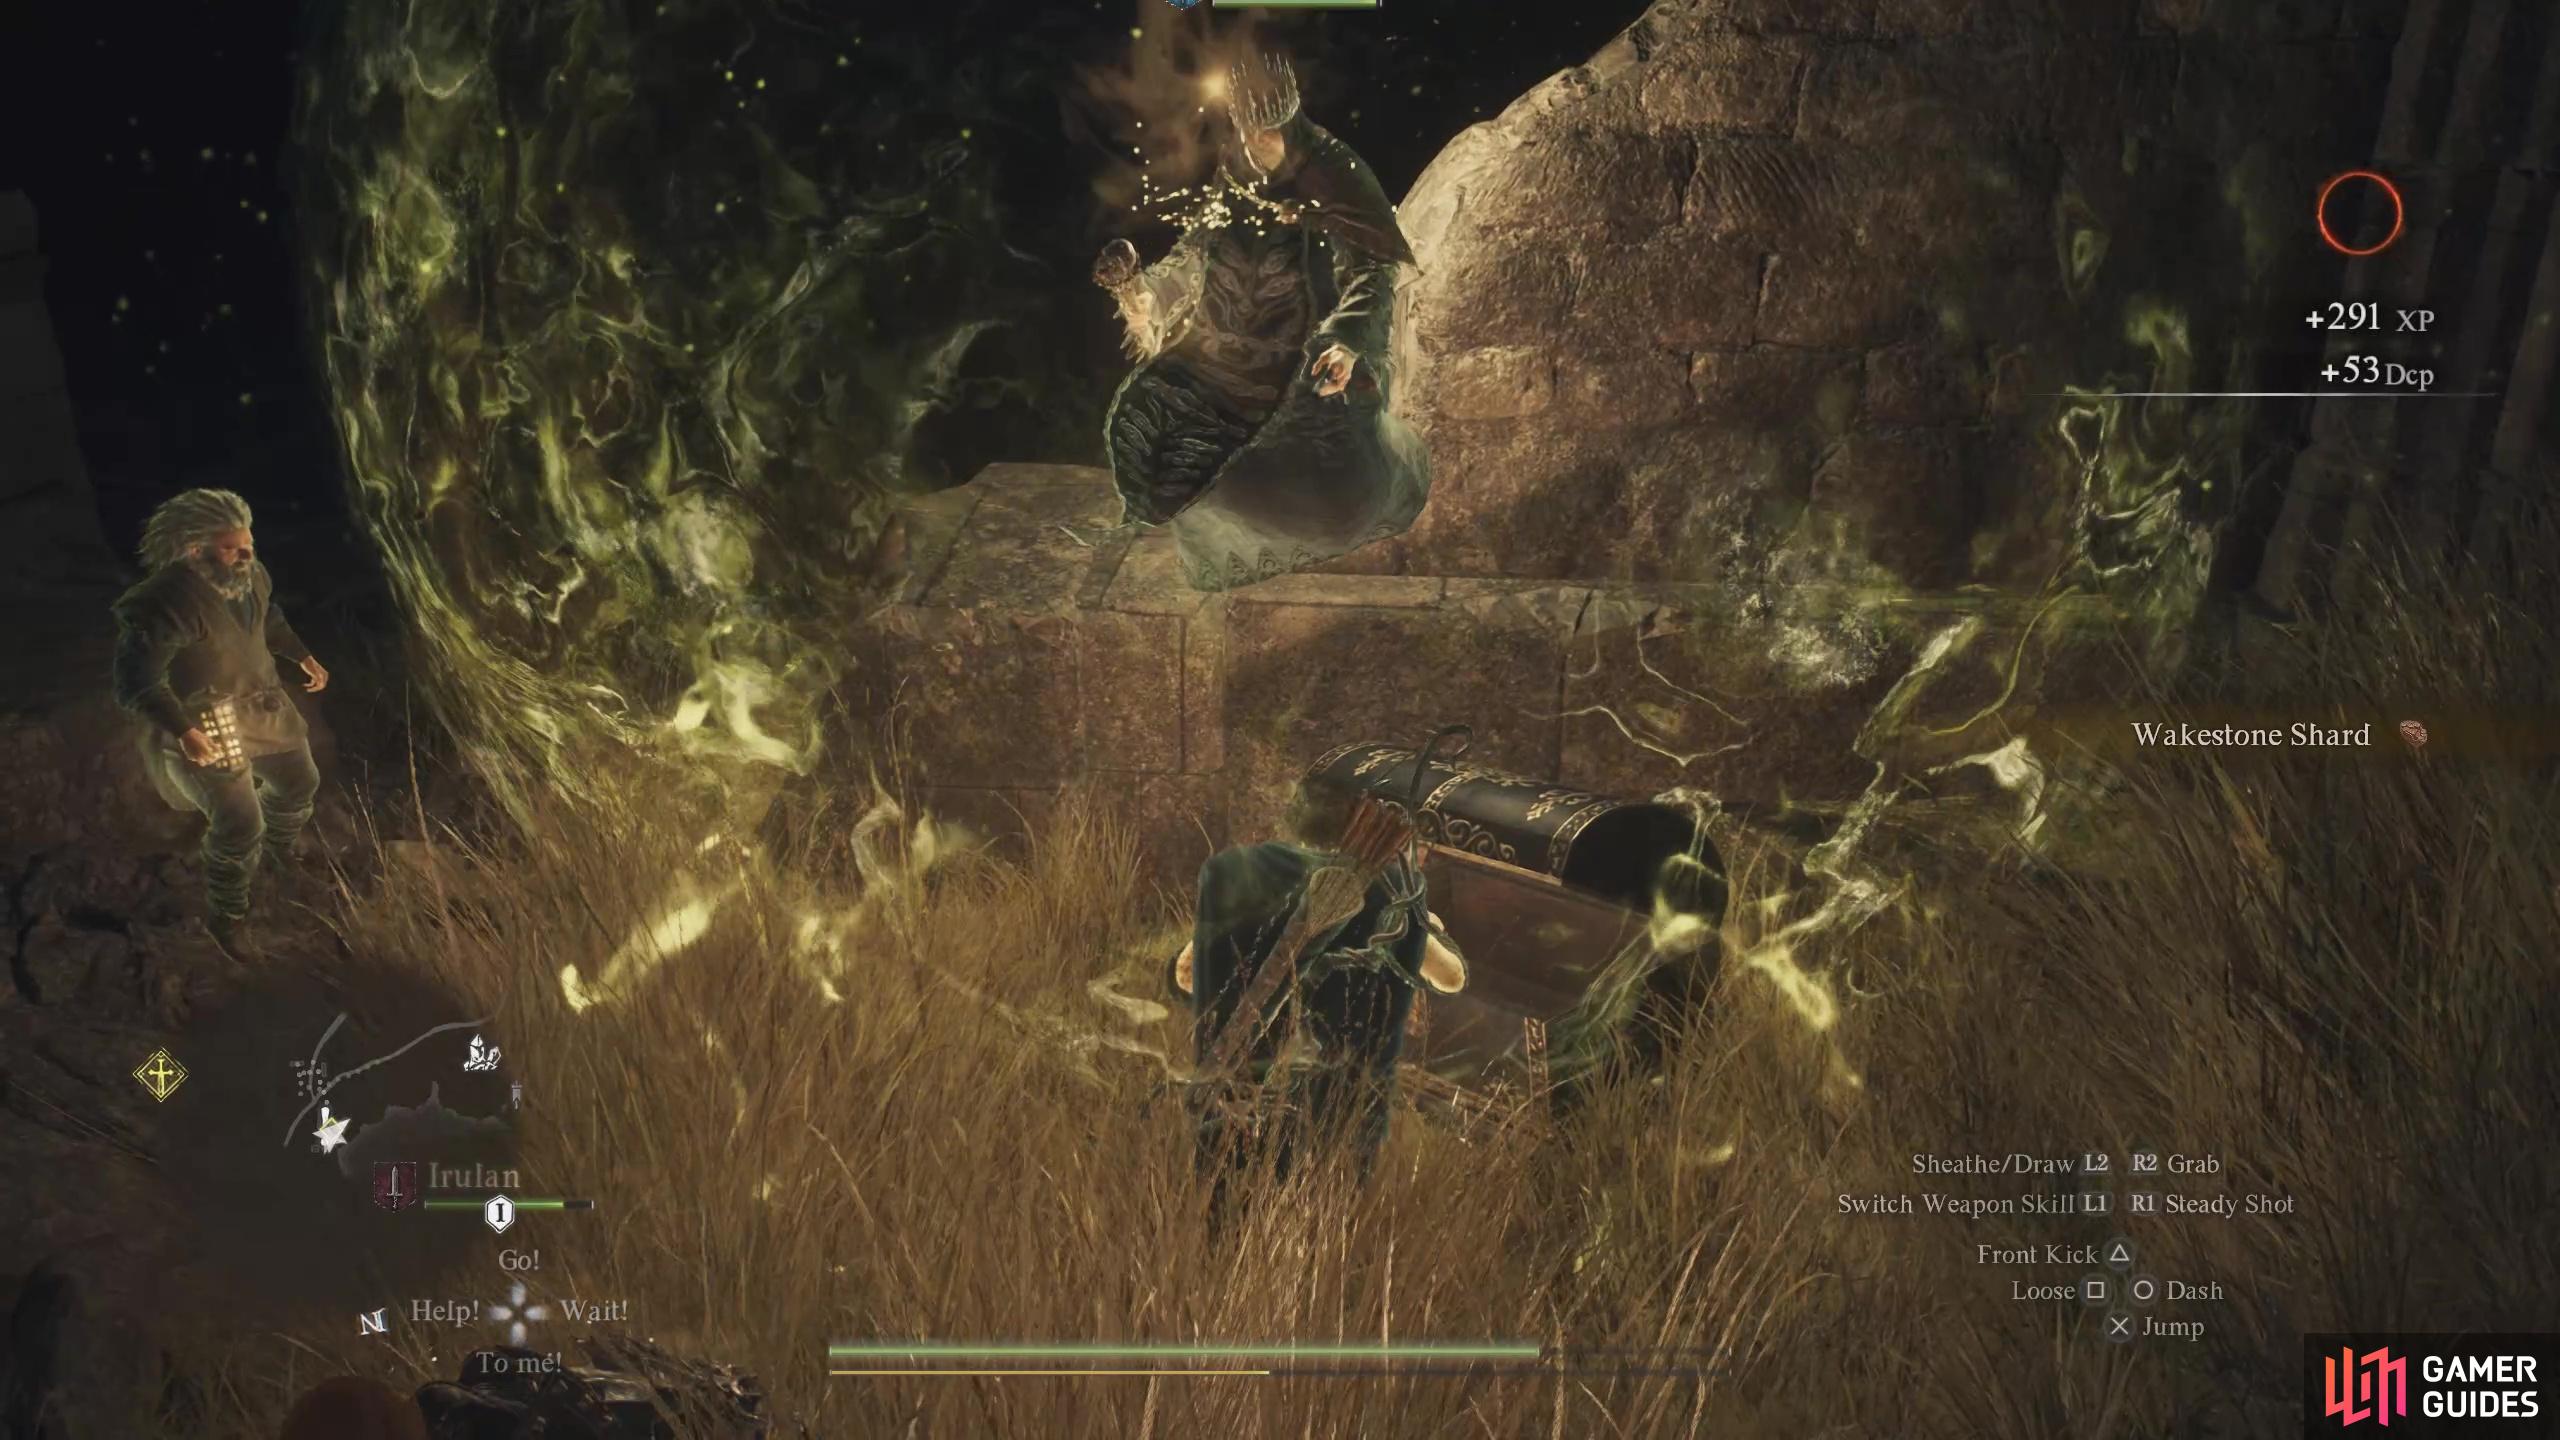
Cyclops guarding it. Contains ![]() Wakestone Shard x1.
Wakestone Shard x1.
21. World Map
In the small ruin as you head down the road.
Contains: ![]() Savagery Extract
Savagery Extract
22. World Map
Directly left of a grave in the ![]() Trembling Hollow. Contains a
Trembling Hollow. Contains a ![]() Makeshift Gaol Key.
Makeshift Gaol Key.
23. Vernworth Map
Inside ![]() Comptroller’s Home. Head up the first set of stairs and then take the stairs up on your right. Now enter the second room on your left where you’ll find the chest against the wall to your right. Contains
Comptroller’s Home. Head up the first set of stairs and then take the stairs up on your right. Now enter the second room on your left where you’ll find the chest against the wall to your right. Contains ![]() Ring of Deflection x1.
Ring of Deflection x1.
24. Vernworth Map
In the ![]() Rose Chateau Bordelrie. Make you way to the very top of the establishment and enter the double doors into Lady Wilhelmina’s room. The chest will be in the corner to your left.
Rose Chateau Bordelrie. Make you way to the very top of the establishment and enter the double doors into Lady Wilhelmina’s room. The chest will be in the corner to your left.
Contains: ![]() Bunch of Flowers
Bunch of Flowers
25. Vernworth Map
Inside ![]() Vernworth Hall. The chest can be found at the back of the hall in a small room in the northwestern corner.
Vernworth Hall. The chest can be found at the back of the hall in a small room in the northwestern corner.
Contains: ![]() Courtly Breeches and
Courtly Breeches and ![]() Courtly Tunic
Courtly Tunic
26. Vernworth Map
Outside by the edge of the cliff. You can access this area via the ![]() Rose Chateau Bordelrie. Exit the establishment via a door in the western corridor, and then take the ladder down on the ramparts.
Rose Chateau Bordelrie. Exit the establishment via a door in the western corridor, and then take the ladder down on the ramparts.
Contains ![]() Ferrystone x1.
Ferrystone x1.
27. World Map
Inside the largest house in the ruined settlement.
Contains: ![]() Wakestone Shard.
Wakestone Shard.

28. Vernworth Map
On top of the ![]() Grand Riftstone of Vermund building. Head inside
Grand Riftstone of Vermund building. Head inside ![]() Shakir’s Inn and head upstairs. Go out to the balcony and climb up the ladder to your right. Jump over to the wooden boards ahead of you before jumping over toward the tower to the west. This chest is inside the tower.
Shakir’s Inn and head upstairs. Go out to the balcony and climb up the ladder to your right. Jump over to the wooden boards ahead of you before jumping over toward the tower to the west. This chest is inside the tower.
Contains: ![]() Silver Rapier
Silver Rapier
29. Vernworth Map
On top of the ![]() Grand Riftstone of Vermund building. Head inside
Grand Riftstone of Vermund building. Head inside ![]() Shakir’s Inn and head upstairs. Go out to the balcony and climb up the ladder to your right. Jump over to the wooden boards ahead of you before jumping over toward the tower to the west. This chest is inside the tower.
Shakir’s Inn and head upstairs. Go out to the balcony and climb up the ladder to your right. Jump over to the wooden boards ahead of you before jumping over toward the tower to the west. This chest is inside the tower.
Contains: ![]() Ferrystone.
Ferrystone.
30. Vernworth Map
On top of the ![]() Grand Riftstone of Vermund building. Head inside
Grand Riftstone of Vermund building. Head inside ![]() Shakir’s Inn and head upstairs. Go out to the balcony and climb up the ladder to your right. Jump over to the wooden boards ahead of you before jumping over toward the tower to the west. This chest is inside the tower.
Shakir’s Inn and head upstairs. Go out to the balcony and climb up the ladder to your right. Jump over to the wooden boards ahead of you before jumping over toward the tower to the west. This chest is inside the tower.
Contains: ![]() Savant’s Boots.
Savant’s Boots.
31. World Map
Inside the locked house. Shoot the lock via the wide-open windows to get access.
Contains: ![]() Feather-Light Pelta
Feather-Light Pelta

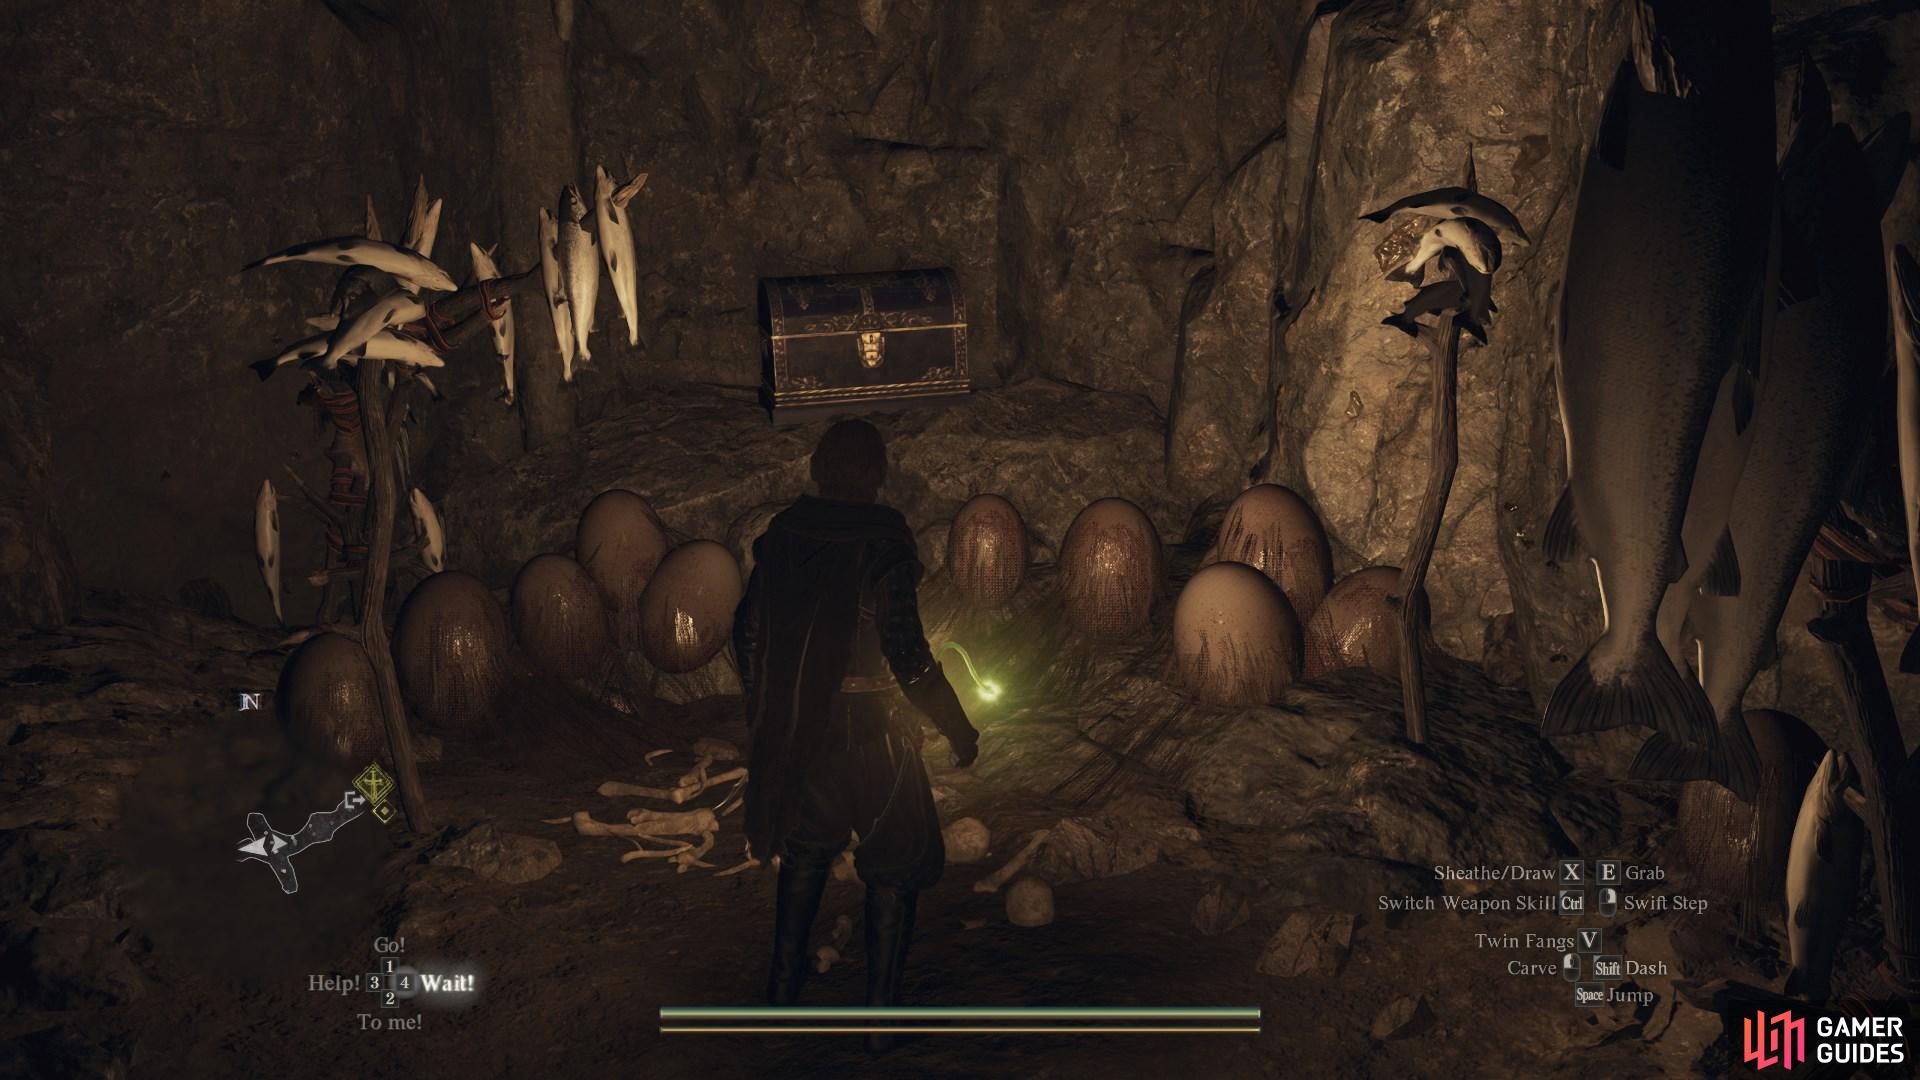
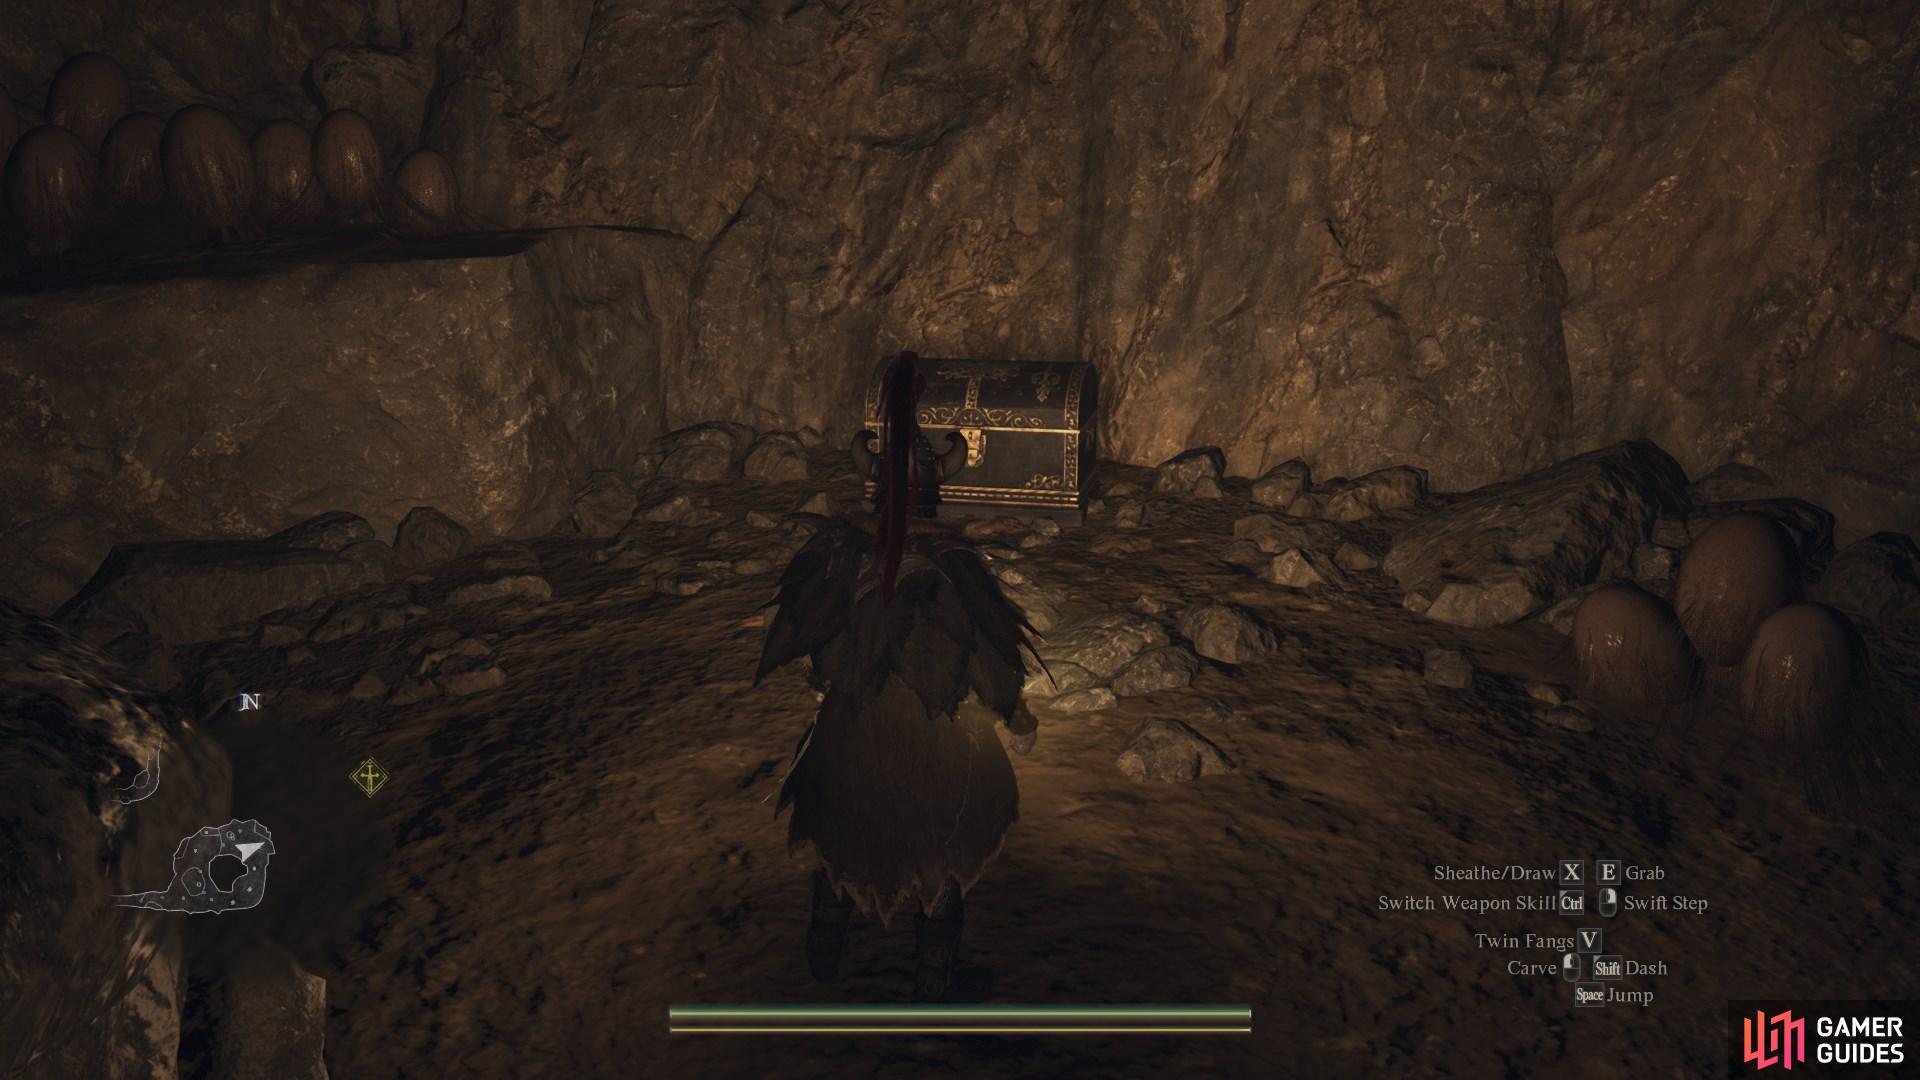
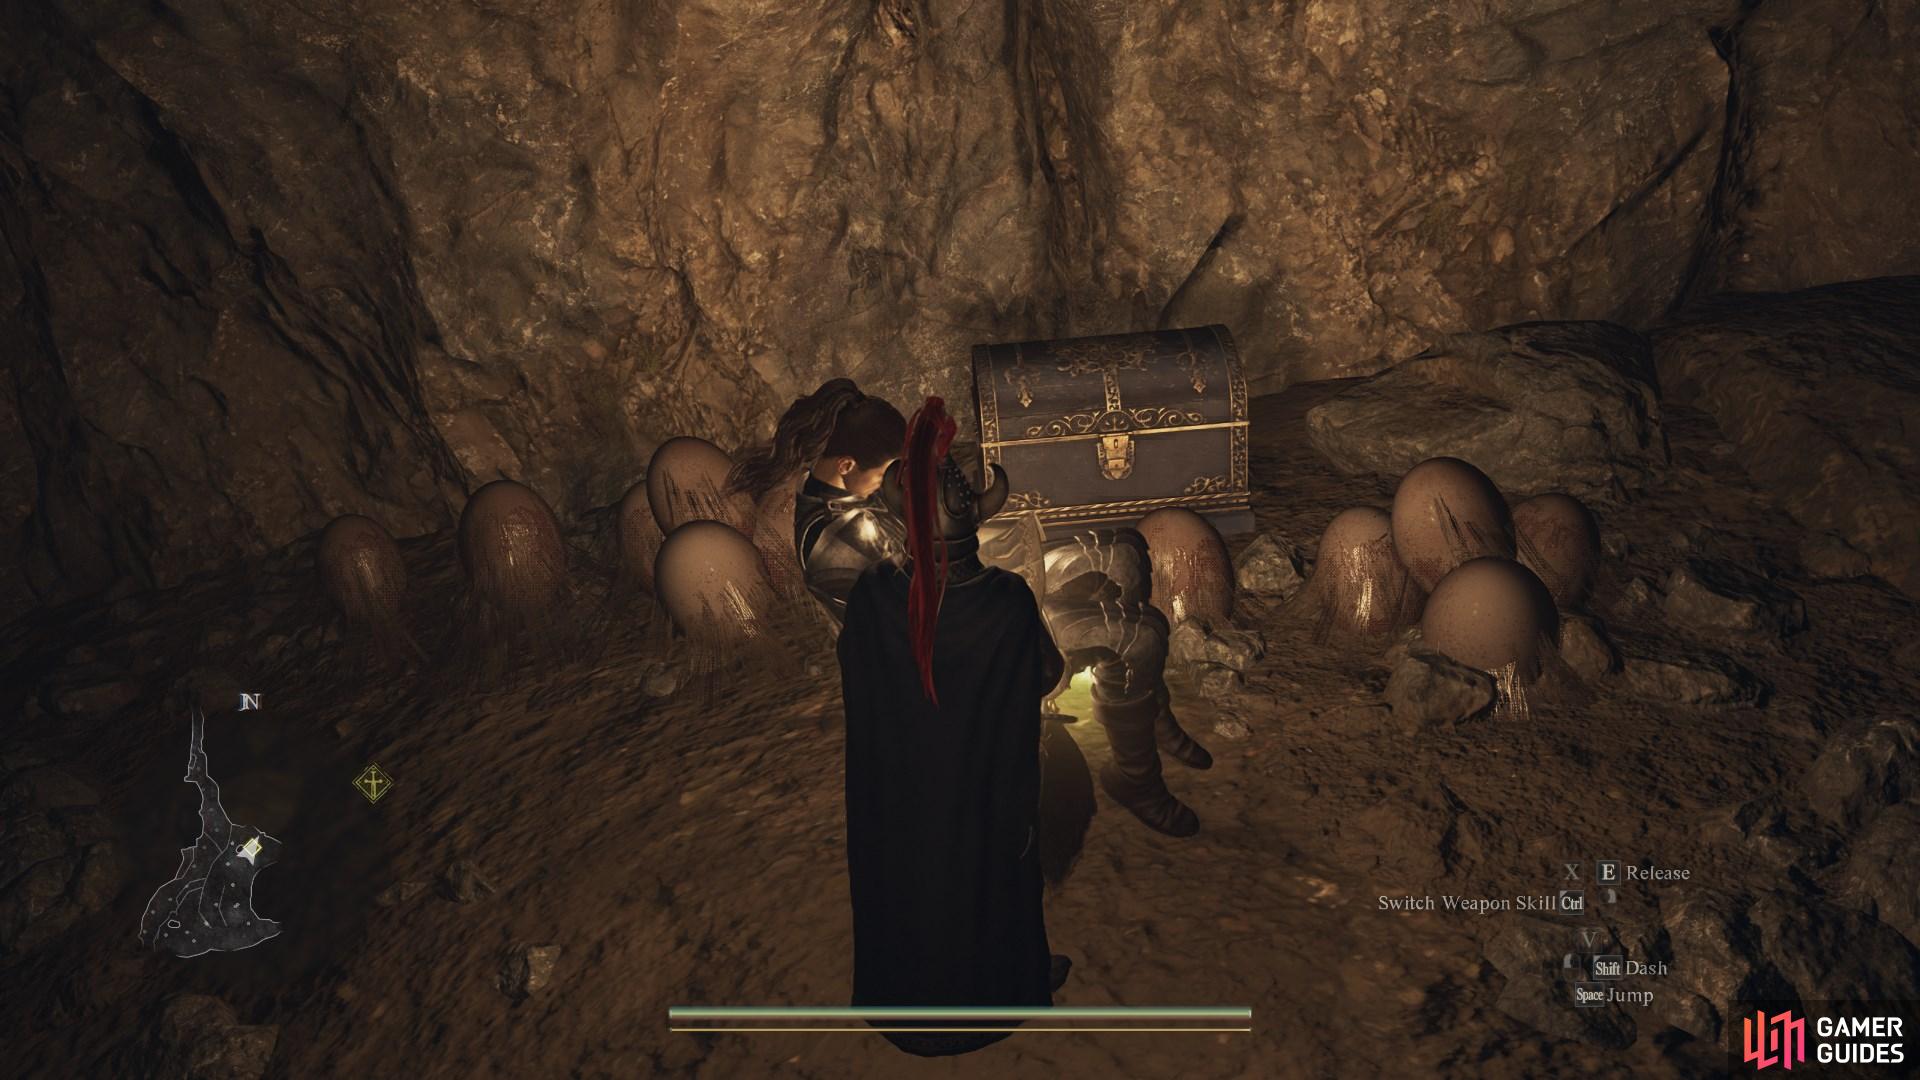
33. World Map
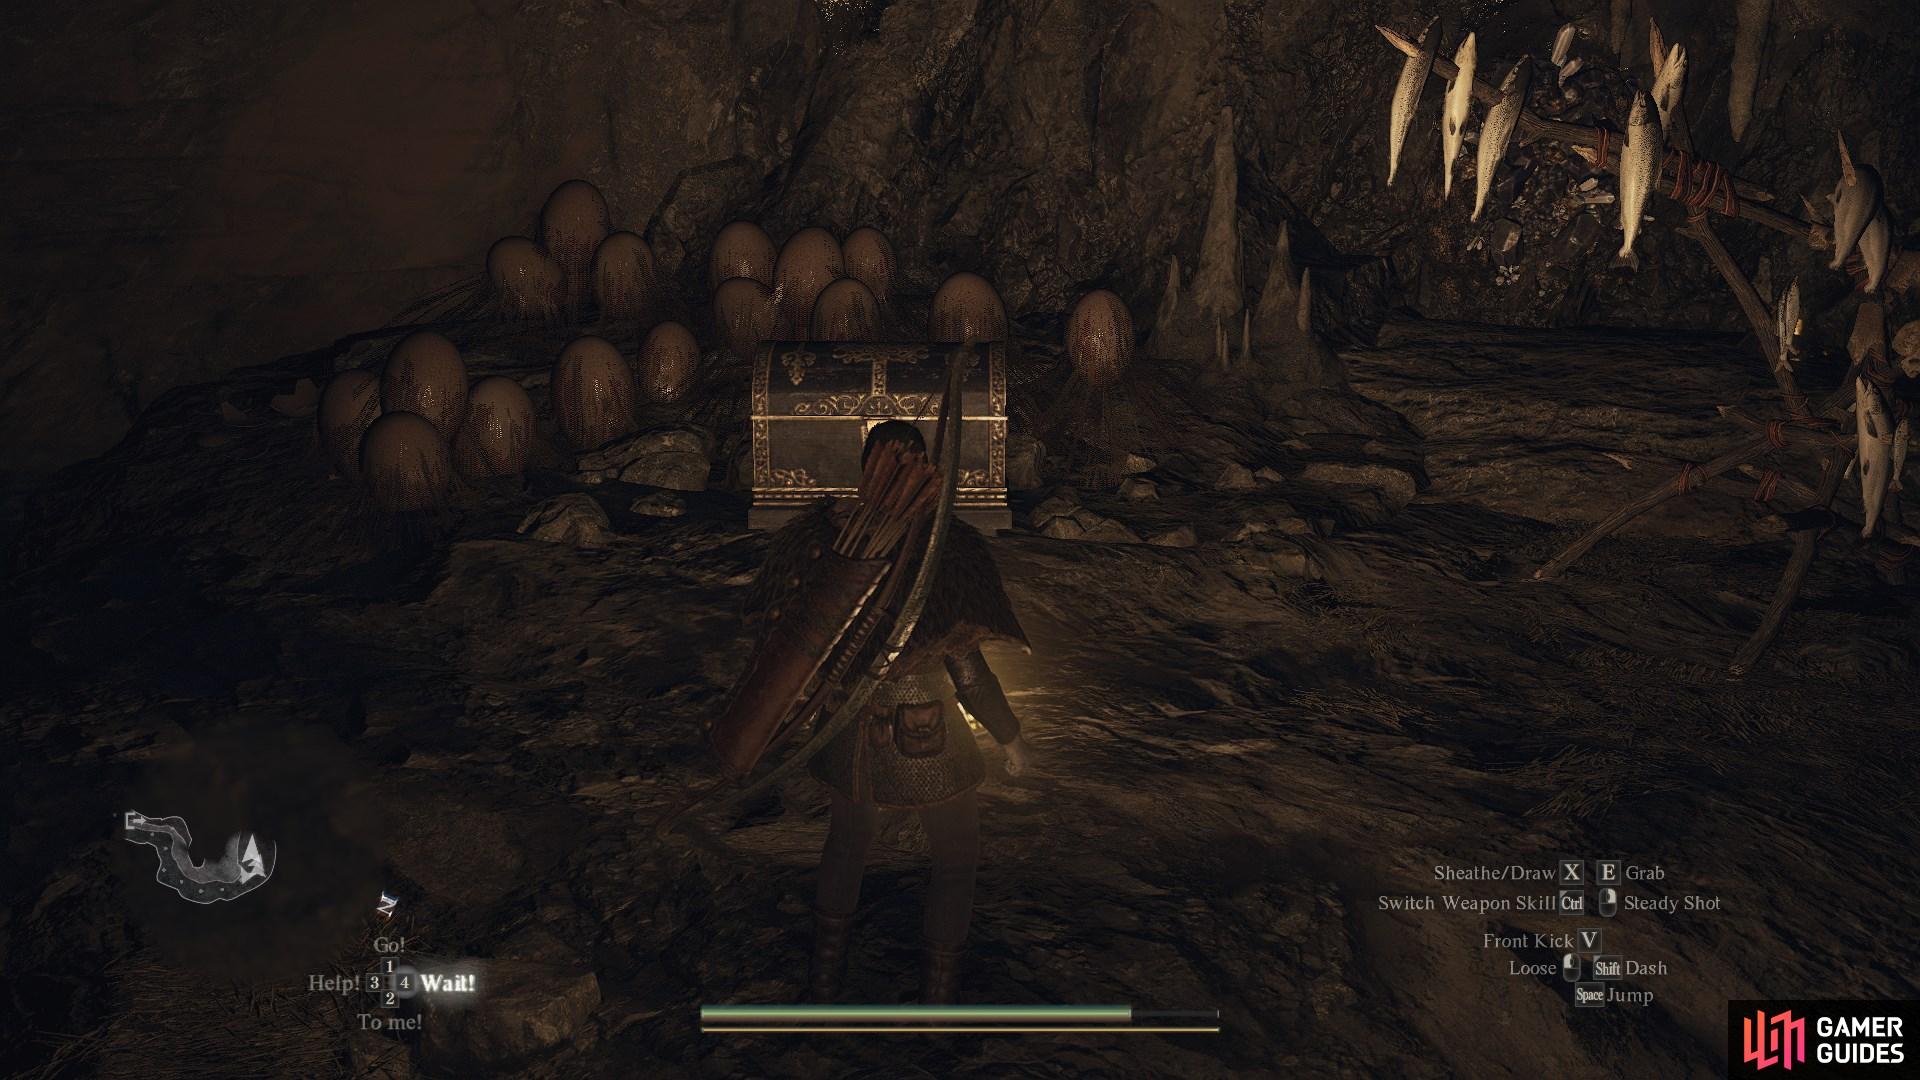
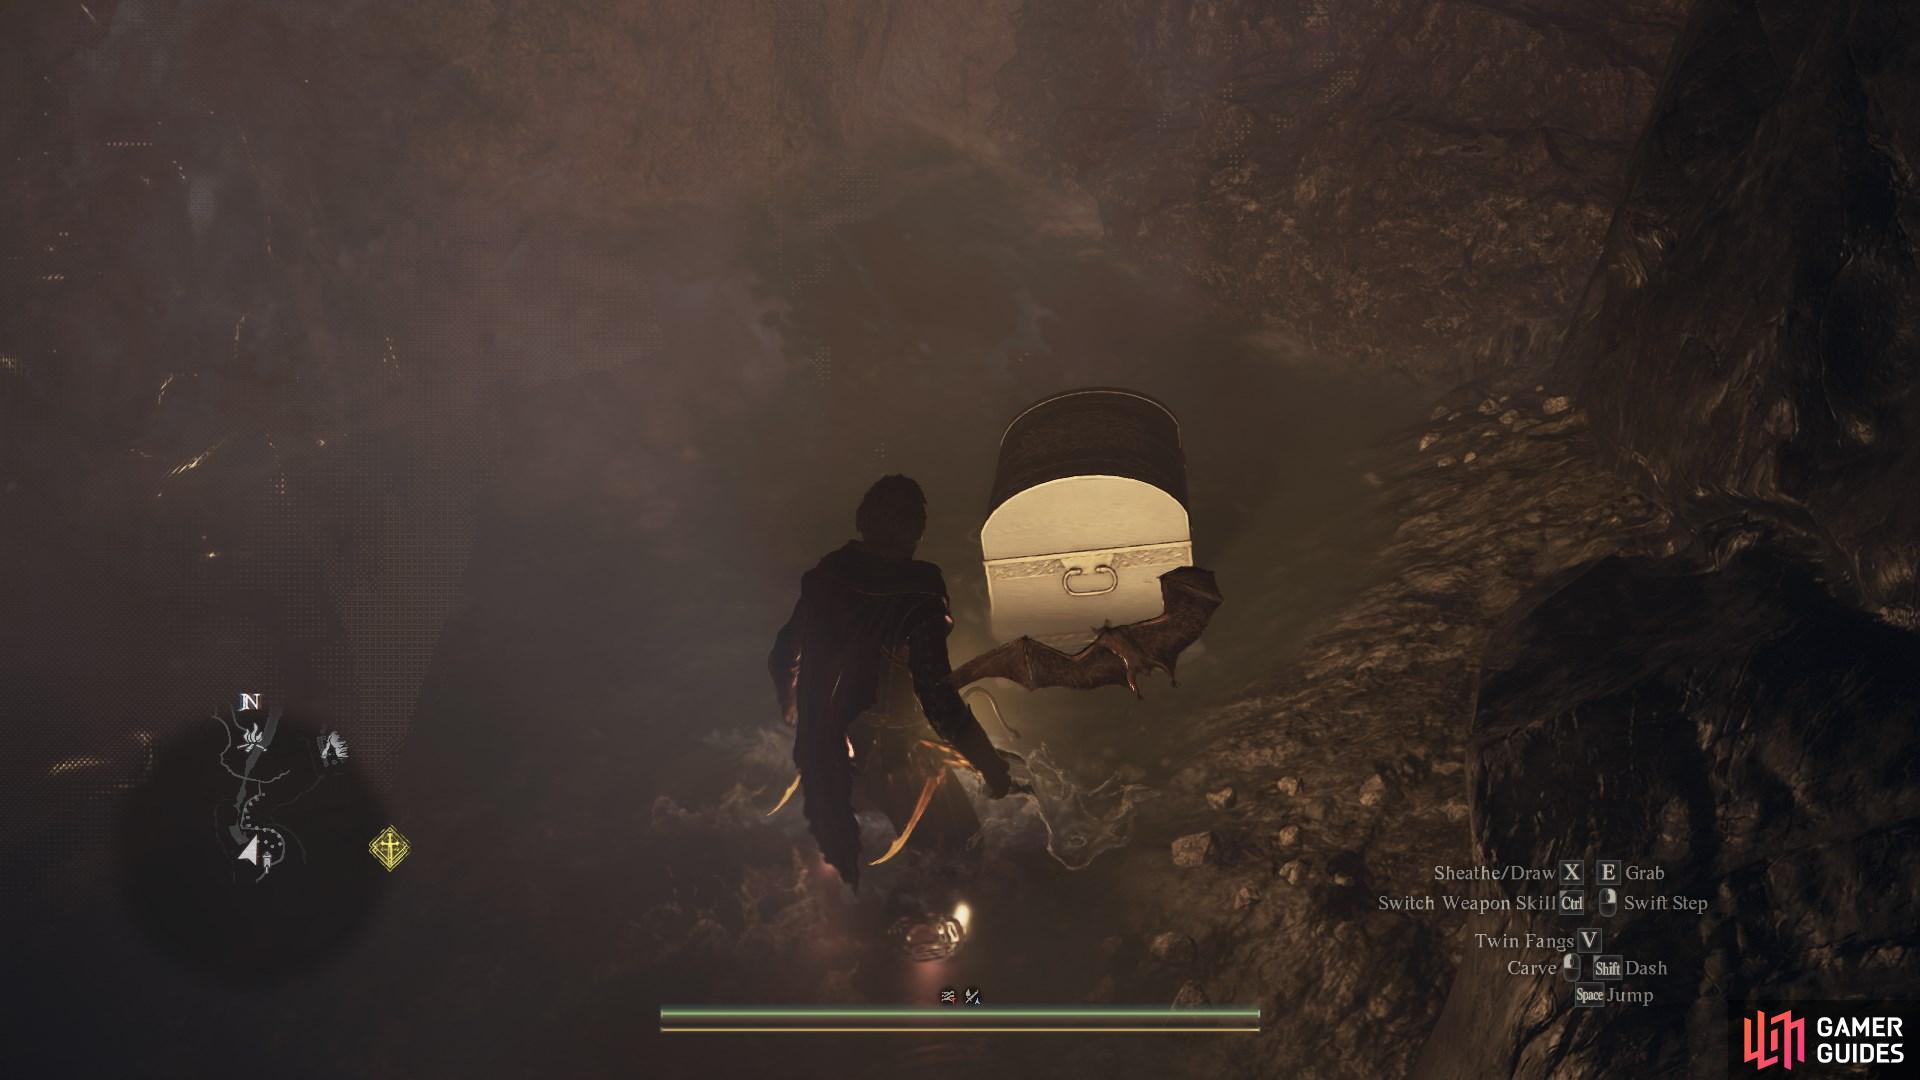
Near a clutch of ![]() Saurian eggs inside the
Saurian eggs inside the ![]() Coastal Cavern.
Coastal Cavern.
Contains: ![]() Ring of Resiliency and
Ring of Resiliency and ![]() Bush Raiders.
Bush Raiders.
34. World Map
Found in the basement of the ![]() Old Lighthouse behind several crates.
Old Lighthouse behind several crates.
Contains: ![]() Wakestone Shard
Wakestone Shard
36. World Map
Next to the campsite south of ![]() Palace Overlook Cape. Contains a
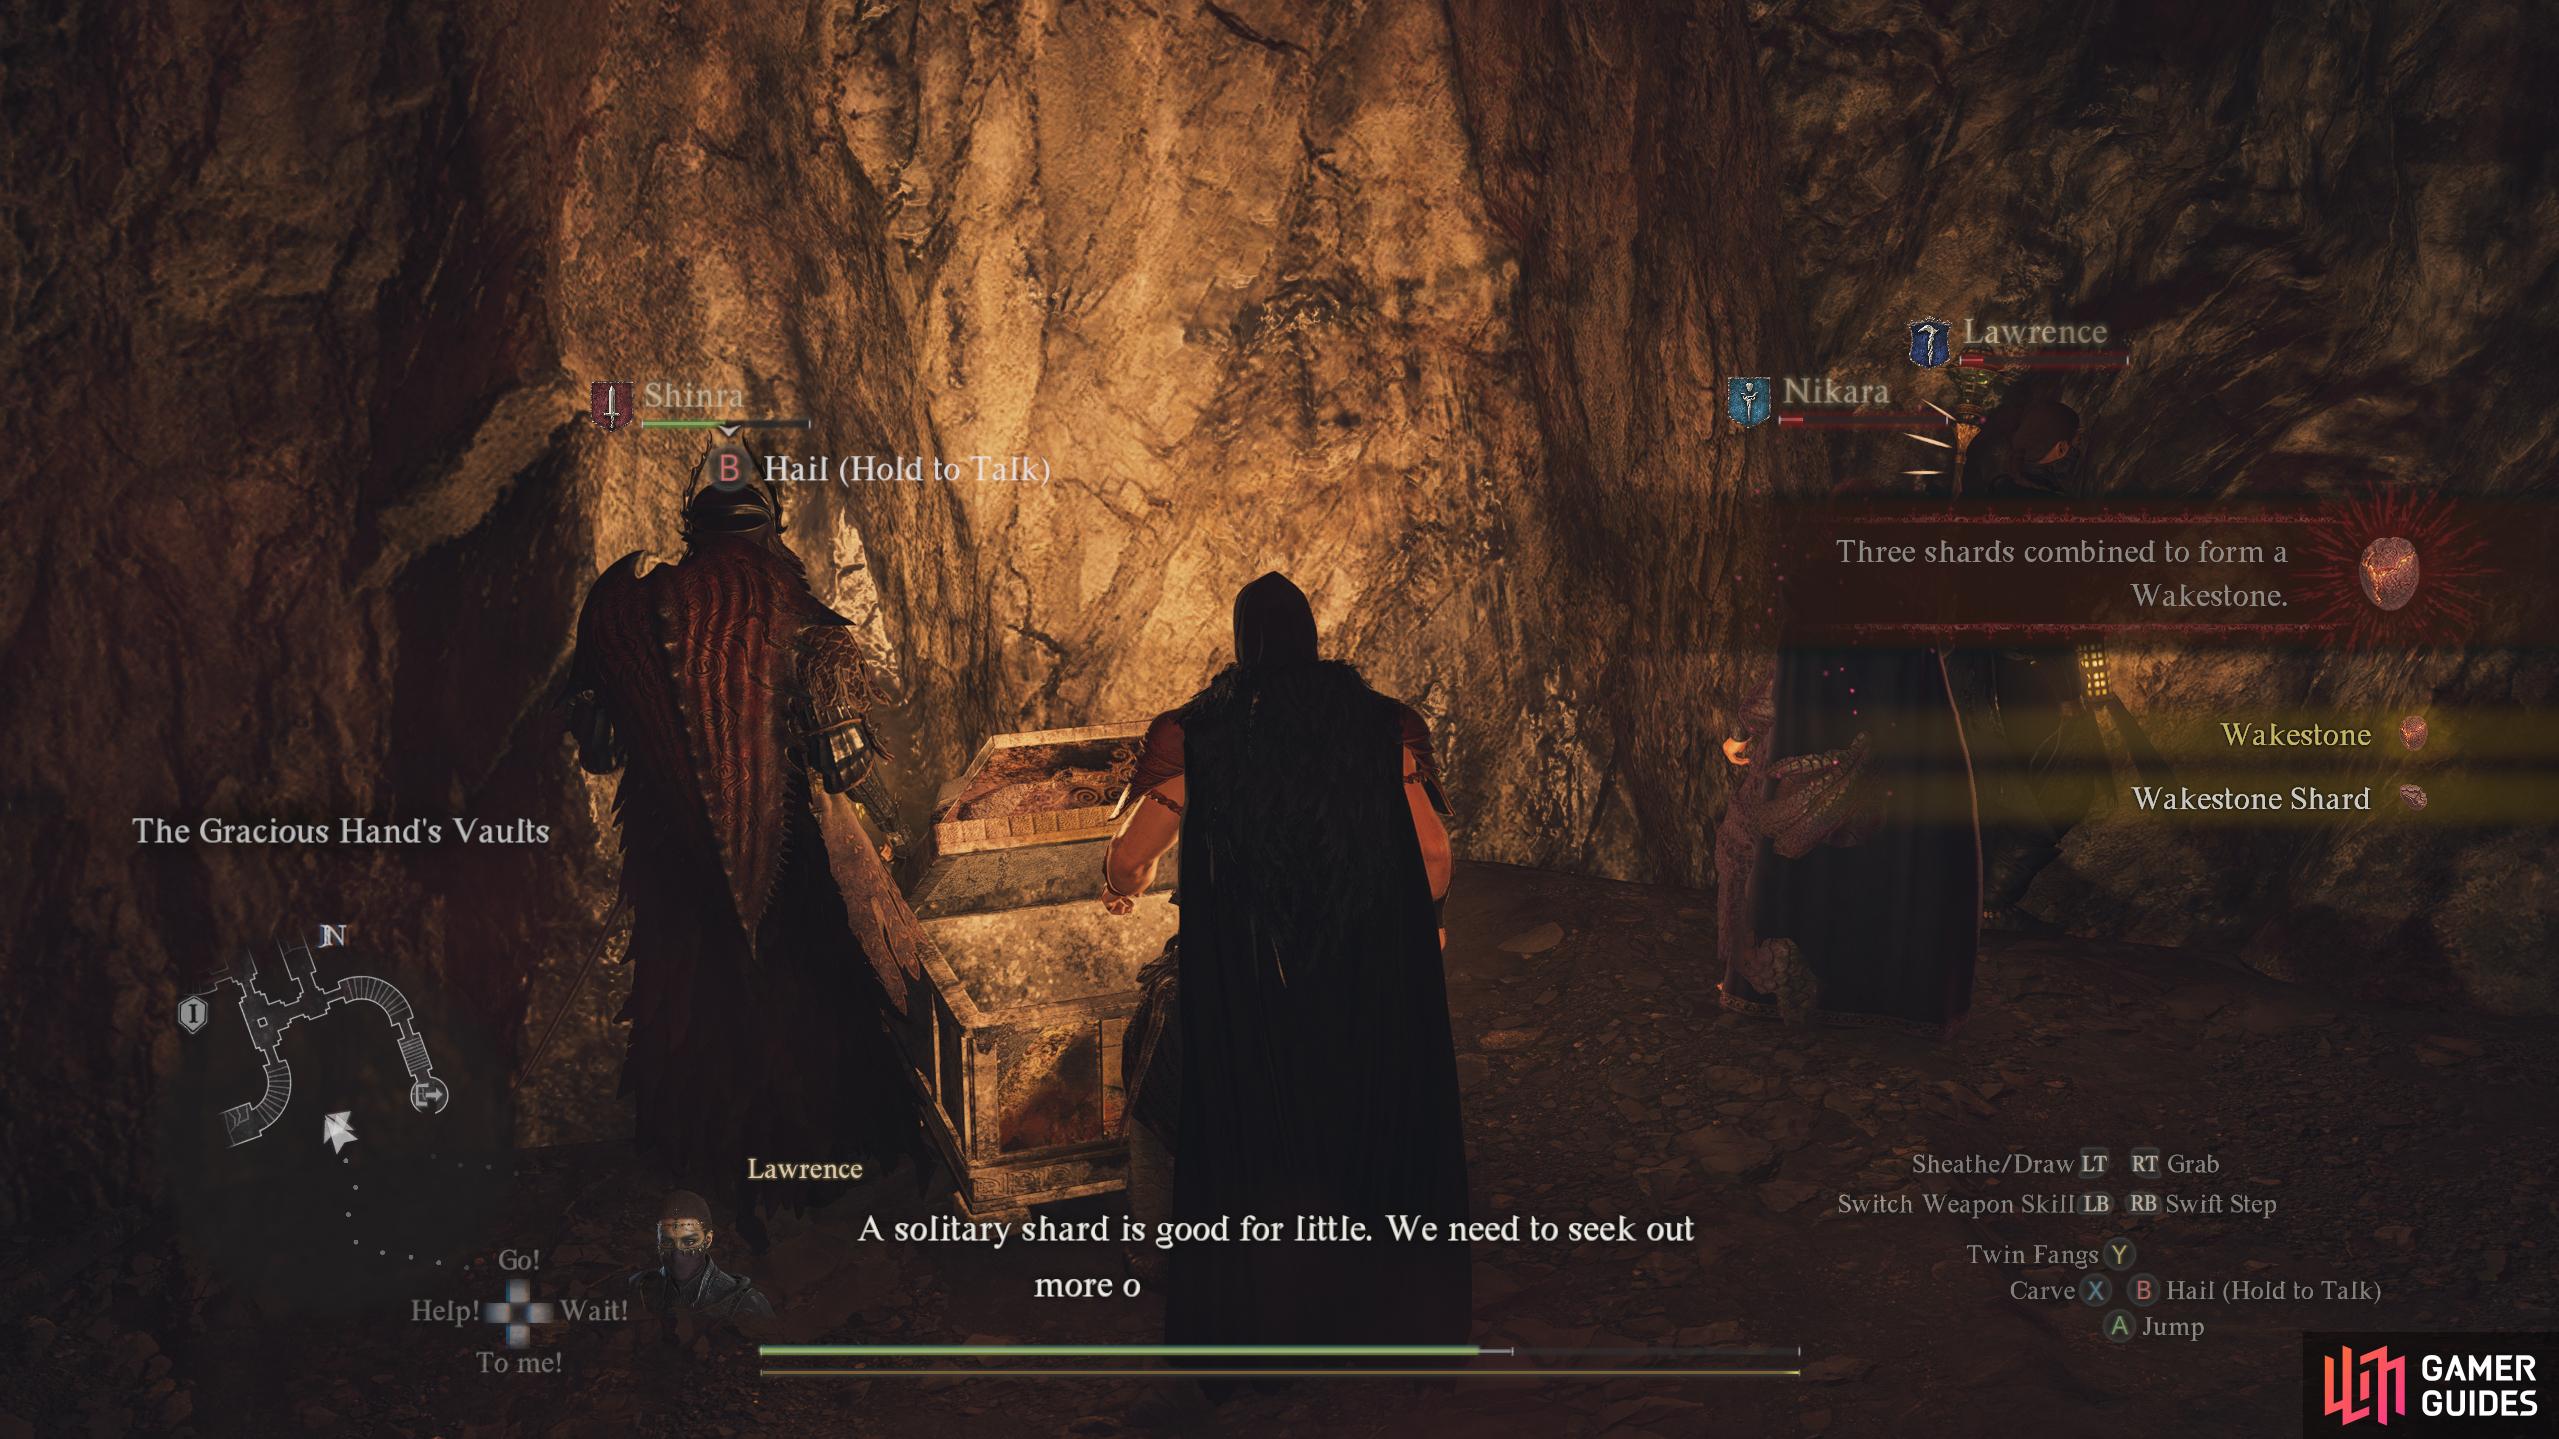
Palace Overlook Cape. Contains a ![]() Wakestone.
Wakestone.
39. World Map
At the top of some stairs, only accessible through the hole in the roof.
Contains: ![]() Wakestone Shard.
Wakestone Shard.
40. World Map
At the top of some stairs on the left side of the ruins. Contains ![]() Stilettos.
Stilettos.
42. World Map
Inside the ![]() Trevo Mine.
Trevo Mine.
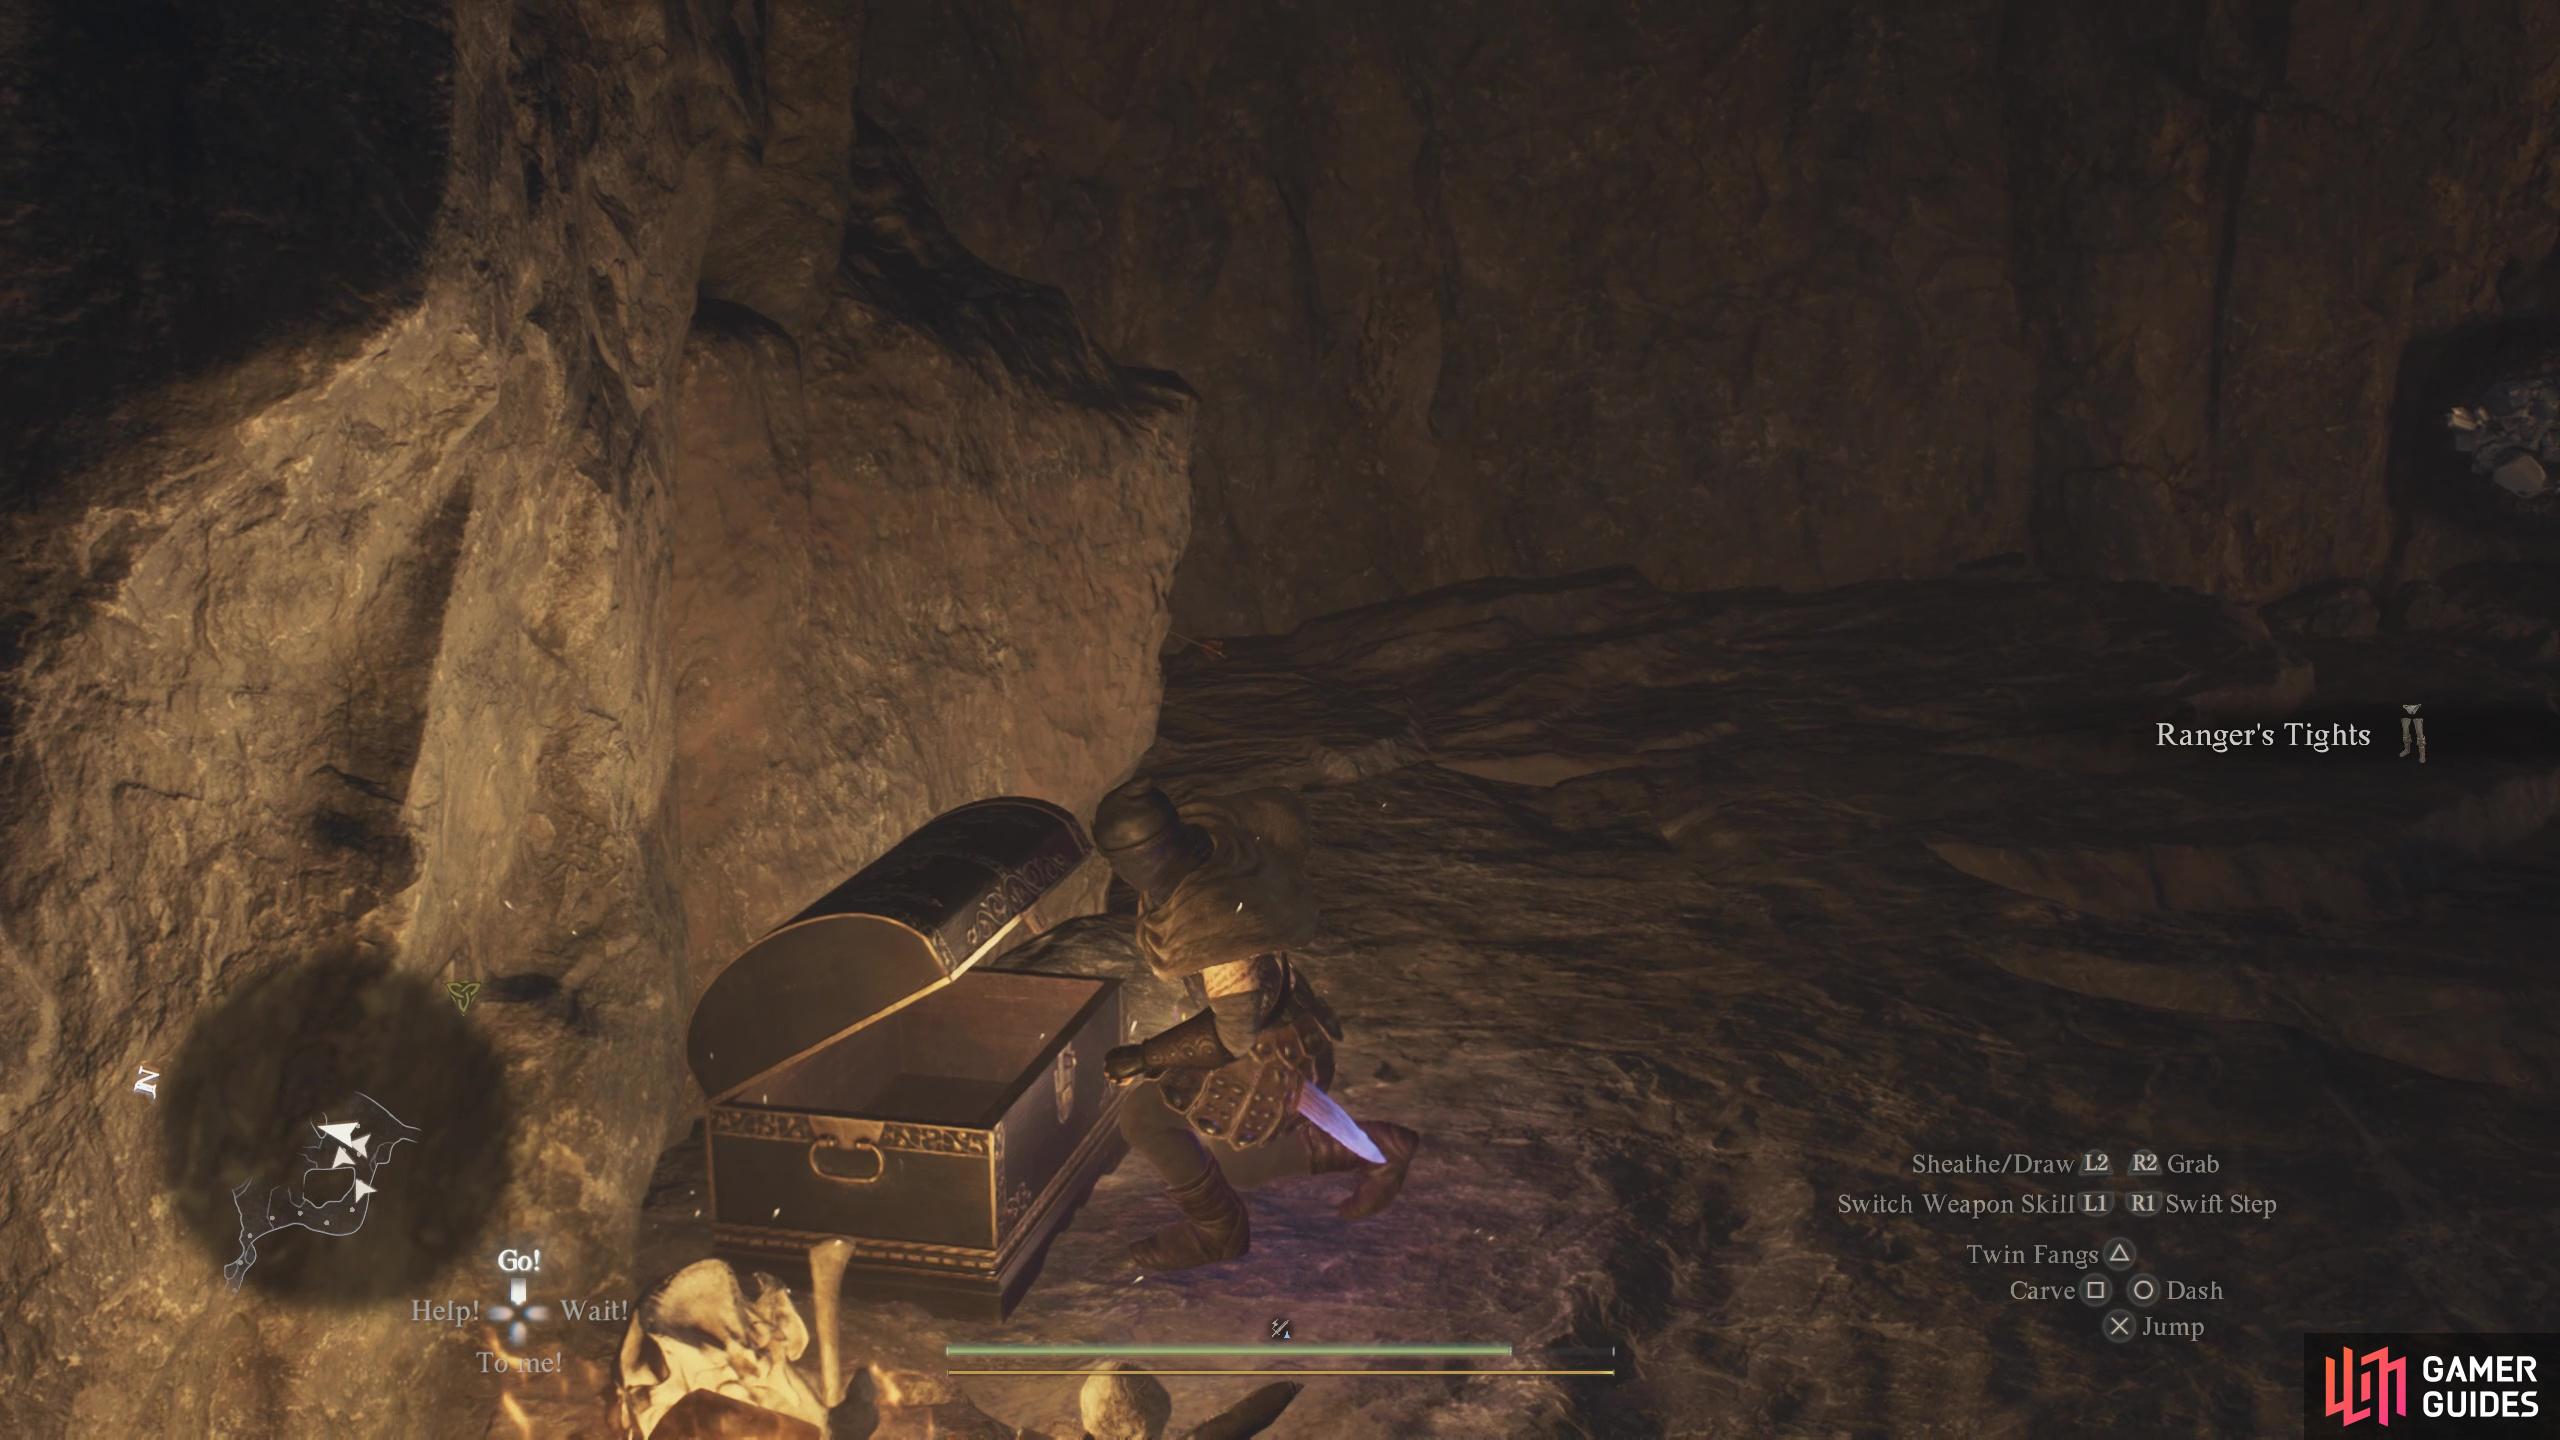
Found against the back wall of the first chamber, contains : ![]() Ranger’s Tights
Ranger’s Tights
44. World Map
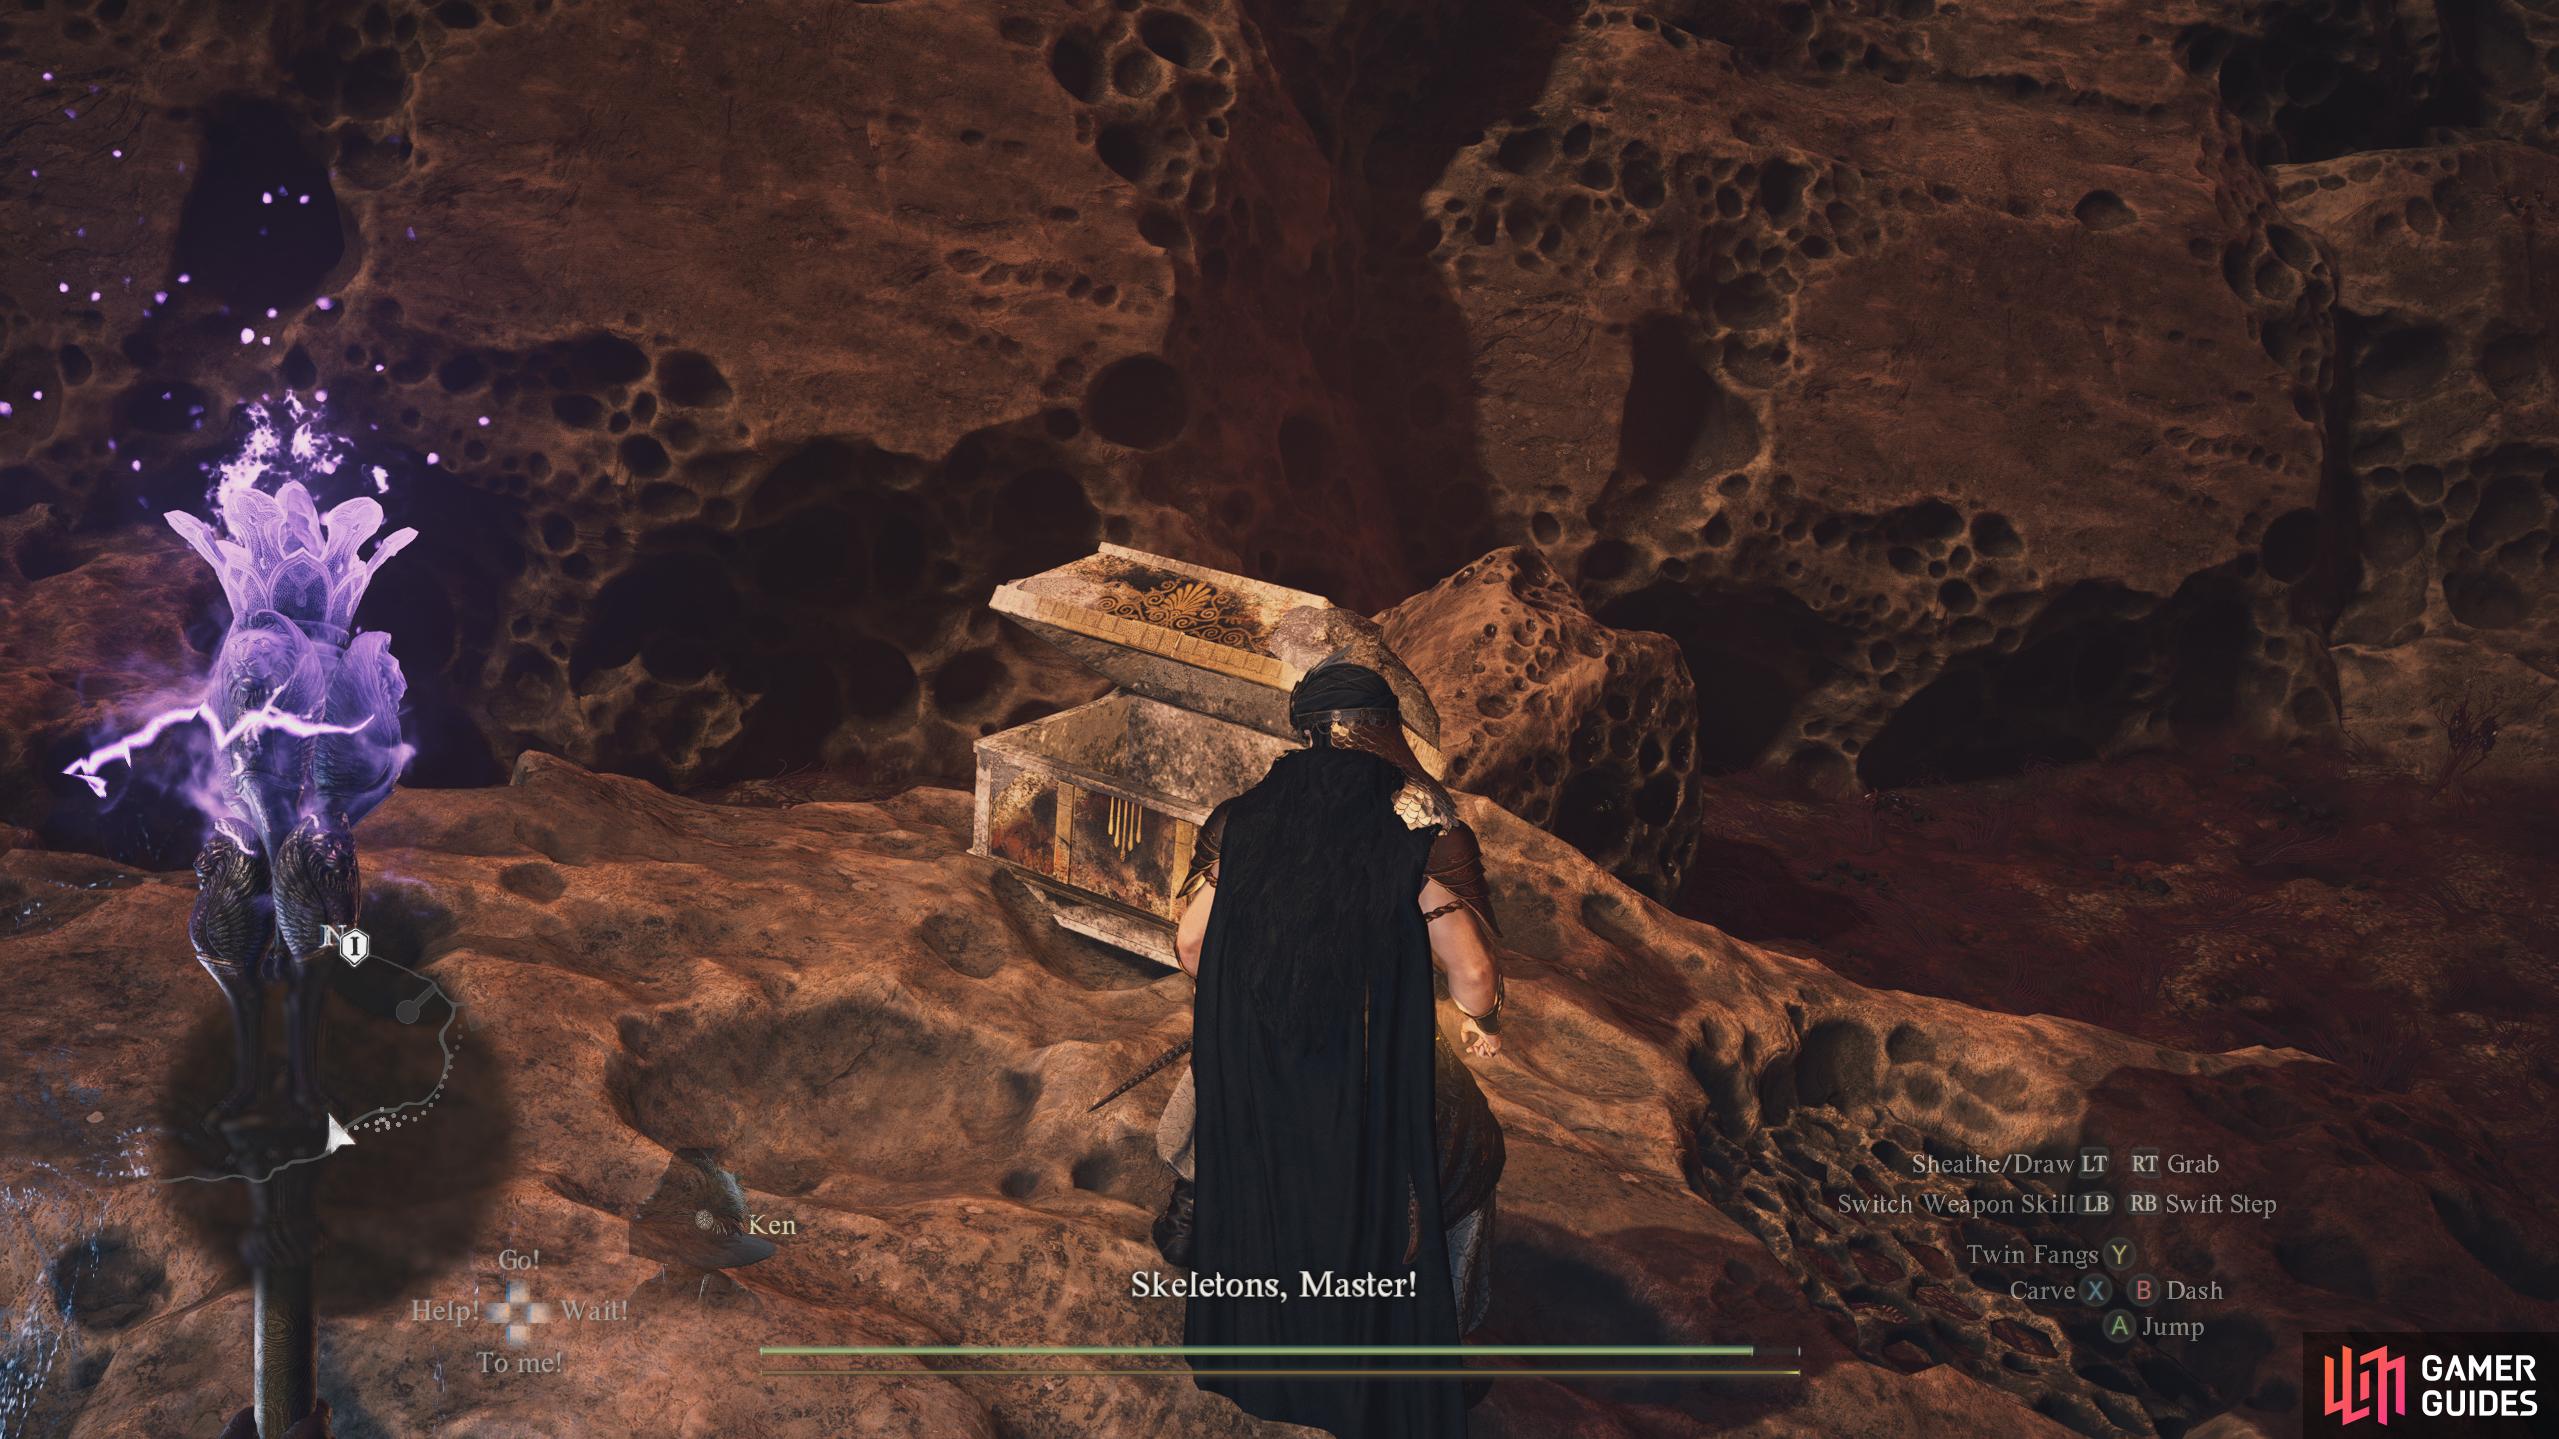
In a small alcove at the end of the ![]() Spirits’ Path cave. Opening this chest will spawn several
Spirits’ Path cave. Opening this chest will spawn several ![]() Skeletons.
Skeletons.
Contains: ![]() Wakestone
Wakestone
45. World Map
In the lower section of the ruins, in a room obscured by bushes.
Contains: ![]() Ferrystone
Ferrystone
46. World Map
In a small room at the back of the ![]() Timeworn Shaft, on the left.
Timeworn Shaft, on the left.
Contains: ![]() Stilettos
Stilettos

47. World Map
In a small room at the back of the ![]() Timeworn Shaft, on the right.
Timeworn Shaft, on the right.
Contains: ![]() Iron Shield
Iron Shield
50. World Map
After climbing down the ladder, break a stack of boxes to find this chest in a hidden room.
Contains: 3600 gold coins.
51. World Map
After climbing up a ladder, this chest will be directly in front of you.
Contains: ![]() Furred Greaves
Furred Greaves
52. World Map
On the edge of the cliff behind the headless statue.
Contains: ![]() Wakestone Shard
Wakestone Shard

56. World Map
On the right side of the room in the ![]() Vernworth Royal Chambers.
Vernworth Royal Chambers.
Contains: ![]() Wakestone Shard
Wakestone Shard
57. World Map
Inside ![]() Waterfall Cave at the end of the far northeastern passage. Climb on top of the ledges to reach it.
Waterfall Cave at the end of the far northeastern passage. Climb on top of the ledges to reach it.
Contains: ![]() Ferrystone
Ferrystone
58. World Map
On the 2nd floor of ![]() Waterfall Cave, in the middle of the creepy mage’s room. Will spawn a
Waterfall Cave, in the middle of the creepy mage’s room. Will spawn a ![]() Skeleton Lord when opened.
Skeleton Lord when opened.
Contains: ![]() Howling Blizzard,
Howling Blizzard, ![]() Nation’s Death Knell
Nation’s Death Knell
59. World Map
Found on the 2nd floor of ![]() Waterfall Cave, at the northeast end.
Waterfall Cave, at the northeast end.
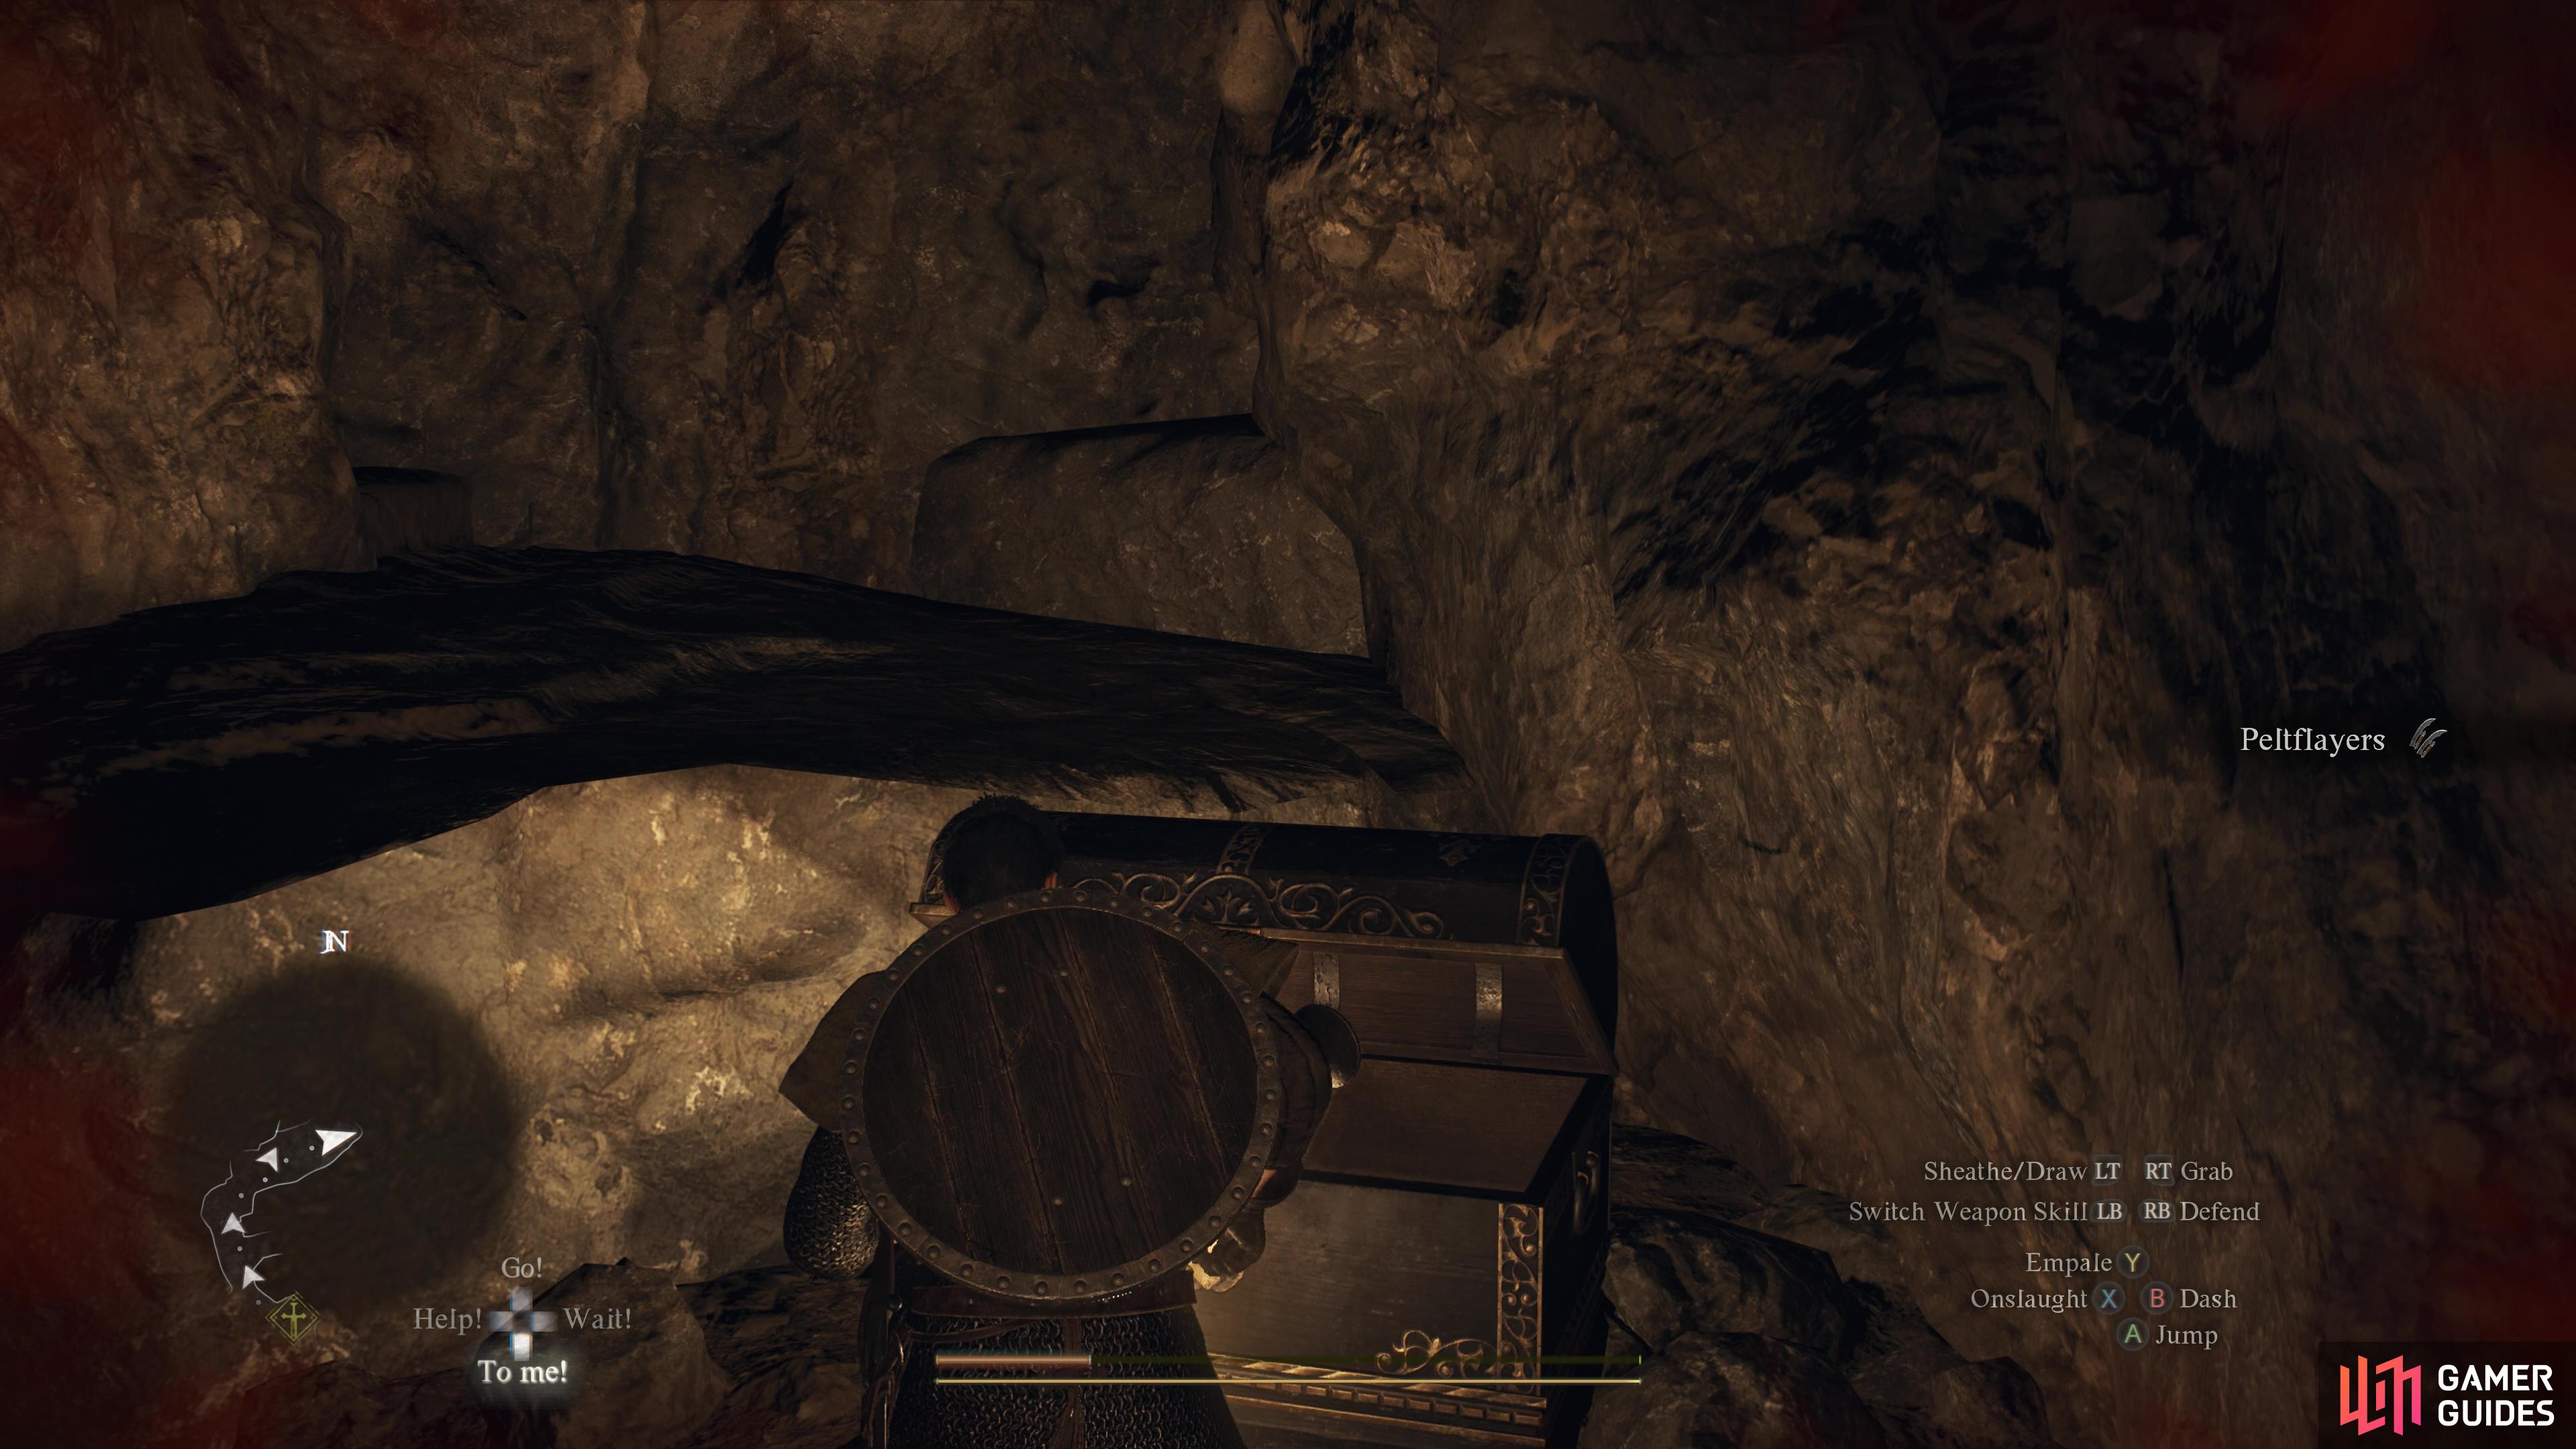
Contains: ![]() Peltflayers
Peltflayers
60. World Map
In the ![]() Forgotten Ruins guarded by some
Forgotten Ruins guarded by some ![]() Hobgoblins.
Hobgoblins.
Contains: 2840 gold coins
62. World Map
Chest located on the ledge above the putrid cave.
Contains: ![]() Ferrystone
Ferrystone
63. World Map
Unique chest found on the balcony of the abandoned tower.
Contains: ![]() Wakestone
Wakestone
64. World Map
After defeating the skeletons, go down the ladder and find the chest in the ajoining room .
contains: ![]() Wakestone
Wakestone
65. World Map
Behind the throne in the ![]() Vernworth Castle - Audience Chamber.
Vernworth Castle - Audience Chamber.
Contains: ![]() Heraldic Cape
Heraldic Cape

66. World Map
On the right side of the ![]() Vernworth Castle - Guest Chambers.
Vernworth Castle - Guest Chambers.
Contains: ![]() Courtly Tunic and
Courtly Tunic and ![]() Courtly Breeches
Courtly Breeches
67. World Map
In the corner of ![]() Sven’s Chambers.
Sven’s Chambers.
Contains: ![]() Courtly Tunic and
Courtly Tunic and ![]() Courtly Breeches
Courtly Breeches

68. World Map
At the top of the tower on the fourth floor of ![]() Vernworth Castle.
Vernworth Castle.
Contains: ![]() Dragon’s Gaze
Dragon’s Gaze
71. World Map
Behind a wall near the ![]() Illdoers’ Resting Place.
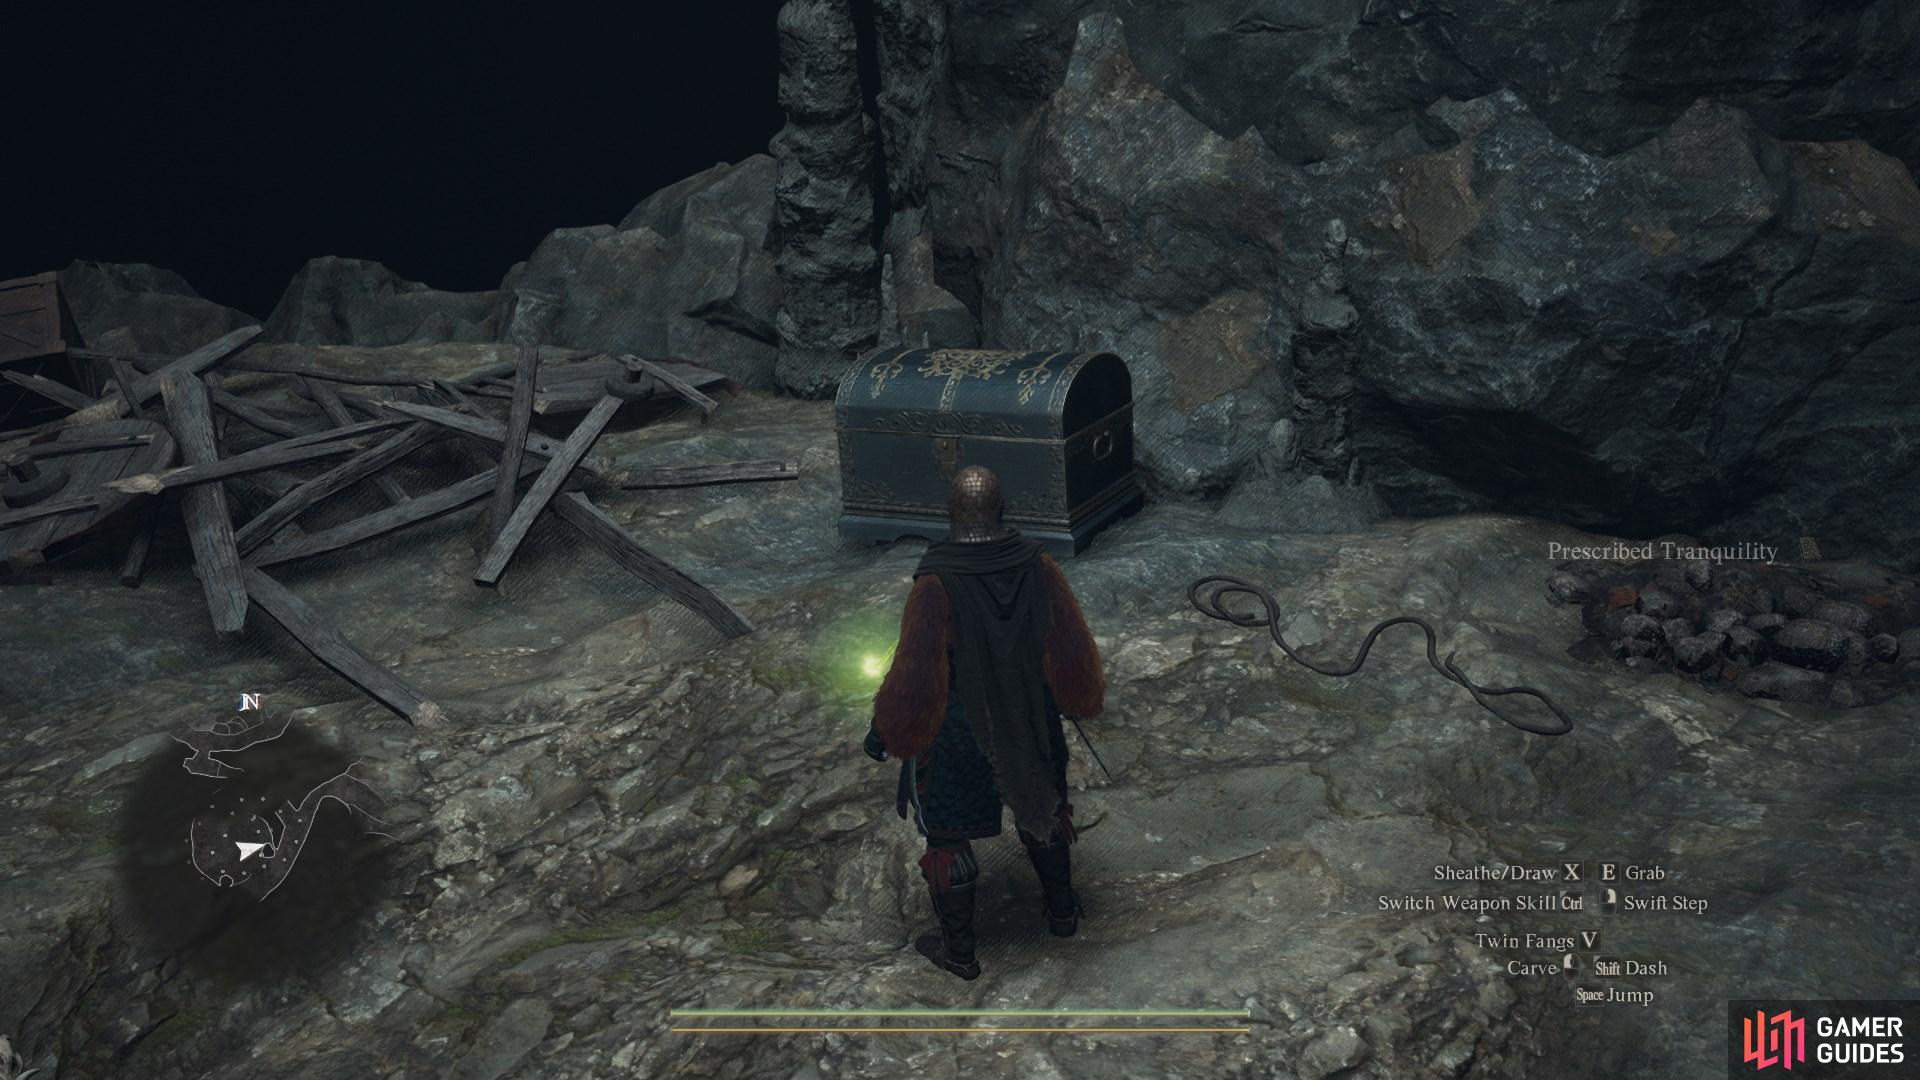
Illdoers’ Resting Place.
Contains: ![]() Wakestone Shard,
Wakestone Shard, ![]() Prescribed Tranquility, and 180 RC.
Prescribed Tranquility, and 180 RC.
72. World Map
In the corner of an abandoned home that can only be accessed from behind.
Contains: ![]() Bane of Bones
Bane of Bones

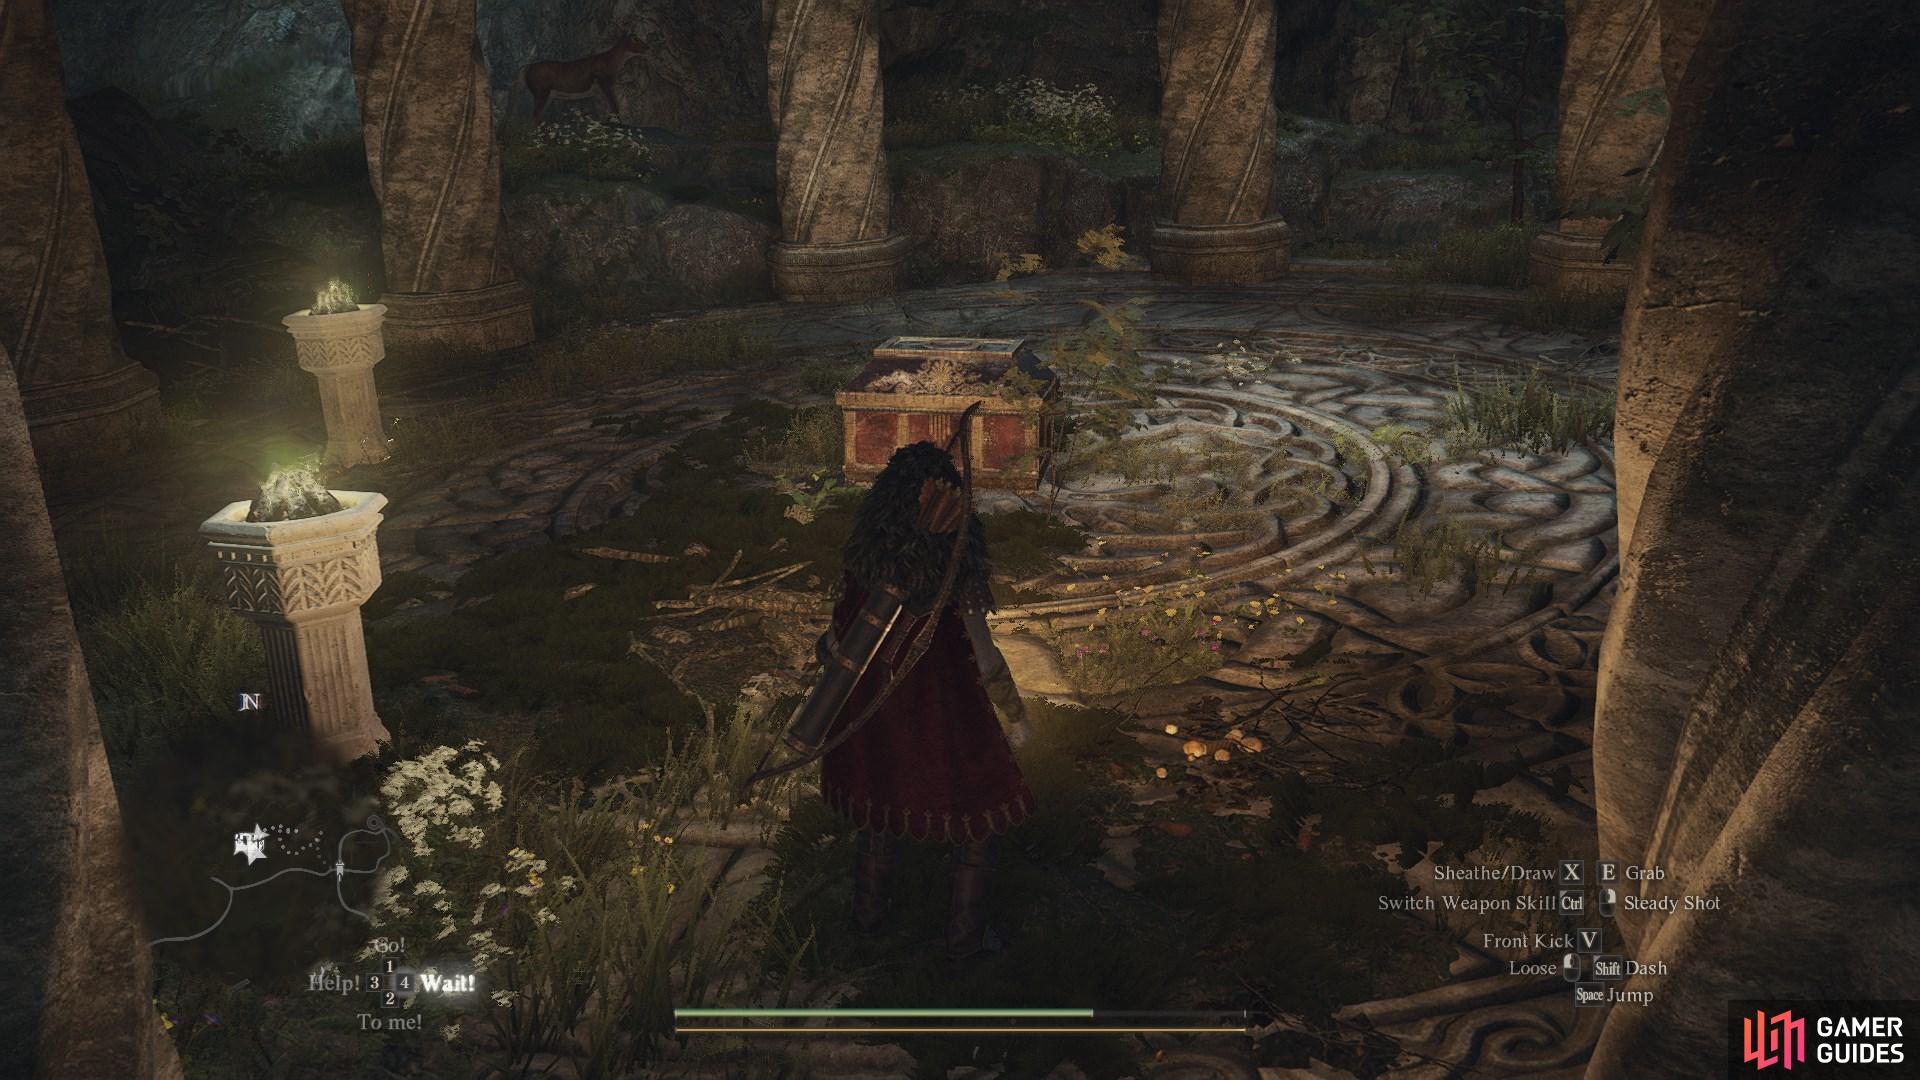
75. World Map
Found in the far back corner of the cave.
contains : 1 * ![]() Ring of Percipience
Ring of Percipience


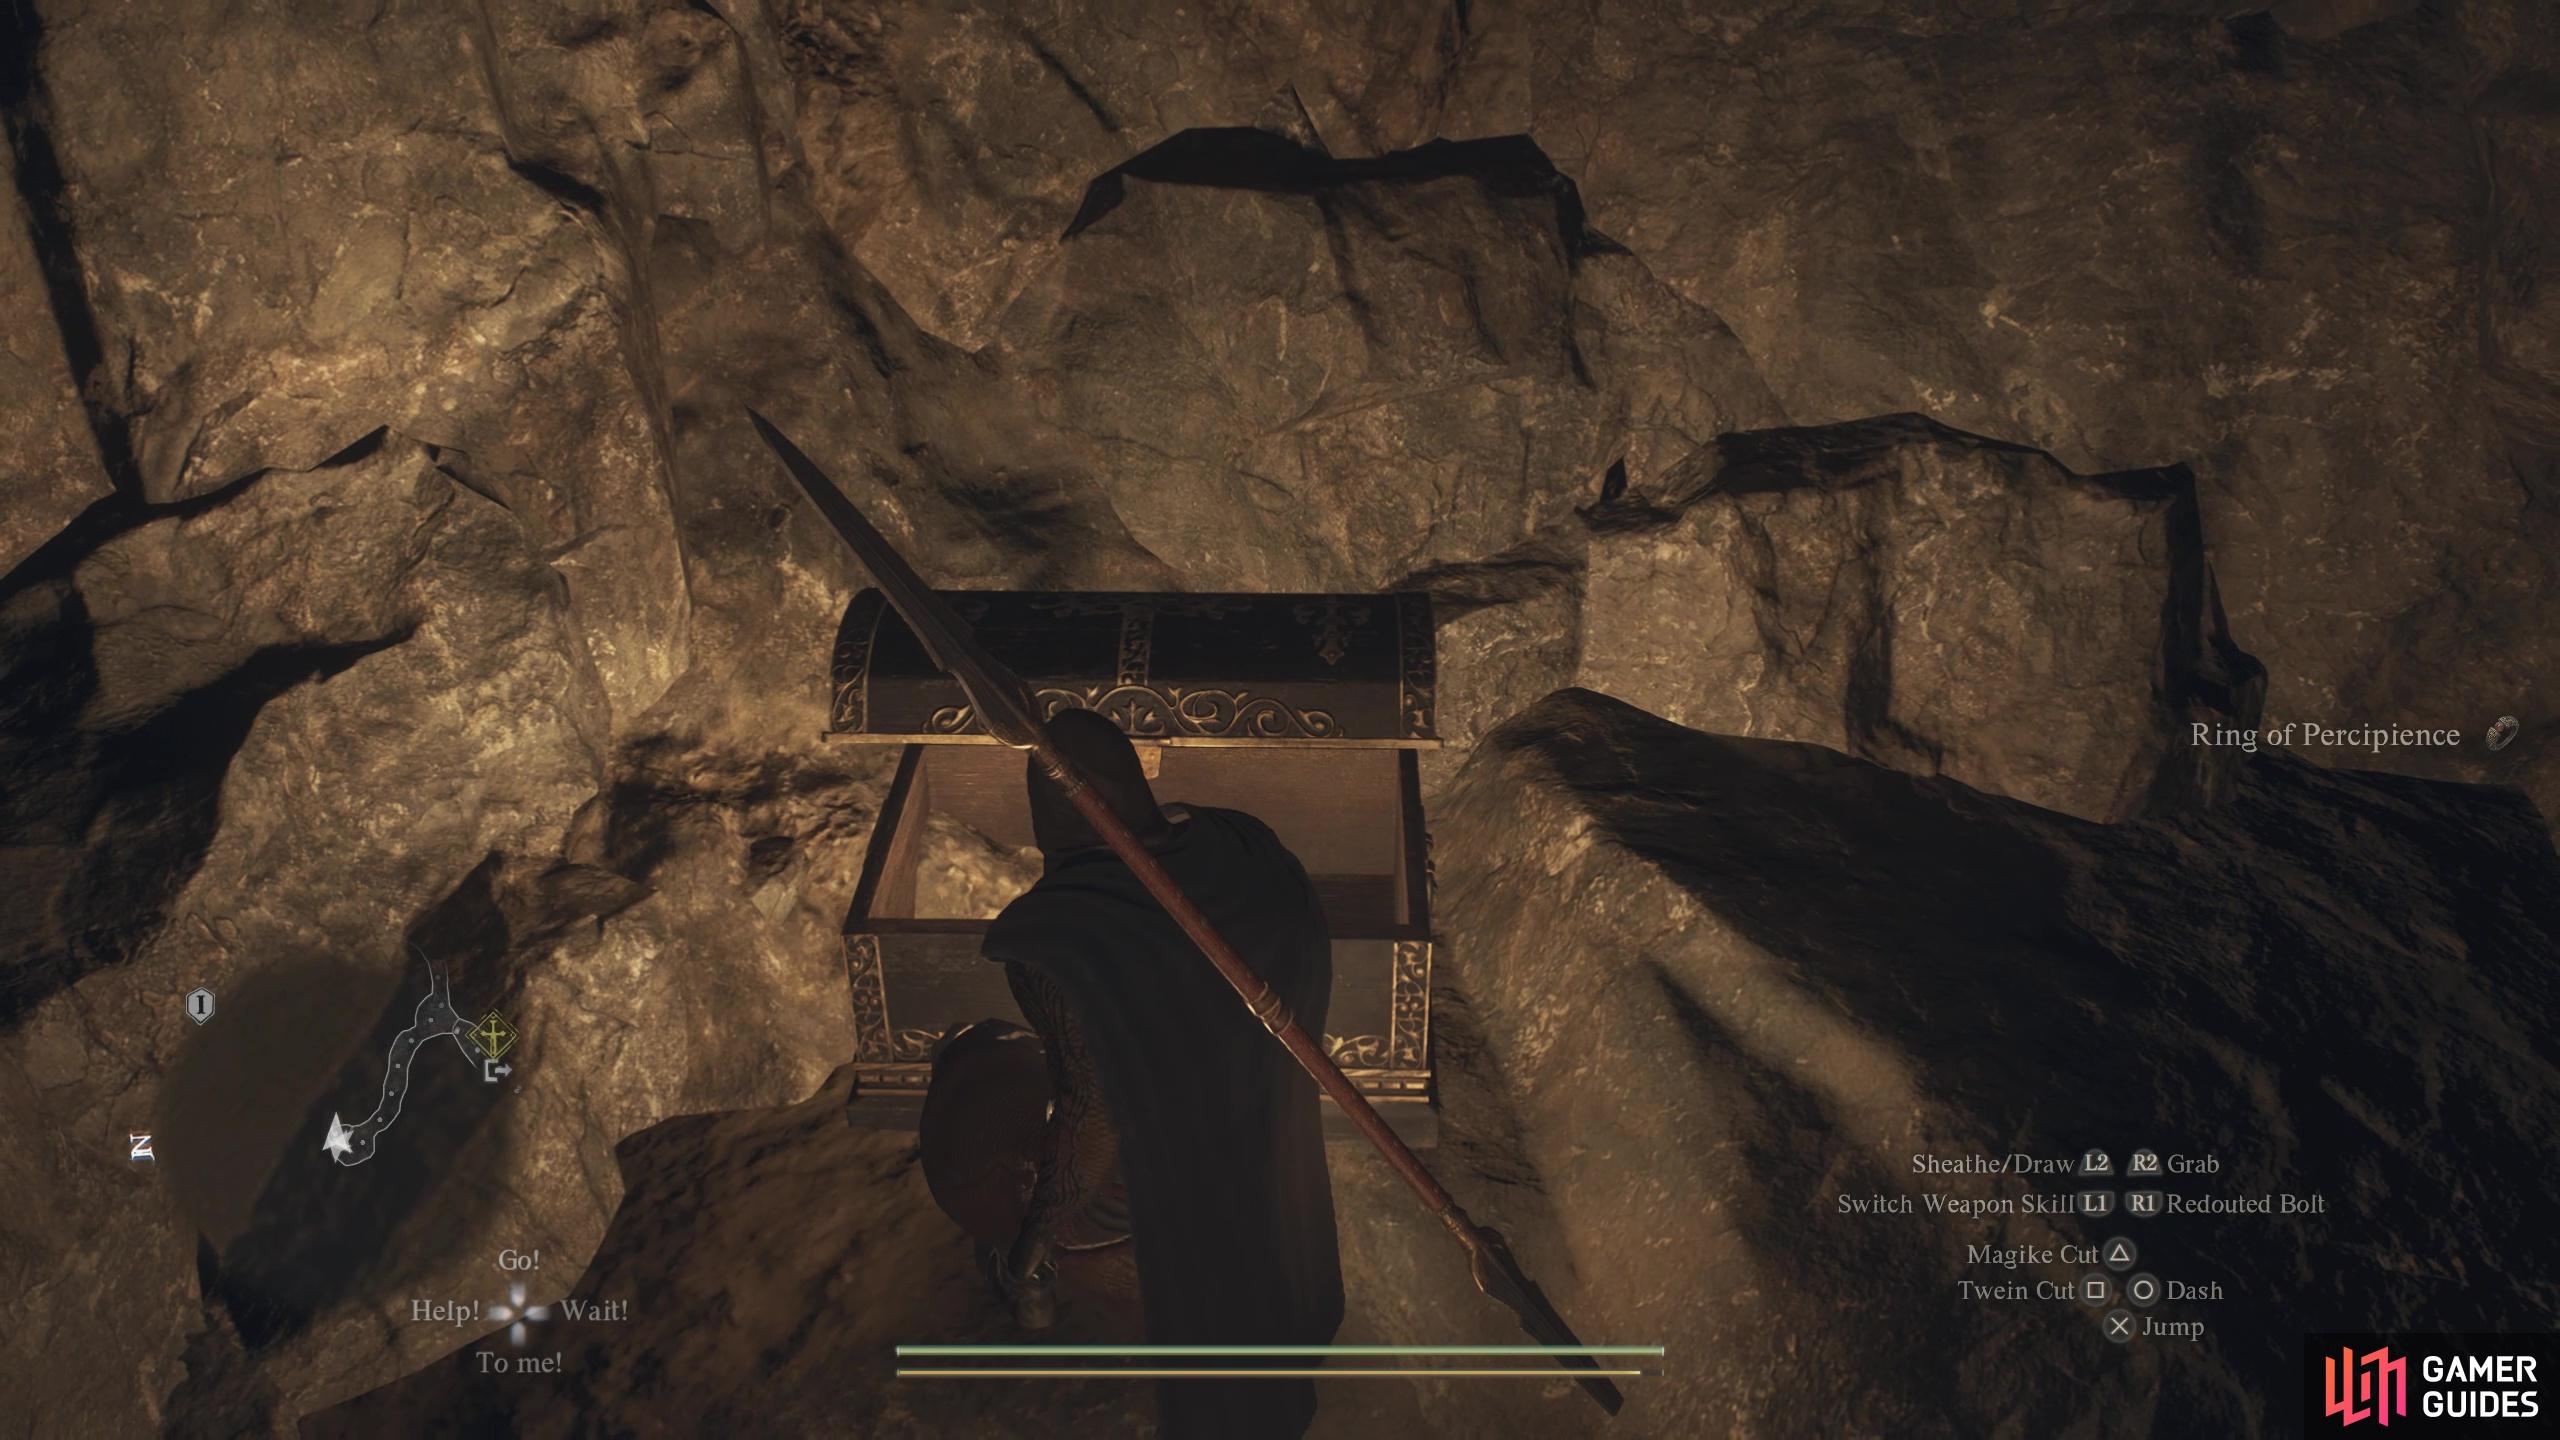
78. World Map
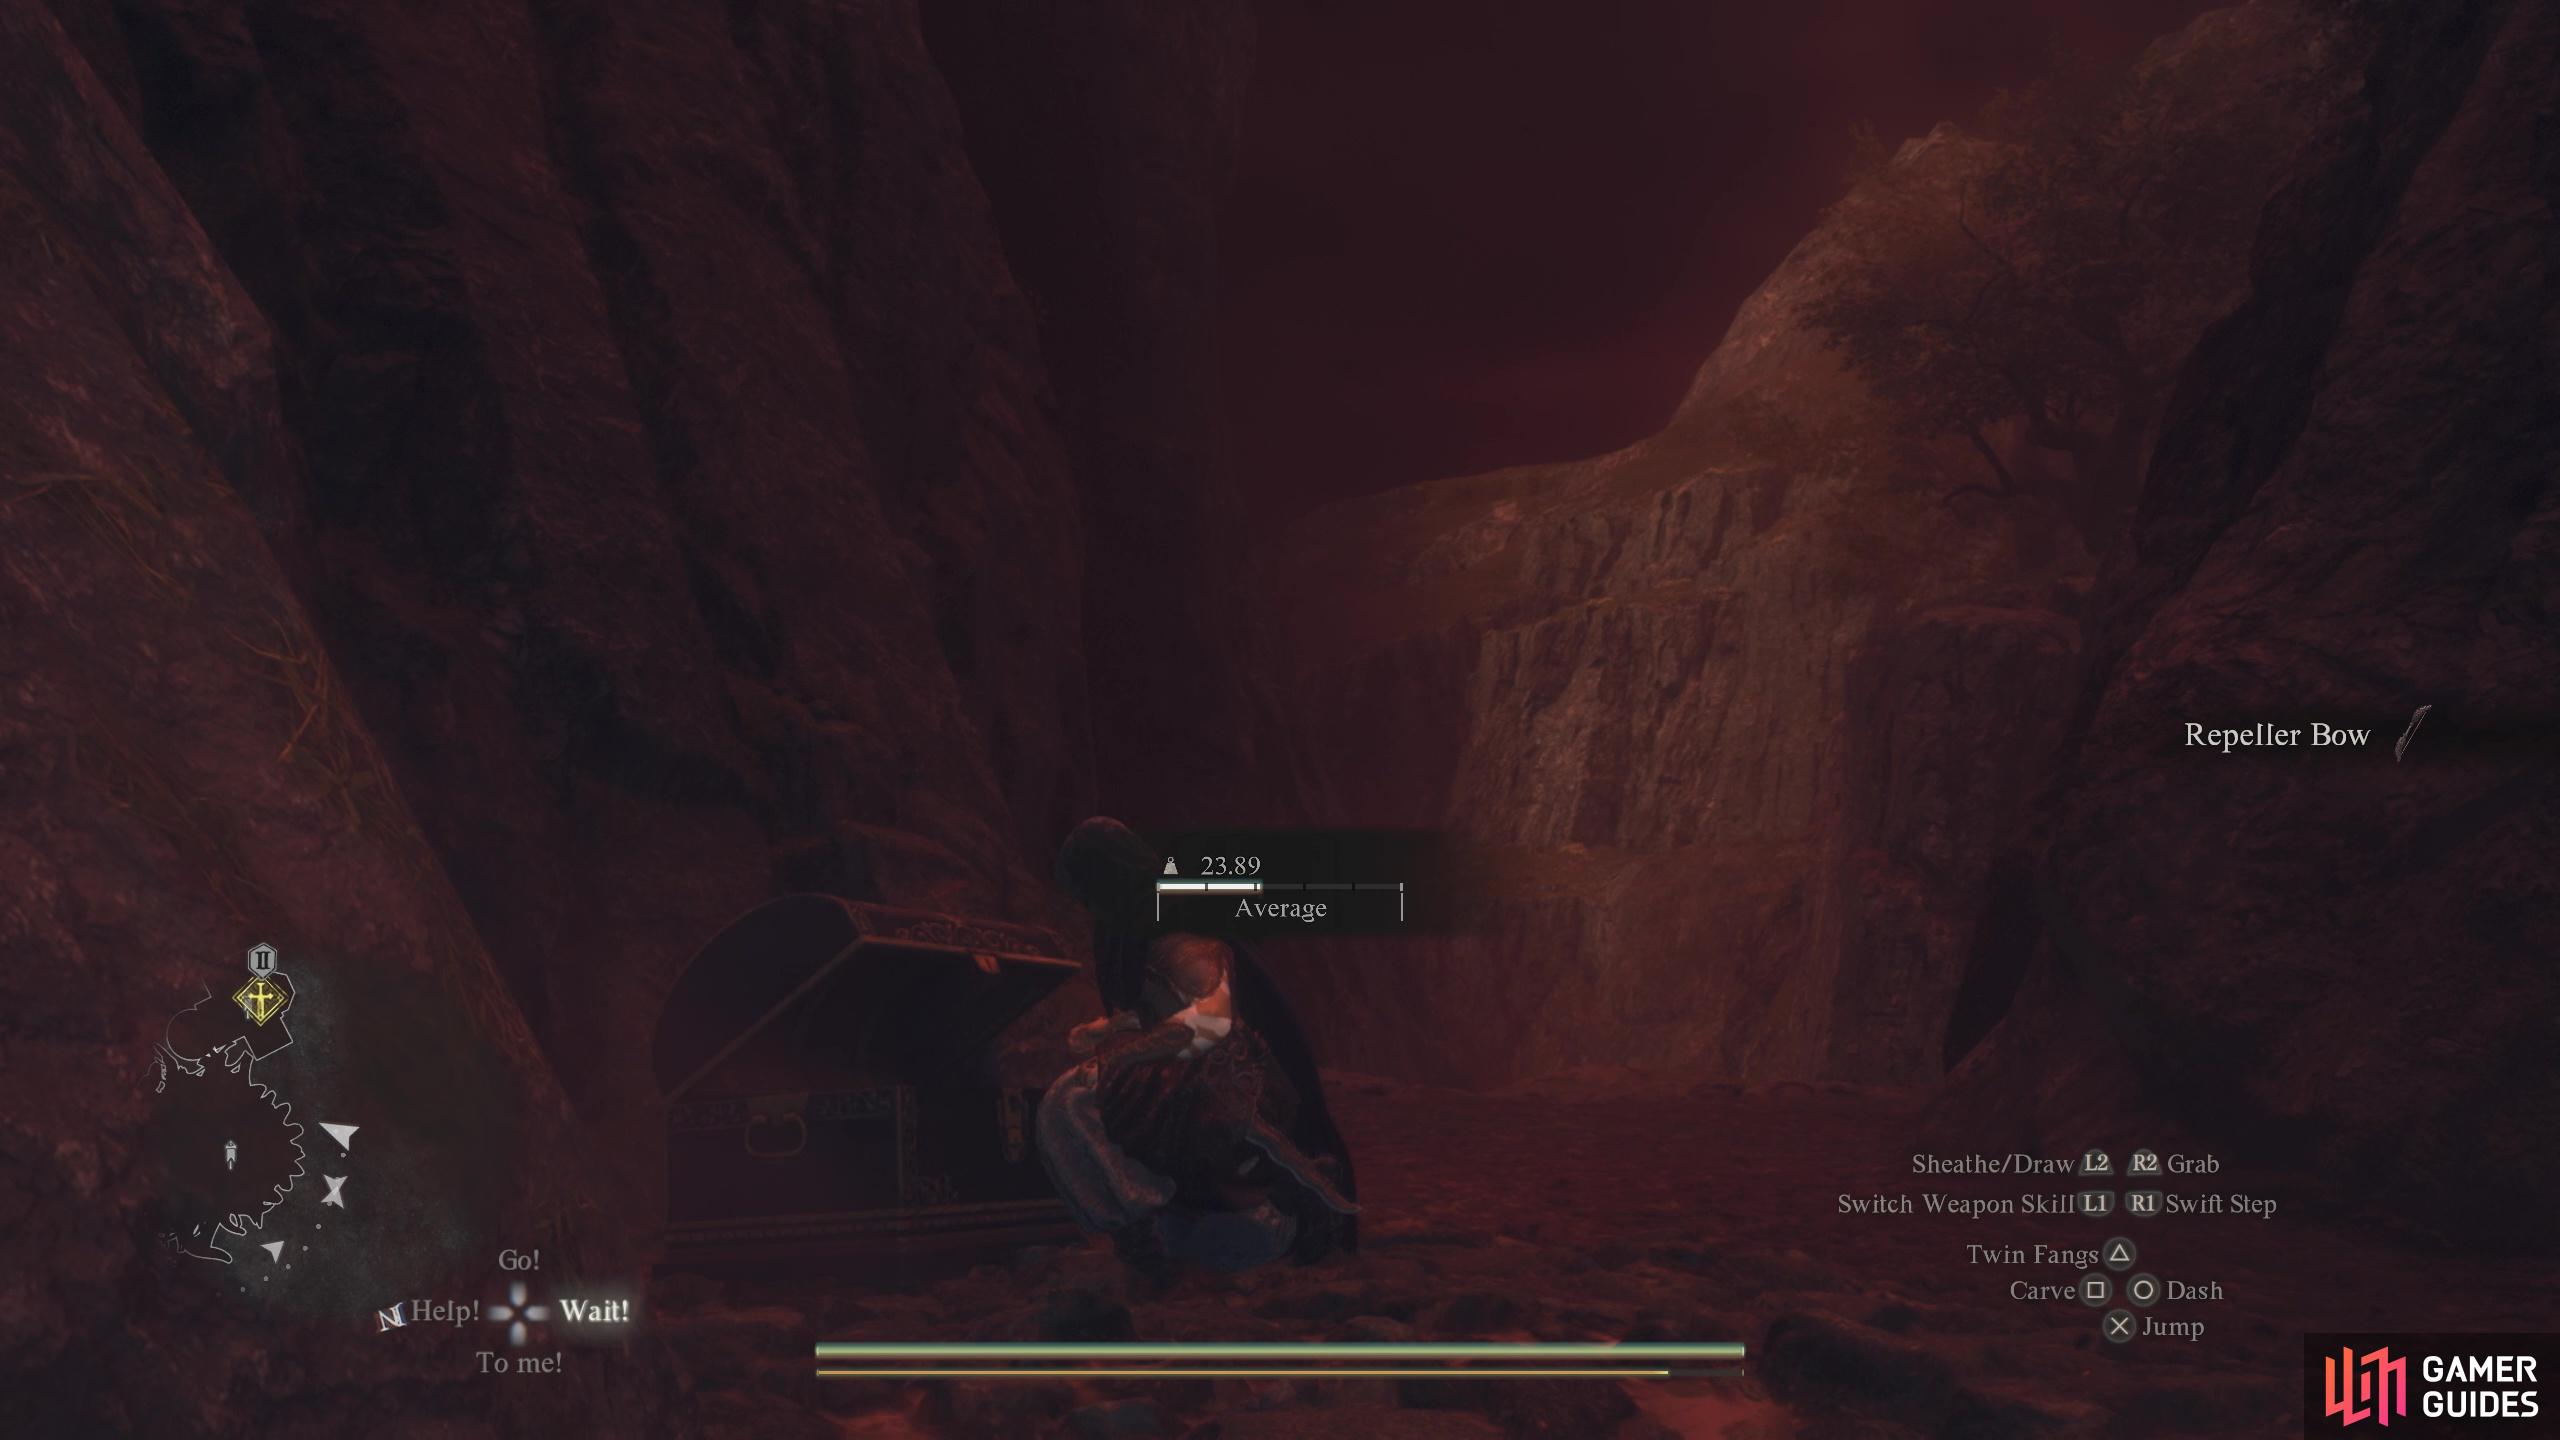
At the top of a rocky climb in the ![]() Forgotten Tunnel.
Forgotten Tunnel.
Contains: ![]() Ring of Awareness and 1210 gold coins.
Ring of Awareness and 1210 gold coins.

80. World Map
In the centre of a gazebo in the woods.
Contains: ![]() Governing Soul and
Governing Soul and ![]() Thunderous Concord
Thunderous Concord

84. World Map
On the edge of the grassy ledge above the path.
Contains: ![]() Wakestone Shard
Wakestone Shard
86. World Map
Next to a bed in a side-room of the ![]() Arborist’s Home.
Arborist’s Home.
Contains: ![]() Wakestone Shard
Wakestone Shard
89. World Map
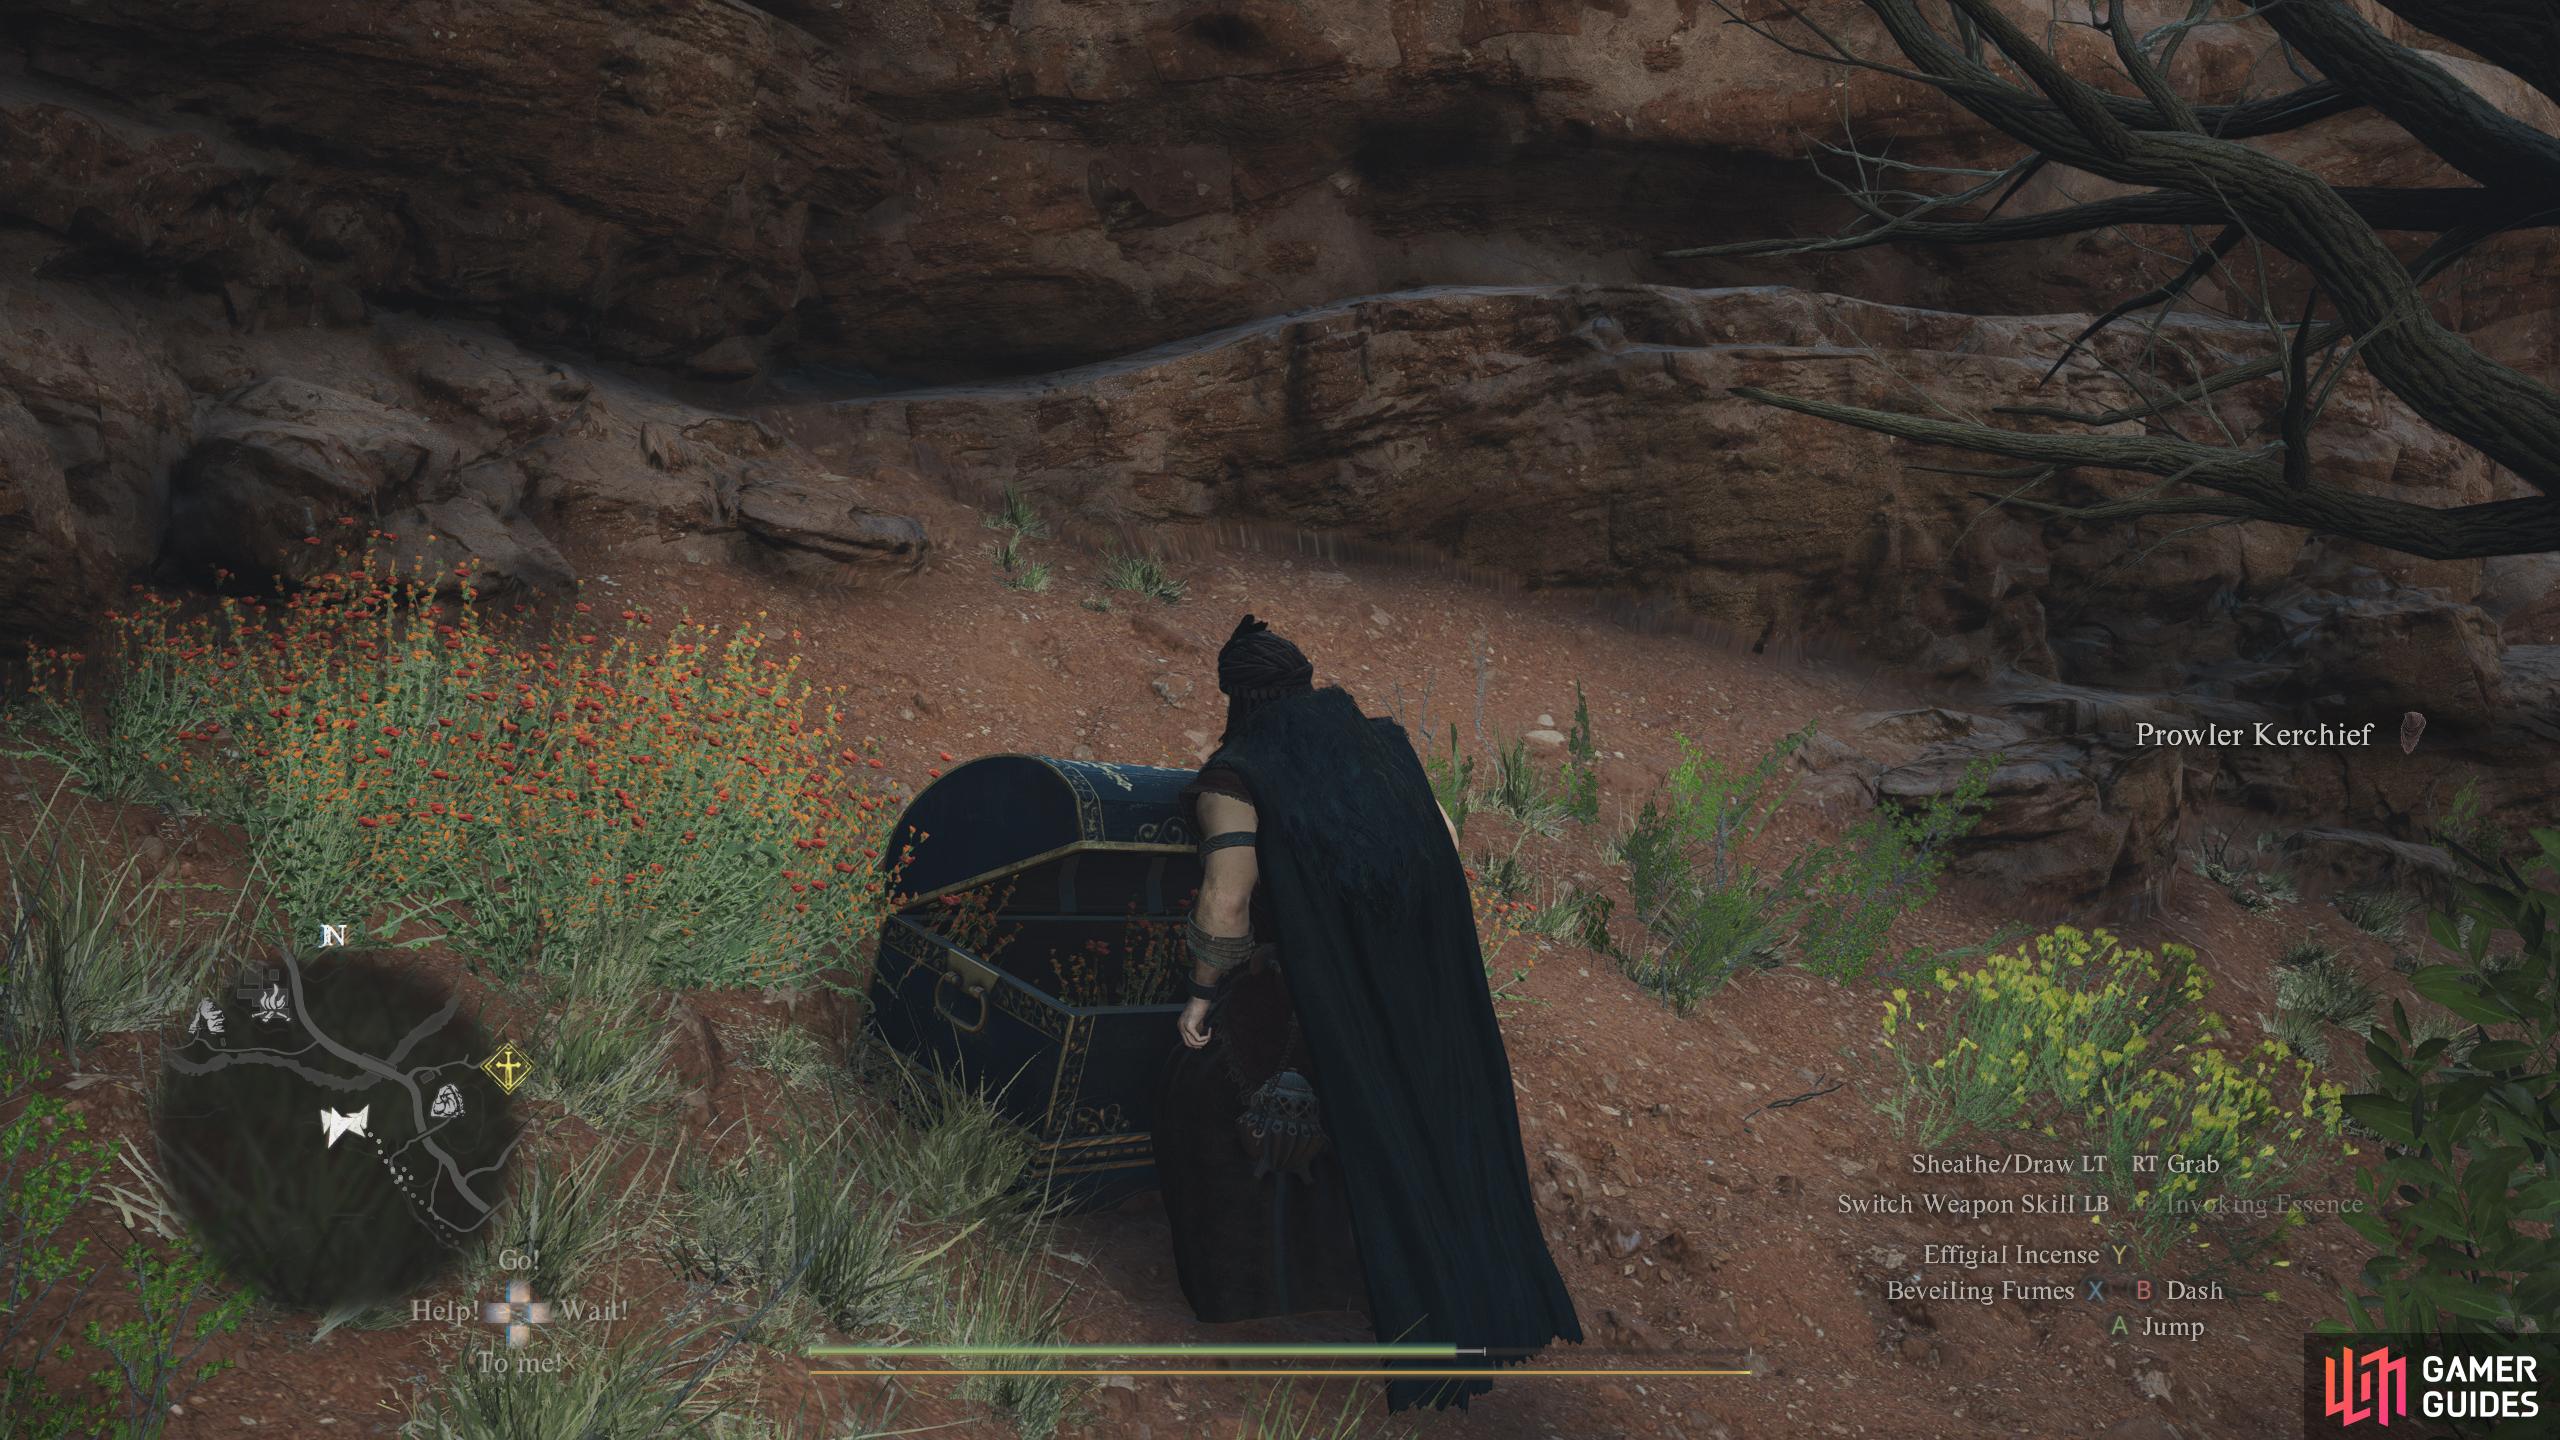
On the floor by the rock face, South of Enoa’Battahl Forest. Contains ![]() Prowler Kerchief x1.
Prowler Kerchief x1.
90. World Map
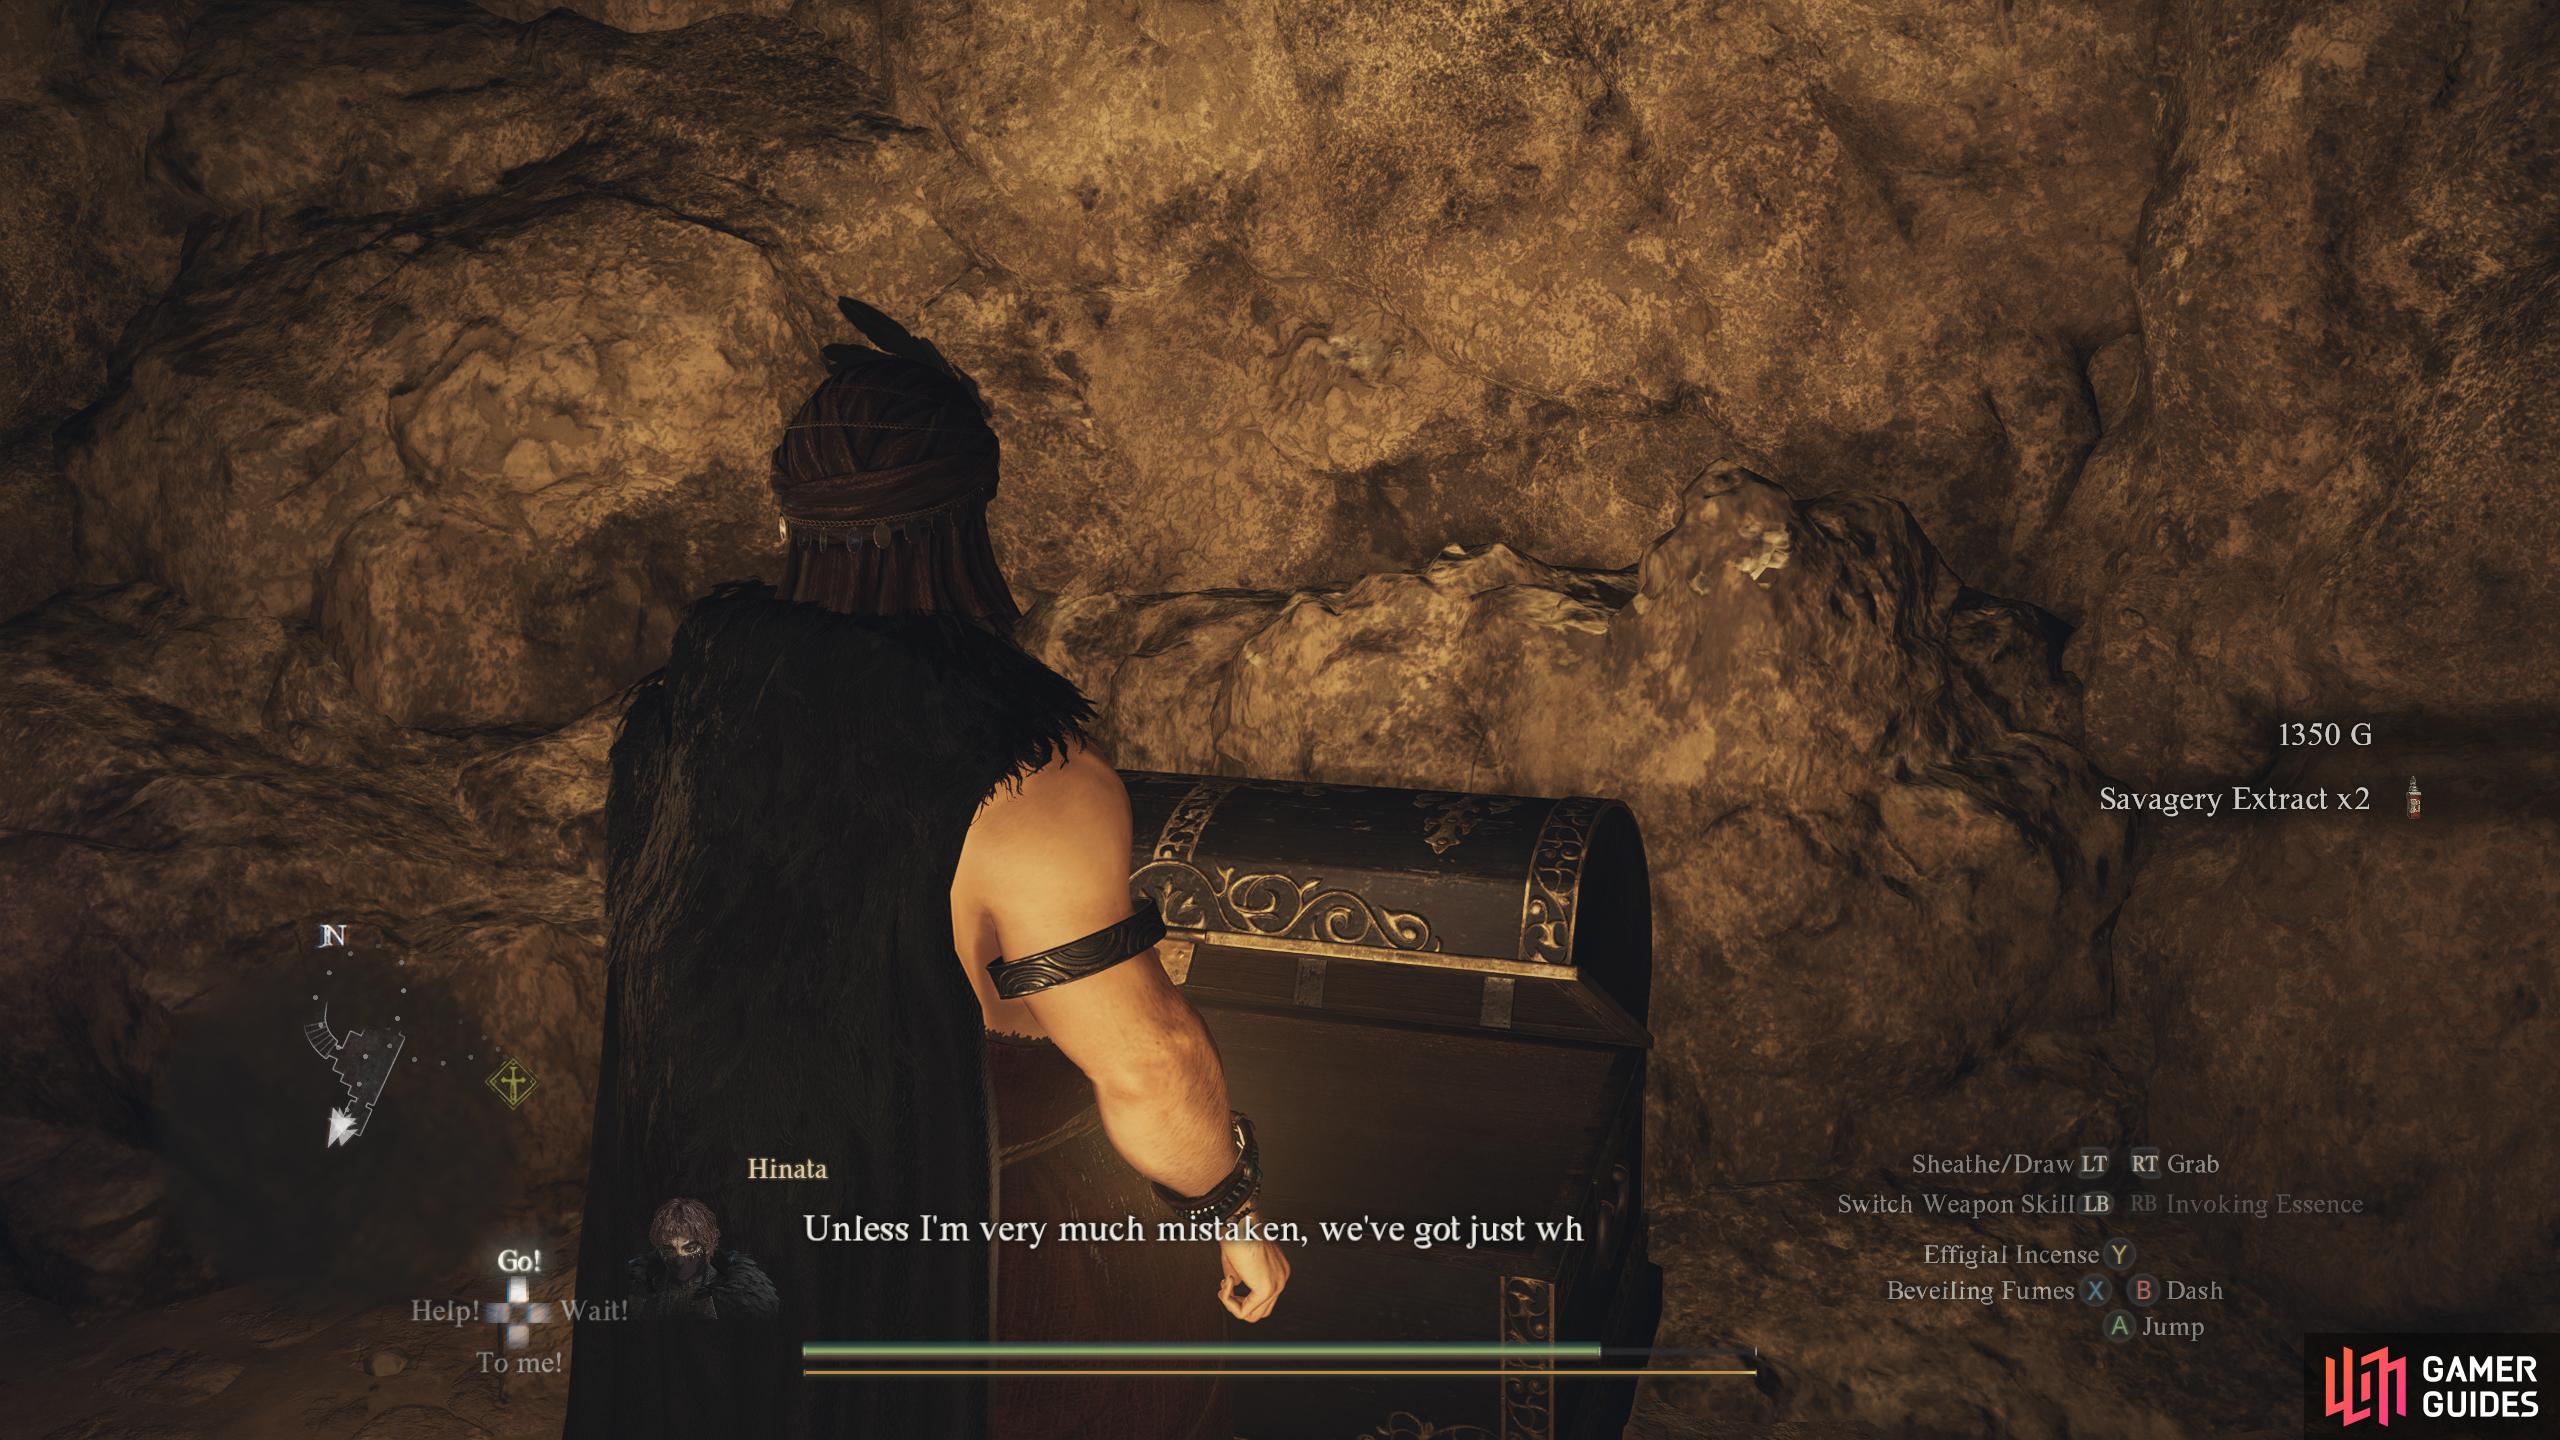
Inside the ![]() Tomb of Ku’Myage. In the cave, drop down to the floor below and follow the path down. In the large room, head into a small room to the south. Note, a large boulder will drop into the room; break the boulder and open the chest. Contains
Tomb of Ku’Myage. In the cave, drop down to the floor below and follow the path down. In the large room, head into a small room to the south. Note, a large boulder will drop into the room; break the boulder and open the chest. Contains ![]() Savagery Extract x2 and 1350 G.
Savagery Extract x2 and 1350 G.
92. World Map
Found in ![]() Stormwind Cave, on the ledge near the entrance (must come around).
Stormwind Cave, on the ledge near the entrance (must come around).
Contains: ![]() Ferrystone
Ferrystone
95. World Map
Inside ![]() Echoing Depths, break down the stone wall to your right after going down the long tunnel. The chest will be on the back wall under the falling boulders.
Echoing Depths, break down the stone wall to your right after going down the long tunnel. The chest will be on the back wall under the falling boulders.
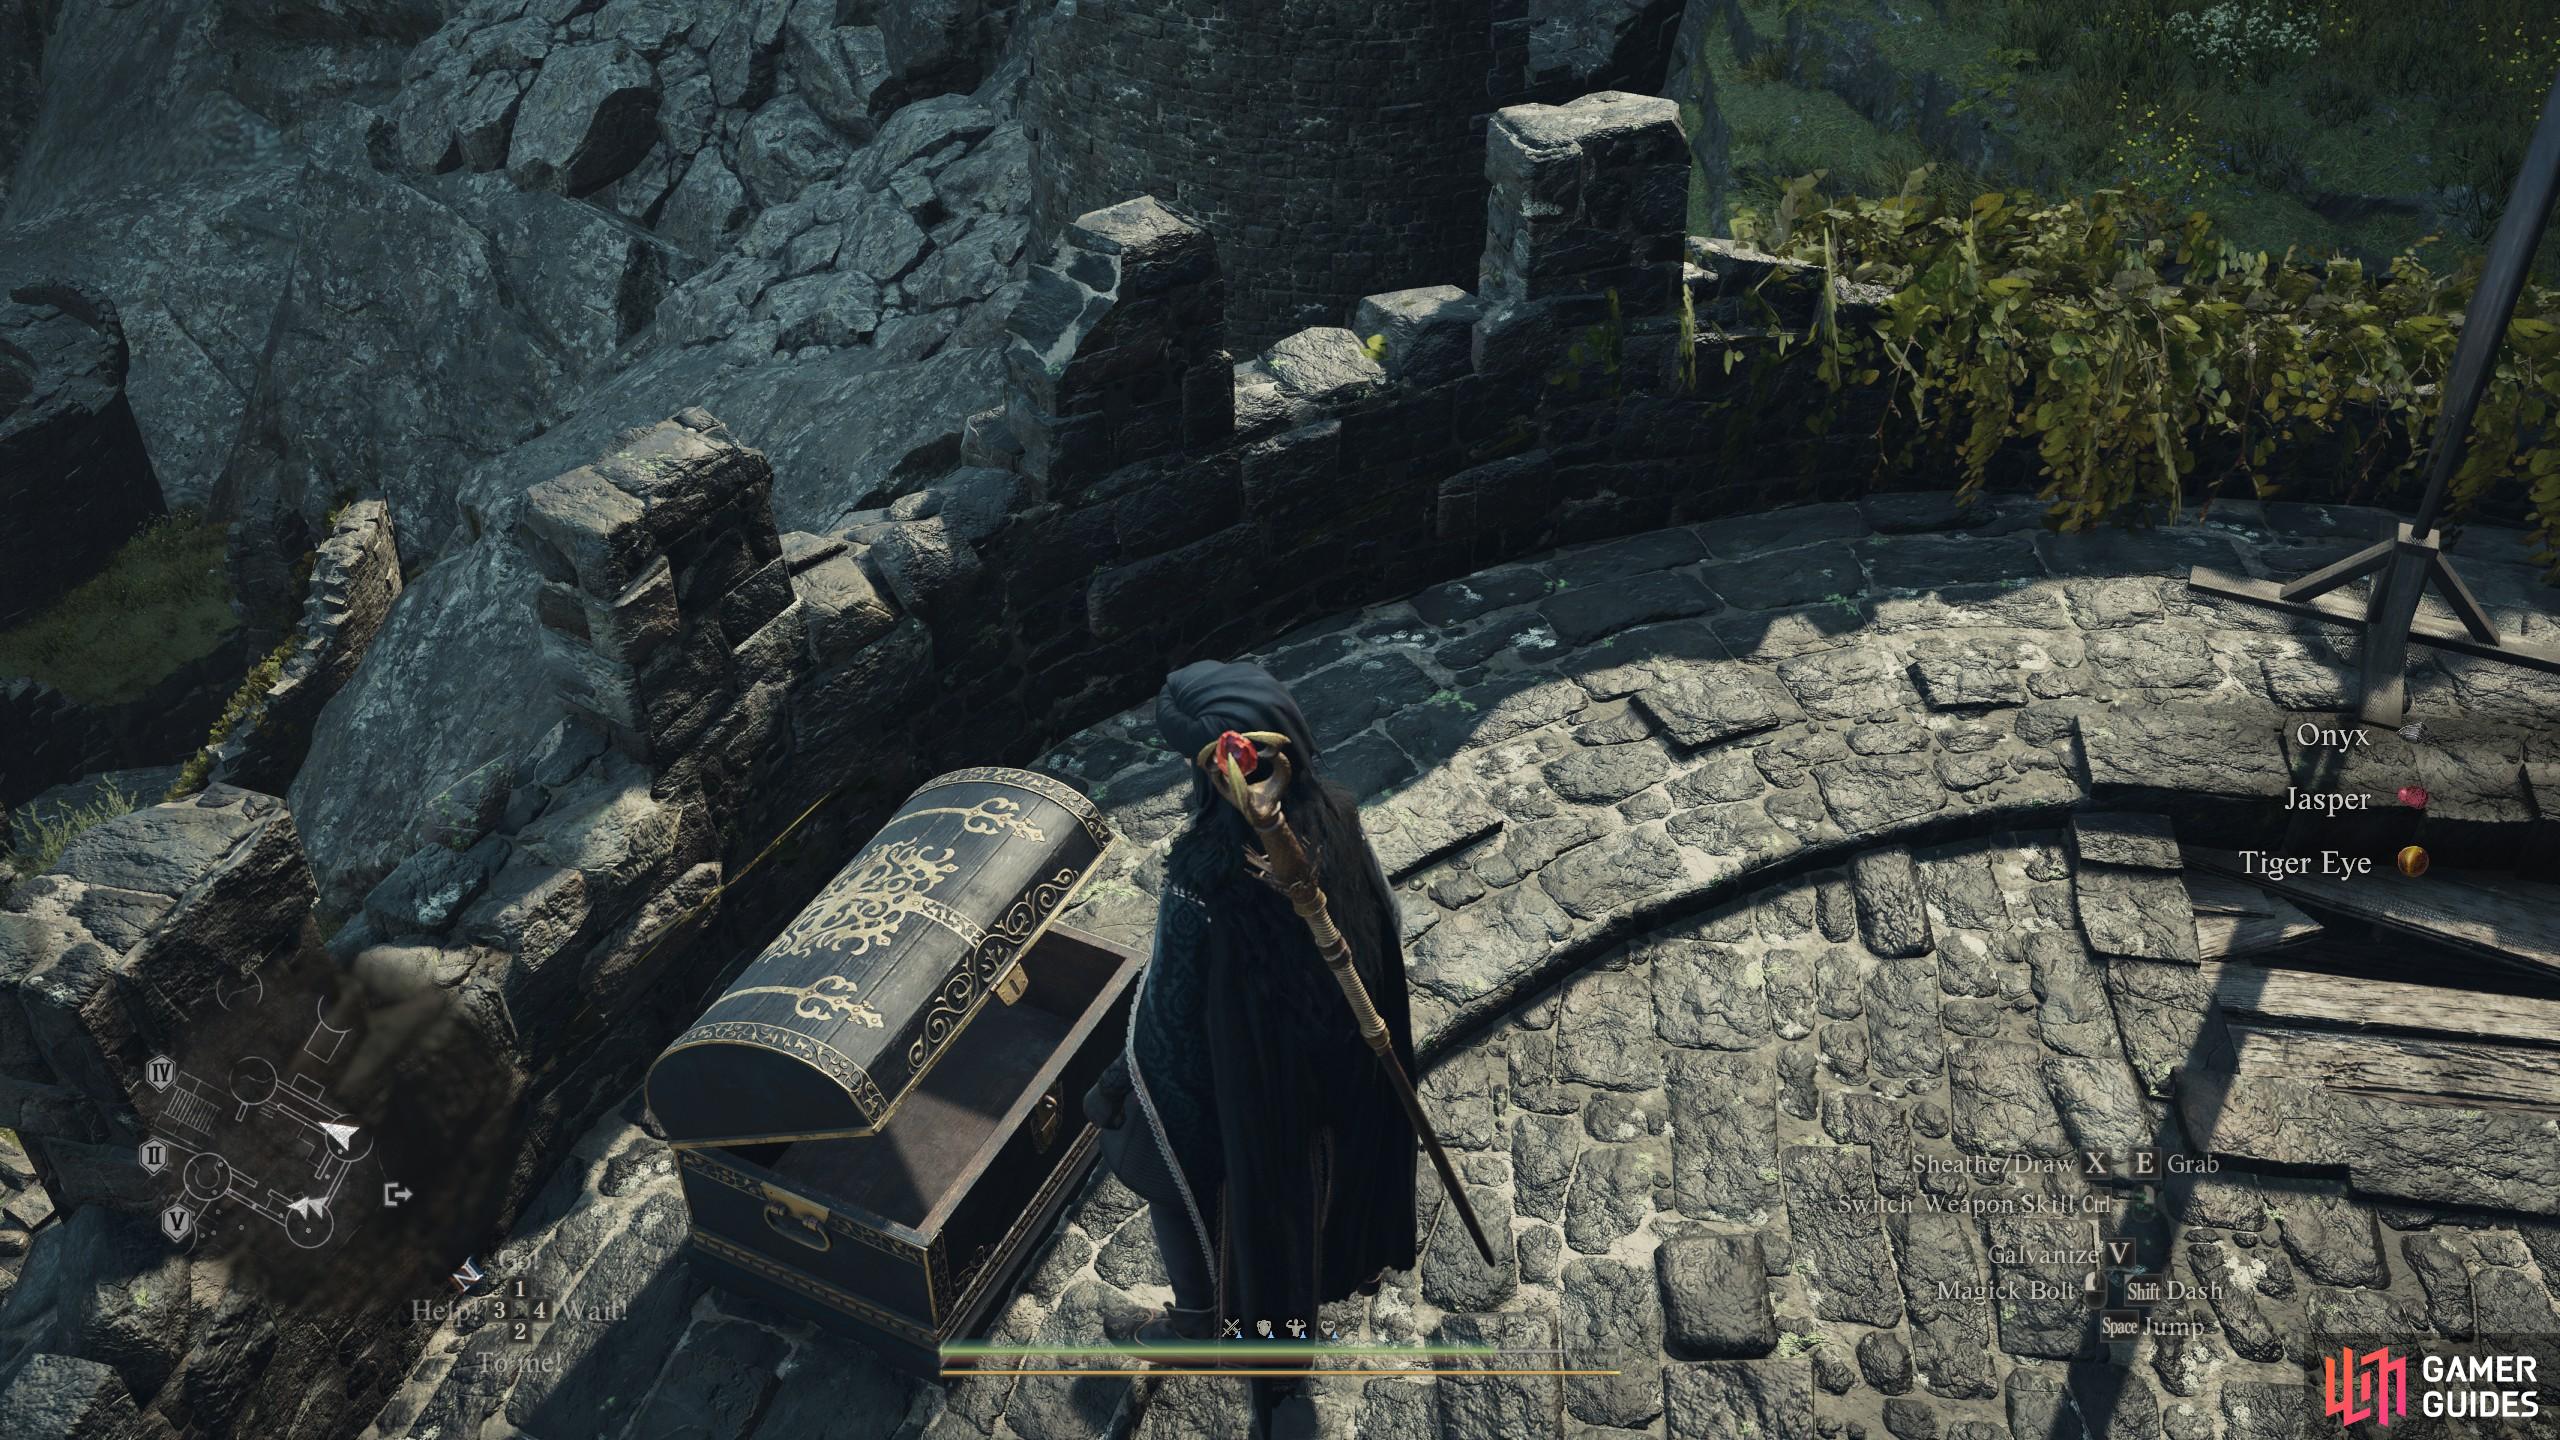
Contains: 2* ![]() Jasper
Jasper
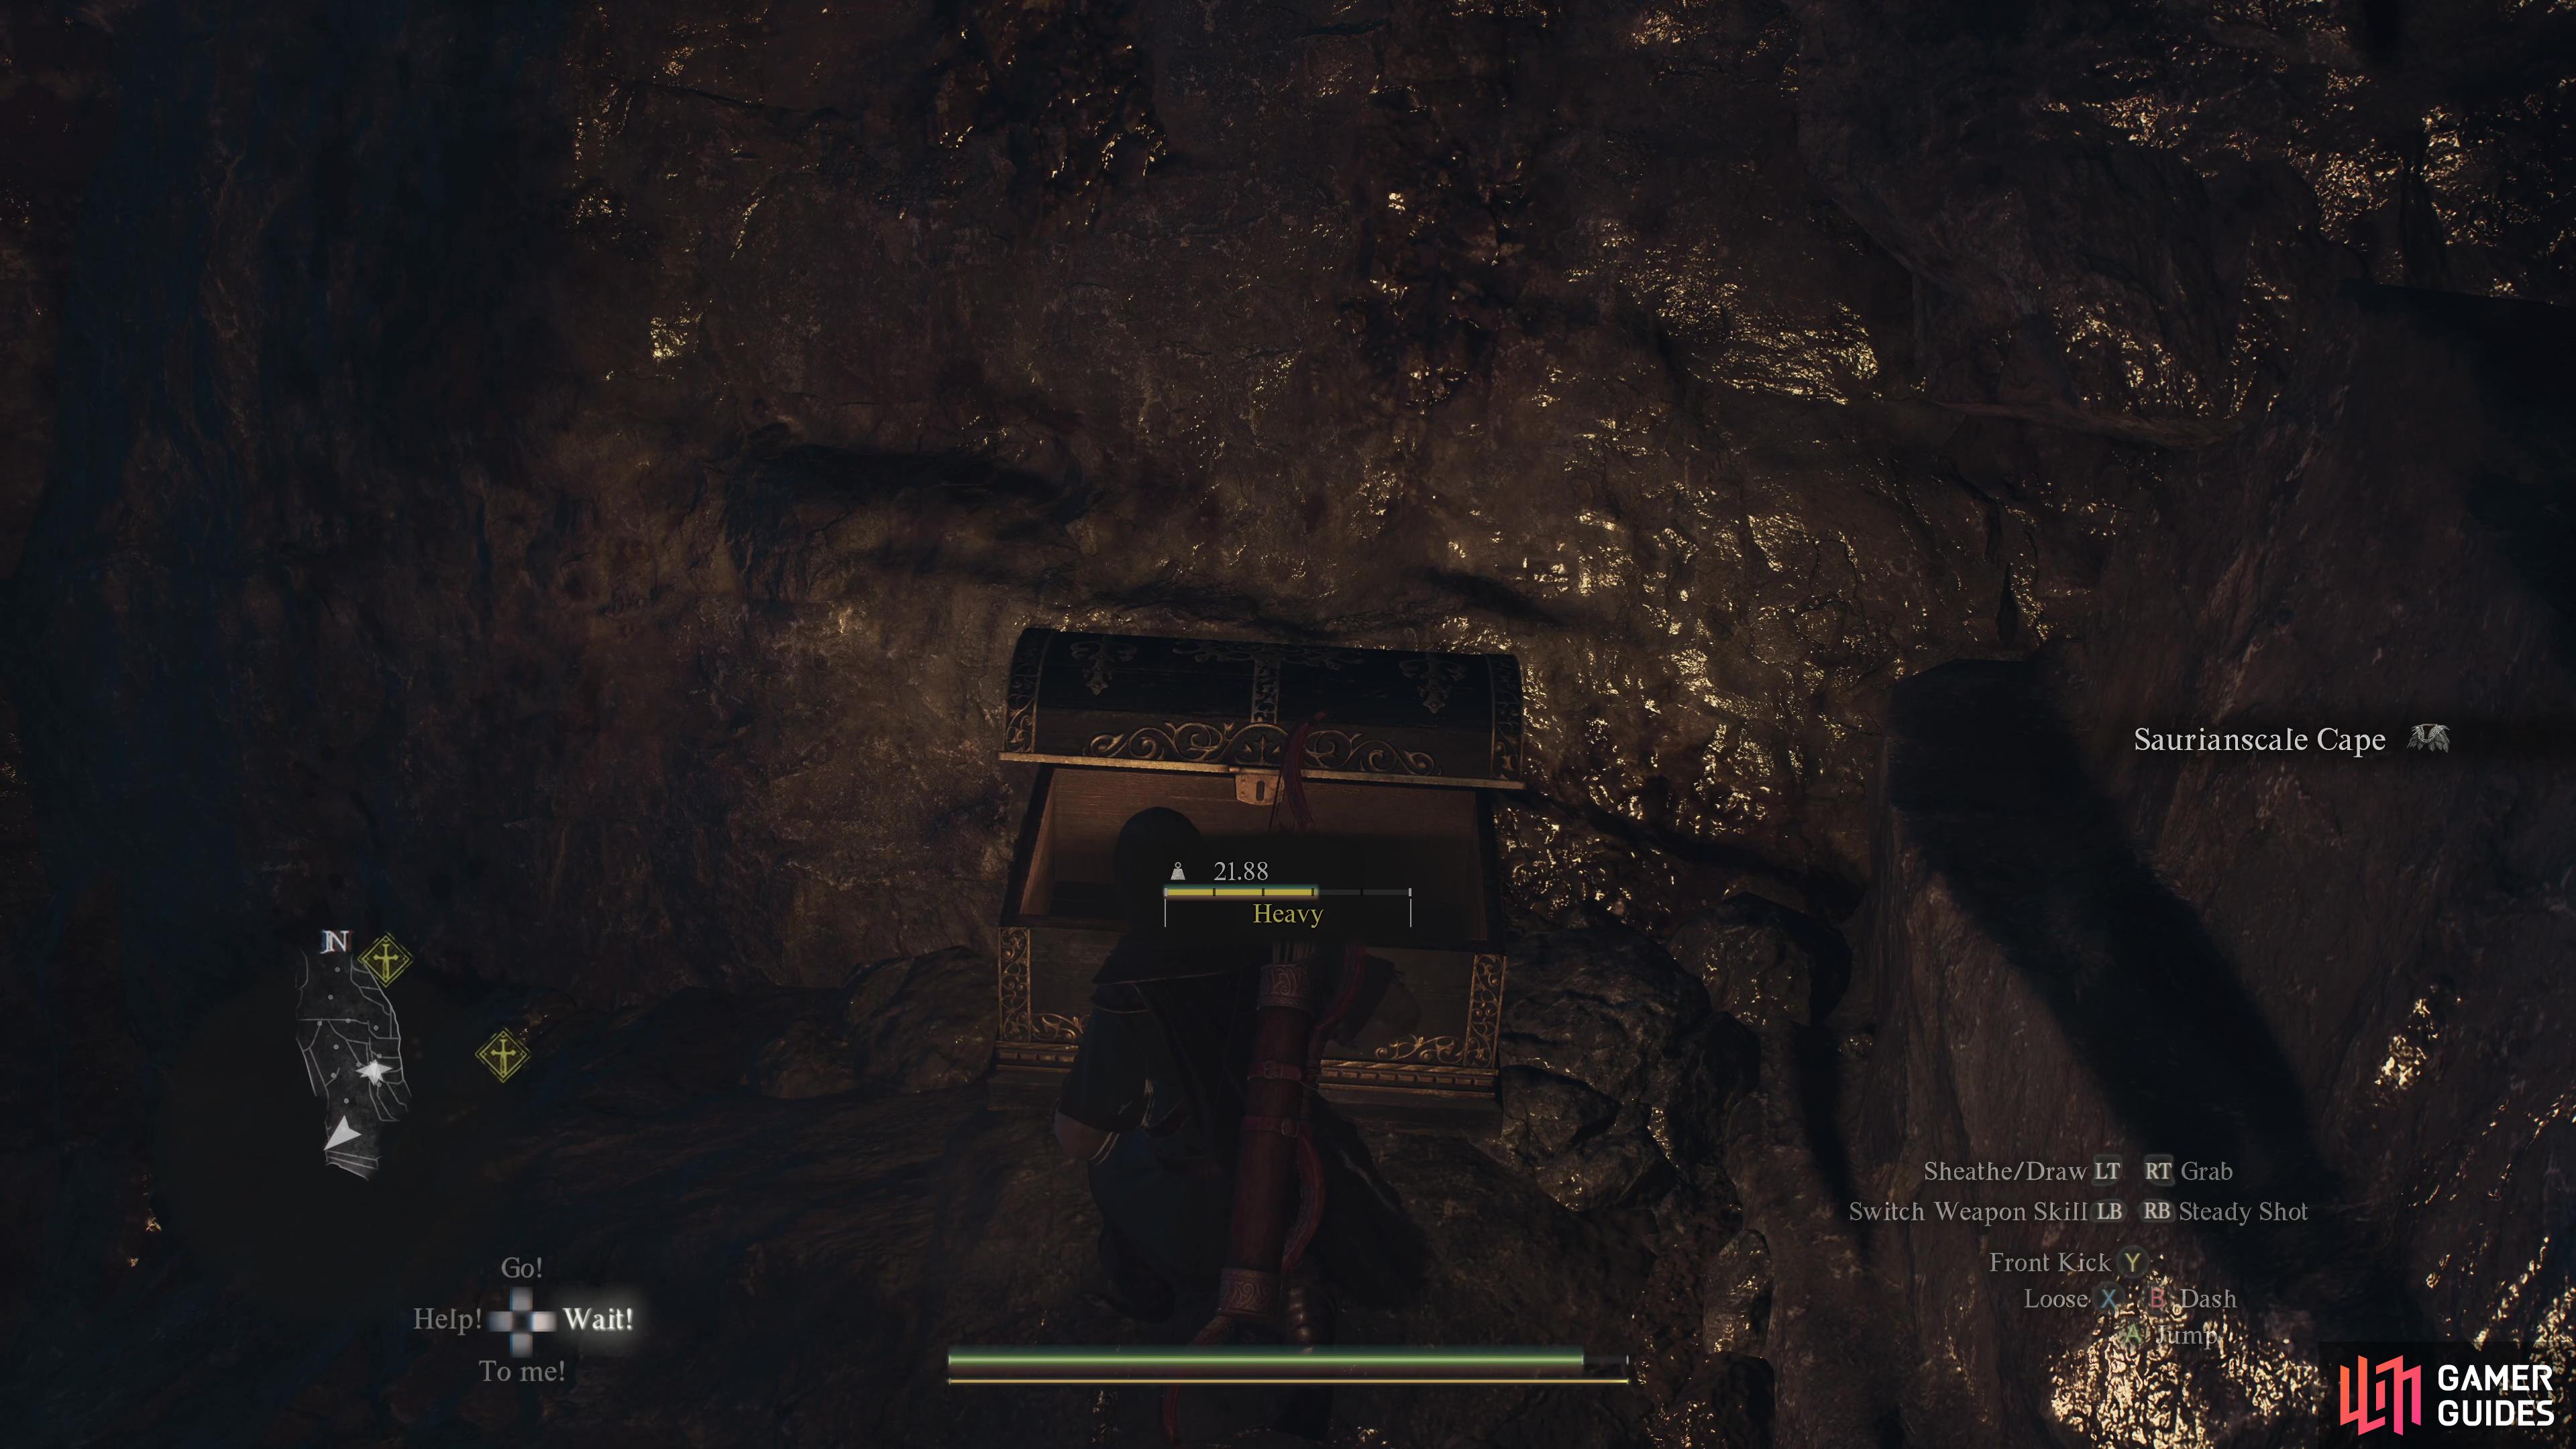
96. World Map
Found at the very bottom of ![]() Stormwind Cave.
Stormwind Cave.
Contains: ![]() Saurianscale Cape
Saurianscale Cape
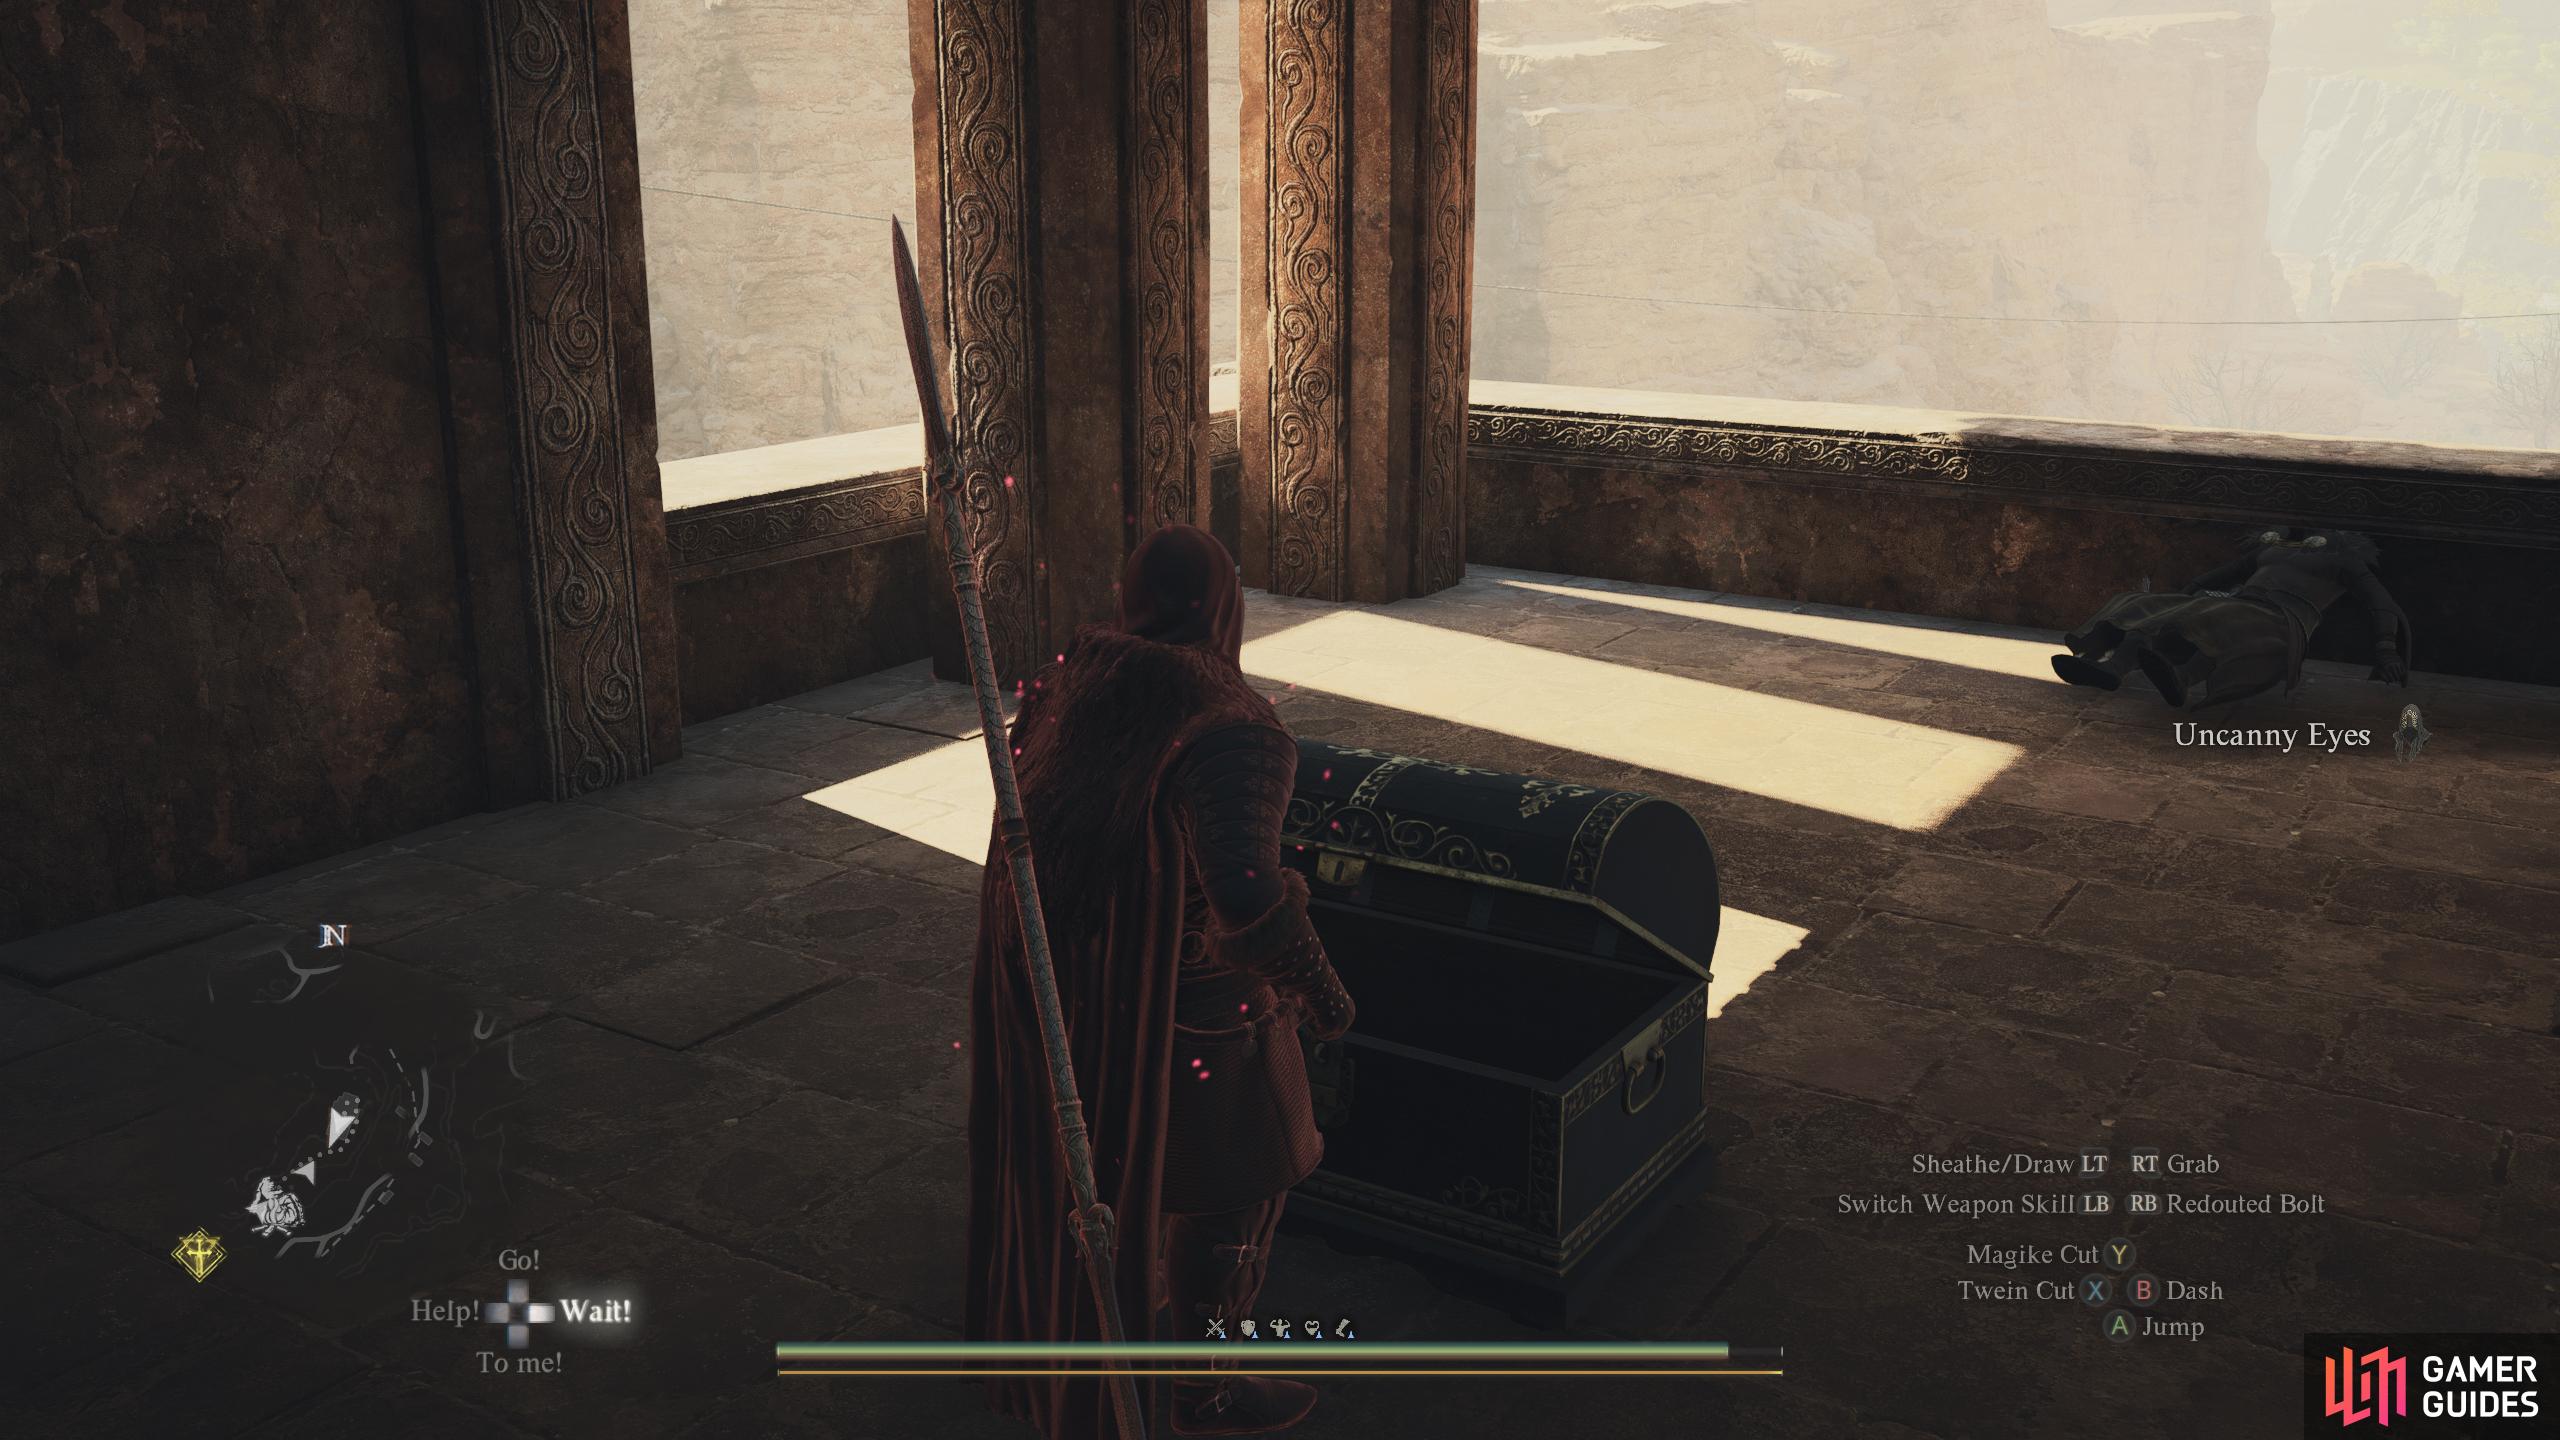
97. World Map
Found in the deepest point of the ![]() Echoing Depths cave against the back wall.
Echoing Depths cave against the back wall.
Contains: ![]() Metered Catharsis
Metered Catharsis
99. World Map
Halfway up the mountain northeast of the nearby ruins. Contains 180 RC.
100. World Map
Found on the same ledge as the Seekers Token
Contains : ![]() Wakestone Shard
Wakestone Shard
101. World Map
On the opposite side of the tomb you will find a second chest.
Contains: ![]() Savagery Extract and 1417 gold
Savagery Extract and 1417 gold

103. World Map
Behind the breakable rocks in the ![]() Darkhorde Cave.
Darkhorde Cave.
Contains: ![]() Ferrystone
Ferrystone
104. World Map
At the highest point of the ![]() Darkhorde Cave. Climb on top of a nearby rock, then jump across to grab the ledge.
Darkhorde Cave. Climb on top of a nearby rock, then jump across to grab the ledge.
Contains: ![]() Gauntleted Petticoat
Gauntleted Petticoat
105. World Map
In the middle of the gazebo, guarded by ![]() Rogues.
Rogues.
Contains: ![]() Gimble Gyre,
Gimble Gyre, ![]() Freakish Mane
Freakish Mane
107. World Map
Following the cutscene of the children running up the left path and the gate closing behind them. Take the open right path and climb the scaffolding infront of you . The chest is on the second level.
Contains: ![]() Ring of Disfavor
Ring of Disfavor
108. World Map
After breaking through the wall on the right in the ![]() Derelict Mine, jump over a pit and collapsible floor. Fall through the second collapsible floor, climb down the ladder in front of you, then turn around to find this chest.
Derelict Mine, jump over a pit and collapsible floor. Fall through the second collapsible floor, climb down the ladder in front of you, then turn around to find this chest.
Contains: ![]() Wakestone Shard and 2130 gold coins
Wakestone Shard and 2130 gold coins
109. World Map
After breaking through the wall on the right in the ![]() Derelict Mine, jump over a pit and collapsible floor. Fall through the second collapsible floor, climb down the ladder in front of you, and this chest will be right in front of you.
Derelict Mine, jump over a pit and collapsible floor. Fall through the second collapsible floor, climb down the ladder in front of you, and this chest will be right in front of you.
Contains: ![]() Helmbarte Daggers
Helmbarte Daggers

110. World Map
Behind the locked door. Break through the wall on the right in the ![]() Derelict Mine, jump over a pit and collapsible floor. Fall through the second collapsible floor, climb up the ladder in front of you, and this chest be around the corner.
Derelict Mine, jump over a pit and collapsible floor. Fall through the second collapsible floor, climb up the ladder in front of you, and this chest be around the corner.
Contains: ![]() Ranger’s Tights
Ranger’s Tights
111. World Map
Move off the path towards the cliff face, jump across to the rock pillar.
Contains: ![]() Wakestone Shard
Wakestone Shard
112. World Map
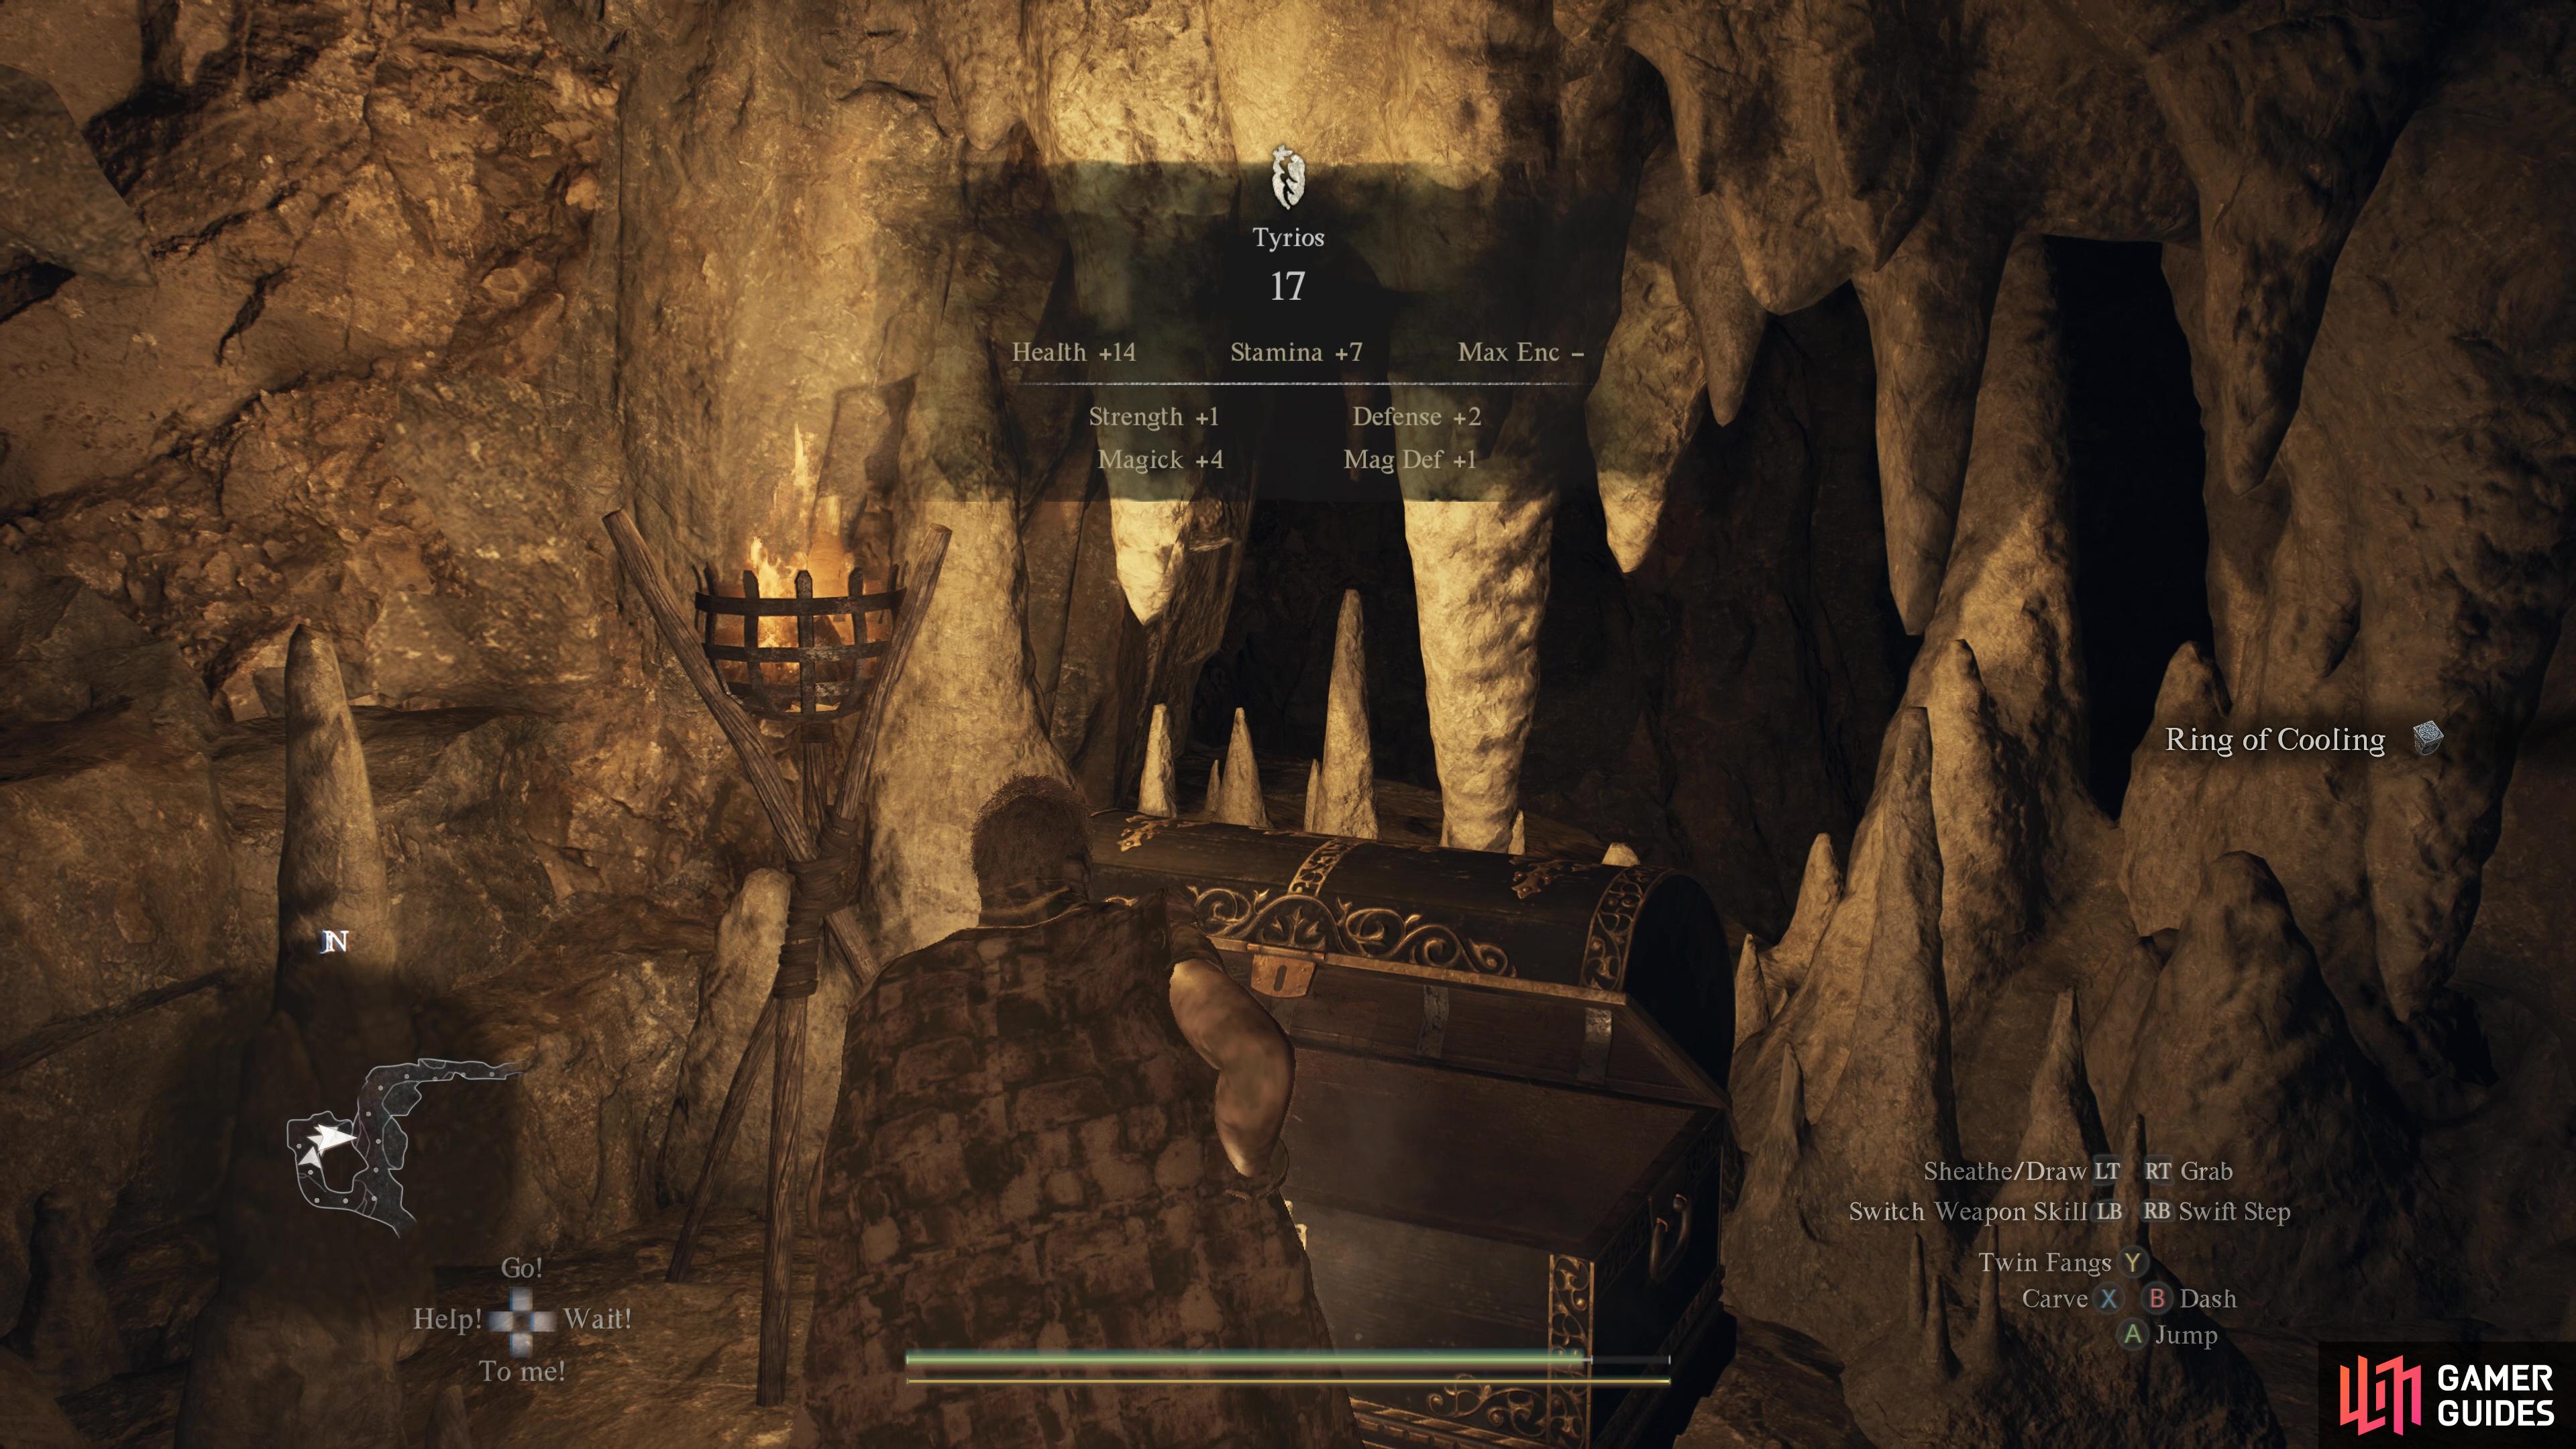
On the left side of ![]() Trevo Mine, at the edge of a hidden path.
Trevo Mine, at the edge of a hidden path.
Contains: ![]() Ring of Cooling
Ring of Cooling
114. World Map
Once you have found the Seekers Token, follow the rocks down to the chest 2 levels below (you can see it from the vantage point of the token). Contains ![]() Wakestone Shard.
Wakestone Shard.
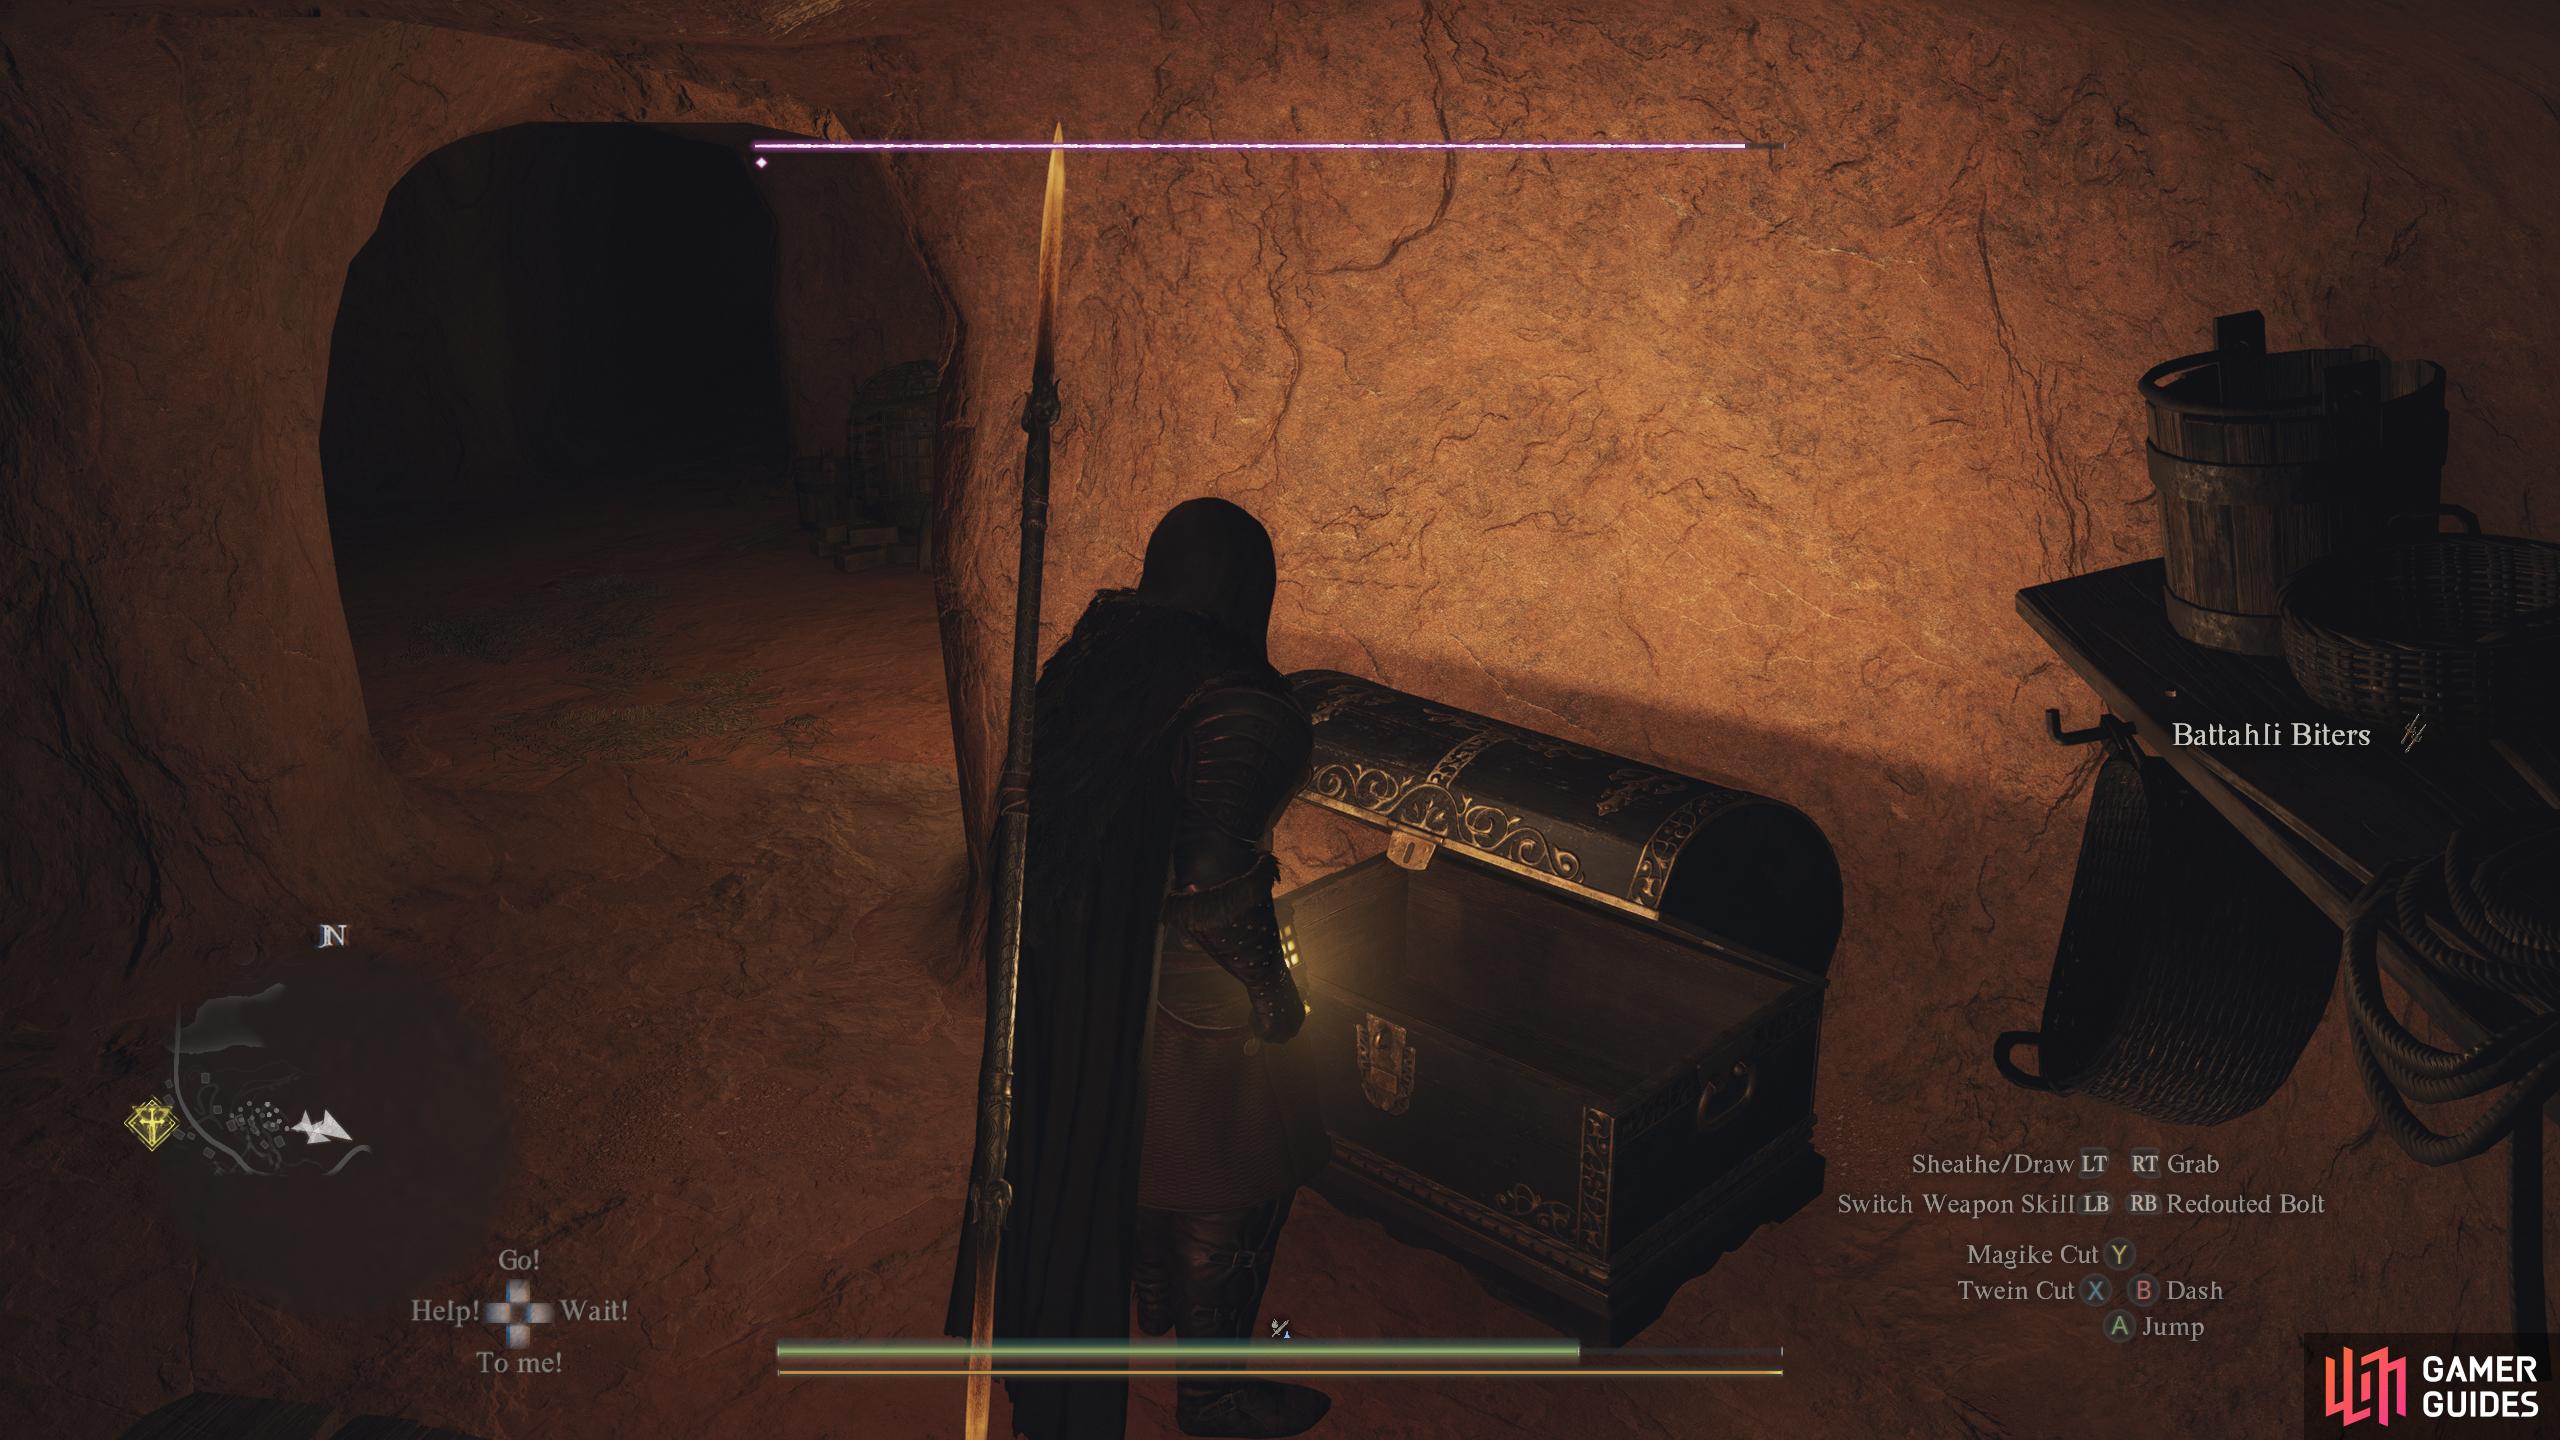
115. World Map
Inside the bandit’s house on the upper level. Contains ![]() Battahli Biters.
Battahli Biters.
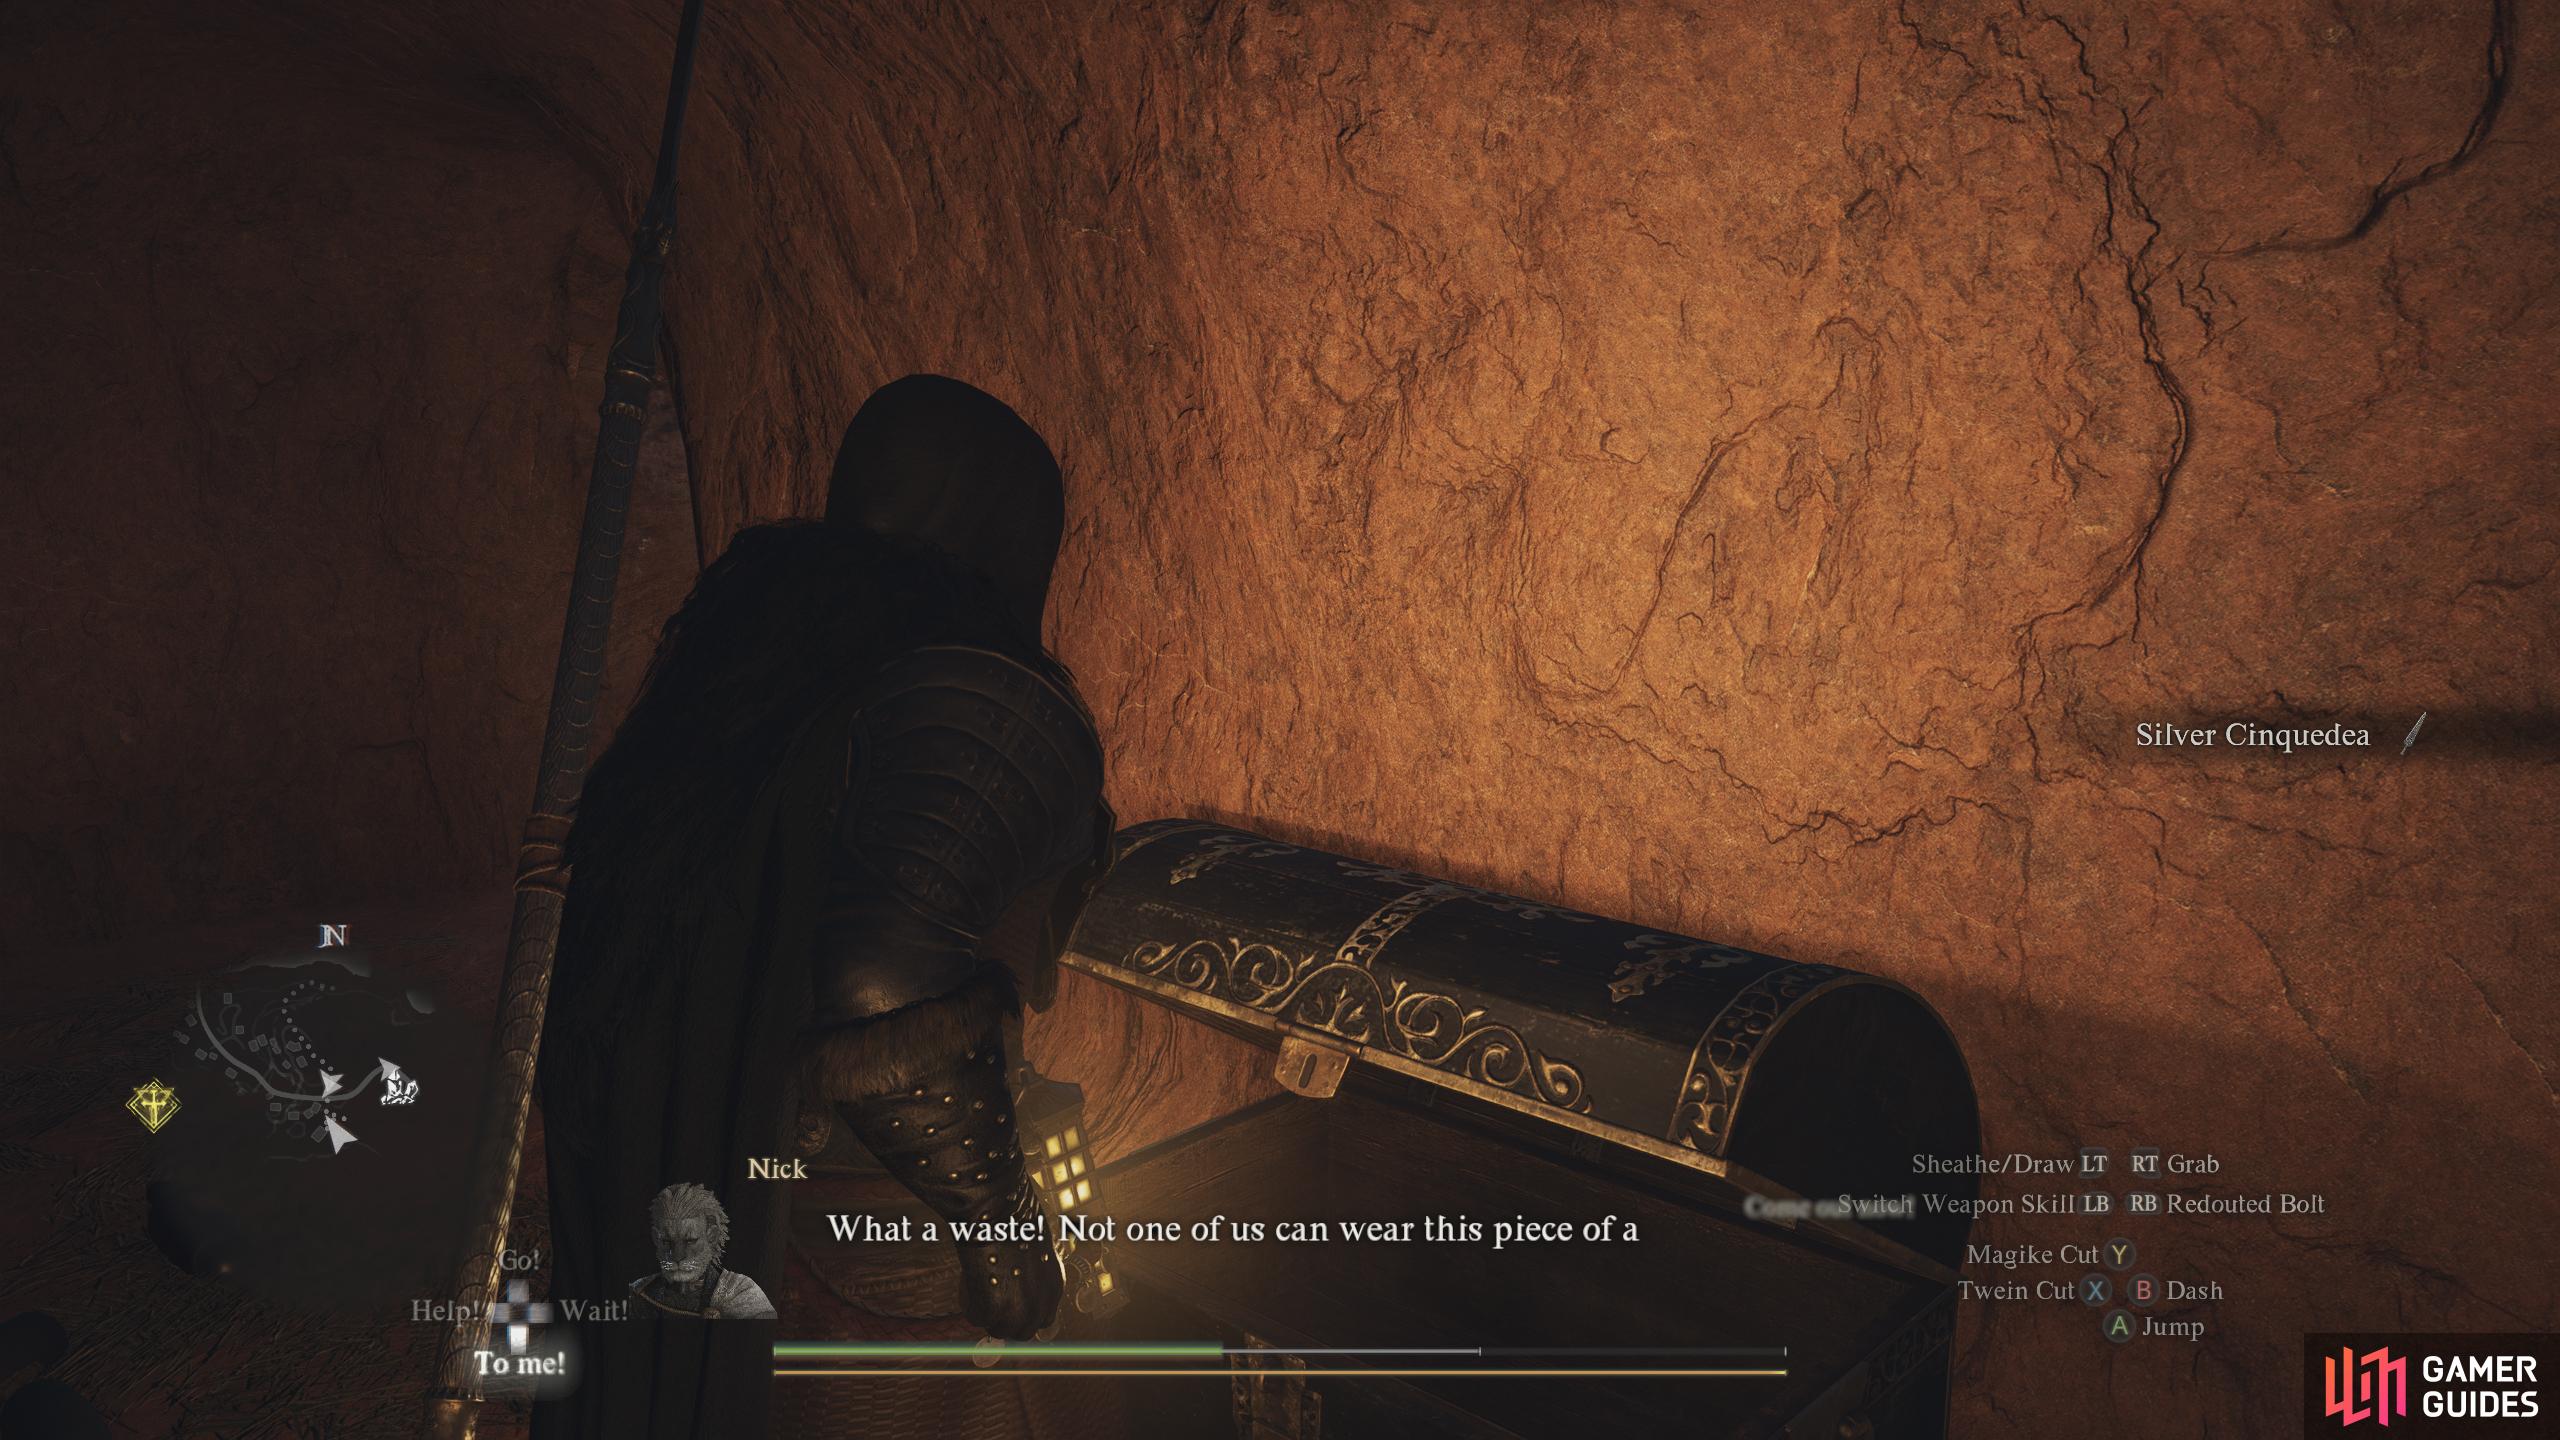
116. World Map
Inside the Bandit’s house on the south side of the canyon on the upper level. Contains ![]() Silver Cinquedea.
Silver Cinquedea.
118. World Map
Found opposite the camping gear behind the collapsed door way.
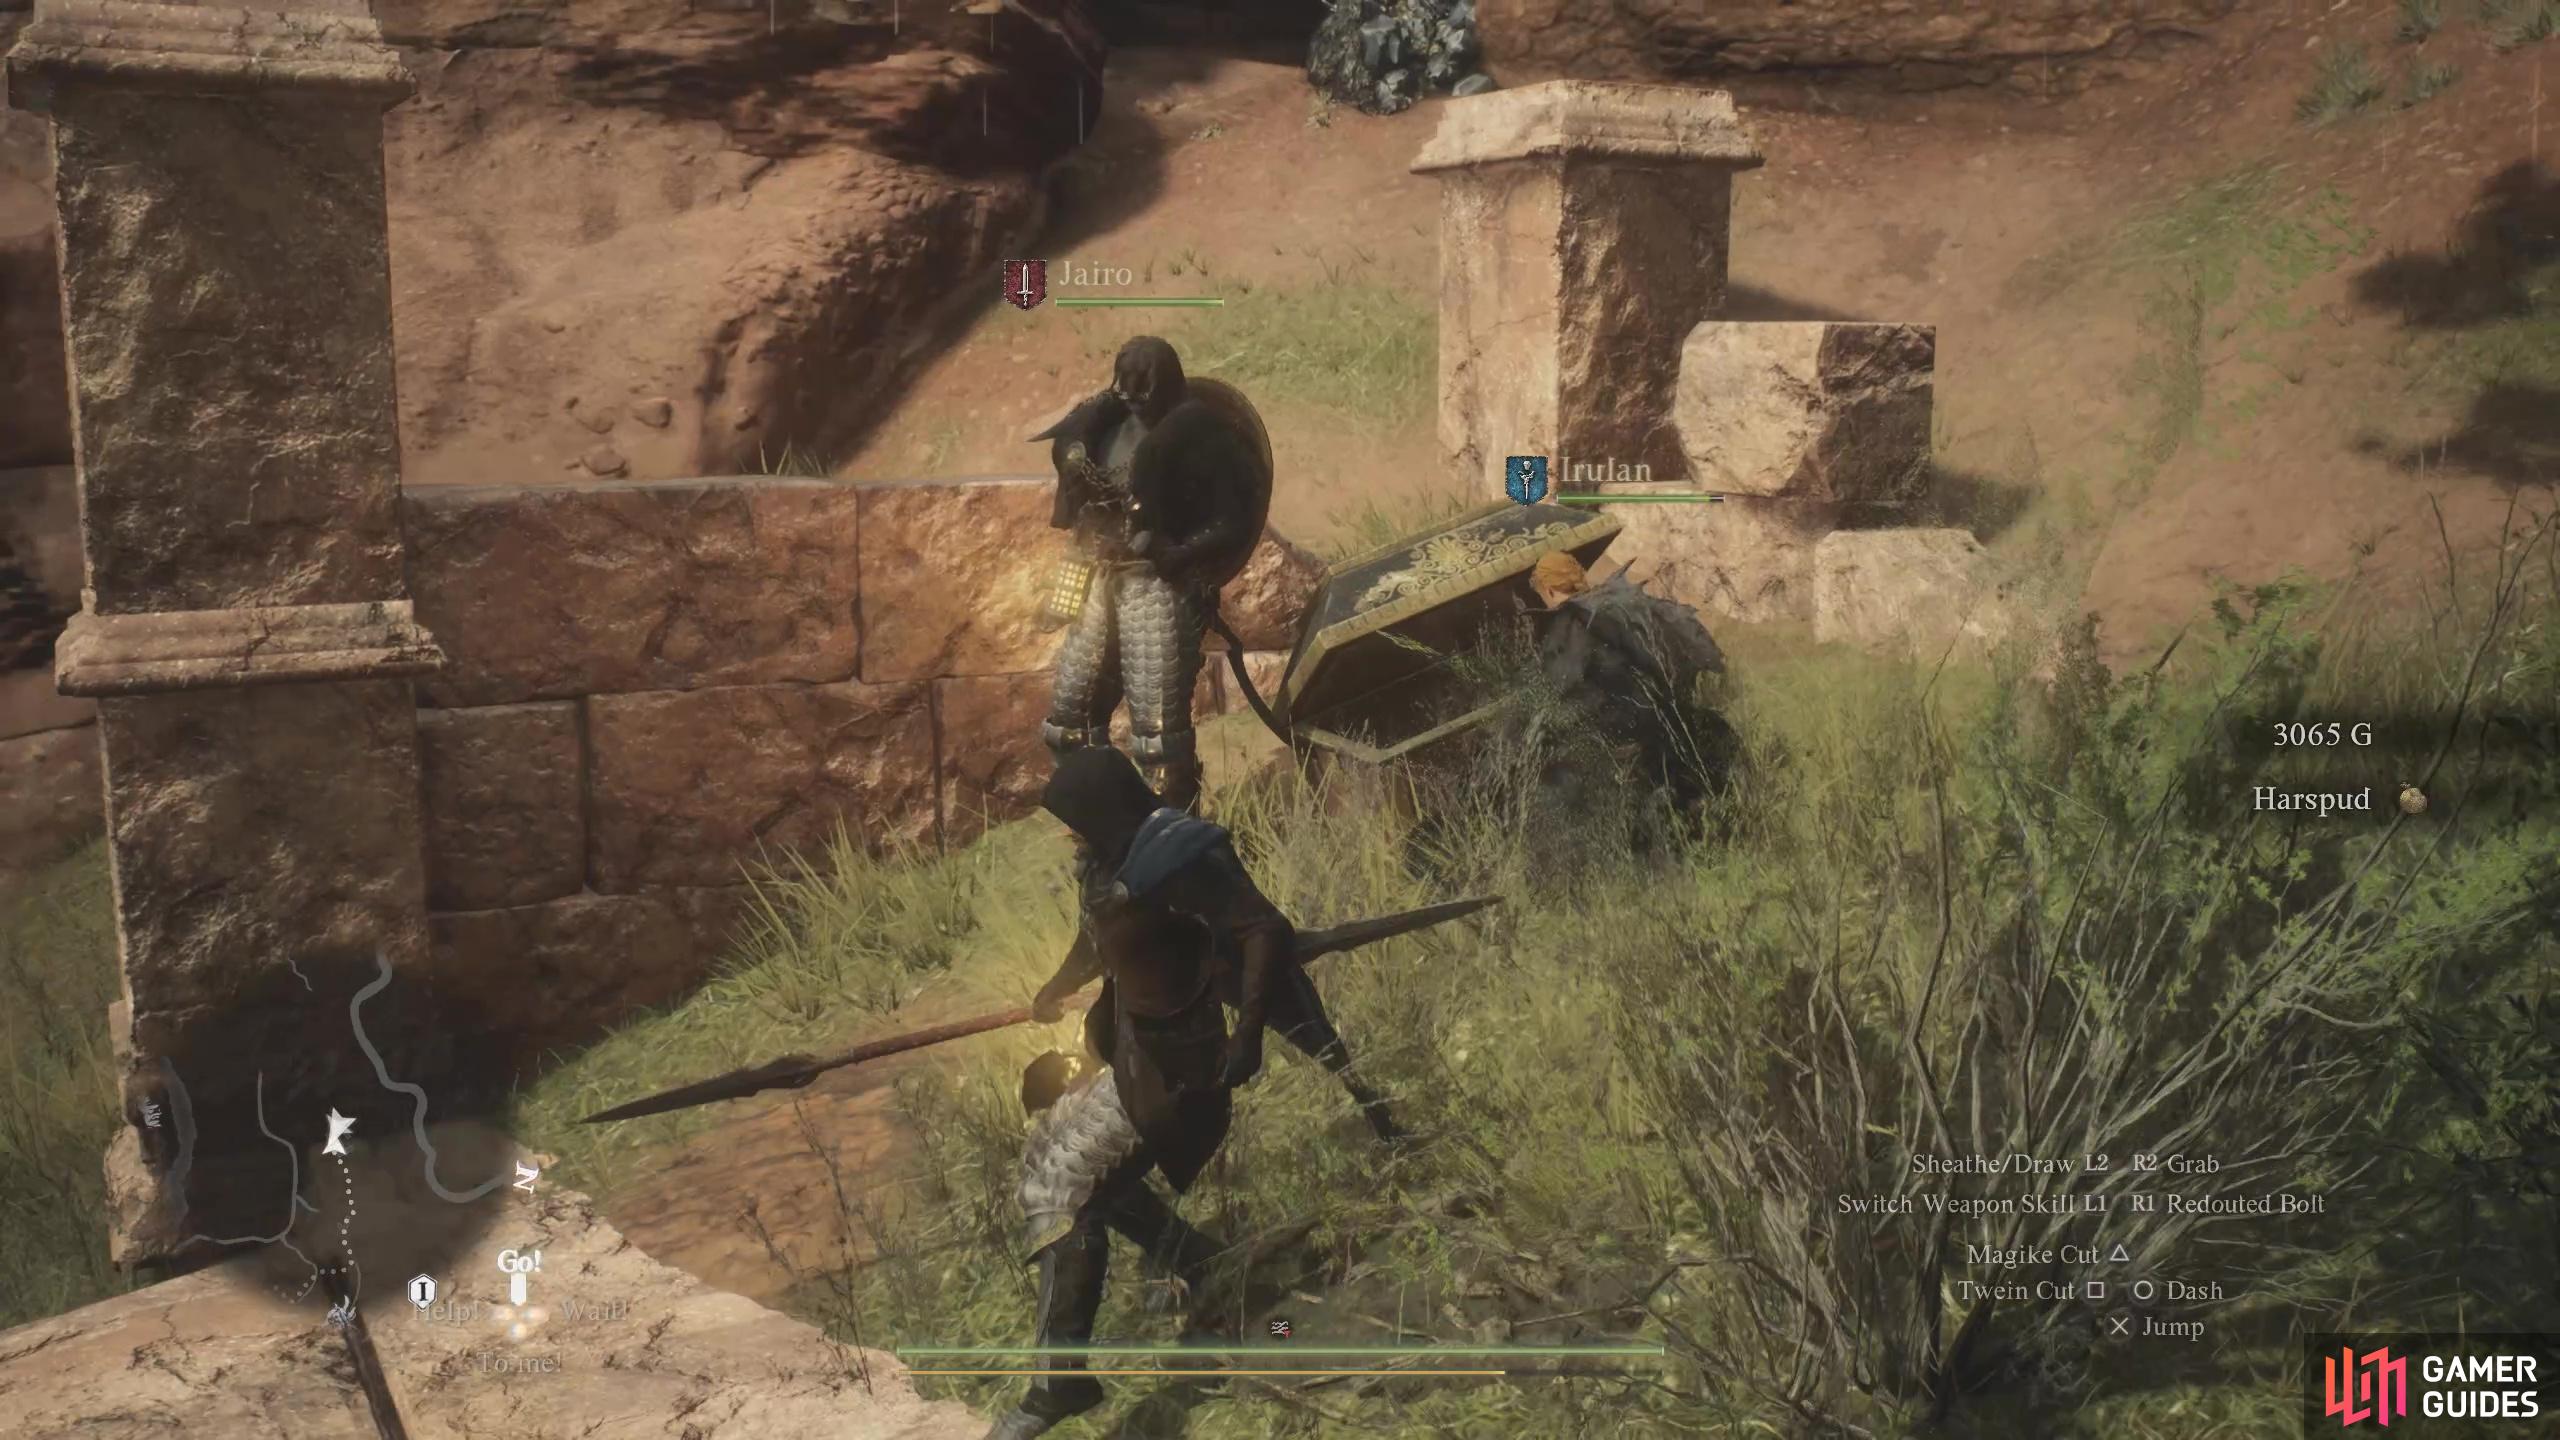
Contains 2 * ![]() Fine Harspud Roborant
Fine Harspud Roborant
1* ![]() Fine Fruit Roborant
Fine Fruit Roborant

119. World Map
Found on the outtr most ledge of the covered Tower section in the south West.
Contains: 15500 gold
120. World Map
Go up the stairs of the South covere towersection and break the wall directly infront of you. The chest will be in the following room.
Contains: ![]() Anathema
Anathema
121. World Map
Found in the back of the ![]() Caliginous Depths cave.
Caliginous Depths cave.
Contains: ![]() Hood of Nonentity
Hood of Nonentity
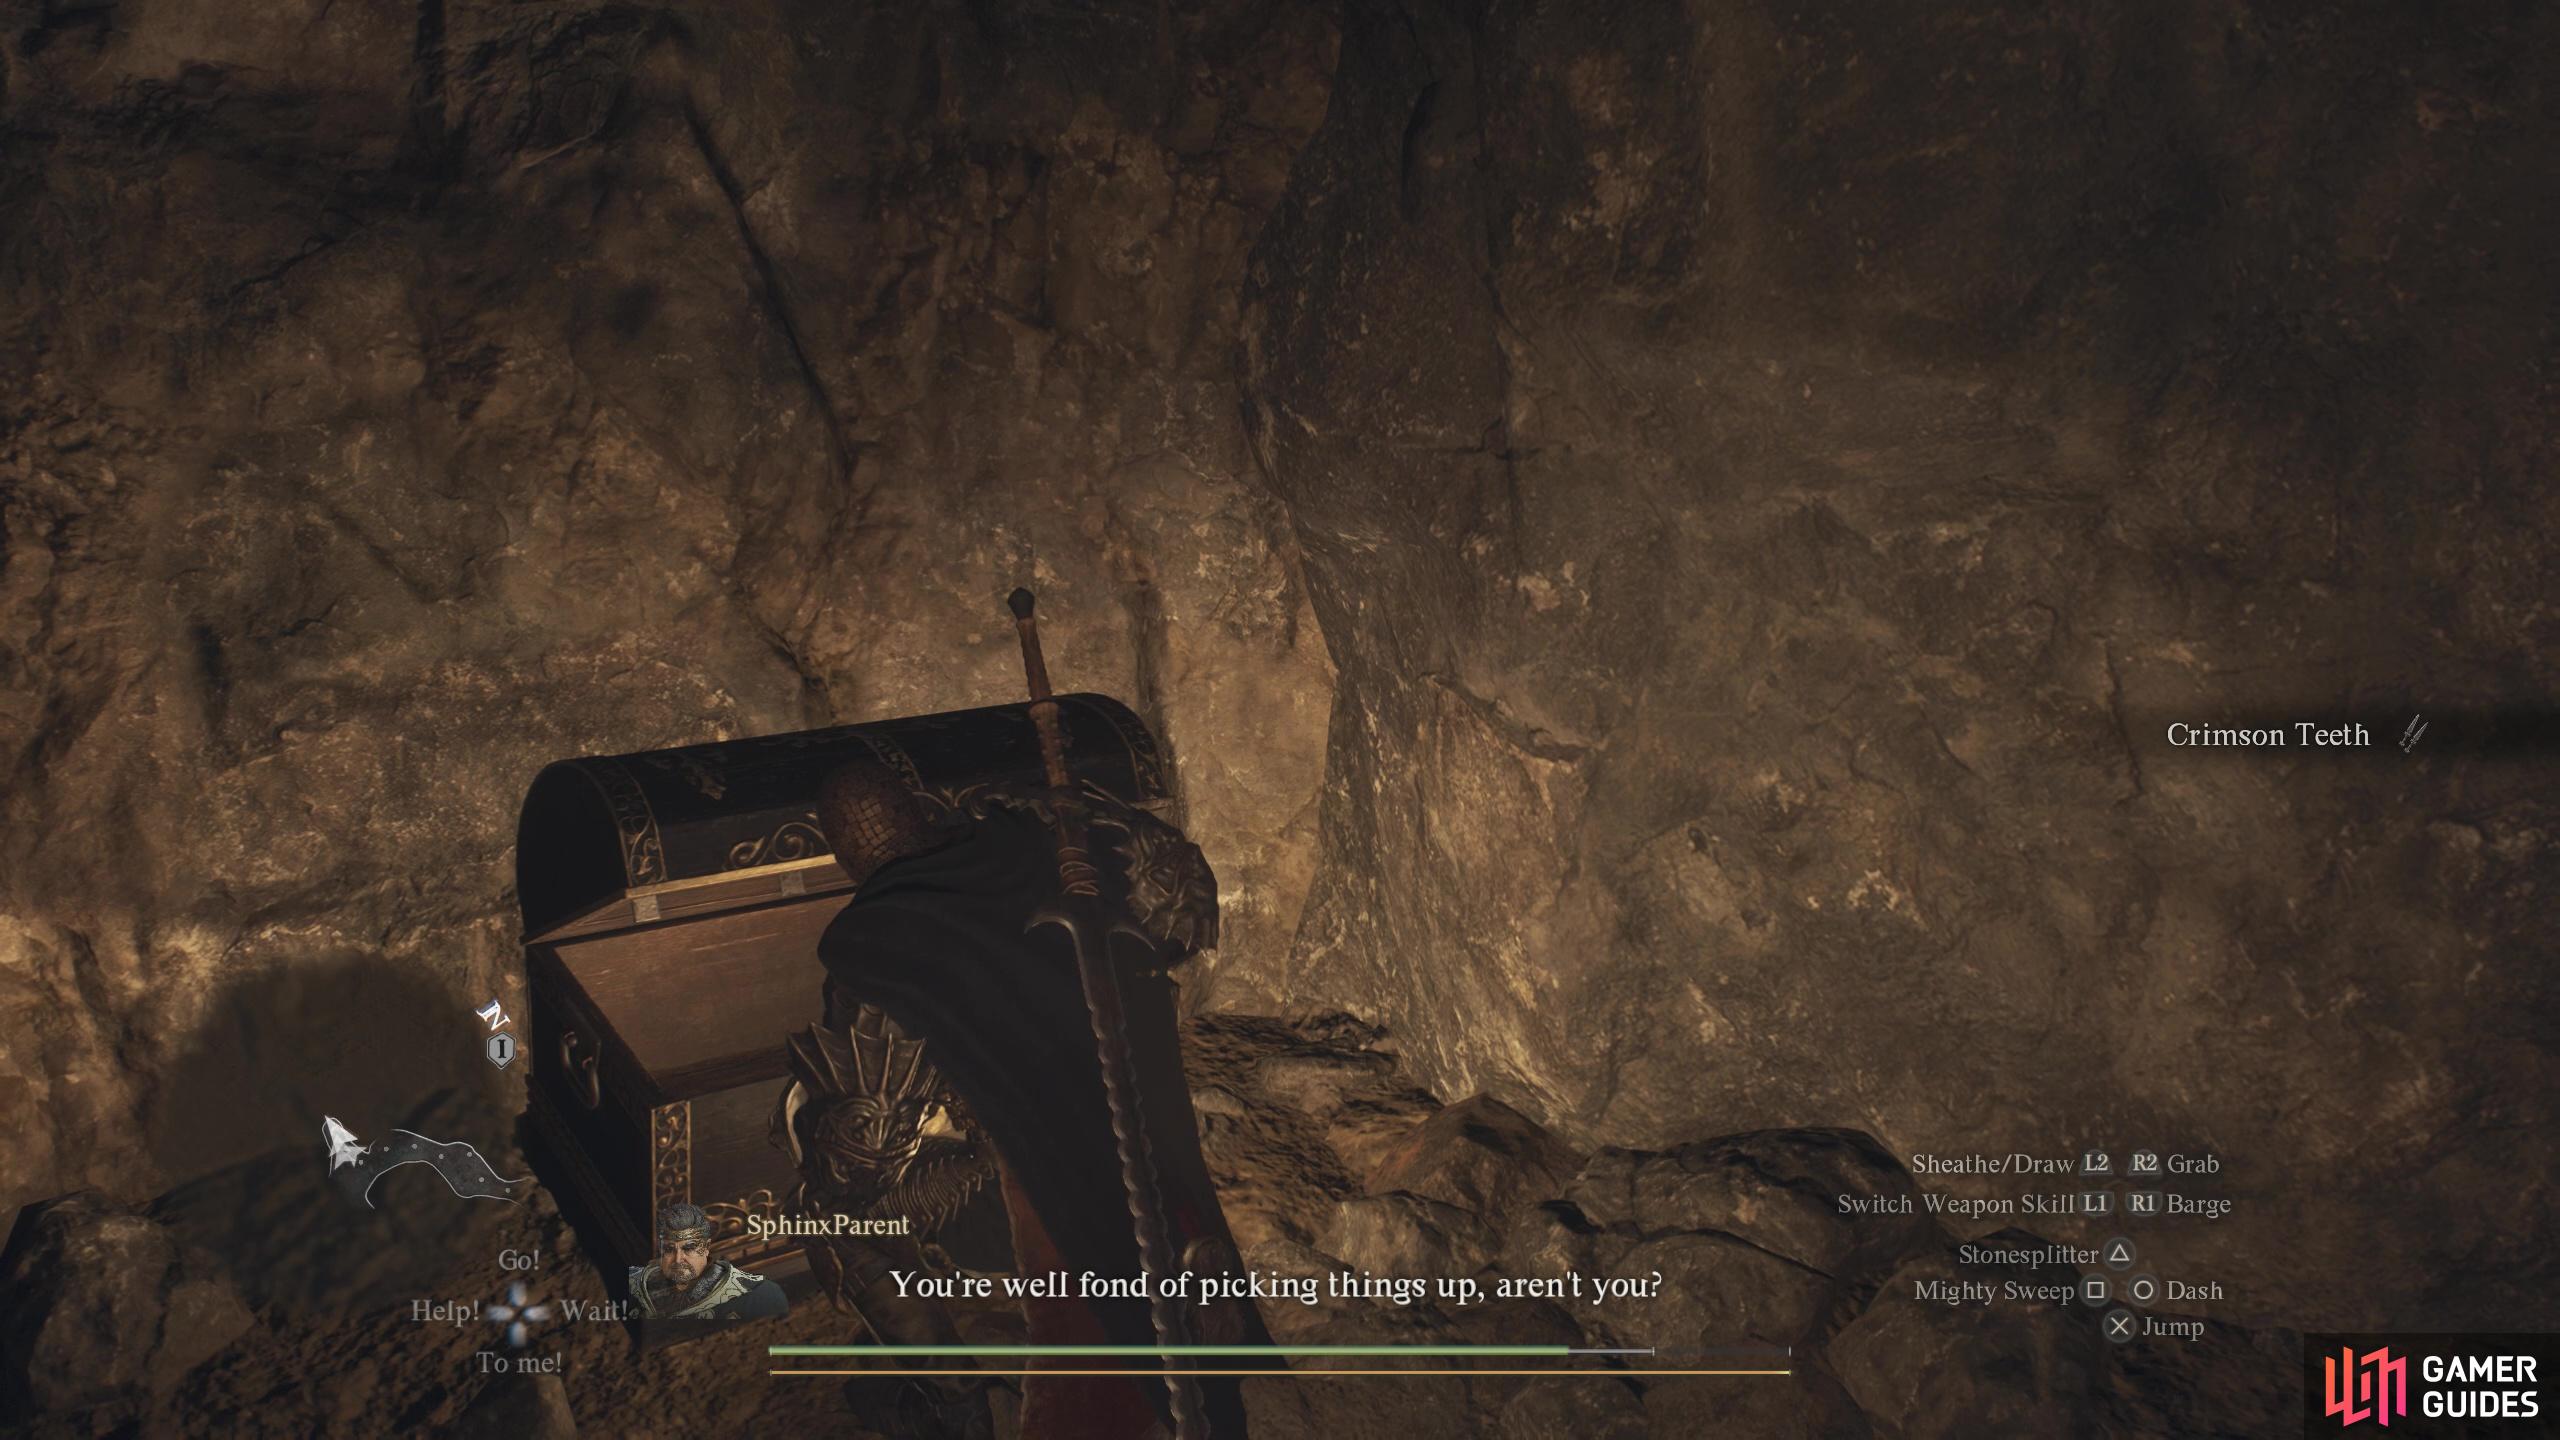
122. World Map
Chest located on the back wall of the first large room.
Contains : ![]() Crimson Teeth
Crimson Teeth
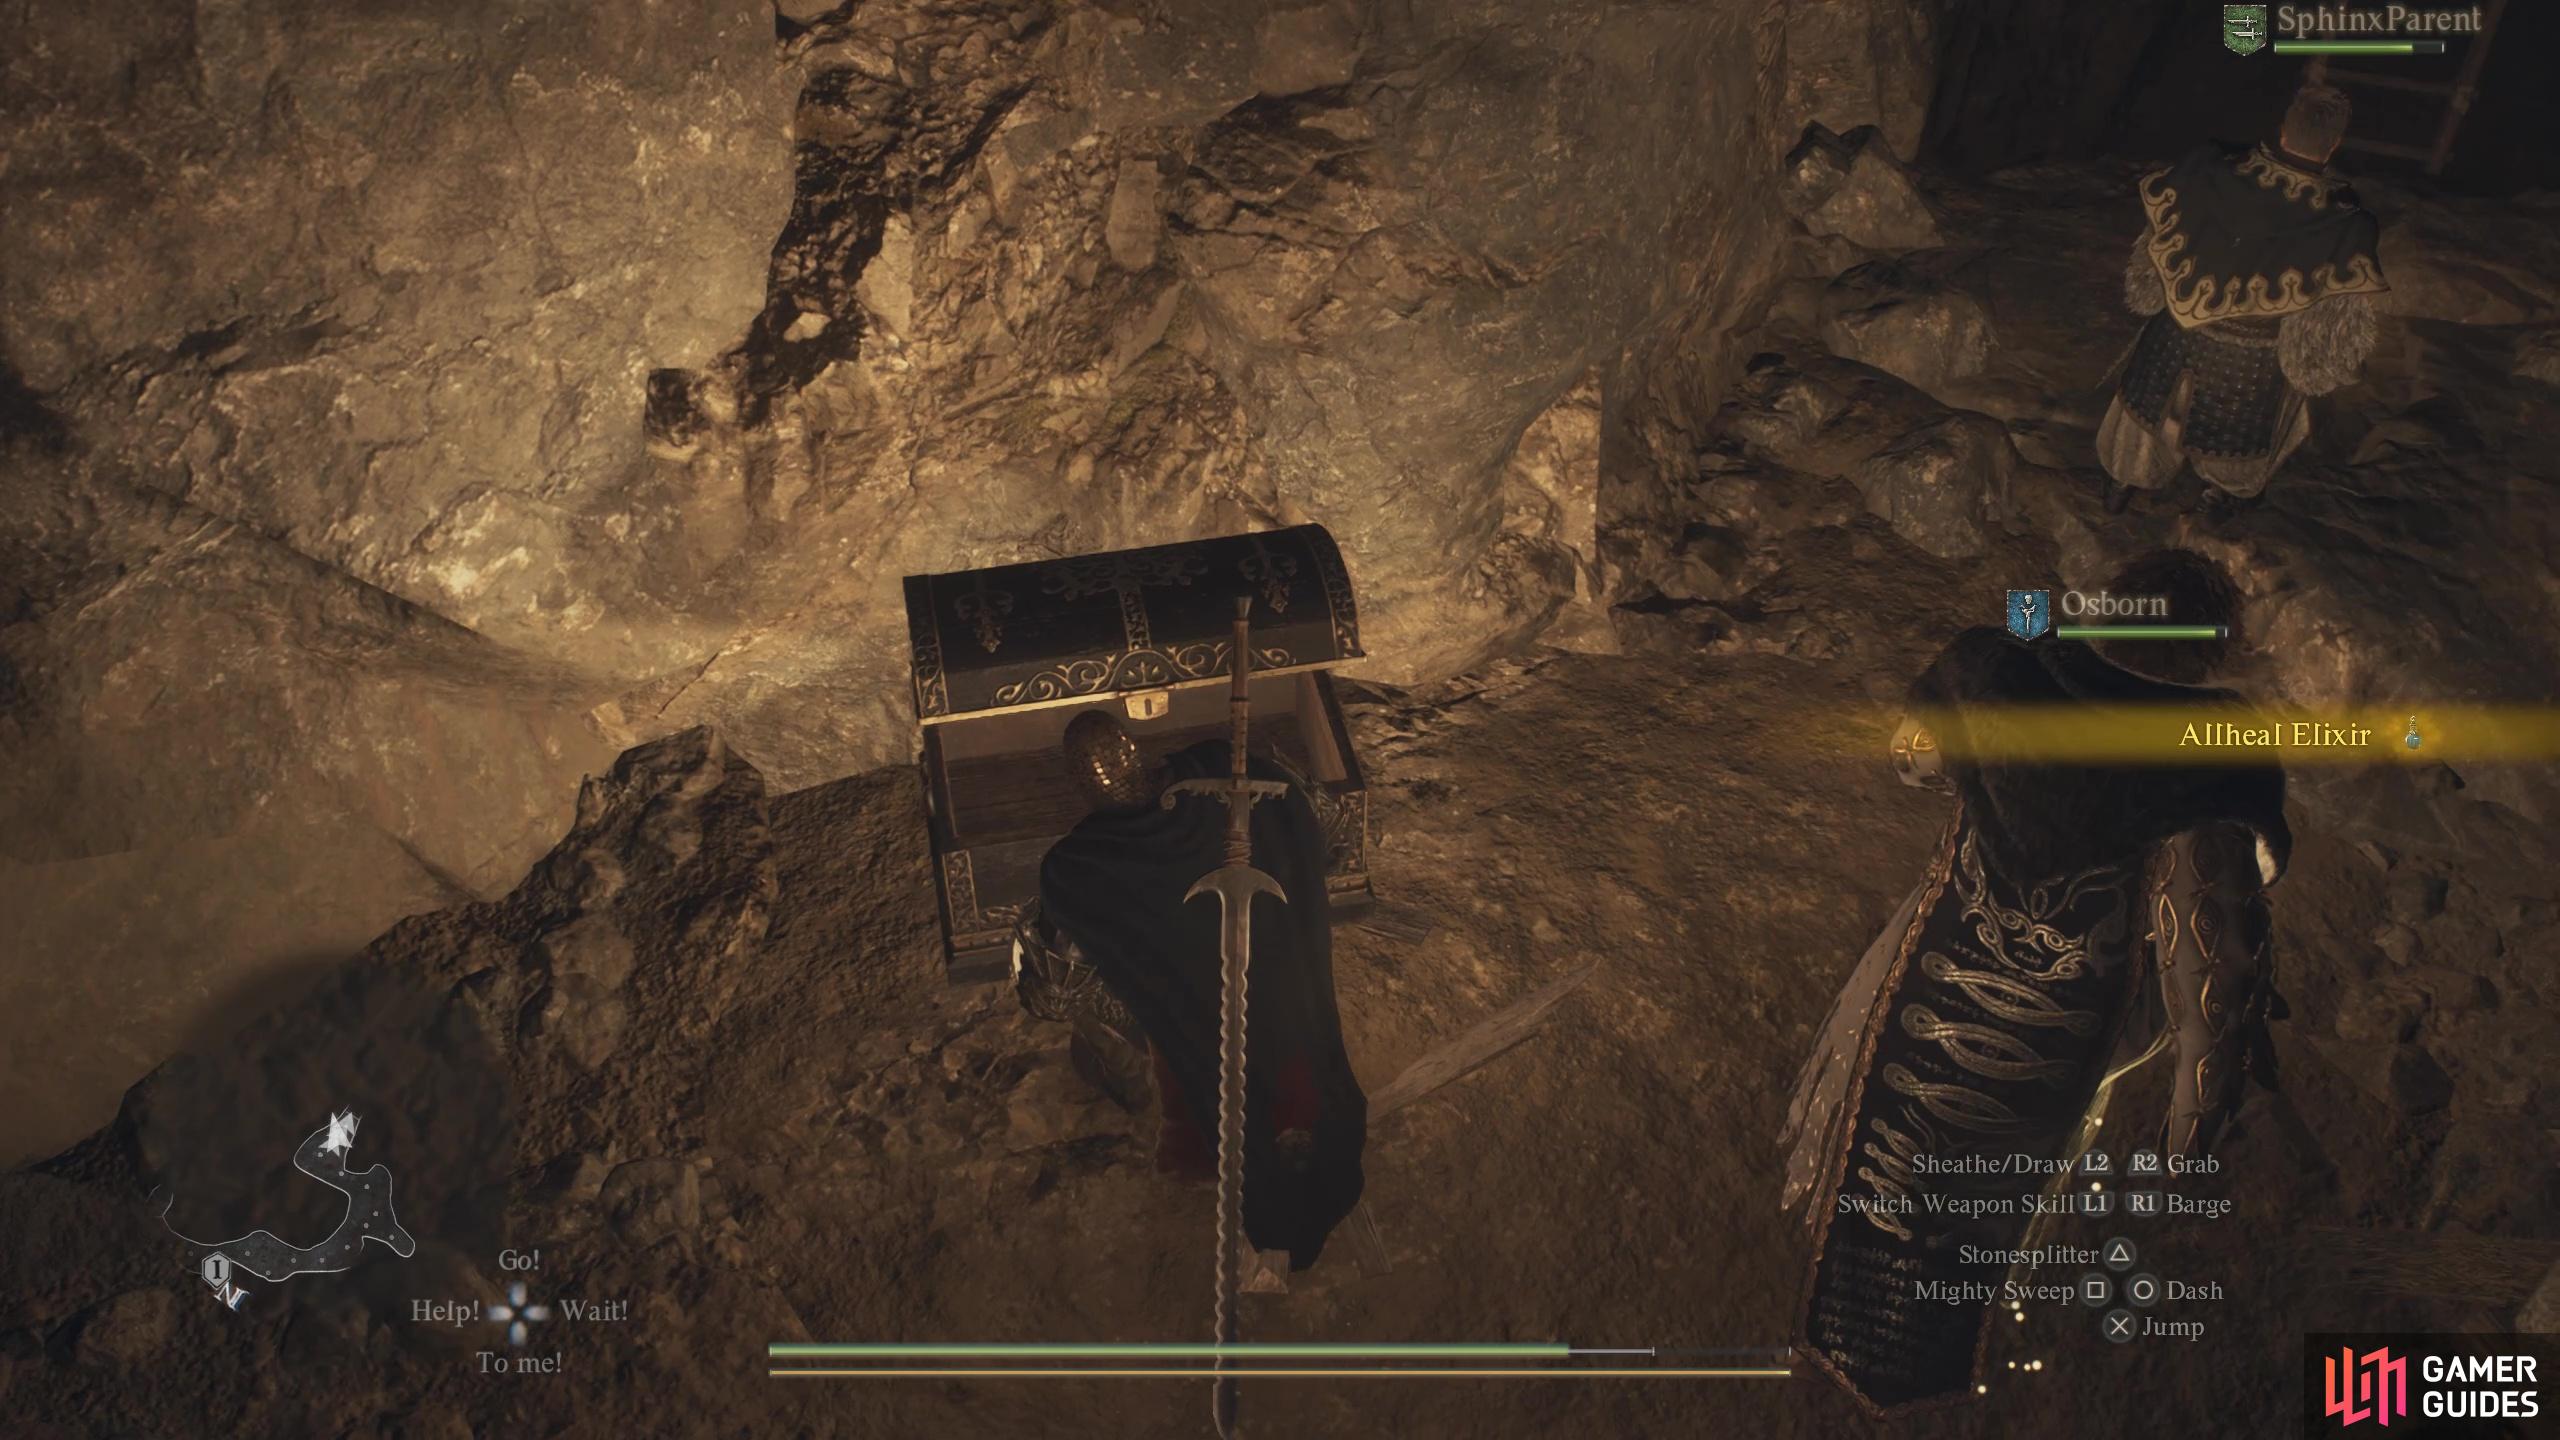
123. World Map
Found just before the ladder own to the next section.
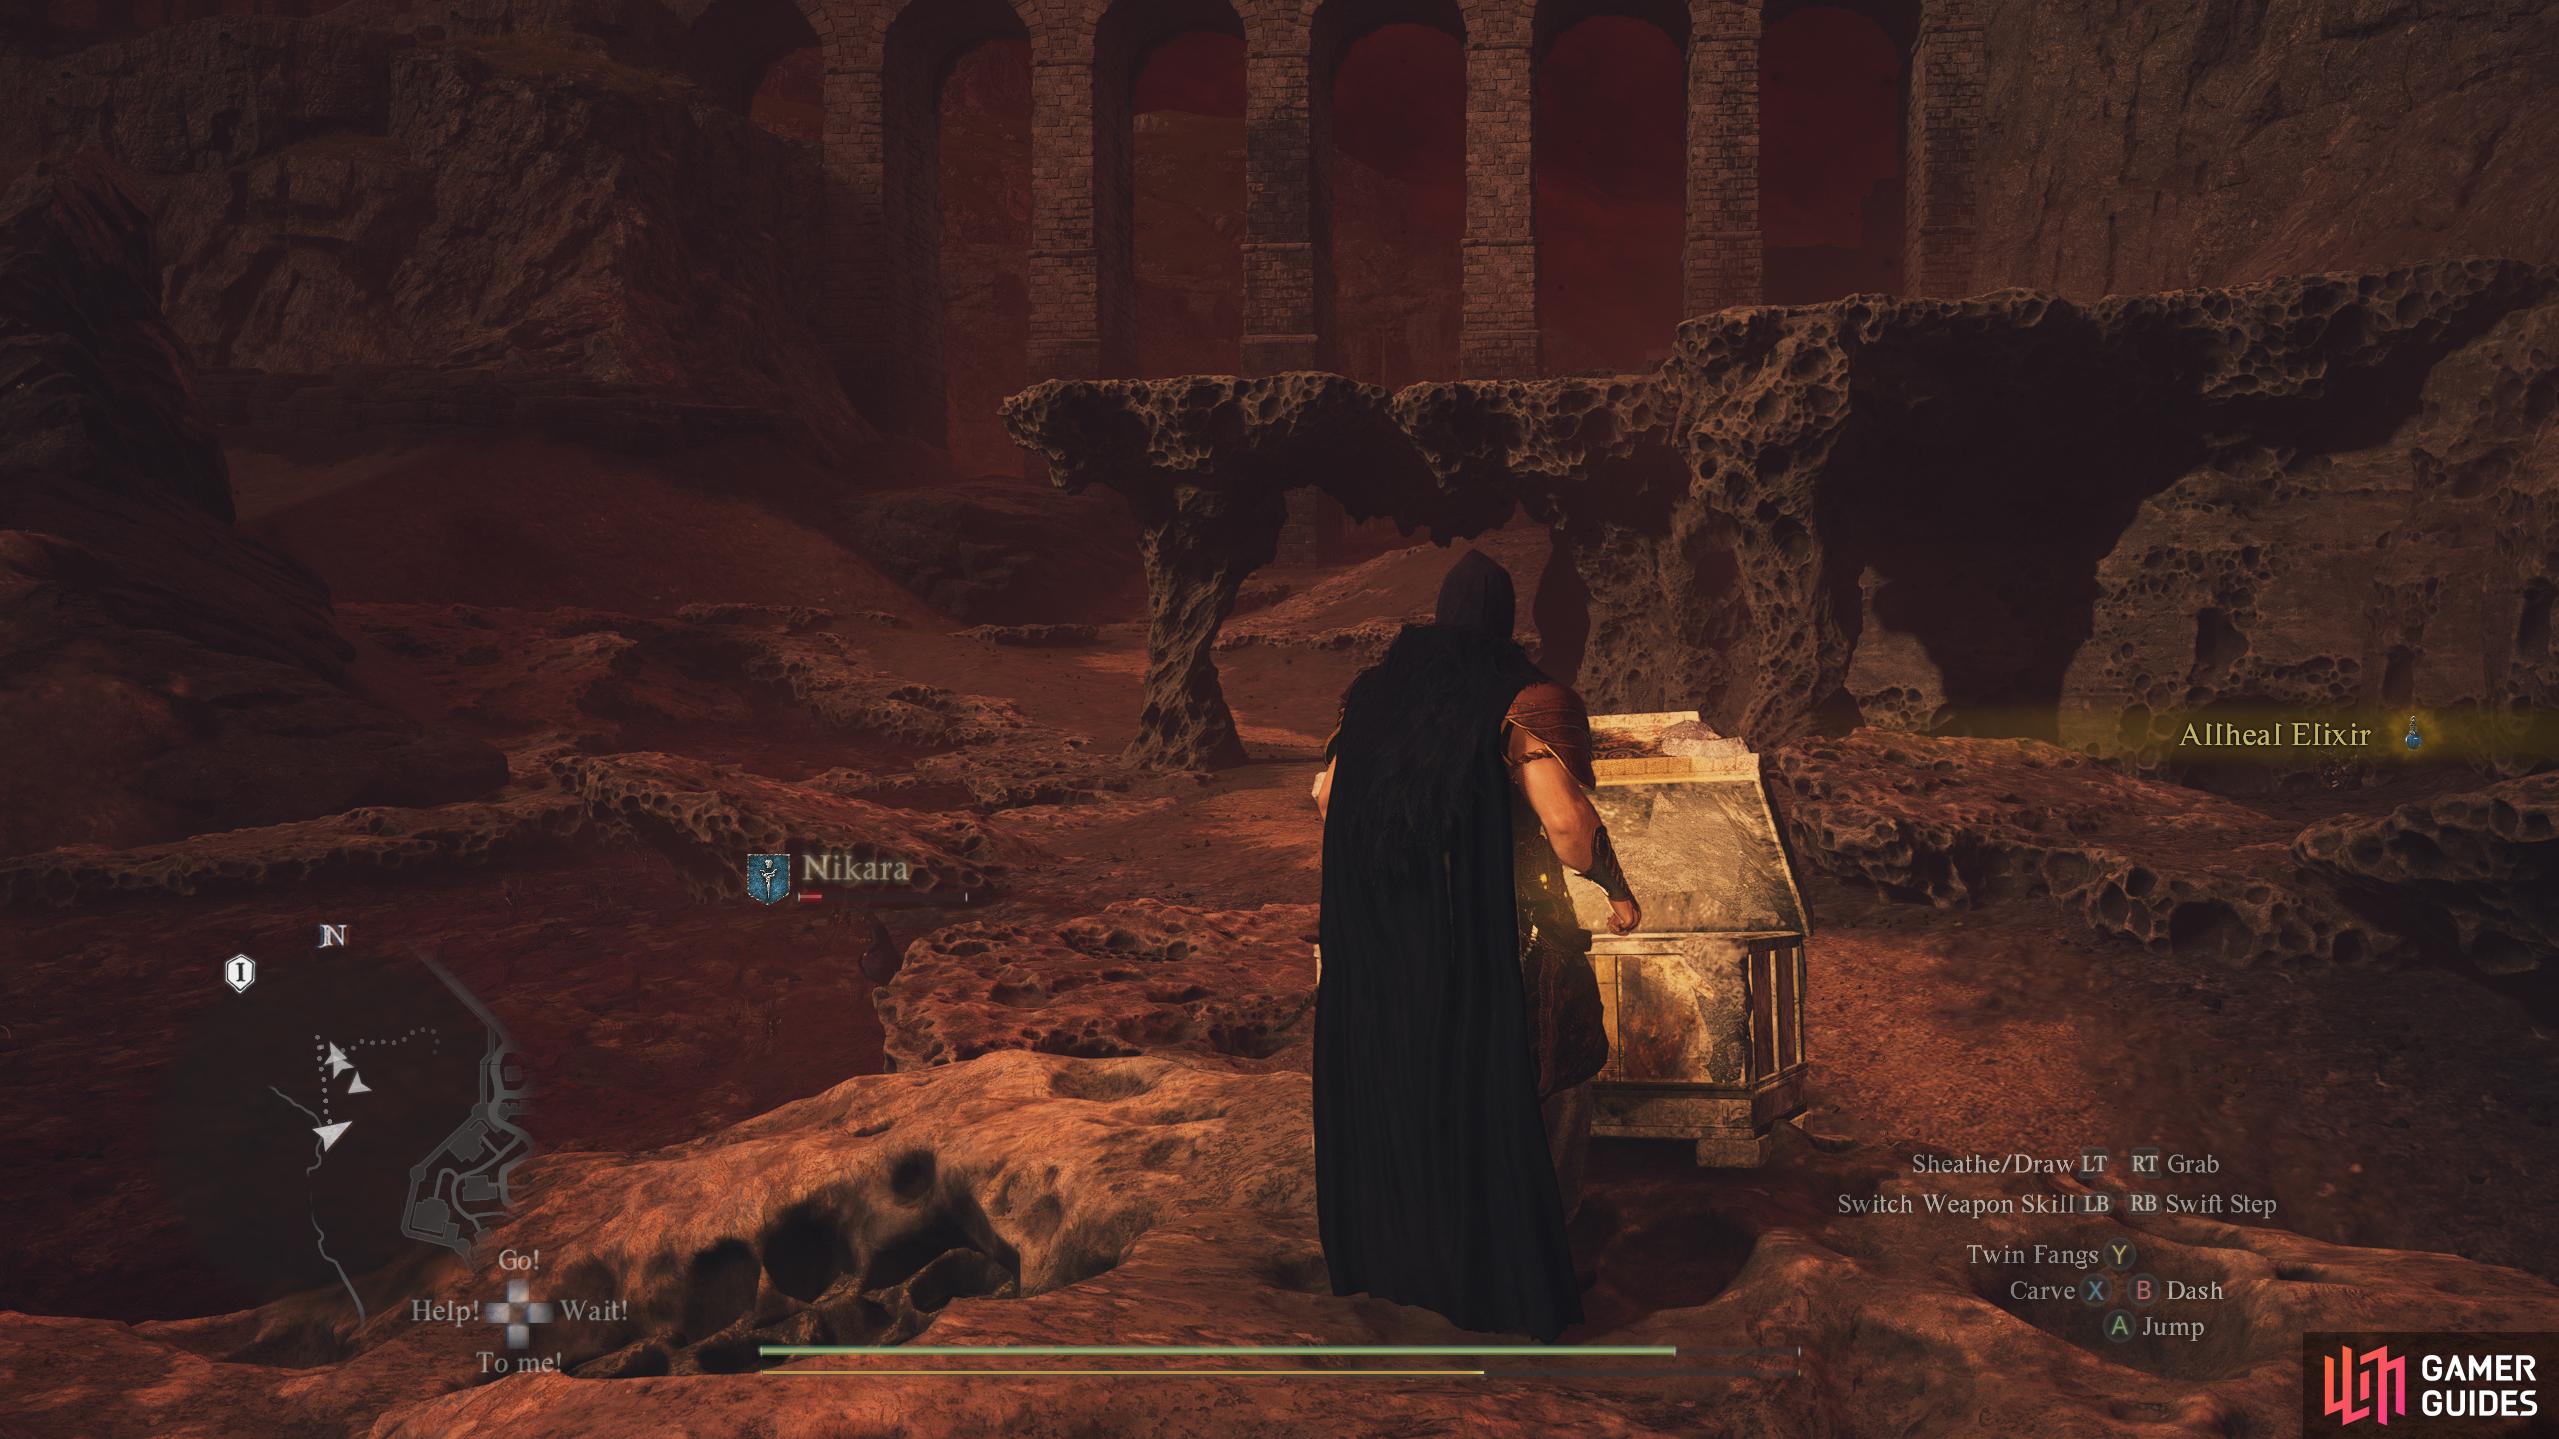
contains: ![]() Allheal Elixir
Allheal Elixir
124. World Map
Near the end of the ![]() Nameless Village Depths, on the right side of the corridor.
Nameless Village Depths, on the right side of the corridor.
Contains: ![]() Thief’s Gaiters
Thief’s Gaiters

125. World Map
Near the end of the ![]() Nameless Village Depths, on the left side of the corridor.
Nameless Village Depths, on the left side of the corridor.
Contains: ![]() Peltflayers
Peltflayers
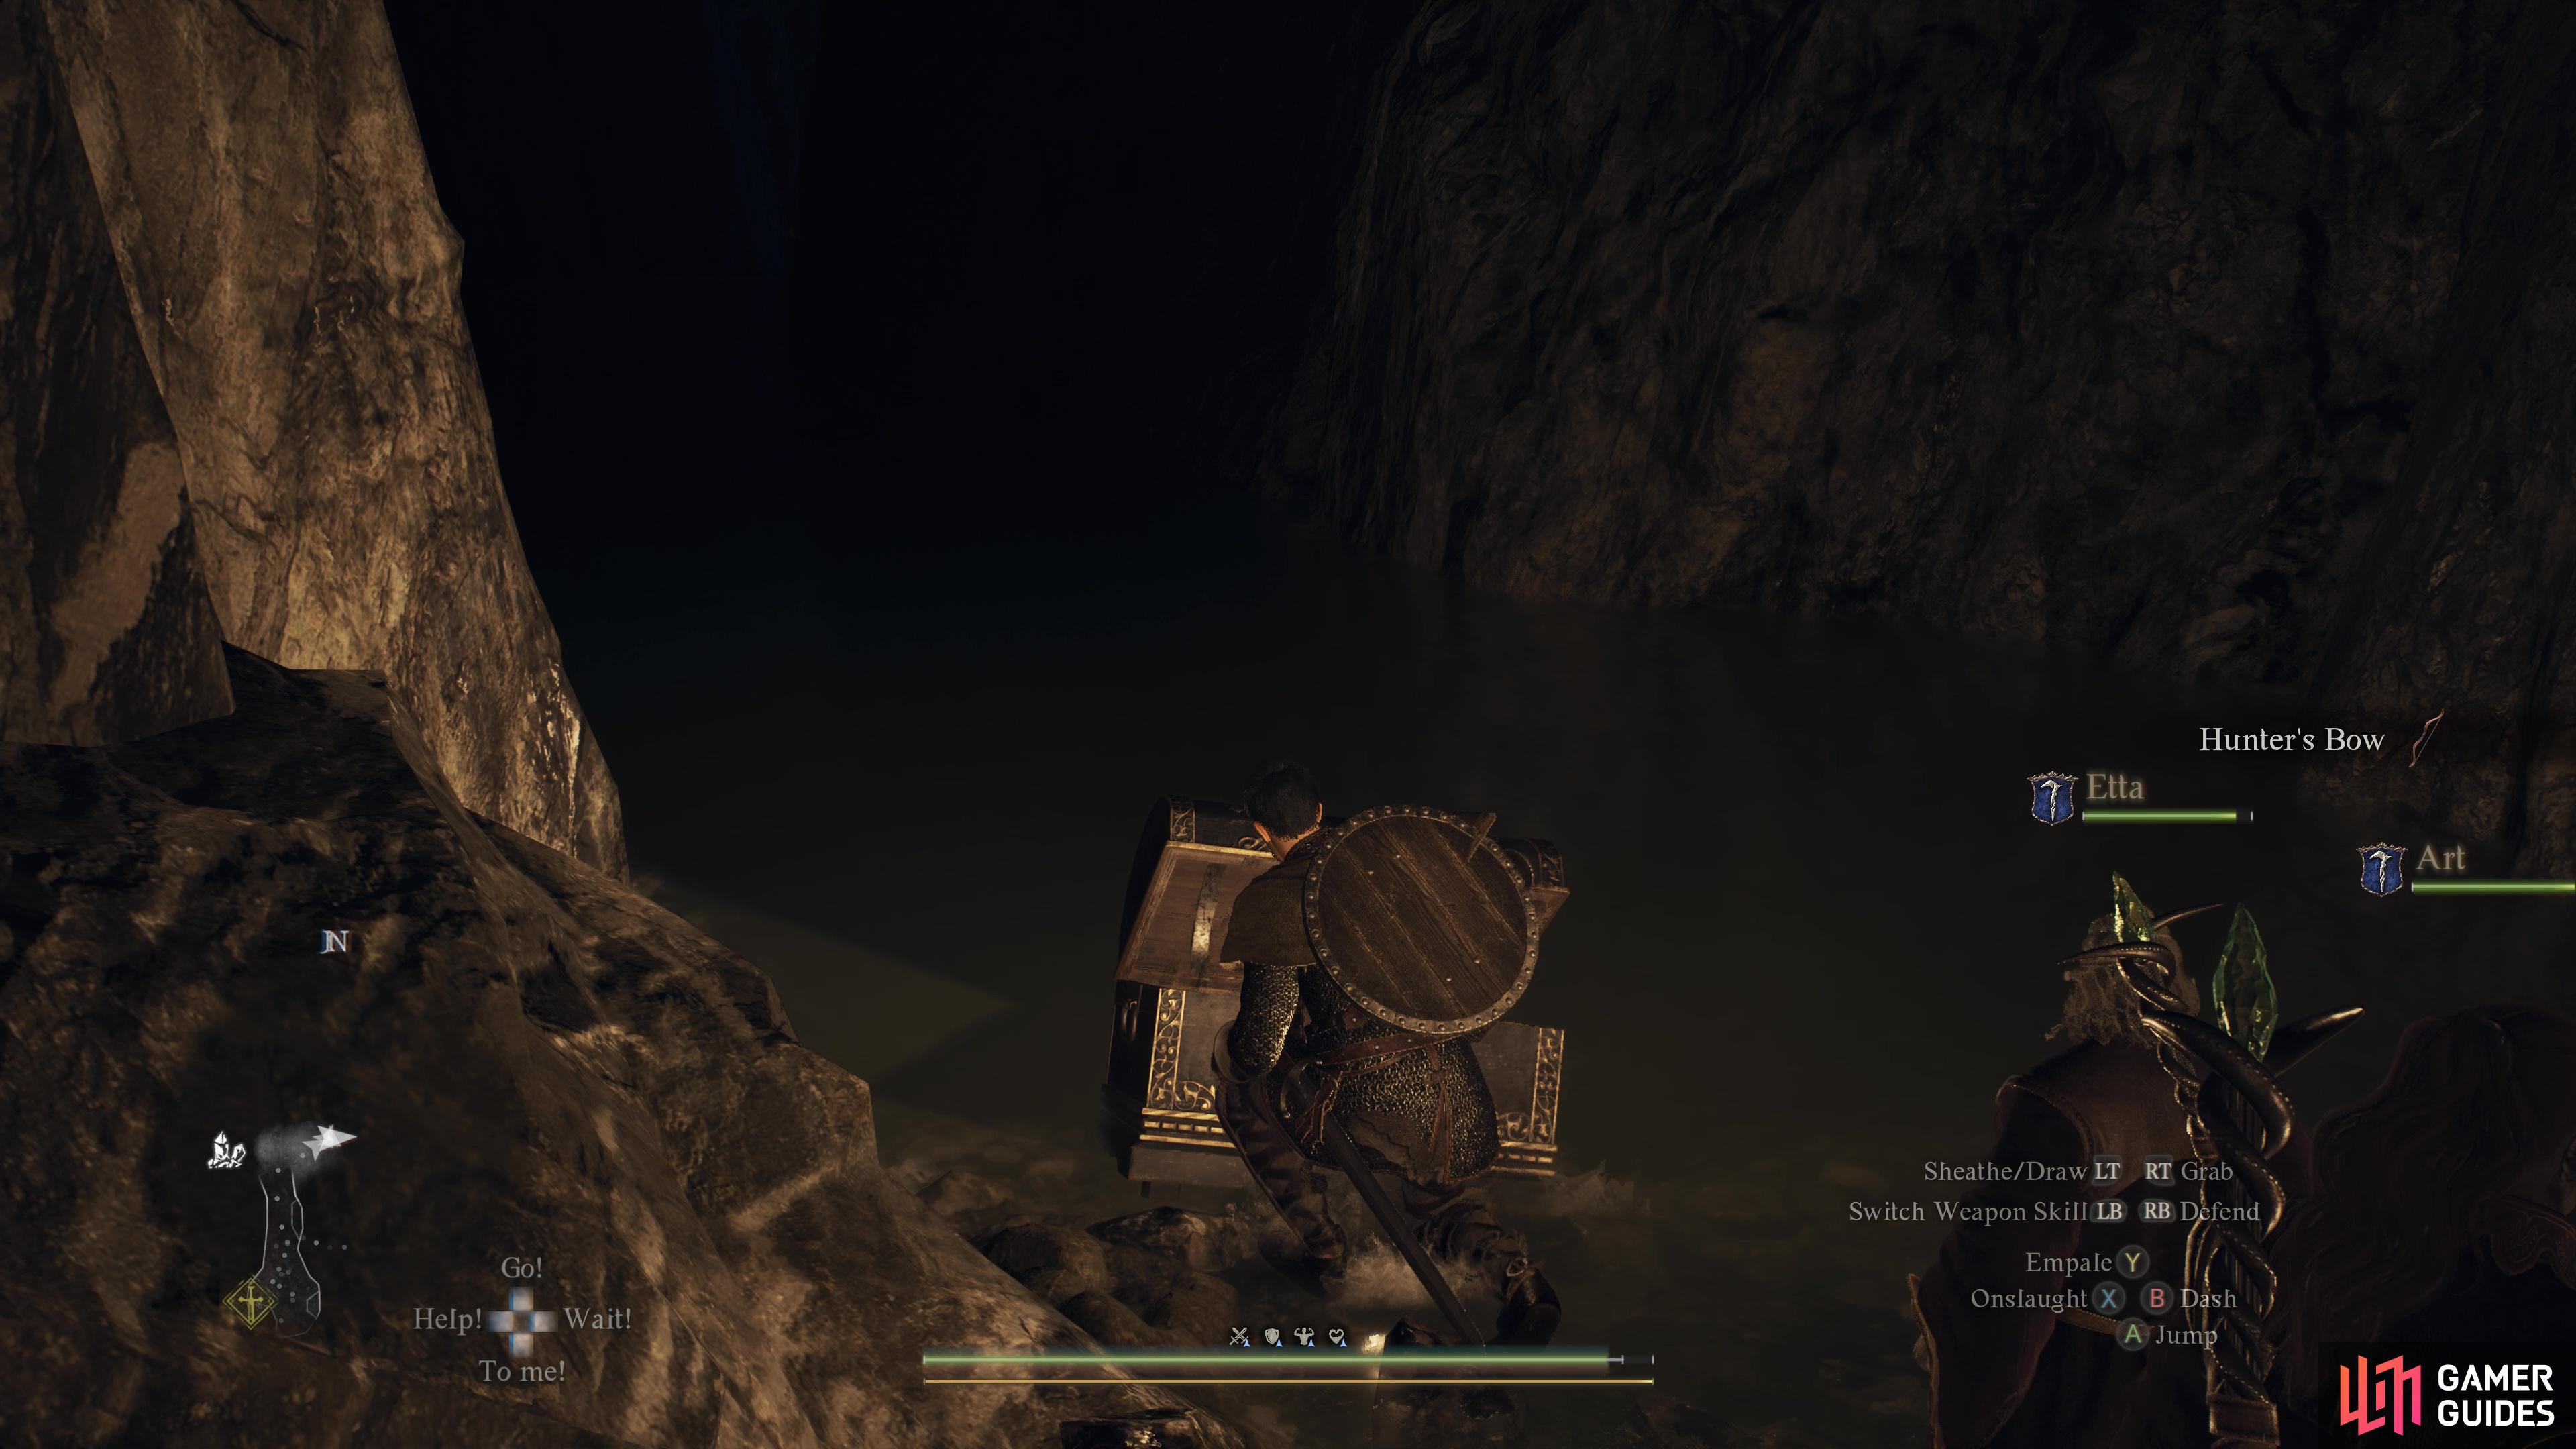
126. World Map
Inside ![]() Cavern of the Forsaken, 2F. From the chamber entrance, head north to a little stream.
Cavern of the Forsaken, 2F. From the chamber entrance, head north to a little stream.
Contains: ![]() Hunter’s Bow
Hunter’s Bow

127. World Map
Found inside ![]() Cavern of the Forsaken, in the
Cavern of the Forsaken, in the ![]() Ogre Chamber on 2F.
Ogre Chamber on 2F.
Contains: ![]() Scale Band
Scale Band
128. World Map
Once you enter the cave, turn left and you will find the chest at the end of the tunnel.
contains : ![]() Ring of Acclamation and 6800 gold
Ring of Acclamation and 6800 gold
129. World Map
Break the boxes upstairs in the South West corner of the Seafloor shrine to find this chest.
Contains: ![]() Wakestone Shard
Wakestone Shard
130. World Map
Found just off the path tucked behind some dead shrubbery.
Contains: ![]() Wakestone Shard
Wakestone Shard

131. World Map
Found by dropping down through thee roof of the abandoned house.
Cotains: ![]() Dragons Gaze
Dragons Gaze
132. World Map
Just inside the ![]() Cliffside Cave behind the
Cliffside Cave behind the ![]() Chimera .
Chimera .
Contains: ![]() Wakestone Shard
Wakestone Shard
133. World Map
On 2F in ![]() Cavern of the Forsaken. Just off the main room with the
Cavern of the Forsaken. Just off the main room with the ![]() Ogre, take the small path south to find the chest.
Ogre, take the small path south to find the chest.
Contains: ![]() Ring of Exultation
Ring of Exultation
135. World Map
Found on the large stone on the cliff edge, get to it by jumping from the small stone onto the larger on.
Contains: ![]() Wakestone Shard
Wakestone Shard
136. World Map
At the northern tip of the island, near the fire.
Contains: 3900 gold coins.
138. World Map
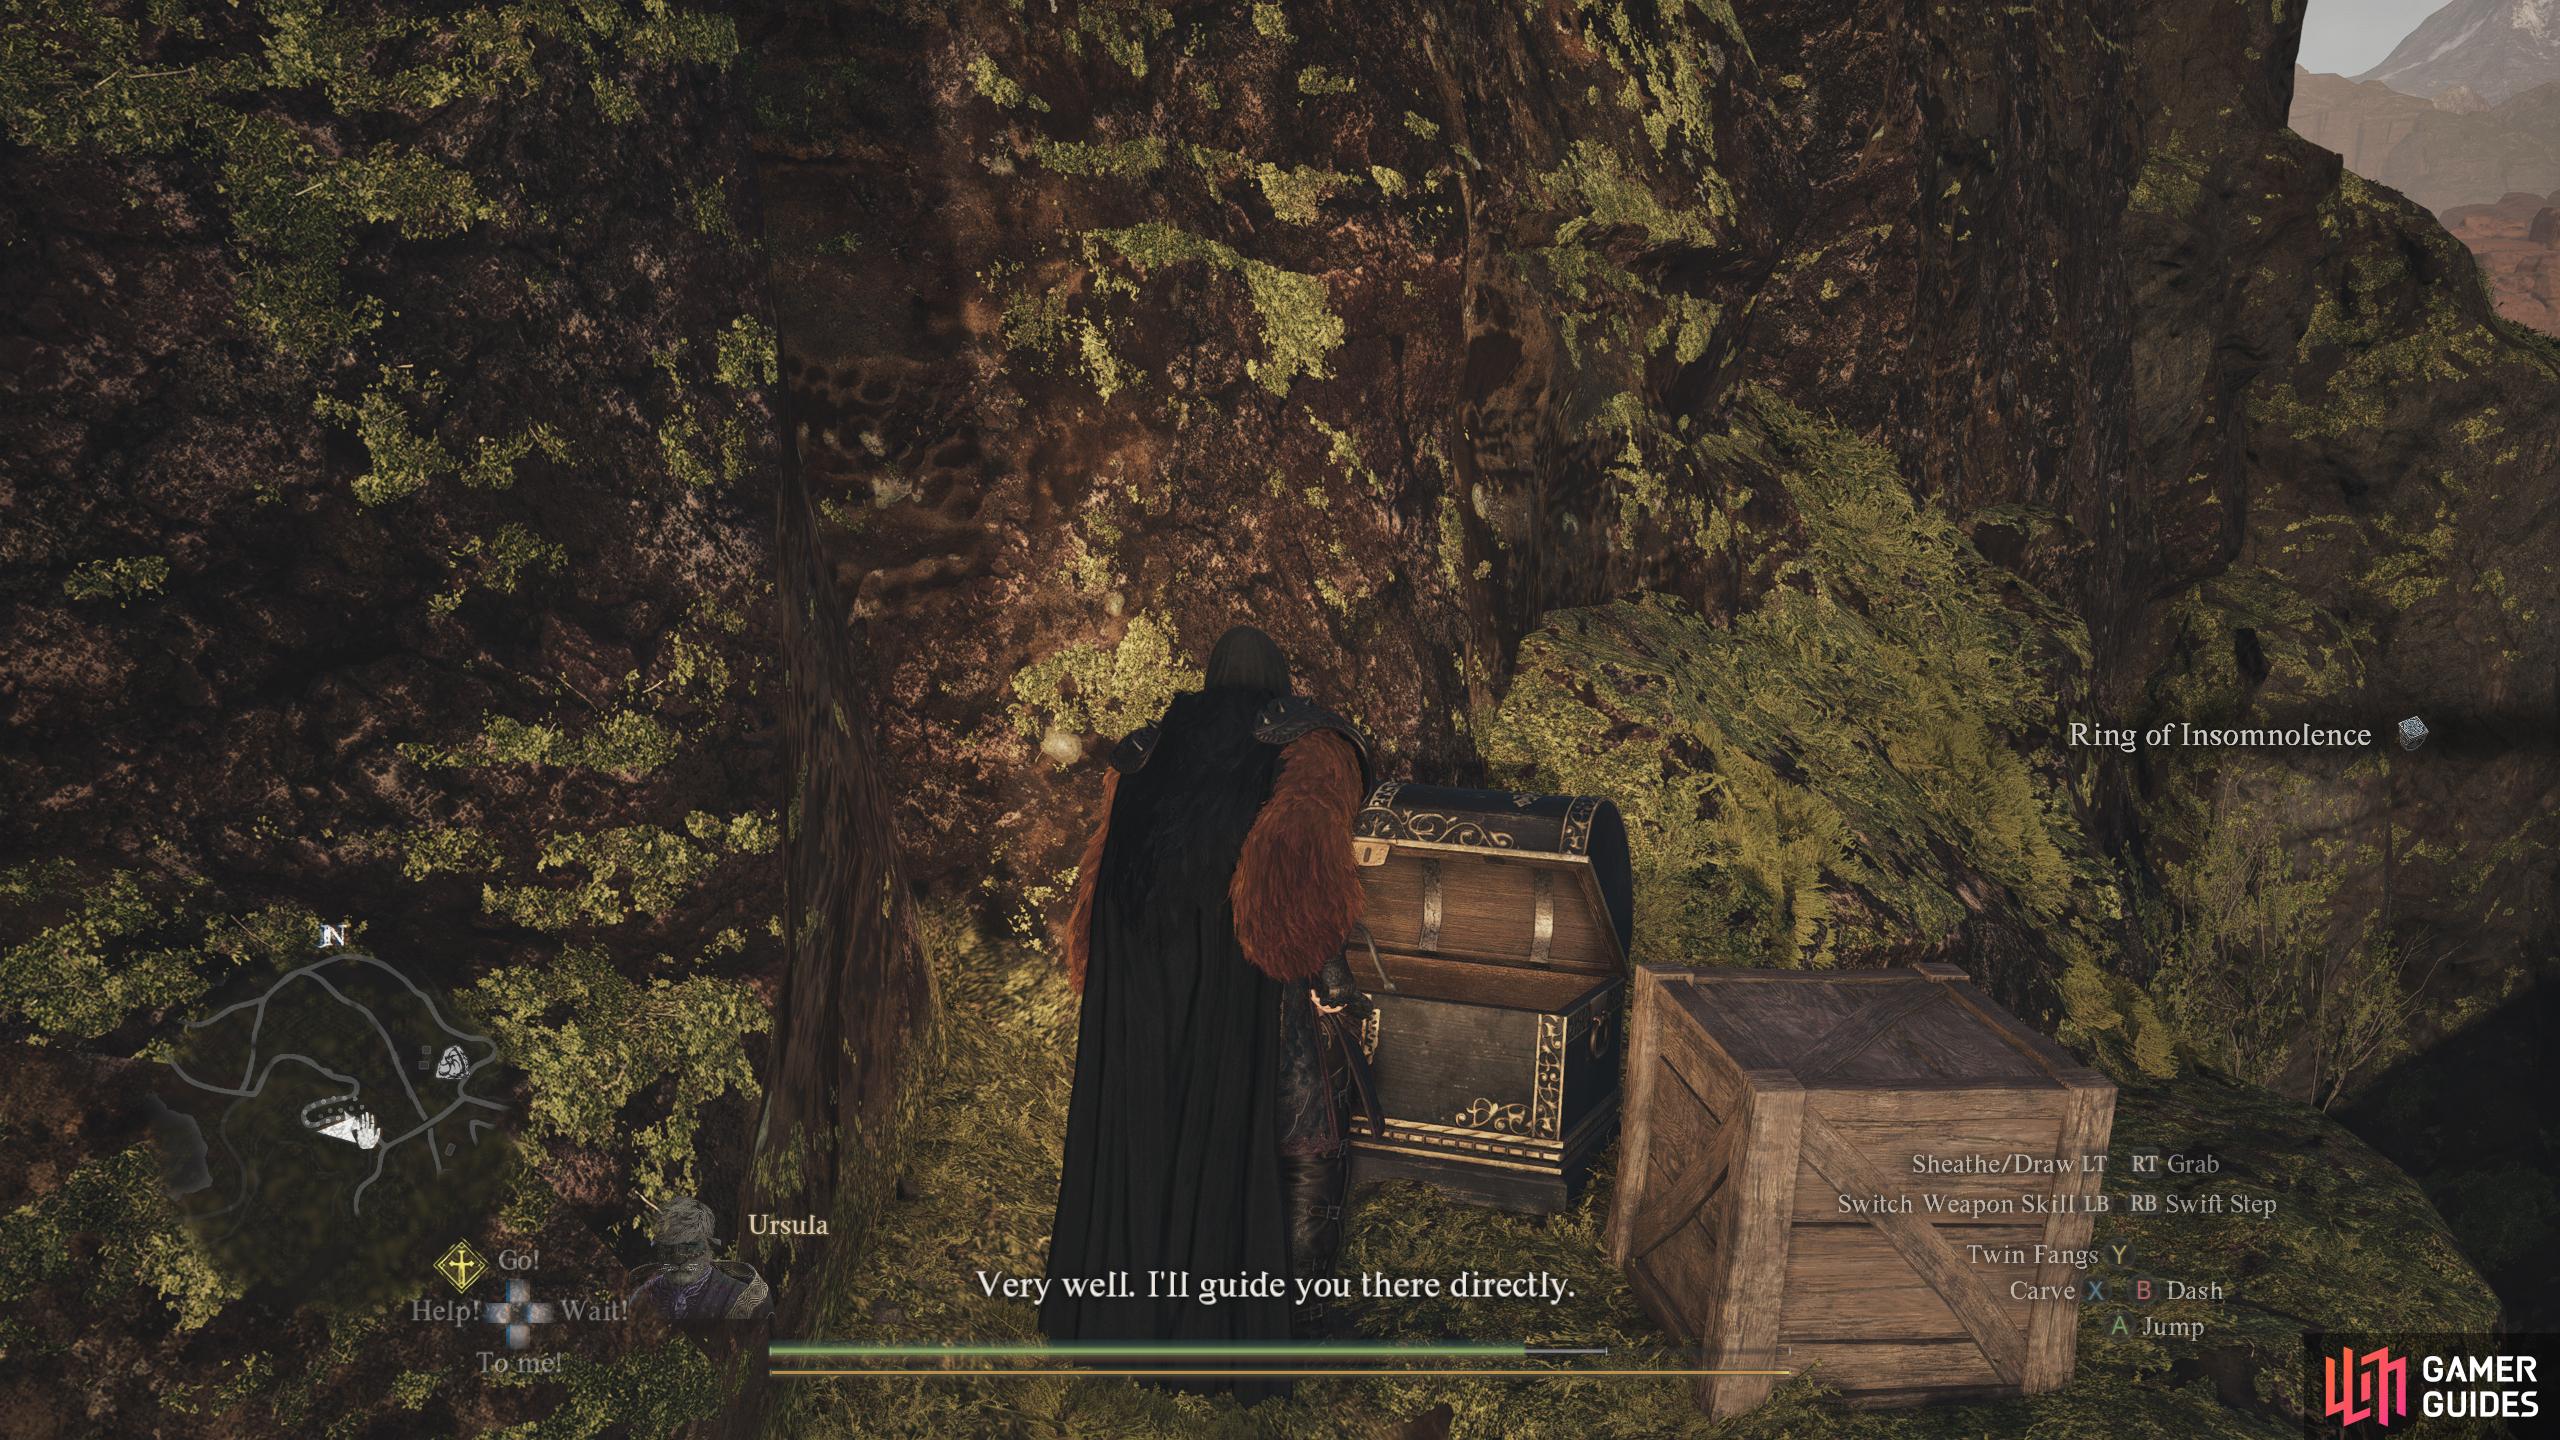
Climb up the grassy slope opposite the bridge. Near the other chest just a little to the north. Contains ![]() Ring of Insomnolence.
Ring of Insomnolence.
139. World Map
Found ontop of the large rock to the west of the path.
Contains: ![]() Wakestone Shard
Wakestone Shard
140. World Map
Drop down the ladder found in the ruins, break the boxes covering a hole in the wall to the West.
Contains: ![]() Wakestone Shard
Wakestone Shard
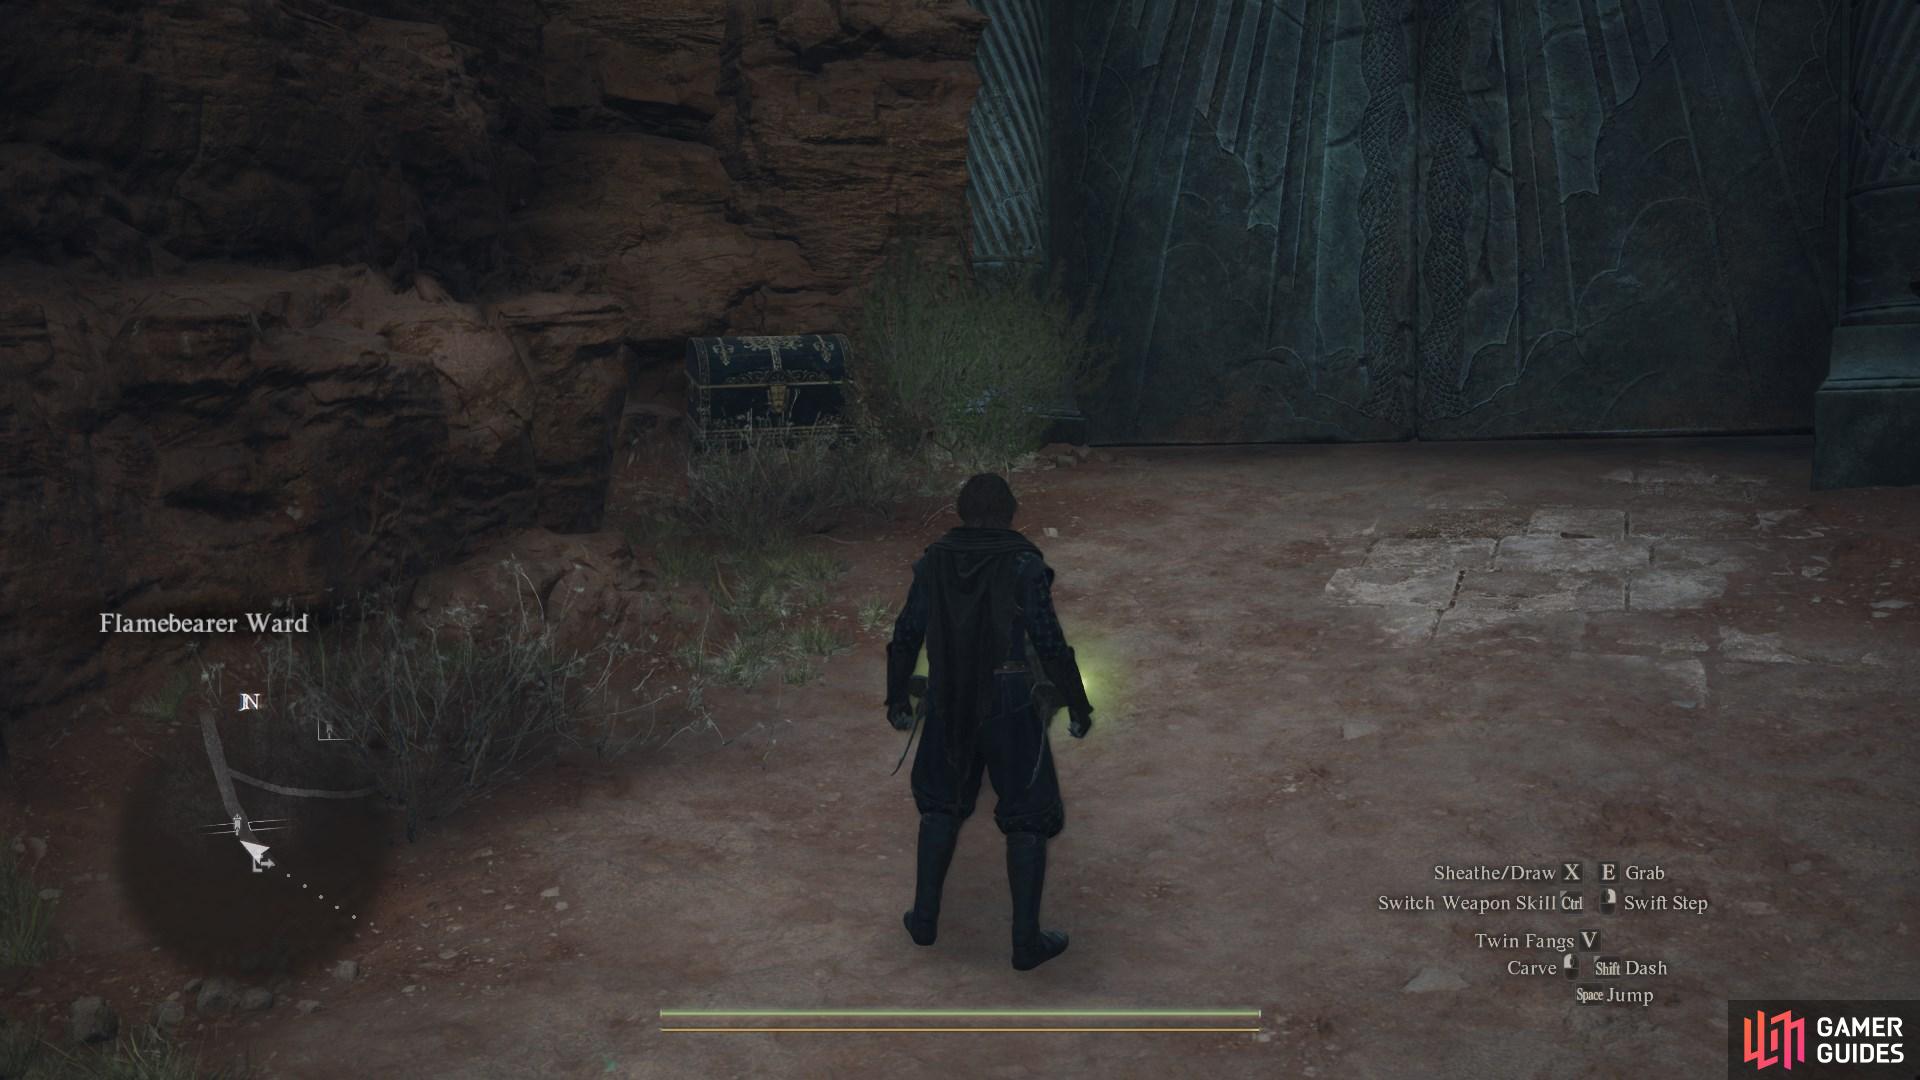
141. World Map
In the corner of the ![]() Flamebearer Palace Servants’ Chamber.
Flamebearer Palace Servants’ Chamber.
Contains: ![]() Wakestone Shard
Wakestone Shard
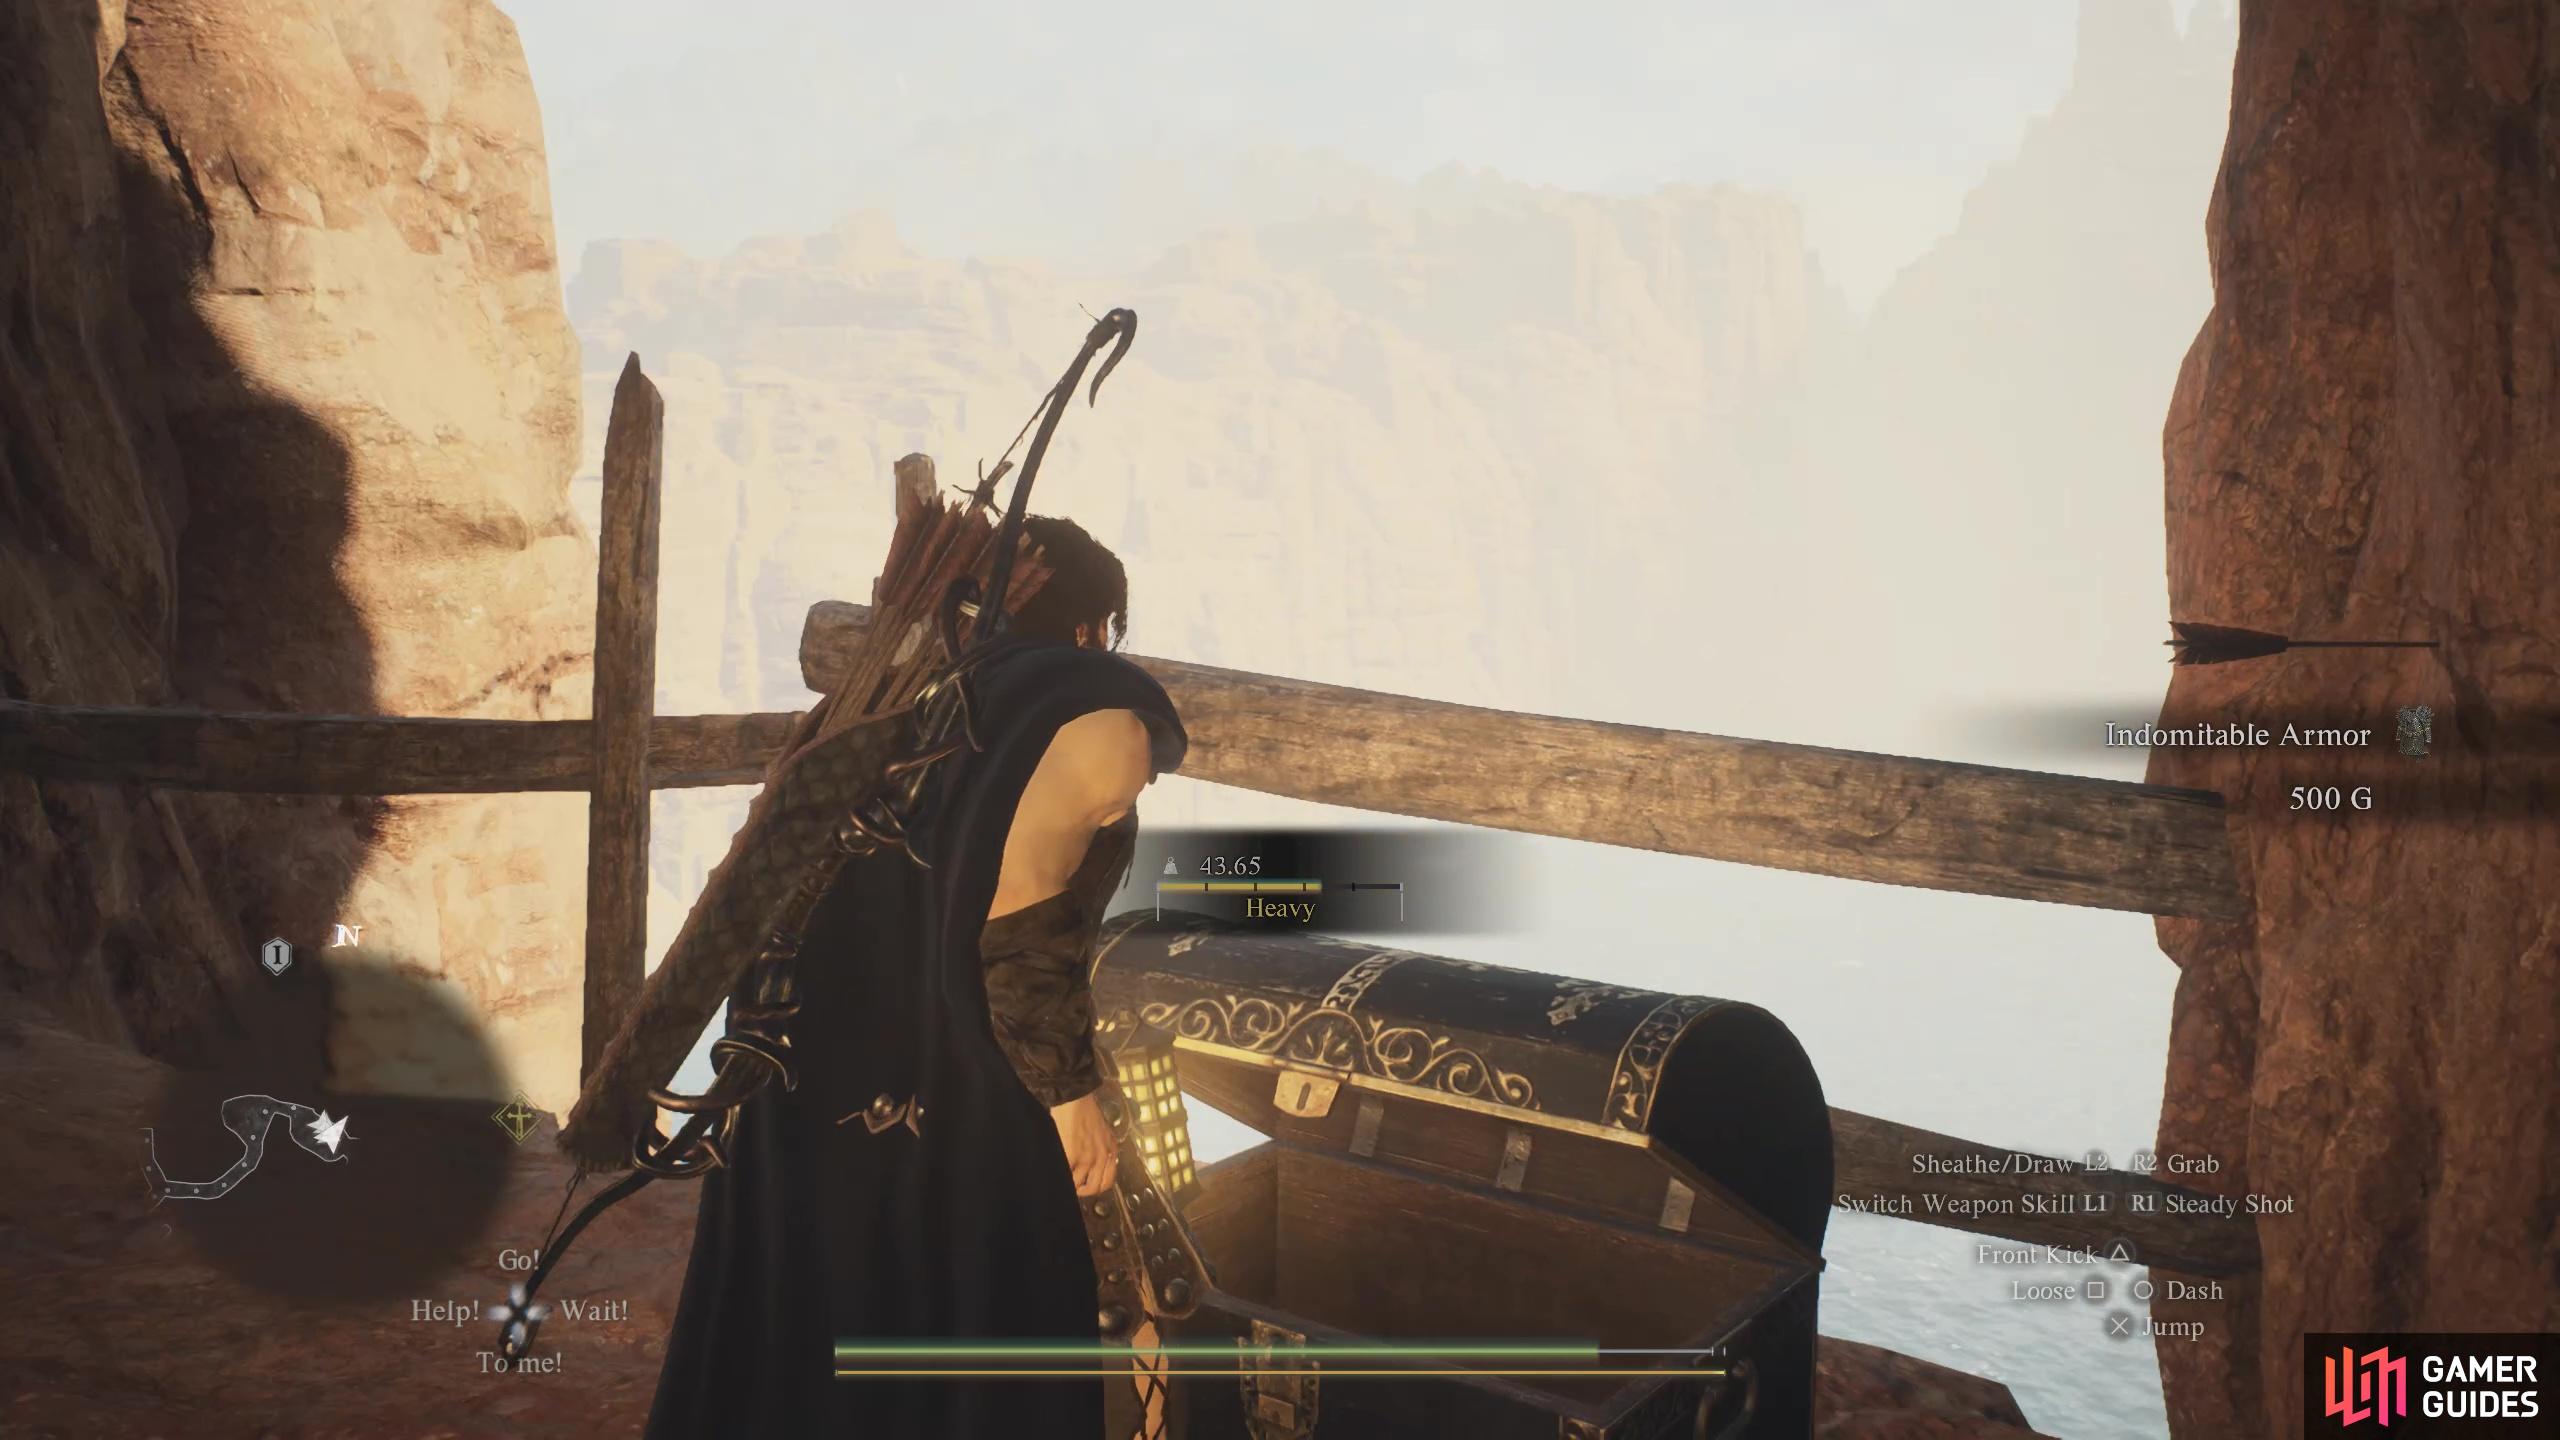
142. World Map
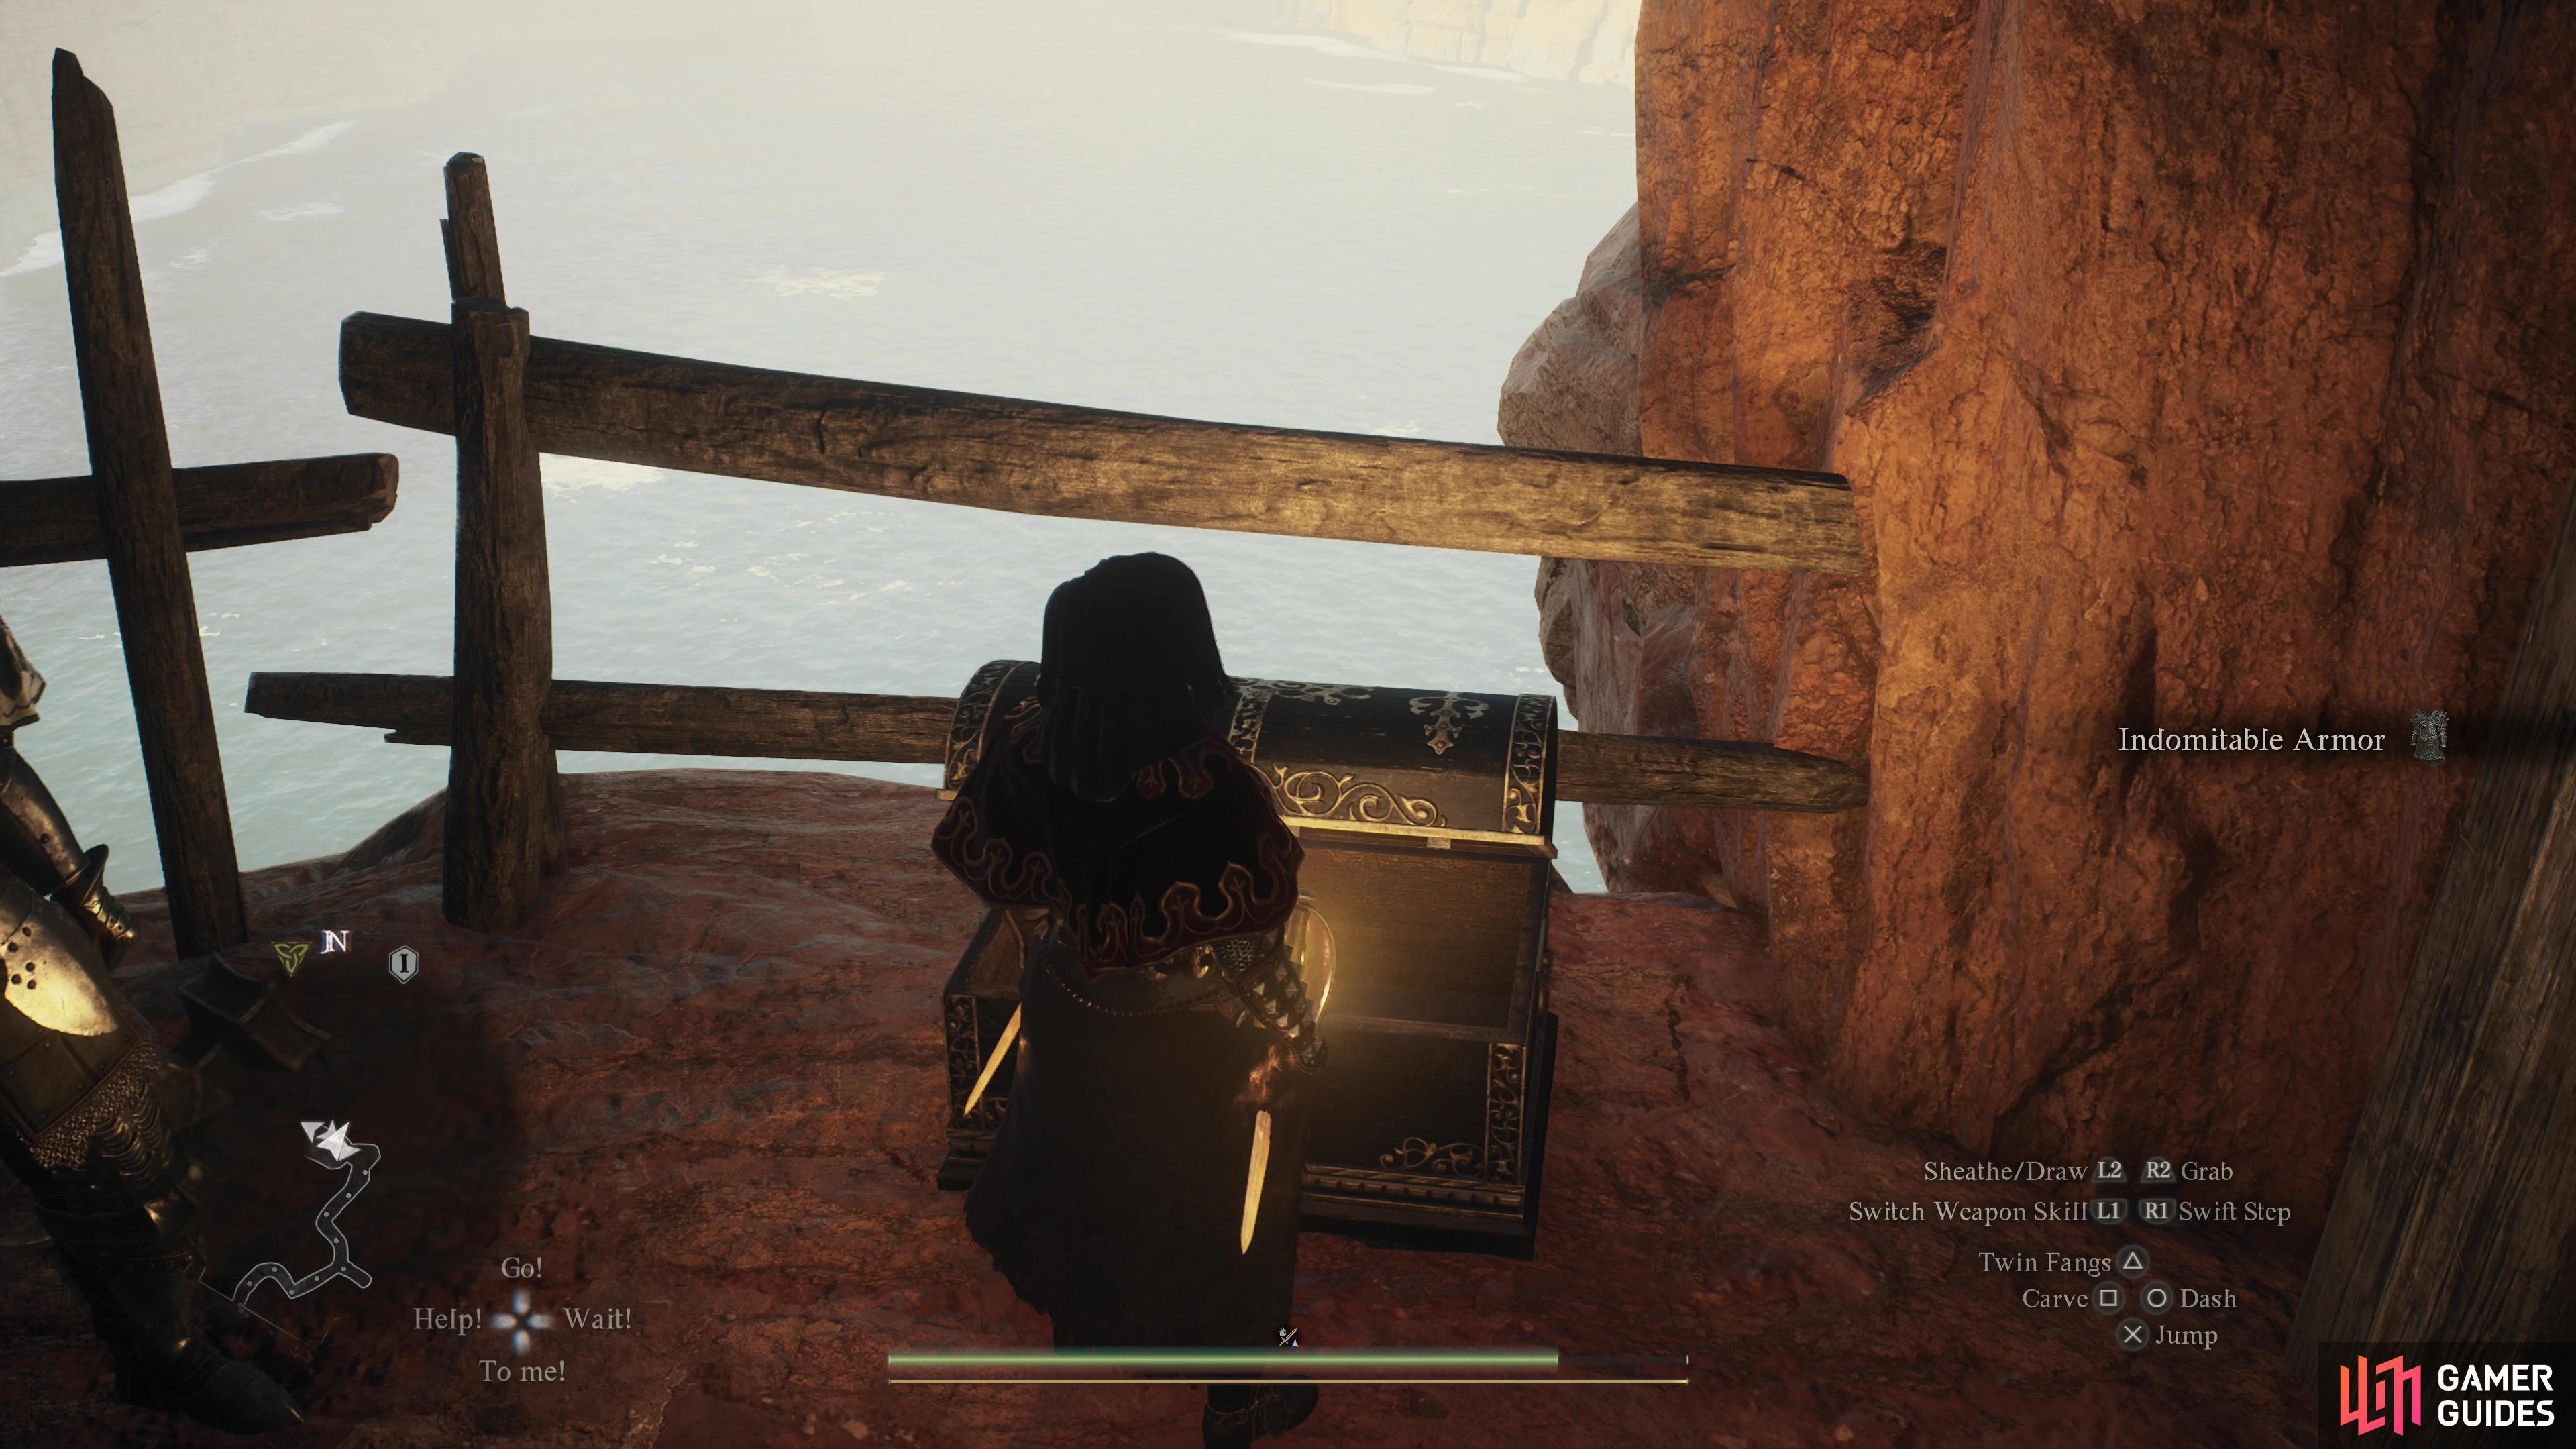
Inside ![]() Drabnir’s Grotto. From the entrance head southeast and pass four side passages to the northeast, taking the fifth. Follow the linear path until you find this chest out on a balcony overlooking the sea. This chest contains the
Drabnir’s Grotto. From the entrance head southeast and pass four side passages to the northeast, taking the fifth. Follow the linear path until you find this chest out on a balcony overlooking the sea. This chest contains the ![]() Indomitable Armor.
Indomitable Armor.


144. World Map
Next to the door of the ![]() Laboratorium - Material Stores.
Laboratorium - Material Stores.
Contains: ![]() Igneous Melody,
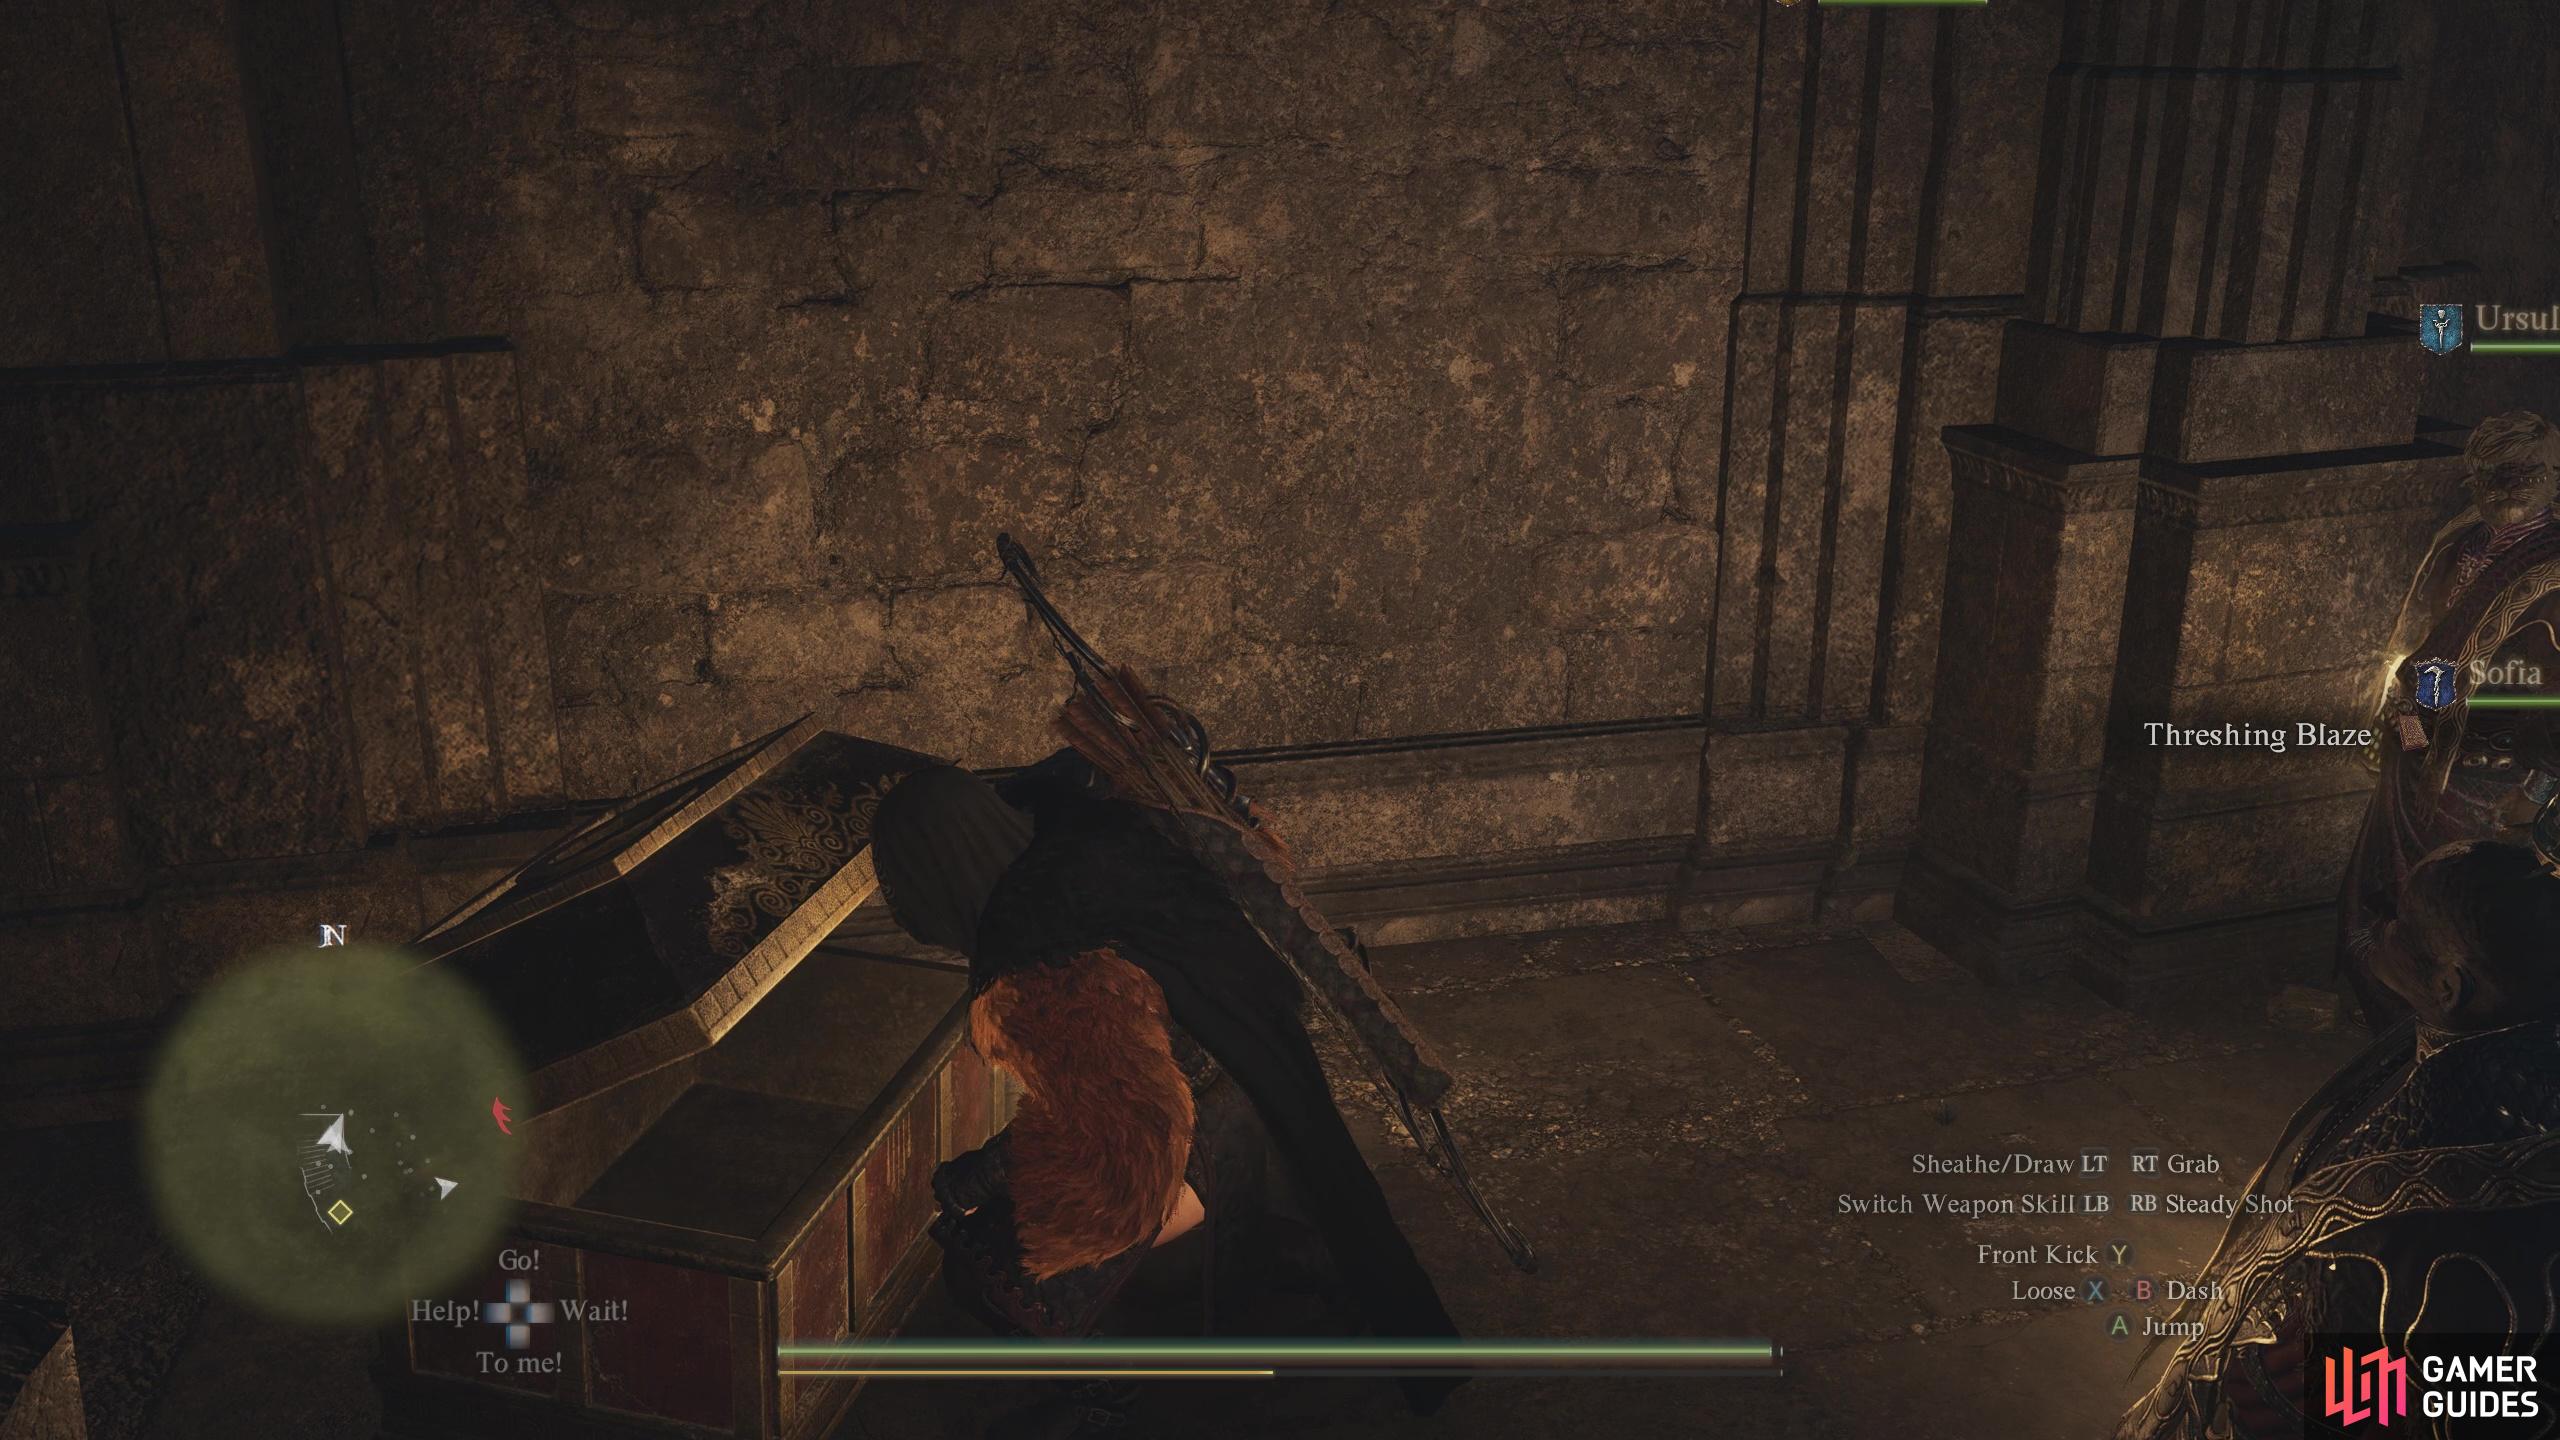
Igneous Melody, ![]() Emergent Vitality,
Emergent Vitality, ![]() Threshing Blaze,
Threshing Blaze, ![]() Winter’s Path,
Winter’s Path, ![]() Fulgurous Lord
Fulgurous Lord

145. World Map
In the corner of ![]() Laboratorium - Workshop #1.
Laboratorium - Workshop #1.
Contains: ![]() Farseer’s Circlet
Farseer’s Circlet

147. World Map
After breaking the rock, this chest is on the left.
Contains: ![]() Panacea
Panacea
148. World Map
At the edge of a path in the ![]() Sandsear Cave.
Sandsear Cave.
Contains: ![]() Ravager-Lord’s Helm
Ravager-Lord’s Helm
150. World Map
Above the cave entrance as you come down from the path.
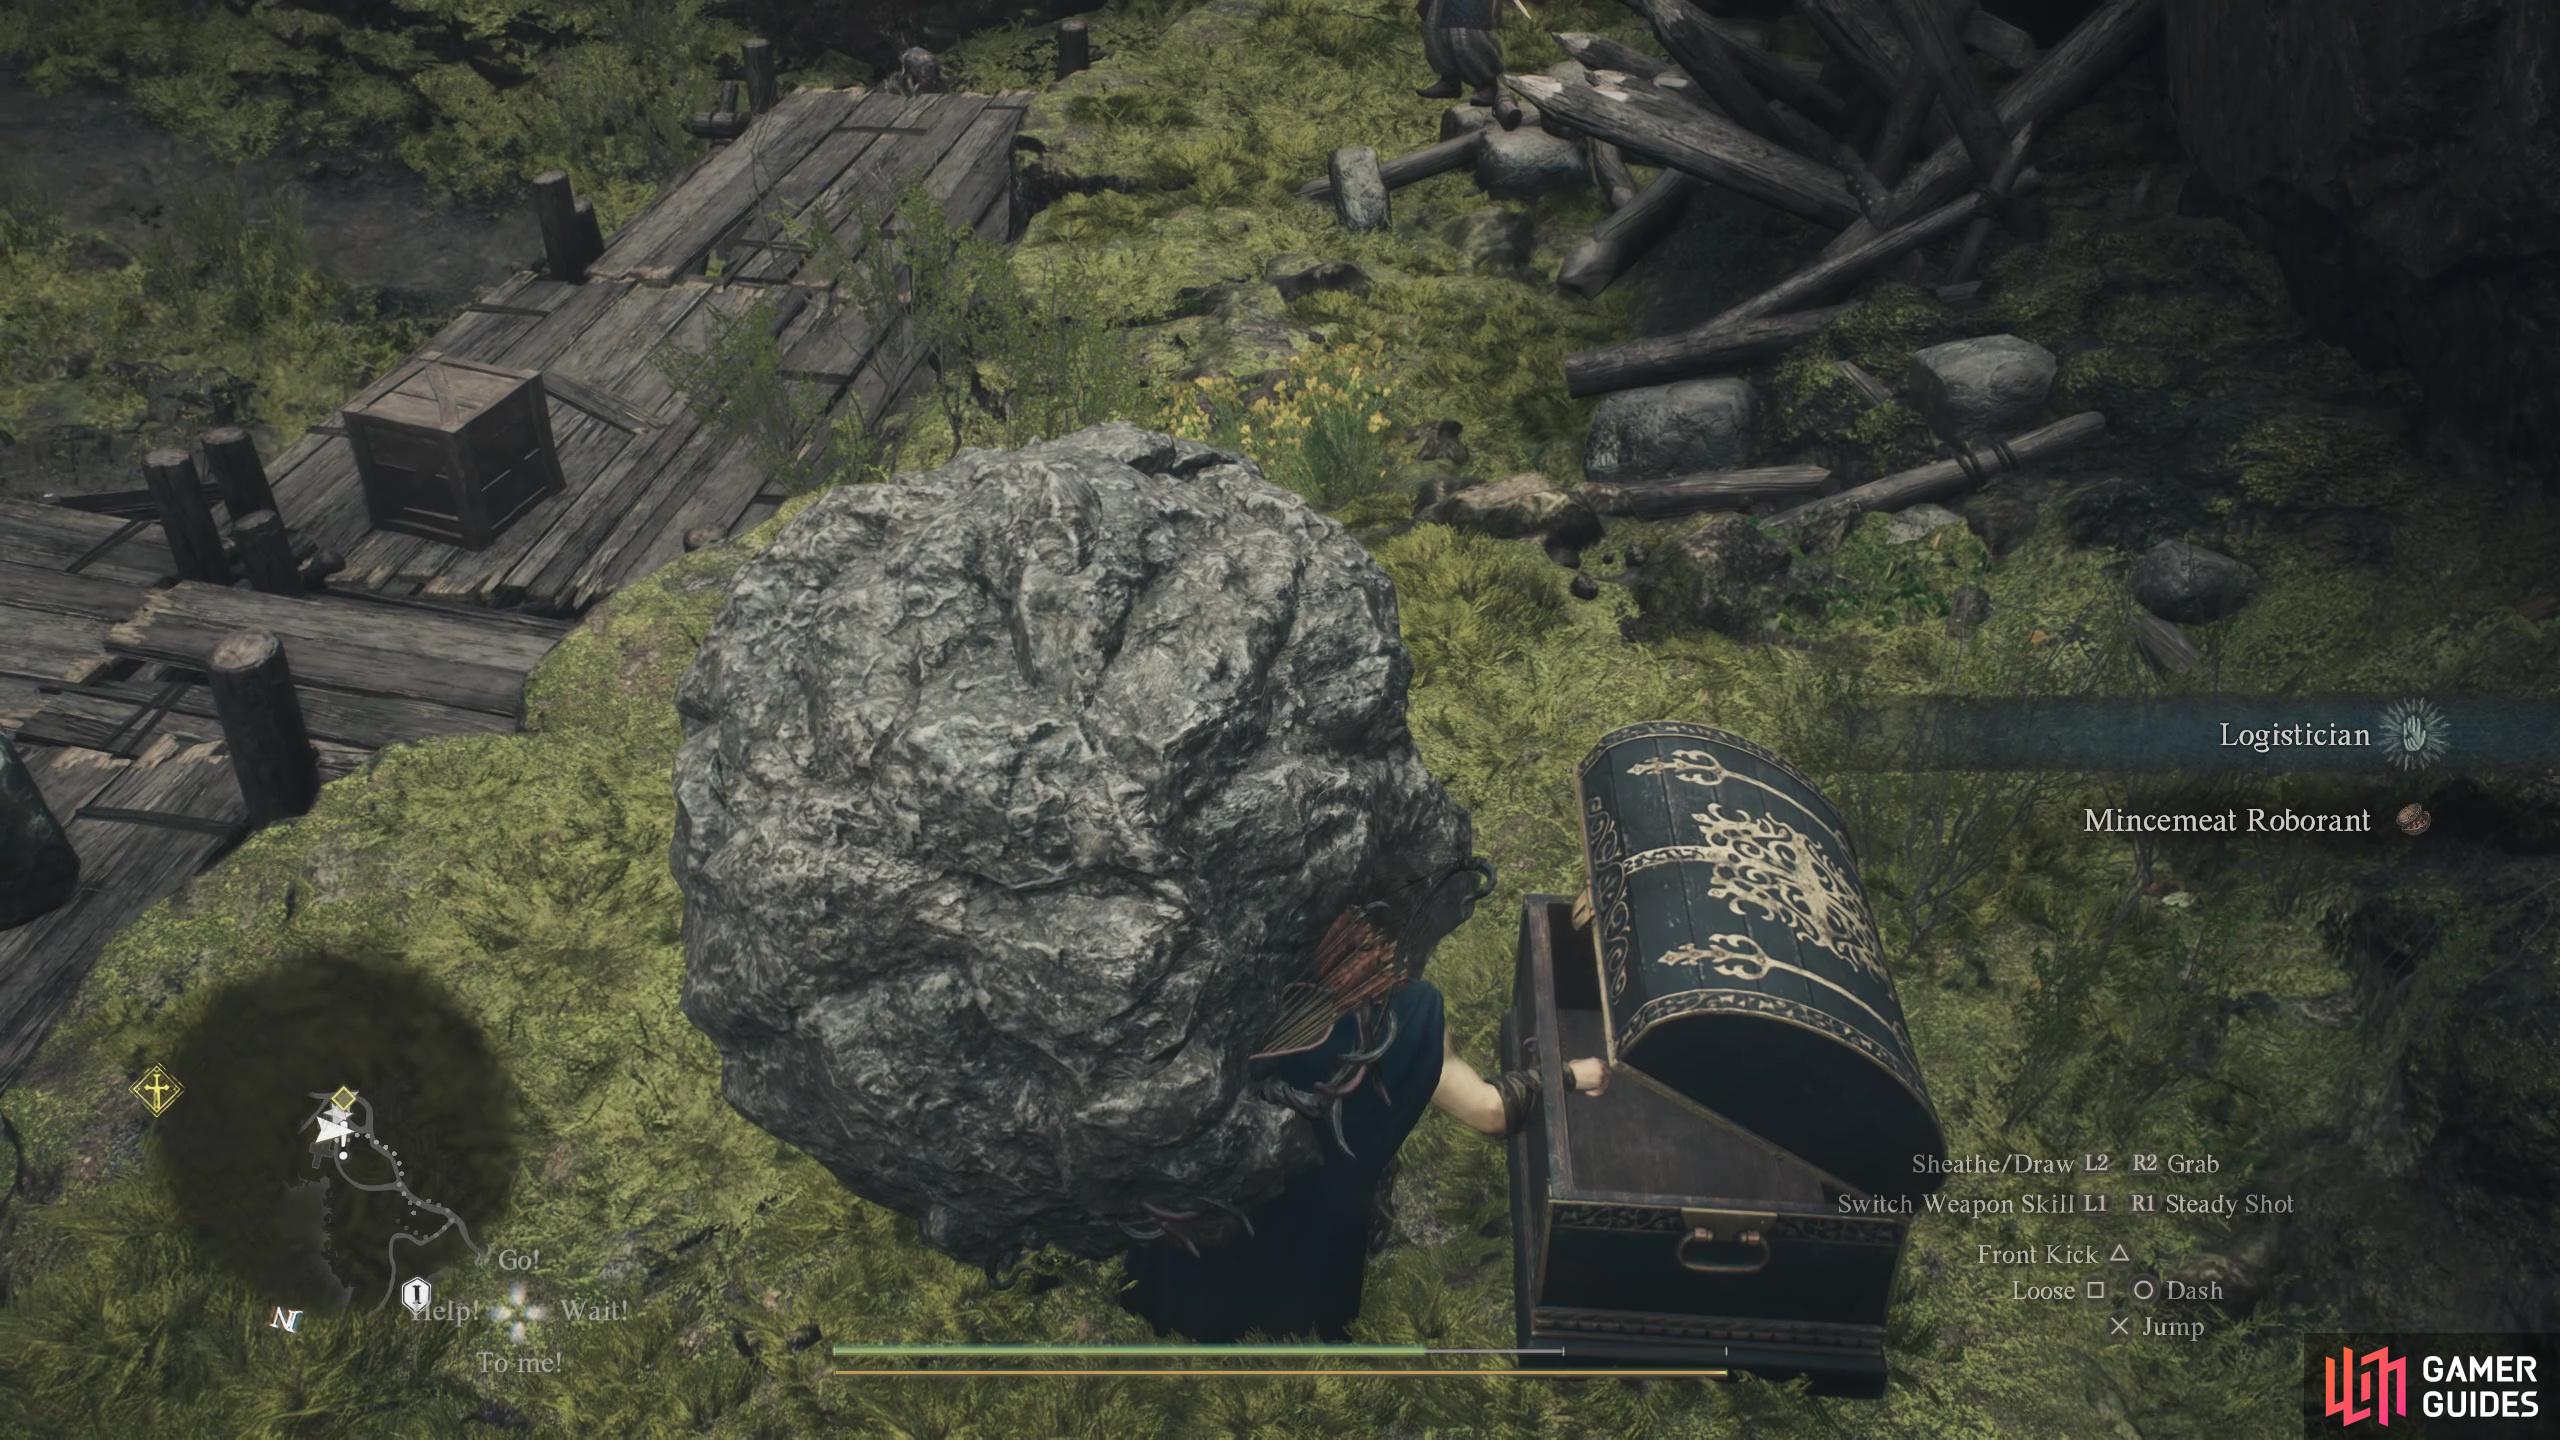
Contains : ![]() Mincemeat Roborant
Mincemeat Roborant
151. World Map
On the west side of the ![]() Riverside Ruins, up a rocky slope.
Riverside Ruins, up a rocky slope.
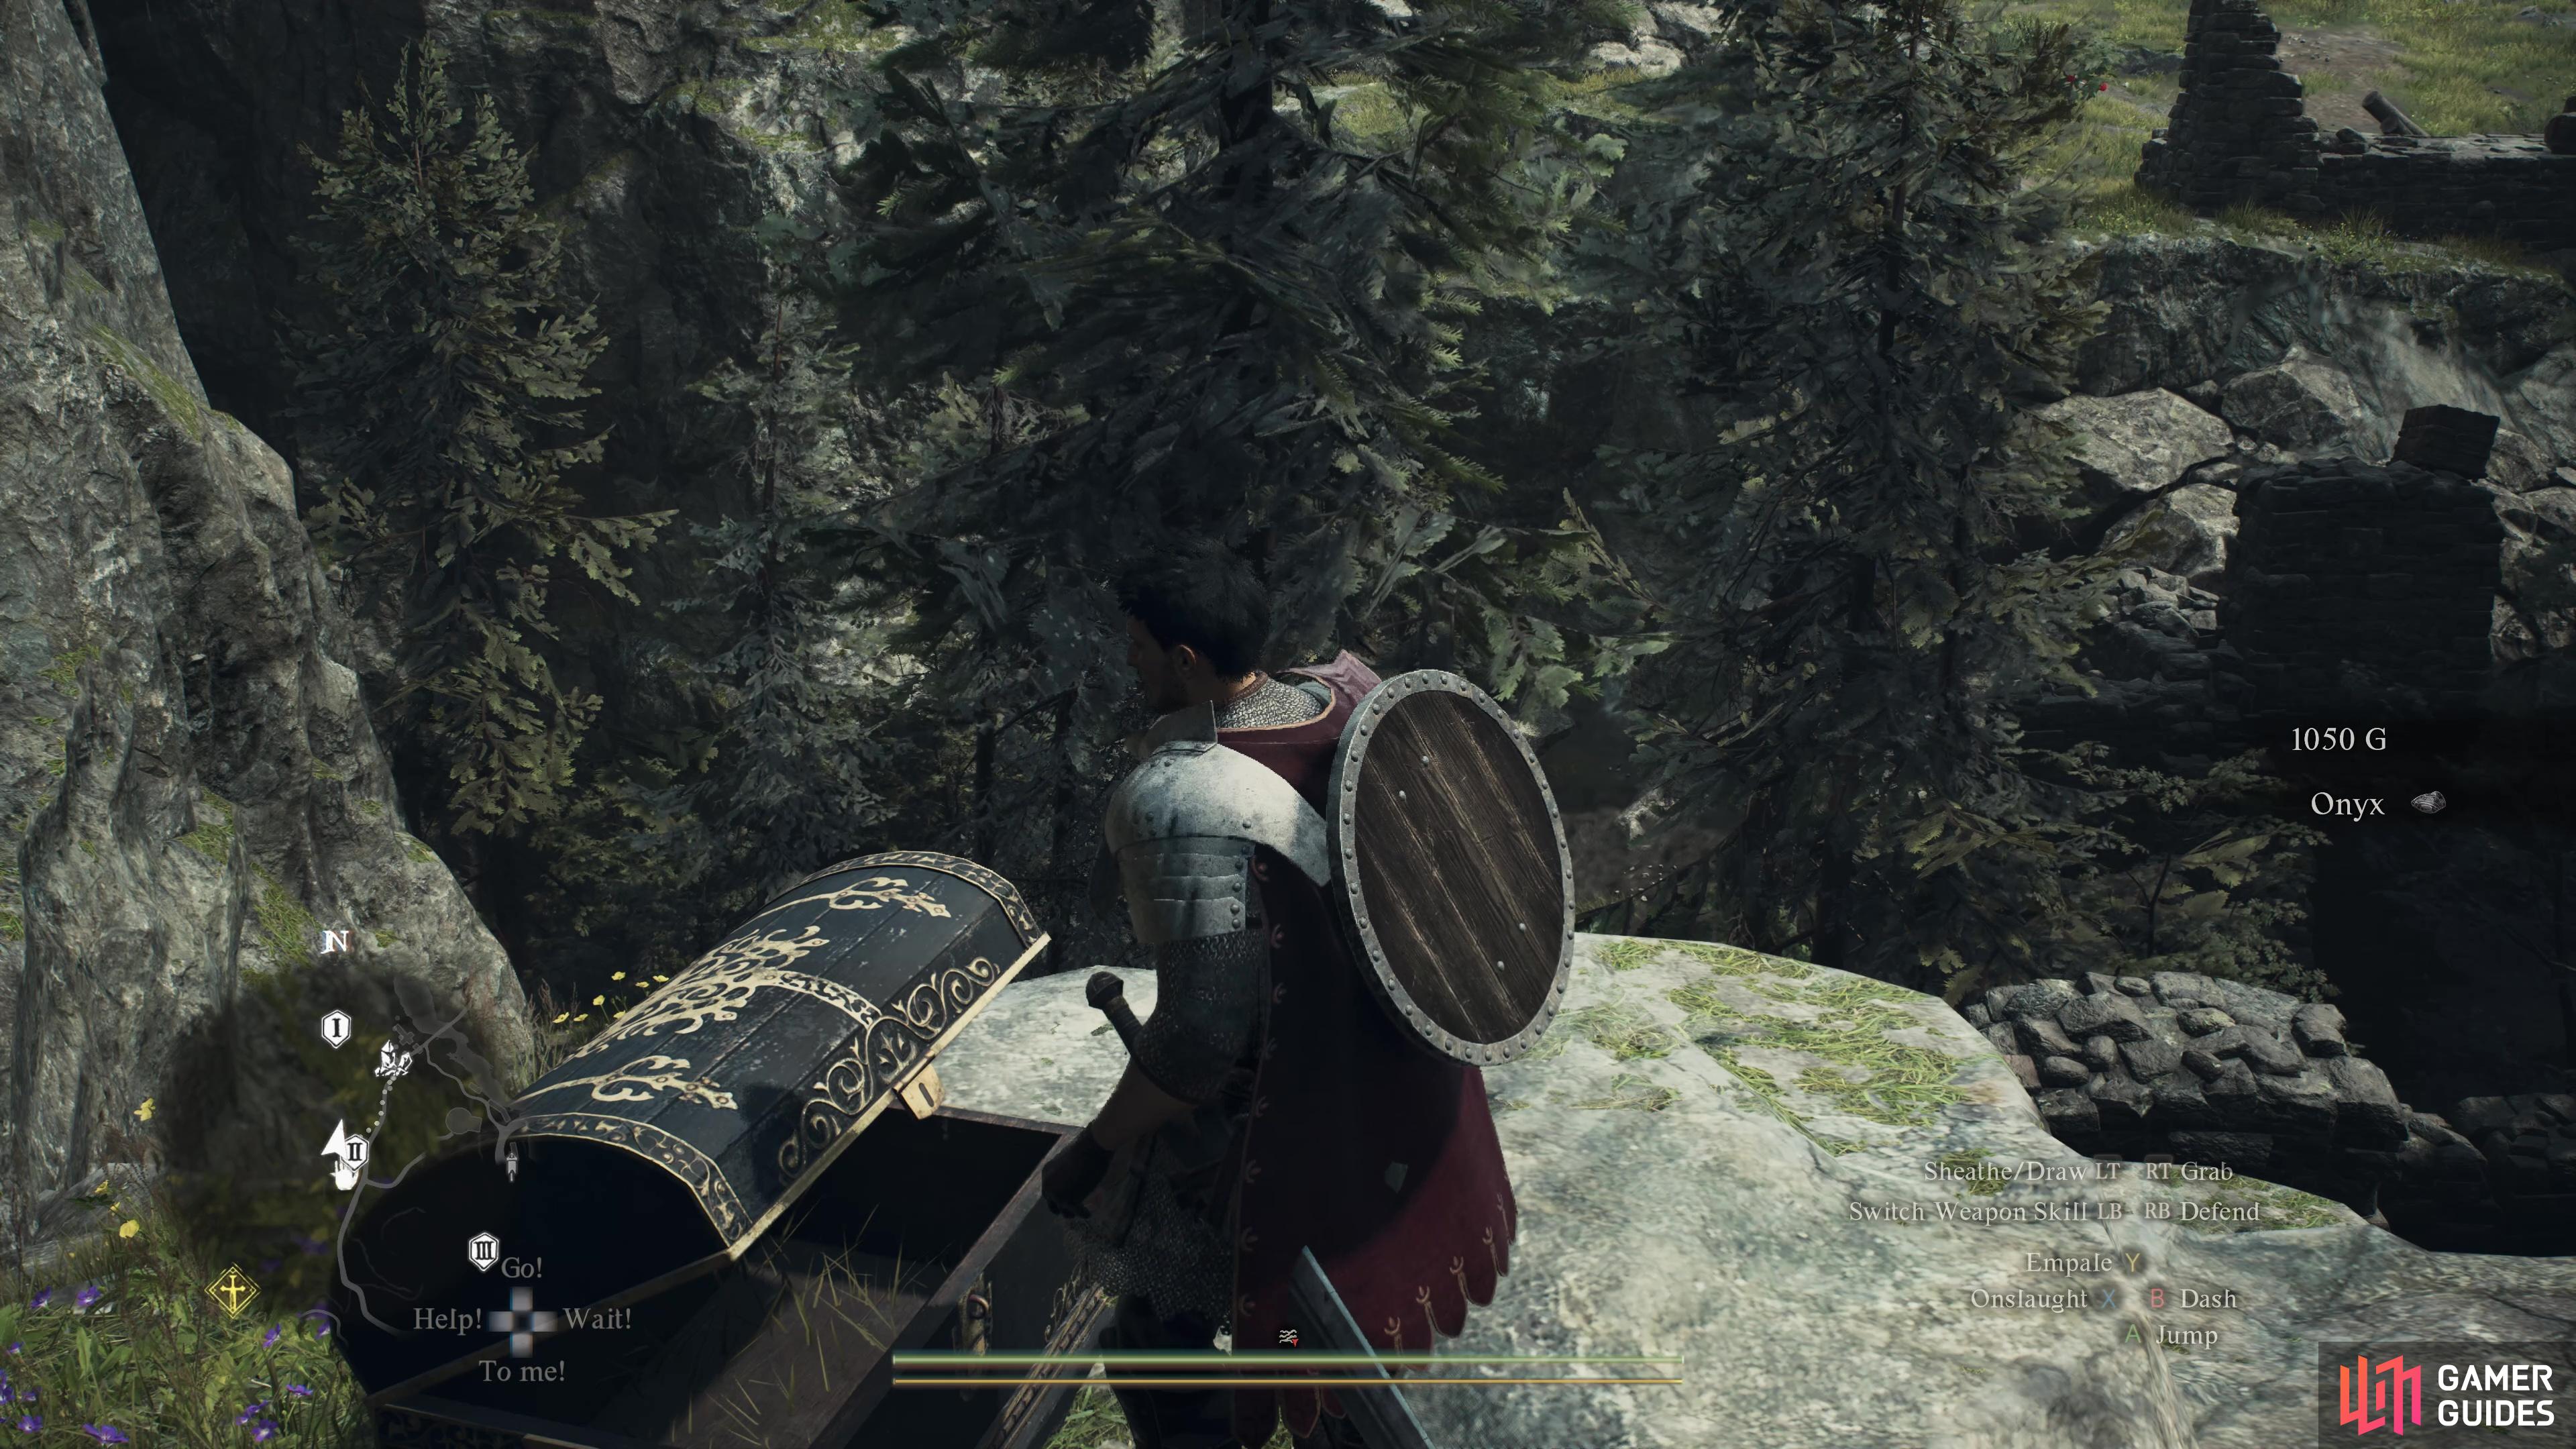
Contains: ![]() Onyx, 1050G
Onyx, 1050G
152. World Map
Found just off of the path in the long grass
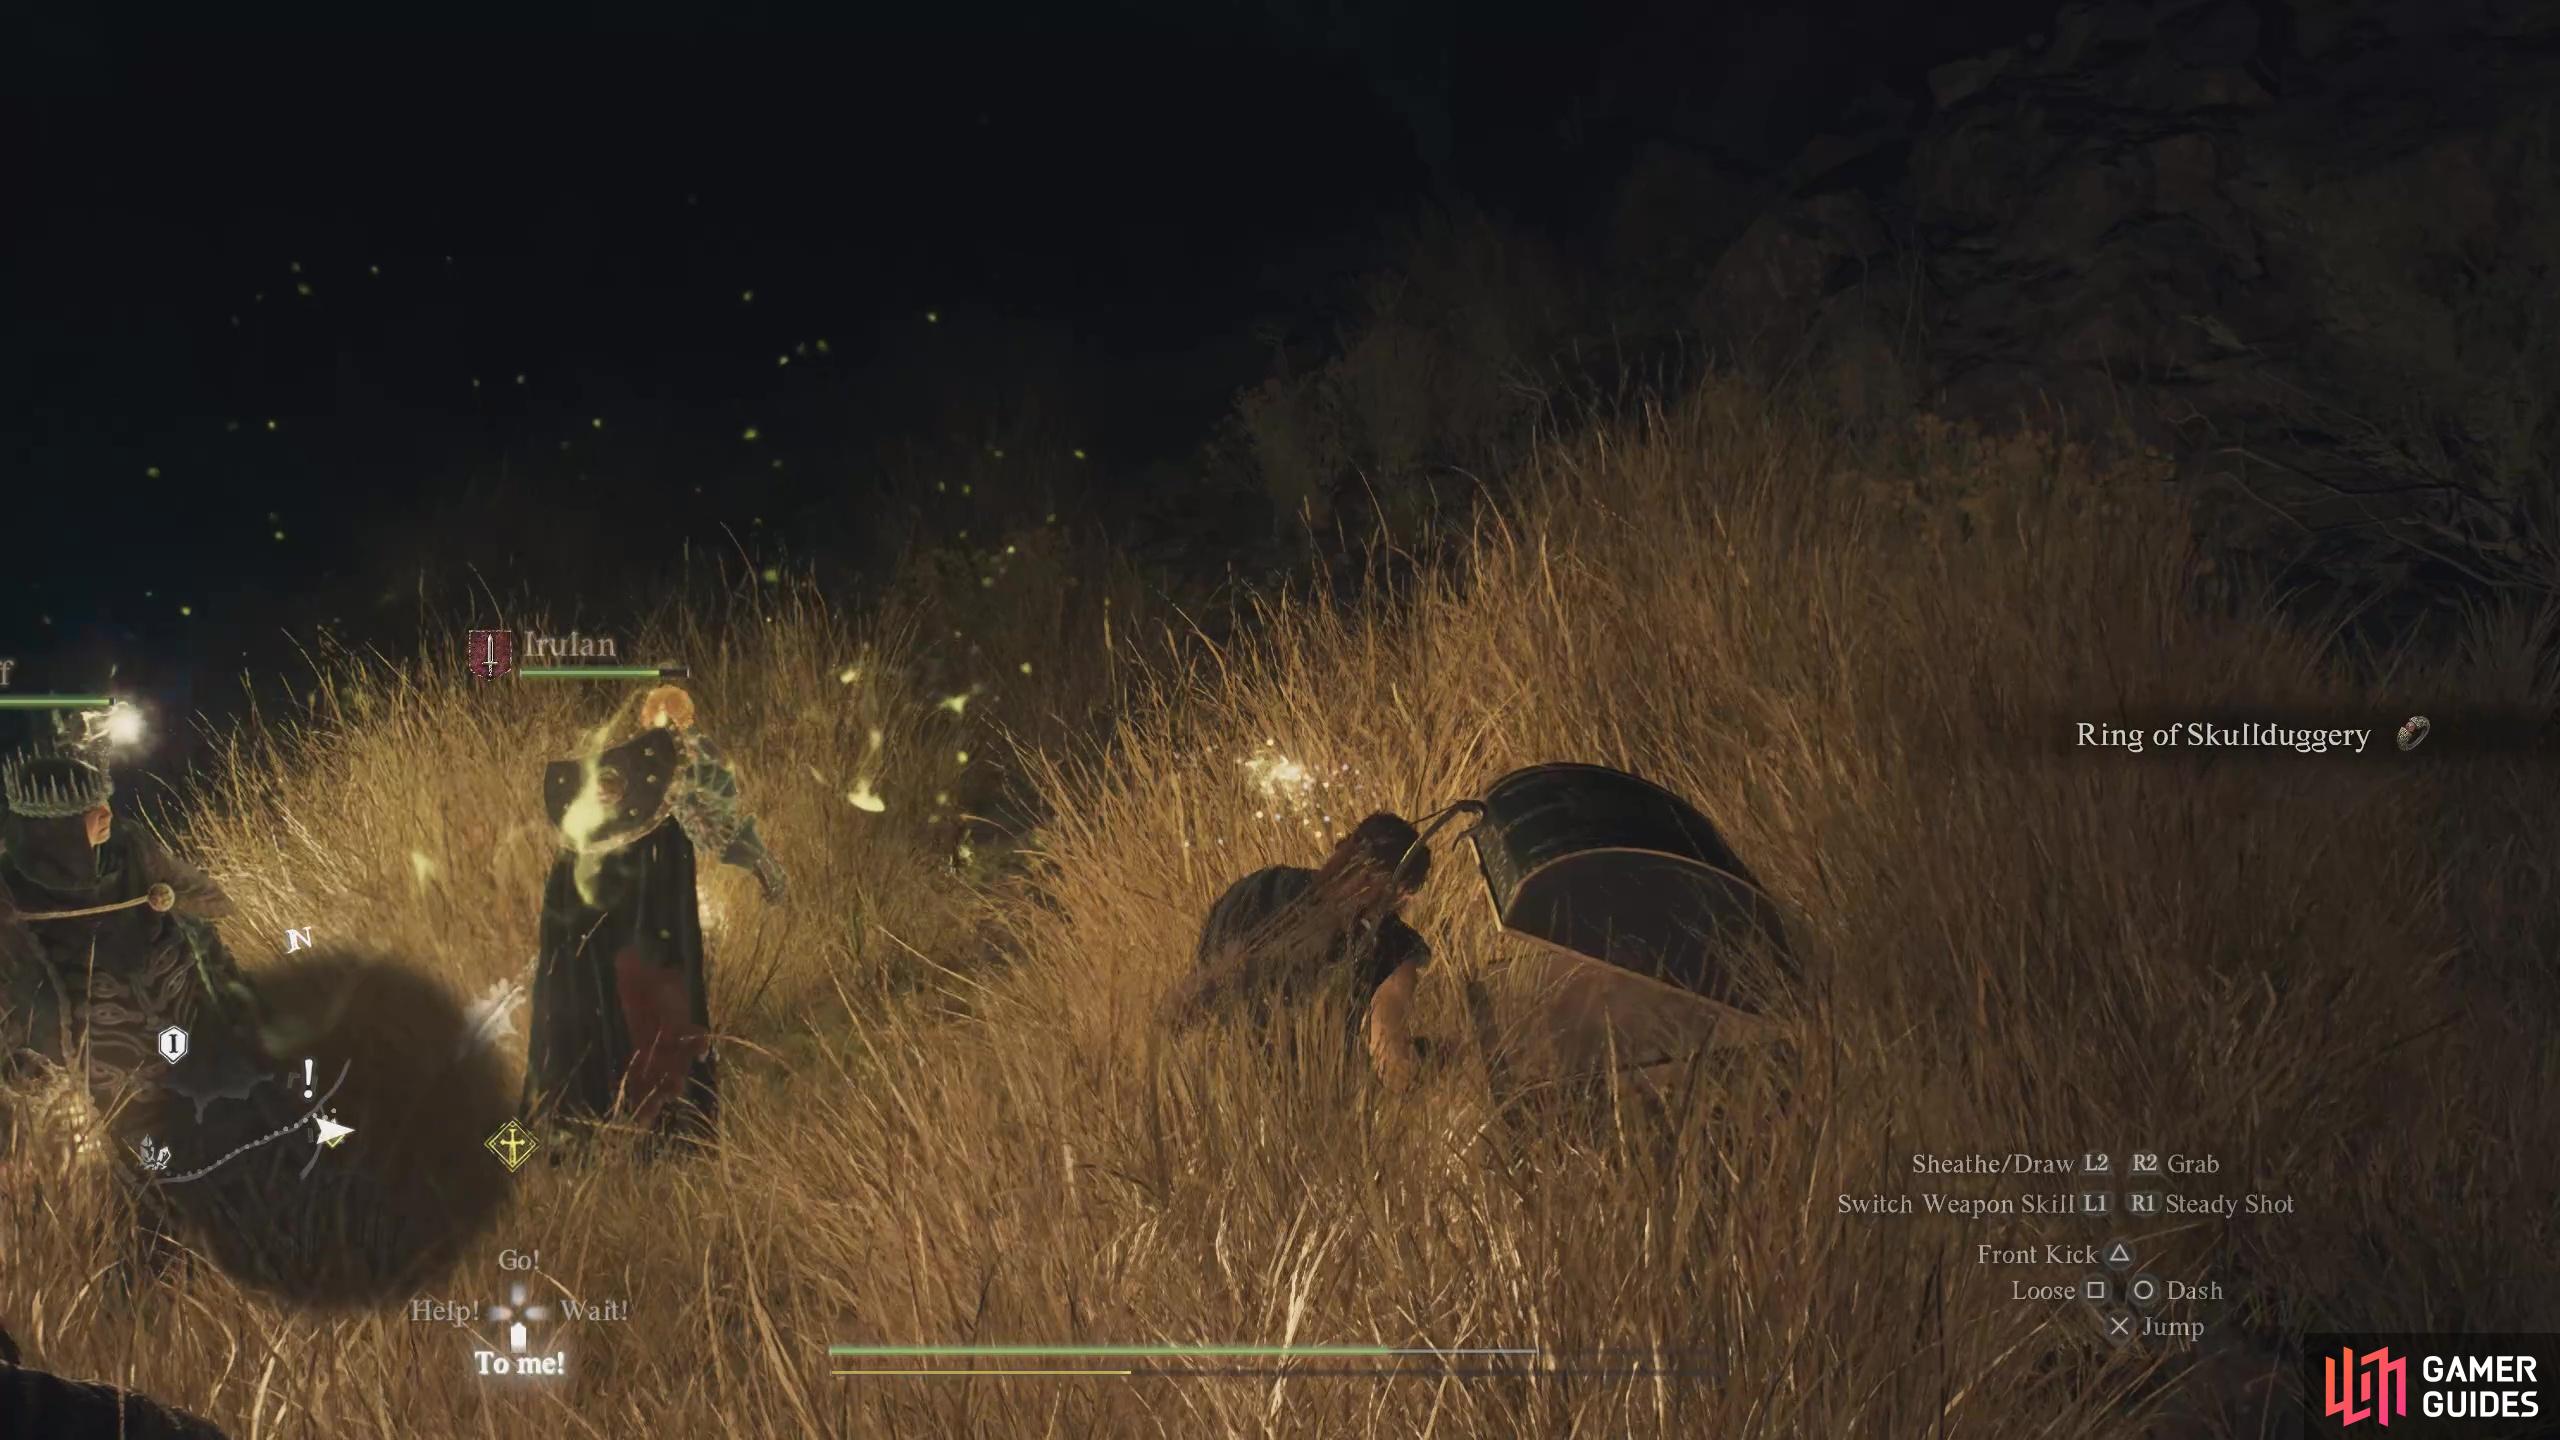
Contains: ![]() Ring of Skullduggery
Ring of Skullduggery
153. World Map
Next to the path, adjacent to the broken stone wall.
Contains: ![]() Wakestone Shard
Wakestone Shard
154. World Map
Found in the ![]() Collapsed Mine, guarded by an
Collapsed Mine, guarded by an ![]() Asp.
Asp.
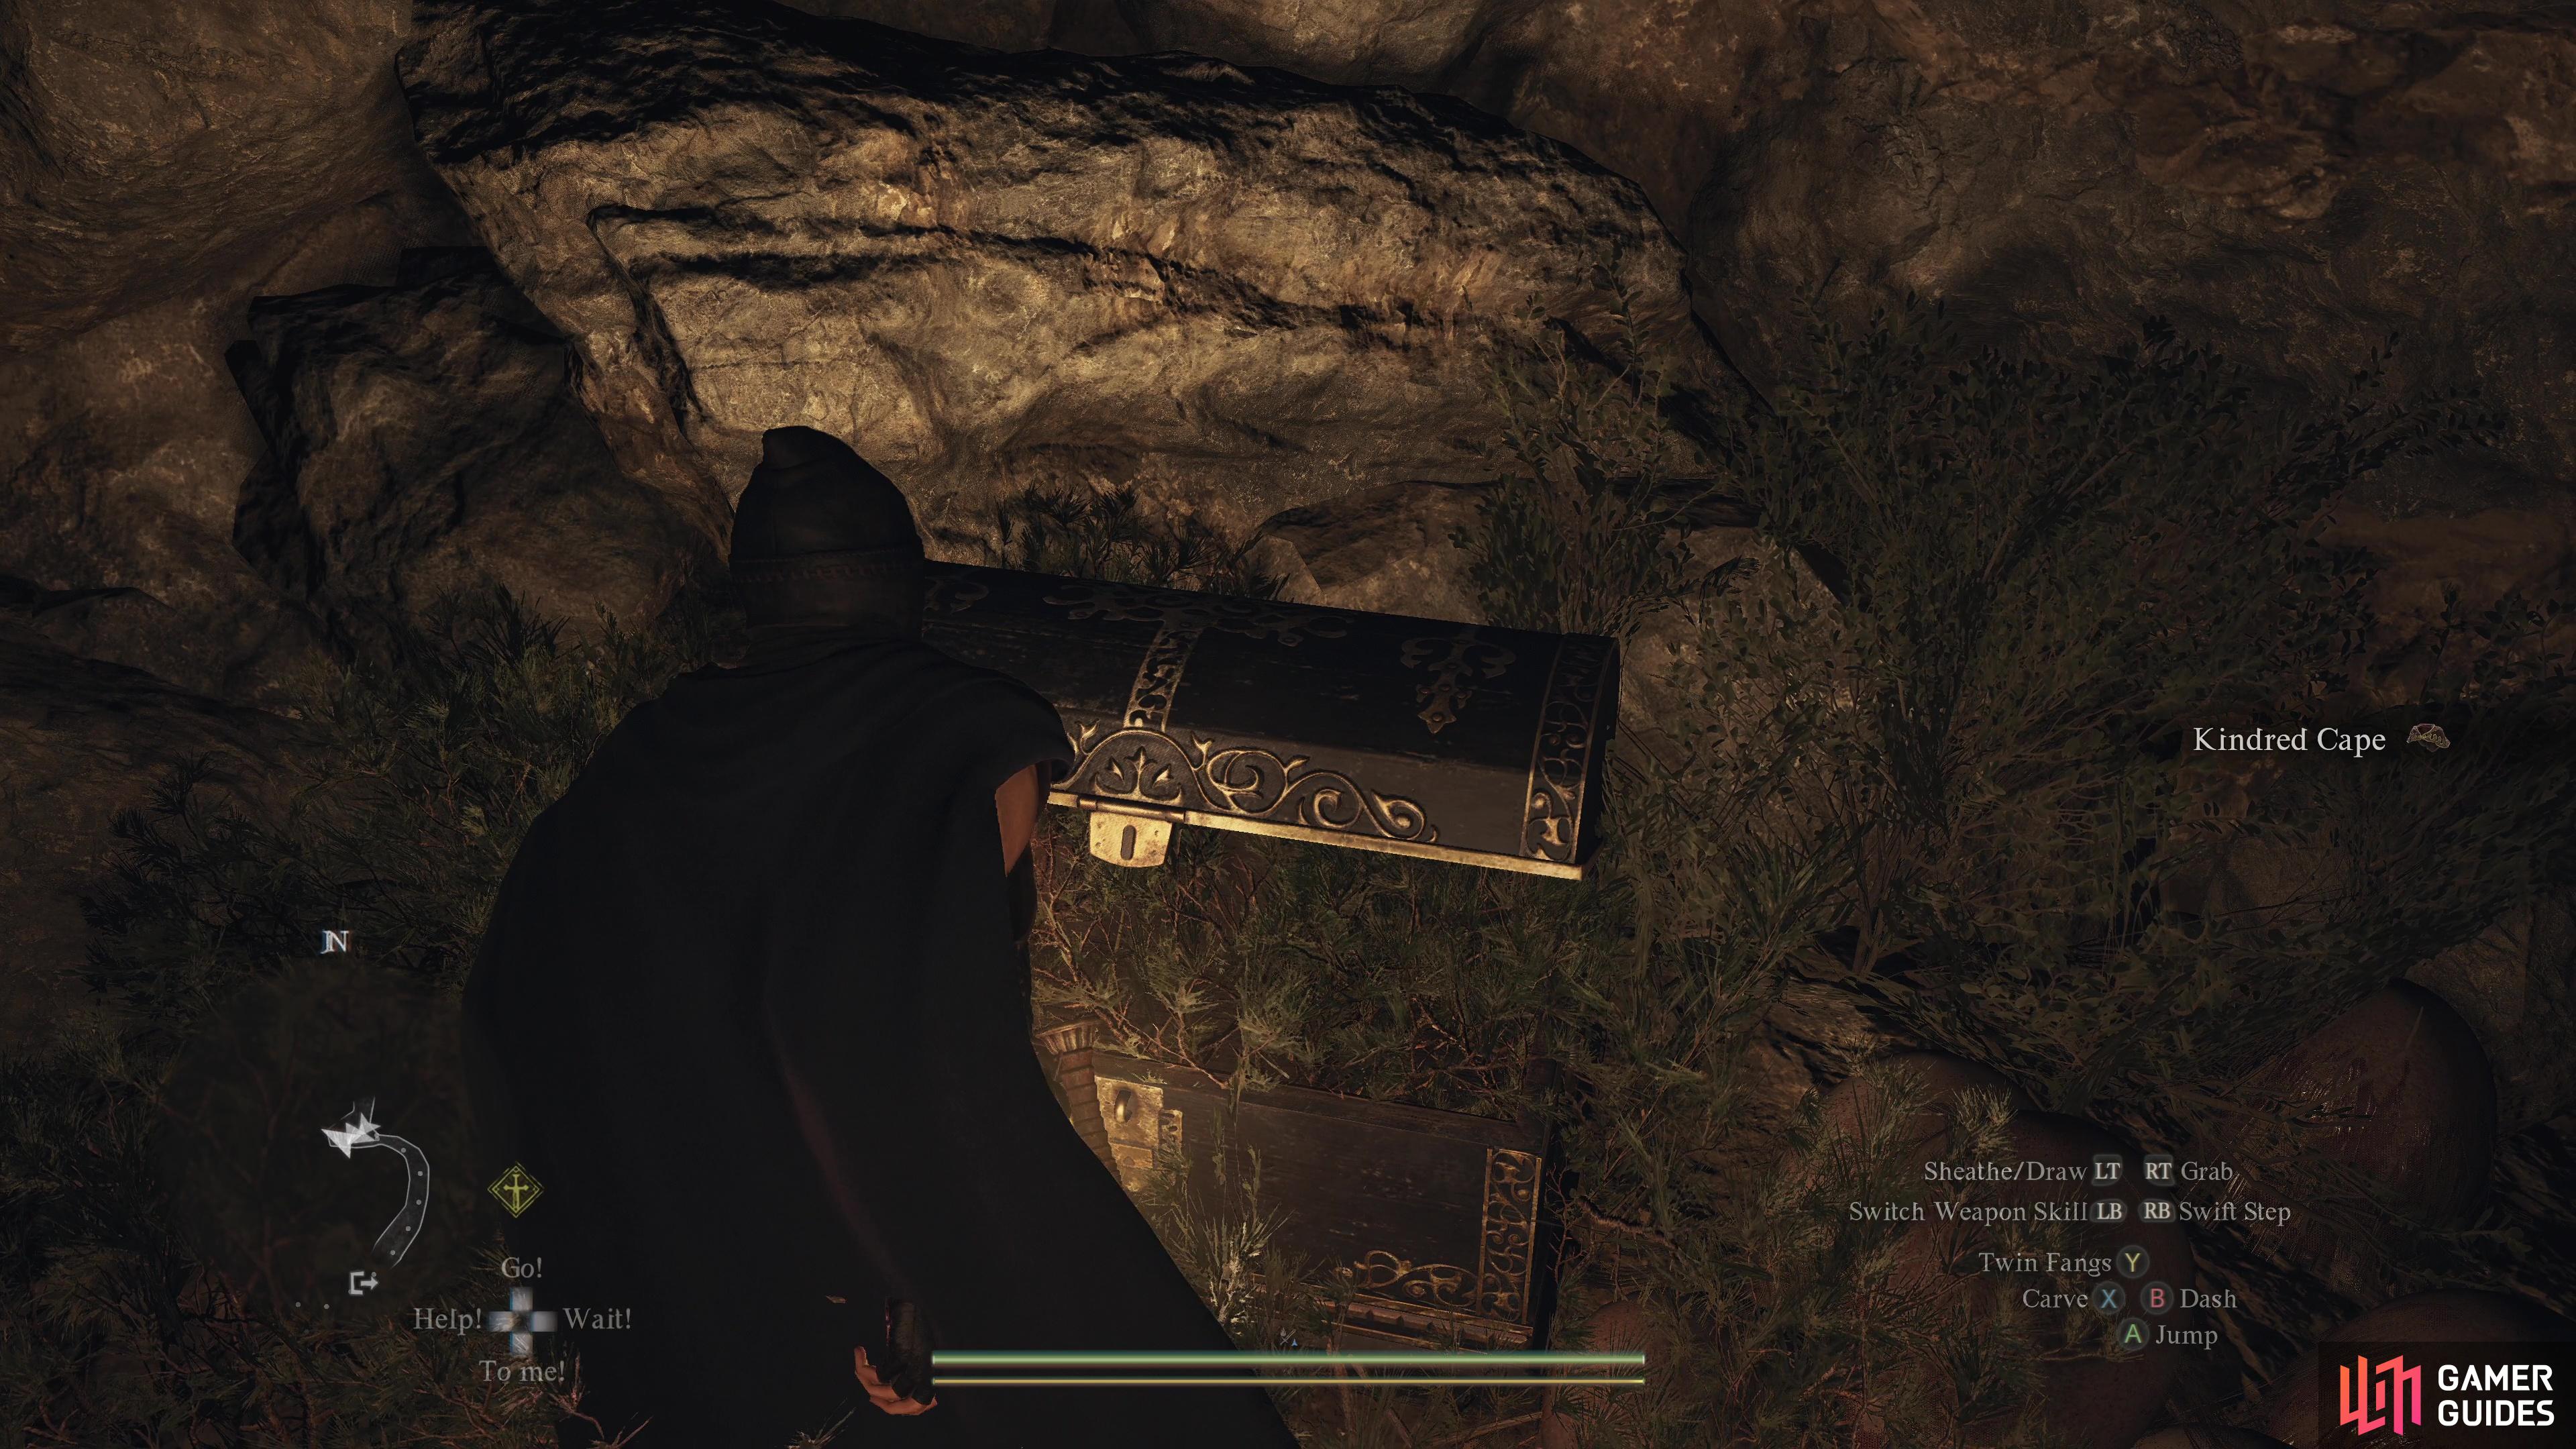
Contains: ![]() Kindred Cape
Kindred Cape

155. World Map
Found in the ![]() Collapsed Mine, you need a way to reach higher ledges such as with the
Collapsed Mine, you need a way to reach higher ledges such as with the ![]() Mage’s
Mage’s ![]() Levitate.
Levitate.
Contains: ![]() Lifetaker
Lifetaker
156. World Map
Inside the ![]() Digger’s Ruins, on a high-up ledge against the wall.
Digger’s Ruins, on a high-up ledge against the wall.
Contains: ![]() Immaculate Blaze
Immaculate Blaze
157. World Map
On the east side of a large sunlit chamber in the ![]() Digger’s Ruins.
Digger’s Ruins.
Contains: ![]() Labyrinthus
Labyrinthus
158. Dungeon & Town Maps
On the east side of the large sunlit chamber.
Contains: ![]() Labyrinthus
Labyrinthus
159. Dungeon & Town Maps
On a ledge near all the ![]() Glymercole. Easiest to reach by dropping down from above.
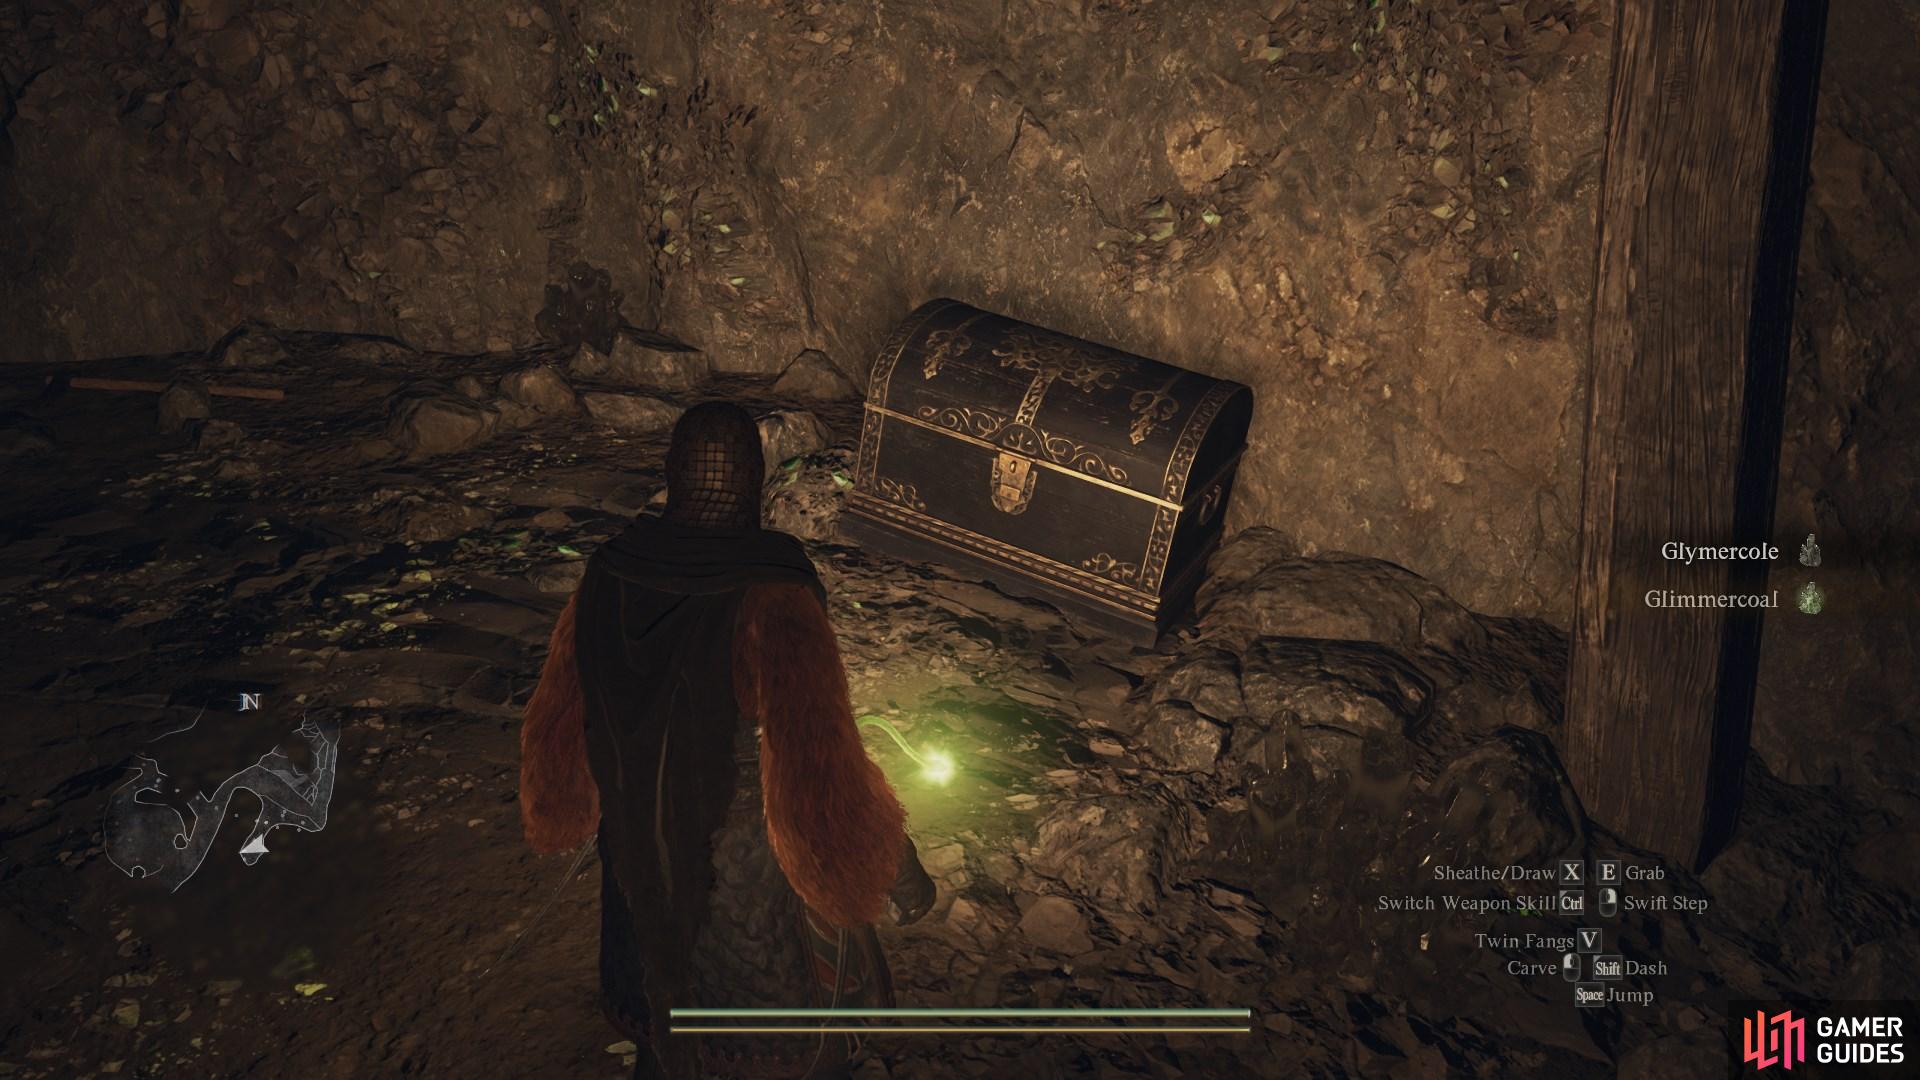
Glymercole. Easiest to reach by dropping down from above.
Contains: ![]() Immaculate Blaze
Immaculate Blaze
160. Dungeon & Town Maps
Go right when the path splits after you enter the ![]() Trevo Mines. You will find a room with
Trevo Mines. You will find a room with ![]() Goblins and the chest.
Goblins and the chest.
Contains: ![]() Two-Hander
Two-Hander

161. Dungeon & Town Maps
In the large northern chamber of 1F, next to a stone pillar.
Contains: ![]() Ranger’s Tights
Ranger’s Tights
162. Dungeon & Town Maps
Climb the rocks to reach the little northwestern side path. The chest will be resting against some stalactites and stalagmites.
Contains: ![]() Ring of Cooling
Ring of Cooling
163. Dungeon & Town Maps
Near a clutch of ![]() Saurian eggs inside the
Saurian eggs inside the ![]() Coastal Cavern.
Coastal Cavern.
Contains: ![]() Ring of Resiliency and
Ring of Resiliency and ![]() Bush Raiders.
Bush Raiders.

164. Dungeon & Town Maps
Near the entrance to the ![]() Coastal Cavern, in a small alcove on the left.
Coastal Cavern, in a small alcove on the left.
Contains: 3030 gold coins.
165. Dungeon & Town Maps
Found against the wooden railing.
Contains: ![]() Indomitable Armor
Indomitable Armor


167. Dungeon & Town Maps
Guarded by an ![]() Asp and hidden amongst the bushes and eggs.
Asp and hidden amongst the bushes and eggs.
Contains: ![]() Kindred Cape
Kindred Cape
168. Dungeon & Town Maps
At the northern edge of the second floor.
Contains: ![]() Peltflayers
Peltflayers
170. Dungeon & Town Maps
At the northern edge of the cave, guarded by a few ![]() Lost Mercenary.
Lost Mercenary.
Contains: ![]() Legend’s Mantle
Legend’s Mantle

171. World Map
At the northern edge of the ![]() Eremitic Sanctuary, guarded by a few
Eremitic Sanctuary, guarded by a few ![]() Lost Mercenary.
Lost Mercenary.
Contains: ![]() Legend’s Mantle
Legend’s Mantle

174. Dungeon & Town Maps
Guarded by a slime at the edge of a narrow corridor.
Contains: ![]() Soft Neck Wrap
Soft Neck Wrap
176. Dungeon & Town Maps
Found on the second layer of scaffolding.
Contains: ![]() Ring of Disfavor
Ring of Disfavor
178. Dungeon & Town Maps
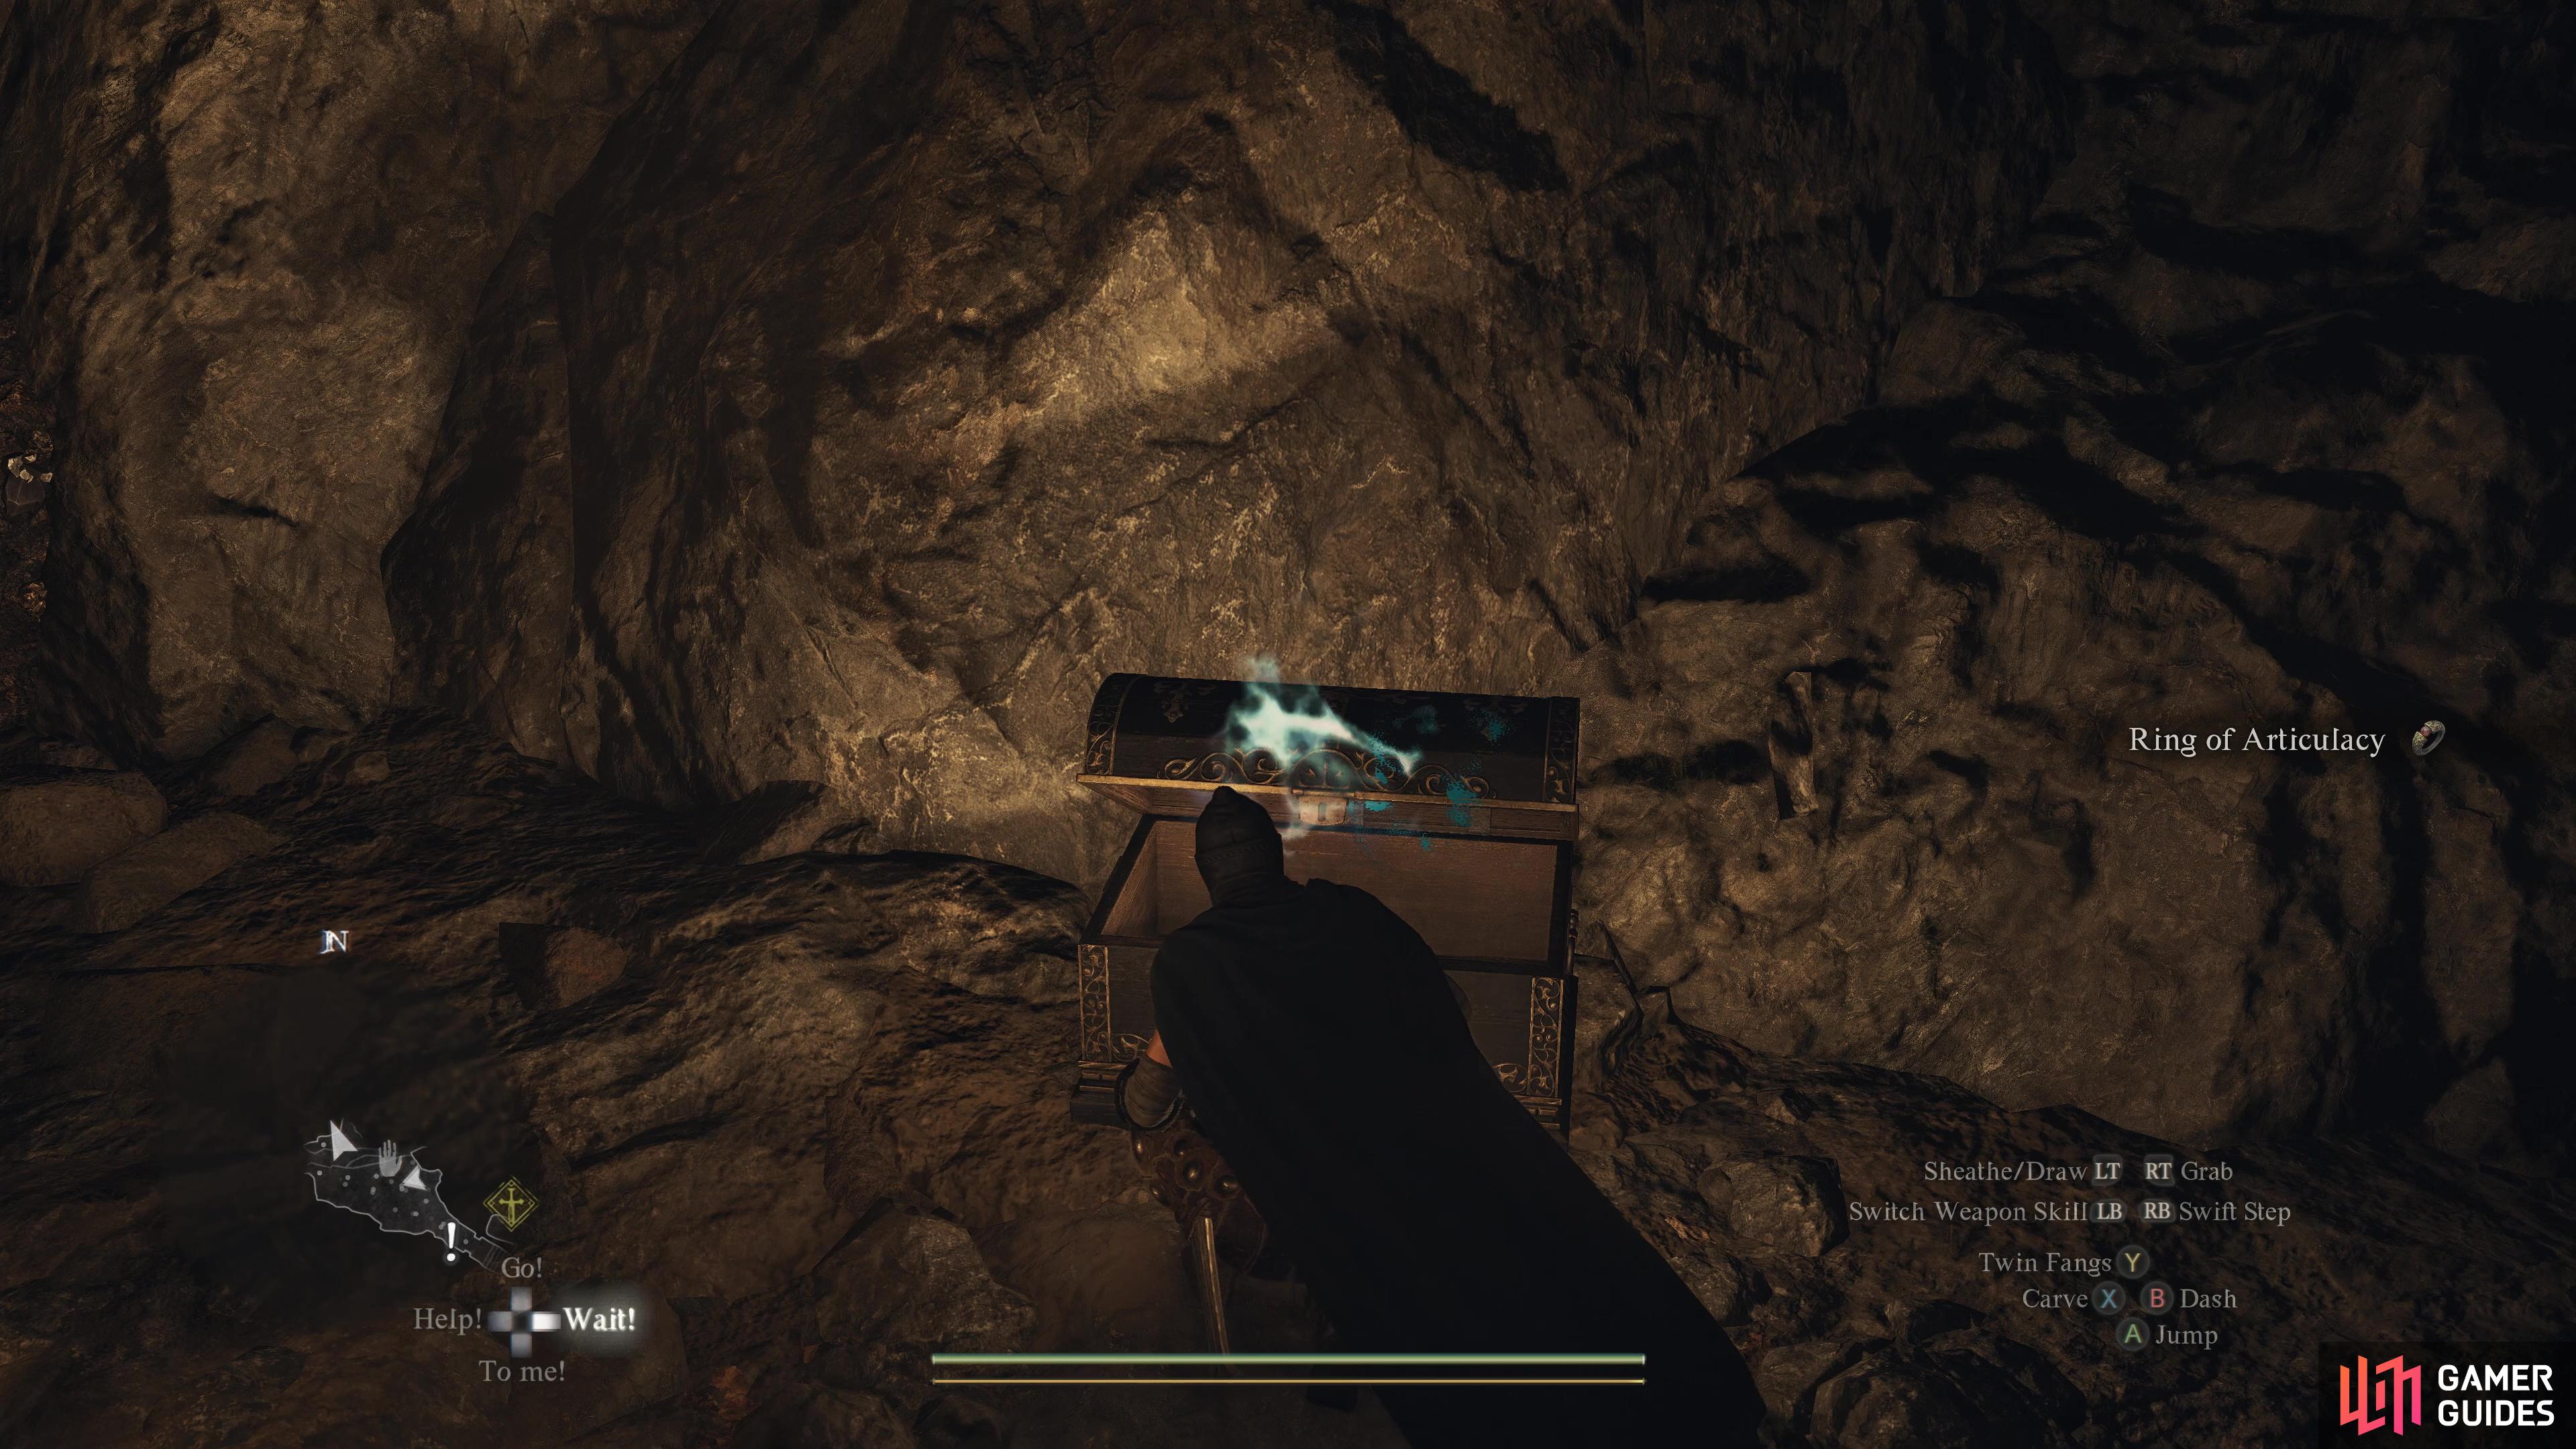
Climb a ladder then leap across the gap in the large room to reach this chest. Opening it spawns a ![]() Phantasm.
Phantasm.
Contains: ![]() Ring of Articulacy
Ring of Articulacy
179. Dungeon & Town Maps
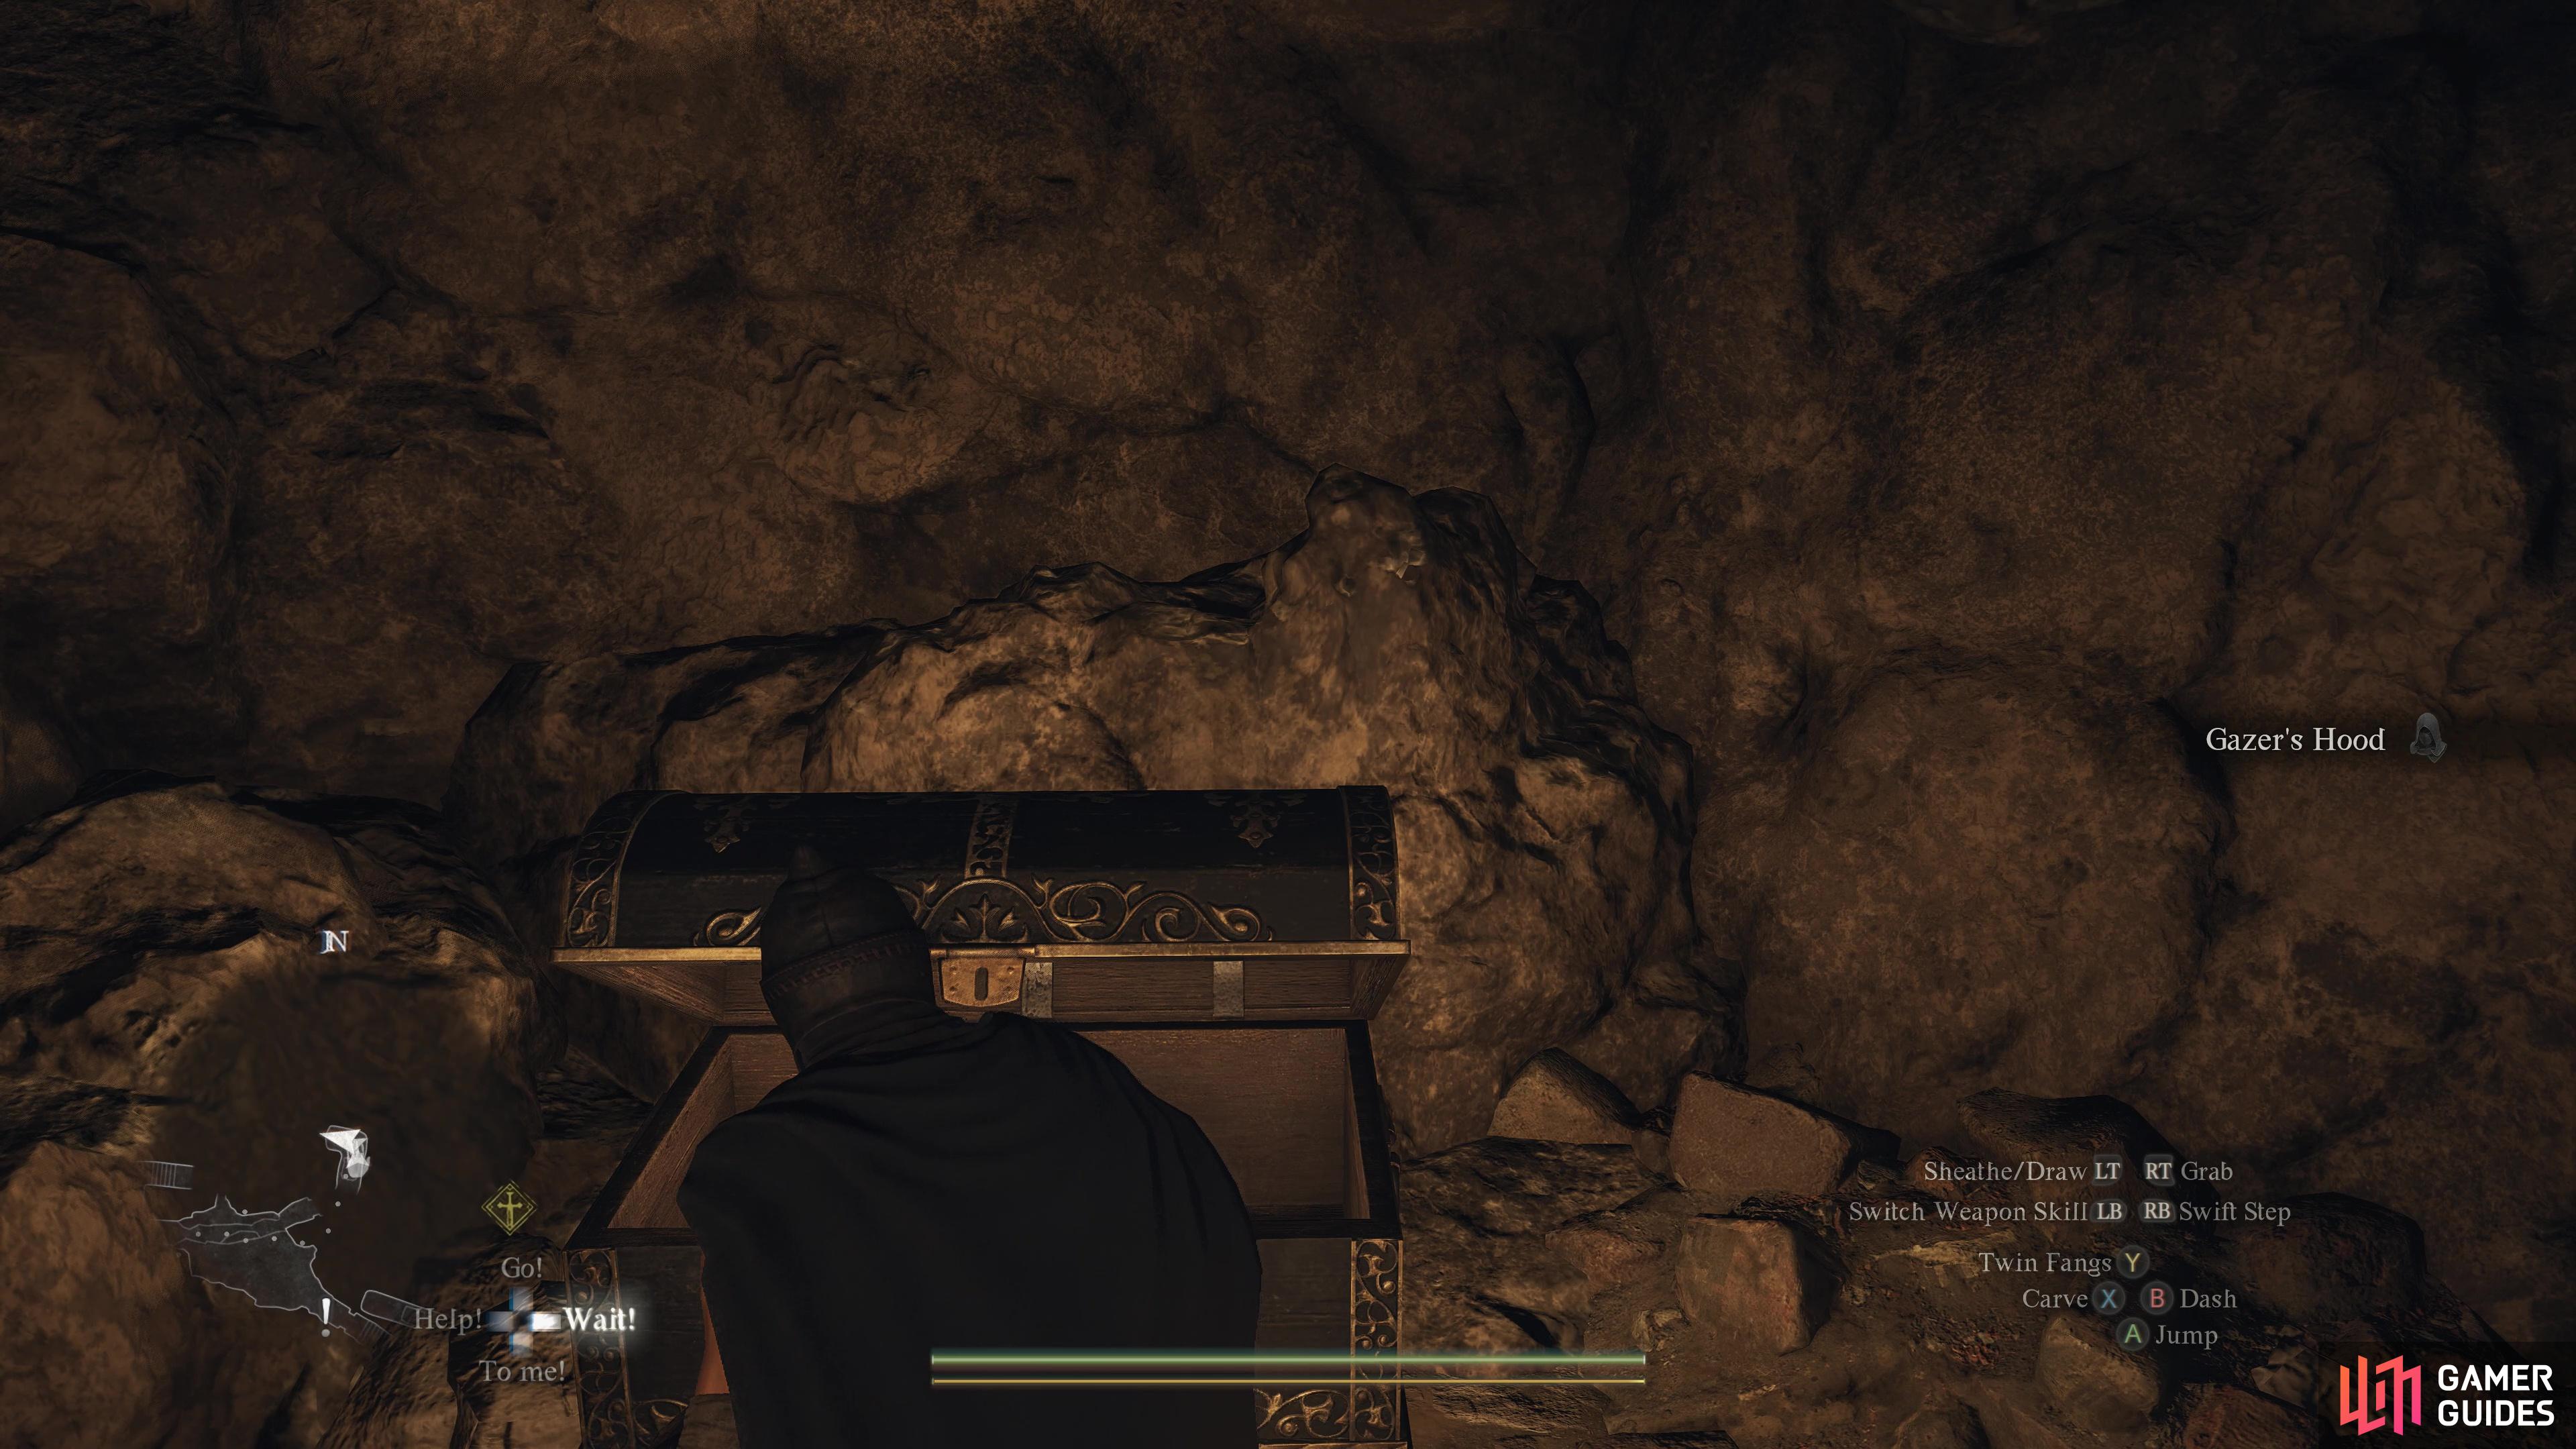
Climb the ladder on the east side of the bottom floor to reach this chest, or jump across the pit if approaching from the second floor.
Contains: 2370 gold coins, ![]() Gazer’s Hood
Gazer’s Hood
180. Dungeon & Town Maps
In the river that cuts through the cave, to the right.
Contains: ![]() Hunter’s Bow
Hunter’s Bow
181. Dungeon & Town Maps
Found in the enclave to the south of the main chamber.
Contains : ![]() Decapitator
Decapitator
182. World Map
Near the waterfall and ![]() Forgotten Riftstone, on a rock by the river.
Forgotten Riftstone, on a rock by the river.
Contains: ![]() Wakestone Shard
Wakestone Shard
183. Dungeon & Town Maps
Founud under the tent against the south wall.
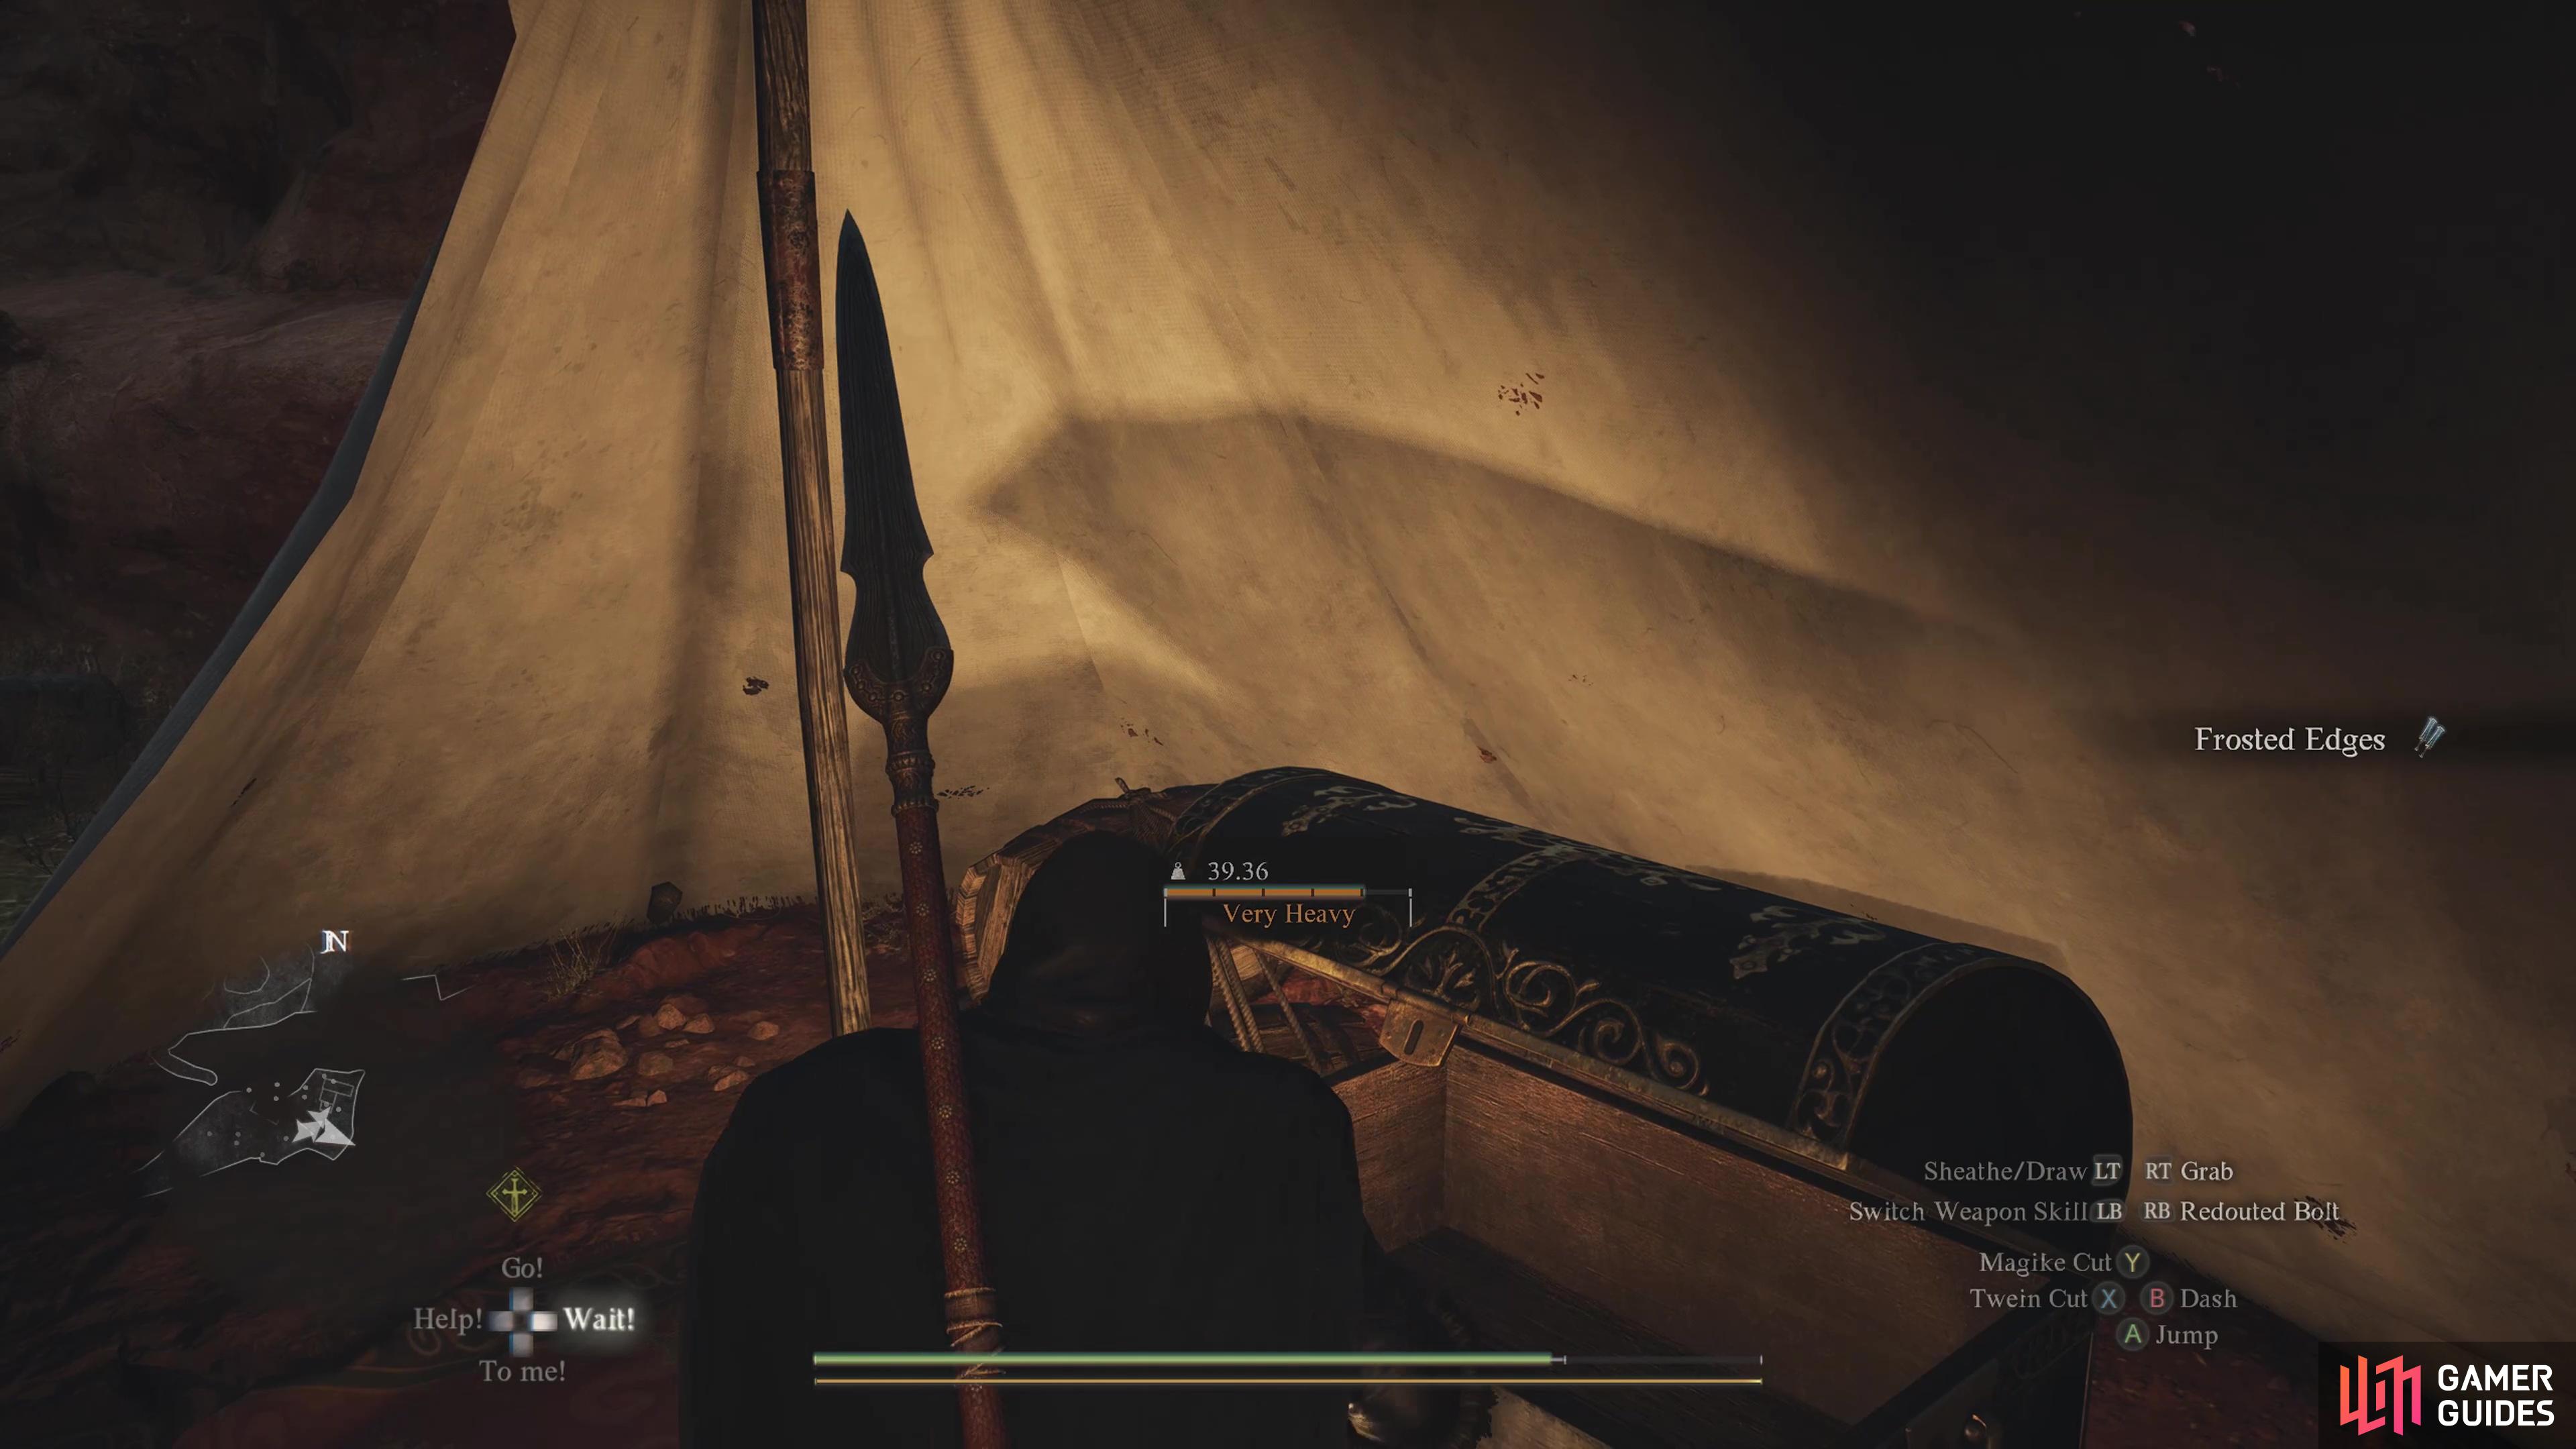
Contains: ![]() Frosted Edges
Frosted Edges
184. Dungeon & Town Maps
Found on the upper floor of the cave , against the East wall in the enclave .
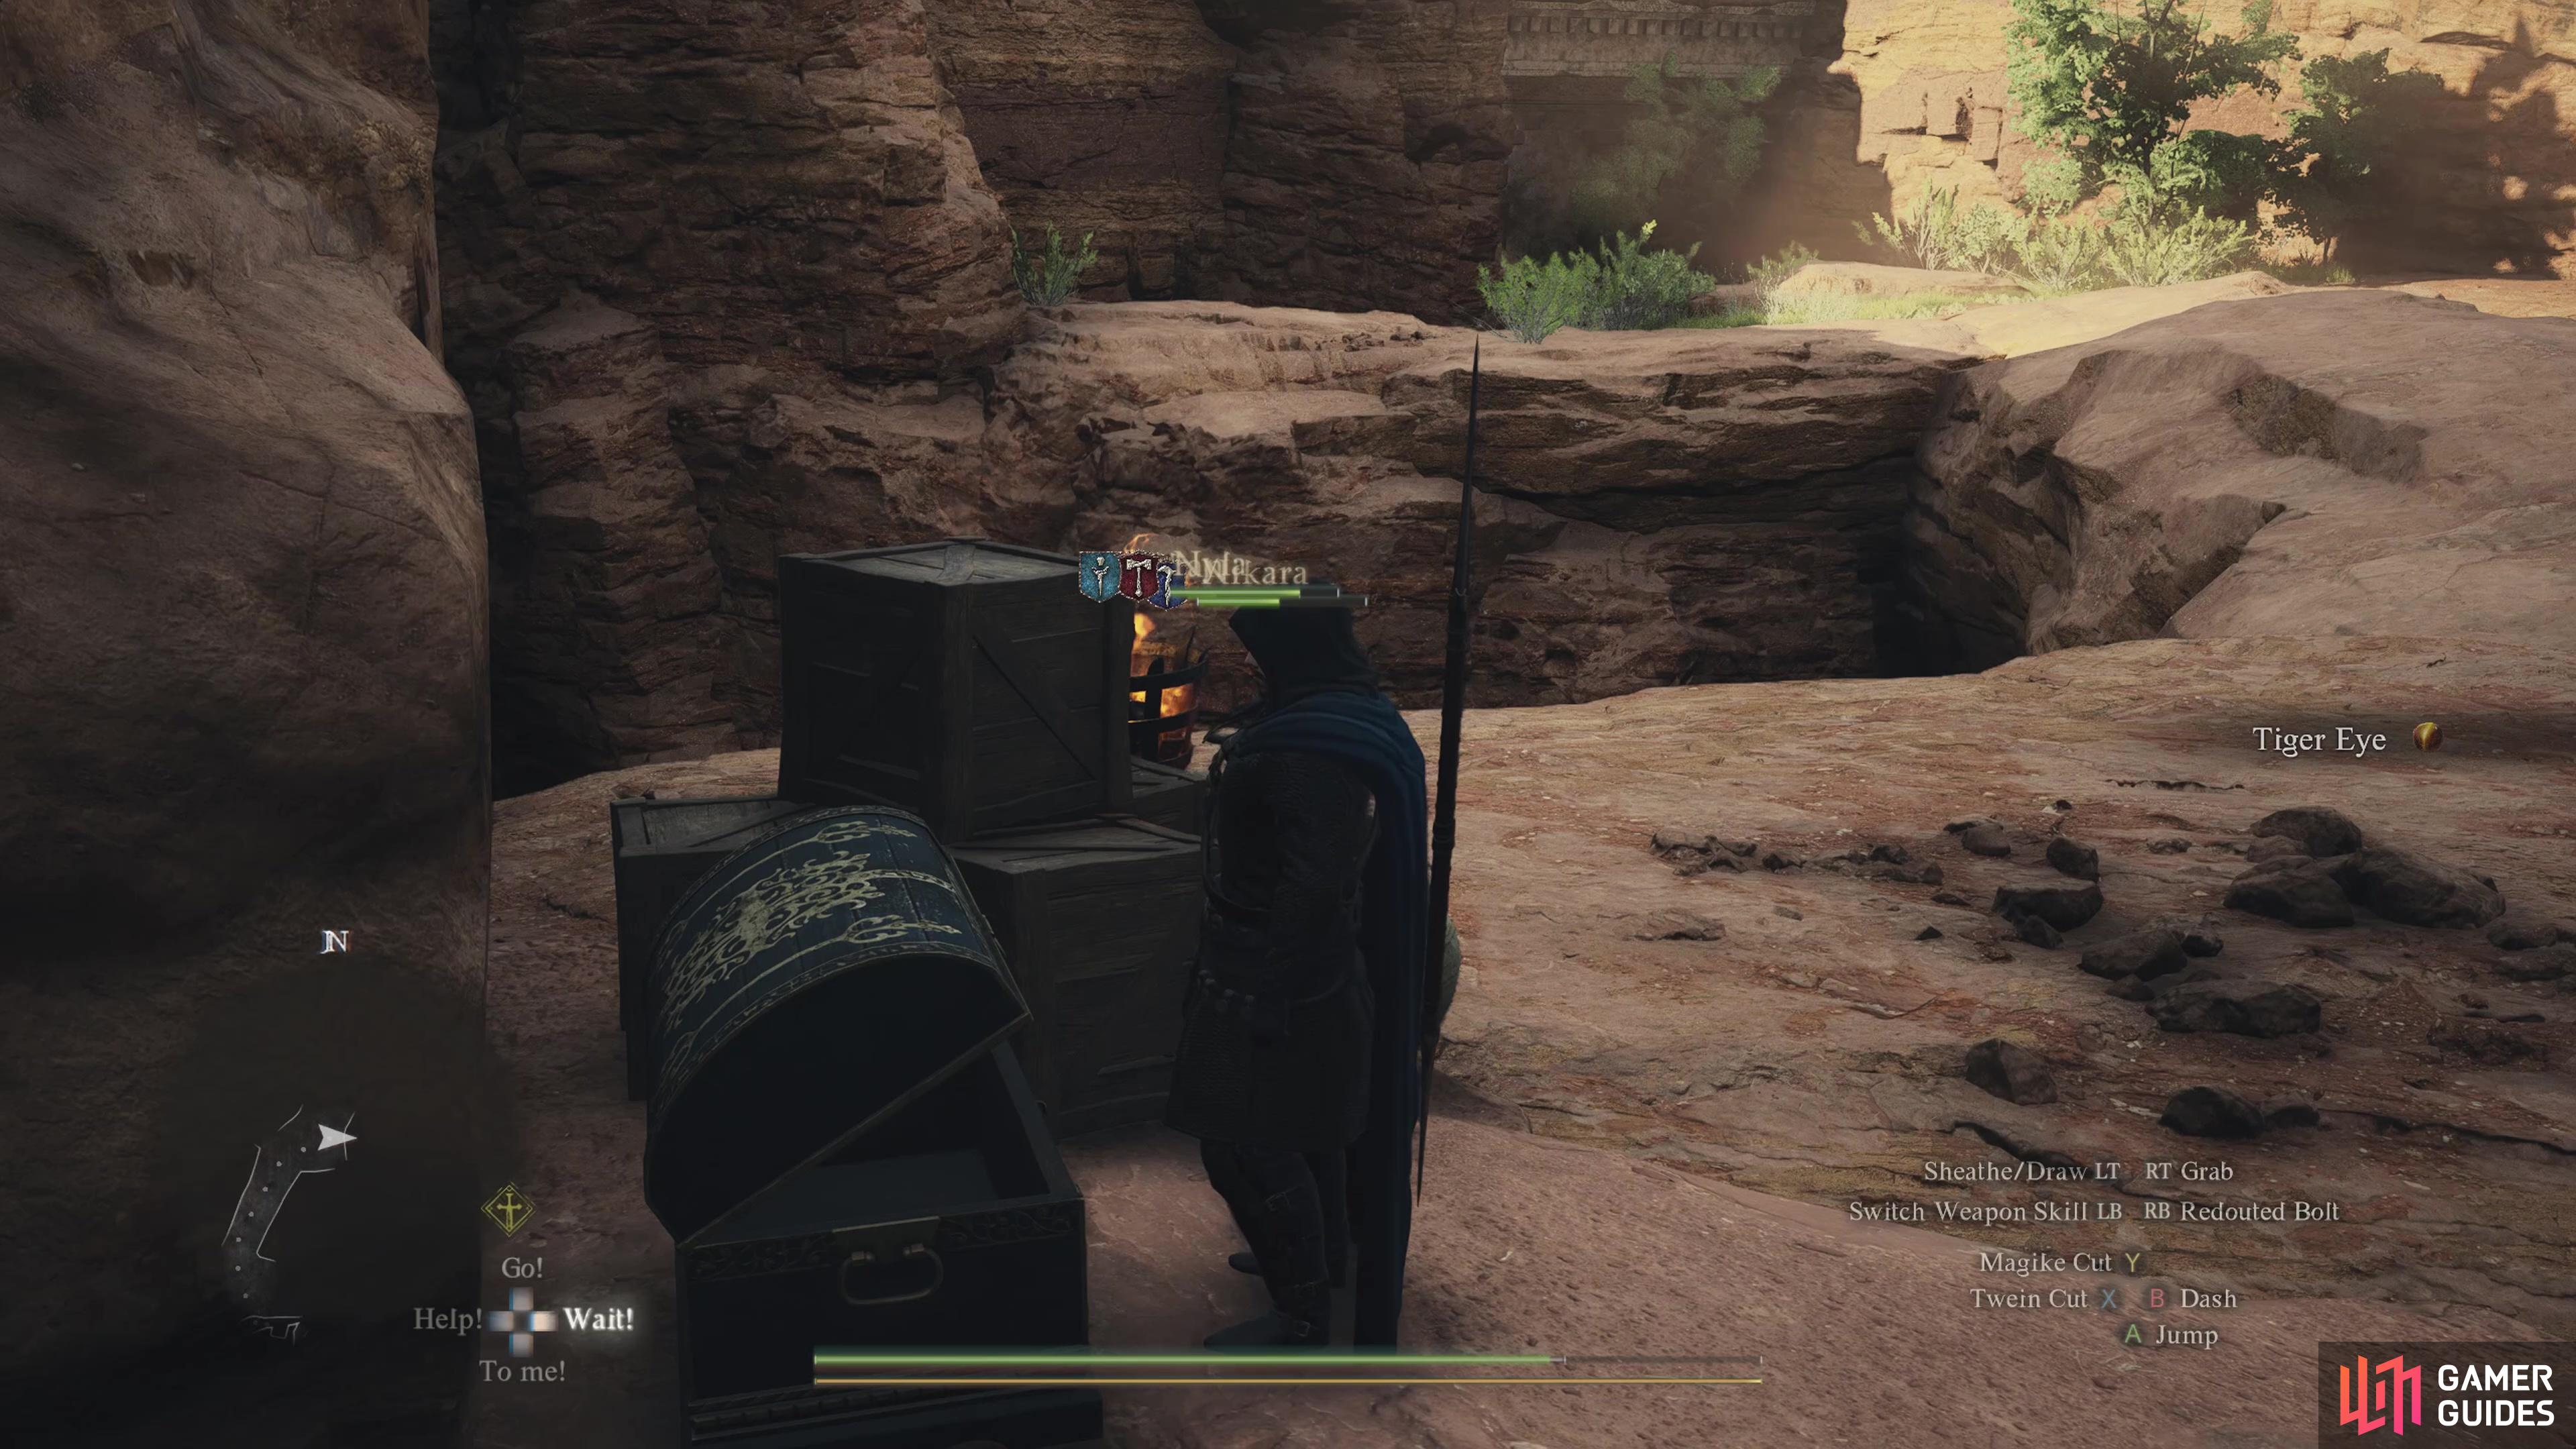
Contains: ![]() Tiger Eye
Tiger Eye
186. Dungeon & Town Maps
Found against the back wall of the eastern path.
Contains: ![]() Metered Catharsis
Metered Catharsis
187. Dungeon & Town Maps
Found against the wall beneath the falling boulder. Opening it may trigger an attack from several ![]() Lost Mercenary.
Lost Mercenary.
Contains: 2x ![]() Jasper
Jasper
188. Dungeon & Town Maps
On the northern edge of the cave’s largest room.
Contains: ![]() Plate Armor
Plate Armor
189. Dungeon & Town Maps
At the top of a small set of stairs, on the southern peak of the cave’s largest room.
Contains: ![]() Bandit Greaves
Bandit Greaves
190. Dungeon & Town Maps
At the northern edge of the second floor. Guarded by ![]() Skeletons, and several more will spawn when the chest is opened.
Skeletons, and several more will spawn when the chest is opened.
Contains: ![]() Harpysnare Smoke Beacon
Harpysnare Smoke Beacon
191. Dungeon & Town Maps
At the end of a short corridor.
Contains: ![]() Shield of Vernworth
Shield of Vernworth
193. Dungeon & Town Maps
Drop down from the entrance above to reach the steps leading to the chest.
Contains: ![]() Wakestone Shard
Wakestone Shard
194. World Map
Contains 2x ![]() Onyx and 1x
Onyx and 1x ![]() Wakestone Shard.
Wakestone Shard.
You can climb up to this broken bridge, by going towards the broken bridge parts on the road. Fro m there, access the cliff edge to the right, then climb all the way up and backtrack on yourself.
196. Dungeon & Town Maps
Found by the opening on the broken wall in the south.
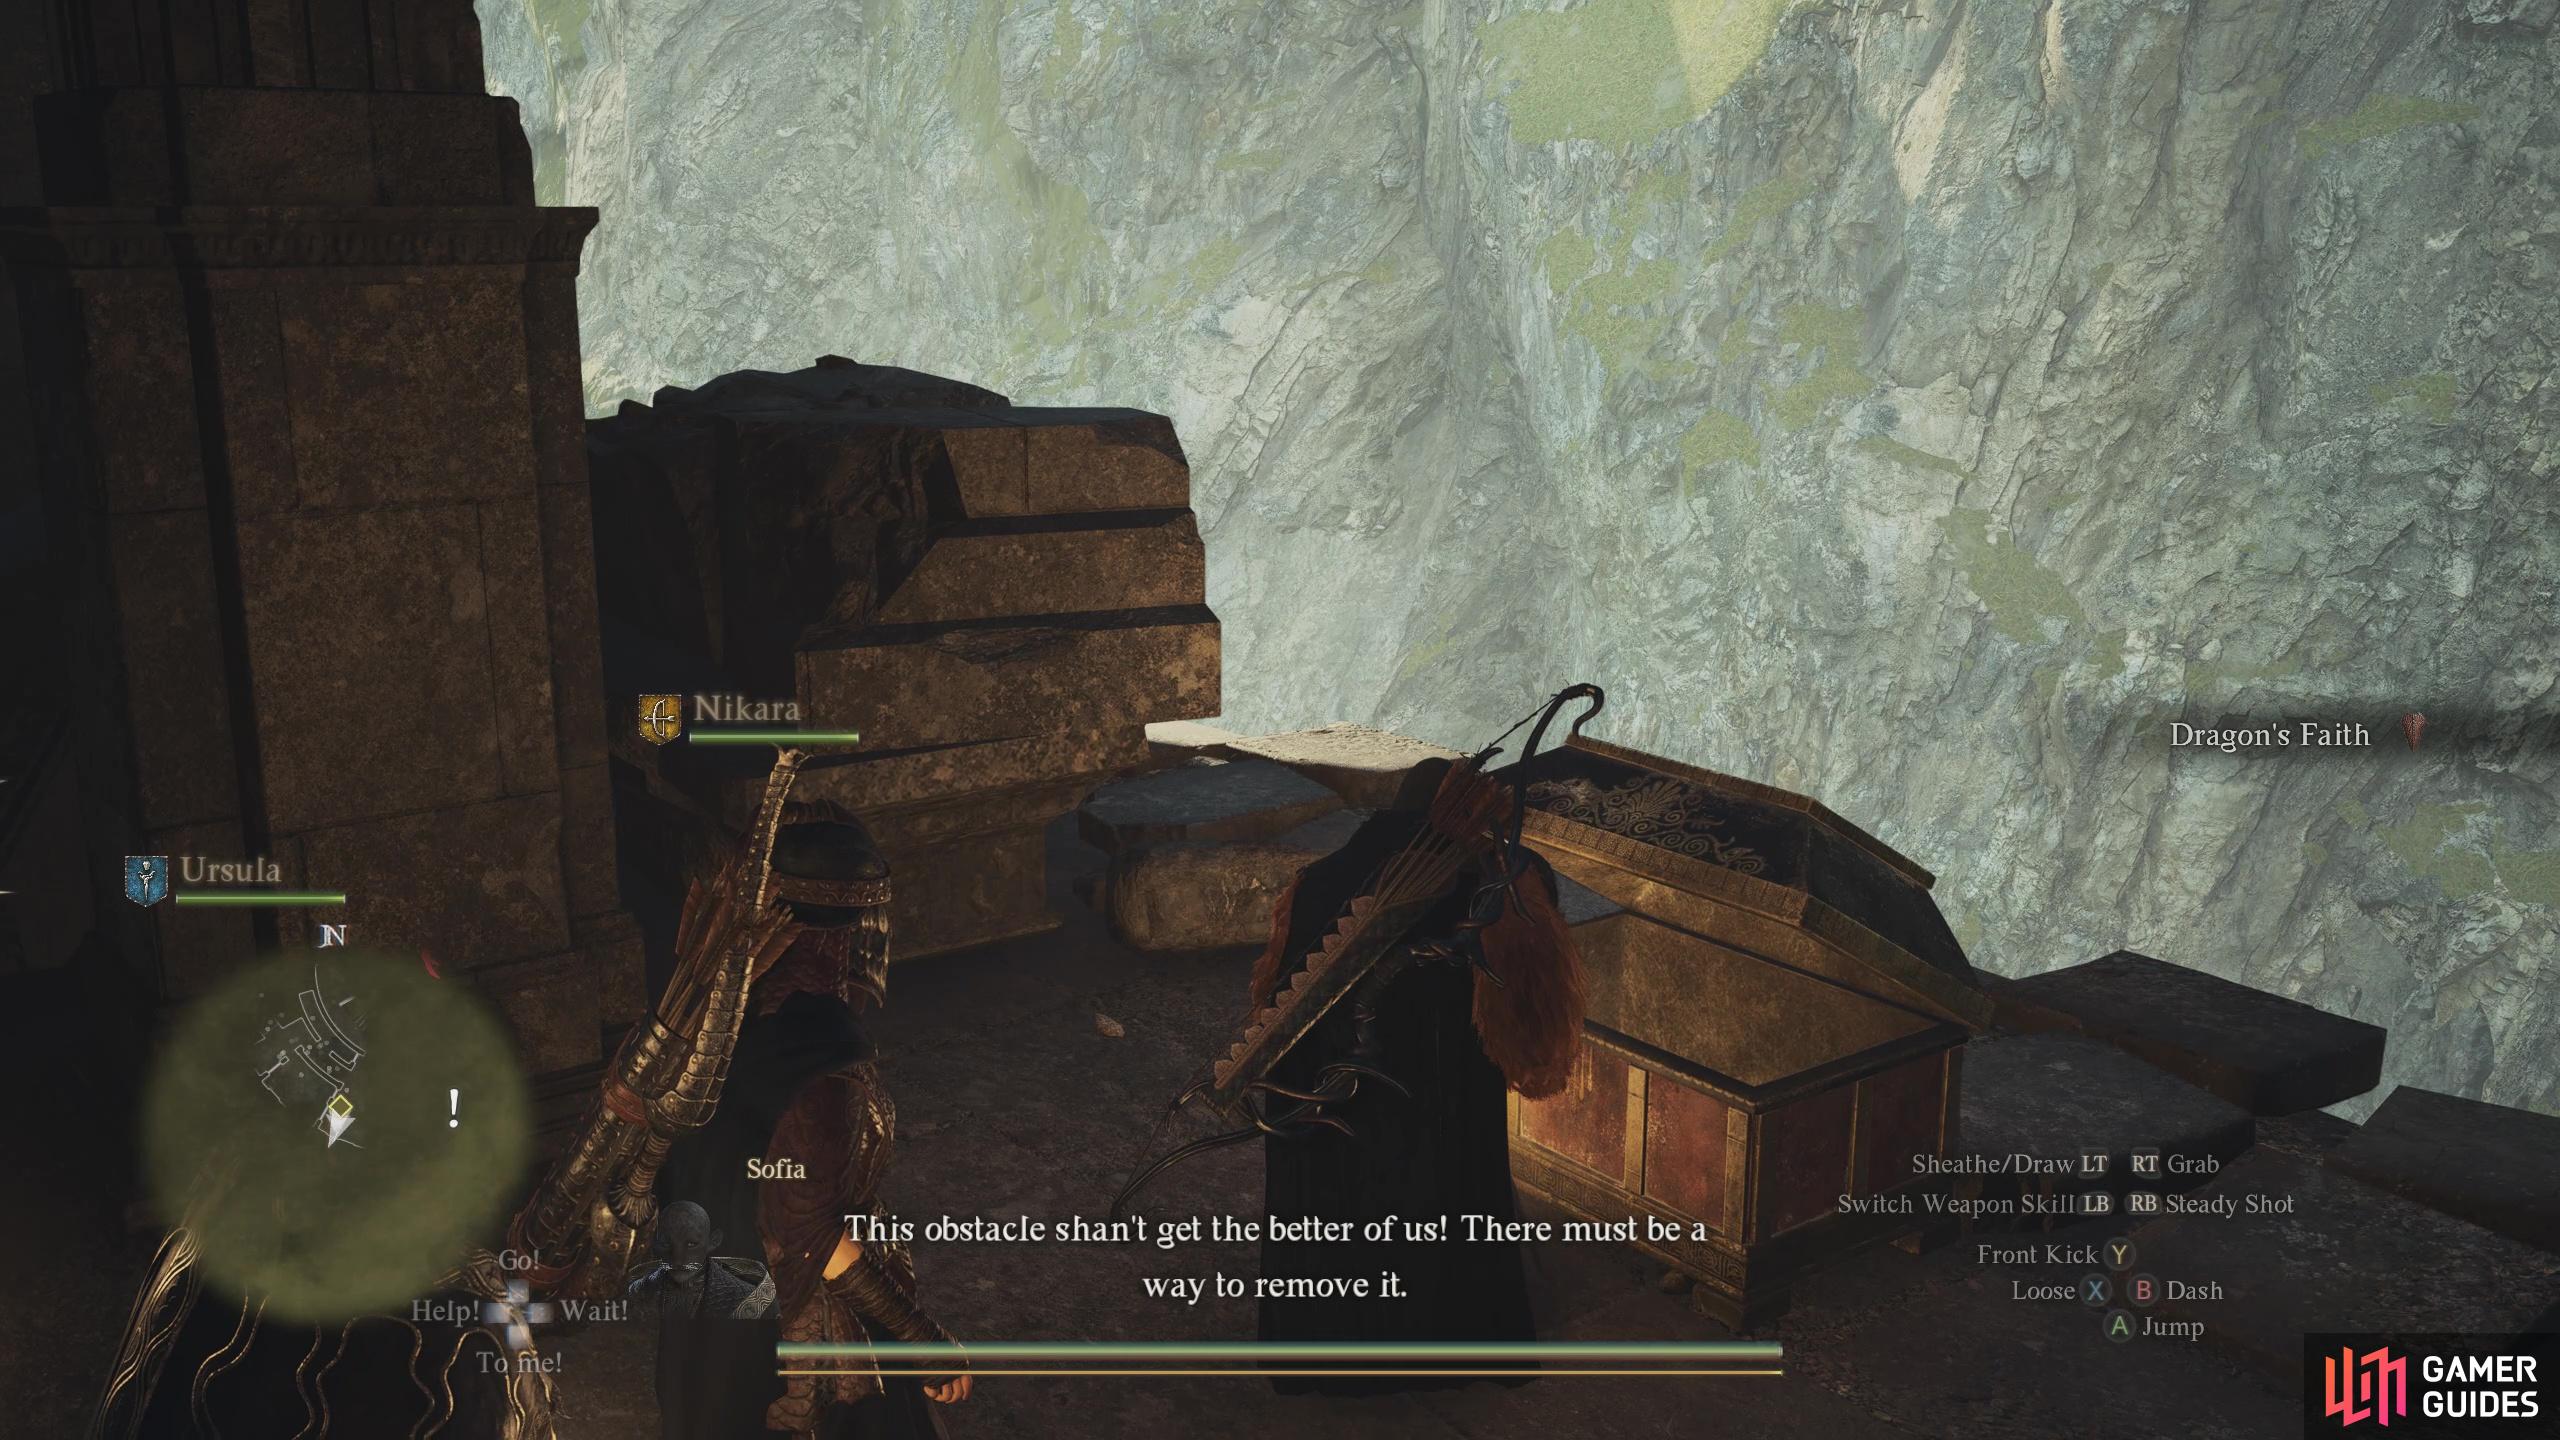
Contains: ![]() Dragon’s Faith
Dragon’s Faith
197. Dungeon & Town Maps
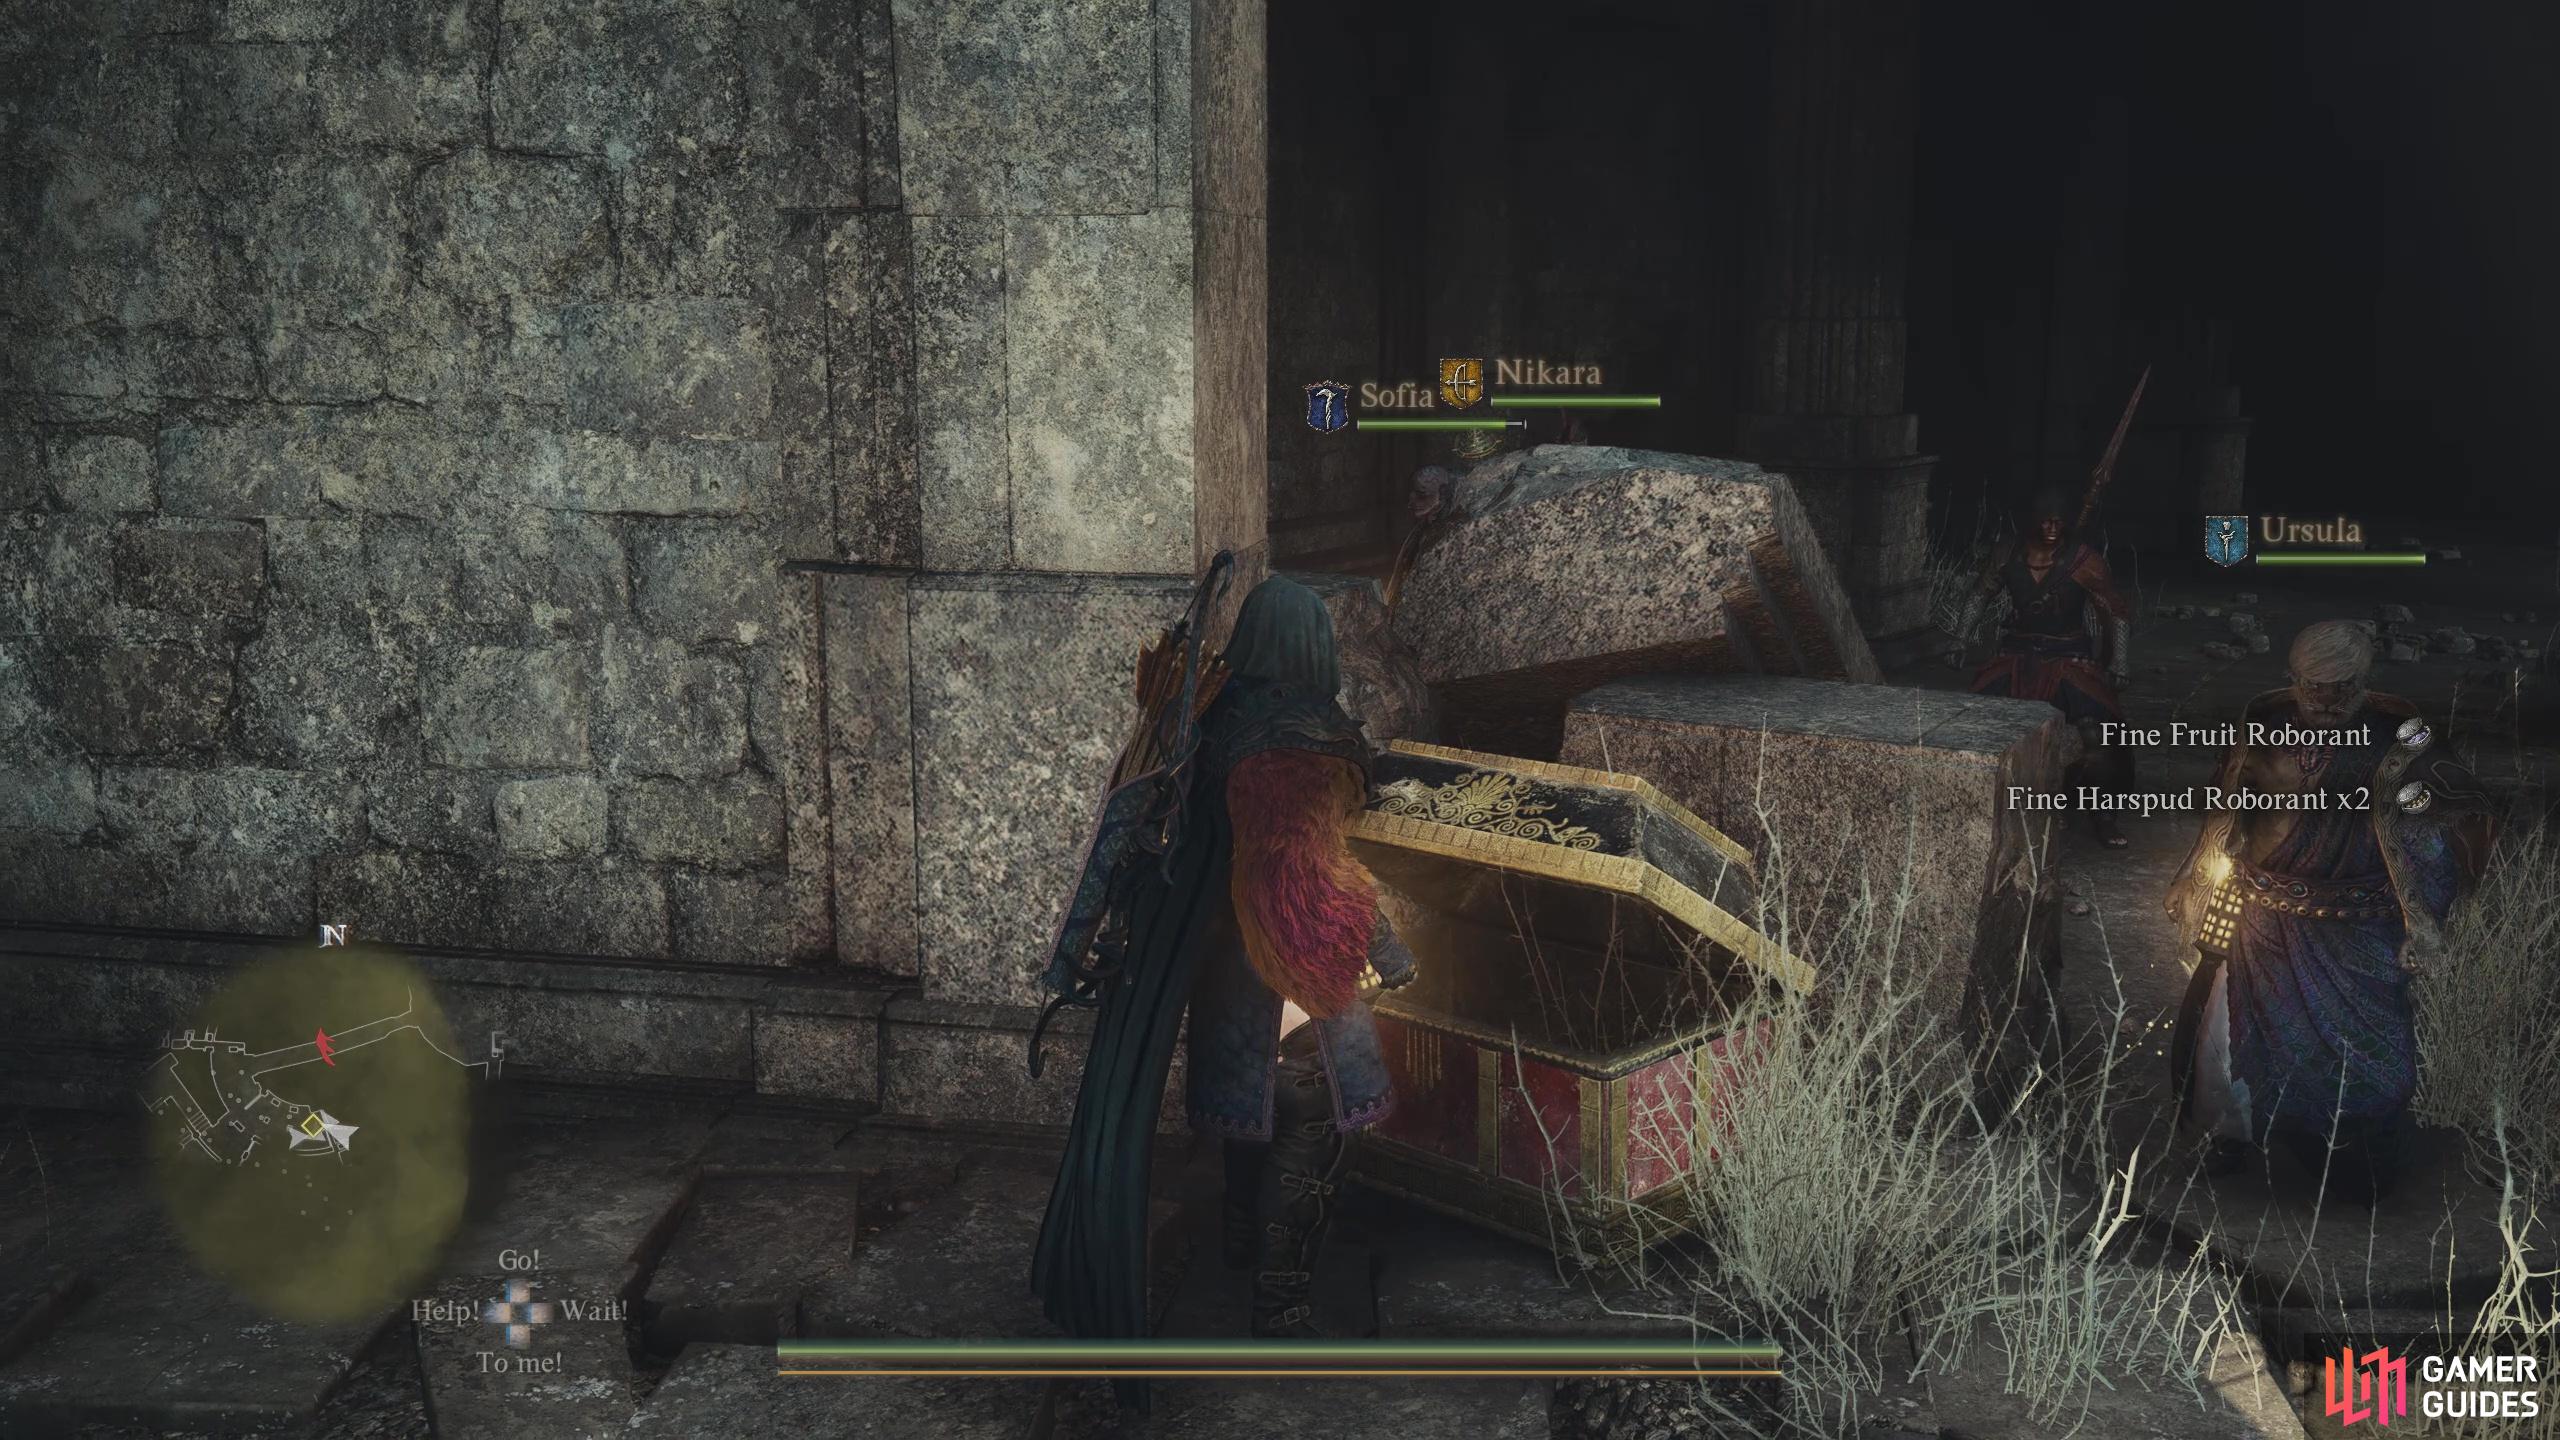
Found on the ledge opposite the ![]() Sand-Patterned Camping Kit.
Sand-Patterned Camping Kit.
Contains: ![]() Fine Fruit Roborant,
Fine Fruit Roborant, ![]() Fine Harspud Roborant x2
Fine Harspud Roborant x2
198. Dungeon & Town Maps
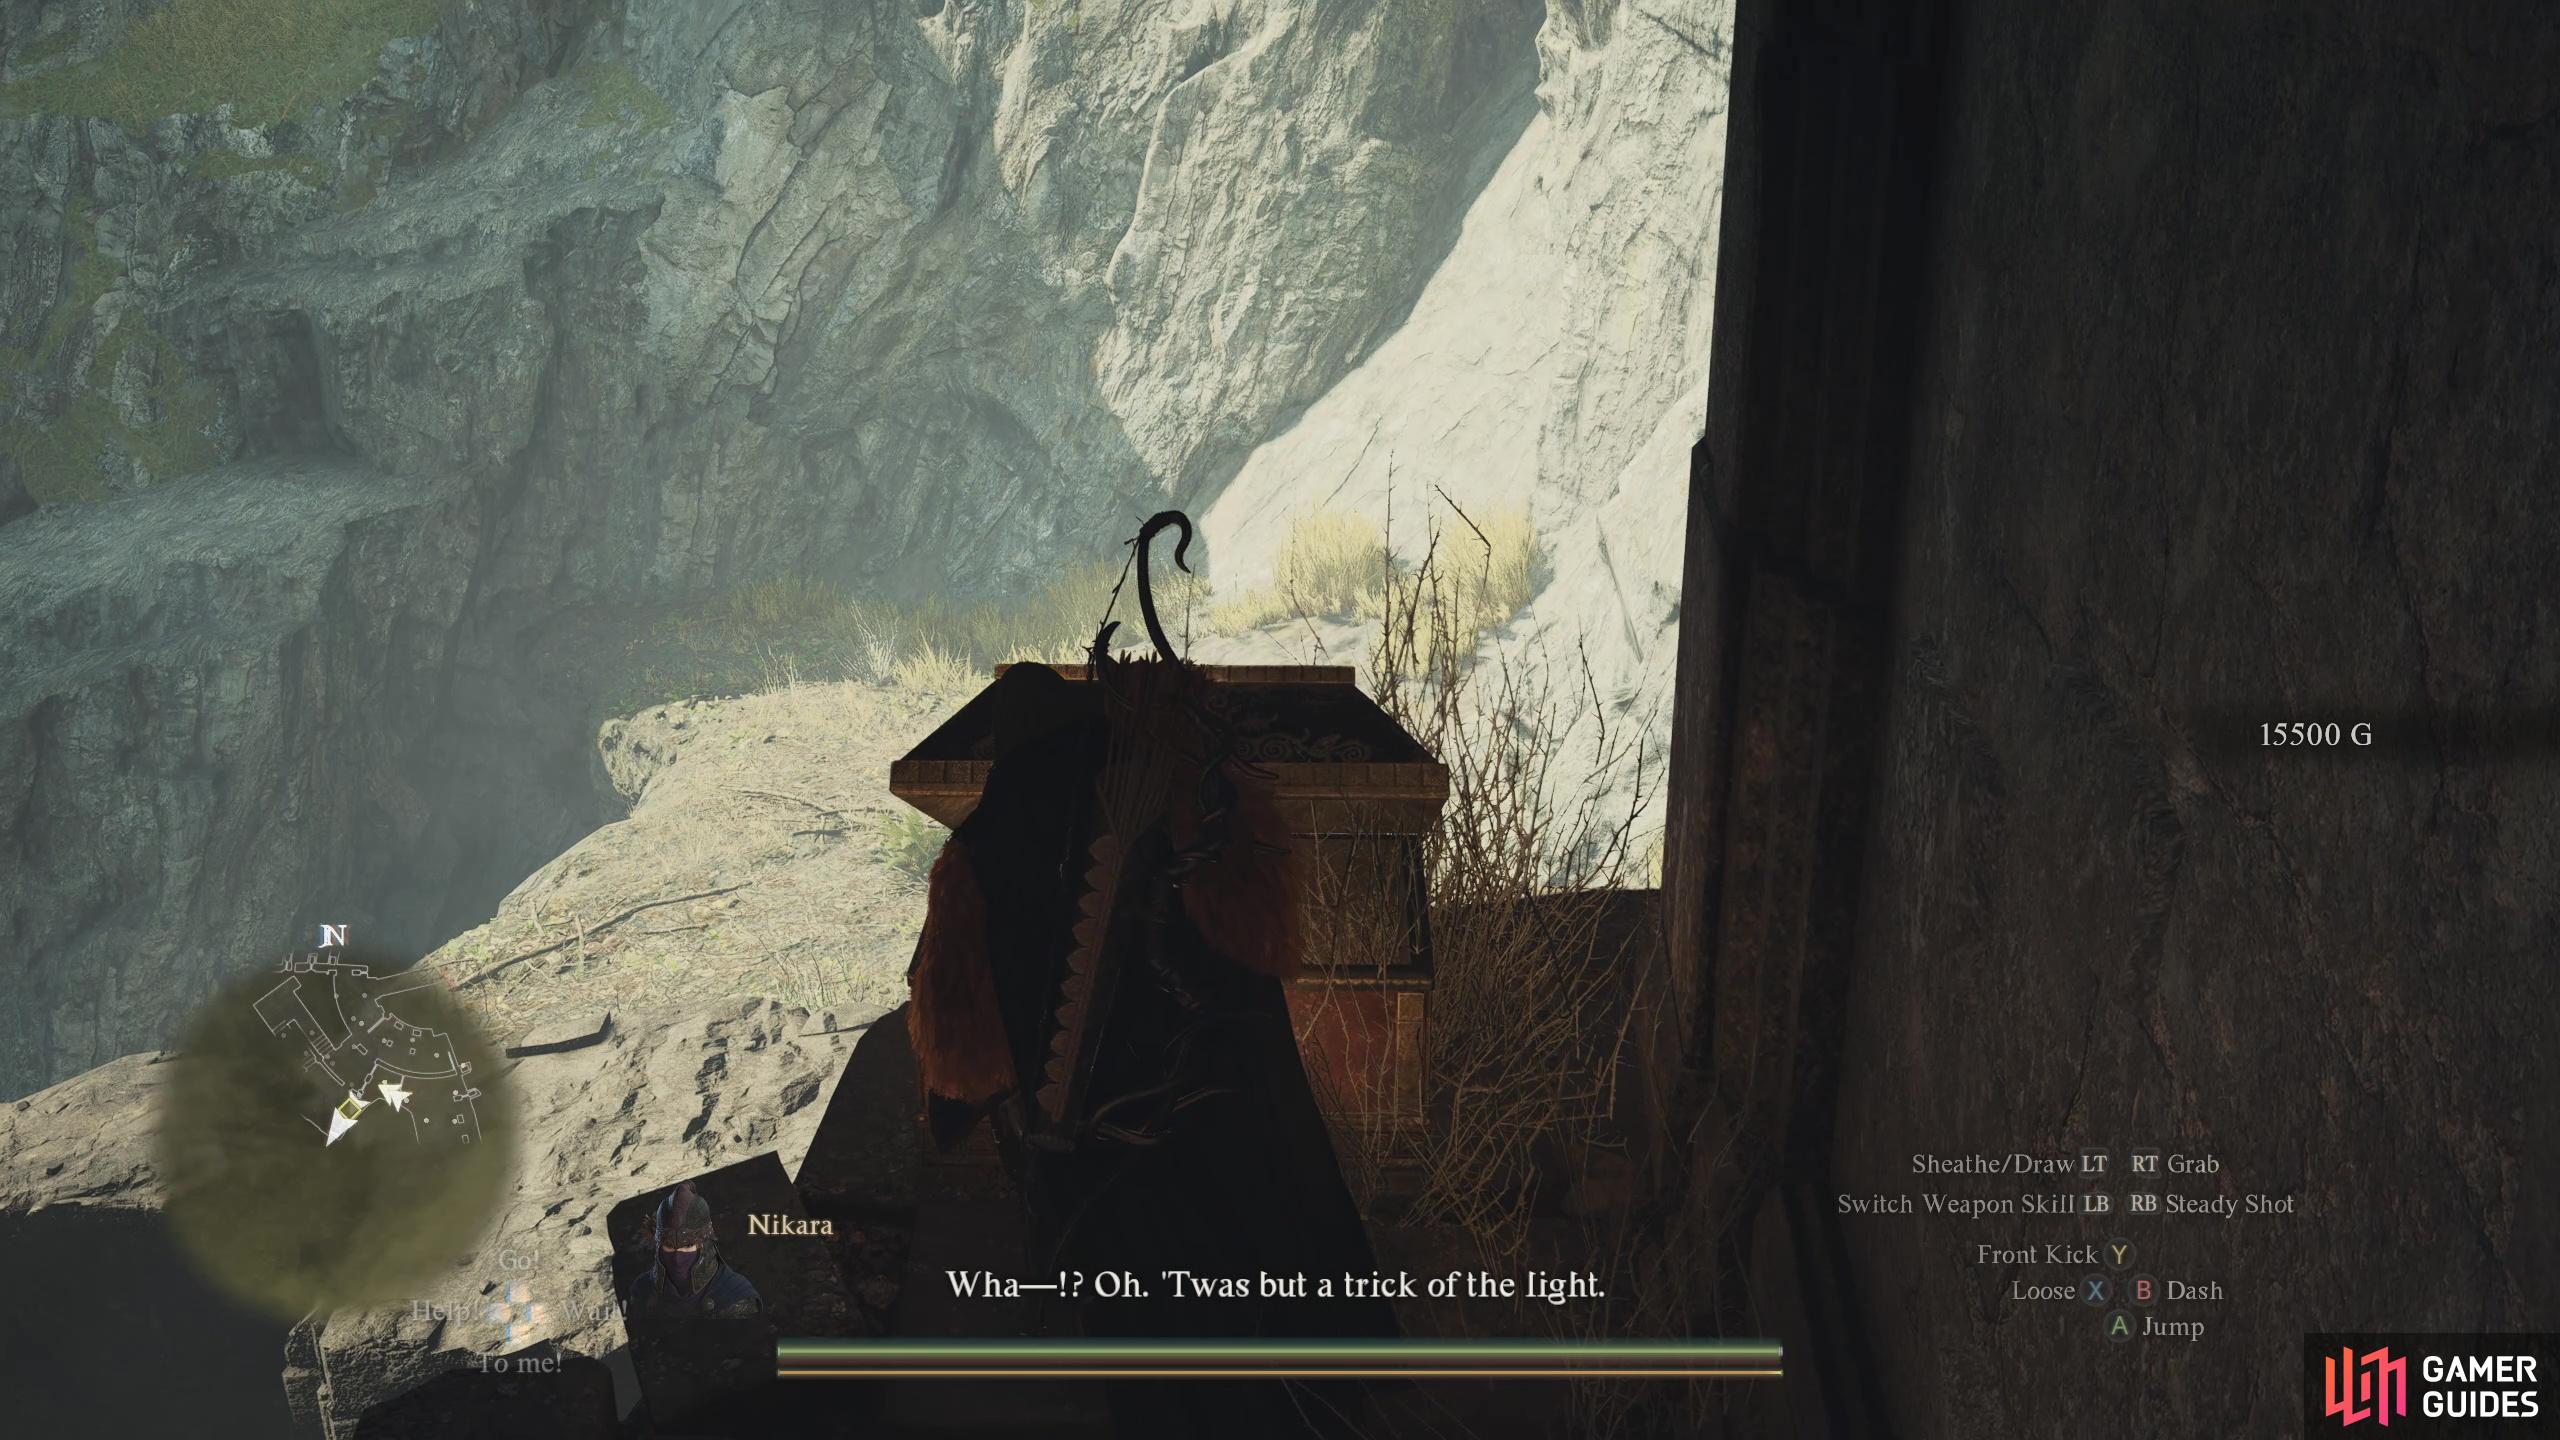
Follow the broken ledge down along the south wall.
Contains: 15500 gold coins
199. Dungeon & Town Maps
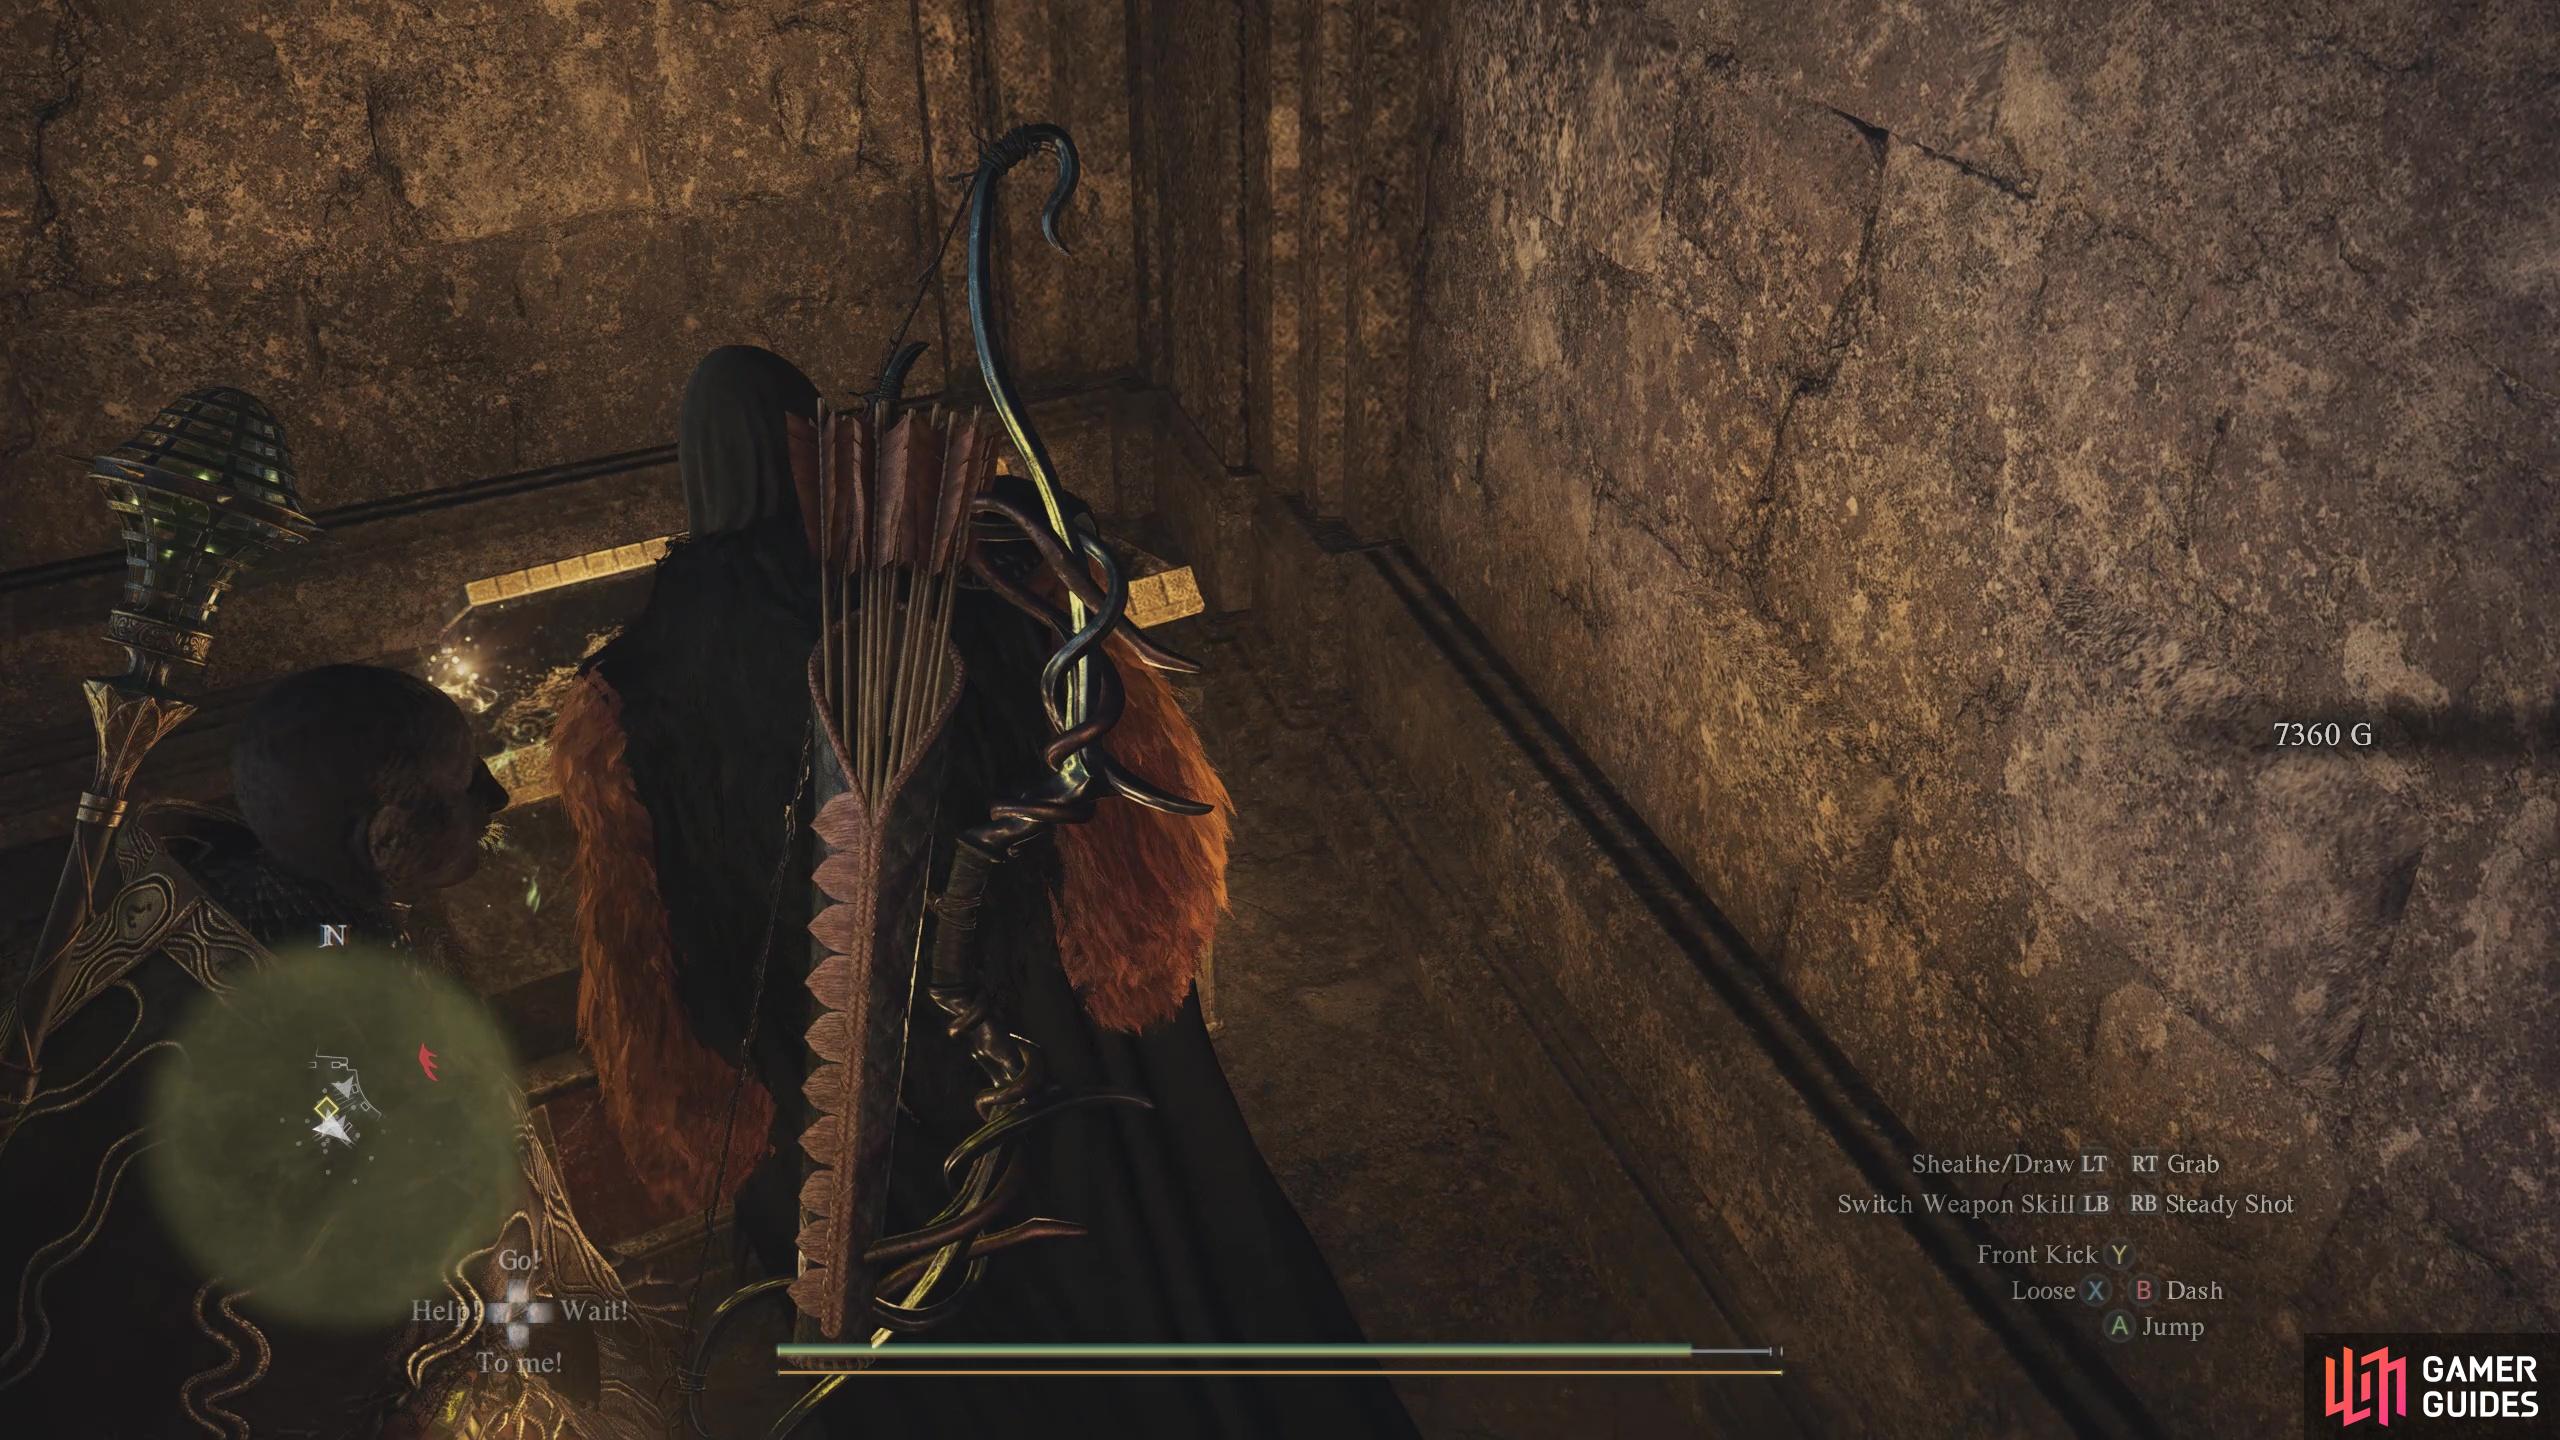
Found behind the rubble in the corner near the stairs.
Contains: 7360 gold
200. Dungeon & Town Maps
Found on the ledge after the breakable wall.
Contains: ![]() Wakestone Shard
Wakestone Shard
201. Dungeon & Town Maps
Found in the corner next to the staircase.
Contains: ![]() Threshing Blaze
Threshing Blaze

203. Dungeon & Town Maps
Found against the boulders of the North East wall.
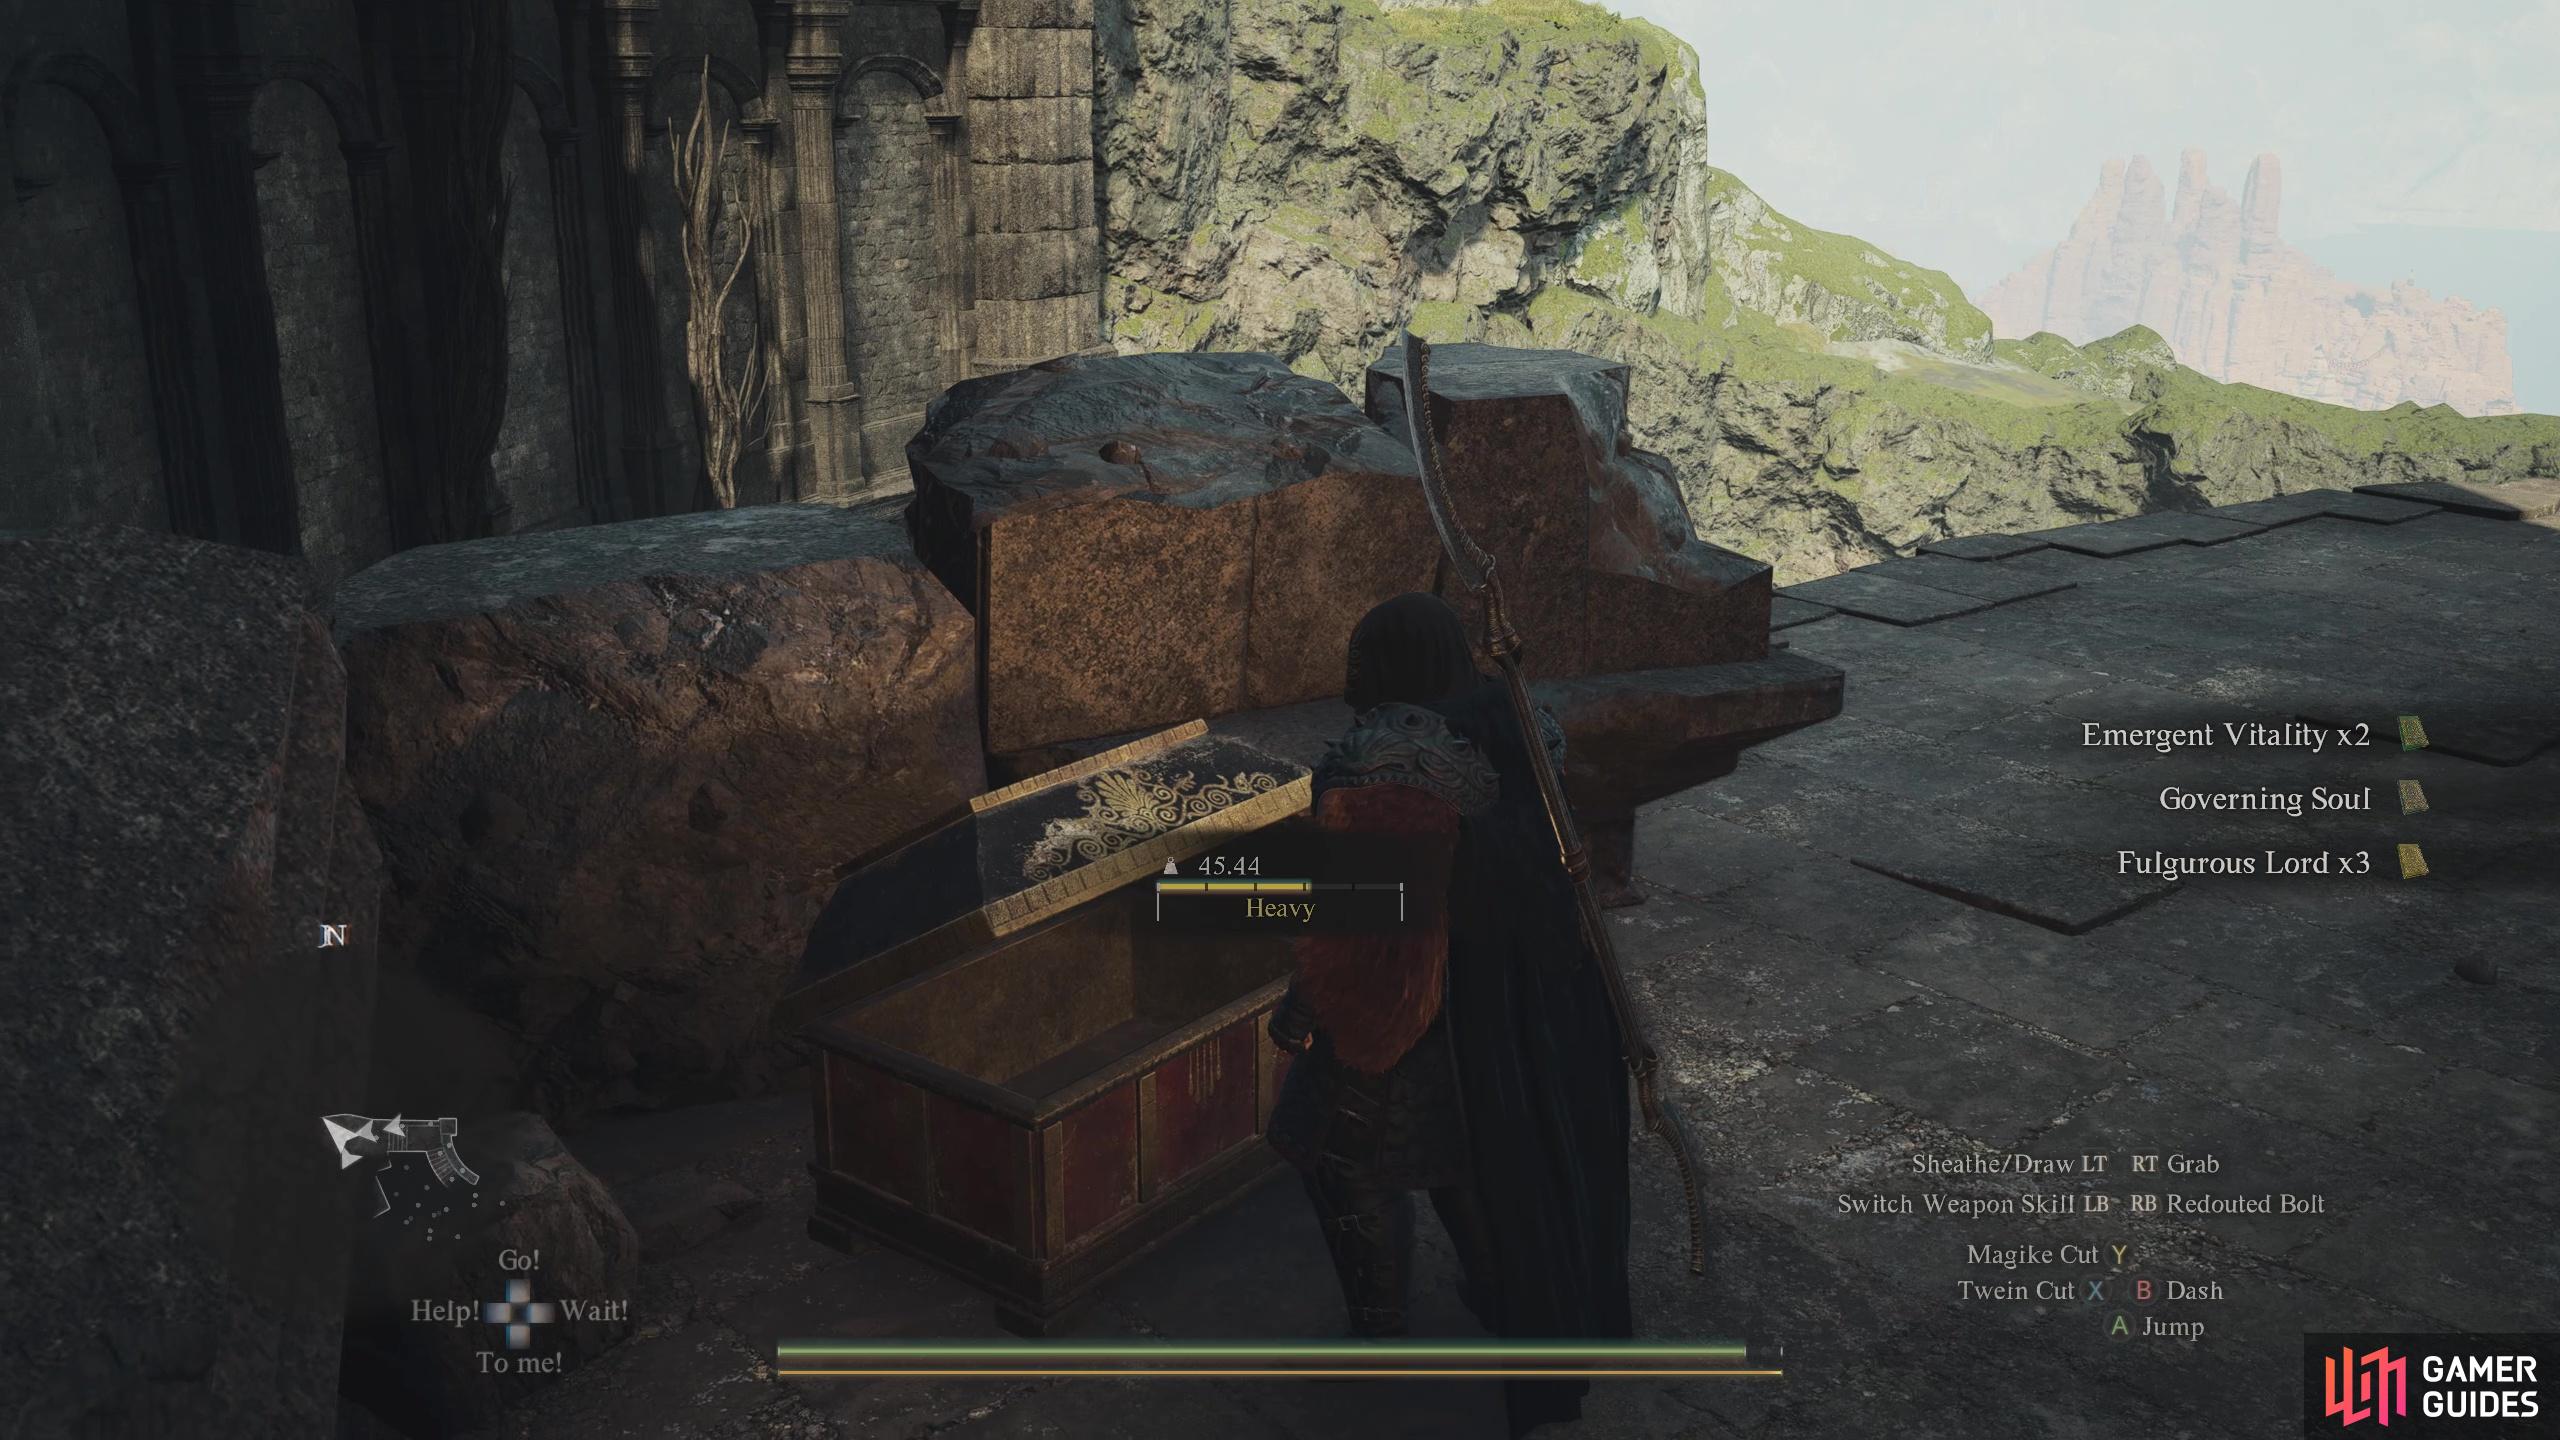
Contains: 2x ![]() Emergent Vitality, 1x
Emergent Vitality, 1x ![]() Governing Soul, 3x
Governing Soul, 3x ![]() Fulgurous Lord
Fulgurous Lord
204. Dungeon & Town Maps
Complete the Tolled for Rise quest to get a key that unlocks this room. Once inside, this chest is on the left.
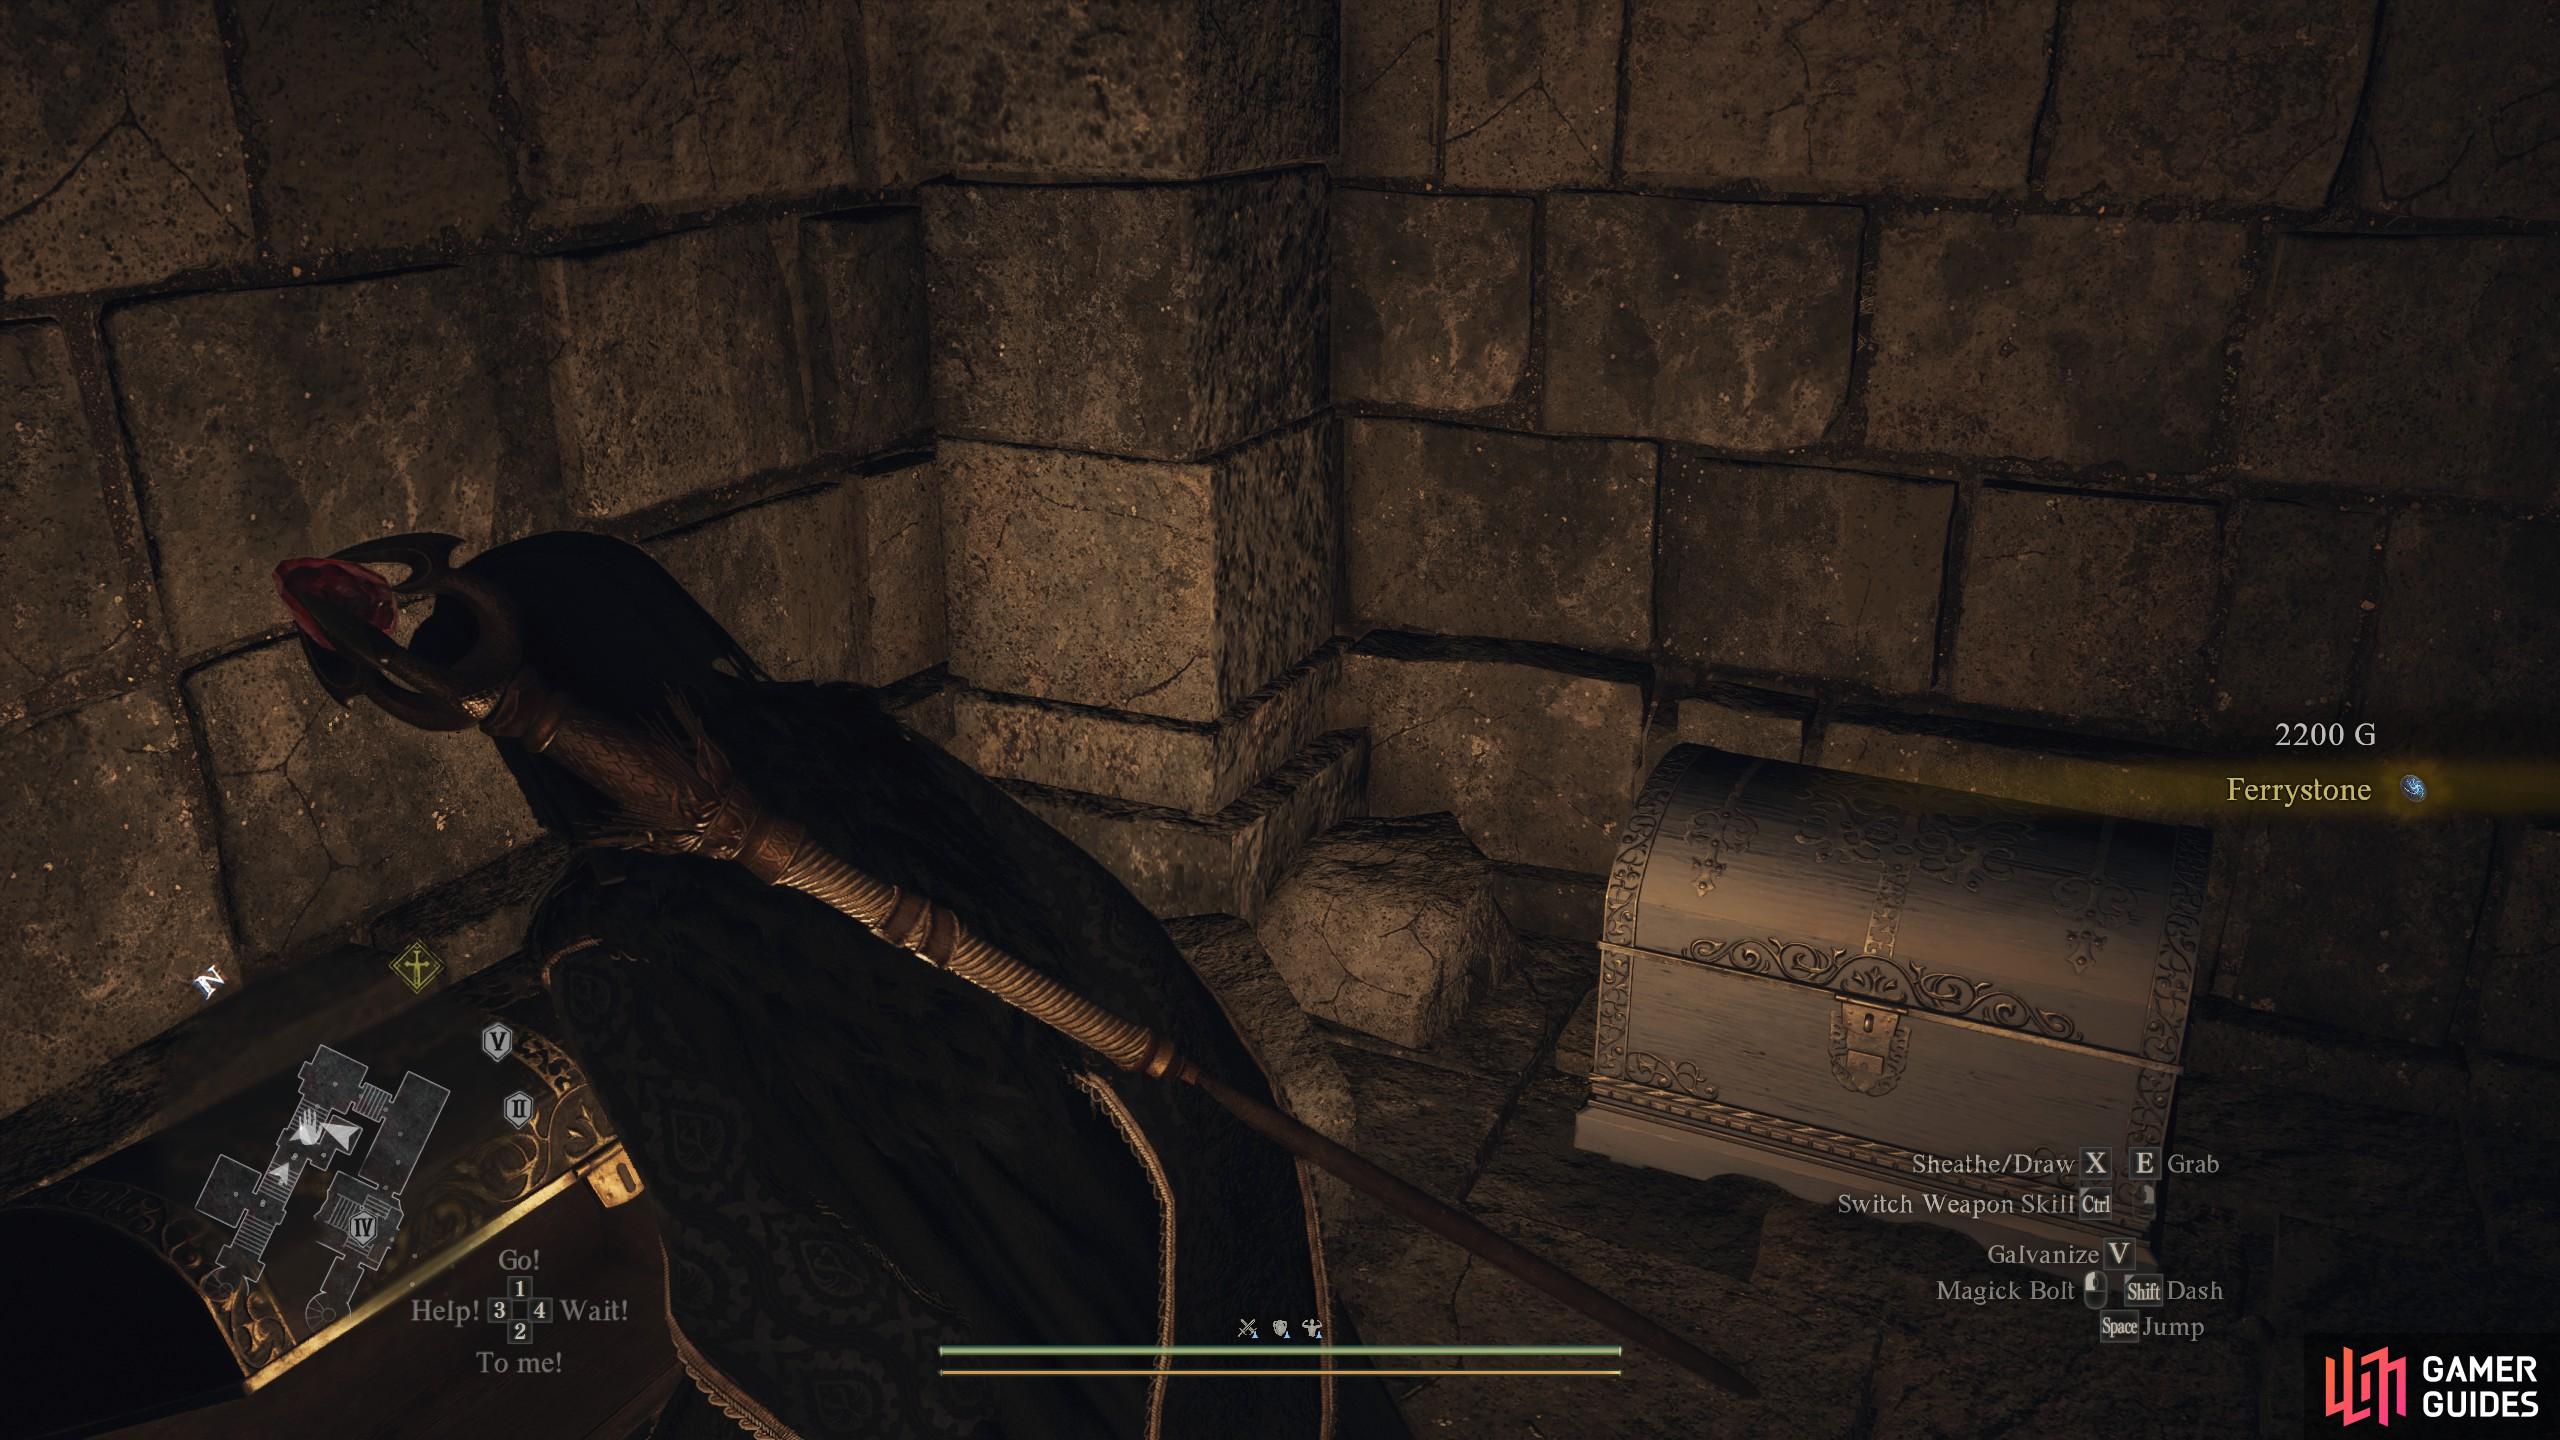
Contains: ![]() Ferrystone, 2200 gold coins
Ferrystone, 2200 gold coins

206. World Map
In the corner of the house with a ![]() Seeker’s Token on its roof.
Seeker’s Token on its roof.
Contains: ![]() Homespun Cloak
Homespun Cloak
207. World Map
On a raised section of the cliff by the river.
Contains: ![]() Wakestone Shard
Wakestone Shard
208. Dungeon & Town Maps
Found at the back of the cave.
Contains: ![]() Wakestone,
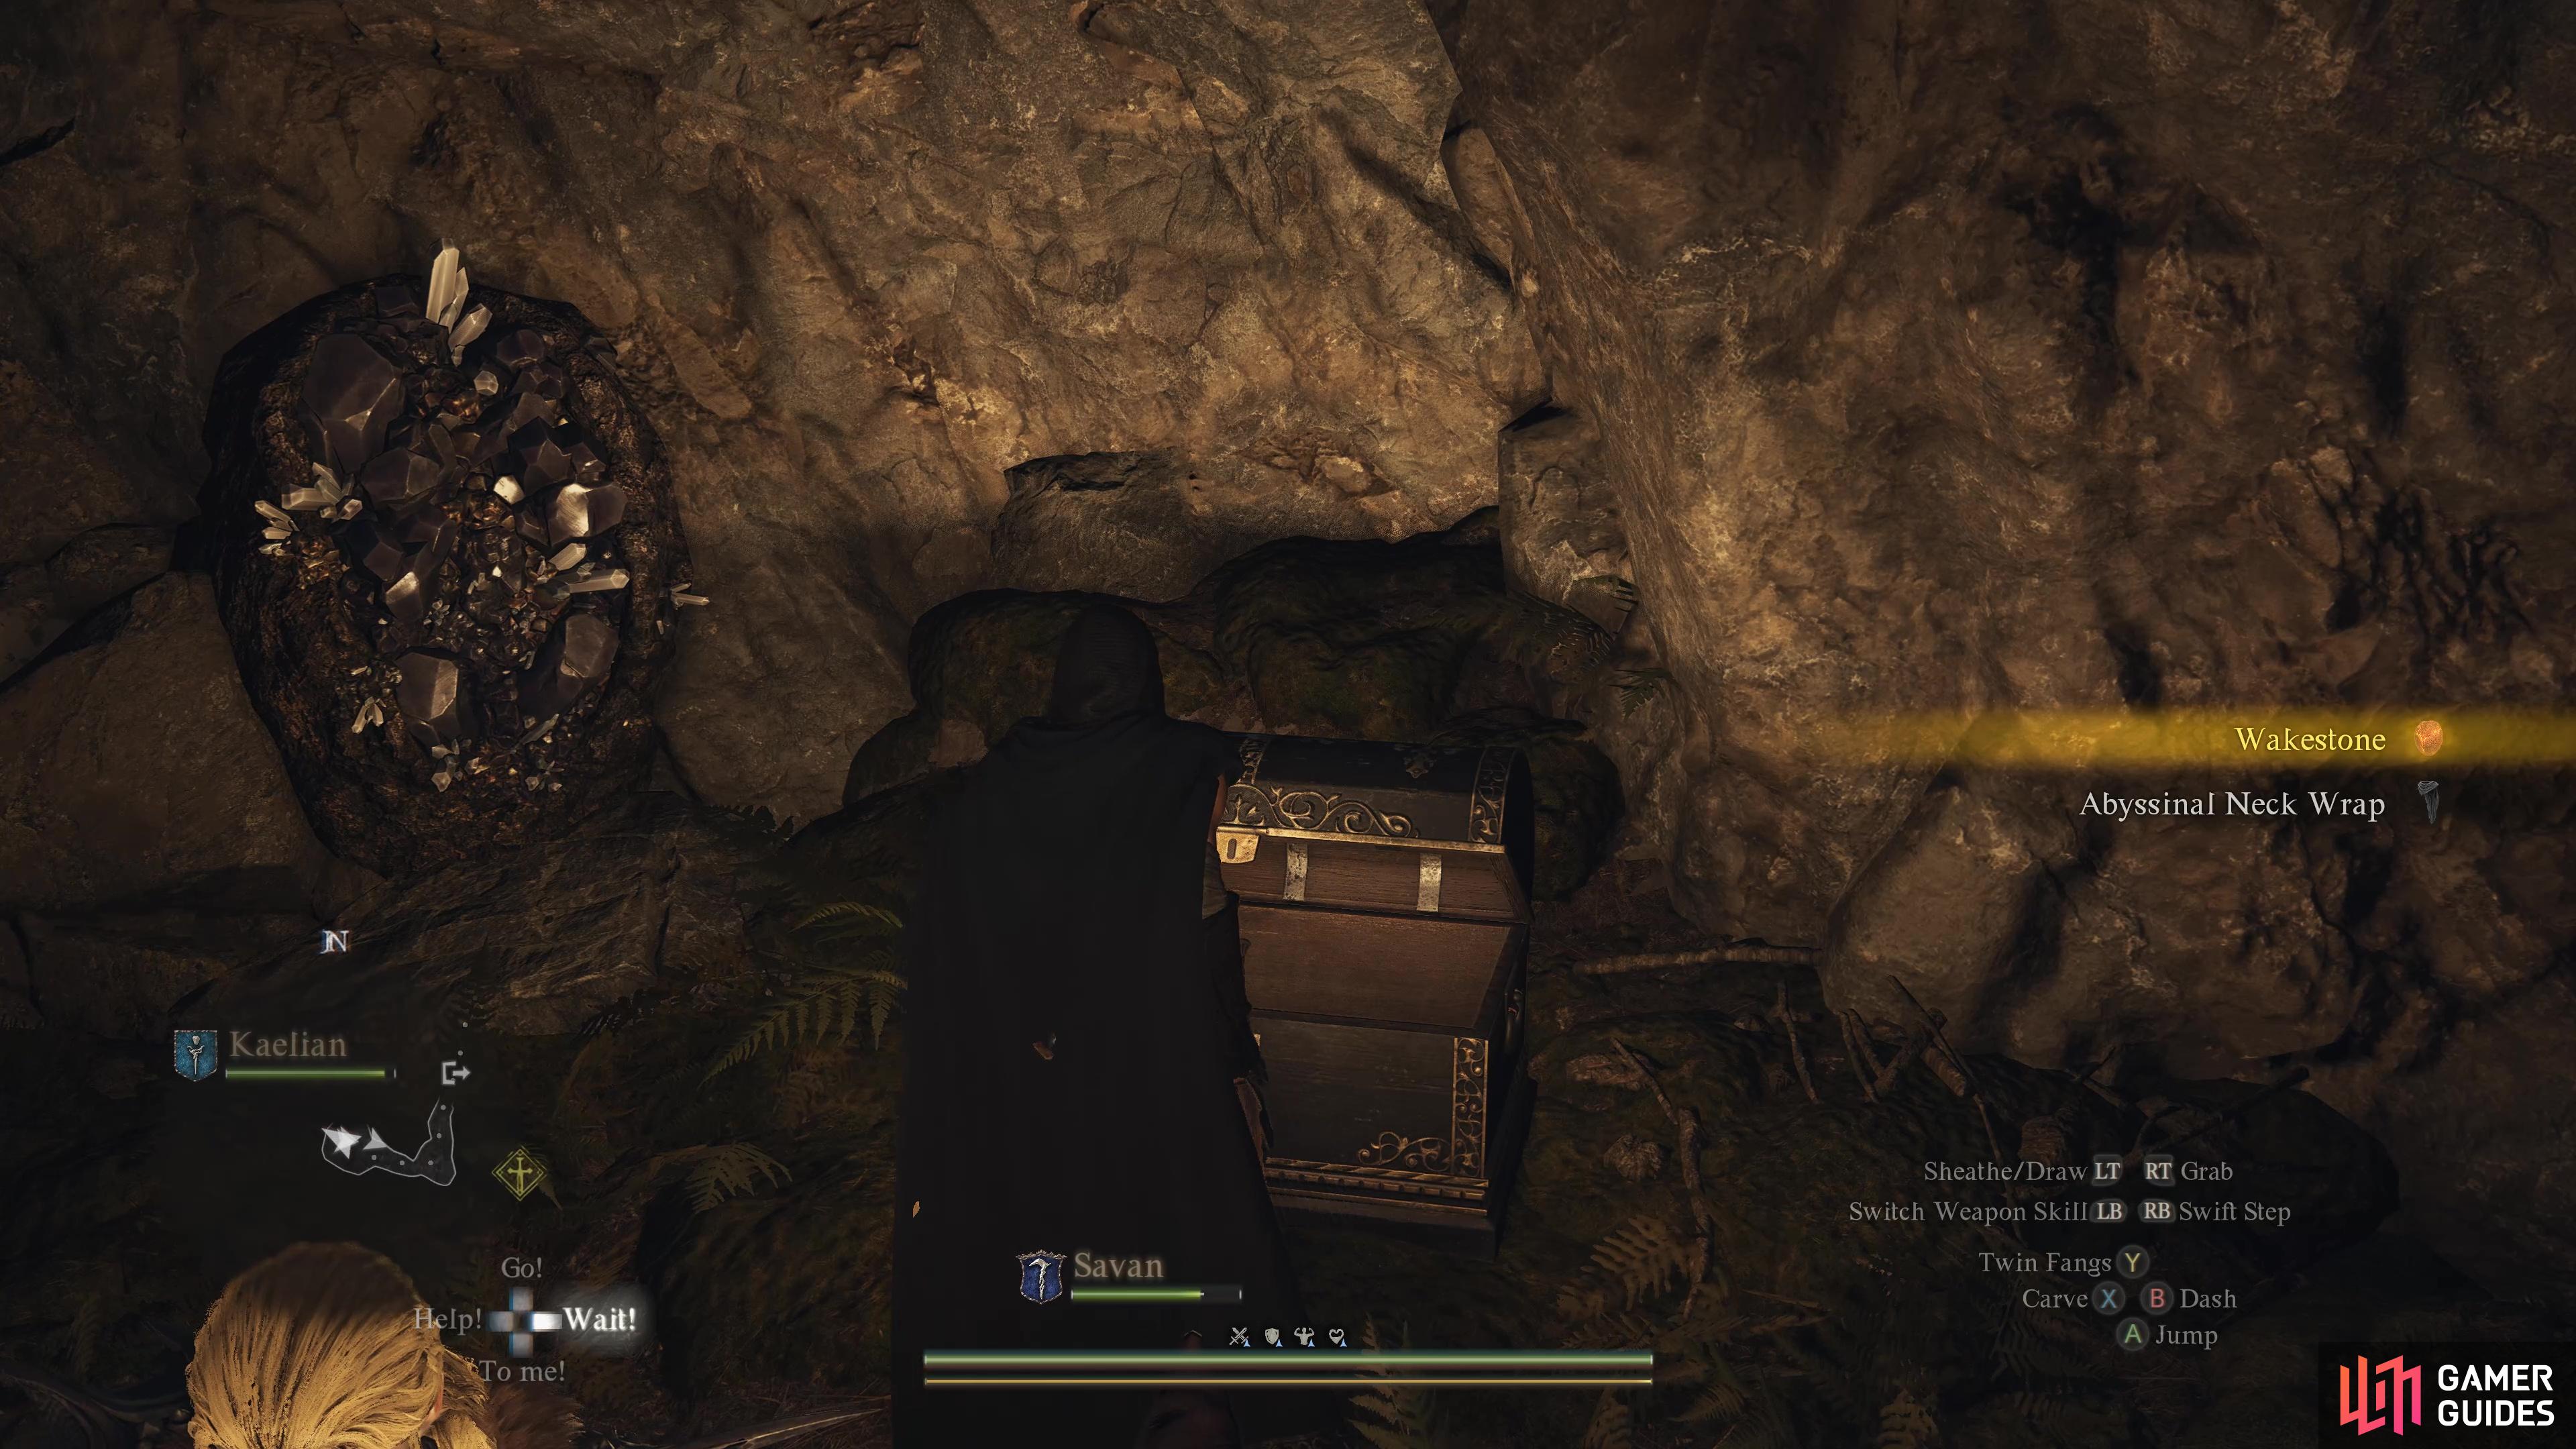
Wakestone, ![]() Abyssinal Neck Wrap
Abyssinal Neck Wrap

210. World Map
Hidden behind a blockage. Shoot 3-4 rocks from the trebuchet in the north-east to reveal it.
Contains: ![]() Wakestone Shard
Wakestone Shard
212. World Map
On the edge of the cliff, near the campsite.
Contains: ![]() Darkening Storm
Darkening Storm
214. World Map
On a ledge above the waterfall, in a small cave.
**Contains: ![]() Ferrystone **
Ferrystone **
215. World Map
At the base of a waterfall in ![]() Thunderclap Cave.
Thunderclap Cave.
Contains: ![]() Legend’s Mantle
Legend’s Mantle
217. Dungeon & Town Maps
Near a clutch of ![]() Serpent eggs.
Serpent eggs.
Contains: ![]() Cyclopean Thunder
Cyclopean Thunder

218. World Map
Near a clutch of ![]() Serpent eggs in the
Serpent eggs in the ![]() Darkbeasts’ Den.
Darkbeasts’ Den.
Contains: ![]() Cyclopean Thunder
Cyclopean Thunder

222. Dungeon & Town Maps
In the corner of the room blocked by a breakable wall.
Contains: 8890 gold coins
223. Dungeon & Town Maps
Follow the rubble around the edges of the room to find this chest in the middle. Will spawn several ![]() Undead when opened.
Undead when opened.
Contains: ![]() Oracular Veil
Oracular Veil

226. Dungeon & Town Maps
In a small room at the back of the ![]() Timeworn Shaft, on the left.
Timeworn Shaft, on the left.
Contains: ![]() Stilettos
Stilettos

227. Dungeon & Town Maps
In a small room at the back of the ![]() Timeworn Shaft, the chest on the right.
Timeworn Shaft, the chest on the right.
Contains: ![]() Iron Shield
Iron Shield
228. World Map
On a rock at the edge of the ![]() Debris-Strewn Coast.
Debris-Strewn Coast.
Contains: ![]() Ferrystone
Ferrystone
229. Dungeon & Town Maps
Near the end of the dungeon against the left wall.
Contains: ![]() Peltflayers
Peltflayers
230. Dungeon & Town Maps
Found against the wall on the right hand side.
Contains : ![]() Thief’s Gaiters
Thief’s Gaiters
232. World Map
On some ruins at the top of a high-up cliff. Climb the rocks near the path to reach it.
Contains: ![]() Allheal Elixir
Allheal Elixir

234. Dungeon & Town Maps
At the highest point of the cave. Climb on top of a nearby rock, then jump across to grab the ledge.
Contains: ![]() Gauntleted Petticoat
Gauntleted Petticoat
235. Dungeon & Town Maps
At the edge of the short corridor.
Contains: ![]() Crimson Teeth
Crimson Teeth
237. Dungeon & Town Maps
At the end of the cave, guarded by ![]() Leapworms.
Leapworms.
Contains: ![]() Hood of Nonentity
Hood of Nonentity

238. Dungeon & Town Maps
Inside ![]() Vernworth Hall. The chest can be found at the back of the hall in a small room in the northwestern corner.
Vernworth Hall. The chest can be found at the back of the hall in a small room in the northwestern corner.
Contains: ![]() Courtly Breeches and
Courtly Breeches and ![]() Courtly Tunic
Courtly Tunic
239. Dungeon & Town Maps
Found at the bottom of the ![]() Stormwind Cave against the Western wall.
Stormwind Cave against the Western wall.
Contains: ![]() Saurianscale Cape
Saurianscale Cape
241. Dungeon & Town Maps
At the top of a ledge near the cave’s entrance. Can only be reached by approaching from the south.
Contains: ![]() Ferrystone
Ferrystone

243. Dungeon & Town Maps
On a ledge on the outside of the building.
Contains: ![]() Onyx x3
Onyx x3
244. Dungeon & Town Maps
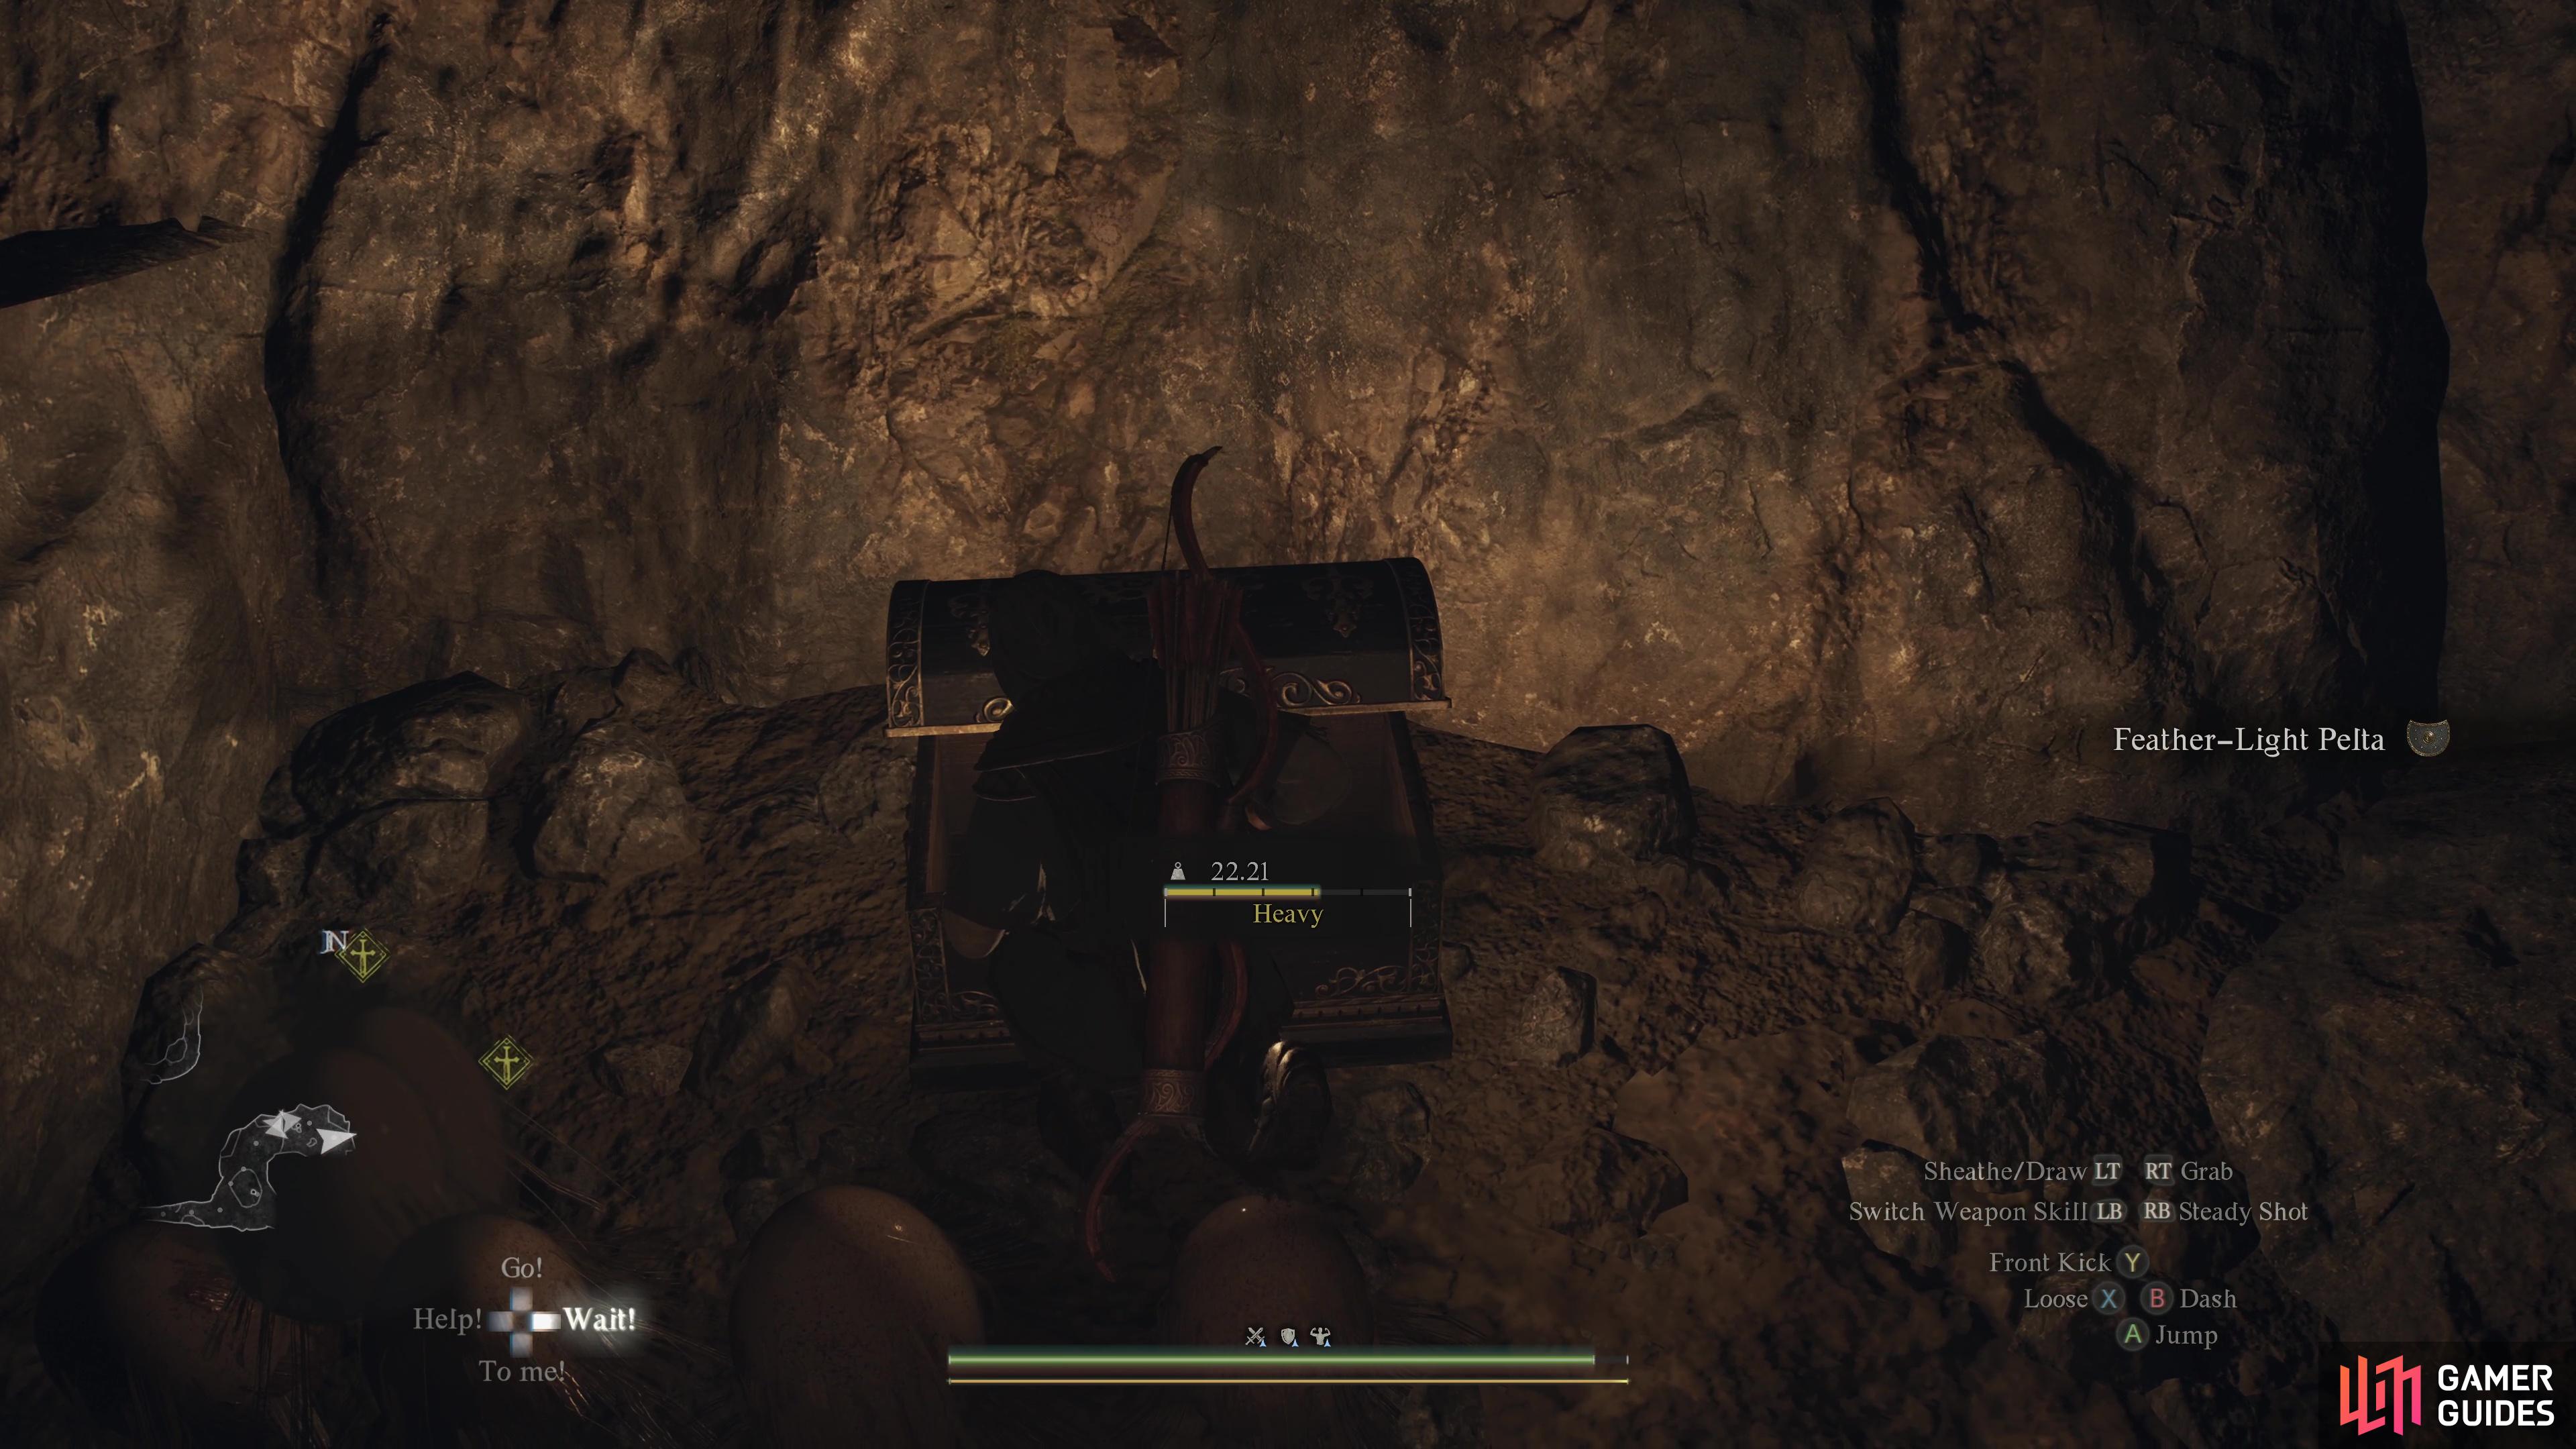
Found against the eastern wall of the cave.
Contains: ![]() Feather-Light Pelta
Feather-Light Pelta
245. Dungeon & Town Maps
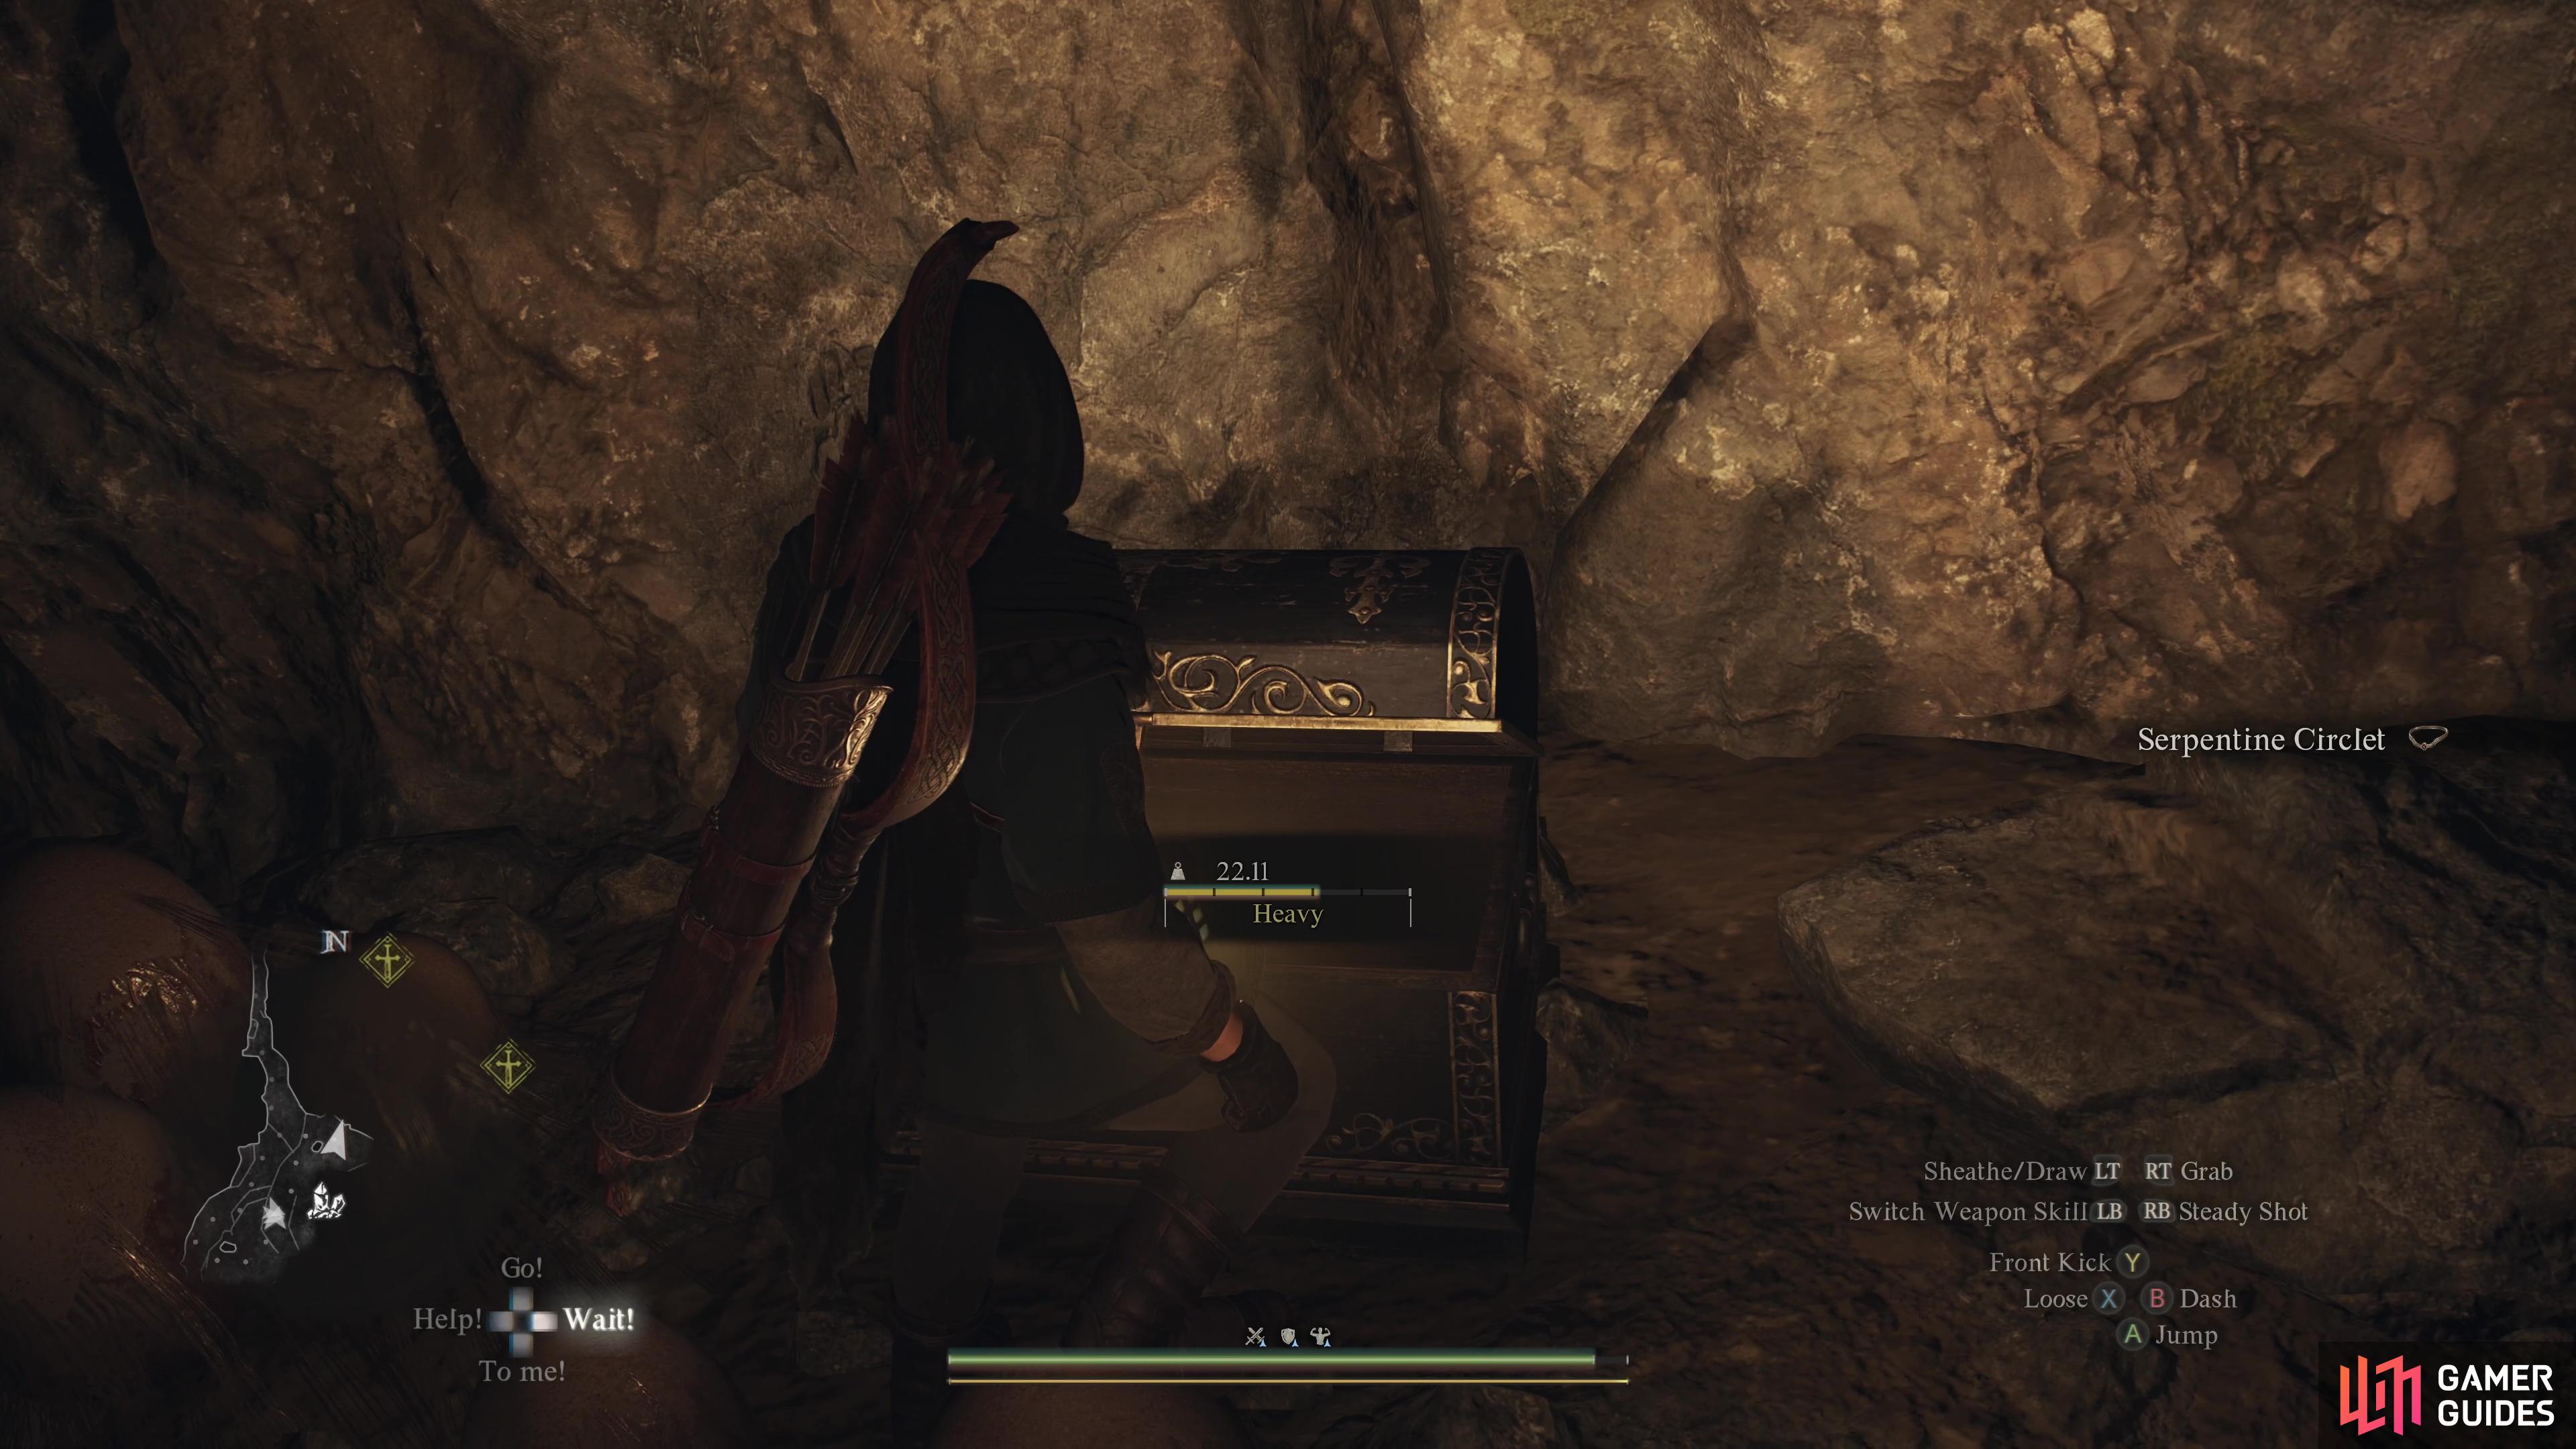
Found on the raised section of the main chamber, near some ![]() Saurian eggs.
Saurian eggs.
Contains: ![]() Serpentine Circlet
Serpentine Circlet
247. Unmoored World (Post Game) Map
At the top of the slope, on your right. Contains 1x ![]() Ferrystone.
Ferrystone.
248. Unmoored World (Post Game) Map
The chest can be found on the side of the upper path, next to the spikes protruding from the ground. Contains 1x ![]() Ferrystone.
Ferrystone.
249. Unmoored World (Post Game) Map
On the lower path under the archway. Contains 1x ![]() Ferrystone.
Ferrystone.

250. Dungeon & Town Maps
Inside a room in ![]() Ulrika’s House.
Ulrika’s House.
Contains: ![]() Wakestone Shard
Wakestone Shard

251. Dungeon & Town Maps
In the corner of the ![]() Flamebearer Palace Servants’ Chamber.
Flamebearer Palace Servants’ Chamber.
Contains: ![]() Wakestone Shard
Wakestone Shard
252. Unmoored World (Post Game) Map
This chest can be found on the upper path. Contains 210 RC.
253. Dungeon & Town Maps
In the corner of ![]() Laboratorium - Workshop #1.
Laboratorium - Workshop #1.
Contains: ![]() Farseer’s Circlet
Farseer’s Circlet
254. Dungeon & Town Maps
Next to the door of the ![]() Laboratorium - Material Stores.
Laboratorium - Material Stores.
Contains: ![]() Igneous Melody,
Igneous Melody, ![]() Emergent Vitality,
Emergent Vitality, ![]() Threshing Blaze,
Threshing Blaze, ![]() Winter’s Path,
Winter’s Path, ![]() Fulgurous Lord
Fulgurous Lord
255. Unmoored World (Post Game) Map
Can be found on the floor at the end of the path as you turn south. Contains 1x ![]() Ferrystone.
Ferrystone.
256. Unmoored World (Post Game) Map
Sitting against the wall under the archway. Contains 1x ![]() Ferrystone.
Ferrystone.

257. Dungeon & Town Maps
Behind the throne in the ![]() Vernworth Castle - Audience Chamber.
Vernworth Castle - Audience Chamber.
Contains: ![]() Heraldic Cape
Heraldic Cape

258. Dungeon & Town Maps
On the right side of the room in the ![]() Vernworth Royal Chambers.
Vernworth Royal Chambers.
Contains: ![]() Wakestone Shard
Wakestone Shard
259. Dungeon & Town Maps
At the top of the tower on the fourth floor of ![]() Vernworth Castle.
Vernworth Castle.
Contains: ![]() Dragon’s Gaze
Dragon’s Gaze

260. Dungeon & Town Maps
On the right side of the ![]() Vernworth Castle - Guest Chambers.
Vernworth Castle - Guest Chambers.
Contains: ![]() Courtly Tunic and
Courtly Tunic and ![]() Courtly Breeches
Courtly Breeches

261. Dungeon & Town Maps
Next to a bed in a side-room of the ![]() Arborist’s Home.
Arborist’s Home.
Contains: ![]() Wakestone Shard
Wakestone Shard
263. Dungeon & Town Maps
In the corner of the ruins.
Contains: ![]() Panacea x2, 6120 gold coins
Panacea x2, 6120 gold coins
265. Dungeon & Town Maps
In the room at the end of the corridor.
Contains: 10030 gold coins

269. Dungeon & Town Maps
In a small room at the back of the cave.
Contains: ![]() Sabatons of Judgment
Sabatons of Judgment
270. Dungeon & Town Maps
You can reach B1F and this chest by dropping down the hole in the floor of the large north chamber of 1F. Keep heading through the passage to the end.
Contains: ![]() Grievous Horns
Grievous Horns

271. Dungeon & Town Maps
After breaking through a wall on the right in the ![]() Derelict Mine, jump over a pit and collapsible floor. Fall through the second collapsible floor, climb down the ladder in front of you, then turn around to find this chest.
Derelict Mine, jump over a pit and collapsible floor. Fall through the second collapsible floor, climb down the ladder in front of you, then turn around to find this chest.
Contains: ![]() Wakestone Shard and 2130 gold coins
Wakestone Shard and 2130 gold coins

272. Dungeon & Town Maps
After breaking through the wall on the right in the ![]() Derelict Mine, jump over a pit and collapsible floor. Fall through the second collapsible floor, climb down the ladder in front of you, and this chest will be right in front of you.
Derelict Mine, jump over a pit and collapsible floor. Fall through the second collapsible floor, climb down the ladder in front of you, and this chest will be right in front of you.
Contains: ![]() Helmbarte Daggers
Helmbarte Daggers

273. Dungeon & Town Maps
Behind the locked door. Break through the wall on the right, then jump over a pit and collapsible floor. Fall through the second collapsible floor, climb up the ladder in front of you, and this chest is around the corner.
Contains: ![]() Ranger’s Tights
Ranger’s Tights
274. Unmoored World (Post Game) Map
The chest can be found on the floor of the lower path behind the ![]() Skeleton Lord. Contains 1x
Skeleton Lord. Contains 1x ![]() Promethean Hood.
Promethean Hood.
275. Unmoored World (Post Game) Map
In the same area as the ![]() Gorechimera, against the wall. Contains 1x
Gorechimera, against the wall. Contains 1x ![]() Ferrystone.
Ferrystone.
276. Dungeon & Town Maps
At the back of the room, floor B3F. Opening it will spawn several ![]() Skeletons.
Skeletons.
Contains: ![]() Abyssinal Neck Wrap
Abyssinal Neck Wrap


279. World Map
Near a ruined doorway on a raised section of the ruins.
Contains: 3450 gold coins
281. Unmoored World (Post Game) Map
The chest can be found against the wall on the seabed. Contains 270 RC.
282. Unmoored World (Post Game) Map
In the corner on the seabed. Contains 1x ![]() Ferrystone.
Ferrystone.
283. Dungeon & Town Maps
At the edge of a short corridor.
Contains: ![]() Ring of Acclamation and 6800 gold coins
Ring of Acclamation and 6800 gold coins
284. Unmoored World (Post Game) Map
The chest can be found on the southern ledge slightly above the seabed. Contains 30 RC.
285. Unmoored World (Post Game) Map
On top of the upper platform from the seabed. Contains 1x ![]() Wakestone Shard.
Wakestone Shard.
286. Unmoored World (Post Game) Map
On the raised platform where the two paths converge. Contains 90 RC.

287. Dungeon & Town Maps
After breaking the rock, this chest is on the left.
Contains: ![]() Panacea
Panacea
288. World Map
After breaking the rock, this chest is on the right.
Contains: ![]() Ring of Deflection
Ring of Deflection

289. Dungeon & Town Maps
After breaking the rock, this chest is on the right.
Contains: ![]() Ring of Deflection
Ring of Deflection

290. Dungeon & Town Maps
At the edge of a corridor at the top of the ledge.
Contains: ![]() Ravager-Lord’s Helm
Ravager-Lord’s Helm
291. Dungeon & Town Maps
On the left side of the cave. Opening it will make an ![]() Ooze spawn.
Ooze spawn.
Contains: ![]() Ring of Disfavor
Ring of Disfavor
292. Dungeon & Town Maps
In the side-room with the ladder.
Contains: ![]() Savagery Extract x2 and 1350 gold coins
Savagery Extract x2 and 1350 gold coins
295. Unmoored World (Post Game) Map
At the base of the slope. Contains 1x ![]() Ferrystone.
Ferrystone.

298. Unmoored World (Post Game) Map
On the upper platform. Come around from the east to reach it. Contains 1x ![]() Ferrystone.
Ferrystone.
299. Dungeon & Town Maps
At the end of the cave. Opening it may spawn additional ![]() Hobgoblins.
Hobgoblins.
Contains: ![]() Bardiche Daggers
Bardiche Daggers
300. Dungeon & Town Maps
Climb the nearby rocks to find this chest.
Contains: ![]() Ring of Percipience
Ring of Percipience
301. Unmoored World (Post Game) Map
In the large underground cave-like system on the seabed. Contains 1x ![]() Wailing Crystal.
Wailing Crystal.
302. Unmoored World (Post Game) Map
In the large underground cave-like system on the seabed. Contains 1x ![]() Ferrystone.
Ferrystone.
303. Unmoored World (Post Game) Map
Against the wall on the seabed near the ![]() Gorechimera. Contains 1x
Gorechimera. Contains 1x ![]() Ferrystone.
Ferrystone.
304. Unmoored World (Post Game) Map
Found as you enter the ruins.
Contains: ![]() Ferrystone
Ferrystone
305. Unmoored World (Post Game) Map
On the upper platform of the seabed. Use the nearby ledges to reach it. Contains 330 RC.
306. Dungeon & Town Maps
Beneath the breakable ground on floor B1F.
Contains: 10360 gold coins
307. Unmoored World (Post Game) Map
Found against the wall of the castle.
Contains: 150 RC
309. Dungeon & Town Maps
On a ledge near the campsite. Can only be reached by using ![]() Levitate or grabbing onto the harpies on floor 1F.
Levitate or grabbing onto the harpies on floor 1F.
Contains: ![]() Drakescale Cape,
Drakescale Cape, ![]() Fine Harspud Roborant x2
Fine Harspud Roborant x2

310. Dungeon & Town Maps
On a ledge near the campsite. Can only be reached by using ![]() Levitate or grabbing onto the harpies on floor 1F.
Levitate or grabbing onto the harpies on floor 1F.
Contains: ![]() Ring of Vehemence
Ring of Vehemence
311. Dungeon & Town Maps
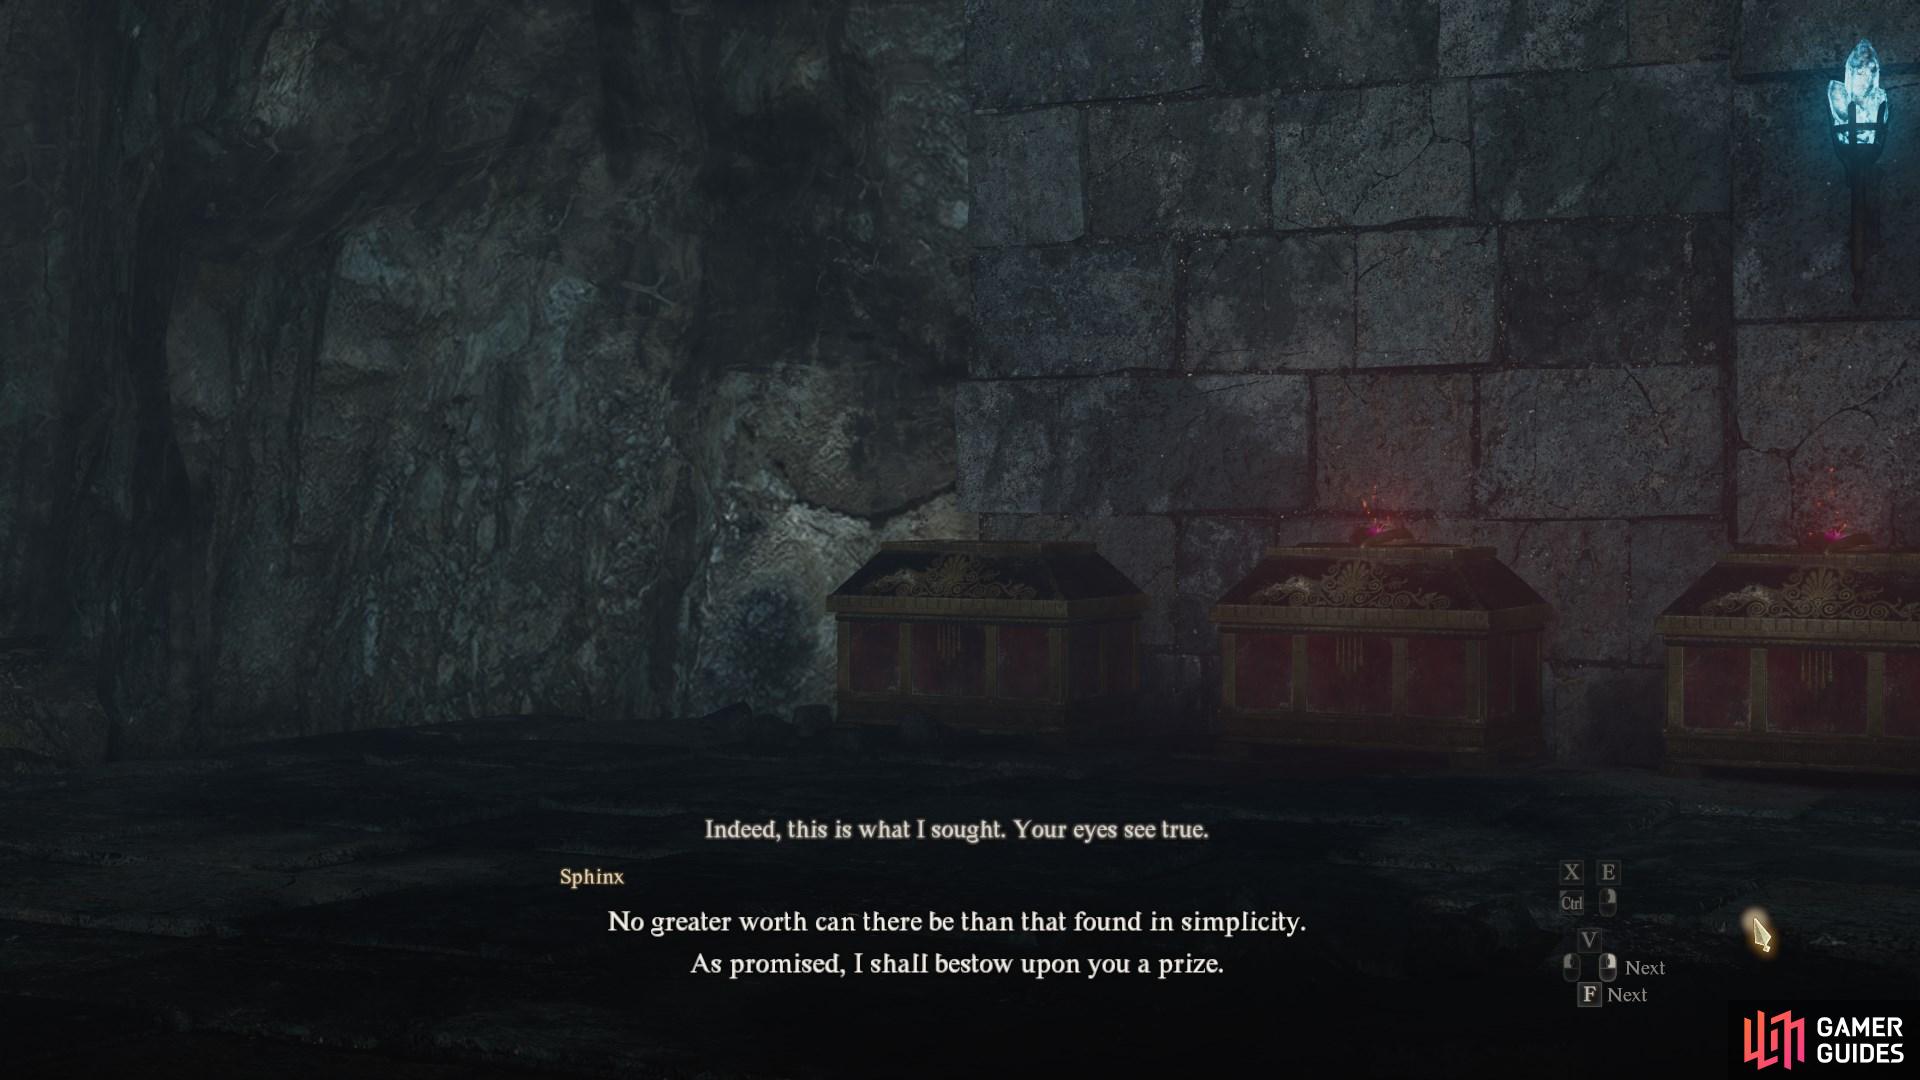
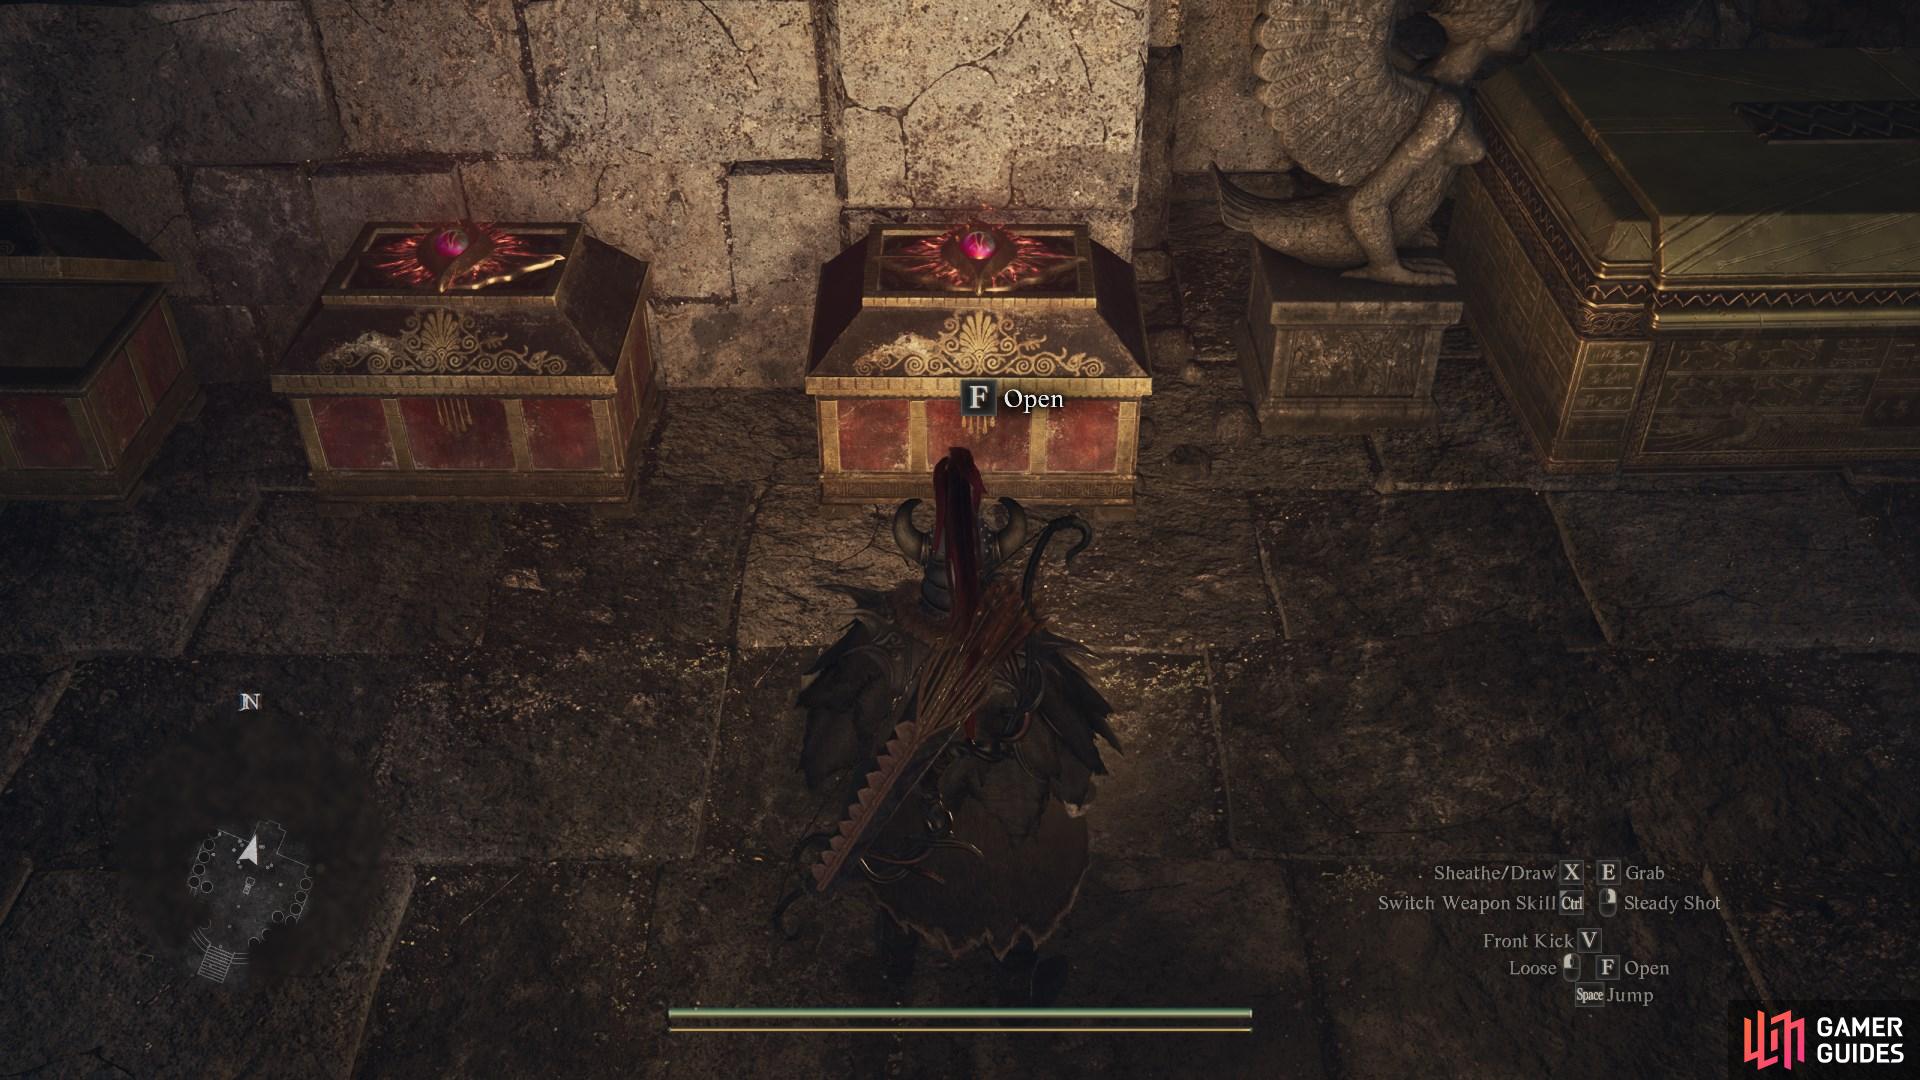
Unlocked after solving the ![]() Sphinx’s Riddle of Contest.
Sphinx’s Riddle of Contest.
Contains: ![]() Ring of Ambition
Ring of Ambition
312. Dungeon & Town Maps
Unlocked after solving the ![]() Sphinx’s Riddle of Recollection.
Sphinx’s Riddle of Recollection.
Contains: ![]() Unmaking Arrow
Unmaking Arrow
313. Dungeon & Town Maps
Unlocks after completing the ![]() Sphinx’s Riddle of Differentiation.
Sphinx’s Riddle of Differentiation.
Contains: ![]() Whimsical Daydream
Whimsical Daydream
314. Dungeon & Town Maps
Unlocked after solving the ![]() Sphinx’s Riddle of Futility.
Sphinx’s Riddle of Futility.
Contains: ![]() Eternal Bond
Eternal Bond
315. Dungeon & Town Maps
Unlocks after completing the ![]() Sphinx’s Riddle of Reunion.
Sphinx’s Riddle of Reunion.
Contains: 100,000 gold coins
316. Unmoored World (Post Game) Map
On the seabed east of the ![]() Nameless Village. Take the path east opposite the Inn and head around the fence. Drop into the area below where you’ll find the chest containing the
Nameless Village. Take the path east opposite the Inn and head around the fence. Drop into the area below where you’ll find the chest containing the ![]() Hood of Darkness.
Hood of Darkness.
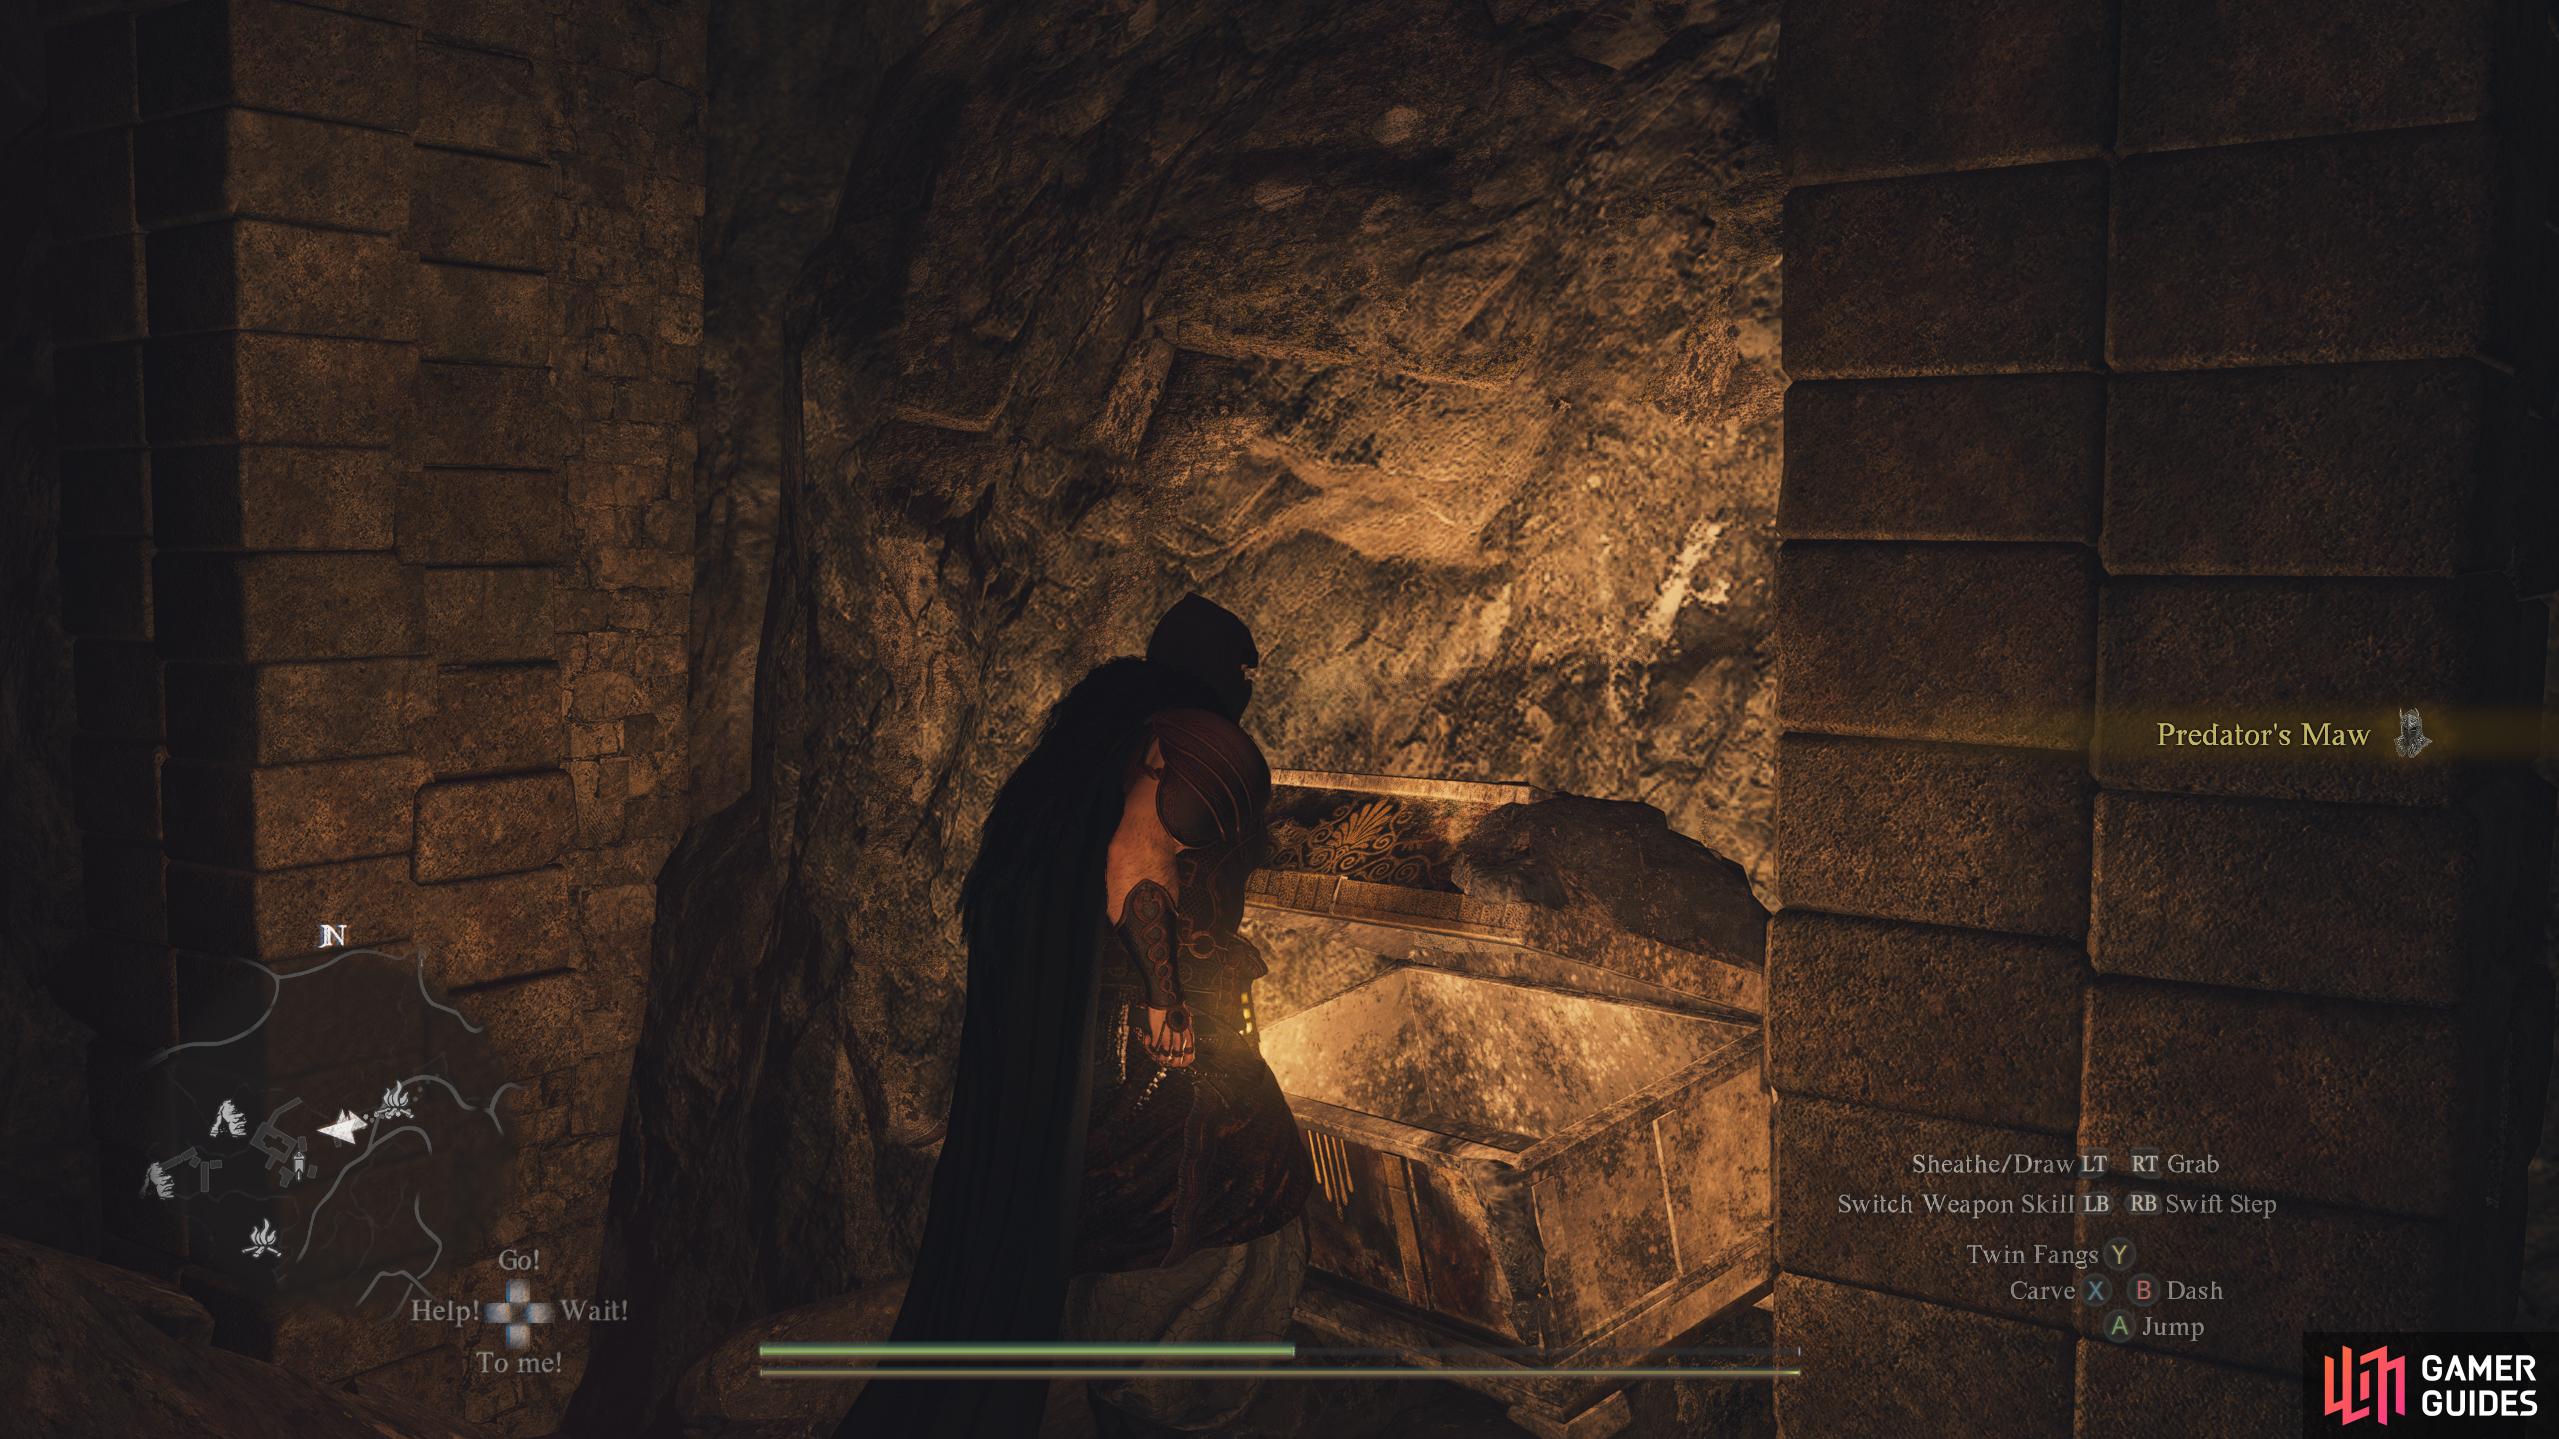
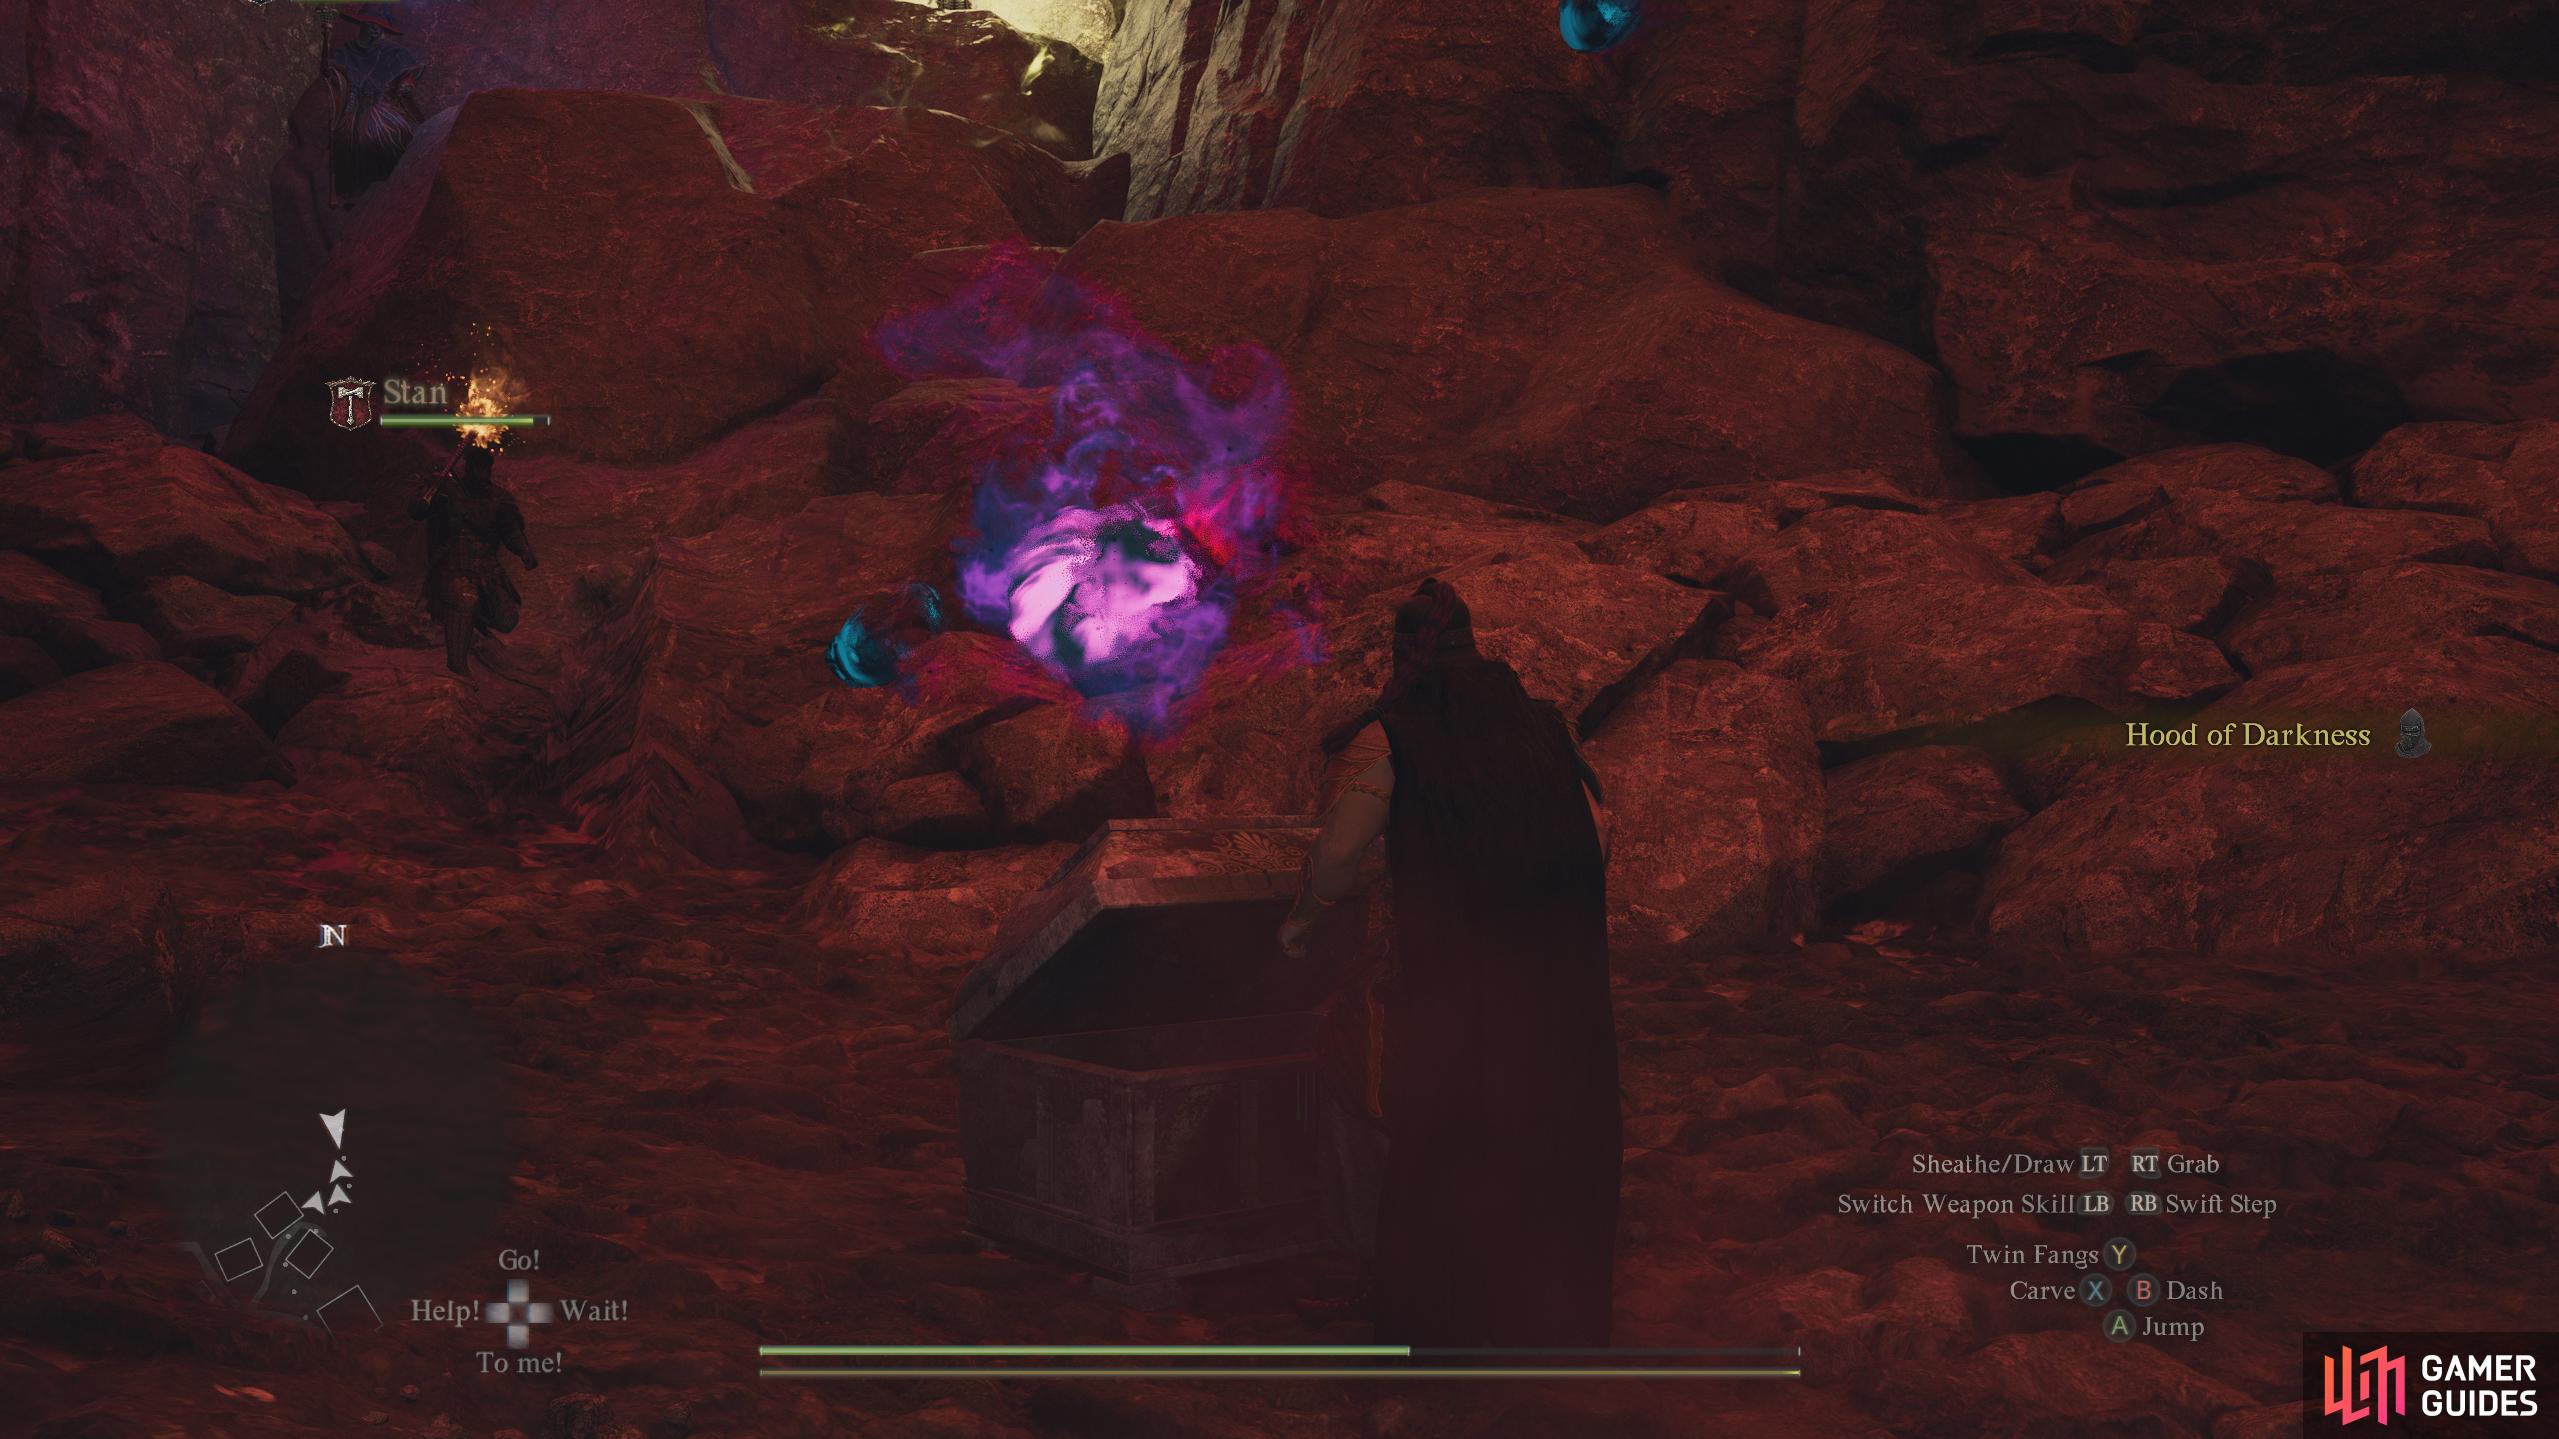
317. Unmoored World (Post Game) Map
In the seabed next to the dilapidated aqueduct. Head west from the nearby ![]() Campsite, and slide down the muddy pile of rocks to find the chest containing the
Campsite, and slide down the muddy pile of rocks to find the chest containing the ![]() Predator’s Maw.
Predator’s Maw.
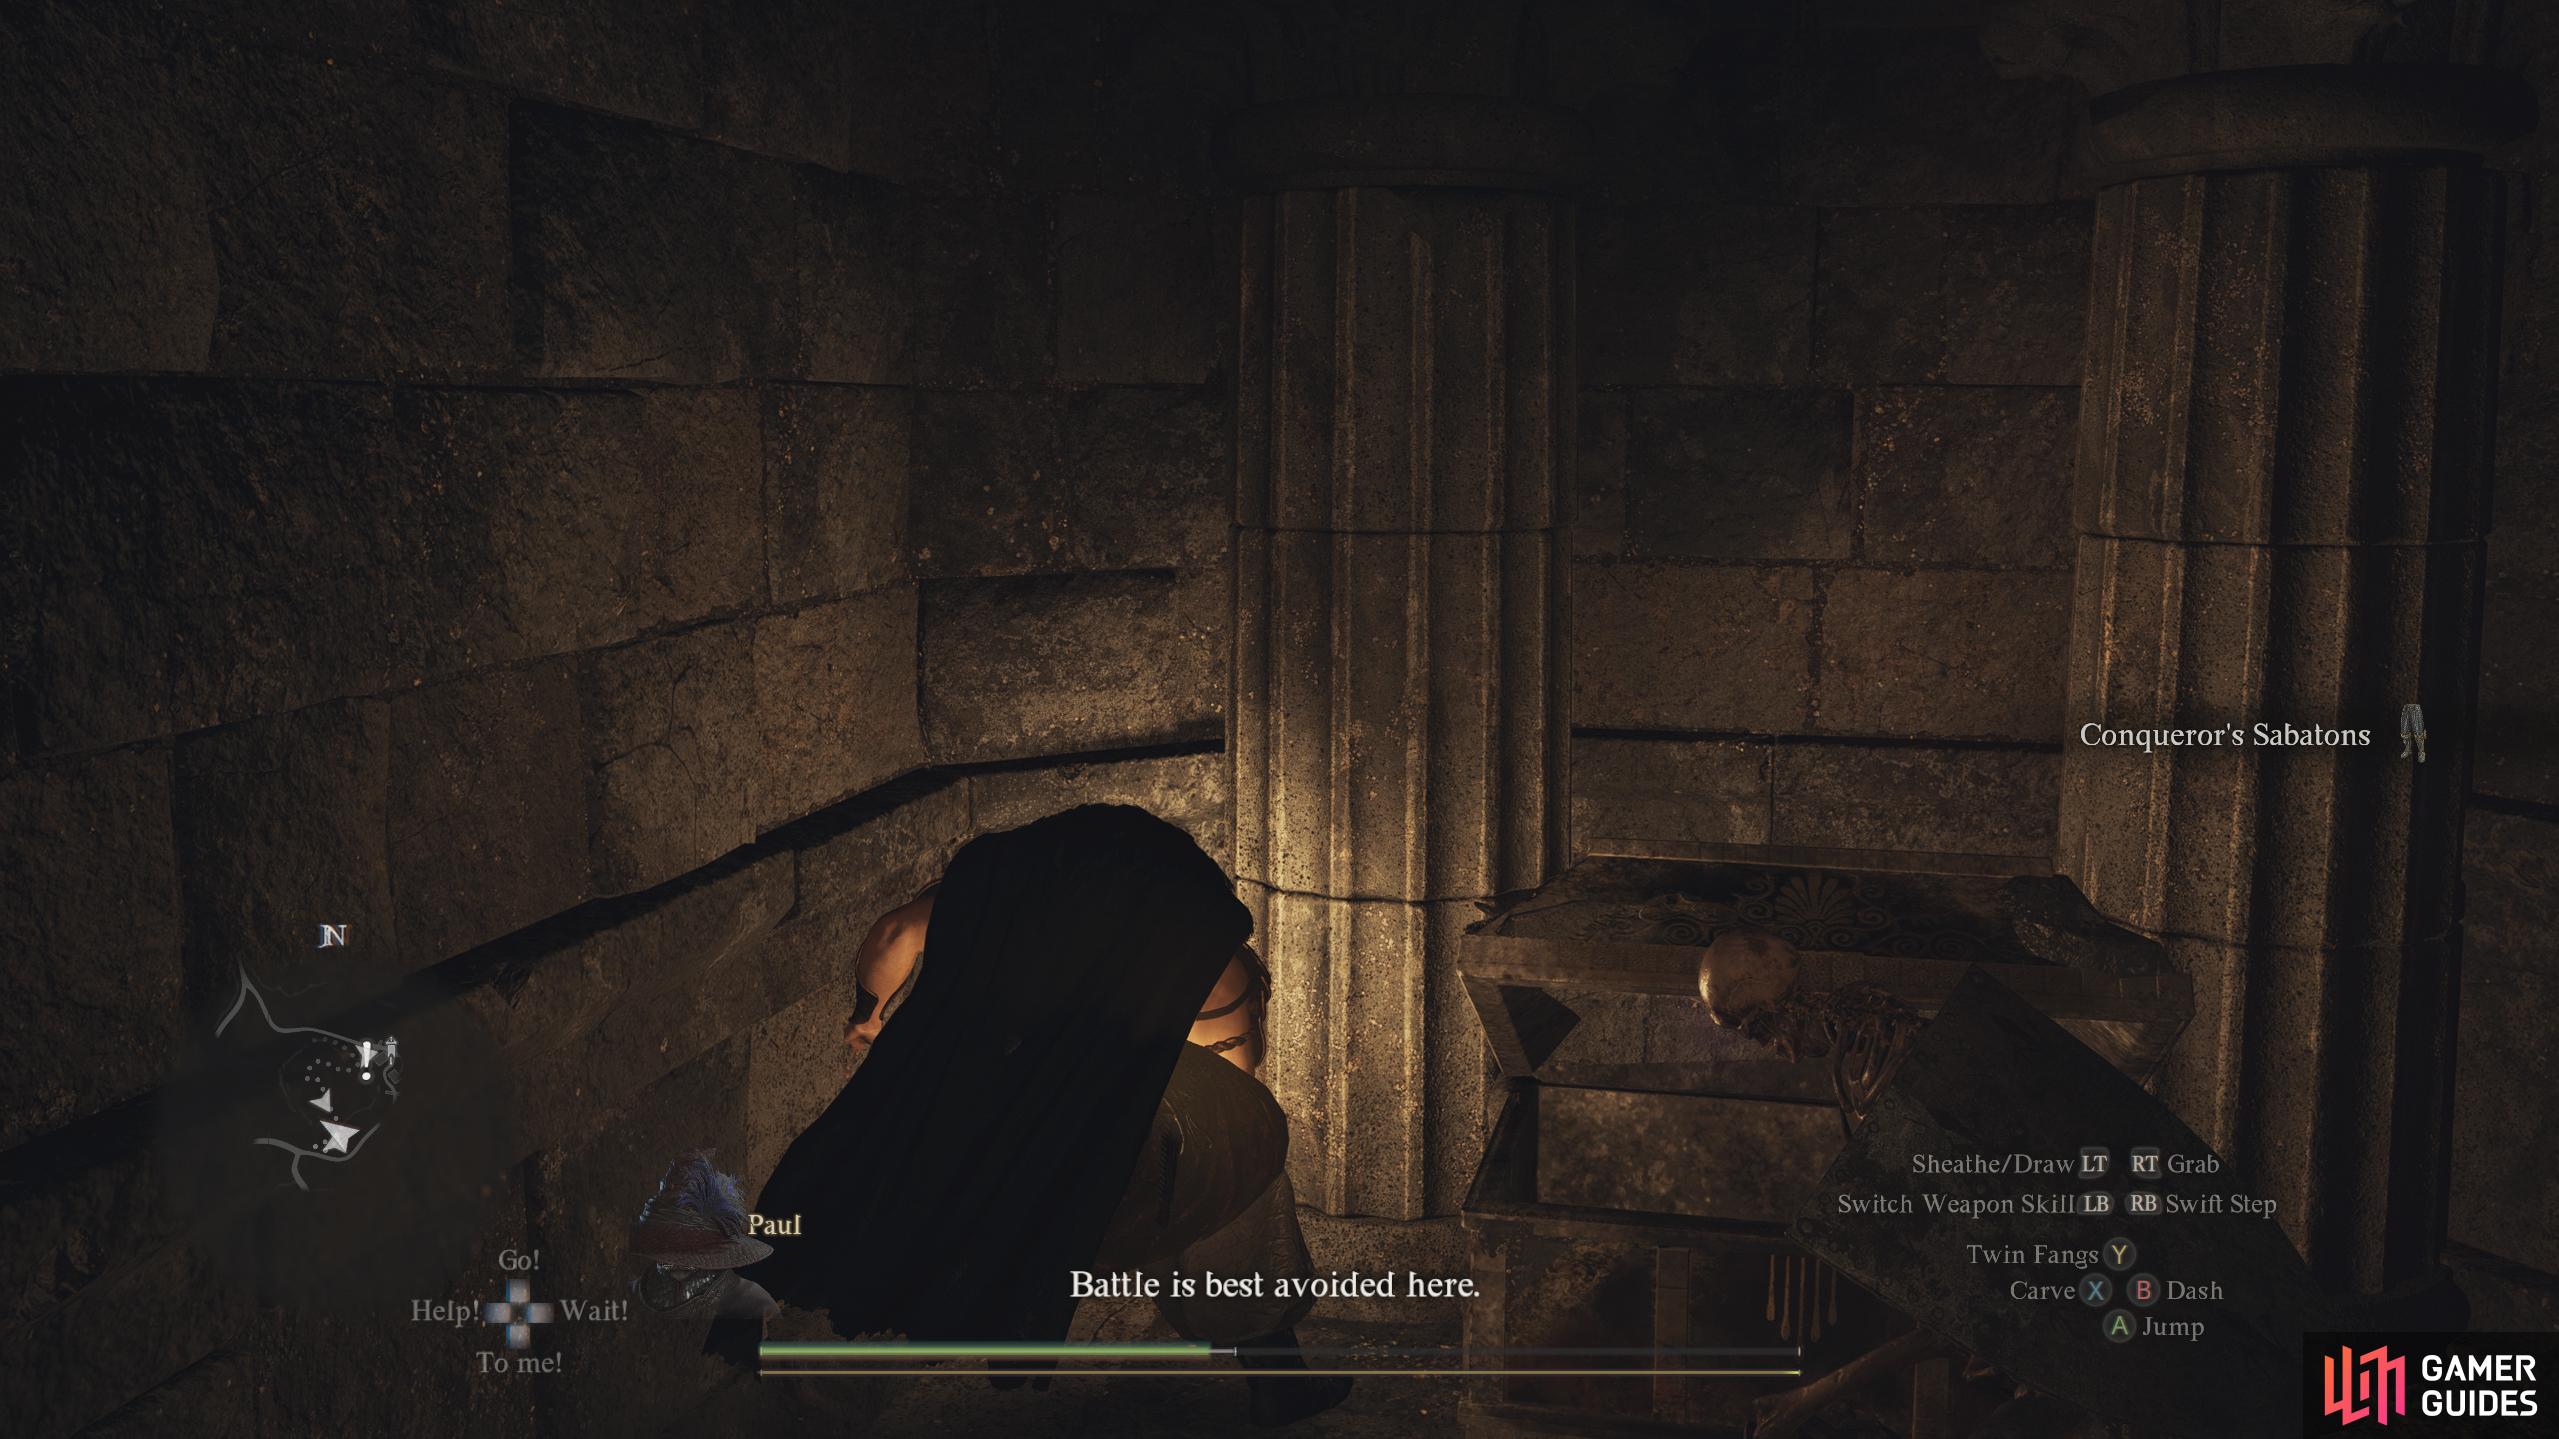
318. Unmoored World (Post Game) Map
Make your way down the stairs in the crate and follow the path into a ruin. Take the stairs down and you’ll find the chest in the alcove to your left. Contains 1x ![]() Conqueror’s Sabatons.
Conqueror’s Sabatons.

319. Dungeon & Town Maps
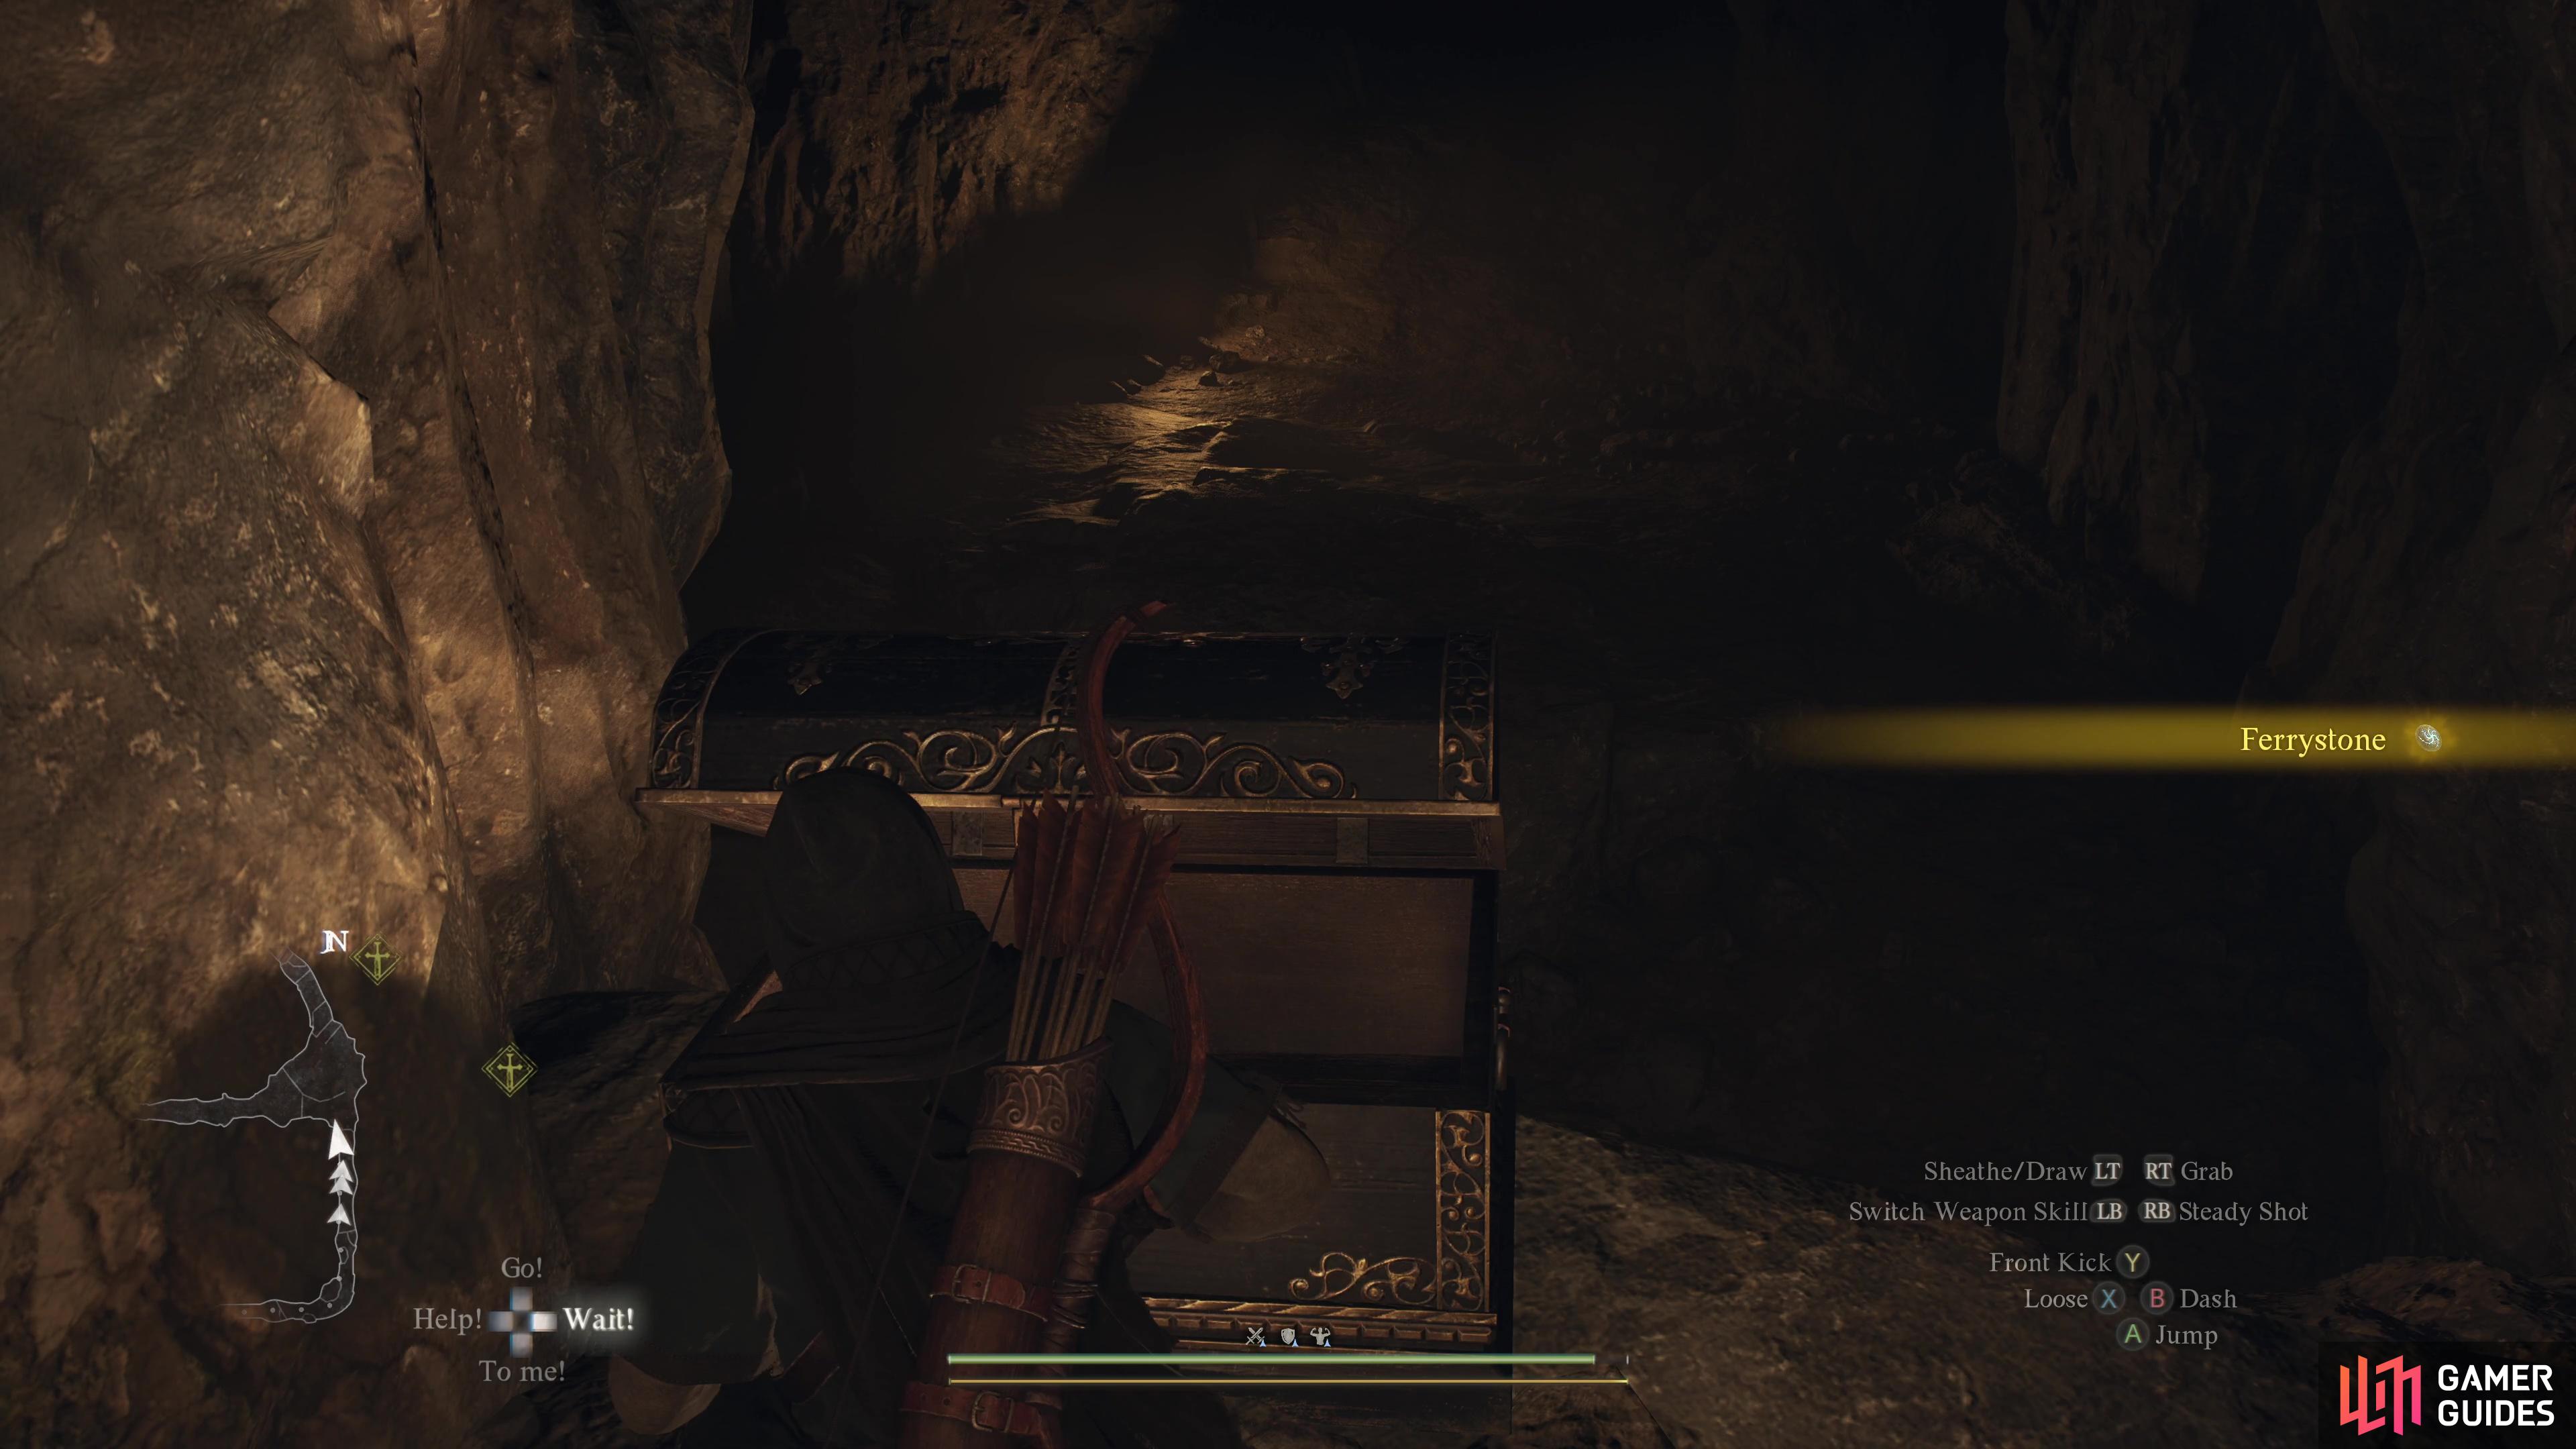
On top of some rocks at the end of the path.
Contains: ![]() Ferrystone
Ferrystone
320. Dungeon & Town Maps
Next to the stalagmites and blue light in the middle of the room. A ![]() Wight will spawn when the chest is opened.
Wight will spawn when the chest is opened.
Contains: ![]() Nation’s Death Knell,
Nation’s Death Knell, ![]() Howling Blizzard
Howling Blizzard
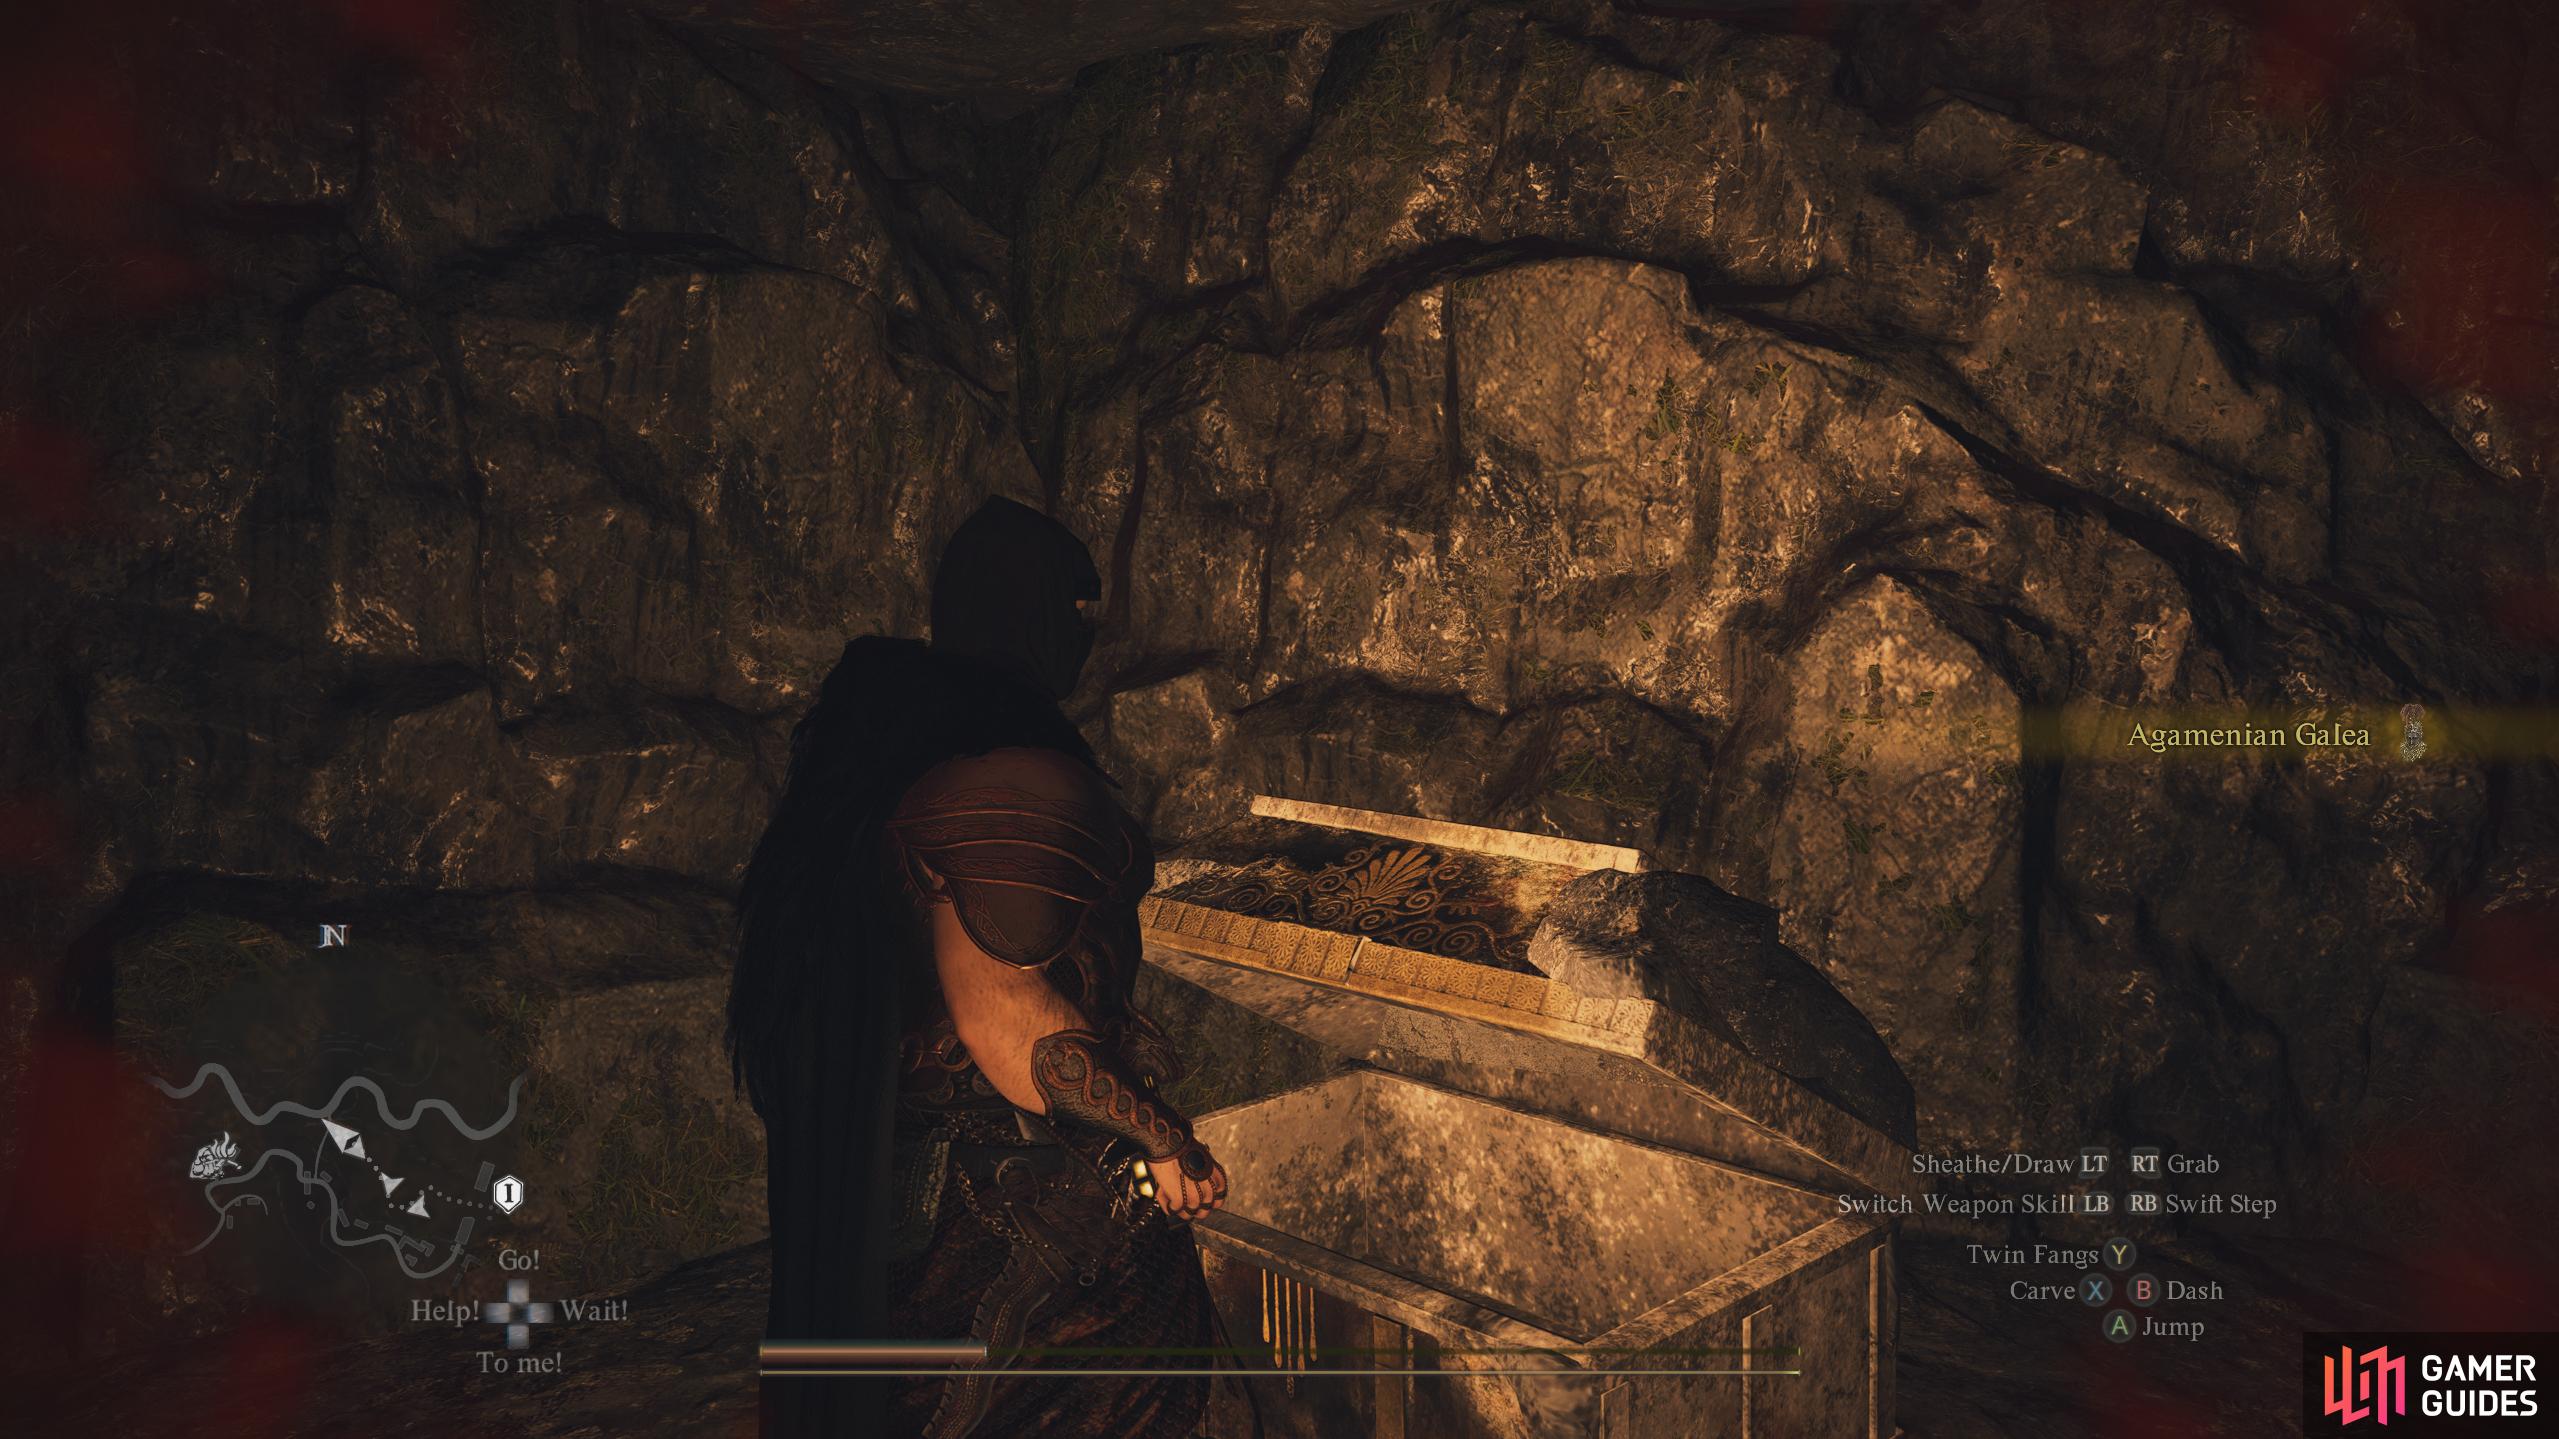
322. Unmoored World (Post Game) Map
The chest can be found in a small cave accessed by climbing the rocky ledges from the seabed. Contains 1x ![]() Agamenian Galea.
Agamenian Galea.
323. World Map
After breaking the rock to the east, follow the path down a slope and look for a ladder. This chest is in a hole at the bottom, guarded by ![]() Goblins.
Goblins.
Contains: ![]() Wakestone Shard
Wakestone Shard
324. Dungeon & Town Maps
On top of a ledge at the edge of the room.
Contains: ![]() Scale Band
Scale Band
325. Dungeon & Town Maps
At the end of a corridor beneath the breakable floor.
Contains: ![]() Ring of Exultation
Ring of Exultation

326. Dungeon & Town Maps
At the back of the cave, guarded by ![]() Saurians.
Saurians.
Contains: ![]() Broadsword
Broadsword
327. Unmoored World (Post Game) Map
On the seabed next to the pillar. Contains 1x ![]() Monarch’s Crown.
Monarch’s Crown.

328. Unmoored World (Post Game) Map
On the pile of rocks next to the seabed. Contains 300 RC.
329. Unmoored World (Post Game) Map
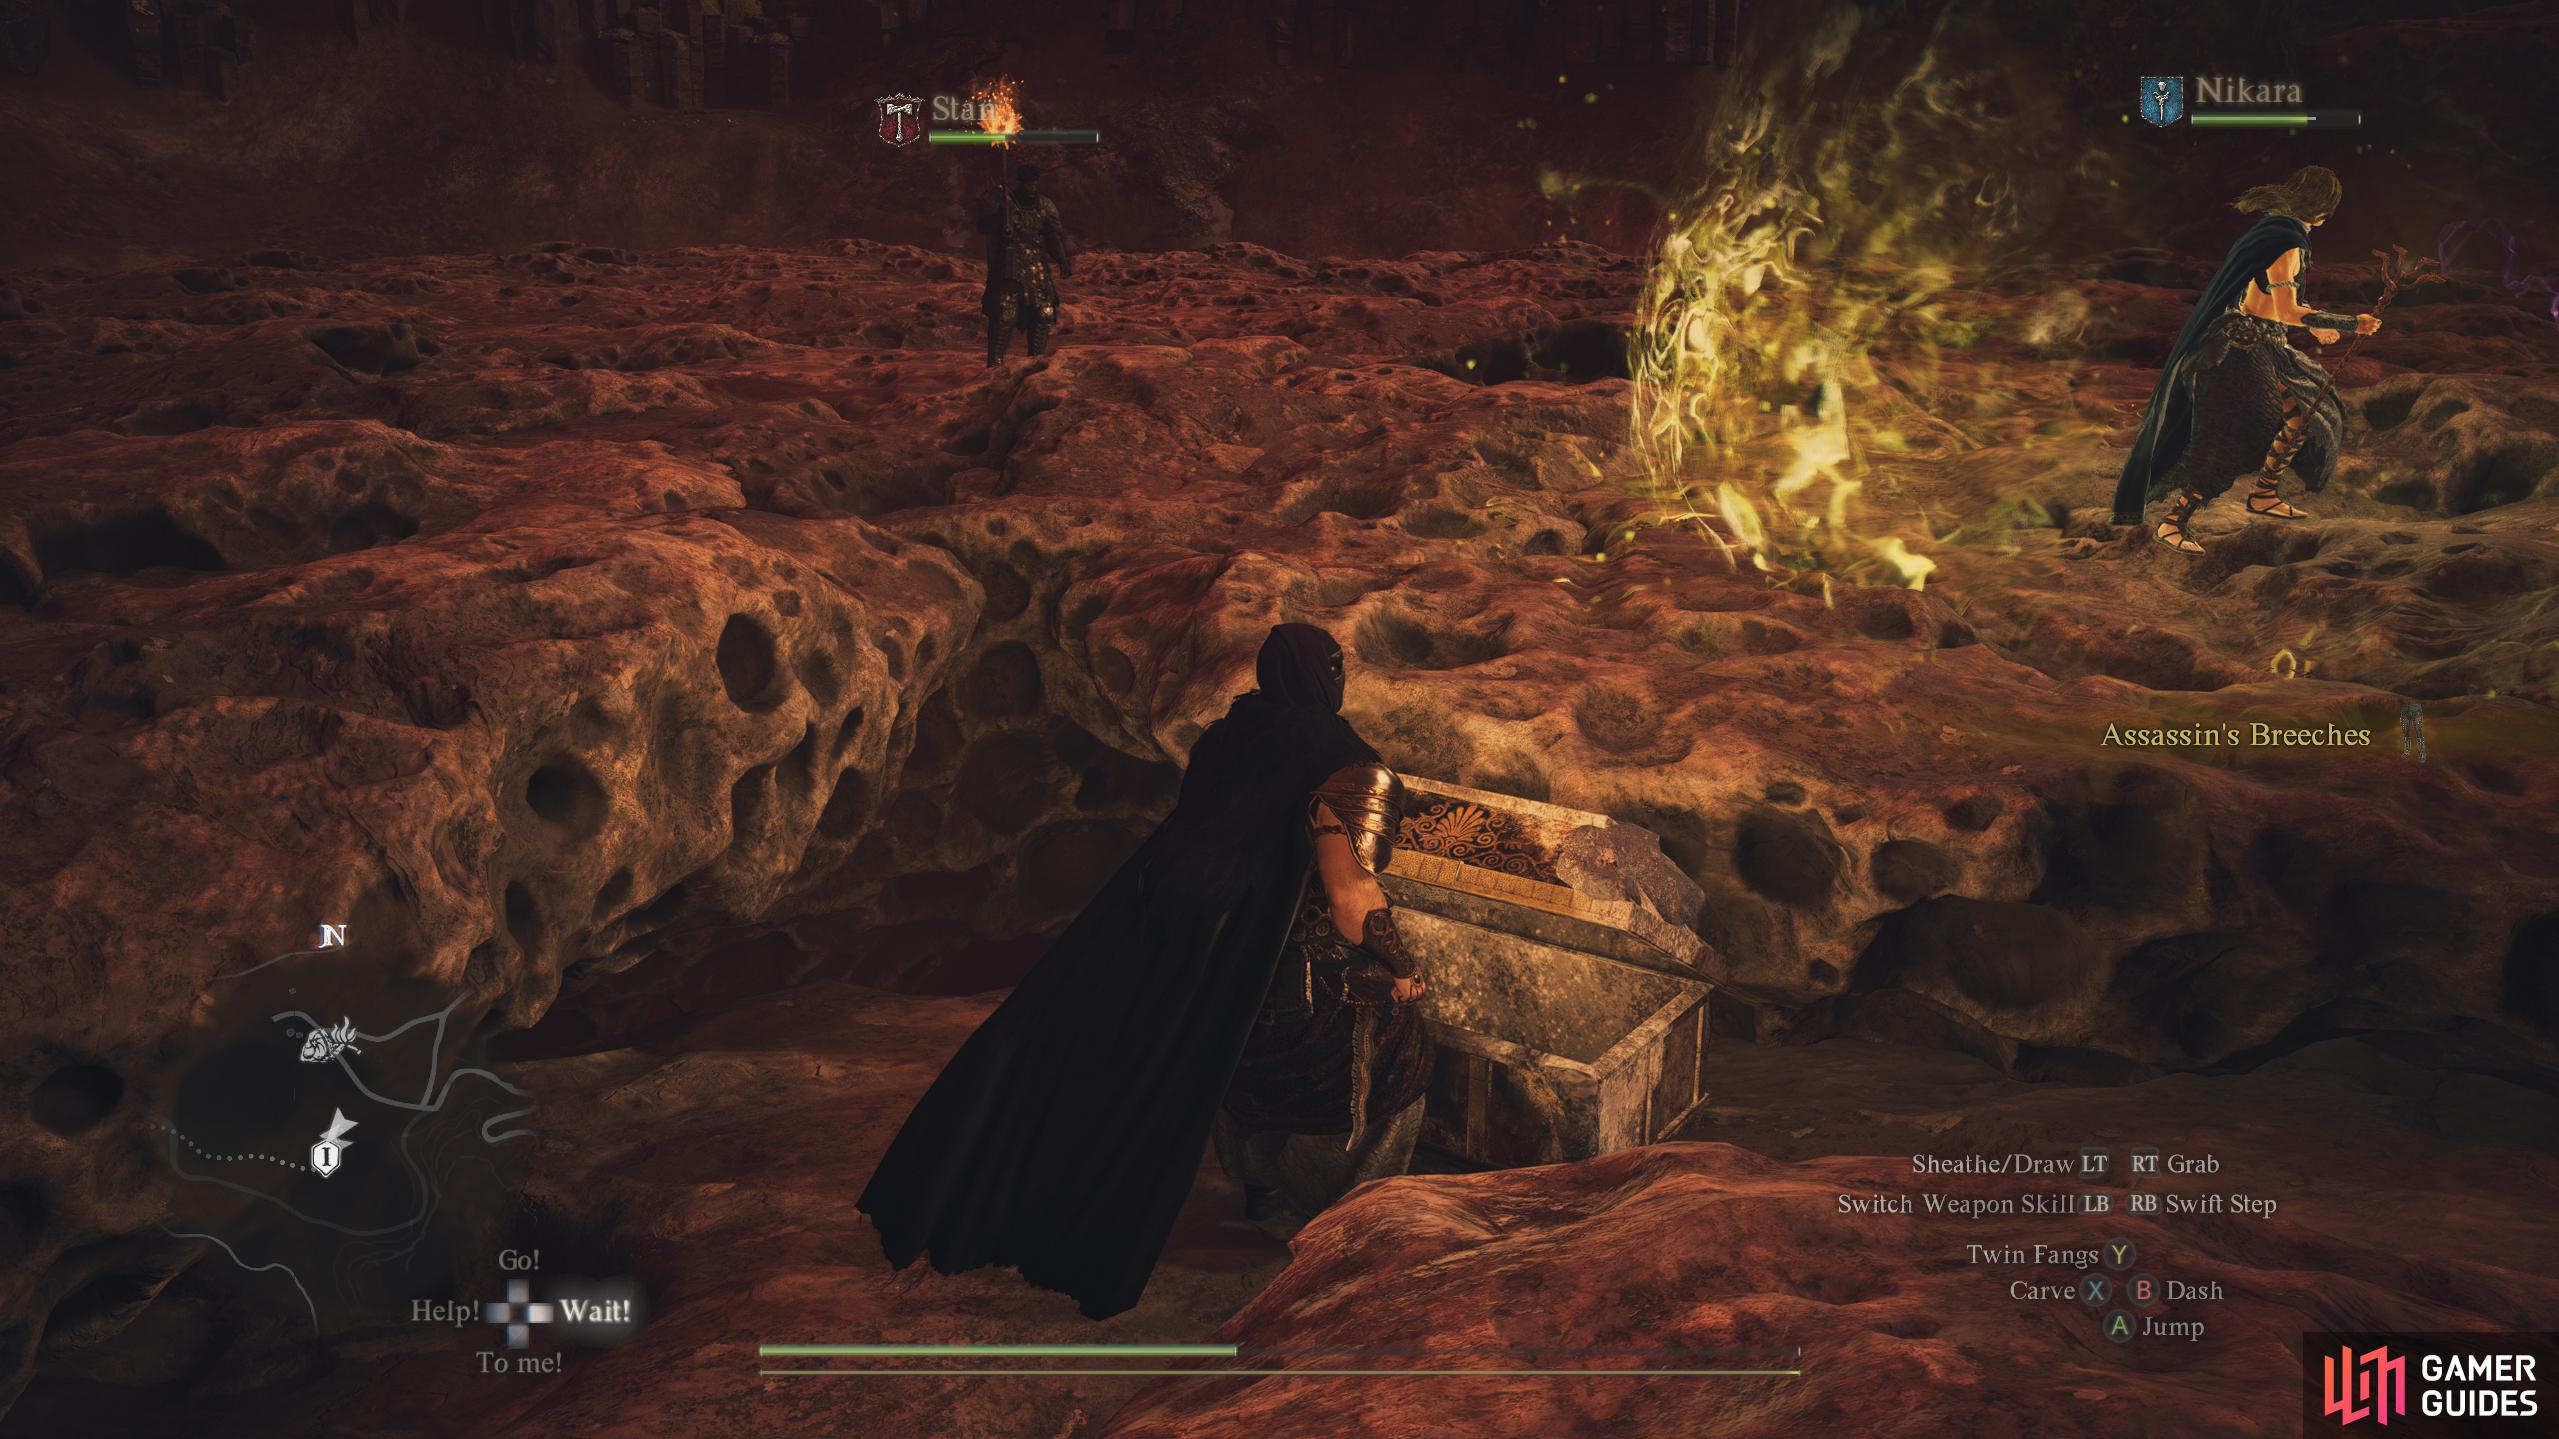
This chest is difficult to spot as it is in one of the small craters on the upper level (above the ![]() Golem). Contains 1x
Golem). Contains 1x ![]() Assassin’s Breeches.
Assassin’s Breeches.

331. Dungeon & Town Maps
At the top of a steep drop. Easiest to reach with movement abilities like ![]() Levitate or Helmsplitter.
Levitate or Helmsplitter.
Contains: ![]() Gazer’s Hood
Gazer’s Hood
332. Dungeon & Town Maps
On the left side of the grassy area.
Contains: ![]() Makeshift Gaol Key
Makeshift Gaol Key
333. Unmoored World (Post Game) Map
On the upper path at the edge of the rock formation, south of the seabed. Contains 1x ![]() Ferrystone.
Ferrystone.
334. Dungeon & Town Maps
At the top of a ledge. Easiest to reach with movement abilities like ![]() Levitate, or by lowering yourself onto the ledge from the hole above.
Levitate, or by lowering yourself onto the ledge from the hole above.
Contains: ![]() Ferrystone
Ferrystone

335. Dungeon & Town Maps
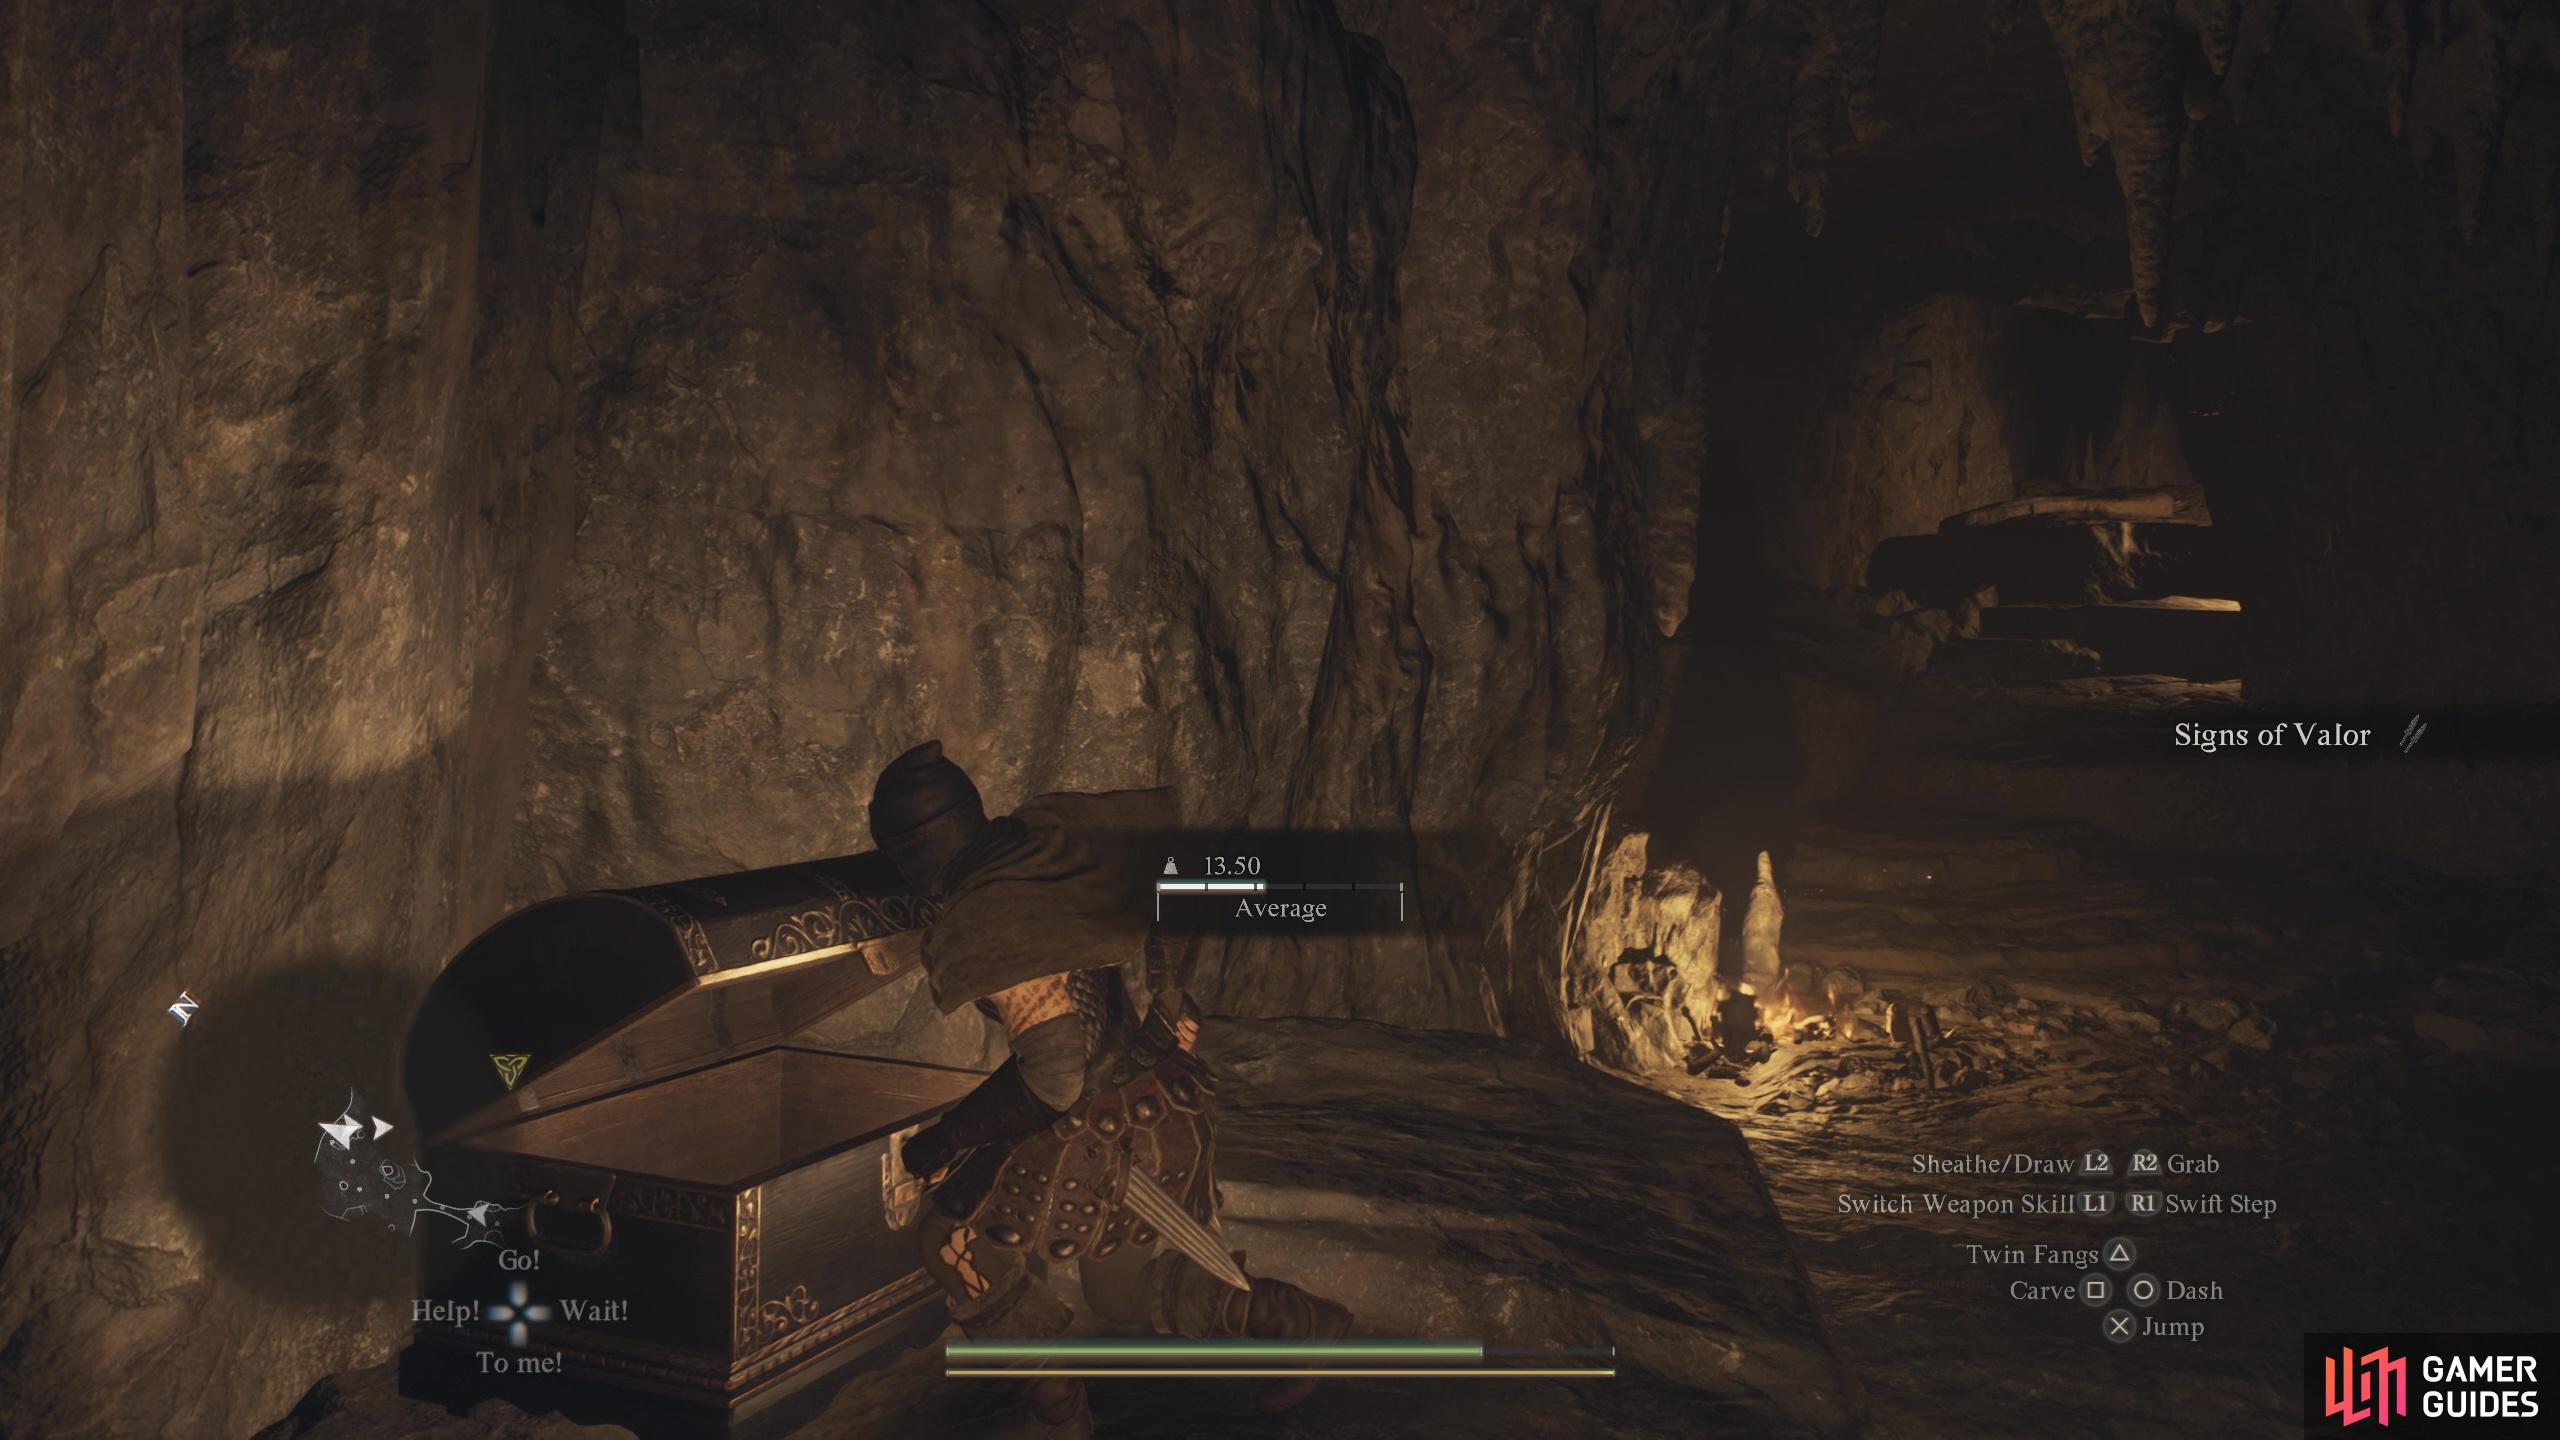
Found on a ledge just before the mines’ exit.
Contains : ![]() Signs of Valor
Signs of Valor
336. Unmoored World (Post Game) Map
This chest can be found on the seabed outside of the town. It’ll be sitting next to the wall west of ![]() The Gracious Hands Vaults. Contains 1x
The Gracious Hands Vaults. Contains 1x ![]() Wakestone Shard.
Wakestone Shard.
337. Dungeon & Town Maps
Inside a locked room. Easiest to reach by dropping down from above, or throwing down an explosive barrel to break the barricade.
Contains: ![]() Helical Archistaff
Helical Archistaff
338. Unmoored World (Post Game) Map
On top of the raised rock formation to the east. Walk around to the south side of it to reach the chest. Contains 270 RC.
340. Unmoored World (Post Game) Map
This chest can be found atop the pillar on the raised path. You will need to jump across to it. Contains 1x ![]() Allheal Elixir.
Allheal Elixir.
342. Dungeon & Town Maps
At the top of a rocky climb, near a wooden railing.
Contains: ![]() Ring of Awareness and 1210 gold coins.
Ring of Awareness and 1210 gold coins.
343. Unmoored World (Post Game) Map
In the corner up the broken stairs. Contains 1x ![]() Ferrystone.
Ferrystone.
344. Unmoored World (Post Game) Map
Follow the narrow path east atop the ruins to find the chest. Contains 1x ![]() Ferrystone.
Ferrystone.
346. Dungeon & Town Maps
On top of a ledge that can only be accessed through the tunnels to the south-east.
Contains: ![]() Ring of Percipience
Ring of Percipience
347. Dungeon & Town Maps
Inside the large gazebo.
Contains: ![]() Eminent Coat and 5260 gold coins
Eminent Coat and 5260 gold coins

349. Unmoored World (Post Game) Map
Next to the wall under the bridge. Contains 300 RC.
350. Unmoored World (Post Game) Map
Against the wall through the narrow passage. Contains 1x ![]() Wakestone Shard.
Wakestone Shard.
351. Unmoored World (Post Game) Map
Found in the corner near the eastern wall. Contains 1x ![]() Ferrystone.
Ferrystone.
352. Dungeon & Town Maps
At the end of the corridor on the southern end of the cave.
Contains: ![]() Half-Plate Armor
Half-Plate Armor
353. Dungeon & Town Maps
Behind the breakable wall, guarded by 4x ![]() Undead.
Undead.
Contains: ![]() Patroller Knee Guards
Patroller Knee Guards
354. Dungeon & Town Maps
At the bottom of the stairs, guarded by ![]() Leapworm. Opening it will make several
Leapworm. Opening it will make several ![]() Skeletons spawn in the room above, and
Skeletons spawn in the room above, and ![]() Phantoms in the space nearby.
Phantoms in the space nearby.
Contains: ![]() Favored Branches, 2800 gold coins
Favored Branches, 2800 gold coins
355. Unmoored World (Post Game) Map
The chest is against the western wall just off the path. Contains 1x ![]() Ferrystone.
Ferrystone.
356. Unmoored World (Post Game) Map
On the upper floor or the ruins. Use the broken walls to reach it. Contains 1x ![]() Allheal Elixir.
Allheal Elixir.
357. Unmoored World (Post Game) Map
On the upper floor. Head south and walk around to find it. Contains 1x ![]() Ferrystone.
Ferrystone.

358. Unmoored World (Post Game) Map
Sitting against the rocky wall. Contains ![]() Ring of Disfavor.
Ring of Disfavor.
361. World Map
Hidden in the grass against between two rocks on a high-up cliff near the castle walls.
Contains: ![]() Wakestone Shard
Wakestone Shard
362. Dungeon & Town Maps
On top of the ledge. Approach from the raised tunnel to the south, or use abilities like ![]() Levitate.
Levitate.
Contains: ![]() Cinderspine and 3550 gold coins
Cinderspine and 3550 gold coins
363. Dungeon & Town Maps
On the right side of the large room.
Contains: ![]() Molten Fury, 4900 gold coins
Molten Fury, 4900 gold coins
364. Dungeon & Town Maps
On the left side of the large room.
Contains: ![]() Wakestone Shard
Wakestone Shard
365. Dungeon & Town Maps
In a corner after jumping over the pit.
Contains: ![]() Ferrystone
Ferrystone
366. Dungeon & Town Maps
On top of some rocks in the middle of the cave.
Contains: ![]() Darkmetal Greaves, 2390 gold coins
Darkmetal Greaves, 2390 gold coins
367. Dungeon & Town Maps
On top of the rocks on the far east side of the cave. Opening it will make a few more ![]() Rattlers spawn.
Rattlers spawn.
Contains: ![]() Bolts from the Blue,
Bolts from the Blue, ![]() Elite Camping Kit
Elite Camping Kit
368. Dungeon & Town Maps
Complete the Tolled for Rise quest to get a key that unlocks this room. Once inside, this chest is against the back wall.
Contains: ![]() Infernal Edge
Infernal Edge

369. Dungeon & Town Maps
In the corner of the room.
Contains: ![]() Makeshift Vault Key, 1210 gold coins
Makeshift Vault Key, 1210 gold coins
370. Dungeon & Town Maps
Resting against the castle wall, guarded by a ![]() Cyclops.
Cyclops.
Contains: ![]() Black Matter
Black Matter
372. Dungeon & Town Maps
At the top of a rocky climb near the tunnel entrance. Bring its contents to the ![]() Sphinx to complete the Riddle of Eyes.
Sphinx to complete the Riddle of Eyes.
Contains: ![]() Sealing Phial
Sealing Phial

374. Dungeon & Town Maps
Can only be opened after completing the ![]() Sphinx’s Riddle of Madness.
Sphinx’s Riddle of Madness.
Contains: ![]() Portcrystal
Portcrystal
375. Dungeon & Town Maps
The rightmost of three chests on the back-left wall. Can only be opened after solving the ![]() Sphinx’s Riddle of Wisdom.
Sphinx’s Riddle of Wisdom.
Contains: 1200 RC
376. Dungeon & Town Maps
The left chest on the back-right wall. Can only be opened after solving the ![]() Sphinx’s Riddle of Conviction.
Sphinx’s Riddle of Conviction.
Contains: The ability to duplicate any item, but only once

377. Dungeon & Town Maps
The right chest on the back-right wall. Can only be opened after solving the ![]() Sphinx’s Riddle of Rumination.
Sphinx’s Riddle of Rumination.
Contains: 3x ![]() Ferrystone
Ferrystone

379. Dungeon & Town Maps
In the right corner of the room.
Contains: ![]() Ring of Reassurance
Ring of Reassurance
380. Dungeon & Town Maps
At the edge of the room, next to some cloth-covered boxes.
Contains: ![]() Decayed Medusa Head
Decayed Medusa Head
381. Dungeon & Town Maps
On a raised section in the middle of the room.
Contains: ![]() Daughter of the Evening
Daughter of the Evening
382. Dungeon & Town Maps
Next to some cloth-covered boxes.
Contains: ![]() Wyrmhunter’s Cloak
Wyrmhunter’s Cloak
385. Dungeon & Town Maps
At the end of the short corridor. Opening it will make several ![]() Skeletons spawn.
Skeletons spawn.
Contains: ![]() Incanter’s Coat
Incanter’s Coat
386. Dungeon & Town Maps
In the corner of the locked cell.
Contains: ![]() Ring of Profusion
Ring of Profusion
387. Dungeon & Town Maps
Climb the stairs at the edge of the room, then jump over a pit to reach this chest.
Contains: ![]() Allheal Elixir
Allheal Elixir
388. Dungeon & Town Maps
Climb the stairs at the end of the room to the west, then follow them into this room where the chest is in the corner.
Contains: ![]() Uniter’s Mantle
Uniter’s Mantle
389. Dungeon & Town Maps
In the corner of the room behind some rubble.
Contains: ![]() Harspud Roborant x2
Harspud Roborant x2
390. Dungeon & Town Maps
At the end of a short corridor. Opening this chest makes some ![]() Phantasms spawn.
Phantasms spawn.
Contains: ![]() Wailing Crystal
Wailing Crystal
391. Dungeon & Town Maps
Behind the blocked door / breakable wall.
Contains: 30,000 gold coins

392. Dungeon & Town Maps
At the end of the corridor behind a blocked door. You’ll need to jump or levitate across the ruins to reach it.
Contains: ![]() Cursed Dullahan Bone, 240 RC
Cursed Dullahan Bone, 240 RC
 Sign up
No Comments