Just like the previous quest in Oakfield that required us to undertake side-quests in order to become more well known before being able to start it, the Crucible quest also requires that we earn enough renown before it is accessible. To do this, you should undertake some of the new side-missions available at this point until you have the reputation required.
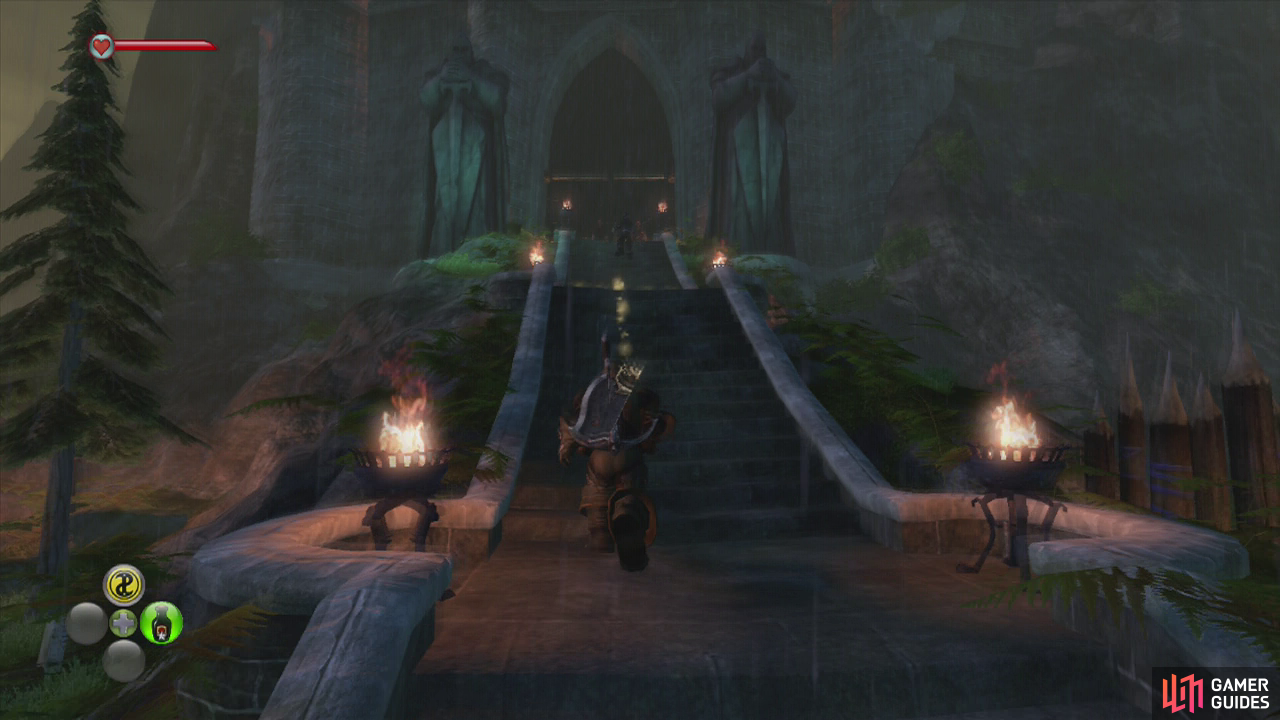
After exploring Westcliff, make your way through the wooden gate and head up the large stone staircase leading to the ominous looking building. At the top of the stairs talk to the man ouside the door. After the conversation, enter the Cruicible.
Enter the Crucible…
Before the action heats up, you are stuck with a host of other challengers in the staging area. You should buy some potions from the trader and upgrade to new weapons if you can afford it. When you are ready to go, move close to the door to trigger a conversation. When you are able, ascend the stairs to start the Crucible.
The Crucible consists of eight floors filled with different types of enemies that you need to dispatch in order to continue. After the third and sixth floors you will be able to re-stock potions and supplies from some conveniently placed traders. Each floor has a target clear time; if you can defeat all the enemies on the floor within the allotted timeframe you will be awarded a perfect round. If you get enough perfect rounds, you will be able to earn better rewards on completion of the Crucible.
First Floor
Target time: 1:45
This floor consists of three major waves of beetles with the number of enemies increasing with each wave. This should be an easy level to score a perfect round on, just take them out using whatever method you feel comfortable.
Round 1 sets you up against beetles (left), whilst round 2 gives you hobbes to defeat (right).
Second Floor
Target time: 1:50
This room has a large rectangular spike trap ringing the centre of the room. It also has a pair of blue pressure pads, with one at either end of the room. Stepping on these will activate the spike trap in the centre. The enemies you will be fighting against are three waves of Hobbes that are made up of both the melee and ranged variety. Using the spike traps can be effective to dish out damage, but it can be difficult to lure the enemies into standing on it. As such, if you are aiming for the target time, it is best to just take them out the traditional way!
Third Floor
Target time: 2:25
Similarly to the previous floor, the third level consists of more Hobbes, this time they will also include magic users who can summon zombie hobbes and suicide bomber variants. The room this time around is also a fair bit bigger and holds a large, circular hole at its centre. To make things a little easier, you’ll want to fight the majority of the hobbe enemies close to the hole and attack them on the edge to kick them off for a quick kill before venturing out to finish off stragglers.
Keep an eye out for the suicide bomber hobbes and hit them with a ranged weapon before they get too close as they can cause a great deal of damage and knock you down - which will whittle away that precious time (if you want the perfect round).
Round 3 has more hobbes for you (left), kick them into the central pit for a few quick kills! Round 4 will see you get swamped by hollowmen, in a …swamp.
Fourth Floor
Target time: 2:30
There will be three waves of hollow men and like the very first round with the beetles, the number of enemies per wave will increase as you progress. This should be another easy one to get a perfect round on, simply defeat all of the hollow men within the generous timeframe.
Fifth Floor
Target time: 2:10
This room will challenge you with bandits. The room consists of an elevated path in the middle of the room and a hill leading up to it from behind. As soon as you enter the room, climb the hill and kill the bandits at the top, get onto the bridge as soon as possible and wipe out the archers. Use the explosive barrels here to take out several enemies at a time. Stay on the bridge for the next two waves.
In Round 5, make your way to the back of the room ASAP and fight on the bridge (left). In Round 6 fight in the centre and use the pressure plates to kill the ranged attackers (right).
Sixth Floor
Target time: 2:30
This room’s enemies are bandits again. The room itself is comprised of a central circular platform and a walkway around the outside separated by a cliff. In the centre are three pressure plates that will cause fire to burst from the walls causing ranged attackers to bandits to fall to their deaths. Stay on the central platform and fight off the melee attackers, trying to kick them into the abyss when you can whilst switching between the three switches on the floor to use the flames encircling the room to eliminate the ranged attackers when they appear.
Seventh Floor
Target time: 2:35
The seventh floor is filled with ruined stonework and will gives you balvarines to fight against. There will be nine in total and three waves with three balvarines in each. Use the ruins to keep them at a distance and try to pull one over to you at a time. Use will and ranged attacks to kill them from afar. Once they get in close, switch to melee and finish them off. This should be an easy one to score a perfect on. Just get your attack patters down and they will fall in no time!
Round 7’s balvarines are tricky but can quickly be dispatched by high level will powers (left). Round 8 (right) has you take on a troll with hobbes that come in as support.
Eighth Floor
Target time: 1:50
The final floor is probably the trickiest. It is a fairly small, circular room that emanates outwards from a mound in the centre housing a rock troll. There are some large stones strewn around the room that allow you to hide behind in order to block the troll’s rock throws. Shoot the troll’s weak spots with ranged attacks or will powers when they present themselves. When the troll’s health drops to 50%, hobbes will start to show up. Try to ignore them unless they get in the way and focus primarily on the troll as the round will be completed when it falls.
After completing the final room, use the Cullis Gate to return outside. Talk to the commentators, who will congratulate you, and then head downstairs to be reunited with Hammer. After a short scene Hammer will run off to the docks nearby.


 Sign up
No Comments