Chocobo Forest: Beginner
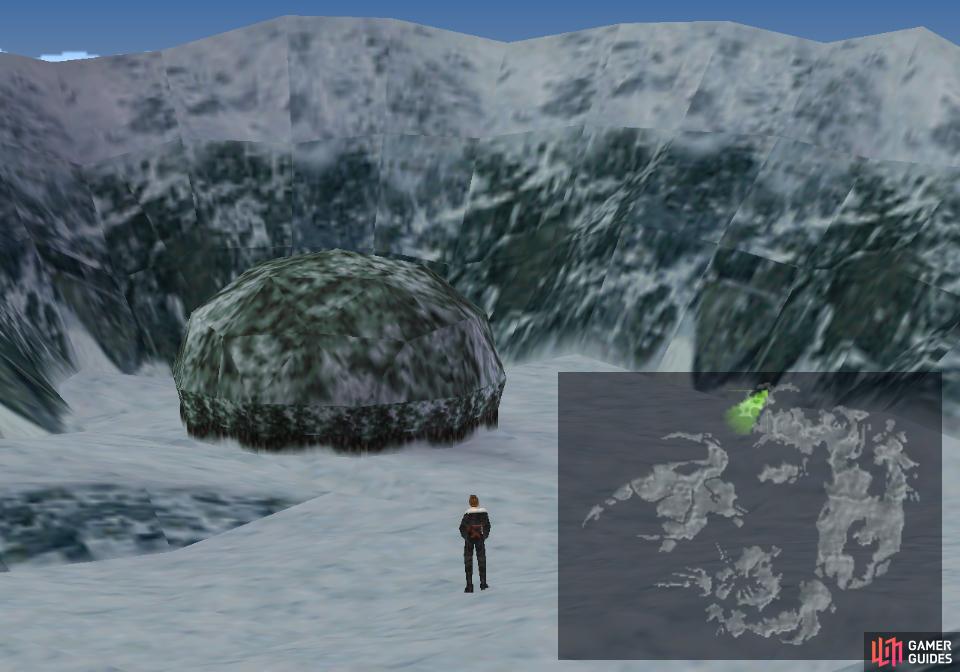
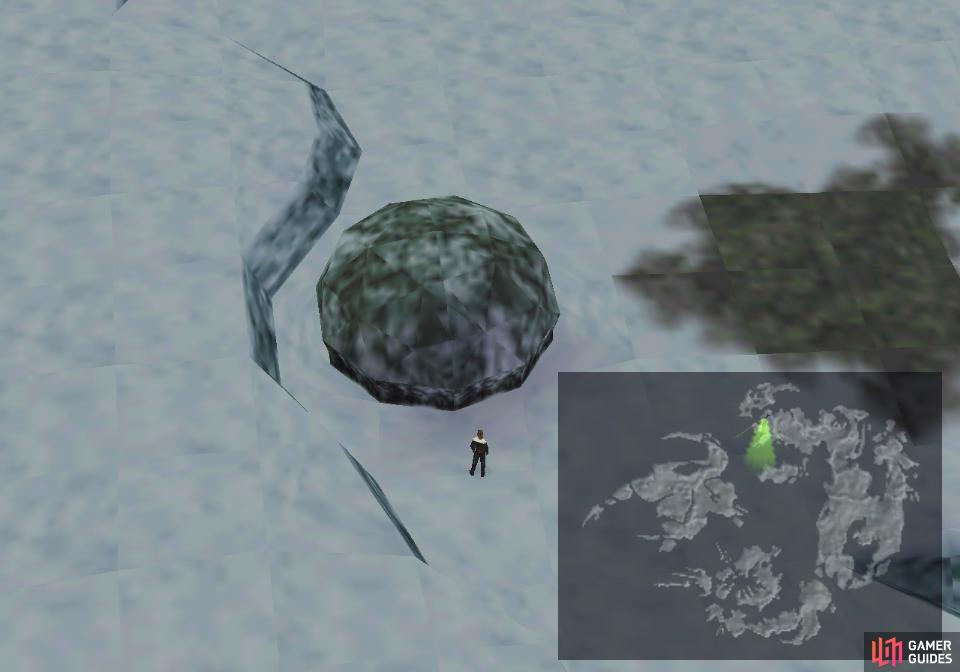
Now that you’re done with the Shumi Village - assuming you’re following this guide chronologically, anyways - it’s time to take care of another lucrative side quest: the Chocobo Forests! Fortunately one can be found just outside the Shumi Village, just turn southwest to spot the small circular forest sitting against the mountains. Most Chocobo Forests take this form, making them easily recognizable on the map.
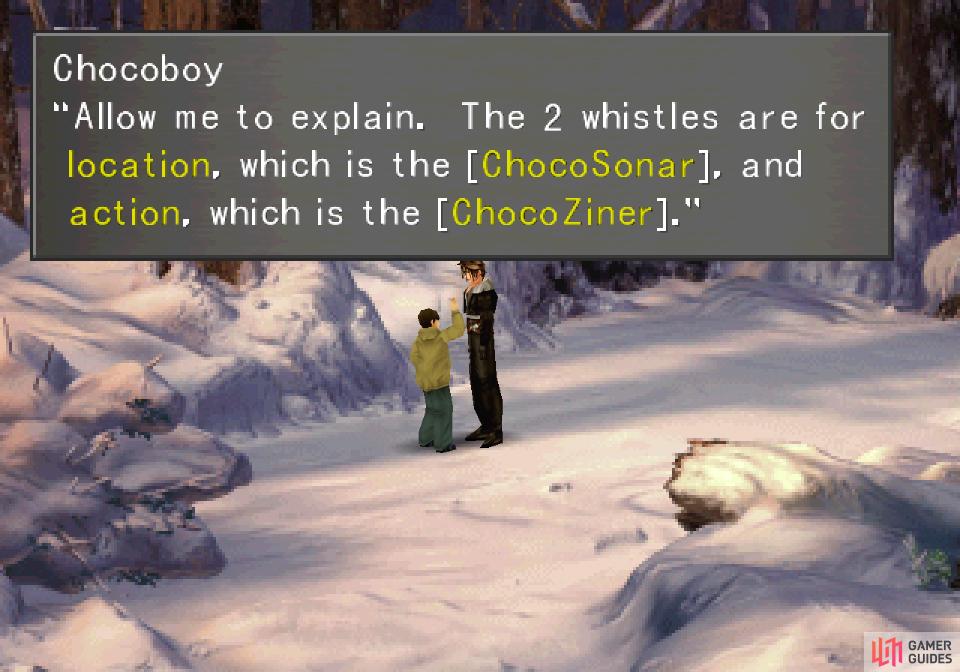
(1 of 3) Talk to Chocoboy to learn how to catch chocobos.
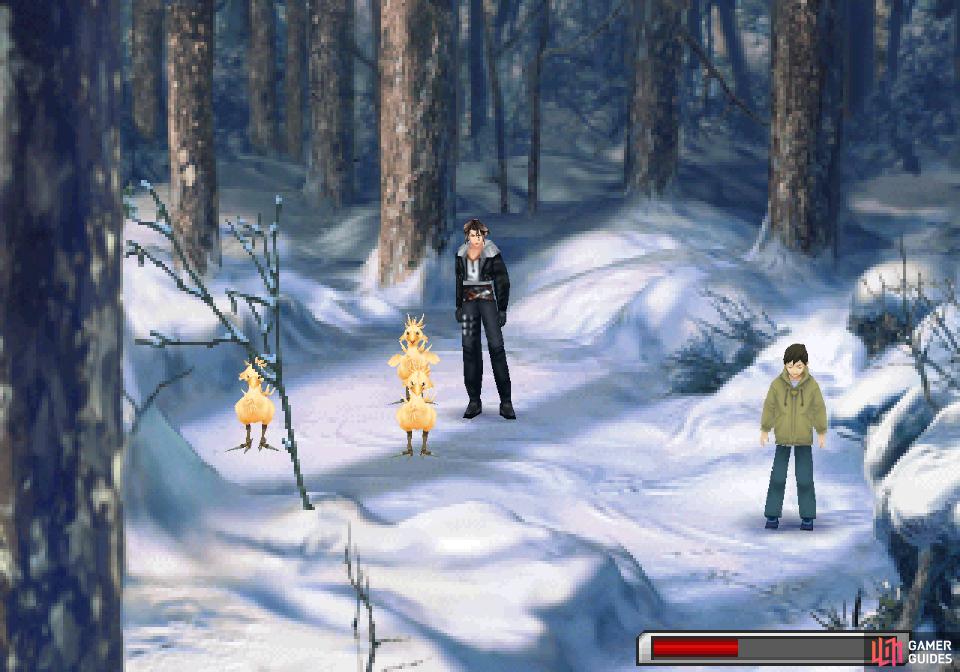
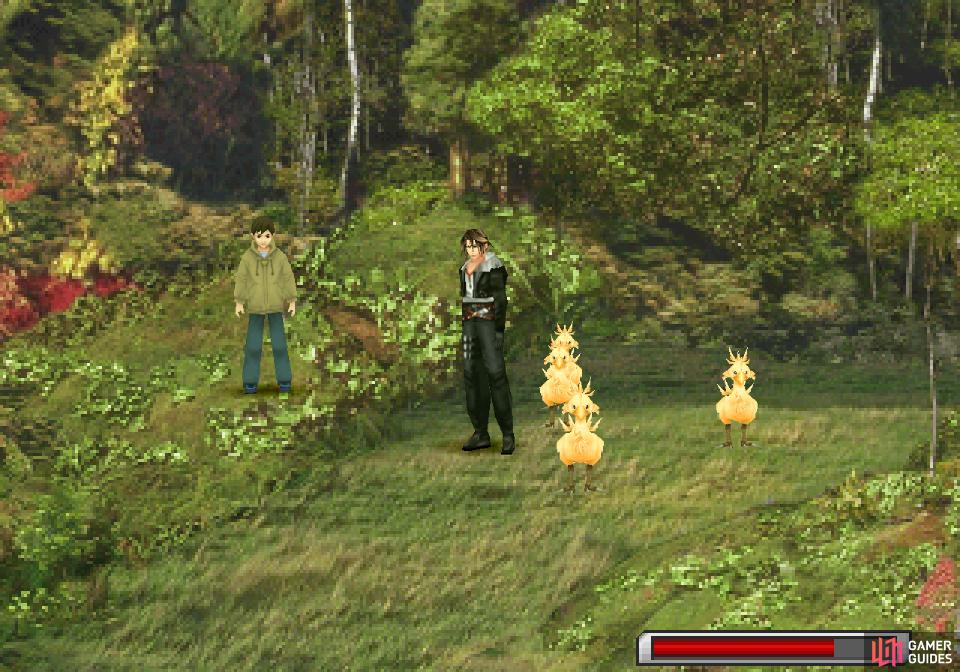
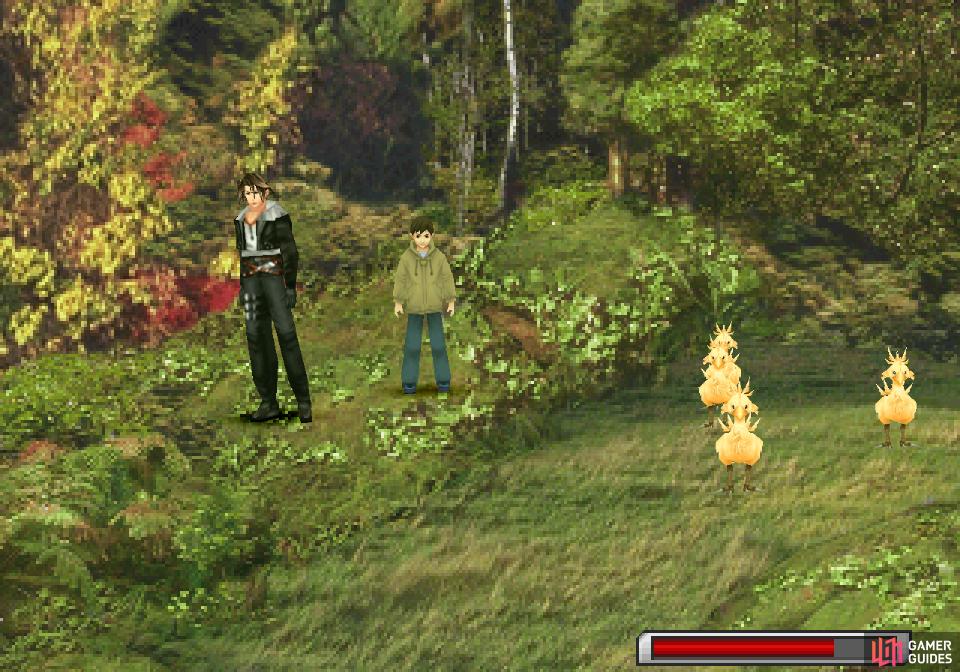
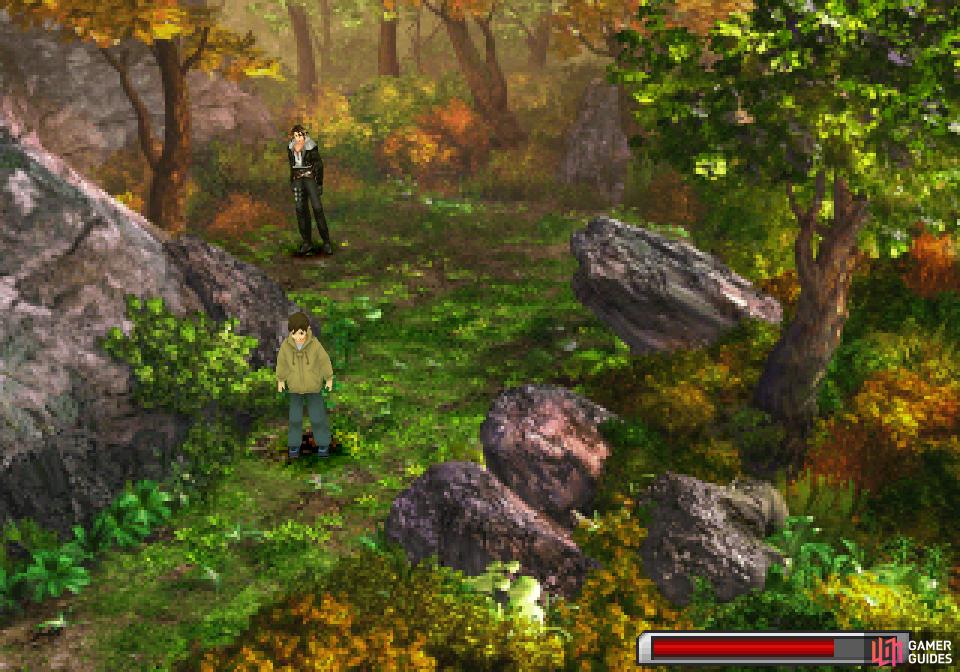
Enter the forest and some Chocoboy will tell you that you’re in the “Chocobo Forest: Beginner”. What luck! A trial suited to your experience. After Squall sends his companions away, talk to the Chocoboy and he’ll give you a pair of ChocoWhis items, free of charge. His lecture on how to use them, however, will set you back 1,000G. Don’t be stingy, you can make unlimited Gil any time you wish, so pick the option …Pay it and he’ll tell you how this minigame works.
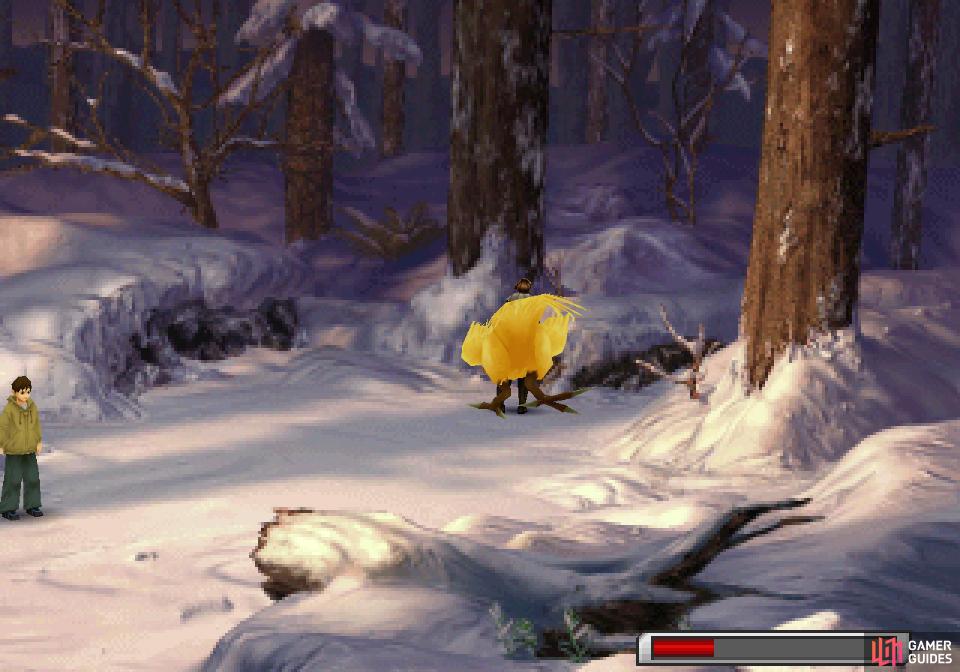
(1 of 2) Search in the location shown
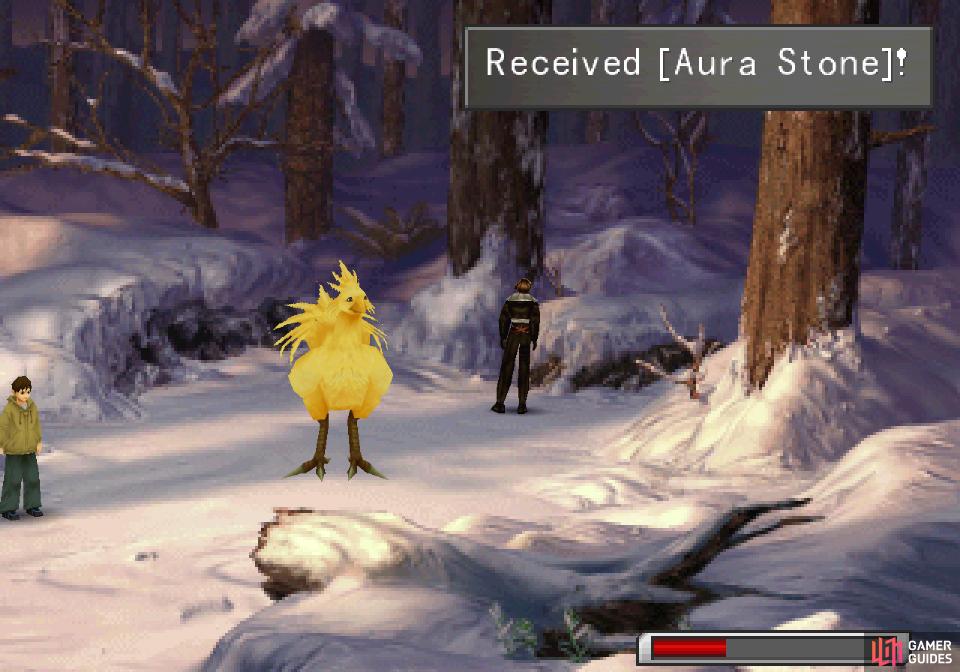
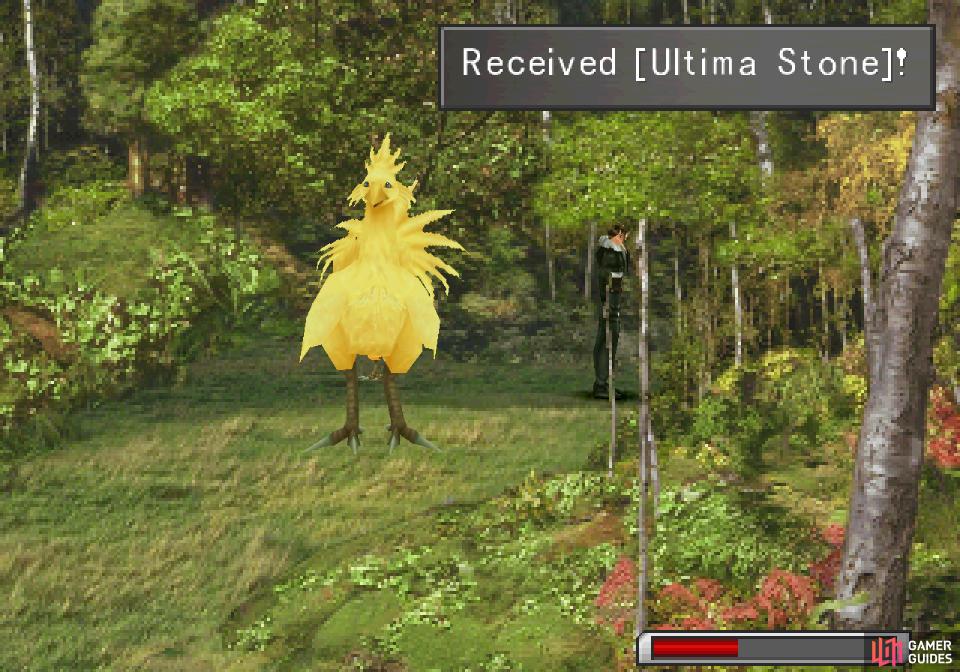
Search in the location shown (left), and the chocobo will give you an Aura Stone. (right)
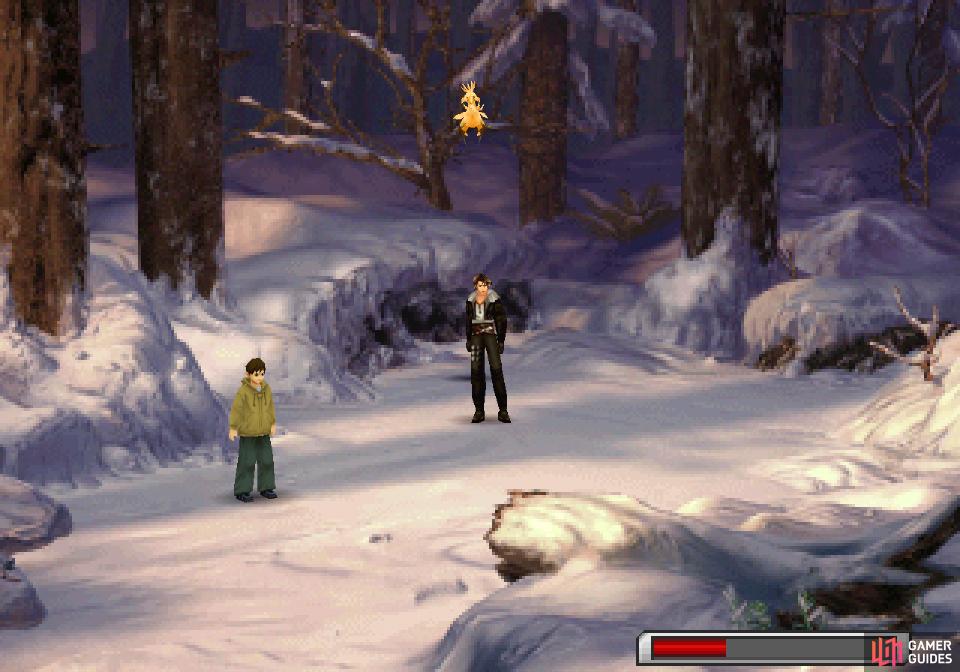
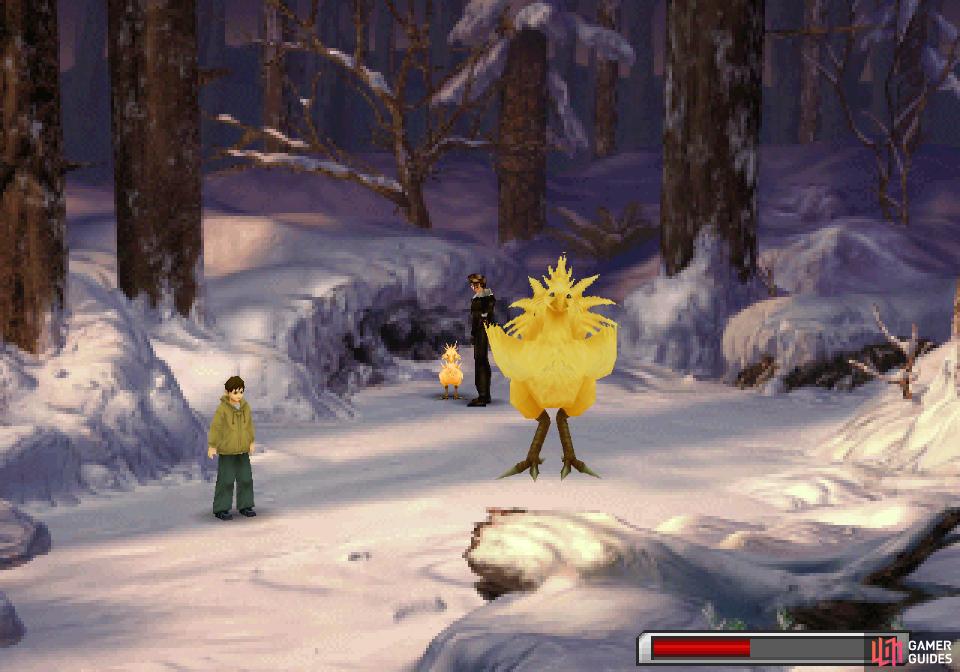
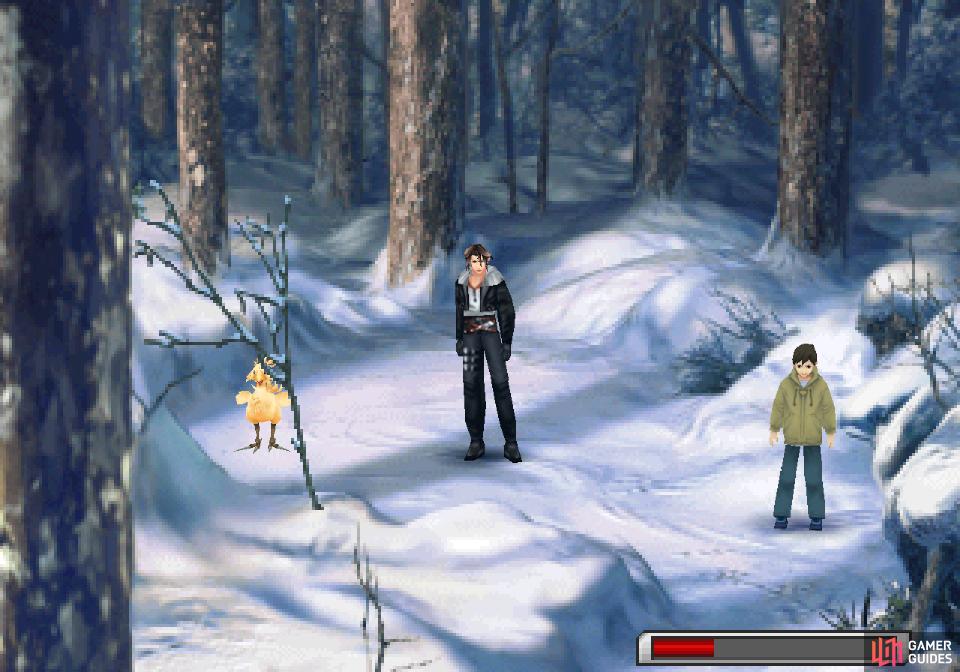
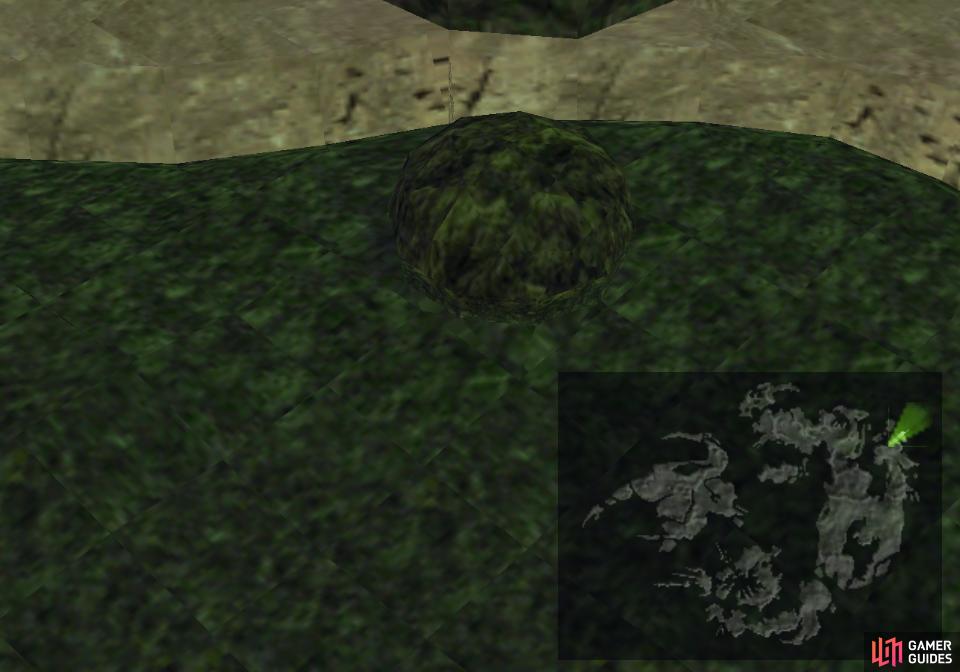
His advice makes this seem more complicated than it is. Once he’s done talking, note the bar at the bottom right of the screen; Start out by pressing [SQUARE] and selecting the option “To detect: [ChocoSonar]”, after which your goal is to hold down [CIRCLE] until the aforementioned bar fills up (well, or at least gets higher than the ambient amount), then press [SQUARE] and pick the “To detect: [ChocoZiner] option and press [CIRCLE] again. Your goal is to attract only one Chicobo, which will in turn lure out its mother. The place you’re looking for is up and to the right of the Chocoboy (see provided image), so use your ChocoSonar to confirm the activity, then use the ChocoZiner to lure out the Chicobo, and in turn, its mother.
(1 of 2) Catch your first chocobo and the Chocoboy will give you a chicobo
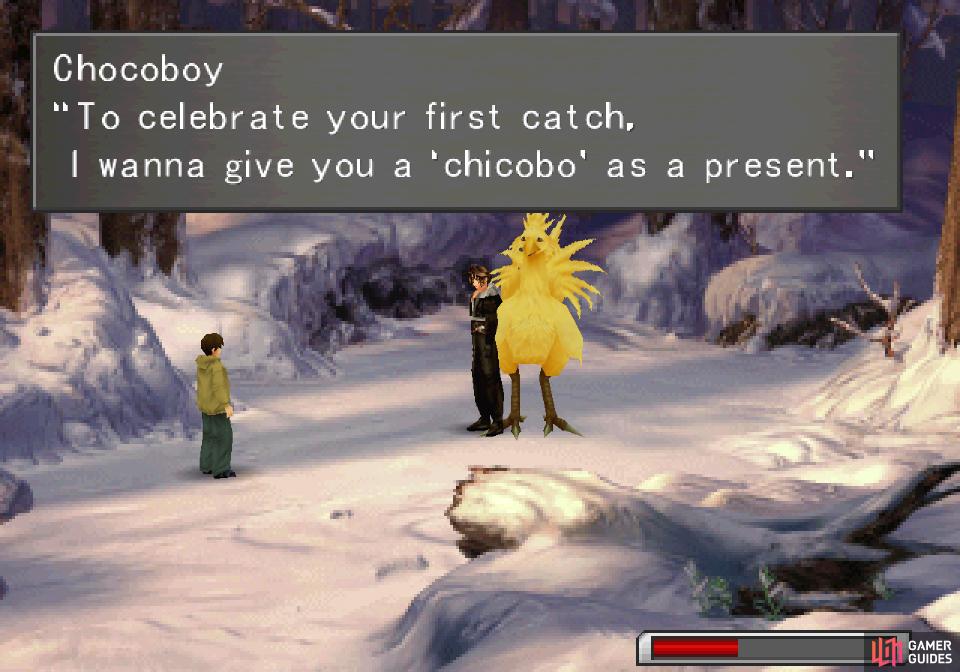
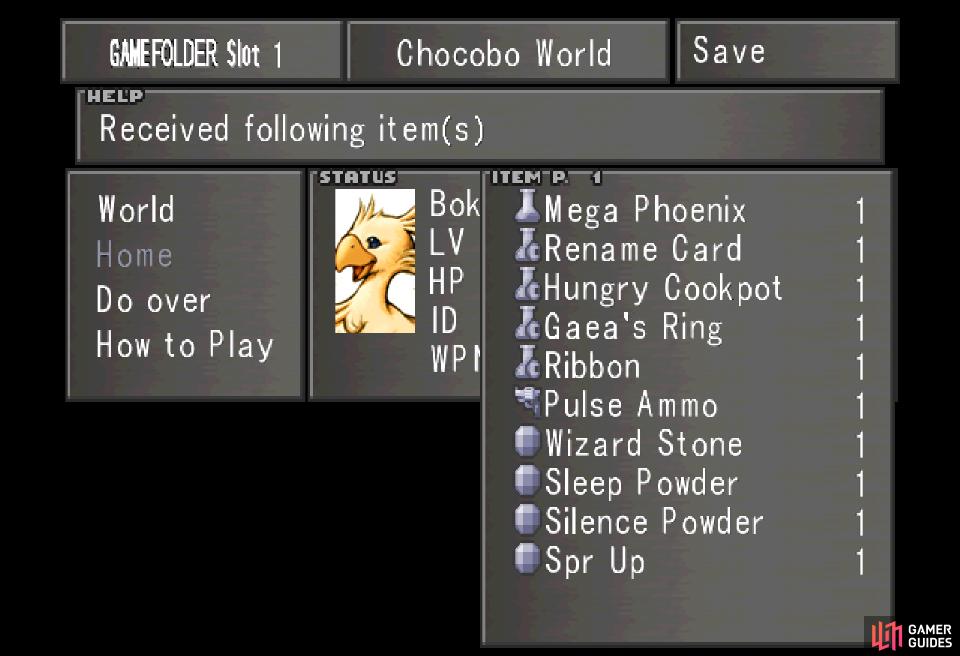
Catch your first chocobo and the Chocoboy will give you a chicobo (left), which you can use to gain impressive items from Chocobo World. (right)
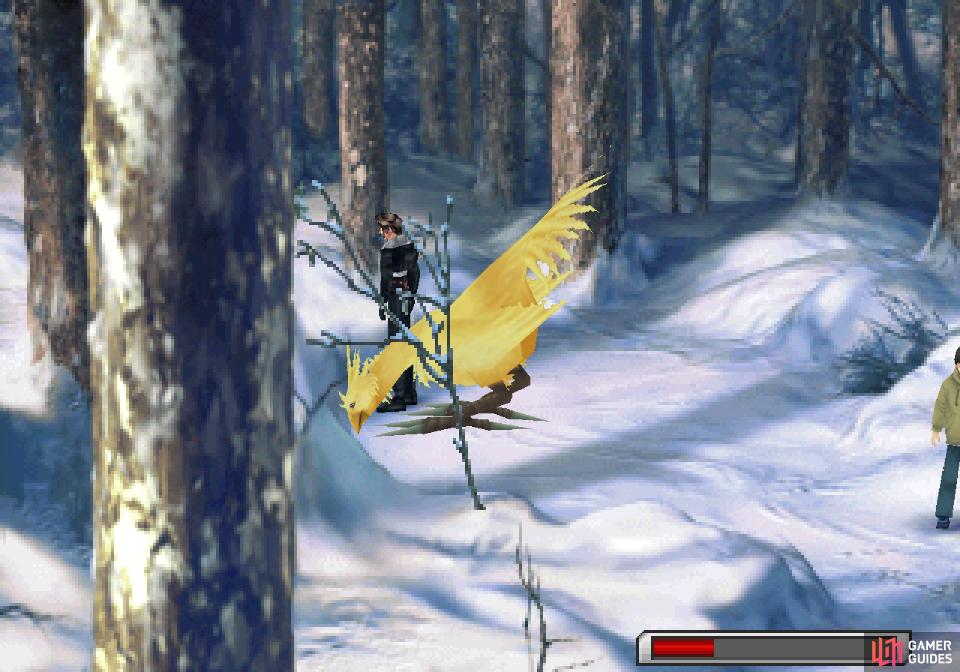
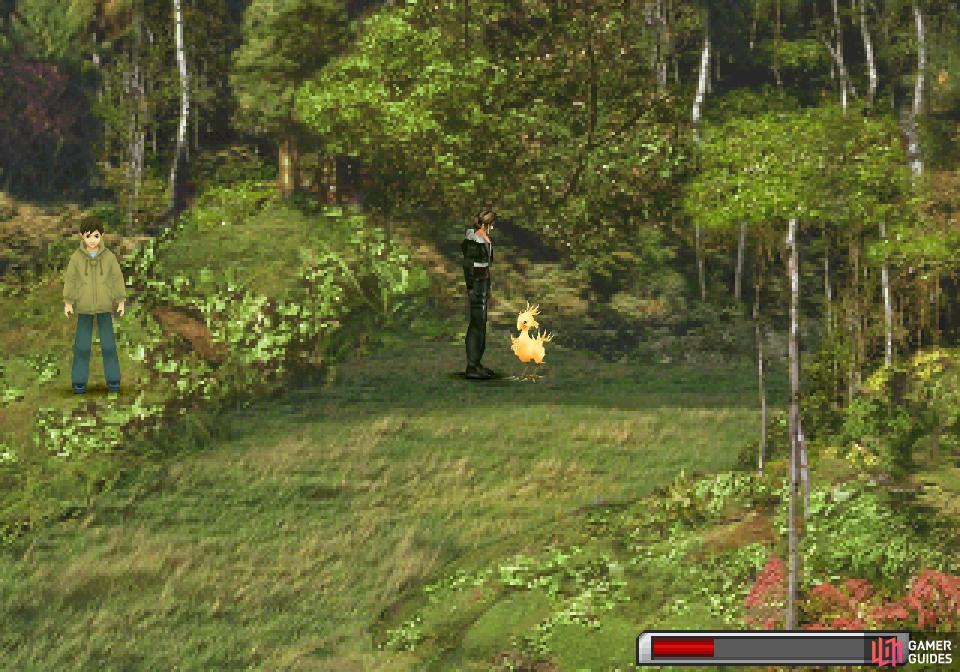
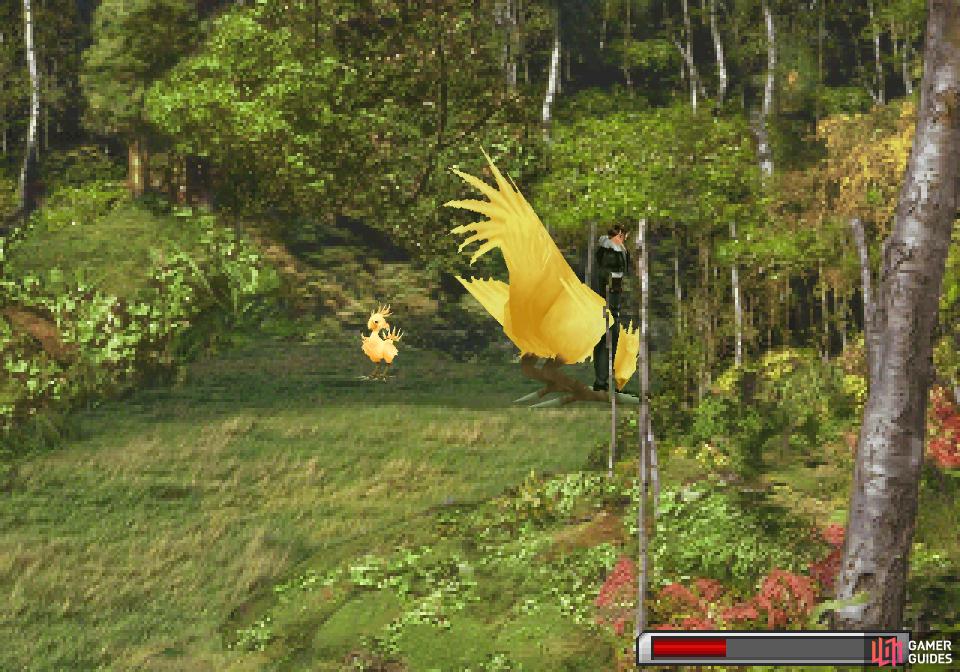
Once you’ve located the Chocobo, you’ll also want to search for a hidden treasure lying around, which you can do by walking to a specific spot and pressing [CIRCLE], causing the Chocobo to come over and dig the item up for you. The item you’re looking for is at the upper right side of this forest screen, and when you find the right spot the Chocobo will come over and dig up an Aura Stone. Fair enough. Talk to Chocoboy after you get your reward and he’ll express surprise and tell you you’re done here. Don’t worry, though - there’s more forests out there!
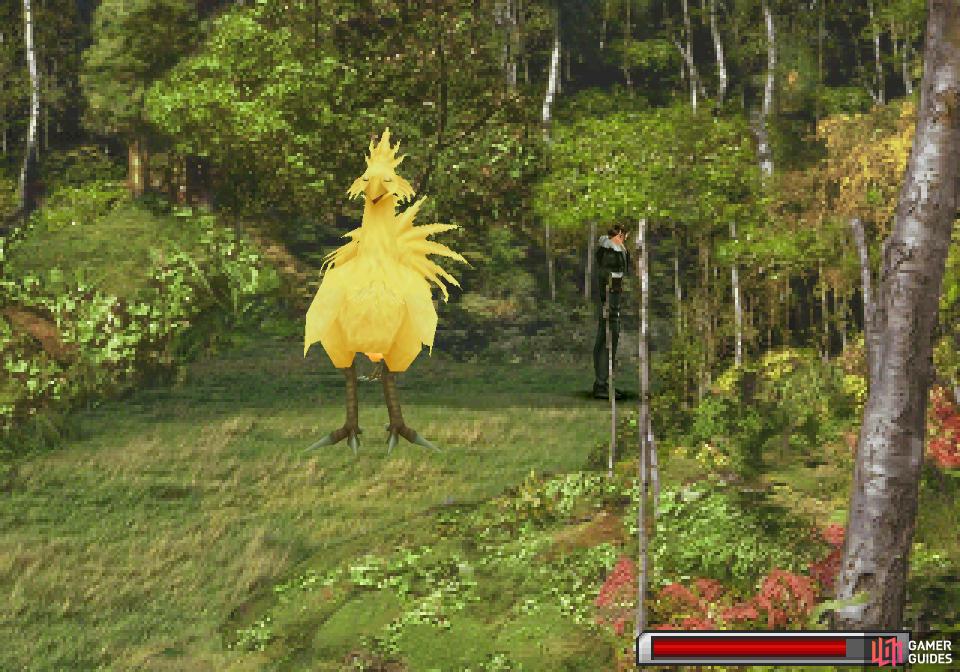
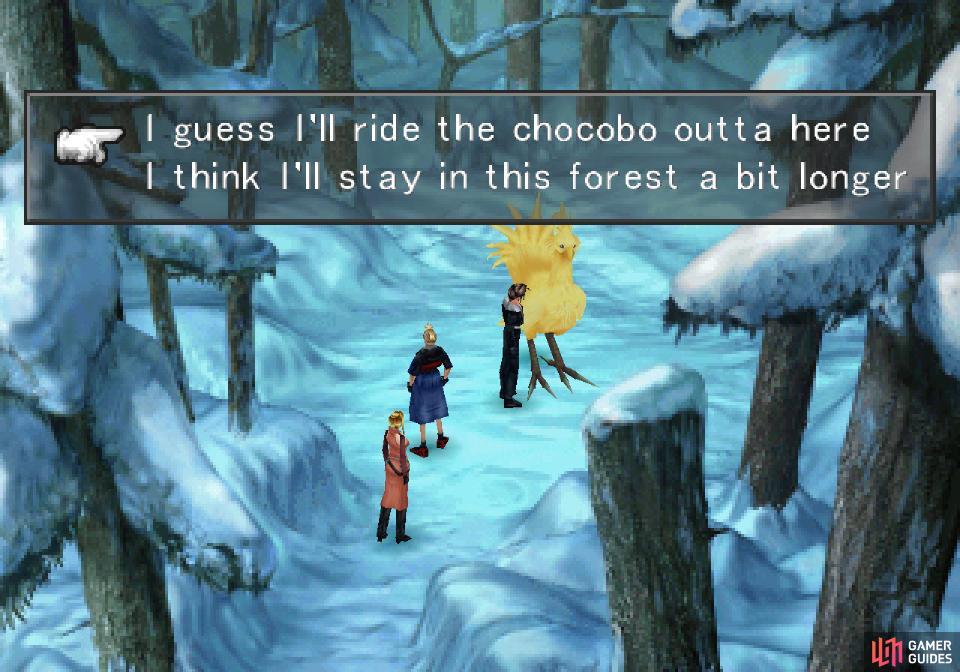
Oh, and you can also talk to the Chocobo and ride it, if you want. Once you find the treasure in a Chocobo Forest you won’t have to hunt for the chocobo again - just return to the forest and it’ll be there waiting for you. Speaking of which, interact with the chocobo you found and the boy will give you a chicobo as a present, which he’ll prompt you to name. We’ll go with the default “Boko” for the purposes of this guide, but feel free to name it whatever you wish.
Chocobo Forest: Sorbald Snowfield
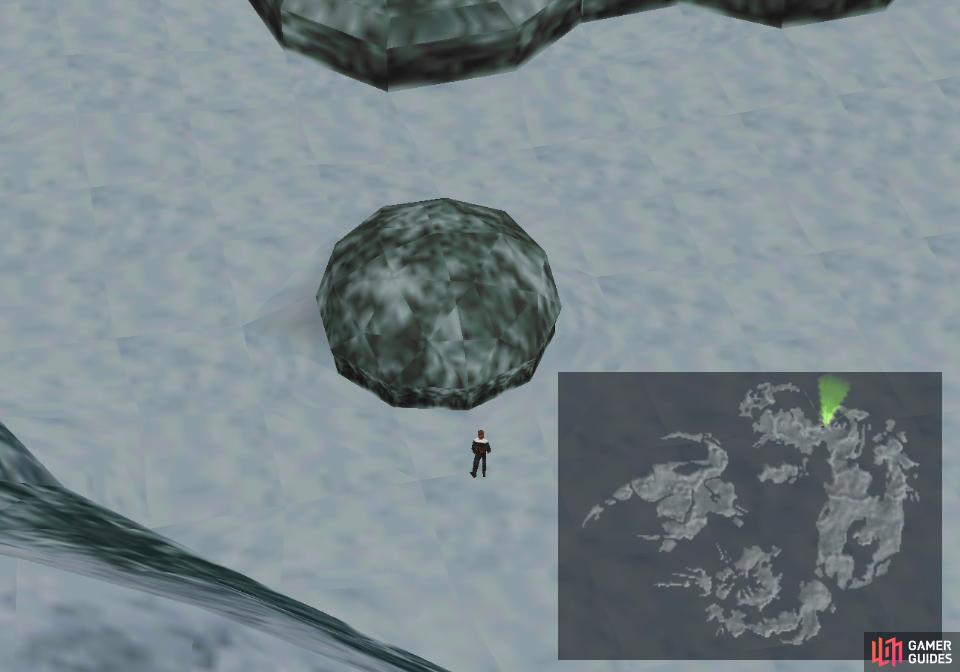
Time for the next forest. Ride your chocobo to the beach (or dismount and use Balamb Garden to get around instead, if you wish) then head across the shallows to the south to reach the larger landmass of Trabia. Once on land again, follow the coast west, pass through some mountains, then turn south to find another Chocobo Forest.
(1 of 4) Use the ChocoZiner in this location to draw out three chicobos
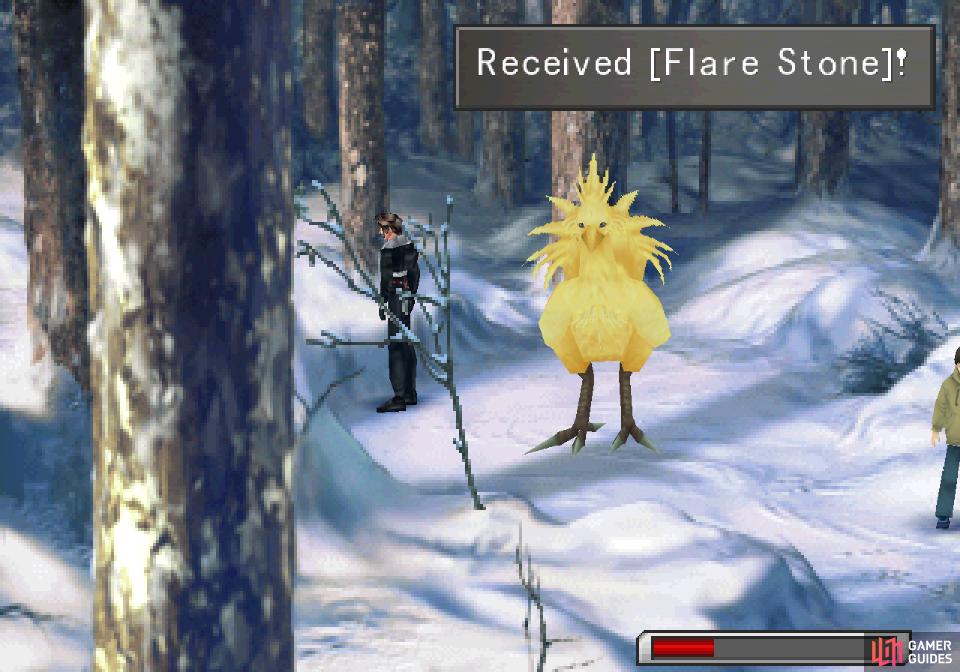
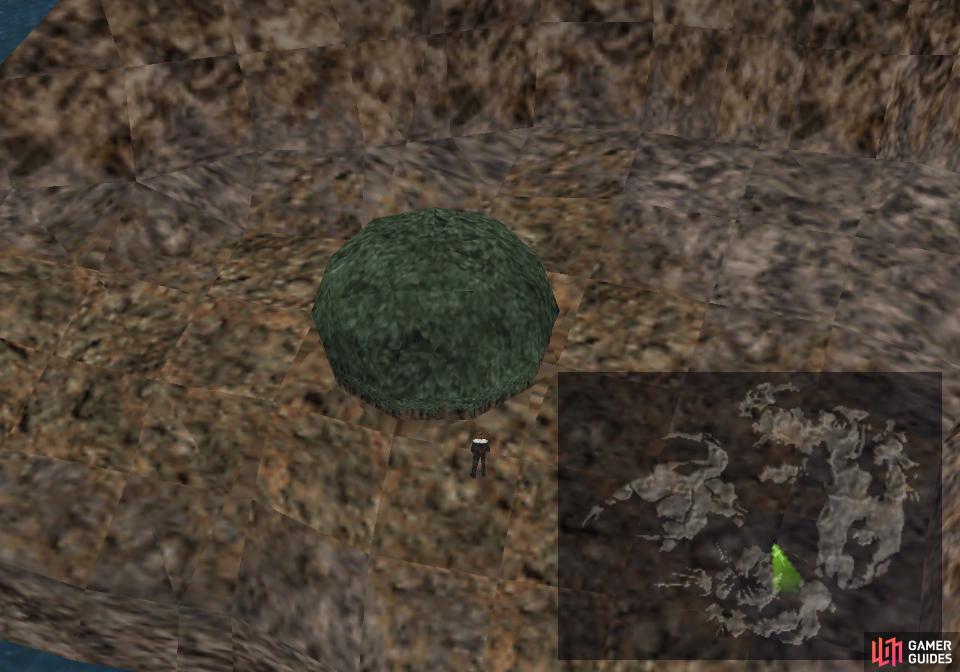
Enter the forest, boot your party, then decline an explanation from Chocoboy - you should already know how this works. Press [SQUARE] and select the ChocoSonar, then hold [CIRCLE] and head to the center of this small forest screen and stand just above the shadow cast by the tree (see provided image for more detail). Switch to and use your ChocoZiner here and you should summon three chicobos, which is two more than you want. Head down a few steps and use the ChocoZiner again to scare two of them off, then talk to the lone chicobo to lure out the chocobo. For the treasure, head to the left-most edge of the forest and use your ChocoZiner there to acquire a Flare Stone.
Chocobo Forest: Bika Snowfield
Exit the Sorbald Snowfield chocobo forest and make your way to the east, where you should find the remains of Trabia Garden among some mountains. Useful to find it now for when you come here later, but more importantly, it’s a find landmark for finding the next chocobo forest. Speaking of which, make your way north around the mountains to find said chocobo forest.
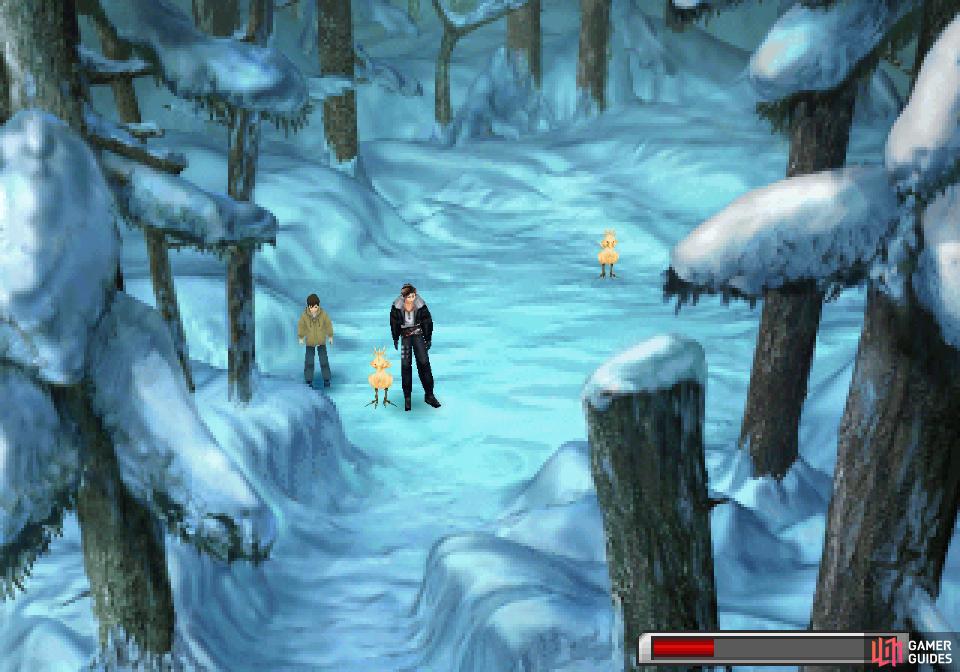
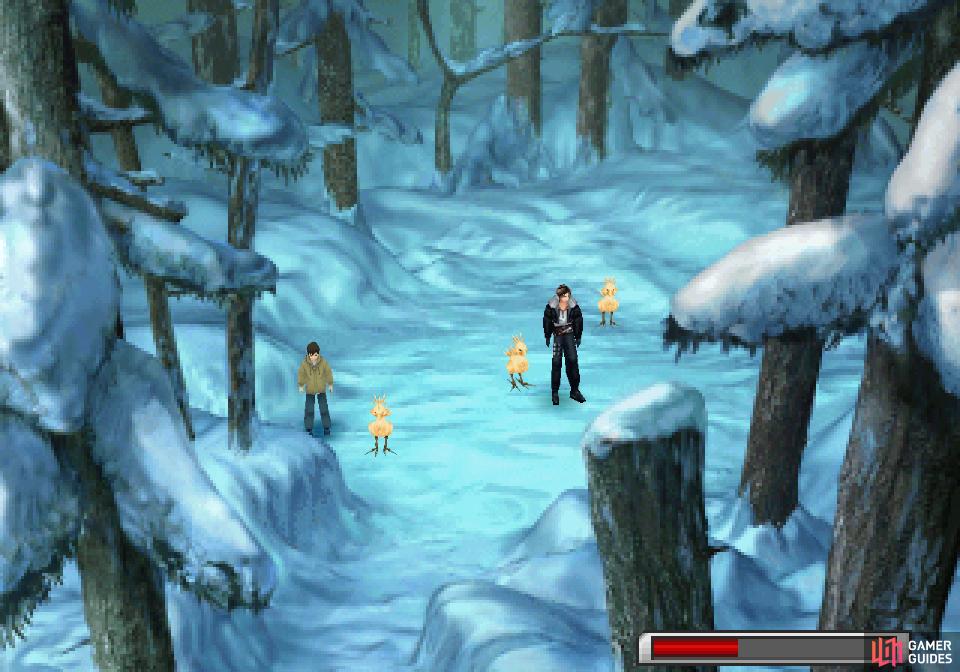
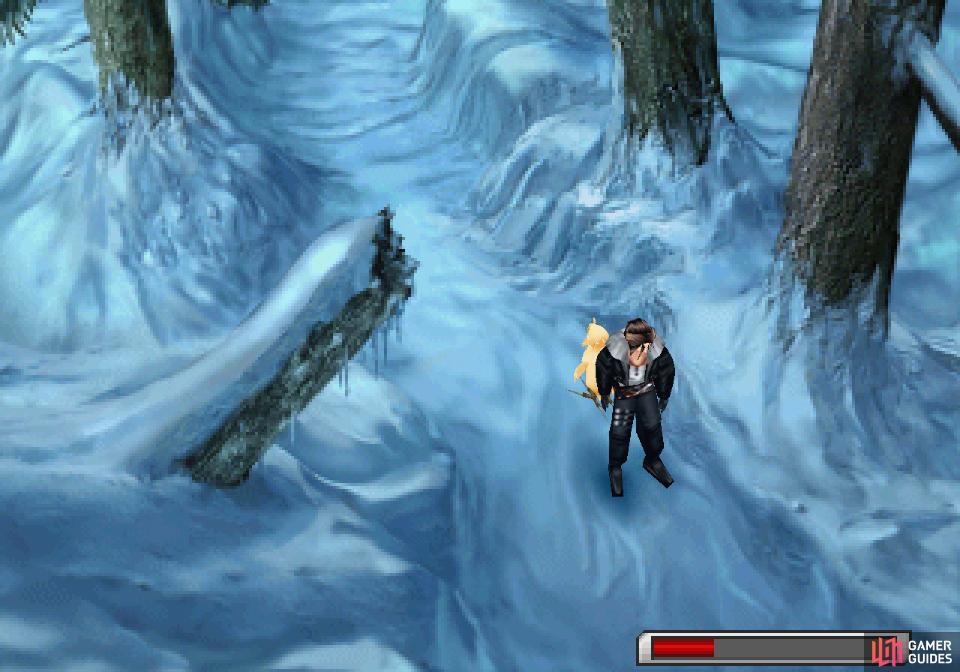
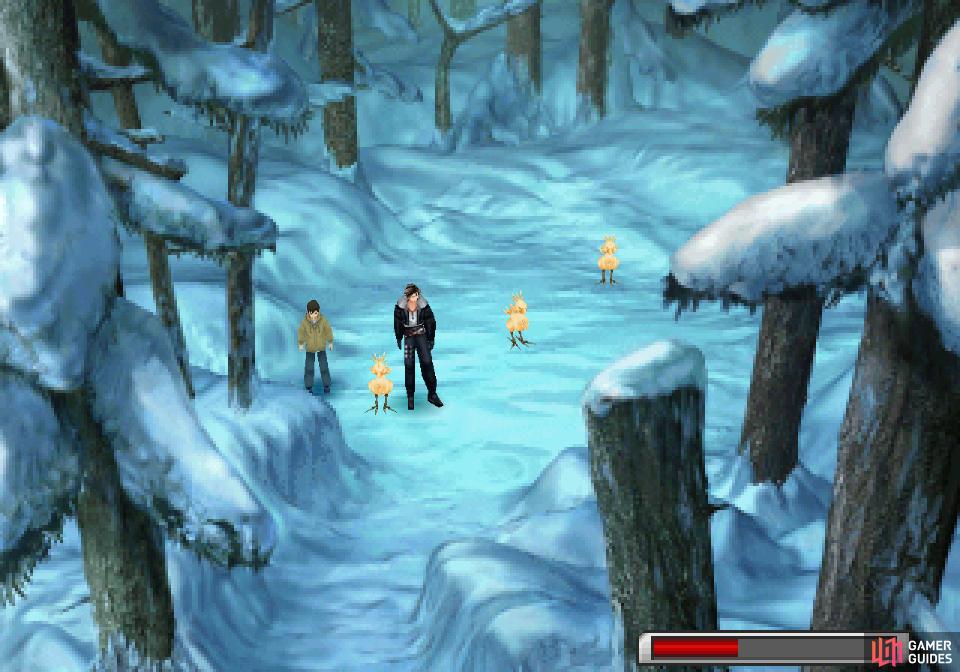
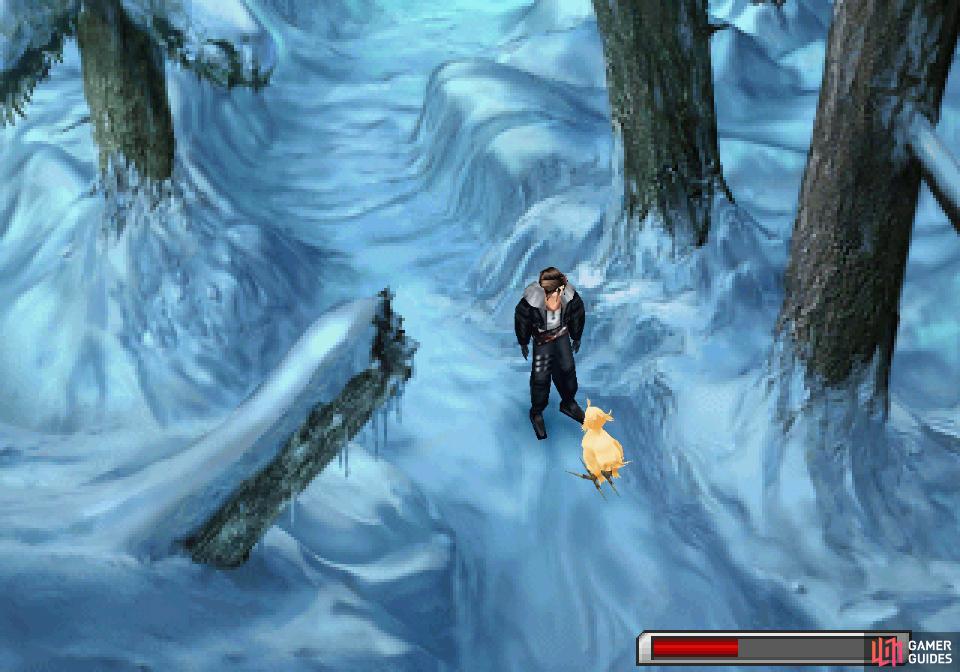
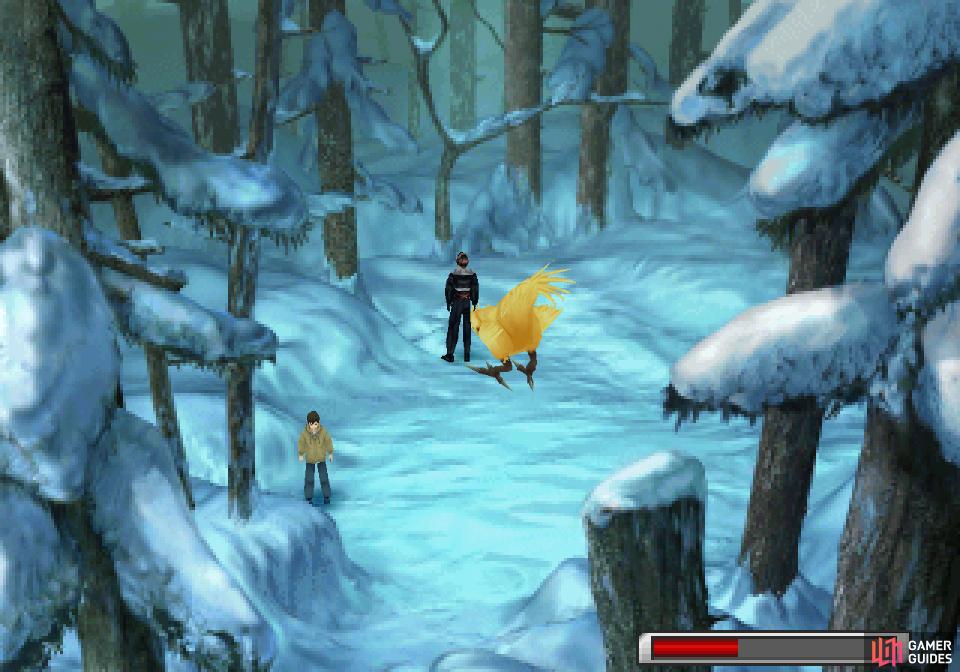
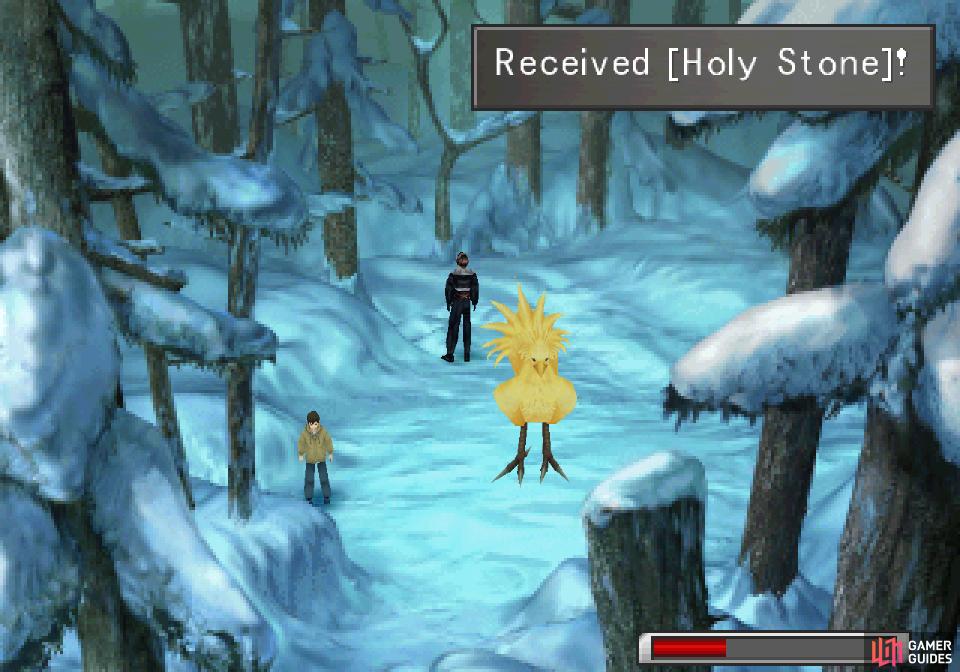
Once inside, banish your party and decline another explanation, then get to business. This chocobo forest starts out with two chicobos standing about. Walk near (perhaps just a bit to the right of) the chicobo near the Chocoboy and use your ChocoZiner, then head up and to the right to find the second spot you’ll need to use your ChocoZiner (see the provided image). The next spot is sneaky - head down the path leading out of the chocobo forest and use your ChocoSonar to find another promising spot near the exit. Use your ChocoZiner a third time to bring down another chicobo near the exit, and return to the spot just right of the Chocoboy - where you used your ChocoZiner the first time - then use it again. Follow all these instructions and only the chicobo near the exit should be around. Interact with it and a chocobo will appear back up in the forest clearing, then use your ChocoZiner near the upper part of the clearing to get a Shell Stone and a Holy Stone.
Three down, three to go!
Chocobo Forest: Nectar Peninsula
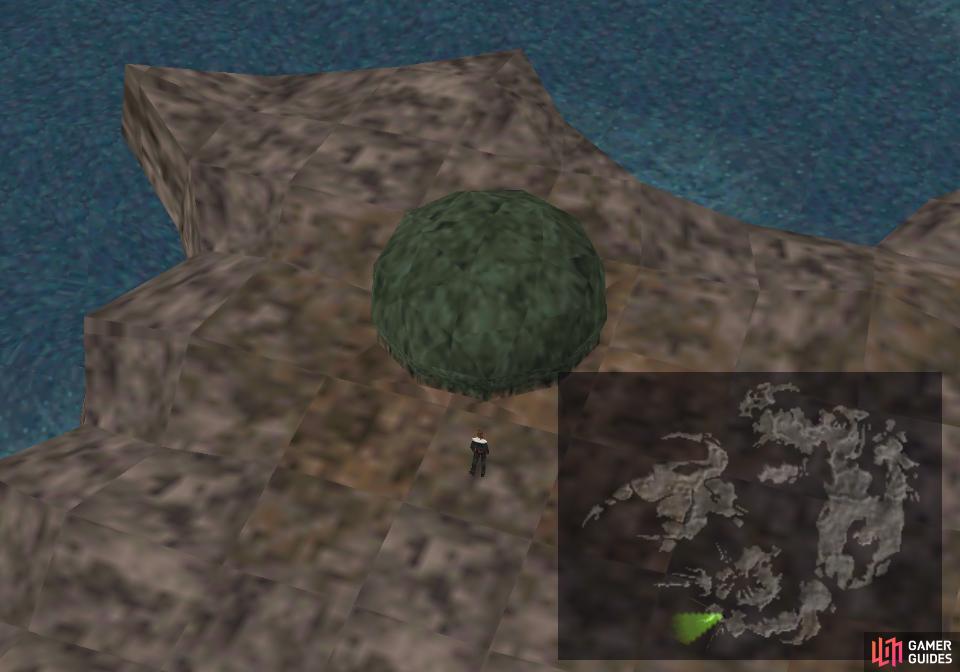
You’re done in the Trabia region for now, so go back to Balamb Garden and sail back down to Centra. Find a beach along the northern end of the shattered Centra landmass and make your way east until you find your way blocked by some mountains… blocked for the Garden, at least. Exit the Garden and head around the mountains on foot to find another chocobo forest nestled among said mountains.
(1 of 4) Use your ChocoZiner in this very precise spot
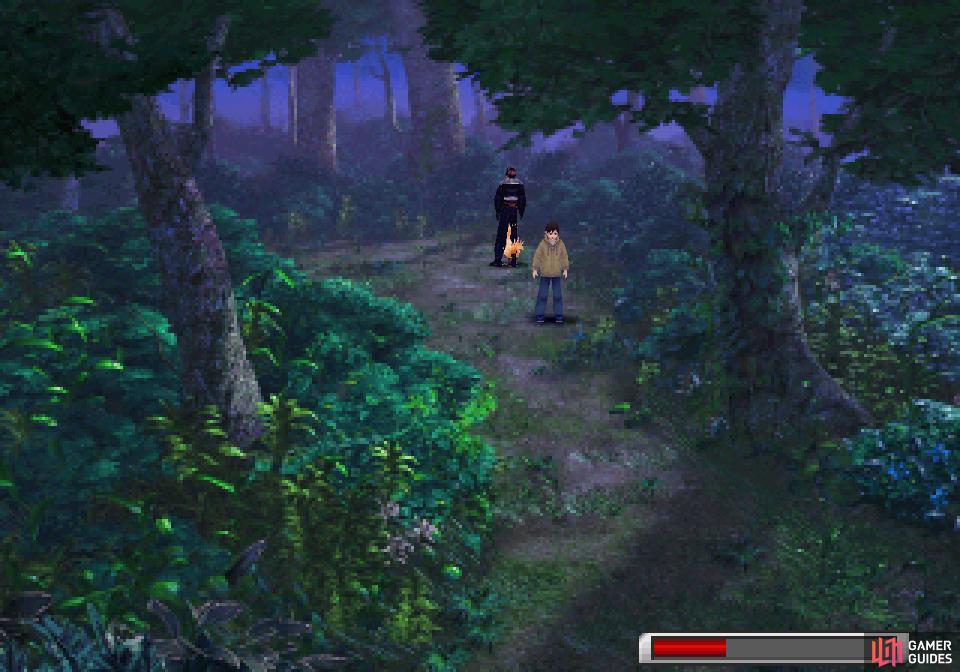
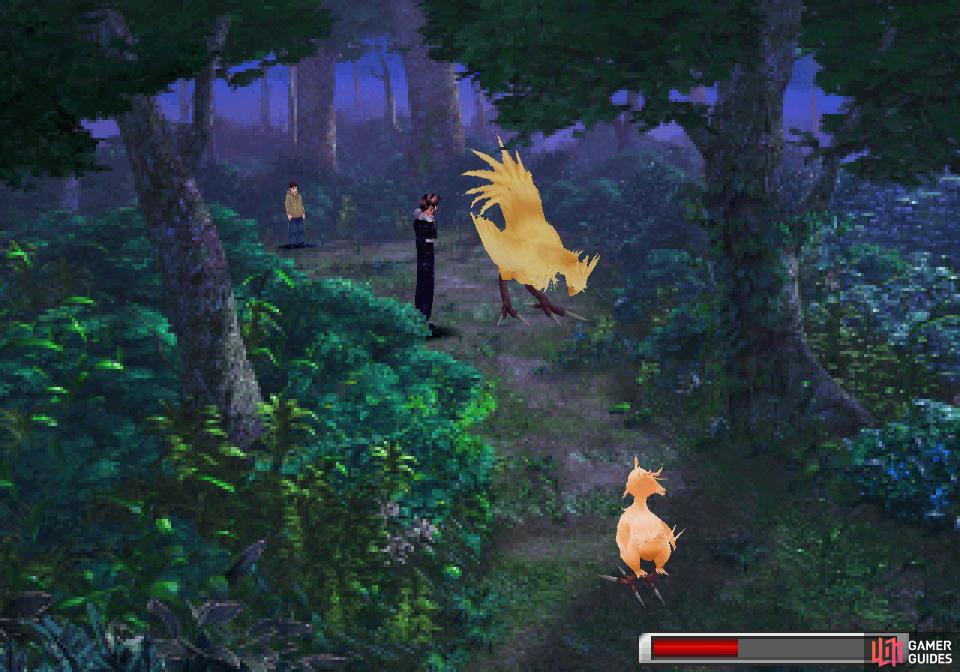
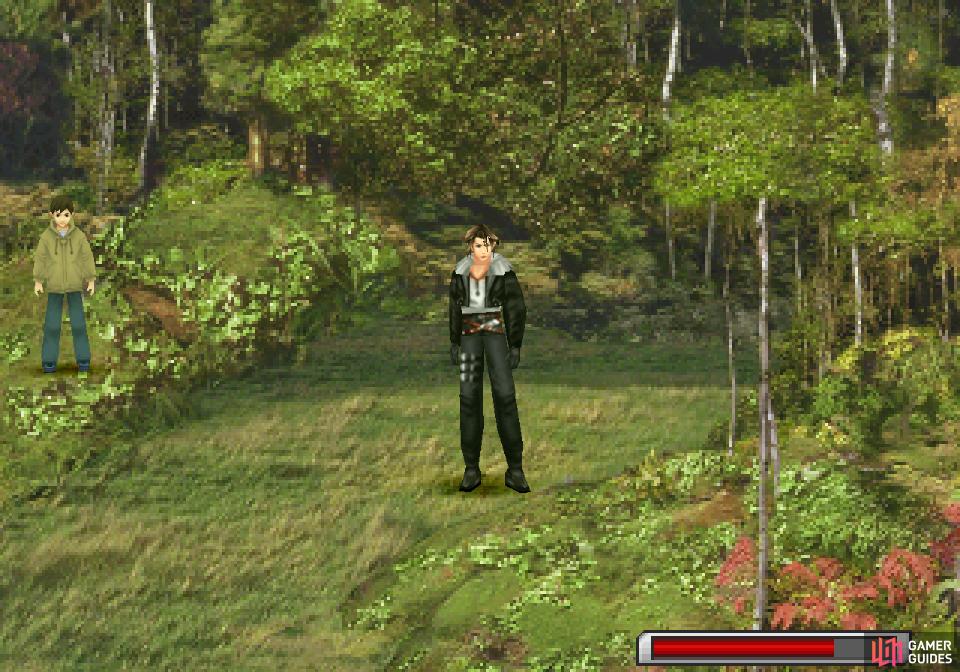
This chocobo forest can be pretty annoying, despite the fact that there’s only one spot you need to use your ChocoZiner at. It’s just up and to the left from Chocoboy, but the location is very, very specific, and if you walk off it, it seems quite difficult to get it back again. You’ll want to hold down [CIRCLE] with your ChocoSonar selected and move a step at a time (use the provided image to get you started). Once you find the right spot, use your ChocoZiner to summon the chicobo you’re after, then interact with it to lure the chocobo of this forest.
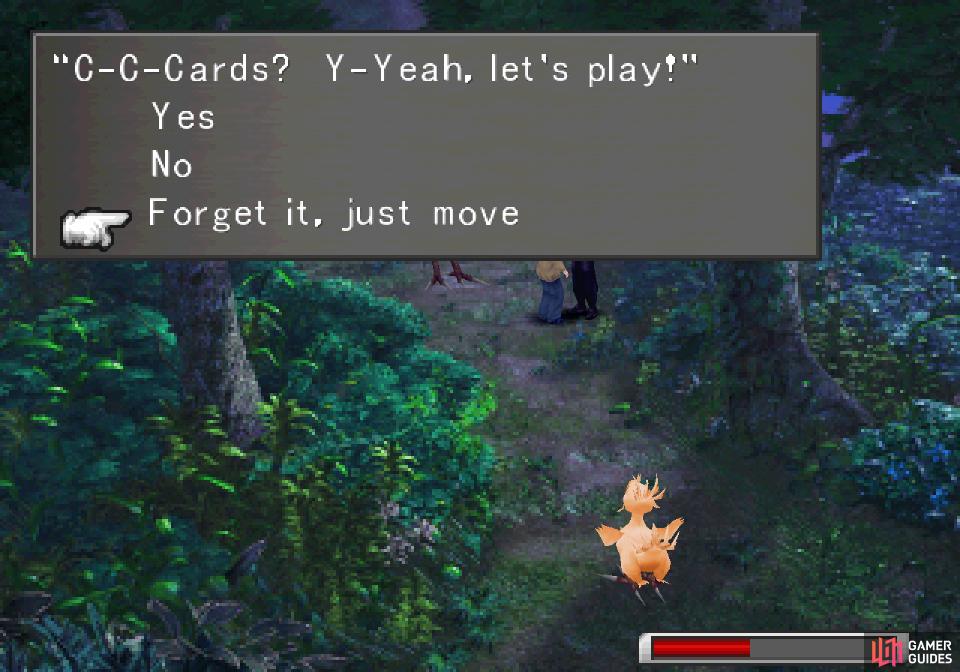
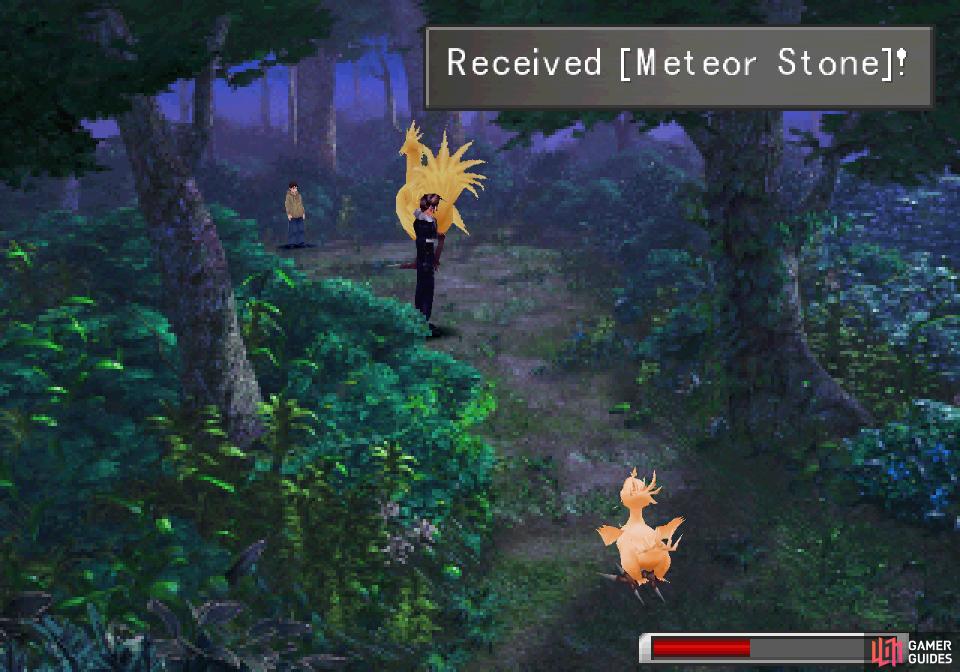
The treasure is also a bit of a nuisance, as the Chocoboy happens to be standing on it. Challenge him to a game of cards and pick the option “Forget it, just move” - you don’t actually want to play him, as he uses the Centra/Winhill rules (Random, Same/Plus), which can make things… tricky, despite his otherwise terrible cards. Once he’s out of the way, use your ChocoZiner where he stood to get the Chocobo to dig there and give you a Protect Stone and a Meteor Stone.
Chocobo Forest: Lenown Plains
The next Chocobo Forest can be found on the western end of the larger, southern landmass of Centra, so just sail over to this southernmost landmass, as there’s a beach nearby. Enter the forest and get prepared for a rather complicated chocobo puzzle.
(1 of 4) Use the ChoboZiner here first
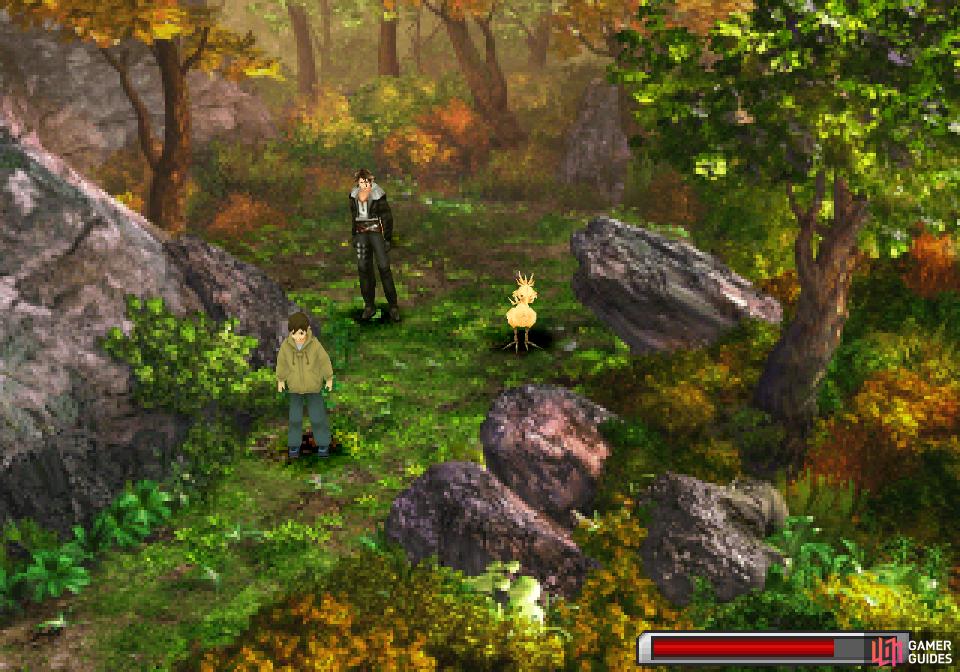
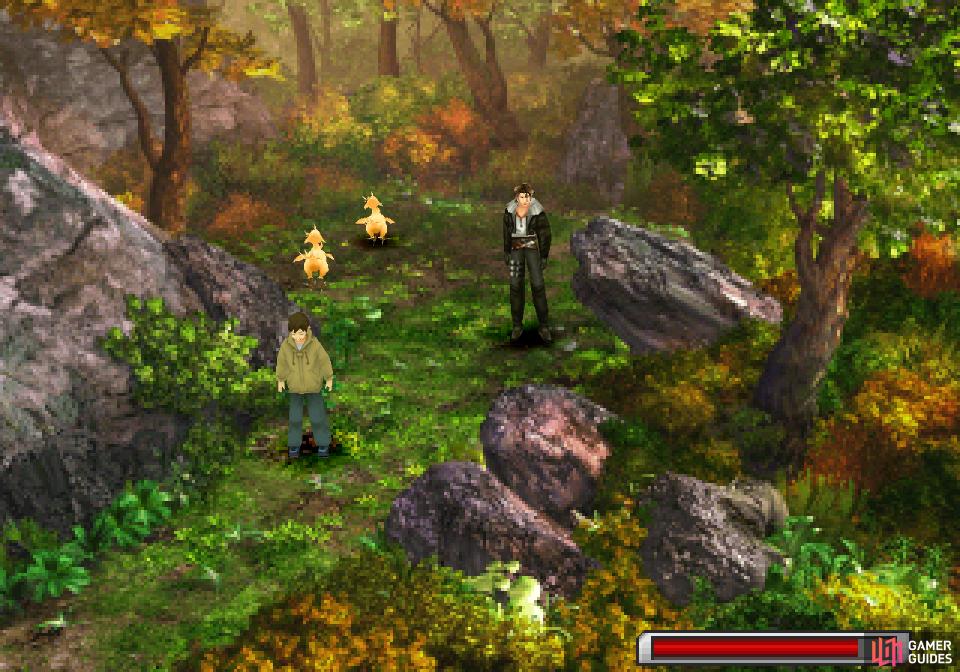
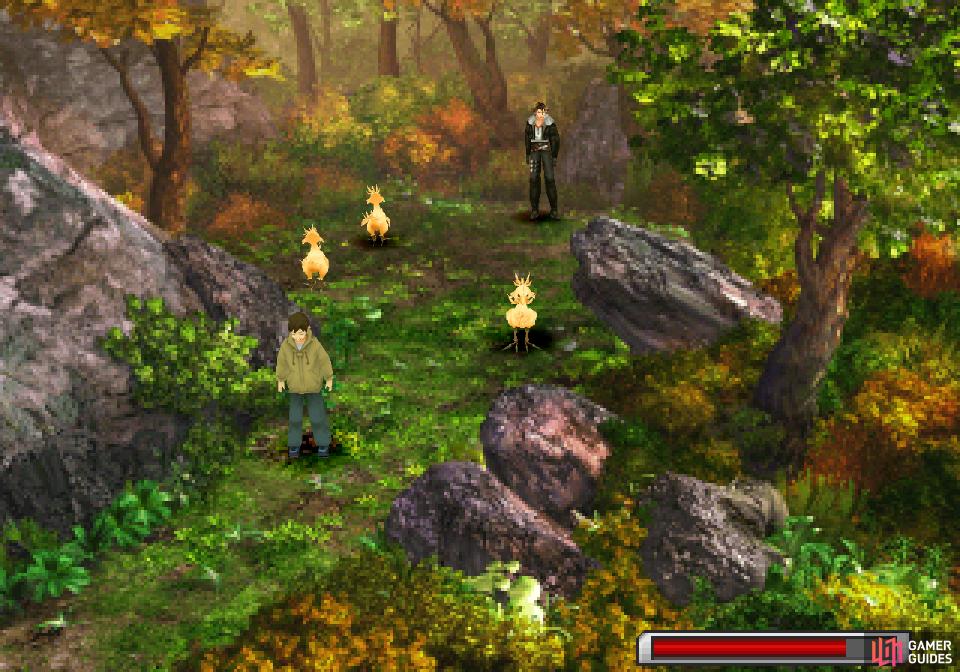
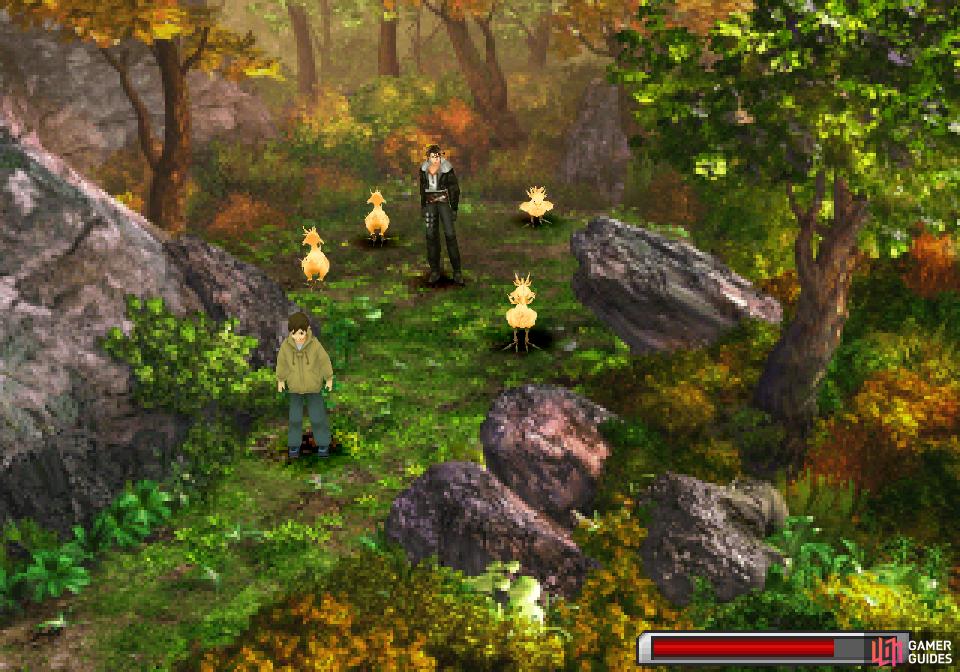
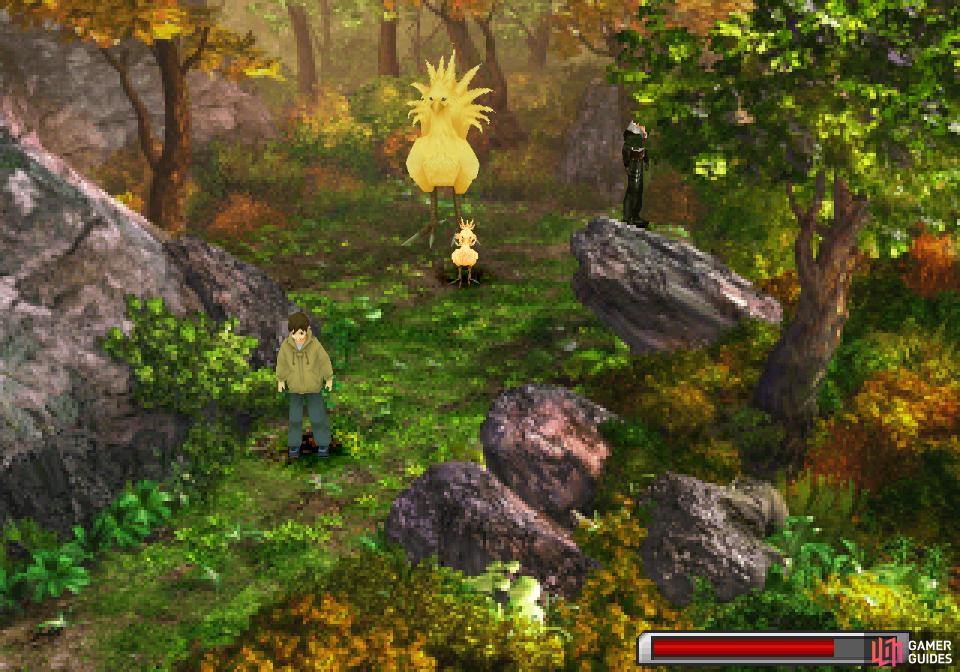
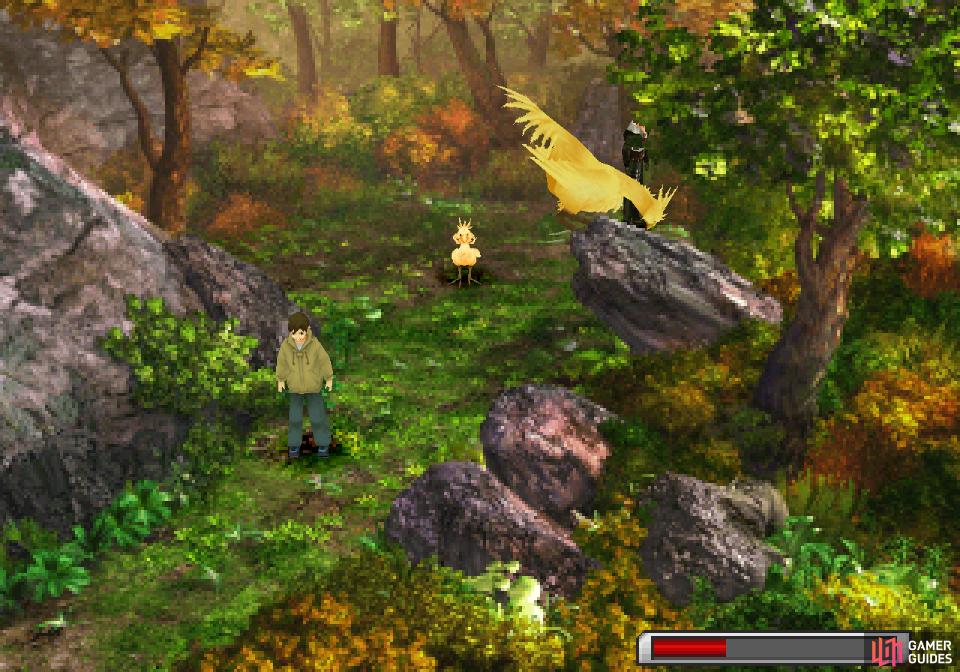
Equip your ChocoSonar to find a spot a fair distance down and to the right of the Chocoboy, then use your ChocoZiner there to summon three chicobos. Now head over to Chocoboy and use your ChocoZiner just to the right of him (use your ChocoSonar to confirm the location, if you wish) to bring down a fourth chicobo. Finally, climb onto the bluff Chocoboy is on and use your ChocoZiner a third time just below and to the left of him to summon a fifth chicobo. Use your ChocoZiner again in the same spot to provoke the nearby chicobo into chasing off its siblings, isolating it. Once done, talk to the lone chicobo to get yourself yet another chocobo.
(1 of 3) Locate the treasure spot
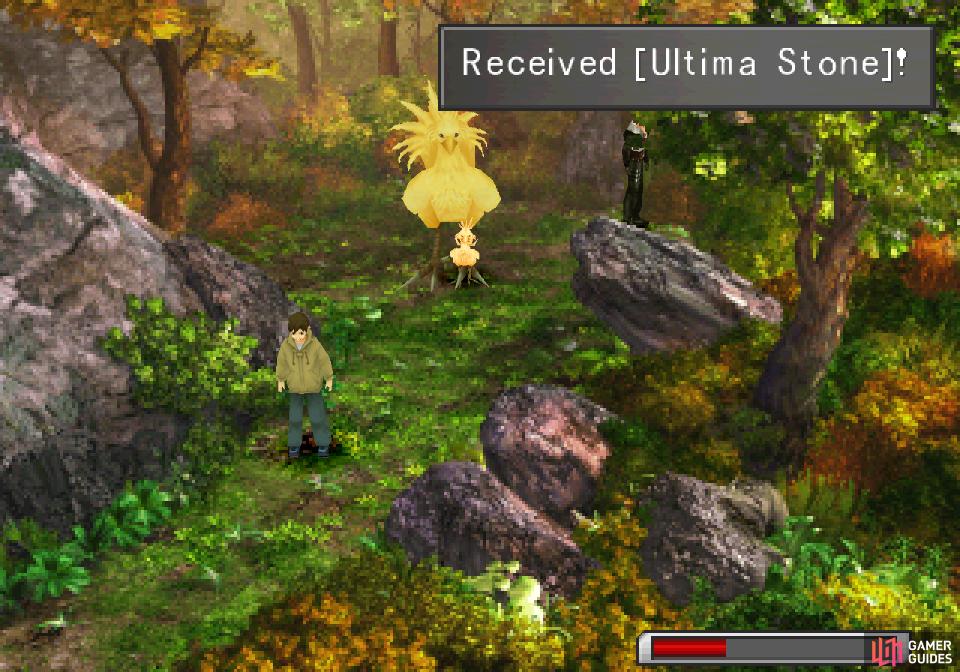
Finally, finish up by heading right from where the last chicobo was and use your ChocoZiner on the upper right part of this forest to get the chocobo to dig for a Meteor Stone a Flare Stone and an Ultima Stone.
Chocobo Forest: Talle Mountains
Leave the previous Chocobo Forest and look west to find a building in the distance. Wonder what that could be? Oh well, it’s not a Chocobo Forest, so ignore it for now and ride your new chocobo (or fly the Garden) to the eastern end of this continent. Slip through some mountains and if you continue east you’ll hit the Kashkabald Desert. Your goal, however, is on a peninsula to the south, where you’ll find some scattered forests, including this final Chocobo Forest.
Last one, we promise!
Enter the forest, get rid of your party and decline the Chocoboy’s offer, then equip your ChocoSonar and detect a hot spot in the upper left part of the forest. If you use your ChocoZiner here you’ll bring down two chicobos. The second spot is above and slightly to the right of Chocoboy, and using your ChocoZiner here will summon a third chicobo and scare off one of the original two. For the third spot, head to the right so you’re standing near a rock jutting out diagonally and use your ChocoZiner to summon a third chicobo. The fourth spot is just above the third one, in the upper right corner of the forest area. This summons a fourth chicobo. Finally head to the middle of the four chicobos and use the ChocoZiner for the fifth time to scare all four off (one delays for a bit, but eventually flees) after which a fifth chicobo will descend by itself. Interact with this lone chicobo to lure out mama chocobo.
(1 of 3) After luring out the chocobo, find the treasure with your ChocoSonar
Last up, the treasure. Head to the upper right of the forest (your feet should be hidden by the diagonal stone you used the ChocoZiner near earlier) and use your ChocoZiner to get the chocobo to dig up a Meteor Stone, Holy Stone and Ultima Stone.
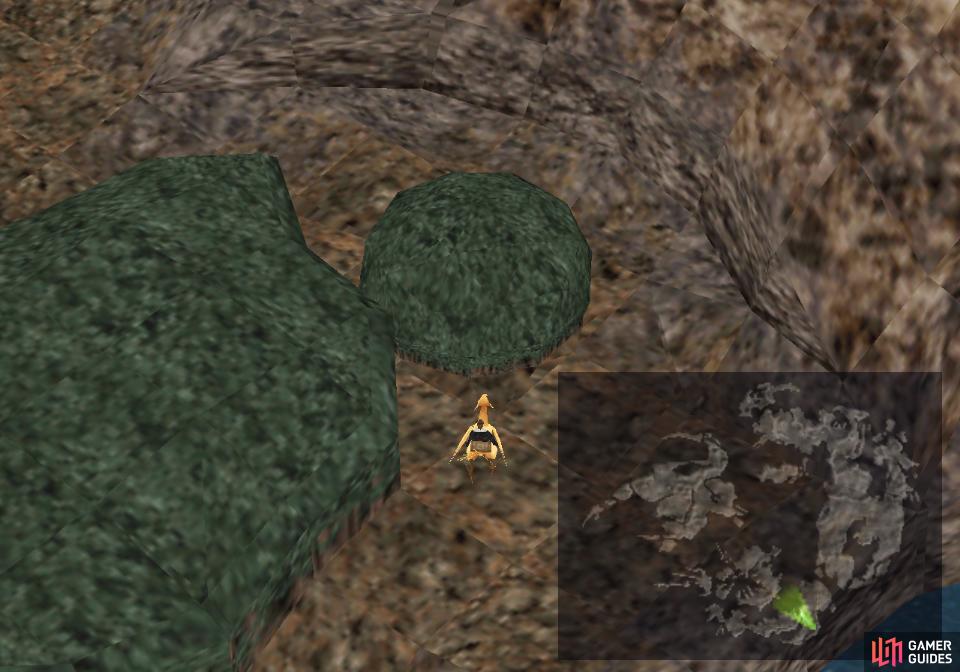
(1 of 2) Return to the Bika Snowfield Chocobo Forest and mount a chocobo
Return to the Bika Snowfield Chocobo Forest and mount a chocobo (left), and ride it to an enclosed forest to the east to find Grandidi Forest Chocobo Forest (right)
Chocobo Forest: Grandidi Forest
Time to wrap this quest up and claim your prize. Make your way back to Trabia Garden (soon…) and head to the nearby Chocobo Forest (Bika Snowfield). Secure a chocobo from here and ride it east around some mountains, down a beach and into the shallow water. Ride to a landmass to the east and circle around the cliff-faced coast until you find a beach leading to the forest-filled interior of the landmass. Ride north through the forest until you find a chocobo Forest, which sticks above the rest of the forest.
(1 of 2) Watch a chocobo dance
Watch a chocobo dance (left), then talk to the chicobo to gain the Chicobo Card. (right)
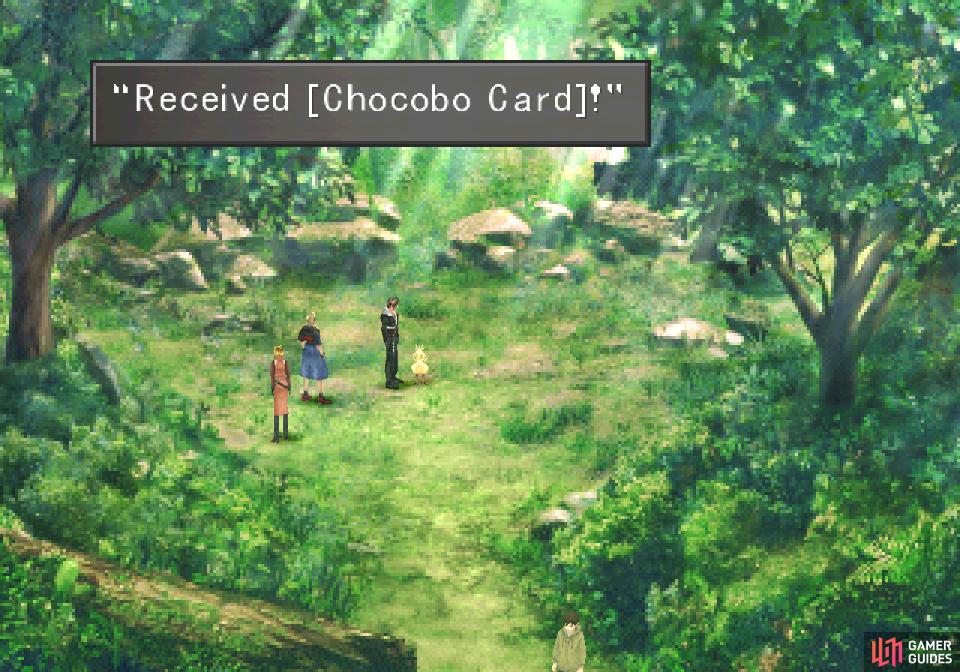
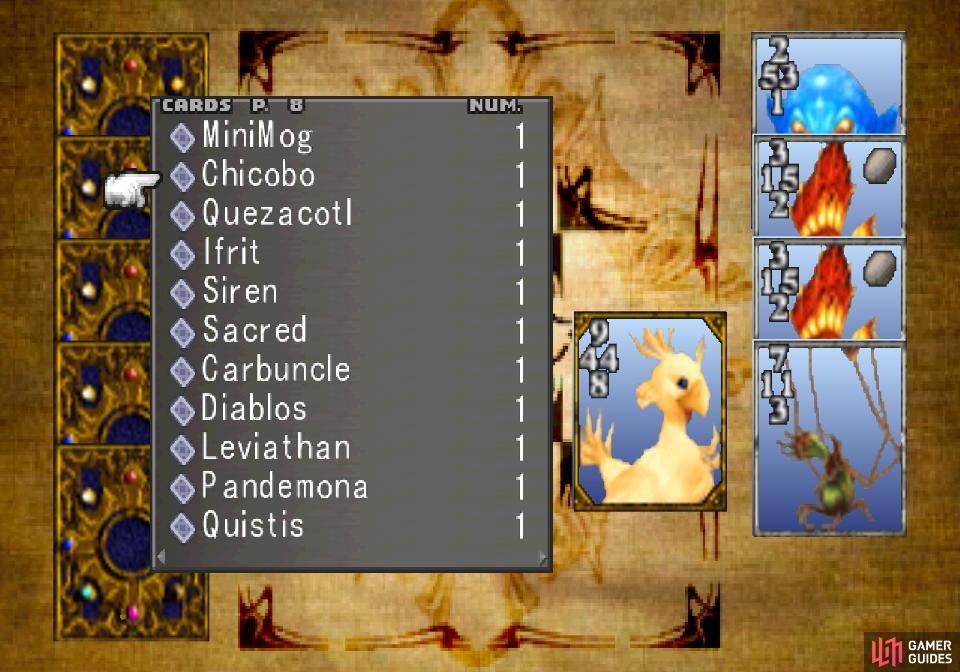
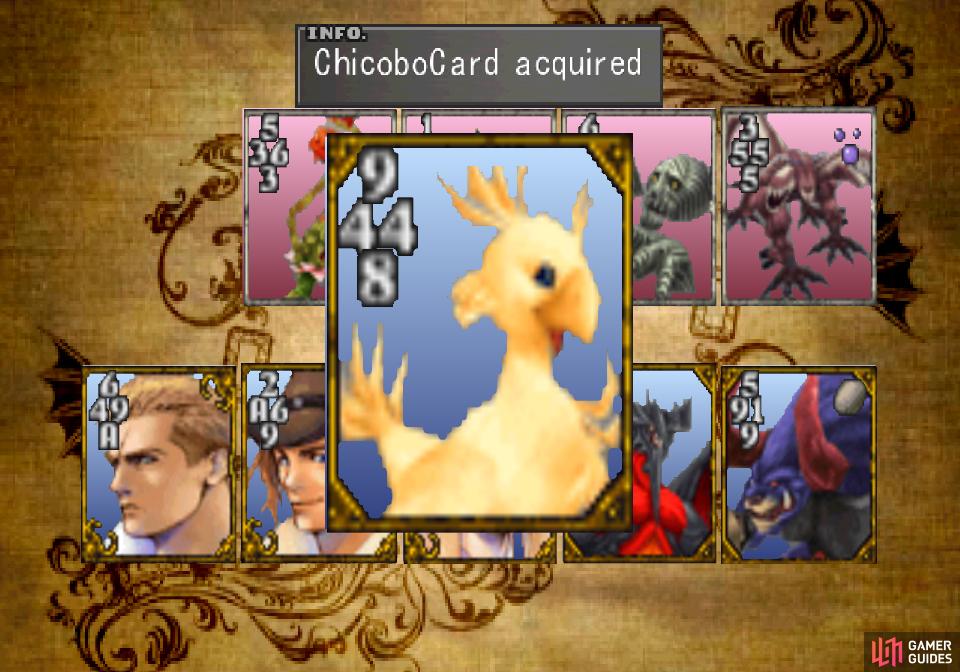
Enter the forest and approach a gathered circle of chocobos to witness… well… whatever the hell that is. When the chocobos leave, approach the chicobo they left behind and interact with it to gain the “Chocobo Card”, which is actually a Chicobo card. Like MiniMog, this Level 8 GF card doesn’t make much sense without Chocobo World, but it presumably represents Boko. You can also buy Gysahl Greens from the chicobo - just talk to it and you’ll receive your greens, and the greedy bird will snatch 600G from you. What use does it have for Gil? Oh well… Speaking of which, the Chicobo card can be refined into 100x Gysahl Greens with Card Mod. You definitely want to keep the card, at least for a little while, as it’s needed for the next phase of the Queen of Cards quest. On that note…
Talk to Chocoboy and he’ll show you his chocobo-catching technique. Seems like you’ve been doing this the hard way all along! Oh well, mount the chocobo and ride to Trabia. It would be easy enough to visit Trabia now, but let’s finish up this business with the Queen of Cards, first.
(1 of 2) Assemble a weak hand
Assemble a weak hand (left), and ensure you lose the Chicobo card. (right)
Queen of Cards - Chicobo
Return to wherever you left the Queen of Cards (if you’re following this guide, it should be Balamb) and lose the Chicobo card to her. You know how this works, make a hand of junk and throw the game, and ensure she goes to Dollet afterwards.
(1 of 2) Learn about the next phase of the quest by talking to the Queen of Cards in Dollet
Learn about the next phase of the quest by talking to the Queen of Cards in Dollet (left), then win back the Chicobo card from her son (right)
Once you have achieved this end, return to Dollet and talk to the Queen of Cards inside the 2nd floor of the pub to learn that the Chicobo card inspired her father to create a Chubby Chocobo card, which is held by somebody in Balamb Garden. J’accuse! She’ll also mention that she desires some Alexander card, which you obviously don’t have yet. Oh well. Her son - the brat in the artist’s house - should also now have your Chicobo card. Go win it back from him then return to Balamb Garden.
(1 of 2) Challenge the student on the bench near the library
Challenge the student on the bench near the library (left), and win the Chubby Chocobo card. (right)
Time to come full circle. Return to the lobby of the garden and head right to reach the hallway outside the library. Sometimes there’s a man who sits on a bench here - you may have played him very early on in the game to build up your deck. He now holds the Chubby Chocobo card, and since the rest of his cards haven’t improved significantly, it should be easy enough to win the Chubby Chocobo card from him.
The Chubby Chocobo card is actually a decent playing card, but the Sacred card is arguably superior, if you have it. You can also refine it into 100x LuvLuvGs, which can be used to boost your compatibility with GFs if you care to bother.
With that, you’re done with the Chocobo Forests and all related quests. In fact, you should be done with side quests in general for now. That being the case, it’s time to move on to Trabia Garden.






 Sign up
No Comments