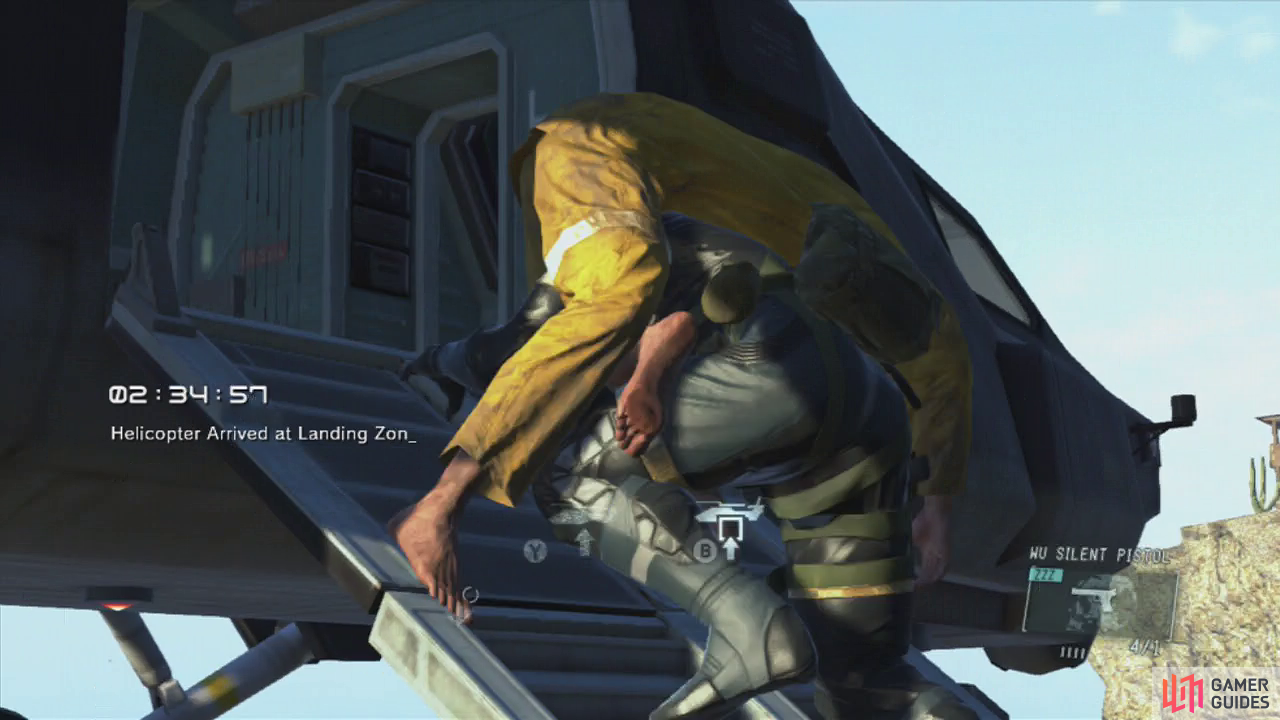
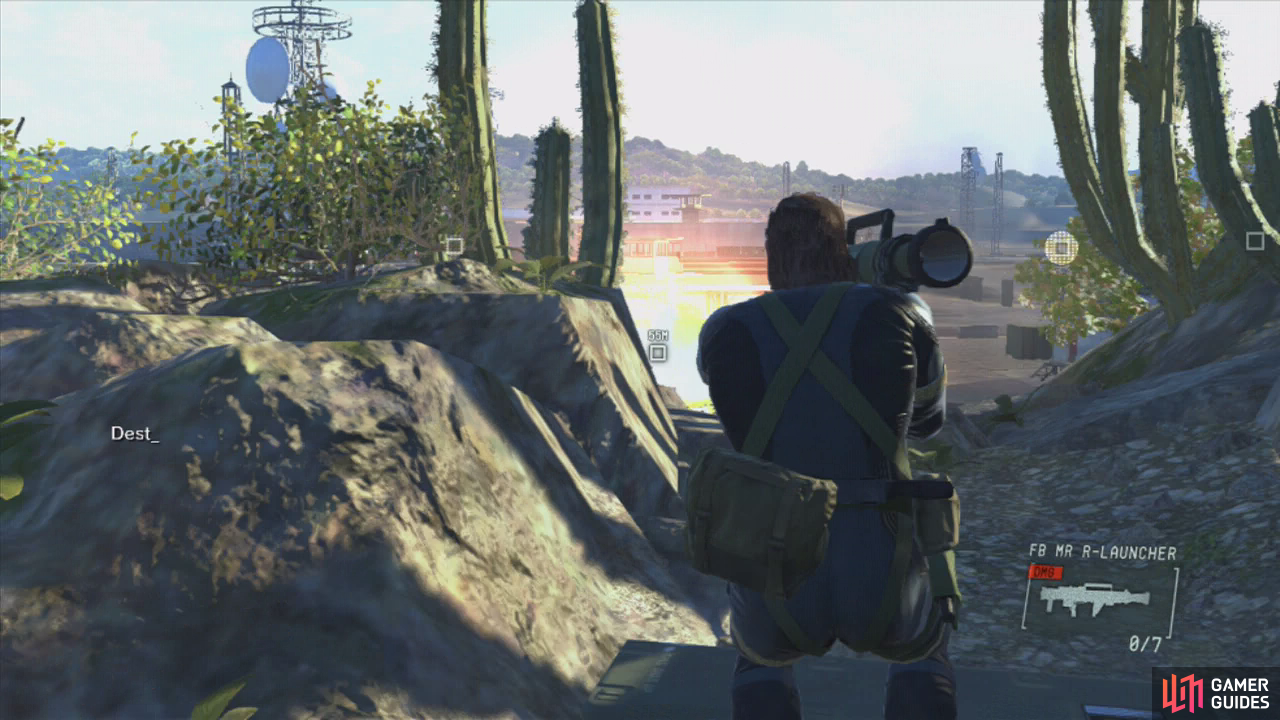
There are a couple of options on how to complete this mission with an s-Ranking. The first method is similar to the walkthrough above, but has you leave a few stops of your itinerary, whilst method 2 can be completed in less than five minutes. The second method requires that you have the RPG available at the start of the mission though – which means having earned an A Ranking on the mission previously (which should have got fairly easily if you followed the above walkthrough).
Mission Scoring:
The following bonuses will be added to your score at the end of the level if you are able to meet the requirements as you move through the mission.
- 0 Combat Alerts = +8,250
- 0 Kills = +2,750
- 0 Retries = +4,125
- No Reflex = +8,250
- Prisoners Rescued = +14,000 (4 at +3,500 each)
- Motherbase Agent Recovered = +6,500
Destroy the Anti-Air Emplacements S-Rank Walkthrough - Method 1
The first method requires that we follow the general route through the level listed in the above walkthrough, following it step by step. Having said that, as you progress through the level you should make a number of adjustments to your strategy. You should:
- Rescue all three prisoners from the prison before moving on to destroy the AA guns. Extract with them at the end of the mission when the wait time for helicopter extraction is very short to save time.
- Avoid going into the admin building to extract the prisoner required for the achievement/trophy. It is too risky and time consuming.
- Try to destroy the armoured vehicle near the prison. It is close to the extraction point the helicopter goes to by default at the end of the mission.
- Try not to kill anyone or be detected.
- If you haven’t already, turn reflex mode off in the gameplay menu for a nice bonus at missions’ end!
Prisoners give you lots of bonus points!
Destroy the Anti-Air Emplacements S-Rank Walkthrough - Method 2
This method is extremely easy and allows you to S Rank the mission in around four minutes without ever seeing a guard. To do this, it requires that you complete this side-op mission with an A ranking previously so that the RPG appears at the start of the level. Coincidently, you can see three of the four AA Gun emplacements from the starting point. Which is all we need to complete the level!
As you begin the mission, you’ll want to grab the RPG from the weapon crate nearby. Now climb down to the locked gate in the fence below, pick the lock and head through. Place three pieces of C4 on the road just outside the gate.
Now return to the mission’s starting spot and pull out your RPG. Note the three AA Emplacements that we can see at this point. When you are ready to get started, shoot the closest AA gun and immediately go prone afterwards. Back up a little so the enemies can’t see you behind the rocks here and then hit the furthest AA gun to the right – it’s the one at the end of the bridge on the eastern side of the heliport).
Now crawl over to the left using the rocks as cover, peek over the top and when it is clear to do so shoot the third and final AA gun from behind the rocks here whilst out of sight.
Grab the RPG from the crate at the start of the level and destroy all 3 AA guns without moving much at all!
As per usual, destroying the third AA gun will trigger the armoured vehicle to show up. Pull out your detonator and wait for the vehicle to drive straight over the top of your C4. Blow it up to destroy the vehicle.
Now use your iDroid to call a helicopter to the nearby extraction point and get on!


 Sign up
No Comments