Directive: Use the Underground to get to the Hospital
Follow Igraine to a little room with a ton of people slaughtered. Keep pressing forward (through the gate to Igraine’s right) and follow the path. Try opening the gate to trigger a scene. This way is no good, time to head back:
Directive: Find another way to the exit.
On our way back you’ll find a couple rebels coming in. Kill them and follow the gate they just opened and follow the corridor to find another couple of enemies. Take them out and enter a larger area where there will obviously be more enemies (naturally…).
After killing them follow Igraine and up some stairs during a scene. Once you’re inside the hospital inspect the corpse in front of you for the Item collectible. Now go up the stairs where Igraine is to find another Document .
Start going down the hallway and a couple of enemies come out of a room. Quickly take cover and kill them. Now its time to investigate the basement. THIS ought to be fun…
Directive: Investigate the basement
As you drop down enter the next room which has nothing and continue on to a larger one. Head down the stairs and examine the first door on your left for an Item . You can go in the next door but instead examine the last door for another Item .
Go up the stairs for a scene with a Lycan. Shoot if you wish but there’ll be another scene soon. After that, use the button prompt for your blackwater and then head forward to the rifle. From here, shoot it with the Falchion and use the Alt Fire when prompted to make it flee.
Directive: Find Igraine
Time to regroup with Igraine. Exit this room and follow the rather linear path until you trigger a scene with the Lycan, where you’ll have to mash X like crazy. Afterwards, continue moving forward and help Igraine pry open the gate to start a large QTE event in which you’ll be fighting the Elder Lycan.
You can do Quick and Strong attacks with L2 and R2 respectively, but most importantly make sure to dodge using the right analog stick when the command appears on screen. Also, if you have Blacksight available you can press L1 for a series of uninterrupted attacks that really help out. At one point you’ll have to hit square for a QTE, at the end, so be ready. There are more QTE prompts near the end, so be ready for those as well. Continue watching scenes after the fight.
Once you put Igraine down, we’ll be tasked with a directive:
Directive: Search the rebel hideout
It seems as if they are prepared. Check the desks in front of you to find a Photograph and check the papers on the L-shaped desk for Items .
Now check the other side of the room to find a Document and another Item next to it.
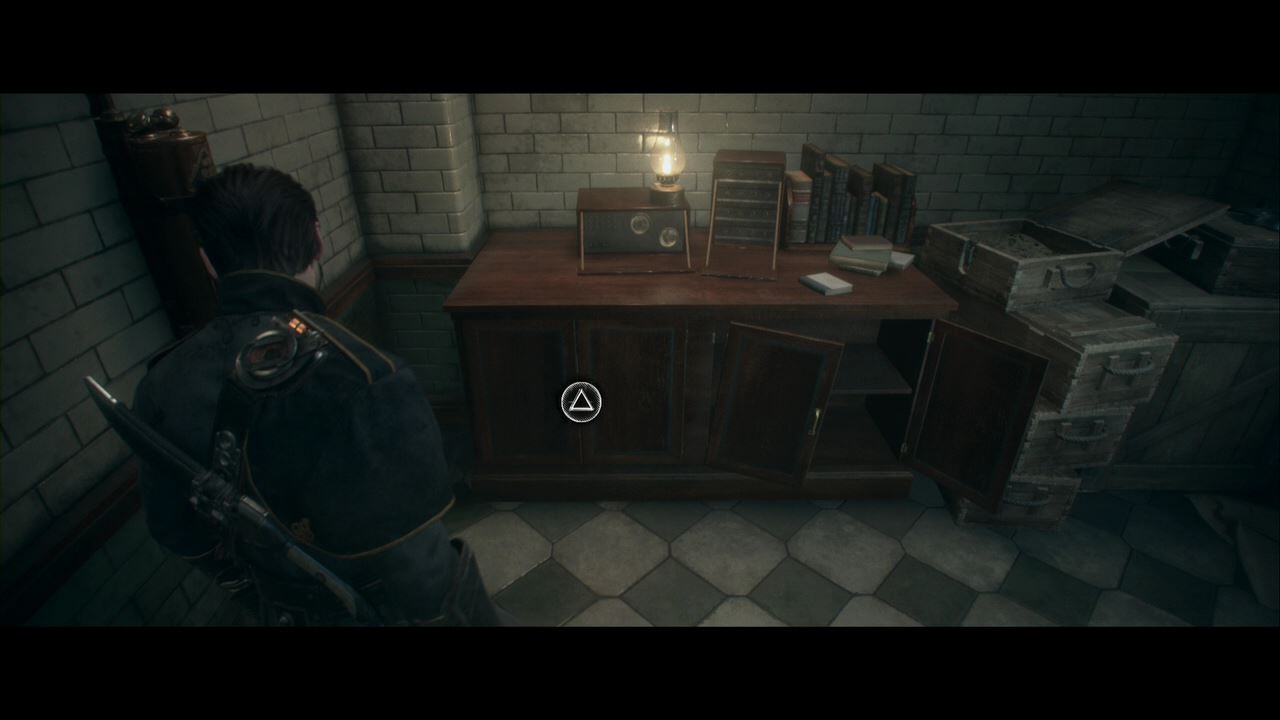
Now proceed down the hallway and enter the room on the left. Check out the cabinet at the end to find an Item .
Return to the hallway and enter the room right across. Pick the lock and nab the Phonographic Cylinder - All Through the Night . Now pry open the wooden box to find Phonographic Cylinder - The Anarchists 29.09.86 .
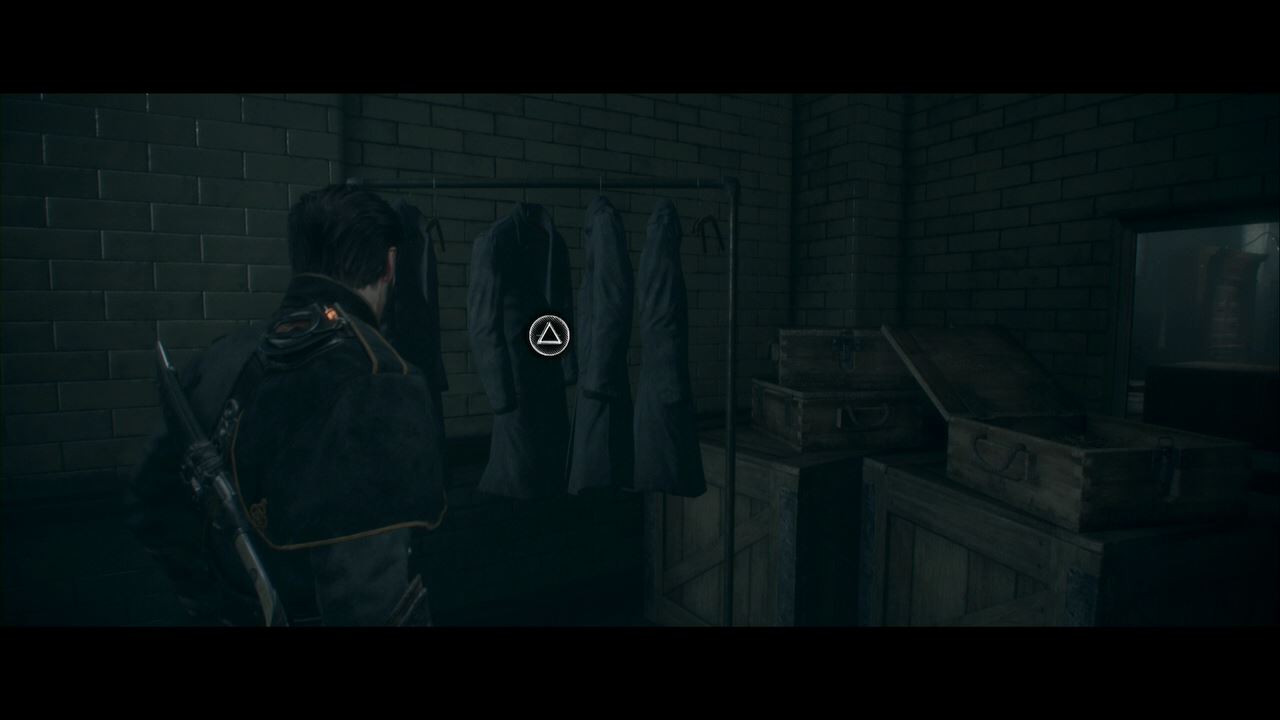
Now examine the hanged clothes in here for another Item .
This pretty much cements what their plan is and updates our directive:
Directive: Get Igraine and leave the Hospital
Before we do that though, check the other desk in this same room for the last Item . Now return to Igraine to finish the chapter.


 Sign up
No Comments