Travel: Old Sycamore
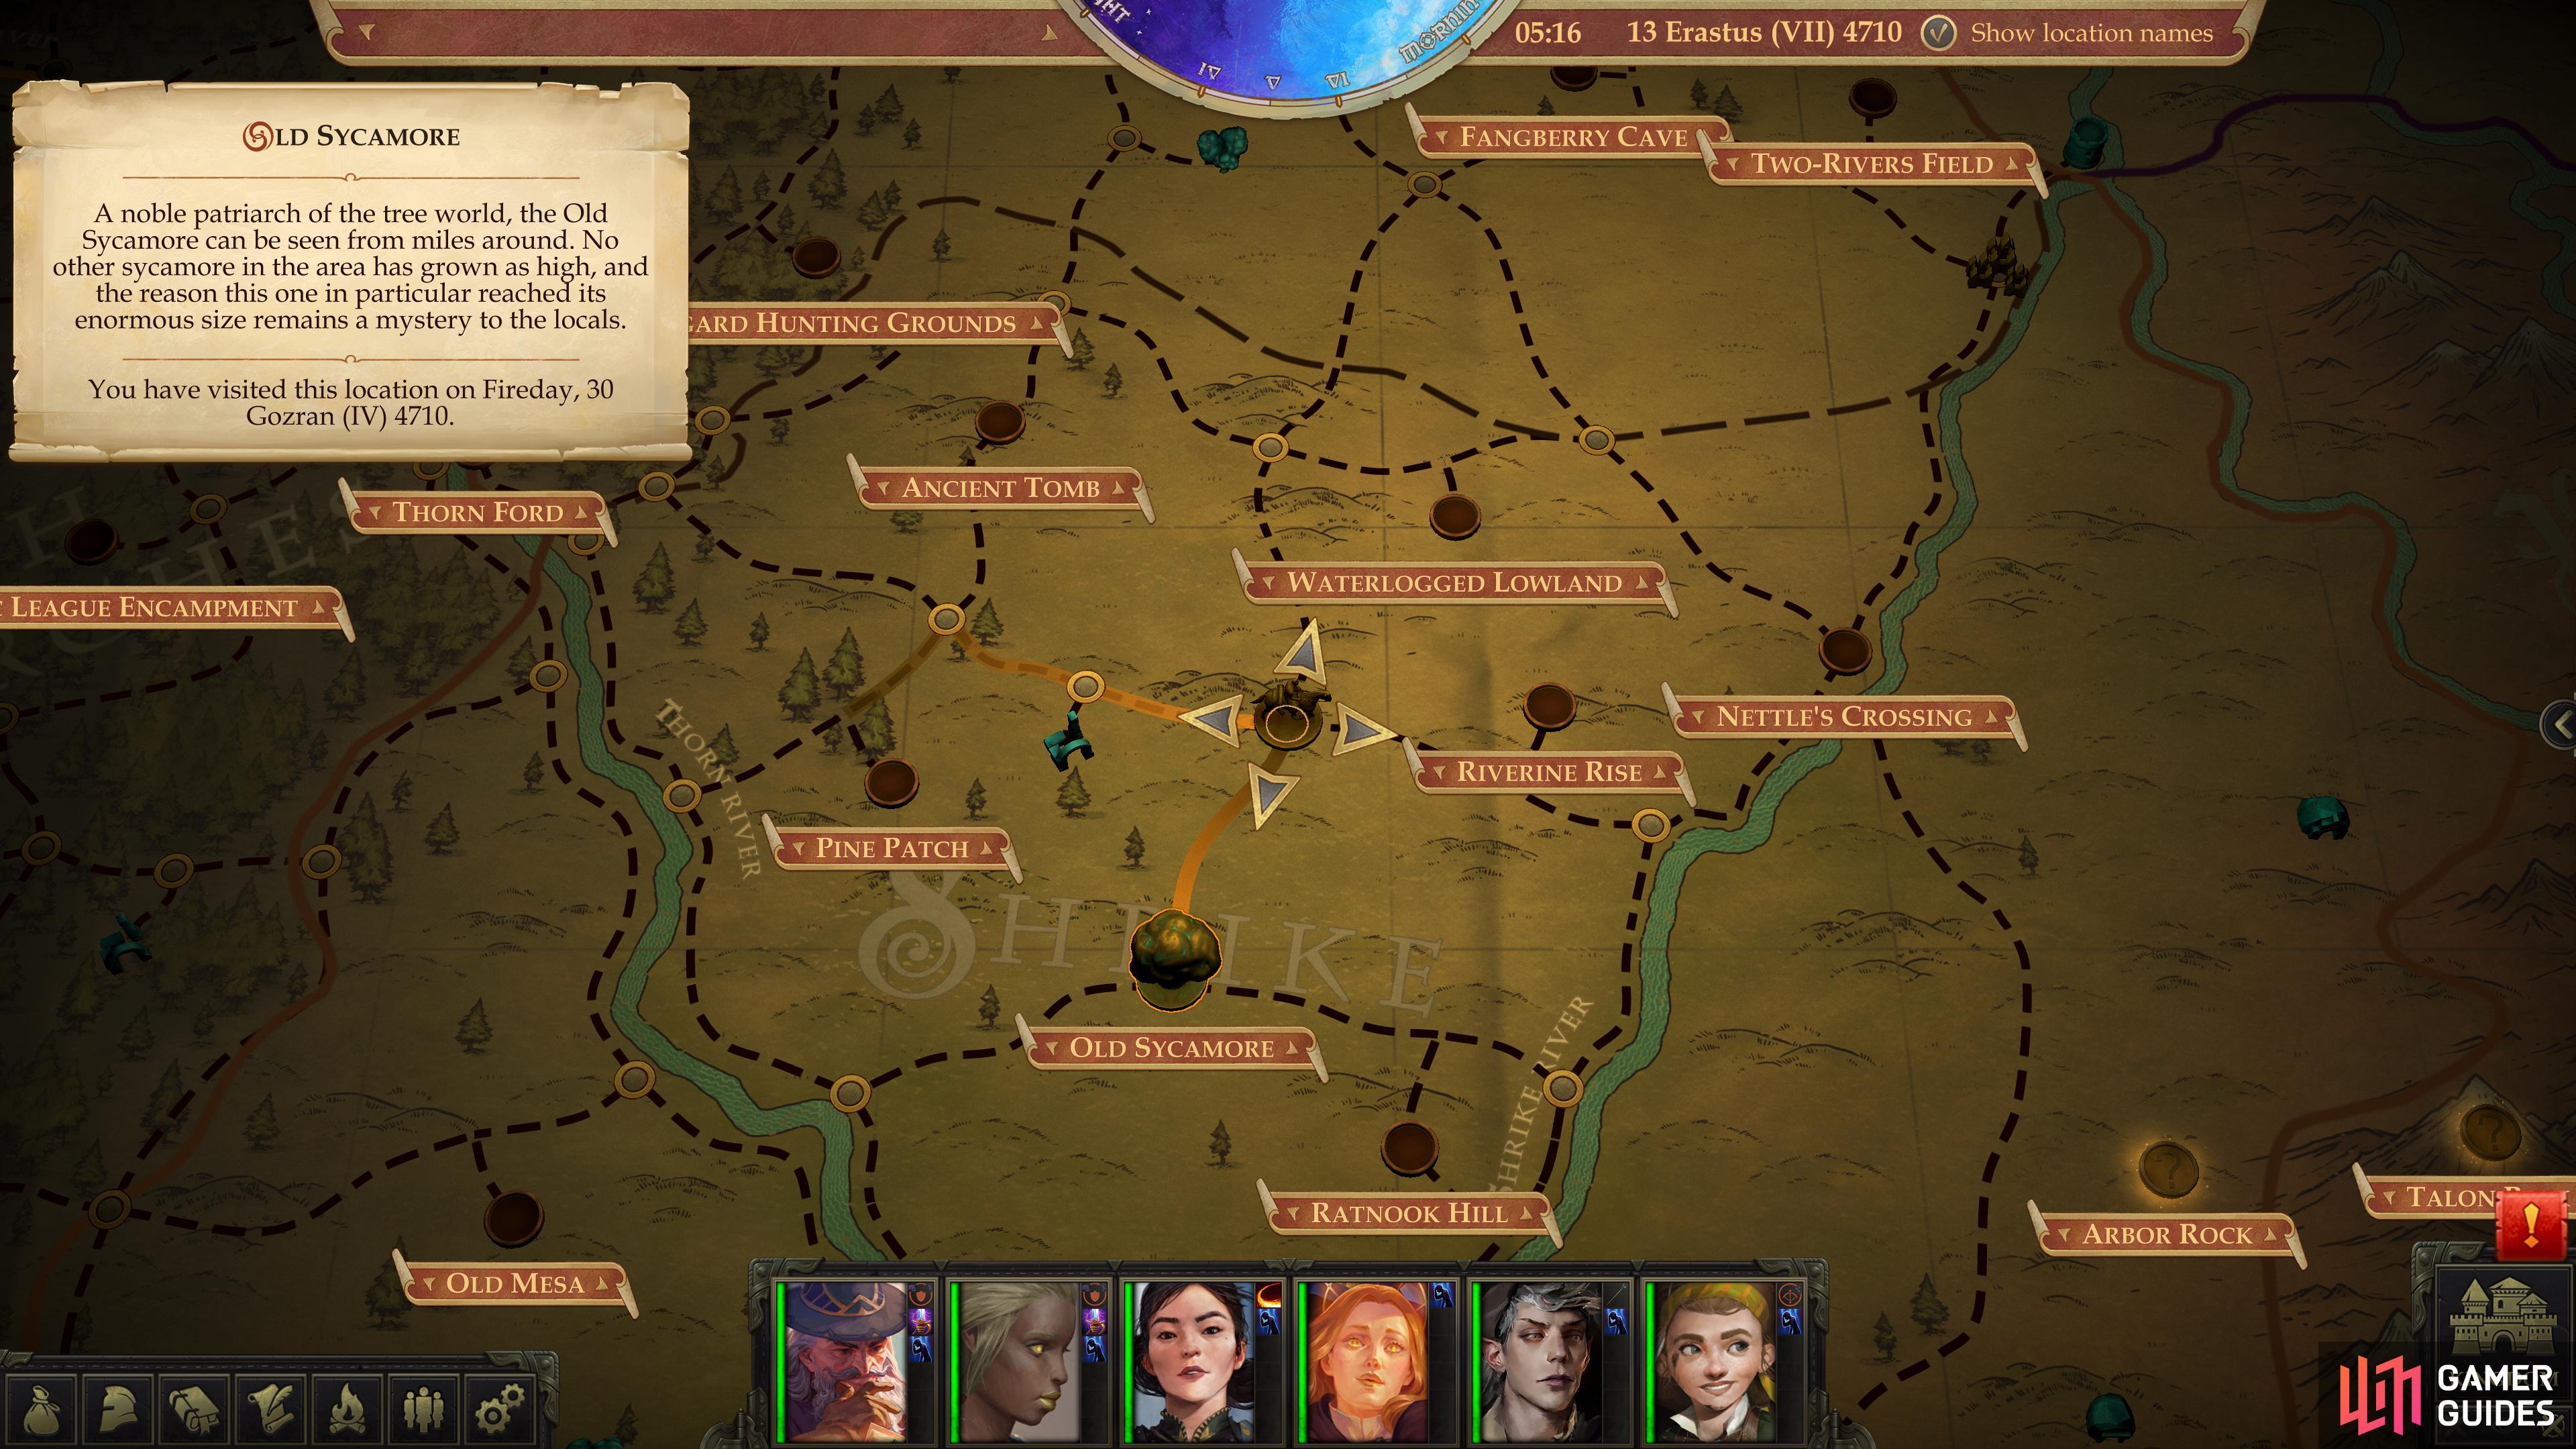
From Oleg’s Trading Post follow the following directions to reach the Old Sycamore area:
- South
- Southeast
- Southeast
- Southwest
- South
- Southwest
It’s a pretty simple route that shouldn’t take you through difficult terrain or really see you venturing far from areas you’re already familiar with.
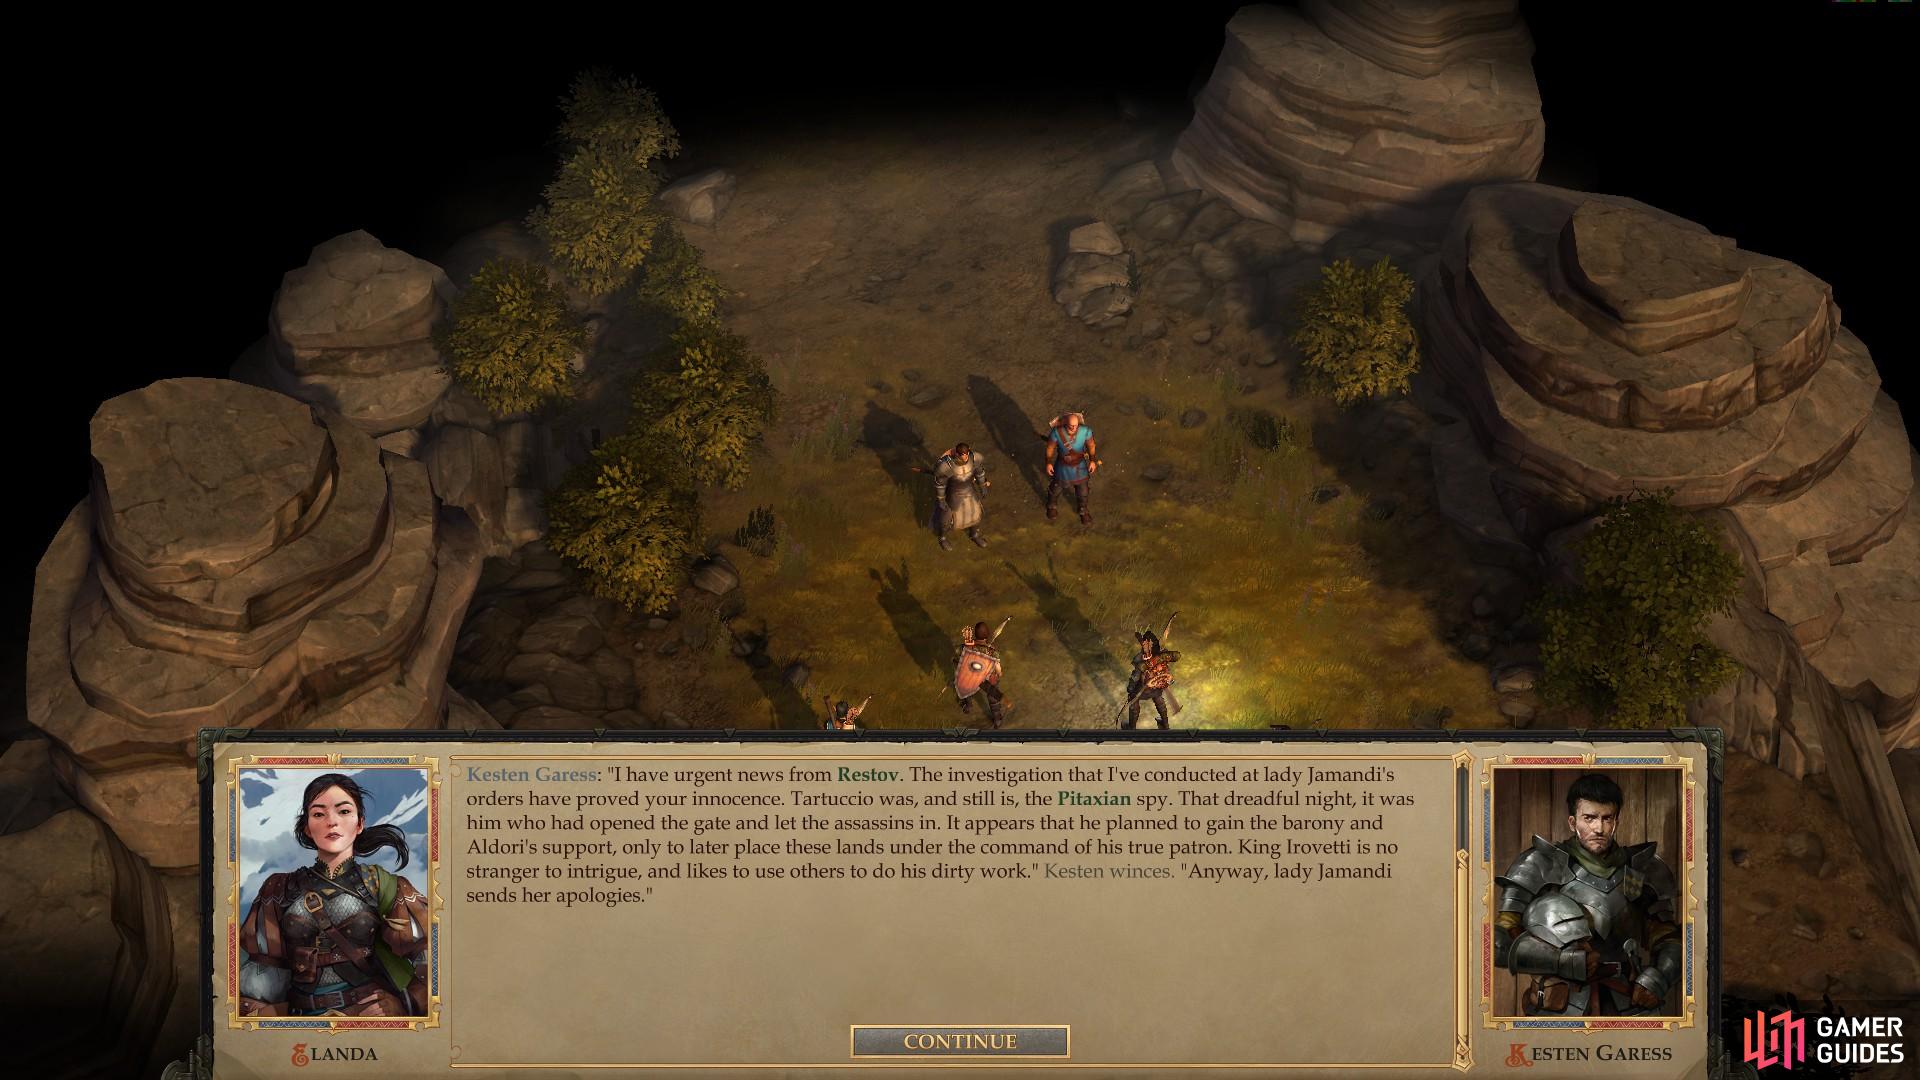
You’ll enter along the southwestern end of the area, and as soon as you enter you’ll meet your old friend Kesten Garess! Or rather, your one-time acquaintance you met under duress. Close enough. He’ll tell you that they discovered Tartuccio was everything he accused you of being, and once exposed he and his men set off in search of the duplicitous Gnome. Long story short, he failed, and now he’s passing the task of hunting Tartuccio down onto you, because you’re not busy enough already. Oh well, something to do while you wait for the fog to clear. Who wants to bet that fog’s not going anywhere until the very moment you deal with Tartuccio?
When you enter the Old Sycamore area, you’ll find your pal, Kesten Garess.
After Kesten leaves and before you get to exploring, some notes are in order. First, this area is much larger than any other place you’ve explored. Not only does it include a large surface area, but two sizable subterranean cavern areas. There are plenty of enemies to fight, much loot to grab, and honestly, it all probably can’t be done in one visit. If for any reason you need to rest or return to Oleg’s Trading Post (low HP, depleted spells, encumbrance, fatigue, etc.), you’ll be expected to tend to such matters without prompting. An unlucky critical hit or two could change how things play out for different parties, so you’ll have to make that judgment call on your own.
To put things to scale, you should be getting enough experience in these areas to go from level three to level four… that’s right, you should just about double the experience you’ve earned thus far. It’s one reason why exploring the place in-depth was postponed until you had completed other tasks, most important of which was gathering more companions.
Also note that while many encounters are easy enough on their own, there are some encounters here that will be simply beyond you, even on the easiest difficulty setting.
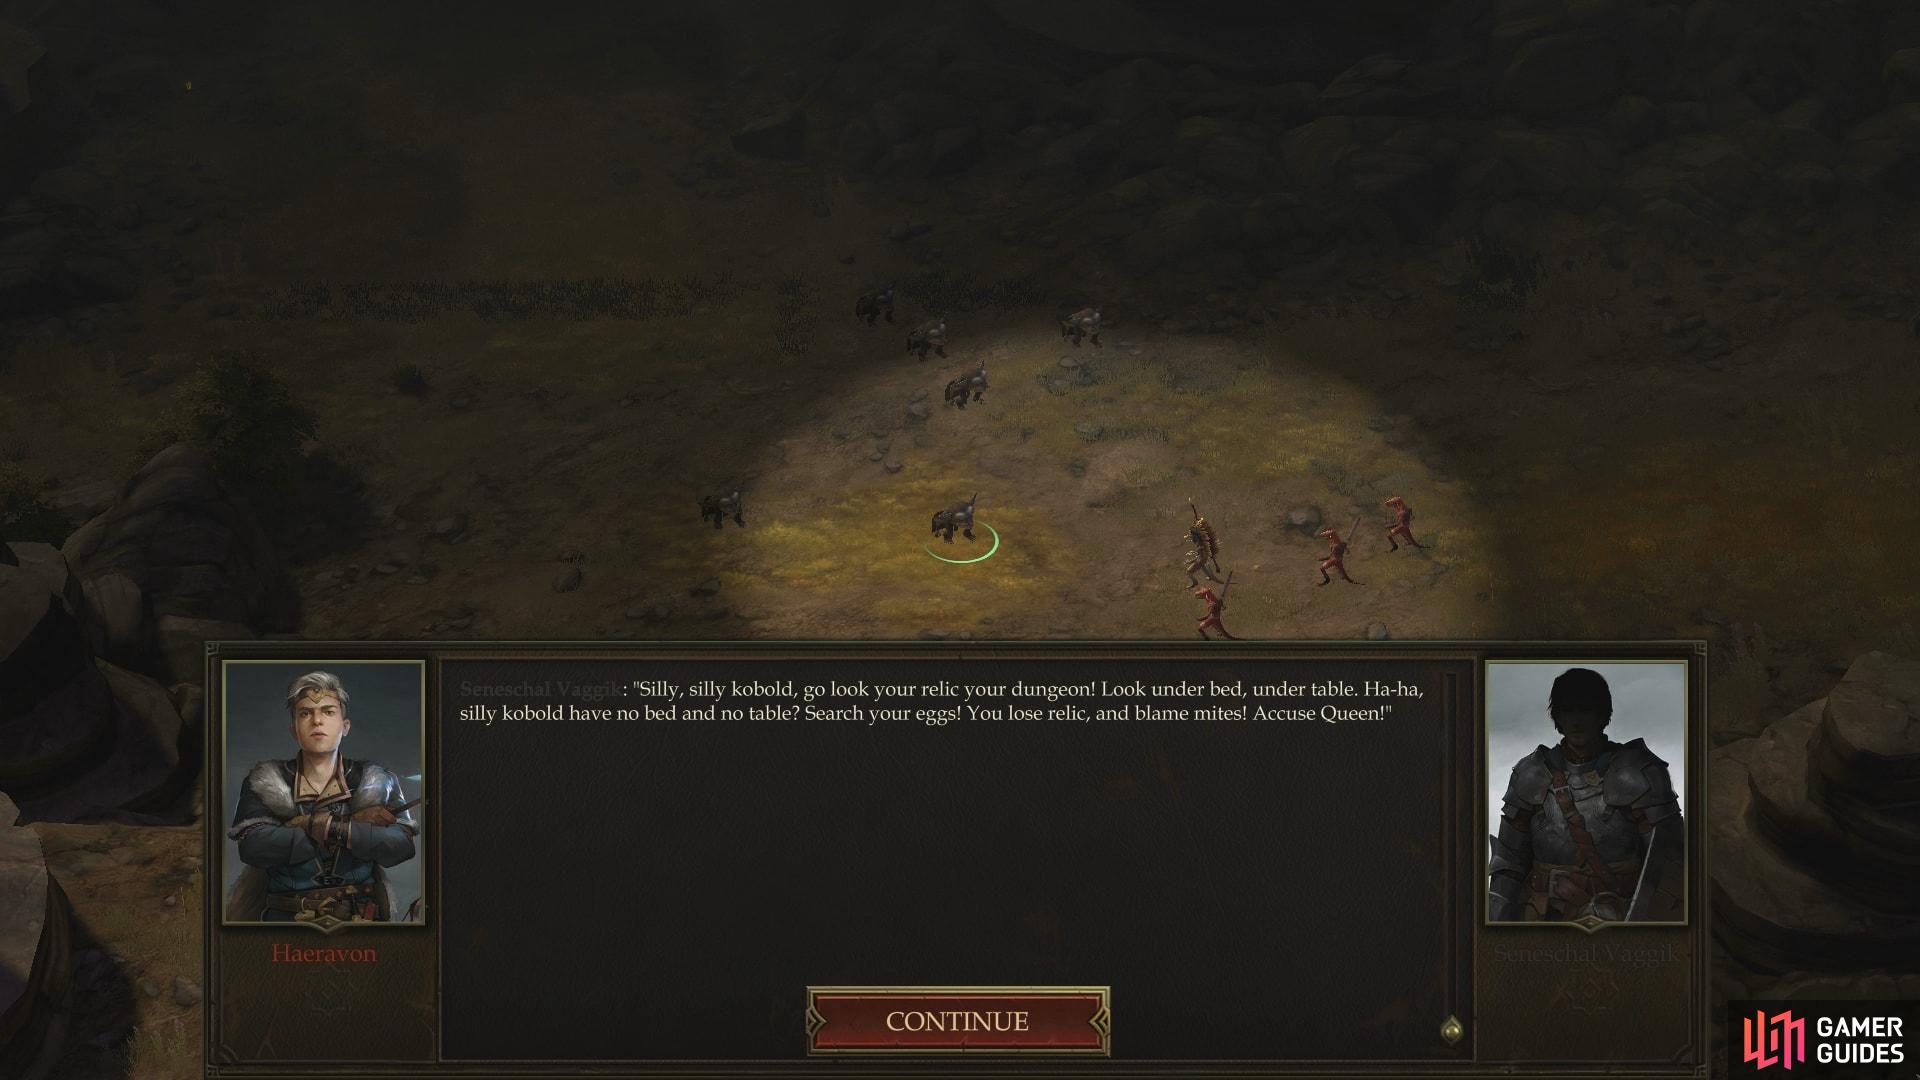
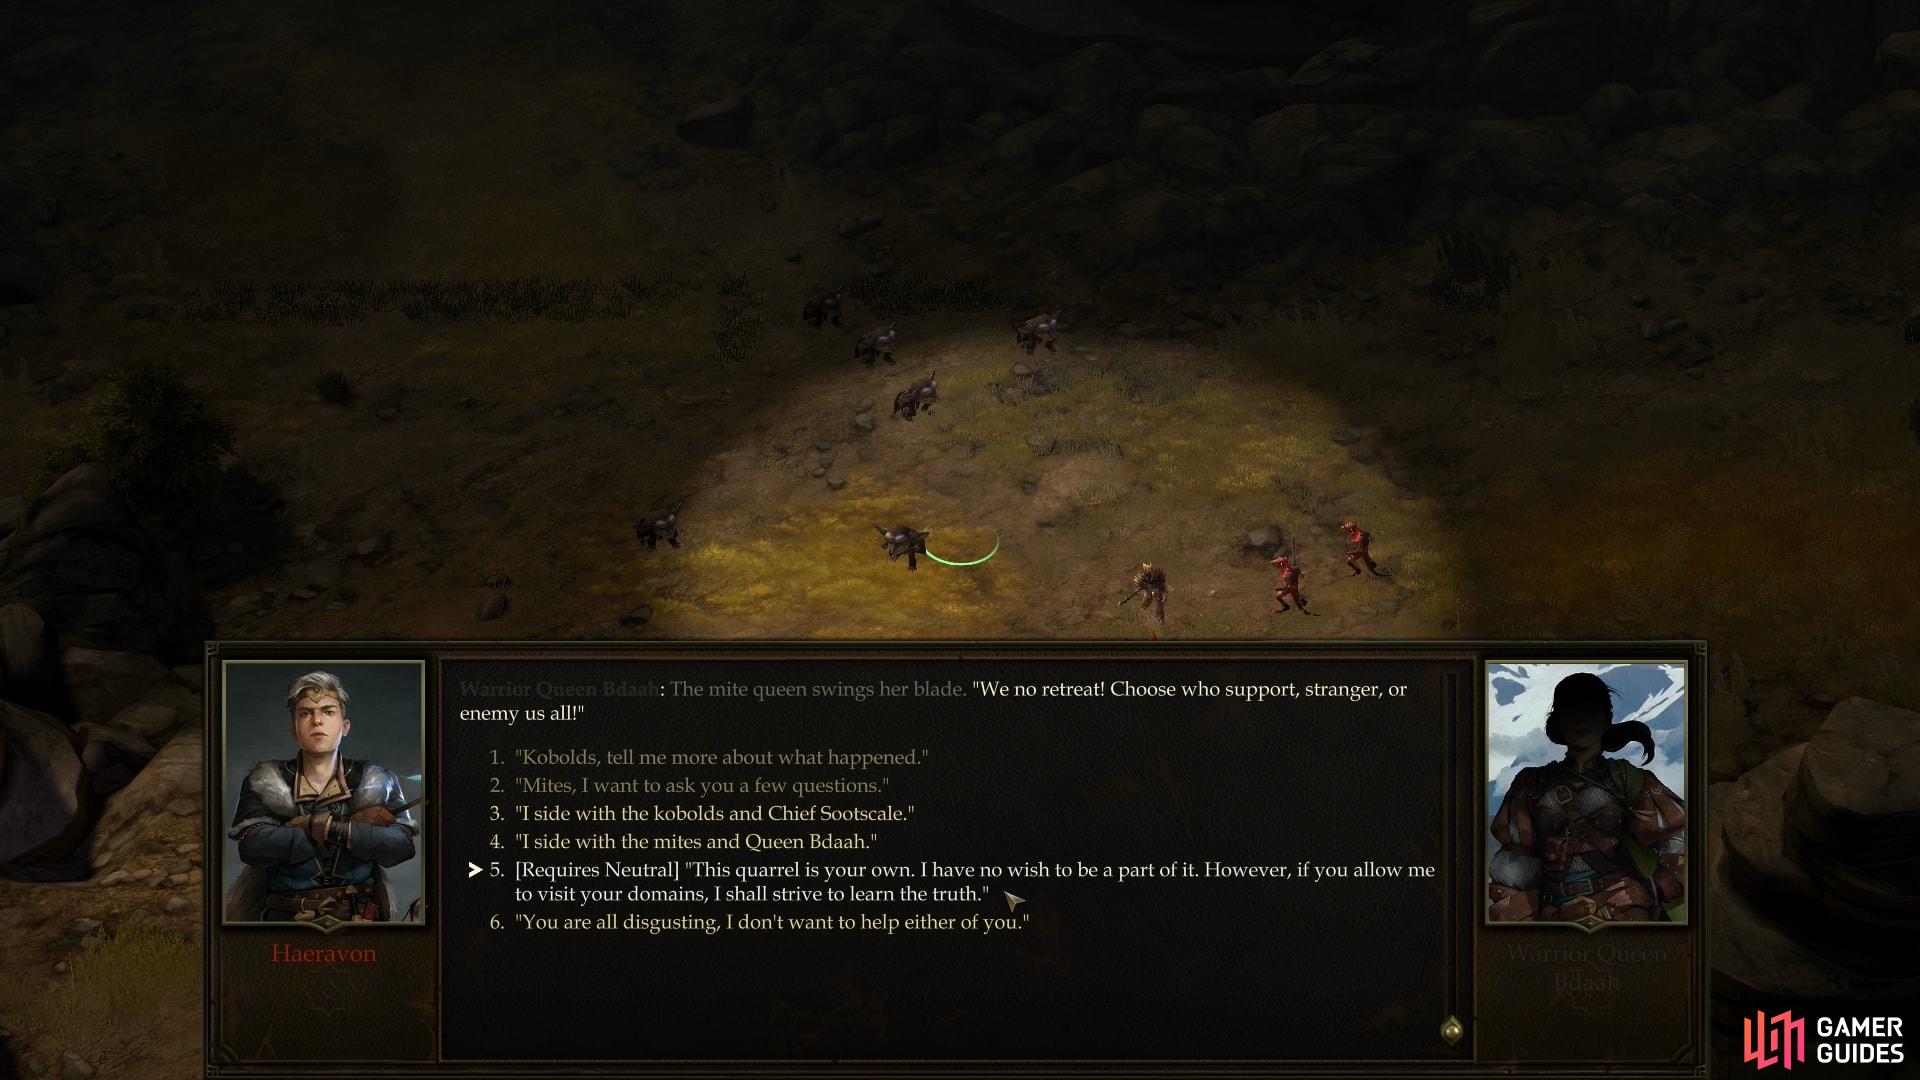
(1 of 2) The Kobolds and Mites will argue over a relic
The Kobolds and Mites will argue over a relic (left), and you can choose which side you’ll support - or try to remain neutral with both. (right)
Kobolds versus Mites
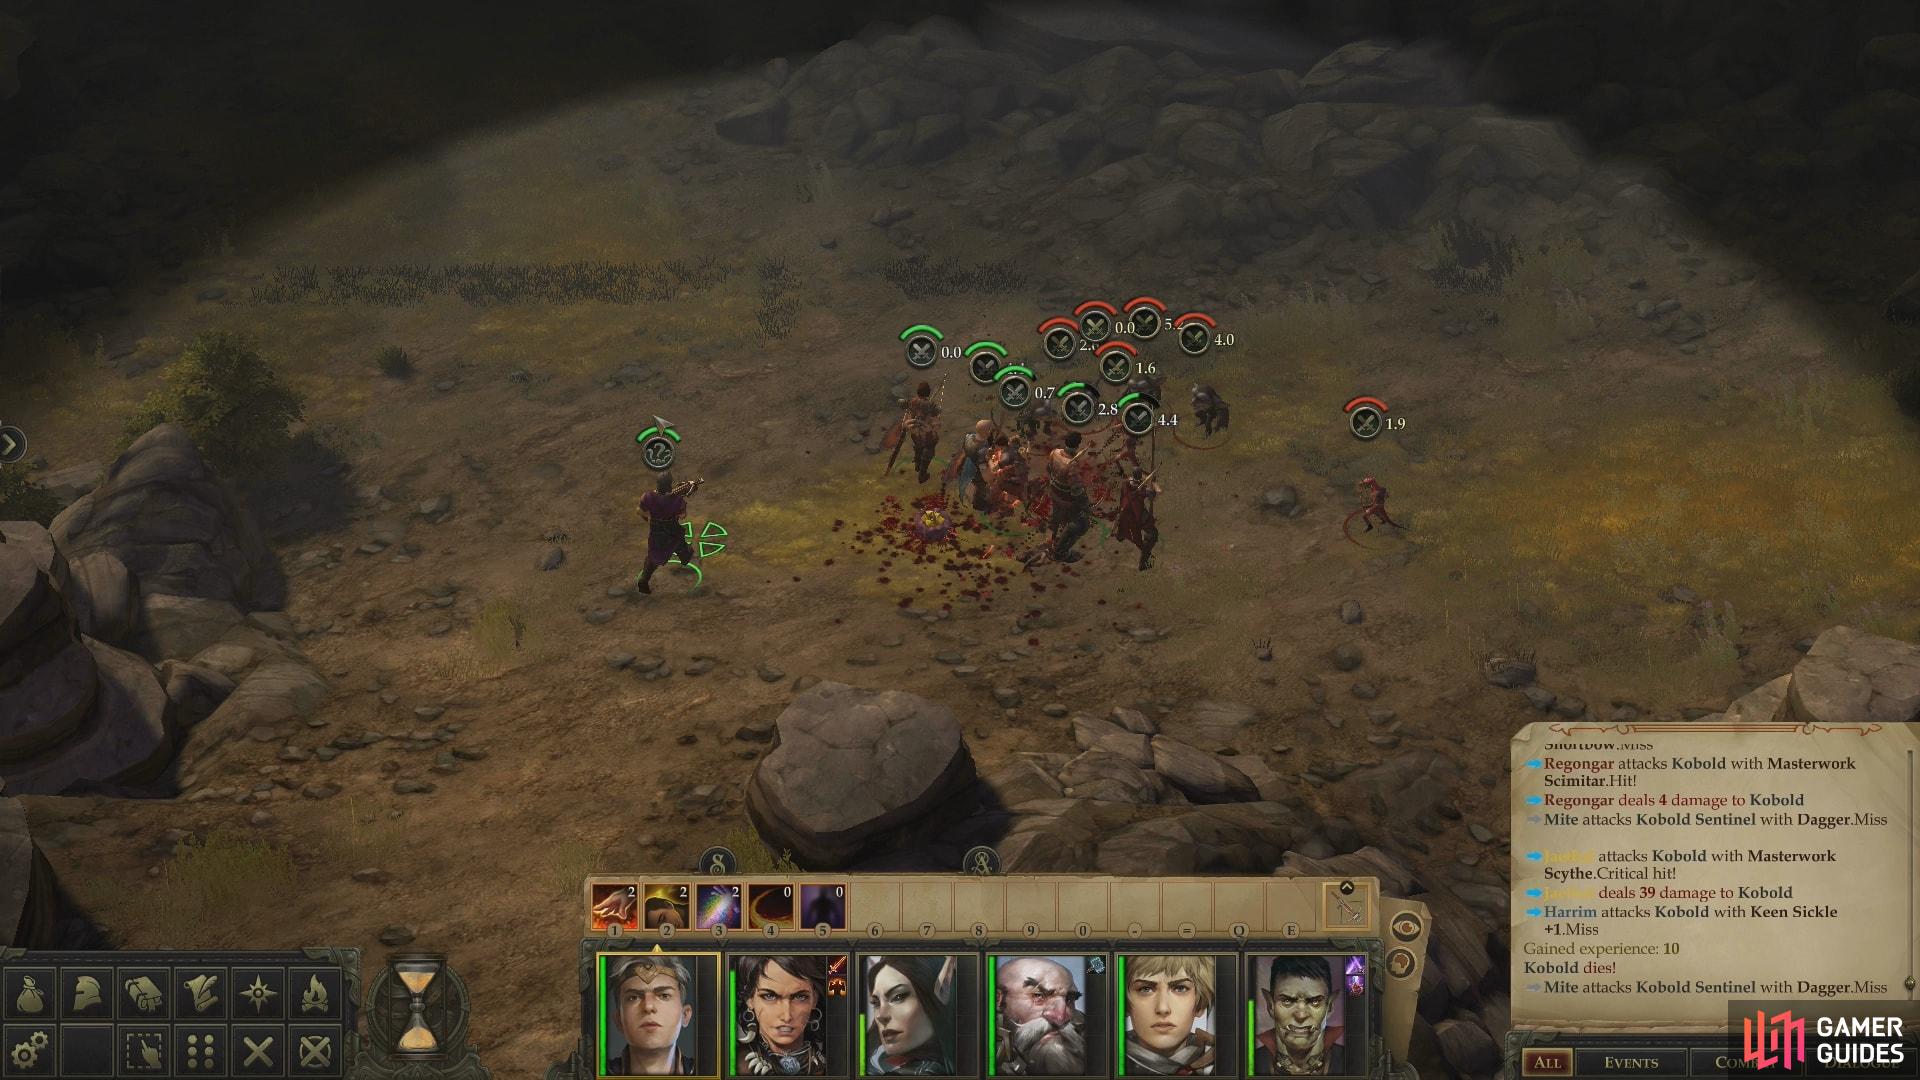
From where you enter the area, head north until you just so happen to intrude on a confrontation between the area’s local pests: Kobolds, led by Chief Sootscale to the east, and the Mites, represented by Seneschal Vaggik to the west. It seems the cause of their dispute is some relic the Kobolds misplaced… or that was stolen by the Mites. In retaliation the Kobolds attacked the Mites and stole their relic, urged on by a shaman named Tartuk - Tartuccio in disguise.
The truth of the matter is in doubt, and a cool-headed adventurer not set on genocide or ready to jump to conclusions may be able to make a [Neutral] dialogue choice (provided they don’t [Attack] outright) which will cause both sides to let you pass in peace and hopefully find out the truth. Of course, that doesn’t mean they’re calling a halt to the hostilities, merely that you won’t be physically involved as they murder each other. To qualify for this option your protagonist must have some form of Neutral alignment, be it Neutral Good, Neutral Evil, Lawful Neutral, Chaotic Neutral or True Neutral.
Failing that, you can pick a side, although the choice at this point is fairly arbitrary. Tartuccio is actively manipulating the Kobolds, and you’ve come into conflict with them before, if that influences your decision at all. Whichever group you side with will be neutral towards you in upcoming confrontations, while the other side will, obviously, be hostile. For the evil party, however, they can indulge in some senseless slaughter by picking a fight with both sides, which will earn them much experience and loot. Either way, on the surface the two groups will generally battle each other, ignoring you until one side or the other is eliminated. This makes for fairly easy pickings, on your part.
(1 of 2) You could end up fighting both sides, one or the other
You could end up fighting both sides, one or the other (left), or neither. (right)
Make whatever decision you wish; it’ll affect how you proceed later, but as for exploring the rest of this surface area it won’t greatly affect how things play out save for whether you end up fighting Kobolds, Mites, both, or neither. Speaking of which, react appropriately to this first group, which includes mostly melee varieties of Mites and Kobolds. Expect more diversity shortly.
(1 of 2) Find a concealed passage
Find a concealed passage (left), beyond which you’ll encounter some hostile Mites who have absconded with some treasure. (right)
Steal the Mite’s Treasure
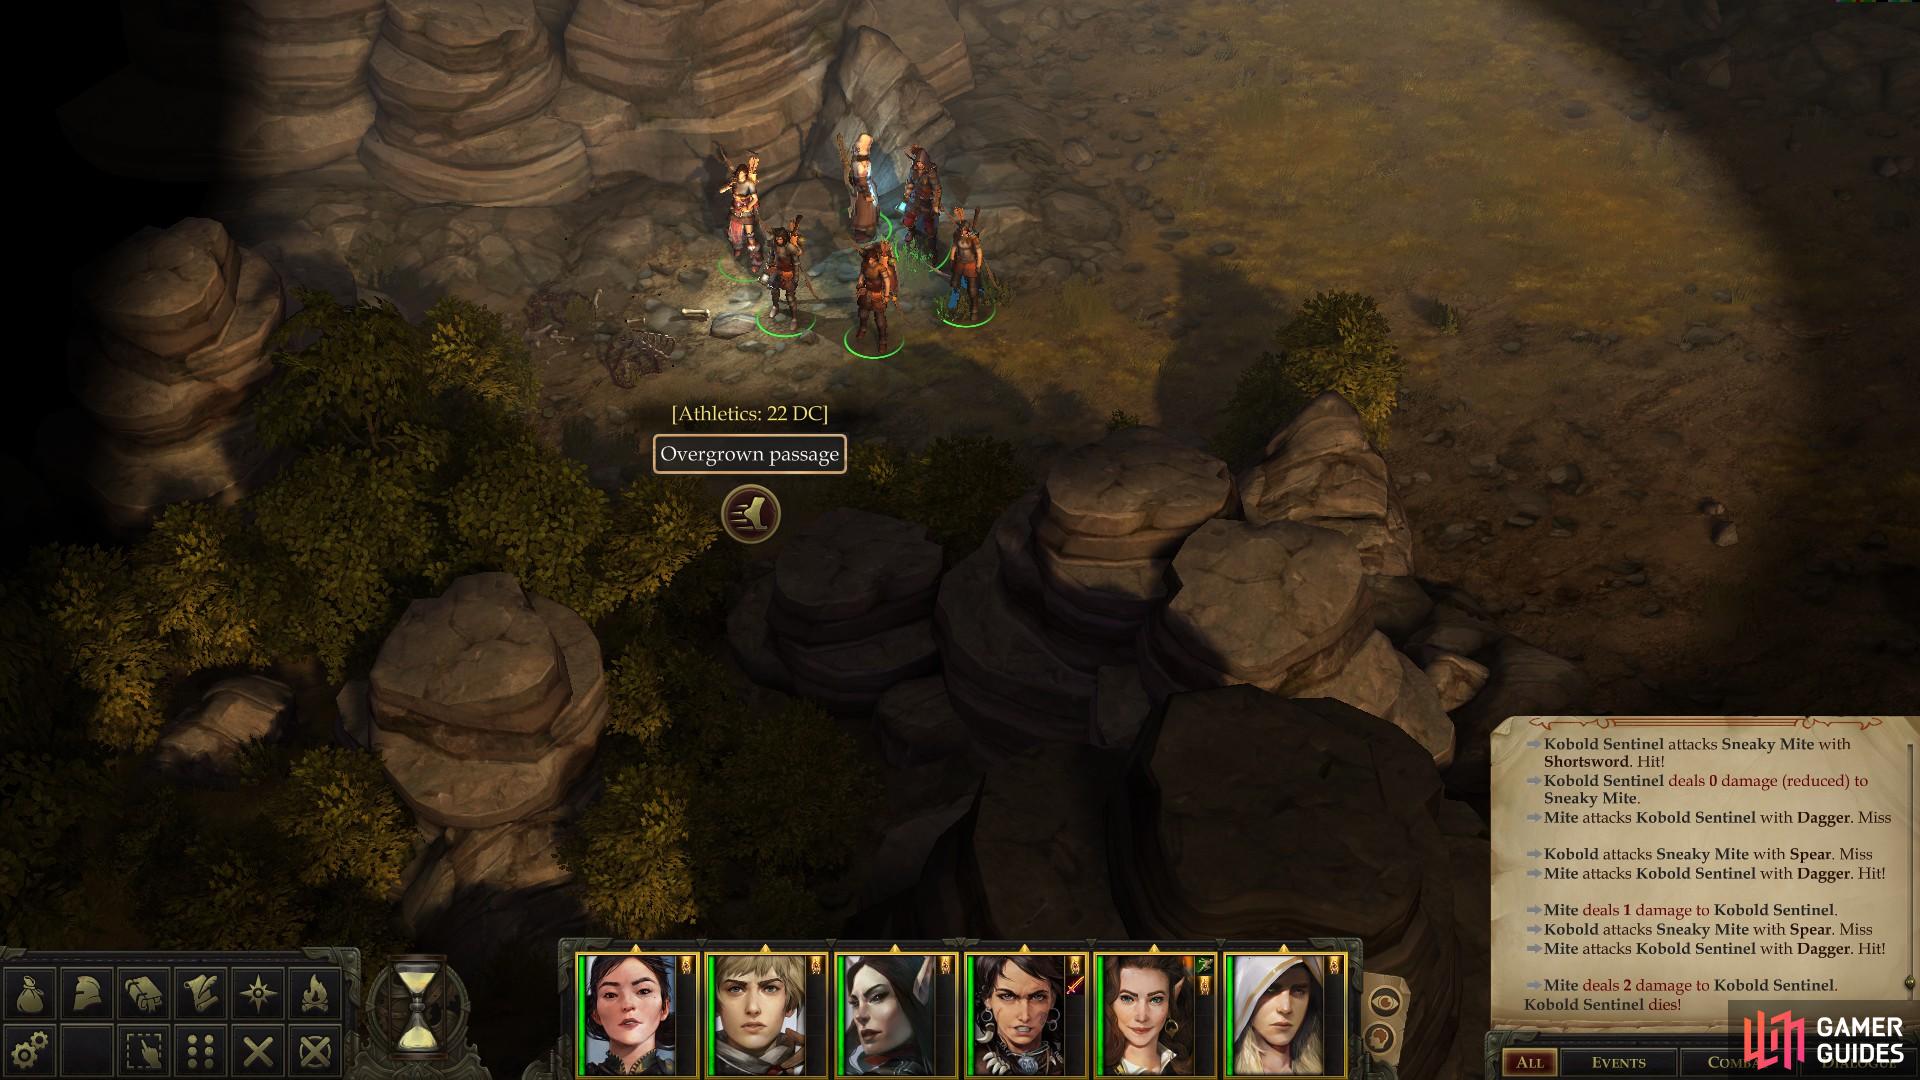
After dealing with the first group of warring Kobolds and Mites however you deem appropriate, head west from where they fought to find a cubby littered with bones. Loot these bones to find a variety of gold items and coins, then pass a [Perception 19] check to notice a passage to the south. To safely navigate this passage you’ll need to succeed at an [Athletics 22] check, otherwise sustain a bit of damage. Get through one way or another, then continue south to find some covetous mites hiding some treasure. After they spot you, they’ll attack, leaving you no opportunity but to put them down. Shame, that. What would be an even great shame is leaving the treasure they were hiding. Unlock [Trickery 20] the chest they were guarding to find a Cold Iron Dagger +1 and some Bracers of Armor +1.
(1 of 2) Kill a pair of Giant Frogs
Kill a pair of Giant Frogs (left), then search for some submerged treasure to the east. (right)
Giant Frog Encounter
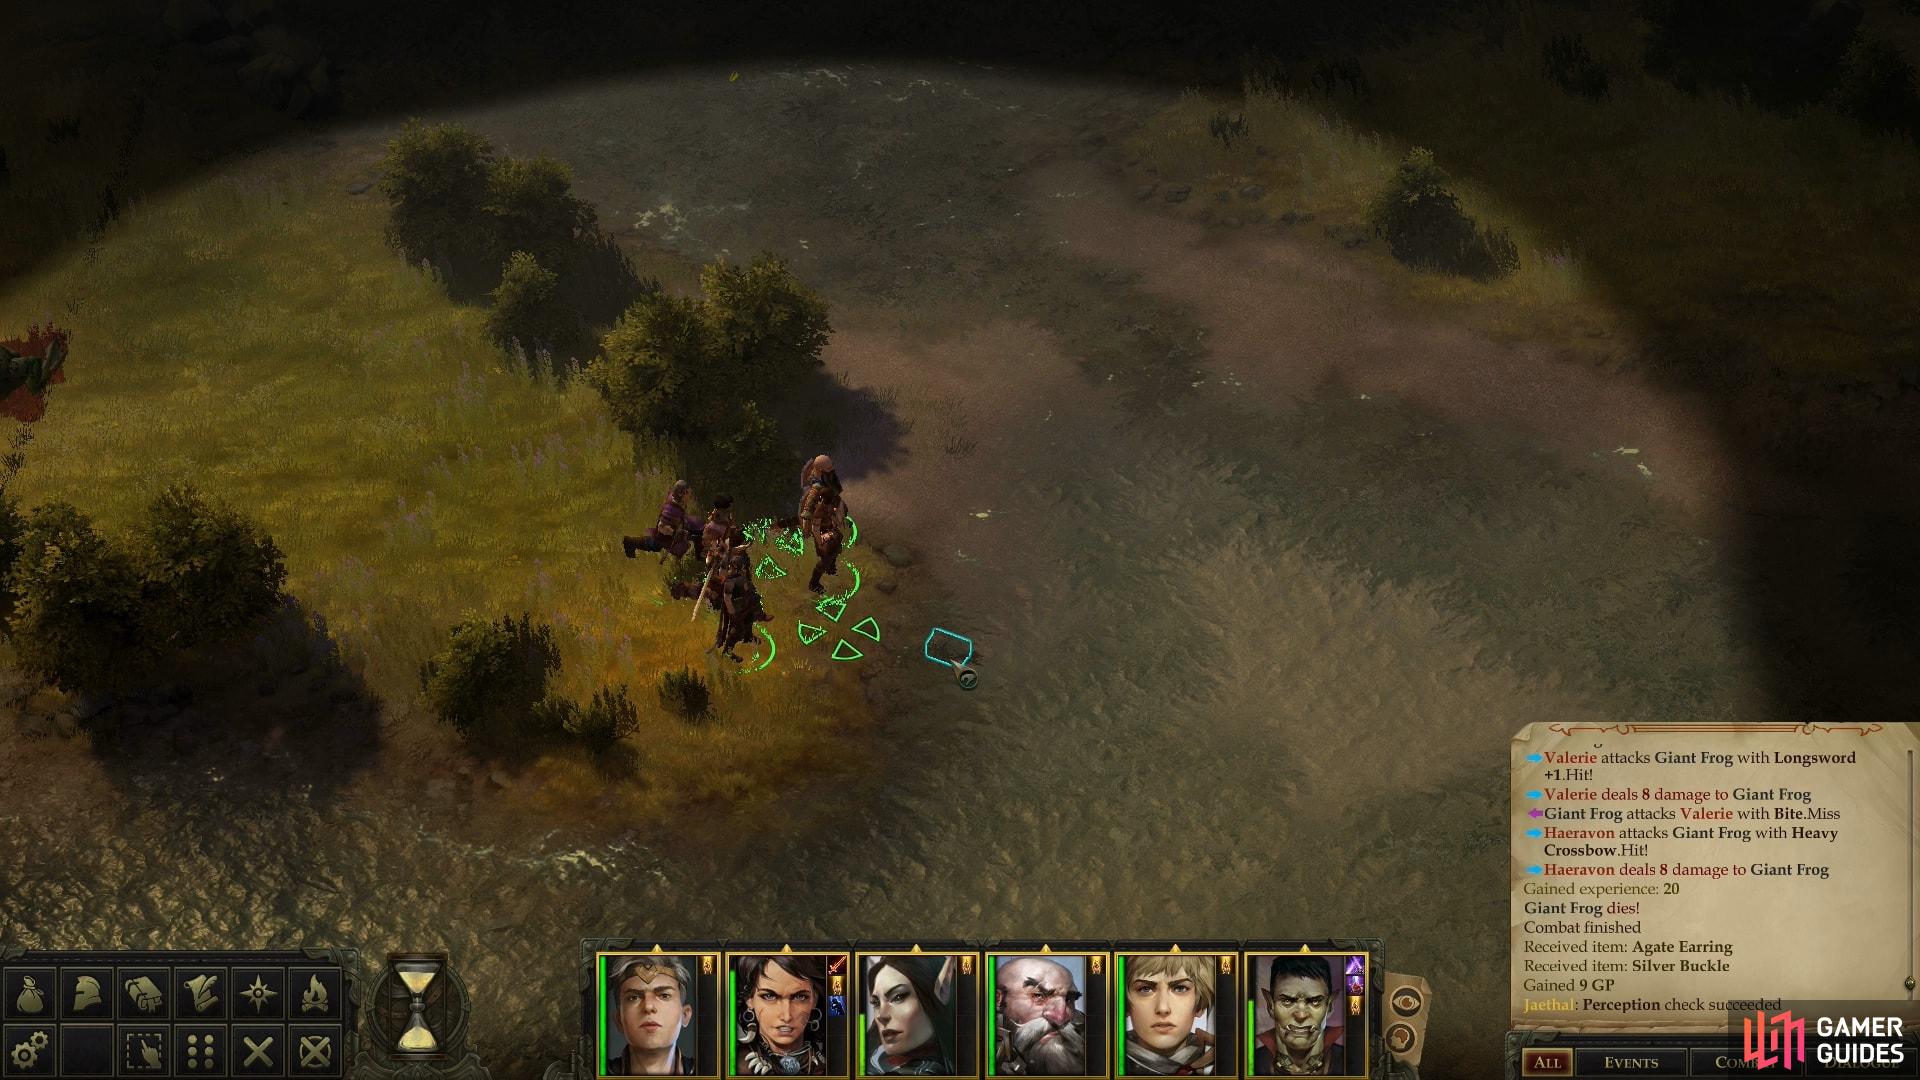
Return back through the passage to the north, then head east to return to where the Kobolds and Mites fought. From here, continue east and turn south when you clear some rocks. Continue south until you find a group of Giant Frogs - familiar, and relatively unthreatening foes you should be able to easily dispose of. Do so, then search near some bushes to find a chest you can loot. Venture further south to reach the southern edge of the area, then turn east until you reach some water. If you pass a [Perception 14] check you’ll locate a submerged, locked [Trickery 12] chest that’s more generous than the chest you looted earlier.
(1 of 2) Talk to the Mite Hunter and he’ll ask you to kill a worg which threatens them
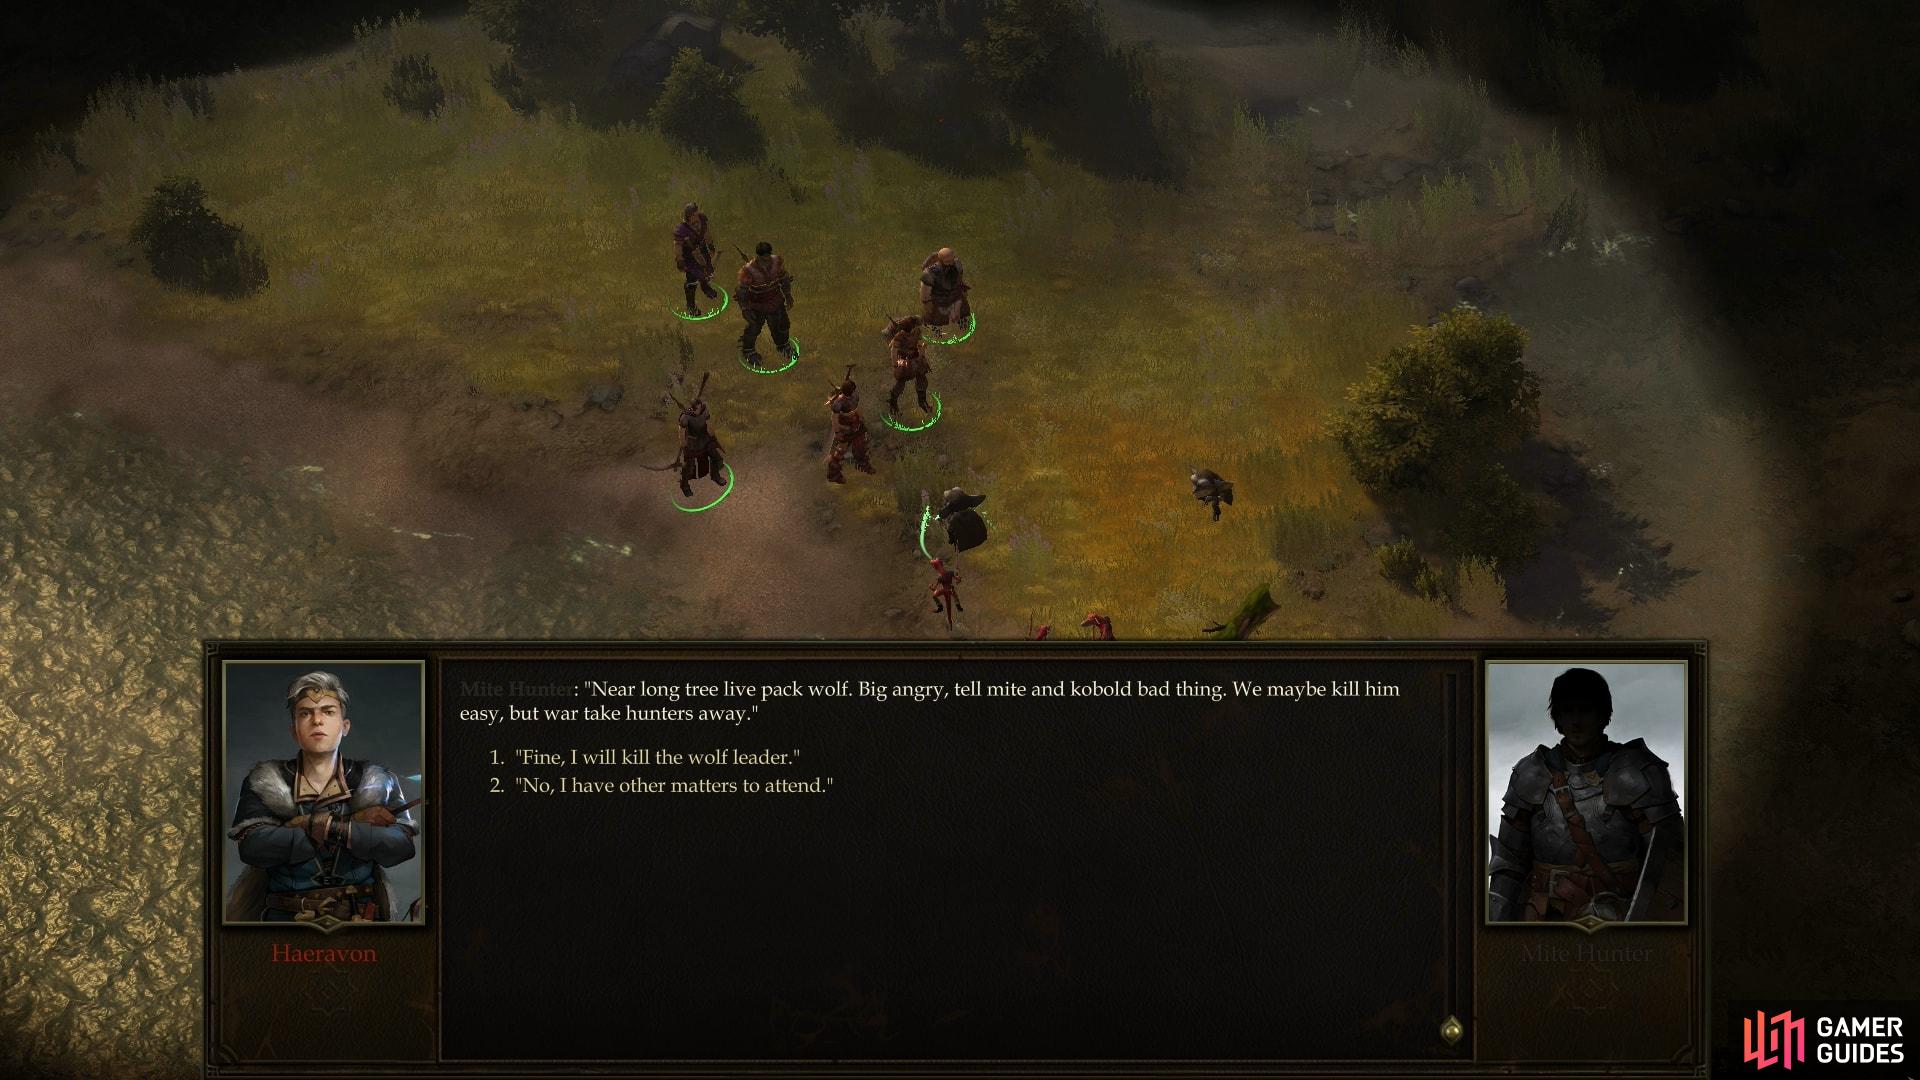
Talk to the Mite Hunter and he’ll ask you to kill a worg which threatens them (left), the worg will have a counter-offer for your consideration, however. (right)
Death to Worgs!
Continue east along the edge of the beach, cross some shallow water, and continue east until you find a group of Kobolds and Mites who are strangely coexisting peacefully. Loot a pile of branches [Perception 12] to the north, then talk to the Mite Hunter and he’ll declare the area a “peace zone”. If only that worked everywhere, eh? Turns out these critters are bound by the brotherhood of hunting, and by an external threat, a “fat wolf lord”. Asking about these wolves and agreeing to hunt it down will start the quest Death to the Worgs!.
The Worg in question can be found in the northeastern corner of the map, northeast of the old sycamore tree after which this area is named. It’s a long trek, but the only real obstacles on the way are two groups of Kobolds and Mites fighting each other and a trio of wolves. The first group of Kobolds and Mites fighting are just north of the first one you encountered, in a pass along the western edge of the map. Northeast of this group you’ll find the second. The trio of wolves can be found east of the second group of Mites and Kobolds, just north of the hill that dominates the center of the area. If you have to fight the Kobolds, be wary of the Kobold Flame Shaman, who can cast a surprising number of Magic Missile spells. The damage isn’t huge, but it is unerring and it adds up fast.
Handle the Kobolds and Mites in a way suitable to your actions earlier, kill the three wolves, then keep a lookout to the southwest of where you encountered the wolves, as a [Perception 17] check can reveal a branch hiding An Ancient Rostland Coin. Sadly, the trio of wolves you fight along the way aren’t your quarry - as the name of this quest gives away, your target is something older, more intelligent, and more dangerous than any mere wolf.
Reach the western end of the map and turn north, keeping an eye out for another, more generous branch that’ll yield goodies after being revealed by a [Perception 14] check just north of the area transition. From this area transition if you explore to the south you can find some more hidden treasure in the form of a stump behind some rocks [Perception 13].
Continue north until you find your prey… at least, optimistically that’s how this encounter will play out. Keep your party a fair distance south of the Worg - named Grarrukh - and only move forward with a sturdy character, well protected by both HP and Armor Class. Keep the rest of your party in normal formation (warriors up front, squishy characters in the back) about half a screen away.
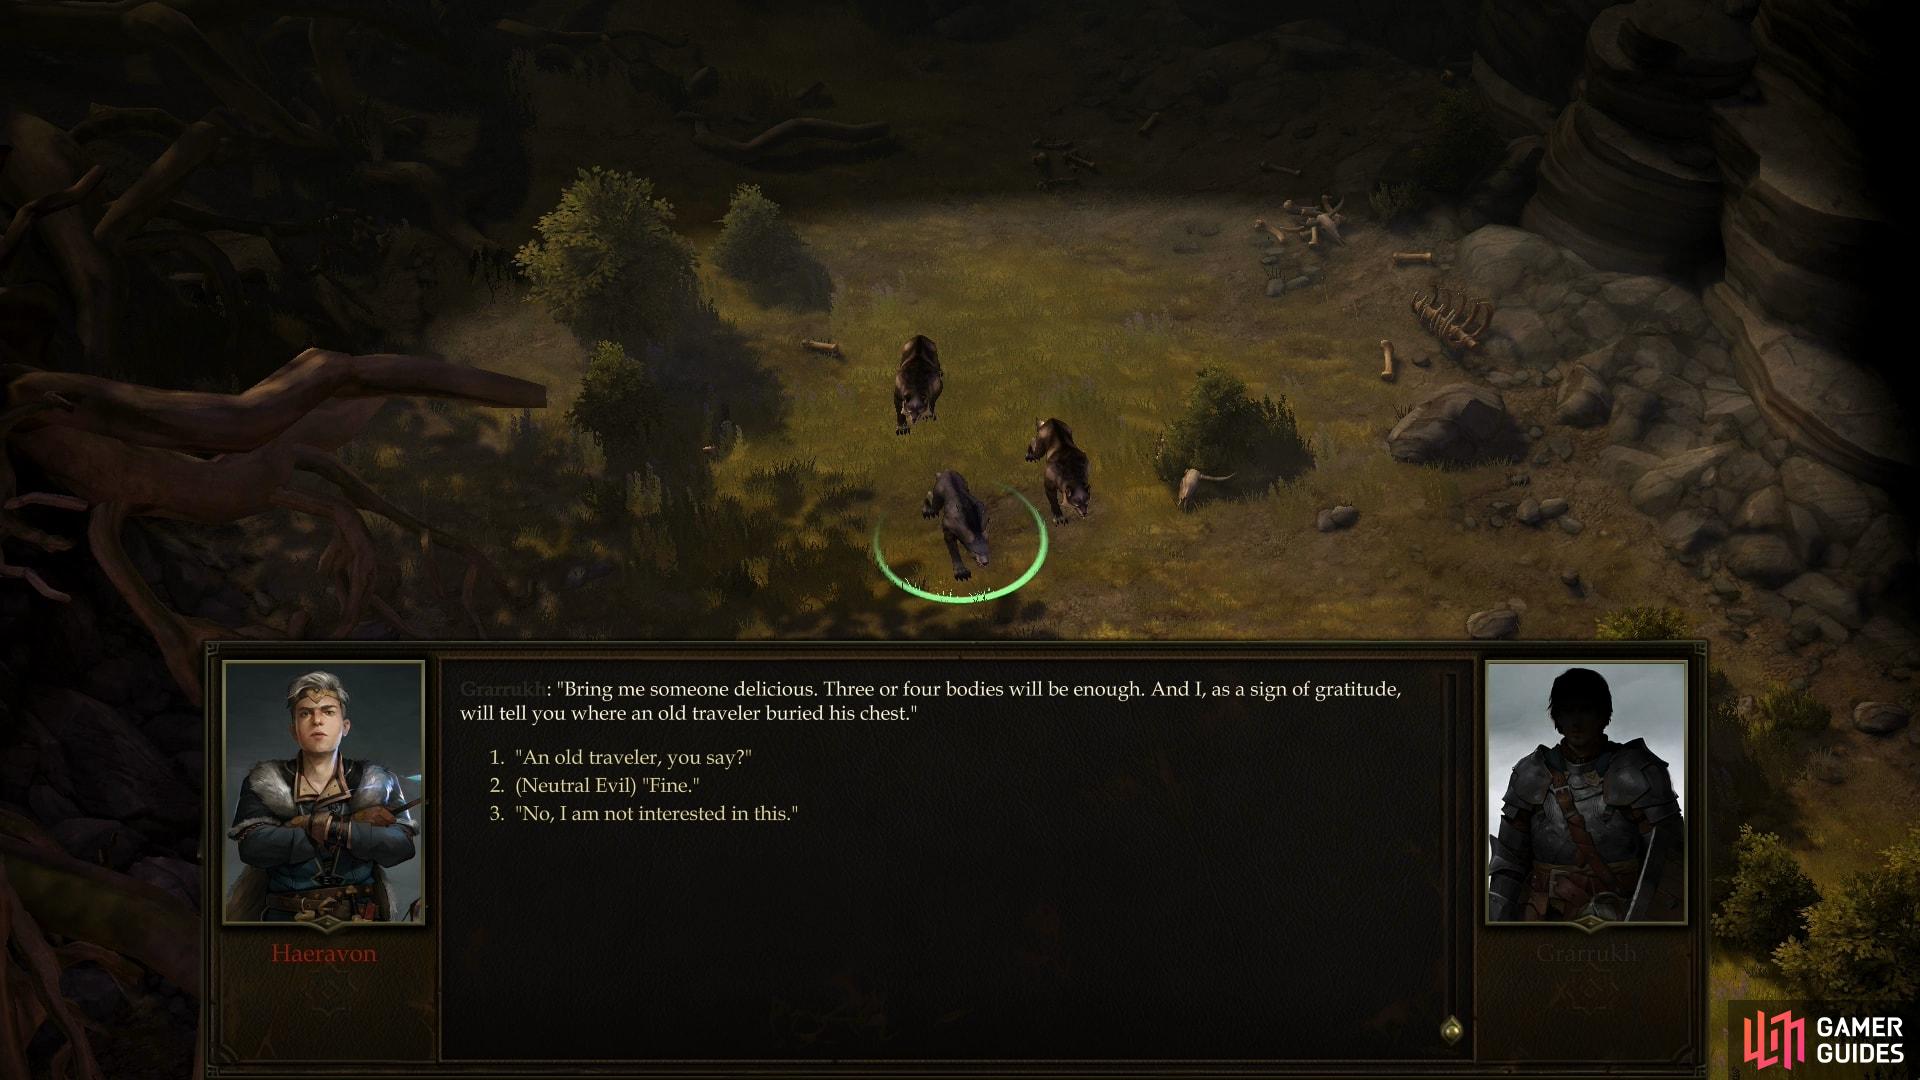
When you near the Worg, the beast will speak to you, constantly reminding you of both its prowess and its cruelty. If you respond with “You say we could be useful to each other?” and it’ll propose you do the opposite of what the hunters asked, and instead bring the beast “three or four bodies”, in return for which the beast promises to tell you where an old traveler buried his chest. Accepting is a [Neutral Evil] action. Alternatively, you can attack outright, which is a [Lawful Good] action.
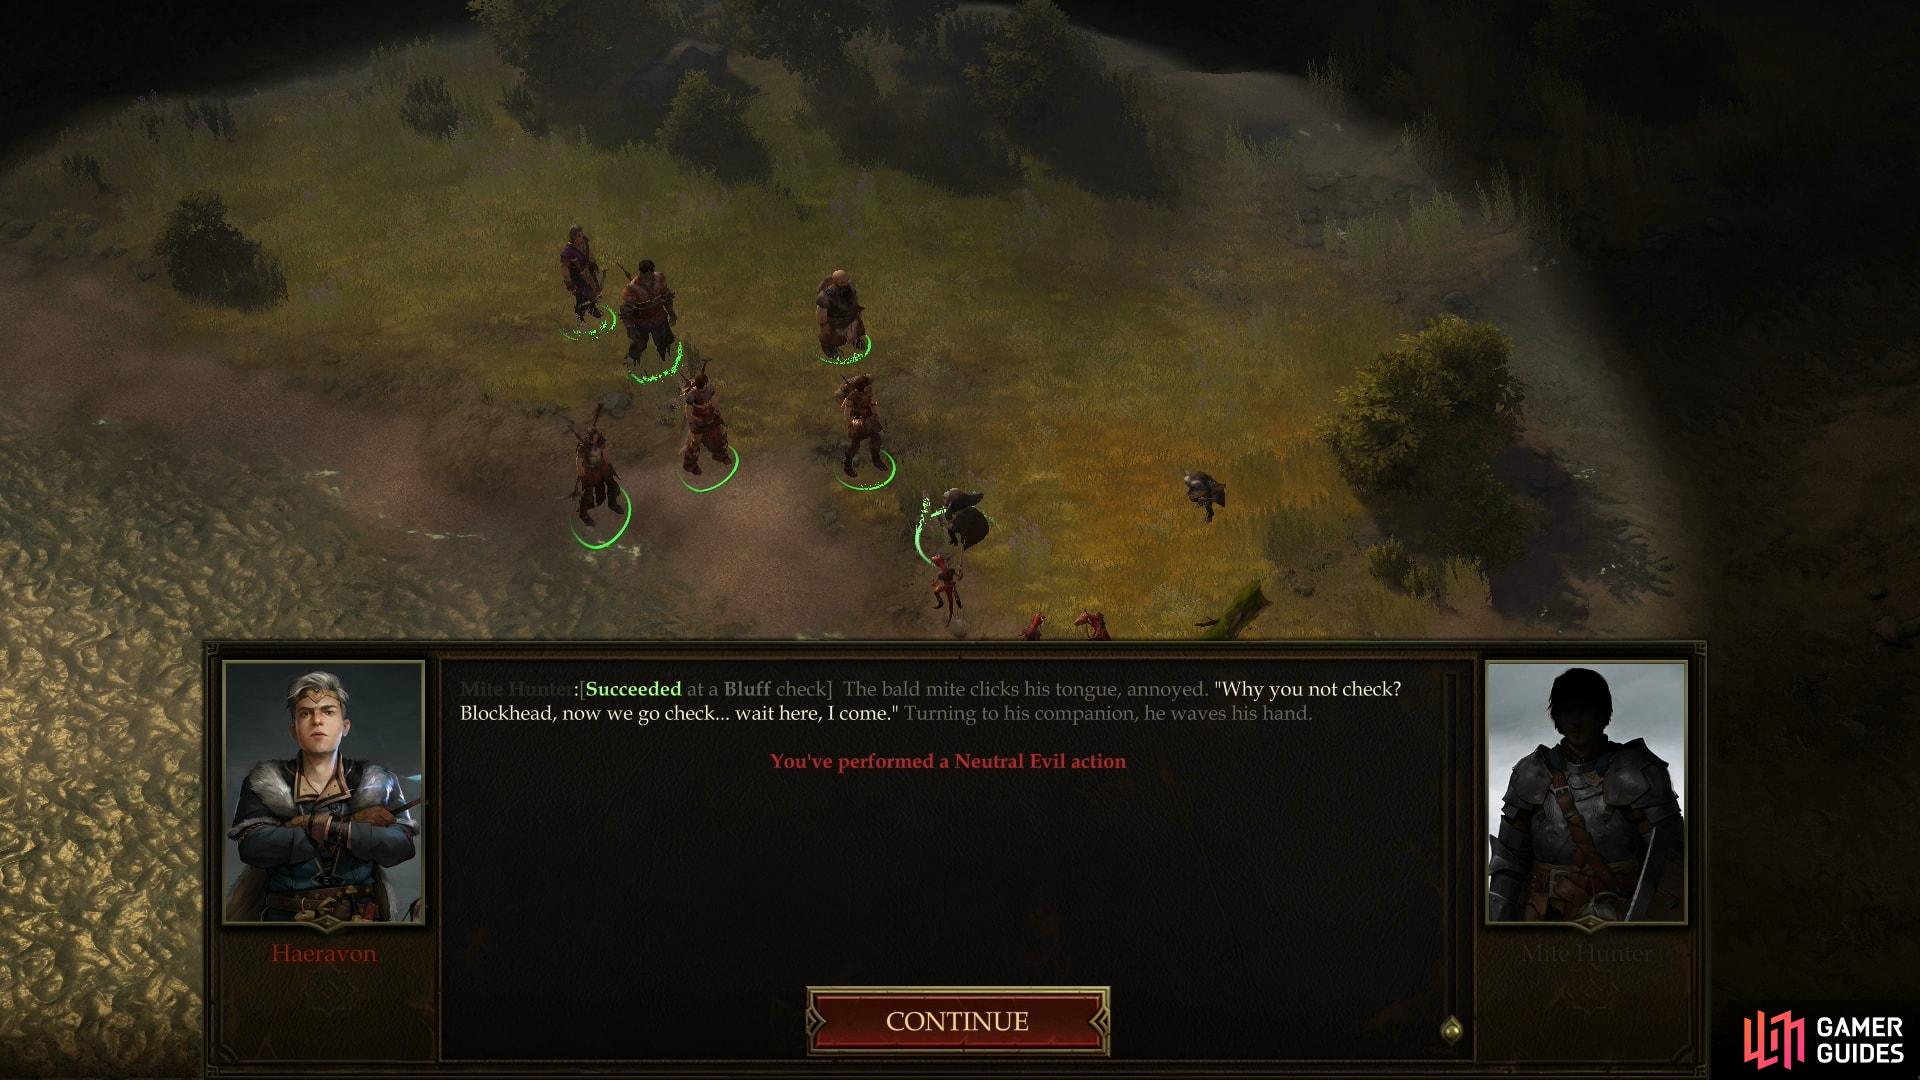
(1 of 3) You can lure the kobolds and mites into the worg’s maw by lying to them.
In the latter case, immediately rush up with the rest of your party to assist the lone tank you brought up. The reason for this odd strategy is because not all your foes were content to wait in plain sight. Several subordinate wolves sneakily in service to Grarrukh start the encounter hidden, and will only appear after hostilities break out… unless, of course, your Perception skill is up to the task of spotting them ahead of time. They will hopefully show their hand by attacking your retreating tank instead of, say, surrounding your archers and casters at the beginning of the fight.
Focus all of your offense on Grarrukh, as it’s a threat on par with the Mutated Bear back in the Temple of the Elk. It has at least twice as many HP as your strongest warrior, a respectable Armor Class, and an Attack bonus that’ll make it pretty easy to punish you. While strong, against a coordinated assault by a group of level three warrior Grarrukh should fall fast enough - a good thing, too, as you don’t need it tripping you and allowing its minions to get Attacks of Opportunity. After Grarrukh dies, the rest of the wolves should fall quickly enough.
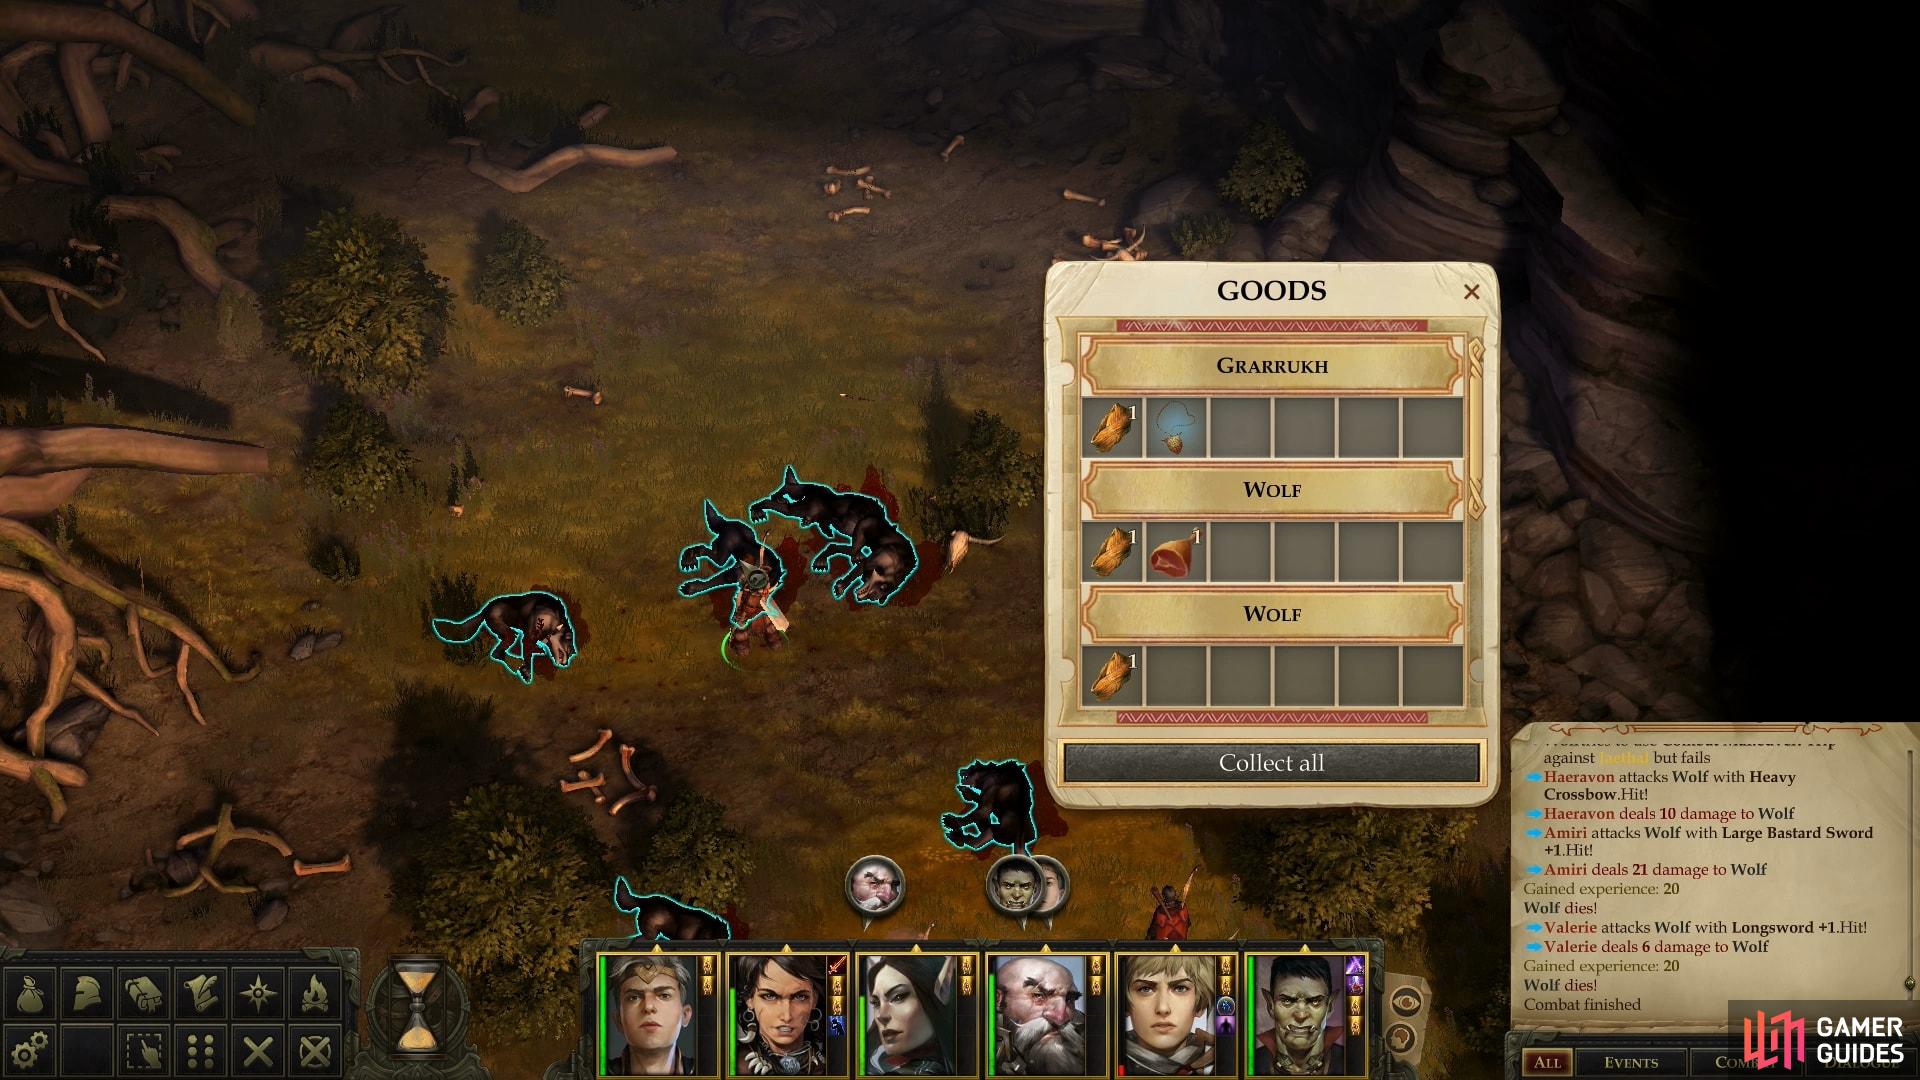
After killing Grarrukh, pick up the Amulet of Mighty Fists it drops, then continue north to find a chest containing more loot, albeit nothing noteworthy.
With Grarrukh dead, return to the Mite Hunter on the southern edge of the map and report your good deed for a generous reward. If your appetite for death and destruction is not yet sated, now you can finish up with the [Neutral Evil] attack dialogue option.
| Reward: For killing Grarrukh for the Mite Hunter |
|---|
| 200 XP / 283 GP |
(1 of 2) Fetch a snack for Grarrukh and he’ll reward you
Fetch a snack for Grarrukh and he’ll reward you (left), More surprisingly, the worg actually lives up to its end of the bargain! (right)
If, on the other hand, you decide to appease Grarrukh (pick the [Neutral Evil] option) you’ll need to go get him some snacks. To live up to your end of the bargain, return to the Mite Hunter who told you about the Worg and succeed at a [Bluff 22] check, which is also a [Neutral Evil] action. So evil, in fact, that you need to be wary of goodly characters (like Tristian), who will spoil things if you have them in your party. If you manage to pass the check without anybody ruining things, however, the Mite Hunter will send off some subordinates to check the truth of your claim.
Return to Grarrukh and the Worg will surprisingly come through, pointing you towards a chest “buried under a lonely tree to the west”, which is otherwise undiscoverable. This tree is located just south of the haunted camp (see below) and southwest of the ramp leading to the Mite caves. Find it [Perception 0], then dig it up [Athletics 15] (failing the Athletics check will cause you to waste four hours of time on this trivial task). Before you get to looting, however, a word of caution: Grarrukh may have told you the location of the chest, but what the Worg conveniently failed to disclose was the fact that the chest is trapped. A Finger of Death spell (Fortitude DC 20) awaits those who tamper with the chest. If you can detect the trap, just pick the character with the highest Fortitude Save, ensure they’re at full HP, and save/load until you survive the trap. Once you get past the trap, unlock the chest [Trickery 20] to score a Lesser Phylactery of Negative Channeling, a Scroll of Slay Living and a Scroll of False Life, Greater. The phylactery might be useful if you have an evil Cleric protagonist, otherwise it’ll sell for 1,000 GP, which is something everybody can appreciate.
| Reward: For securing a meal for Grarrukh |
|---|
| 200 XP |
If you wish to be truly evil and exploitative, you can now kill Grarrukh and return to the Mite Hunter and claim the reward for that, too. Hard to argue with 400 XP, 283 GP, and some magical items for a little lying and pest extermination.
(1 of 2) Kill some Tatzlwyrms
Kill some Tatzlwyrms (left), then loot the corpse they guarded. (right)
Ambush the Bandit Camp
Whatever choice you made concerning Grarrukh and the hunters, return to where the Mite Hunter was (ideally the last quest would have ended with you near here, anyways) and loot some sacks behind a log to the southeast, then search some foliage to the north to find some more treasure.
Cross some shallow water to the northeast to find a corpse you can loot, then search near some water to the west to find a sack. On the corpse you’ll find A Crumpled Letter, a Scorched Fragment of a Necklace, An Ancient Rostland Coin, and a Restovic Ranger’s Broken Arrow, while the sack contains less noteworthy treasure. You’ll probably have to fend off some Tatzlwyrms that lurk up here, but they’re not fearsome enough foes that their presence should deter you.
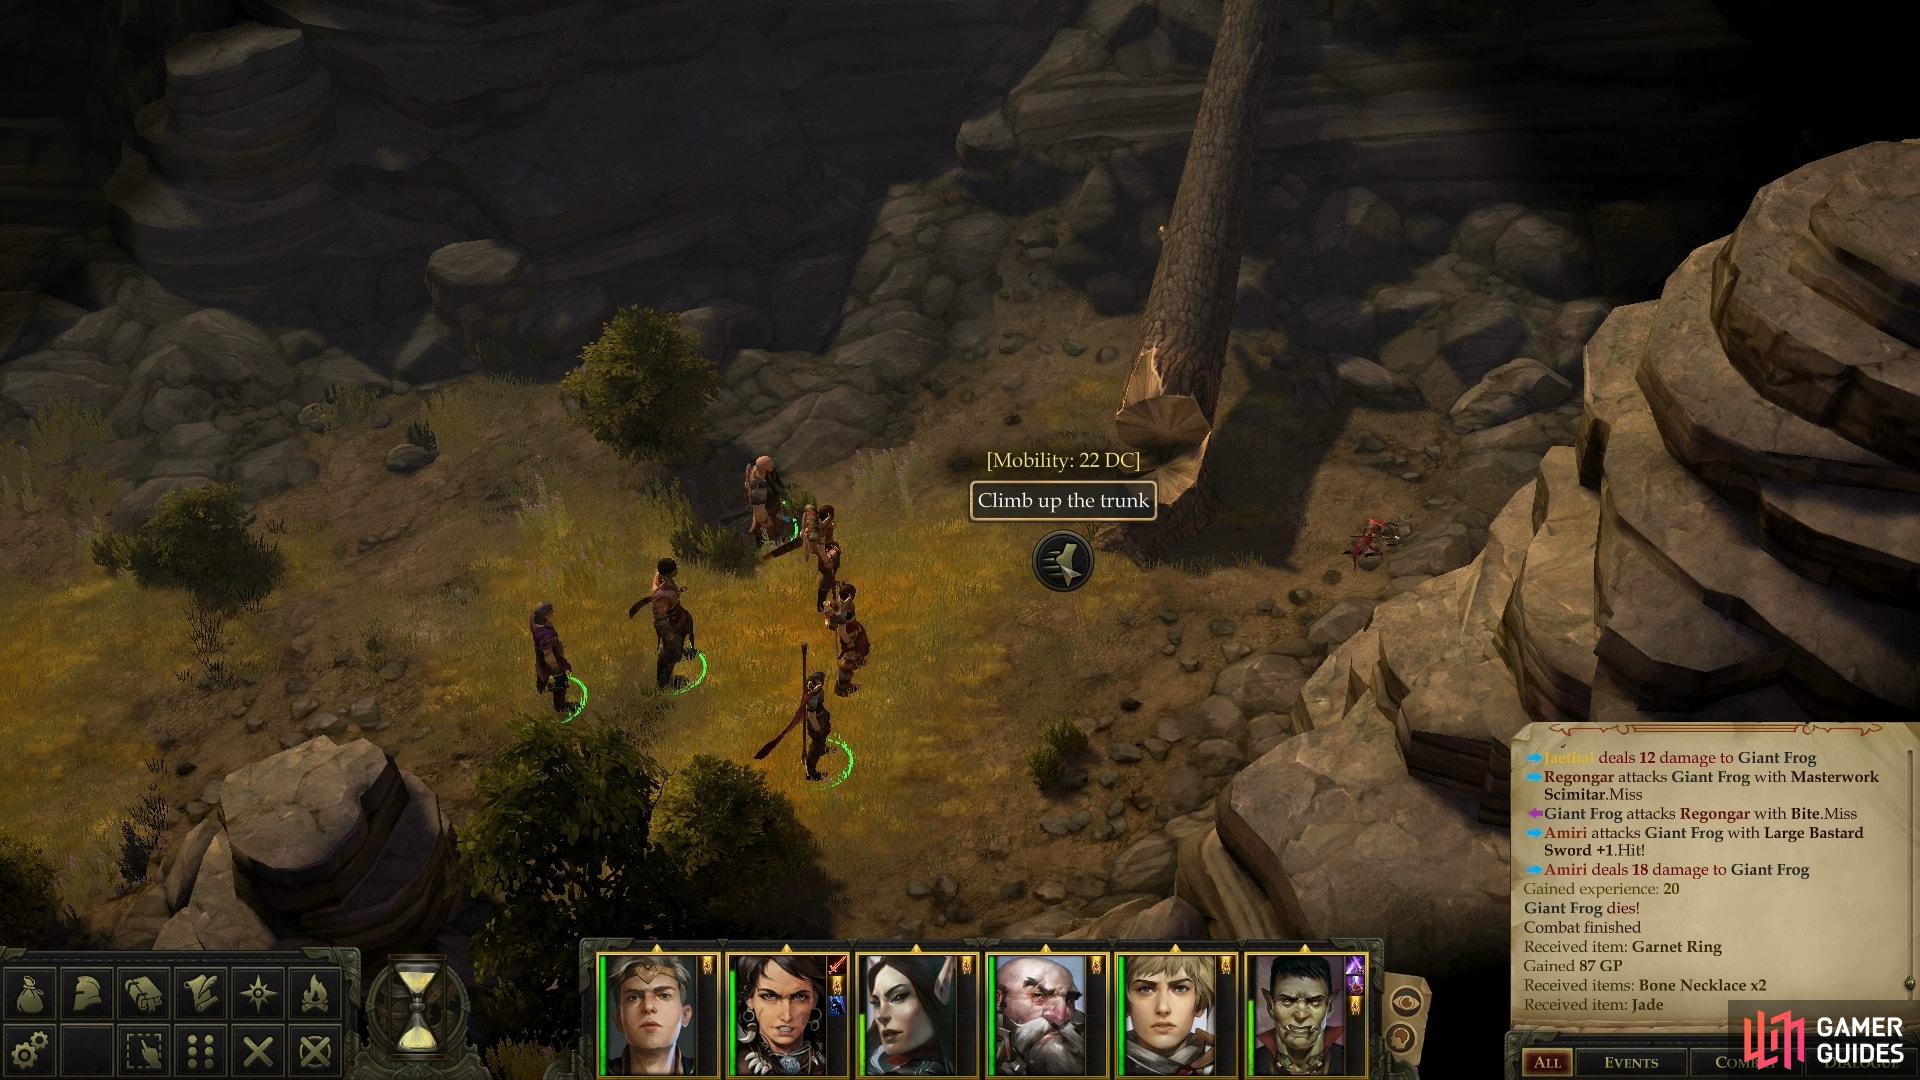
(1 of 2) Pass a Mobility check to ascend a precious log
Pass a Mobility check to ascend a precious log (left), then loot the treasure you find. (right)
Deal with Tatzlwyrms and you’ll have two choices for how to proceed: head north or south. Head south, first, and shortly southeast of where you slew the Tatzlwyrms you’ll find a pair of Giant Frogs. Exterminate the pests, then continue east along the southern end of the map until you come across a log. Loot the corpse of a Kobold east of the log to score some minor treasures, then turn your attention to the log itself, which you can use to reach an elevated section of ground to the north… should you succeed at a [Mobility 22] check, anyways. Failure will be met with pain, so save your game before attempting.
When you finally succeed in climbing the log, loot two corpses for minor trinkets, then save your game again, as two chests await. The chest on the right [Trickery 21] contains a Wand of Lead Blades and a Club +1, while the chest on the left [Trickery 14] contains more modest treasures. All in all, it’s well worth your time to make the climb. Fortunately, the climb back down isn’t so treacherous, as you only have to make a [Mobility 0] check - a freebie, by all standards.
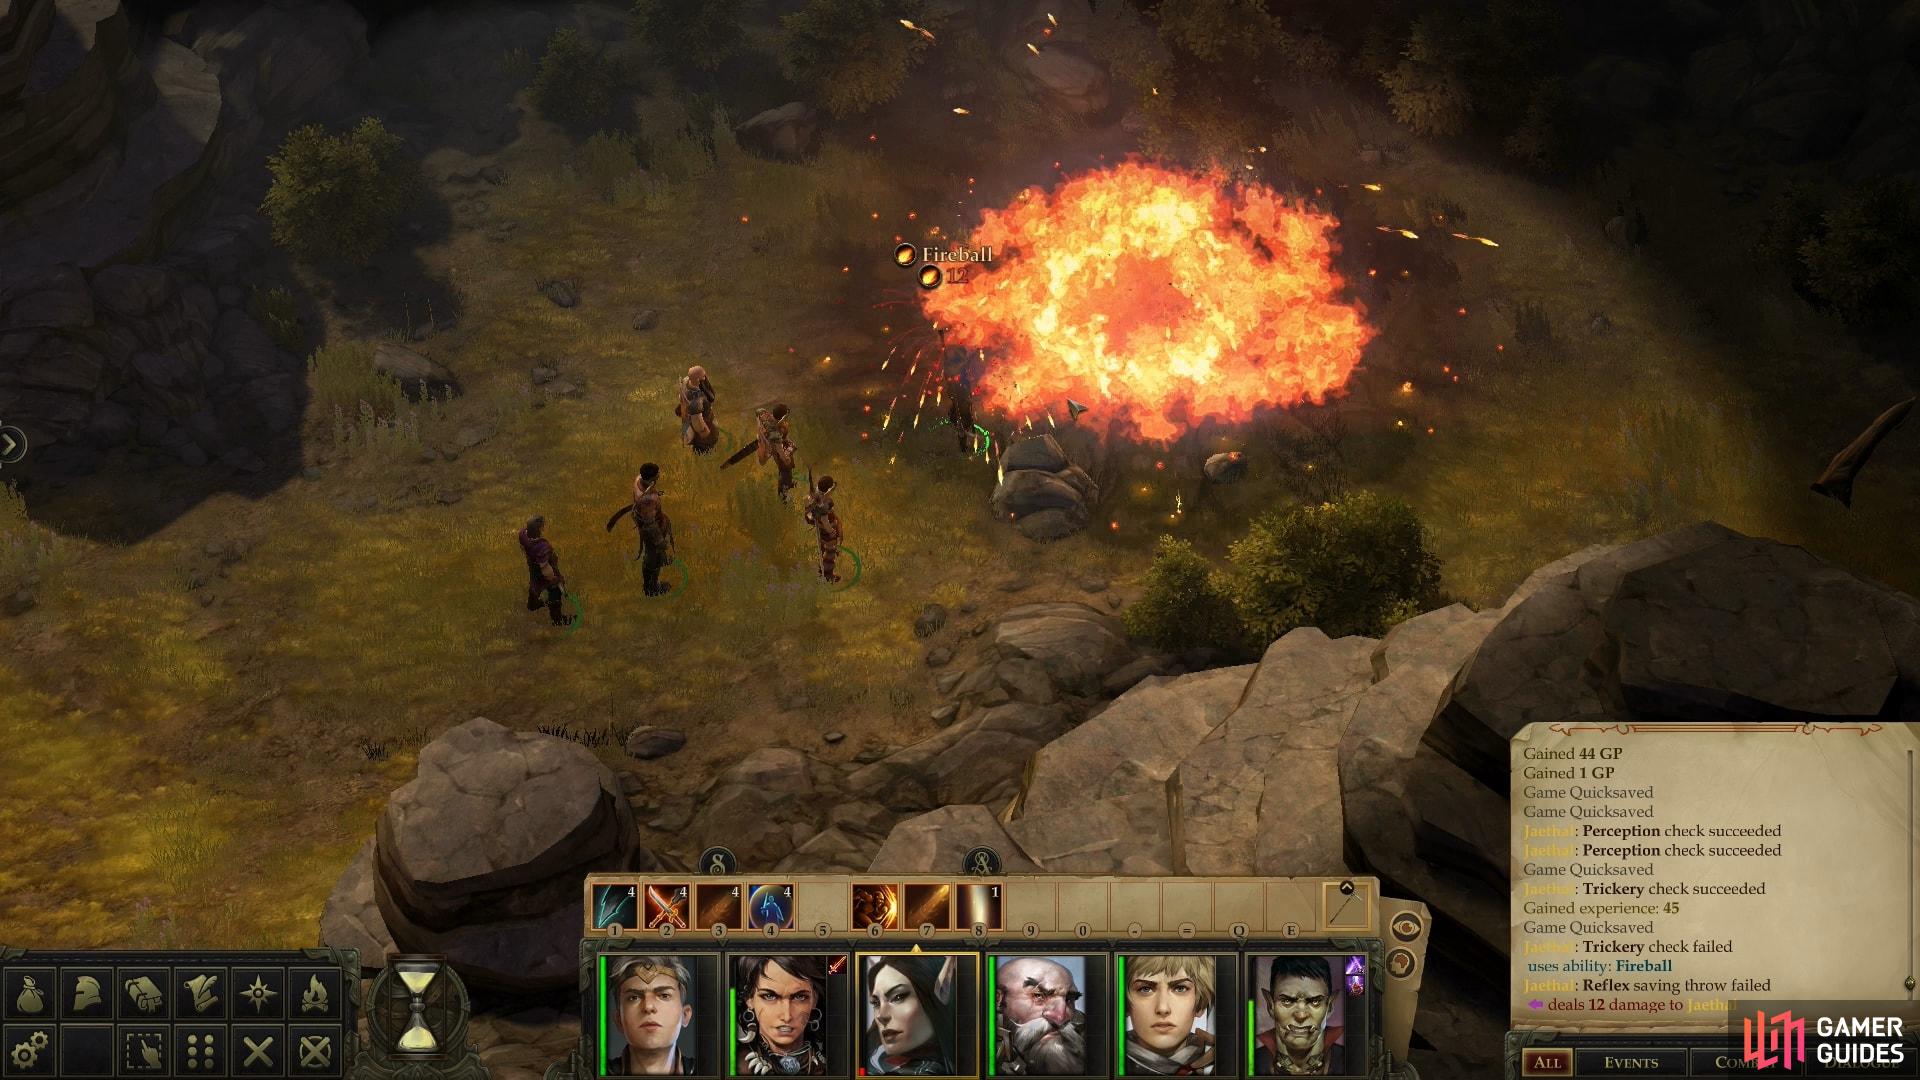
Return back to where you fought the Tatzlwyrms and from there turn east. The path will shortly split again, and while you can head uphill to the southeast to reach the caves the Kobolds have claimed as their own, ignore it for now and continue northeast, instead. Be careful as you proceed, however, as there are numerous Fireball traps waiting to explode. Even worse, a camp full of battle-hardened Bandits lies to the east, and they’re not keen on making friends. Set off any traps and they’ll rouse themselves, and you don’t want to have to fight them at less than your full strength. Painstakingly search for traps [Perception 22] and disarm them [Trickery 22], and when the way is clear, heal up, buff, and save your game.
(1 of 4) Fail to disarm the traps around the bandit camp, and you’re in for a fiery reprimand.
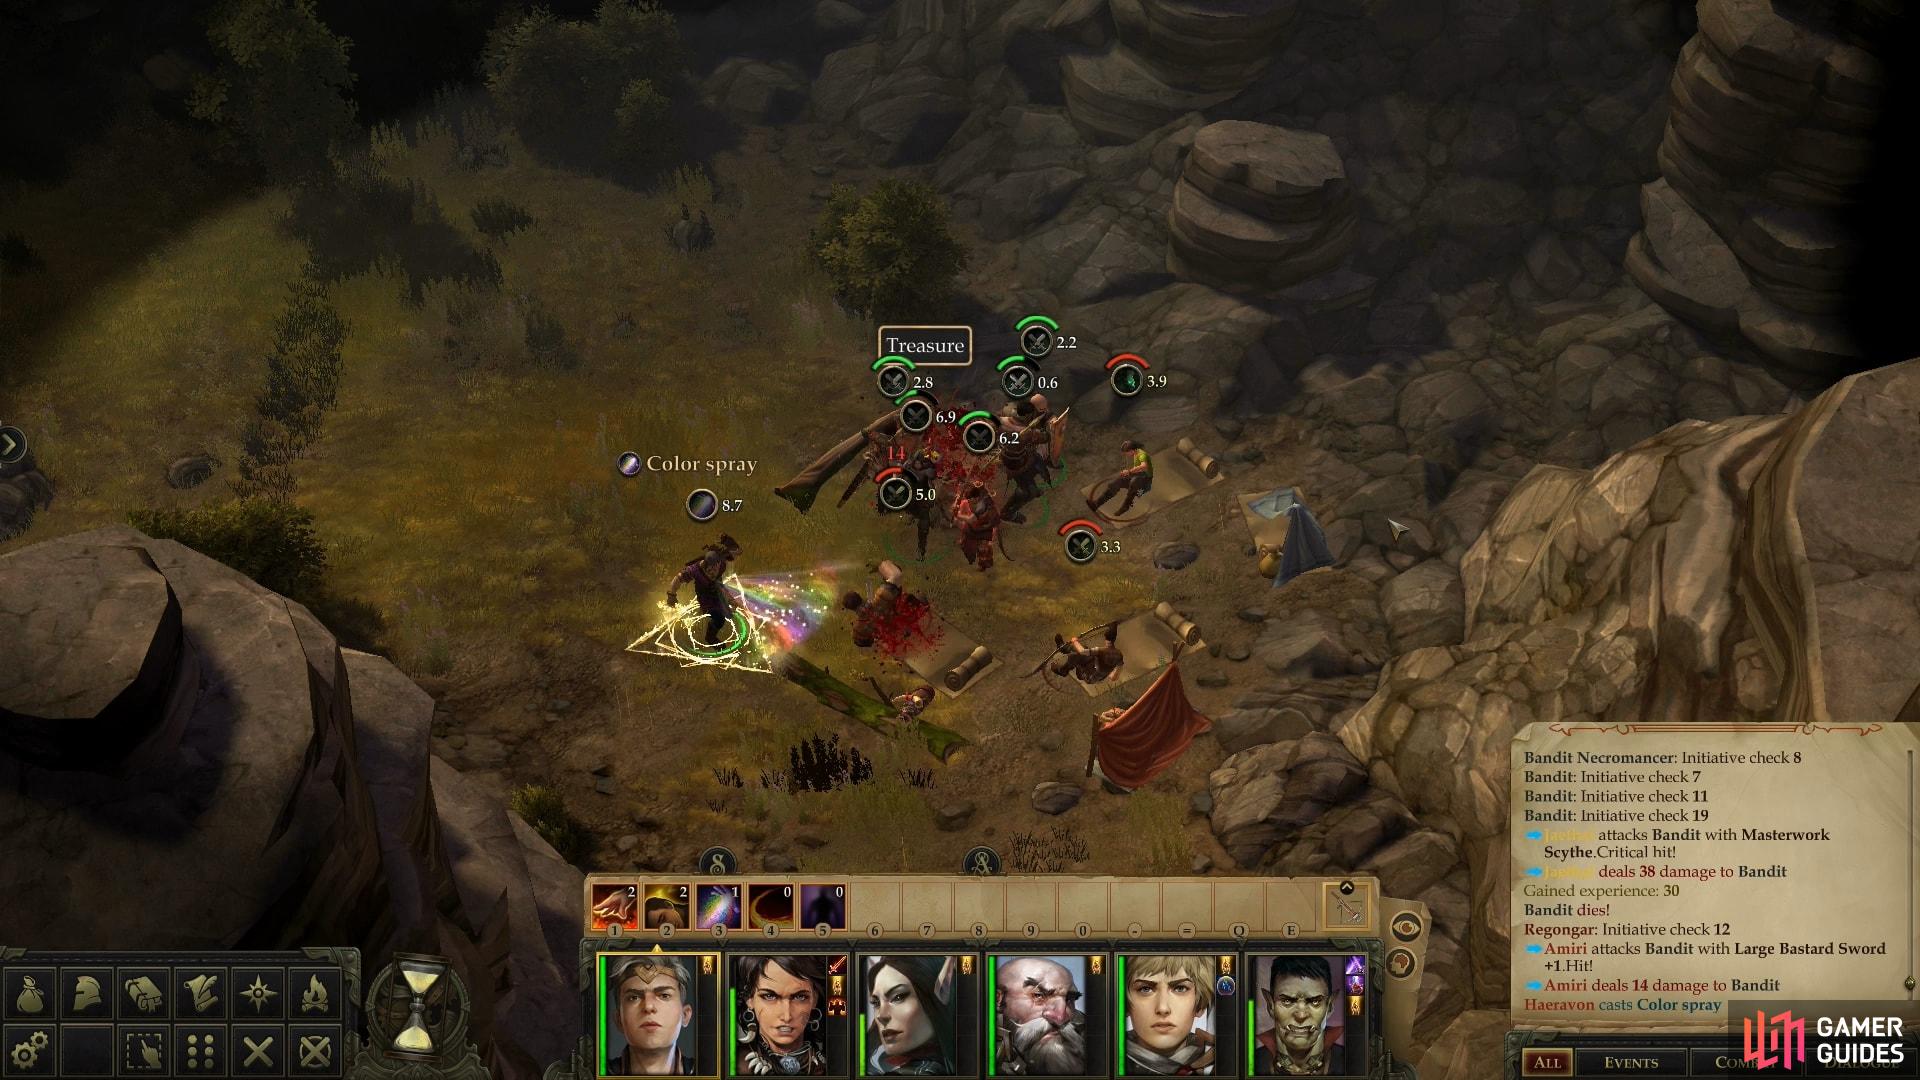
There are four Bandits sleeping at the camp, including one Bandit Necromancer. If you bypass their traps, they’ll sleep through just about anything else you do, so don’t feel compelled to play it safe. The northwestern-most bandit is a sneaky little critter, who is only truly dangerous if flanking opponents, which will entitle it to sneak attacks. You don’t want to give this Bandit that extra damage potential. The Bandit to the southwest is a more straight-forward combatant, being a brutish Half-Orc warrior. The Necromancer sleeps to the northeast, and the fourth Bandit - the one resting to the southwest - is an archer.
It might seem like a good idea to kill the Necromancer first - gank the mage is always a strategy worth considering - but this time, the rogue is the greater threat. If you quickly chop down the rogue, you’ll significantly reduce their melee strength, and can quickly turn around and kill the Necromancer nearby, who will probably help you by provoking Attacks of Opportunity. Surround the rogue, kill it, then take care of the mage. It’s risky, and if the necromancers manages to cast Cause Fear, you’ll probably have to reload. The Half-Orc warrior might manage to get a few good hits in, and he can hit quite hard, but once the two aforementioned threats are neutralized, you should be well on your way to victory. You can soften most of the enemies (save the necromancer) with mind-affecting effects like Tasha’s Hideous Laughter - taking out the barbarian or archer for a few turns will help significantly.
Exterminate the Bandits (never camp without somebody on watch, kids!) after which you’ll be entitled to loot your victims. Pick up the Leather Armor +1 on the ground near the Half-Orc, then search some camp supplies obscured by a tent to find a variety of treasures. The Bandit Necromancer will yield a Masterwork Light Crossbow, a Potion of Cure Light Wounds, two bottles of Alchemist Fire and Bracers of Armor +1, just to point out the notable loot.
Backtrack west to where you fought the Tatzlwyrms and ignore the [Athletics 20] option north of the bandit camp - there’s no need to take that shortcut right now. From the Tatzlwyrms, continue west and loot a branch to the north [Perception 6] to find an An Ancient Rostland Coin. Otherwise, the only point of interest between this and where you first encounter the Mites and Kobolds is another Mite and Kobold encounter. Fight whichever of the pests you’re not allied with, or wait for them to kill each other, then loot the remains.
(1 of 3) Kill the Shambler you find along the eastern edge of the central plateau
Slay the Shambling Mound
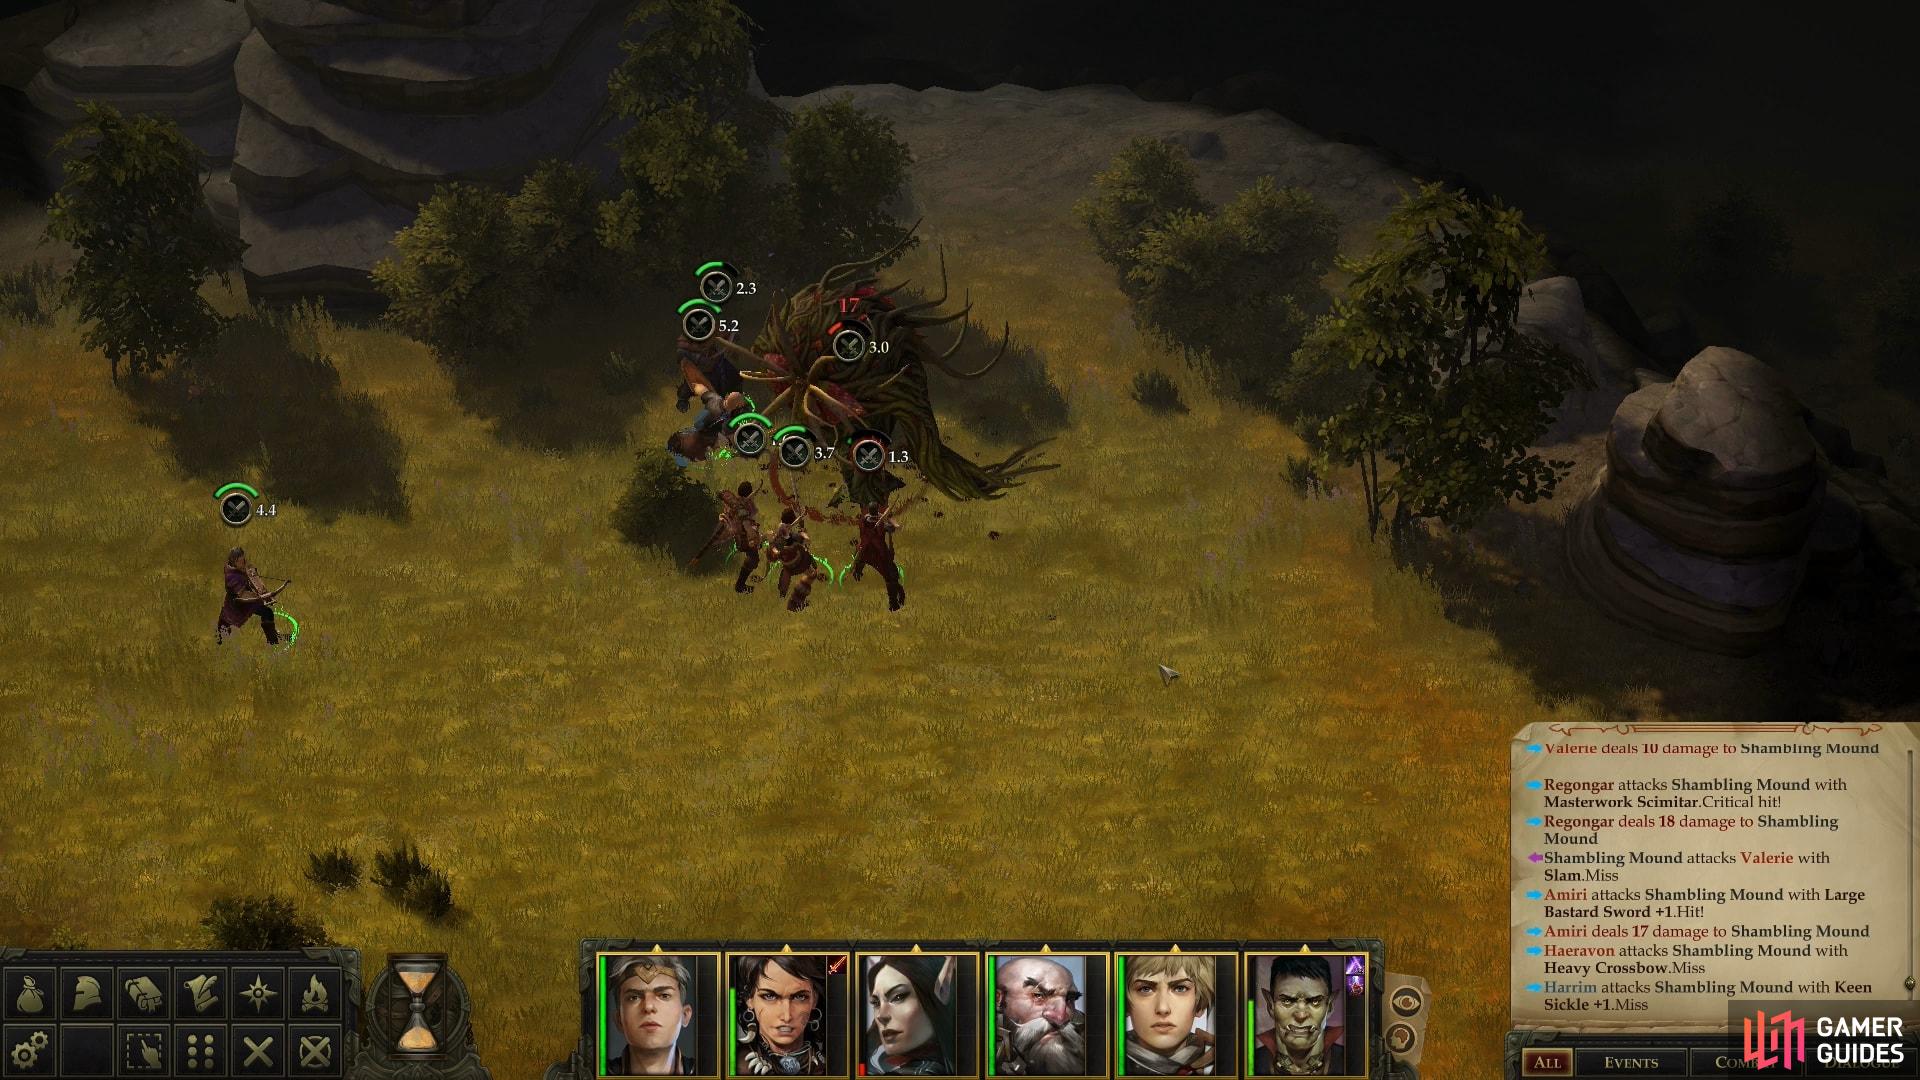
Just north of where the Kobolds and Mites were fighting you’ll find another area where you can perform a skill check, specifically a [Mobility 20] check to climb the hill nearby and reach the hill that dominates the center of the area. Do so and once you’ve mounted the hill, explore to the east to find a Shambling Mound.
Such a beast is rightfully feared by veterans of Pathfinder (and similar) game systems, but this is a relatively weak form of the monster, being on paper only slightly stronger than the Half-Orc Bandit you may have slain earlier. There is one thing to watch for, though: if it hits you, it’ll attempt to grapple, and on subsequent turns it’ll do massive damage (around thirty damage) to a grappled foe. It can do this damage even after it’s dead, and the damage will persist until the grappled character passes a Combat Maneuver Defense check (DC 17). Keep an eye on your icon, hope for the best when it comes to such rolls, and strive to chop the beast down as quickly as possible to prevent it from getting too many opportunities to ruin your day.
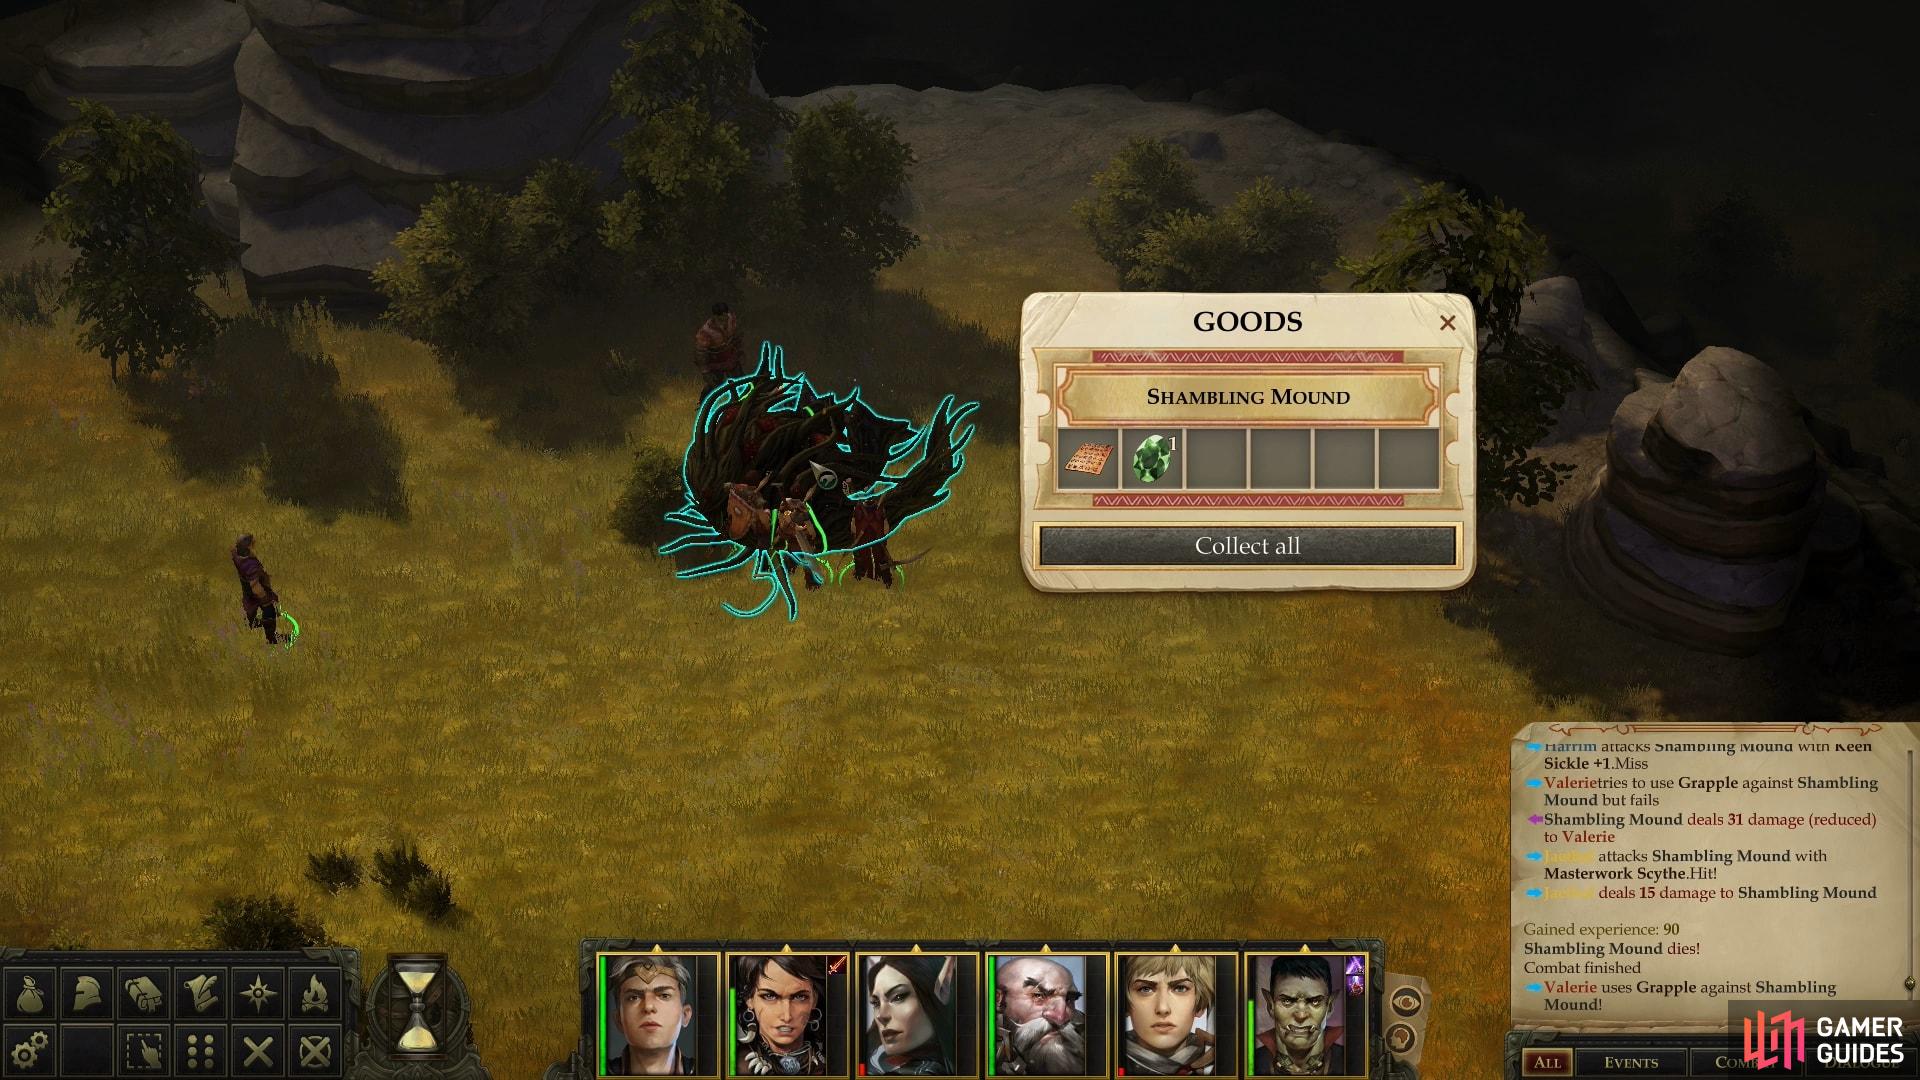
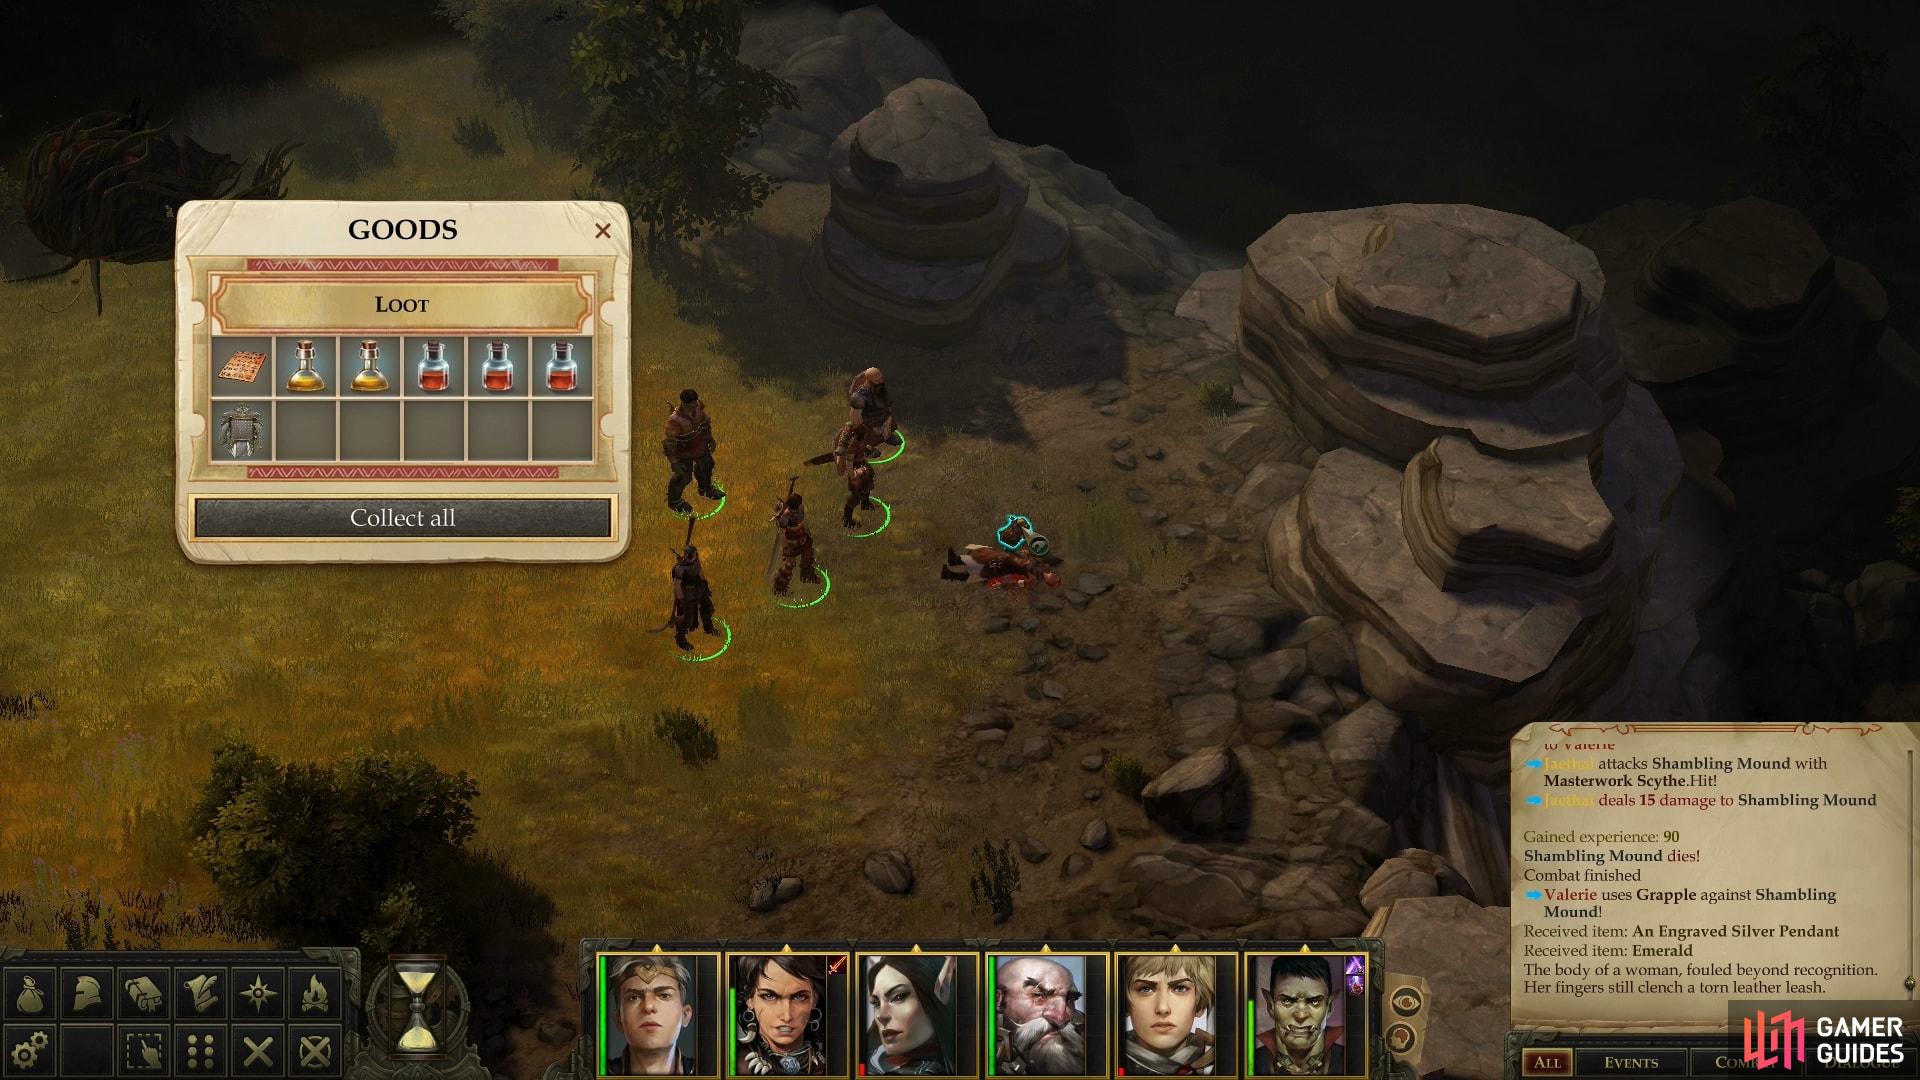
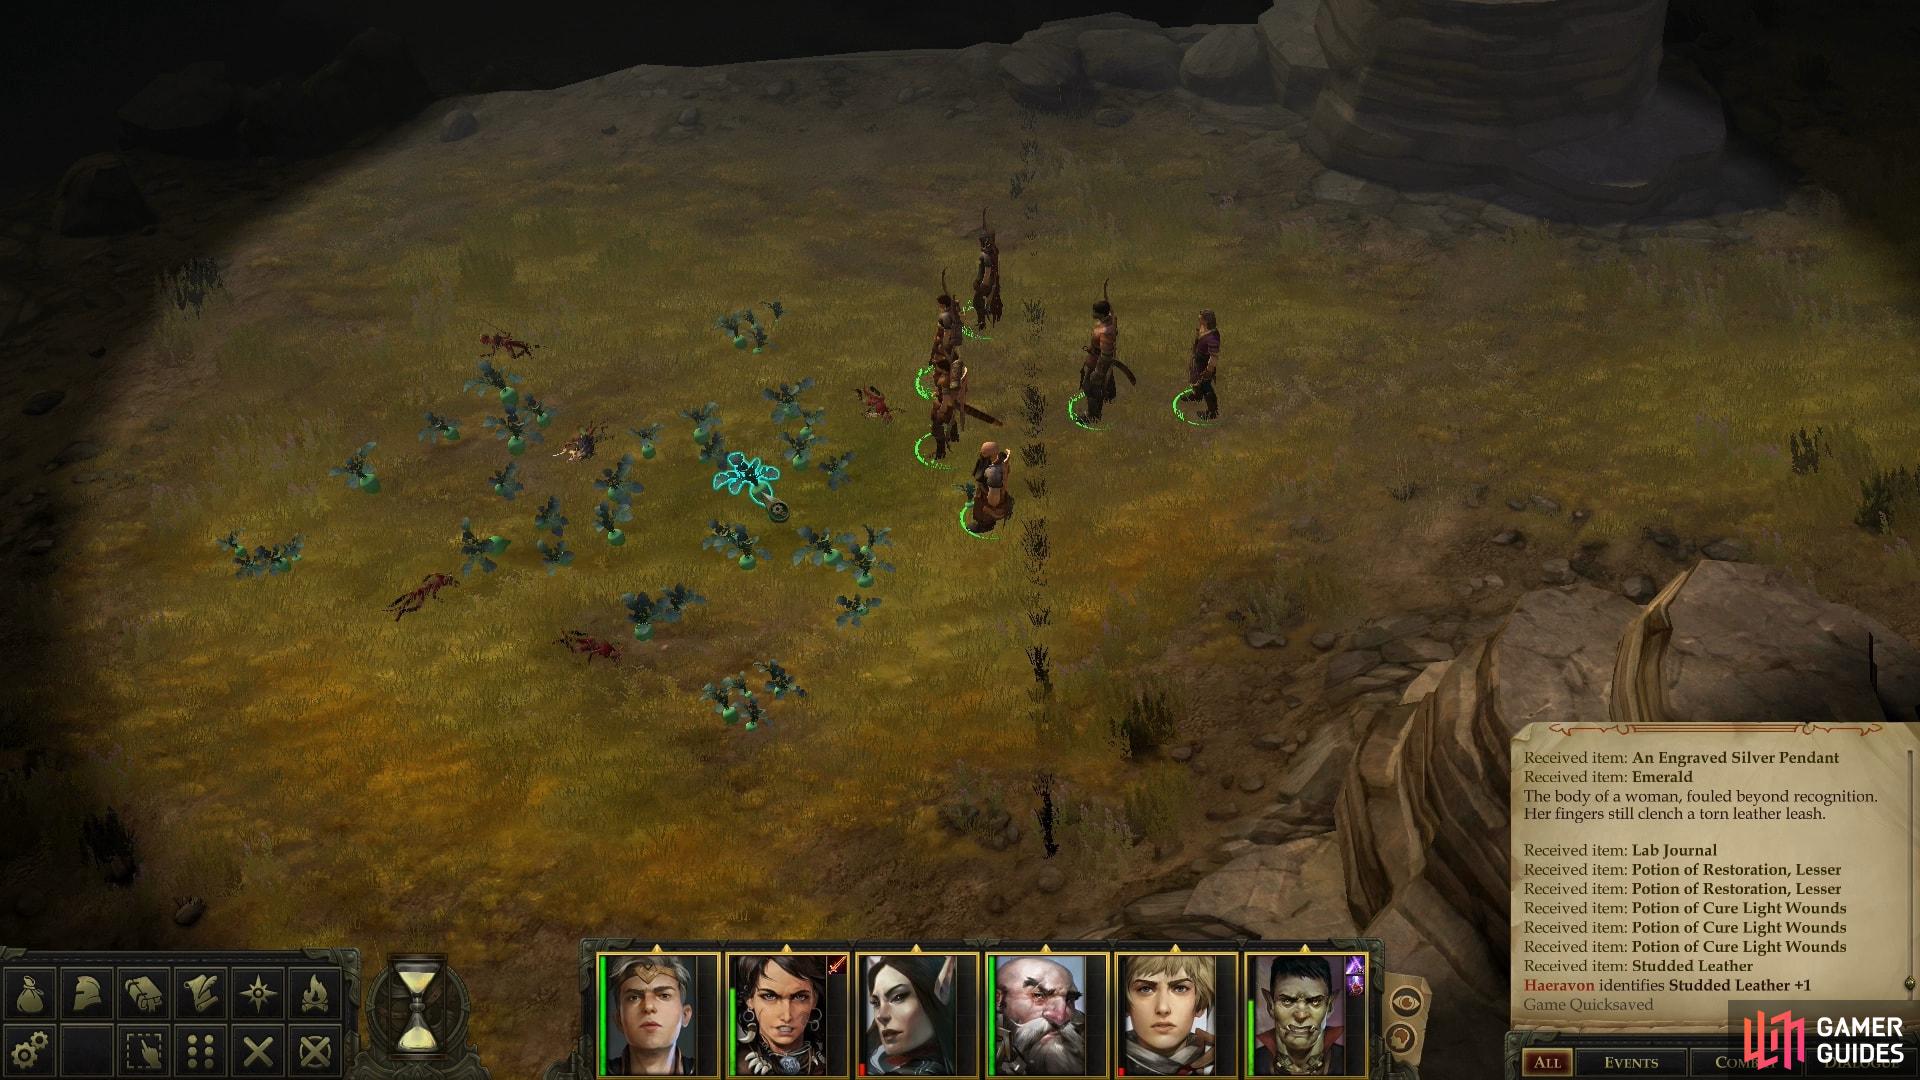
Once victorious, loot the Shambling Mound to find an Engraved Silver Pendant and an Emerald. The latter, of course, is worth a whopping 500 GP to a merchant, making it well worth your time to kill this creature. Northwest of where the Shambling Mound prowled you can find a Token of the Dryad [Perception 13], and some nuts near a bush. At the far eastern end of the hill you’ll find a mangled corpse - apparently the Shambling Mound’s victim. Loot a container near the corpse to find a Lab Journal which explains the Shambling Mound, as well as two Potions of Restoration, Lesser, three Potions of Cure Light Wounds and a suit of Studded Leather +1.
(1 of 3) On the western end of the central plateau you’ll find a cultivated crop of Moon Radishes.
Moon Radishes for Bokken
Next head to the western end of the hill, where you’ll find a group of Kobolds sleeping near some plants. Cultivated plants, perhaps? Attempt to take one and an elderly Kobold will yell at you. You can respond with violence, if you wish, forcing you to face off against a Flame Shaman, two Sentinels, and two Archers. After killing the Kobolds you can collect enough Moon Radishes for your purposes, the rest being damaged in the fray.
Violence isn’t always the answer, however, and chatting with the Kobolds instead will reveal that these Moon Radishes have mind-altering effects… at least for Kobolds. To get the Moon Radishes you need without a fight you have several options. First, simply steal with with a [Trickery 19] check (which is also a [Chaotic Neutral] act), or pick the dialogue option “About that radish…” to get two more options. Offer to be a sport and give half the radishes you dig out to the Kobolds [Lawful Good], succeed at a [Diplomacy] (DC 18) check and convince them to share [Neutral], or threaten them [Intimidate 17] so you can take the radishes [Neutral Evil]. If you wish to be truly evil, there’s nothing that prevents you from intimidating the Kobolds to get what you want, then killing them for the heck of it. However you obtain the Moon Radishes, your reward is the same.
| Reward: For gathering Moon Radishes |
|---|
| 60 XP |
Unlike the Fangberries, there’s no significant time limit on the Moon Radishes, so you need not feel compelled to run back to Oleg’s Trading Post to turn them in. For the sake of continuity, however, the reward will be listed here for when you do.
| Reward: For bringing the Moon Radishes back to Bokken |
|---|
| 165 XP / 200 GP |
(1 of 2) Loot the camp to claim the mysteriously-abandoned treasure
Loot the camp to claim the mysteriously-abandoned treasure (left), But don’t rest at the abandoned camp ’lest you suffer the same fate as the previous campers. (right)
Nightmare at Camp
Leave the hill by descending down a slope along its northern end, then note you have two directions you can go. With any luck you explored everything to the east during the quest Death to Worgs!, not that there was much else there besides Elk and a few hidden treasure spots, anyways.
Head west, instead, and when you pass by a ramp to the northeast, note it and ignore it for now. Continue northwest instead until you find some corpses near an abandoned camp. Curious… Loot the corpses to score a variety of treasure, including an Ancient Rostlandic Coin, a Dueling Sword +1 and a variety of baubles including potions and the odd coin. Examine the southernmost corpse [Lore (Nature) 19] to gain more information, then plunder a chest [Trickery 13] in the campsite, along with some sacks. Be careful not to interact with the camp, however, as if you rest here, you’ll find out exactly what killed the campers: a wisp called “Viscount Smoulderburn”.
This potent foe has an absurdly high Attack bonus and an Armor Class of 35. Even though it doesn’t do much damage, it can also repeatedly use Scare, after which it’ll try to pick off afflicted characters. Given how hard it is to hit, and how many HP it has, it’ll probably succeed at wiping out your party even on the lowest difficulty. Any fight where you need to roll a twenty to hit an enemy, and said enemy needs only to roll higher than a one is a fight you’re not winning. Spare yourself the headache and save this encounter for later.
(1 of 3) On the northern plateau you’ll run afoul of some Giant Centipedes.
Explore the Northern Plateau
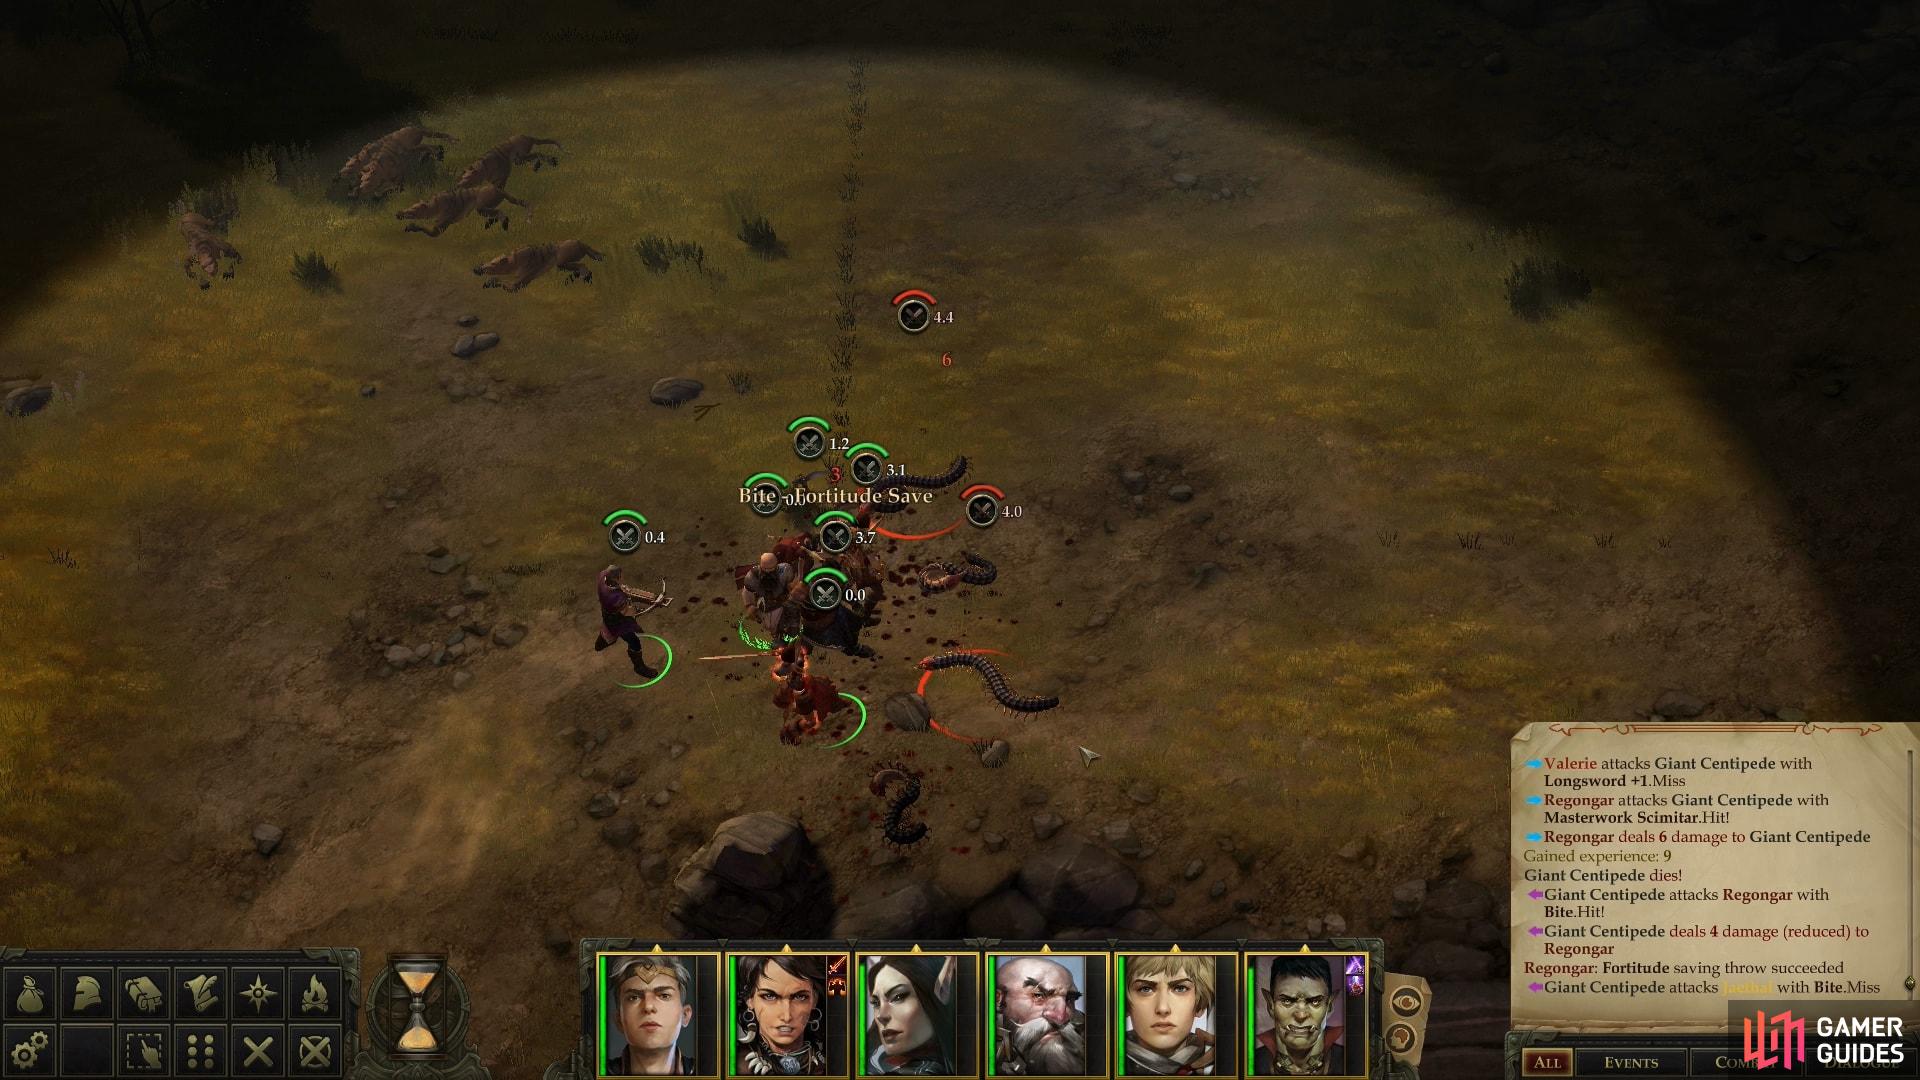
Return back southwest to the ramp you passed by earlier and ascend it. When you reach the elevated plateau along the northern edge of the area that this ramp leads to, continue east until you encounter a new foe: a Giant Centipede. These insects are venomous, dealing Dexterity damage to any foe that fails their save [Fortitude 9]. Otherwise, they’re rather squishy, so long as you don’t let them attack a weaker character, or get into odds where you’re greatly out-numbered, you should be fine. You’ll only encounter them if you stumble upon them, or if you trigger one of the entangle traps in the area [Perception 22] [Trickery 22].
(1 of 2) Exterminate a rather large group of Thylacines
Exterminate a rather large group of Thylacines (left), then claim the treasure they guarded. (right)
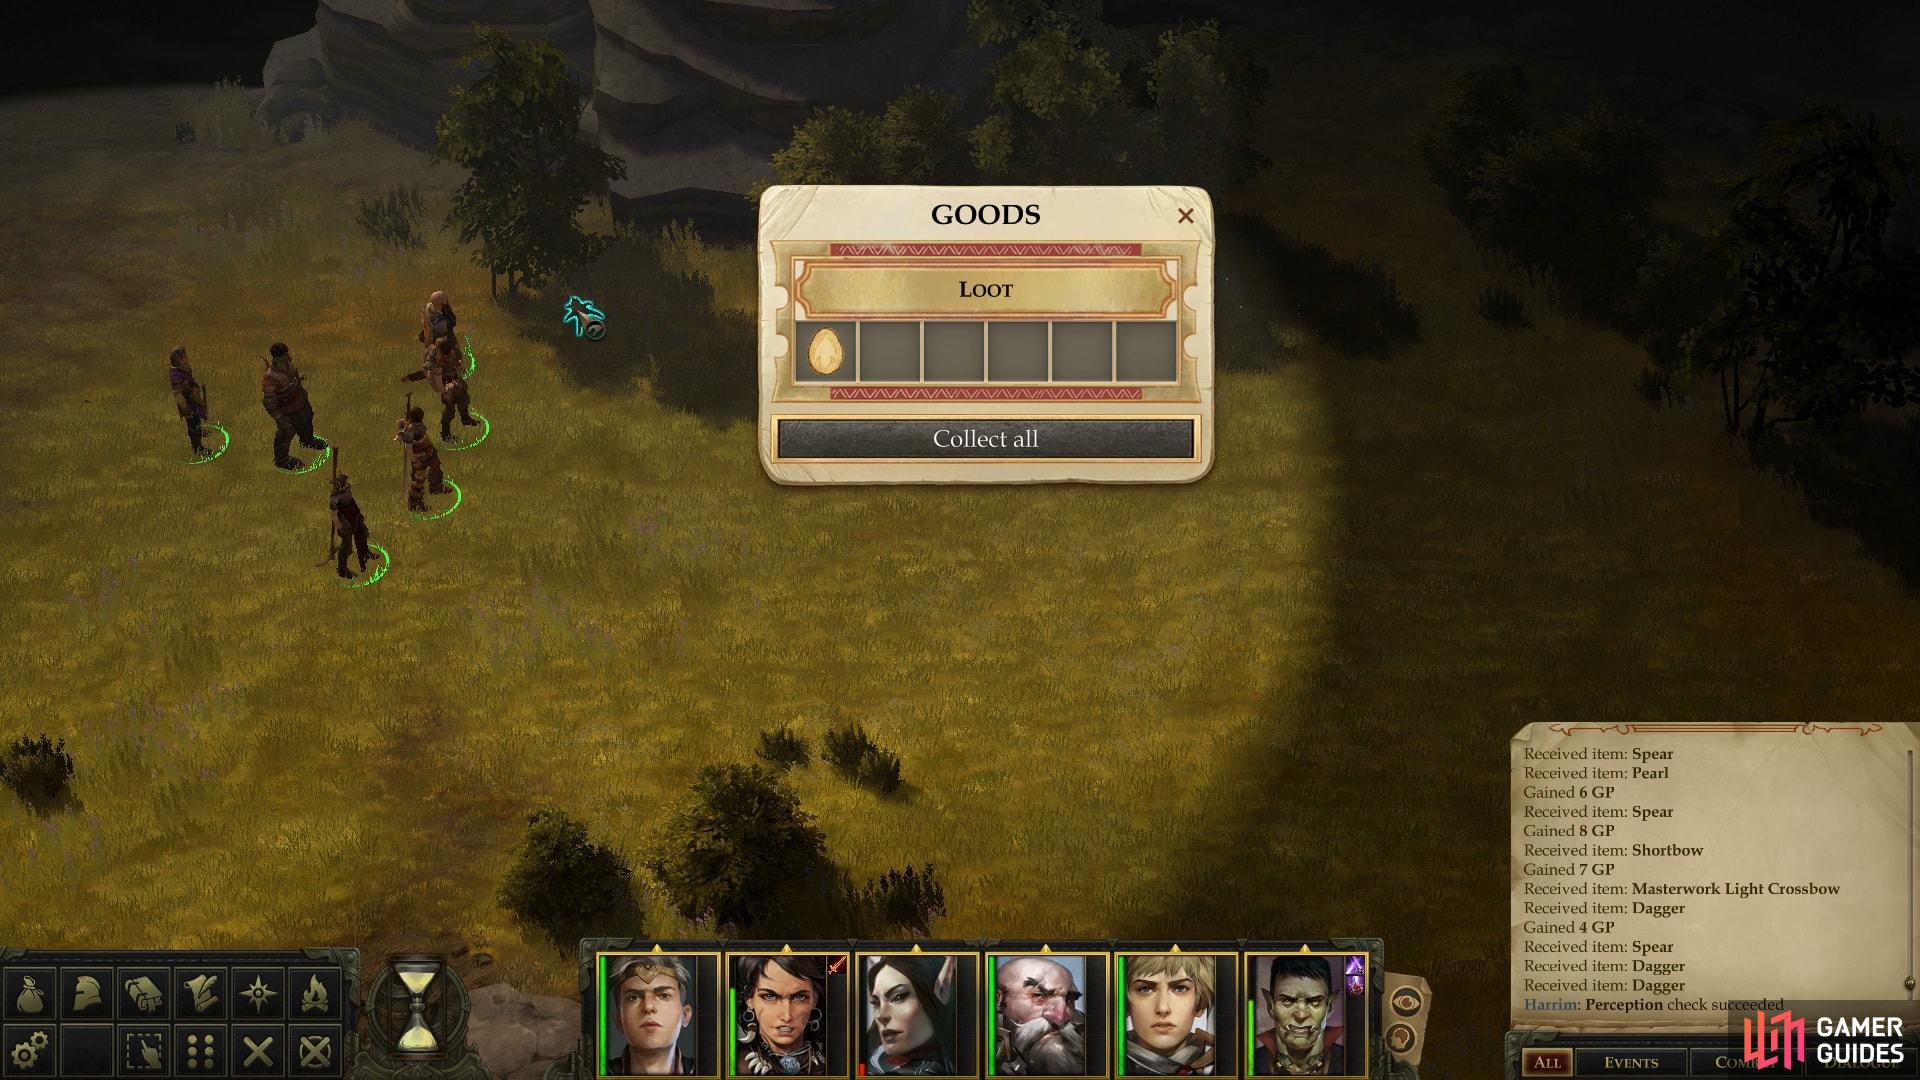
At the eastern end of the plateau you’ll find the entrance to the Mite’s subterranean domain, which happens to be under the massive sycamore for which this area is named. Before you bother with that, though, take care of one last bit of business above-ground. North of where the Giant Centipedes were you’ll find a rather large pack of Thylacines. Exterminate them, and you’ll have cleared the surface area of enemies… well, aside from that nasty Nightmare Wisp, but it’ll leave well enough alone if you do. After killing the Thylacines, head northwest from where they were to find some Kobold corpses in the bushes. Scavenged bodies, or the victims of Thylacines? In any event, if you pass a [Perception 19] check you’ll find some rocks near the Kobolds you can loot for a Wand of Ear-Piercing Scream and four doses of Alchemist’s Fire.
Next make your way east to the entrance to the Mite’s lair, from which look over a ledge to the south to spot some treasure on the narrow walkway below. Unfortunately, you’ll need to leave this northern plateau and run east along the cliff to find a spot you can climb [Mobility 20]. Ascend the cliff and loot some branches to find a Token of the Dryad, then continue west to find a locked [Trickery 15] chest.
Once that’s yours, return to the entrance to the Mite caves again and stand just west of the entrance. From here, look north to spot some sacks beyond some roots. The route to this treasure is navigable, just click on the sacks to send a character up there, where they’ll score another Amulet of Natural Armor +1 and other various baubles.
Now that you’ve cleared the surface, it might be a good time to return to Oleg’s Trading Post, sell off the items you’ve accumulated, rest, and hand those Moon Radishes to Bokken if you haven’t already. You’re only just beginning with the Old Sycamore area, and there’s plenty more to loot and slay underground. Coming back fresh isn’t a bad idea.
You may expect the exploration of the subterranean areas - which include separate Kobold and Mite areas - to be somewhat more complicated, but that doesn’t necessarily have to be the case. If you sided with one faction or another, you’ll obviously want to talk to that faction’s leader and bring the war to the other faction, but you don’t have to do that in any specific order. If you didn’t side with either, or you chose the neutral option and are hence on good terms with both, it also stands to reason that you’d like to either massacre both groups, or hear them both out, respectively. In any possible political scenario, you’ll want to explore each area for the experience and loot you’ll get from doing so.
That all being the case, you need not worry about your particular political standing when it comes to determining which to explore first, and for the sake of guide continuity, it’ll be nice to come up with a separate criteria… perhaps recruiting another companion to your cause? With that justification in mind, the walkthrough will take you through the Kobold section of the Old Sycamore Caves, first, followed by the Mites section, and finally by the second underground area, the Old Sycamore Depths.














 Sign up
No Comments