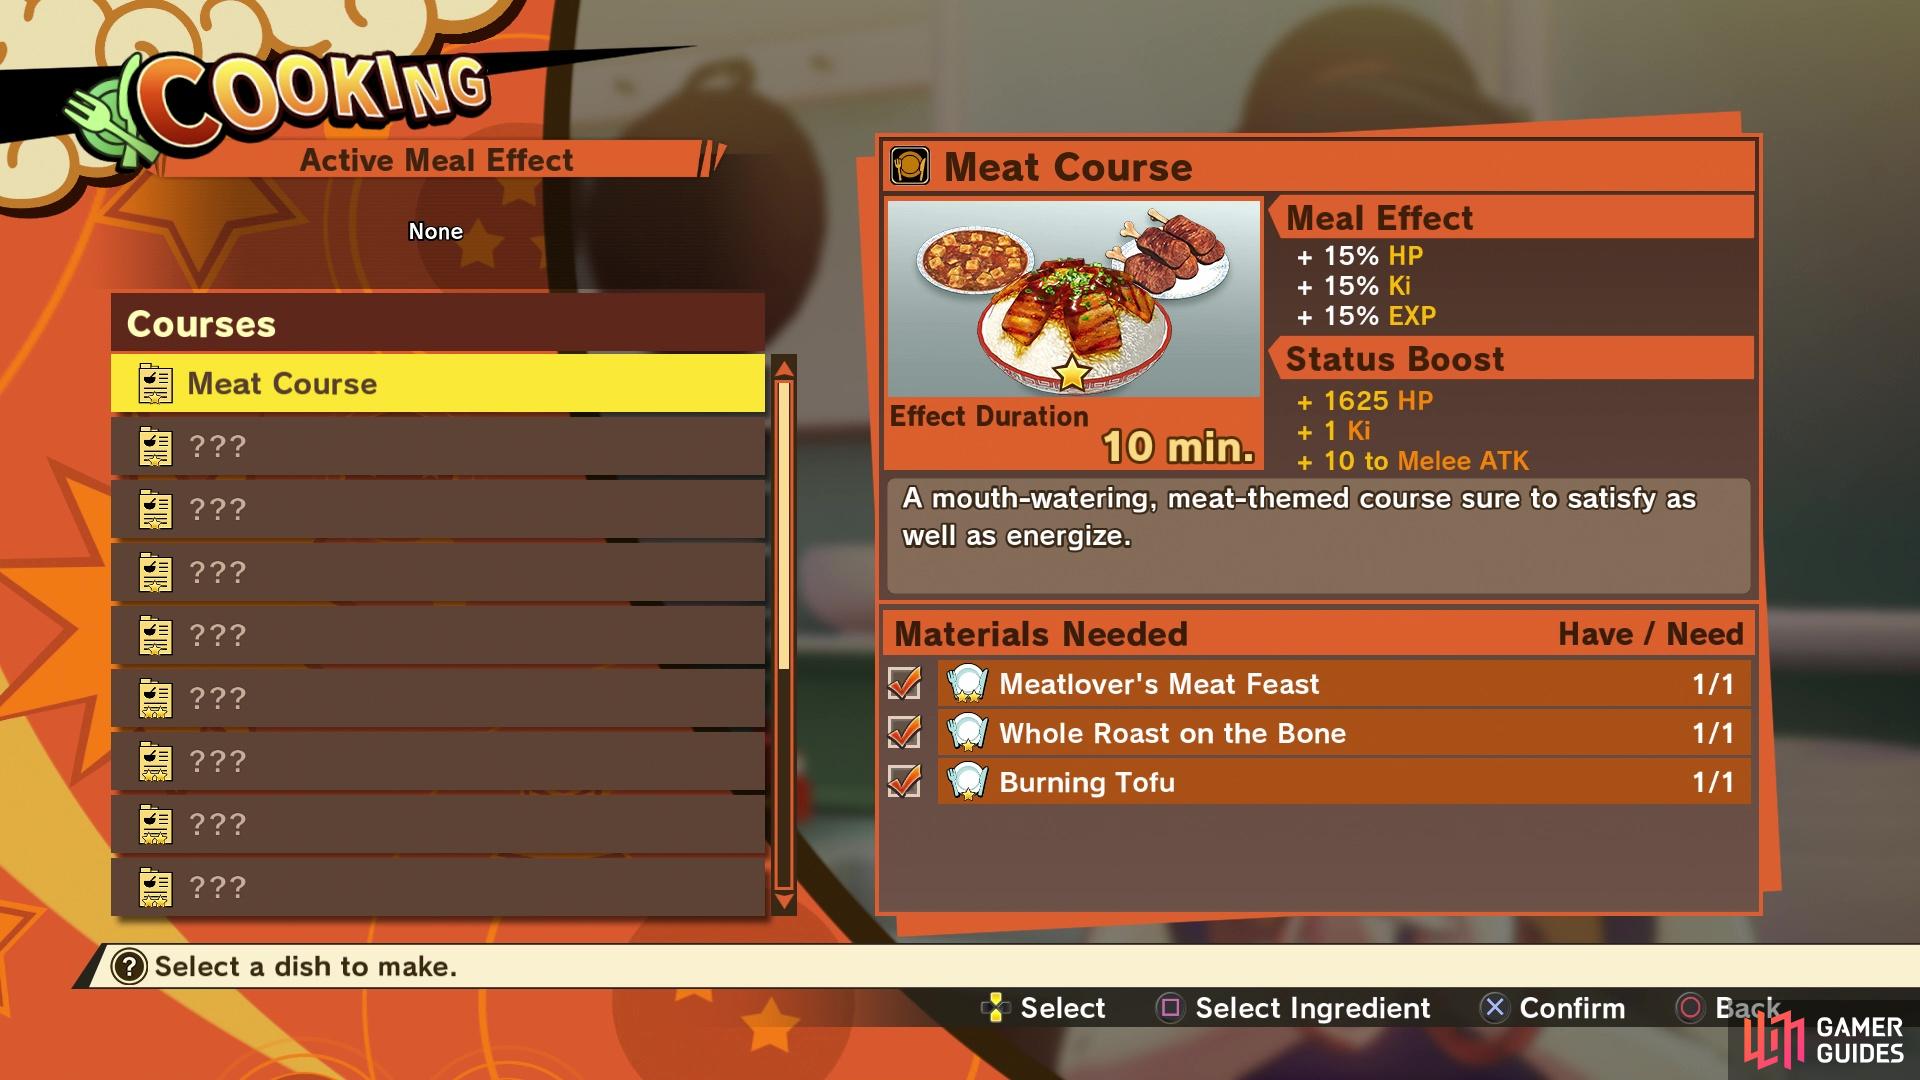
The intermission is a brief period of time between the major sagas, giving you a chance to explore, collect items and even do some substories. Before setting off to Planet Namek to chase after the Dragon Balls, you get some downtime to prepare for the adventure. You will be controlling Gohan during this first intermission, starting off at your house. Chi-Chi offers to make you a full-course meal, but she seems to have misplaced the recipe and asks you to retrieve the recipe from someone in Keilin Village.
Full-Course Meals offer a lot better buffs and stats over normal meals
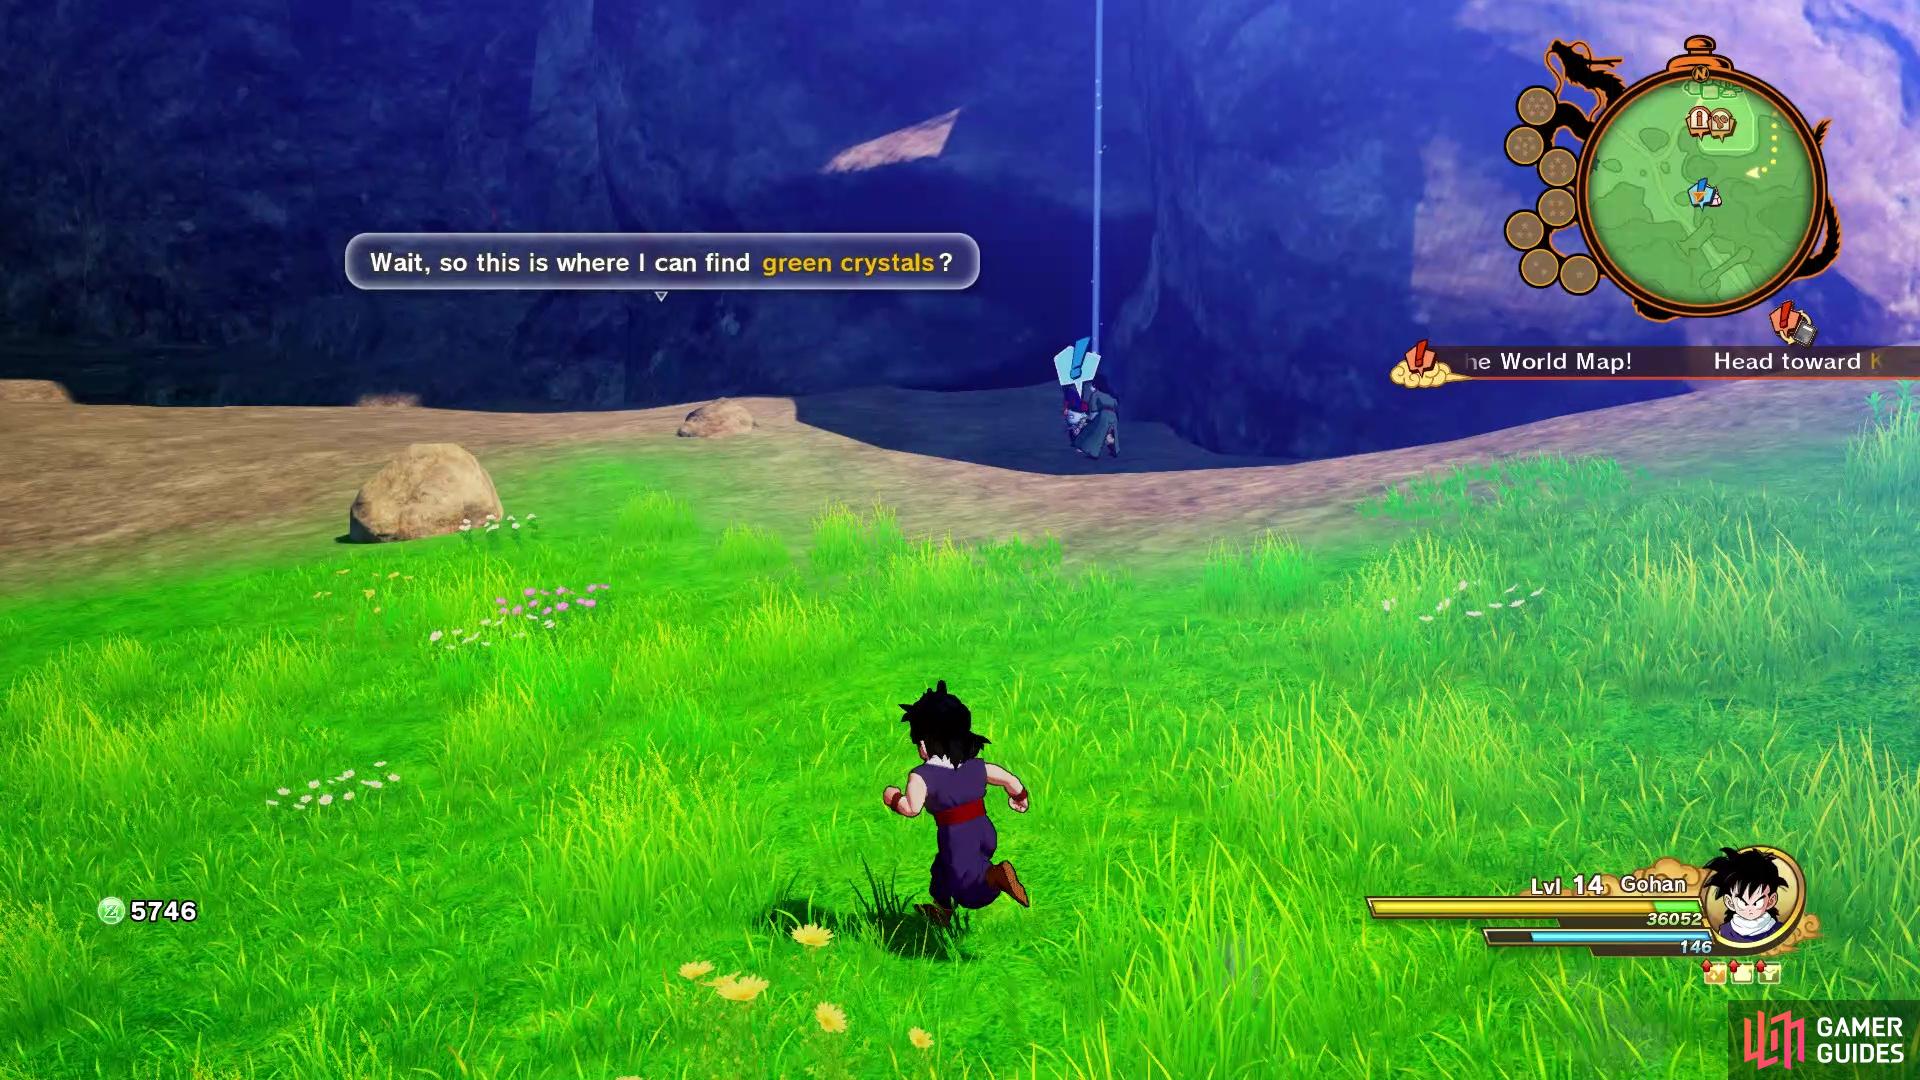
Before leaving the house, look around inside for another Memorial image that unlocks a Z Encyclopedia entry. Exit now and look at your map to find the location of Keilin Village, which is northeast of your home. It is nestled in the mountains, so you can’t go in a straight line. You can either find the path on the southern or northern end to find the village, with the kooky cook marked for you already. Speak to her and not only does she hand over the recipe you came here for, but also the ingredients needed to cook it. With your bounty in hand, return to Chi-Chi and have her cook the Meat Course Full-Course Meal.
(1 of 2) Keilin Village is only accessible by the two marked spots
Keilin Village is only accessible by the two marked spots (left), The kooky chef will not only give you the recipe, but also the ingredients (right)
After inhaling the meal, Chi-Chi tells you to go visit Master Roshi, so head outside to get a message from Krillin, which will add a new menu to Training Grounds. Also, you’ll receive a message from King Kai, who mentions that a great evil is near you. The marker is not too far from your current location and when you get there, you will find some more Saibamen, but these ones have that dark aura around them. These aren’t any different than the normal Saibamen, other than they are likely higher level than you.
Upon defeating all of them, you will receive a short blurb about Super Villainous Enemies. They are similar to the normal ones, with each area housing multiple super villainous enemies. Defeat all of the ones in an area to make even more powerful enemies show up. As with the normal Villainous Enemies, you can check your world map to see which regions have these Super Villainous Enemies.
You now have full reign over the world map, with your primary goal being to visit Master Roshi. However, there is a Substory available in another region, so let’s tackle that first. Fast travel to West City in the West Area, then head north and look for Pilaf and his crew by the entrance to some cave.
The Pilaf Gang’s Plan
Pilaf says that him and his underlings are being attacked by a robot, so you offer your help. There will be three robots to fight, all of which will be level 16, so depending on Gohan’s level, they should be around the same. They are the same Skull Robos you have been fighting mostly up until now, so you shouldn’t be expecting anything different here. When you’ve destroyed all of the robots, you will finish the substory.
Pilaf can be found right outside of a cave
| Objective | Reward |
|---|---|
| Helped the Pilaf Gang with their robot trouble | 4,583 EXP, D Medal (x1), Brain Bread (x1), Energetic Fish (x1), Giant Fish Fin Muscle (x1) |
You will also receive Pilaf’s Soul Emblem, Shu’s Soul Emblem, and Mai’s Soul Emblem after finishing the above substory.
The Training Grounds
This is a good time to take a small break and look at your skill tree. You might have enough Z Orbs to get all the available skills for Gohan, but if not, his skills require mostly blue Z Orbs. Specifically, you want Masenko Lvl 3 and Meteor Sledge Lvl 3, as this will allow you to go to any Training Ground and do the two sessions there for Gohan. He should have two moves available to learn, Crushing Strike and Super Masenko. The former has a recommended level of 15, while the latter has a recommended level of 20. As you will see, once you meet the requirements, you will be fighting some variations of named enemies for these Training Grounds.
For Crushing Strike, you have a level 15 Gohan, Krillin and Piccolo. Two of those characters you’ve already played as, so you should be familiar with their moves, while Krillin isn’t anything special, he does have Solar Flare, so maybe go after him first. The other move you can learn is Super Masenko, which will be a little harder on you right now, since it requires you to fight level 20 enemies (Gohan and Piccolo). This might prove a little more difficult at your current level (which is likely around 15-16 or so), so it could be something you save for later.
Looking For Launch
There’s nothing else to do right now, so let’s go say hello to Master Roshi at his house. It appears he’s sent everyone out to look for a young woman who used to live at the house, by the name of Launch. He gives you a description of her and also says someone fitting her profile was last seen in West City. Feel free to explore the current region, since you never really got a chance to, but your next destination is West City. The marker will be northish by northwest of where you gain control from fast travelling, so head there to find a precarious situation.
Due to the misleading description from Roshi, Gohan thinks the blue-haired woman is Launch, so he stops the blonde-haired woman, leading to a fight against three robots. These are the same robots are usual, so you’re not going to face anything different. However, they might be a few levels above you, so it can take a little bit to whittle their health down. Once all of the robots have been destroyed, watch the scene that follows, then you can head back to Roshi to report that you’ve found Launch. You will receive Launch’s Soul Emblem once the conversation is over.
(1 of 2) Use this golden airway to find the Ultimate Awakening Water
Use this golden airway to find the Ultimate Awakening Water (left), This is the Ultimate Awakening Water right at the end (right)
Your next objective is to go and speak with Chi-Chi again, but this will end the intermission and begin the next story saga, where you will be locked into until you’re finished with it. You don’t want to do that quite yet, as a new substory opened up in West Area, at Capsule Corporation, so let’s head there next. Inside of the actual building, in the open area, Bulma will be waiting with a new substory for you.
Foreboding Fear
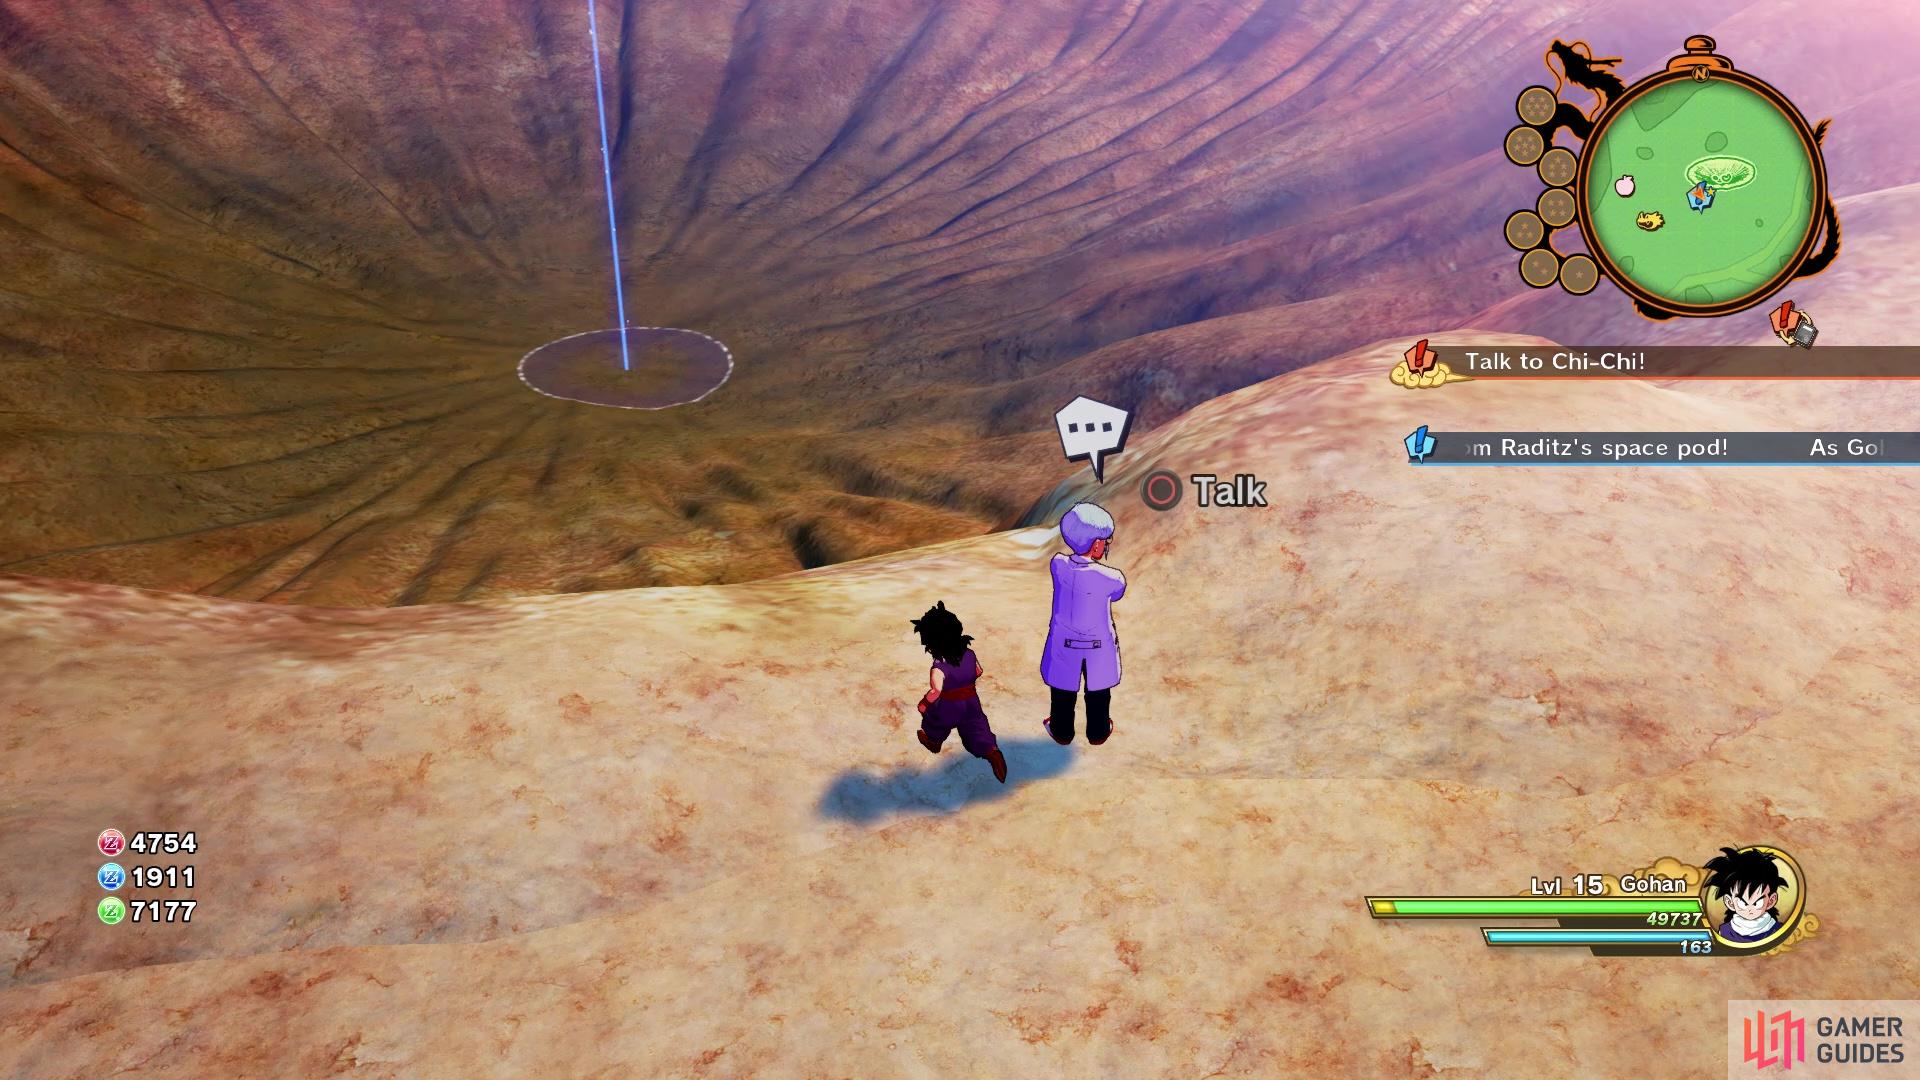
Bulma asks you for a tiny favor, which is to retrieve a piece of the spaceship that Goku’s brother, Raditz, arrived on Earth in. Go to the world map and pick the East Ravine Area (Lucca Village is closer to your destination), then go there. It is a little northeast from where you regain control, so head into the crater and as you approach the marker, a scene will automatically happen that has you pick up a mysterious chip. Bring this back to Bulma at Capsule Corp to finish the substory.
The item you need is in the center of the crater for Foreboding Fear
| Objective | Reward |
|---|---|
| Helped Bulma retrieve her item | 4,583 EXP, D Medal (x1), Brain Bread (x1), Mega Mass Lvl 1 (x2) |
After finishing the previous substory, exit Capsule Corporation and re-enter to find that Bulma has another substory for you.
Mysterious Power Reading
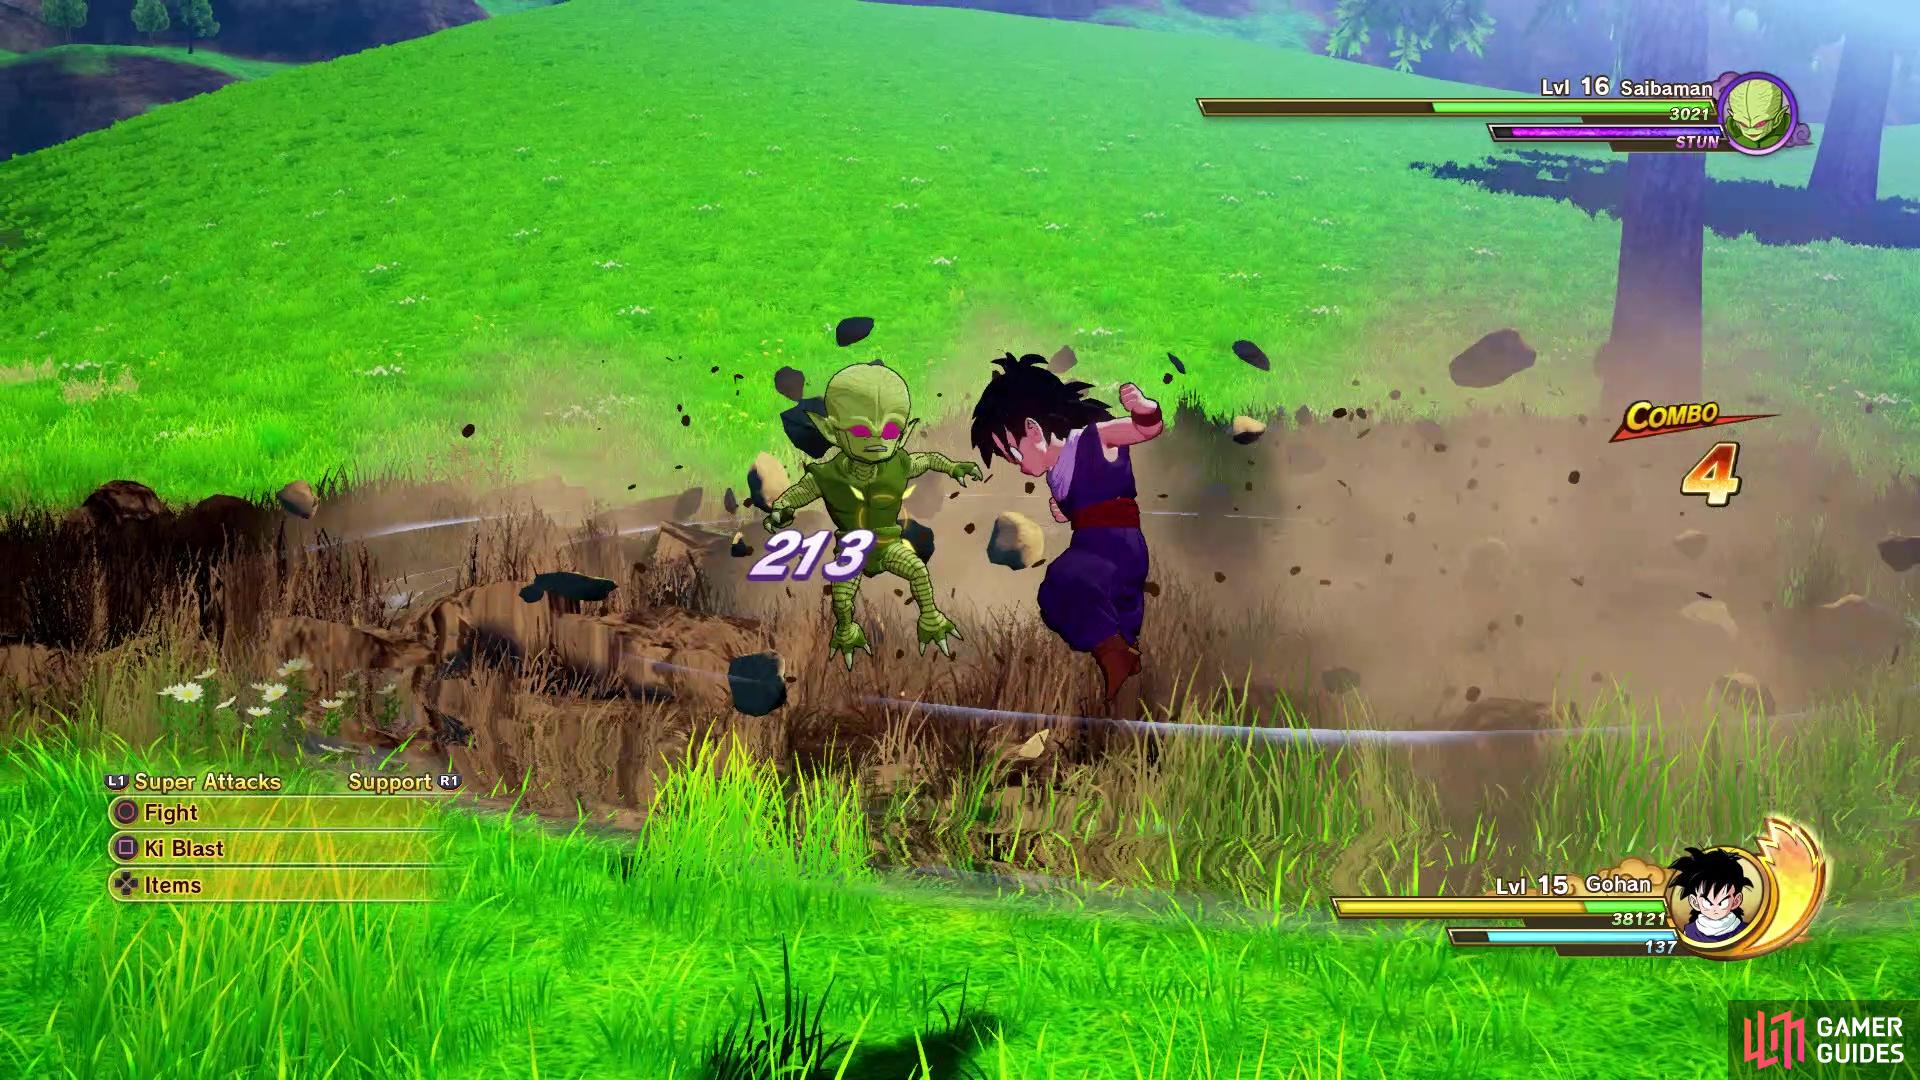
Bulma tinkered with one of the scouters from the Saiyans and is reading a large power nearby, so she wants you to investigate it. The huge reading is coming from the East Ravine Area, so head there via the world map. Strangely enough, the reading is coming from the same crater where you picked up the chip from the previous substory. When you get there, you will find three Saibamen standing around, so it’s time to beat them to a pulp. These seem to be a lower level than you, so it shouldn’t take too long to bring them down. When they’re finished, you will end up finding a High-Quality Carrot, then report back to Bulma to finish this substory.
| Objective | Reward |
|---|---|
| Investigated the power reading | 5,292 EXP, D Medal (x1), Romantic Apron (x1), Mega Mass Lvl 1 (x2) |
You will receive the Saibaman Soul Emblem upon finishing Mysterious Power Reading. Head to Goku’s House now, noting that there is a blue marker there, which means there’s another substory available. Two men are standing outside of your house, so talk to them to begin the substory.
(1 of 2) The Saibamen are pretty common enemies at this point
The Saibamen are pretty common enemies at this point (left), so they should be easy enough for you to take down (right)
Familiar Face
Tao Pai Pai and the Crane Hermit, Master Shen, are offering their protective services by threatening to sic some monsters on you. Being a powerful fighter, you say you’ll get rid of the monsters, so head to the location marked on your map just north of the house to find some Saibamen. Considering you’ve likely fought many Saibamen at this point, there’s no need for a detailed strategy. Take them out one-by-one and once they’re all gone, you’ll automatically finish this substory.
| Objective | Reward |
|---|---|
| Showed you didn’t need protection | 5,292 EXP, D Medal (x1), Card 010 (x1), Fancy Urn (x1) |
In addition to the above rewards, you’ll also receive Mercenary Tao’s Soul Emblem and Master Shen’s Soul Emblem for completing the substory. If you’ve done all substories up until this point, then you should unlock the Do-Gooder trophy/achievement. Before talking to Chi-Chi to advance the plot, let’s head back to Master Roshi’s place. Talk to him and if you done a lot of different things up until this point, you should be able to complete a bunch of the training exercises under the Turtle School Training Manual. If you don’t know what this is, it’s basically in-game achievements for doing basic things, like obtaining a number of red Z Orbs, playing for so many hours and much more. For completing these, you will receive a plethora of items, including healing ones, gifts, D Medals and some more.
Full-Course Recipes
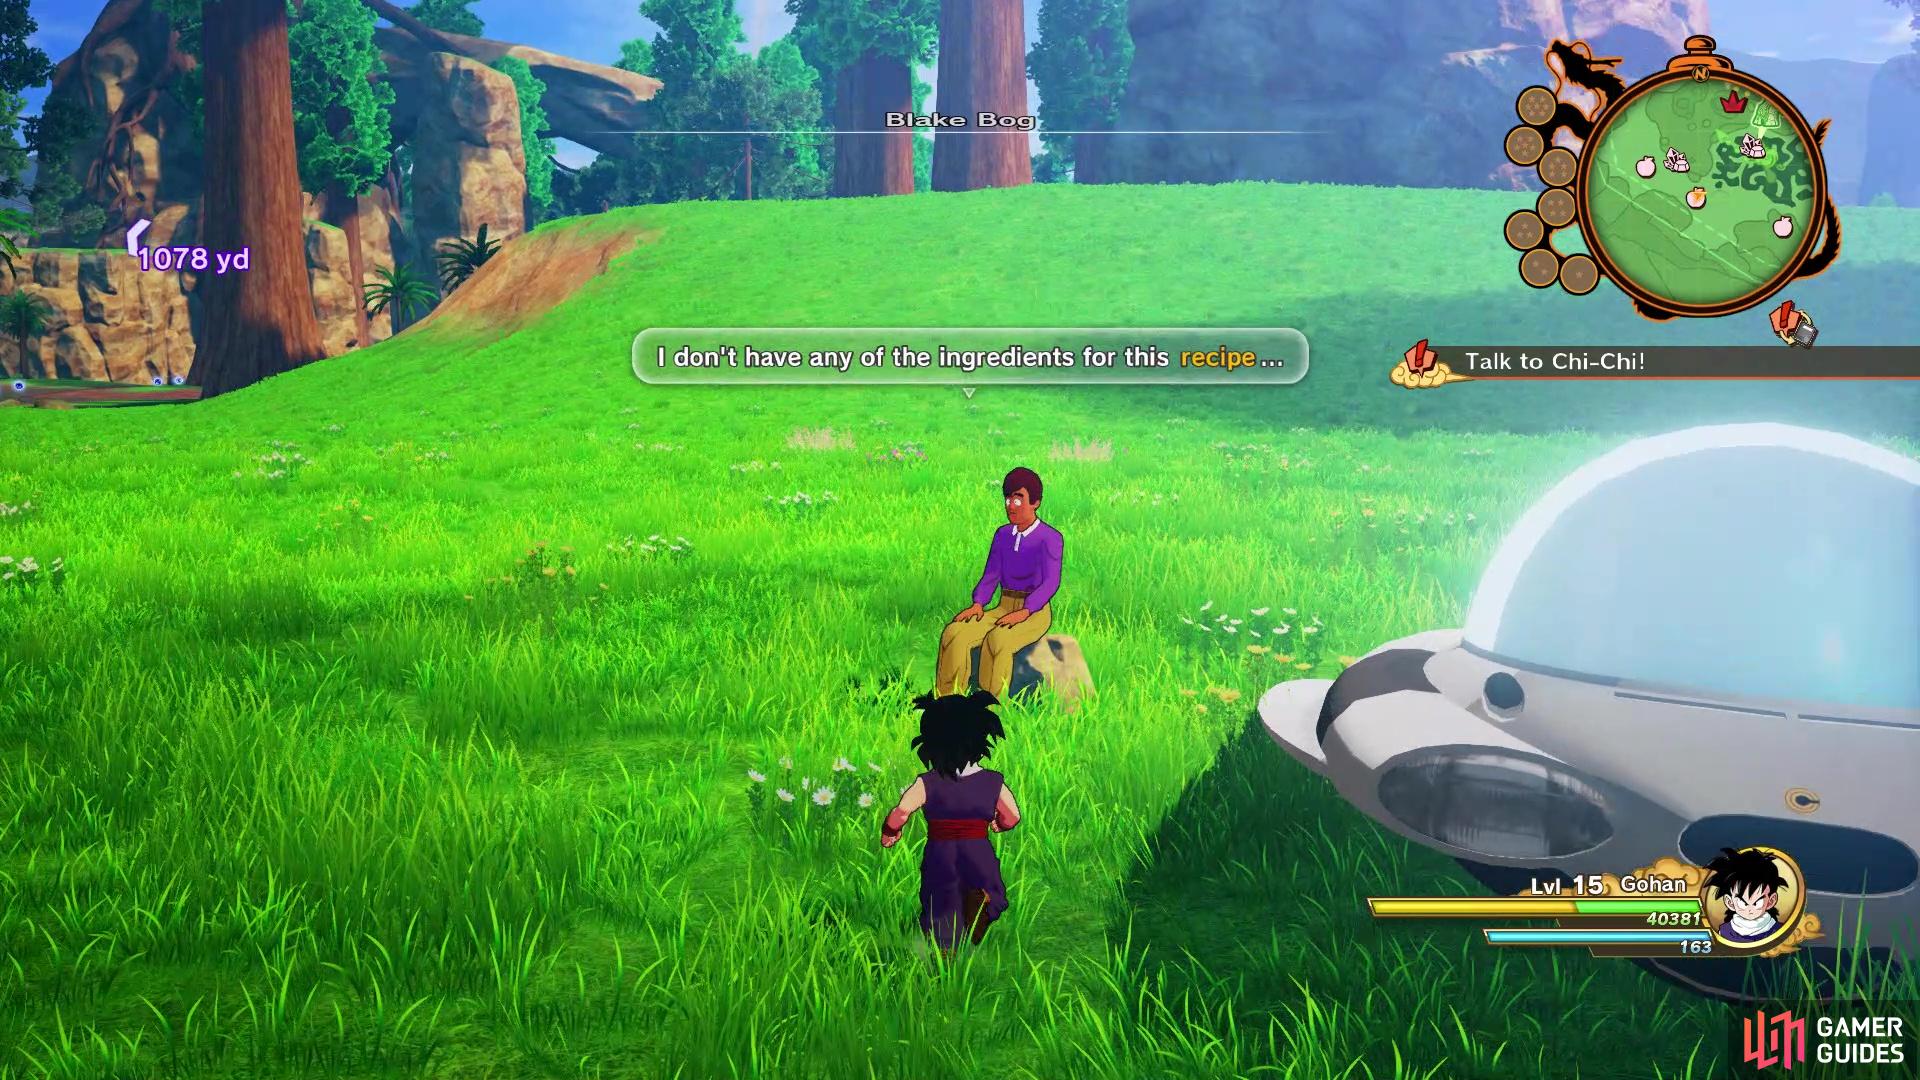
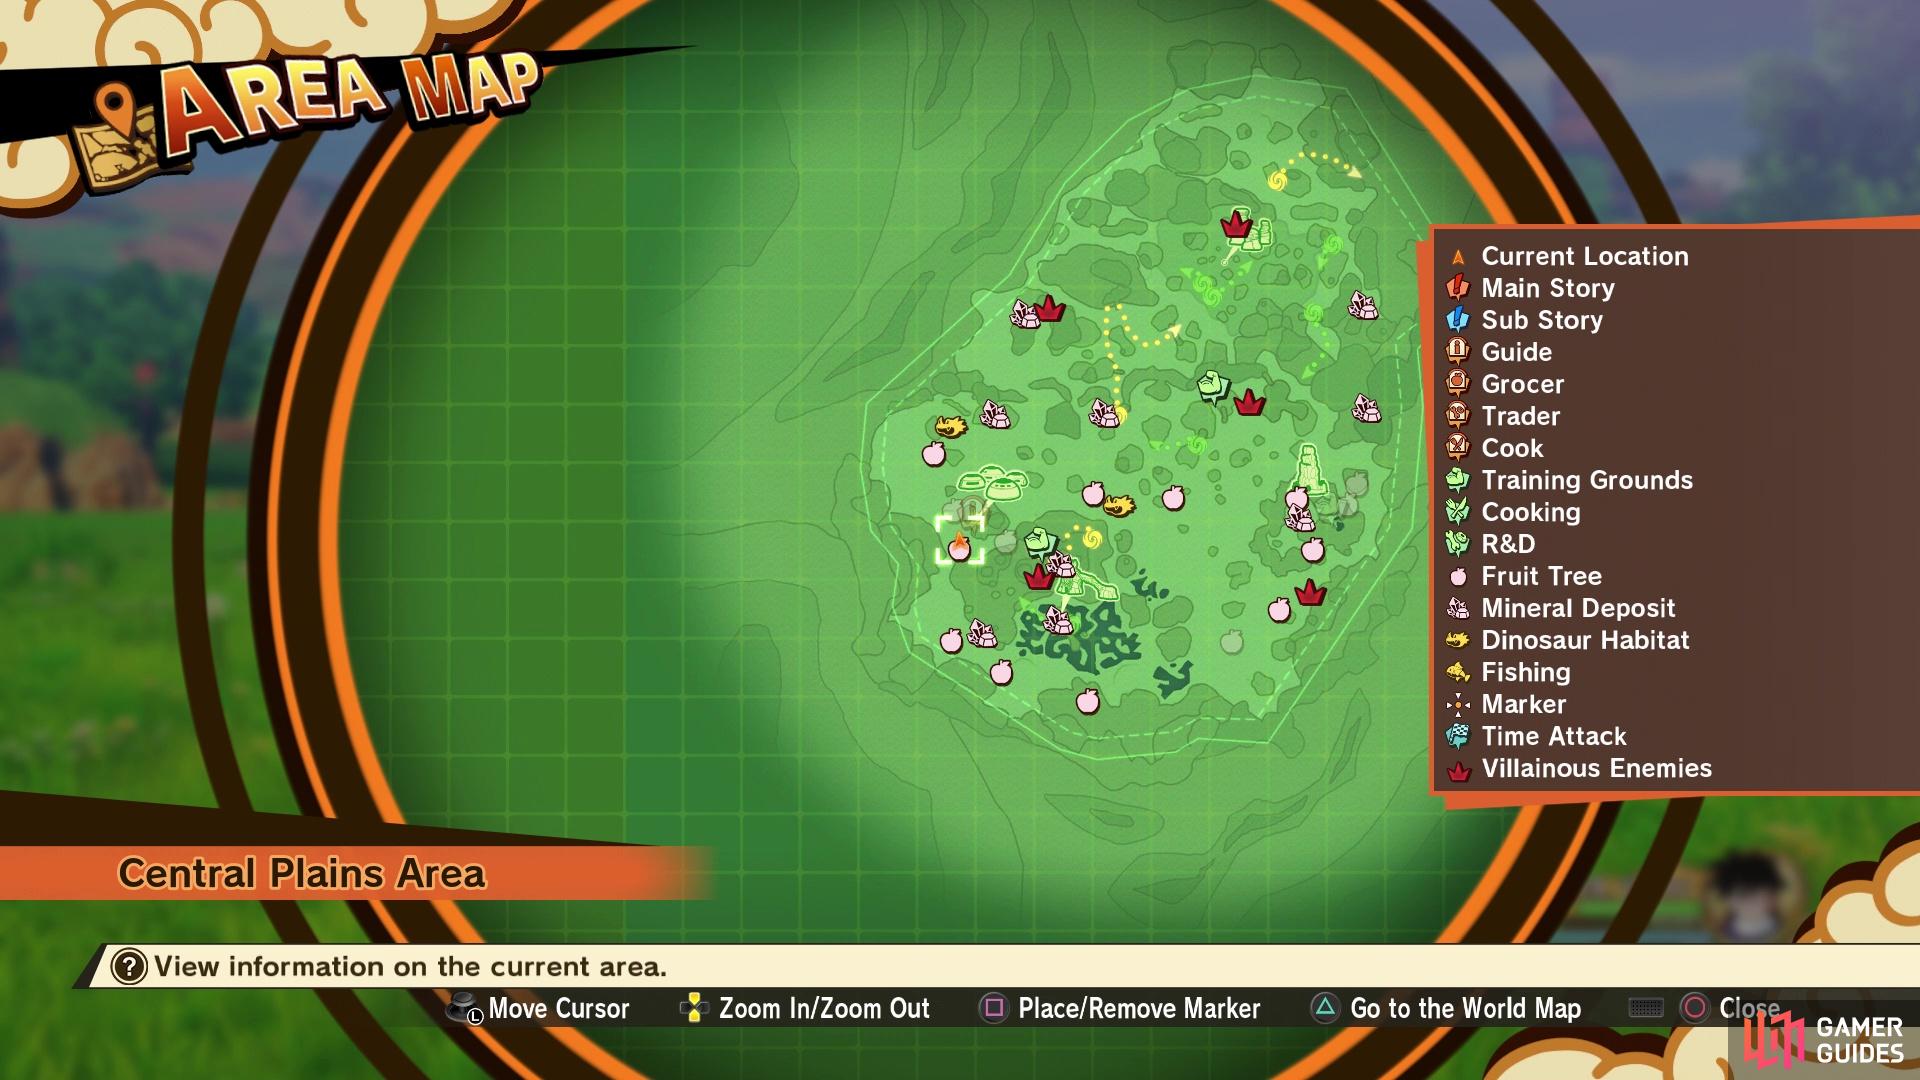
The last thing on the agenda before progressing the story is nabbing a few of the full-course recipes. While some of them can be rewards for completing specific substories, the few you will get now are from talking to specific NPCs in the wild. Begin by travelling to the Central Plains Area and looking just southwest of the bog there. You’ll know you’re in the right spot, as you can see a NPC saying something about a recipe on the ground below you. Land and talk to this NPC to receive the Pasta Course Recipe. The next recipe is not very far from the previous one, as it’s a little north. You should see the NPC saying “recipe” just over the plateau to your north, and he’ll be not too far from the trees. Speak to him to receive the Ramen Course Recipe.
(1 of 4) The location of the Pasta Course Recipe on the map
You are finally done with the intermission, so let’s return to Goku’s house and speak to Chi-Chi, remembering that once you agree to continue, you will be forced onto the next story bits.









 Sign up
No Comments