While not technically part of any mission, it’s still worth discussing everything you can do and see the first time you’re free to explore the Normandy. This occurs after your first visit to the Citadel.
When you leave the Citadel after meeting the Council, you’ll have to play through a dream sequence. Not much guidance is needed here, just chase the kid through the forest and eventually you’ll make up and engage in some small talk with Liara.
Once done you’ll be pestered by a fresh face, Specialist Traynor, who will proceed to tell you how the Normandy has changed since the Alliance got their hands on it. What was once a prime example of private sector extravagance designed to showcase humanity’s prowess has now been downgraded to meet Alliance regulations and suit Anderson’s aborted plans for a mobile command center. She’ll also give you the mission N7: Cerberus Lab.
We’ll get to the details later, but before you can roam the Normandy freely you’ll be forced to endure another conversation with Admiral Hackett, where he long-windedly introduces you to the “War Asset” system. Your overarching goal is to race around the galaxy, resolve the problems of your wayward allies, and ultimately raise the collective military strength at your disposal to construct the Prothean superweapon and break the Reaper siege on Earth.
The biggest gains will be made during the game’s core missions, but completing side missions and scouring the galaxy for resources will also contribute. Of course, keep in mind that not every choice you make is equally beneficial to the cause - some are downright detrimental, in fact, and past decisions and a lack of commitment to boosting your Paragon or Renegade points could put you in no-win situations… at least as far as attaining individual war assets goes. This guide will, of course, point out when you have opportunities to acquire war assets as you play through missions and explore, and when there are pitfalls you should avoid.
With that out of the way, let’s explore the Normandy!
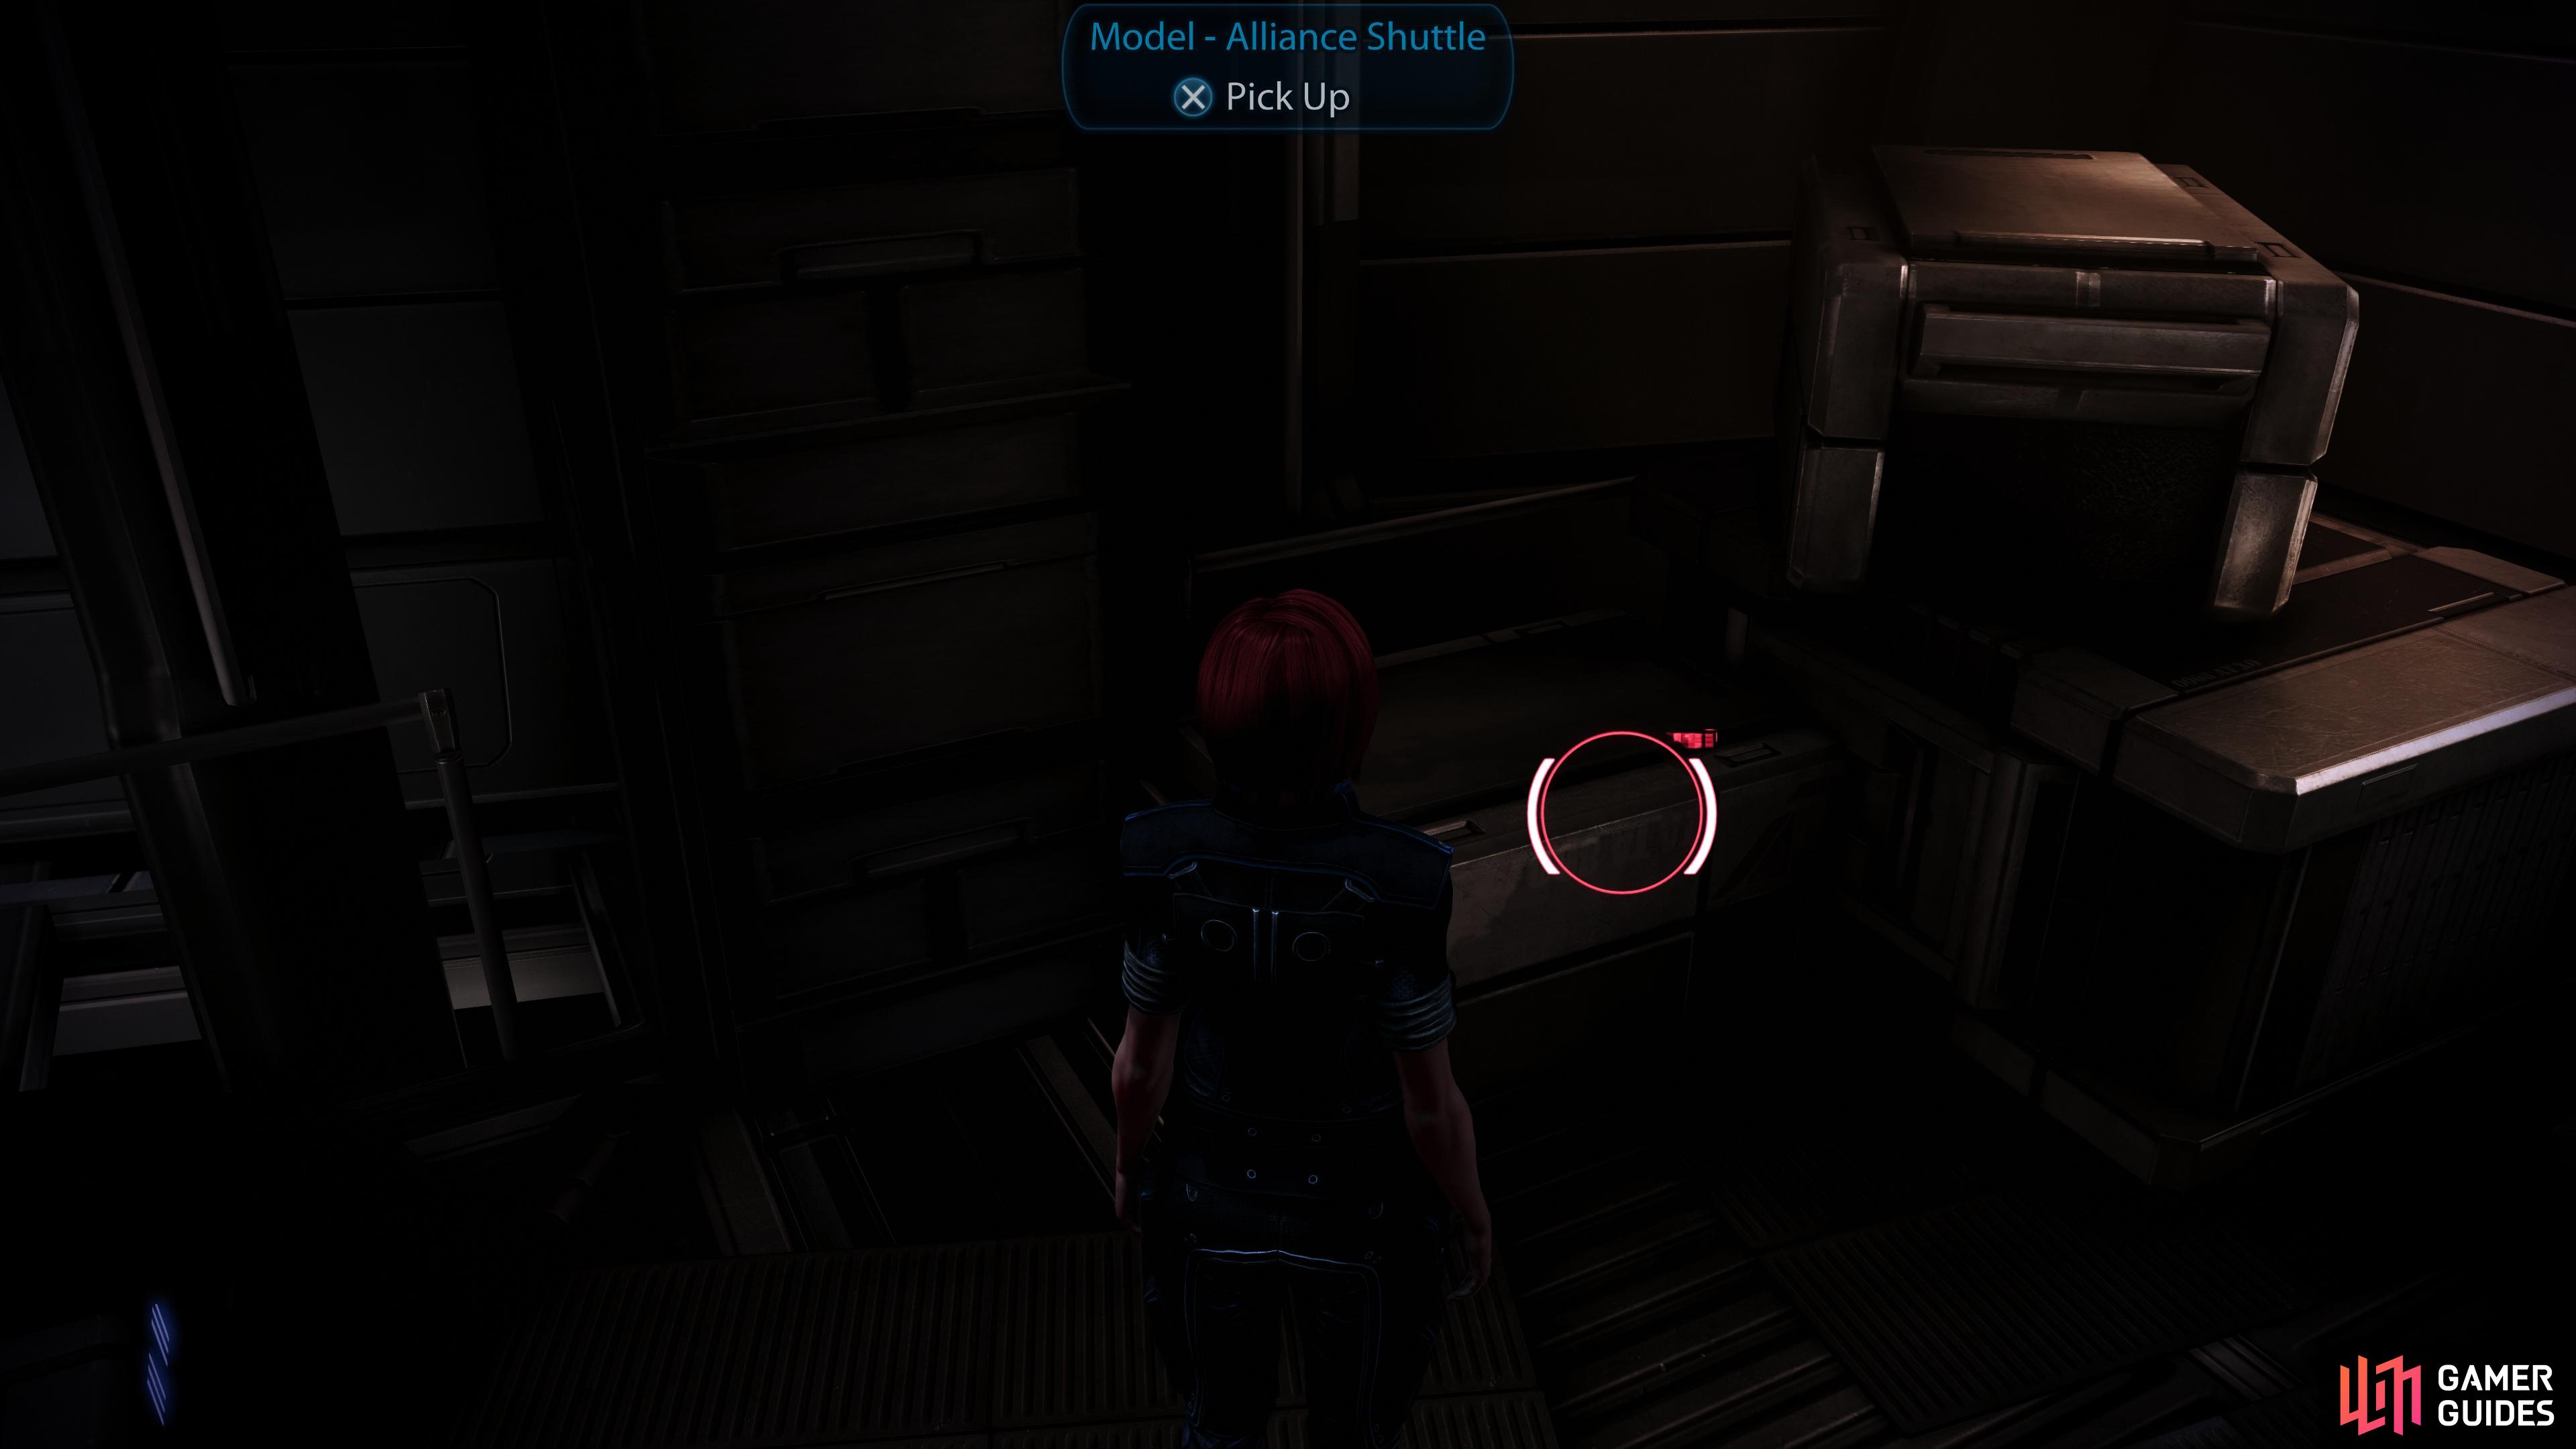
(1 of 2) Search some crates on the CIC to find the Model - Alliance Cruiser.
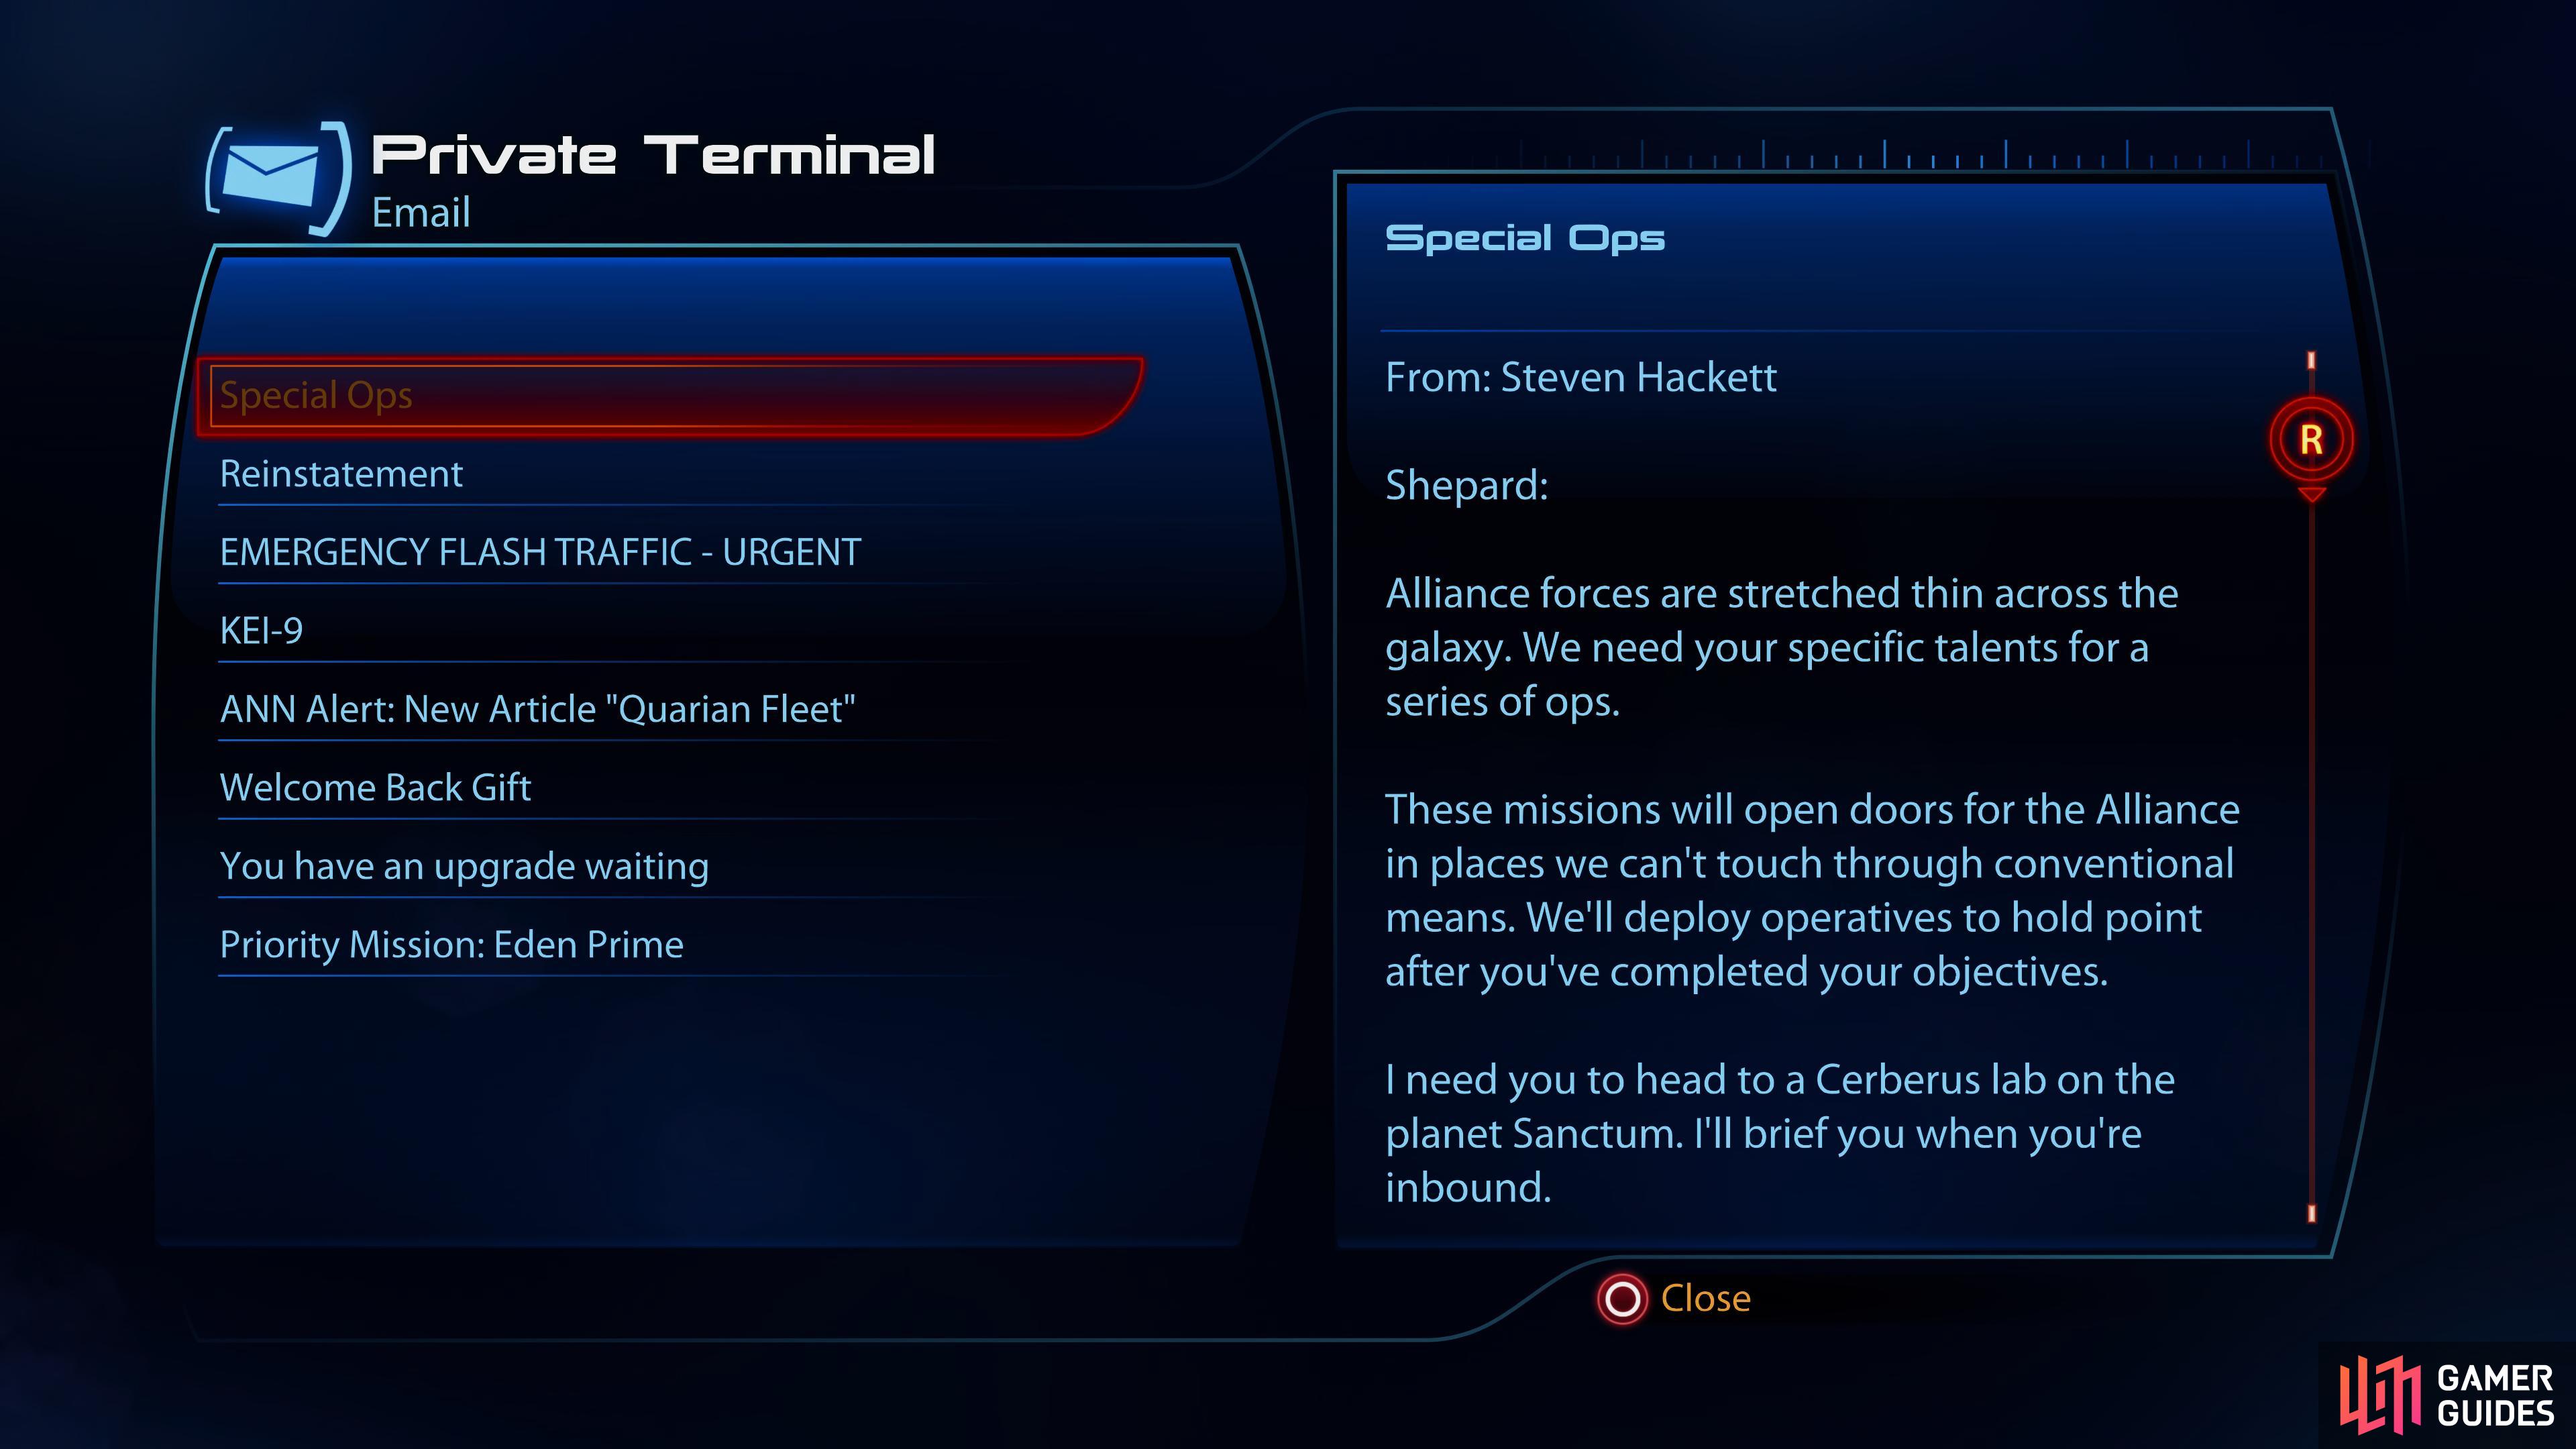
Search some crates on the CIC to find the Model - Alliance Cruiser. (left), Near the Galaxy Map you’ll find a private terminal, which may occasionally yield useful messages. (right)
Combat Information Center
You’ll regain control in the War Room, which is on the eastern end of the CIC level of the ship. You can examine the “War Terminal” to view your individual war assets and overall military strength. South of here you’ll find the Vid Comm room, which you can’t do anything with right now.
Go north through a door, then west through a security checkpoint (this area used to be the lab in Mass Effect 2) to reach the CIC proper. In the center of the ship you’ll find the Galaxy Map, where you’ll go when you want to stop roaming around the interior of the galaxy and pilot the ship around the galaxy, instead. Restrain your wanderlust for now, however. There’s more to do on the Normandy.
You can chat with Specialist Traynor and check your mail via a “Private Terminal”, both of which flank the Galaxy Map. The latter is more interesting, and in particular you can read the message “Priority Mission: Eden Prime” to start the mission Priority: Eden Prime.
Opposite - west of - the Galaxy Map you’ll find the bridge, where you can exchange some banter with Joker. Nothing too interesting as of now, so instead head east of the Galaxy Map to find the elevator, which you should ride up to the Captain’s Cabin.
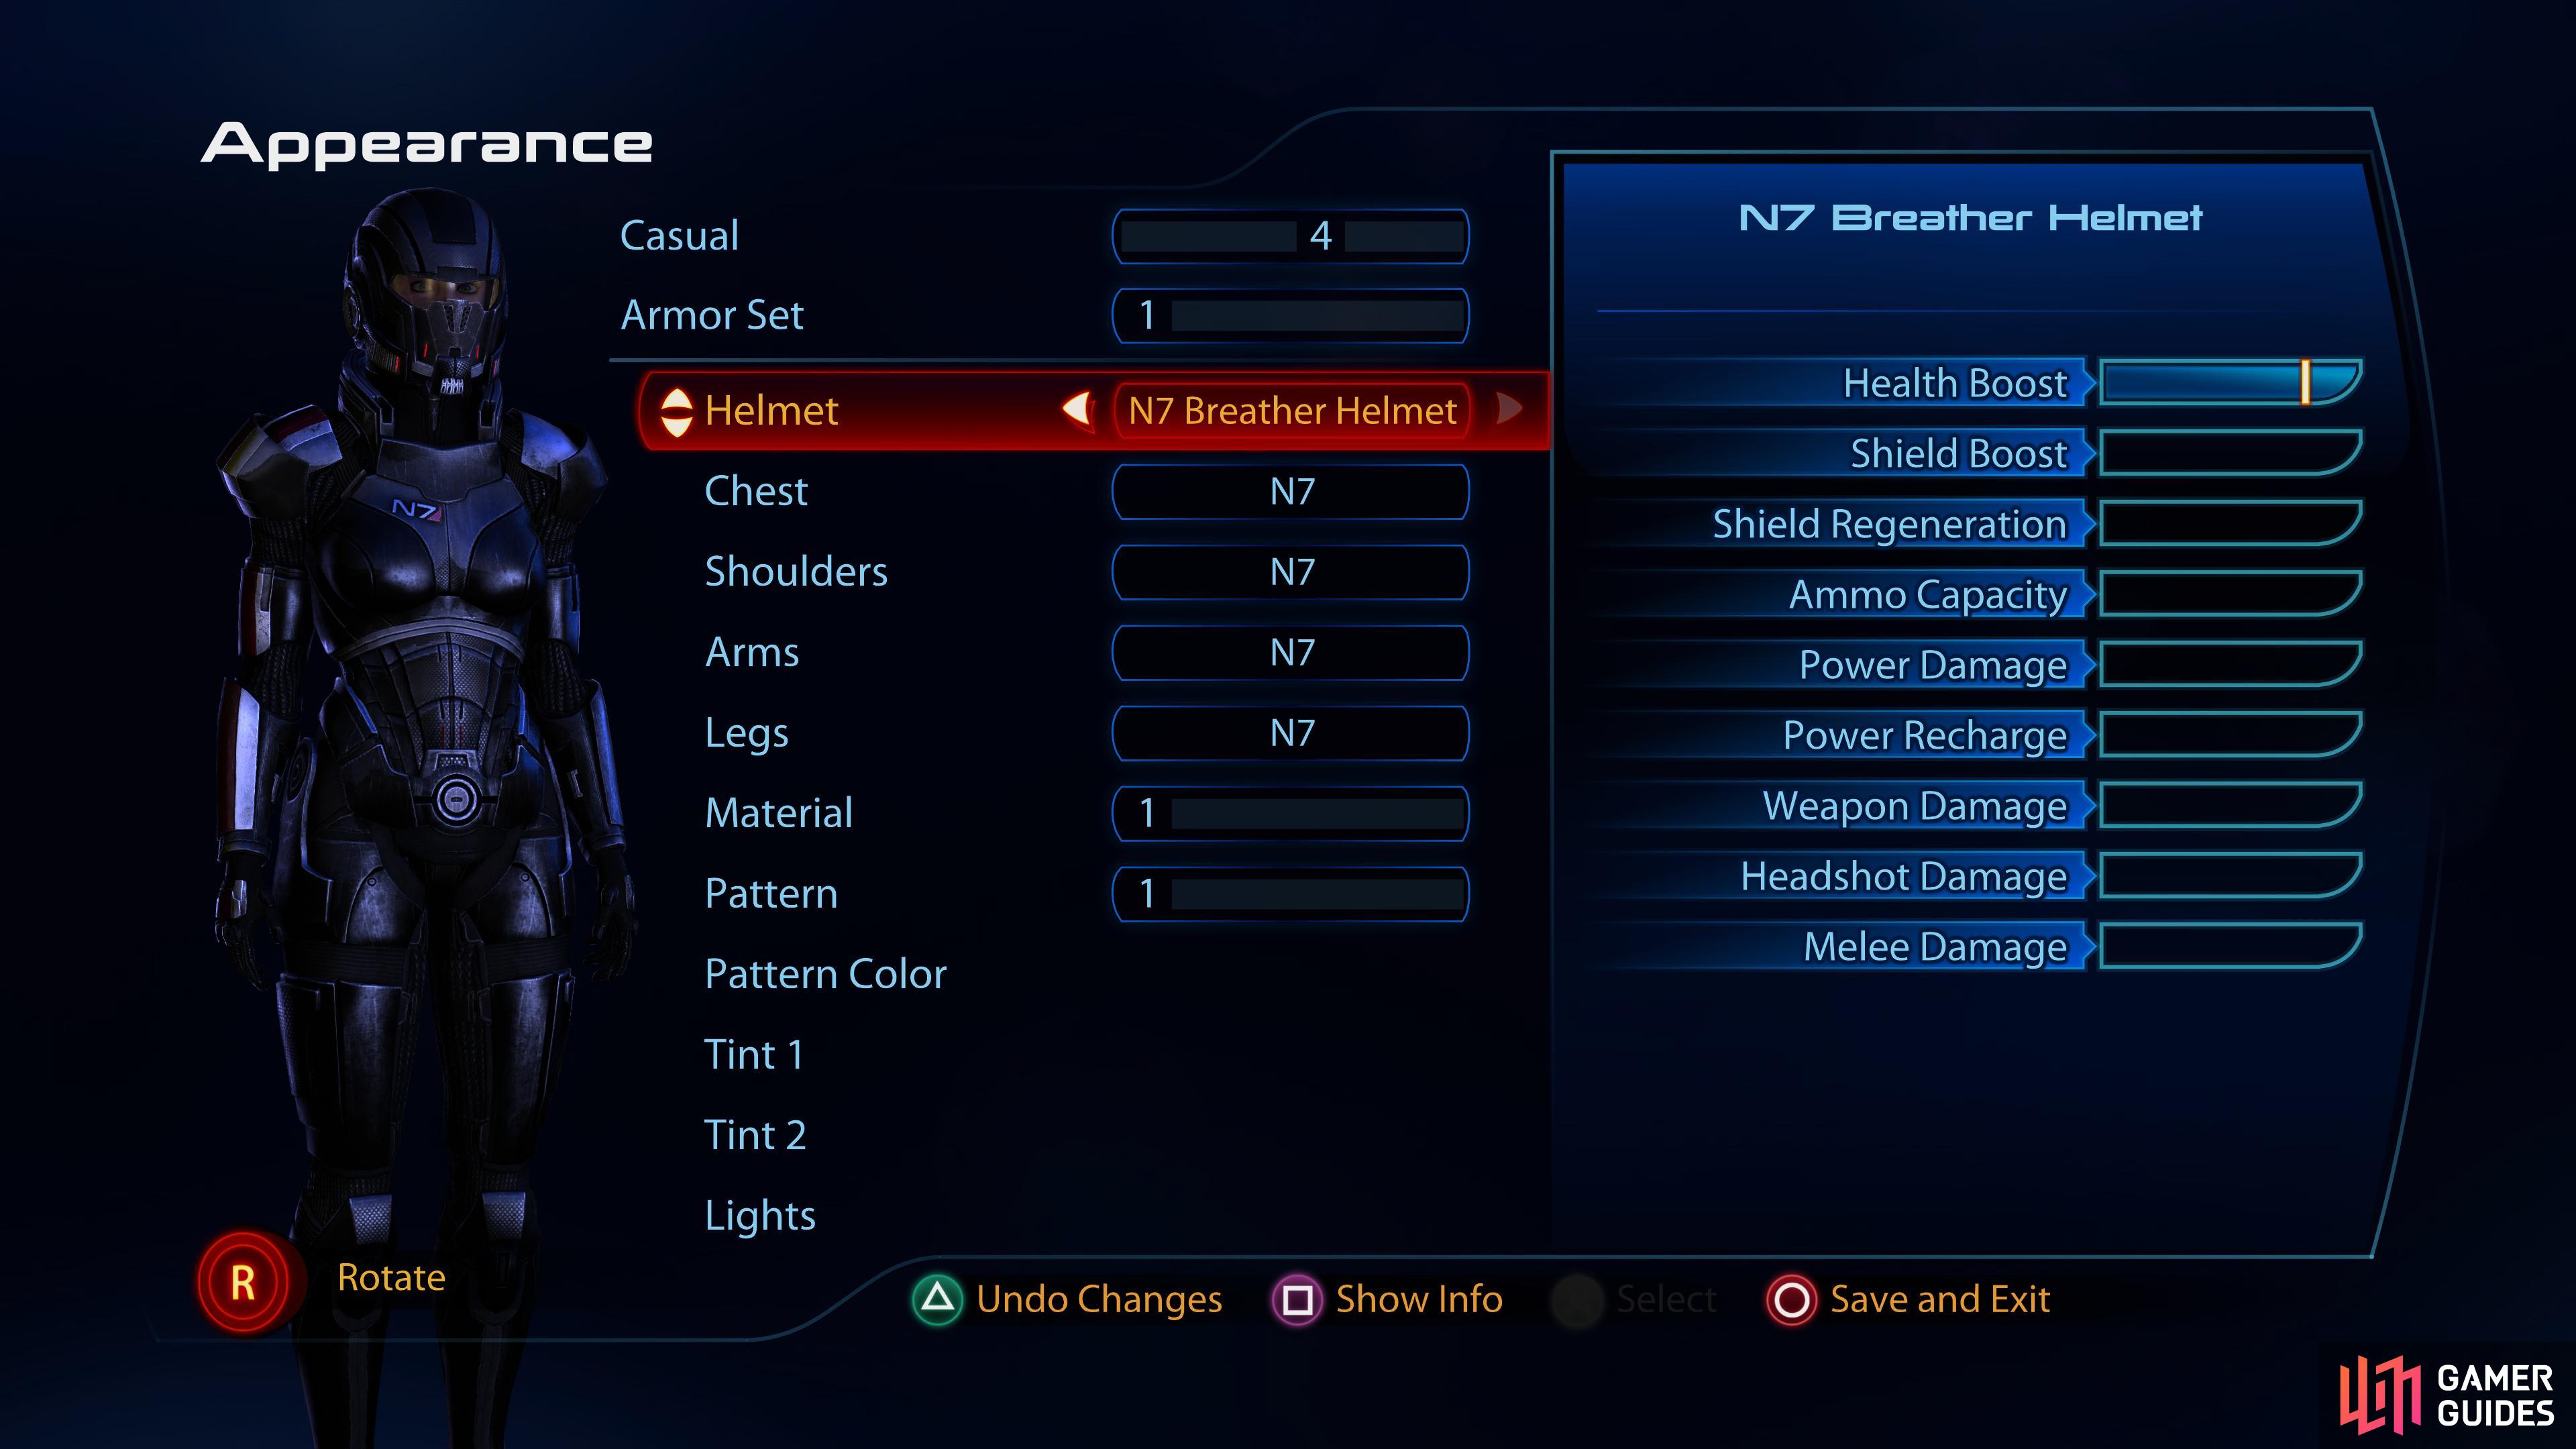
(1 of 2) In the Captain’s Cabin, you can customize your armor,
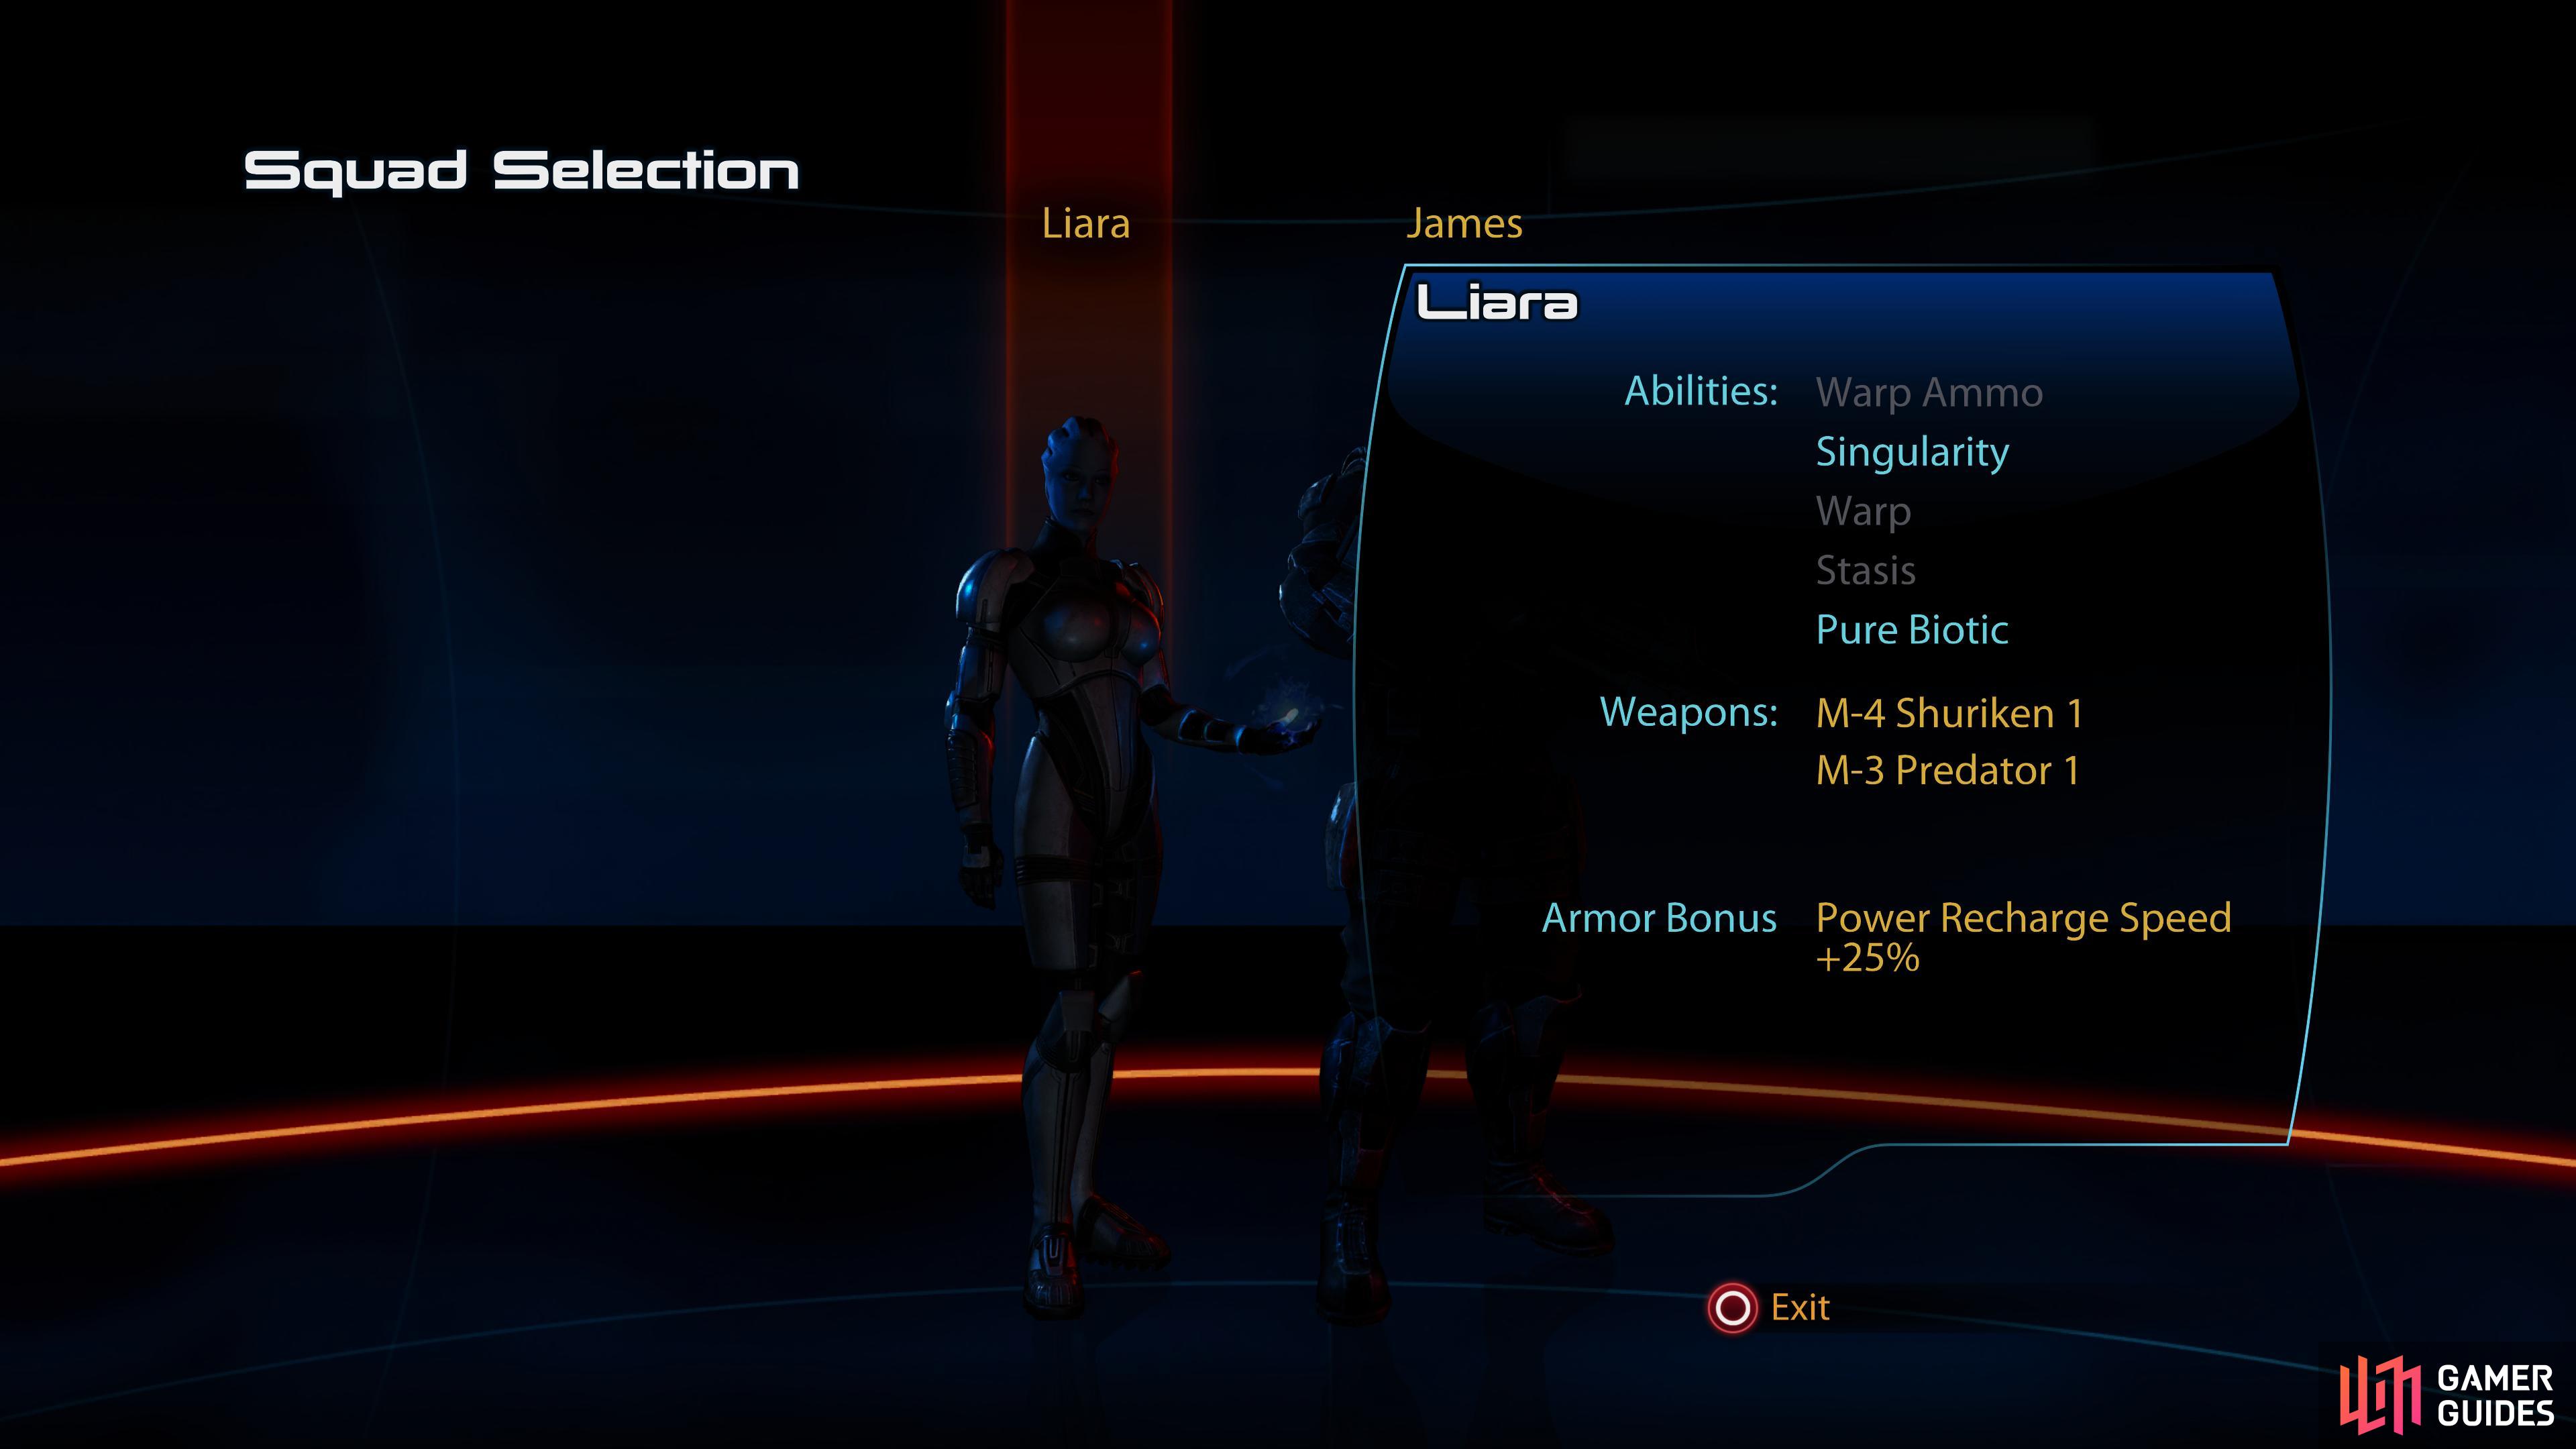
In the Captain’s Cabin, you can customize your armor, (left), as well as that of your companions. (right)
Captain’s Cabin
Ah, the sterile dark blue interior the Alliance loves so much… At least they left the fish tanks. Anywho, at your desk you can activate another “Private Terminal”, which also allows you to check your main. In addition, you can peruse the “Squad Selection” menu via this terminal, which allows you to review roughly what skills and weapons your companions have, and change their outfits. It’s worth noting that different outfits give different bonuses; for example, Liara’s outfits grant either “Power Recharge Speed +25%” or “Power Damage +25%”. It’s worth cycling through to see what bonuses you can get, and pick what suits your playstyle.
Near the bed you’ll find an “Armor Locker”, where you can customize Shepard’s appearance as well. Right now you don’t have a lot to work with - you can equip the “Kassa Fabrication” chest armor and the “Ariake Technologies” gauntlets you found on Mars, if you prefer their bonuses over the standard N7 armor, but most of the changes you can make right now are merely cosmetic.
Return to the elevator and head down to the Crew Deck.
(1 of 3) Search the Crew Deck for the Model - Destiny Ascension.
Crew Deck
As soon as you step off the elevator you’ll be treated to a sobering site - a memorial of deceased Normandy crew members. This list is almost certainly going to grow longer before this is all over.
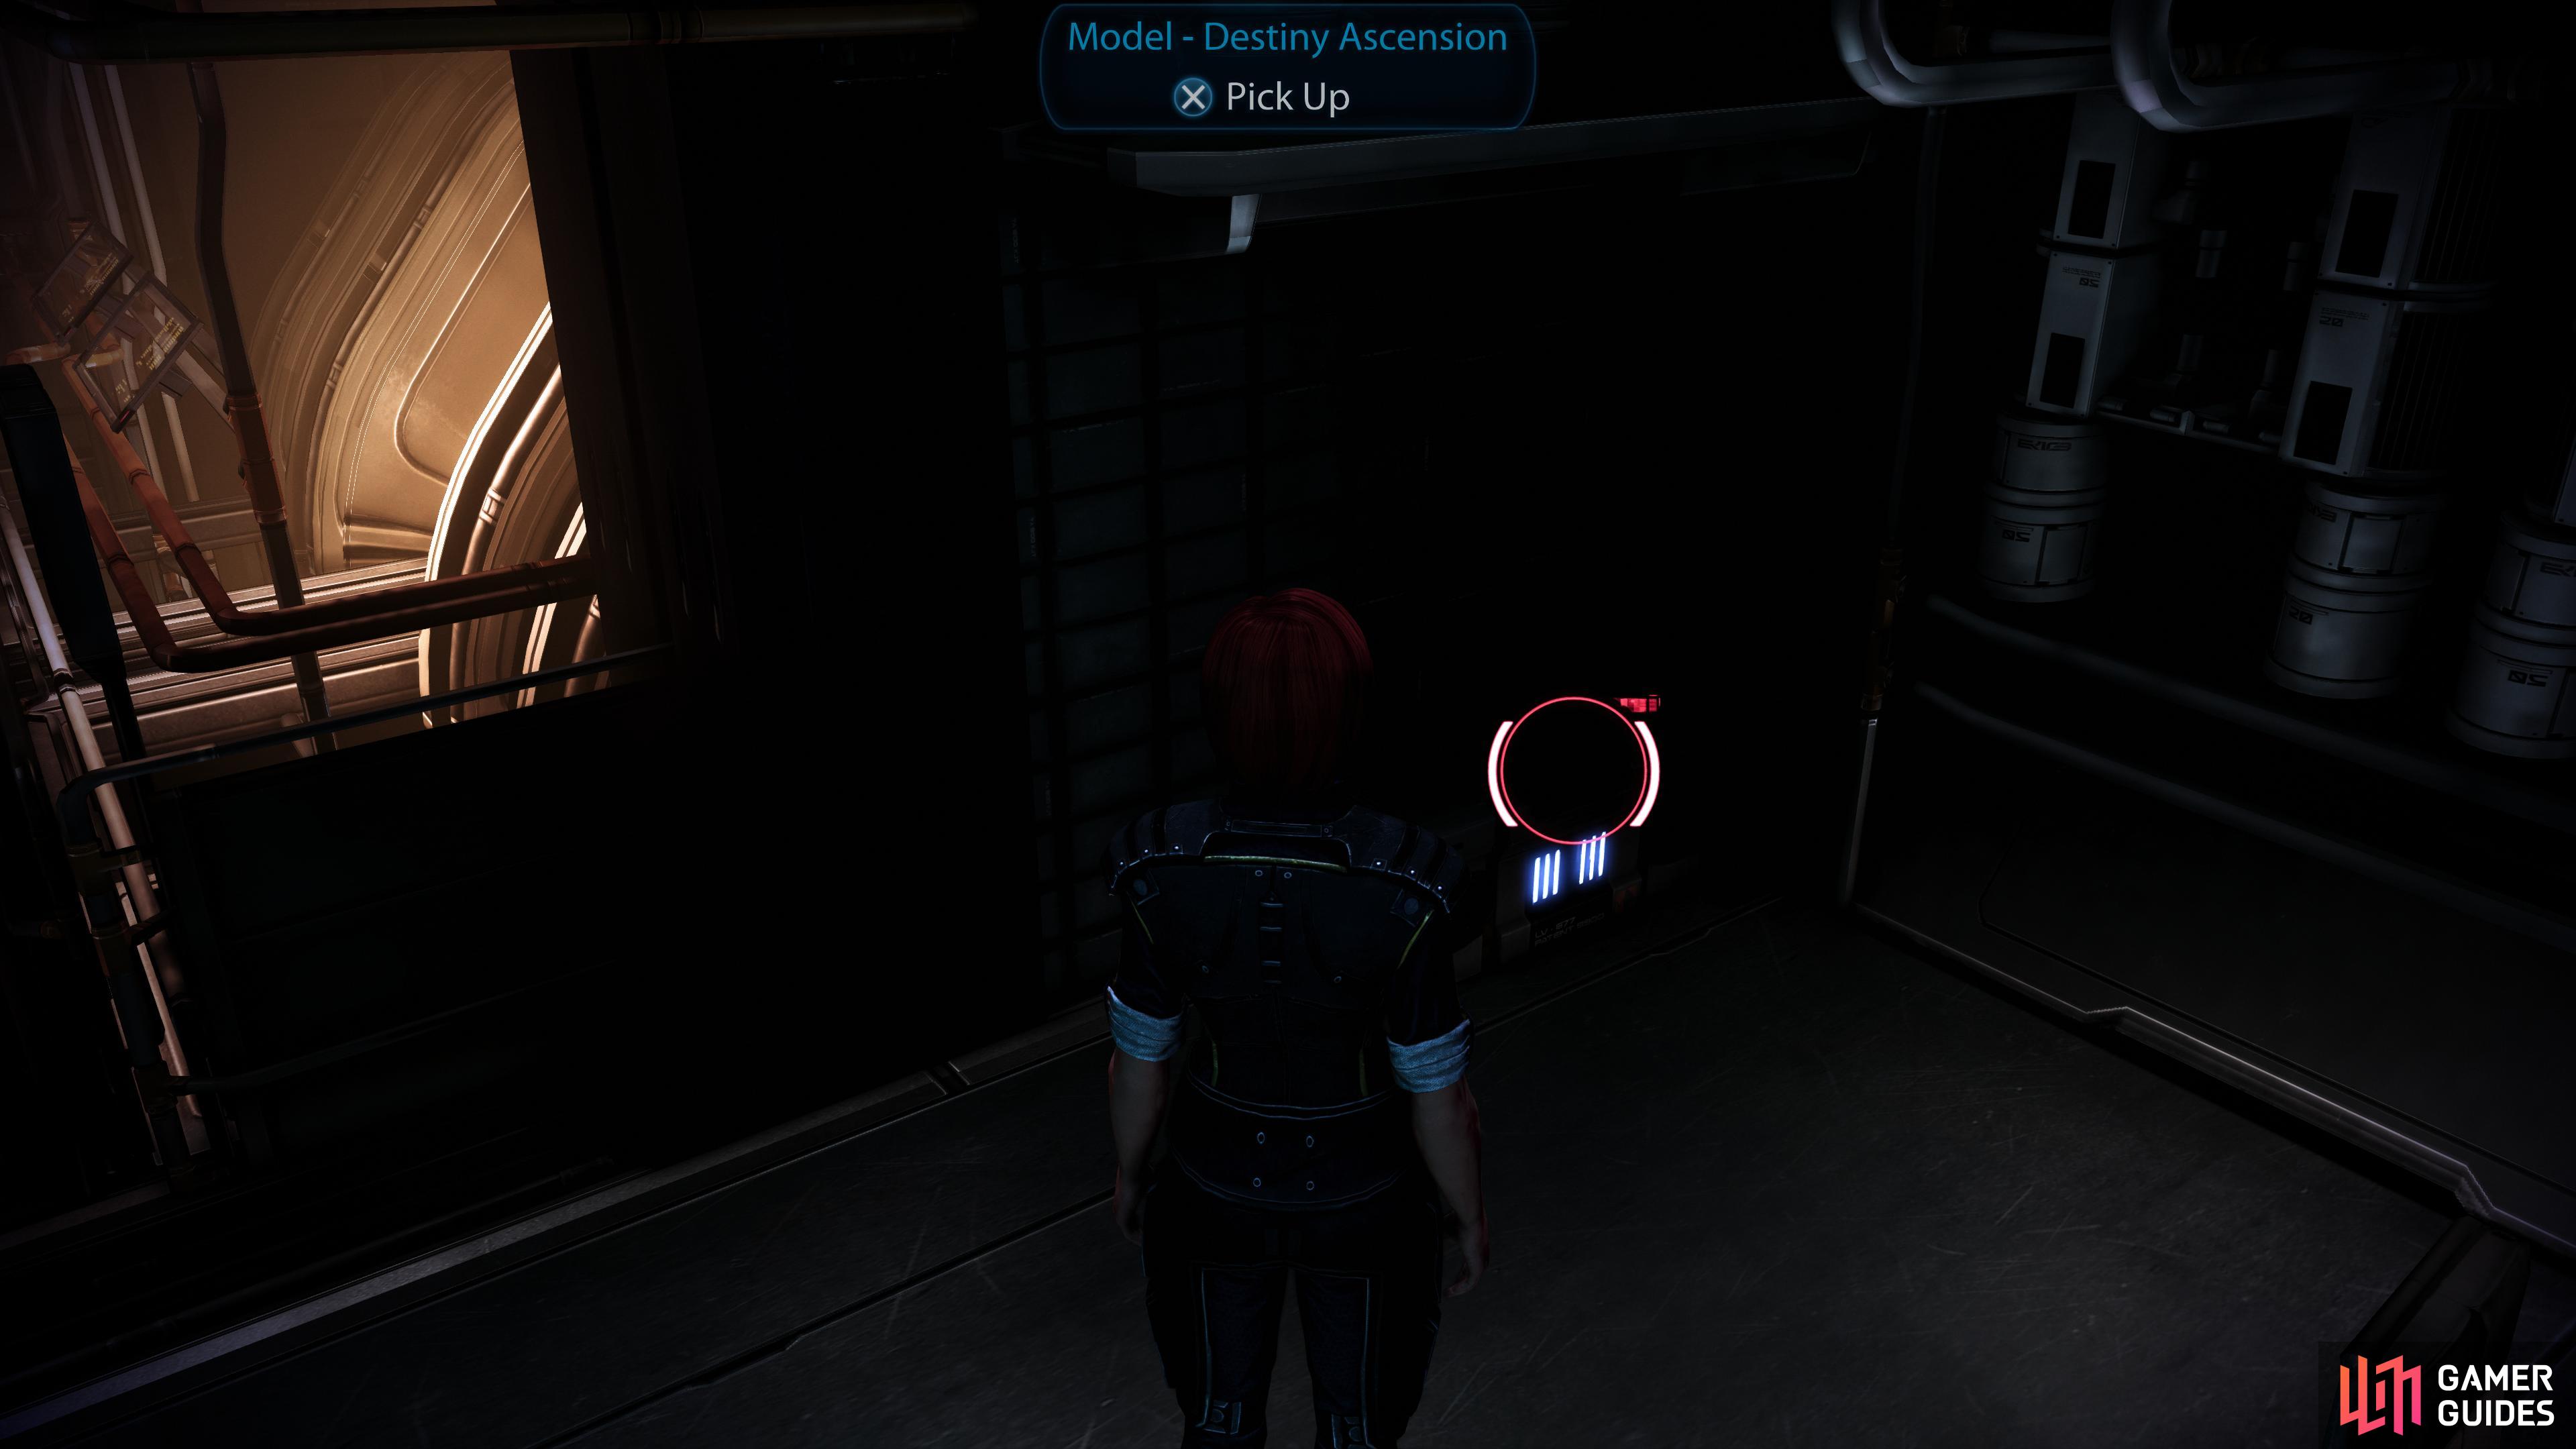
To the south you’ll find the Lounge - one of the few rooms that the Alliance actually improved - and next to it an empty room where Thane used to dwell. All in all, it’s about as lively now as it was when Thane was here. Search the corner behind the desk to find the Model - Destiny Ascension, if you had it in Mass Effect 2.
To the north of the elevator are the Crew’s Quarters and Starboard Observation room, neither of which are particularly interesting at this time.
Circle around the elevator shaft and you’ll find the Mess Hall, which has little to recommend it at this time. Further west, past some stasis pods, you’ll find the Main Battery, now bereft of Garrus and his constant “calibrations”.
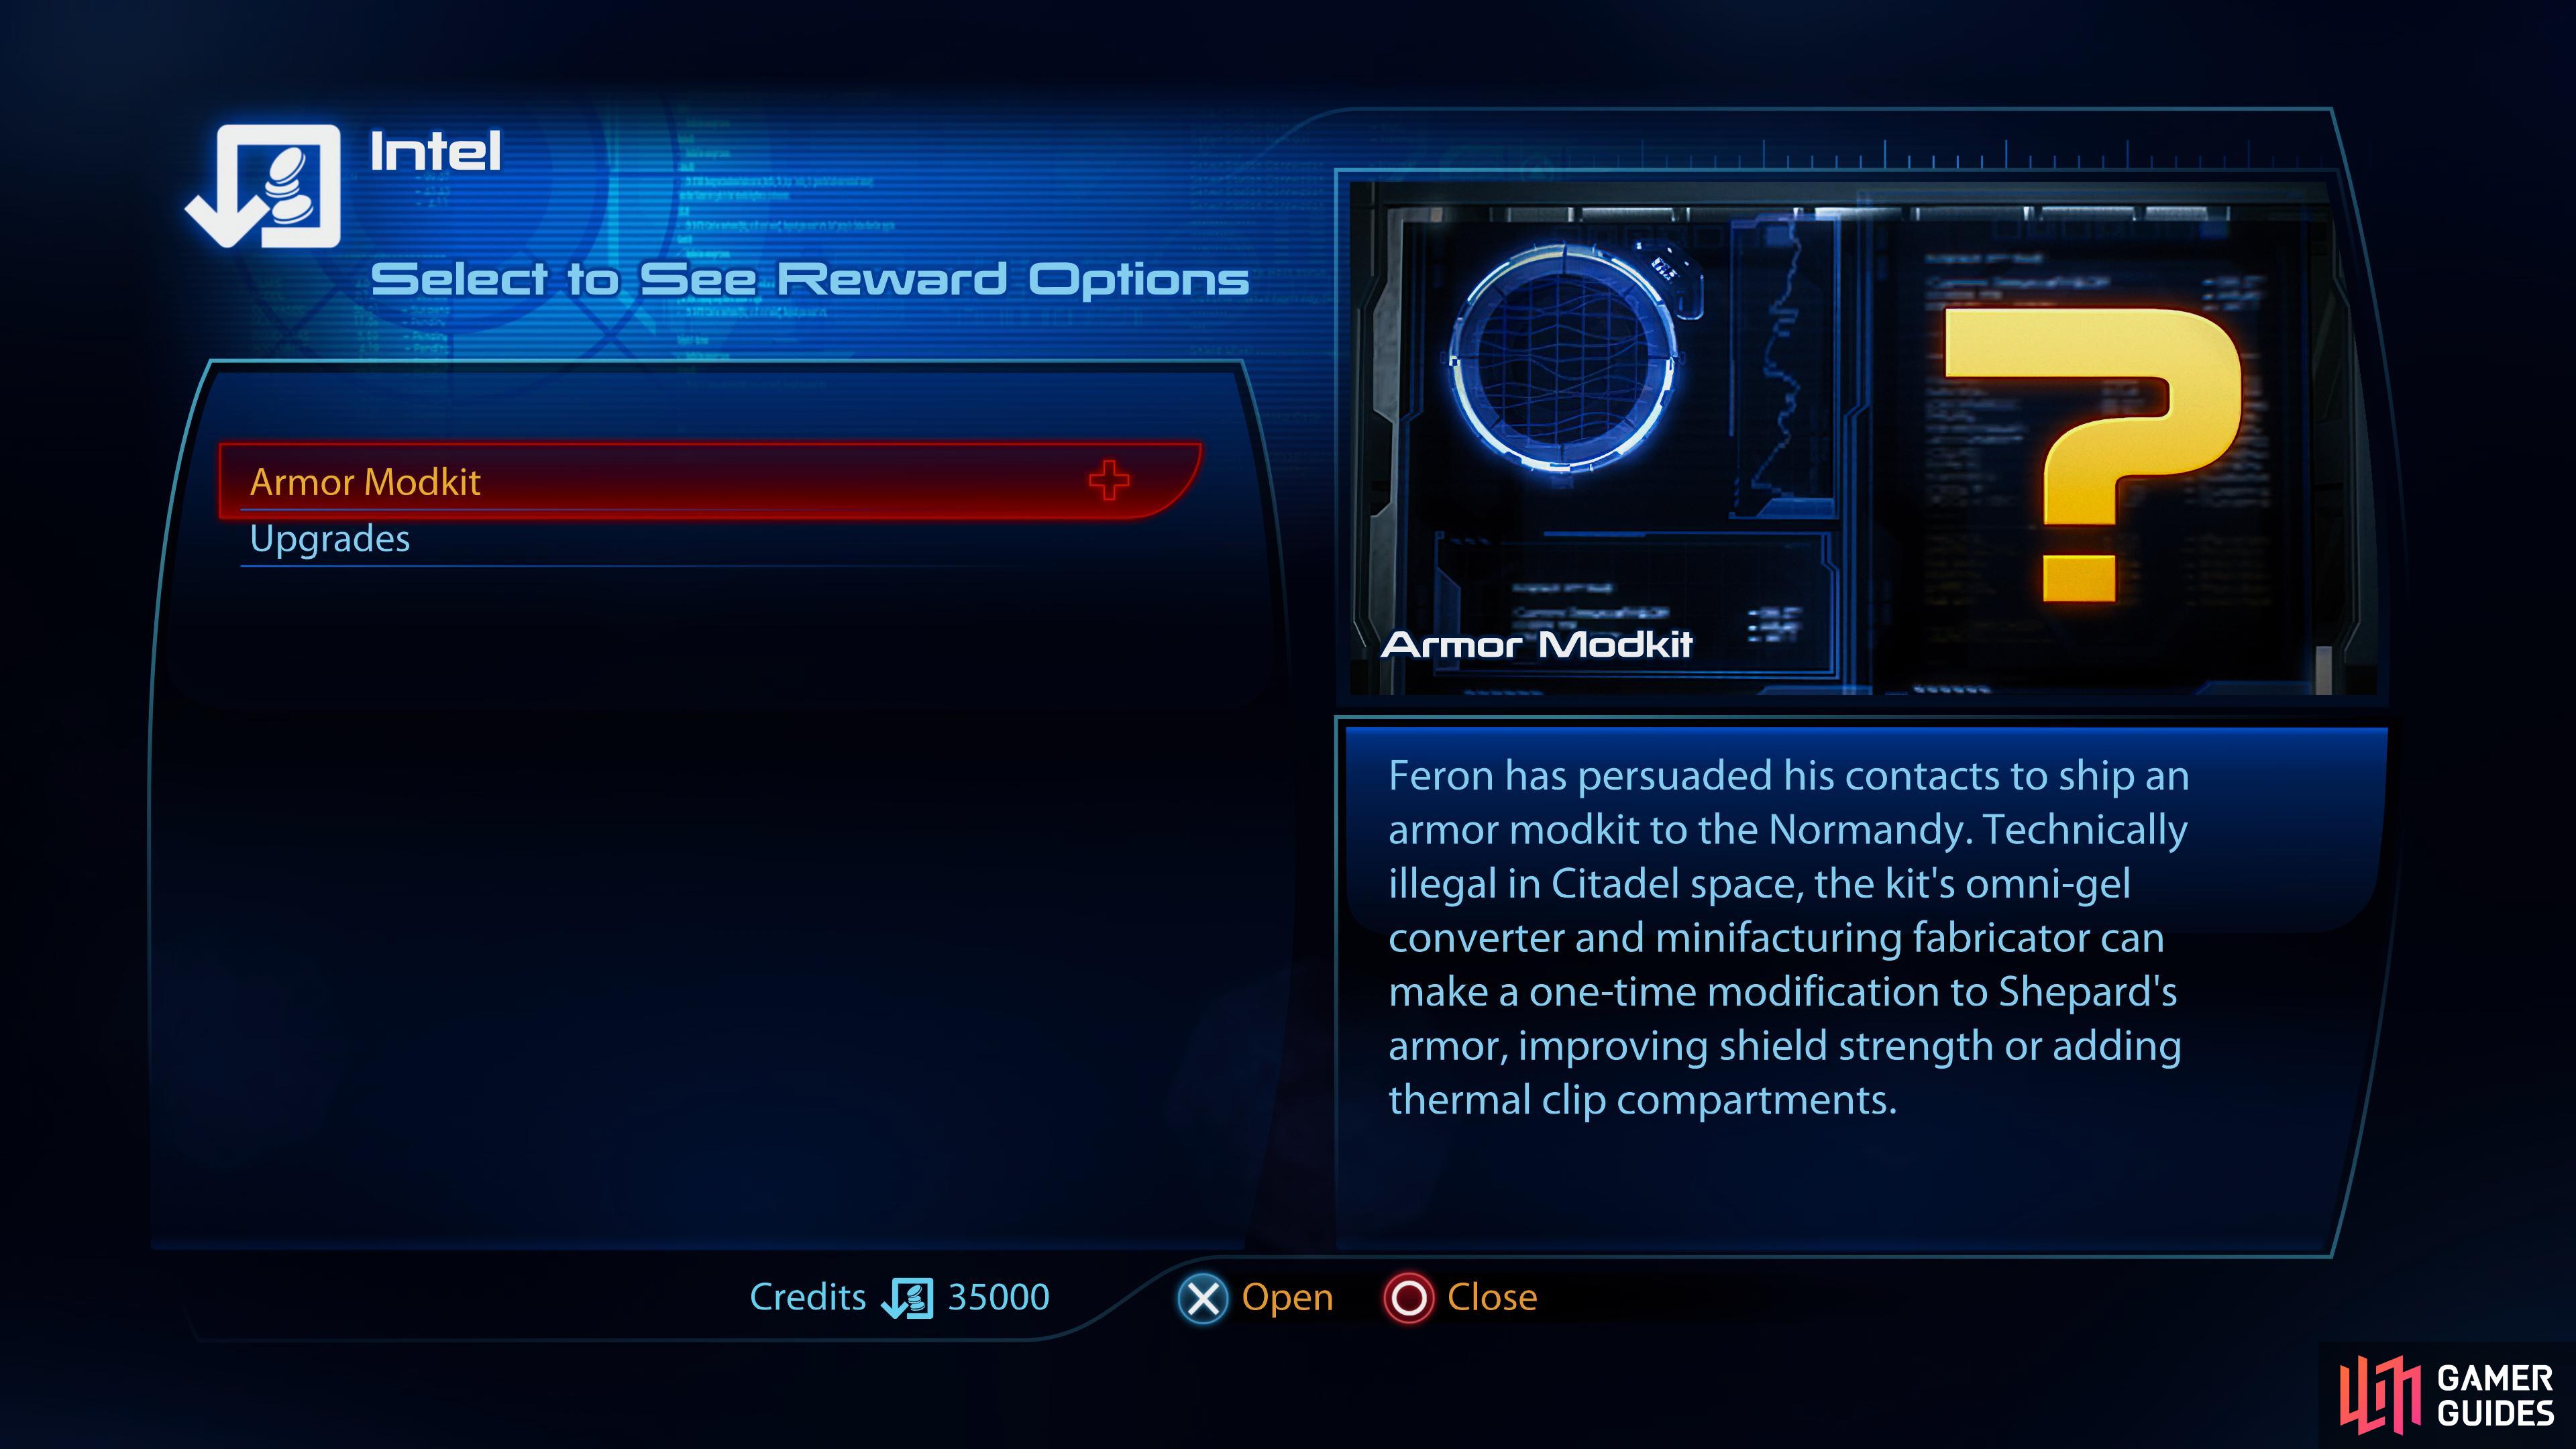
South of the Mess Hall is Liara’s Office (formerly Miranda’s Office, and on the Normandy SR1, this was the Captain’s Quarters), where you will, of course, find Liara. Once you enter you’ll be pestered by an “intel drone” named Glyph, which will draw your attention to an Intel Terminal, where you’ll be able to turn intel gathered during missions or via exploration into permanent upgrades. Typically each piece of intel allows you to choose between two bonuses. Once a choice is made, there’s no going back, so choose wisely.
For now you should only have one option: Armor Modkit, which will allow you to choose between an “Ammo Capacity Bonus” or a “Shield Strength Bonus”, which will increase either respective parameter by 5%. A gun-dependent class who prefers to travel light might just be interested in the ammo capacity boost, but just about everybody else should probably pick the shields.
After that, talk to Liara and if you romanced her in a previous game, she’ll look to rekindle things, even if you strayed in Mass Effect 2. Respond how you will - this is a matter of preferences and sentimentality, not of practicality - then talk to her again to have a proper conversation. Check out the “Broker Terminal” for some interesting - if not useful - correspondence, then leave.
Last up is the Medical room, which can be found north of the Mess Hall. In here you’ll find Doctor Chakwas - assuming you recruited her on the Citadel - and two beds with special functions. Chat with Chakwas to earn some Reputation, then turn your attention to the beds.
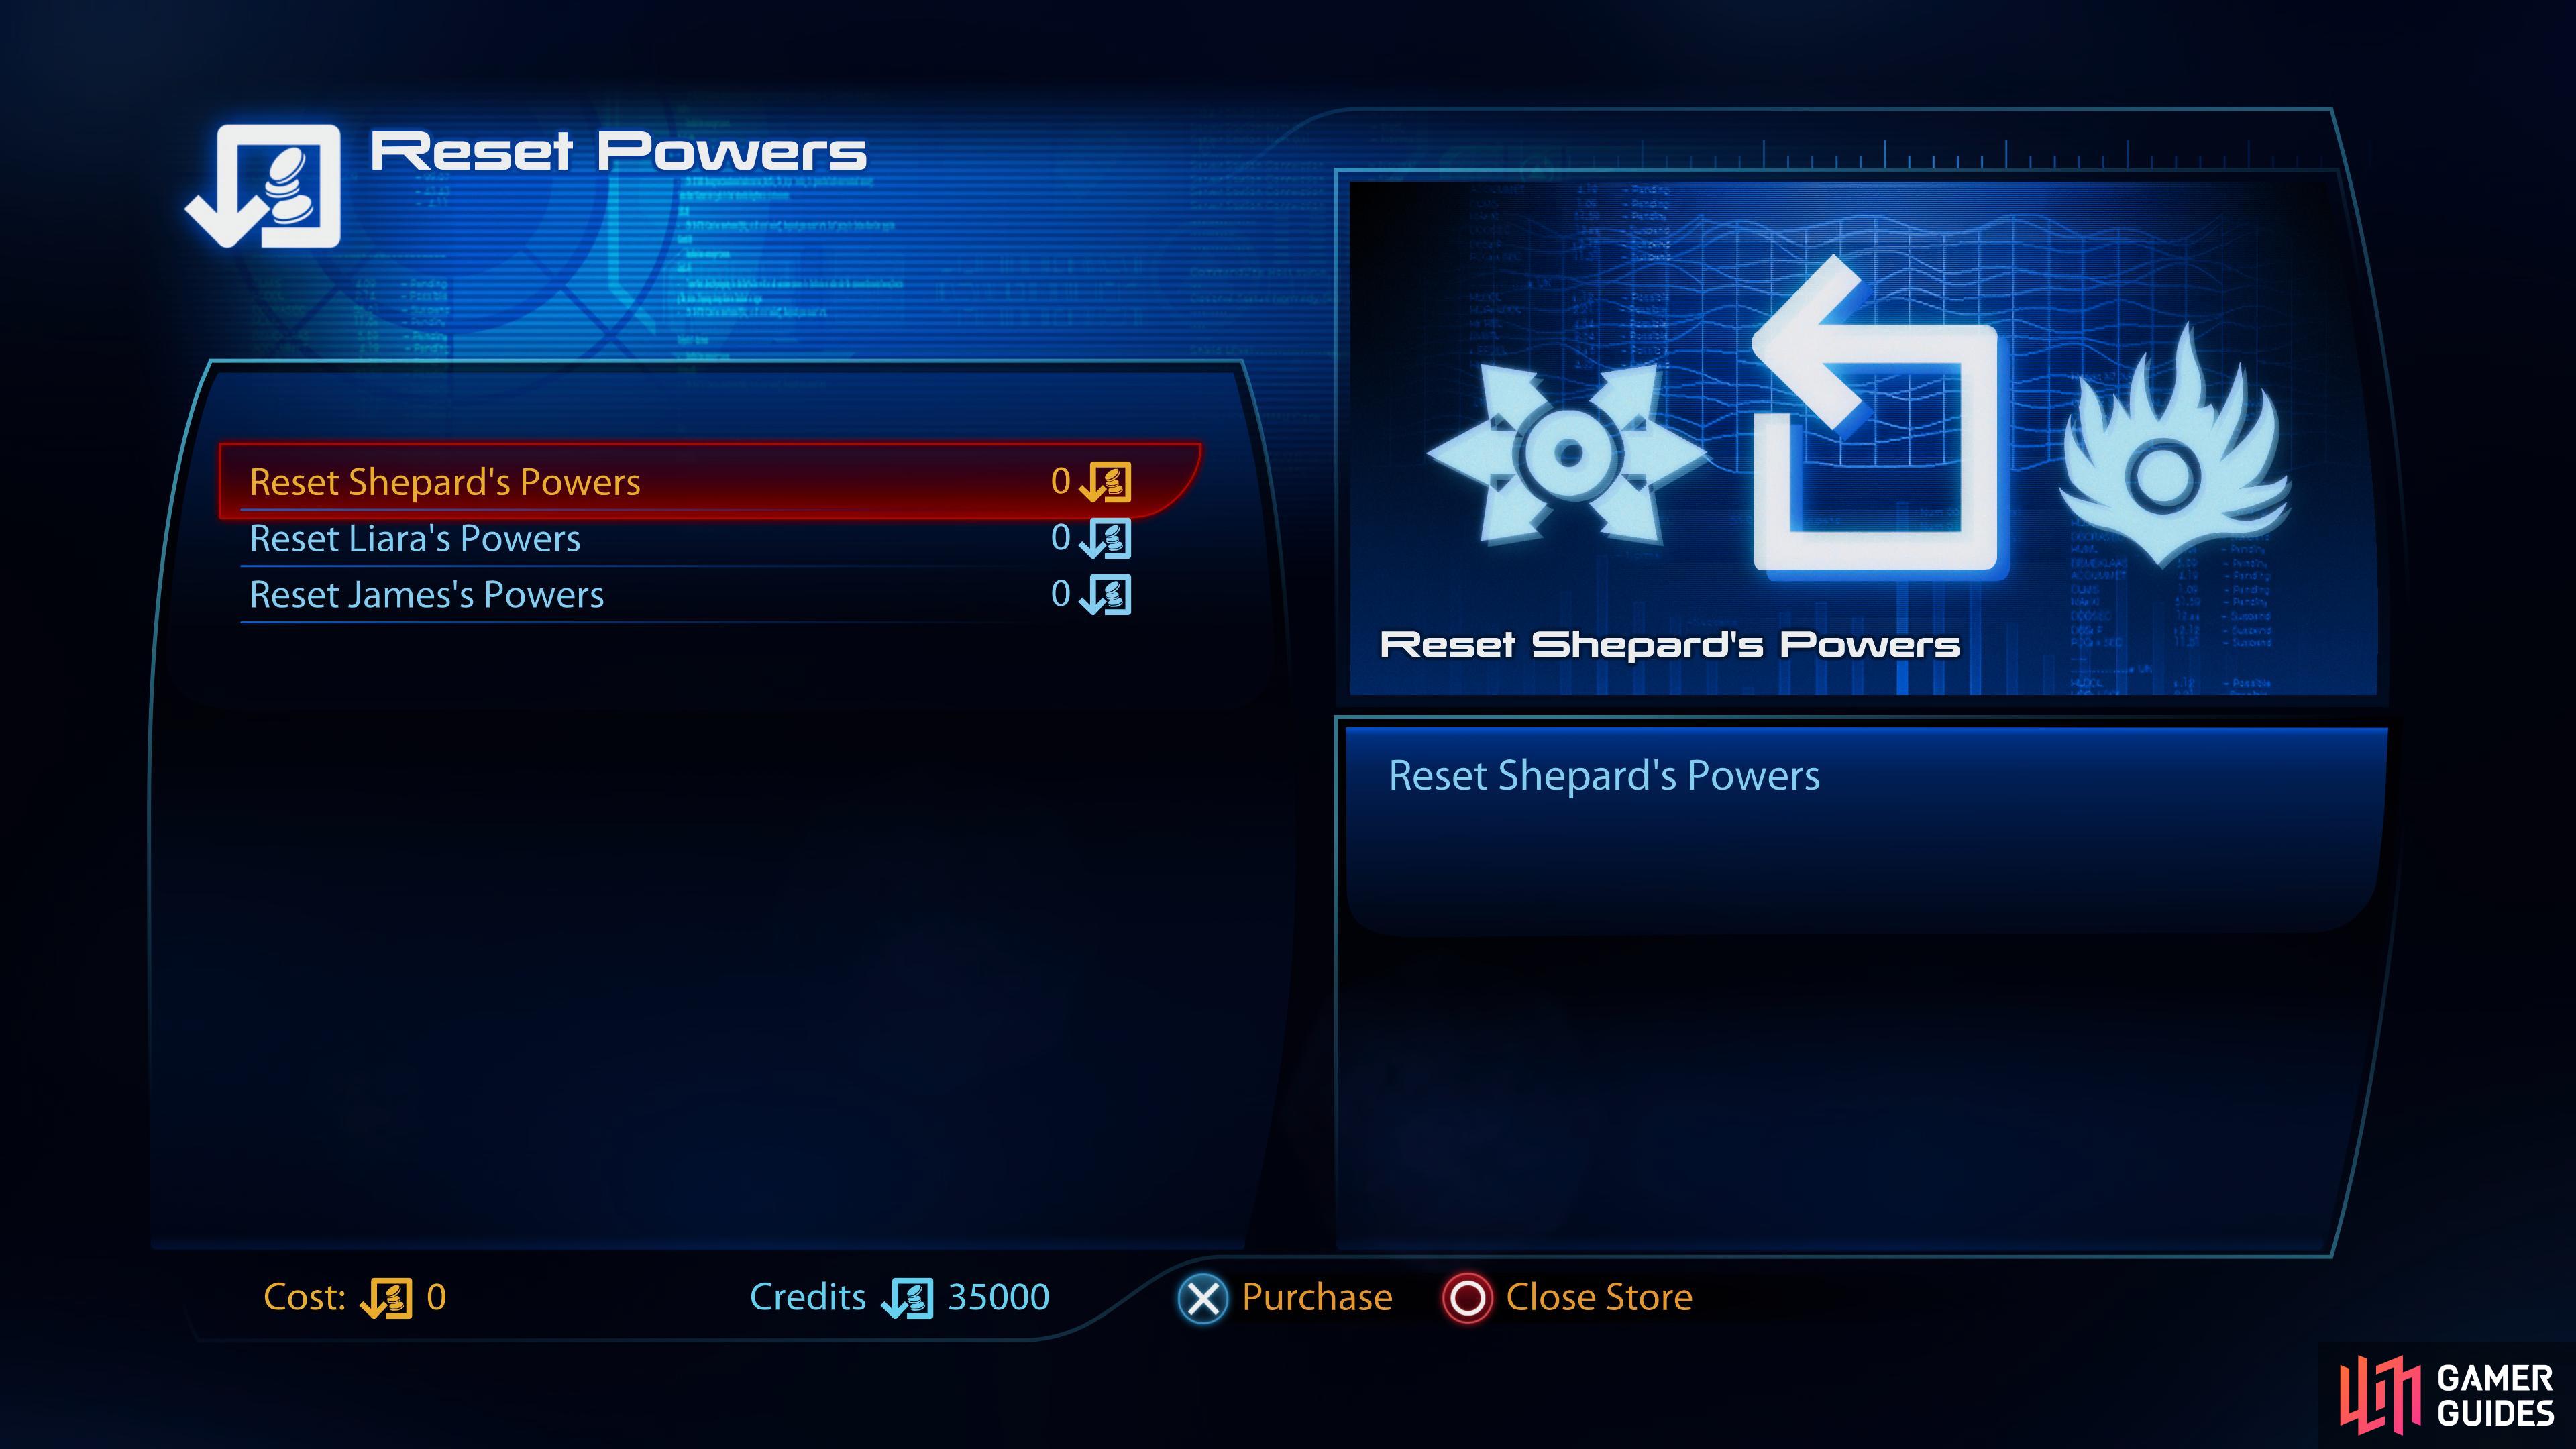
One allows you to “Reassign Power Bonuses’’ and the other allows you to “Reassign Powers”. The ability to “Reassign Powers’’ is pretty straight-forward: if you don’t like where you spent some points (or where the game shamefully distributed them after importing) you can fix that here. “Power Bonuses” - or rather “Bonus Powers” - are gained by squadmates after completing certain missions, and they often involve talking to said squadmate… sometimes with rather strict time limits. Obviously your choices can affect your ability to gain some of these bonus powers, as it’s possible that some characters won’t survive or remain loyal long enough to obtain them. And that would be a real shame, as the character in question doesn’t just get access to the Bonus Power - Shepard does, too. You can only have one Bonus Power assigned to Shepard at a time, and if you for whatever reason want to switch things up, this bed will do it for you.
Both beds can be used once for free, so while making the odd mistake is fine, constant respeccing can get expensive.
Lastly (for this level at least) head through the door to the west to reach the AI Core, a room that didn’t see much use in the last game (it housed Legion - one of the last squadmates you could recruit) and doesn’t have much going on now. It currently houses the Cerberus gynoid you encountered on Mars, and it’s not too talkative right now.
(1 of 2) In the Engineering bay you’ll find the Model - Turian Crusier,
In the Engineering bay you’ll find the Model - Turian Crusier, (left), and the Model - Sovereign. (right)
Engineering
Return to the elevator and ride down to Engineering. Through a door to the north you’ll find the Starboard Cargo hold, which houses Diana Allers (assuming you brought her onboard). She’s already converted the space into a studio/bedroom, and she seems to be taking up quite a bit of space, all things considered. Chat with her and tell her to focus on Earth or Cerberus, as you prefer to score some Reputation points.
Exit the Starboard Cargo hold and go through either of the doors flanking the elevator - ignoring some stairs down as you go - and continue to the engine room/monitoring (redundantly marked as “Engineering” on the map), where you can chat with Engineer Adams for more Reputation.
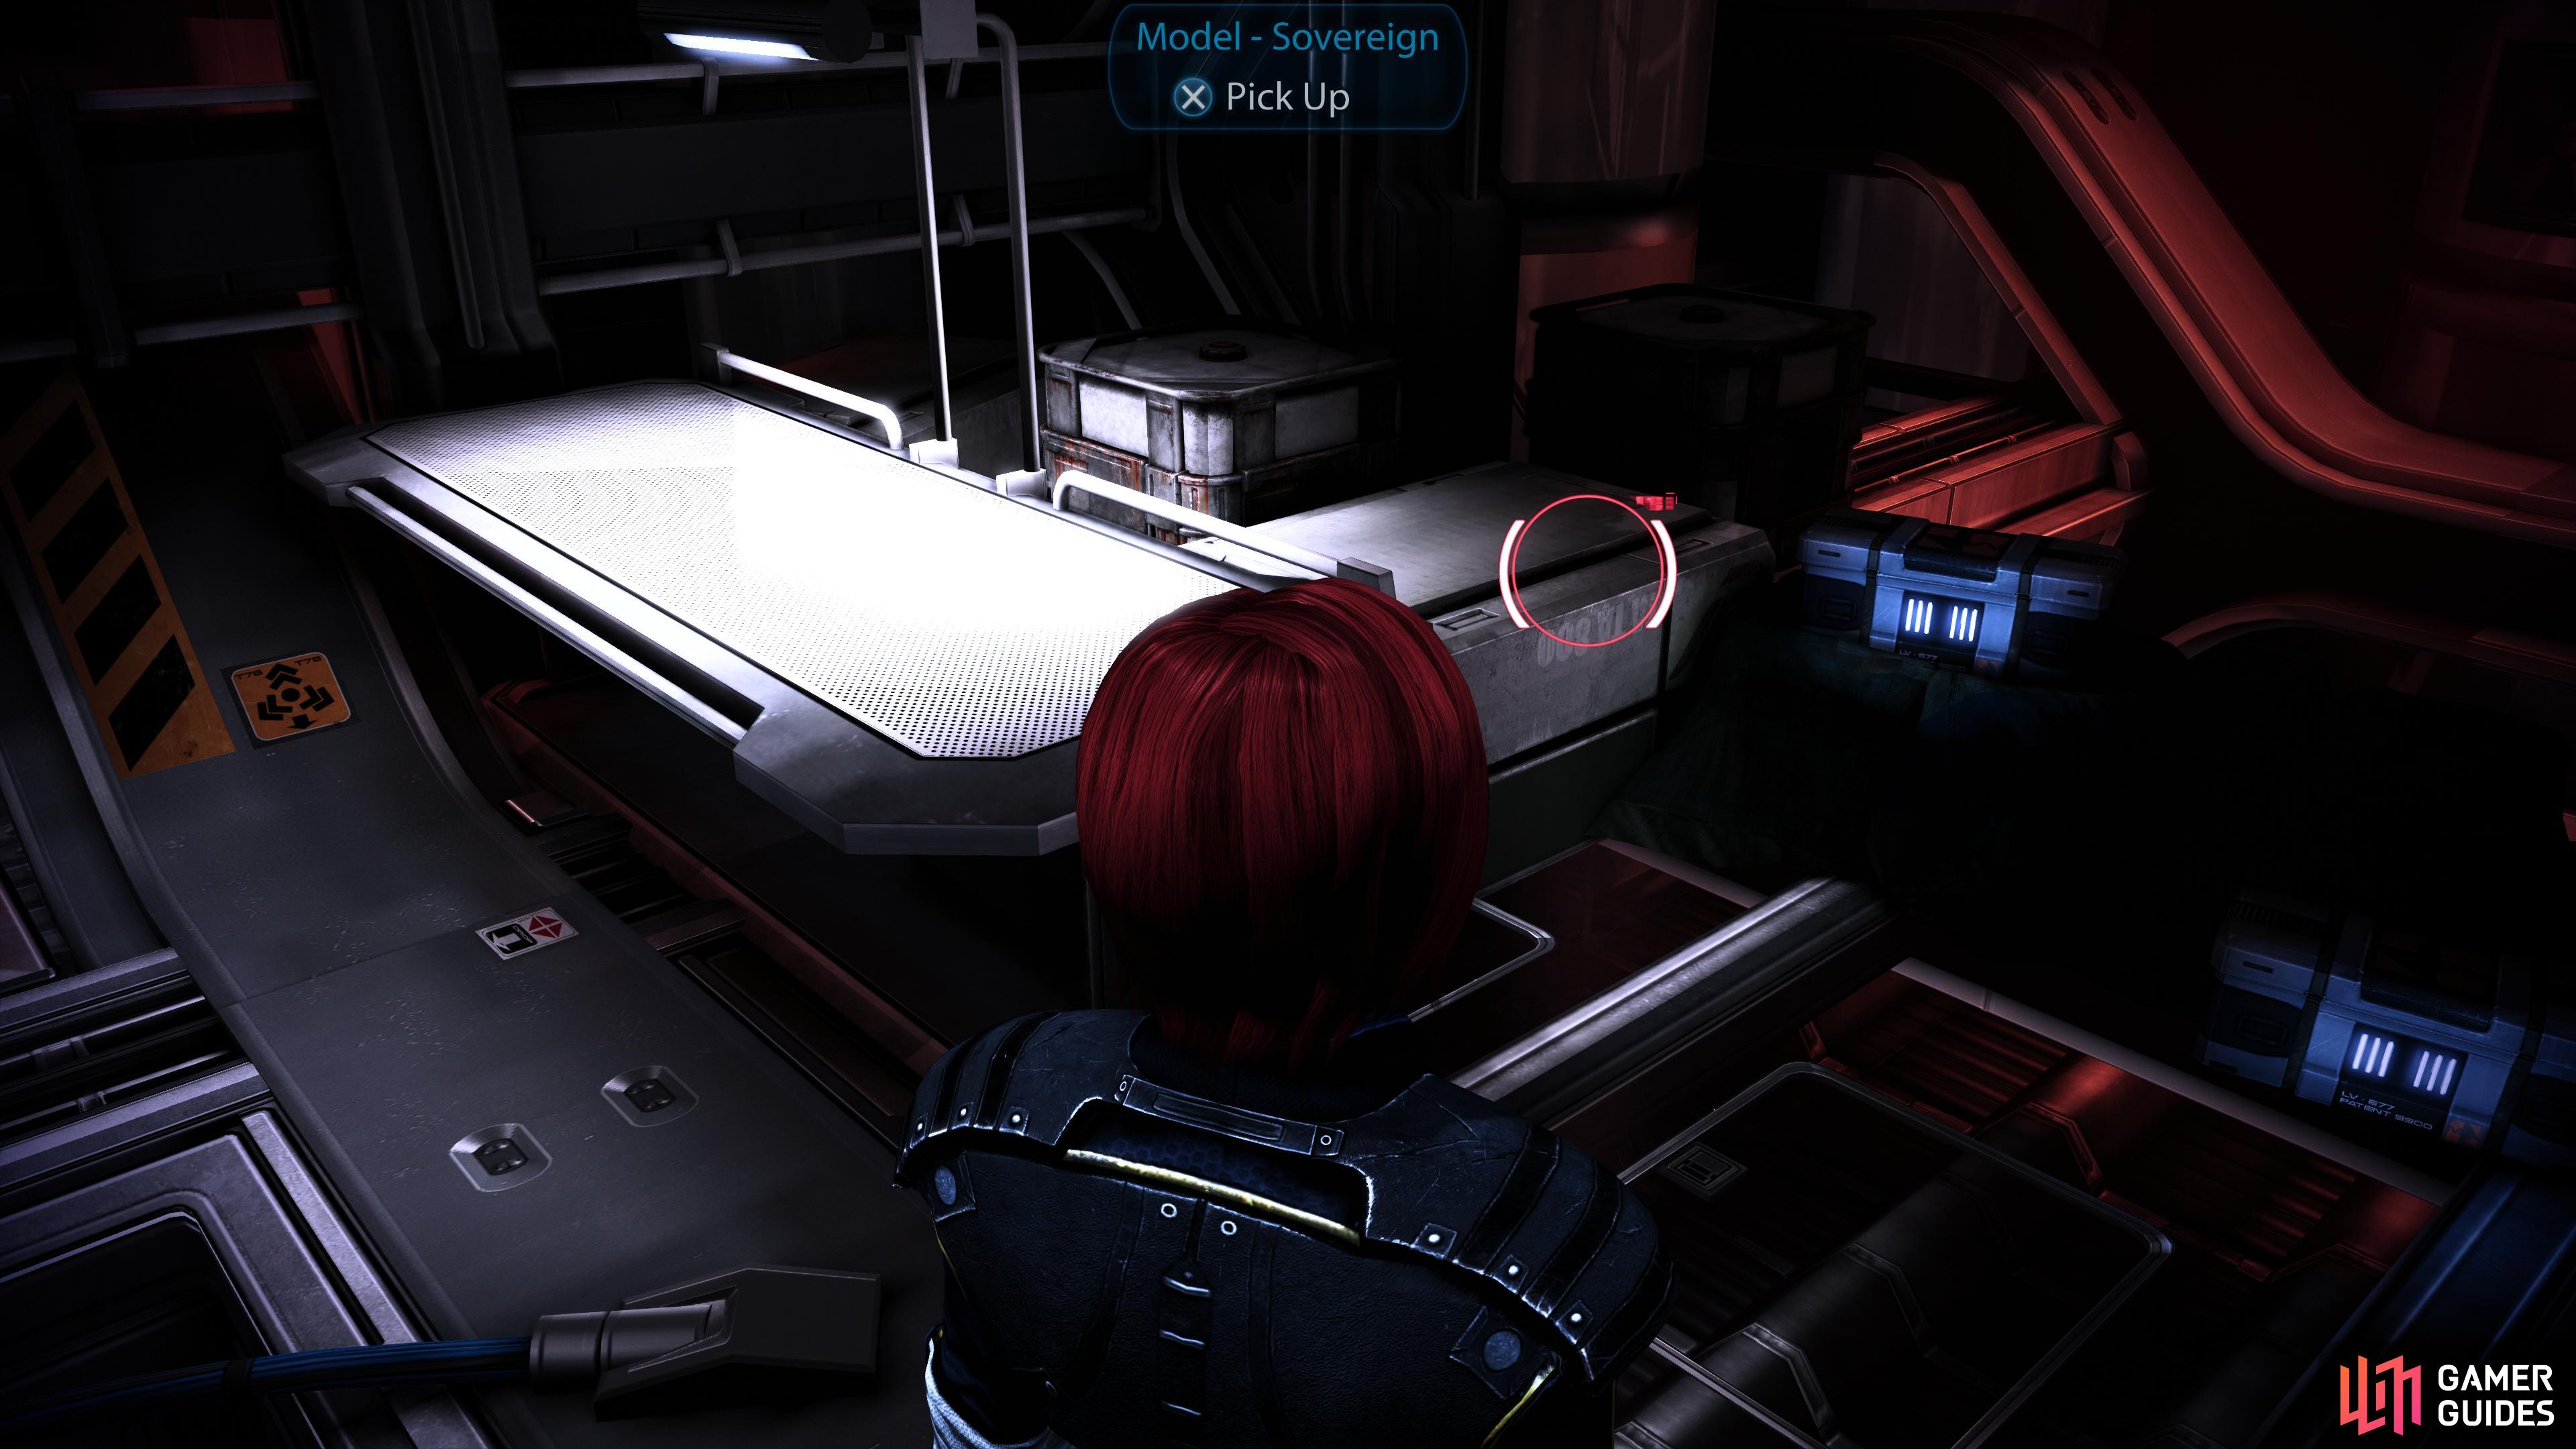
Return to the halls flanking the elevator shaft and head downstairs to reach the Subdeck Stairwell, which will take you to the bowels of the ship that was once occupied by Jack. Here you’ll find a good number of the rest of the toys you may have purchased in Mass Effect 2, including the Model - Turian Cruiser, Model - Shadowbroker and Model - Sovereign. Keen-eyed players may also find everybody’s favorite Space Hamster scurrying around on the floor, although you have to be somewhat agile to catch the rodent. Collect them all to spruce up your quarters, then take the elevator down to the final floor - the Shuttle Bay.
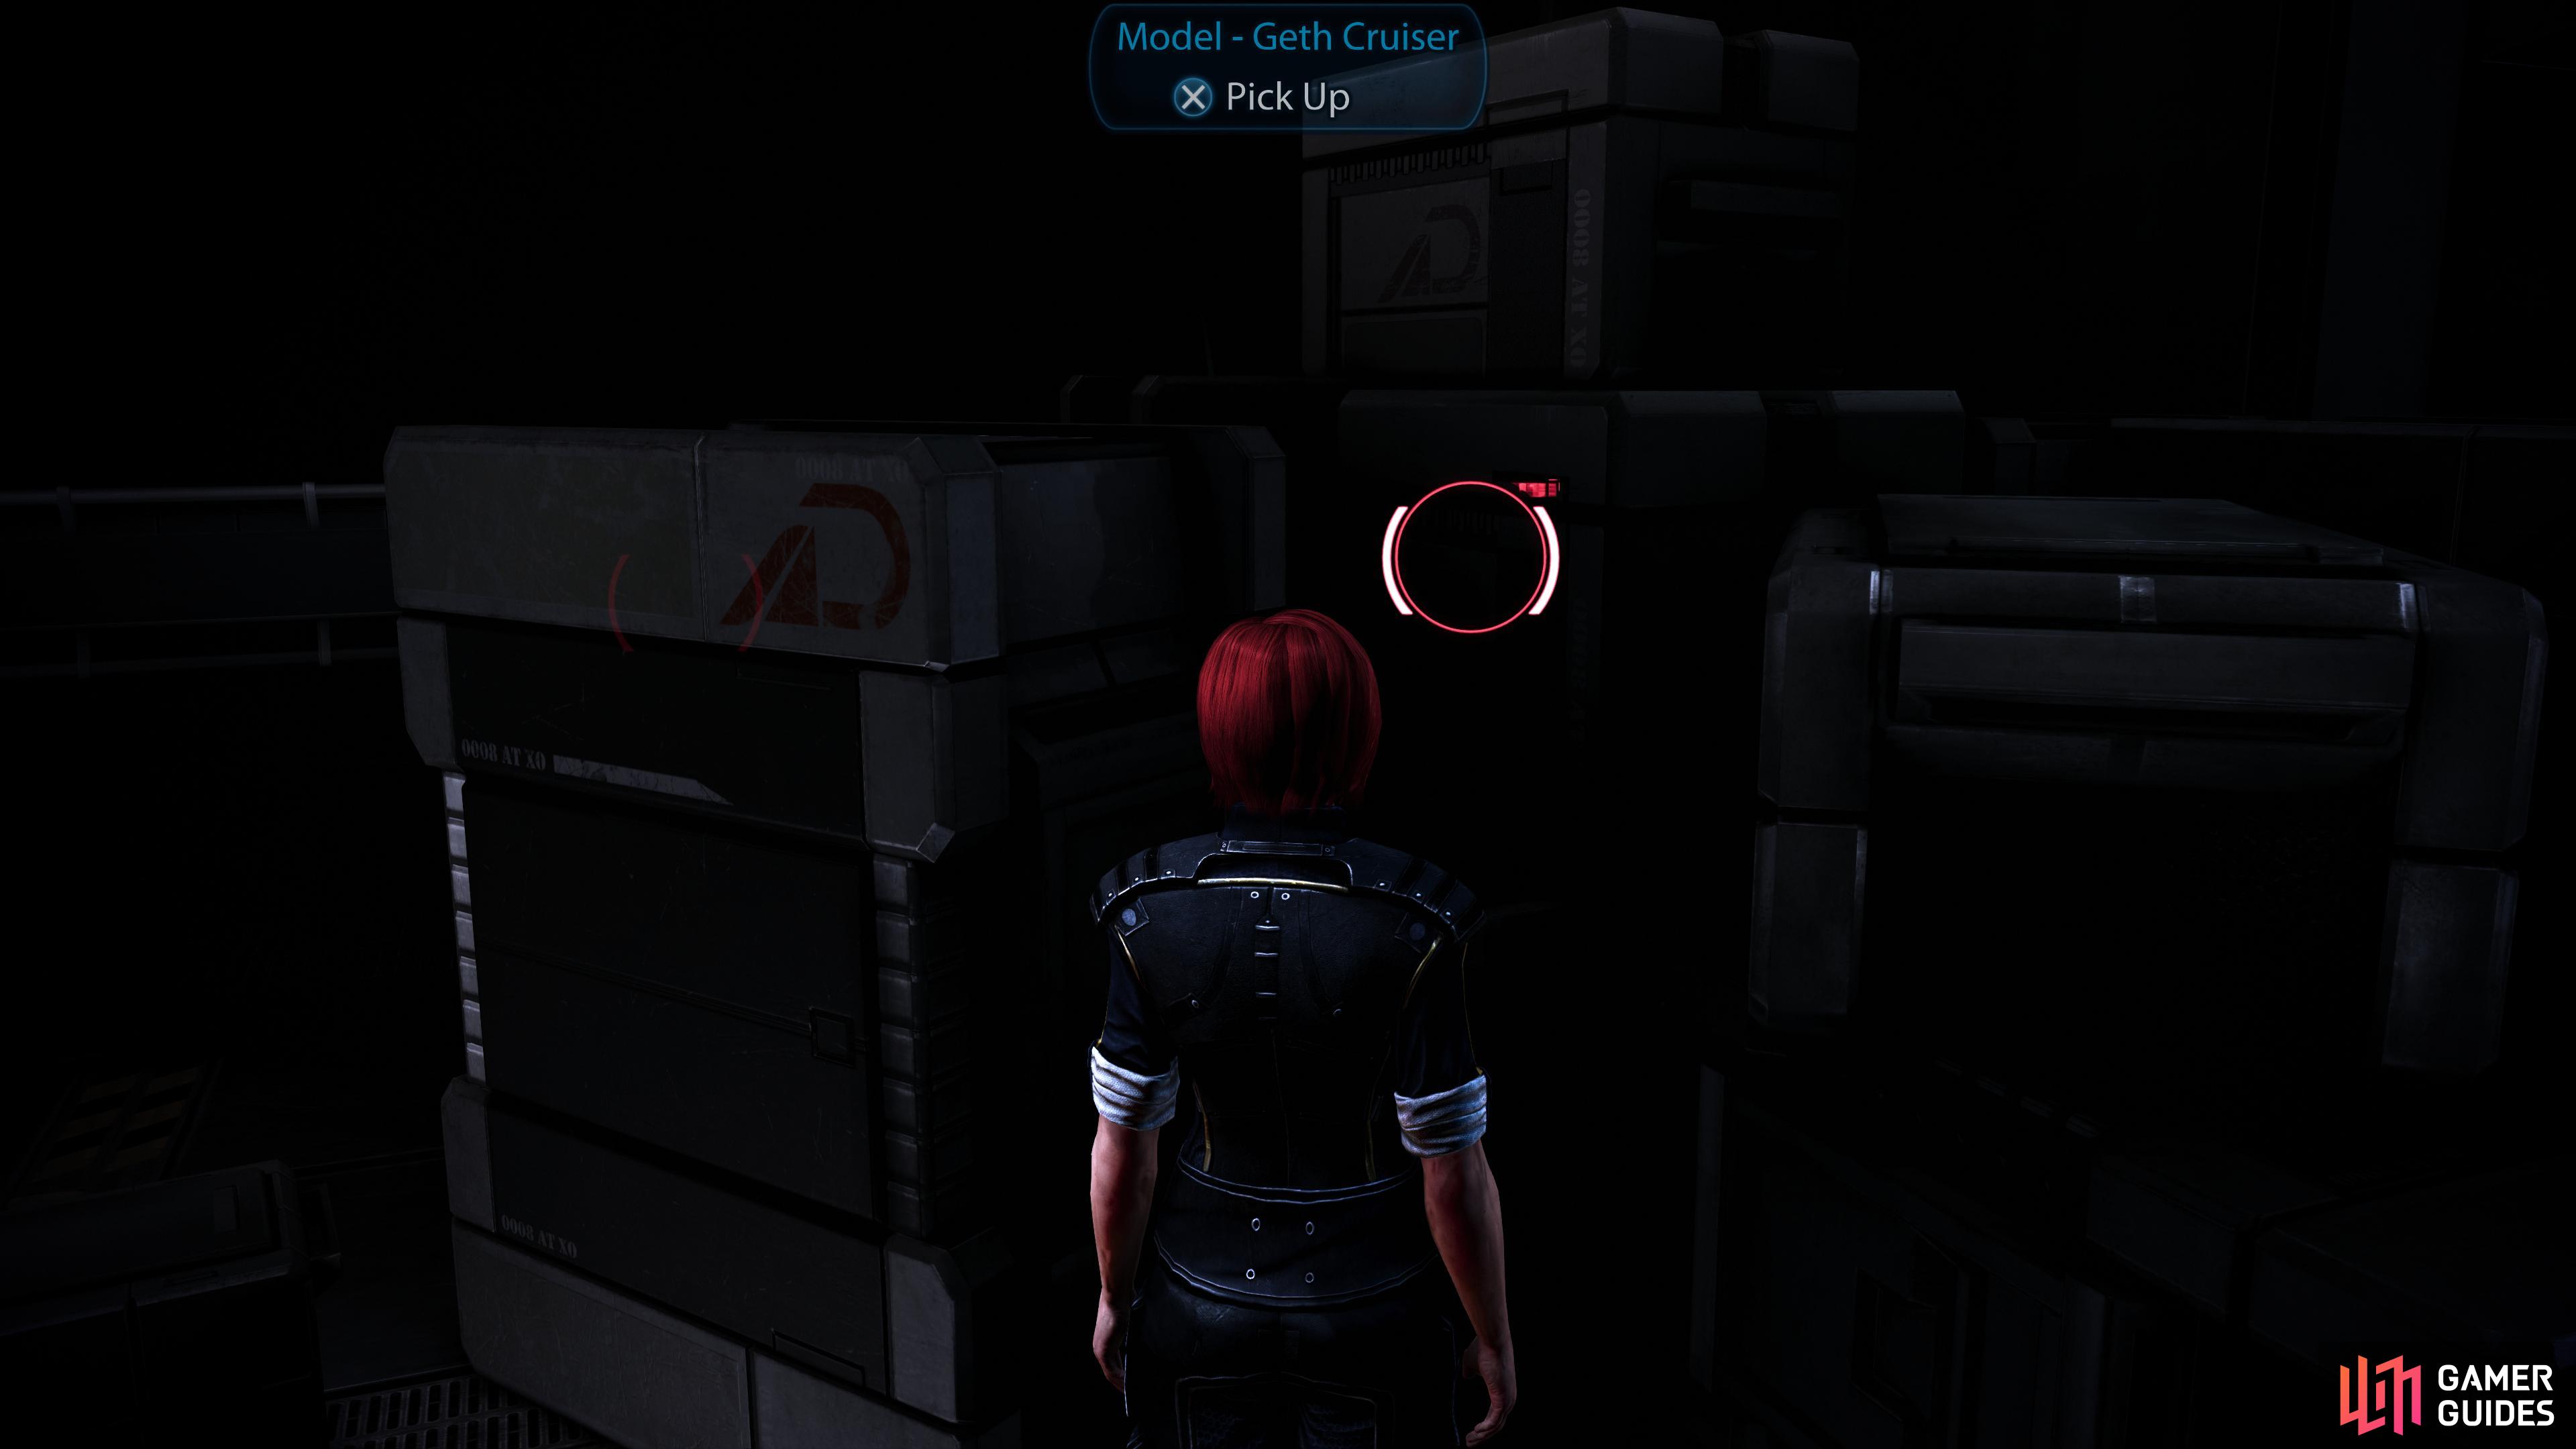
(1 of 2) You’ll find numerous models in the Shuttle Bay, including the Model - Geth Crusier,
You’ll find numerous models in the Shuttle Bay, including the Model - Geth Crusier, (left), and the Model - Normandy SR-1. (right)
Shuttle Bay
To the north and south are two stacks of cargo crates, where you can find more models from Mass Effect 2, if you had them previously. To the north you’ll find the Model - Geth Cruiser and the Model - Alliance Cruiser, while to the south you’ll find the Model - Freighter, the Model - Quarian and, further west, the Model - Normandy SR-1.
More importantly you’ll find a series of tables opposite the elevator; a “Weapon Bench”, a “Weapon Upgrades” console, a “Procurement Interface” and an “Armor Locker”. Between all of these stands Lieutenant Cortez, whom we’ll deal with after talking about the aforementioned services.
The Weapon Bench and Armor Locker both function like they do in other areas - you can equip and discard weapons and mods at the Weapon Bench, while armor sets and individual pieces can be swapped out and customized.
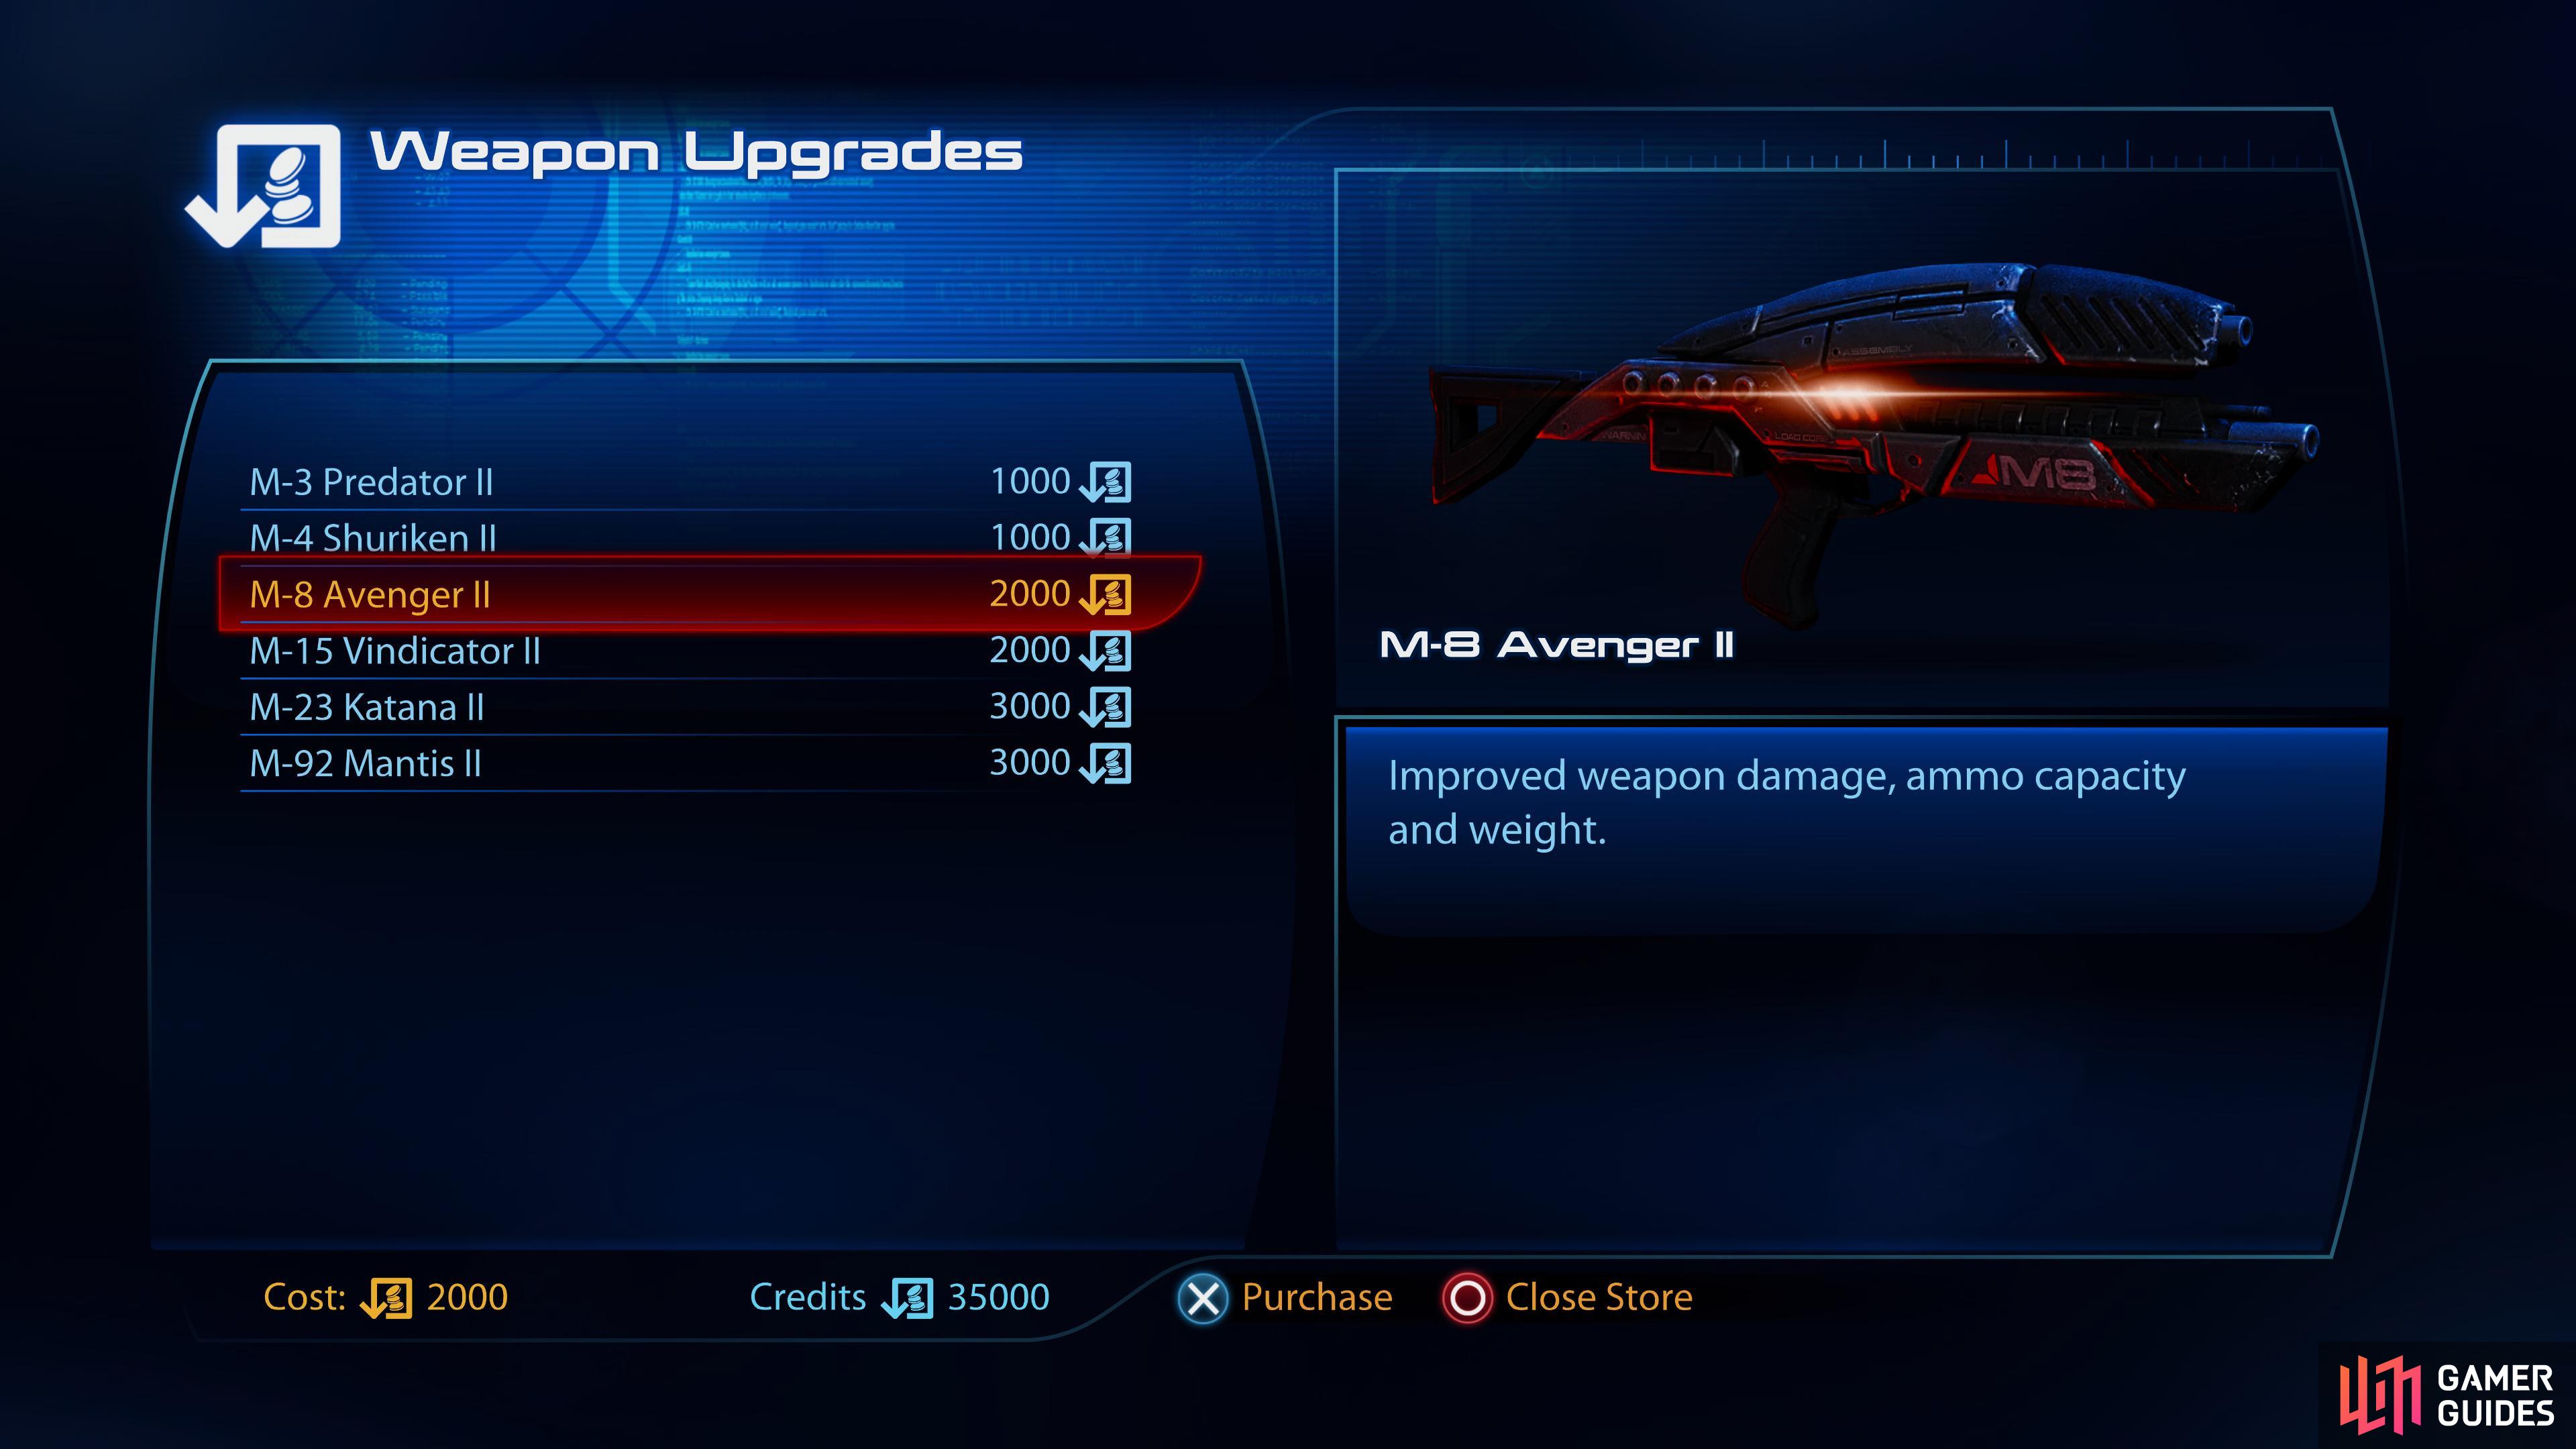
At the Weapon Upgrades console you can - what else? - upgrade weapons. This is a direct cash-for-upgrade transaction; spend money on weapons and you’ll upgrade their weapon damage, ammo capacity and weight. Upgrade costs are linear, so while it’s not cripplingly expensive to upgrade a weapon the costs can get significant - enough to compel you to ensure you like the weapon before you spend credits on it, hopefully. At this point in time you can only upgrade weapons to tier V.
Finally, on the Procurement Interface you’ll find every shop you’ve visited thus far, whose wares you can peruse from the convenience of the Normandy, albeit for a markup of 10%. Honestly, you’re better off just visiting most shops in person to conserve credits - it’s not like it takes fuel to reach most of them, after all.
Talk to Lieutenant Cortez and he’ll tell you about the Procurement Interface and other details regarding the operations of the Shuttle Bay. All in all, you might earn a trivial amount of Paragon/Renegade this way, but it’s not a hugely important conversation.
(1 of 2) You can upgrade weapons in the Shuttle Bay,
You can upgrade weapons in the Shuttle Bay, (left), and get in some sparring with Vega. (right)
Interrupting Vega’s compulsive pull ups, on the other hand, will allow you to engage in some sparring and perhaps flirt.a bit, depending on your responses. While sparring, keep an eye out for some Paragon/Renegade interrupts (they’ll go Renegade/Paragon/Renegade/Paragon) if you want to emerge unscathed while roughing up Vega a bit. Have it out with Vega and you’ll earn the Fortification bonus power, which you can assign by visiting the “Reassign Bonus Powers” bed in the Medical room. Or you can wait until you have more/better abilities to choose from. Your call.
Normandy: First Missions and Exploration
With that, you’re done with your first bout of exploration on the Normandy. What you can and should do next varies a bit depending on what DLC you have, if any, but assuming you’re playing the Legendary Edition of the game we should have the following missions available: N7: Cerberus Lab, Priority: Eden Prime and Priority: Palaven. All things considered, we recommend you just go to Palaven first, as you’ll gain more flexibility for deploying squadmates once this mission is done.
Alternatively, if you can’t restrain your wanderlust, you can also explore the galaxy and scour for war assets and resources. The mechanics of exploring will be covered in the aptly-named Exploration Overview section of the guide, with individual systems being covered on their own pages.





 Sign up
No Comments