Find a way above ground
Once you’ve managed to escape the Nemesis you’ll find yourself in the Sewers, proceed into the room ahead to save your game and store any items. Collect some Handgun and Shotgun Ammo from the lockers, then grab the Sewers Map off the board along with the Red Herb on the table, now exit the room and follow the path ahead. After you’ve slide deeper into the Sewers, take the right path to encounter your first Hunter y, in order to take these out you’ll want to wait for it to open up it’s mouth and then fire 5-6 Shotgun Shells into it.
(1 of 2) Collect the Map from the board in the Safe Room
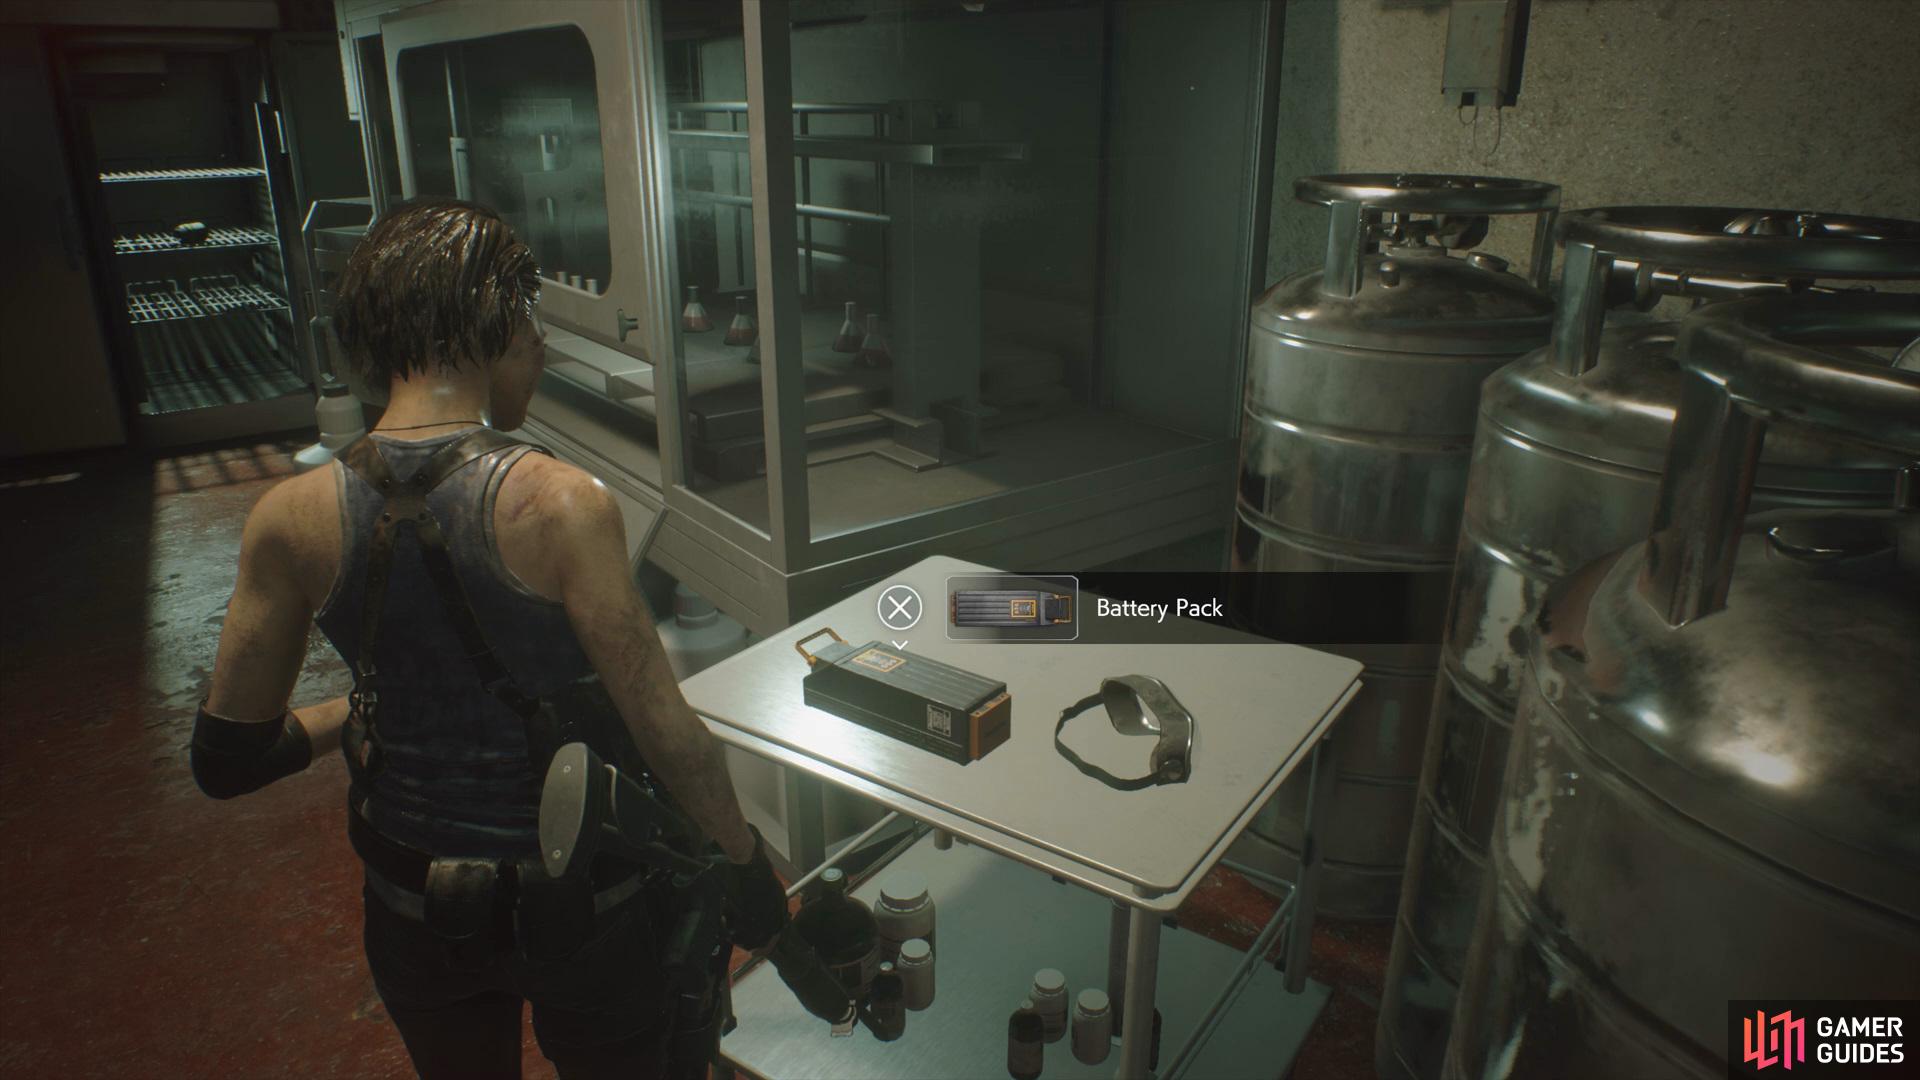
Collect the Map from the board in the Safe Room (left), then grab the Battery Pack from the Lab. (right)
Continue past the Hunter Gamma and take the right path first to find some Handgun Ammo in a crate along with some Shotgun Shells on the floor, now grab the Sewer’s Worker’s Notes File and head back to take the other path ahead. Grab the Flame Rounds on the right, then climb up the ladder and enter the Lab to find a Battery Pack on the table, then direct your attention to the left side of the room to find some High-Grade Gunpowder in the fridge, a Green Herb left on the floor, and finally an Explosive A along with a Gunpowder in the lockers.
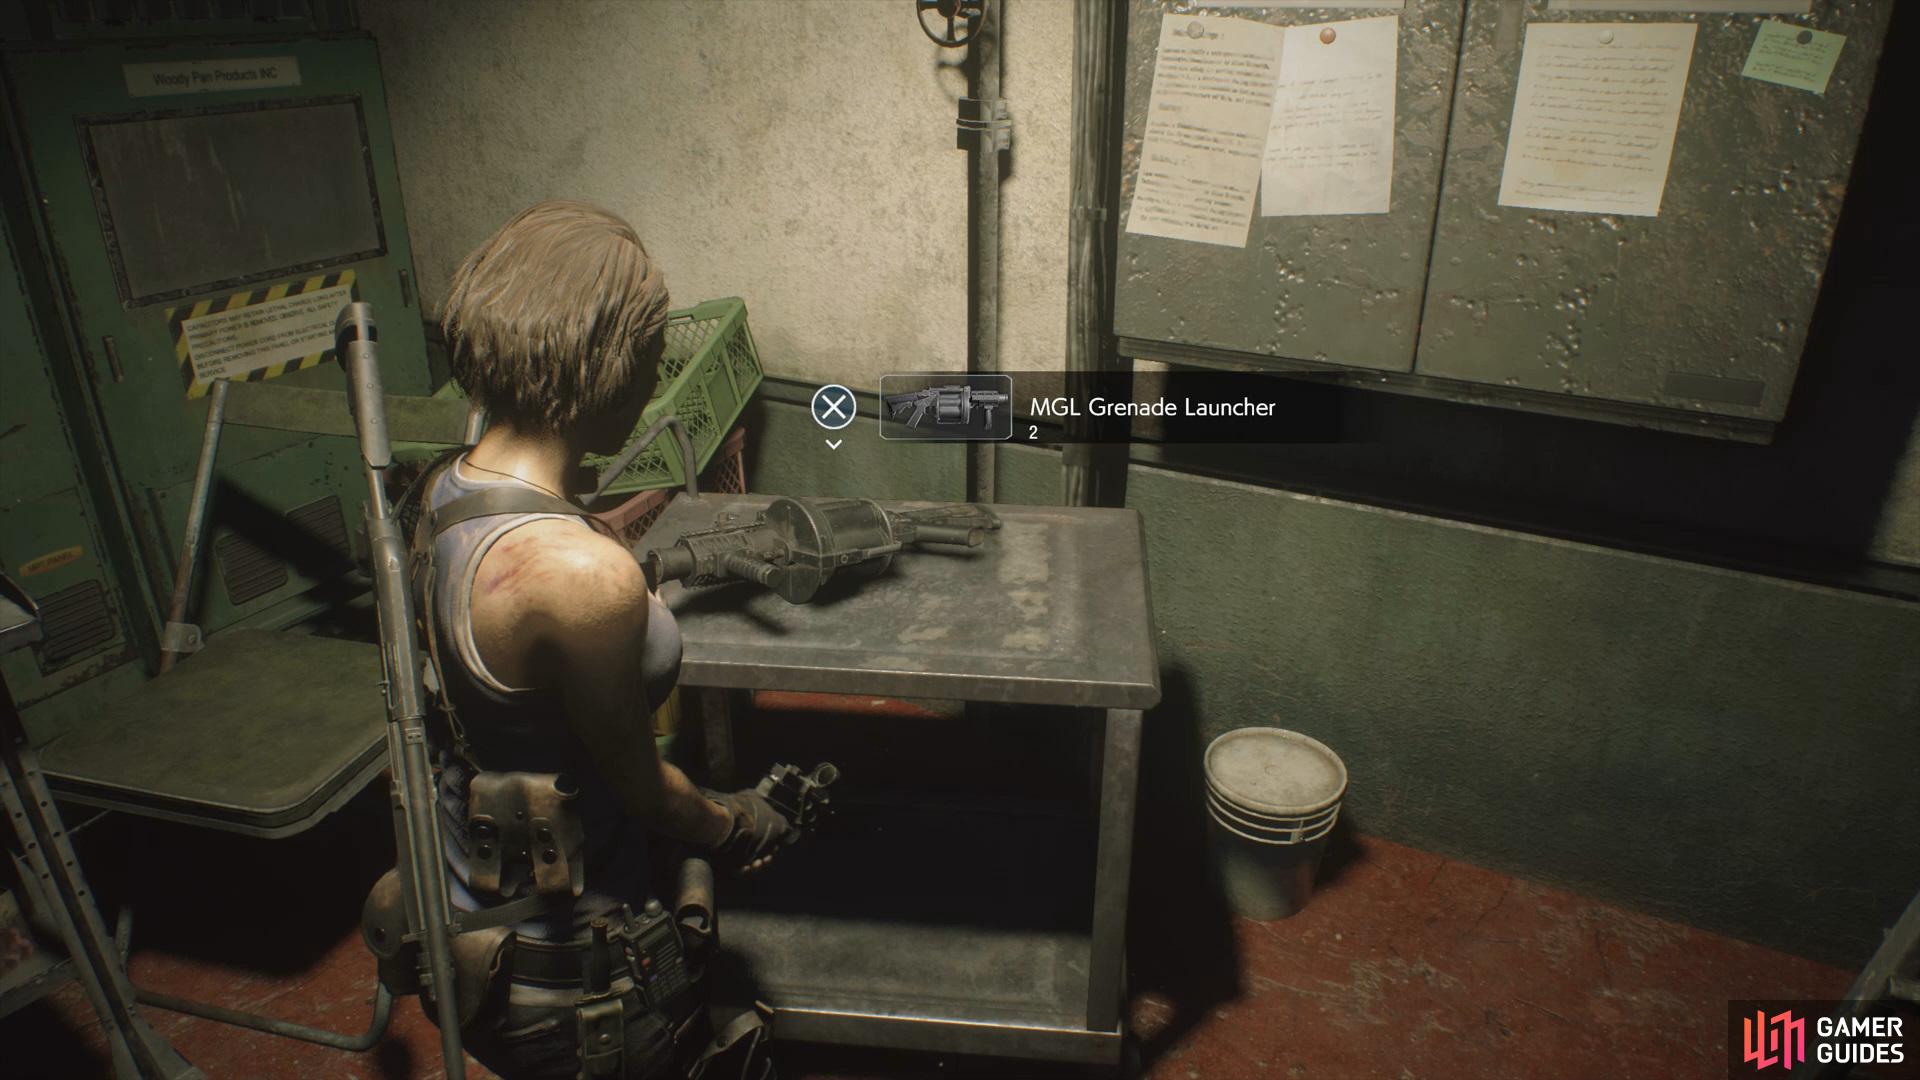
Grab the Love Letter File from the table, then head back to the main path. Climb up the ladder and go into the Safe Room, here you can find an Explosive B on the barrel, the Invoice from Gun Shop Kendo and Research Assitant’s Logs Files on the Ladder/Table. Grab the MGL Grenade Launcher from the table at the back, then go back out into the Sewers. Continue going forward until you reach the area where you first slide down to grab a Hand Grenade off the floor, then take the ladder up.
(1 of 3) Take the Grenade Launcher from the table in the Safe Room
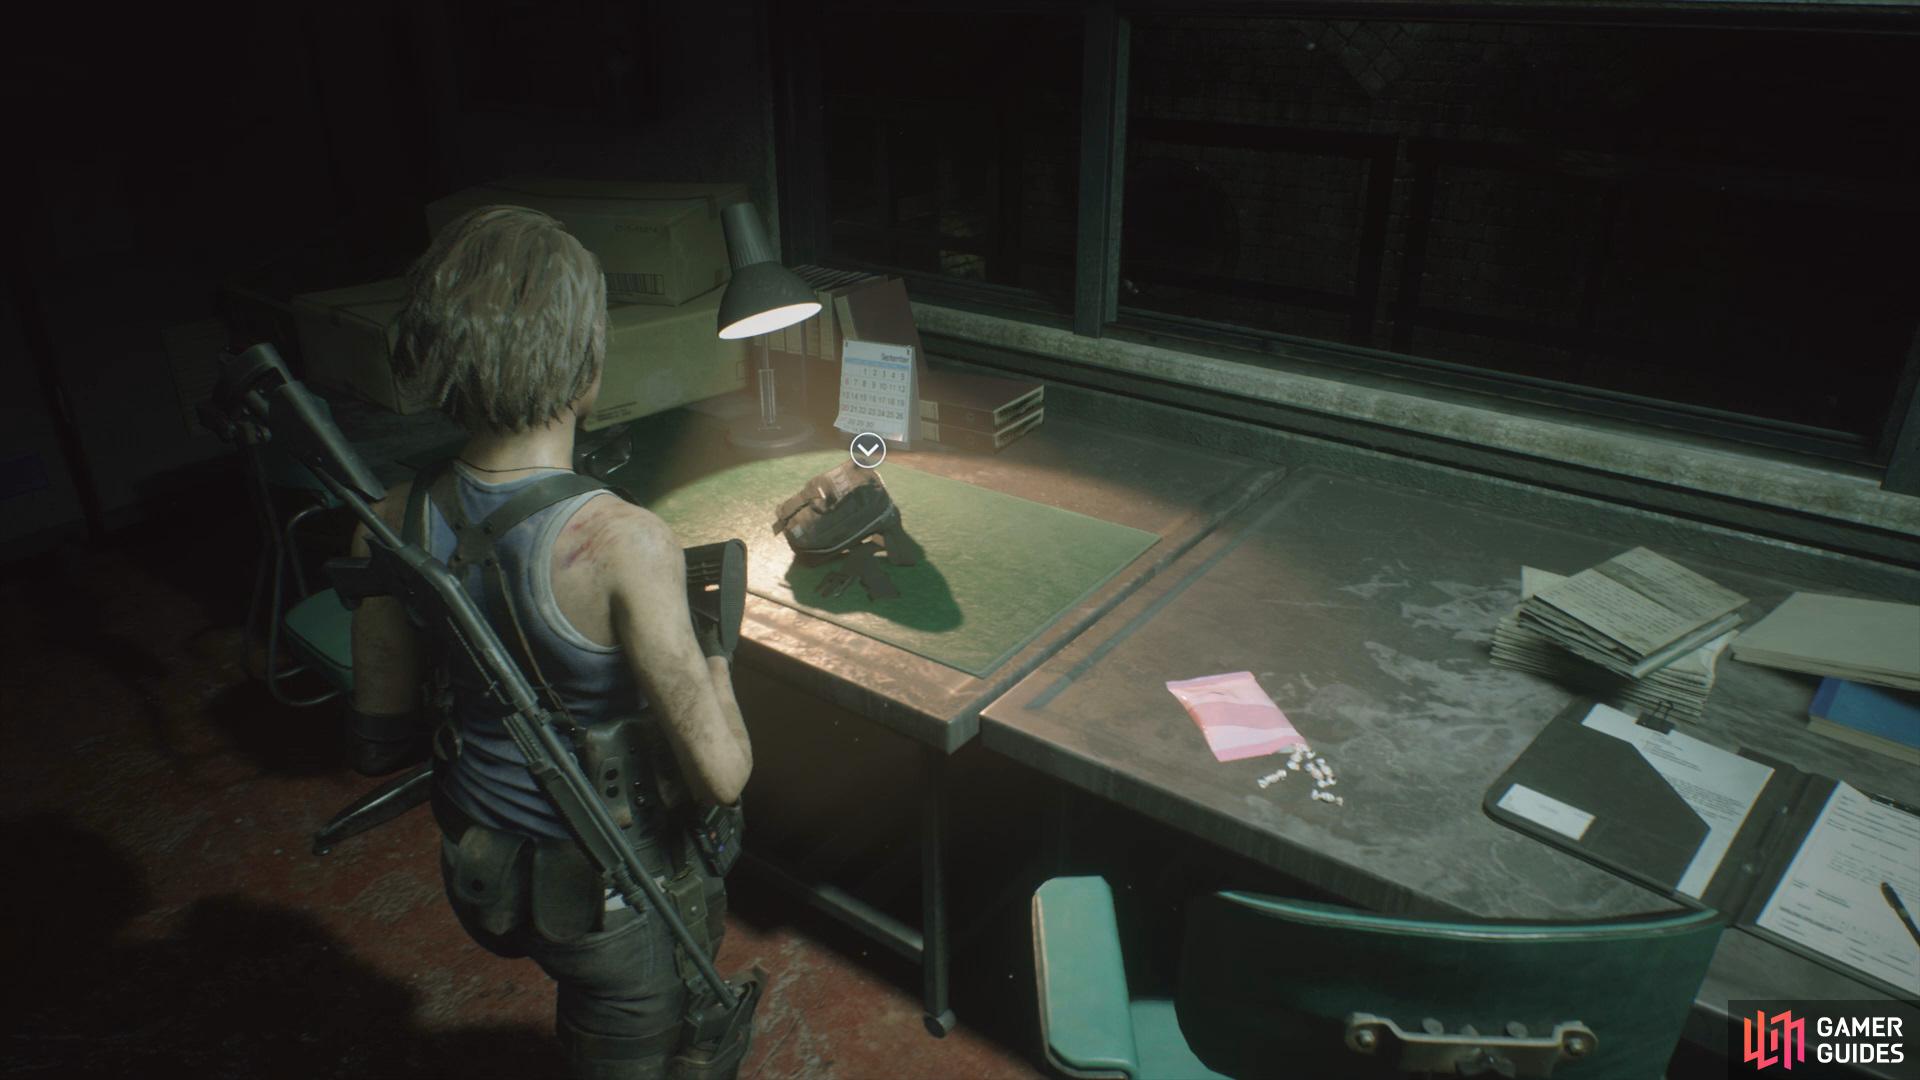
Continue up the stairs and place the Battery Pack into the device next to the door to open it, now take a left and open up the shortcut to retrieve the Battery Pack. Go back into the now accessible room and open up the Security Room to find a Hip Pouch, Explosive A, and Gunpowder on the desk. Exit the room and retrieve the Battery Pack once more before following the path ahead, climb down the ladder and grab the Increased Sewer Security File off the wall before opening up the door.
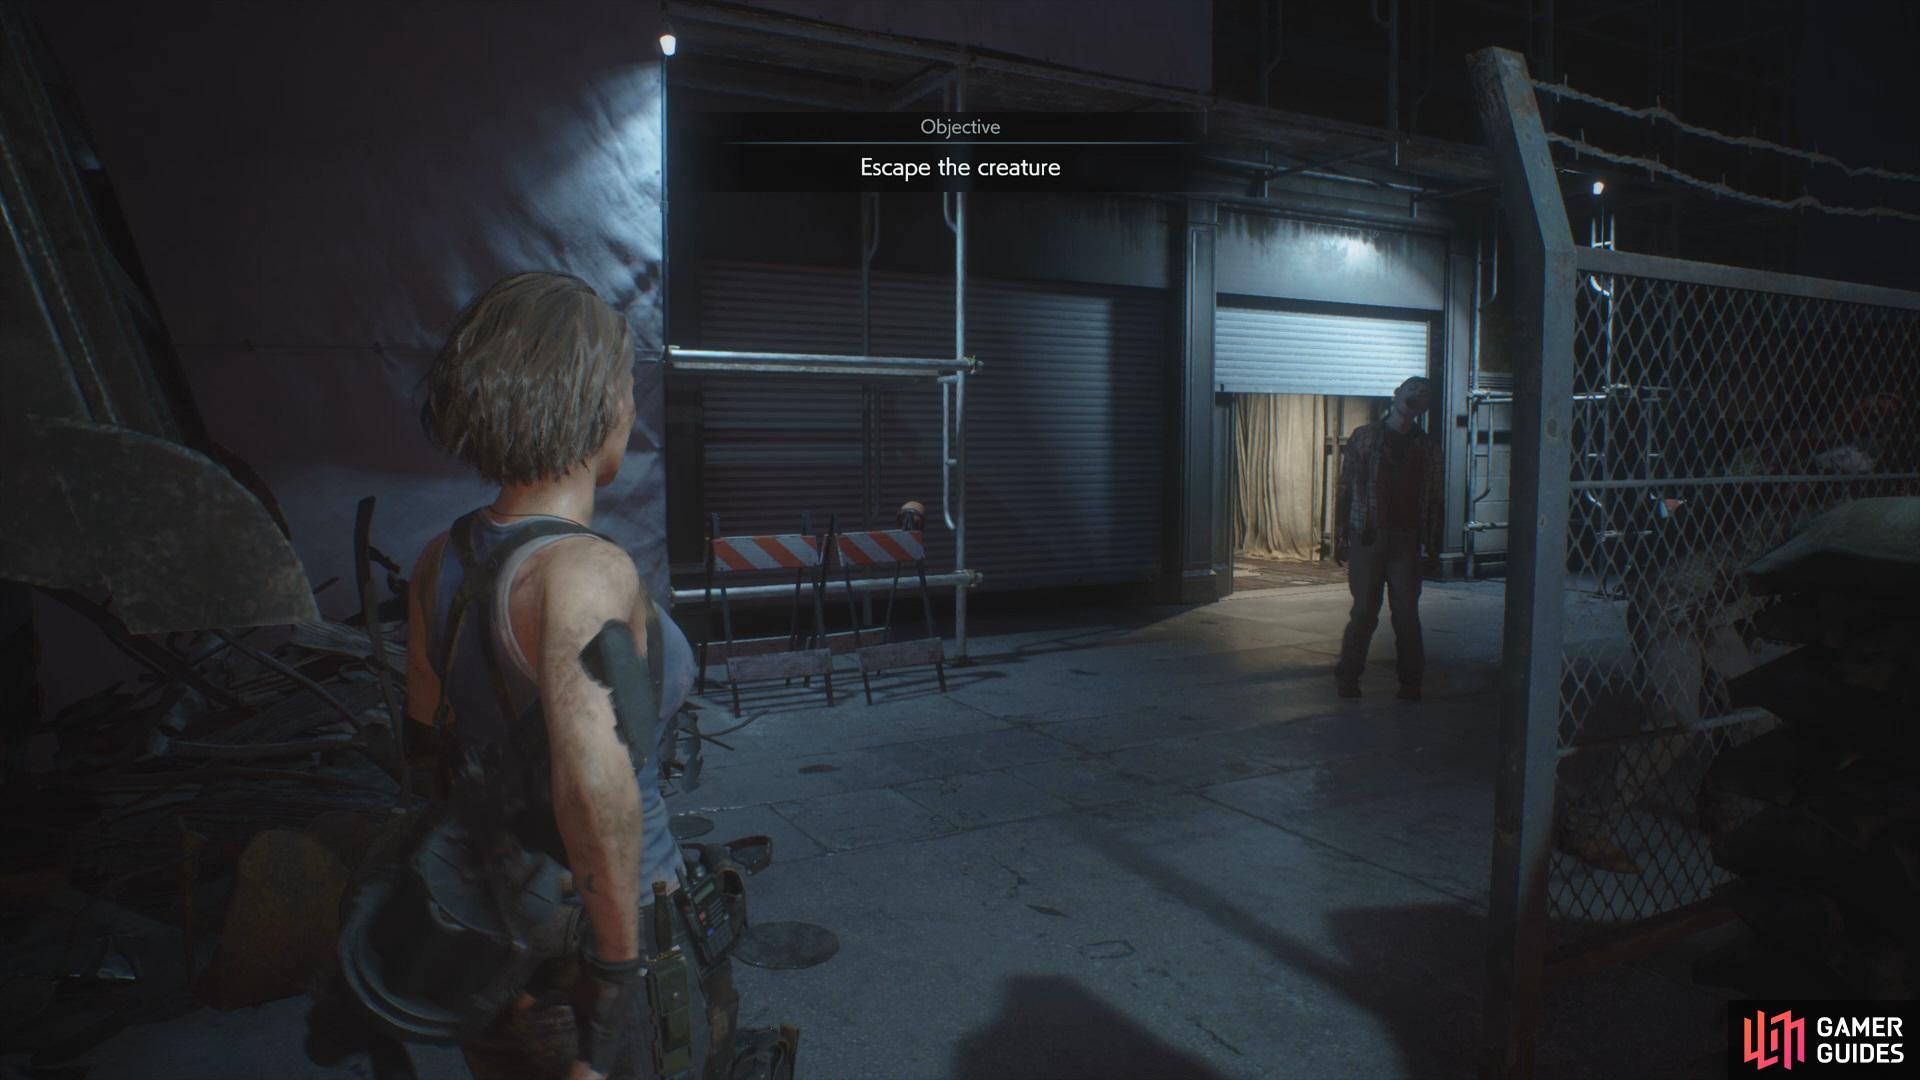
Escape the creature
Head up the stairs and climb the ladder to view a scene, now you’ll need to escape the Nemesis. You’re unable to deal any damage to him here, so just follow the path ahead whilst dodging any Zombies that attempt to get in your way. Once you’ve made it into the building, ignore the stairs and enter the Safe Room directly in front, inside you can grab yourself an Explosive A along with a Green Herb.
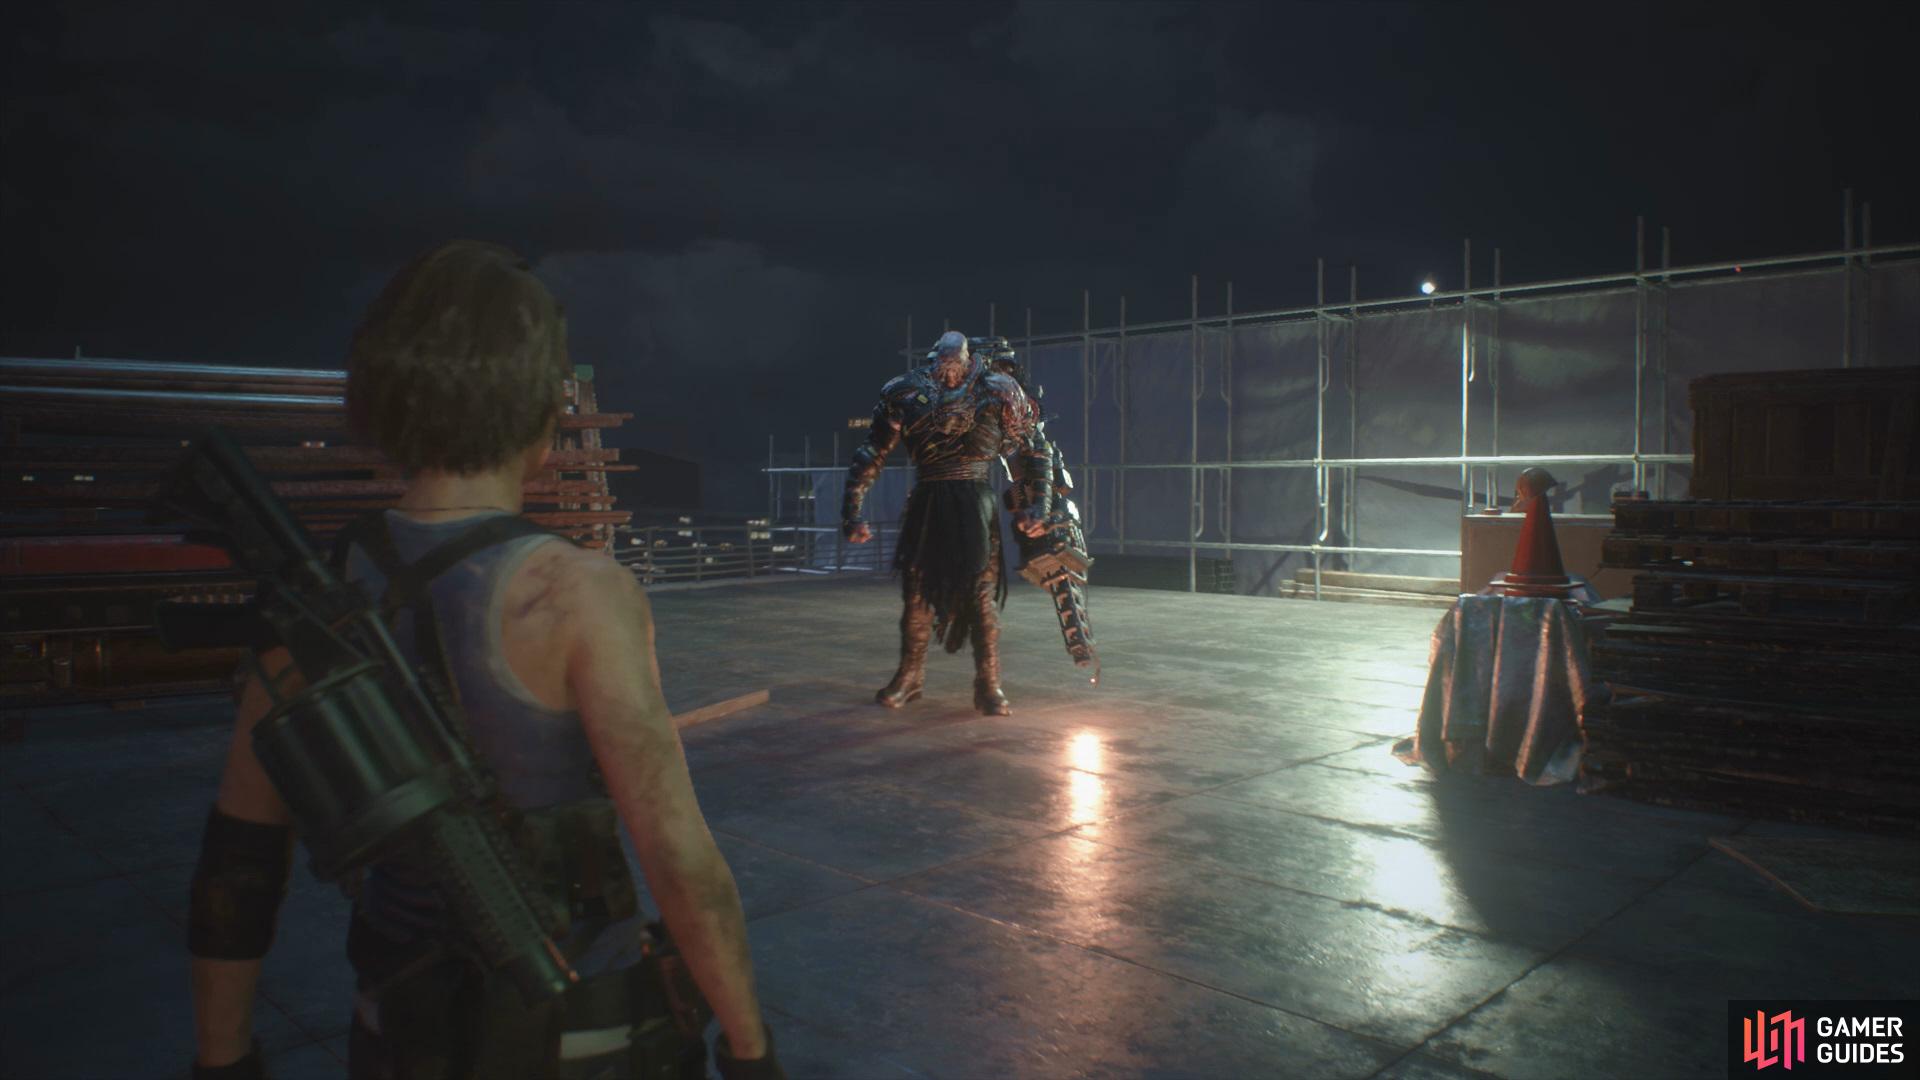
Save your game and then sprint up the stairs on the right, don’t stop running until you reach the next Safe Room near the rooftop. Collect the Notice of Demolition Derby File off the side, then climb up the ladder to face your first boss of the game, Nemesis Stage 1.
Boss: Nemesis
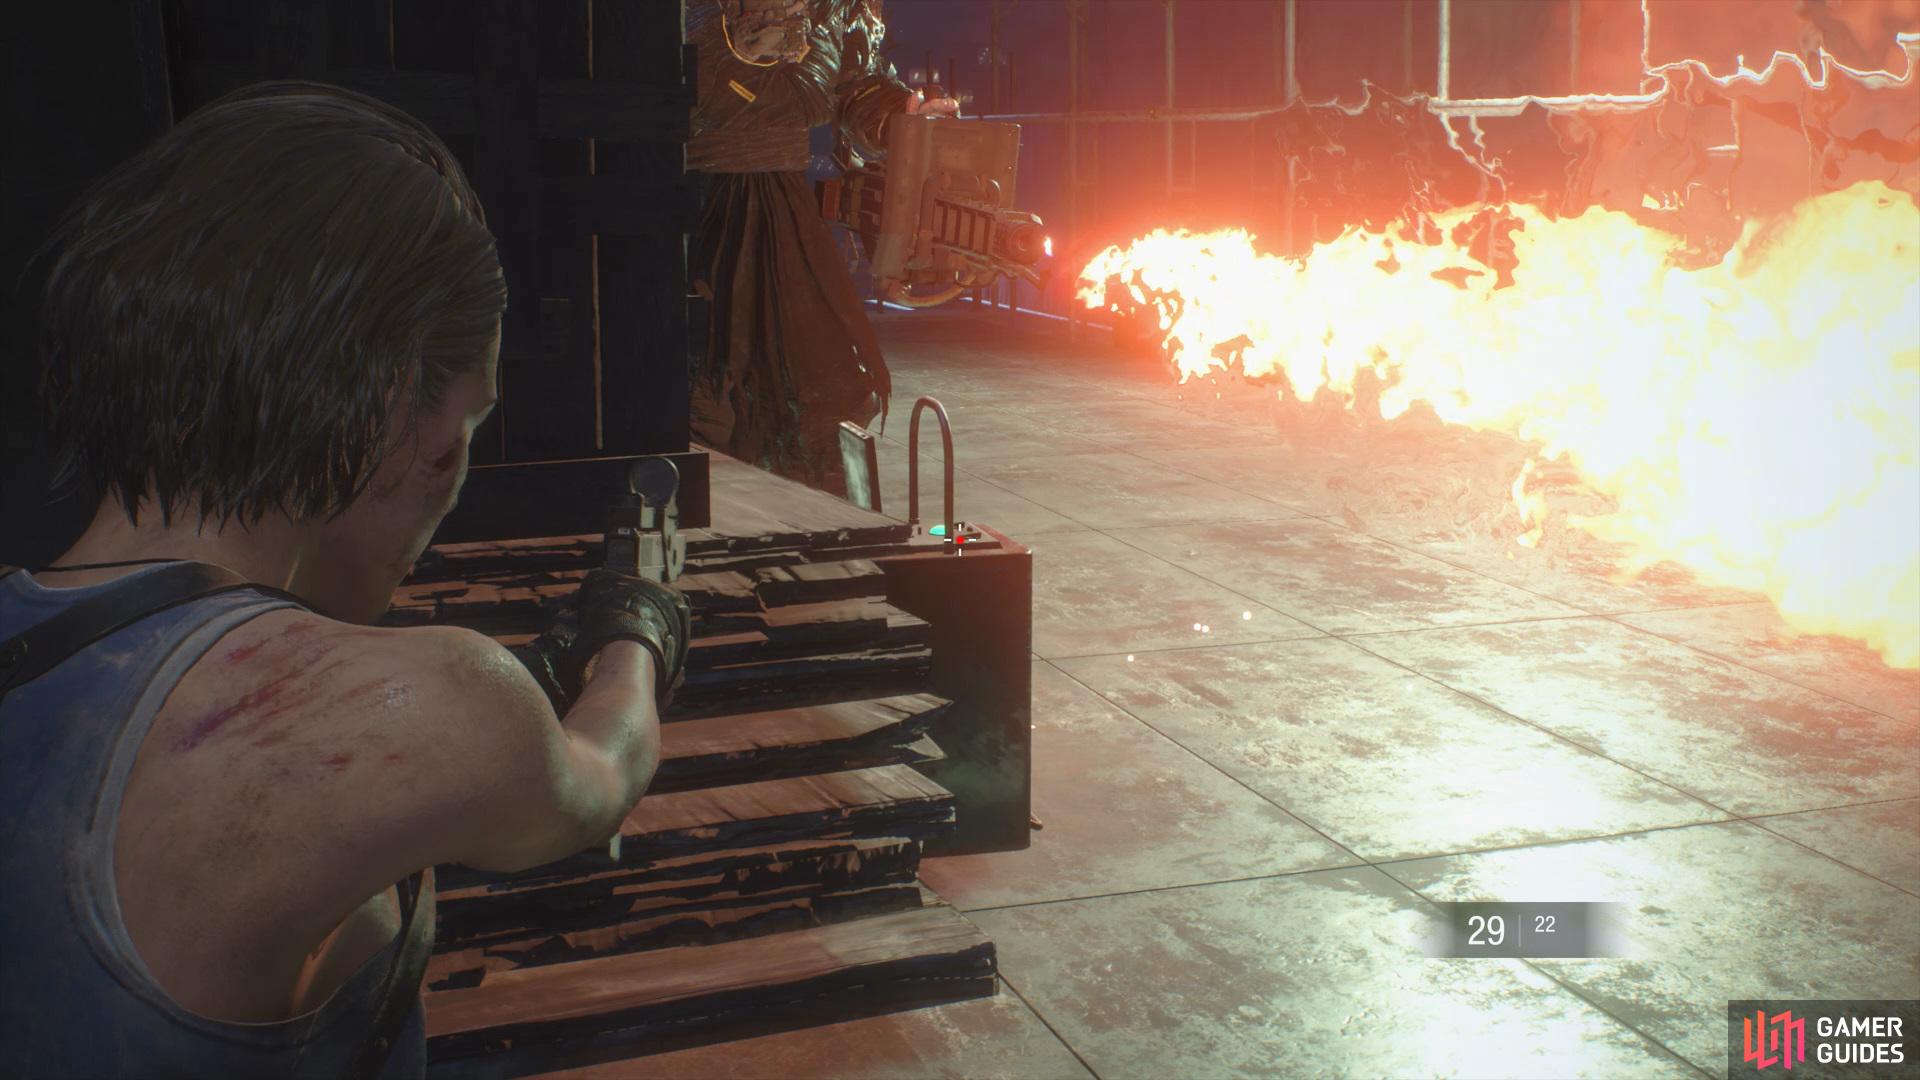
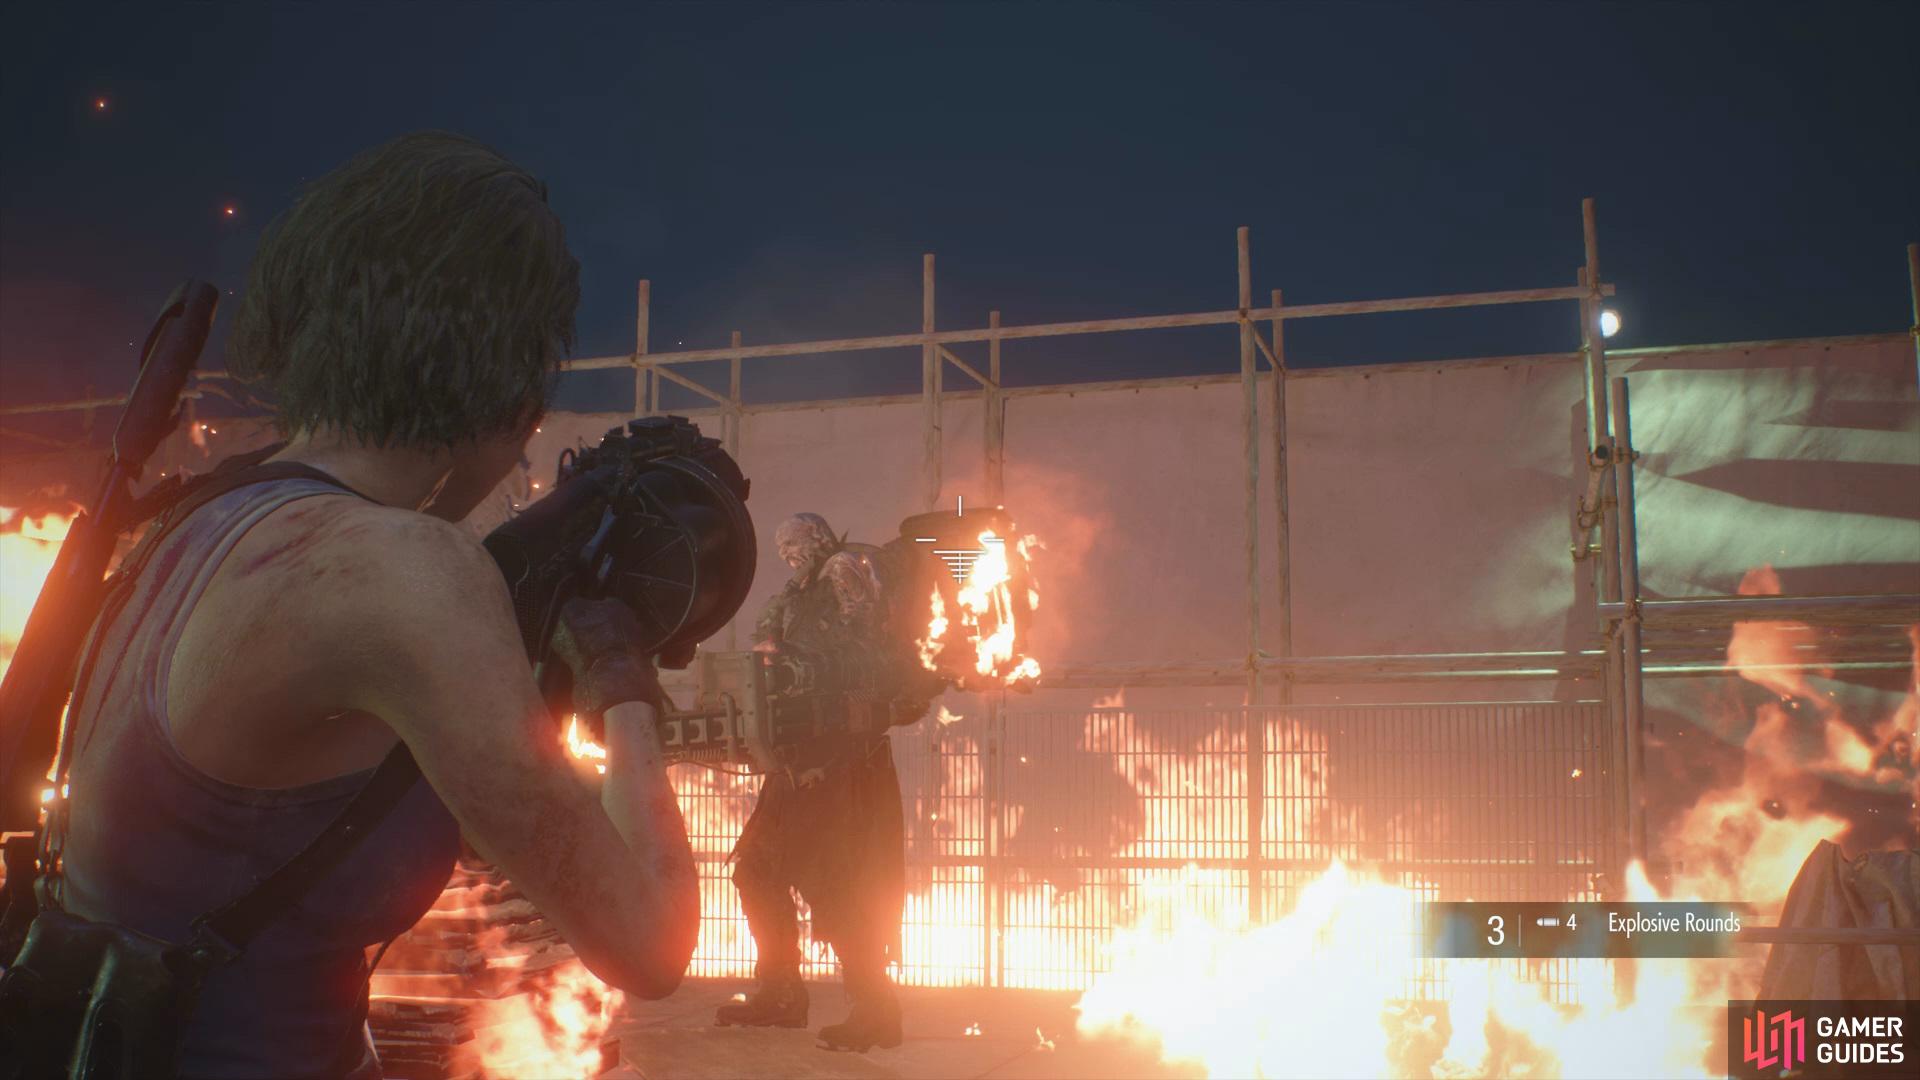
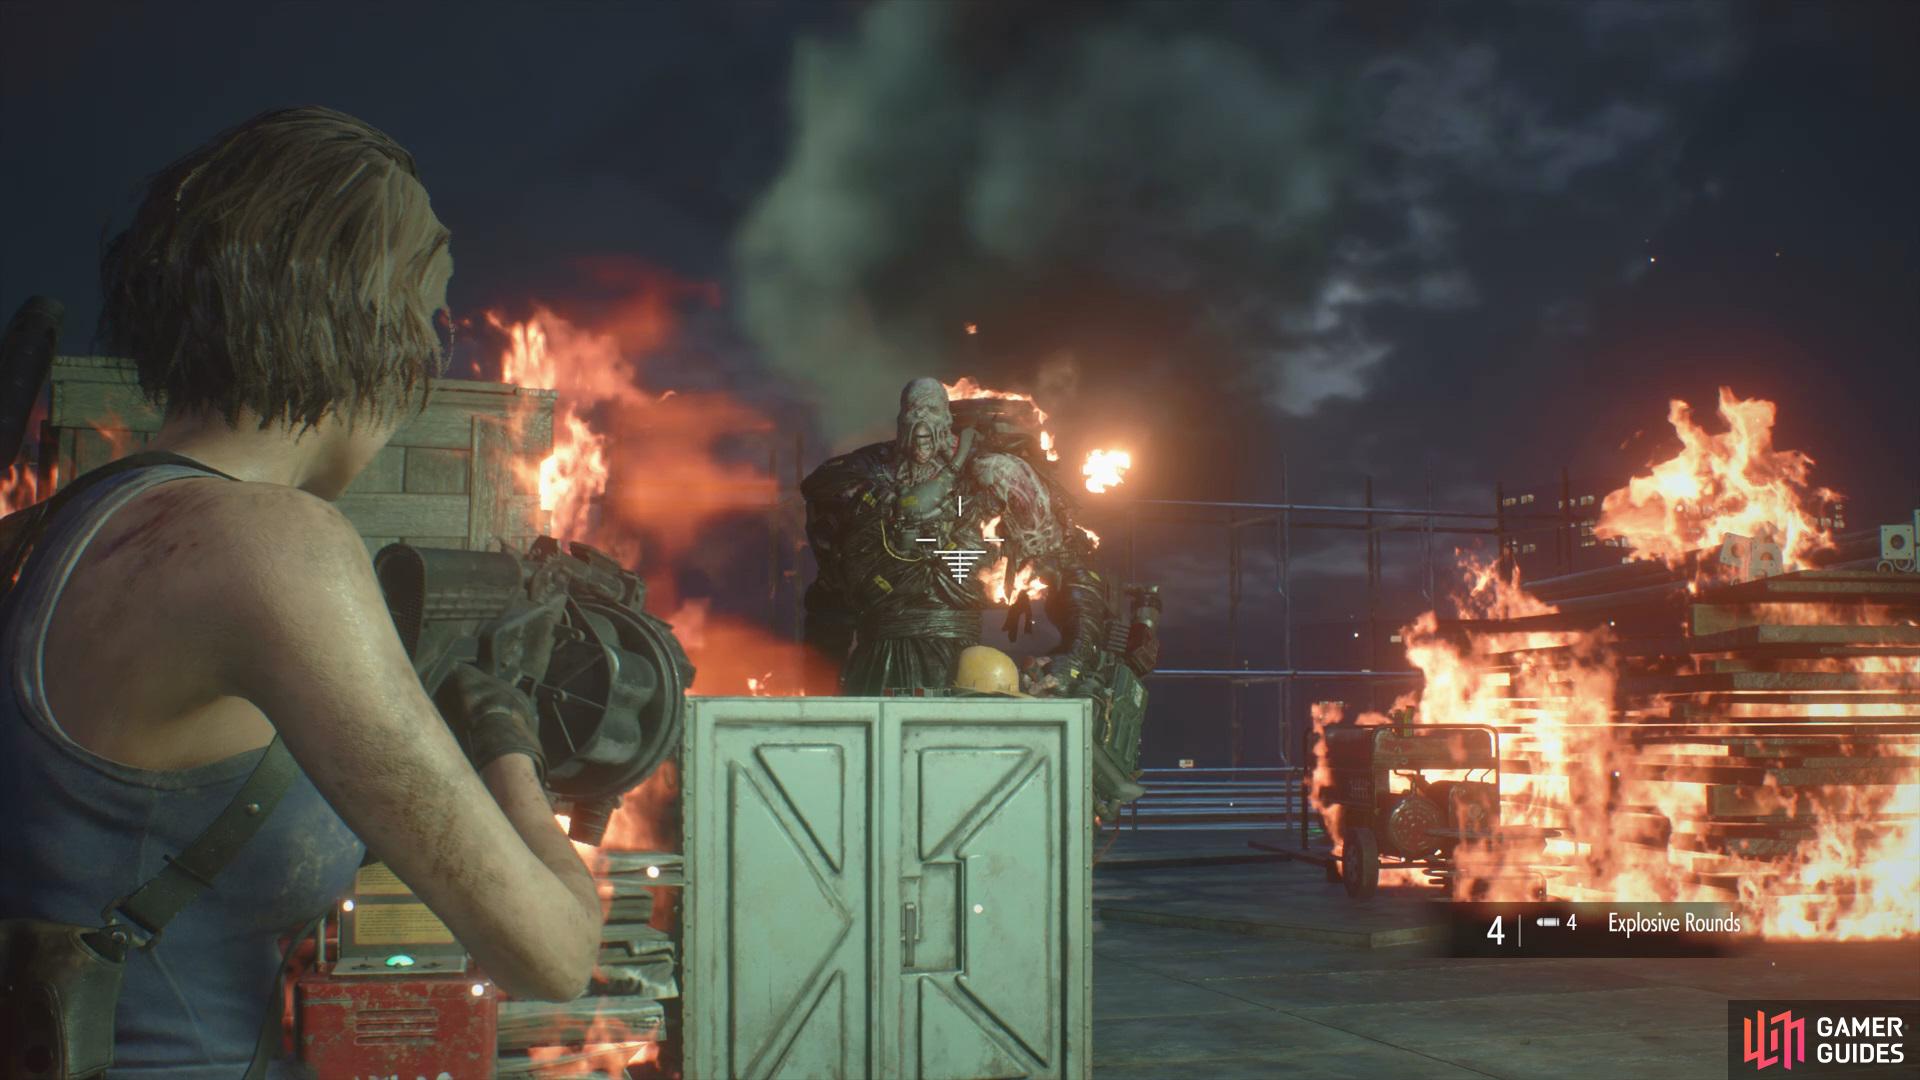
Before you begin attacking the Nemesis you’ll want to do a loop around the roof to find some Explosive Rounds, Green/Red Herbs, and finally some Shotgun Shells. In order to take him out you’ll need to make use of your most powerful weapons, which are the Shotgun and Grenade Launcher, use these to focus fire onto the canister on his back until it breaks and then continue firing at his Chest until he finally goes down. If you have any Grenades at your disposal, now is the time to throw them, as one will bring the Nemesis to the floor.
(1 of 3) Shoot the generator to stun the Nemesis
Whilst circling the arena and slowly dealing damage to him you’ll want to make use of the generator on the ground. Wait for the Nemesis to approach it, then fire one bullet at it to stun him momentarily, this will recharge over time so you can use it again.
Return to the Subway
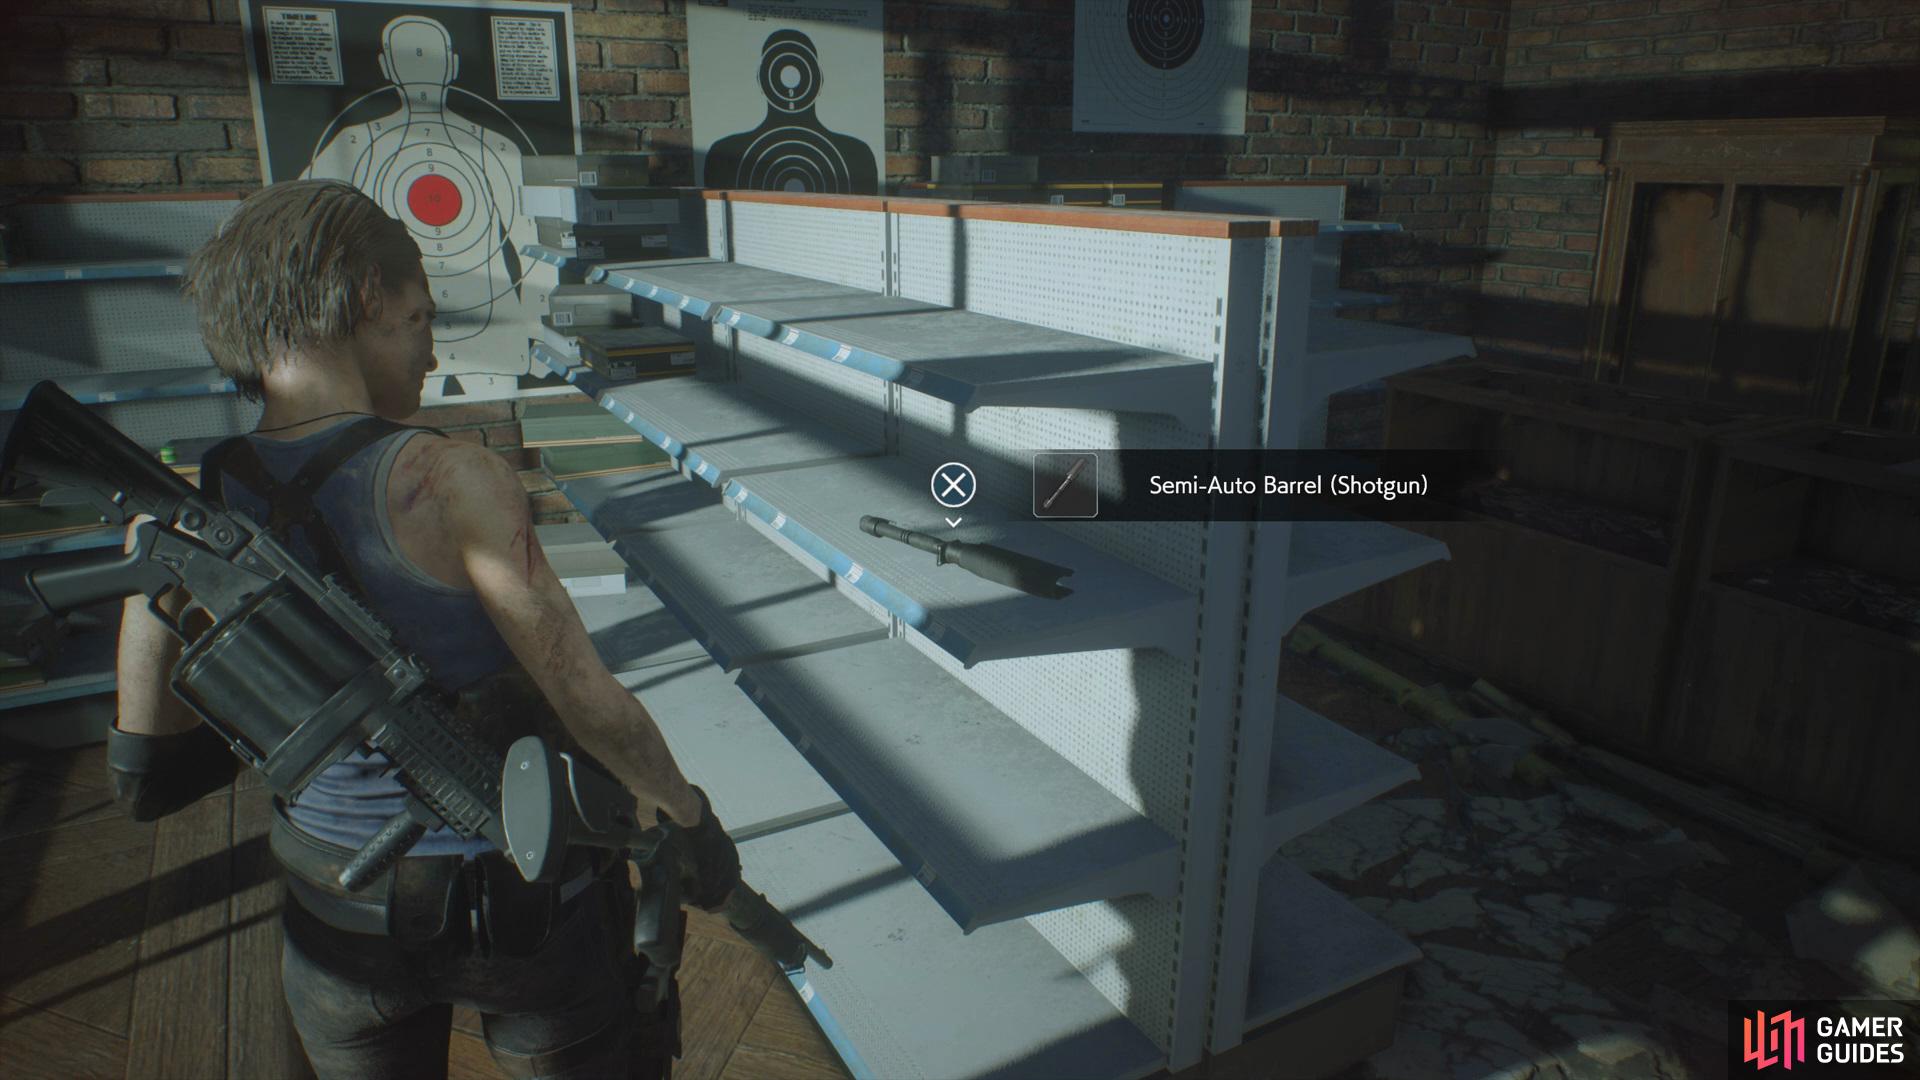
Once you’ve managed to take Nemesis down, follow the path ahead and collect some Handgun Ammo off the car before climbing up onto the Fire Engine. Drop off the ladder at the end and go down towards the Parking to find a case with High-Grade Gunpowder inside. Head back up and enter the Gun Shop Kendo to find the Semi-Auto Barrel Shotgun attachment, an Explosive A and B, a Green Herb, some Handgun Ammo and finally some Gunpowder. After you’ve gathered everything, go to the back of the room to view a cutscene.
(1 of 3) Head into to Gun Shop Kendo to find the Semi-Auto Barrel Shotgun Attachment
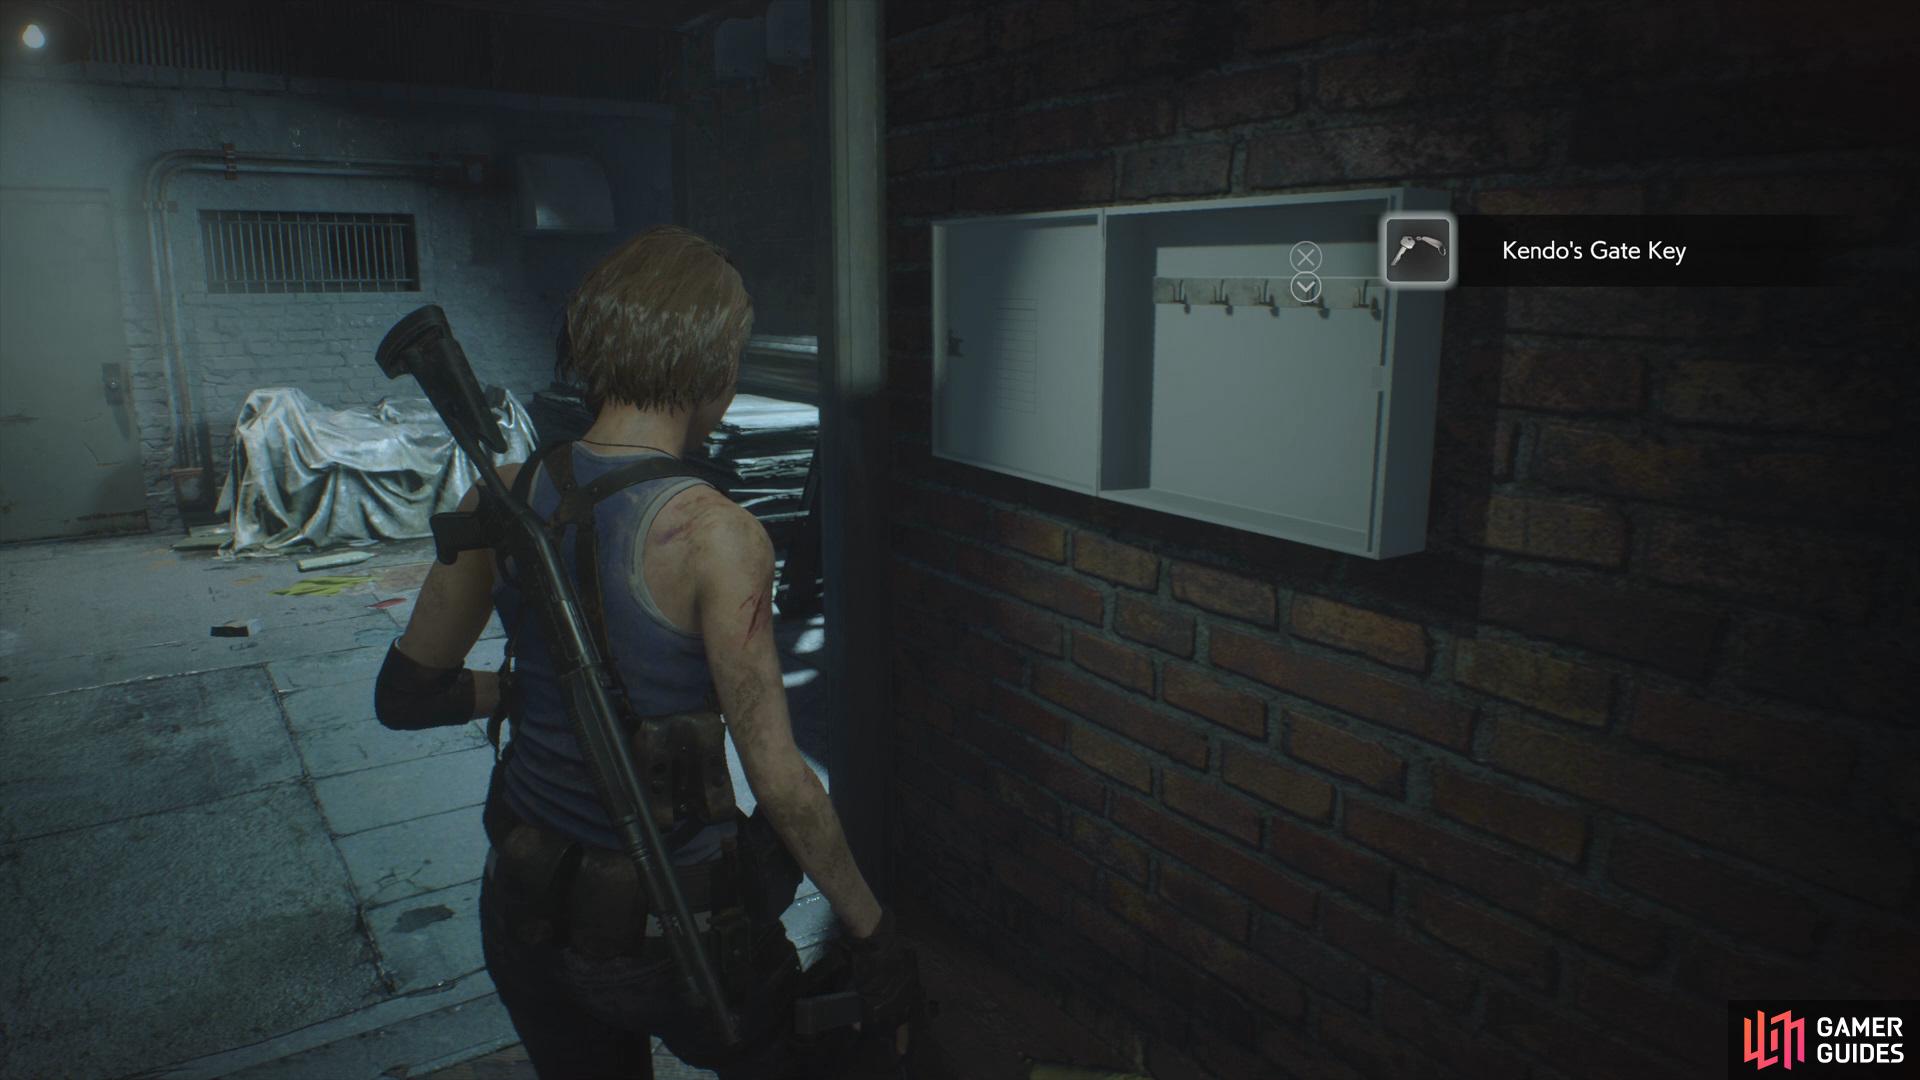
Collect Kendo’s Gate Key from the wall, then head into the alley out to the right. Collect the Red Herb off the floor, then head into the building ahead, inside you’ll find a Charlie Doll directly in front. Head up the stairs before leaving to find some Explosive Rounds in a case along with the Raccoon Times Reader’s Column File on the bed.
As soon as you go outside you’ll have the Nemesis on your tail again, like before all you can do is keep running forwards whilst dodging his attacks. Once you’ve viewed two short scenes, open up the crate ahead to acquire a First Aid Spray. Use the scaffold to reach the center of town and then keep following the path forward, eventually you’ll have a giant head rolling towards you, here you’ll need to run back towards the stairs and wait for it to pass.
Finally, head back towards the station and follow Carlos to the train.






 Sign up

No Comments