This is a guide for the second area in The Outskirts in The Last of Us: Part 1. It’ll navigate you through the necessary steps to getting through The Goldstone Building and finding all collectibles along the way.
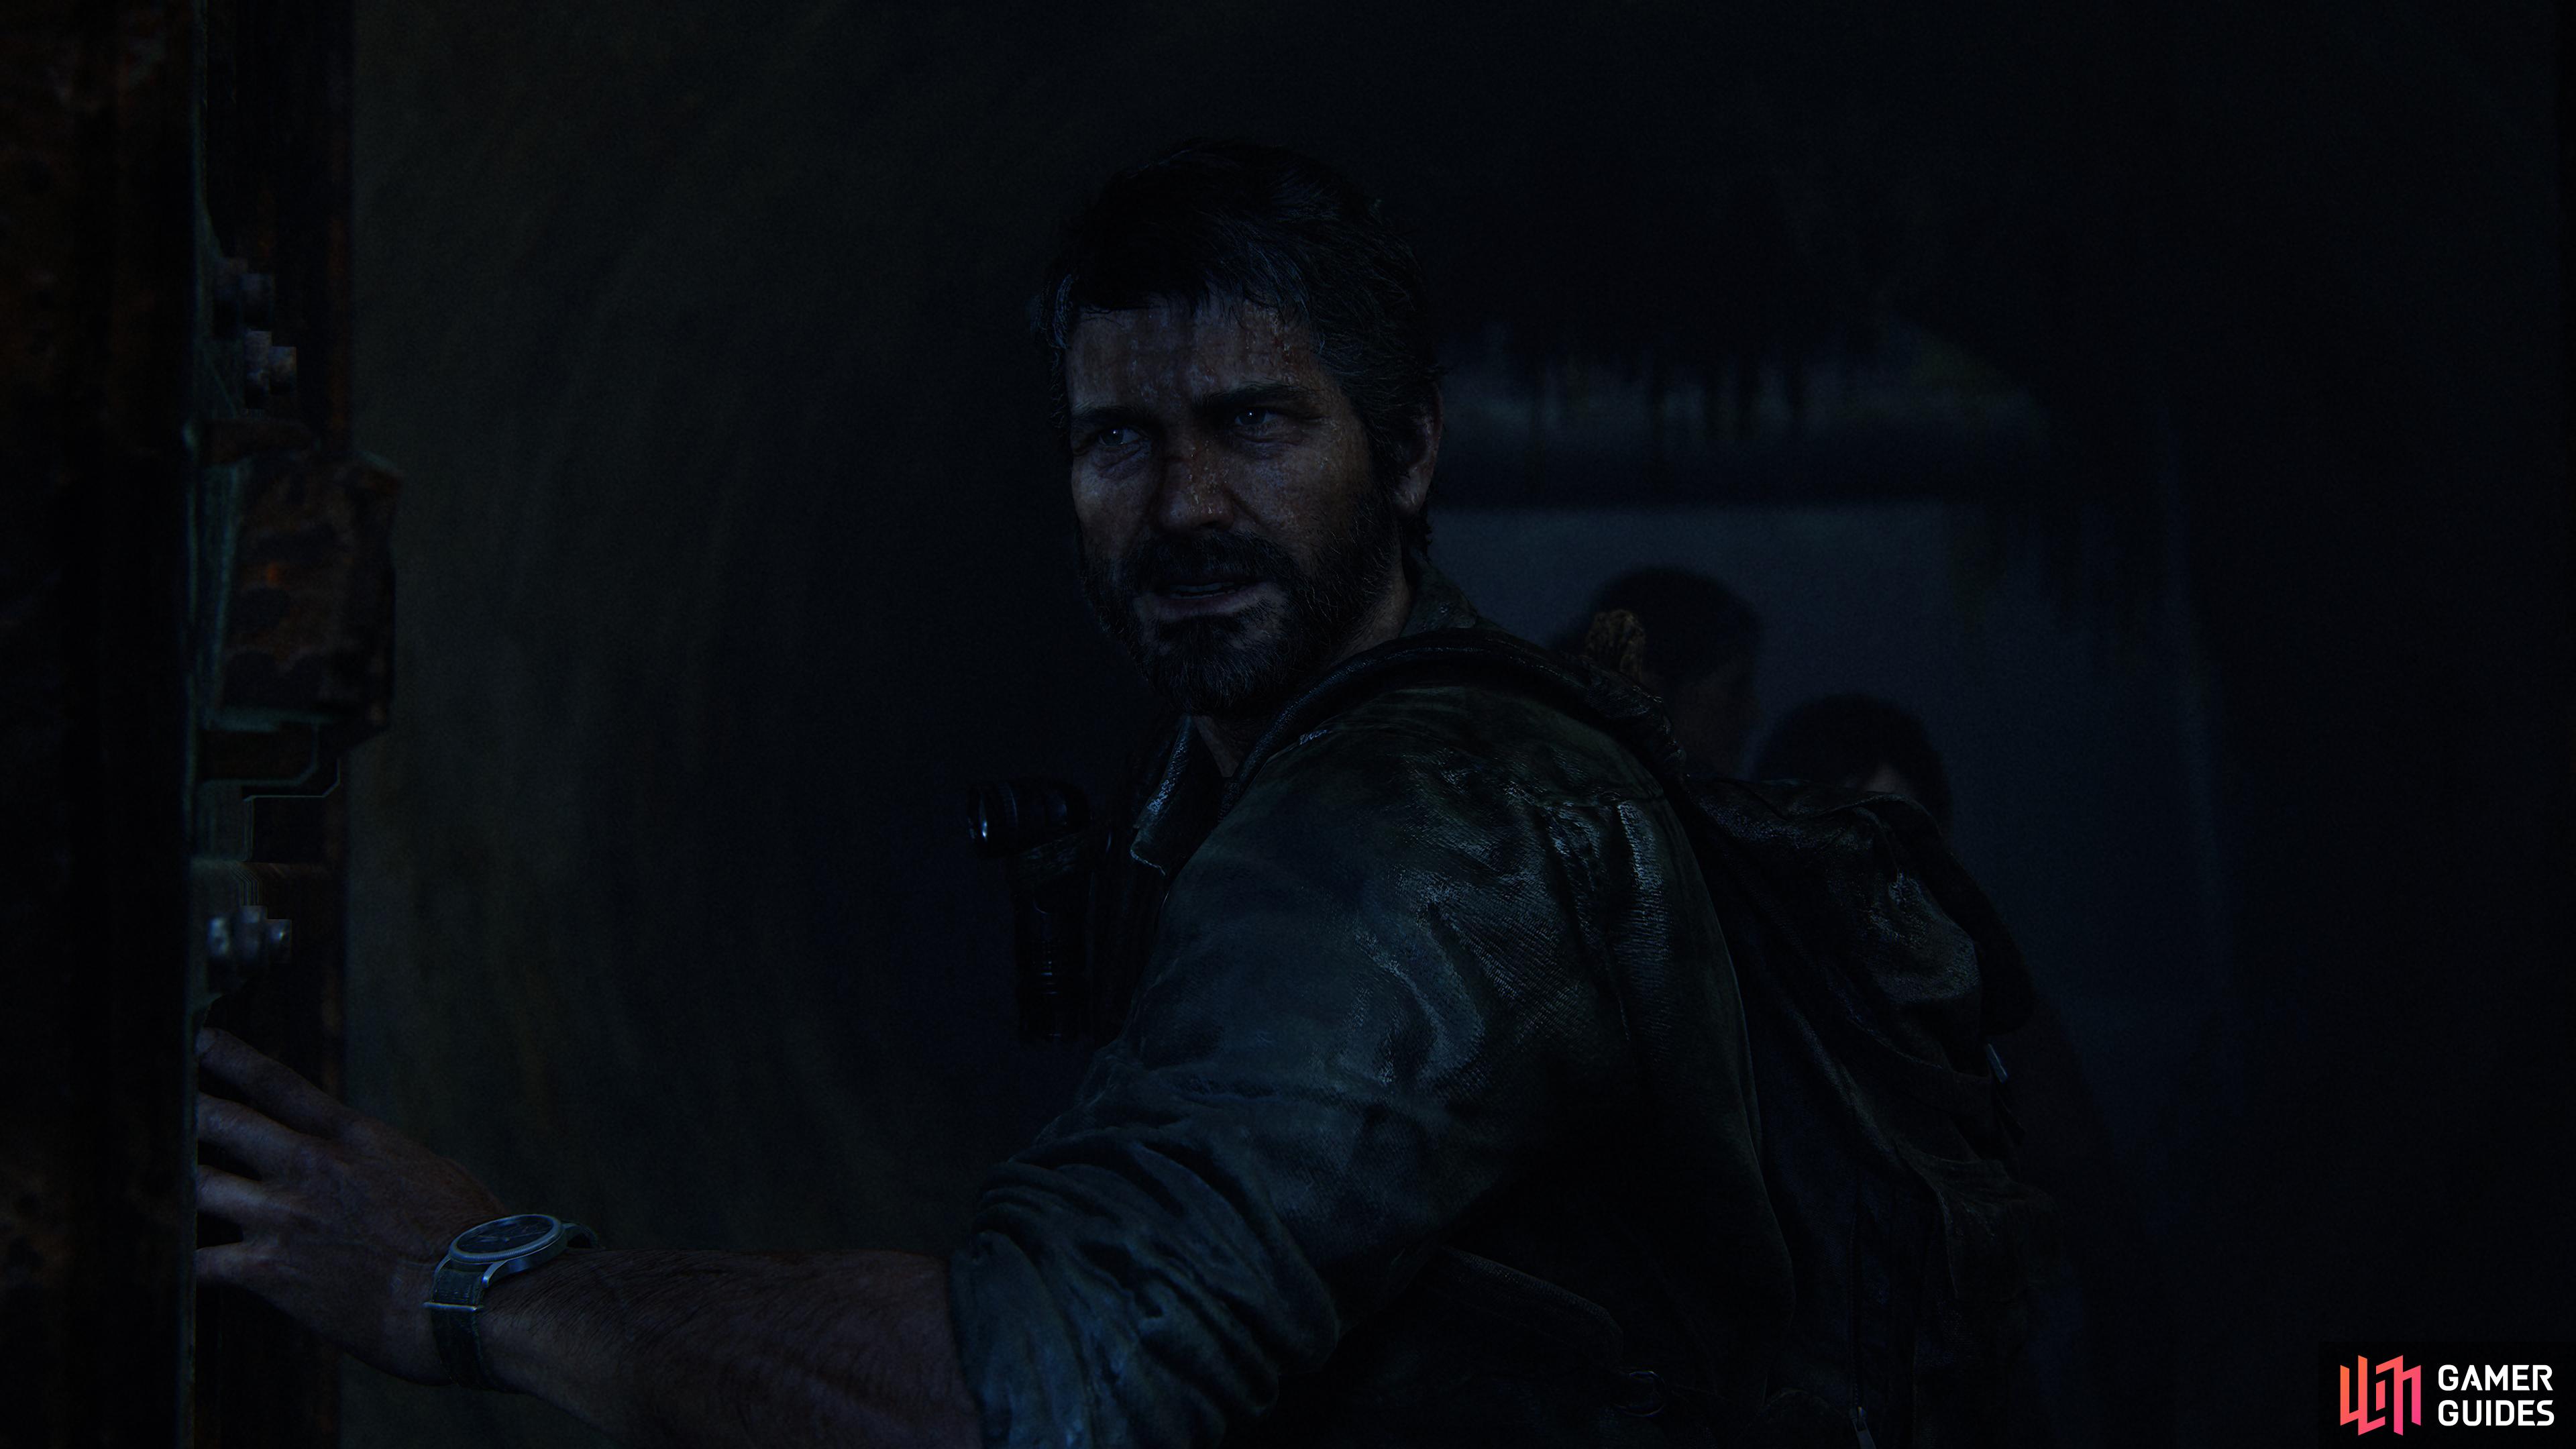
Joel enters The Goldstone Building.
All Downtown Collectibles
| Trophy Collectables | Weapons and Ammo | Healing Items | Crafting/Upgrade Items |
|---|---|---|---|
| Firefly Pendant x1 | Wooden Stick x 4 | Health Bar x8 | Supplements x30 |
| Evacuation Leaflet | Revolver | Health Kit | Blades x30 |
| Field Ops Log | Shiv | Health Can x 3 | Binding x14 |
| Firefly Map | Lead Pipe | – | Rag x3 |
| Note to Derek | Handgun Ammo x7 | – | Alcohol x7 |
| – | Revolver Ammo x3 | Molotov | |
| – | – | – | Parts x90 |
Where To Find The Evacuation Leaflet
Follow the path ahead and crawl underneath the bridge to find some Supplements x5 near the tree, then crawl back through to the other side and climb up. Ignore the area on the left and look to the right to find the Evacuation Leaflet on the floor. Follow Tess and head towards the hill and enter the nearby trailer to find some Parts, then make your way up the hill.
Where To Find The Joseph Lenz Firefly Pendant
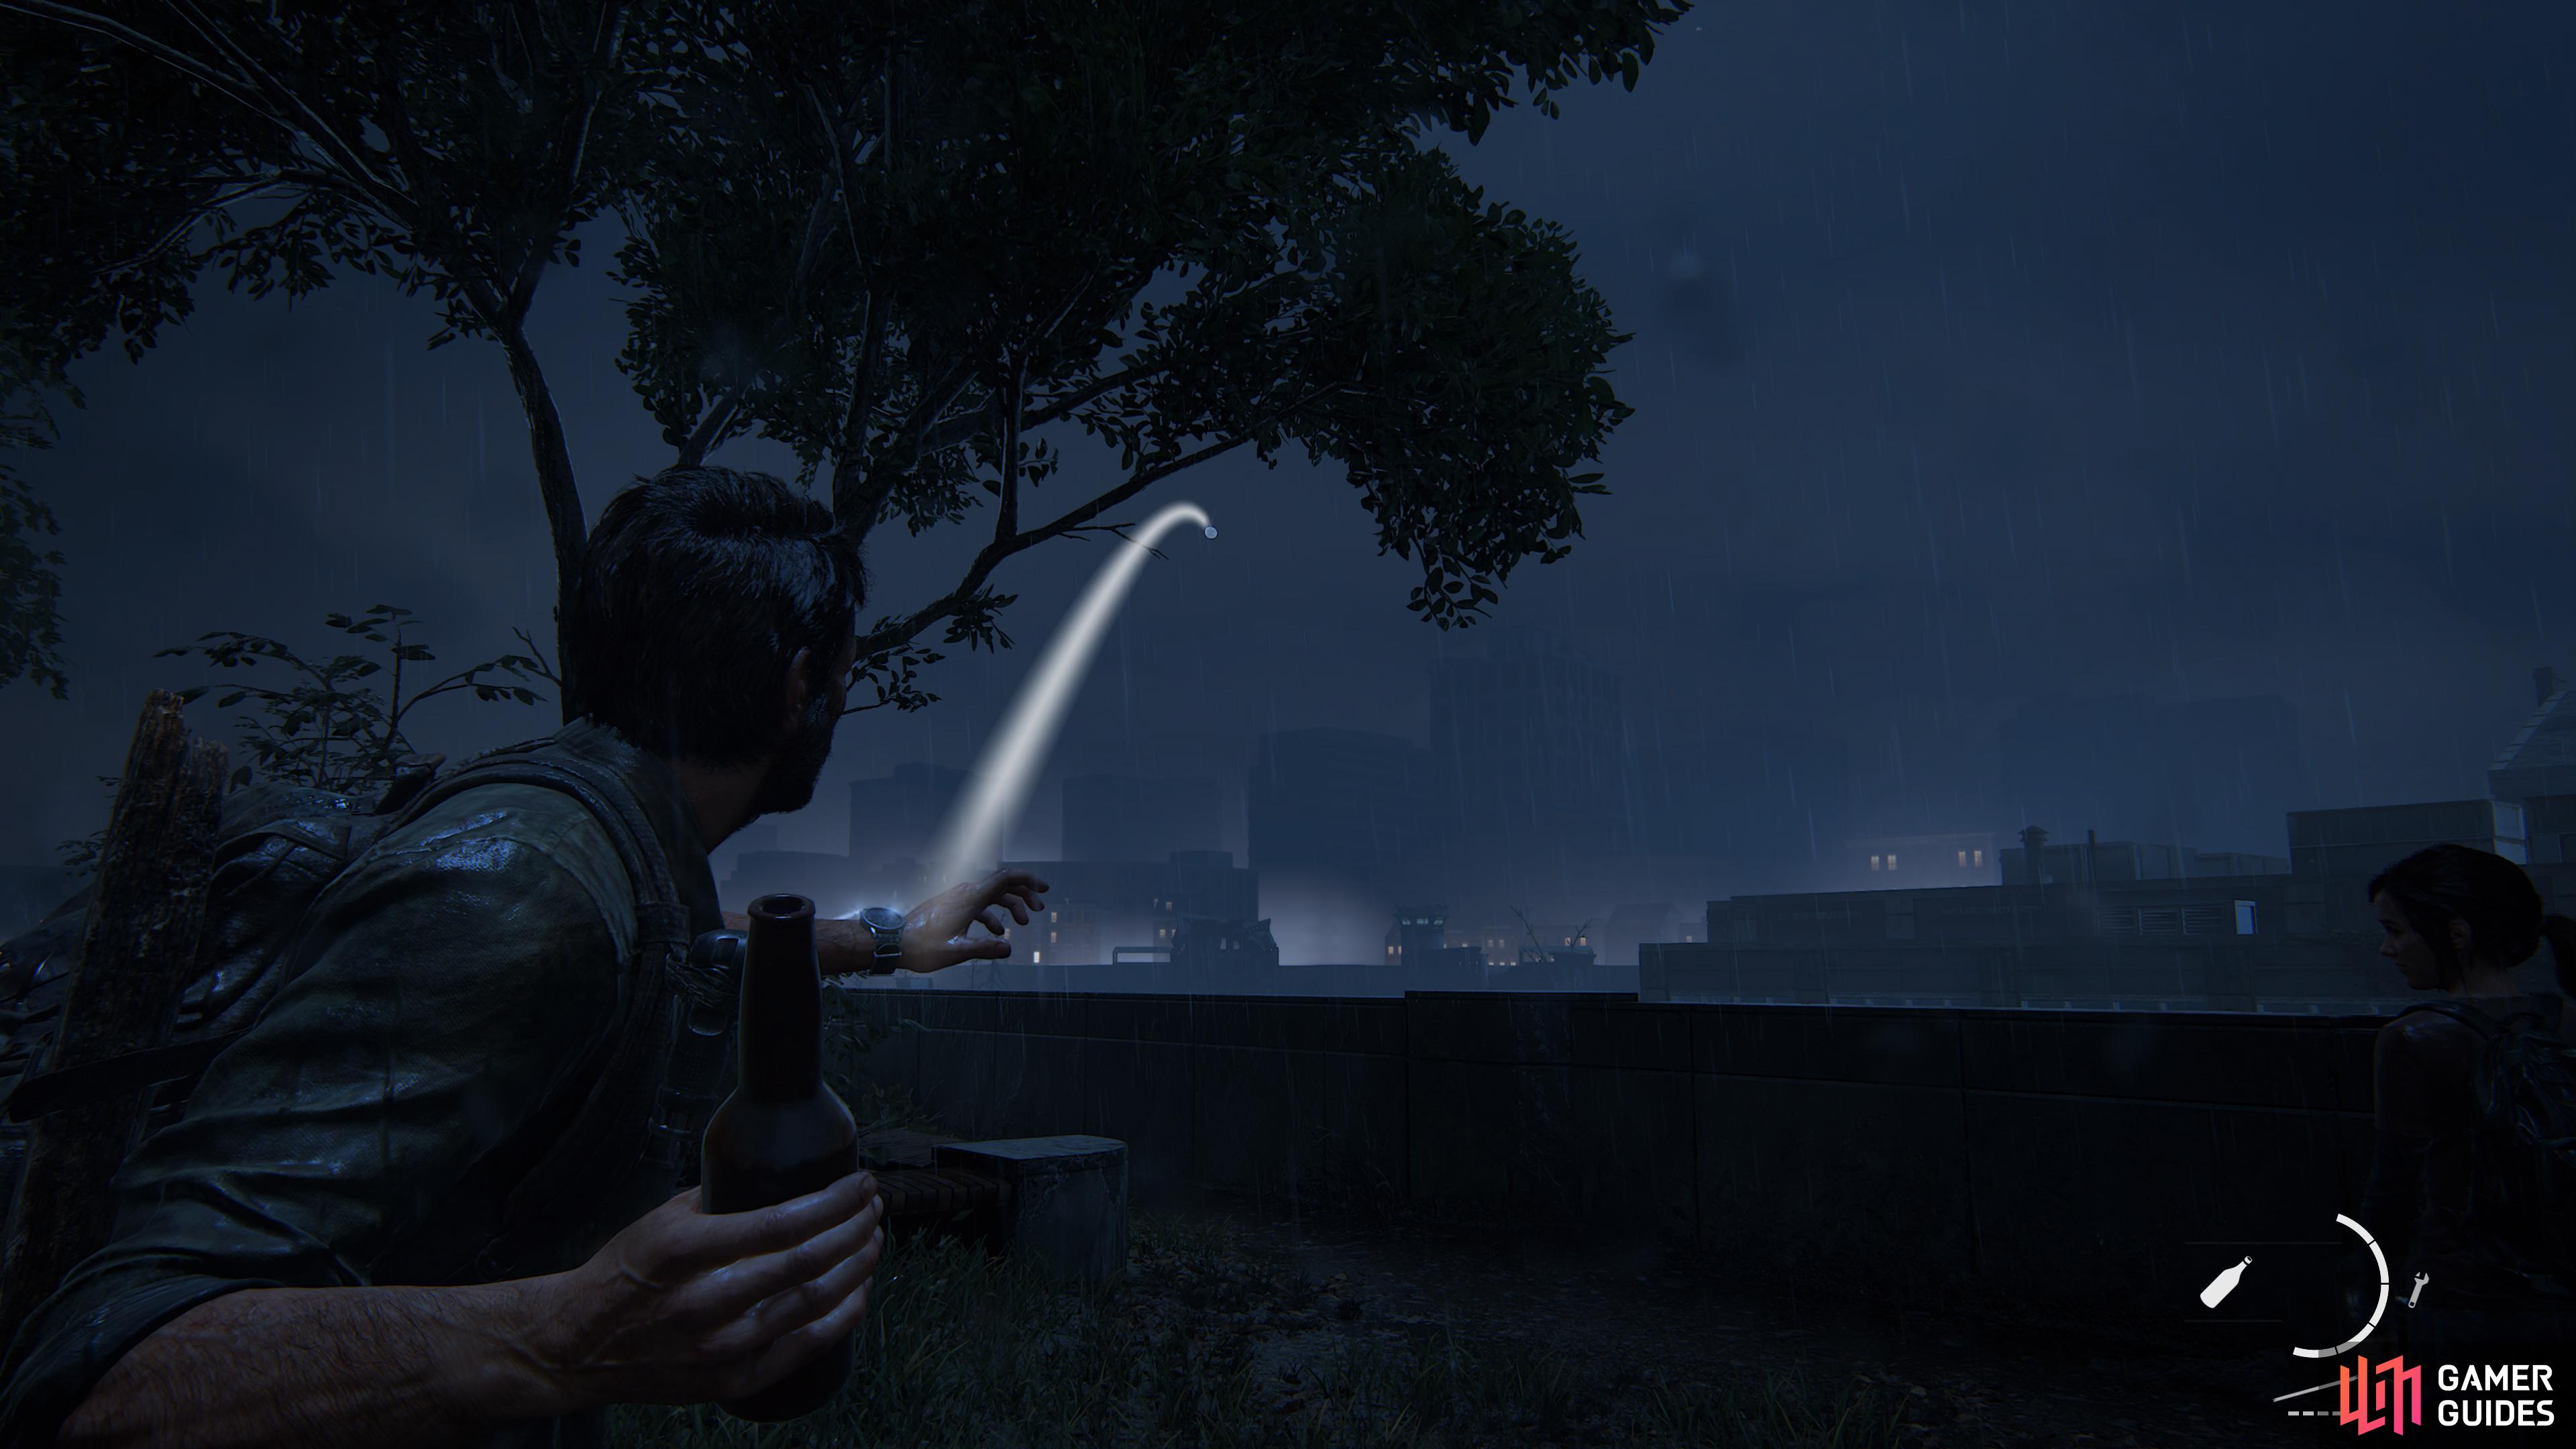
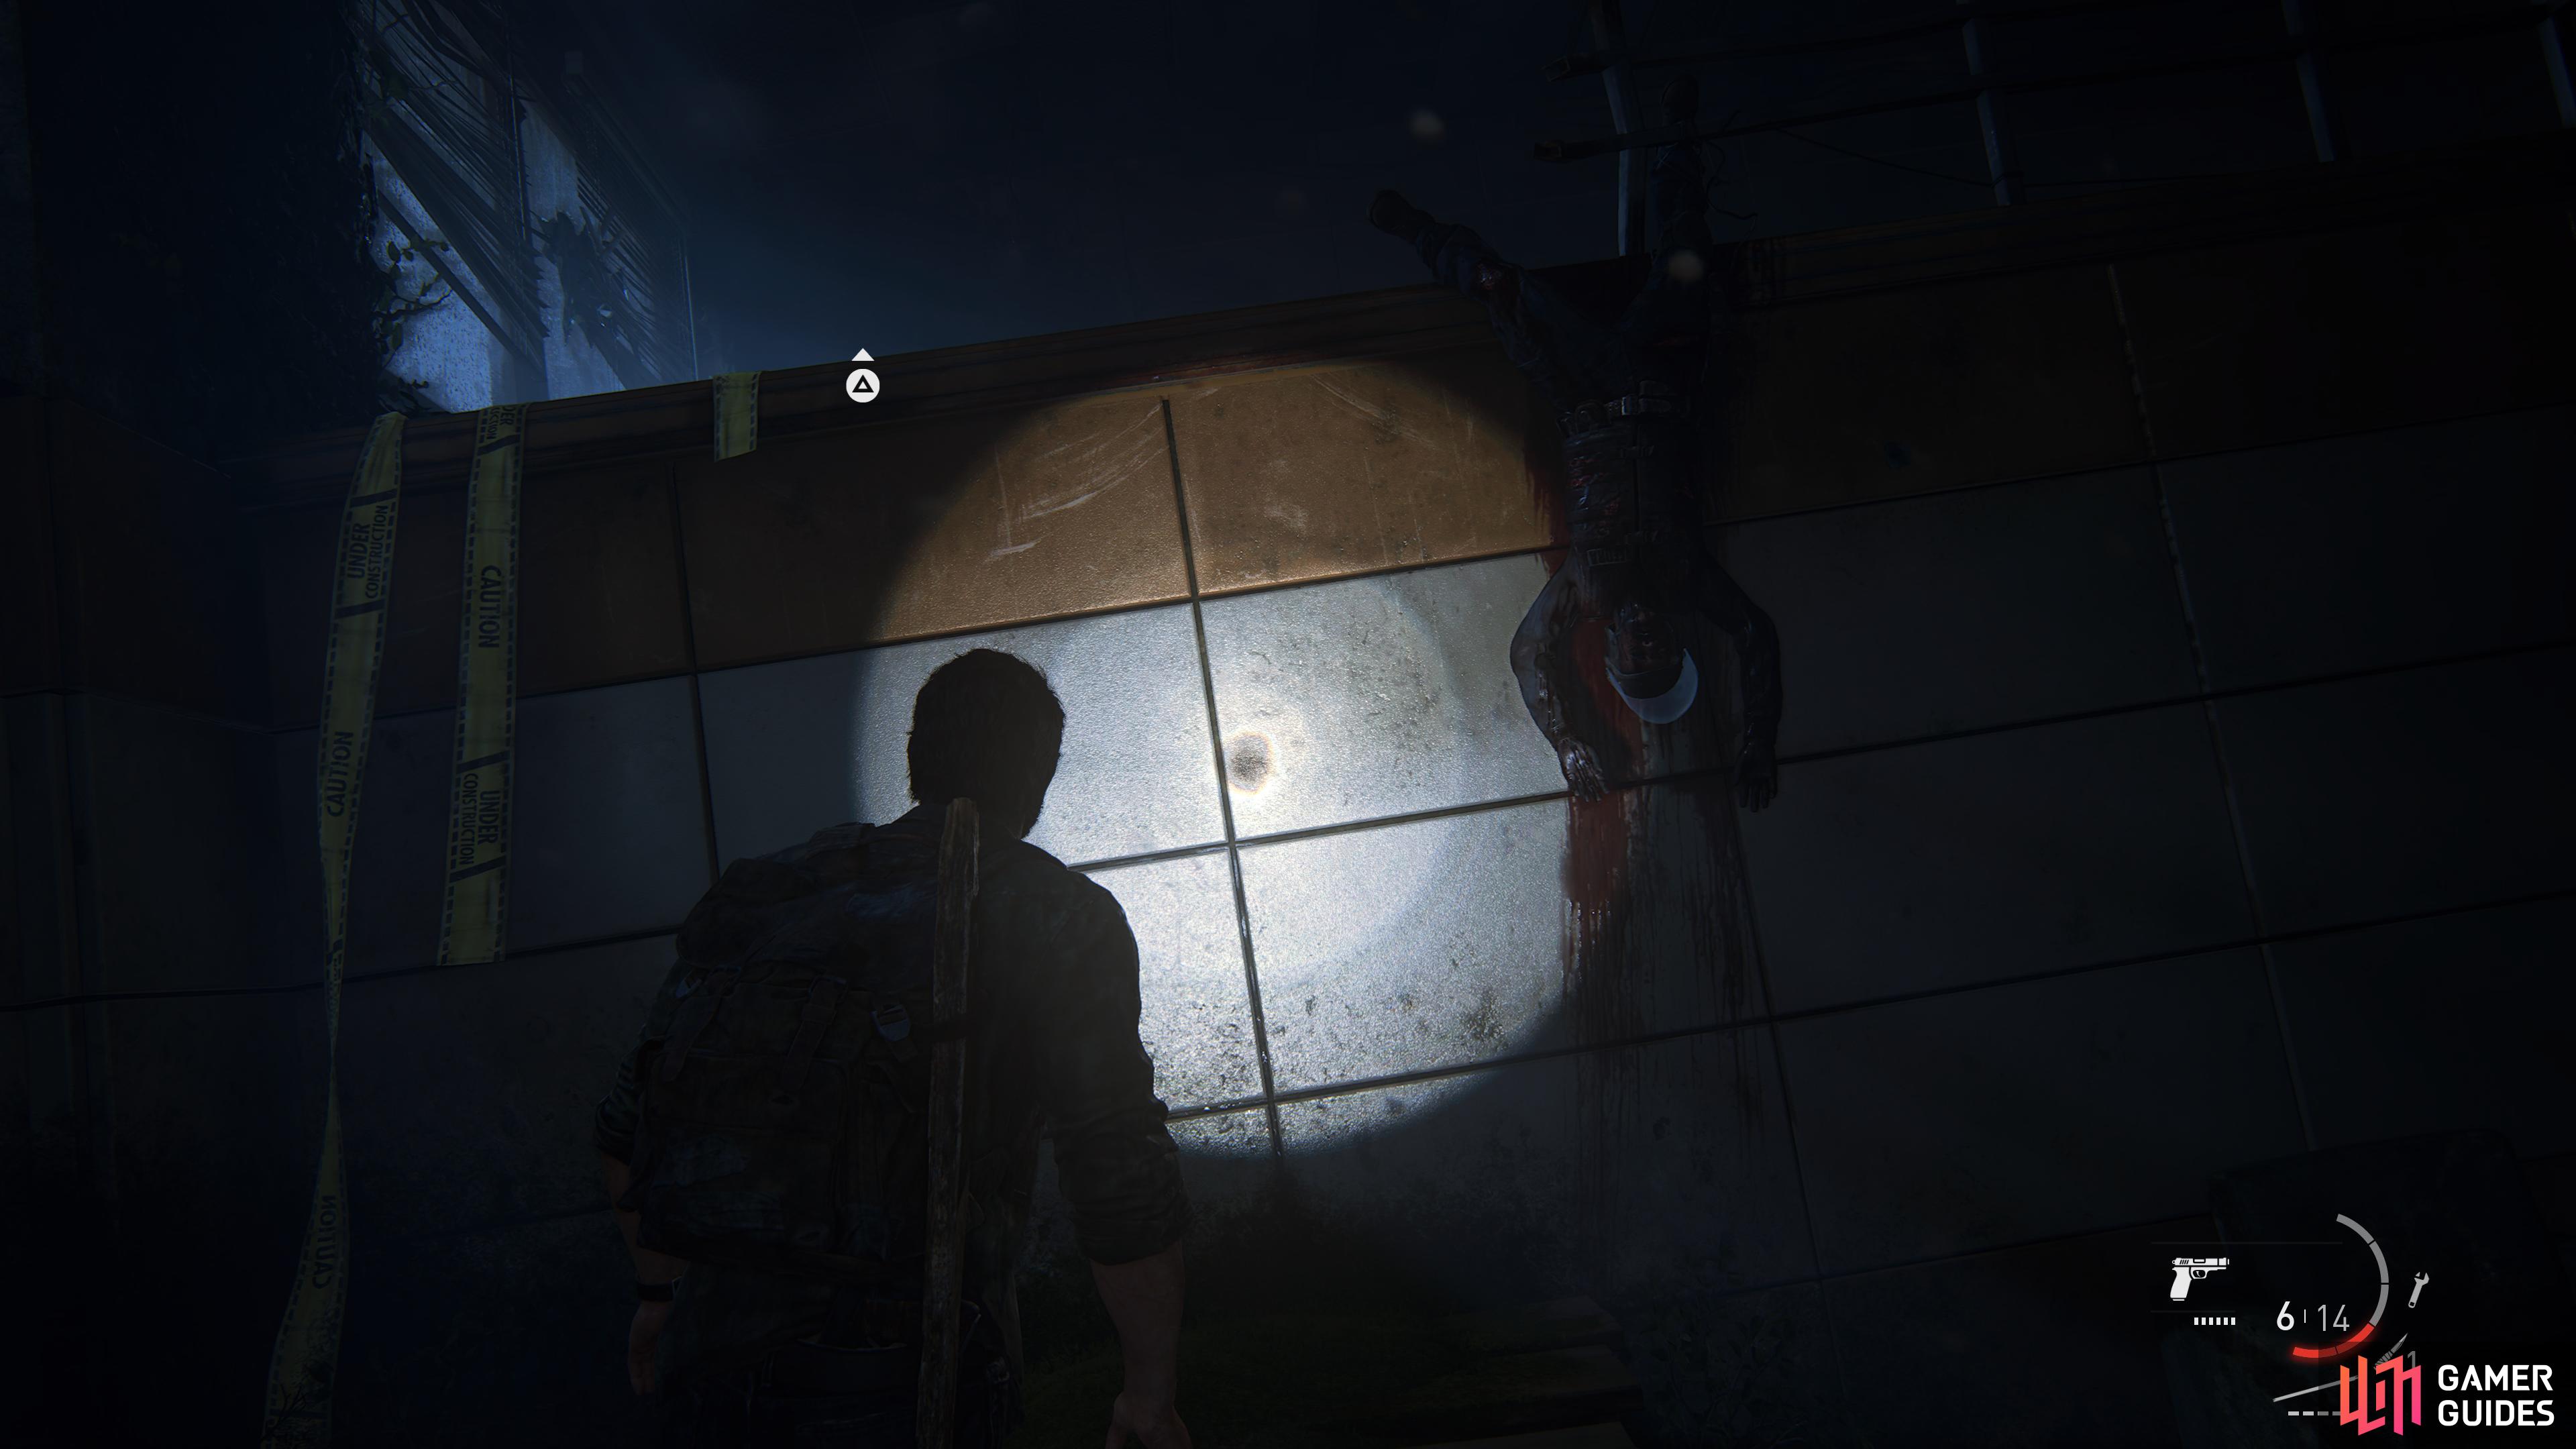
Climb through the building on the right and ignore the Goldstone building, then head over to the large tree on the right to find the Firefly Pendant - Joseph Lenz- 113 hanging from it. Shoot it or use a bottle to bring it down and collect it, then follow Tess in to the Goldstone Building.
(1 of 2) Throw a bottle at the Pendant on the tree to pick it up
Throw a bottle at the Pendant on the tree to pick it up (left), then head upstairs in The Goldstone Building to find the Field Ops Log. (right)
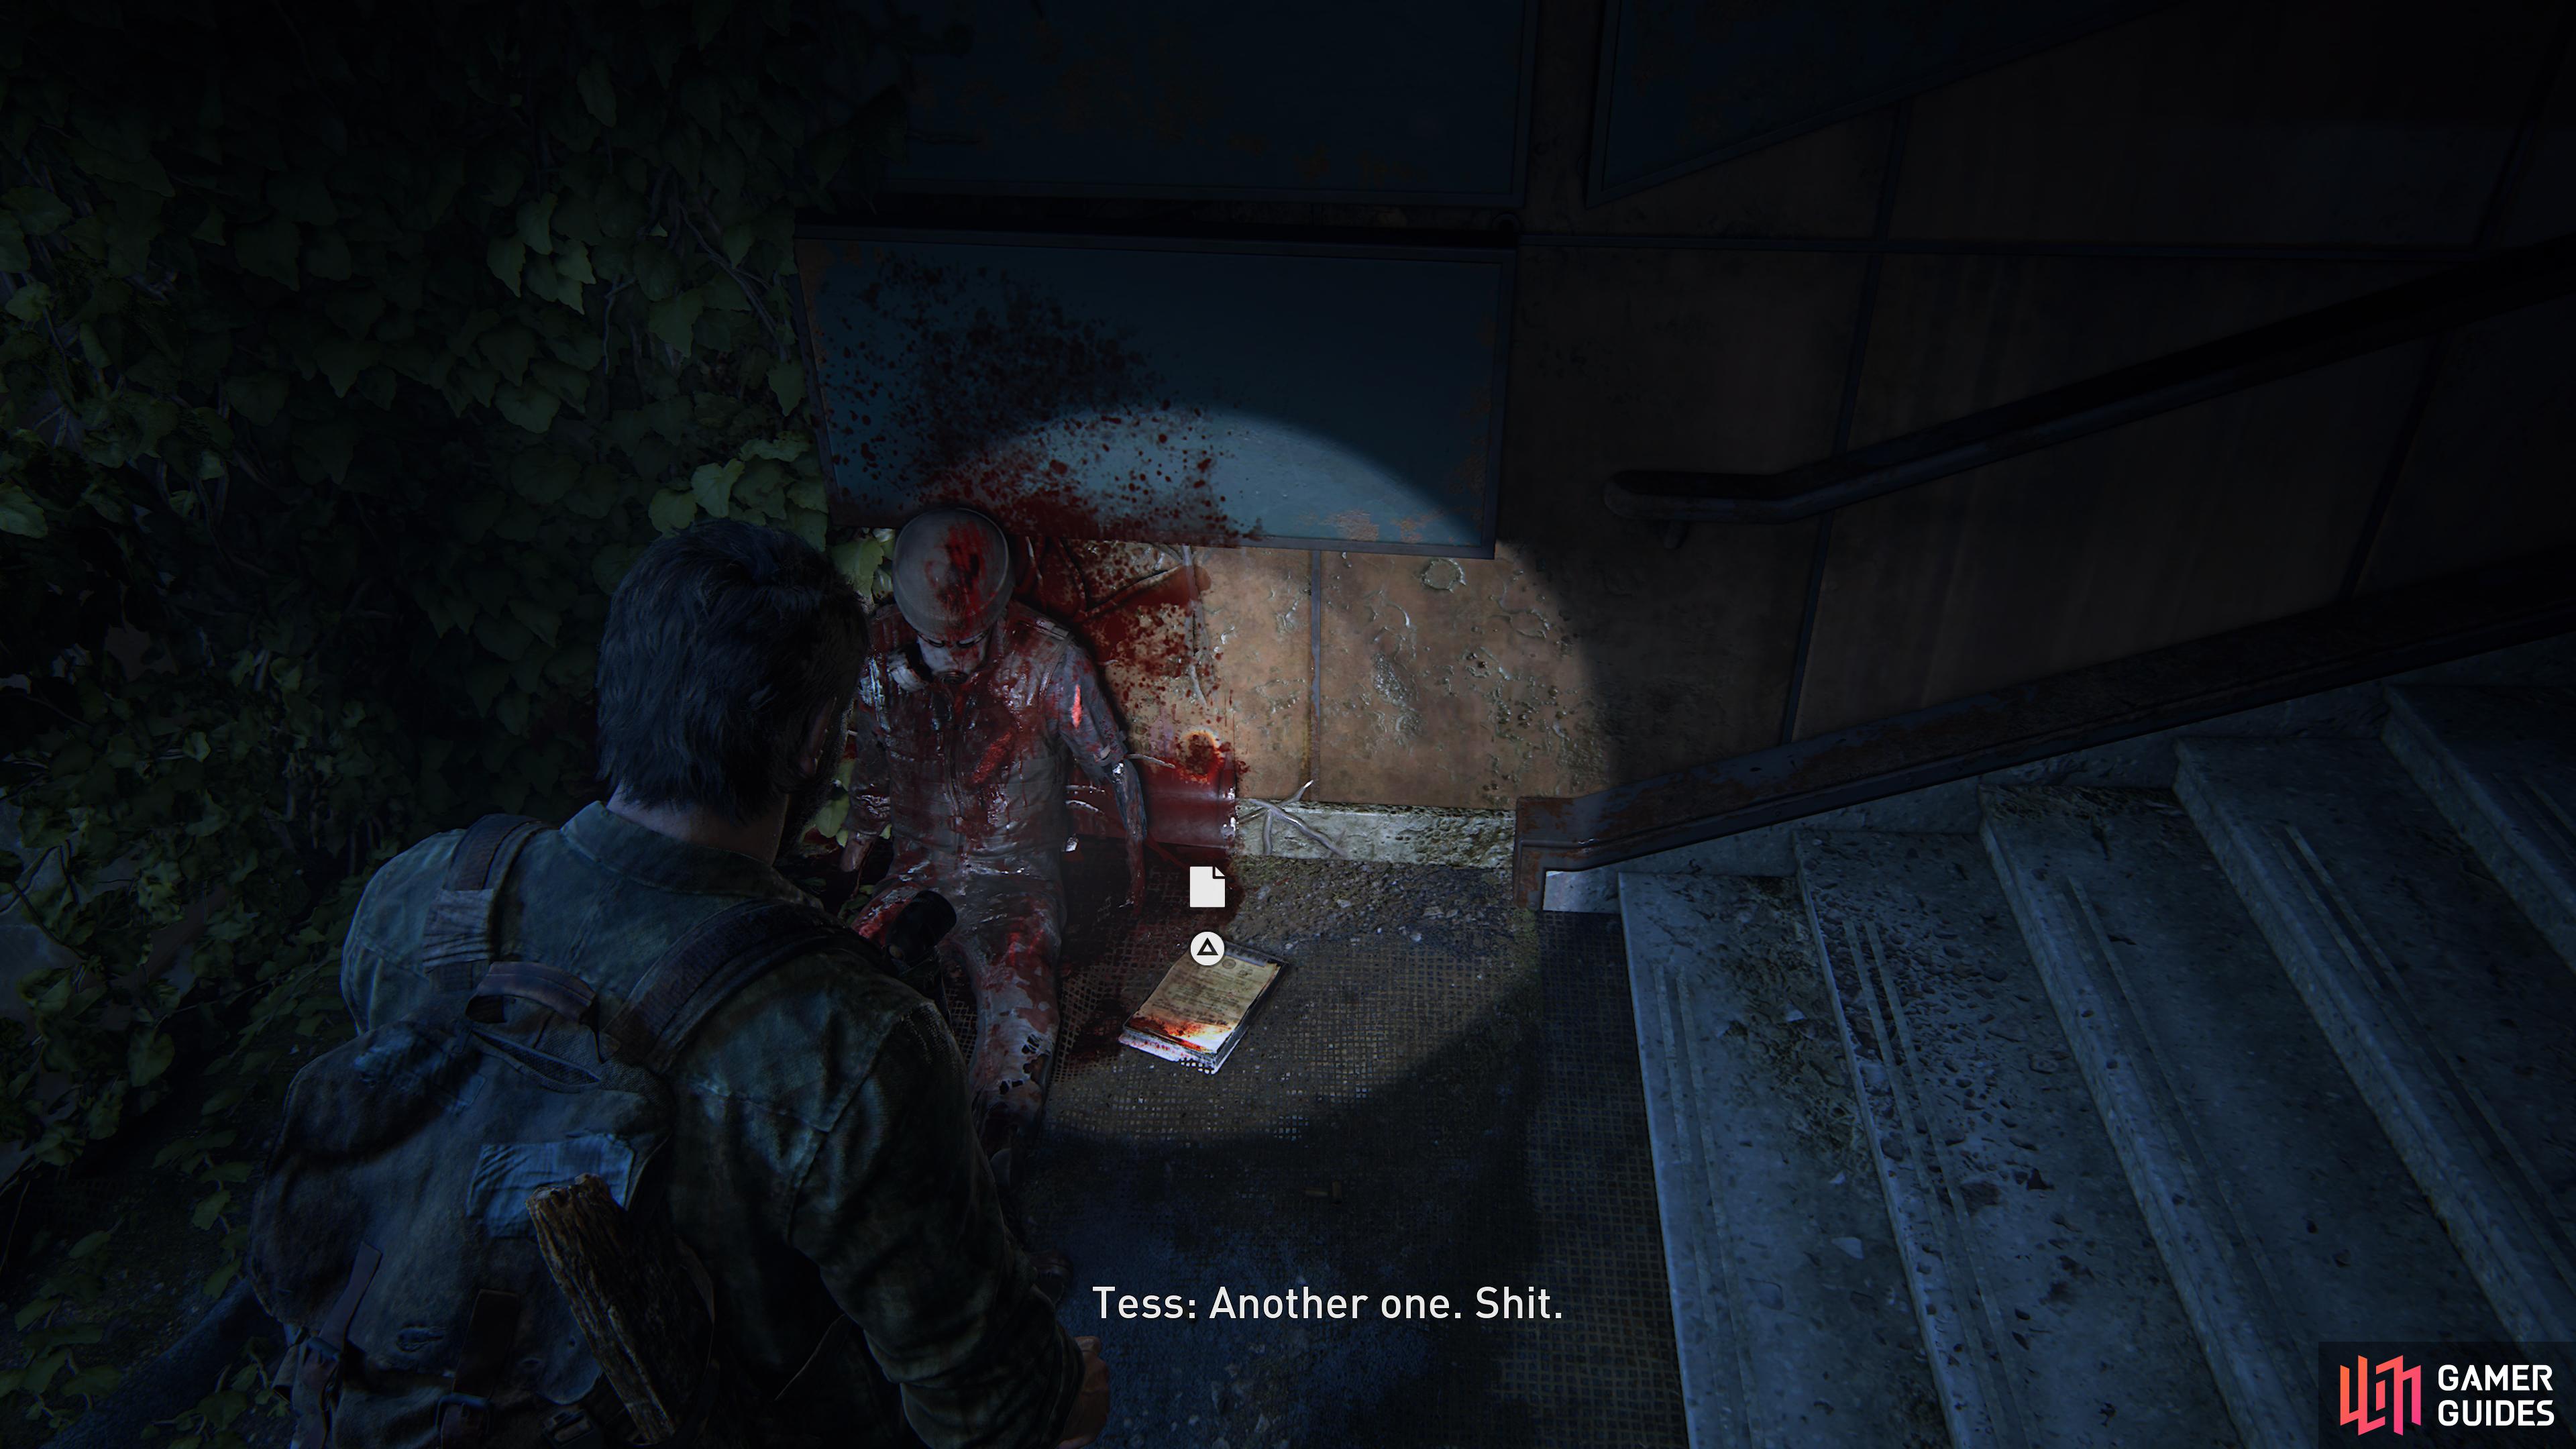
Don’t bother entering the room on the left as it has nothing inside, so proceed into the corridor and inspect the corpse before going into the room ahead. Look at the table to find some Parts x6, then head upstairs to find the Field Ops Log along with some Handgun Ammo x2 near the corpse.
How To Get Through The Goldstone Building
Continue all the way up the stairs until the path is blocked and collect Blades x2 and Binding x1, then head through the Level 5 door and remove the Clicker. Inspect the nearby drawer to find a Blade x1 and collect Supplements x5 before crawling through the blocked doorway.
Inside the next room you’ll want to inspect the desks for Blades x1 and Binding x1, then work with Tess to break open the door. Here a quick scene will playout where you get attacked by a Clicker so continuesly press Sqaure 
(1 of 2) Open the locked door with a Shiv to collect lots of resources
Open the locked door with a Shiv to collect lots of resources (left), then boost Tess up to progress through the building. (right)
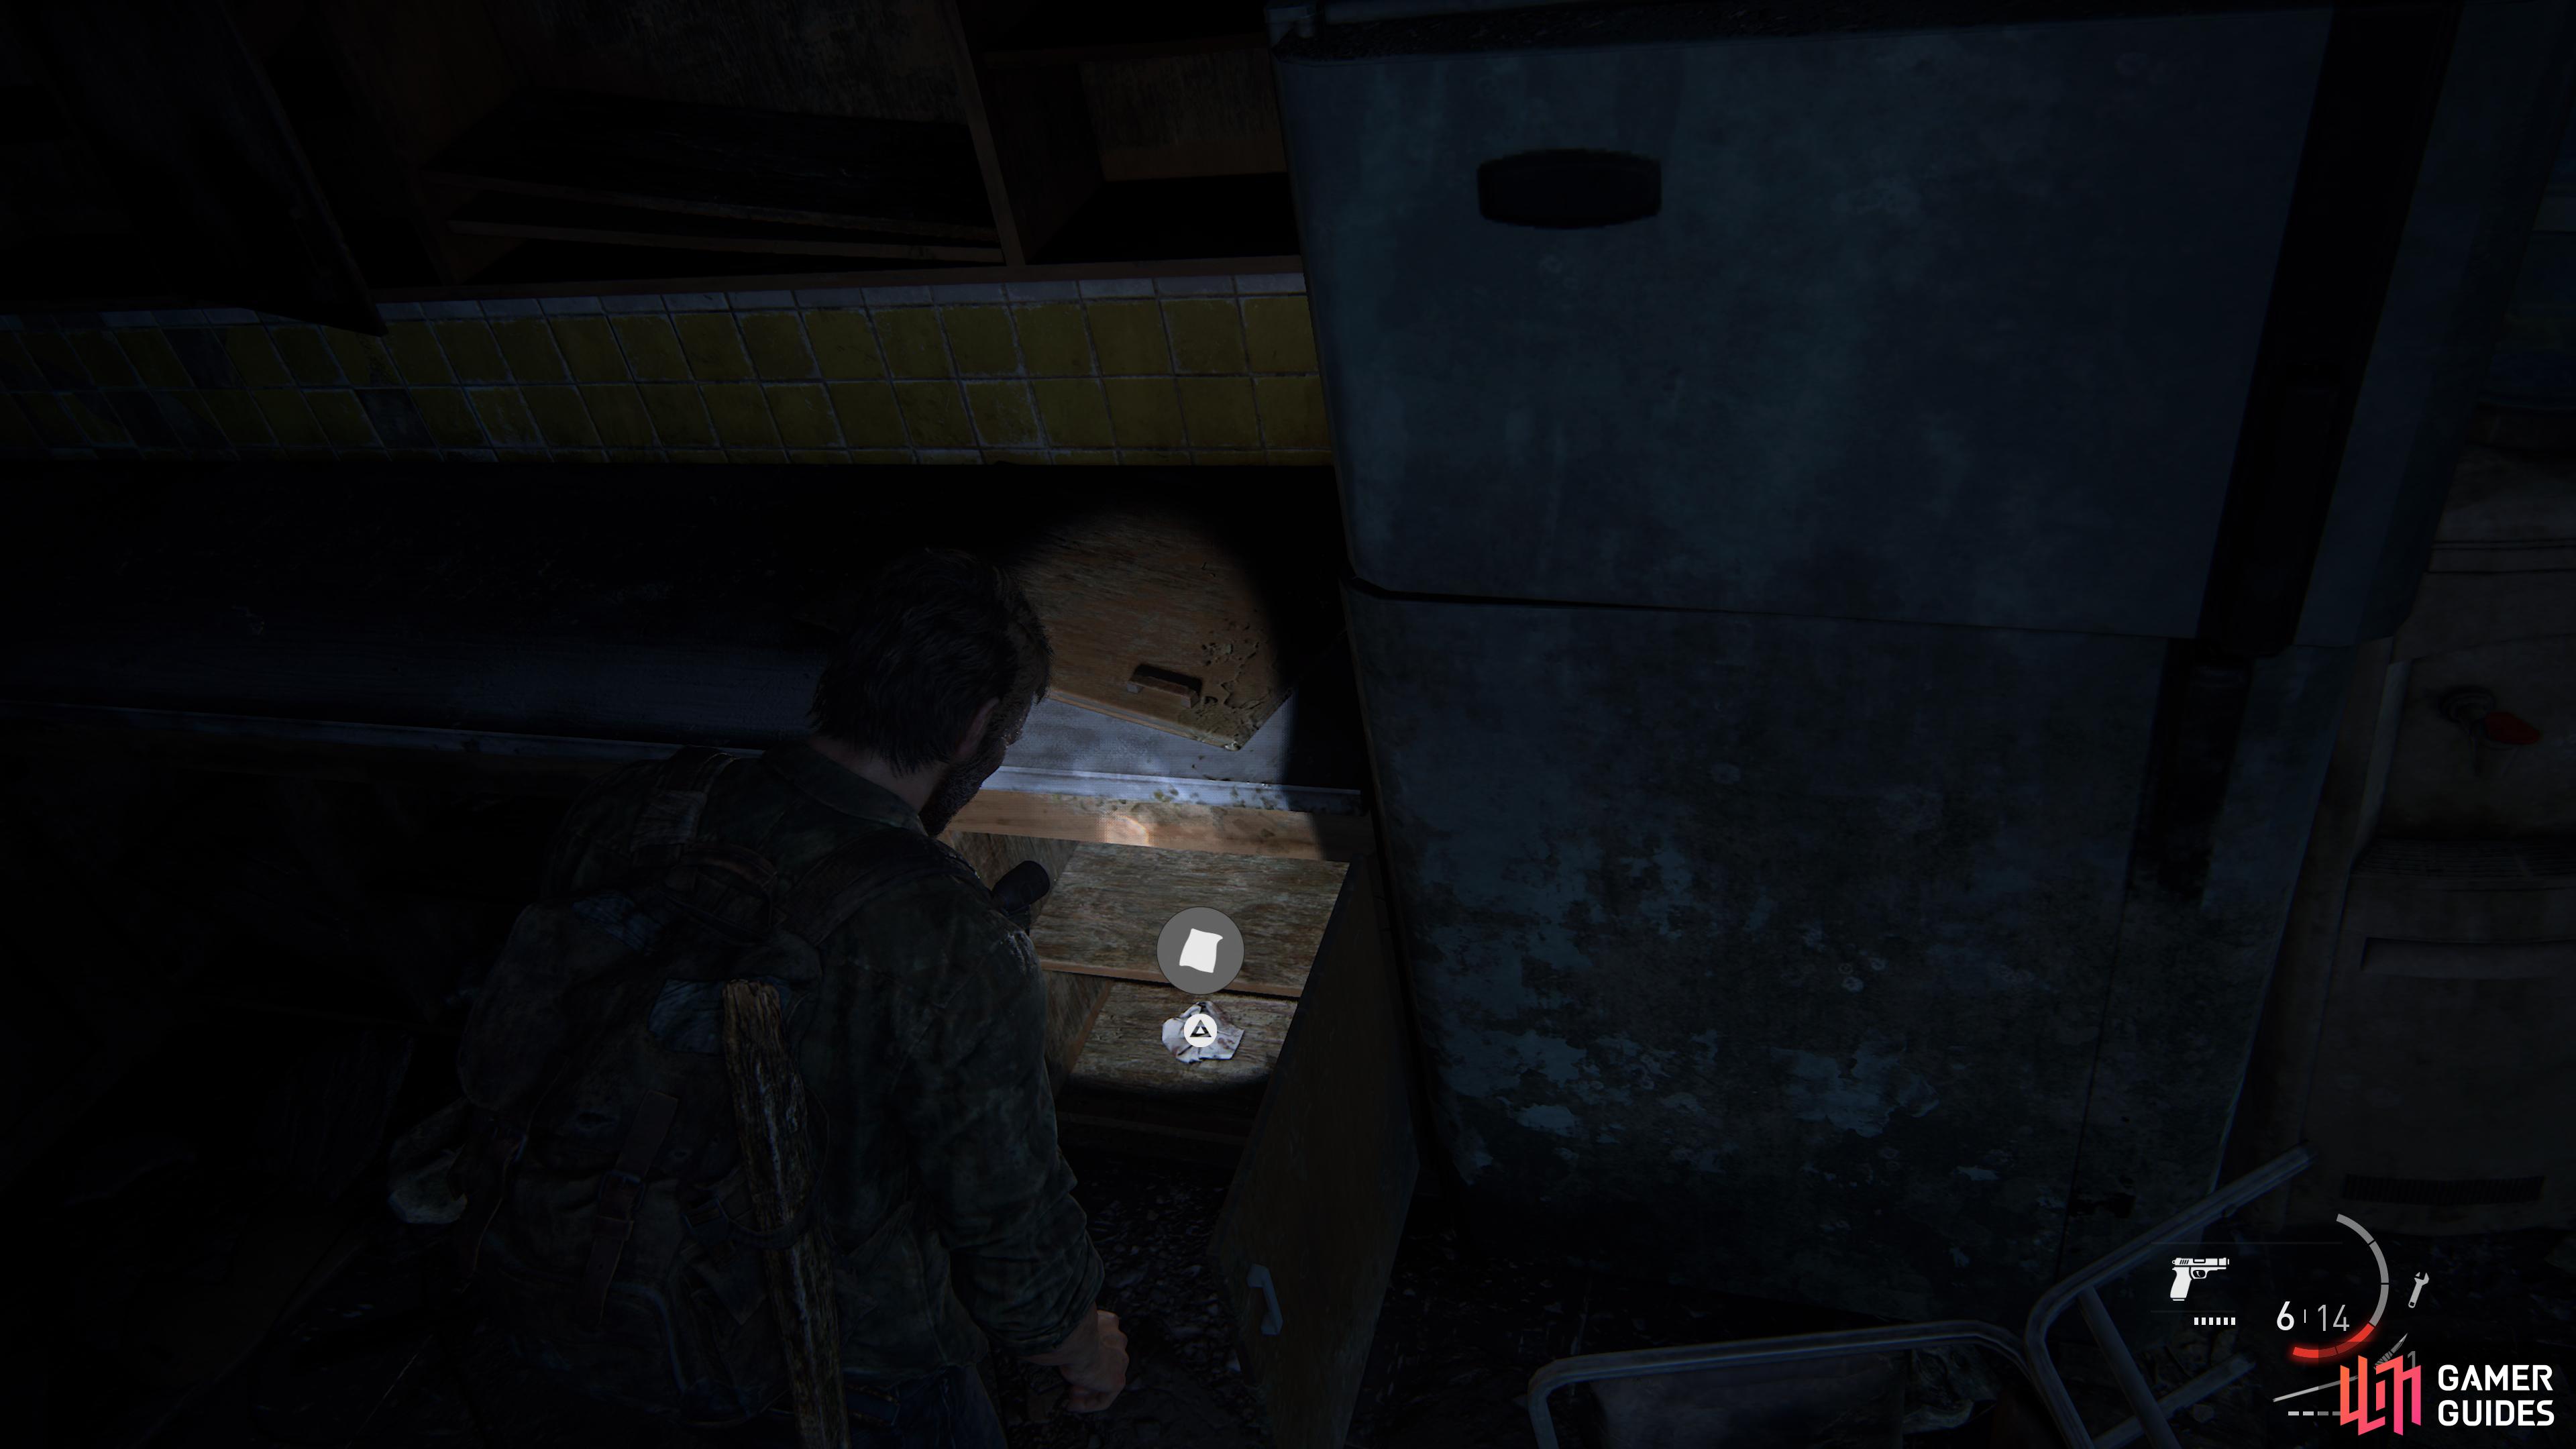
You cannot die during this scene so don’t panic about pressing the button too much. Once the Clicker has been dealt with search the nearby room for a Rag and some Alcohol. These can be used to craft Health Kits. However, you’ll only want to use them when your health is below half. Head through the doorway and use a Shiv to open the locked door to find some Binding x1, Blades x2, Handgun Ammo x5 and Supplements x25, then go back out into the corridor and enter the room on the left to boost Tess up.
How To Take Down Clickers
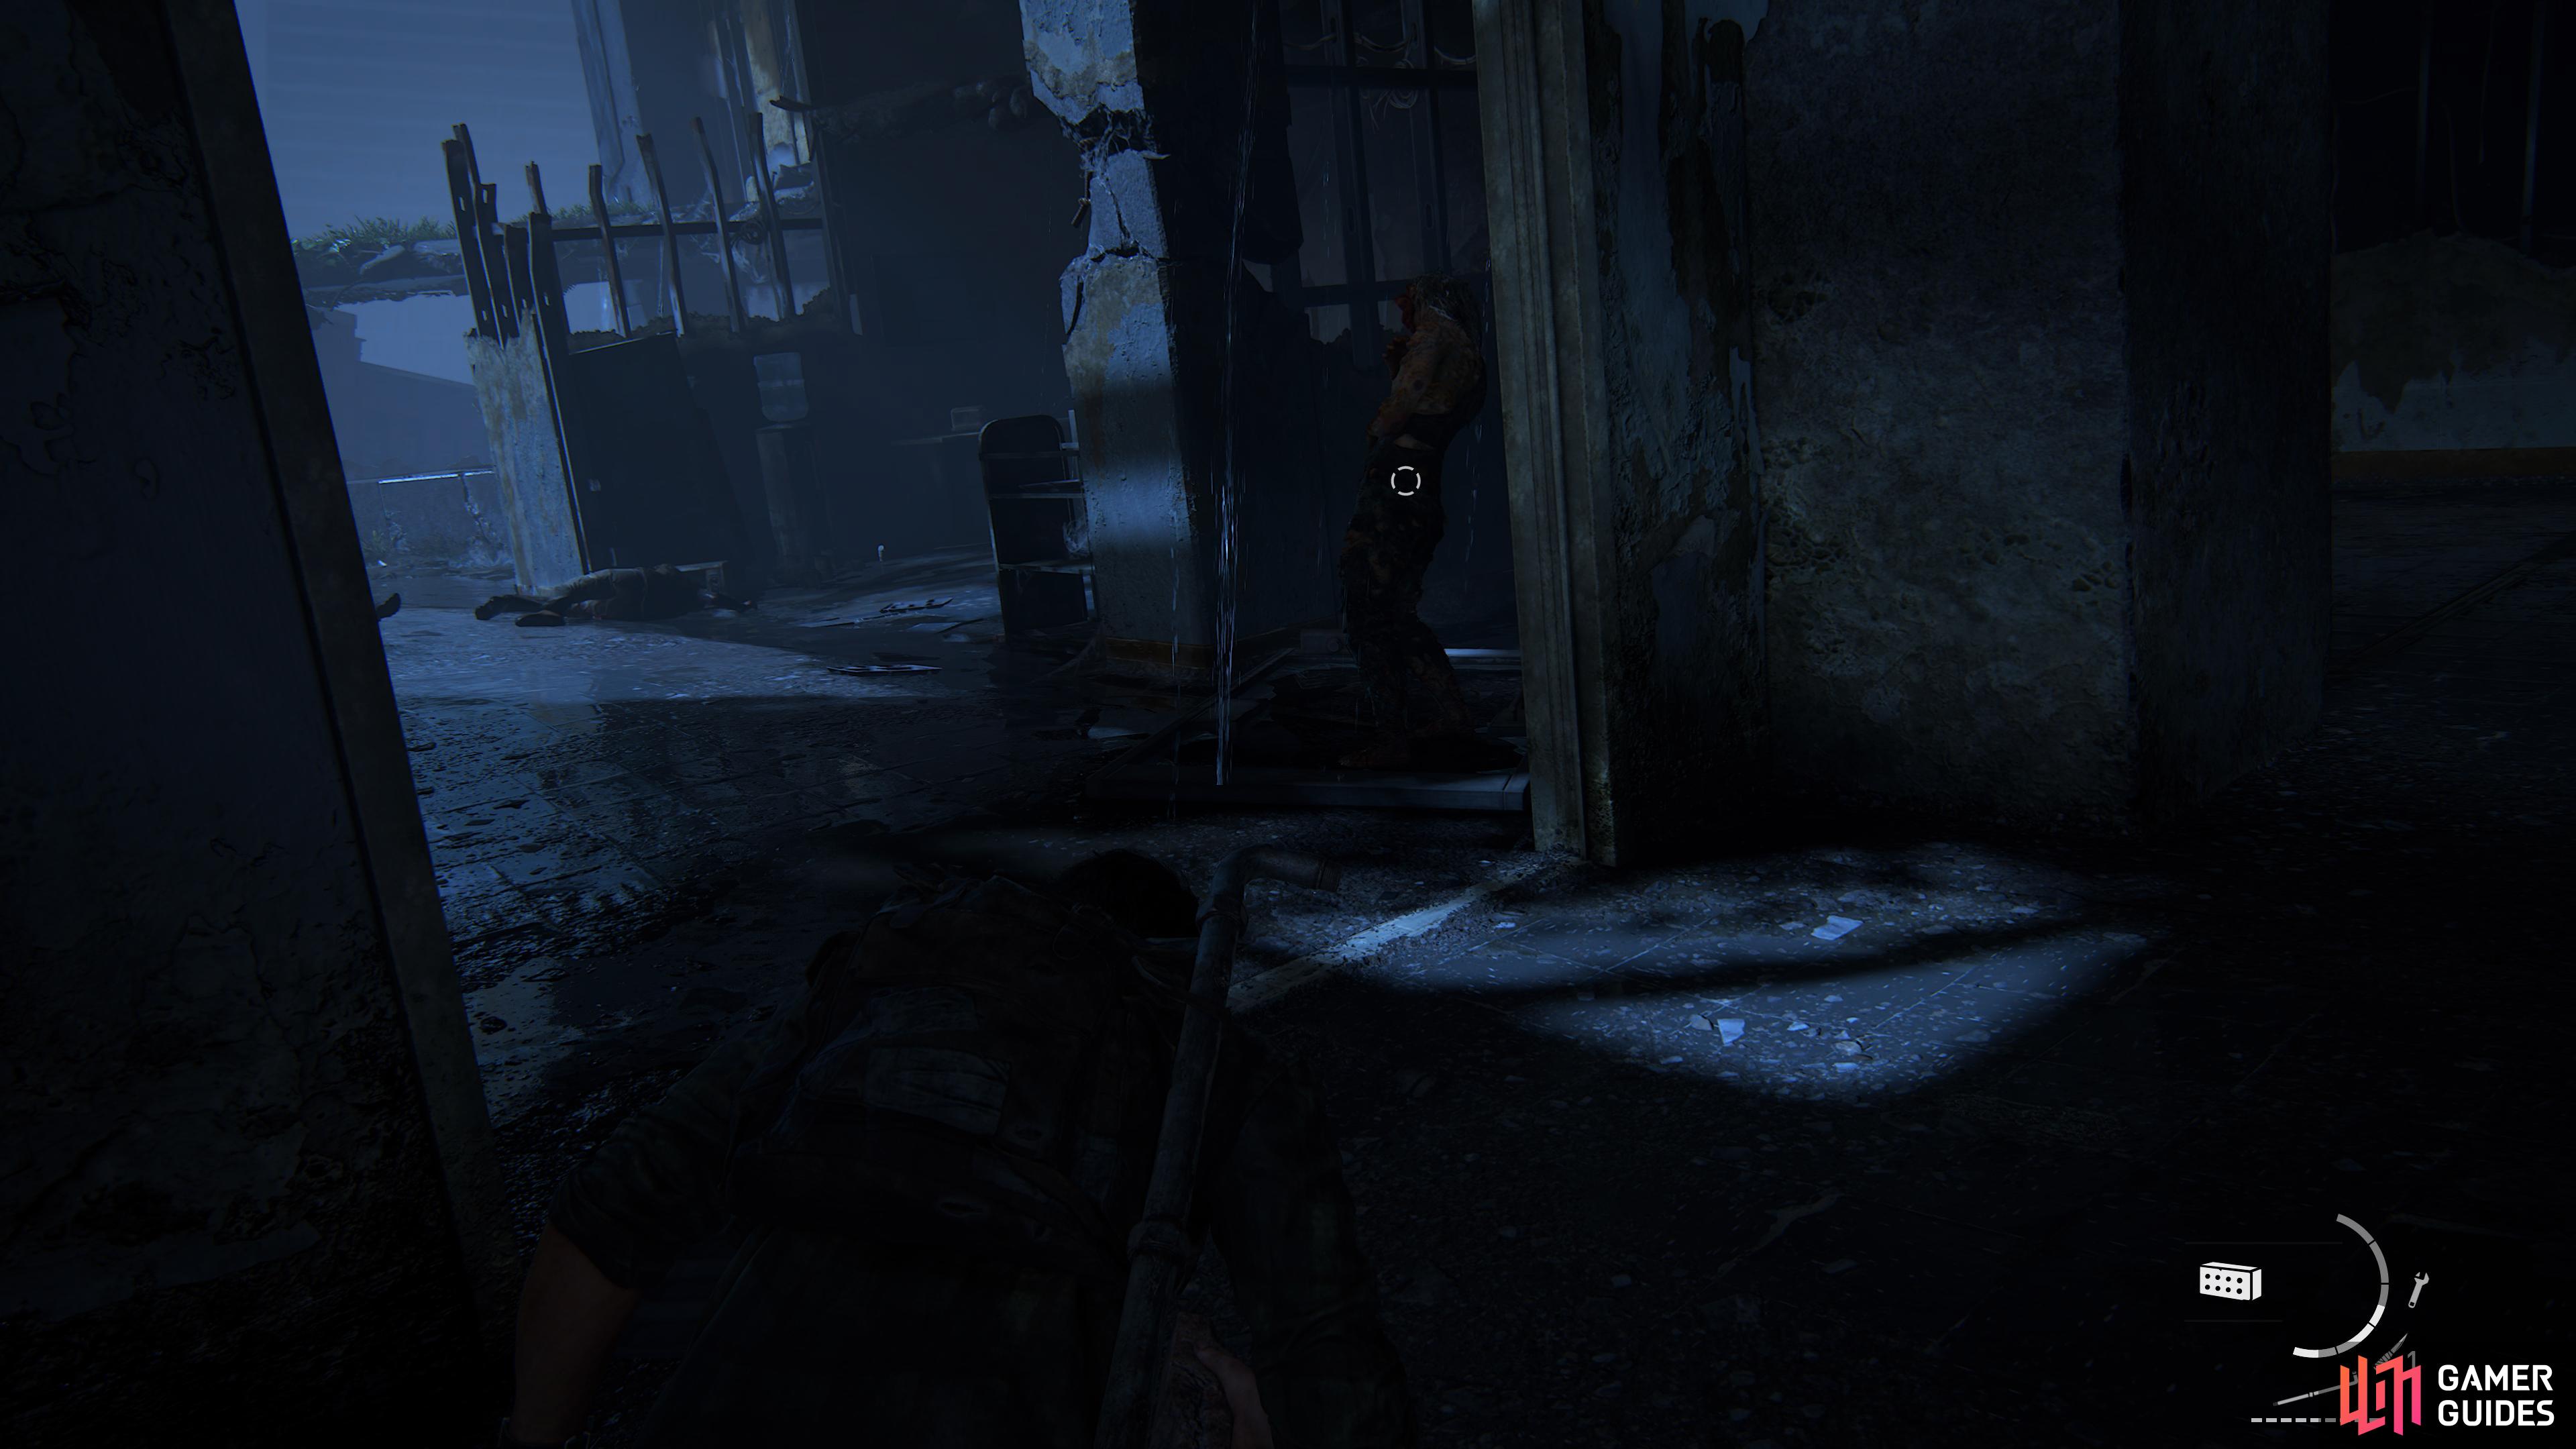
You’ll need to reach the scaffolding, but between you and it is a Clicker that you’ll need to take down which can be done using the following methods. Either pull out your Handgun and aim for a headshot or take a nearby bottle and throw it into the distance to distract it, then look for a brick and sneak up behind it and press 
Where To Find The Revolver
Once the Clicker has been dealt with you can find a Health Bar on one of the desks and some Alcohol and a Rag in the bathroom. Climb over the scaffolding and take the Health Kit from the corpse, then jump down and pull the cabinet out to get through the hole. Climb outside and follow the path around to reach the 4th level.
Head down the stairs and collect the Revolver then make your way over to Tess and Ellie and hold 
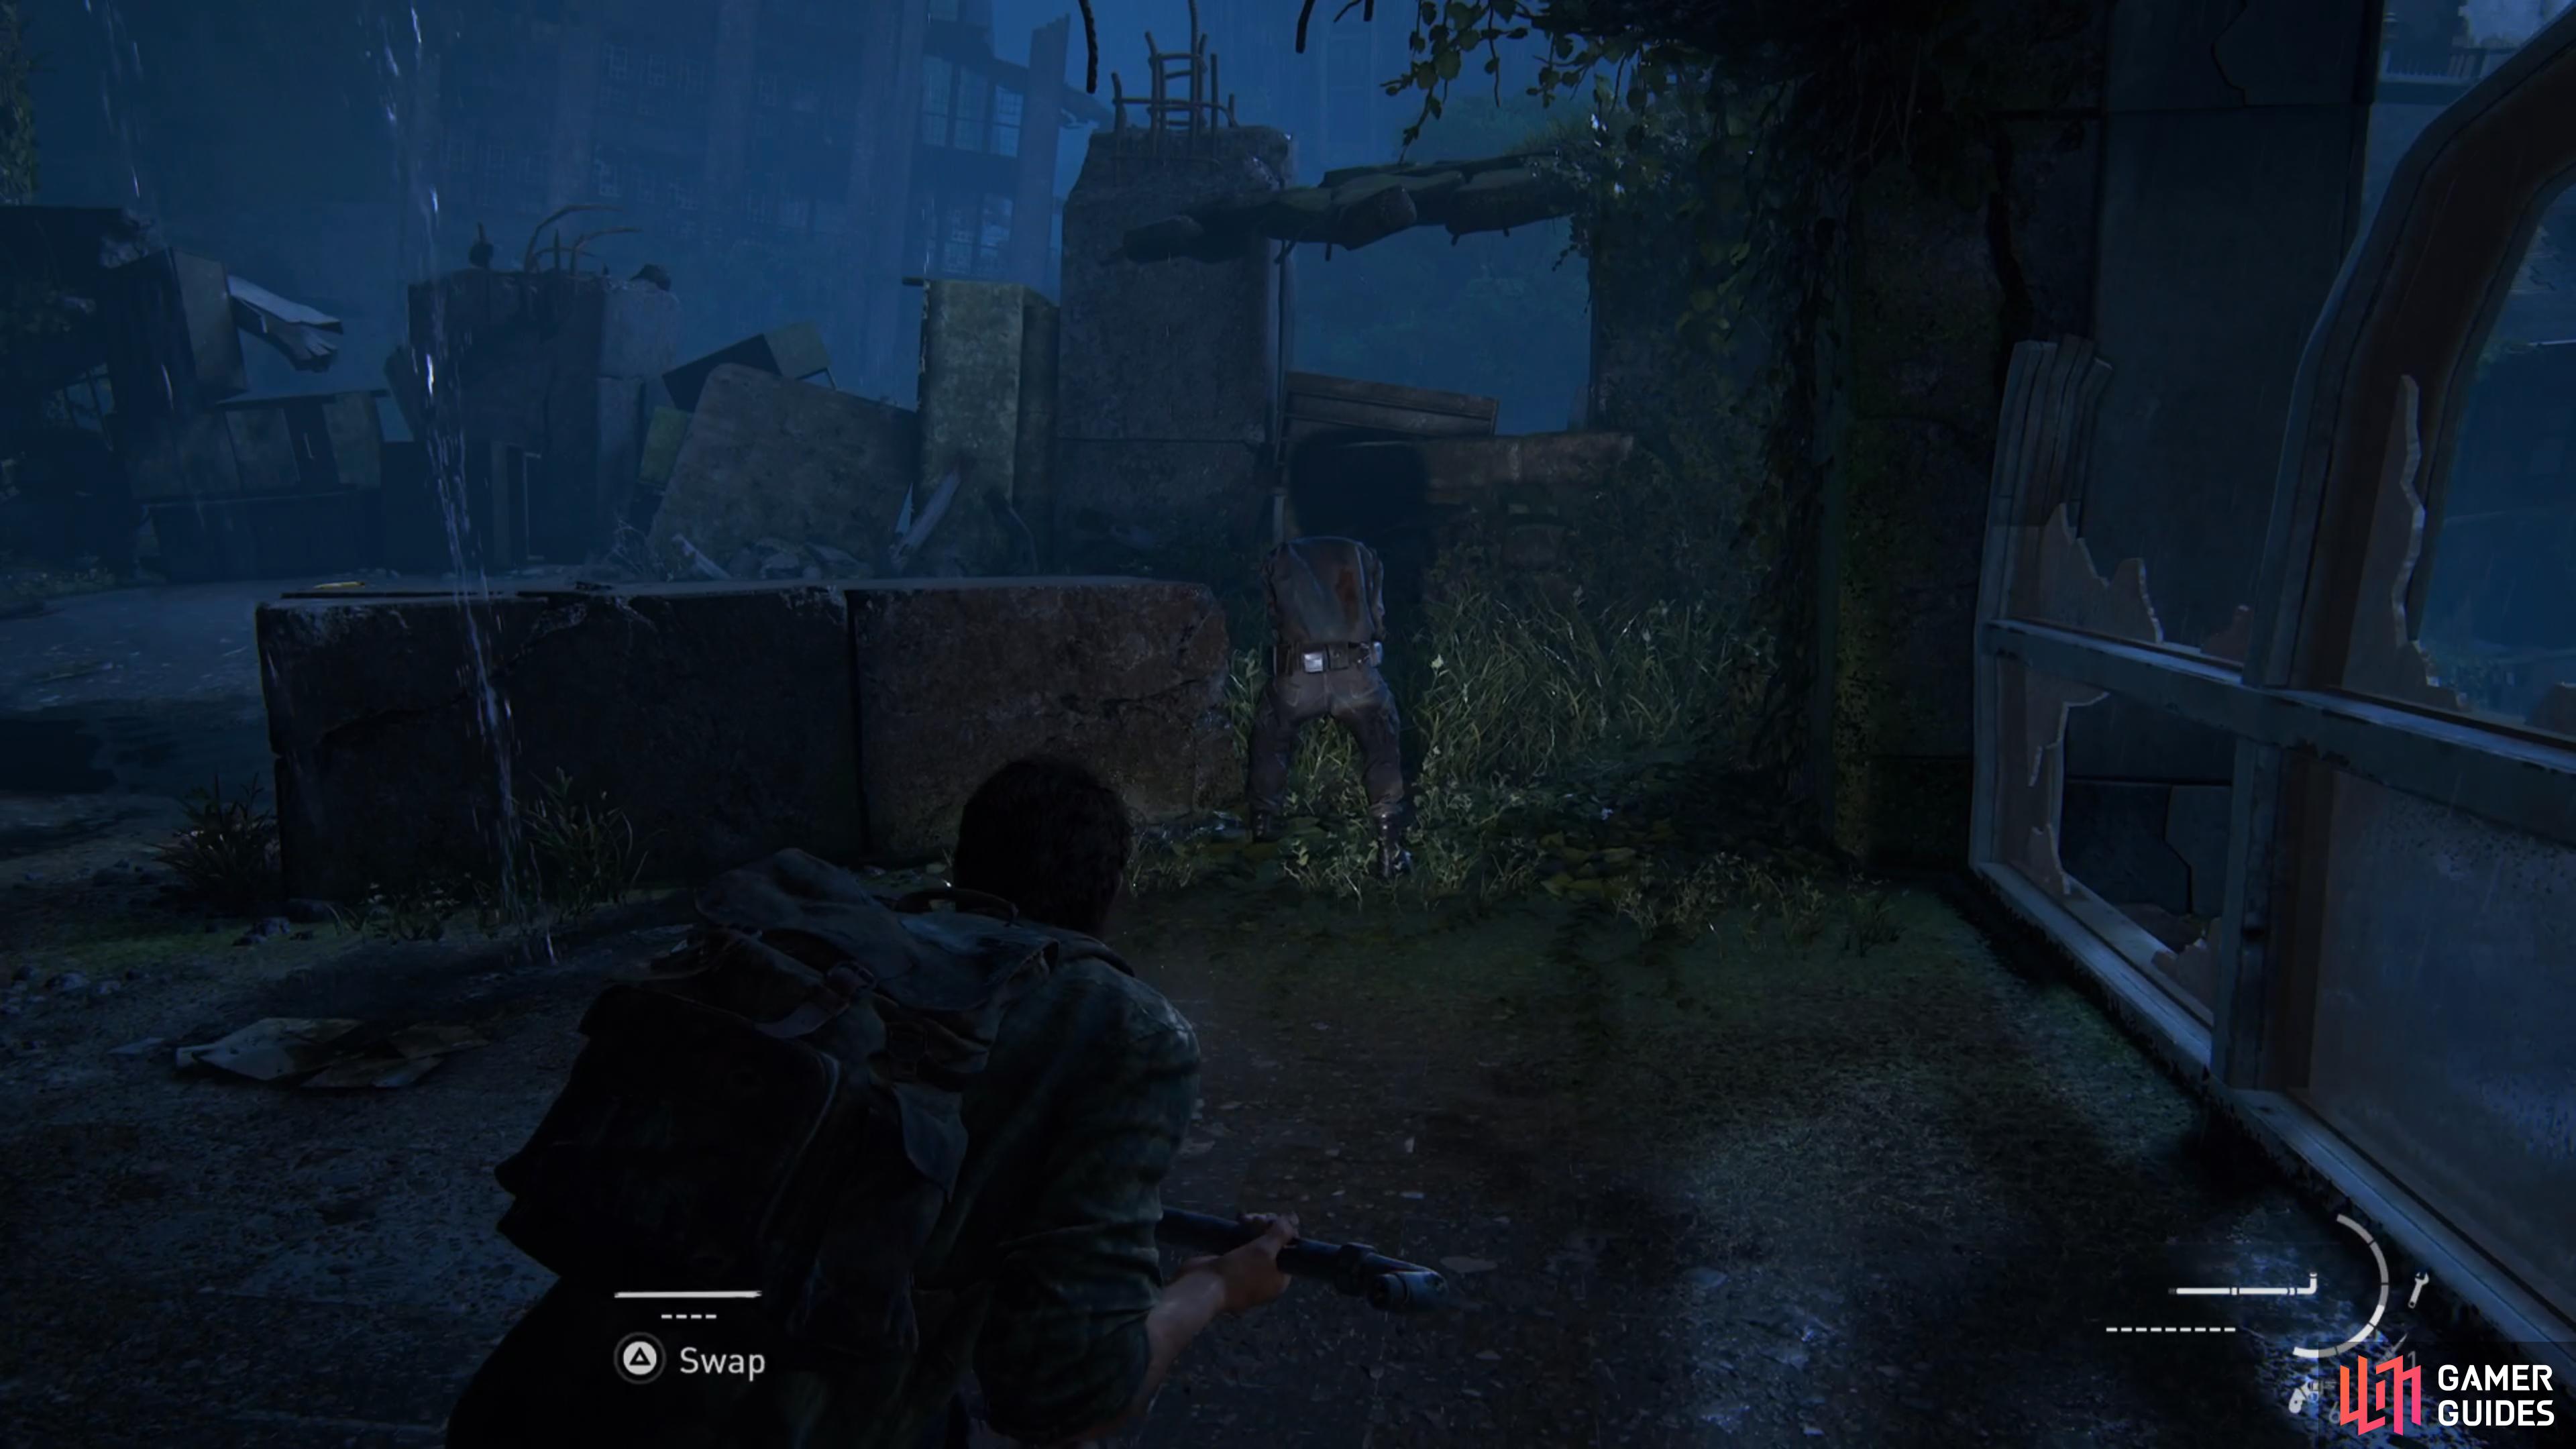
The best way to deal with this situation is to drop down and pickup the Shiv from the corner and strangle the Runner who’s standing out in the open and looking in the opposite direction. Make your back over to the location where you dropped down and then wait for another Runner to walk through the hall before going in and strangling it.
(1 of 3) Take out the Runner that’s looking away
Head into the room at the end of the hall to find a Health Bar, Health Can and a Wooden Stick, then go out into the open and wait for another Runner to look away and strangle him. Now hide behind the wall and wait for the final Runner to enter the room before taking it out.
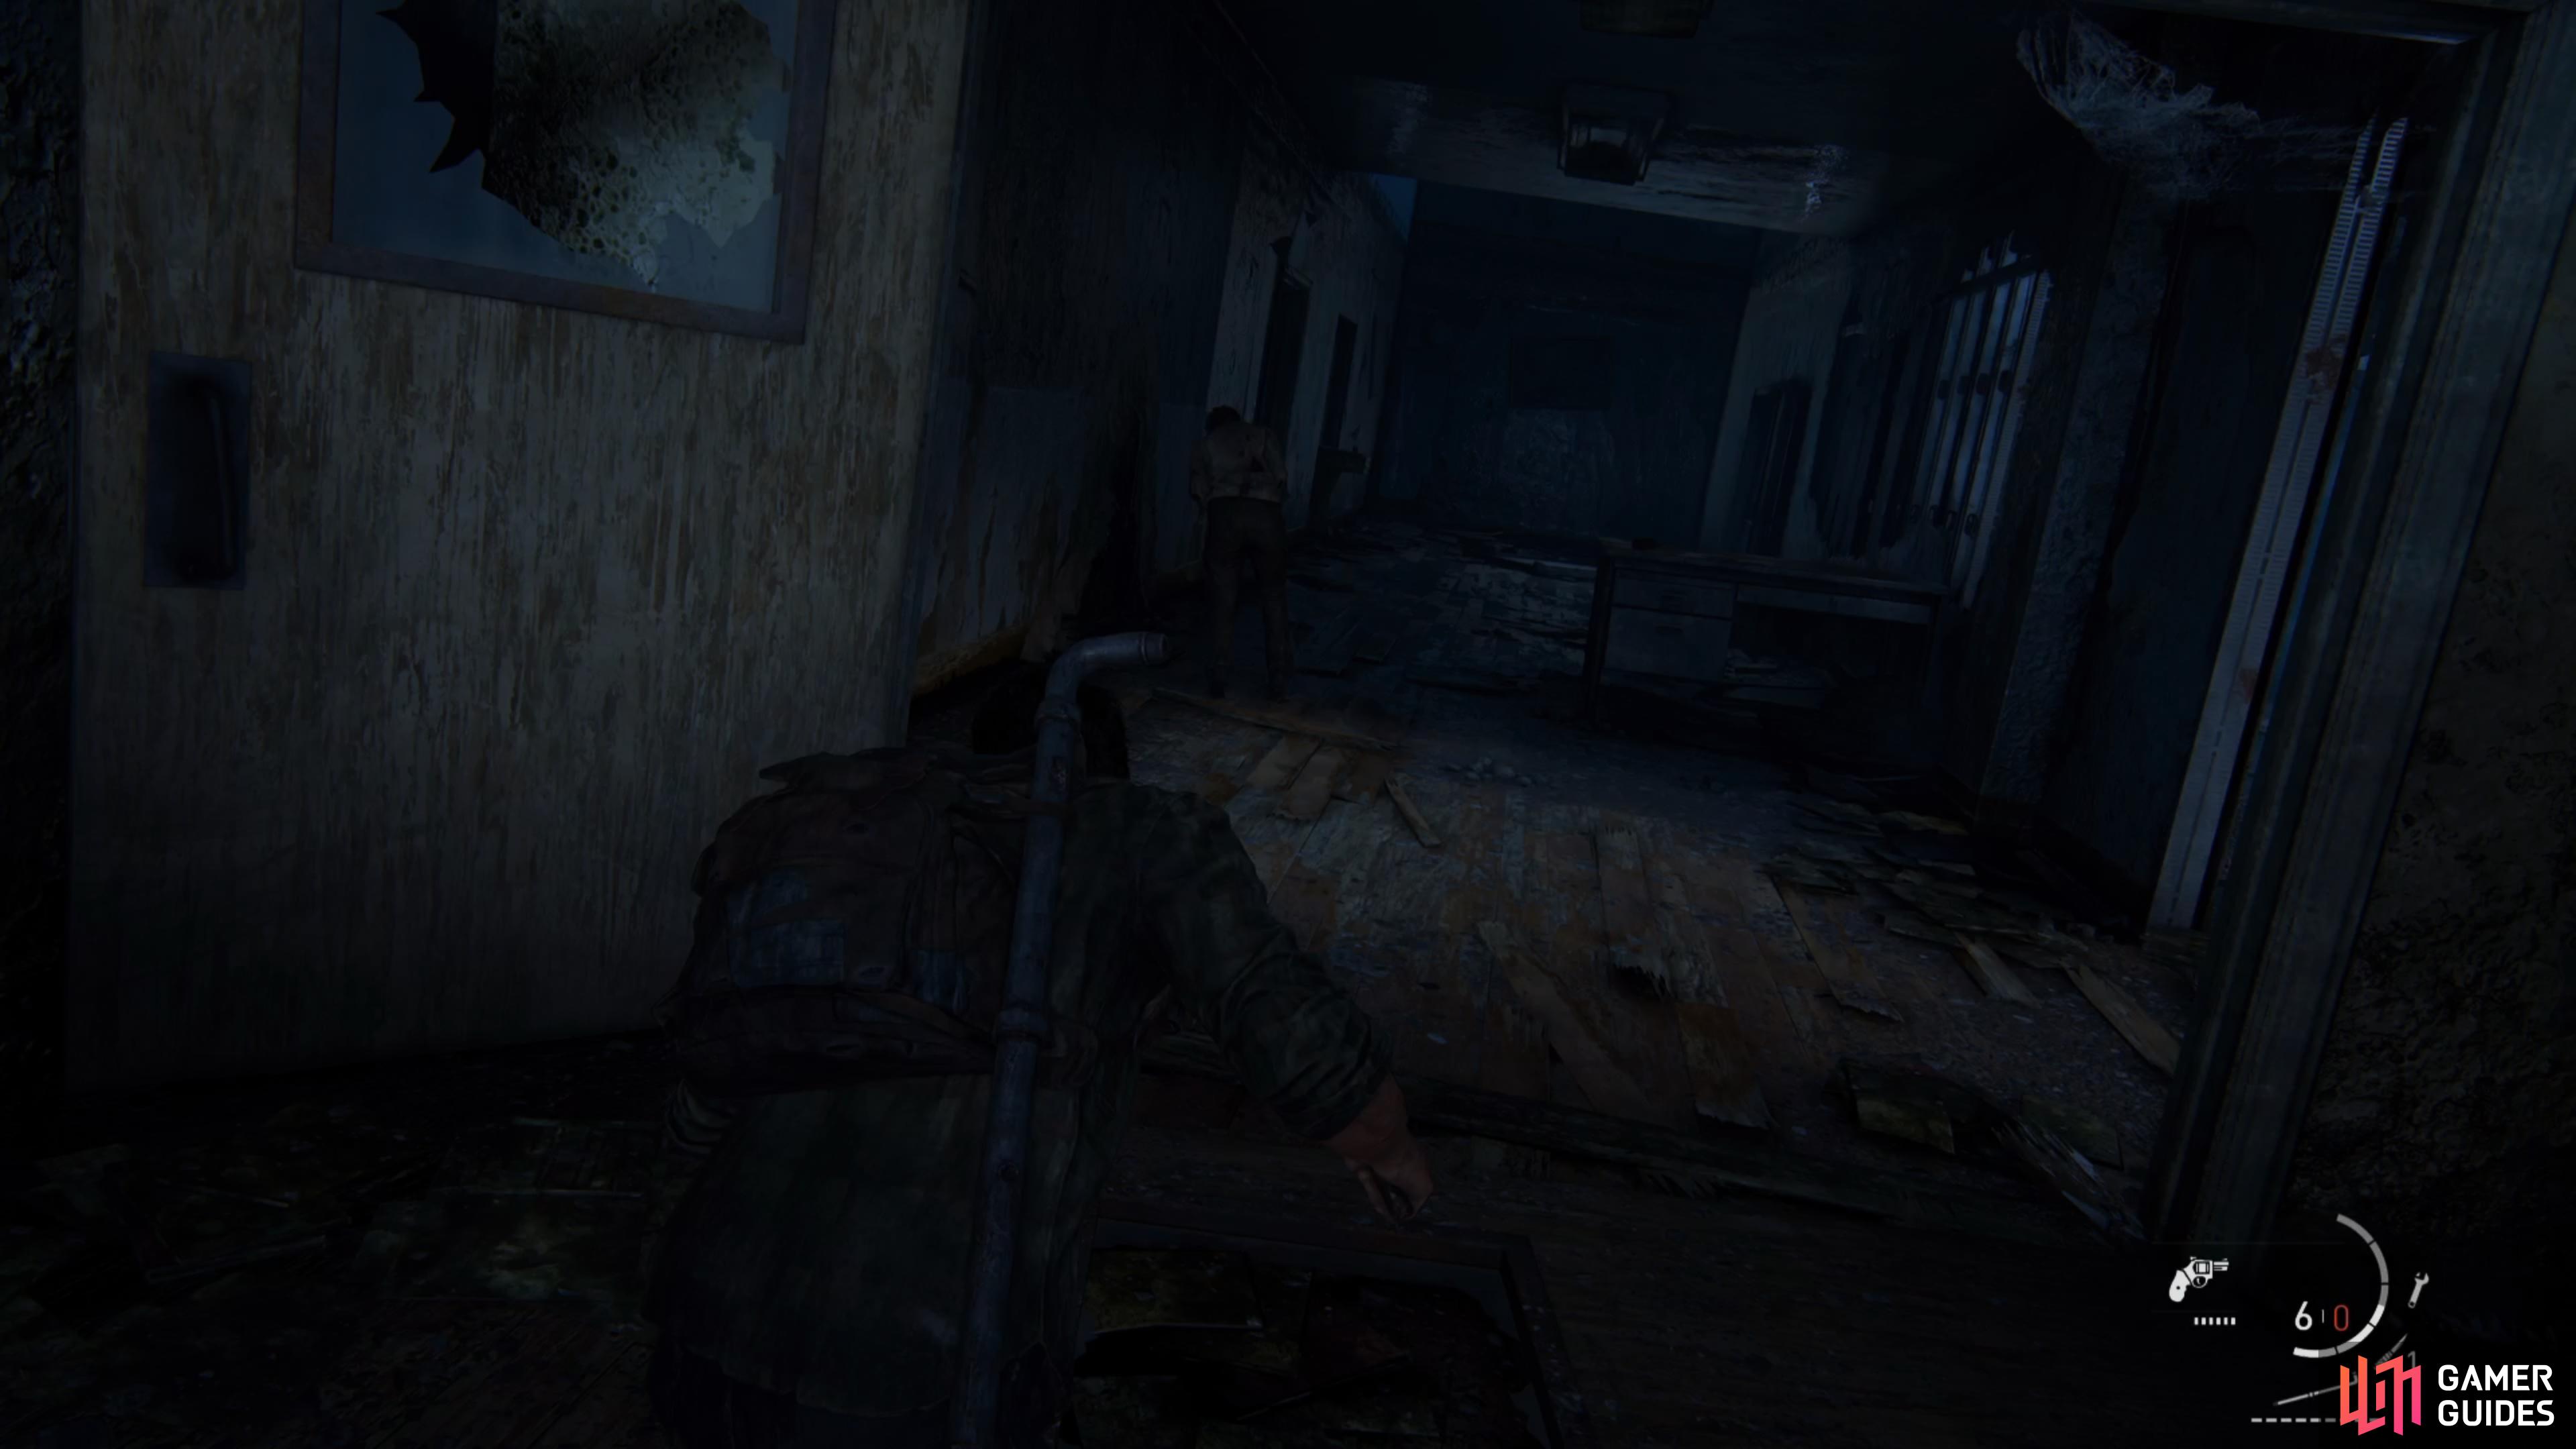
You’ll now only have one Clicker left to deal with, so pick up a brick from the nearby pillar and sneak up behind it and melee it down. If you get killed following the process above, don’t worry as you’ll respawn back upstairs and you can retry.
Where To Find The Firefly Map
Pickup some Revolver Ammo x2 from nearby the body in the main area, then go up concrete path to find another body with some more Revolver Ammo x1! Interact with the cabinet to allow Ellie and Tess to open the door, then climb over into the next room. Here you can find some Alcohol, a Health Bar and Blades x1.
Head left and follow the broken floor down and crawl underneath to reach the open area, then crawl through the underground path and climb out to see an ‘Oliver LLF’ sign. Take the upper path to find some Supplements x5 and Blades x1, then head down.
(1 of 2) Pickup the Molotov Recipe from the Firefly
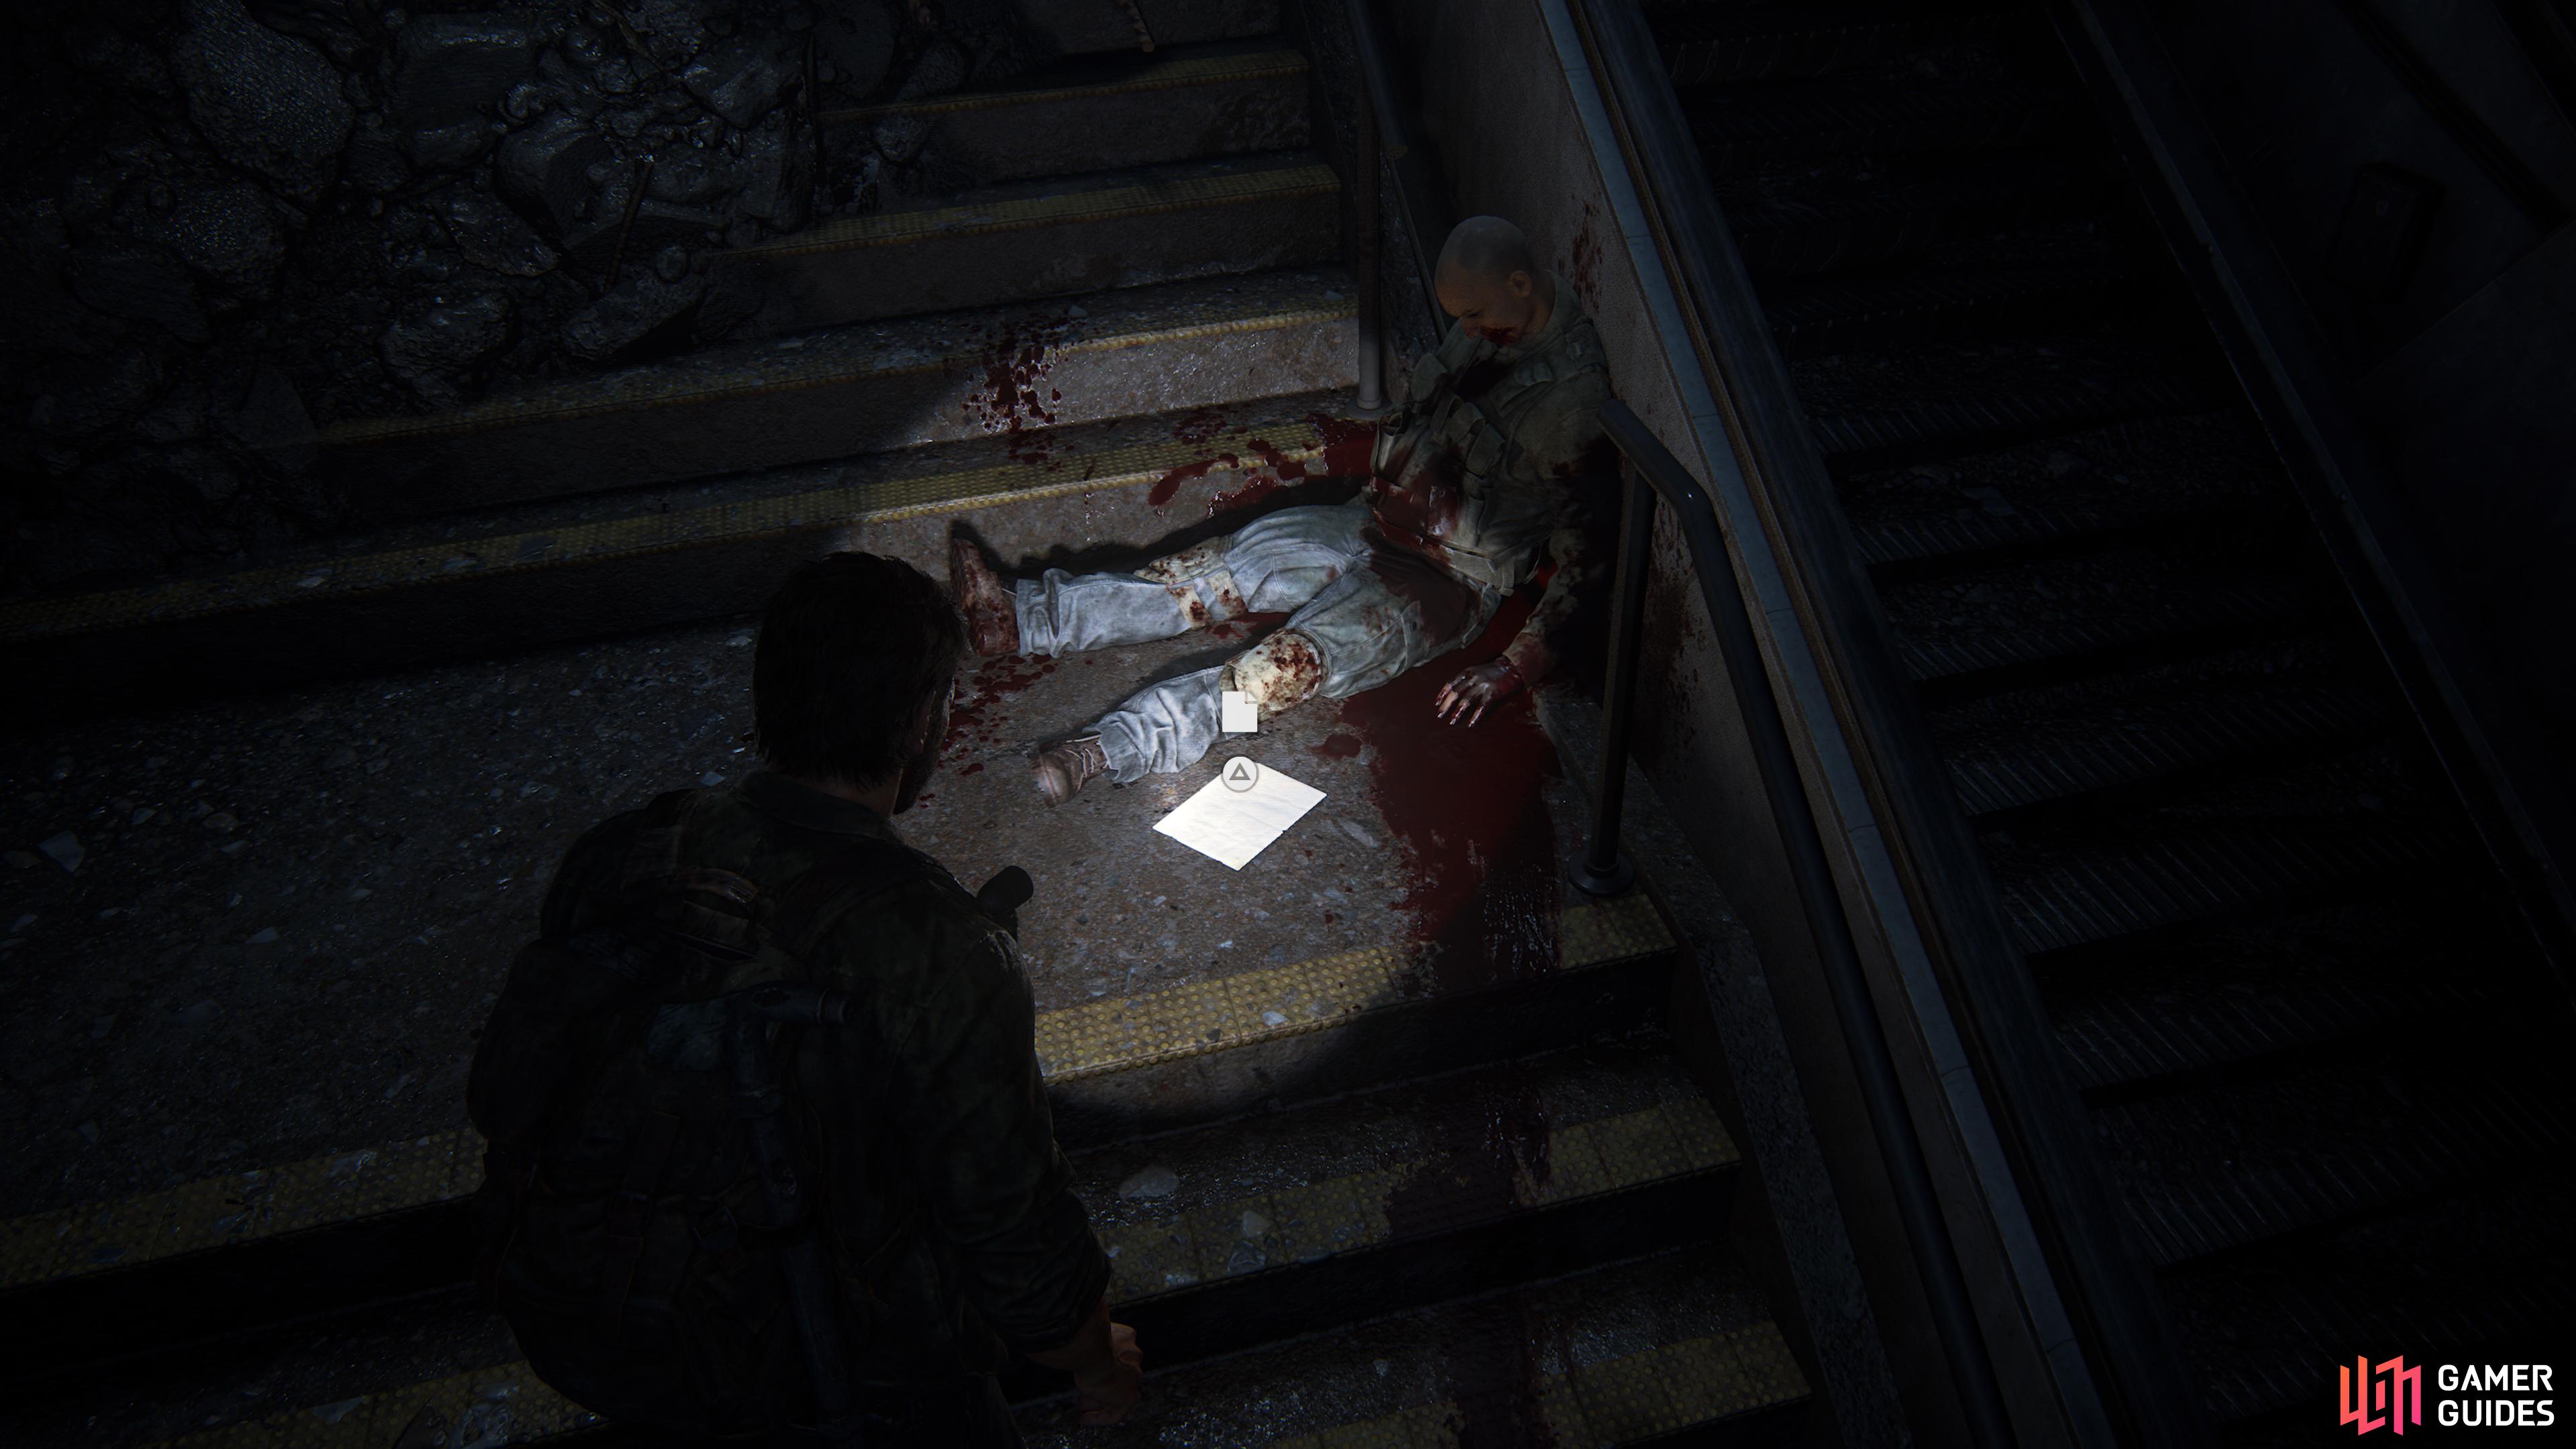
Pickup the Molotov Recipe from the Firefly (left), then head up the stairs and pickup the Firefly Map from the corpse (right)
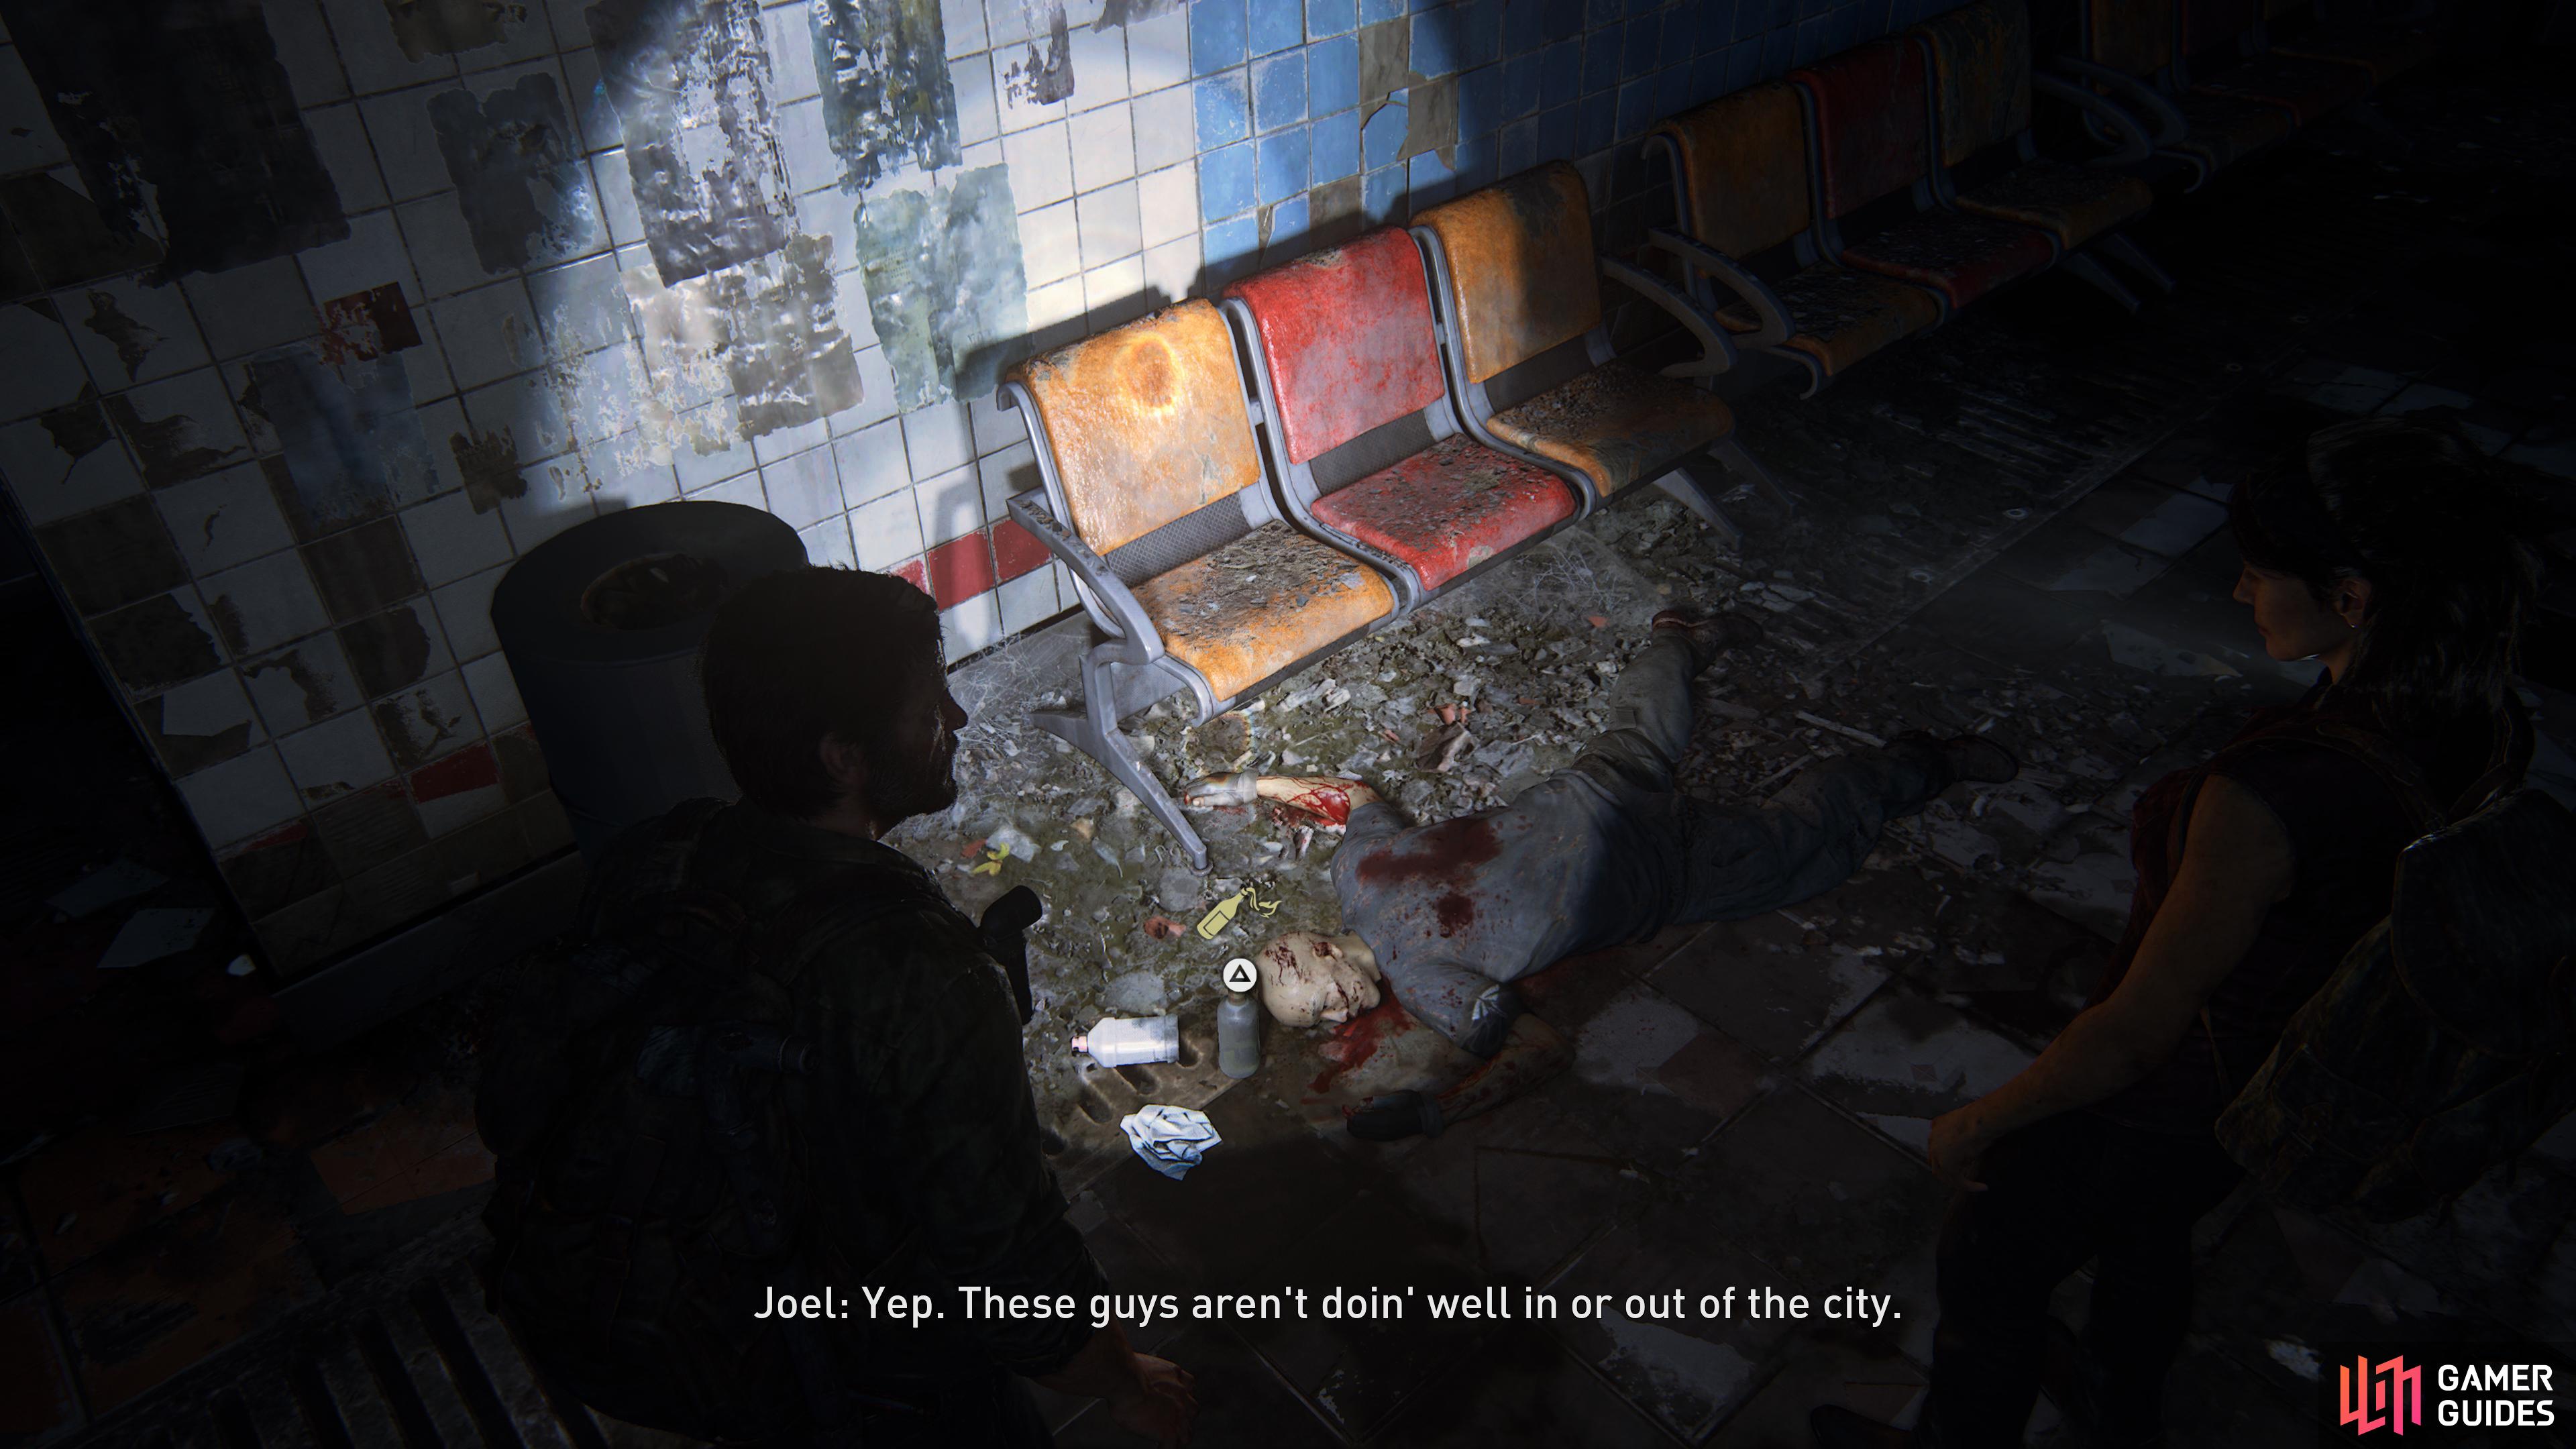
Here you can find some Supplements x5 next to the phone and a Molotov and Rag near the bench, then collect the Firefly Map from the corpse near the escalator before heading through the broken wall.
Where To Find The Note To Derek
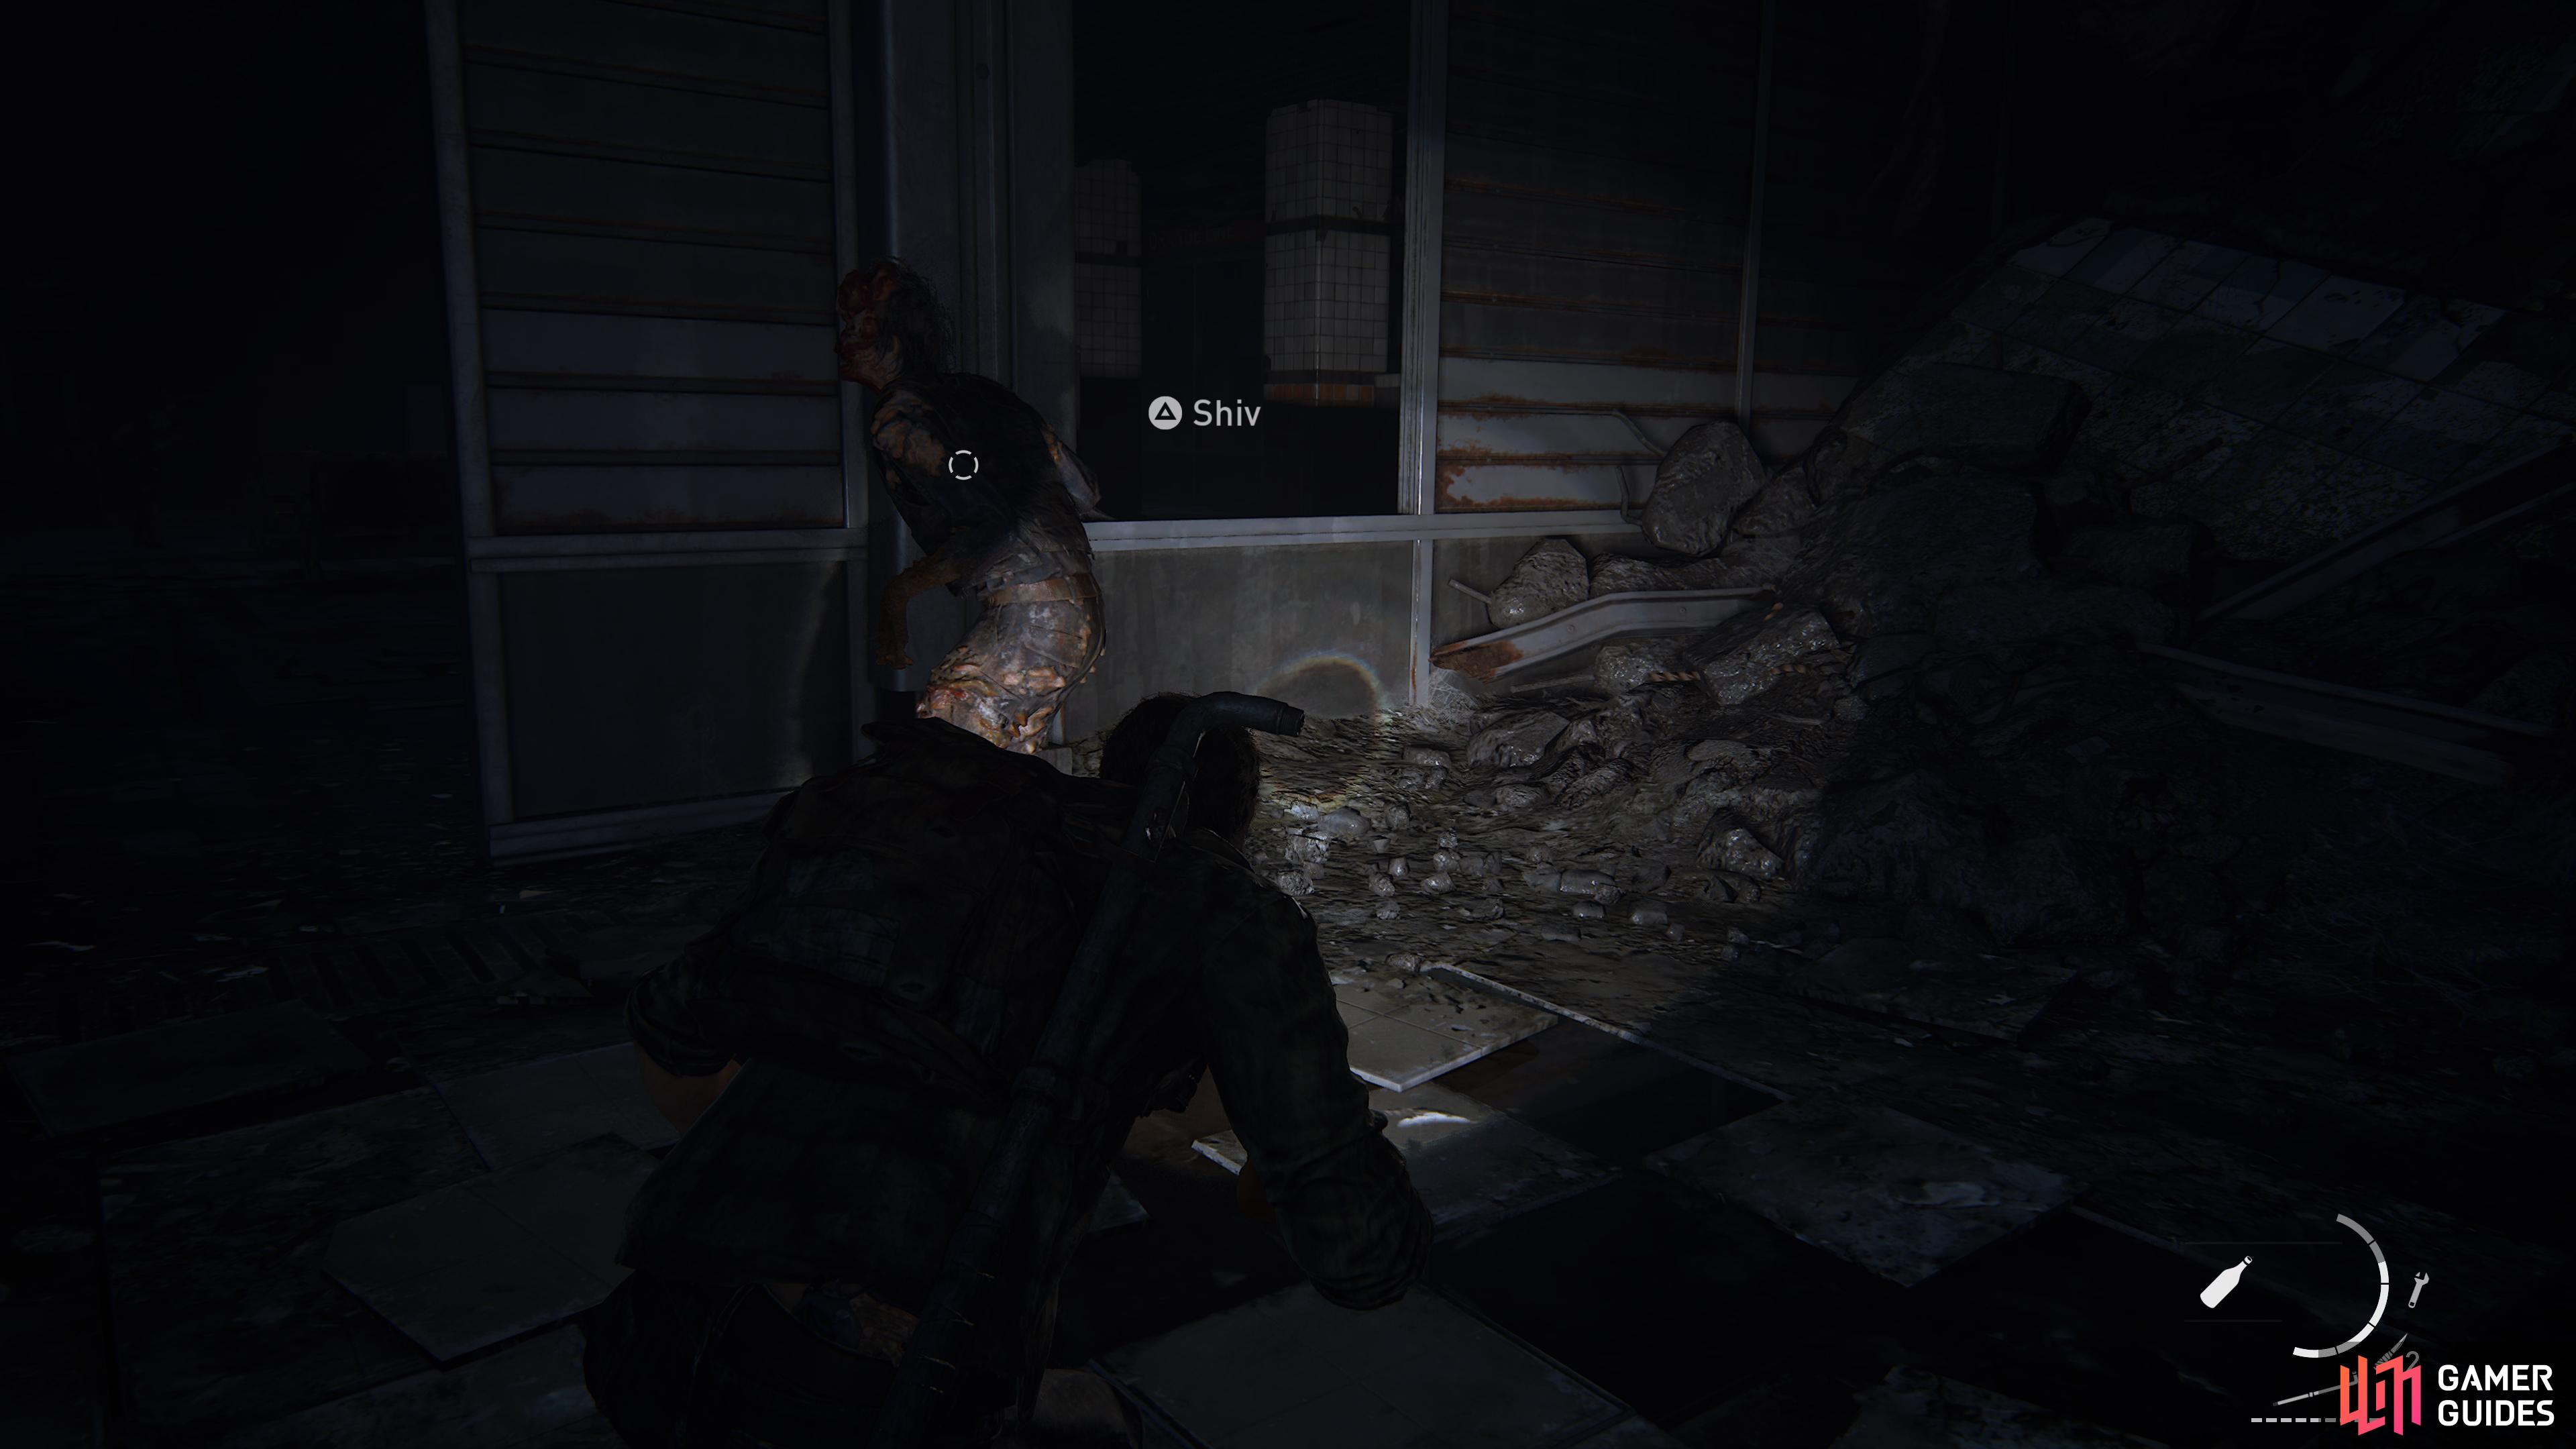
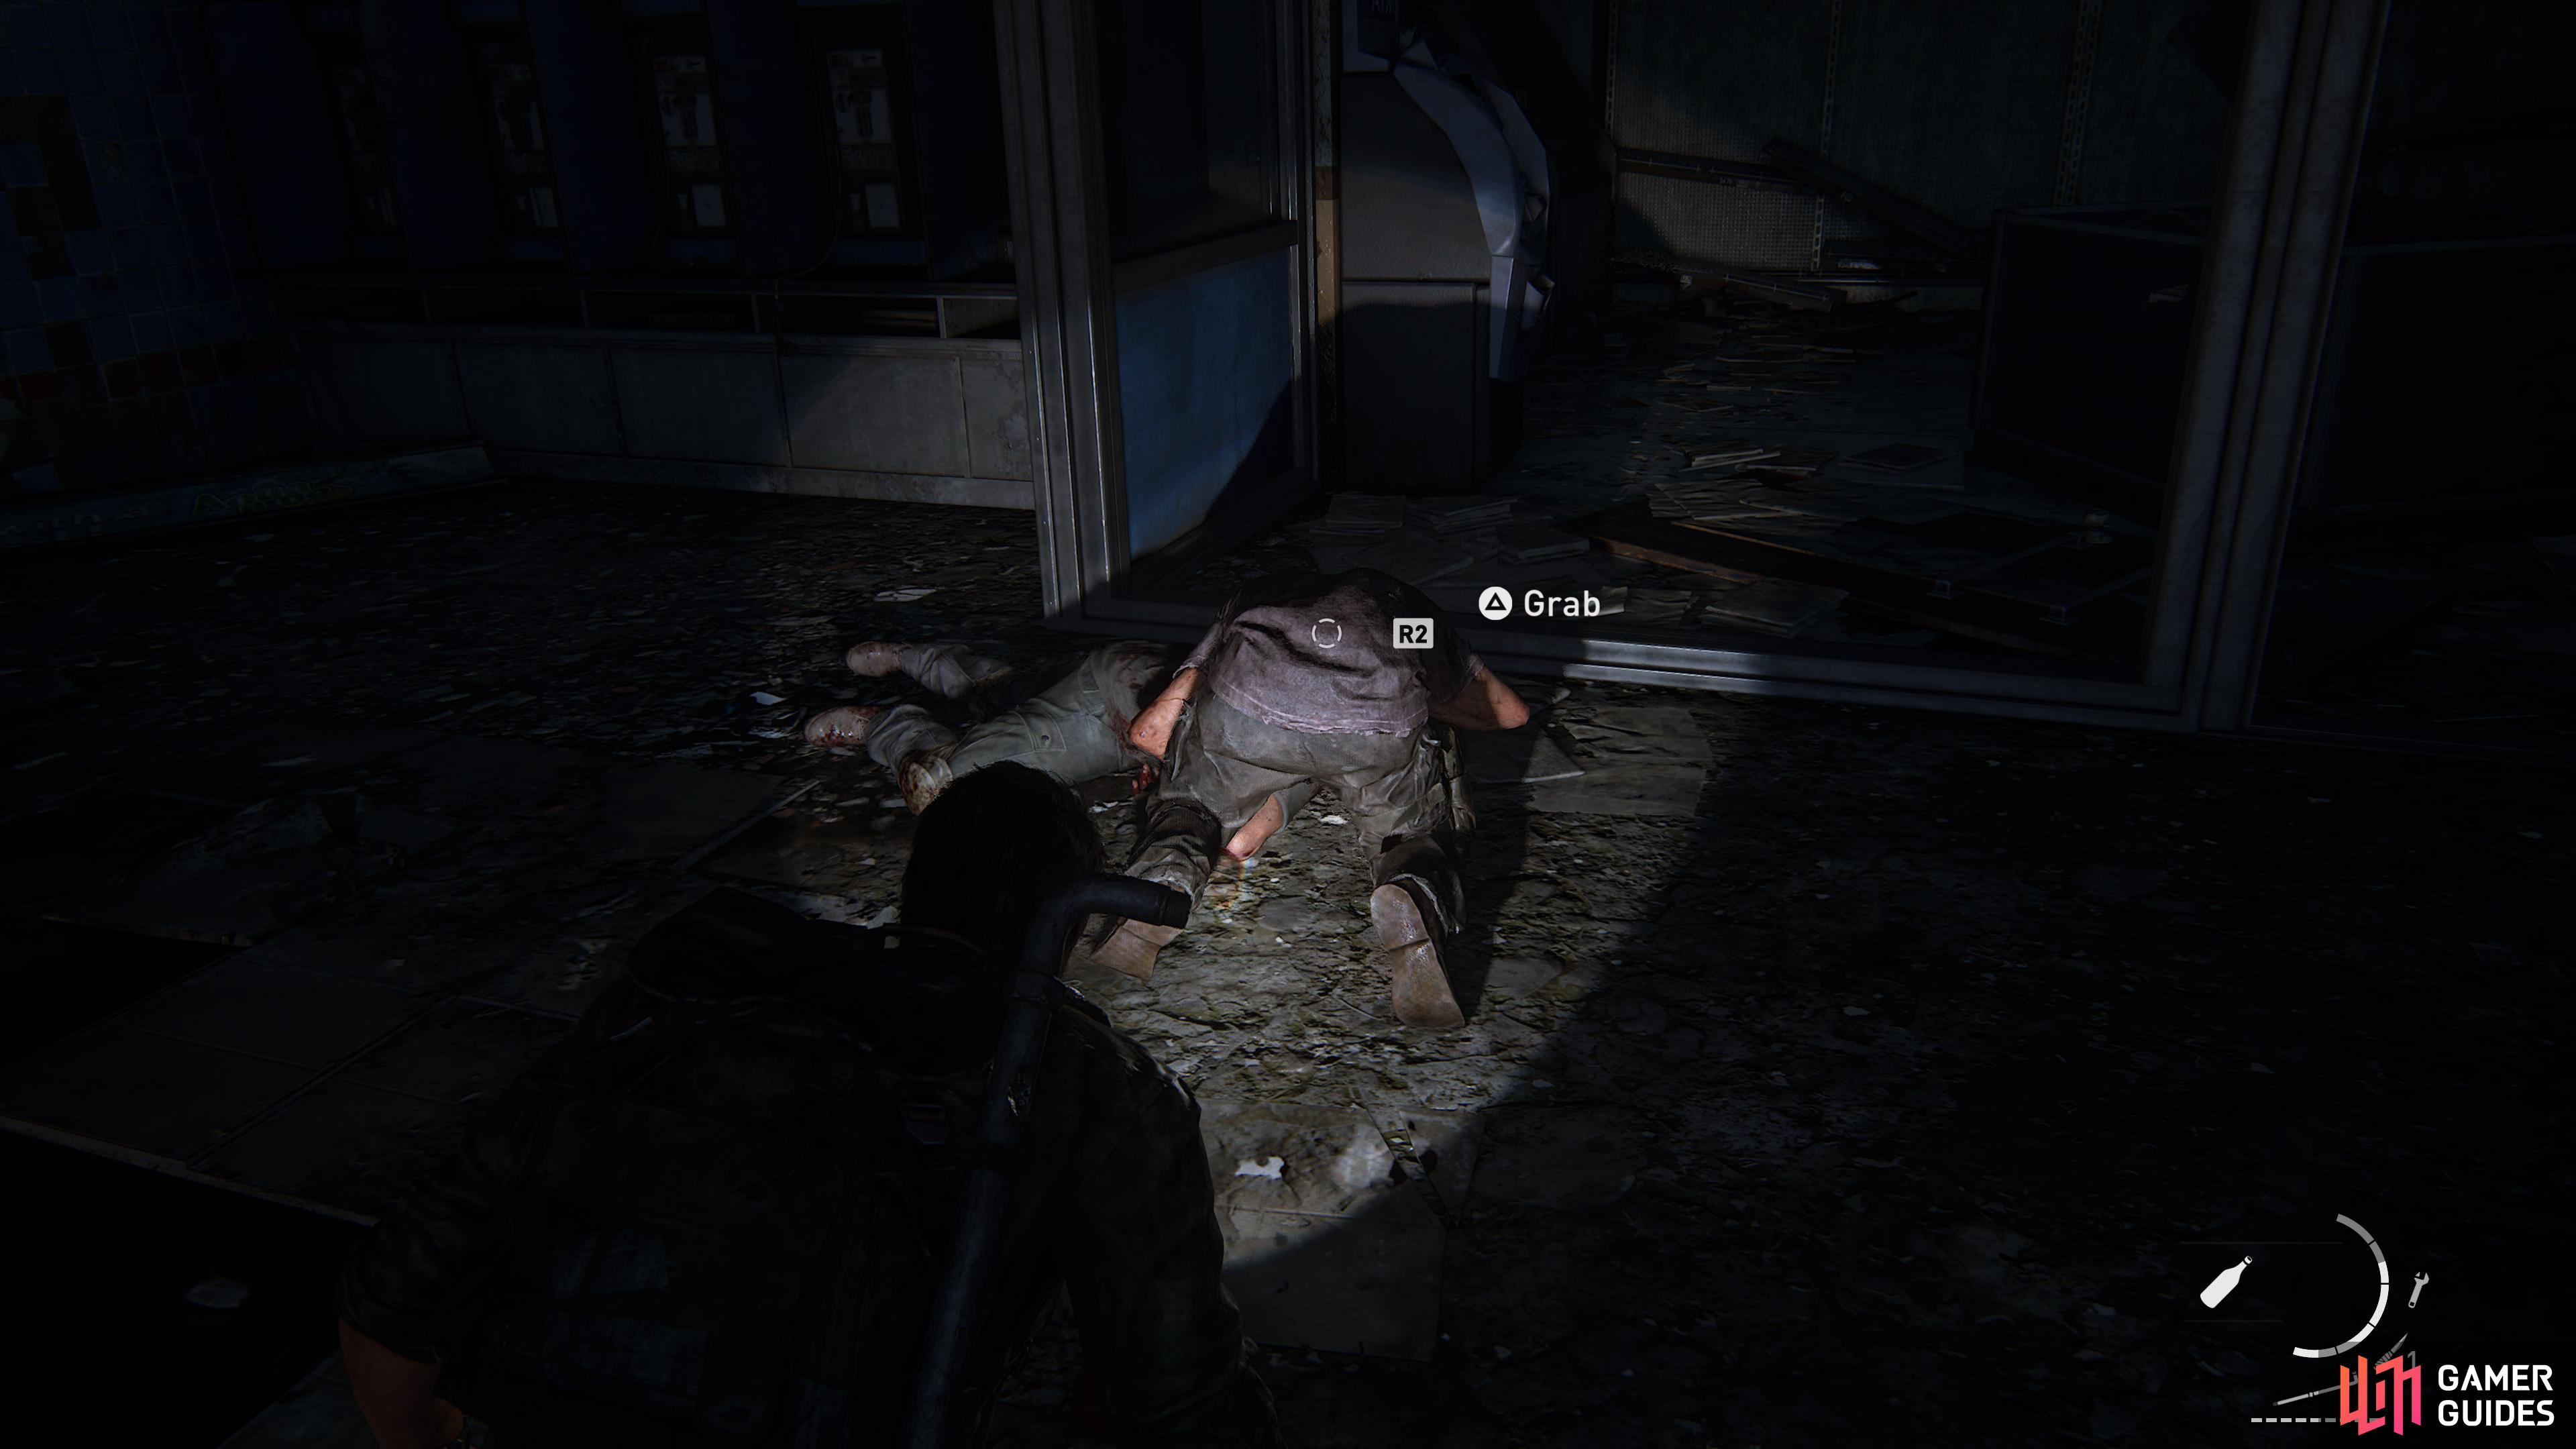
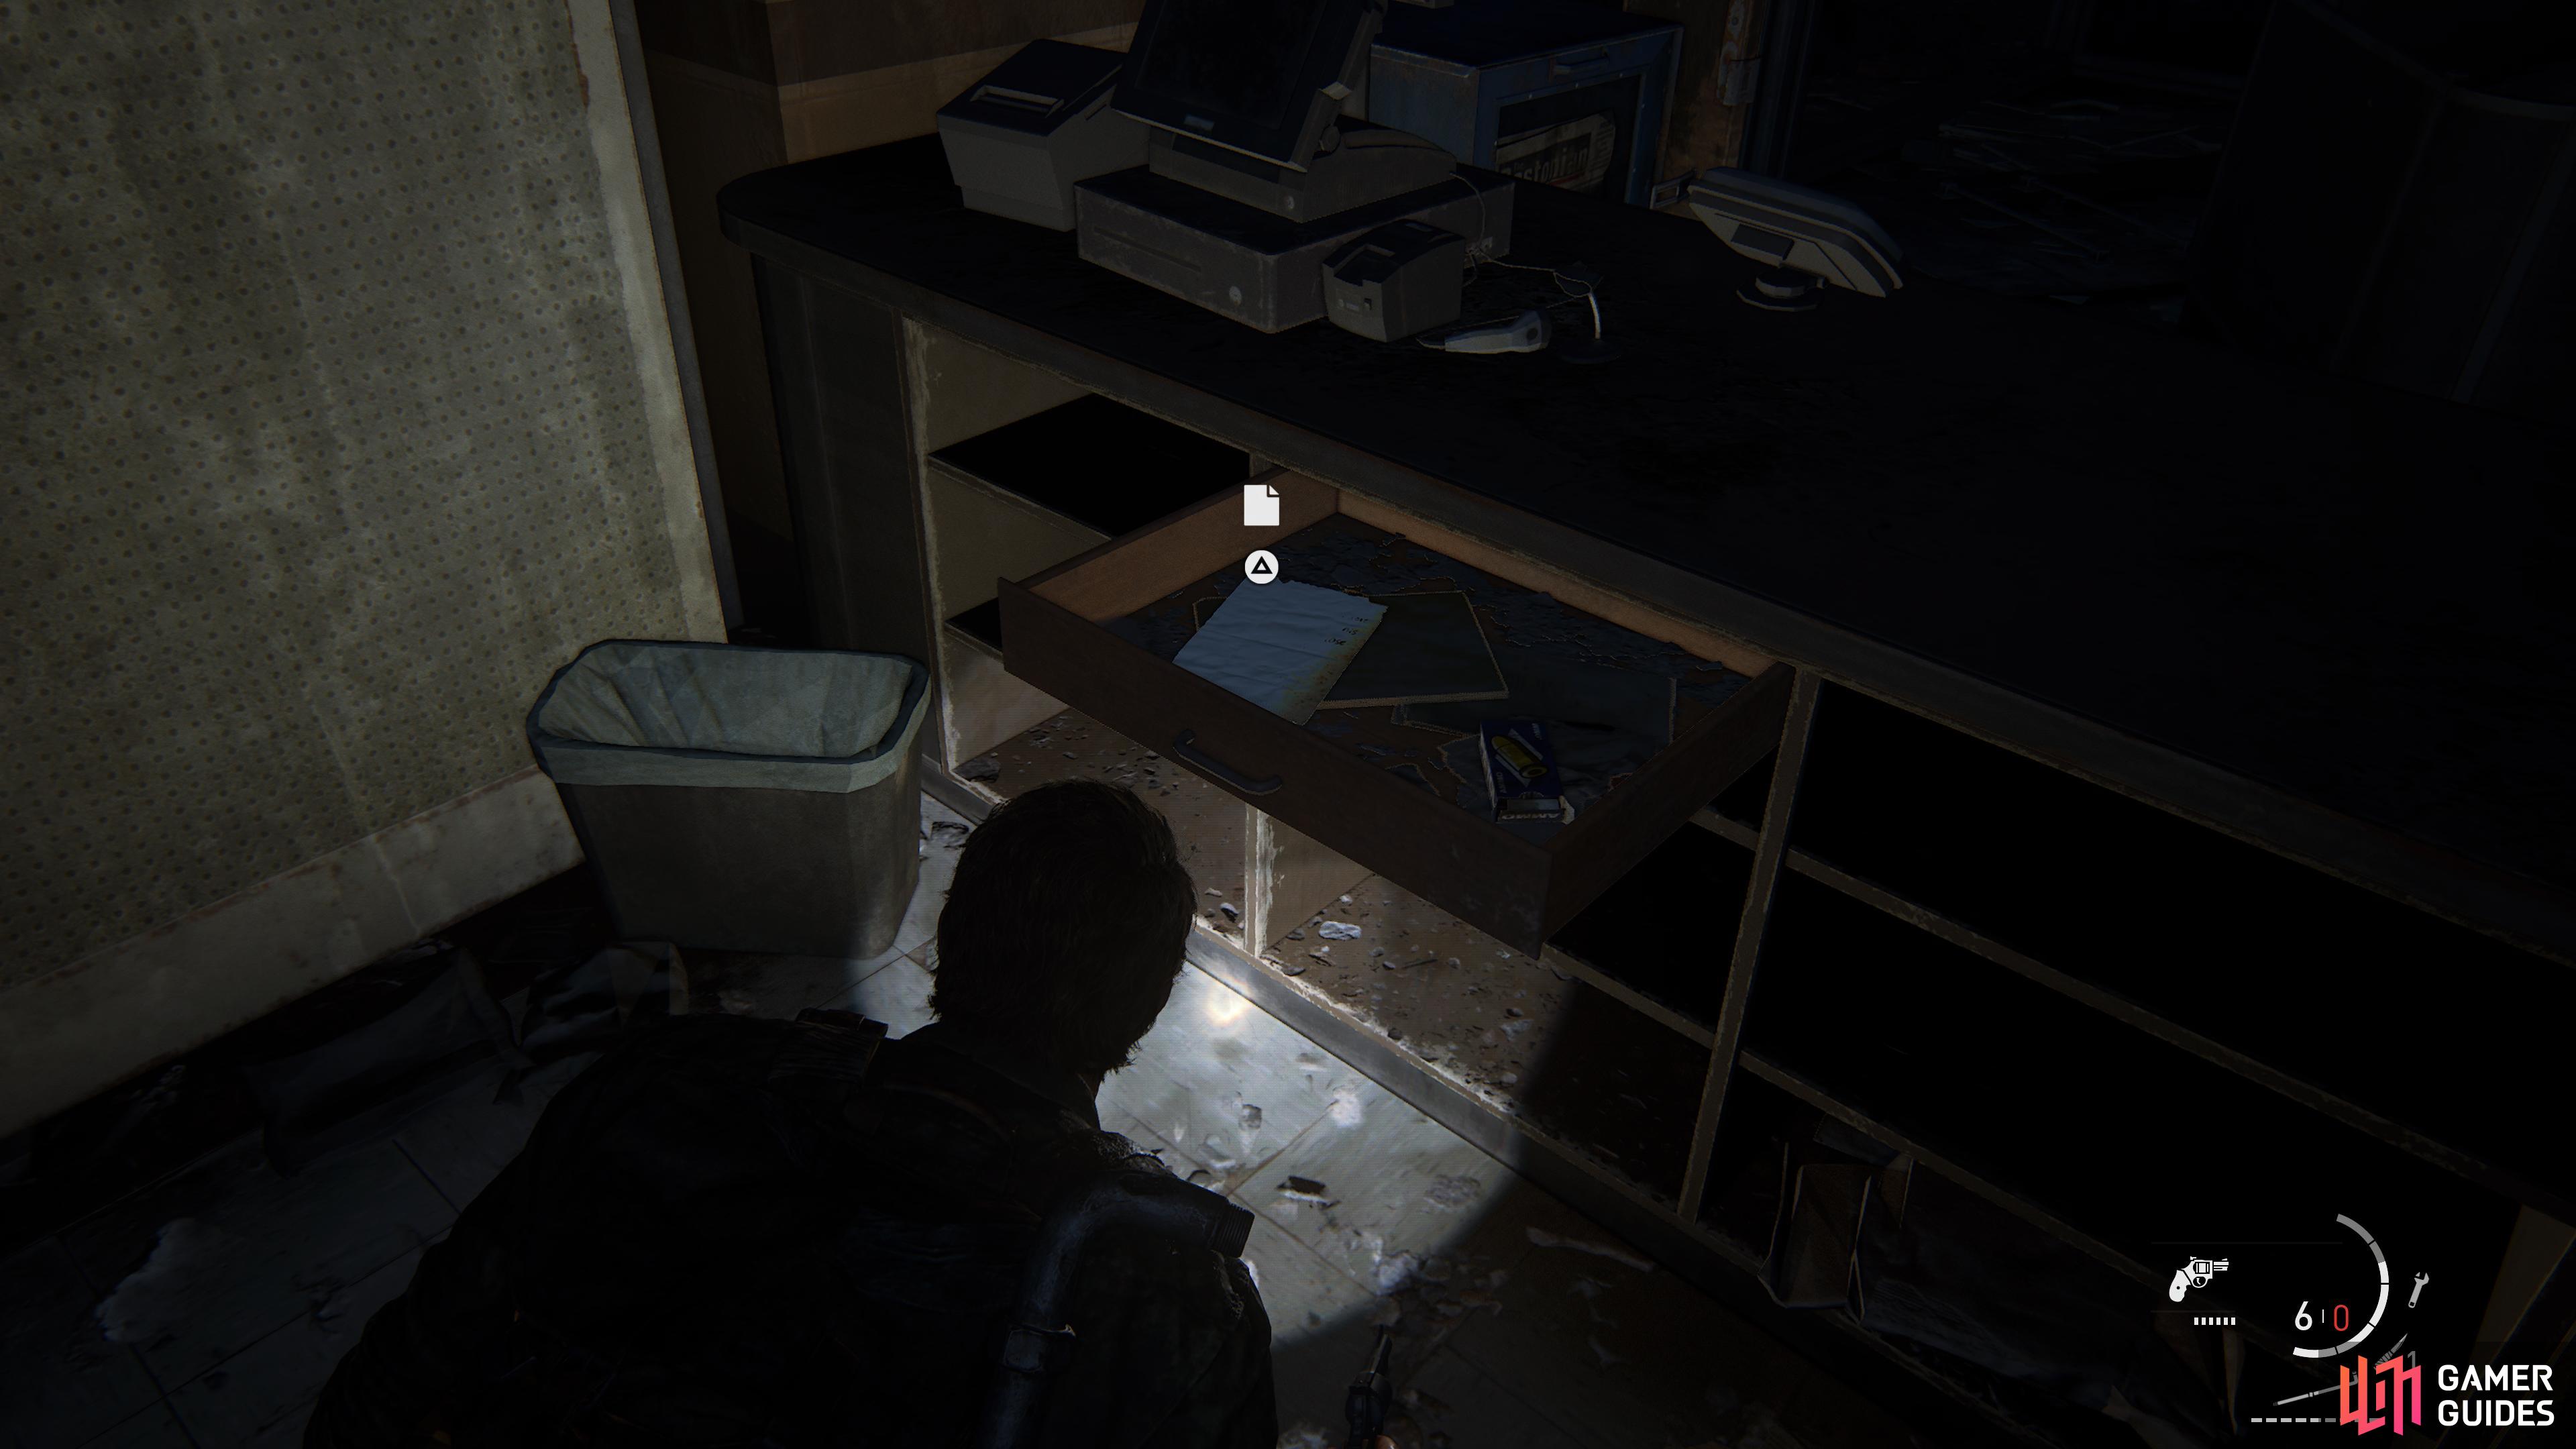
Open up the lockers to find a Shiv, then wait for the nearby Clicker to look away before sneaking up behind it and taking it out. Now sneak over to the left side of the room and take down a Runner whos currently eating a corpse, then enter the store to find a Health Bar a Wooden Stick and Note To Derek which contains a code to safe you’ll reach shortly.
(1 of 2) Take out the Clicker with a Shiv
Take out the Clicker with a Shiv (left), then strangle the Runner eating a corpse. (right)
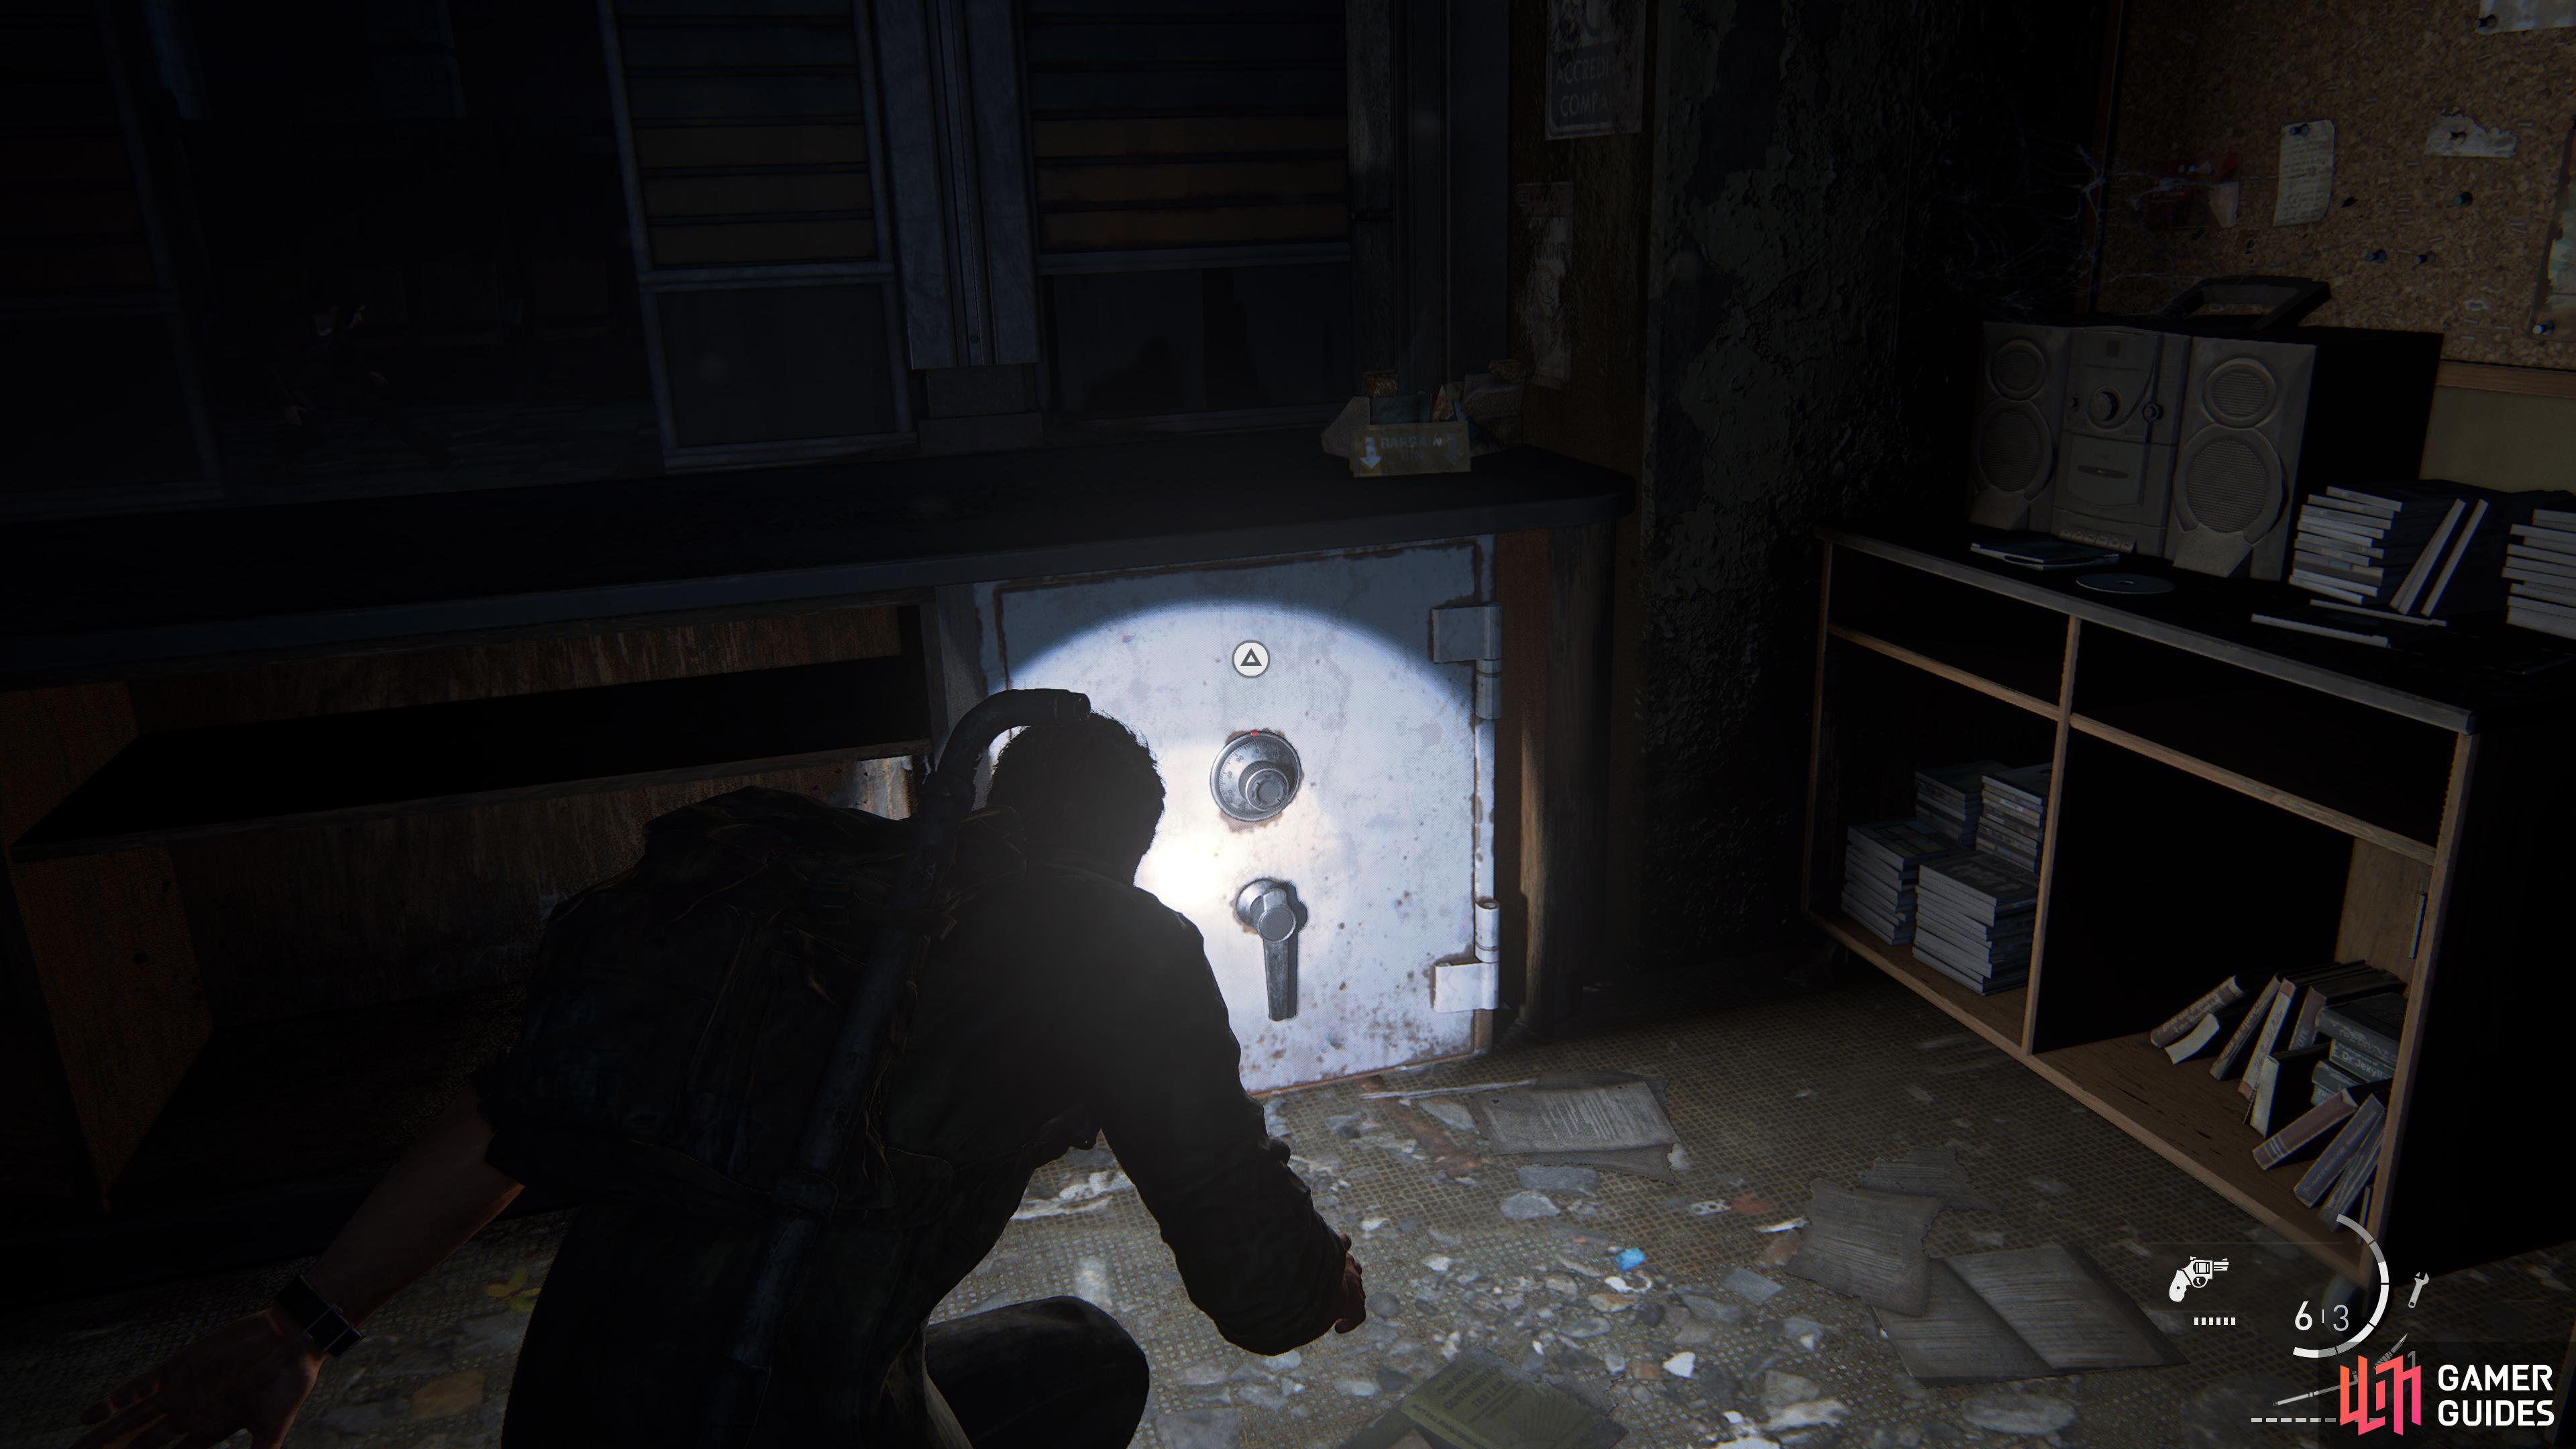
Exit the store and head down the hall and strangle the Runner that’s standing still, then return to the entrance and sneak over to the right side of the room. Enter the Round Note Book Store and take out the Runner, then open the safe by inputting the combination 3-43-78 and collect the Parts x50. Head back outside and sneak to the end of the hall.
(1 of 2) Pick up the Note to Derek from inside a drawer
Pick up the Note to Derek from inside a drawer (left), then open the safe for 50 Parts. (right)
There’s a Health Bar and a Health Can in the center of the area should you need it, but beware it has several Clickers lurking about. Finally, pick up a brick and take out the Clicker standing against the wall at the back of the room, then grab the nearby ladder and climb up to reach the Museum portion of The Outskirts.

 Sign up
No Comments