This chapter is huge compared to the others in the game, with more of an open-world feel to it than usual. There are many treasures to find here, but for this walkthrough we’ll be focusing on guiding you through the linear path.
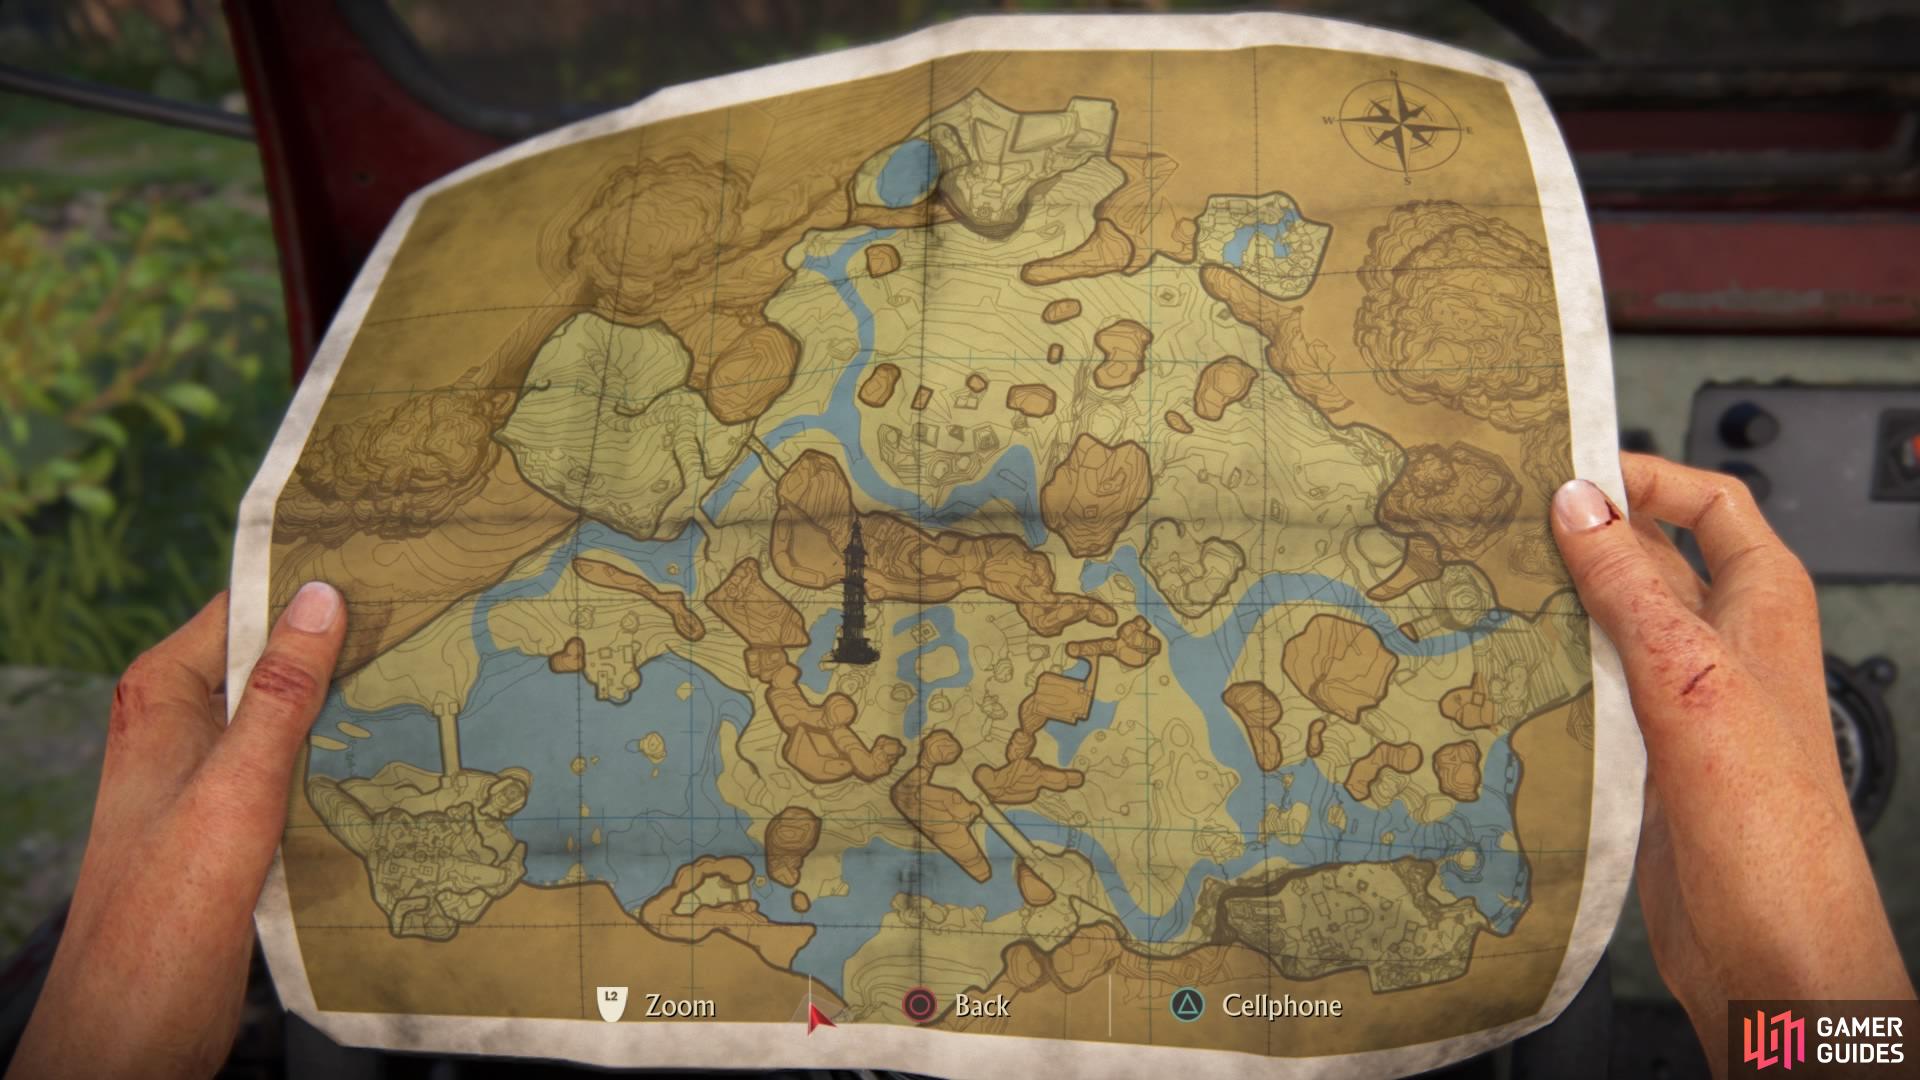
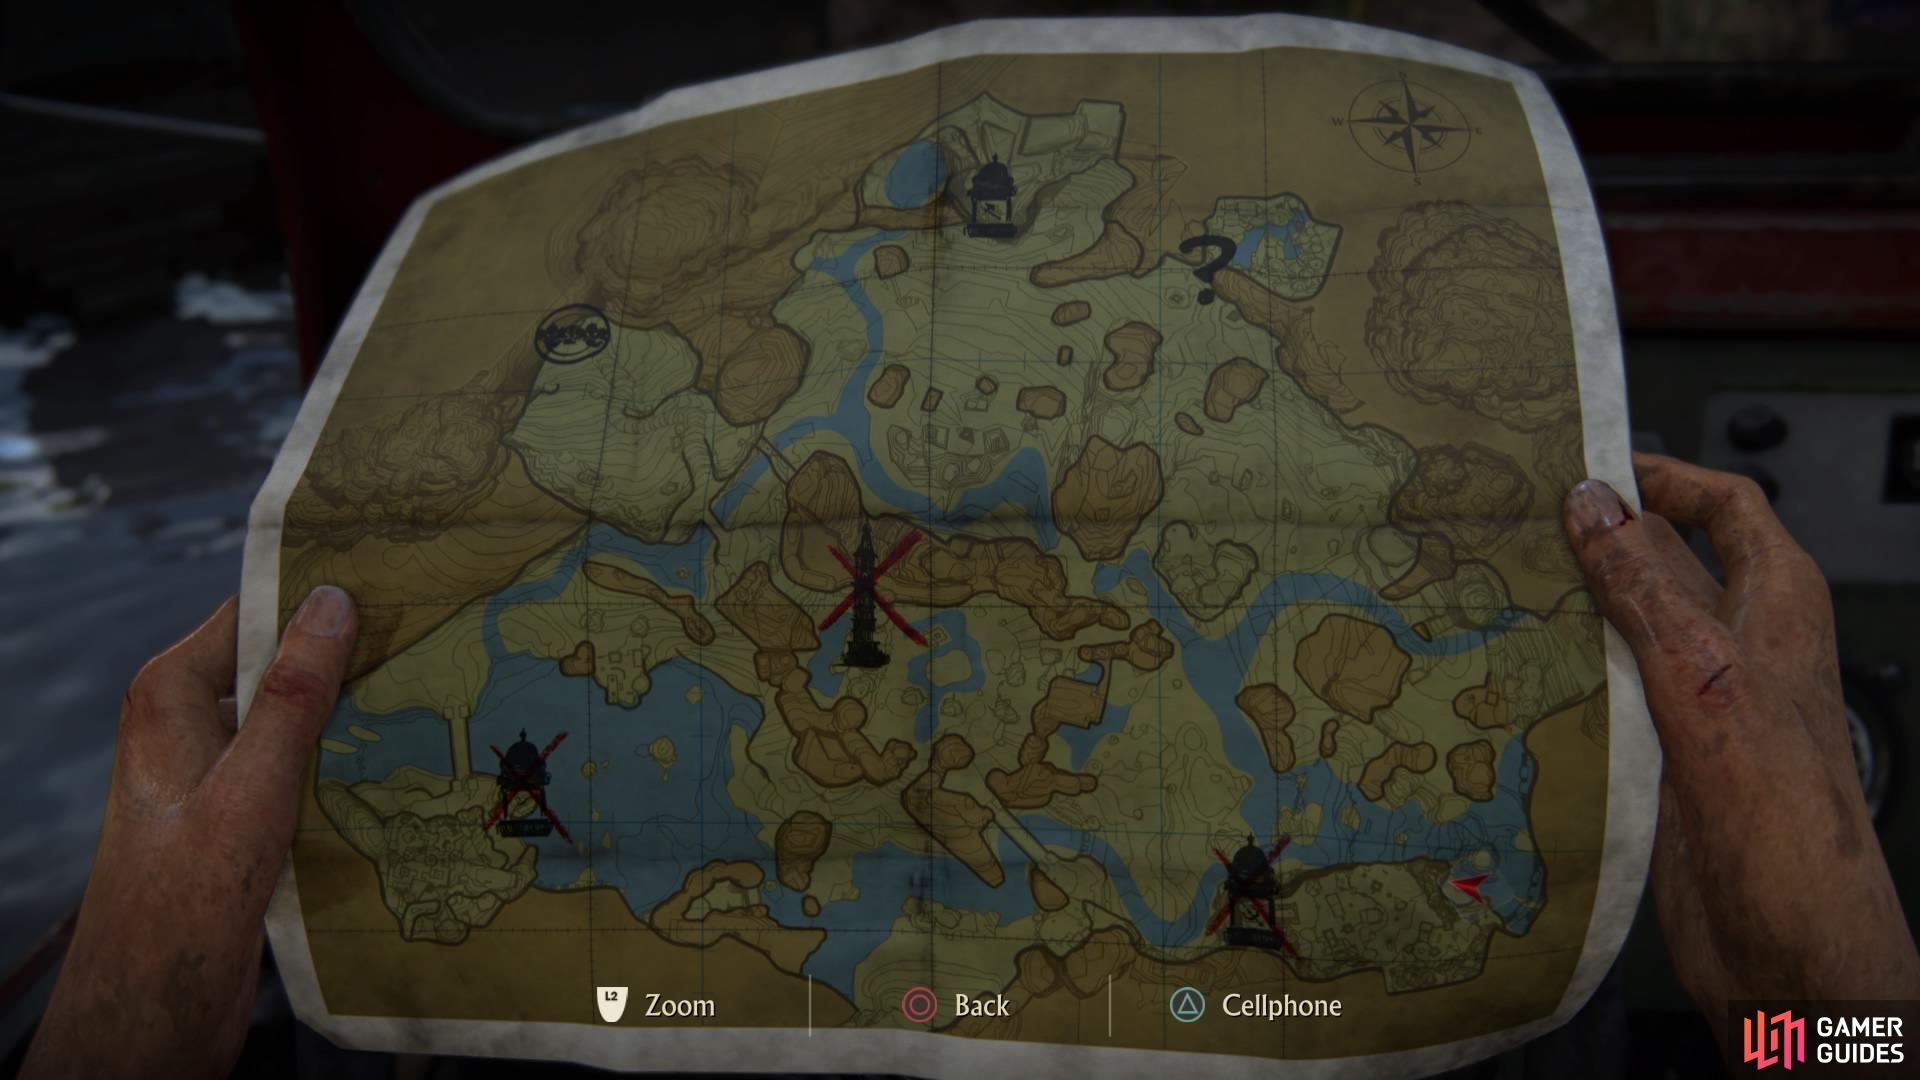
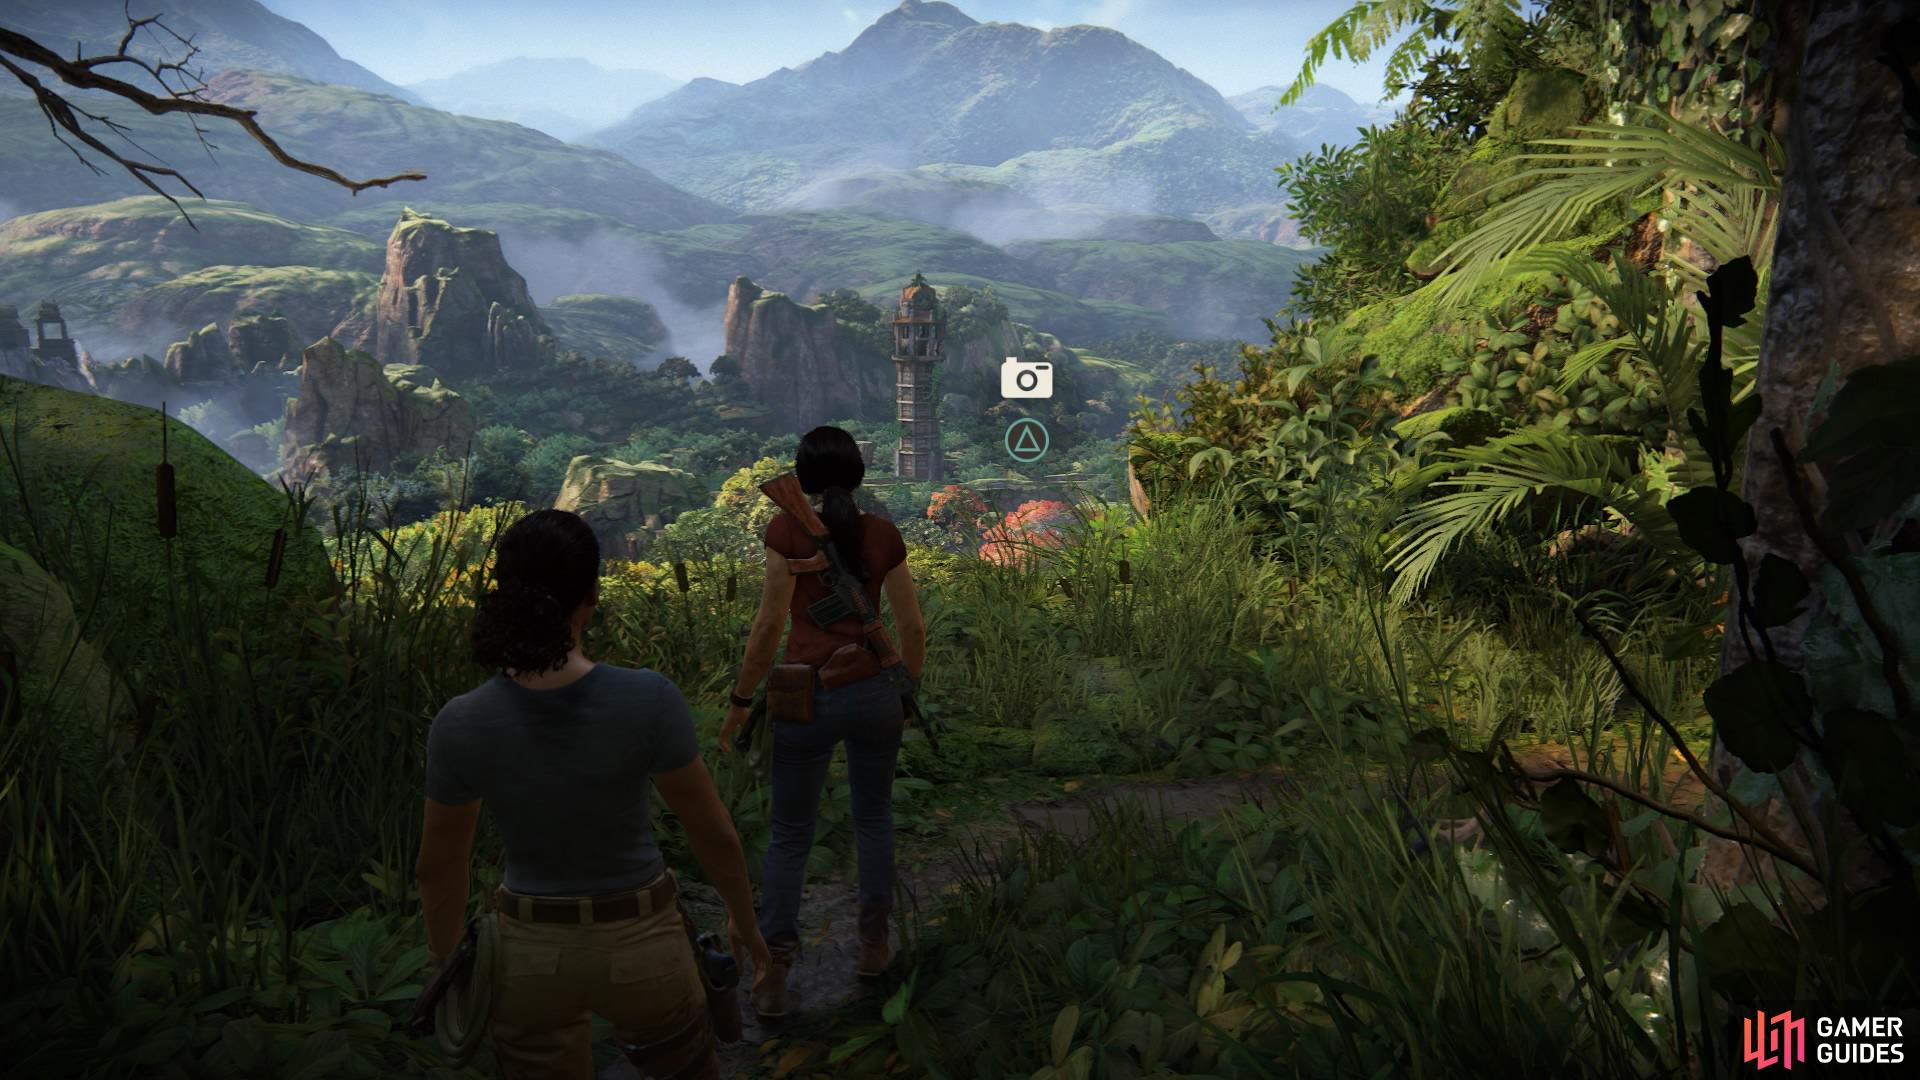
When you first begin, you’ll have the option to refer to a map by using the touchpad on the controller. You can switch between the map and your cell phone from here. Your position on the map is marked by a red arrow, and your objective is to reach the tower in the middle.
(1 of 2) Your position on the map is marked by a red arrow
Your position on the map is marked by a red arrow (left), Reach the tower (right)
The map will be of great use during this chapter – the area is massive, with lots of twists and turns as well as areas patrolled by Asav’s men. For now, simply make your way to the tower to move on to the next objective.
Looking at the map, you’ll see what looks to be a bridge to your right that leads straight into the tower’s location. So, let’s make our way here. Go right from your starting position and follow the trail under an arch, and then under the bridge itself.
(1 of 2) Head right from your starting position
Head right from your starting position (left), Go under the bridge (right)
Turn right again to approach a small ruin with some rebels patrolling the area. You can get rid of them easily but be aware that one of them is manning a turret, and more of them will appear once you take that turret for yourself. Once you’ve done this, make your way across the bridge – marked by two elephant statues – to reach the tower.
(1 of 2) Take out the rebels on the way
Take out the rebels on the way (left), The bridge, marked by two elephant statues (right)
Now you have to climb it! Nadine will stay in the car, leaving you to make your way to the top. Find the side of the tower with a circular symbol and climb from there using the handholds and grapple hook.
(1 of 2) Start the ascent from this marker
Start the ascent from this marker (left), Use the handholds and grapple hook to traverse the tower (right)
When you reach the top, you’ll drop down into a room with a bunch of doors. You can only open four of them, three of which point you in the direction of your next objectives.
(1 of 2) Reach the top
Reach the top (left), and land inside the room to open all the doors (right)
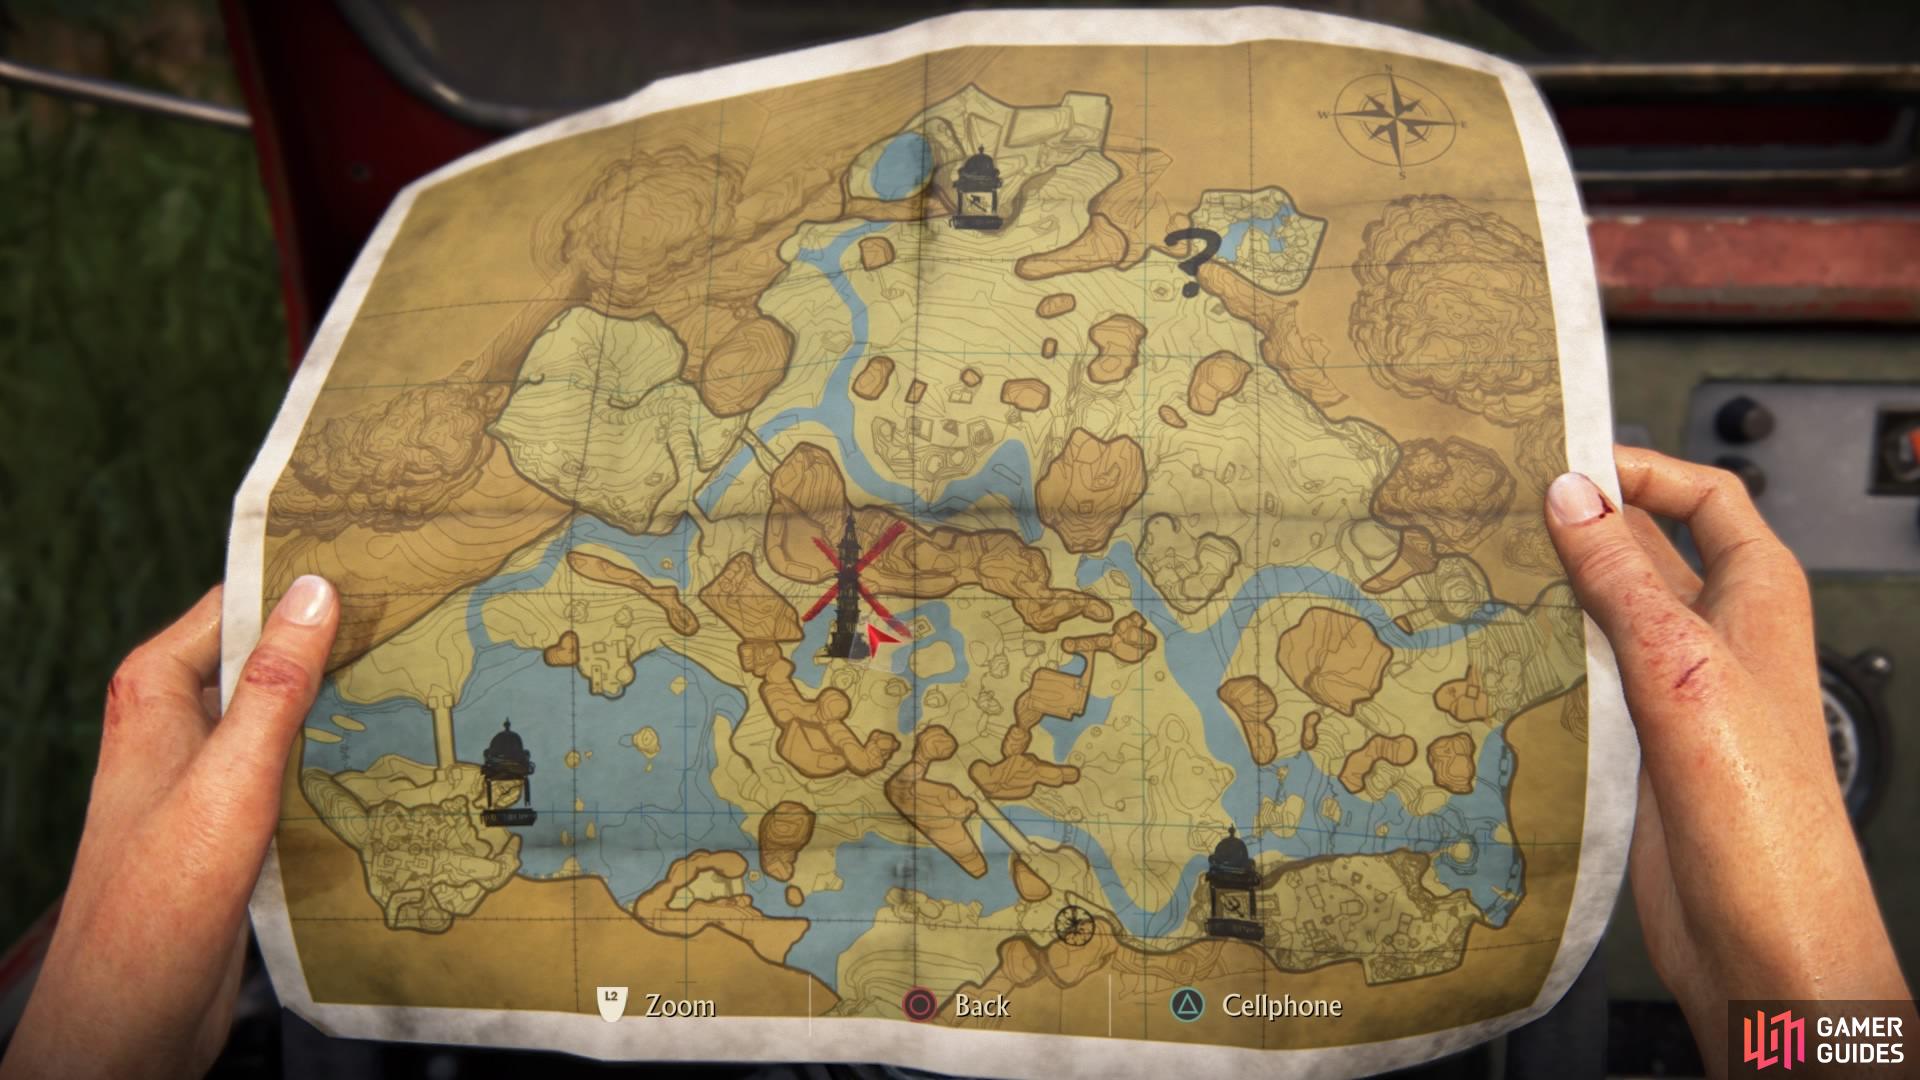
As you open each door, Chloe will mark it down on the map. They are engraved with different symbols. From left to right: a bow, an axe, and a trident. You have to visit all three of these new locations, but you get to choose in what order. So, using the lever in the middle of the room, take the elevator back down to the bottom to rejoin Nadine.
Parashurama’s Bow
Our first port of call is in the southwest corner of the map, marked by Chloe with a little bow and arrow drawing. Start from the tower and head in the direction of the bridge on the map just outside of the Parashurama ruin.
(1 of 2) The bow and arrow door in the tower
The bow and arrow door in the tower (left), Chloe will mark the location on the map for you (right)
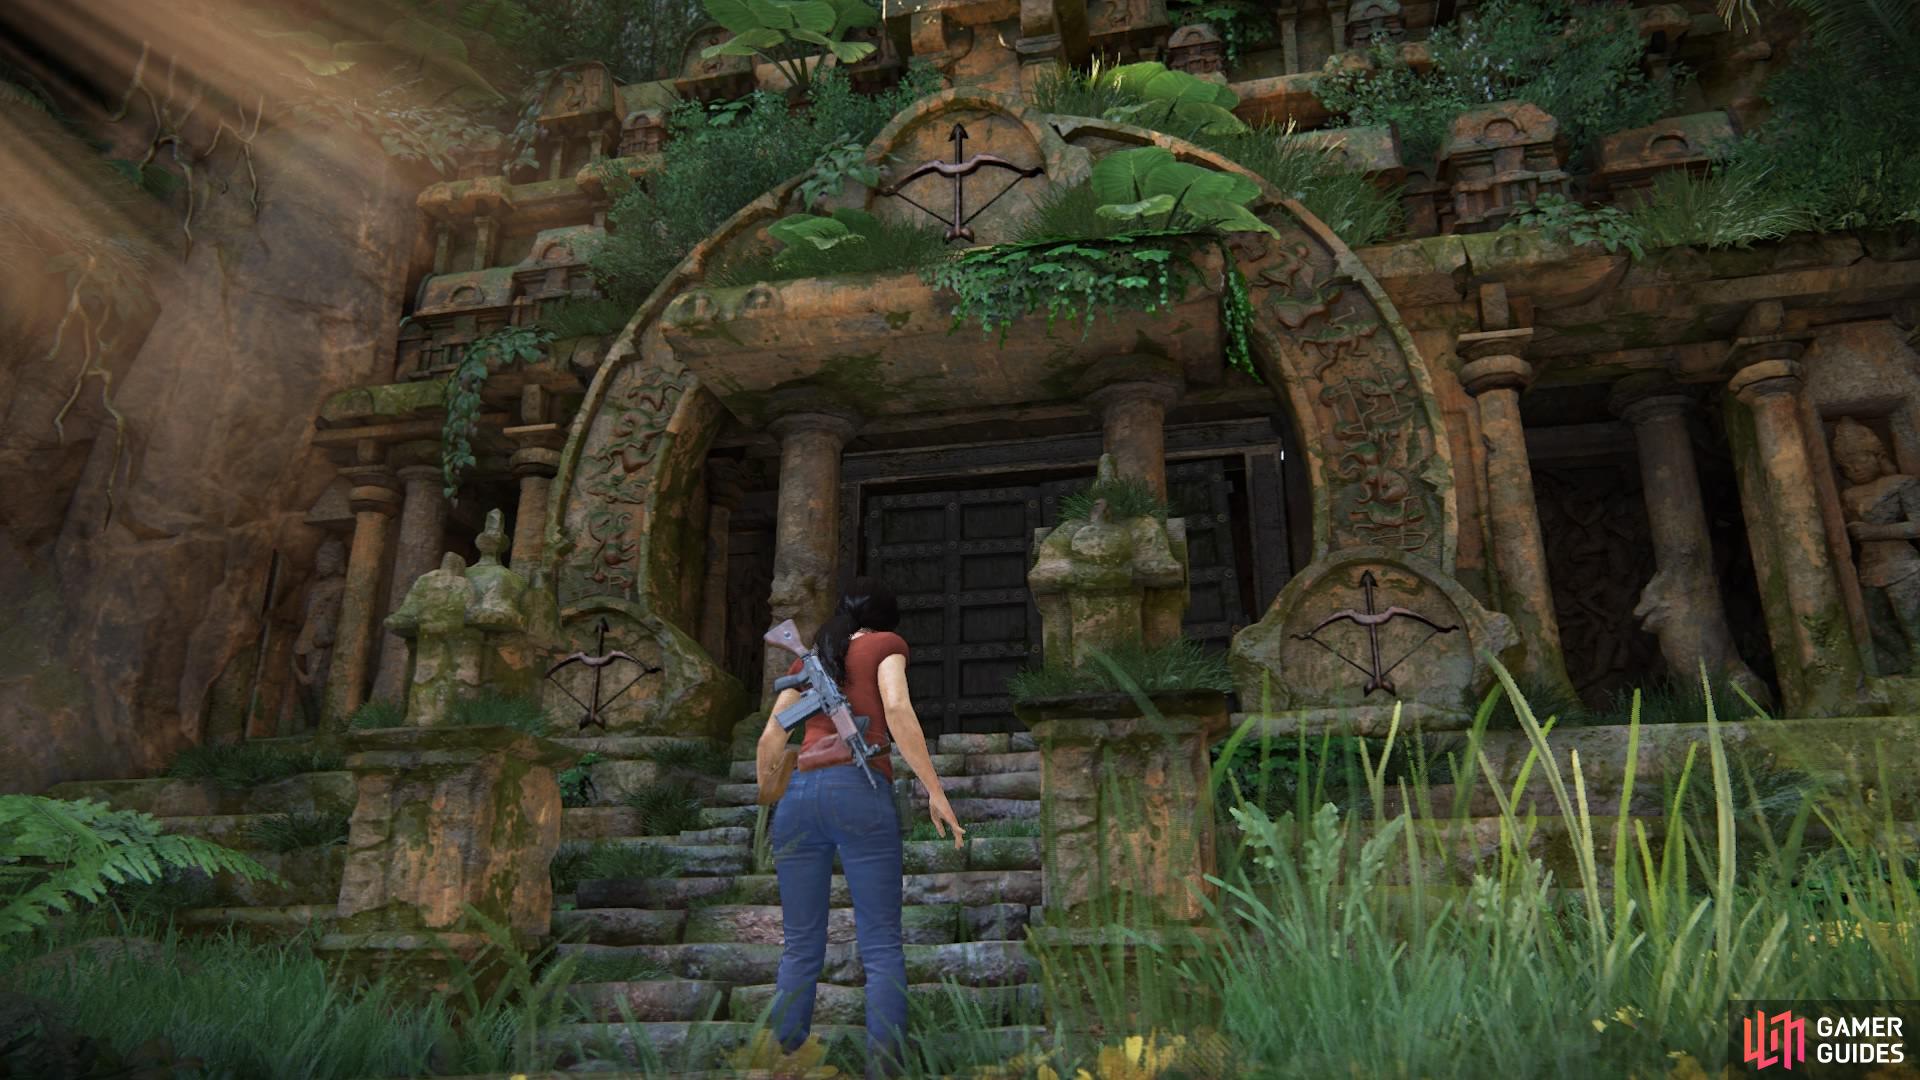
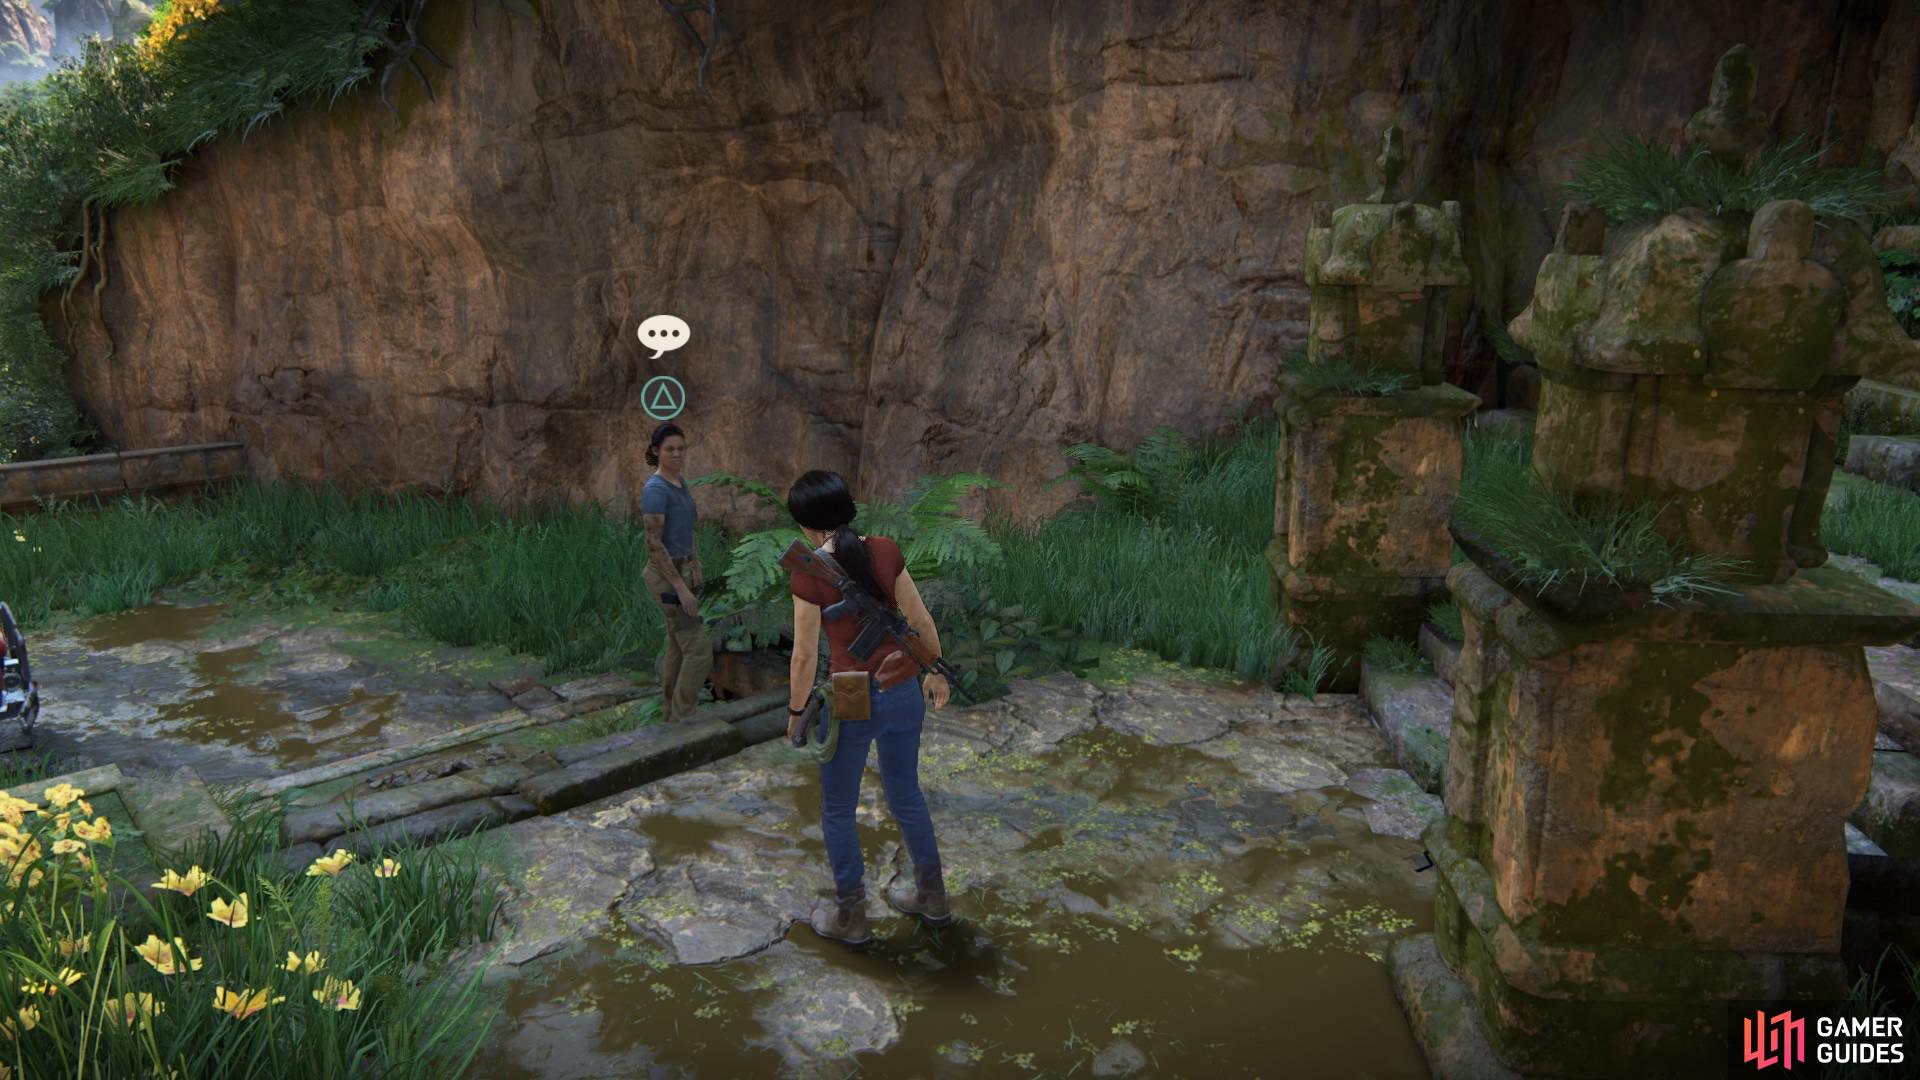
It is once again marked by two elephant statues. When you get there, there’ll be a rebel truck but no men in sight. The ruin is marked with the same bow and arrow symbol – so you know you’re in the right place! When you hop out of the car to inspect the ruin, an optional conversation will pop up with Nadine. You may as well grab it while you’re here.
(1 of 2) The Parashurama ruin
The Parashurama ruin (left), Grab the optional conversation, marked by a speech bubble icon (right)
Just as you did with the very first gate in Chapter 3, you need to attach the winch to the door and force it open. Enter the fortress and get ready to scale some cliffs and kill some bad guys. As you reach the top of the first platform, sneak up behind one of the rebels and kick him over the ledge, then take out his buddy straight after.
(1 of 2) Climb the cliffs to reach the upper platform
Climb the cliffs to reach the upper platform (left), Take out the rebels along the way (right)
Jump over to the next cliff (sometimes Nadine will lead the way, so just follow her) and climb up to take out the next two guys. Then hop over to the ruin on the other side and take the stone stairs upward. You’ll be prompted to zoom in on a shrine-like building along the way – do this, then continue up the steps until the grapple hook icon appears on the screen.
(1 of 2) Zoom in with L3
Zoom in with L3 (left), Swing to the cliffs and keep climbing (right)
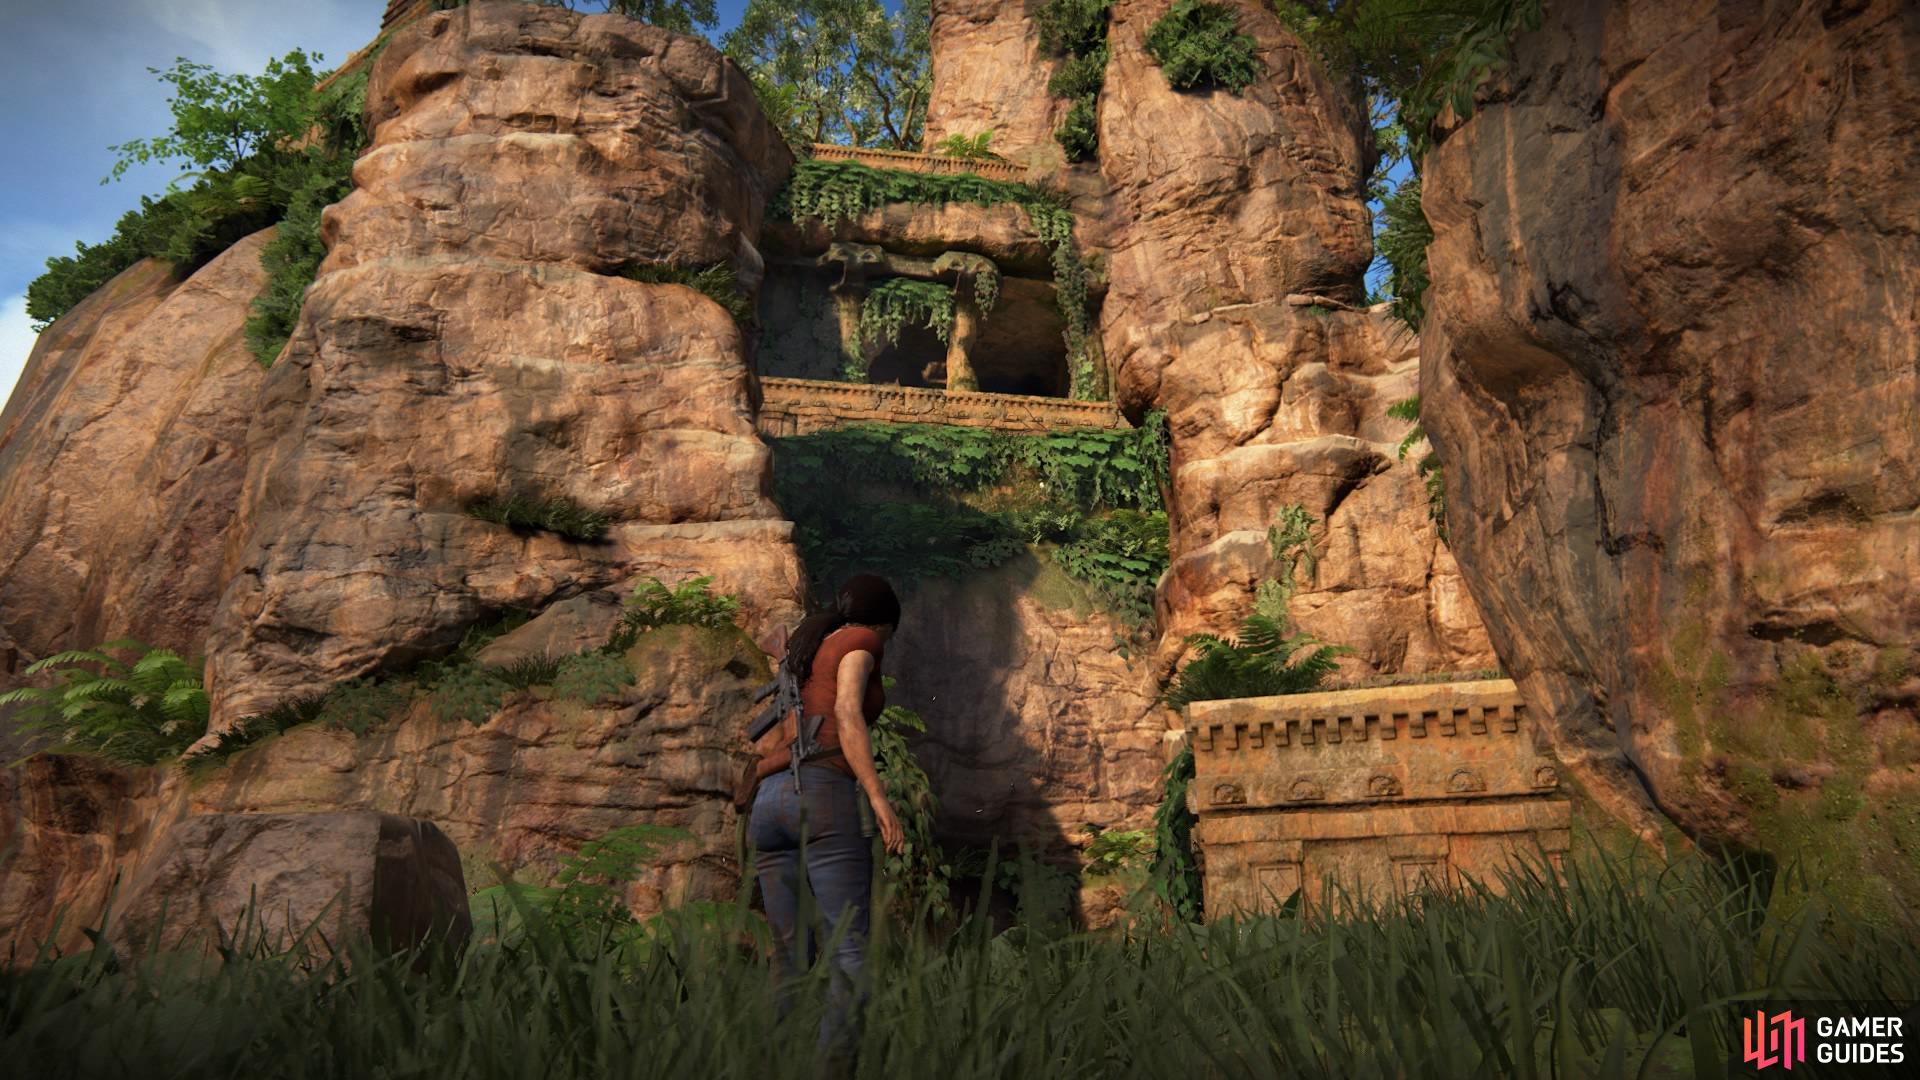
Swing across to the cliff face and climb – there’s a little platform with a tree growing out of it. Jump over and look a little above you to see a gap that looked to have once been a stone doorway.
(1 of 2) Go through the gap
Go through the gap (left), and get ready to fight Asav’s men on the other side (right)
When you go over, you’ll land in some long grass, with several ruins spread out ahead of you – all patrolled by Asav’s men.
You can take them out however you like, whether you want to go in gun’s blazing or try your hand at being sneaky. They’re dotted all over the place, so you could probably pick a spot to hunker down in and take them out from there.
When you’re done, head over to the tall gate to the right of the ruins. It’s locked, so find the wheel crank opposite and open the gate to let Nadine through.
(1 of 2) Open the gate
Open the gate (left), Find the wheel crank to unlock the gate (right)
Now make your way back. Nadine will lead, but as soon as she crosses the bridge – you guessed it! It collapses. Time to find another way around again.
Just to your right is a grapple hook prompt, so throw the rope and swing around the cliff. Find the handhold at the corner and begin to make your way up to the next platform. Once you’re up, go straight forward to swing across some beams jutting out of the rock. Nadine will be just above you as a marker for the right direction.
(1 of 2) Throw the rope to swing around the cliff
Throw the rope to swing around the cliff (left), Traverse the beams to get back to Nadine again (right)
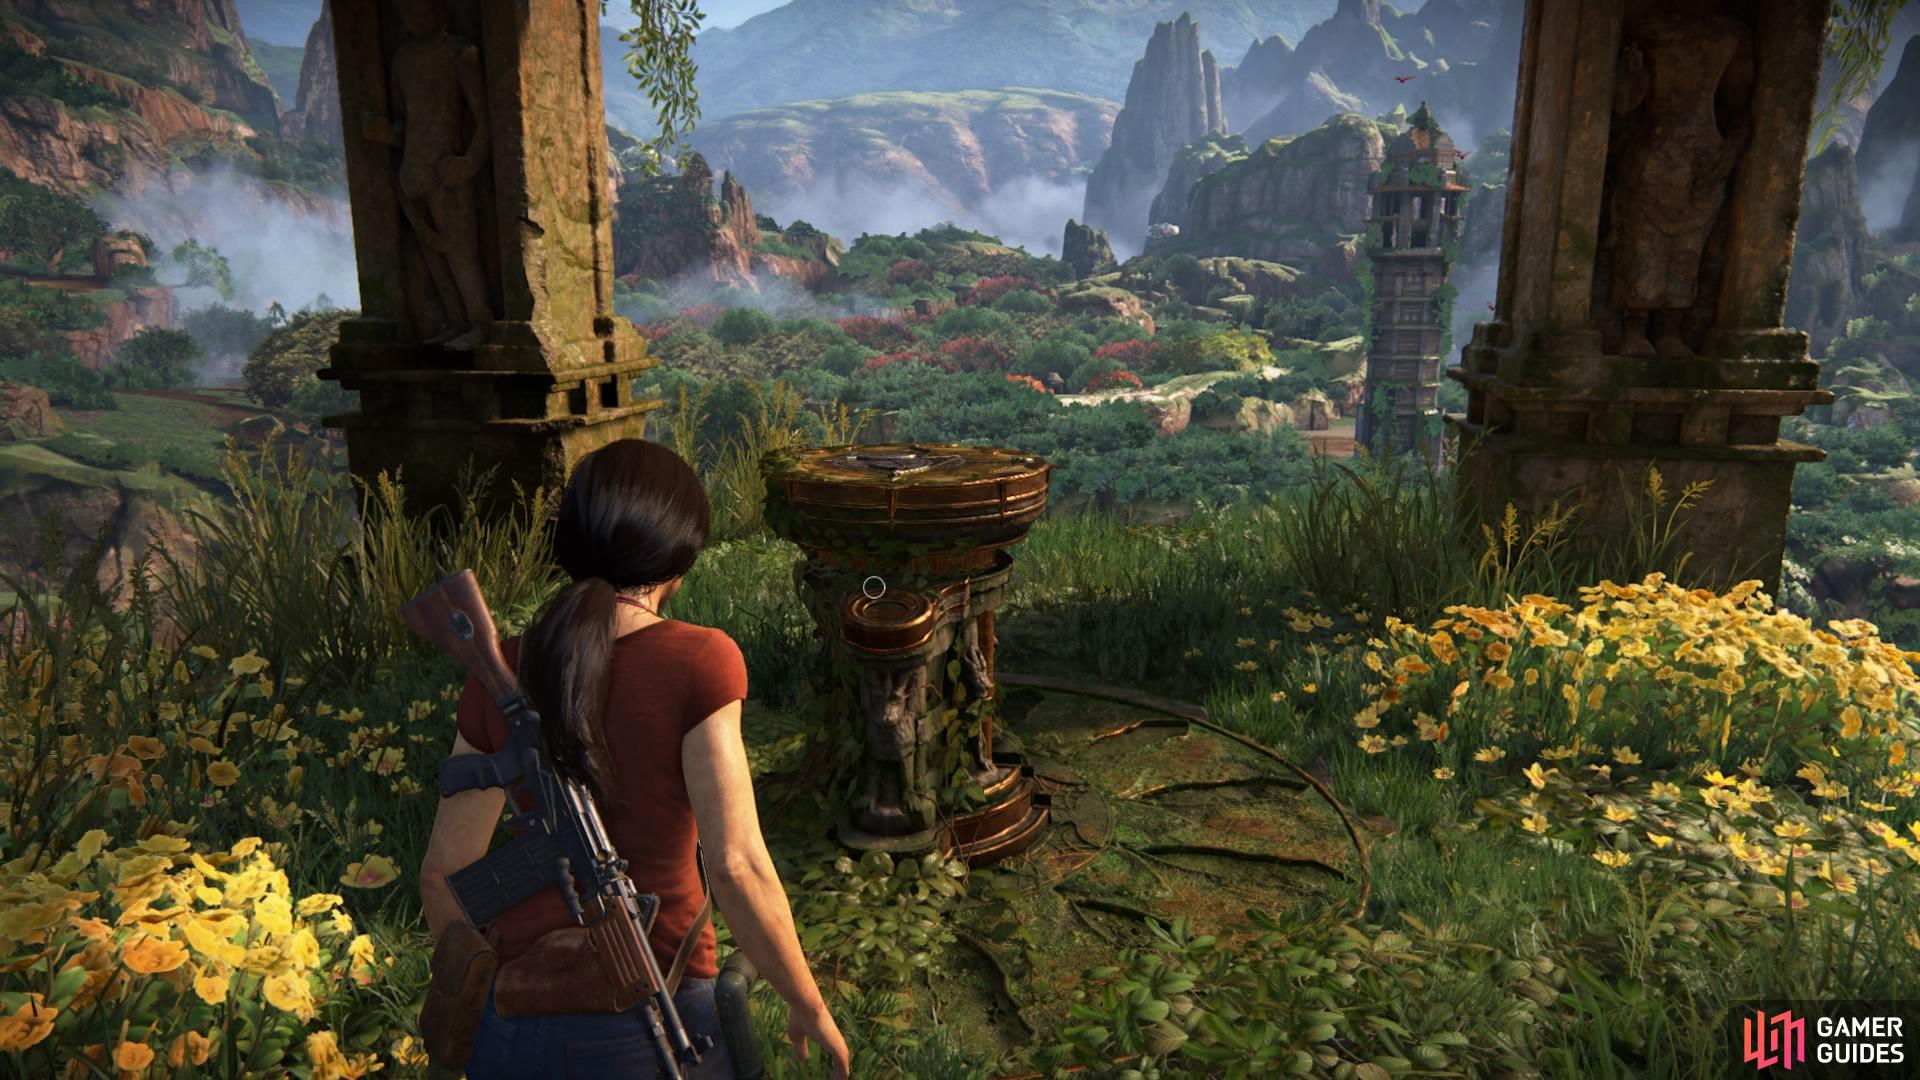
Swing across to the handholds and continue to traverse around and up until you join Nadine again. Then go up the stone steps to a platform with a puzzle for you to solve.
(1 of 2) Interact with the puzzle
Interact with the puzzle (left), and form a bow and arrow to complete it (right)
Press X to switch between the rotating dials and turn them left or right with the left analogue stick until the picture forms a bow and arrow. Once complete, the puzzle will form a crank for you and Nadine to turn, which activates a waterfall as well as a cutscene.
(1 of 2) Turn the crank to activate the waterfall
Turn the crank to activate the waterfall (left), Make your way back down the cliffs via a newly opened doorway (right)
Afterward, follow Nadine to make your way back down the cliffs to the car you left behind at the ruin’s entrance.
Ganesh’s Trident
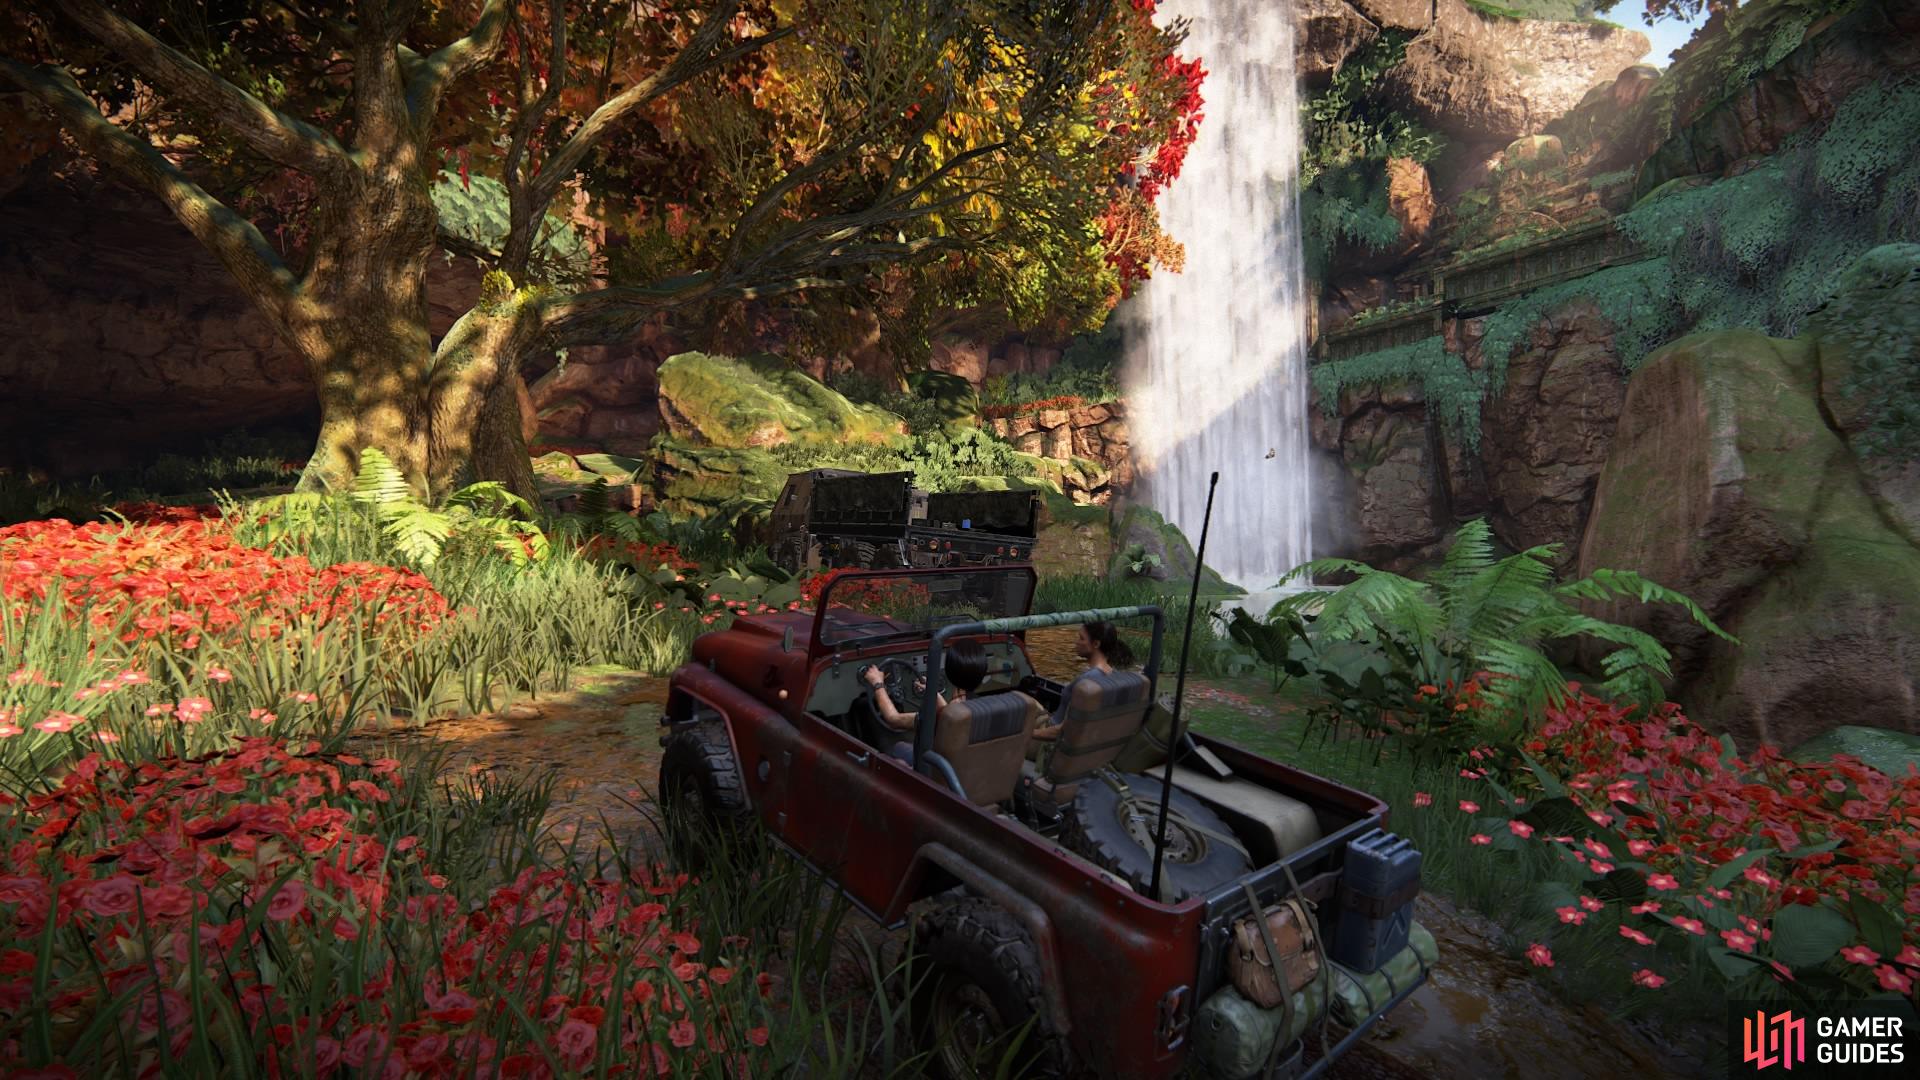
Your second stop lies in the southeast this time, so make your way however you like. It might get a little tricky though, as the muddy slope leading up to the ruin is carefully hidden by the waterfall. Once you’re in the right area, look for a purple flowered tree – the way to the ruin is behind it to its left.
(1 of 2) Chloe will update the map to mark your progress
Chloe will update the map to mark your progress (left), Find Ganesh’s ruin beyond the waterfall (right)
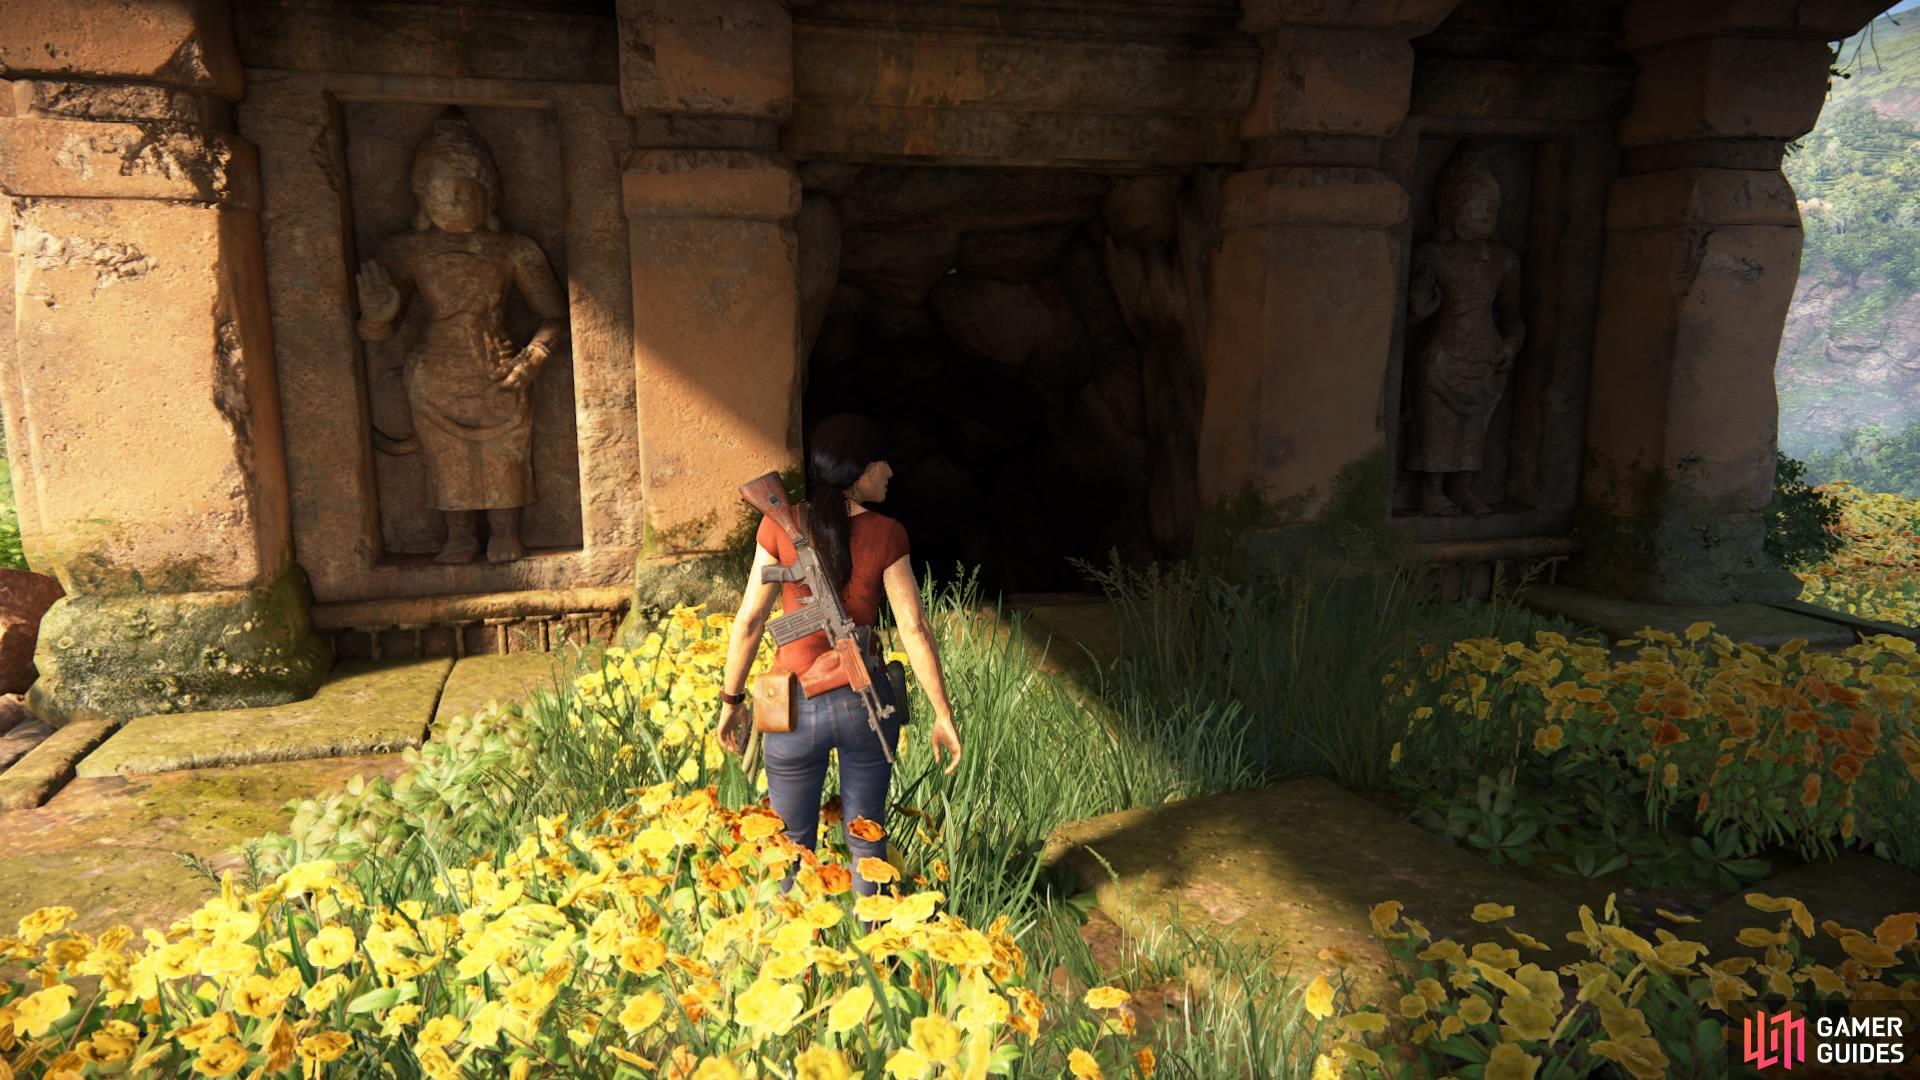
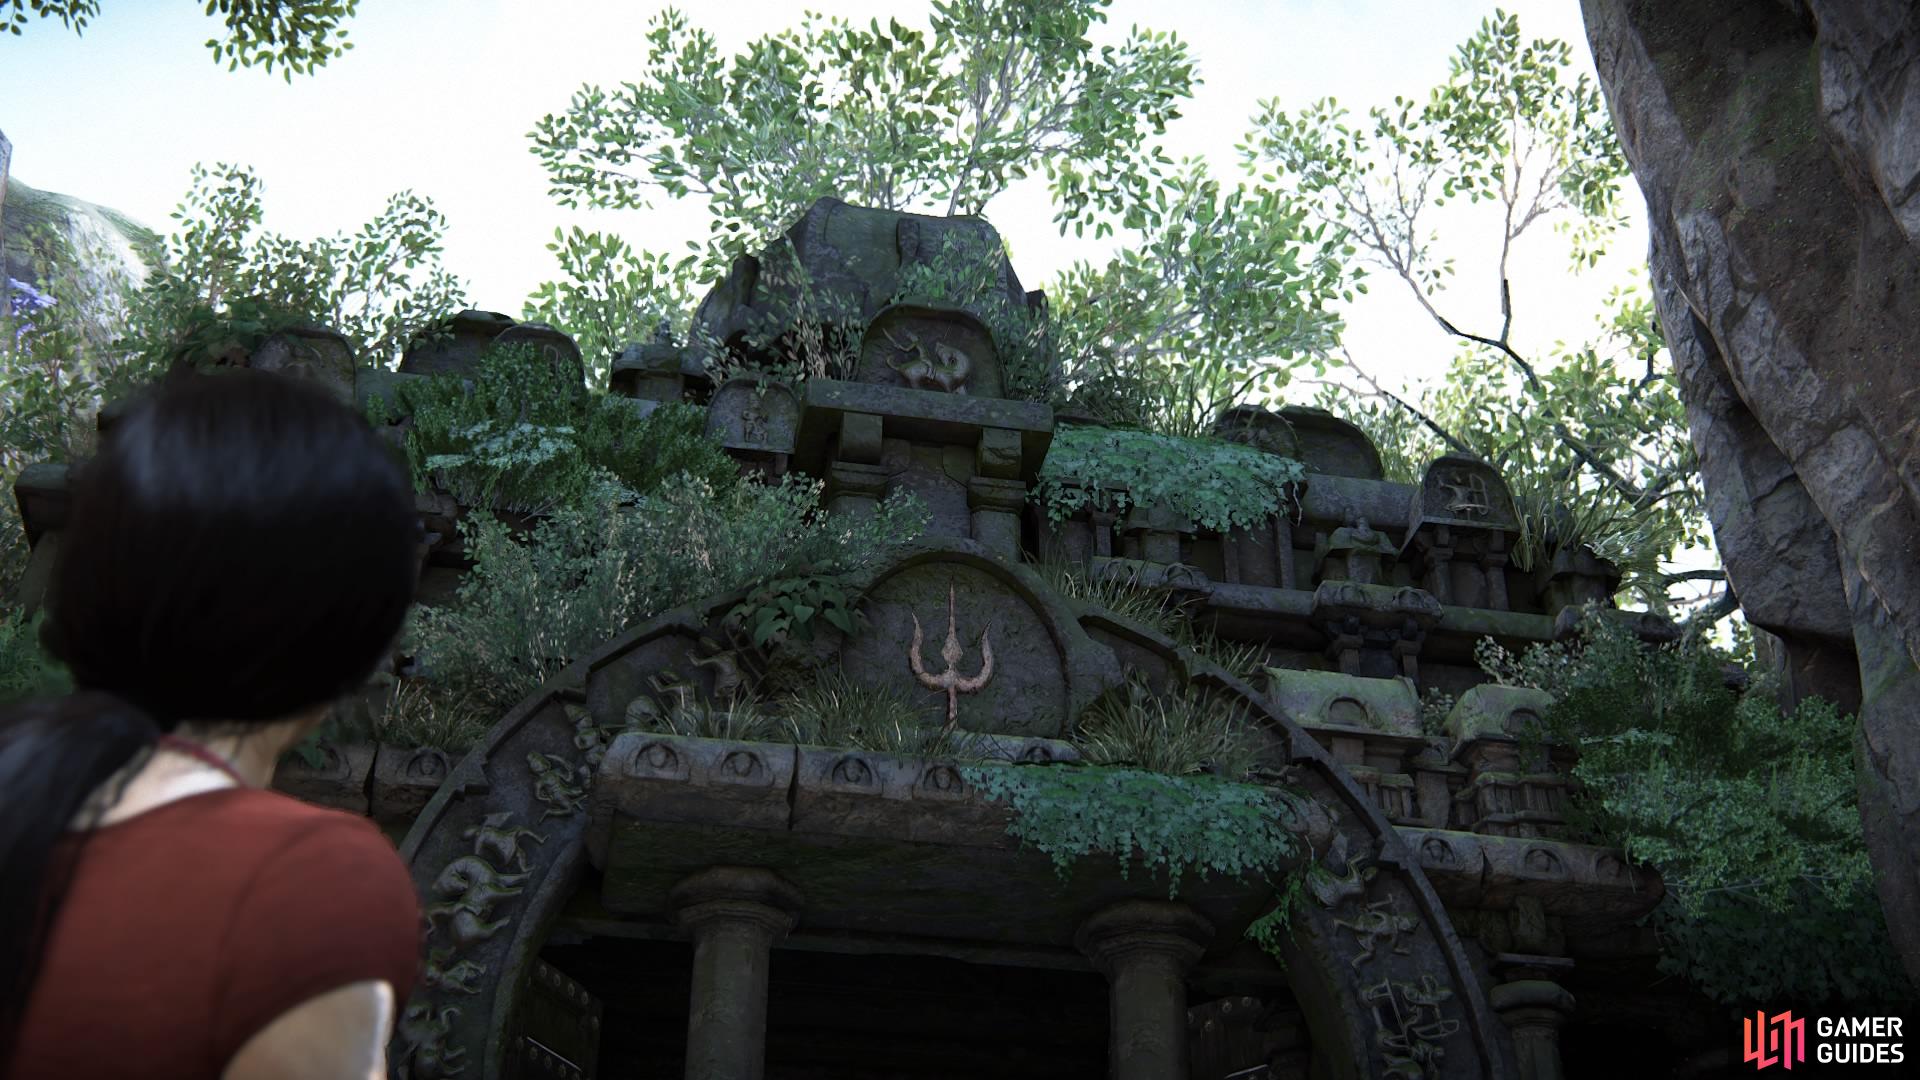
Follow the path around to until you come out to the waterfall beyond the purple trees with a parked rebel truck. The men are nowhere to be found for now, so make your way to the entrance emblazoned with a trident symbol. There’s also another optional conversation here, so take that, too, while you’re at it.
Go through the open doors and drop down into the long grass below – now you can see the men patrolling the area. Once again, they’re dotted all over the place, so proceed however you want. Be careful of the sniper at the back of the area, which is where you need to go.
Approach the temple-like structure to inspect the lock on the door. You need to remove the locks on the five spokes, and to do this you need to locate five wheel mechanisms in the area. Search the platforms for the wheels until you unlock the door, then head back over to have Chloe interact with it.
(1 of 2) Inspect the door
Inspect the door (left), Activate the wheels to unlock the spokes (right)
When you’re through, you’ll see that there is another puzzle for you to solve. Activate the dial to spin the picture until it creates the image of a trident. Then spin the crank again to activate the second waterfall.
(1 of 2) The second puzzle
The second puzzle (left), Turn the dials to create the image of a trident (right)
Head back to the car again by leaving the same way you came in, taking out the rebel reinforcements along the way.
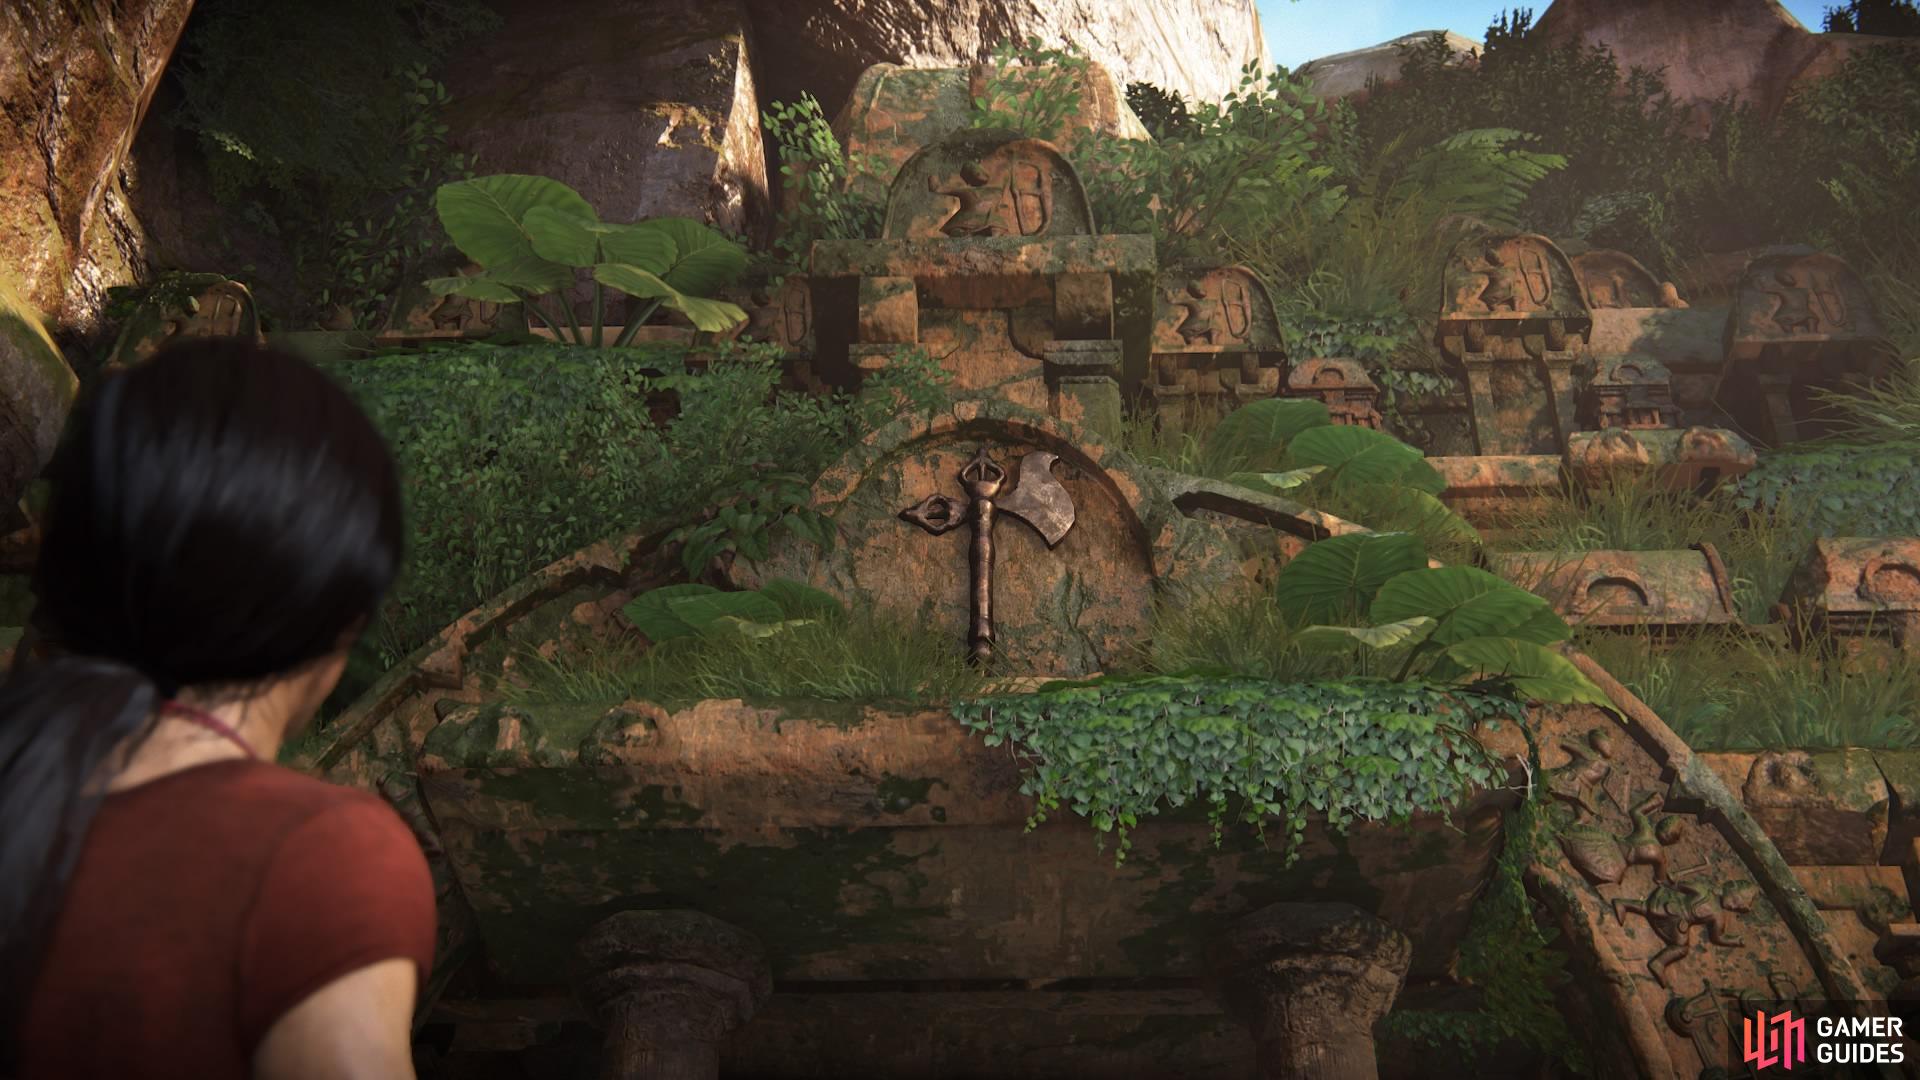
Shiva’s Axe
Your last stop is to the north of the map, so off we go. This is the easiest fortress to reach – referring to the map, you’ll see that all you really need to do is follow the river.
(1 of 2) Shiva’s axe is located at the top of the map
Shiva’s axe is located at the top of the map (left), More rebels have taken over the area, so be prepared to take them out (right)
Once you arrive at the ruin, emblazoned with an axe symbol, proceed to grab the third optional conversation from Nadine, and then use the winch to break down the door. Inside, you can inspect a statue of Sala for a history lesson, and then continue to follow the path.
(1 of 2) Shiva’s ruin
Shiva’s ruin (left), Inspect the statue along the way (right)
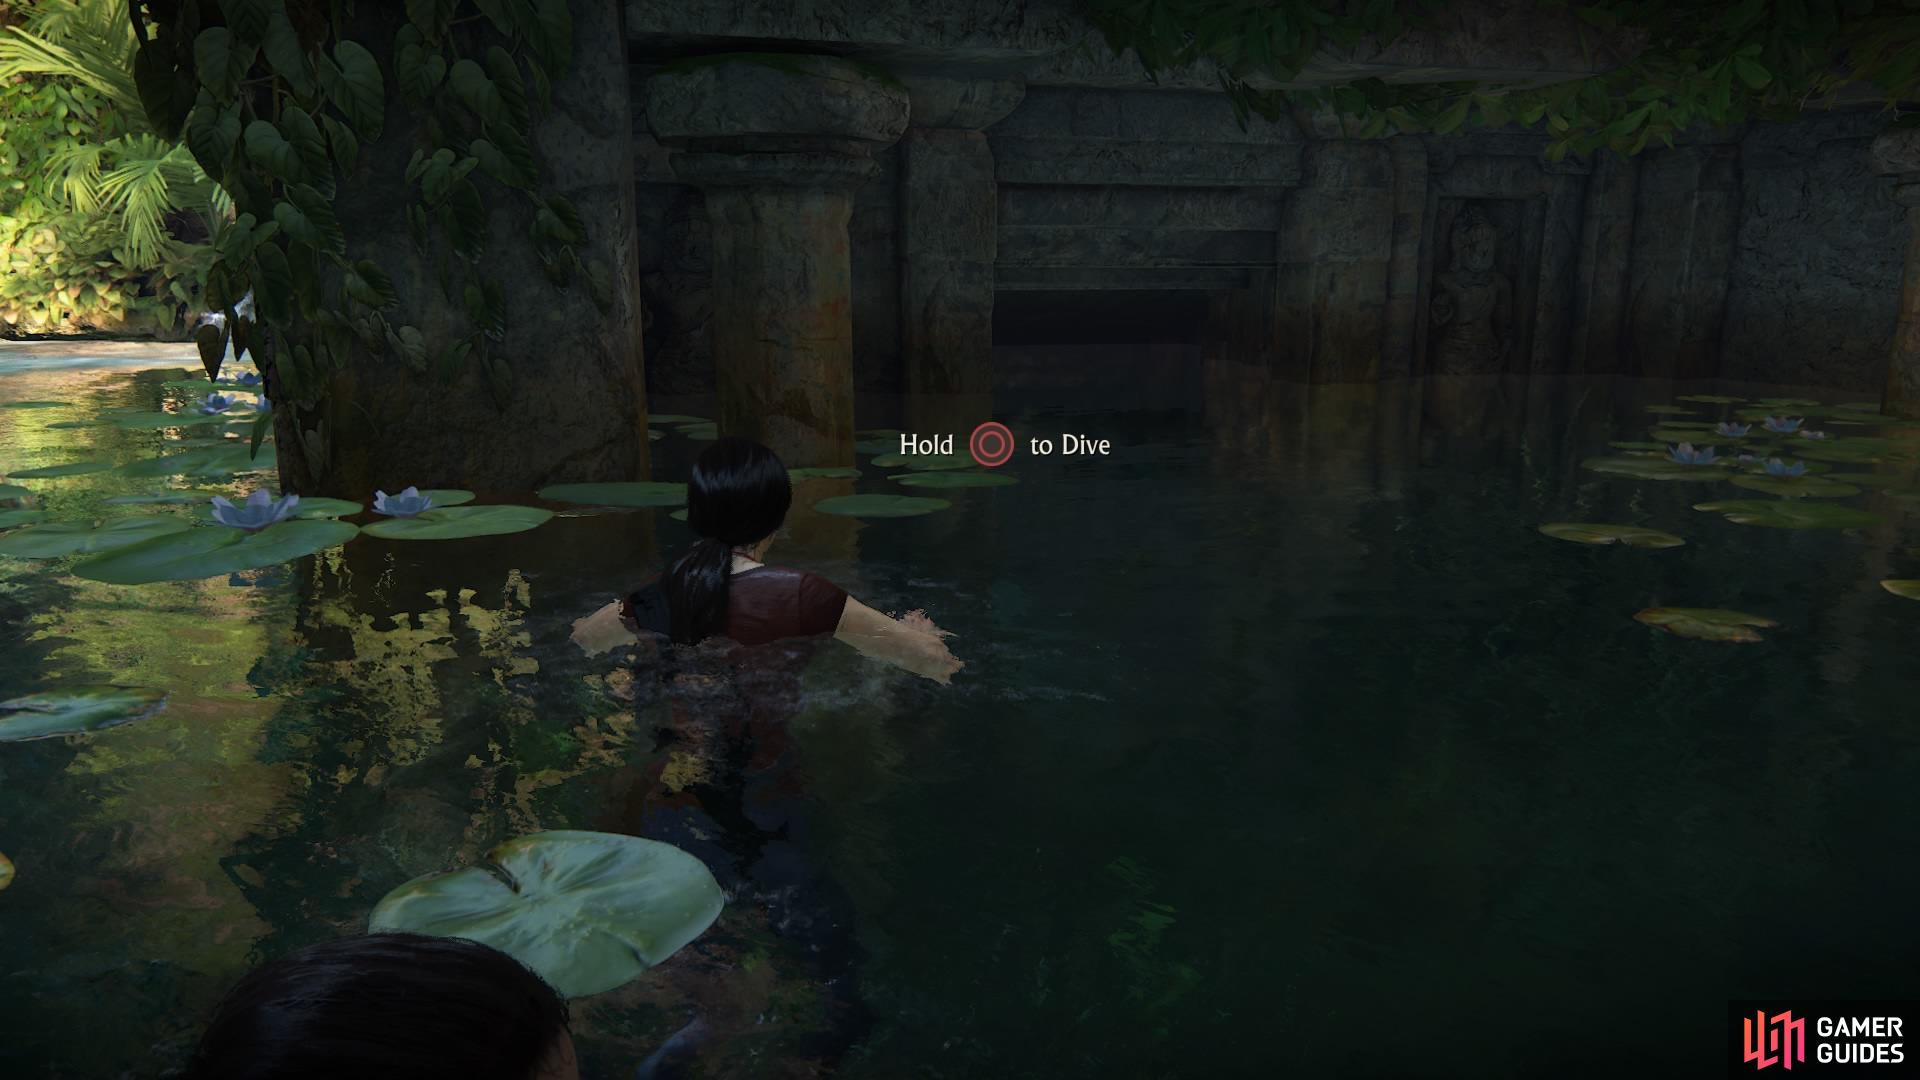
You’ll come to a flooded ruin with a deceiving door on the other side of the gap before you. As you hop over, the ledge will collapse, plummeting you into the water below. Turns out you need to go this route anyway, so dive under the surface using the circle button, and swim through the tunnel until you reach the other side.
(1 of 2) Dive under the water
Dive under the water (left), and swim through the tunnel to reach the other side (right)
You’ll emerge at a cliff face to climb, and you’ll receive some new climbing gear – a piton – to help you traverse the rest of the fortress. You can only use the piton on certain types of walls by pressing square to jam it into the rock.
(1 of 2) You’ll obtain a piton to help you traverse the environment
You’ll obtain a piton to help you traverse the environment (left), Drop down into the water to approach Asav’s men patrolling the next area (right)
The path is easy to follow, so do this until you come to another craggy rock face and drop into the water below. The tunnel will lead you to an area of rebels – once more, deal with them however you see fit. This time, instead of a sniper, there will be a heavily armoured man with a shotgun, so watch out for him.
When you’ve taken out the men, stand on the middle platform to locate the next wall to scale. It’s at the back – climb up and vault over the top to drop down into the corridor.
Follow the stairs up to the first puzzle room. Right away, you may notice the ominous statue standing at the back. To complete the puzzle and reach the door, you need to find the correct path across the platforms and avoid getting hit by the statue’s axe.
(1 of 2) Scale the rock wall and vault over the top
Scale the rock wall and vault over the top (left), The first of three axe puzzles (right)
To begin, pull the lever – this will set the statue in its starting position. Then stand on the platform to your left to open the gate and raise the platforms in the centre of the room. You get three jumps before the statue swings its axe, so plan your route carefully. If you get hit by the axe, it won’t kill you, but it will knock you off the platform and you will have to start over. Nadine will pull the lever for you each time you fail.
To complete the first puzzle, follow this path: forward, forward, right, forward, left, left, back, forward, left, forward, and finish by jumping to the stairs on the right.
The door will remain unlocked and the statue will no longer be a danger, affording Nadine the chance to cross safely. Exit the room, pick up the photo opportunity once you’re outside, then turn the corner to your right to immediately enter the second puzzle room.
(1 of 2) Photo opportunity outside the first puzzle room
Photo opportunity outside the first puzzle room (left), The second puzzle room is a little more complicated! (right)
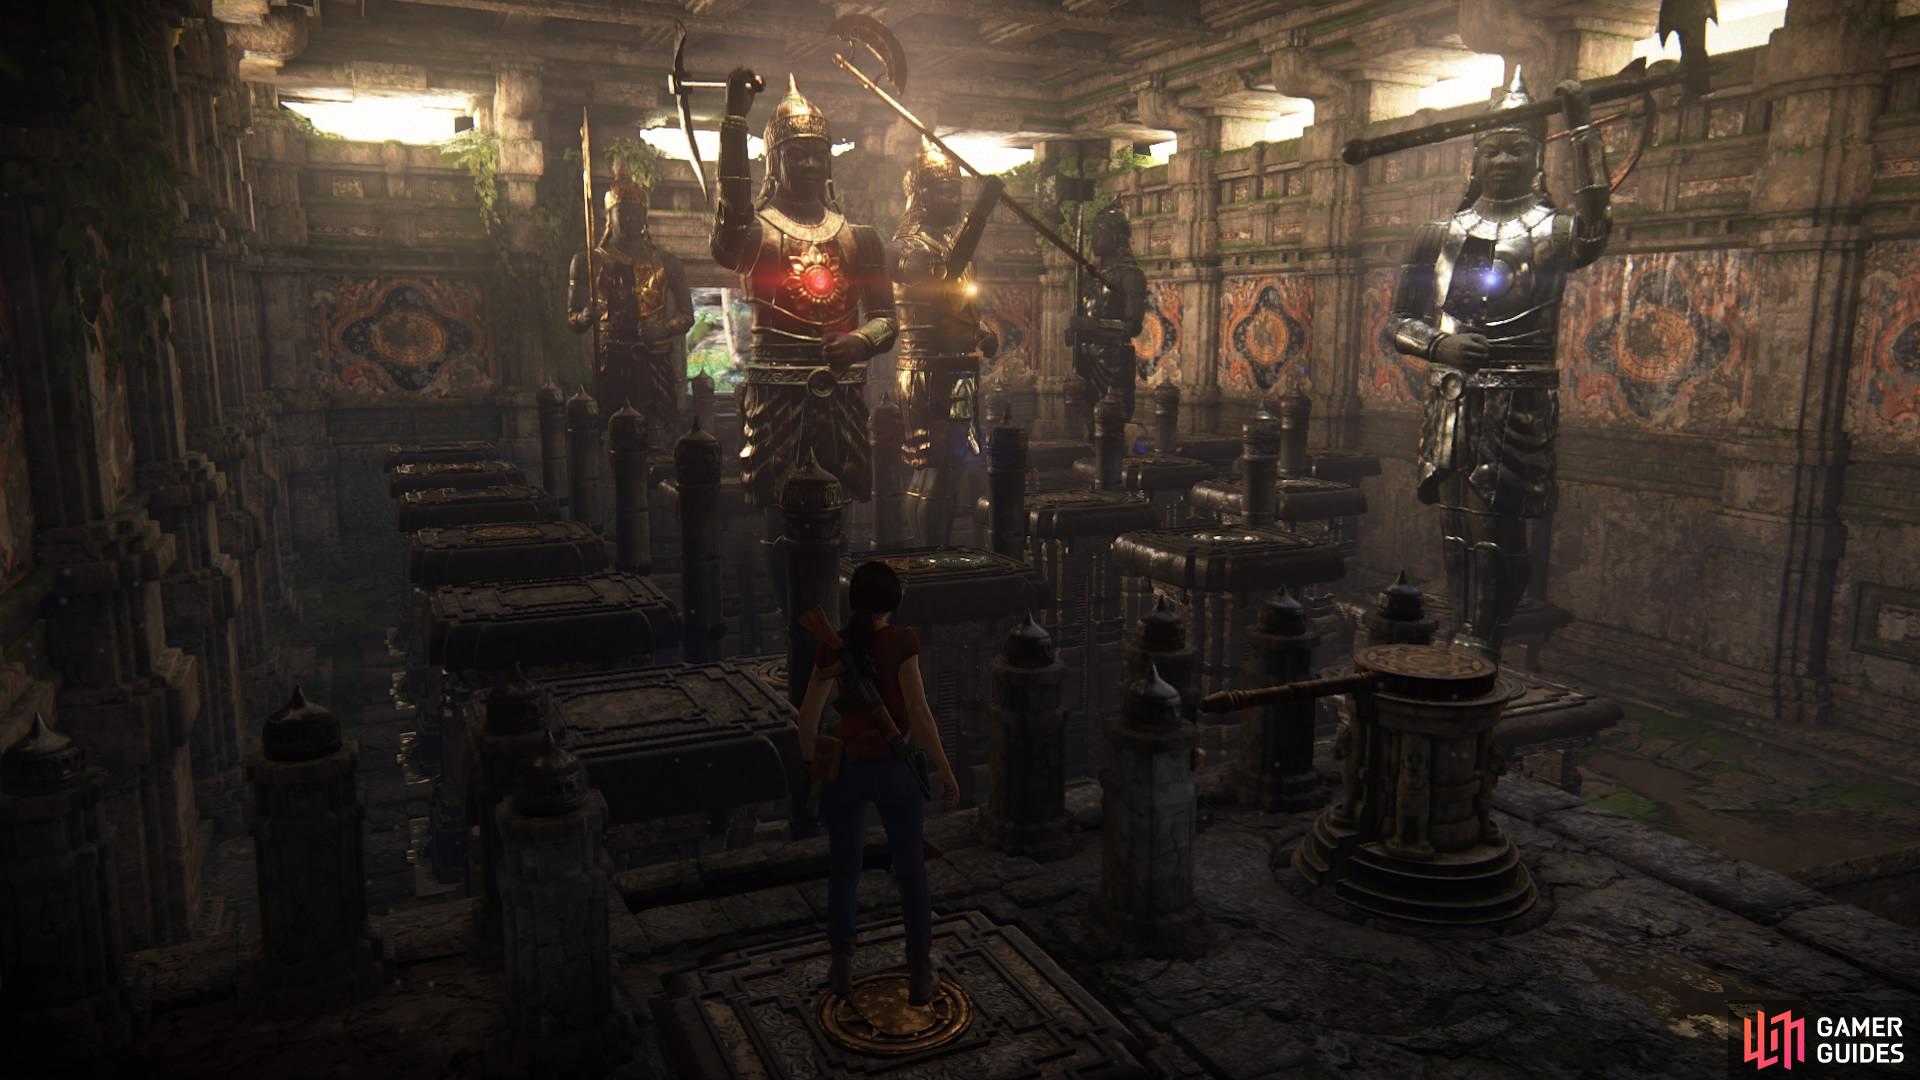
It works the same way as the first, but this time there are three statues rather than one. Pull the lever, just as before, and stand on the platform that opens the gate when you’re ready. The statues change positions at different times, indicating when they are ready to strike, so watch them closely and plan your route cautiously.
After completing the puzzle successfully, the door will once again remain open and the statues will be immobilized. Exit the room to be instantly met with the final puzzle next door.
(1 of 2) The final puzzle room
The final puzzle room (left), Ask Nadine for hints if you’re not sure what to do (right)
To further complicate matters, this last room has five statues waiting to cleave you in half, once again switching positions at different times. There are two statues, like the one directly in front of you, that swing their axes with every single turn in an anti-clockwise direction.
Don’t get too frustrated if it takes you a while to figure out the right path – you can’t die if you get hit and the pattern never changes!
When you beat the last puzzle, exit the room to find the third dial. Turn it until it creates the image of an axe and turn the crank to activate the last waterfall.
(1 of 2) Complete all three axe puzzles to reach the dial
Complete all three axe puzzles to reach the dial (left), Turn the dial to create the image of an axe and activate the waterfall (right)
After the cutscene, it’s time to head back down to the car again. Chloe will update the map for you, crossing off the final ruin, so head down the steps and jump to the piton-able wall.
Keep following the short path back to the entrance of the ruin and hop into the car – it’s time to head to the next destination.
The place with the waterfalls isn’t far from here; refer to the map to find it circled in red.
(1 of 2) Find and cross the tree-bridge
Find and cross the tree-bridge (left), Approach and open the final door (right)
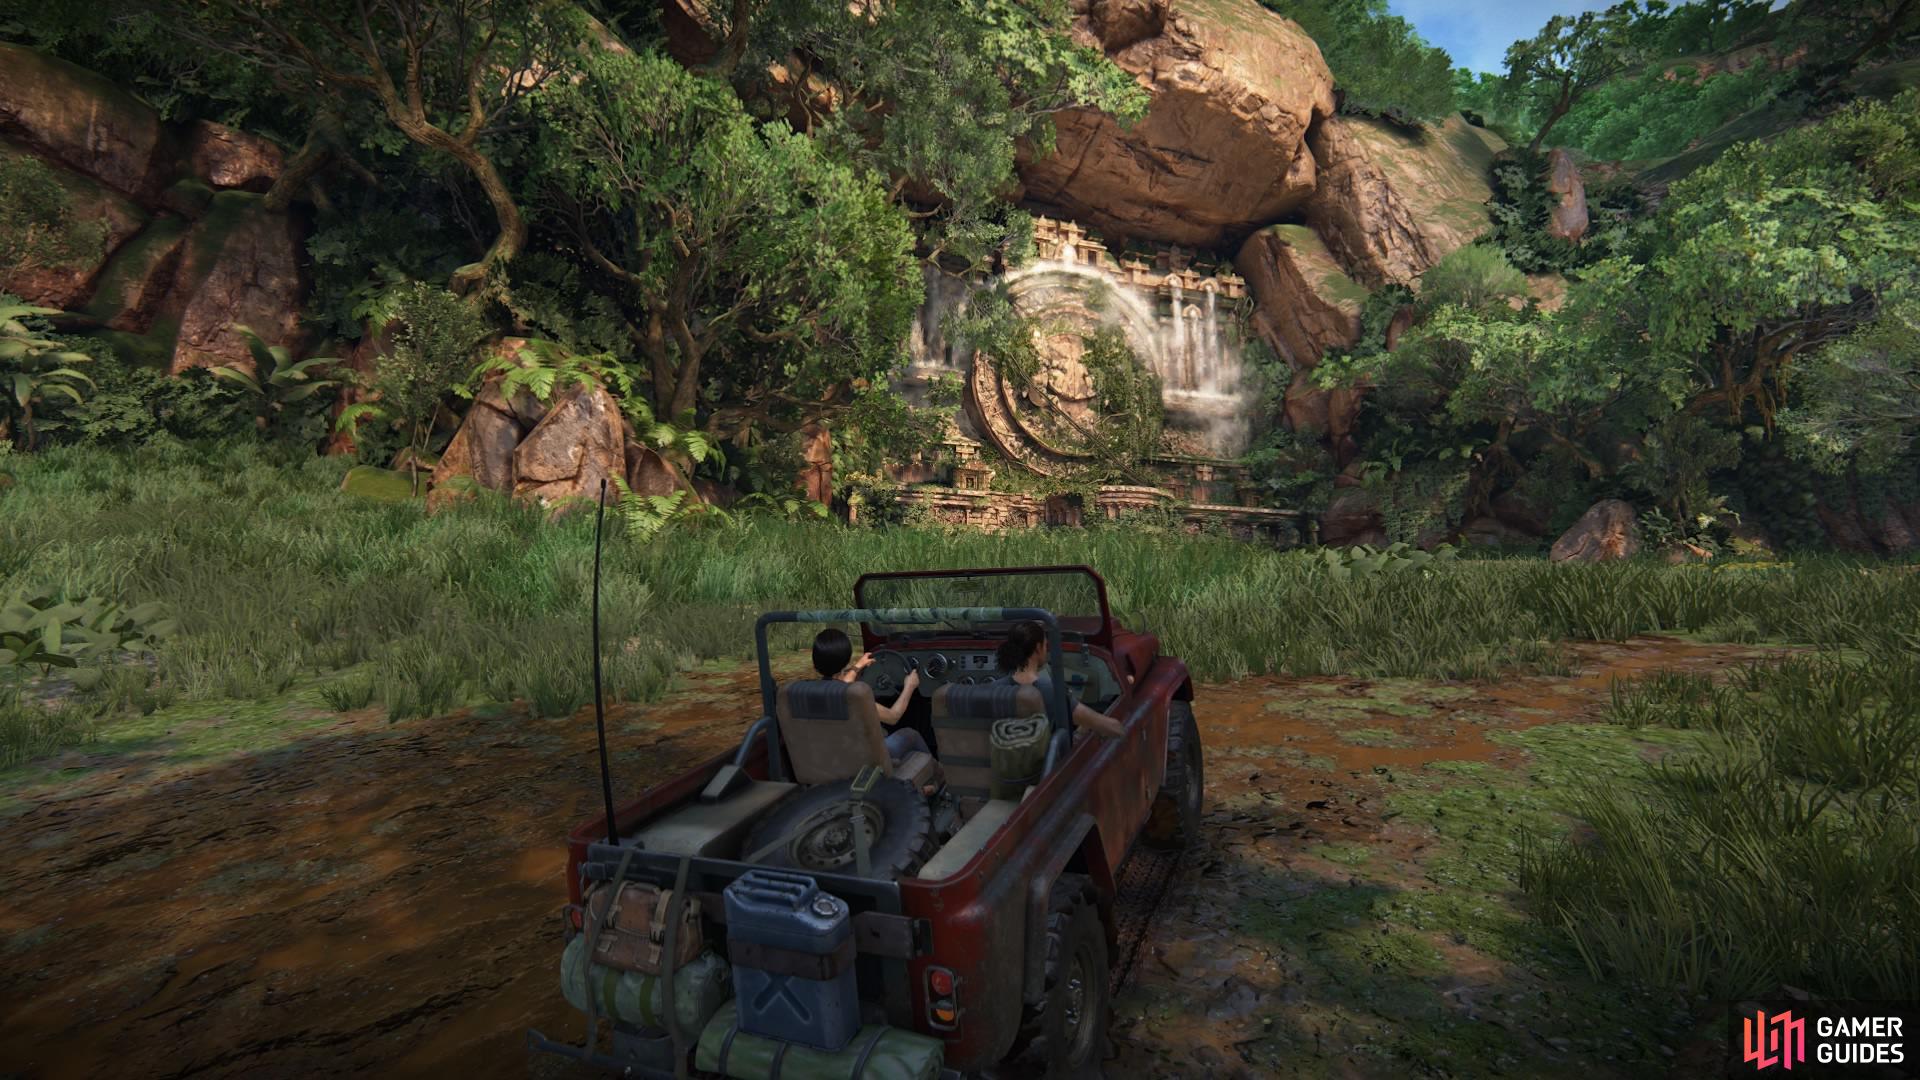
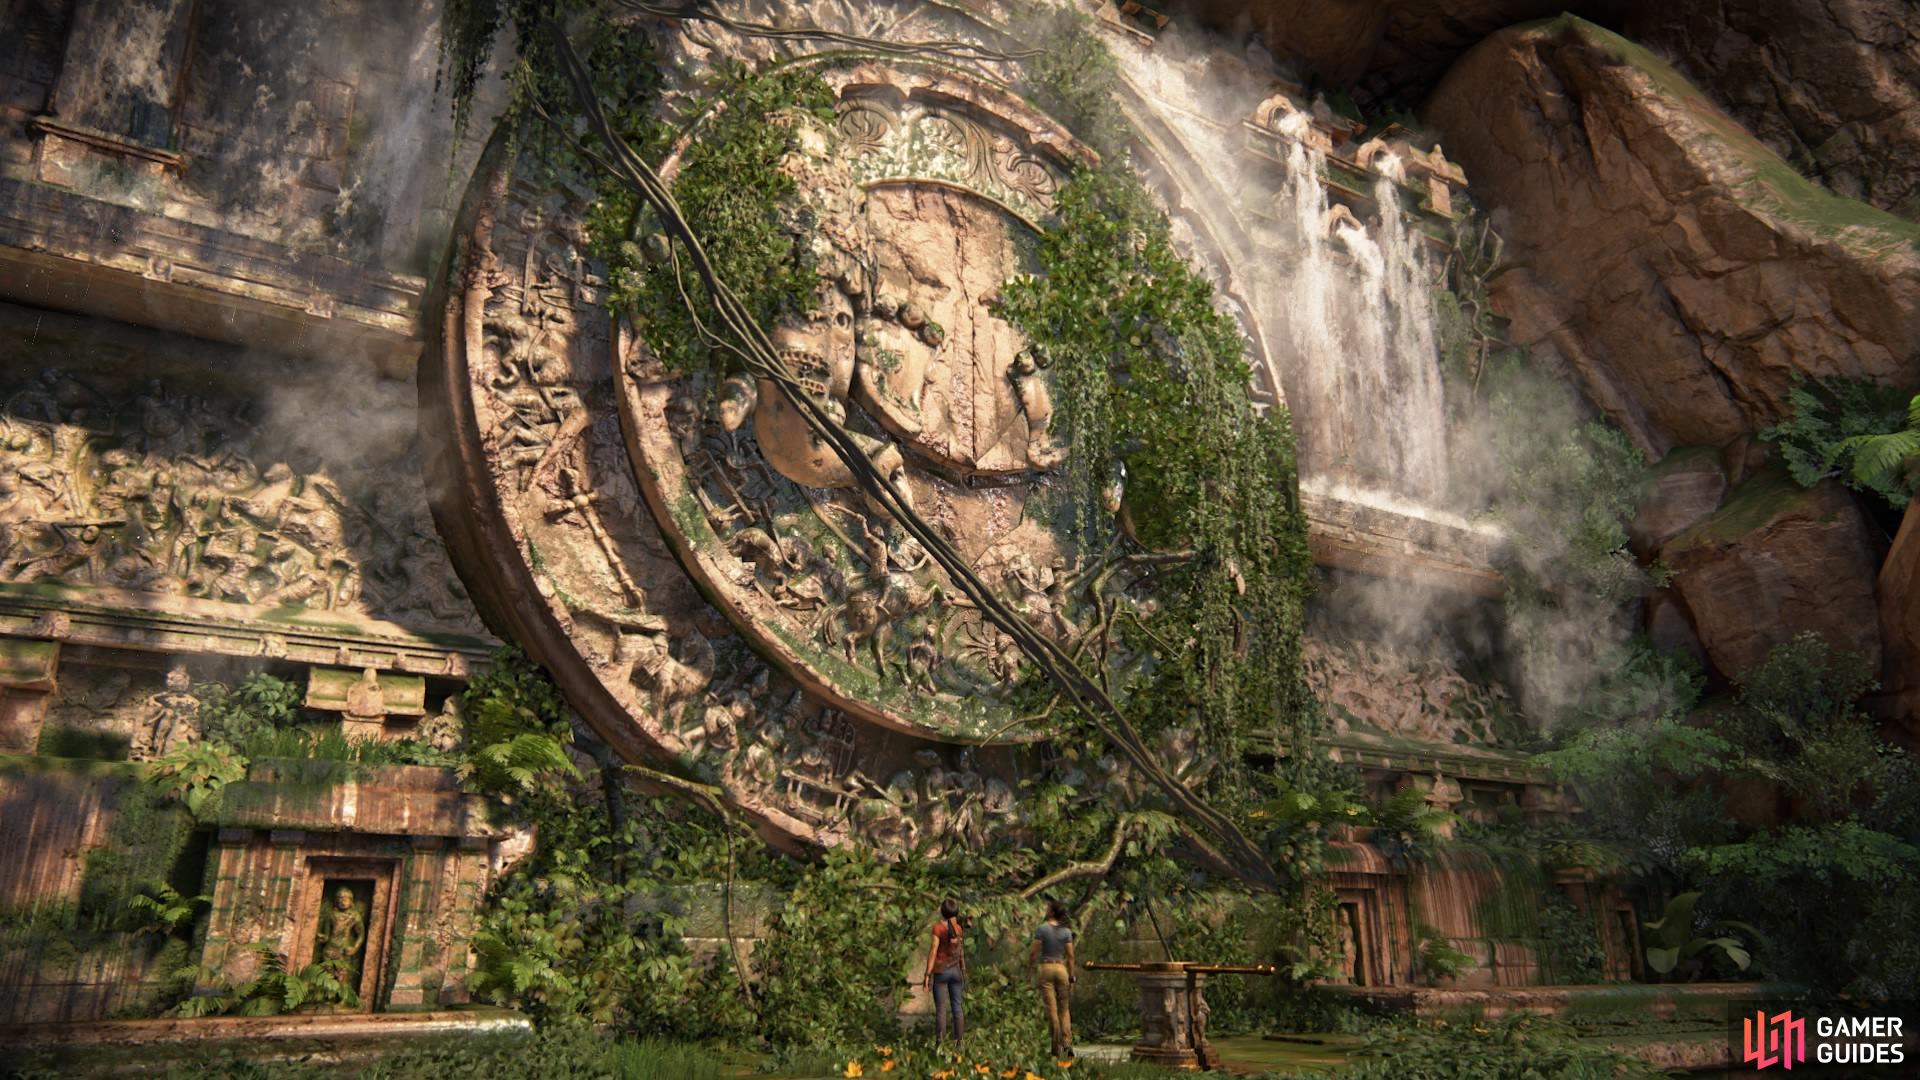
Turn around and follow the river again until you come to a tree-bridge – drive up the slope to the left to cross it, then onward to the gigantic door. A short cutscene will occur and then you can turn the crank to open the door as soon as you have control again.
Enter through the door and end the chapter with another cutscene.



















 Sign up
No Comments