Now that you’re finally out of the Ice Cavern, you have a few ways to go. Right next to the exit is another gate, this one being the South Gate/Dali Gate. You can’t pass through it right now, as you are missing a key item, but approach the gate and you will have a few options. Choosing to take a break will give you another option to wait or not. Pick to wait and eventually, a woman will come up to the gate, who can sell you some items. They are just some basic restorative items, so if you’re running low, then feel free to restock. Also, you can rest with this NPC for 100 gil, as you will probably need some rest.
Ragtime Mouse
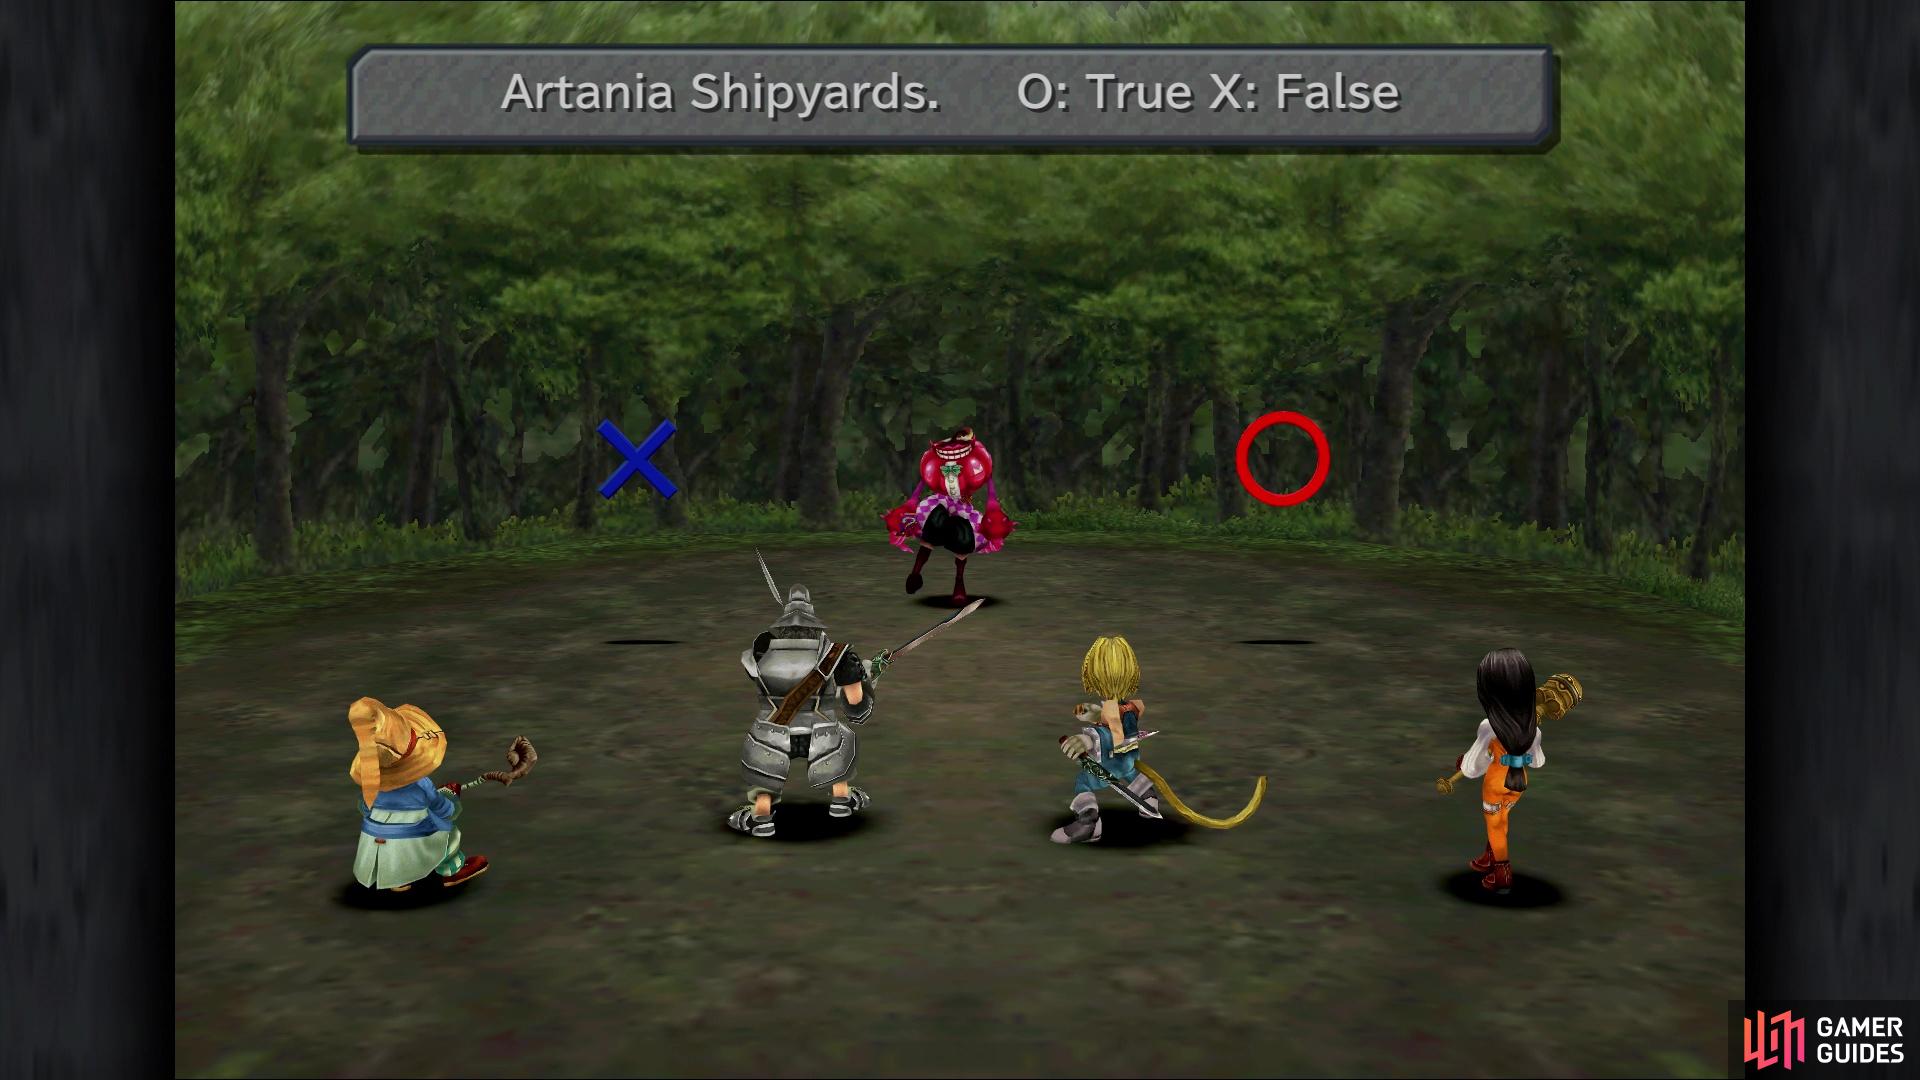
(1 of 2) The Ragtime Mouse will ask you a trivia question
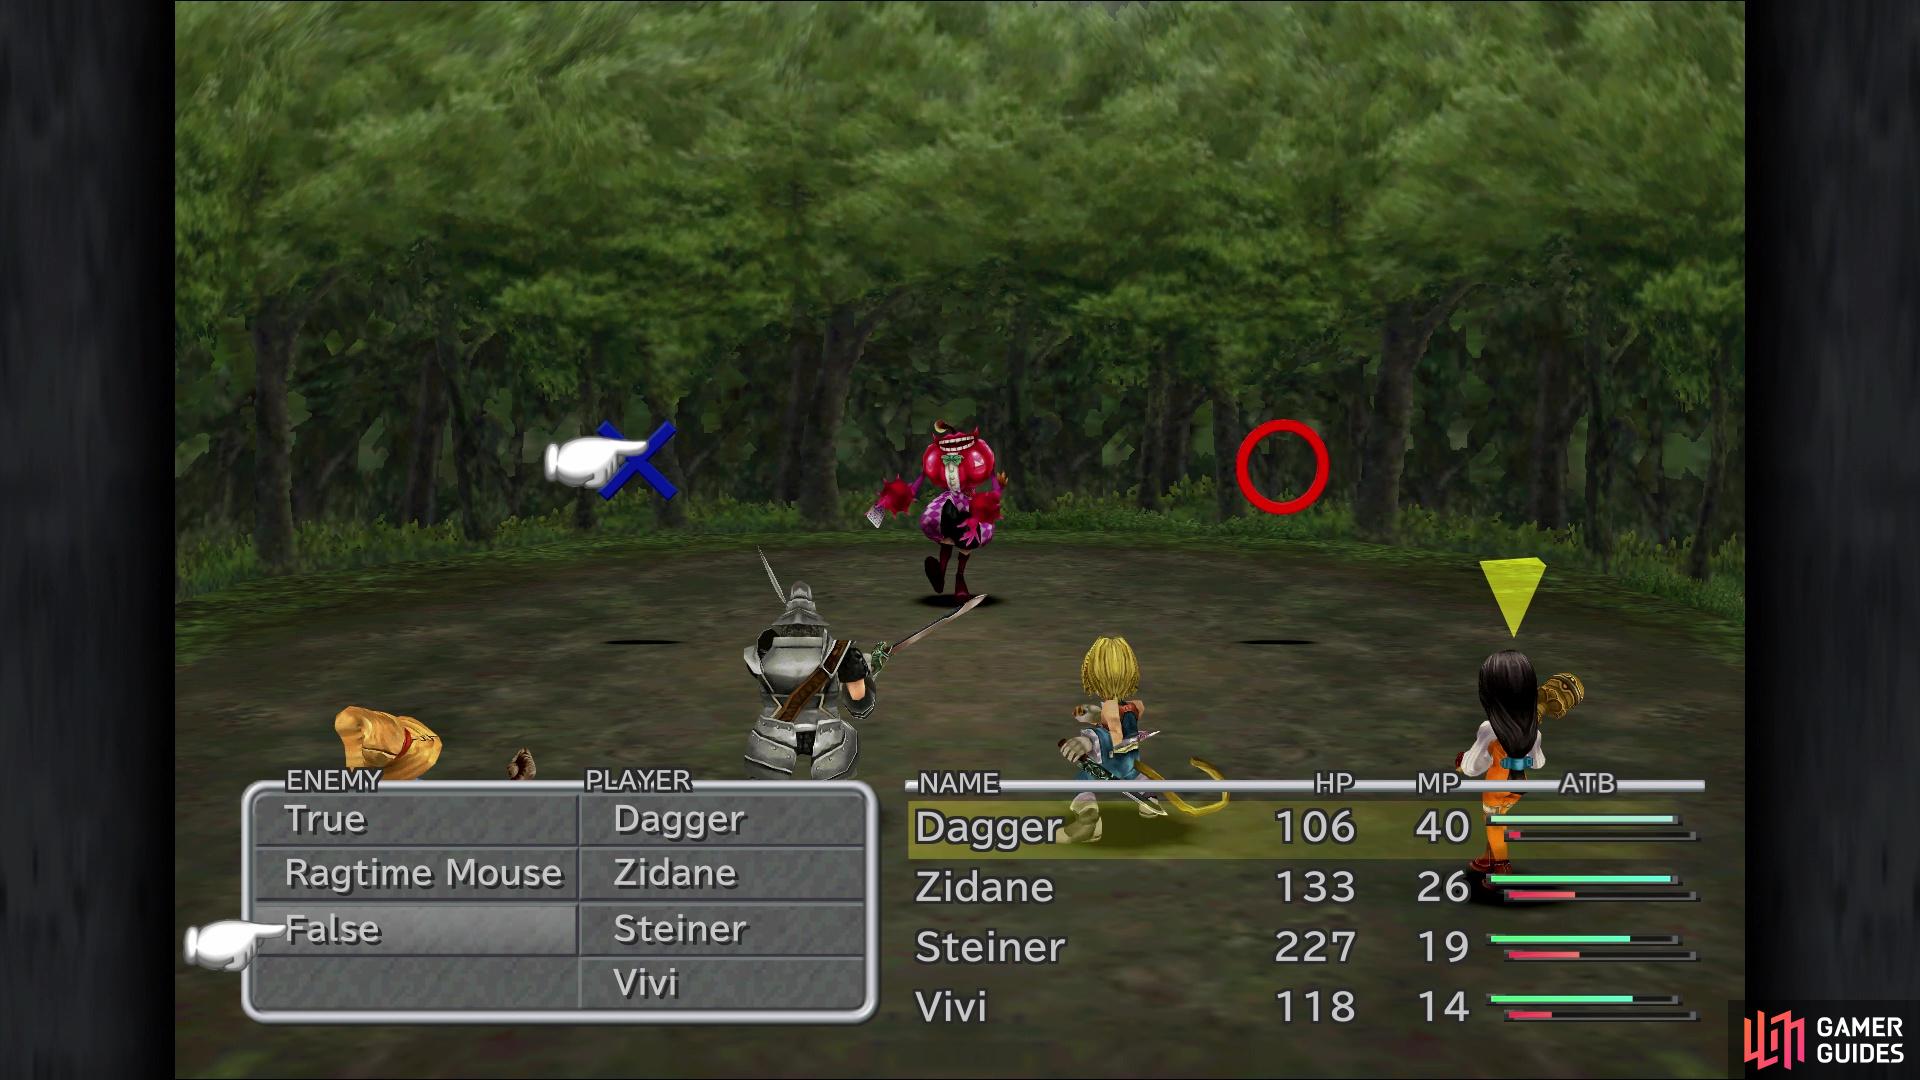
The Ragtime Mouse will ask you a trivia question (left), Select True or False by attacking the corresponding target in battle to answer (right)
So, there are two special encounters you can find in this area, the first of which is in the forests. You’ll know you run into this special monster, as the normal battle music will be replaced with something else. The Ragtime Mouse is essentially a quizmaster, who issues a statement and asks you to determine if it’s true or false. You answer by striking one of the two symbols he brings along in battles, O for True and X for False. Should you strike the Ragtime Mouse or pick a wrong answer, he will run away and you won’t get the same question again.
There’s a little more knowledge to understanding the Ragtime Mouse, like getting him to spawn. If you just got into a random encounter, you must wait at least 20 seconds on the world map before you can find him. This also holds true in trying to find him in succession, so just sit and wait for a minute or so before you start moving again. The best way to go about this is by stutter stepping, which was mentioned earlier. There’s a total of 16 questions he can ask and 15 of those are completely random, so visit the Ragtime Mouse page for the answers. Also, you can only encounter him so many times, depending on your story progression, with four being the limit right now.
Friendly Monsters
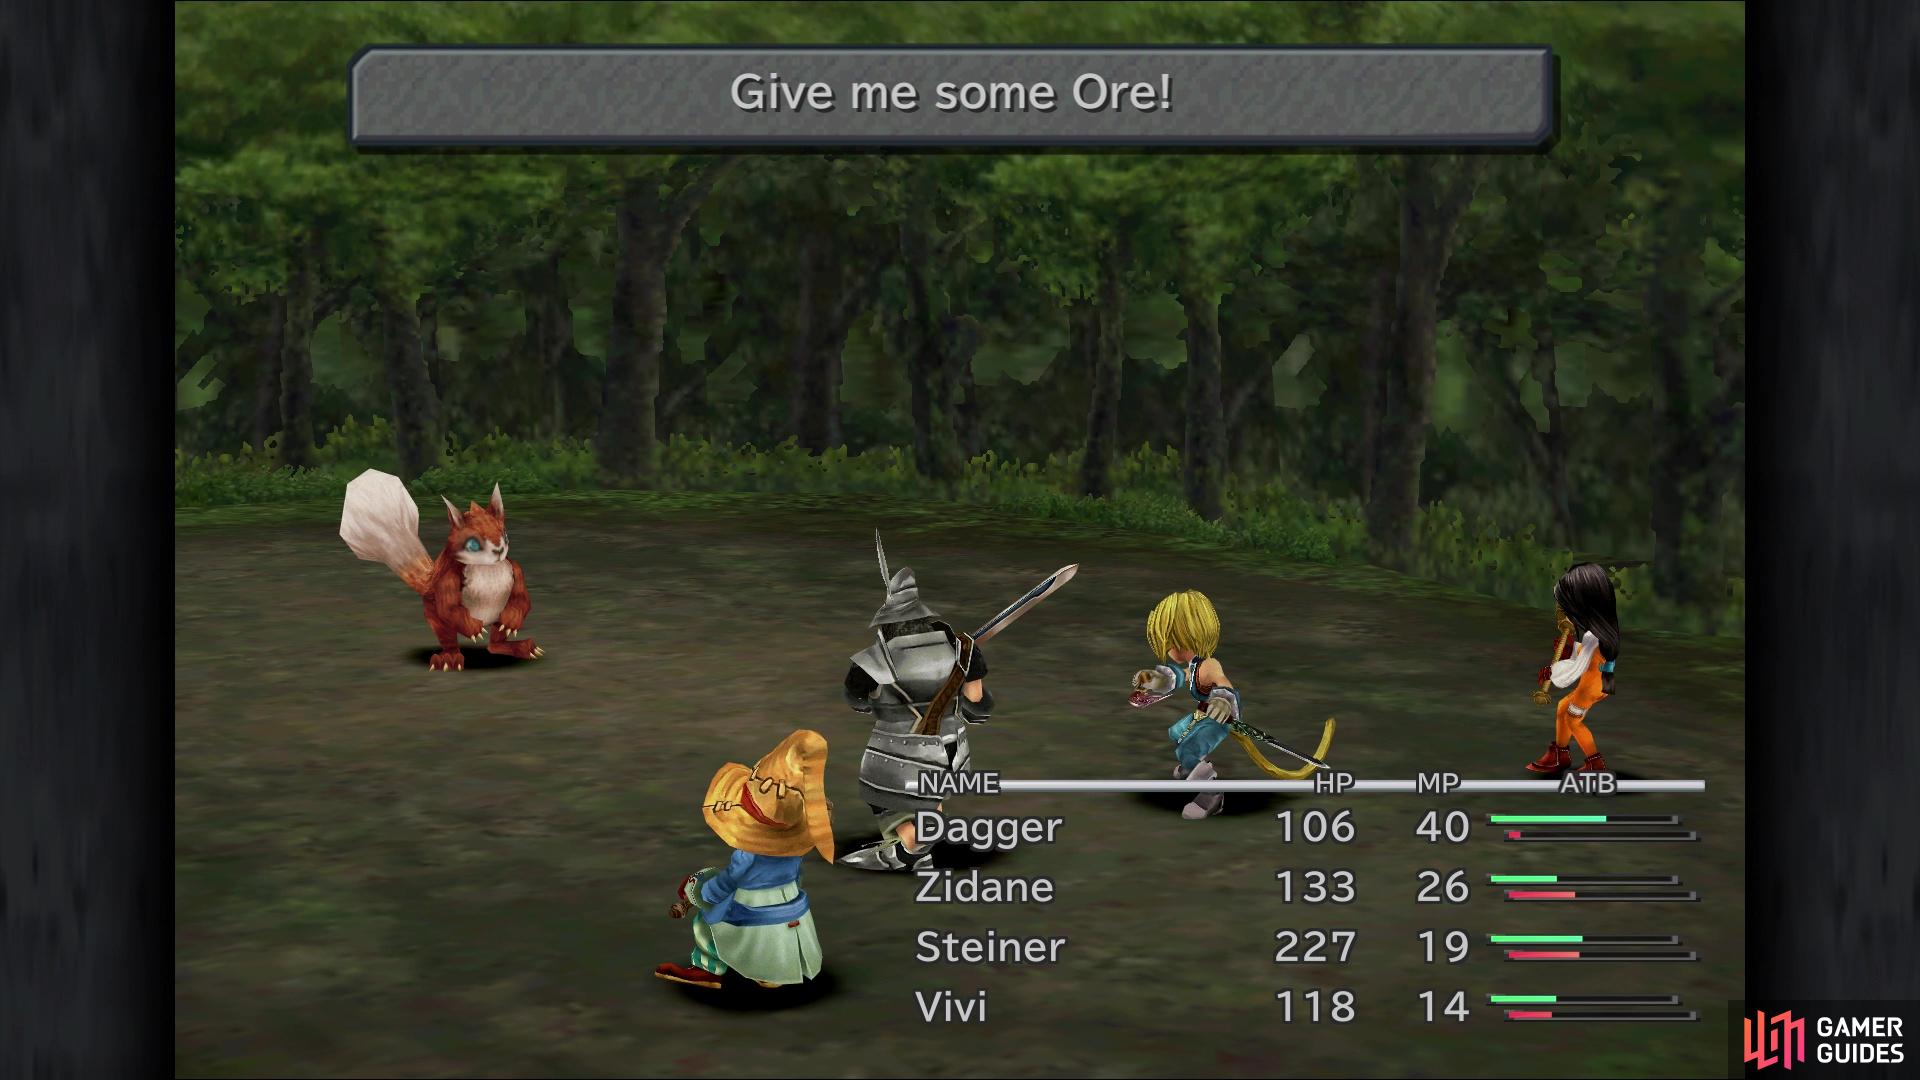
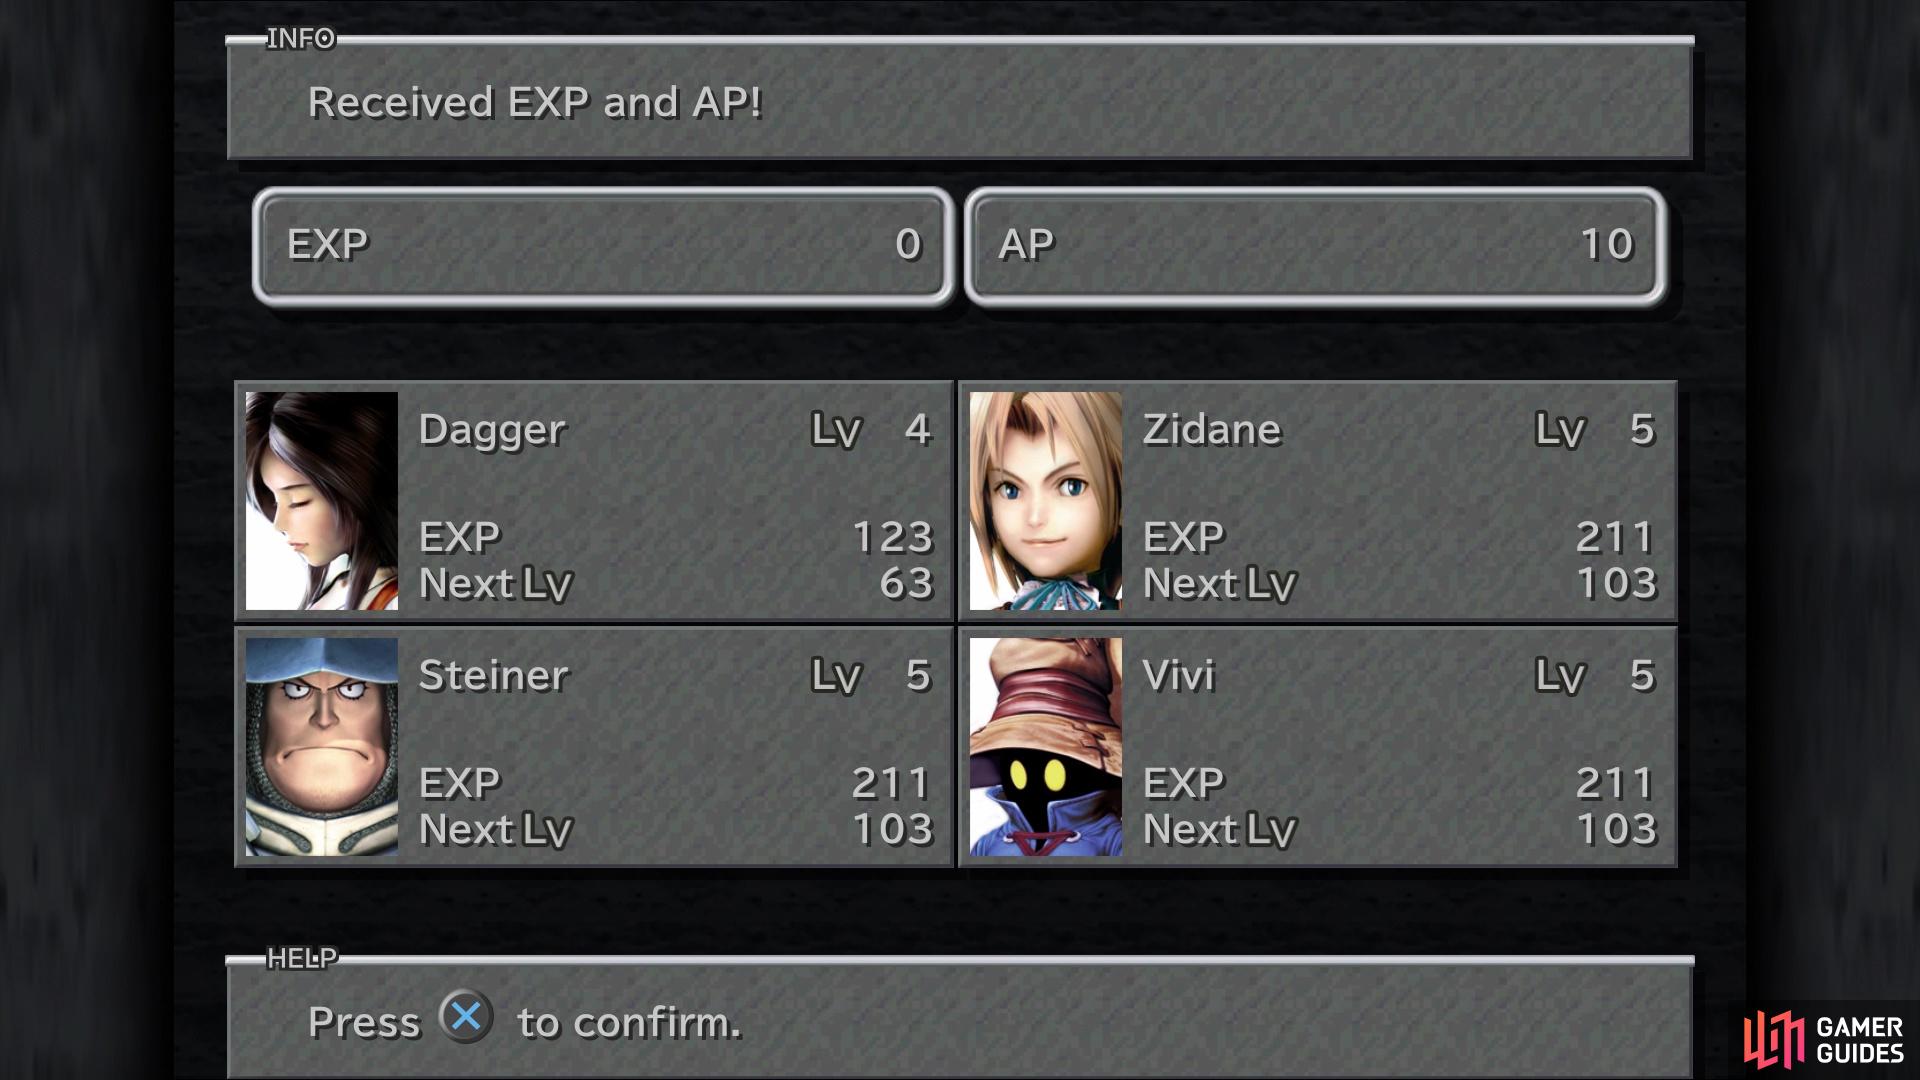
The other special encounter can be found in the non-forest section by the town. If you get the familiar jingle that you heard when going after the Ragtime Mouse, then you’ve encountered one of the Friendly Monsters. These special creatures, with this one being the Mu, will ask for a jewel and if you hand over the right one, they will give you a large amount of AP. In this case, the Mu will ask for an Ore, which you should have one by now from a drop in this very region. If not, fight the Carve Spiders in the area until they drop one. Hand over the Ore to the Mu and you will receive 10 AP.
(1 of 2) Friendly Monsters, like the Mu, will ask you to use a gem on them
Friendly Monsters, like the Mu, will ask you to use a gem on them (left), Do so and you’ll be rewarded with a lot of AP (right)
The Ragtime Mouse and Friendly Monsters are two side quests that will span the length of the game, but there is one more you can get a glimpse of in a nearby location. As you inch closer to the town, there will be a rock formation along the cliff’s edge. This is actually a location you can visit, called Observatory Mountain, so head inside. Behind the cart at the very front of the screen is a Hi-Potion, plus you can find 135 Gil at the far back of the screen, on the right side. You can’t do anything up the stairs, so enter the building to find an old man. Investigate the floating ship model on the left side of the screen to hear the old man talk about some coffee he wants, which will tip you off on the Rare Coffees side quest.
The Village of Dali
That’s all for now, so go ahead and enter the town of Dali, which should be right next to Observatory Mountain. There will be some story once you enter, with everyone going to the inn and eventually resting. As Zidane wakes up, you will gain control of him and have the opportunity to view one of two ATEs, Vivi, Confused and Dagger Tries. Pick one and you’ll be able to view the other in a little bit. There are two quick items to grab in the inn’s room, an Antidote from a chest on the right, and a Potion by the plants on the left side of the room.
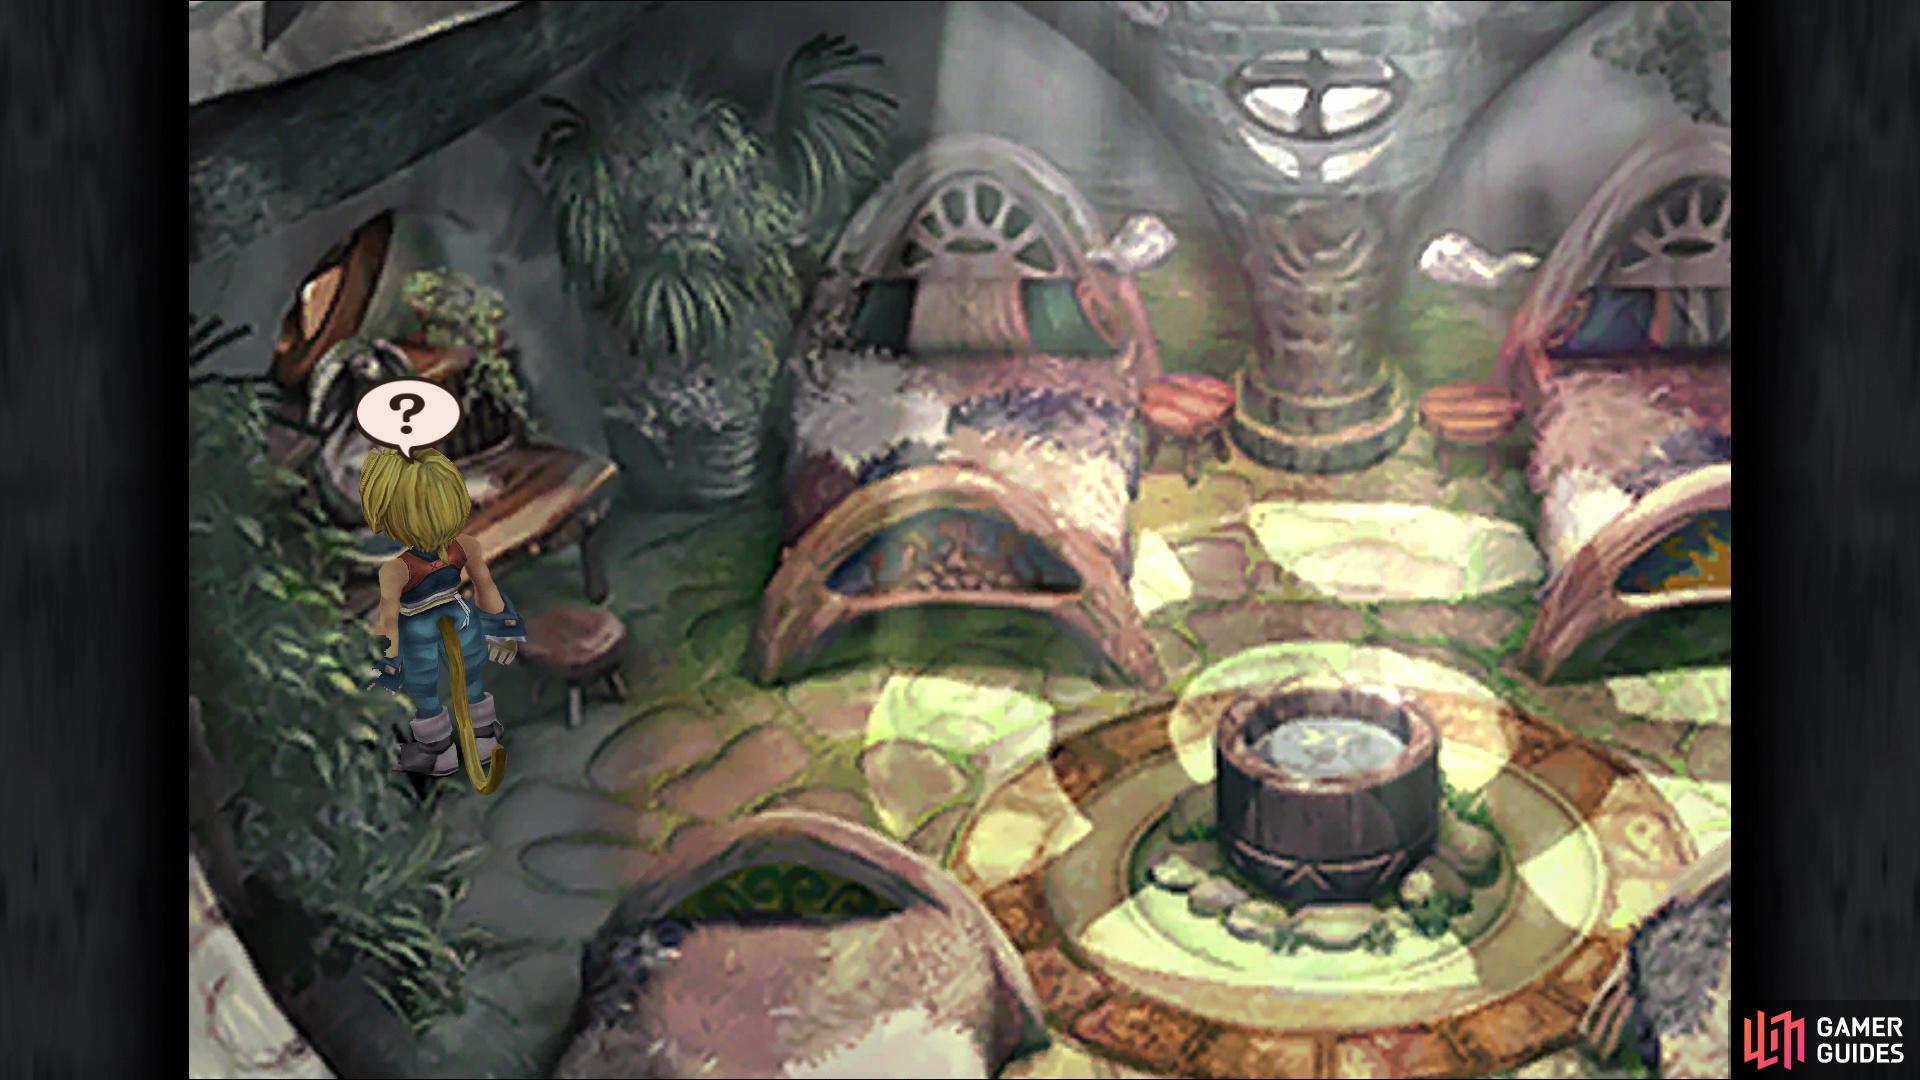
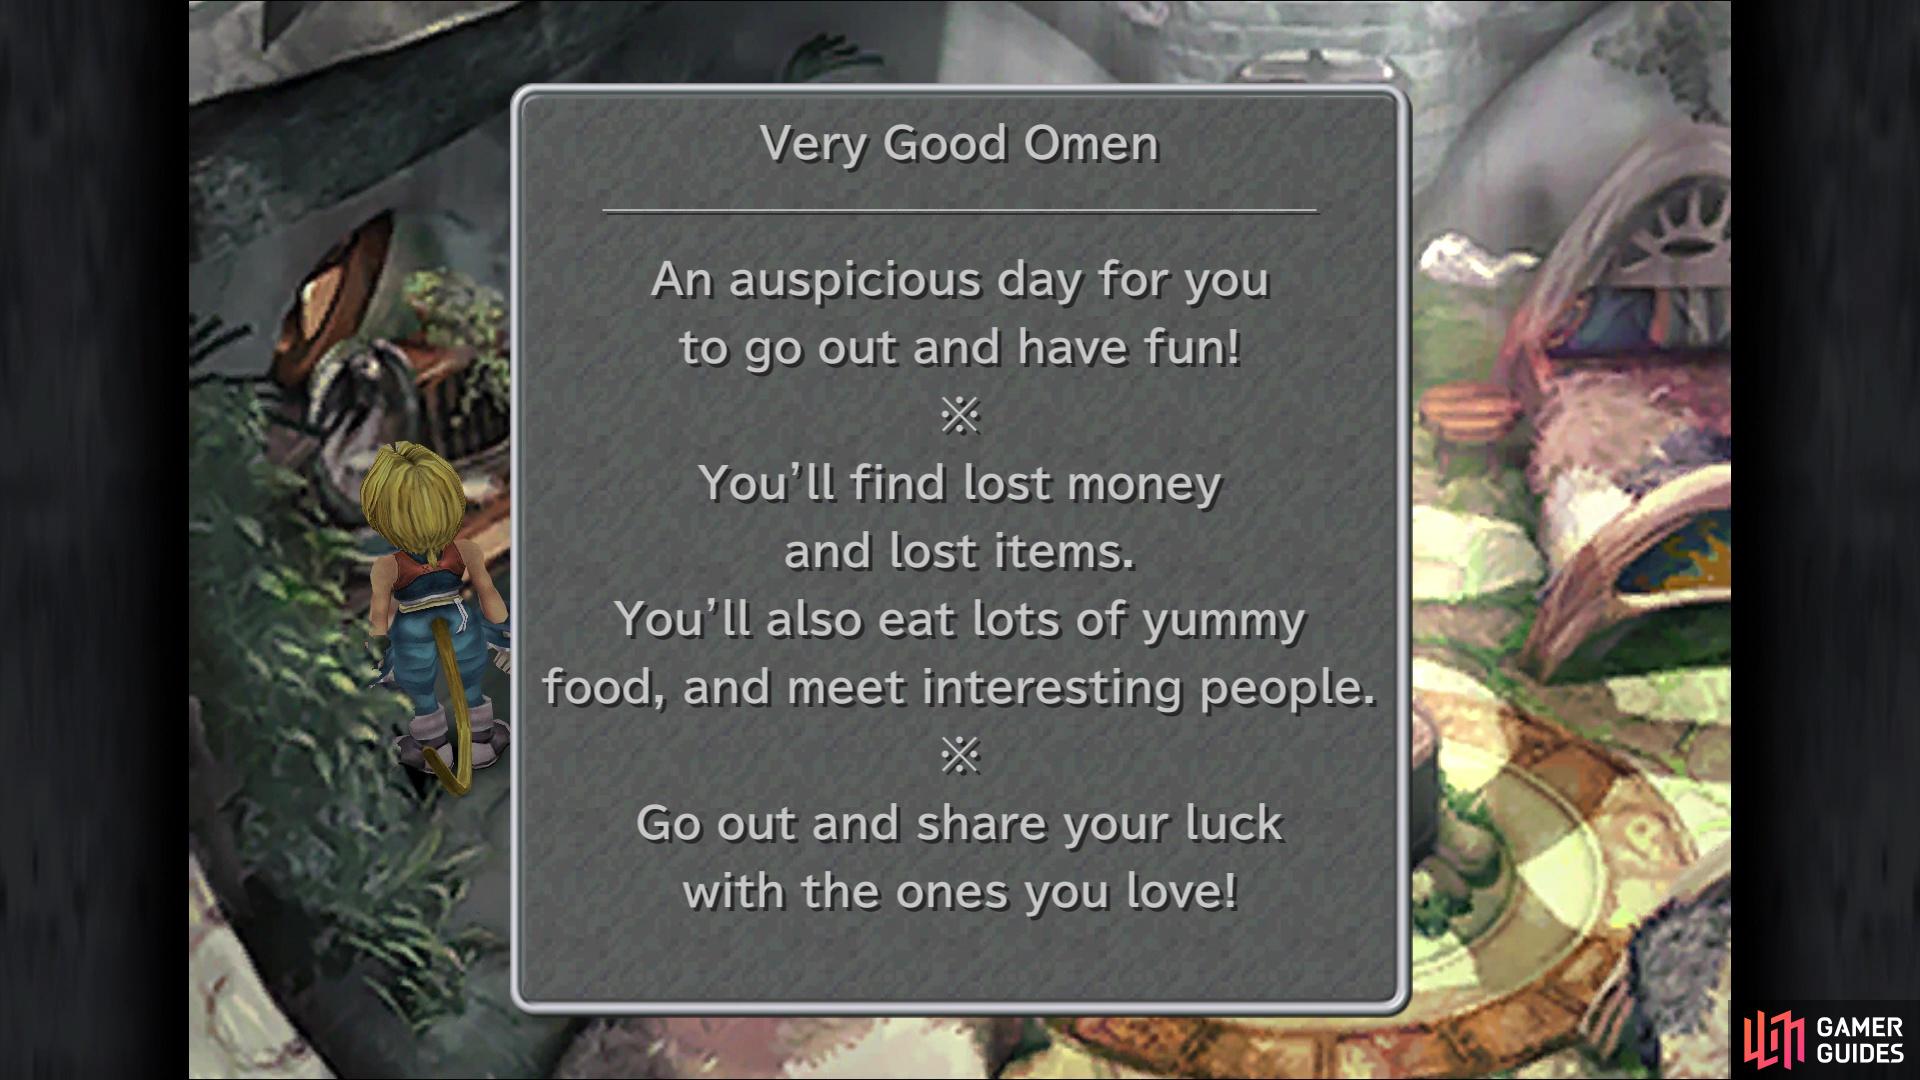
There’s one last thing you can do in the room, which has no importance on anything game-related, but it does pertain to a trophy/achievement. Inspect the desk on the left side of the room to find something called a Color Fortune. For 10 Gil a piece, you can check your fortune and in order to get the Your Lucky Day trophy/achievement, you need the Very Good Omen. This is completely random, so it might take a minute or it could take five minutes. Exit the room and you’ll be able to view the other ATE you didn’t before, so do that now. Gumo, the moogle, is right next to you, so hand him the letter you got from Mois inside of the Ice Cavern.
(1 of 2) This spot in the inn’s room is where you can do the fortune thing
This spot in the inn’s room is where you can do the fortune thing (left), You need a Very Good Omen for the trophy/achievement (right)
That’s all the Mognet stuff right now, so exit the inn completely to get the Cat’s Eye ATE. The equipment shop will be right across from the inn, so go inside and browse its wares. You should have most of the things there, but there is a new hat for sale, the Feathered Hat. Also, this is a good time to talk about the Synthesis system. As you will come to learn, you will be able to combine certain items to make new ones at Synthesis Shops, with the first one coming in Lindblum. Thus, it’s very important you don’t sell any old pieces of equipment, as they might be needed for upcoming synthesis prospects.
Synthesis will allow you to get some more powerful pieces of gear earlier than either finding them out in the wild or purchasing them from normal shops. While the boost in stats is minimal over what you have, Add Status and Bright Eyes are the new abilities you can learn from it. Plus, it is used in a recipe for the Yellow Scarf, so that’s always a plus to have something in the accessories slot. The biggest tickets, though, are the Mage Mashers and Wrists, with the former allowing Zidane to gain two new weapons once you make it to Lindblum. The Wrists, however, are used in a recipe that is essentially a Gil farming trick. For right now, purchase one Mage Masher (you should already have two) and probably around 20-30 Wrists. Also, don’t forget about the Feather Hats for your characters.
With that little bit of shopping done, check underneath the sign of the equipment shop outside for 120 Gil. Speak to Vivi on the northern end of town, after which, you will get the Cat’s Eye 2 ATE. You should also have already gotten the Dagger Tries Harder ATE or will get it now, so view that, as well. This will place Dagger in the equipment shop, so go back there and speak to her. If you didn’t get that ATE, enter a building and exit to make it pop. That’s about all you can do in Dali right now, so head back to the inn and speak with Dagger. The game will force the Queen Brahne’s Steiner ATE on you here.
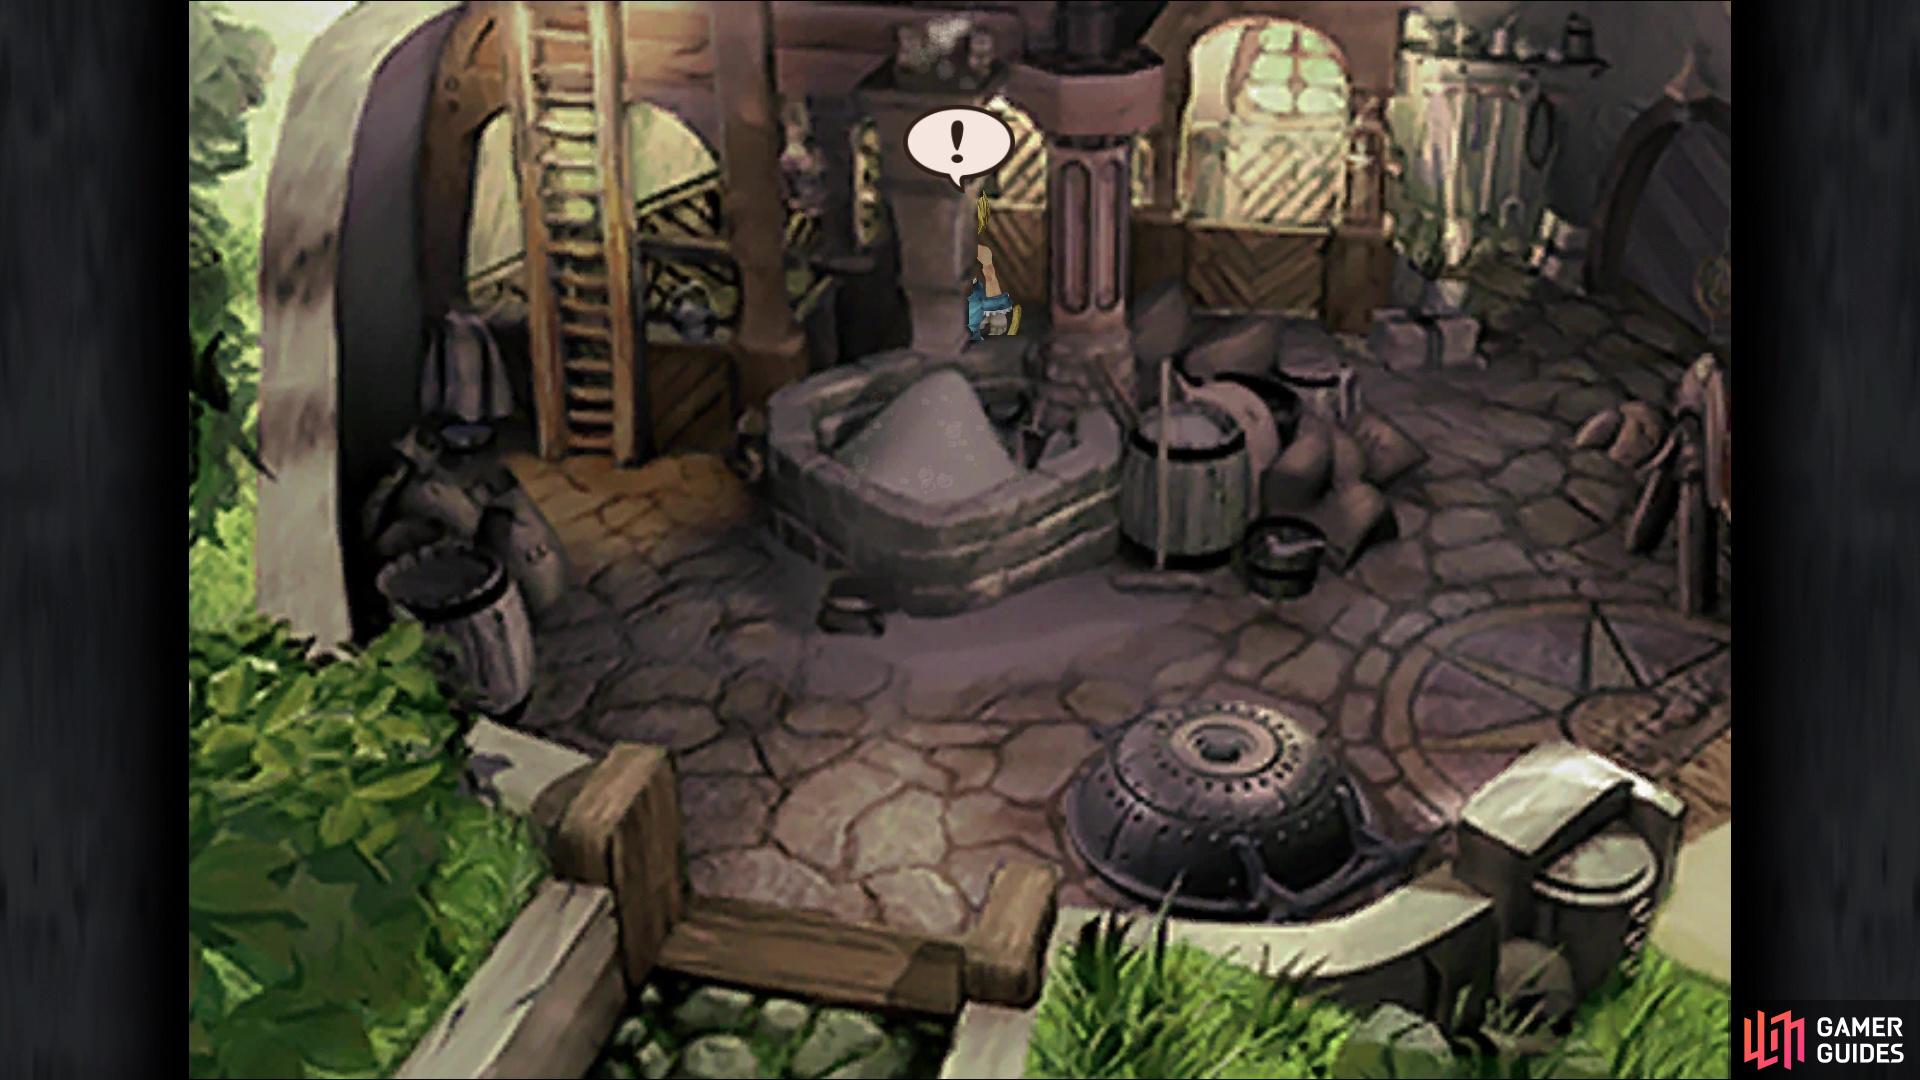
It seems Vivi is late returning to the inn, so let’s go look for him now. Remember where he was standing when you spoke with him earlier? Head back there and there will be a short scene, after which, you will want to enter the windmill to your left. Go behind the central structure and search when you find the marker to get a new item, the Aries Stellazzio. The Stellazzio side quest has you finding thirteen of these objects to deliver to a NPC later on in the game, and of course, you’ll be rewarded handsomely with some great items, but two trophies/achievements as well. There is a chest at the top of the windmill, but you can’t reach it right now.
You can find the Aries Stellazzio behind the central structure in the windmill
Return to the bottom portion of the windmill and look for the hatch near the entrance, which will bring you to an underground area.
Dali Underground
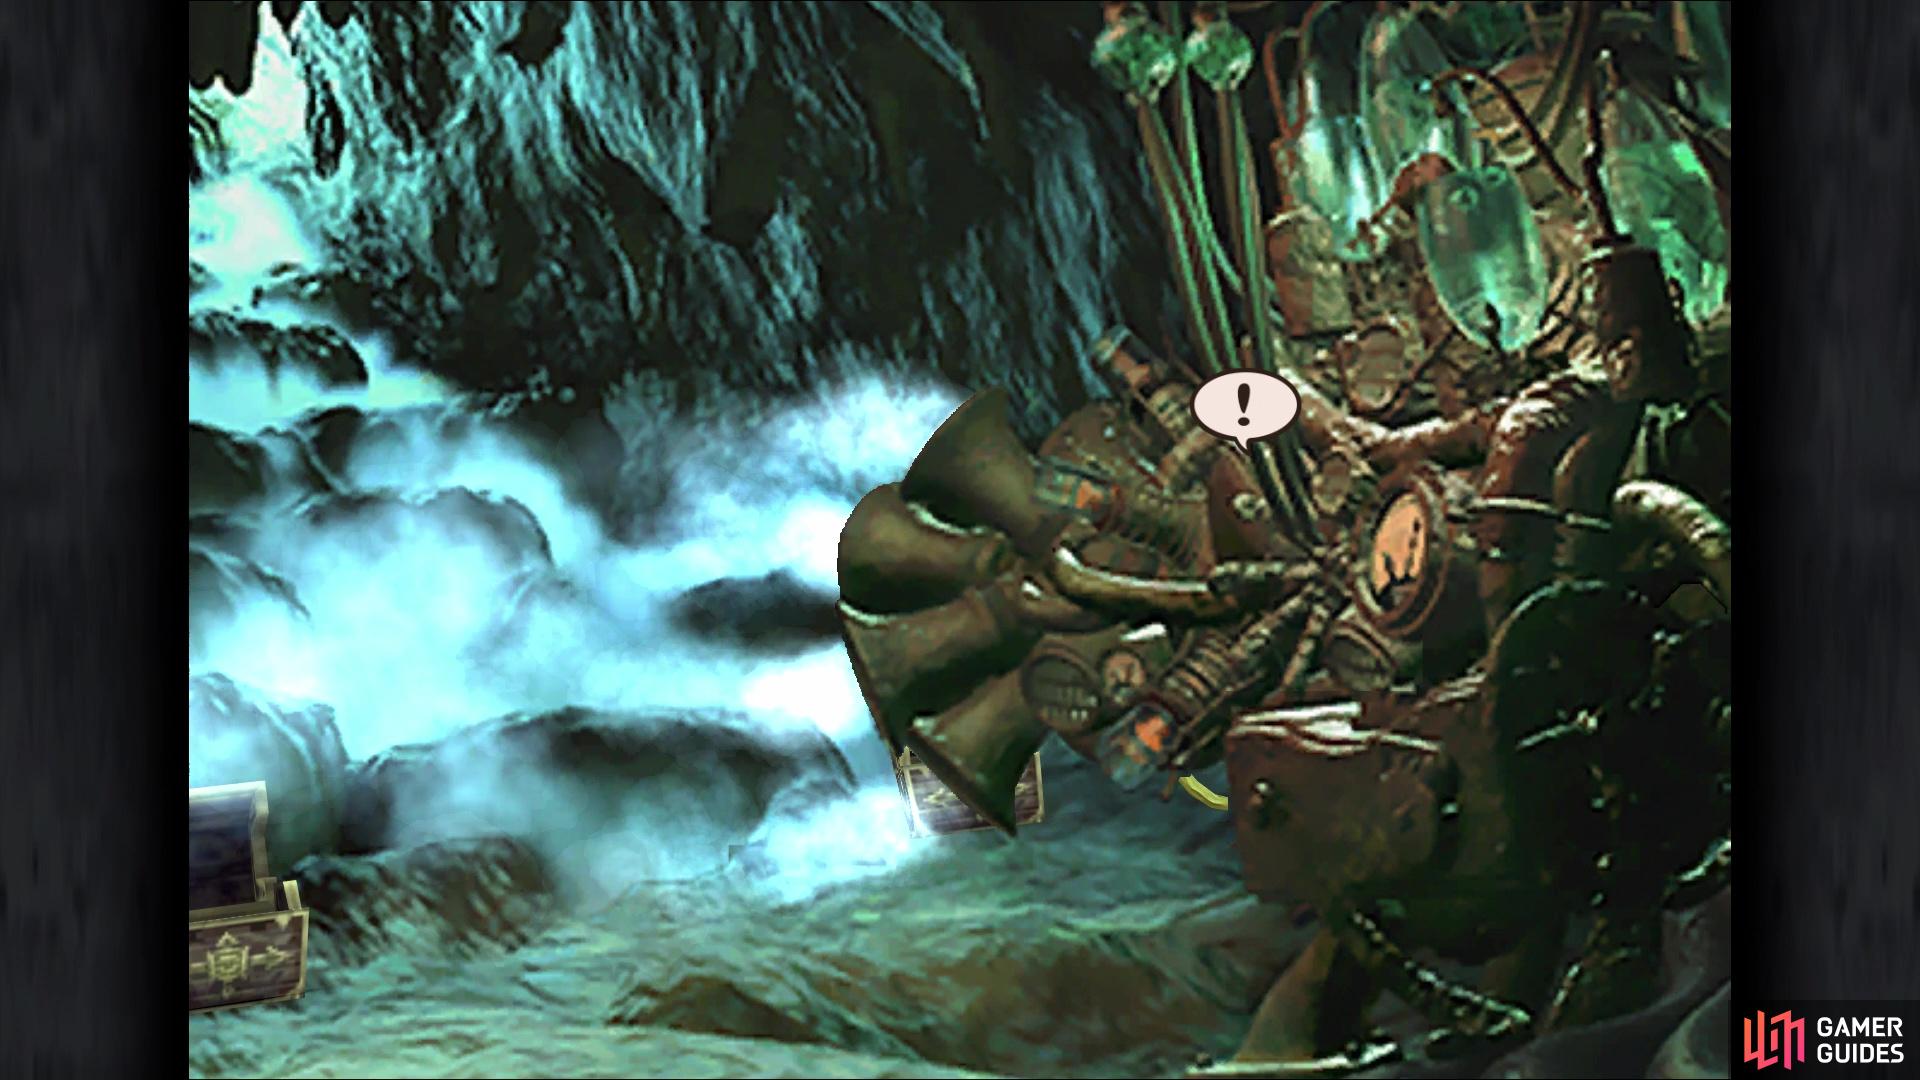
Hop onto the “elevator” and open the chest right below you (156 Gil), then proceed to the next screen. There will be a scene that plays out here, putting you back on the previous screen, so return and look where the people were before for a chest (Potion). There’s another chest along the southern fence, which can be kind of hard to see, containing some Eye Drops. Continue onto the next area, checking the barrel to find a hidden moogle named Kumop; he’ll have a letter for you to deliver to Mogki, so don’t forget to check the Mognet option. To get the chest on the crate in the back, go behind the barrel with Kumop and search around for the button prompt.
This will put you on the crate and you can reach the chest from there, which contains an Ether. To get the other chest that’s in the air, head to the crank near the exit and hit it, which will drop it to the ground, allowing you to open it for a Potion. Continue forth to the next screen, where you will find two more chests. The first is towards the right side of the room, in between two sets of boxes (Leather Wrist). For the other chest, it’s on top of the boxes towards the top of the room. You can use the stairs to climb on top of them, so open it for an Iron Helm.
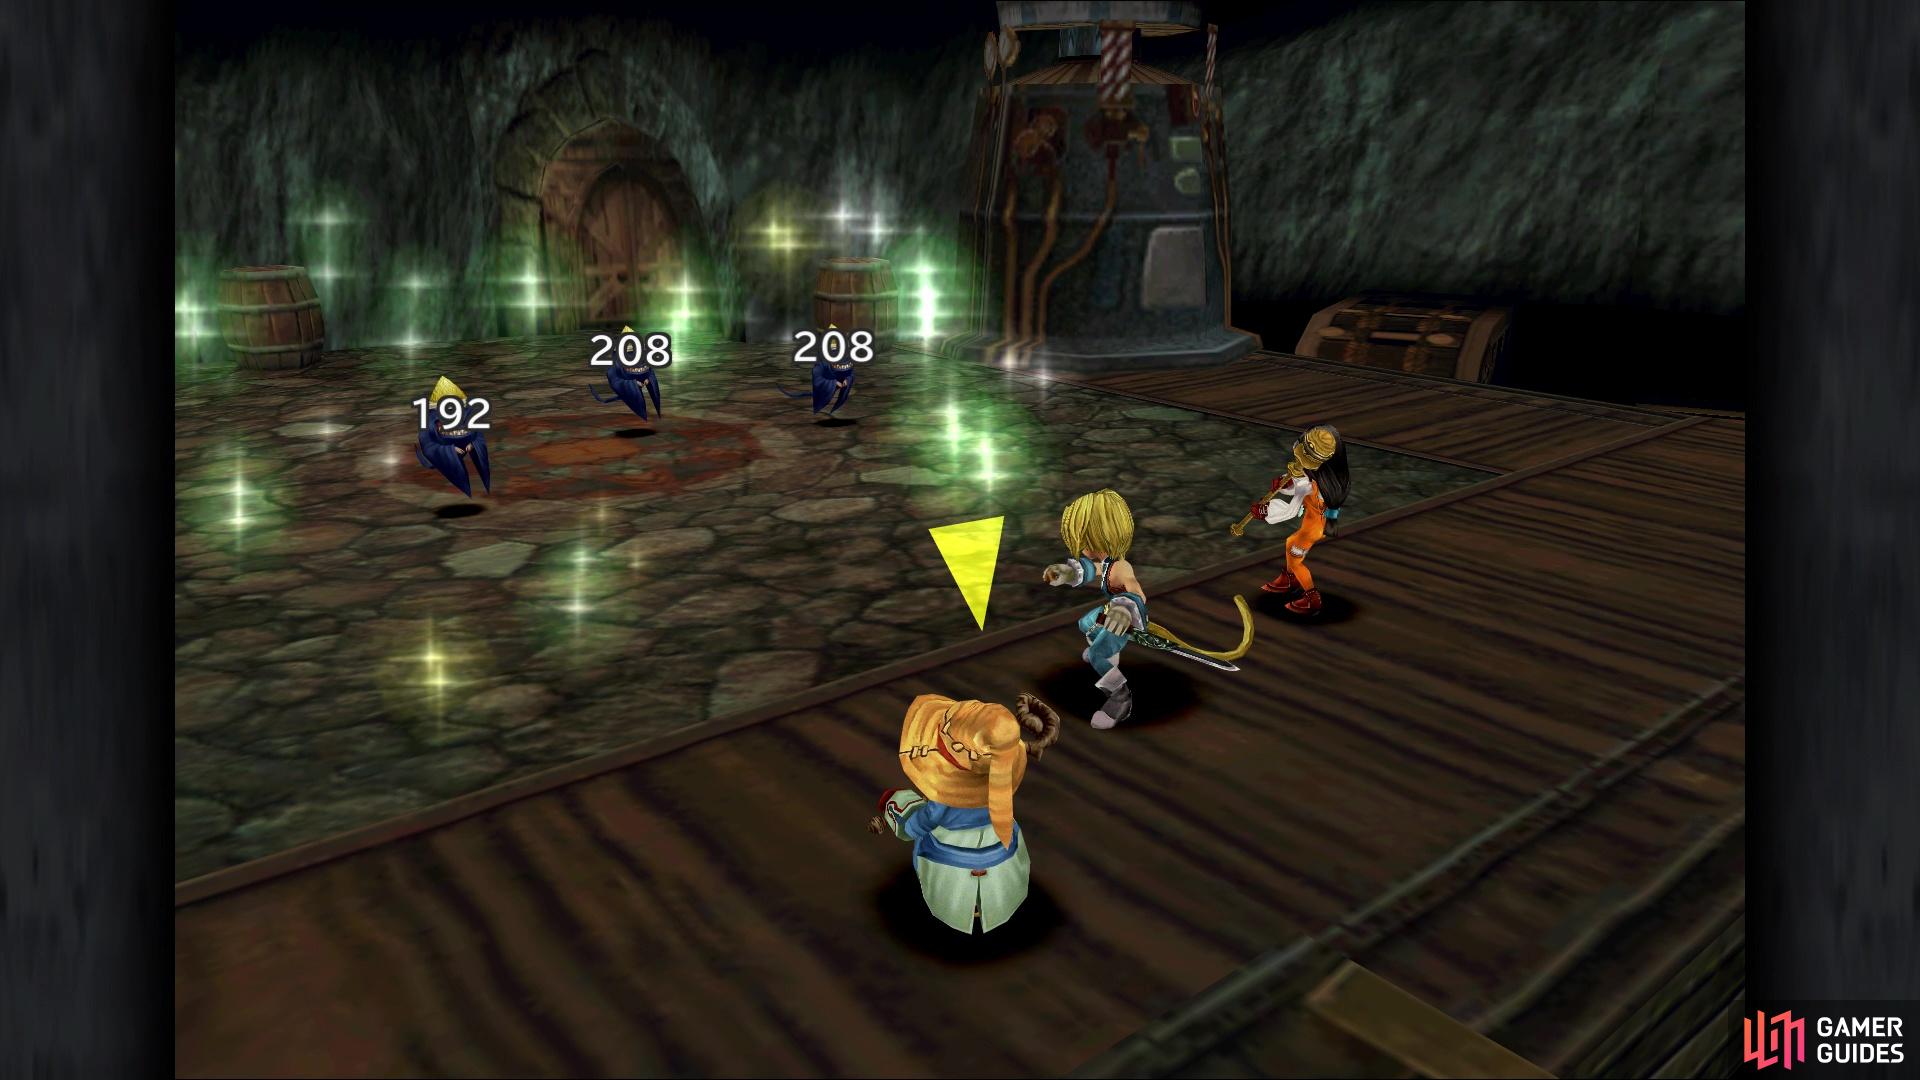
Entering the next room will have you finding Vivi and freeing him from some box, which means he’s back in your party. If you bought some extra Feather Hats, don’t forget to put one on Vivi. Once you’re done, let’s get back to business. There is a chest at the top of the room, which contains 95 Gil. There is also a door next to it, which you have the option of opening or not, but considering there’s goodies inside, let’s go ahead and open it. You may have noticed that there haven’t been any enemy encounters down here and that door mentioned above is the reason why. As soon as you open it, you get into a fight with some Ghosts.
(1 of 2) The Ghosts can be defeated by using Dagger’s Cure spell
The Ghosts can be defeated by using Dagger’s Cure spell (left), There is one extra chest hidden behind the machine that’s behind the one door (right)
They are undead, so Dagger is actually useful in the damage department, as she can use Cure to damage them. Head through the doorway and open the chest straight ahead (Phoenix Down), then look behind the contraption on the right side for two more chests (Potion and Phoenix Pinion). That’s all you came in here for, so exit and cross the wooden walkway on the right side of the screen. Keep going through, until you get a scene and the game switches over to Steiner, who is on top of Observatory Mountain.
Before doing anything, make sure that Steiner is equipped with his best equipment, plus you will also want to equip the Bird Killer ability (Bronze Armor). Once you’re ready, follow Morrid down the stairs and inside his residence, speaking to him to finally learn the cargo ship has arrived. Go to leave Observatory Mountain for some scenes, leading up to a boss fight.
BOSS - Black Waltz 2
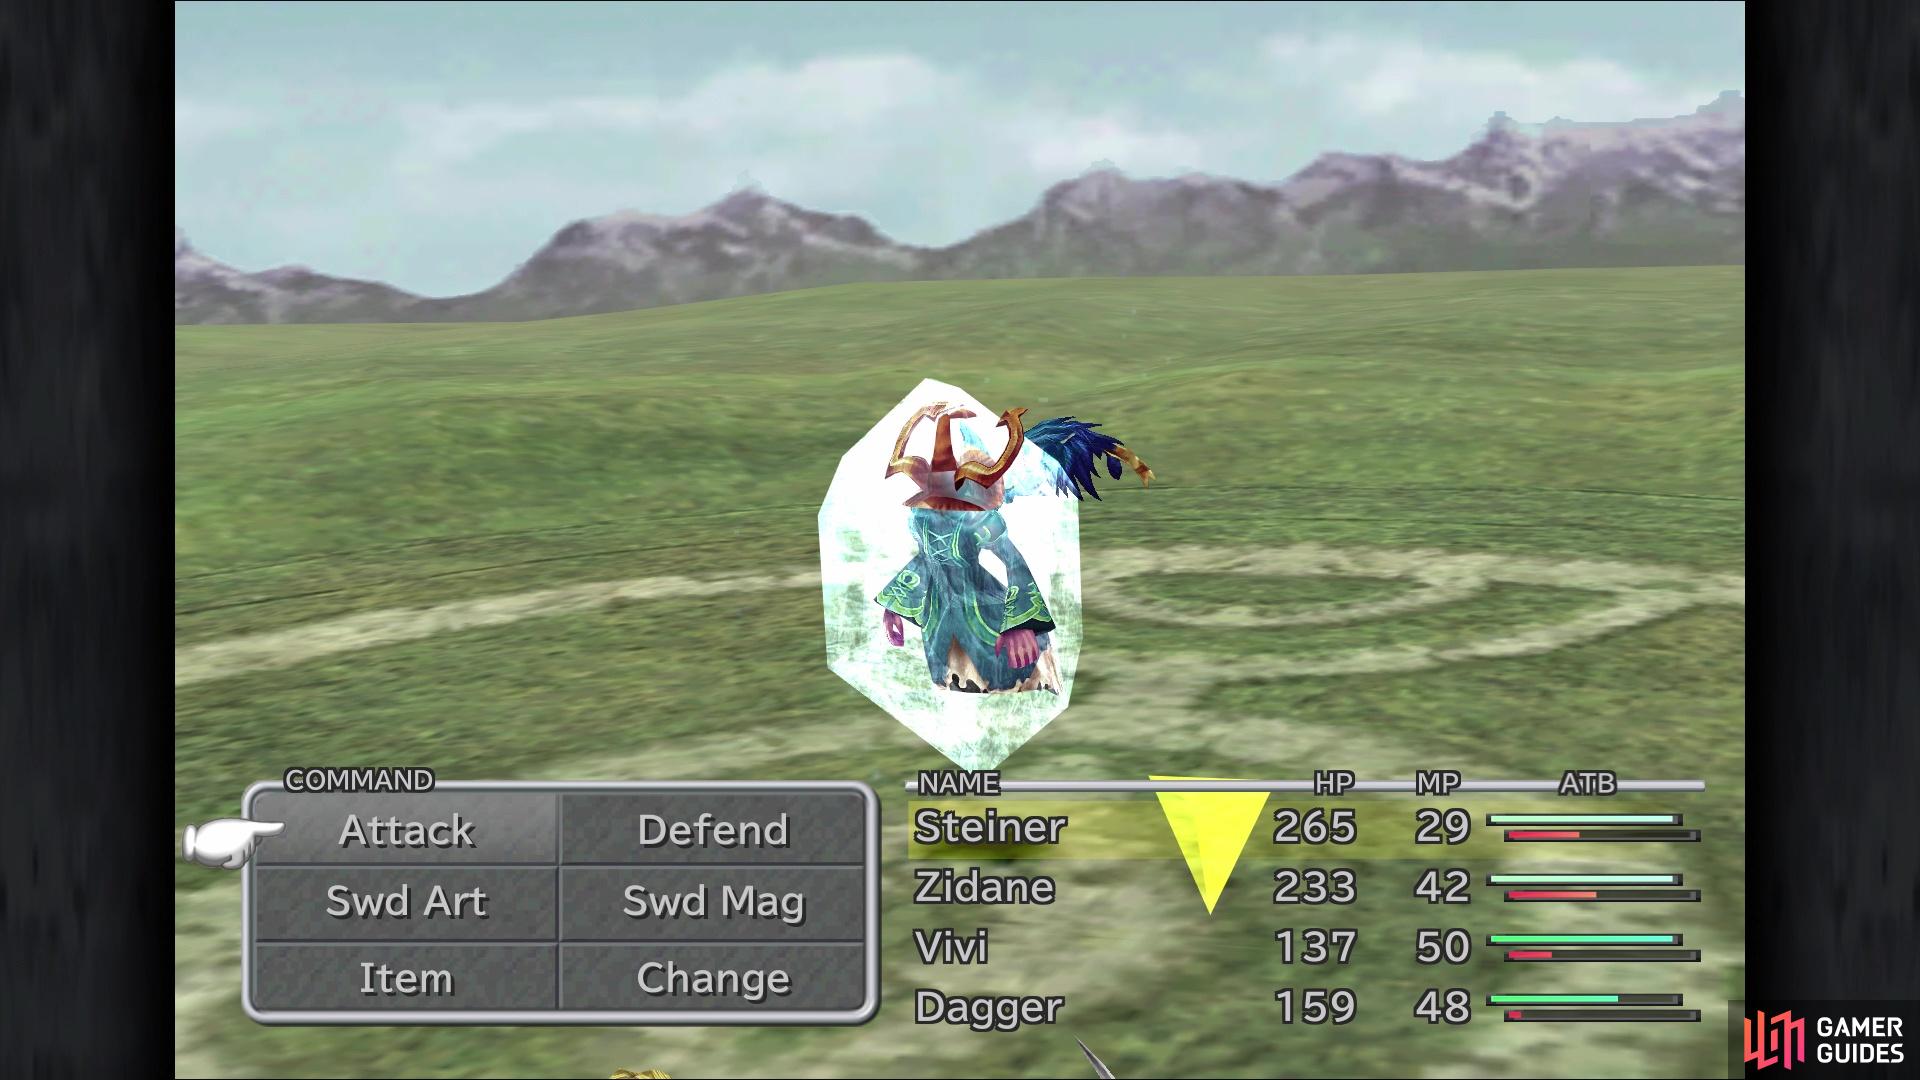
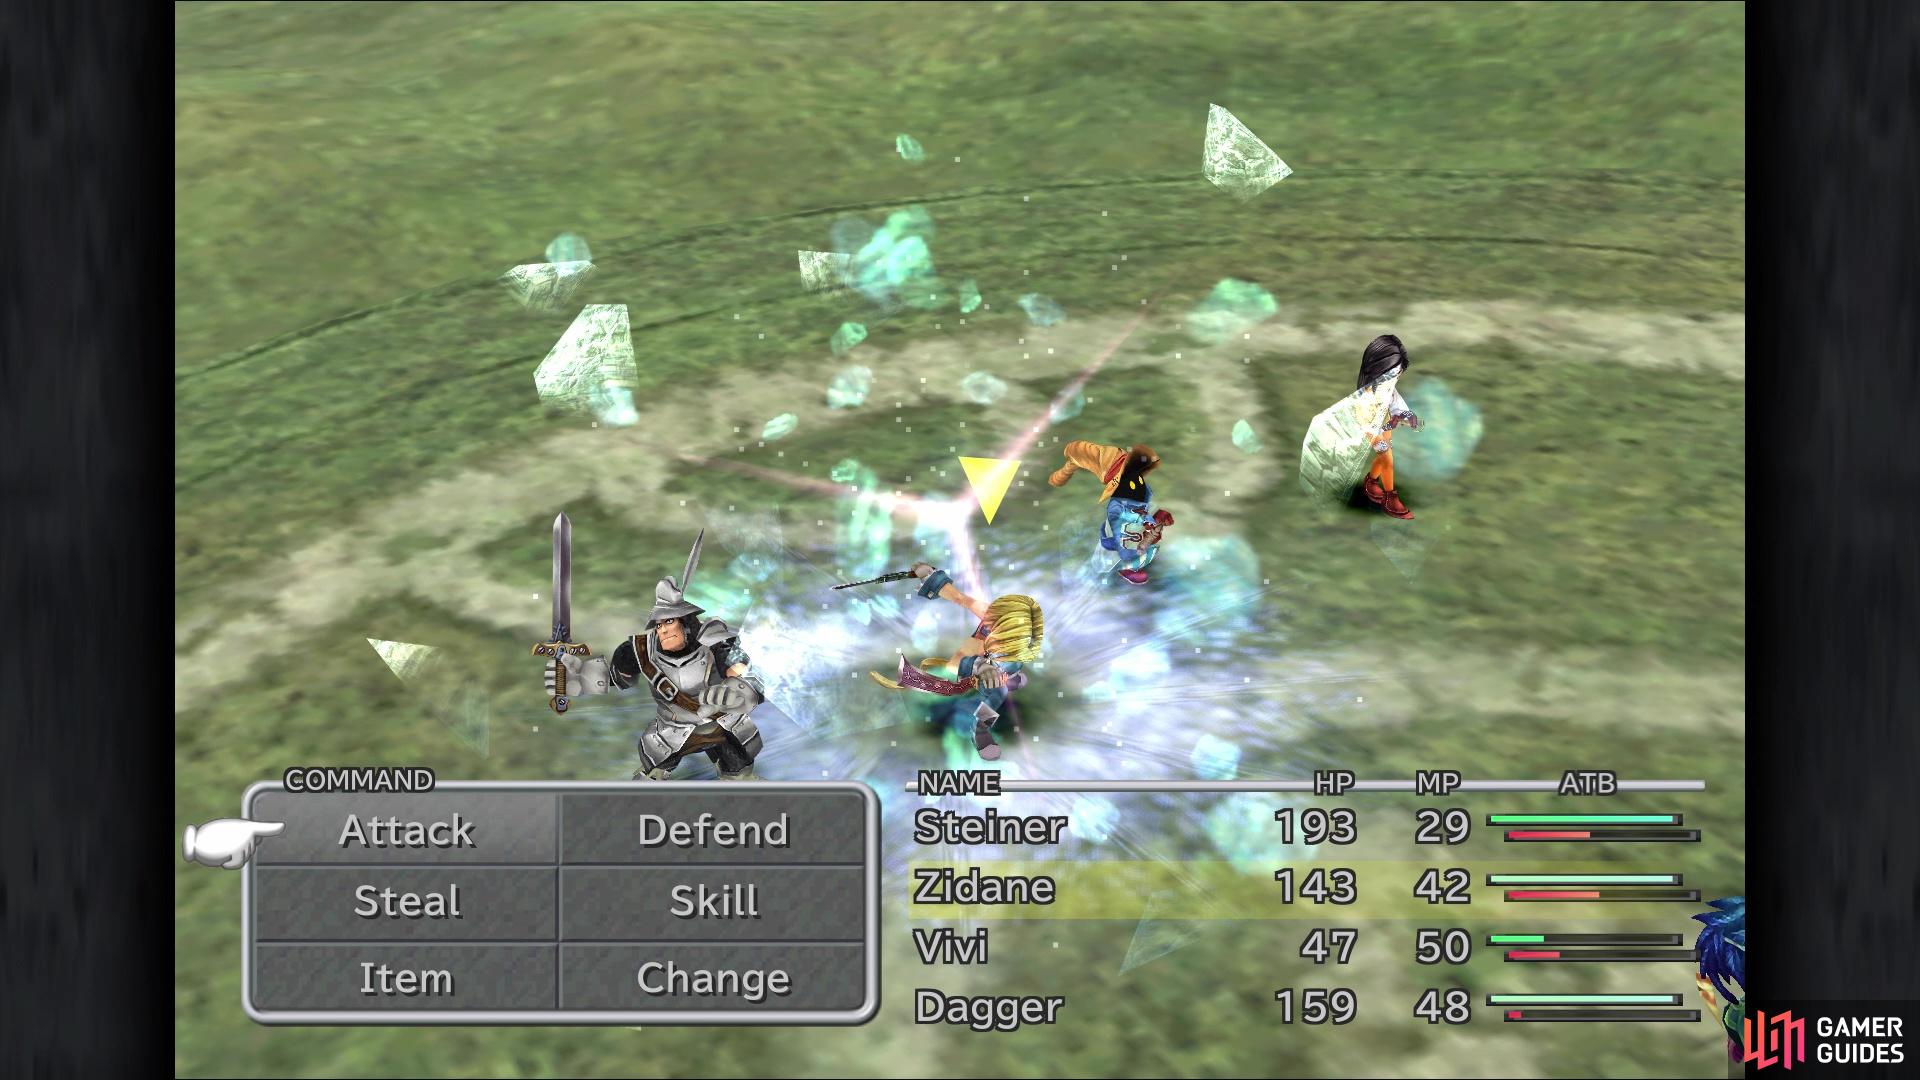
First and foremost, Black Waltz will not attack Dagger at all, as he will only concentrate attacks on the others. However, should the rest of your party fall, then the Black Waltz will put Dagger to sleep, resulting in a game over. Dagger’s role in this battle should be to use Cure on the others, as her damage output is really nothing. He has access to the basic spells, which can hit single targets or everyone. While you can inflict Darkness with a Tent, there is really no point, as the Teleport physical attack isn’t too bad. At the beginning of the battle, Zidane should focus on stealing, as Black Waltz 2 has a Steepled Hat and Leather Plate.
(1 of 2) If you use a spell with Vivi on Black Waltz 2
If you use a spell with Vivi on Black Waltz 2 (left), he will usually counter by hitting everyone (but Dagger) with the same spell (right)
Some way into the battle, the boss will say “My mission is to take back the princess!” which is the cue that you need to stop using spells with Vivi. The reason for this is that he’ll counter with the second tier spell of the one Vivi uses, so if Vivi uses Fire, then the boss will counter with Fira on everyone. Despite this, you can still use Sword Magic, so that will help in damaging the boss. If you want, Vivi could use Potions to heal anyone that might need it, otherwise you can just attack physically with him to make him do something.
After the battle is over, you have the option to rest at the inn or board the airship. Go back to the inn for now, as you might need a rest after the previous battle (don’t forget to save). Feel free to do any last minute shopping, then go ahead and board the airship. When you have control, head up to the deck and then to the cockpit. More scenes will occur, then you can move back onto the deck for another boss battle.
BOSS - Black Waltz 3
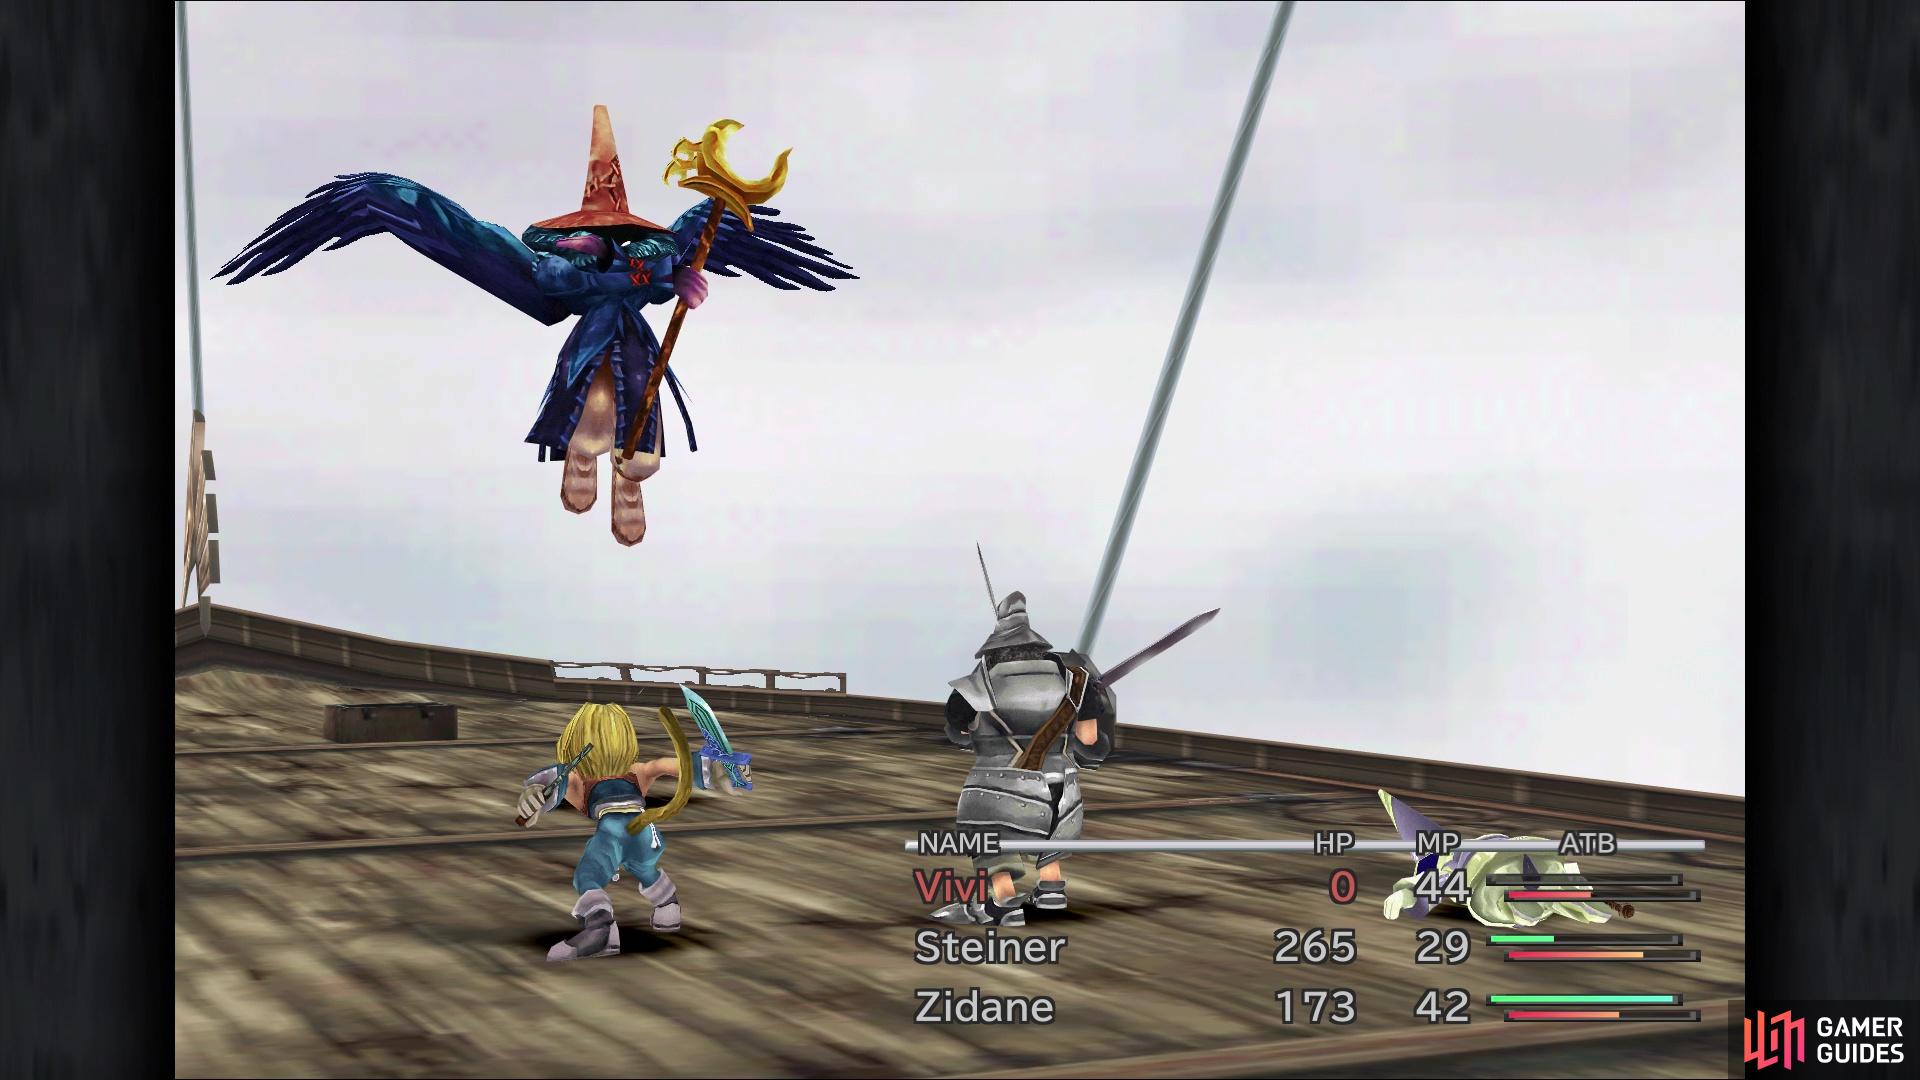
You are without Dagger in this battle, so you will have to use Potions to heal instead. Vivi will not get countered with a higher tier spell in this fight, so you are free to use magic throughout it. At the beginning, Vivi will go into Trance, with his being Double Black Magic, meaning he can cast two spells in one turn. However, you want to make sure you don’t kill the Black Waltz just yet, as he has some nice items on him to steal, which includes a Steepled Hat, Linen Cuirass and some Silver Gloves. Considering the last item on that list is around a 6% steal, it might take a while to get it, although you can purchase some in Lindblum, the next place you’ll be visiting.
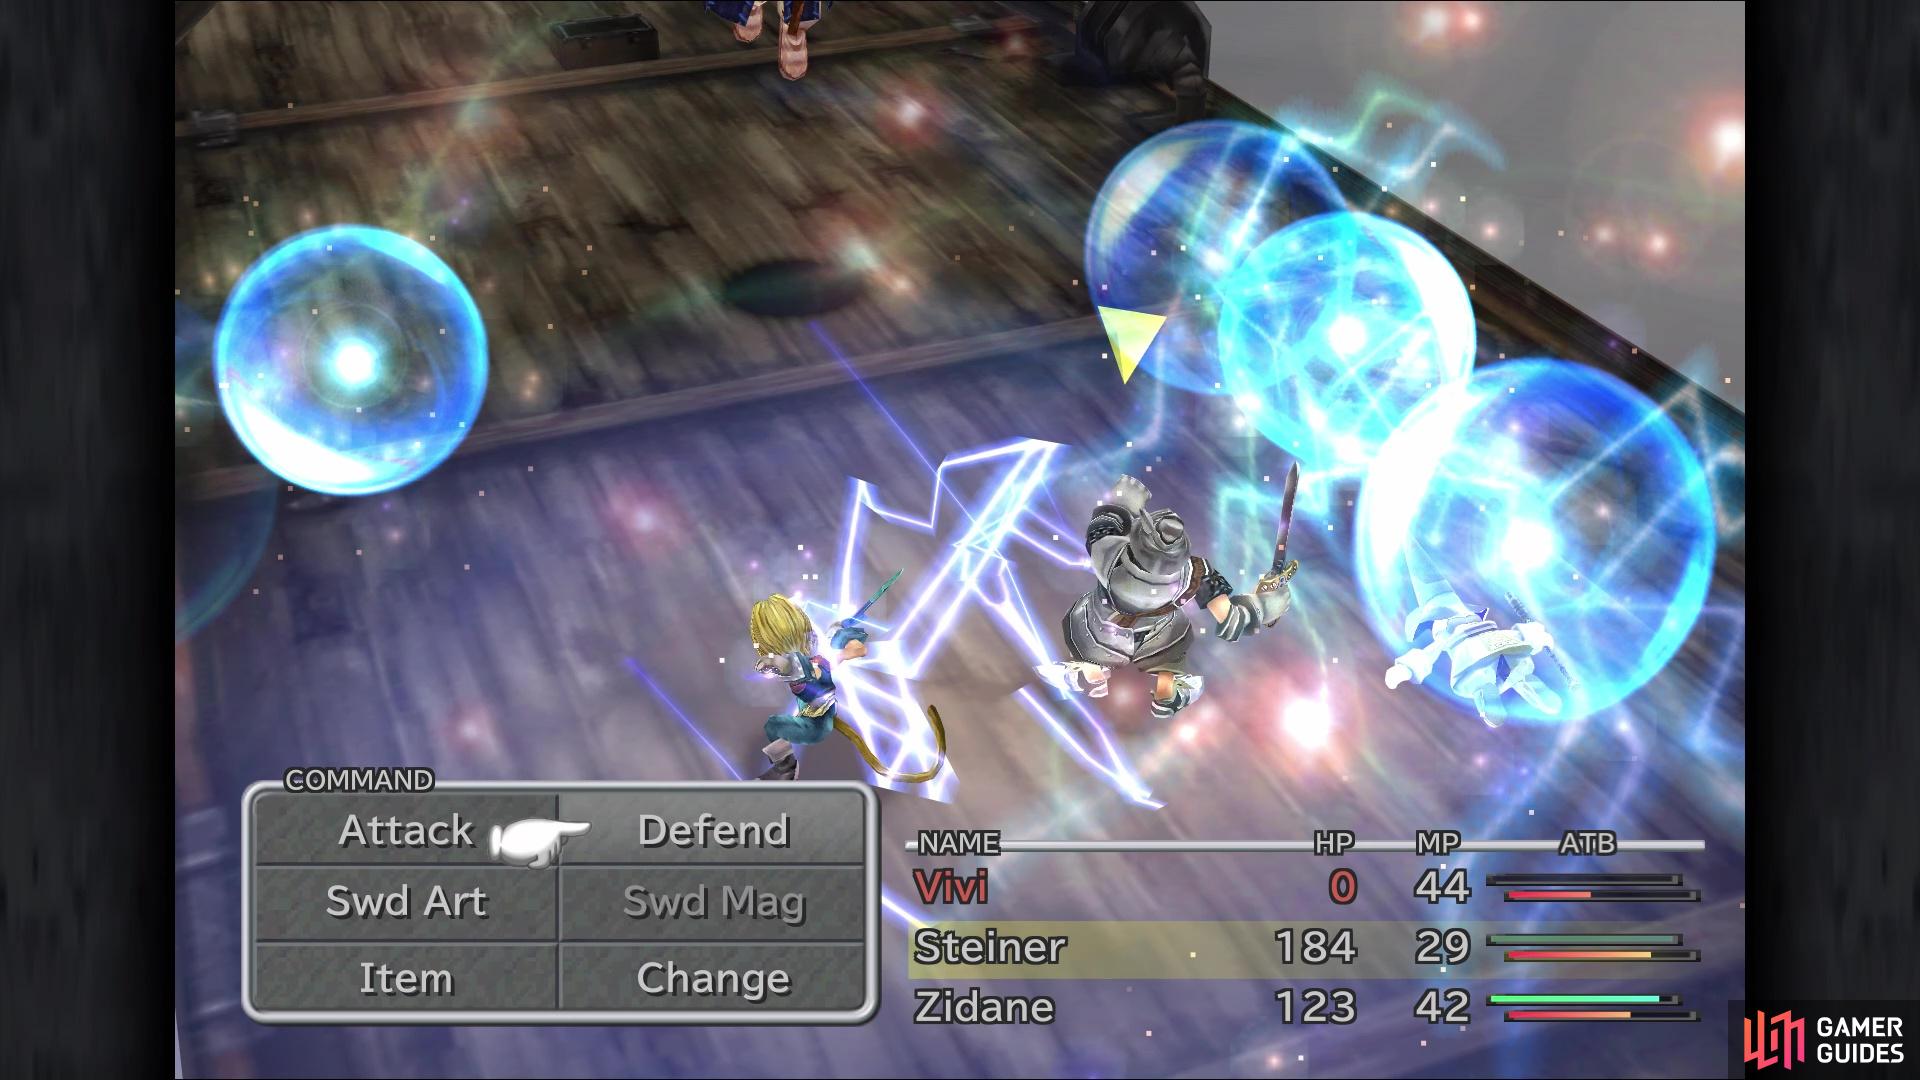
Whenever you see Black Waltz 3 rise up into the air, it will cast Thundara on everyone, which can hurt a lot. You might want to put Vivi on healing duty, along with Steiner, while the boss is up in the air. Also, your normal attacks can’t reach him here, so you’re stuck with magic until he lands. Other than having to be careful of tier 2 magic on a single target, try to keep everyone’s health above 150 for the entire fight.
(1 of 2) Whenever Black Waltz 3 rises into the air
Whenever Black Waltz 3 rises into the air (left), he will always use Thundara on your entire party (right)
Once the battle is finished, watch the scenes that follow and eventually, you will arrive in Lindblum.



 Sign up
No Comments