Lake Floria
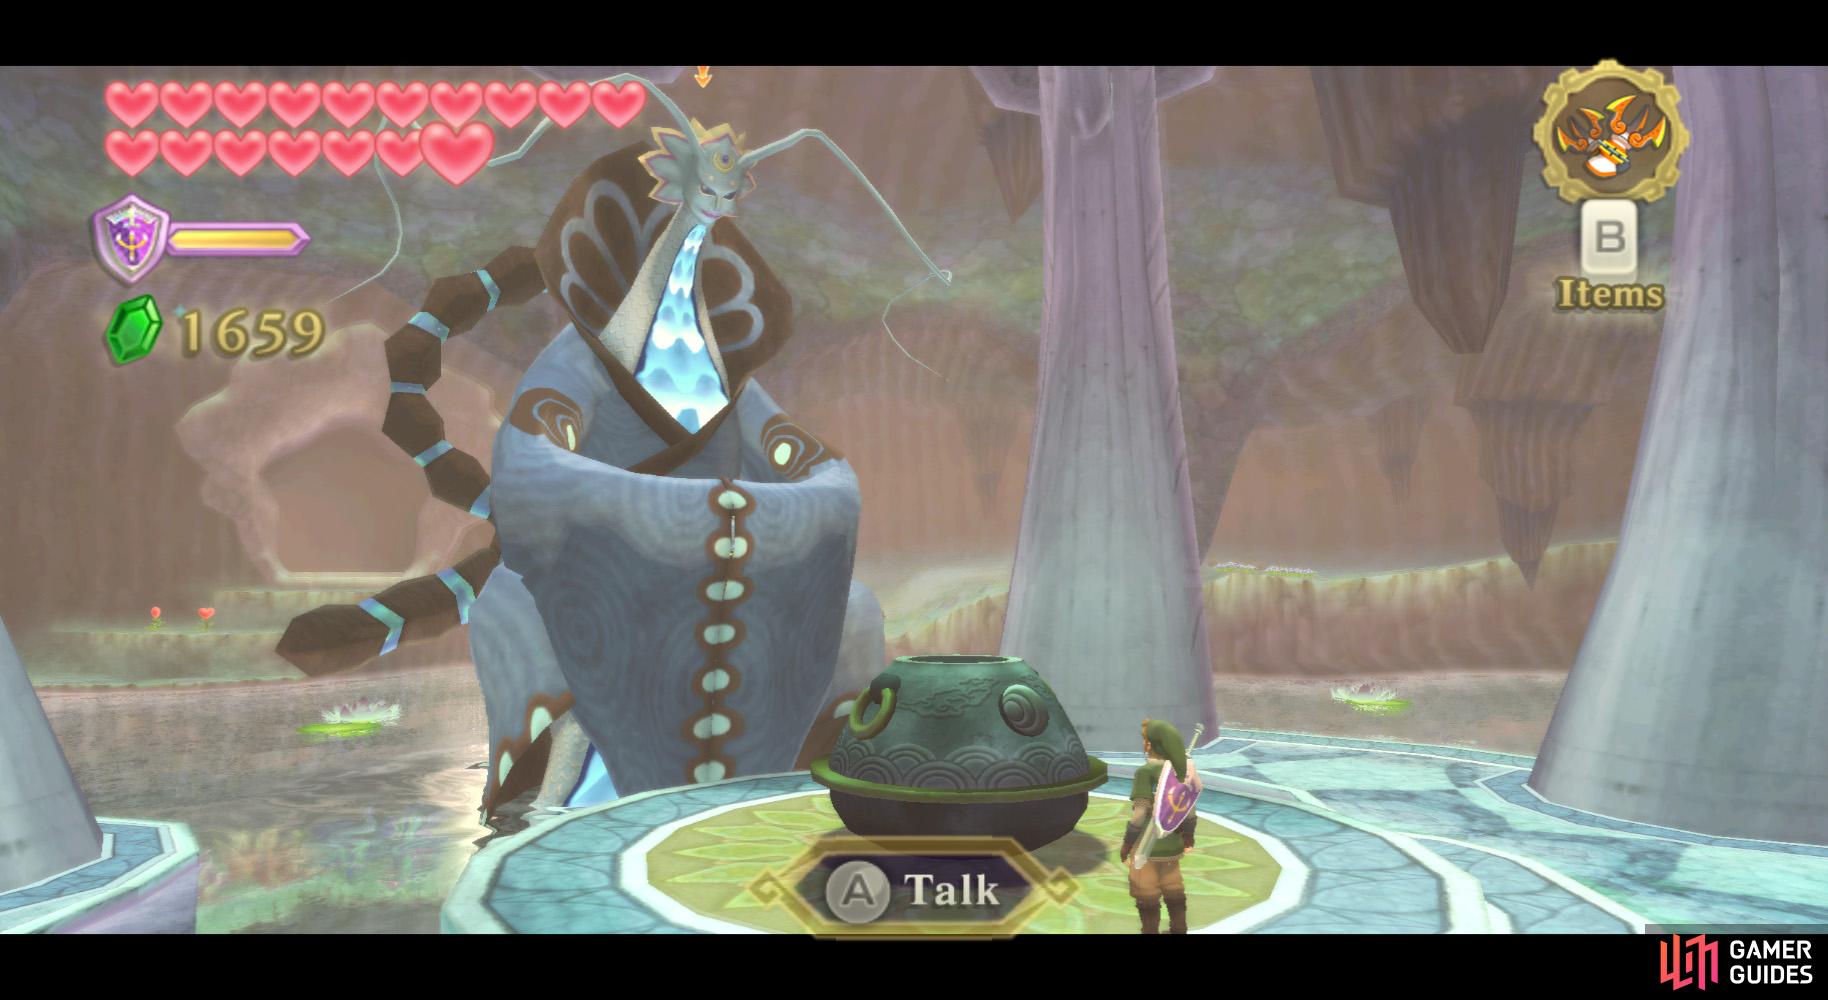
(1 of 2) Chat to Faron to borrow her water basin.
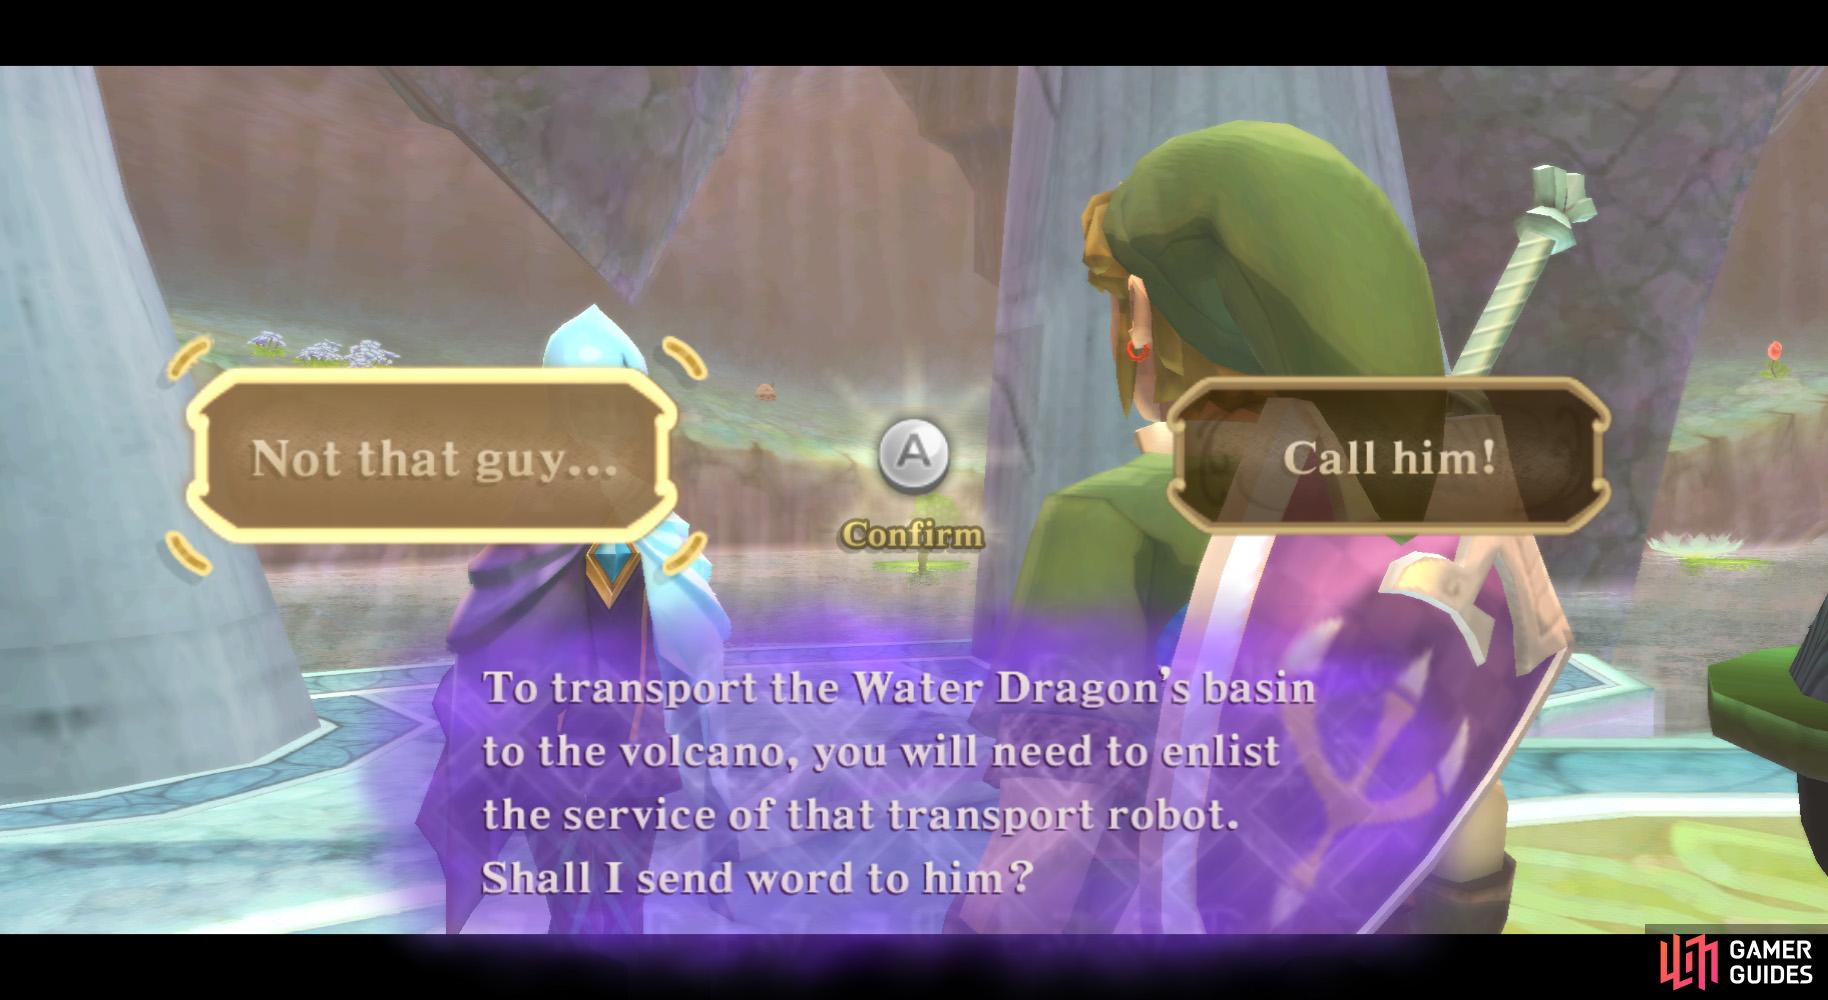
Chat to Faron to borrow her water basin. (left), Sigh, do we have to? (right)
If you are not able to get yourself to the “Floria Waterfall” Bird Statue from the sky, you’ll have to walk here from a different one by your own directions.
Anyhow, go into the cavern nearby to find Faron’s chamber. Swim and spin attack onto the central platform and speak with Faron. She’ll let you borrow the water basin, then Fi, regrettably enough, sends Scrapper to help out Master shortpants by carrying the water basin to the sky.
Return to the Bird Statue and to the sky. Descend within the red beam of light to the north.
Eldin Volcano
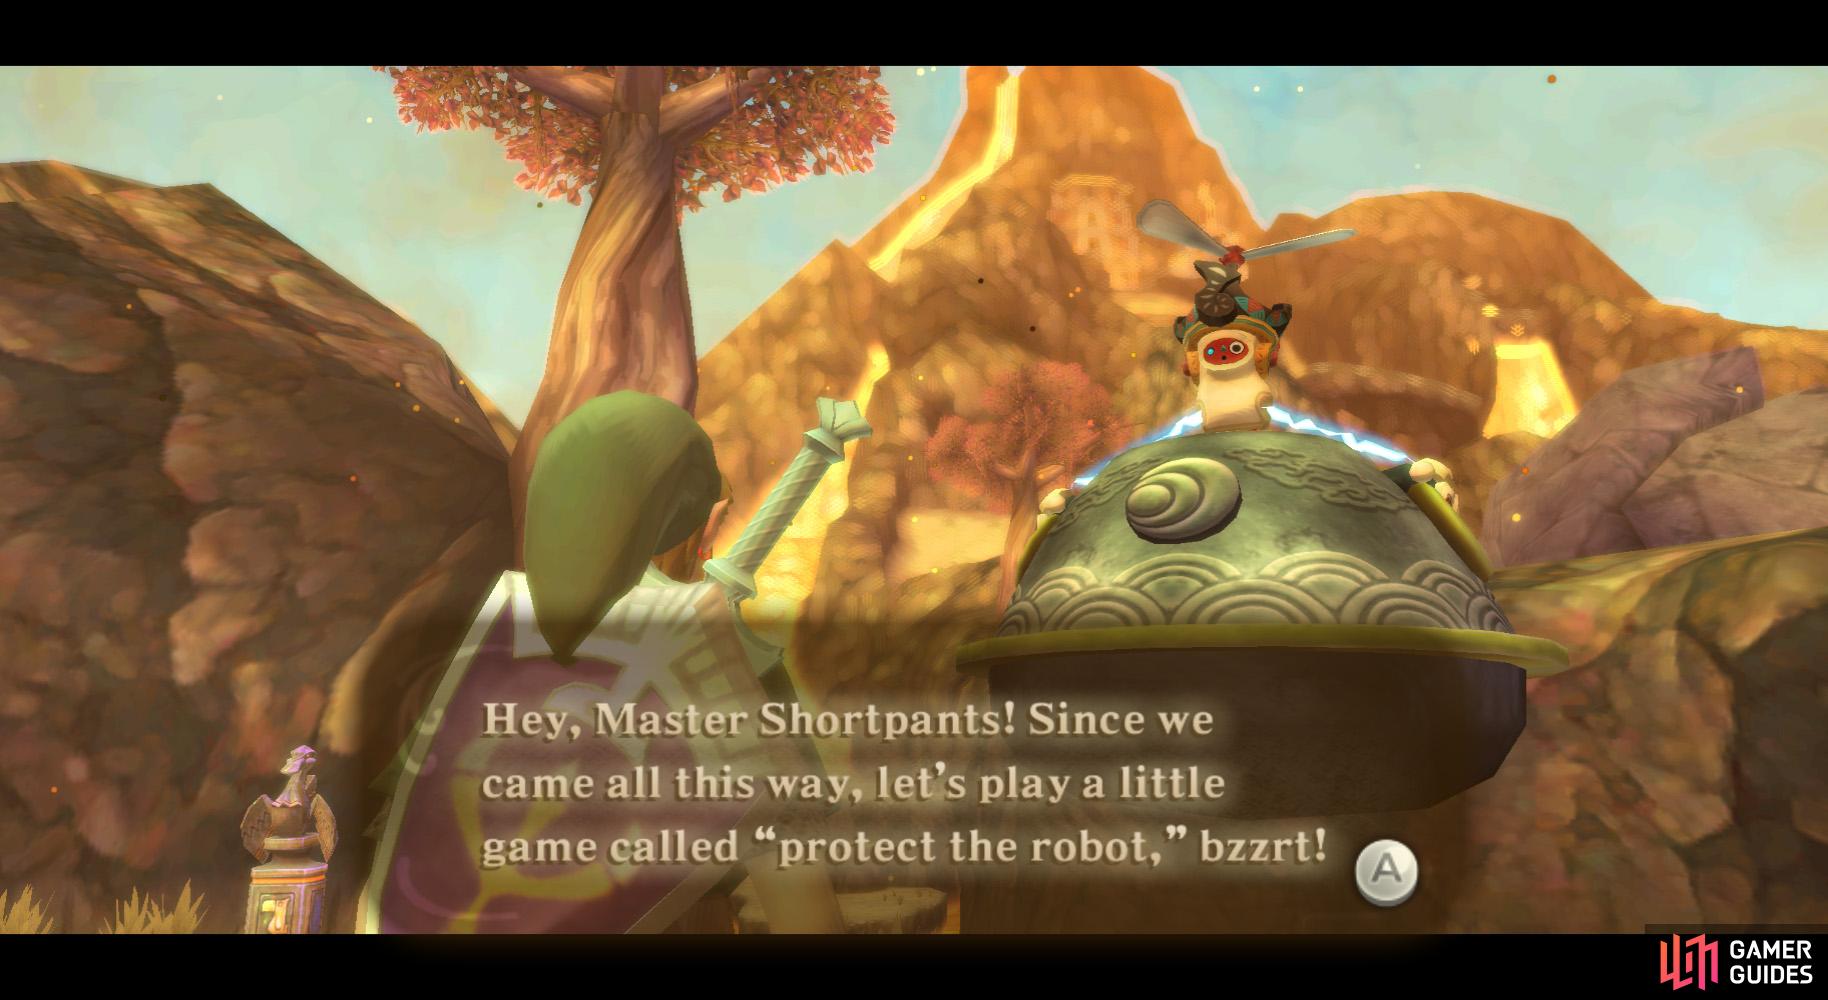
(1 of 2) If you didn’t detest Scrapper before, you will soon.
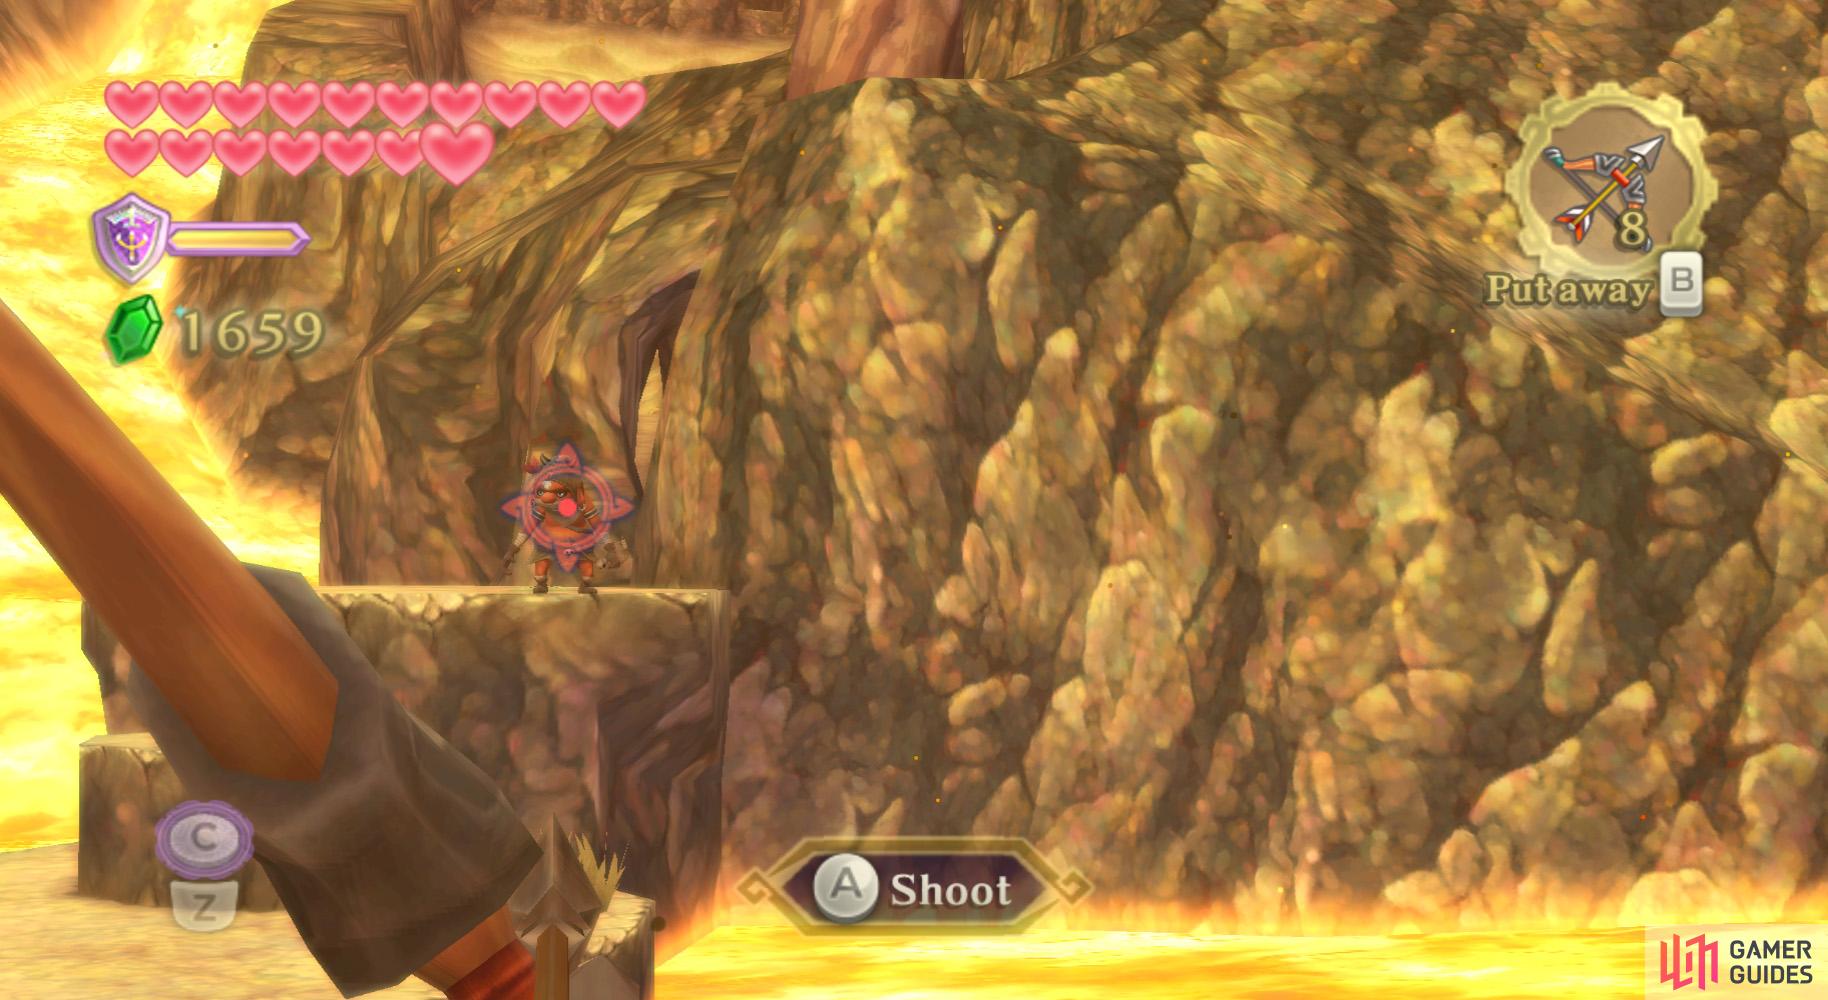
If you didn’t detest Scrapper before, you will soon. (left), Where possible, snipe enemies from afar before advancing. (right)
Thanks to Scrapper’s miscue in judgement, you’ll be back at the very bottom of the volcano. (Well, technically, “bottom” implies the literal base; we’re a fair distance away.)
Anyhow, this place is infested with newer, stronger enemies. Most notable are Dark Keese and Bokoblin Archers with Fire Arrows. You’ll have to lead Scrapper to the summit of the volcano. However, he cannot take a lot of damage, cannot protect himself, and cannot censor beep use the whirlwind.
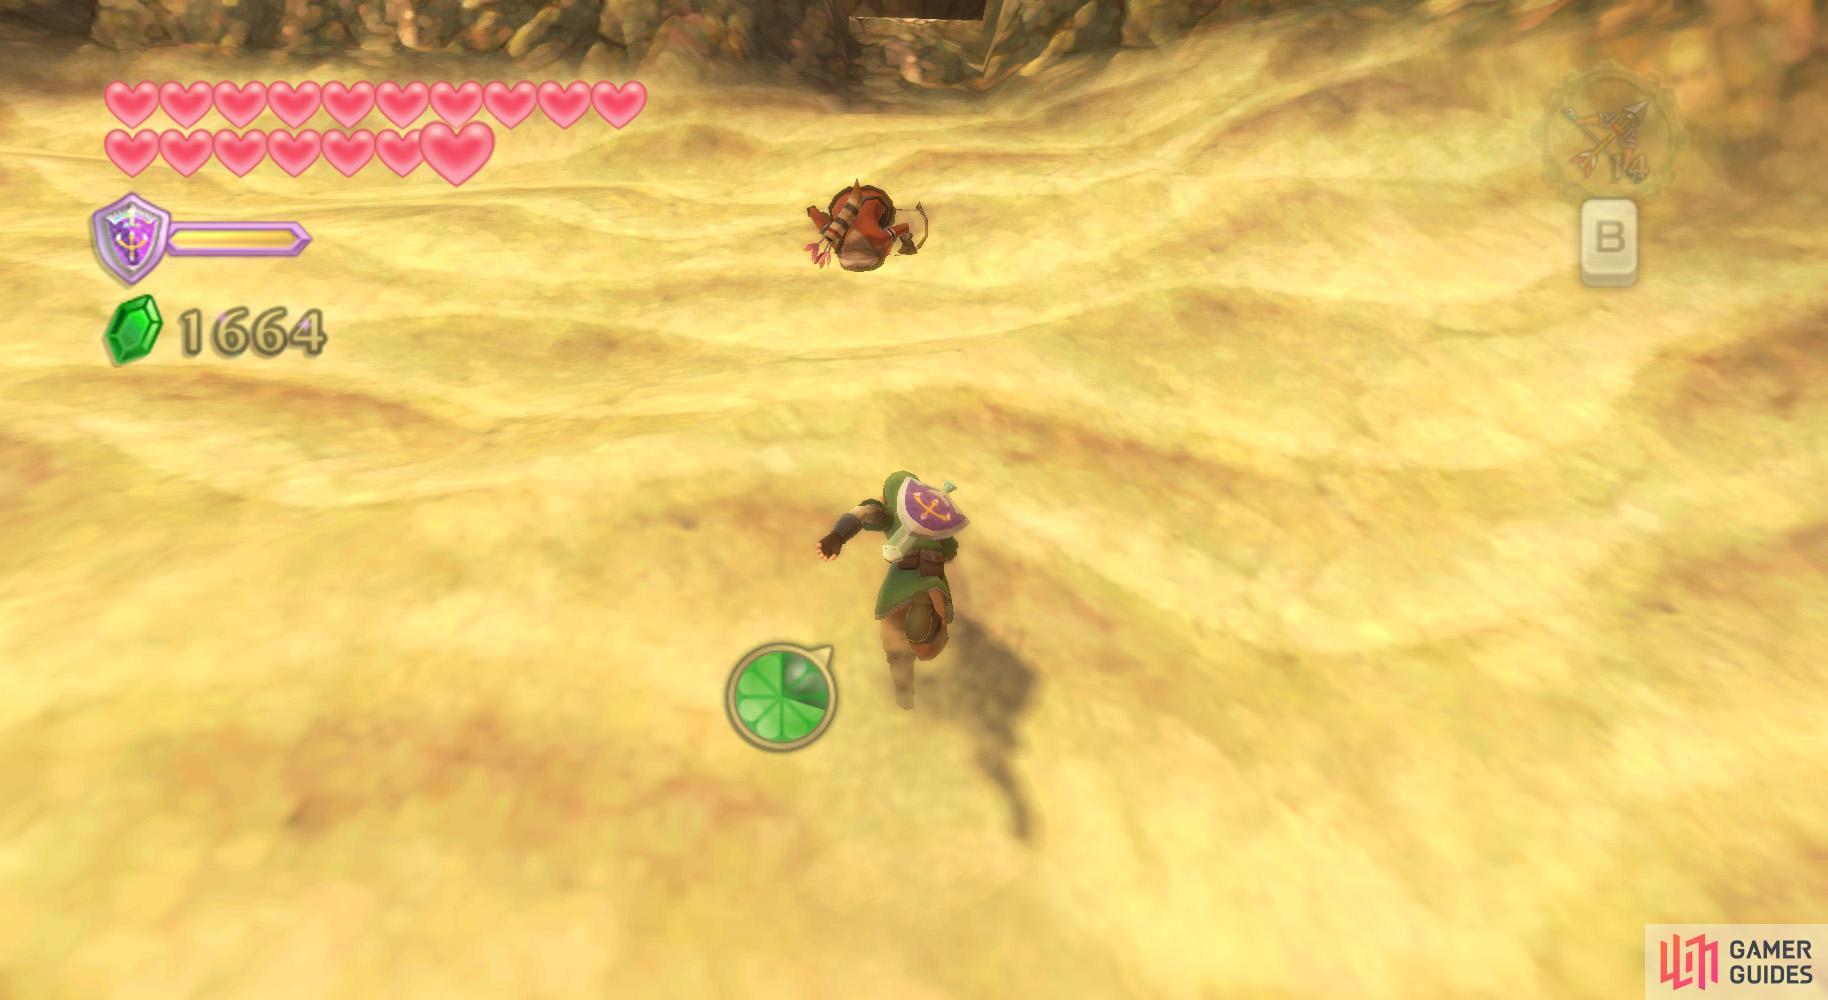
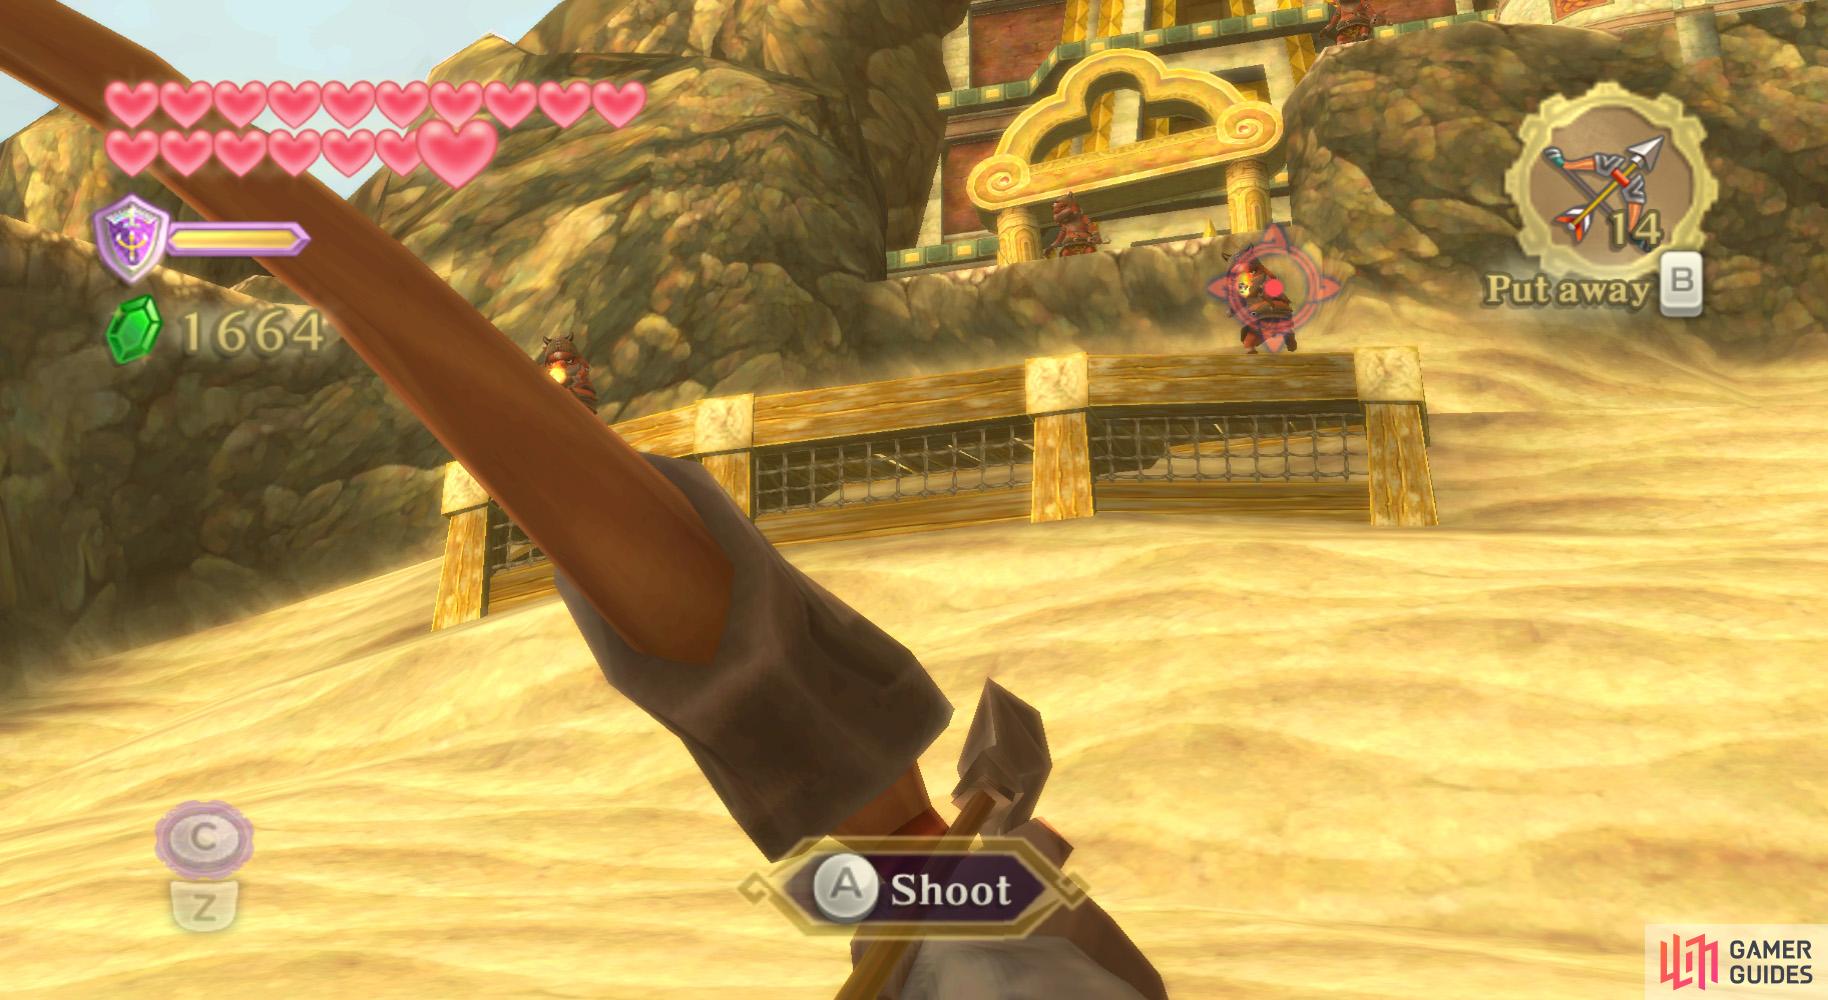
Enemies are immediately attracted to Scrapper’s presence and focus on the closer of the two of you. You’ll have to dispatch the enemies, lest you end up starting over again. Dispatching enemies is best done with the Bow (long distance, you know).
(1 of 2) After disposing of the Bokoblins, dash up the slope.
After disposing of the Bokoblins, dash up the slope. (left), Against this wooden shield Moblin, bombs work wonders. (right)
Upon gaining control of Link, get rid of the two distant Bokoblin Archers; one is on the left, and the other on the right. Then begin to head forward and left towards the tunnel. Go inside and start picking off the Red Chuchus.
Further ahead is a steep hill. Use your Bow to pick off the Bokoblin Archers on the hill – one per wooden platform and one at the topmost ledge. After clearing the way, dash up the hill. Rest at the middle platforms, then continue to the top.
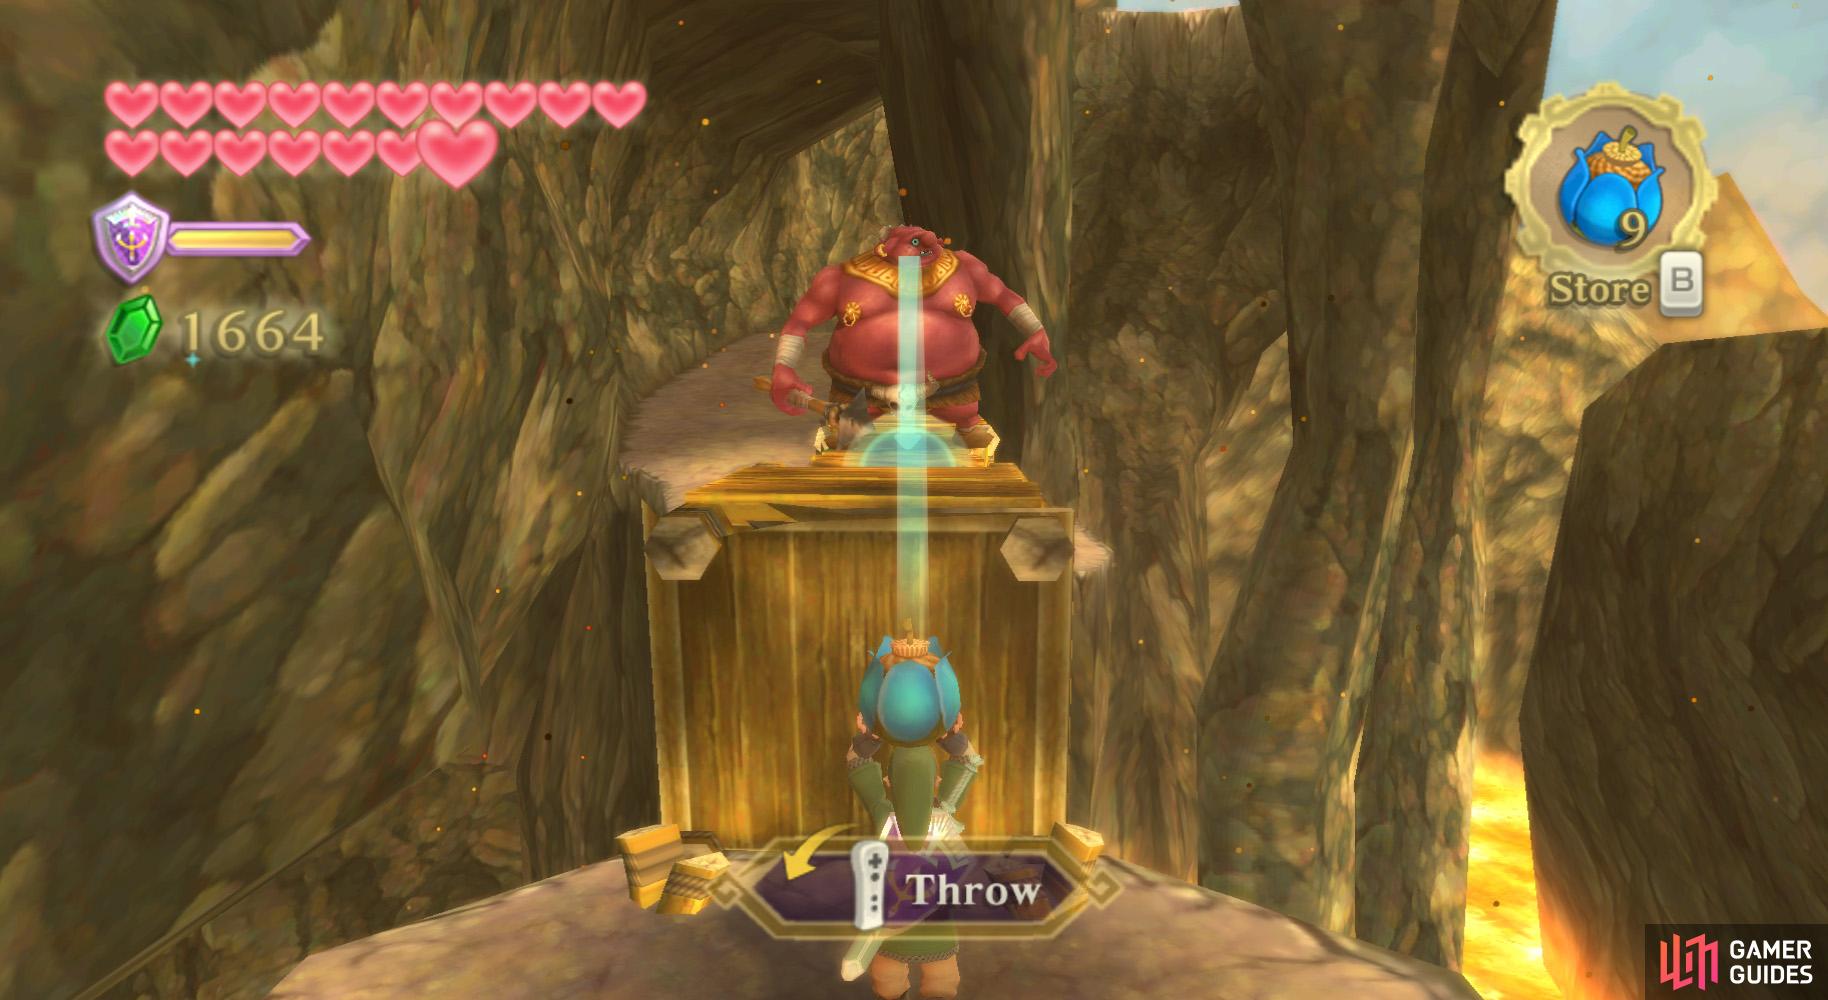
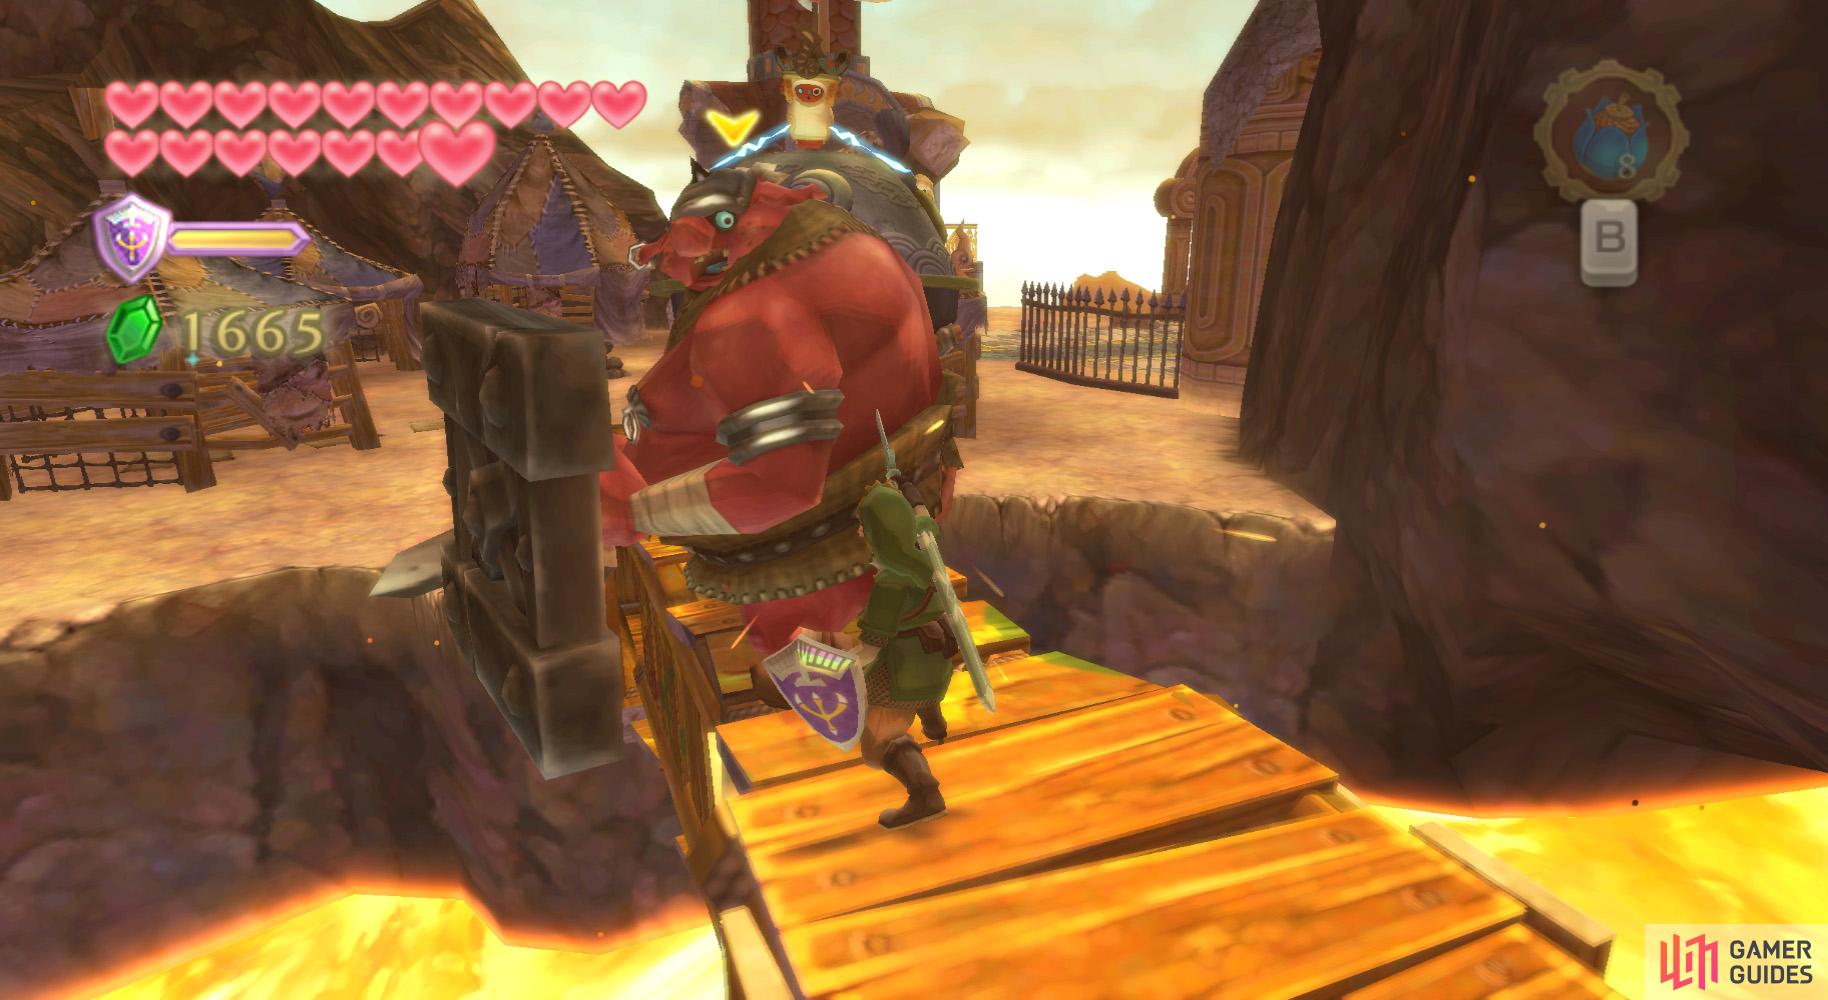
There, go to the right and you’ll find a Moblin on the knocked-over tower from long ago. You’ll have to deal with this somehow. My method: jump over the Moblin, using its shield as a wall, then repeated slices from the back. Dodge when needed, but anyhow…
After defeating the Moblin (through your method or mine), continue along the path to a Red Chuchu. Beat it up and continue to the next steep hill.
(1 of 2) More Bokoblins to send rolling down the slope!
More Bokoblins to send rolling down the slope! (left), After jumping over a Moblin, if they turn around, you can back off and let Scrapper grab their attention. (right)
There are three tiers here, each with a few Bokoblins (only the first level is plain Bokoblins; the other two are Archers). Shoot down the Bokoblin from the first two tiers, then run up to that second tier.
Shoot down the remaining Bokoblin Archers above (one is on the stone outcropping; when facing the Earth Temple, look up and to the right to find the outcropping).
Afterwards, finish ascending the hill and use the nearby Bird Statue if you want. Then go to the right and flush out the Bokoblin population in the encampment.
Then head to the fallen tower and defeat the Moblin on there with the same tactic as before. You’ll also find some Bokoblin Archers above and to the left of you; I’d prefer it if you dealt with them before the Moblin.
After defeating them, cross the bridge, then continue along the path to the fiery chamber, up the incline, and back to the summit.
Volcano Summit
(1 of 2) If you head left, you can find a nice vantage point to snipe the Spumes.
If you head left, you can find a nice vantage point to snipe the Spumes. (left), One thing you can try, if the Lizalfos haven’t seen you, is to run from them after distracting them with a bomb. (right)
Still protecting Scrapper, okay?
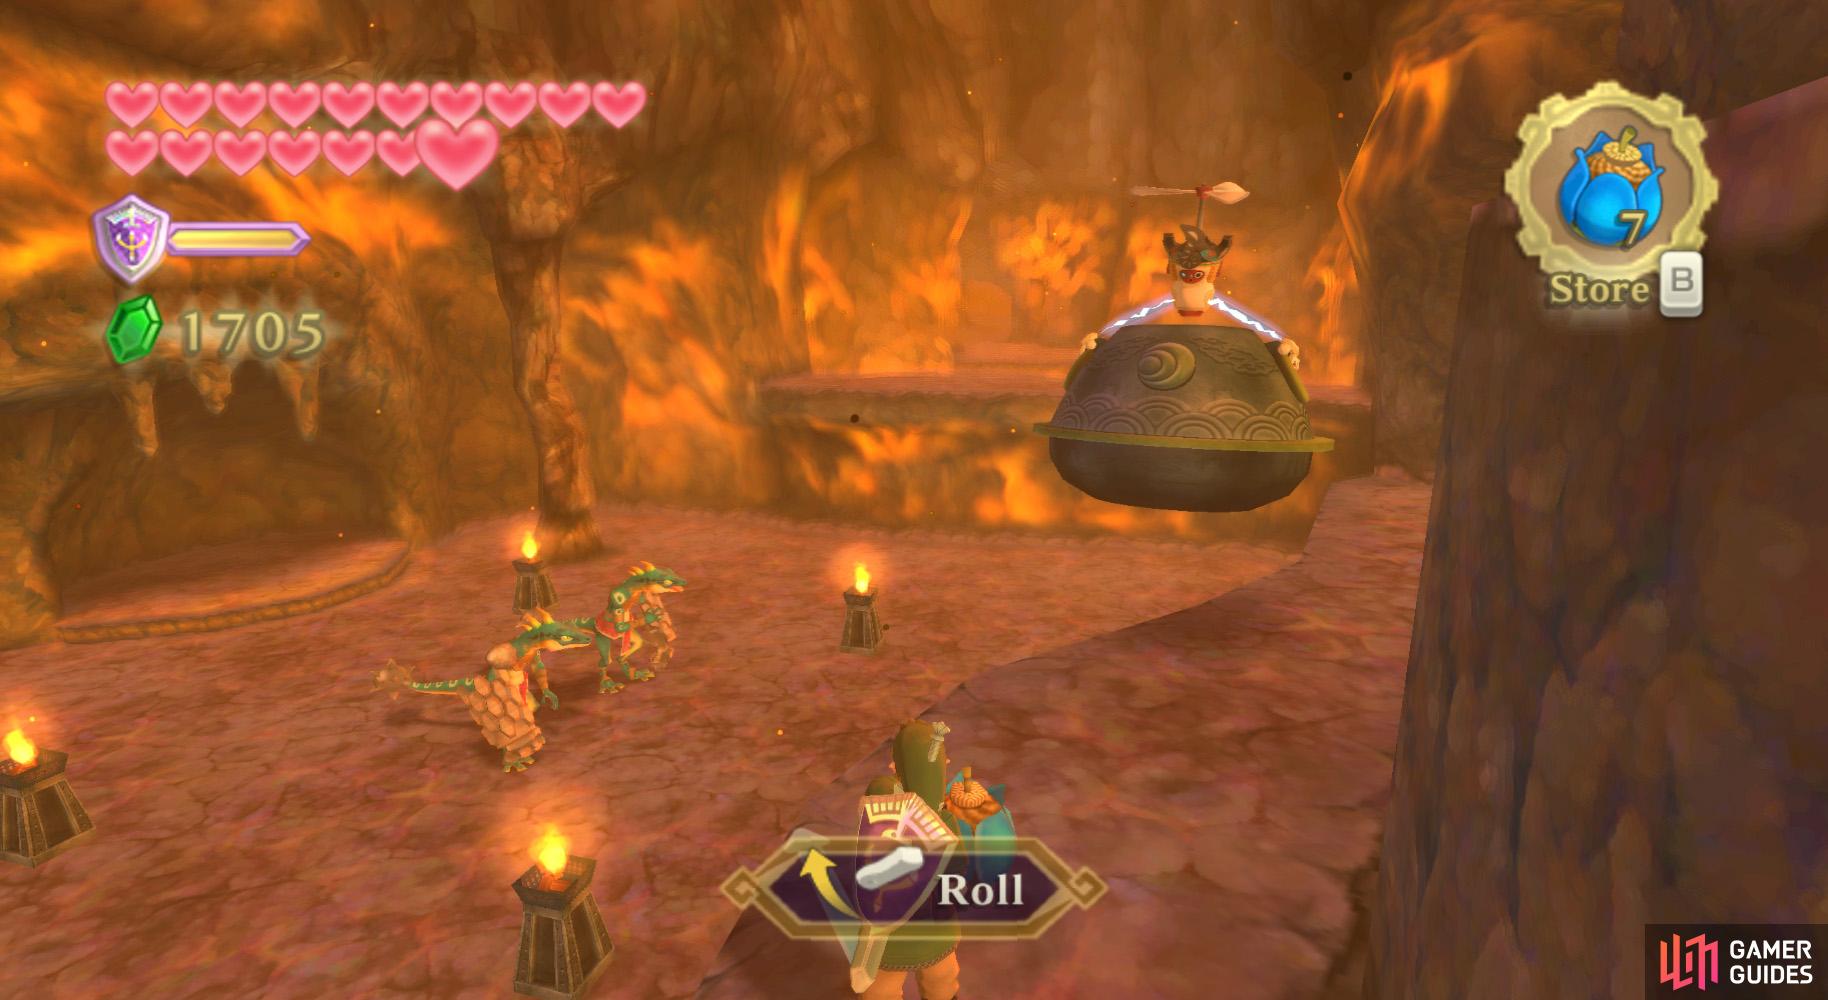
Here, defeat the Fire Keese and any Red Chuchus you end up coming across. Go to the Bird Statue and further north. You’ll have to get rid of the two Lizalfos down there.
Take it from me - you do not want to try hand-to-hand combat. Use it only as a last resort. Use up your Bow and Bombs before even trying, okay?
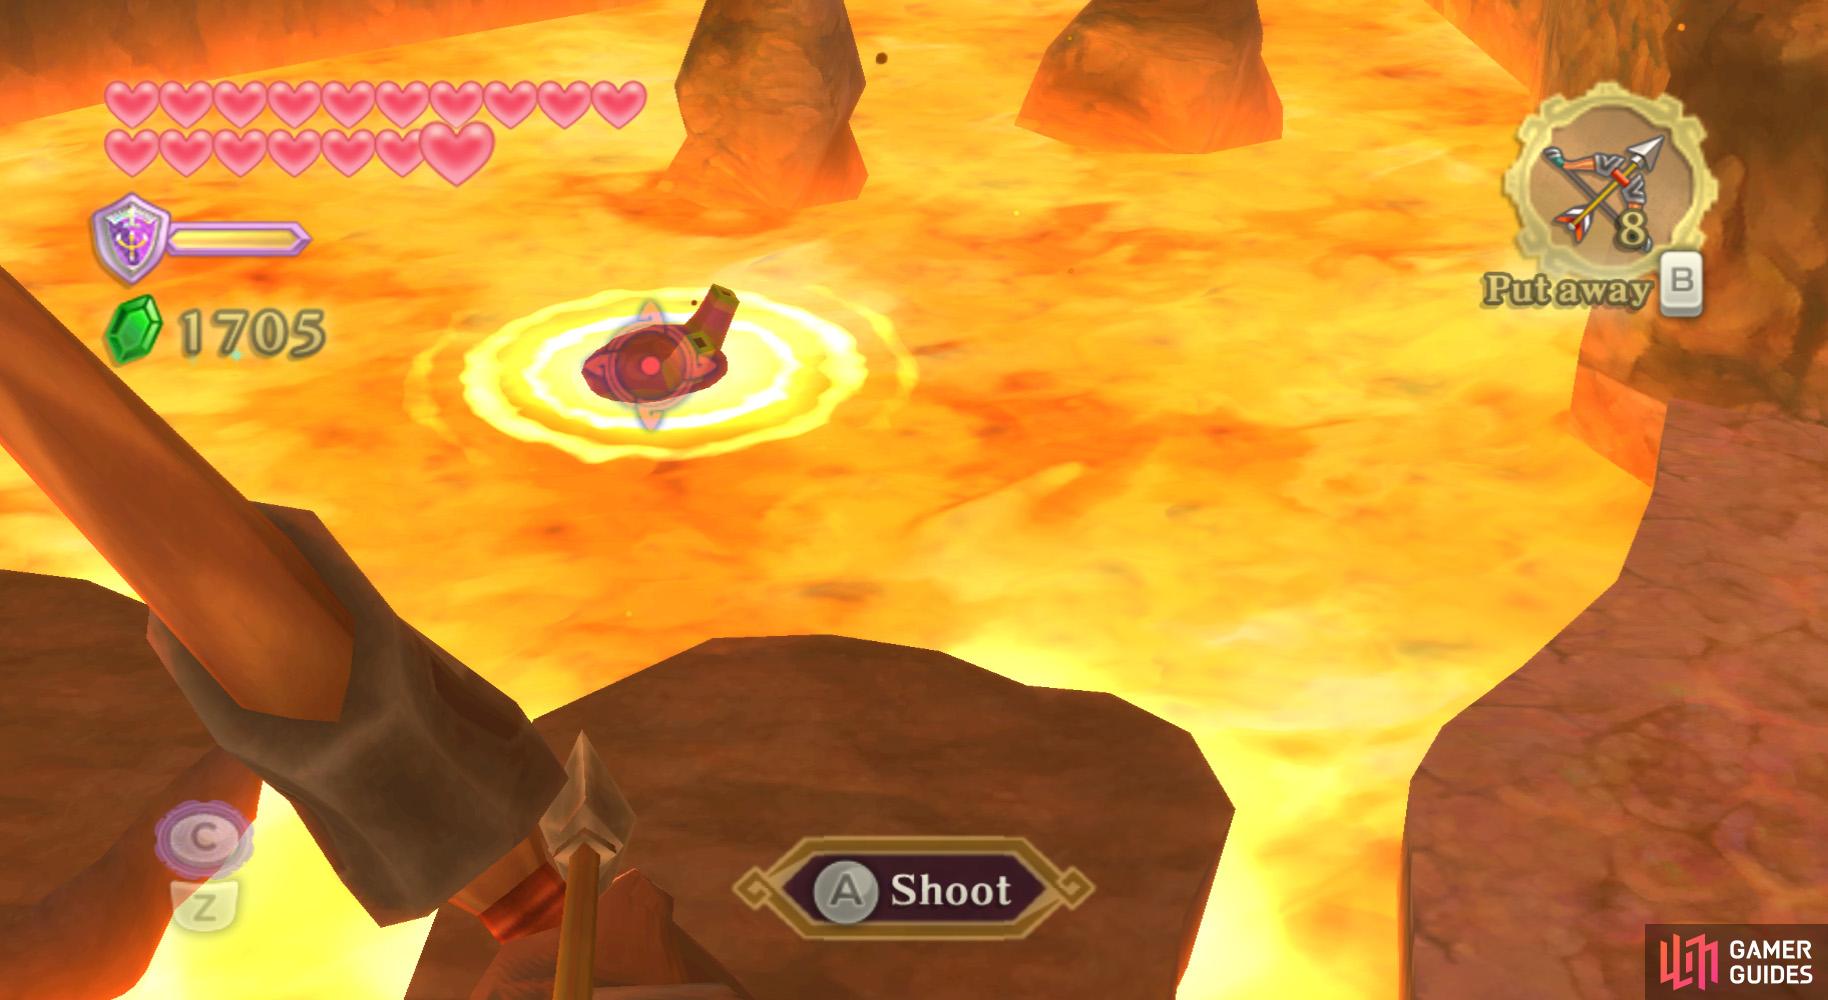
Also be sure to save a few arrows for the Cursed Spumes in the lava river, then cross the platforms. On the other side, go to the right, up the hill, defeat the Red Chuchu, and continue.
Here, head over to the last fire gate and Scrapper will sloppily pour the water from the basin into the frog statue. This extinguishes the fire, letting you proceed into the Fire Sanctuary.
After regaining control of Link, use the nearby Bird Statue, then proceed into the dungeon with the final of the Sacred Flames … the Fire Sanctuary.

 Sign up
No Comments