(1 of 2) Eldin Volcano is a harsher environment than Faron Woods, but nothing Link can’t handle.
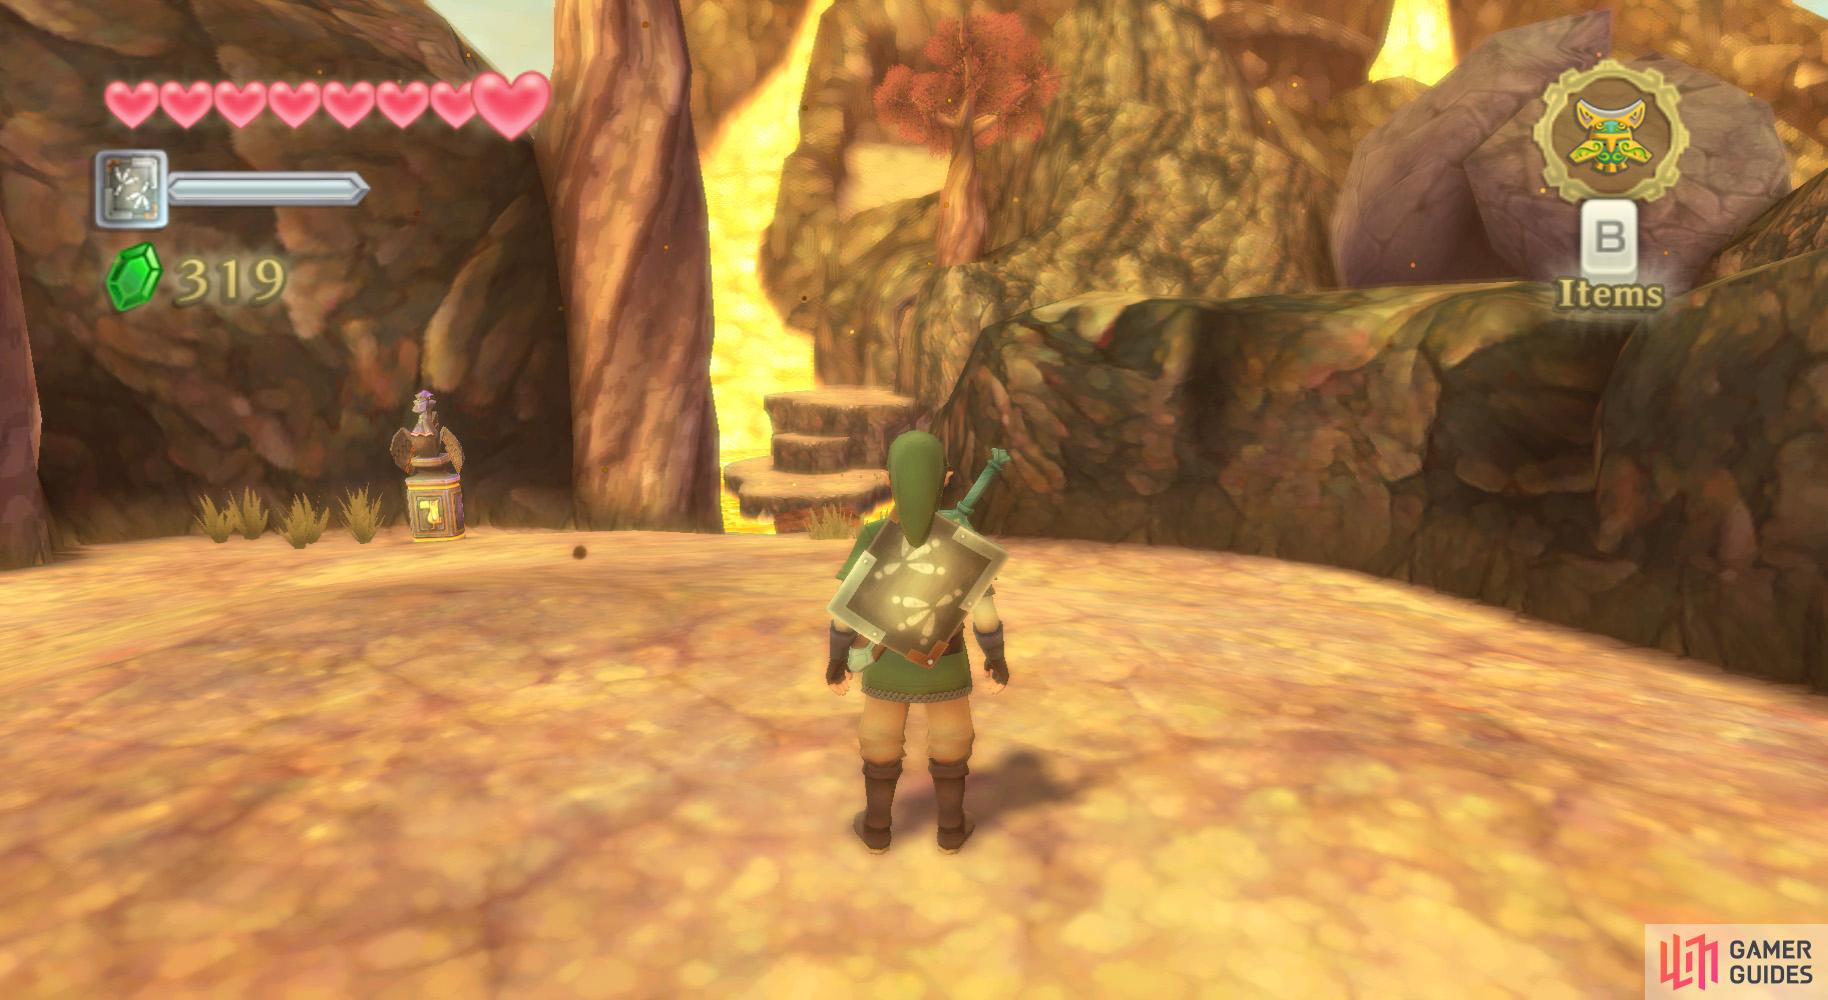
Eldin Volcano is a harsher environment than Faron Woods, but nothing Link can’t handle. (left), Did you buy an Iron Shield? (right)
Upon arriving at Eldin Volcano, use the nearby Bird Statue and be sure you have the Iron Shield equipped; the Wooden Shield will burn to ashes here. Go along the path nearby. You’ll soon come to a Red Chuchu.
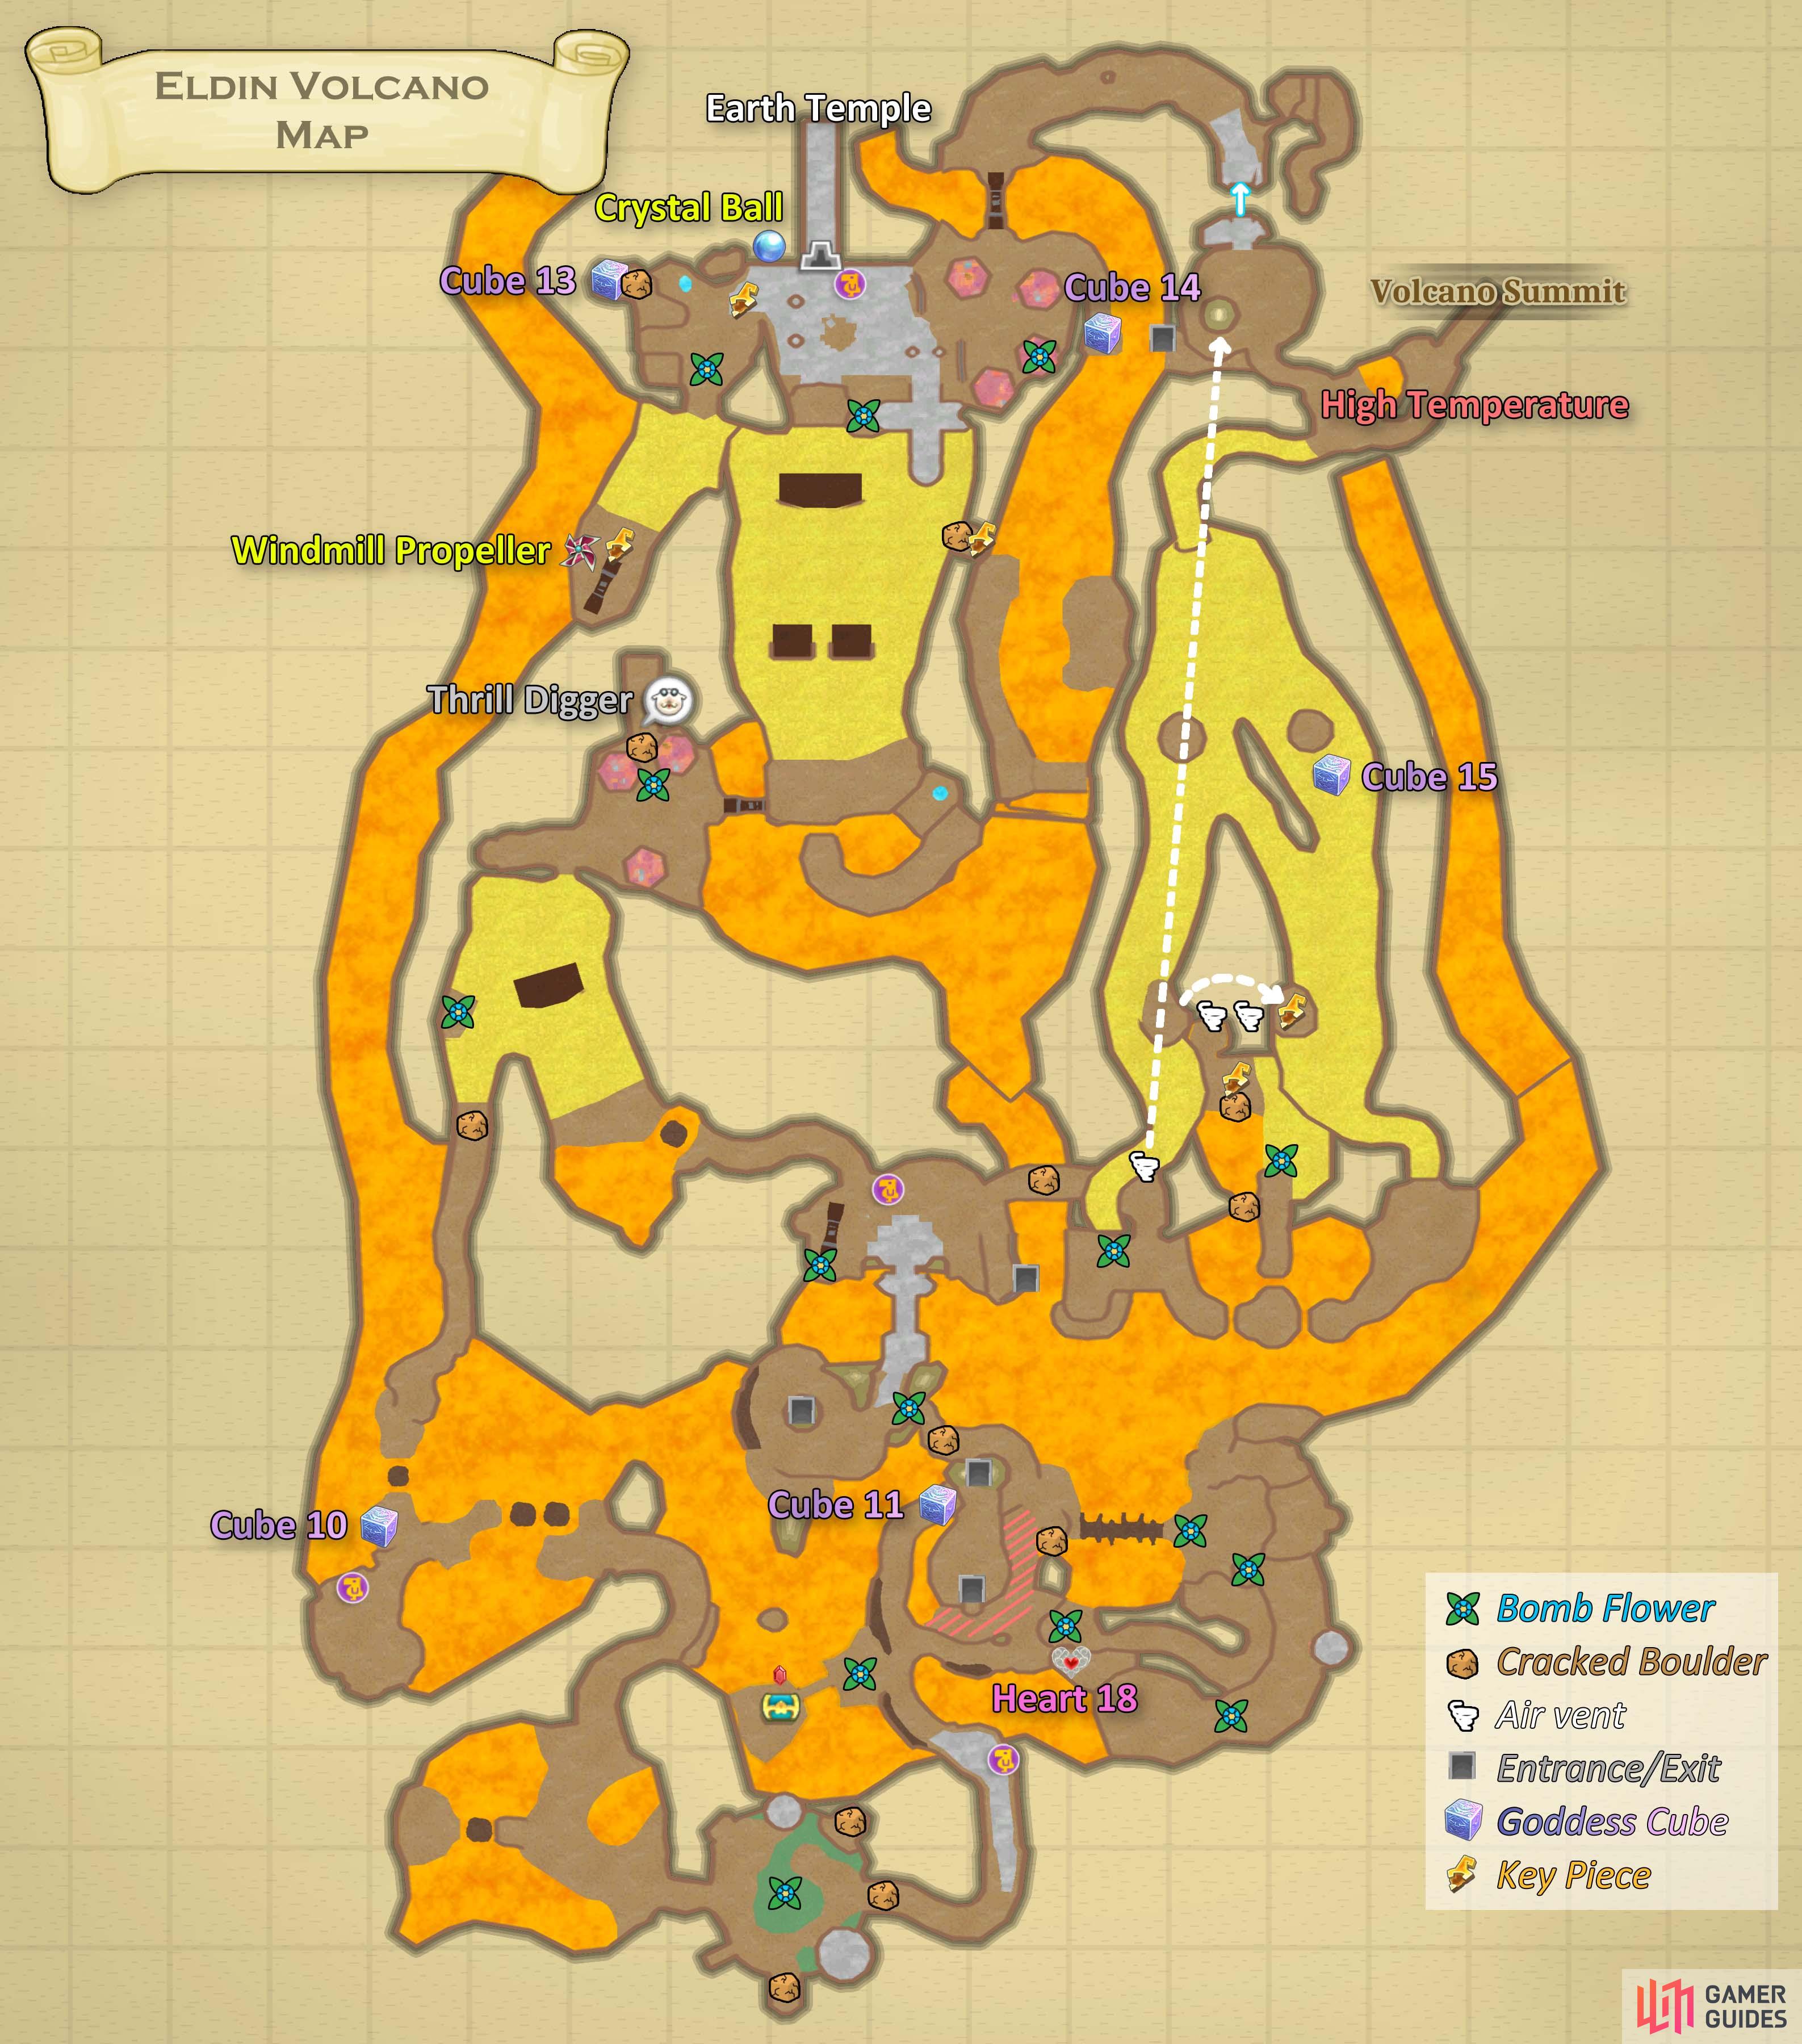
Map
Map of Eldin Volcano
Goddess Cube 10
(1 of 2) Goddess Chest: Towards the left when first arriving at Eldin Volcano.
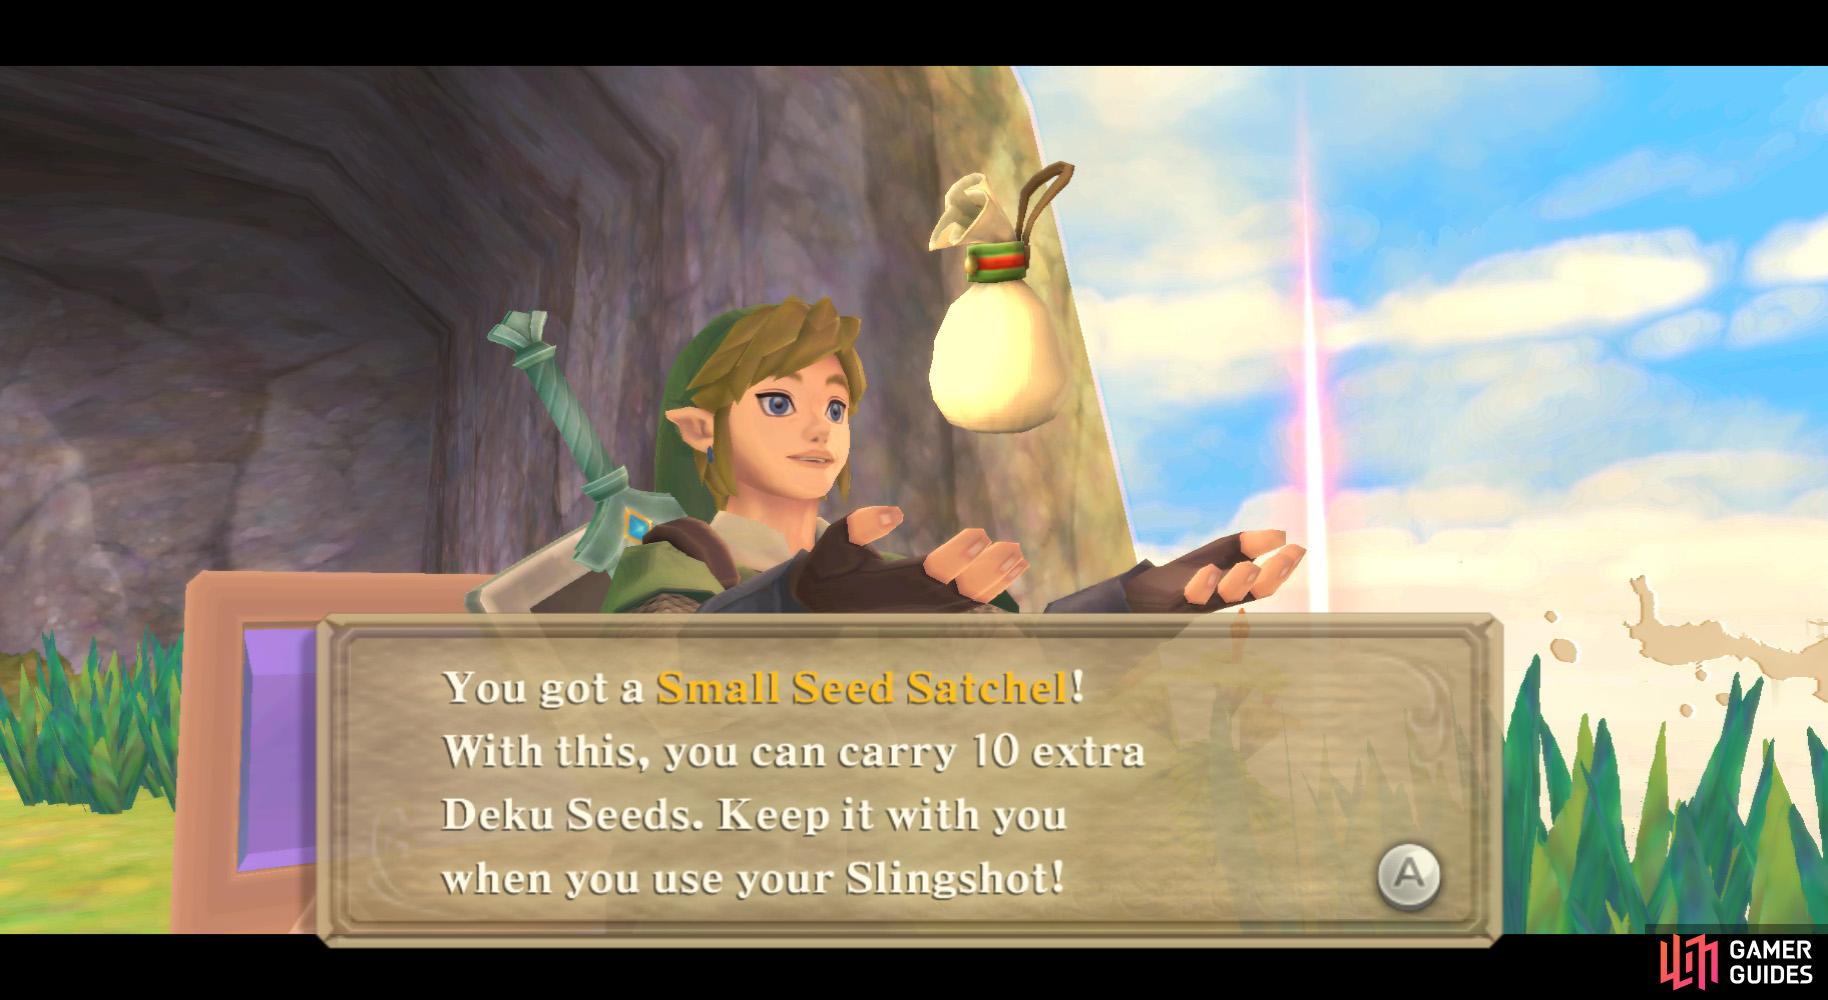
Goddess Chest: Towards the left when first arriving at Eldin Volcano. (left), Treasure Chest: Island north-east of Skyloft. On a plateau. (right)
Next, head along the western path to find Goddess Cube 10. Hit it with a Skyward Strike.
Go back to the fork in the path and along the eastern path. There, further along, you’ll meet a few Mogmas that tell you that, in no certain terms, that they saw a figure go by earlier, which is likely to be Zelda.
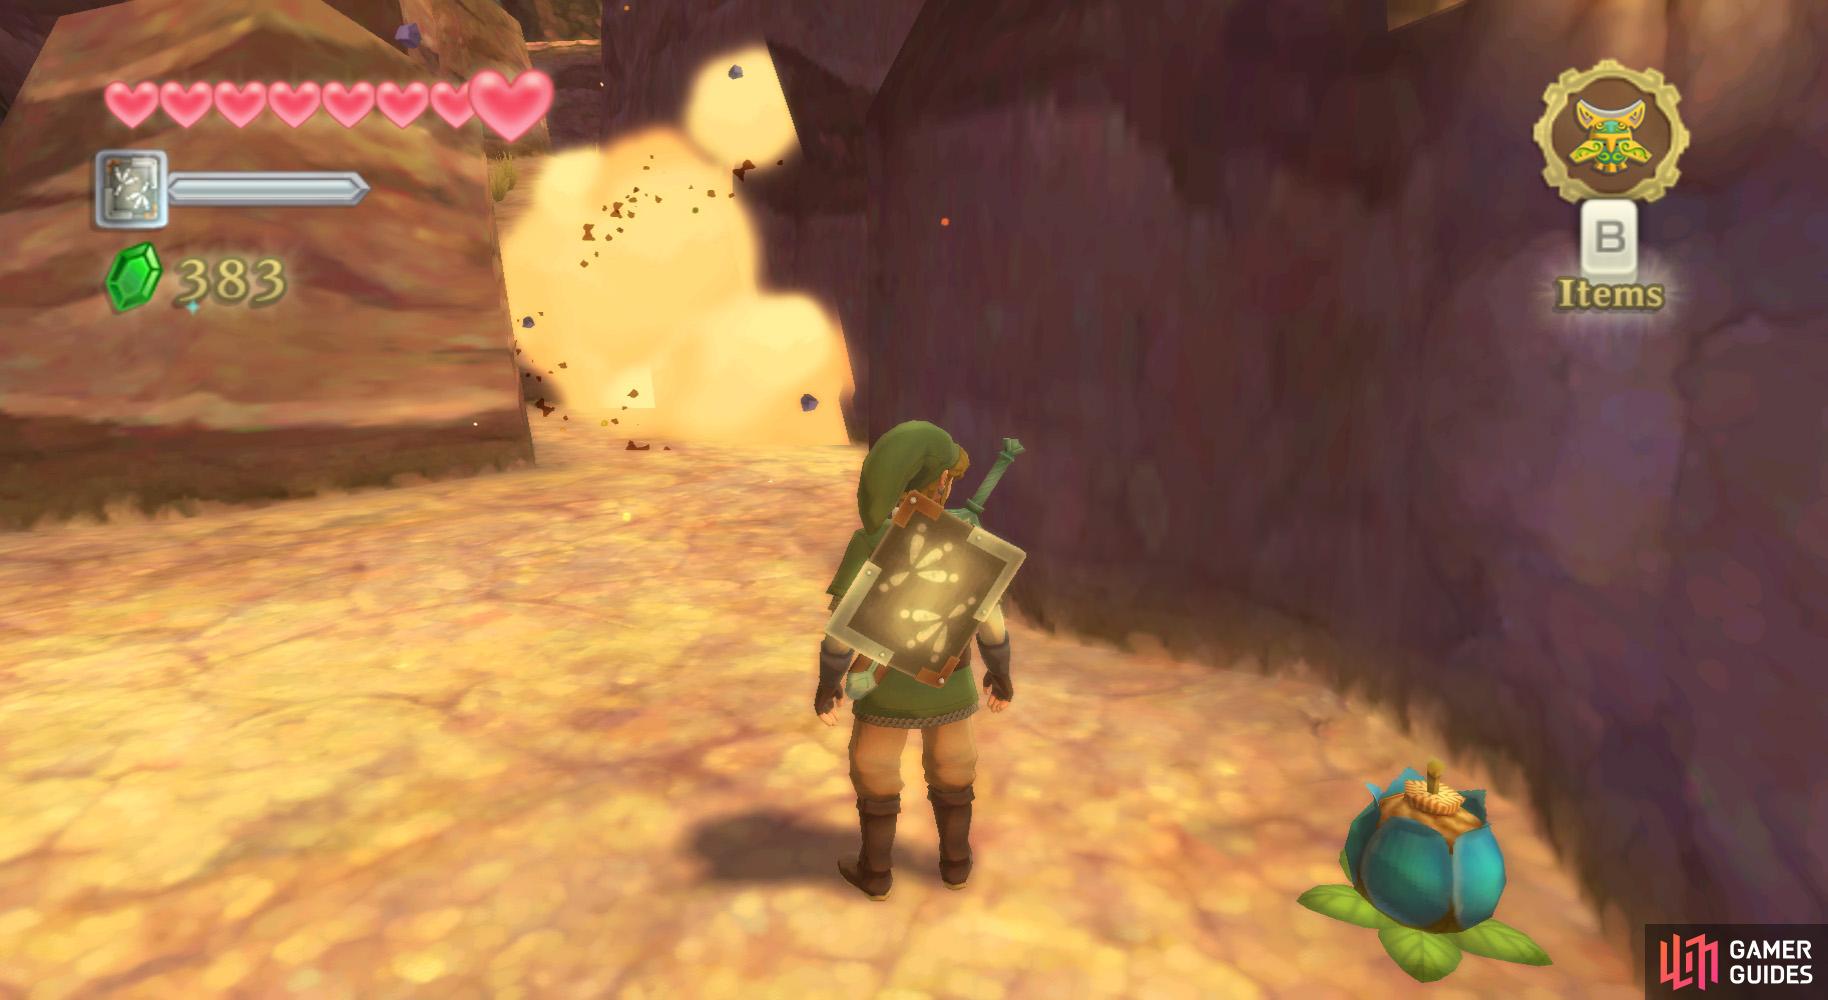
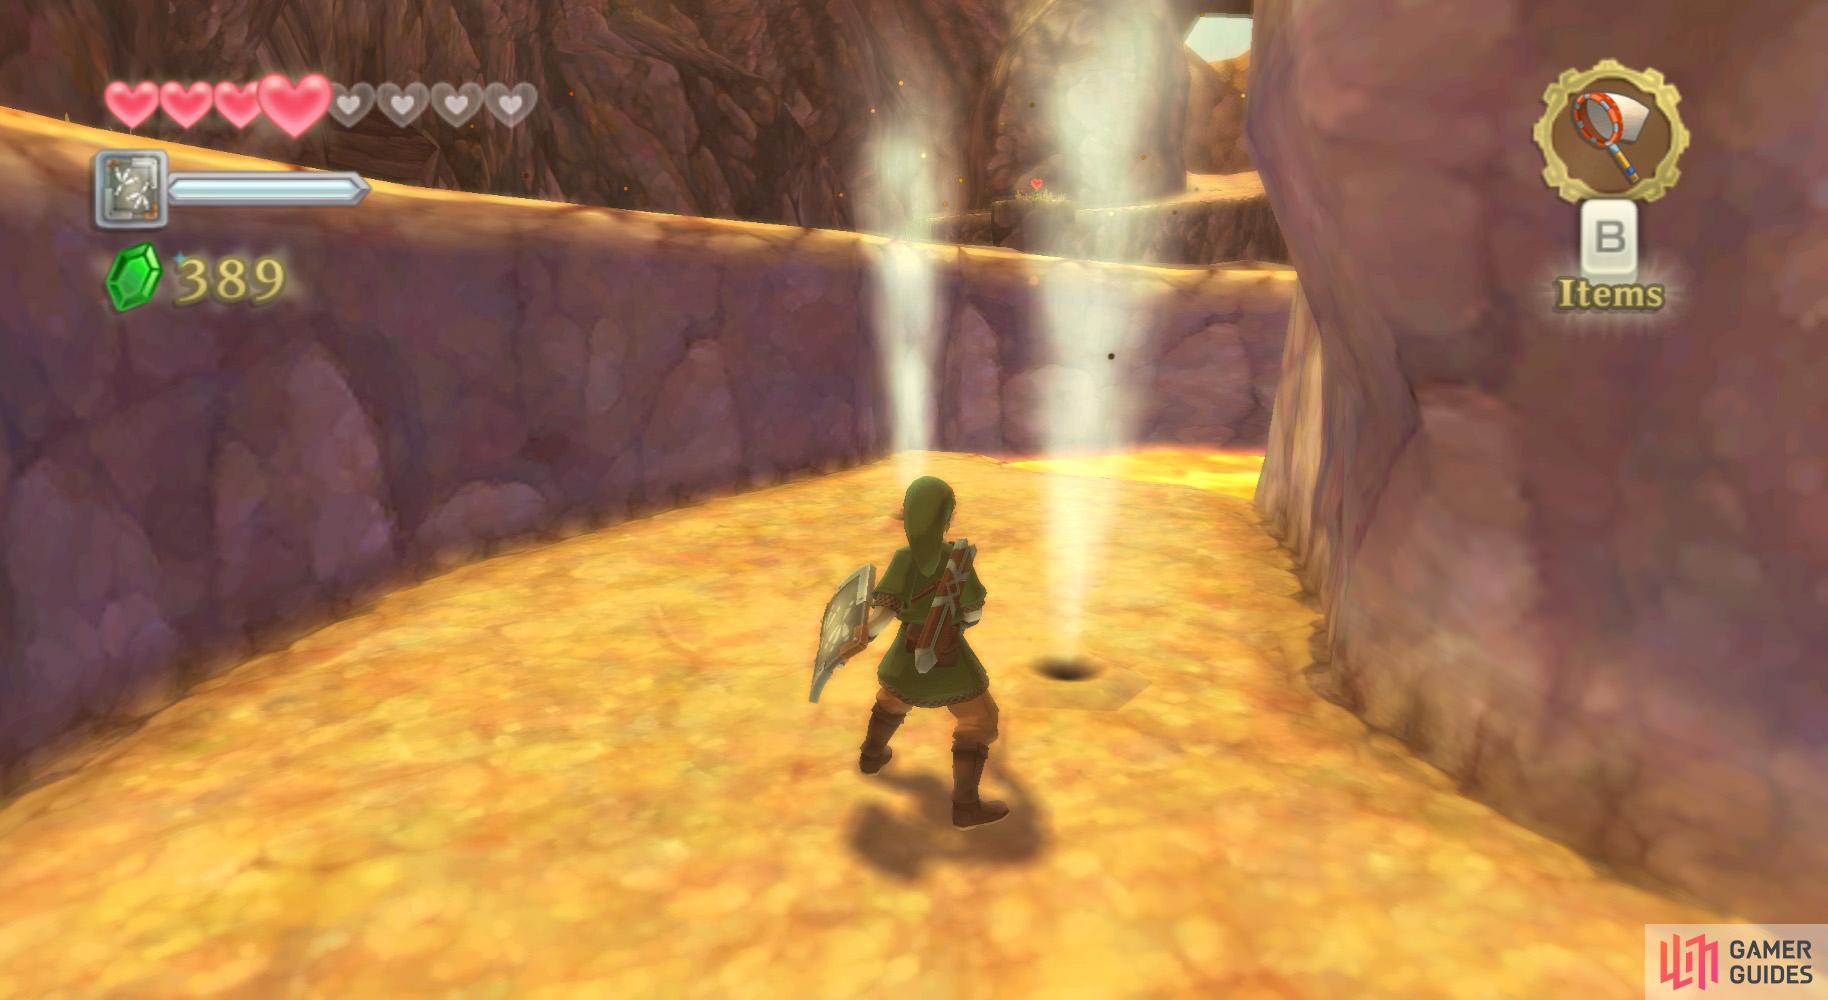
Continue along the winding path and, eventually, you’ll need to defeat some Fire Keese. Do so, then wait for the lava nearby to lower. Get on the left path to find some Bomb Flowers and a Mogma in a room. Practice rolling and throwing the Bomb Flowers, most notably into the rock piles to remove these obstacles. One on the ground has a giant Red Chuchu behind it; another yields a room in which you can sit to restore your health; and the last one is on a higher ledge.
Afterwards, continue going with the main path and you’ll eventually reach the outer area. Examine the nearby Bird Statue and drop to the lower-left area. Grab a Bomb Flower and roll it through the opening to clear the other end of the tunnel. Crawl through for a Red Rupee within the chest. Return to the main path and continue forward to the intersection.
Goddess Cube 11
(1 of 2) Goddess Chest: Head north from “Volcano East” Bird Statue, then take a left.
Goddess Chest: Head north from “Volcano East” Bird Statue, then take a left. (left), Treasure Chest: South-west from Skyloft, near Fun Fun Island. (right)
Go left to find Goddess Cube 11; be sure to hit it with a Skyward Strike.
Then go right to speak with a Mogma who happens to point out a lava-ringed platform.
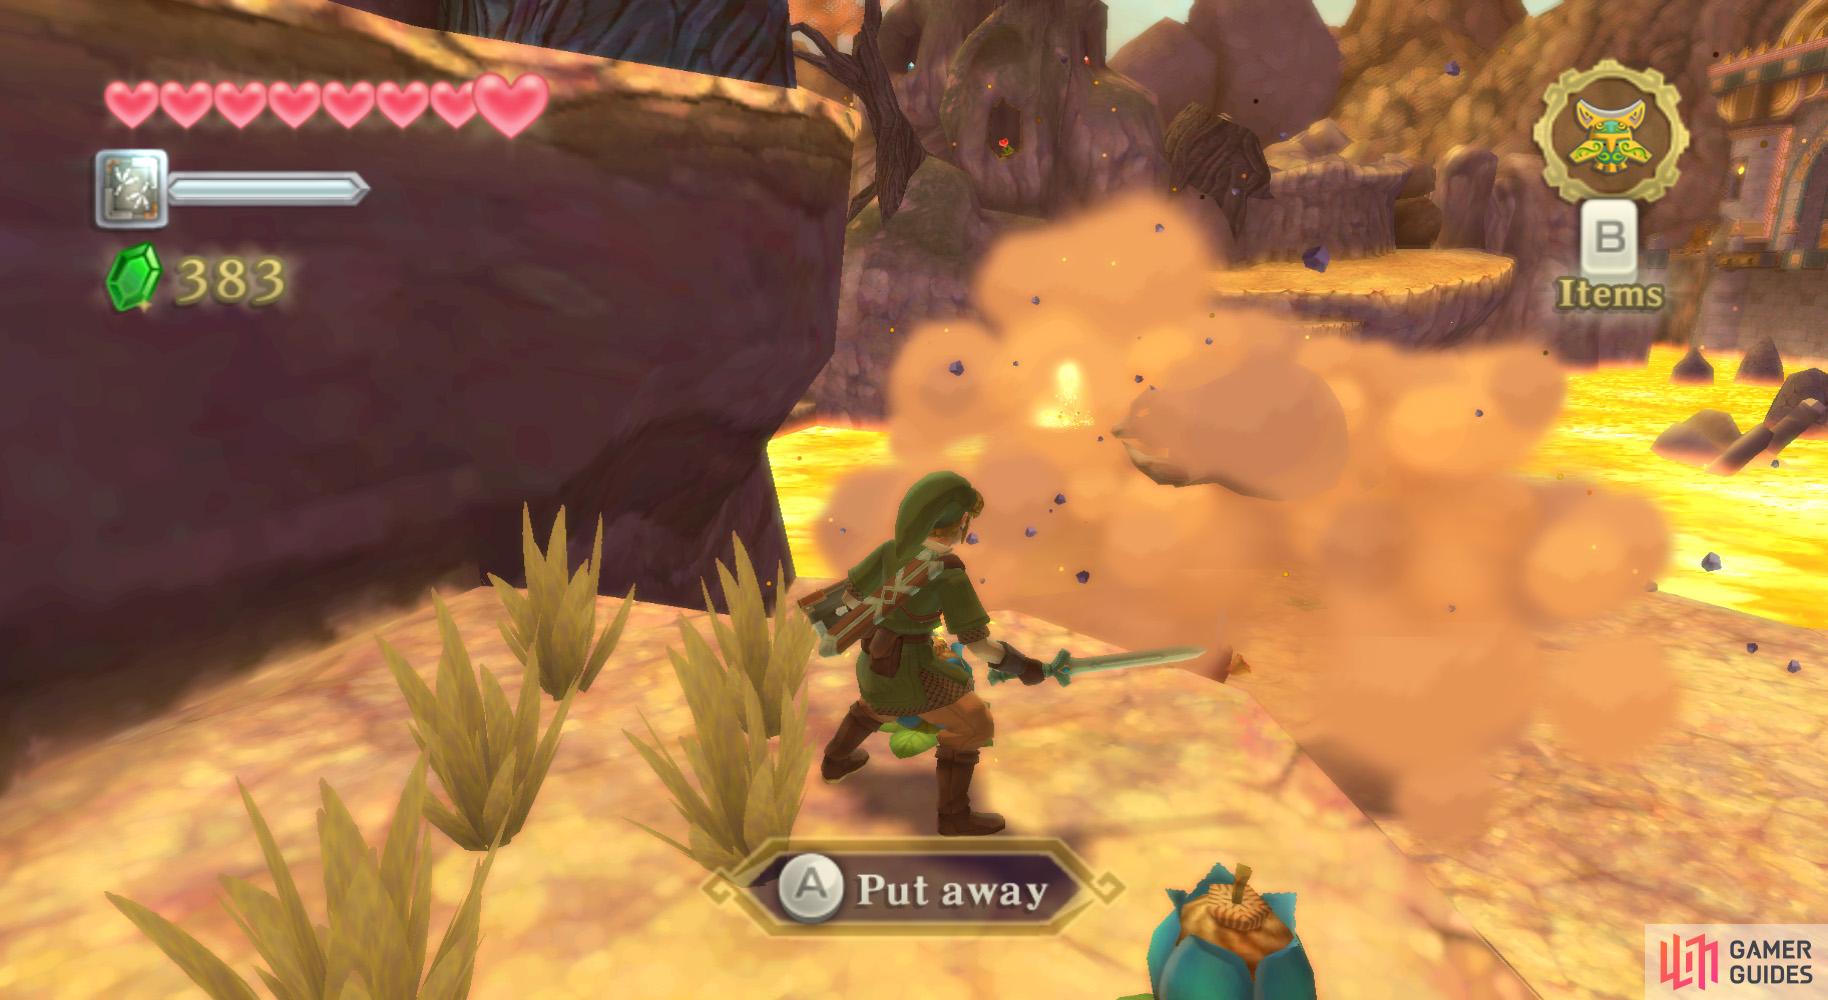
Continue along the path some more and you’ll find a Pyrup crawl into a tunnel nearby. For this one, roll a Bomb Flower into the tunnel from a distance (or you can just get it near the tunnel entrance with flames emanating from said tunnel) to kill it. Climb the ledge further ahead and continue along the path.
(1 of 2) Whether it’s rolling bombs…
Whether it’s rolling bombs… (left), Or lobbing them overhead, Link shows no mercy. (right)
Further ahead are some Pyrups again, but these are hiding in some giant skulls. To deal with these, throw Bomb Flowers into the skulls’ openings on the top. Next, climb the nearby ledges to the top area. You should soon reach another room with a chair; sit down to heal some health.
Further ahead is another Pyrup residing in a skull, but this one has no cranial opening, so you’ll need to roll the Bomb Flower in there, or do a down-up vertical slash on it.
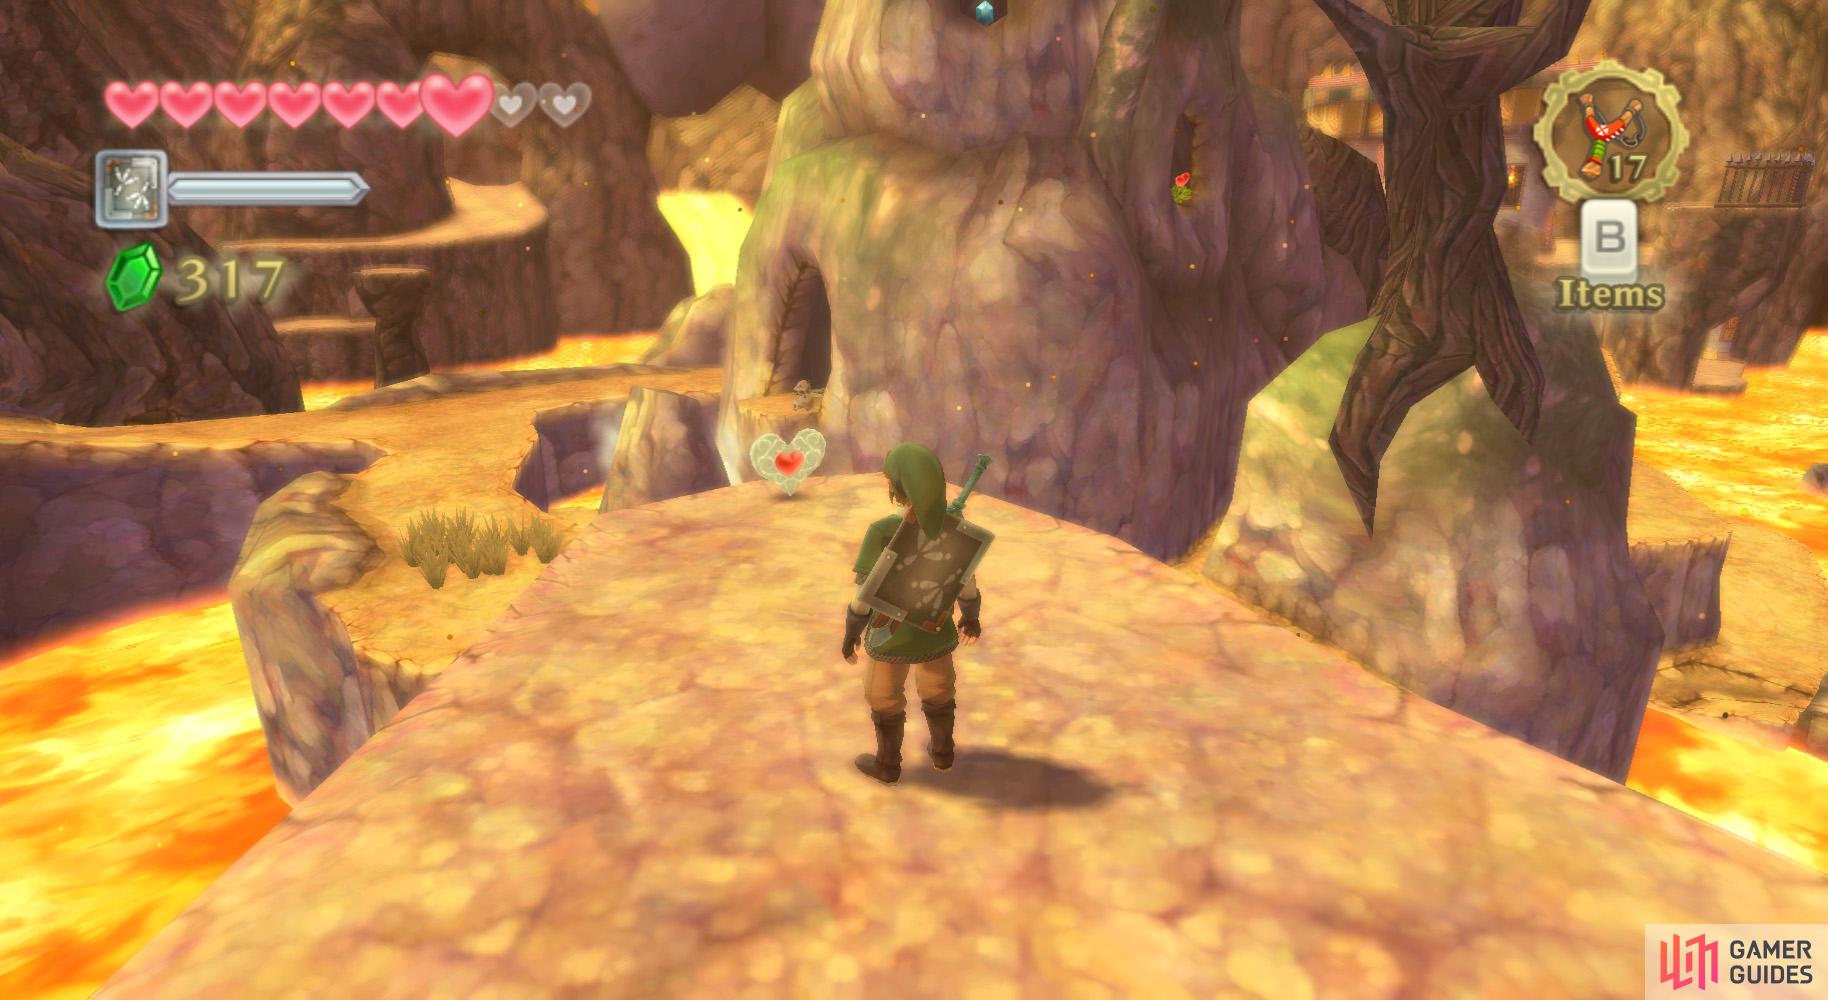
Piece of Heart 18
(1 of 2) Take a left before crossing the skeleton bridge.
Take a left before crossing the skeleton bridge. (left), (right)
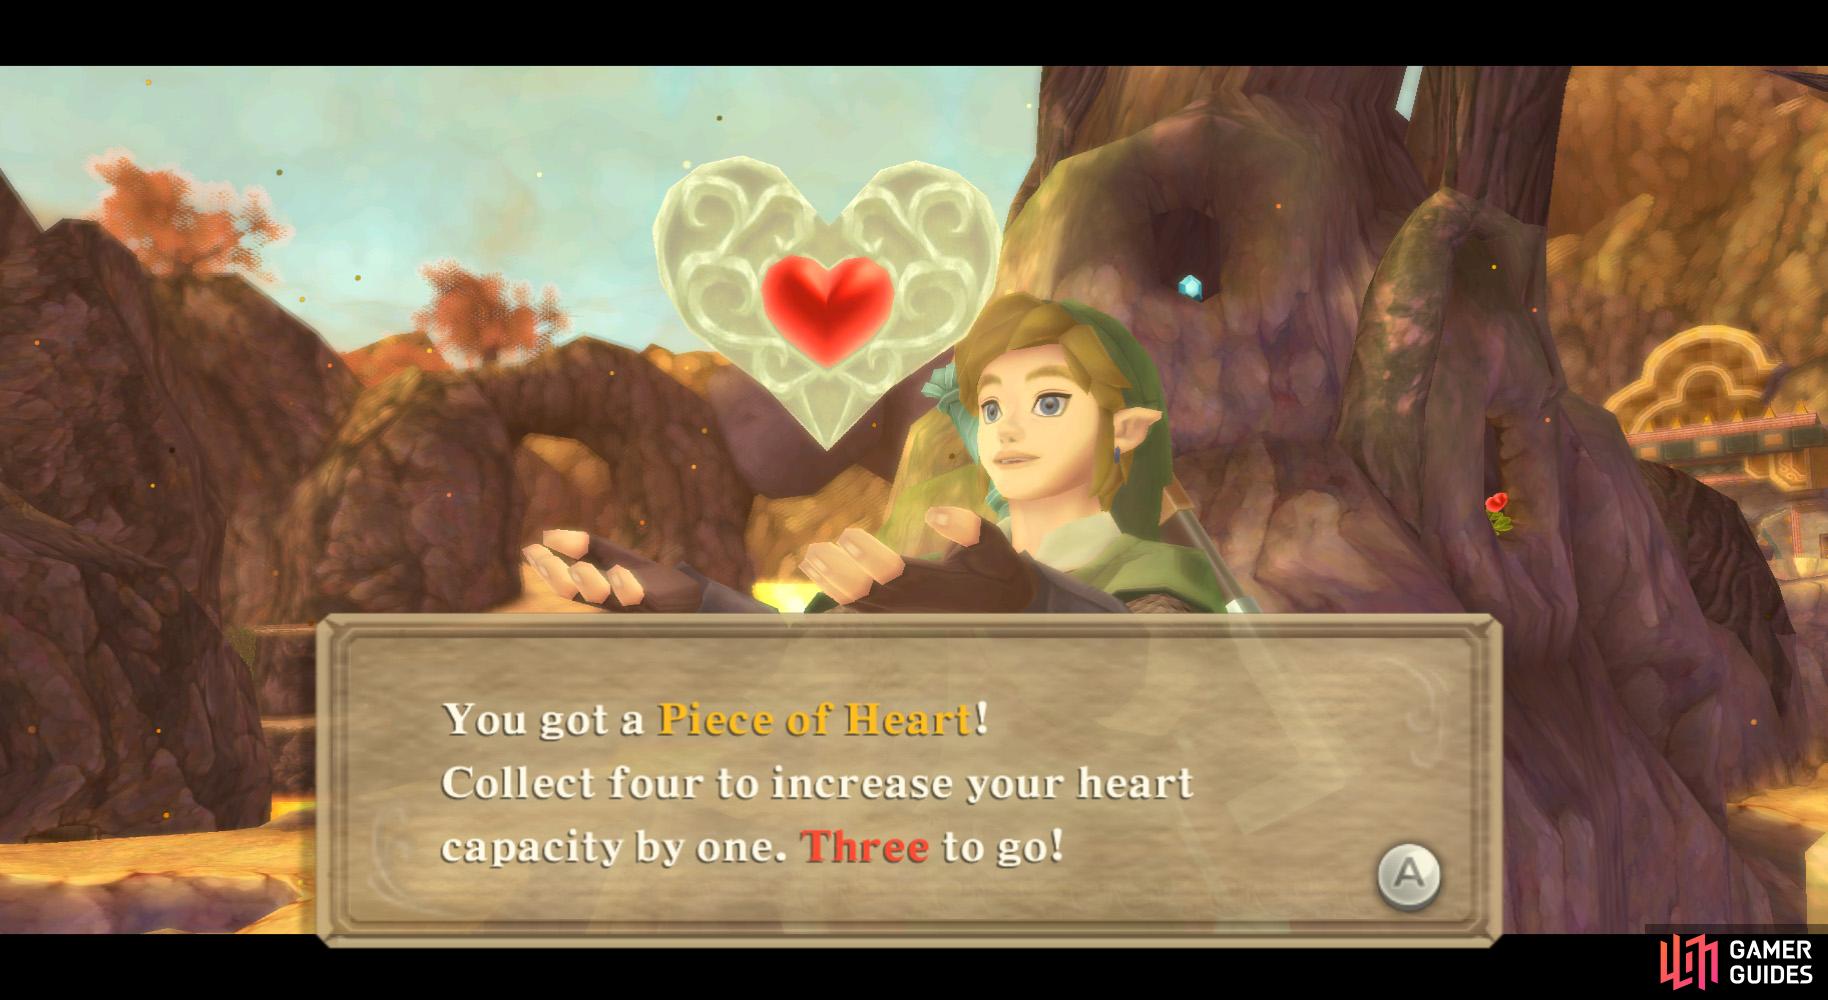
Go further ahead and drop off of the ledge for Piece of Heart 18 (and likely a new Heart Container, assuming you’ve followed my walkthrough thus far).
(1 of 2) We hope you’re good at bowling.
We hope you’re good at bowling. (left), Ride the air vent to reach the platform above. (right)
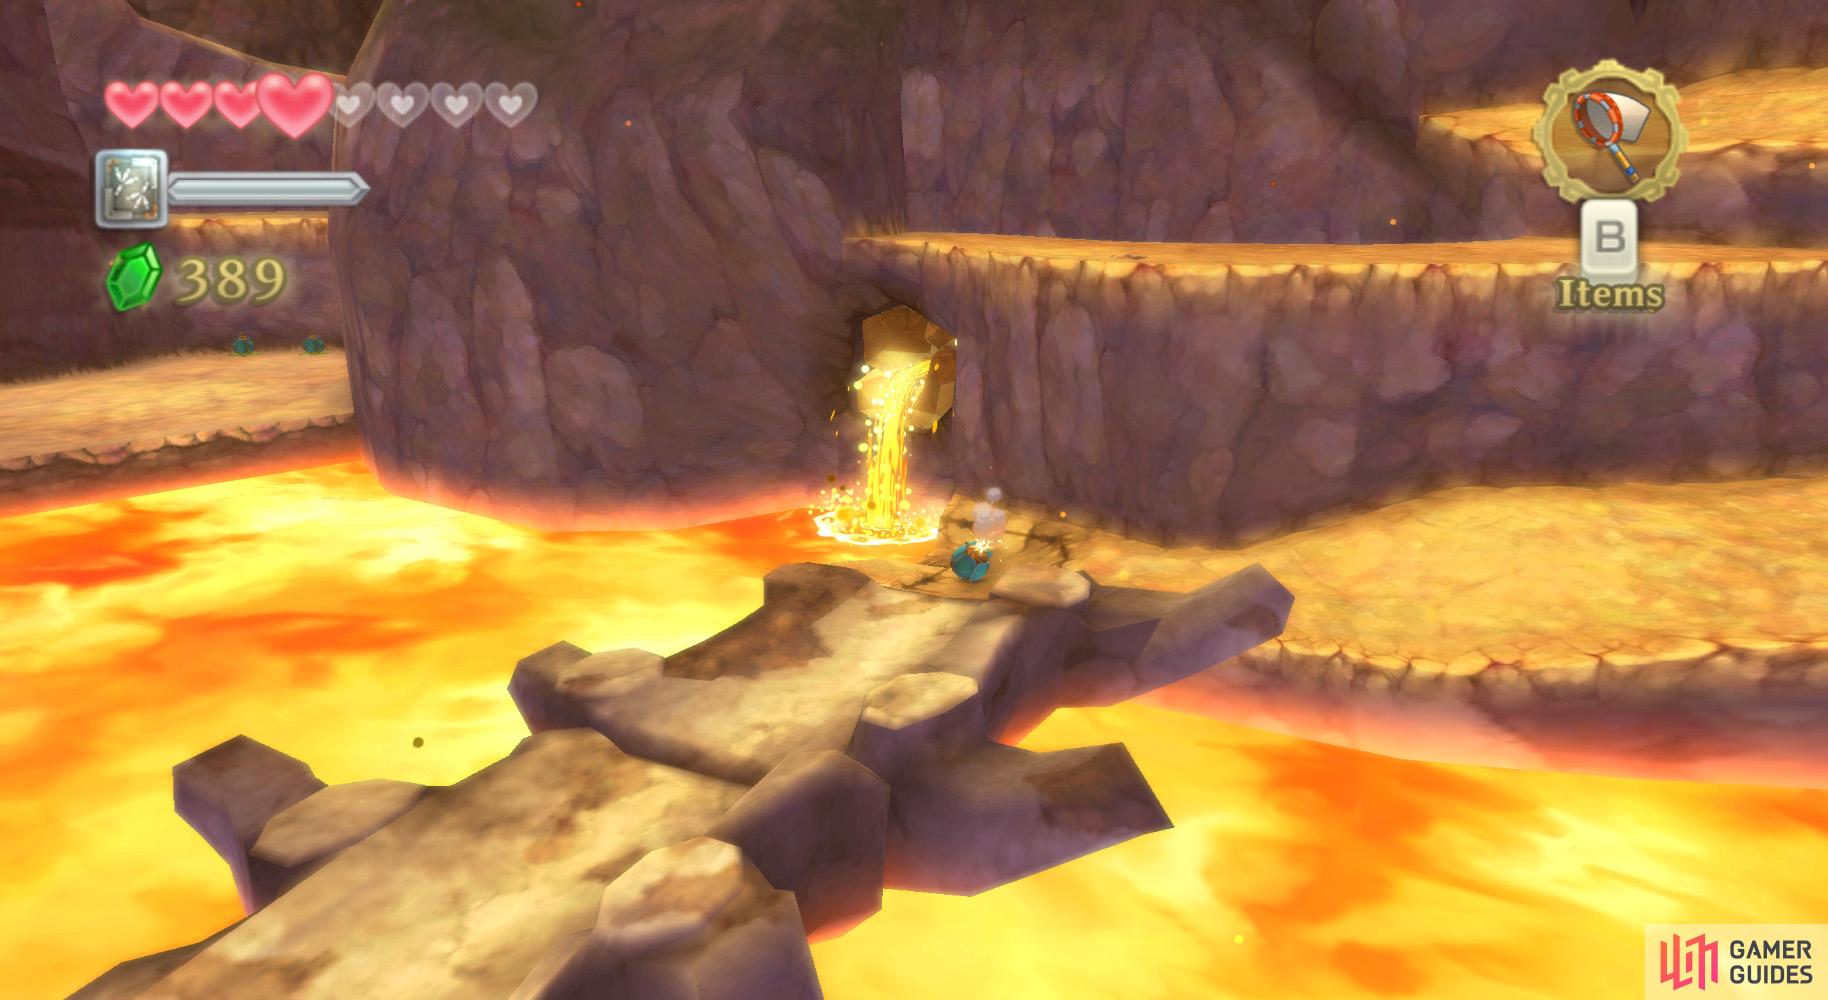
Afterwards, drop to the path below and go to the skeleton bridge. Run across and speak with the Mogma there, who will point out the little plug in the wall lessening the lava flow. Go back across the bridge, grab a Bomb Flower, and roll it across the bridge (use the arrow for accurate aim). If you do it right, you’ll destroy the plug.
Go across the bridge and onto the above ledge, then drop to the area behind it. Go around to find a few air spurts. Jump into the right one to land on the above ledge.
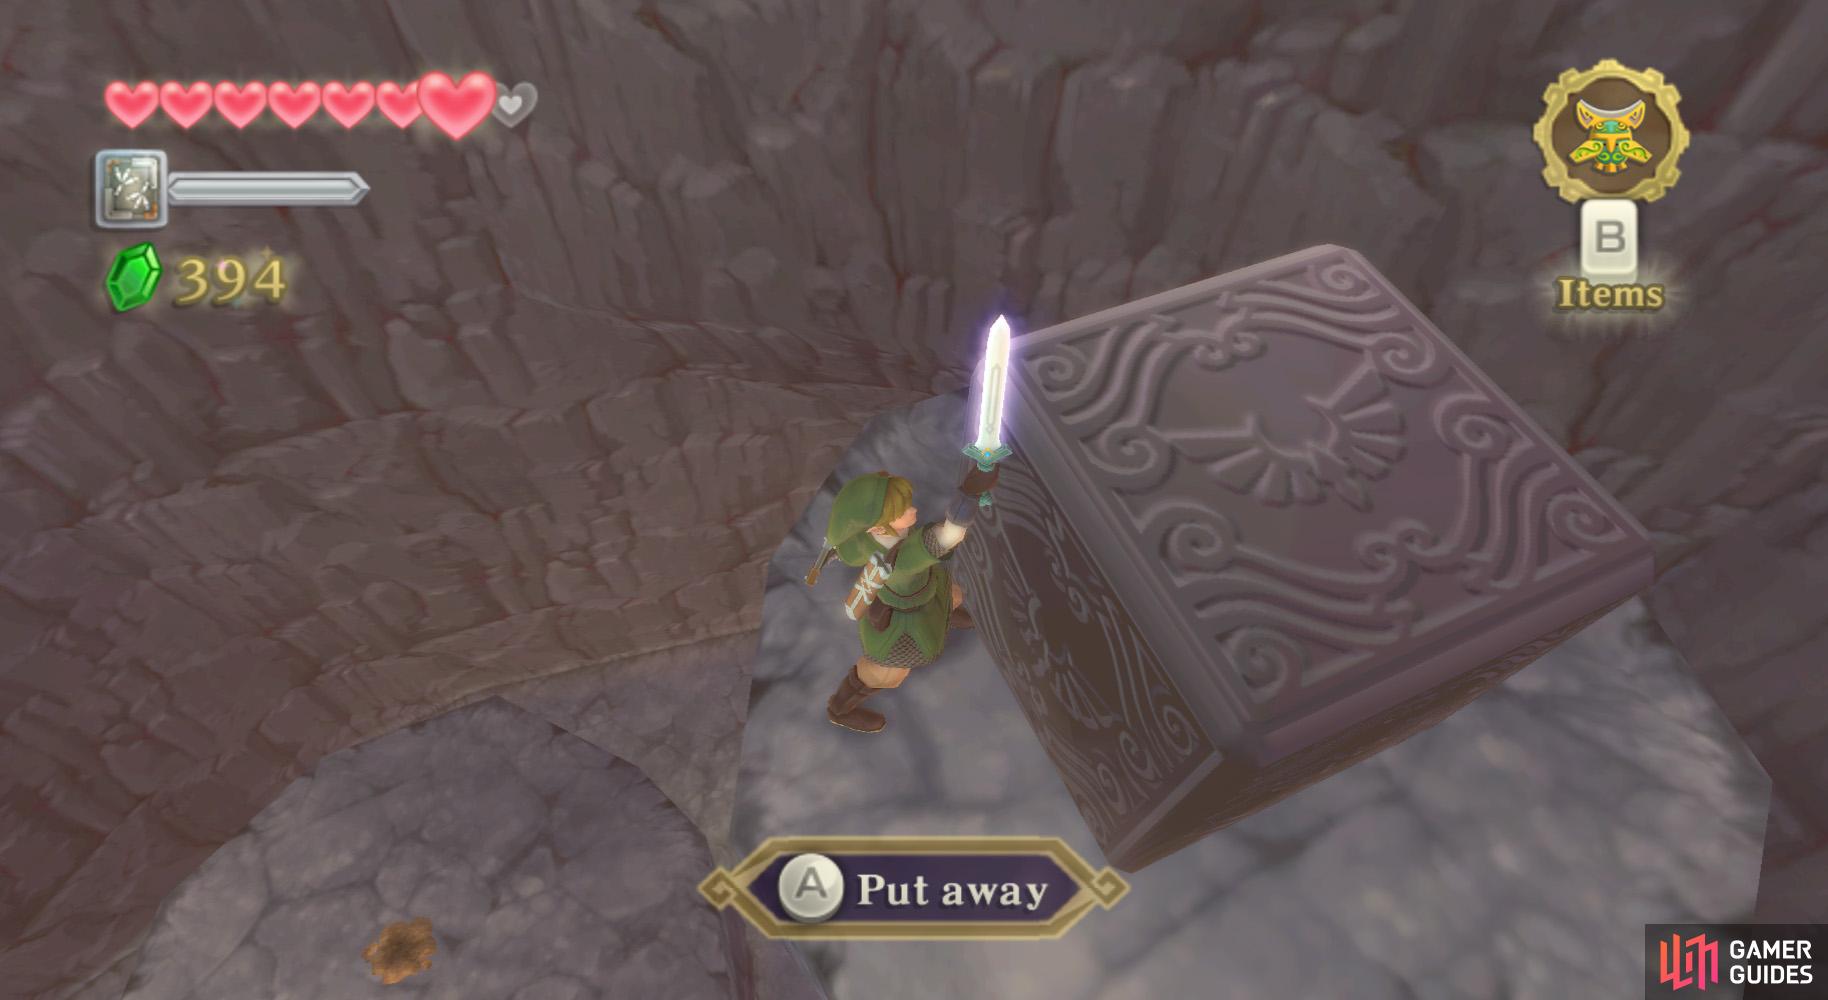
Goddess Cube 12
(1 of 2) When sky-diving underground, aim for the top-right corner.
When sky-diving underground, aim for the top-right corner. (left), (right)
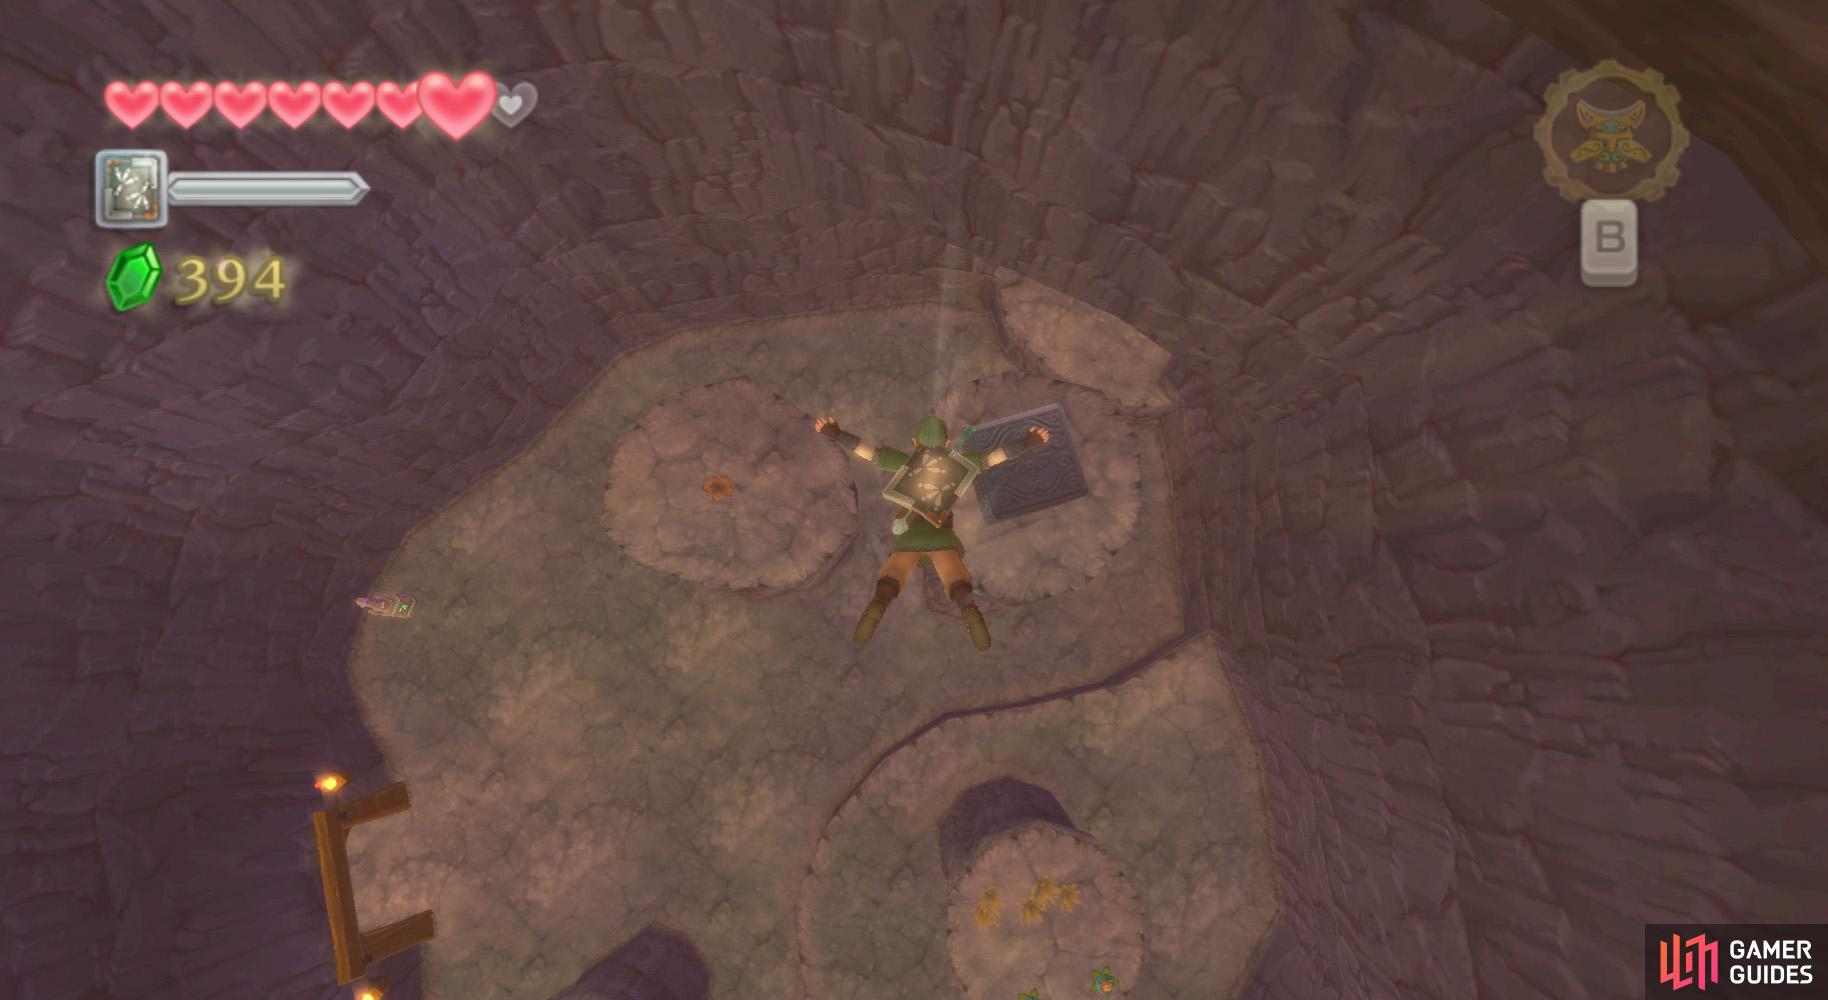
Don’t fall in there just yet - try to aim for Goddess Cube 12 on one of the platforms. Another chest has Eldin Ore, which is actually fairly common around here and not totally worth passing up the Goddess Cube (the treasure within won’t be found for a long while, but it is 300 Rupees!).
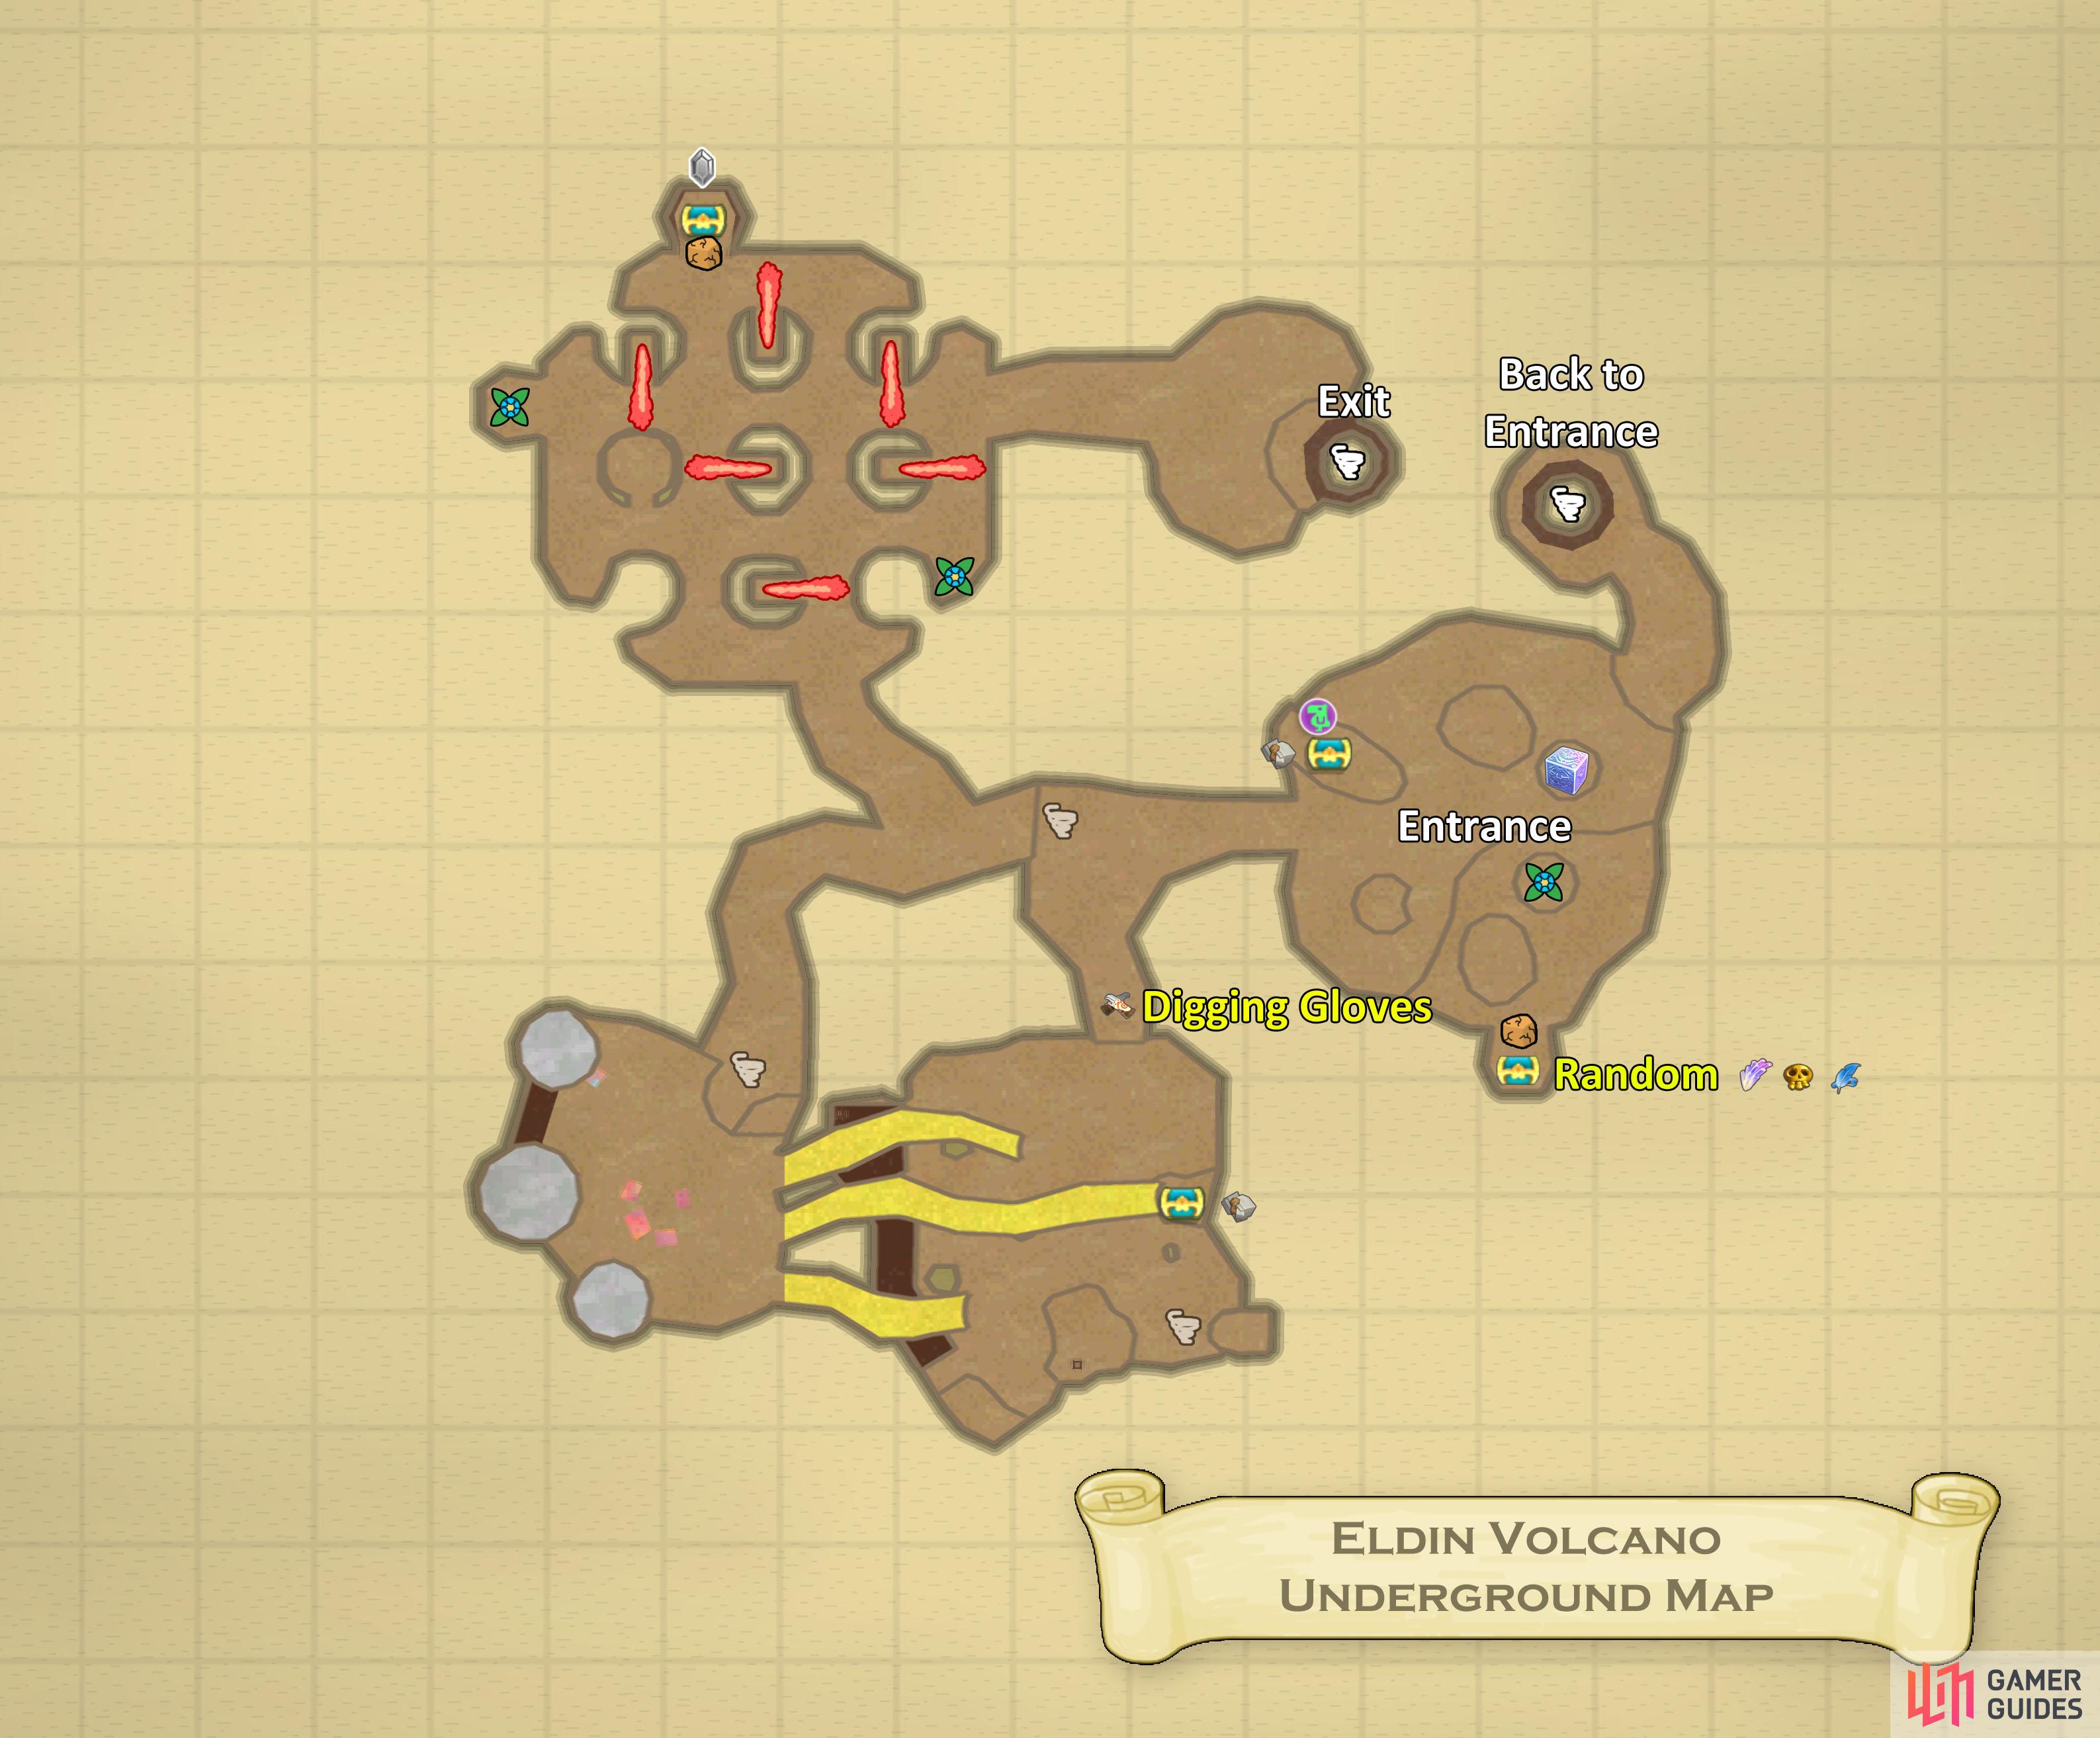
Underground
Map
Map of Eldin Volcano’s underground.
Anyhow, you’ll be in a mini-dungeon at this point. Note that you can go into an eastern alcove from the entrance room to return outside and re-jump to a missed ledge. Finish collecting treasure here, then examine the Bird Statue before continuing deeper into the cavern…
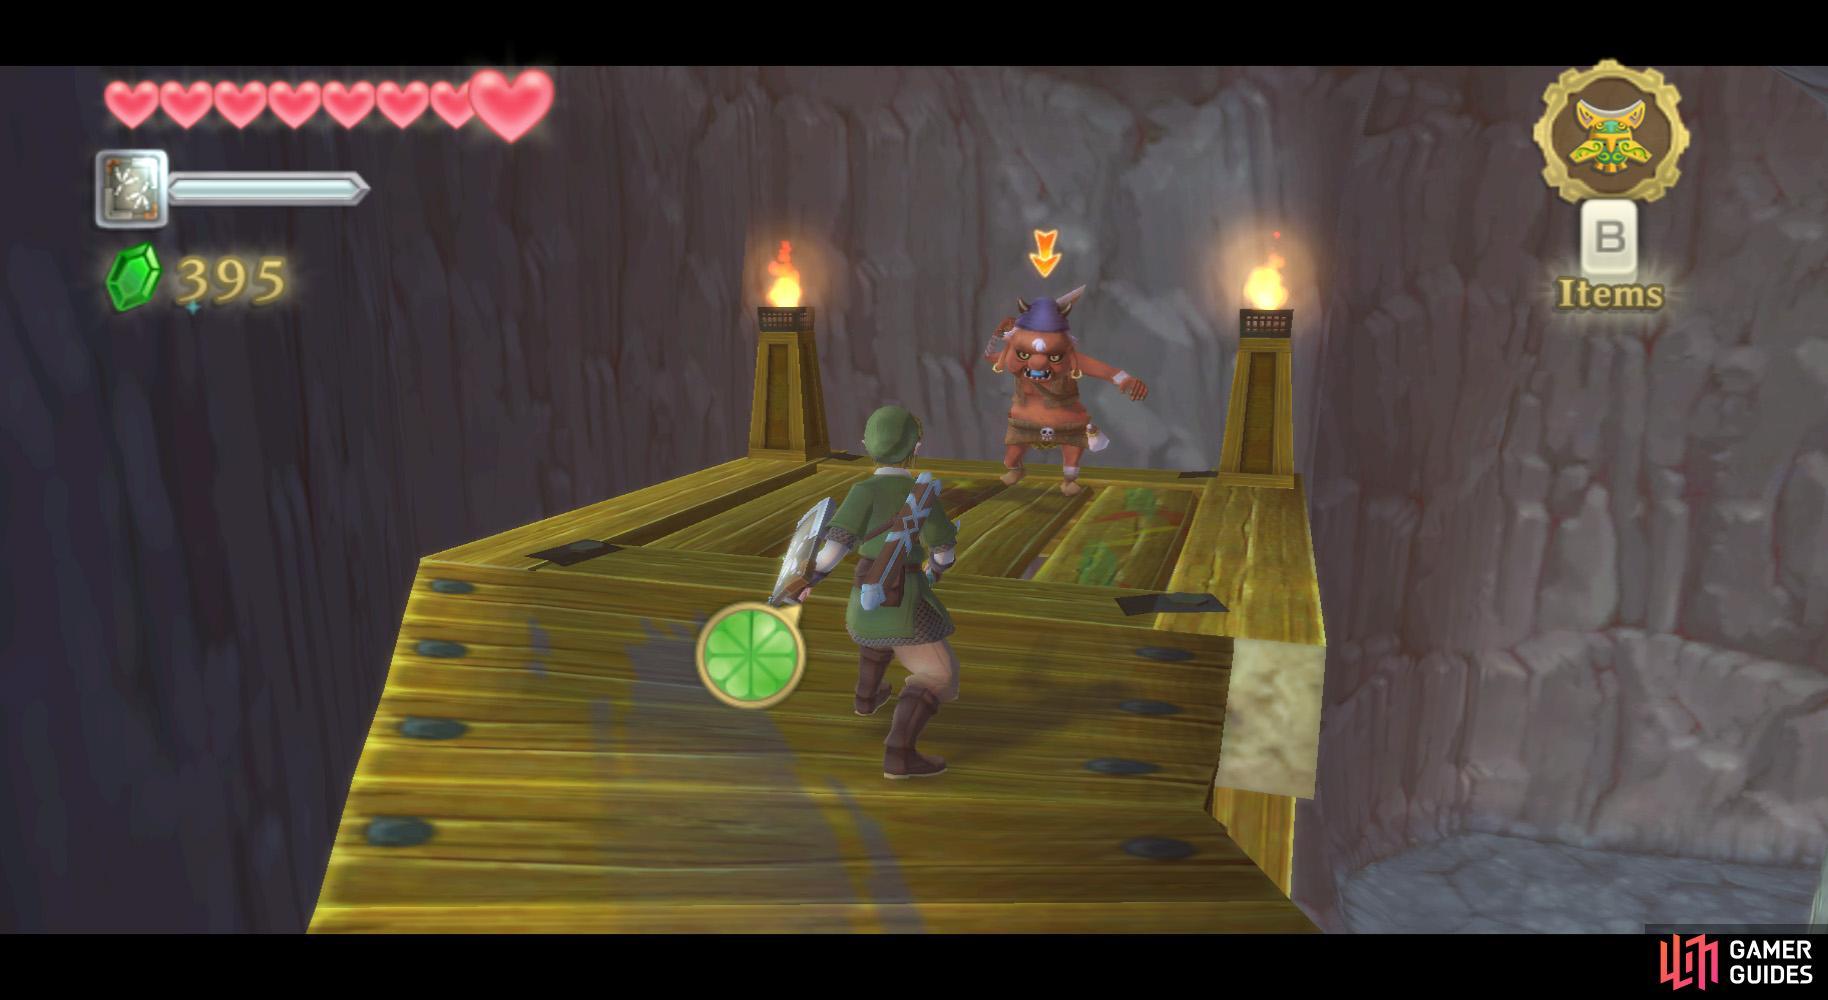
(1 of 2) Say your prayers, Mr Bokoblin.
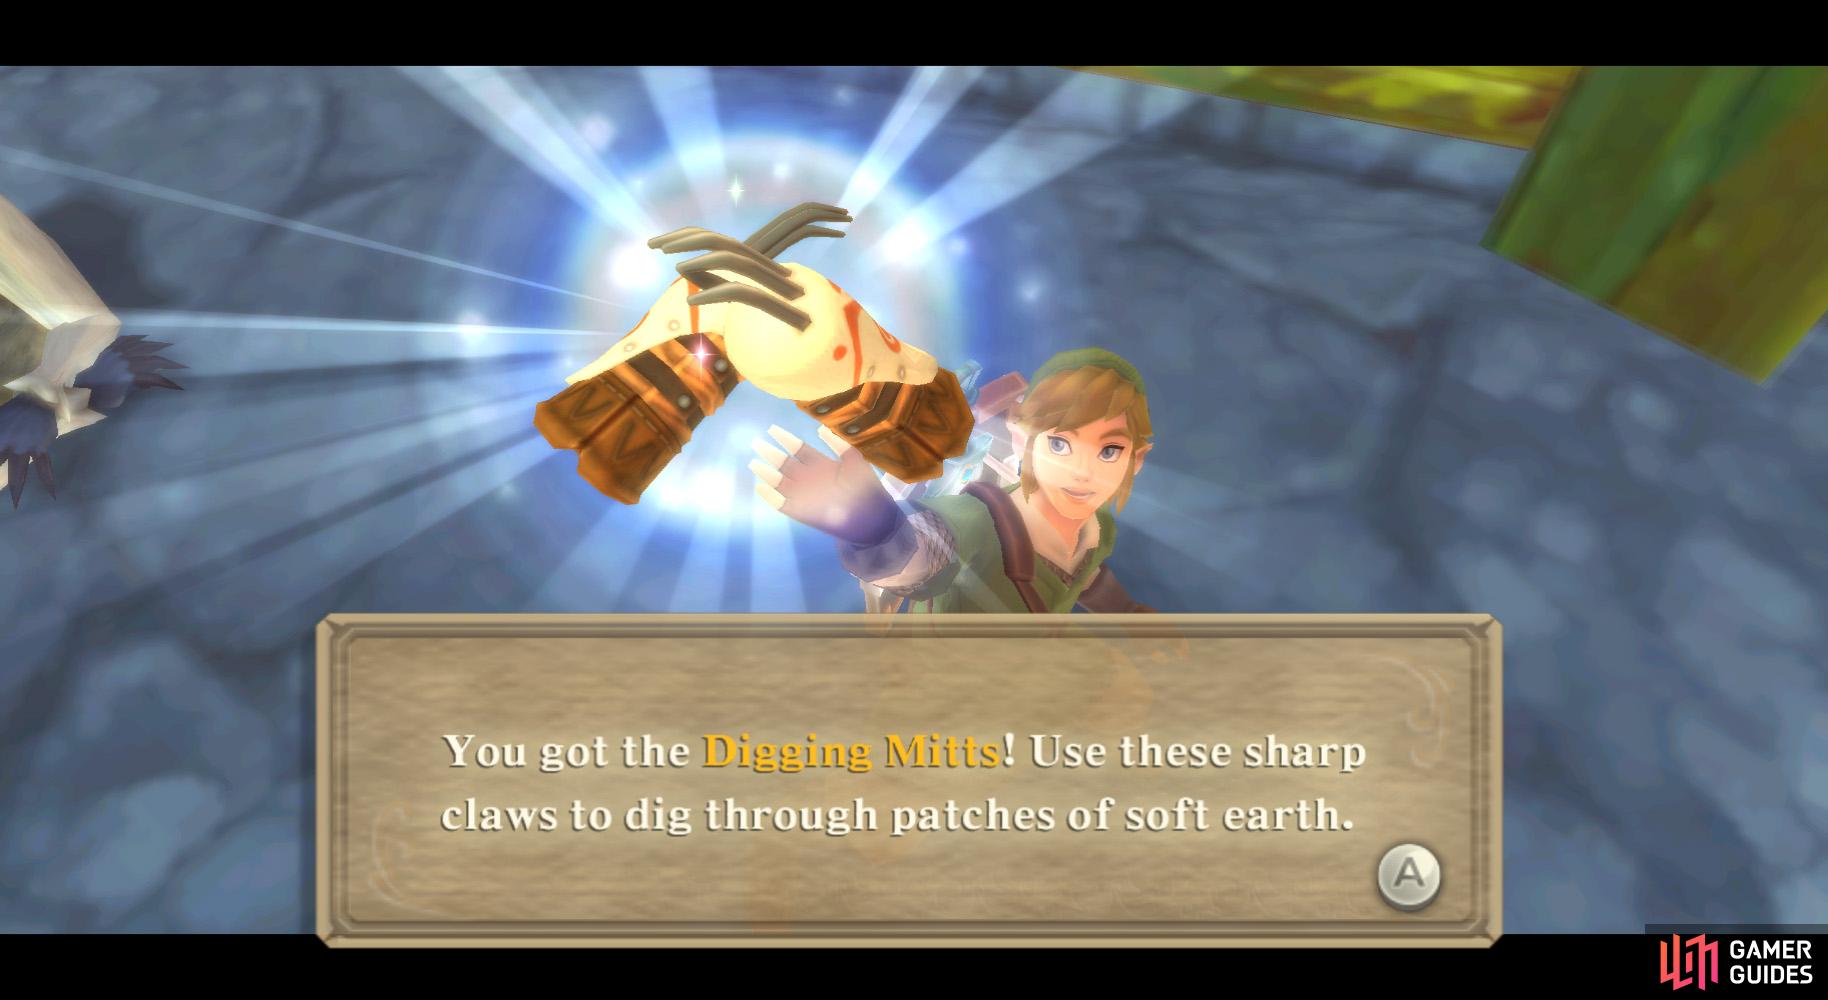
Say your prayers, Mr Bokoblin. (left), With these Digging Gloves, you can pretend you’re a Mogma. (right)
As you go along the path, speak with the Mogma to be pointed to a room with many Bokoblin inside, with the leader atop a wooden ledge on the right side as you enter. You can continually defeat the endless stream of Bokoblin if you feel you’ll get some extra hearts for doing so, but you’ll eventually have to defeat the leader atop the aforementioned wooden ledge. Defeat any remaining Bokoblin, then go back and speak with the Mogma.
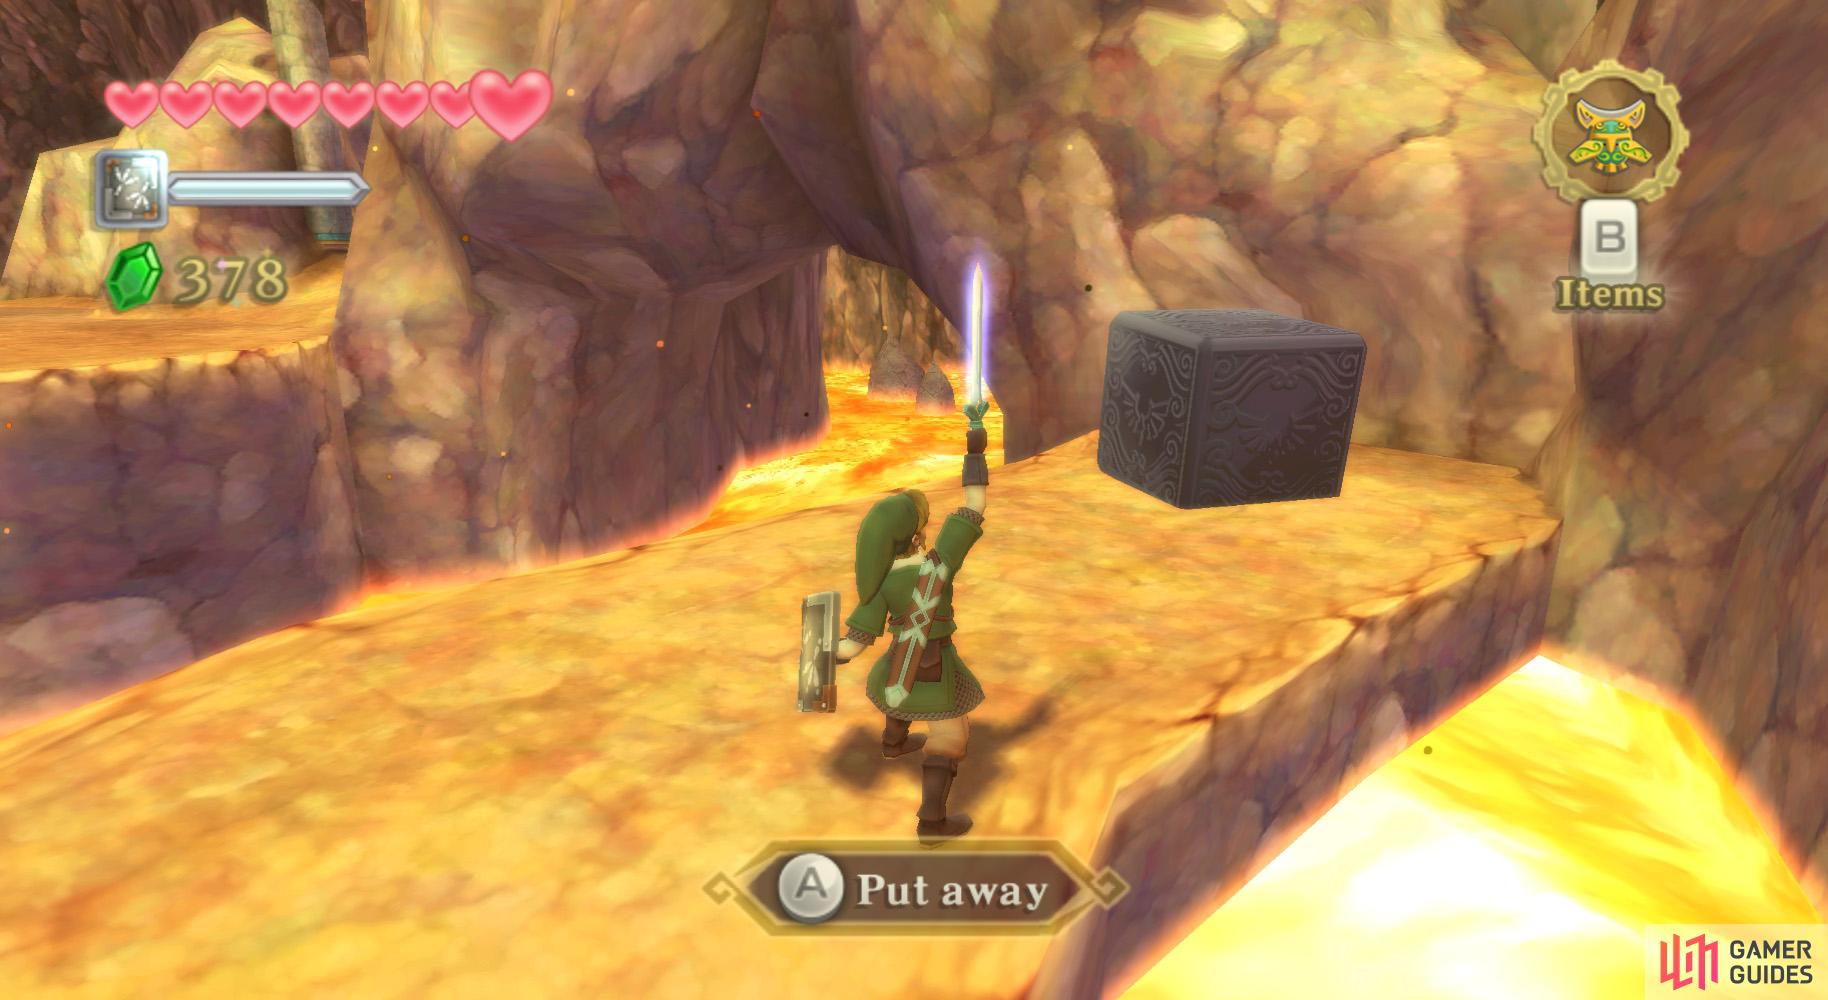
As a reward, you’ll receive the Digging Gloves, which allows you to dig up things from soft patches of dirt, such as the one soon to be pointed out. Dig around here to reveal an air spurt; ride it to the higher ledge. Go to the fork in the path and take the left path. Dig up the air spurt and fly to the higher ledge. Climb the ladder to reach the above room. There, defeat the Bokoblin in one of the houses, and another house has a chair to sit in if you want to refill some hearts, I think.
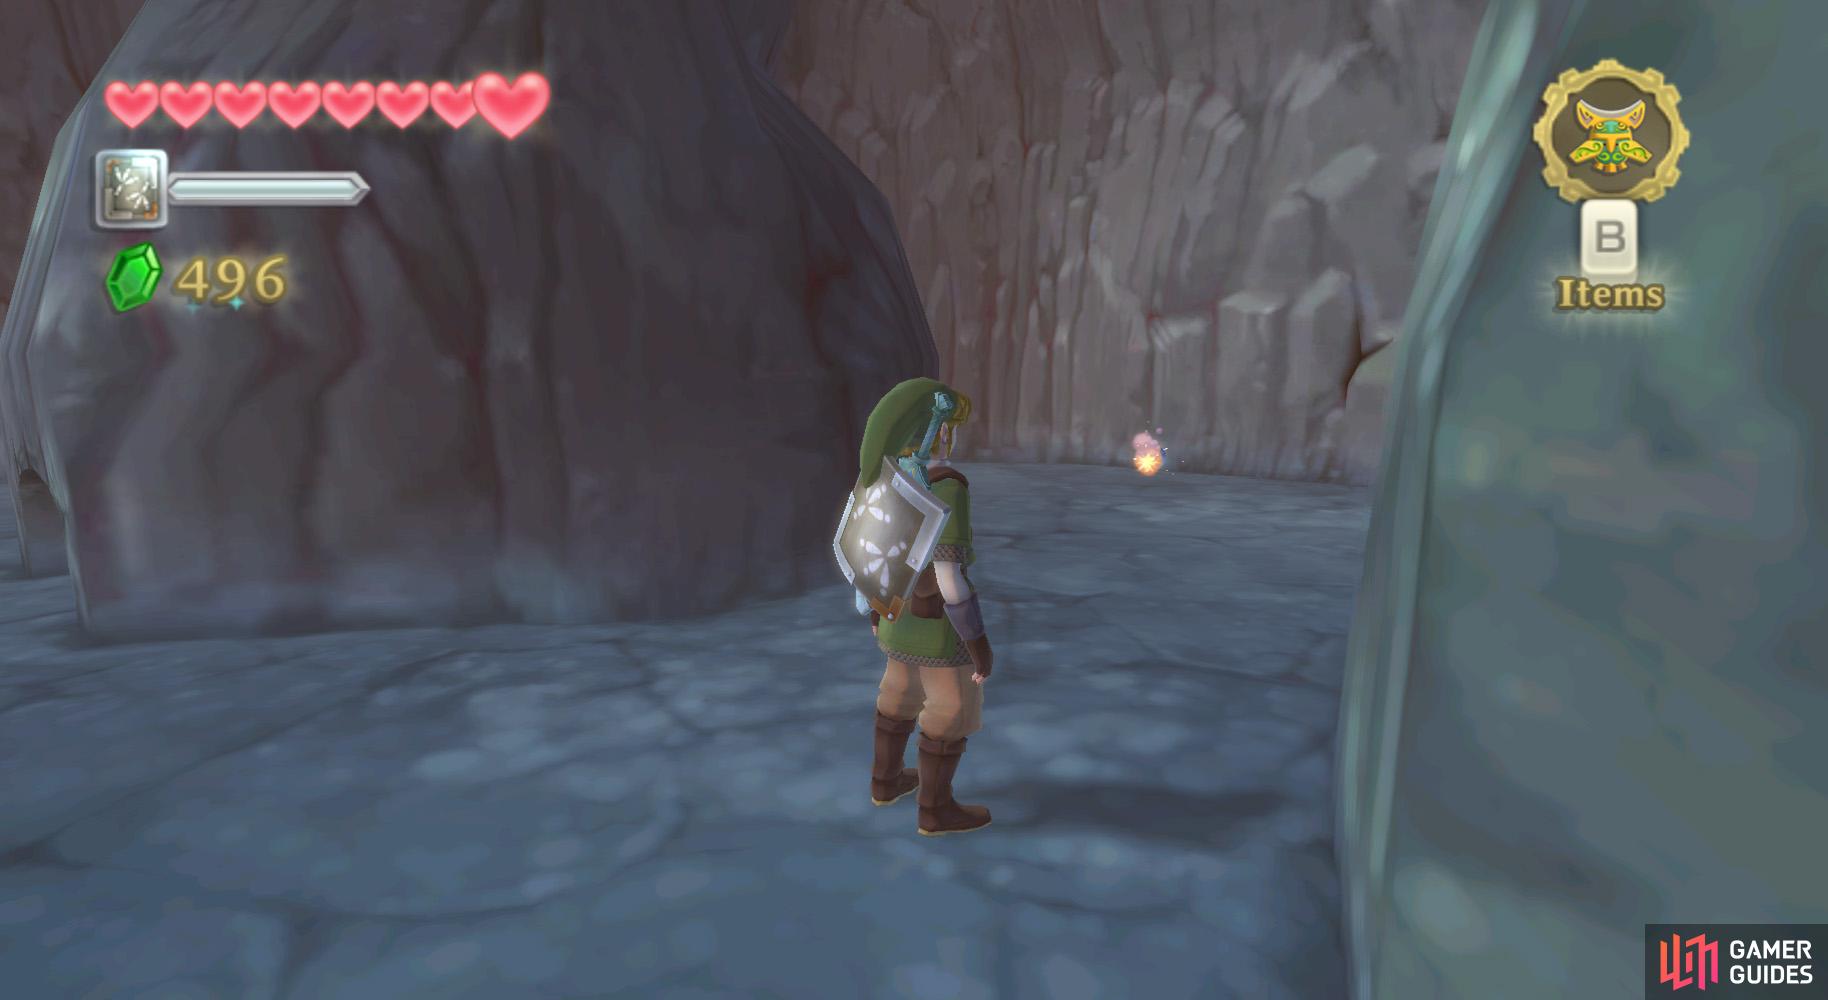
(1 of 2) Chuck a bomb at this crack.
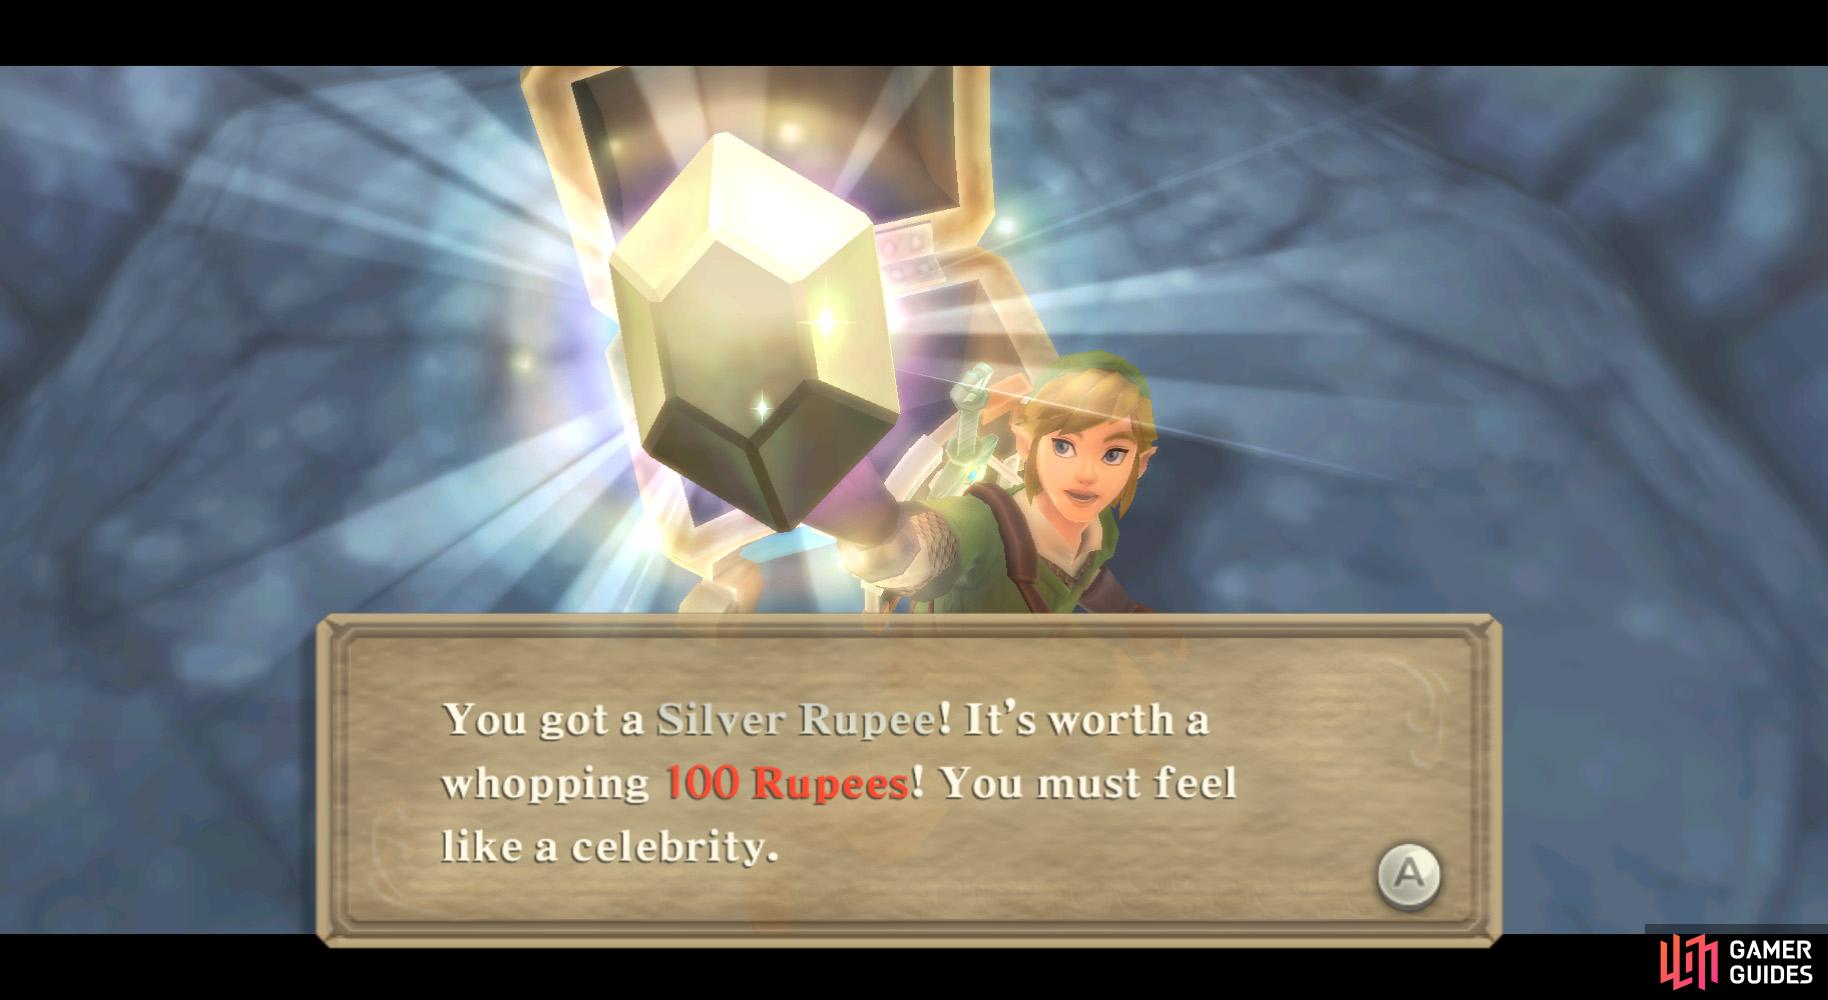
Chuck a bomb at this crack. (left), Receive lots of rupees! (right)
Nearby, there are three tunnels in the wall. Take the middle one to land near a chest; open it for some Eldin Ore. Jump off of the ledge and look around the corners - one has a Rupee-filled dirt patch. Return to the Mogma from earlier, use the air vent, then go to the fork and right.
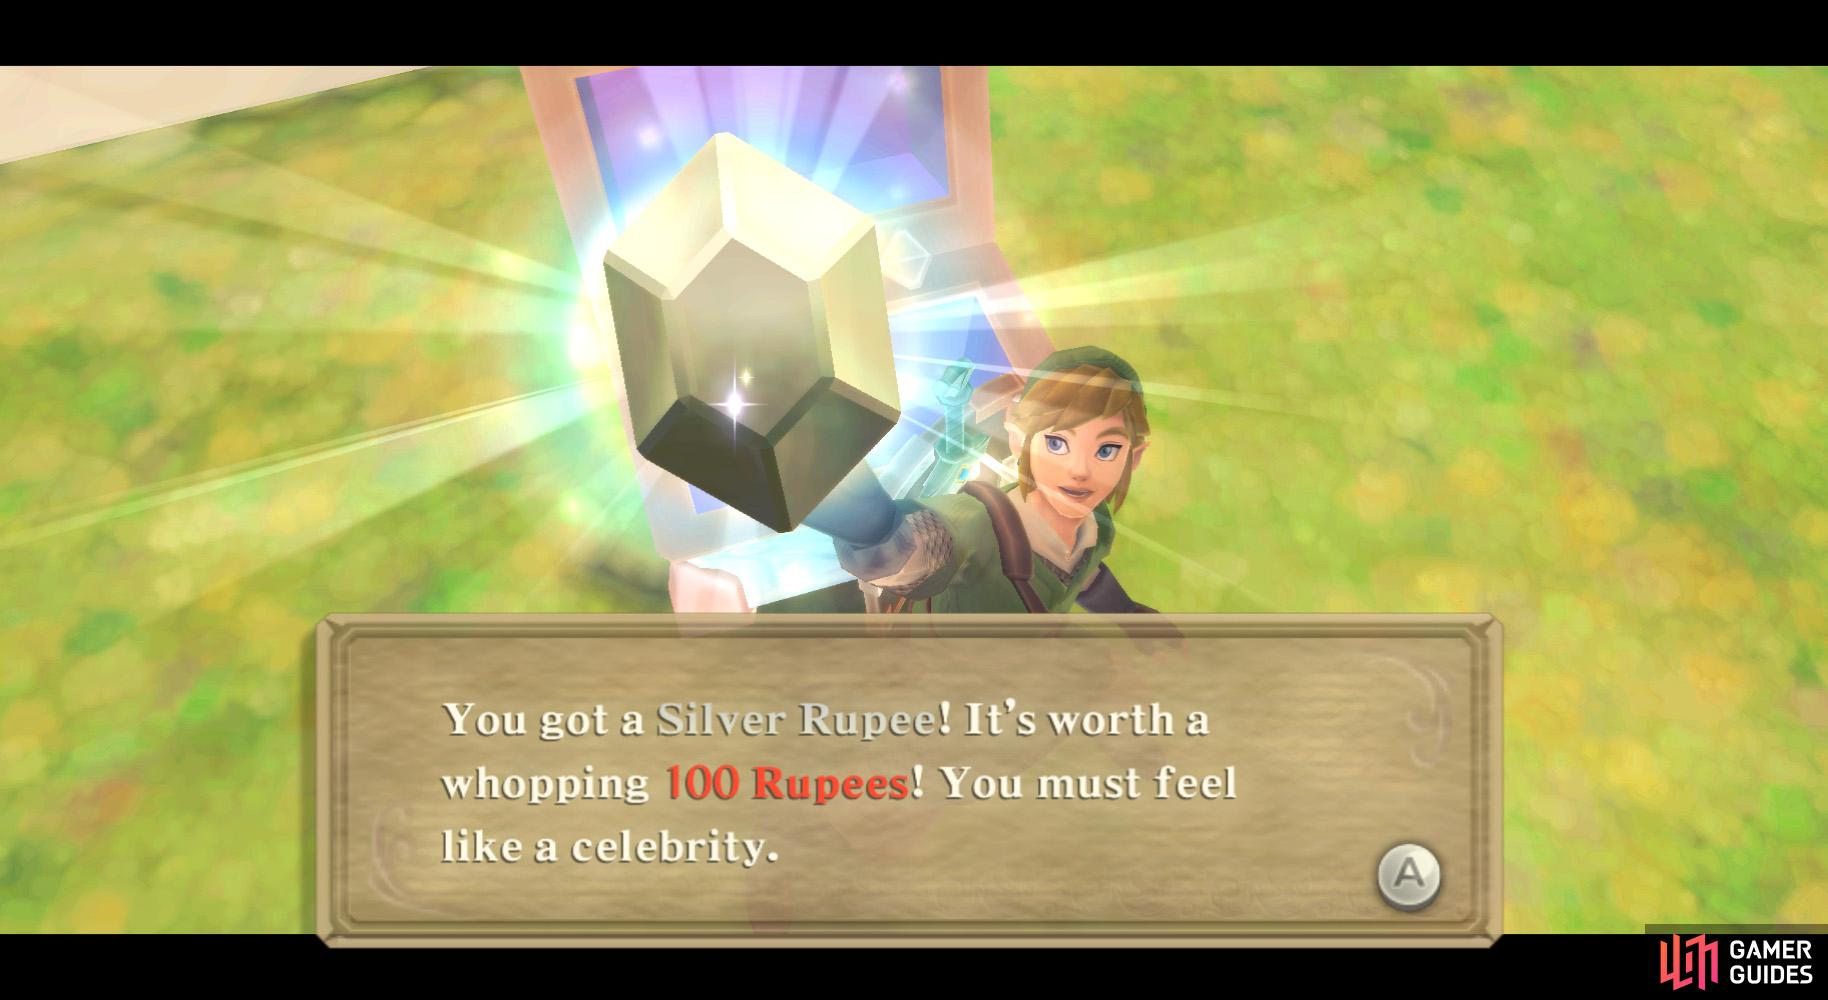
In this room, you’ll find quite a few of the paths being blocked by some Pyrups - the Pyrups are in some tunnels and spitting fire, so you’ll need to roll a Bomb Flower in there. You’ll find a patch of them to the right of the entrance, and another in the northwest corner of the room. Also be sure to Bomb the large crack on the northern side of the room to find a Silver Rupee!
Afterwards, exit to the east of the room and dig up the vent in the nearby area. Fly up to the ledge, then go into the nearby whirlwind to leave the mini-dungeon.

 Sign up
No Comments