H’aanit’s second chapter takes place in Stonegard, which is to the east of Cobbleston. To get there, make your way to North Cobbleston Pass, then look to the southern end for an exit to North Stonegard Pass. When presented with an opportunity, you want to head east to find Stonegard. Now, you will probably get a prompt to start Cyrus’ third chapter upon entering the town, but you don’t want to do this yet, since it has a recommended level of 40. Before settling on H’aanit’s second chapter, let’s explore Stonegard a little bit.
Exploring Stonegard
The inn will be the first thing you see when you enter Stonegard, as well as a save point. Just north of the inn is the tavern, where you’ll find a chest right outside of it (Inspiriting Plum). Before delving deeper, Stonegard is split into three different areas; Stonegard (the area you first enter from the world map), Stonegard Valleys (exit to the southeast) and Stonegard Heights (to the north). Sticking to the first area, there’s a large building to the east of the tavern, which doesn’t really have anything in it.
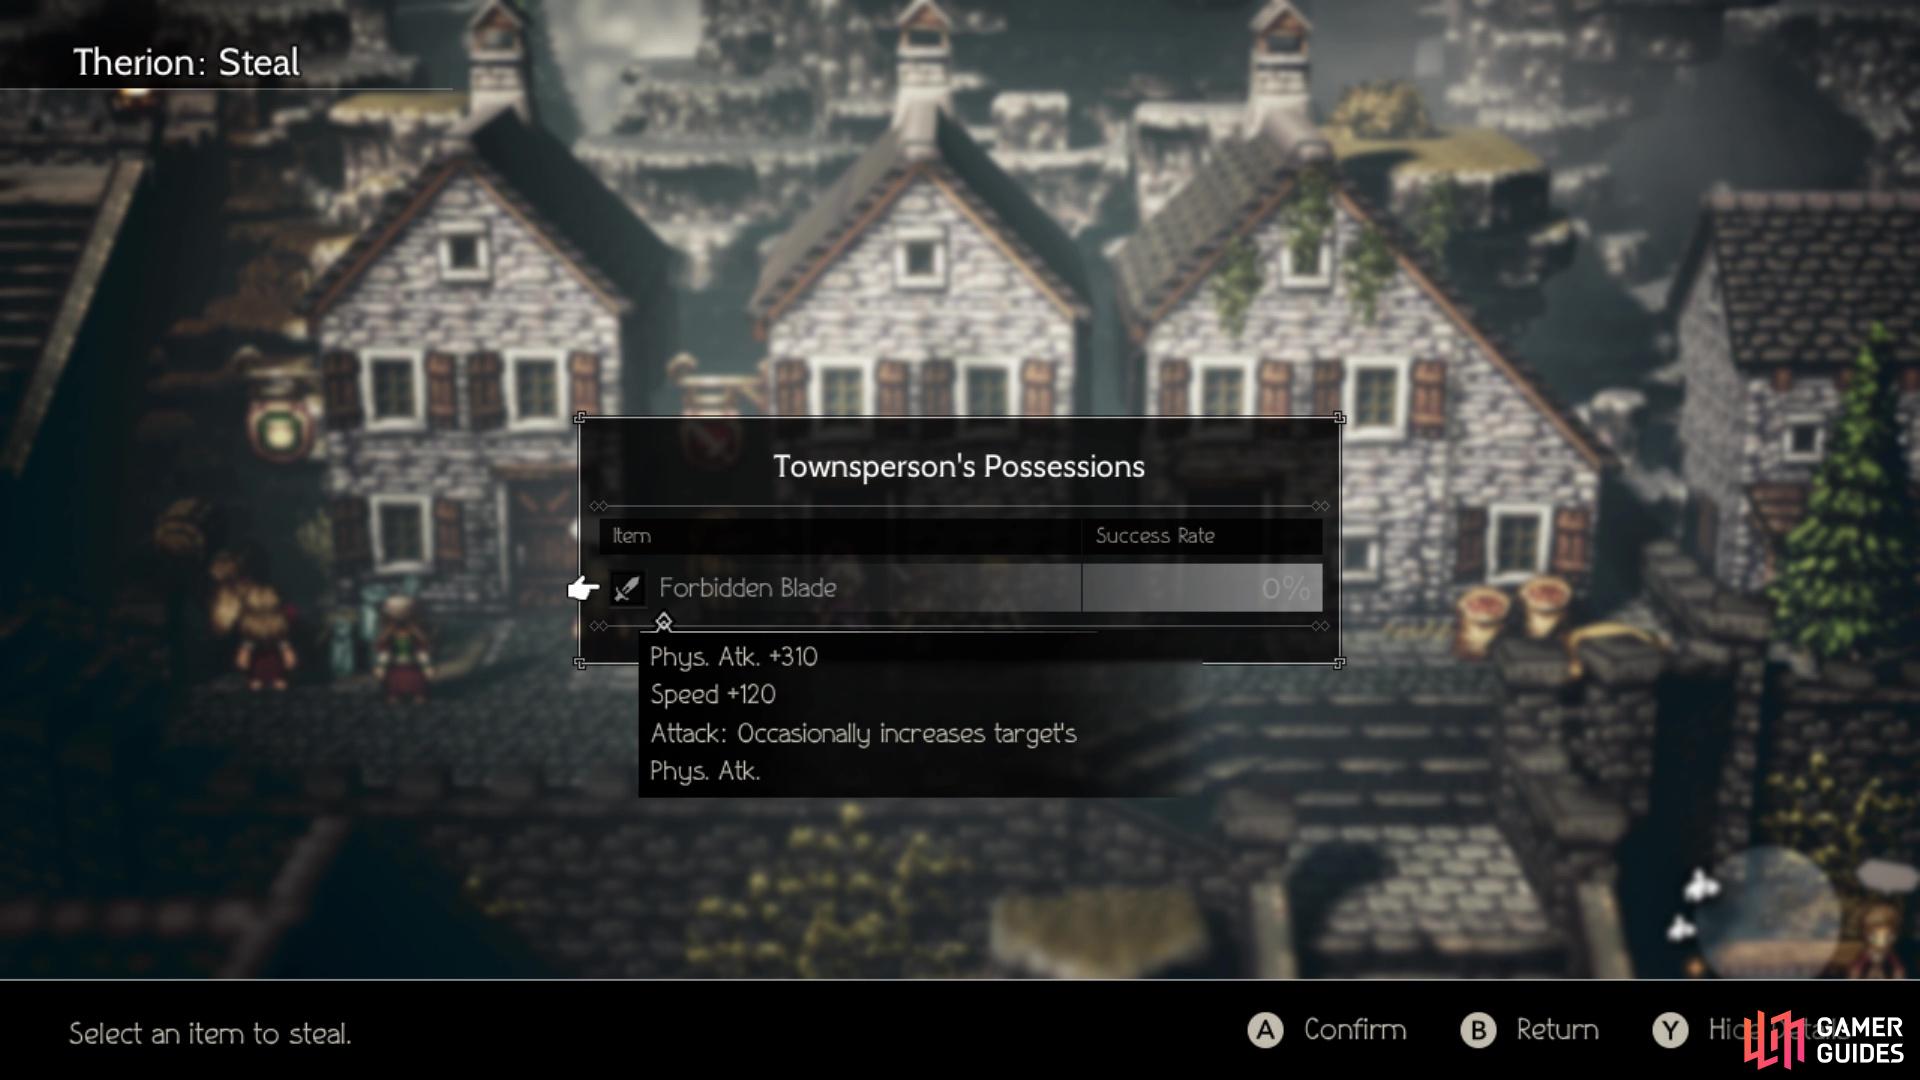
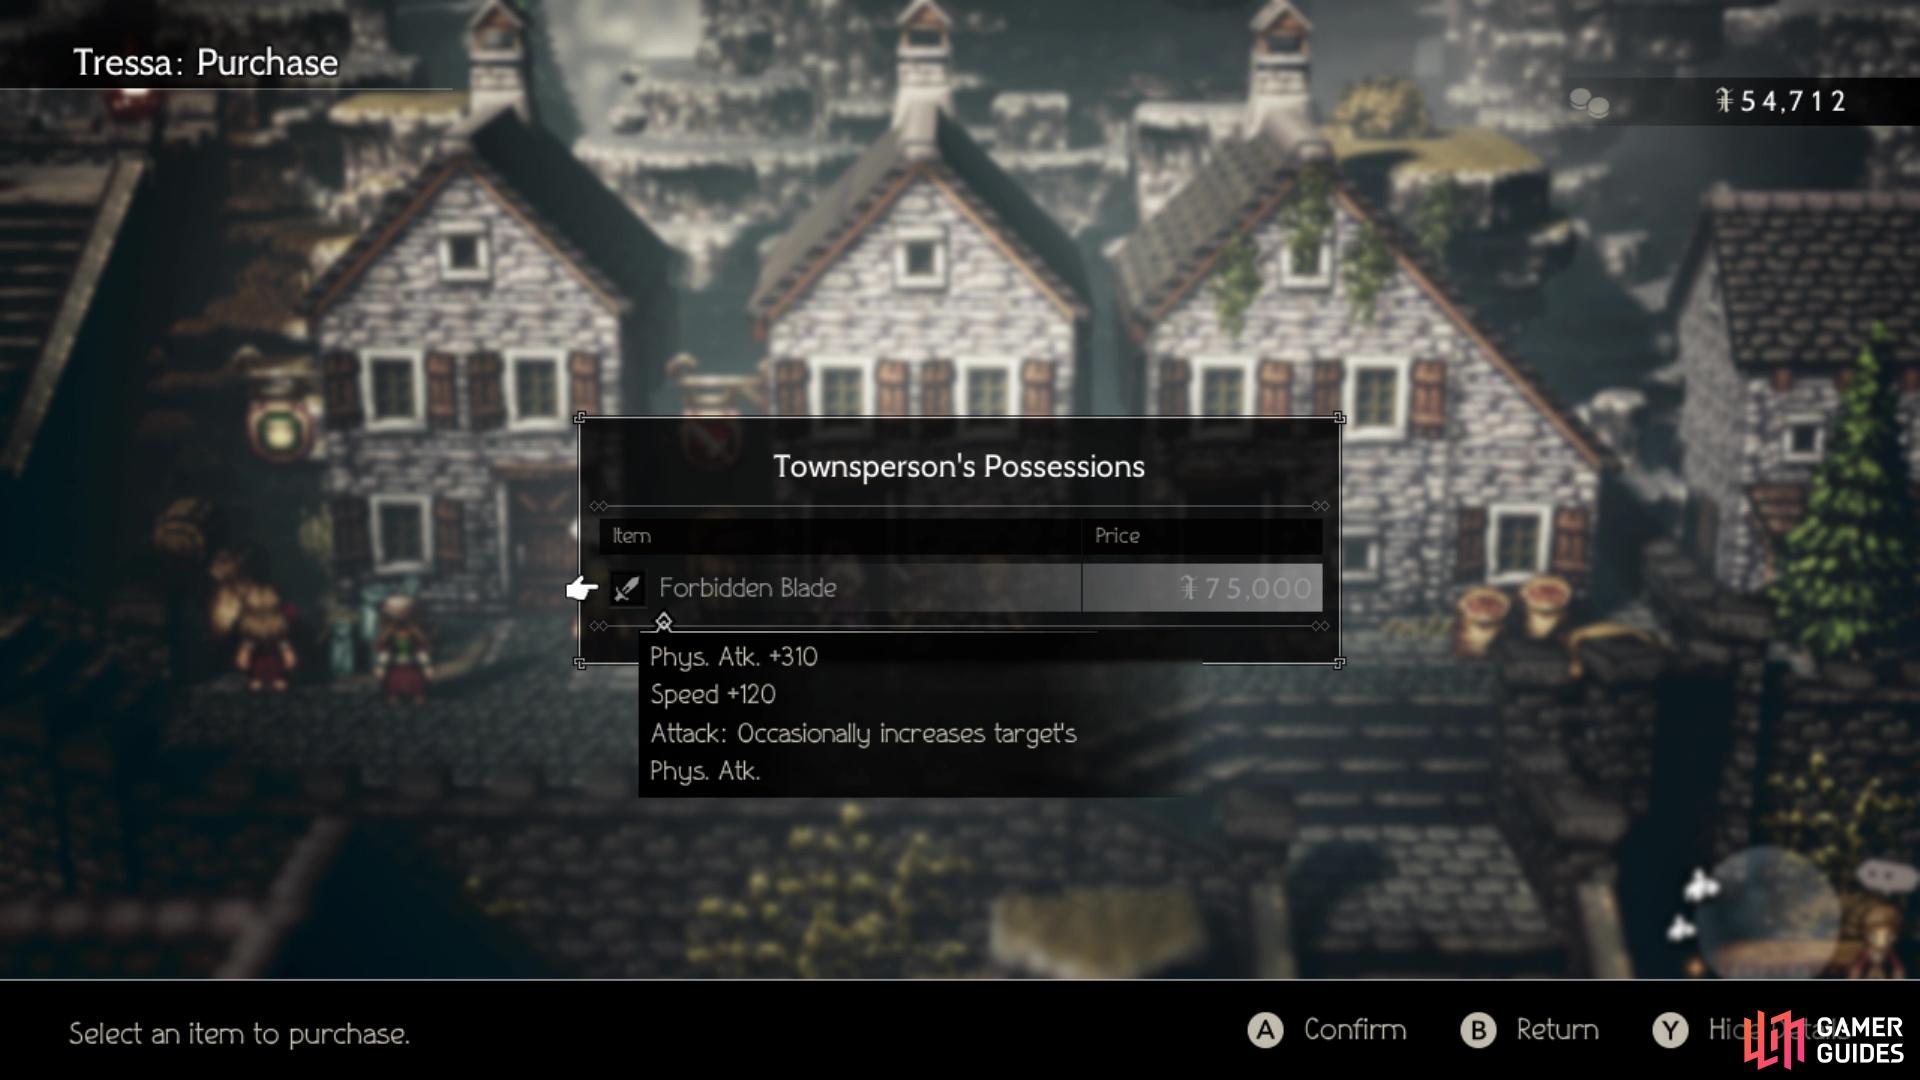
In fact, there really isn’t much in the first area, so exit to the southeast to get to Stonegard Valleys next. This place has some nice stuff here, with the first NPC having a Shadow Bow for Purchase/Steal, although it’s a fairly low percentage and a high price. The NPC in front of the Provisioner has a Falcon Garb and the guy in front of the equipment shop has something called the Forbidden Blade. The Forbidden class of weapons are quite strong, but they can only be bought with Tressa and each of them has a negative attribute to them. For example, the Forbidden Blade can occasionally increase the target’s physical attack.
(1 of 2) Some equipment doesn’t allow you to use Steal on them
Some equipment doesn’t allow you to use Steal on them (left), The Forbidden weapons always have a negative on them (right)
Check out the equipment shop here for some gear, like the Elemental Robes, which are nice and even increase elemental attack a bit. You can get some okay accessories from the cleric inside of the church in the southeast. Journey to the southwest corner to find a Side Story, Up to No Good. There are two ways to complete this Side Story, one of which is on the same screen as this one. For this solution, you will need either Olberic or H’aanit. If you look right above the peak of the roof of the old guy’s house, you should see a man standing there (well, two, but you want the one on the right).
Go ahead and Challenge/Provoke him (his name is Tobias and only has a strength of two) to finish the quest. The other option will involve you using either Primrose or Ophilia, as you need to Allure/Guide a NPC. Teleport to Sunshade and standing near the Provisioner will be an Amnesiac Girl. Get her to follow you and return to Stonegard. Speak to the guy on the left that’s harassing the old shopkeeper with this girl in tow for an alternate ending to this quest.
| Objective | Reward |
|---|---|
| Helped stop the harassment for the old shopkeeper | 5,000 Leaves, Guardian Amulet |
Back to the town of Stonegard, use the stairs heading north in either of the lower sections to get to Stonegard Heights. Coming from the Valleys area, there will be a big building straight north, with a chest on its left side (Healing Grape M). There isn’t too much to steal from the NPCs here, with the exception of a few stat-increasing nuts and some mediocre weapons. In the northwest corner is a building with a NPC inside, who does have an Elemental Shield and Robe, which are decent enough to get (especially the robe). As you can also see, there are three more Side Stories here, with one being a continuation of a previous one you completed.
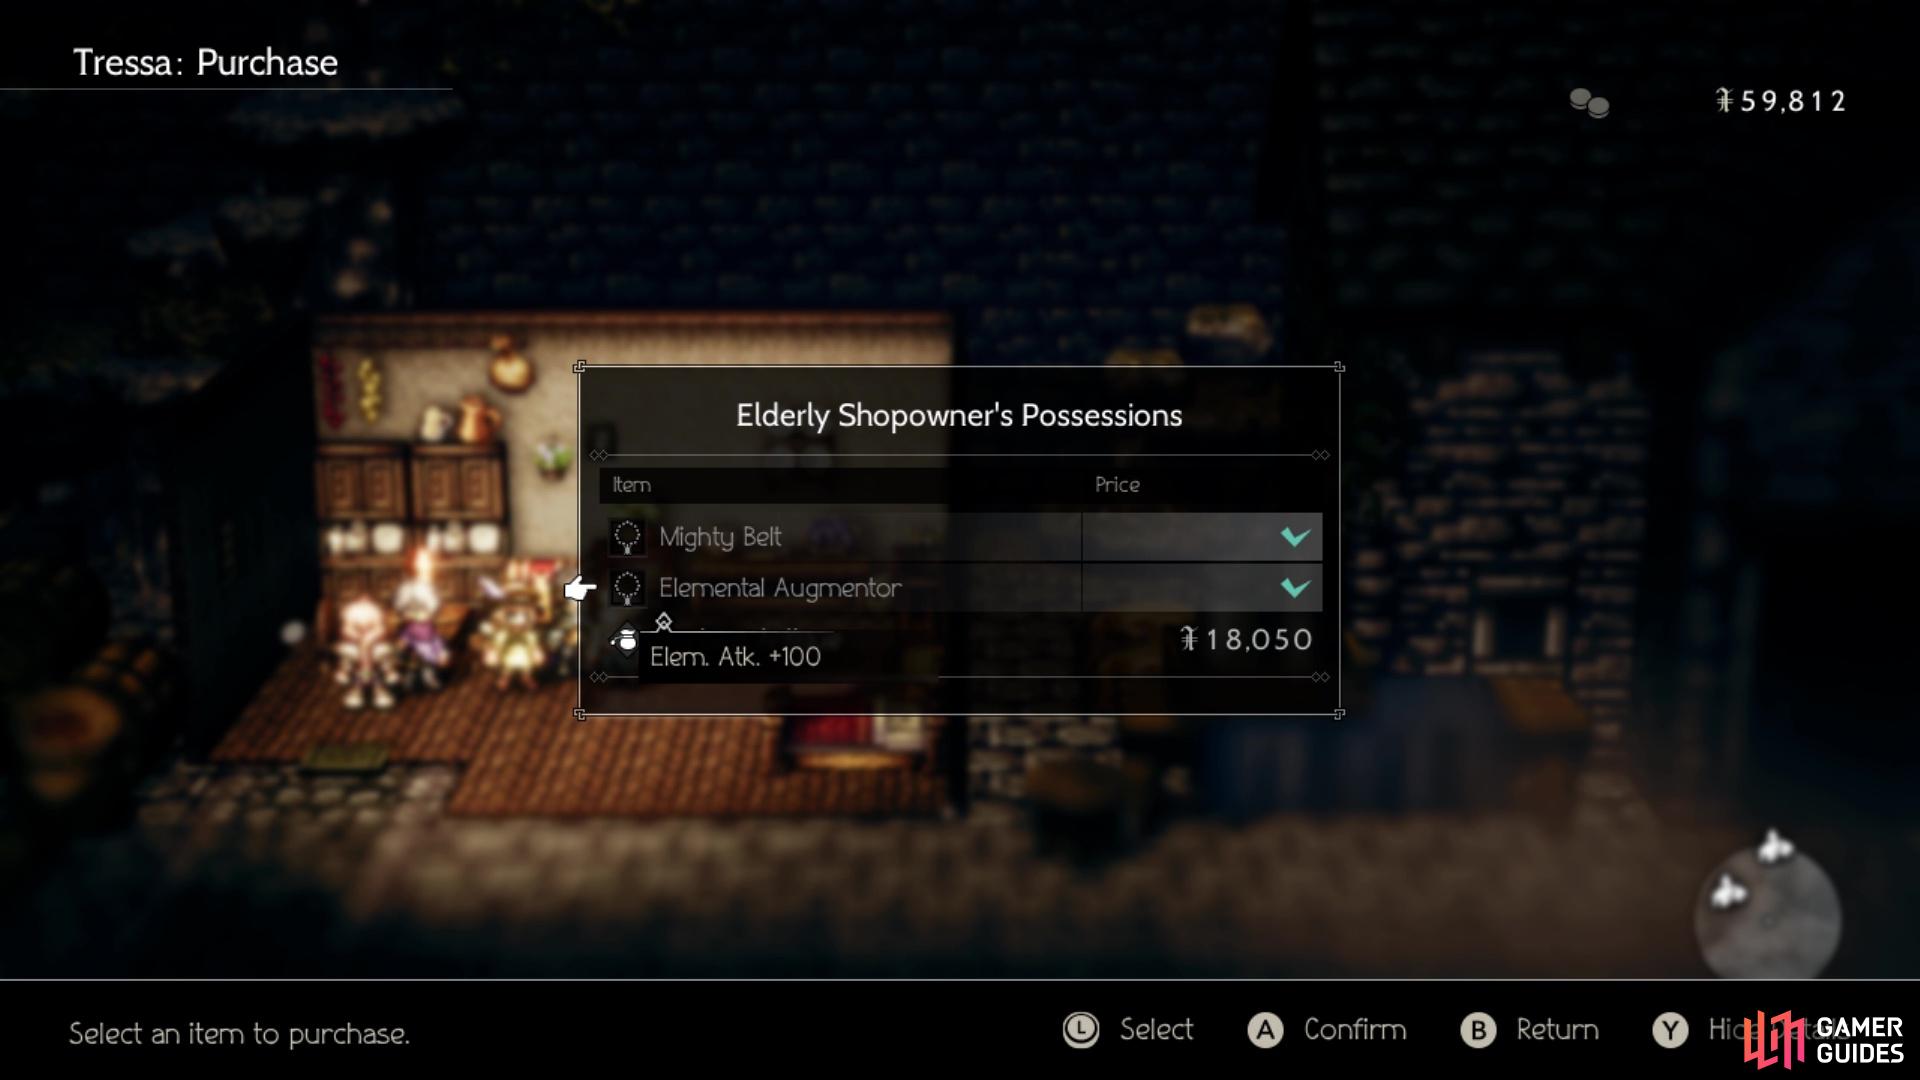
The elderly shopkeeper has some great accessories that are easier to Purchase
Noelle, Seeker of Knowledge (II)
Noelle, fresh from her revelation about Beowulf being real, is back again to find out if any new information has been found on him. In order to complete this side story, you will need either Cyrus or Alfyn. Head to the Stonegard Valleys section of town and in the bottom portion, there should be a NPC with a green shirt on, near the house that has someone standing in front of the door. This NPC you want is named the Wandering Minstrel and you need to Inquire/Scrutinize him to get The Fortress of Everhold information. Bring this info back to Noelle to finish.
| Objective | Reward |
|---|---|
| Helped Noelle find new info on Beowulf | 6,600 Leaves, Tough Nut (M) |
Lost in Translation
The Bookbinder inside of the smaller house in the northwestern corner of Stonegard Heights is trying to read a tome, but it’s in a language he doesn’t understand. In order to complete this side story, you will need either Primrose or Ophilia. Fast travel to Rippletide and look for the Exotic Grandma on the small dock on the southern side of town. Use Allure/Guide on the Exotic Grandma to get her to follow you, then return to Stonegard Heights. Talk to the Bookbinder with the grandma in your party to finish the quest.
| Objective | Reward |
|---|---|
| Helped translate the foreign tome | 6,500 Leaves, Exotic Garb |
A Royal Secret
The Inquiring Youth in front of the fountain is studying the Ventus Dynasty, specifically the third king. He was renowned for his drawings and paintings, but suddenly stopped one day and the youth is trying to find out why. Before you do anything, you will need either Cyrus or Alfyn to complete this quest. Exit Stonegard and make your way to North Stonegard Pass, to the split paths towards the middle. Look at the signpost and locate the trail that leads to West Stonegard Pass. Here, you want to venture to the southern end of the map, but towards the lower of the two paths. This will lead to an optional dungeon called the Tomb of Kings, with a Danger Level of 25.
(1 of 2) Maybe you’ll get lucky and run into some Caits during your exploring
Maybe you’ll get lucky and run into some Caits during your exploring (left), Manage to defeat them before they flee will net you some big rewards (right)
Find the first save point in here and journey all the way to the west, until you reach the end. Climb the first set of stairs, as well as the second, then go to the right, where you should spot a purple chest in an alcove. Head up the stairs on the right side, then the ones in the middle to find a NPC standing there. This is the Nameless Gravekeeper and you will need to Inquire/Scrutinize him for the Gravekeeper’s Information piece of data. That is all you need, so fast travel back to Stonegard and present this to the youth to finish the quest.
| Objective | Reward |
|---|---|
| Solved the mystery of Ventus the Third | 5,000 Leaves, Royal Crest |
H’aanit’s Second Chapter
That was quite a bit of extra work, so when you’re ready to tackle H’aanit’s story, head on over to the tavern and pick it from Hear a Tale. H’aanit has come to Stonegard to search for her master, Z’aanta, as it was the last place he mentioned in the only letter he penned to her. Being a much larger place than her hometown, H’aanit decides to head to the tavern and see if there are any traces of her master there. She gets a lead there and upon stepping back outside, Hagen runs off, so chase him you must.
Hagen hasn’t gone too far, as he’s near the bridge just to the east, where you see this Natalia lady in talks with someone. Of course, the bodyguard is in the way, so you’ll need to Provoke him. With a strength of five, the bodyguard isn’t too troublesome, and is weak to spears. So, use Linde to break the bodyguard (hopefully she’ll use Pounce), then use a stronger monster when he is broken. Don’t forget that you can use items during these duels, so keep an eye on your health. If you’re having trouble, go outside of town and try capturing a few monsters, particularly ones that have a spear attack.
Up defeating the bodyguard, some more scenes will happen with Natalia, including one at her house. It looks like your master went inside of the nearby woods, so H’aanit decides to investigate there. When all of your preparations are complete, go to the Heights section and take the northeastern exit to the Spectrewood Path.
Spectrewood Path
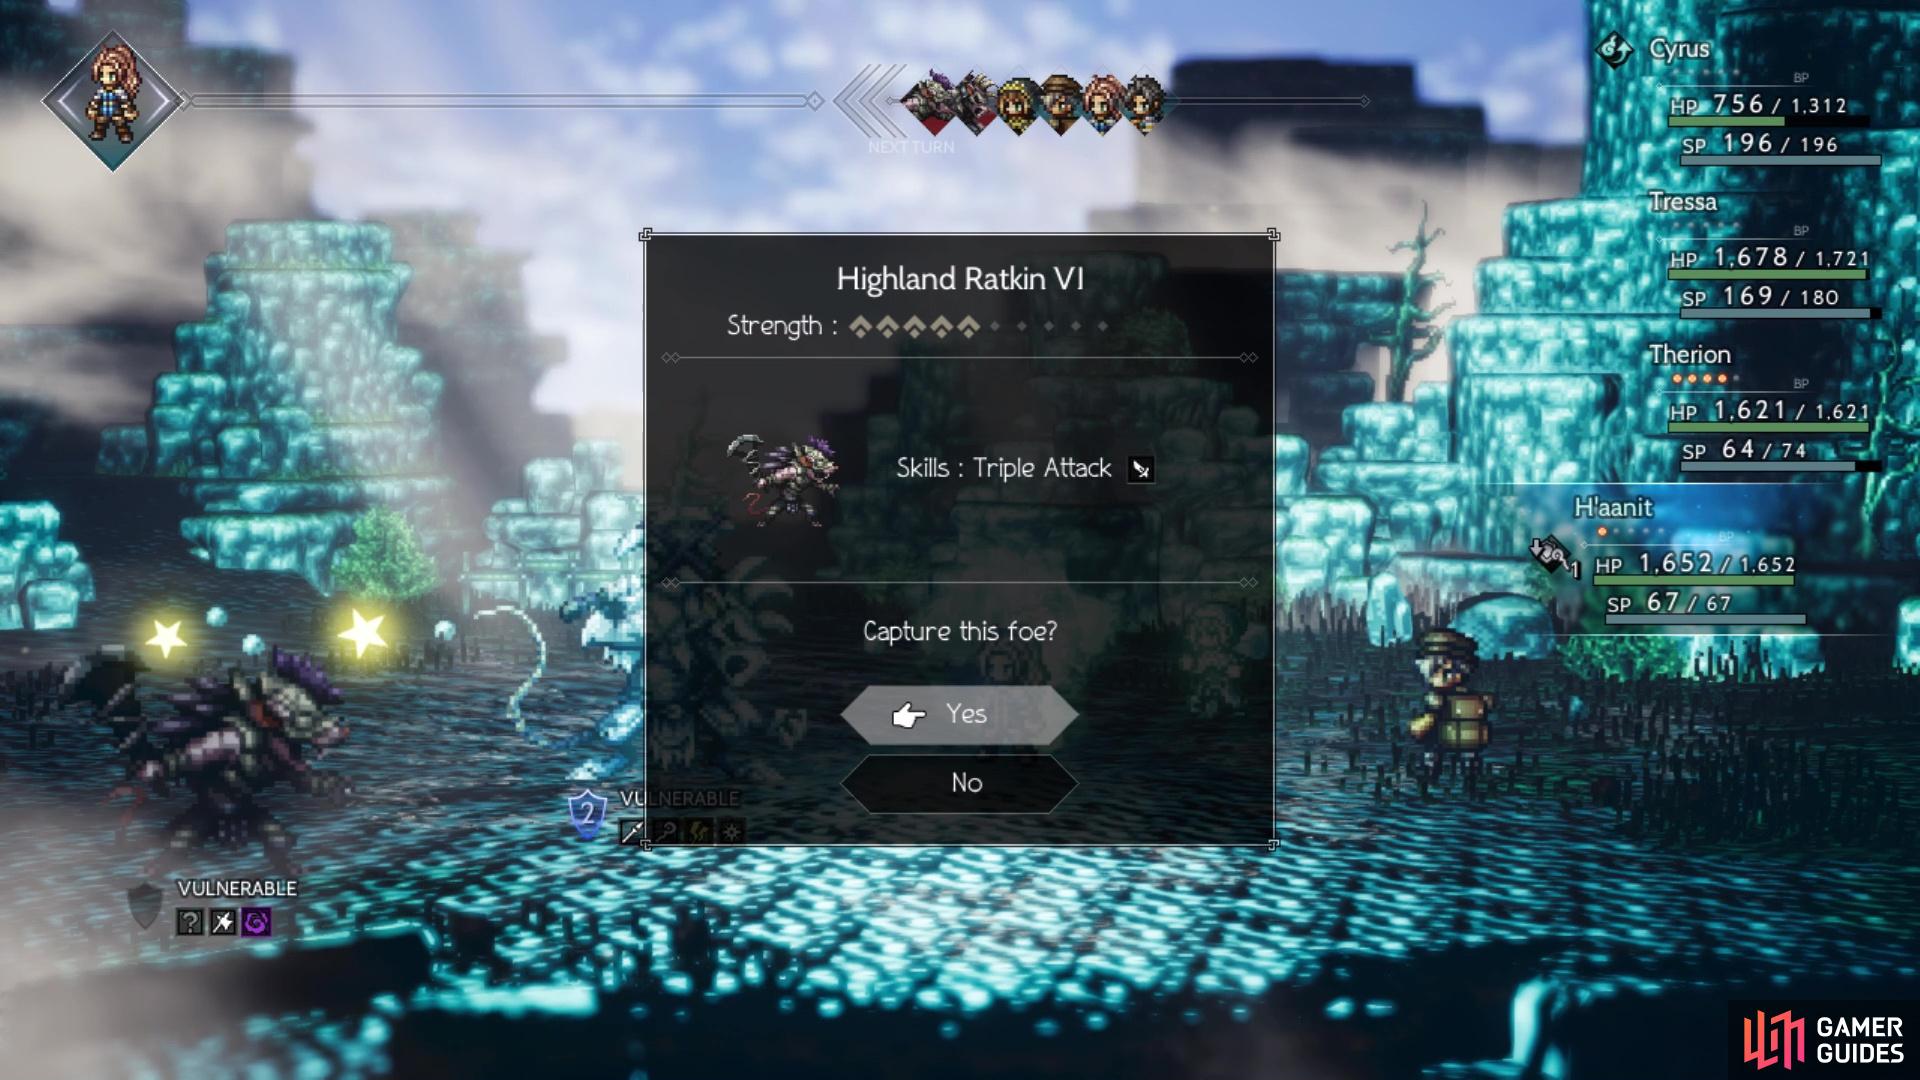
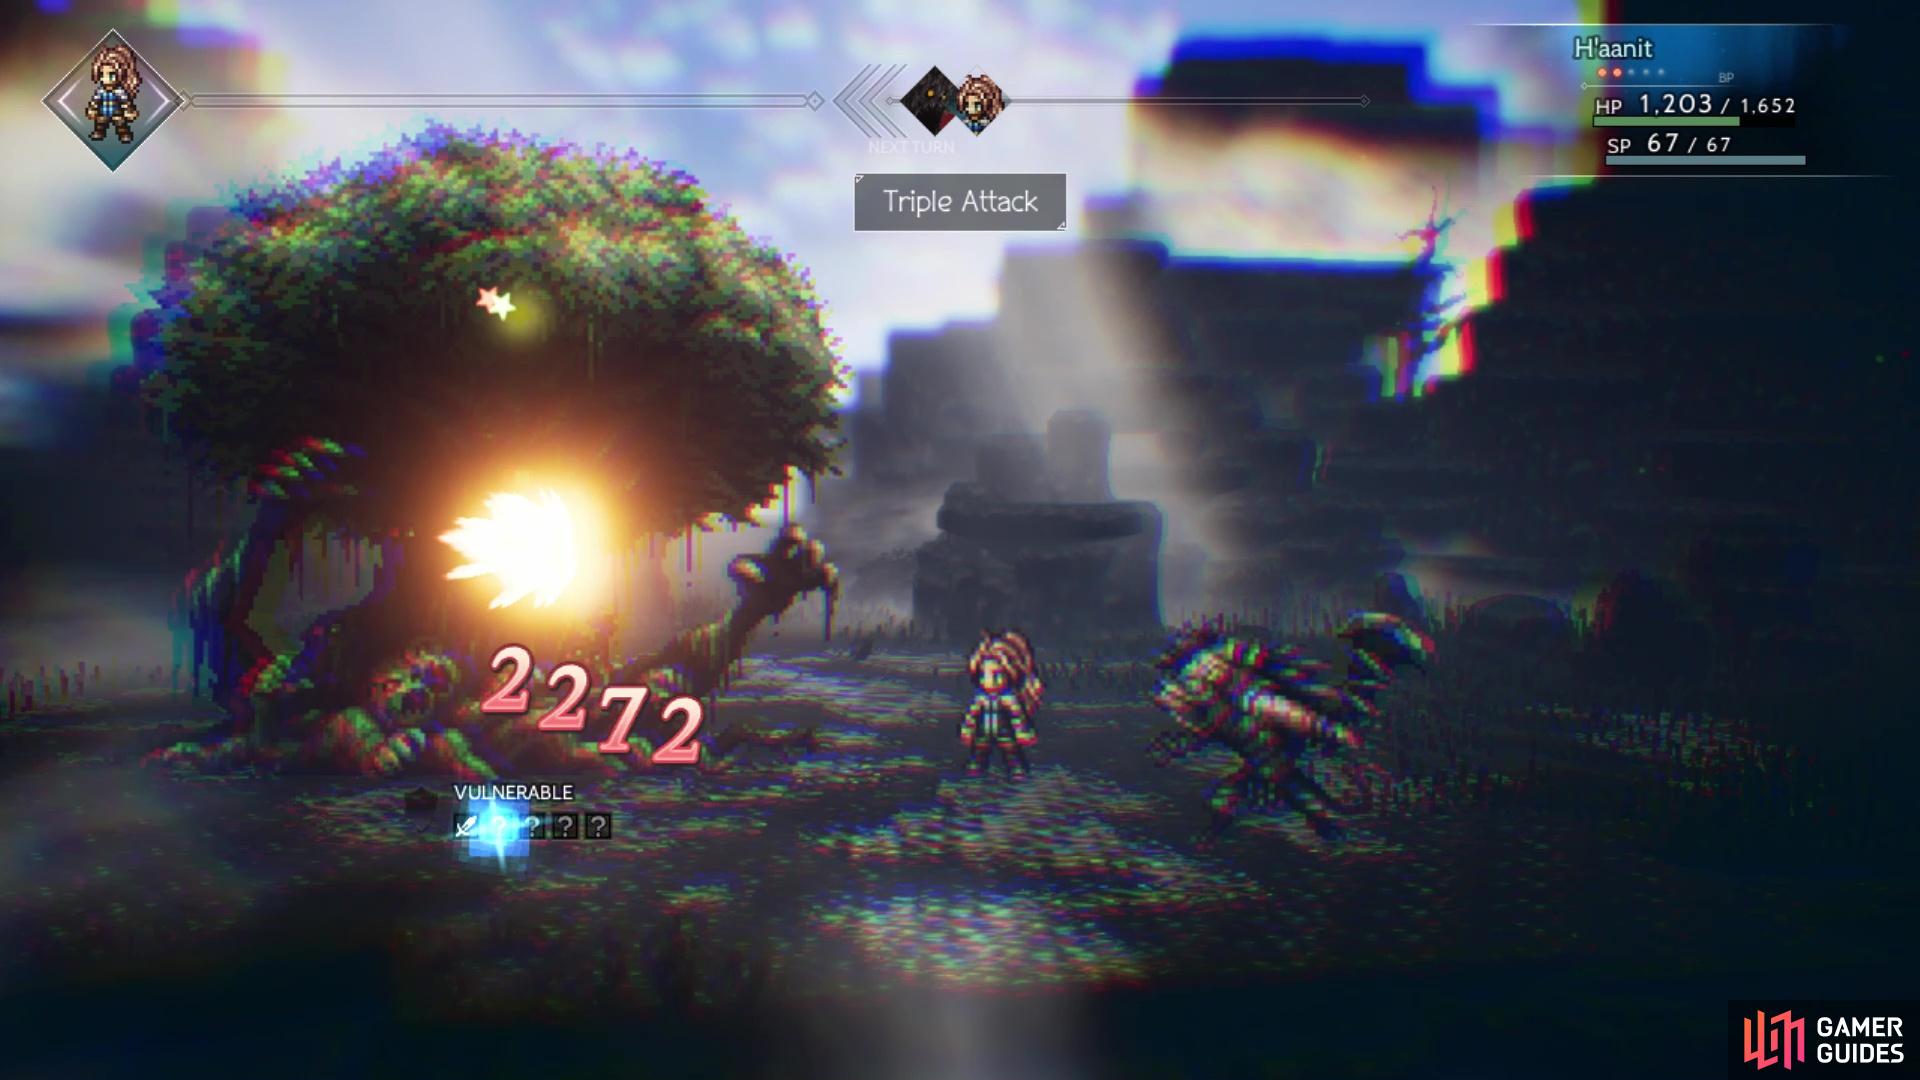
Upon entering this area, you will see a chest located in an alcove to the north, which is just left of a save point (5,000 Leaves). There’s another path south of the save point, but ignore it and continue east until a scene is triggered. It seems a landslide occurred some while ago and you’ll need to find another way around. Approach that southern path now for another quick scene, where you’ll be told to Provoke the trees in front of you. It turns the tree is actually a monster called Ancient One. It is weak to swords, so use Linde to break it, then use your boost to use another summon’s attack to inflict big damage (or Linde if you don’t have any others).
(1 of 2) Capture one of the Ratkins in the area with H’aanit
Capture one of the Ratkins in the area with H’aanit (left), to help make short work of the Ancient One solo fight (right)
Note that when the Ancient One recovers, it will change its weaknesses around, but it will always retain that sword vulnerability. Its normal attack and Wallop shouldn’t be too tough to handle, but it can poison you with Toxic Dust and its dark aura skill is just Rampage. After defeating the tree, continue right, opening the chests along the way (Fool’s Gold Ore and Herb of Clamor) and finding the entrance to the Spectrewood.
The Spectrewood
This place can be a little difficult to navigate, since the path is a bit obscured by the fog and it’s a little more open-ended in design. As soon as you’re presented with multiple ways to go, just past the save point, head up and to the first left to find a chest (Refreshing Jam). Continue to the northwest corner to find another chest, which has 6,000 Leaves in it. Head east a little bit to spot a trail going north, so follow it to the end to find a chest hiding out there (Copper-filled Pouch). Make your way to the southern end of the map and you should notice a purple chest sitting in the middle of an enclosed space. There is an opening on the right side that will let you open this chest, which contains a Fire Amulet. The exit is to the northeast, where you find the save point. After a quick scene, you’re put into a boss fight.
BOSS - Lord of the Forest
| Enemy | Weaknesses |
|---|---|
| Lord of the Forest | Swords, Axes, Fire, Light |
| -- | Spears, Daggers, Axes, Fire, Darkness |
| -- | Bows, Staves, Fire, Wind |
| Enemy | Weaknesses |
|---|---|
| Weeping Treant | Axes, Fire, Lightning |
| Toxic Spore | Daggers, Fire, Wind |
| Flitting Fungoid | Spears, Ice, Darkness |
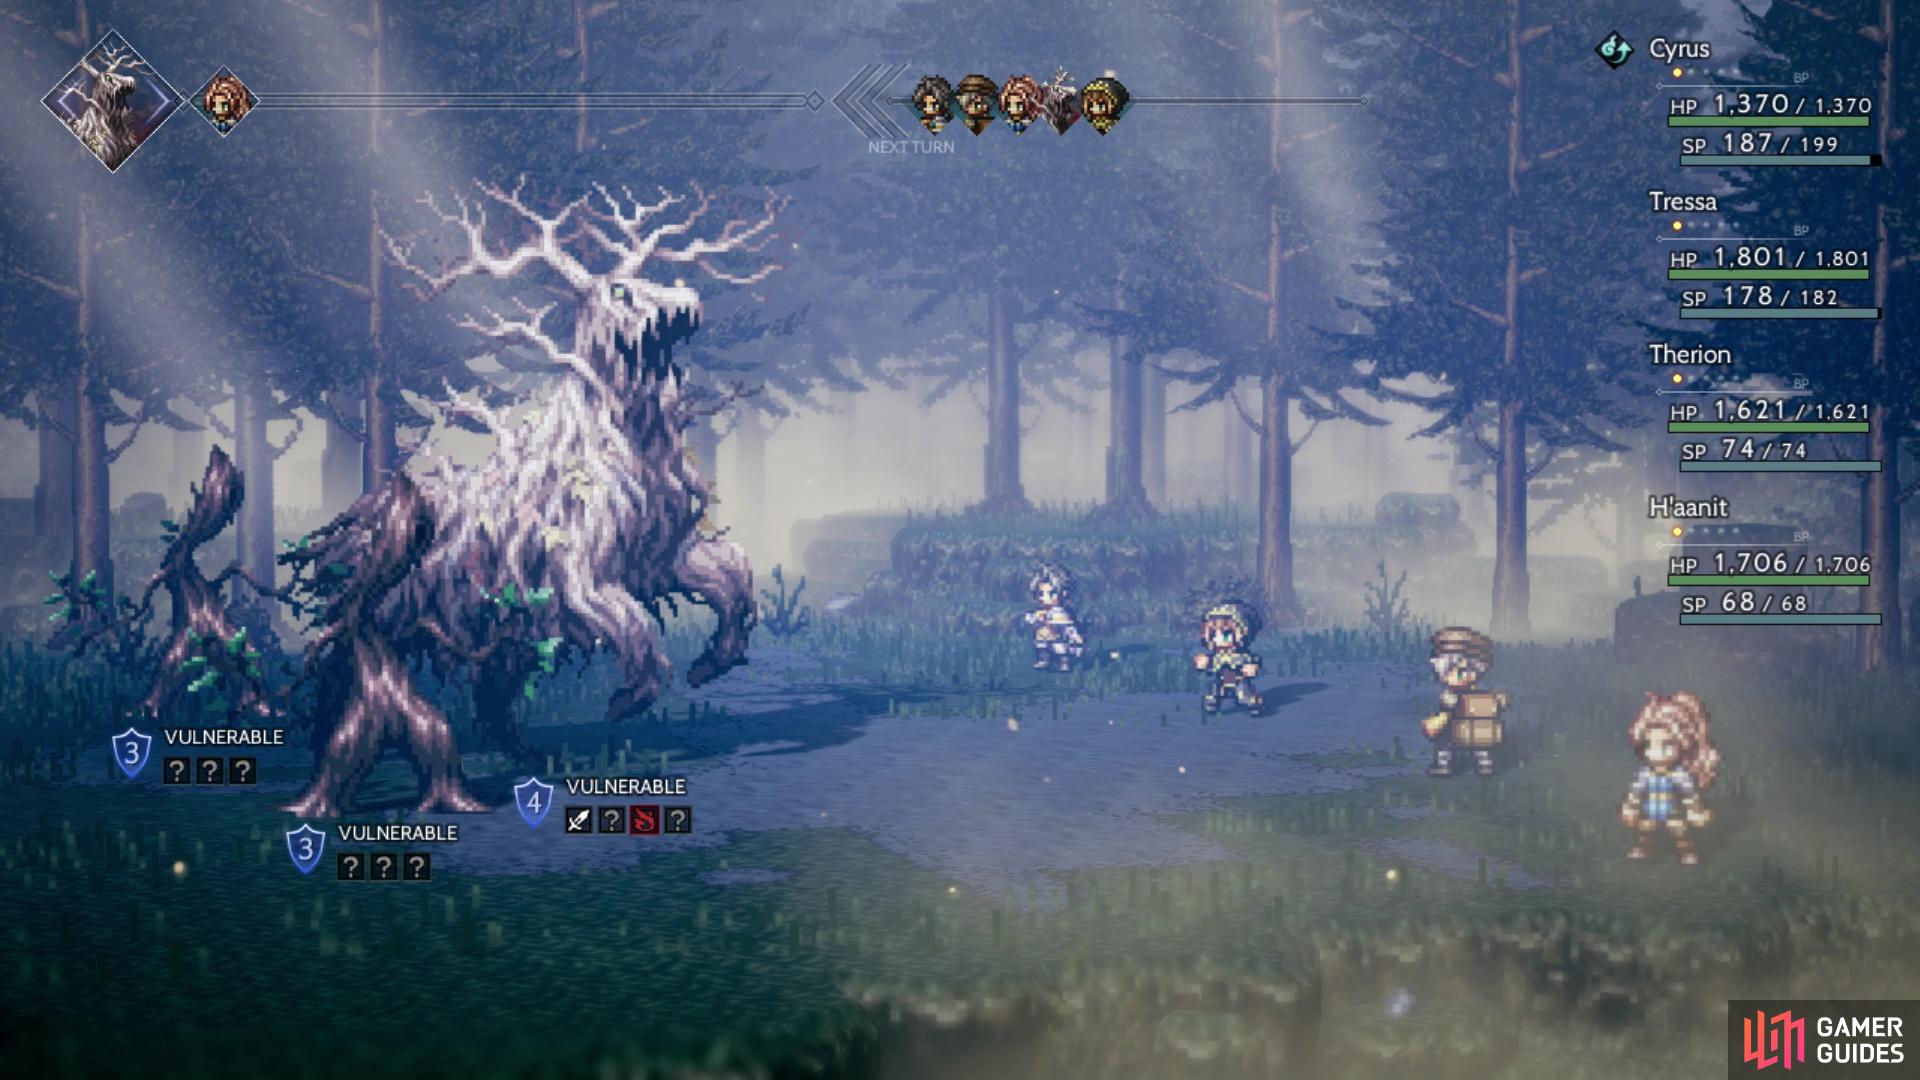
Lord of the Forest can be quite annoying and a challenge, due to him changing his weaknesses and his potential few abilities. At the beginning of the fight, the Lord will use Life returns to the Forest to summon two lesser enemies, starting with two Weeping Treants. Later in the battle, he can summon Toxic Spores and finally, Flitting Fungoids. While these enemies aren’t terribly dangerous, they do have attacks of their own, some of which can cause ailments. The Weeping Treants can blind characters with Blinding Sting, the Toxic Spores can put characters to sleep with Slumber Spore, and the Flitting Fungoids can silence the entire party with Silencing Root.
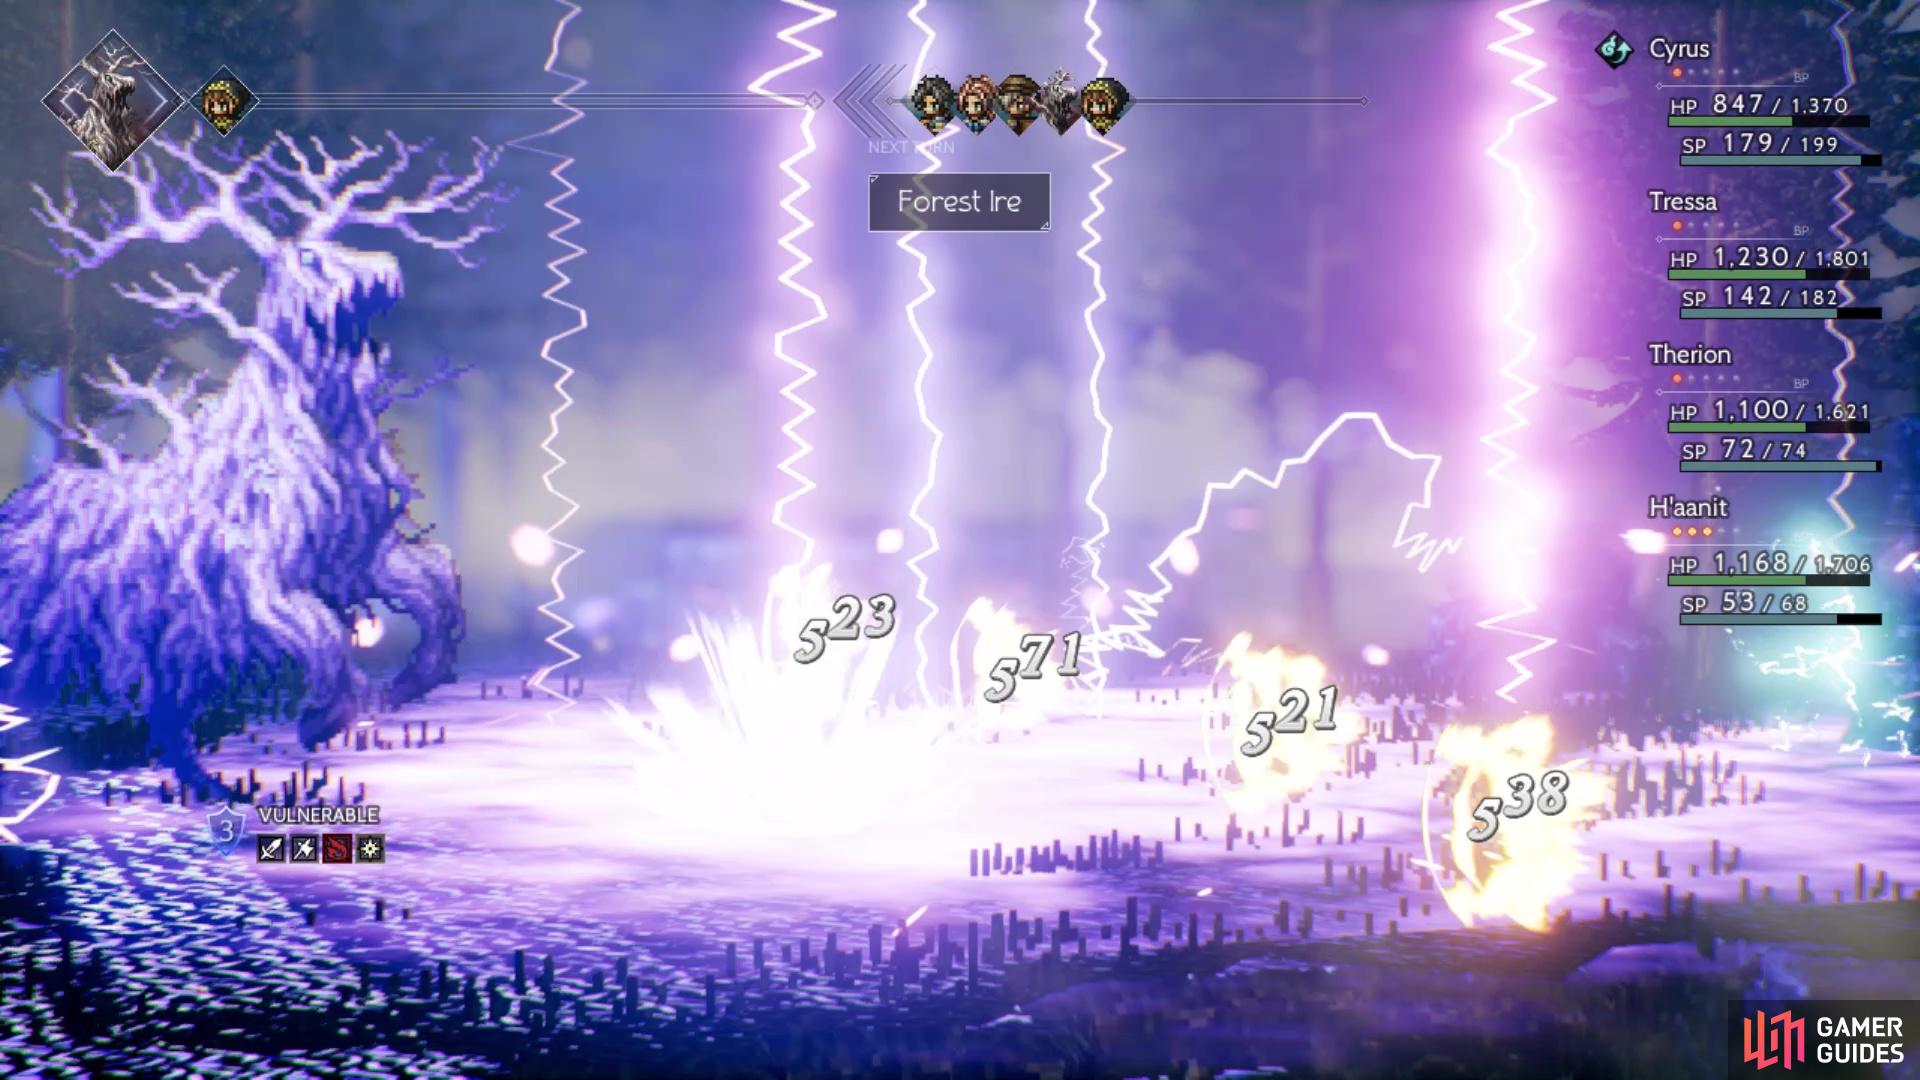
That’s not mentioning the Spores can also buff all enemies’ physical/elemental attack, so they are probably the most dangerous. Luckily, the Lord of the Forest doesn’t gain more shields during the fight of his own accord (more on that later), but it does something a little different. After summoning the other enemies and should you break him when he has more than 50% HP, then he will use Circle of Life to consume an enemy if they are still alive. This heals him for 5,000 HP and gives him a temporary elemental attack buff. The only elemental skill it has is Forest Ire, which follows his dark aura thing and hits the entire party for lightning damage. It doesn’t seem like breaking him will stop him from using Forest Ire, as he can sometimes use it after recovering.
(1 of 2) The Lord will summon allies throughout the entire battle
The Lord will summon allies throughout the entire battle (left), Its ultimate attack is a damaging lightning move on your entire party (right)
So, whenever the boss summons more enemies, it’s imperative you concentrate on getting rid of them as soon as possible and not break the boss in that meantime. The weaknesses of the lesser enemies are listed in the table above. This will make the battle much more manageable, as all of the boss’ physical attacks are single target and you don’t have to deal with the possible ailments the lesser enemies bring to the table. The Lord of the Forest’s normal attack isn’t too bad and Compost can inflict Unconscious, while Quagmire is the most damaging attack that can also inflict Silence.
Once the boss has less than 50% HP, he will use Consume Life upon recovering from a break, reducing a single character’s HP to 1. This skill also increases his shield by one and it will change up his weaknesses. Fortunate for you, fire is a common weakness in all three sets, so anyone with fire skills can do some damage. He always starts the battle using the first set of weaknesses above, then randomly changes them after using Consume Life. Knowing the weaknesses will go a long way in this fight, since it will be easier to break him and deal massive damage. In fact, that’ll be the main focus, as you don’t want the battle to be prolonged and have to cut through 15+ shields to break the boss.
Upon finally delivering the final blow to the Lord of the Forest, H’aanit realizes he wasn’t the Redeye and delves deeper into the forest. The shock comes as she finds her master, but he has been petrified. Before he succumbed to the ailment, he managed to write a note, telling you to head to Stillsnow next. Upon returning to town, go back to Natalia’s house (next to the equipment shop) for more scenes, then approach the exit to the town for another and you’ll be finished with H’aanit’s second chapter.
 Sign up
No Comments