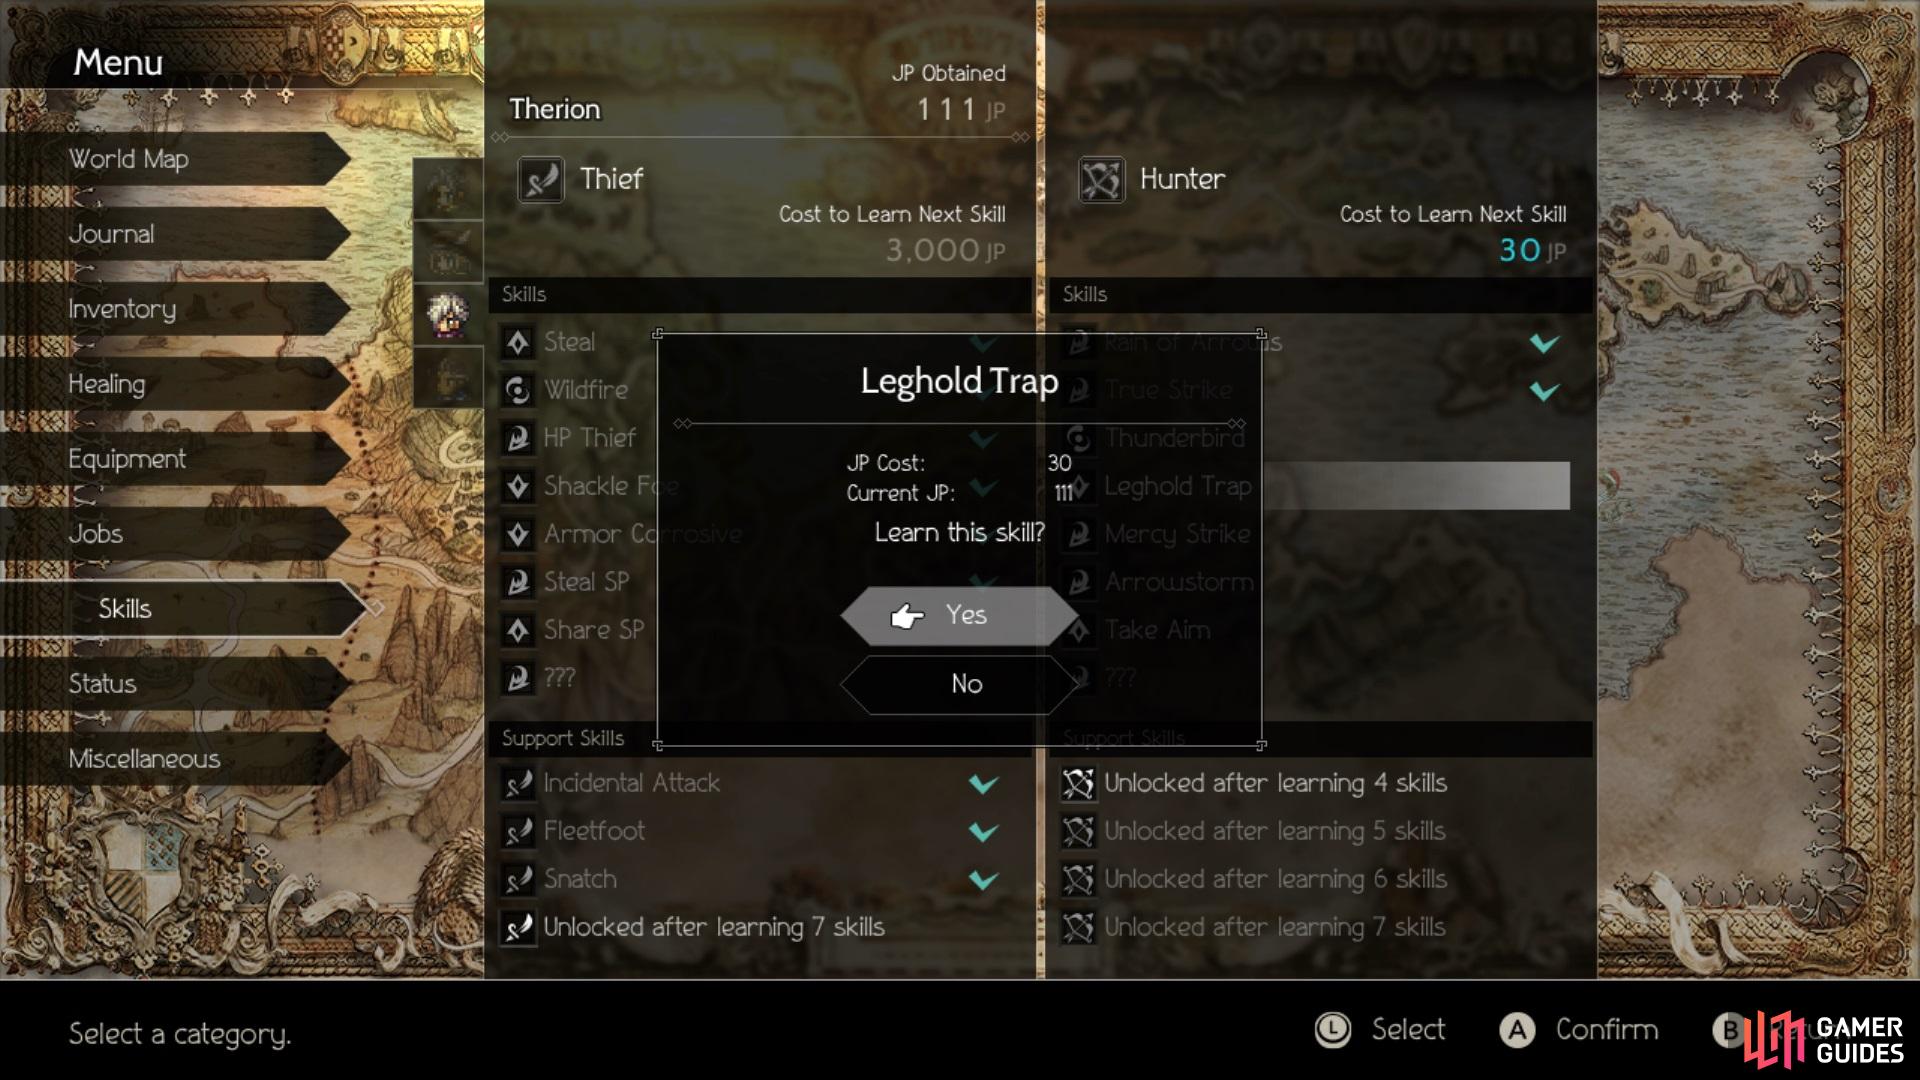
You’ve finished the majority of everything in Chapter 1 and it’s time to finally move onto Chapter 2. However, before you go about your business completing more of each characters’ story, there is something you might want to do. Hidden throughout the game’s world are shrines, hidden inside of caves, that unlock a secondary job that you can equip to characters. Not only will you gain access to skills from that job, but you will gain some minor stats, have a new appearance for your characters, the use of whatever weapon types they have and they’re even be able to learn some new passive skills.
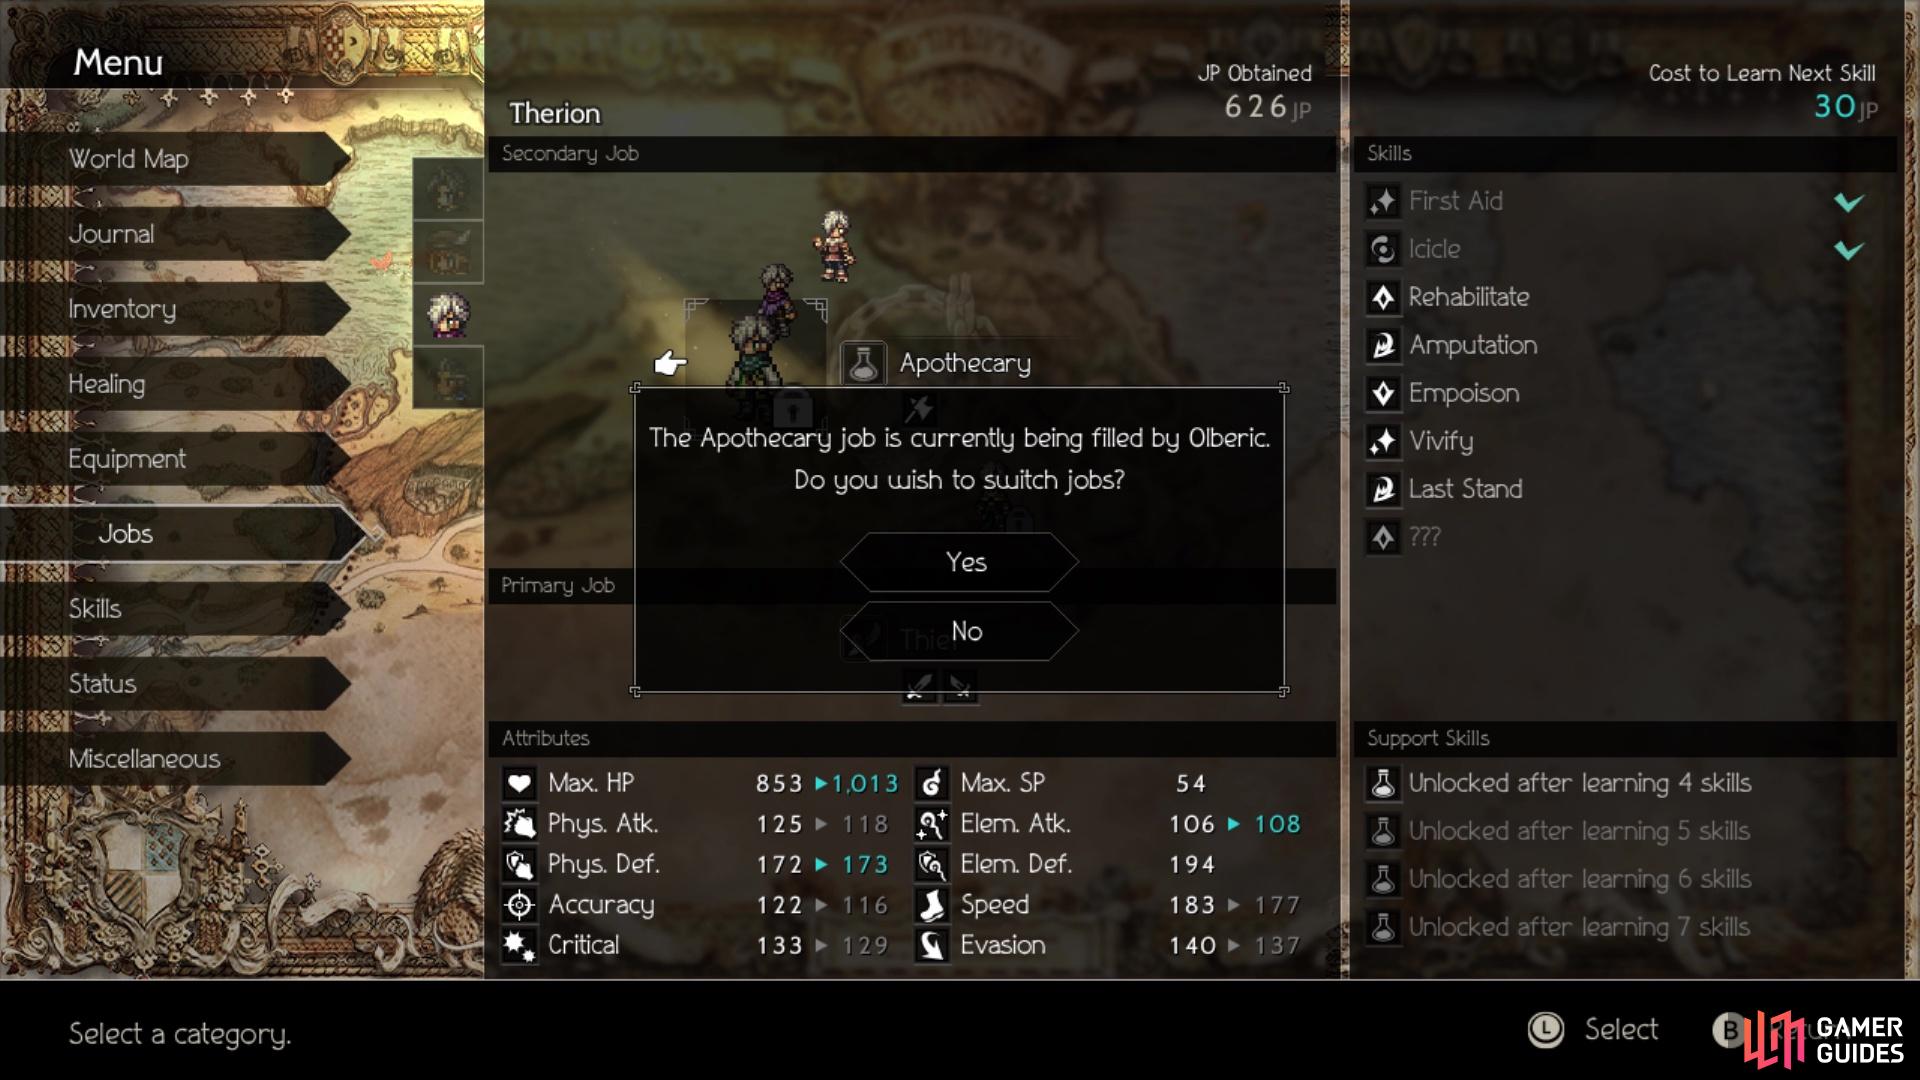
However, there are some stipulations regarding secondary jobs. First and foremost, a secondary job can only be assigned to one person at a time, so if you want to put something like Scholar on Tressa and Ophilia at the same time, you won’t be able to (the character’s main class isn’t taken into account for this). Additionally, you don’t get to keep the active skills of a secondary job should you switch to another. The upside to this, though, is that any passive skills will remain with that character upon switching, so there are some great benefits to be had from that.
A secondary job can only be equipped to a single character at a time
The shrines for these secondary jobs are all located relatively close to the characters’ starting cities, although they are all in areas with a slightly higher Danger Level. You may have gotten a few of these while doing the Side Stories outlined in Chapter 1 Sidequesting, but their descriptions will all be shown here.
Shrine of the Sage
To keep a sense of order, the order in which the shrines will be listed reflect that of the character order outlined in Chapter 1. This means that Scholar is first, so fast travel to Atlasdam and exit to East Atlasdam Flats. Head north to North Atlasdam Flats and when you reach the signpost to the north in that area, continue north to Western Noblecourt Flats. Follow the trail to the northwest, then keep following it as it moves east. When you reach a NPC by a tent, move straight south to find another NPC. Southeast of this second NPC will be the entrance to the Shrine of the Sage.
Shrine of the Trader
The shrine for the Merchant class is probably the only one that isn’t very close to its starting city. For the sake of a clear direction, start off in Rippletide. In East Rippletide Coast, head south to North Cobbleston Pass and when you get here, find the signpost. It mentions going west to reach Stonegard, so head in that direction to arrive at North Stonegard Pass. There will be a chest directly east of the signpost here, containing an Energizing Pomegranate. Follow this trail south and then east to another signpost.
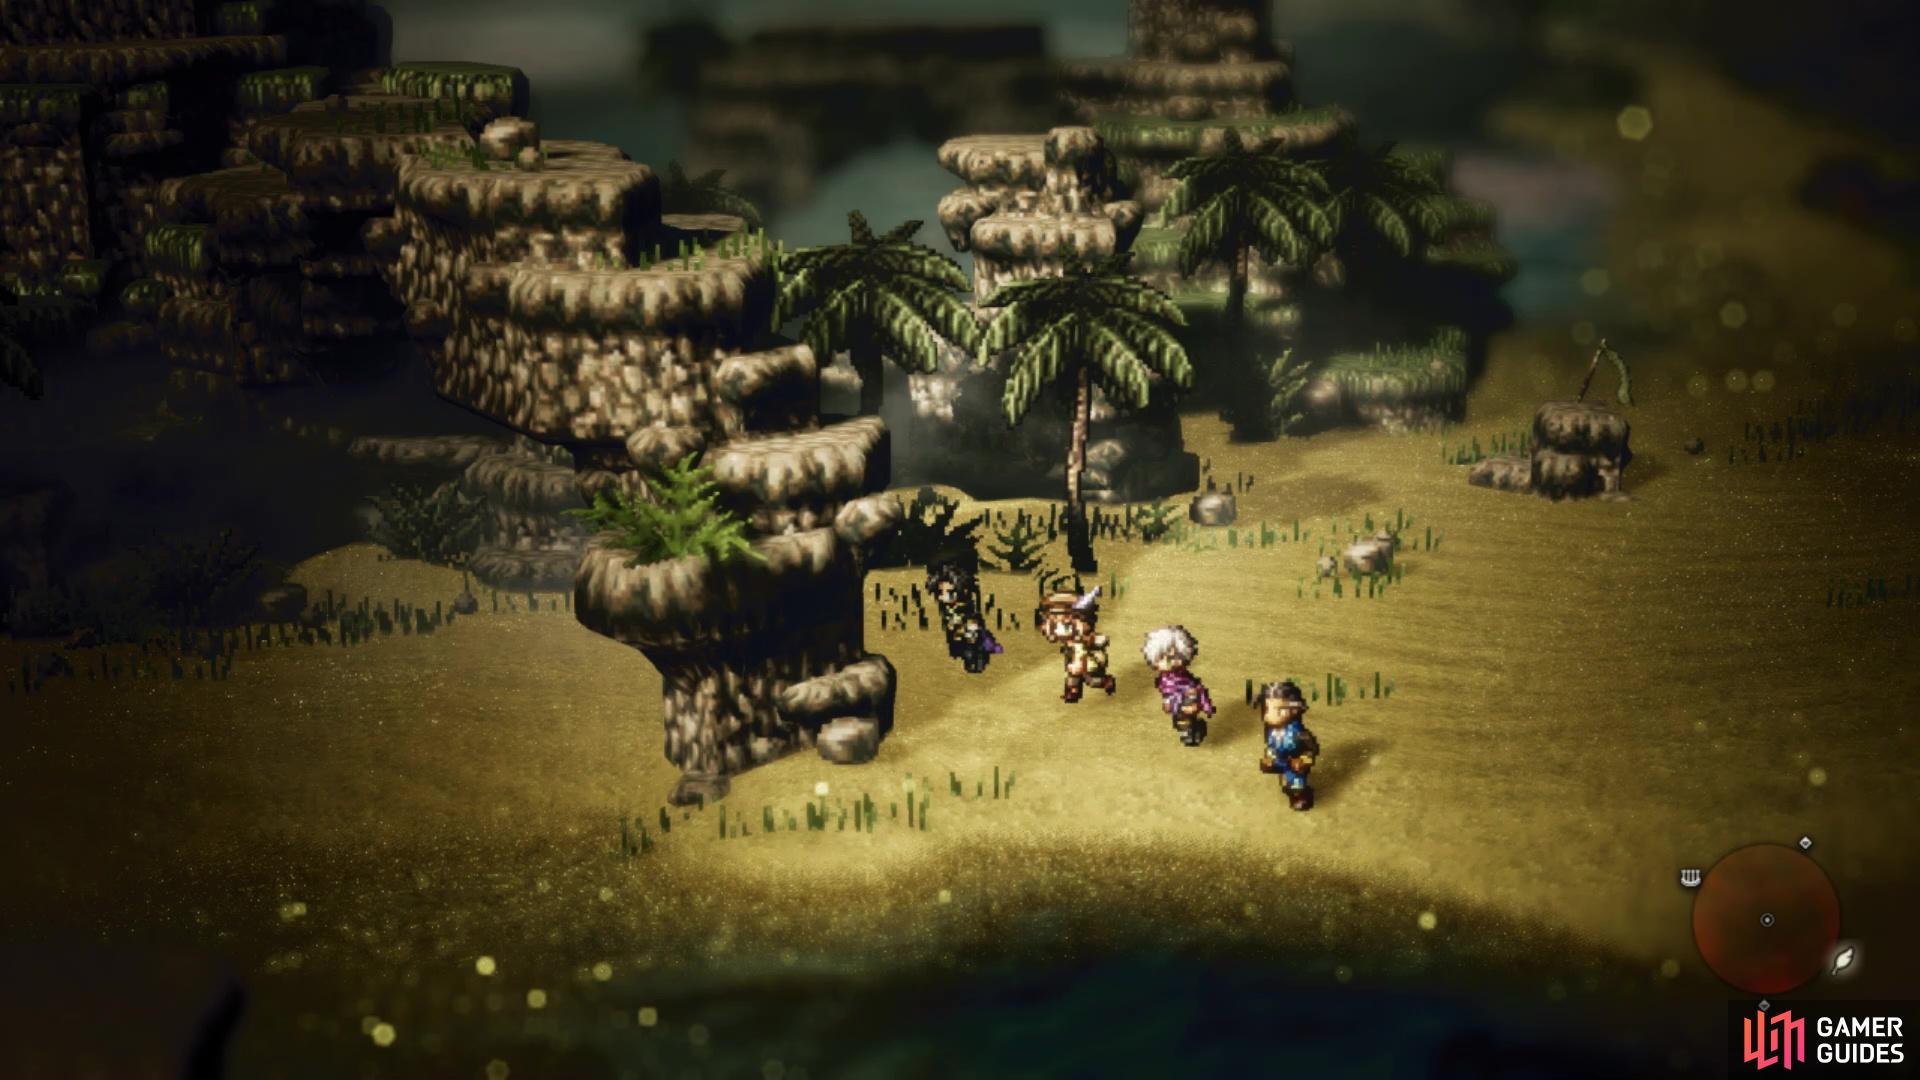
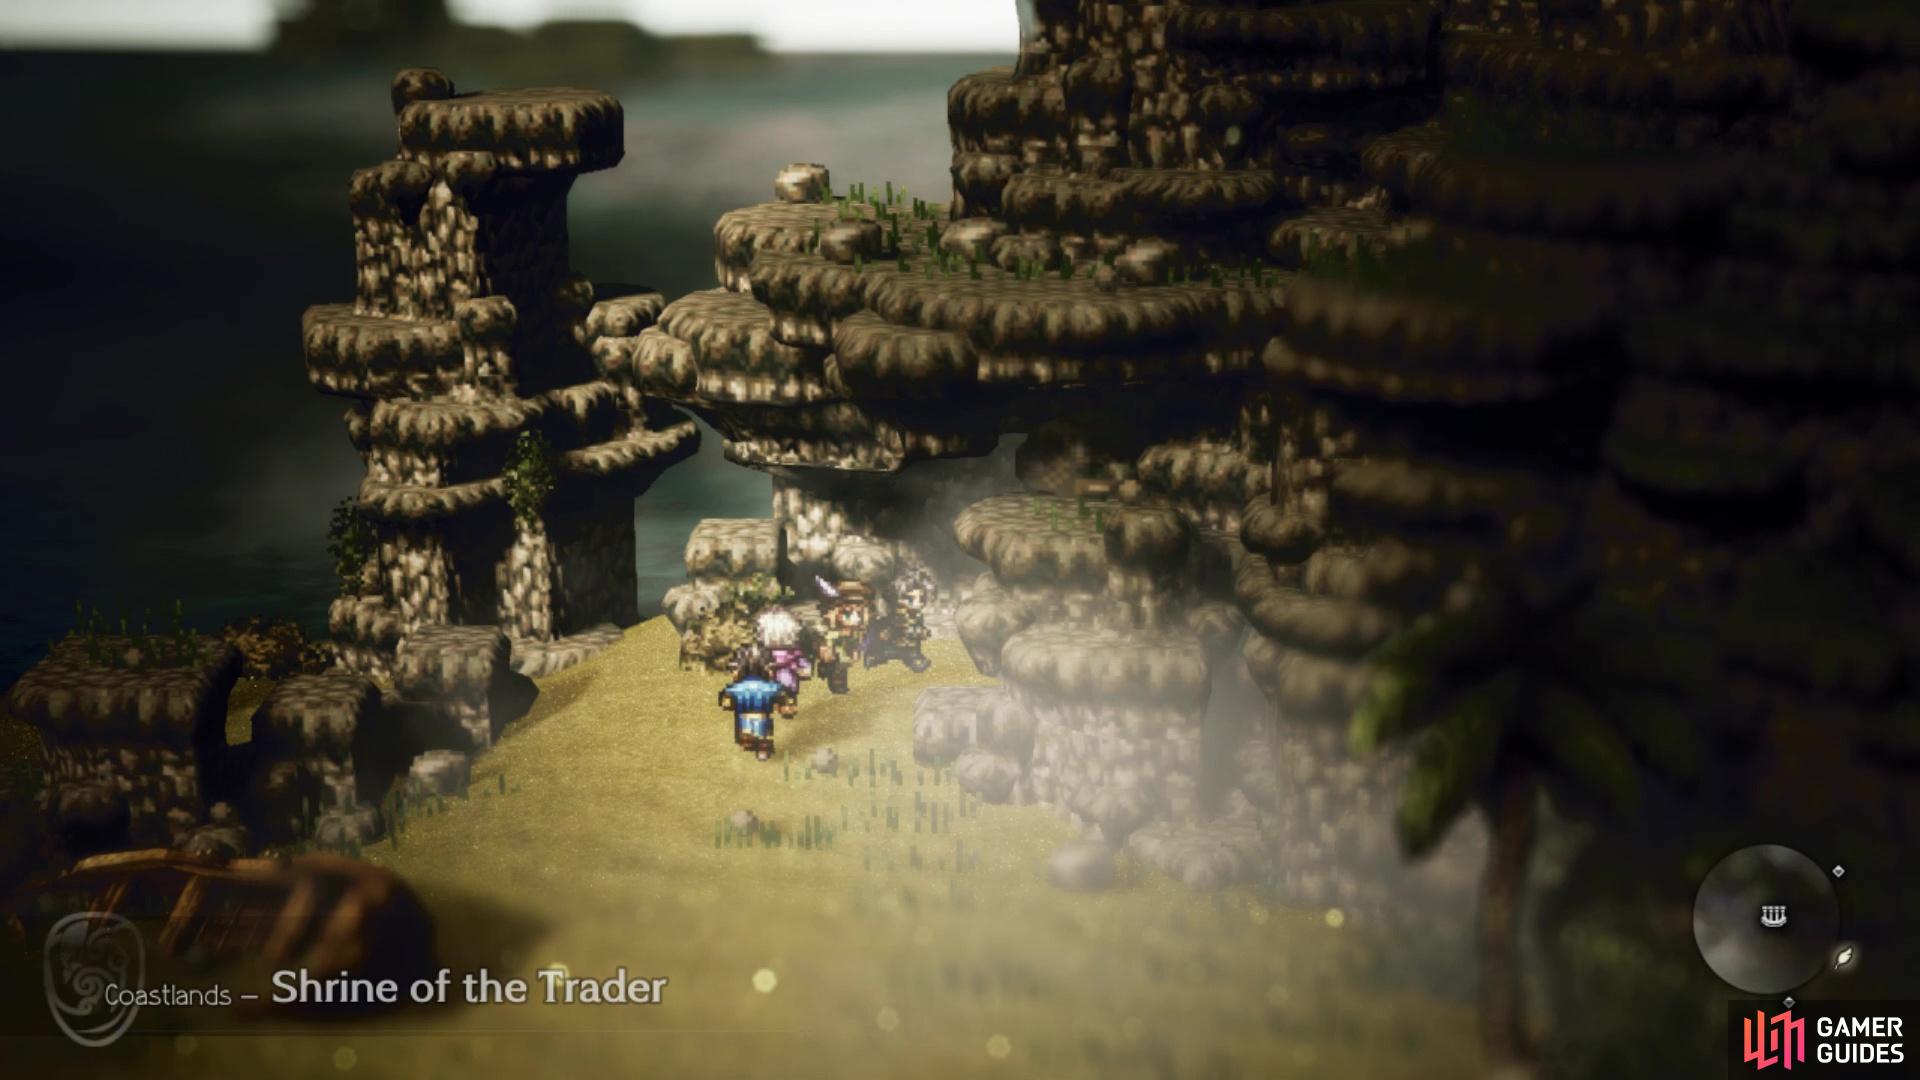
Venture north, opening the chest near the exit (Healing Grape M) and enter Moonstruck Coast. There will be a chest hidden just north of you (Healing Grape M), so grab it and continue east until you reach the beach. To the north will be a split, so head northeast to find a chest first (Copper-filled Pouch). Return to the split and go in the other direction, where you will see a stone archway. Running under this archway and setting on this path will bring you straight to the Shrine of the Trader.
(1 of 2) Pass west through the stone arch
Pass west through the stone arch (left), and you will find the Shrine of the Trader at the end (right)
A small detour will be taken here, simply to get another town on your map for fast travelling. Back outside, you should see another chest below you, which is partially obscured by a rock (Inspiriting Plum). Return to that stone archway and head north all the way, until you reach West Goldshore Coast. Follow the path ahead of you, opening the chest in plain sight (Energizing Pomegranate), then continue going until you reach a save point by a bridge. Goldshore is just a hop, skip and a jump away to the east, so enter it.
Shrine of the Huntress
Fast travel to S’warkii and exit to North S’warkii Trail, then make your way west to West S’warkii Trail. There are two signposts here and you want to go to the second one to the far west, which points you north to Victors Hollow. Head in that direction to get to East Victors Hollow Trail. There will be a signpost and save point right there upon entering. Go past them, to the north, and when it diverges to the west, you can find a slightly hidden trail to the east that leads to the Shrine of the Huntress.
Shrine of the Prince of Thieves
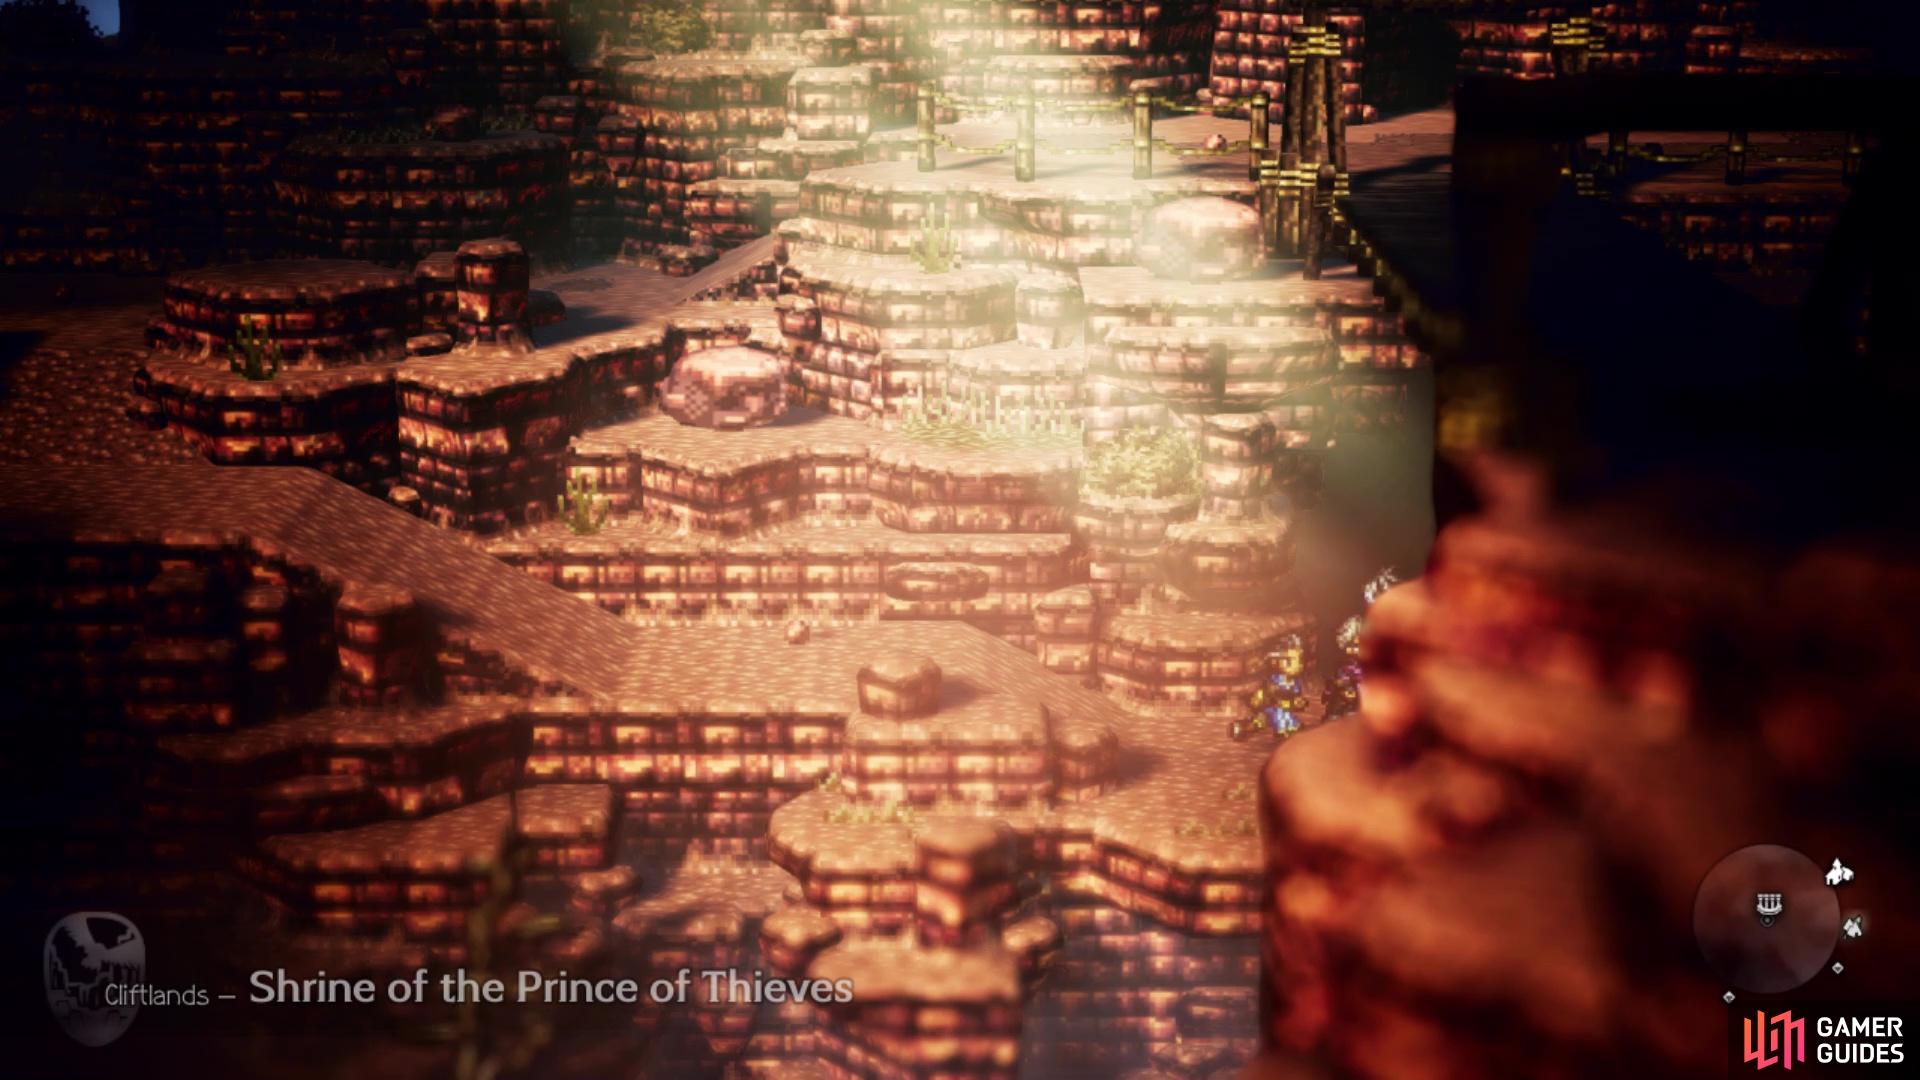
Next up is the Thief secondary job, so fast travel to Bolderfall and exit the city. On North Bolderfall Pass, you want to go north and cross the bridge to the west, then continue south to South Bolderfall Pass. Here is where you will want to change your course, as west leads to Quarrycrest and the shrine is close to that city. So, when you find the signpost just south of where you entered, head to the west to get to South Quarrycrest Pass. Just west of the bridge is a chest that contains an Herb of Valor, so grab it and cross the bridge to the north.
There will be three different ways to go here, with left heading to Orewell and north to Quarrycrest. Before you start your trek, there is a cave called Derelict Mine to your east, which has a Danger Level of 30, so just dip in and out to put it on your map. You should also see a glimpse of a purple chest on your map, hidden behind the ledge that goes north. To get this, you will need to head west at the split and when there is a little hill leading west, you can find a hidden passage to the right, bringing you to that purple chest (Fire Amulet).
(1 of 2) The hidden path shown leads to a purple, locked chest
The hidden path shown leads to a purple, locked chest (left), The Thief shrine is located on the western side of the pass, underneath the bridge (right)
With that out of the way, you can begin making your way north on the path from earlier. Just head straight up and you will arrive in Quarrycrest, but where is the Thief shrine? Well, going to Quarrycrest was just a minor distraction to enable fast travel to it, but the actual shrine is back to the west at that one three-way split. If you continue past where you found the hidden path to the purple chest, there will be a bridge. Keep going past the bridge and you will come to the path that brings you to the Shrine of the Prince of Thieves.
Shrine of the Flamebearer
To continue with the shrines, the next one is the Shrine of the Flamebearer, for unlocking the Cleric job. You may think starting from Flamesgrace is the ideal way to go, but this shrine is actually fairly close to the Shrine of Huntress. If you’ve been following this walkthrough, then you should already have Victors Hollow unlocked as a fast travel point. Go there and then find the save point south of the Shrine of the Huntress. East of here will lead you to the Stillsnow areas (there’s a chest along the way with an Inspiriting Plum).
You’re in Western Stillsnow Wilds and it’s a big more open than normal outlying areas. There’s a chest just east of the frozen pond, behind the rock formation, which contains an Herb of Revival. Stick to the bottom of the map as you journey east and you should run into a stone arch. Go through this arch and continue east to run into the Shrine of the Flamebearer.
Shrine of the Healer
For the next shrine, you will be going after the Apothecary job, so fast travel to Clearbrook. Exit to West Clearbrook Traverse and make your way to South Clearbrook Traverse. At the bridge, cross it to the south and then head west until you get to East Saintsbridge Traverse. Follow the trail across the bridge and when you arrive at the save point and signpost, look to the east. There is a slightly hidden path that will bring you straight to the Shrine of the Healer.
Shrine of the Lady of Grace
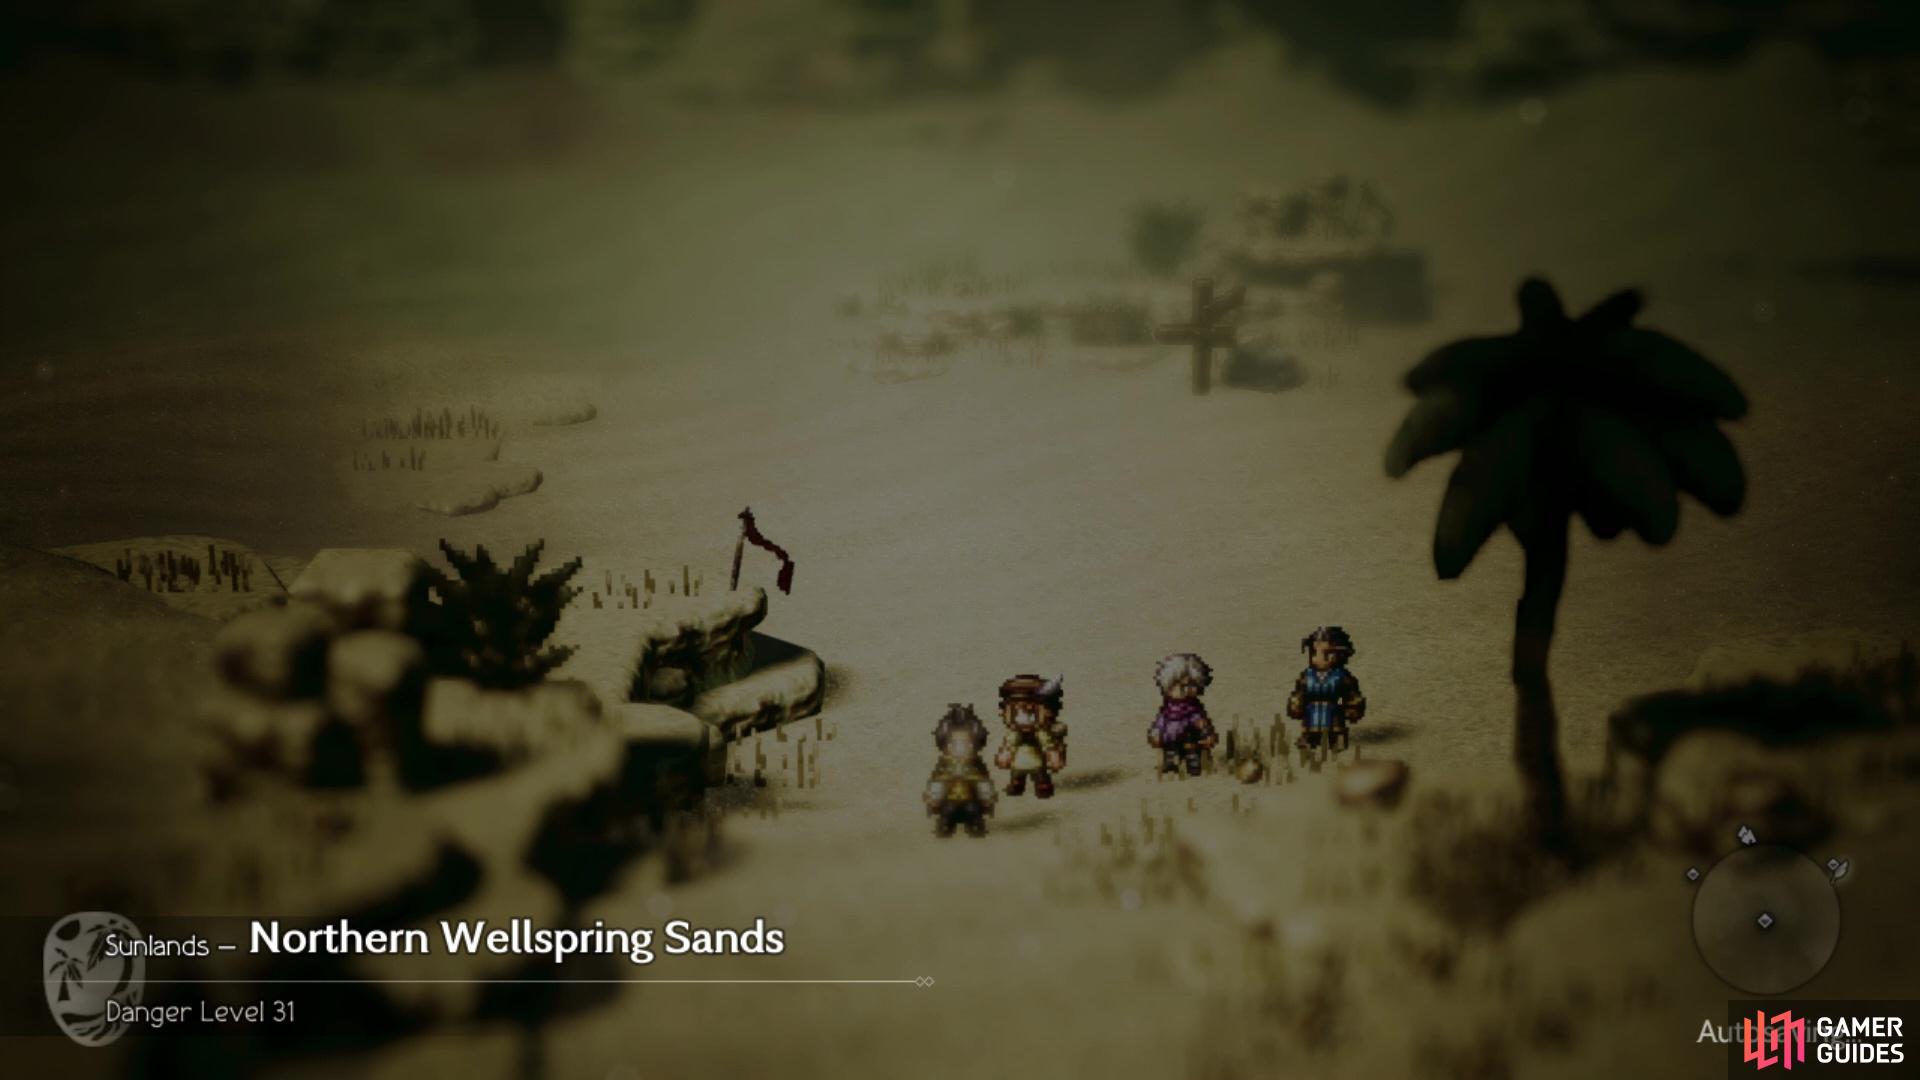
The penultimate shrine will be the Shrine of the Lady of Grace, earning you the Dancer job. Fast travel to Sunshade and exit the town to Southern Sunshade Sands, then make your way to Eastern Sunshade Sands. Stick to the southern edge of the map and venture to the east, opting to exit to Northern Wellspring Sands. Note that this area has a Danger Level of 31, so it’s more dangerous than the other outlying areas. Keep to the western part of the map and as you go south, you should see a path leading to the southwestern corner of the area. Look for the slightly hidden trail to the west, that will bring you to the Shrine of the Lady of Grace.
(1 of 2) The path shown, going east, leads to the Apothecary shrine
The path shown, going east, leads to the Apothecary shrine (left), The Dancer shrine is in a fairly high level area (right)
Shrine of the Thunderlord
You have finally reached the last secondary job shrine, which is going to be for the Warrior job. So, fast travel to Cobbleston and exit to South Cobbleston Gap, then make your way to North Cobbleston Gap. Follow the trail here around until you find a signpost, which is where you will want to head west, towards Stonegard. In North Stonegard Pass, when you first arrive in the area, you will see the secondary job marker. The cave with the shrine is literally just below you on the map, so go east, south and then west to find it right there.
From the Shrine of the Thunderlord, if you continue east to the crossroads, then east some more, you will find yourself at the entrance to Stonegard itself.
Picking the Right Job
Before even beginning this section, there is no wrong choice in picking a secondary job for a character. You can equip a secondary job to whatever character you want, but you should probably take a good look at what you need. There are three different strategies in assigning a secondary job to your characters. You can go the route of covering up a character’s weaknesses, adding on to their strengths, or just doing something as simple as concentrating on the actual skills a character will get.
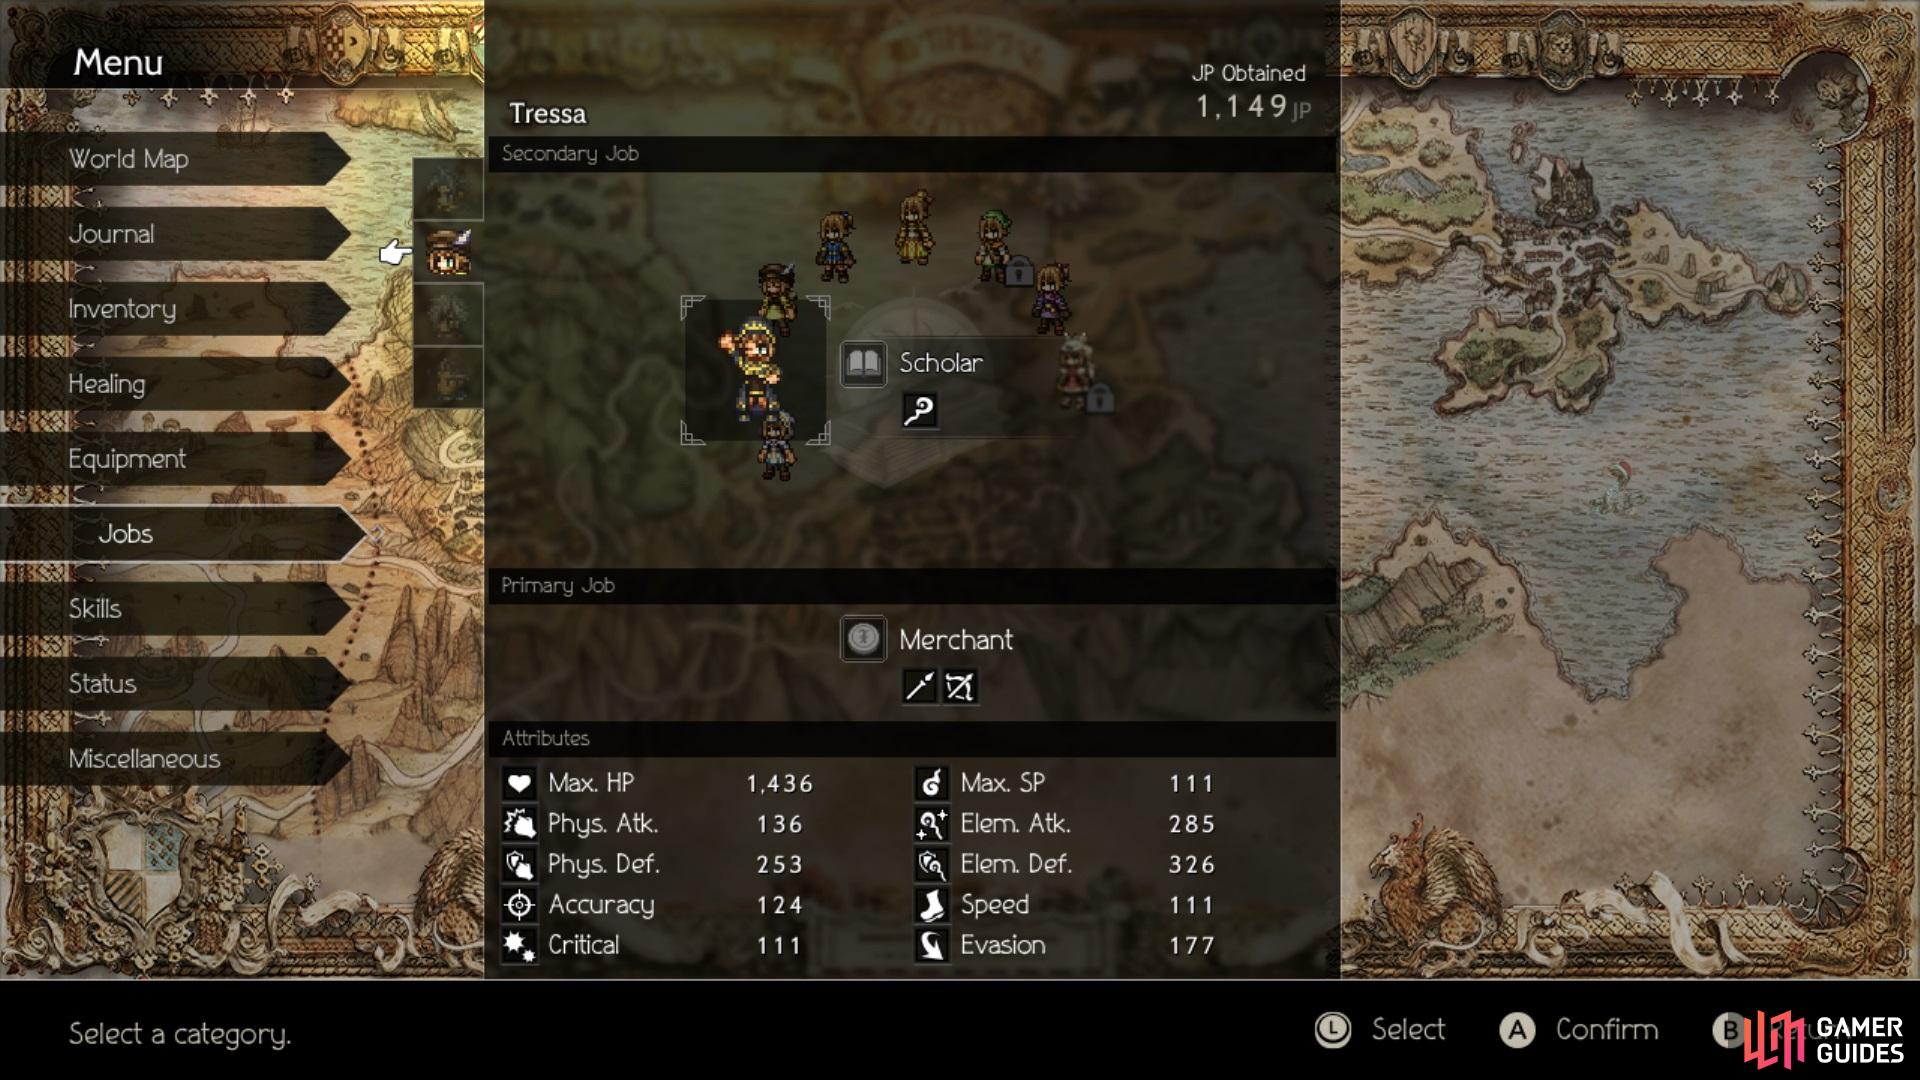
As an example, Cyrus starts out as a Scholar, which means he excels at magic, so he’s going to be weak physically. You can counter this by pairing him up with Warrior or Hunter to increase his physical attack and/or defense. On the other hand, since Cyrus is very good with magic, you can supplement this by putting Cleric or Dancer on him. Likewise, if you go for skills, Cleric, Dancer or Merchant will give him another element to use (he has three with Scholar). The only problem with Cleric, which is minor, is that you will only get a single weapon type (Staves), making him not a good option if you run into enemies without any elemental weaknesses.
As previously mentioned, it doesn’t particularly matter which secondary job you use for your characters, but there are some passive skills that are quite good to have. Merchant’s last passive is SP Saver, making it so all skills cost half SP, which is fantastic for mage builds. To complement that, Dancer’s third passive will regenerate SP each turn. Hunter’s fourth passive is Patience, giving that character a 25% chance to act again at the end of a turn. Another good Hunter passive, for melee attackers, is Second Serving, giving a character a 50% chance to add another strike when attacking normally.
(1 of 2) Some pairings just make sense, like making Tressa a Scholar
Some pairings just make sense, like making Tressa a Scholar (left), while other choices will be made based on the available skills (right)
Although not relevant now, but Warrior has Surpassing Power, allowing a character to deal more than 9,999 damage (up to 99,999). There are various other passives that work well together, so experimenting can be a fun thing to do. Some good utility passives to have are Evasive Maneuvers for reducing encounter rates (Scholar’s first), Precipience to prevent your party from being surprised in battle (Scholar’s third), Evil Ward for fleeing battles (Cleric’s third), Grows on Trees (Merchant’s second), Snatch for getting extra stuff when Stealing/Collecting in battle (Thief’s third), and Heighten Senses for a chance to attack first in battle (Hunter’s first).
Beefing Up Your Characters
So, you are about ready to tackle the second chapters for your characters, but you might feel like you’re a little bit underleveled for them. Hopefully, you gained some when exploring the slightly more dangerous areas for the secondary job shrines. One of the less dangerous areas is East Victors Hollow Trail, as the encounters there can give you around 100 experience per battle. In addition to this, there are a number of small dungeons sprinkled throughout the various areas. There are at least three Danger Level 20 dungeons, one of which is Whistling Cavern in Eastern Sunshade Sands.
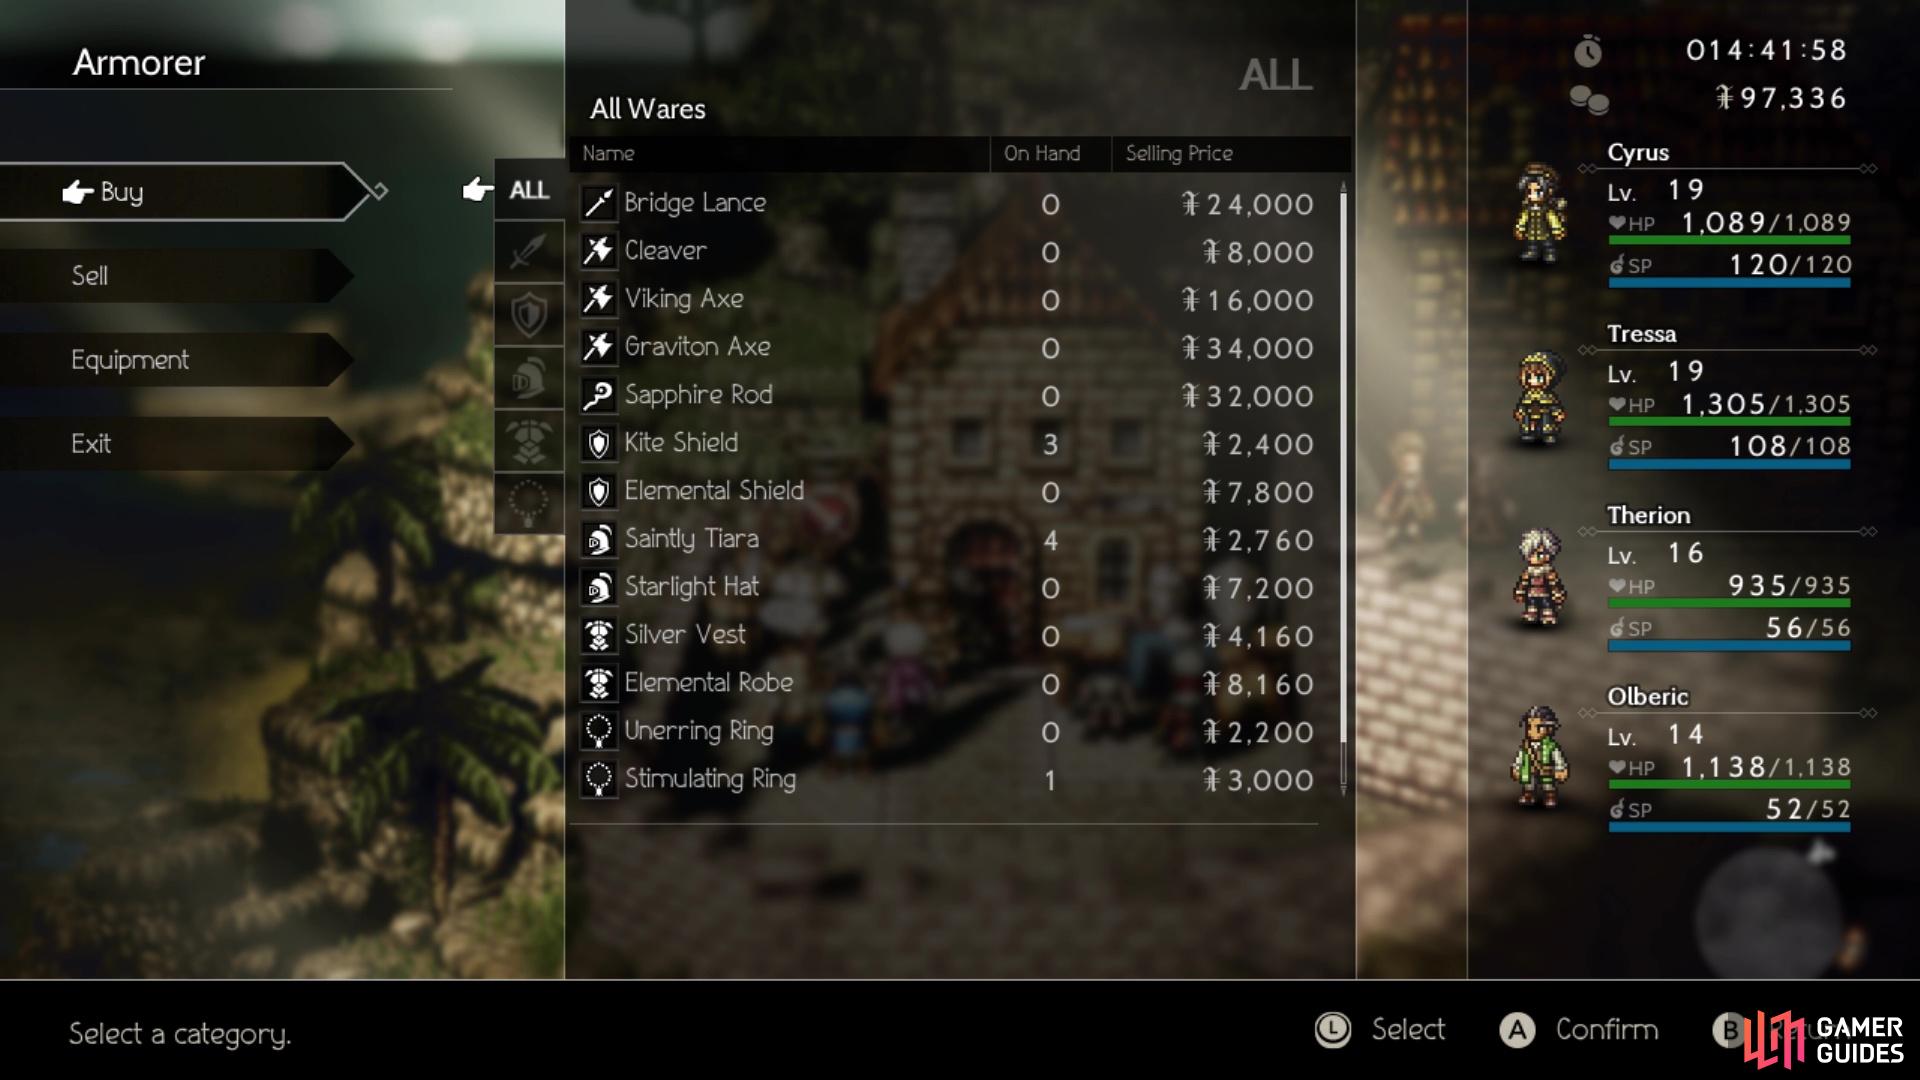
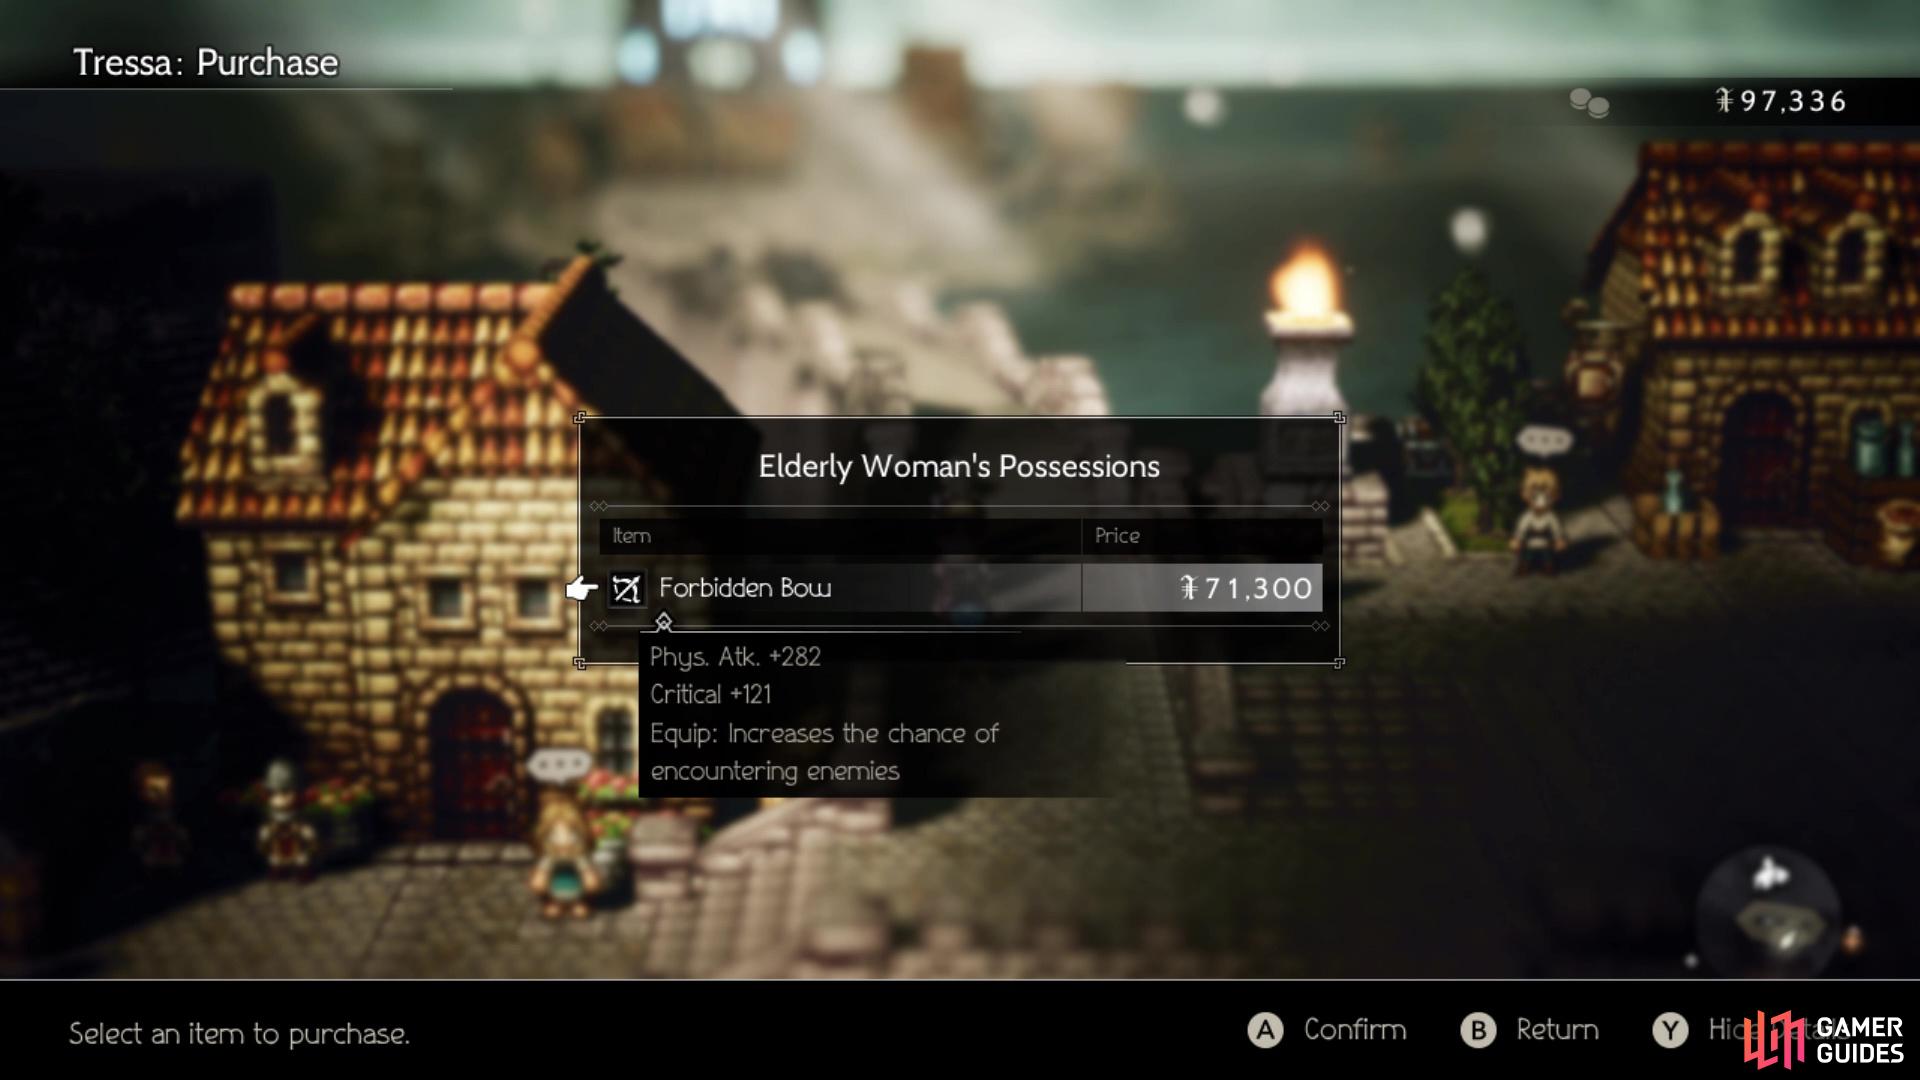
The other two are Twin Falls in South Clearbrook Traverse and Carrion Caves in South Bolderfall Pass. If you’re feeling a bit more adventurous, then there are some Danger Level 25 dungeons, like Hoarfrost Grotto in Western Flamegrace Wilds, The Hollow Throne in Western Noblecourt Flats and Tomb of Kings in West Stonegard Pass. Of course, levels aren’t the only thing important, as equipment will usually trump it. It wouldn’t hurt to get some new gear in the various Chapter 2 towns, despite some stuff being expensive. Compare the stats to your current gear and try to concentrate on equipment that doesn’t cost an arm and a leg.
(1 of 2) Shops in the second round of towns will have some upgrades
Shops in the second round of towns will have some upgrades (left), but you’re better off checking the various NPCs for gear (right)

 Sign up
No Comments