You’ve done half of the Chapter 4 stories, so it’s time for a little break to catch up on some of the sidequests. You will be concentrating on the Side Stories in the four towns for the four stories you’ve already finished, which are Duskbarrow, Grandport, Marsalim and Northreach. This section will not include the Side Stories unlocked from completing the individual stories themselves, of which there are eight, as those will be posted on the Post-Game Sidequesting page. To start off, let’s head to Duskbarrow first.
Looting Grave Robber & Ashlan the Beastmaster (III)
This is the first two of three Side Stories in Duskbarrow, as both of the above will have you visiting the same optional dungeon. Start off with the former sidequest, which can be started by speaking with the Obliging Merchant south of the town’s entrance. He wants something done about a mercenary who’s been pestering him with worthless trinkets from some nearby ruins. For the latter, you will find Ashlan in the northwest corner of the village. He believes his father is in some nearby ruins and needs someone to escort him there. To complete both quests, you will need Olberic/H’aanit and Ophilia/Primrose. With the latter, you will need to Guide/Allure Ashlan into following you.
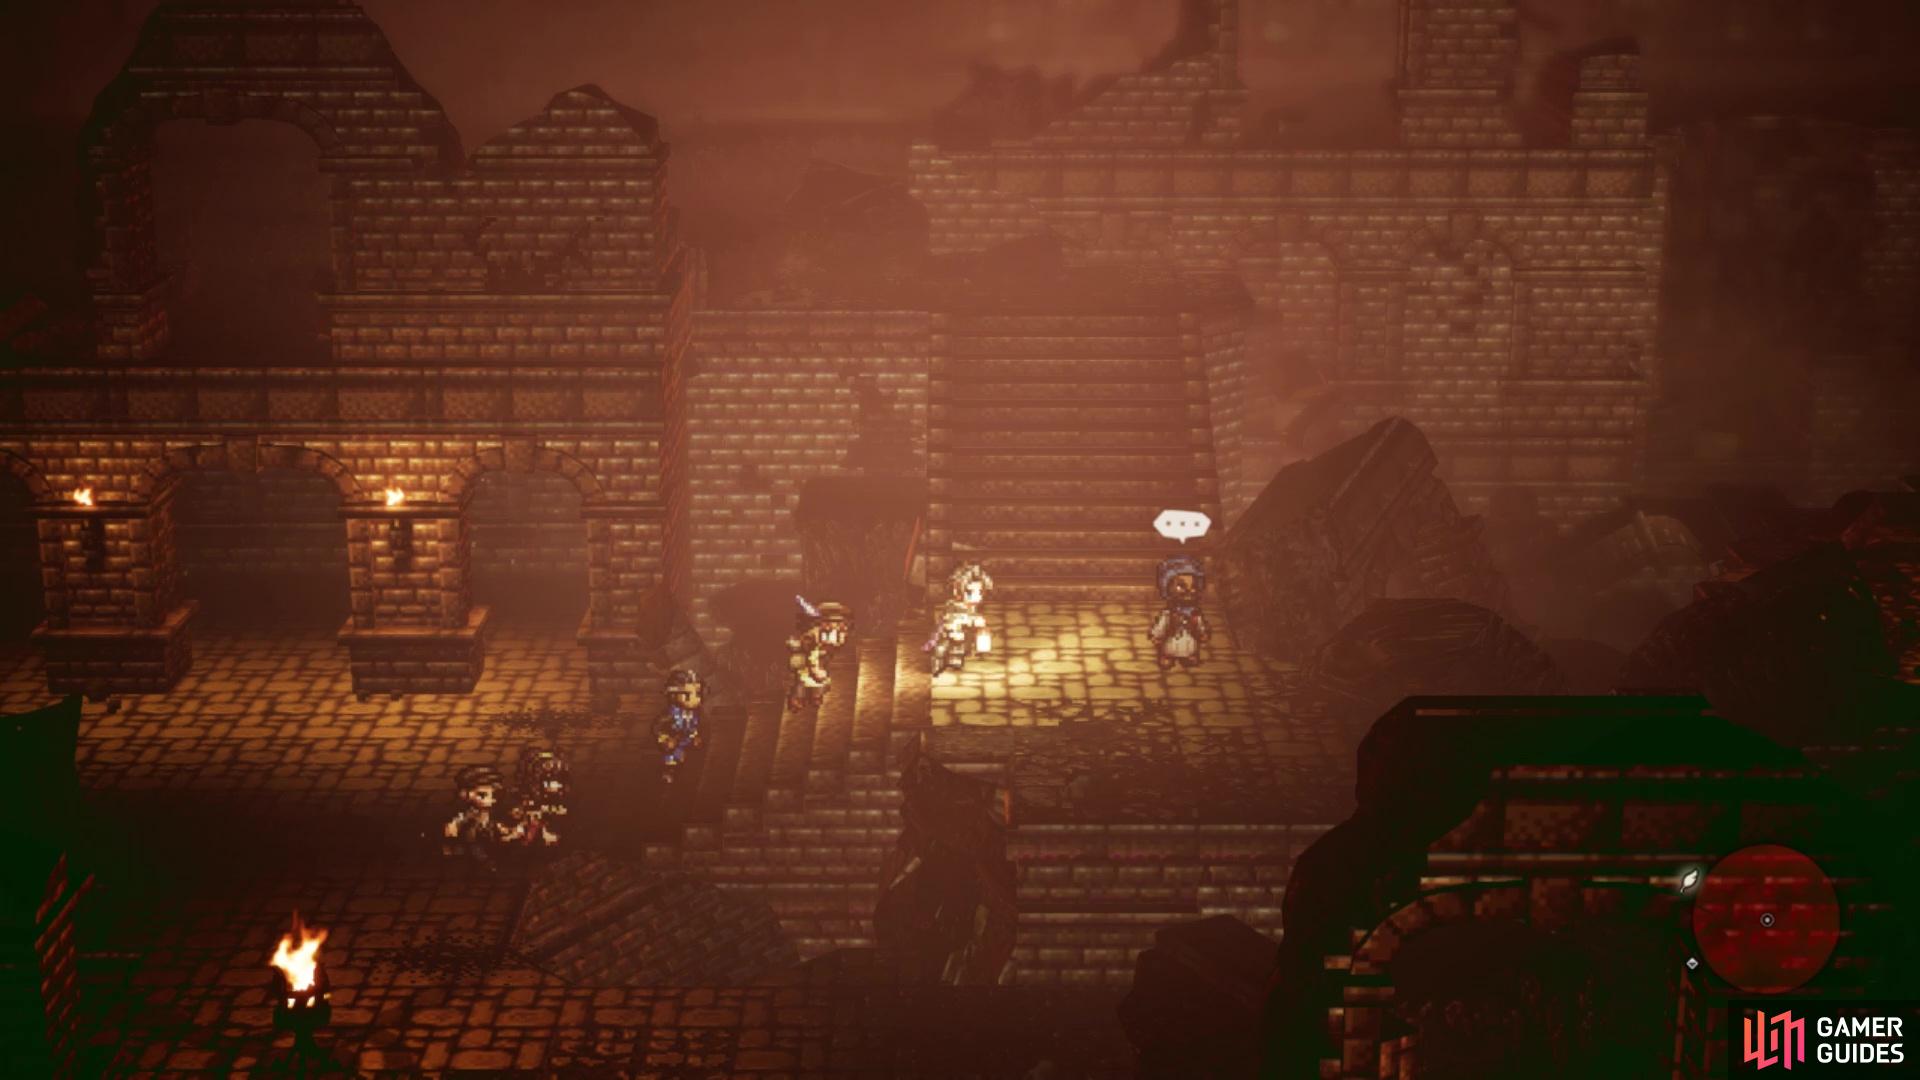
Once you are fully prepared, leave the town and get on the slightly hidden trail to the right of the save point in East Duskbarrow Trail to find the Moldering Ruins. Head past the save point inside and go south, then west to find a path that leads to a chest you saw from the beginning (Inspiriting Plum M). Back in the main section, there is a path leading southeast, as well as some stairs just north of those. Take the latter option to find the Grave Robber right there, who you will need to rough up a little bit with either Olberic or H’aanit. He has a strength of seven and will pretty much do physical attacks the entire time, although he can buff his attack if the fight prolongs enough. Once he’s defeated, Looting Grave Robber will be finished.
| Objective | Reward |
|---|---|
| Stopped the Grave Robber from pestering the merchant | 4,000 Leaves, Energizing Pomegranate (L) |
You’re not quite done here in the Moldering Ruins yet, so let’s continue exploring. To the right of the Grave Robber is a chest, which holds a Shadow Soulstone (L). Follow the southeastern trail from before, and there is a dirt path just to the south, leading to another chest (Healing Grape Bunch). Return to the main trail and keep going east, until you reach some more stairs heading north. Take those and head west, all the way until you finally reach a purple chest (Hypnos Crown). Return to the top of the stairs, hug the northern wall and venture east to find a slightly hidden opening that will lead to another chest (Thunderstorm Amulet).
(1 of 2) The Grave Robber can be found not far from the entrance
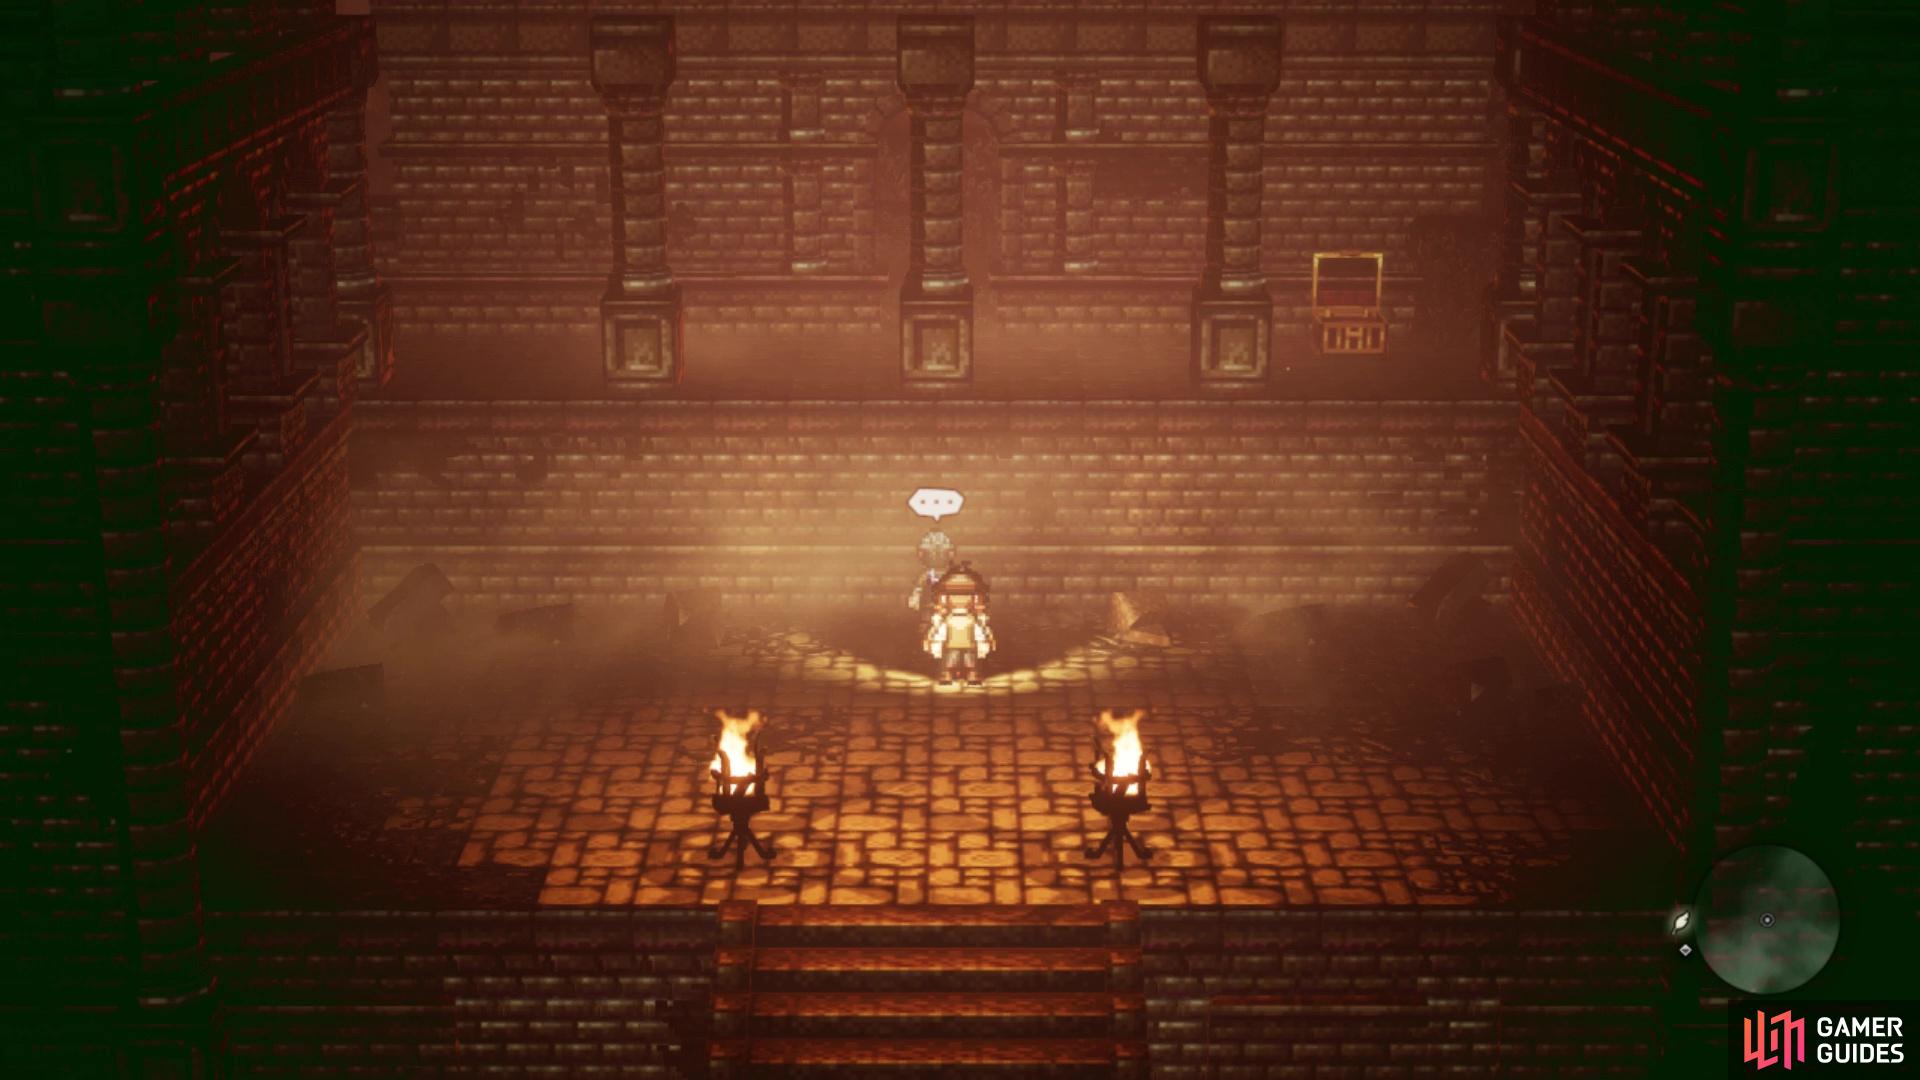
The Grave Robber can be found not far from the entrance (left), Ashlan’s father is found at the end of the dungeon (right)
Just before that hidden opening, you can go south, so do that and descend the stairs to reach in an inaccessible area below (Vivifying Stone). Return to the base of the large staircase and continue southeast, through some arches. With the first set, you will find a path by the third opening, leading west to a chest (Energizing Pomegranate L). All that’s left is to double back to the main path and venture into the last room, where you will find Ashlan’s father. Speak with him for a scene and an end to the side story.
| Objective | Reward |
|---|---|
| Helped Ashlan save his father | 11,000 Leaves, Monster Trainer’s Hat, Slippery Nut (L) |
A Cub with No Name
Return to Duskbarrow and speak to the Fearful Mother in the southwestern corner of the village. Her son has brought home a tiger cub from the forest, and is afraid of what it might do when it grows up. There are two different solutions for this quest, so let’s start with the first. You will need either Ophilia or Primrose for this. Fast travel to Bolderfall and look for the NPC wearing red near the inn. Guide/Allure the Beastmaster and bring him back to the mother in Duskbarrow to finish.
For the other solution, you will require either Alfyn or Cyrus. Go to S’warkii and look for the Scholar of Beasts, who should be by some stairs in the southeastern part of the village. Inquire/Scrutinize him to learn the How to Train a Tiger information, then bring that info back to the mother in Duskbarrow to complete the quest.
| Objective | Reward |
|---|---|
| Helped the Fearful Mother deal with the tiger cub | 7,000 Leaves, Beastly Scarf |
Le Mann, Explorer Extraordinaire (III)
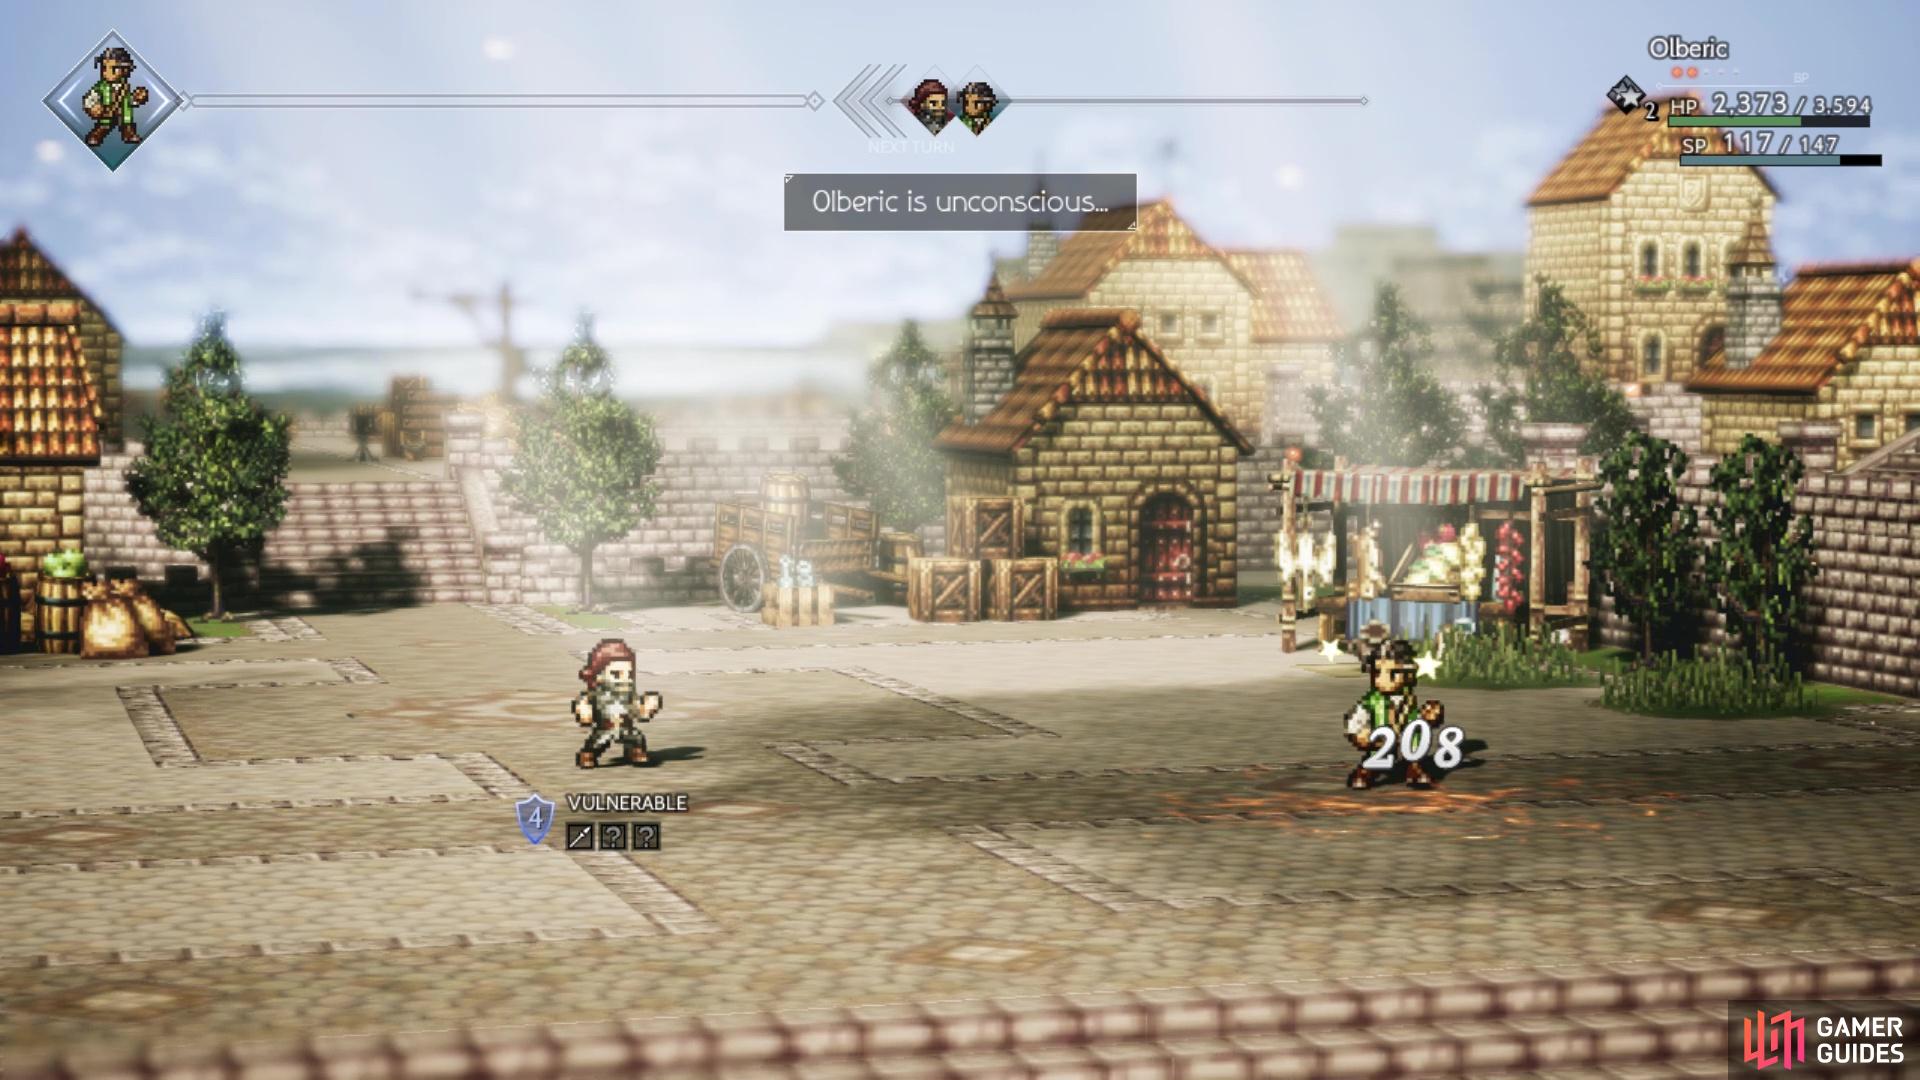
The next town up is Grandport, so head on over there and enter the Markets area. Le Mann can be found near the docks in the lower right corner. He has hit a snag, as he was about to embark on his voyage to uncover a new land, but some brigands are blocking entry to the ship. You should see the ship to your right, so walk over to the Wharf Thug and Challenge/Provoke him. With a strength of seven, he is weak to spears and doesn’t seem to do much. However, watch out for Brain Bash, as it can inflict Unconscious. Upon defeating the thug, you will finish the quest.
Brain Bash is annoying, as it can knock your character unconscious, giving the enemy some free turns
| Objective | Reward |
|---|---|
| Helped Le Mann set out on his journey | 11,000 Leaves, Adventurer’s Hat, Fortifying Nut (L) |
An Exotic Aroma
For the next Side Story, look no further than the southwest corner of the Markets area. The woman is from a distant land and while she has no plans on ever returning, she does miss the smell of the quatrait blooms that grow there. There are two solutions for this quest, with the first one requiring you to head to Sunshade. On the western side of town, north of the save point, is a merchant. He has the quest item, so either Purchase or Steal the Quatrait Bloom from him and bring it back to the woman in Grandport to finish.
For the alternate solution, you will need either Primrose or Ophilia. Guide/Allure the questgiver into following you, then fast travel to Rippletide. You’re looking for the Caravan Member, who is located on the docks by the save point. Simply speak to the Caravan Member with the questgiver in tow to finish the quest.
| Objective | Reward |
|---|---|
| Helped the Woman from Quaragosa cure her homesickness | 11,000 Leaves, Revitalizing Jam |
Ria, Born to Roam (III)
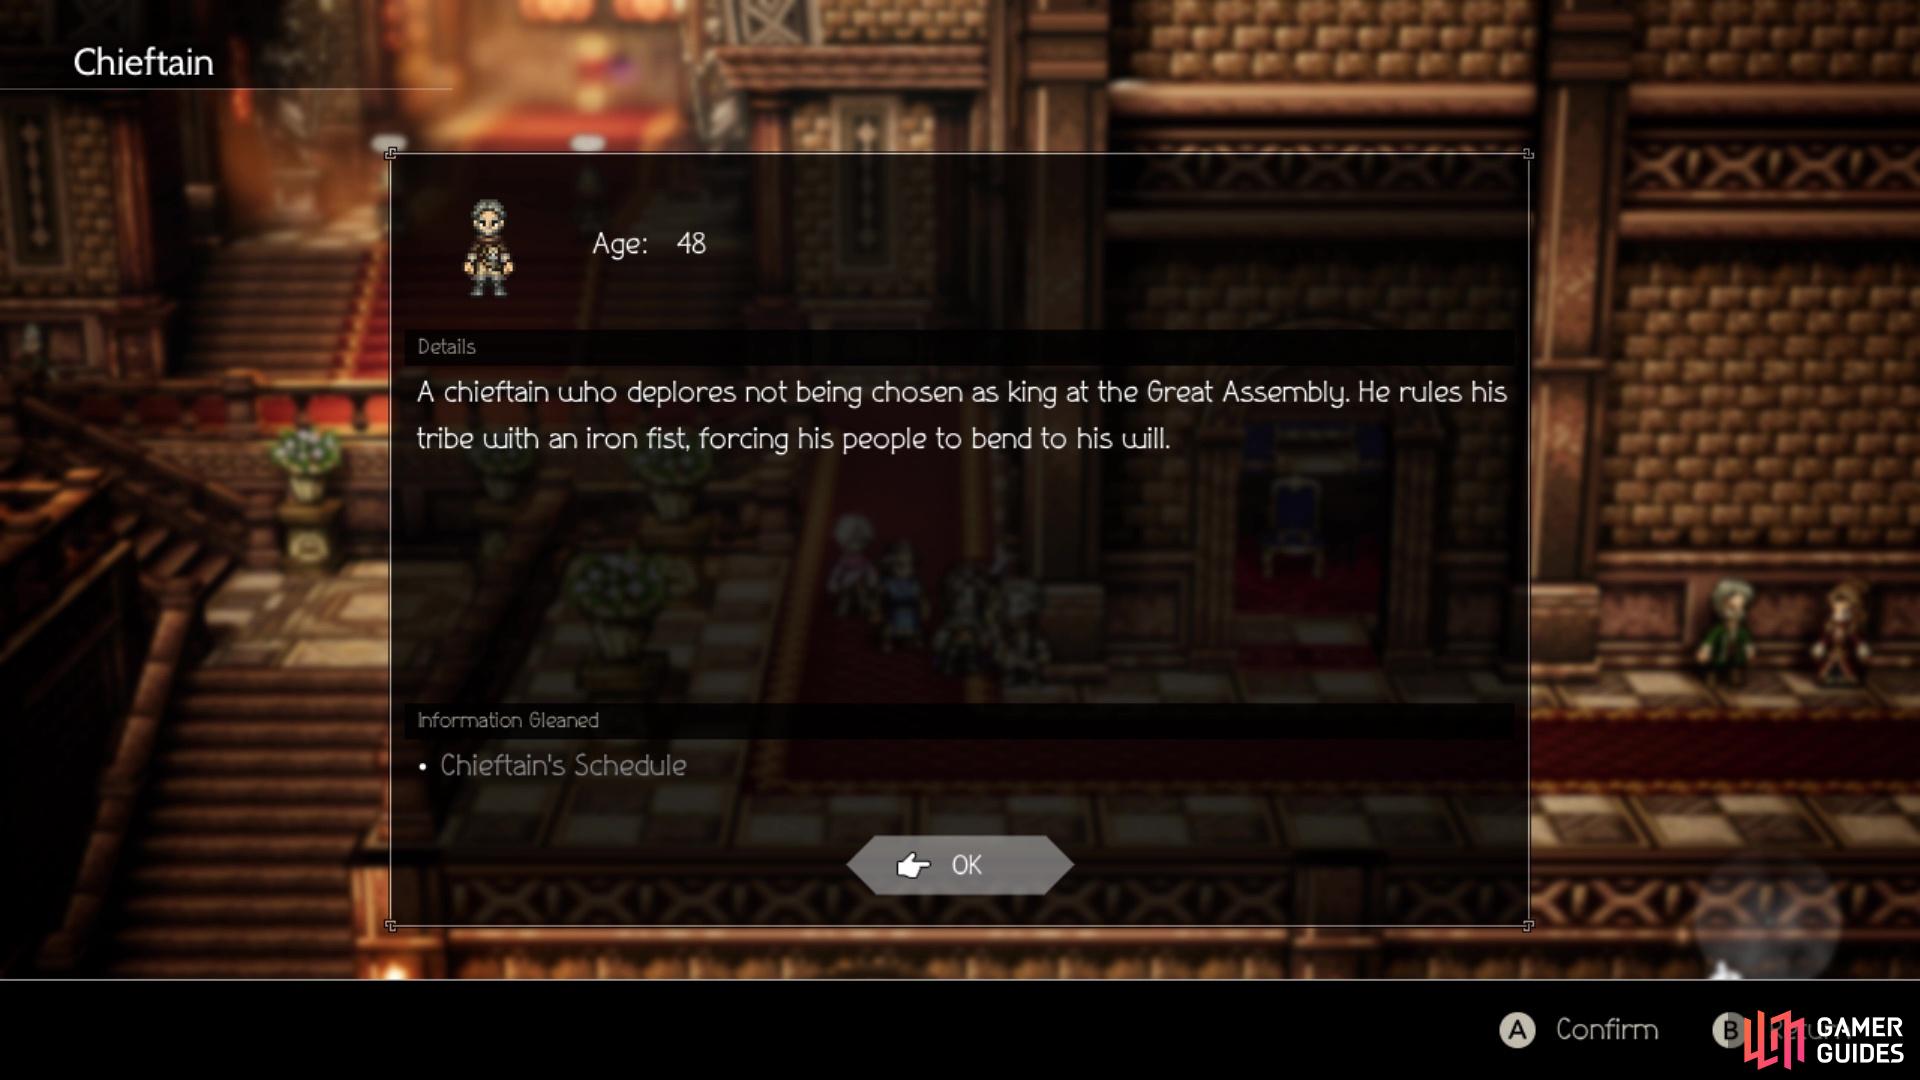
Fast travel to Marsalim, where you’ll have three Side Stories to complete. First up is Ria, who’s standing in front of the pathway to the palace. She wants to meet with a chieftain visiting Marsalim, but the meeting needs to be a secret. In order for this to happen, she needs to find out his routine. Head into the palace and go to the upper level, where you’ll find the Chieftain on the right side. Inquire/Scrutinize him to get the Chieftain’s Schedule information, then bring it back to Ria to finish the quest.
The Chieftain can be found inside of the palace, on the second floor
| Objective | Reward |
|---|---|
| Helped Ria meet with the Chieftain | 11,000 Leaves, Princess’s Coat, Magic Nut (L) |
The Prisoner’s Plea
Return to the palace and look to your left on the ground floor, where you should see a Side Story inside one of the cells. Kevin, the prisoner inside the cell, is soon to be put to death, but he asks a favor of you. He needs to know what happened to the love of his life, Lara, before his life is forfeit. You will find Lara in the Markets area of Grandport, on the beach on the left side. Inquire/Scrutinize Lara to learn the Lara’s New Life information, then bring this info to Kevin back in Marsalim, which will finish the quest.
| Objective | Reward |
|---|---|
| Shared information about Lara to the prisoner | 300 Leaves, Revitalizing Jam |
In Search of the Unknown
The final Side Story in Marsalim will begin by speaking with the Old Aristocrat in the square of the town. He has lived his life to the fullest up to this point, but he is yearning for something more. There are two ways to complete this Side Story, with the first being to defeat Swordsman Yuri (standing right next to the questgiver) in a duel. This guy is tough, as he has a strength of ten, so you are looking at a challenging fight. His normal attack can deal 400+ damage with around 750 physical defense, plus Cross Strike is capable of inflicting upwards of 1700+ damage. To add on to this, Stunning Strike has the possibility of inflicting Unconscious.
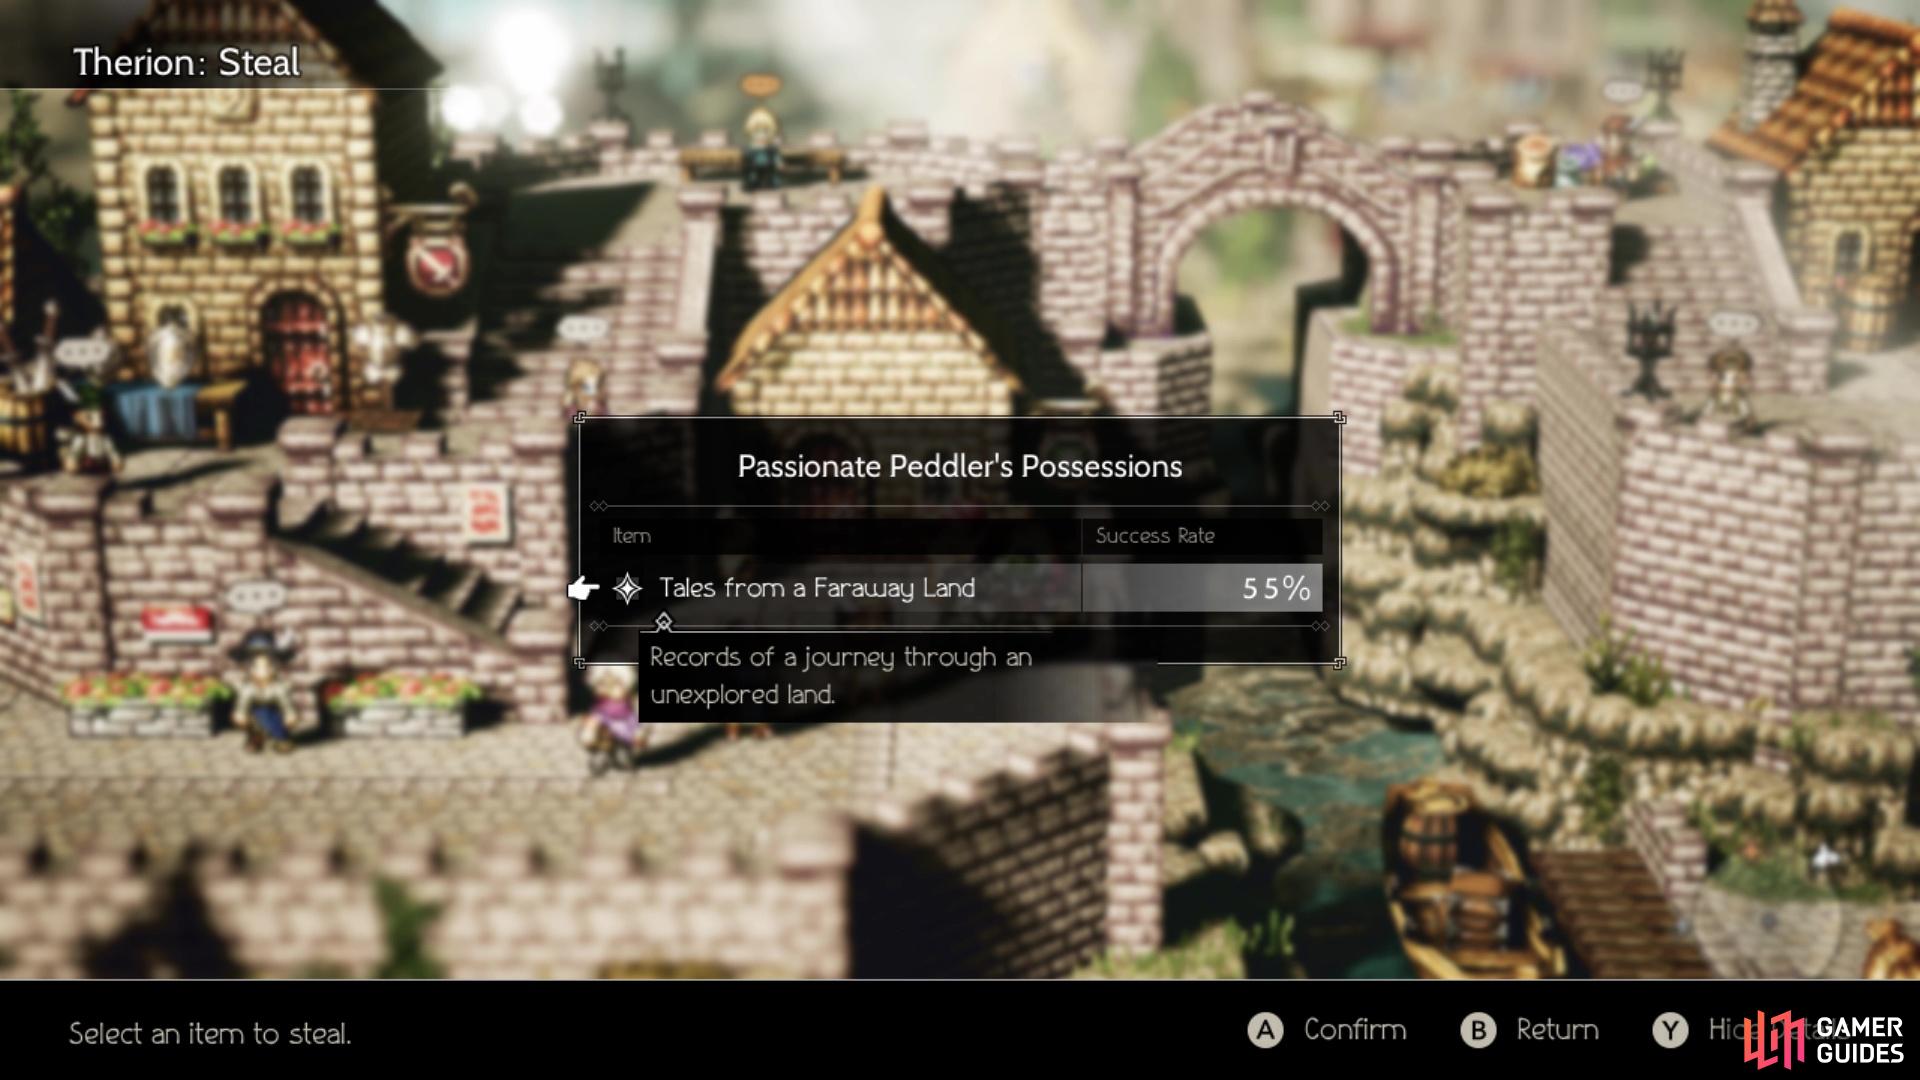
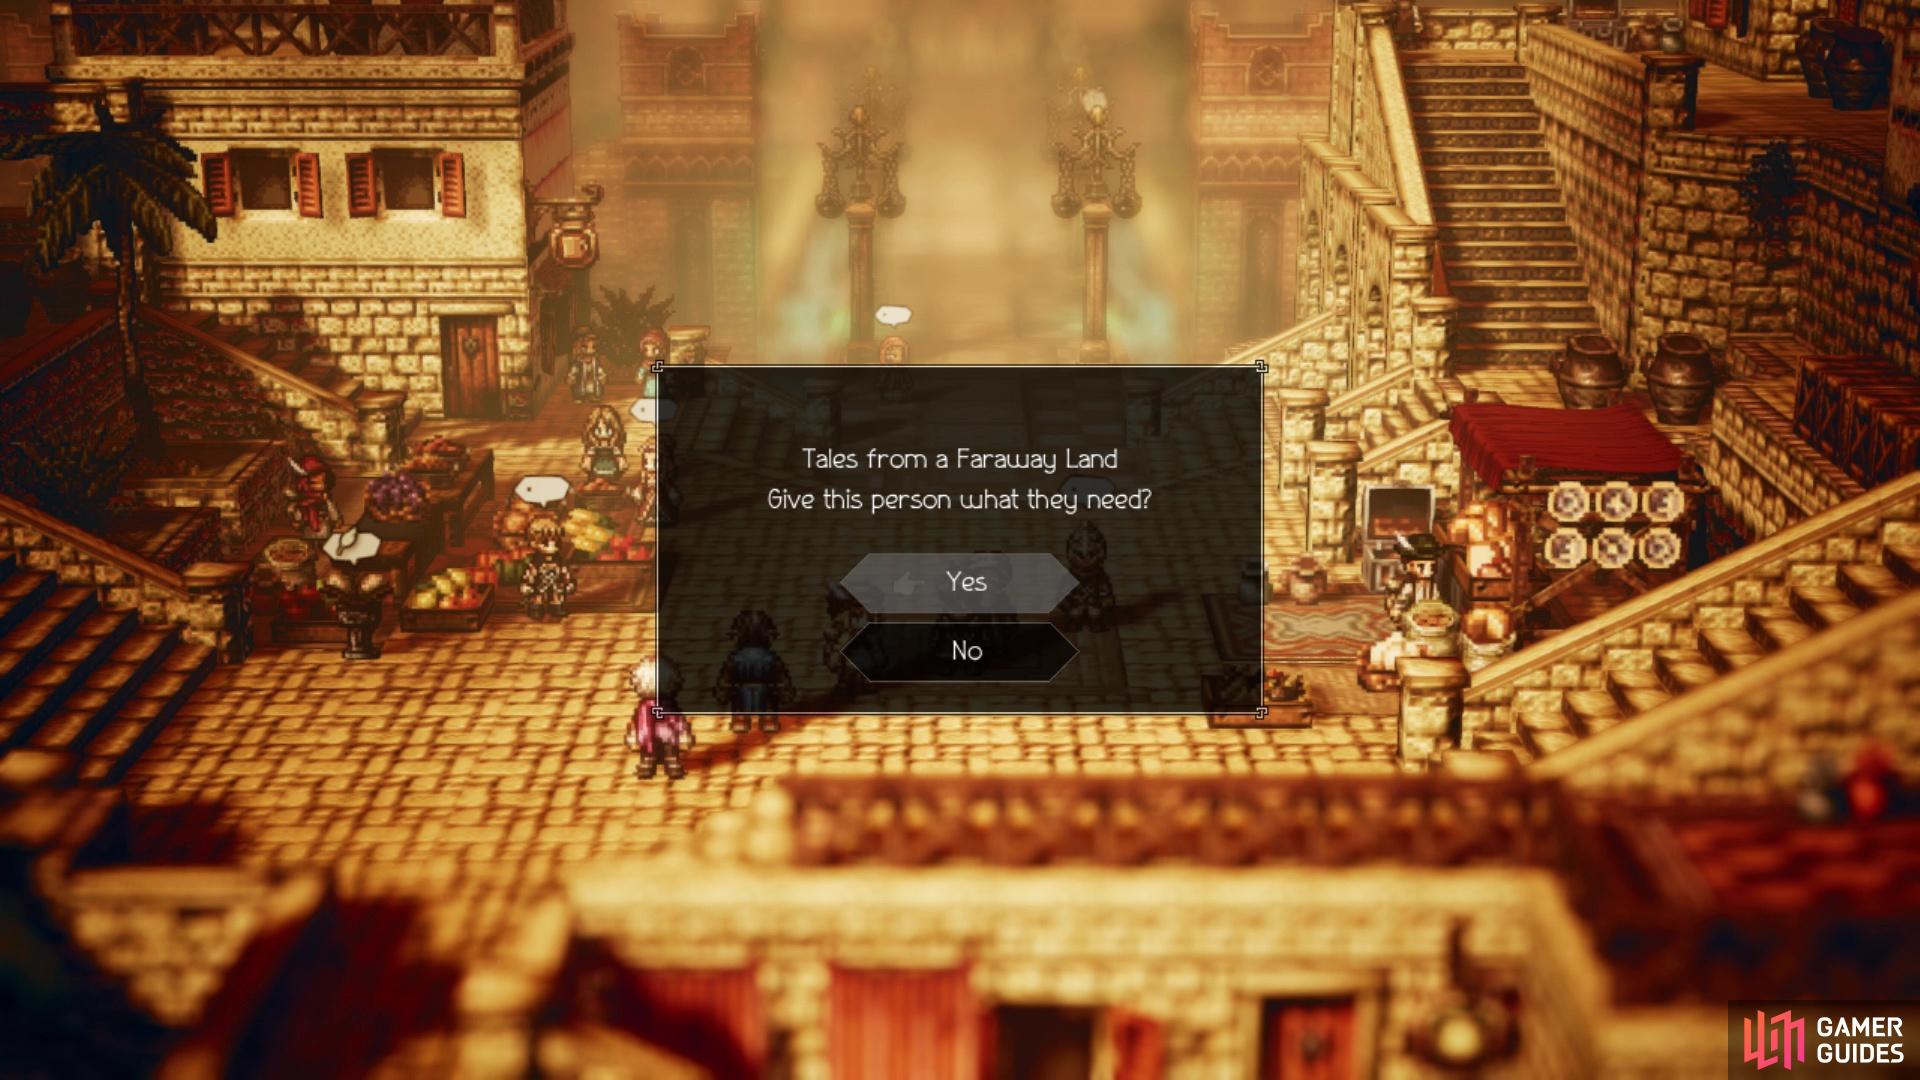
The other option, which is much, much easier, involves you going to Grandport. Look for the Passionate Peddler, who will be in front of the Provisioner. He has the quest item you need, which requires either Therion or Tressa. The Tales from a Faraway Land has a pretty low chance for Steal to succeed, so it will probably be easier to just Purchase it with Tressa instead. Once you have the item in your possession, return to the Aristocrat in Marsalim to finish.
(1 of 2) It’s a lot easier to do the second option for this sidequest
It’s a lot easier to do the second option for this sidequest (left), as it’s a simple item to get (right)
| Objective | Reward |
|---|---|
| Gave the Old Aristocrat something new to experience | 11,000 Leaves, Alluring Ribbon |
Sir Miles, Servant of the Flame (III)
Head to Northreach to find your last set of Side Stories to do right now. Miles will be the first person you see inside of the town, in front of the inn. Miles has heard rumors that a sword belonging to his fath is in this town. The sword is in possession of a NPC near the northwestern exit. The Memorial Sword has a pretty low chance for Therion to Steal it, so use Tressa to Purchase it (the sword will cost around 25,000 Leaves). Return to Miles with the sword to finish.
| Objective | Reward |
|---|---|
| Acquired the father’s sword for Miles | 11,000 Leaves, Ardante Attire, Nourishing Nut (L) |
Heirloom of a High House
The next Side Story will begin by speaking with Byron the Noble, who is on the right side of the inn (middle of three stories here). Byron is looking to gain back something about his noble family, since it has fallen so far, to the point he even had to sell his ring. There are two solutions for this Side Story, with the first one requiring you to visit Grandport. Go to the Markets area and look for the Master Jeweler on the left side of the main part of the Markets. Steal/Purchase Byron’s Ring and bring it back to Byron in Northreach to finish.
The second solution entails you visiting S’warkii and seeking out a NPC named Highbrow Historian. This person is located straight south from the entrance of the town, along the southern border, and is wearing green. Inquire or Scrutinize this fellow to get the Byron Family Lineage information, then bring it back to Byron to finish the quest.
| Objective | Reward |
|---|---|
| Helped Byron remind himself of his lineage | 9,000 Leaves, Sharp Nut (L) |
Here Be Dragons
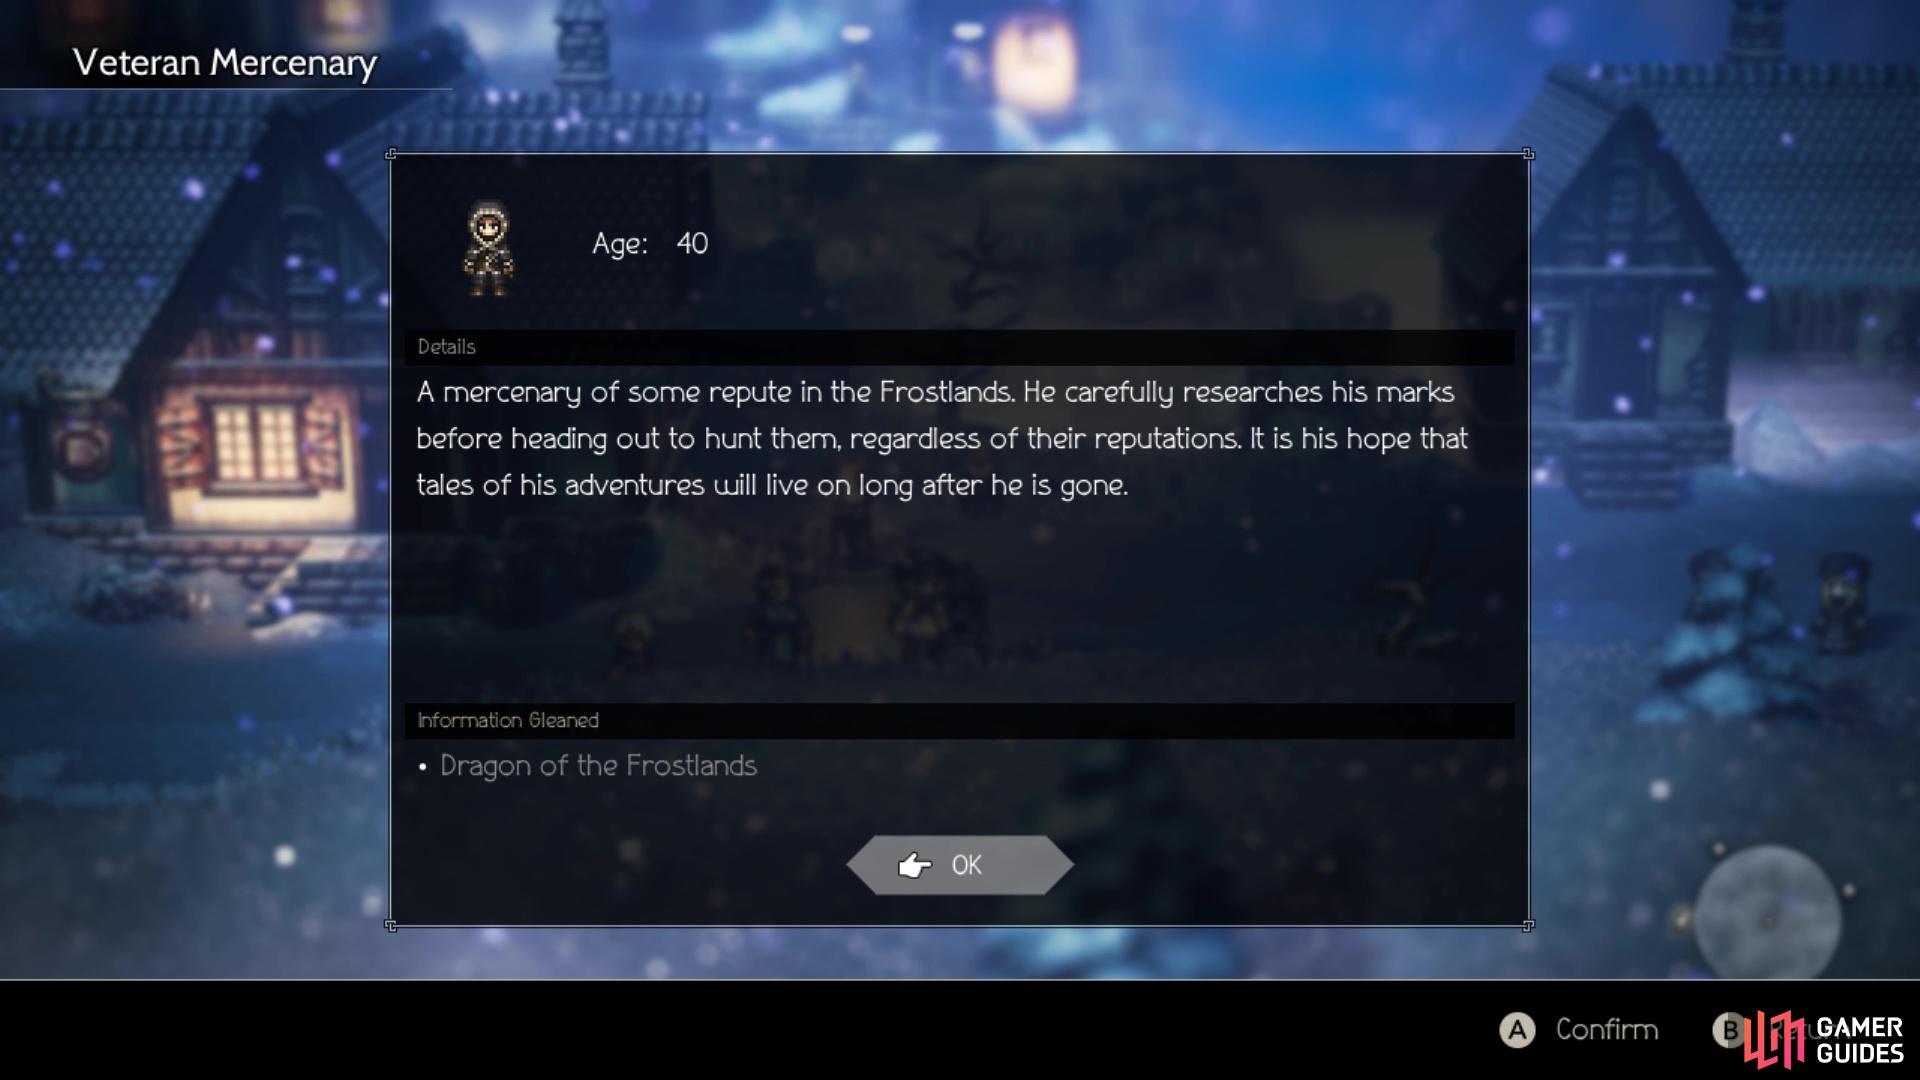
The last Side Story that will be covered starts just above Byron, from the Traveling Author NPC. He is travelling in search of tales and legends of the noble dragons, as he wants to put them down in a book. He needs your help in procuring knowledge about the great dragons in the Frostlands, Cliftlands and Highlands. You will need to go to three towns, in the above three regions, and use either Inquire or Scrutinize on specific NPCs to get the relevant information. First, let’s go to Stillsnow. You’re looking for the Veteran Mercenary, who is to the right of the tavern, along the southern edge; he has the Dragon of the Frostlands info.
(1 of 3) The NPC in Stillsnow with Dragon of the Frostlands info
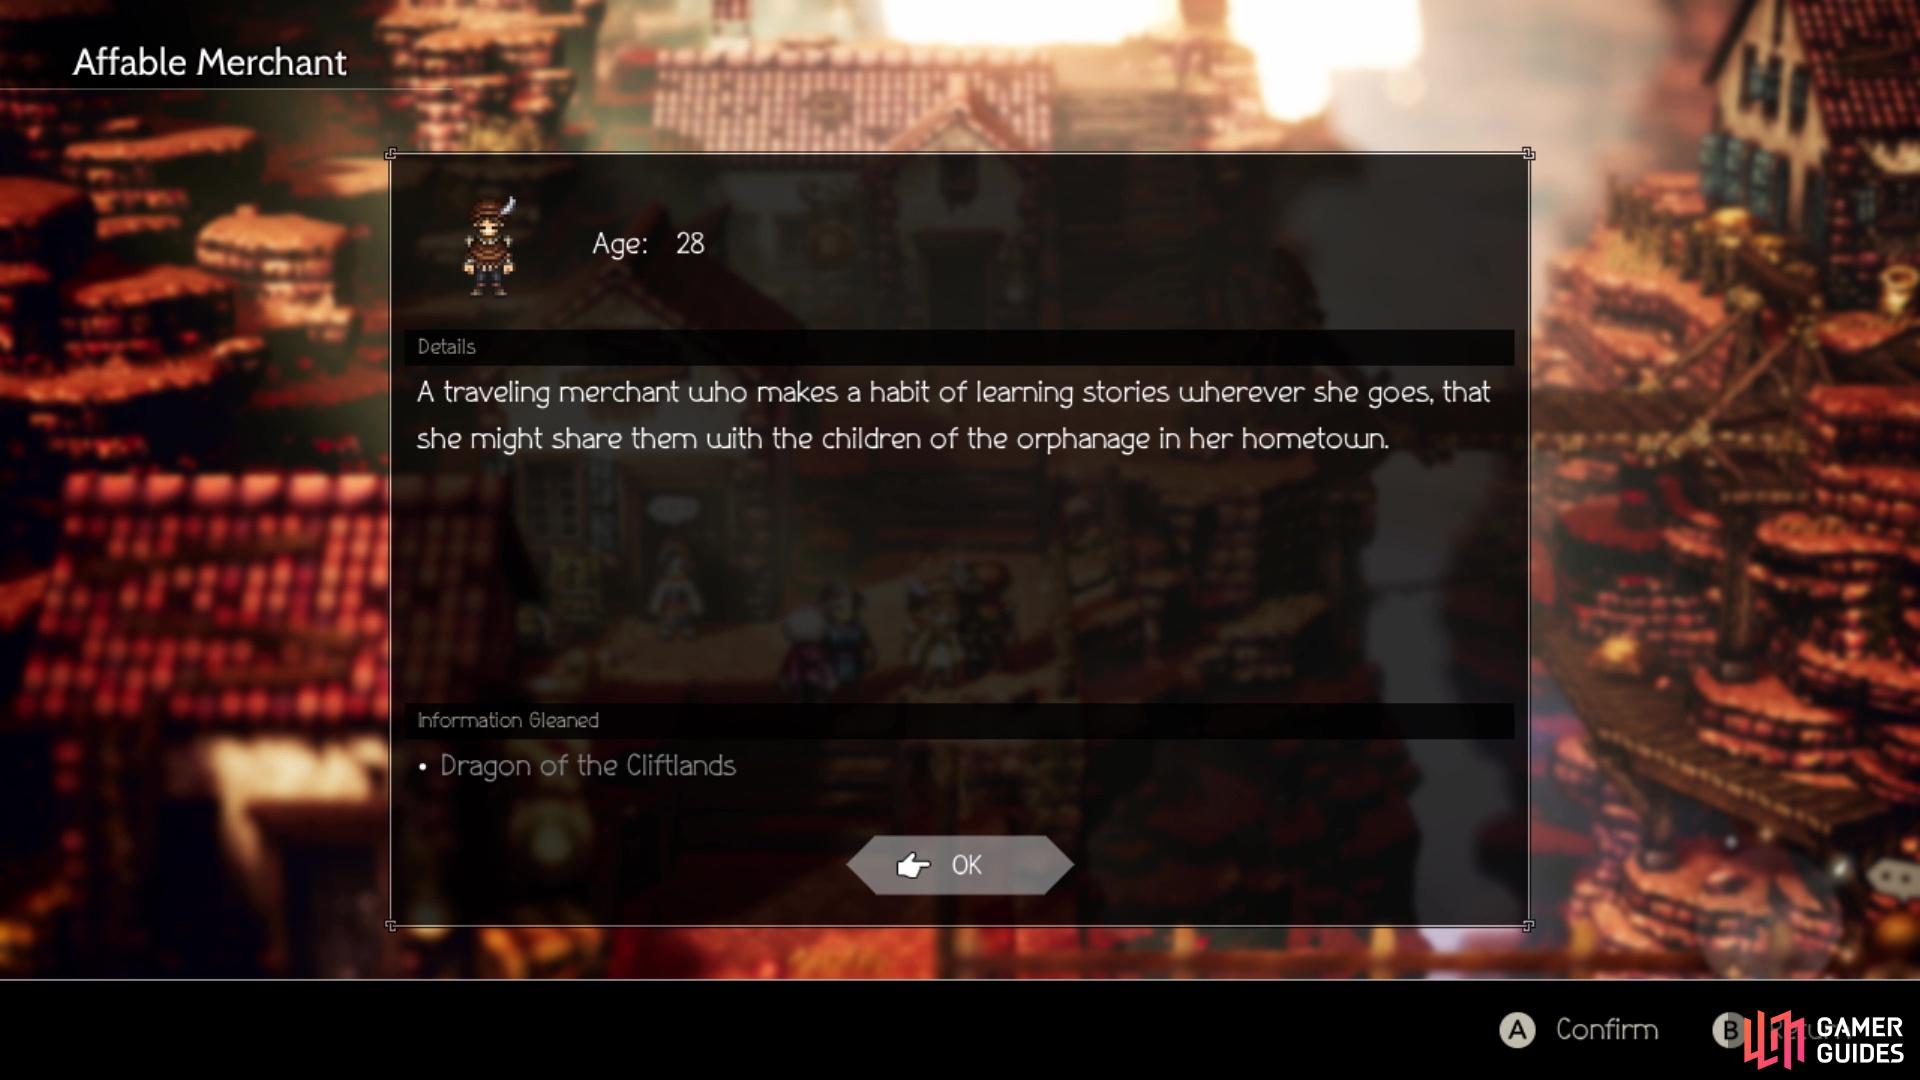
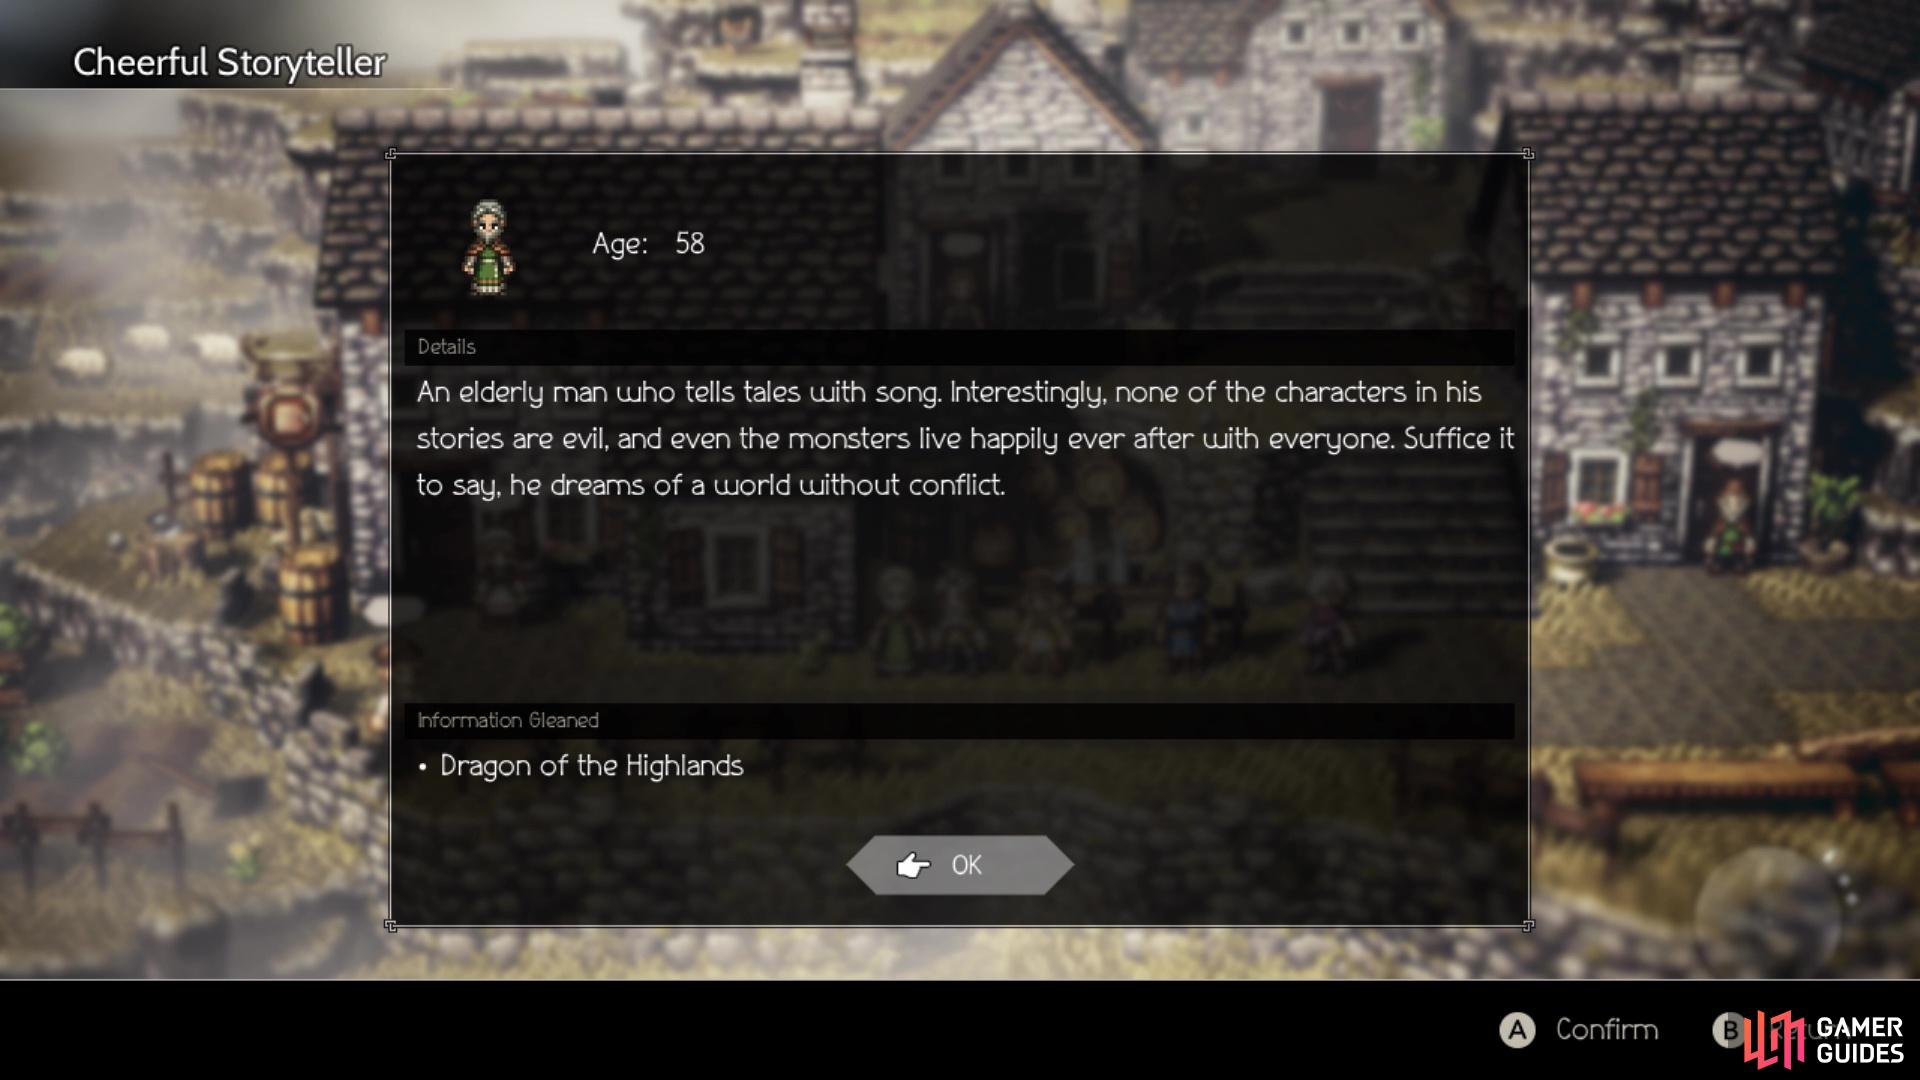
Next up is Orewell, so fast travel to that town next. On the left side of town, there is a woman blocked the door to a house. To the right of this woman is an Affable Merchant, who has the Dragon of the Cliftlands information. The last stop for this quest will be Cobbleston. The Cheerful Storyteller is who you want here. He can be found next to the house in the southwest corner of the village; he’ll have the Dragon of the Highlands info. Once you have all three pieces of information, return to the Author in Northreach to finish.
| Objective | Reward |
|---|---|
| Collected tales of dragons for the Author | 11,000 Leaves, Dragon’s Scarf |
 Sign up
No Comments