Alfyn’s final chapter begins in the town of Orewell, so travel to that location and start the story. After the events that occurred in the previous chapter, Alfyn has started to question his profession a little bit, wondering what he is doing. This leads him to Orewell, as he heard a plague of some sort has come through the town. He checks up on the patients, when he runs into Ogen again, who seems a little off himself. You’ll gain control of the party shortly after, where you will need to head off to the tavern on the western side of town.
Some more scenes will follow, then you’ll be able to walk around town some more. Start to cross the southern bridge for another scene, which confirms Alfyn’s suspicious that Ogen is definitely sick. Of course, he says he doesn’t need your help, so you decide to ask around town for more information. Head into the building in the northeast corner of town, then use Inquire on the single NPC with the green speech bubble. Return to the inn once you’re finished for another scene, where you’ll learn a little more about Ogen.
Some more story will happen, then you’ll be able to return to the inn for even more scenes. Eventually, you’ll be inside of Alfyn’s memories, where you will need to Inquire the traveling apothecary that cured you of your illness. This will get you the necessary recipe for the elixir, as well as learn about the required ingredient, the feather of an ogre eagle. It just falls into place that the ogre eagle resi des in the Forest of Rubeh, which isn’t far from Orewell. What a coincidence! Thus, your path is set out for you, as you need to venture to the Forest of Rubeh and acquire this feather. The exit is in the northwest corner of town.
Trail to the Forest of Rubeh
Head straight west, bypassing the northern path, until you reach a dead end with a chest (Purifying Dust). Go north now, following the trail, until you spot a path heading south. Take this to find another chest, which contains 20,000 Leaves). Back on the main path, continue west, crossing a bridge and circle around to the south to open a chest (Energizing Pomegranate M). Keep going west to spot another save point, as well as the entrance to the Forest of Rubeh.
Forest of Rubeh
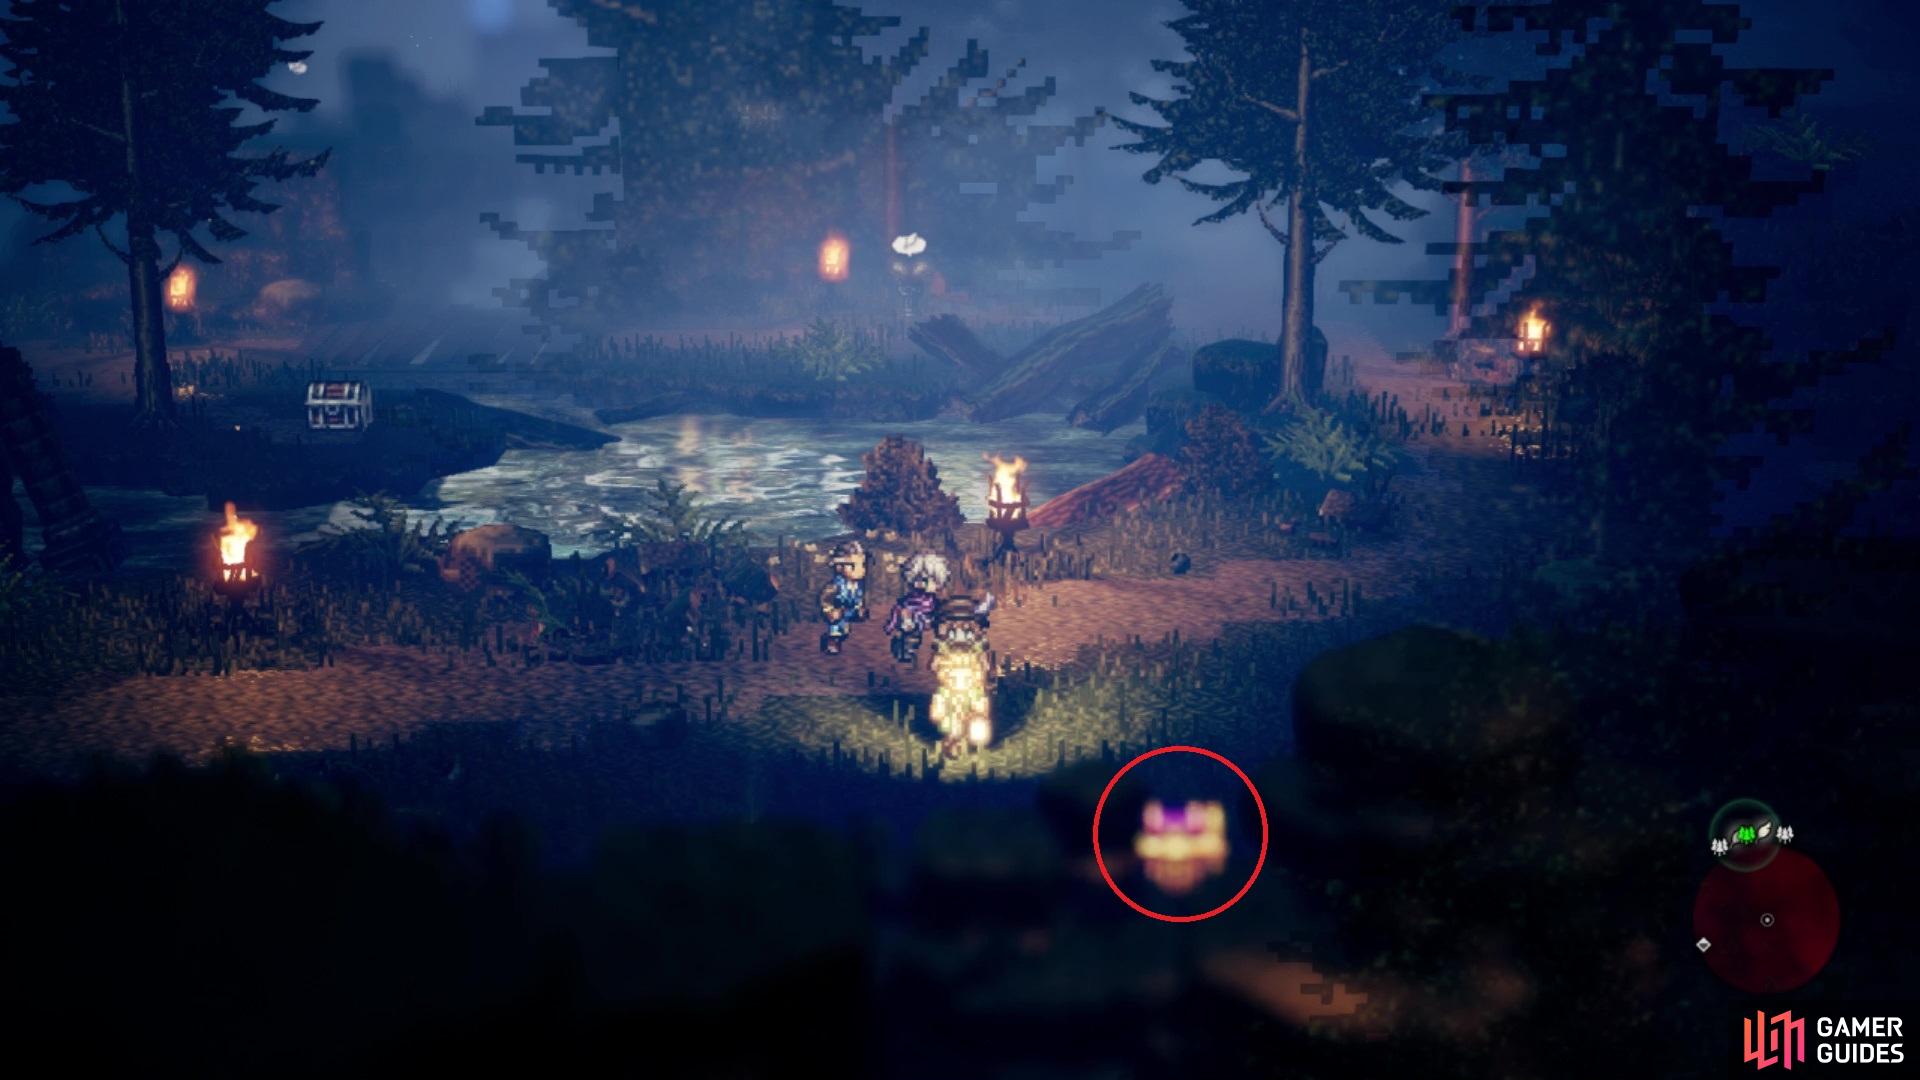
This place has a lot of stuff to grab, so let’s get started. Head east at the beginning, keeping an eye open on the southern edge of the map, as there is a hidden purple chest there (Inferno Amulet). Continue east and climb a hill there for another chest, holding a Wind Soulstone (M). Descend back down and take the path going north, where you should have two ways to go. West leads you deeper into the dungeon (marked by a save point), while north brings you to more treasure. Just north of the save point is a trail by the fallen pillar, which leads to a chest with an Energizing Pomegranate (M).
Keep a lookout for the purple chest near the entrance of the Forest of Rubeh
Immediately north of the treasure trail is another that has you ascending a small hill, bringing you to a dead end with another chest (Herb of Clarity). Double back to the main path and go north to a new area, where all you’ll find is a lone chest (Conscious Stone). It’s time to delve deeper, so head back to the save point and cross the bridge to your west. Immediately to your south is a chest, so open it for a Purifying Seed. A little to the west, there is a trail heading north and if you look closely, you should see a chest slightly hidden behind a tree on the left side (Inspiriting Plum M).
Directly across from the previous chest is a path that leads to another treasure, this one holding a Ruinous Seed. Continue west to where the path bends northward and as soon as you can, there will be another chest hidden on the left side (Silver-filled Pouch). Directly across from this chest is a hidden path that leads to a chest with a Ruinous Dust inside. Venture north, stopping only to grab a chest on the trail heading east (Energizing Pomegranate M), then enter a new area to the north. At the end of the path up here, you will find an Augmented Bow of the Falcon and if you sniff around on the eastern wall, you’ll discover another secret path that leads to a chest on a small hill (30,000 Leaves).
At the previous split in the area you were in before, look to the north where the save point is located and head in that direction to arrive in a new area. Ignore any side paths and just continue north, until you run into a chest at the end (Healing Grape Bunch). To the right of this chest is a hidden path that brings you to another chest, this one housing a Revitalizing Jam. Double back a tiny bit, venturing east and across the short bridge you just passed under prior to this. When you reach the split, there will be a save point to your right, with a chest in plain sight. You need to grab it off the northern path (Healing Grape M), and at the end will be another chest (Imperial Armor). Start running in the direction of the save point, opting for the lower path for one final chest (Herb of Healing). The northern path will lead to the boss.
BOSS - Ogre Eagle
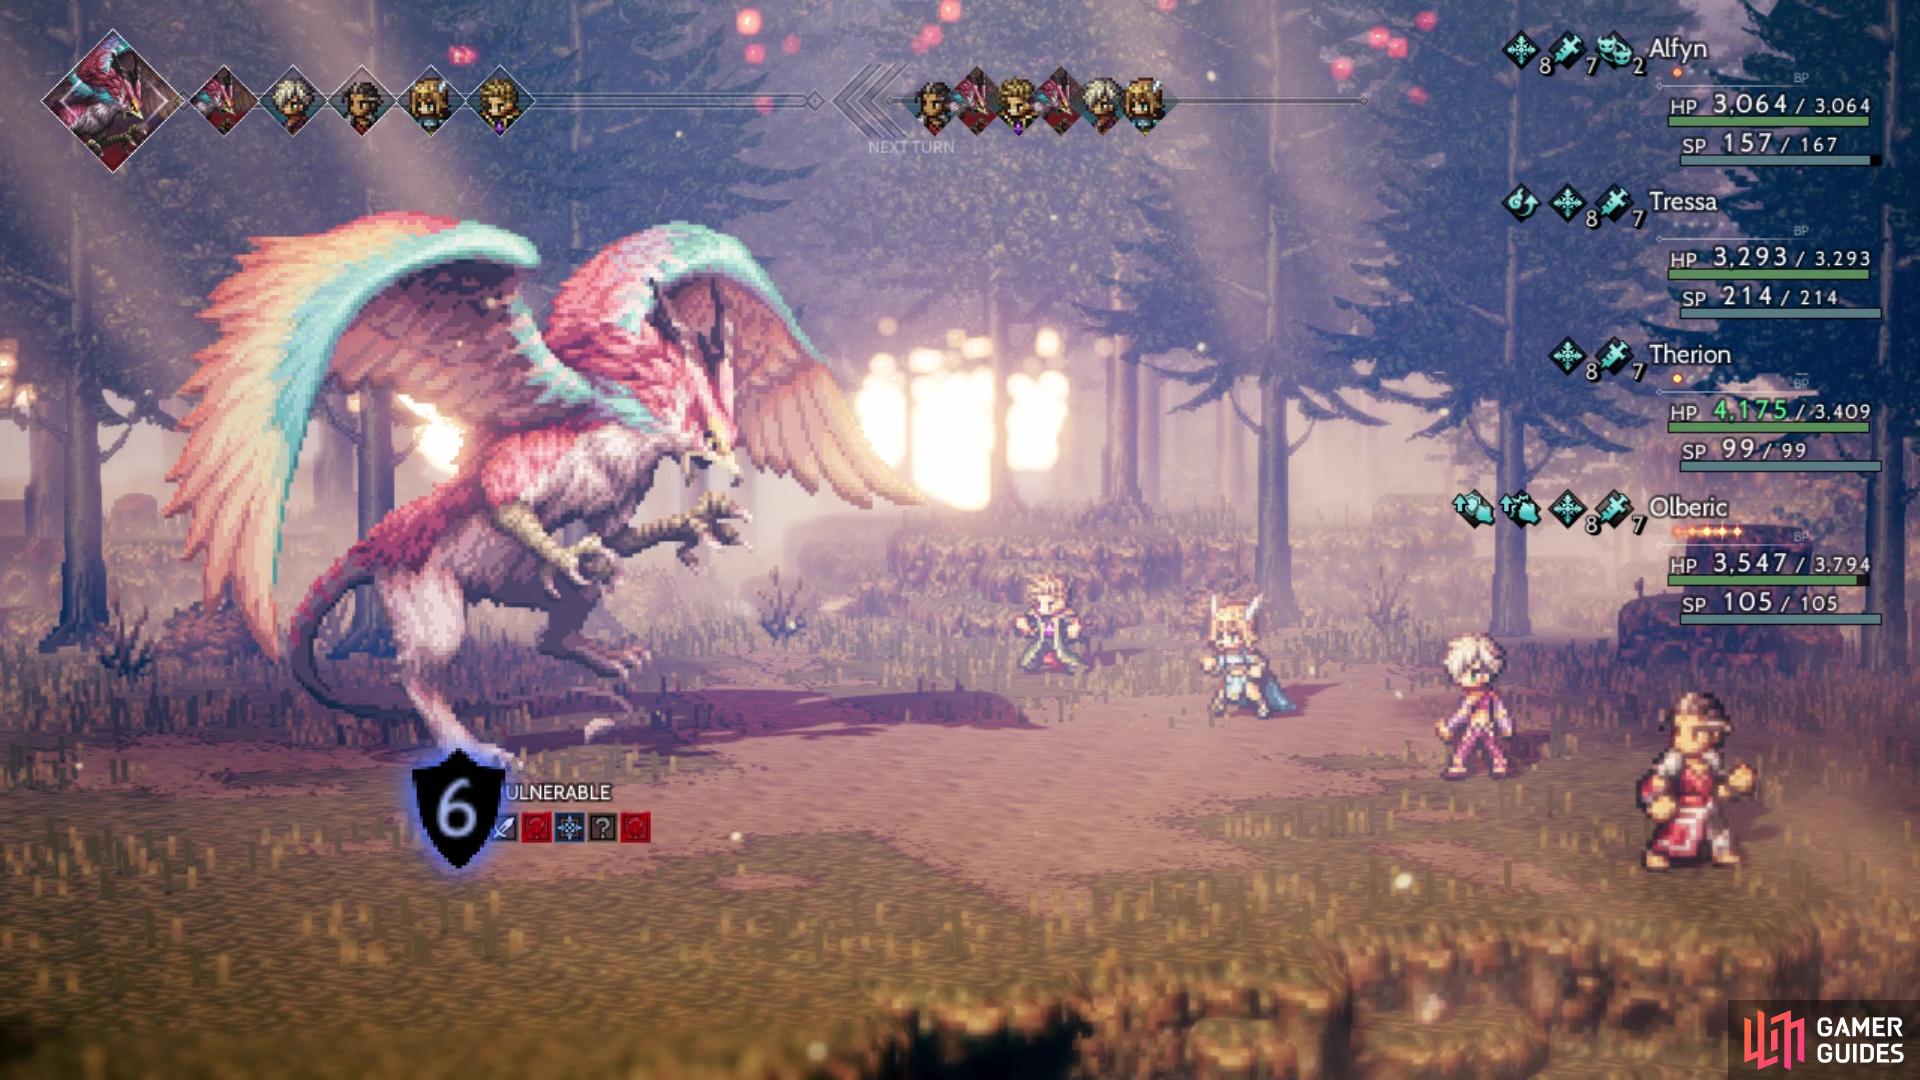
The Ogre Eagle can be a difficult boss, simply due to the fact that any of its attacks can inflict a random ailment or debuff. Thankfully, the boss isn’t terribly complicated, as its arsenal of moves is rather limited. This includes the entire range of everything, so you never know what you might get afflicted with in the battle. A Dancer with Sealticge’s Seduction can use that on an Apothecary, then have that character use Rehabilitate on everyone to eliminate the ailments. On the Ogre Eagle’s first turn, it will block all but one of its five weaknesses. The only weakness vulnerable will be ice, but once you break it and it recovers, then more will be vulnerable. After two breaks, all weaknesses will be exposed. The remaining ones are swords, bows, lightning and dark.
(1 of 2) More weaknesses will be unlocked as you Break the boss
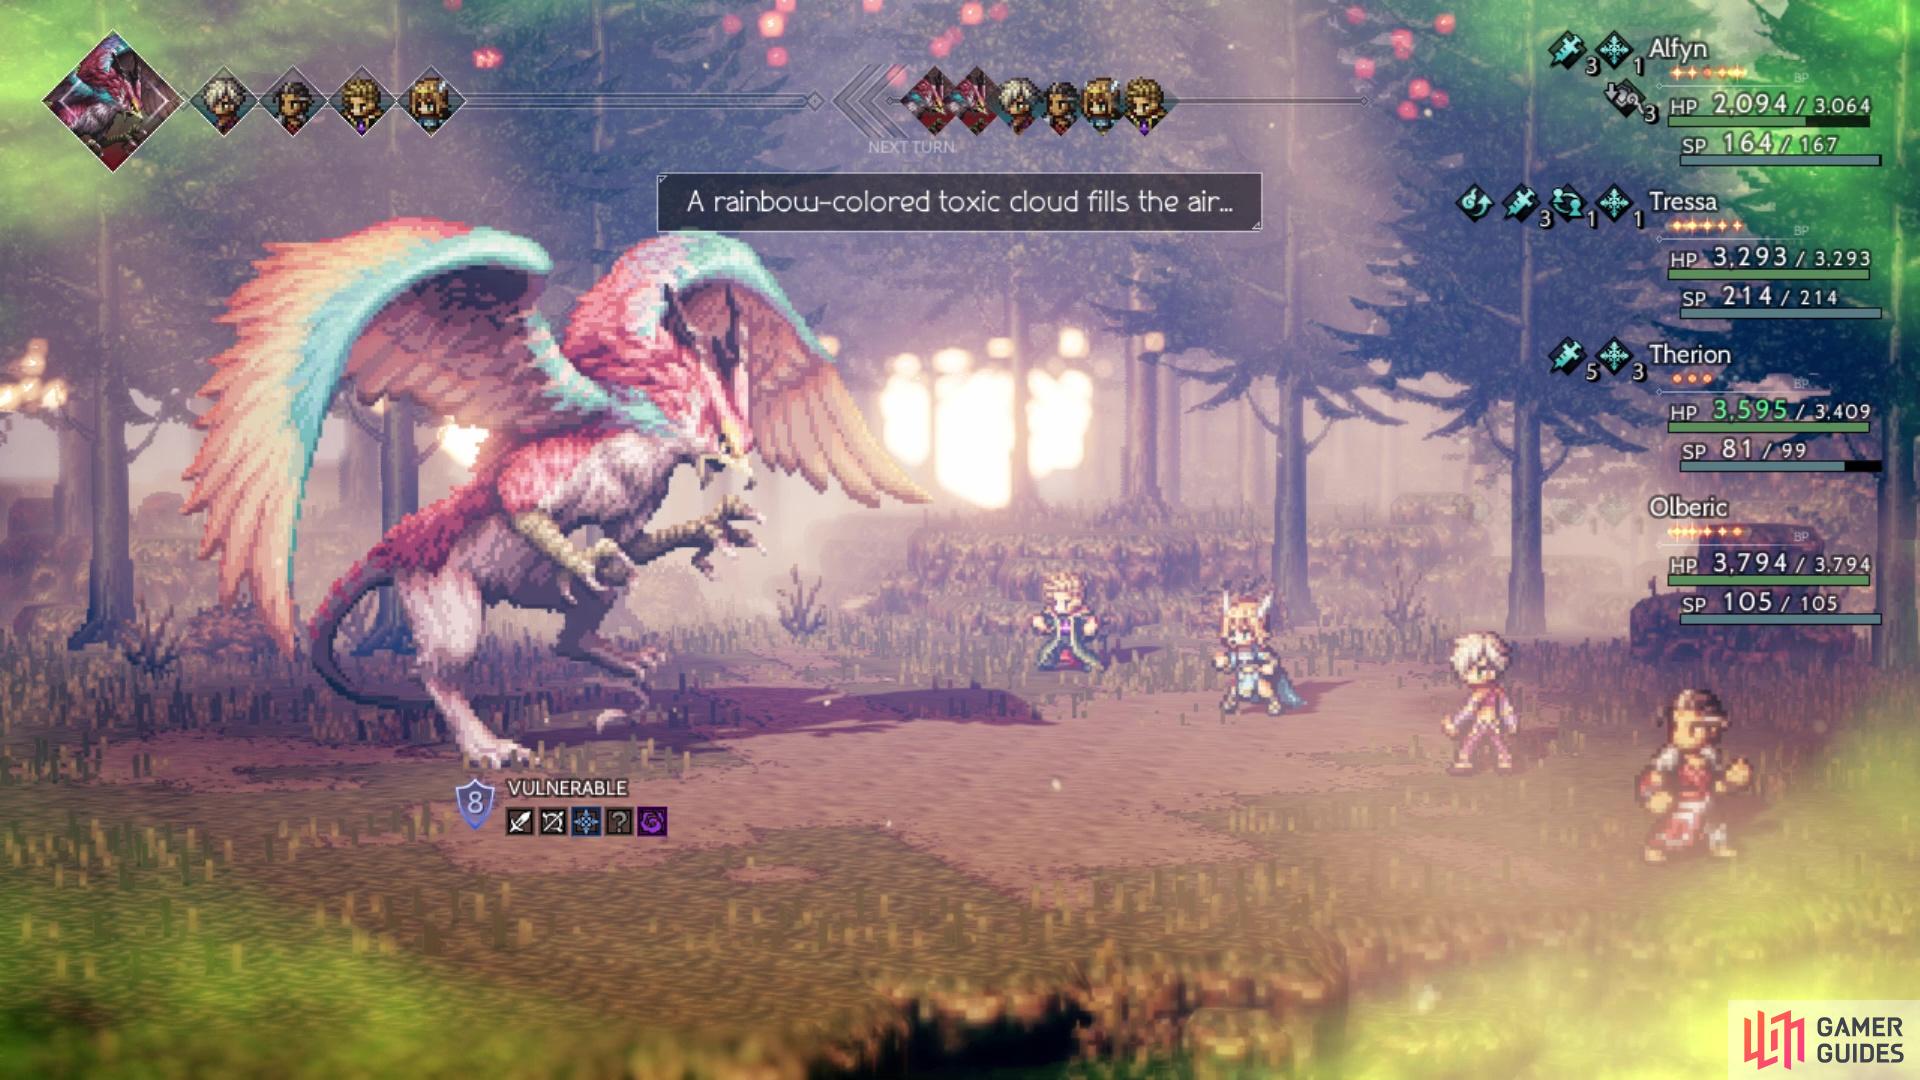
More weaknesses will be unlocked as you Break the boss (left), Toxic Rainbow will reduce your Max HP on each turn (right)
The Ogre Eagle has two physical moves it mainly uses, as well as two elemental ones. Double Rend hits a single ally twice for some big damage, plus it can inflict Confusion. Duoble Talon is similar to Double Rend, except it hits the entire party, with the added bonus of possibly inflicting Sleep, Poison and/or Blindness. Wind Slash hits a single ally three times with wind elemental damage, with the damage not being too bad, although three hits at medium damage can add up. Storm Slash is another wind elemental skill, but this one hits random allies a total of four to five times.
If you remember the fight against the Dragon, then you might recall Swept Away, which the Ogre Eagle can also use. This is annoying and potentially devastating, especially if the boss takes someone important like a healer away. And that is pretty much the entire fight, until you get the Ogre Eagle to 50% HP, which is when the fight really picks up. This is when the boss will use Toxic Rainbow, a skill that seemingly does nothing at first. What it actually does, though, is reduces your max HP each turn. It goes without saying that this is extremely troubling, especially if the fight prolongs long enough, as the boss can use Double Talon to essentially one-shot the entire party.
On the upside, you can use Saving Grace to help alleviate this a little bit, although you will need to be in the white in order for it to apply. The best thing to do for this fight is break the Ogre Eagle twice, without triggering Toxic Rainbow to avoid that, which will open all of its weaknesses. Once you do that, break it again and pile on the damage as much as possible. Ending the battle as quickly as possible is the goal once Toxic Rainbow hits. Setting up a party-wide Rehabilitate is something you want to do as soon as possible, too, to avoid the ailments, although you still have to contend with debuffs.
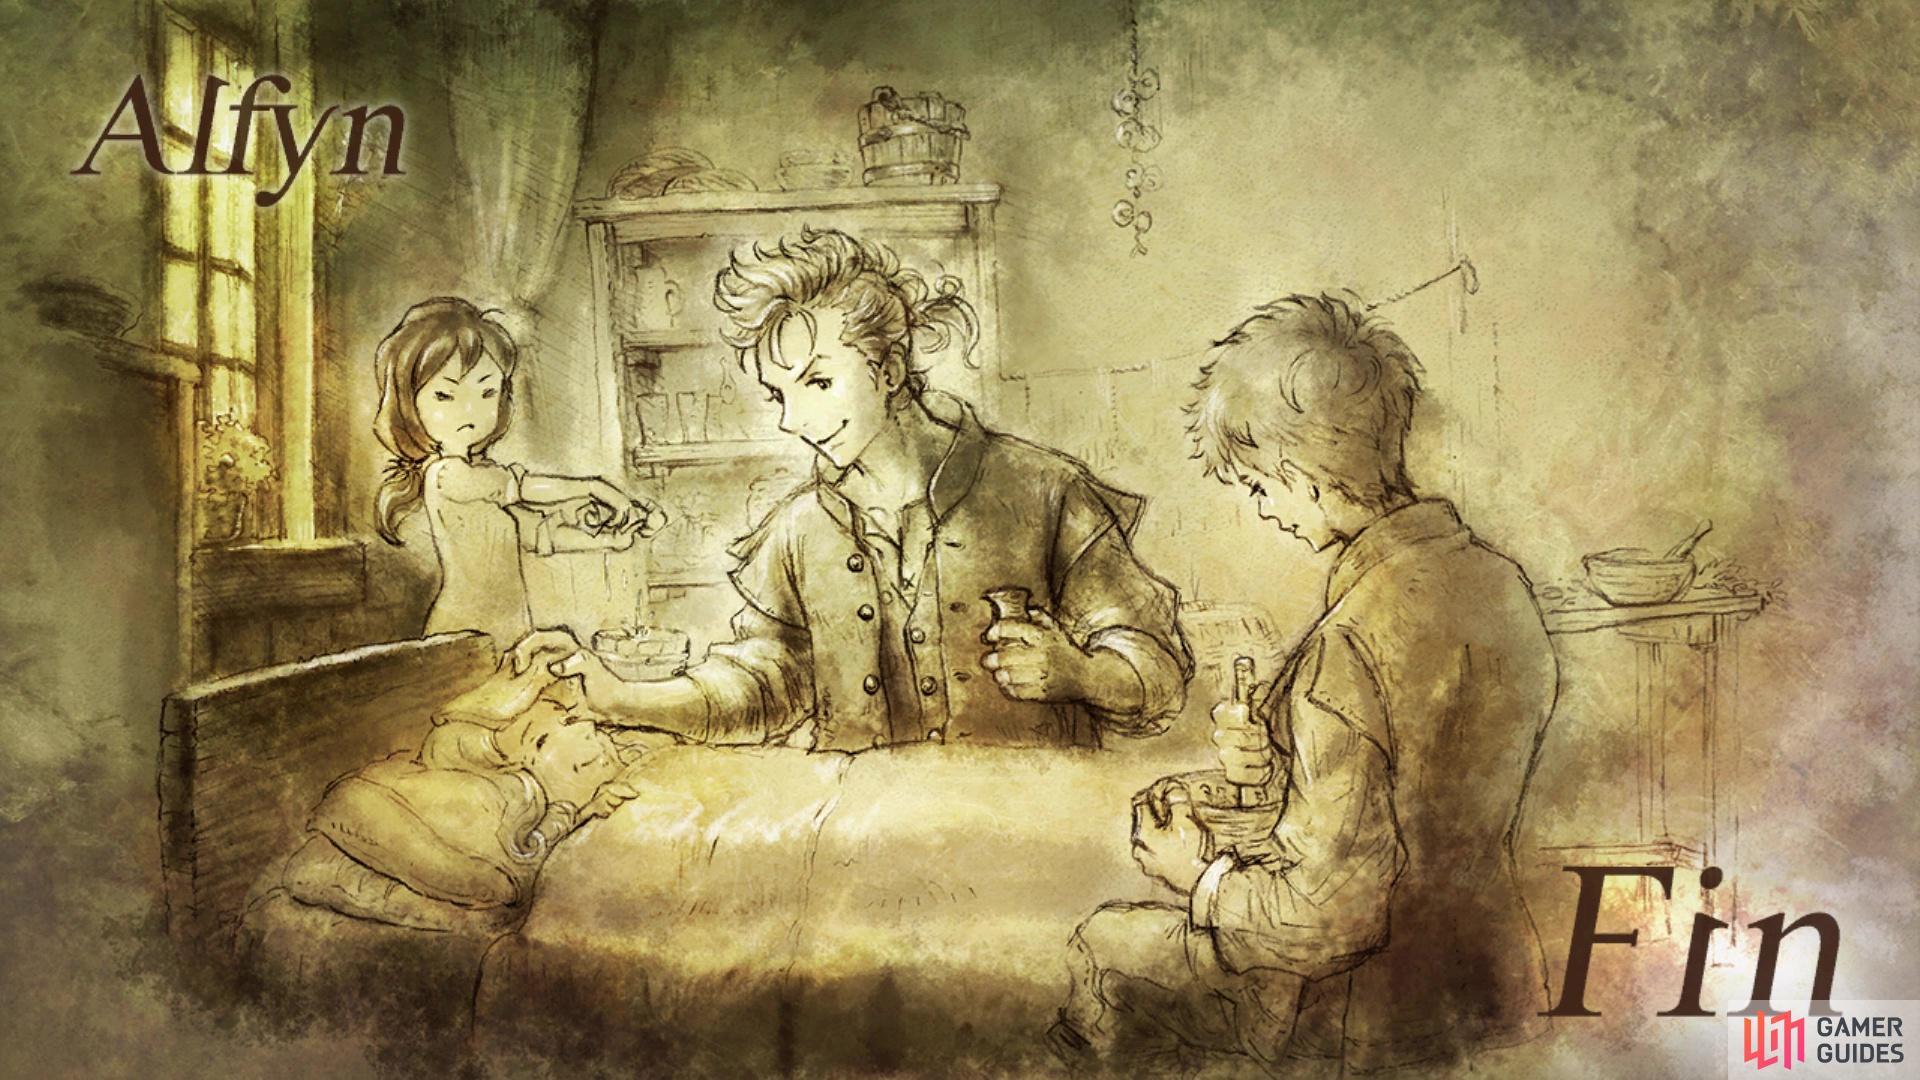
After the battle is over, you will retrieve the feather and return to town, where Alfyn will concoct a cure for Ogen. You also learn the identity of the traveling apothecary, Graham Crossford, a name you might have heard prior if you finished Tressa’s story. This will eventually bring an end ot Alfyn’s story.
 Sign up
No Comments