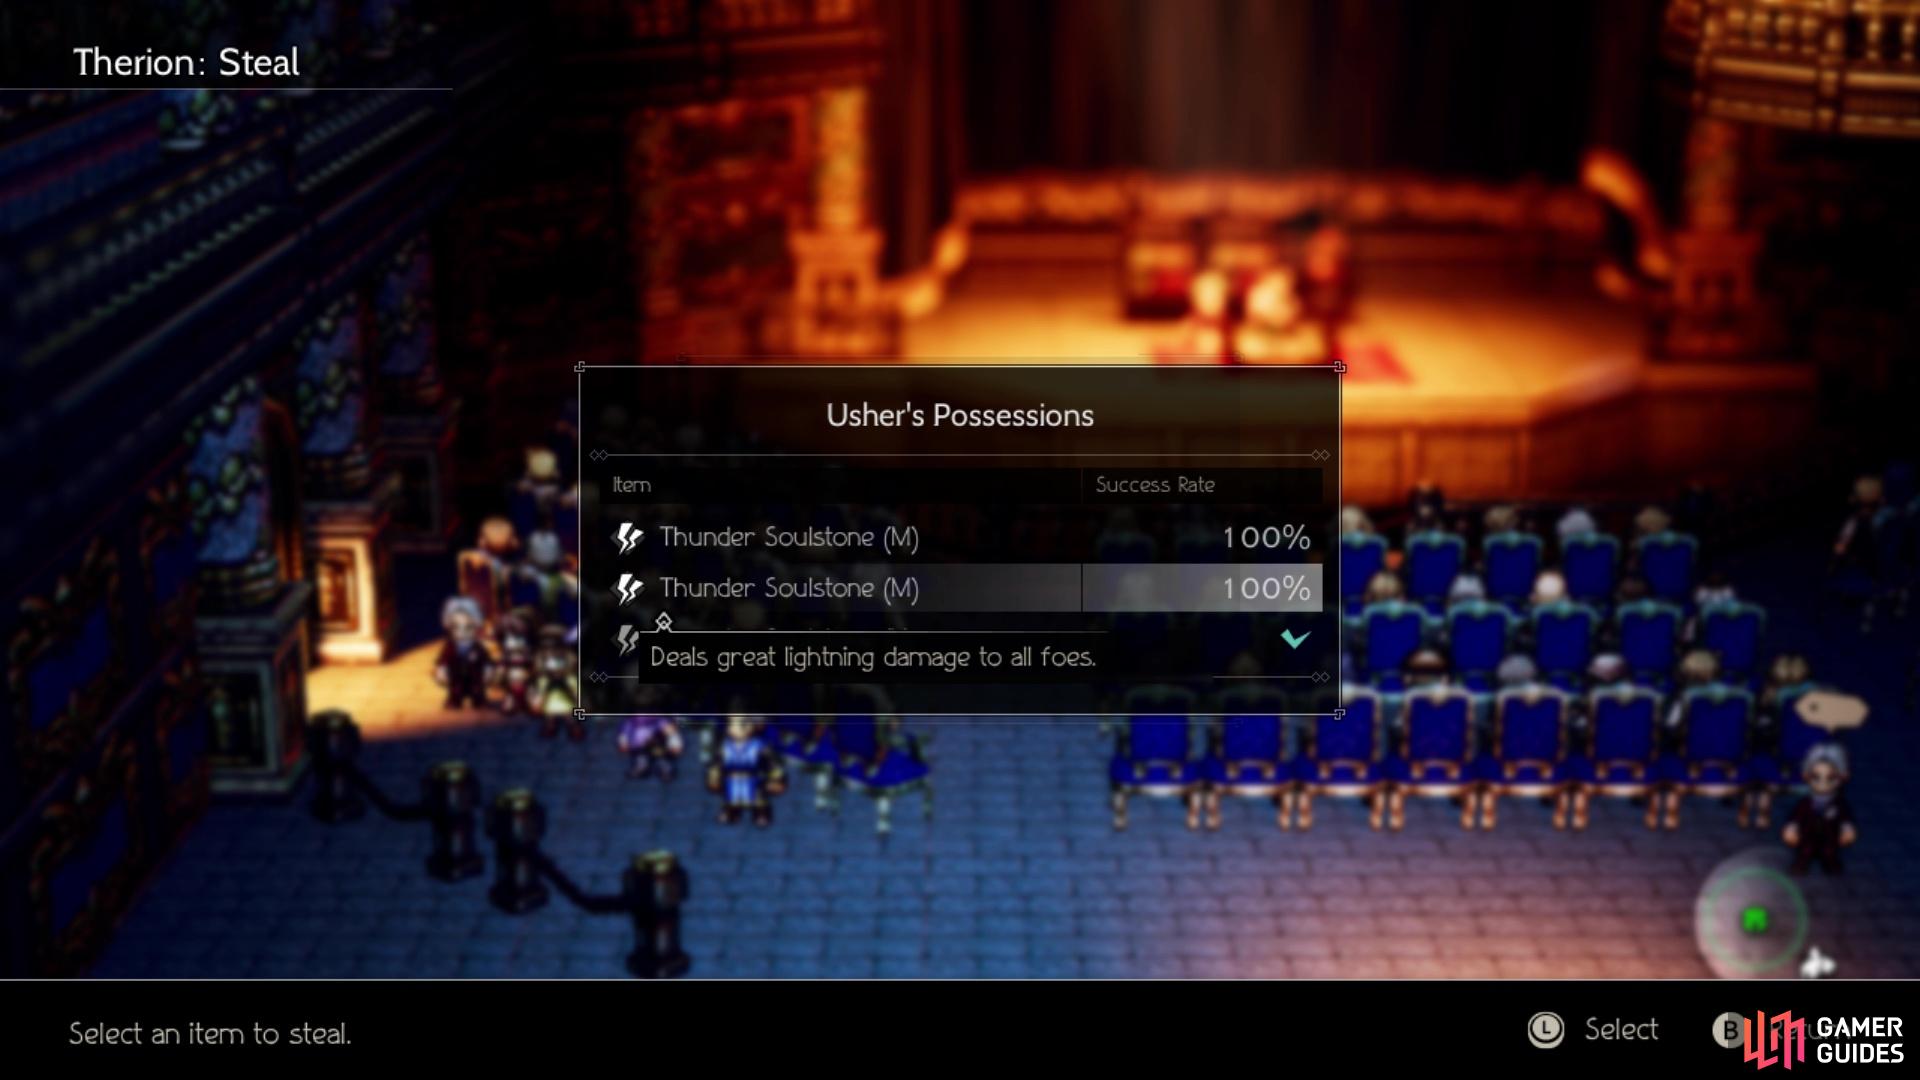
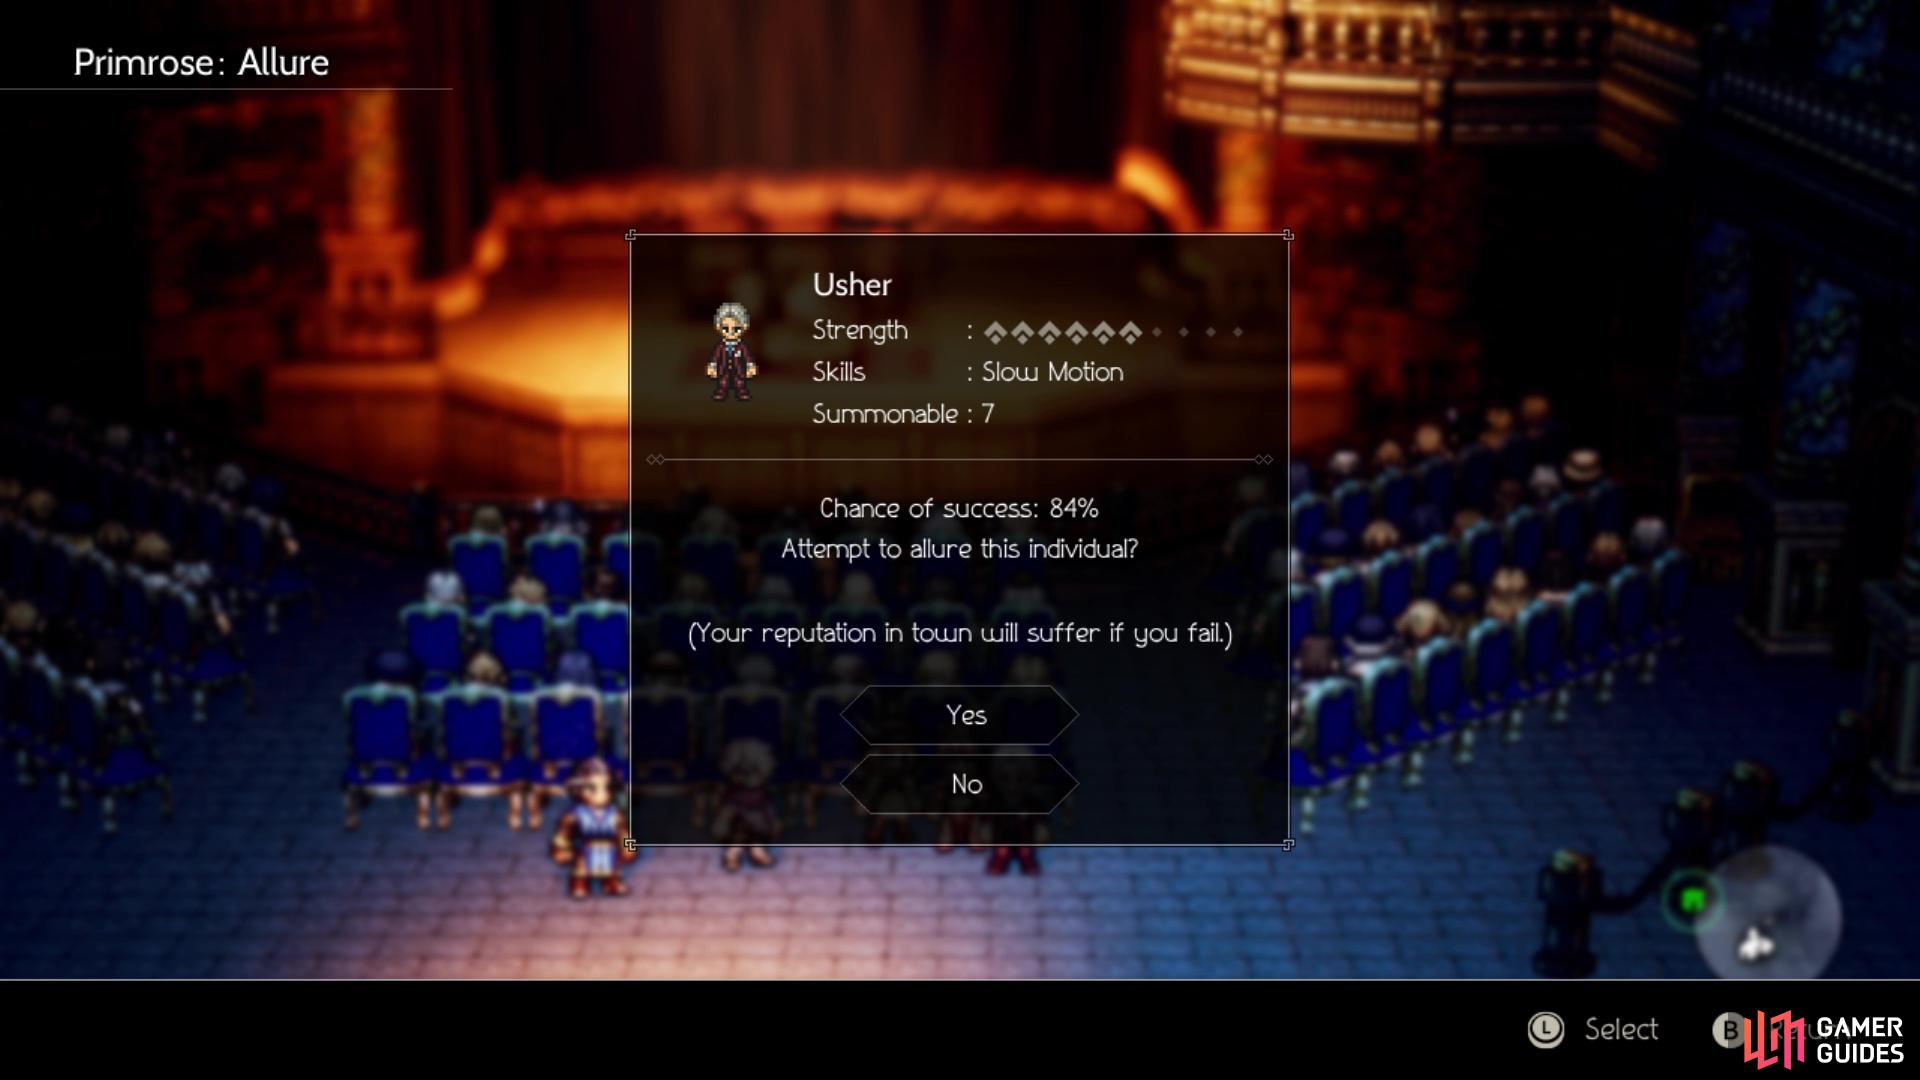
Primrose’s final chapter takes place in the town of Everhold, so head to that city and begin the story. Having cut down the second member with the crow mark, Primrose found out that someone she trusted very deeply has betrayed her. With vengeance on her mind, she plans on hunting down the final member of the crew that killed her father, bringing her to Everhold. Head to the amphitheatre, where you will see the man in question, who is putting on a play in honor of Primrose. Once you regain control, feel free check out the ushers in the first room, as they have some Soulstones to Steal/Purchase, plus you will probably need a NPC to Allure.
On the right side of the room is a chest, behind the pillar, which holds an Inspiriting Plum Basket. The exit to the left will lead to the actual dungeon, so that’s where you will be going.
(1 of 2) The Ushers have a bunch of Soulstones to steal/purchase
The Ushers have a bunch of Soulstones to steal/purchase (left), If you need a summon for Primrose, the Ushers work in a pinch (right)
Amphitheatre: Arena
As soon as you enter this new area, go north of the save point (on the right side) and enter the doorway to arrive in a new section. Head up the stairs to your right and enter the small room at the top to find a purple chest (Unseen Saber). Return to the previous section of the dungeon and climb the stairs just left of the save point, where you want to run to the right side and open the chest at the dead end (Fire Soulstone L). To the left of the stairs, up top, is another small room containing a chest (30,000 Leaves).
Double back downstairs and venture straight west from the save point, bypassing the first doorway and entering the second to find another purple chest (Ethereal Dancer Garb). Continue west and enter the next room for a chest that holds 20,000 Leaves. Head up the stairs to your left and through the large doorway at the end of the hall, ending up in another area of the dungeon. Go through either door in front of you to find a large room with a chest inside (Refreshing Jam), then ascend the stairs on the right side. Run to the end of the hall to your west and enter the room there for another chest (Inspiriting Plum M), then return all the way to the eastern end. There is another save point here, as well as a room just right of it; go inside and loot the chest there for an Inferno Amulet.
Exit to the right for a scene, as well as a small safe section. There are two more ushers here, complete with Soulstones once again, so snag them and enter the new area to your right. Ignore the first two rooms and keep going to the end of the hall, where you will find a chest in the room there (Silver-filled Pouch). Head up the stairs and in the bottom right corner, near the save point, is a chest (Light Soulstone L). Pass through the large doorway for another scene, then you’ll be in control once more. The room right above you houses a chest that contains a Bright Stone. Continue west and there will be a path leading south, so take it and enter the room on your left to find a chest (Revitalizing Jam). Return to the northern area, loot the chest in the open area to your left (Energizing Pomegranate L), then save/heal and enter the doorway to the left to confront the boss.
BOSS - Simeon
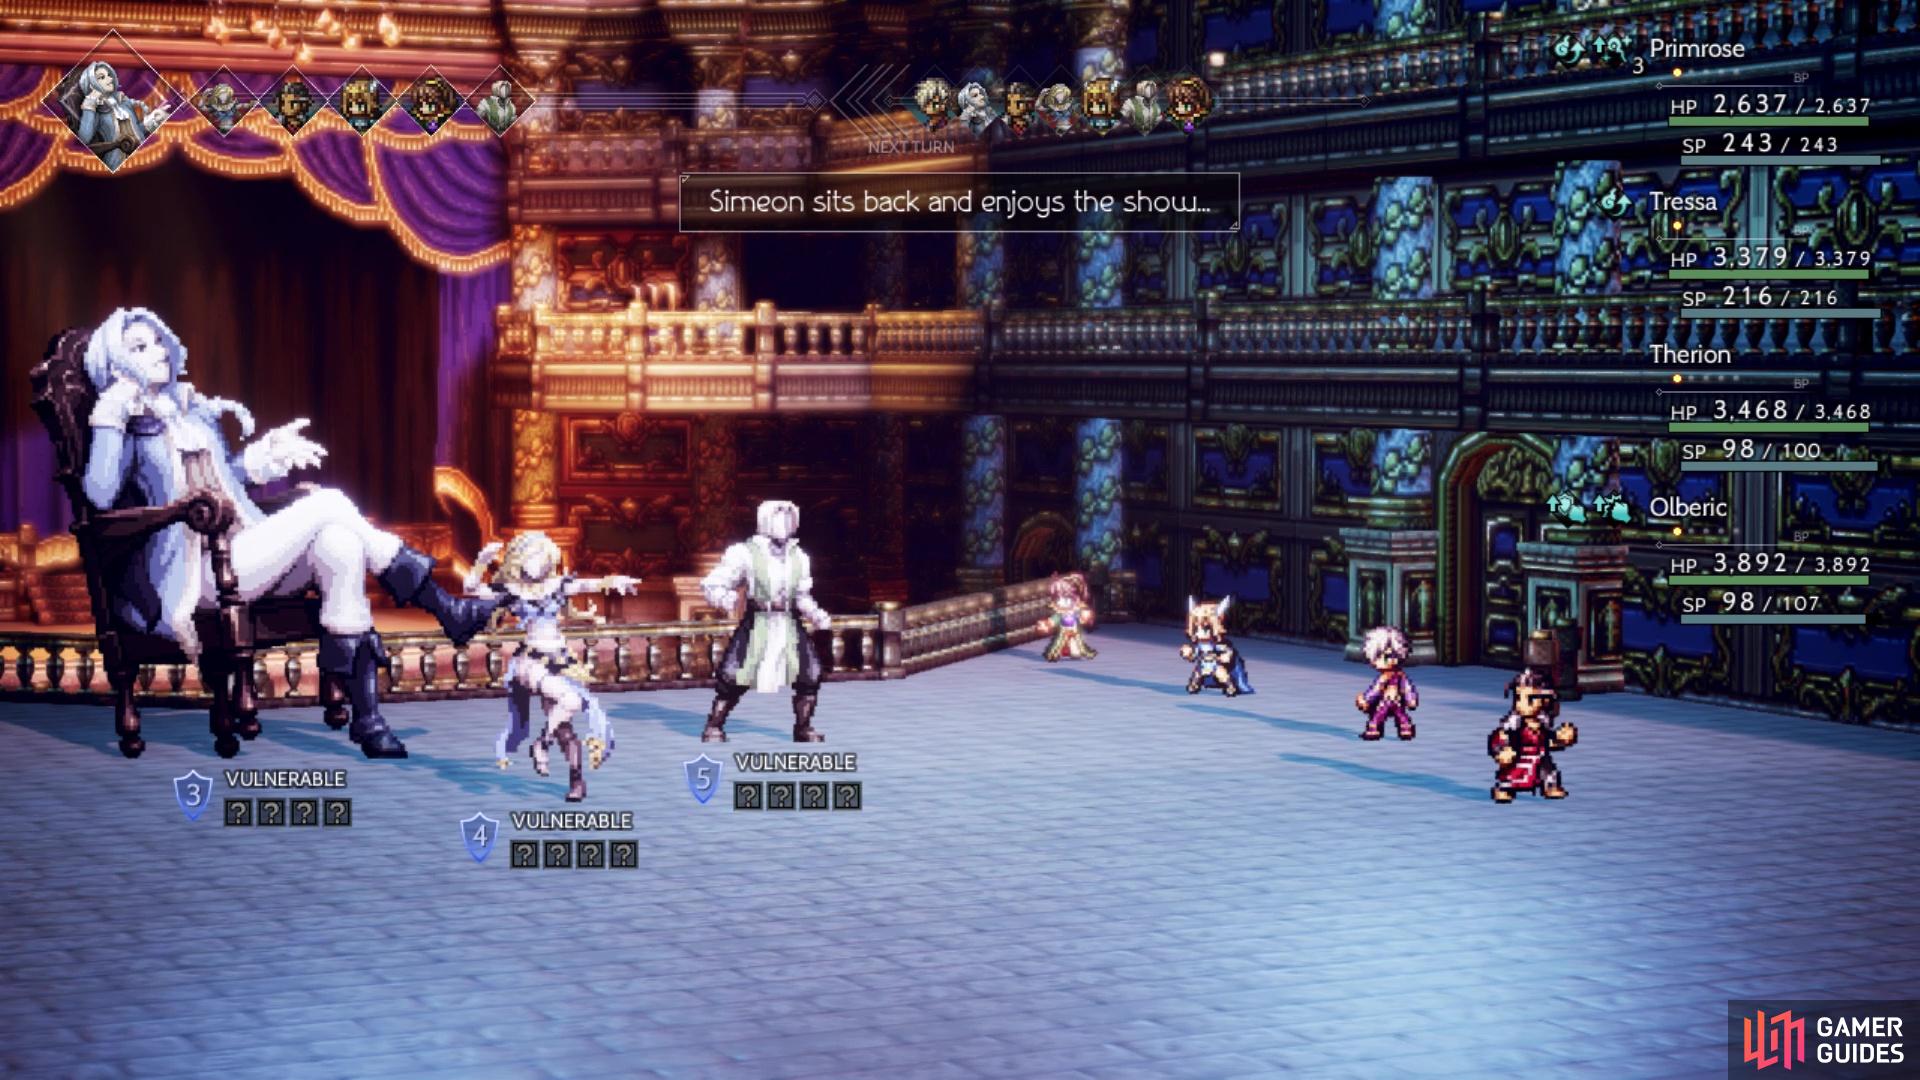
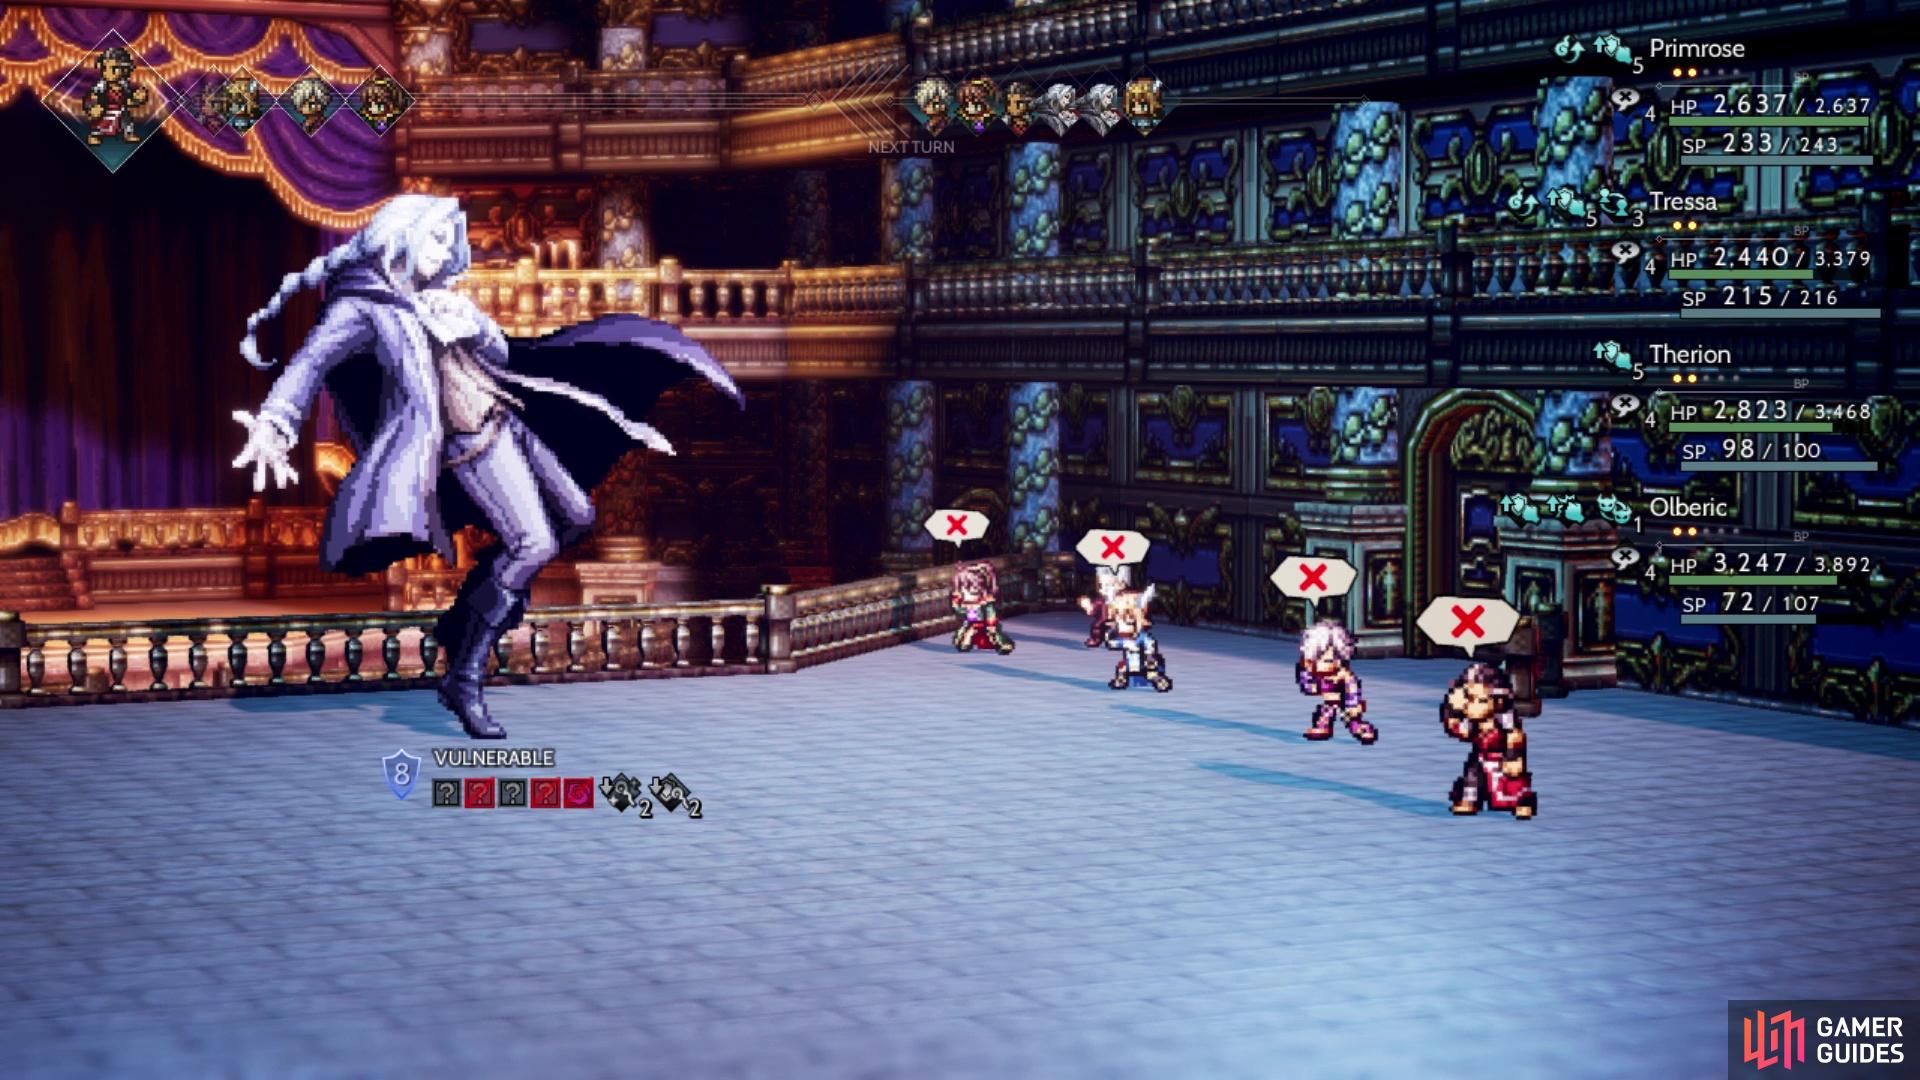
Simeon isn’t alone in this fight, as he is accompanied by a Dancer Marionette and a Father Marionette. It should be noted that their moves are written weirdly in-game, so instead of actually using those names, the normal versions will be written instead. Simeon is fairly passive and not too much of a hassle in this battle, although he can be an annoyance every now and then. There are certain turns where he’ll “sit back and enjoy the show,” where he literally does nothing. It’s best to ignore him at the beginning and concentrate on the two Marionettes.
It’s always a good thing when Simeon wastes a turn to sit back and do nothing
Of the two Marionettes, the Father is more troublesome at the beginning. Sweep will hit all of your party members for medium damage, which is something you don’t want when you have two other enemies to worry about. Other than Sweep, Father has Slice, which hits a single character, and Armor Crush, striking a single character and lowering their physical defense. As for the Dancer, she uses Sickening Ode, dealing dark elemental damage to the party. She can also buff a single enemy with Lion Death (Physical Attack) and Funeral Dance (Physical Defense).
Of the two, the Father likely does more damage, but the Dancer will be a nuisance with the buffs, so you should concentrate on her first. She is weak to swords, axes, staves, and fire, while the Father Marionette is weak to axes, fire, lightning and light. With four and five shields, respectively, they shouldn’t take too long to break, especially with a Sorcerer in your party. An Apothecary can also help out with Last Stand, since both are weak to axes, plus the Apothecary will be useful in another way. There is another facet to these two enemies, which comes in the form of Simeon using “Come, my shadowy friends!” on them.
This will put the Marionettes into a permanent boost mode, giving them an extra action each turn, plus it also gives them new moves. The Father uses Crush and Crazed Strike, both hitting a single character for pretty good damage, with Crush potentially inflicting Unconscious. The Dancer can use Strangle, damaging a single ally, as well as Lose Control, which is around five random hits to the entire party. Of course, their regular attack also increases, so you will want to be extra careful. Simeon will only do this whenever they are below 50% HP and broken, so keep a lookout on the turn order for Simeon’s upcoming turns.
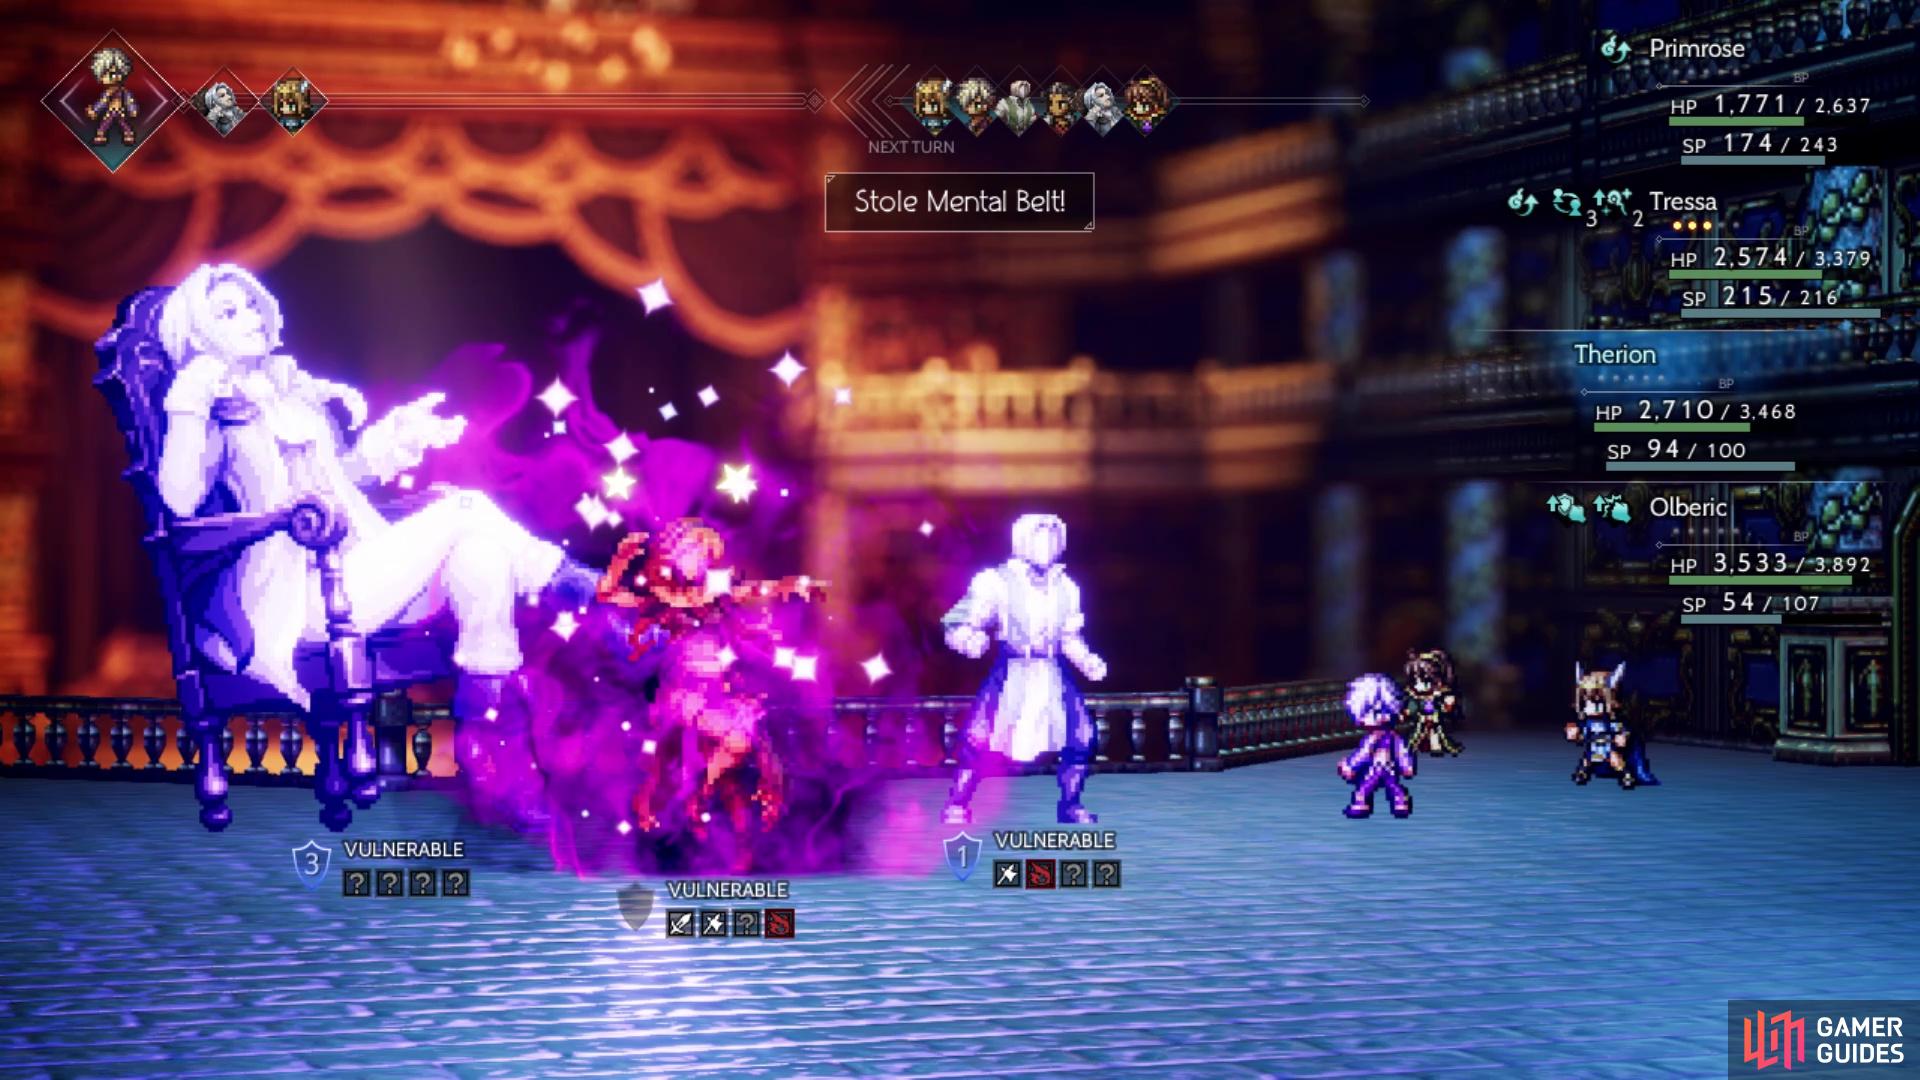
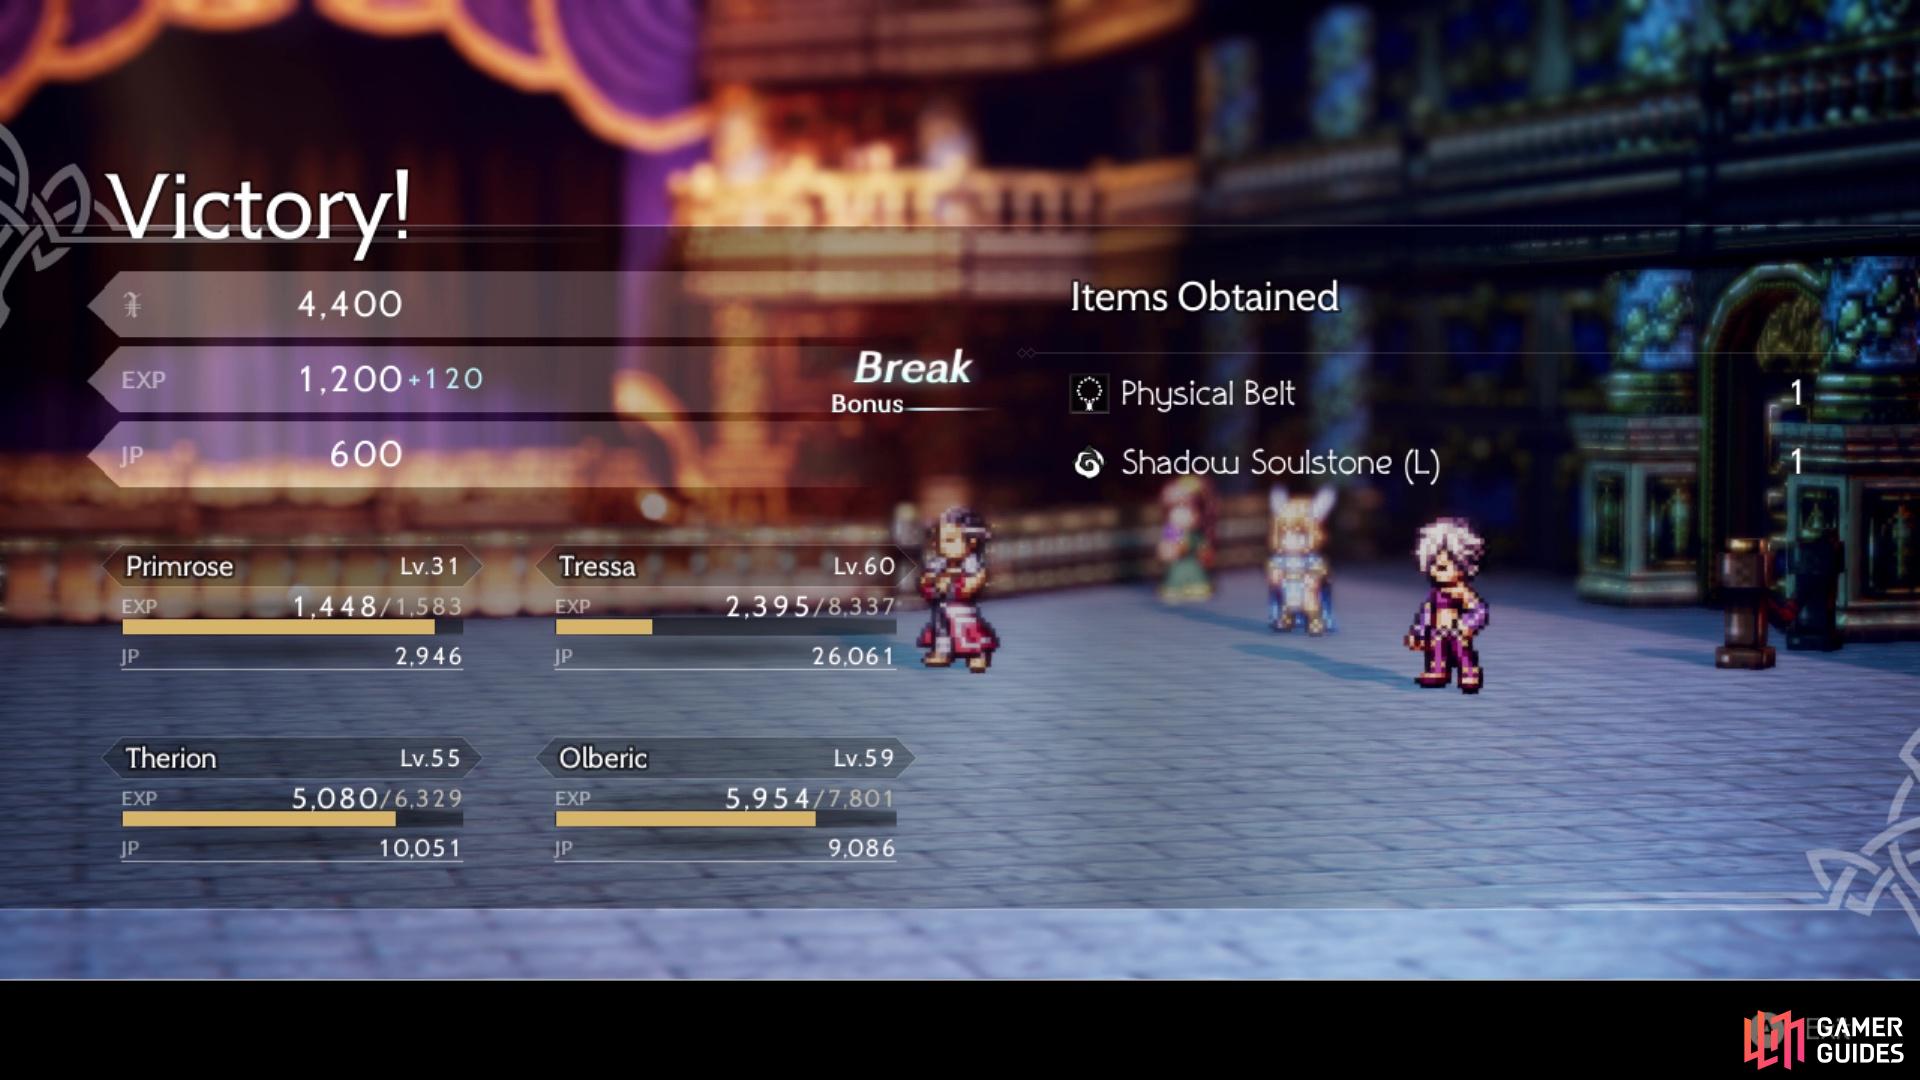
It should be pointed out that both of the Marionettes have extremely useful accessories on them. The Father has a Physical Belt, while the Dancer has a Mental Belt. These increase their respective attack by 65 points, while also increasing their defense by 50 points. There aren’t too many out there in the game, so stealing them with a Thief (equipped with Snatch) will easily get you a pair of each. You might get lucky and even get them to drop after the battle is over, so it’s a major score in the long run.
(1 of 2) Don’t forget to steal the Belts from the Marionettes
Don’t forget to steal the Belts from the Marionettes (left), although you may get one as a spoil (right)
That brings us to Simeon, who will likely be your final opponent. He is weak to spears, daggers, staves and dark, starts out with three shields and will gain two more on each break recovery, up to a max of seven. While Dramatic Build hits fairly hard, it only hits a single character. The more annoying move he has is Rondo of Stillness, as this can Silence a character. Quickly cure this with an Herb of Clamor or with an Apothecary’s Rehabilitate. The only other move Simeon has is a boost followed by Serenade to the Darkness, a big damage dark-elemental attack.
The first thing you should do in this battle is use Shackle Foe on both of the Marionettes, although the Father needs it first, while also upping your physical defense with the Mercenaries from Hired Help. Remember that you have three opponents to worry about here, so Simeon wasting a turn is very helpful for you. A Sorcerer or Scholar will work wonders here, as both Marionettes are weak to fire, plus you could also boost the Bandits from Hired Help to break them. Getting rid of the Dancer Marionette first is the ideal way to go, then clean up with the Father next, leaving Simeon for last.
Well, that seemed a little on the easy side, but after finishing off Simeon, a bunch of scenes will happen and you’ll be thrown into another boss fight. Note that there is no rest in between the fights, so make sure your party is well-healed before defeating Simeon the first time.
BOSS - Simeon, the Puppet Master
Simeon decides to take things a little more seriously in this battle, as he’s alone and will get two actions per turn. At the very beginning of the battle, he will block four of his five weaknesses. To uncover more of them, you will need to break Simeon, but there’s a twist. Every time Simeon recovers from being broken, he will unblock some of his weaknesses, but at the same time, he will switch weakness sets. There’s a total of three sets, with the opening one being spears, daggers, staves, wind and dark. The other two sets are as follows: swords, axes, fire, lightning and dark, as well as daggers, axes, bows, ice and dark.
As you can see, dark is shared amongst all three, so having a Dancer or Sorcerer, with Tenebrae Operire, is ideal for this fight, although dark might not always be available for striking. Simeon also starts out with six shields, then gains two more each time he recovers from being broken, up to a maximum of ten. If you have a Runelord available, then you could place Dark Rune on everyone as well, to help with shields. That about wraps it up for the basics of this second battle with Simeon, so let’s dive into the specifics.
(1 of 2) Master of Silence will inflict Silence on the entire party
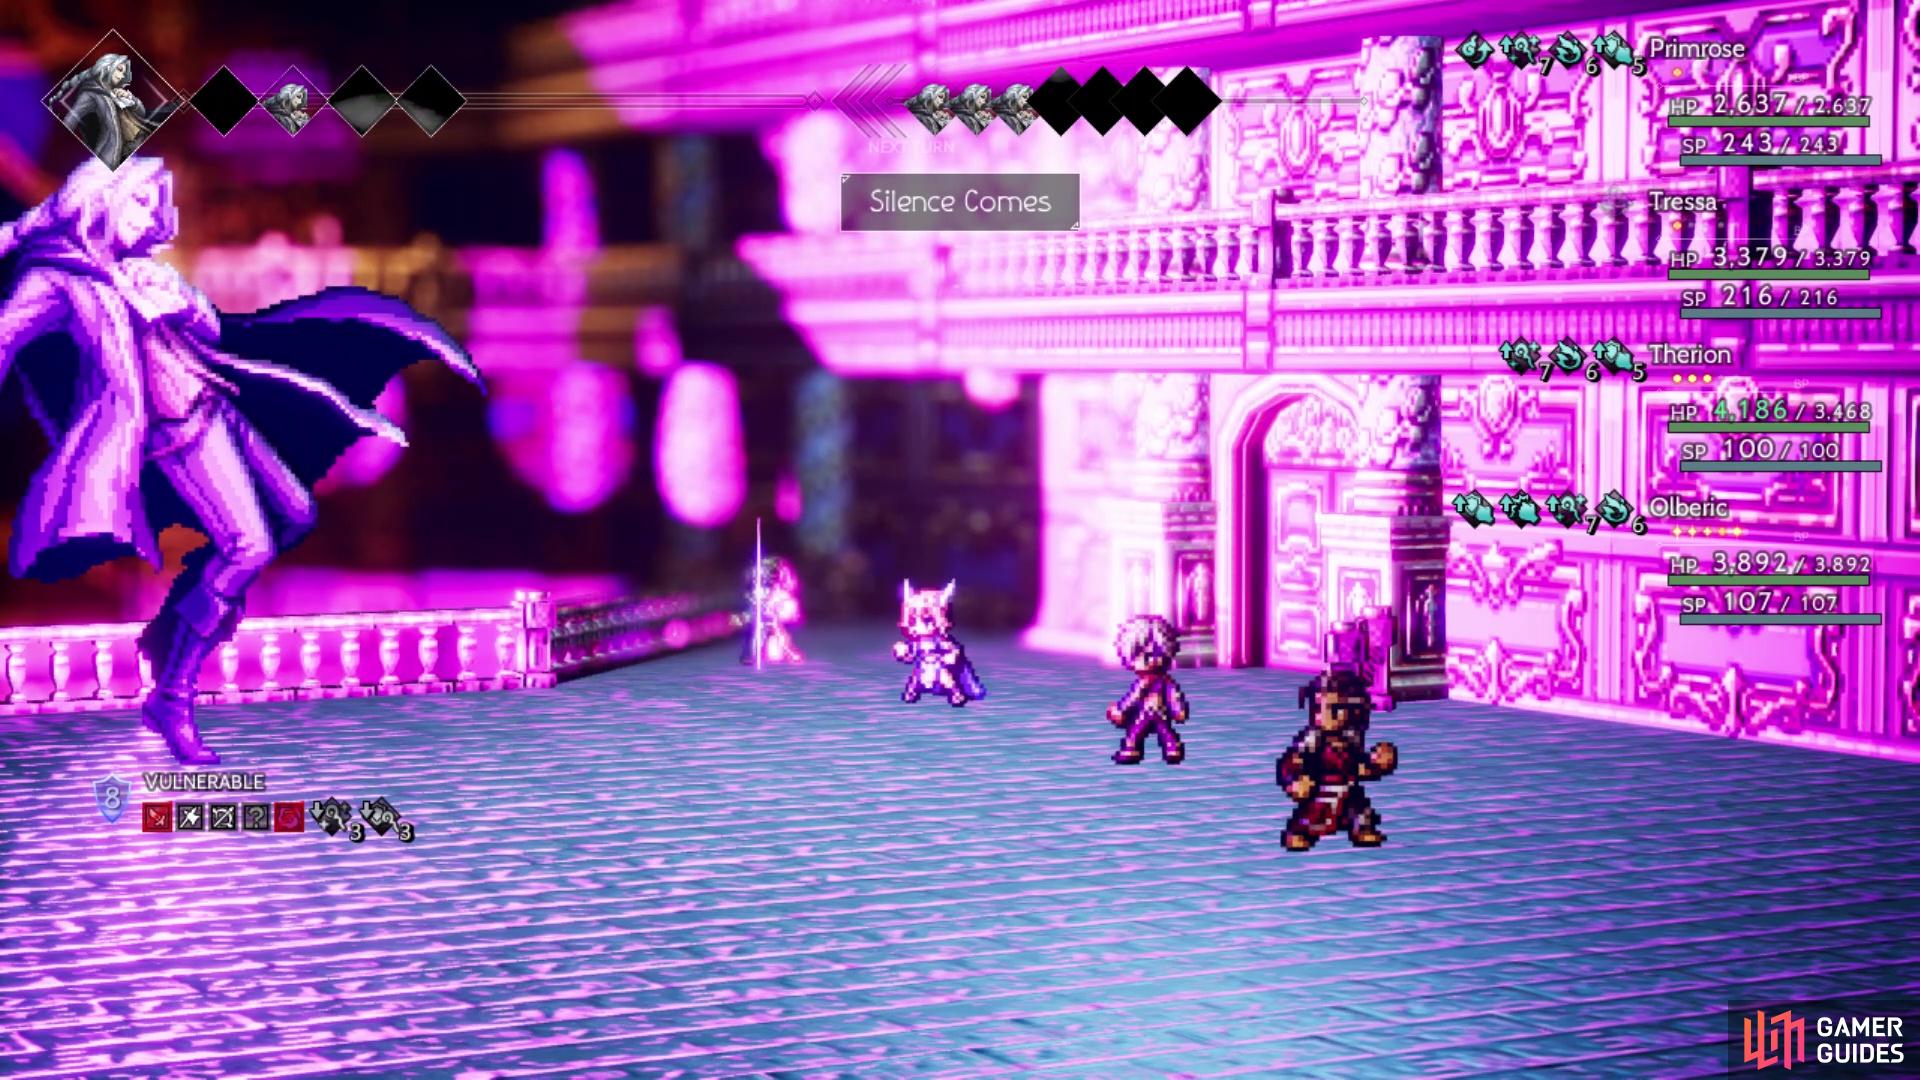
Master of Silence will inflict Silence on the entire party (left), Simeon can cloud the turn order so you don’t know whose action is coming up (right)
He has access to Act of Impulse again, so you will want to use Shackle Foe against Simeon, as well as Hired Help’s Mercenaries on yourself to try and minimize this. However, Simeon can increase his physical and elemental attack with Boiling Blood, while also decreasing your physical and elemental defense with Future Shredded. Hushed Melody is a dark elemental attack that hits your entire party. The remaining moves for Simeon are what are especially annoying, as he has two of them that inflict Silence.
Silence Comes is a single target attack that does damage and can inflict Silence, while Master of Silence just inflicts Silence with no damage, but on the entire party. Obviously, the latter is a huge problem, but the combination of the Dancer’s Sealticge’s Seduction with the Apothecary’s Rehabilitate can take care of the Silence problems easily. Note that later on in the fight, Simeon can boost up and use Master of Silence on his next turn, so it’s nothing too drastic to worry about in terms of any damage.
Once Simeon reaches 50% HP or less, he will use “Give yourself to the Darkness,” giving him three actions per turn. In addition to that, he can also boost and use Master of Silence, as mentioned above. The last new skill is called Future Denied, which basically puts a fog over your characters’ portraits on the turn order at the top of the screen. The boss’ turns can still be seen, but you won’t know which order your characters will act until it’s their turn. Although you still won’t know who is going when, you can kind of cheat by using Leghold Trap to force Simeon to go at the end of each turn or by defending with a character to make sure they go first on the next turn.
When Simeon finally goes down, you’ll be treated to a bunch of scenes, then that’ll bring an end to Primrose’s story.
 Sign up
No Comments