It’s time for the final Chapter 4 story, according to this walkthrough, so head on over to Riverford, which is where it will take place. Begin the story and after a little introductory sequence at the gates of the town, where you see some semblance of Werner’s influence, you will regain control. Head towards the structure in the middle of the area and you will see just how bad things have gotten in Riverford. Once you can move again, head to Lower Riverford via the exit on the eastern side.
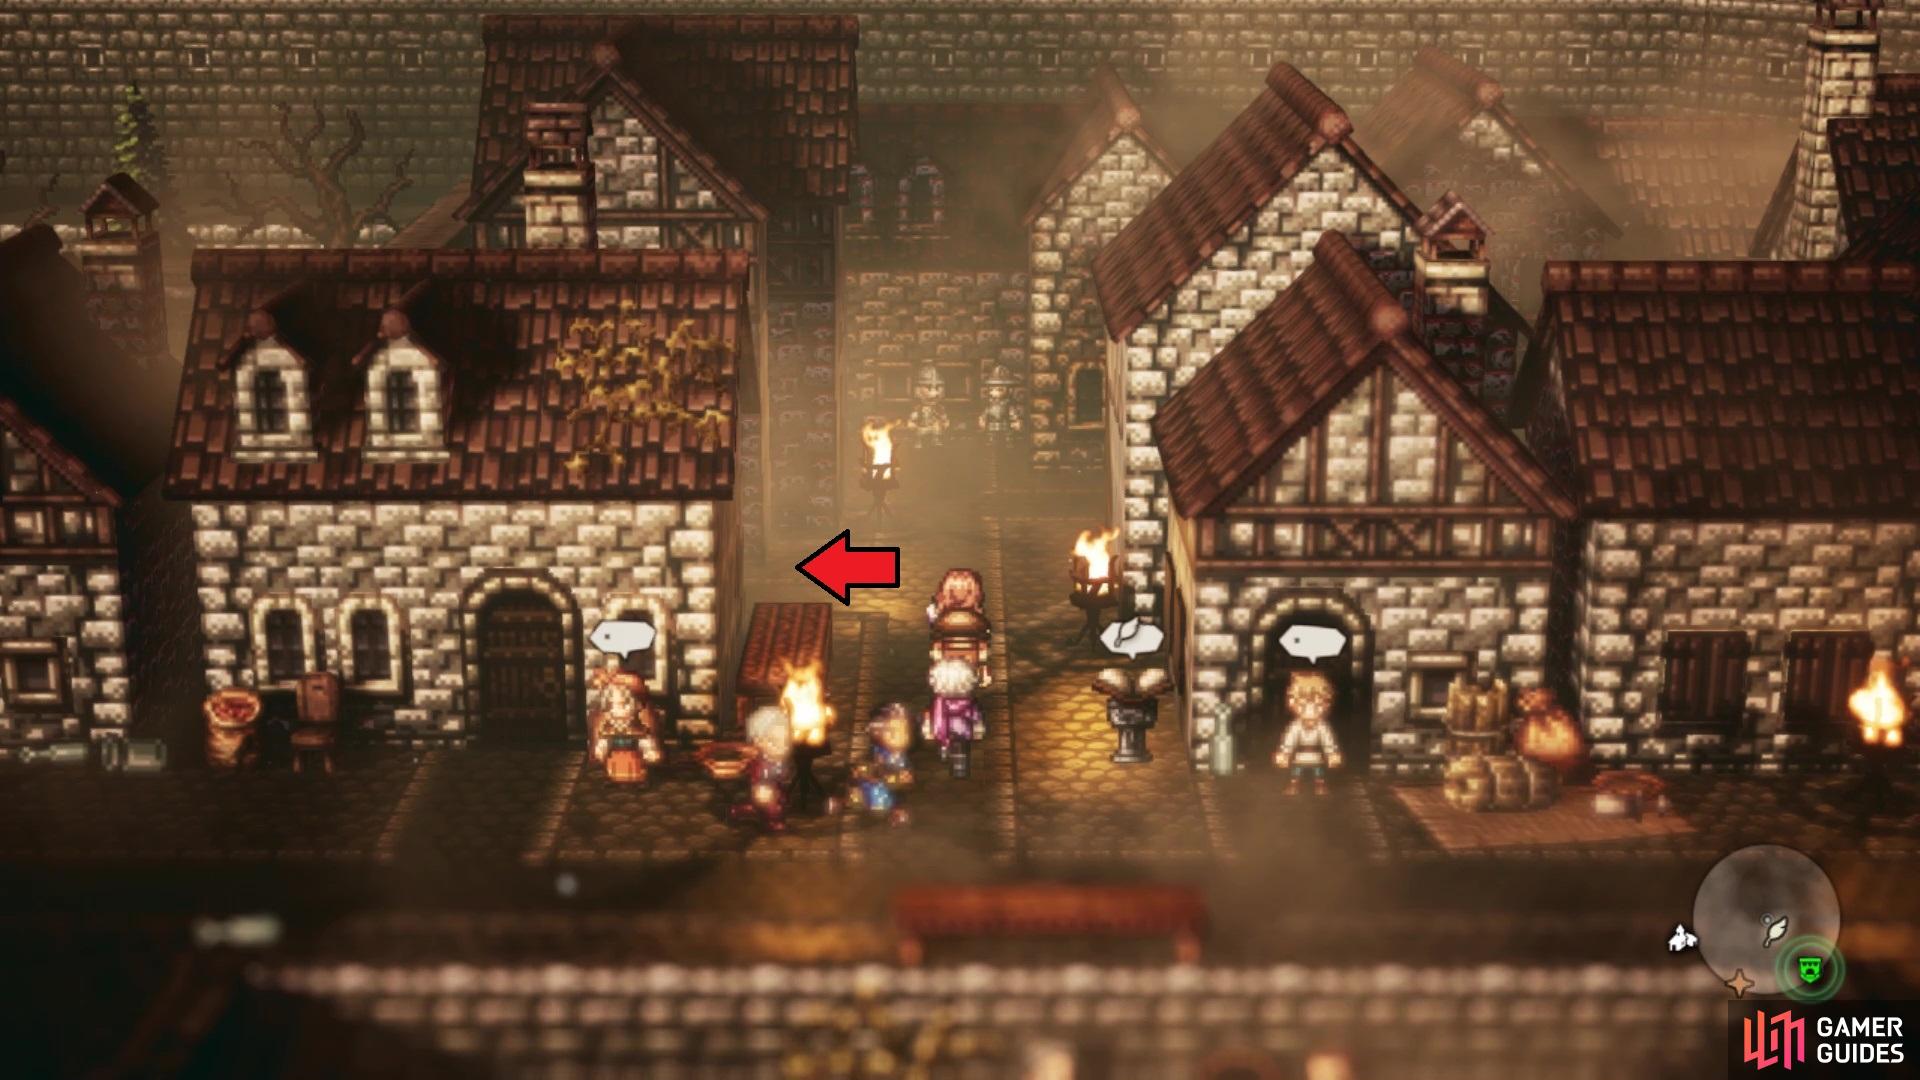
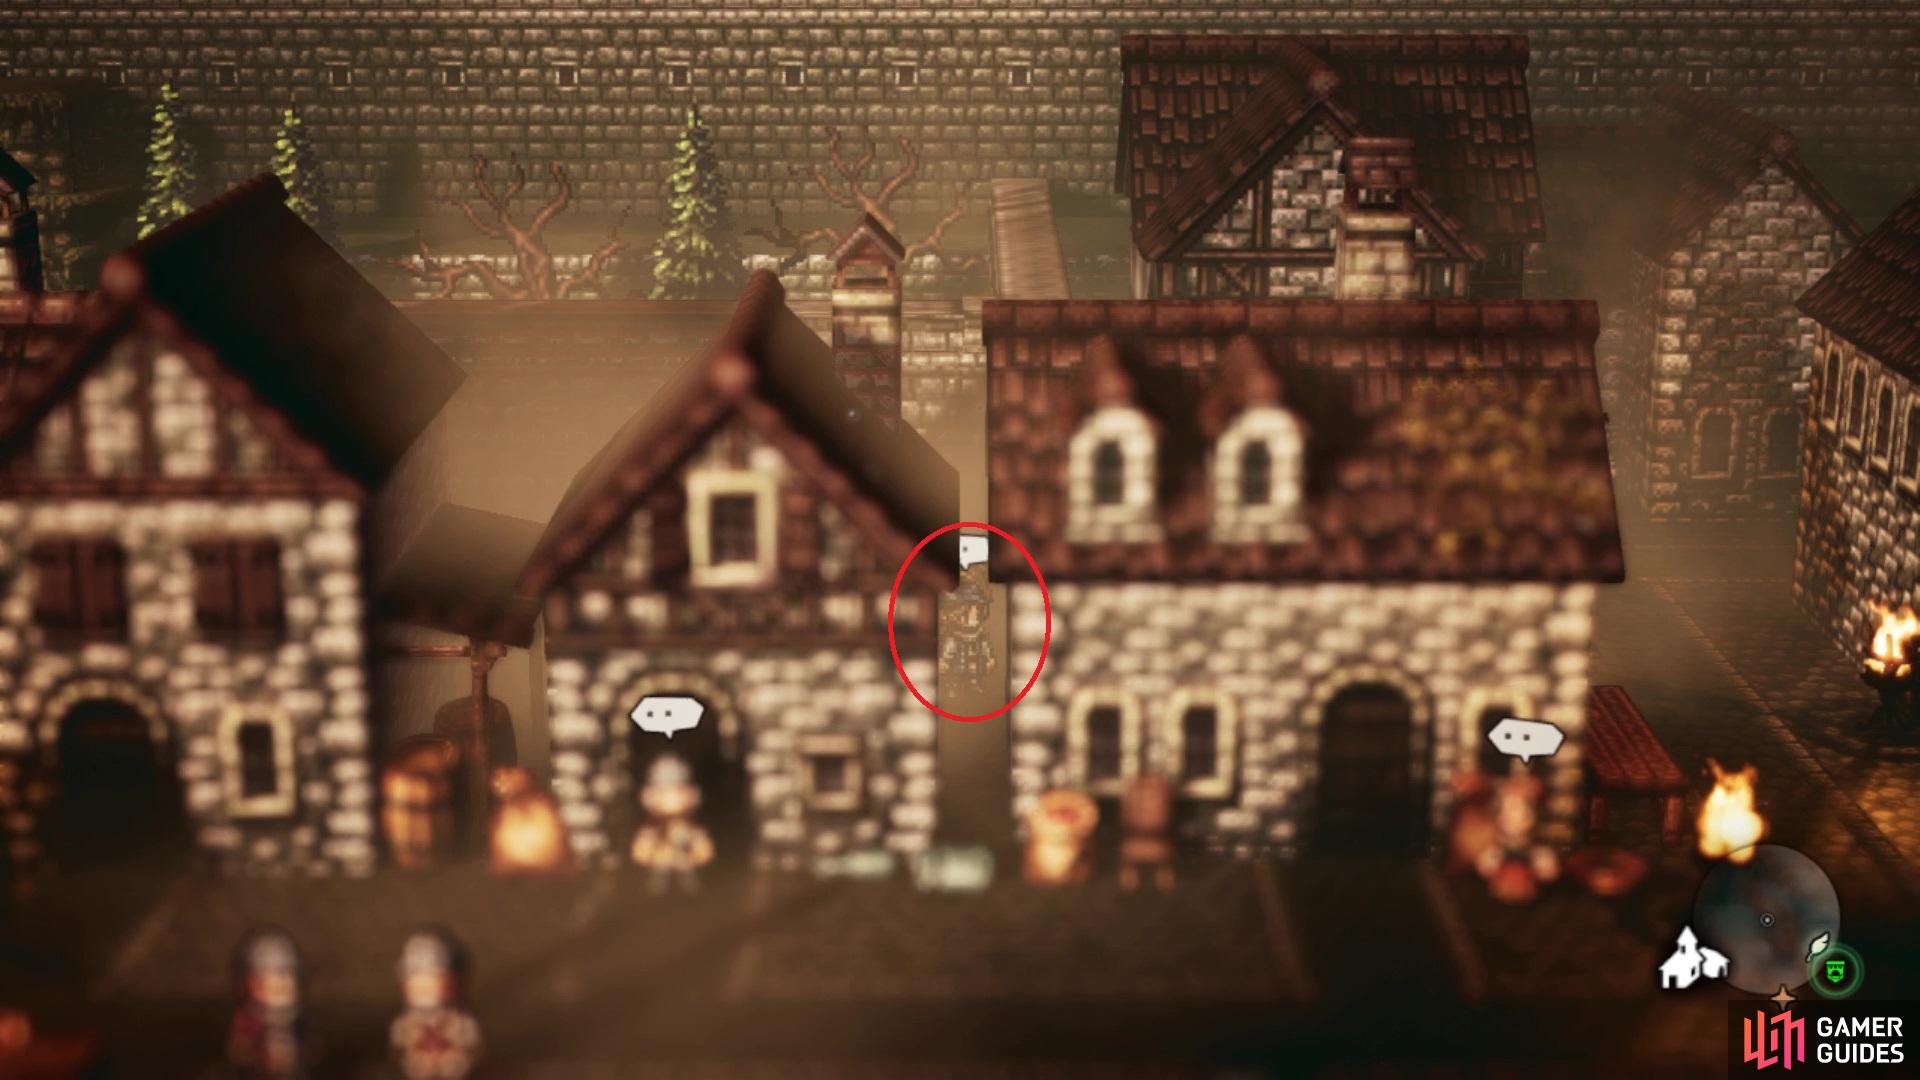
Here, you’re looking for the alley not too far to the east, where another scene will take place. You will meet a member of the local resistance, who will test you by asking you to challenge a man in a red hat in the western part of town. Head on over there and you will have to Challenge this NPC before anything moves forward. He has a strength of seven, although he seems to be a little weaker than normal Challenges at that level. If you’re having trouble with this NPC, then make sure you equip the strongest physically defensive equipment to Olberic; the NPC is weak to swords.
Being successful in the duel will yield the reward of being able to meet with the resistance leader, who details the plans set forth to stage an attack on Werner. He plans on having a diversion take place in the square, while the rest of the members, including yourself, head through a hidden passage. Speak to Harald whenever you’re ready and you will find yourself in the Hidden Passage.
(1 of 2) Go into the alley pictured in Lower Riverford
Go into the alley pictured in Lower Riverford (left), to find the NPC with Full Enfeeblement for Primrose/Ophilia (right)
Hidden Passage
When you first enter, there will be a save point to the north of you, plus you will be able to see a purple chest behind some metal bars above that. For now, just follow the path around and to the south. When you start going west, descend the stairs to open the chest at the end, which contains an Herb of Valor. Return to the main path and continue north, along the path above where the previous chest was located. In between the two torches on the wall to your right, you should be able to find a secret passage that’ll bring you to that purple chest you saw at the beginning (Imperial Helm).
Back on the main trail, go to the dead end north of where the secret passage was to find another chest (Olive of Life M). Venture west once more, past the chest to your south, until you can head south down the stairs. Cross the little bridge to loot the chest (Ice Soulstone L), then continue north, up the stairs you see to find a second save point. There are a few ways to go here, but you want to move right first, into the secret passage and to the end for a chest (Silver-filled Pouch). Double back to the save point and head south this time, opening the chest at the end, for an Inspiriting Plum Basket. West of the save point will be an area that triggers a scene and will automatically put you into Lord’s Manse, the next dungeon.
Lord’s Manse
You can’t return to the Hidden Path right now, so you’re stuck in this dungeon. At the beginning, bypass the stairs just east and keep going in that direction, opening the chest along the way (Healing Grape M). Continue east to find another chest in the open area, which contains an Energizing Pomegranate (L). Return to the stairs you passed and go up them, entering the first room up here to your east for a chest (Silver-filled Pouch). Continue east and down the stairs, bypassing the southern exit for right now.
To the right of that are some stairs, leading to a room with another chest (Blizzard Amulet). Take that southern exit now to arrive in a new area, following the hallway to the west until you spot a save point. Climb the stairs to your right and there will be a chest hanging out in the lower left corner (Clarity Stone), so open it and keep going east to the end for another chest (Inspiriting Plum M). Enter the room next to that, where an opening in the top left corner will bring you to a room with a purple chest (Rune Hatchet).
Return to the save point and climb the stairs to your left, looking to the southern edge for a chest (Healing Grape Bunch). There’s nothing inside of the room nearby, so just continue west and down some stairs. You won’t find anything to the right, but there is another chest to the left, which holds a Refreshing Jam. Head through the large doorway at the top of the next flight of stairs, then loot the chest in the upper left corner (Inspiriting Plum Basket). Save your game and heal up your characters before passing through the doorway, as it’s time to face off against Werner.
BOSS - Werner
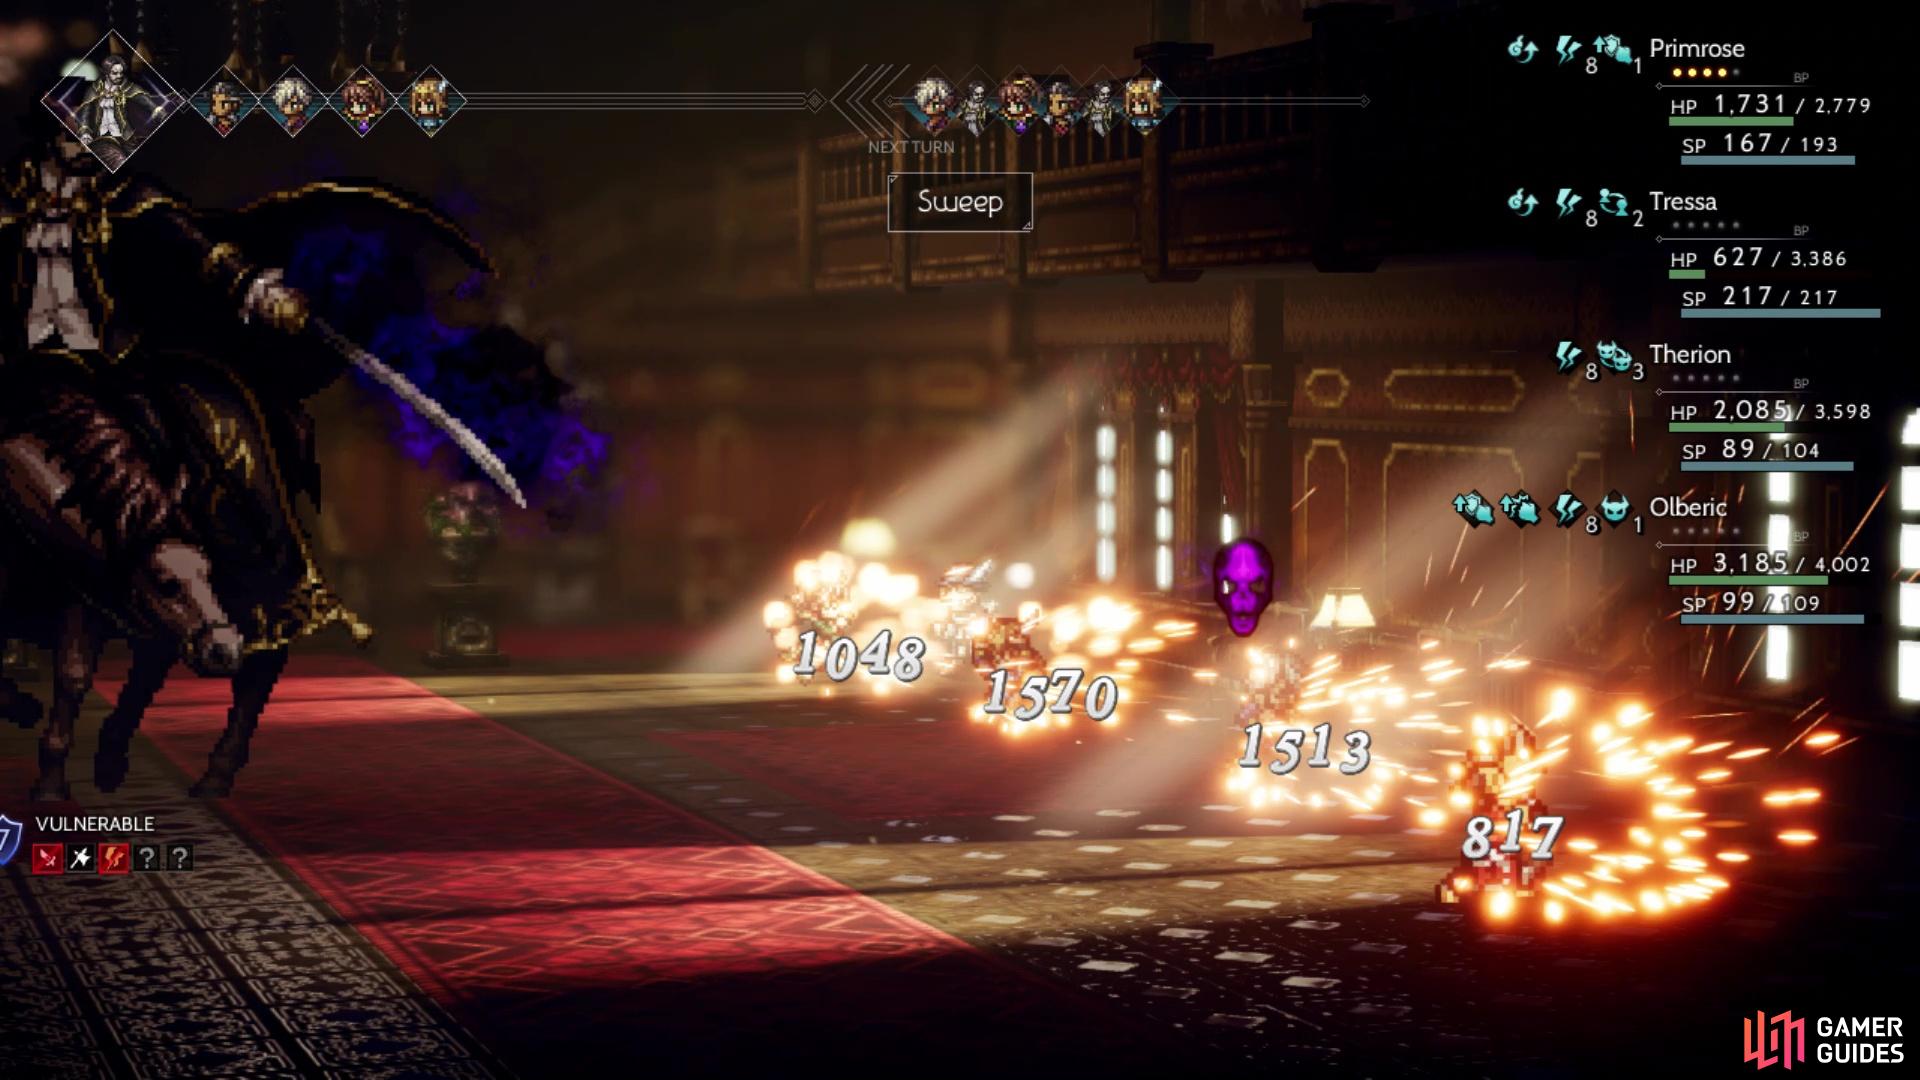
The good thing about this battle is that Werner is alone, but his strength more than makes up for his solitude. He will begin the battle by having an “aura of dread pervade the battlefield,” basically letting any of his attacks have a chance of inflicting Terror. If you happen to have an Apothecary in your party, then you can combine Rehabilitate with the Dancer’s Divine Skill to negate this ailment. Terror isn’t highly annoying in the onset, but being unable to use boost is a problem in the long run. Werner will have two actions per turn in the first phase of the battle, and is weak to daggers, axes, lightning, wind and light.
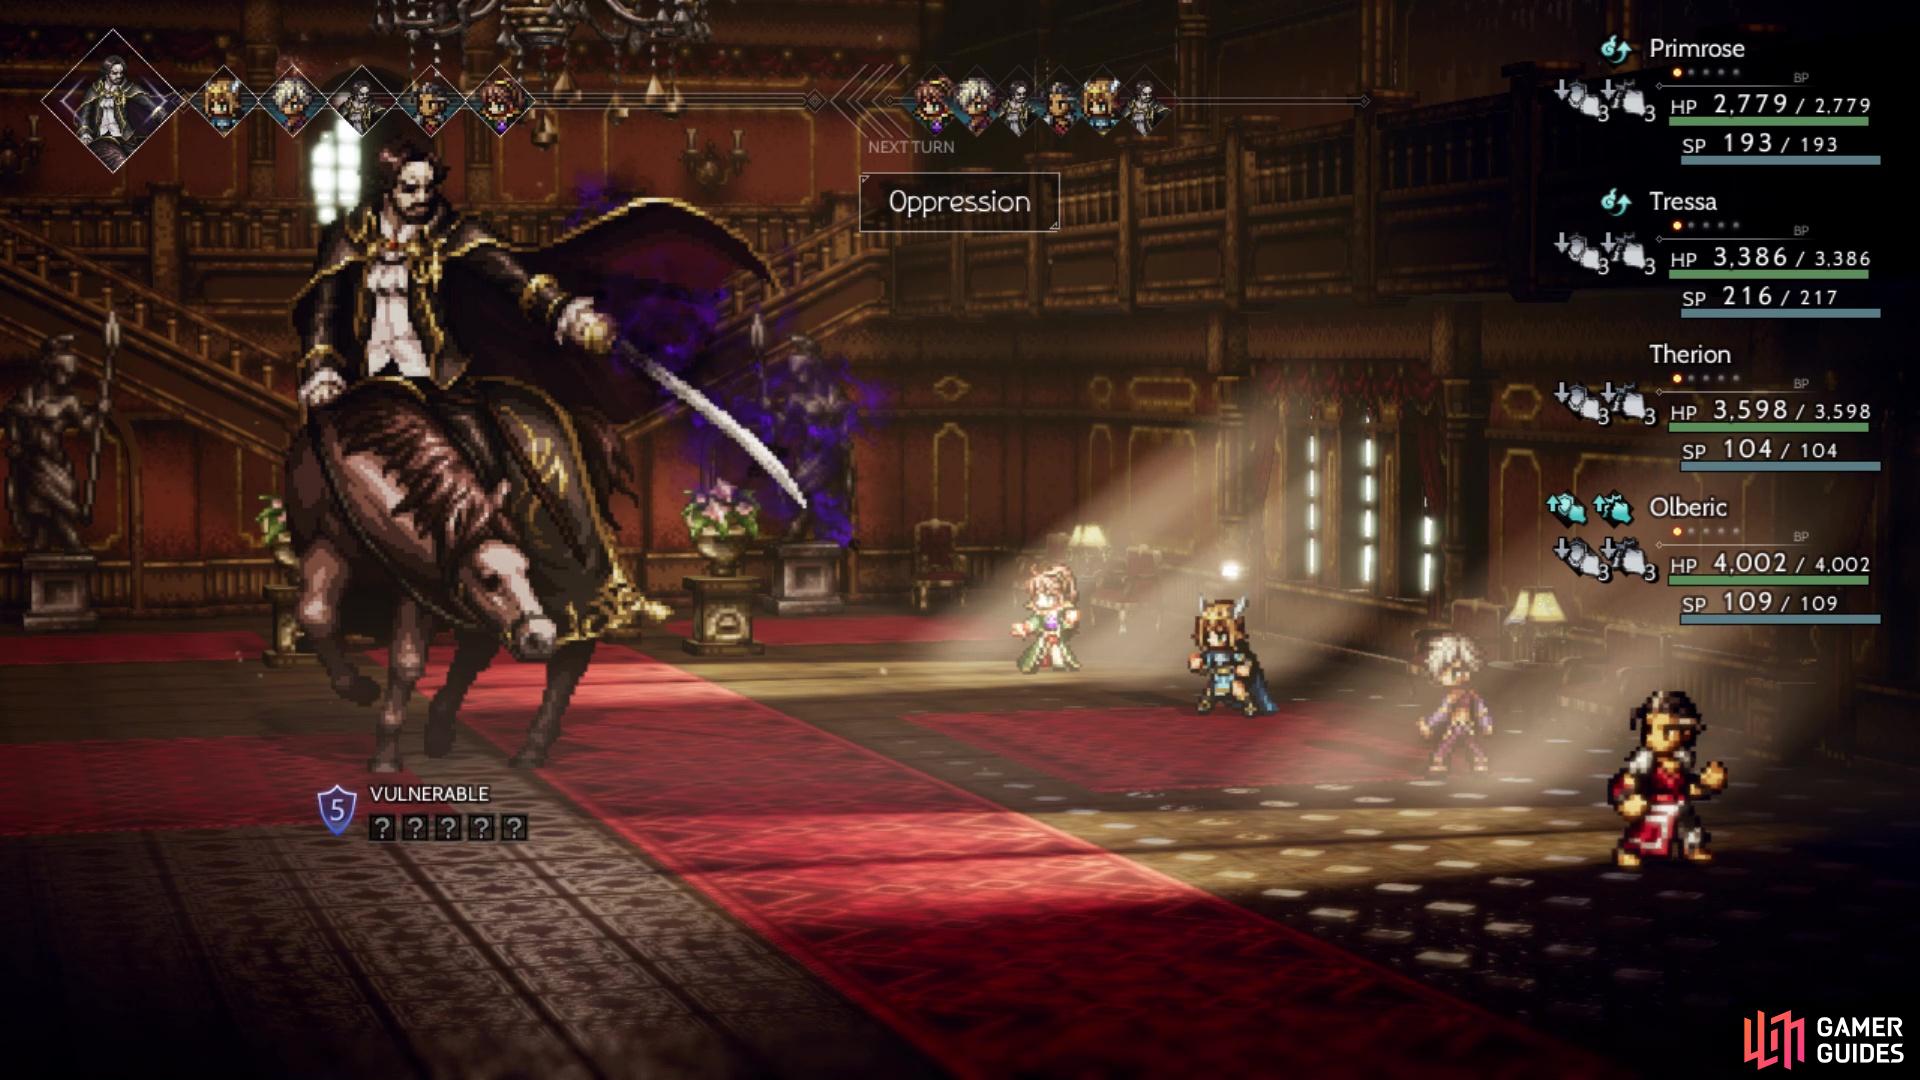
(1 of 2) Oppression is dangerous because of Werner’s strong attacks
Oppression is dangerous because of Werner’s strong attacks (left), He has a chance to inflict Terror with any attack (right)
Another good thing about this battle is that Werner doesn’t have any buffs for himself. However, he can use Oppression to lower the entire party’s physical attack and defense. The latter is a huge problem, so you want to make sure you cancel this out by using Hired Help’s Mercenaries. If you aren’t using Ophilia or Primrose and took note of the tip about the Merchant in Riverford above, then having a Thief with Shackle Foe will help, too, in lowering Werner’s physical attack.
Outside of the above, his attacks include Sweep, a pretty heavy damage dealer to the entire party, as well as Double Strike, which hits a single ally twice for good damage. You might also see Boot to the Head, which does big damage to a single character, plus it has a chance to inflict Unconscious. Werner begins the battle with five shields and will gain an additional two shields upon break recovery, up to a maximum of nine. Additionally, Werner will decide to block some of his weaknesses whenever he recovers from a break, switching what he blocks on every break recovery.
When he reaches 50% HP, Werner will add an extra action per turn and that’s about all he has, as he doesn’t even have an ultimate boosted skill. Overall, the fight is pretty straightforward, as outside of Oppression and the Terror ailment, it’s just dealing with the strength of Werner. Debuffing his physical attack and buffing your physical defense will make everything much more manageable.
Having finished off Werner, watch the scenes that follow and you will be done with Olberic’s final chapter. If you’ve been using this walkthrough, then this should be the final Chapter 4 story completed. You may think you’re done with the game, but there are quite a few Side Stories left, as well as a little bit of postgame content.

 Sign up
No Comments