As you explore the ![]() Garbage region of Stalker 2: Heart of Chornobyl, you’ll learn that there’s a man you need to speak to in order to learn the whereabouts of Nestor, Varan. His help doesn’t come free, though, so you’ll need to complete a task for him first, pay him some Coupons, or just outright attack him in the
Garbage region of Stalker 2: Heart of Chornobyl, you’ll learn that there’s a man you need to speak to in order to learn the whereabouts of Nestor, Varan. His help doesn’t come free, though, so you’ll need to complete a task for him first, pay him some Coupons, or just outright attack him in the ![]() Deal with the Devil main mission. Keep reading to learn about all of these choices and what to expect.
Deal with the Devil main mission. Keep reading to learn about all of these choices and what to expect.
The Deal with the Devil mission in Stalker 2 will have you cutting a deal with Varan, a Kingpin in Garbage.
Table of Contents
If you want to jump to a specific section, click on the links below.
Get to the Plant
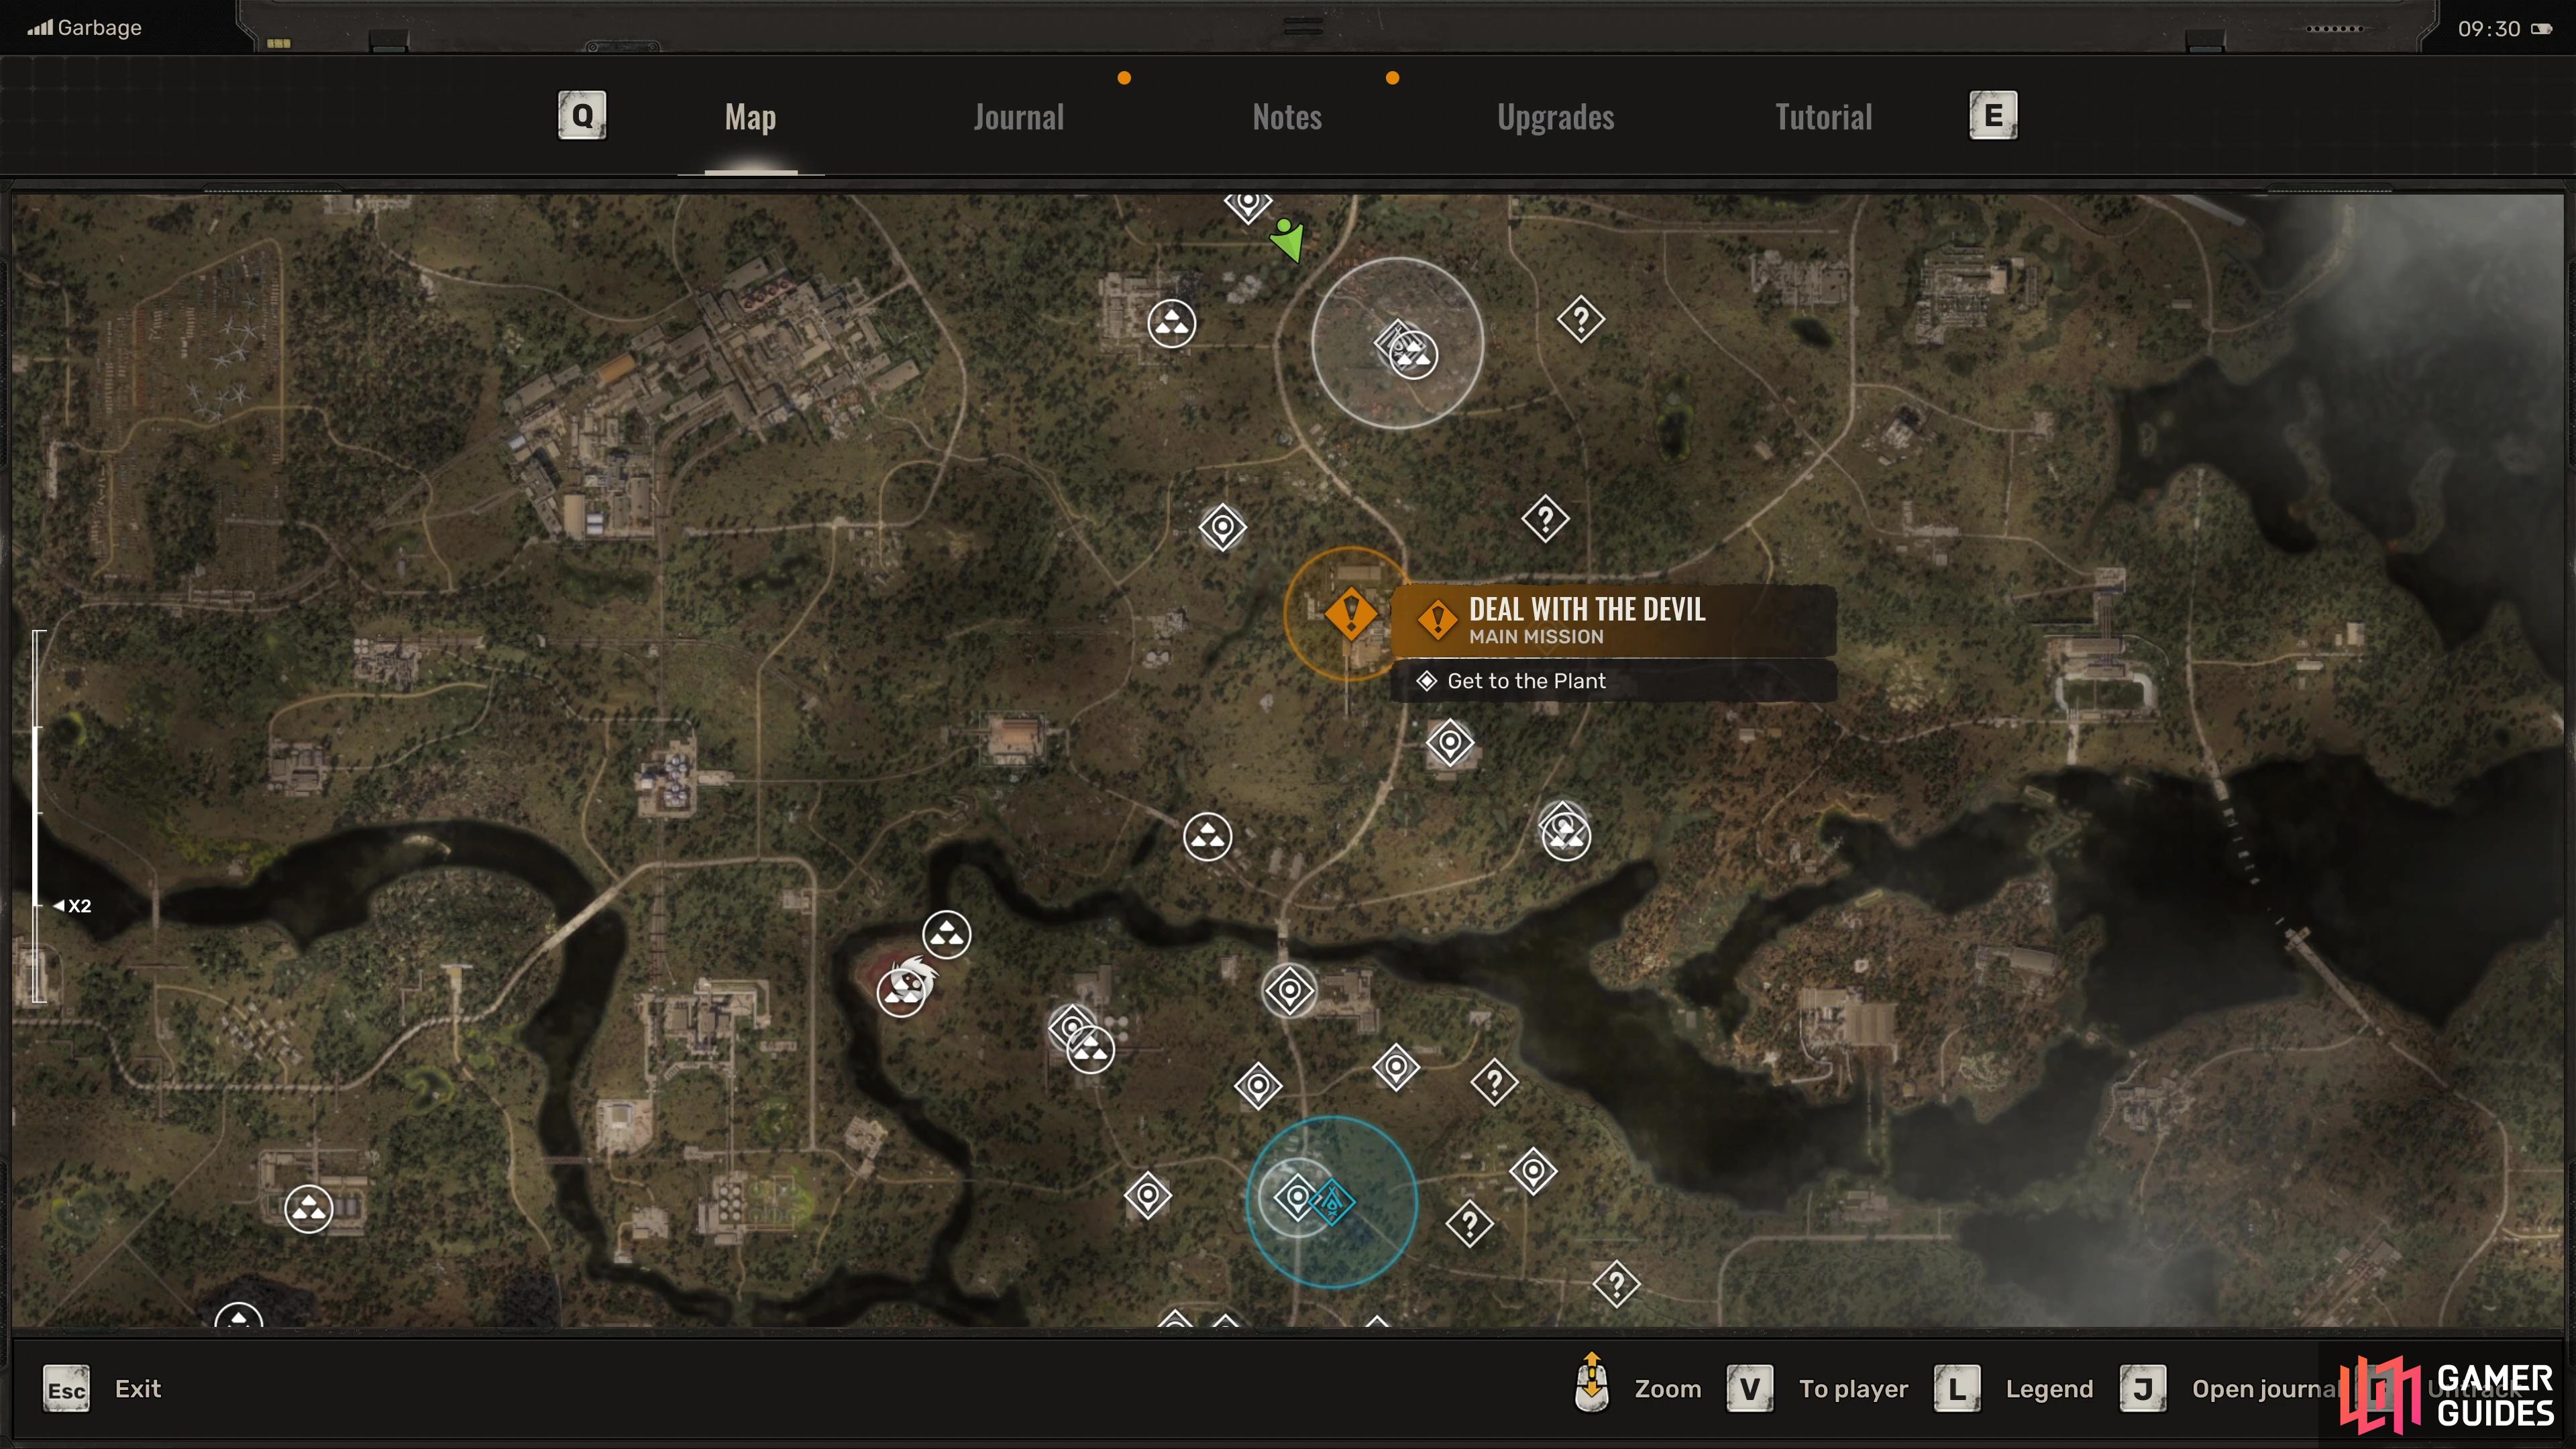
Regardless of how you obtained the information in The Price Goes Up, you’ll be directed to meet with someone who has information on Nestor, and you can find him holed up at The Plant. You’ll find the Plant (Map Marker) in the center of the region, easiest accessed by heading south along the path from the Slag Heap and looking just off to the west.
Depending on your choices shortly, you may find yourself in an immediate firefight, as such, prepare for this by ensuring that your weapons have sufficient ammo and you’ve got ample healing supplies. Once you’re ready, head to the area and you’ll be contacted by one of Varan’s men, who directs you to the main warehouse where you can find his boss. Make a save here, as after you speak to Varan, you’re going to get some choices on how to proceed.
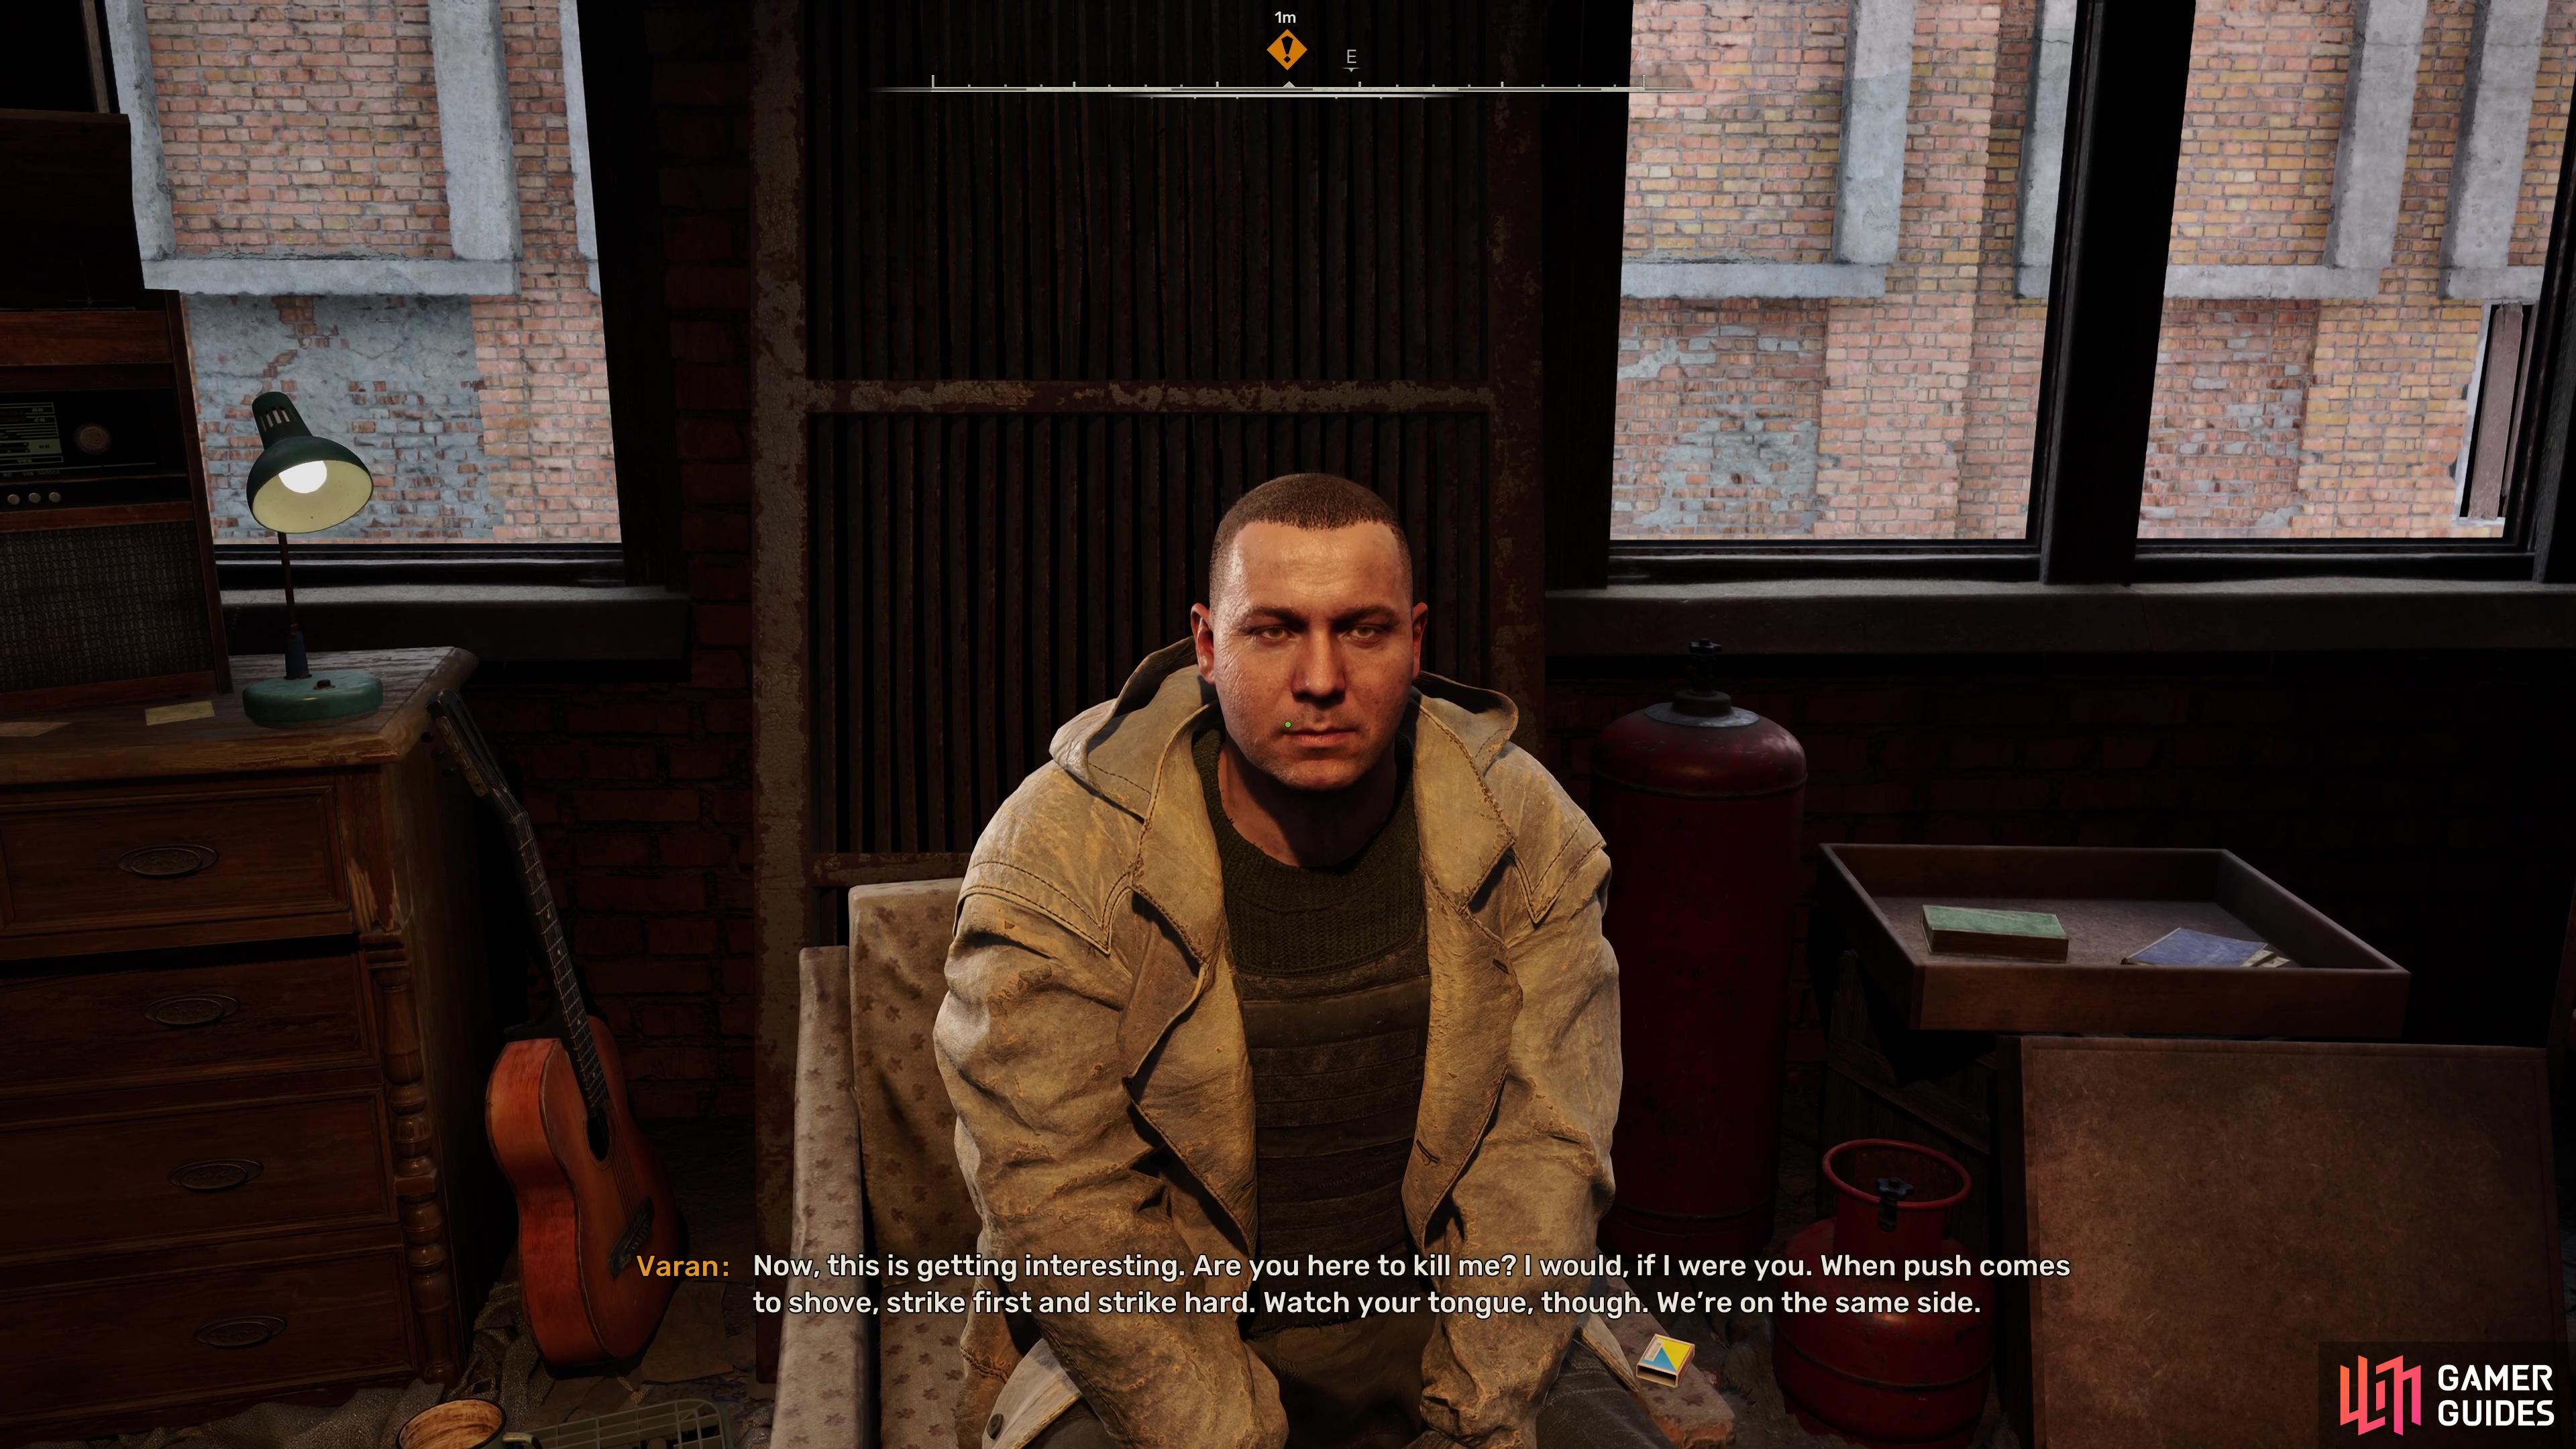
You’ll find Varan holed up at The Plant in Garbage.
Get Information from Varan
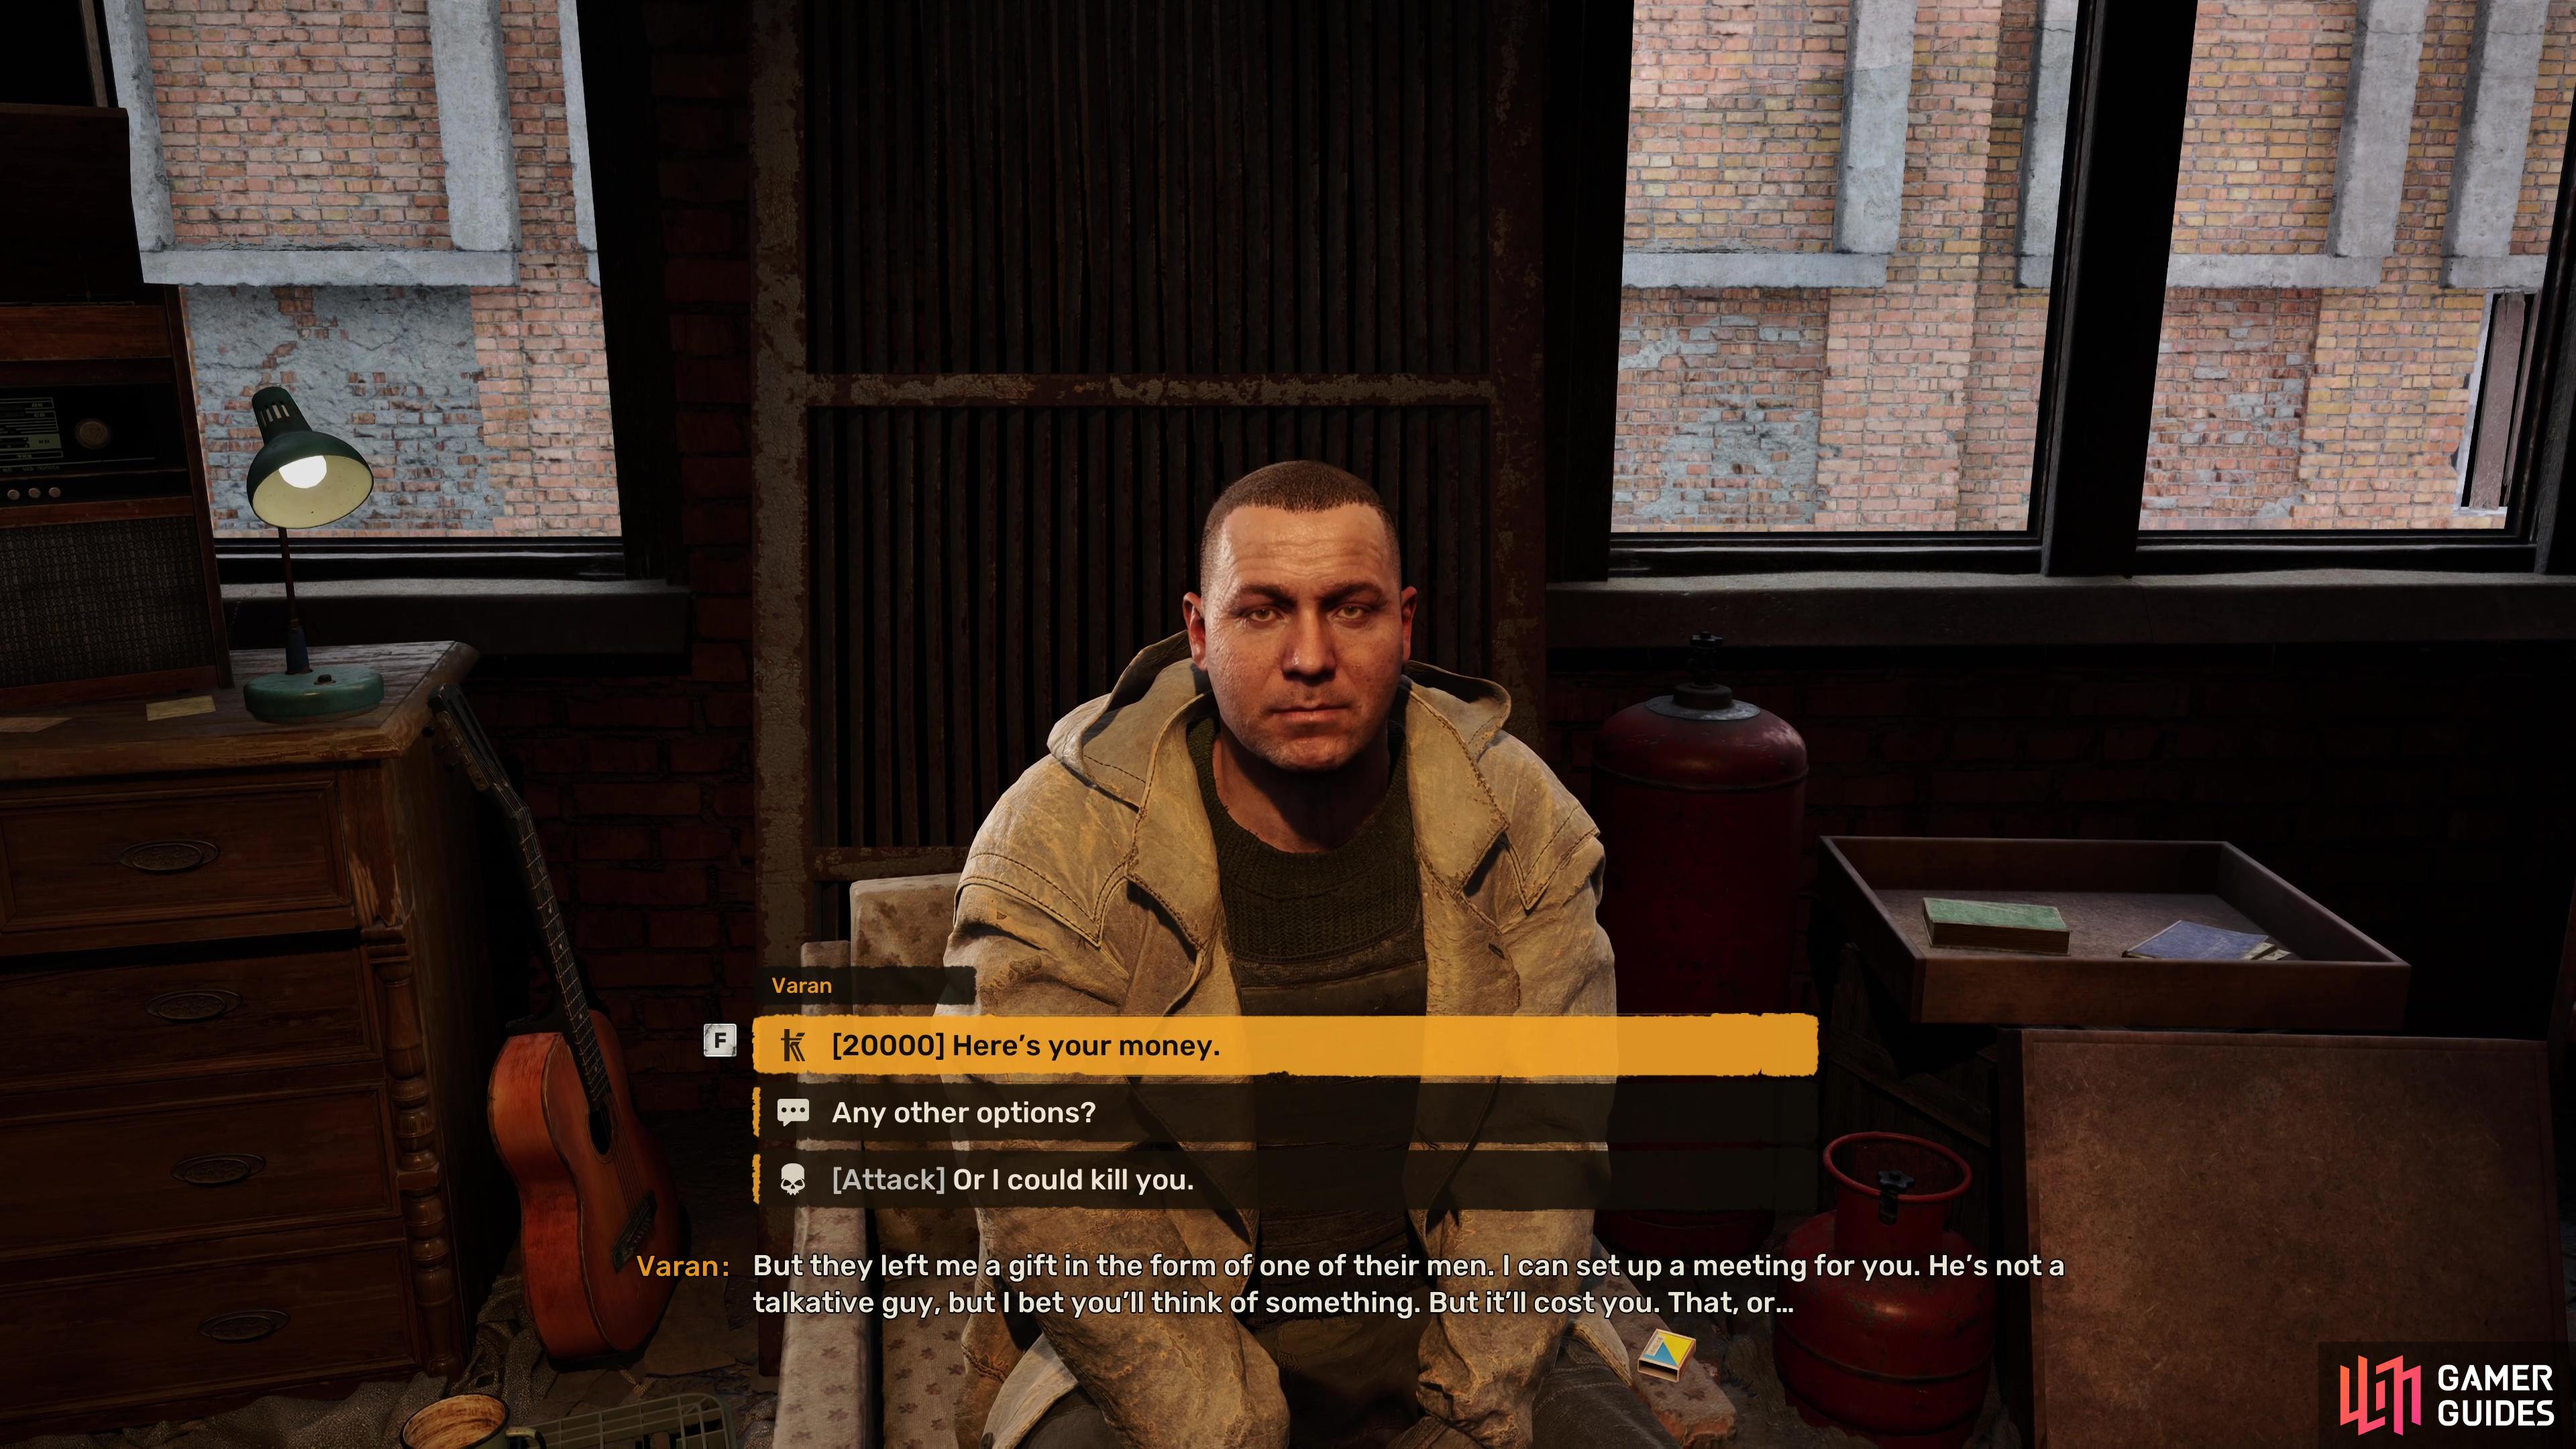
As you speak with Varan, you learn that he’s a bit shady himself, but still, he’ll offer to give you information on Nestor if you can do something for him first. You can either pay him 20,000 Coupons for the ![]() Key to where Nestor is being held, which is a lot at this stage of the game so you should dismiss it out of hand.
Key to where Nestor is being held, which is a lot at this stage of the game so you should dismiss it out of hand.
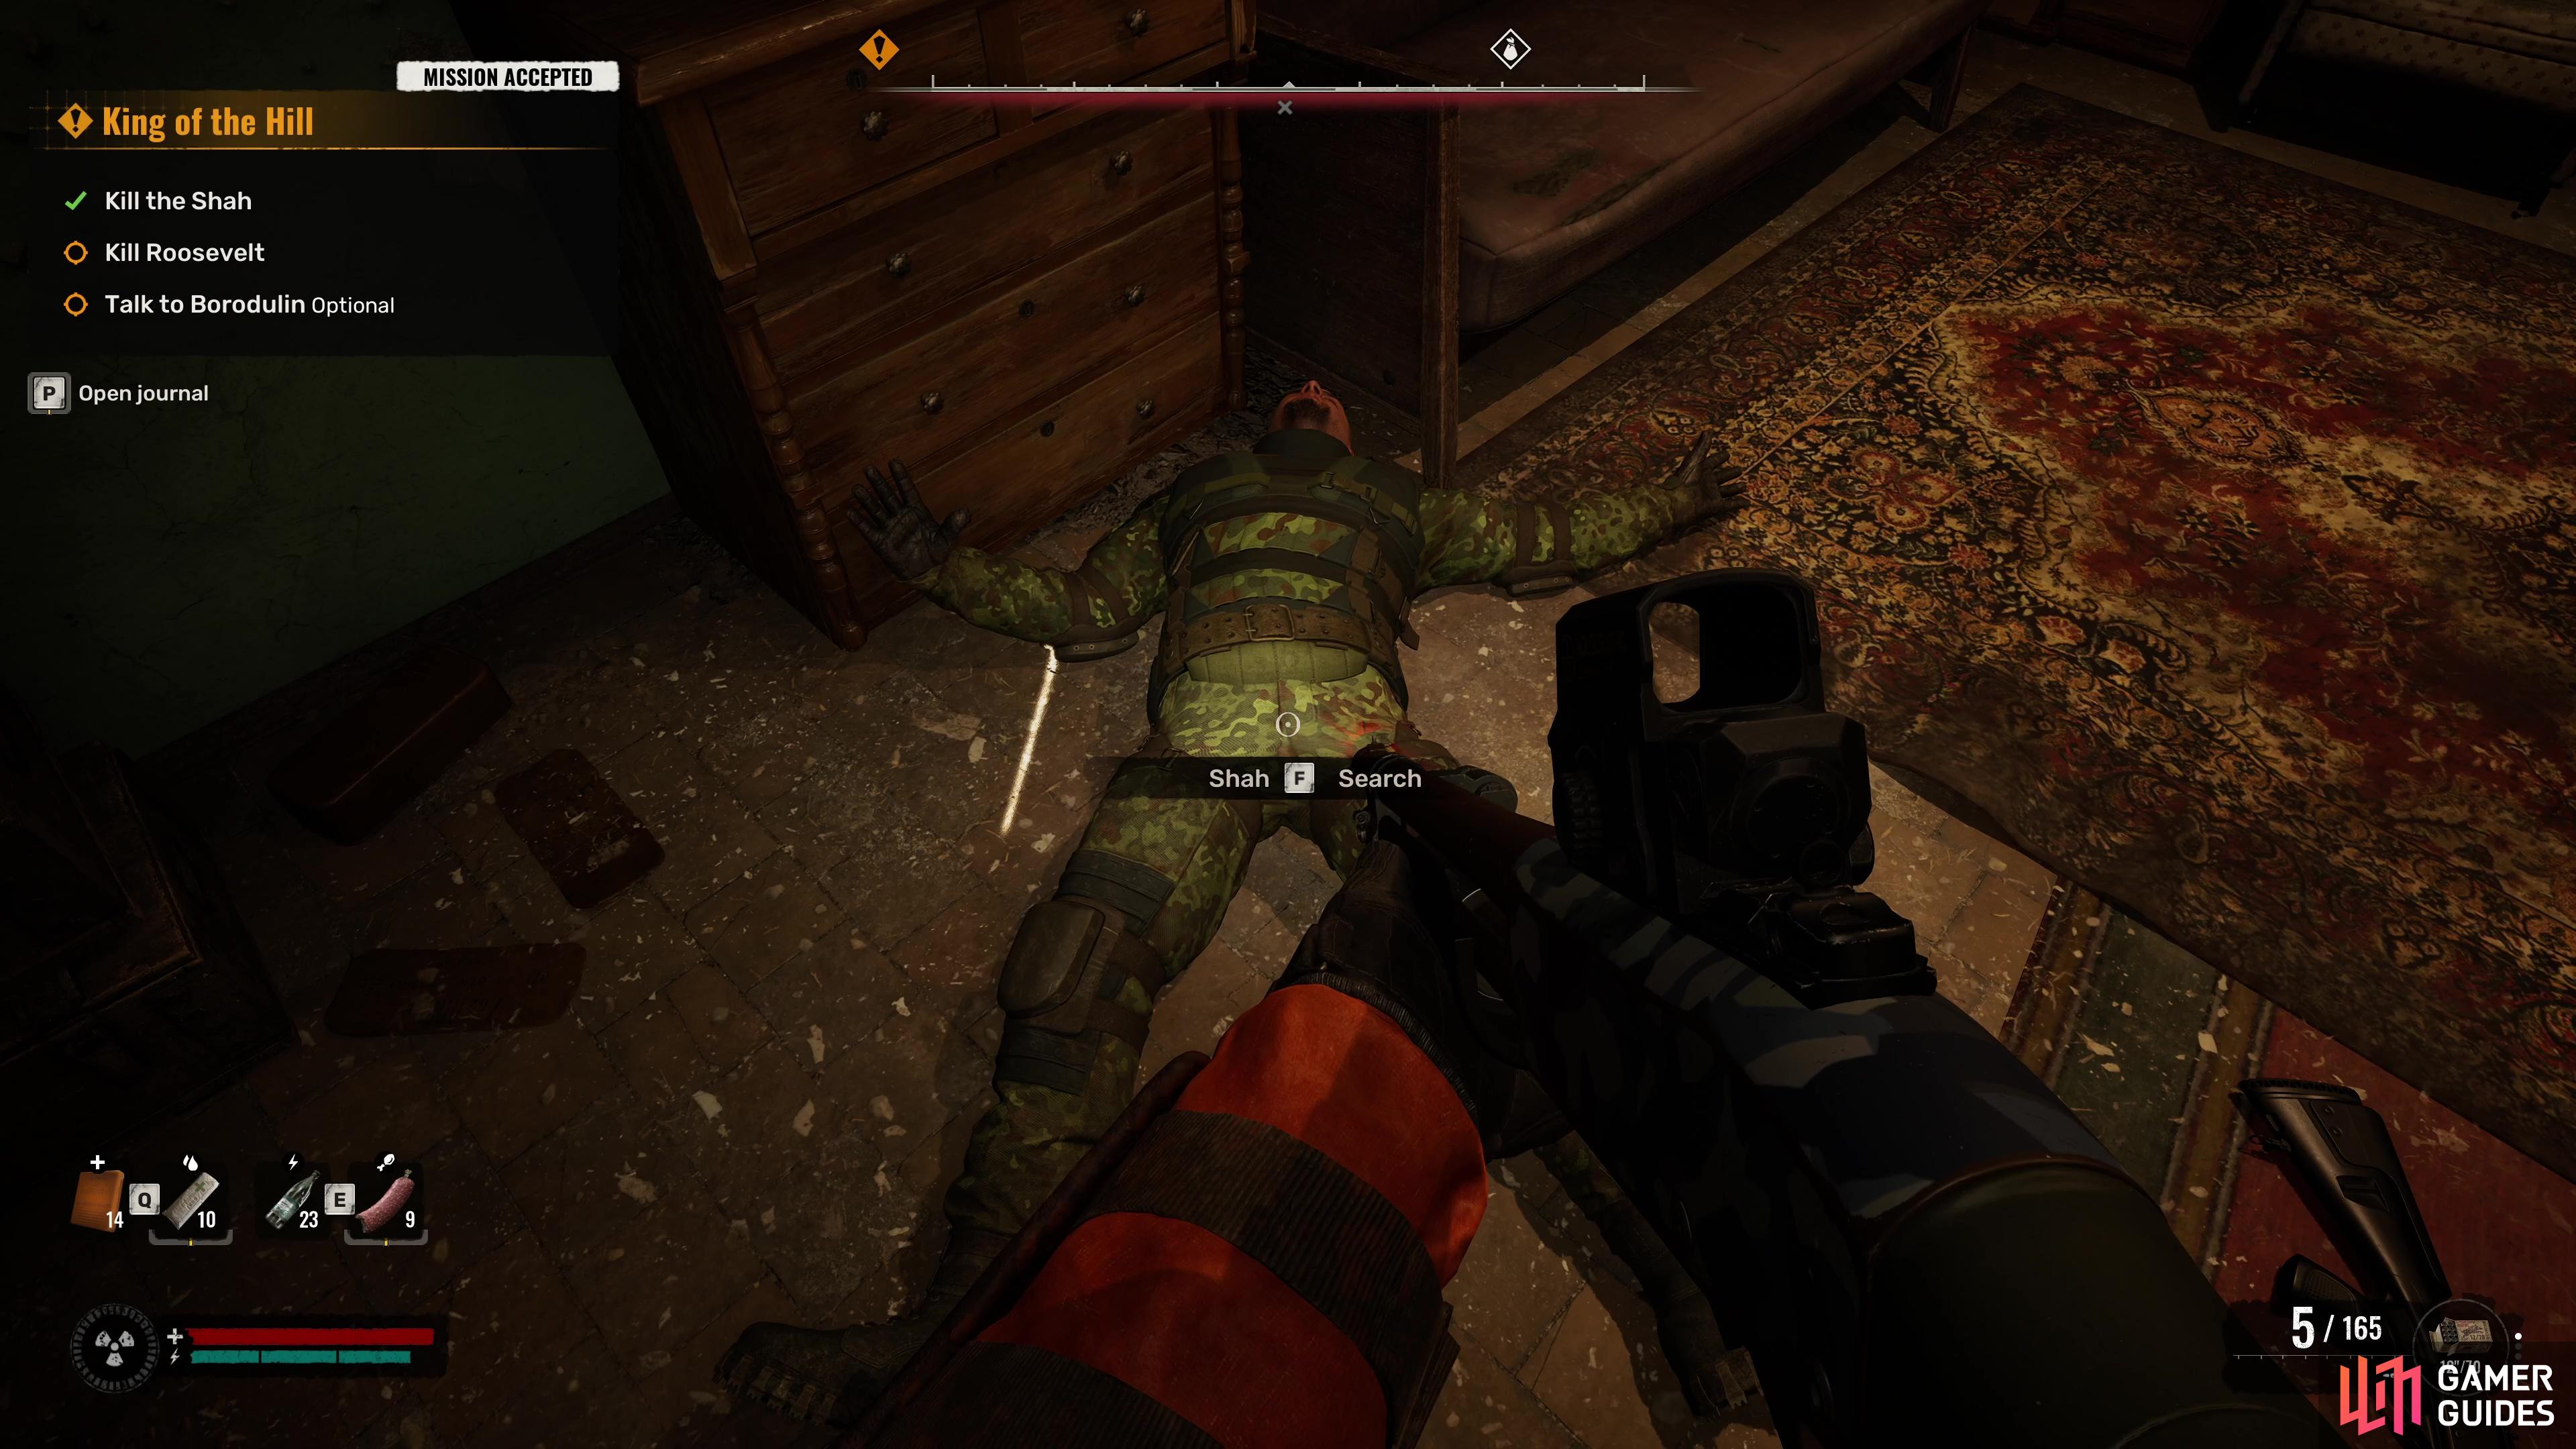
The next choice is to complete a task for him, this starts the ![]() King of the Hill main mission that runs parallel this one. This will have you take out one (or both, for maximum rewards) of the two Kingpins that control Garbage so that Varan can take over. Depending on the side missions you’ve done before this, you may be able to complete this a lot quicker than you expect. To learn more about this main mission and how to take out the Kingpins, check out our King of the Hill mission guide.
King of the Hill main mission that runs parallel this one. This will have you take out one (or both, for maximum rewards) of the two Kingpins that control Garbage so that Varan can take over. Depending on the side missions you’ve done before this, you may be able to complete this a lot quicker than you expect. To learn more about this main mission and how to take out the Kingpins, check out our King of the Hill mission guide.
The final option available to you is to ignore all of the above and just attack Varan right here and now. That’s not the best of ideas in your current location though, you’re out in the open, and even if Varan will go down with a quick Shotgun blast to the head, his henchmen nearby will most likely gun you down before you can get into cover. You’ll also be passing on some valuable loot if you don’t deal with a Kingpin or two.
(1 of 2) Varan will give you a number of choices when you speak with him.
Varan will give you a number of choices when you speak with him. (left), One of them is the King of the Hill mission that involves killing one of the Kingpins of Garbage such as Shah. (right)
Examine the Prisoner
The most likeliest outcome of King of the Hill mission is that you’ve dealt with the Kingpins in some way and have the ![]() PDA from one of their bodies to prove to Varan you’ve done what he’s requested. Return to him at the Plan and hand it over, you’ll obtain the
PDA from one of their bodies to prove to Varan you’ve done what he’s requested. Return to him at the Plan and hand it over, you’ll obtain the ![]() Metal Key and the information that Nestor is being held in the basement of this very building.
Metal Key and the information that Nestor is being held in the basement of this very building.
Make a save at this point before you proceed any further and heal up. When you’re ready, head down to the basement and open the locked door, you’ll discover that both Nestor and the Monolithian have been dead for a while now, and Varan has duped you. Examine Nestor’s body while you’re here to update the mission objective and then prepare yourself.
Leave the Plant Area
As soon as you go to leave the room you’re in, Varan will appear in the hole above you and you’ll learn that he’s got no intention of letting you leave this area alive. There is no way to avoid a firefight with Varan at this point, but unfortunately for him, your current location benefits you more than it does him (so long as you have a decently ranged weapon).
(1 of 4) As you go to leave the room in the basement, Varan will turn against you.
Use the cover of your room, and the open door, to peek around corners and aim for headshots on your aggressors, they’re the ones that are going to have to come out into the open to fire upon you. Beware of all of the directions you can be hit though, some will head into the basement and use the pillars for cover, others will shoot from above, via the hole, and finally, by taking the stairs down. All of these enemies, fortunately, are no stronger than any you’ve fought up until now, Varan included.
Once you’ve cleared out the warehouse, loot the bodies and then be prepared more on the grounds outside of the Plant. Your objective isn’t to kill everybody though, so if you’re low on supplies, consider just making a run for it once you’re outside and once you’re far enough away, the mission will complete, starting ![]() Back to the Slag Heap in the process.
Back to the Slag Heap in the process.



 Sign up
No Comments