Shift Change is one of the first side missions you will get in the Wild Island area in Stalker 2: Heart of Chornobyl. As you head toward the Noontides base, you’ll hear a distress call from someone named ‘Jumper’. This will take you to a waste processing plant, where your nightmares are about to get worse. Read on to find out how to complete the ![]() Shift Change mission.
Shift Change mission.
Jumper want’s to help his friend, Bluish, who appears to be losing his mind.
Table of Contents
If you want to jump to a specific section, click on the links below.
| Quickjump |
|---|
| Waste Processing Plant Location |
| Jumper Location |
| Finding North’s Key |
| Waste Processing Plant Basement |
| Helping Jumper One Last Time |
Waste Processing Plant Location
When you first enter the ![]() Wild Island area, you’ll be told to check in at a place called Sawmill (Map Marker). Exit Sawmill by taking the road east, and stay on the road until you reach the Waste Processing Plant to the north of the road (Map Marker). Note that there will be plenty of anomalies you’ll need to navigate around to reach it. In short, stay on the road heading east from Sawmill to the Waste Processing Plant.
Wild Island area, you’ll be told to check in at a place called Sawmill (Map Marker). Exit Sawmill by taking the road east, and stay on the road until you reach the Waste Processing Plant to the north of the road (Map Marker). Note that there will be plenty of anomalies you’ll need to navigate around to reach it. In short, stay on the road heading east from Sawmill to the Waste Processing Plant.
Follow the road east of Sawmill to reach the Processing Plant. The outpost is at the south of the plant, near the road.
Jumper Location
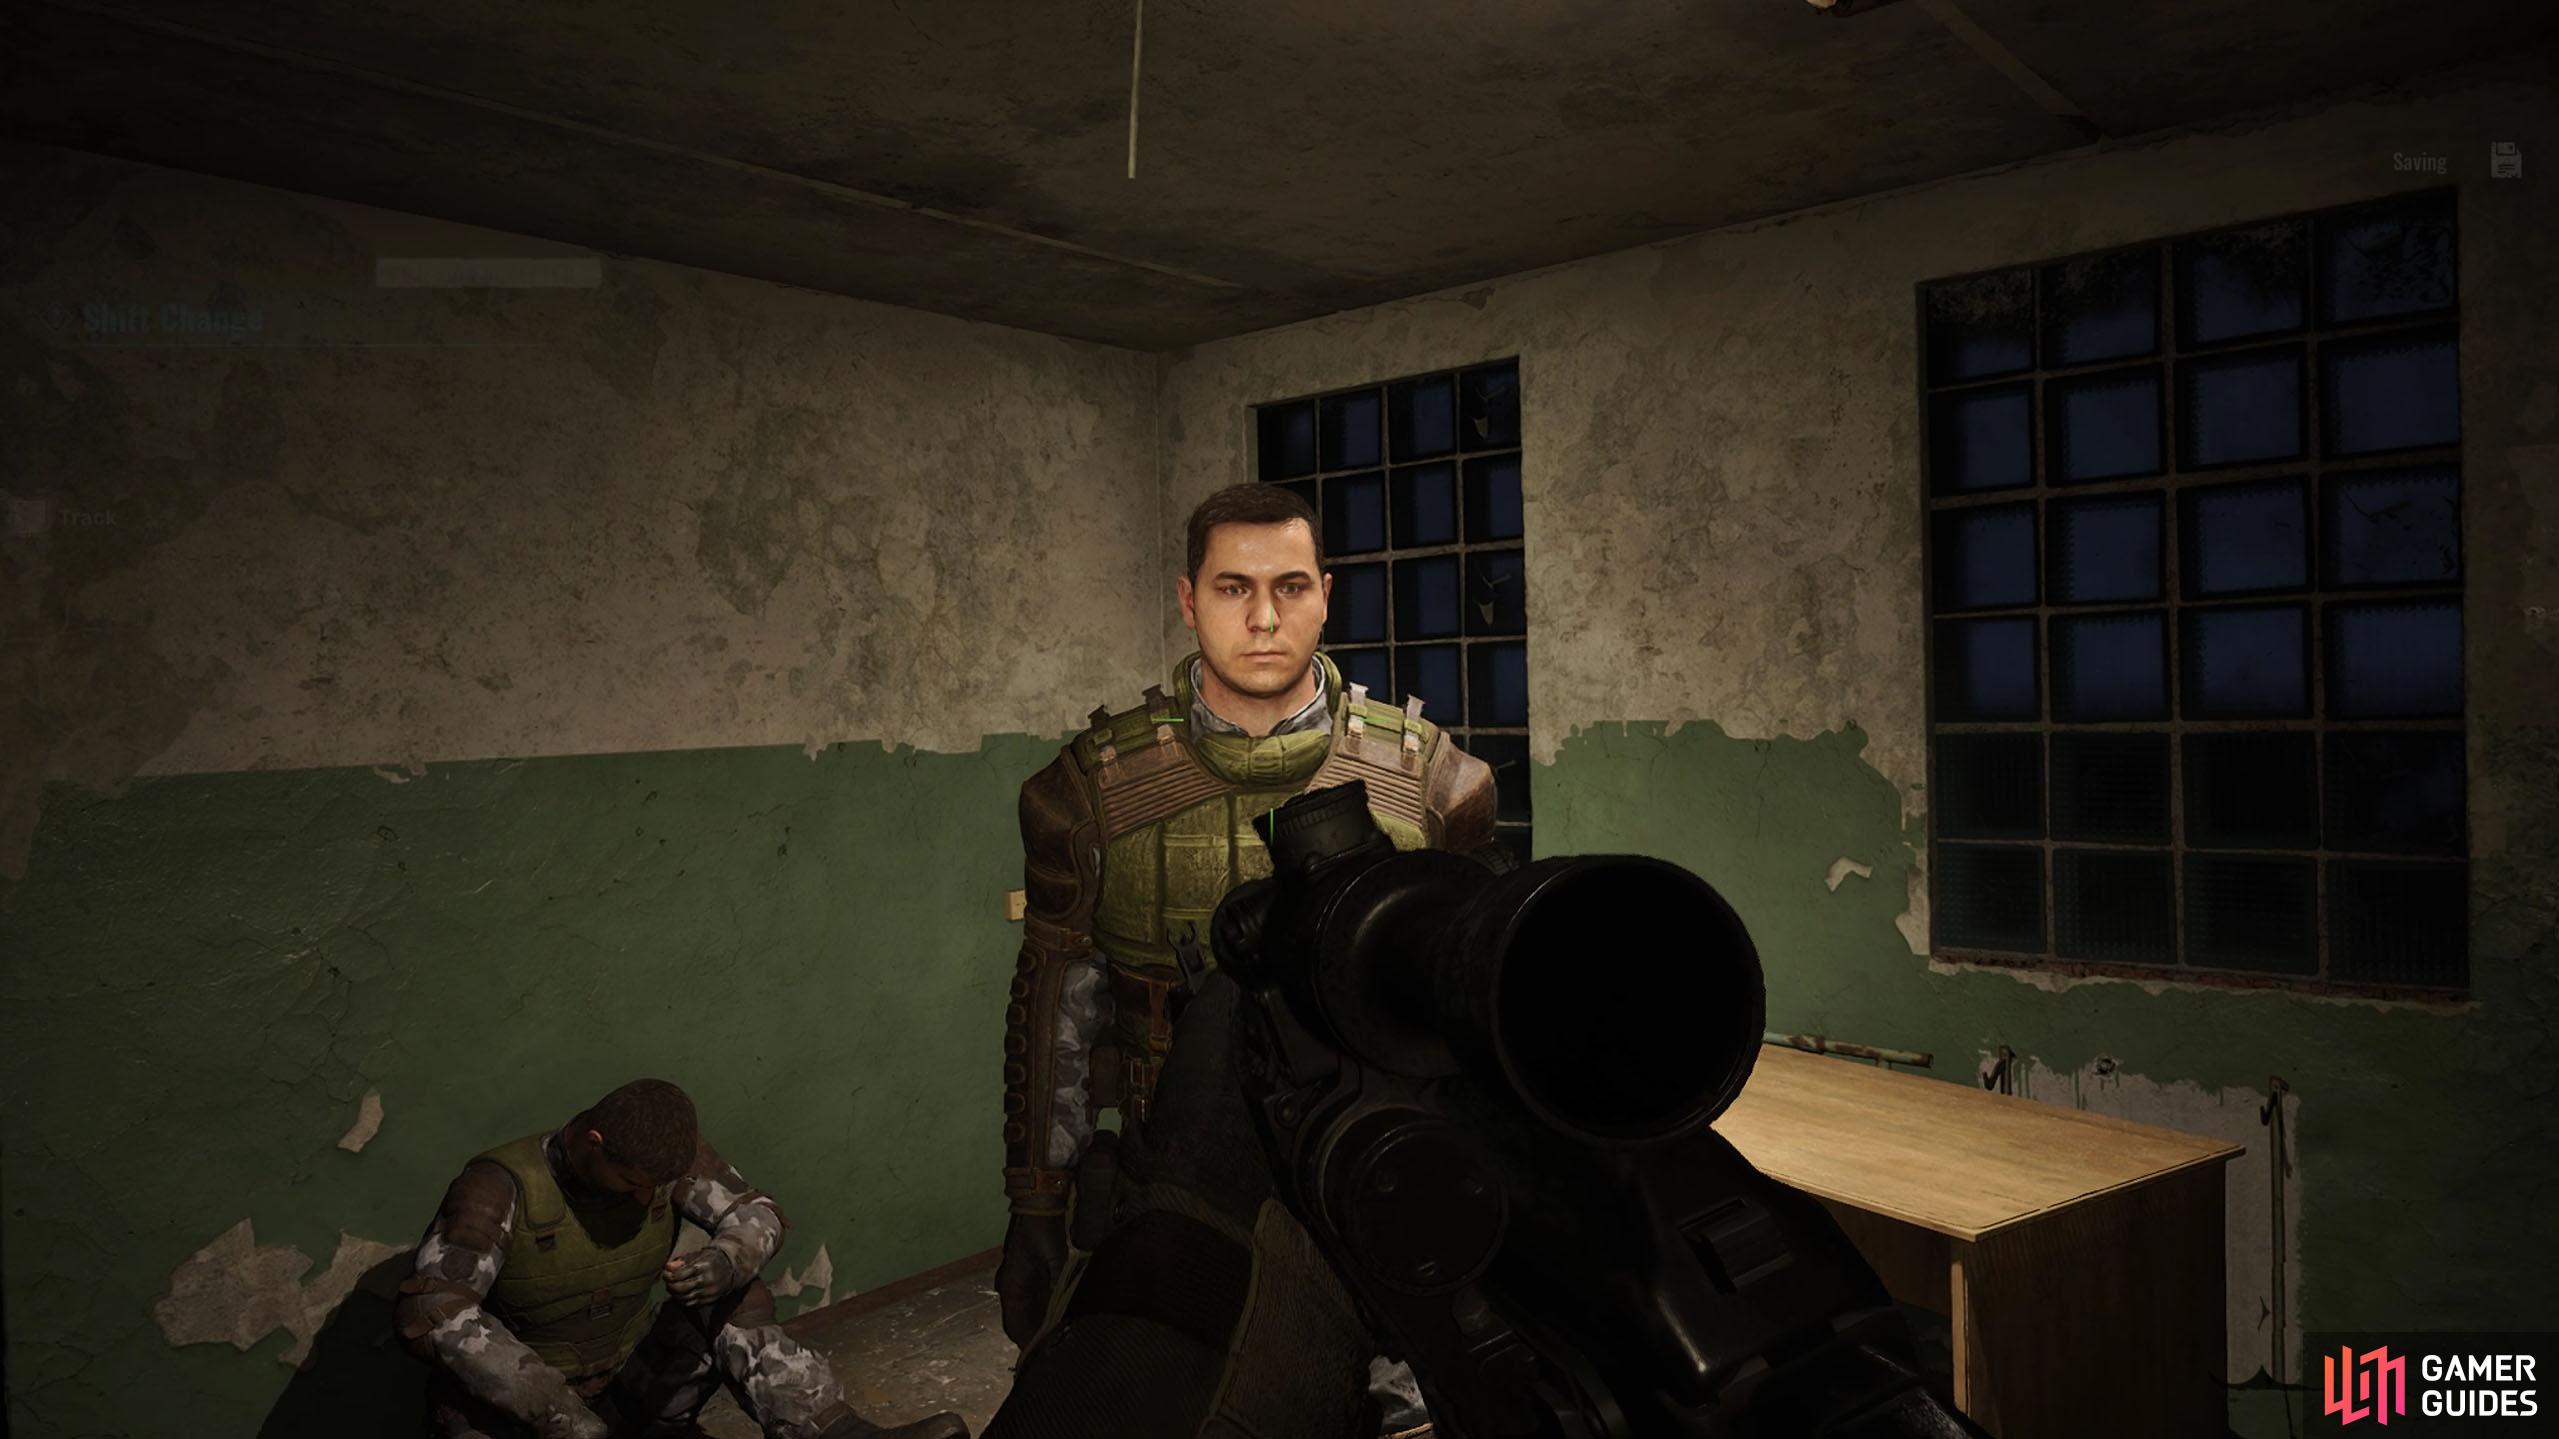
As you get closer to the Waste Processing Plant, you’ll hear repeated distress calls over the radio from Jumper about how the plant was attacked and that they request aid. From time to time, Jumper will mention that he’s in the outpost of the plant, but the plant is a large place, so it doesn’t narrow it down. The outpost and Jumper can be found along the eastern road, at the southern edge of the plant. When you enter the outpost, Jumper and his friend Bluish will be around the corner. Ask him for information to get a better idea of the situation, but to keep it short, there is a mind-controlling monster in the basement of the plant, and it has turned all his colleagues into mindless zombies.
Inside the outpost, speak to Jumper to get the mission.
Finding North’s Key
Jumper will mention to you that the basement is locked and requires North’s ![]() Key to unlock it. He hints that North likes to take a cigarette break on top of the roof of the Waster Processing Plant, so that’s where we’ll go. Exit the outpost, and head into the plant complex by heading north across the bridge. At the end of the bridge, head up the stairs to your left, and continue north to the larger building. As you approach the building, the door will open, and one of the ‘zombies’ will come out of the door. These are hostile and will fire at you if they notice you. These take a lot of shots to kill unless you perform a headshot, which in that case, it’ll take just one bullet.
Key to unlock it. He hints that North likes to take a cigarette break on top of the roof of the Waster Processing Plant, so that’s where we’ll go. Exit the outpost, and head into the plant complex by heading north across the bridge. At the end of the bridge, head up the stairs to your left, and continue north to the larger building. As you approach the building, the door will open, and one of the ‘zombies’ will come out of the door. These are hostile and will fire at you if they notice you. These take a lot of shots to kill unless you perform a headshot, which in that case, it’ll take just one bullet.
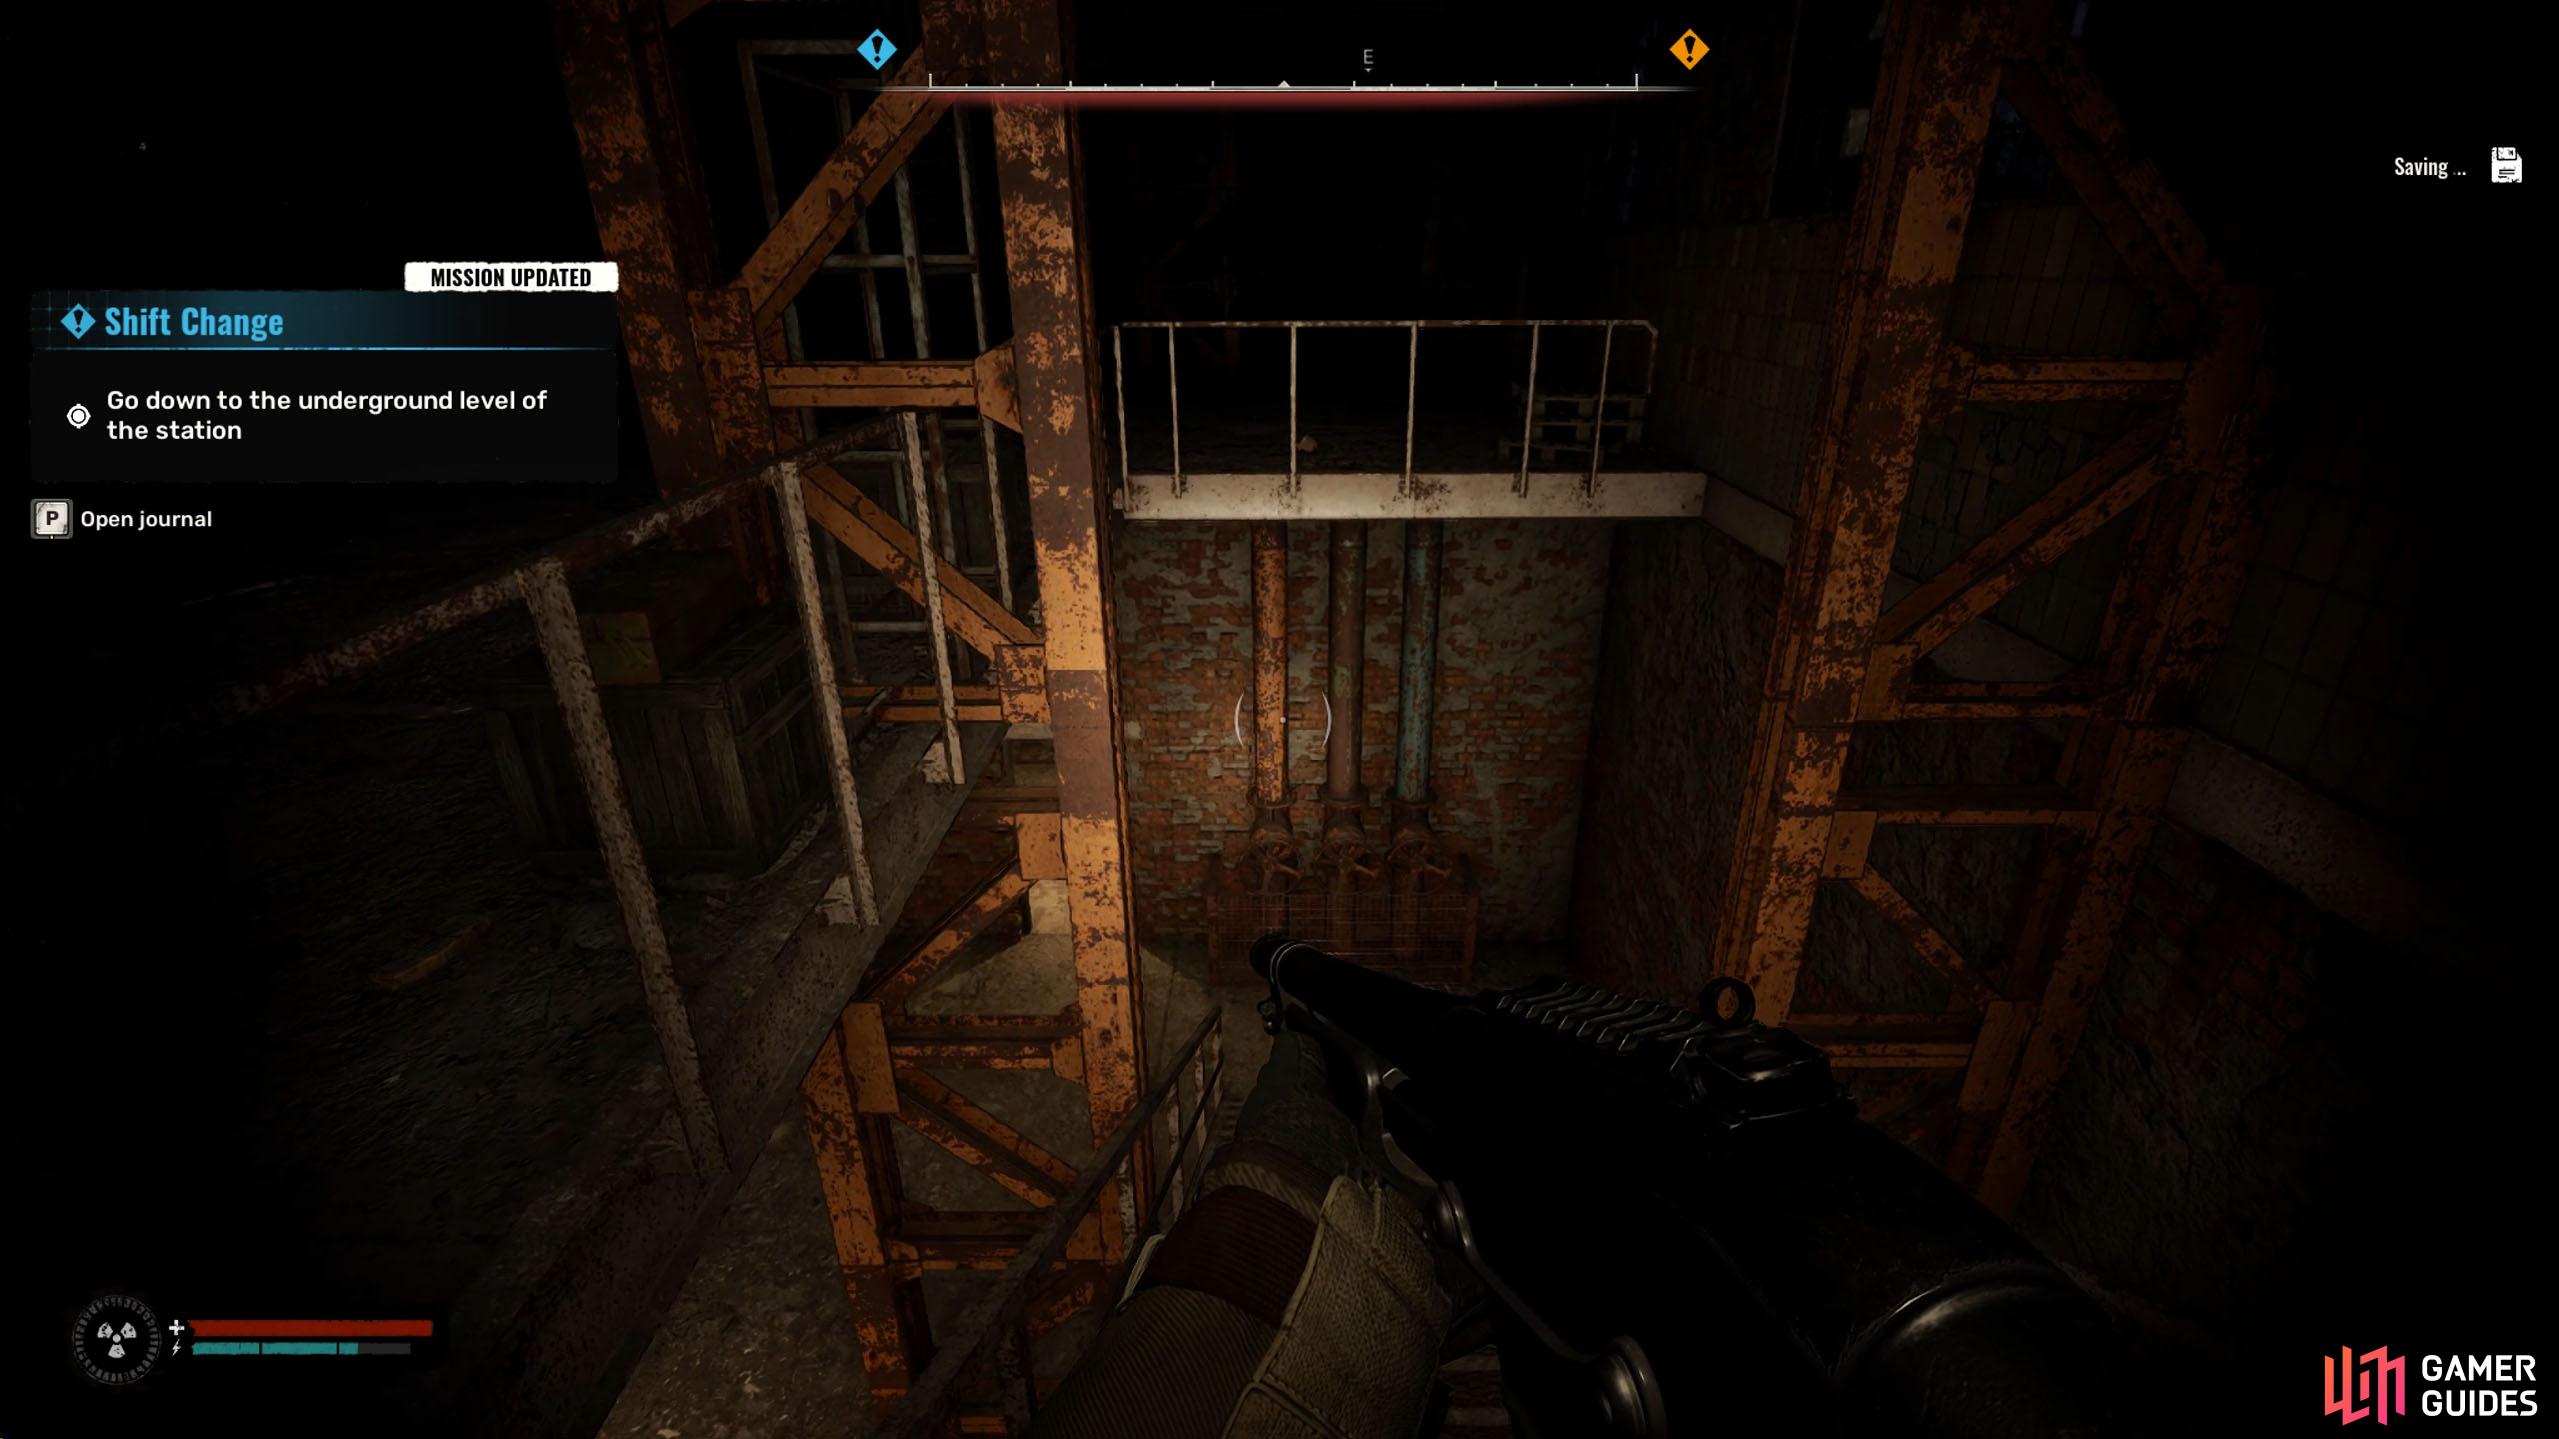
Enter the building and immediately take the stairs up to the right of the entrance. There’s only one zombie up here, so take your time, and one-tap the head, before continuing to the end, where you’ll find a corpse hanging over the railing. To the right of the corpse, the path will be broken. Drop onto the platform below, and then jump over the containers to the south to reach the other side before climbing the stairs and heading up.
(1 of 3) As you reach the main building, a zombie will come out of the door.
As you climb the stairs up to the top, there will be a ladder next to them, leading to the roof. There is a zombie on this walkway, but it will only attack you if you follow it to the west. On the roof, rotate the camera to the east, and head toward the lantern. There are no enemies up here, so you can run over to it. Opposite the lantern, you’ll find some blood on the edge of the roof. Head over to it and look down to find poor old North, dead, on the pipes below.
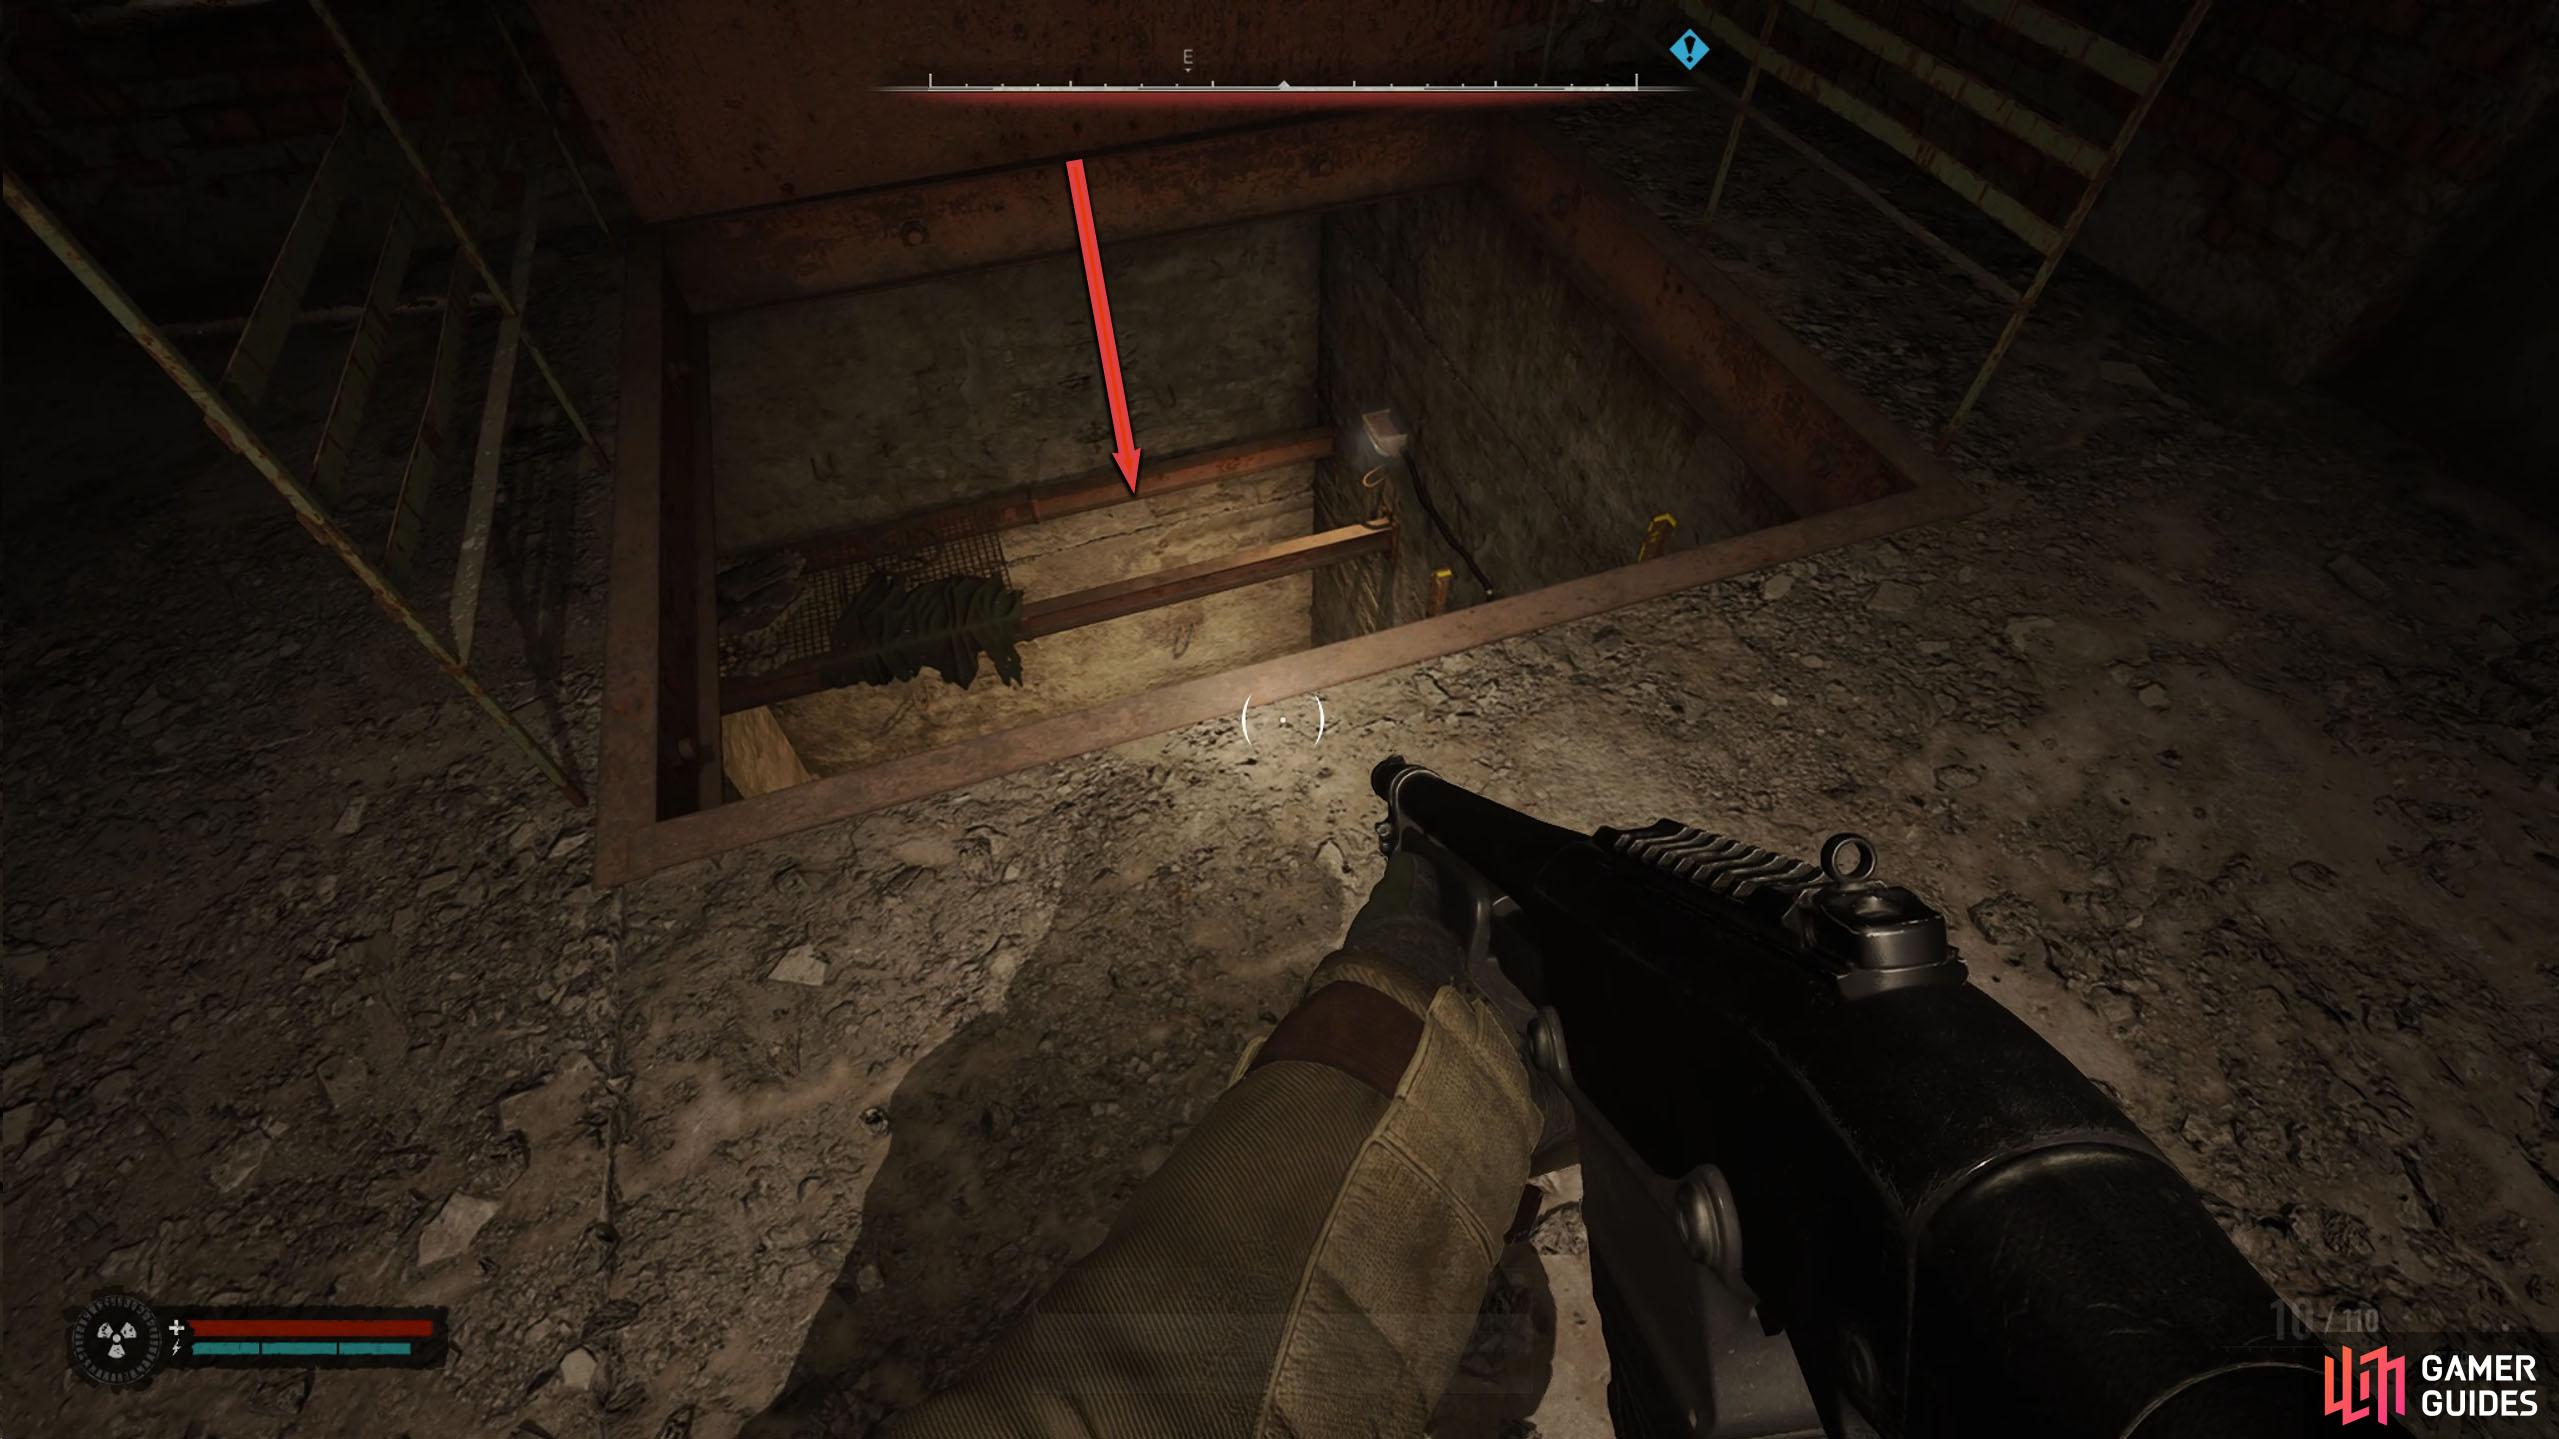
Drop onto the pipe below and loot North’s corpse for the basement key. Now, you’ll need to get down without dying. Walk over to the southern edge of the pipe and look down to find a platform you can jump over. Make a quick save, and then run and jump over to it. From there, you can make your way back into the building.
(1 of 4) Head toward the lantern in the east.
Waste Processing Plant Basement
Head back inside the main building and take the stairs down near the entrance to the lower level to find the basement door. Interact with the door and head down the ladder to the left to enter the basement. Note that there are a lot of zombies down here, so take your time, and peek at each corner carefully. Although their shooting isn’t accurate, two or three of them spraying their guns simultaneously at you can still become a problem. Before you enter, make sure you have plenty of bullets (shotgun and main gun), a few grenades, and plenty of ![]() Bandages and
Bandages and ![]() Medkits.
Medkits.
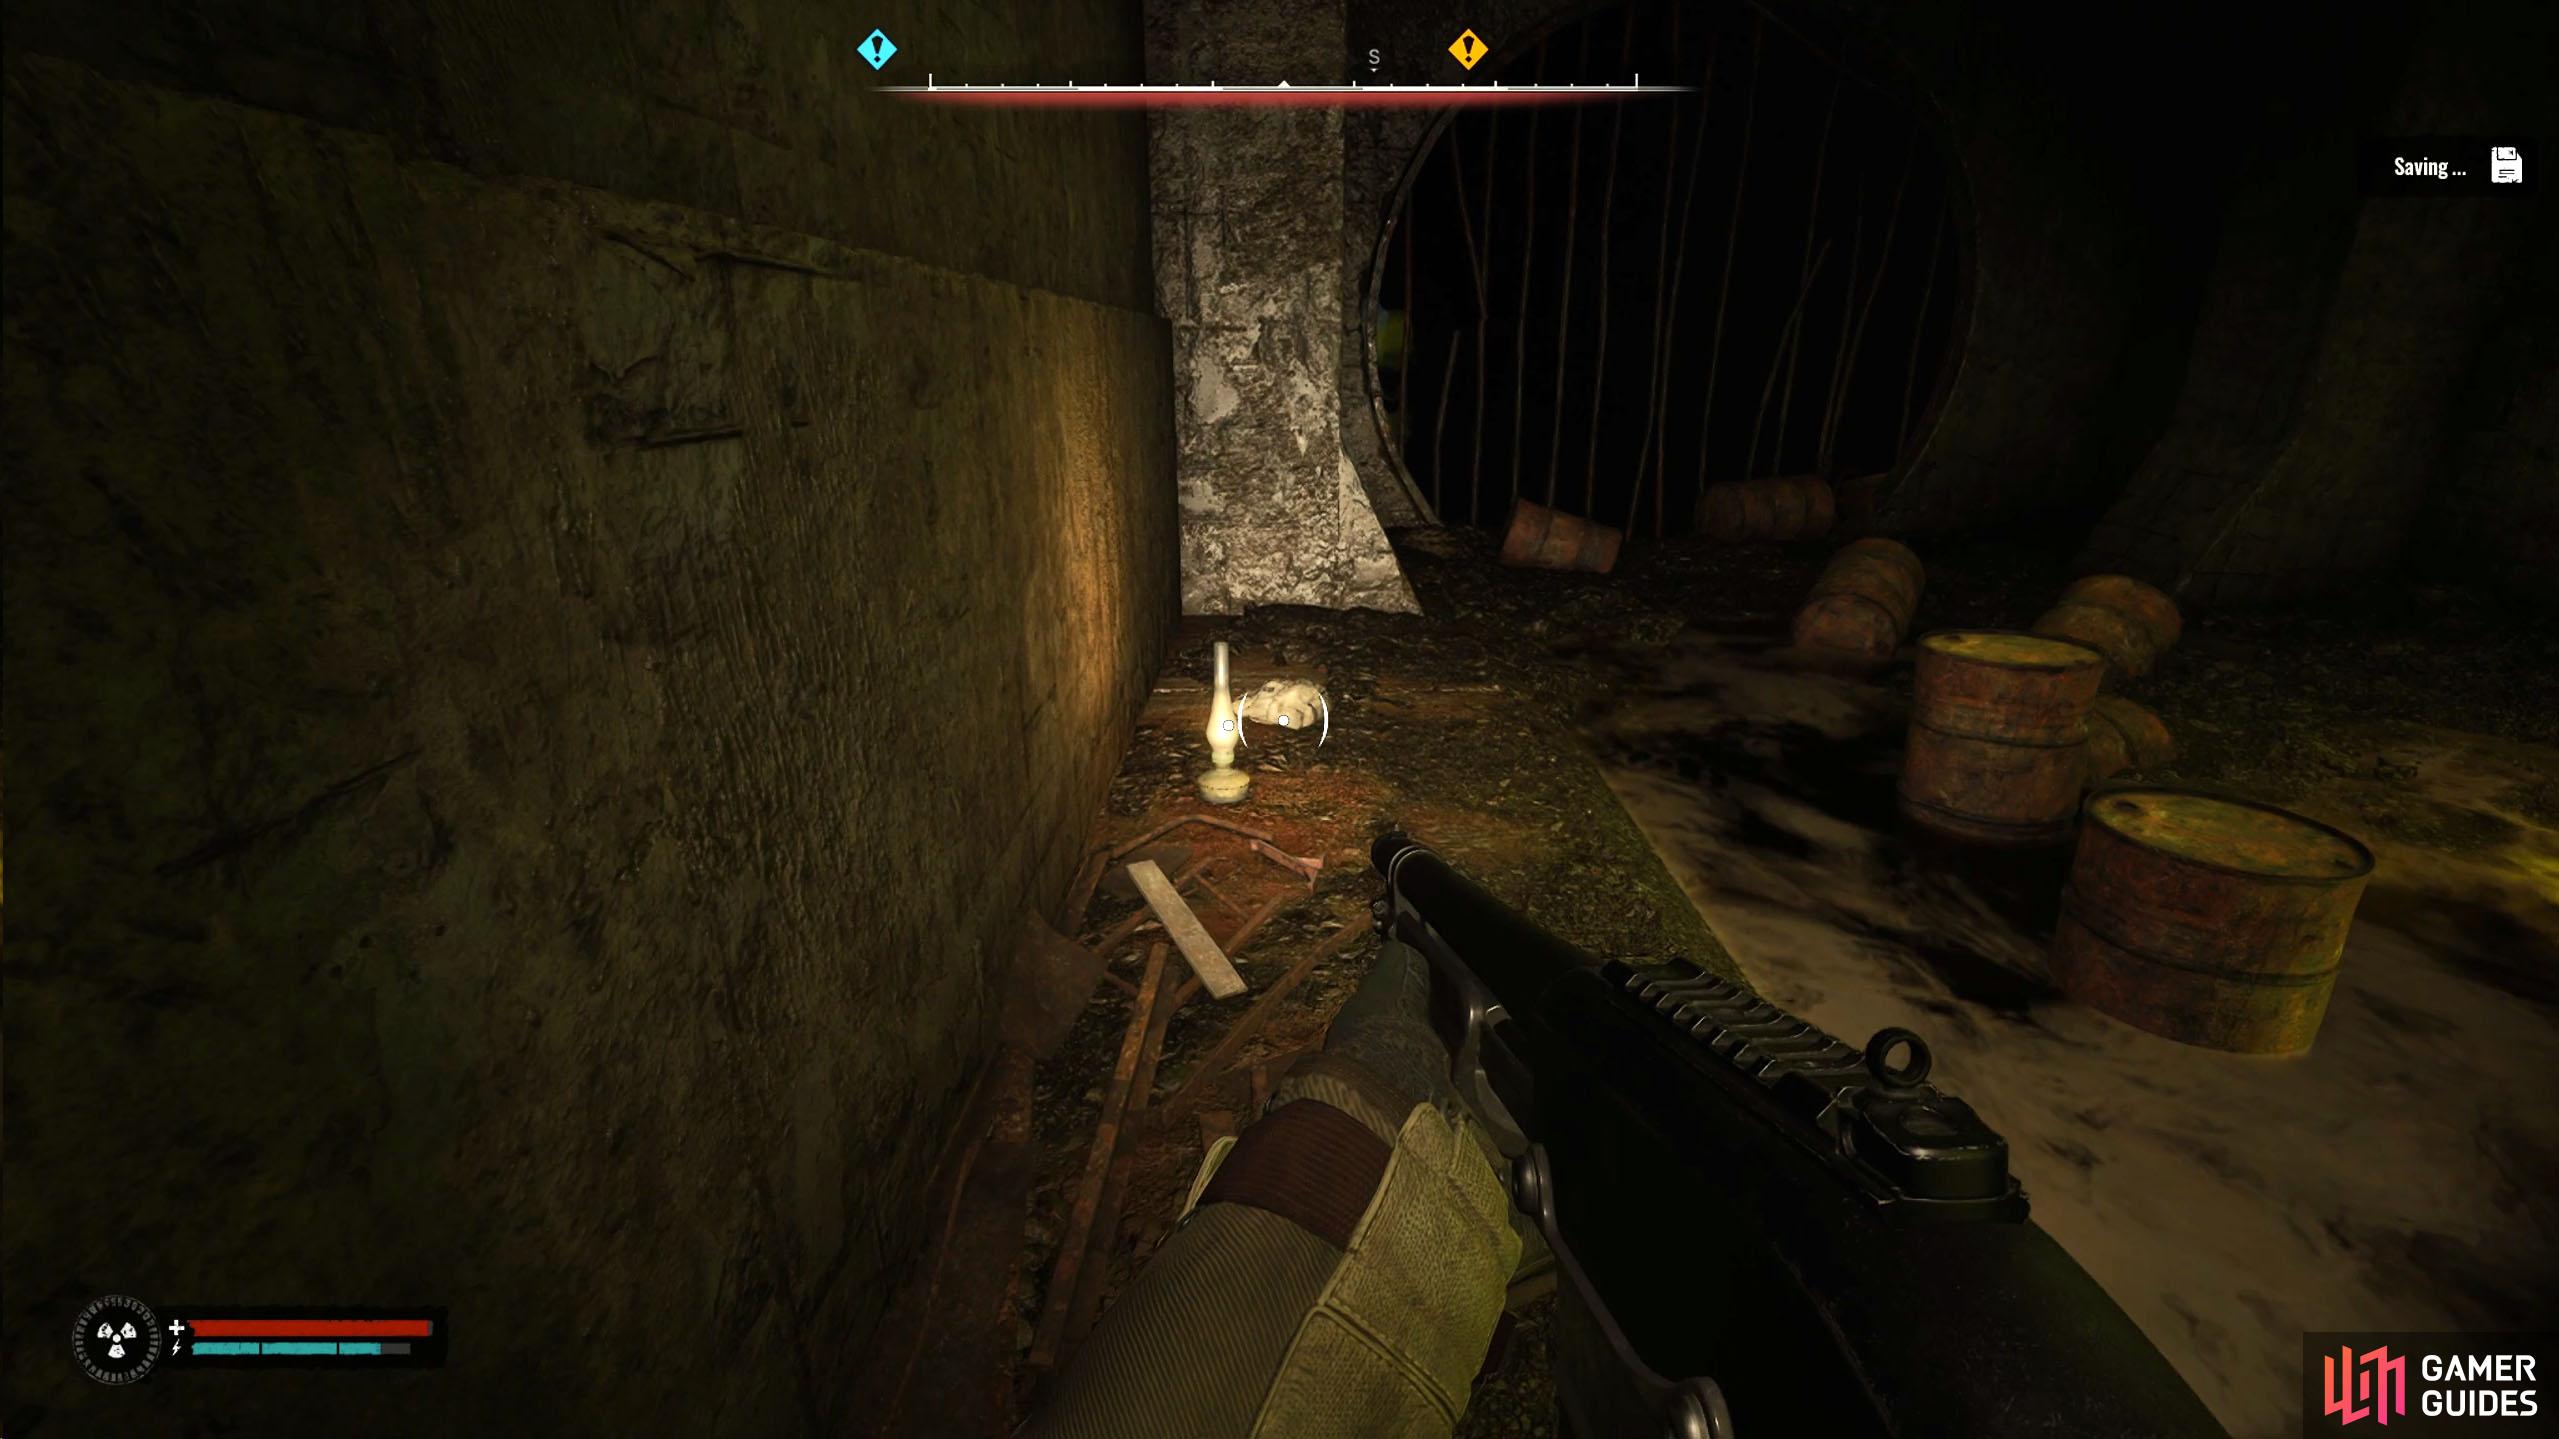
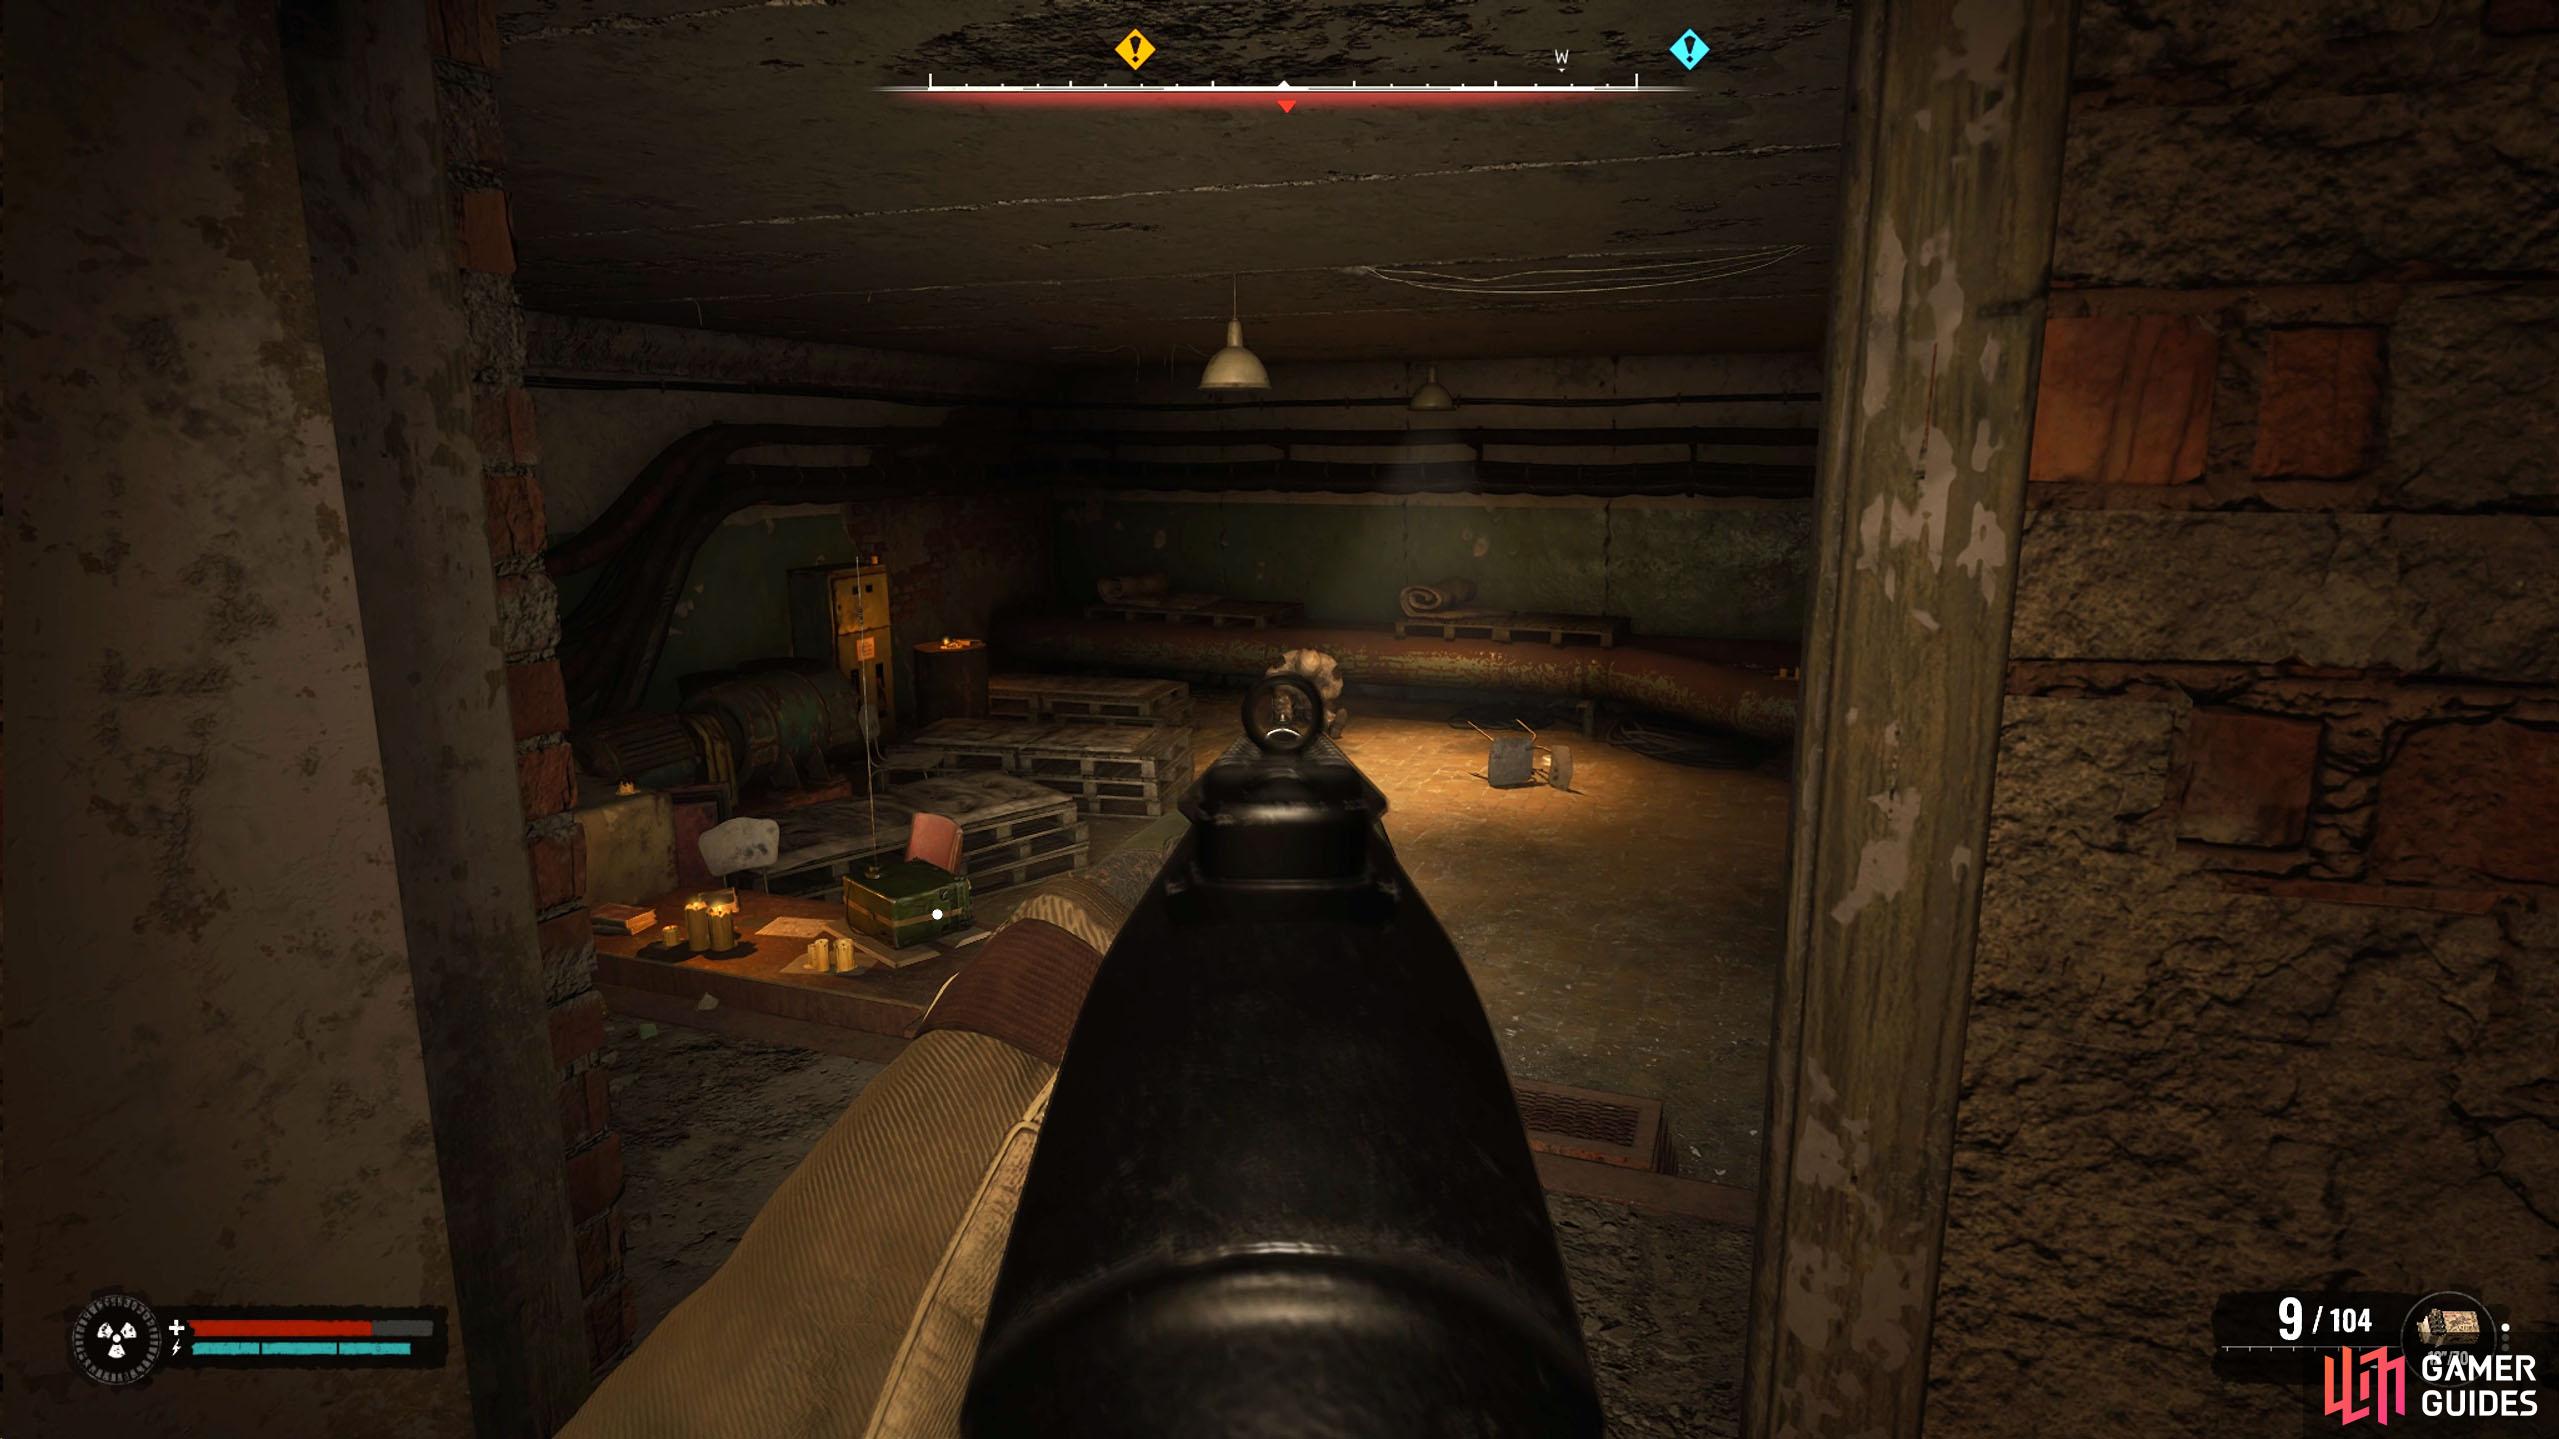
As you make your way down the multitude of ladders, make sure you loot the backpack for some supplies on your way down (just before the last ladder). Eventually, you’ll end up in the sewers. Follow the linear path south while avoiding the toxic waste along the way. You’ll soon come to a ladder on your right, which you’ll want to take, but first, continue around the corner, as you turn the corner, you’ll find a backpack next to a lantern that contains some supplies and a High-Capacity Busket S-2 Magazine. Head back to the ladder and climb up into the underground area.
(1 of 4) Enter the main building and take the nearby stairs down.
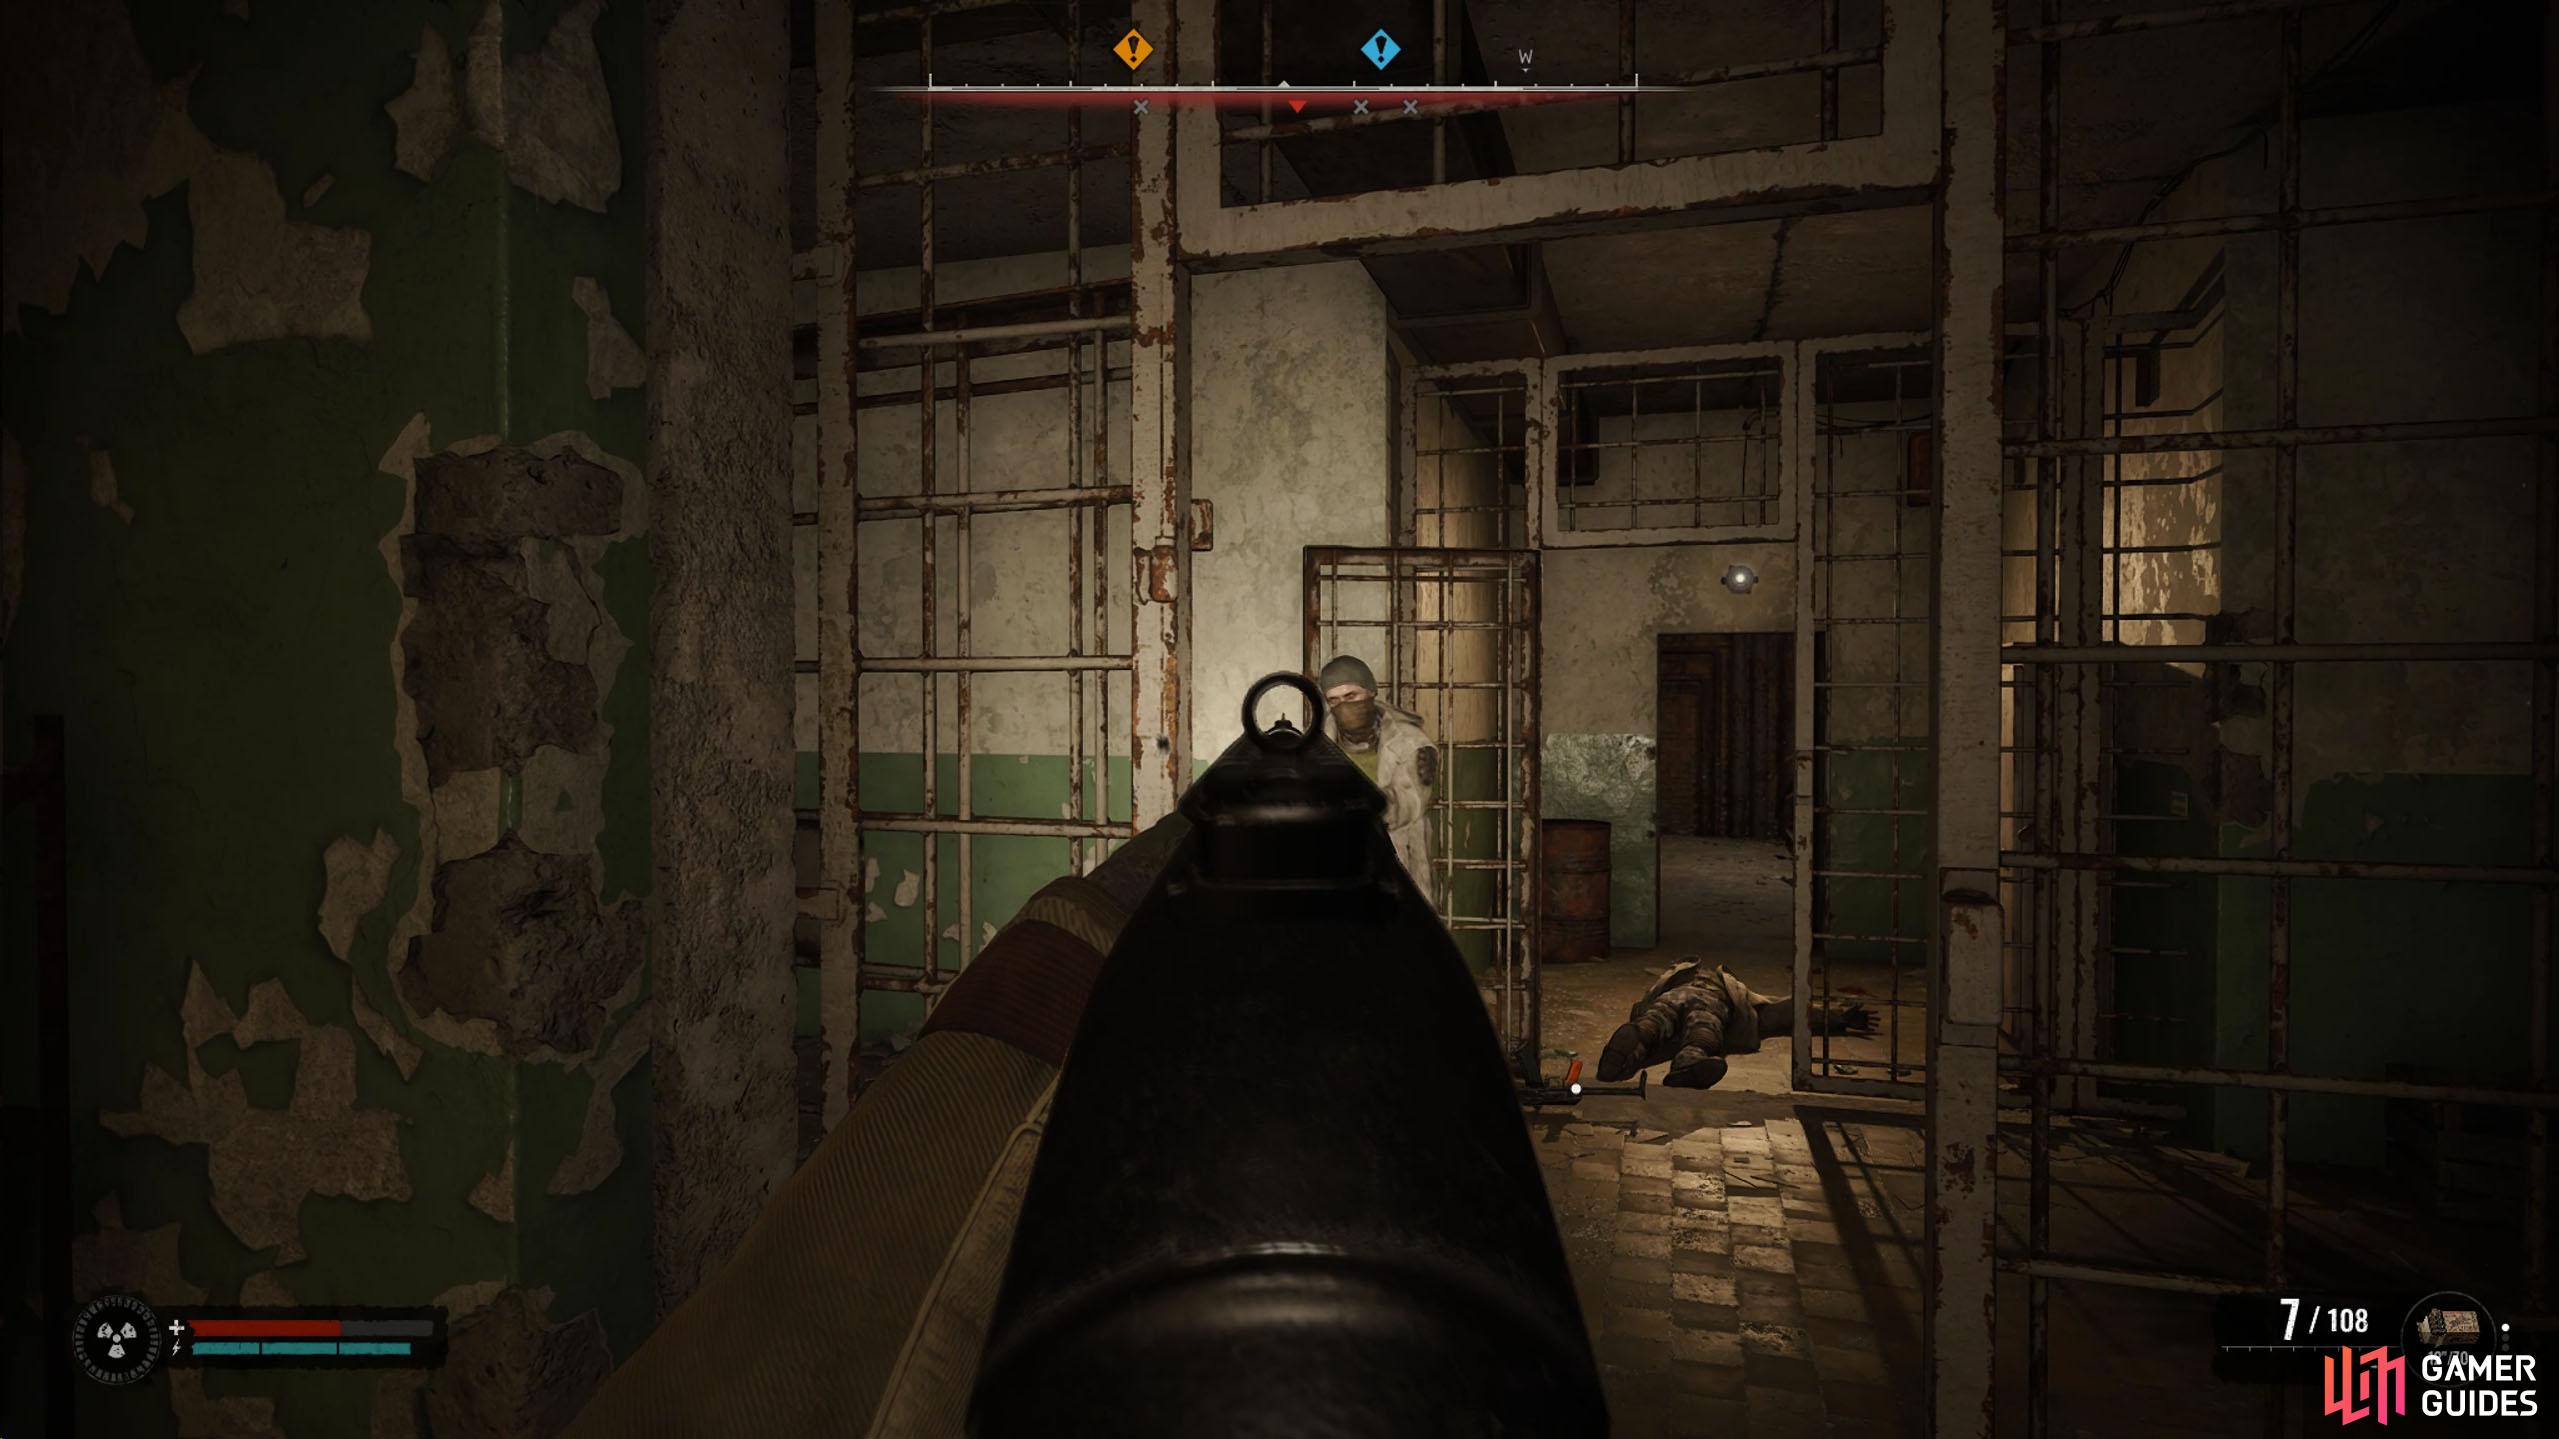
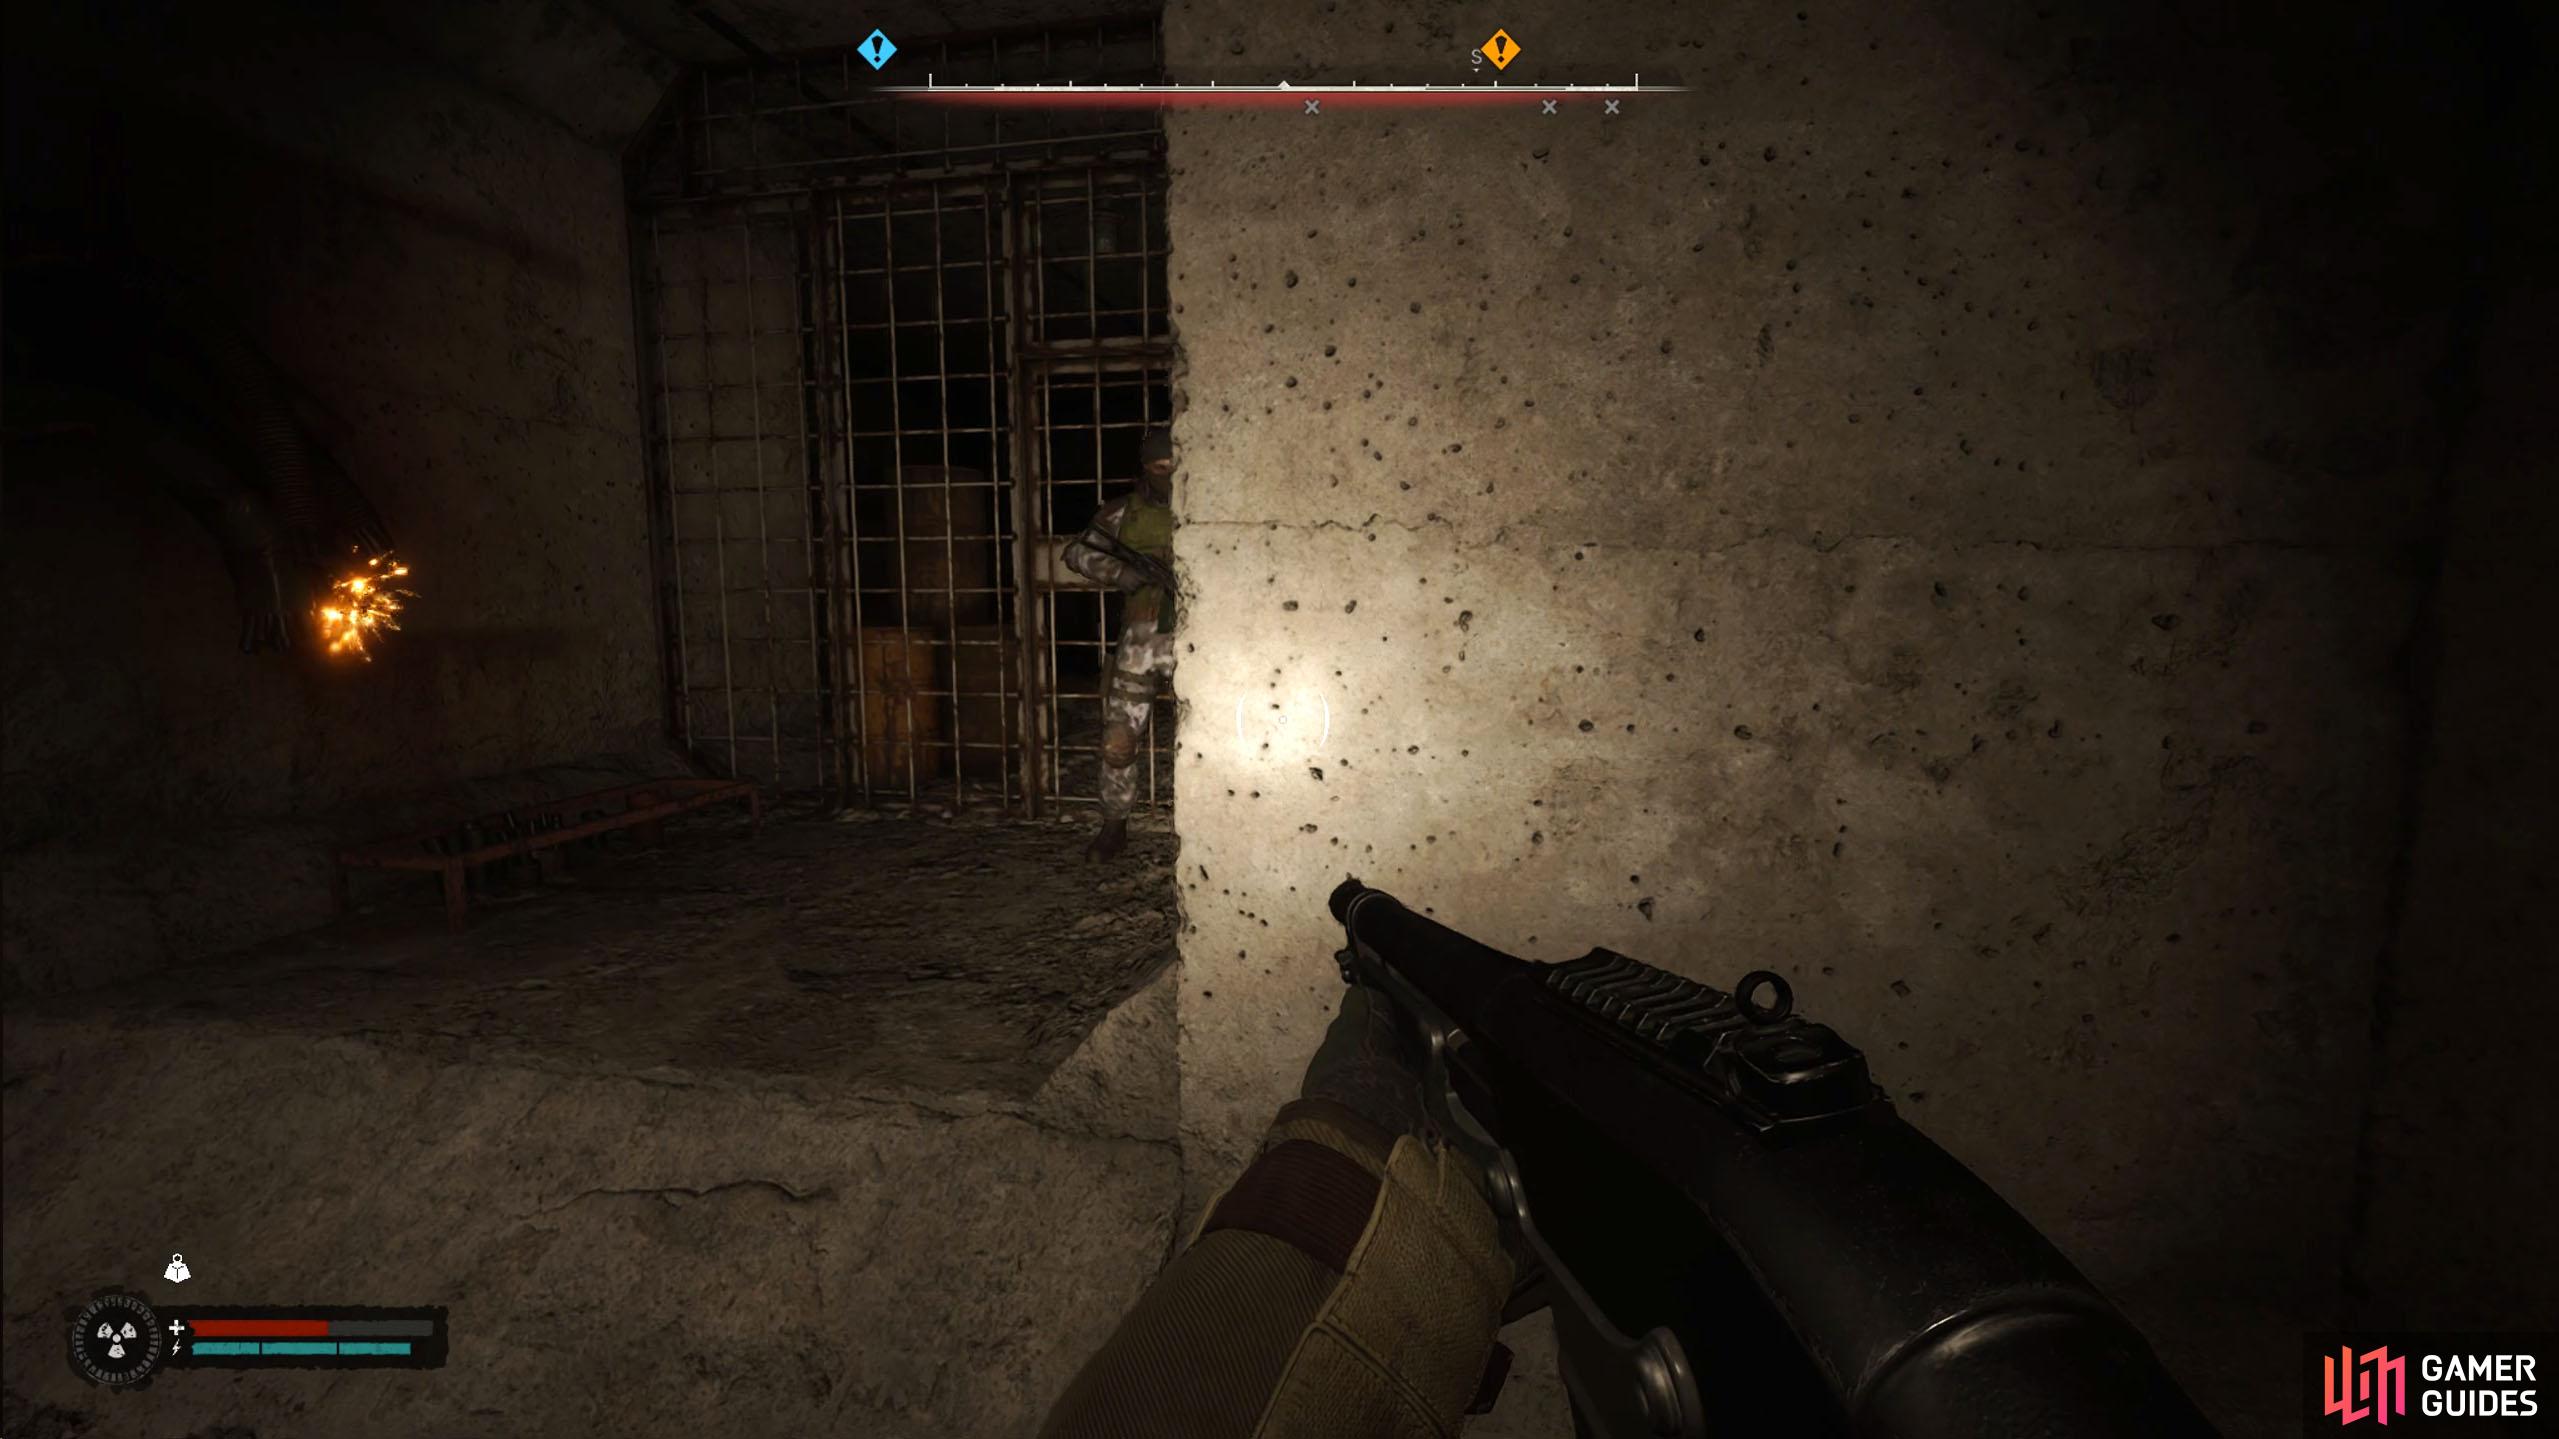
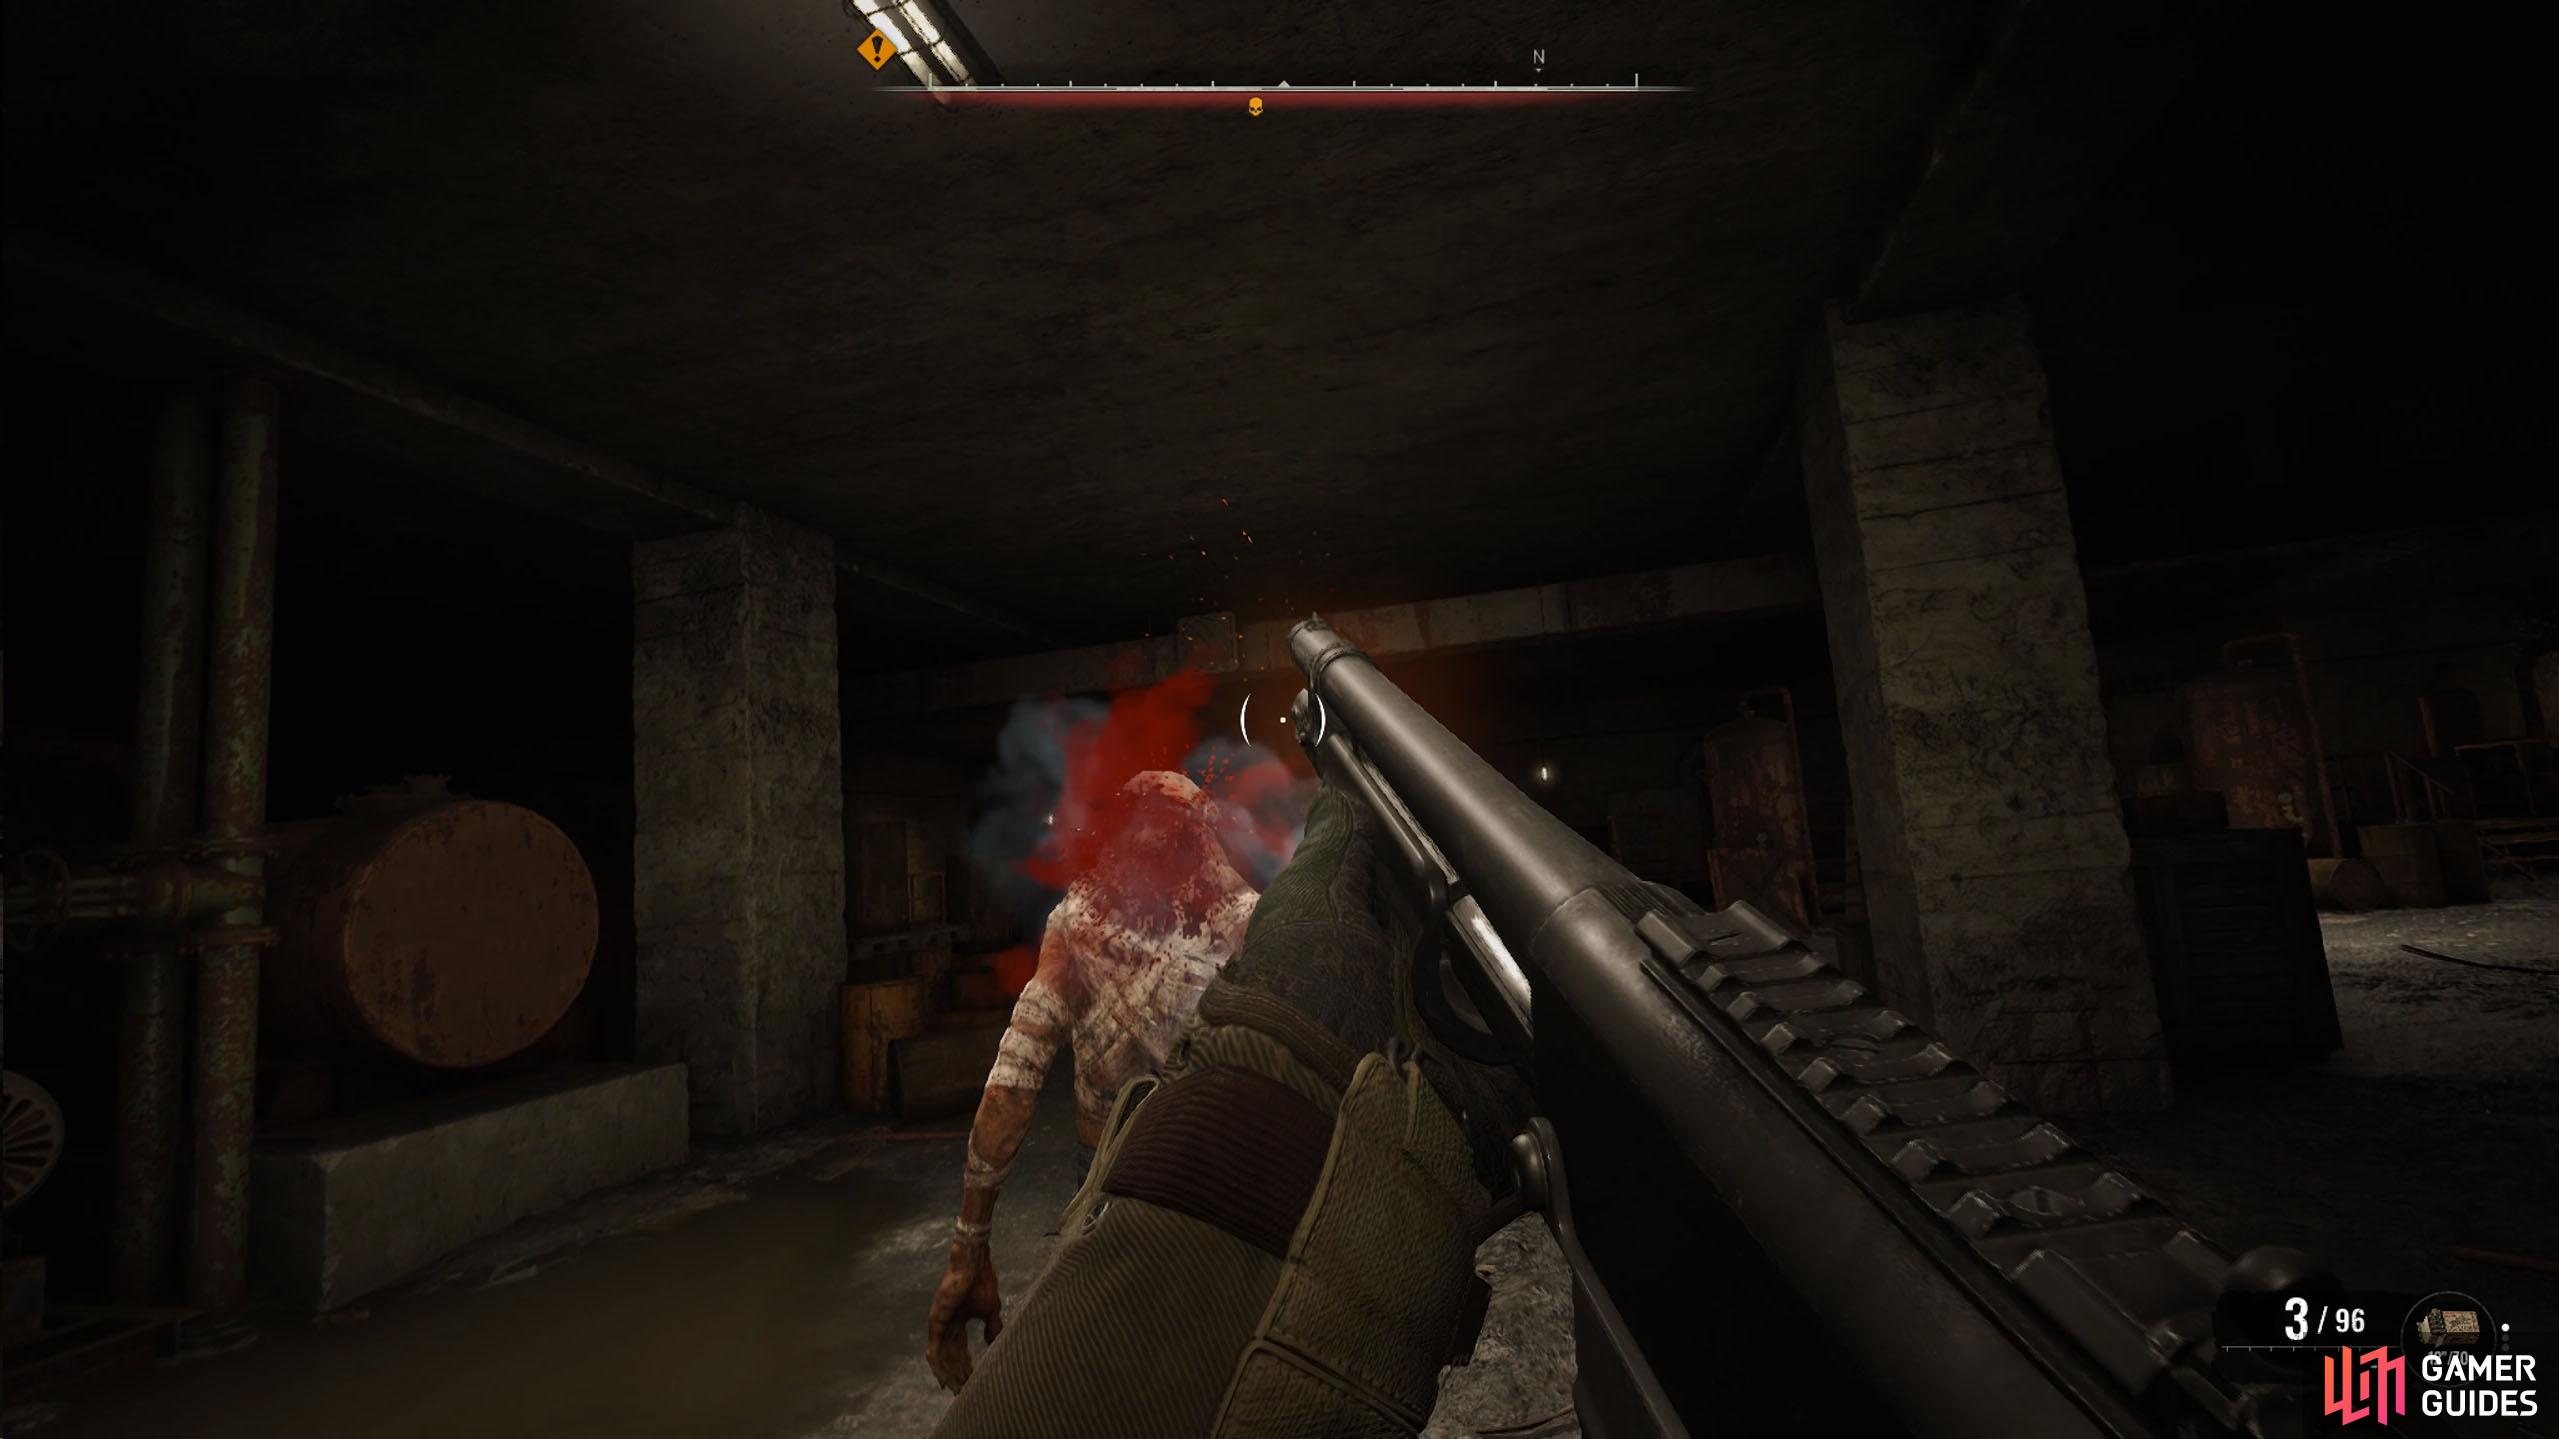
There are numerous zombies in this area, so always be prepared for a fight. Once you head forward, you’ll be met by three zombies from each direction. Back up into the room you came from and take them out one by one (or throw a grenade). Always aim for the head to save ammunition, as they take a fair amount of body shots. After they’ve been dealt with, head into the main hallway, and go north to find some supplies on the shelf to your right before continuing west.
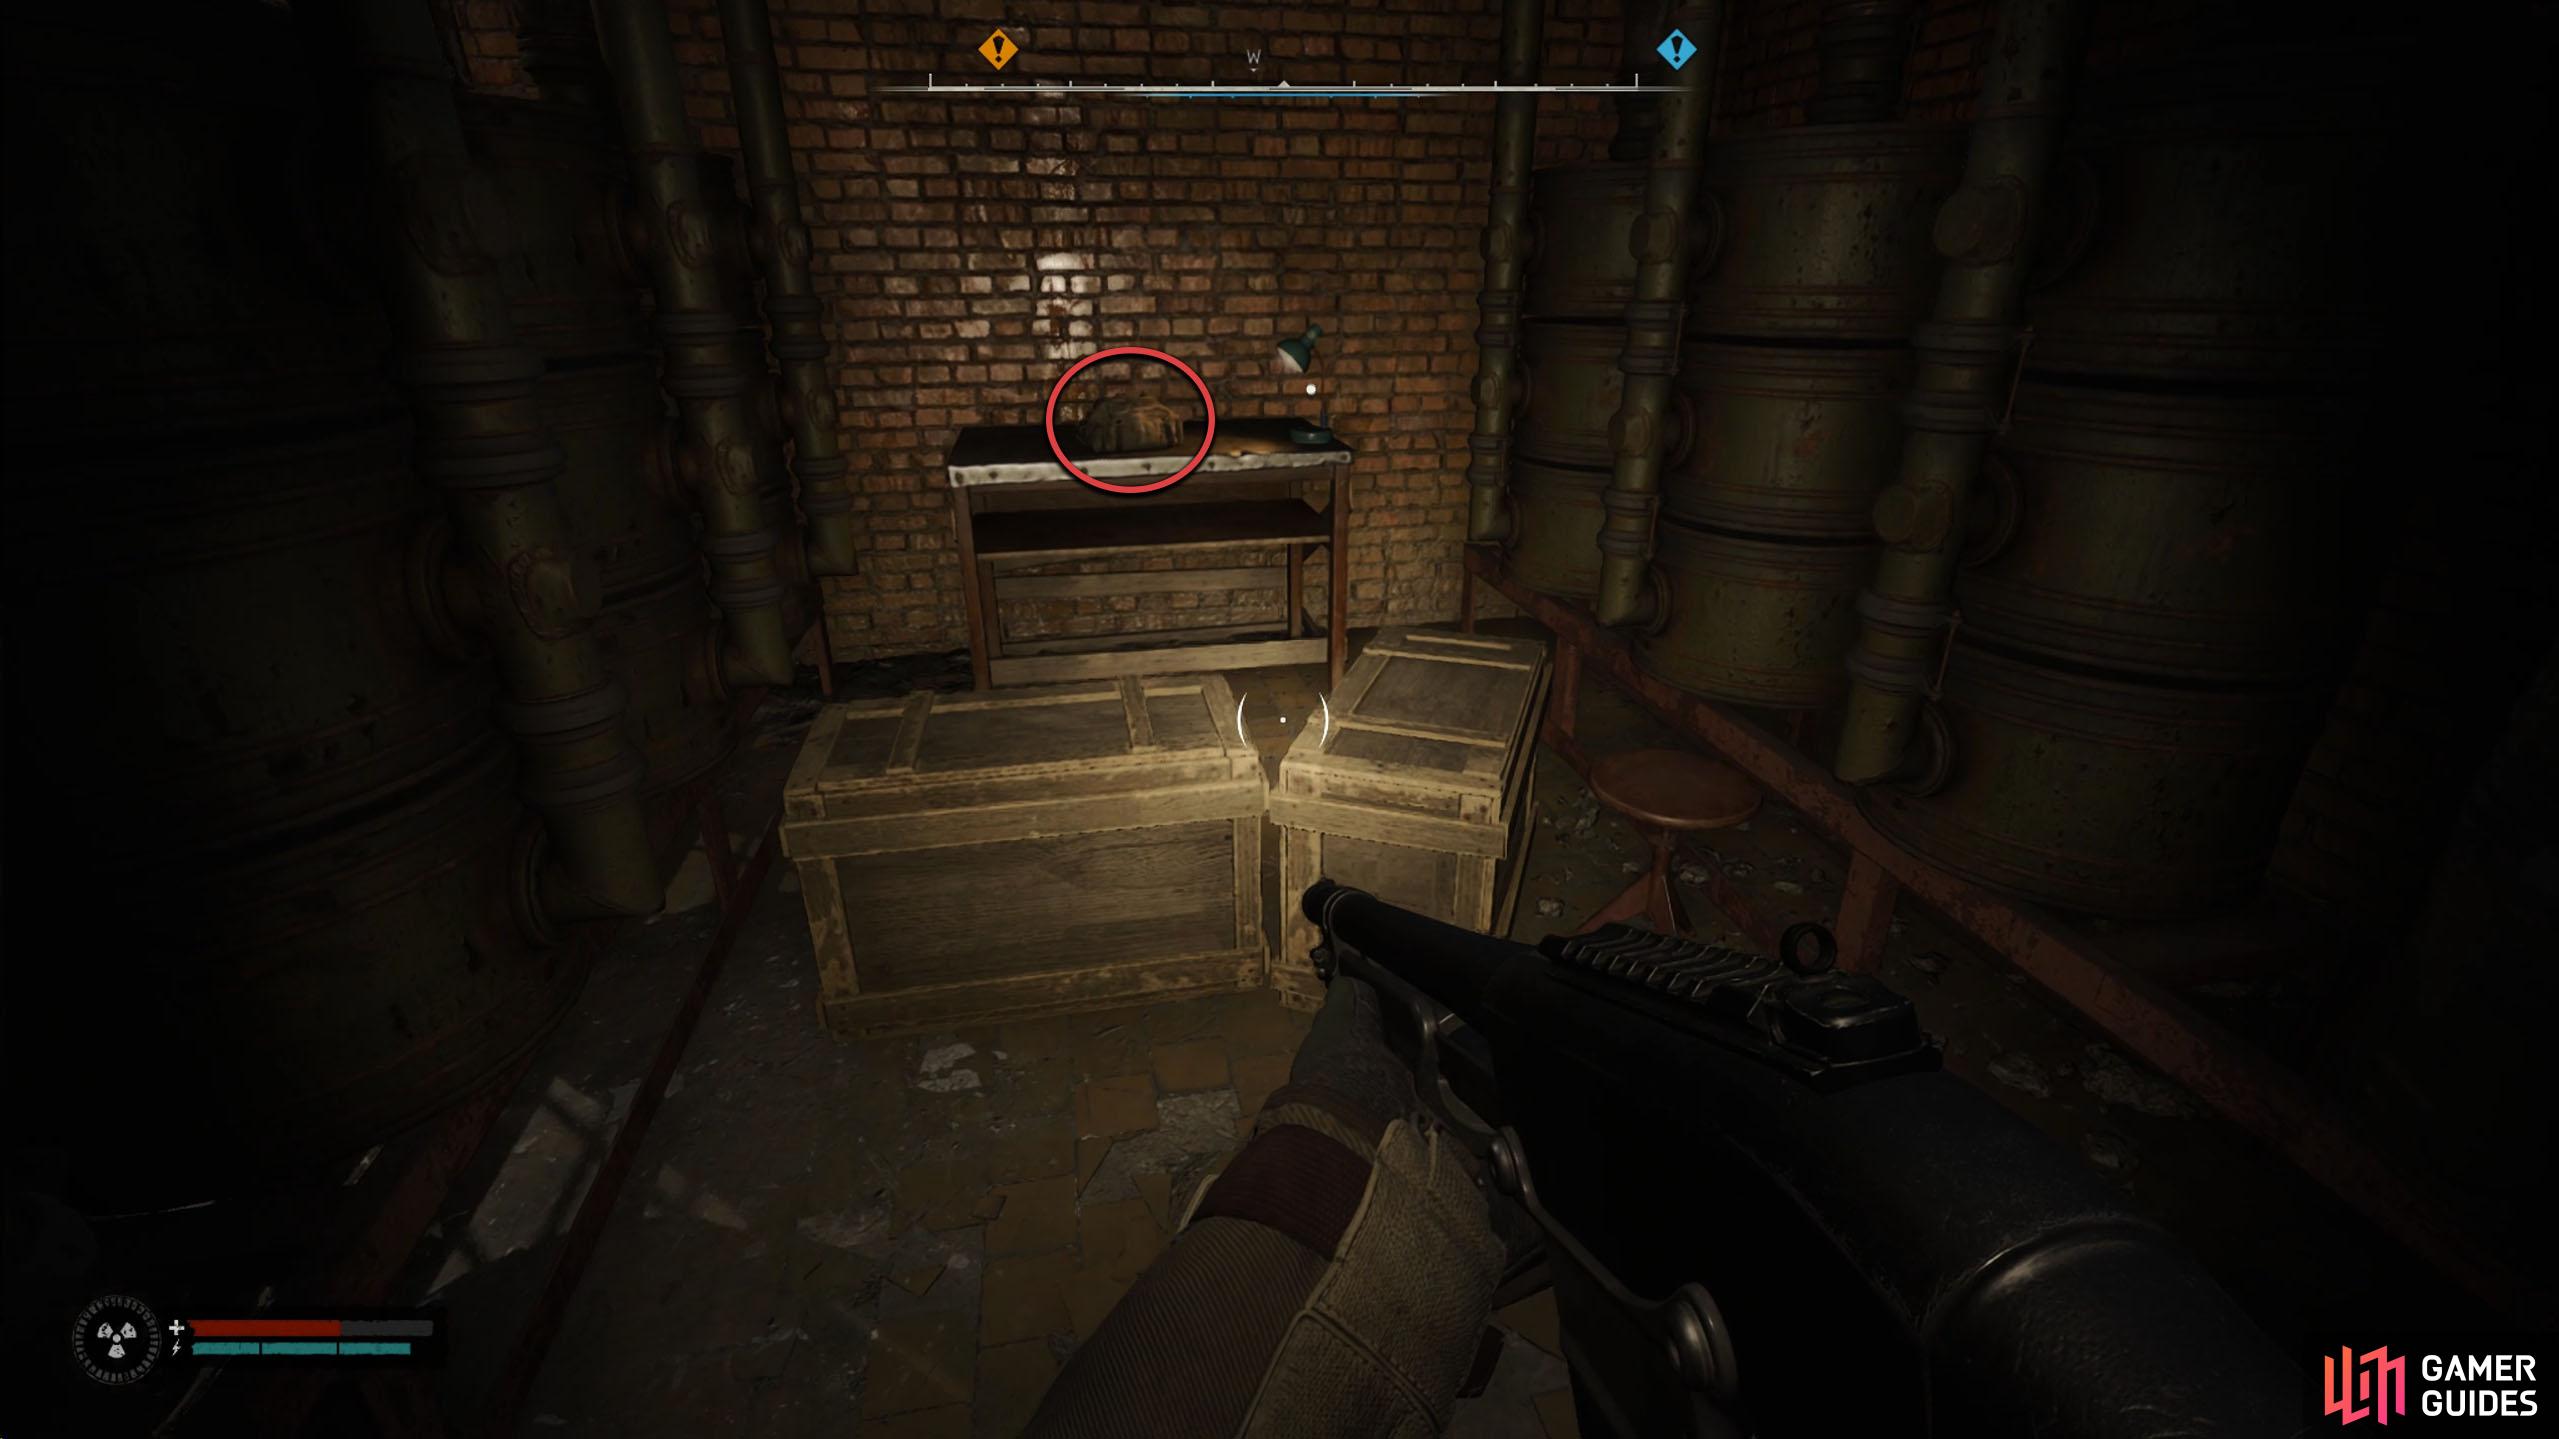
In the next room, check out the caged area for some more supplies as well as a corpse to loot (don’t worry, he won’t be getting up), before going up the stairs. At the top, check out another caged area to find a backpack of supplies on the table, and then go up the next set of stairs. In the next area, a zombie will get up from the floor to your right. Take it out, continue through the hallway, and then head left. In this area, you’ll find a few zombies, as it appears to be their resting area before the whole mind-control thing.
(1 of 3) The underground area is filled with zombies. Take each room carefully.
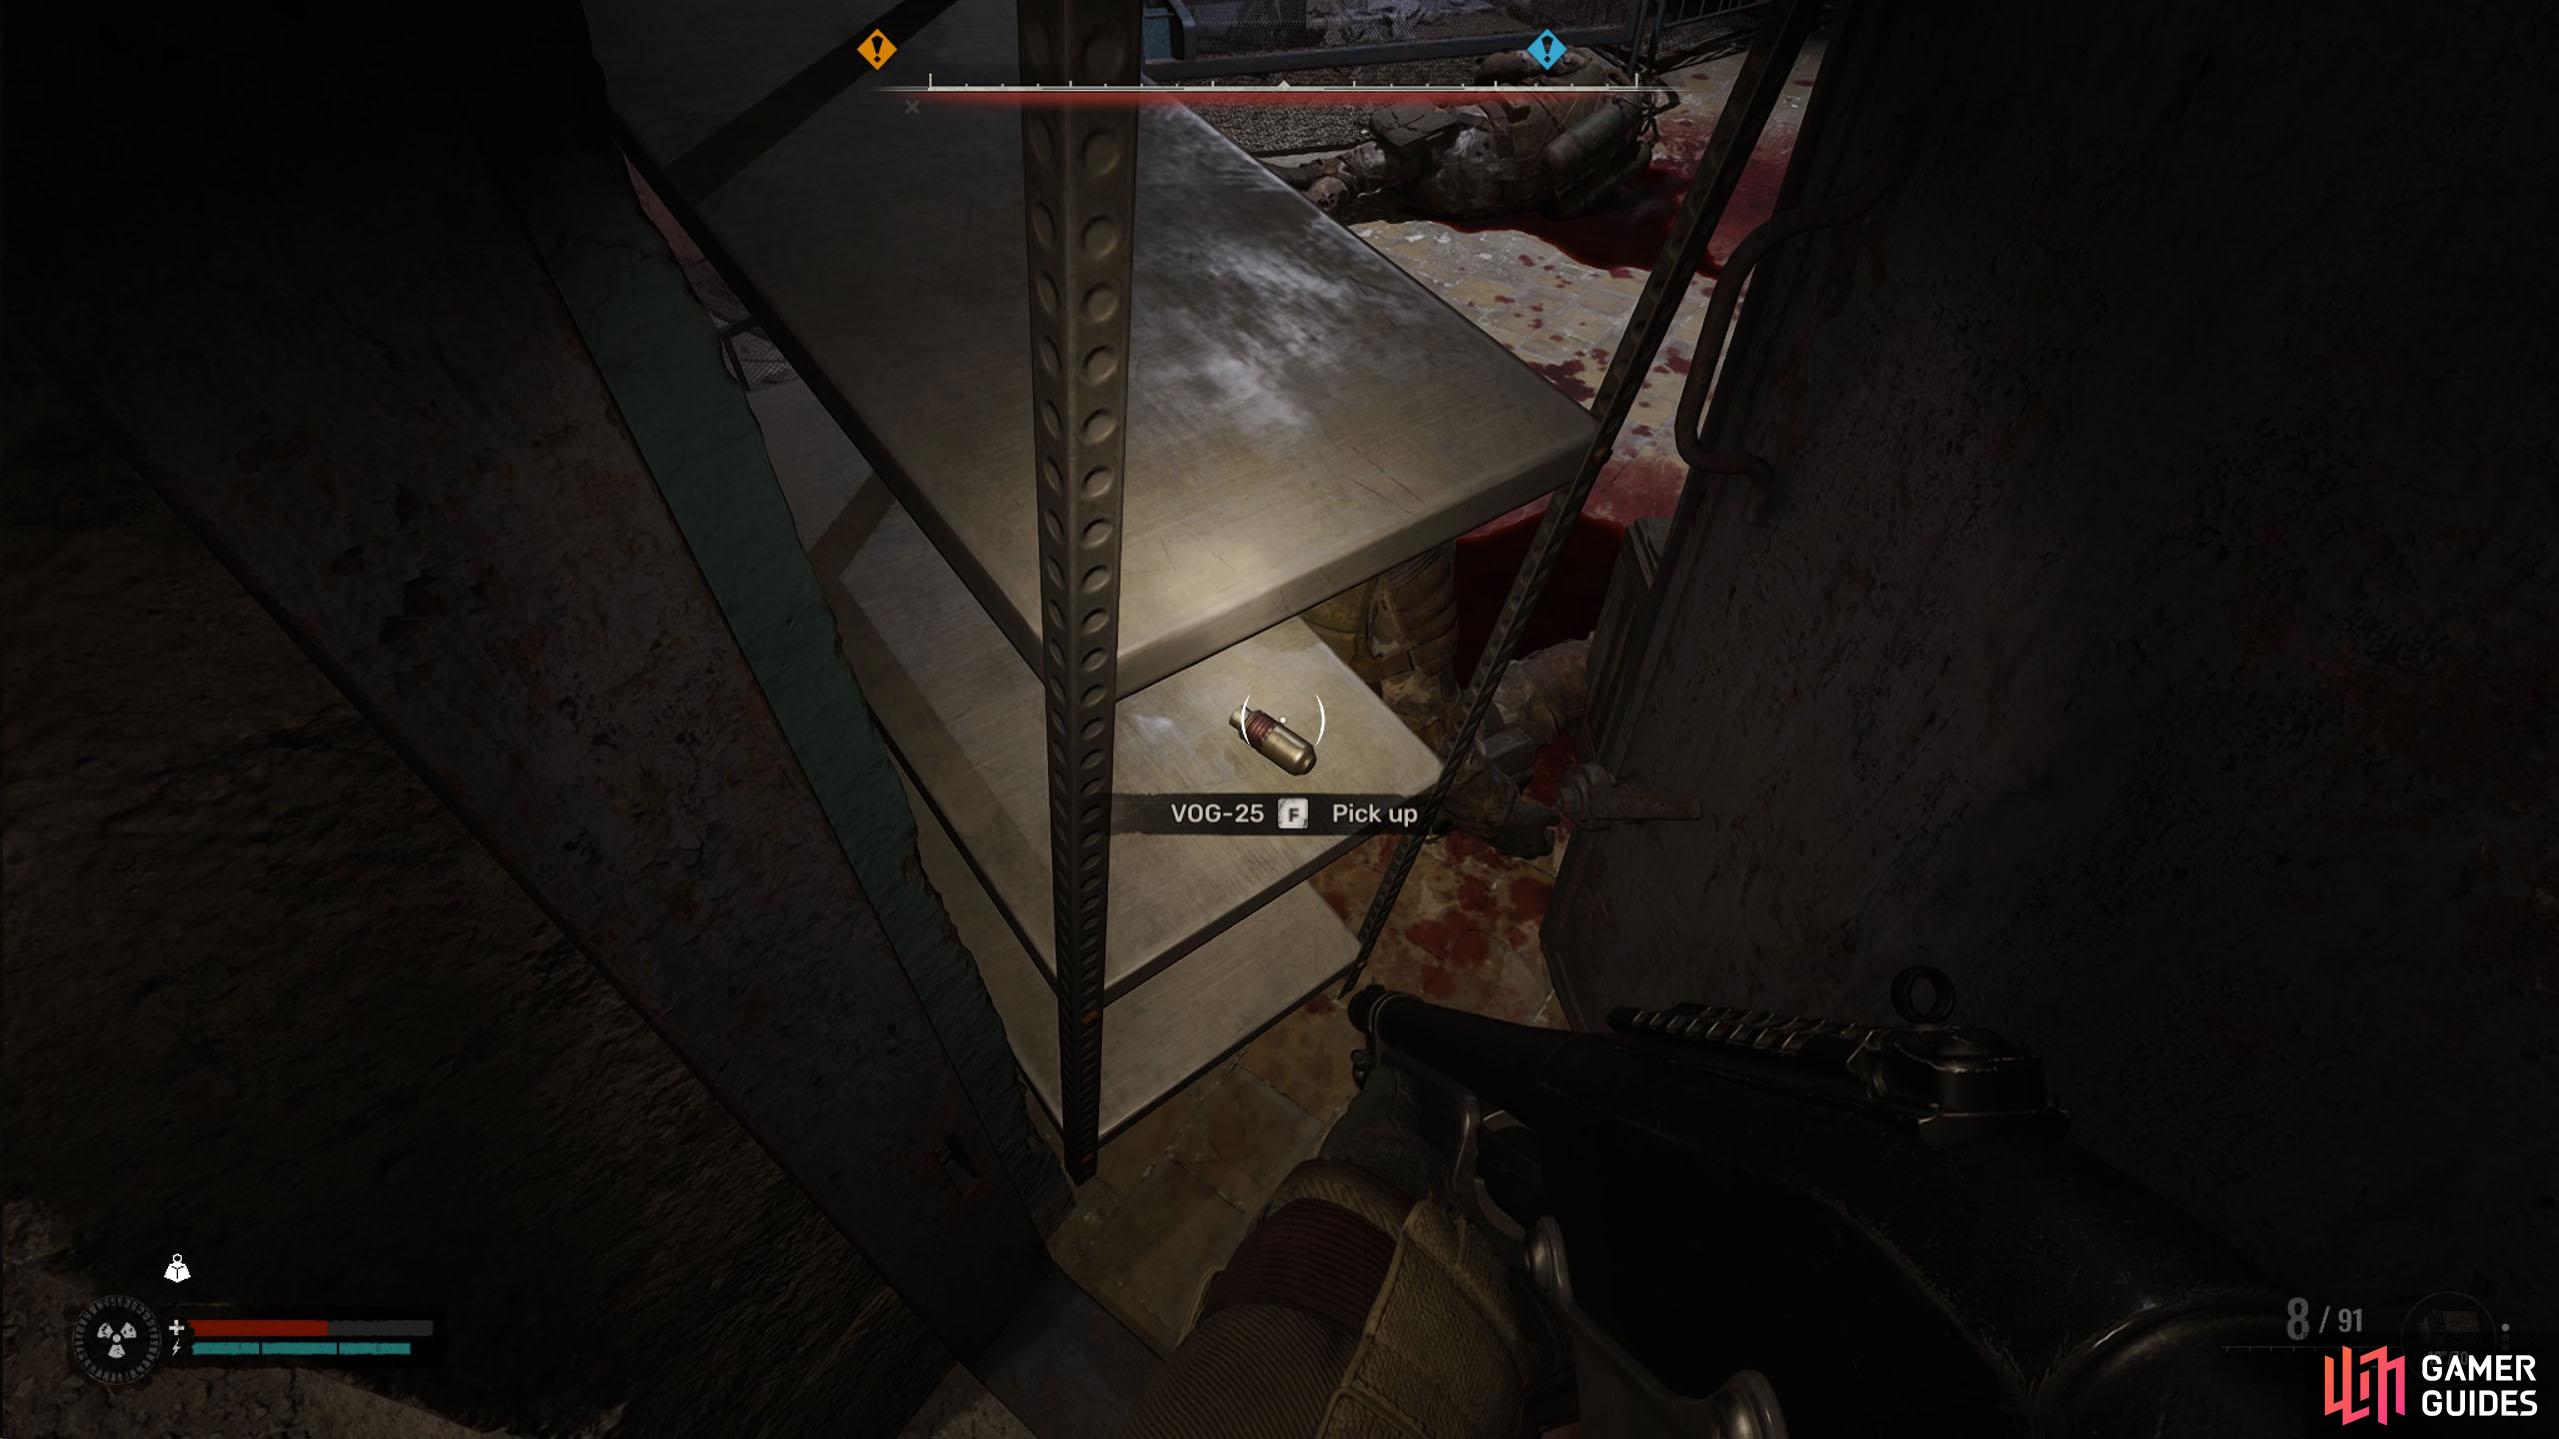
One zombie will be directly in front of you at the back, and another two will come from the right. Once again, walk in to trigger them, and head back the way you came and take them out one by one. Loot the corpses and follow the hallway north around to the east. Continue east, but be careful of the cubby to your right, as a zombie is hiding there. Proceed east, and check inside the doorway to your left. This will be blocked by a shelf, but on the shelf, you’ll find a ![]() VOG-25, a grenade for the under barrel of the
VOG-25, a grenade for the under barrel of the ![]() GP-25 Grenade Launcher.
GP-25 Grenade Launcher.
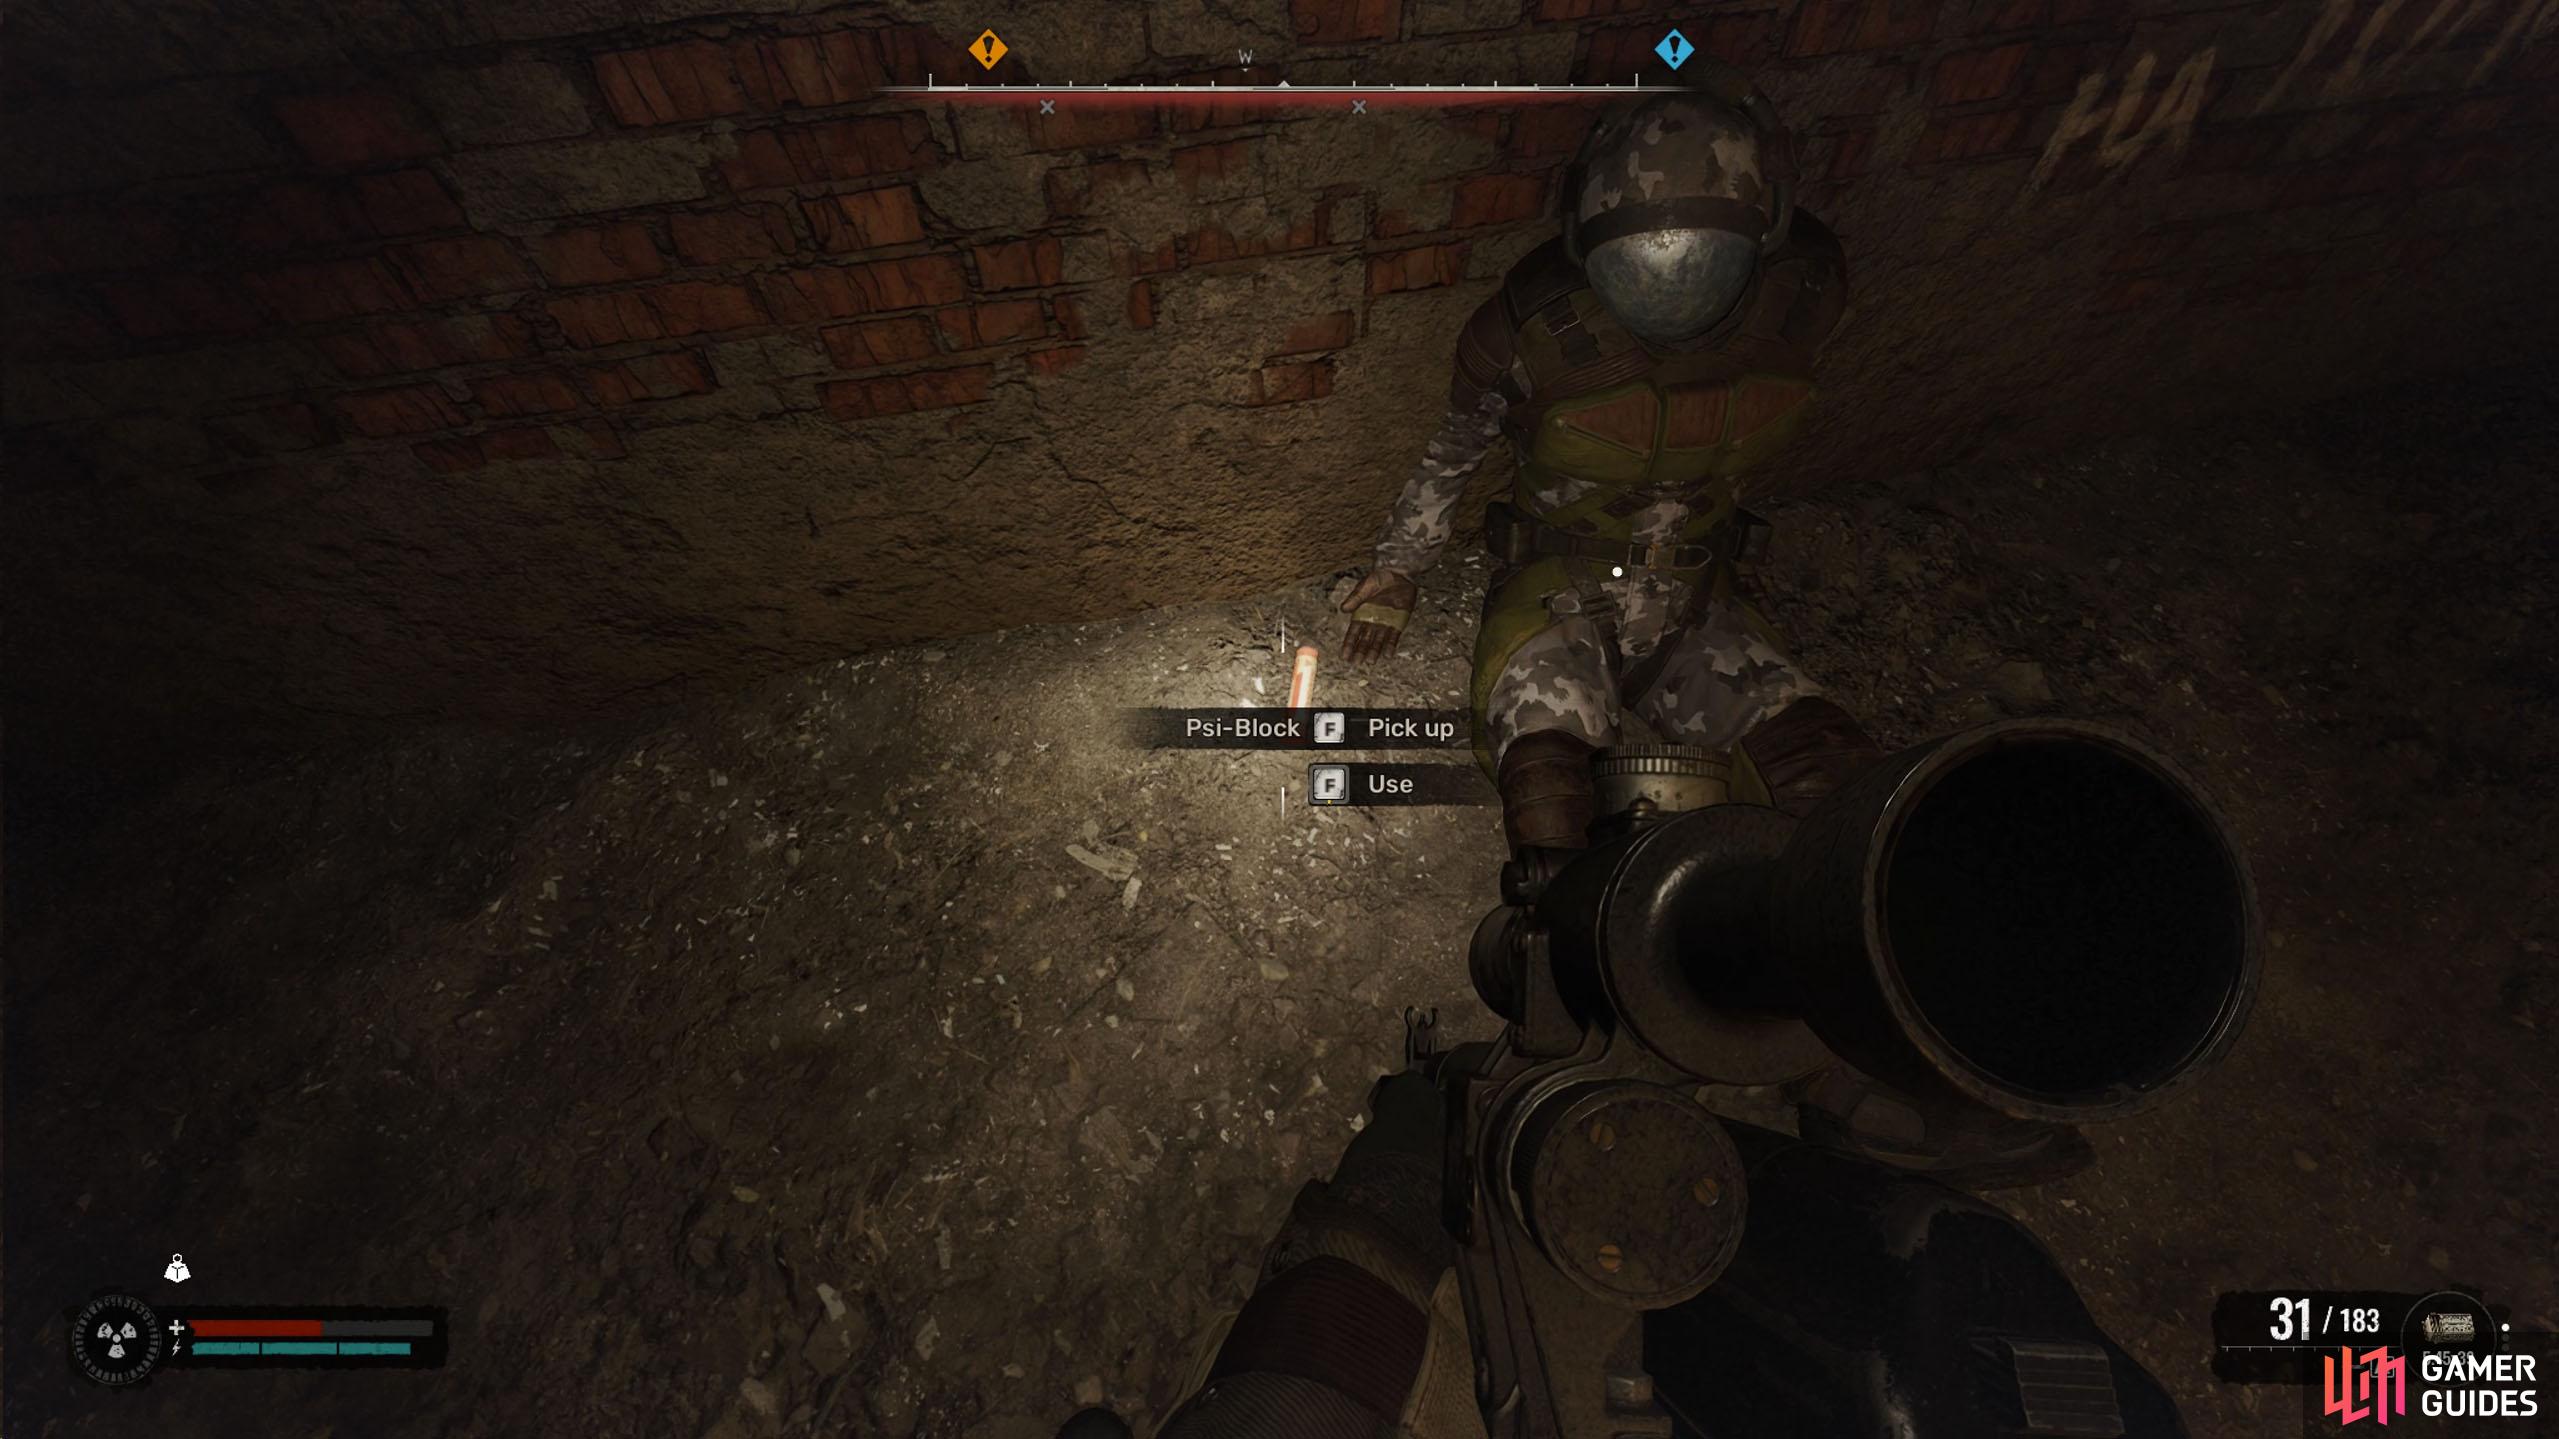
Continue east around the corner and enter the next room. To your immediate left, you’ll find a zombie, take it out, and loot the corpse next to it for a ![]() Psi-Block; you’ll need this later. Down the stairs to your right will be another zombie, defeat it, and save the game. In the next room are some zombies and the mutant turning them into that (Controller). Use the Psi-Block you picked up, lure the zombies back to the previous room, and then throw every grenade you have at the Controller, who’ll be further back in the room.
Psi-Block; you’ll need this later. Down the stairs to your right will be another zombie, defeat it, and save the game. In the next room are some zombies and the mutant turning them into that (Controller). Use the Psi-Block you picked up, lure the zombies back to the previous room, and then throw every grenade you have at the Controller, who’ll be further back in the room.
(1 of 2) As you head down the hallway, keep an eye on the cubby to your right as a zombie hides there.
As you head down the hallway, keep an eye on the cubby to your right as a zombie hides there. (left), In the door to your left, you can find the VOG-25 grenade. (right)
Unless you have boatloads of grenades, you most likely won’t kill it, so, once the zombies are dead, heal up, rush the Controller with your shotgun, and repeatedly put slugs into its head while you keep moving. Its psi attack shouldn’t affect you due to the Psi-Block you took, so you can keep shooting at it until it dies. There are canisters in the room that you can shoot, which explode upon impact, but it’s quicker and easier to rush the Controller with a shotgun. The main attack of the Controller is its Psi attack that it can use from range that disorientates you. The Psi-block will negate this, leaving it only with weakish melee attacks.
(1 of 4) At the top of the stairs, a zombie will be to your left. Next to the enemy is a corpse with a Psi-Block.
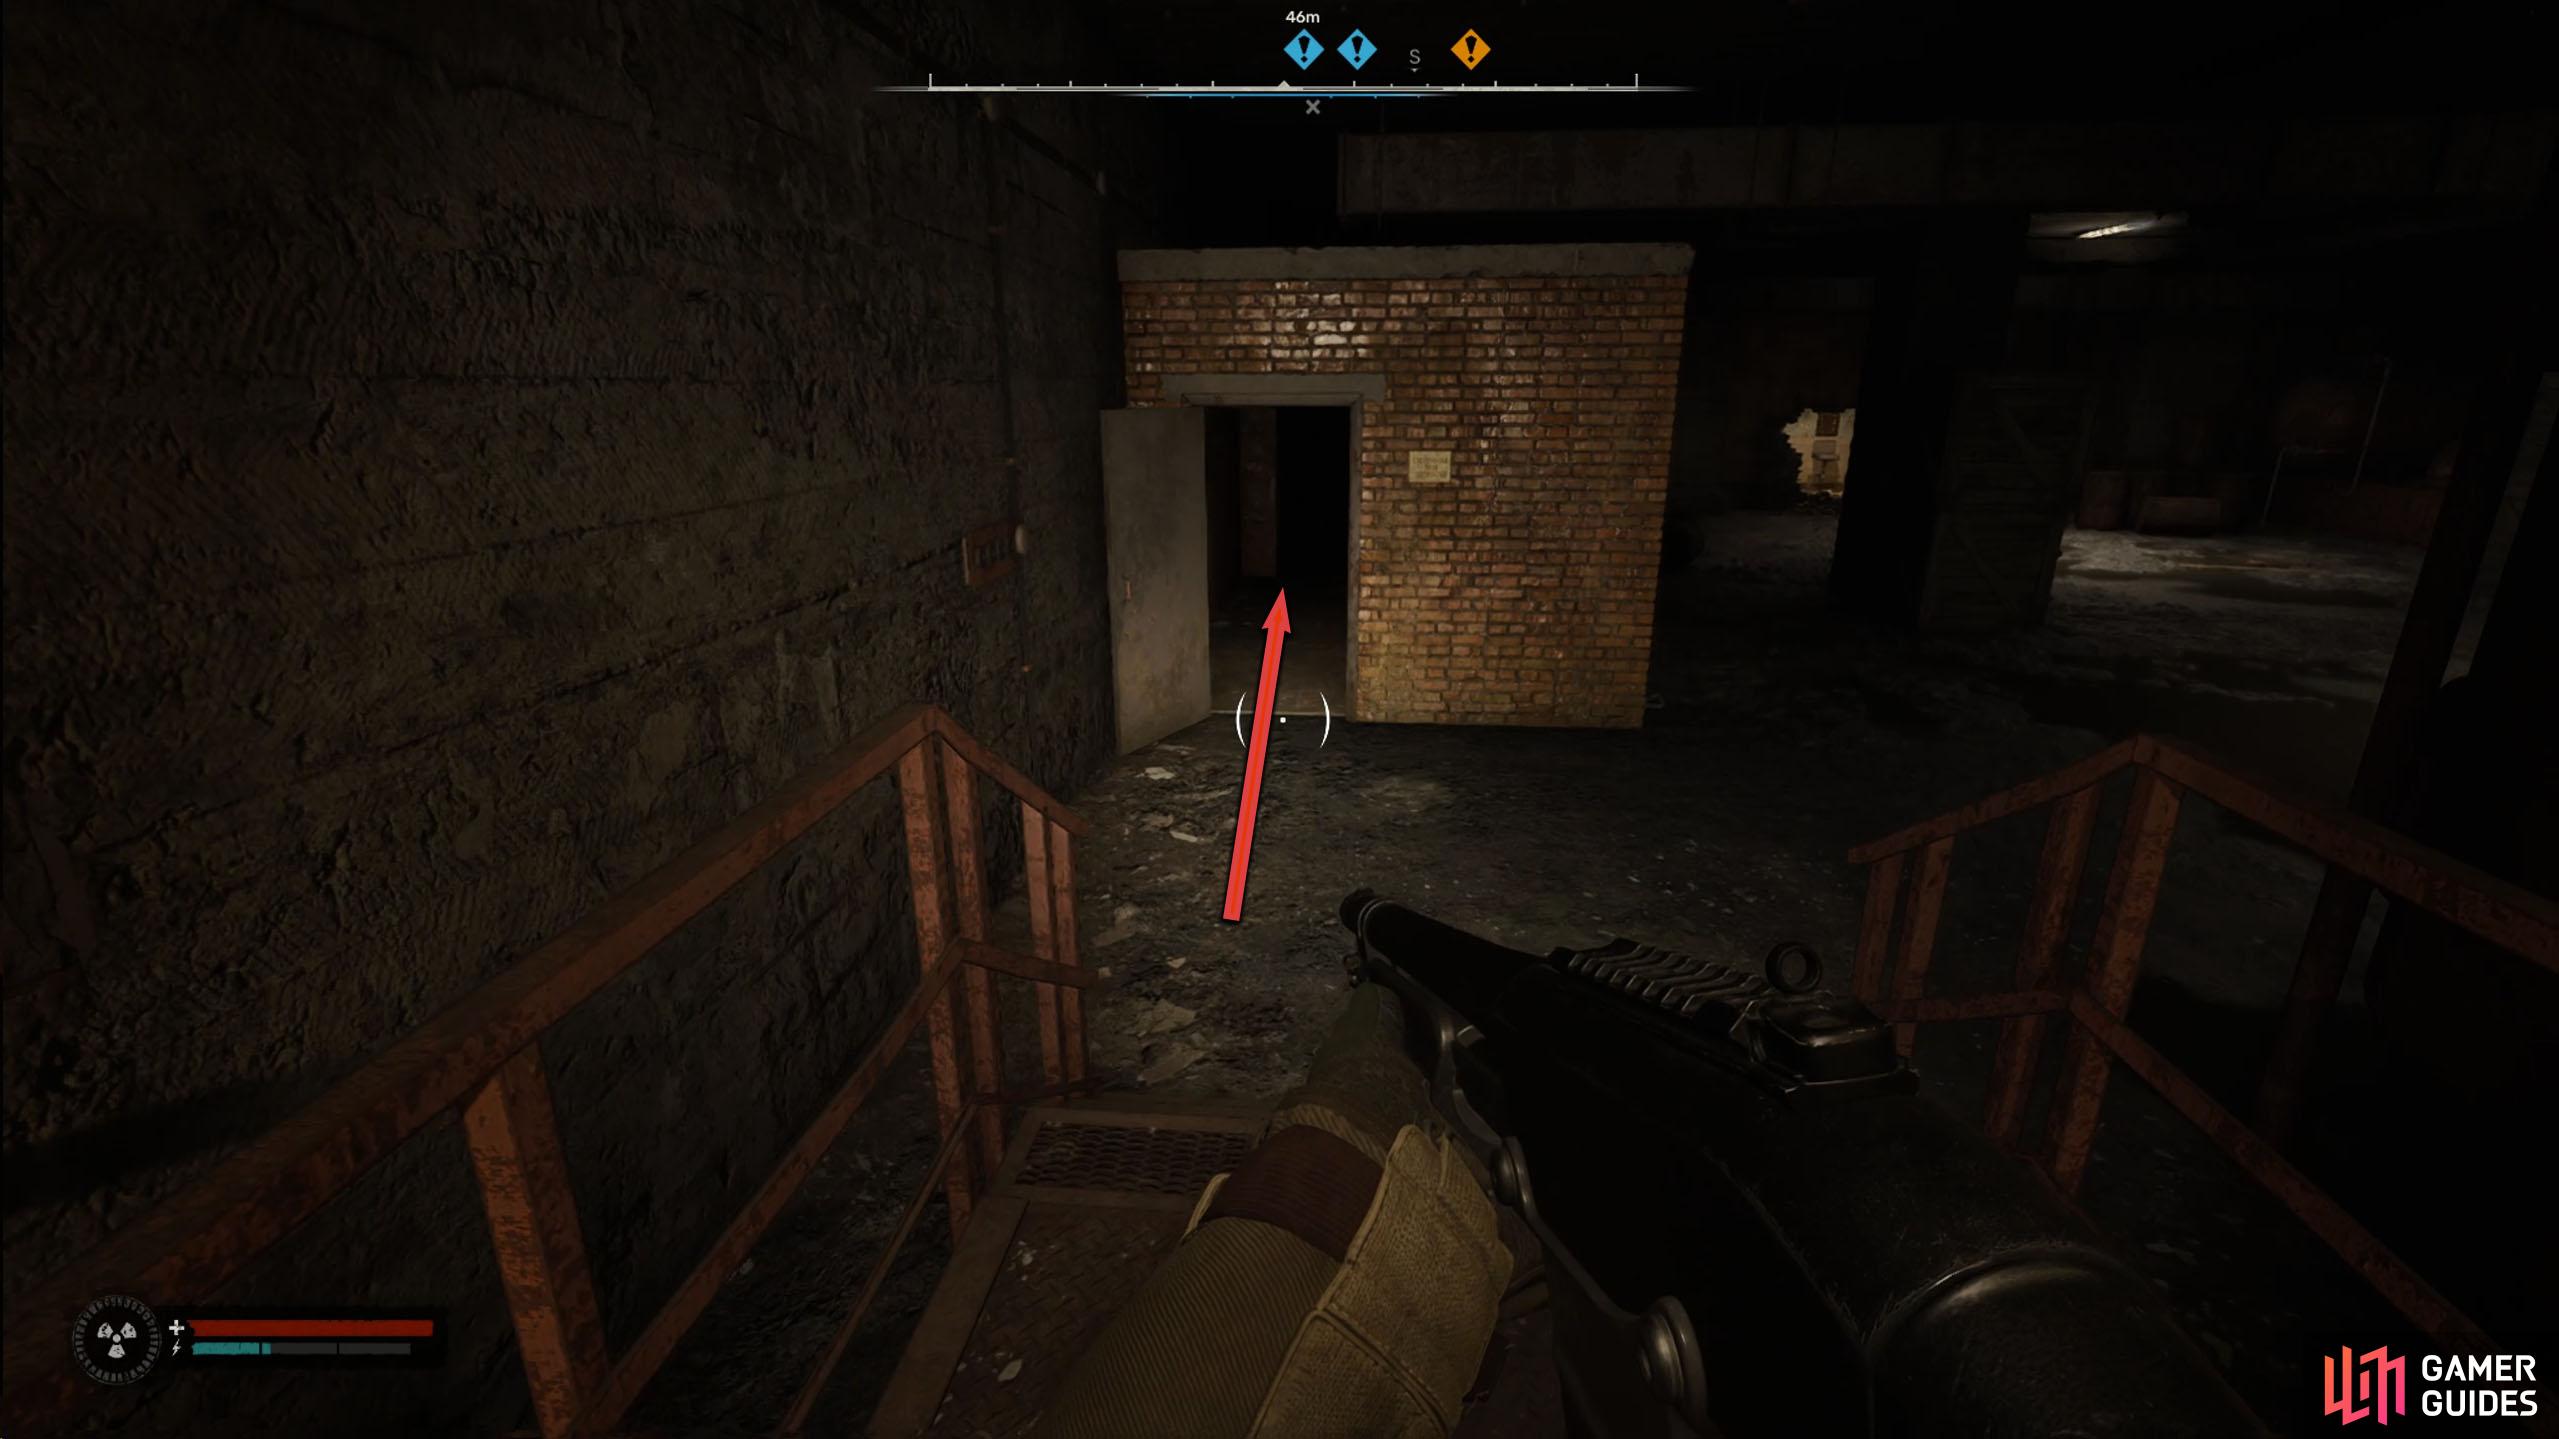
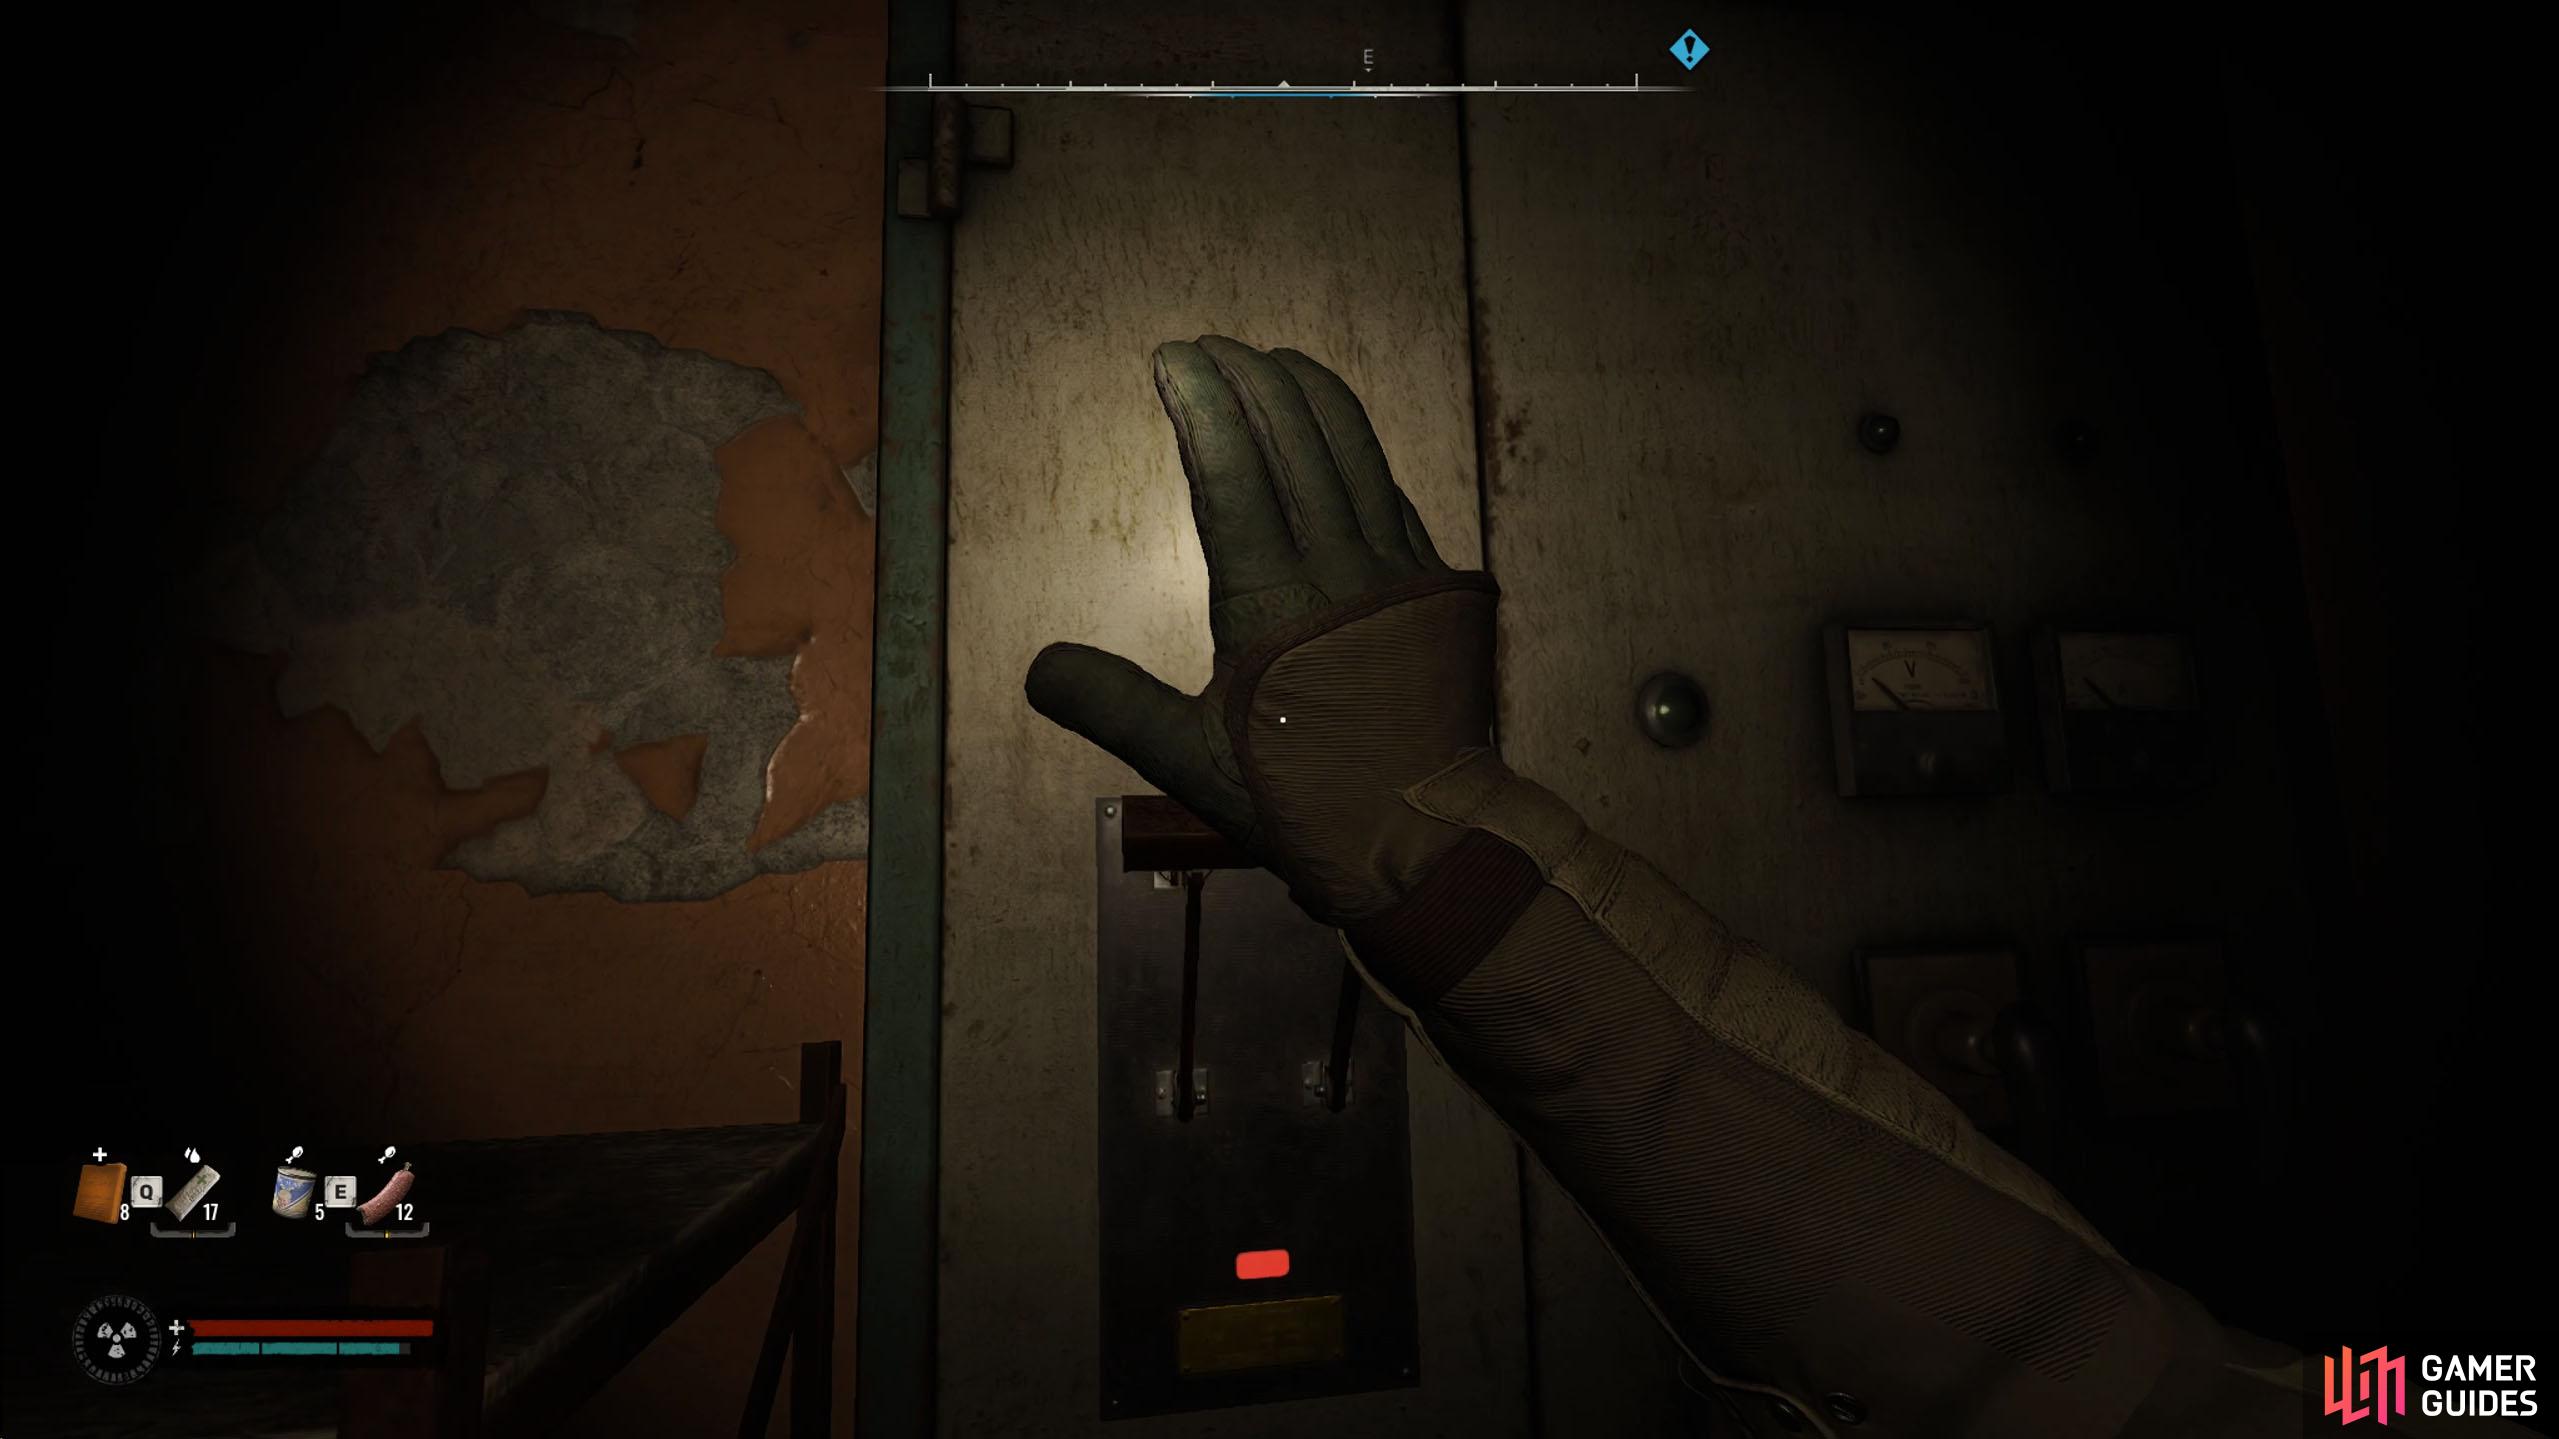
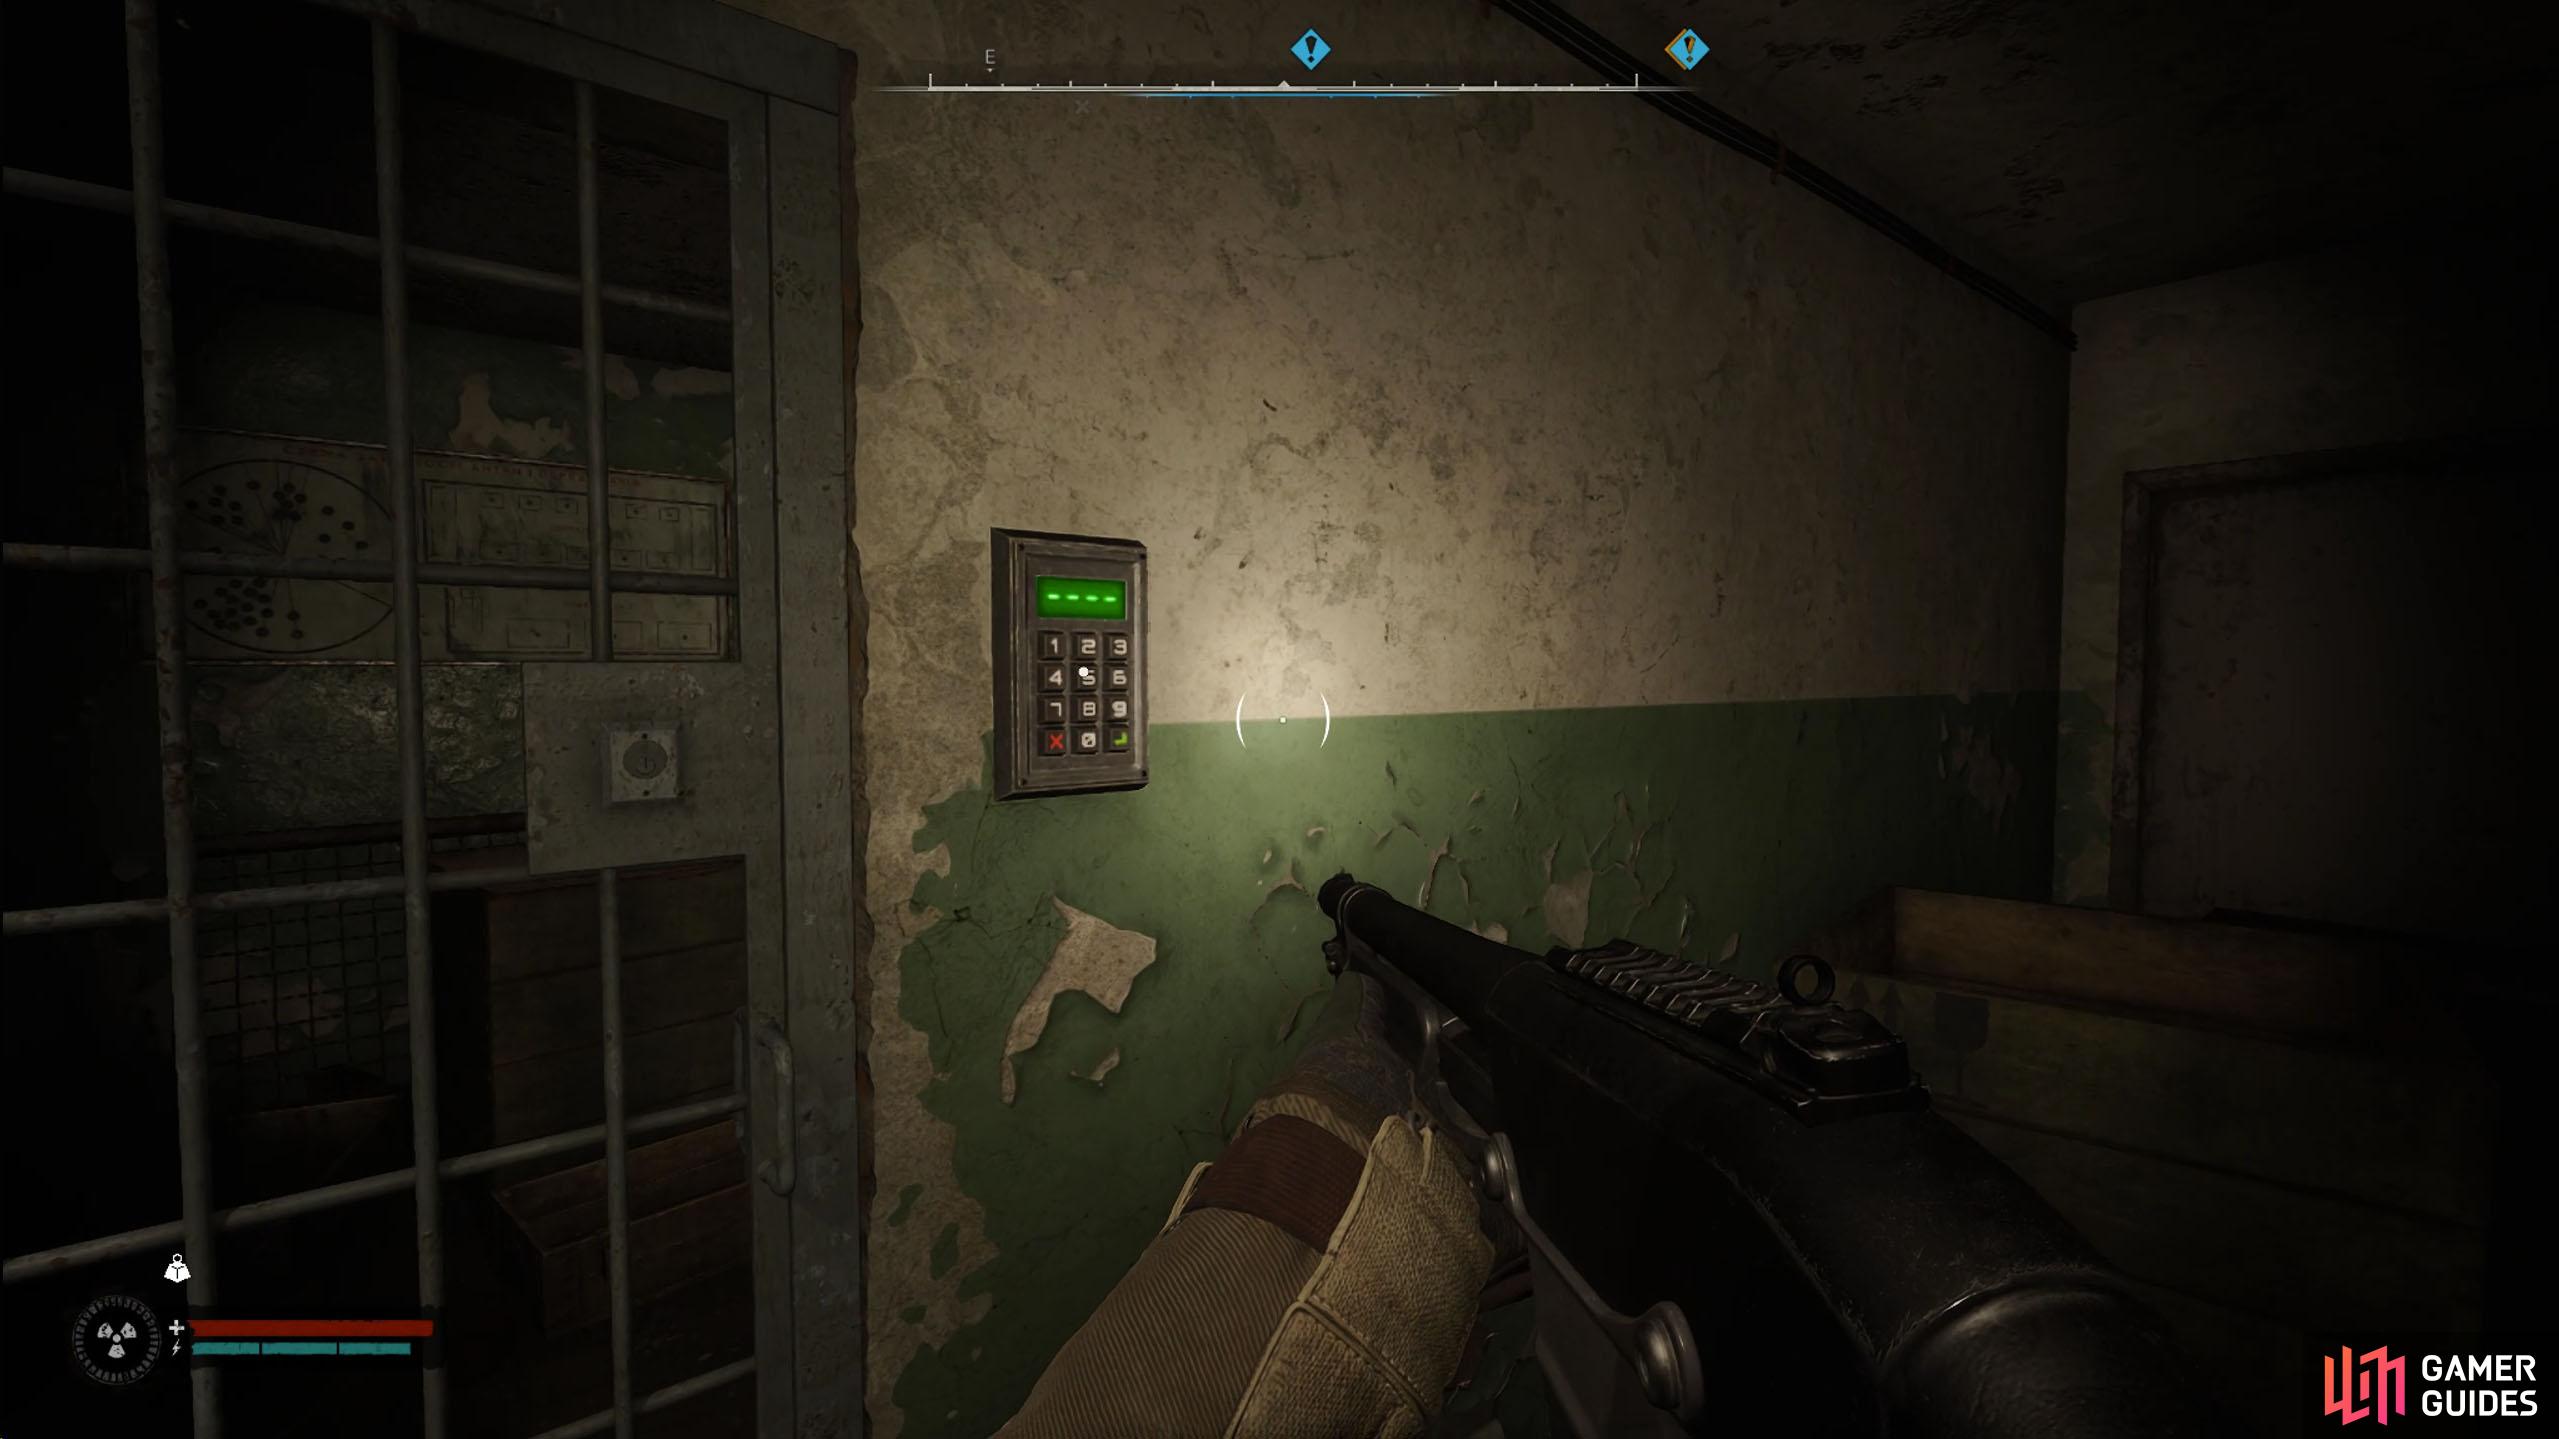
Once it’s dead, Jumper will radio in and tell you that his friend, Bluish, has come to. He’ll thank you and send over the code to the stash before he tells you someone is coming. Looks like this isn’t over just yet. To get out, head over to the metal path on the western side of the room, and follow it east to find a small room. On the wall inside the room is a switch, interact with it, and make your way through the building, looting the supplies along the way. You’ll soon come to a long hallway, and the stash will be at the end of the hall to your left. Use the code Jumper sent over (the journal will have it), and you’ll find out the stash doesn’t have anything in it, but you will find a note. Pick it up, head back into the hallway, and go through the only other door you haven’t been in yet.
(1 of 4) Follow the walkway at the west side of the room to enter the room.
Helping Jumper One Last Time
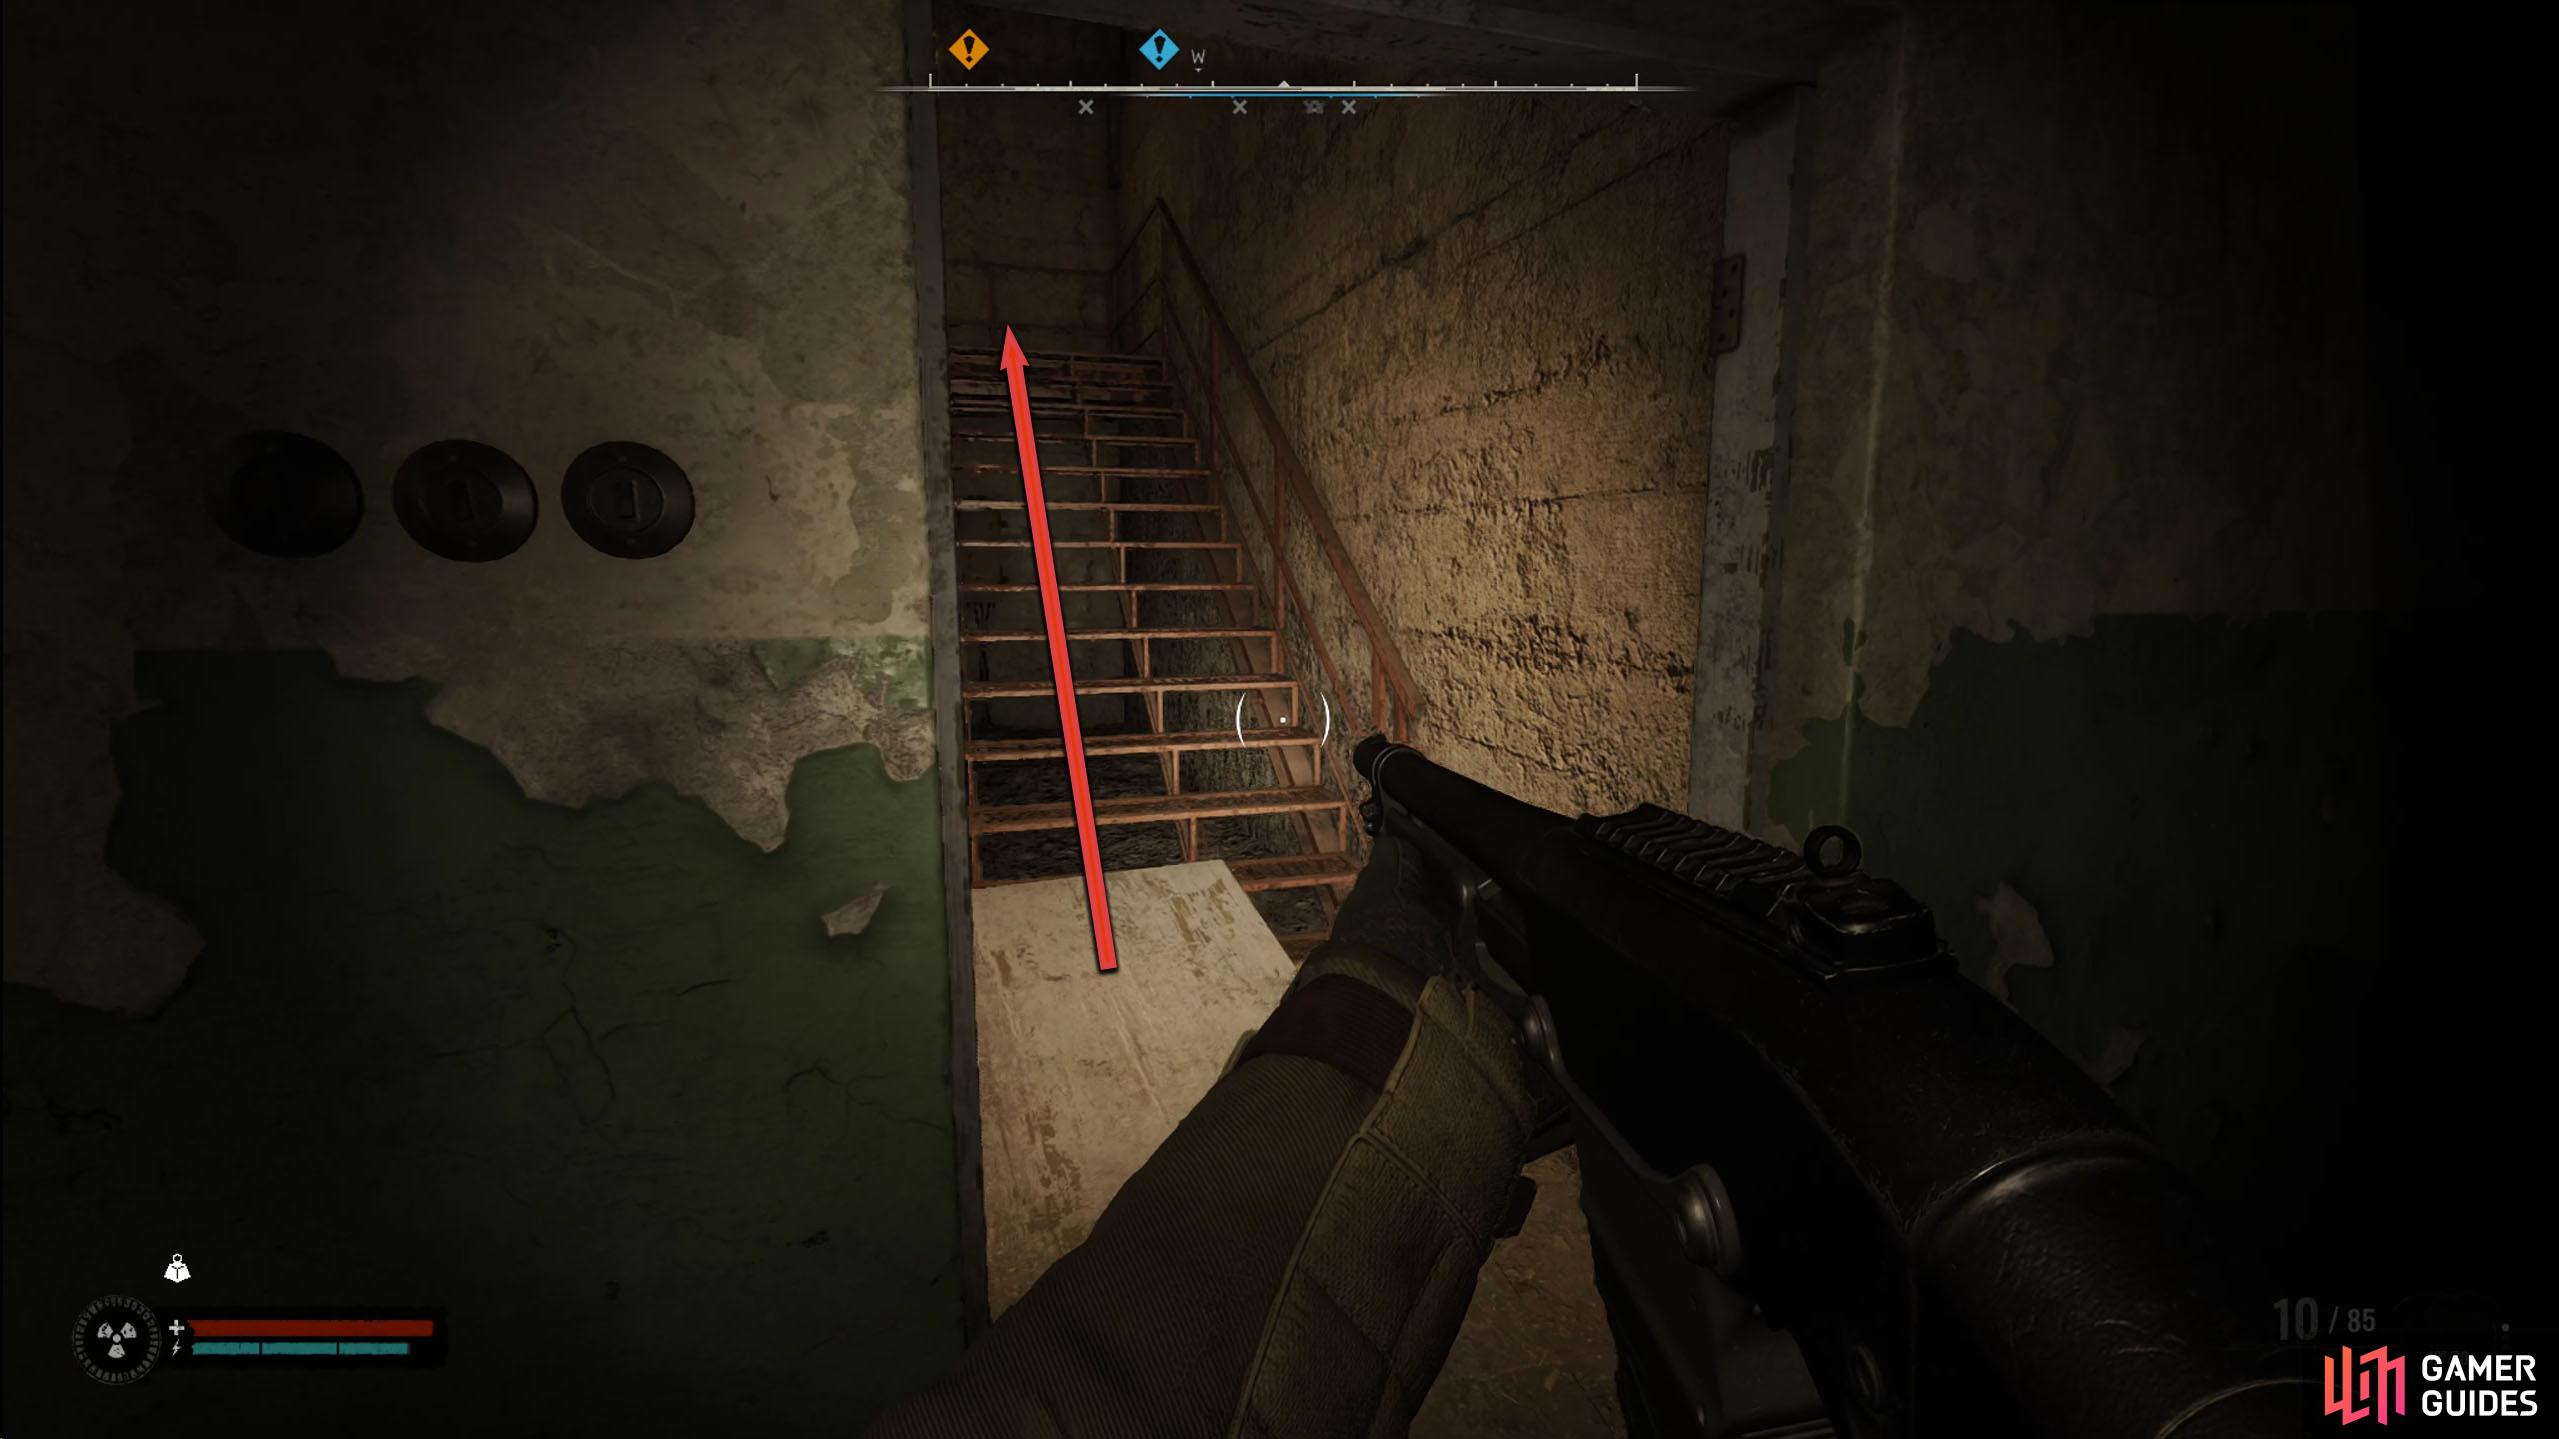
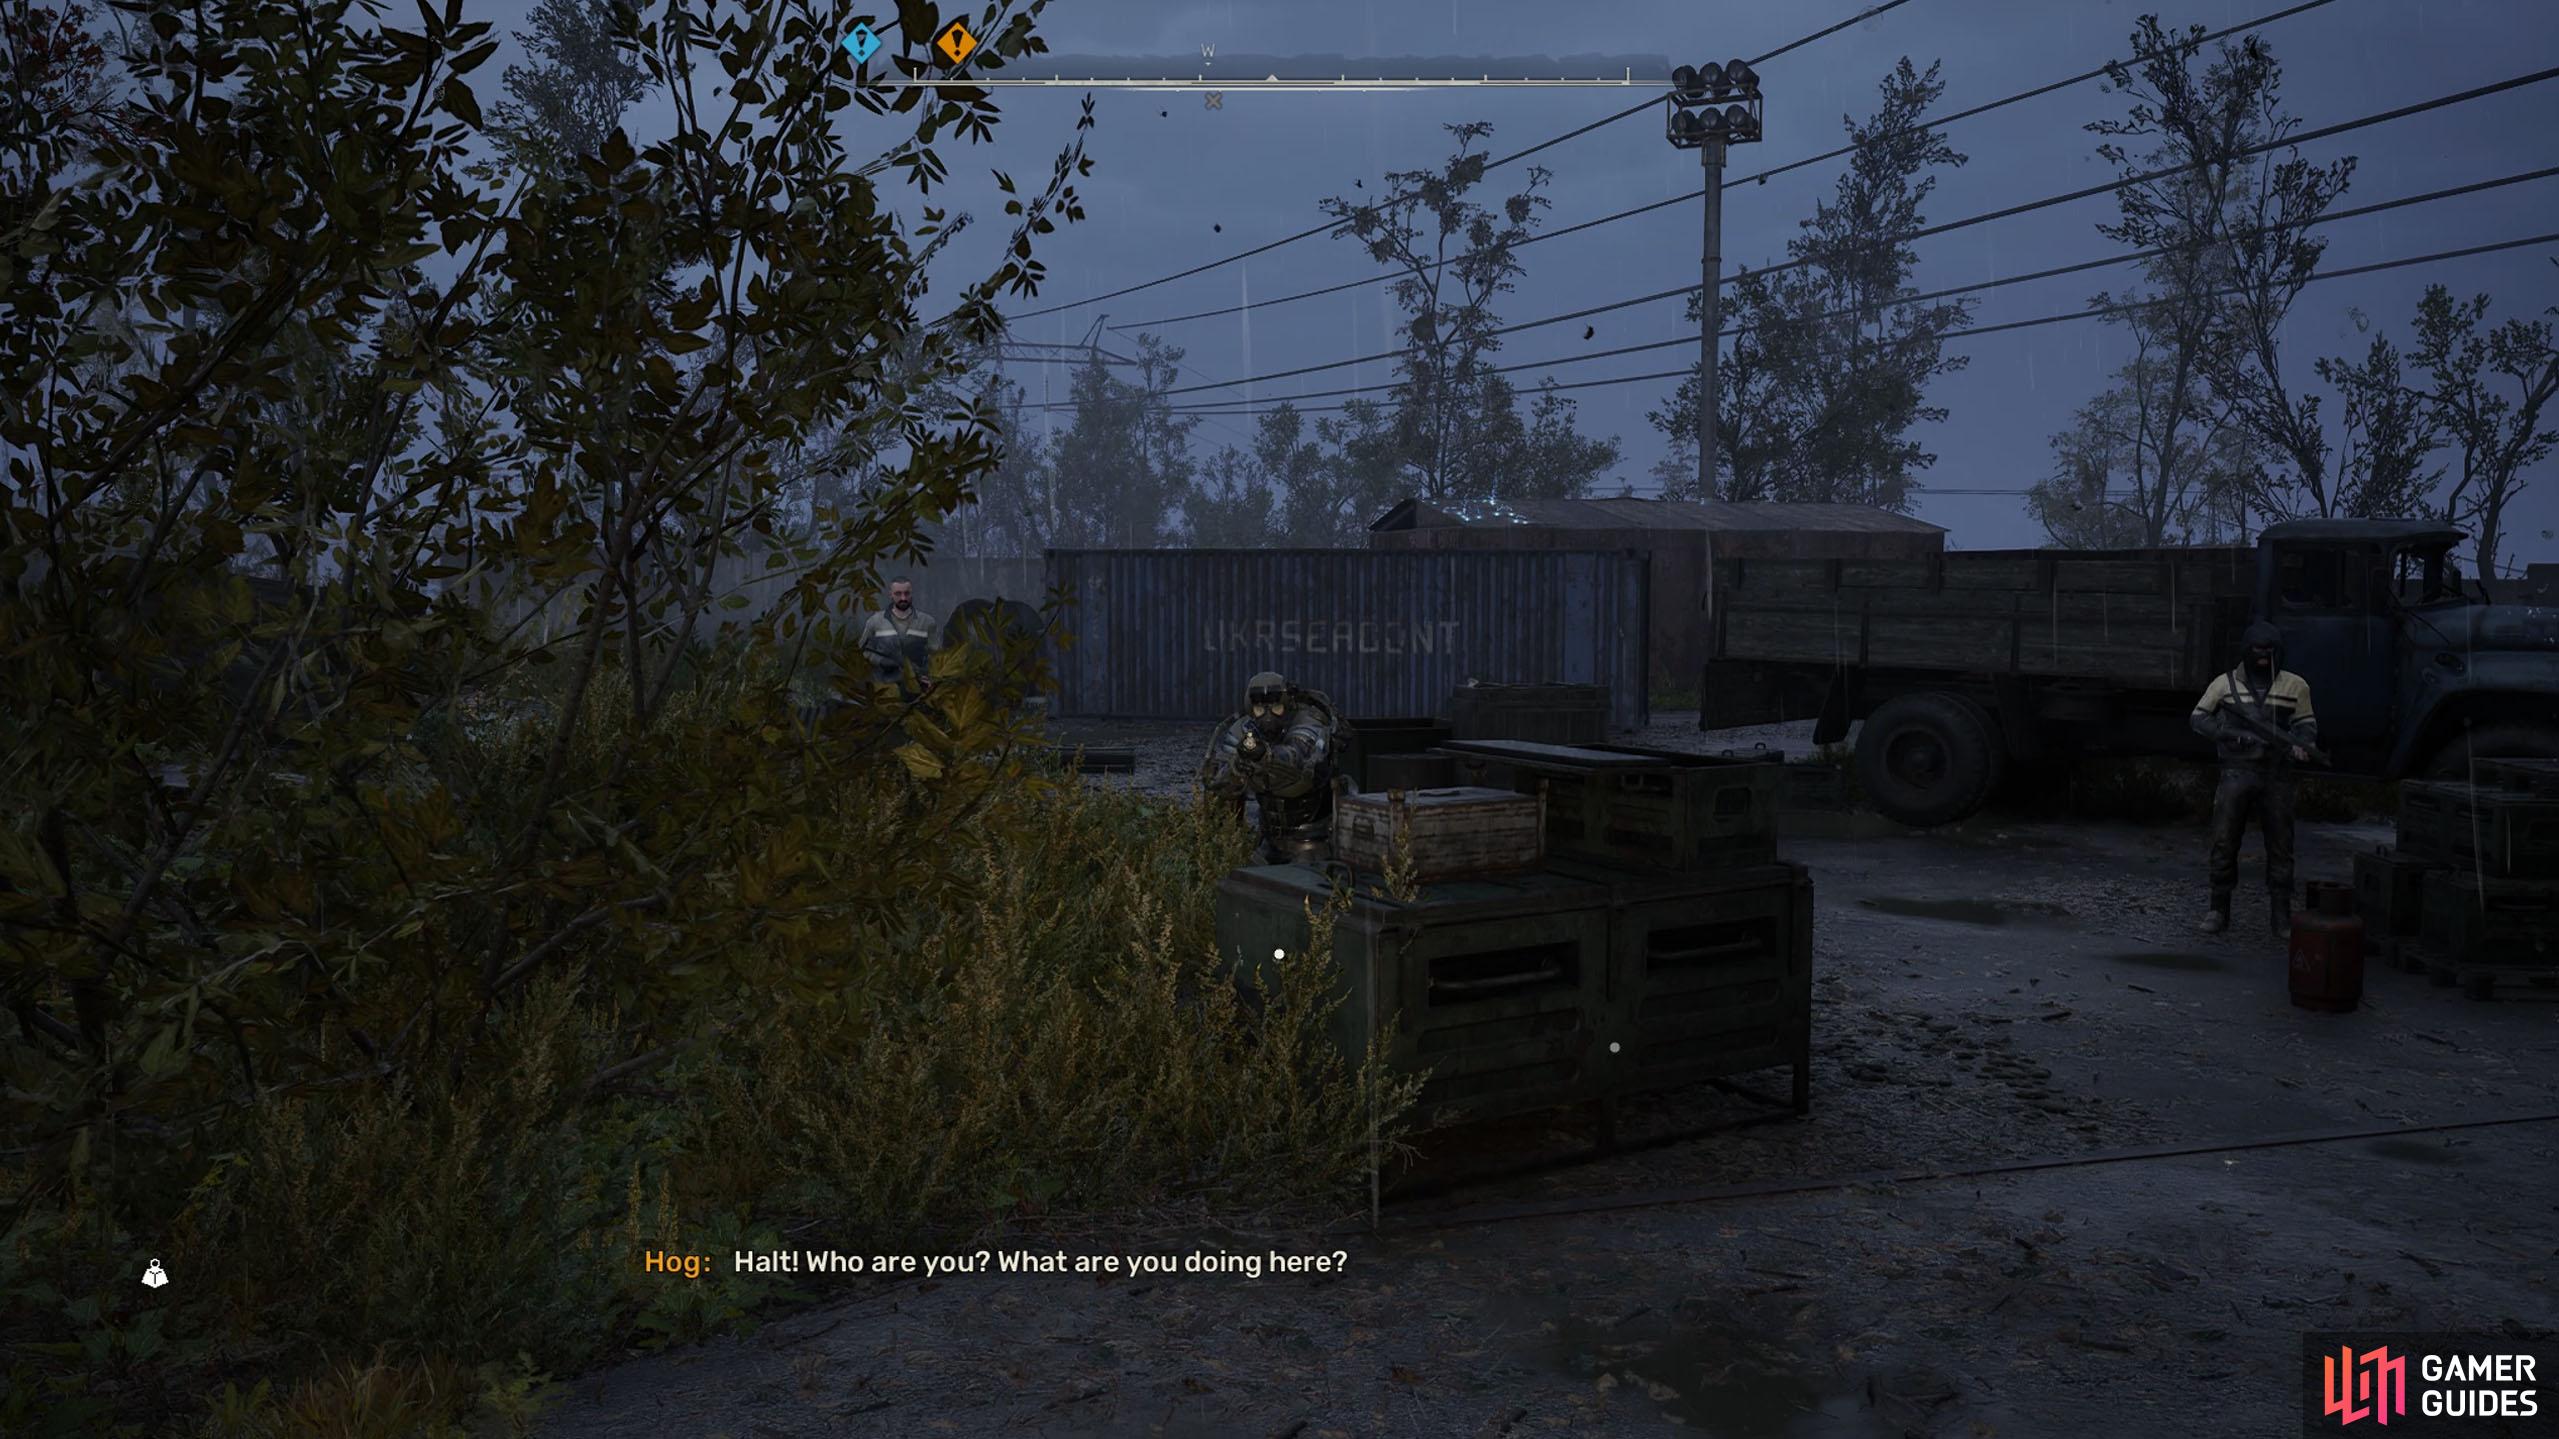
Take the stairs to the top, and head toward the western door. You can hear Jumper speaking to someone called Hog. Save the game and open the door for a short scene. This is clearly a clean-up crew, and you are in the wrong place at the wrong time. However, Hog isn’t just going to let you go as you’ve seen too much, so get ready for a gunfight. The choice you pick here won’t make any difference, so a gunfight will ensue once you’re done speaking.
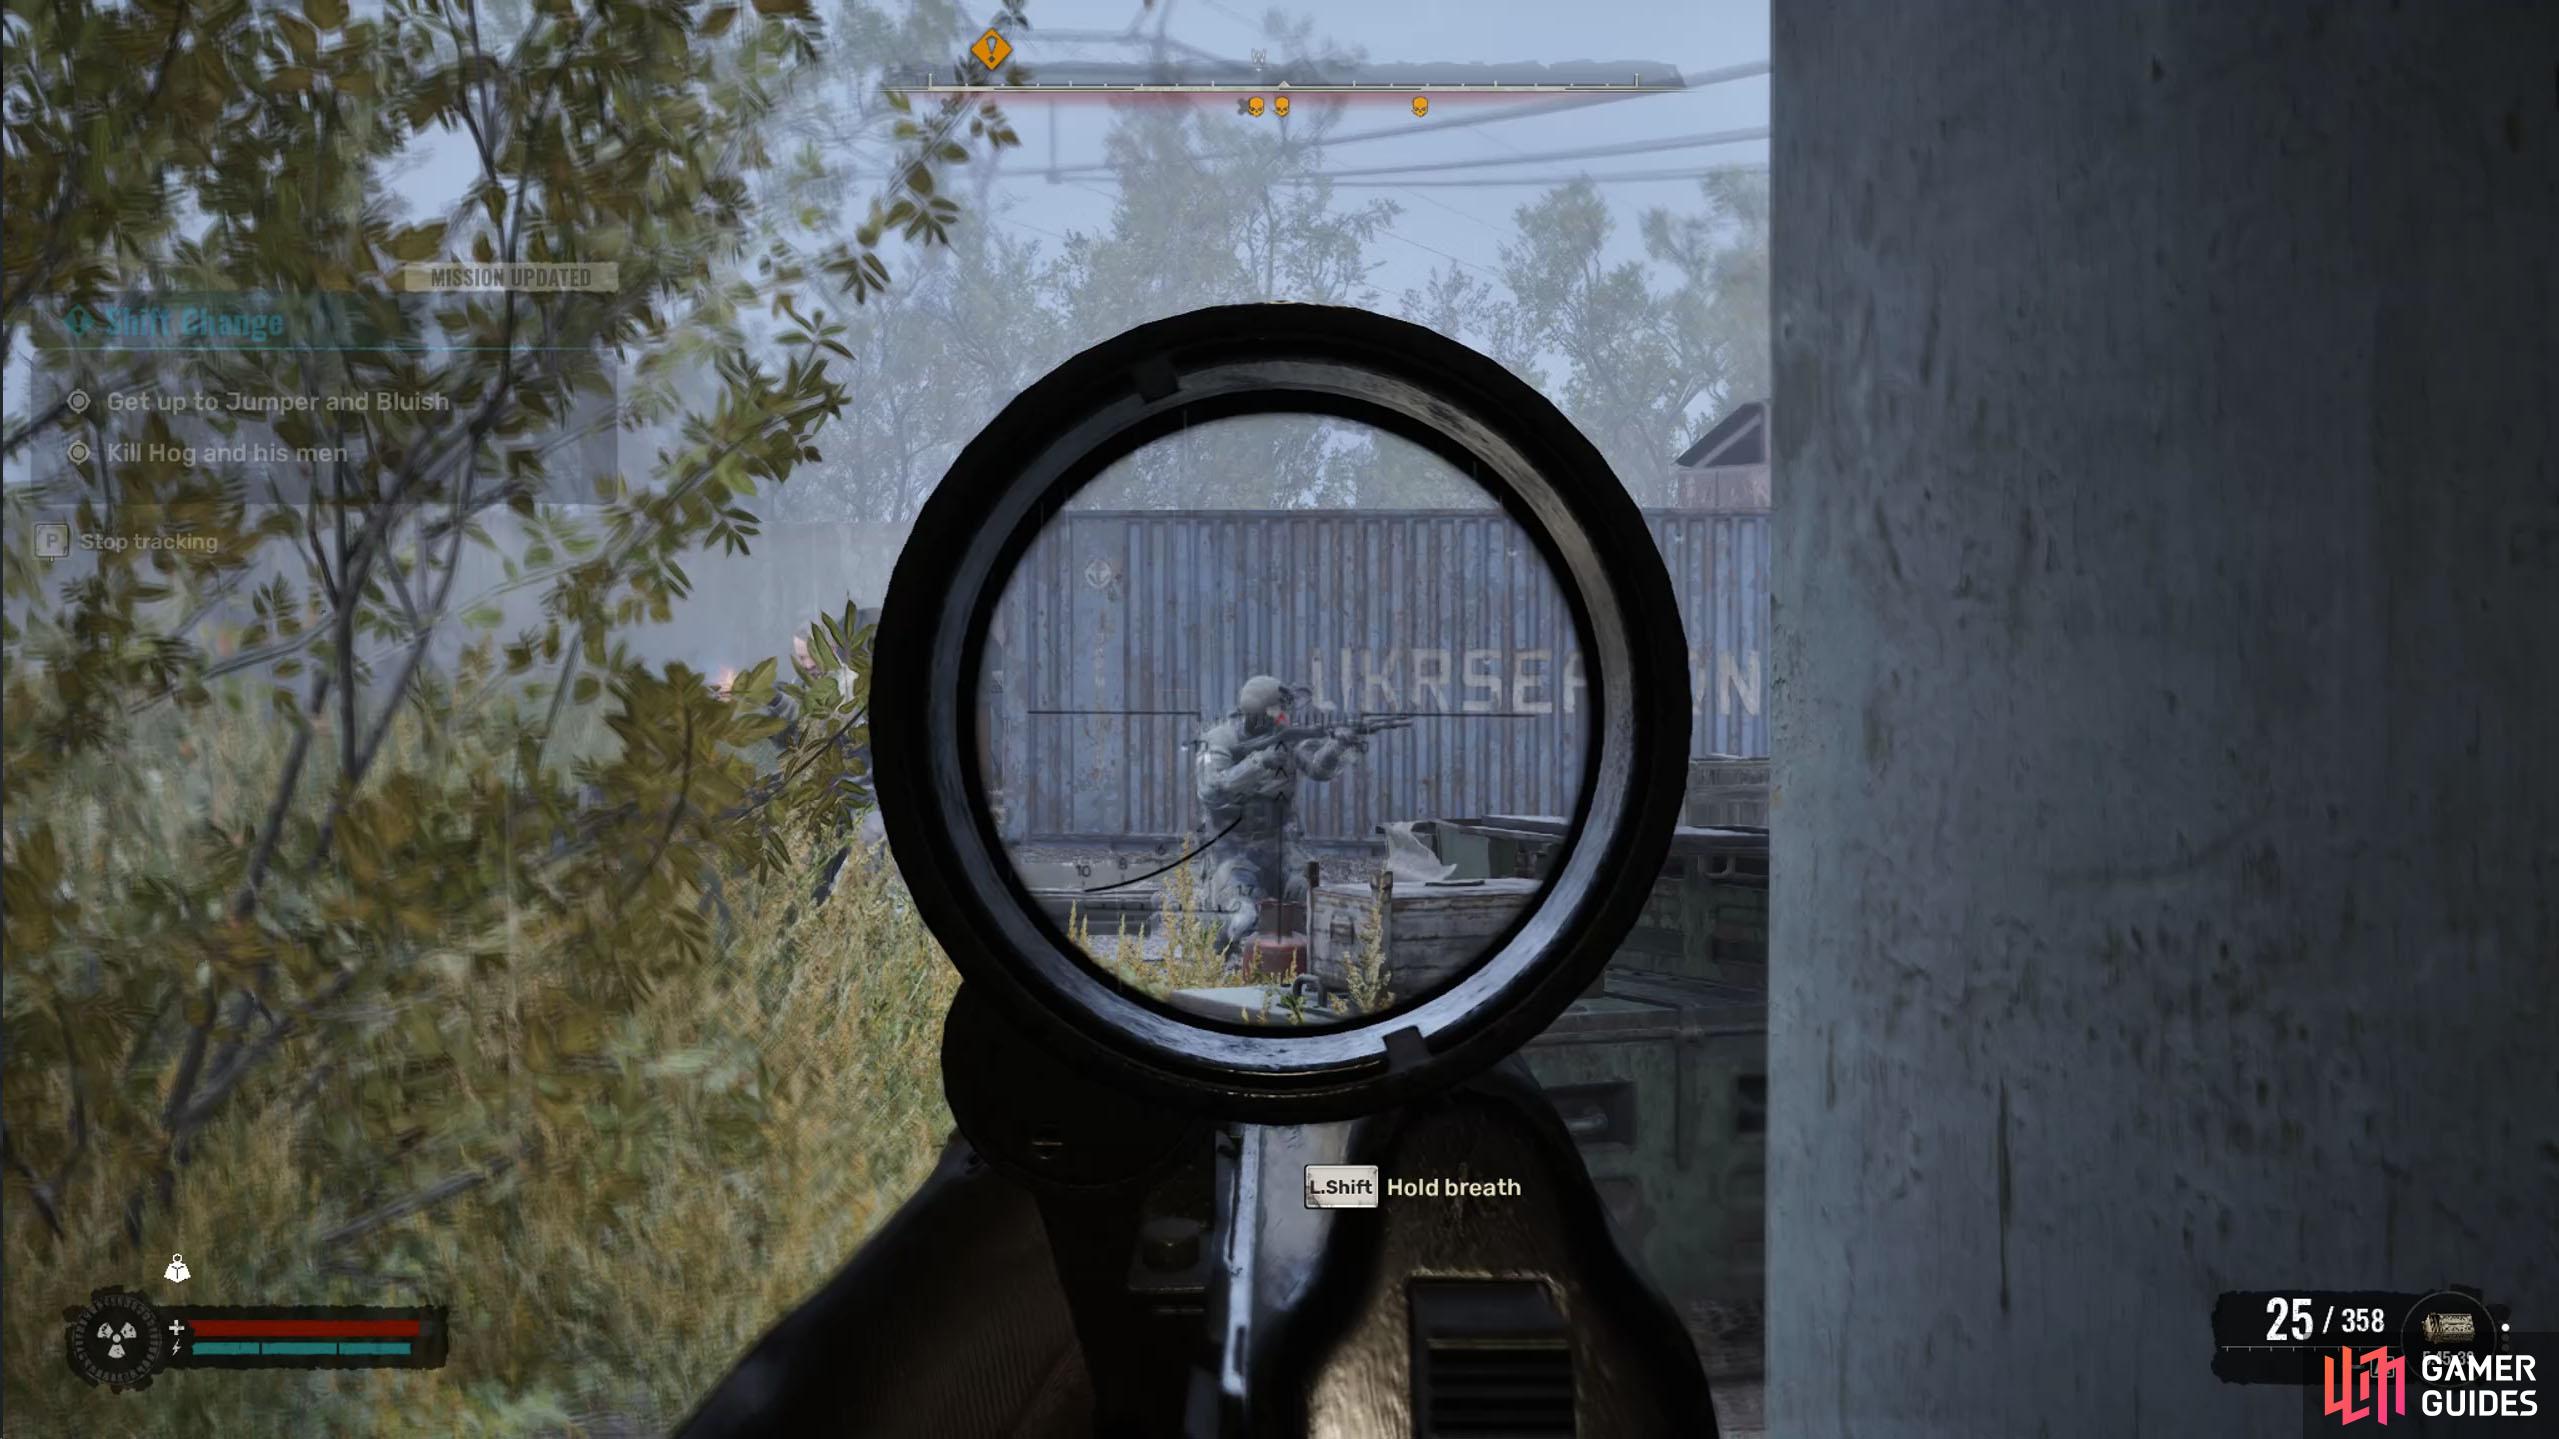
When you regain control, immediately sprint back into the door you came from for some cover. You most likely will need to heal up before you get back into the fight, do so, and use the doorway as cover. If you have a scoped weapon, you can peek through the doorway and slowly keep tapping at Hog’s head without taking much damage until he falls. There are two more to take care of, one will use the cover to the left of the door, while the other will use the cover to the right. Jumper will ‘help’ you by being another target for them to aim at, but he won’t deal a lot of damage, so you’ll need to take them out yourself.
(1 of 3) Outside, you’ll have to deal with Hog’s clean-up crew.
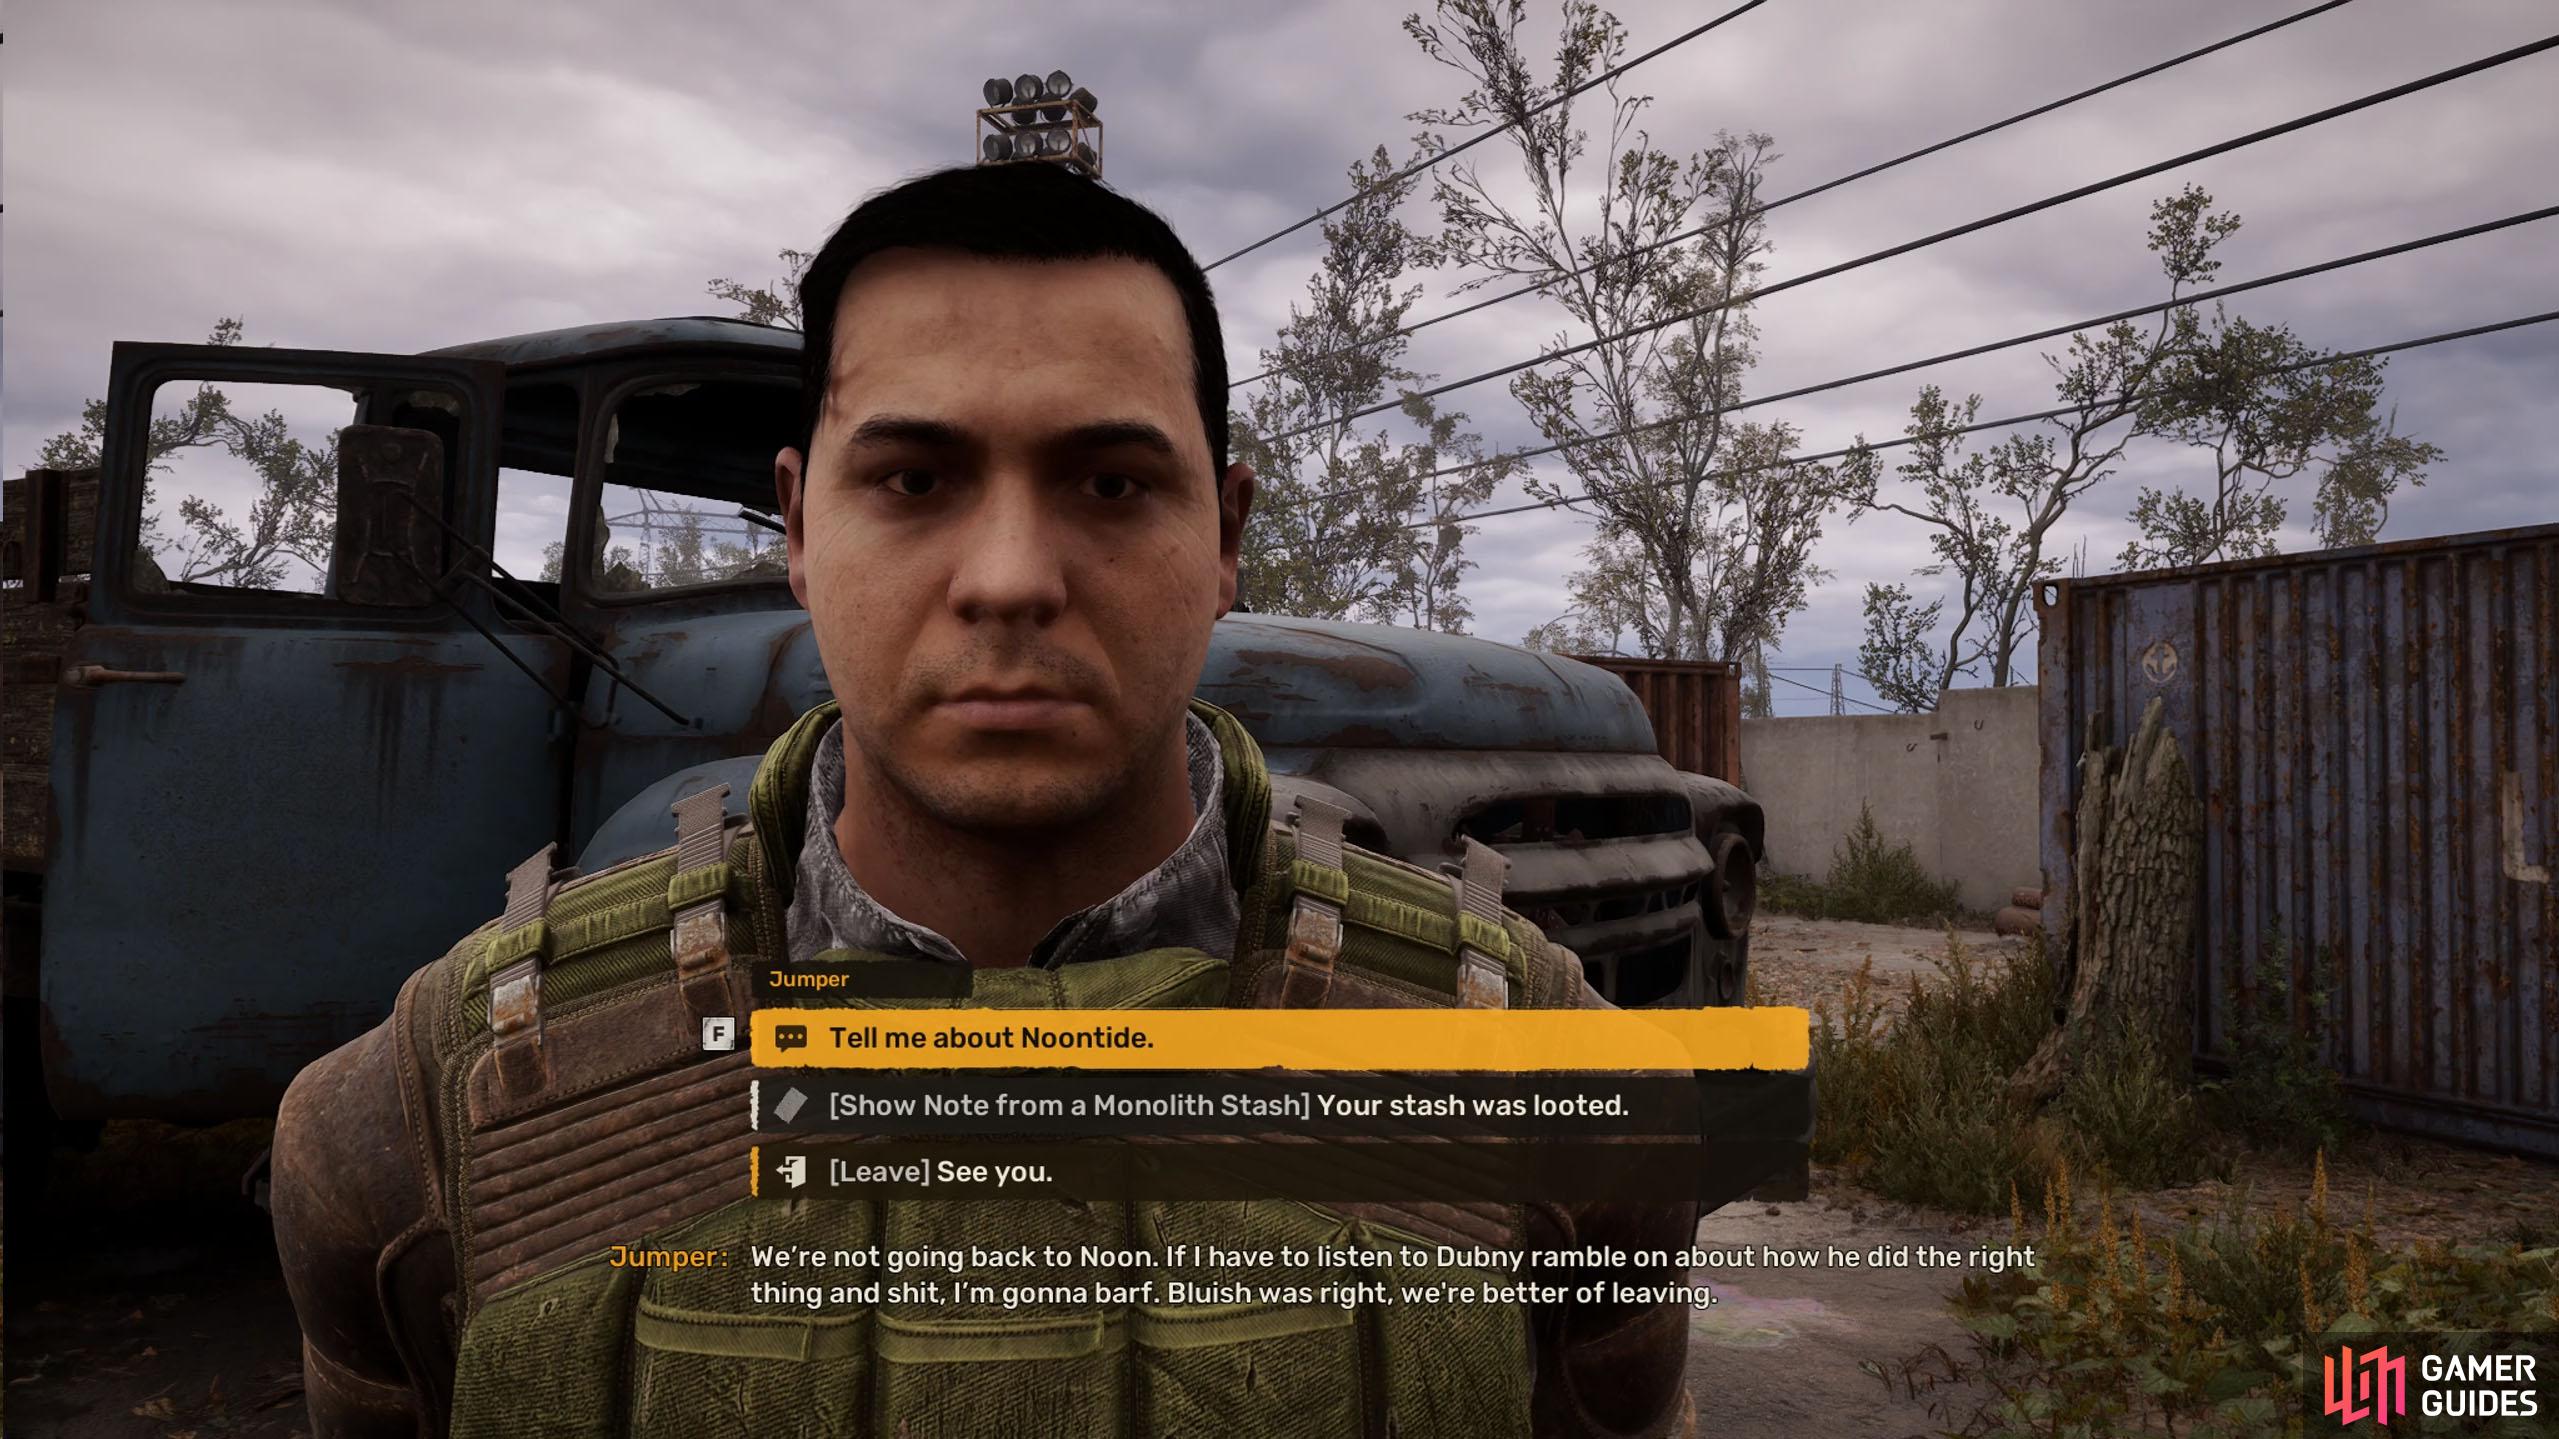
The easiest way to do this is to rush them with a shotgun, however, if you want to play it more tactically, slowly creep around to the right of the cover and come behind them. This fight is no different from a regular bandit fight, so play it as such. Once they’re dealt with, loot Hog’s body for his ![]() PDA to find out why he was here, and then talk to Jumper. Have him tell you about Noontide, and remind him that the stash he gave you access to was already looted, he’ll send some coupons your way, and the mission will be completed.
PDA to find out why he was here, and then talk to Jumper. Have him tell you about Noontide, and remind him that the stash he gave you access to was already looted, he’ll send some coupons your way, and the mission will be completed.





 Sign up
No Comments