A Needle in a Haystack is a main mission in Stalker 2: Heart of Chornobyl that branches off from the Behind Seven Seals main mission. Read on to find out where you need to go, what choices lead to what, and where you can find Squint.
The Gaffer and Richter are worried after their conversation with Captain Zotov and need your help.
Table of Contents
If you want to jump to a specific section, click on the links below.
| Quickjump |
|---|
| Mission Unlock |
| Finding Squint - Warehouse |
| Finding Squint - Farmstead |
| Returning the Ward Sensors |
Starting the Mission
You begin this mission after you speak to the Gaffer in Zalissya. The Gaffer will tell you that if you want information on Solder, you will need find Squint, who was last seen at a warehouse in the northeast. Accept the mission, and leave town via the northern road. Follow the road until you reach an intersection, and then take the eastern road. This will take you straight to the warehouse where Squint was last seen. Make sure you throw your bolts at the anomalies along the way to disrupt them, allowing you to pass.
(1 of 2) Speak to Richter in the Gaffer’s house and ask him about Solder.
Speak to Richter in the Gaffer’s house and ask him about Solder. (left), He’ll ask you to find Squint for him, which begins the “A Needle in a Haystack” mission. (right)
Finding Squint - Warehouse
When you get inside the warehouse complex, you’ll get attacked by a pack of dogs (get used to this). These are quick and difficult to hit, but if you aim toward your feet, you can shoot them easier when they approach you. Another good tip is to get on an elevated space (like a car), and try to take them out from there, but they will run away when you do this, and come back when you get on the floor again. After taking out the pesky dogs, explore the empty buildings for loot if you want, and then enter the warehouse to the north.
There are bandits in here who are not hostile at the moment, but will be depending on what you do upstairs. Head up the eastern stairs and speak to Mug, who isn’t the nicest person in the zone, but be prepared to either pay 1500 K, or take a gunfight. If you don’t have the money to pay him, exit the room and hide in one of the smaller rooms down the hall and make use of your shotgun if you have one. Note that if you don’t pay the bandits, you will fail that part of the objective, but it doesn’t matter as you can get the information elsewhere.
(1 of 2) The warehouse can be found to the northeast of Zalissya.
The warehouse can be found to the northeast of Zalissya. (left), On the second floor of the warehouse, pay for the information, or you’ll get into a gunfight. (right)
Finding Squint - Farmstead
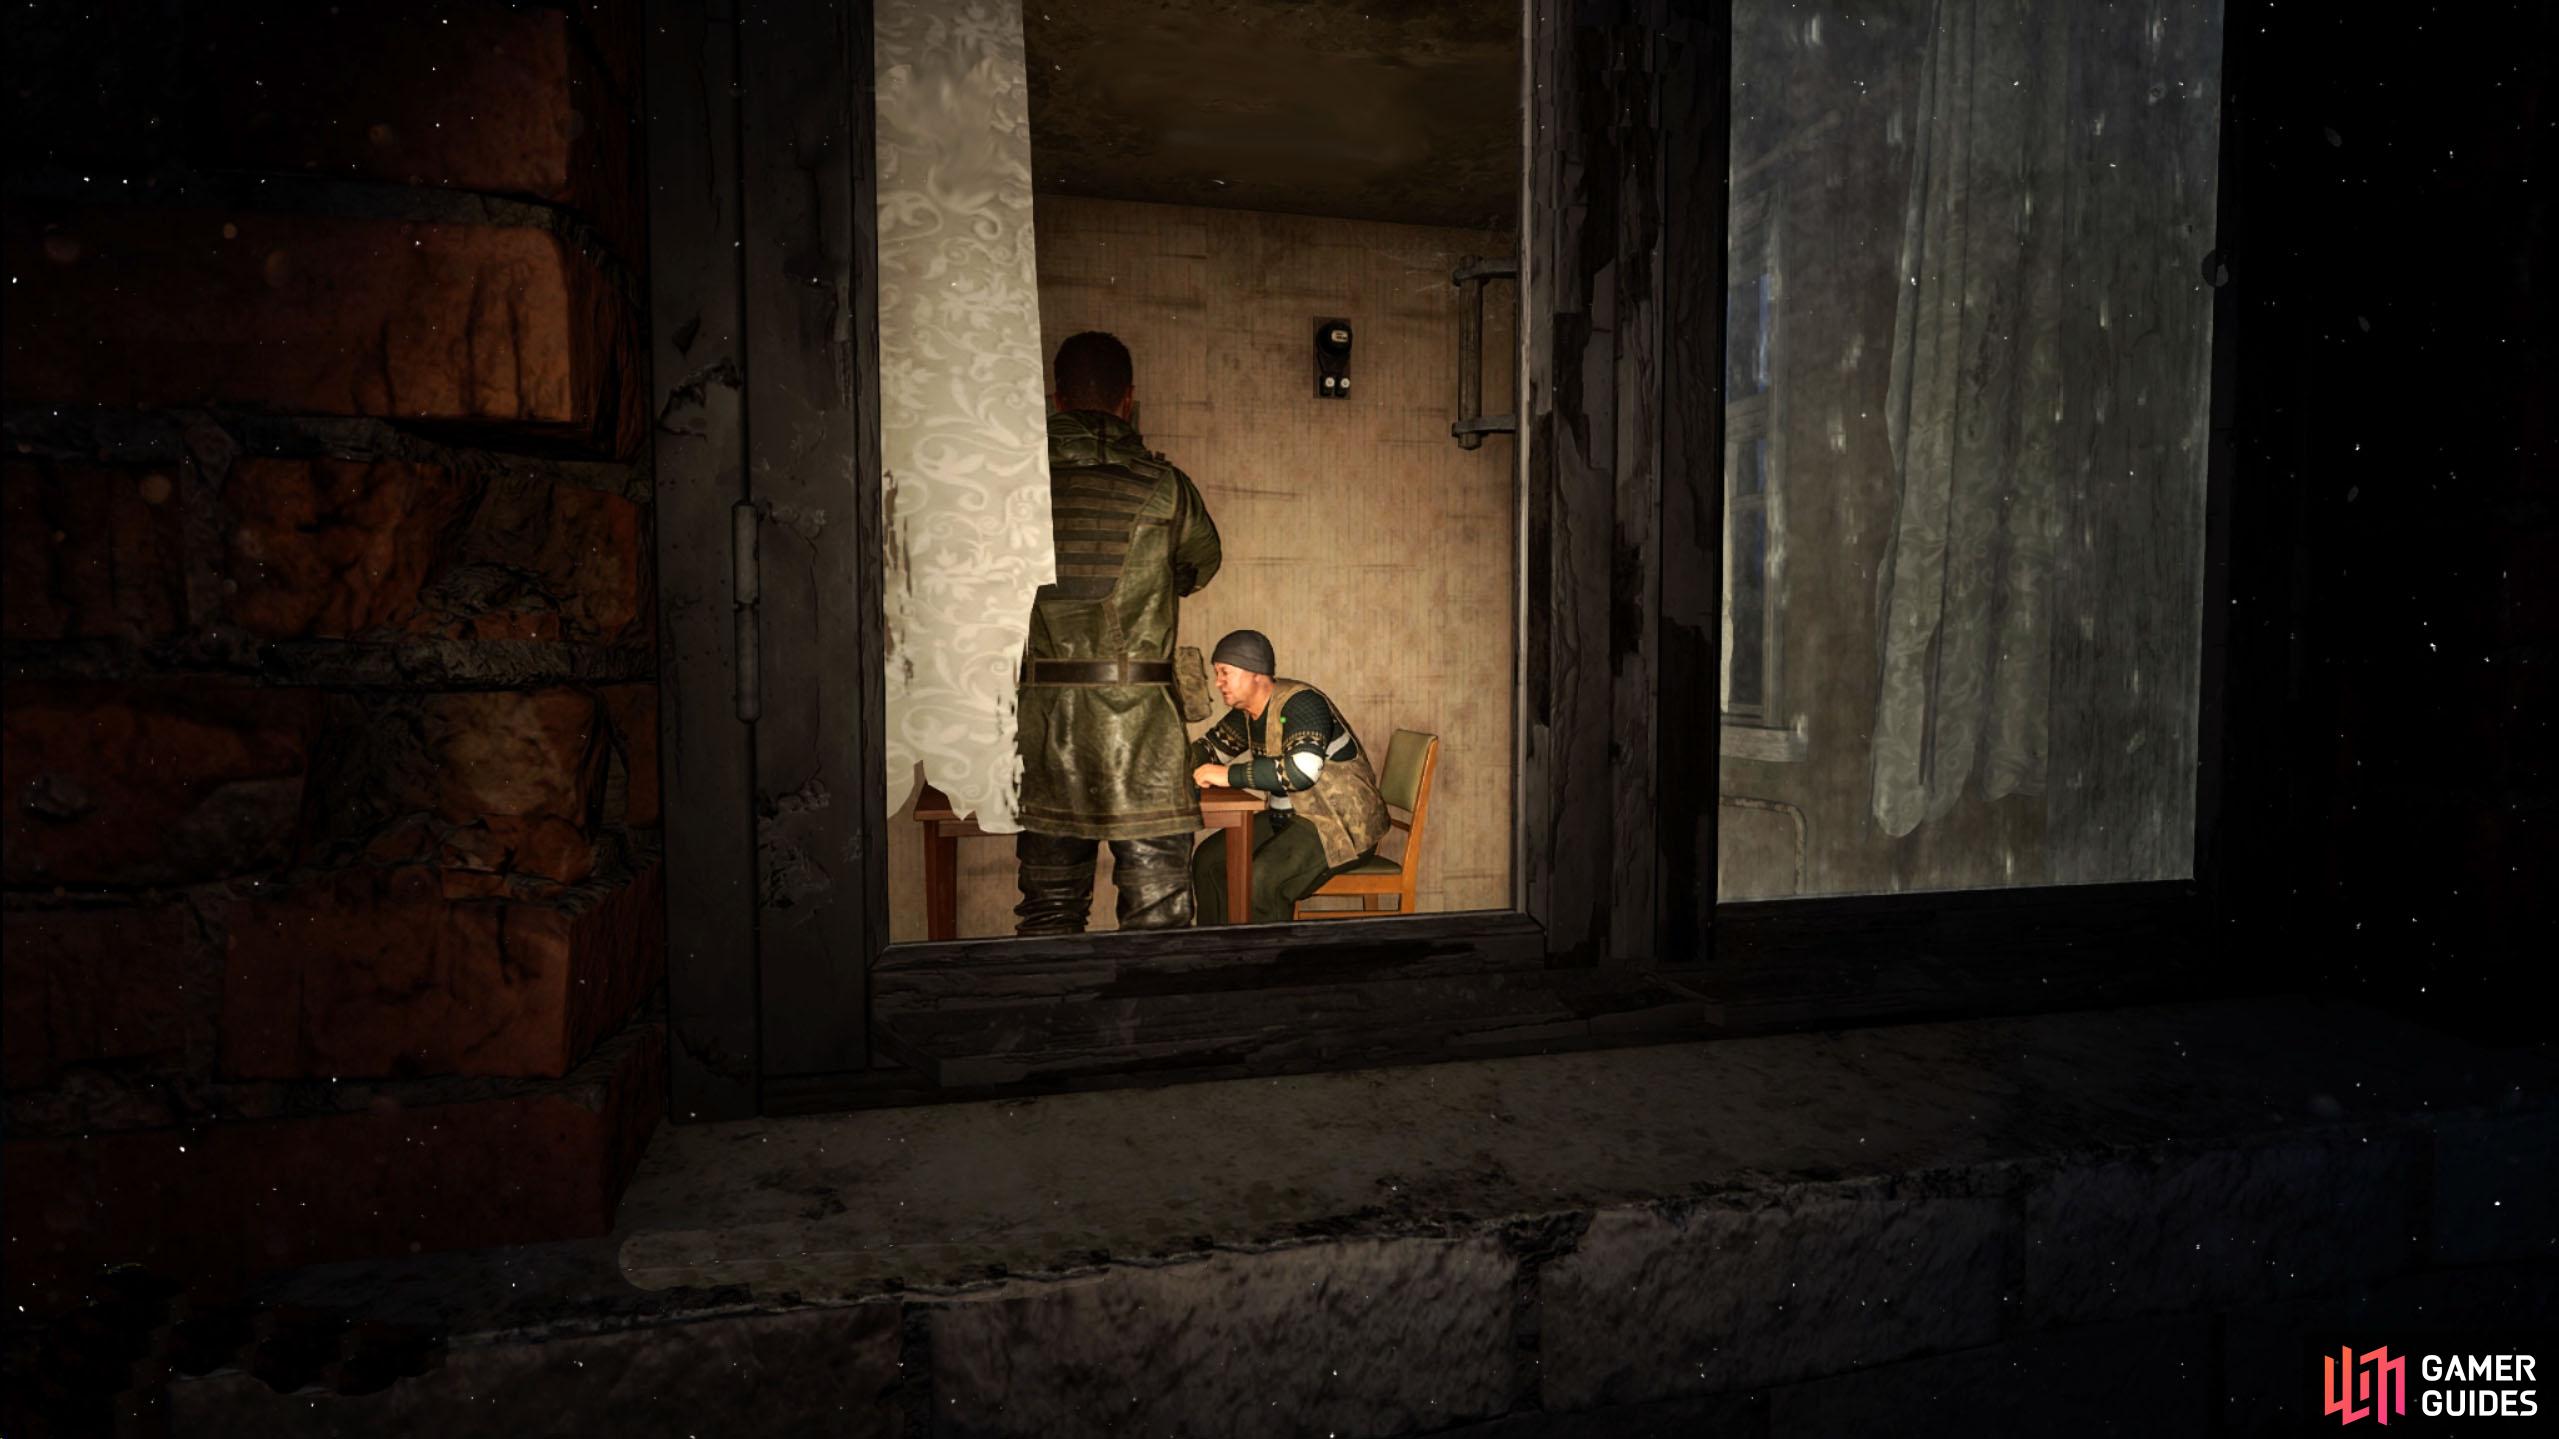
If you killed the bandits before retrieving their information, you’ll need to head to the Farmstead, which is situated to the southeast of the warehouse. Make your way southeast until you reach the Farmstead, and you should notice a mill there, aptly named, Old Mill. Head inside the Mill, but be careful about going up. Before you do, make a quick save, and slowly make your way up the Mill. This place is filled with traps and you’ll need to disarm every one of them if you want to make it to the top unscathed.
(1 of 2) From the warehouse, head southeast to reach the farmstead.
From the warehouse, head southeast to reach the farmstead. (left), At the farmstead, you’ll find the Old Mill, where you’ll find Squint. (right)
In general, if you see a small can with a flame coming from it (lantern), a trap is nearby. Fortunately, we’ve run in the traps for you, so here are where you can find each trap.
- At the top of the first set of stairs.
- Attached to the post next to the lantern at the bottom of the next set of stairs.
- At the top of the next set of the stairs, but to your left (stairs with cans on it).
When you reach the top, you’ll find Squint holding a gun at your face. Tell him that your a friend, and he’ll eventually lower his gun before asking you to help him escape. Before you answer his question, ask him about what happened first to determine what you want to do with him, but if you choose to help him escape, you’ll need to get him an artifact from the nearby cave. This will give you the side mission “Piece of Cake”. Complete the side mission to obtain the Ward Sensors that Captain Zotov was looking for, and you’ll have a choice to make. Give them to Richter or Captain Zotov.
(1 of 4) Make your way to the top of the Old Mill while disarming the traps along the way. The first trap will at the top of the first set of stairs.
Give the Sensors to Richter or Captain Zotov
With the sensors in your bag, make your way back to Zalissya, and hand over the sensors to either Richter or Captain Zotov. This choice doesn’t appear to matter too much, at least in the near future, but Captain Zotov will make the next mission easier as he has a guy on the inside that can get you closer to where you need to get to in the sphere, otherwise, you’ll need to sneak through there yourself.
(1 of 2) You can hand the sensor over to Richter or Captain Zotov. The reward will be the same.
You can hand the sensor over to Richter or Captain Zotov. The reward will be the same. (left), However, Captain Zotov will help you get into the sphere easier, which is required for the following mission. (right)
Regardless of who you turn it in to, you’ll get rewarded with an Optician Gas Mask, and the Debut Suit armor. That’s it for the A Needle in the Haystack mission. Why not check out our Behind Seven Seals Mission Guide?


 Sign up
No Comments