Arena is a side mission in Stalker 2: Heart of Chornobyl, located in the ![]() Rostok region of The Zone. This mission will pit you against stalkers and mutants for fame and money. Read on to find out where to start the mission, and how to complete every round in it.
Rostok region of The Zone. This mission will pit you against stalkers and mutants for fame and money. Read on to find out where to start the mission, and how to complete every round in it.
Table of Contents
If you want to jump to a specific section, click on the links below.
| Quickjump |
|---|
| Arena Mission Location |
| Rules of the Arena |
| Round One Guide |
| Round Two Guide |
| Round Three Guide |
| Round Four Guide |
| Finals - Tyrant Guide |
| Rewards |
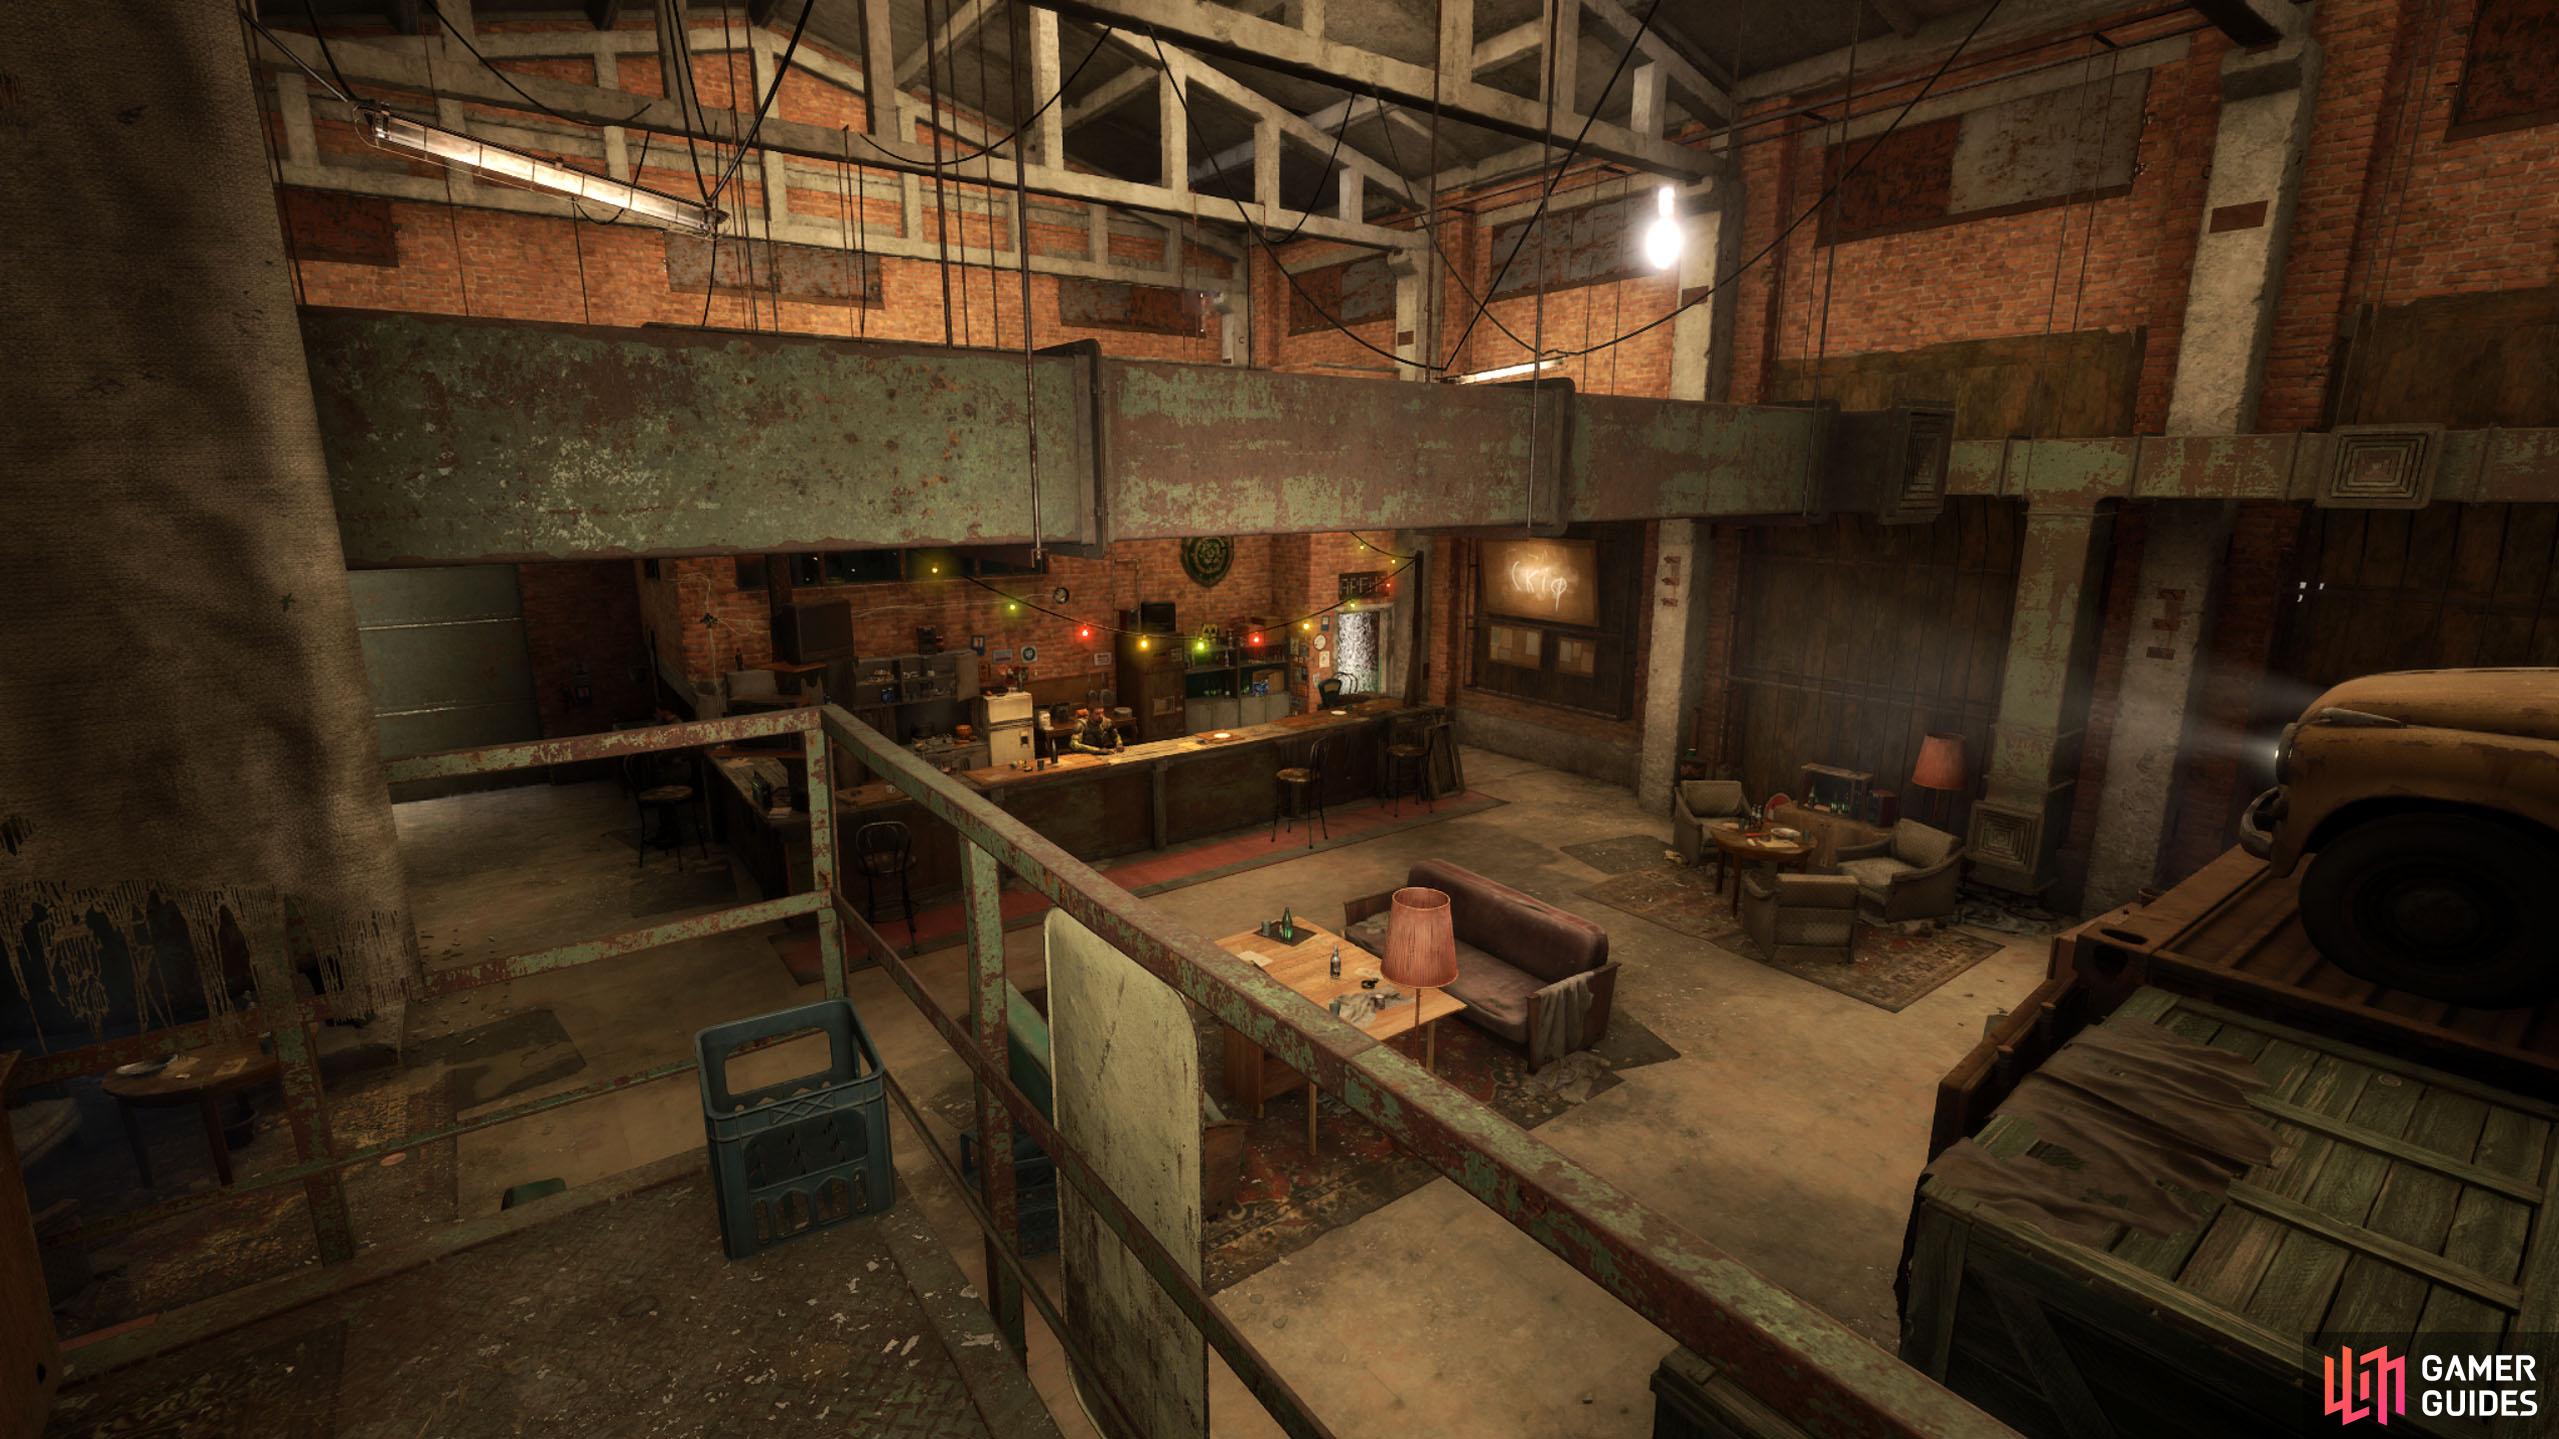
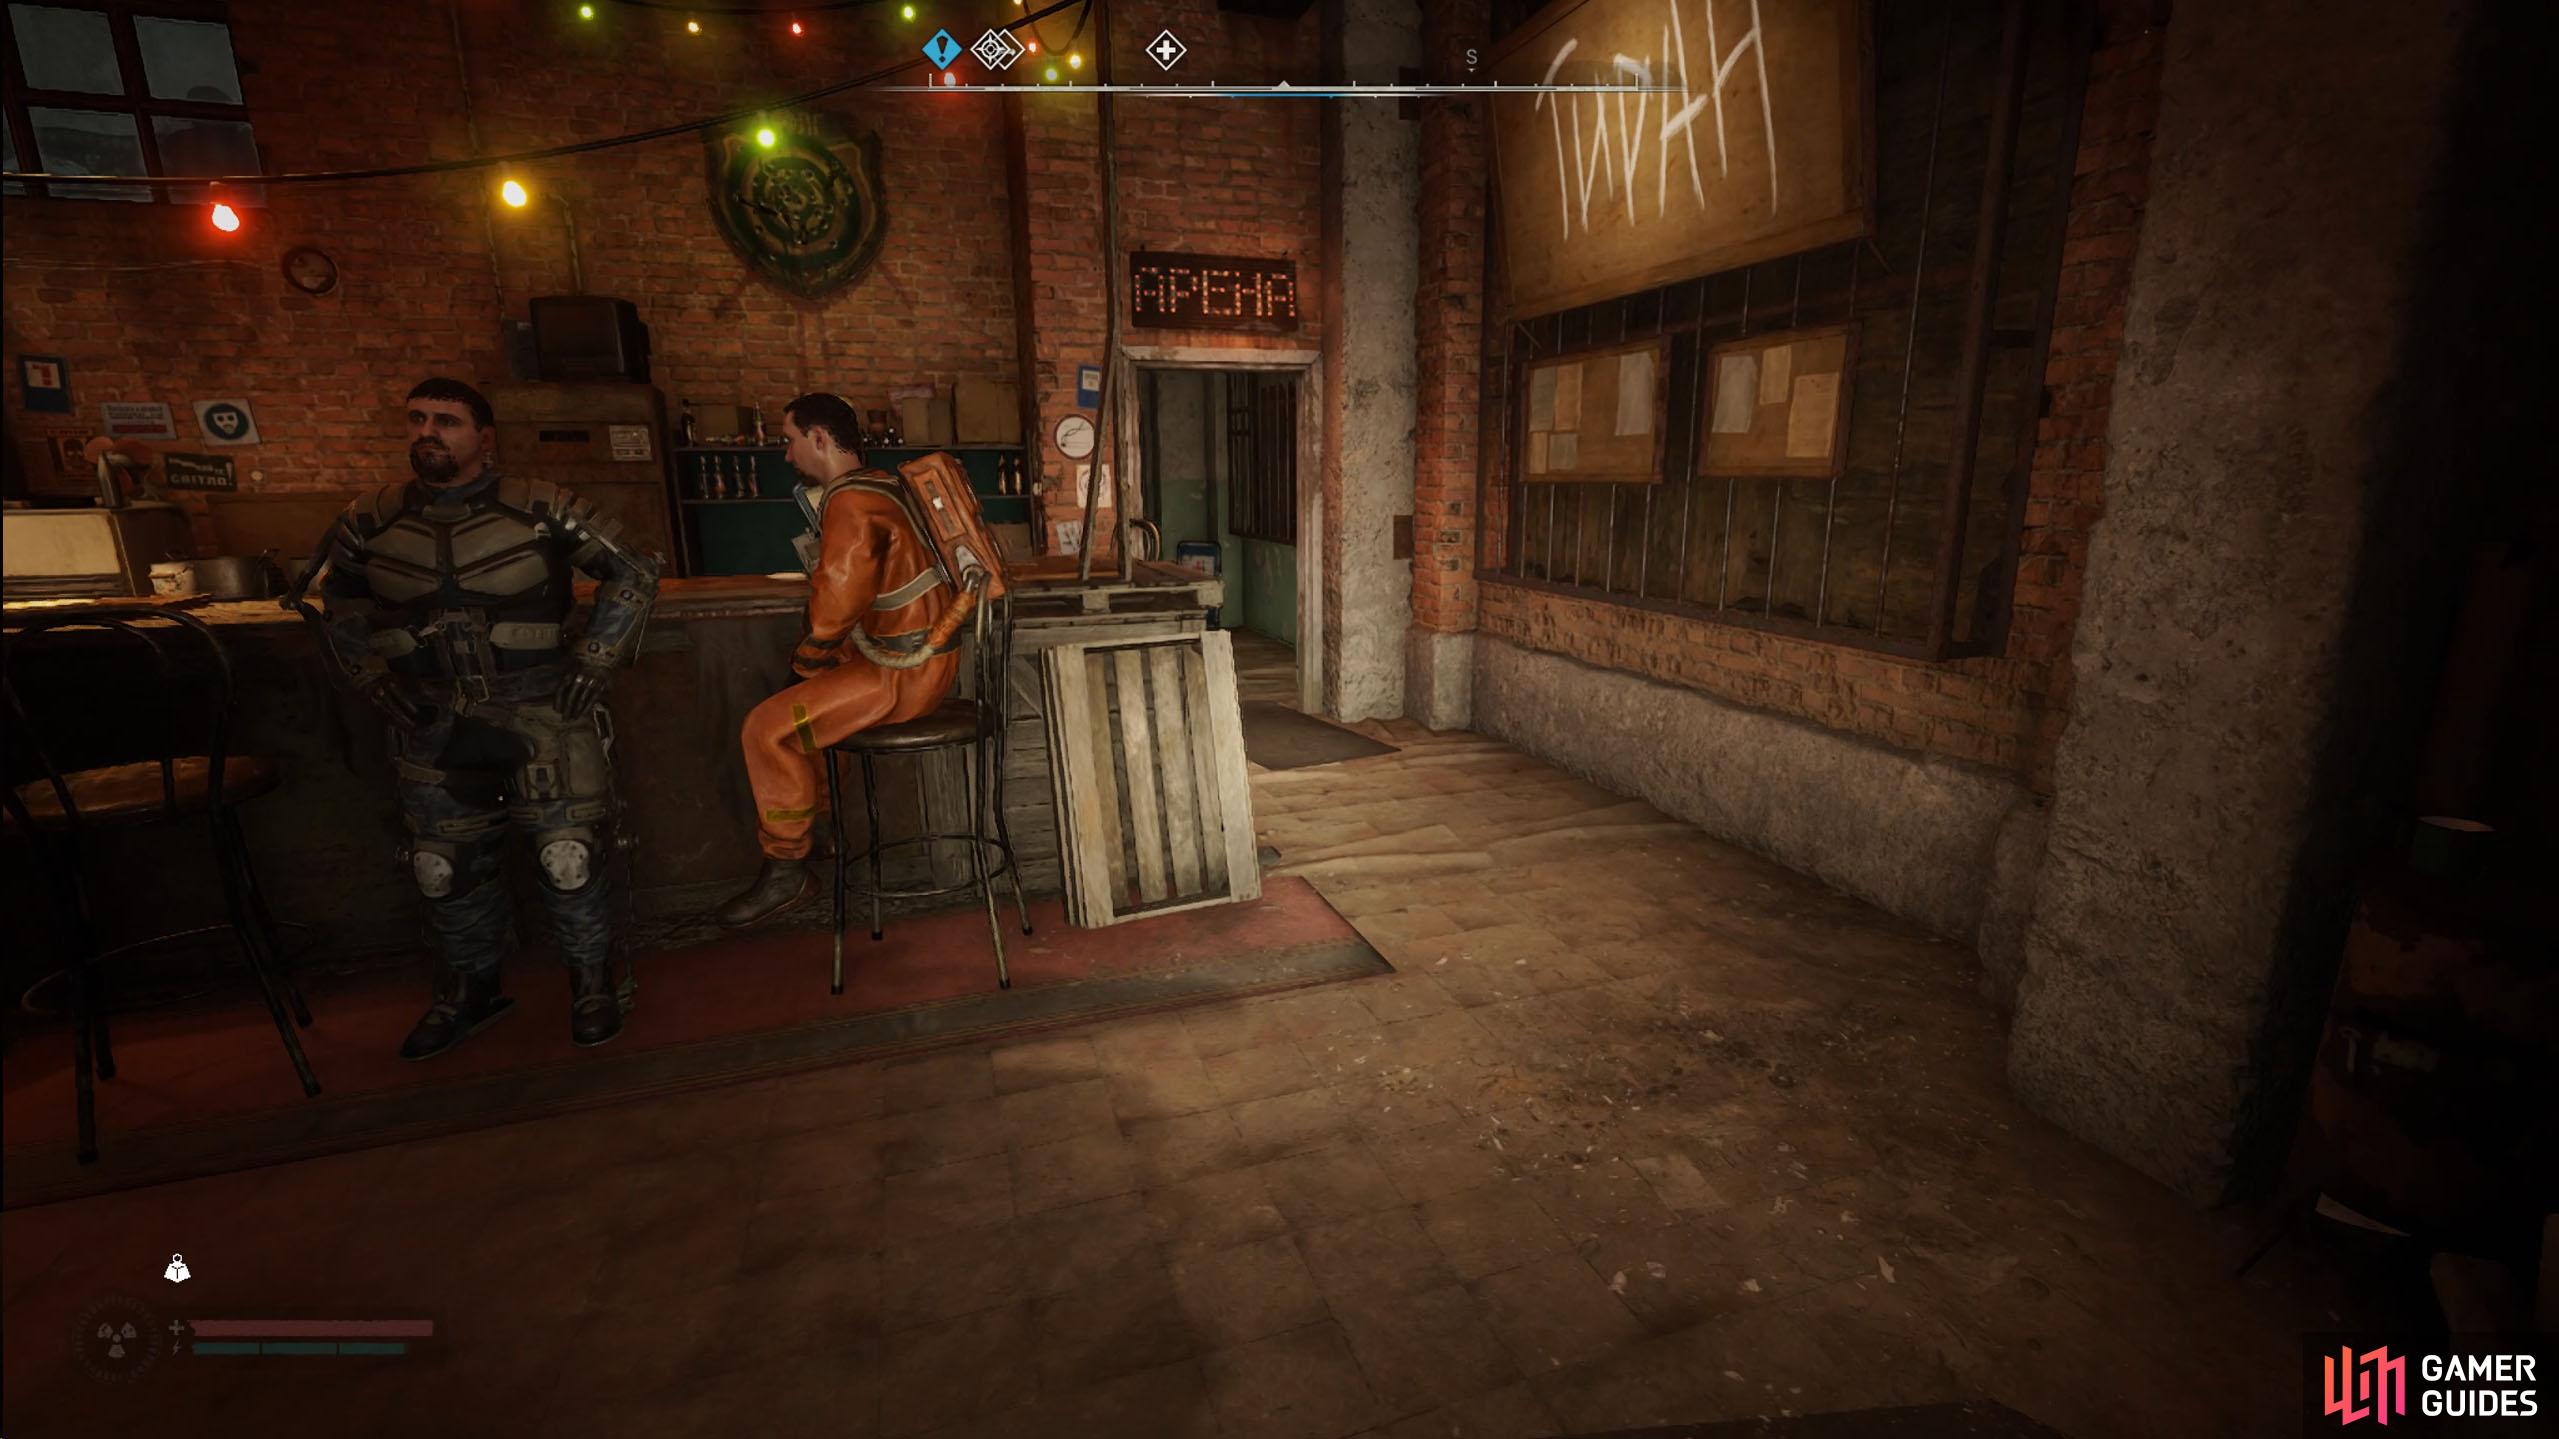
The Arena is situated inside a bar in the heart of Rostok. Come here to prove your worth as a Stalker.
Arena Mission Location
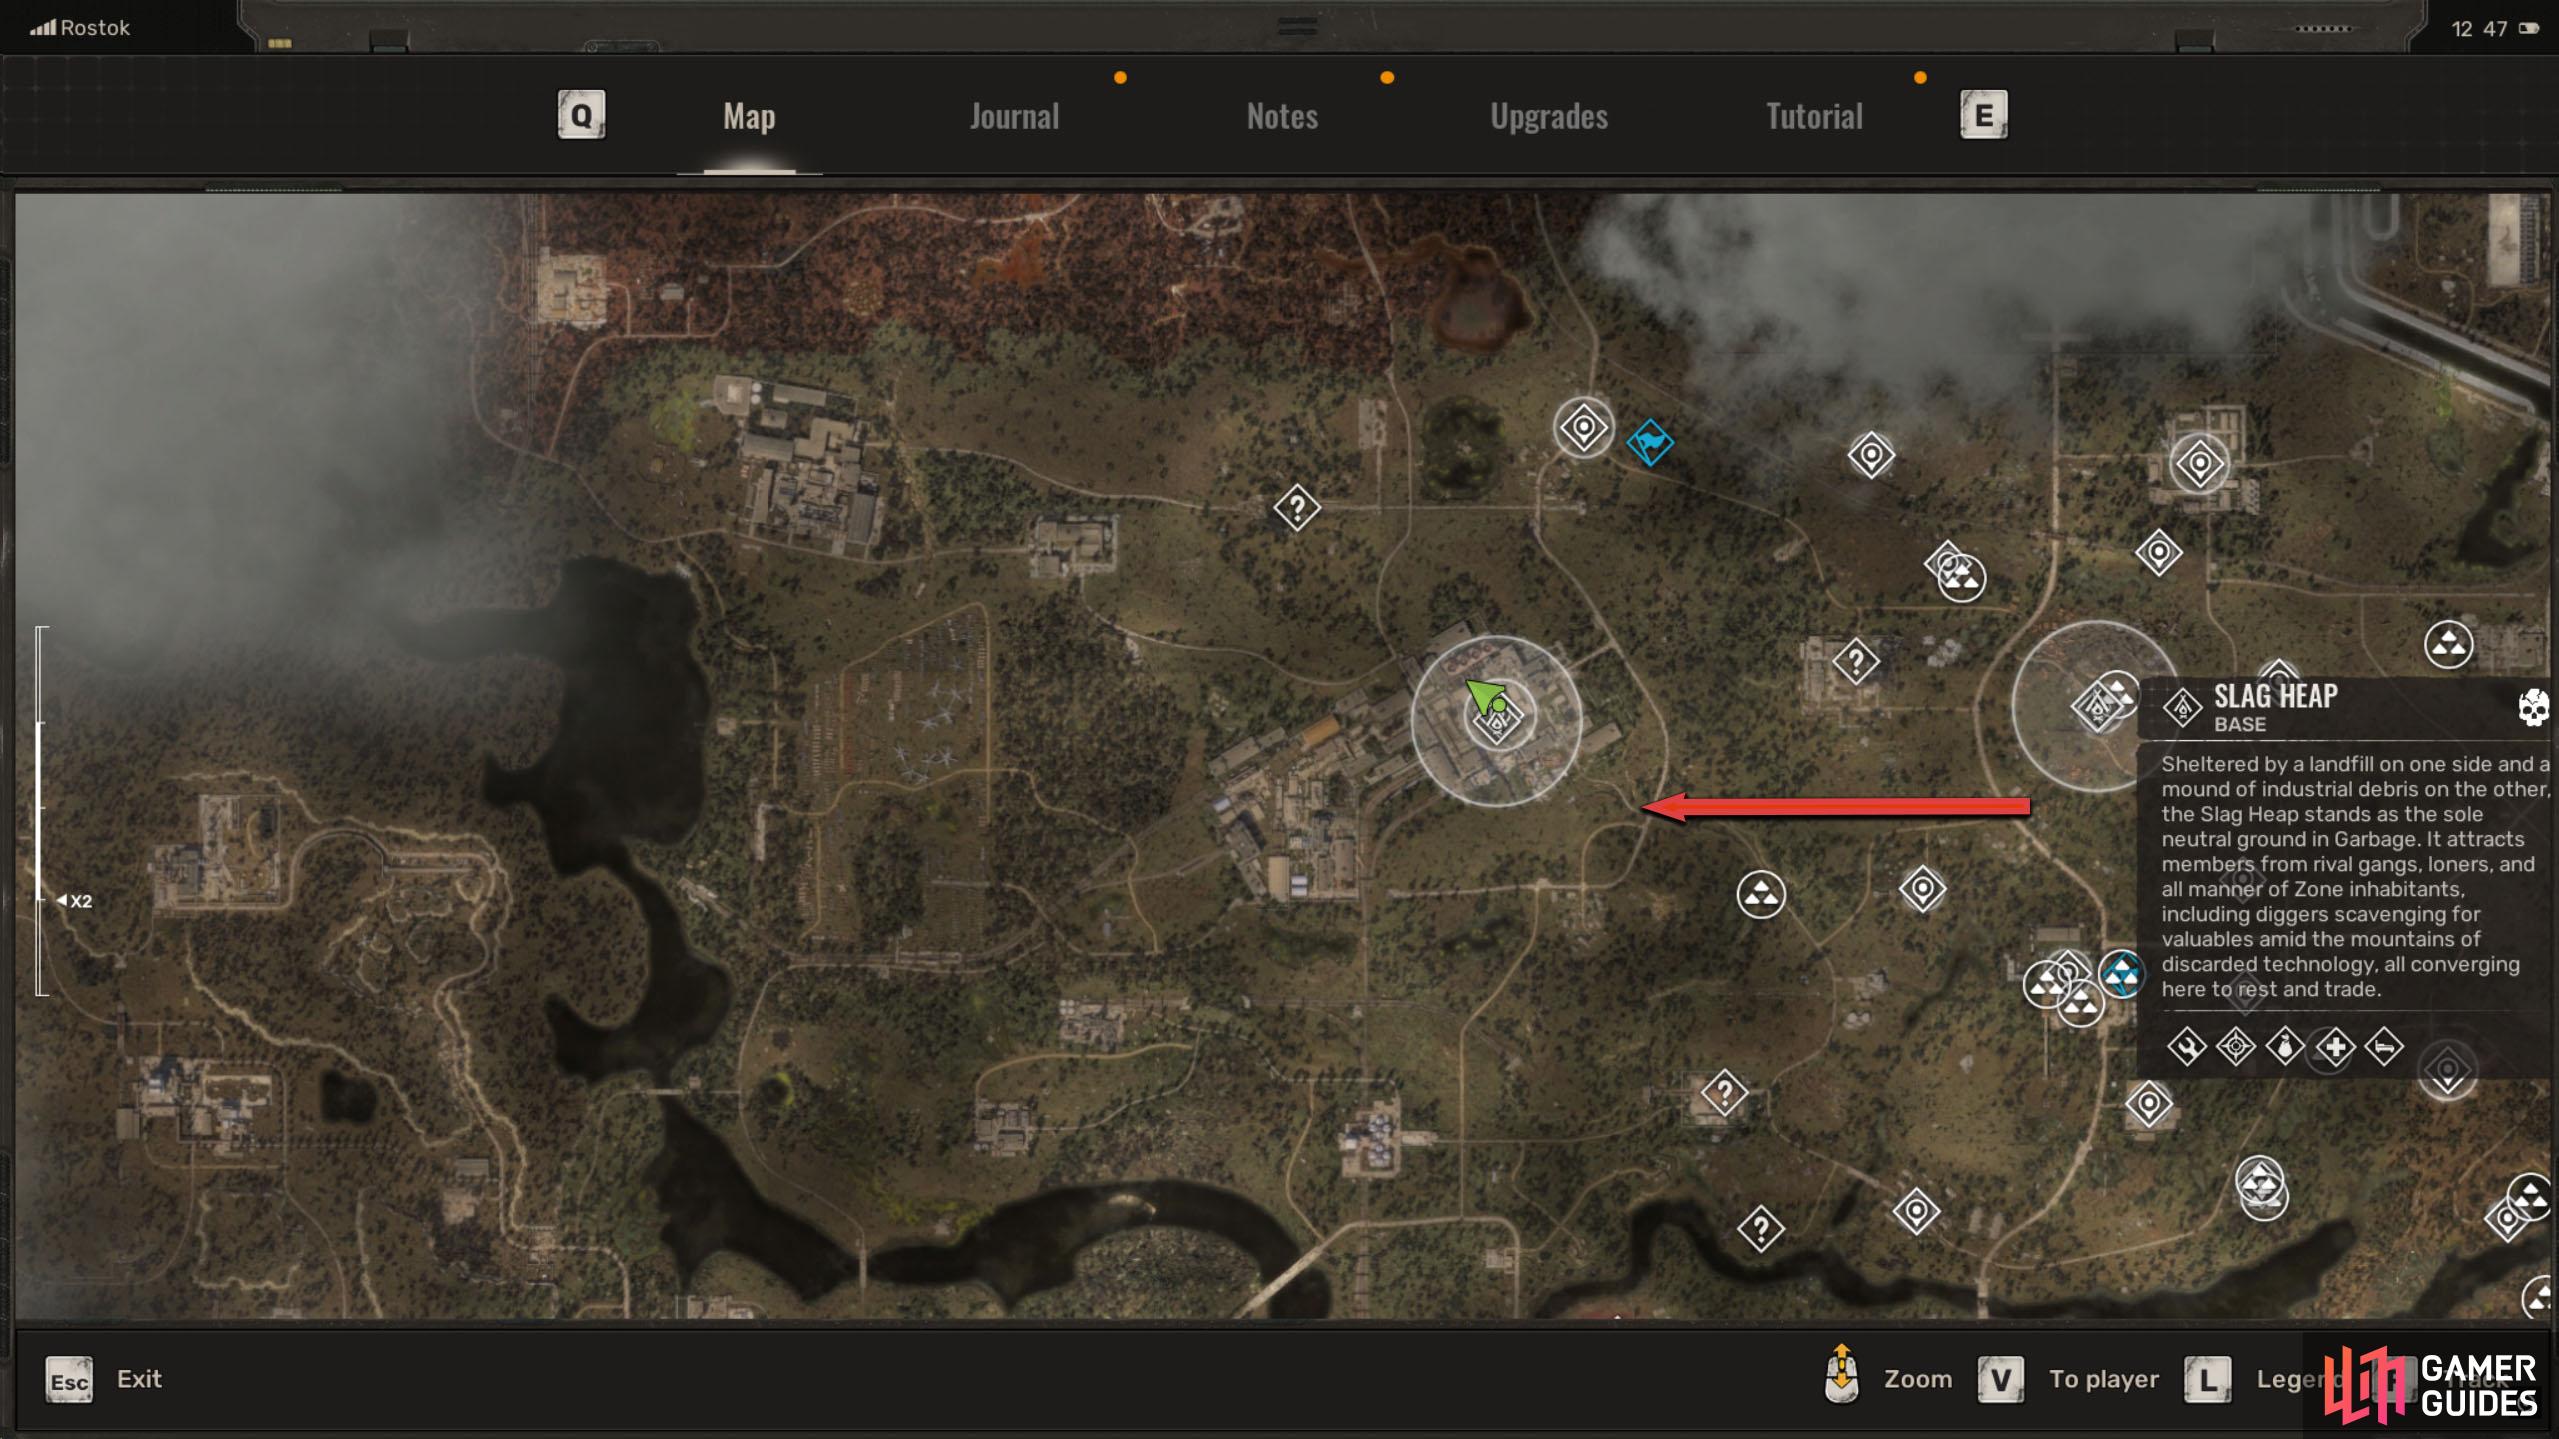
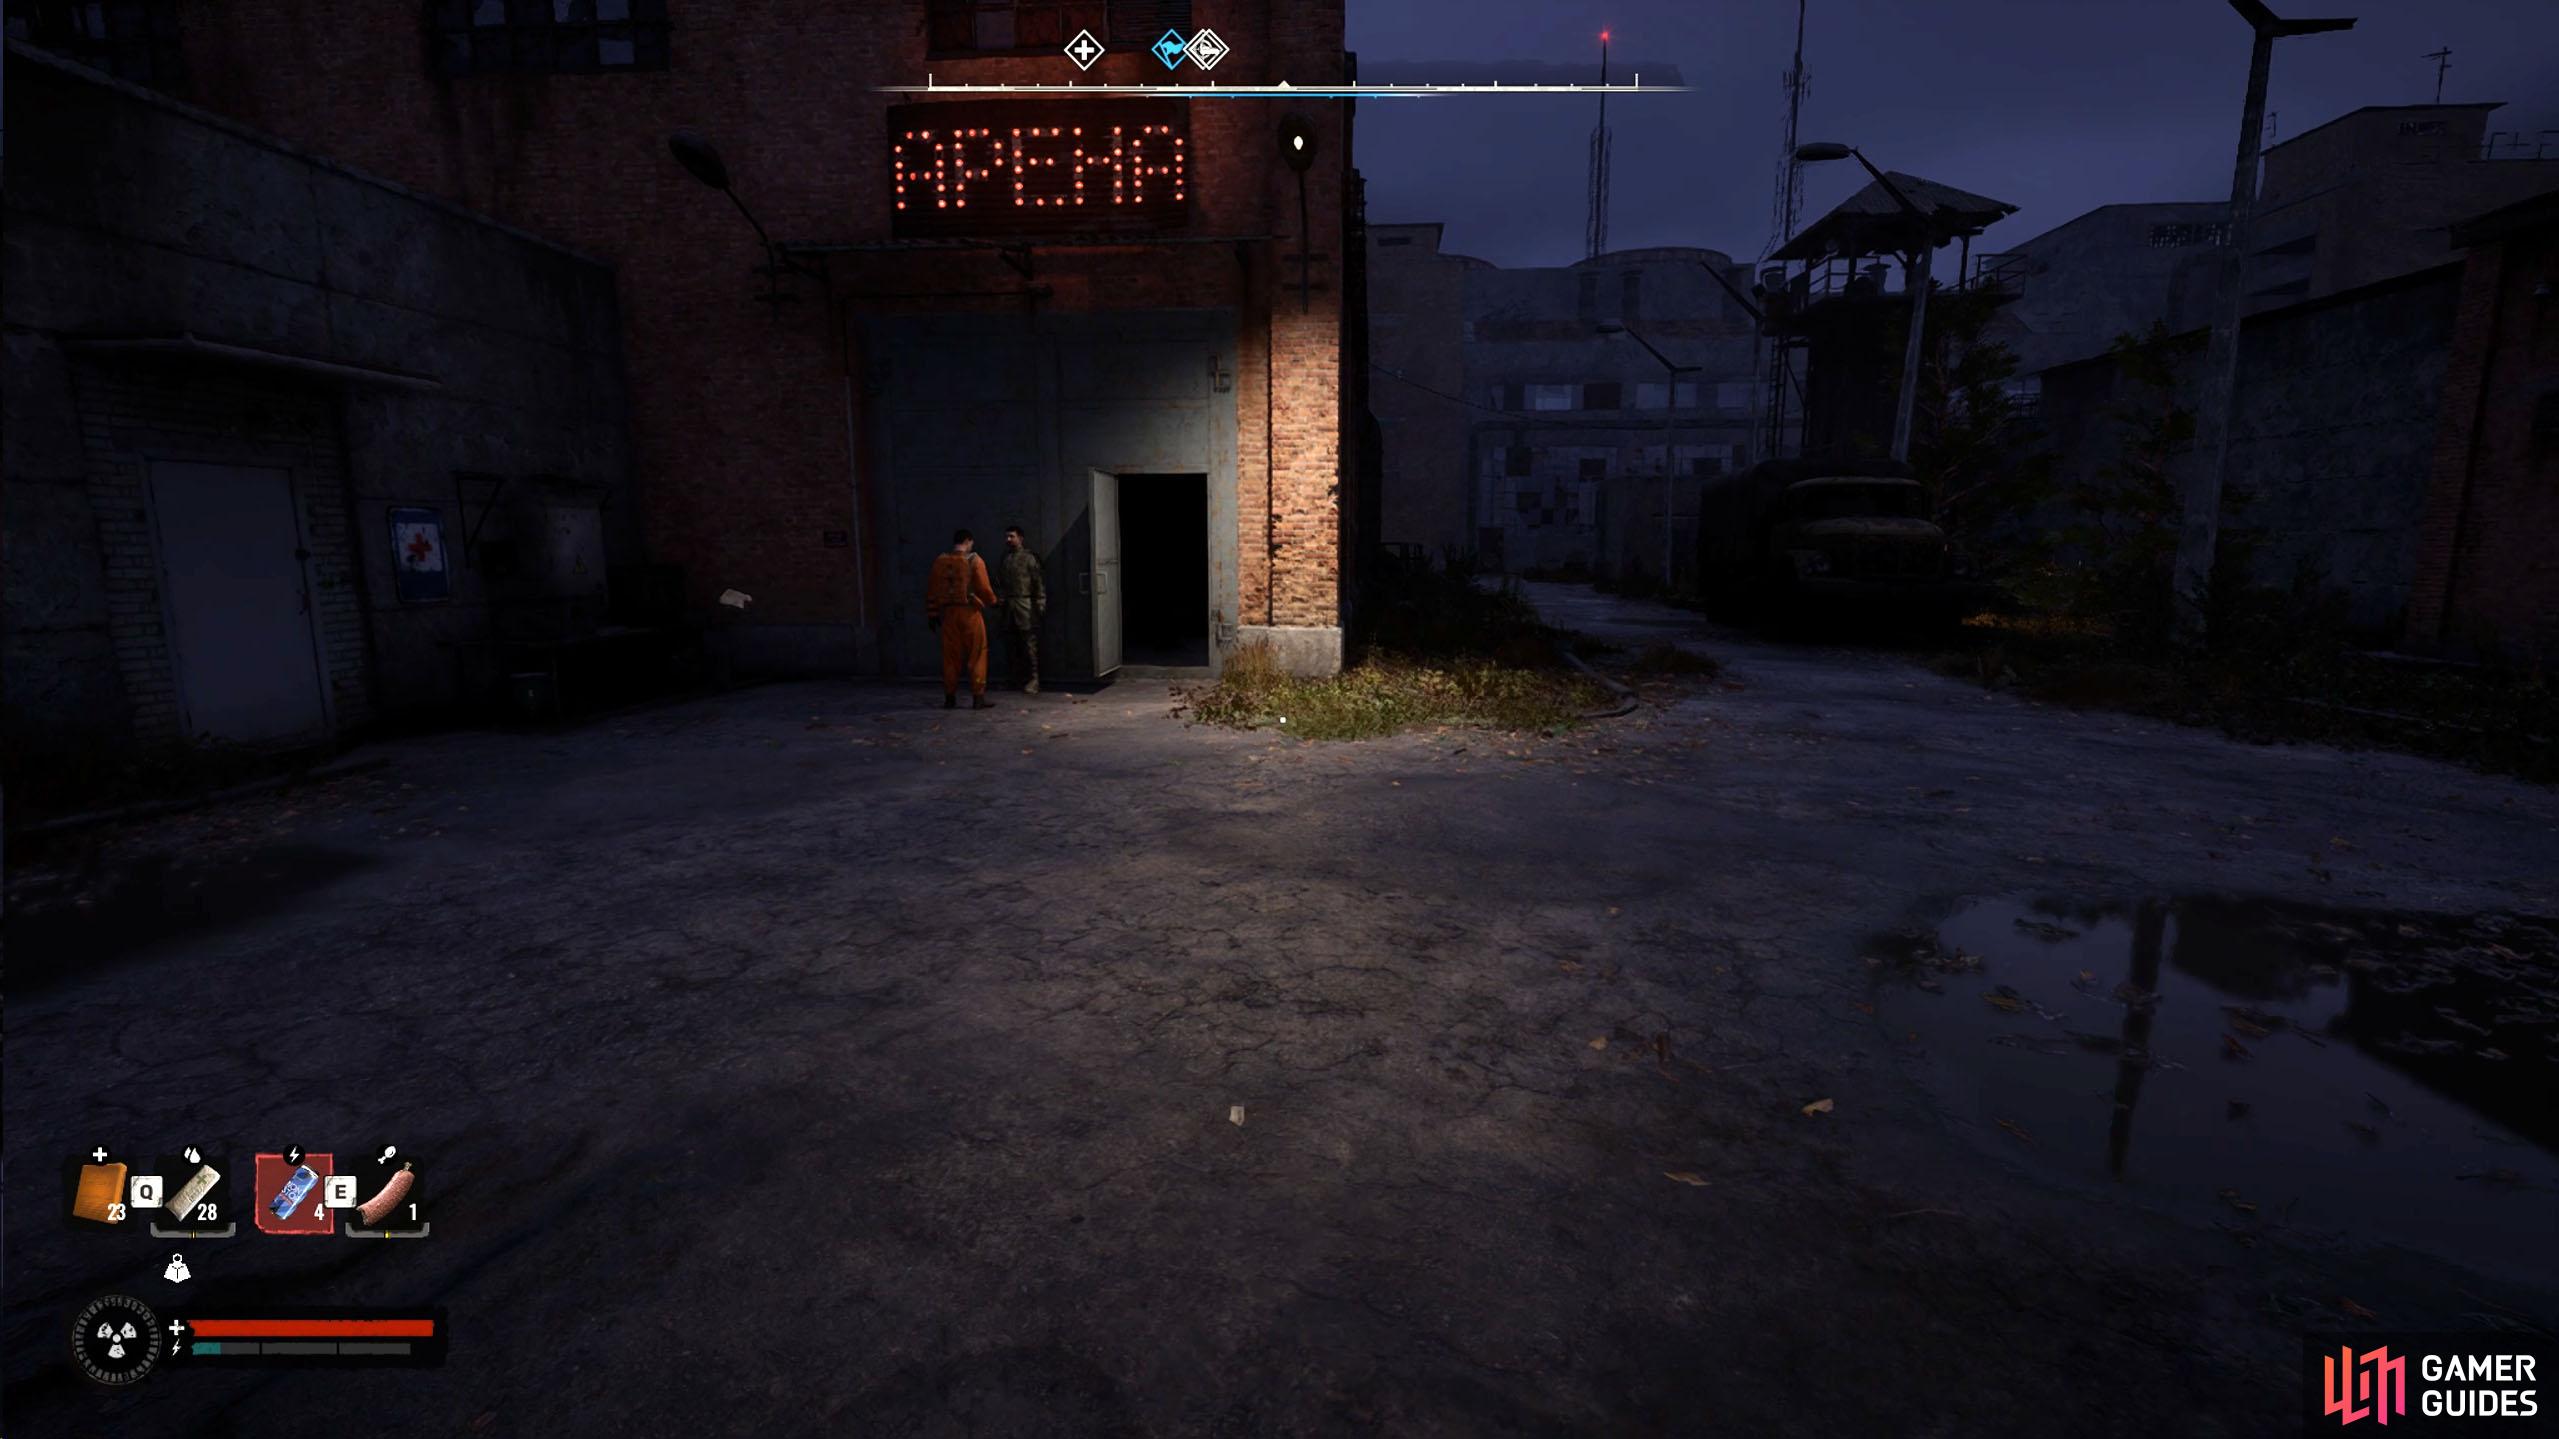
This mission is accepted in the bar area of Rostok, situated in the center of the region. The easiest way to get there is to follow the road west out of Slag Heap in ![]() Garbage. When you reach Rostok, head into the center of the zone to find the main hub, and look out for the neon red APEHA sign on the wall above the door.
Garbage. When you reach Rostok, head into the center of the zone to find the main hub, and look out for the neon red APEHA sign on the wall above the door.
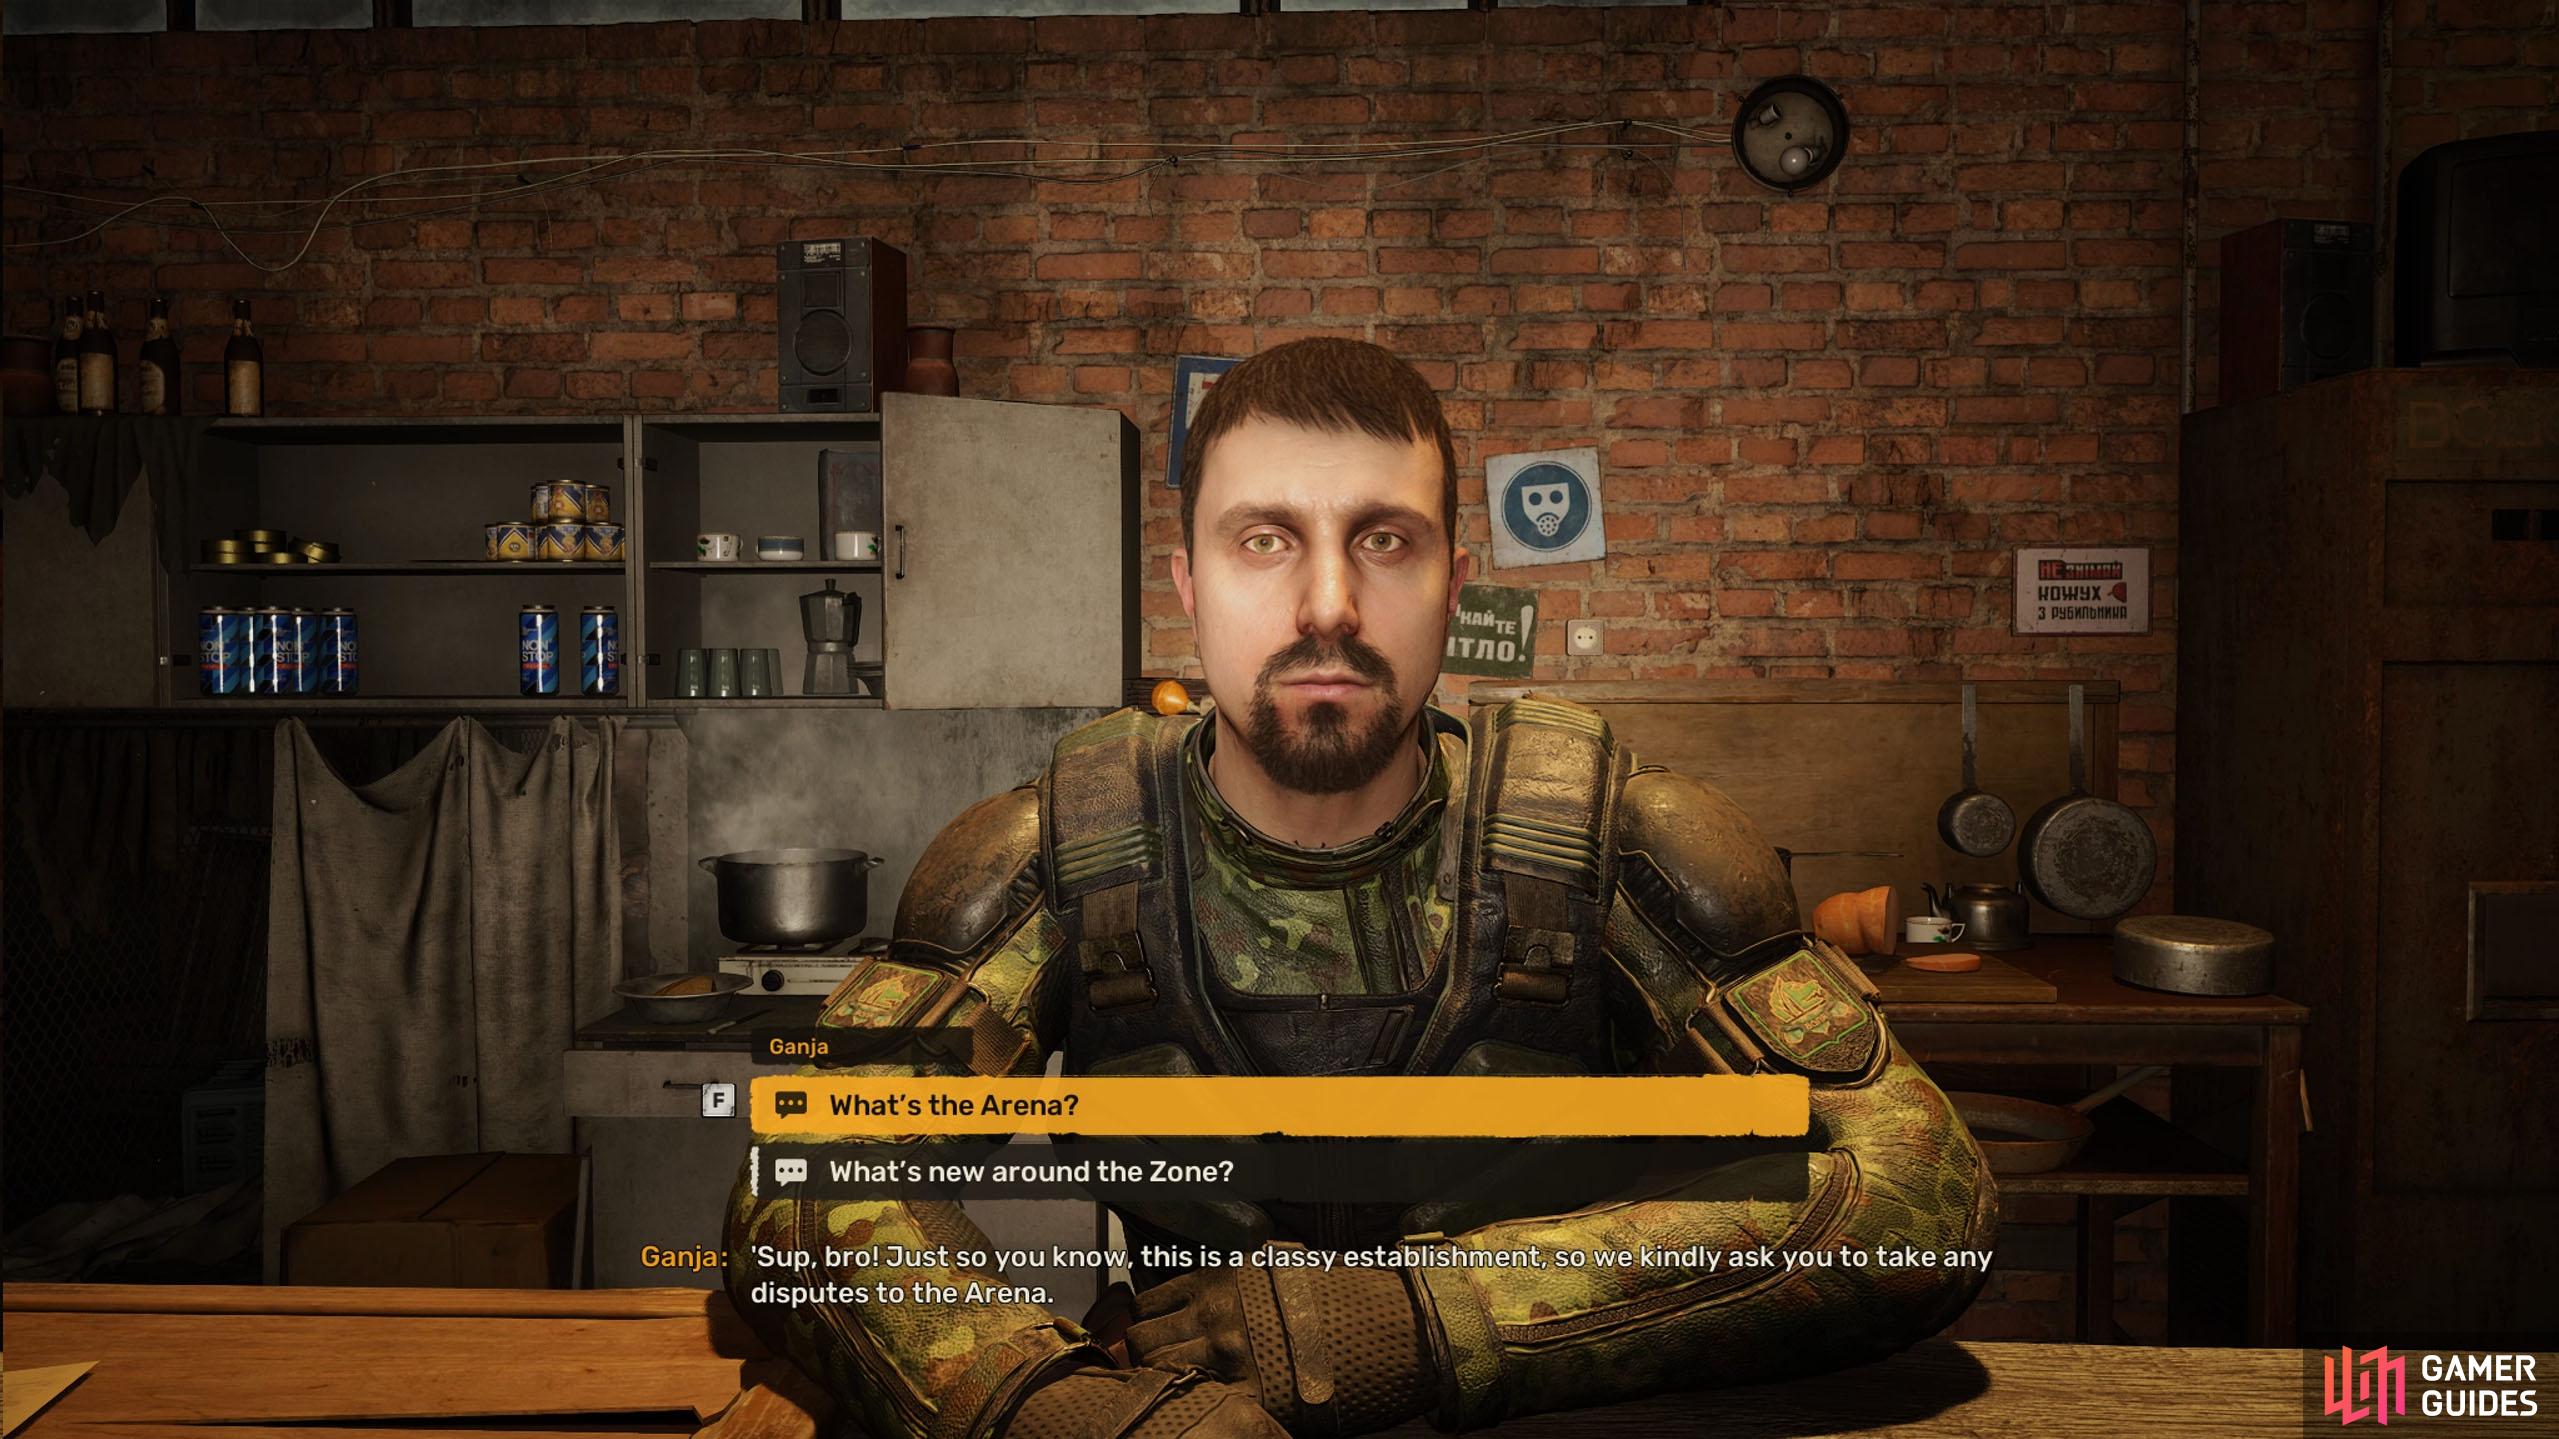
Go through the door, talk to Ganja behind the bar to your left, and ask him “What’s the arena”. He will direct you to his colleague Arnie, who can be found at the bottom of the building, reached by taking the stairs down to the right of the bar (if you’re facing Ganja).
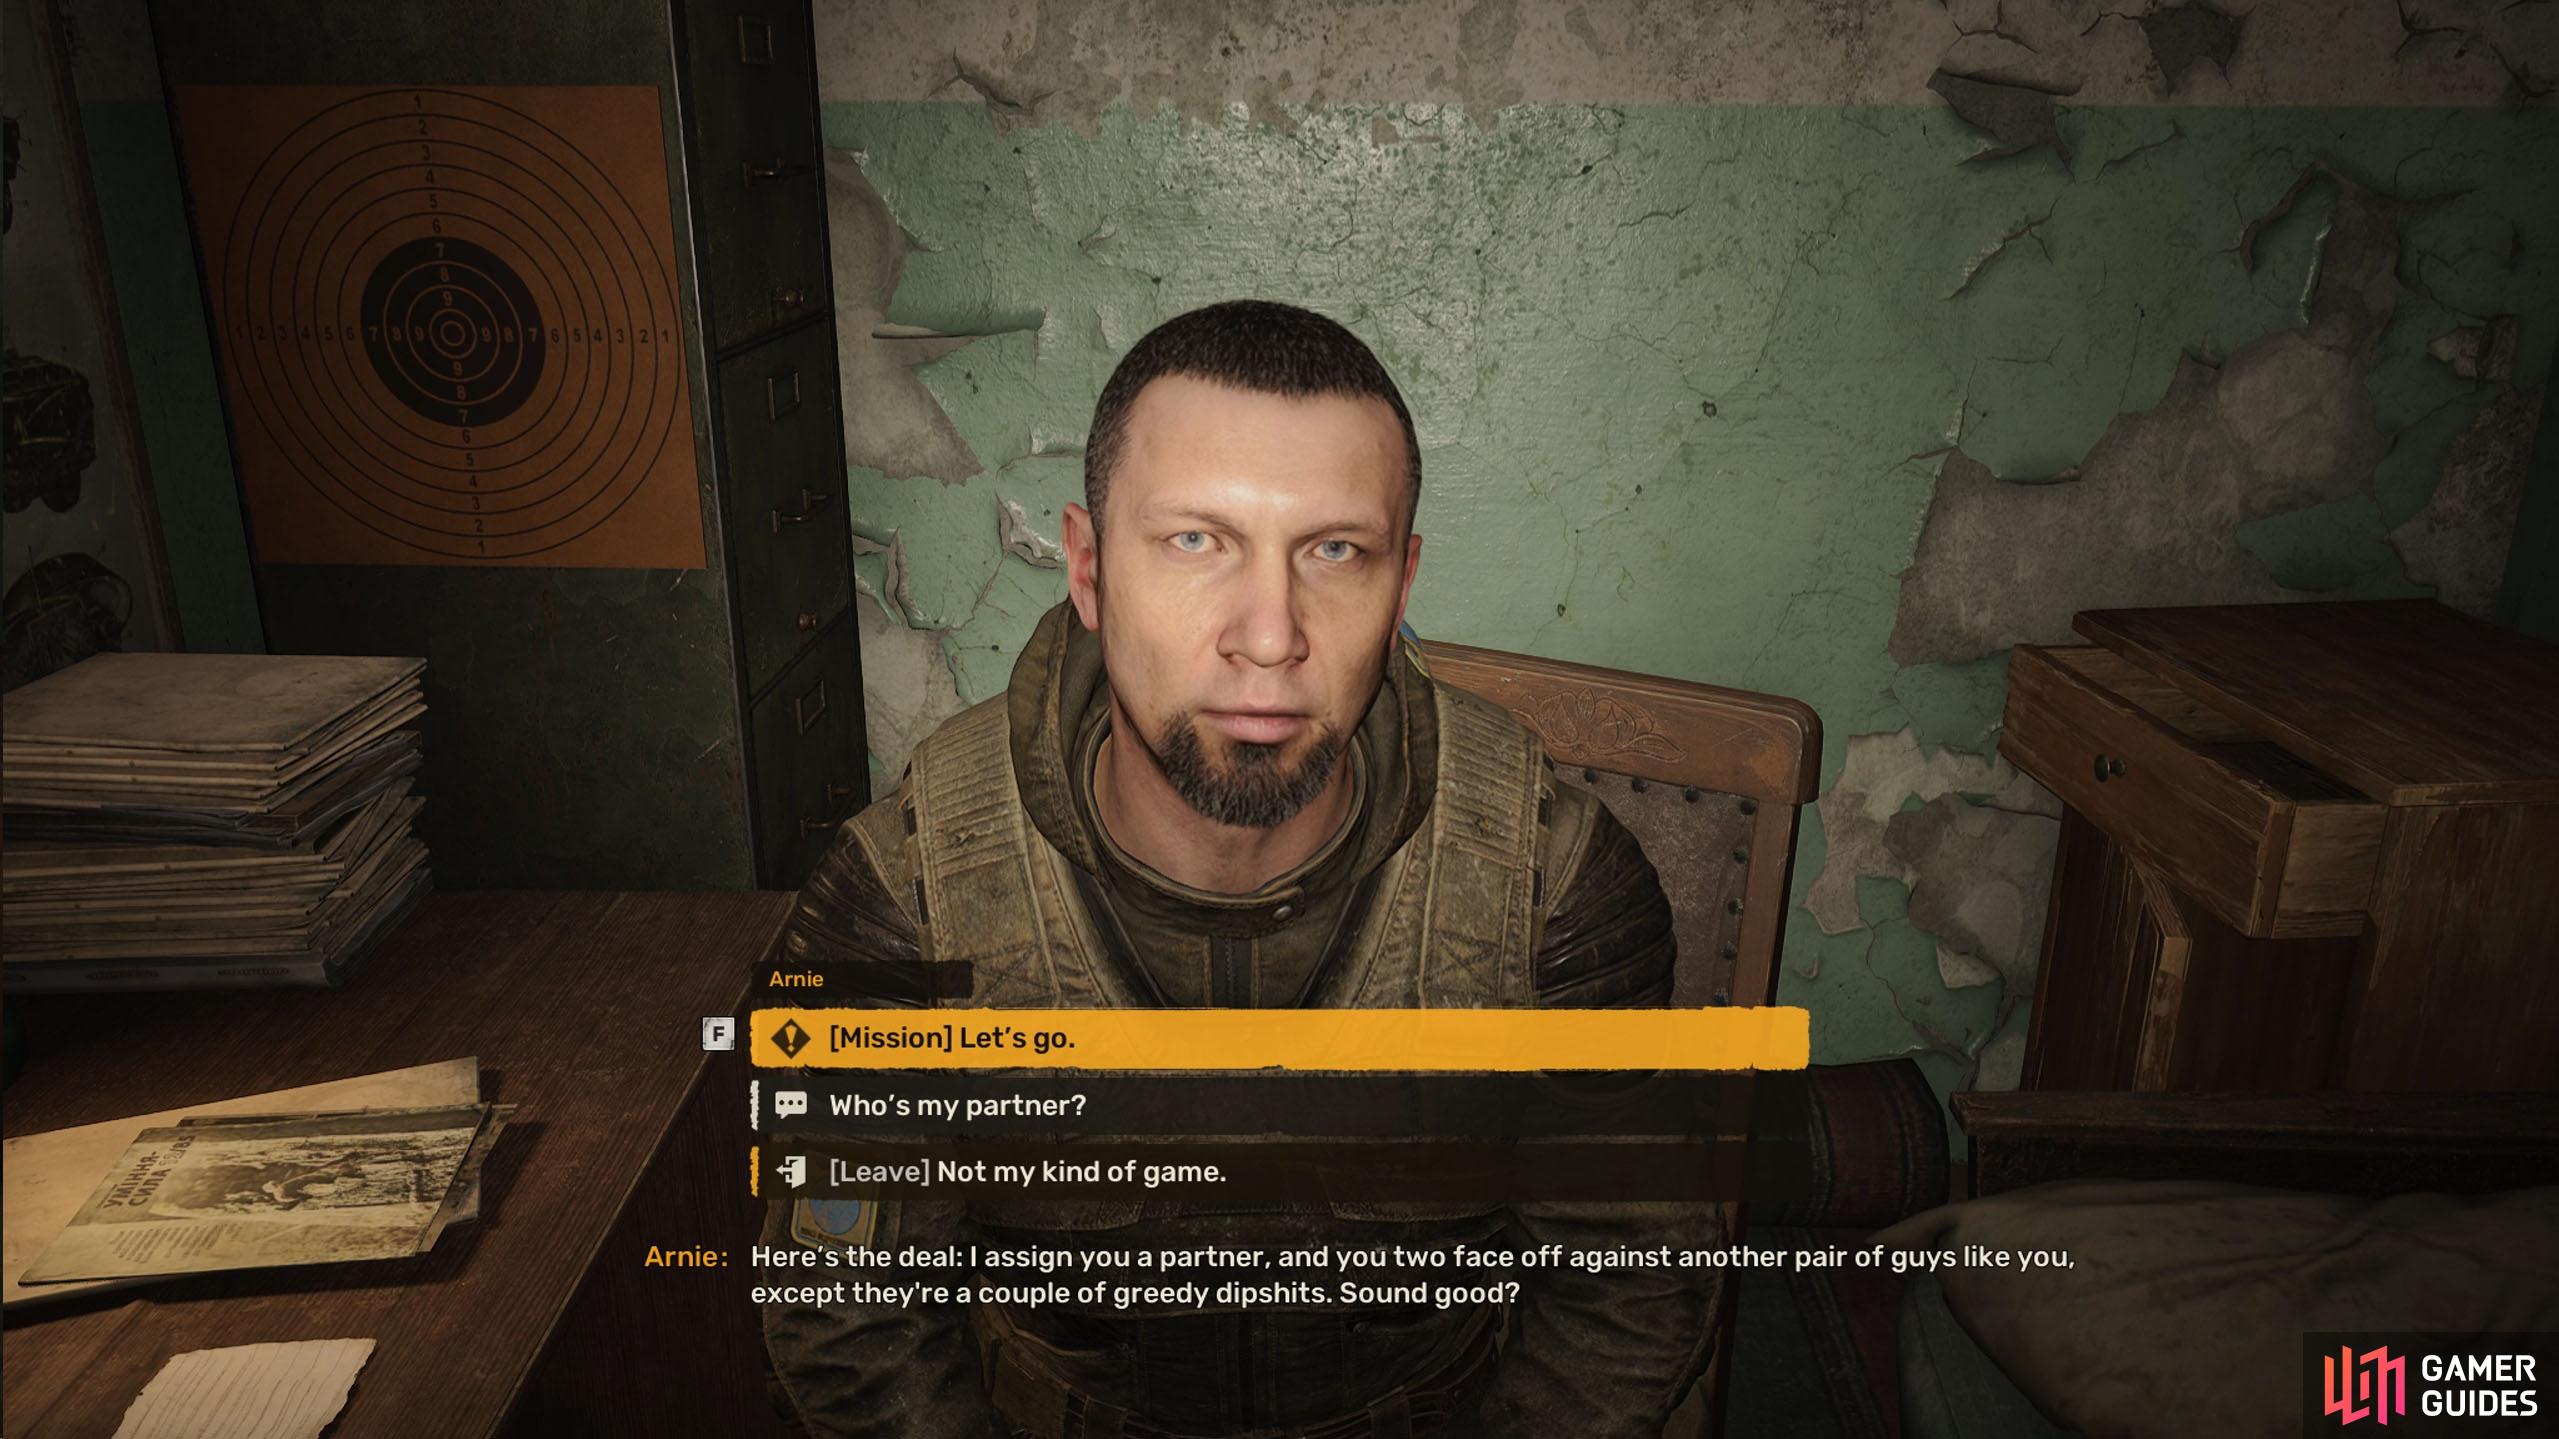
Go through the doorway with another Arena sign above the door, and take the stairs down until you reach an open door. Speak to Arnie, who’ll be sitting down at the back of the room, and he’ll tell you what to expect for the first round. After he goes through the general rules, you’ll be able to start the mission.
Rules of the Arena
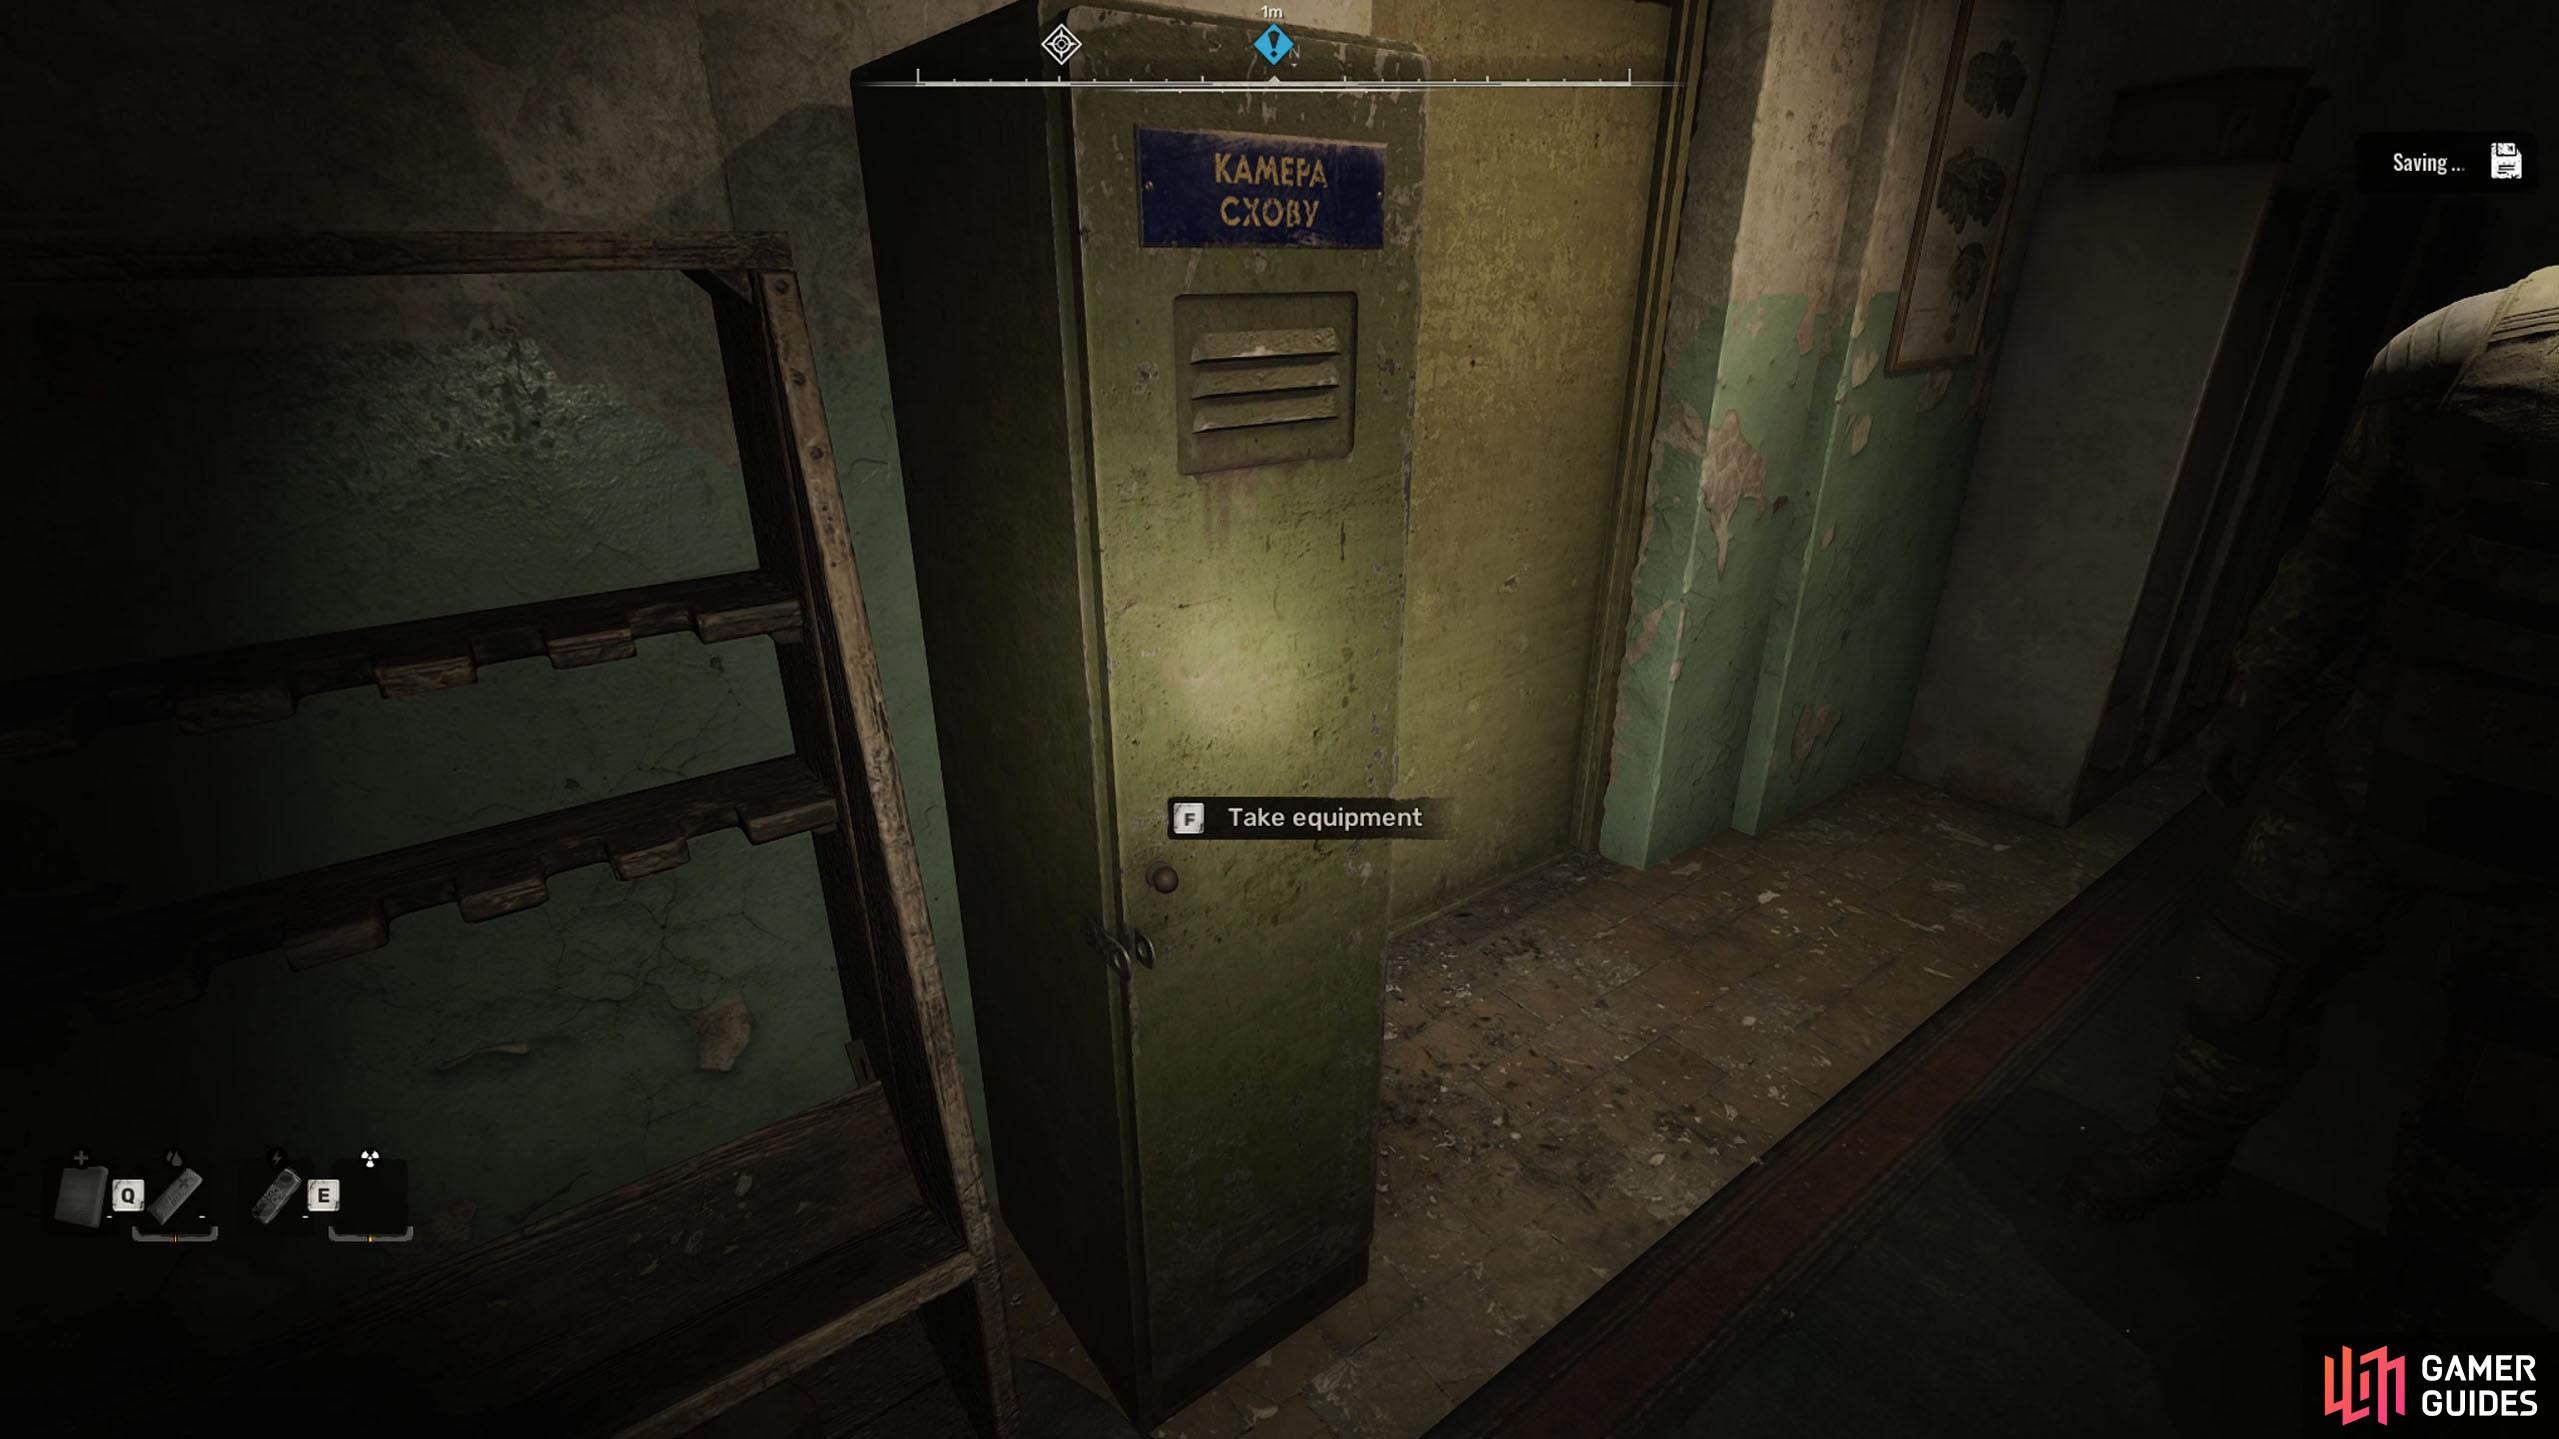
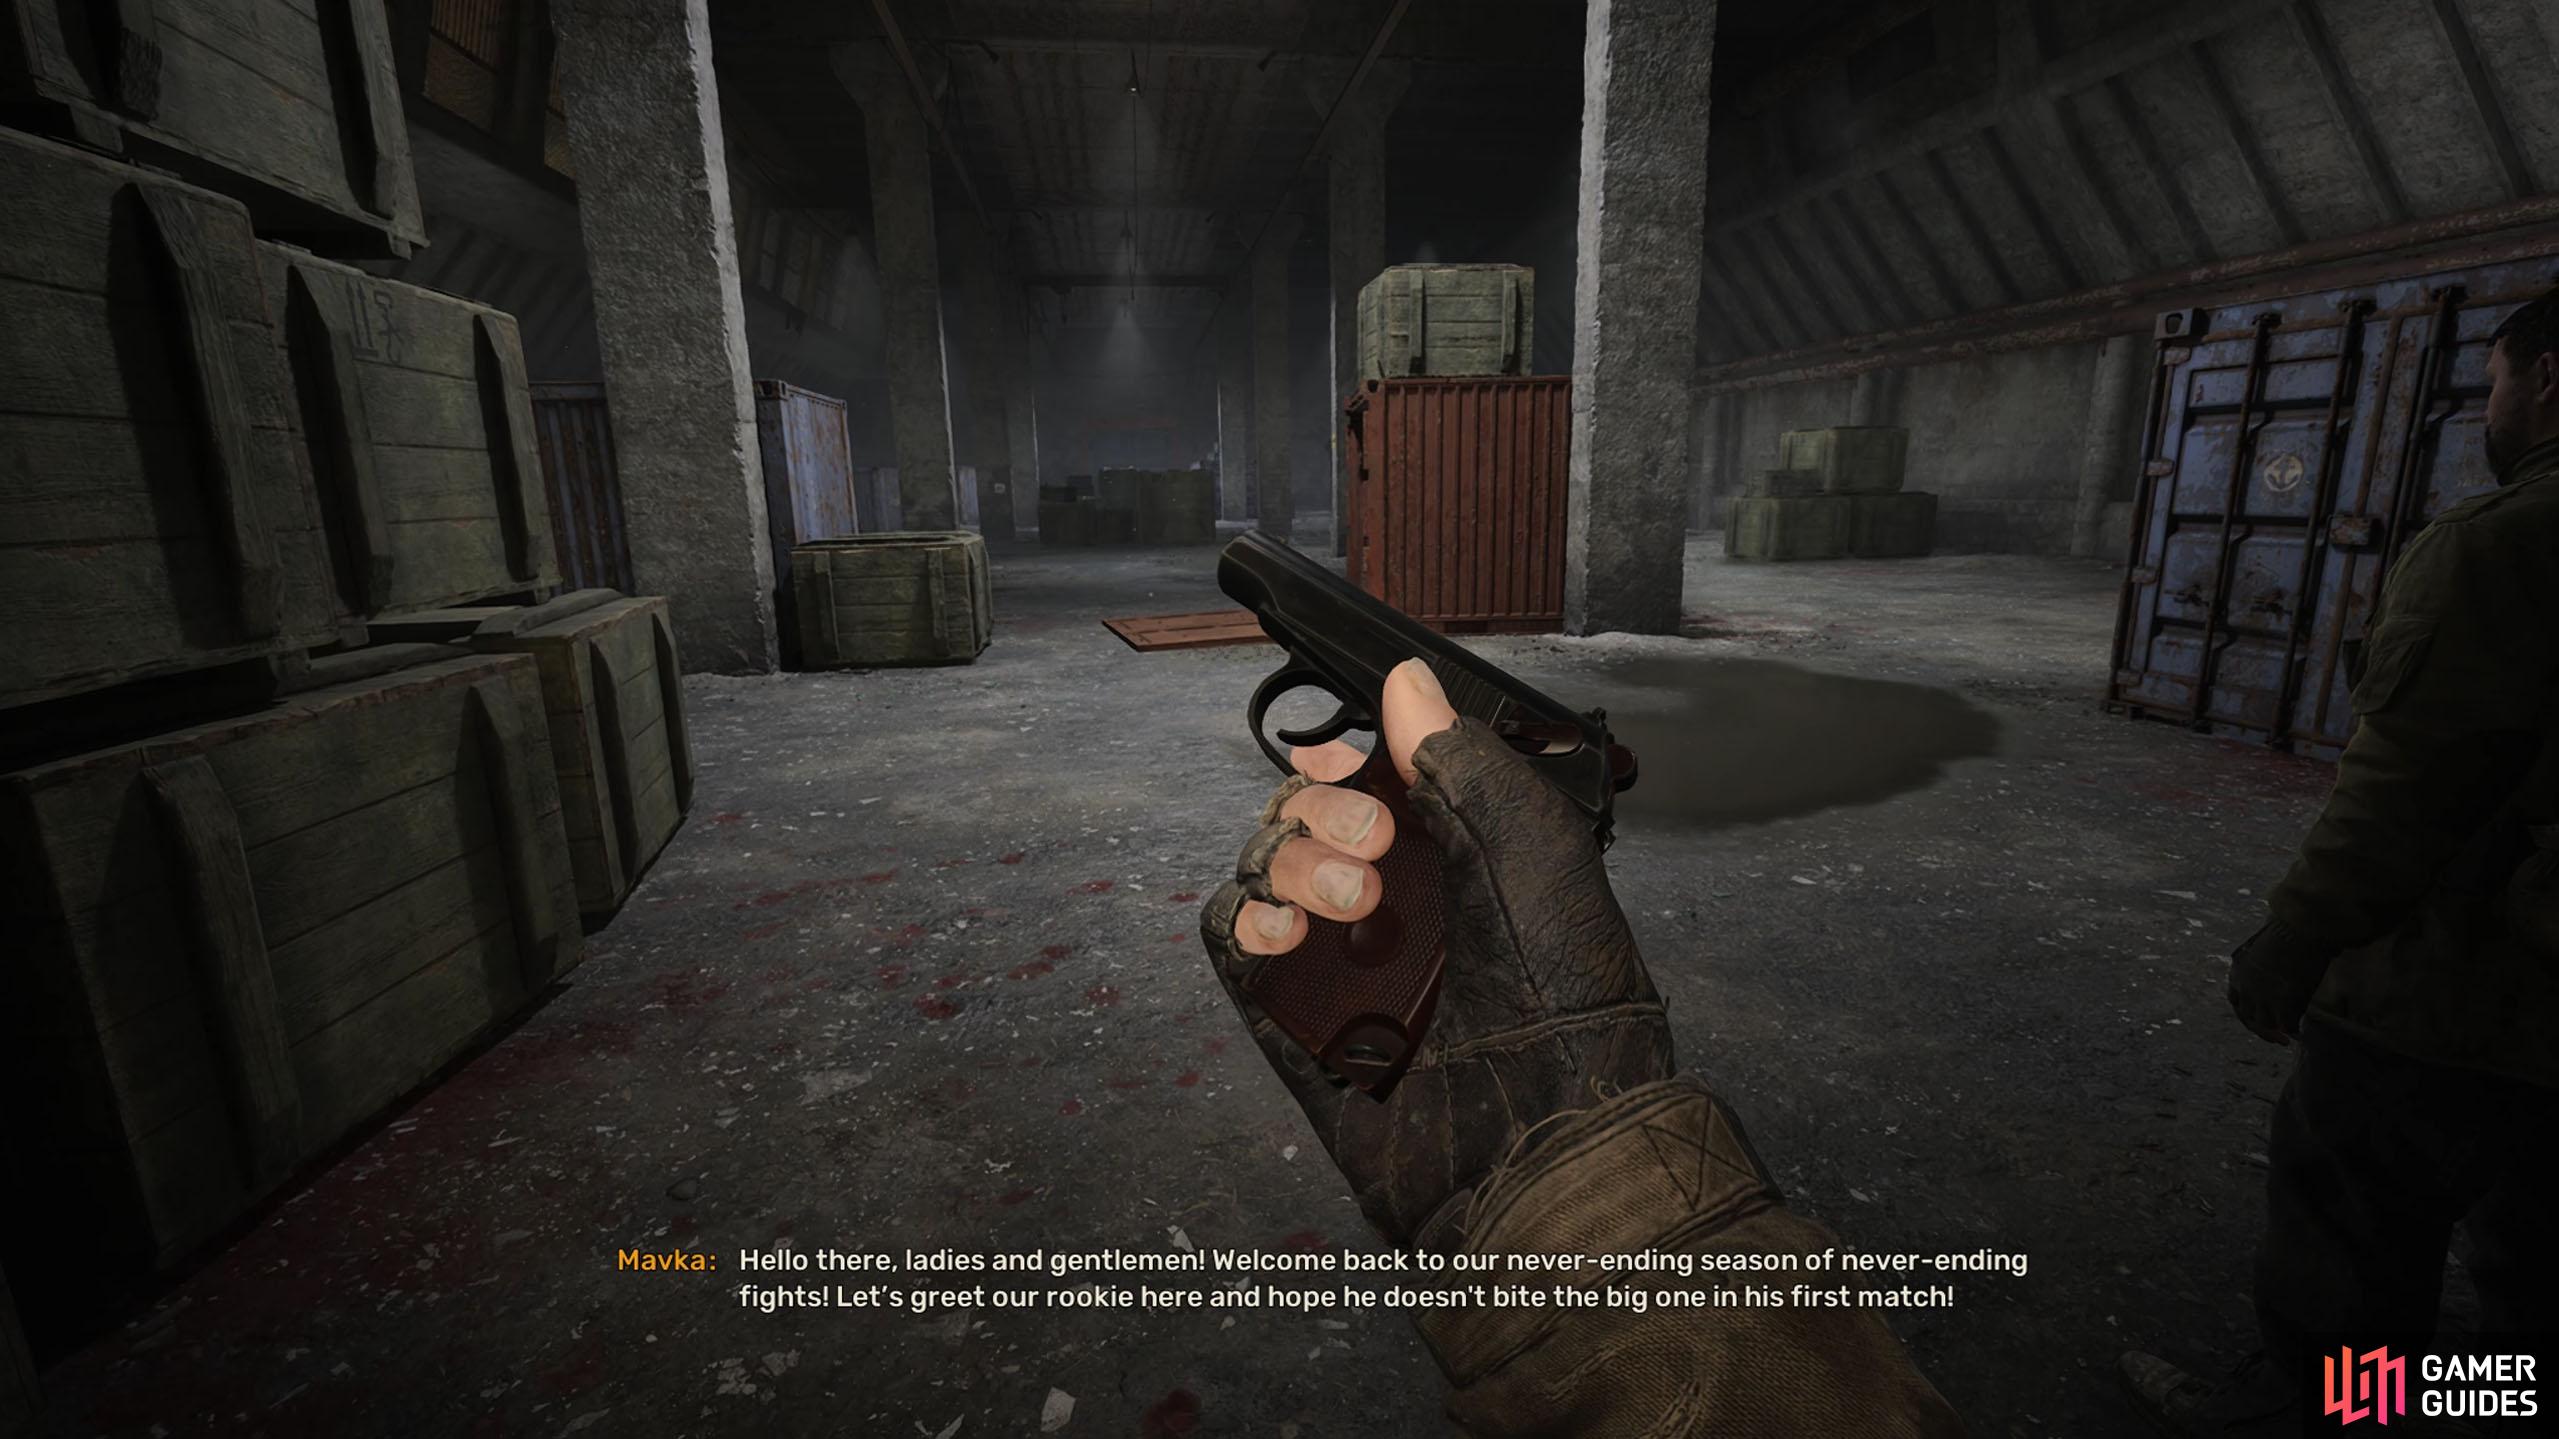
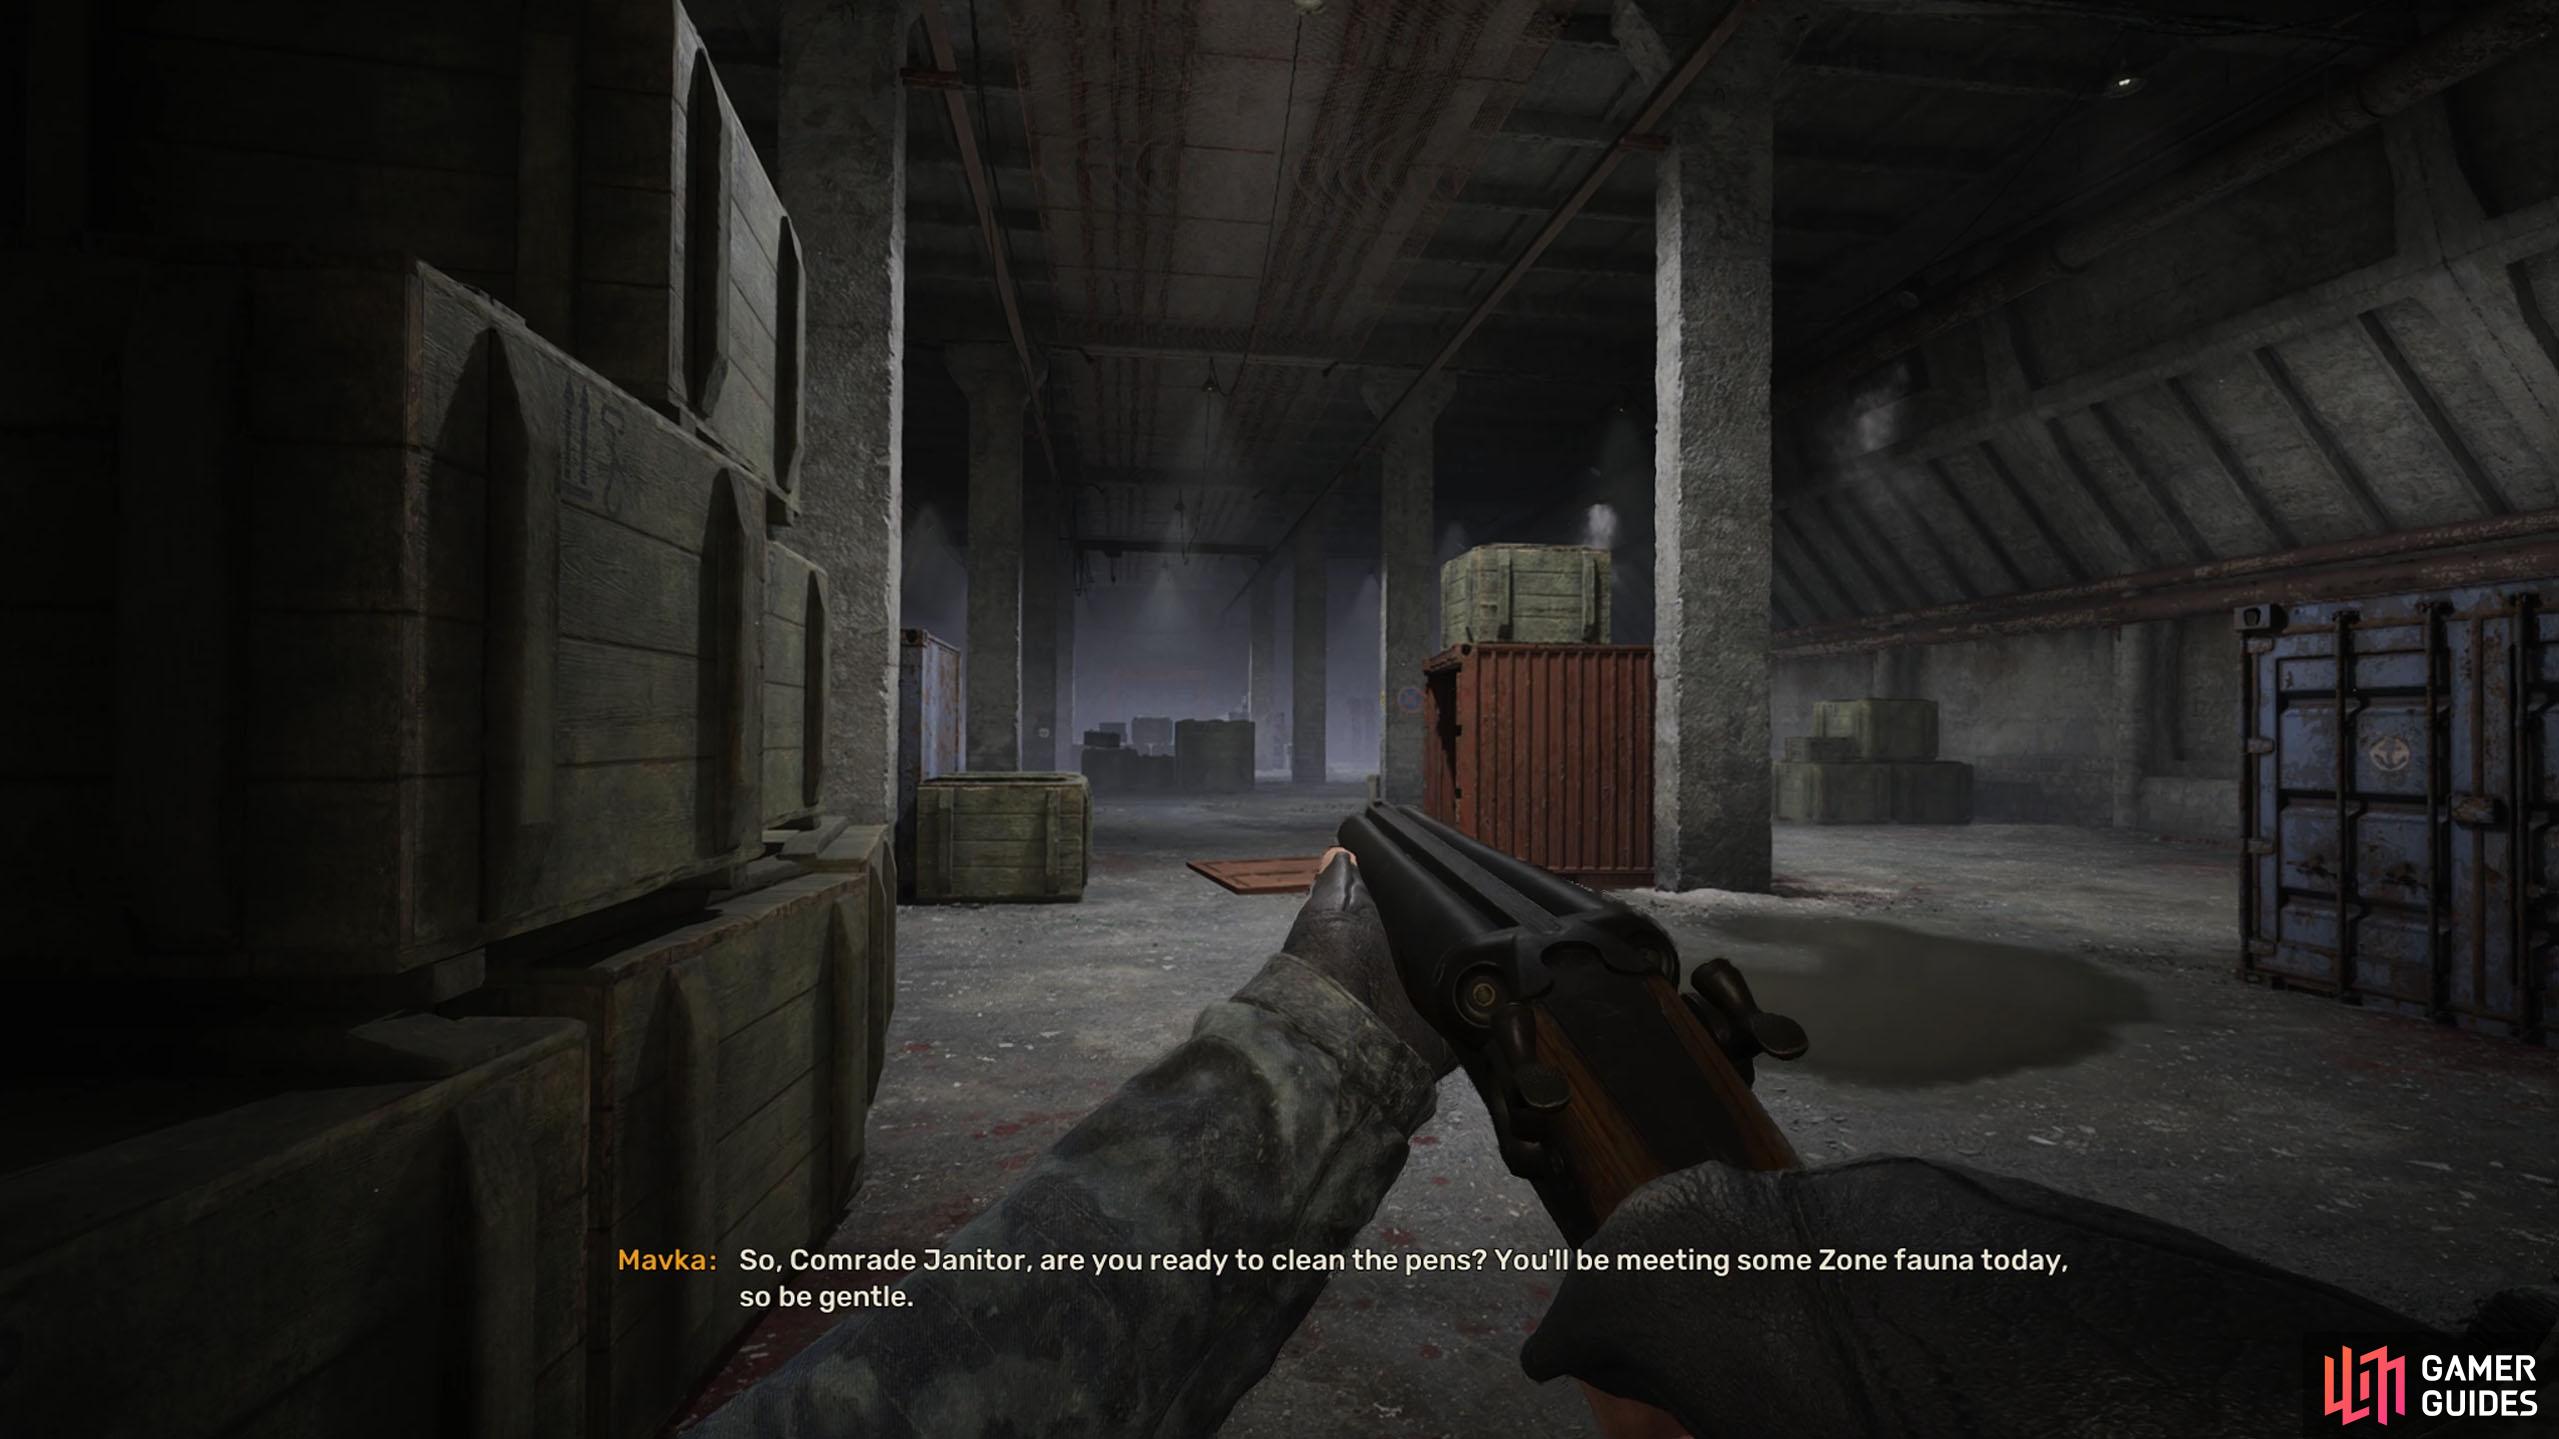
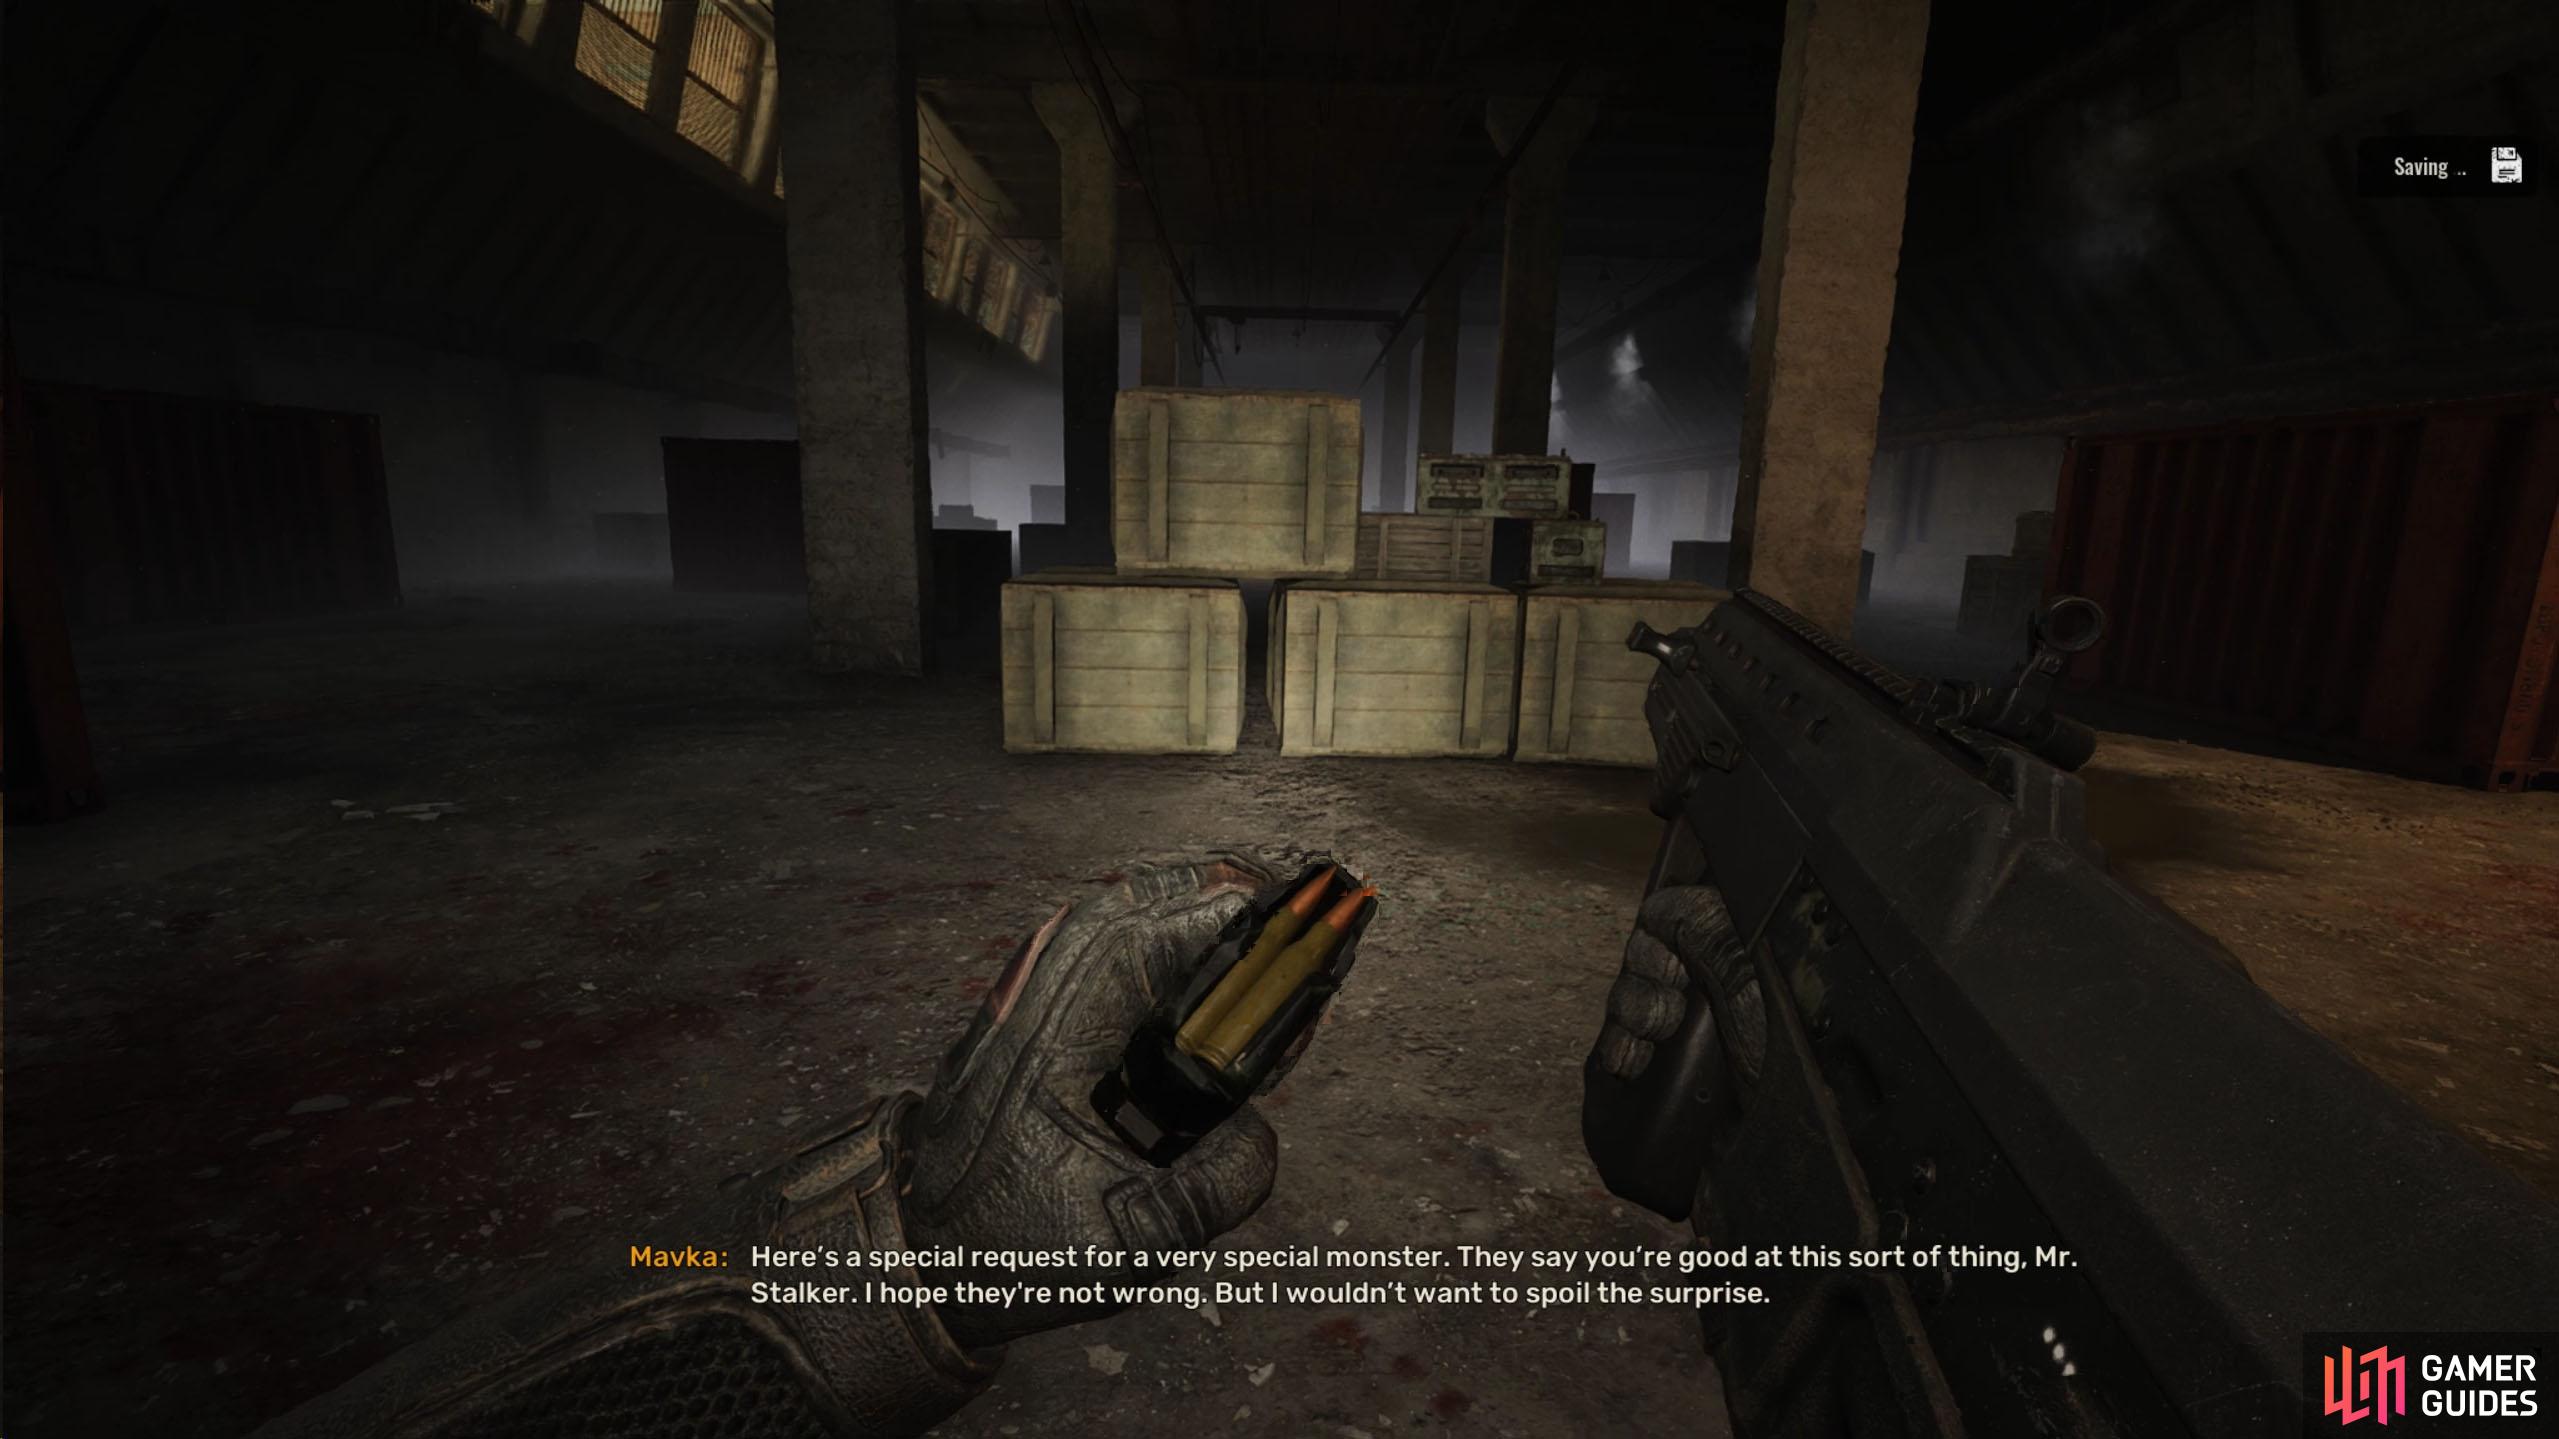
Although there aren’t a lot of rules for the arena, the main one is you can’t use your own equipment. In each round of the arena, Arnie’s colleague, Wheezer, located at the very bottom of the area (stairs below Arnie), will take all your equipment, and in exchange, give you the bare minimum for the battle. For example, you’re given a Handgun and a ![]() Bandage for Round One. This will change for each round.
Bandage for Round One. This will change for each round.
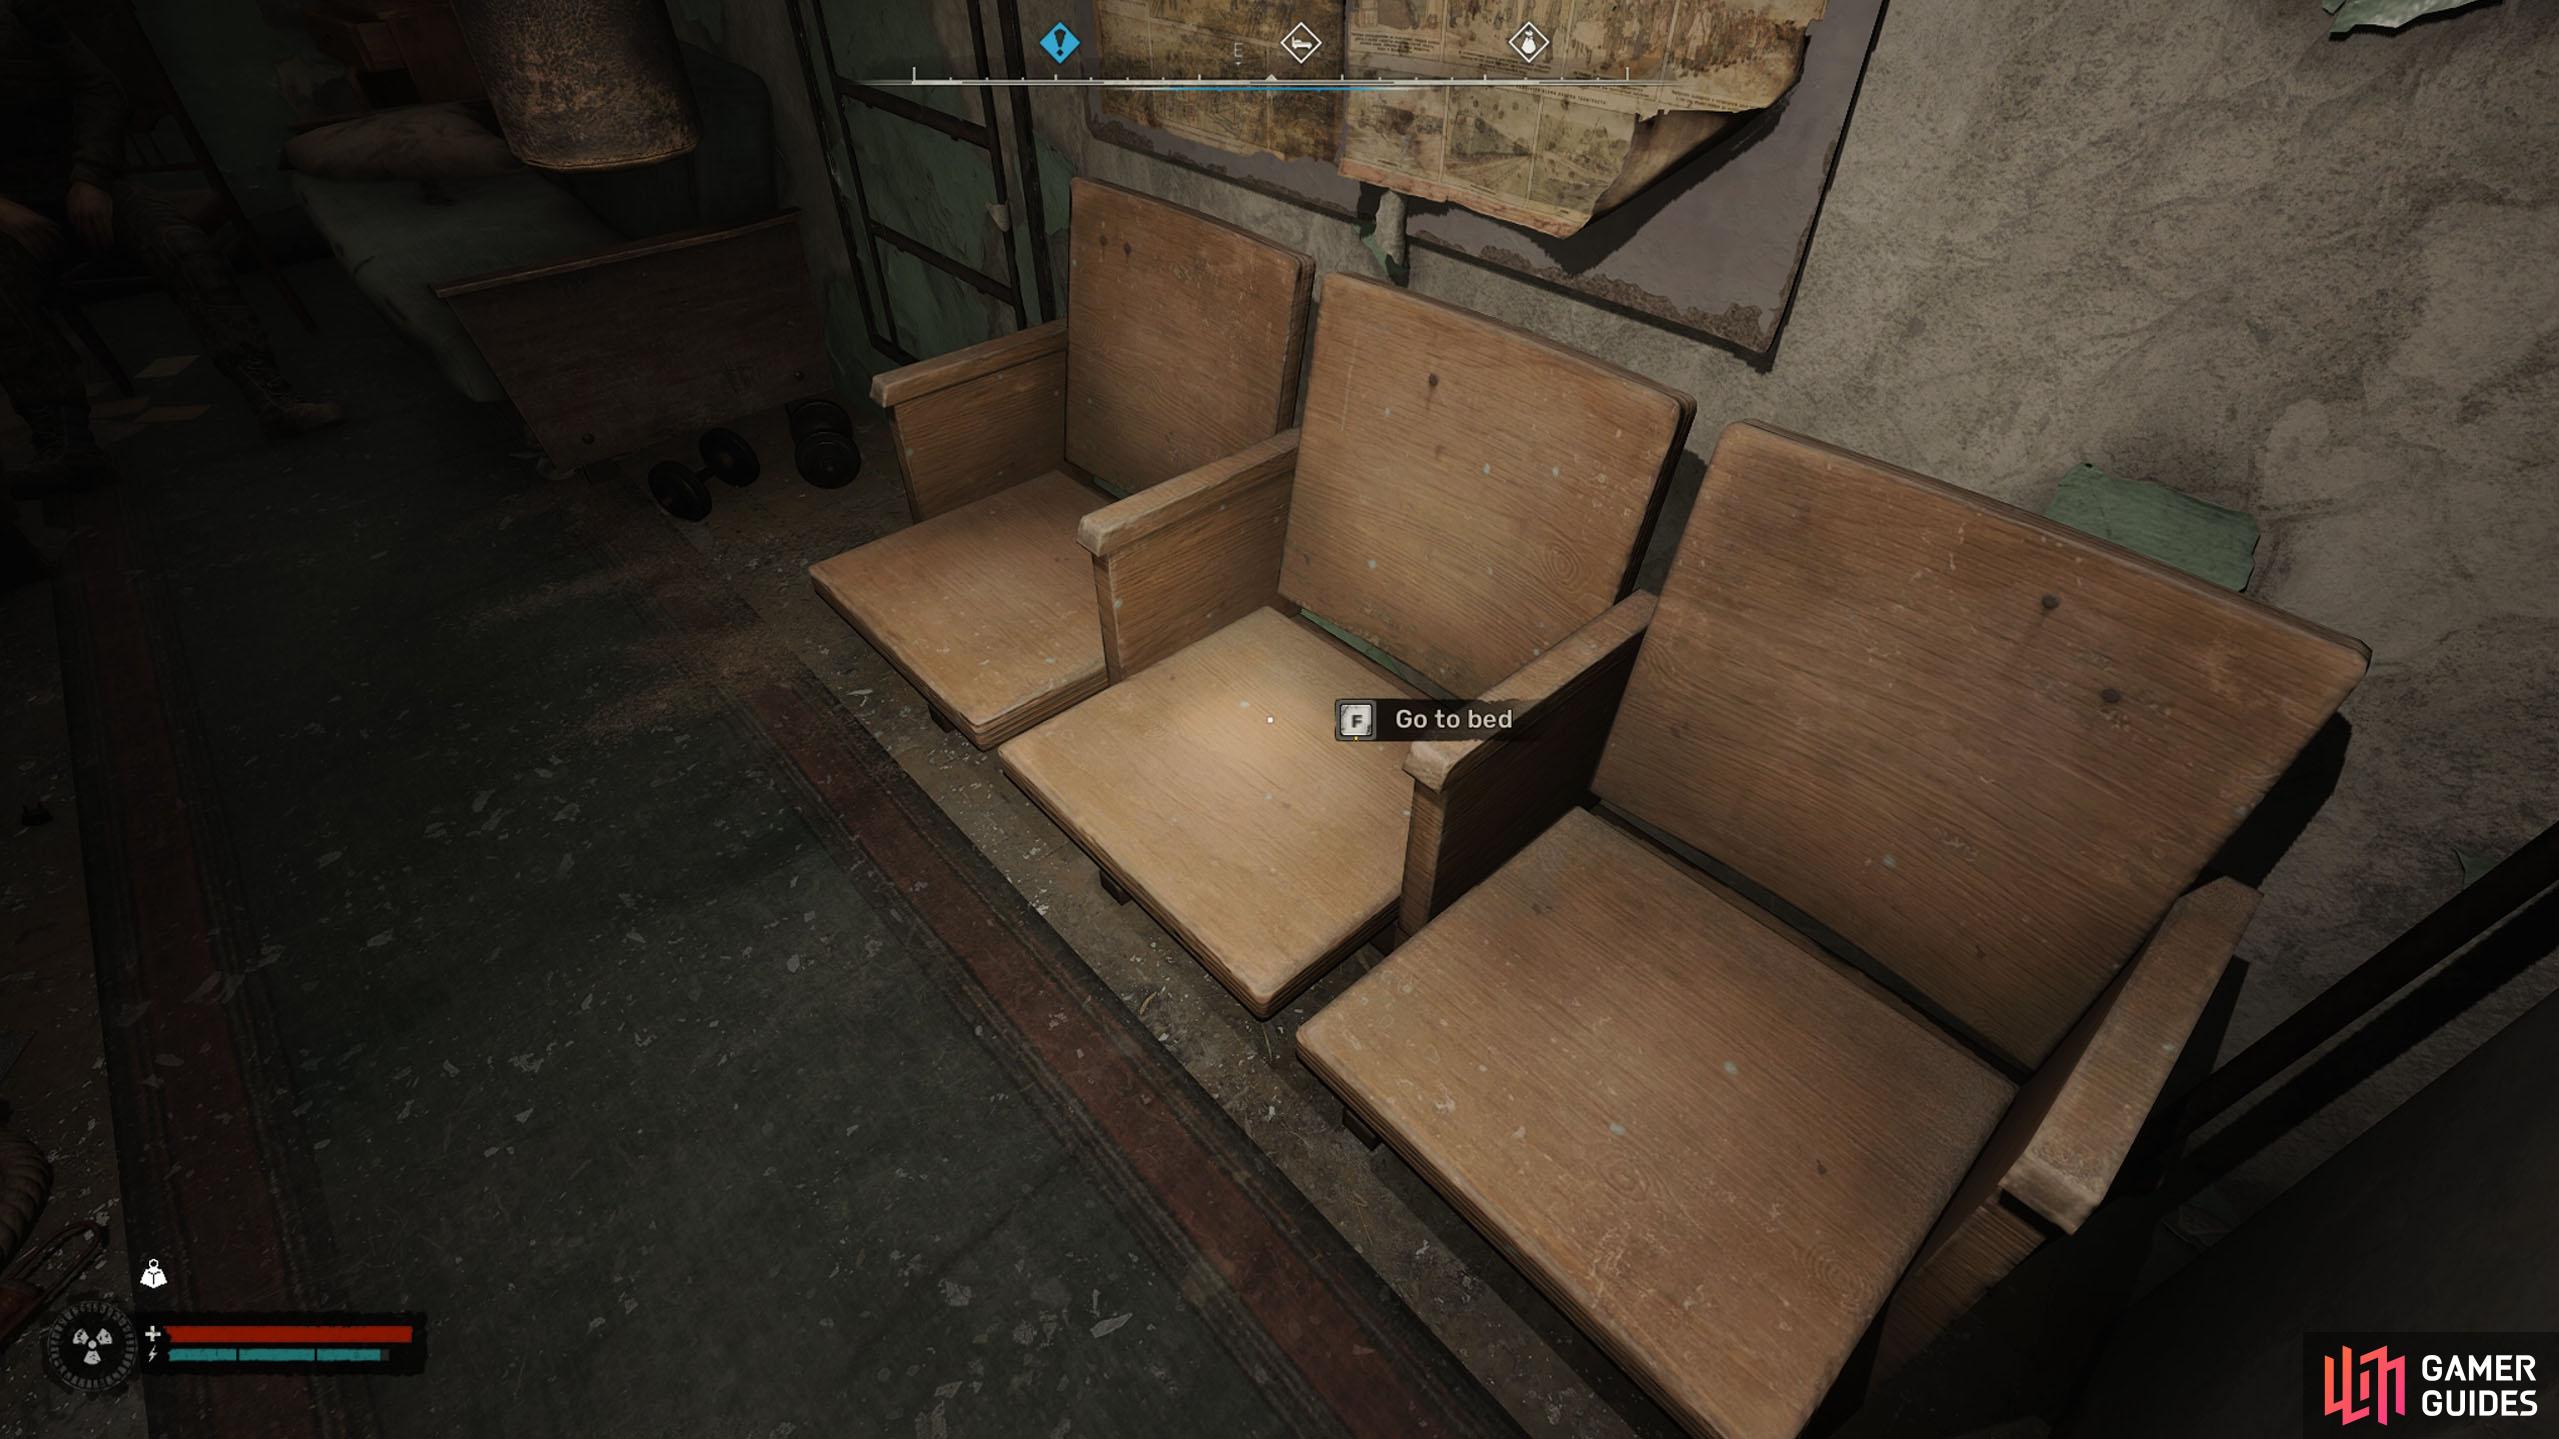
This isn’t a rule so to speak, but after every round, you must sleep for the following round to start, except for round four, which will be explained later. Fortunately, Arnie has a set of chairs next to him which allows you to catch a few winks. The final rule is, that everyone or everything must die. Either you or them.
(1 of 3) Before you can enter the arena, you need to take the equipment that Wheezer gives you from the locker.
Arena - Round One Guide
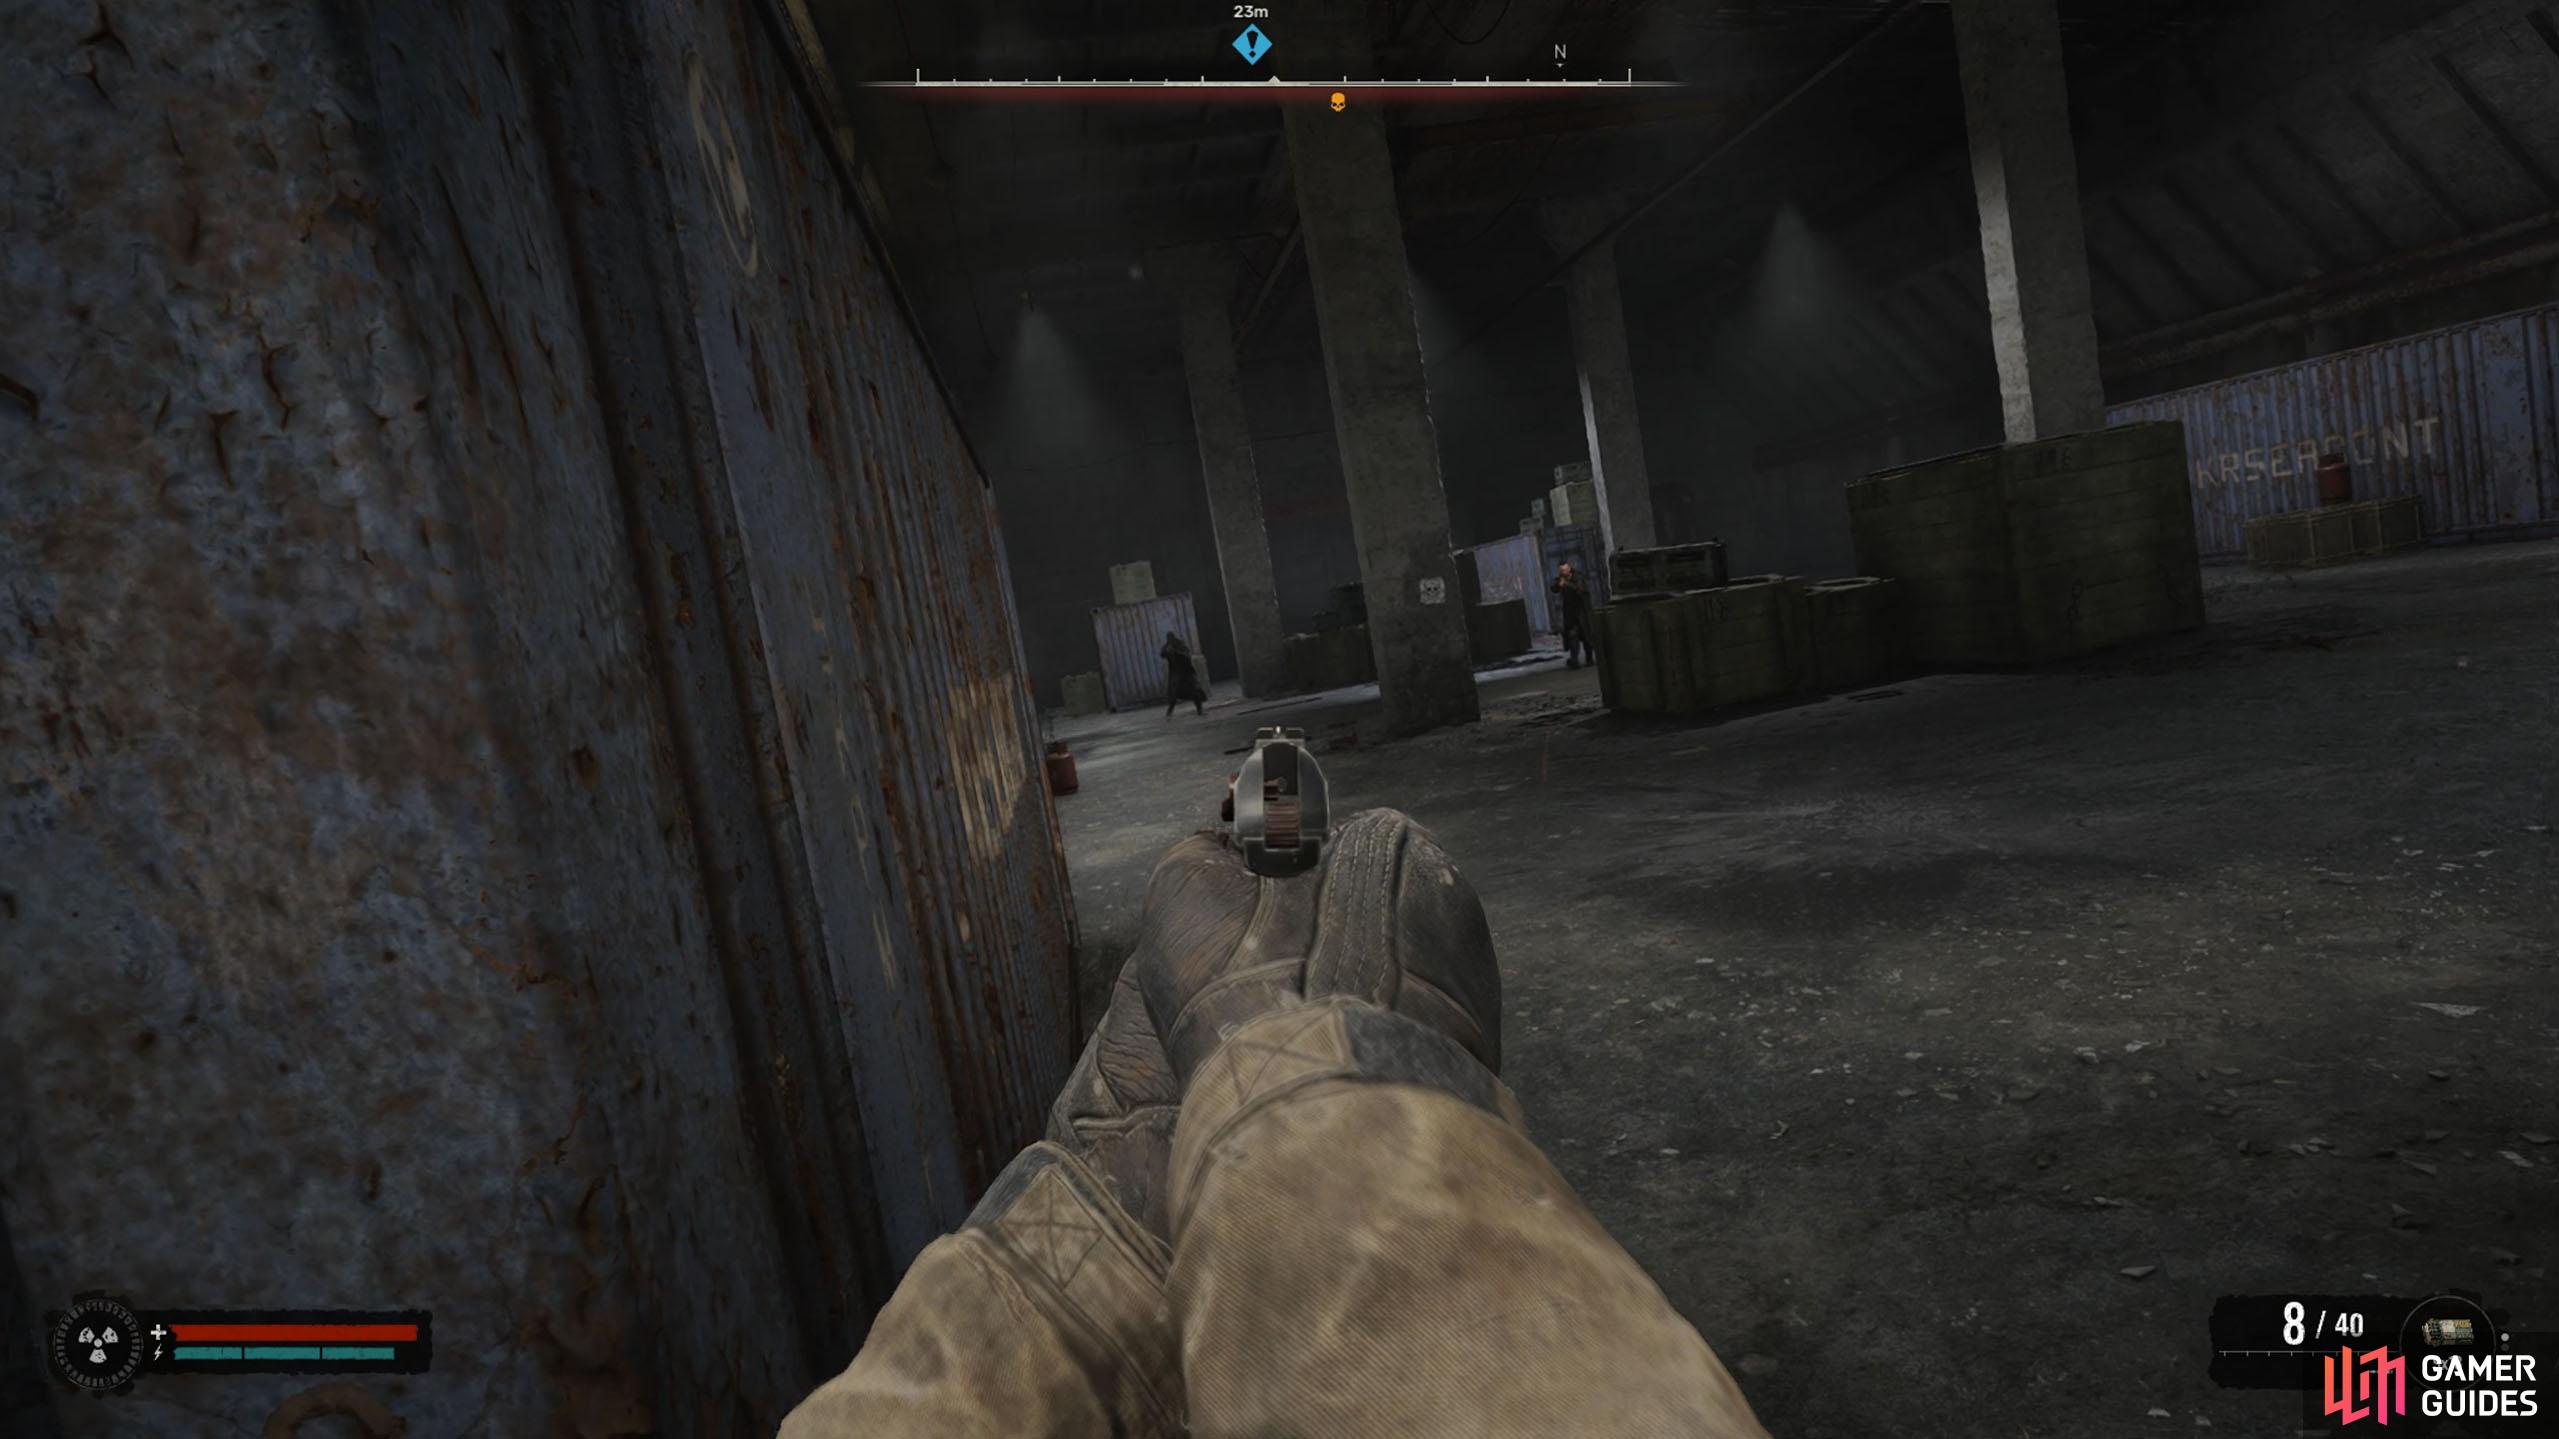
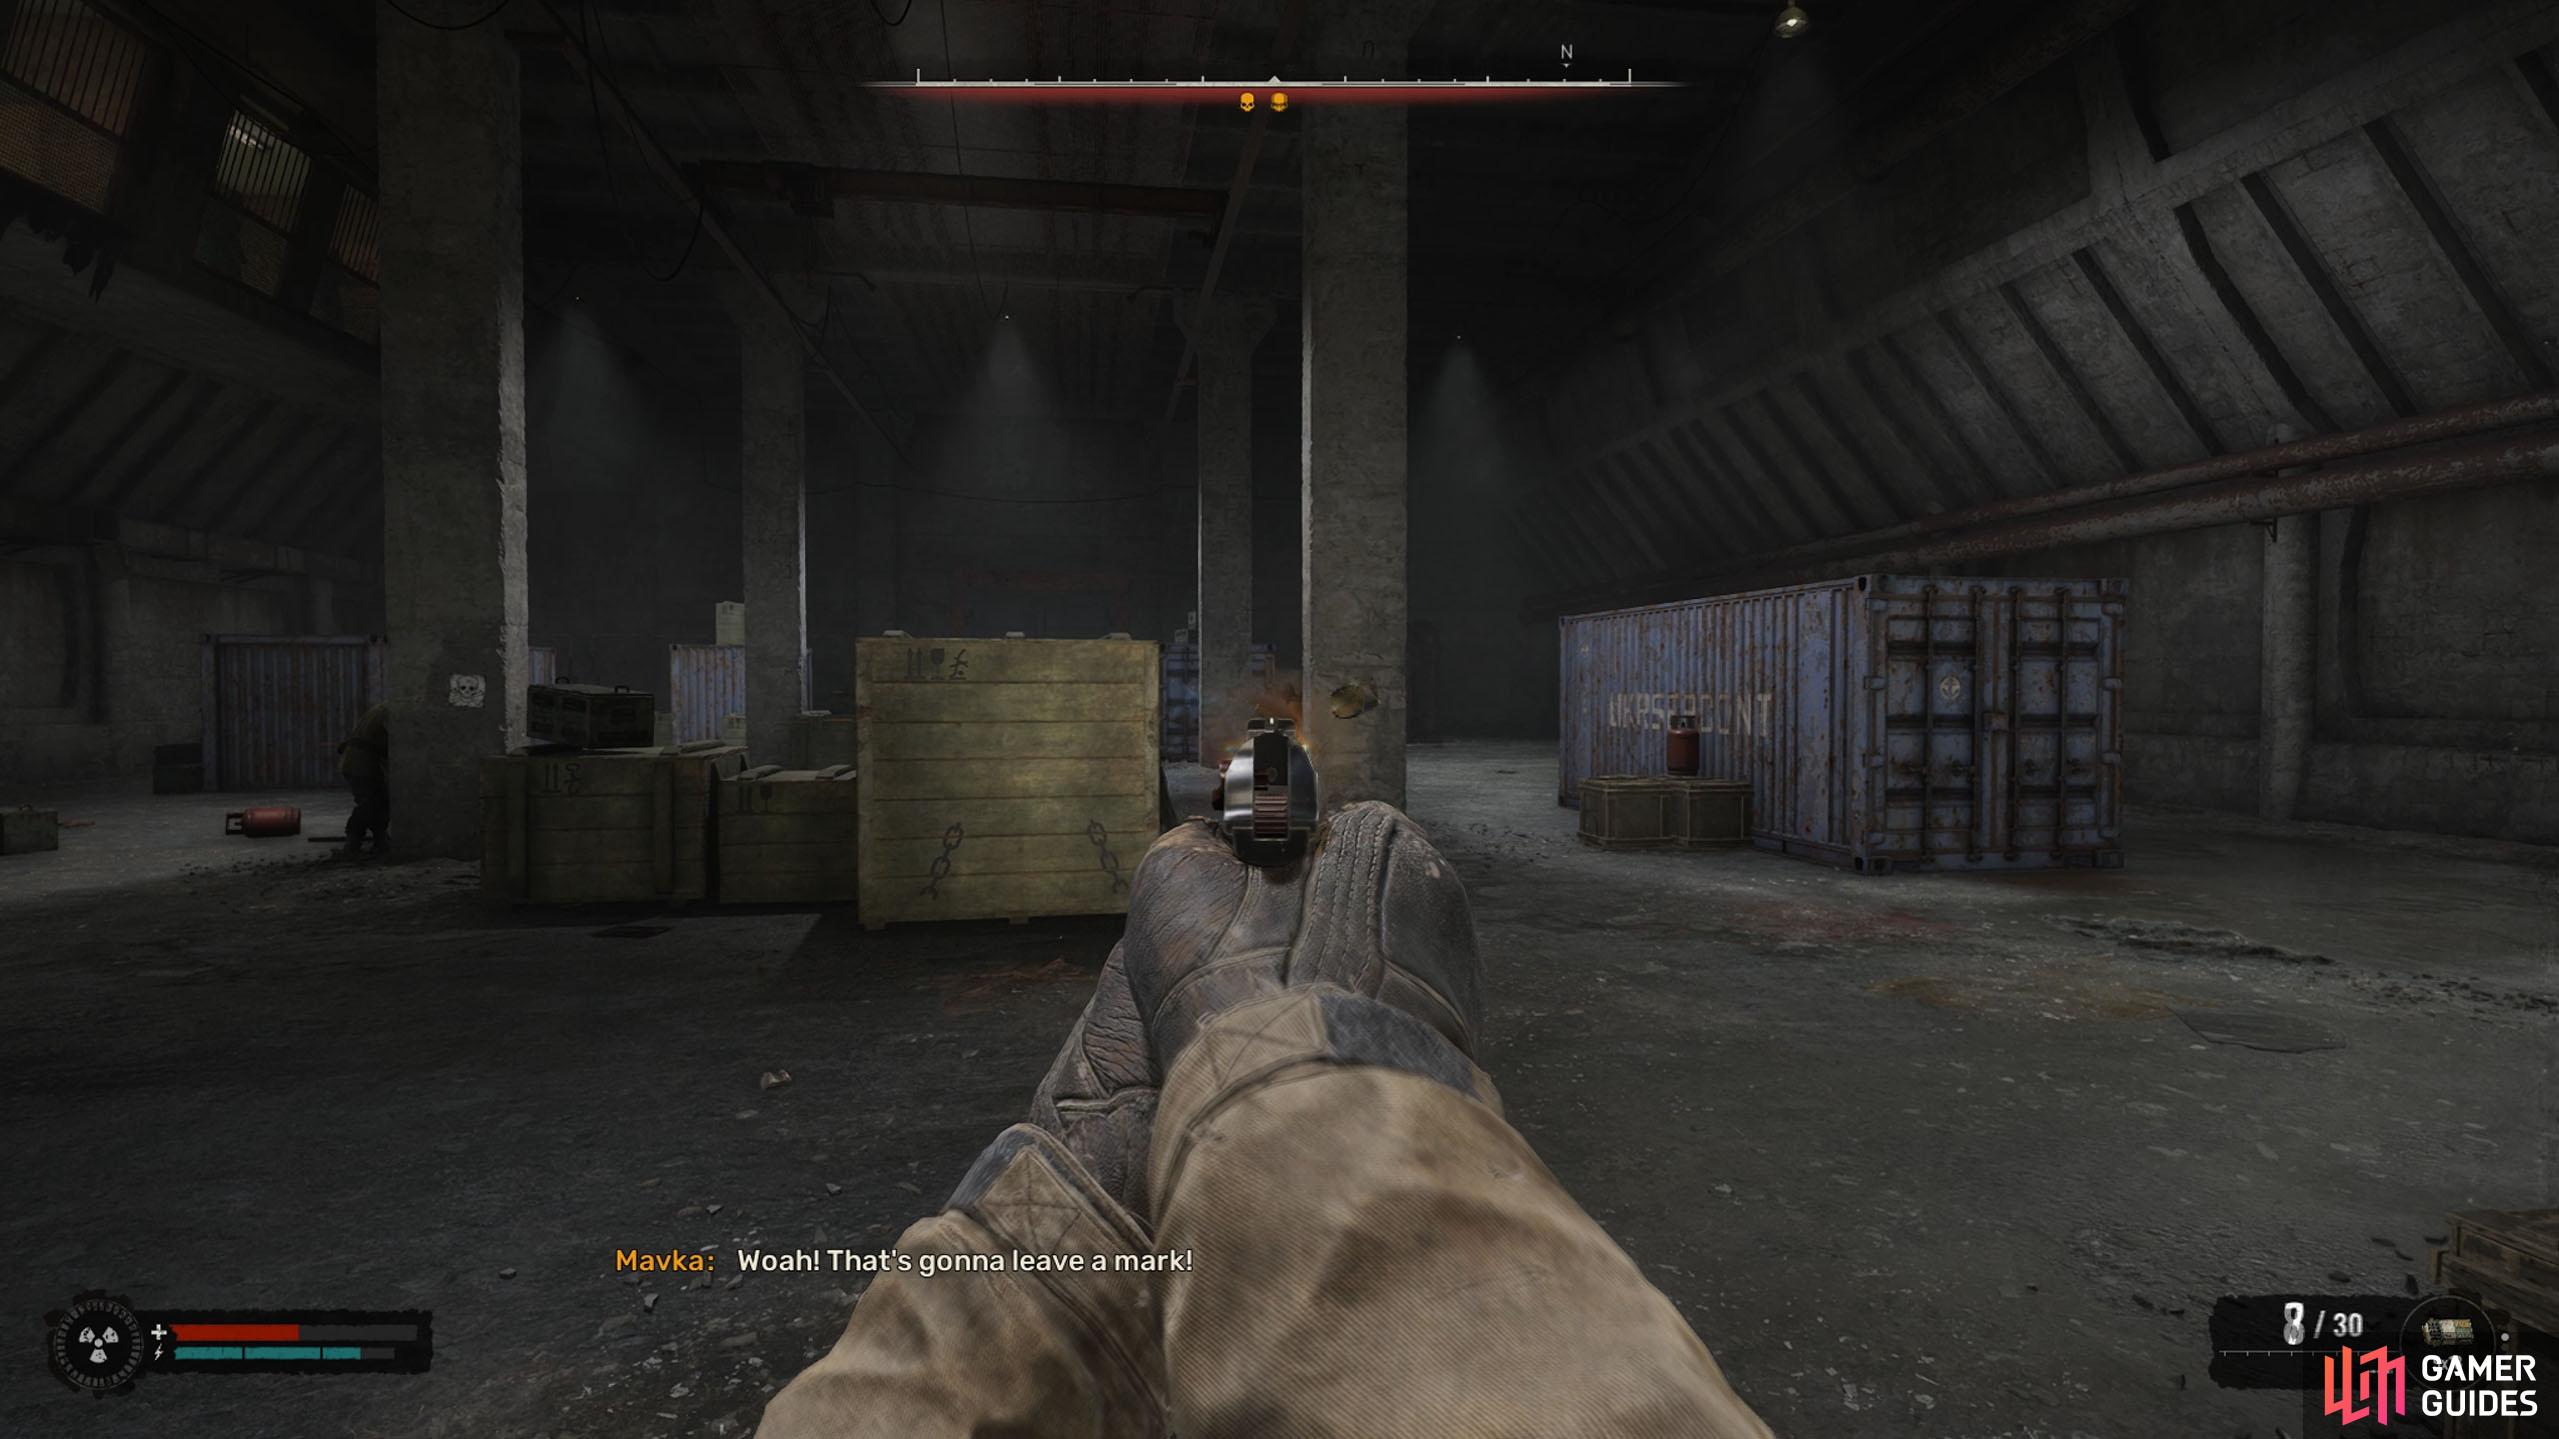
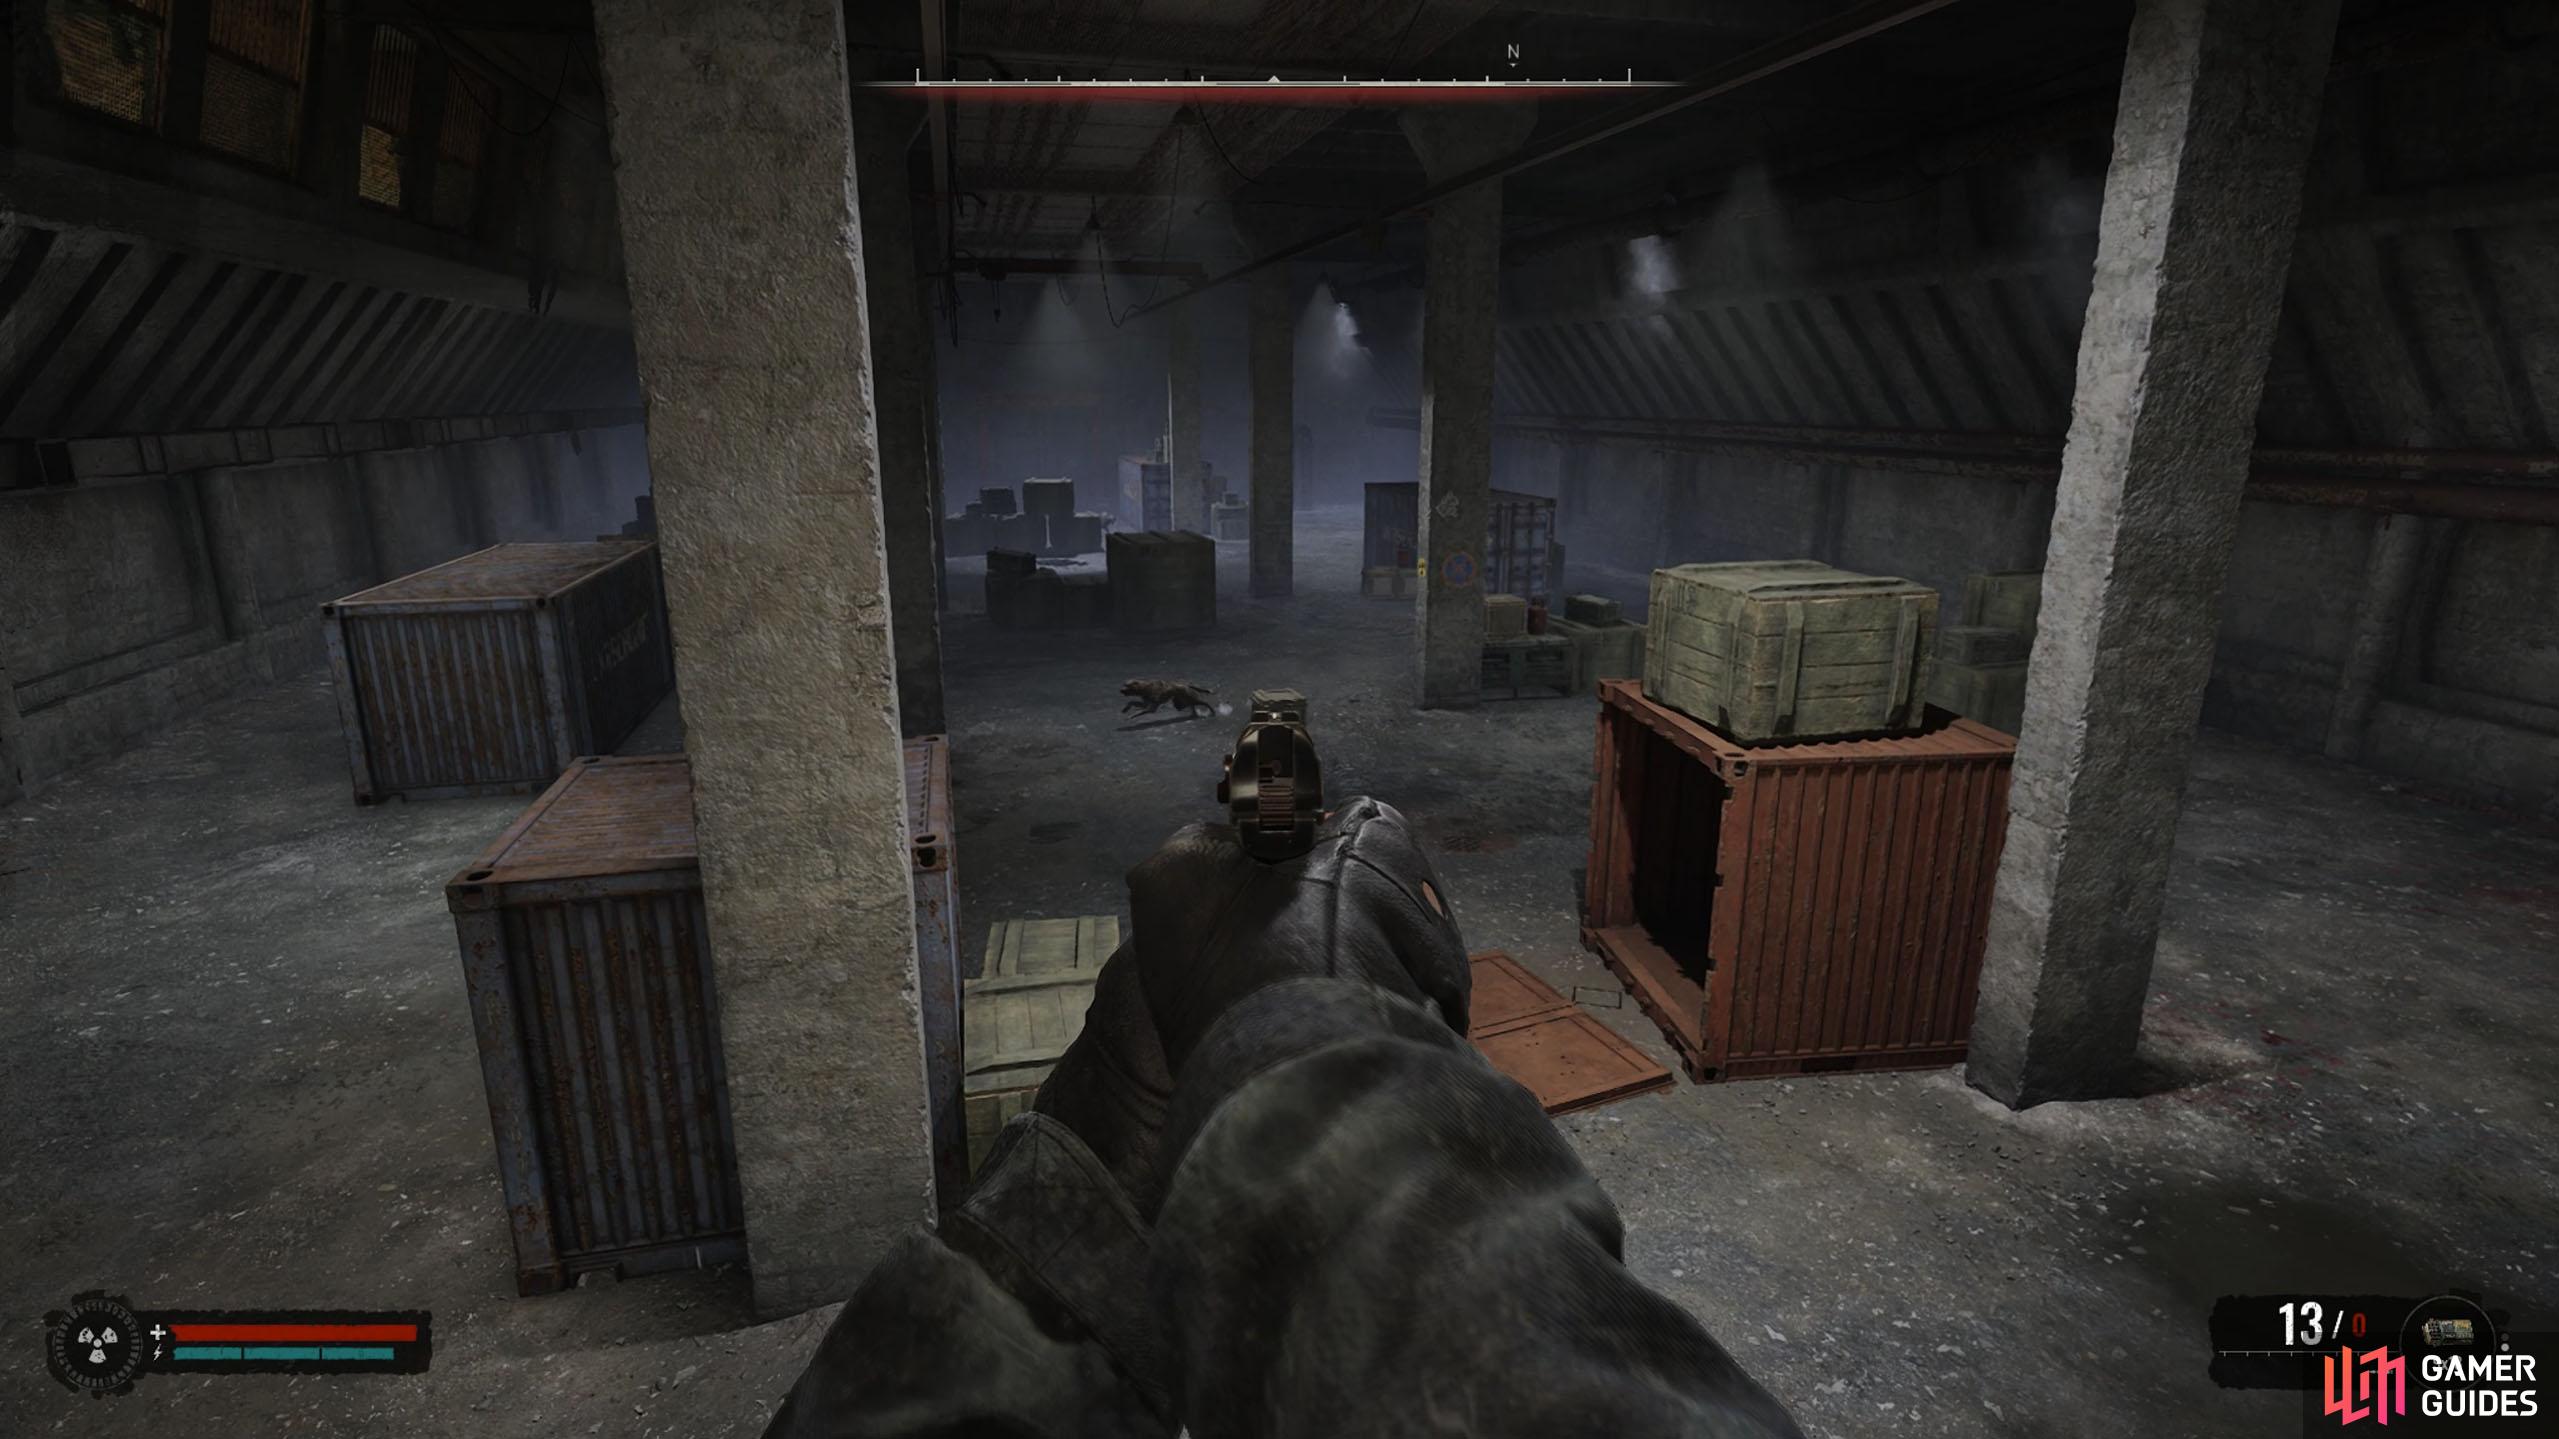
For your first battle, you’ll be in a 2 vs 2 fight against two random stalkers, as well as a random stalker on your team. You’ll have a handgun and one bandage for this battle, so you don’t want to rush into them due to the lack of healing. Instead, sit back and hide behind the stacked crates, and let your partner push forward. When the enemies are shooting at your partner, peek the cover, and take a few potshots at the enemies’ head.
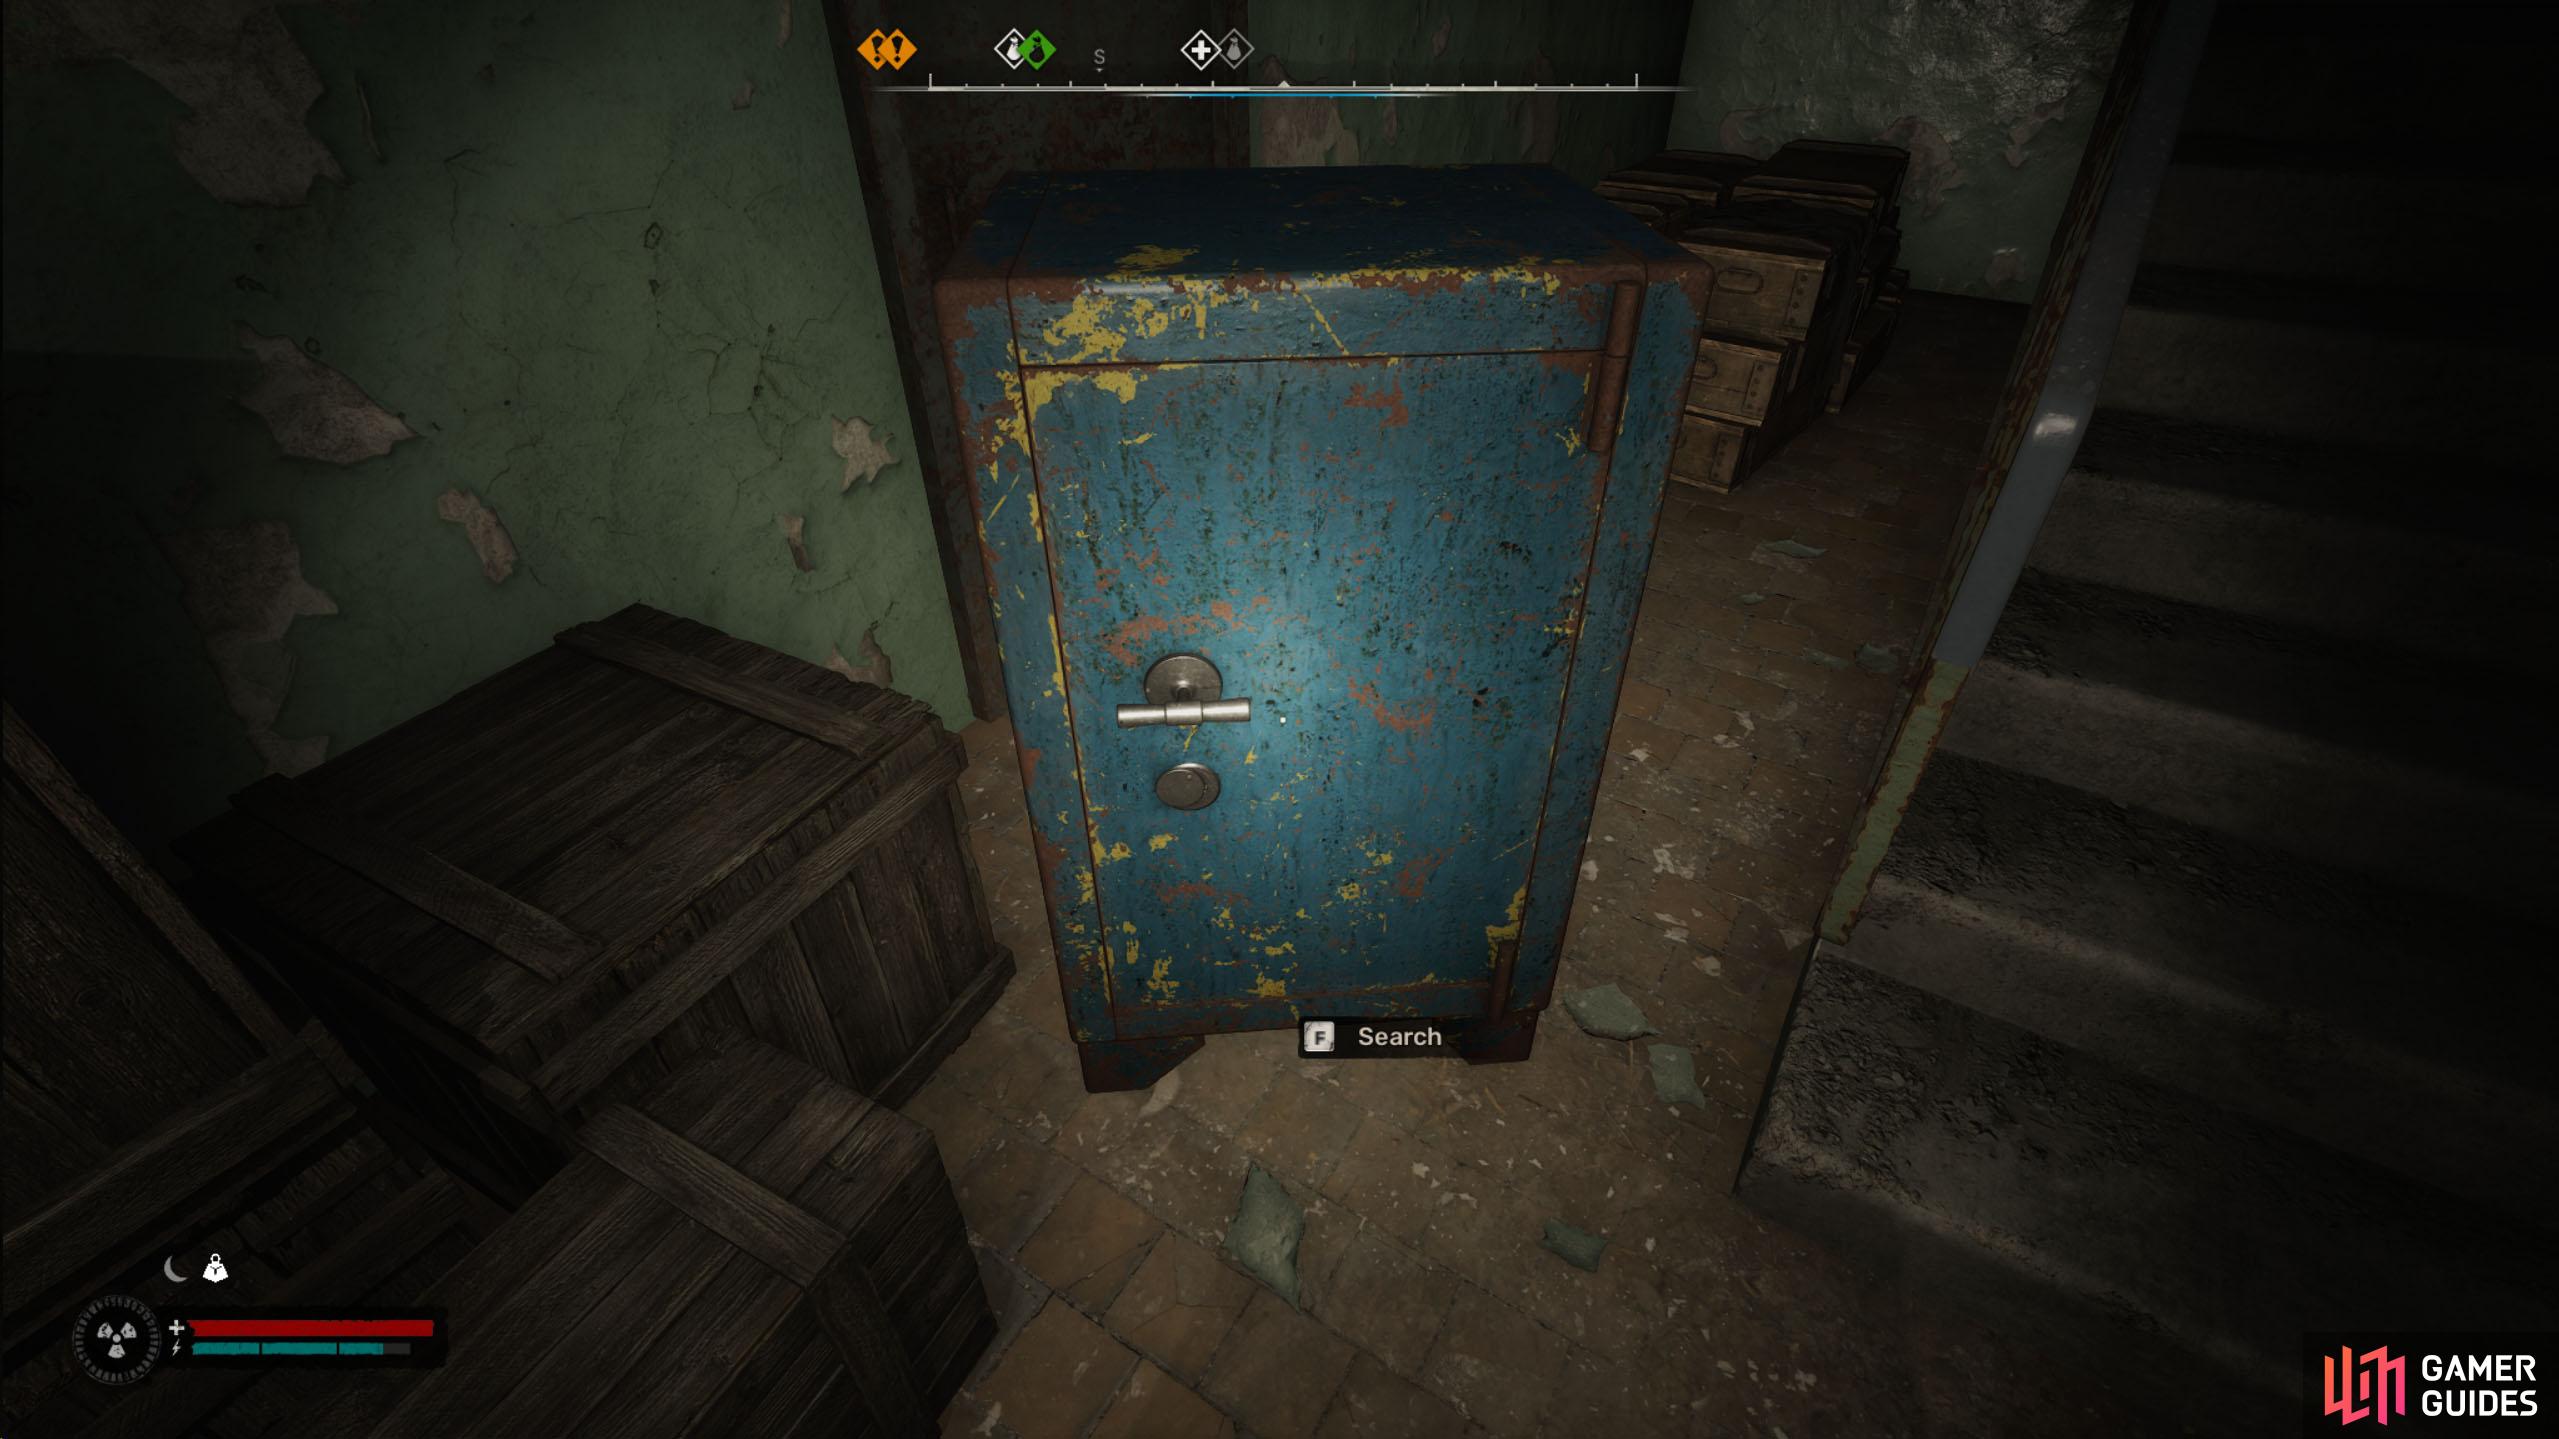
One thing you’ll need to be careful about is if the enemy throws a grenade. If that happens, run to another piece of nearby cover, and wait there. Another good tactic is to wait for your partner to push up, and flank around the opposite site, where the enemies should be facing your partner, giving you ample time to pick a shot. After defeating the stalkers, pick up your gear from the blue box, and head up top to Arnie for your reward.
(1 of 3) The first round gives you a pistol and a partner.
Arena - Round Two Guide
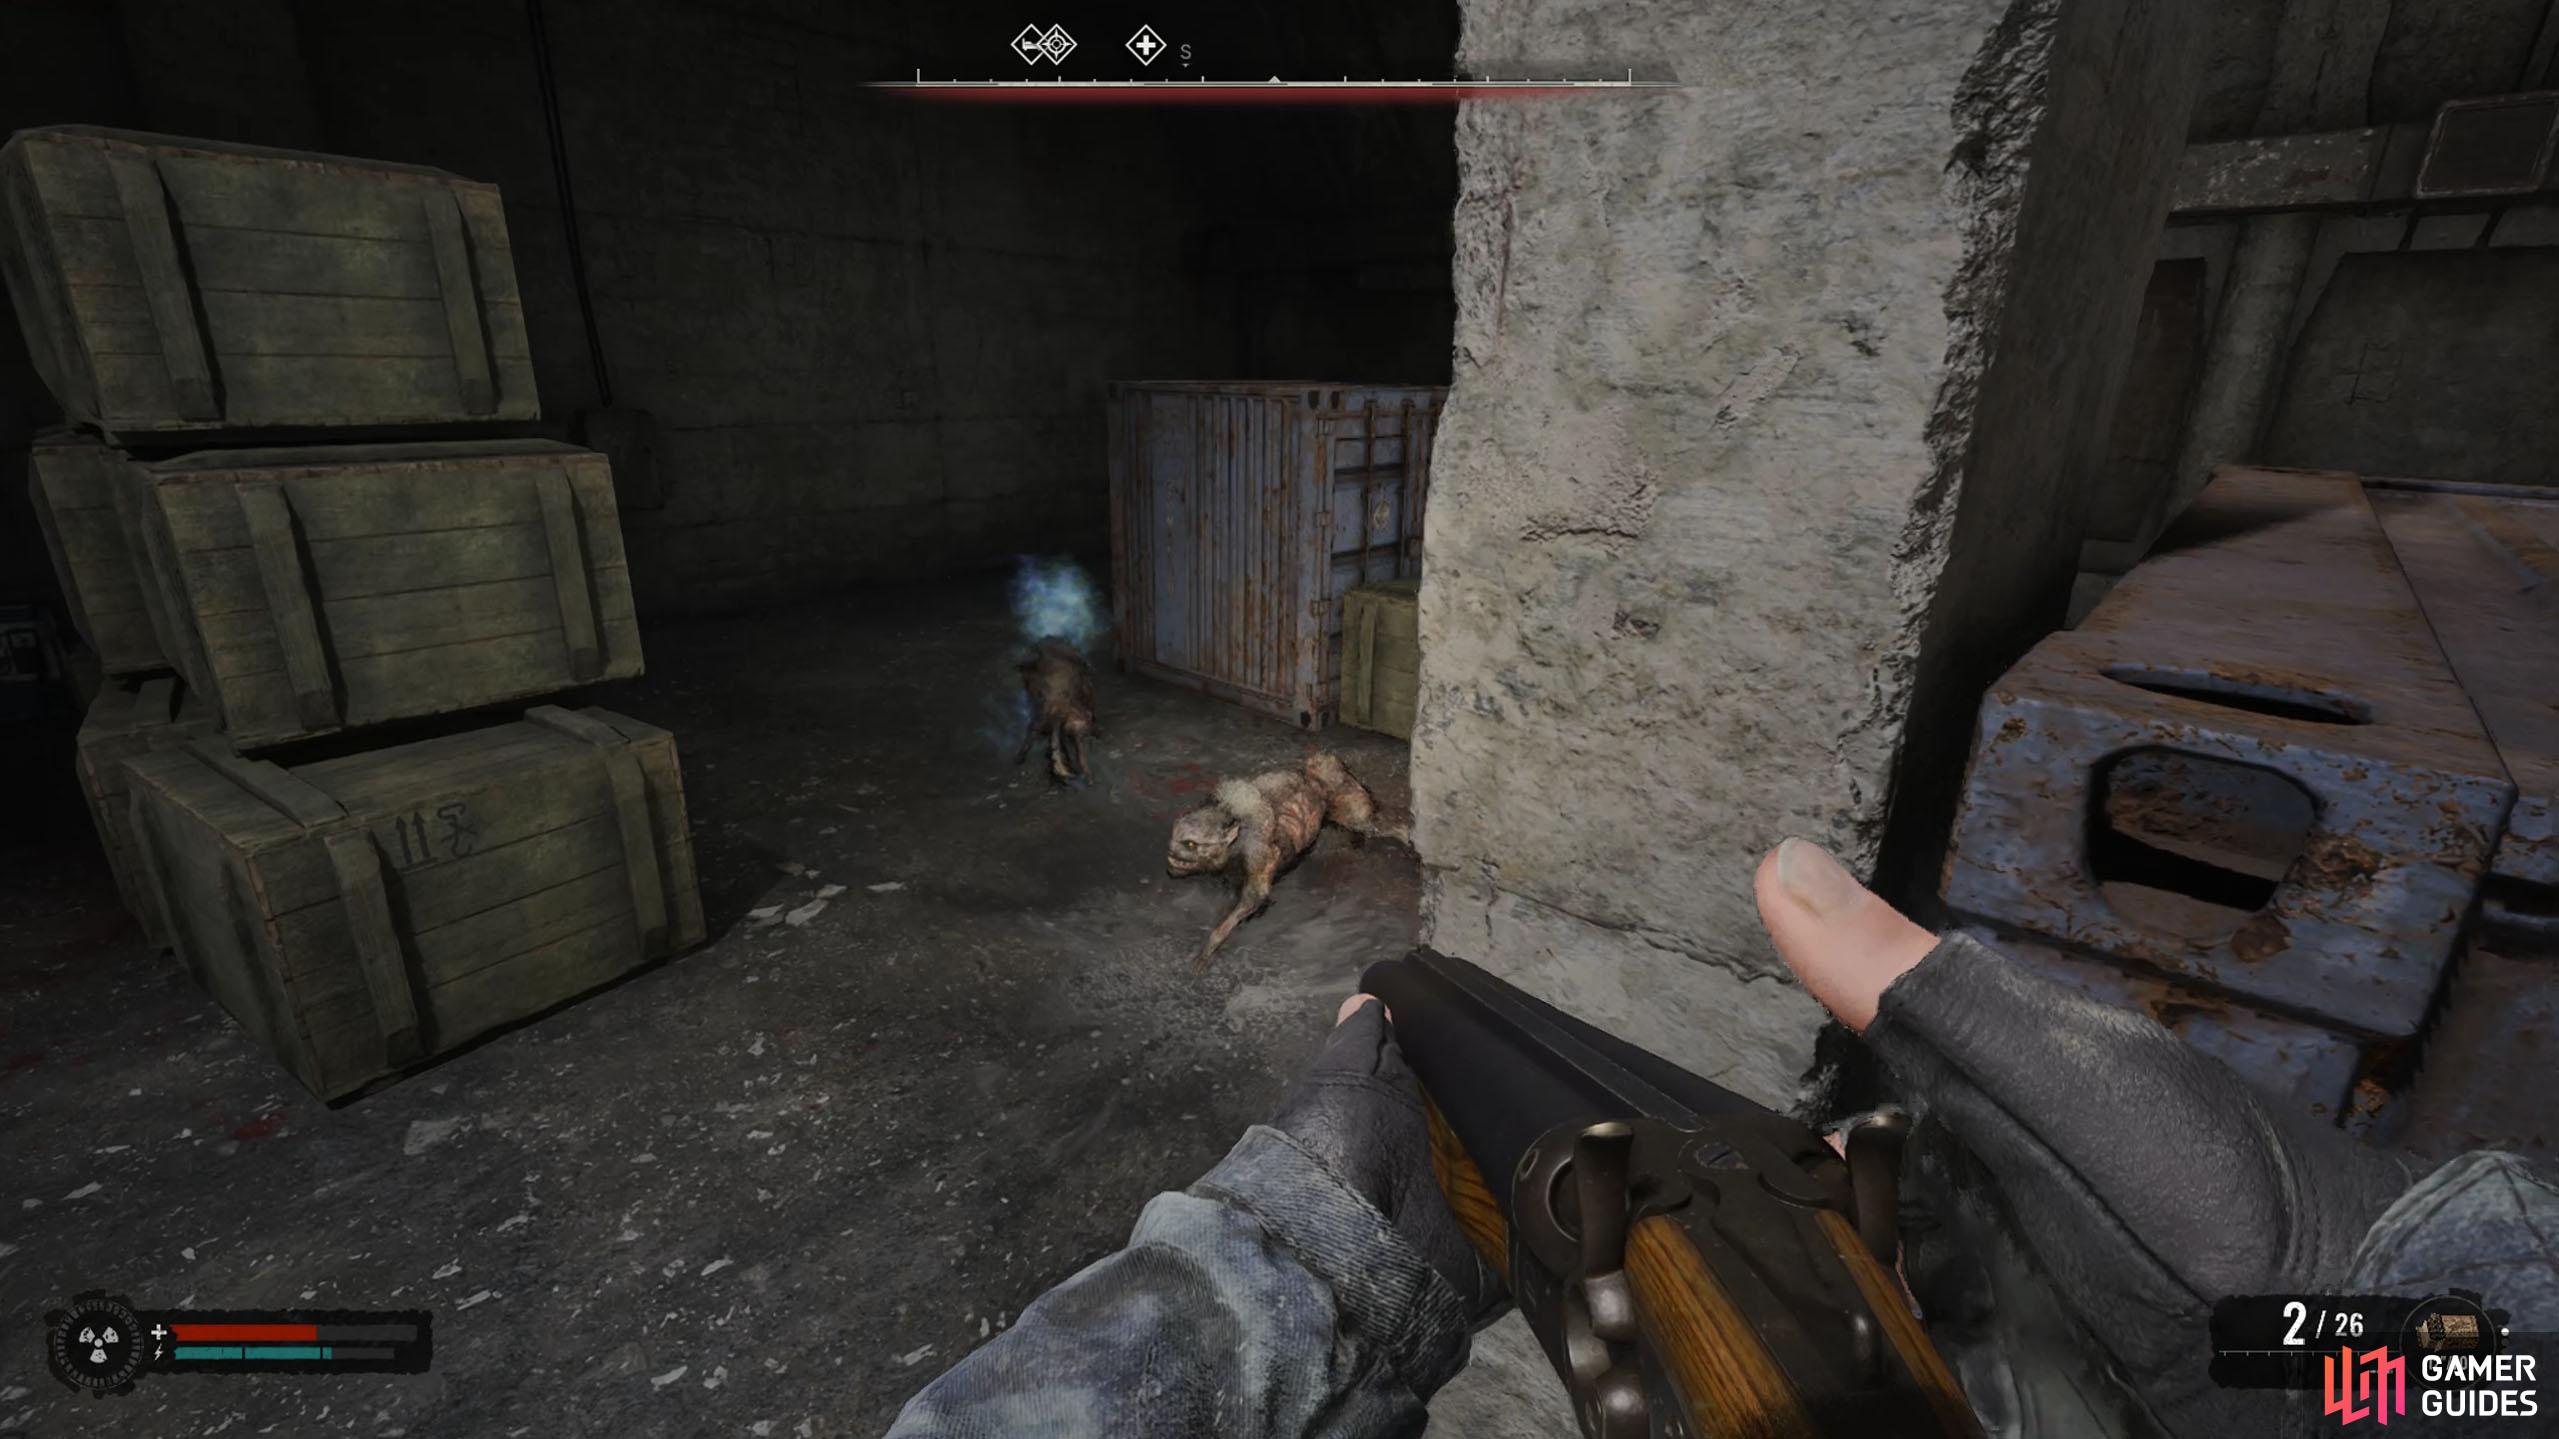
After you’ve rested, speak to Arnie for round two. This time you’ll be up against some mutant dogs, and you’ll have two Bandages, one ![]() Medkit, a handgun, and a
Medkit, a handgun, and a ![]() Boomstick (shotgun). The most difficult part of this round is the bleeding effect you’ll get when you’re bitten by the dogs. Throughout the arena, you’ll find numerous high places that you can jump up to, and you’ll want to do this because the dogs can’t climb up. This gives you enough time to apply the bandages when you get the bleed status effect.
Boomstick (shotgun). The most difficult part of this round is the bleeding effect you’ll get when you’re bitten by the dogs. Throughout the arena, you’ll find numerous high places that you can jump up to, and you’ll want to do this because the dogs can’t climb up. This gives you enough time to apply the bandages when you get the bleed status effect.
Sometimes you’ll be able to take a couple of dogs out with your pistol from there too, but in general, the dogs will hide whenever you get to a higher area. There are three regular dogs, and as you approach the back of the arena, you’ll encounter a Pseudodog (Psy-dog), which produces illusions of itself. These are a pain to deal with, with any weapon, let alone the weapons given to you.
There are a couple of ways to deal with this enemy, either pay attention to the pack, and look for the one that keeps itself to itself, or, shoot all the illusions (with the pistol), and shotgun the remaining enemy, which is the real one. The Pseudodog will materialize new illusions when you defeat the previous ones, so make sure you keep an eye on the enemy creating them, watch where it goes, and focus on taking that out instead, because when the Pseudodog dies, the illusions go with it. Finally, when you shoot the Pseudodog, it’ll run to create more illusions, so run after it to keep sight of the real one.
(1 of 3) The second round will give you a Boomstick and a Pistol.
Arena - Round Three Guide
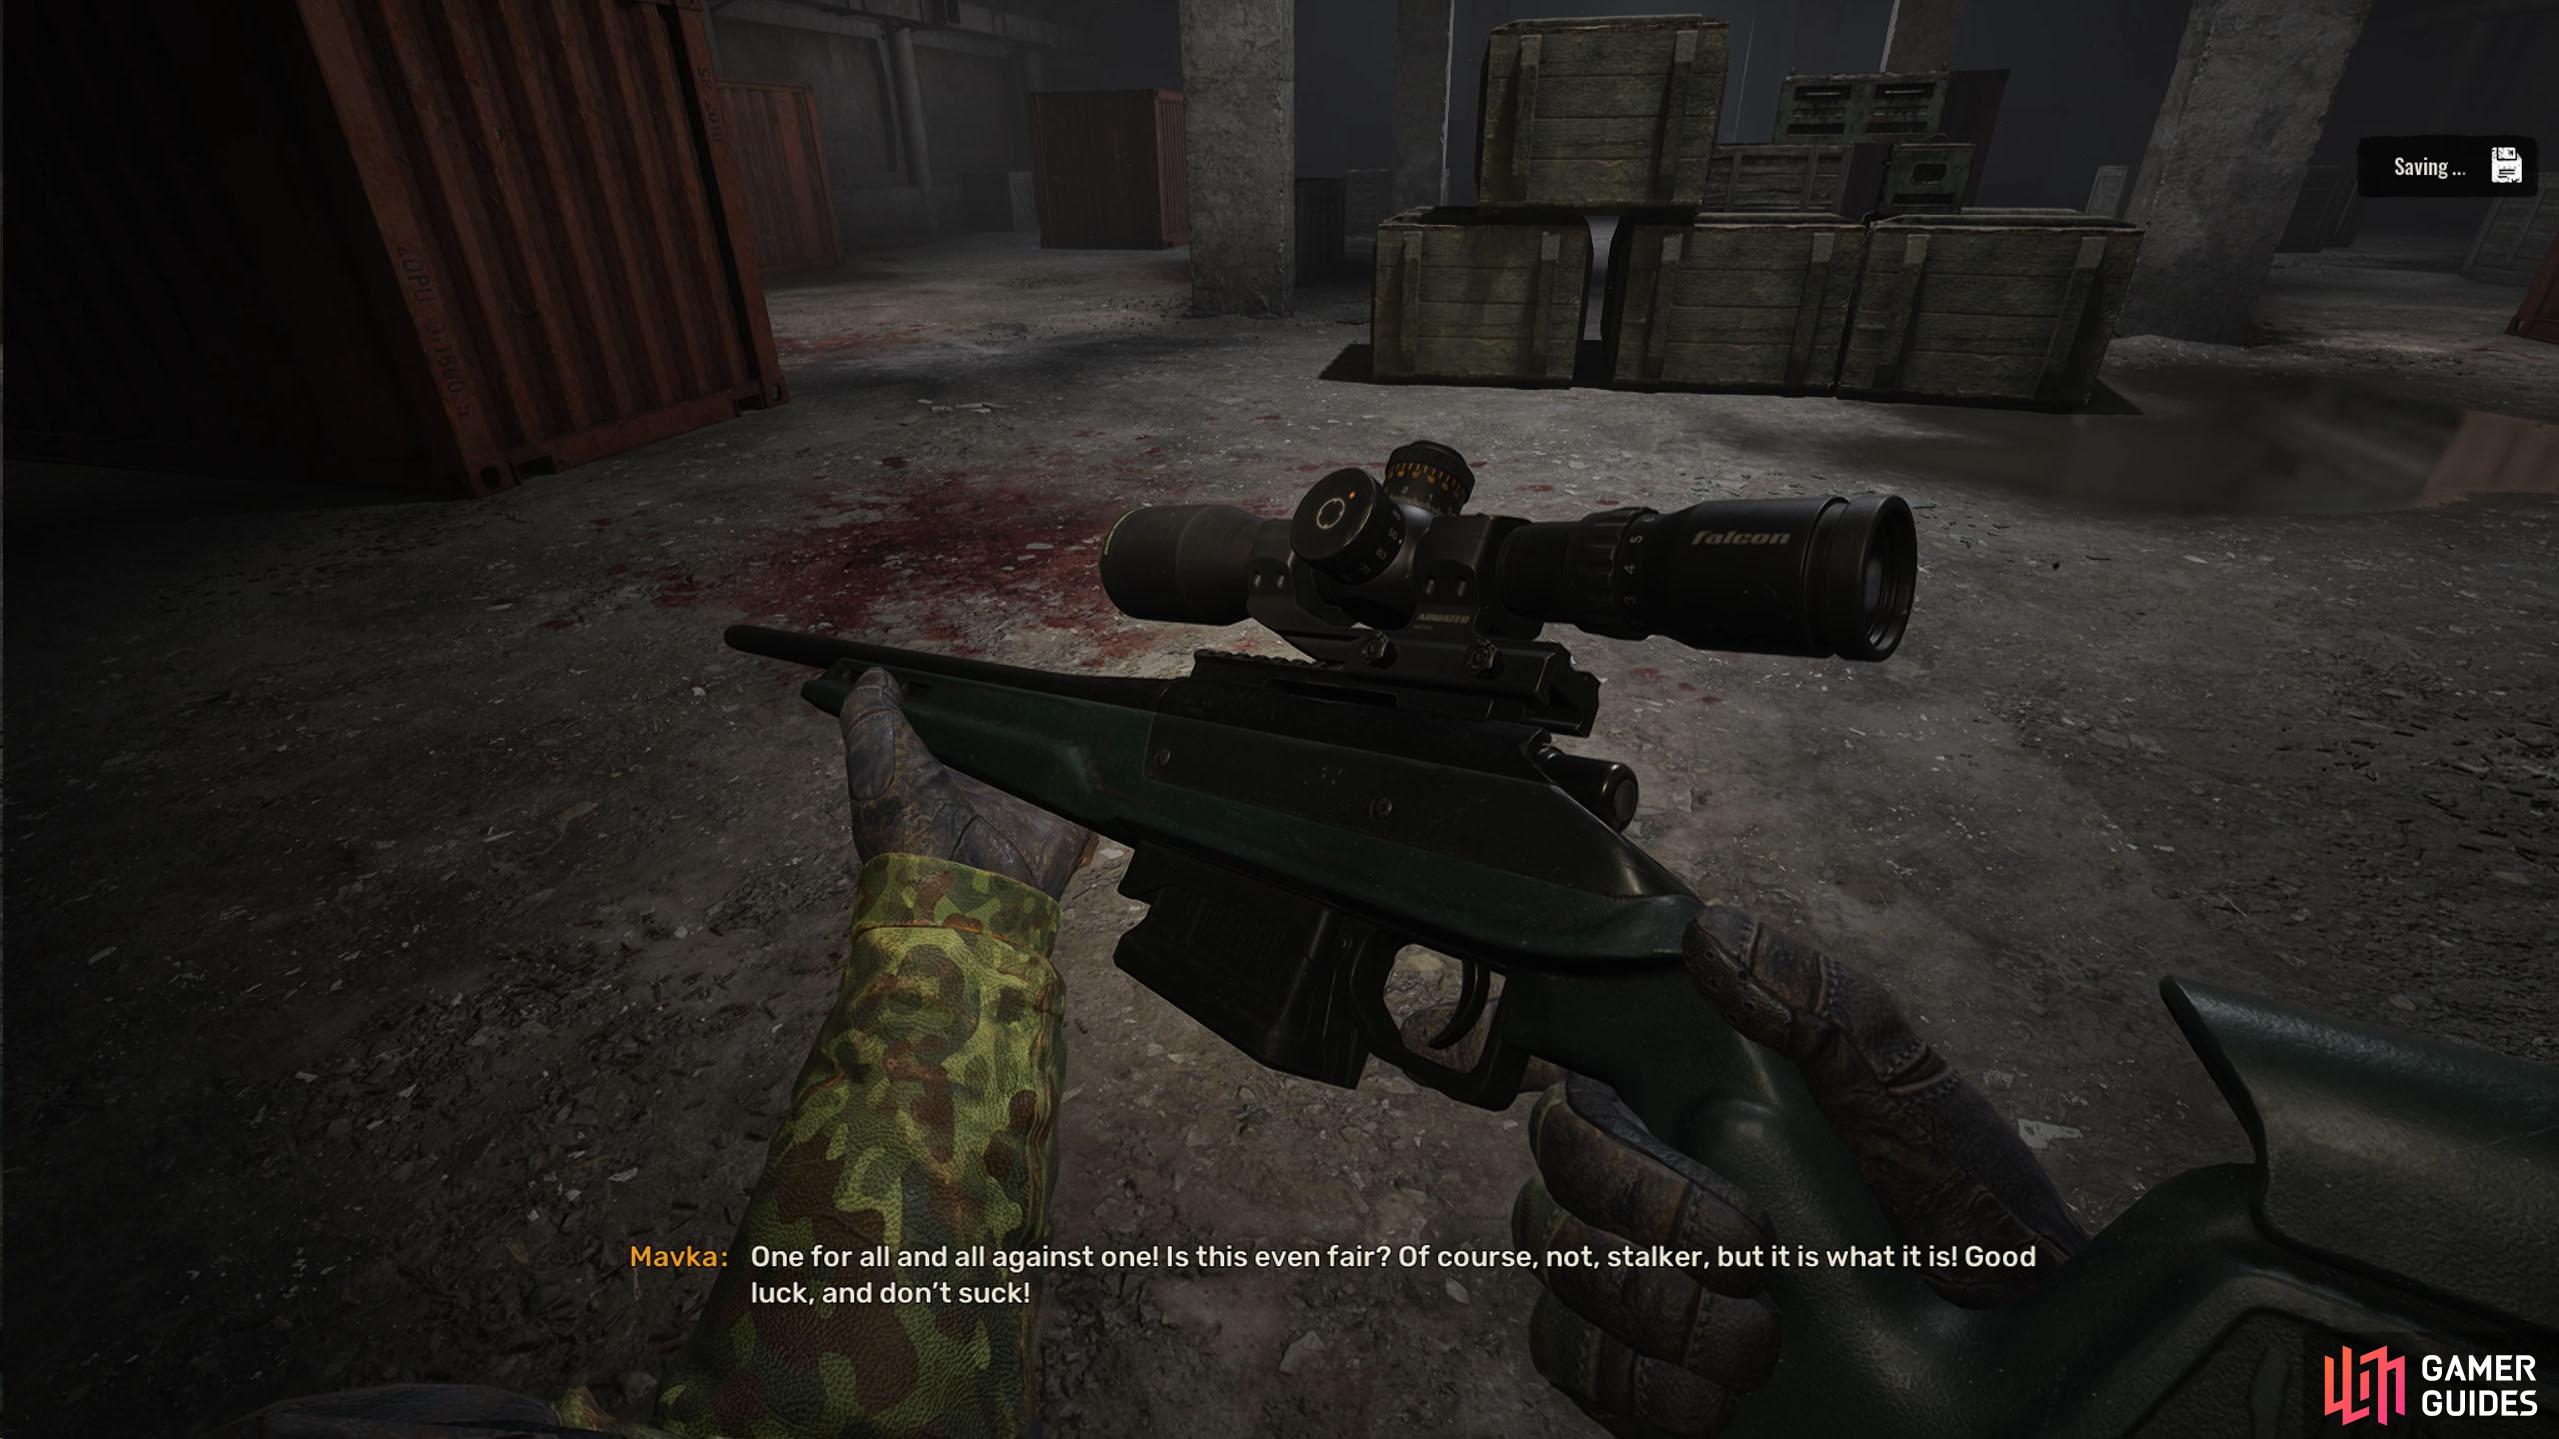
Head back to Arnie for your reward, rest, and speak to him again to begin round three. This battle will be against several stalkers including poor Walter who was your partner in the first round. Fortunately, Wheezer will give you the powerful ![]() M701 Super Sniper rifle that packs one hell of a punch. A single shot from this weapon will kill an enemy, even if it hits their chest. Alongside this weapon, you’ll get three Bandages and three Medkits.
M701 Super Sniper rifle that packs one hell of a punch. A single shot from this weapon will kill an enemy, even if it hits their chest. Alongside this weapon, you’ll get three Bandages and three Medkits.
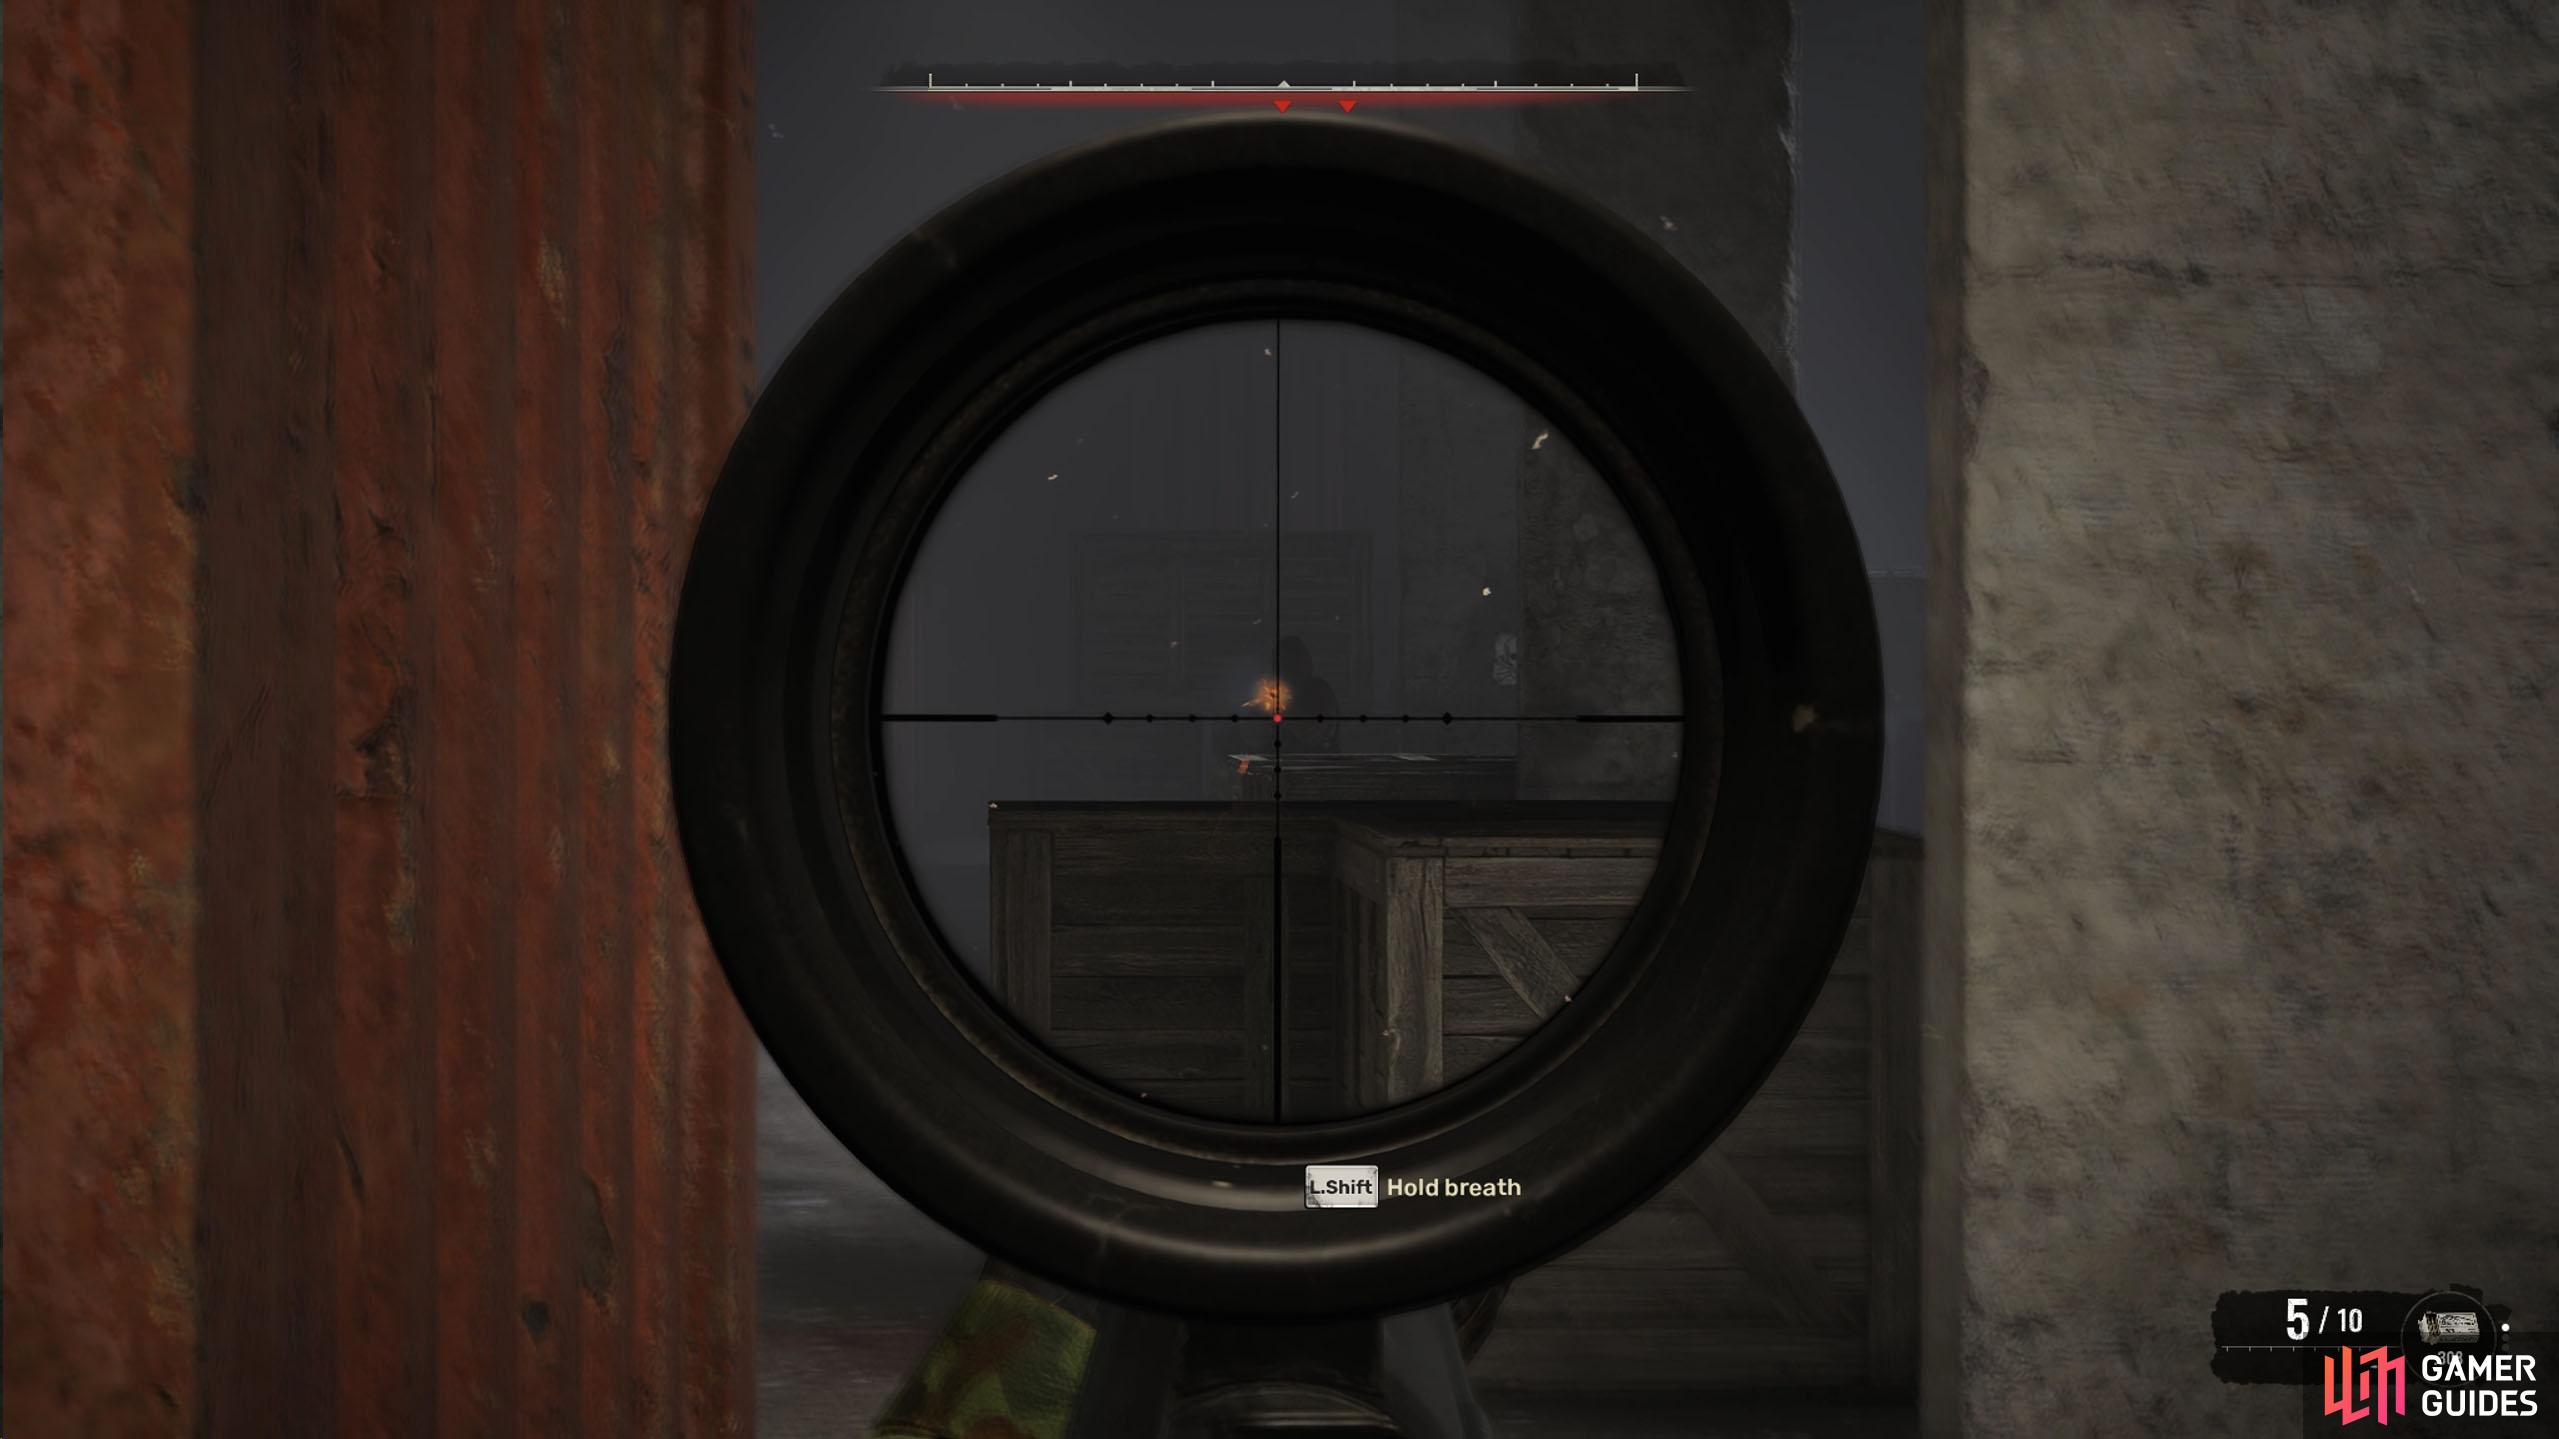
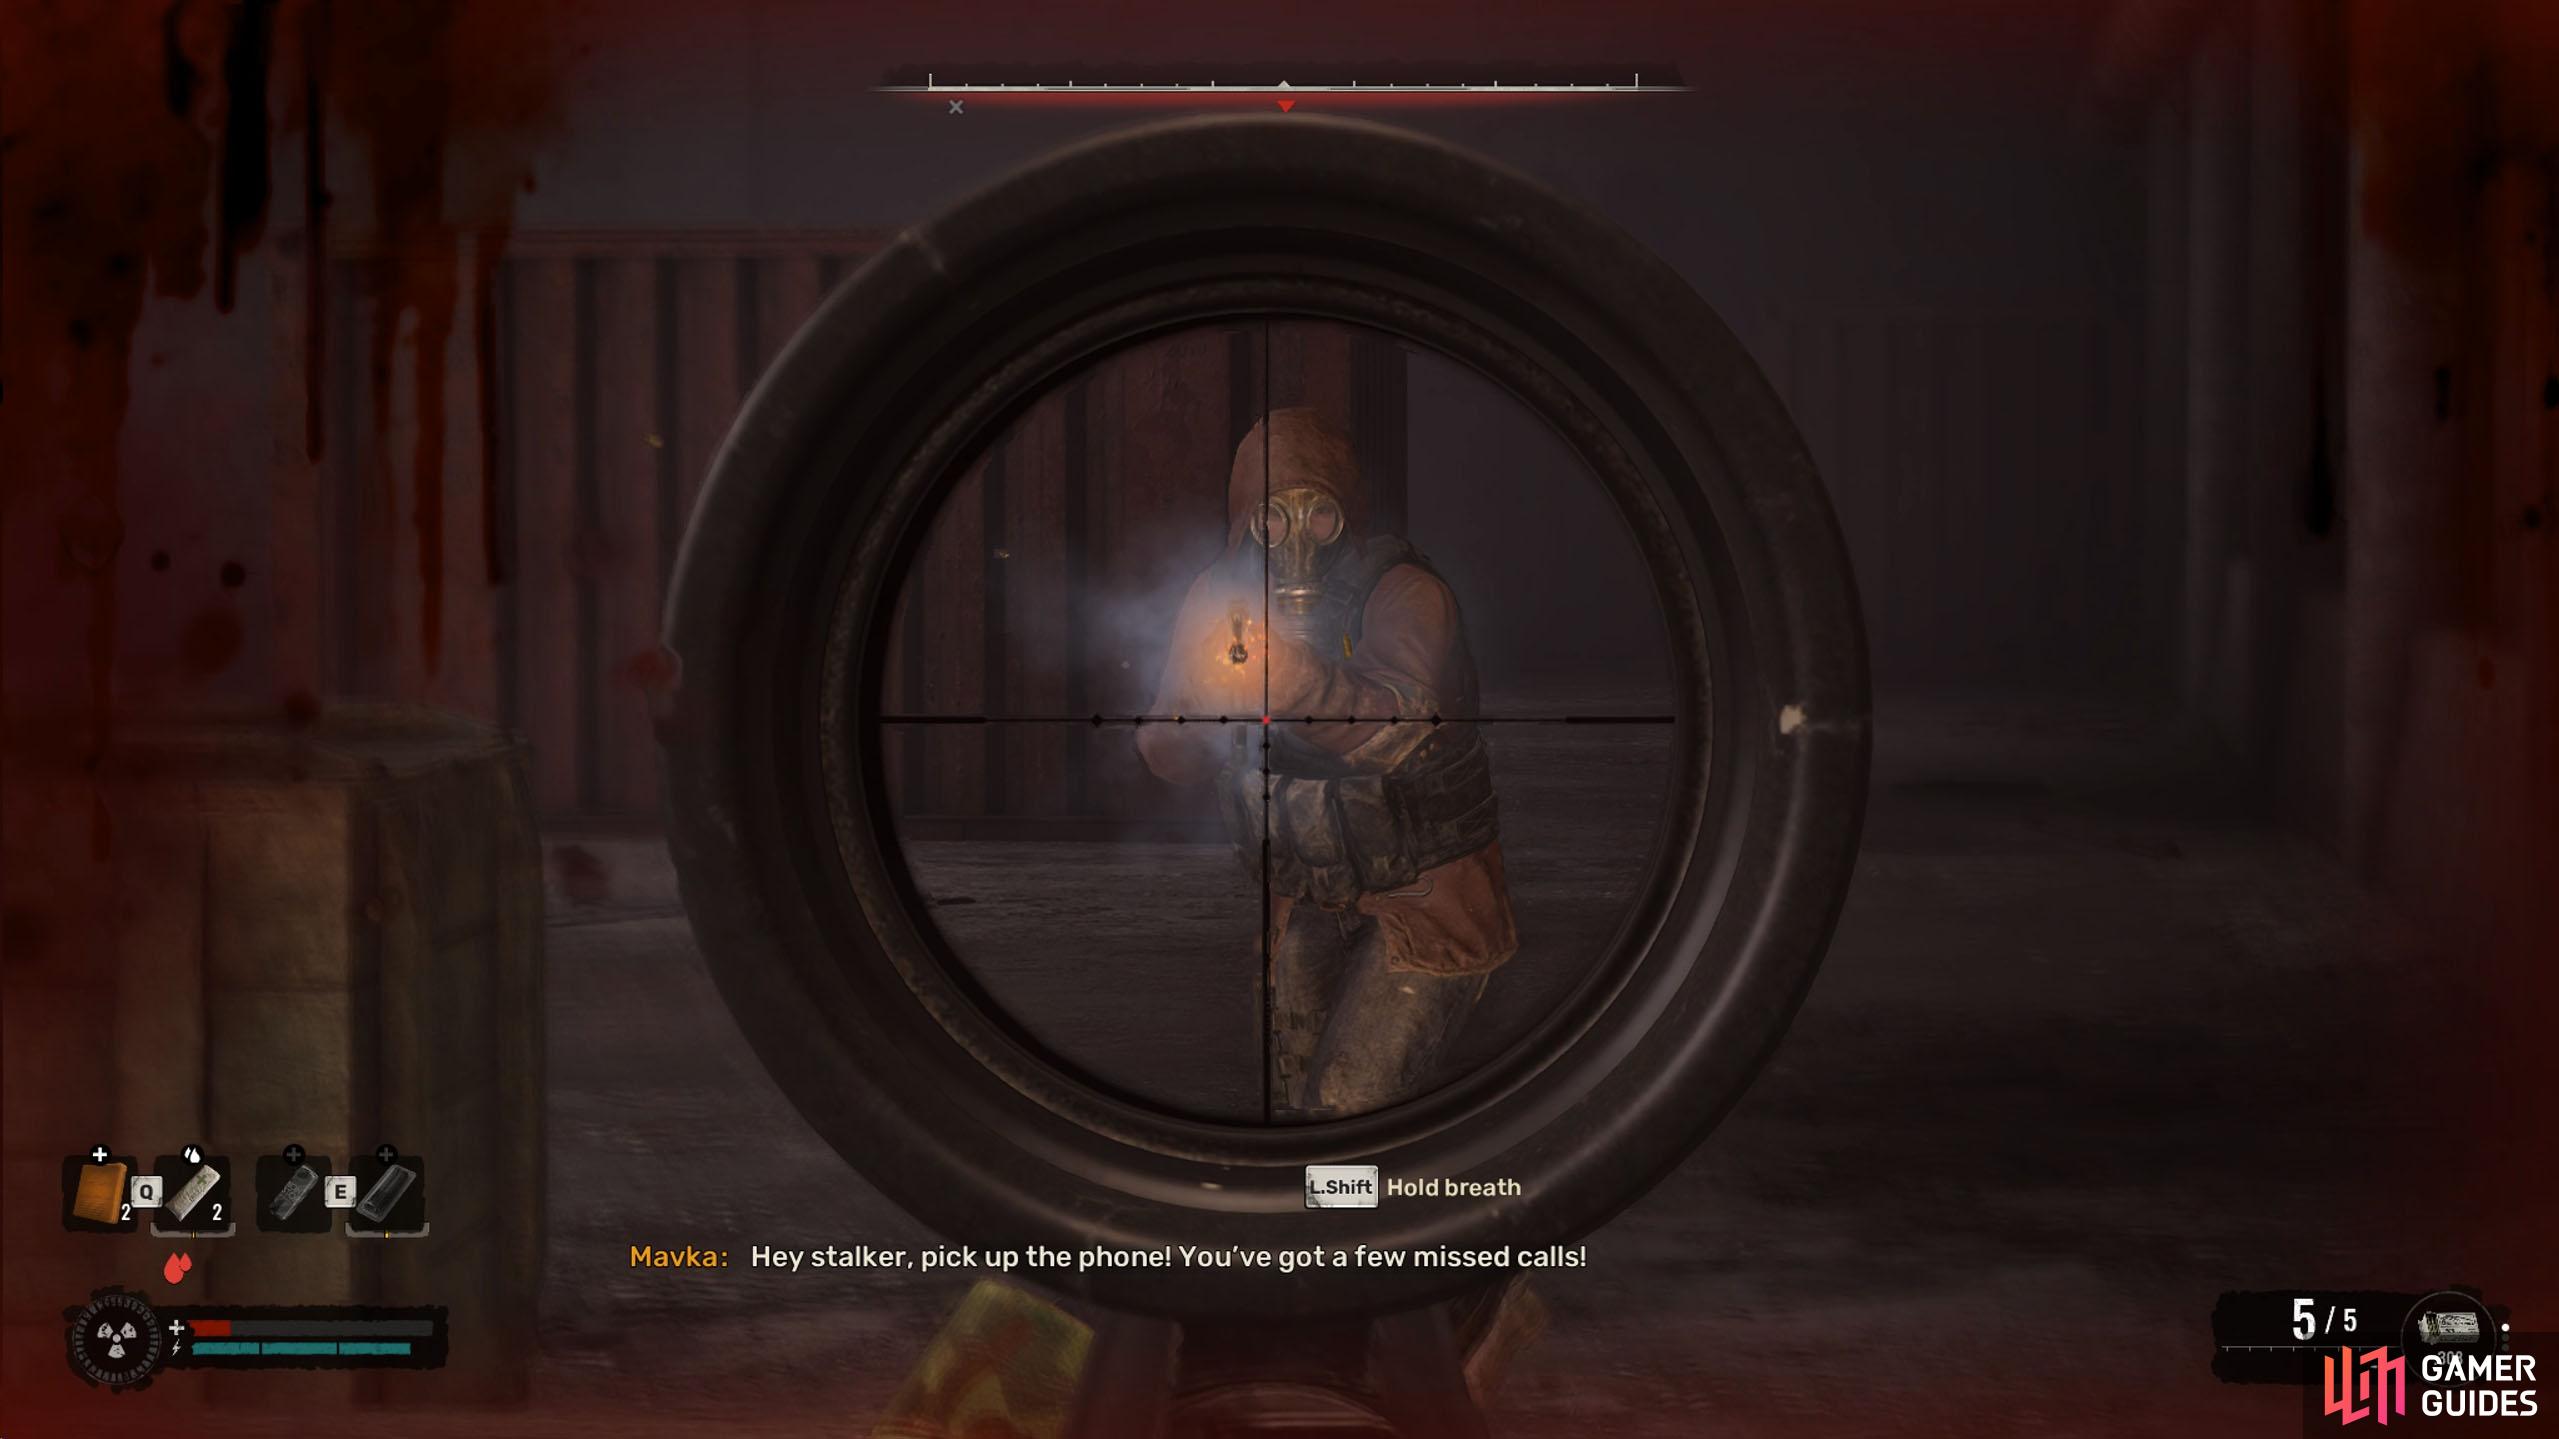
For this round, stay behind cover at all times, only moving to avoid a grenade, and then peek out from cover, hold your breath, and fire a single shot at the body of the enemy. Replicate this for every enemy, and you should be fine. Be careful of enemies flanking you, so don’t spend too much time zoomed into your scope, simply, aim, shoot, check your flanks, and reposition if needed. If you get hit, which you most likely will, you’ll get the bleeding effect, so use a bandage to remove it and get a small heal. Only use a Medkit, if your health reaches 25% or lower.
(1 of 3) The third round gives you the powerful M701 Super sniper rifle.
Arena - Round Four Guide
For this round, you’ll need to progress the main story. If you have tried sleeping, and Arnie still won’t give you the next fight, this is why. Progress the main story until you’ve completed either the ![]() Law and Order mission if you’re doing The Ward faction, or
Law and Order mission if you’re doing The Ward faction, or ![]() To the Last Drop of Blood if you’re following Spark. Once you’ve done that, you can head back to the arena.
To the Last Drop of Blood if you’re following Spark. Once you’ve done that, you can head back to the arena.
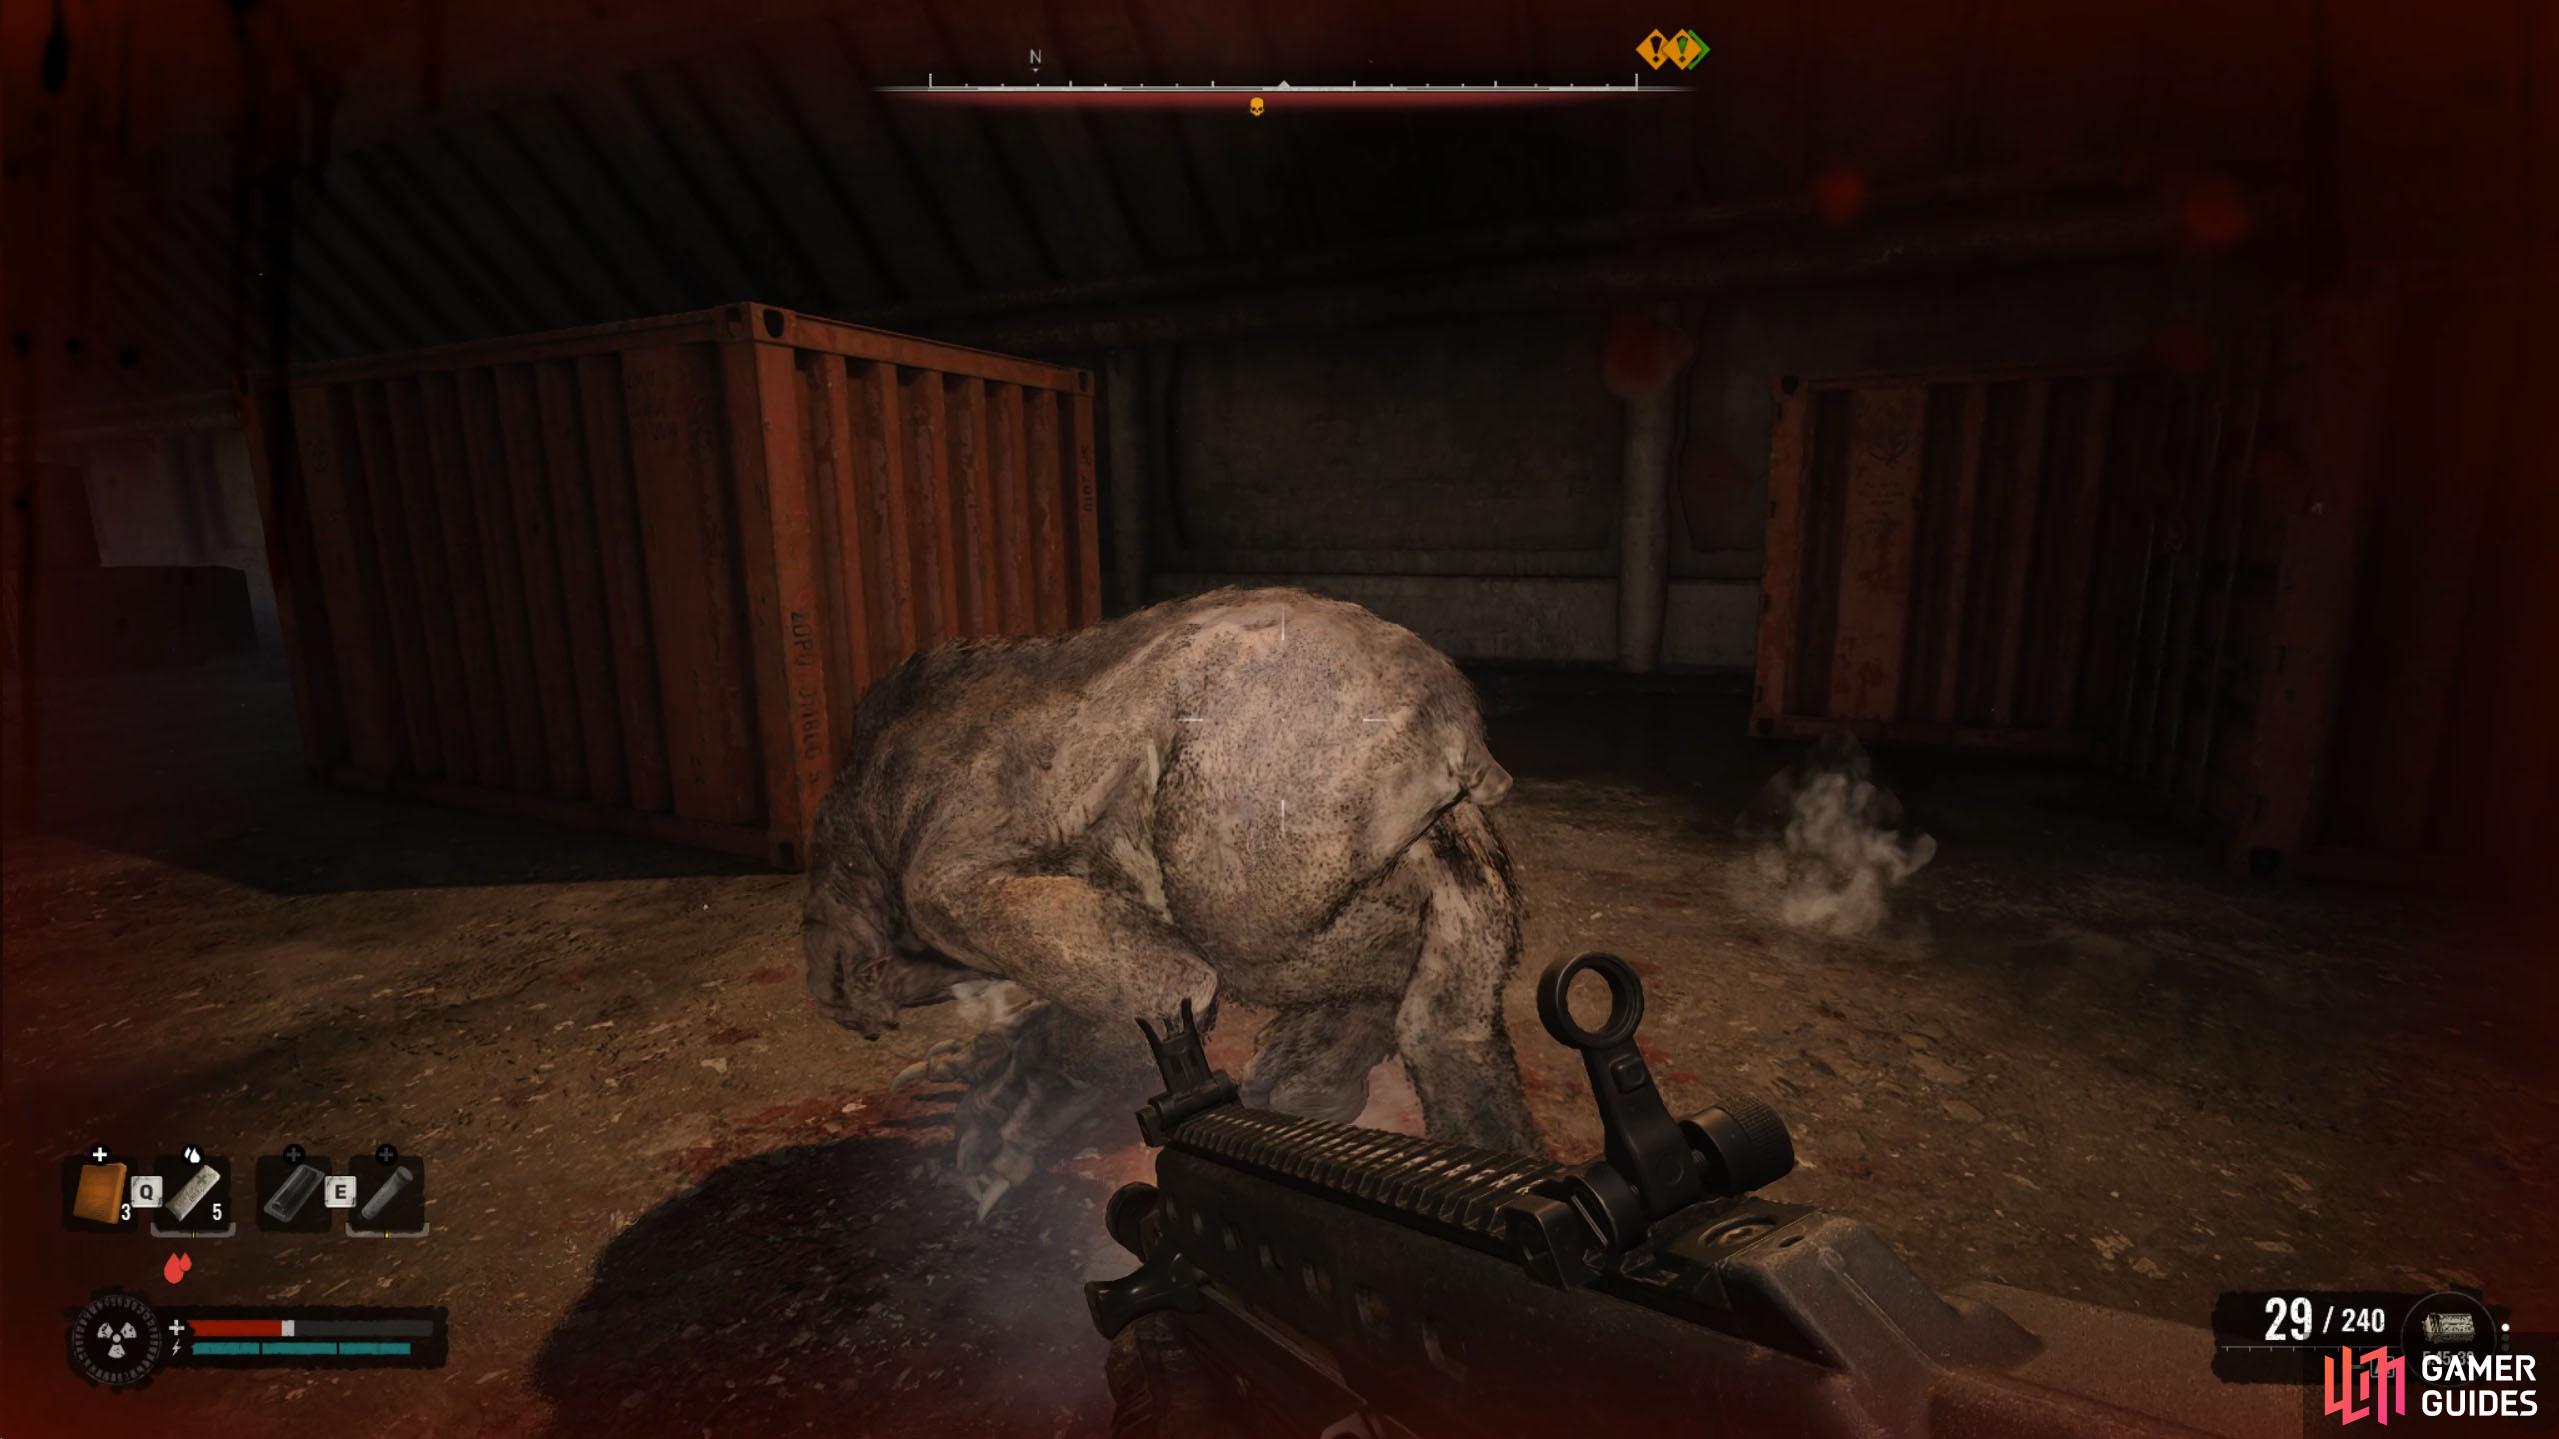
This round will put you up against a Chimera. As you could imagine, this is a difficult battle as these mutants are no pushover, however, you are given the powerful ![]() Dnipro rifle to make it a bit easier, and you’ll have three Medkits and five Bandages too. Now, there are two ways to go about this battle, the hard way or the easy way. The hard way is the “proper” way to do this, while the easy way involves some cheese.
Dnipro rifle to make it a bit easier, and you’ll have three Medkits and five Bandages too. Now, there are two ways to go about this battle, the hard way or the easy way. The hard way is the “proper” way to do this, while the easy way involves some cheese.
(1 of 2) Round four pits you against a Chimera while giving you a Dnipro to defeat it.
Round four pits you against a Chimera while giving you a Dnipro to defeat it. (left), You could fight the Chimera fairly, but it won’t return the favor. (right)
For the hard way, you’ll be fighting the Chimera fairly, meaning, you won’t abuse climbing on stuff to avoid getting hit. The Chimera will predominantly dash and leap at you, swiping in the process, before coming around again for a second swipe. This attack will make you bleed and deal significant damage, and if you’re not quick enough to heal, it could mean your death. However, you can avoid this attack by sprinting to the side.
This takes some getting used to, as you can still get hit, so you’ll want to run to the side opposite to the swipe. Outside this attack combo, the Chimera can go toe-to-toe with you and slash away. Spoiler, it will win these skirmishes. In short, you want to dodge the attack, fire off a mag, and retreat. Keep this up, and after almost all of your bullets, the Chimera will die.
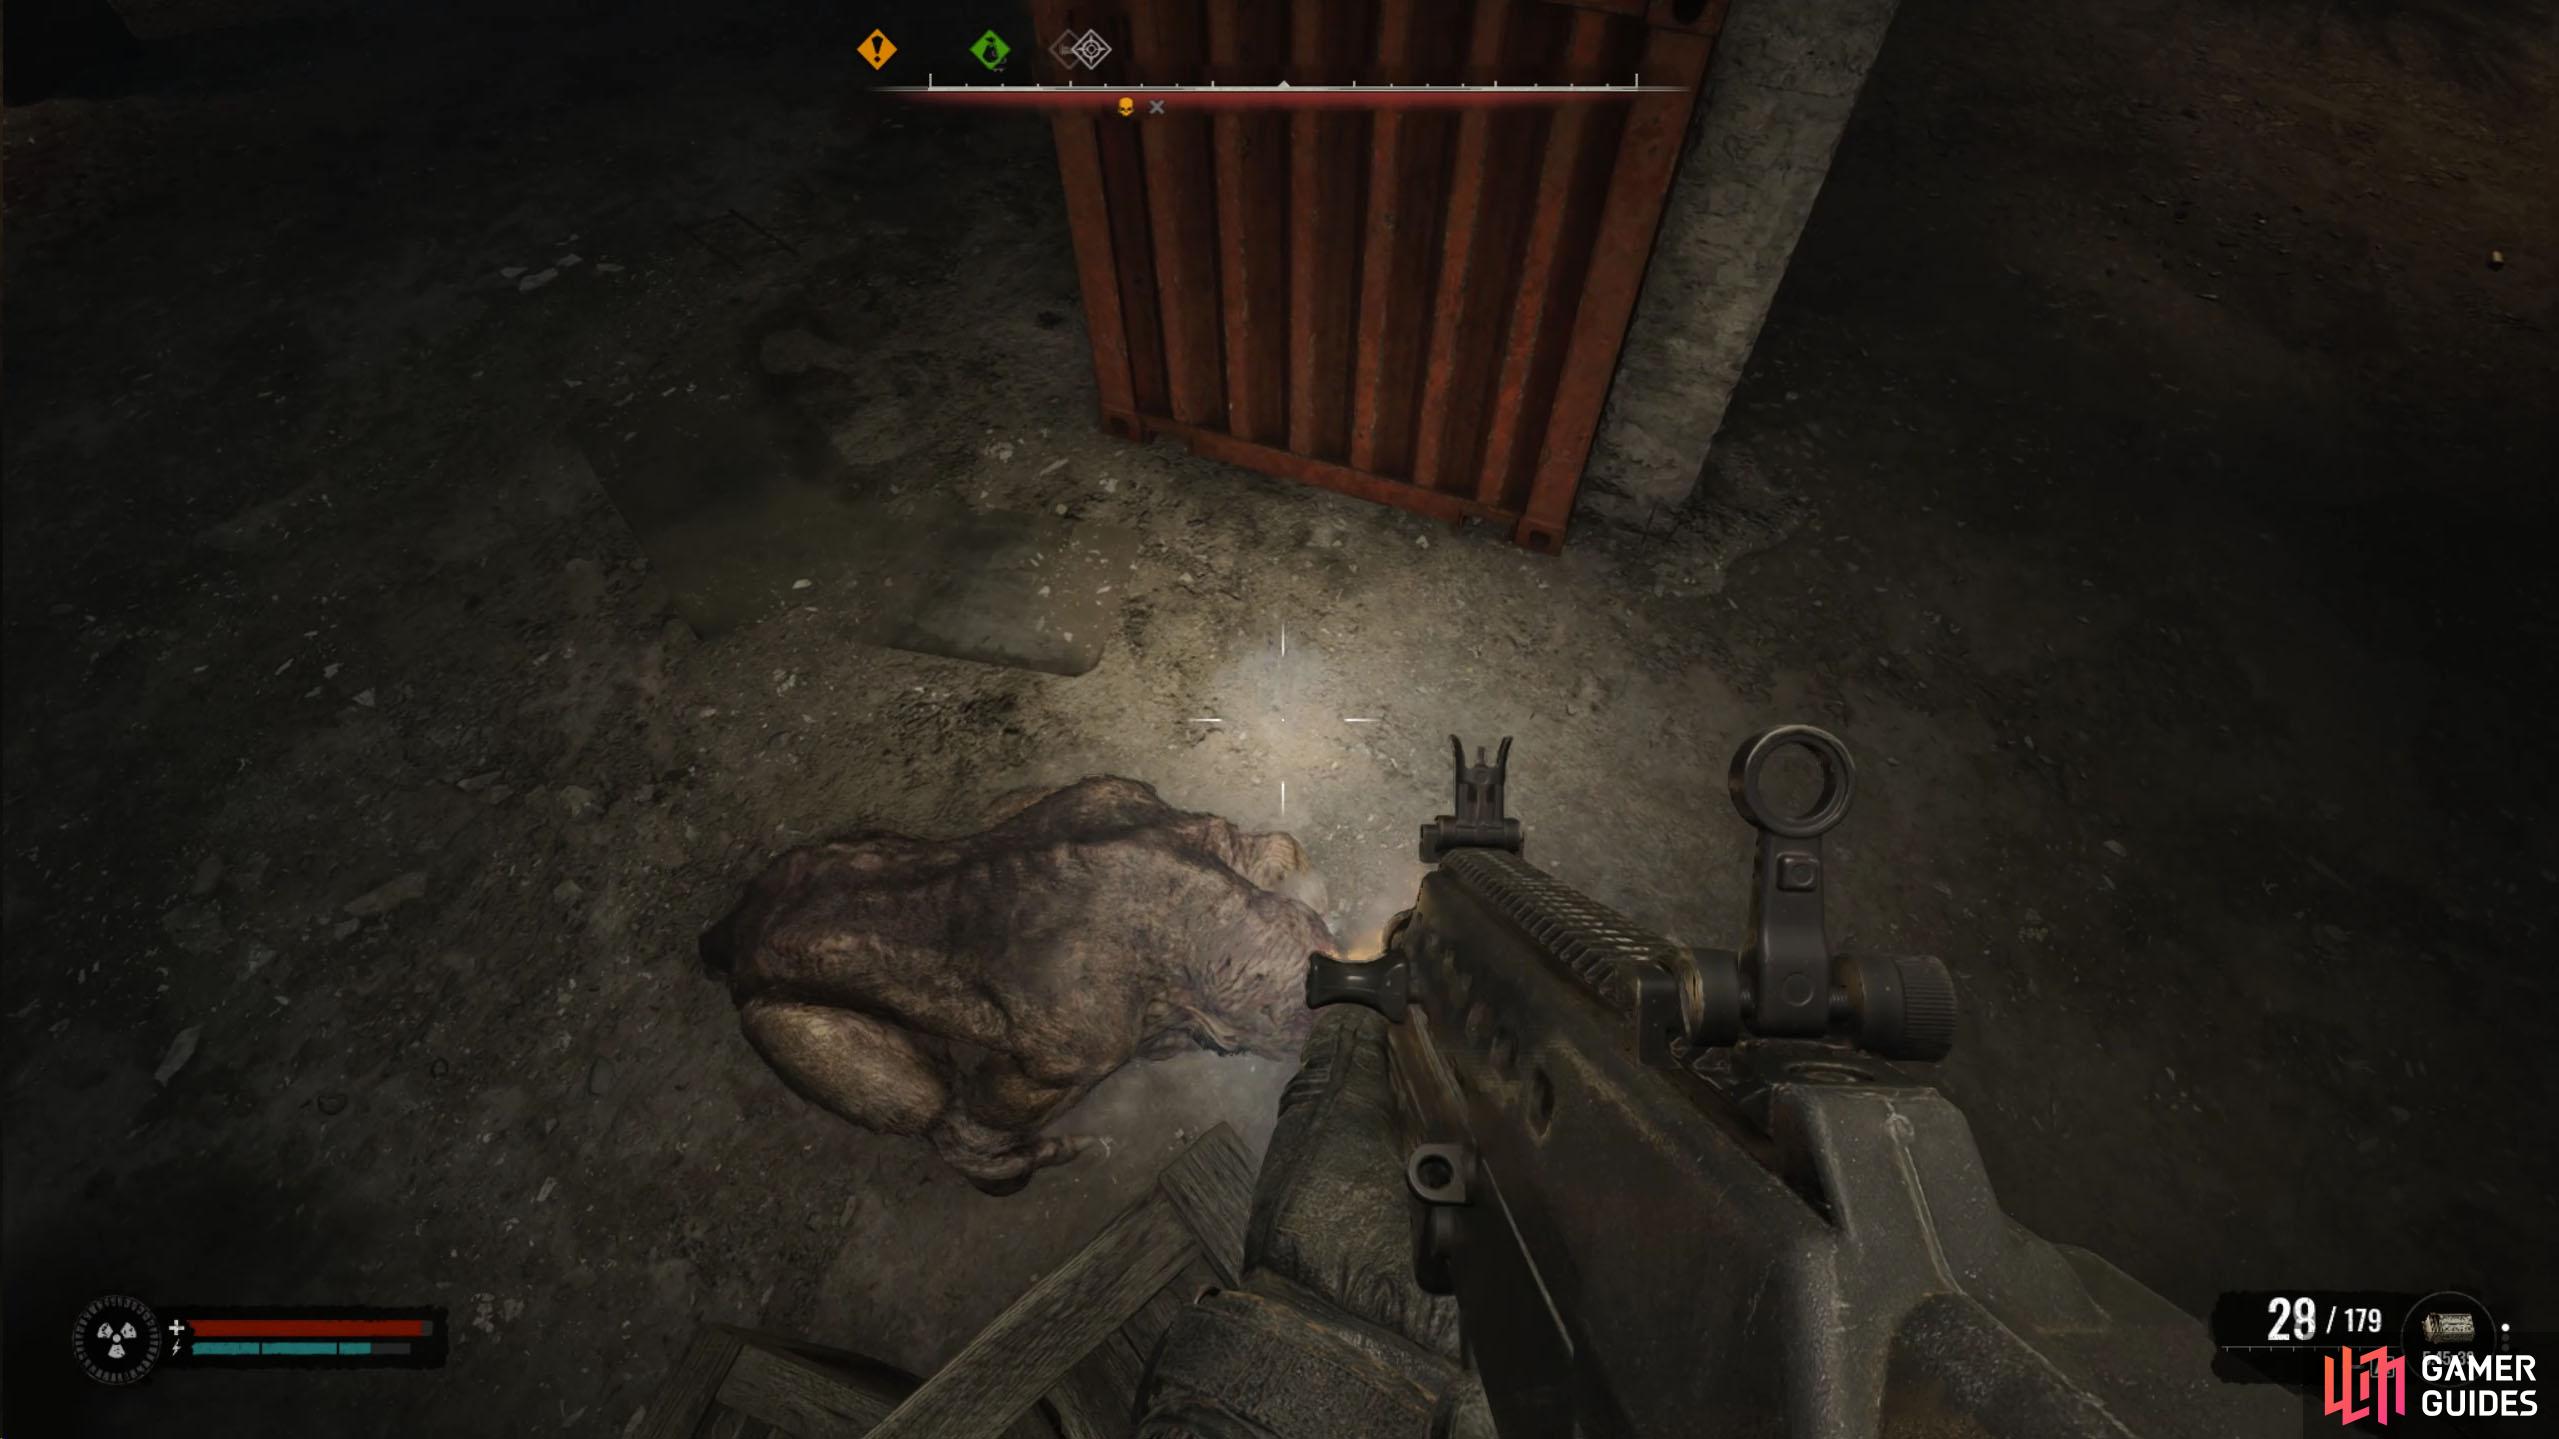
If you want the easy method, run to the center of the arena to find a stack of wooden crates. This will be your fighting position. Now, bait the Chimera over by standing on the floor, and when it gets close, climb to the top crates, and fire upon it. The Chimera will retreat and hide to avoid this cheesy method, however, you can repeat this by dropping to the floor, waiting for it, climbing the crates, and shooting it. Keep this up, and it’ll die with you not taking a scratch.
(1 of 2) Use the crates in the center of the room to get a height advantage on the Chimera, and it won’t be able to hit you.
Use the crates in the center of the room to get a height advantage on the Chimera, and it won’t be able to hit you. (left), When it runs away, drop, and fire a magazine at it before getting back on the crates. Repeat this. (right)
Arena - Finals: Tyrant
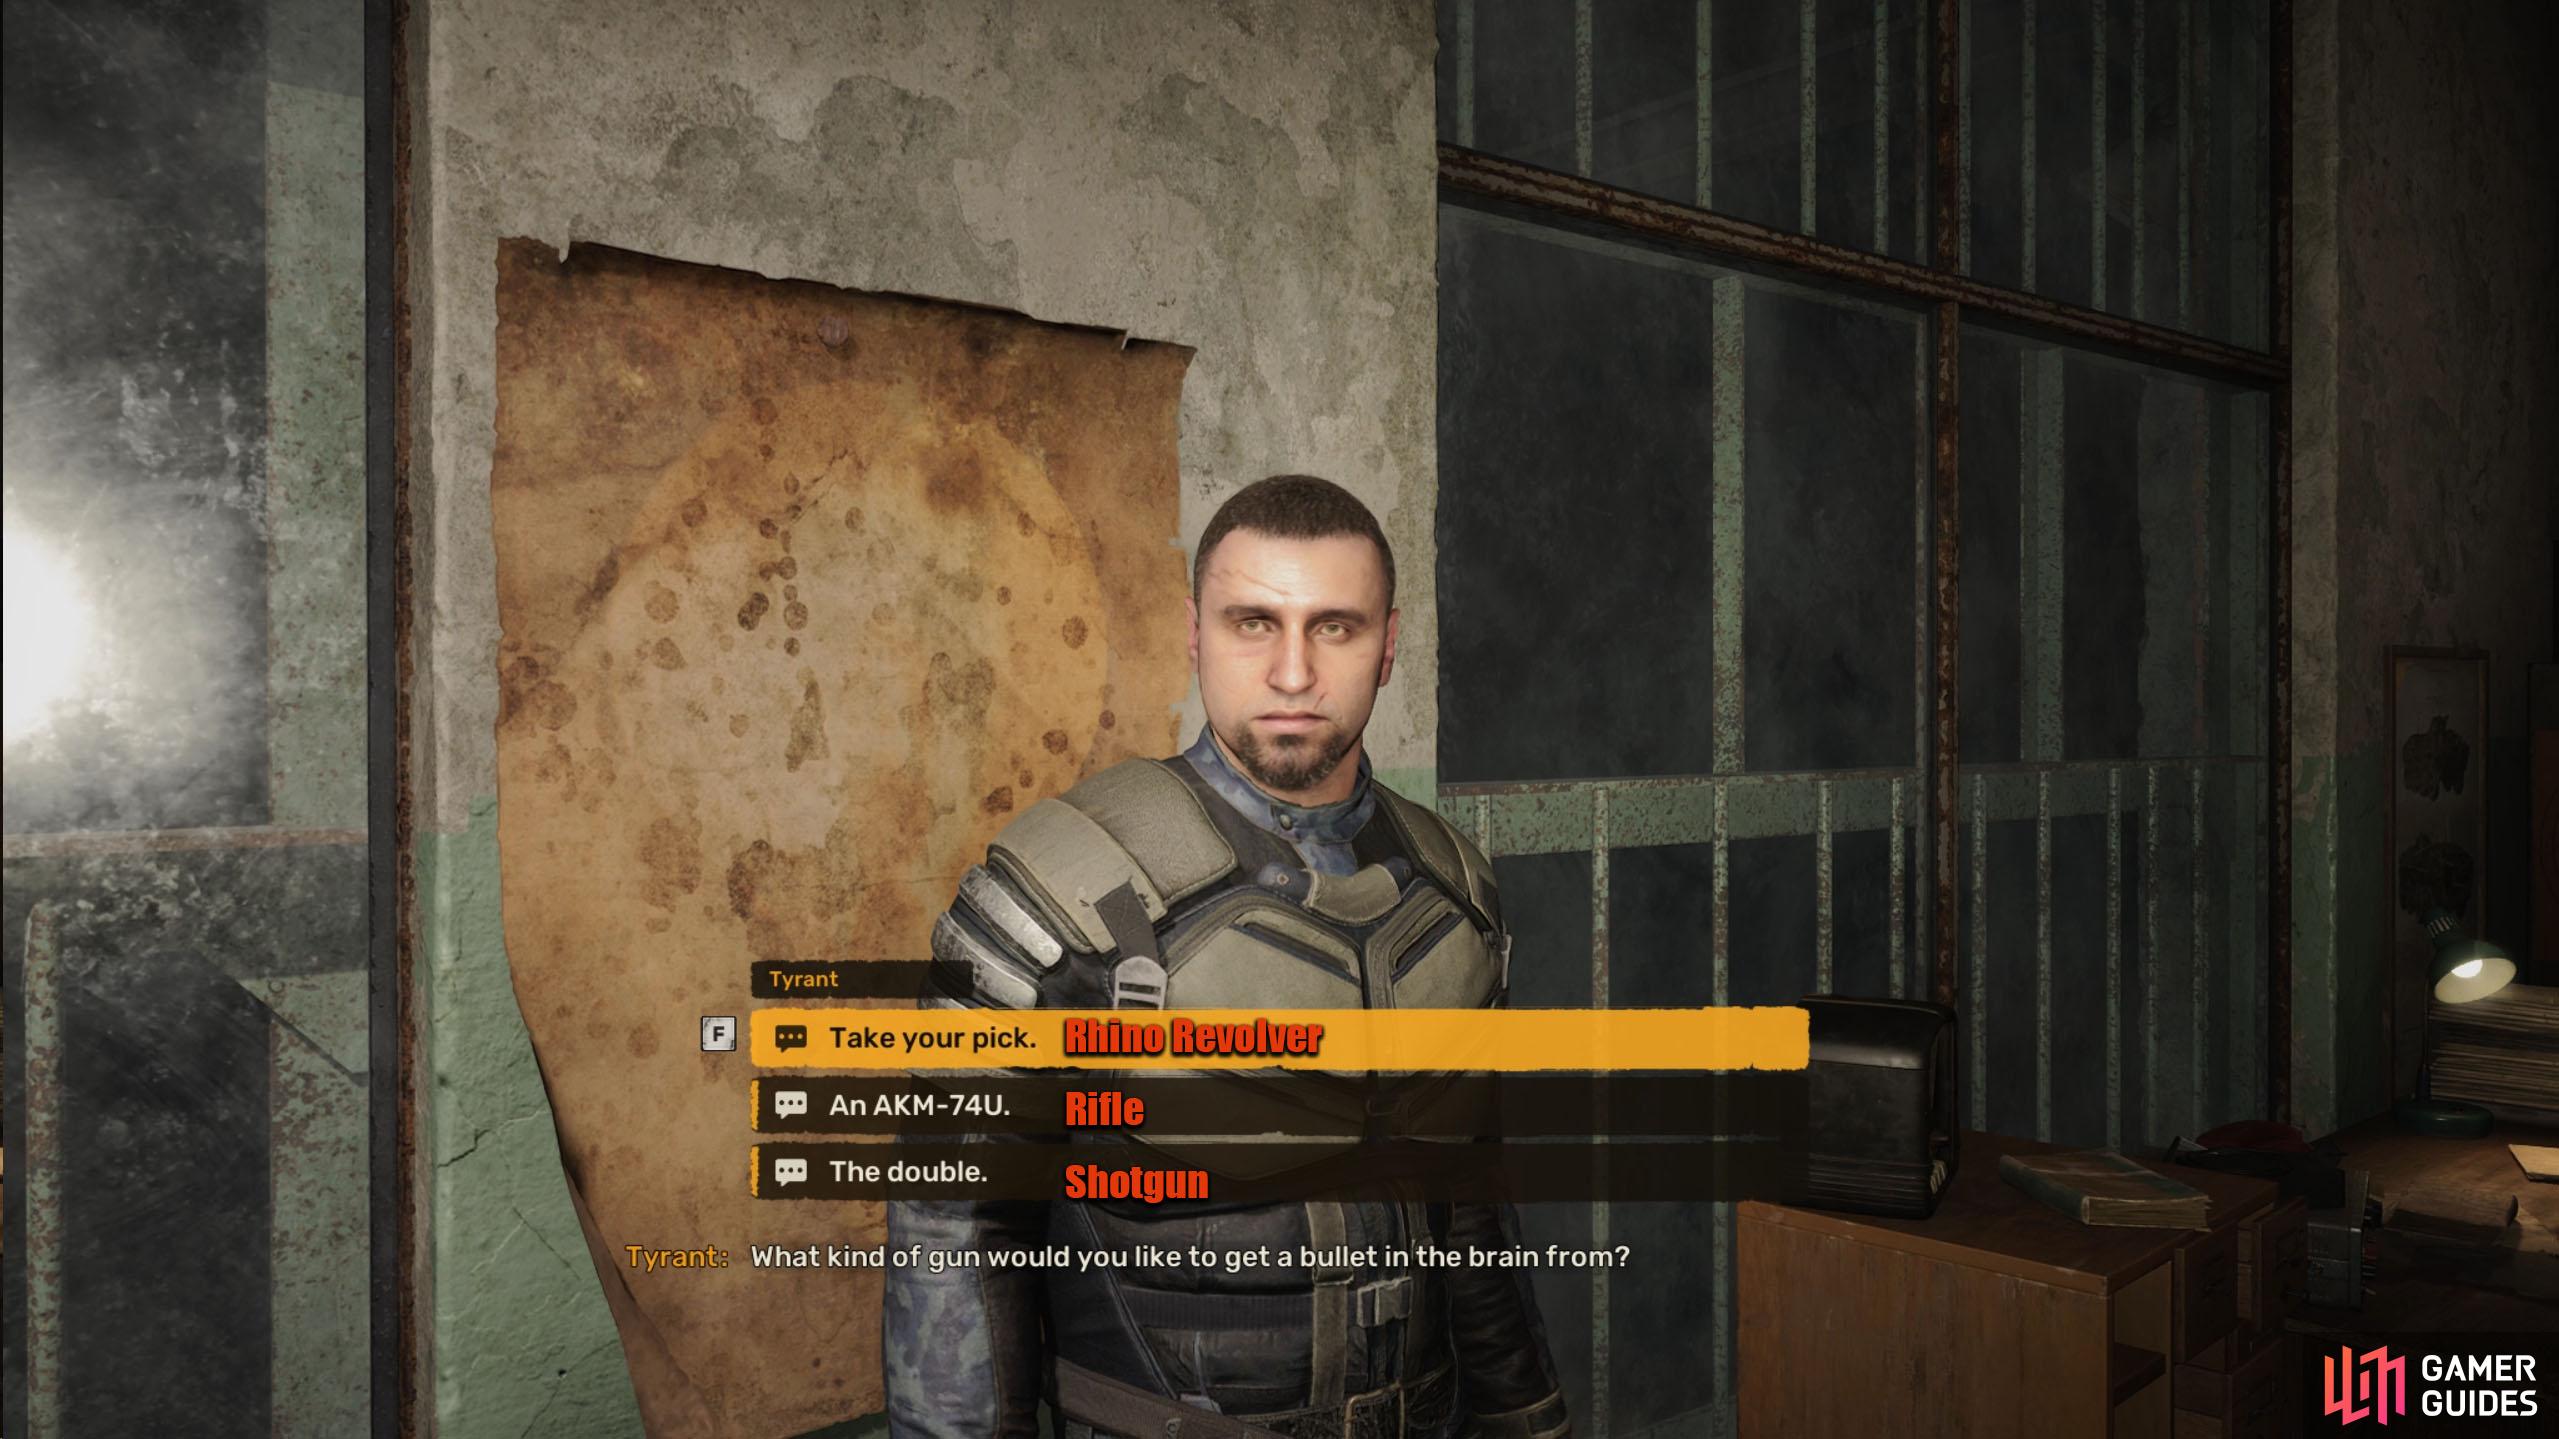
The final arena battle can be taken straight after the previous round (after resting), and you’ll be up against the previous arena winner, Tyrant. Before you get into the arena, Tyrant will ask you what weapon you want. Your choices are:
- You choose (Revolver)
- Shotgun
- Assault Rifle
Normally you’d go for the Assault Rifle, but Tyrant has extremely high armor, and selecting that will make your battle a lot more difficult. The Shotgun is okay, but the Revolver is the weapon you should go for. The reason for this is it has high penetration, making it the best weapon to go through Tyrant’s armor, provided you can hit his head.
(1 of 2) Before you start the final round, Tyrant will give you the choice of your weapon.
Before you start the final round, Tyrant will give you the choice of your weapon. (left), We recommend taking the Revolver (top option) due to its high penetration. (right)
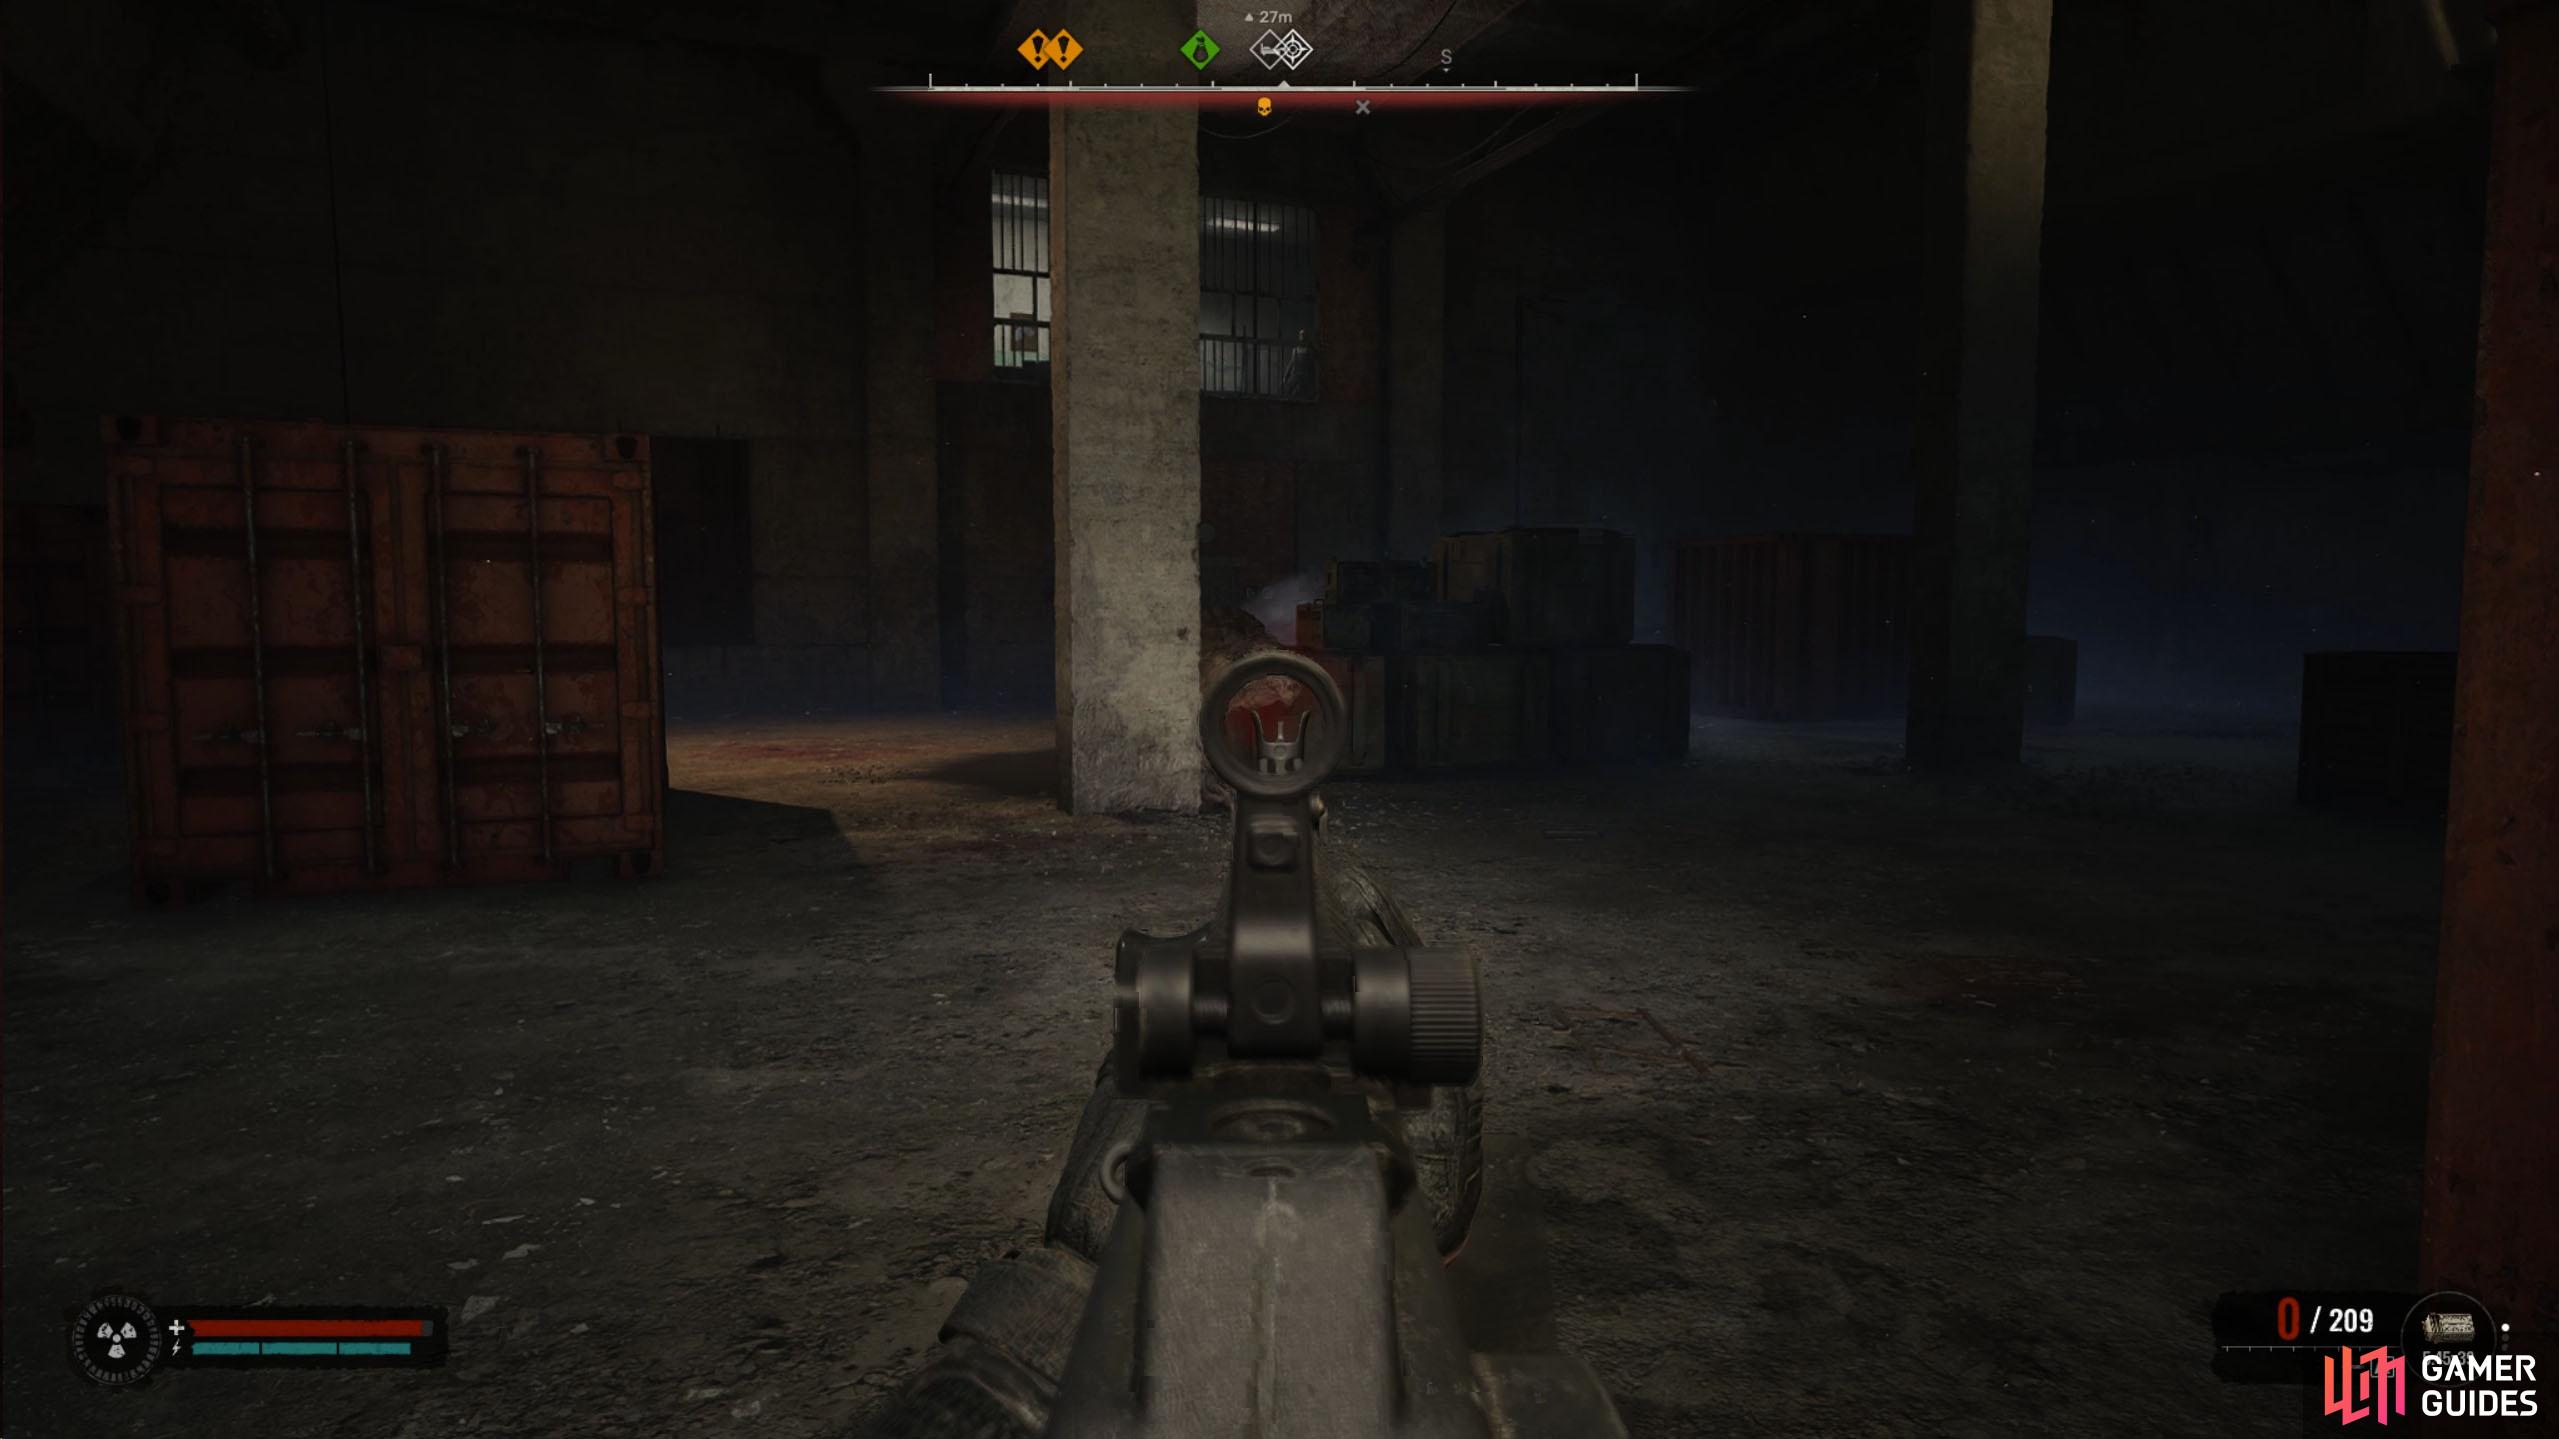
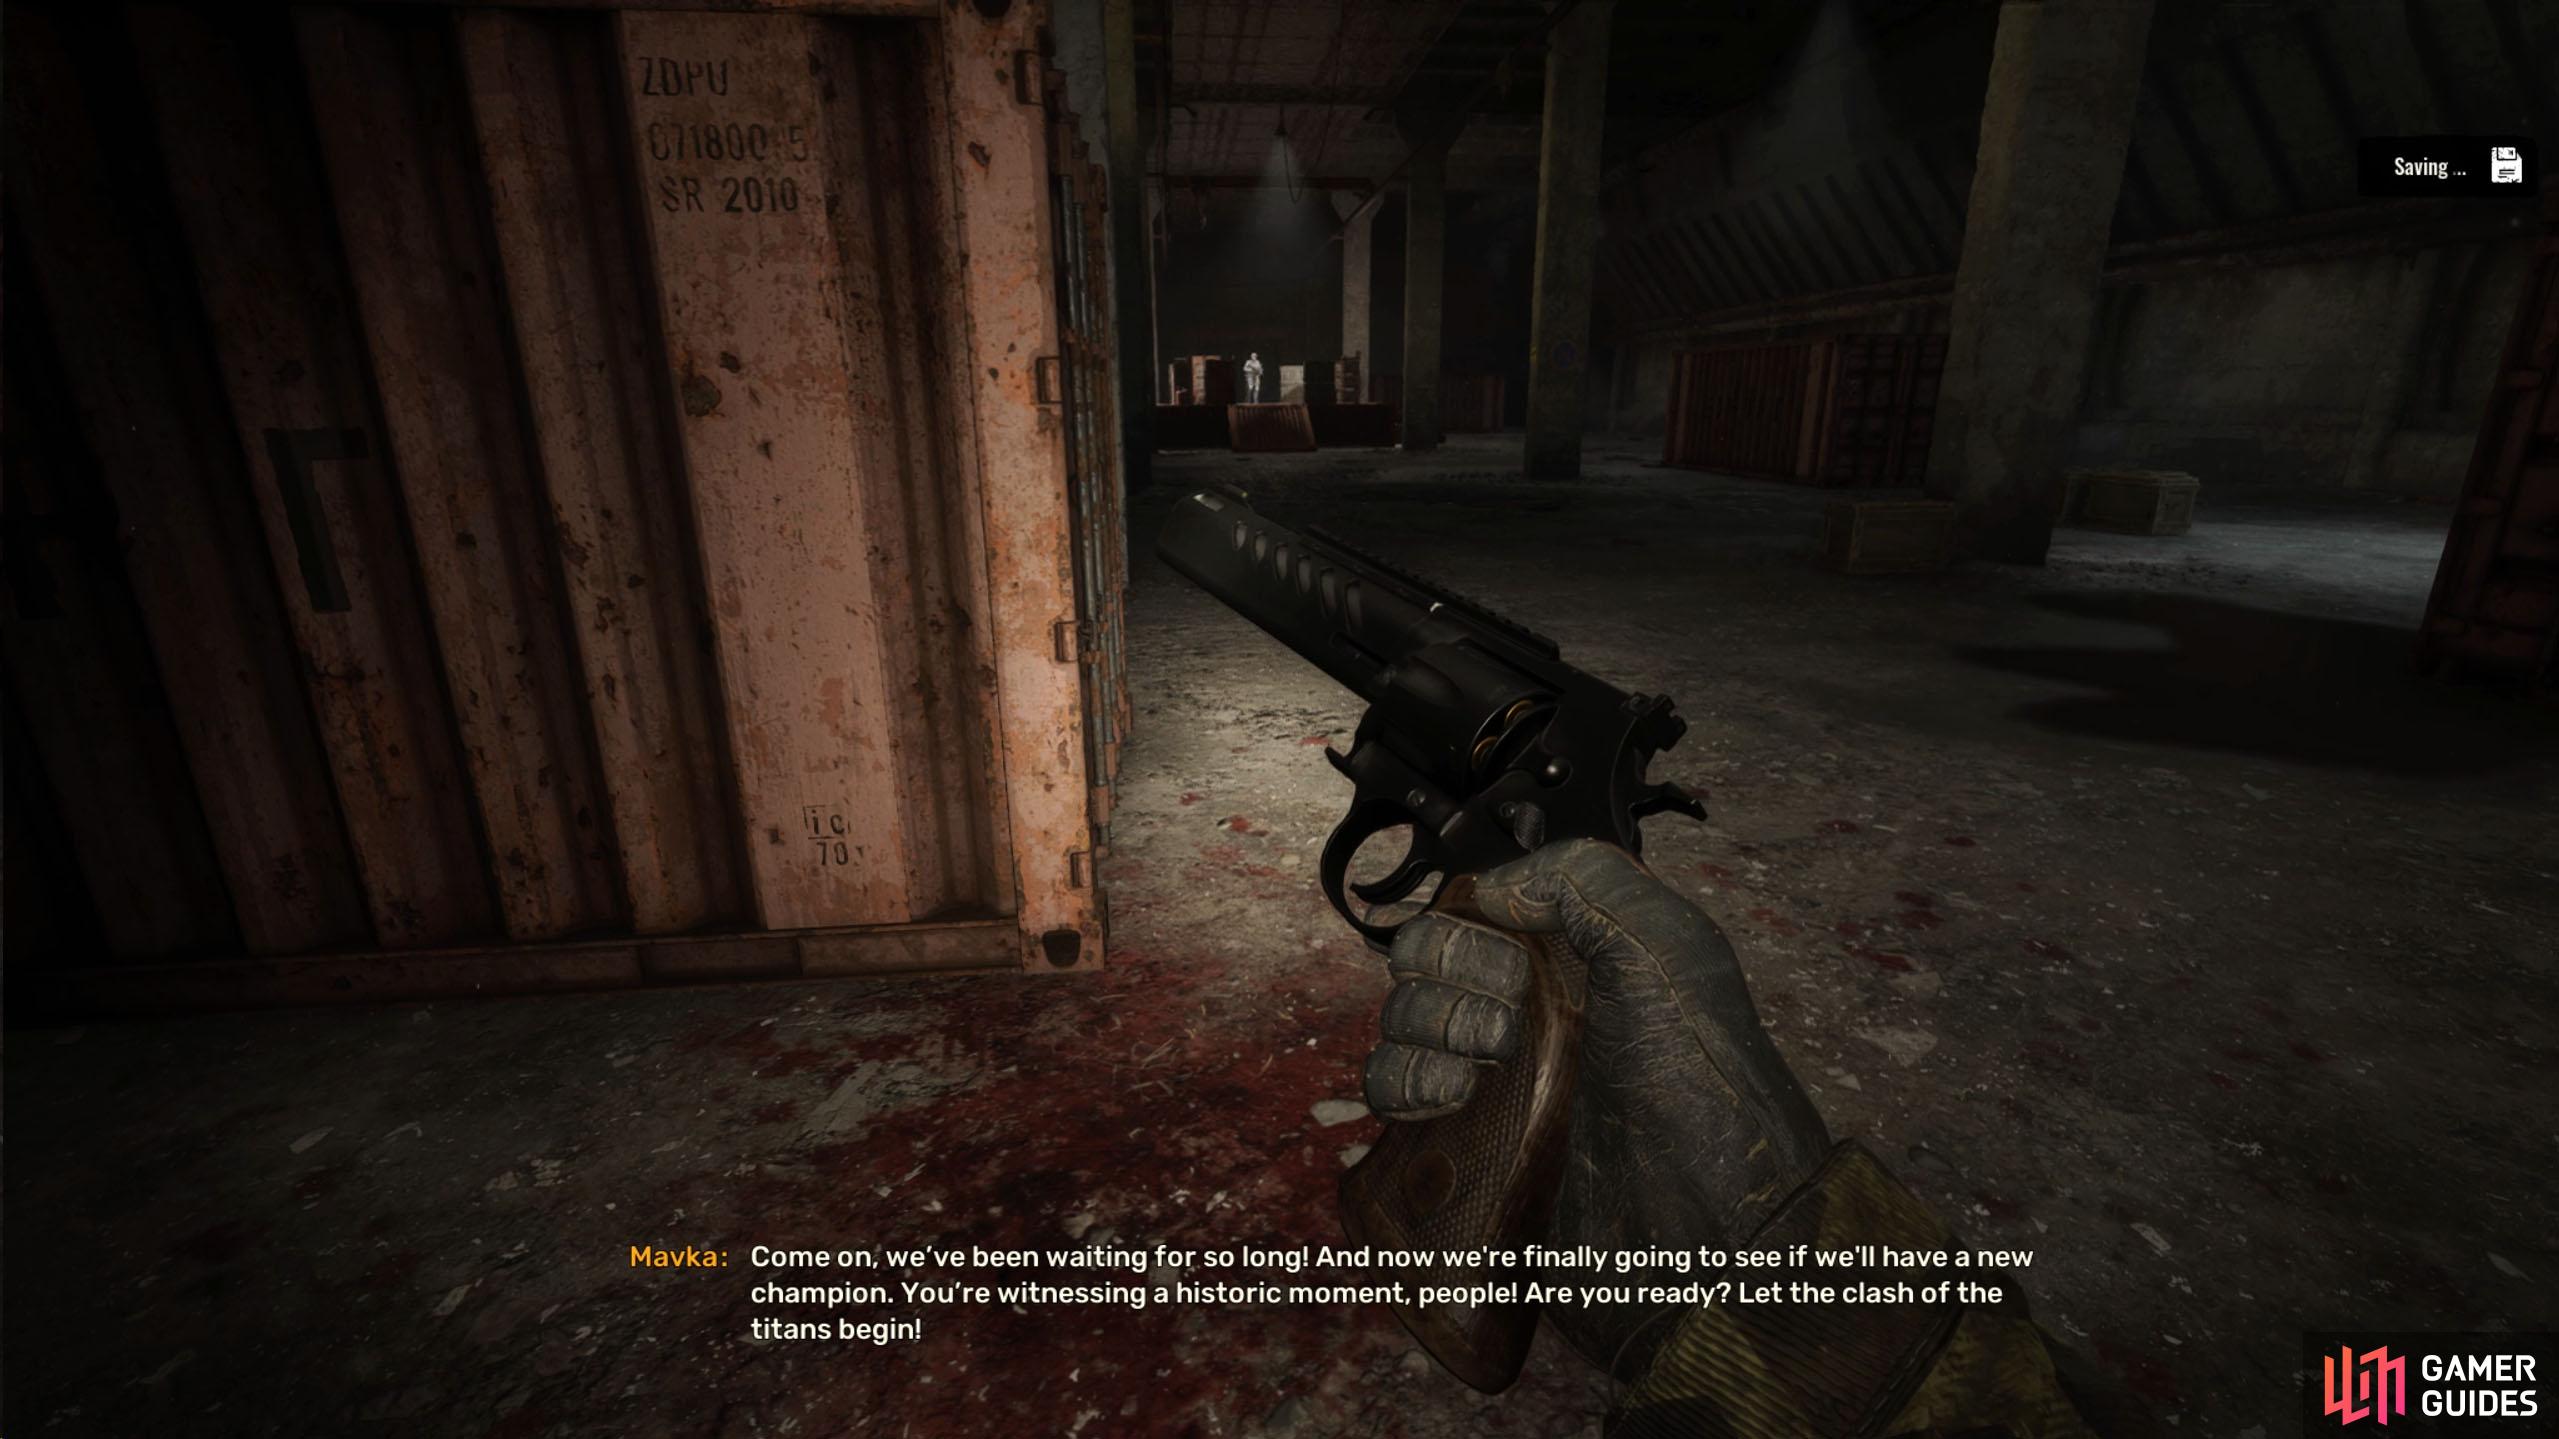
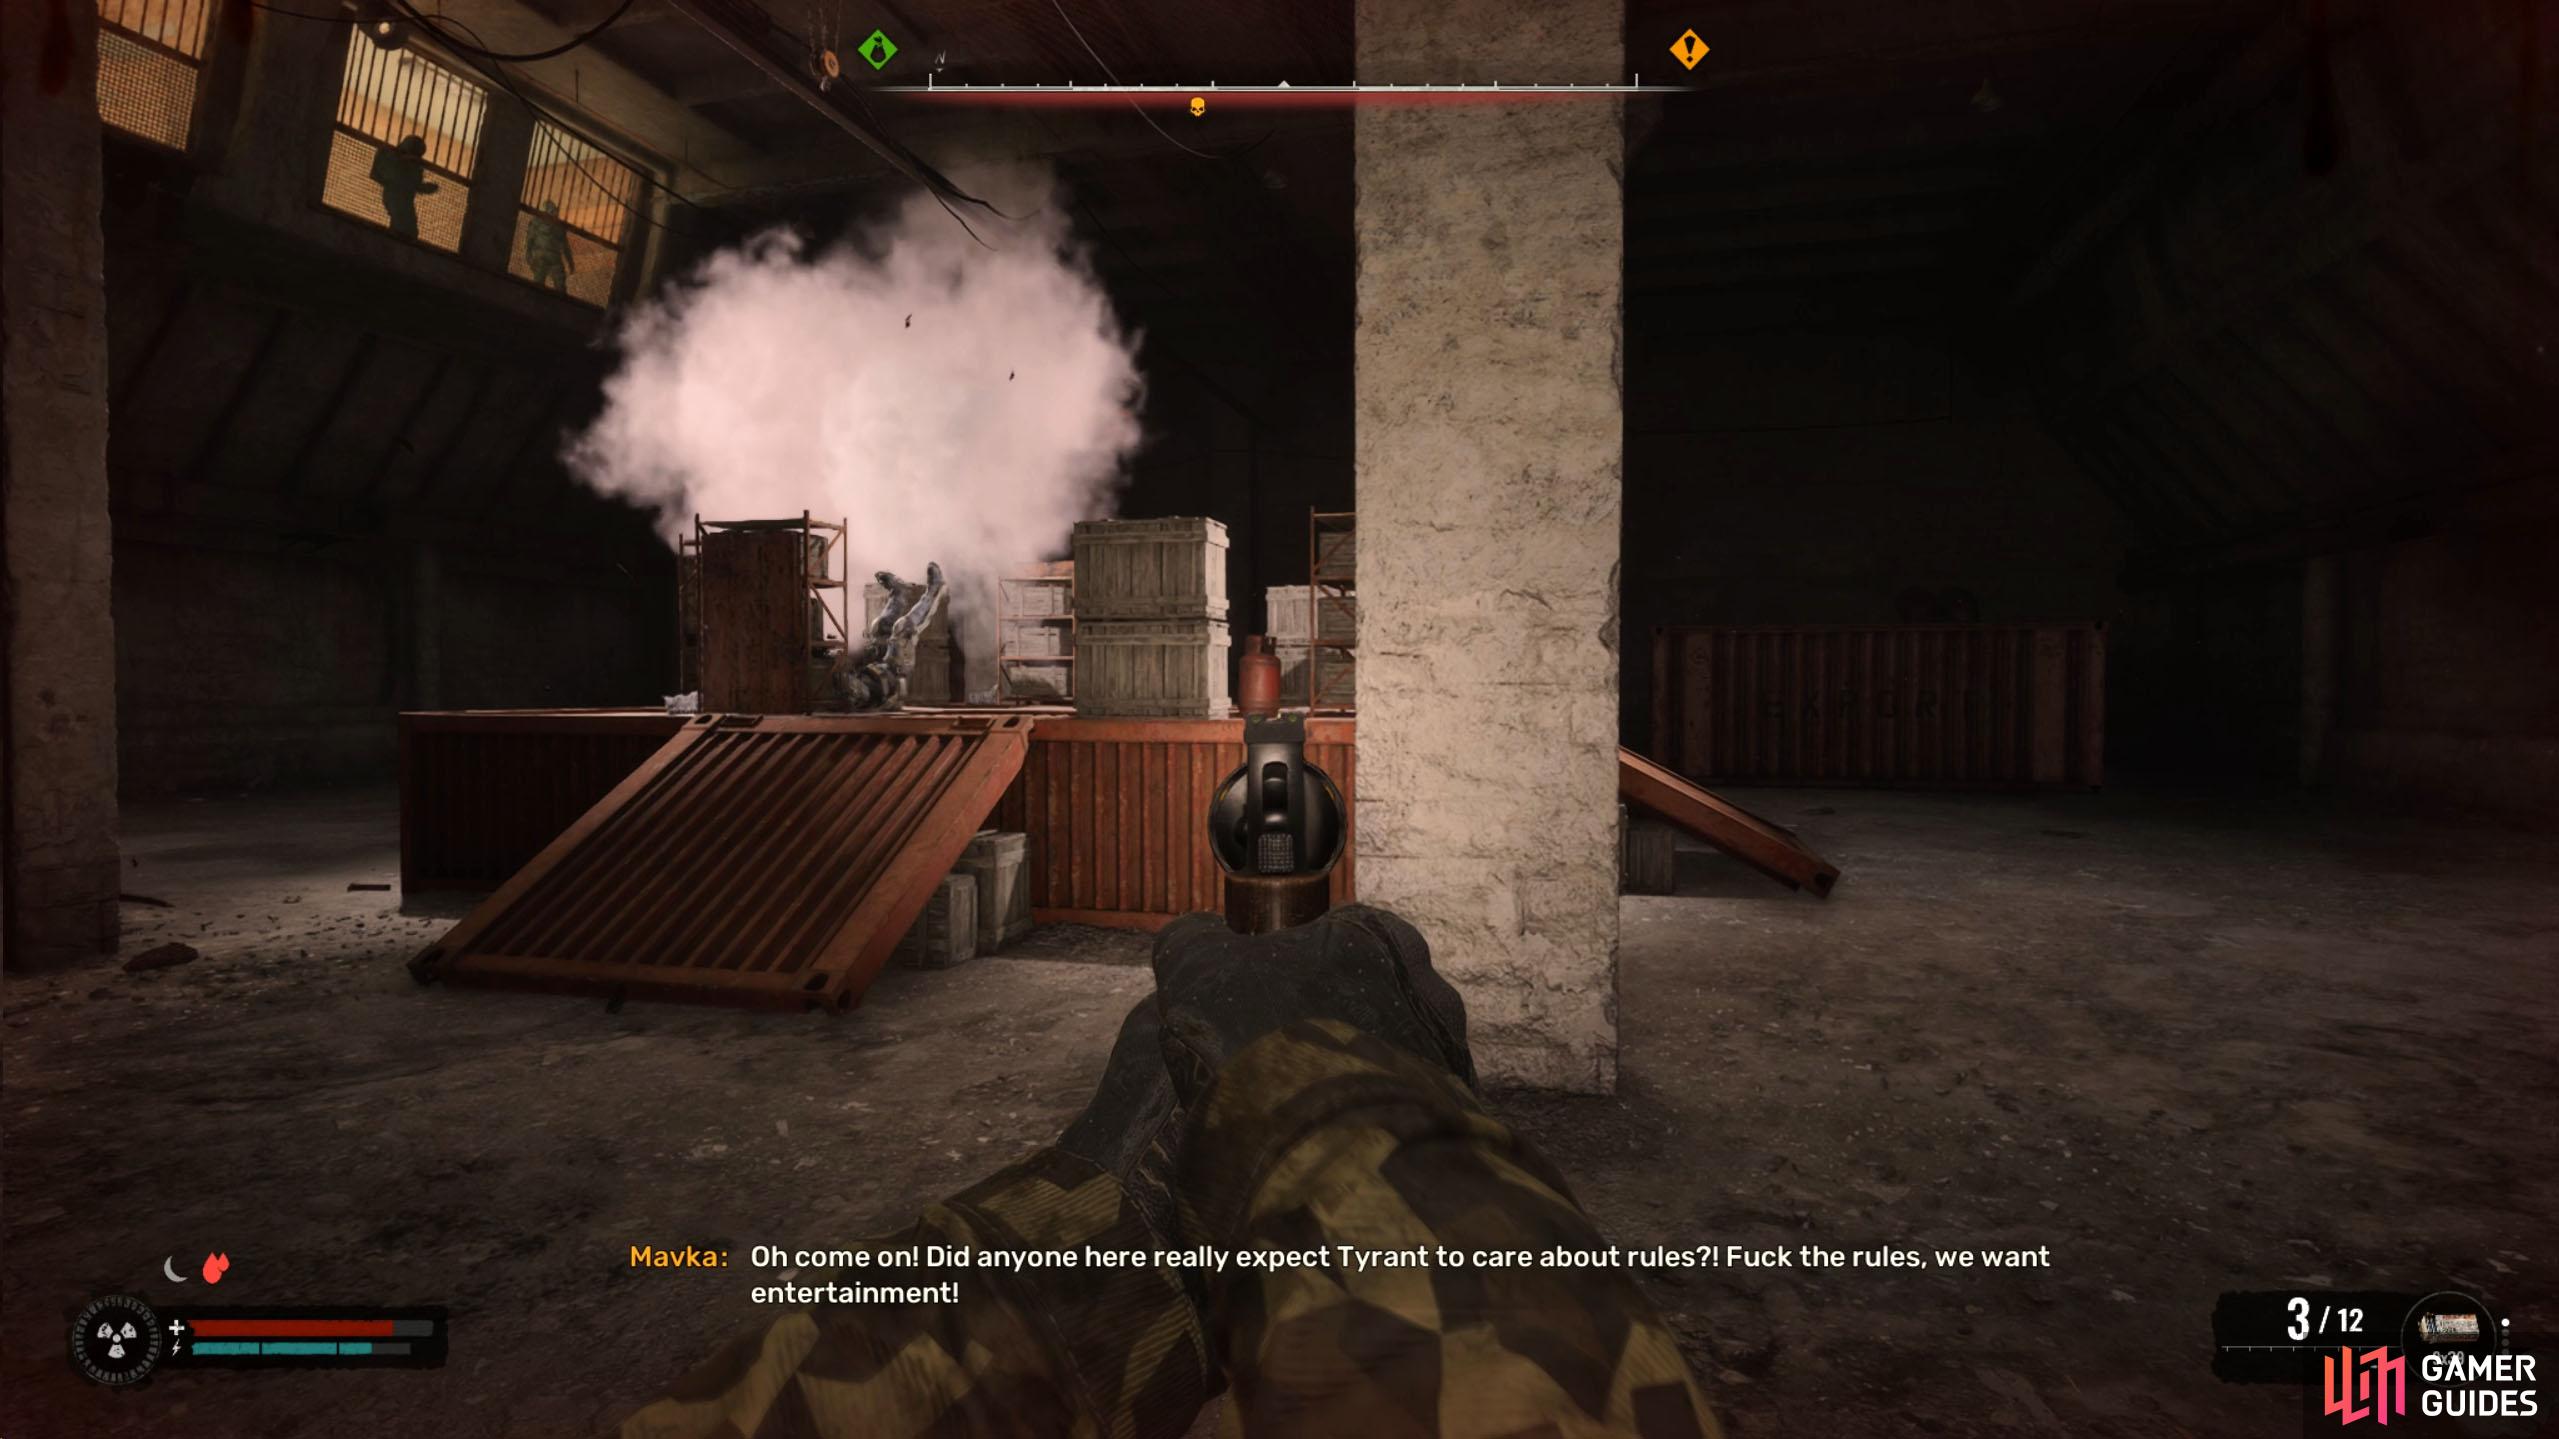
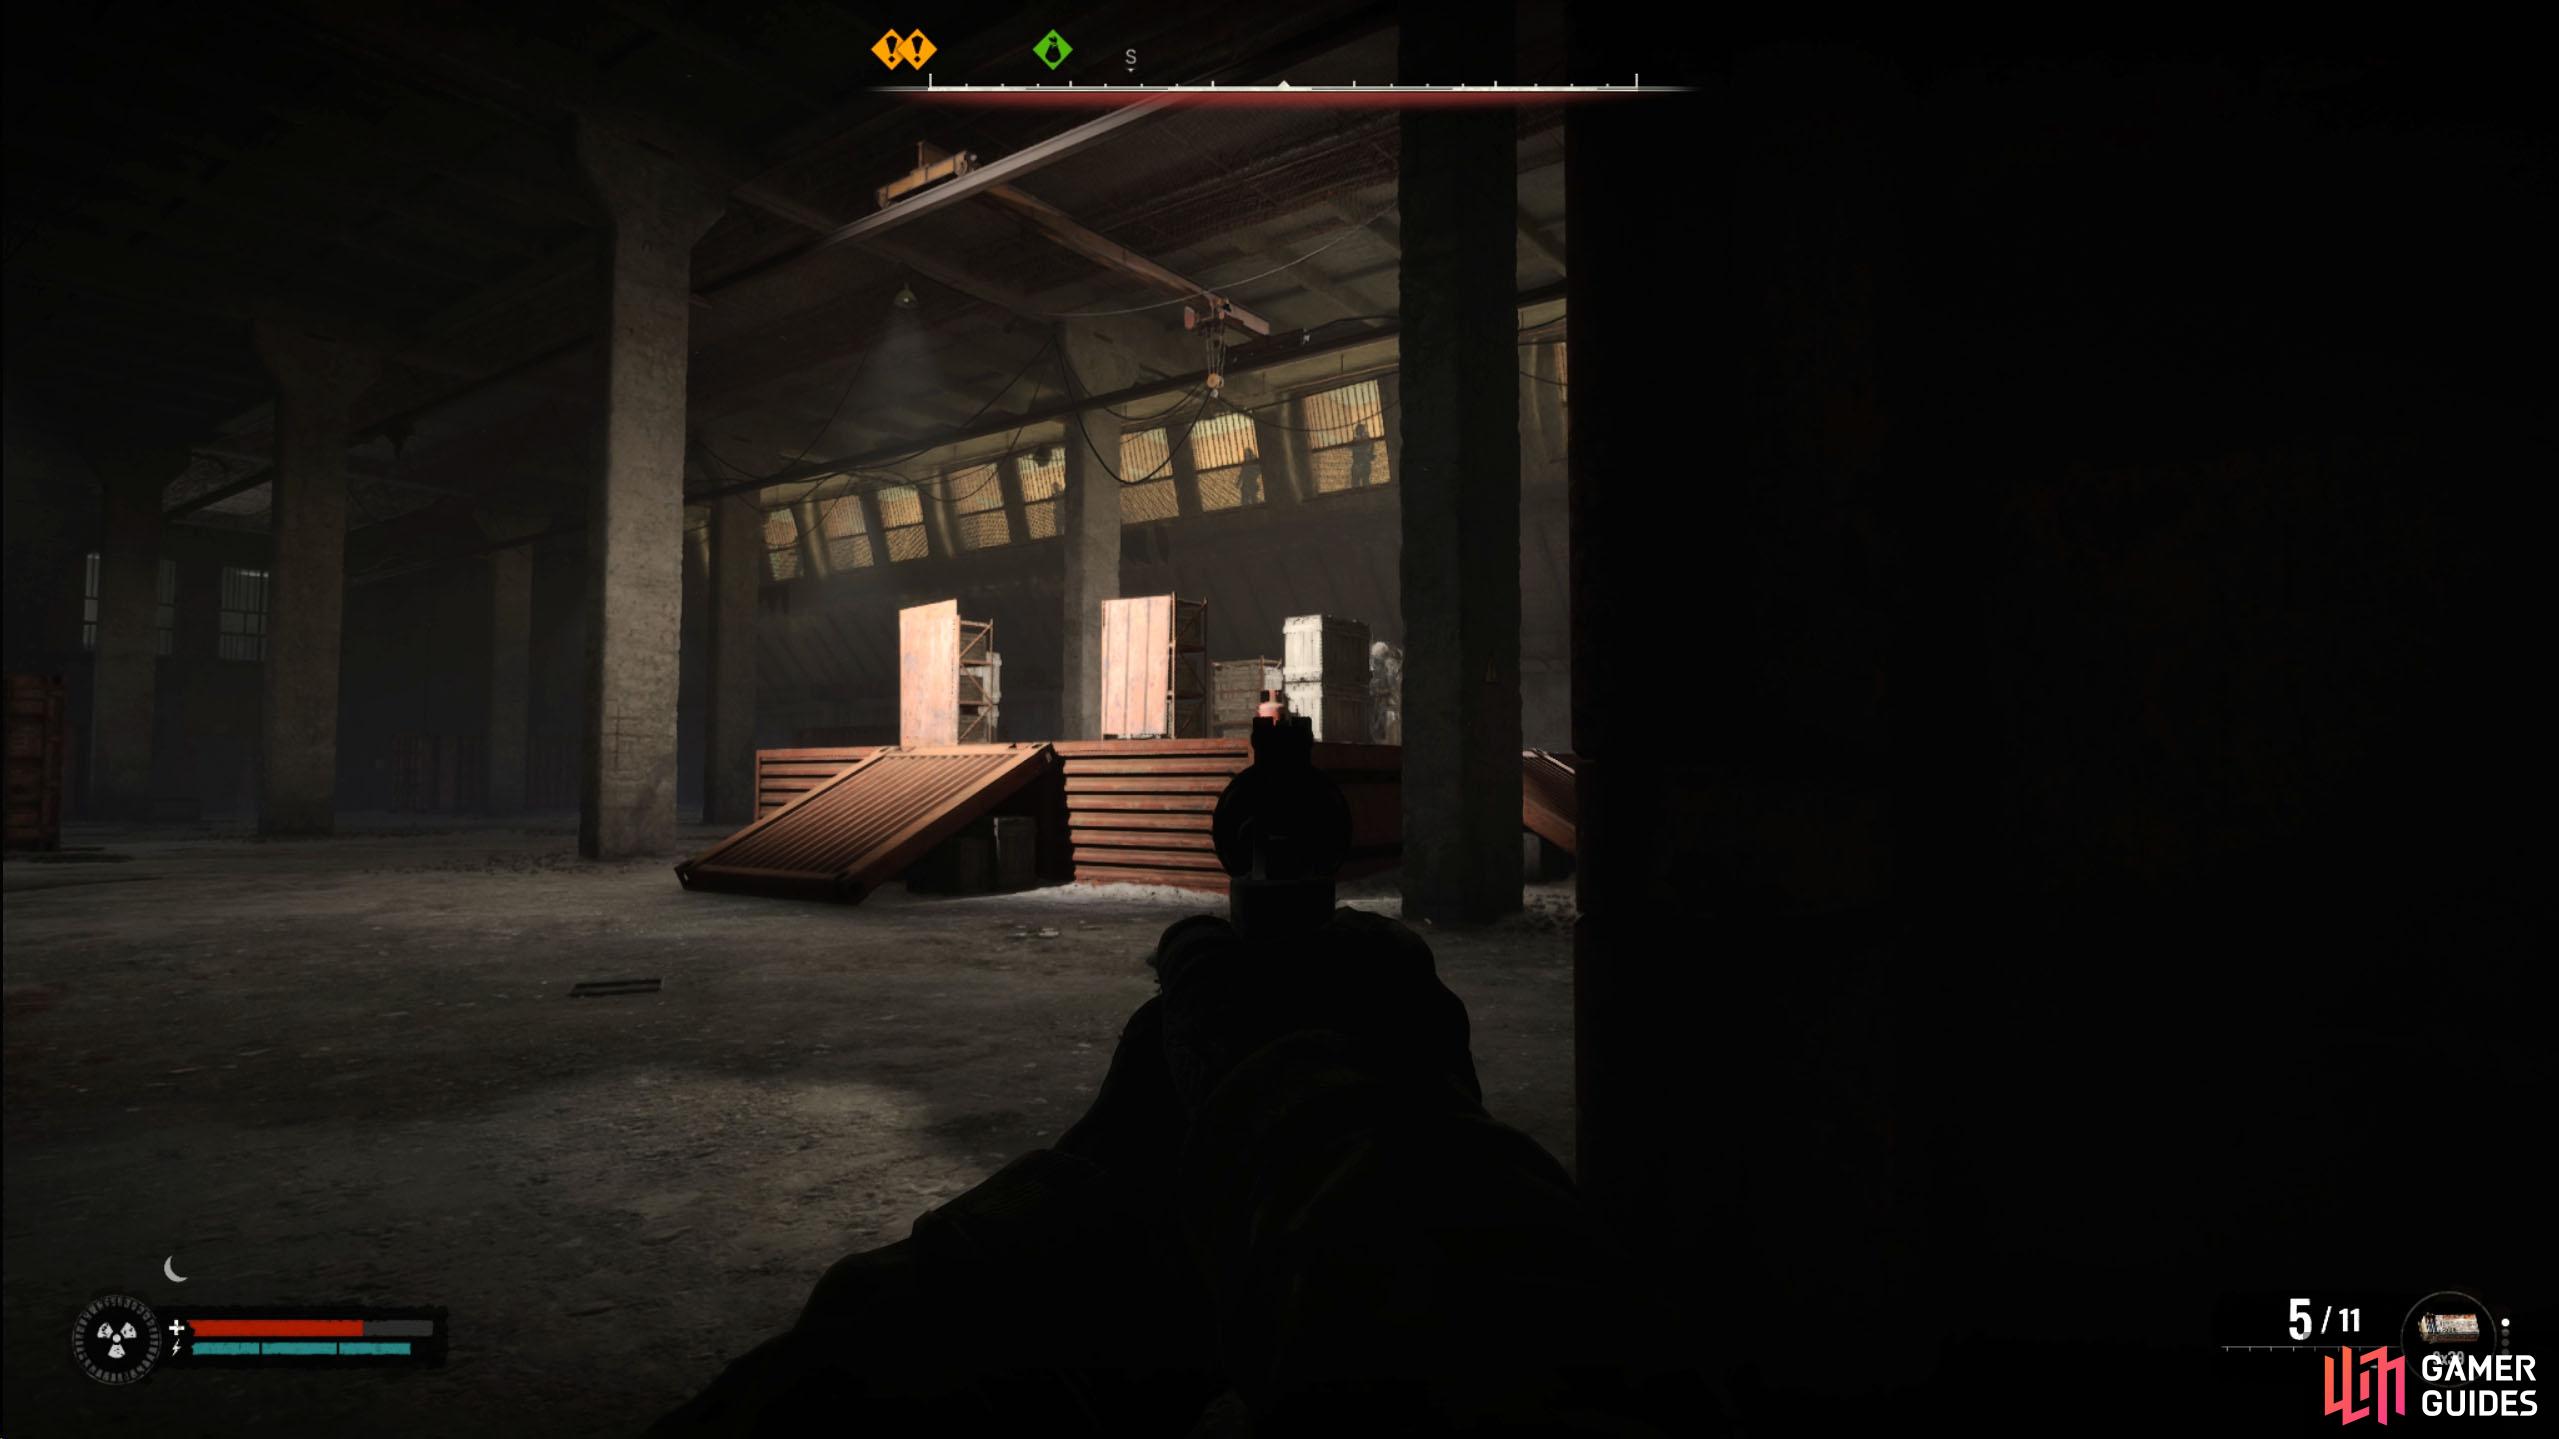
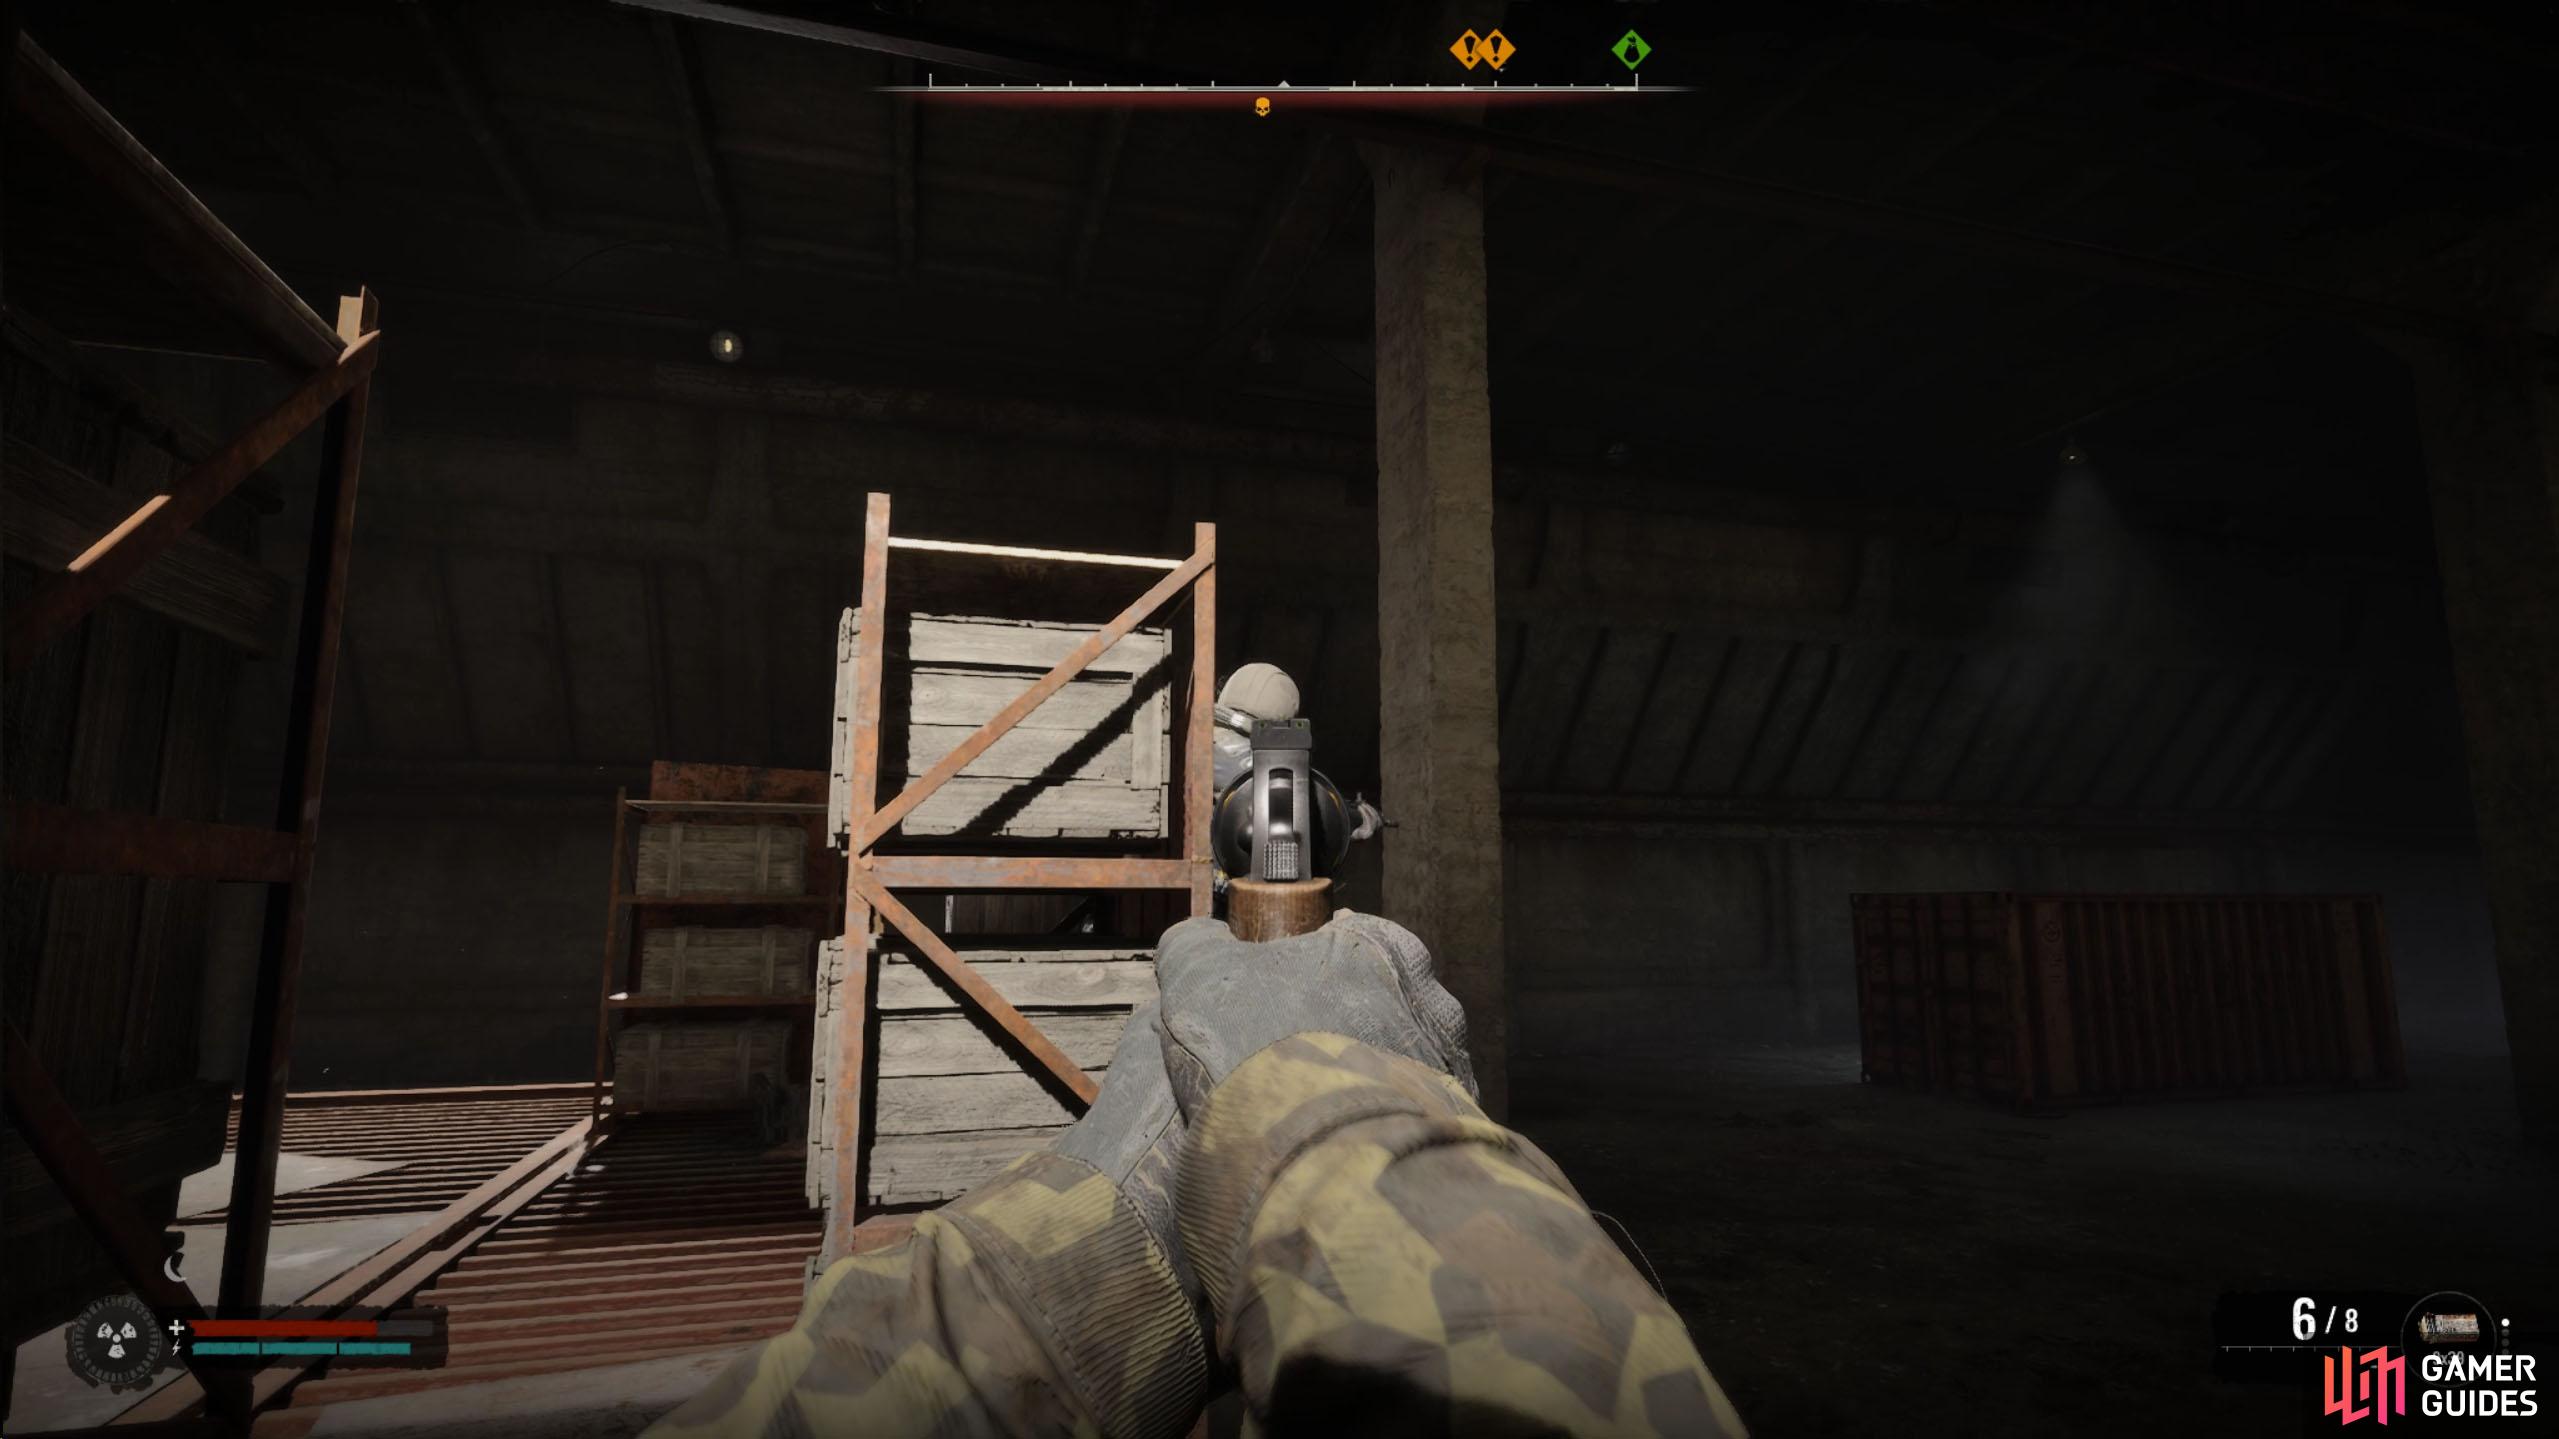
In the arena, Tyrant will unload bullets into you the second he sees you, or throw a grenade at you if he sees you behind cover. You can take a few hits as you’ll have two Medkits and three Bandages, but you don’t want to use them all up straight away. However, you can hide from him by crouching behind cover and turning off your flashlight. Doing this is great if you desperately need to heal, or you want to get nearer to him.
When the battle begins, turn off the flashlight, and make your way closer to him in the center of the arena. Once you’ve closed the distance, peek around the corner of the cover to see if he knows where you are. If he does, reposition, if not, take your time to aim at his head (with the revolver) and fire off a shot. Repeat this three to four more times, and Tyrant should fall. You must aim for the head, as body shots won’t cut it.
(1 of 3) Tyrant predominantly stays in the center, next to the highly explosive canisters…smart.
An alternative method is to lure Tyrant into the center of the arena to where the explosive canisters are, and when he gets near one, shoot it. There are four of them in the center, one in each corner. This will damage his armor enough for you to let your guns damage him.
In short, stay in stealth until you reach the center where Tyrant is. Use the nearby cover to avoid getting shot, and shoot the red canister when he’s near one. After shooting all four canisters, aim for his head. Three bullets or so (revolver) should take him down.
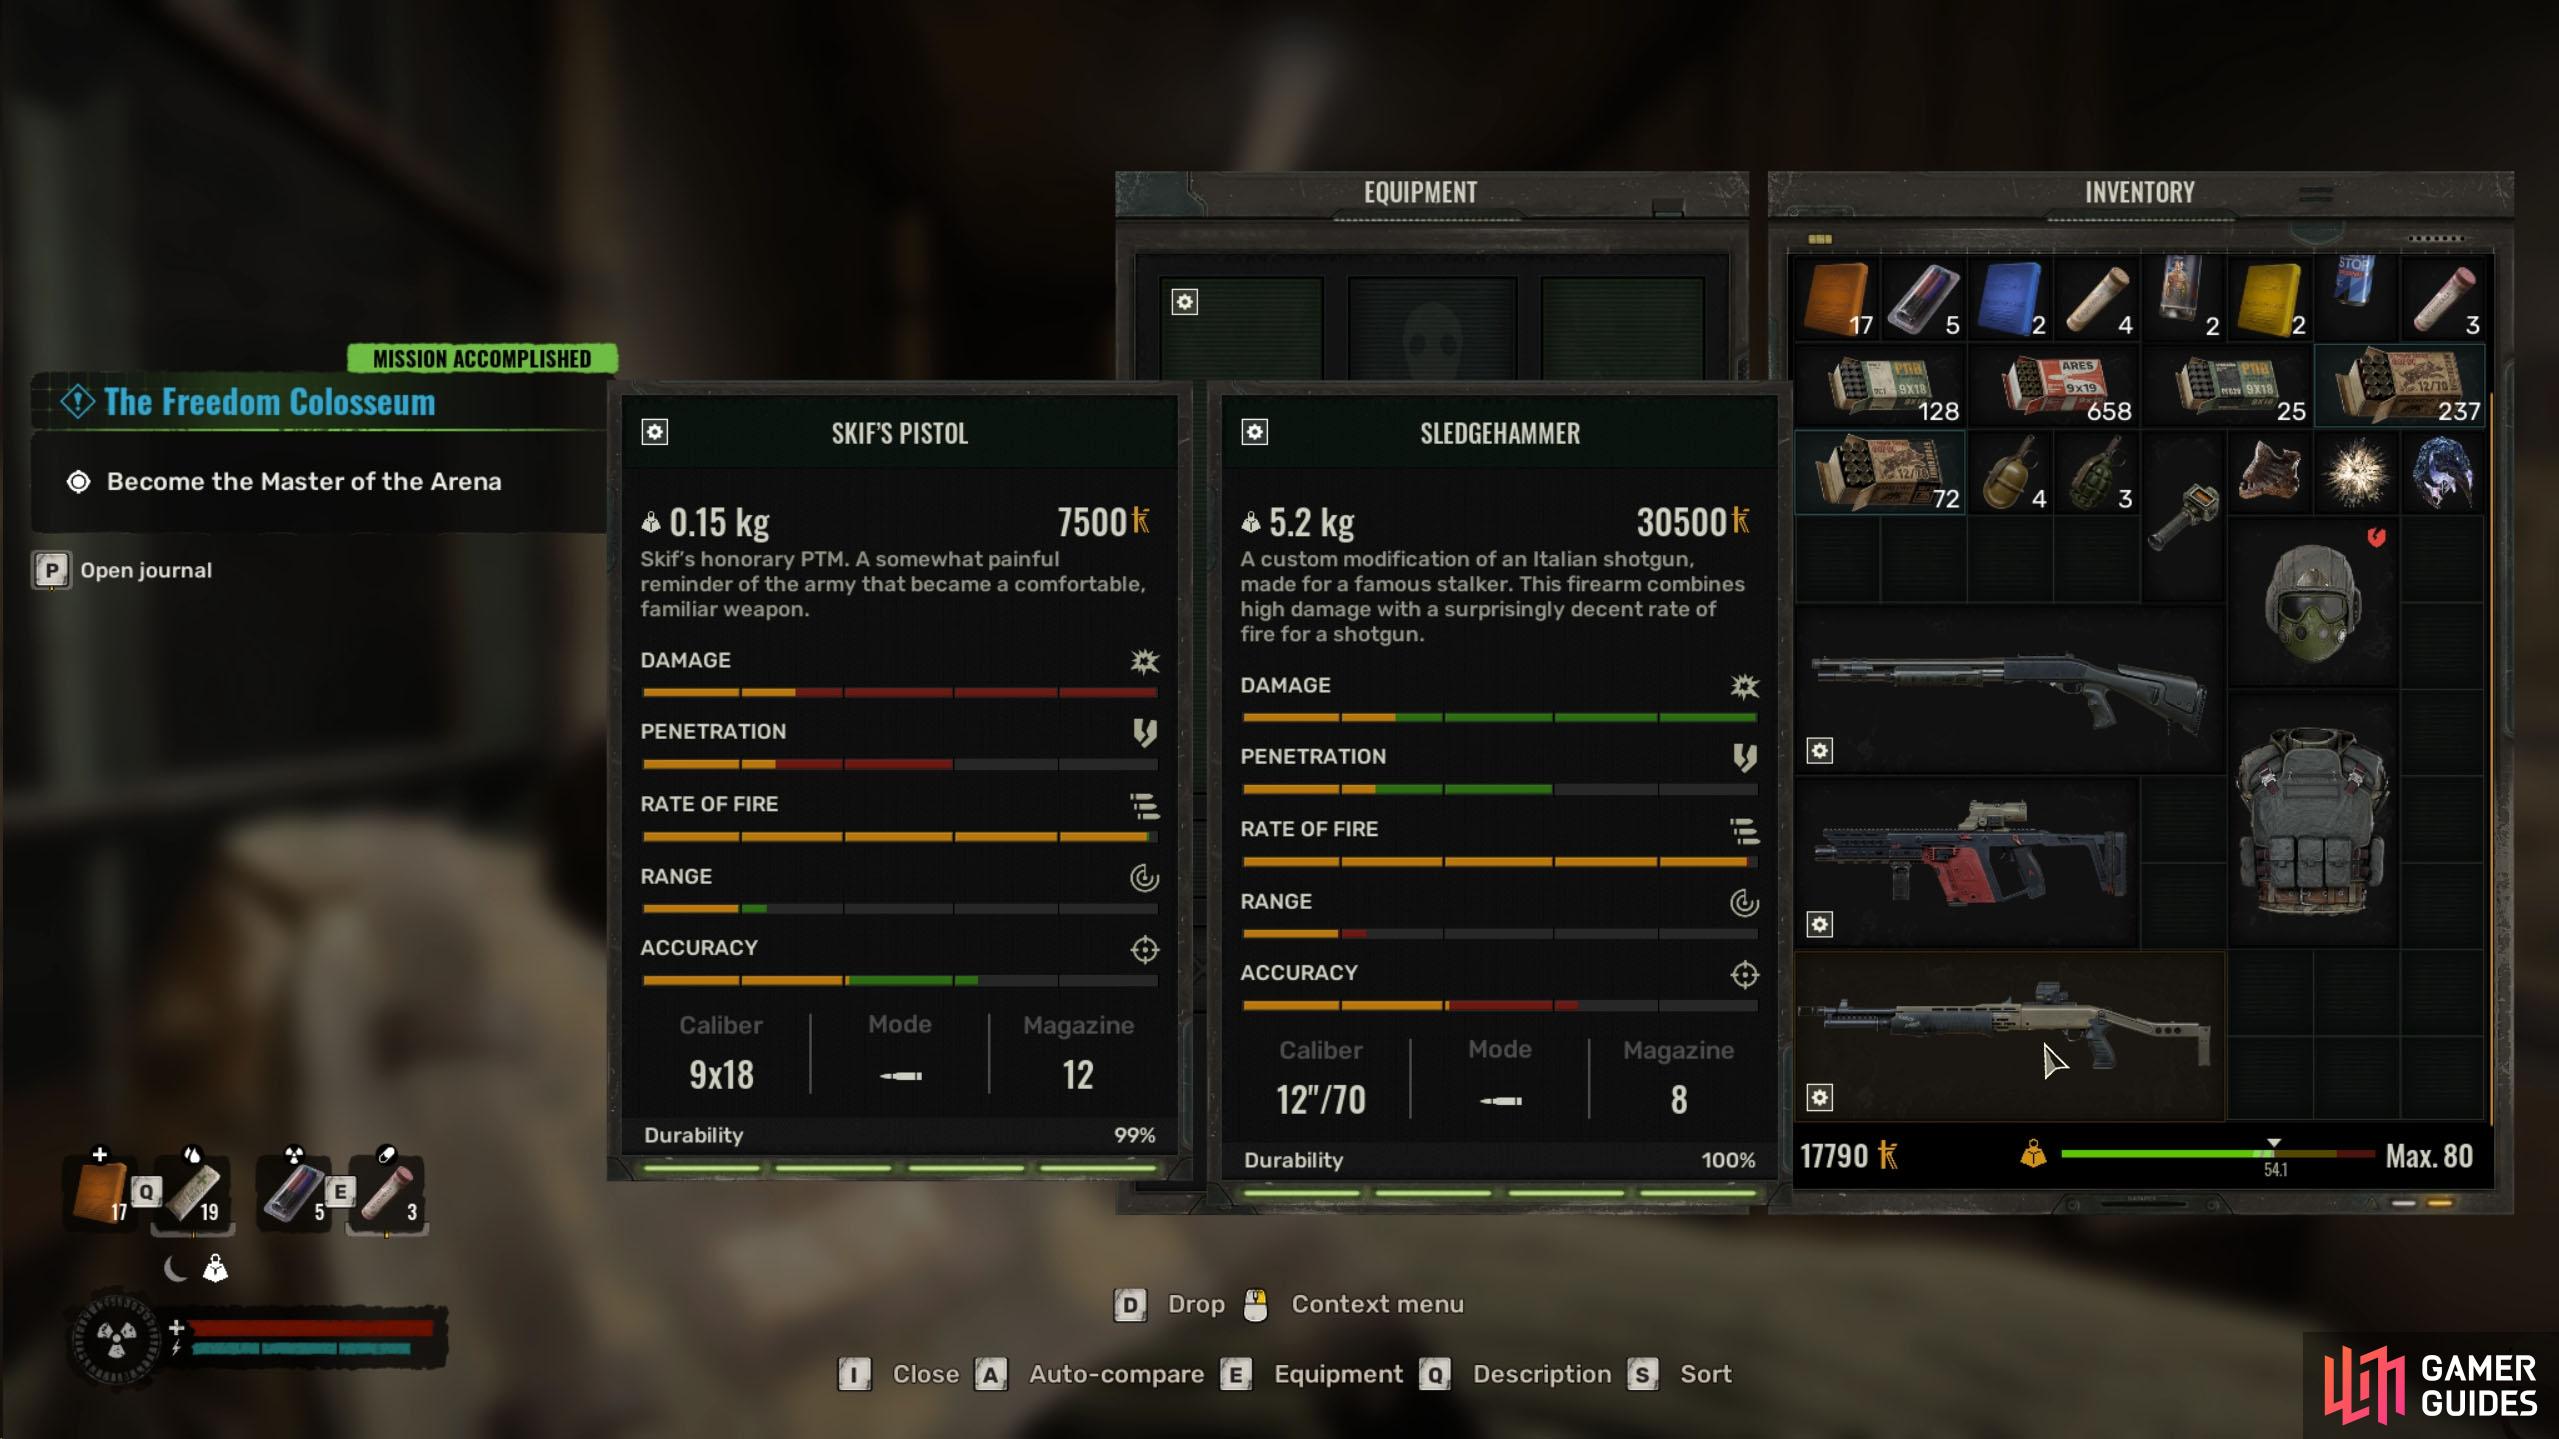
Your reward for completing the arena is the Sledgehammer Shotgun and some coupons.
Arena Rewards
Every time you win a round in the arena, you’ll get rewarded with coupons (changes with difficulty). Each round will give you more than the last. The final reward for completing the arena is the ![]() Sledgehammer shotgun and more coupons. In all honesty, if you have a good shotgun, the arena is not worth doing for the rewards, but it is a fun mission, so it’s worth doing from a gameplay perspective. That’s it for
Sledgehammer shotgun and more coupons. In all honesty, if you have a good shotgun, the arena is not worth doing for the rewards, but it is a fun mission, so it’s worth doing from a gameplay perspective. That’s it for ![]() The Freedom Colosseum Arena mission, you should now have a better chance of mastering the arena.
The Freedom Colosseum Arena mission, you should now have a better chance of mastering the arena.
 Sign up
No Comments