The Price Goes Up is a main mission in Stalker 2: Heart of Chornobyl, which you’ll immediately get after completion of the Answers Comes At A Price mission. Read on to find out how to complete ![]() The Price Goes Up mission.
The Price Goes Up mission.
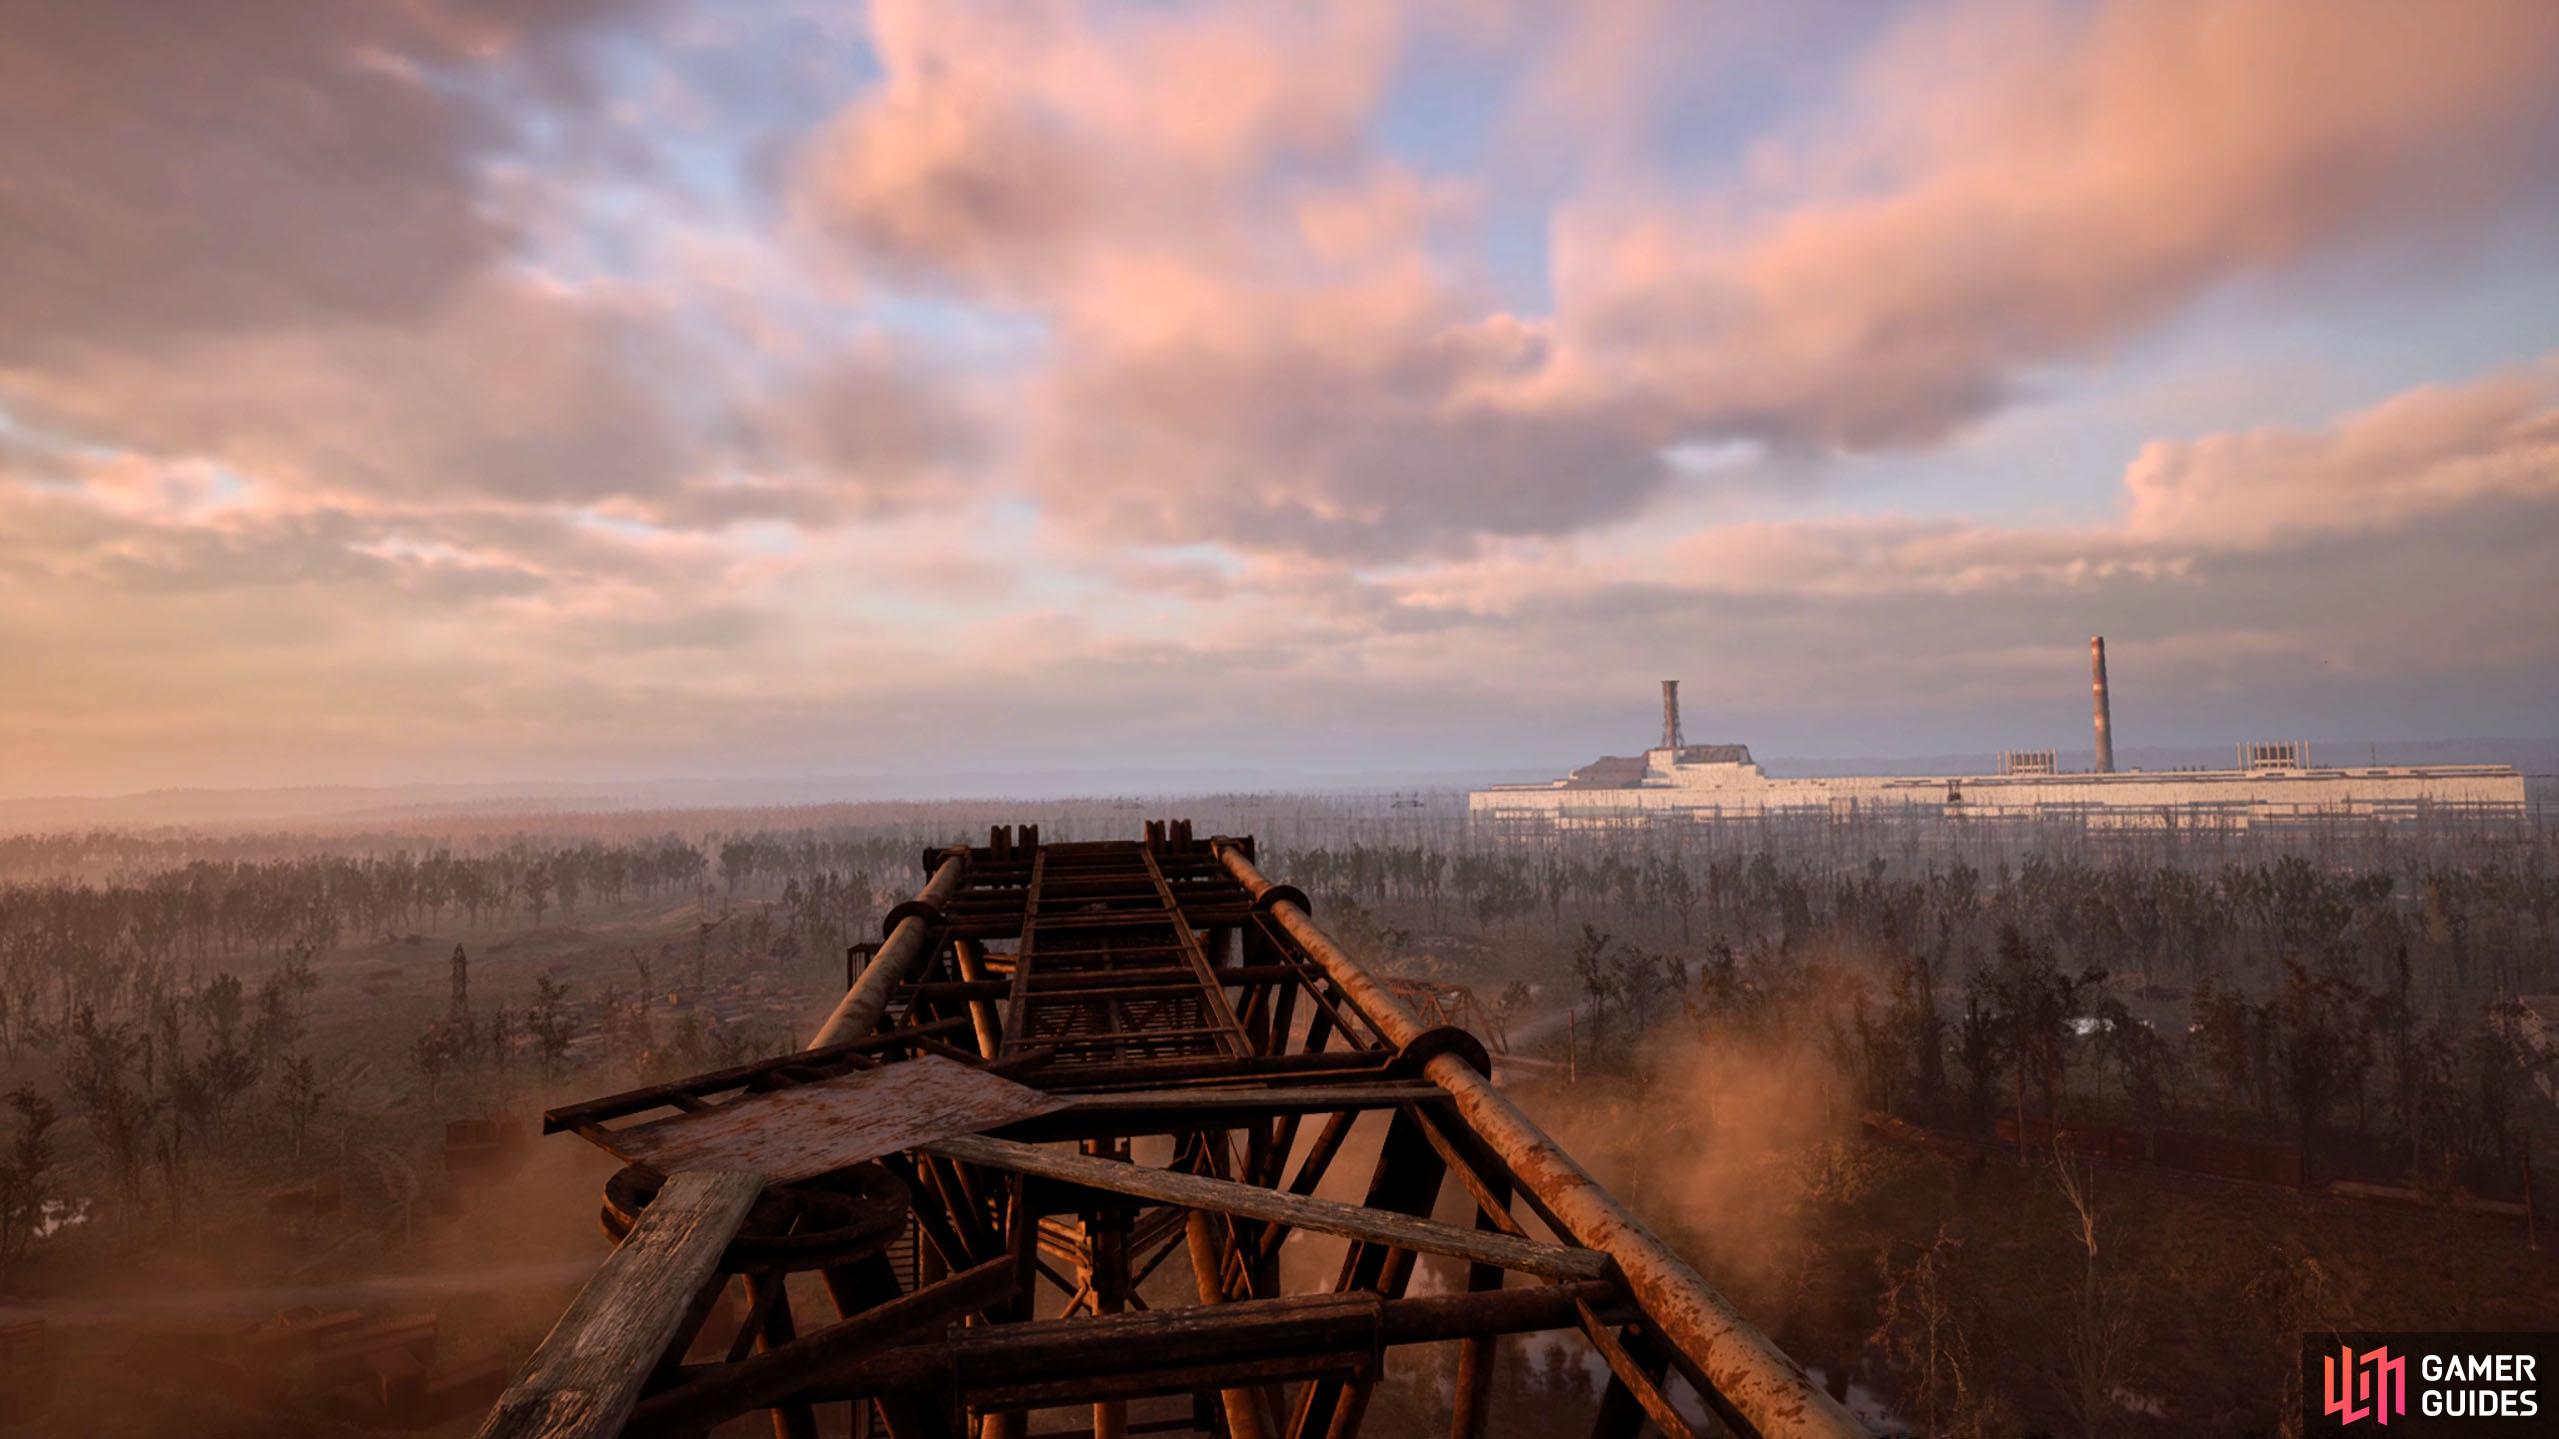
What a view, huh? You’ll come here, looking for Nestor’s stash.
Table of Contents
If you want to jump to a specific section, click on the links below.
| Quickjump |
|---|
| Examine the Workshop for Clues |
| Nestor’s Stash Location |
| Dig Site or Labyrinth? |
| Labyrinth Location |
| Dig Site Location |
Examine the Workshop for Clues
Your first task is to check out the warehouse mentioned in Nestor’s audio recording from the previous mission. Fortunately, this is relatively near to Slag Heap, so there won’t be too much walking involved. Leave Slag Heap and head west until you reach the road, and then follow it south until you reach the intersection.
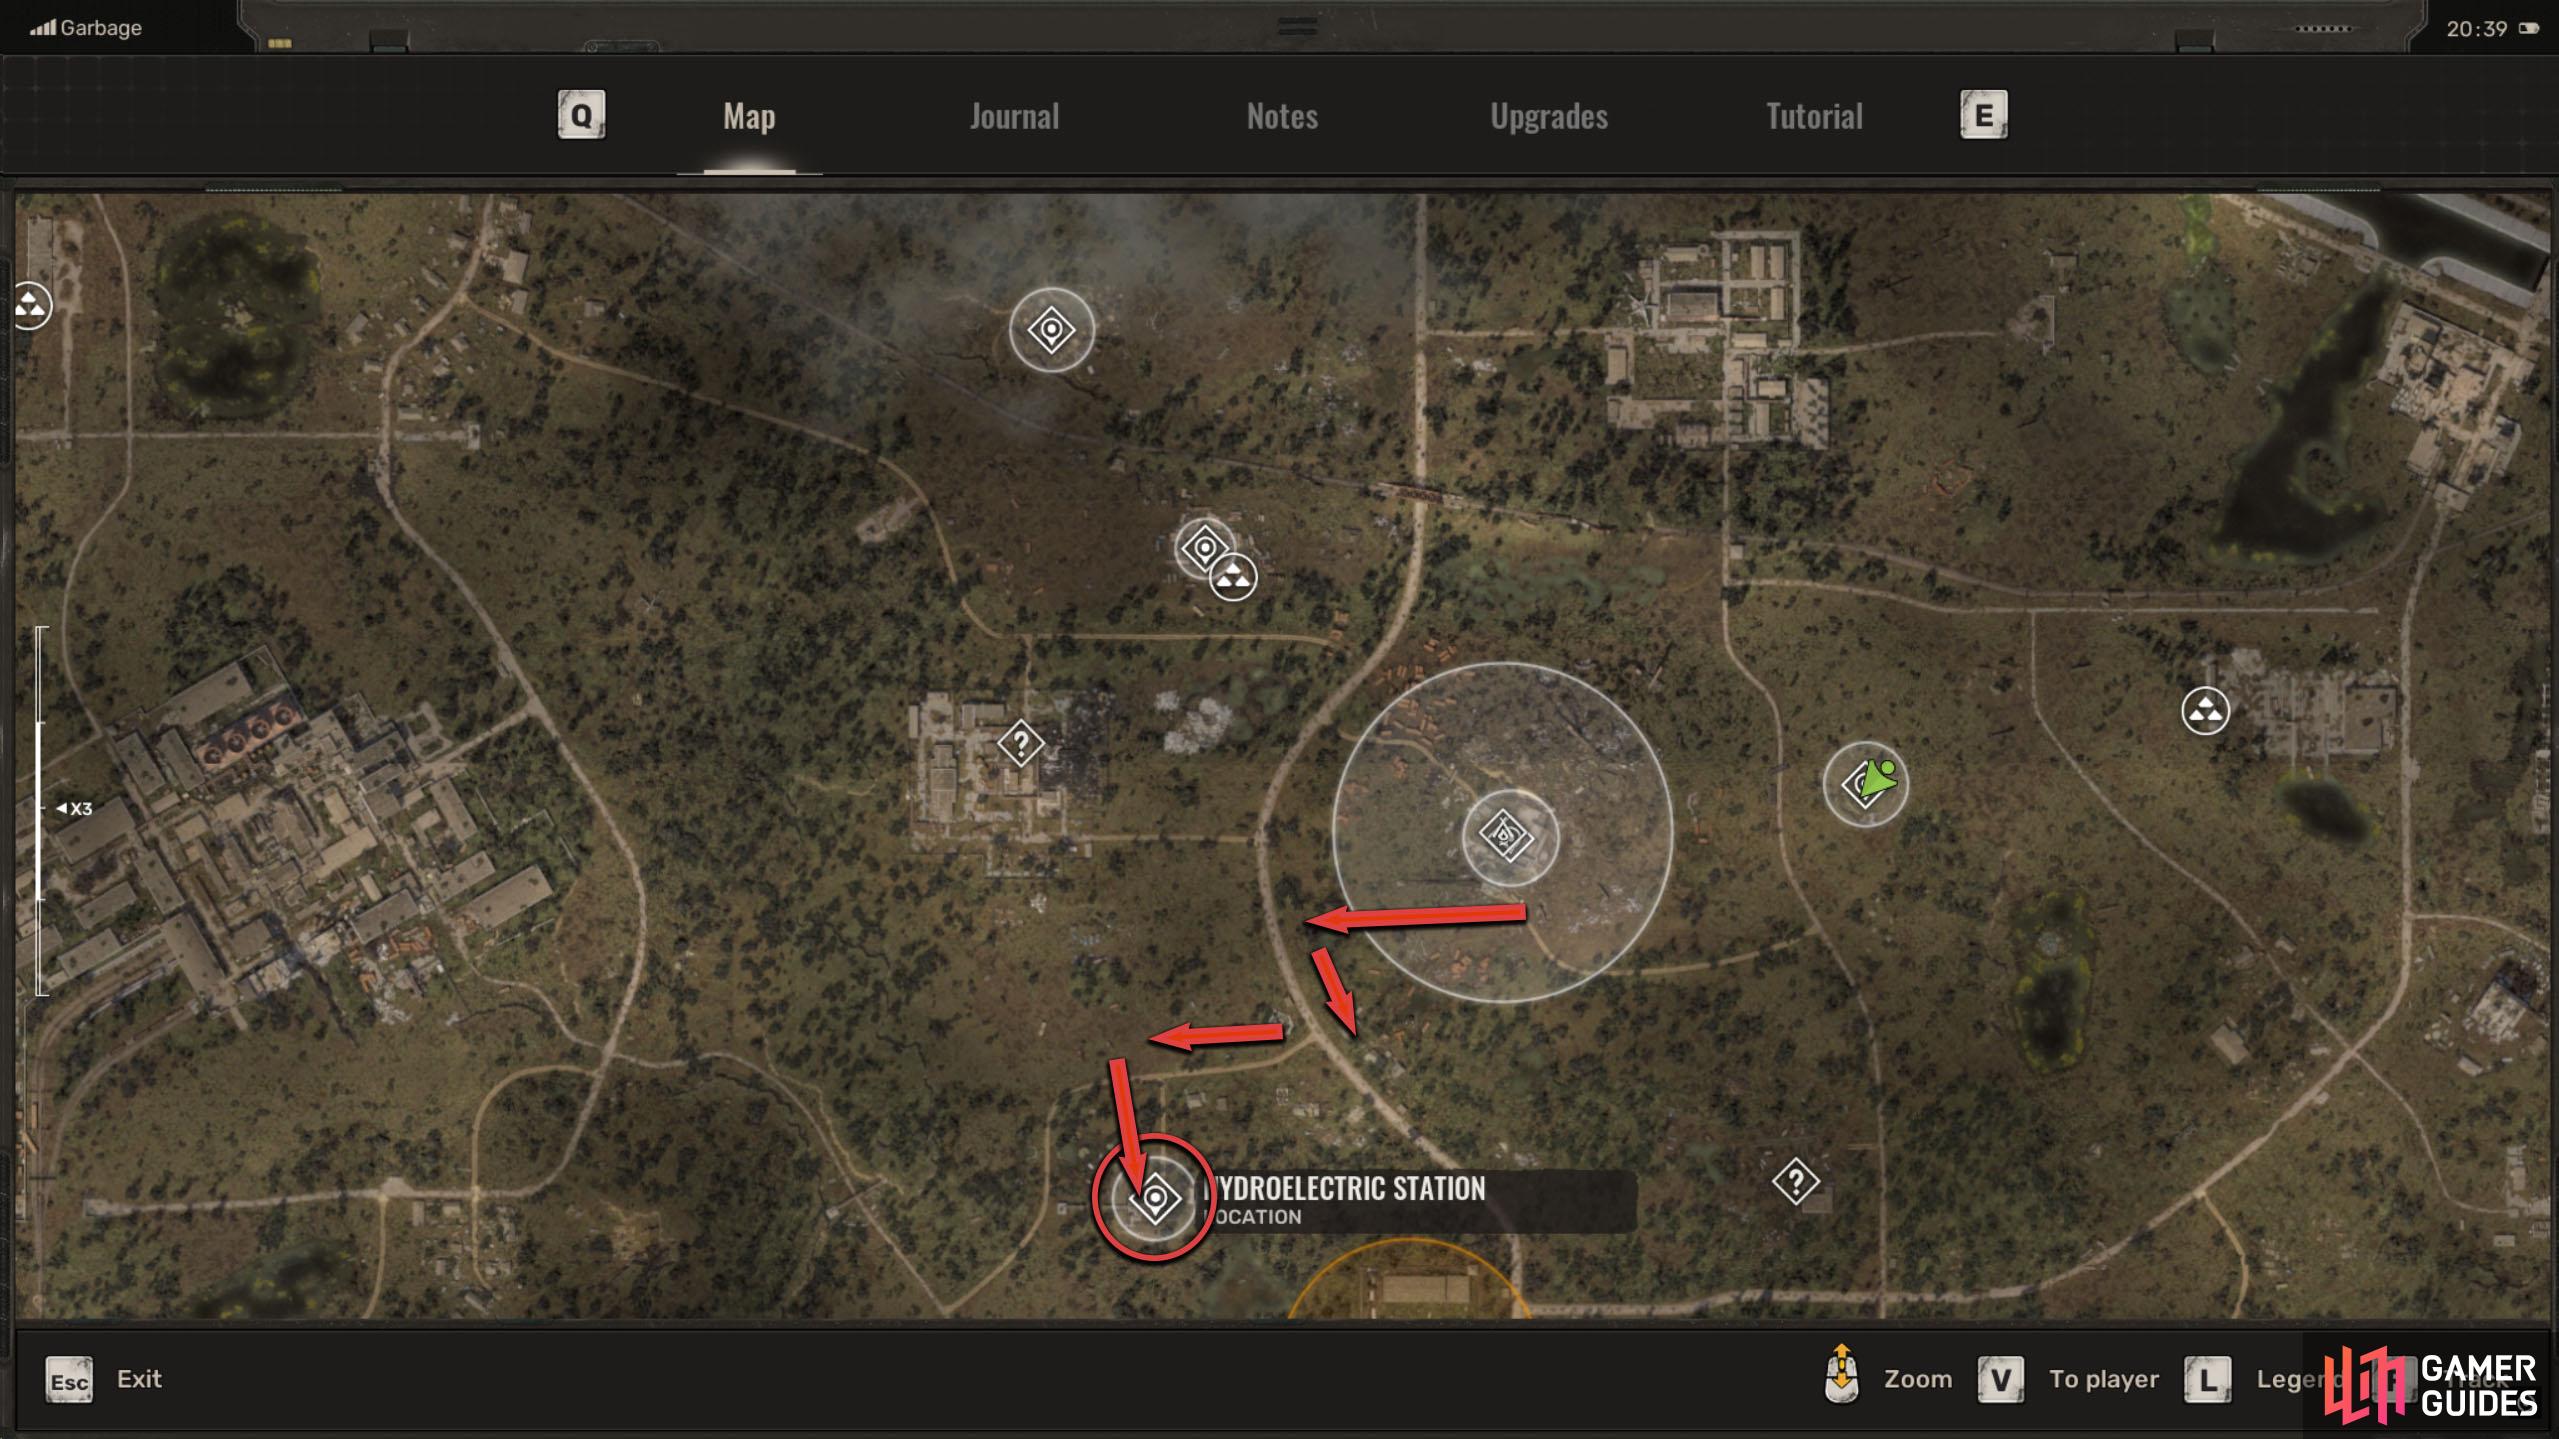
At the intersection, follow the western road until it branches off again, and then go south to find the Hydroelectric Station (Map Marker). Alternatively, you can run southwest across the field to make the trip quicker, but be careful of the pockets of dangerous radiation scattered around as this will kill you.
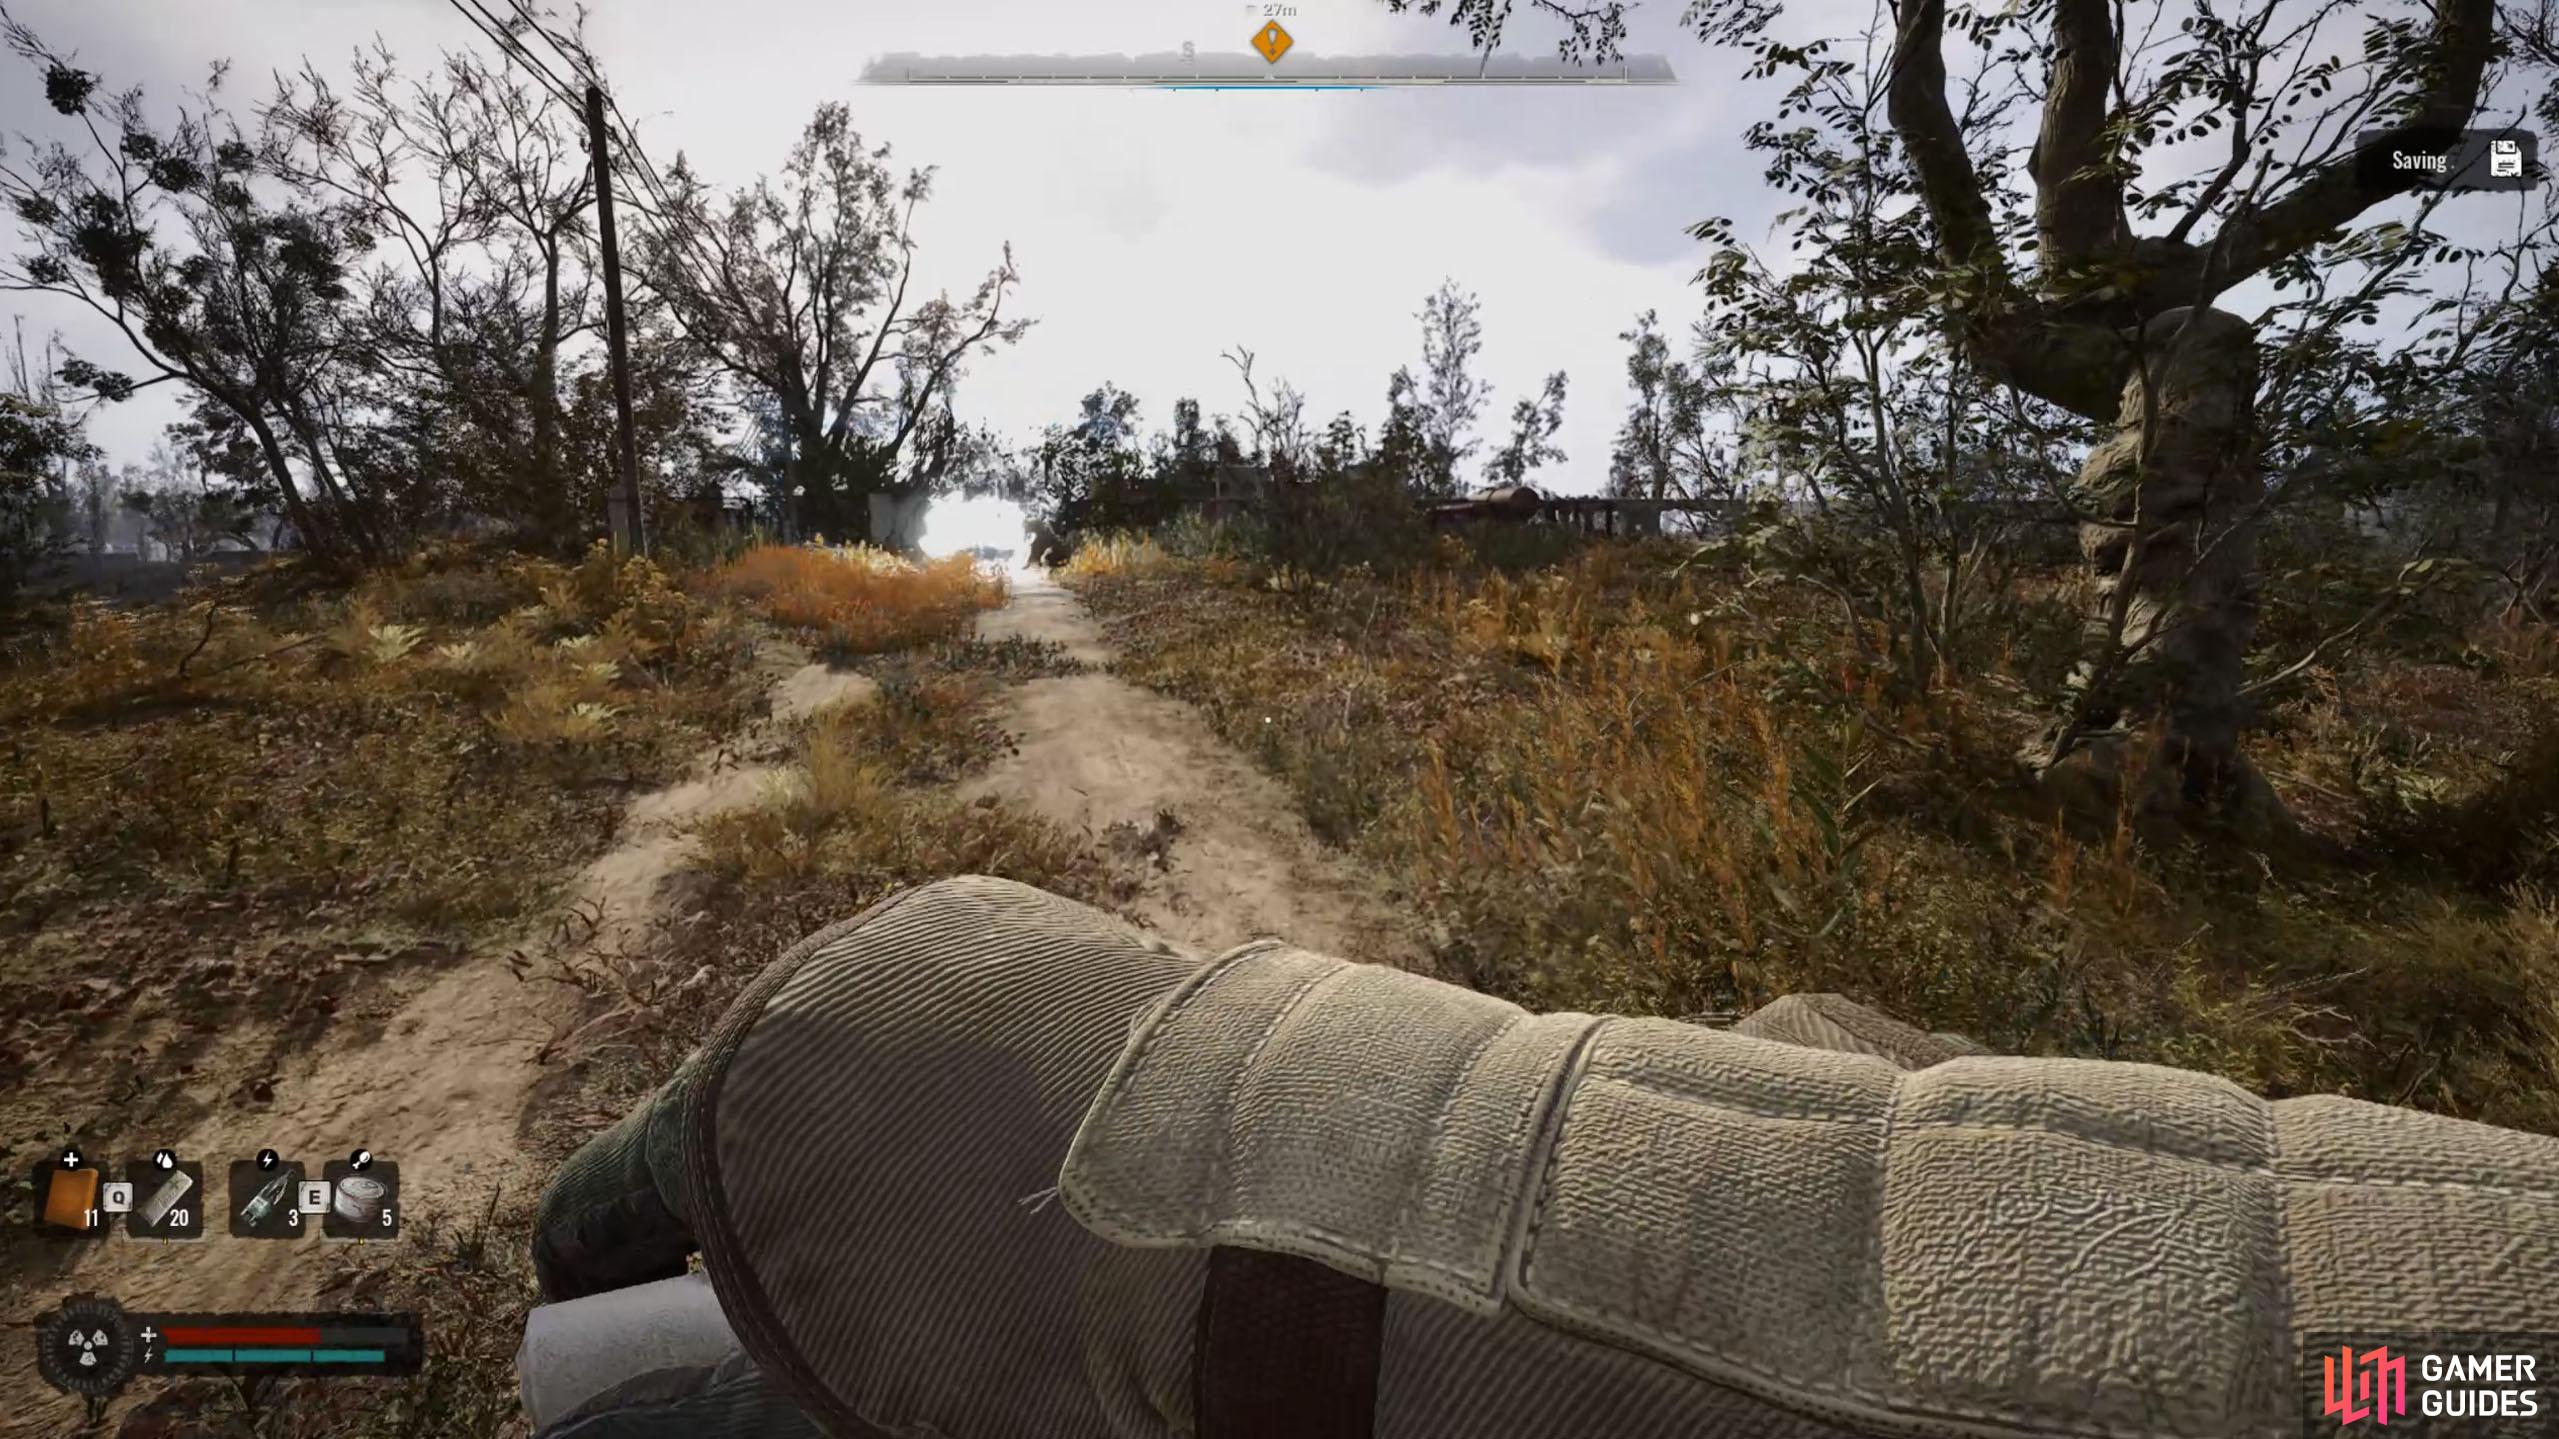
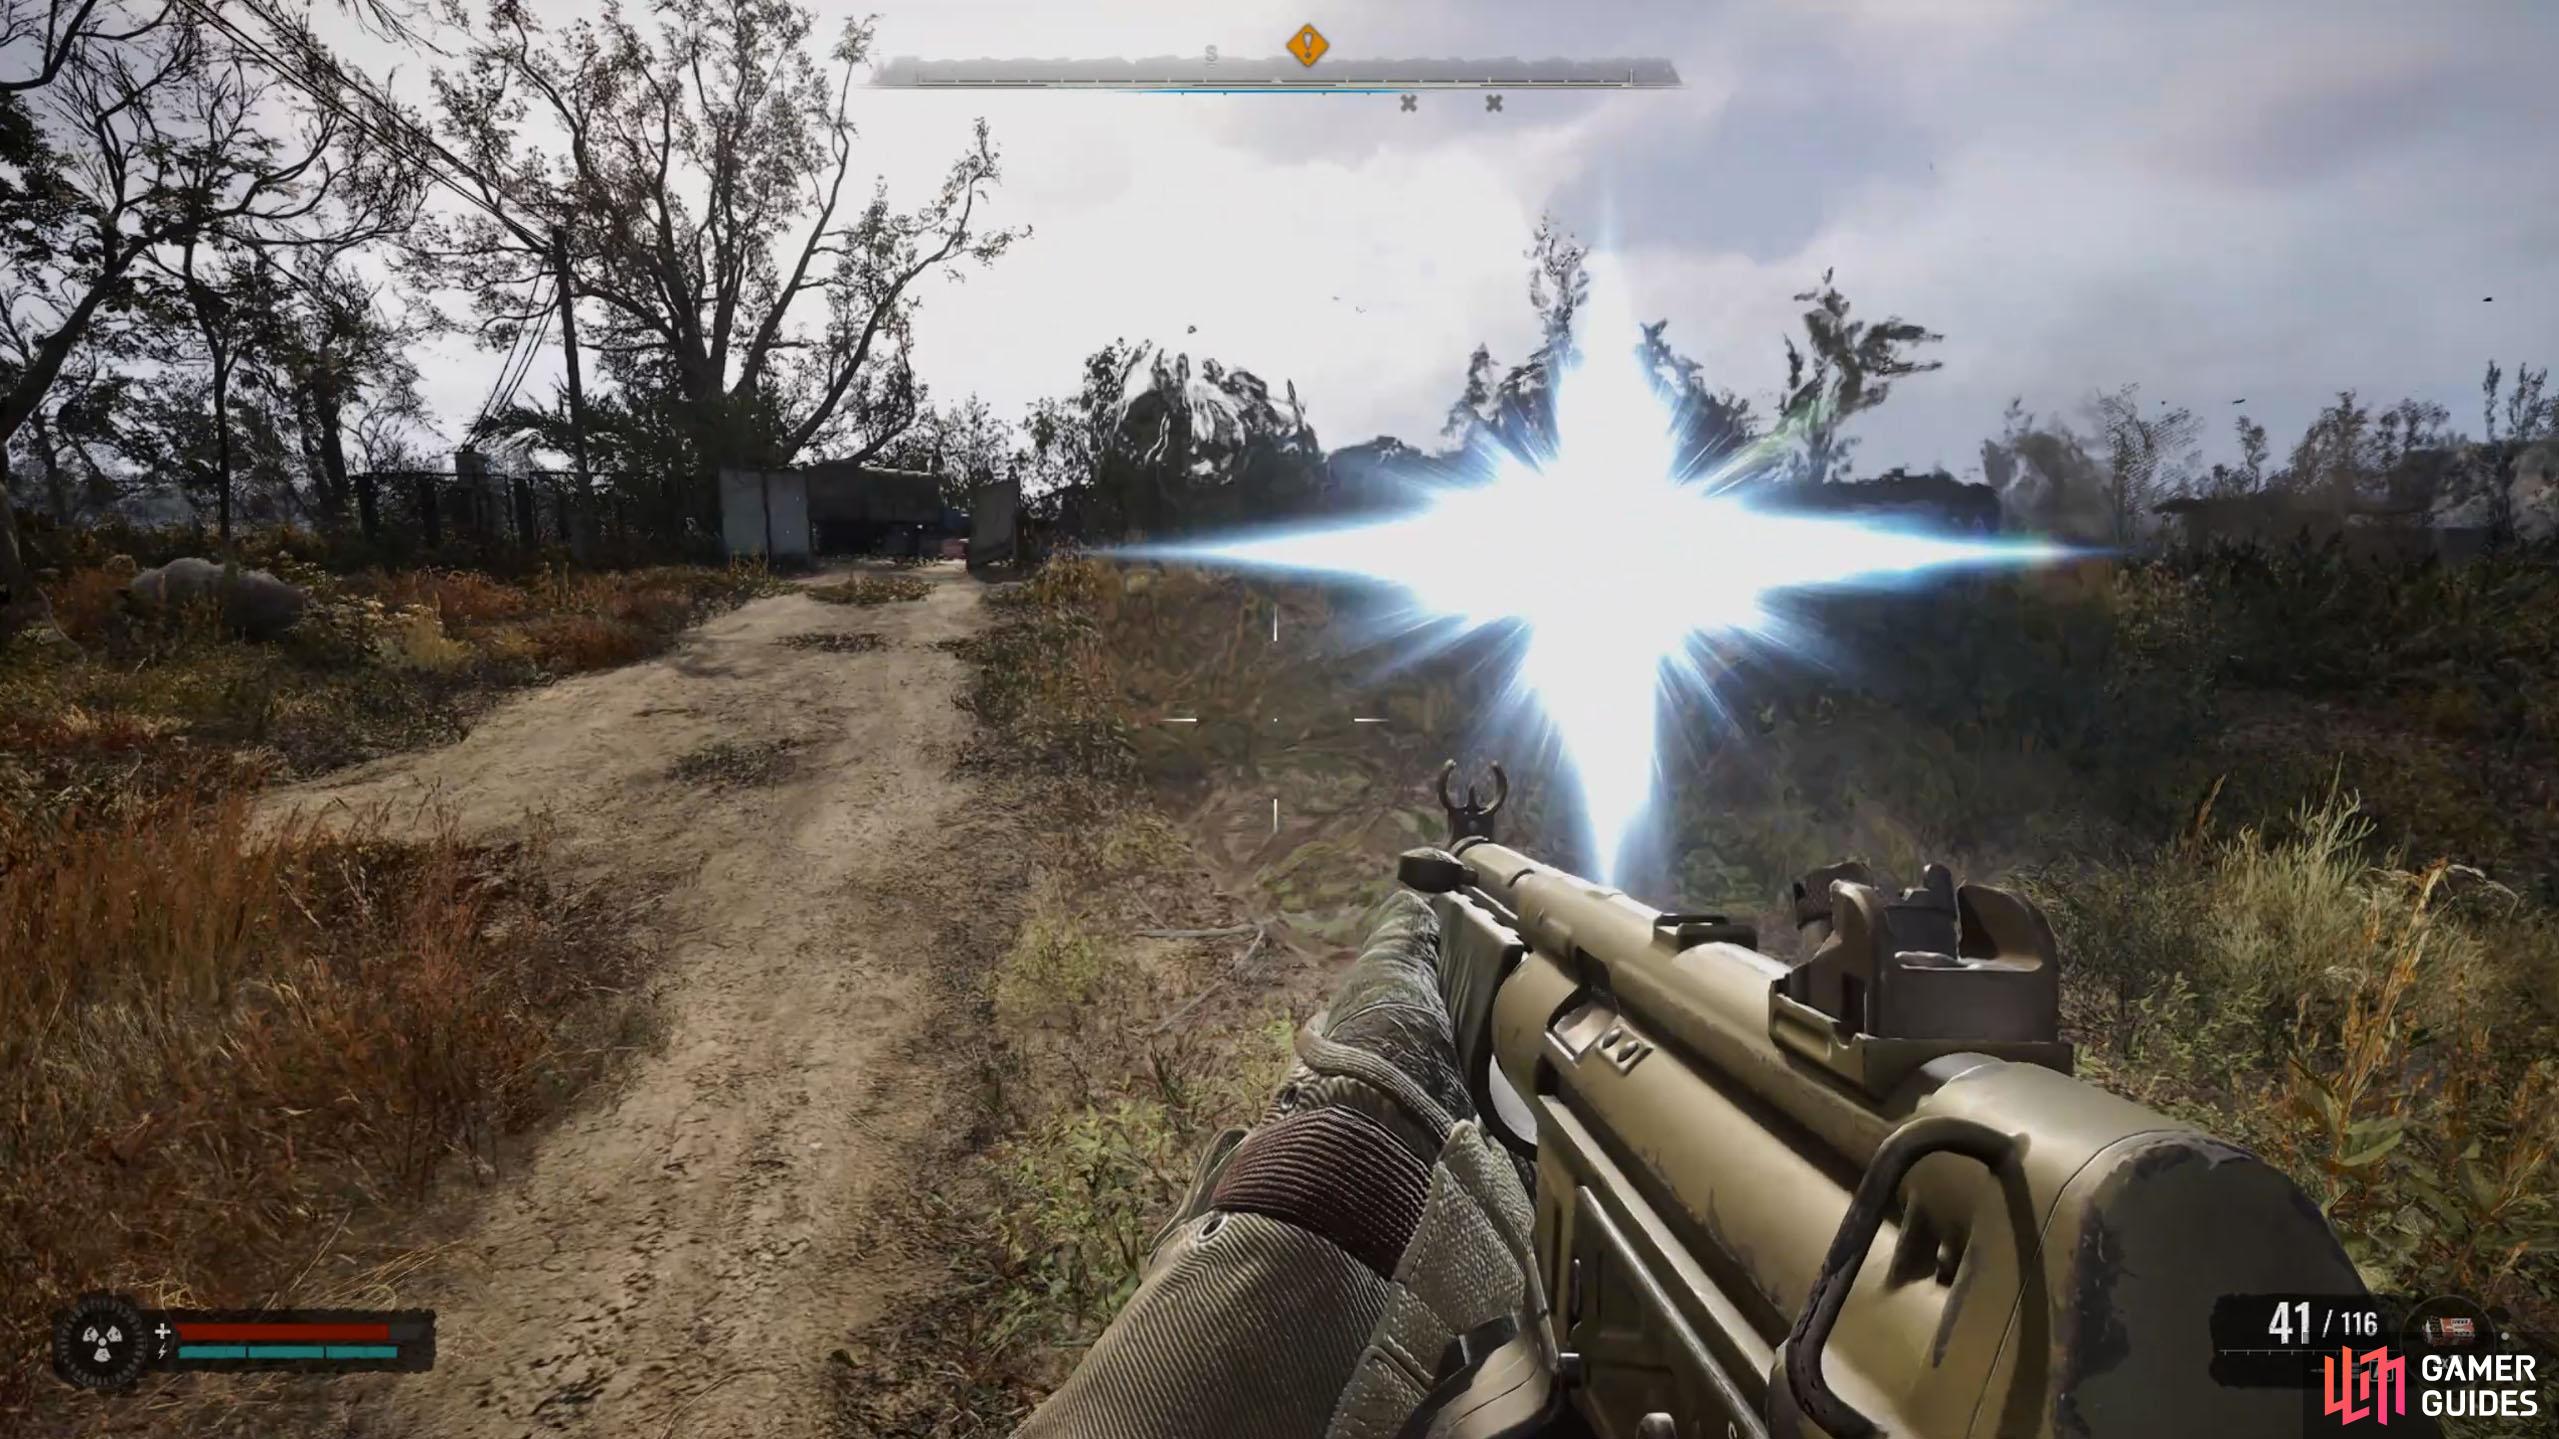
As you approach the warehouse, you’ll be introduced to a new anomaly, which we’ll call flash for obvious reasons. This anomaly lights up when you get near it and explodes like a mine, dealing significant damage if you’re near it when it explodes. Fortunately, if you act quickly, you can sprint away from it to avoid this. The easiest way to get to the warehouse is to walk forward until the flash anomaly appears, and quickly sprint away from it. Do this as you proceed closer to the warehouse and when you get inside, you’ll find that the door requires a key card, typical.
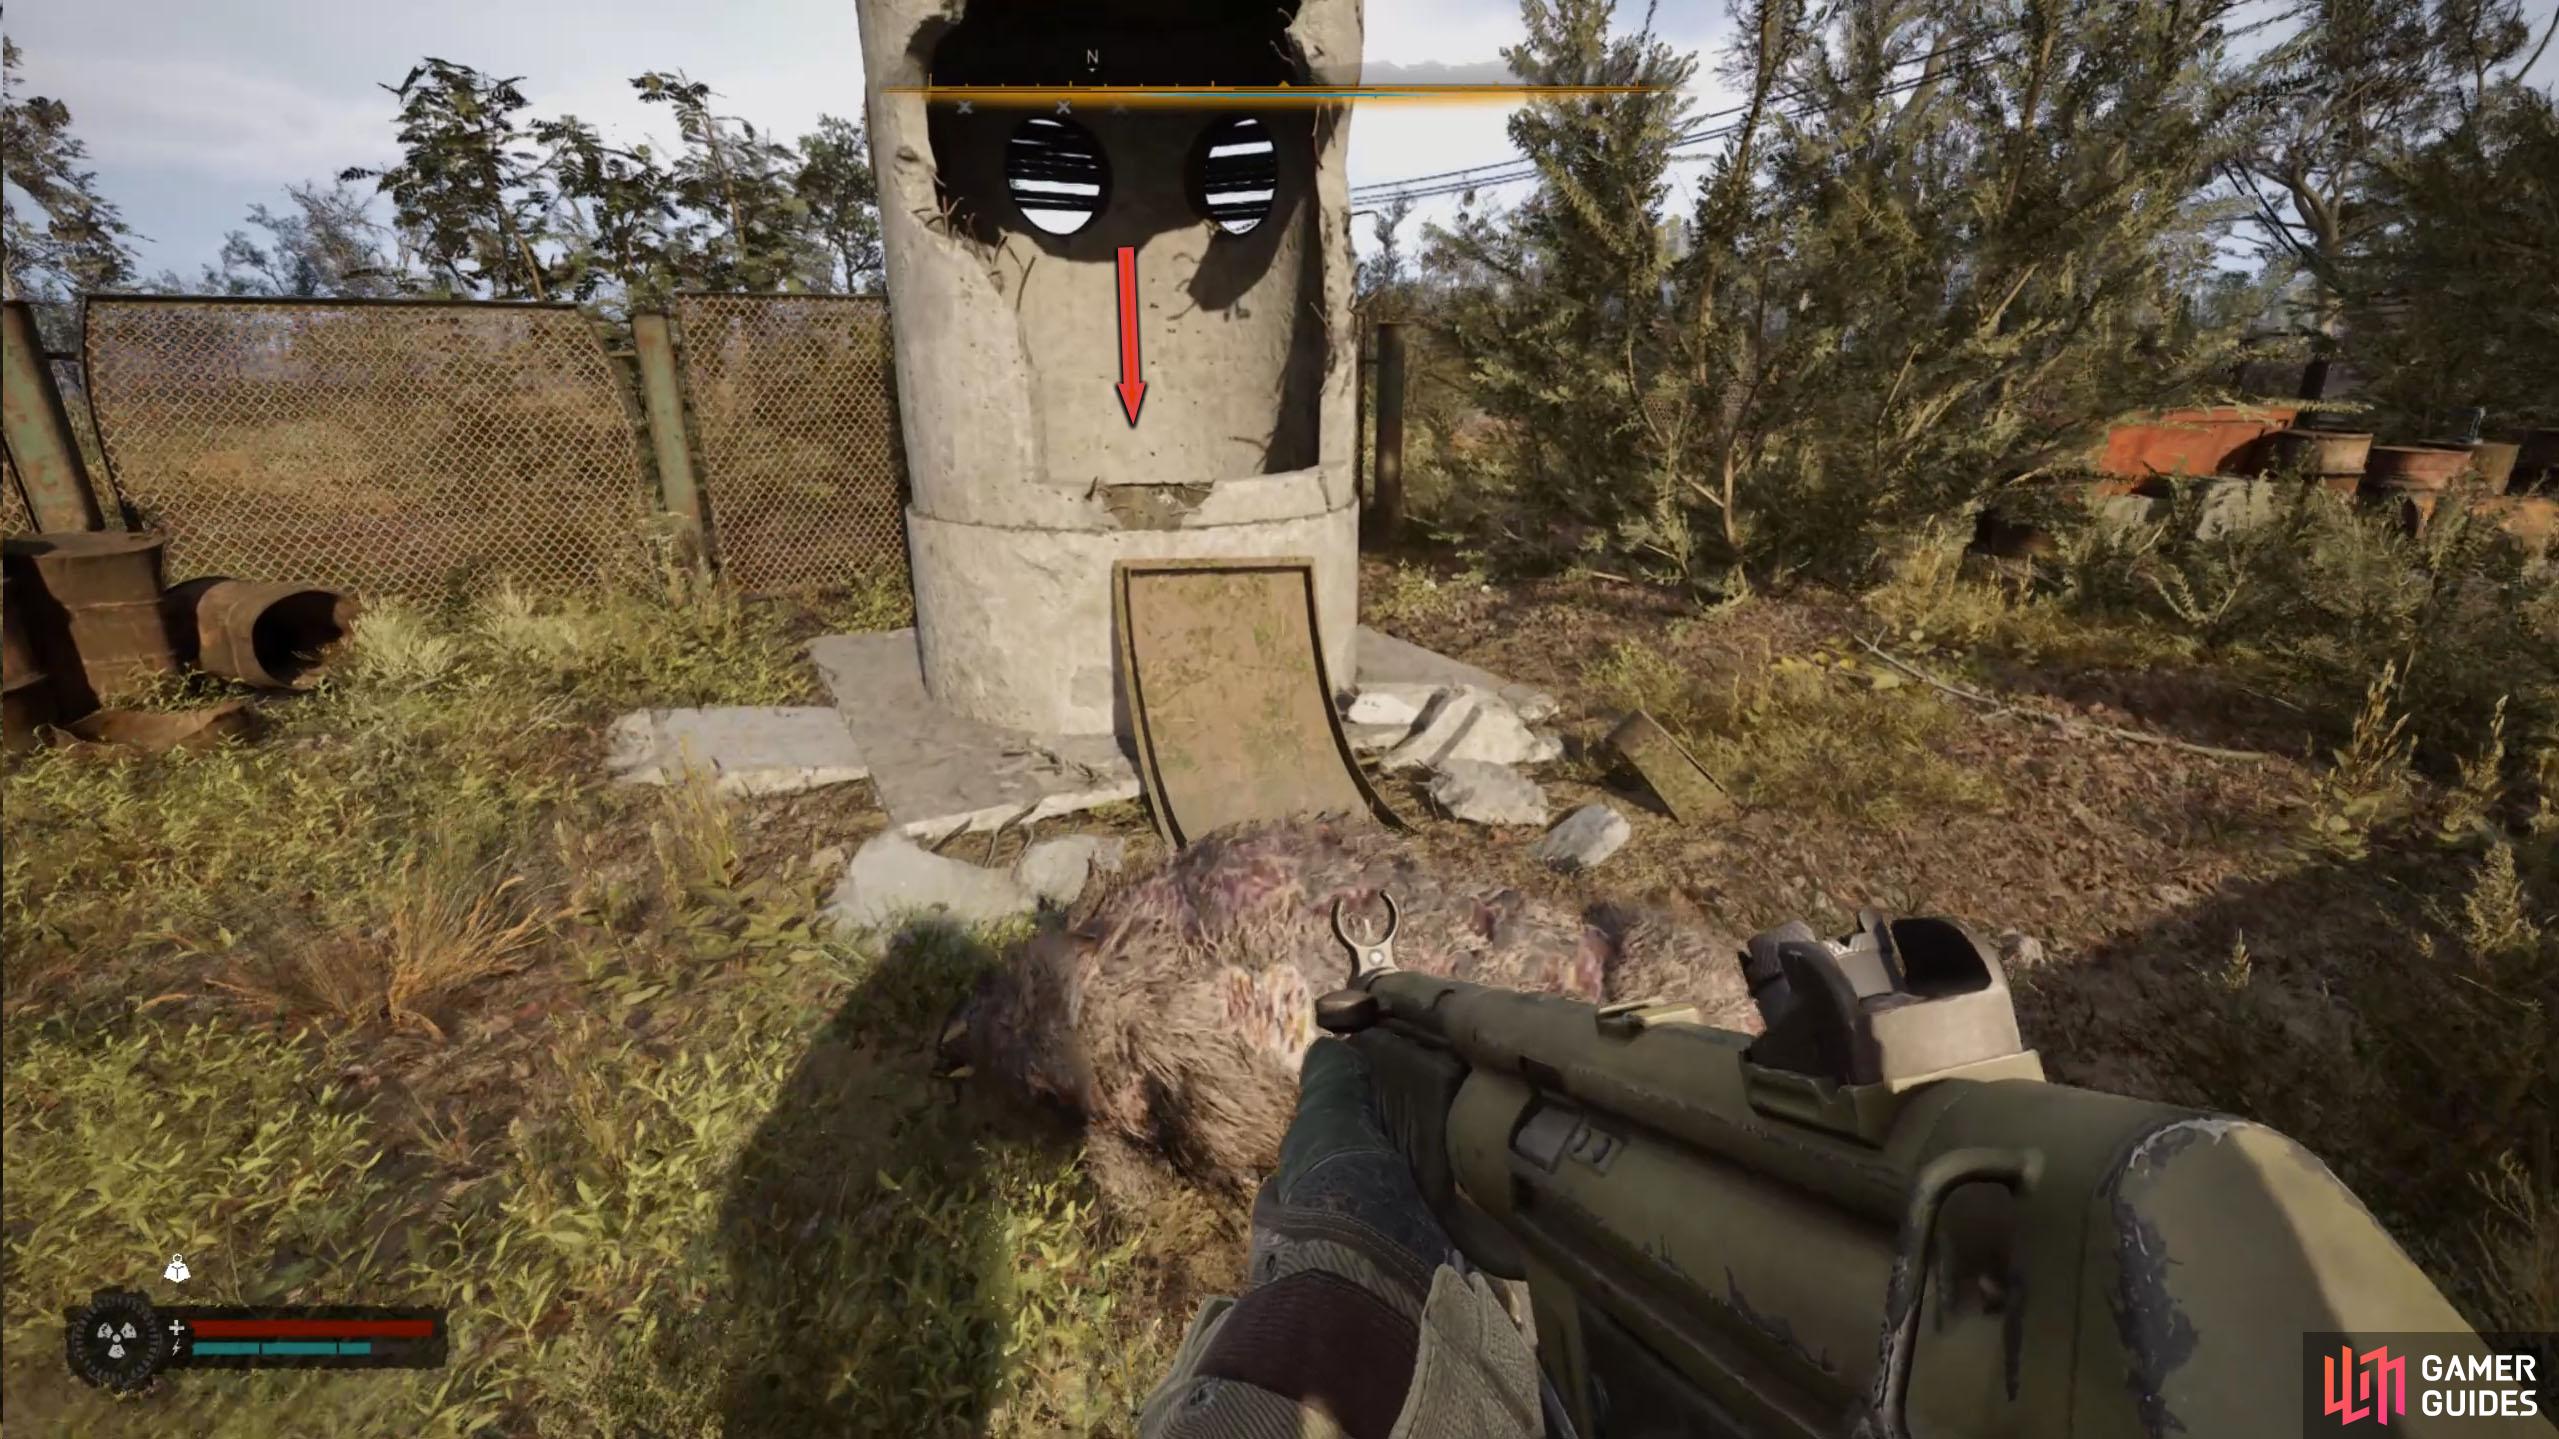
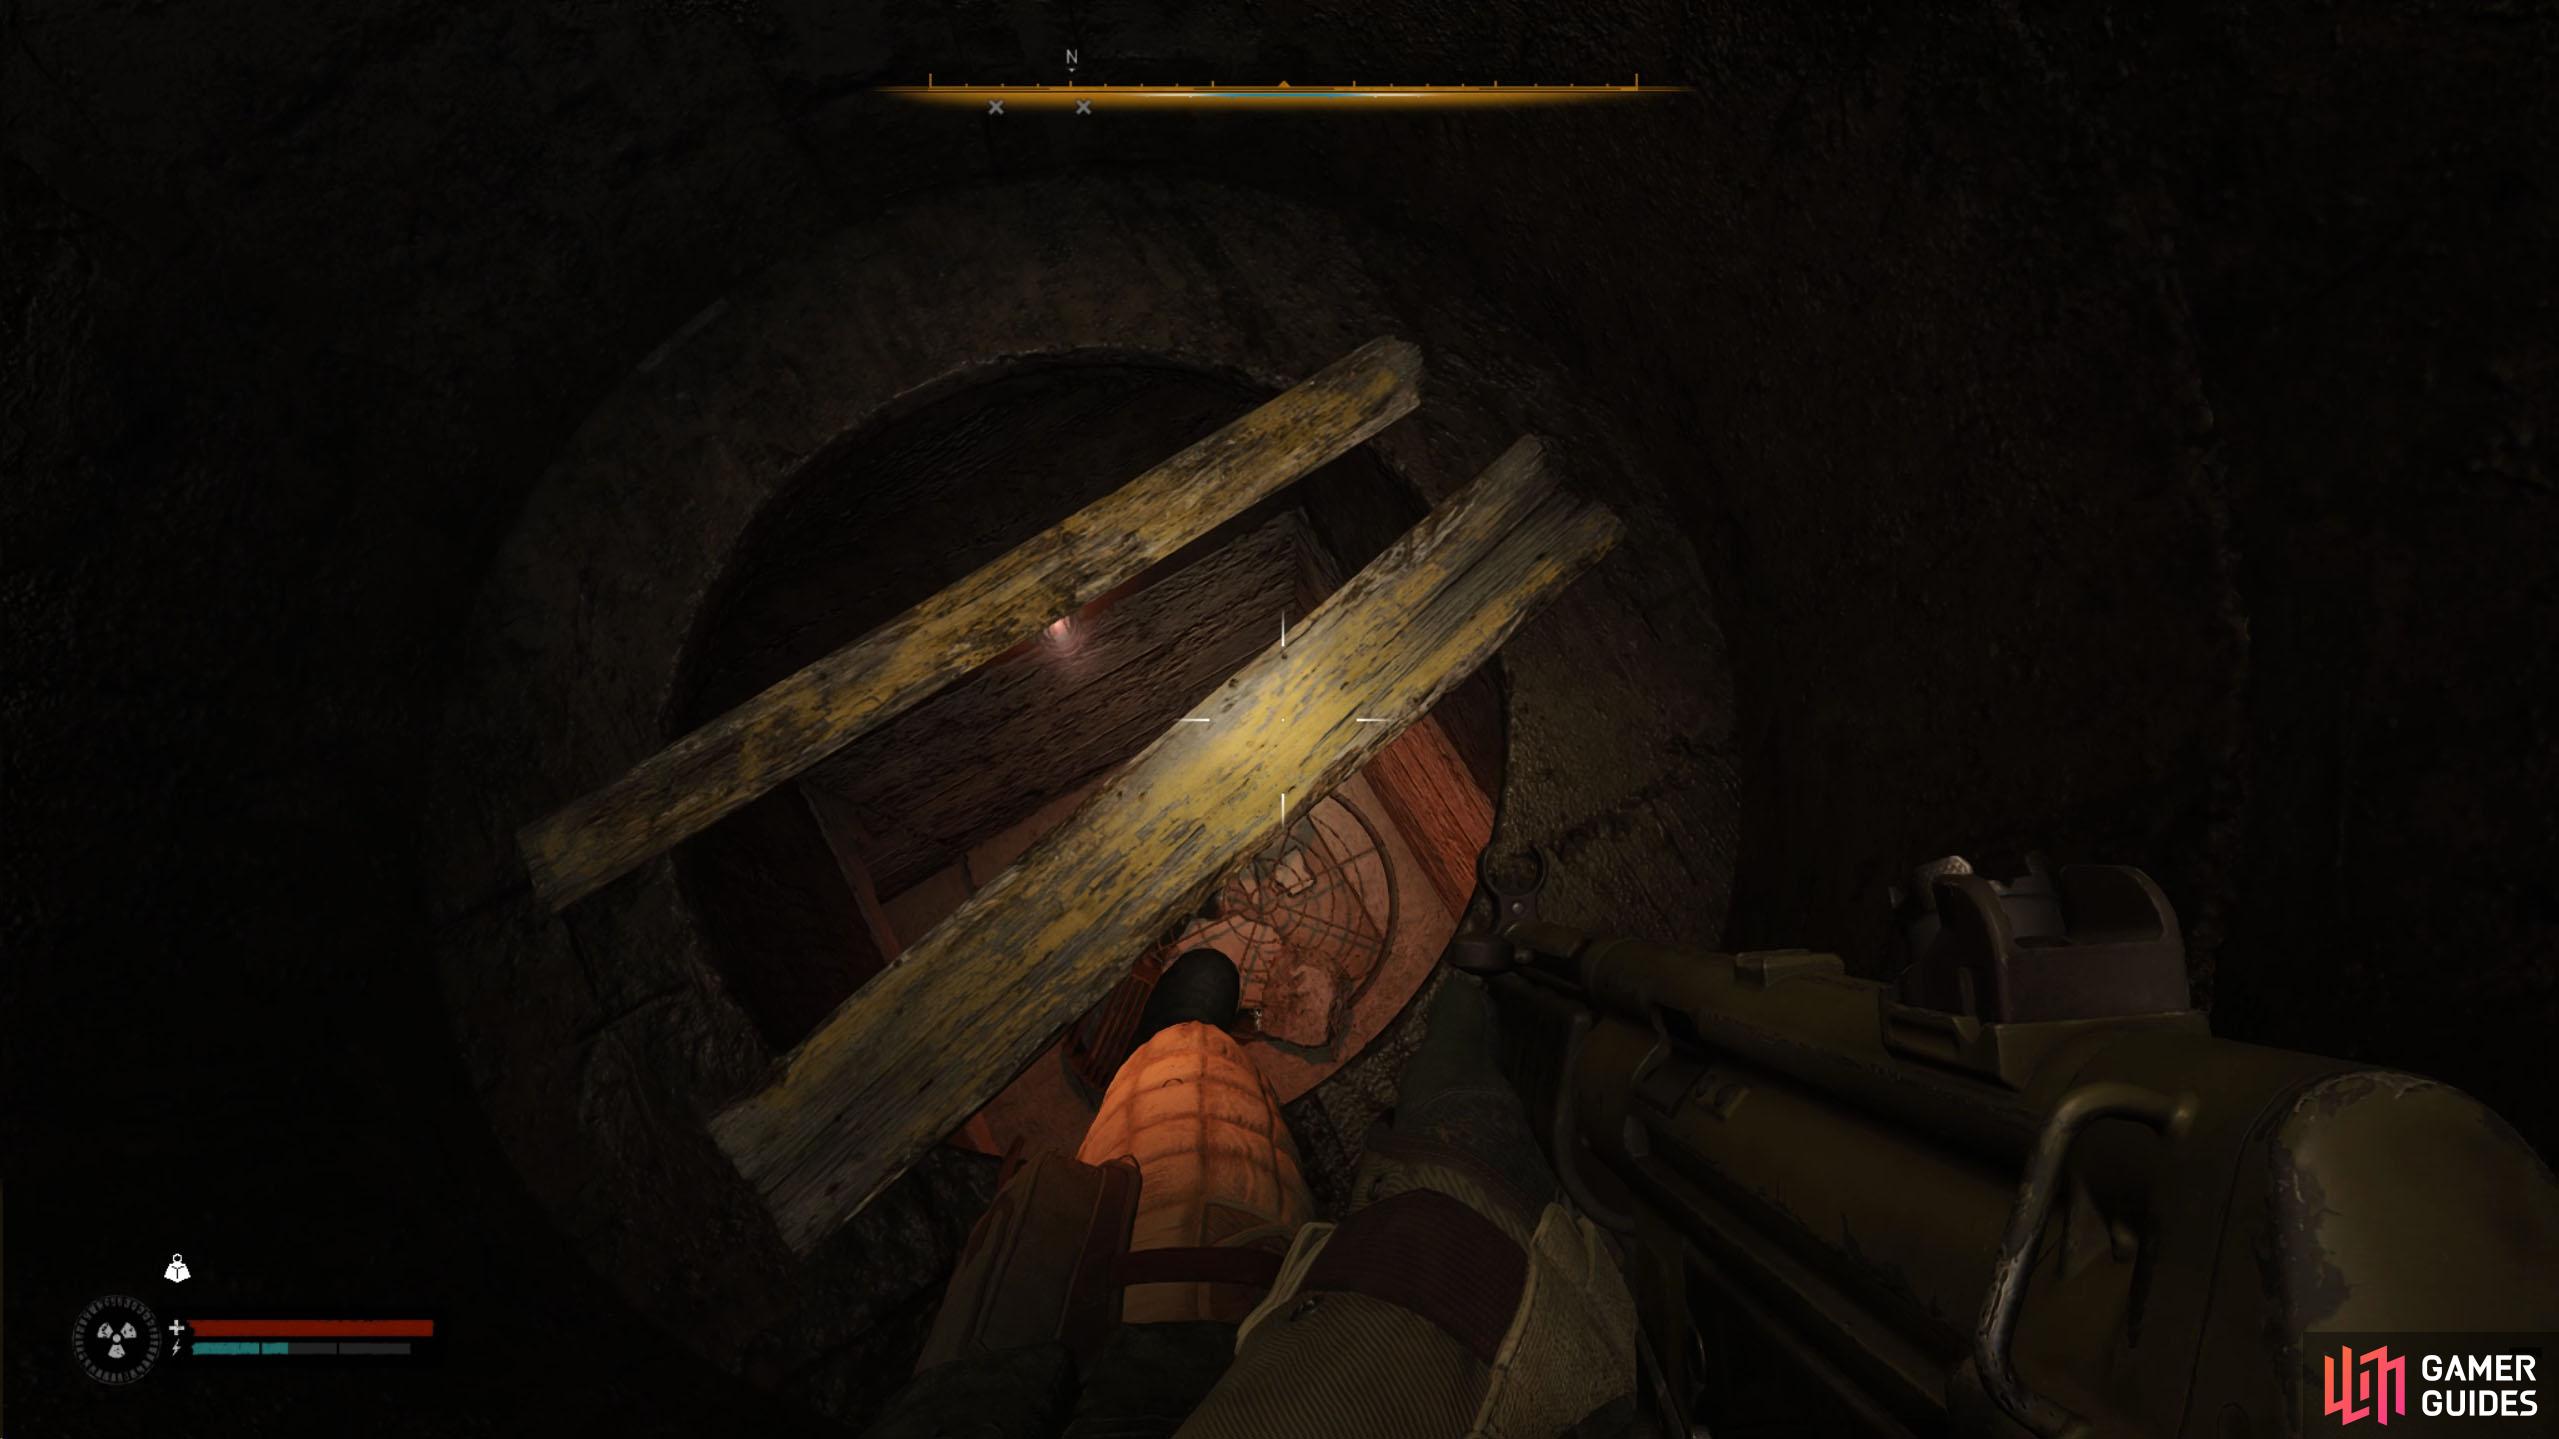
Head outside, but before you do, make sure you loot the supplies in the warehouse first. Opposite the warehouse is a broken concrete pipe that you need to drop into, but be careful of the flash anomalies as you do. Inside the pipe are some wooden planks, breaking your fall. Destroy the planks so you can reach the bottom. Inside the room, you can loot a corpse behind the metal drum, and then you’ll need to cross the corridor to the north.
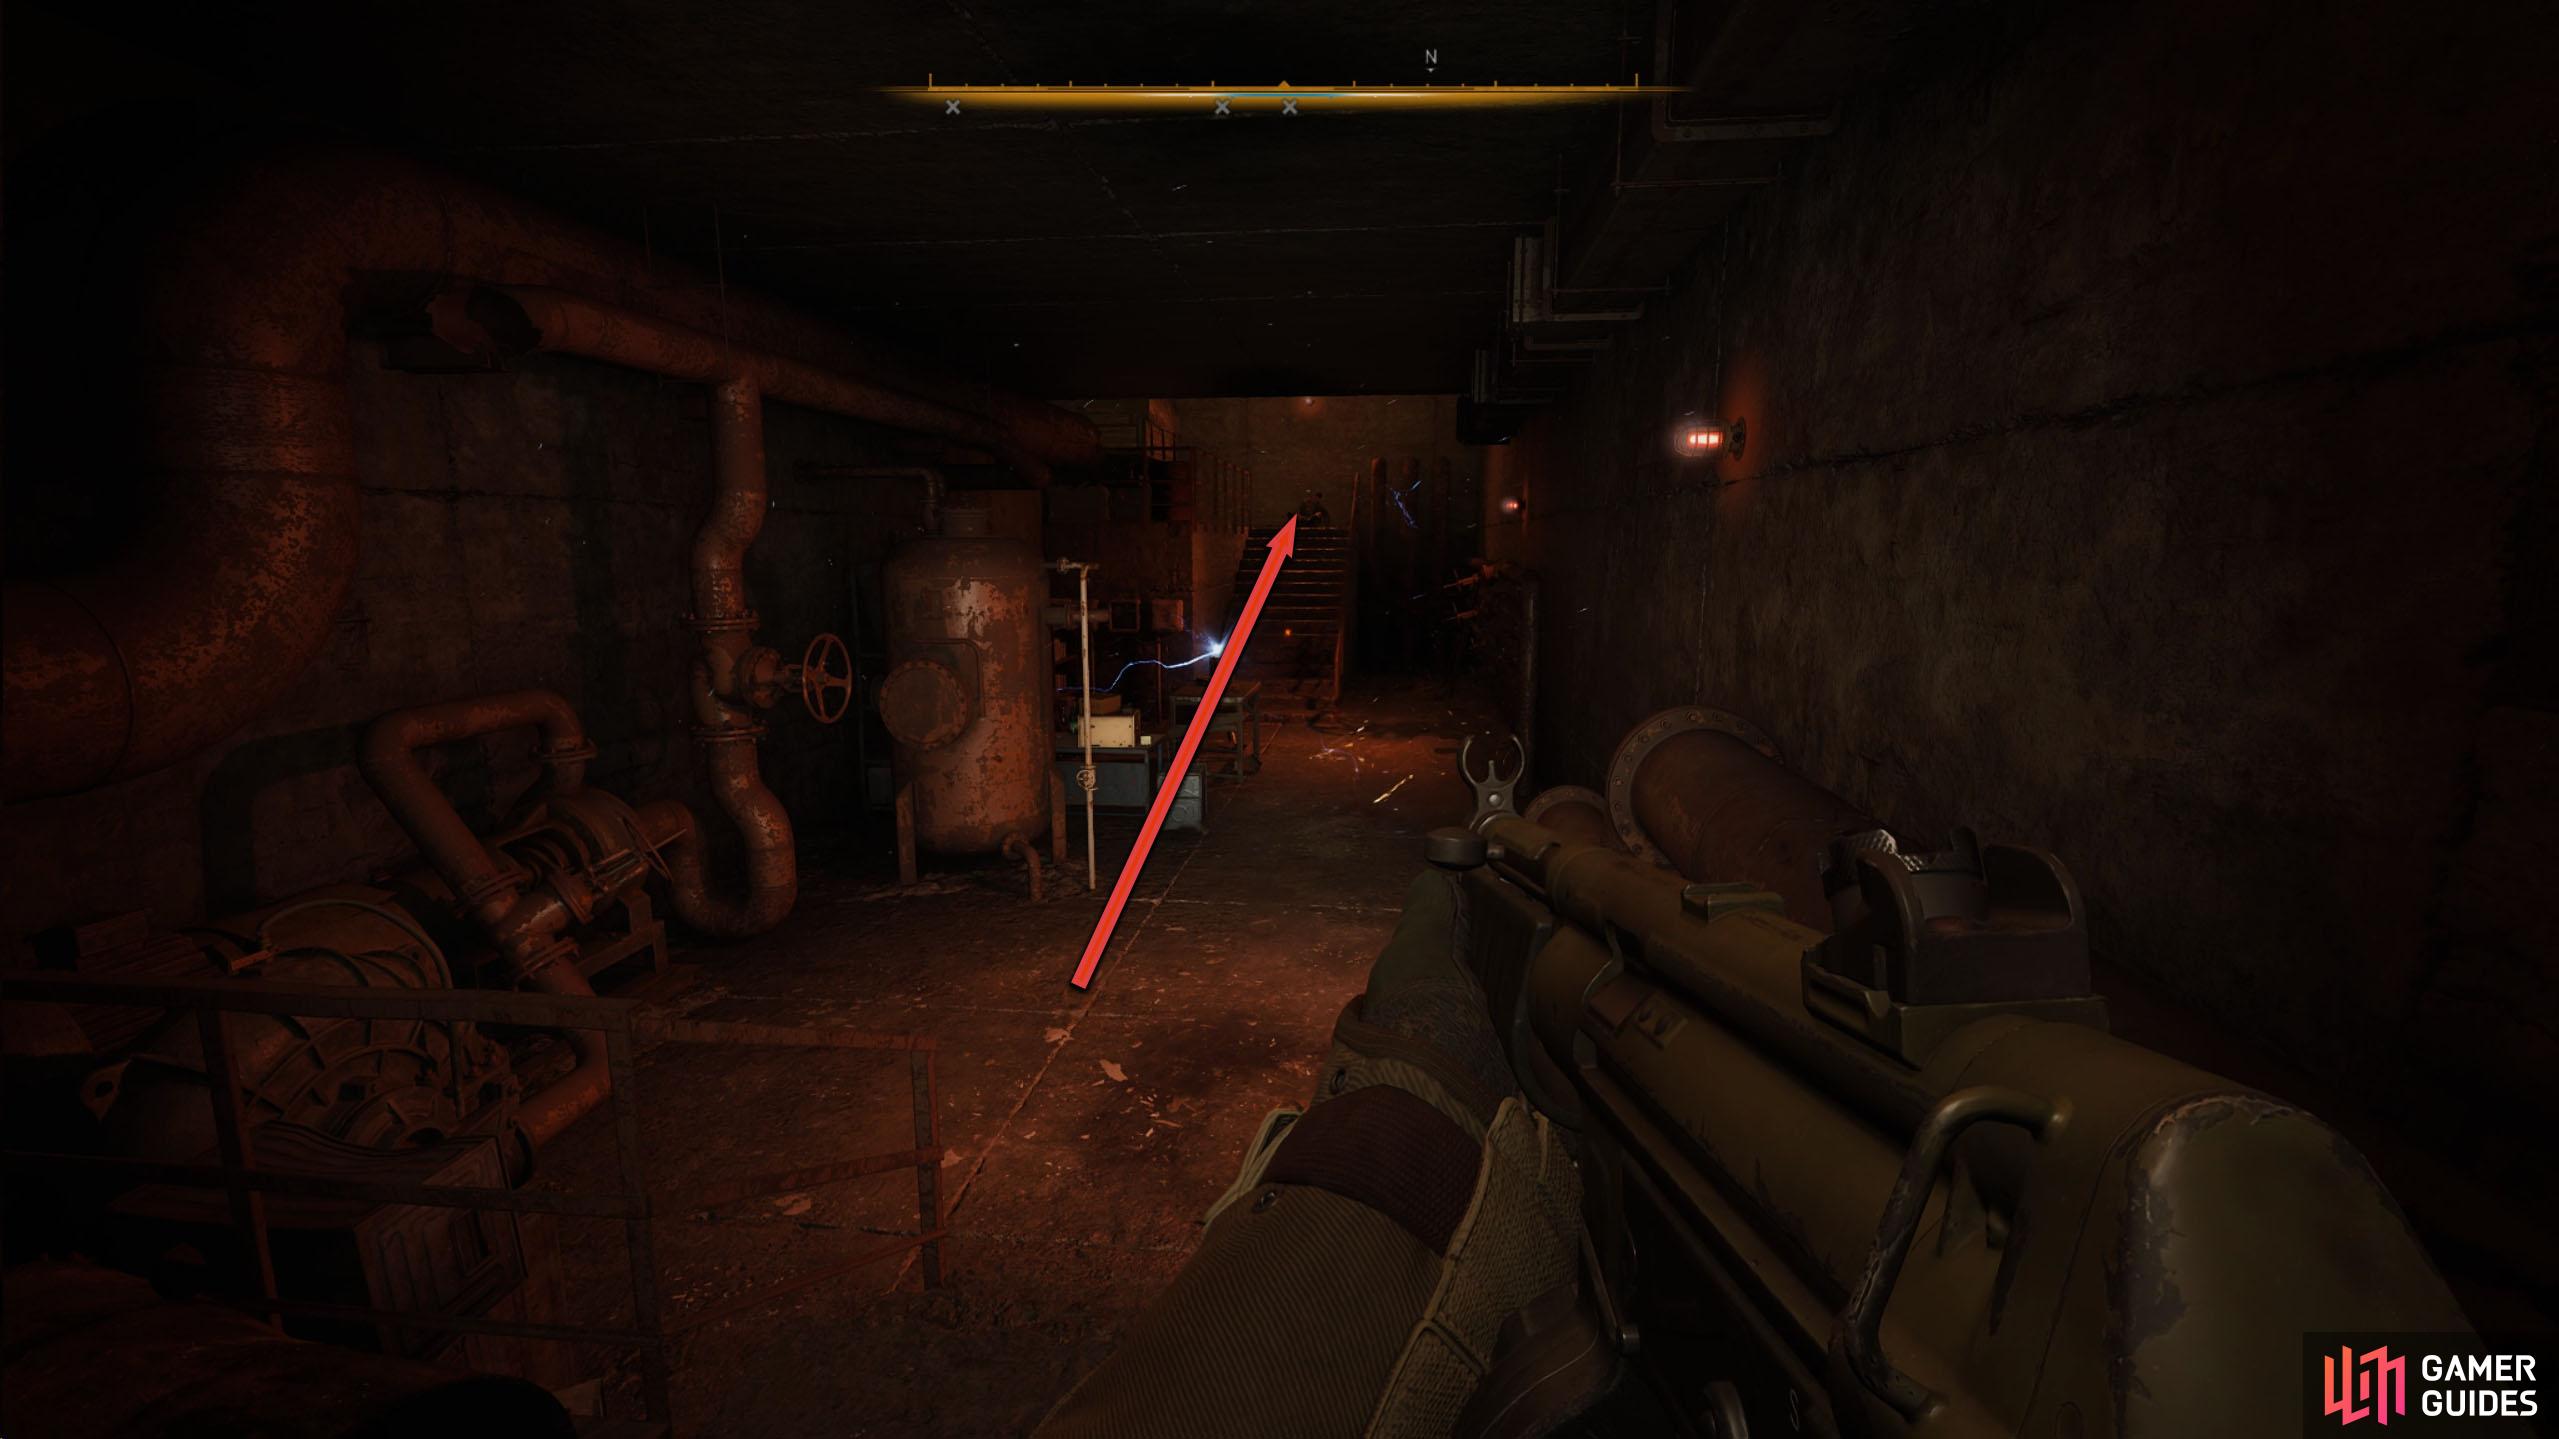
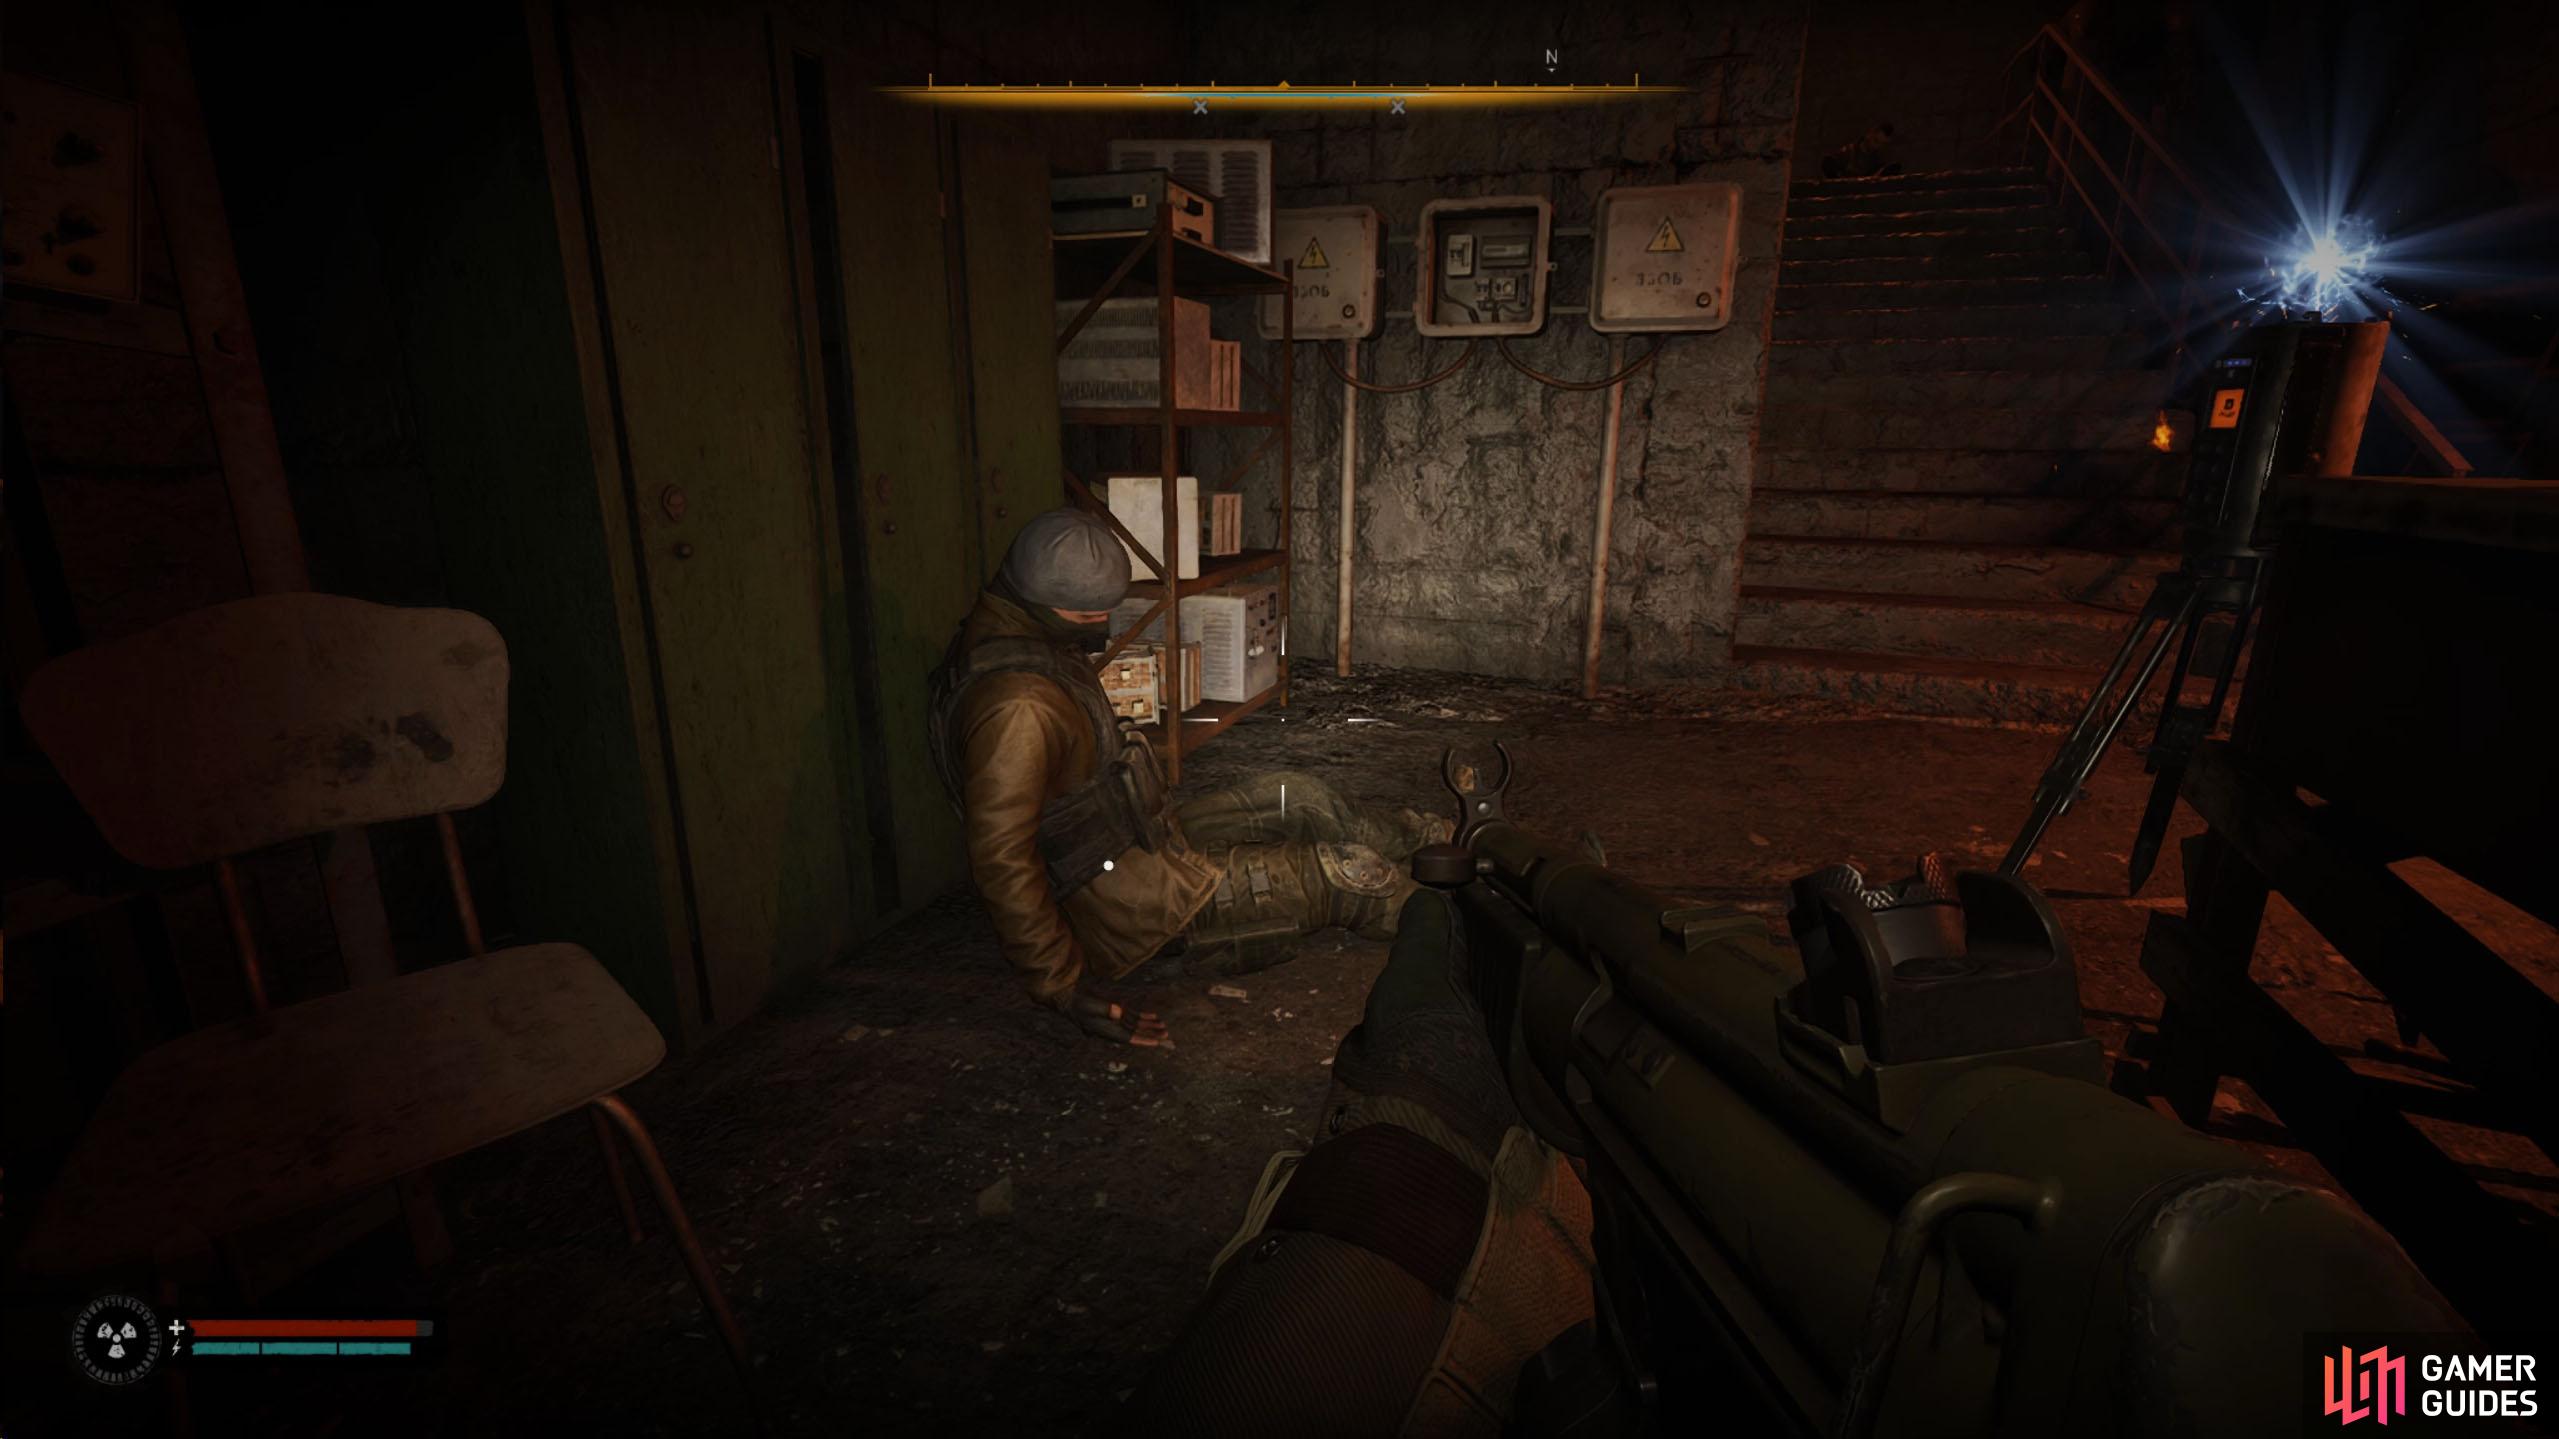
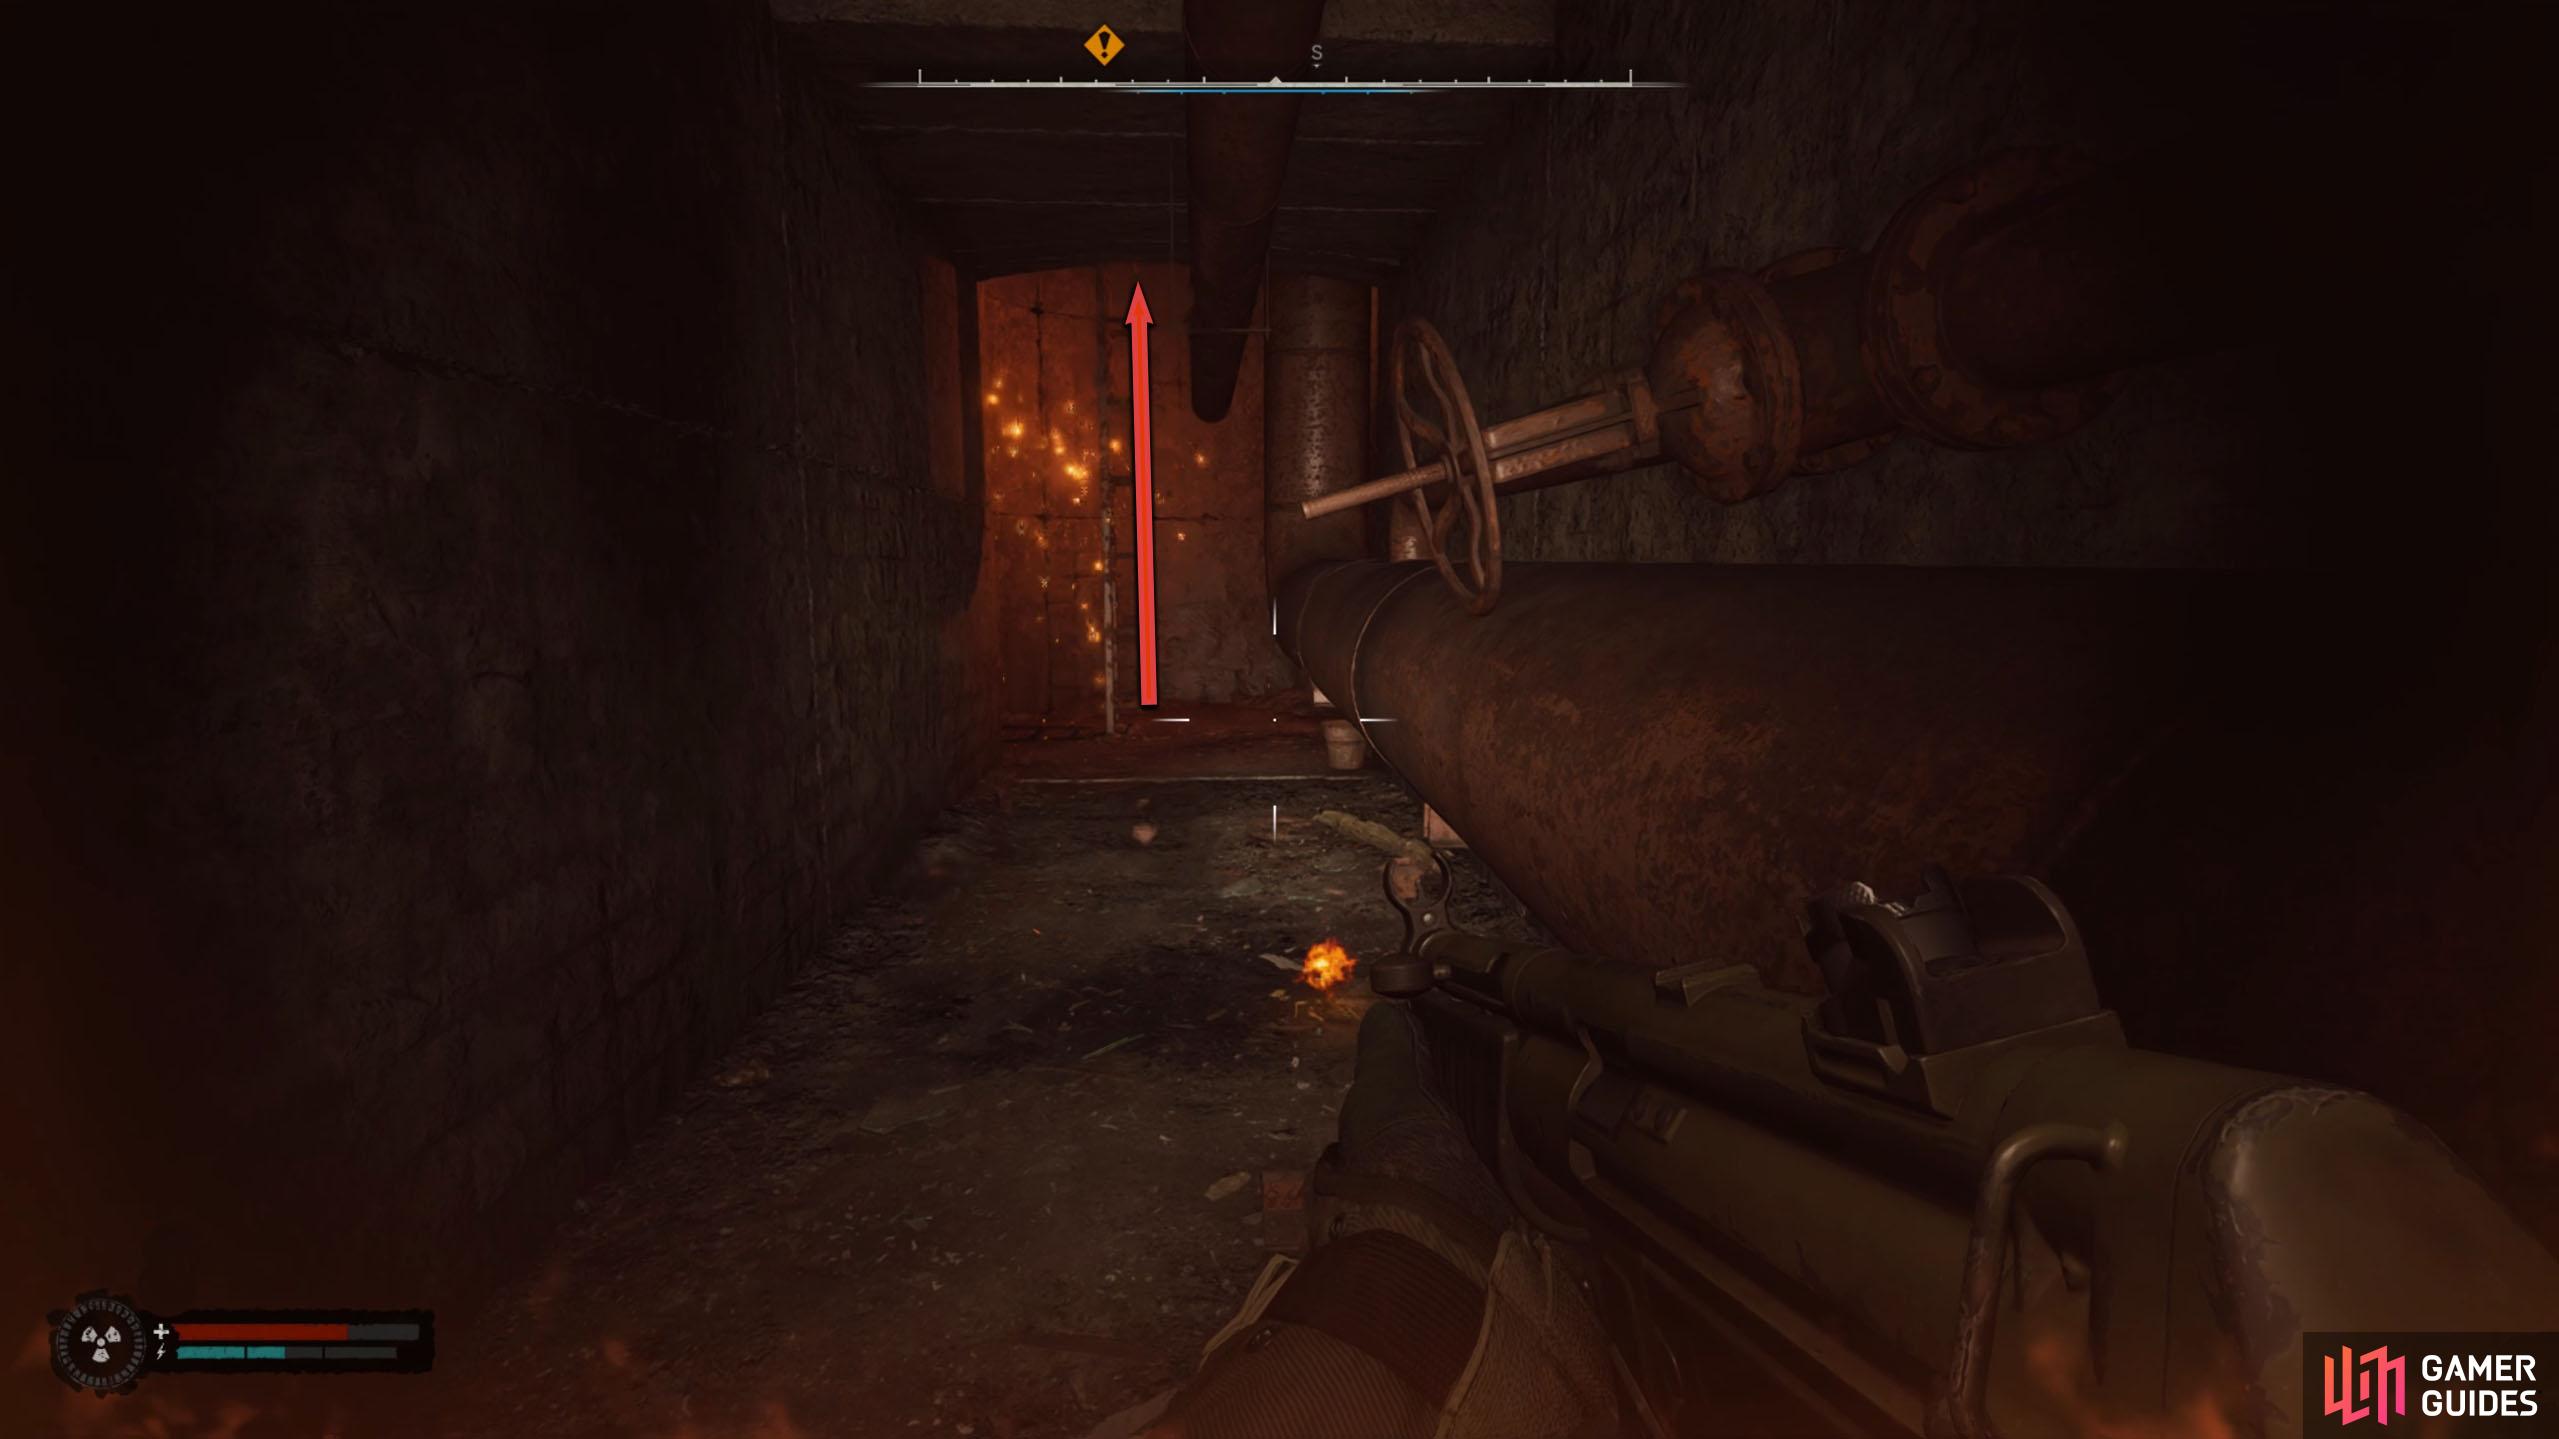
This corridor is filled to the brim with different anomalies such as electricity and fire. You can try to slowly navigate around this, but you will get hit by one of them, so you may as well sprint through them and heal up afterward. In the middle of the corridor is a desk with a corpse behind it. Searching the corpse will give you the ![]() Return Mechanism Sleeve Tightener Blueprint, so make sure you pick that up first.
Return Mechanism Sleeve Tightener Blueprint, so make sure you pick that up first.
(1 of 2) This hall is filled with electric and fire anomalies. Running through and healing after is the easiest way to get through it.
This hall is filled with electric and fire anomalies. Running through and healing after is the easiest way to get through it. (left), Make sure you loot the corpse behind the desk along the way for a blueprint. (right)
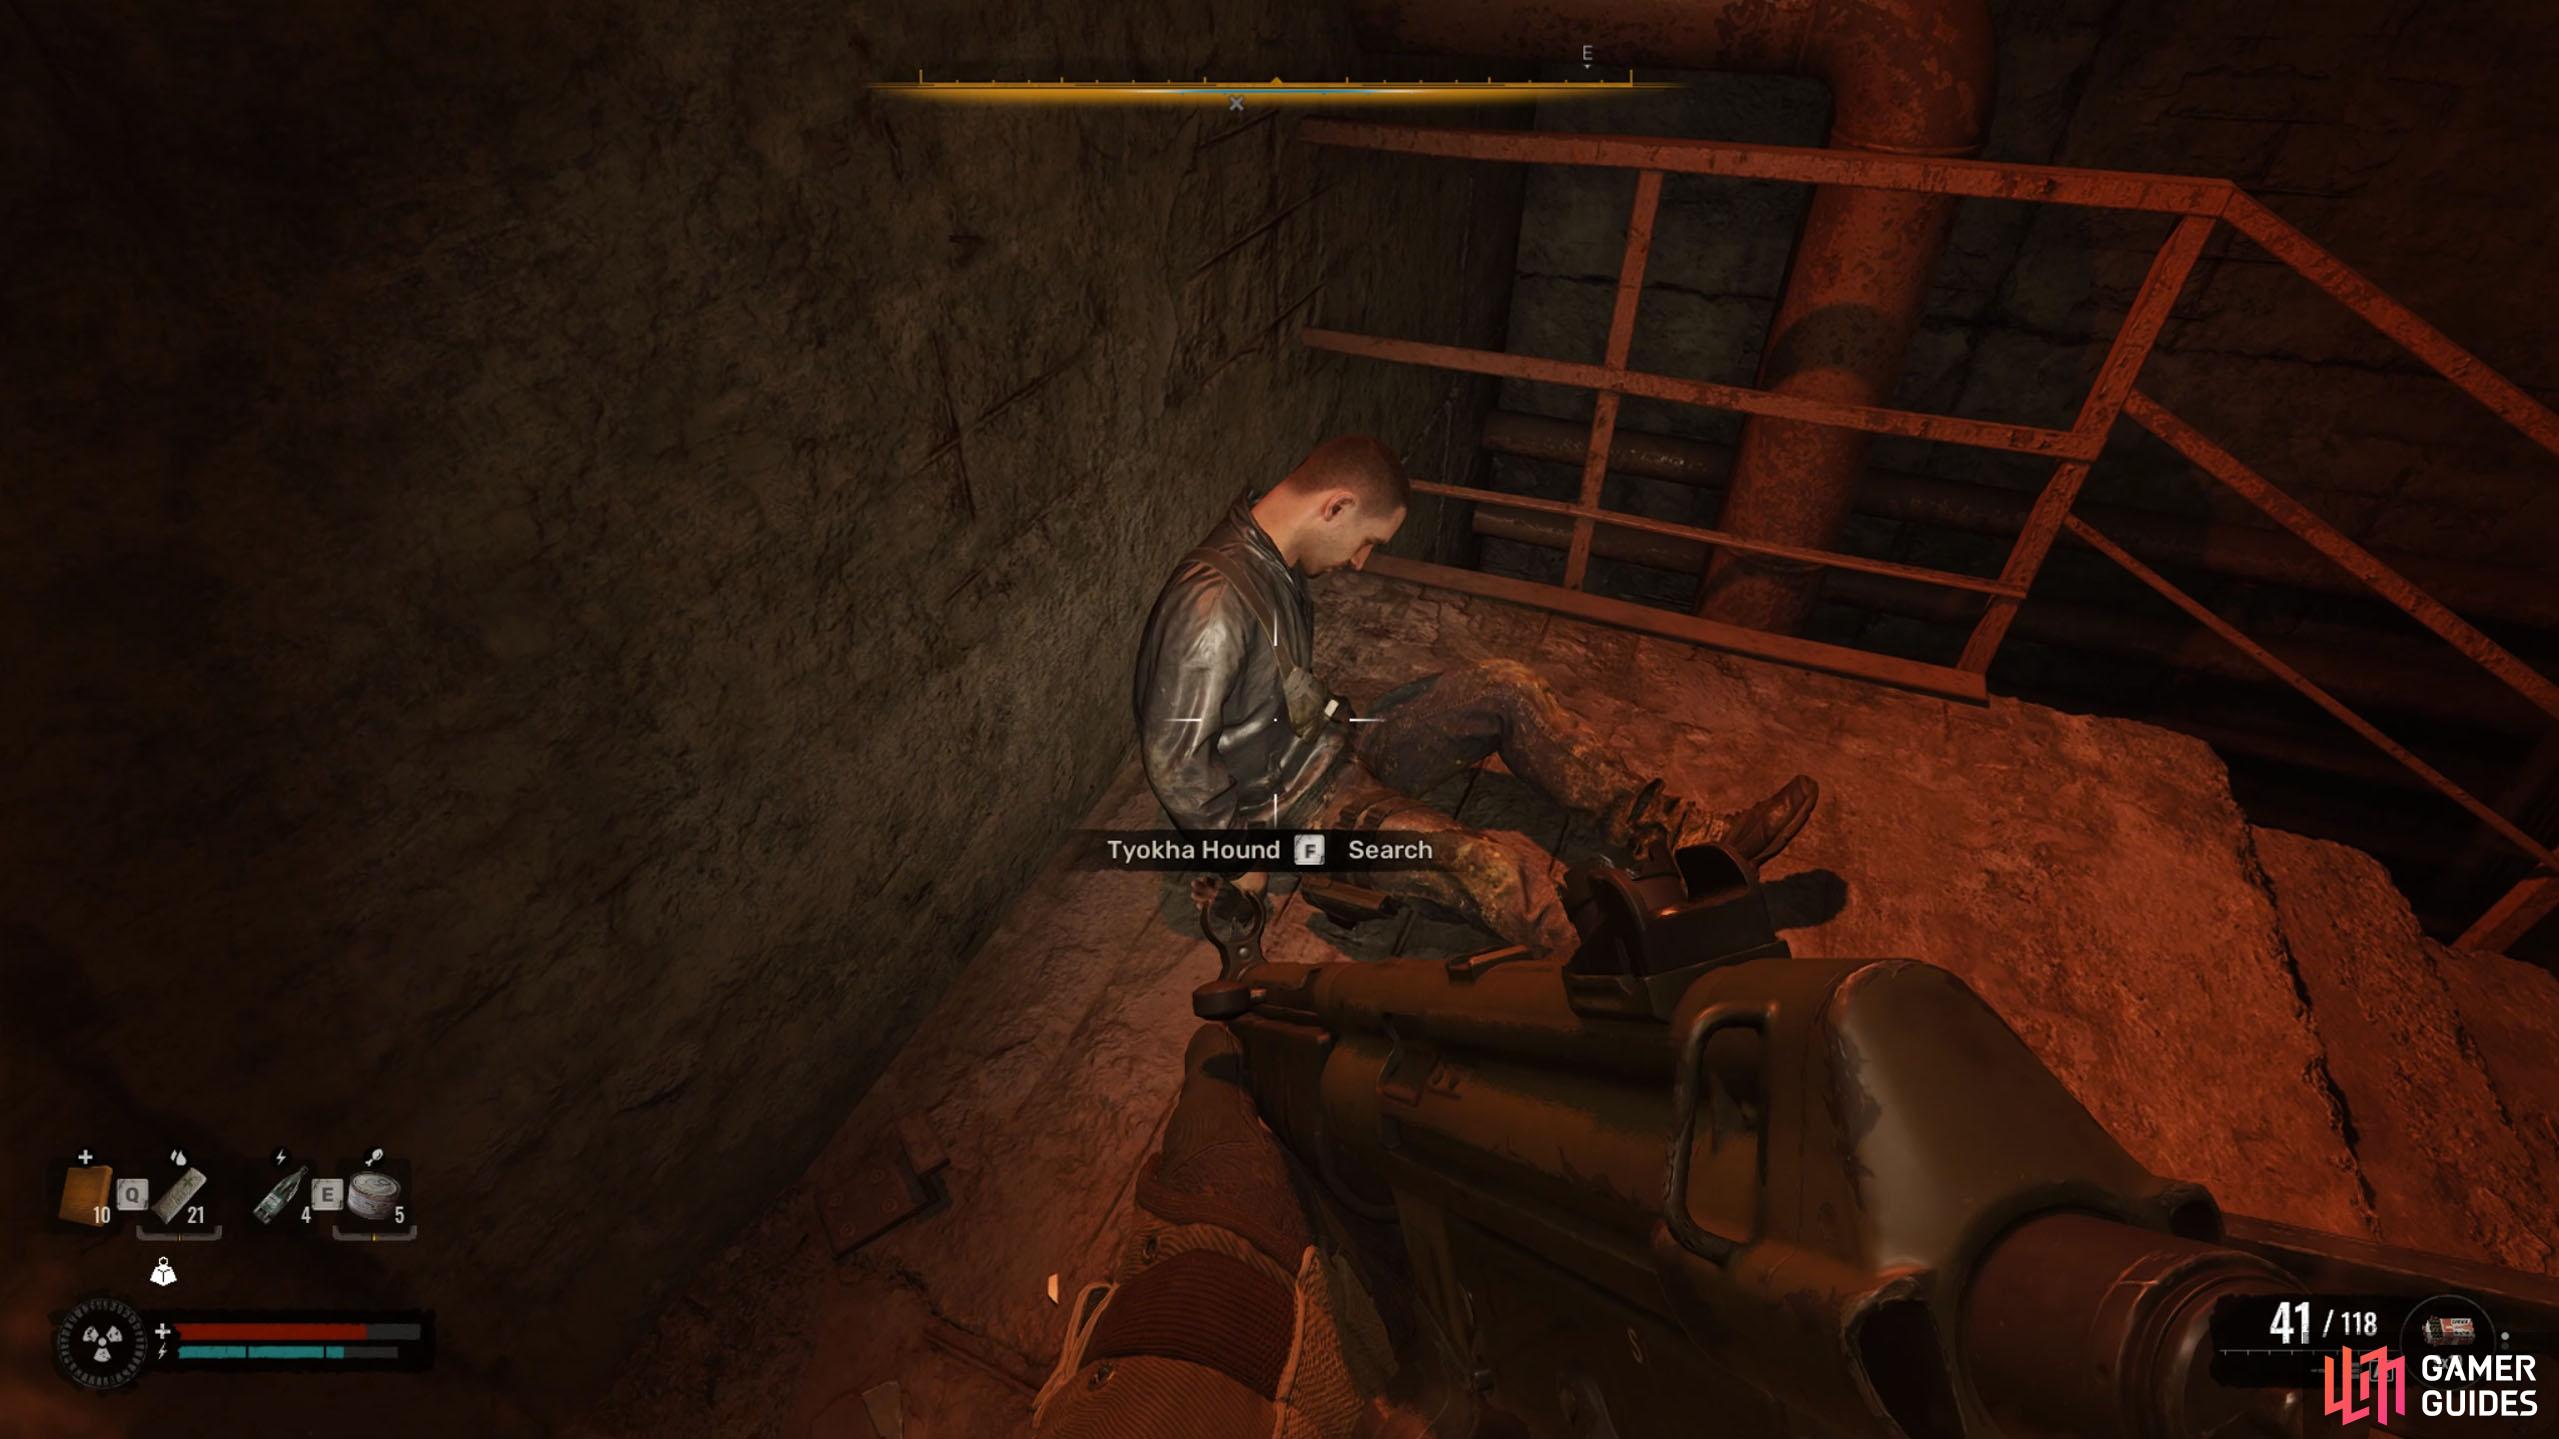
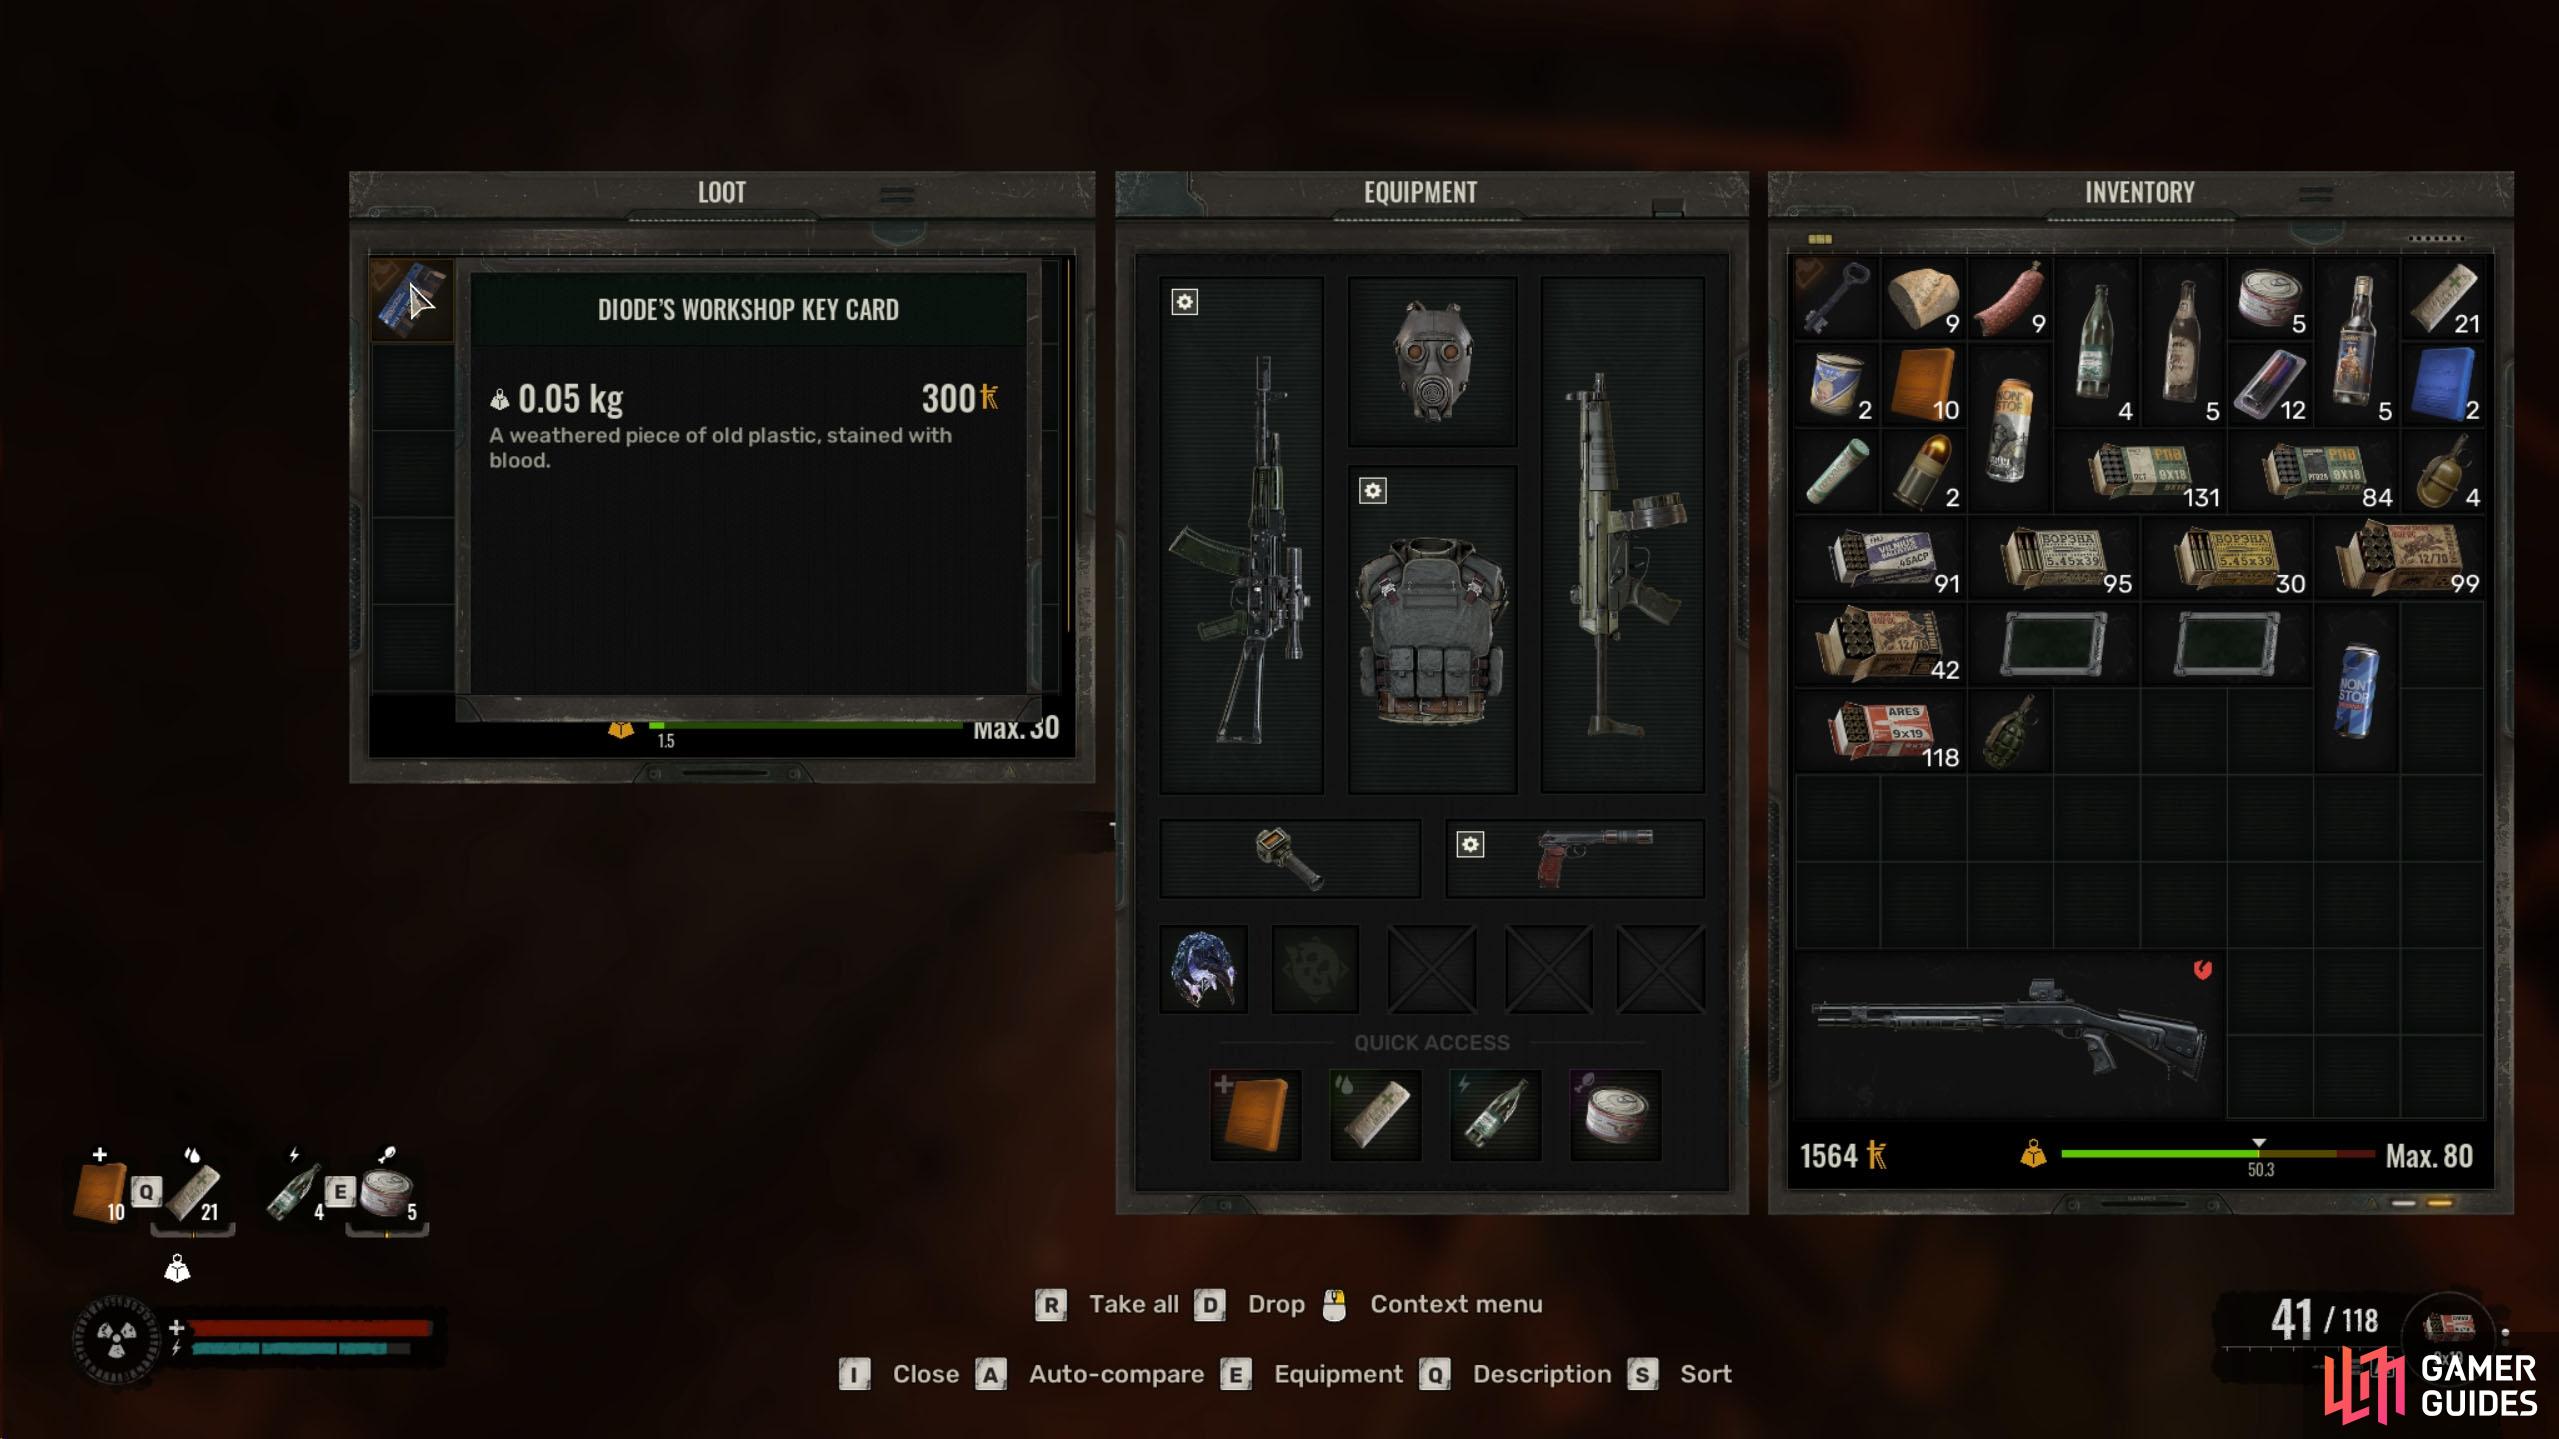
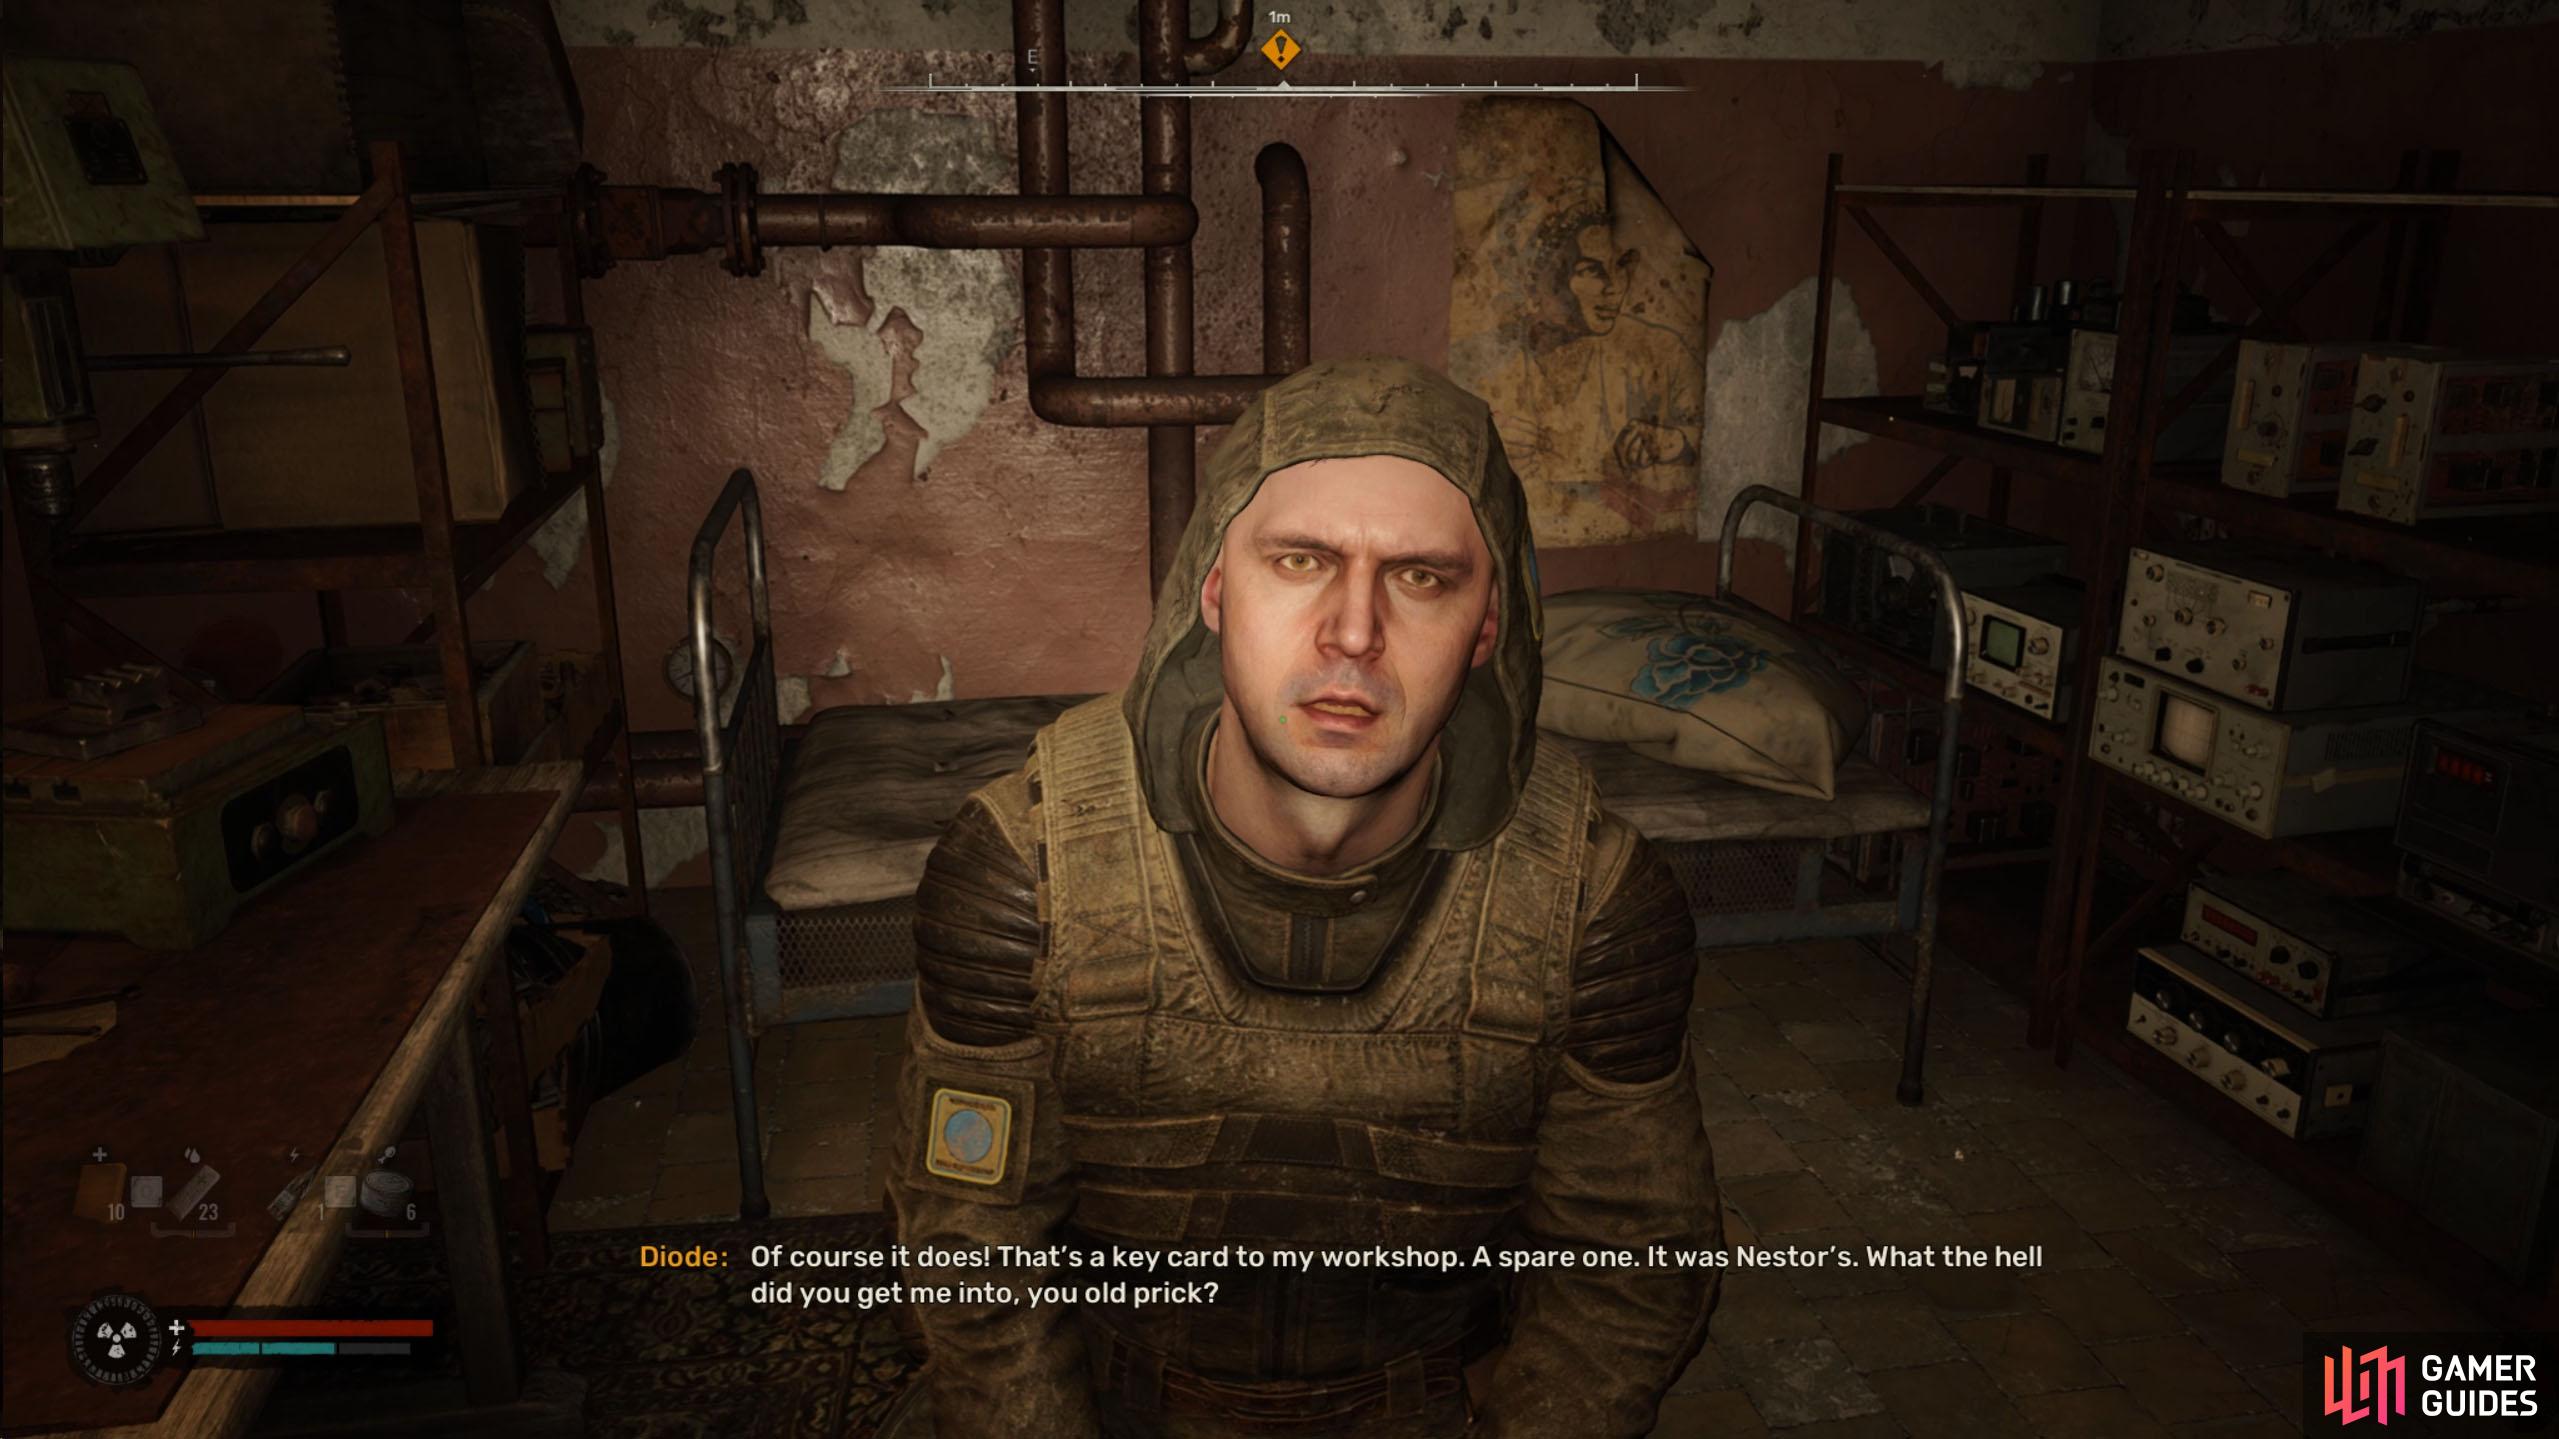
On the other side of the corridor (up the stairs) is another corpse; loot this for the elusive key card. To the left of the corpse is a truck, and opposite it are some shelves with some supplies. Now, it’s time to run back through the corridor of death again. Heal up, make a mad dash through the anomalies, and climb the ladder up at the end. At the top of the ladder is the key card door, but search the hole in the wall first for some supplies. When you’re ready, go through the door, and exit the warehouse area, dodging the flash anomalies along the way. Head back to Slag Heap and show Diode the key card you found to find out that it was his spare key card that he gave to Nestor. And if the bandits have it, they must have got it from him.
(1 of 4) Search the corpse at the top of the stairs at the end of the hall.
Nestor’s Stash Location
Diode will direct you toward Nestor’s Stash, which can be found atop Slag Heap. Exit the Slag Heap via the western door and follow the scaffolding up to the right of it to the top. Jump across onto the toppled crane and continue heading up. At the top, head north until you reach a tunnel, but don’t go in it. Follow the path right of the tunnel, go through the bus, and follow the path left into another tunnel.
(1 of 3) Exit Slag Heap and climb the scaffolding to the right.
Inside the tunnel, go around the corner and drop down into a room filled with poison anomalies. As long as you stay on the path, this won’t affect you. Make your way through the area and go up the concrete post at the end. Look to your right, and climb up the next platform before crouching around the corner to your left (indicated with rusted metal posts sticking out). When you reach the dead end, stand up, and jump onto the small metal platform above you before climbing the ladder out of the tunnel.
(1 of 4) Continue around the path until you reach another tunnel. This time, go in, and drop.
Before you climb the ladder, head left to find a bus, which has a bag of supplies on one of the seats. When you’re ready, exit the tunnel via the ladder, and head over to the person at the edge of the crane to your left for a scene. After the scene, slowly make your way closer to the edge of the crane and loot Nestor’s stash on the floor. Inside the bag, you’ll get some supplies, a modified shotgun, and the main reason you came up here, his flash drive.
(1 of 2) Climb the ladder and head over to the person on the crane for a scene.
Climb the ladder and head over to the person on the crane for a scene. (left), After the scene, walk toward the end of the crane and search the floor for Nestor’s stash. (right)
Enter the Dig Site or Labyrinth
The next objective gives you a choice. Either go to the Dig Site or the Labyrinth (Map Marker). We chose the Dig Site, so we’ll focus on that path, but you can go to the Labyrinth if you want. After you’re done with Nestor’s stash, head back to the ladder you climbed to get here, but don’t go down it. Instead, drop off the wooden board next to the signpost, and drop into the hole. This will take you to the first tunnel you went past on the way here.
Follow the path south back to the scaffolding, but whatever you do, make sure you stay in the center (don’t jump on the wreckage) otherwise you’ll get killed by the radiation. When you reach the scaffolding, make your way back down to the bottom.
Your next objective wants you to head to either the Dig Site or the Labyrinth.
Labyrinth
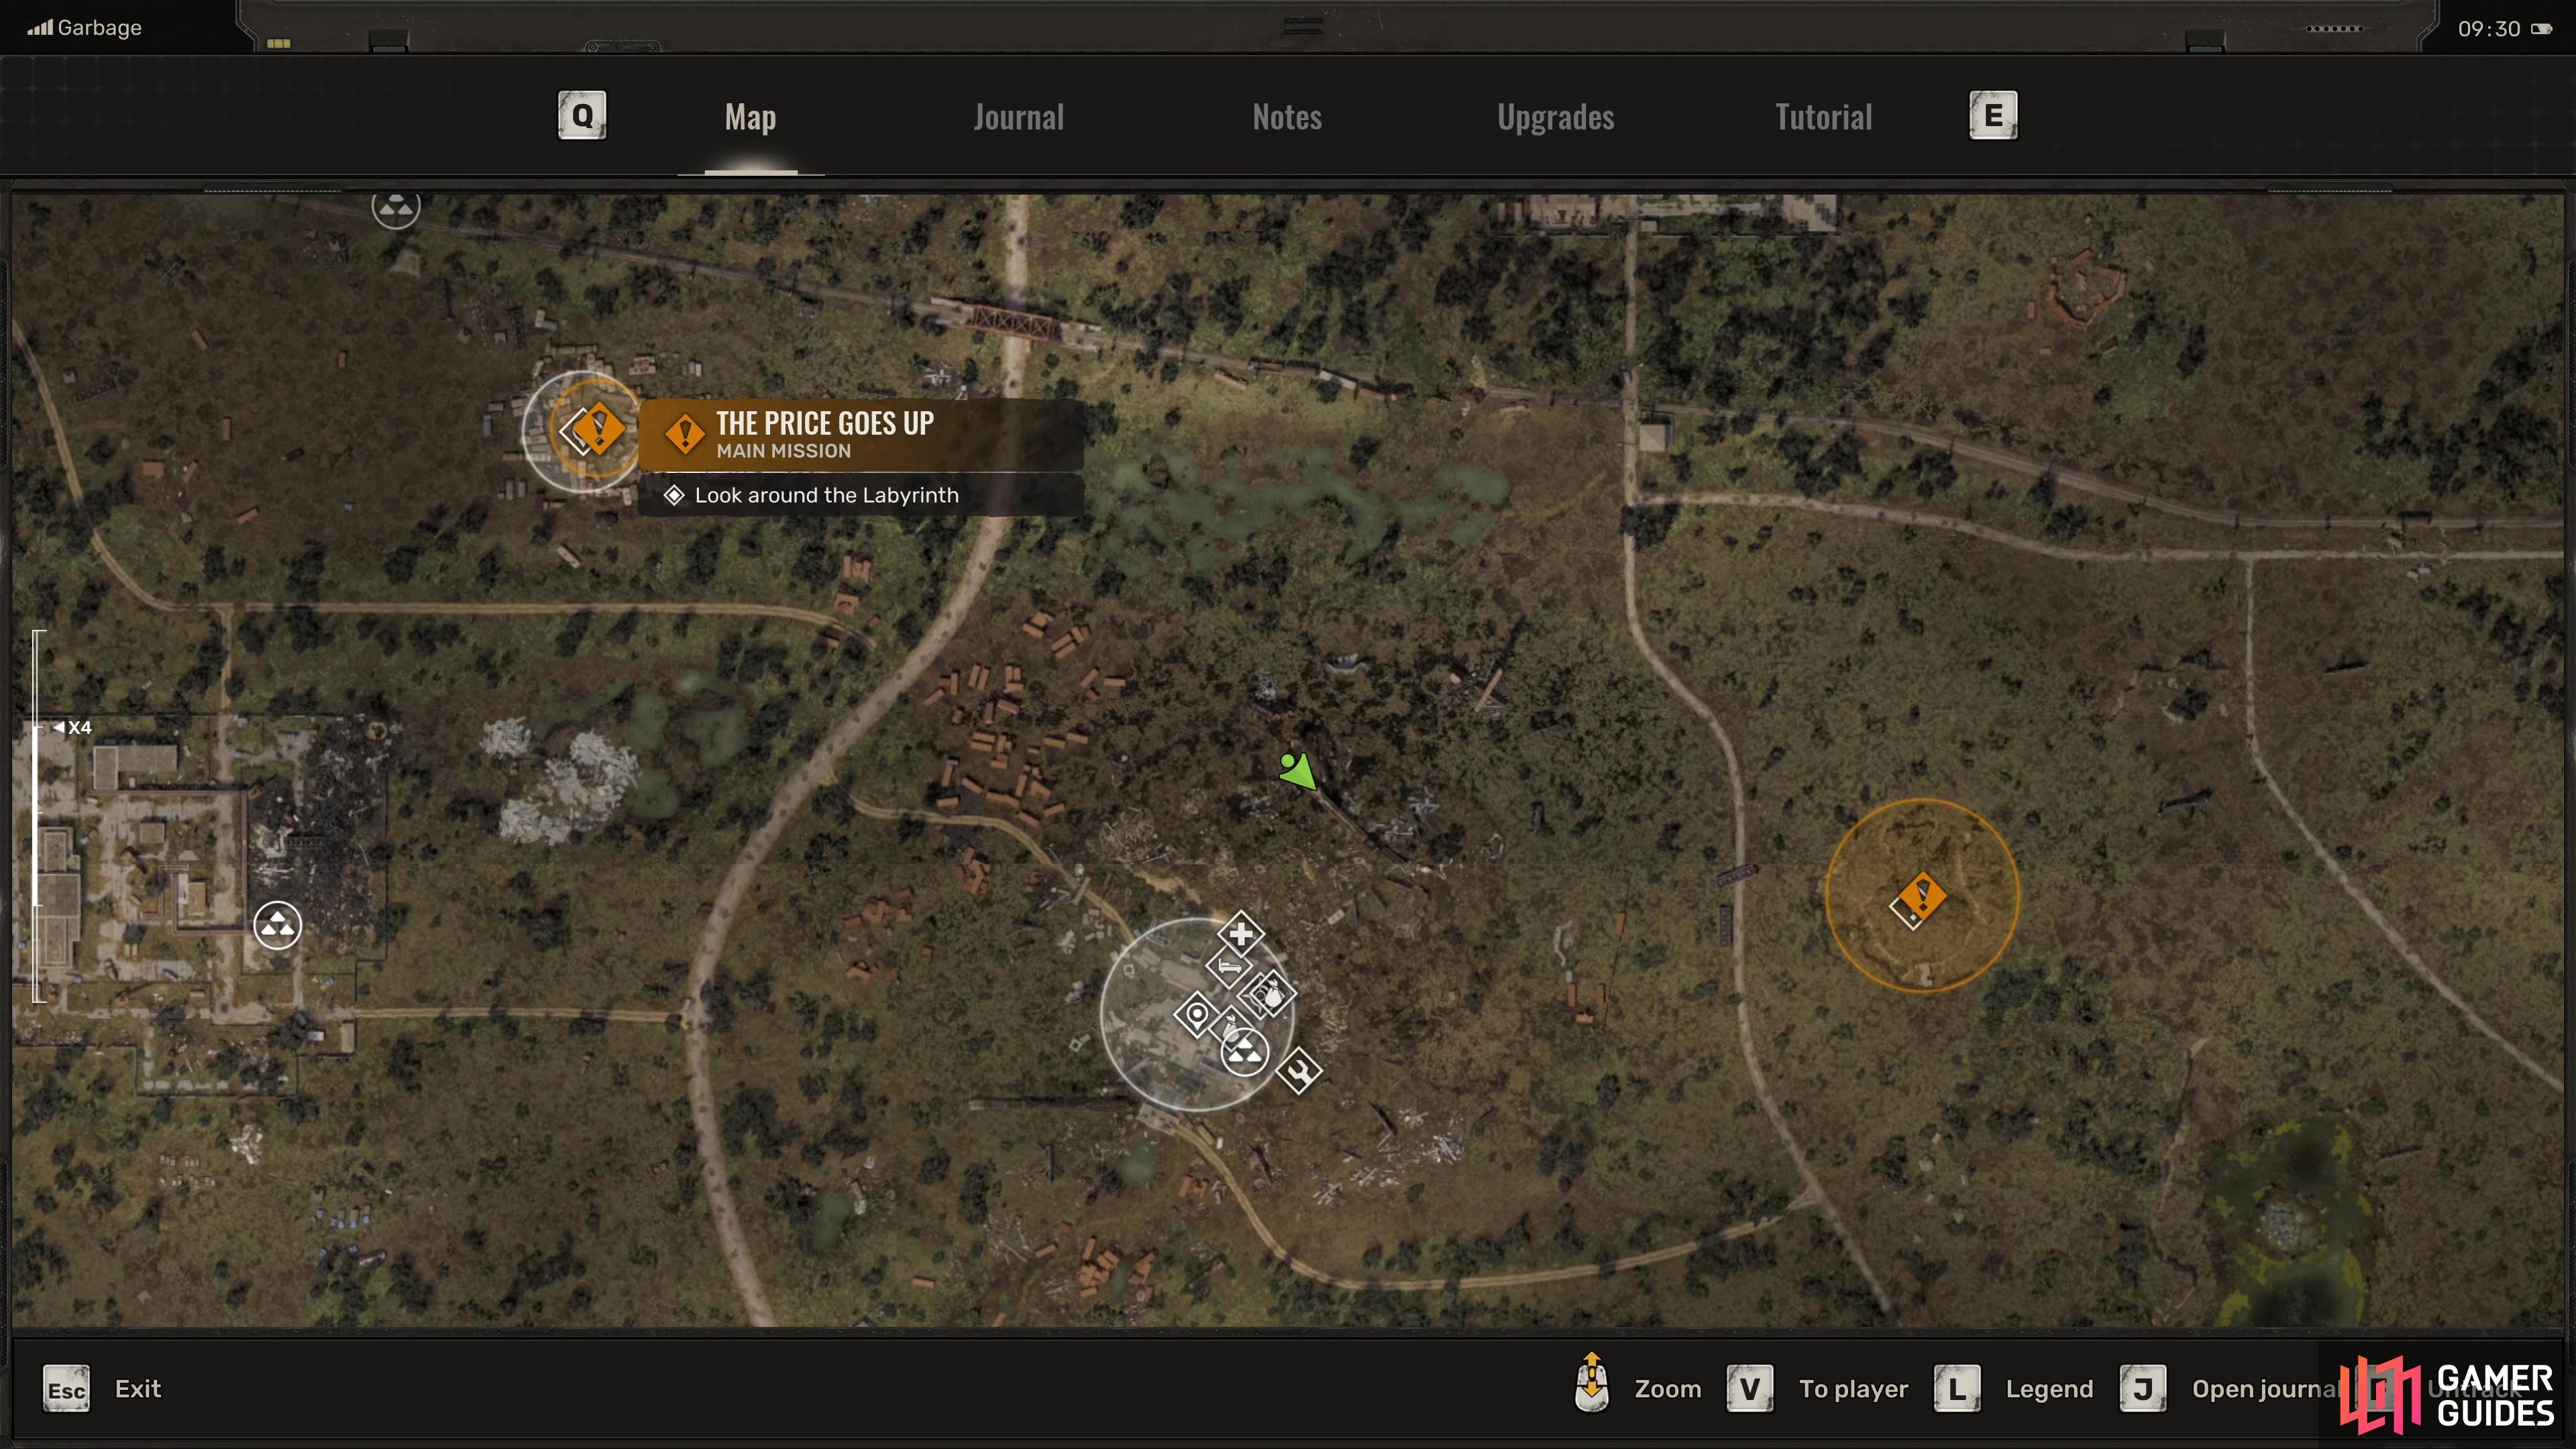
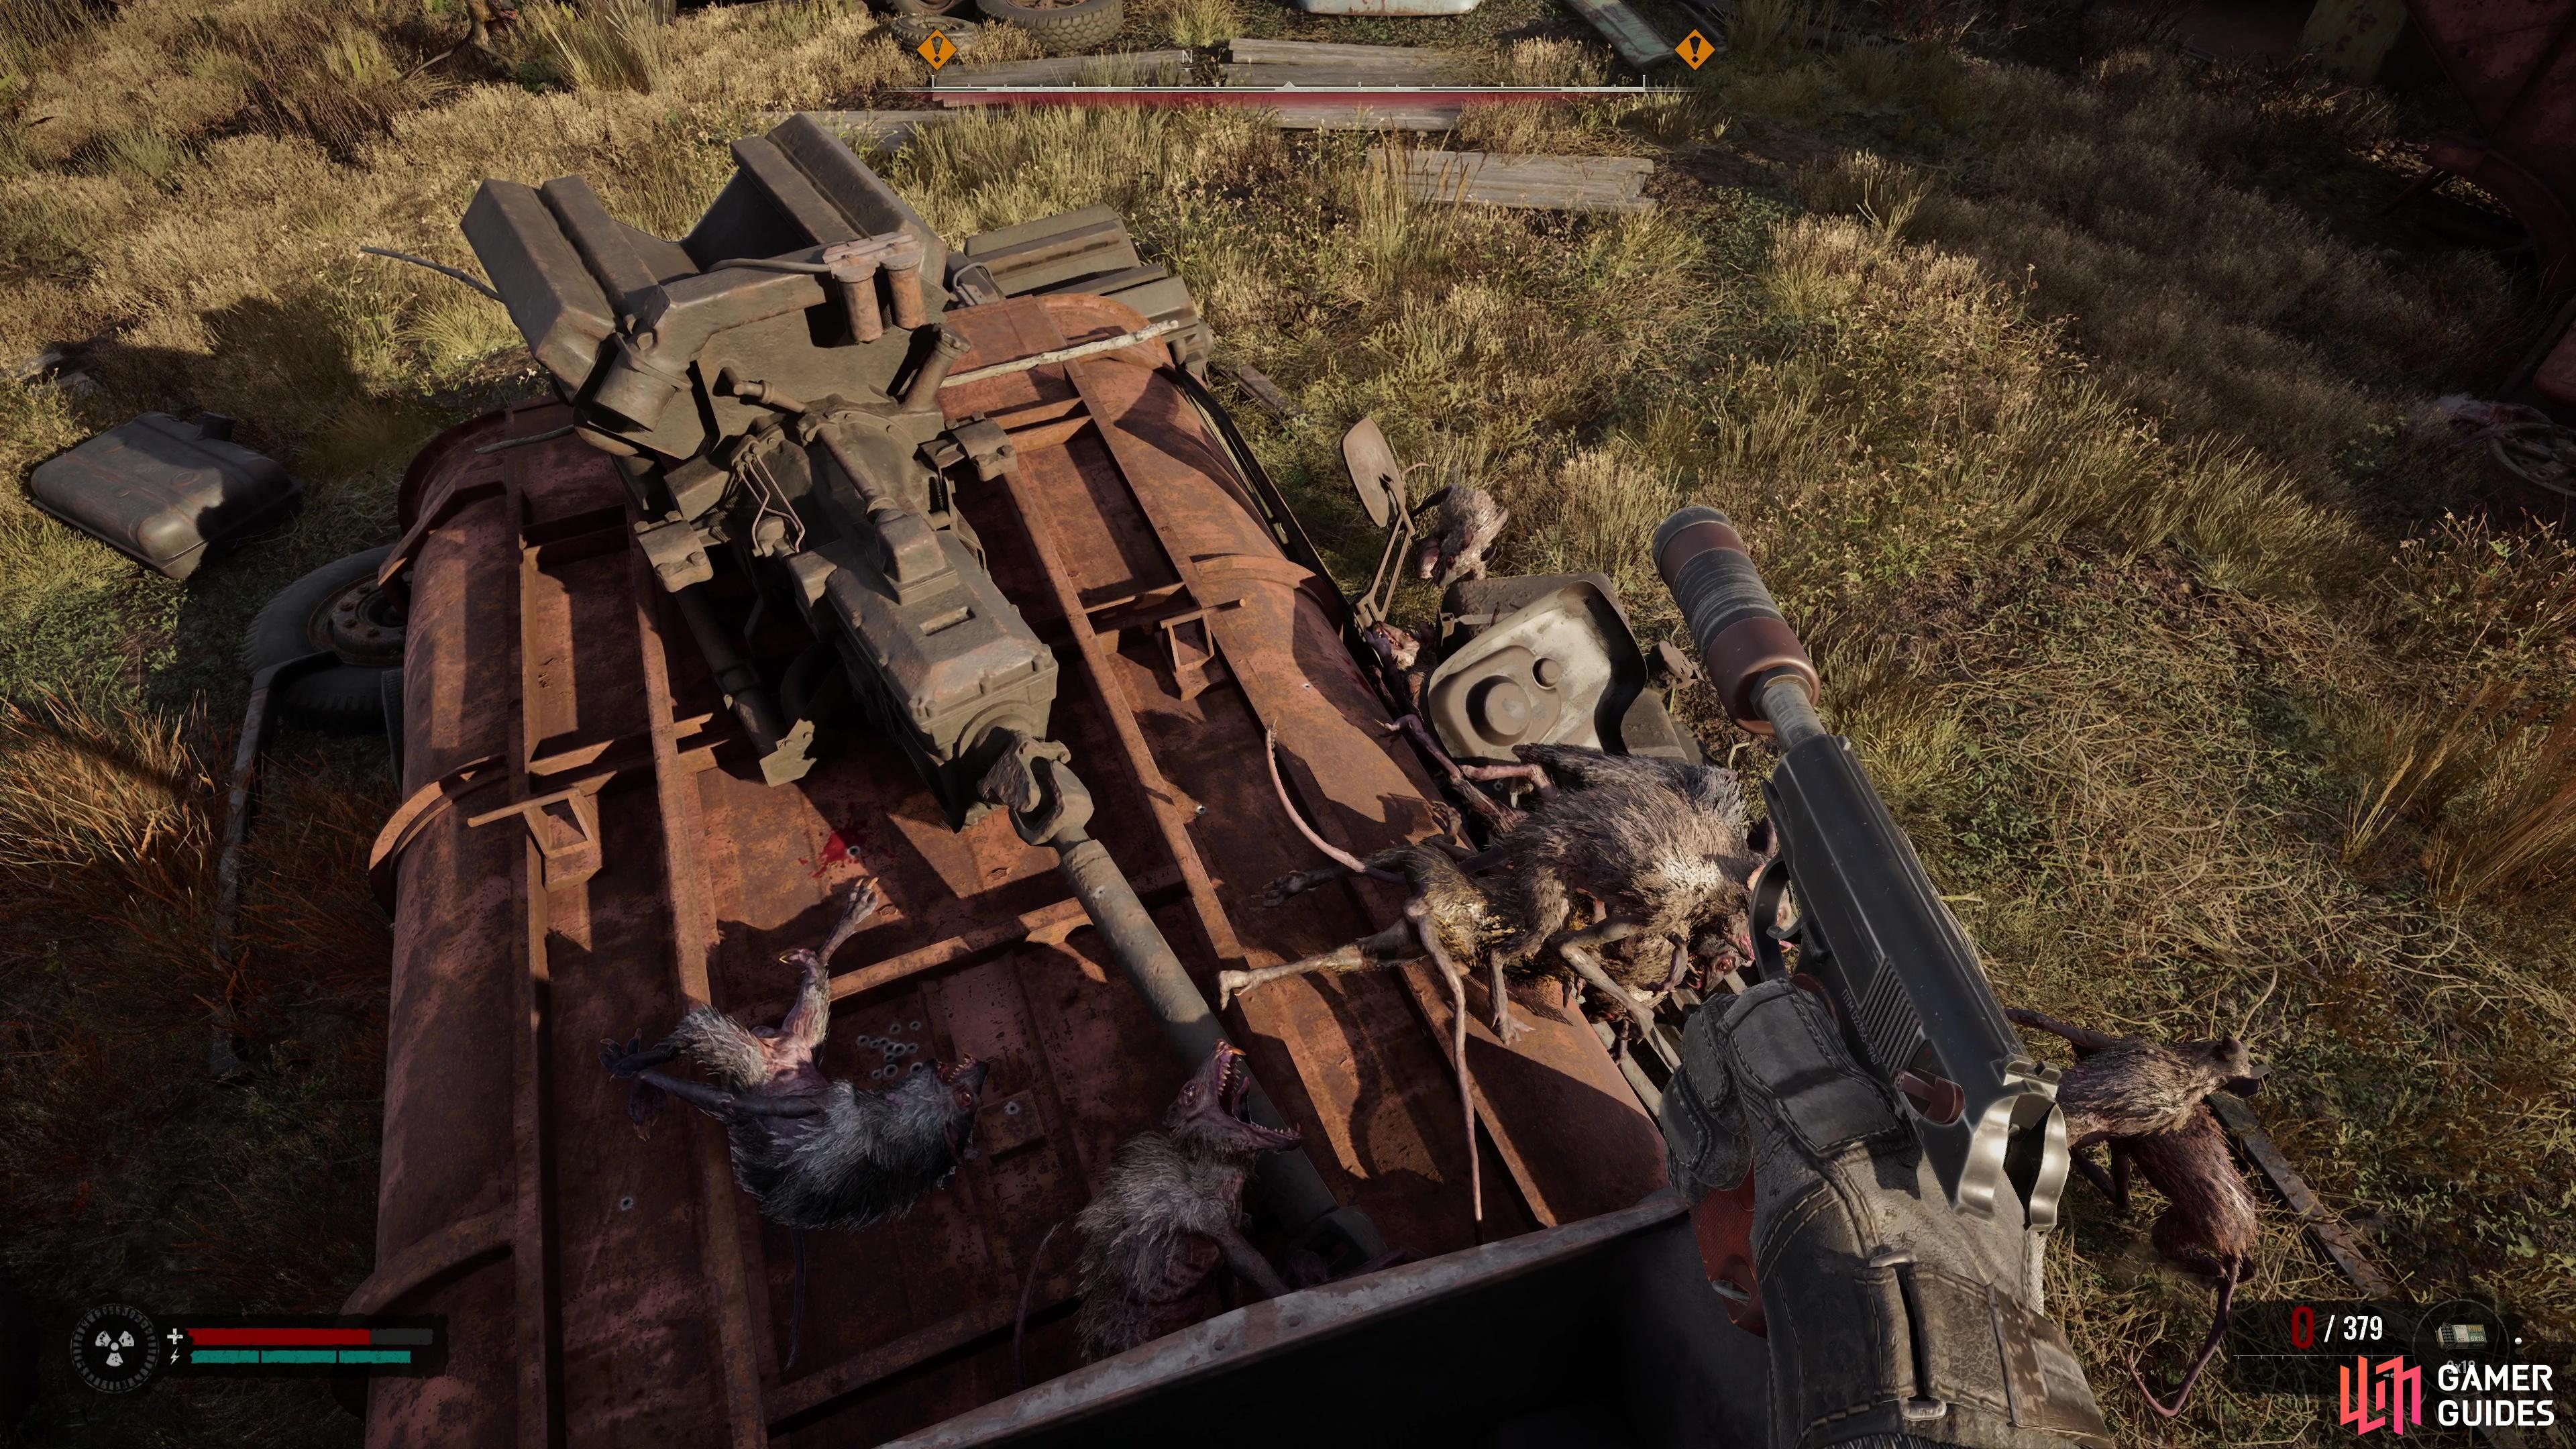
The Labyrinth, better known as the Maze on your ![]() PDA’s map, is arguably the easier of the two locations. You’ll find this car graveyard to the northwest of the Slag Heap and as soon as you head inside, you’ll find yourself up against a massive swarm of Rats. Jump onto the cars and then take them out with Grenades to clear them out quicker, then get out your
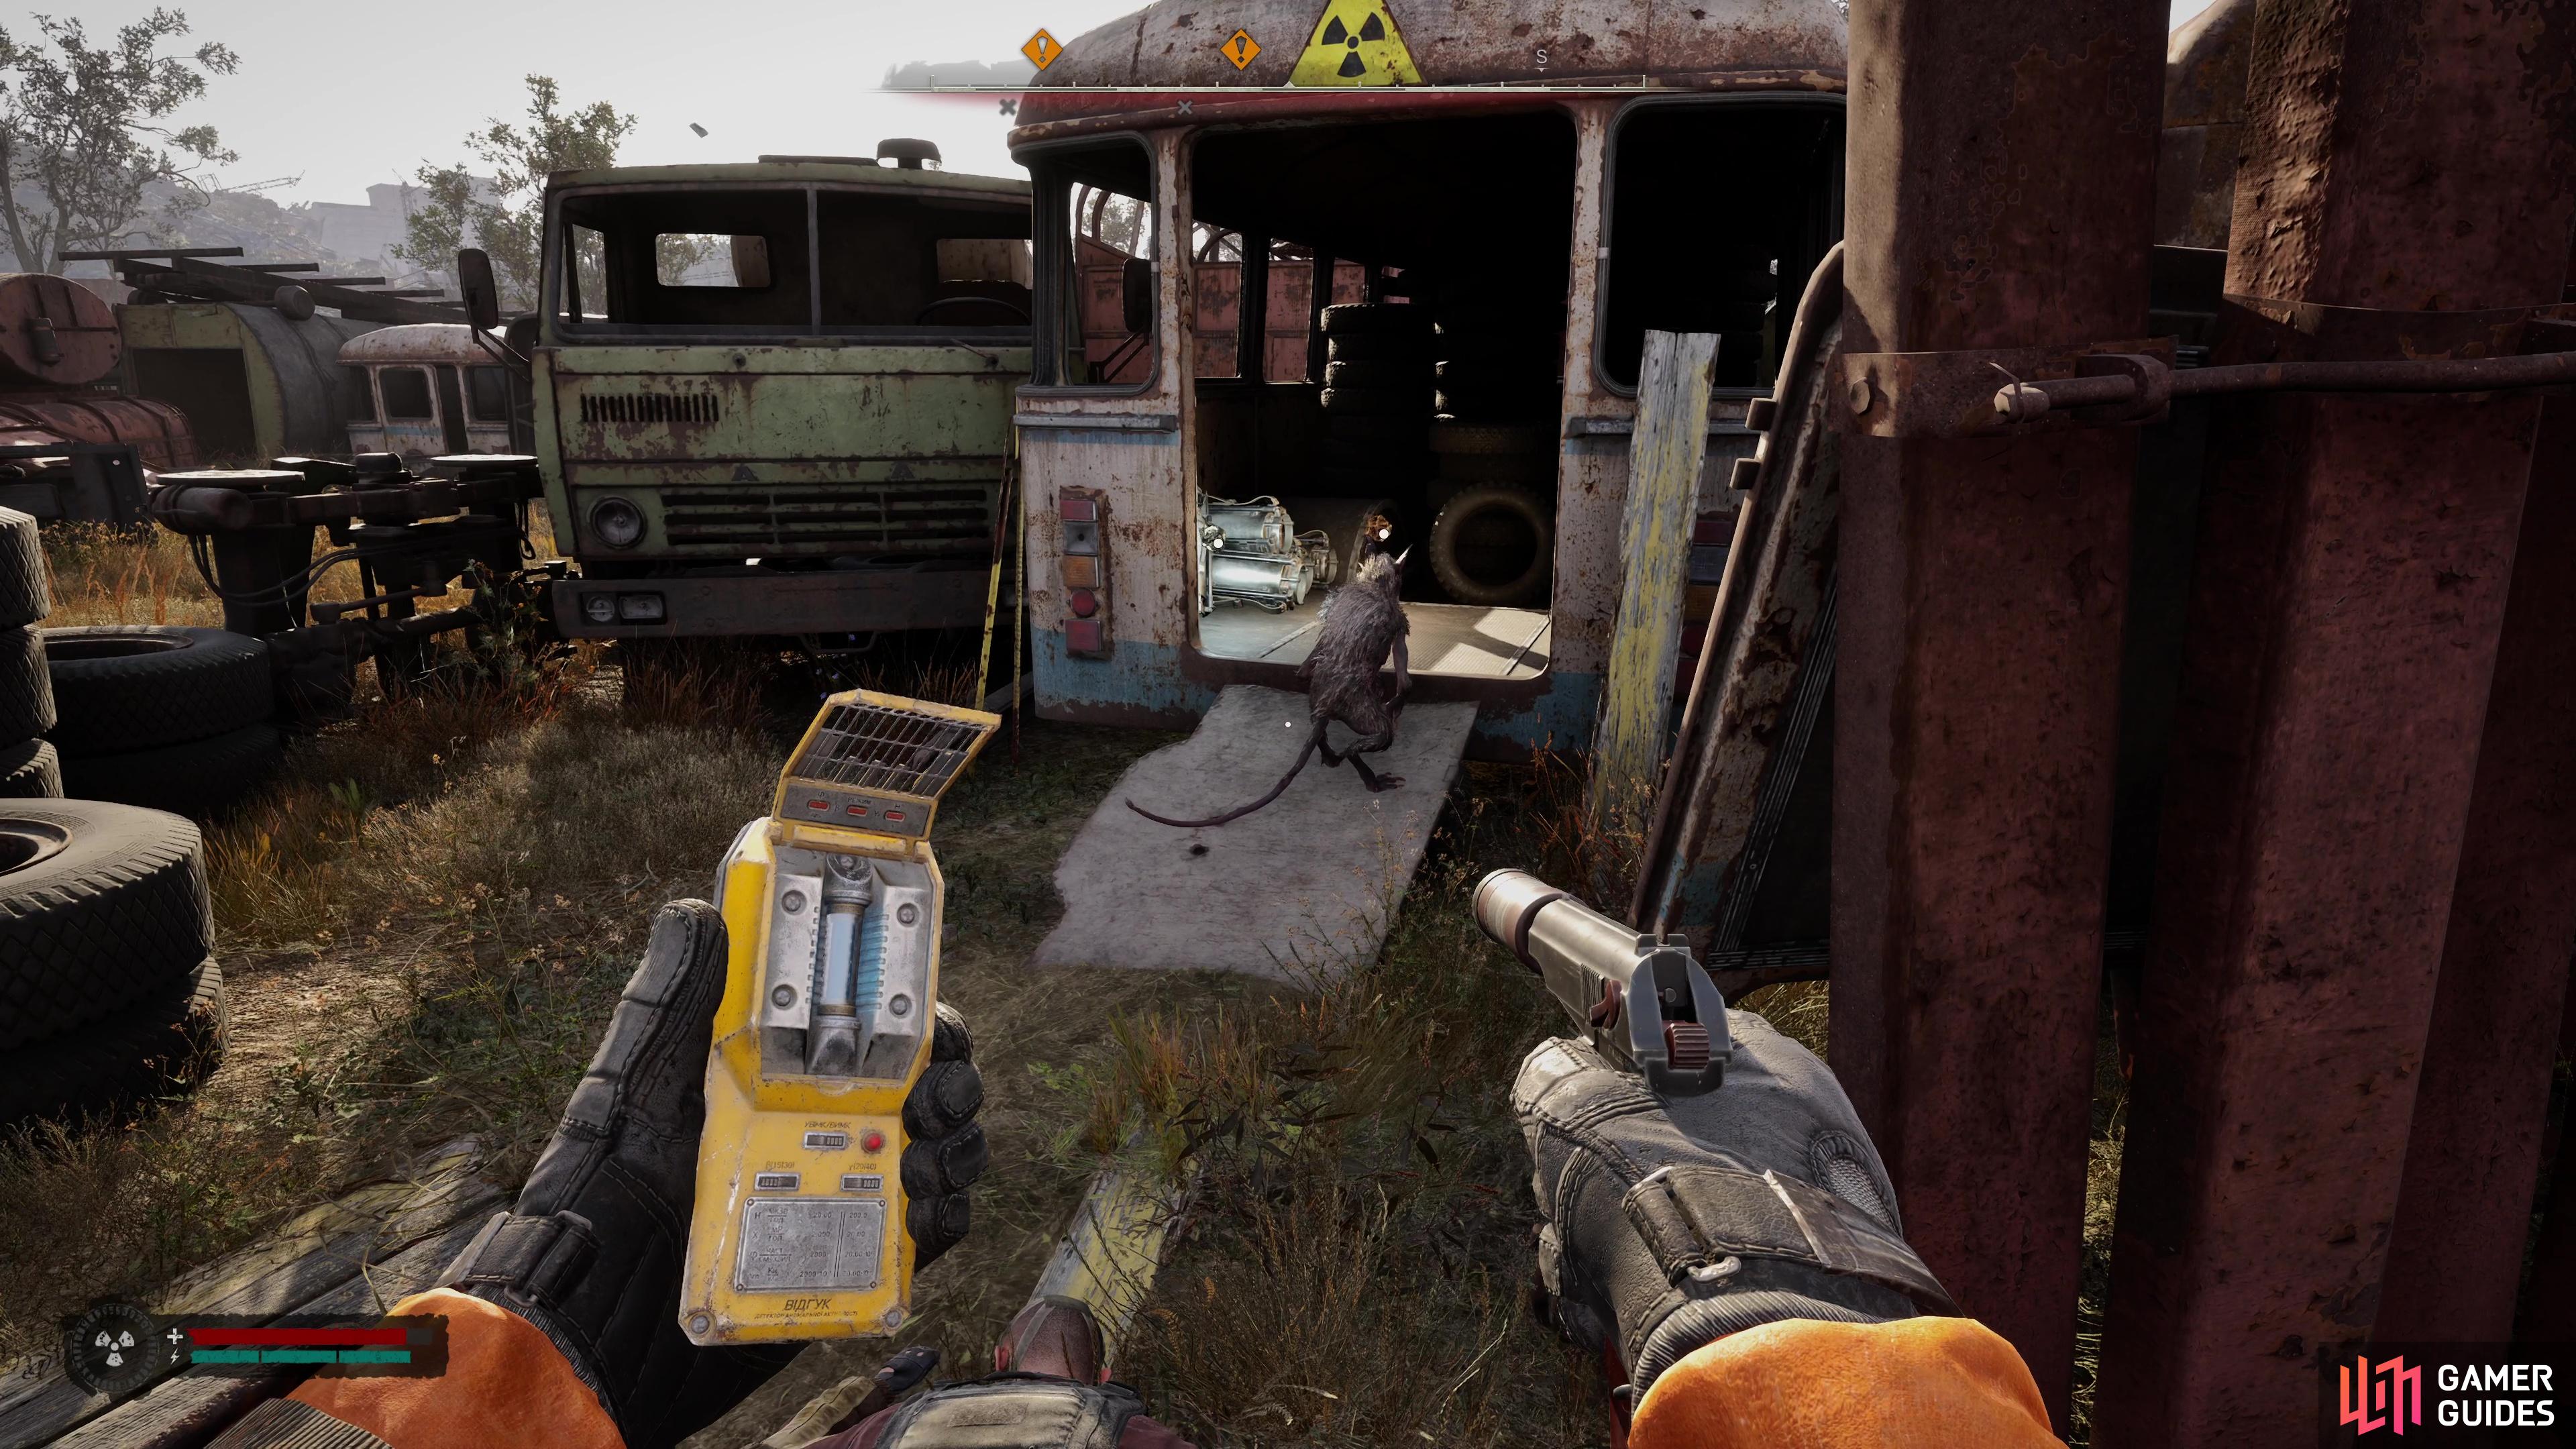
PDA’s map, is arguably the easier of the two locations. You’ll find this car graveyard to the northwest of the Slag Heap and as soon as you head inside, you’ll find yourself up against a massive swarm of Rats. Jump onto the cars and then take them out with Grenades to clear them out quicker, then get out your ![]() Echo Detector.
Echo Detector.
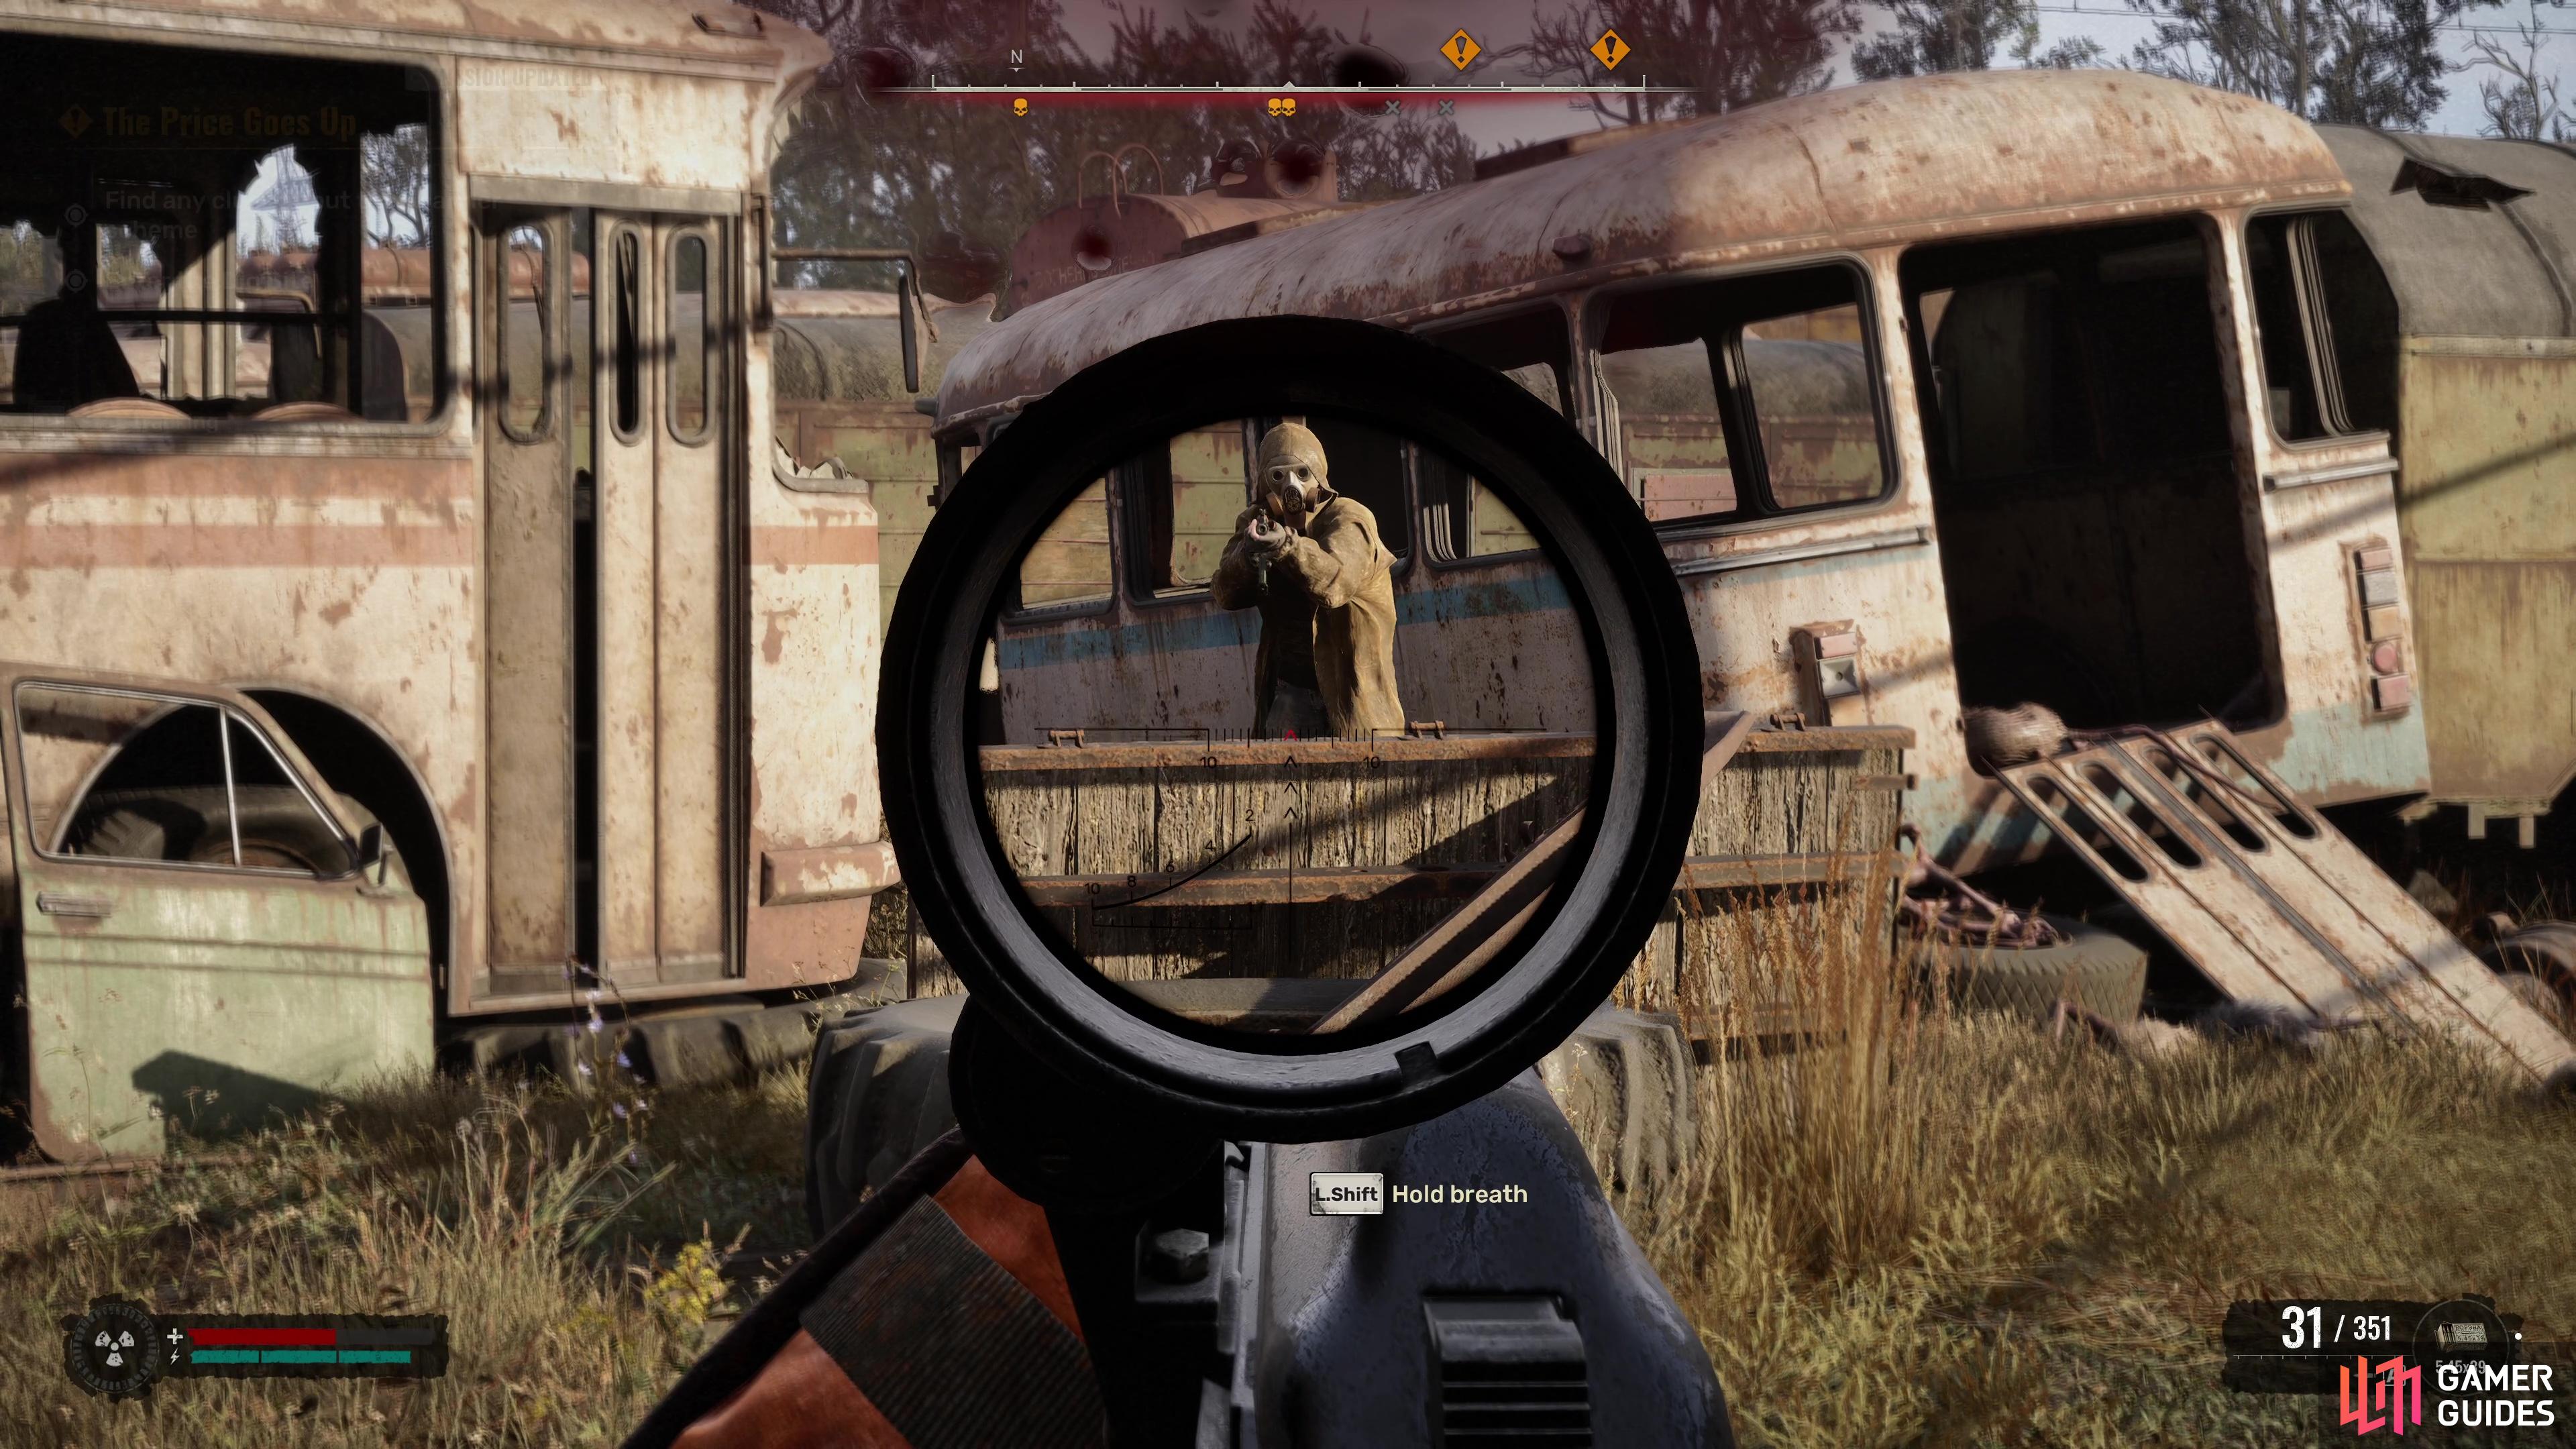
The goal here is to follow this all the way to the location of two Artifacts which you’ll find in the back of a bus, around the southern part of the maze. Once you get there, however, be ready for a fight, as a group of Bandits have been alerted to your presence.
(1 of 4) The Labyrinth can be found to the northwest of the Slag Heap in Garbage.
Find some cover, you’re out in the open here, and then take pot shots at the enemies while peeking. Beware of any grenades they may toss at you, and don’t let your health get too low before healing. Once the final person falls, the mission will complete and the follow-up, Deal with the Devil, will begin.
Dig Site
Rest up and resupply if you need to, and then head to the Dig Site, which is located to the east of Slag Heap. Take the southern road out of Slag Heap and follow it east until you reach the intersection, and then off-road to the north/northeast. Eventually, you’ll come to an area where the terrain is lower, and as you head down the slope, you’ll find a tunnel on the left bank with a PDA detailing the ![]() Cement Factory Stash location, and a bag of supplies.
Cement Factory Stash location, and a bag of supplies.
(1 of 2) After reaching the objective area, make your way south, where you’ll find a shed with a corrugated roof.
After reaching the objective area, make your way south, where you’ll find a shed with a corrugated roof. (left), Underneath it, you’ll find a tunnel entrance to the right. (right)
Make your way south of the Dig Site to find a rickety old shed. On the left side of the shed are a few supplies, but on the right side is a tunnel entrance. Before you go in, have all your weapons reloaded, a shotgun equipped (preferably Nestor’s Cracker), and grenades ready. Inside, you’ll meet your first PSI-wielding enemy (unless you explored off the beaten path earlier).
These take a lot of punishment, can make you drop your weapons (pick them back up), and deal major PSI damage, which you most likely lack protection. Your best bet is to repeatedly throw grenades at it until it dies, and get your shotgun ready if it gets close. If you need to heal, either break the line of sight, or run out of the tunnel.
(1 of 3) As you go deeper in, you’ll encounter a PSI Mutant. Throw all the grenades!
Once you’ve defeated the monstrosity, loot the supplies and corpses down there, and then search Dimon Stag’s corpse for the Varan’s Bandit PDA to complete the quest. You can get more information by healing Kiddo with a ![]() Medkit at the back of the tunnel. That’s it for the A Price Goes Up mission, and you’ll immediately get the following mission, “Deal With the Devil”.
Medkit at the back of the tunnel. That’s it for the A Price Goes Up mission, and you’ll immediately get the following mission, “Deal With the Devil”.





 Sign up
No Comments