Dead Frequency is a main mission in Stalker 2: Heart of Chornobyl. This is a large mission that changes completely depending on which faction you do it for, which is either Star from the Spark faction, or The Ward. Read on to find out what you need to do and how to complete Star’s version of the mission.
Table of Contents
If you want to jump to a specific section, click on the links below.
| Quickjump |
|---|
| Finding Camp Icarus |
| Head to Izumrudne |
| Getting the Ward Sensors |
| Find Alpha Team - Claw |
| Find Bravo Team - Vent |
| Echo Station |
| Activate the Device |
Finding Camp Icarus
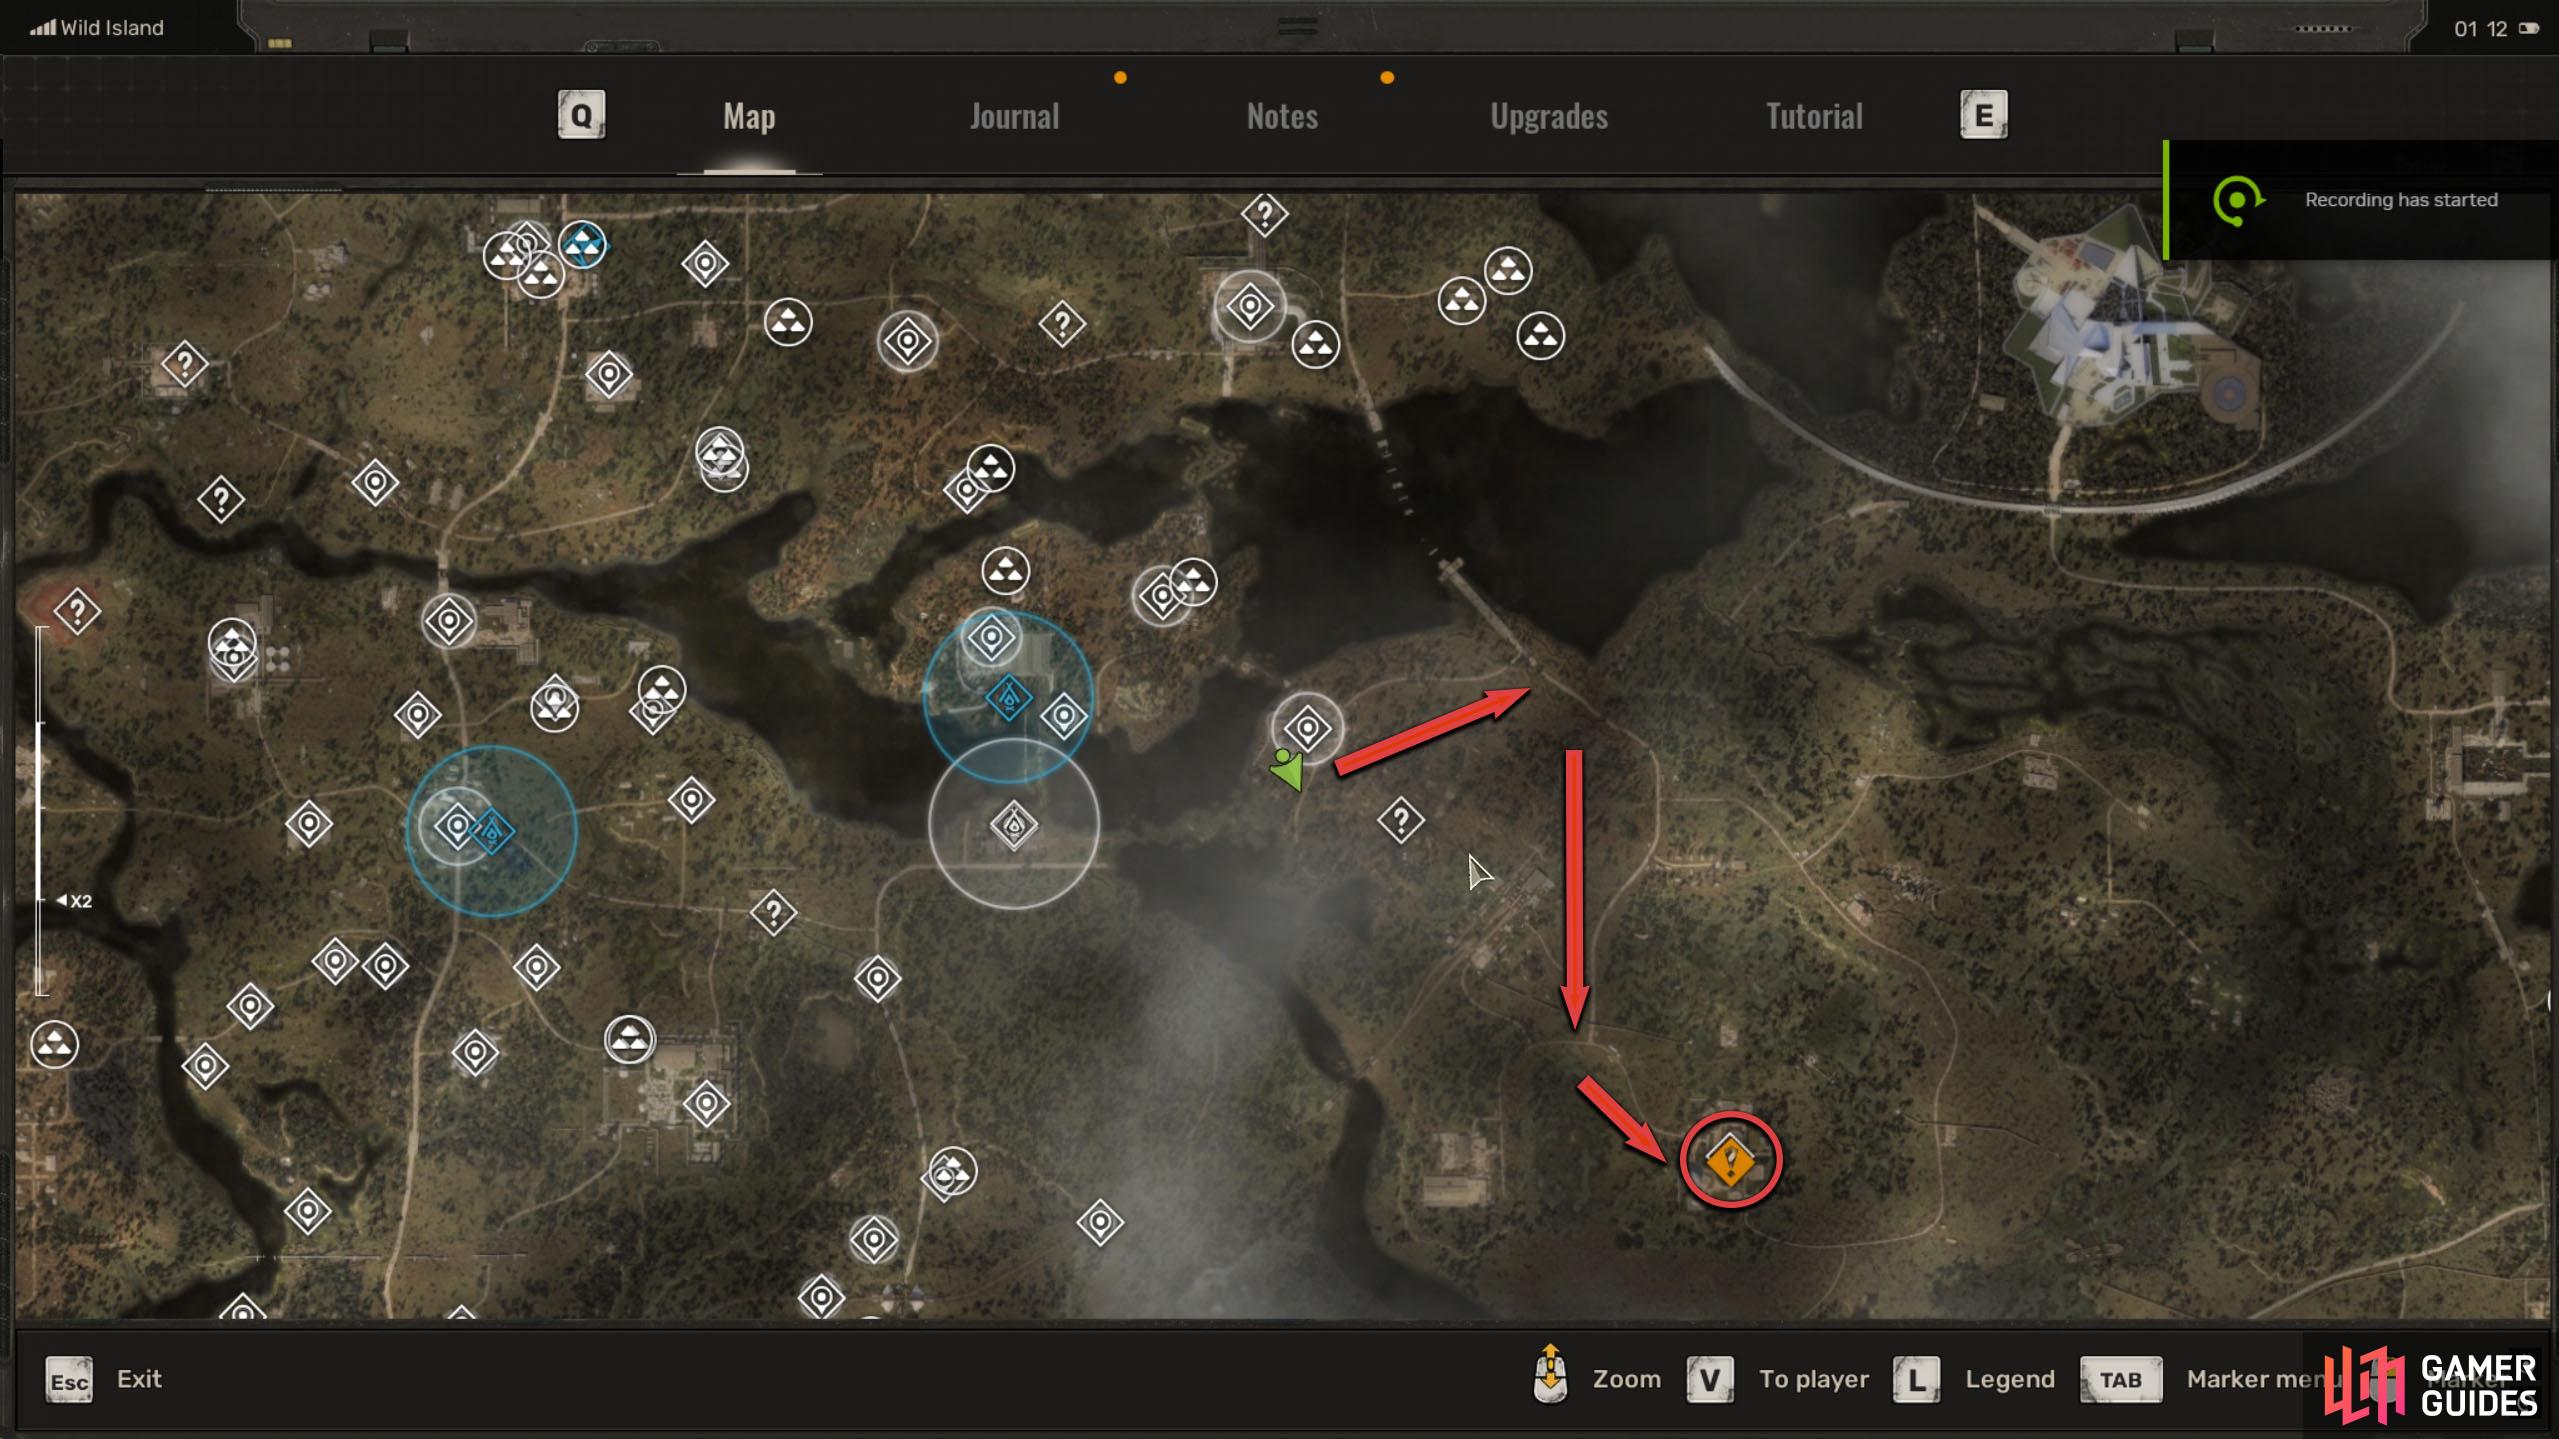
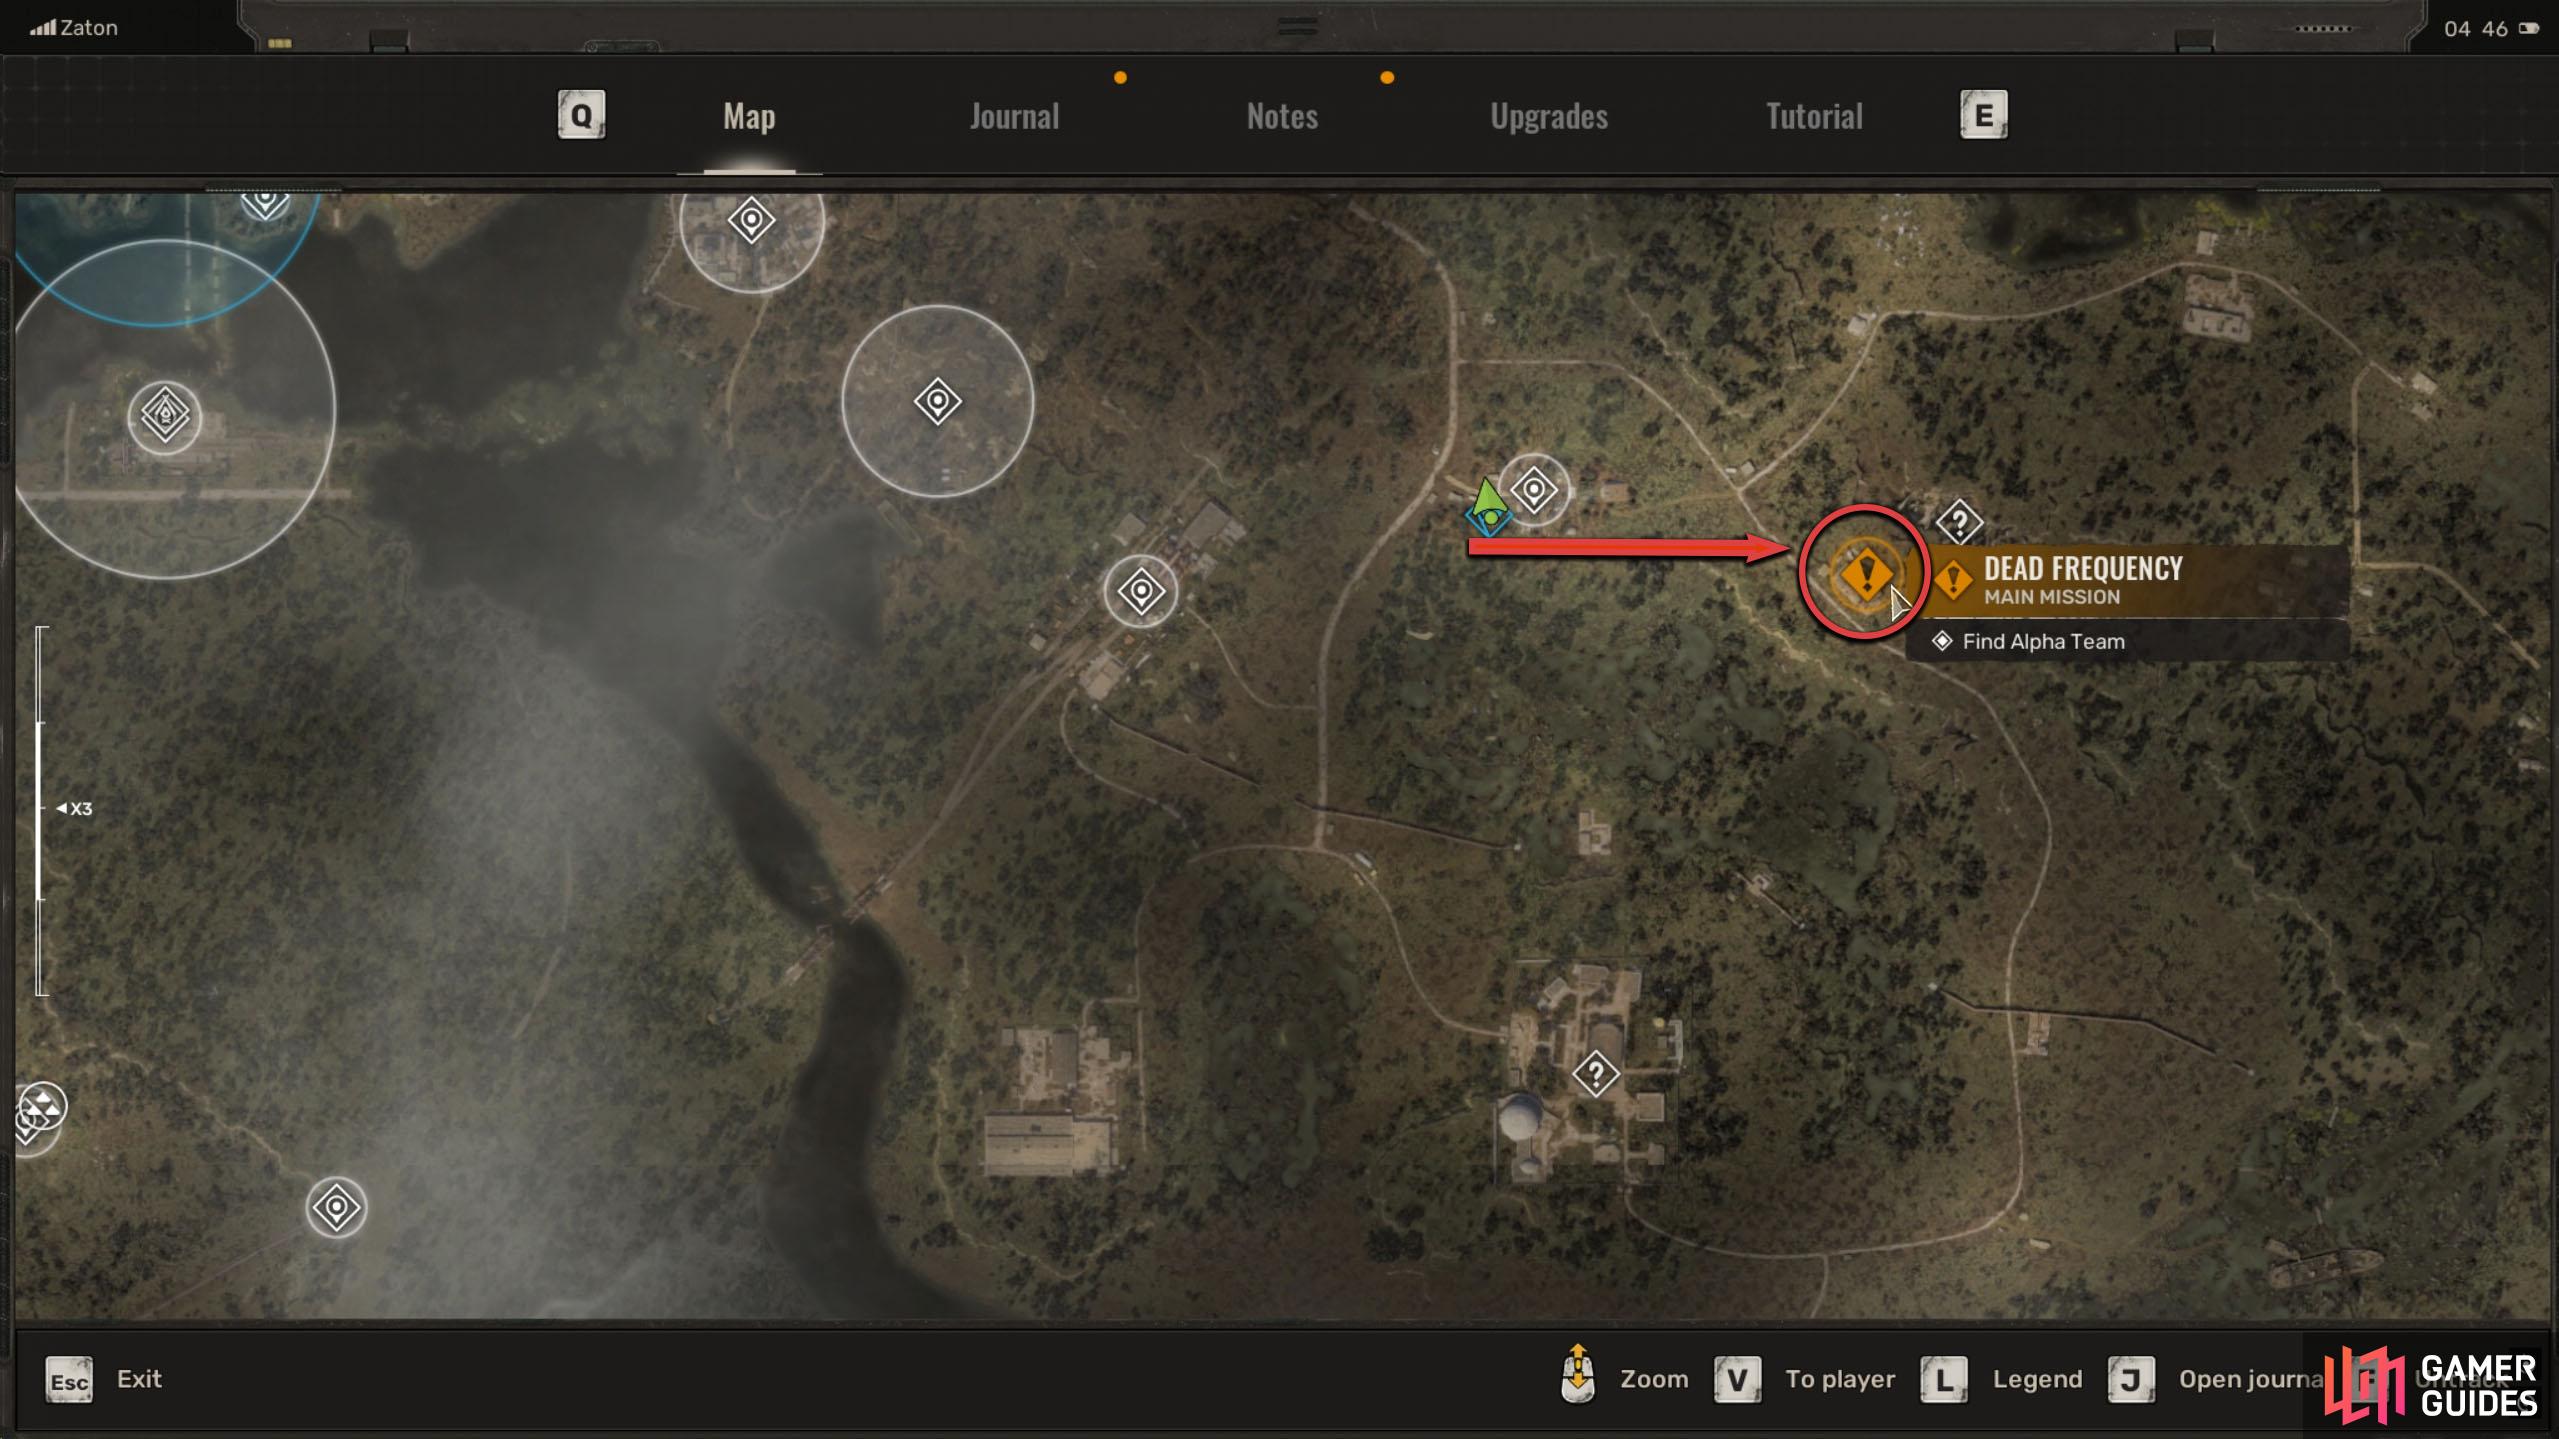
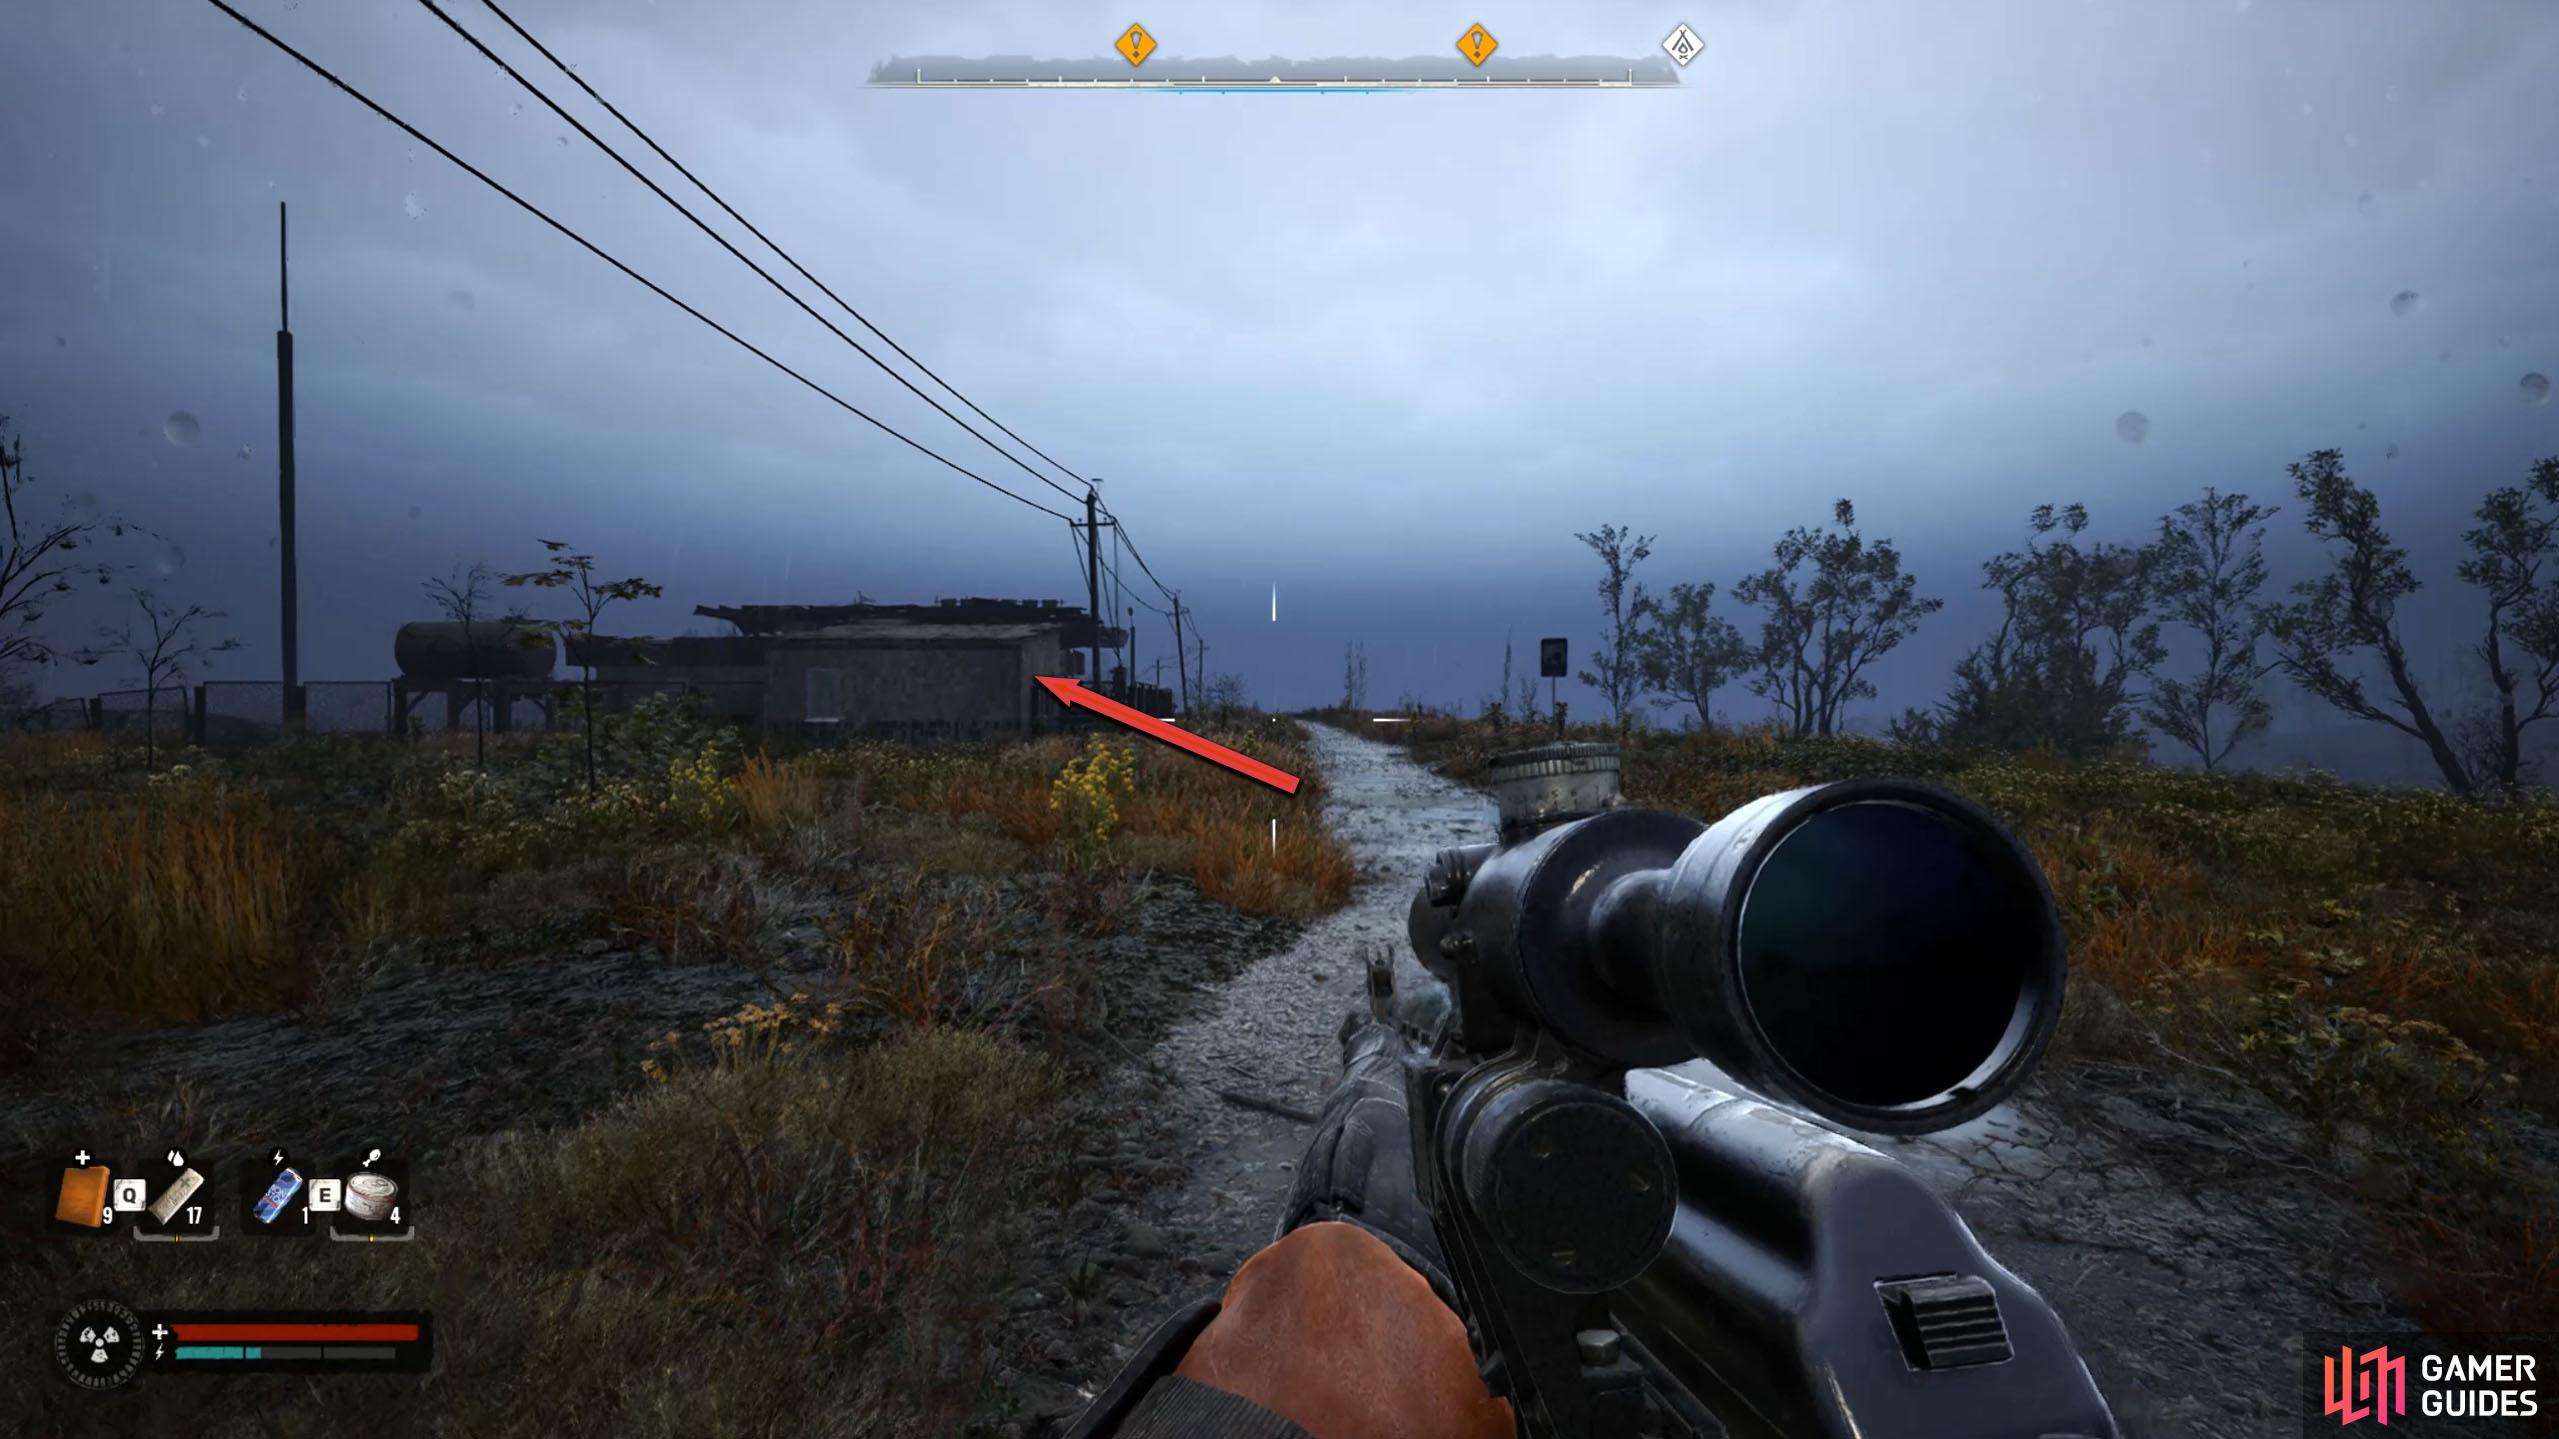
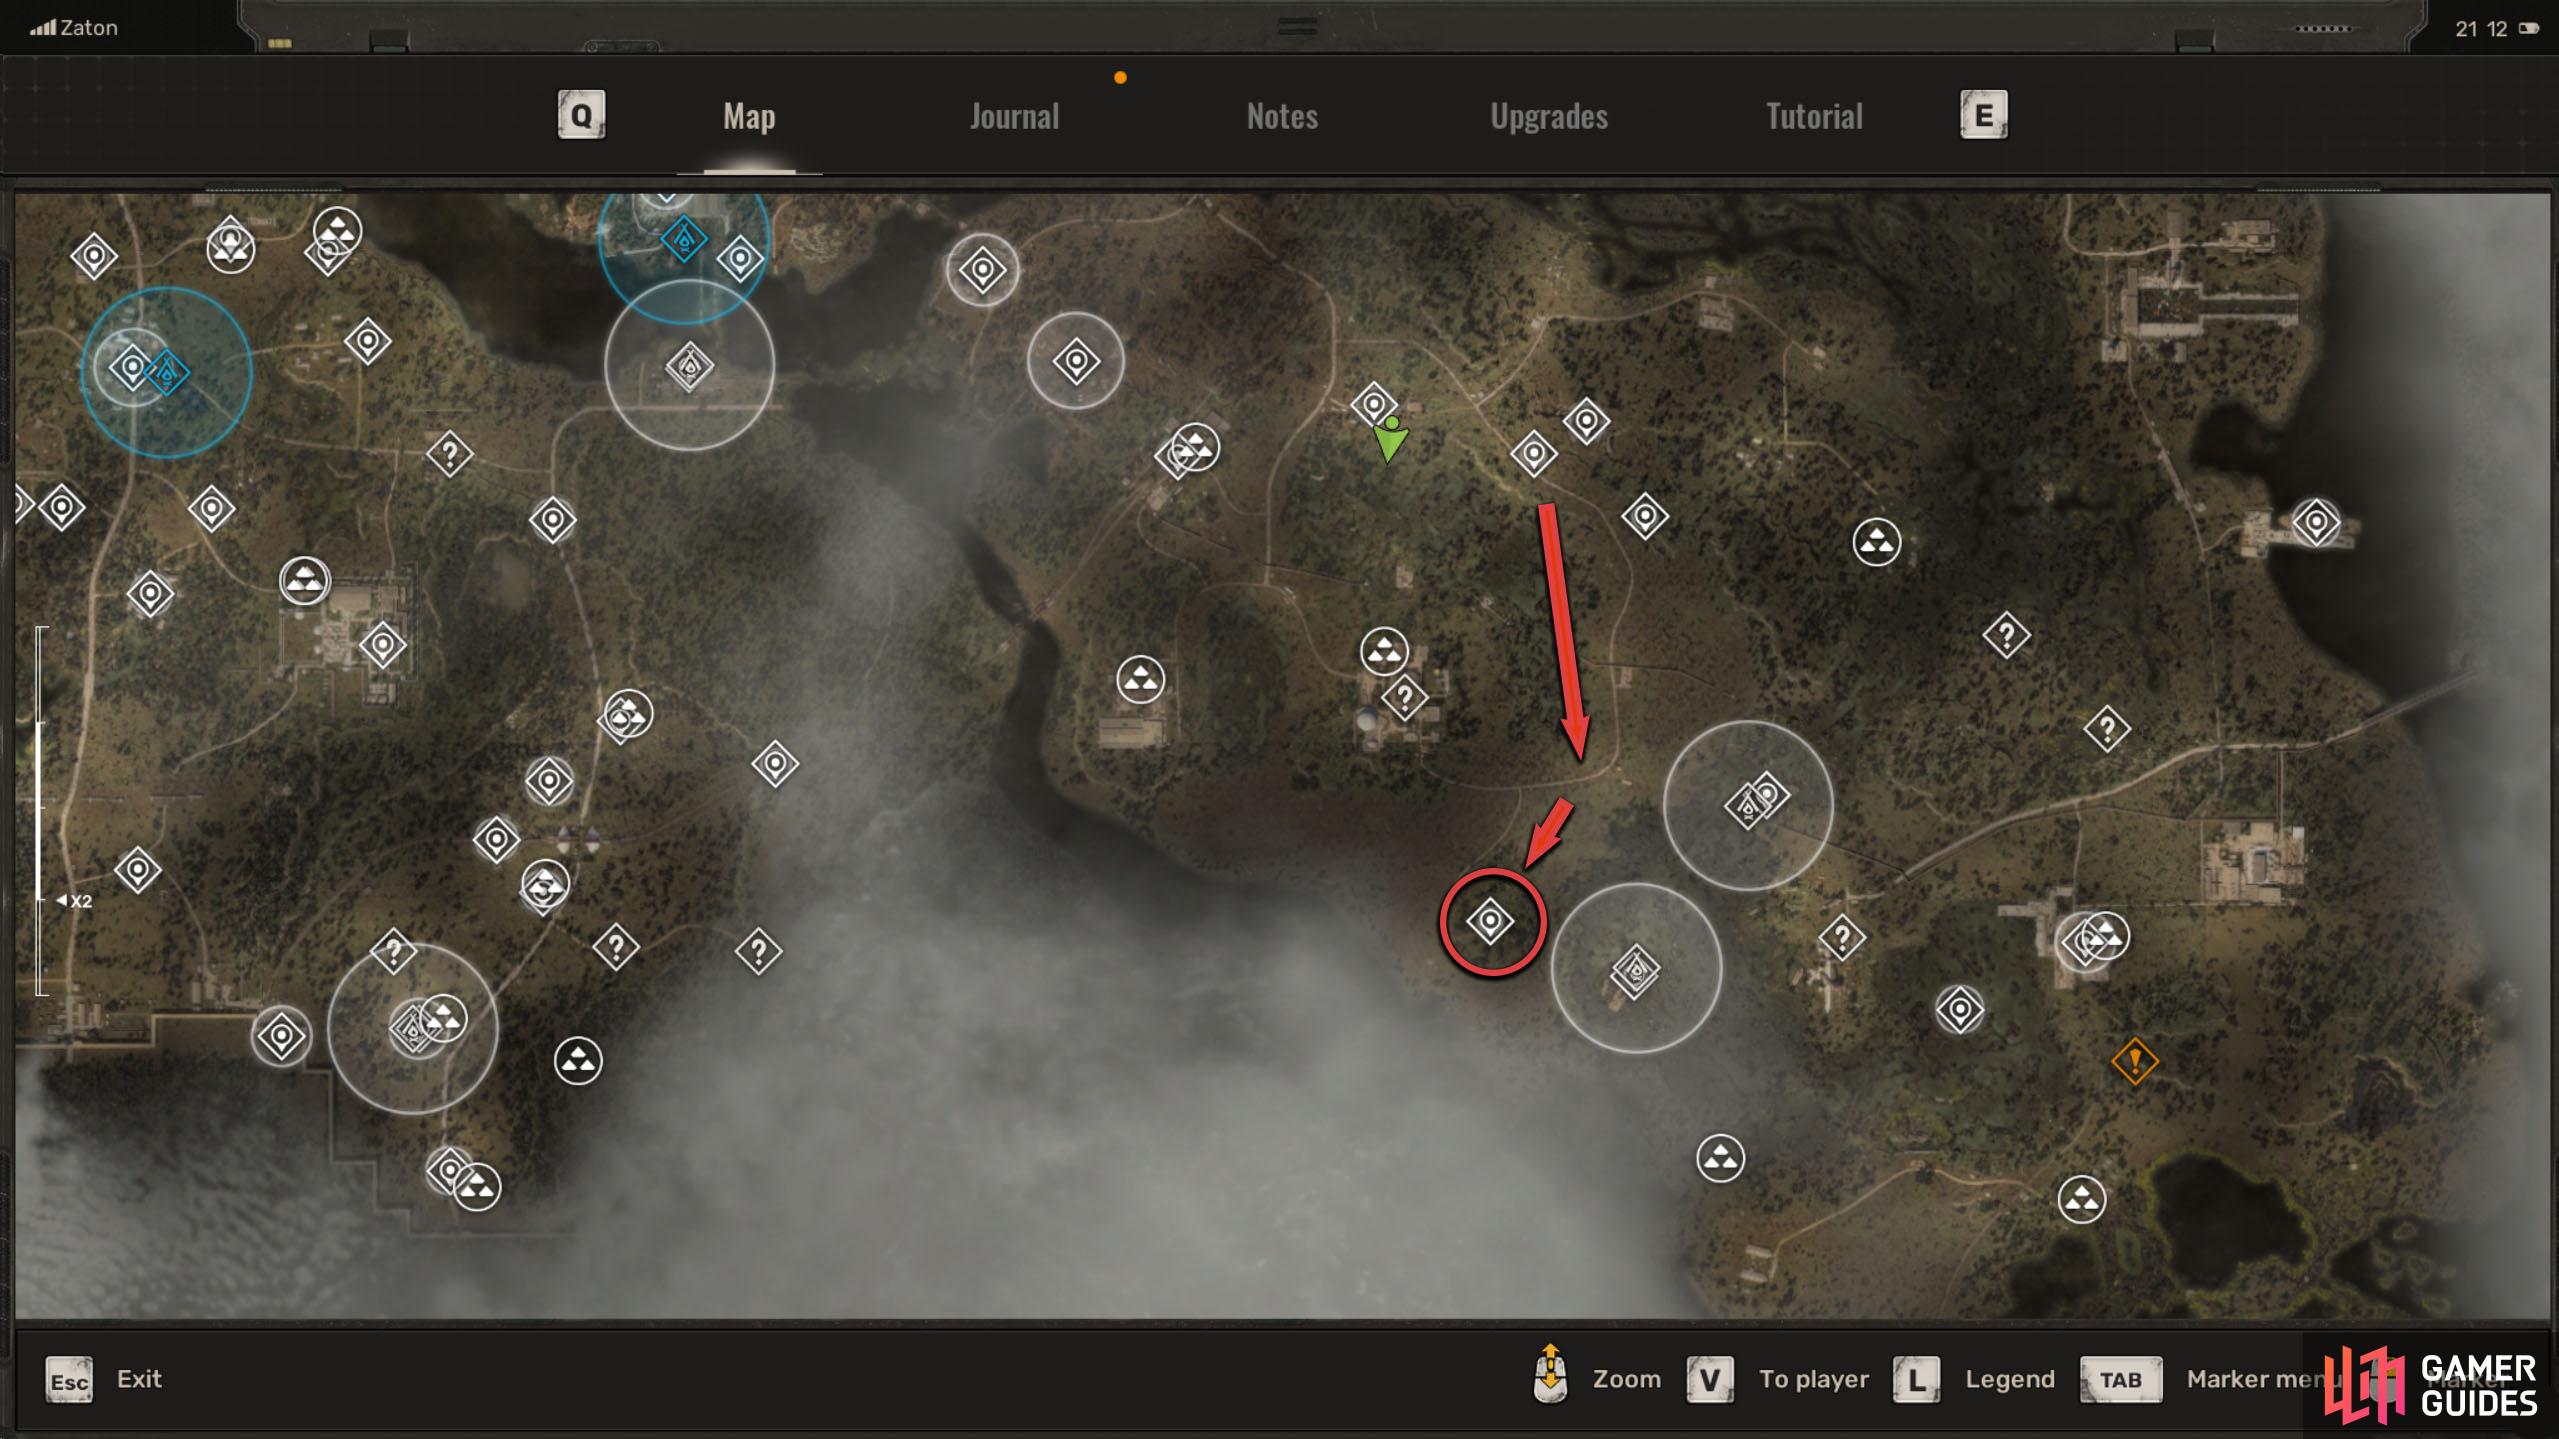
Your first objective is to get to Camp Icarus to find Faust’s agent, which can be found in the ![]() Zaton region. From the Azimuth Station, follow the road east until you reach the intersection, and then follow the road south until you reach the fourth intersection, where you’ll want to head southeast. If you’re going to get there quicker, simply run directly southeast from the station.
Zaton region. From the Azimuth Station, follow the road east until you reach the intersection, and then follow the road south until you reach the fourth intersection, where you’ll want to head southeast. If you’re going to get there quicker, simply run directly southeast from the station.
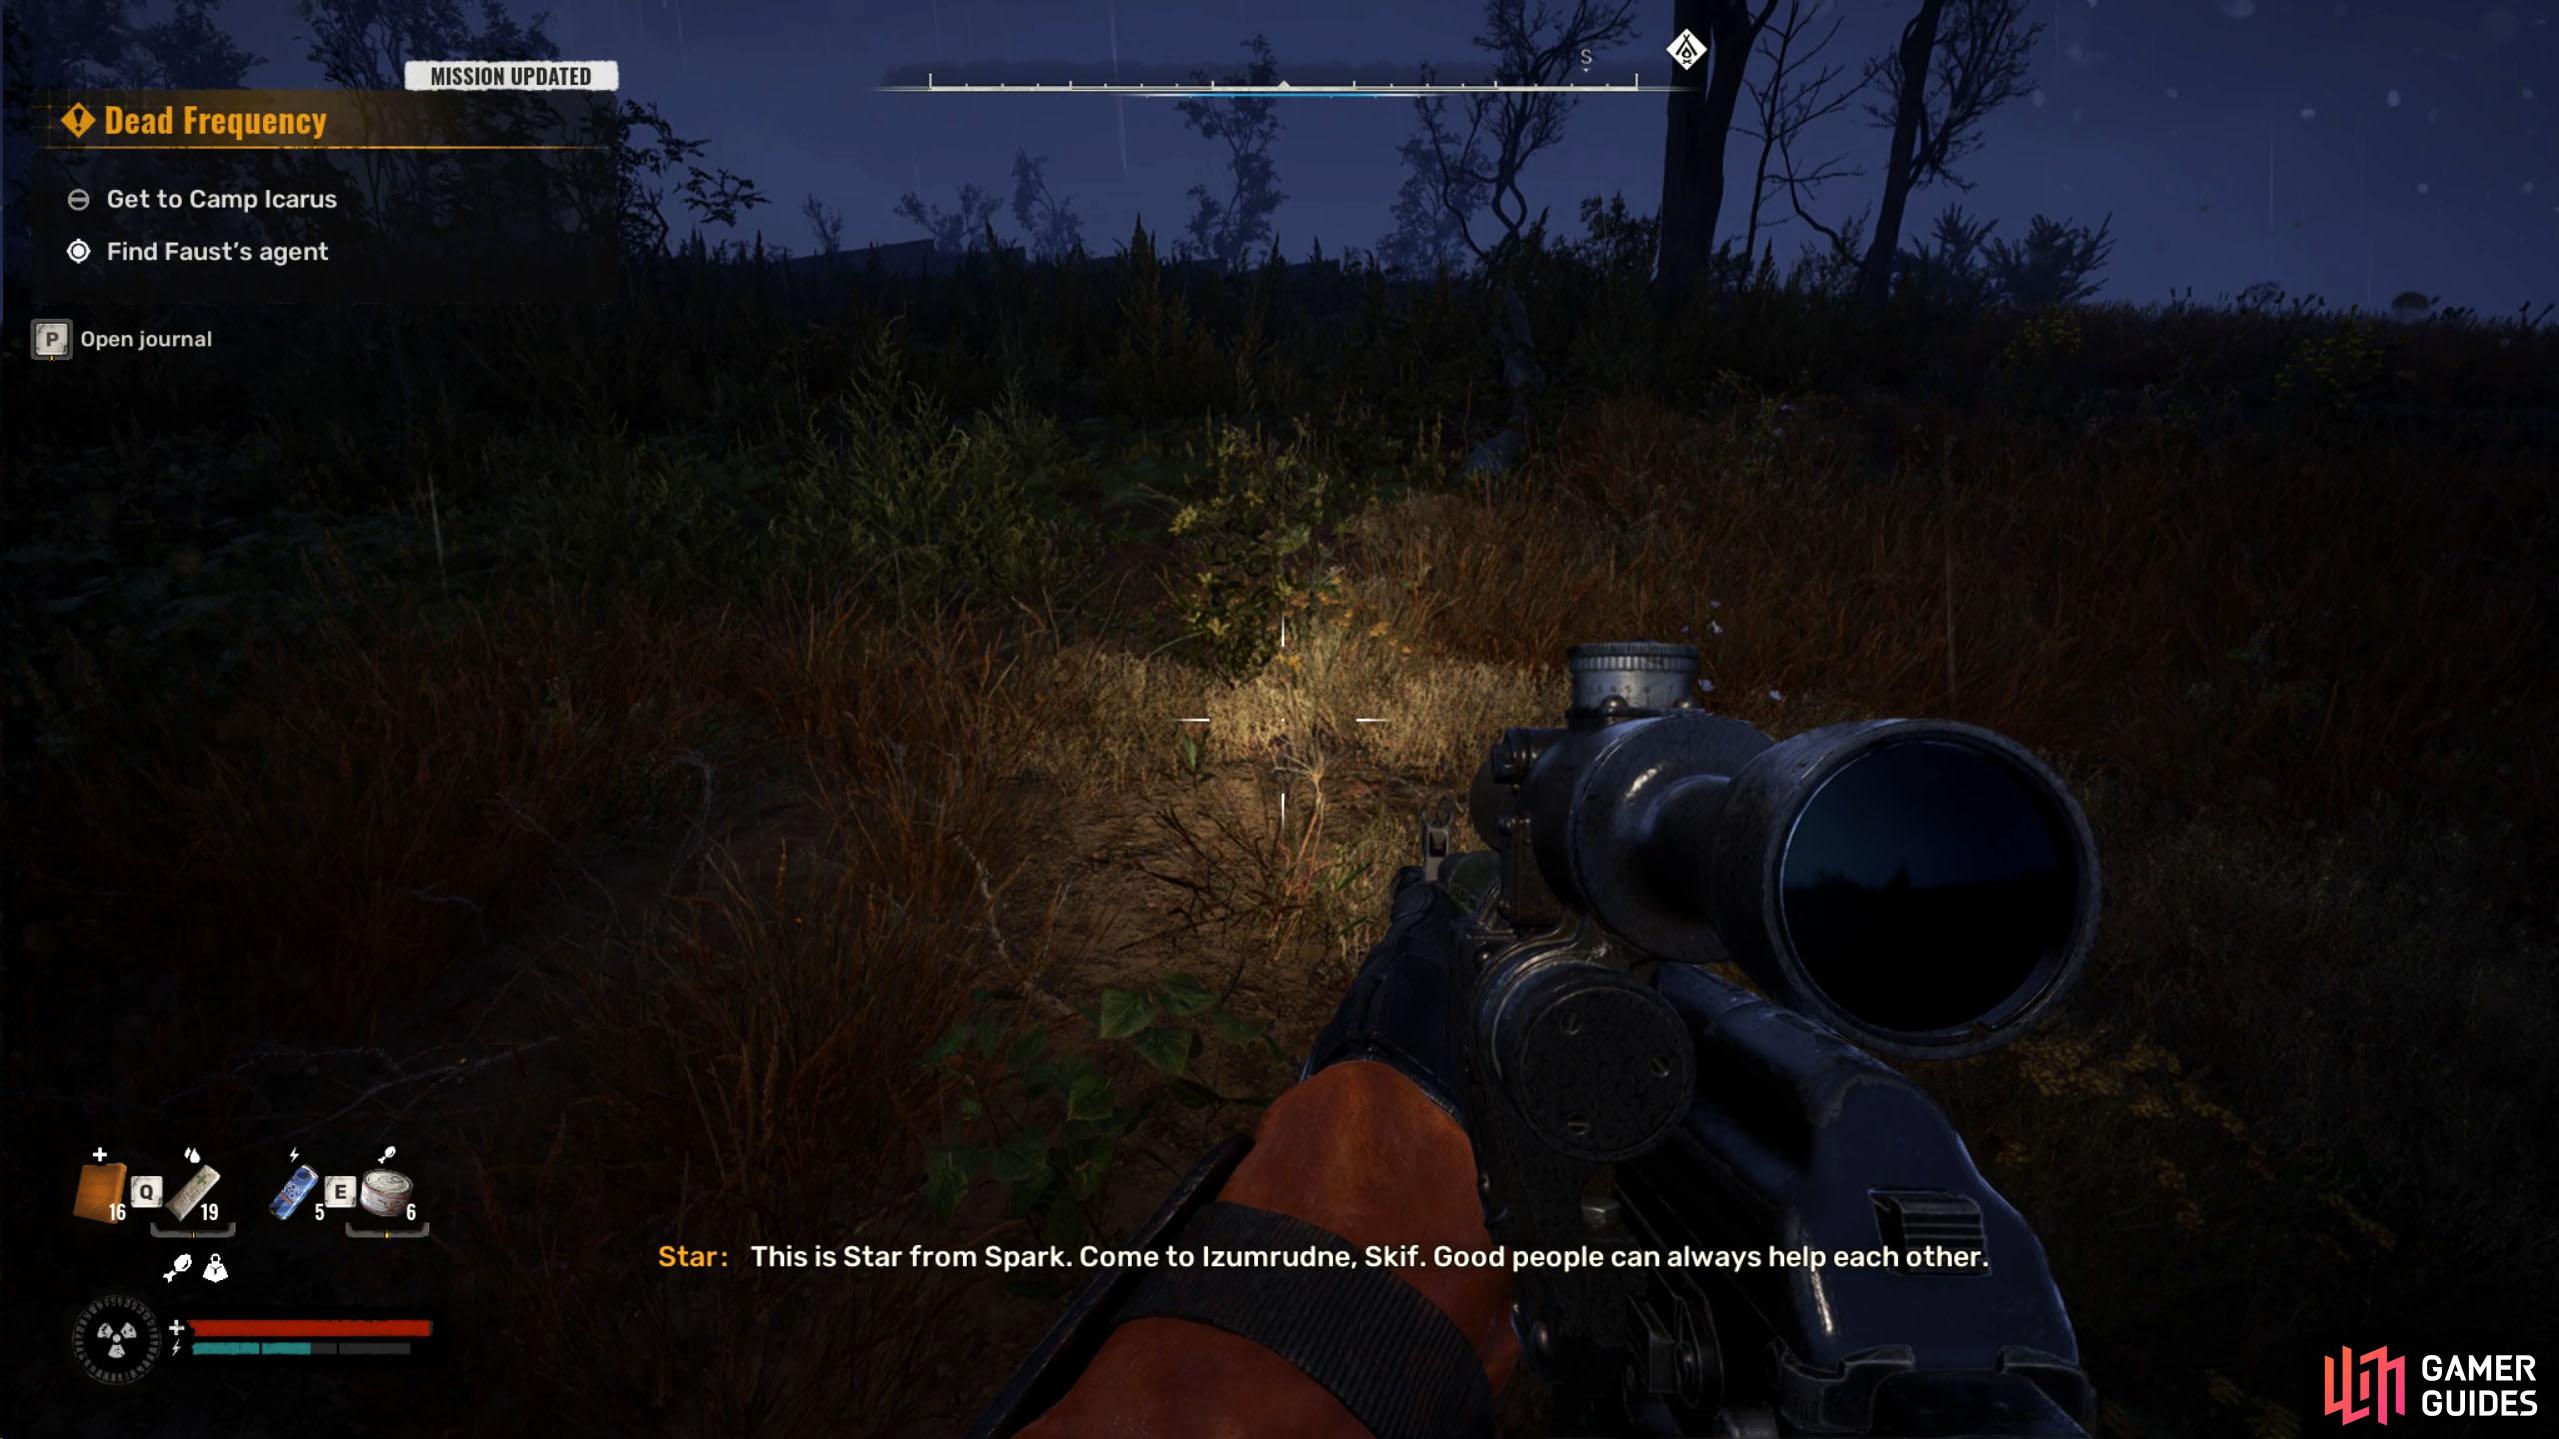
If you’re aligned with the Spark faction (Scar, Star, etc.), you won’t be able to get into the base as The Ward runs it. When you approach the camp, you’ll get a radio call from Star, who will give you a place to meet up with him.
(1 of 2) From Azimuth Station, follow the road east, south, and southeast.
From Azimuth Station, follow the road east, south, and southeast. (left), When you get near Camp Icarus, you’ll be diverted to Izumrudne. (right)
Head to Izumrudne
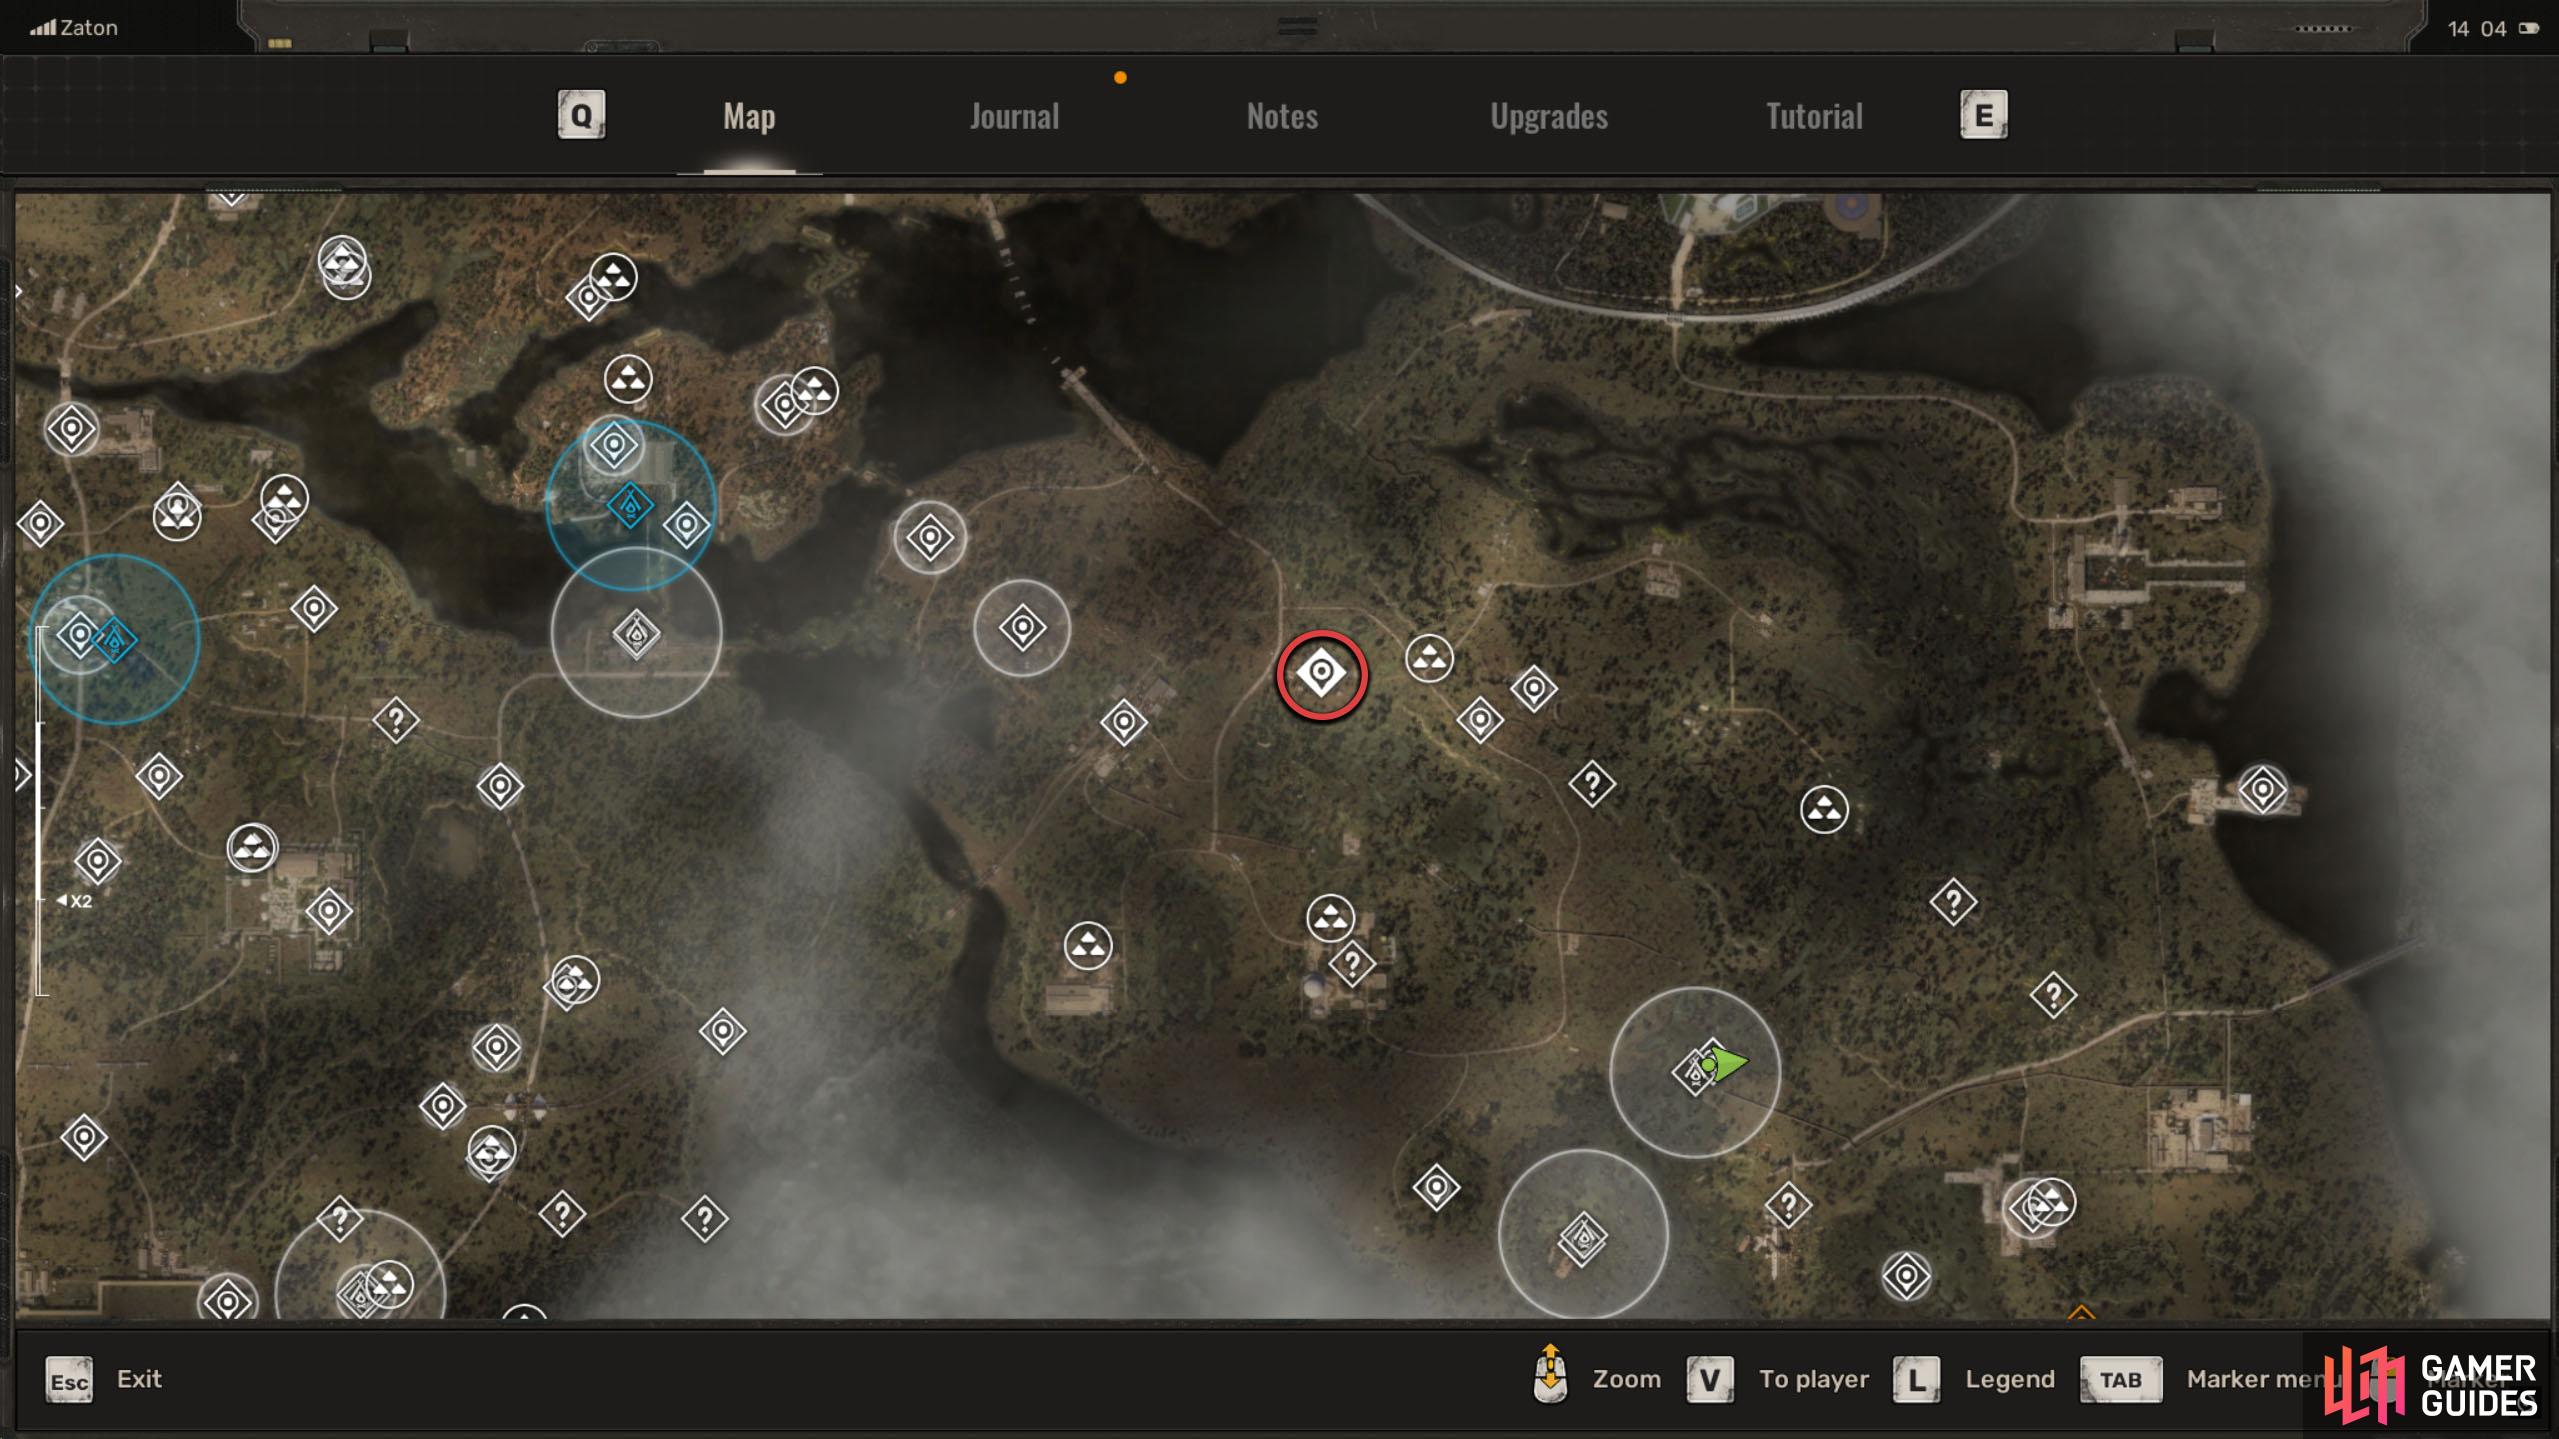
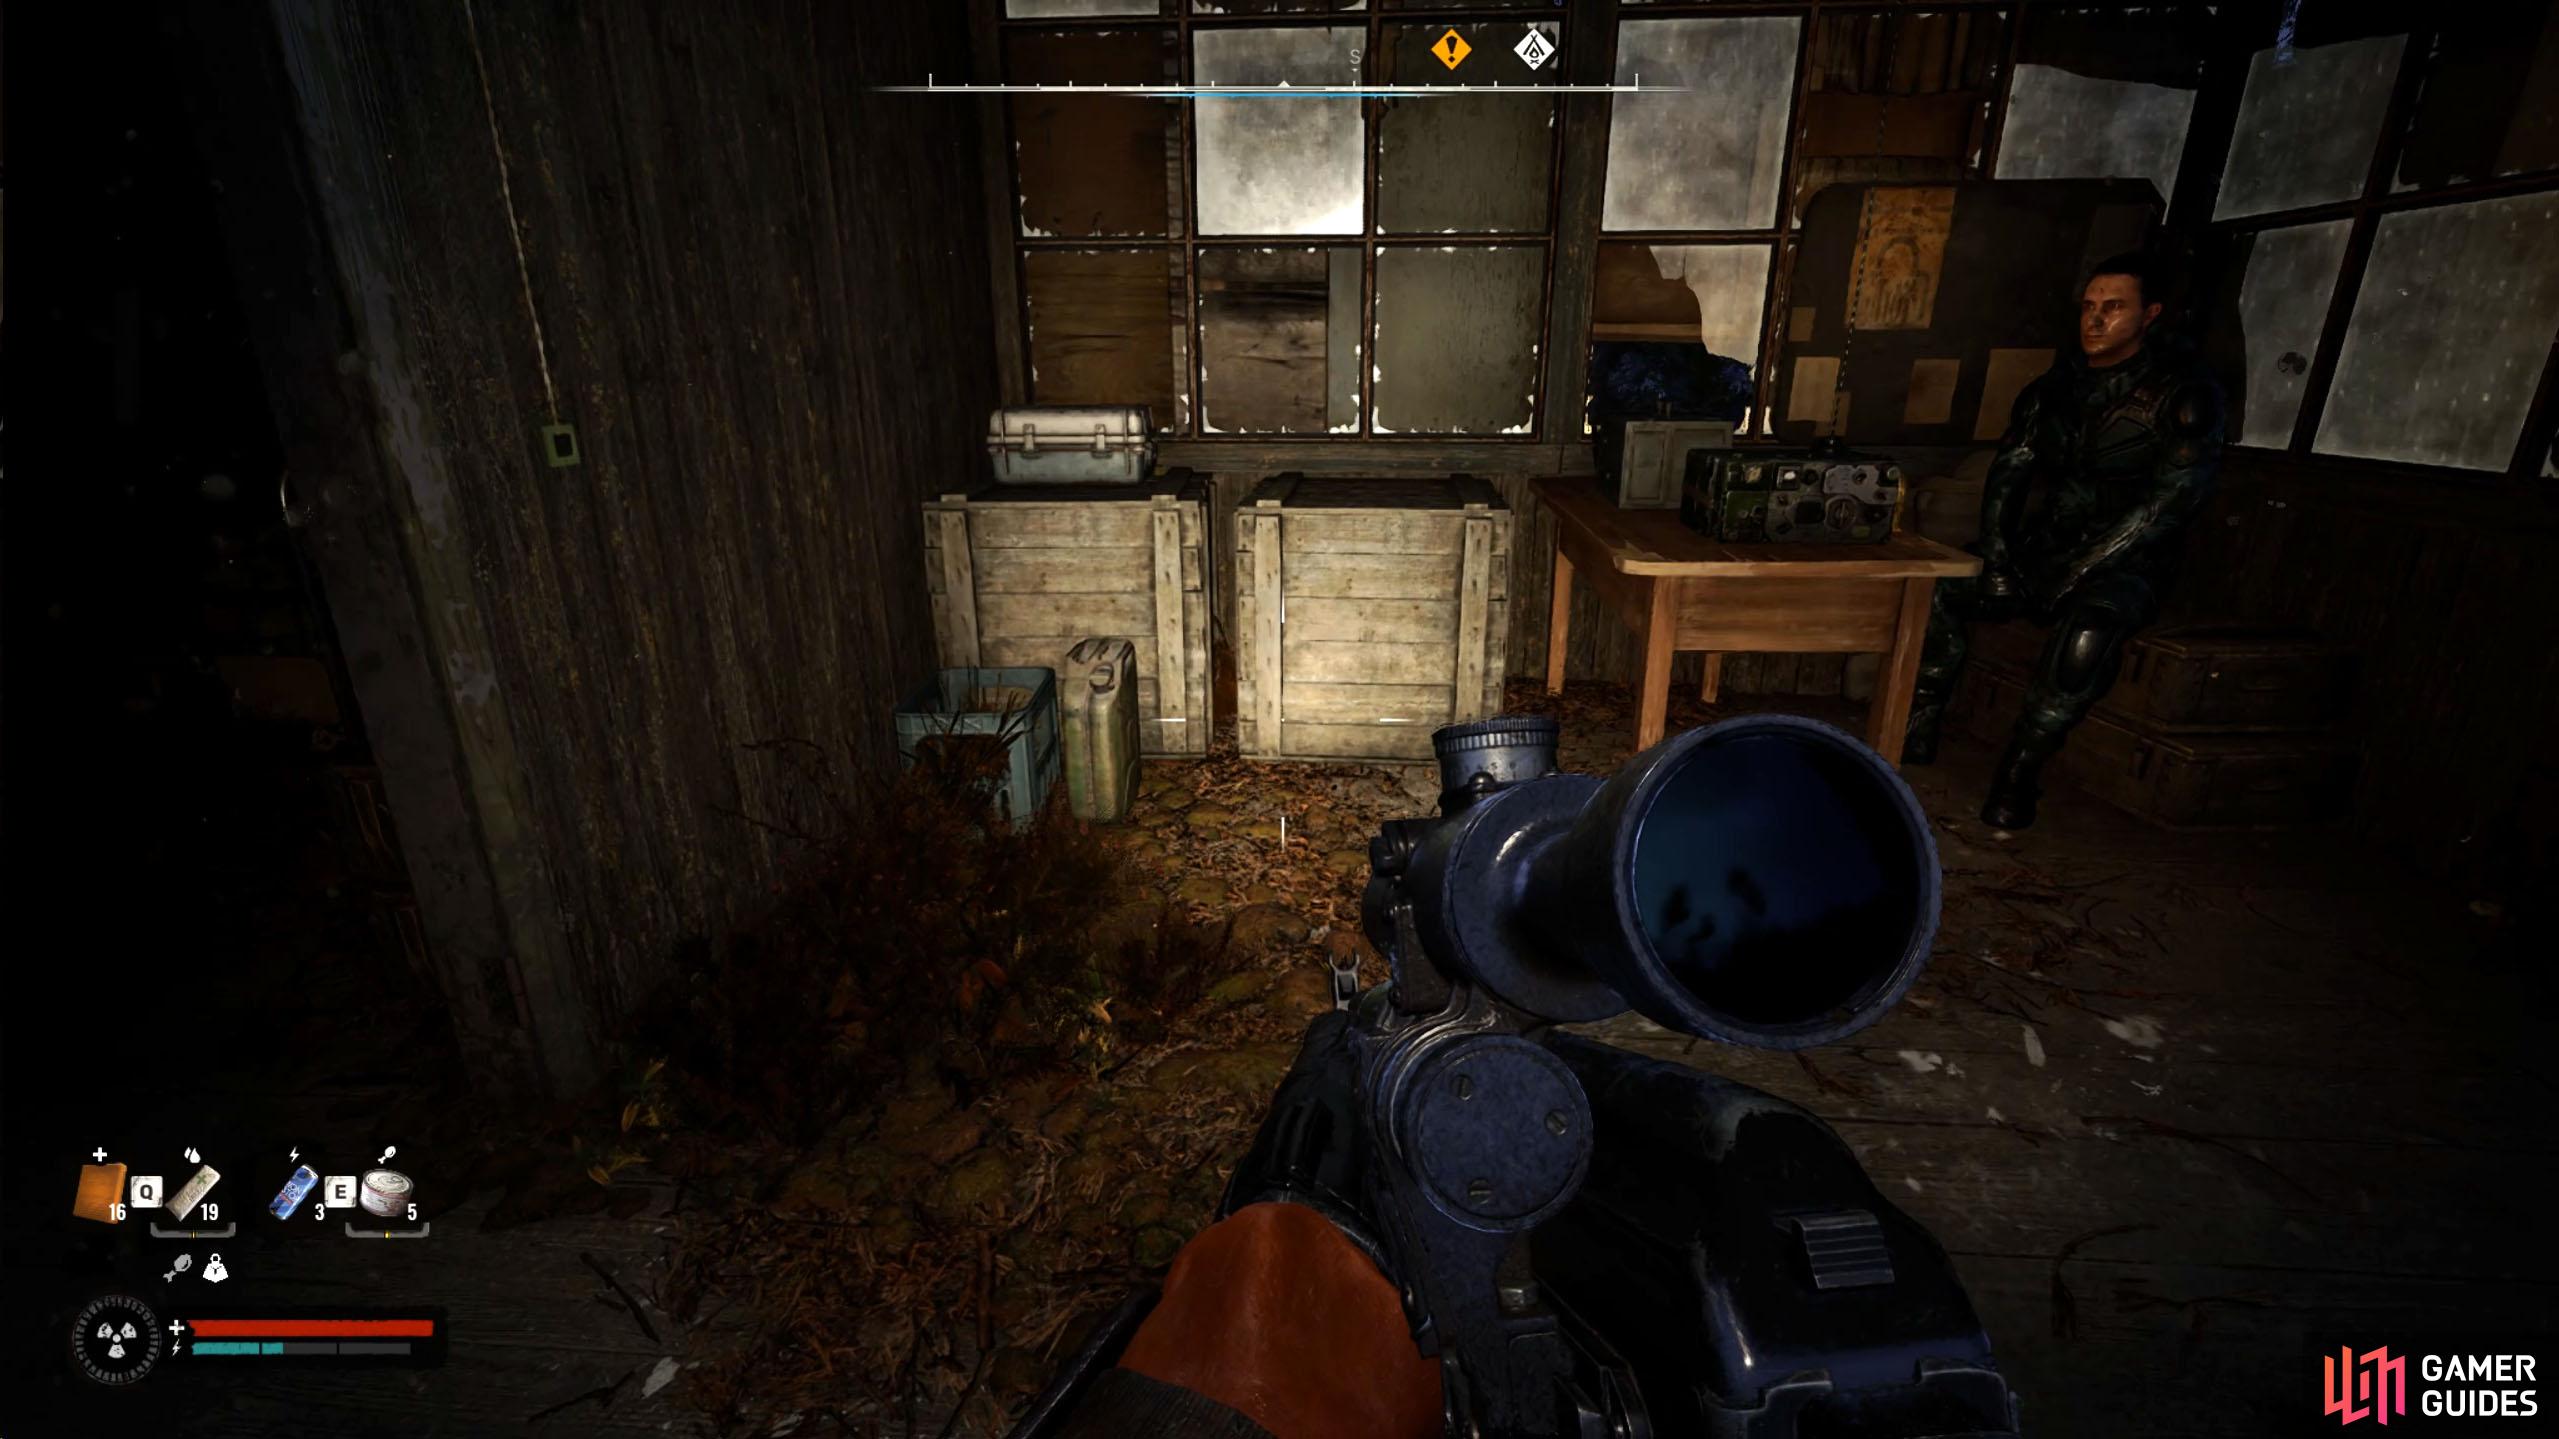
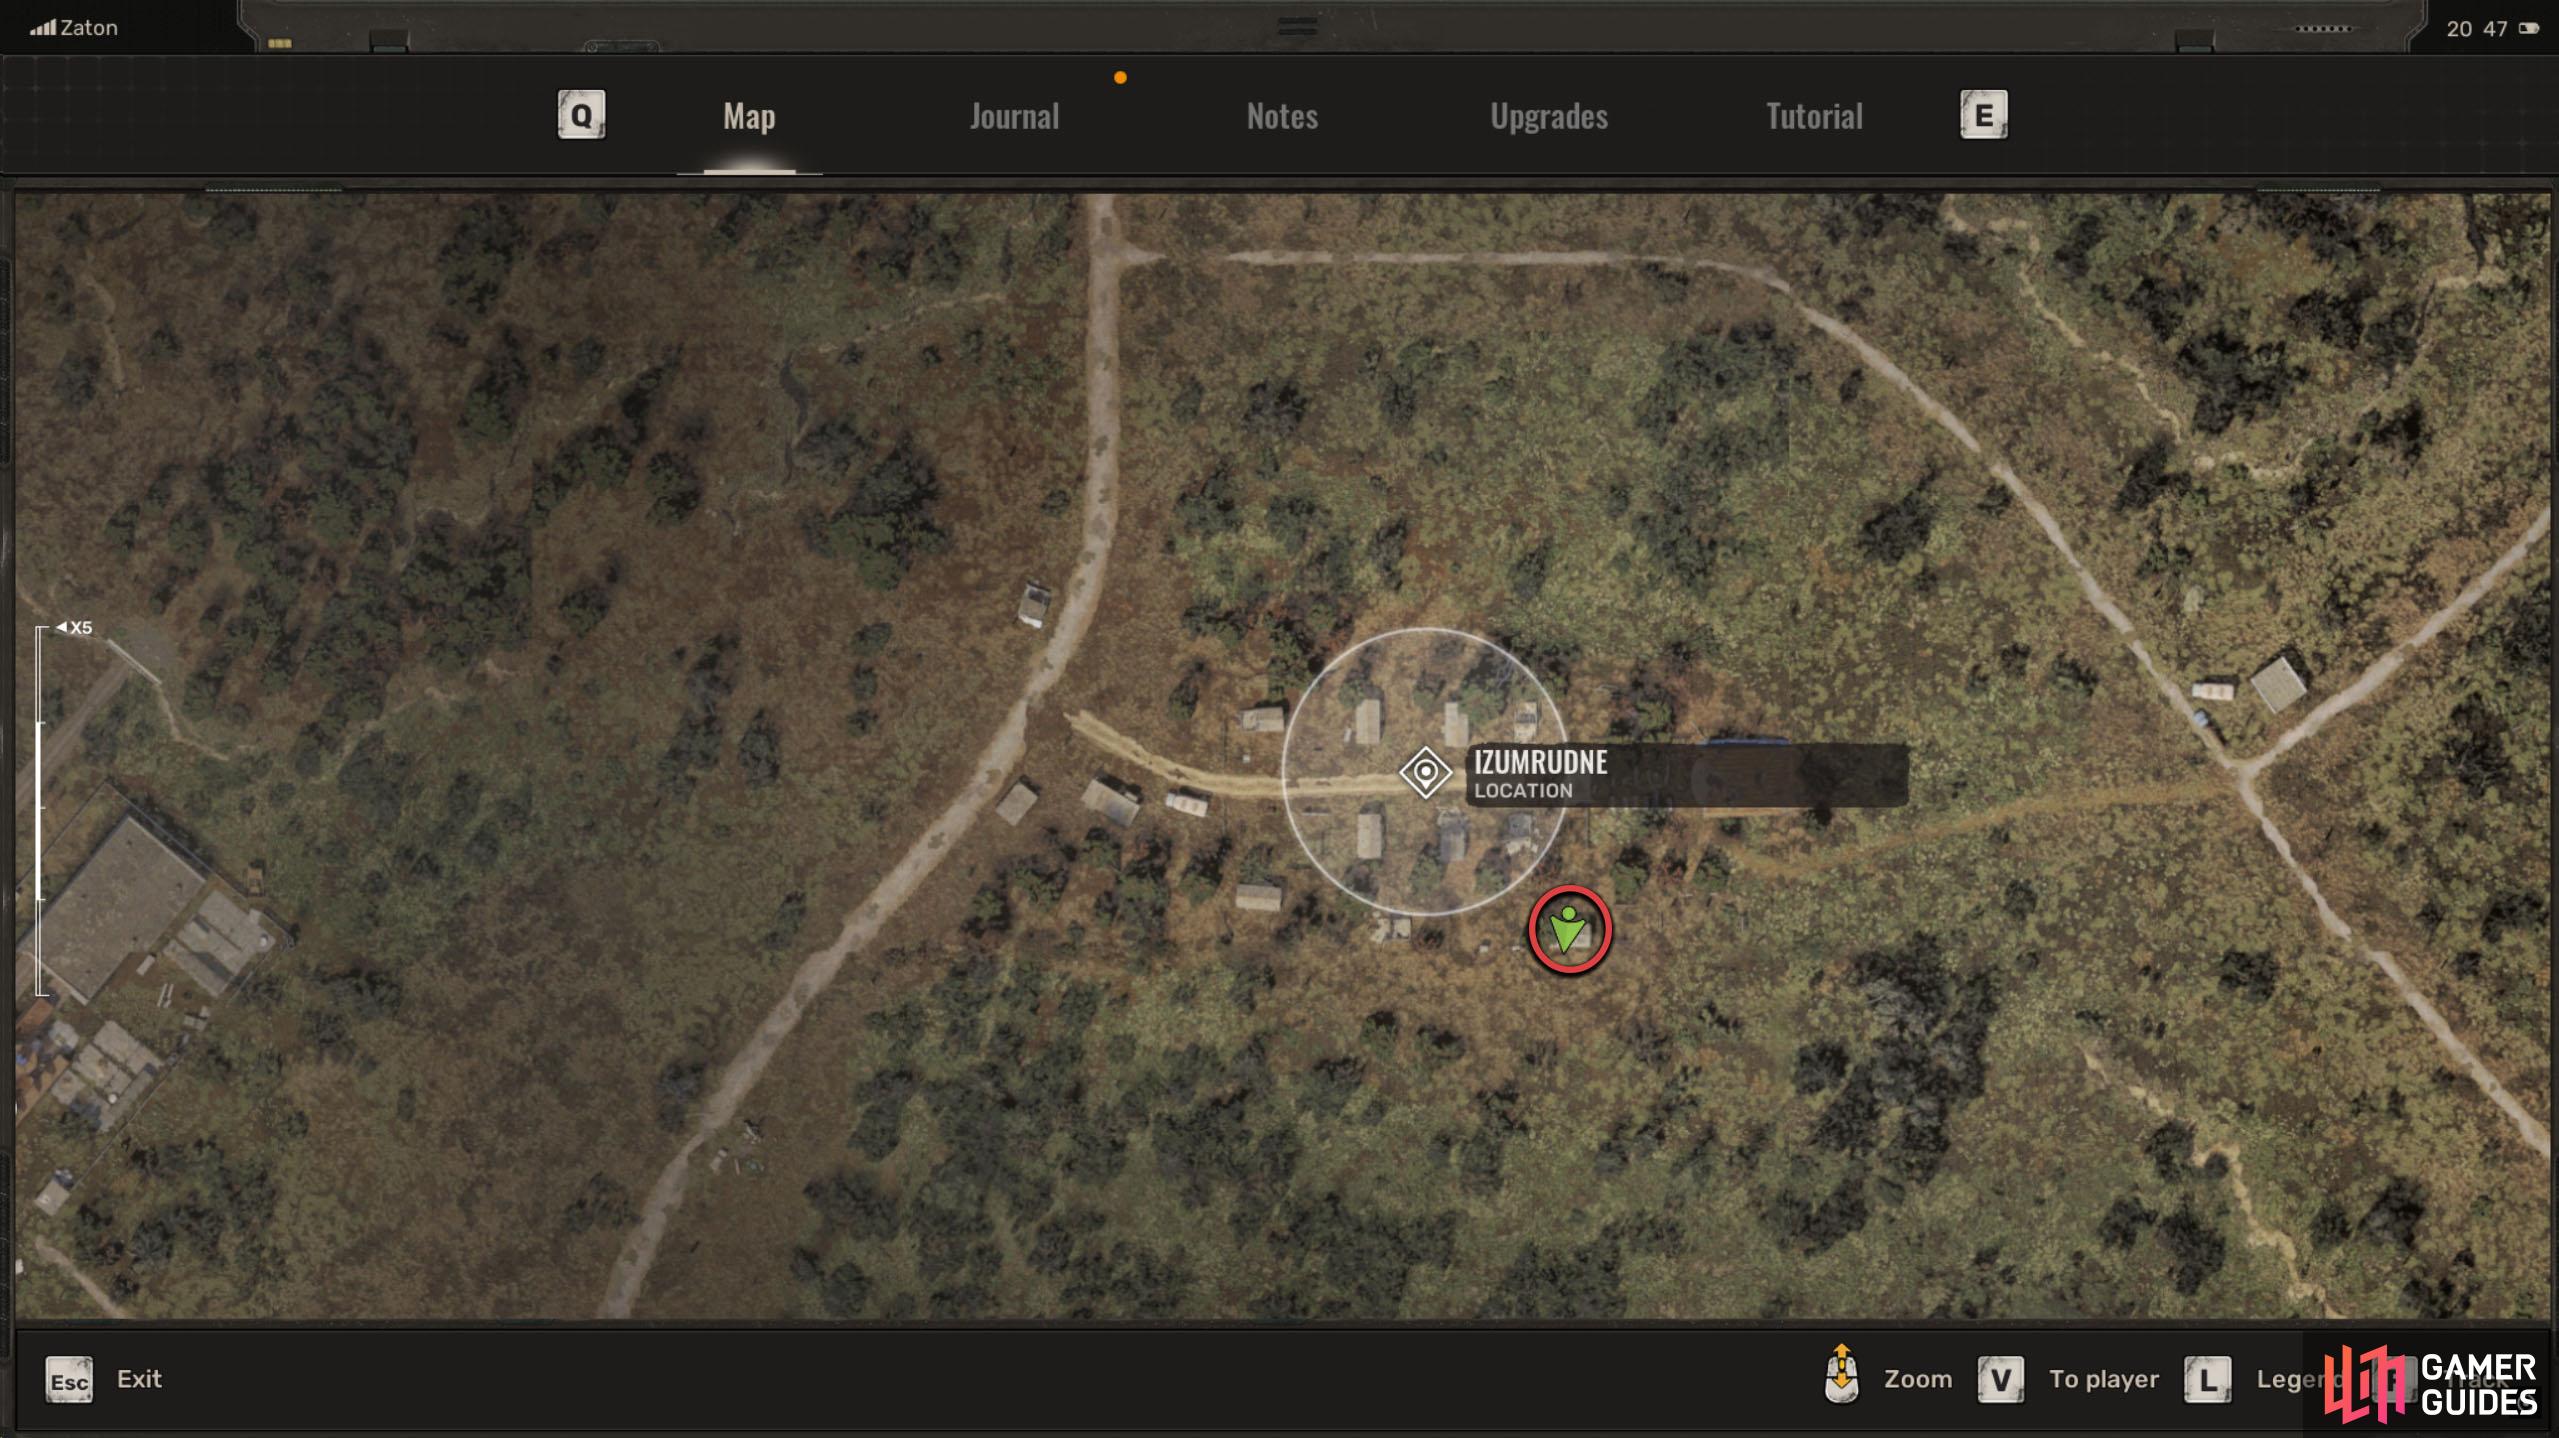
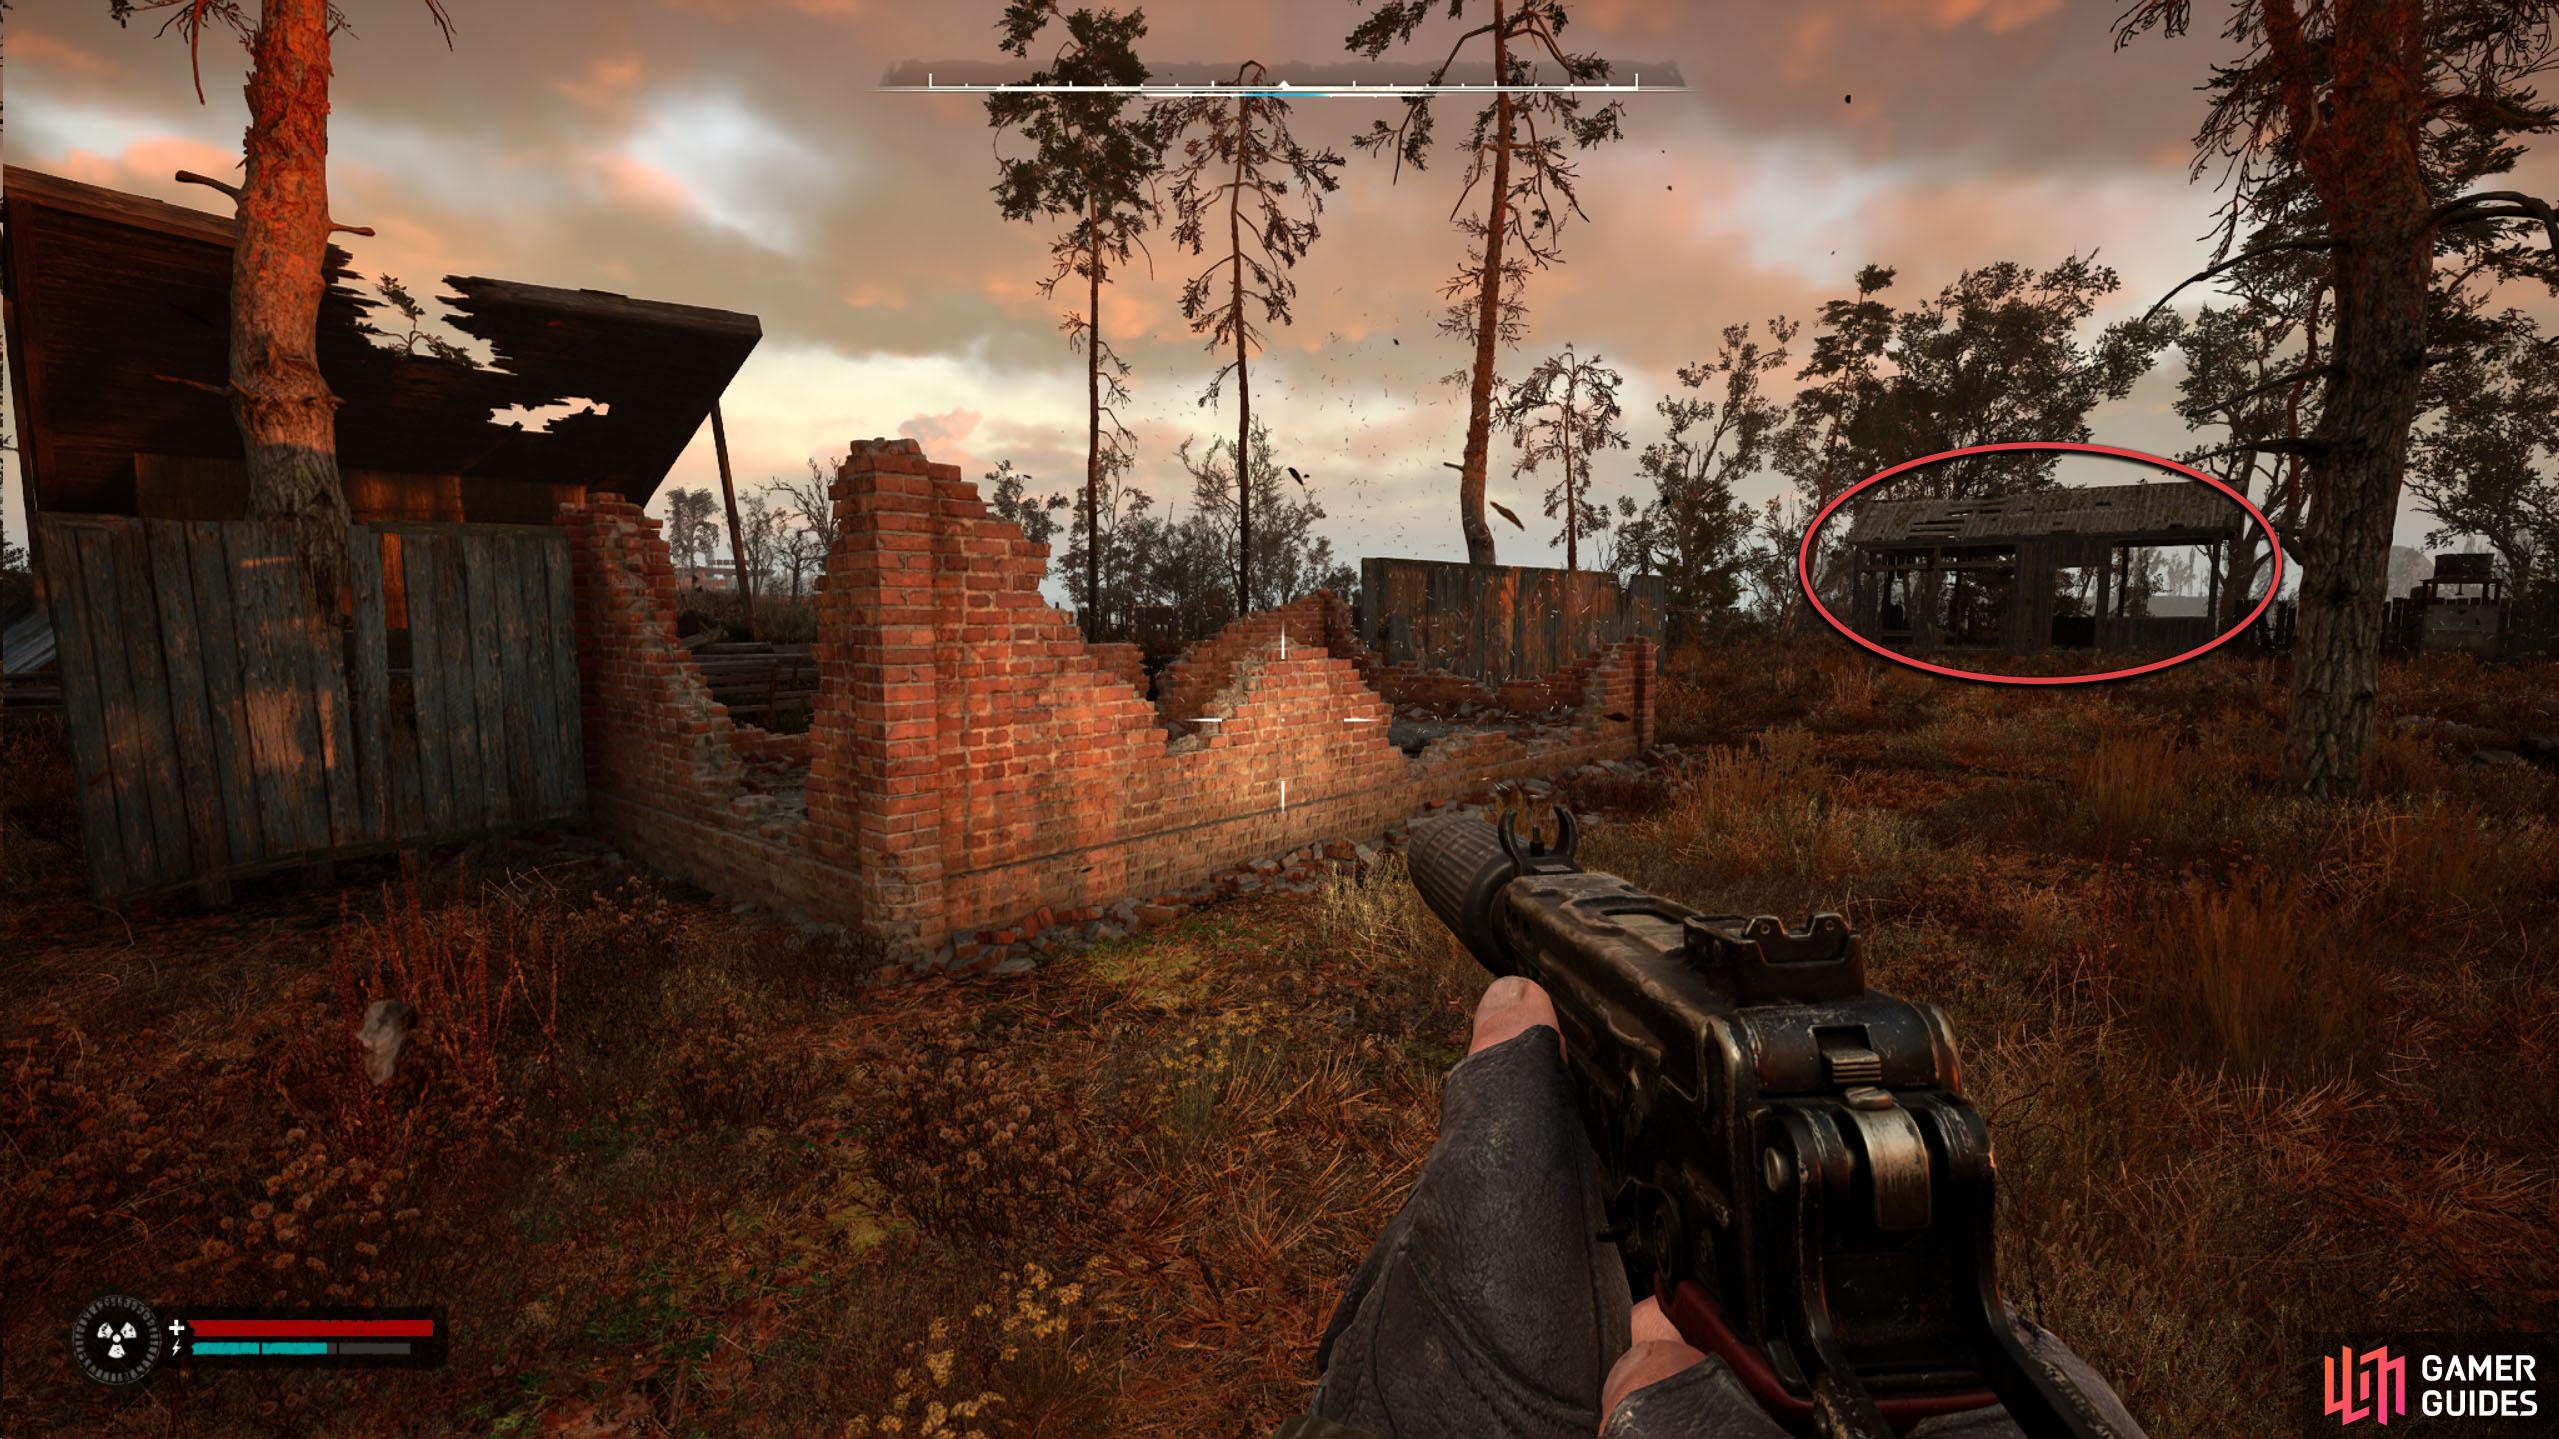
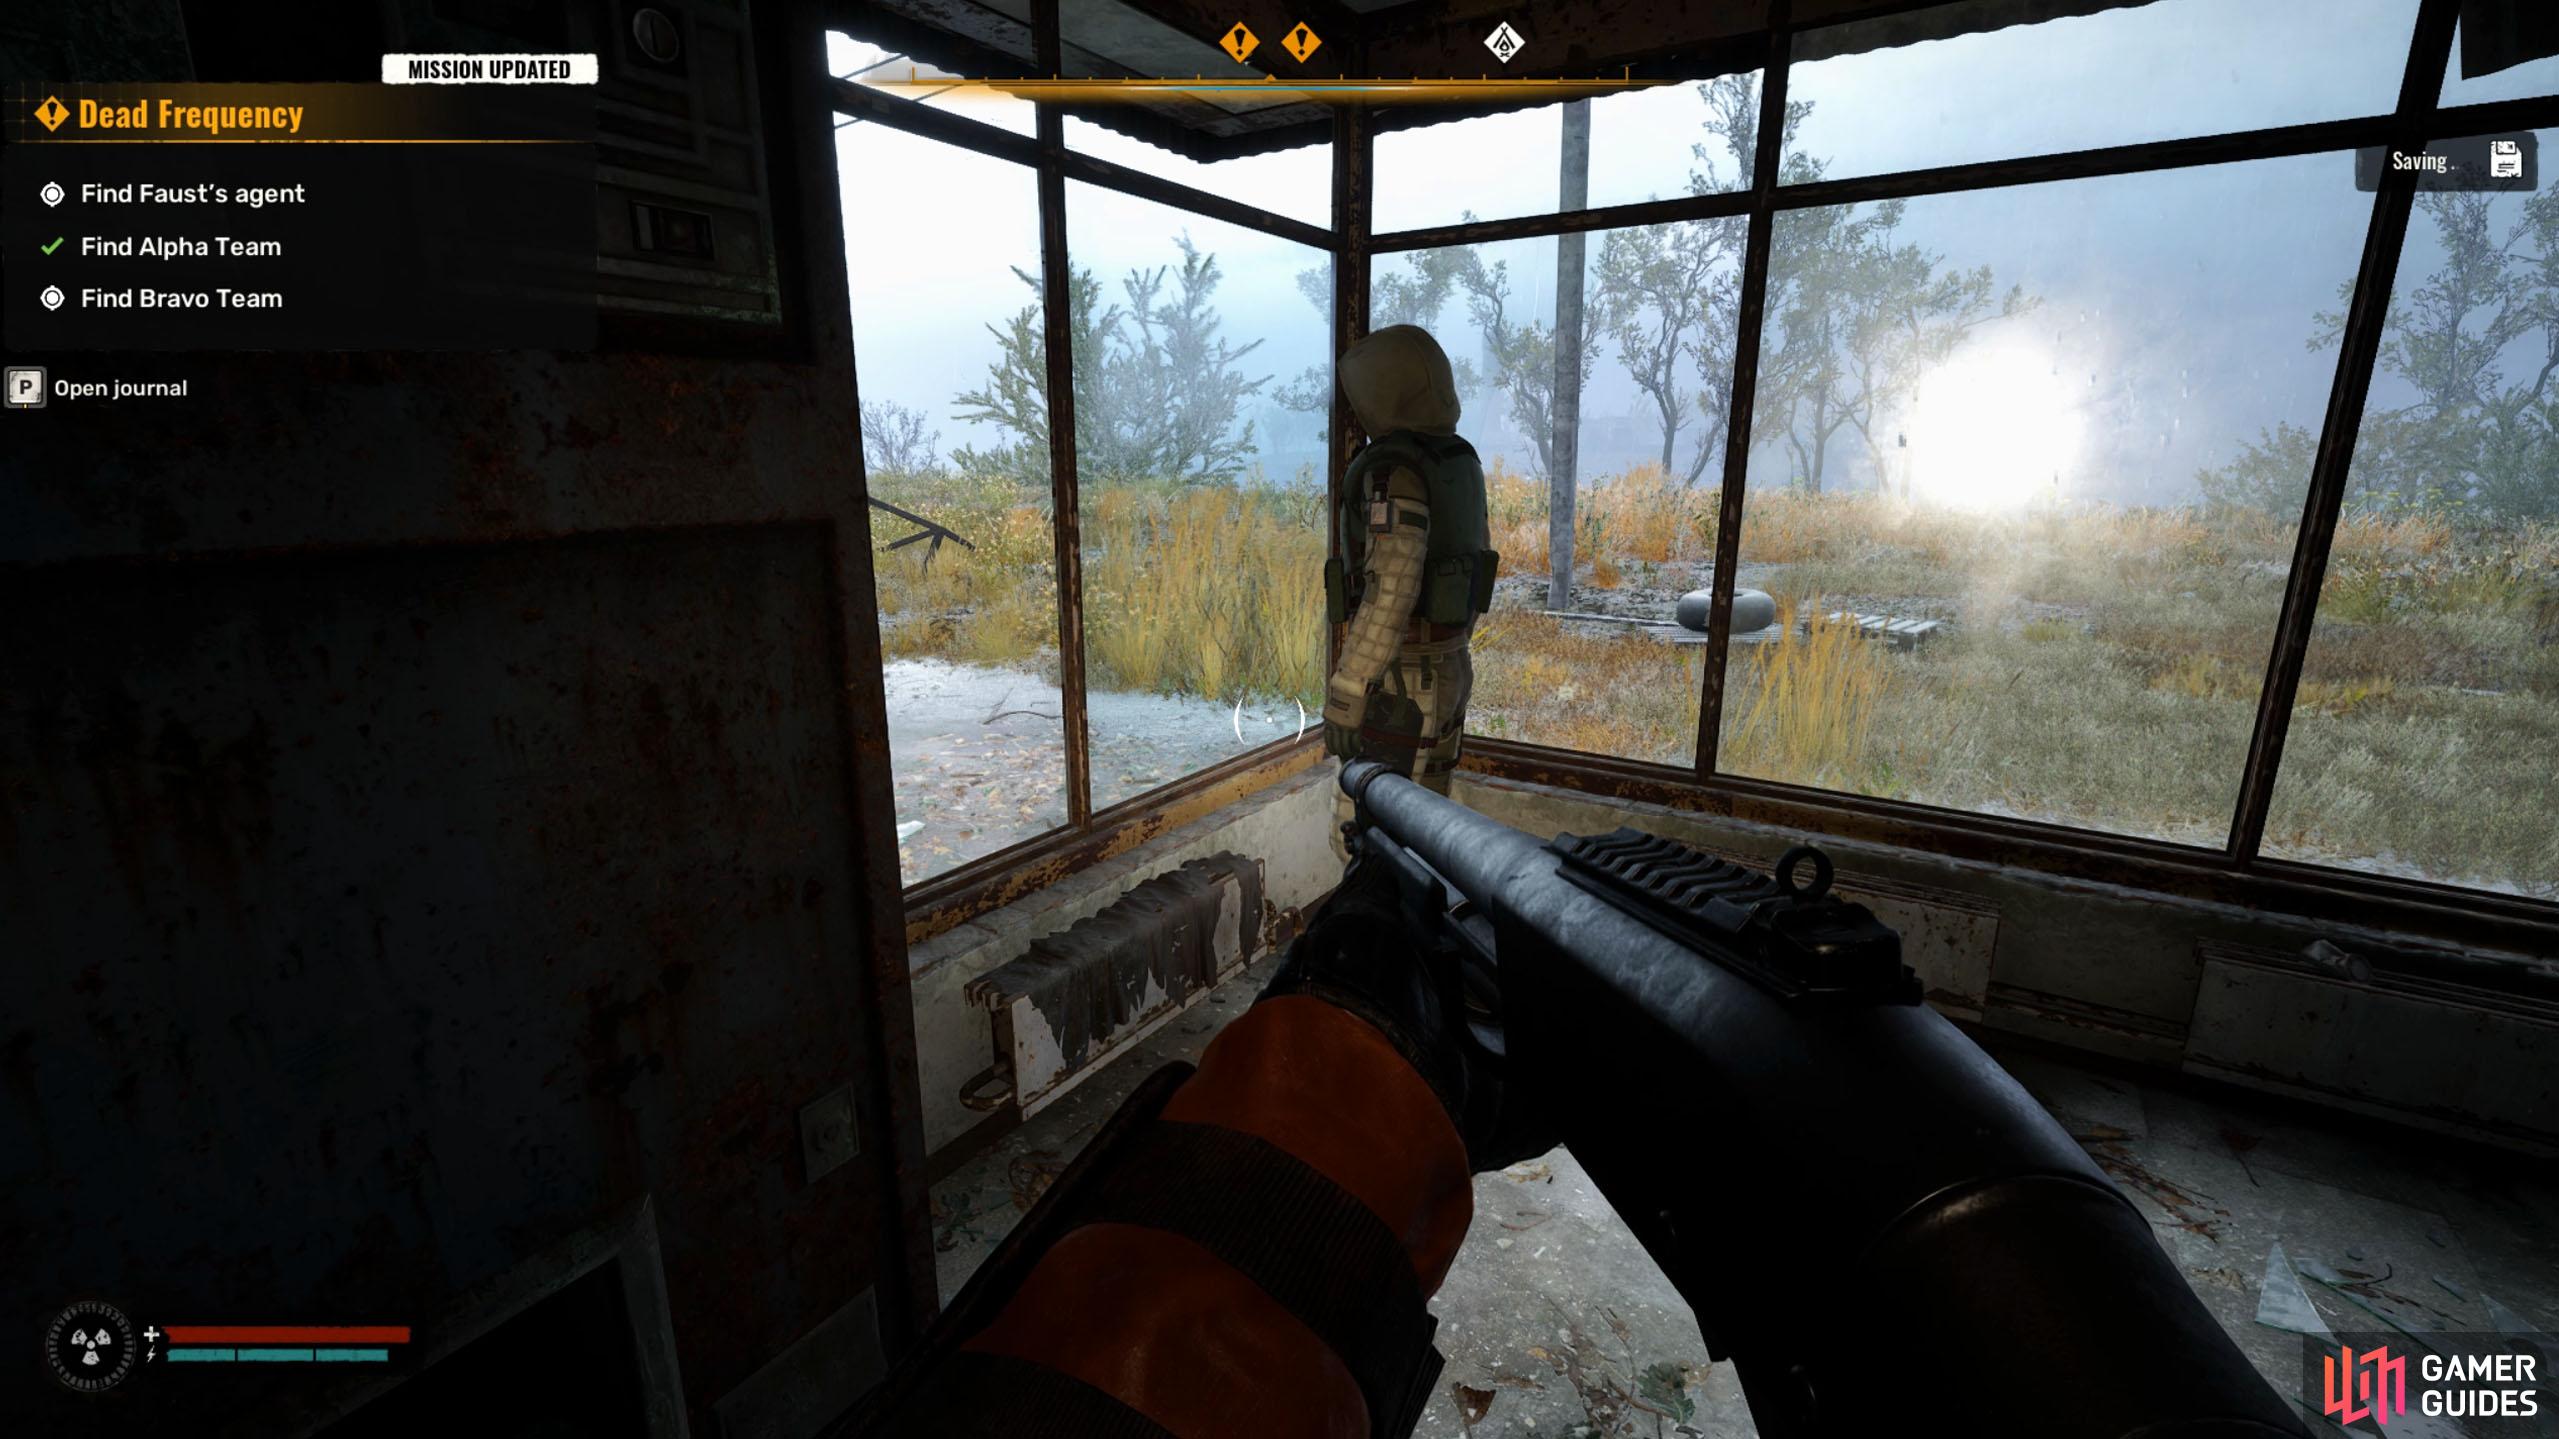
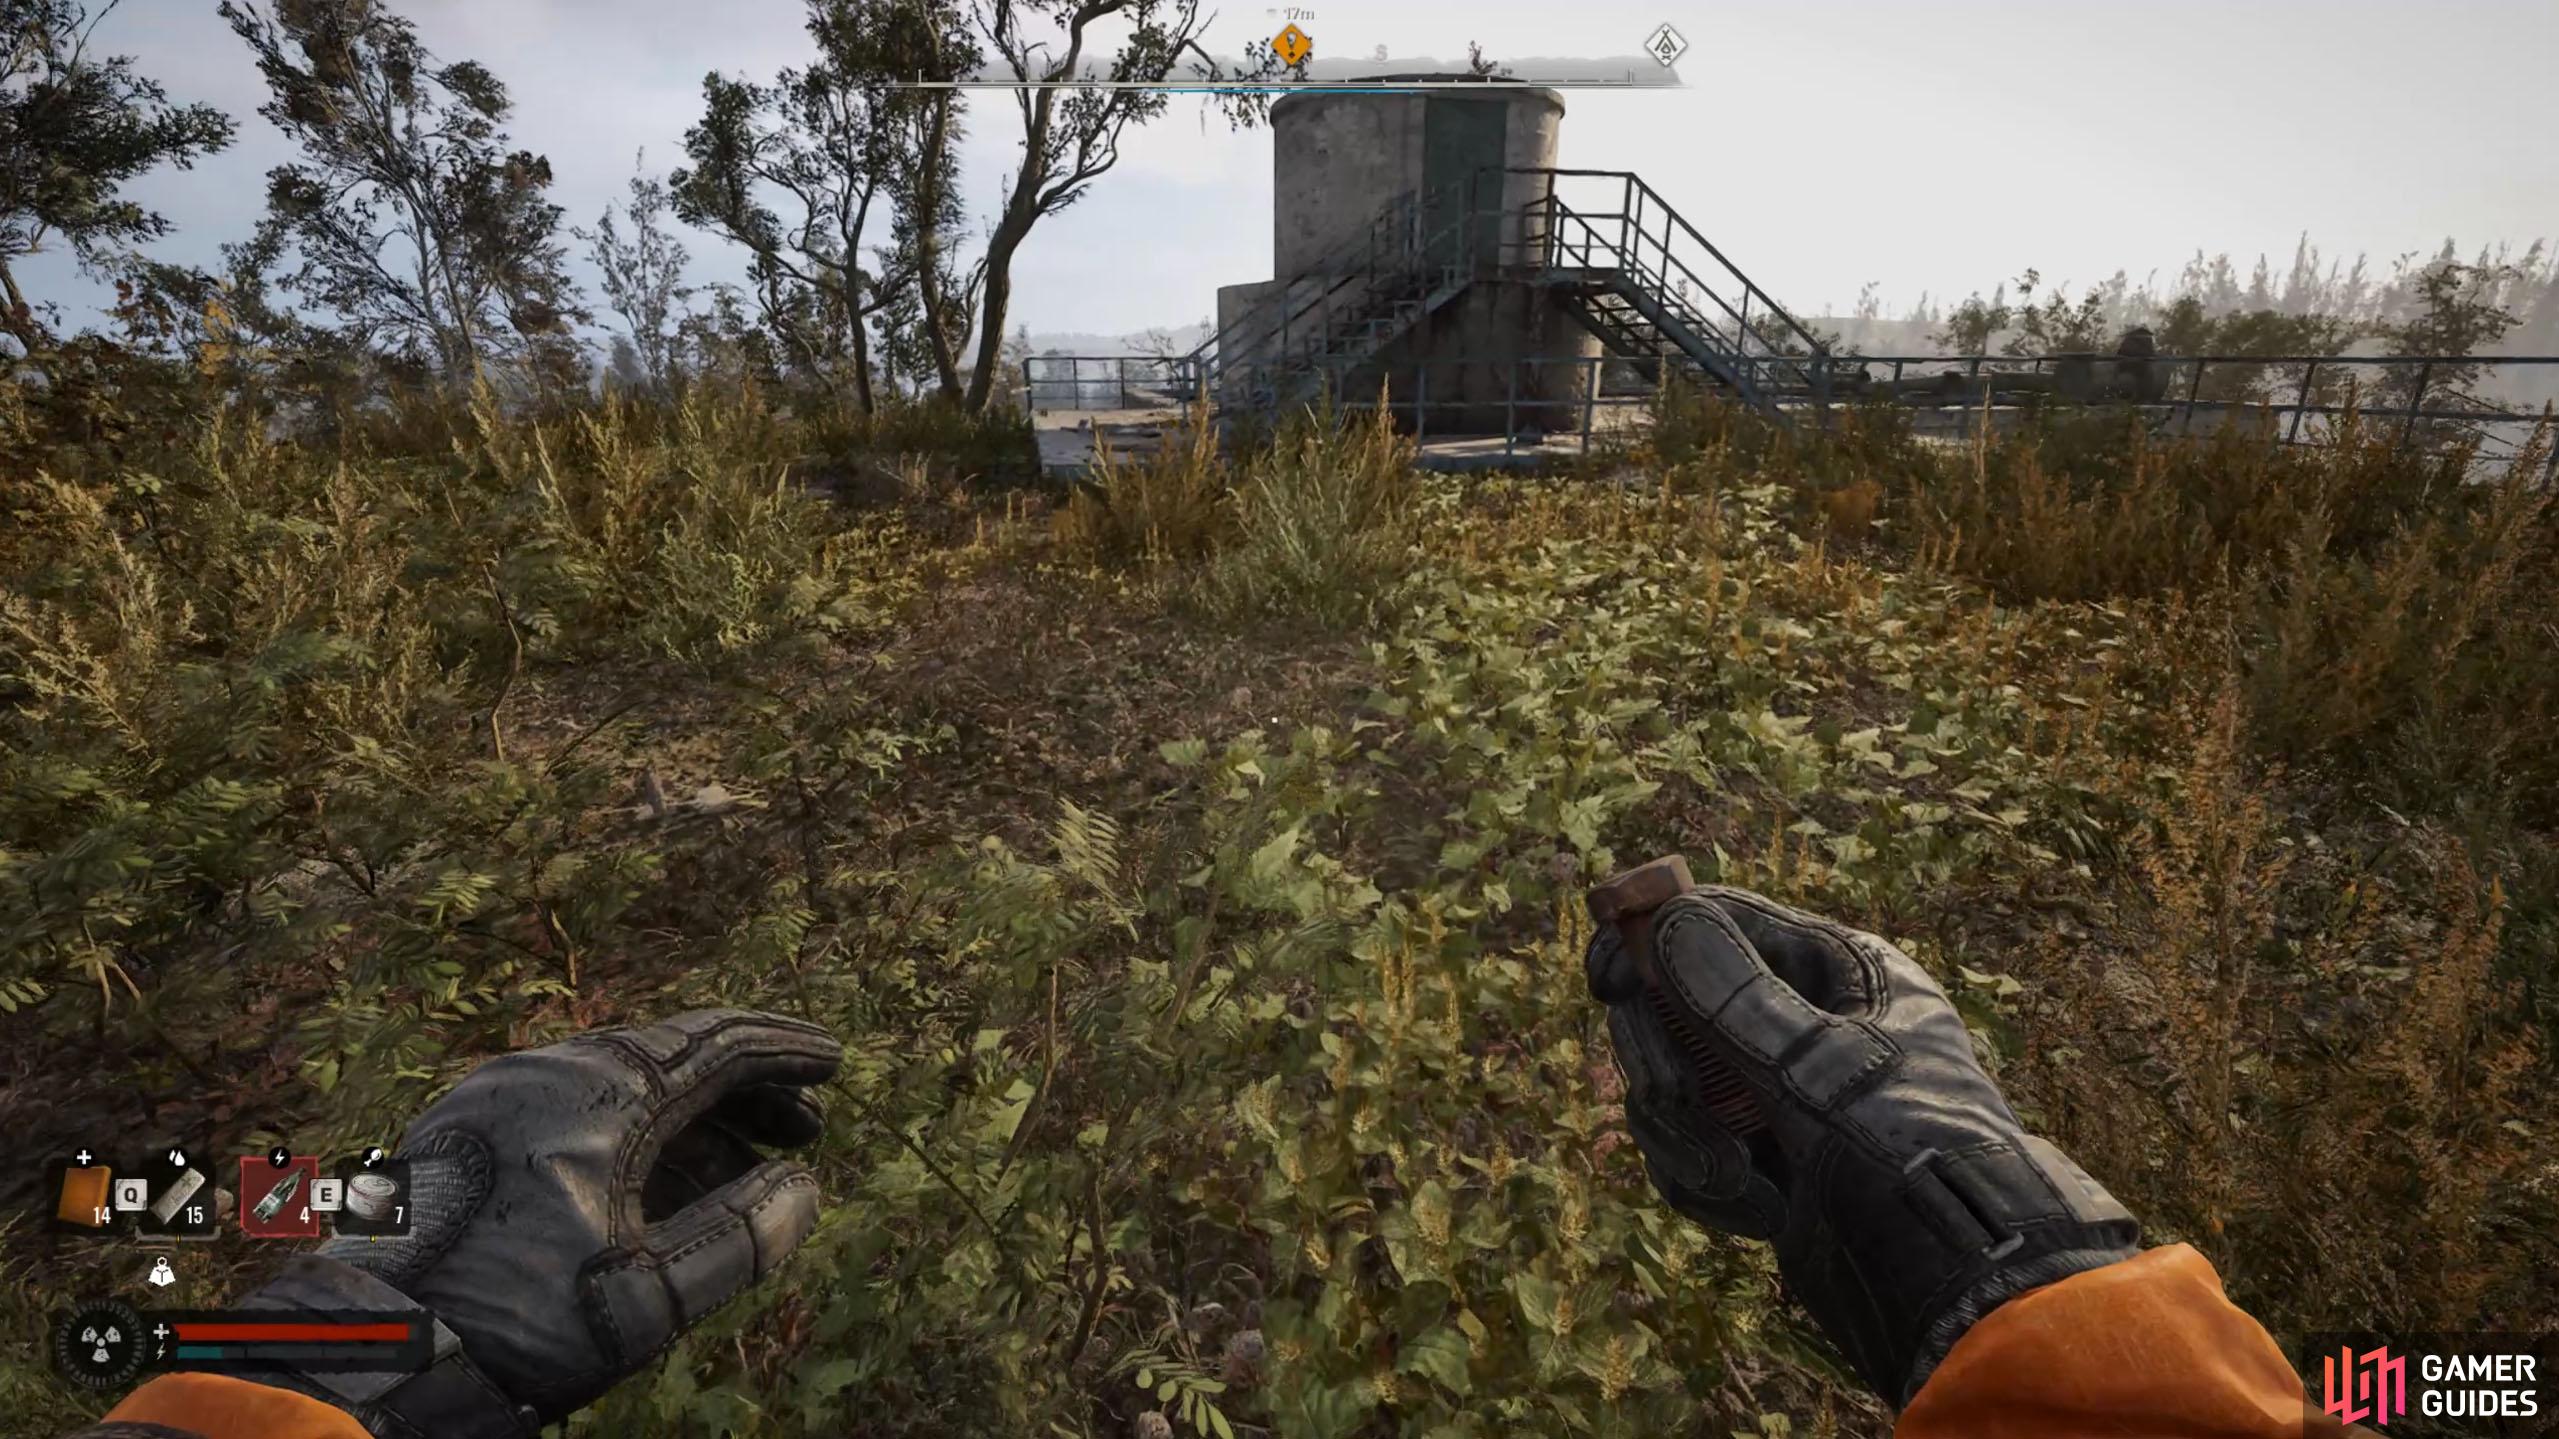
Just as you get close to Camp Icarus, Star’s call means you’ll need to go back the way you came to find Izumrudne. This can be found by following the road back up north and taking the east road at the second intersection. Star will be in a small hut next to the large tower in Izumrudne. Enter the hut and speak to Star to find out that The Ward are most likely looking for the traitor too, but to be sure, you’ll need to hack into their radio frequencies, and to that, you’ll need sensors.
(1 of 2) Star will tell you to meet him in Izumrudne, which will be north of your position.
Star will tell you to meet him in Izumrudne, which will be north of your position. (left), You’ll find him in a shack next to the large tower. (right)
Getting the Ward Sensors
If you gave the ![]() Ward Sensors to Richter in the A Needle In a Haystack mission, Star will already have the sensors, which makes this part easier.
Ward Sensors to Richter in the A Needle In a Haystack mission, Star will already have the sensors, which makes this part easier.
However, if you gave them to The Ward, you’ll need to retrieve them from Sergeant Orlowski’s corpse, who just happened to die in Izumrudne, which is handy. If you have the sensors already, the mission will carry on as normal, if you don’t, you need to traverse through the anomaly field in Izumrudne to get them. You can find the corpse in the southeastern shack in Izumrudne, but you’ll need to navigate around the anomalies to get there.
Once you have the sensors, you’ll immediately hear a radio call from The Ward (how fortunate!) that tells you that the traitor is Lt. Shterev, and two possible locations are Claw, and Vent, where two of The Ward’s teams will be sent to, Alpha and Bravo.
(1 of 2) If you gave the sensors to The Ward, you’ll need to find some.
If you gave the sensors to The Ward, you’ll need to find some. (left), You can find some on the corpse in the southeastern shack in Izumrudne. (right)
Find Alpha Team - Claw
After the radio call, you’ll have two places to check out, Claw and Vent. Claw is the nearest location, so let’s head there first. From Izumrudne, head directly east (or take the road north, east, southeast) to find the Gas Station. In the gas station, you’ll find one of the Alpha team in the main shop area (near the pumps). If you’re taking Star up on his offer of taking out the Alpha Team, equip a silenced weapon, and take him out. This will make the rest of the team hostile to you, though.
(1 of 4) You’ll find Claw by the Gas Station east of Izumrudne.
To the east of the Gas Stations is a fissure, hence the name “Claw”, and on the other side of the gap, you’ll find another member of the Alpha Team, who is looking down into the fissure. Take him out with a silenced weapon if you want, and then make your way down deeper into the fissure.
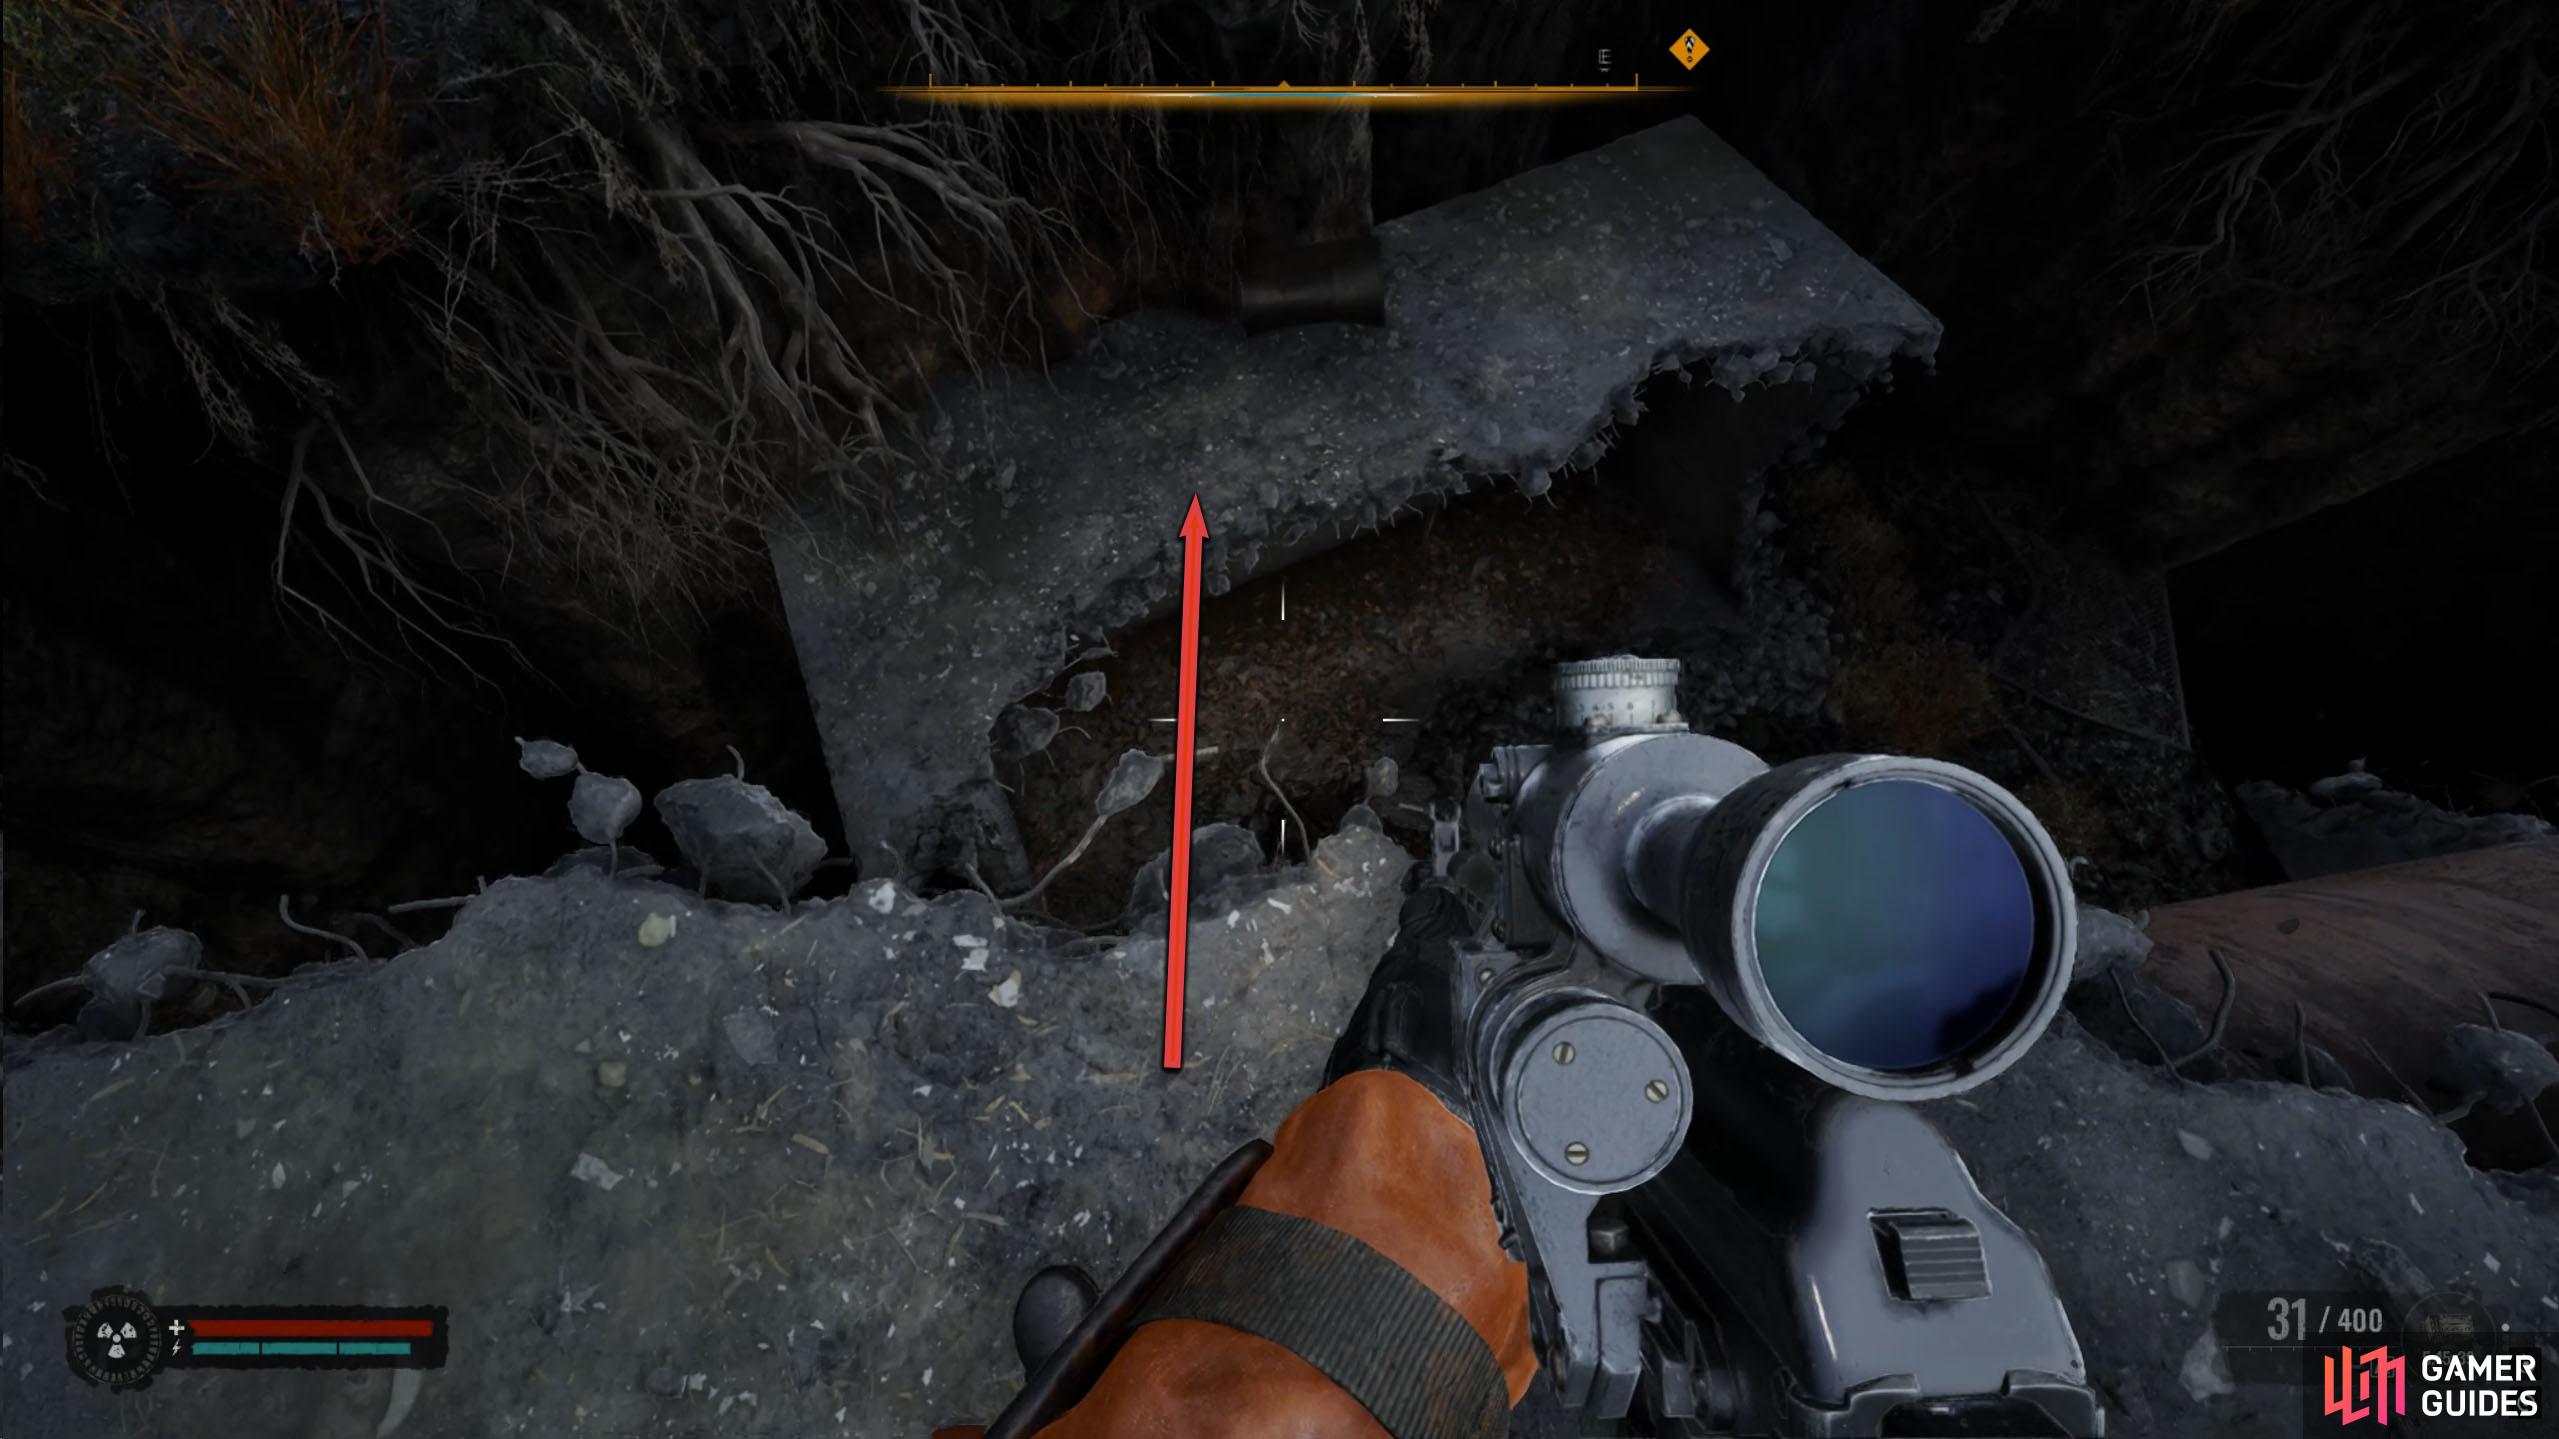
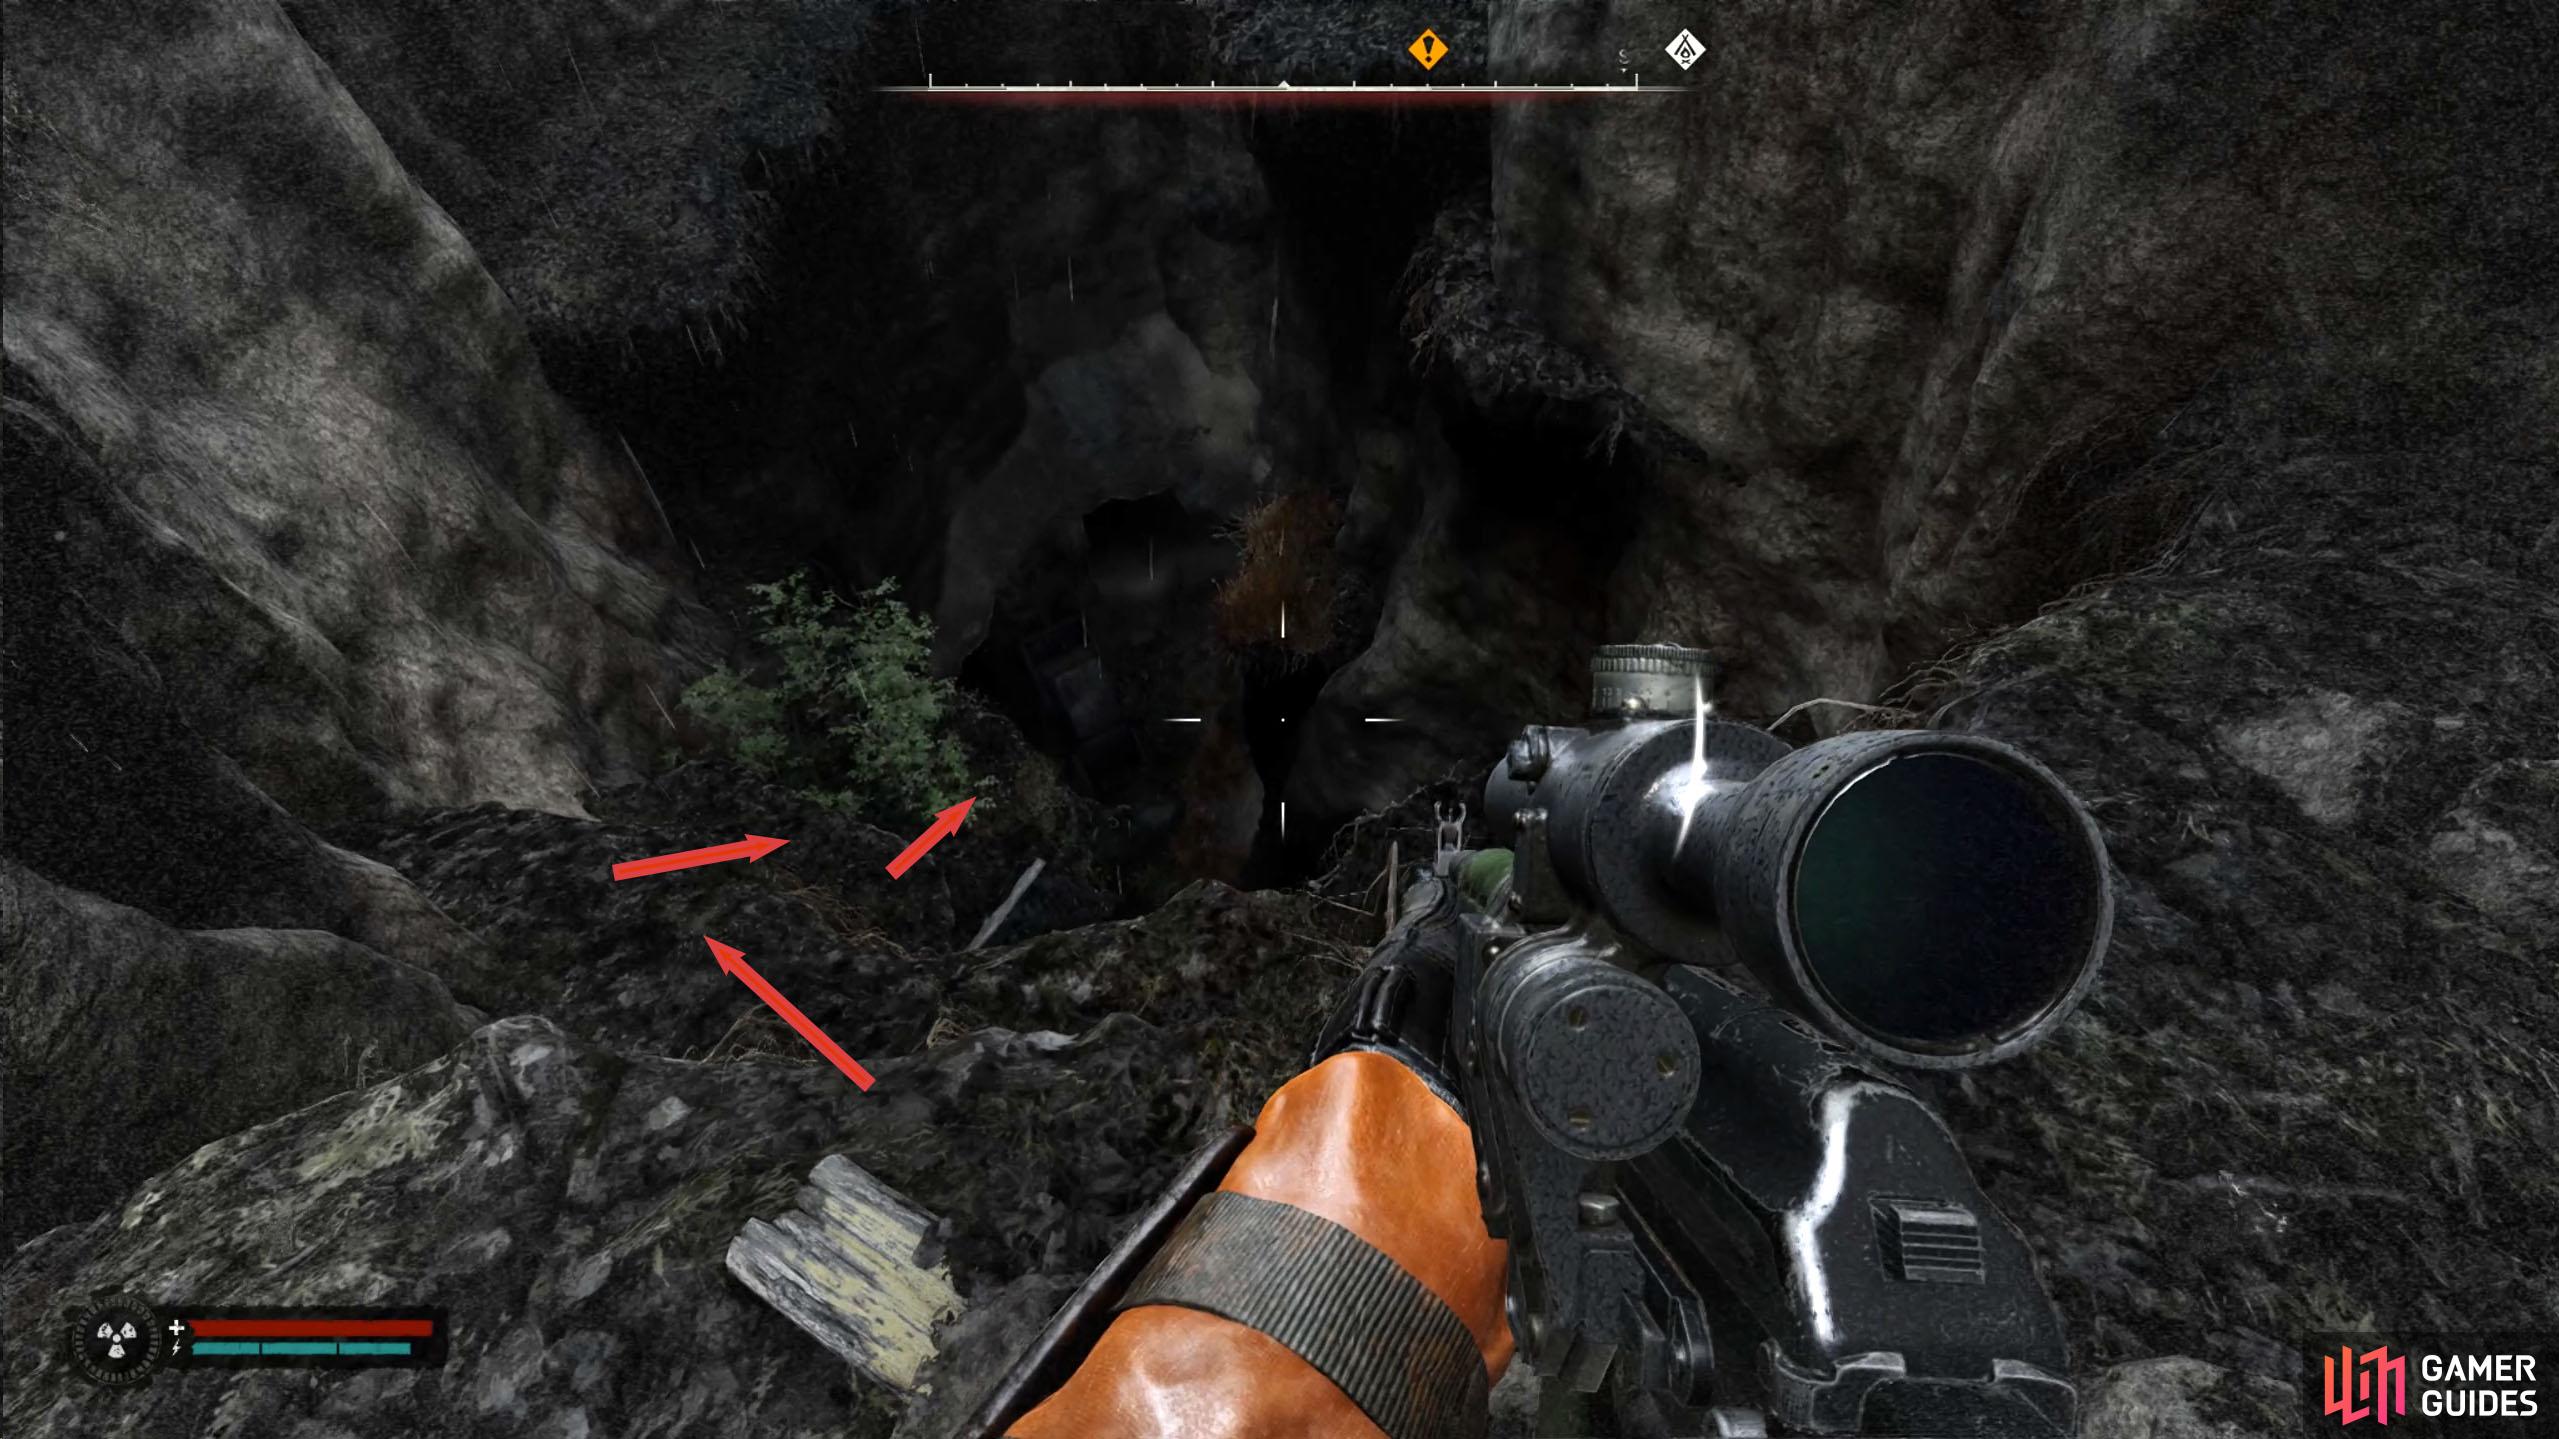
There will be platforms you can drop to, to get to the bottom. When you reach the bottom, you’ll encounter a half-human, half-mutant enemy, almost like a monkey. These are agile creatures that can be difficult to hit, so we recommend using a shotgun against them. Wait for them to pounce at you, and fire off a shell at it as it gets close. When it gets knocked to the floor, unload some more shells at it to make sure it stays down.
(1 of 4) Jump across to the lower platform to begin your descent.
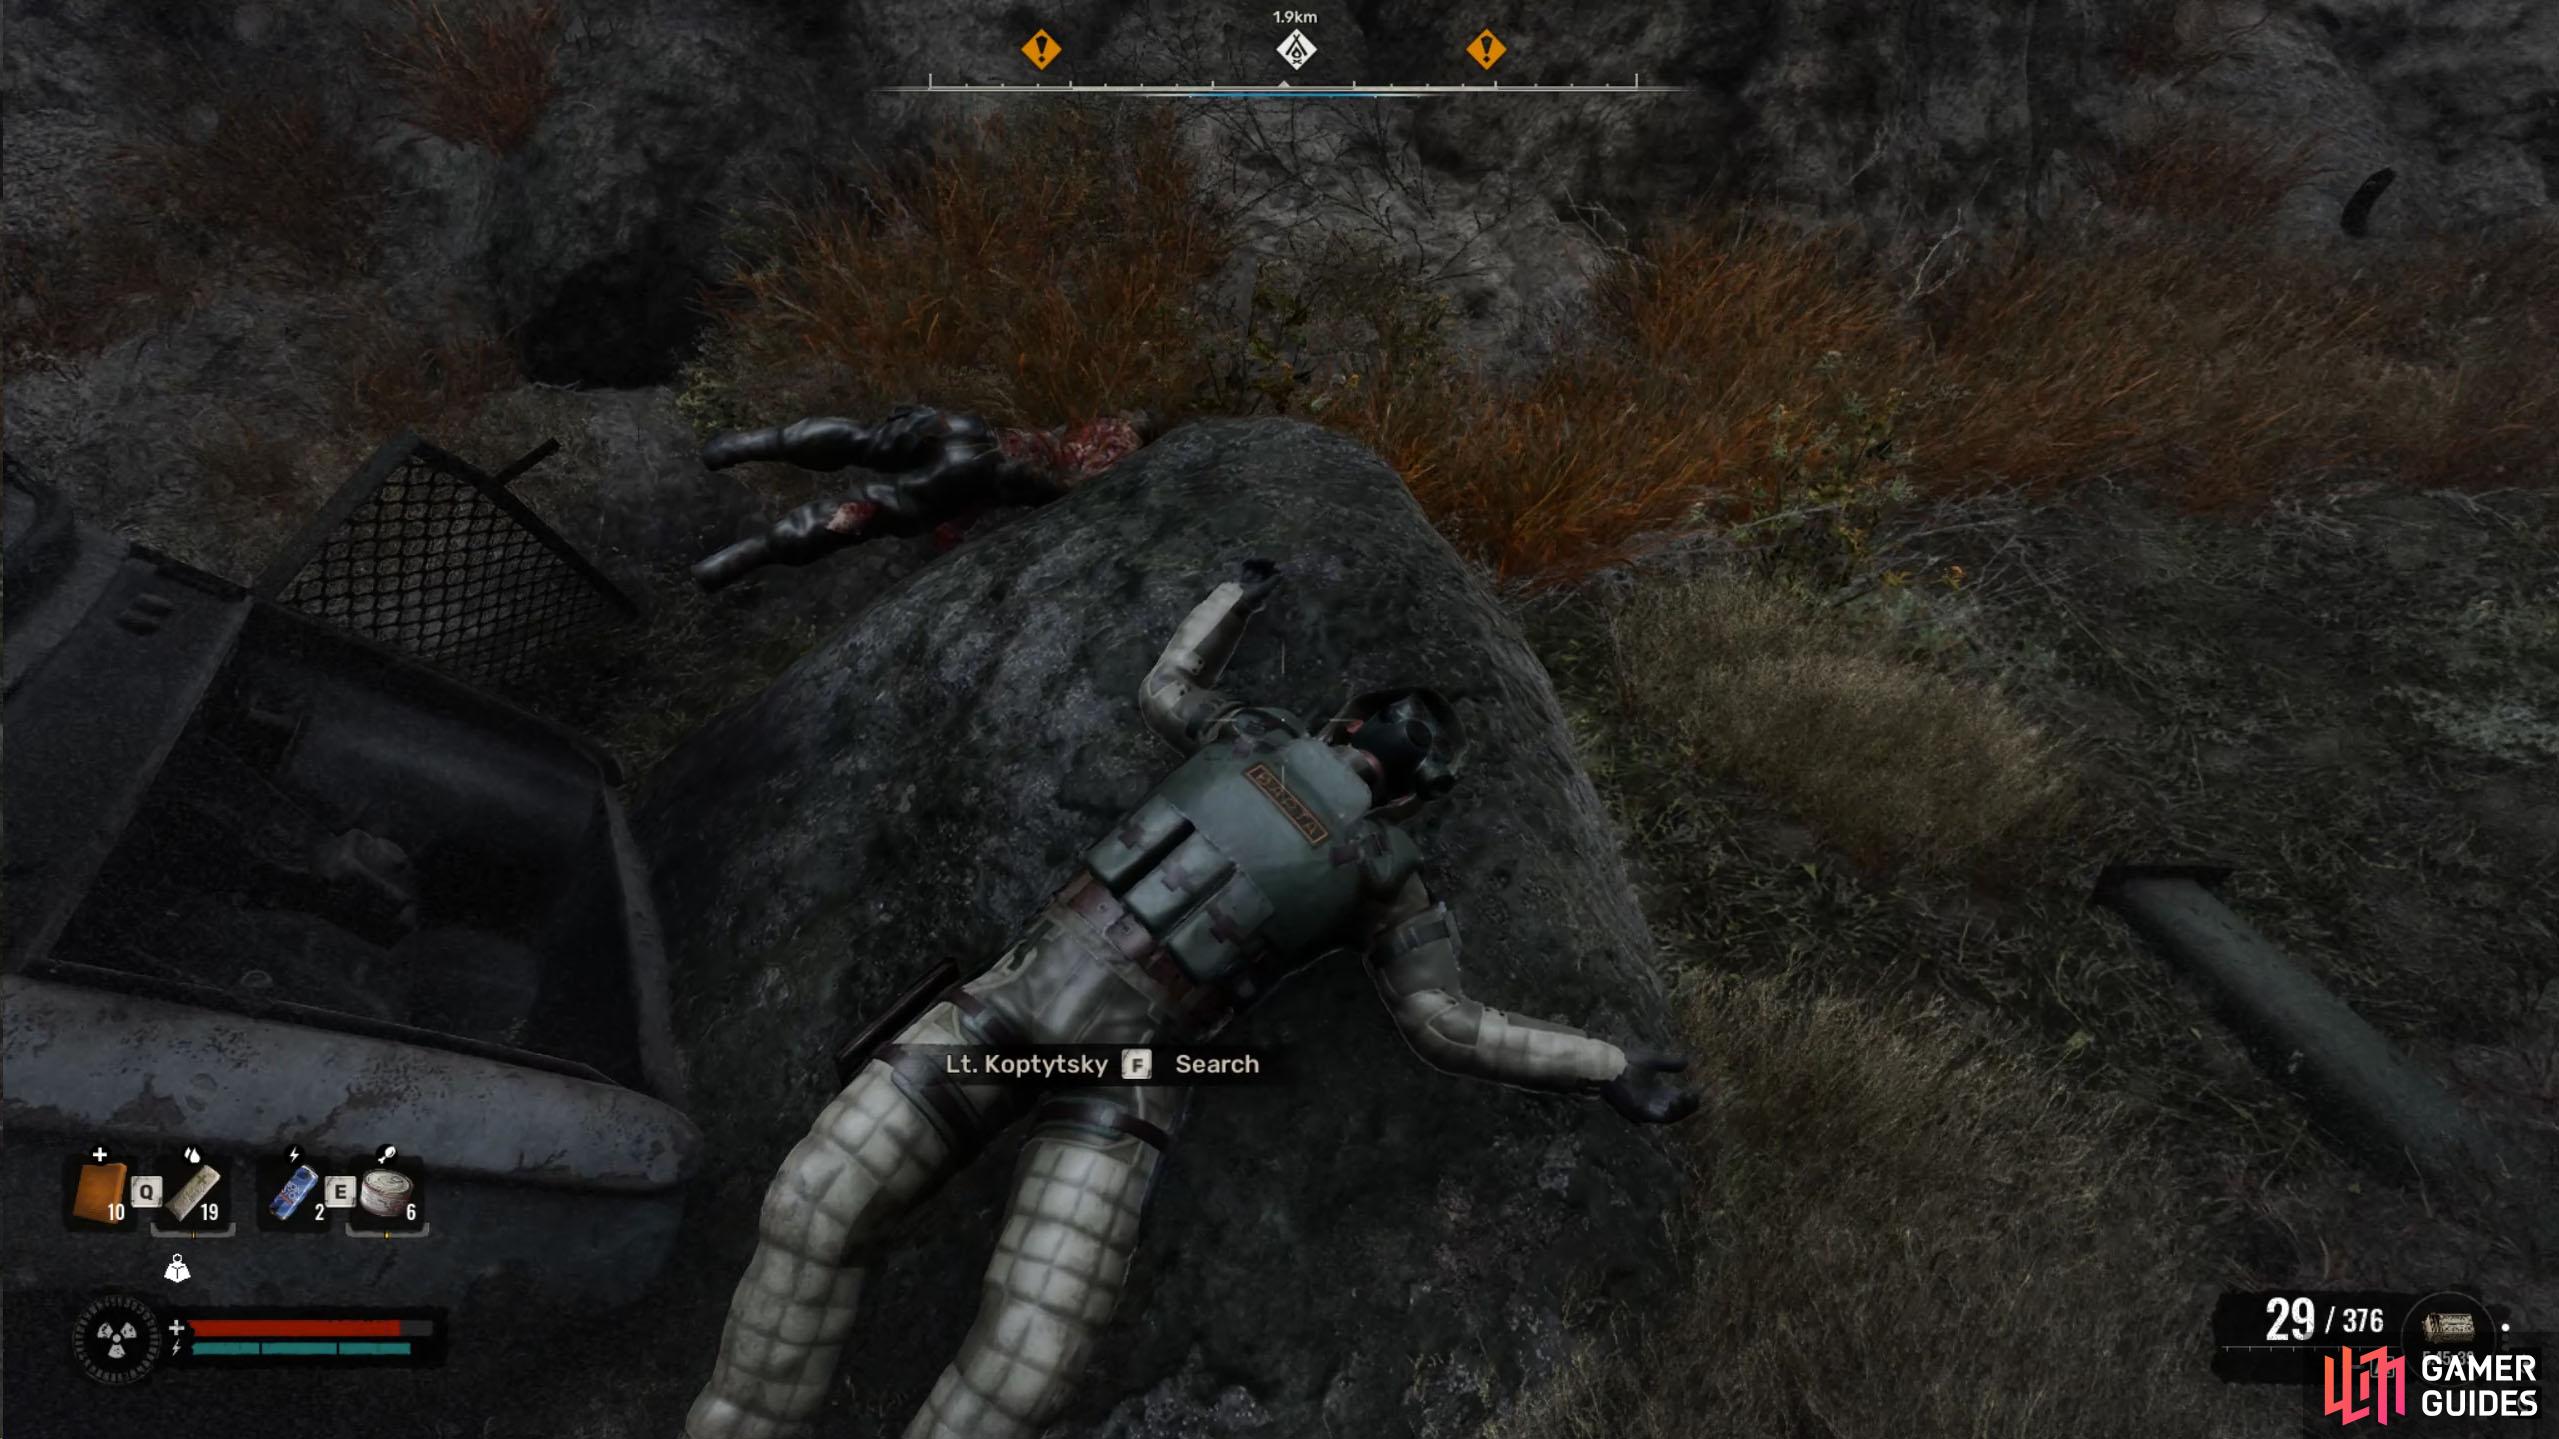
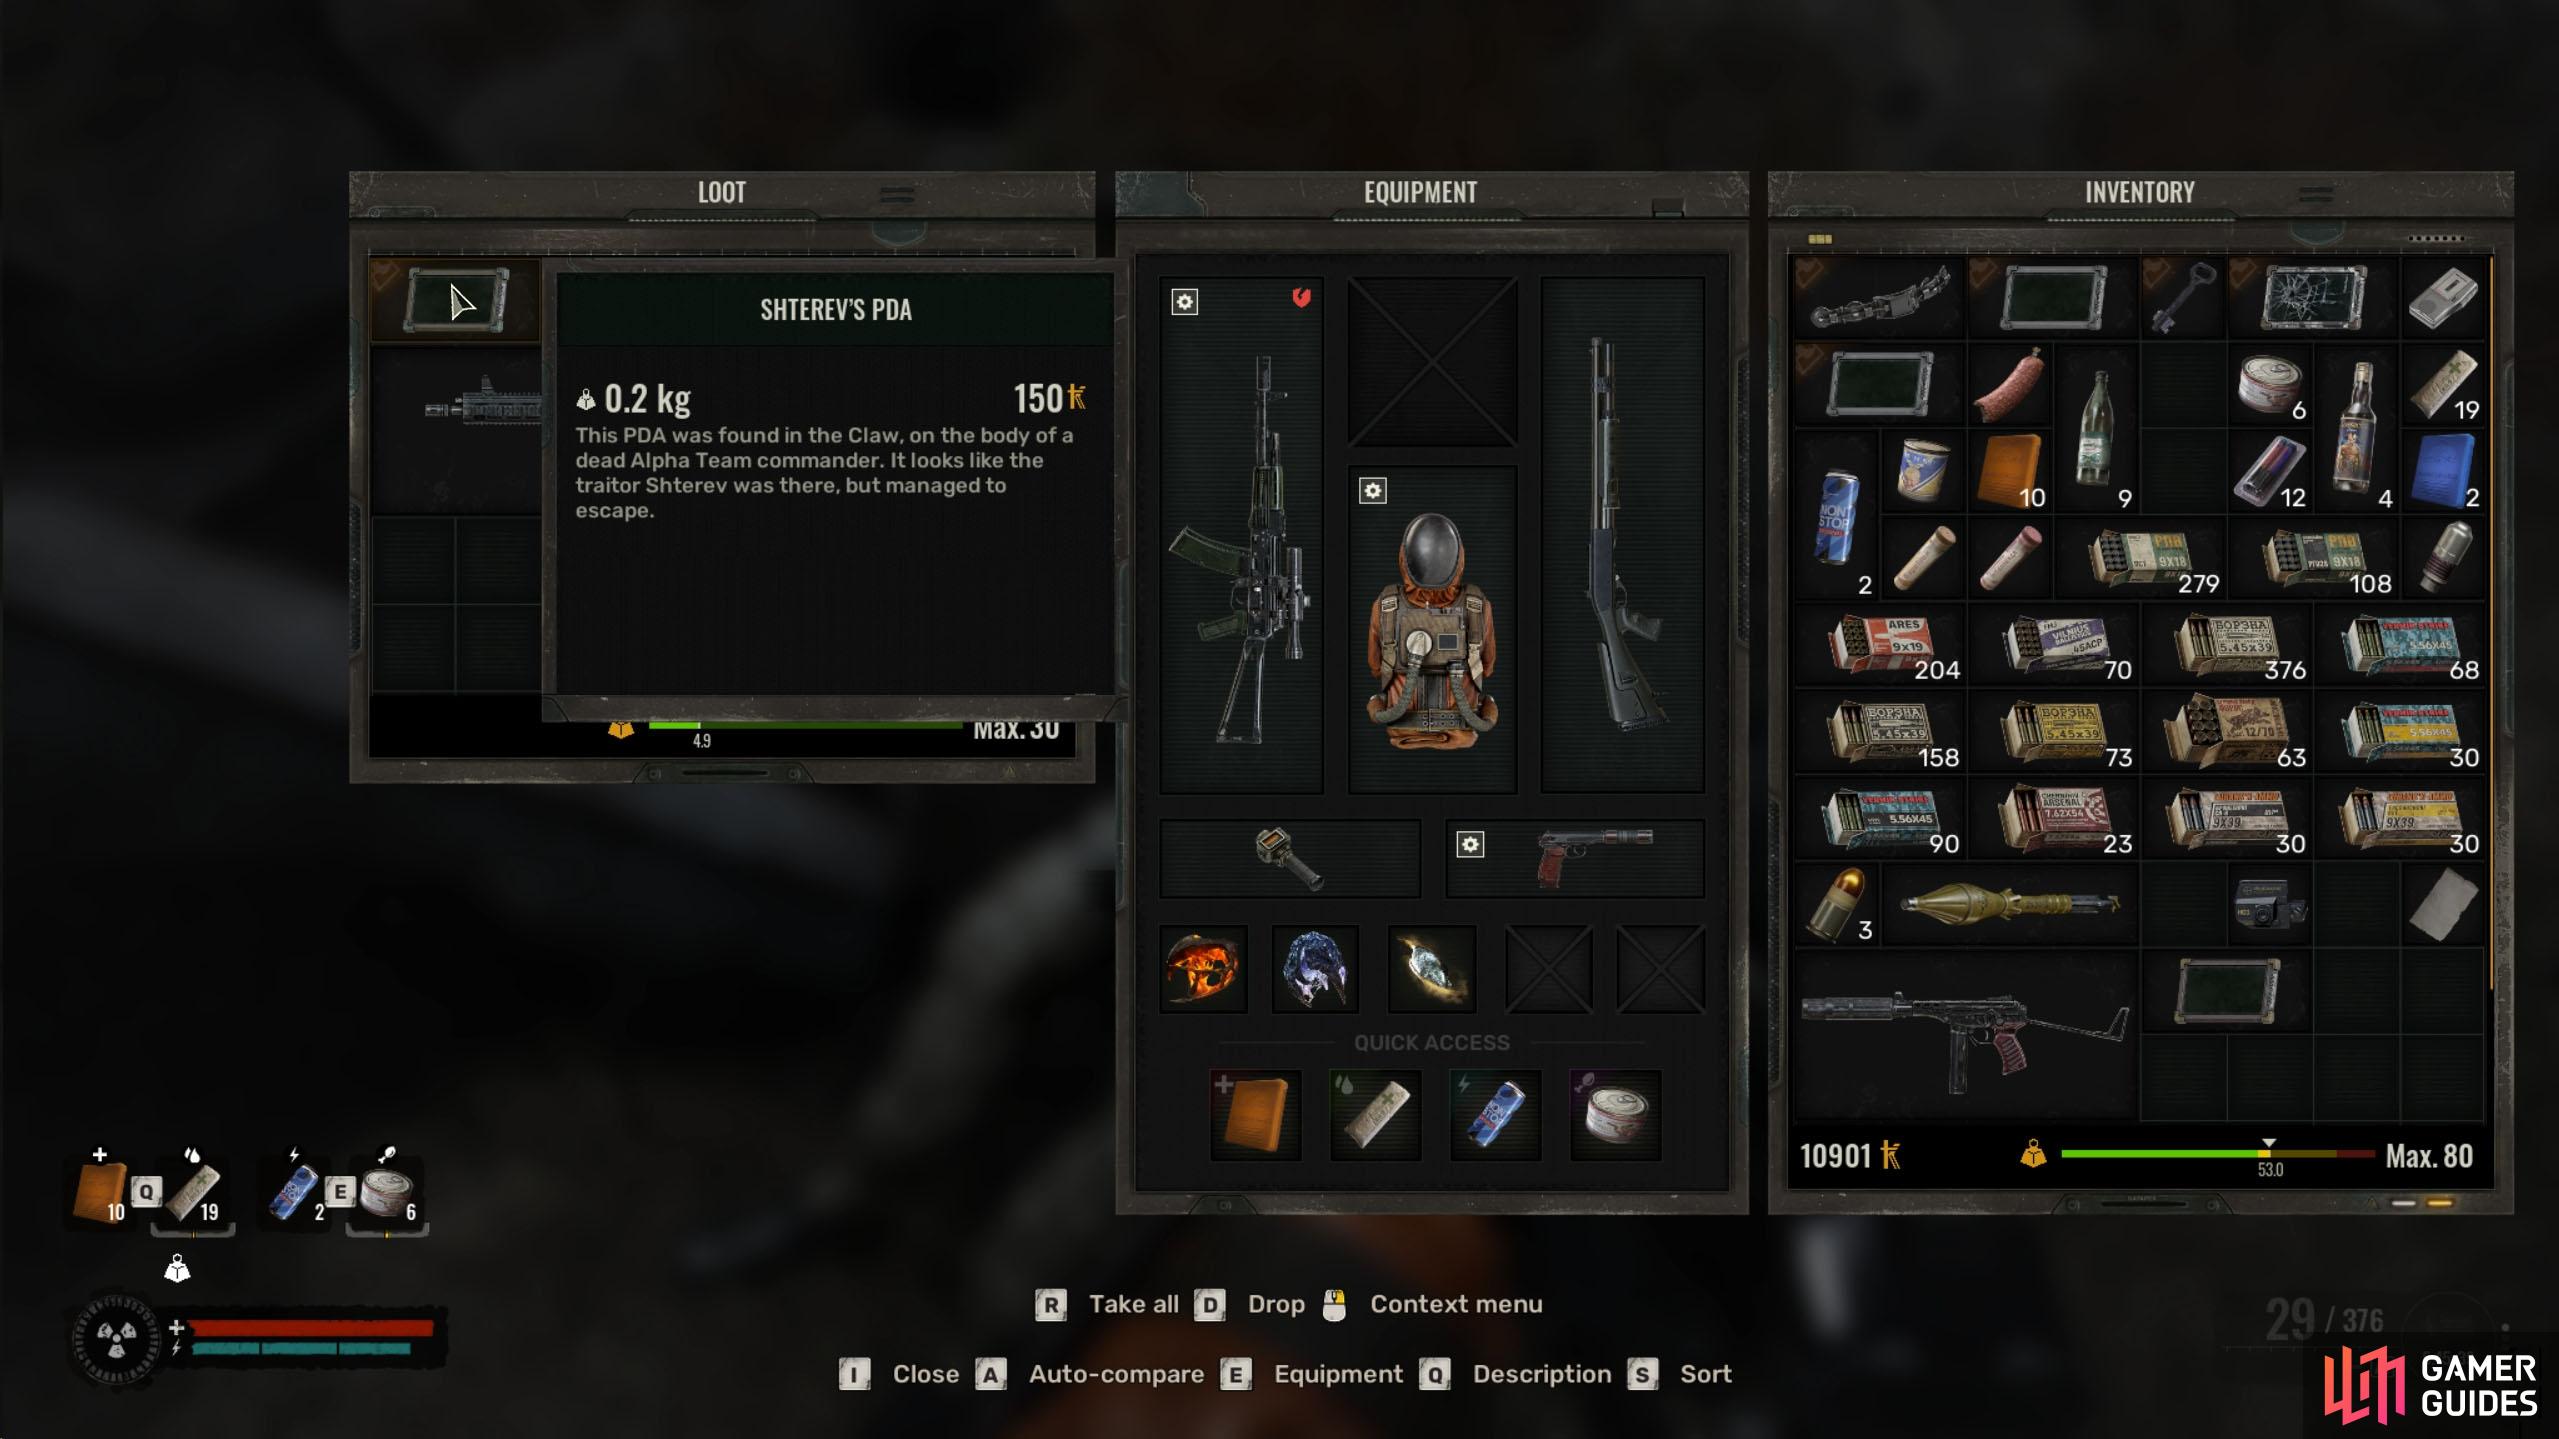
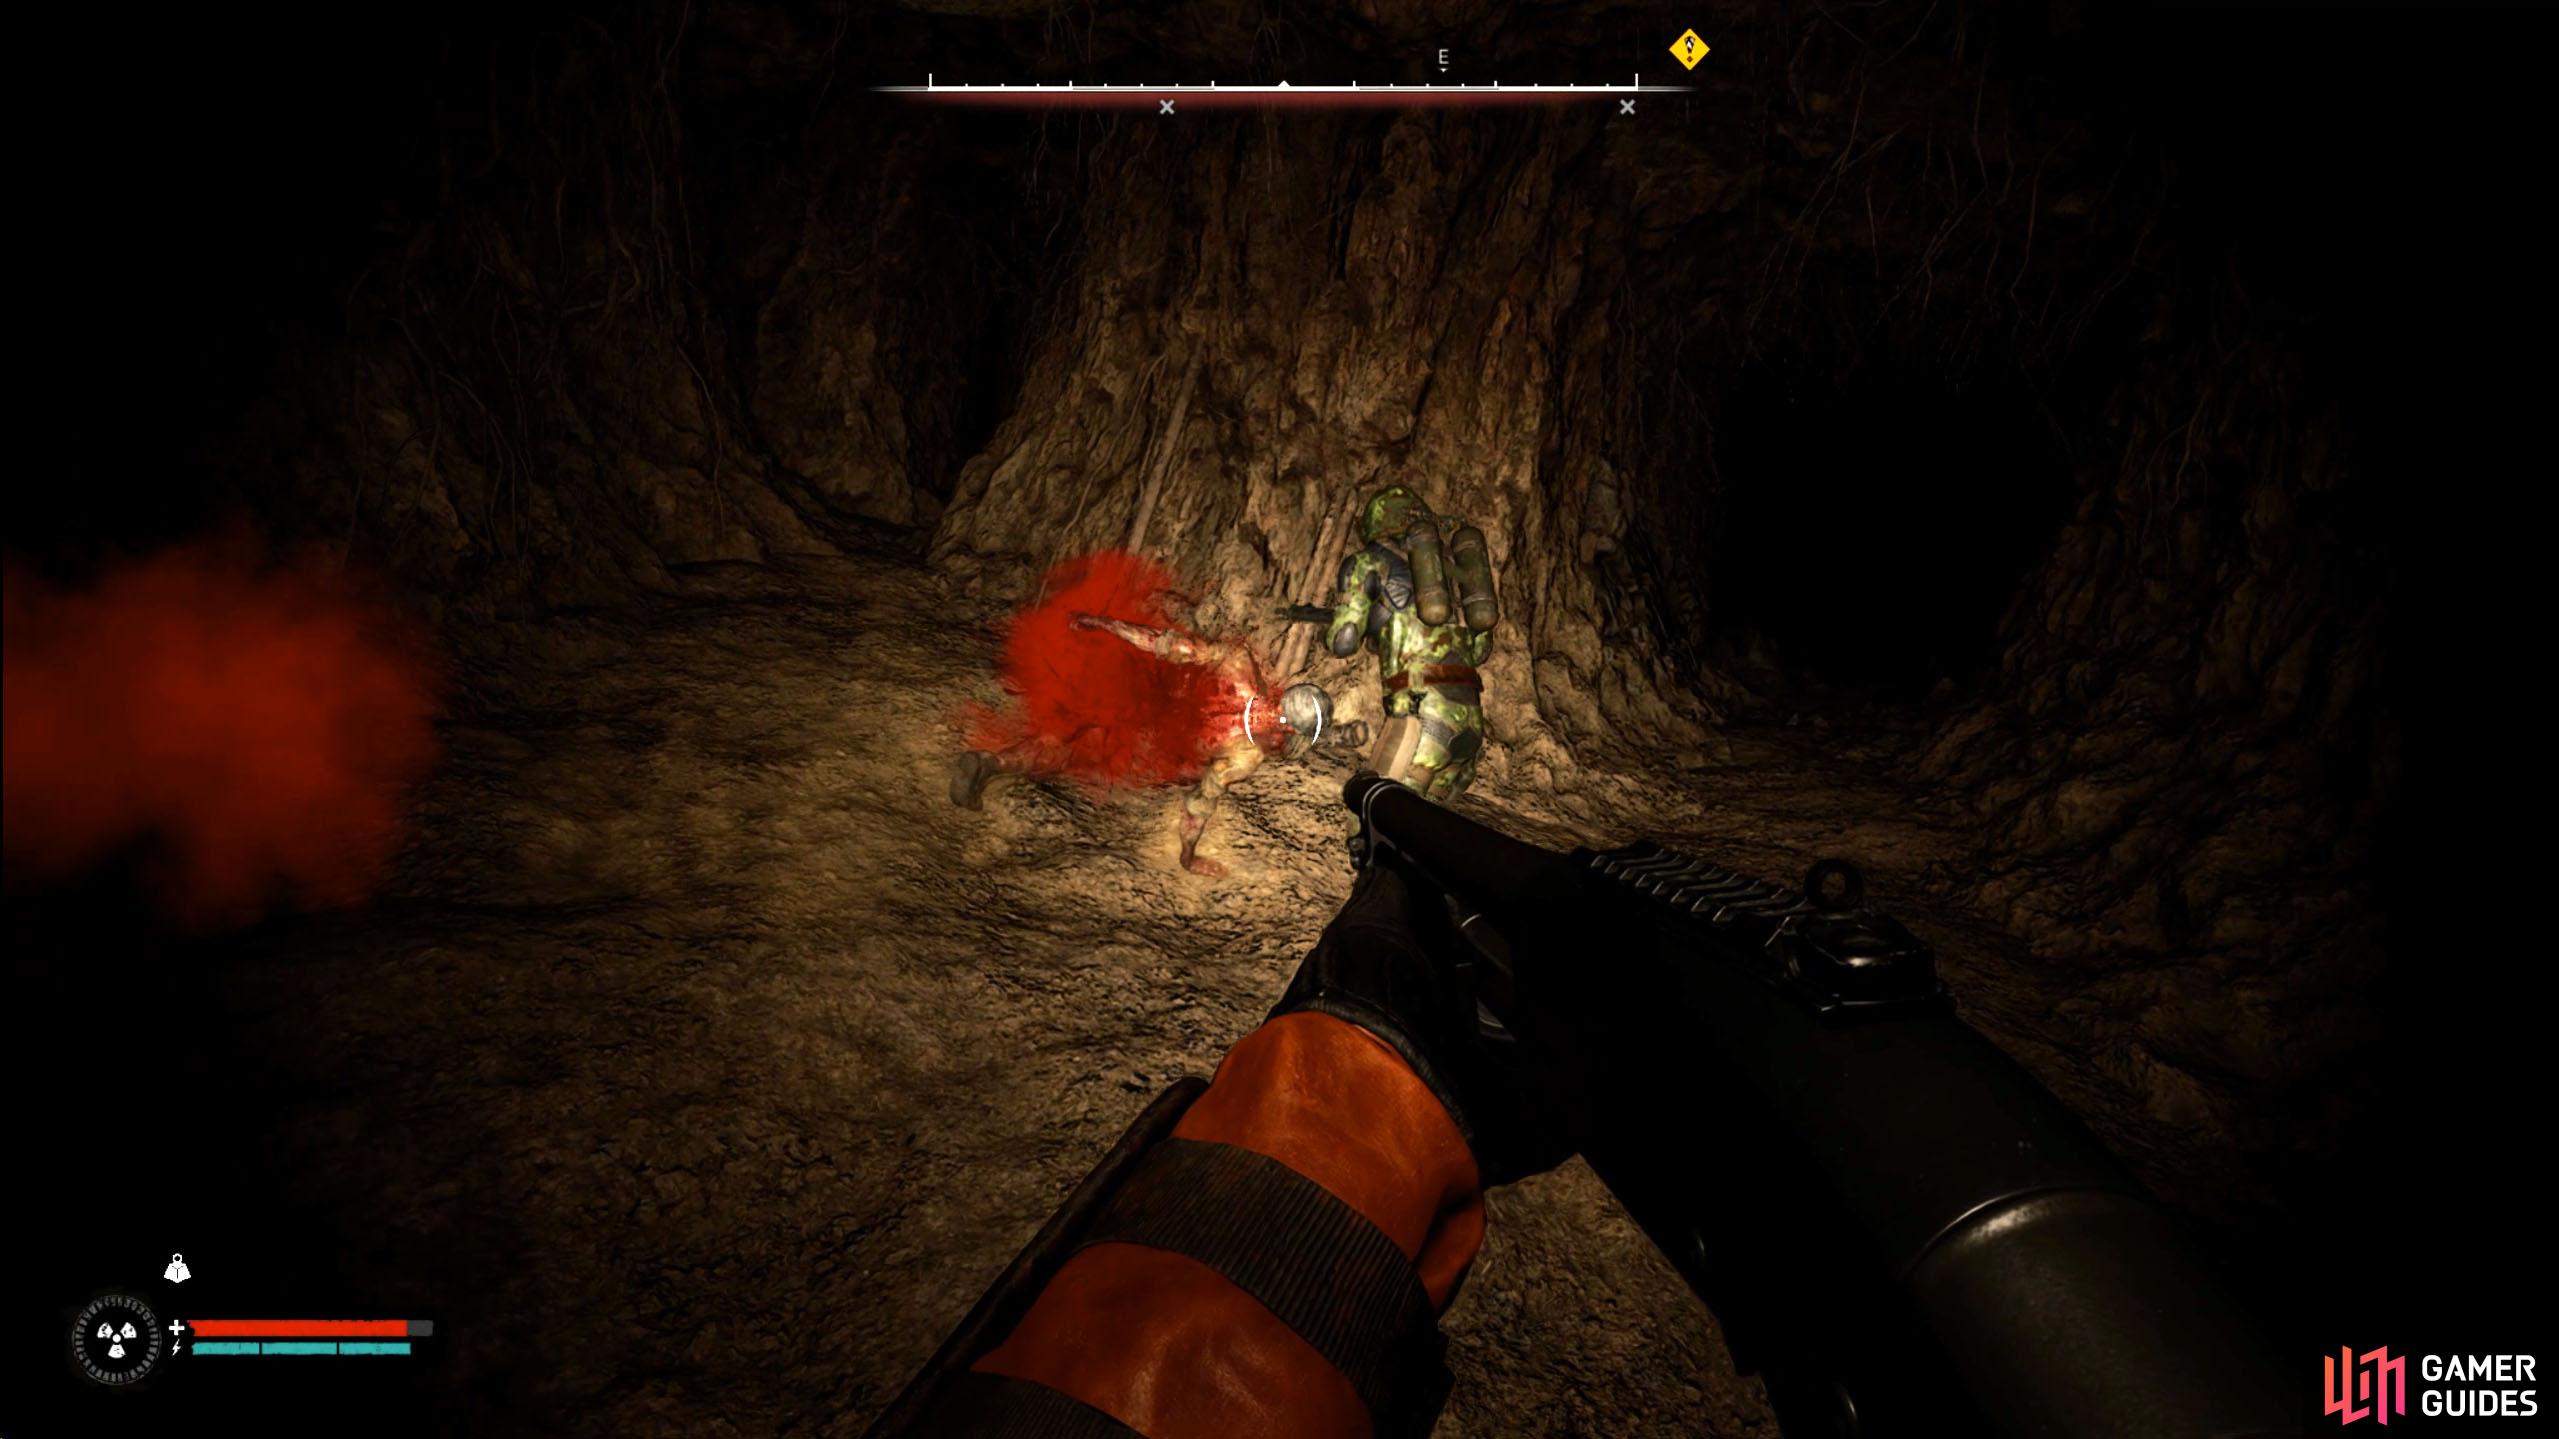
At the bottom, you’ll find Lt. Koptytsky’s corpse on top of a rock, and on the corpse, ![]() Shterev’s PDA. This is all you need for this part of the mission, but if you’re killing the rest of the Alpha Team members, you’ll want to head into the cave network to the east. In the cave network, you’ll find numerous Alpha Team members as well as monkey mutants, most likely fighting each other.
Shterev’s PDA. This is all you need for this part of the mission, but if you’re killing the rest of the Alpha Team members, you’ll want to head into the cave network to the east. In the cave network, you’ll find numerous Alpha Team members as well as monkey mutants, most likely fighting each other.
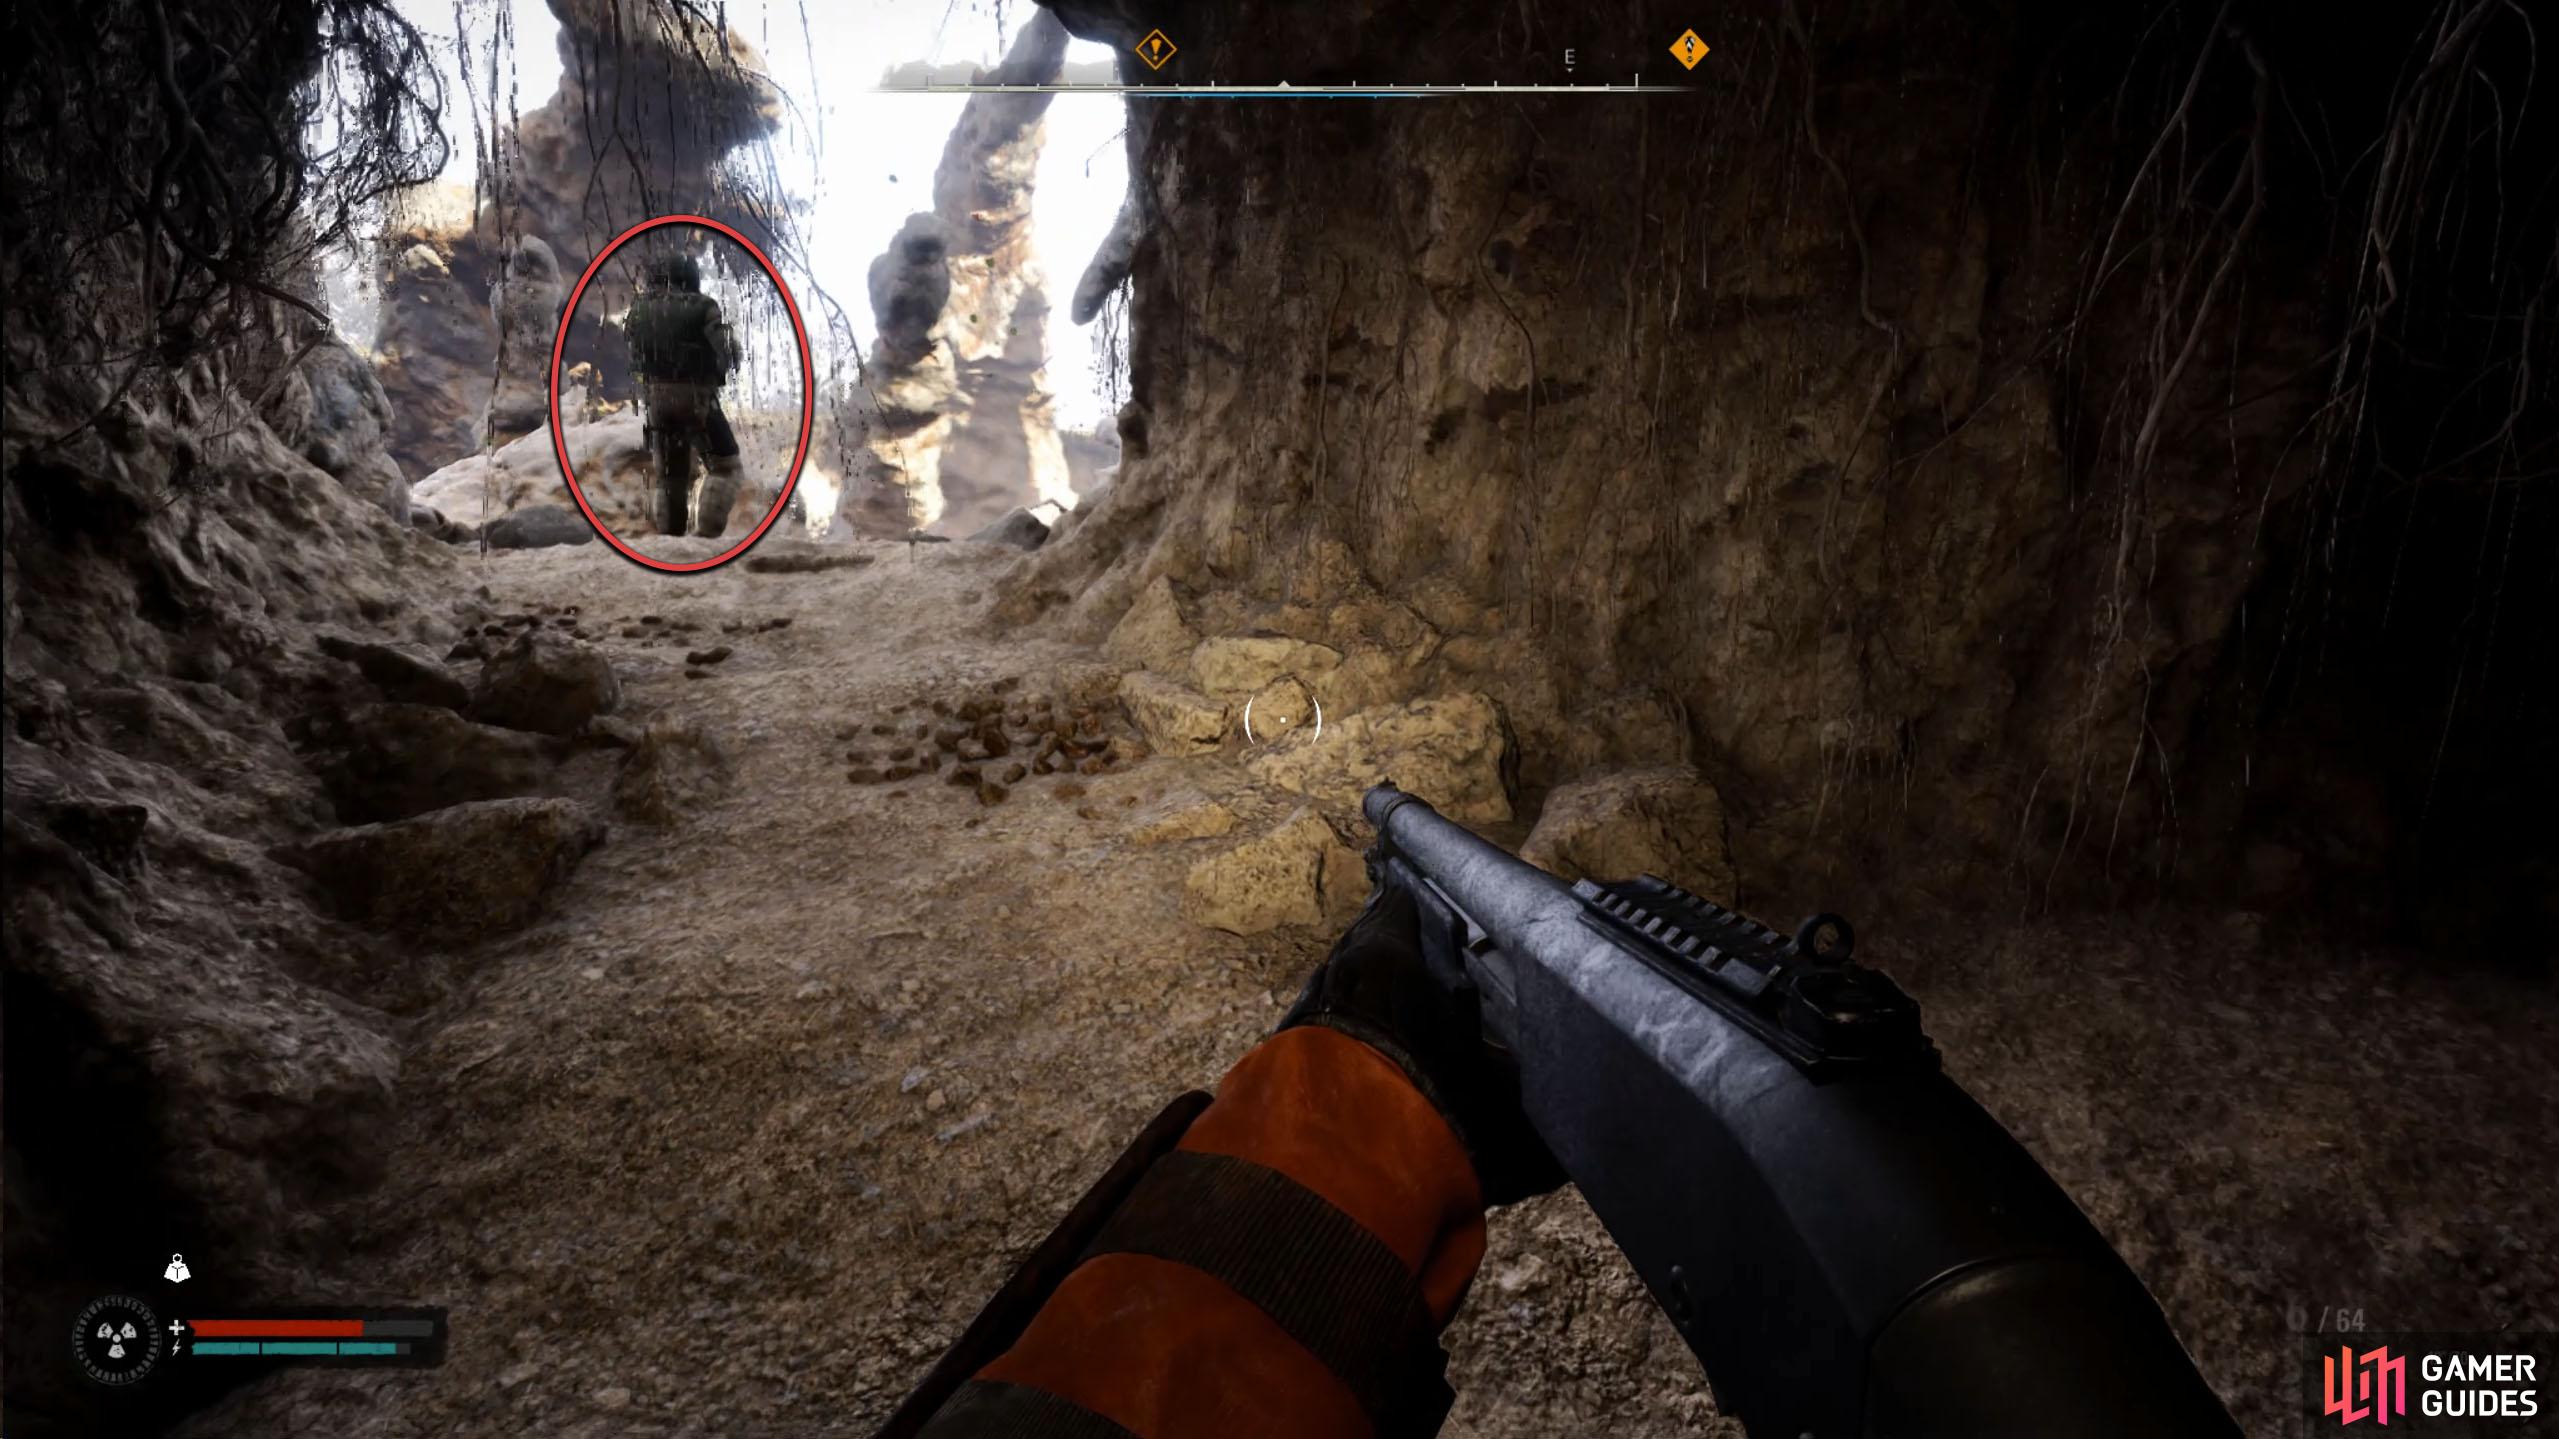
If that is the case, let them kill each other, and take out any survivors. Continue east through the cave system to the end to find the last Alpha Team member, who will open fire on you the second he notices you. Once you’ve done what you need to do, it’s time to head to the Vent.
(1 of 2) Make your way through the cave system to the east to find more Alpha Team members.
Make your way through the cave system to the east to find more Alpha Team members. (left), In the far east, you’ll find the exit as well as the last member of the Alpha Team. (right)
Find Bravo Team - Vent
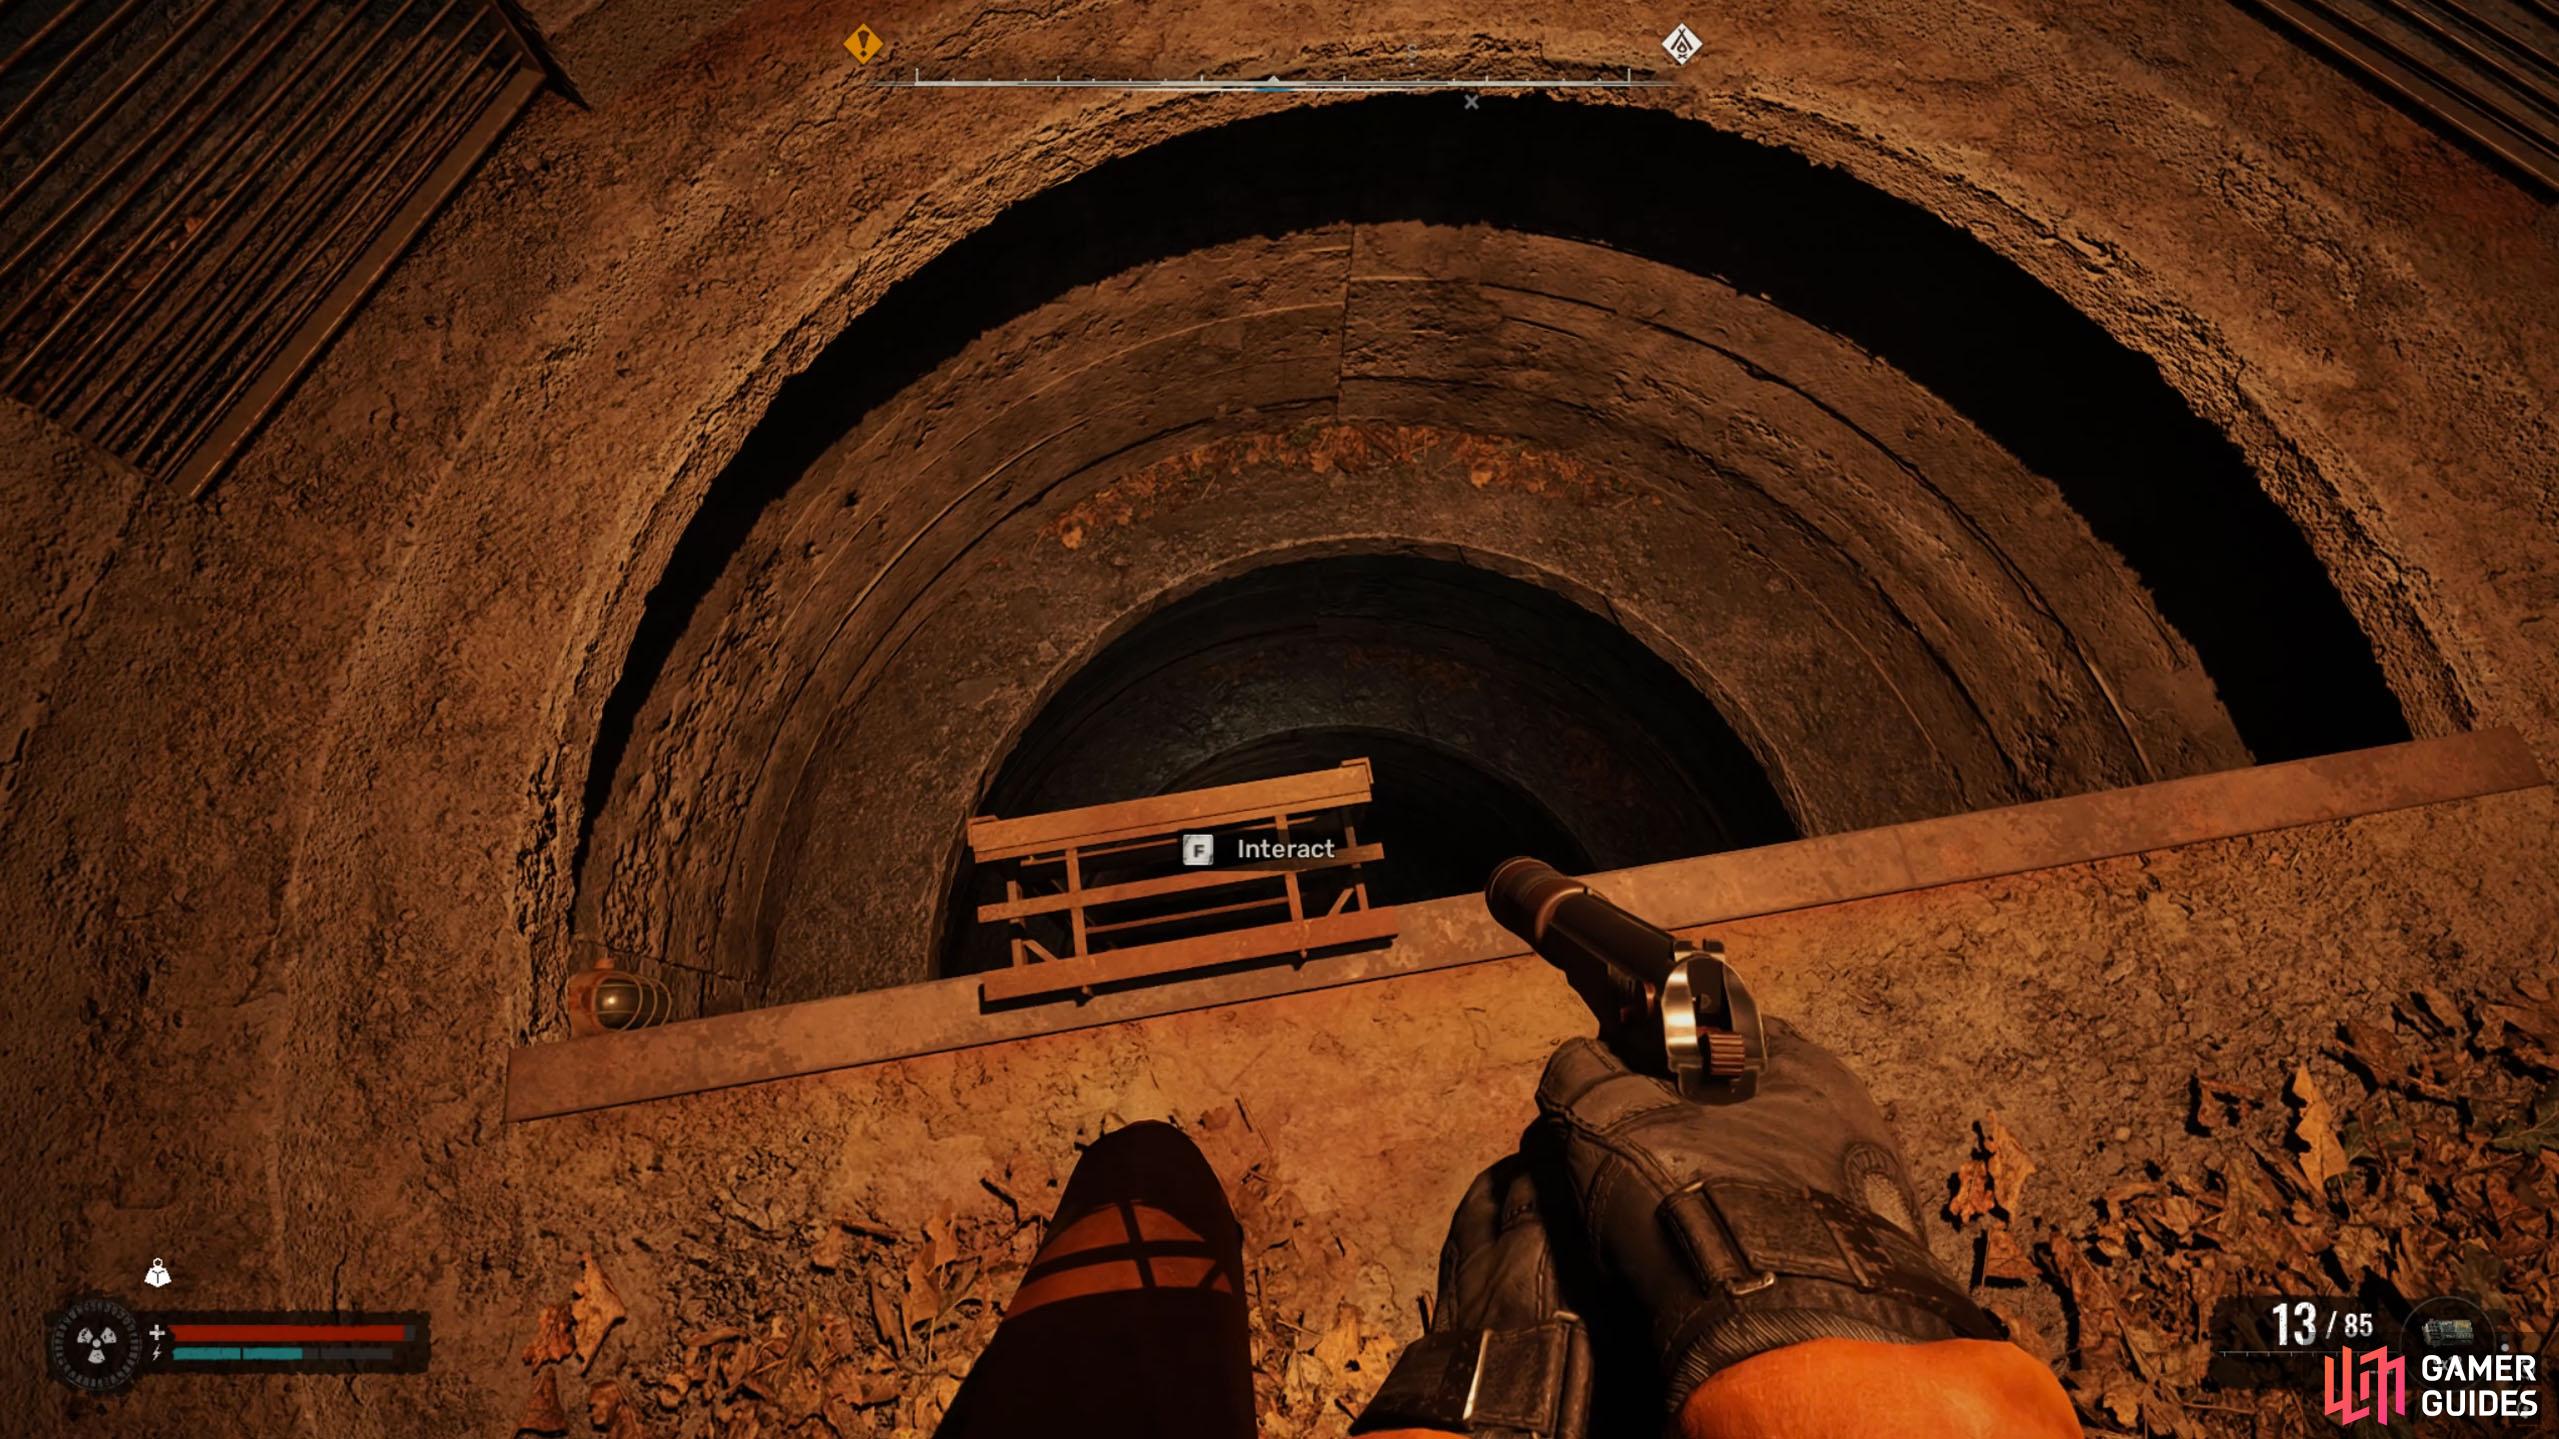
From the Claw location, make your way back to the road, follow it south and west, and go south at the intersection to reach the Vent. When you reach the area, head up the stairs to the tower, go through the door, and then climb down the ladders and stairs to reach the bottom. A word of warning, this place is filled with Bloodsuckers, so make sure you come prepared. At the bottom, follow the hallway west, and open the door.
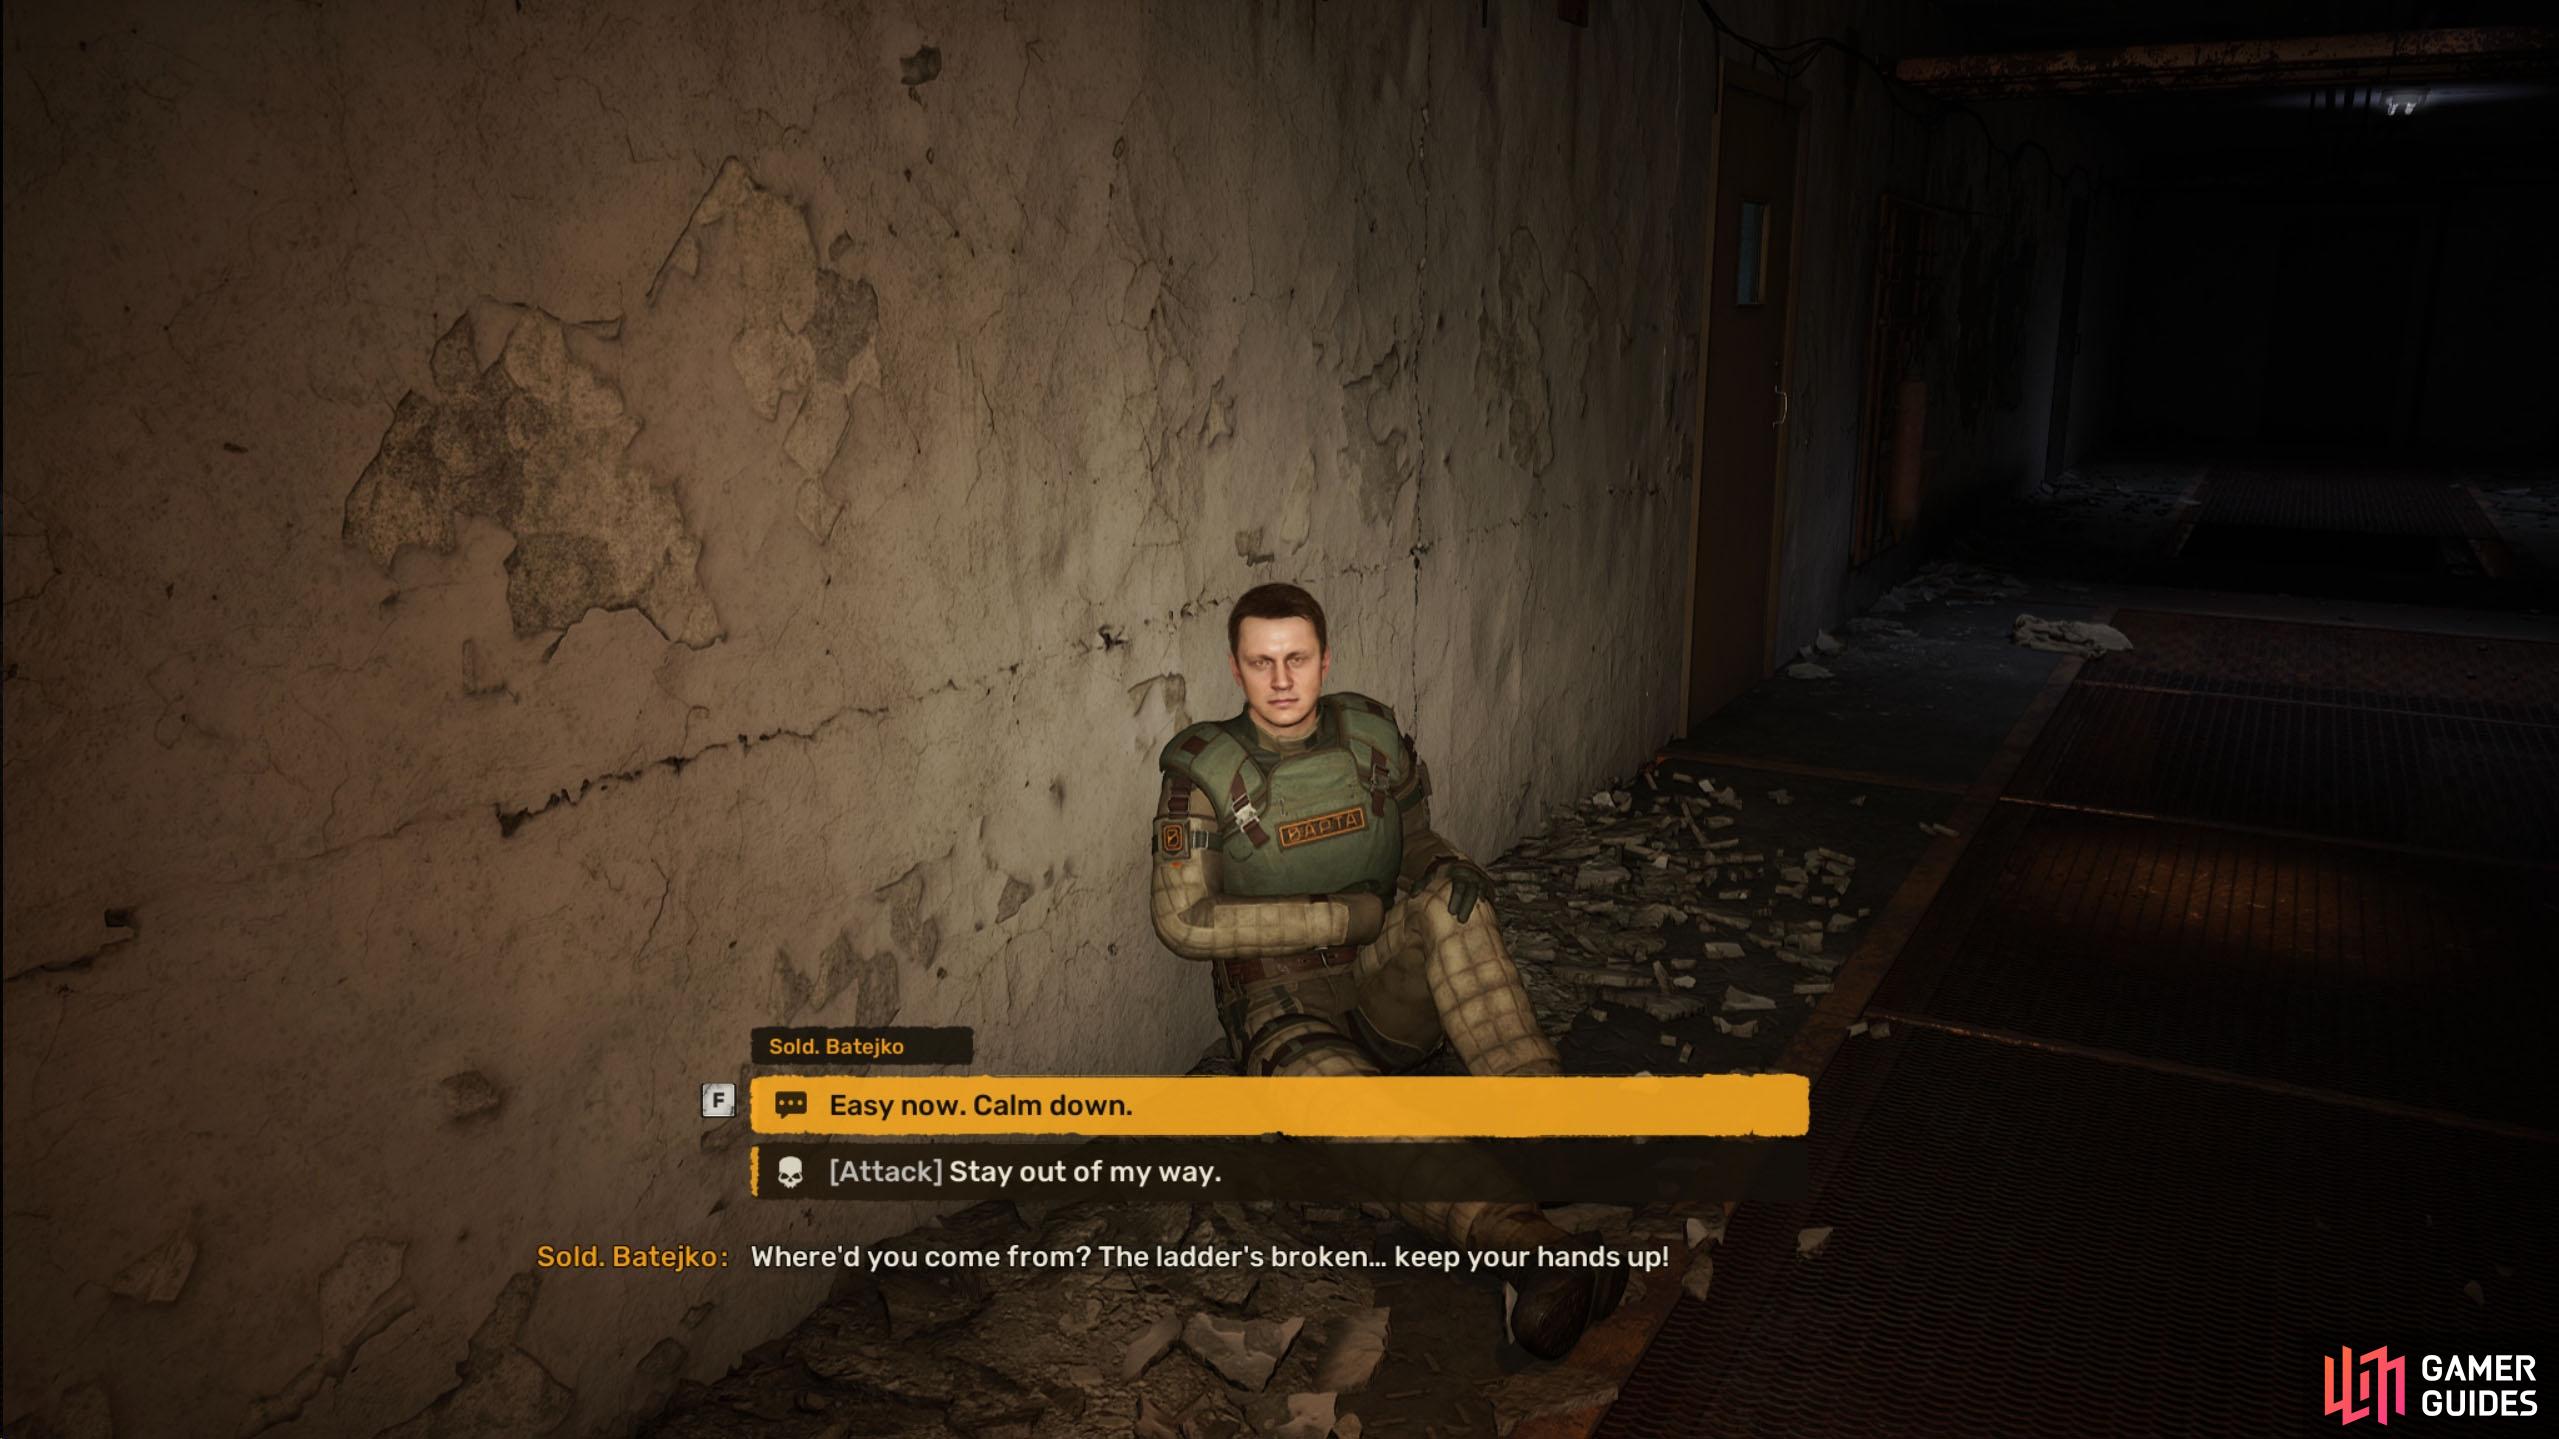
In the next room, you’ll find your first Bravo team member, who is injured on the floor. If you’re killing them for the optional reward, you can select [Attack], otherwise, pick “Easy now. Calm down.” If you decide on the pacifist method, he’ll ask for a ![]() Medkit, give him one, and he’ll give you a passcode to give to his lieutenant. If you choose to attack him, a quick blast of the shotgun will suffice.
Medkit, give him one, and he’ll give you a passcode to give to his lieutenant. If you choose to attack him, a quick blast of the shotgun will suffice.
(1 of 4) Vent can be accessed by following the road to the southwest.
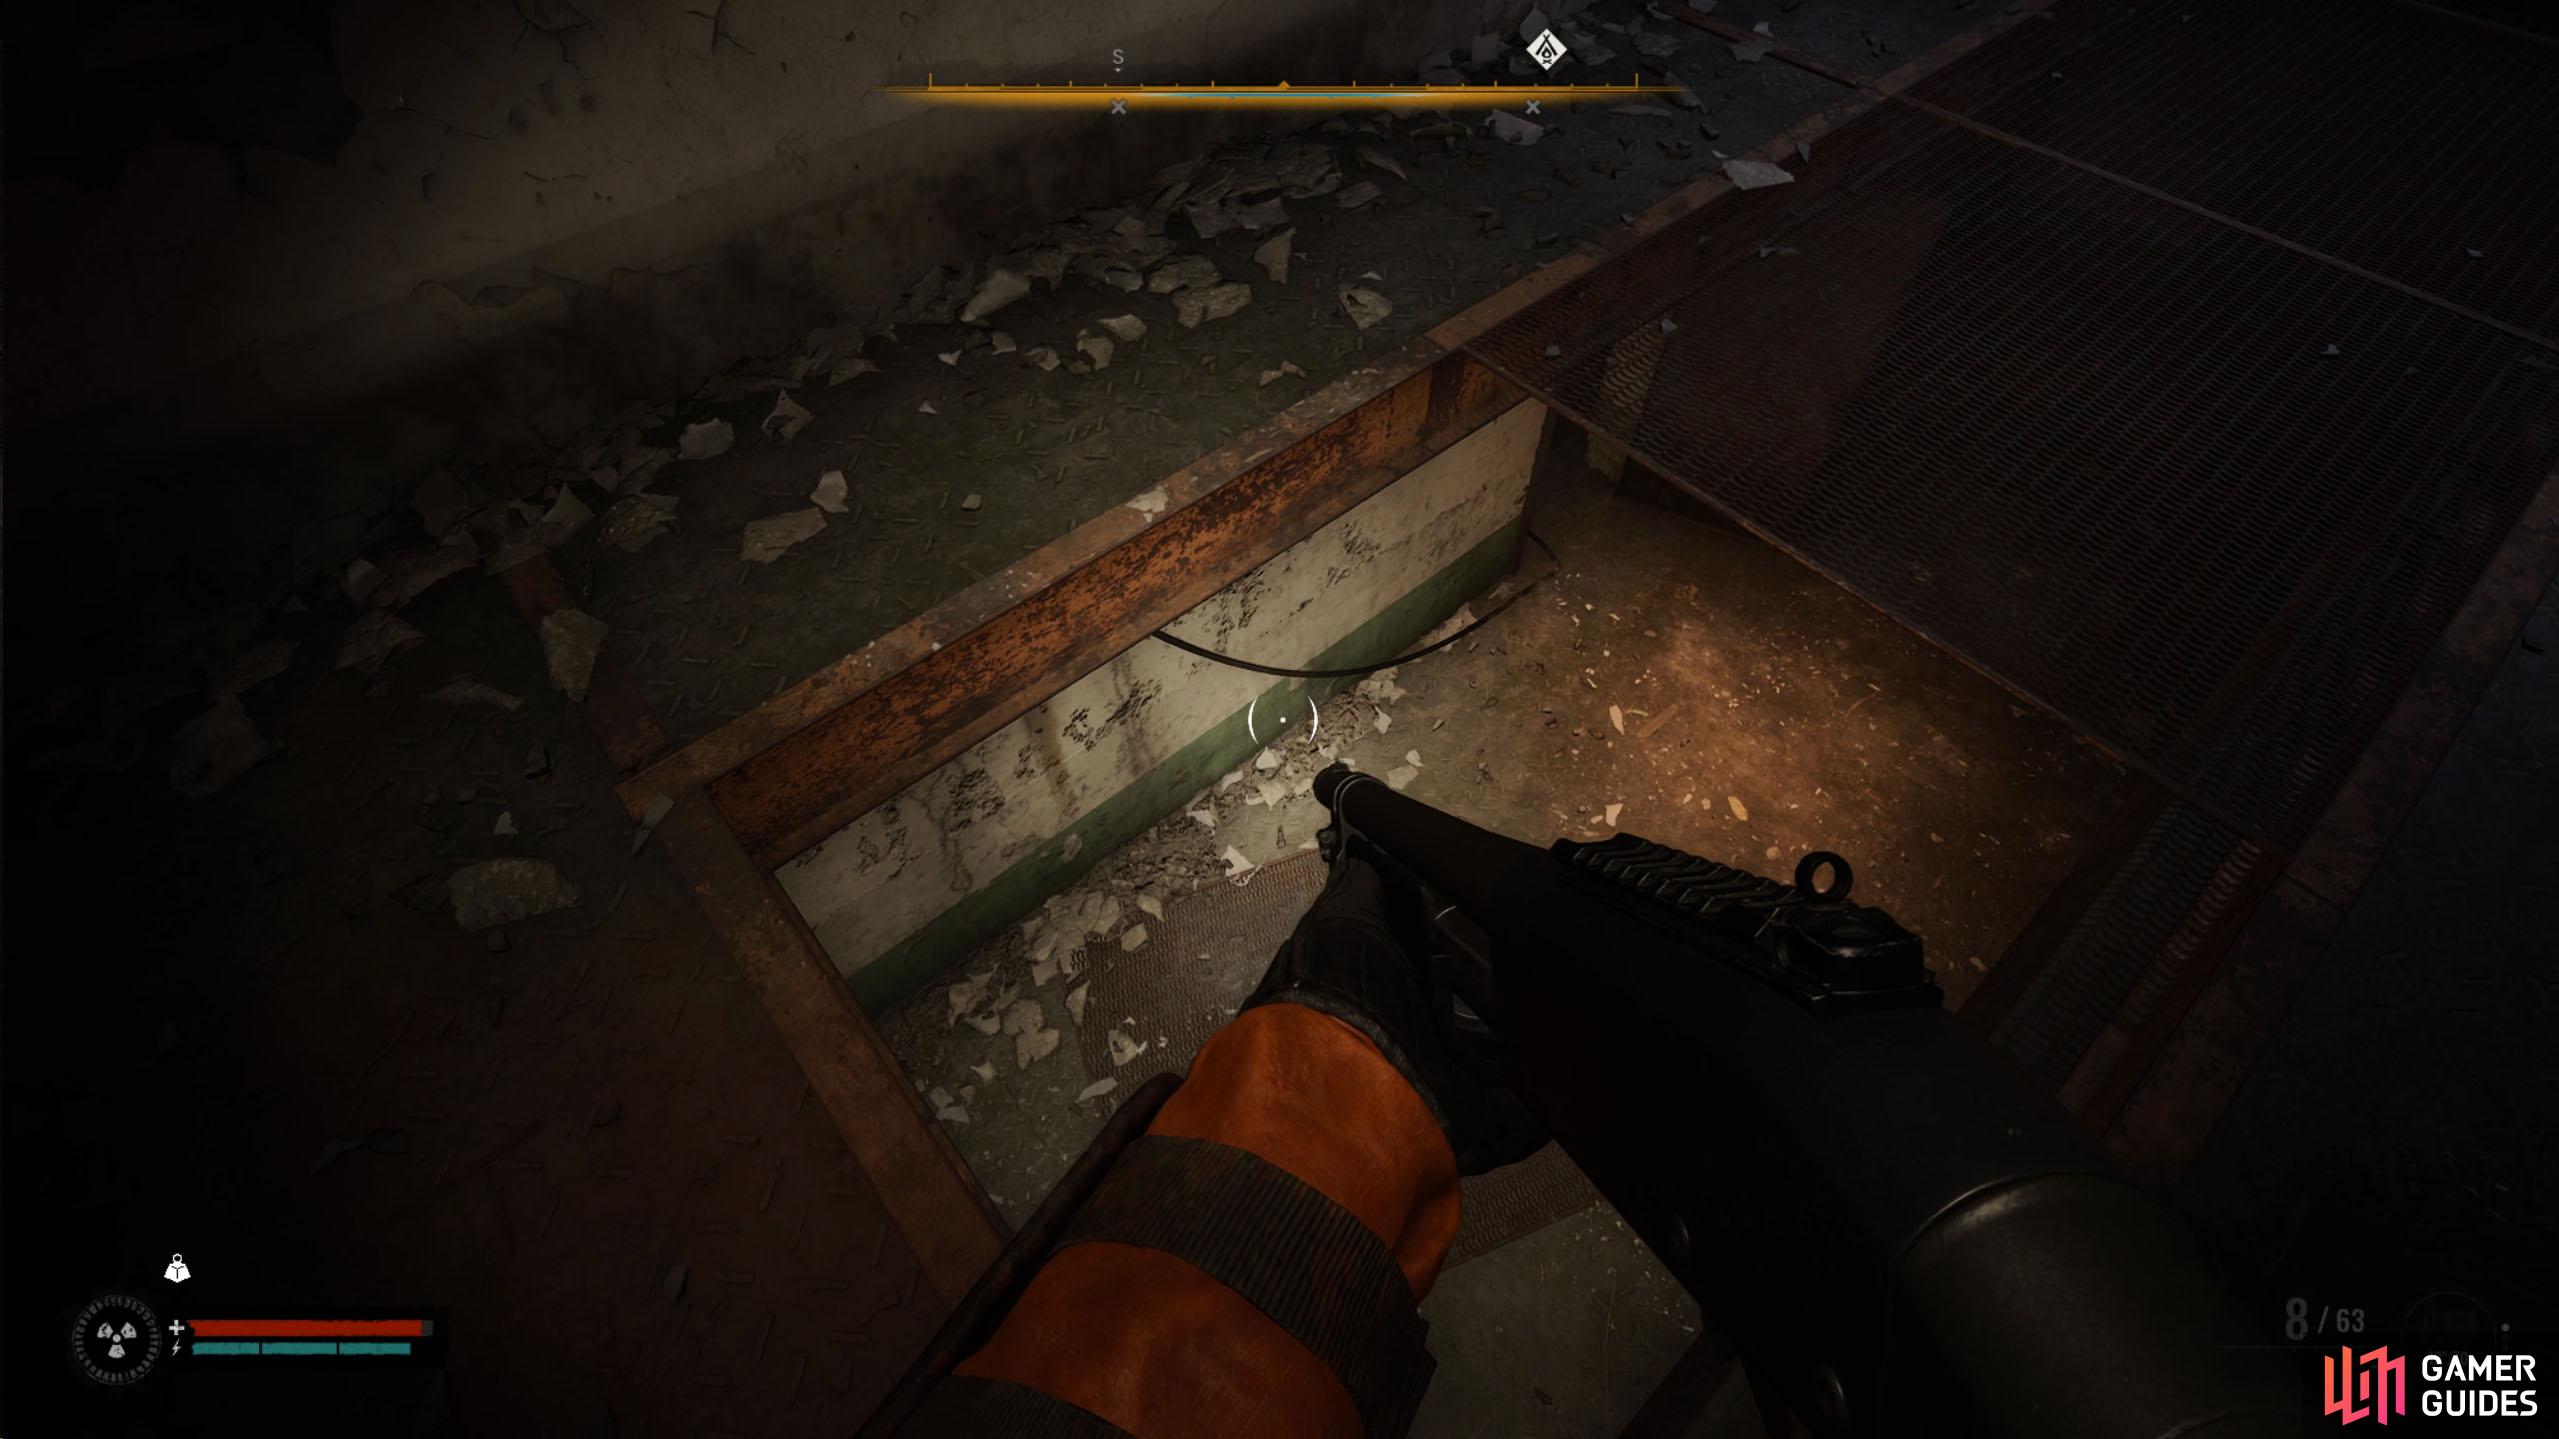
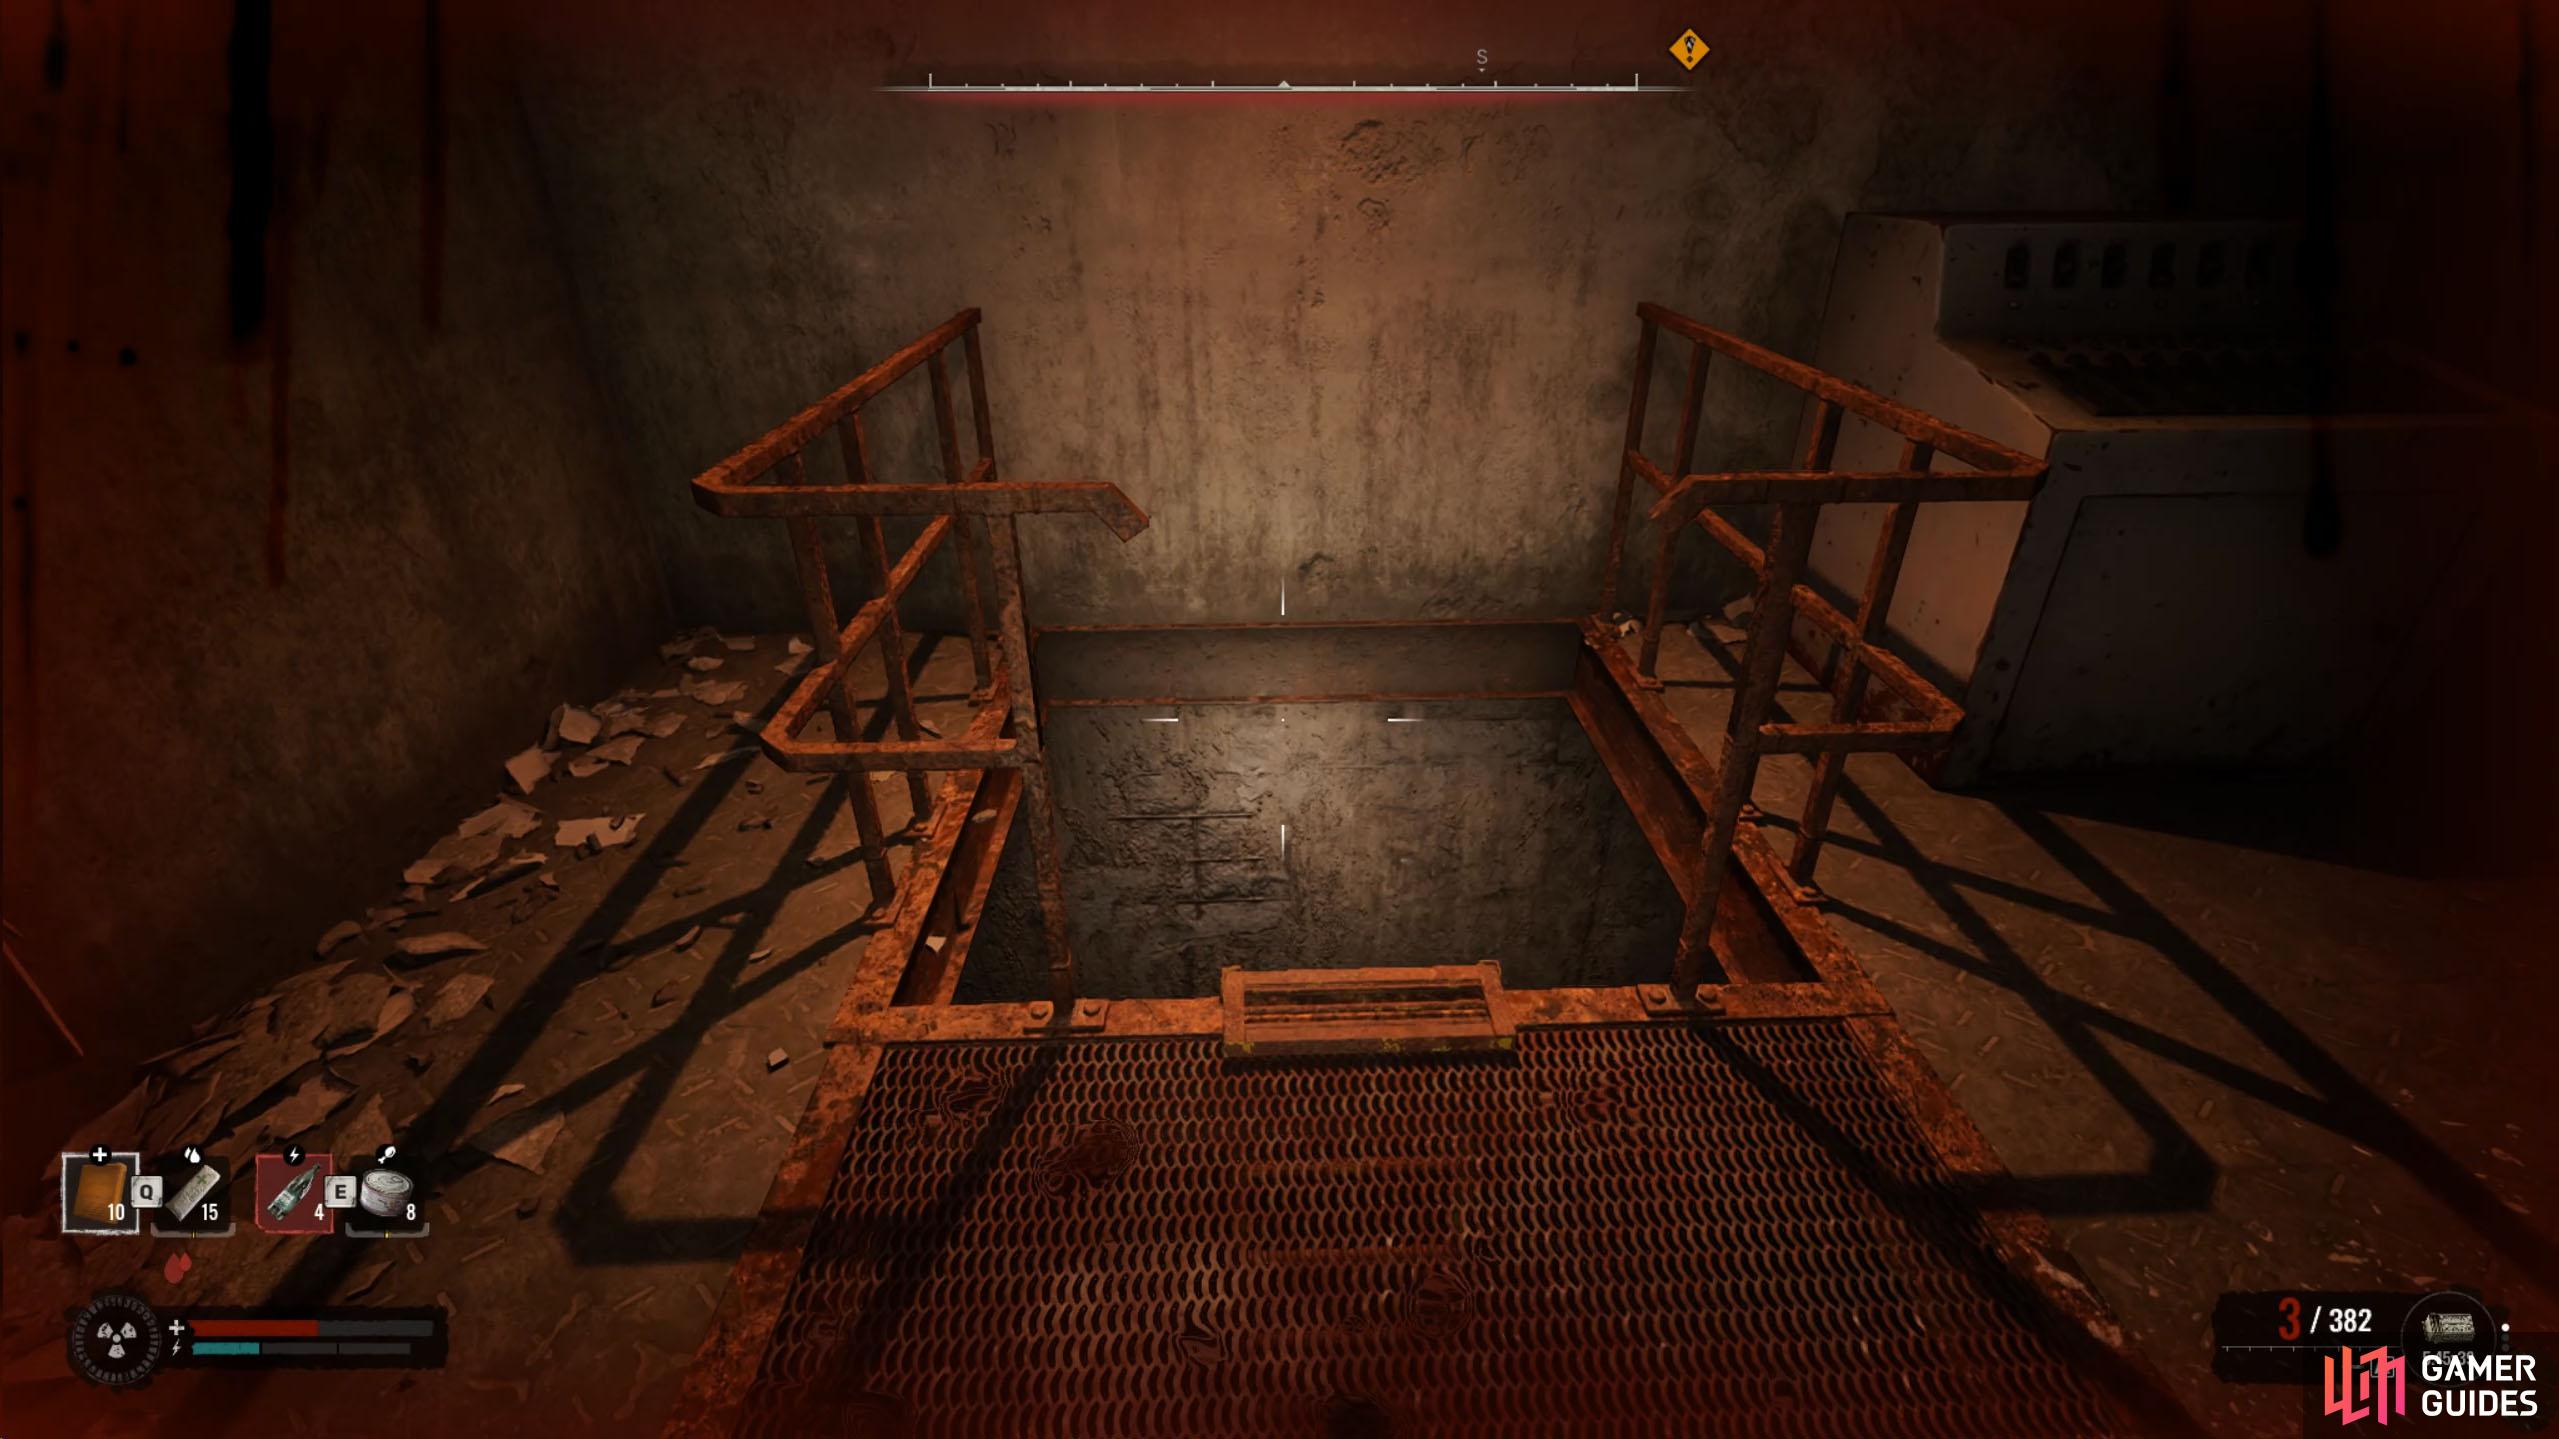
When you’re ready to progress, drop through the hole in the floor to reach the lower level. At the western end of the hallway is a room with a few supplies. In the east, however, is a group of Bloodsuckers, yes, I did say group. Unless you have a really strong weapon, you’ll want to run from these while healing any time you take a significant amount of damage. Slowly walk to the east end of the hallway, and you’ll see the Bloodsuckers in the open room ahead.
(1 of 2) Drop into the hole and follow the path east.
Drop into the hole and follow the path east. (left), This will take you to the Bloodsuckers room. Run past them to the southeast, and go through the door to the left. (right)
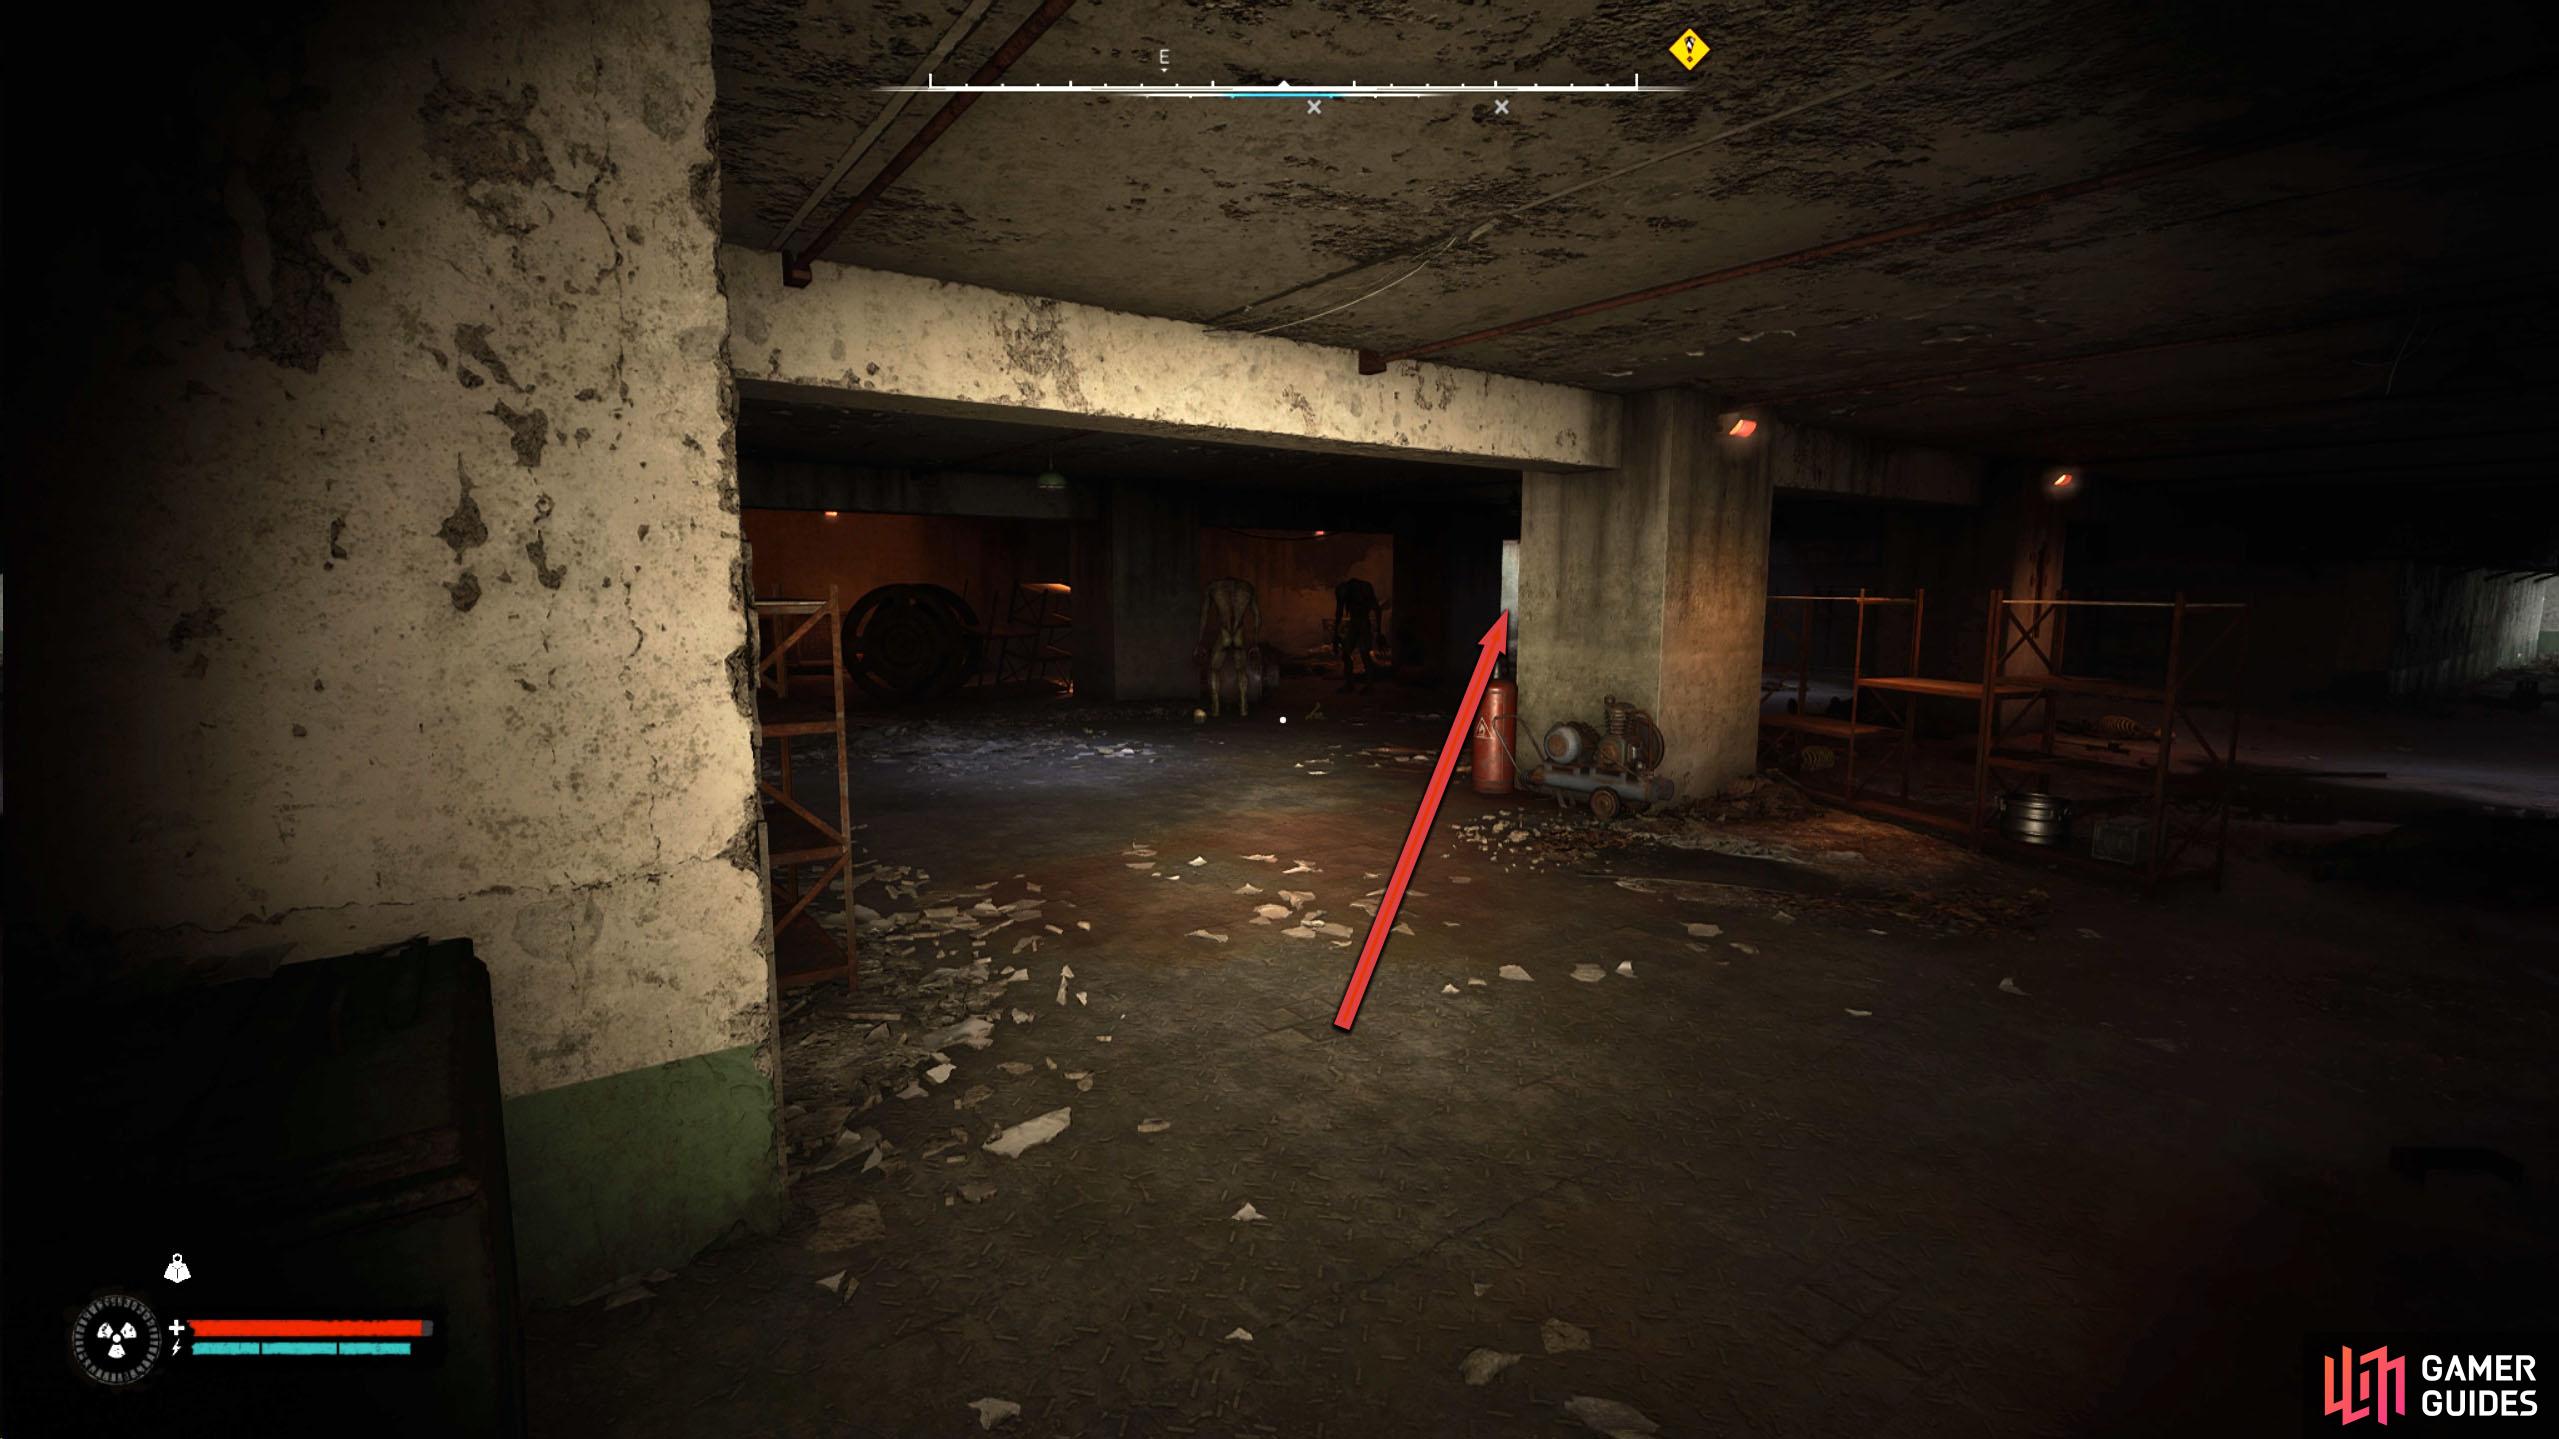
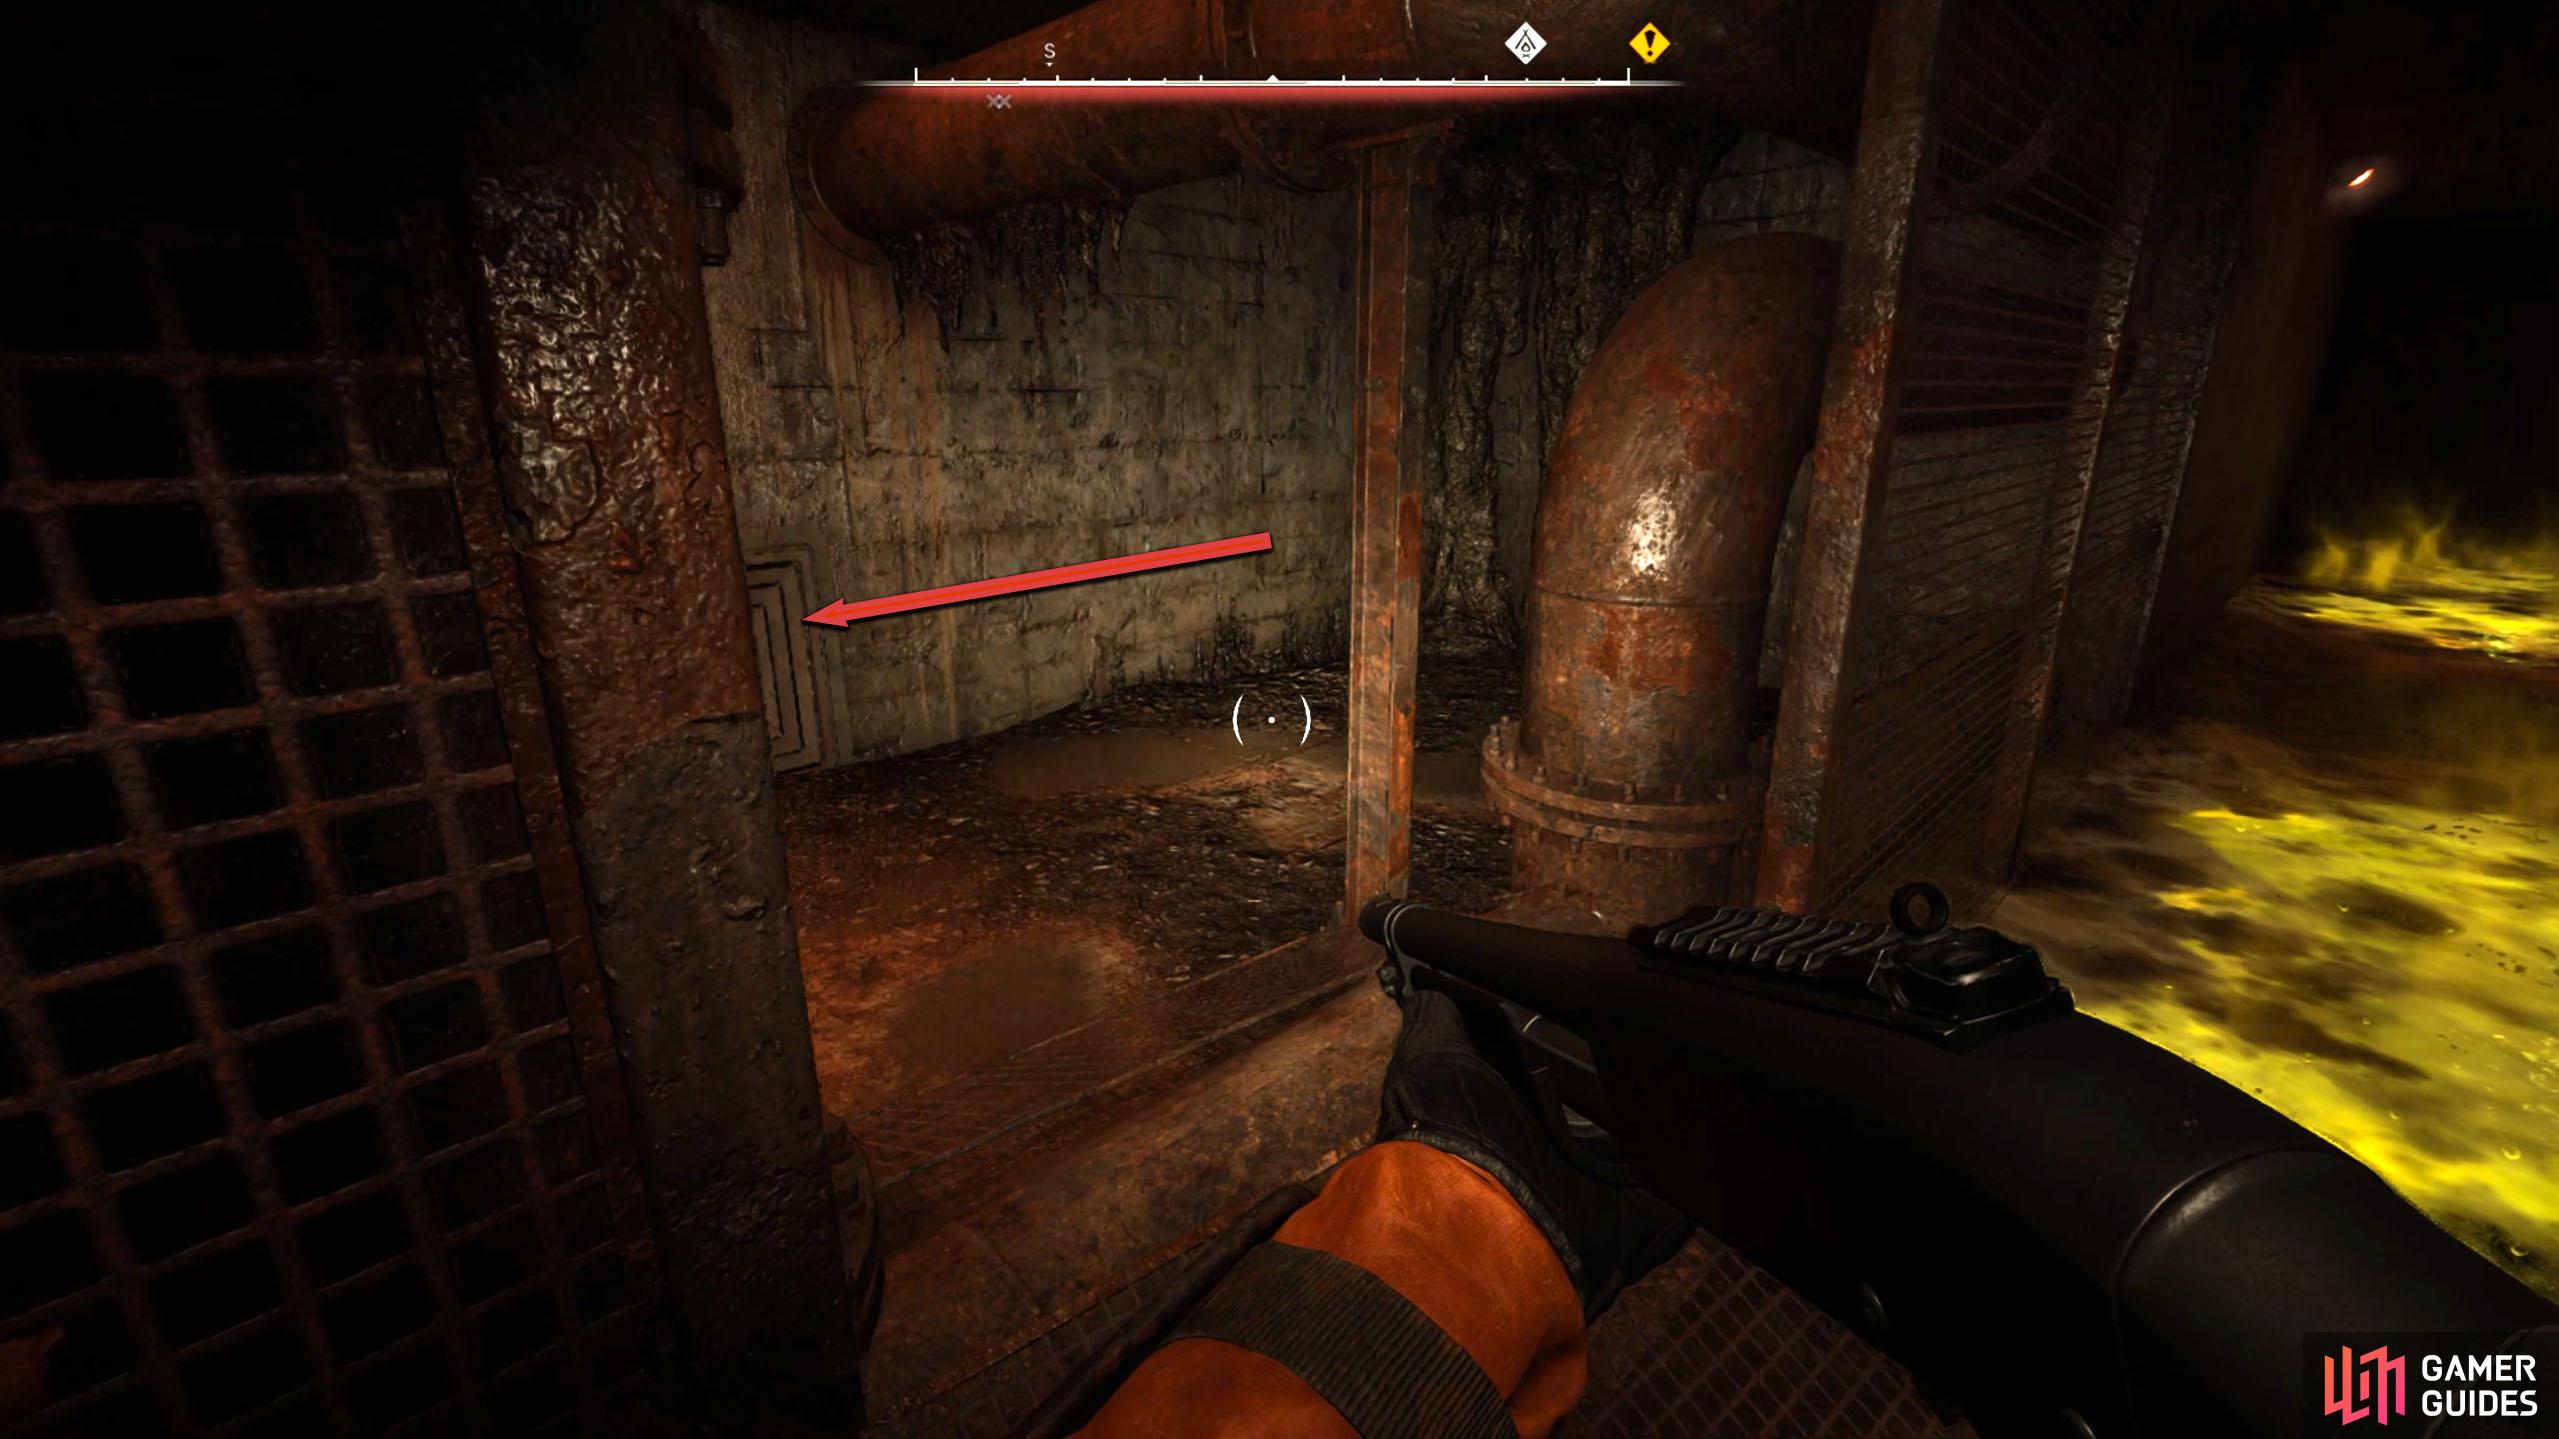
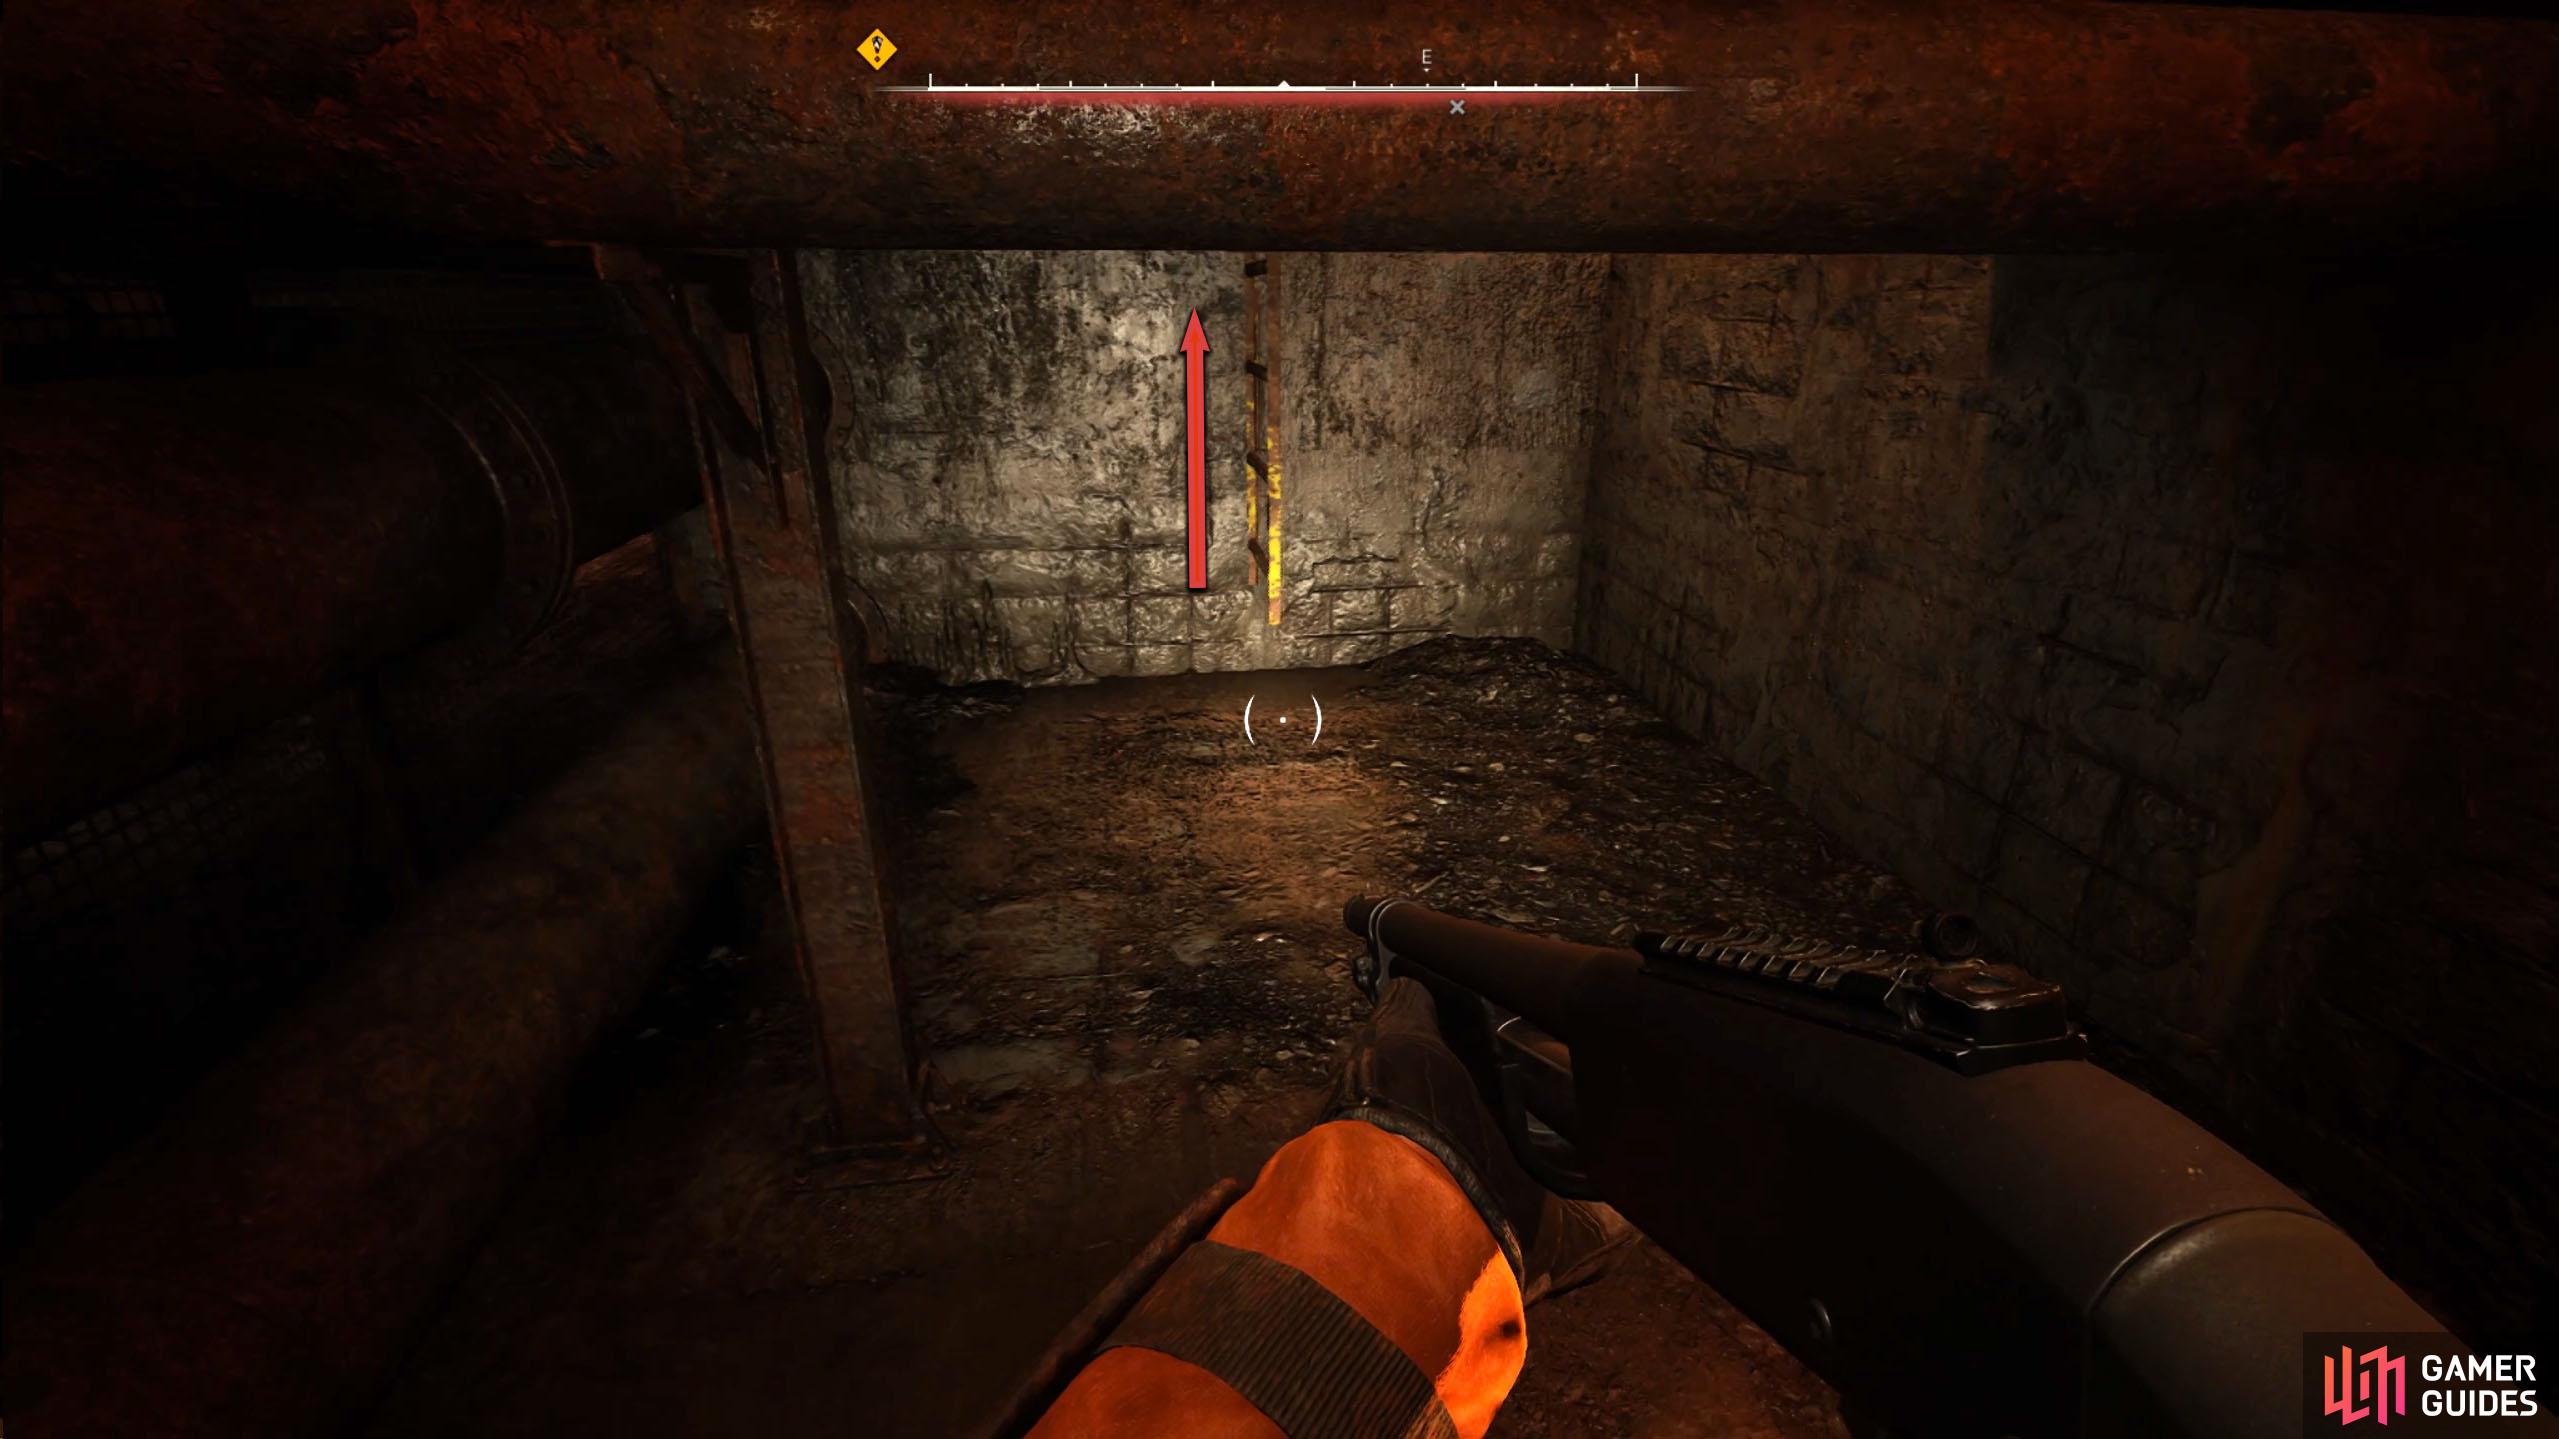
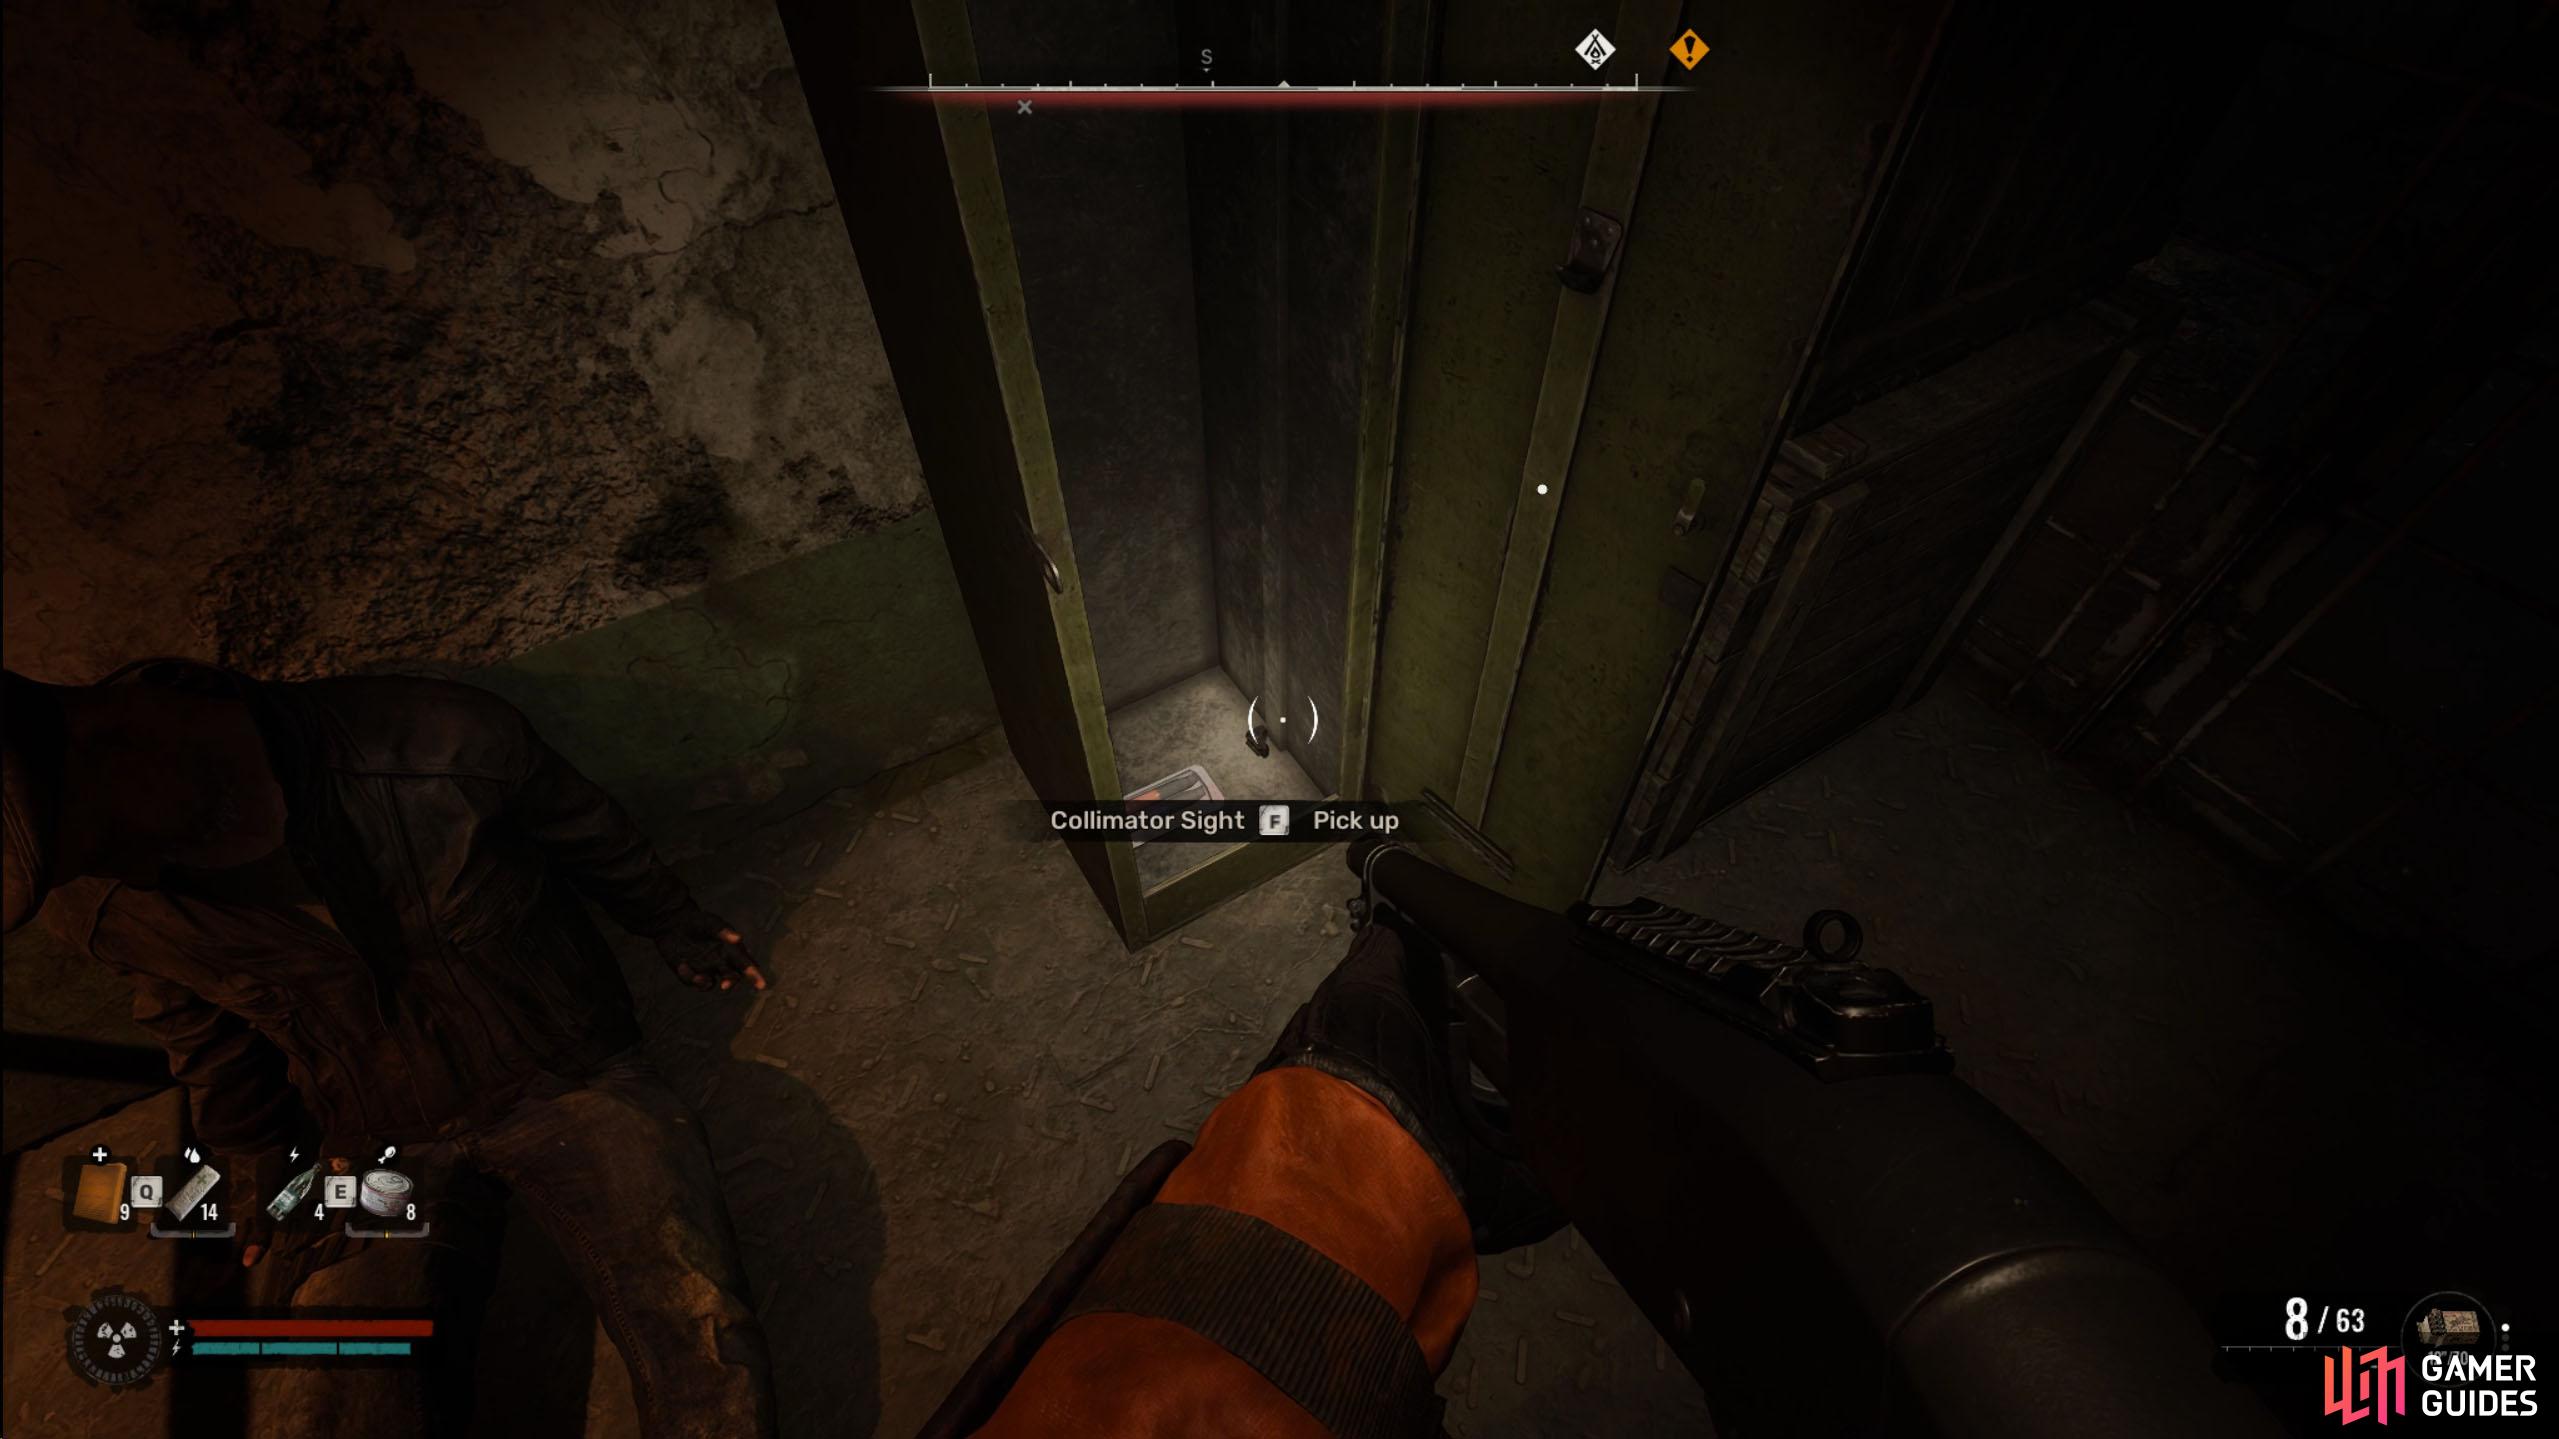
Instead of fighting them, dash to the southeast of the room, and you’ll find another small room to your left. In the room, you’ll find a ladder leading down. The Bloodsuckers won’t follow you in here, and you’ll be safe…for now. Follow the hallway until you reach the poisonous anomalies, and you’ll find a gap in the fence to your left. Crouch under the pipes to your left and climb the ladder. This will put you in a caged room with some supplies, including the ![]() Collimator Sight inside the locker.
Collimator Sight inside the locker.
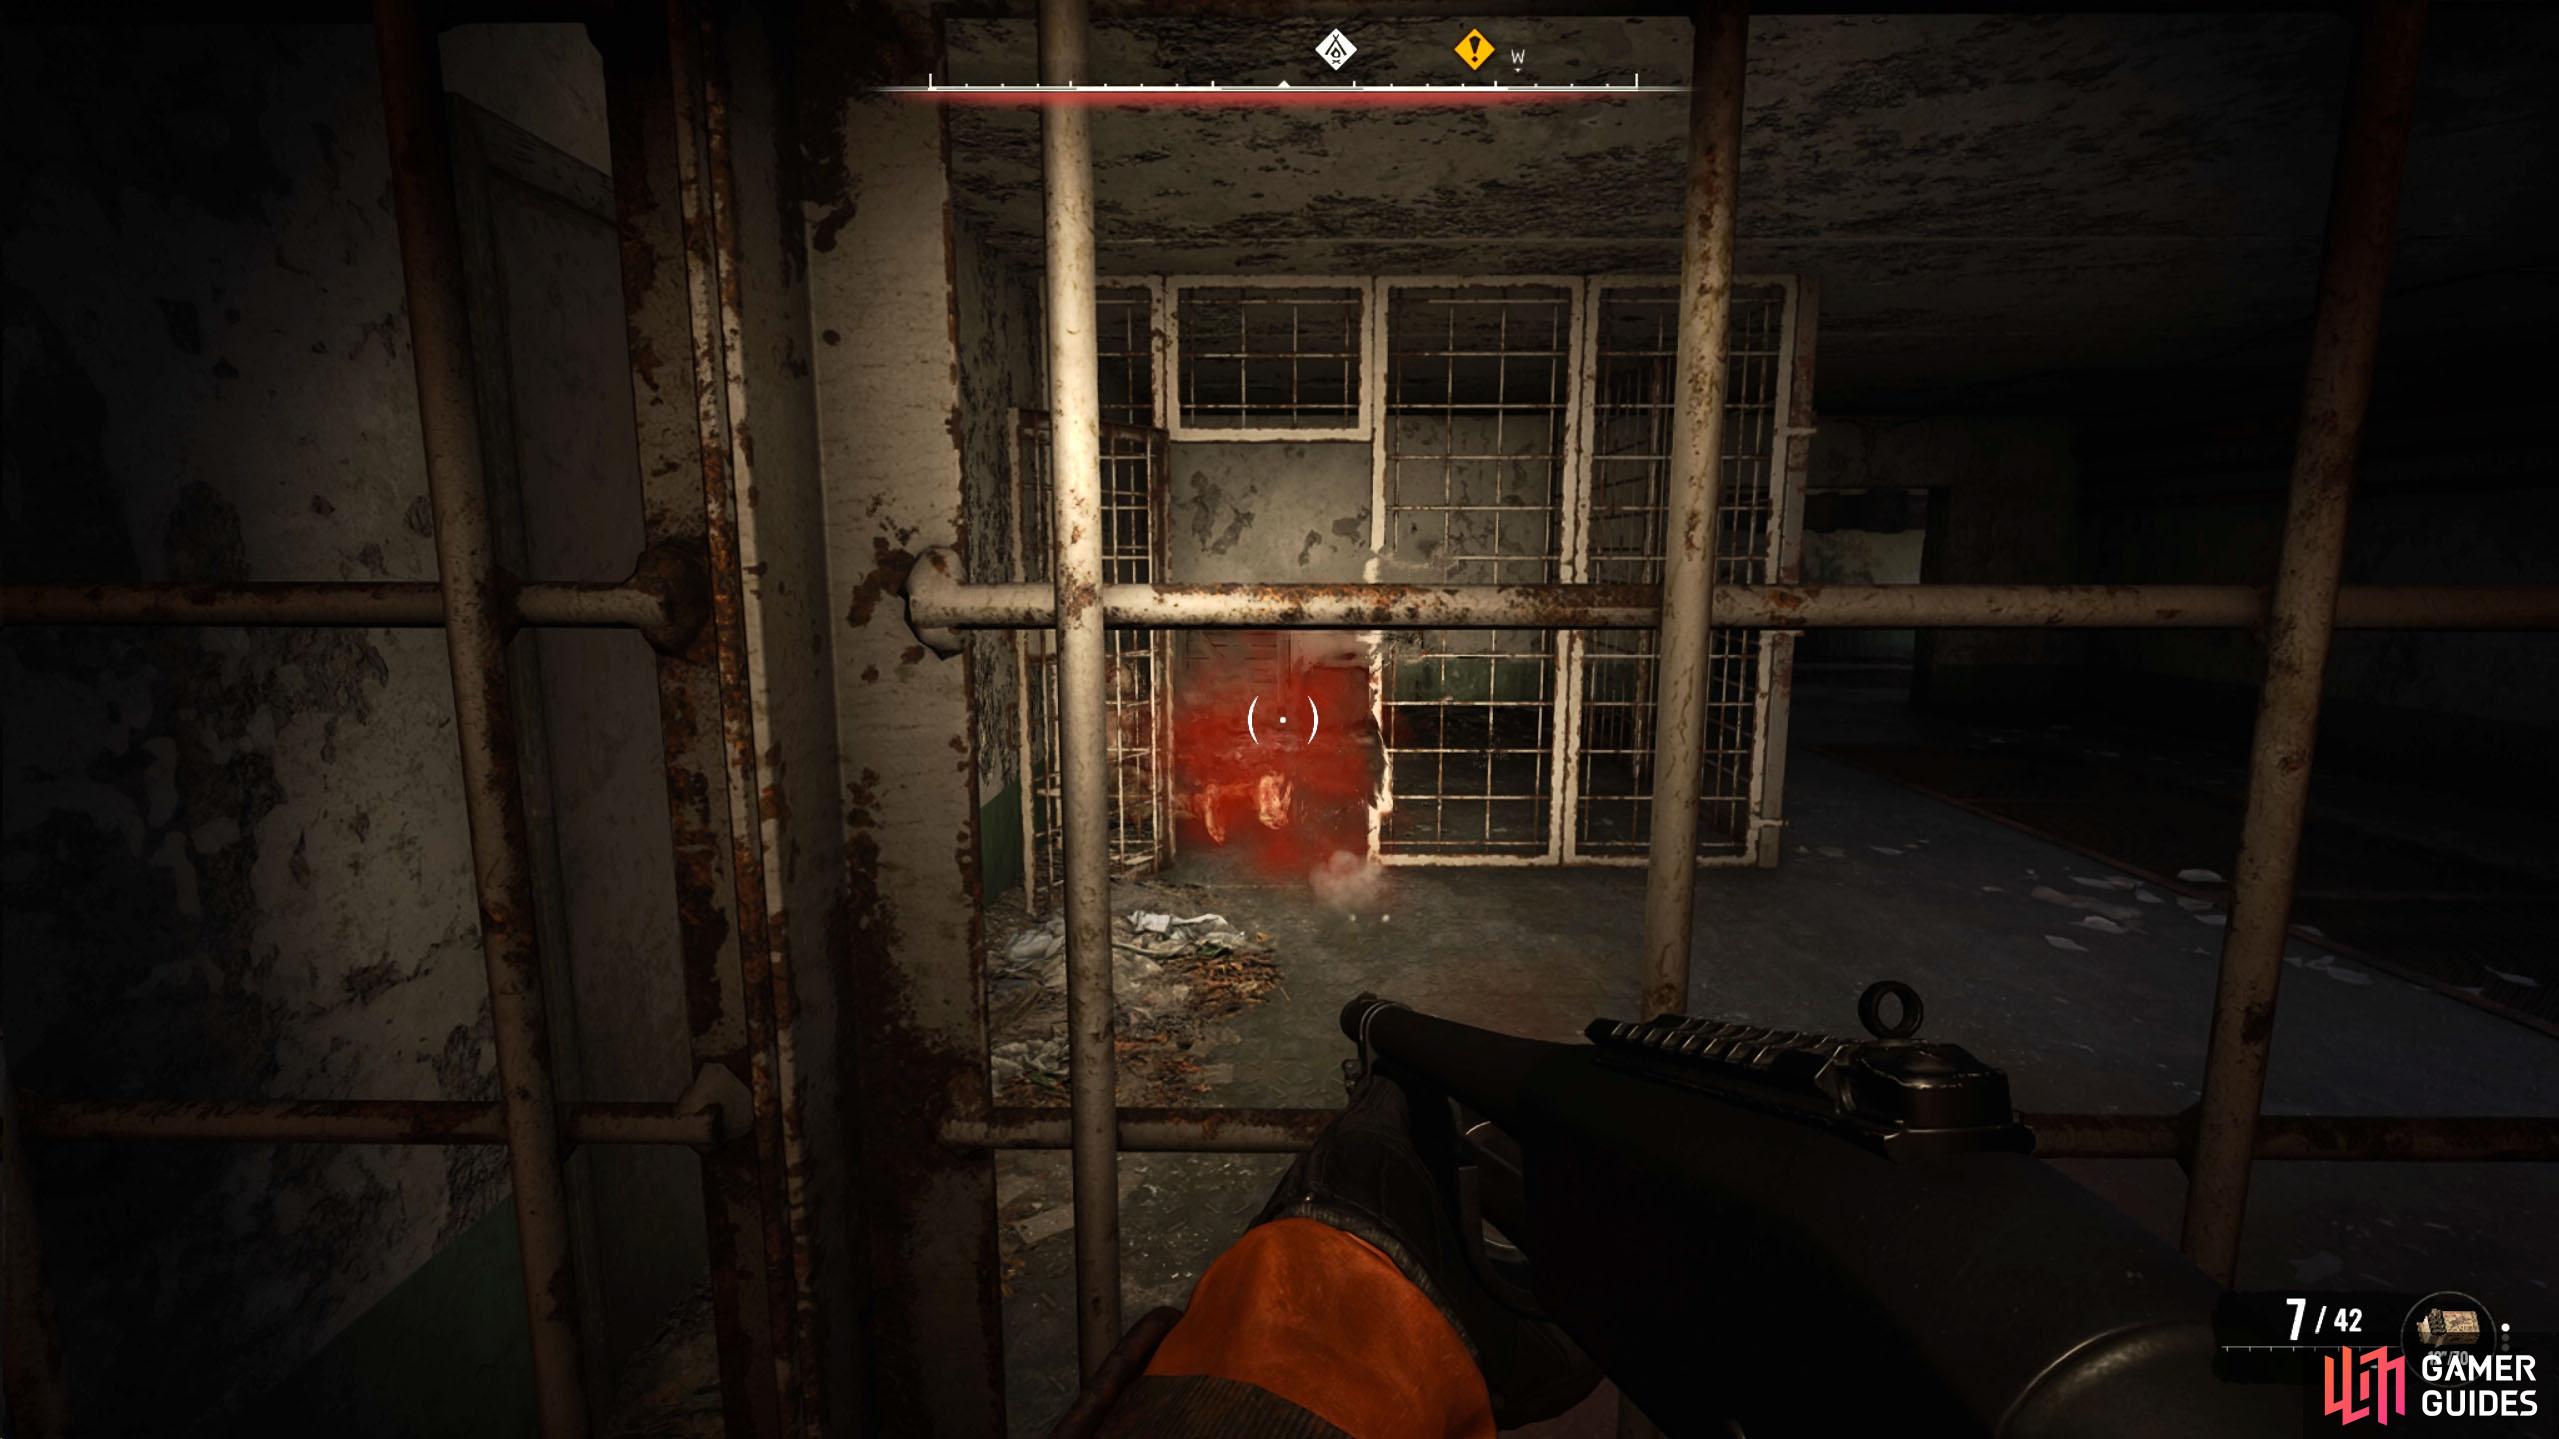
Although this is nice, the real reason for coming here is to defeat the Bloodsuckers. They won’t be able to hit you in here (they can stun you, but it won’t deal damage), but you can fire through the gaps in the cage to take them all out. This could be considered cheesy, but the Bloodsuckers, well, suck, so don’t feel bad. Once, you’ve killed what you can, head back to the poisonous hallway, and continue west while navigating around the anomalies.
(1 of 5) In the room to your left past the Bloodsuckers, you’ll find a ladder. They can’t follow you down here.
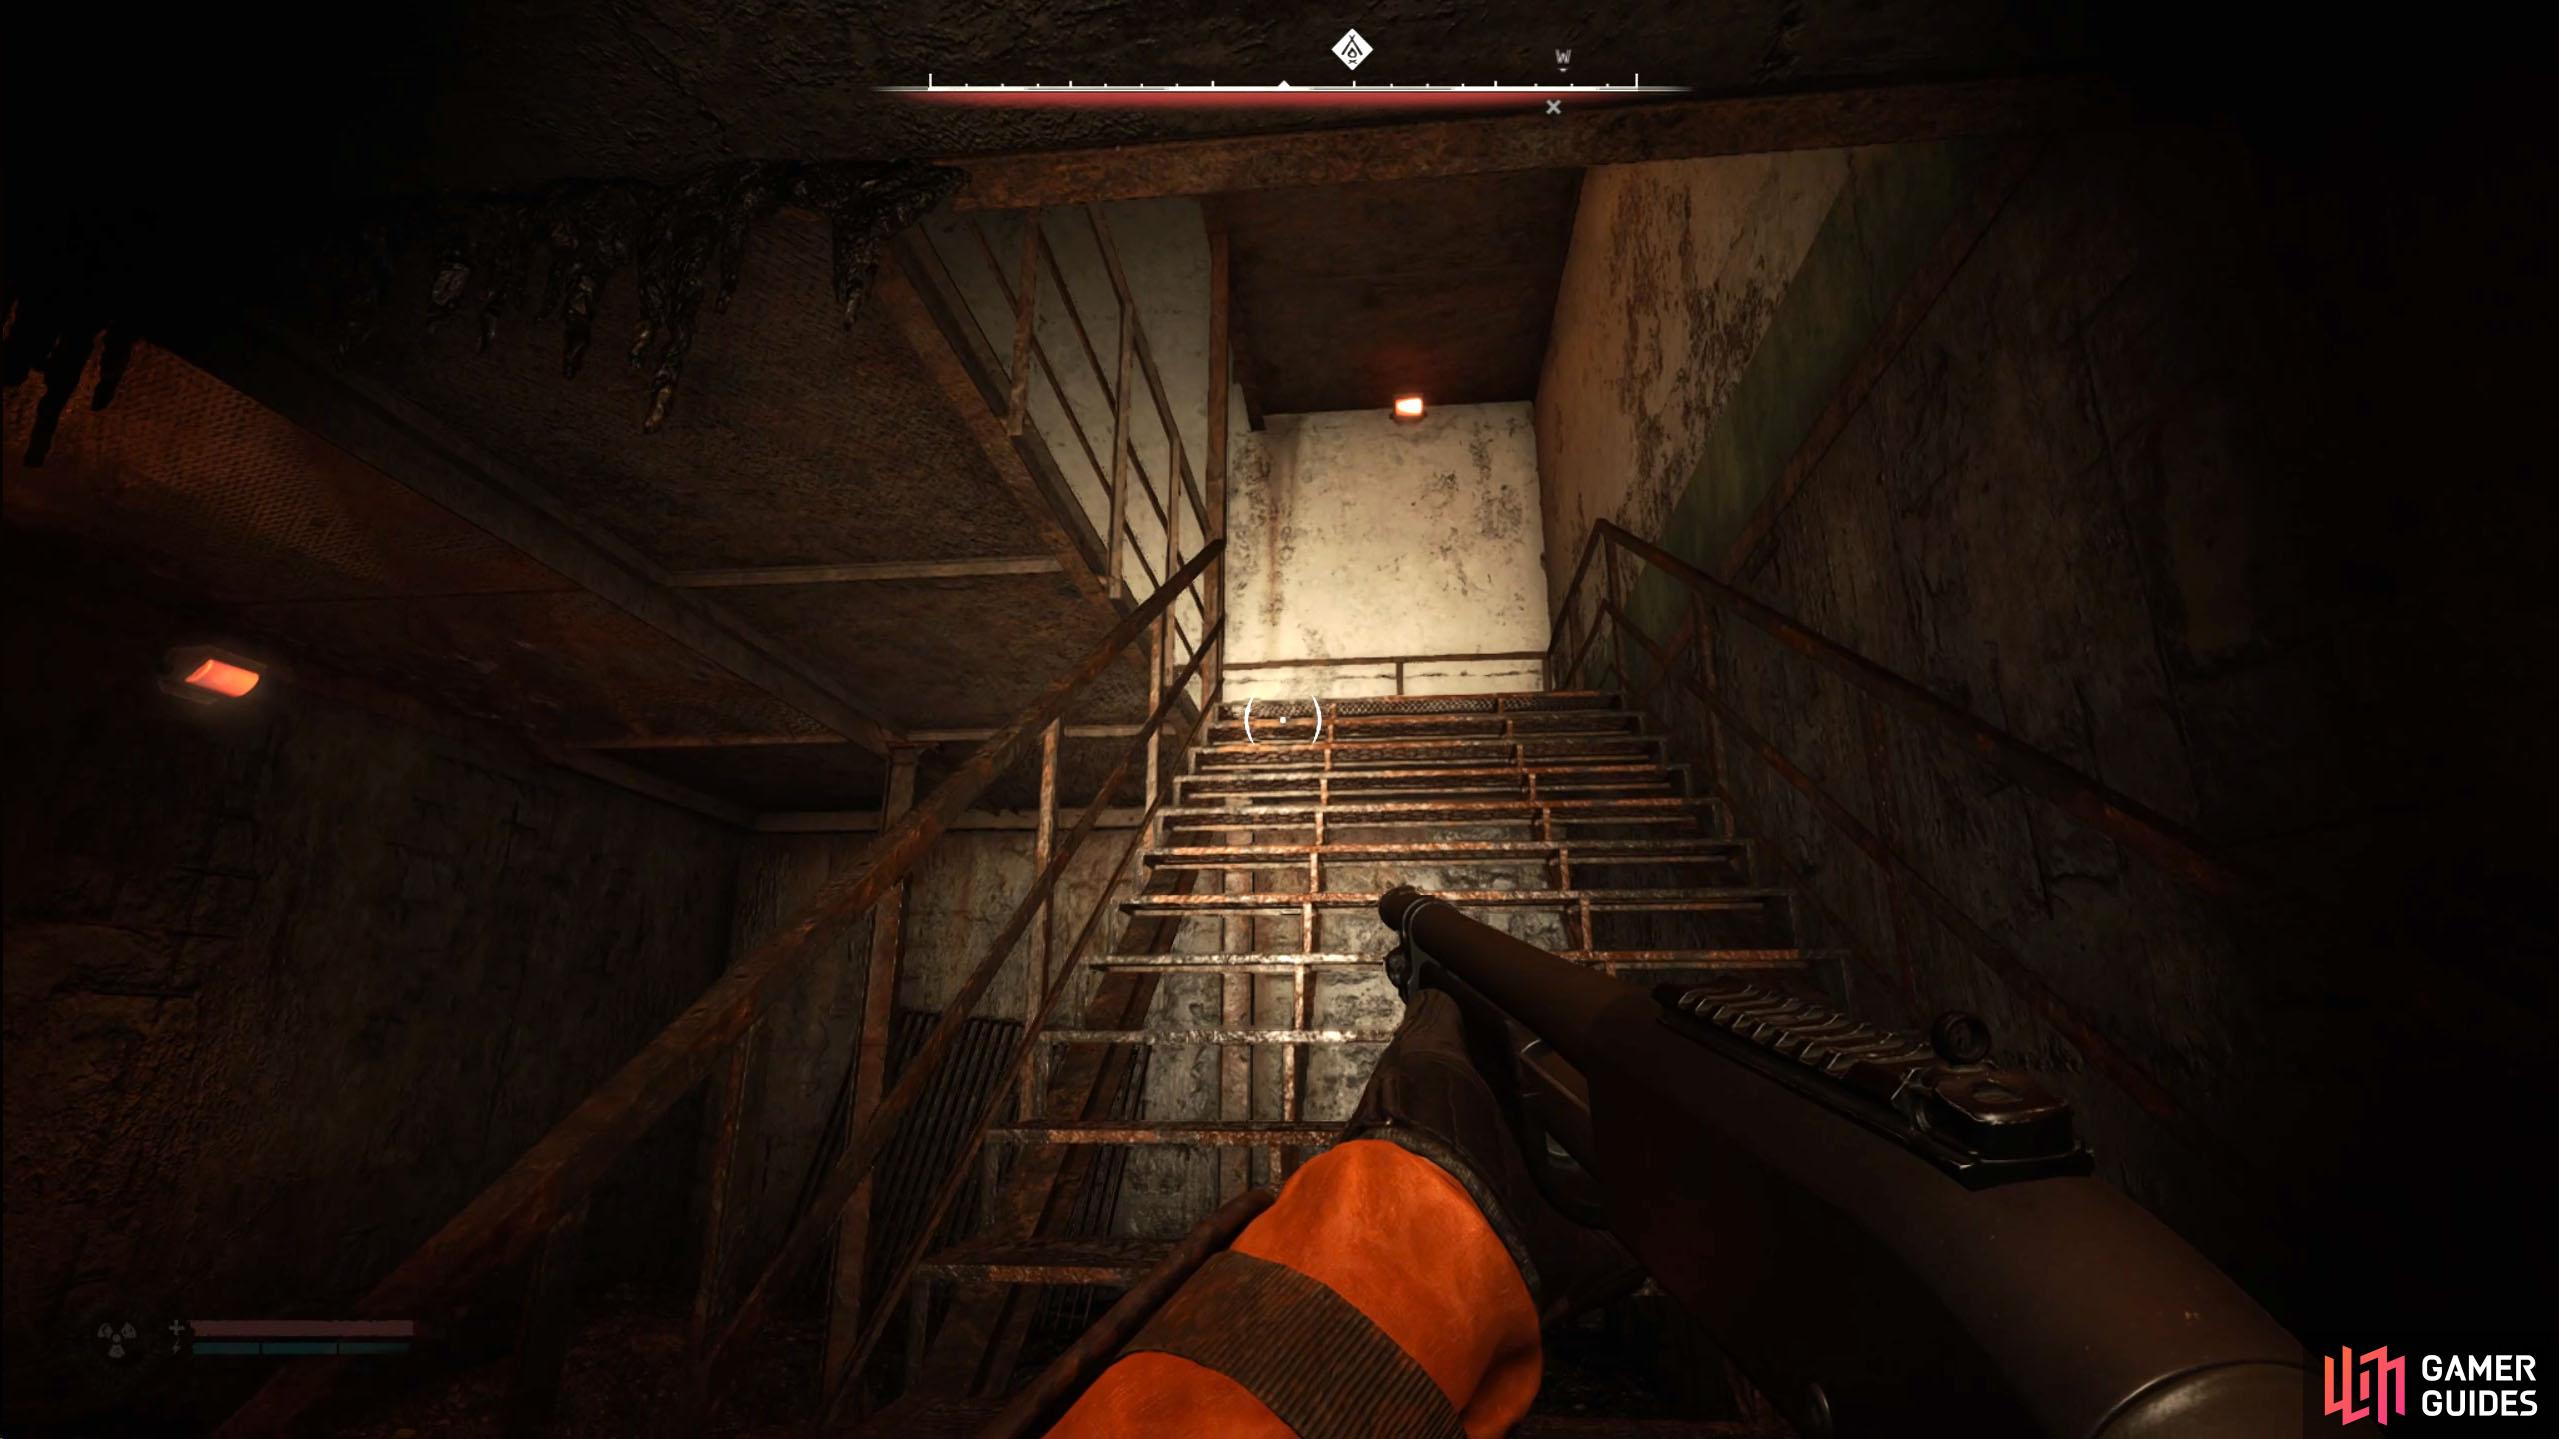
Eventually, you’ll reach some stairs, with another set of stairs further up. On the first floor, you’ll encounter another Bloodsucker, and this one will need to be taken out properly. As always, the shotgun is your friend, and after a few shells, the mutant will be dealt with. Note that this floor won’t lead to anything other than a human corpse with a few bullets, so you can ignore this floor. It’s more for if you came around the other way.
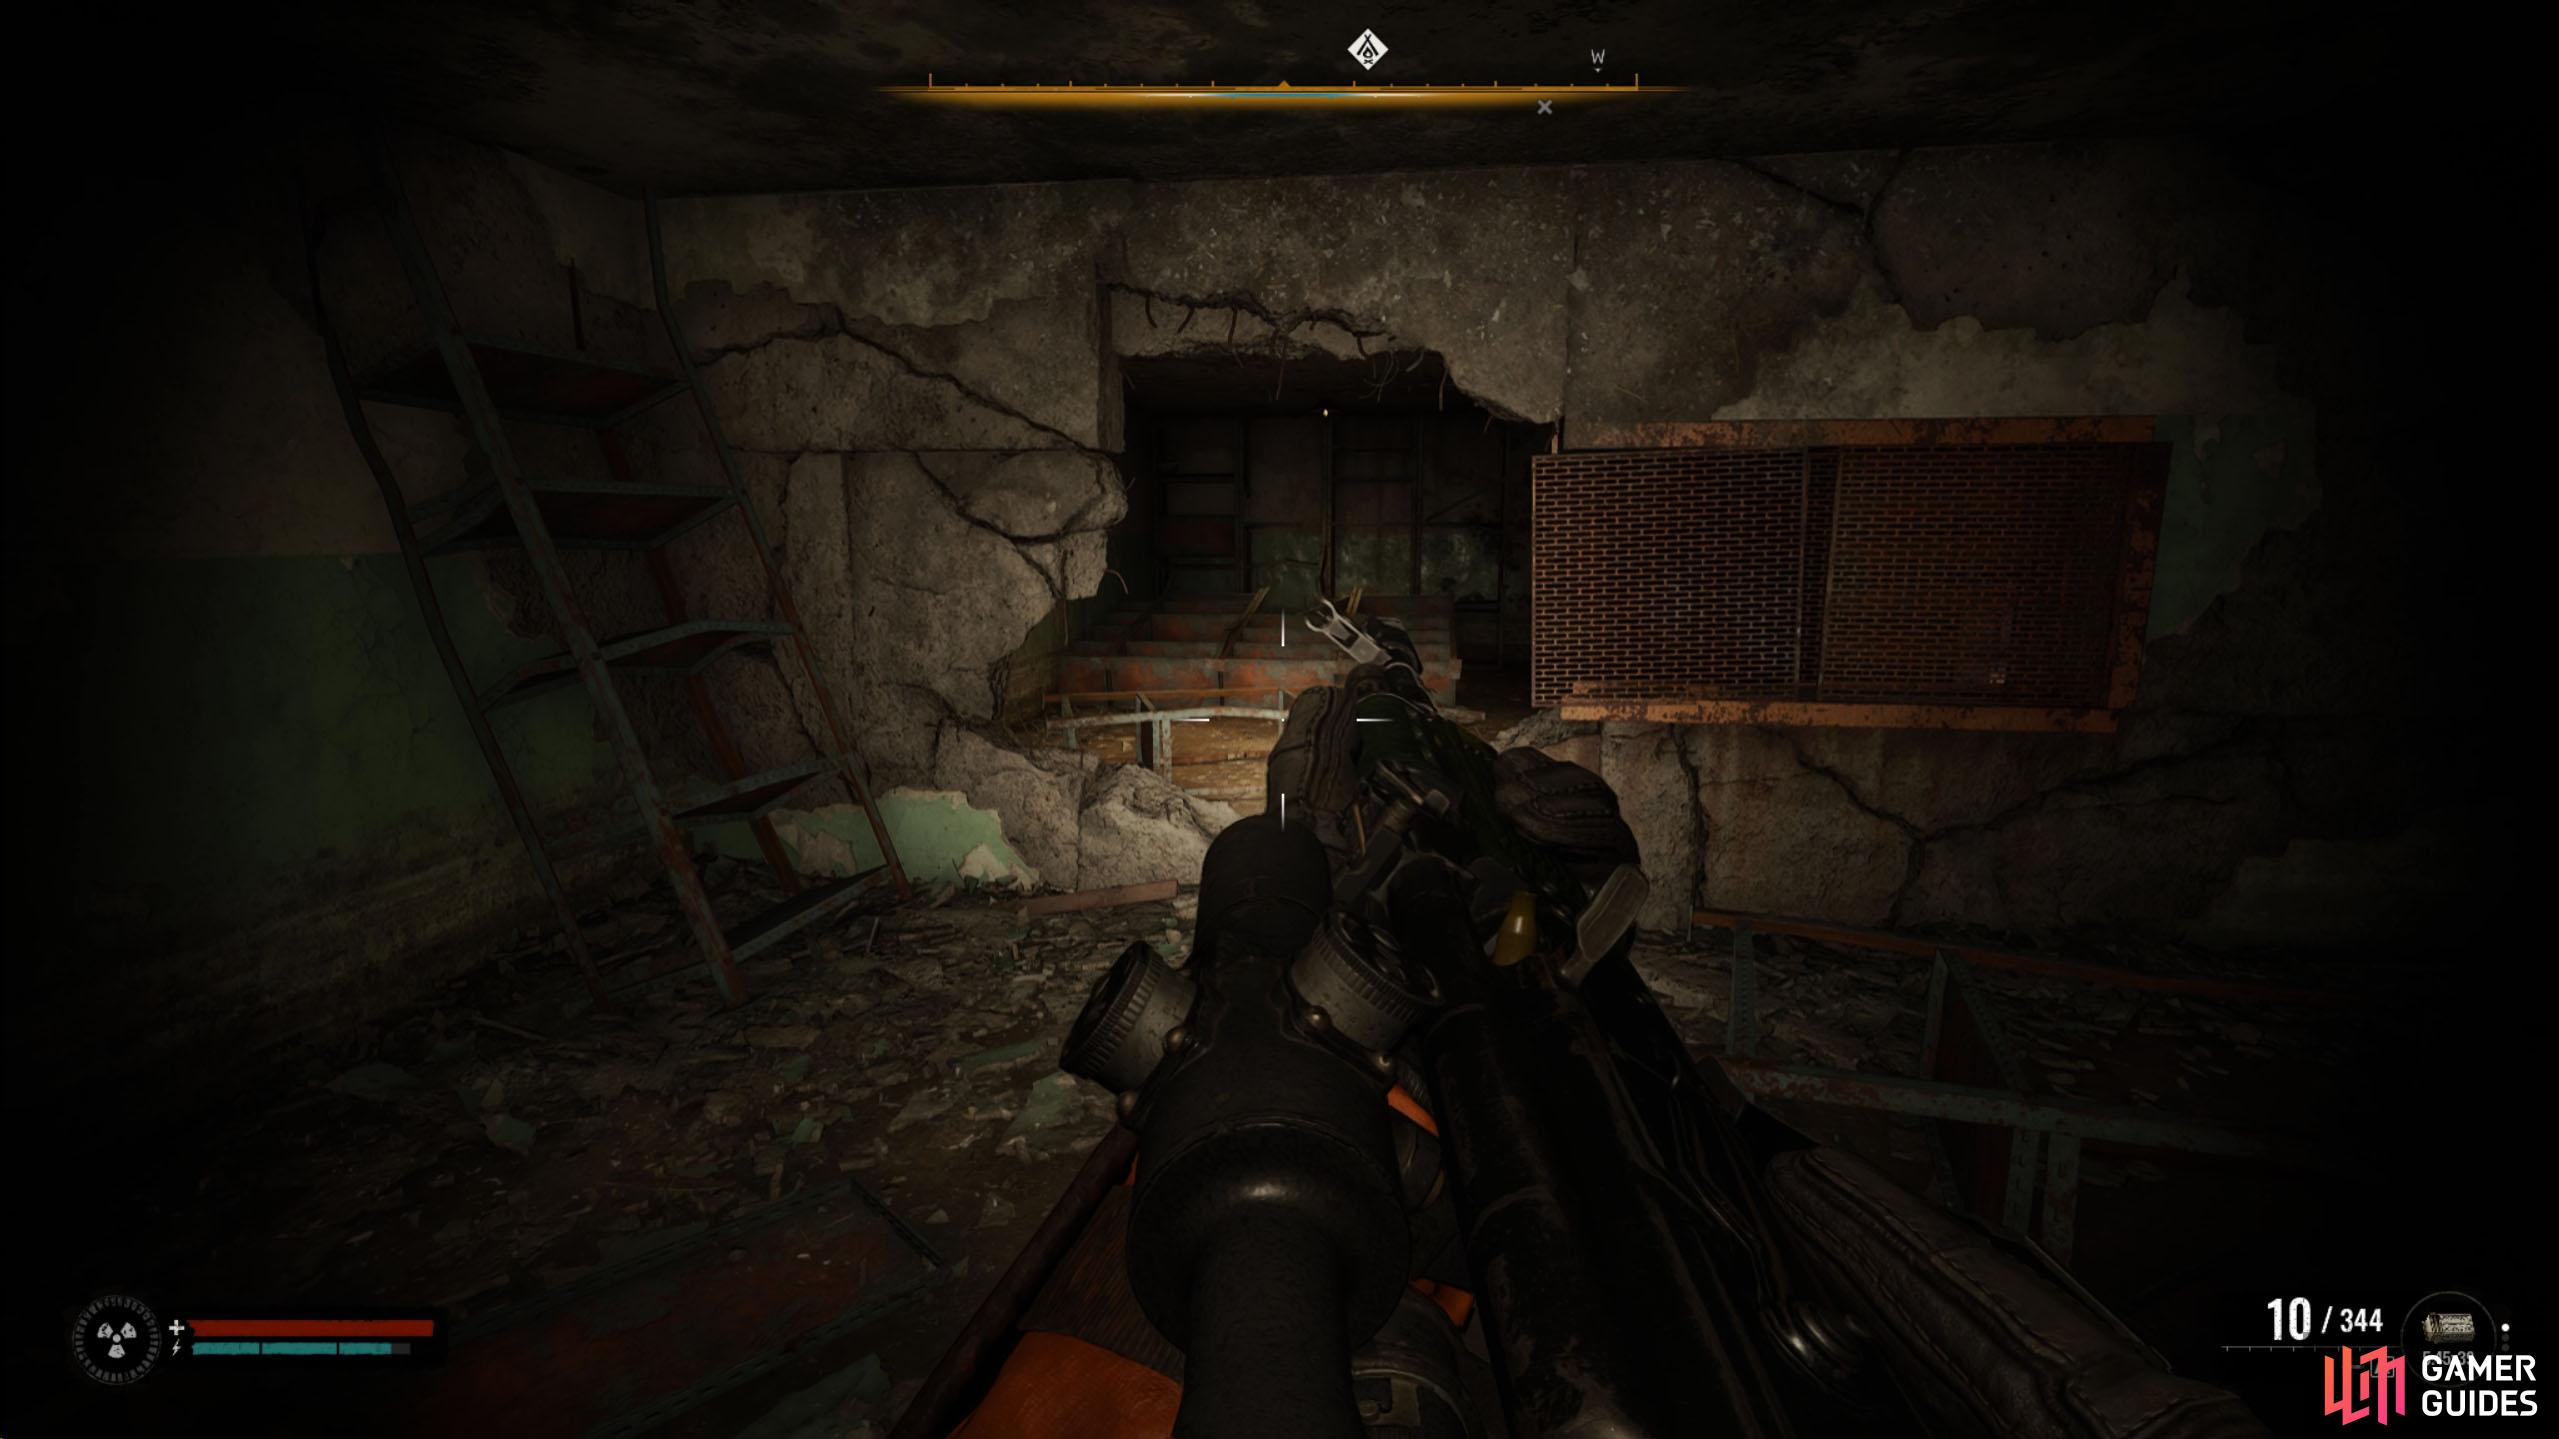
Go up the stairs to the second floor, and follow the linear path through the hole in the wall. In the following hallway, loot the corpse, and continue west. Before going through the double doors, head south and go into the room to your left. On the left side of the room is a crawl space with a skeleton in it. Next to the skeleton, you’ll find a grenade and a bandage alongside a photograph.
(1 of 3) Continue following the tunnel with the poisonous anomalies to find some stairs leading up.
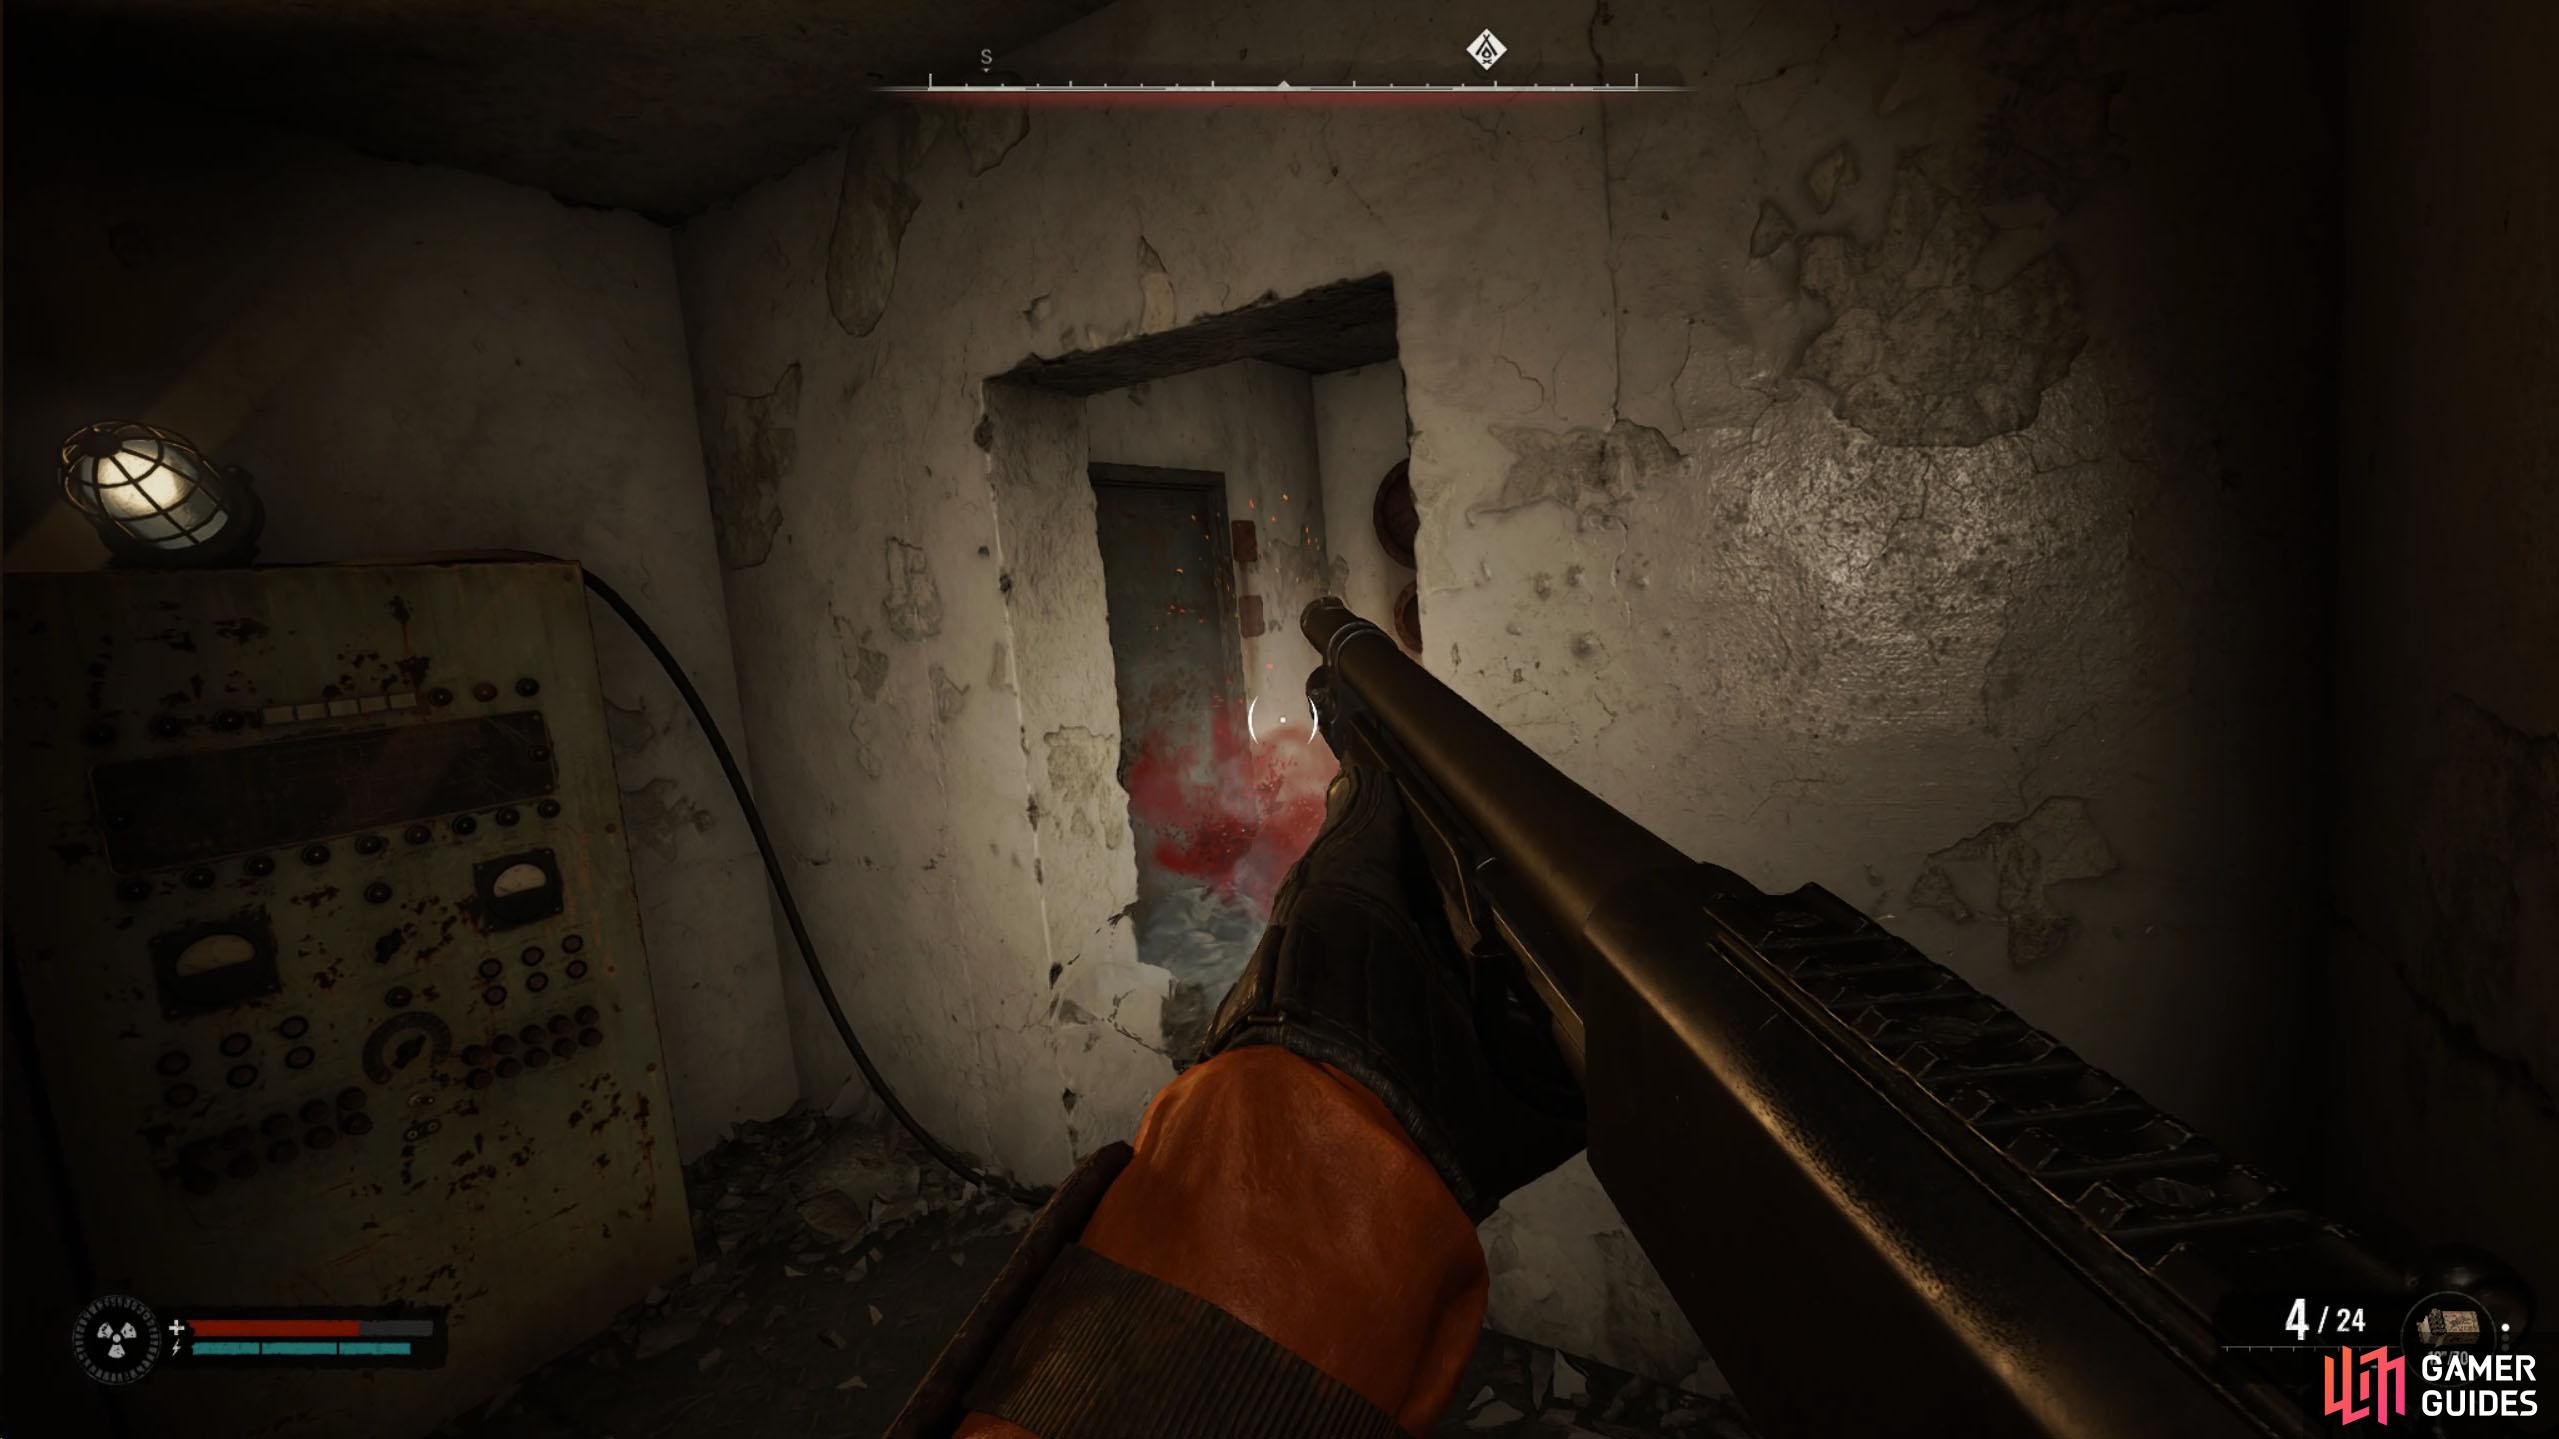
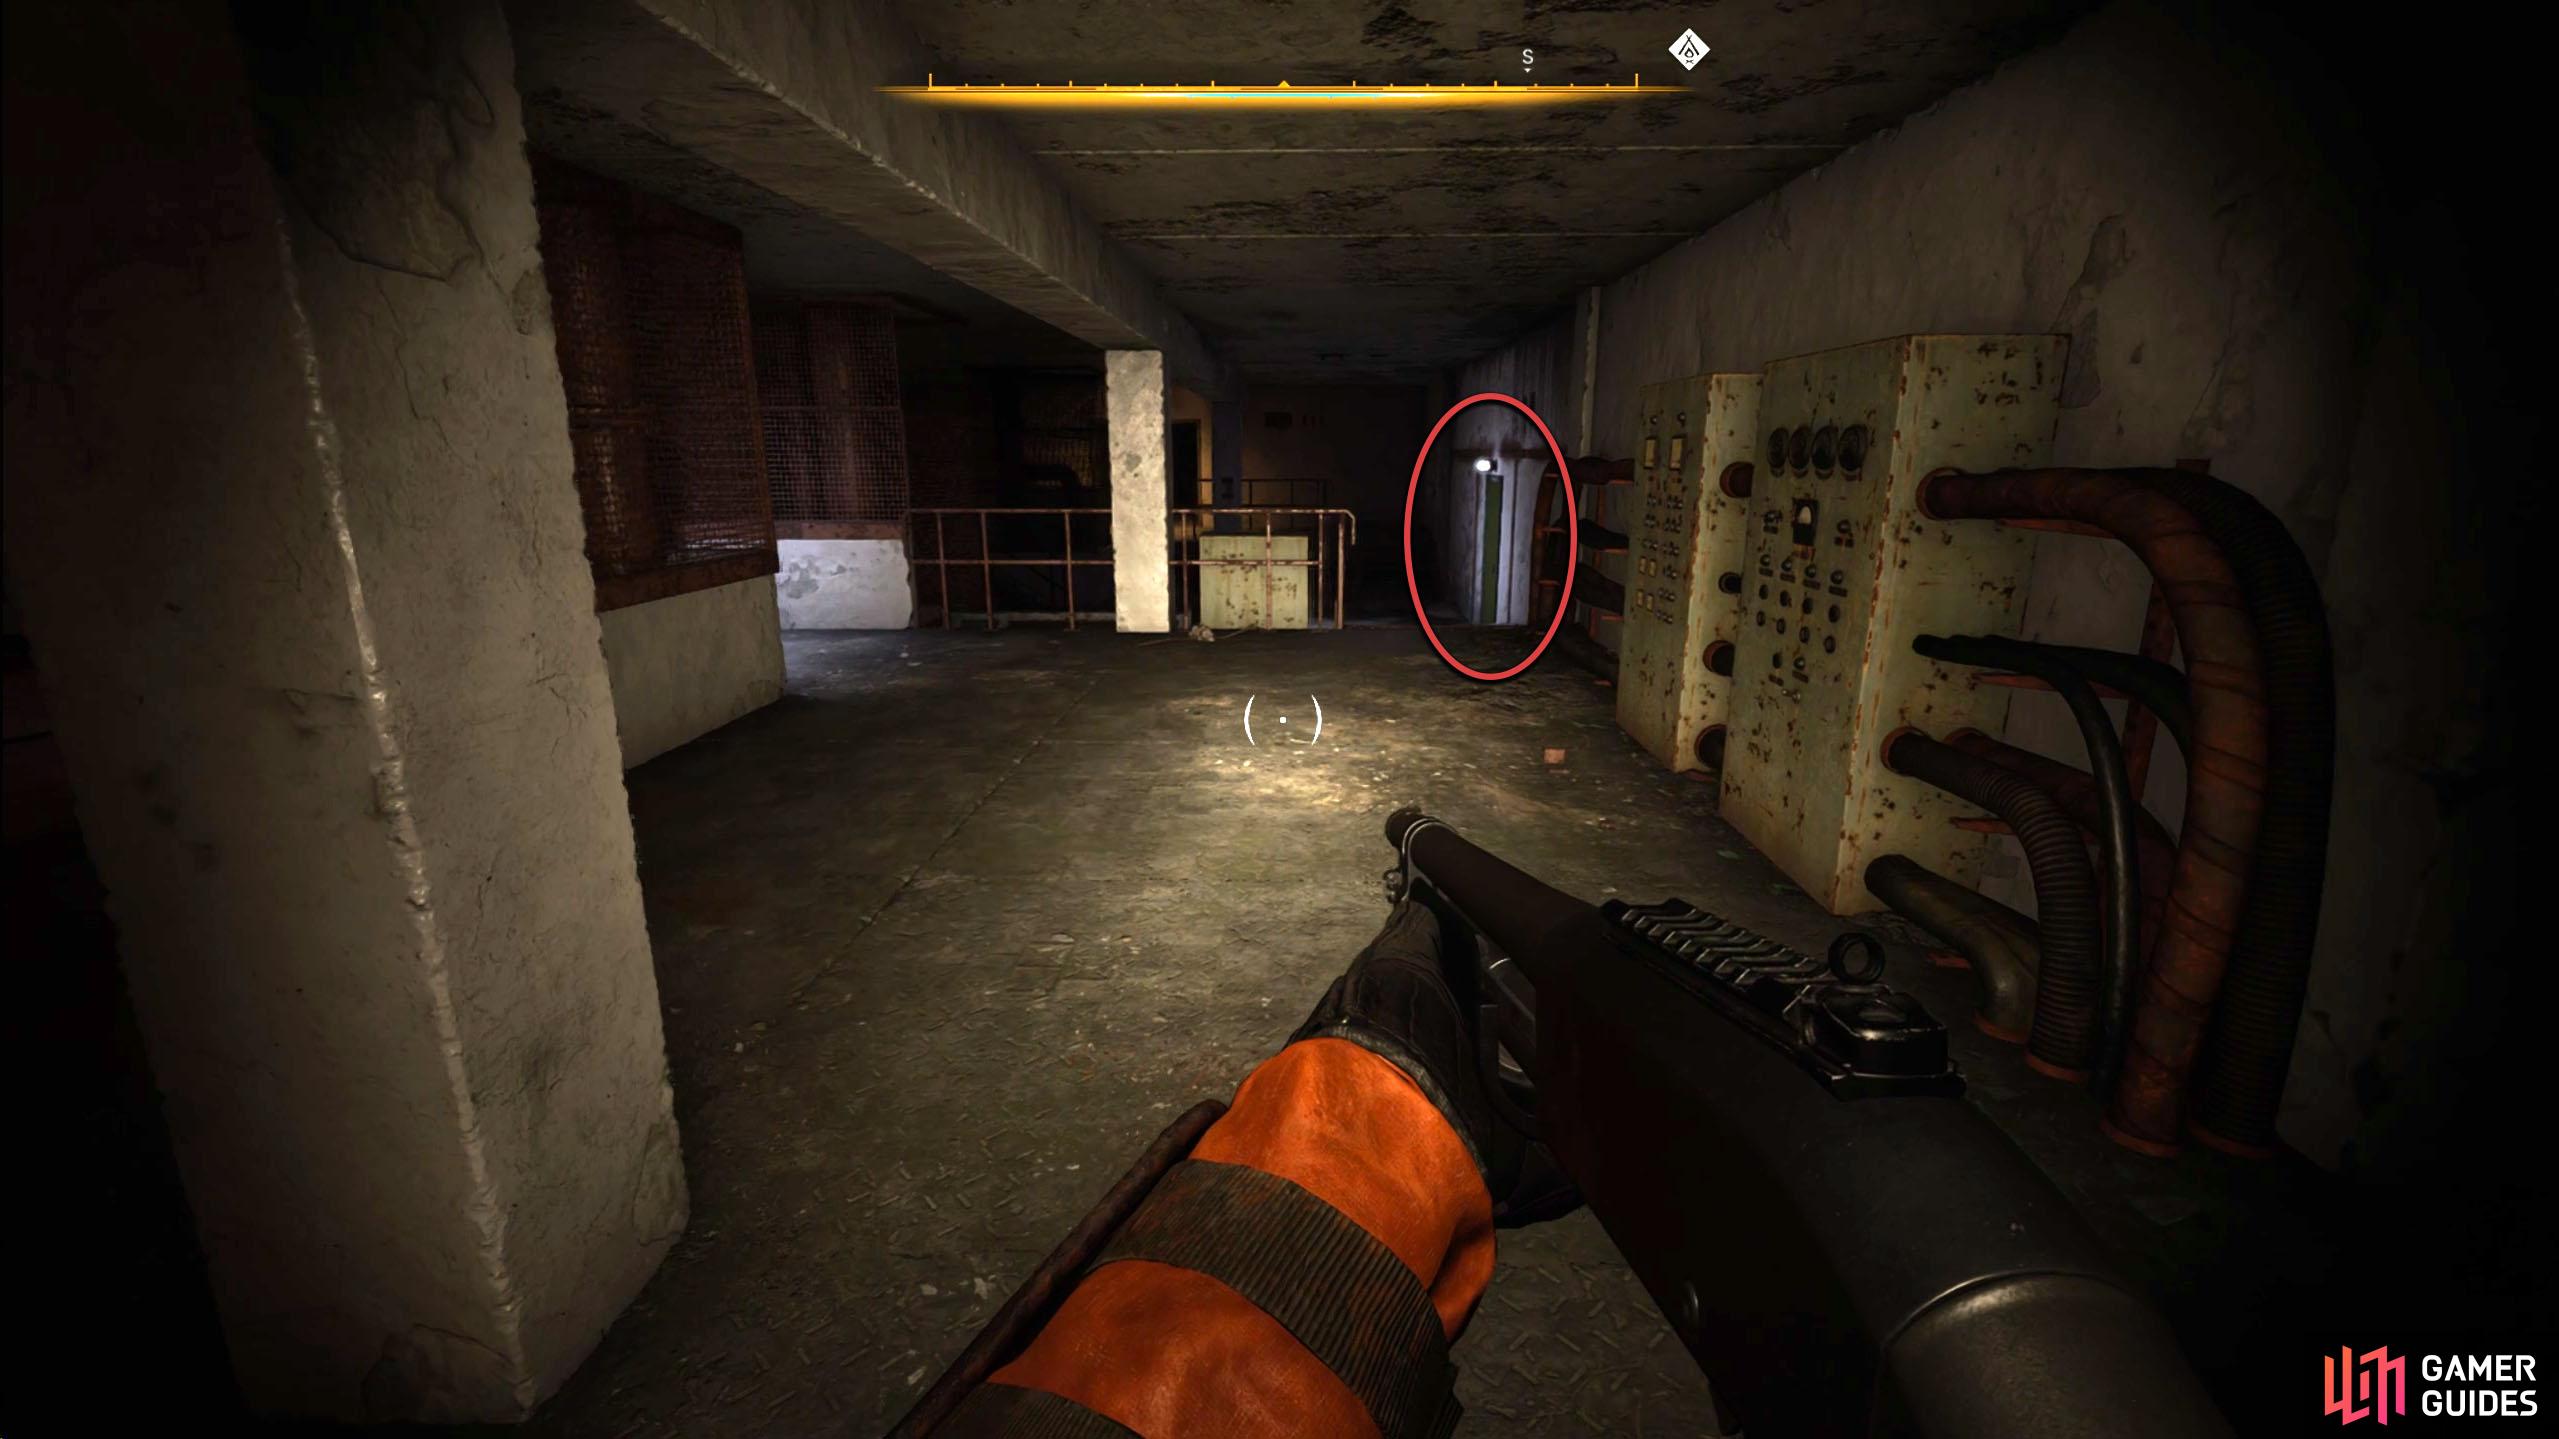
Head back to the double doors, and prepare yourself for another Bloodsucker fight. When you’ve got its attention, run back to the room with the skeleton, stand to the right side of the doorway, have your shotgun pointed at the doorway, and fire a shell whenever you see the Bloodsucker. You should get through this fight relatively okay, doing this. With the Bloodsucker dead, go through the double doors, and over to the green door to the west with the white light above it.
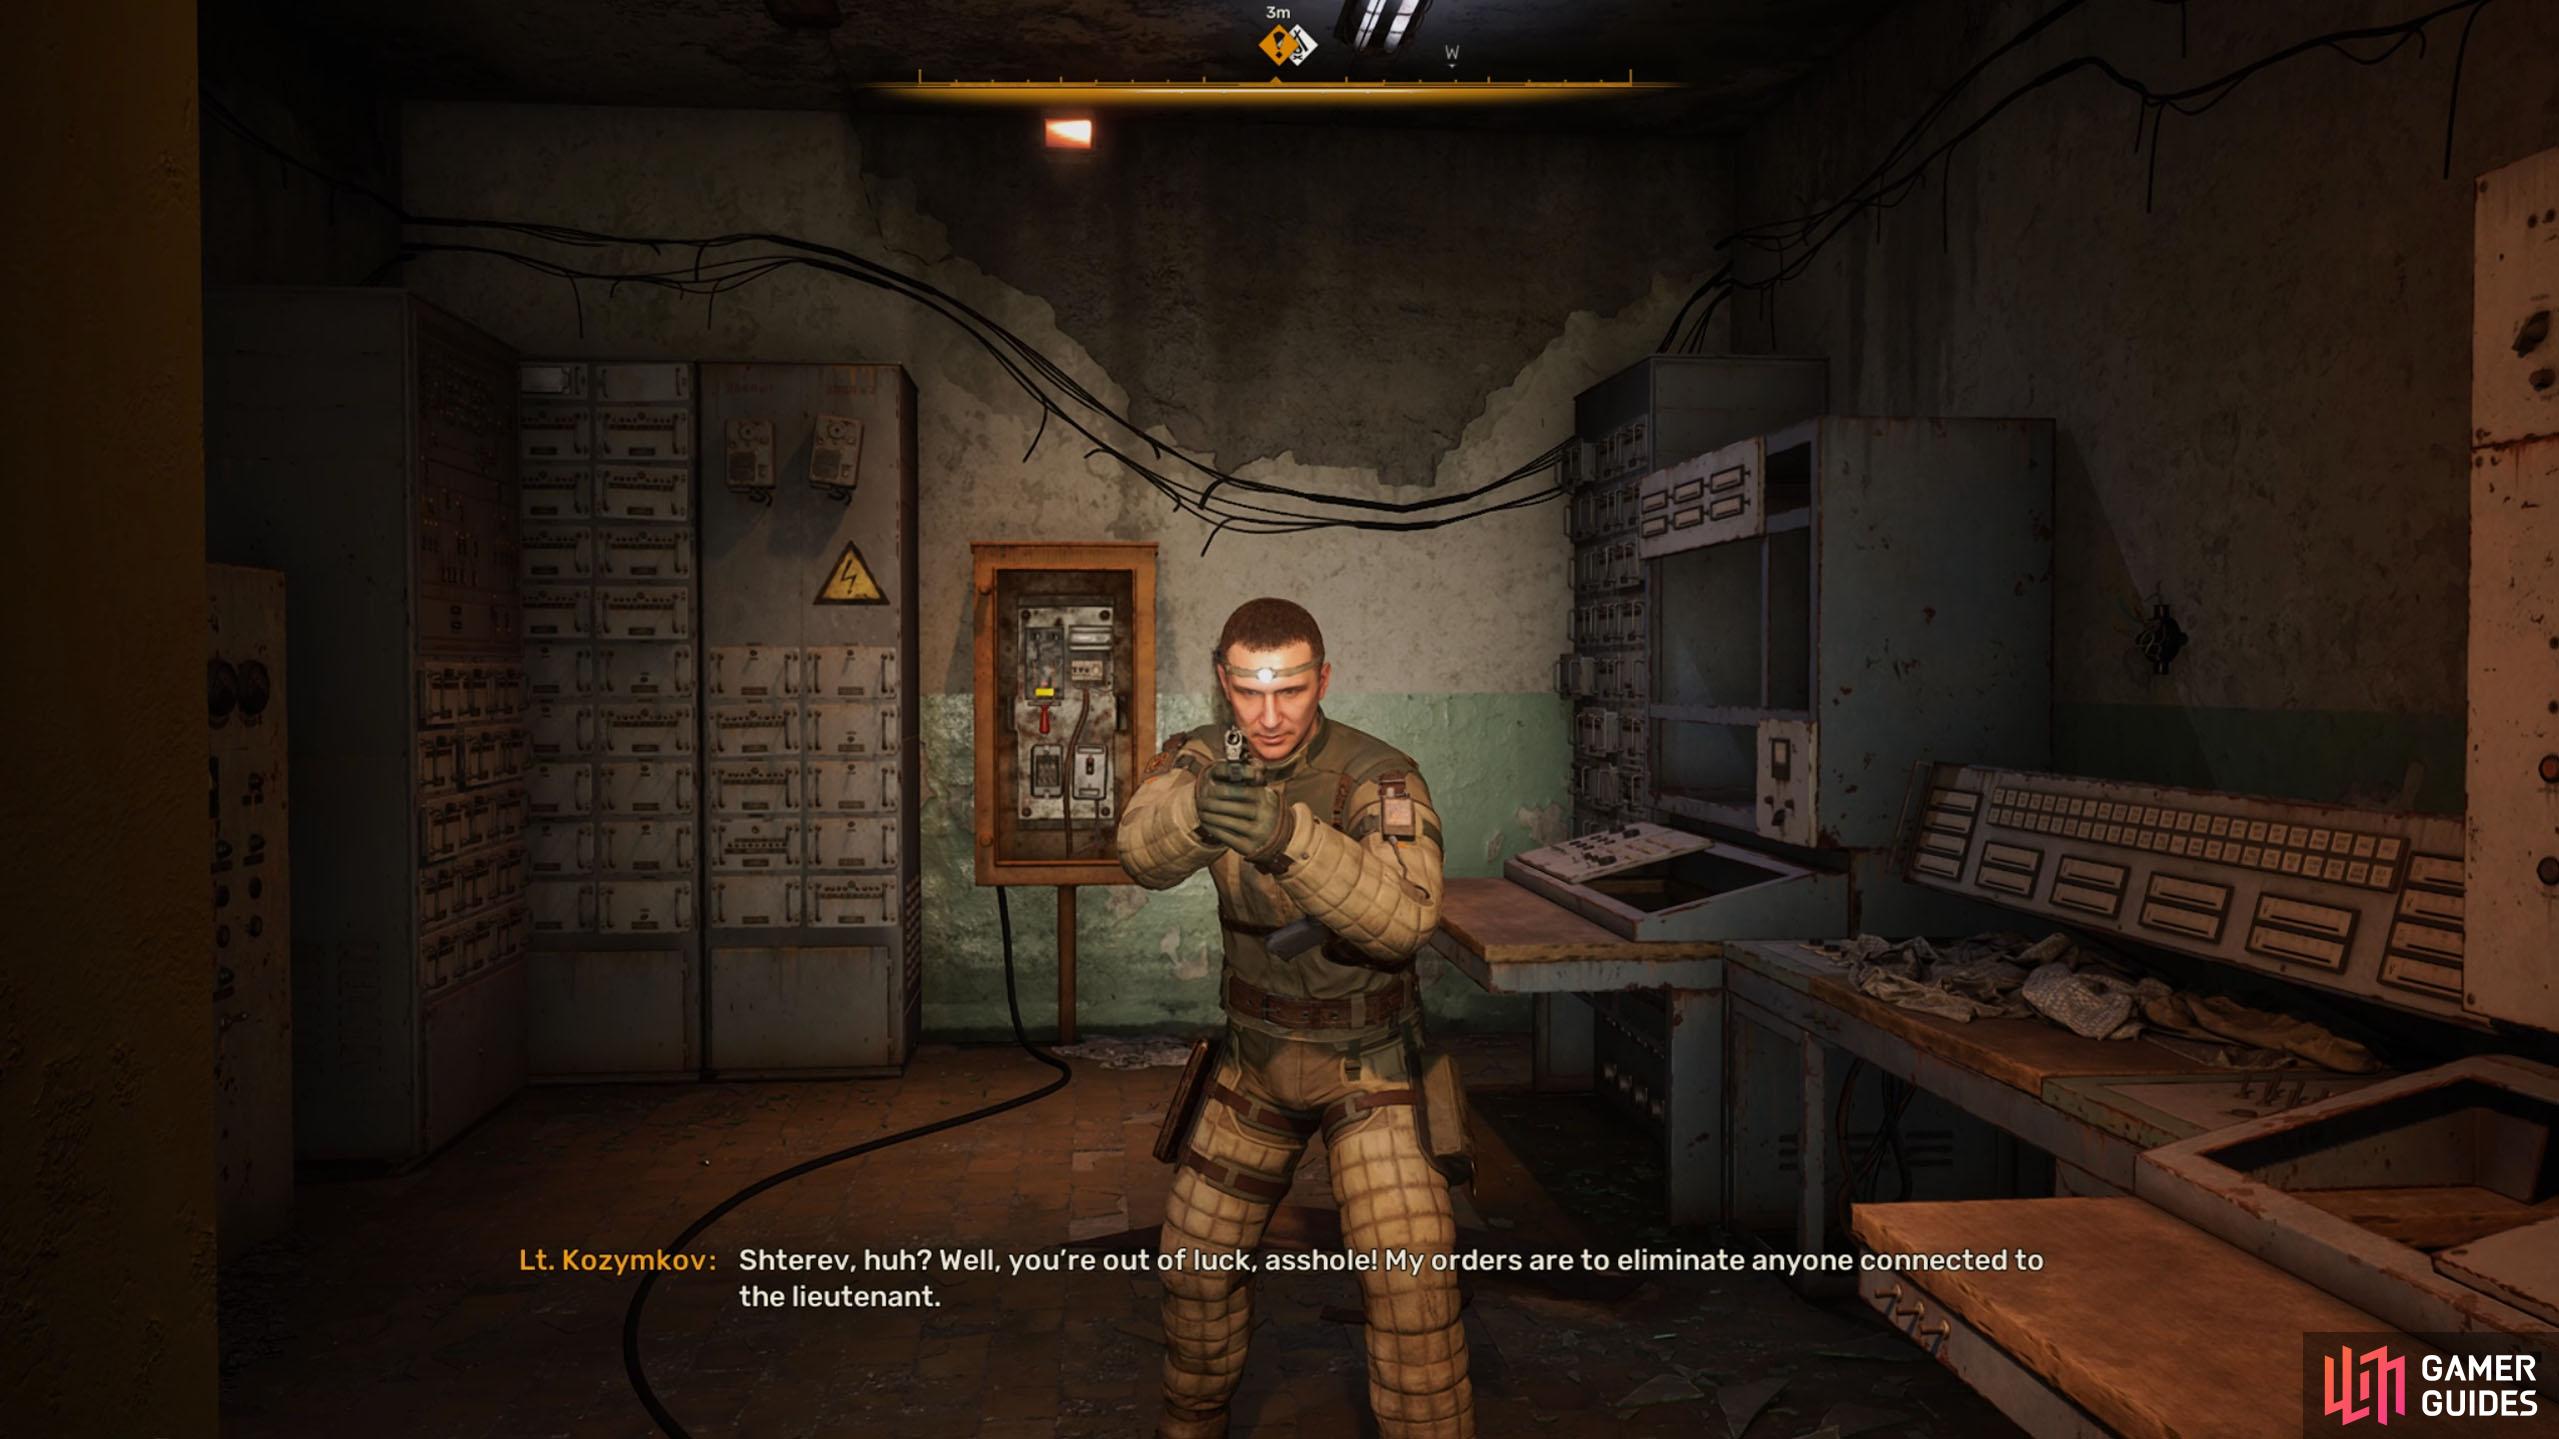
Inside, you’ll find Bravo Team member, Lt. Kozymkov, who you can give the passcode to that you got earlier. However, if you’ve been killing them, and you mention Shterev, he’ll open fire on you. Defeat the lieutenant, and activate the switch behind him. Make sure you loot him for his ![]() PDA before leaving. Leave the room, head south, and follow the path to leave the facility.
PDA before leaving. Leave the room, head south, and follow the path to leave the facility.
(1 of 2) Head over to the room with the white light above it to find Lt. Kozymkov.
Head over to the room with the white light above it to find Lt. Kozymkov. (left), He will become hostile unless you give him the passcode. Quickly take care of him, loot his corpse for the PDA, and flick the switch behind him. (right)
Echo Station
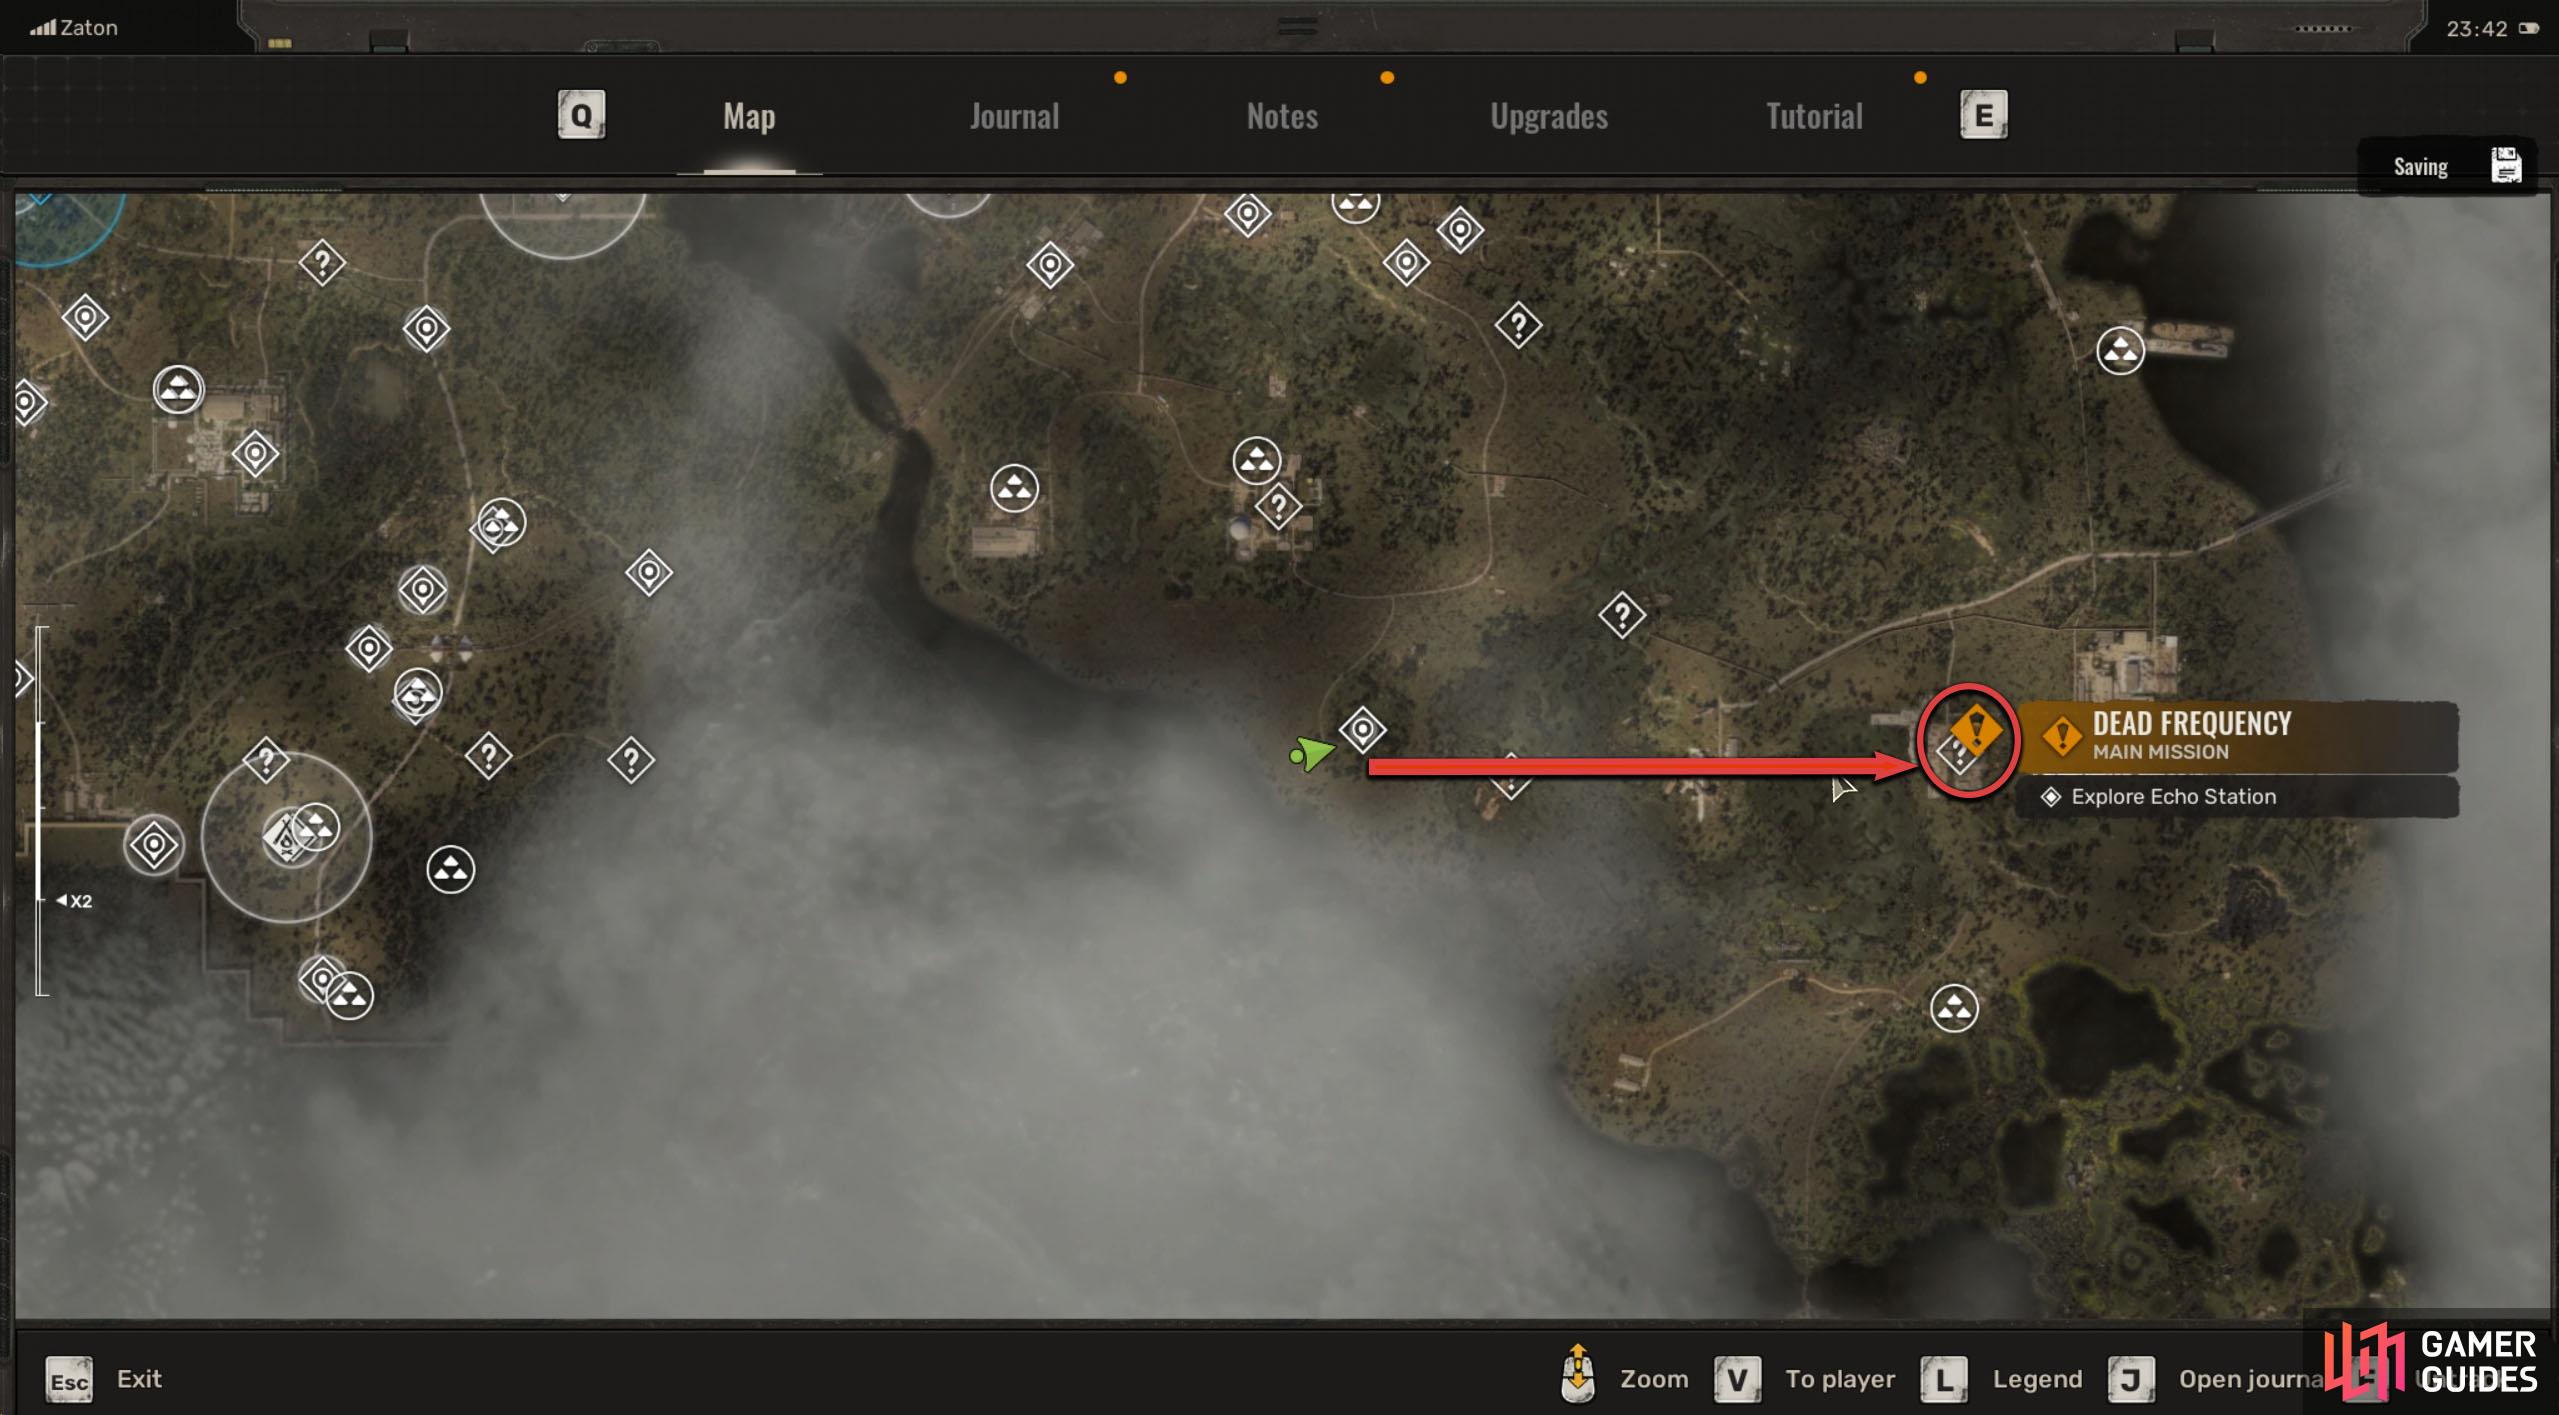
The PDA mentioned the Echo Station, so that’ll be your next stop. You can find the station due east of Vent, so make your way over to it as soon as you can. Note, while heading east, you can find the Shevchenko Camp along the way (a ship), where you can stock up, and put away any excess equipment.
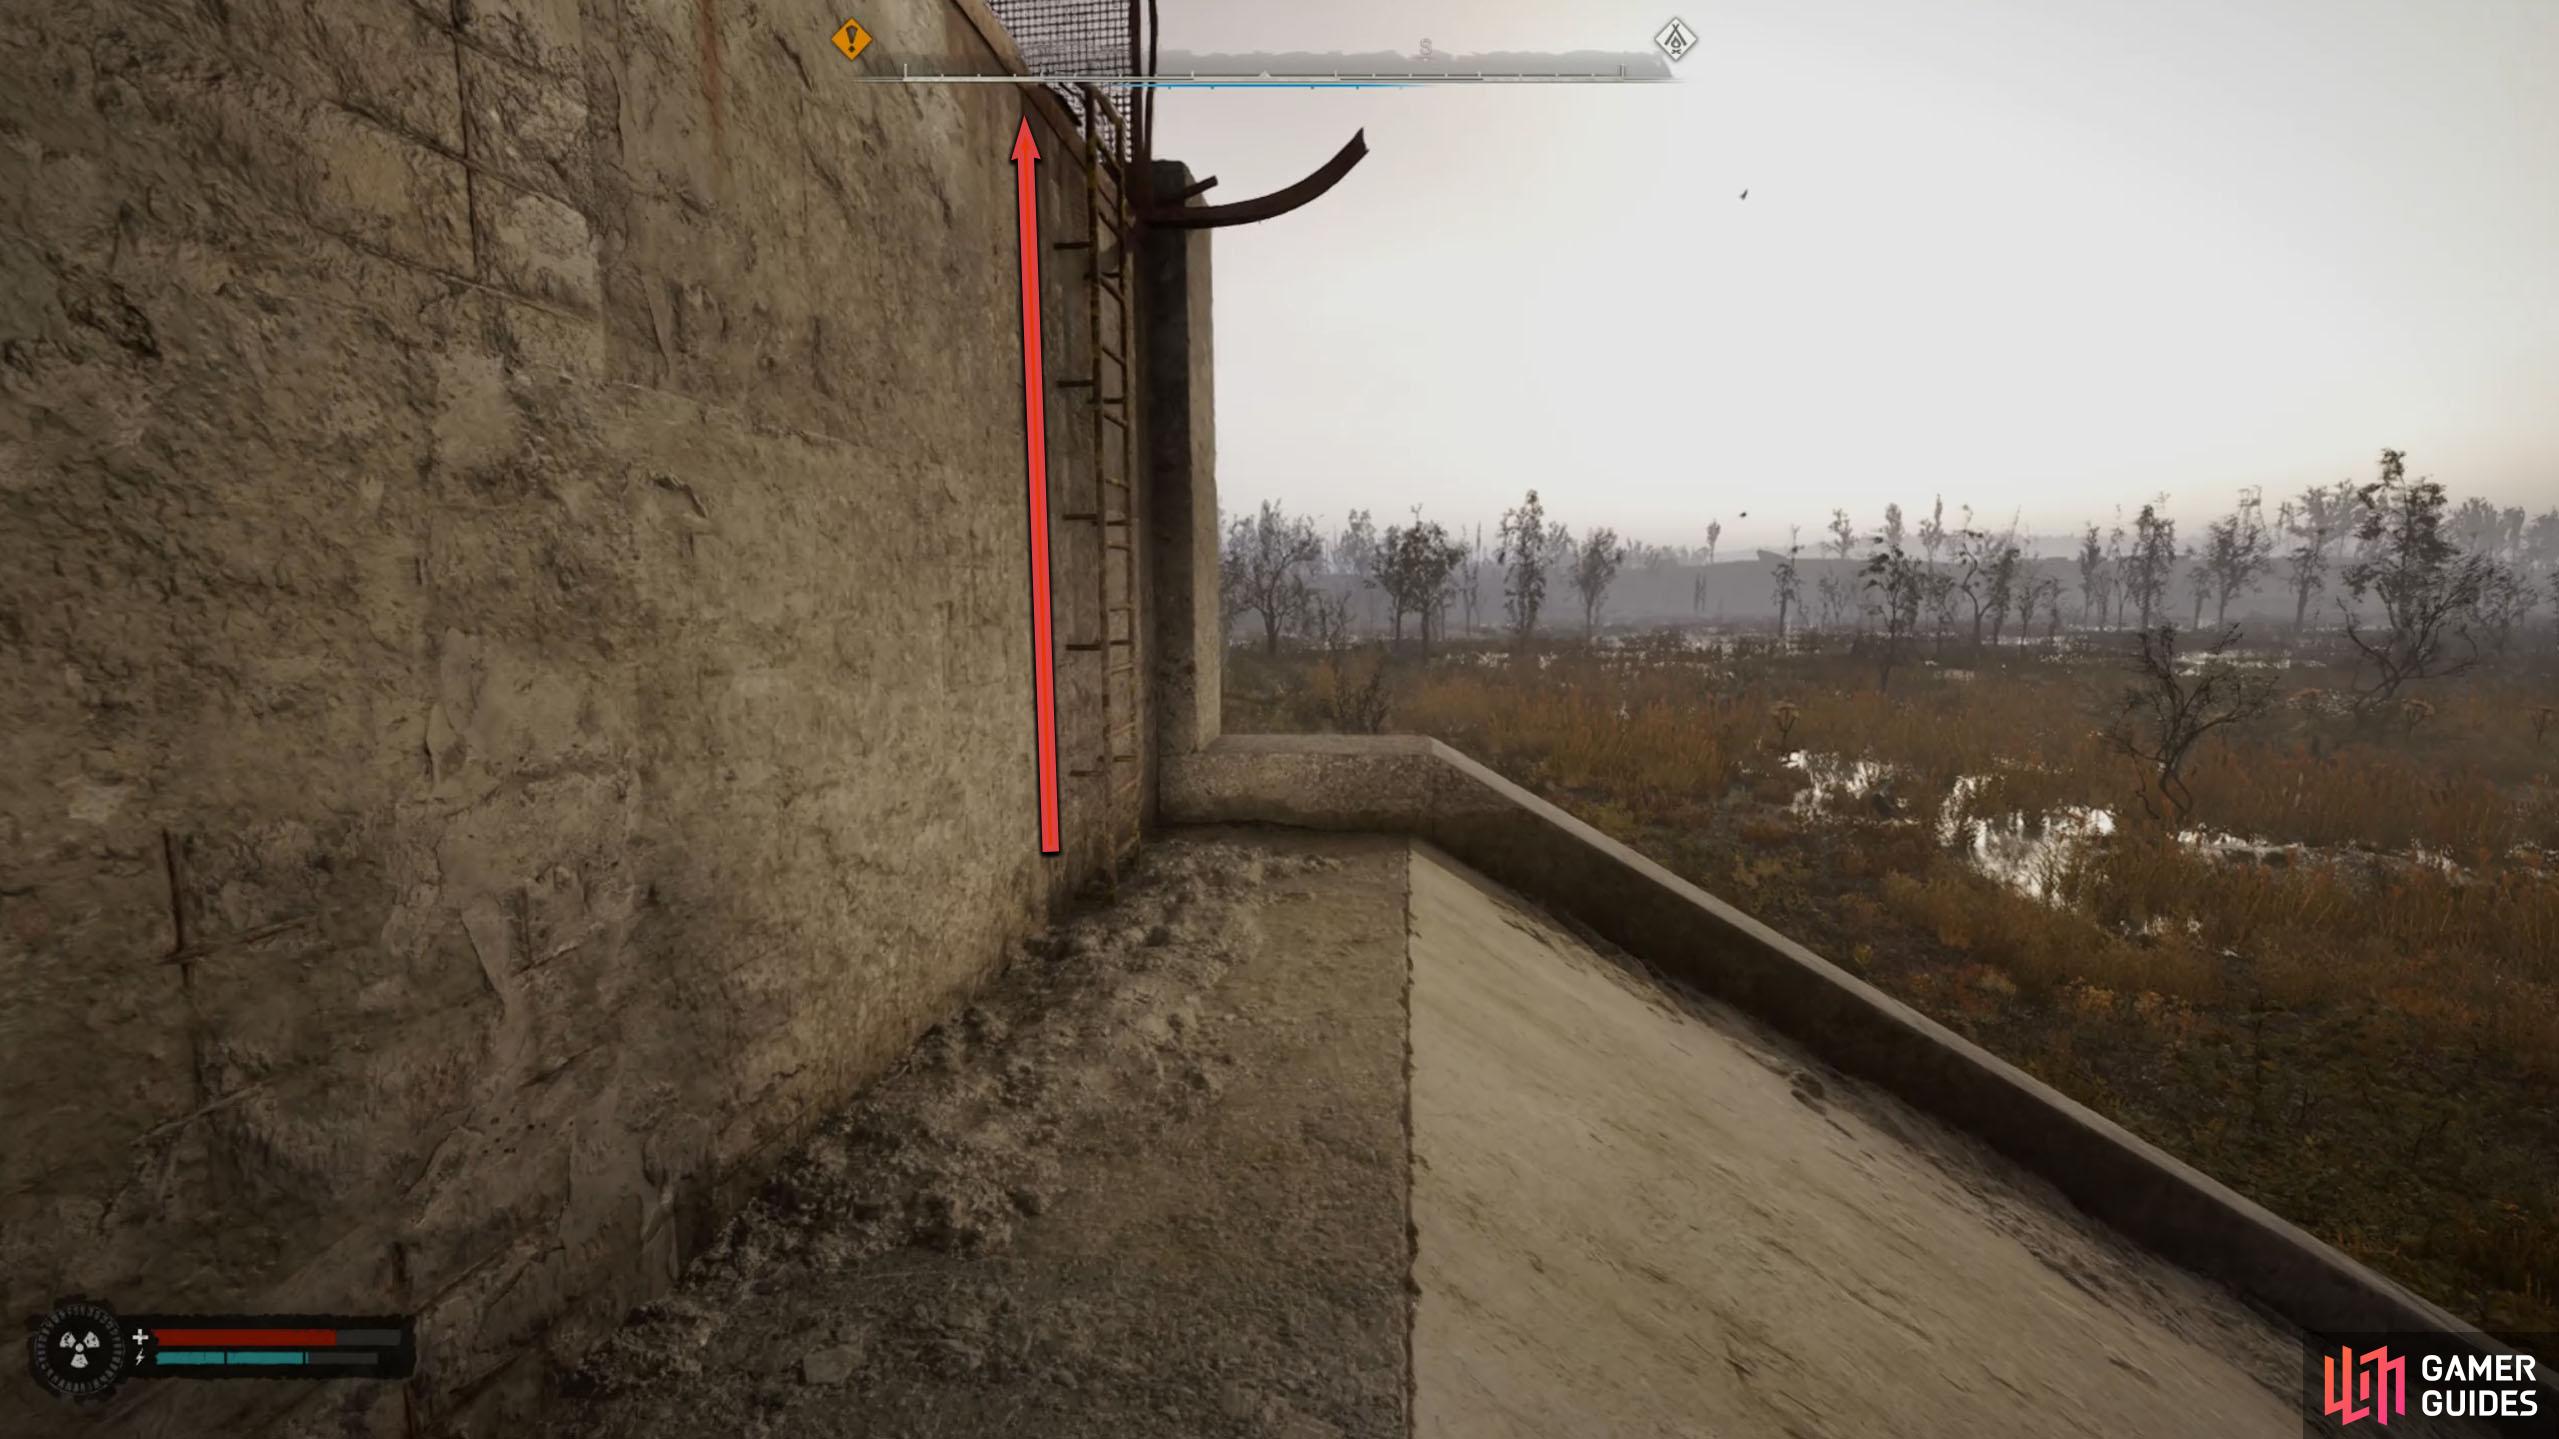
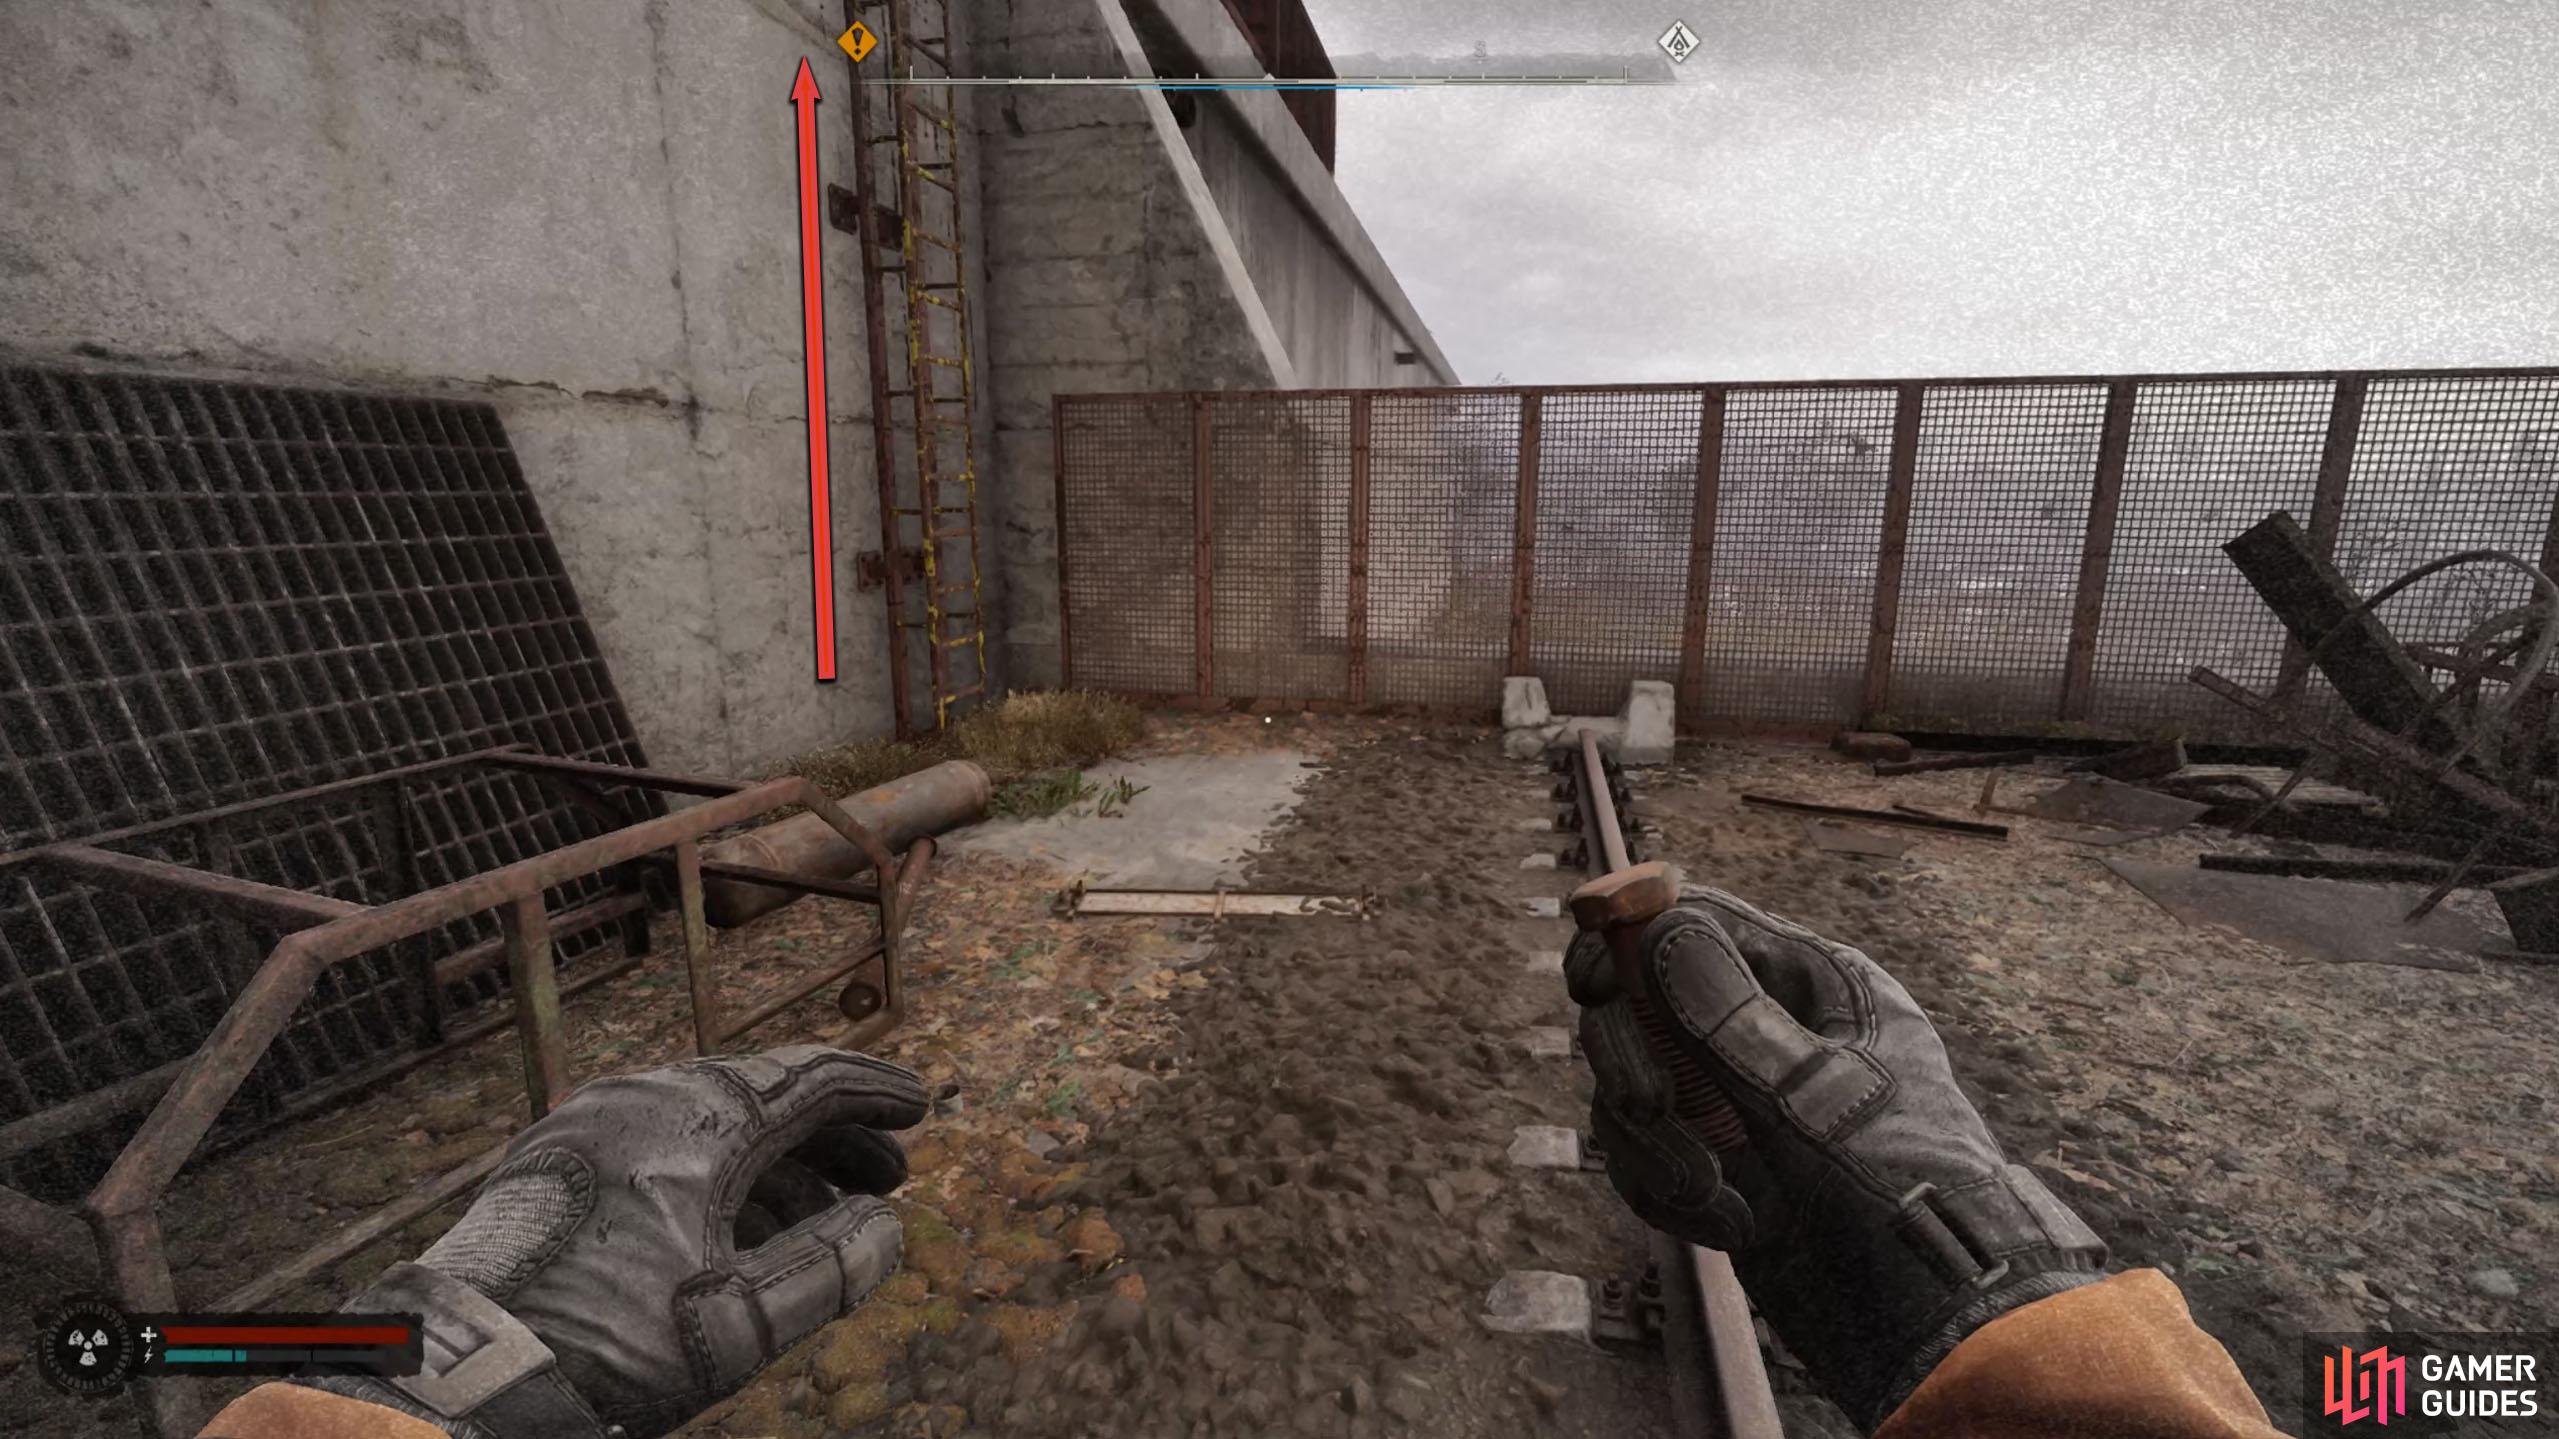
When you reach the station, you may struggle to find a way up, however, if you look at the southeast corner of the wall (if you’re coming from the east), you’ll find a ladder leading up to the next level.
(1 of 3) Echo Station is due east of Vent.
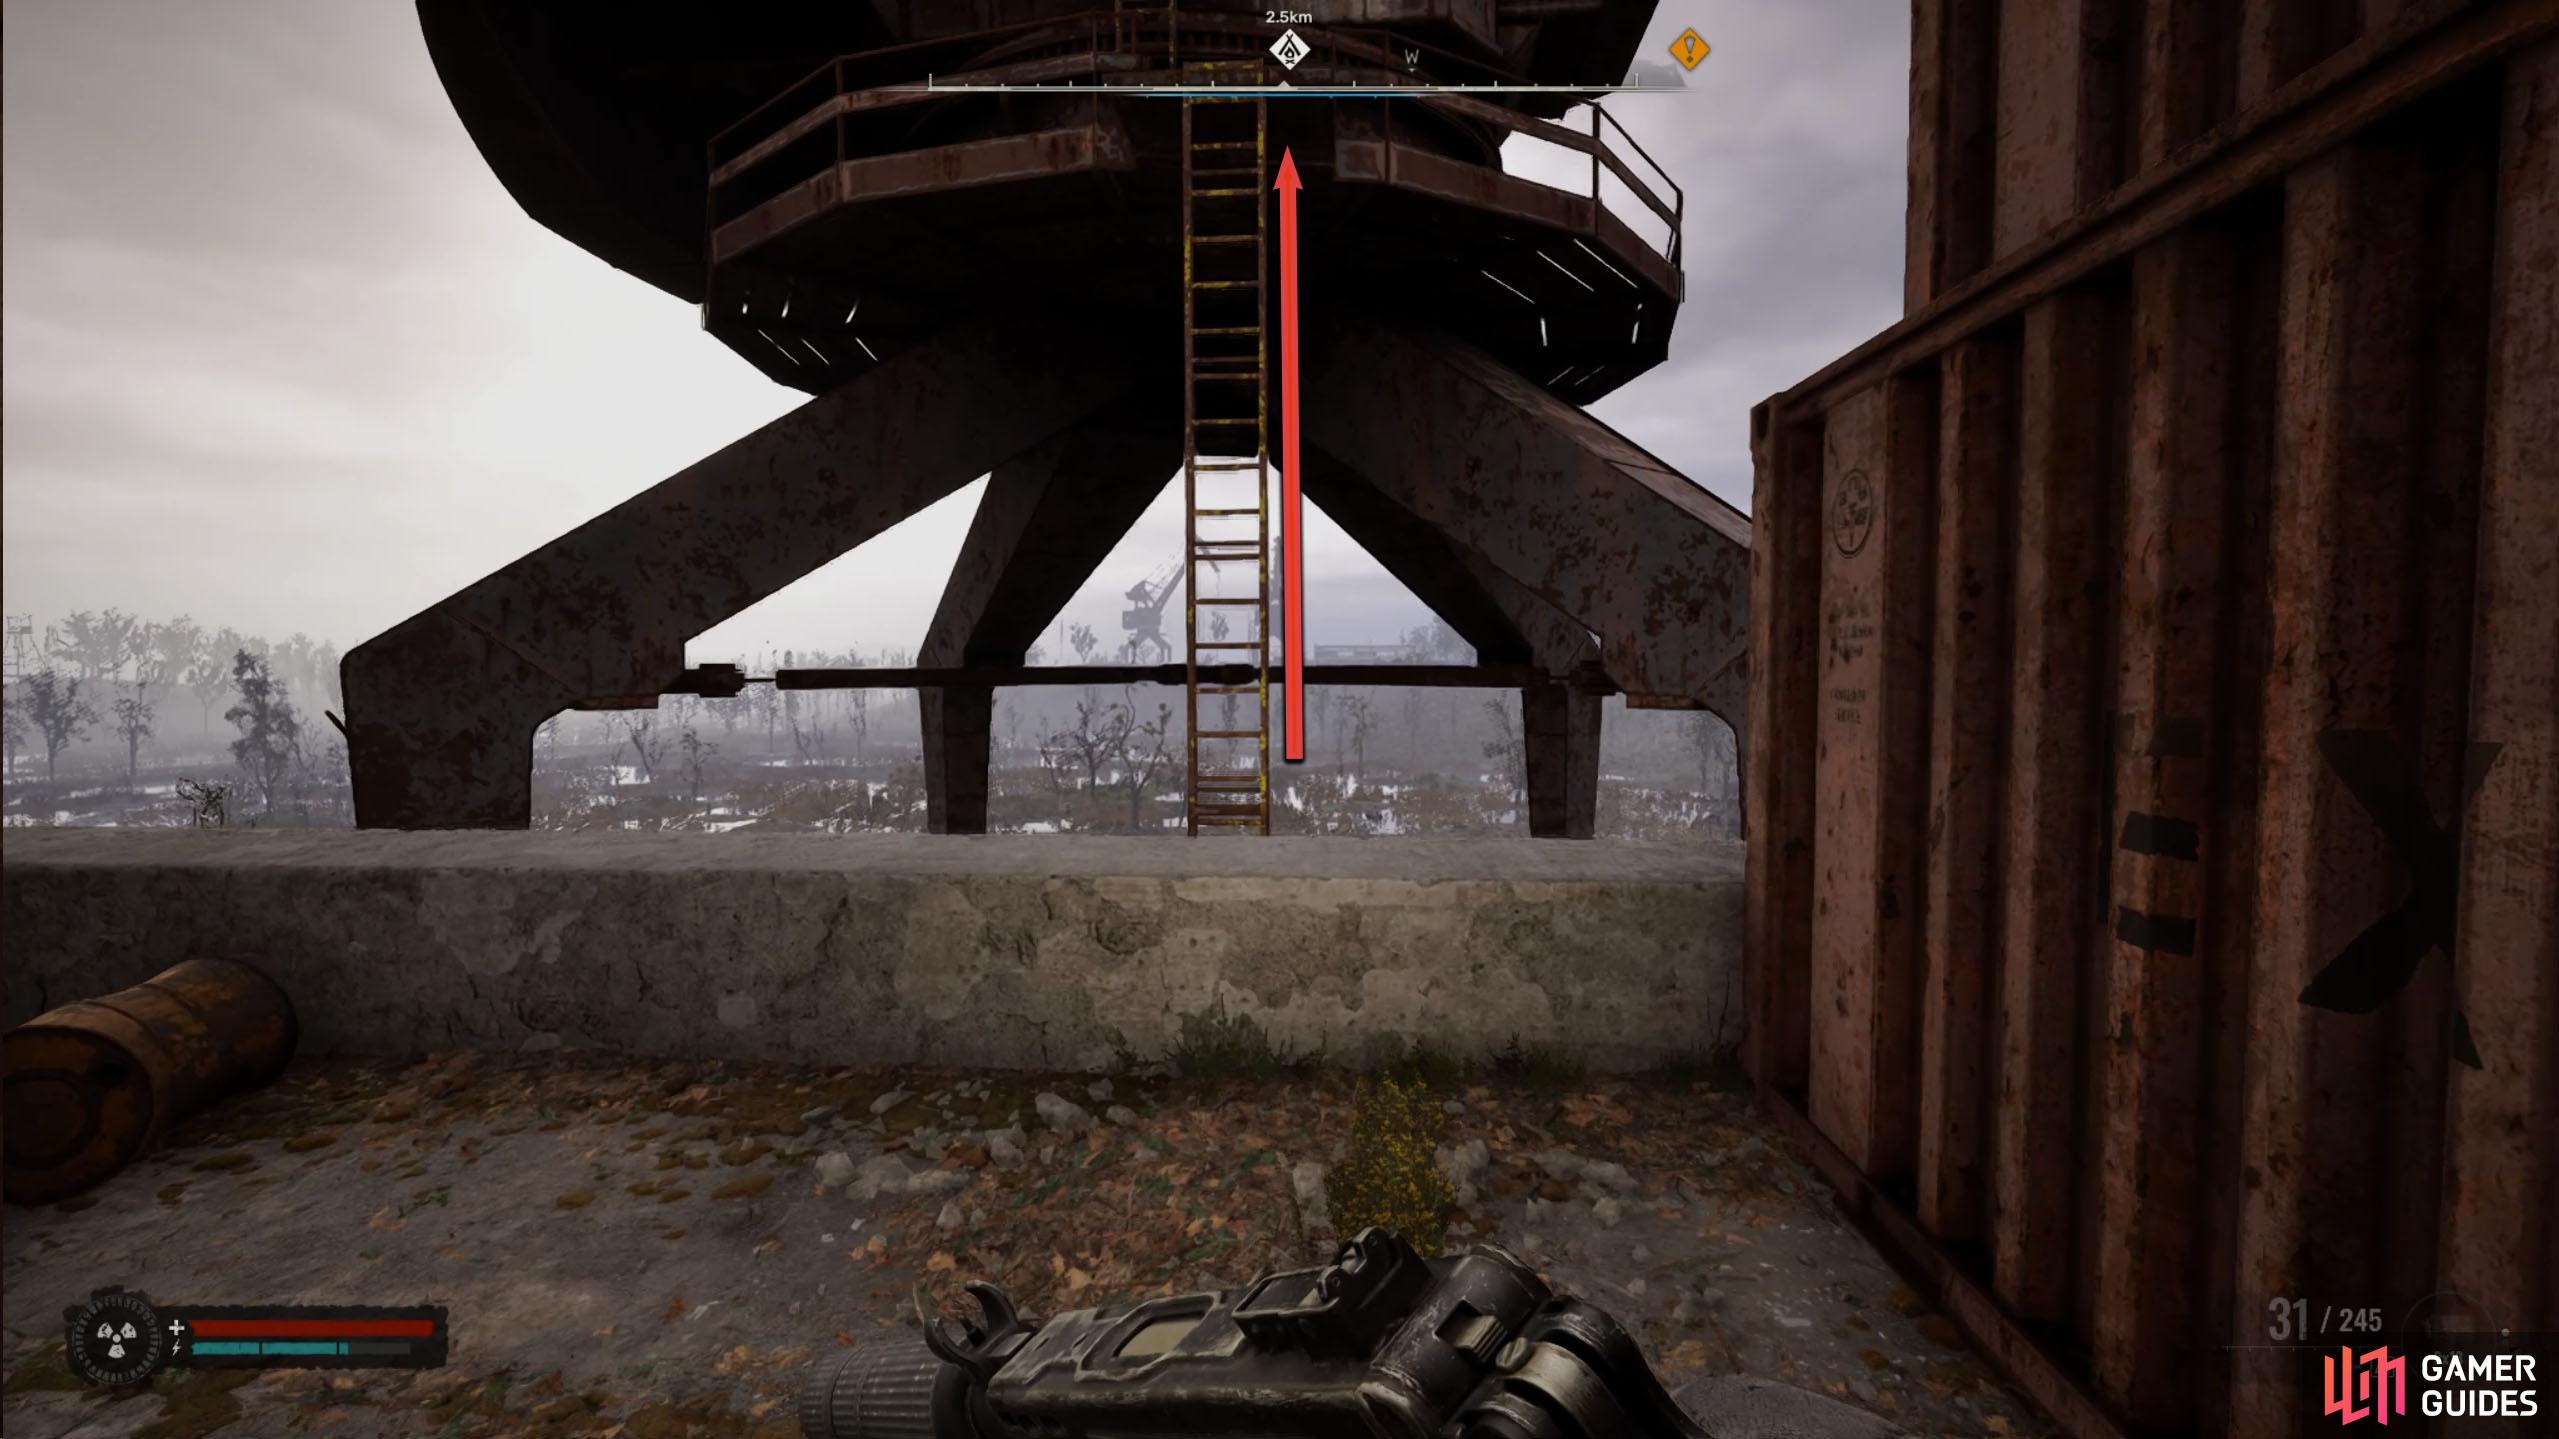
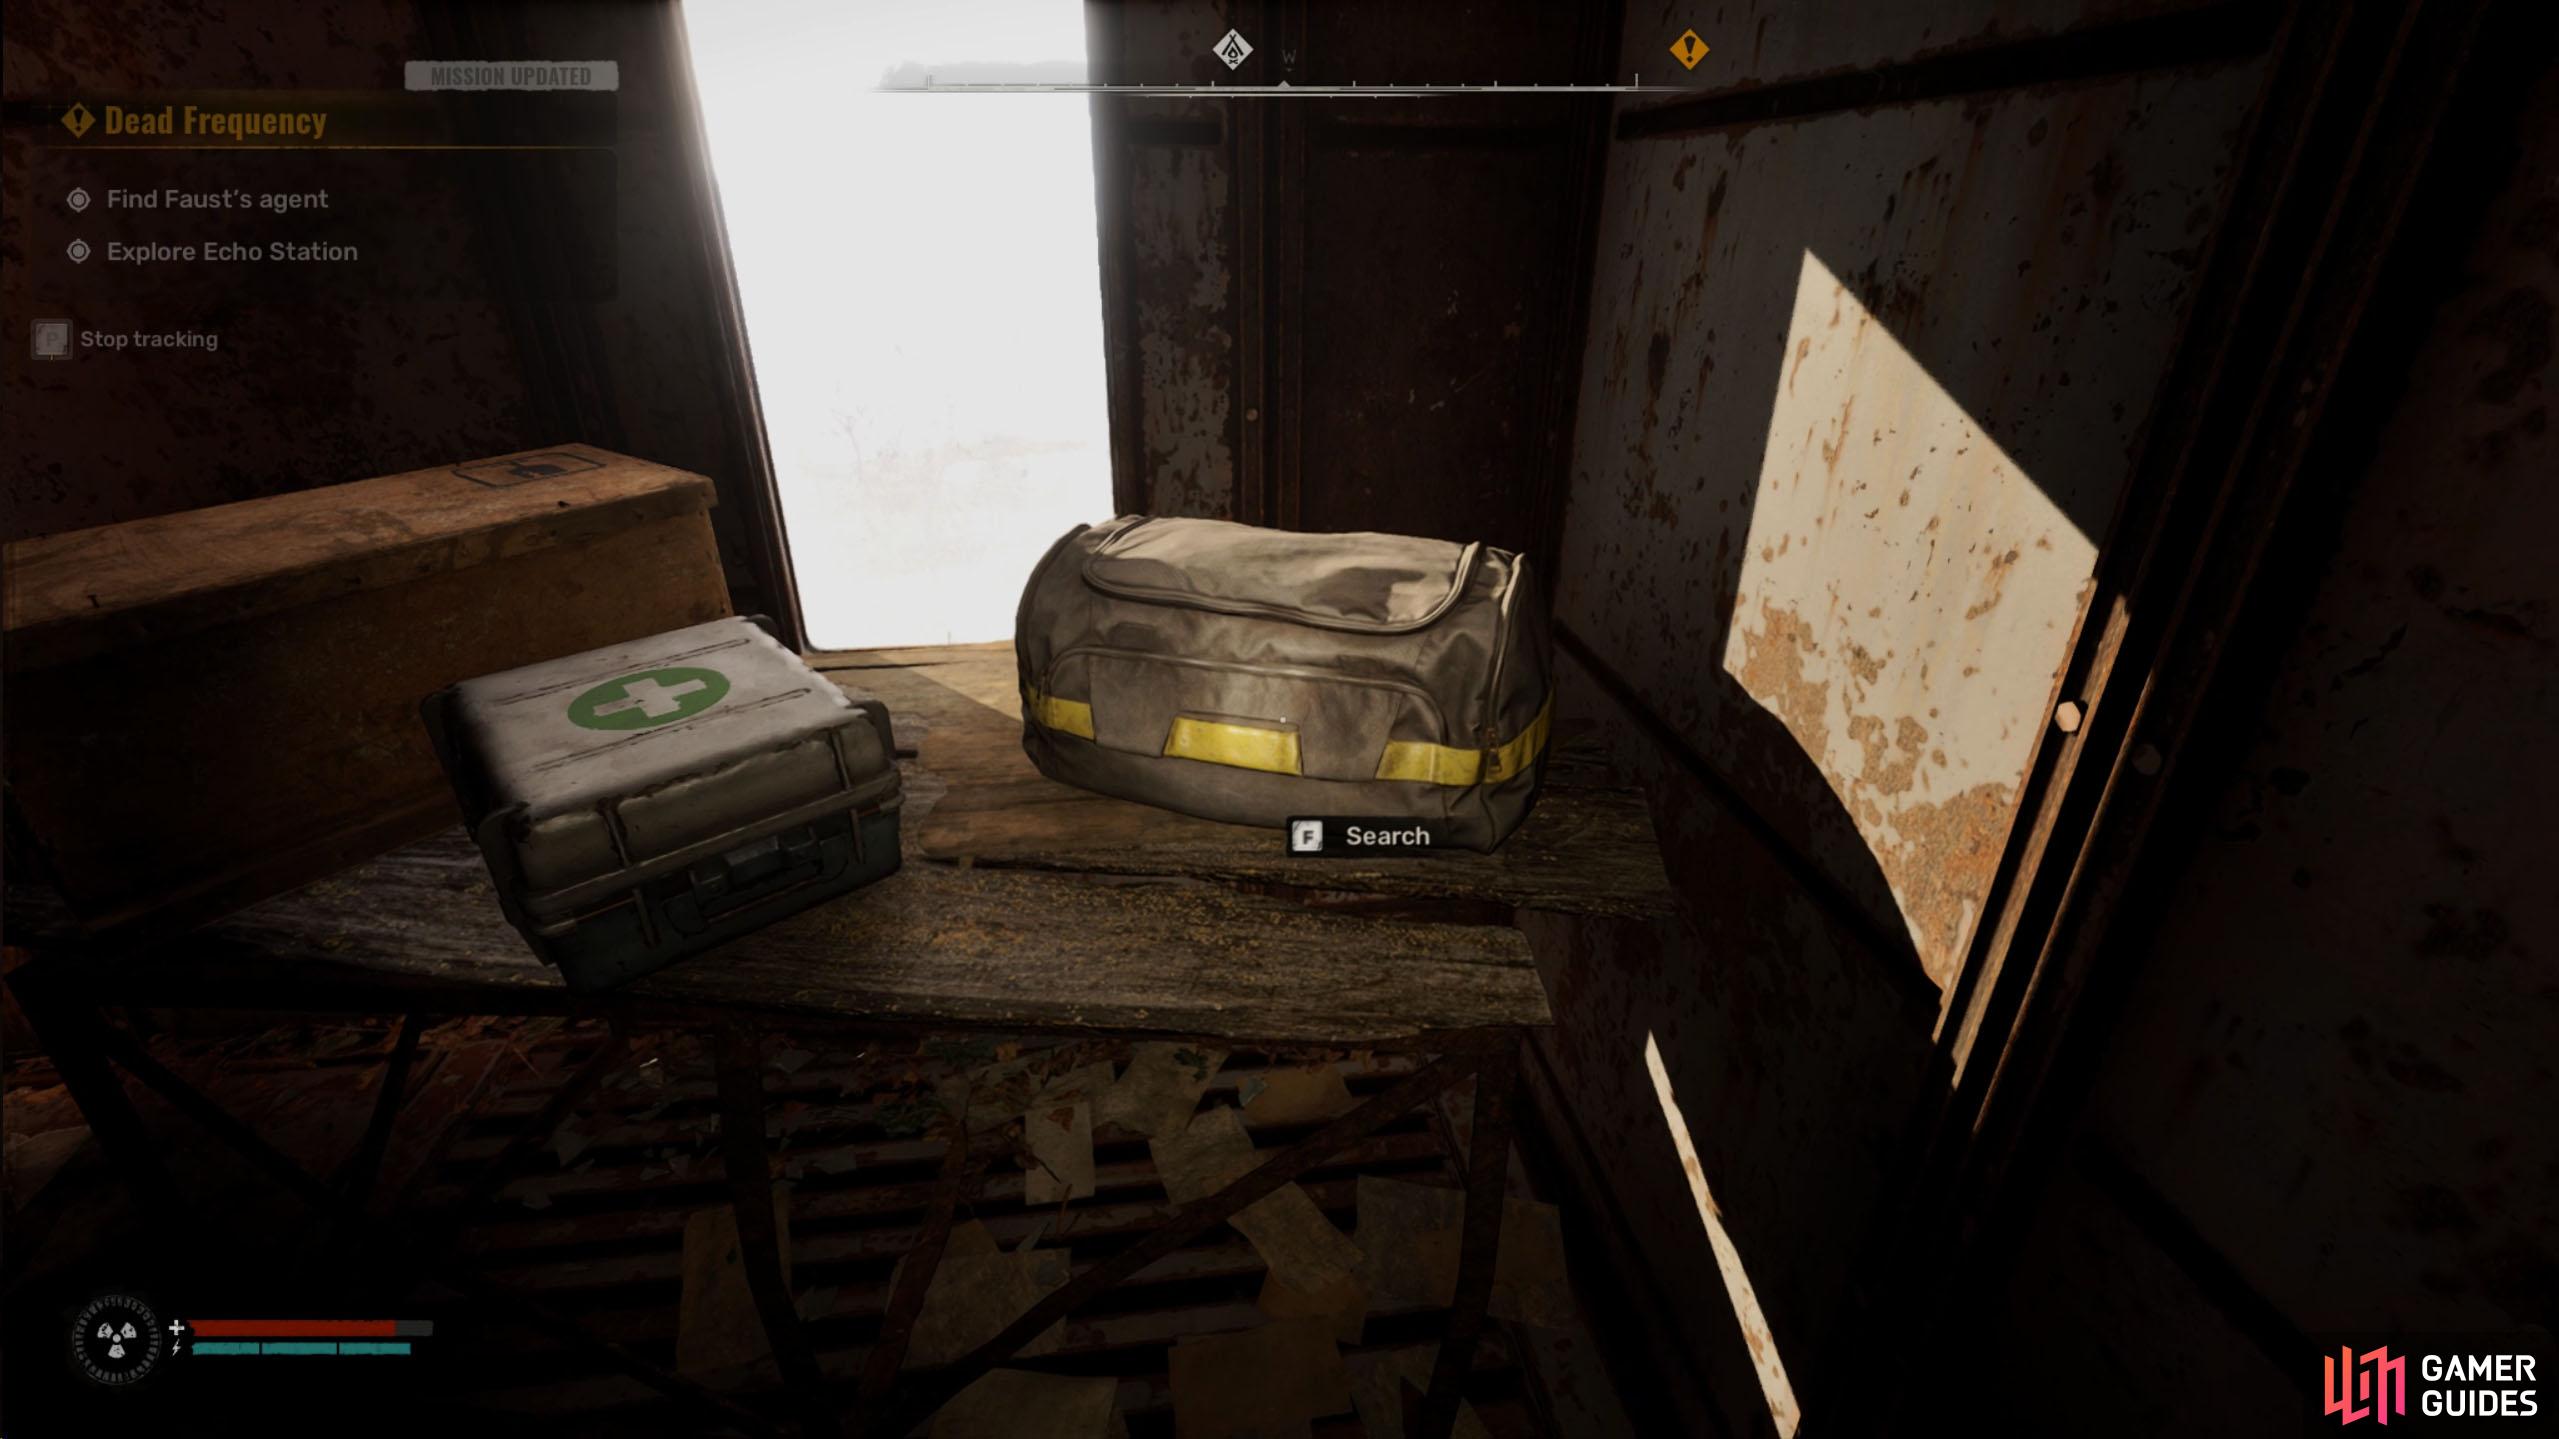
On the next level, climb up the ladder opposite it, and turn to the north. On your left is a crane with a ladder on it. The ladder is broken from the bottom, so the only way to reach it is by jumping onto it from this level. Jump onto the ladder and climb the following ladder to reach the top of the crane, where you’ll find a stash.
(1 of 2) Jump over to the ladder and climb it to the top of the crane.
Jump over to the ladder and climb it to the top of the crane. (left), Inside, you’ll find a supply stash. (right)
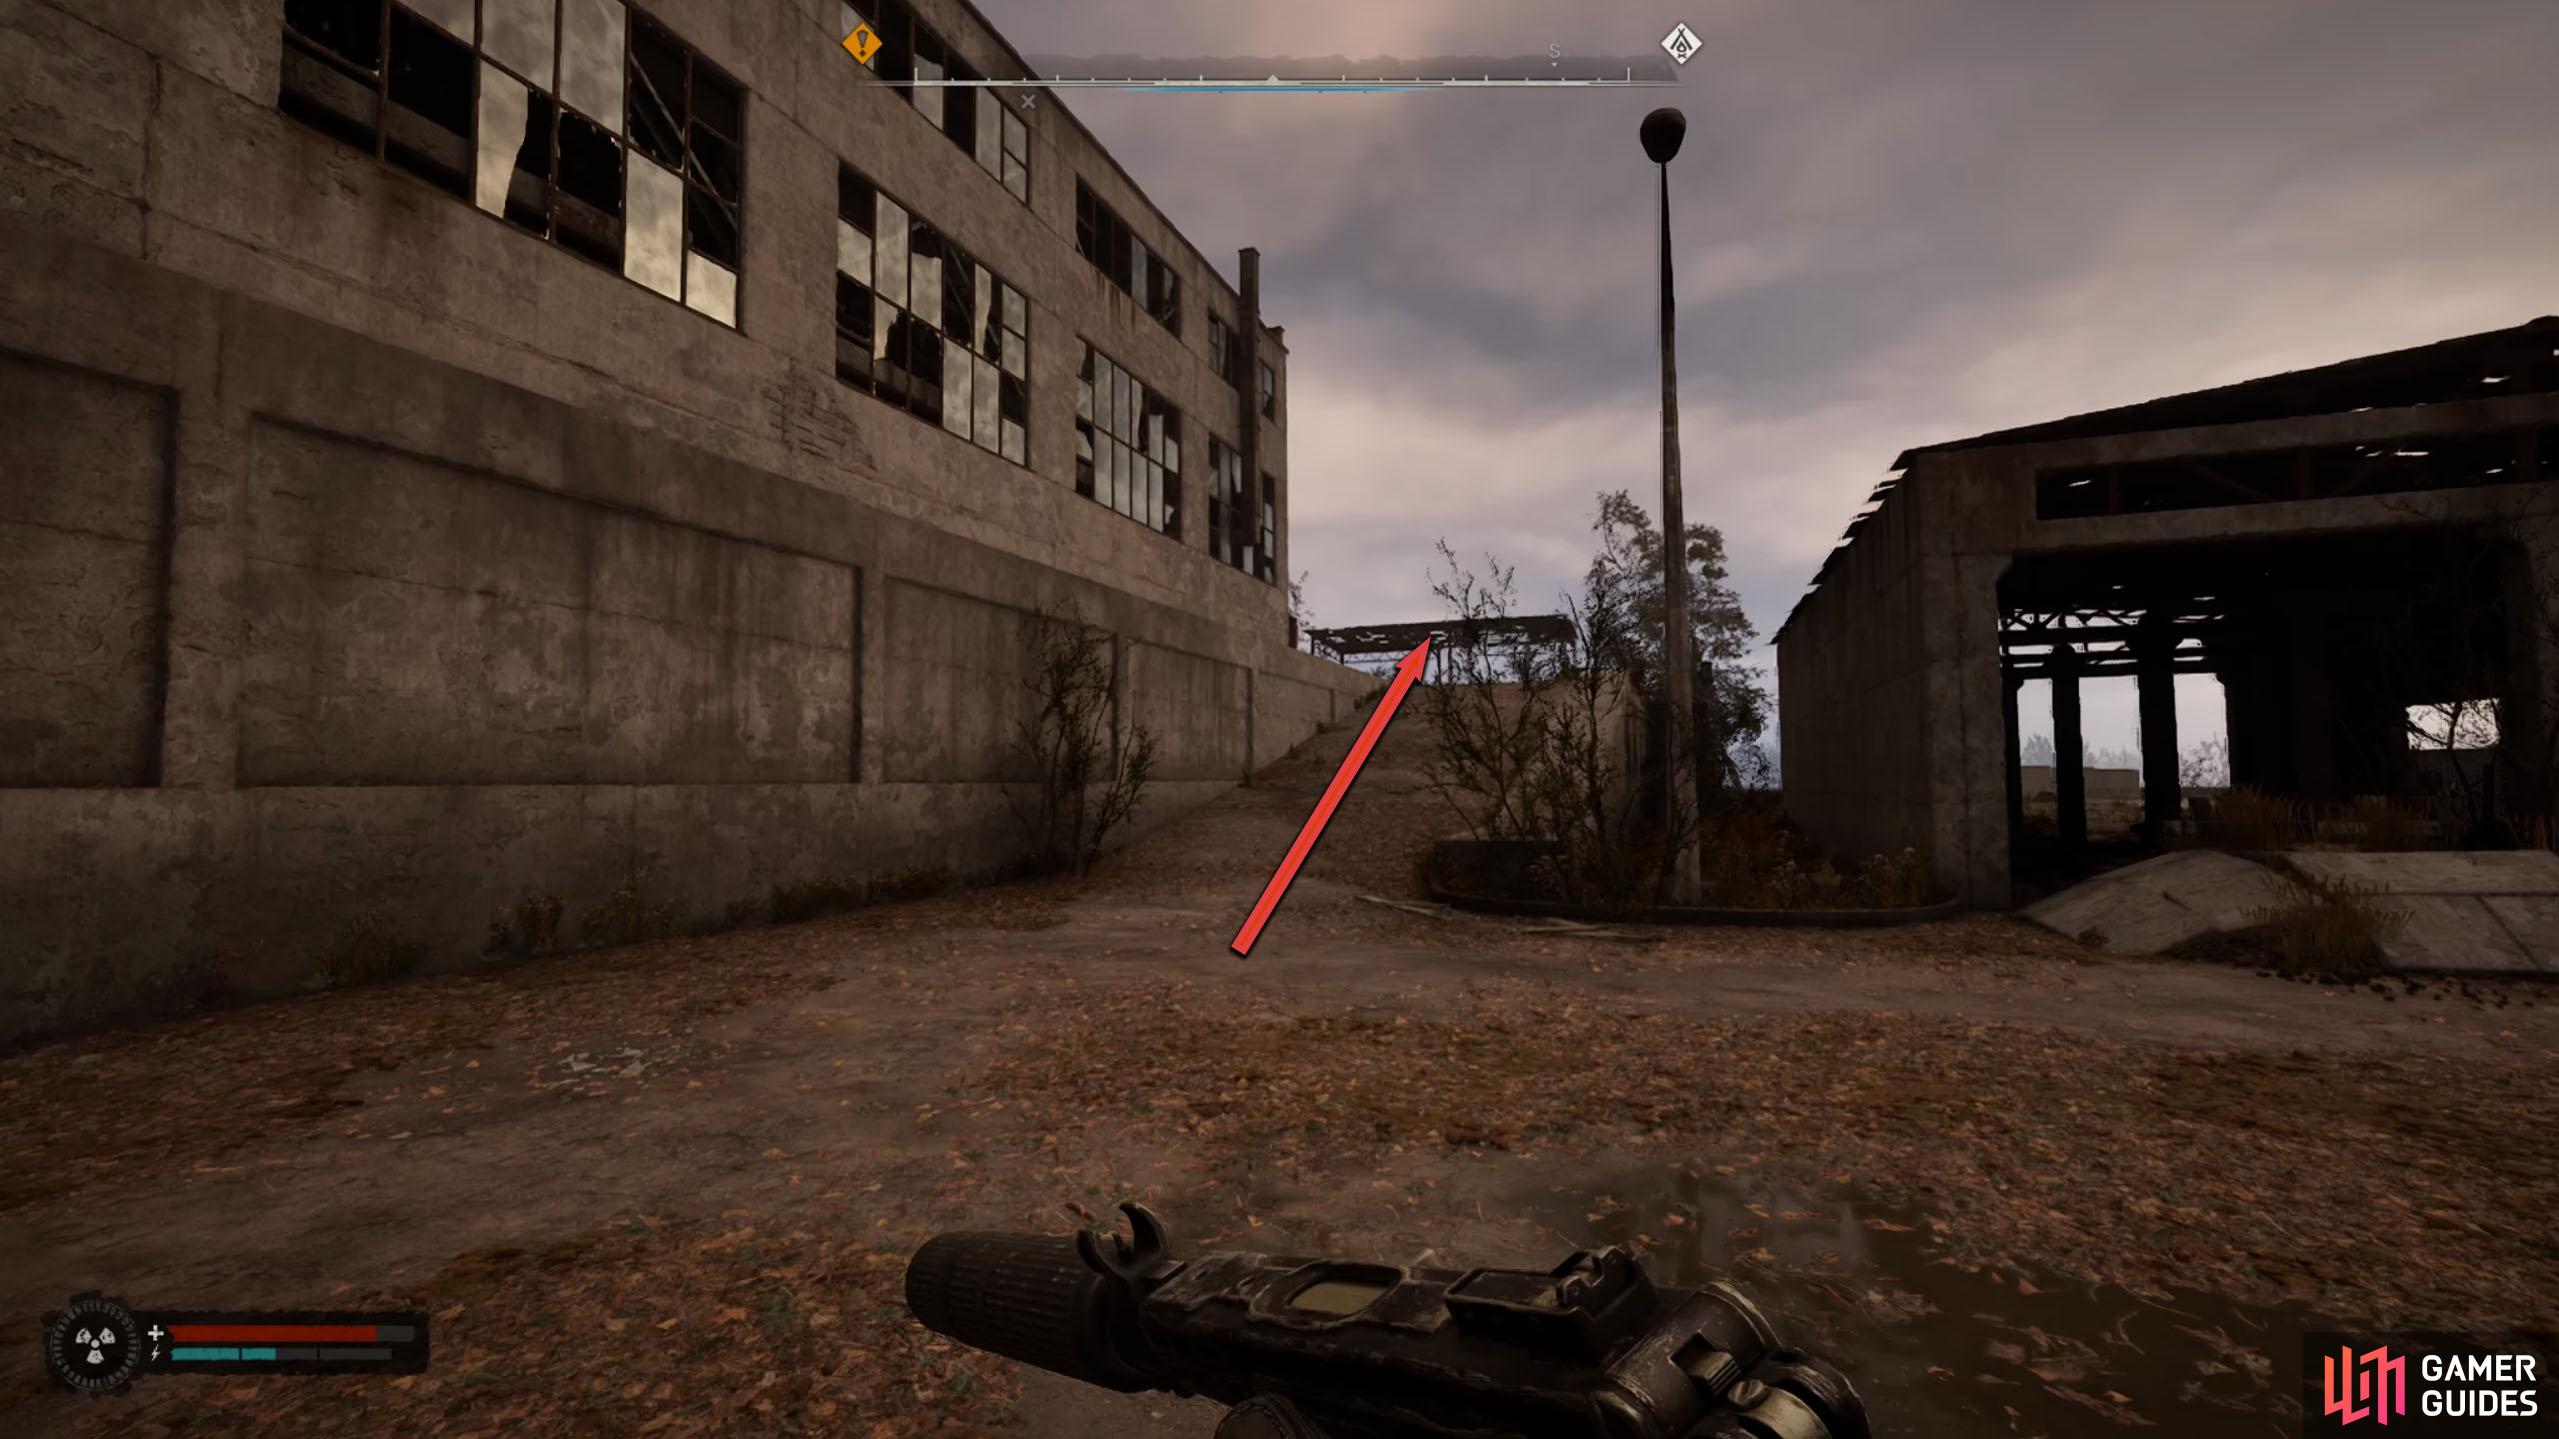
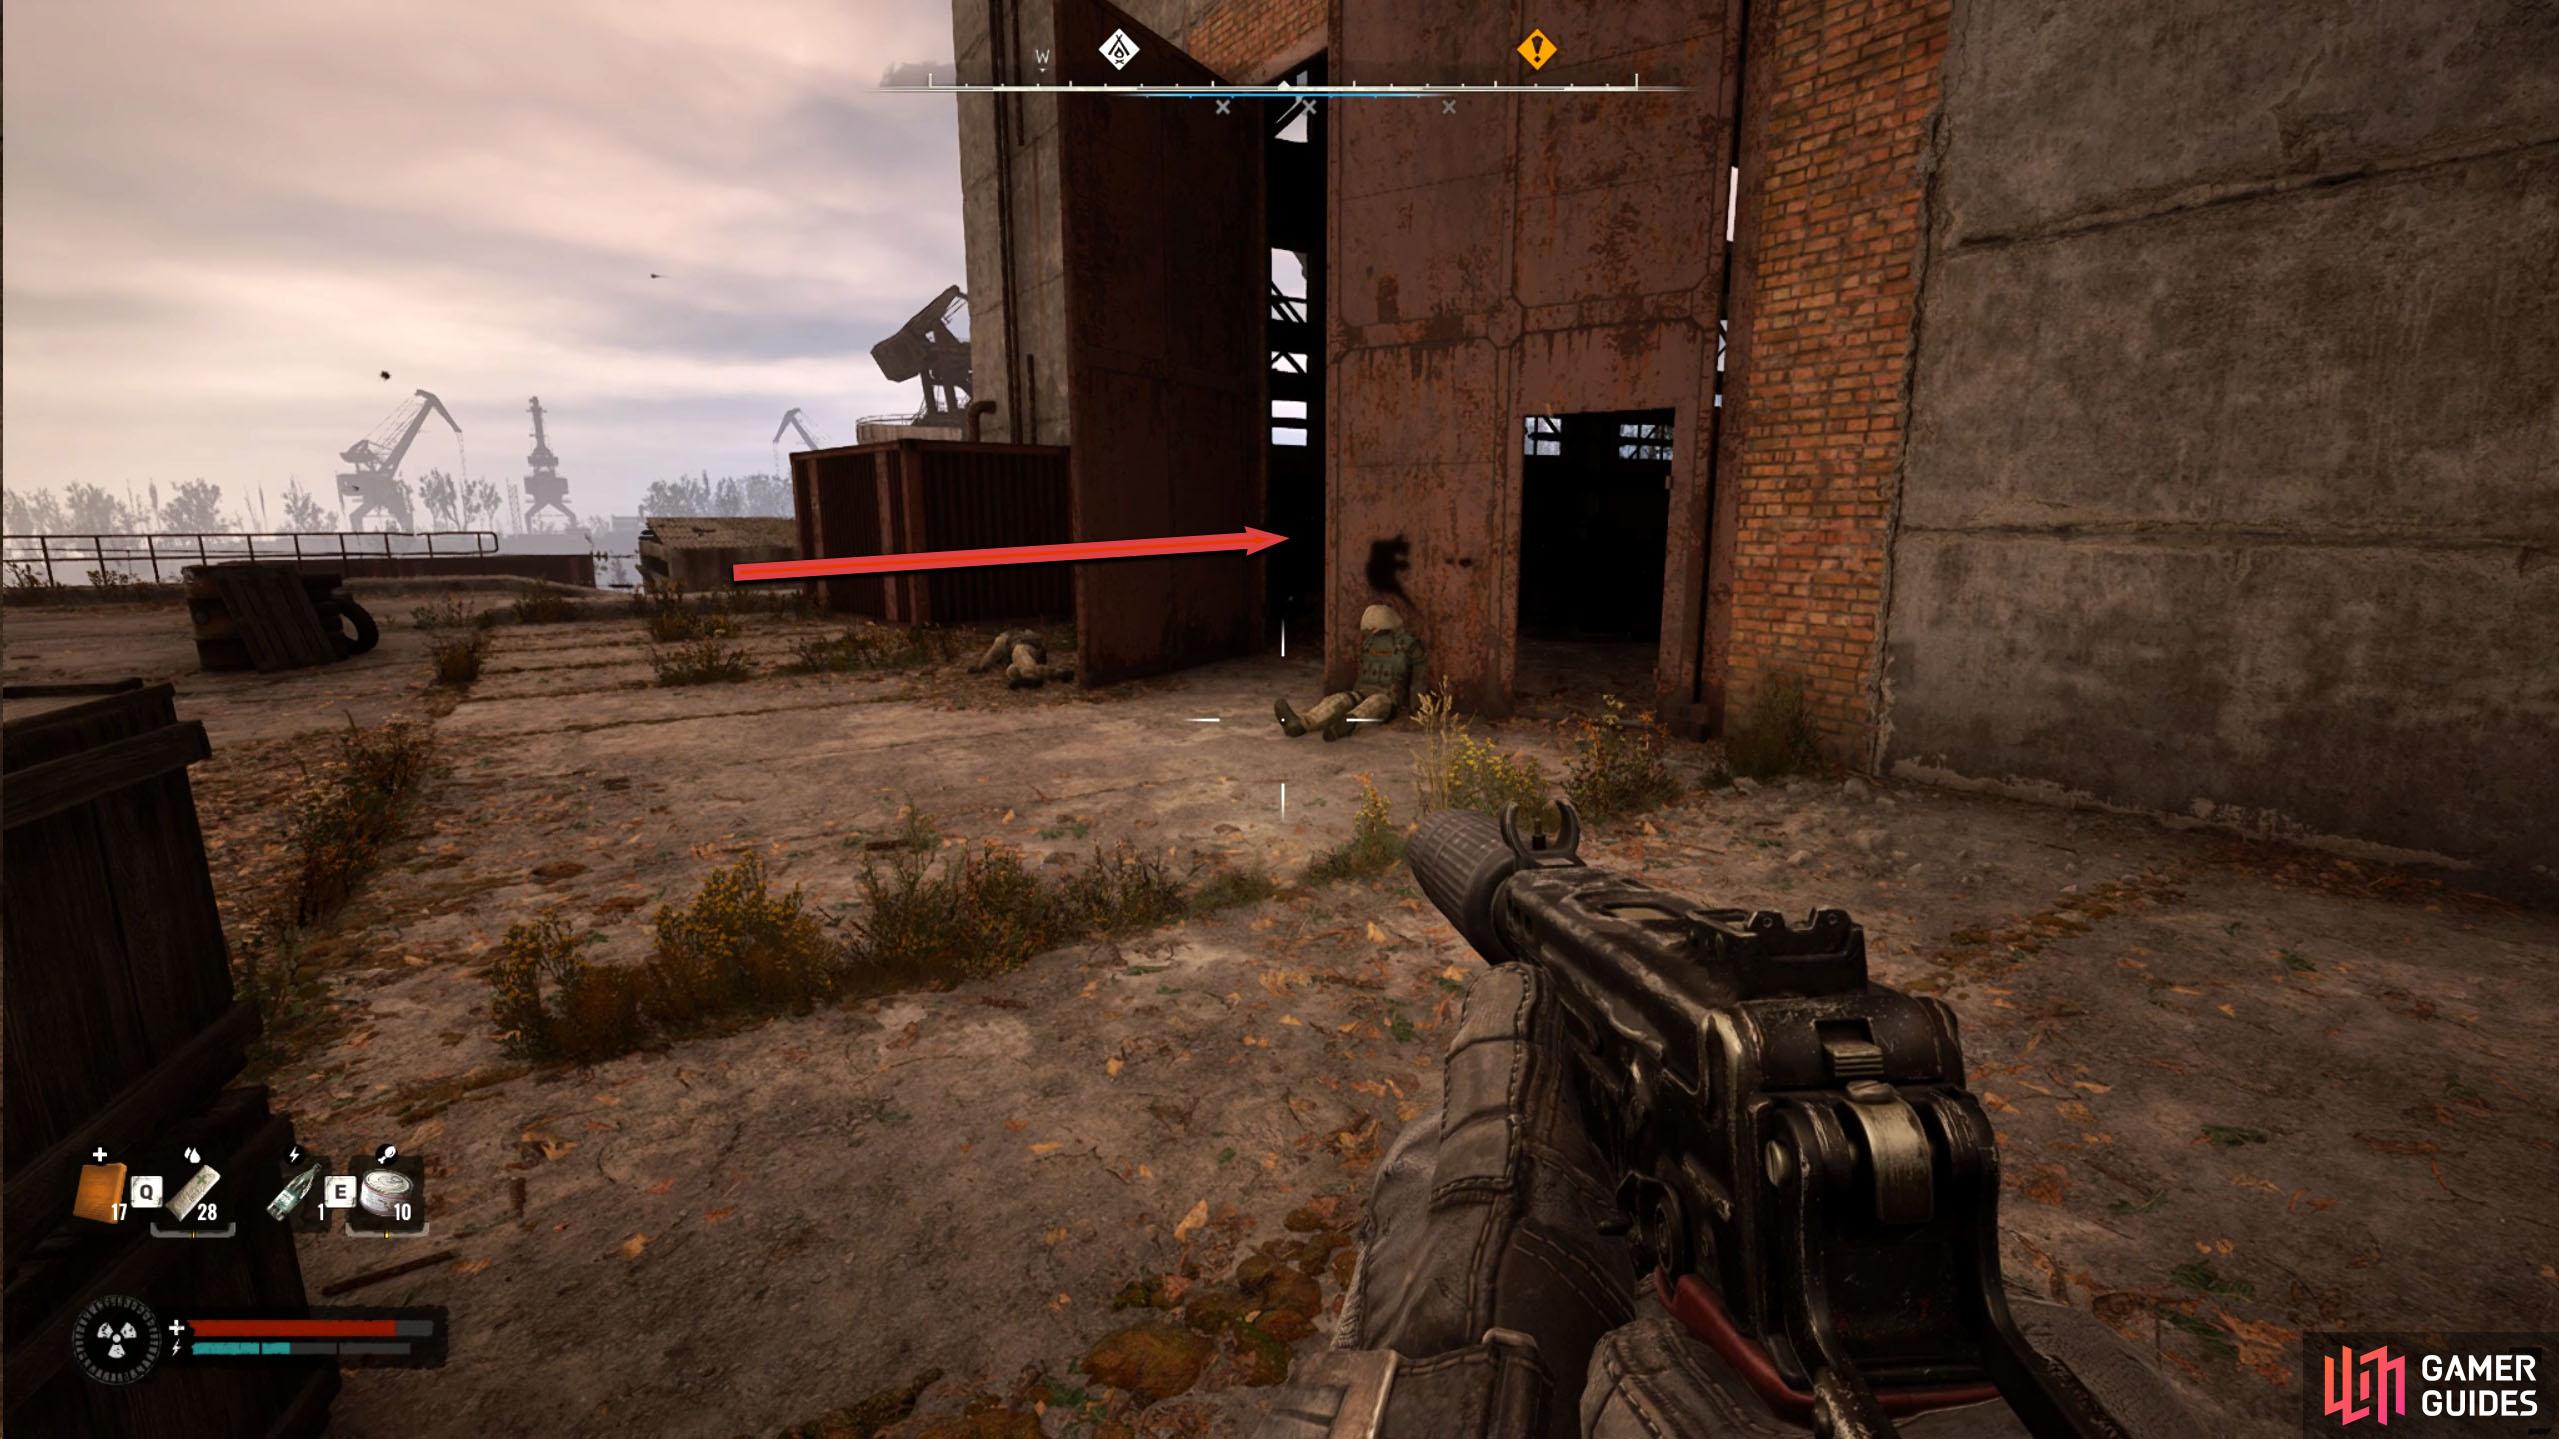
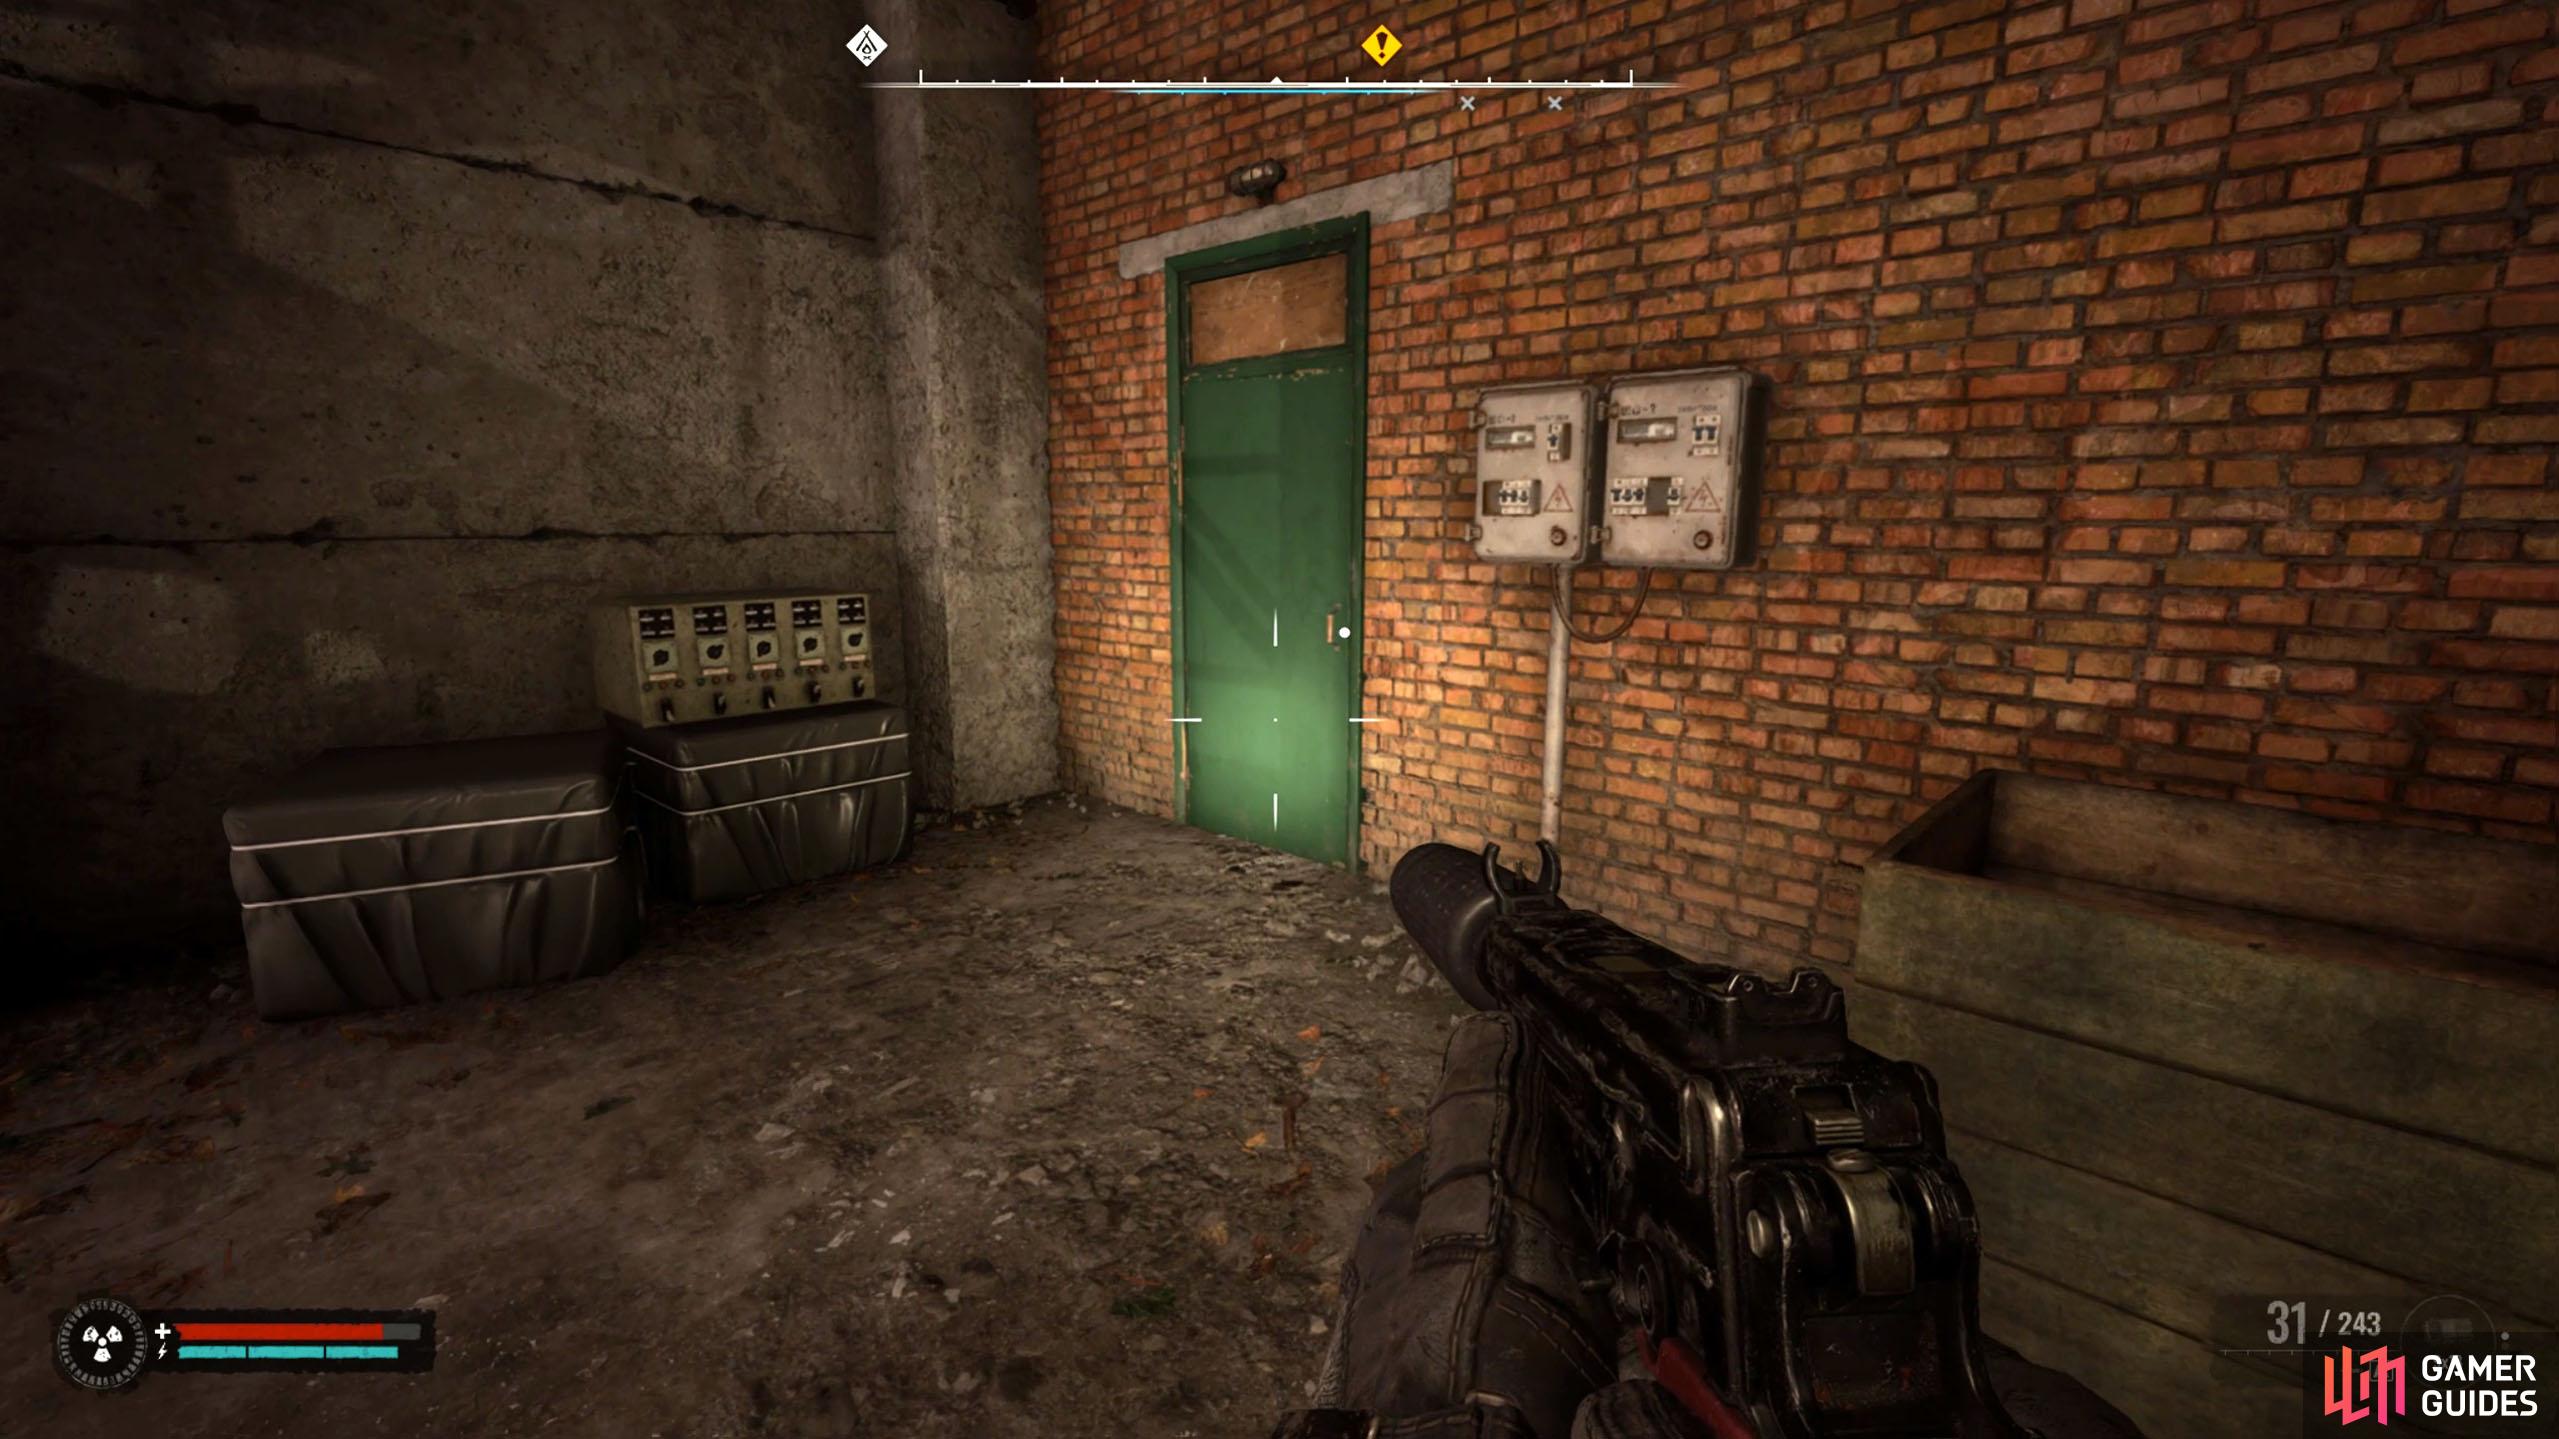
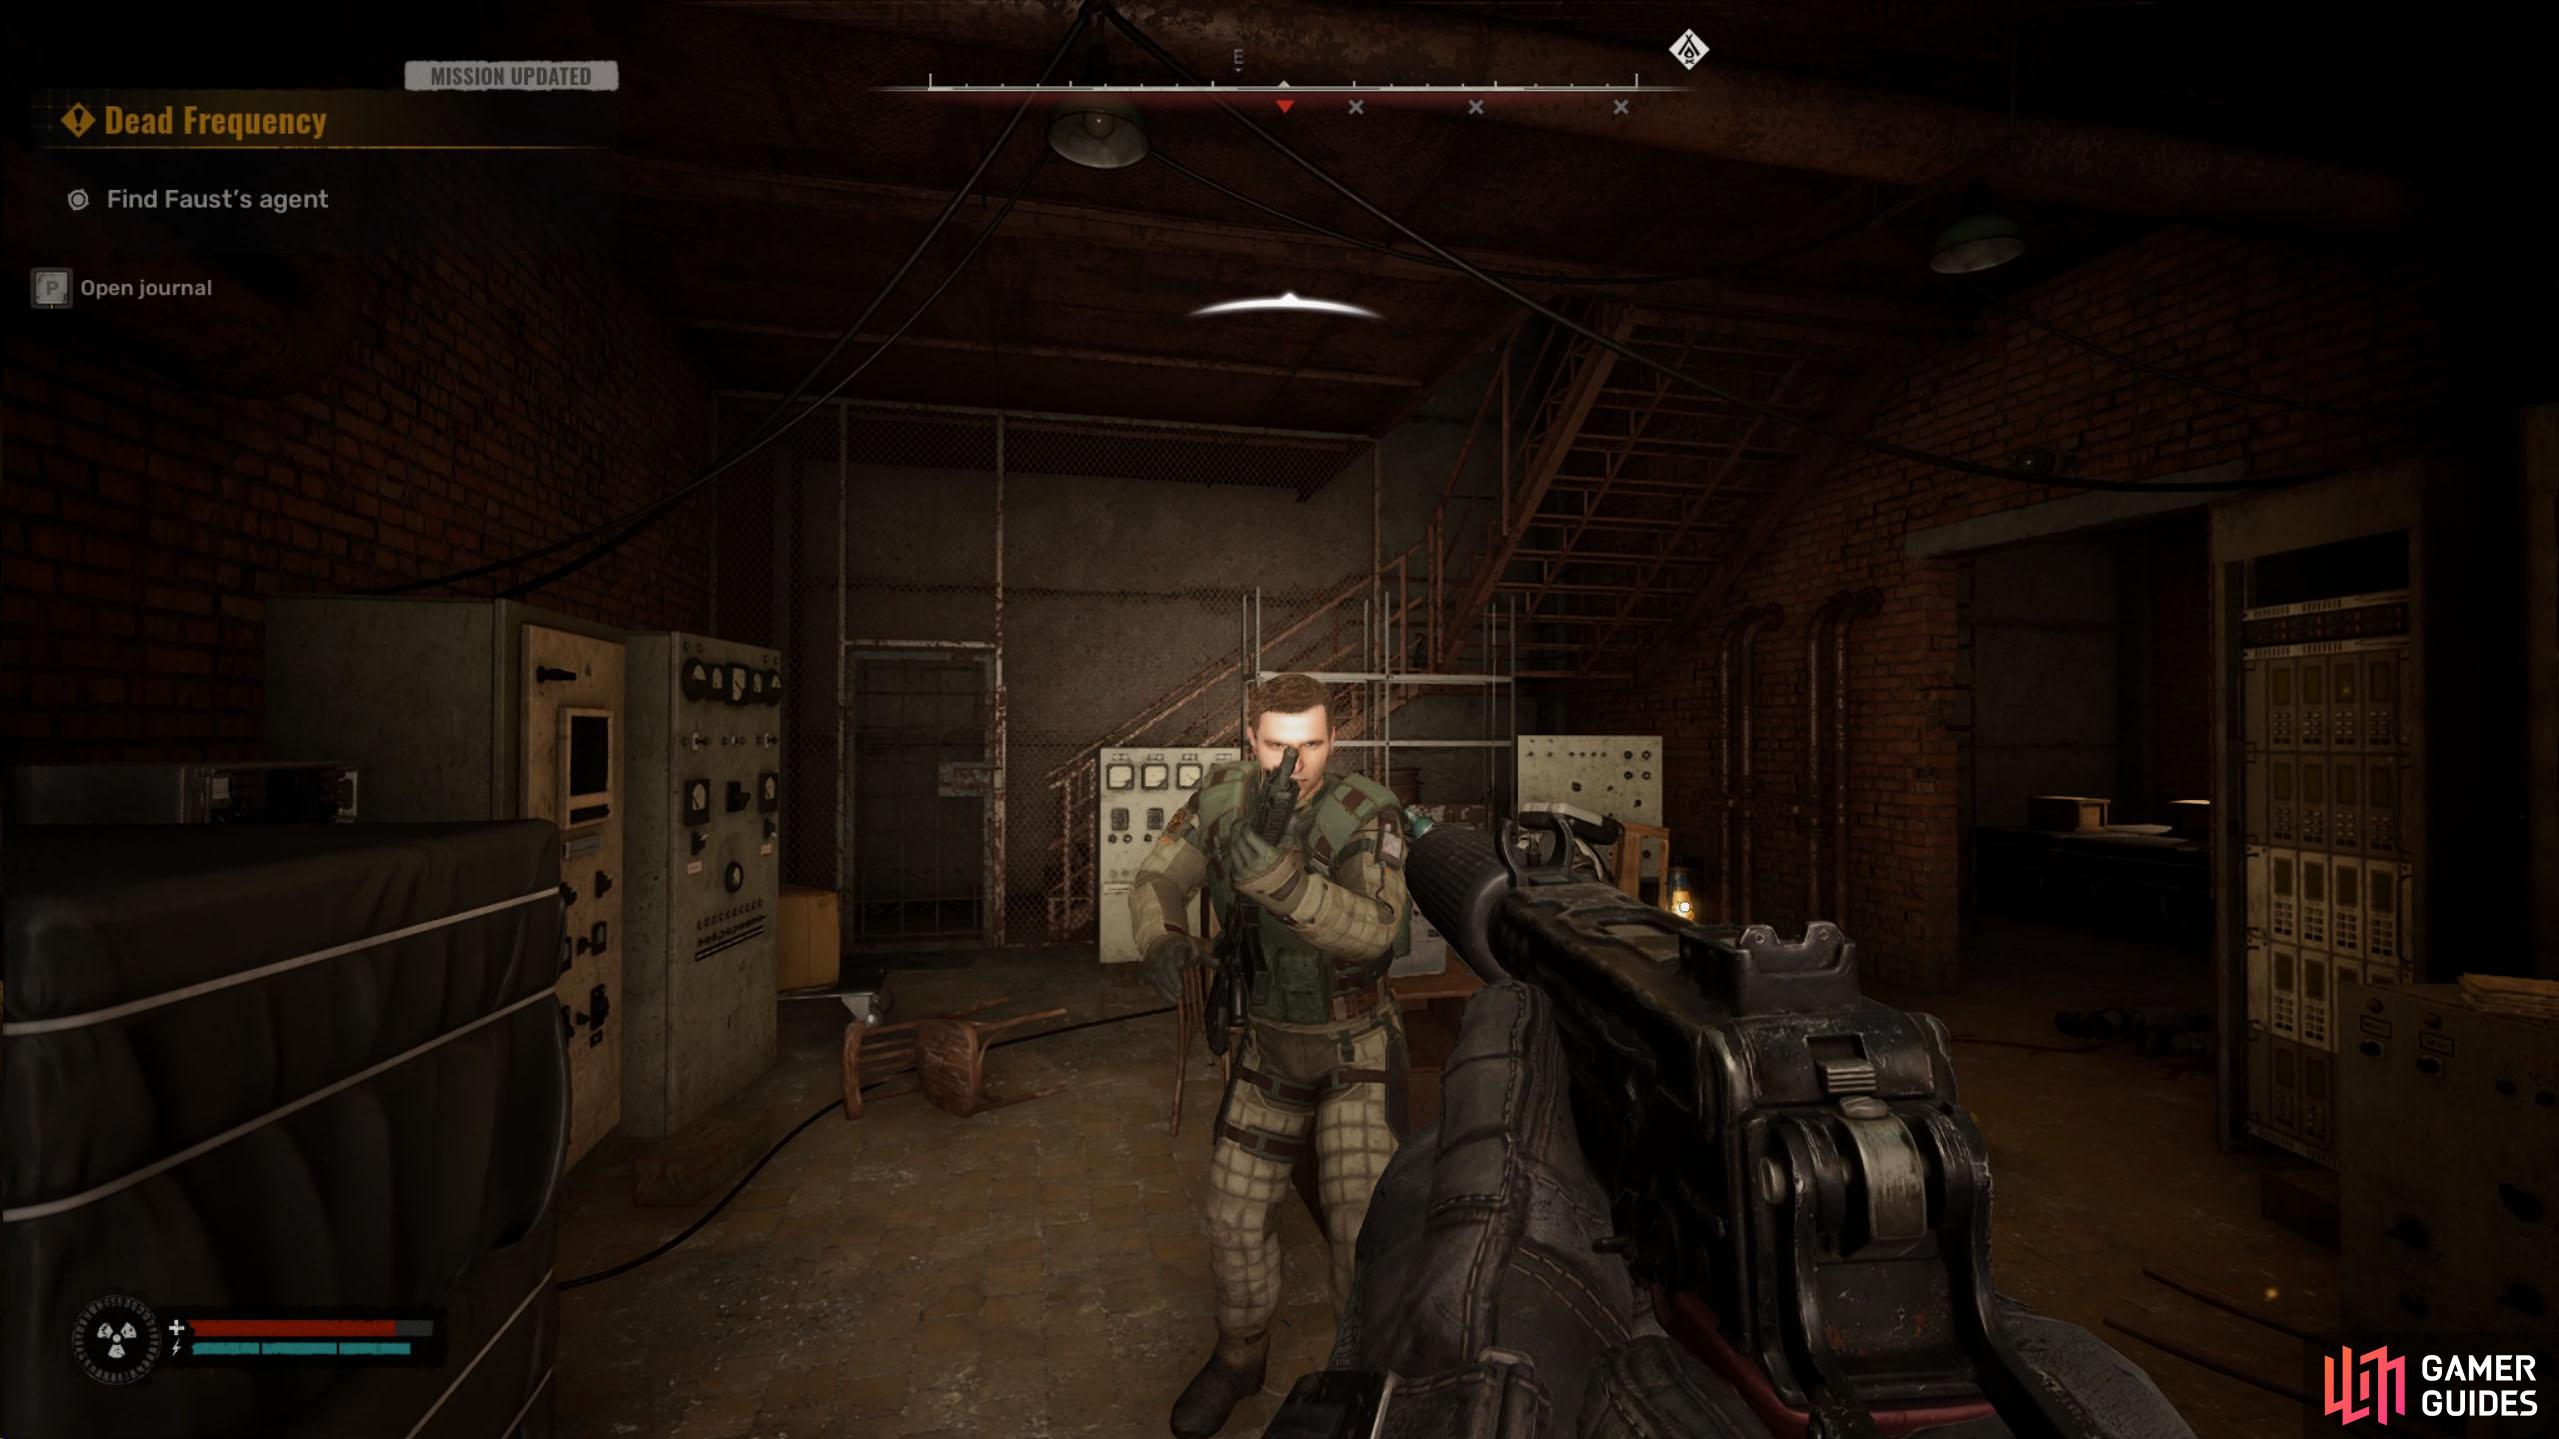
Make your way back to the main level, and head up the slope to the southeast. At the top, go into the warehouse with the red doors to the north. Continue through the warehouse while heading north until you reach the back of it, and go through the green door at the back to your right to find the elusive Lt. Shterev. Listen to his speech, and be ready to put a bullet in him when he’s finished.
Loot his corpse to find his diary, and loot the stash to the left of him. Make sure you search the adjacent rooms (including up the ladder) for supplies and then get ready for the final part of the mission.
(1 of 4) Head up the slope to your southeast.
Activate the Device
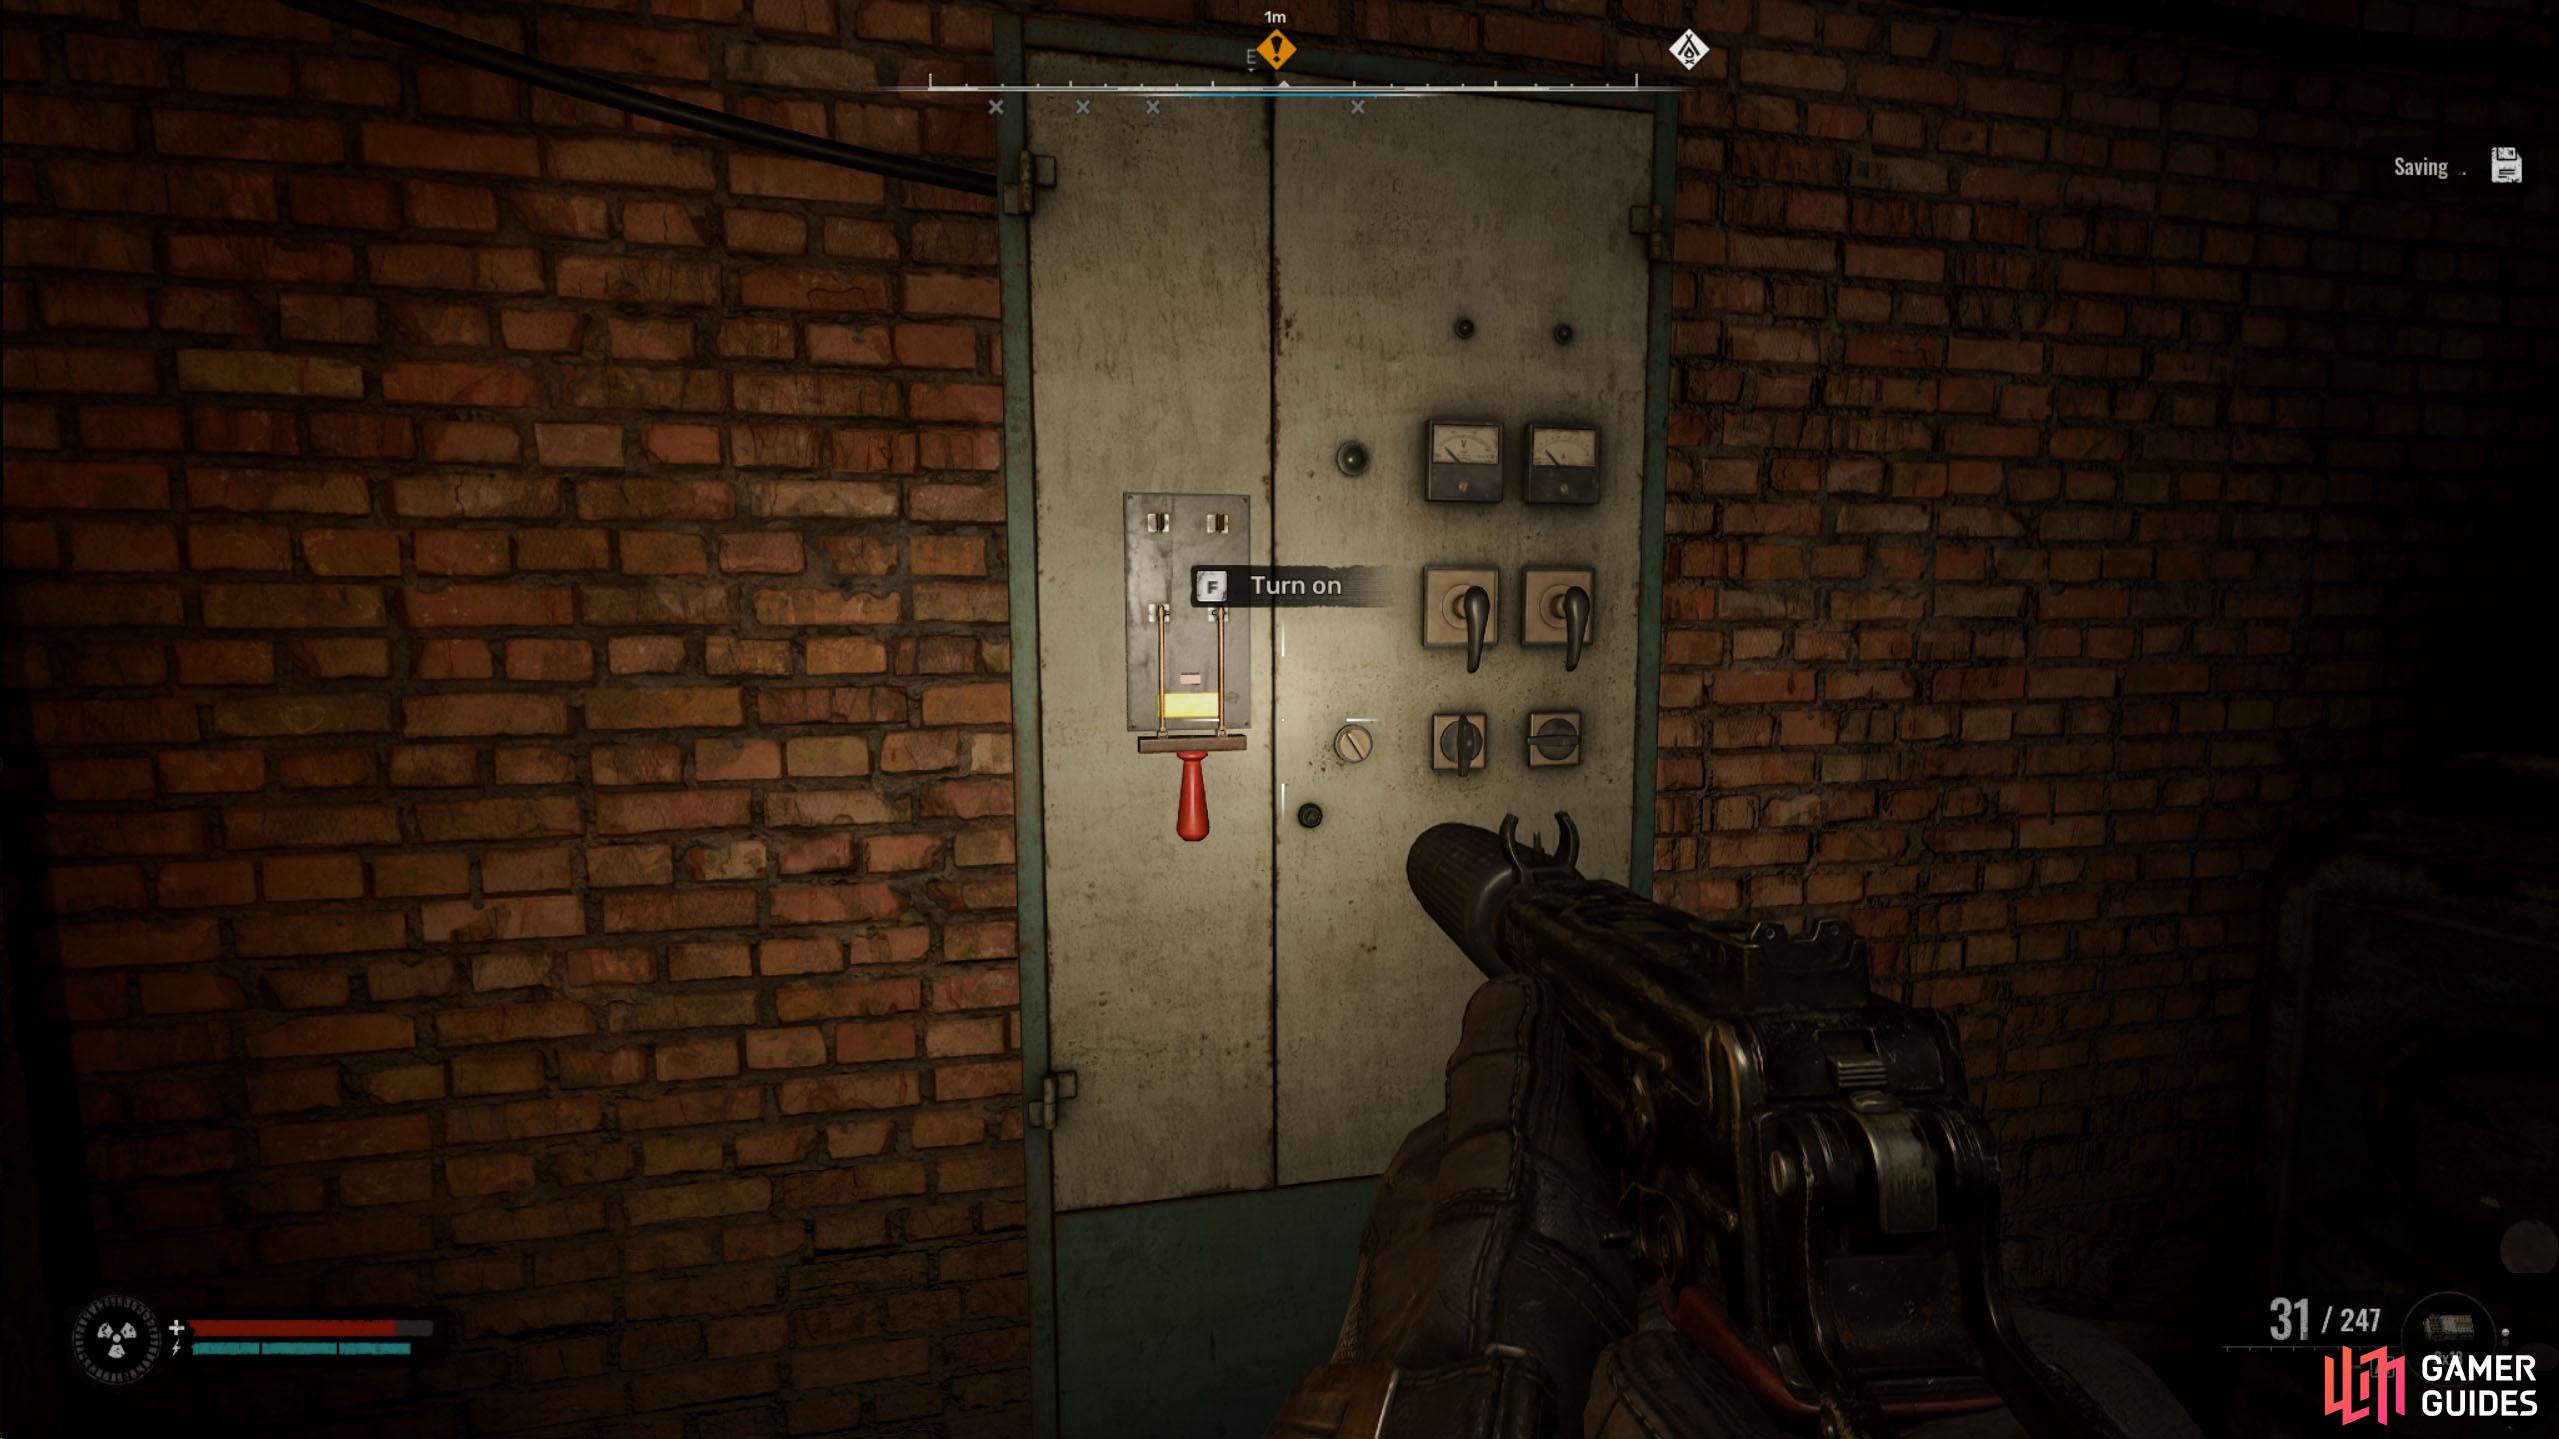
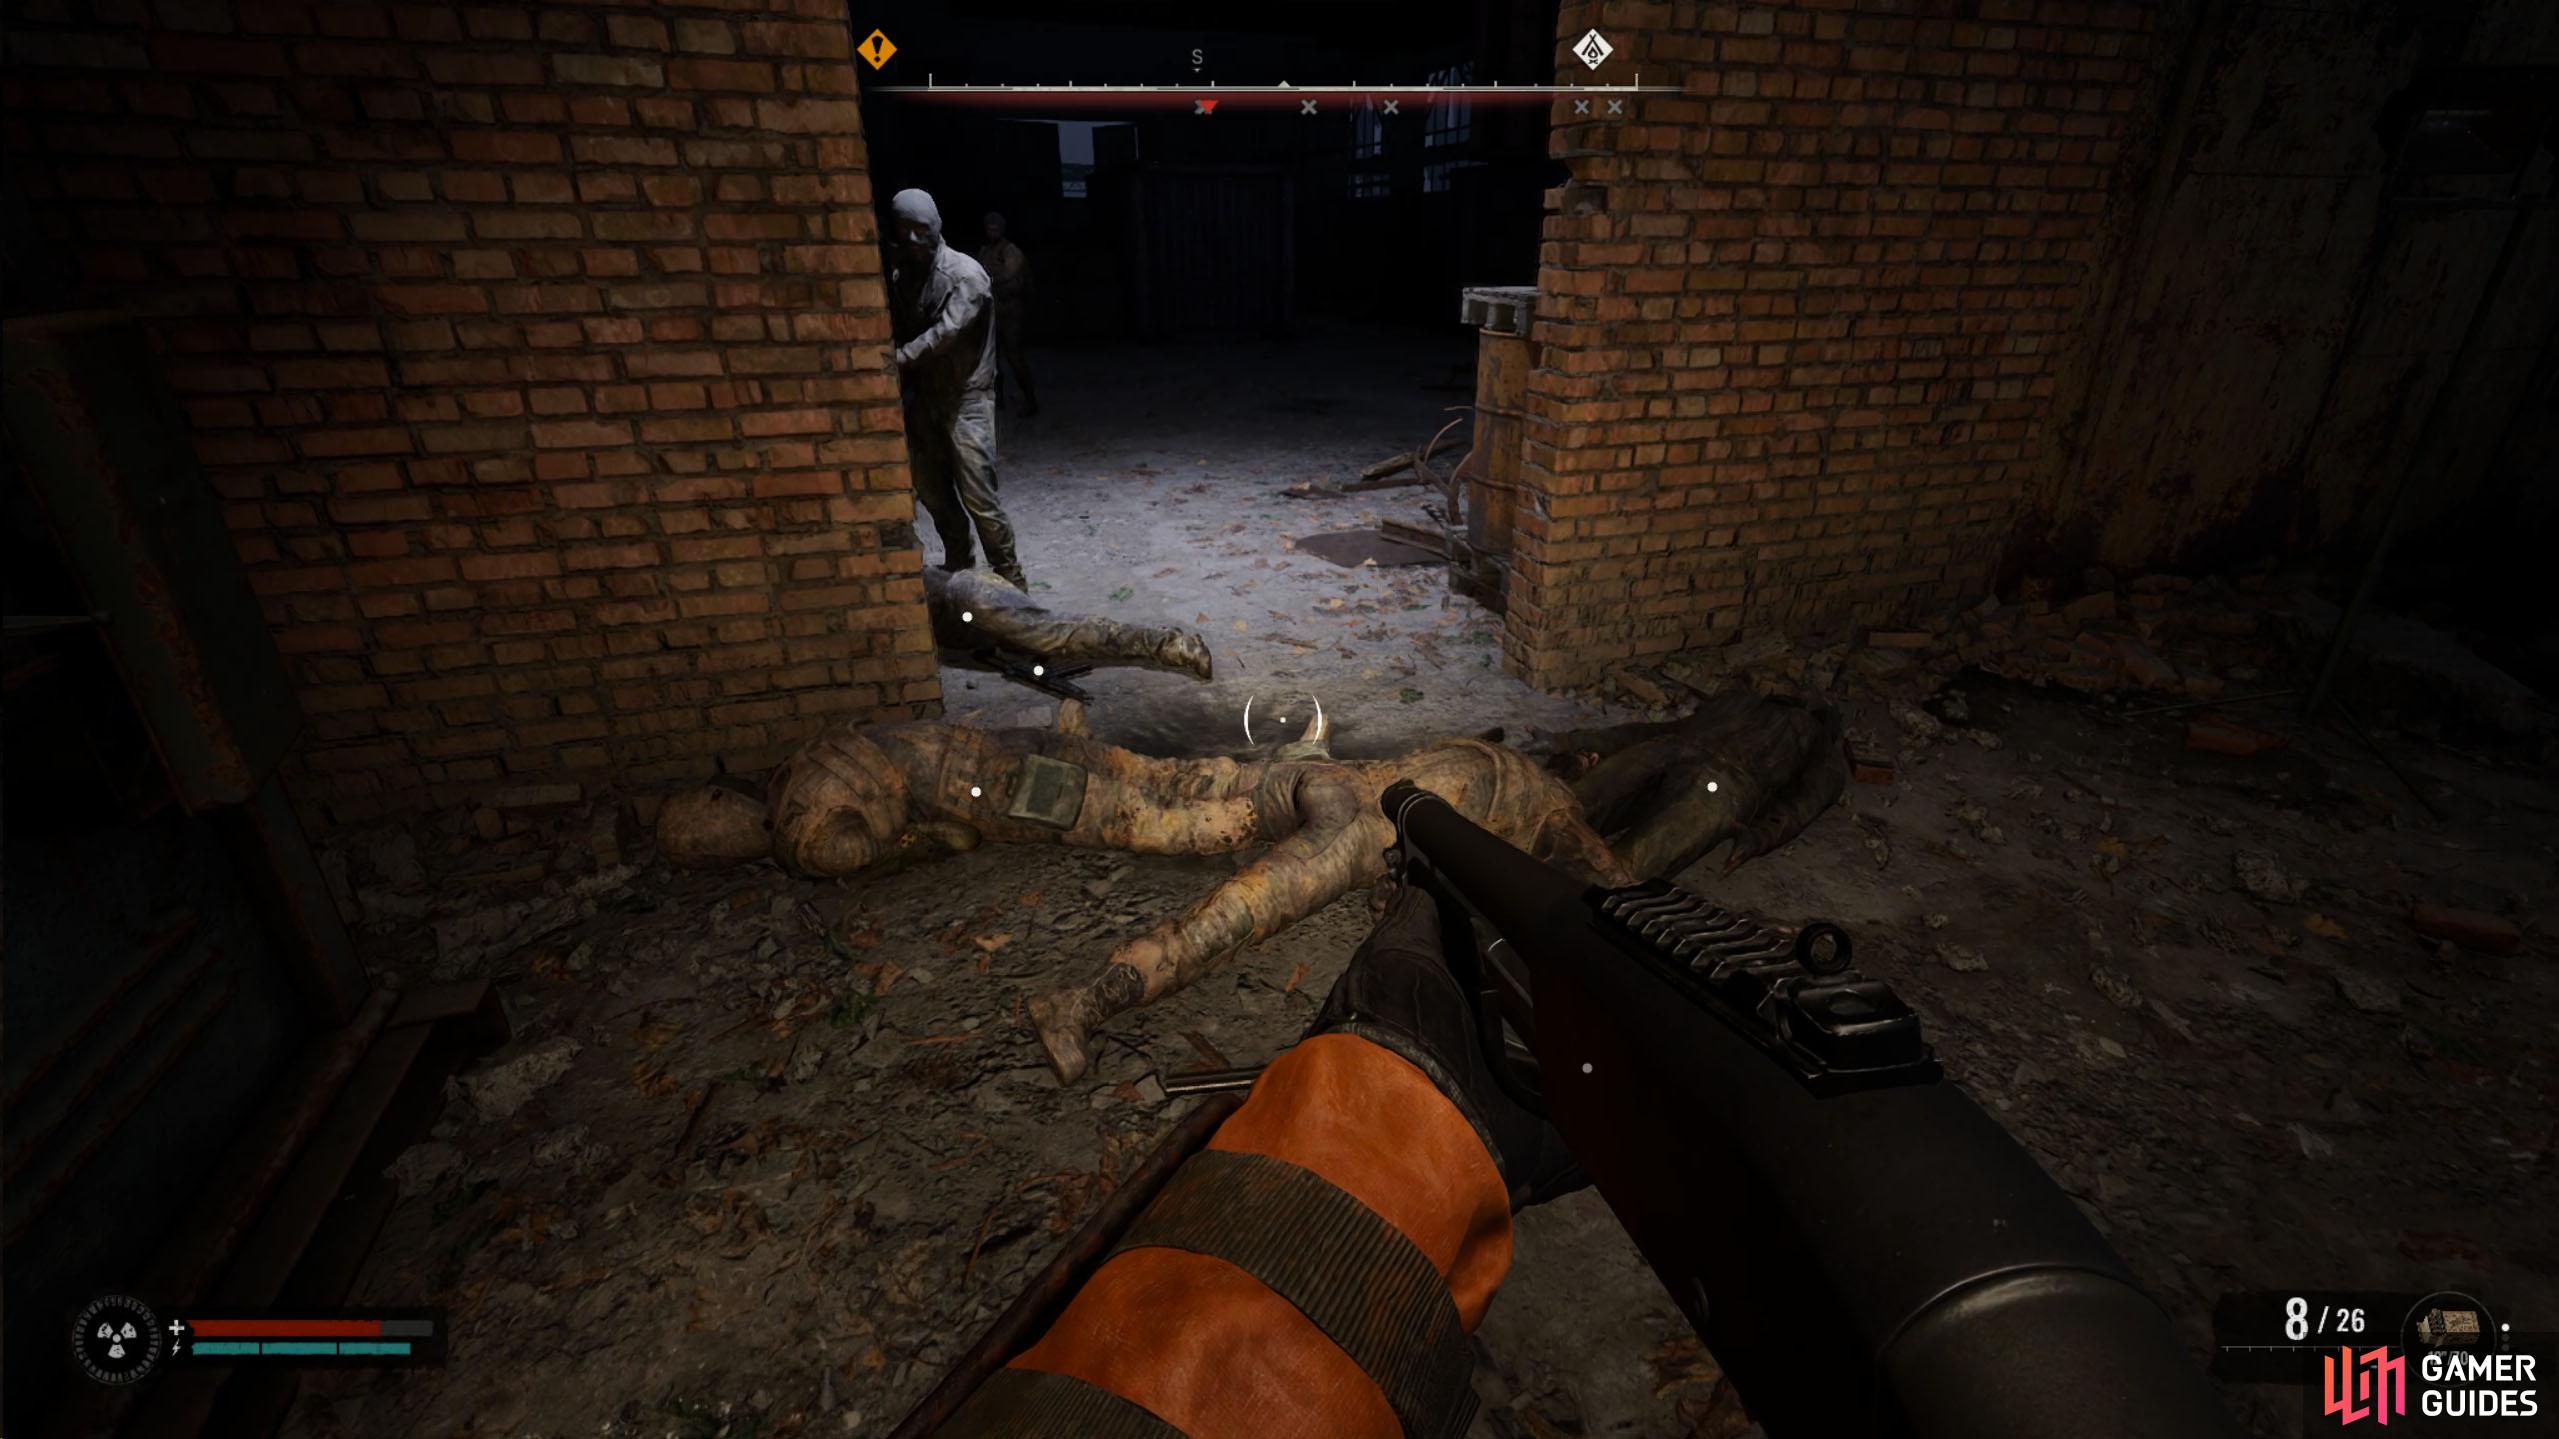
Head back out the way you came, and to your left will be a lever you can turn on. Before you do this, heal up, reload all your guns, and make a quick save. Once you turn on the device, you’ll get attacked by numerous ‘zombies’ who will come from your south. There will be approximately 20 or so of them that come in waves, so head back around the corner from the lever, and take them out.
(1 of 3) After defeating the lieutenant, go back outside and flip the switch.
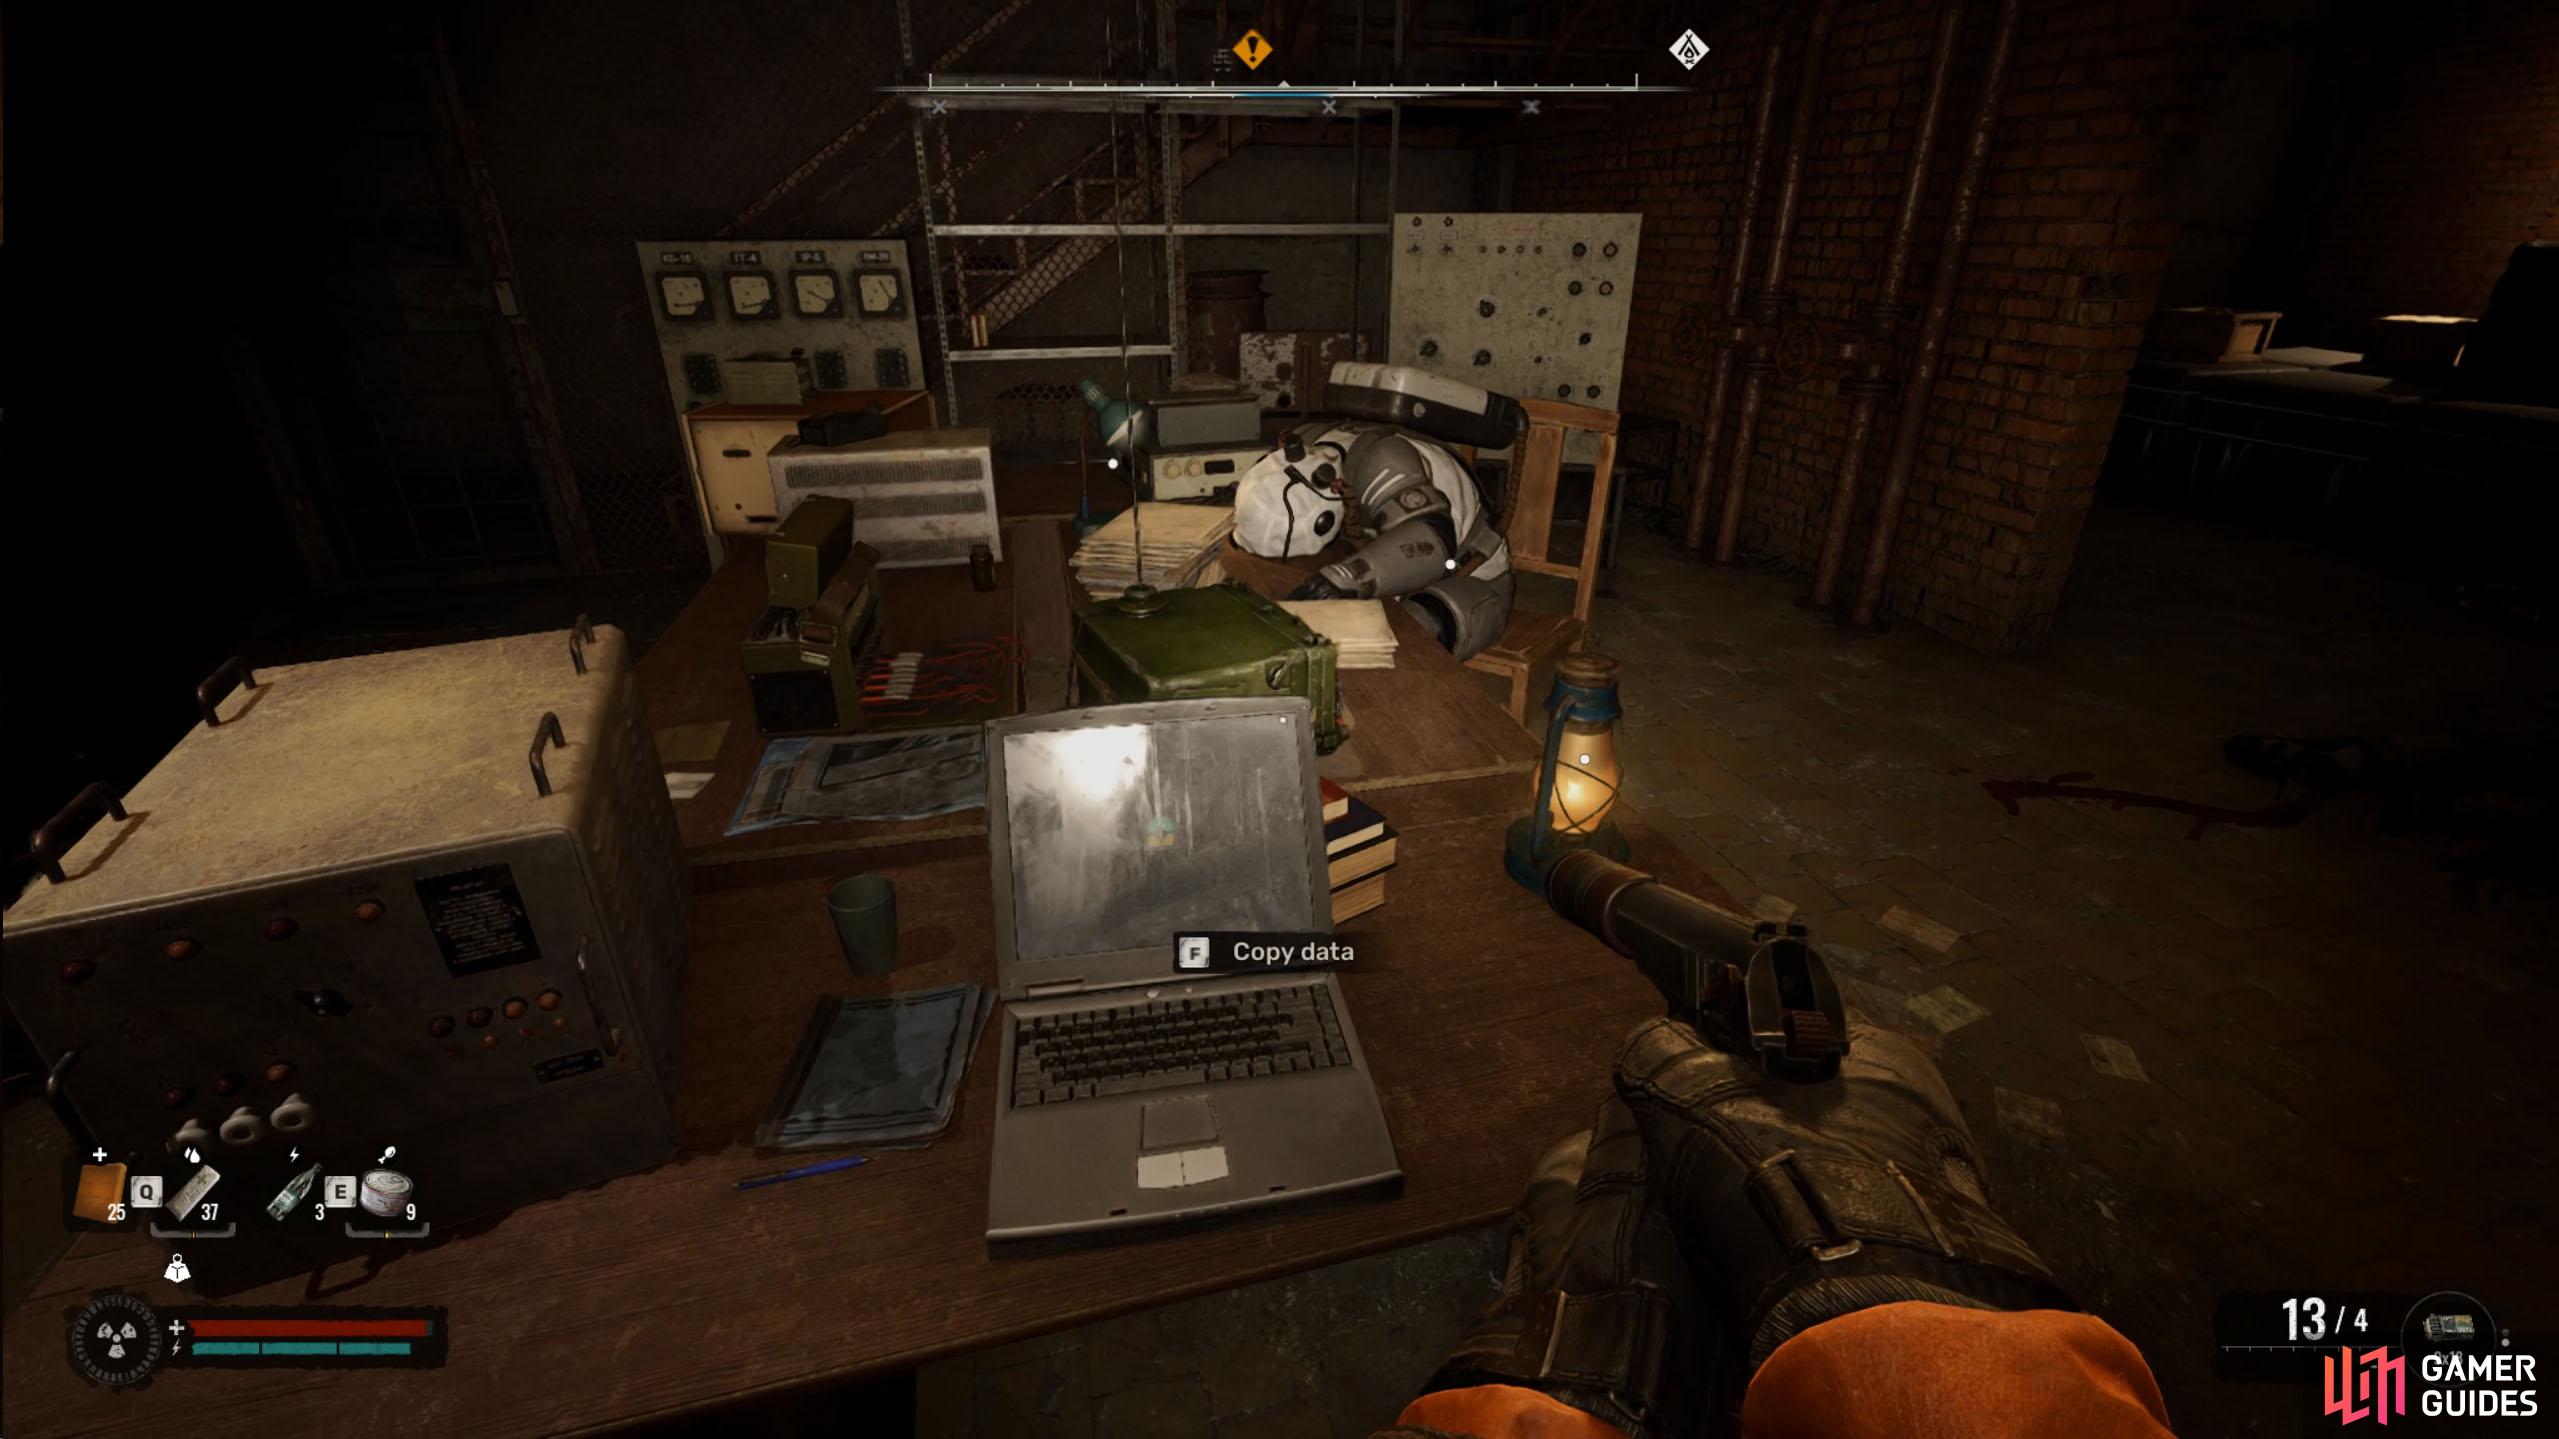
Some well-placed grenades can make this easier and save you some ammo. Once they’re dealt with, head back into the room with Lt. Shterev, and interact with the laptop on the desk to copy the data to complete the mission. That’s it for ![]() Dead Frequency, and the completion of this mission will immediately give you the following mission, “
Dead Frequency, and the completion of this mission will immediately give you the following mission, “![]() In Search of a Guide”.
In Search of a Guide”.


 Sign up
No Comments