Endwalker (Level 90) - How to start and complete this Final Fantasy XIV: Endwalker (FF XIV) Main Scenario Quest.
| Previous Quest | Next Quest |
|---|---|
| – |
Quest NPC
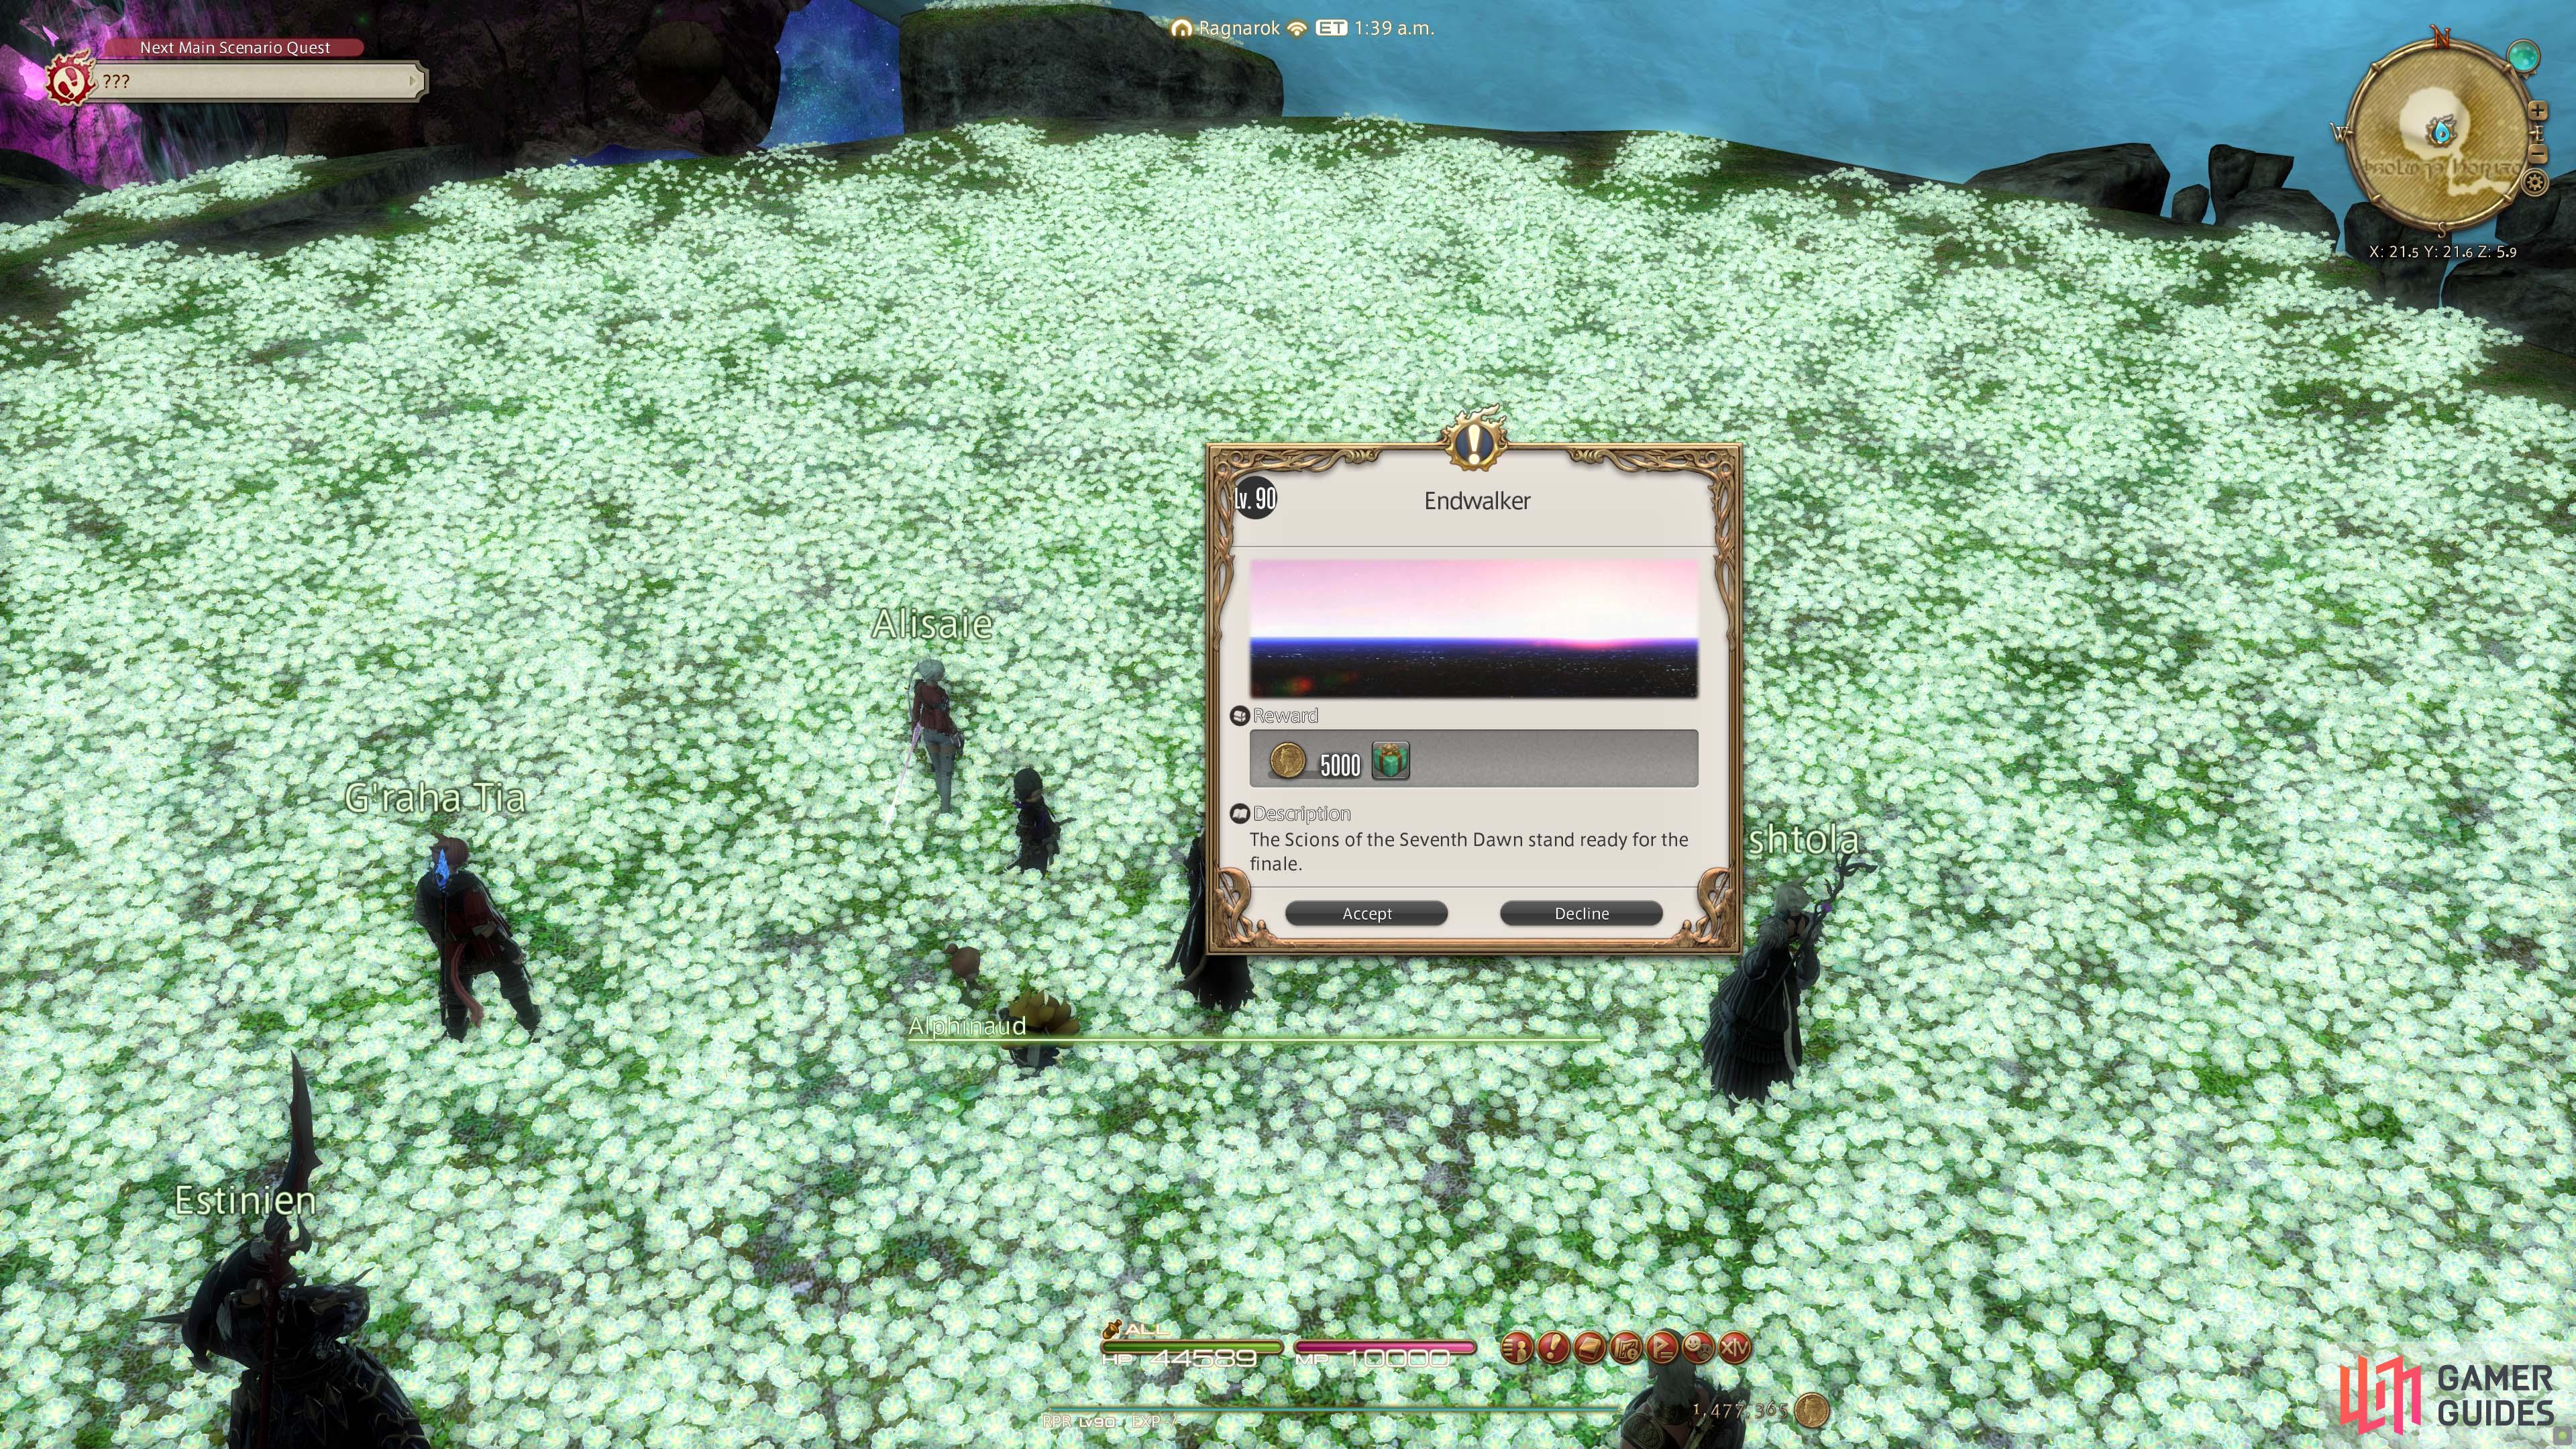
![]() Alphinaud: Ultima Thule - Ostrakon Hena - Absolute Horizon (x:21.6, y:21.6)
Alphinaud: Ultima Thule - Ostrakon Hena - Absolute Horizon (x:21.6, y:21.6)![]() Nearest Aetheryte: Base Omicron
Nearest Aetheryte: Base Omicron
Quest NPC is Alphinaud.
Description
The Scions of the Seventh Dawn stand ready for the finale.
Objectives
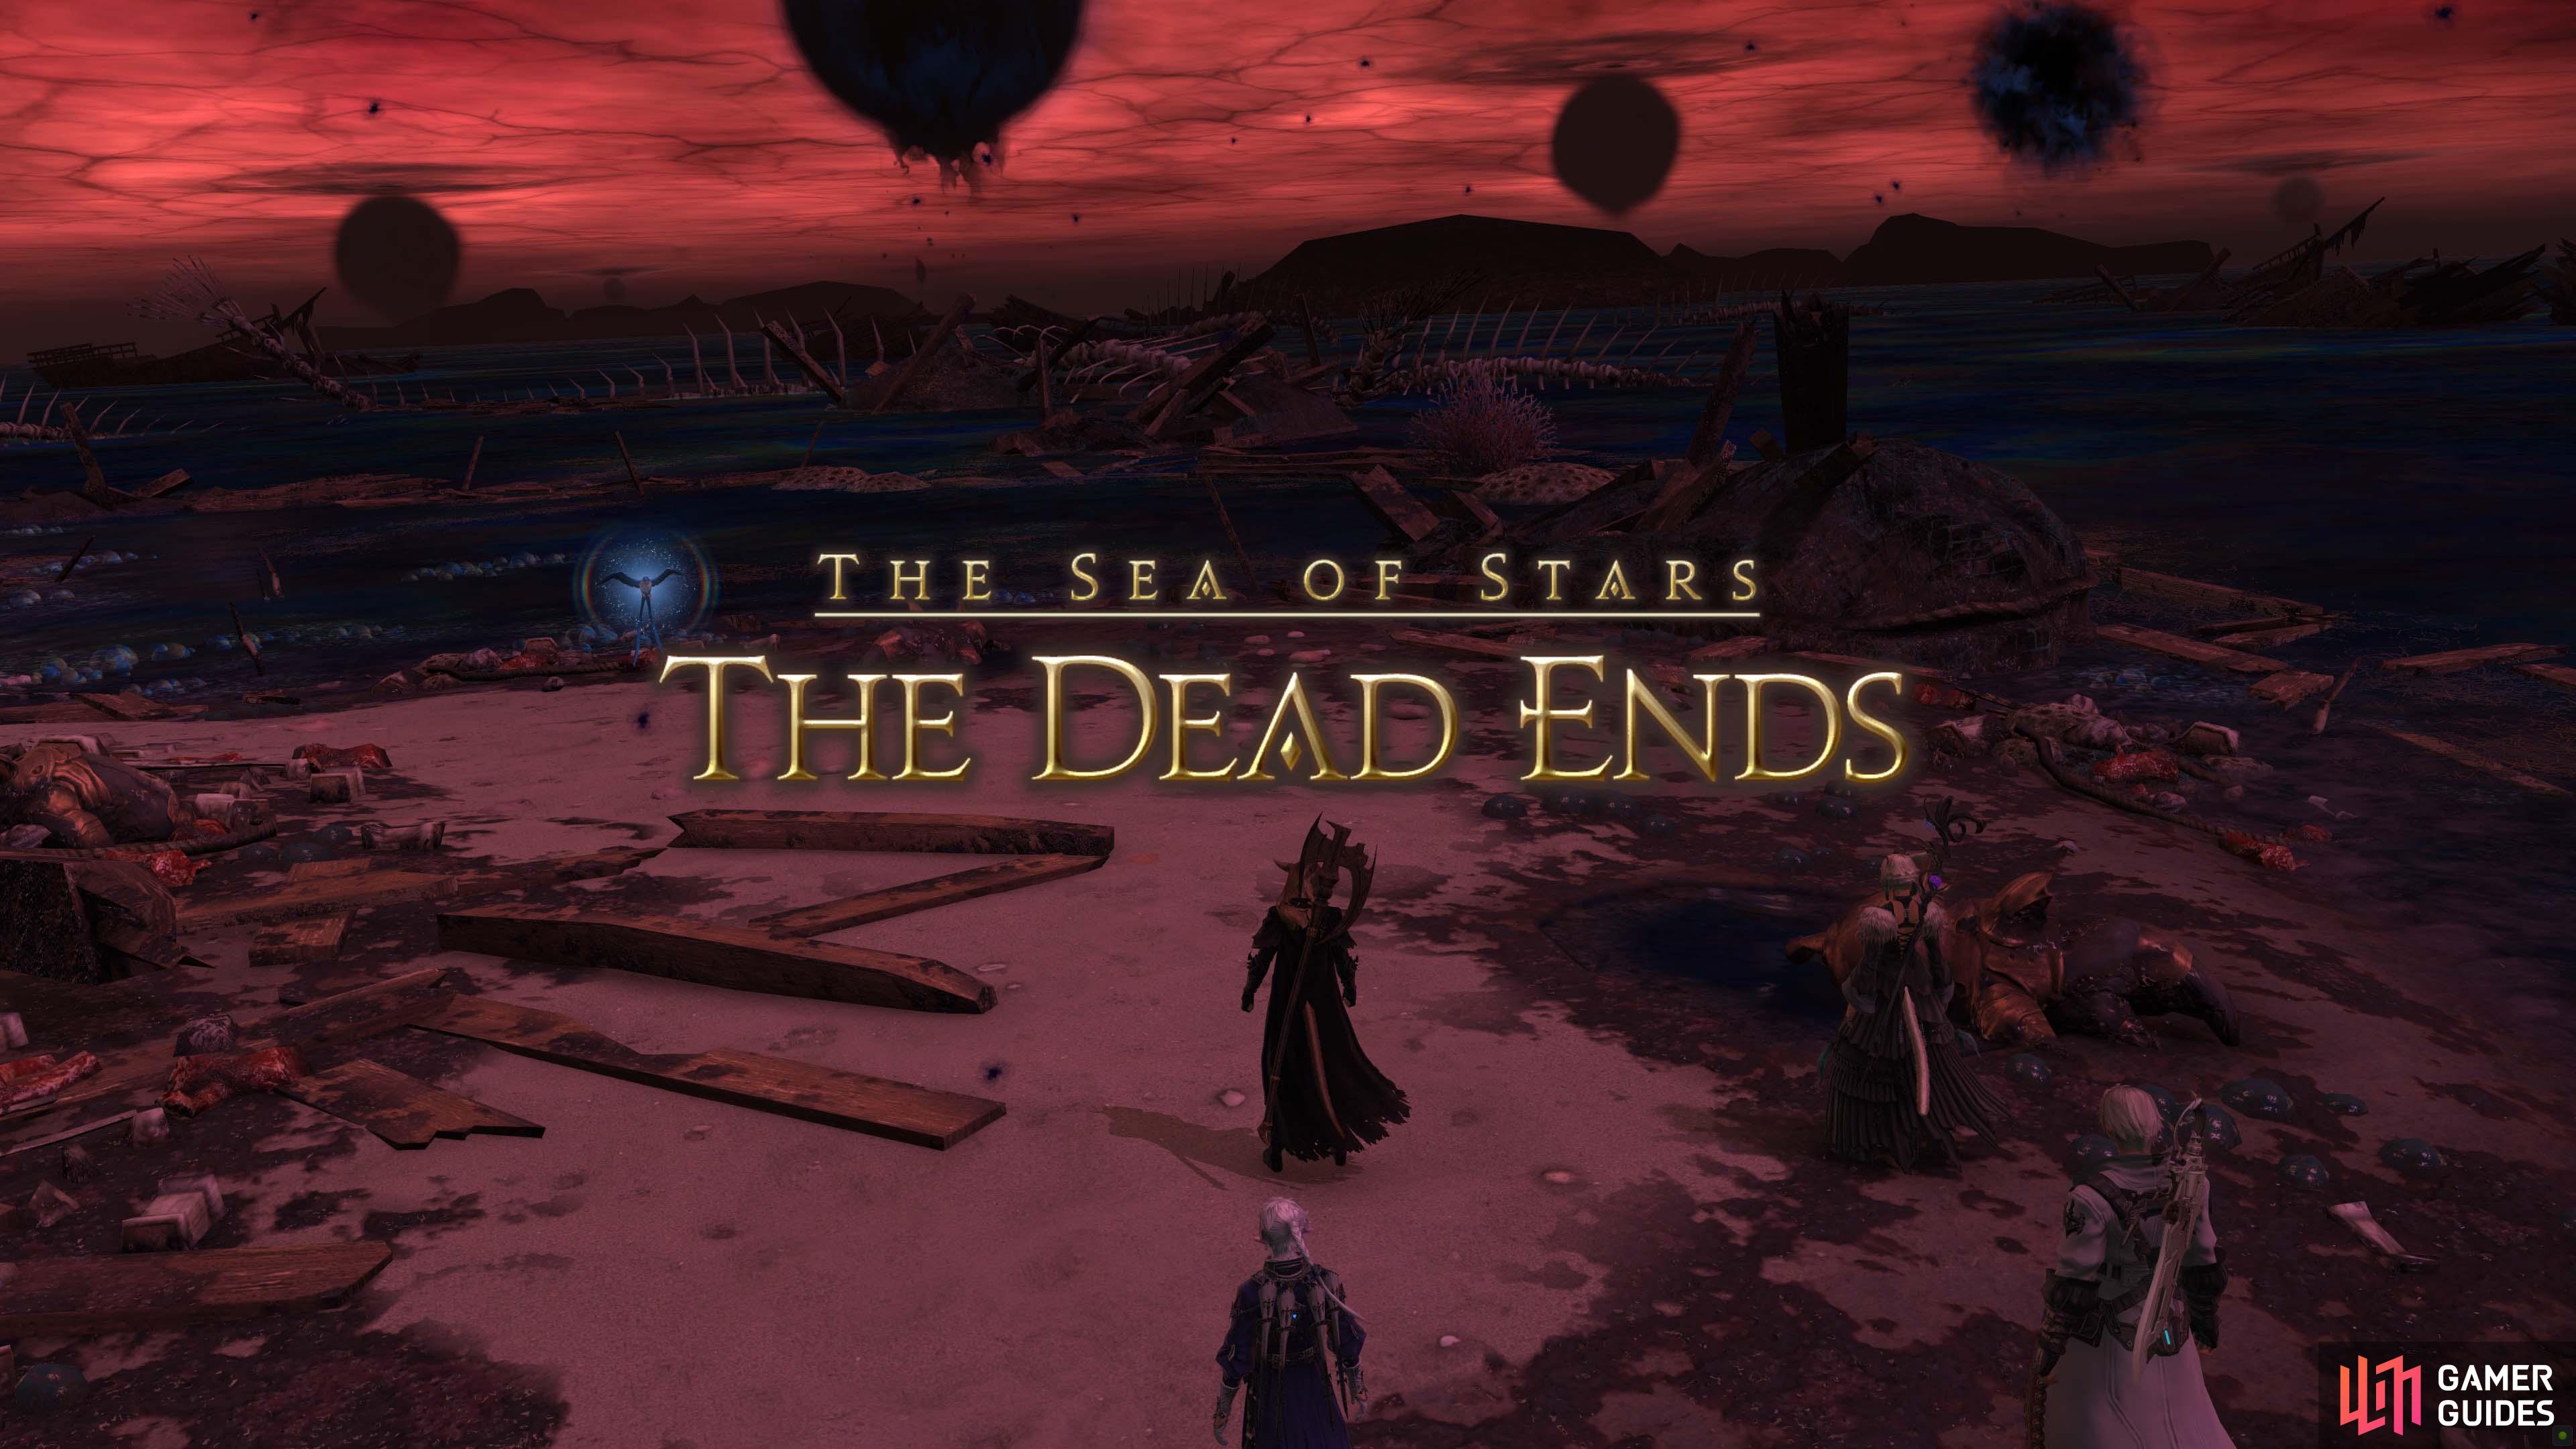
 Use the Duty Finder or Trust to enter the Dead Ends.
The Dead Ends
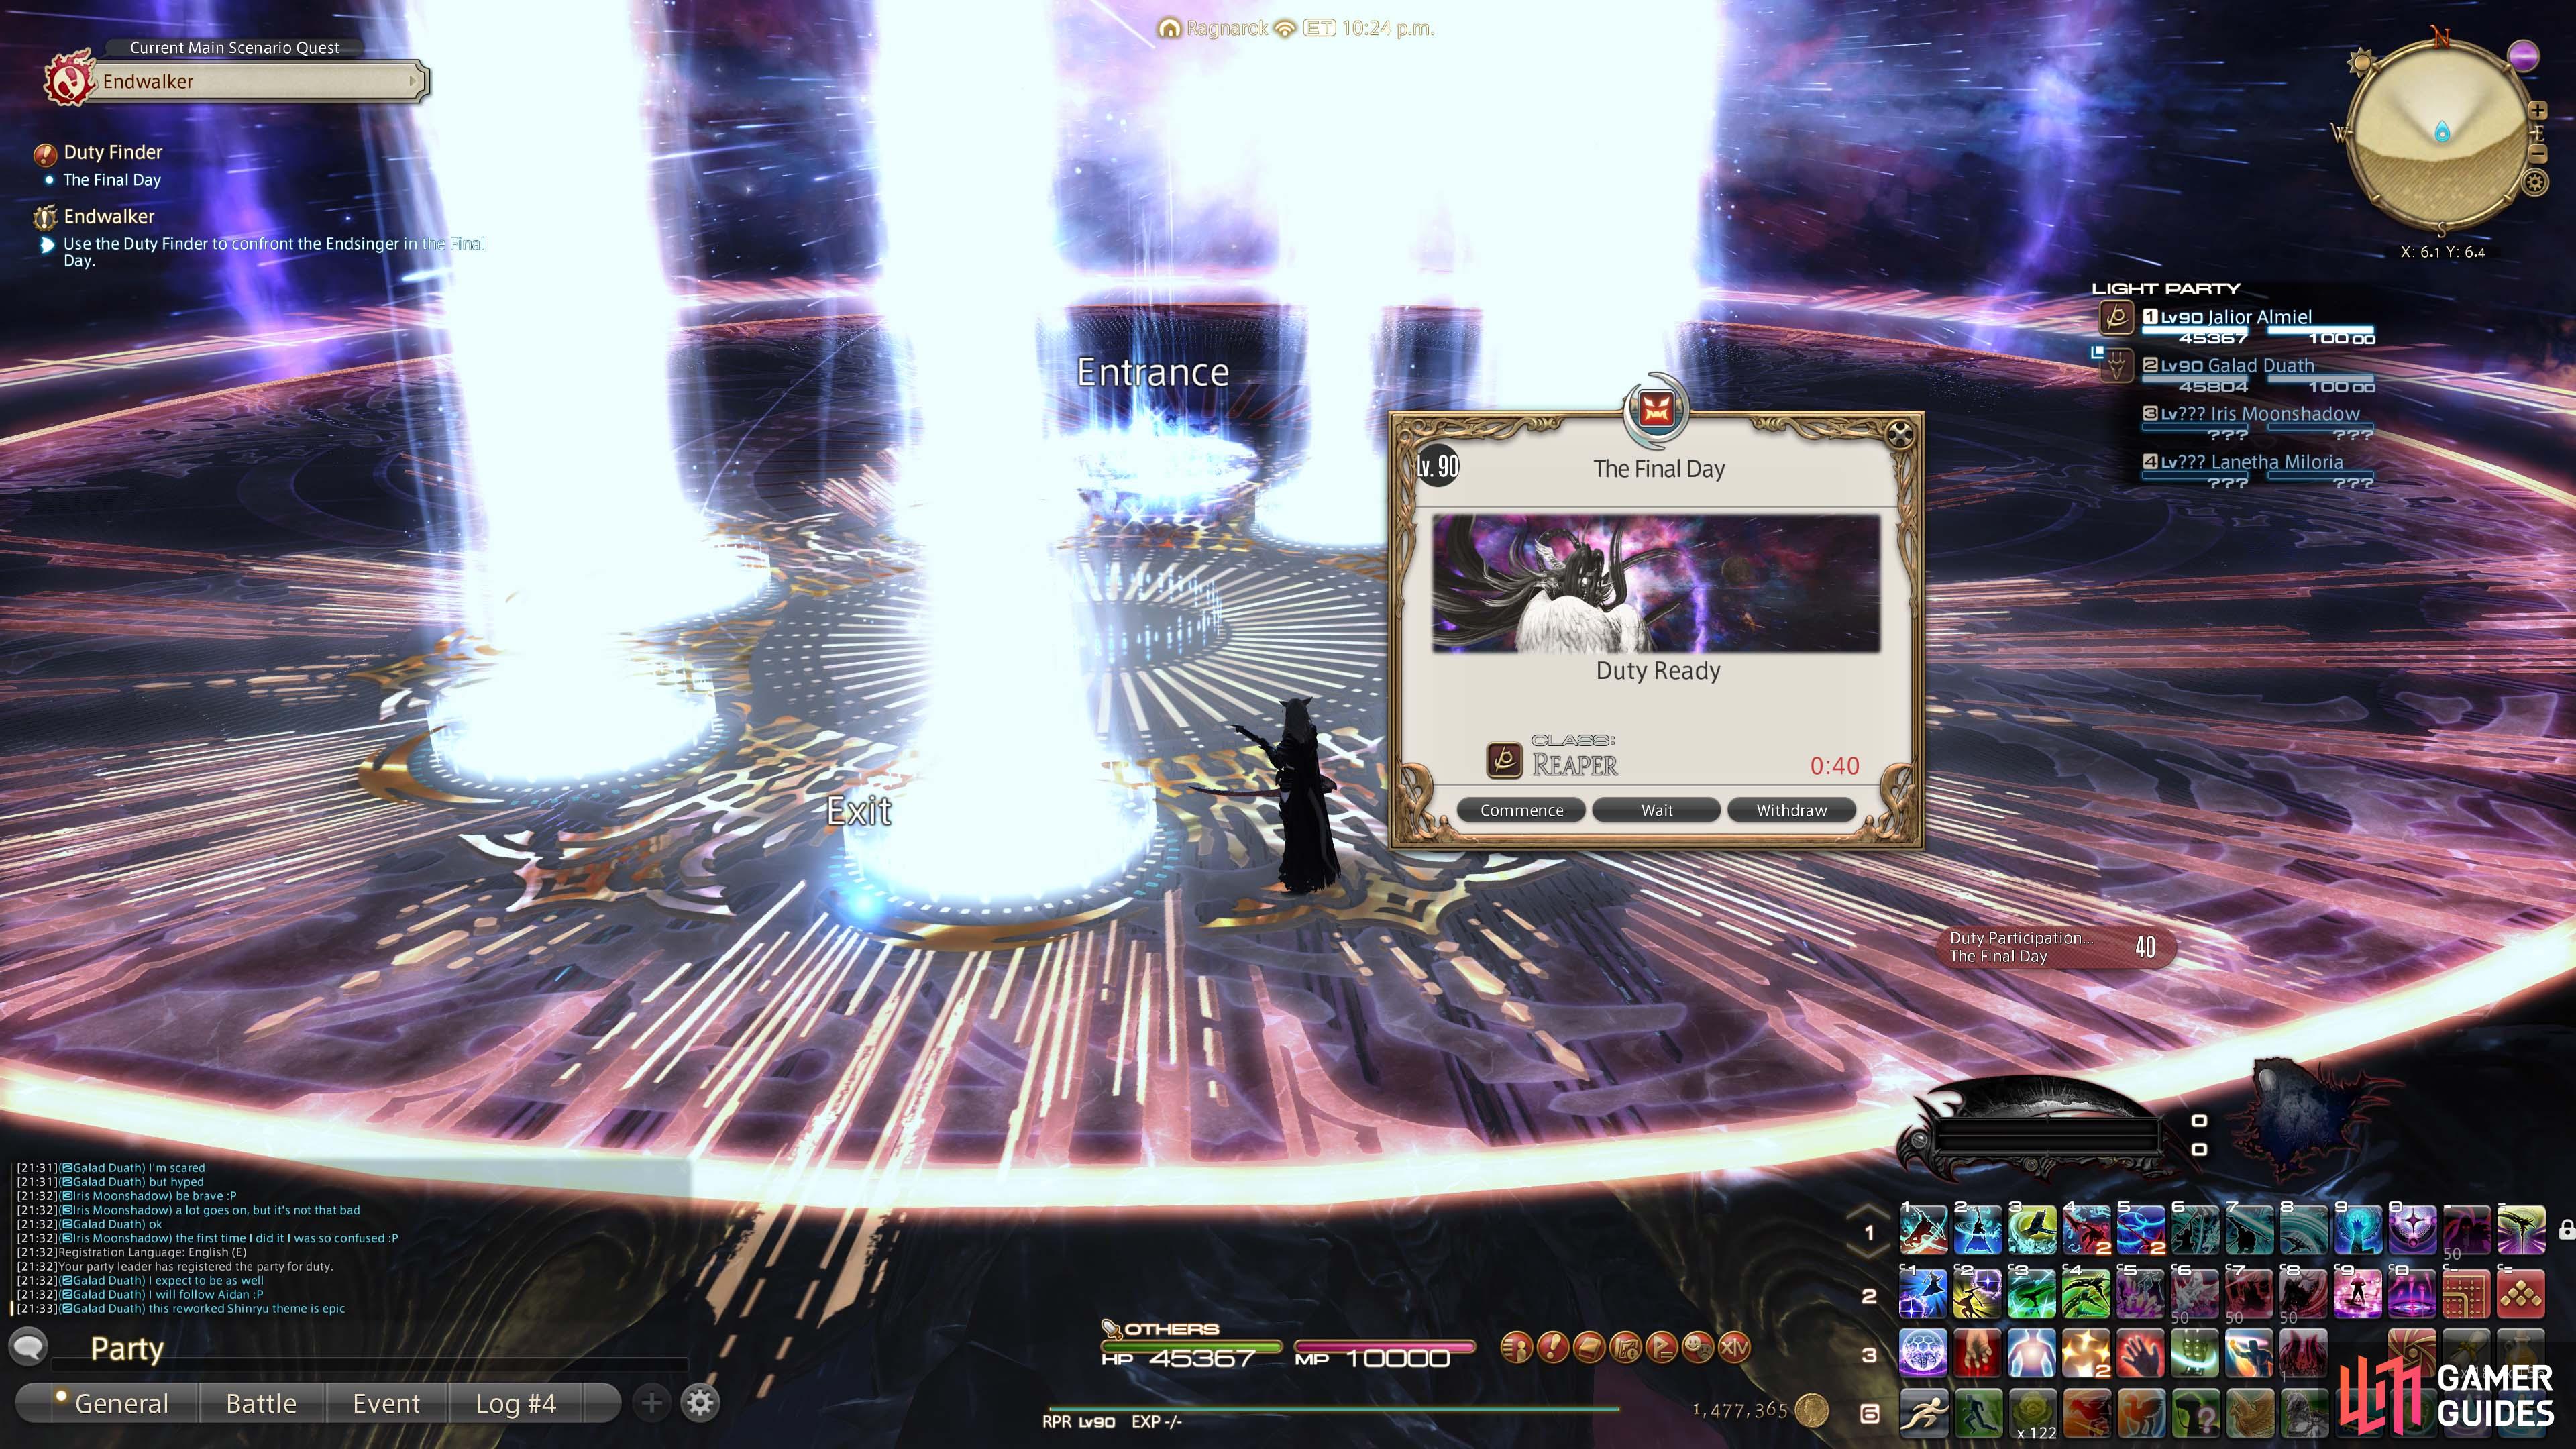
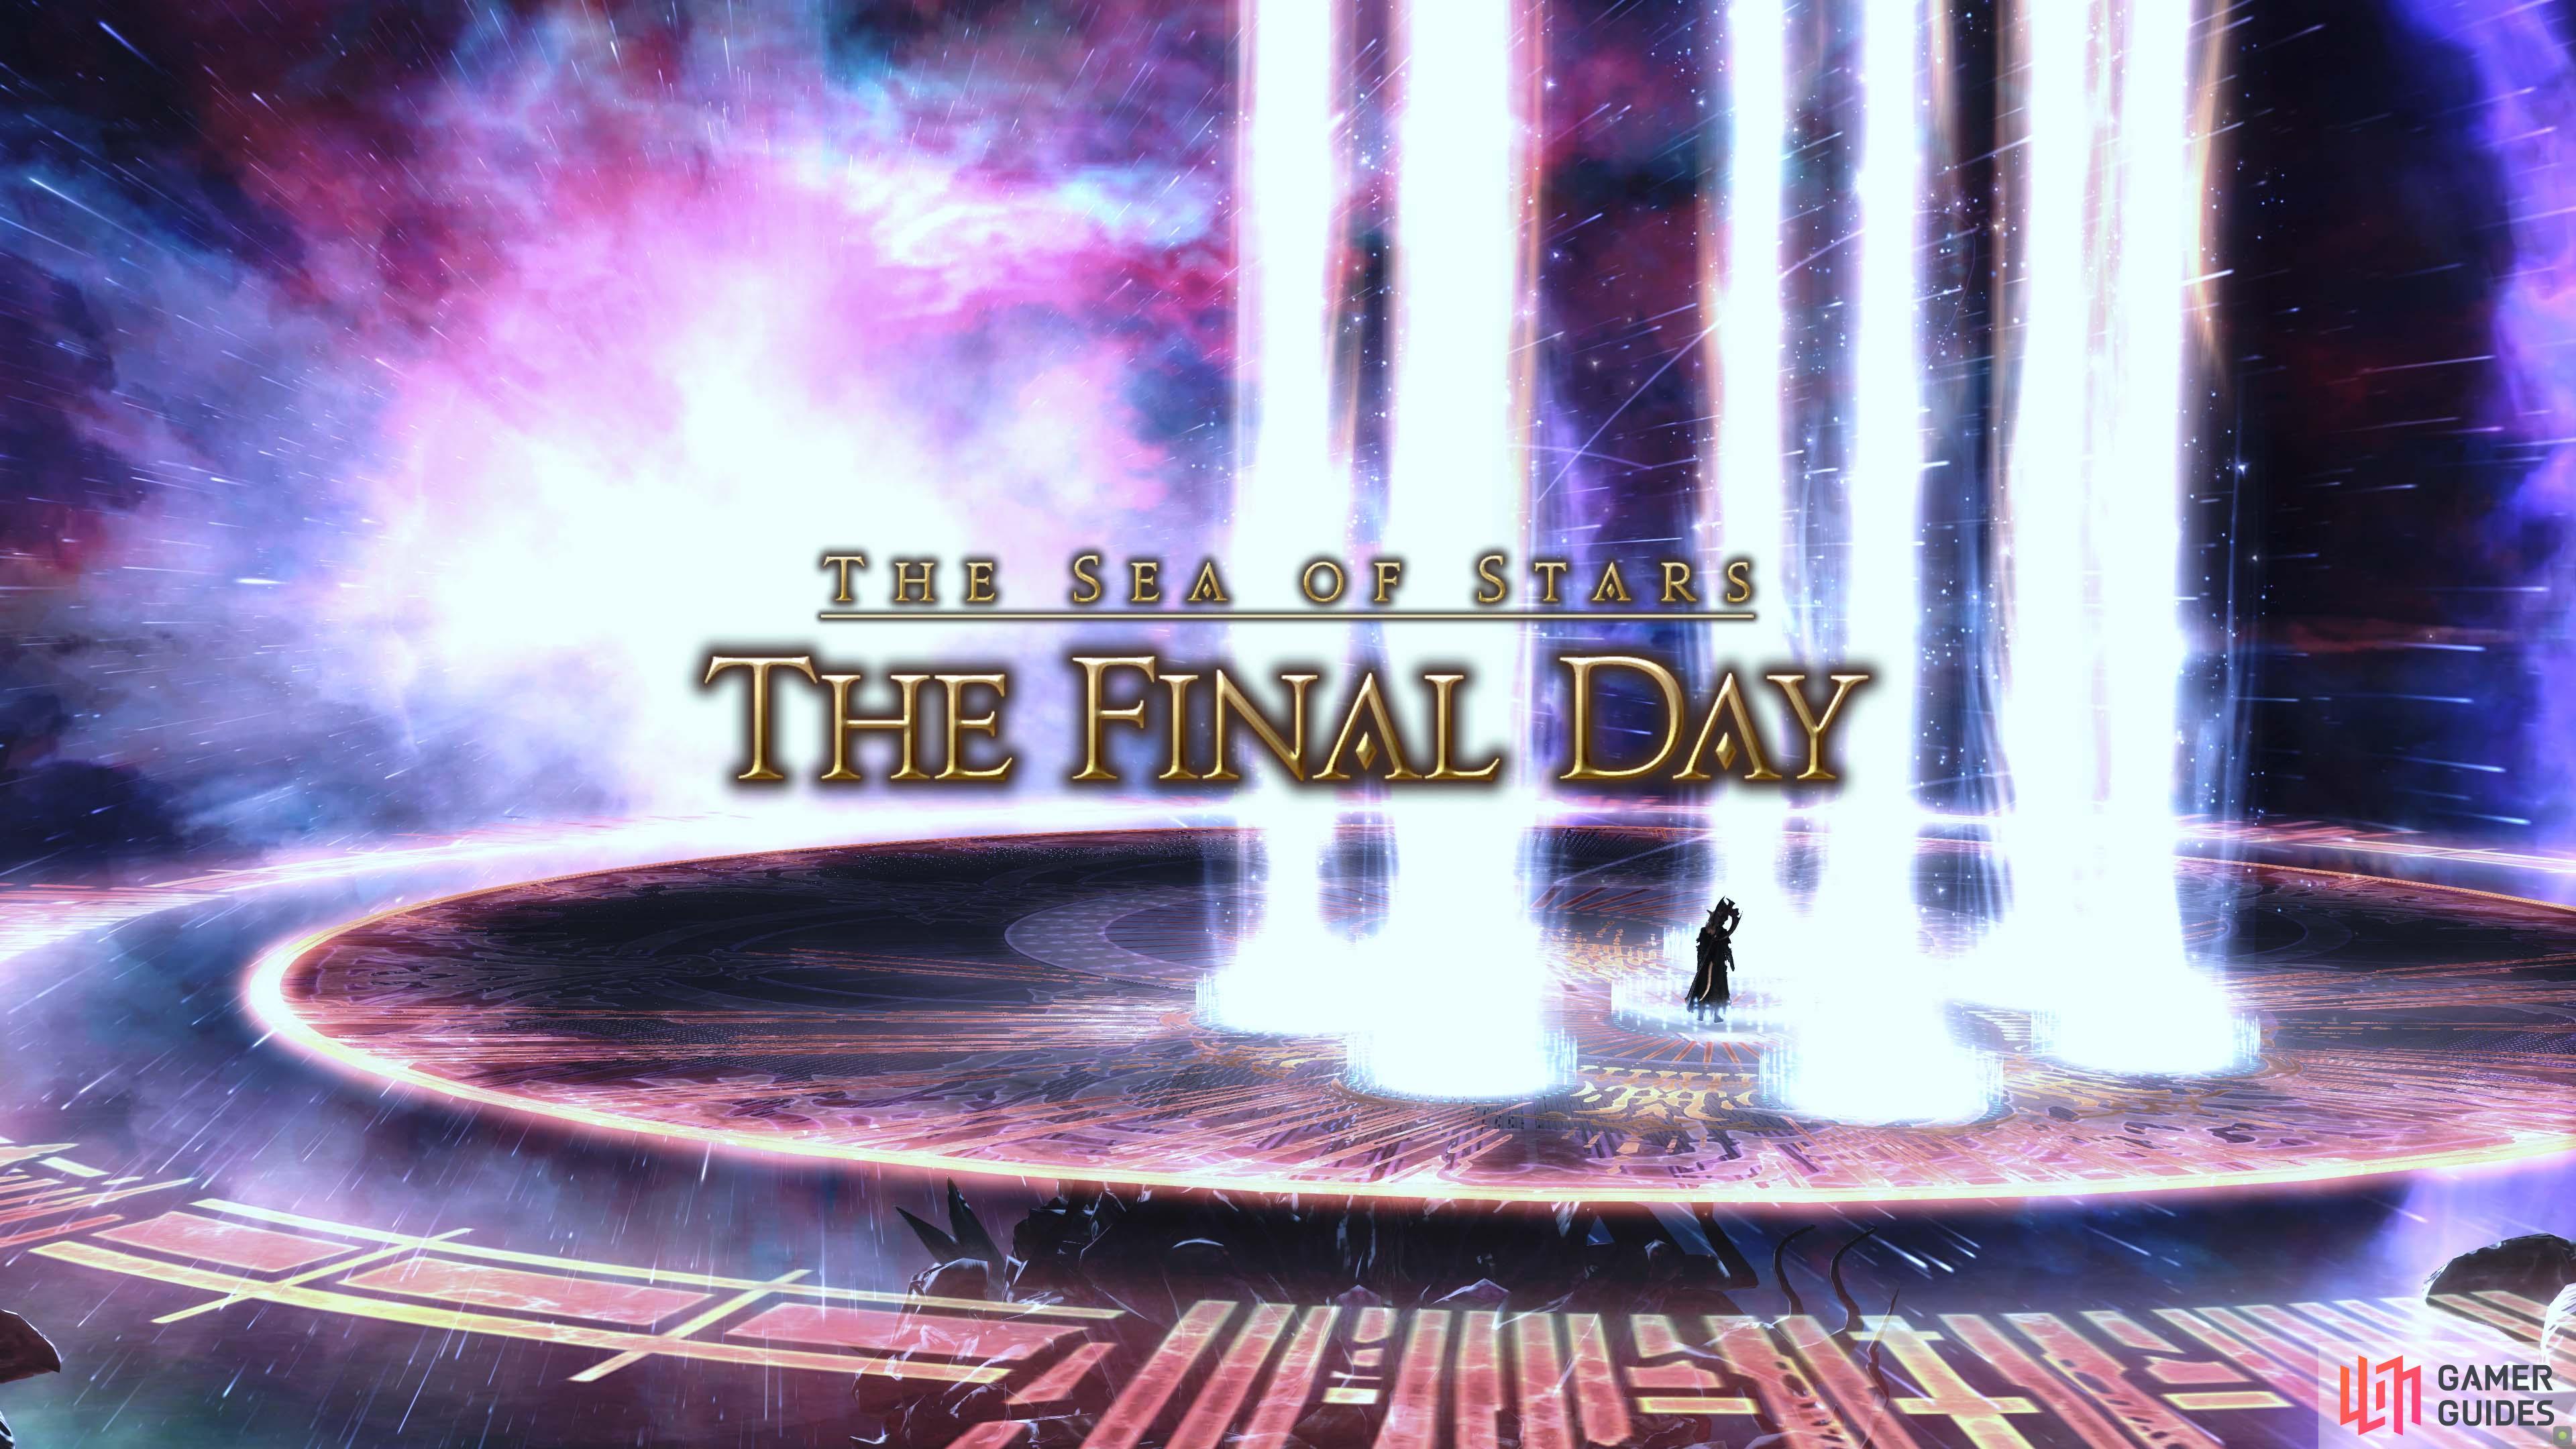
 Use the Duty Finder to confront the Endsinger in the Final Day.
(1 of 3) The Final Day Duty
 Defeat Zenos.
(1 of 2) Defeat Zenos viator Galvus
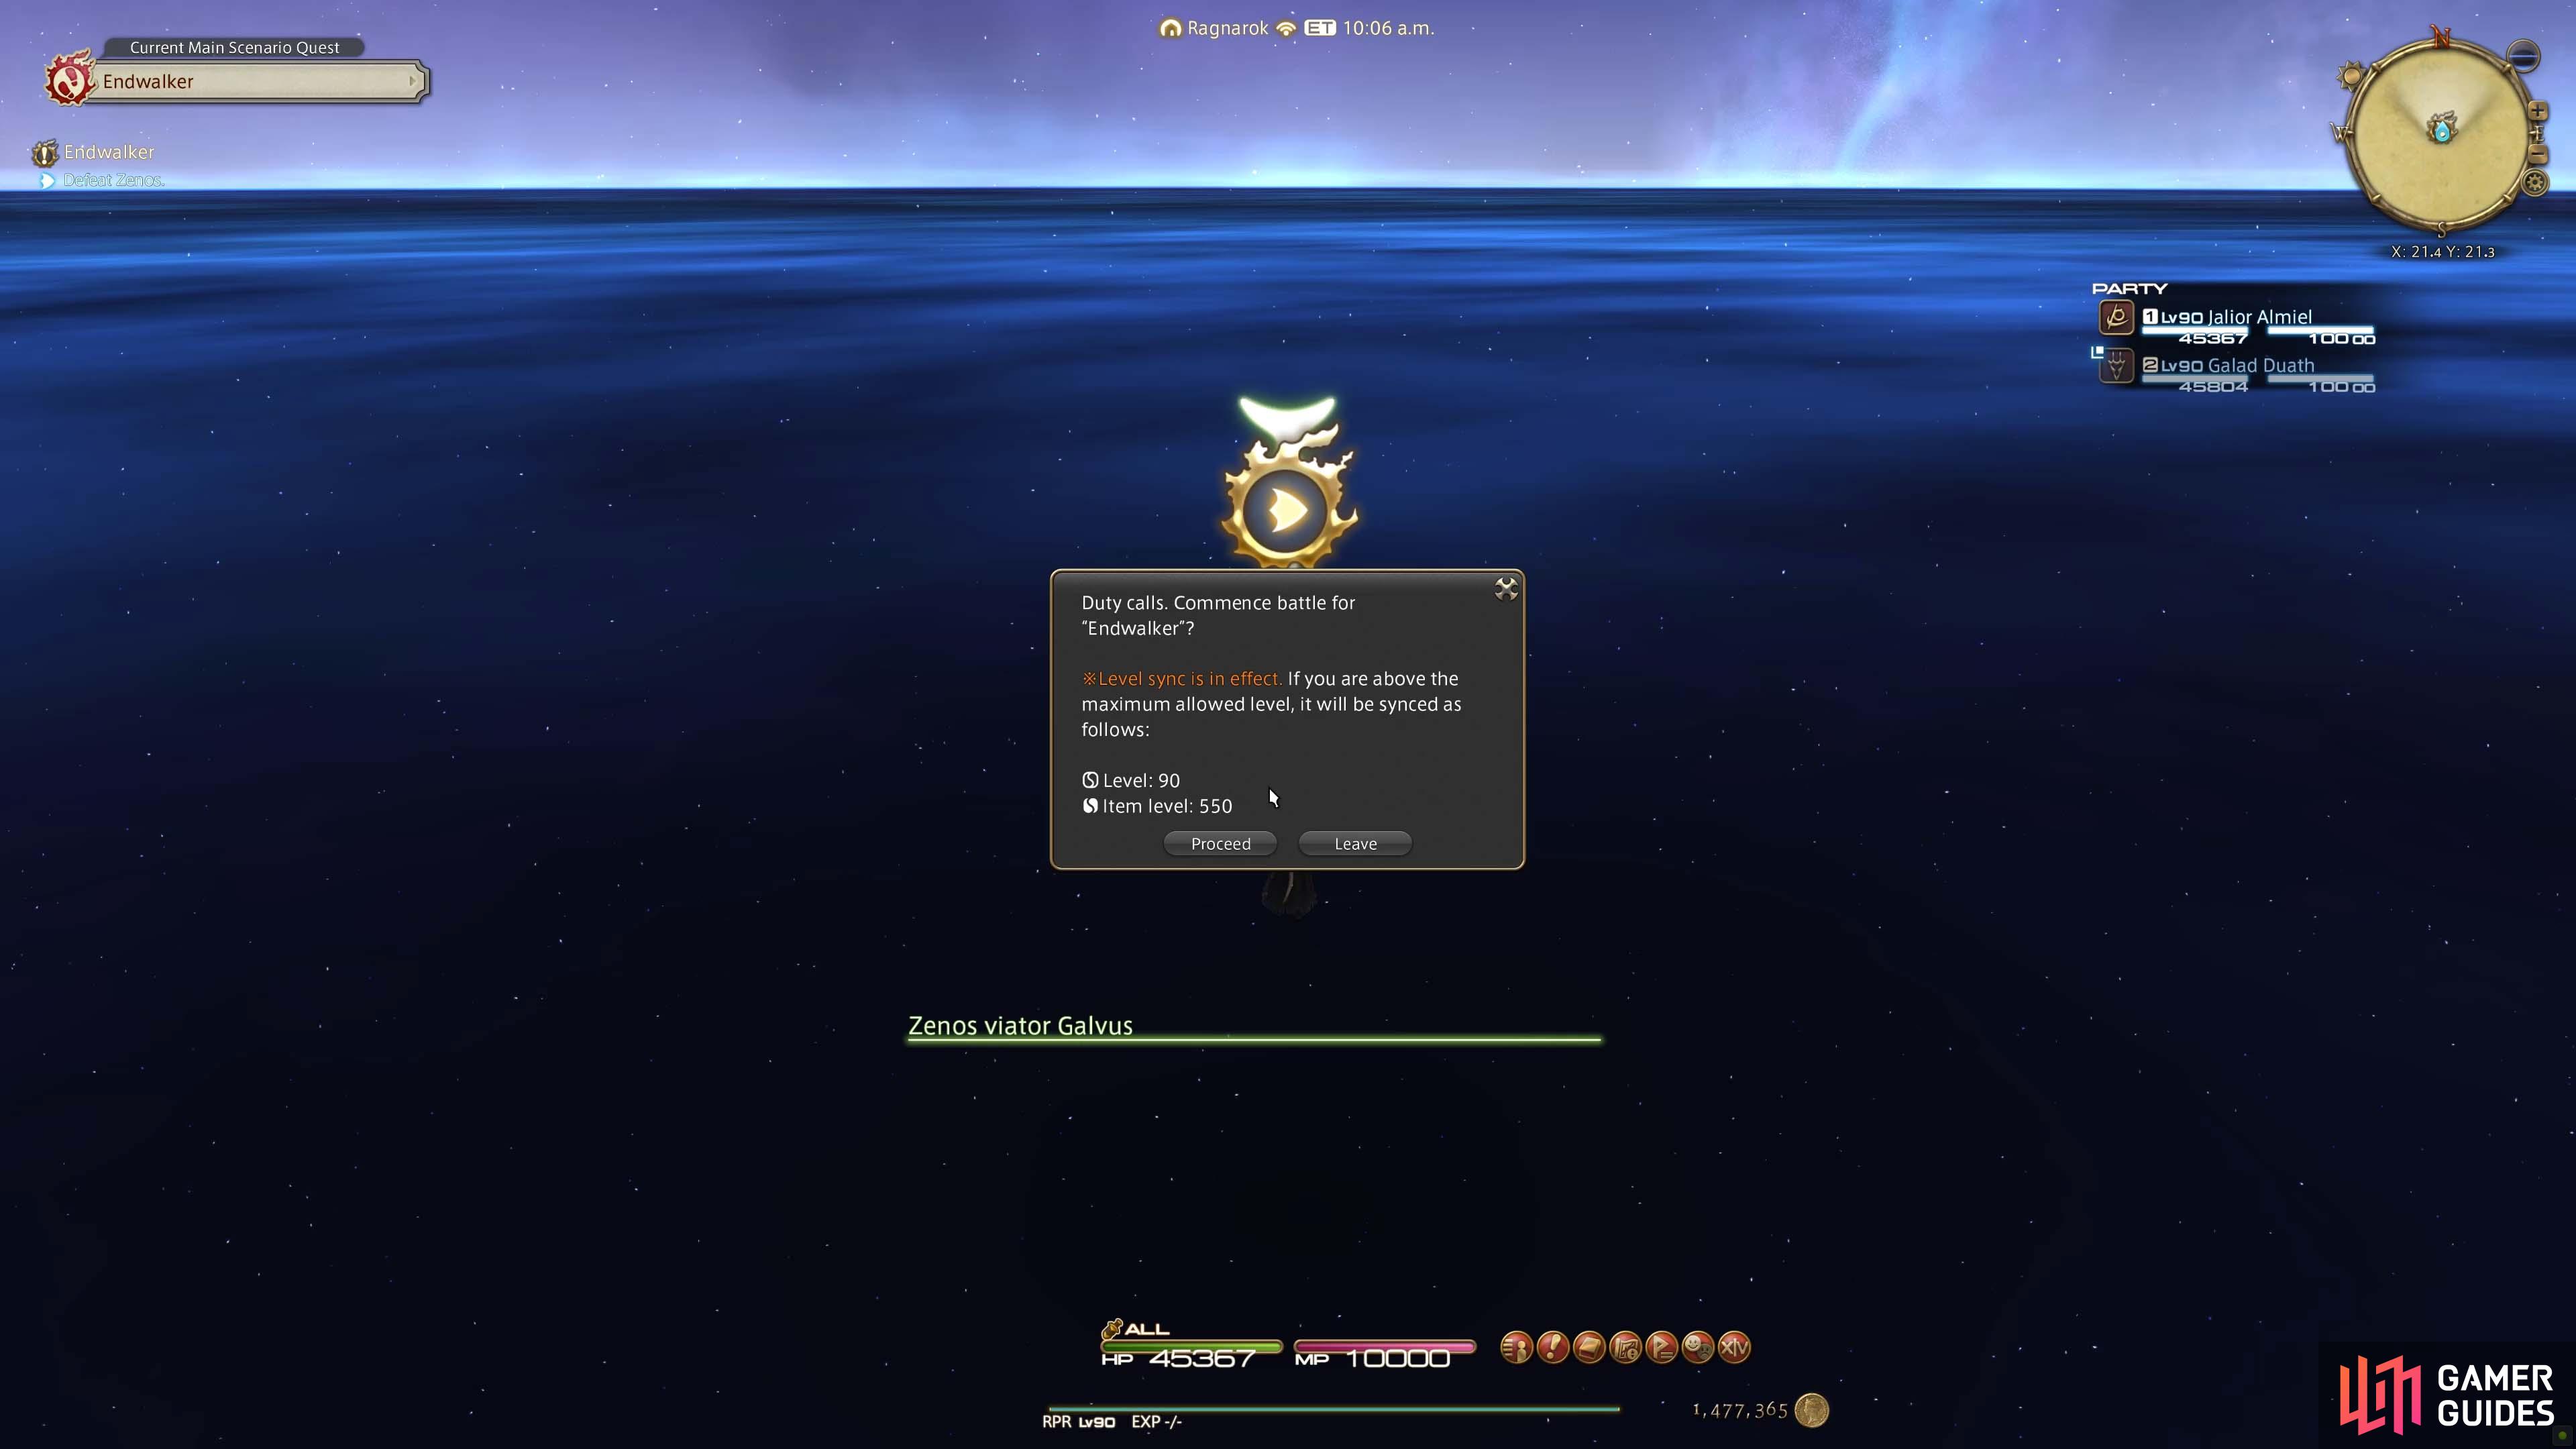
Defeat Zenos viator Galvus (left), A Level 90 duty will begin with an Item Level sync of 550. (right)
Zenos viator Galvus Duty
| Duty | Item Sync |
|---|---|
| Zenos viator Galvus | 550 |
You will start the fight with the Spark of Hope buff.
Burning with dynamis shaped by the memory of your jouney, and exceeding your own limits
Spark of Hope empowers you with six last stands. These will provide you with the ability to survive/endure a KO from Zenos. You will need at least 3 of them to complete the fight as three will be unavoidable. The other three provide some wiggle room for learning the mechanics.
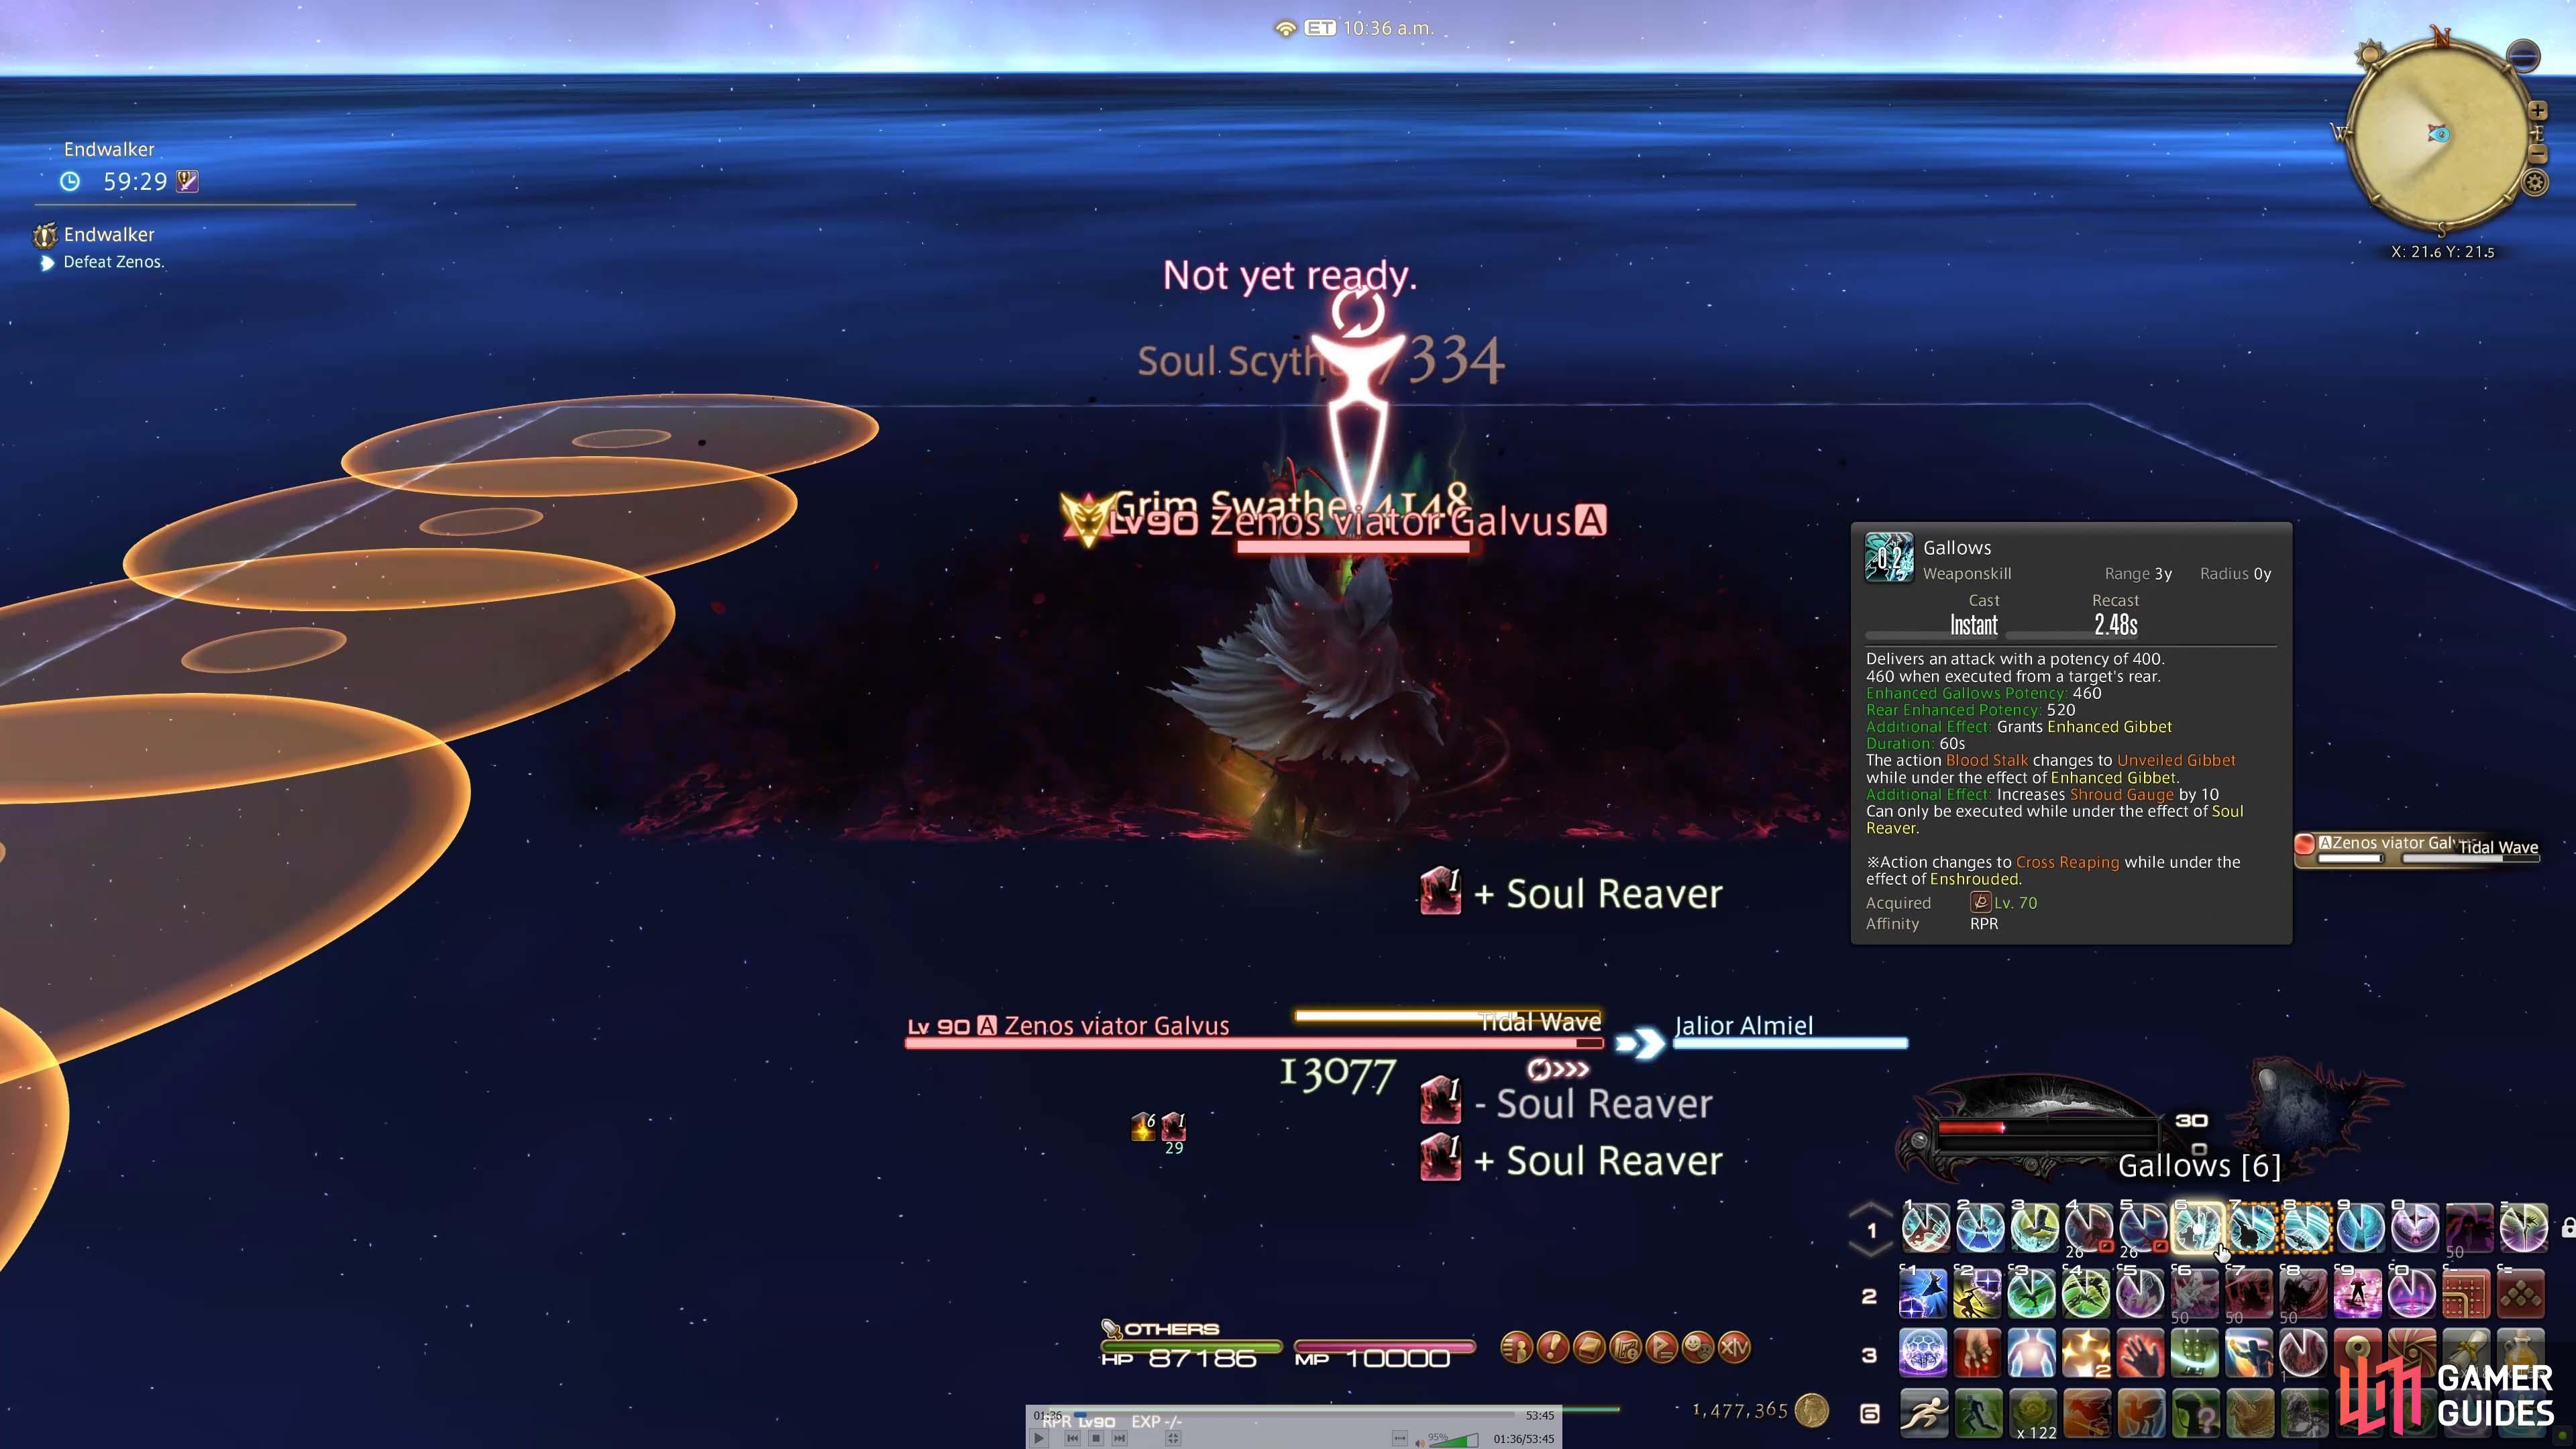
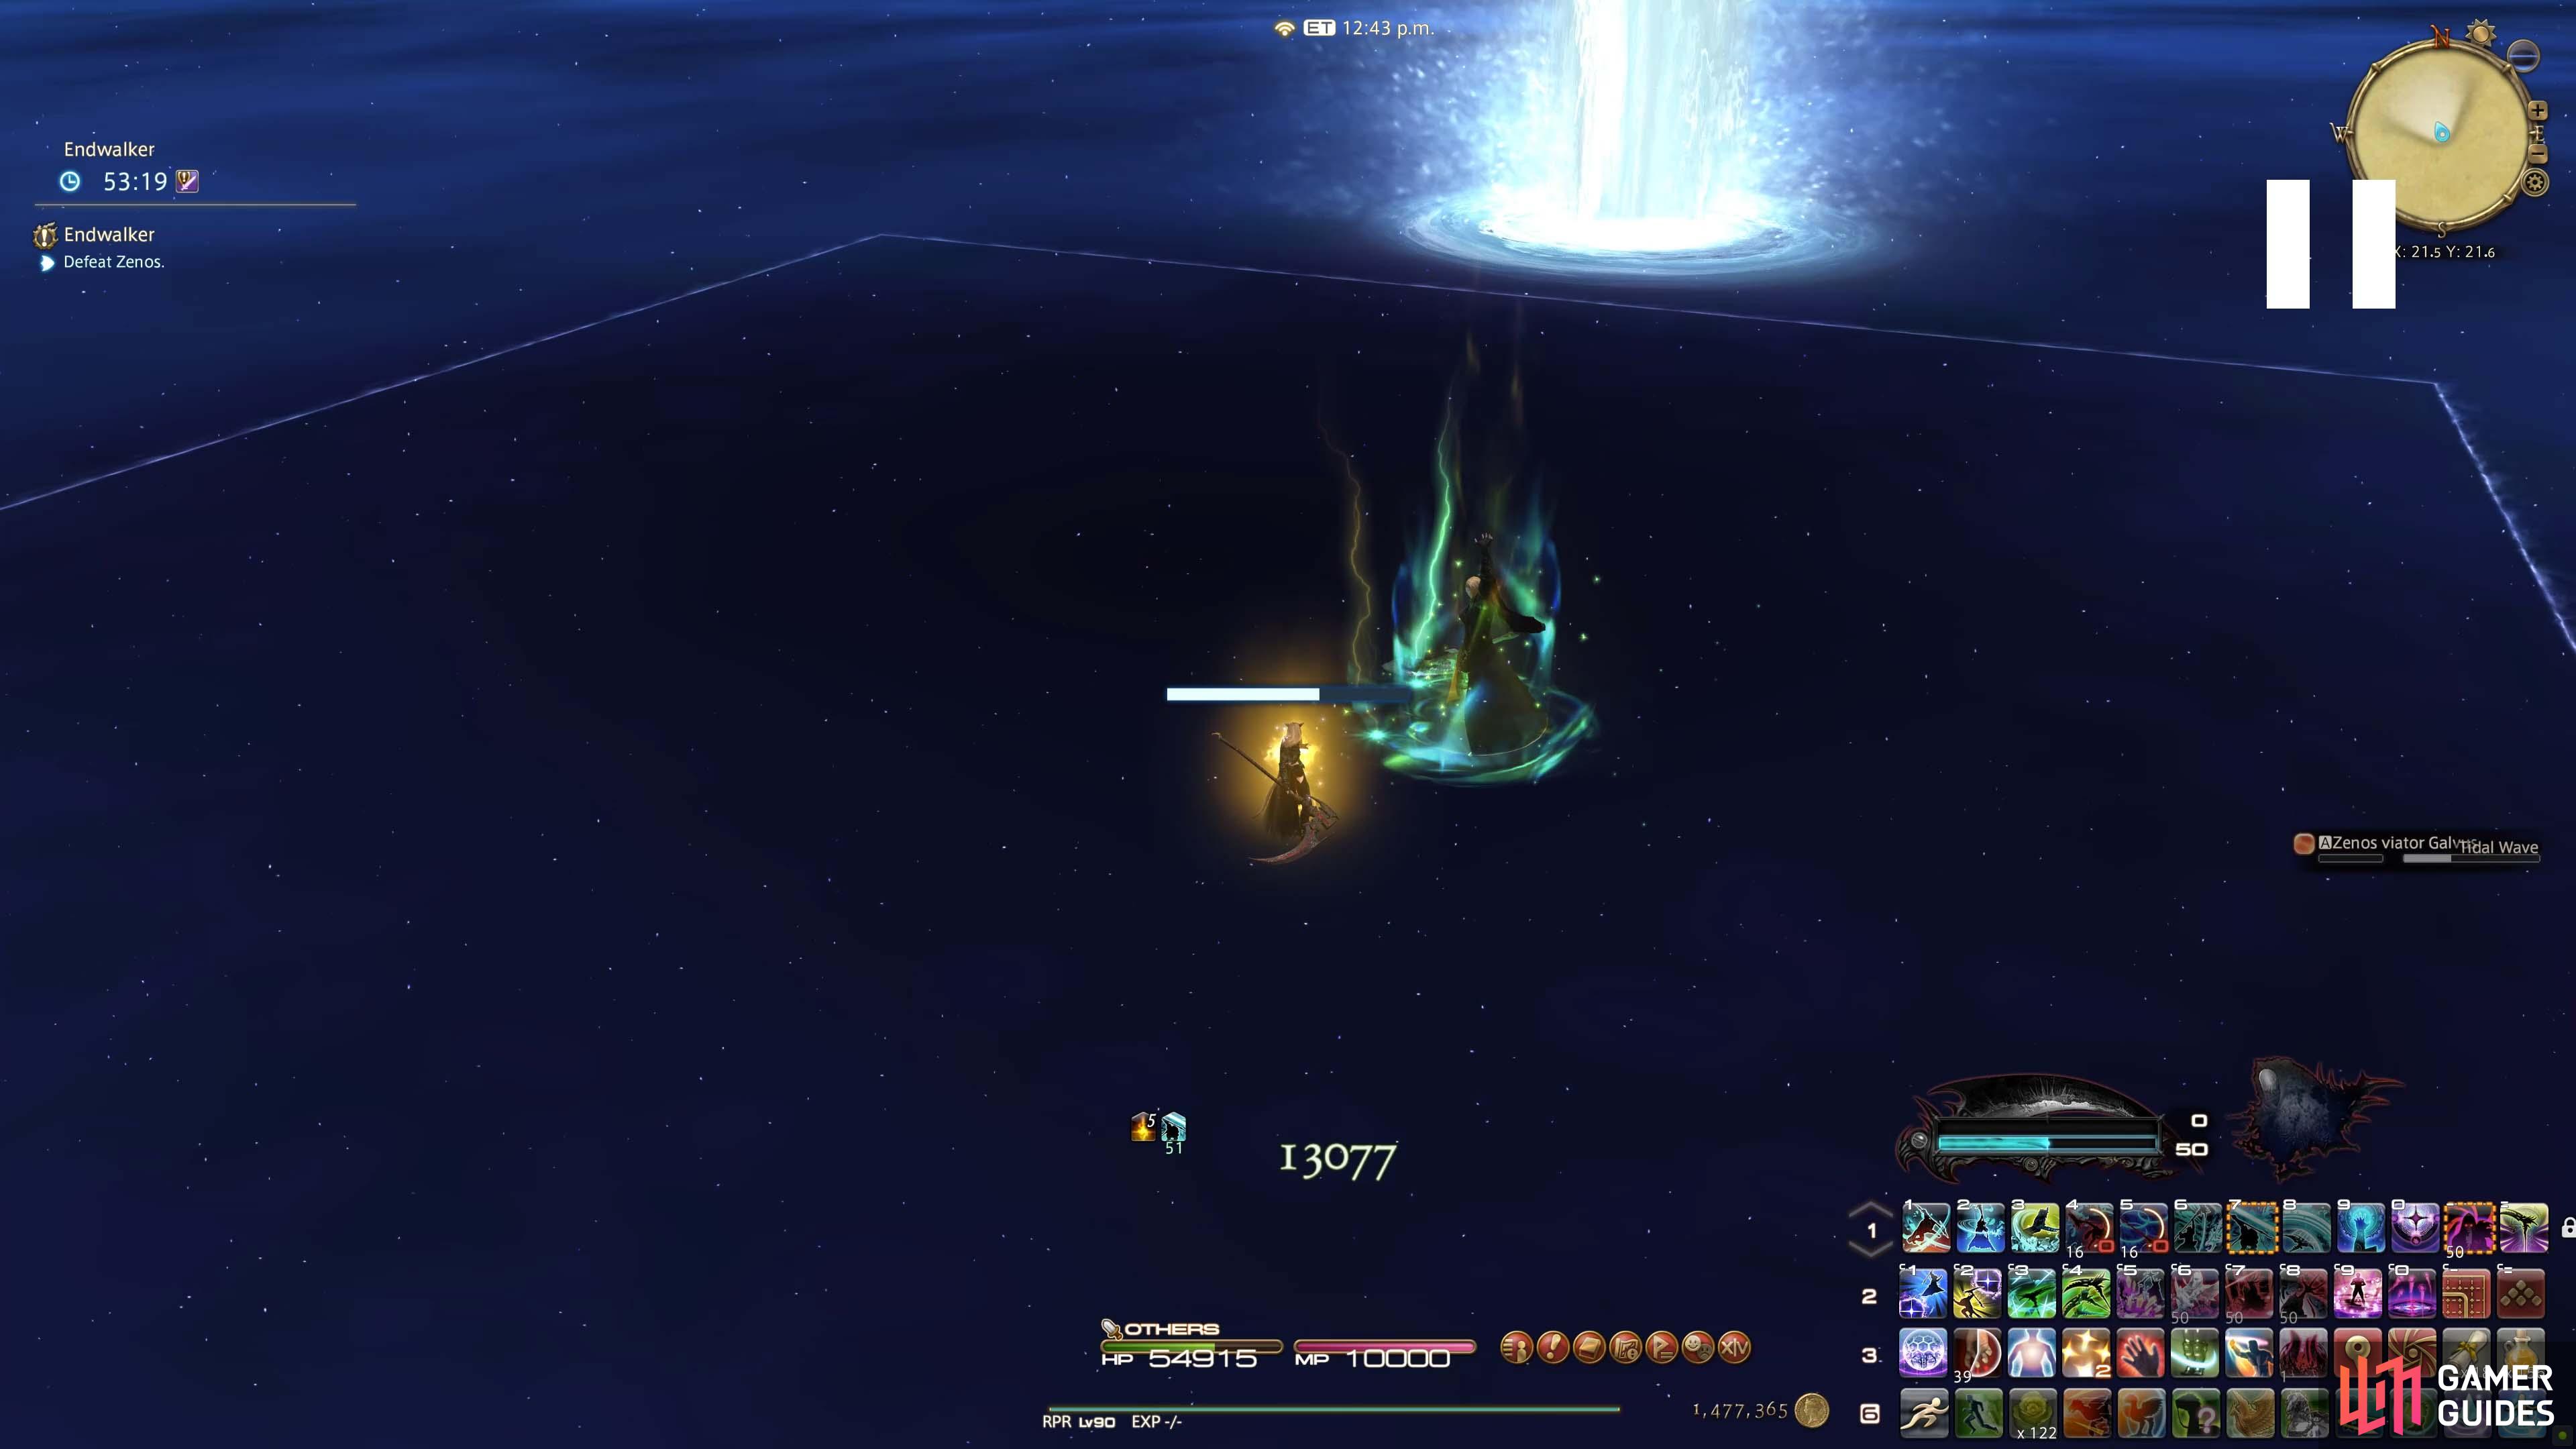
The first action he will cast is Tidal Wave. This will cause a sidweways knock back which will sweep you into the pools on the left. You can use Arms Length to avoid these. Or alternatively you can run to the far right to make sure you have enough distance between yourself and the pools.
Tidal Wave is a knockback to the left.
Next Zenos will cast Judgement Bolt which is a moderate damage, circle AoE electical attack on the player.
(1 of 2) Judgement Bold cast
Judgement Bold cast (left), A moderate damage circle aoe. (right)
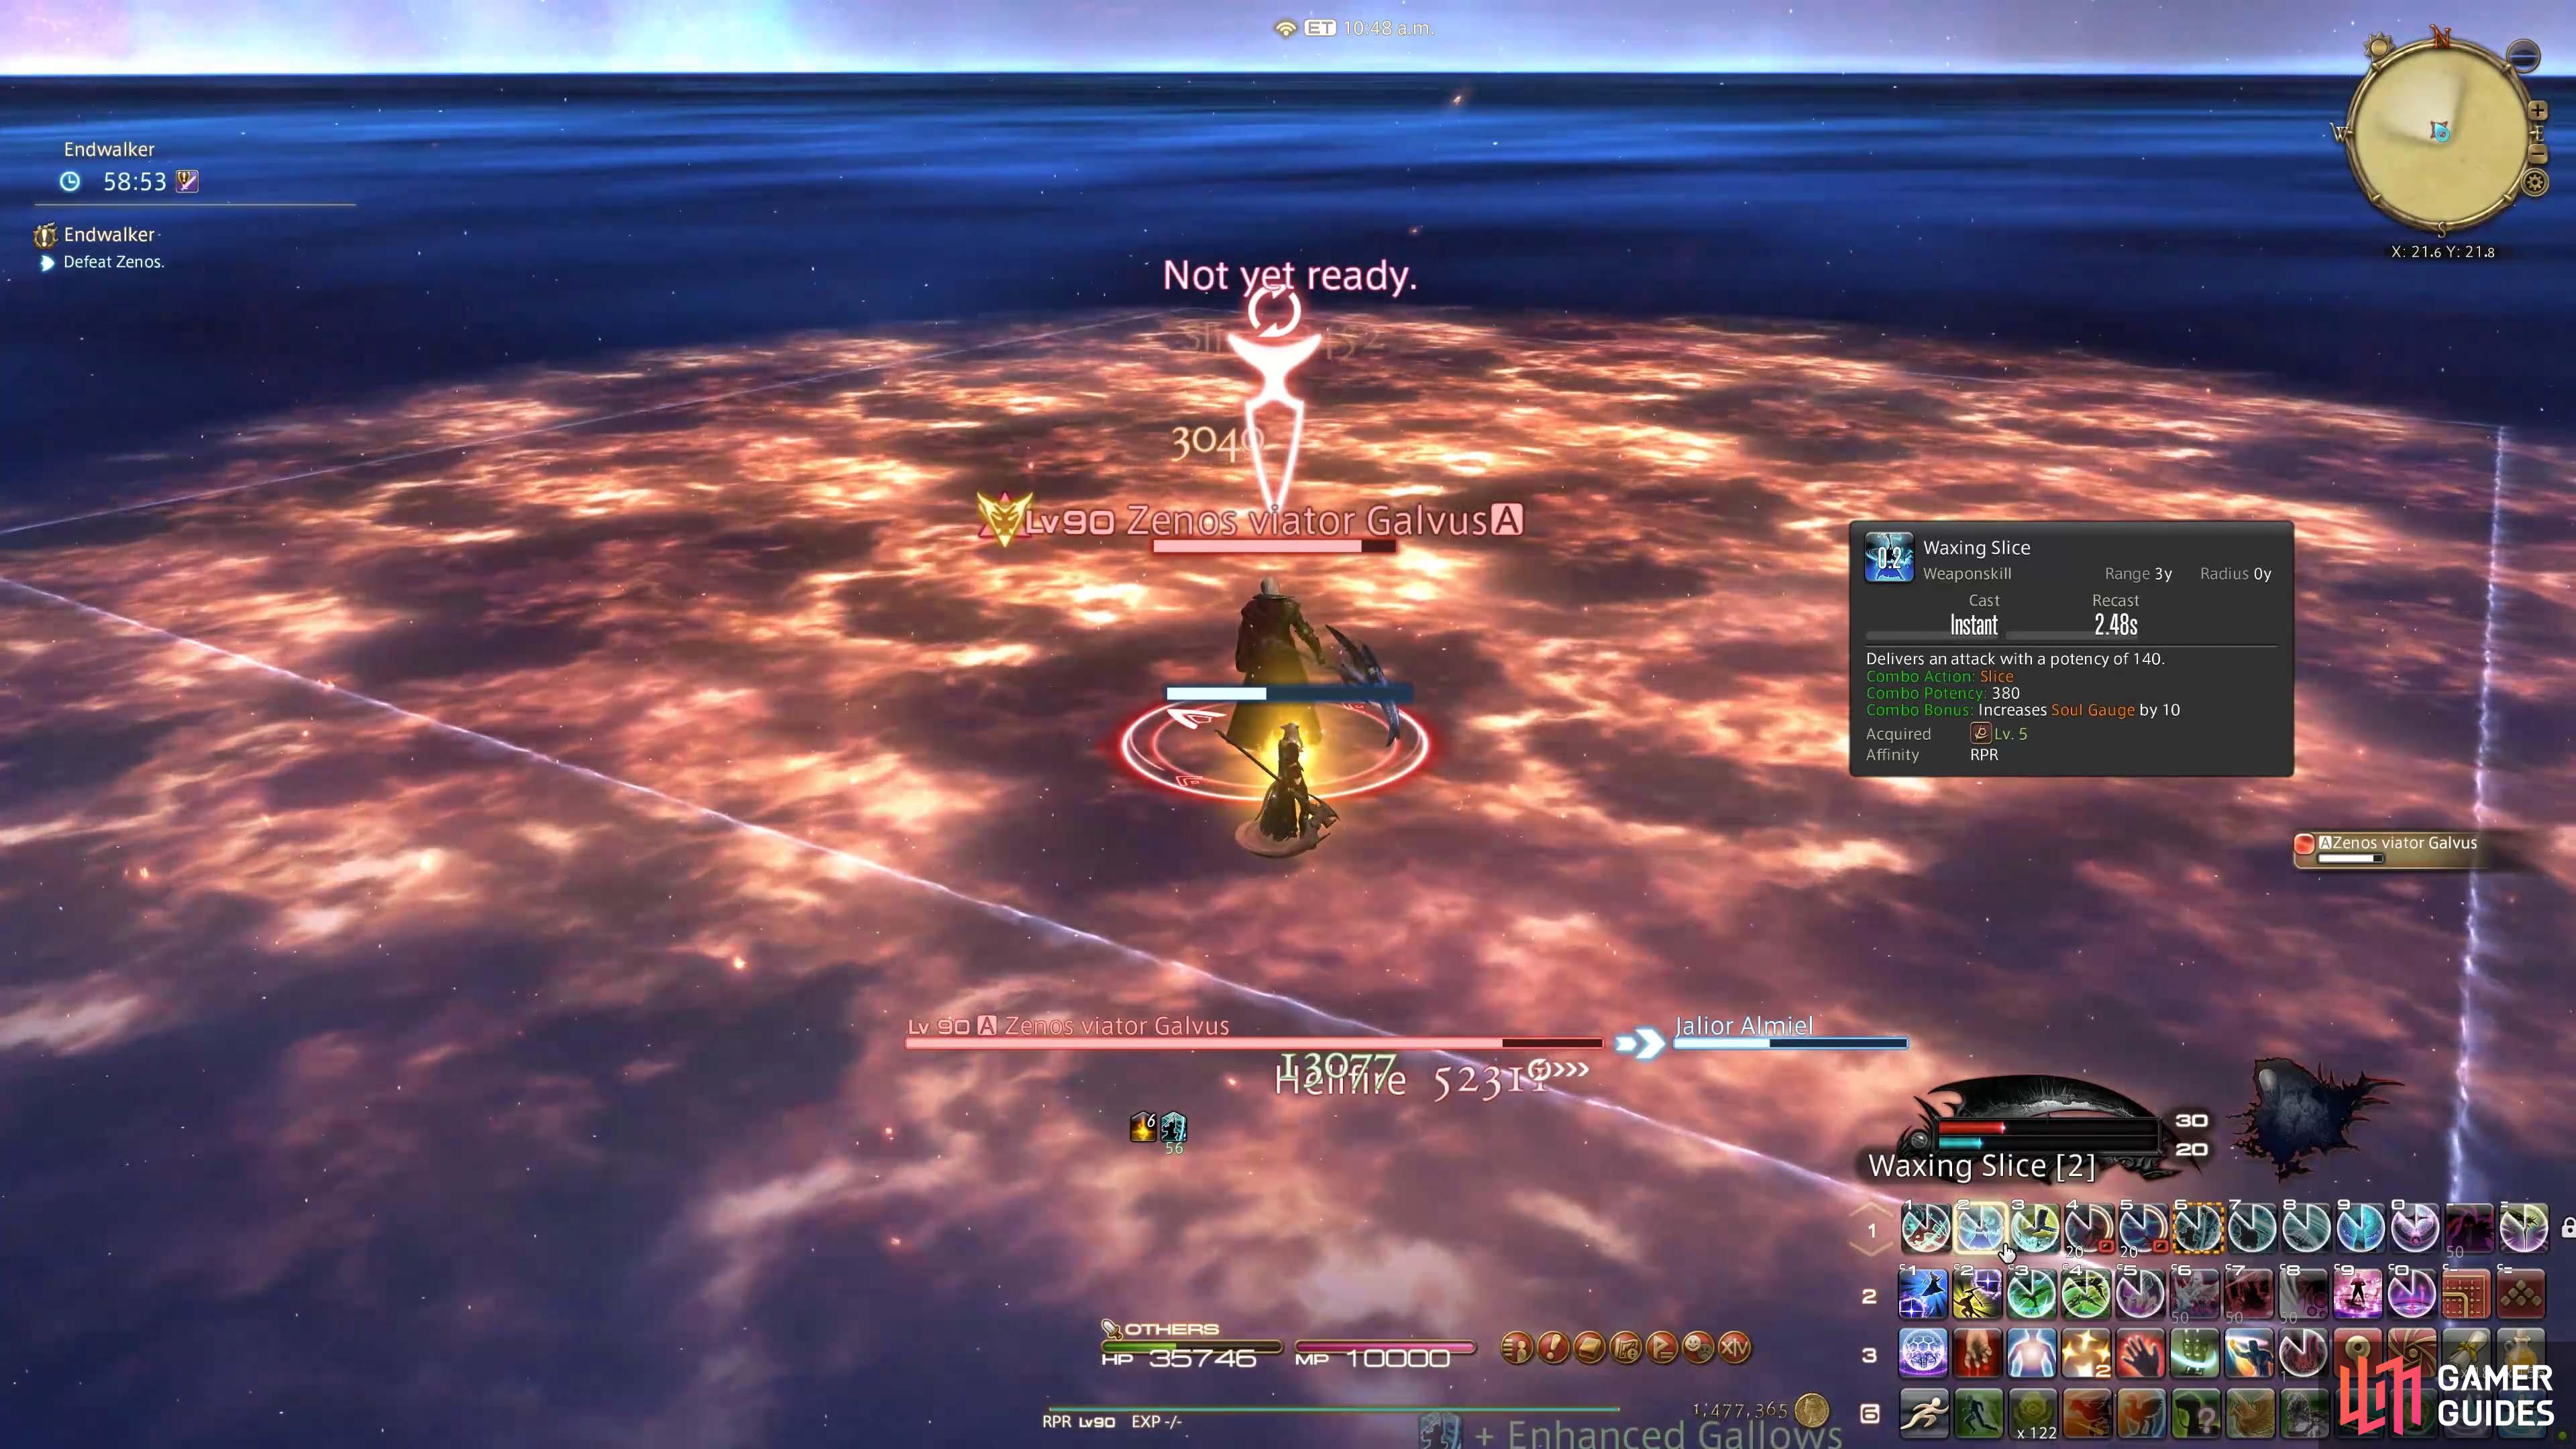
Next Zenos will cast Hellfire which is an unavoidable, high damage full arena spell.
(1 of 2) Castin
Castin (left), Full arena damage. (right)
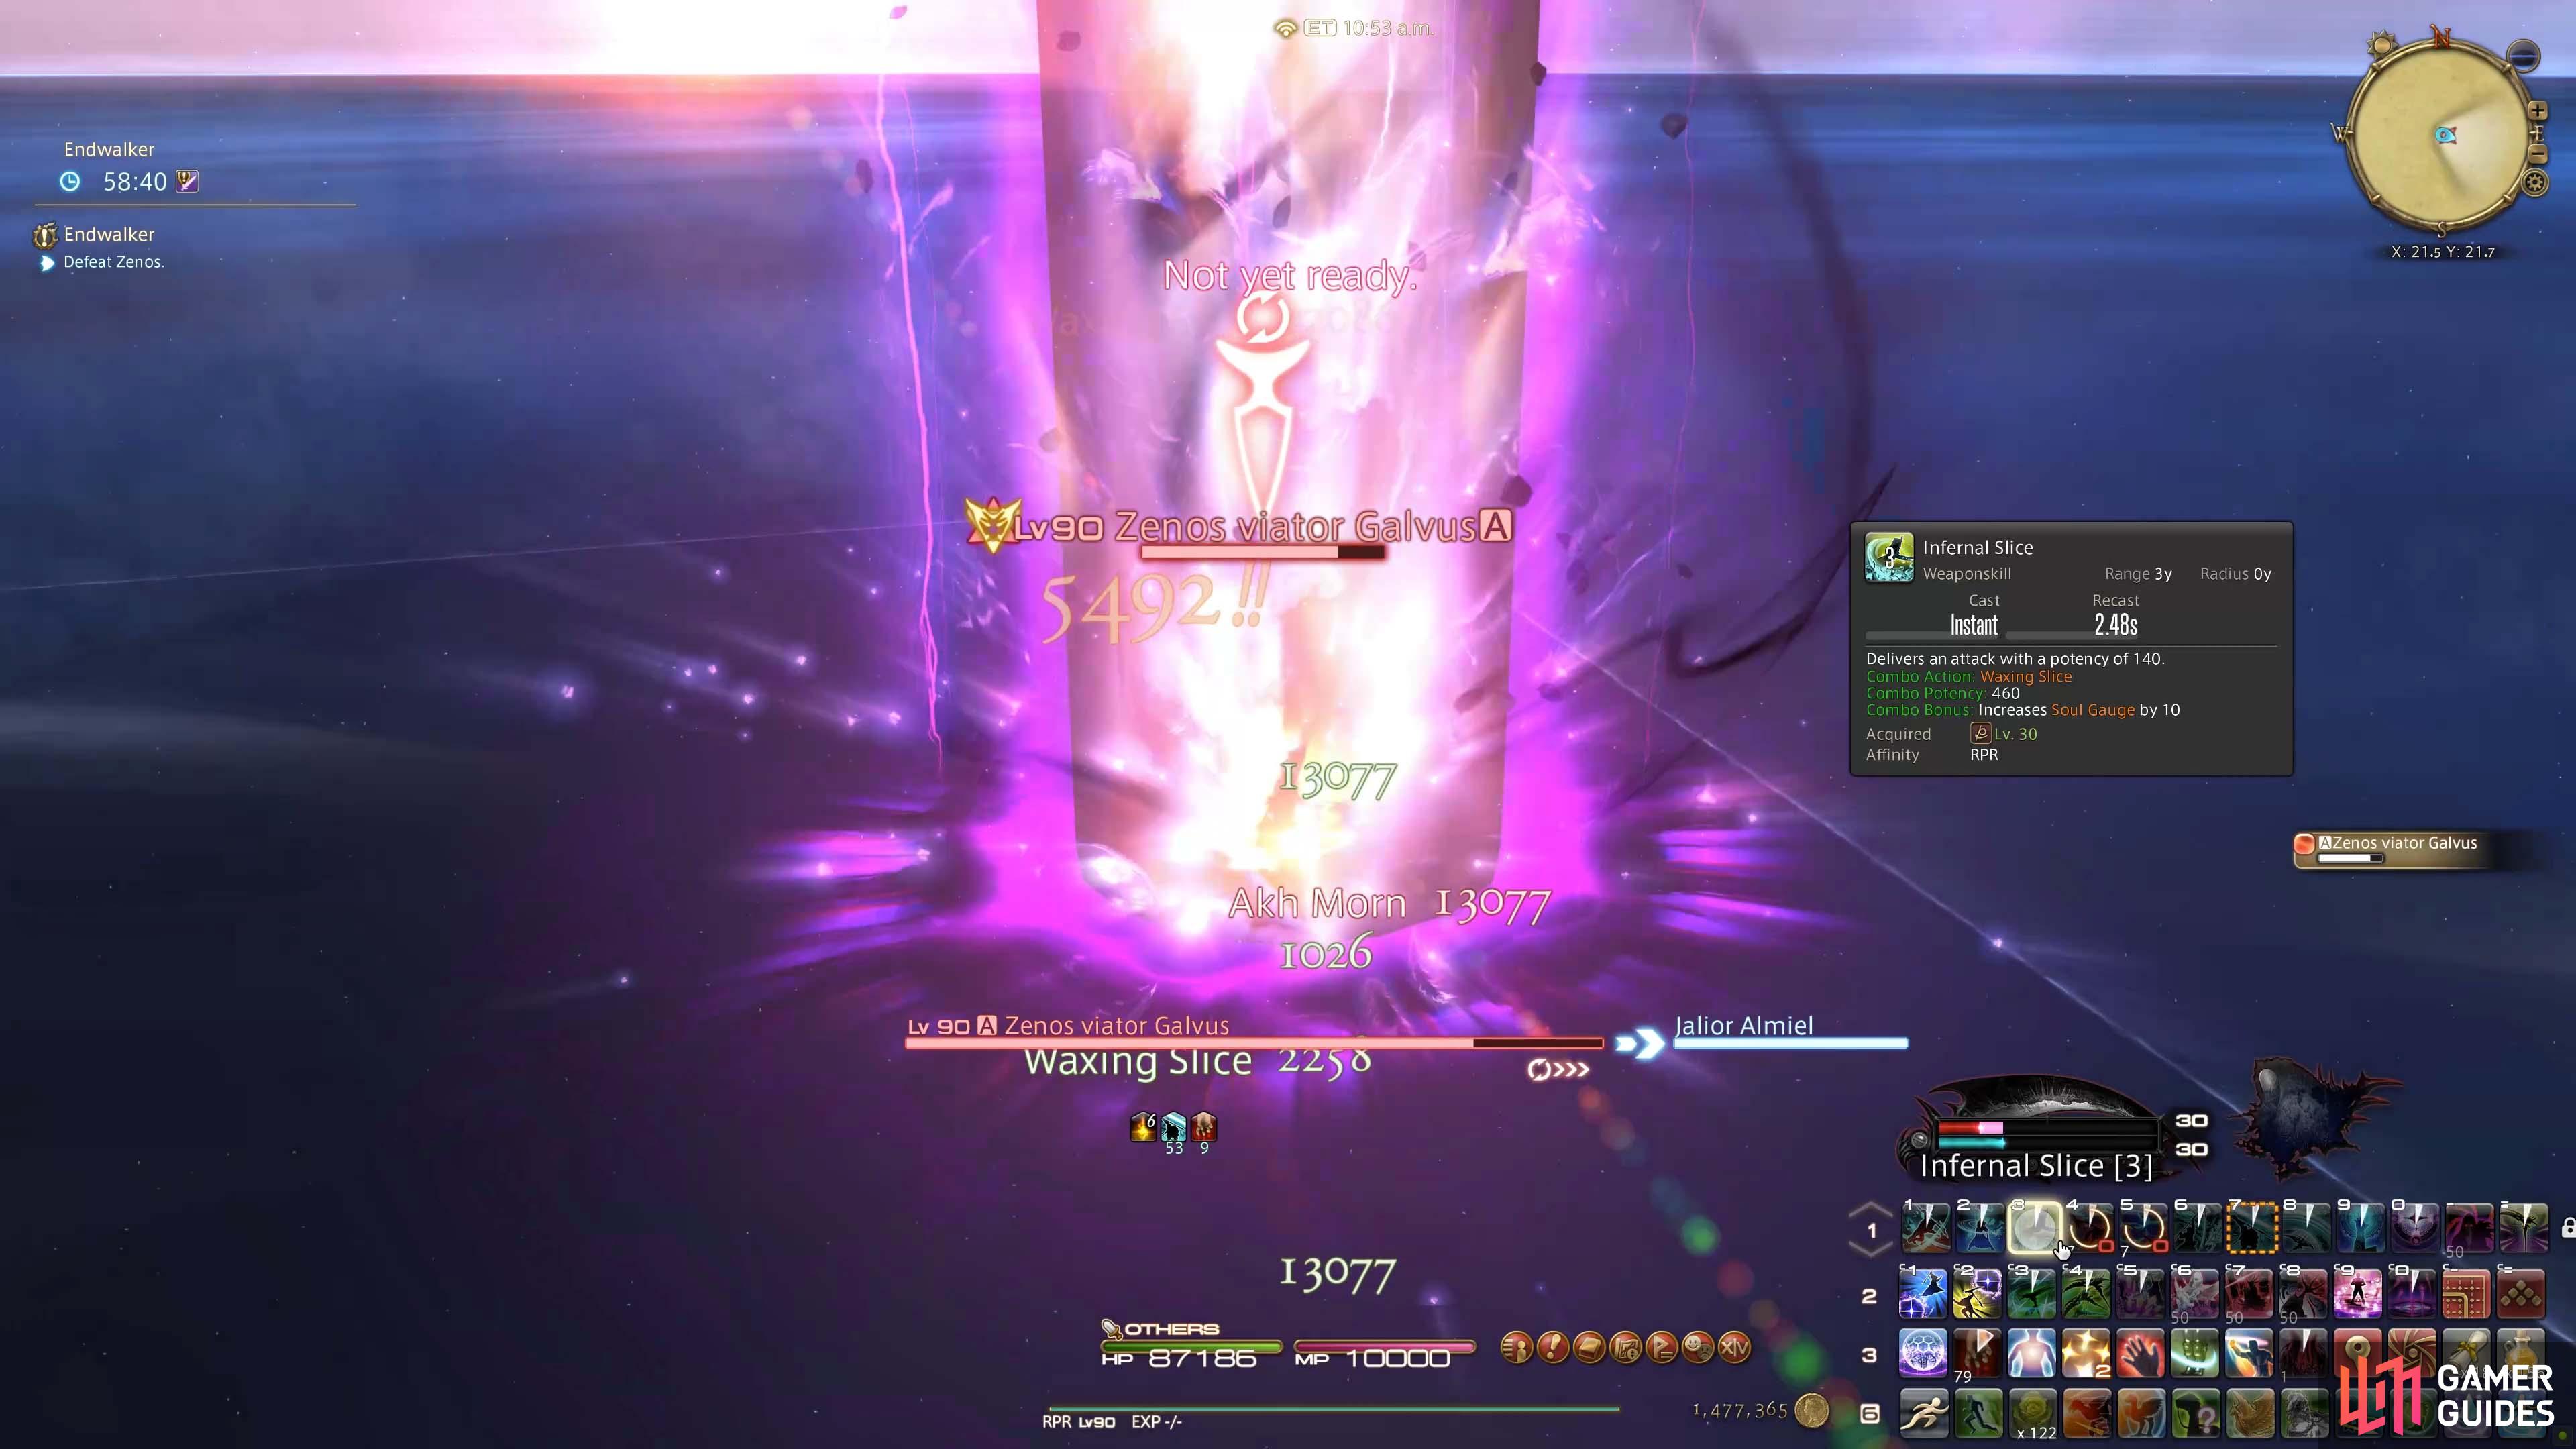
Next Zenos will cast Akh Morn. This spell will drop 6 low damage beams on the player’s head in quick succession. They can be mitigated with barriers/defensive cooldowns.
(1 of 2) Akh Morn Casting.
Akh Morn Casting. (left), Damage beams (right)
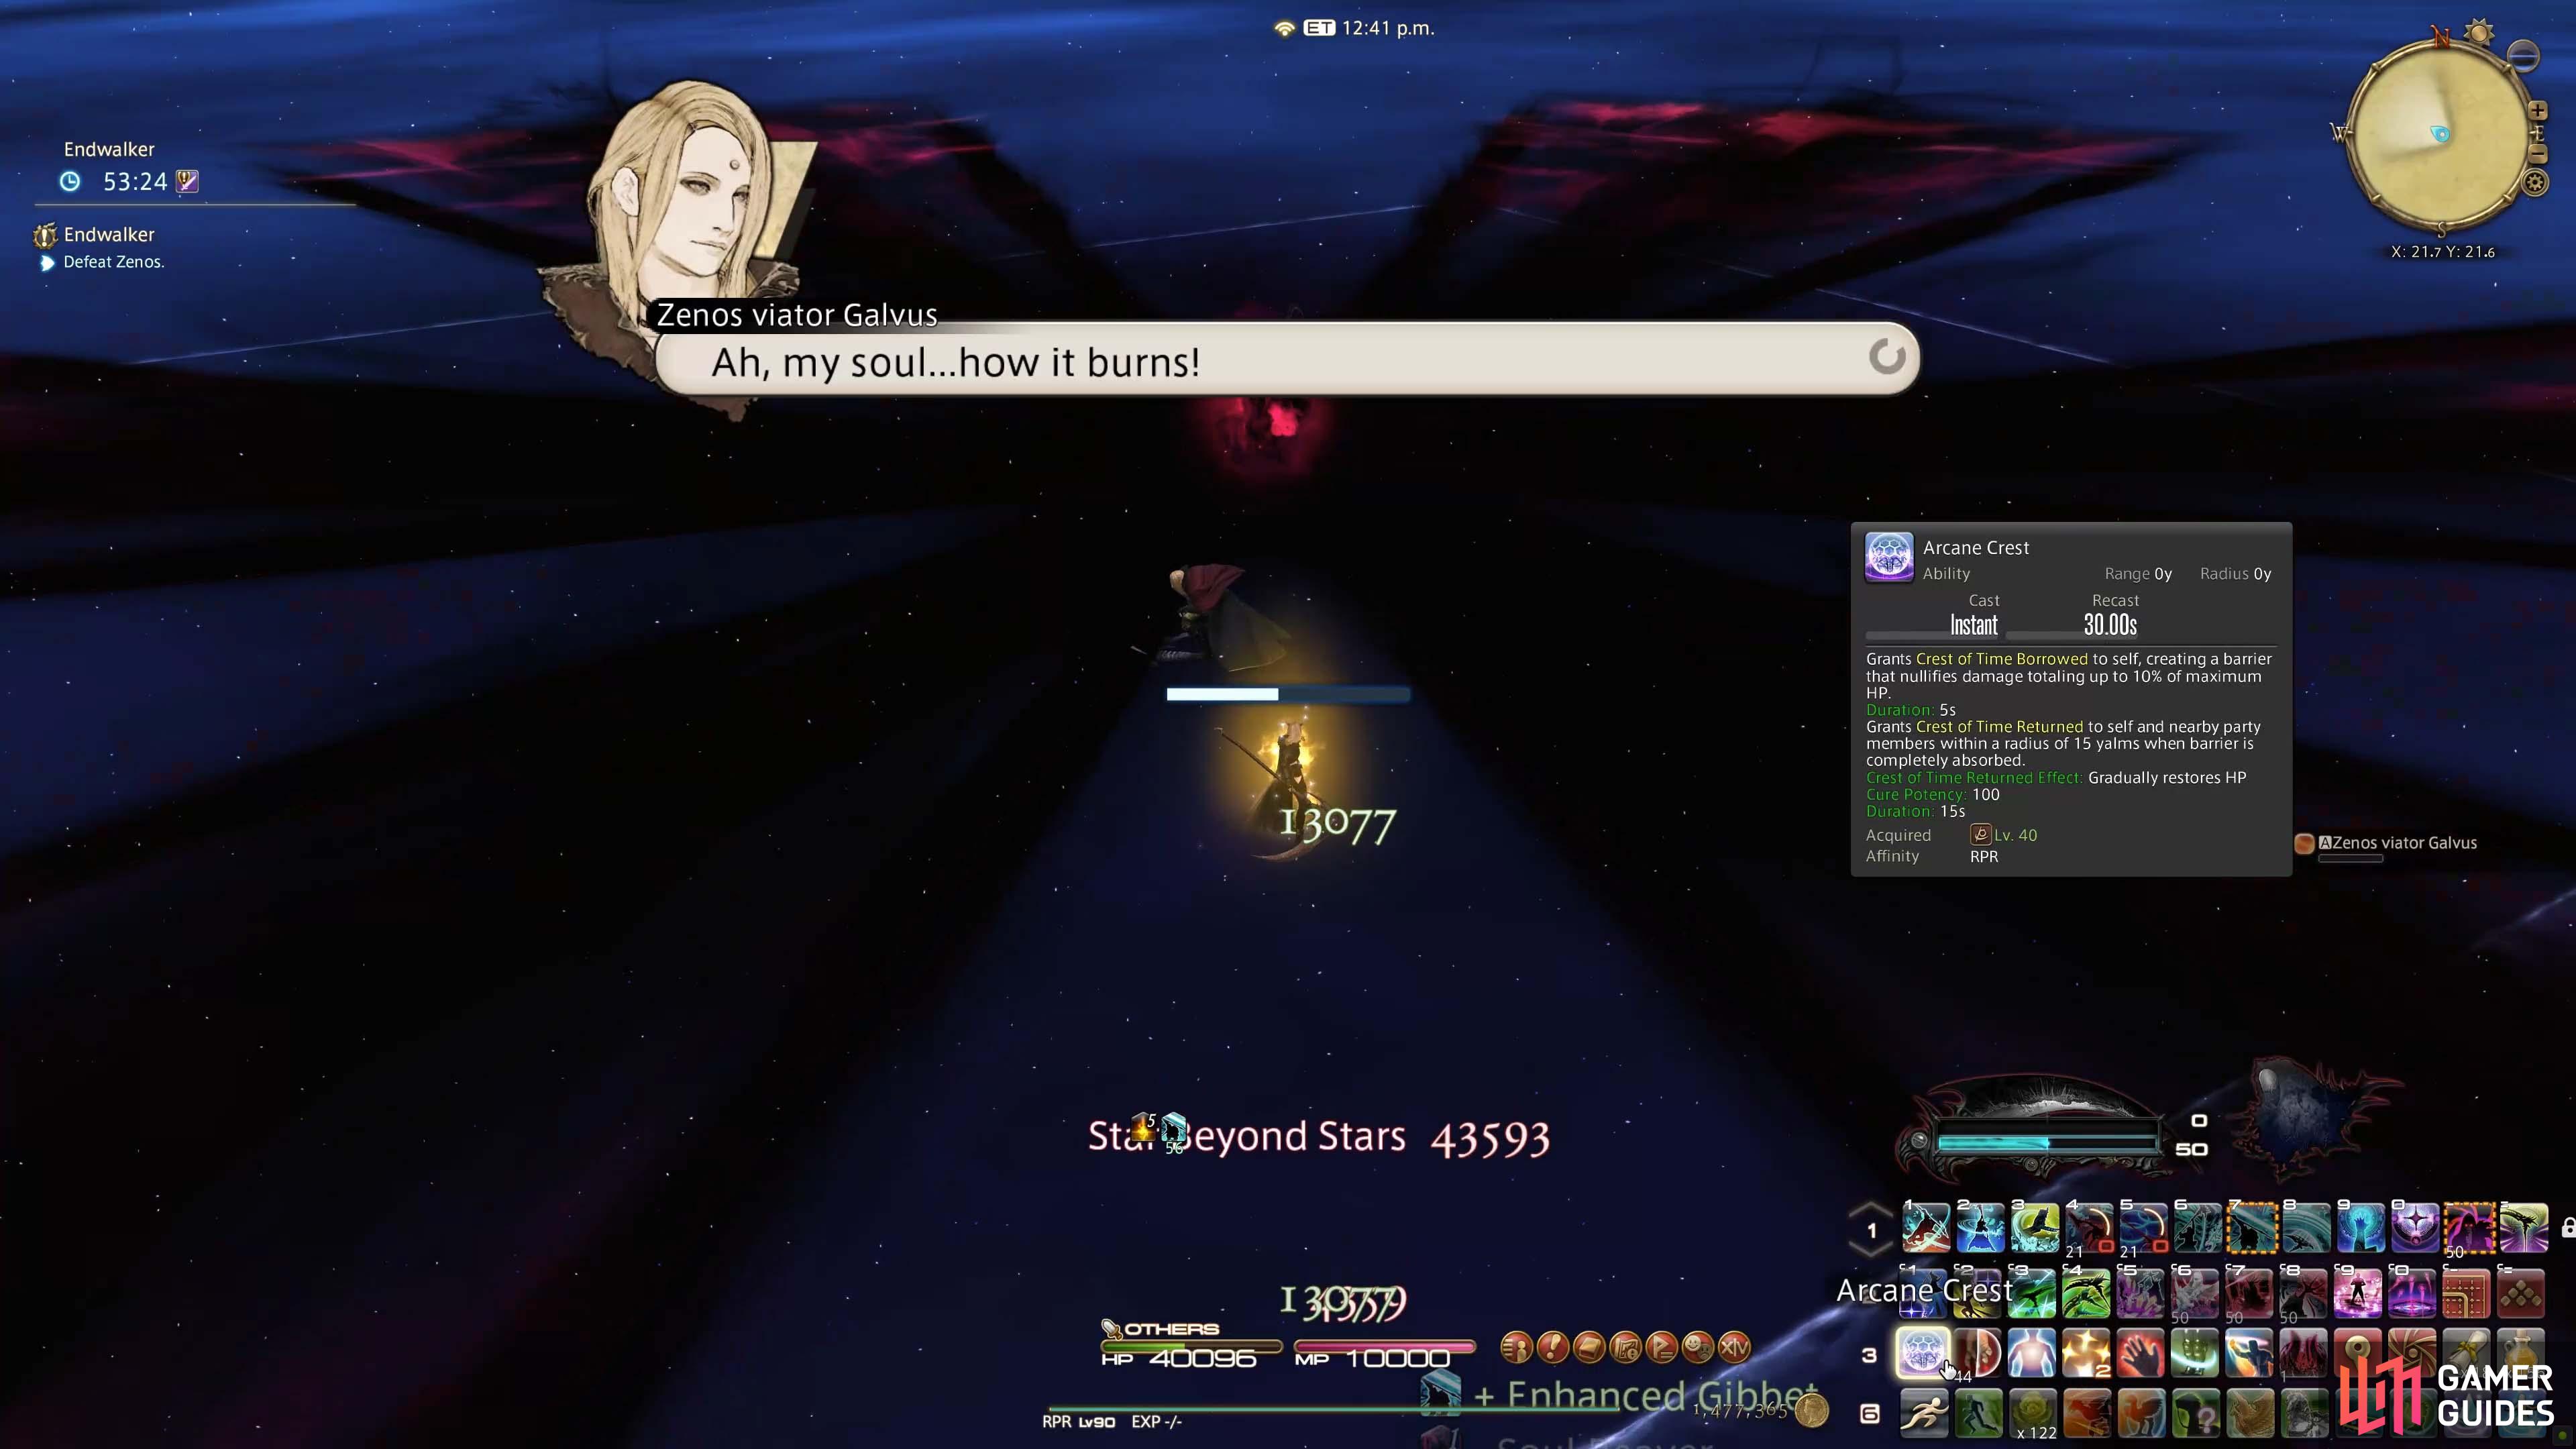
Next Zenos will teleport to the middle and cast Come Hither followed by Star Beyond Stars. Star Beyond Stars is a fan-shaped spell + a circle AoE. The Circle AoE in the middle of the arena will resolve first, so you must move towards the outside edge of the circle to avoid this. Then the fan shape will resolve which means you must not be standing on any of the orange ‘blades’ when this resolves to avoid taking damage.
(1 of 4) Come Hither
Next Zenos will exclaim “Mine for the taking” where he will immediately do a powerful frontal attack which you must dodge to the side or rear to avoid. The ground marker will not appear until he actually does the attack so you must listen out for his shout instead.
(1 of 2) Mine for the taking!
Mine for the taking! (left), Frontal Conal Attack. (right)
Next Zenos will summon an avatar in the middle of the arena who will begin casting Nine Nights. This will fill the room with circle AoE’s (Area of Effect) in a clockwise pattern starting with the middle first and then clockwise from there (similar to Shiva’s ice AoEs). The one in the middle will resolve first so stand on a circle on the outside edge and then move towards the middle once the first one resolves to avoid all of the AoEs.
(1 of 2) The room will fill with circle AoEs.
The room will fill with circle AoEs. (left), The centre is safe after it explodes first. (right)
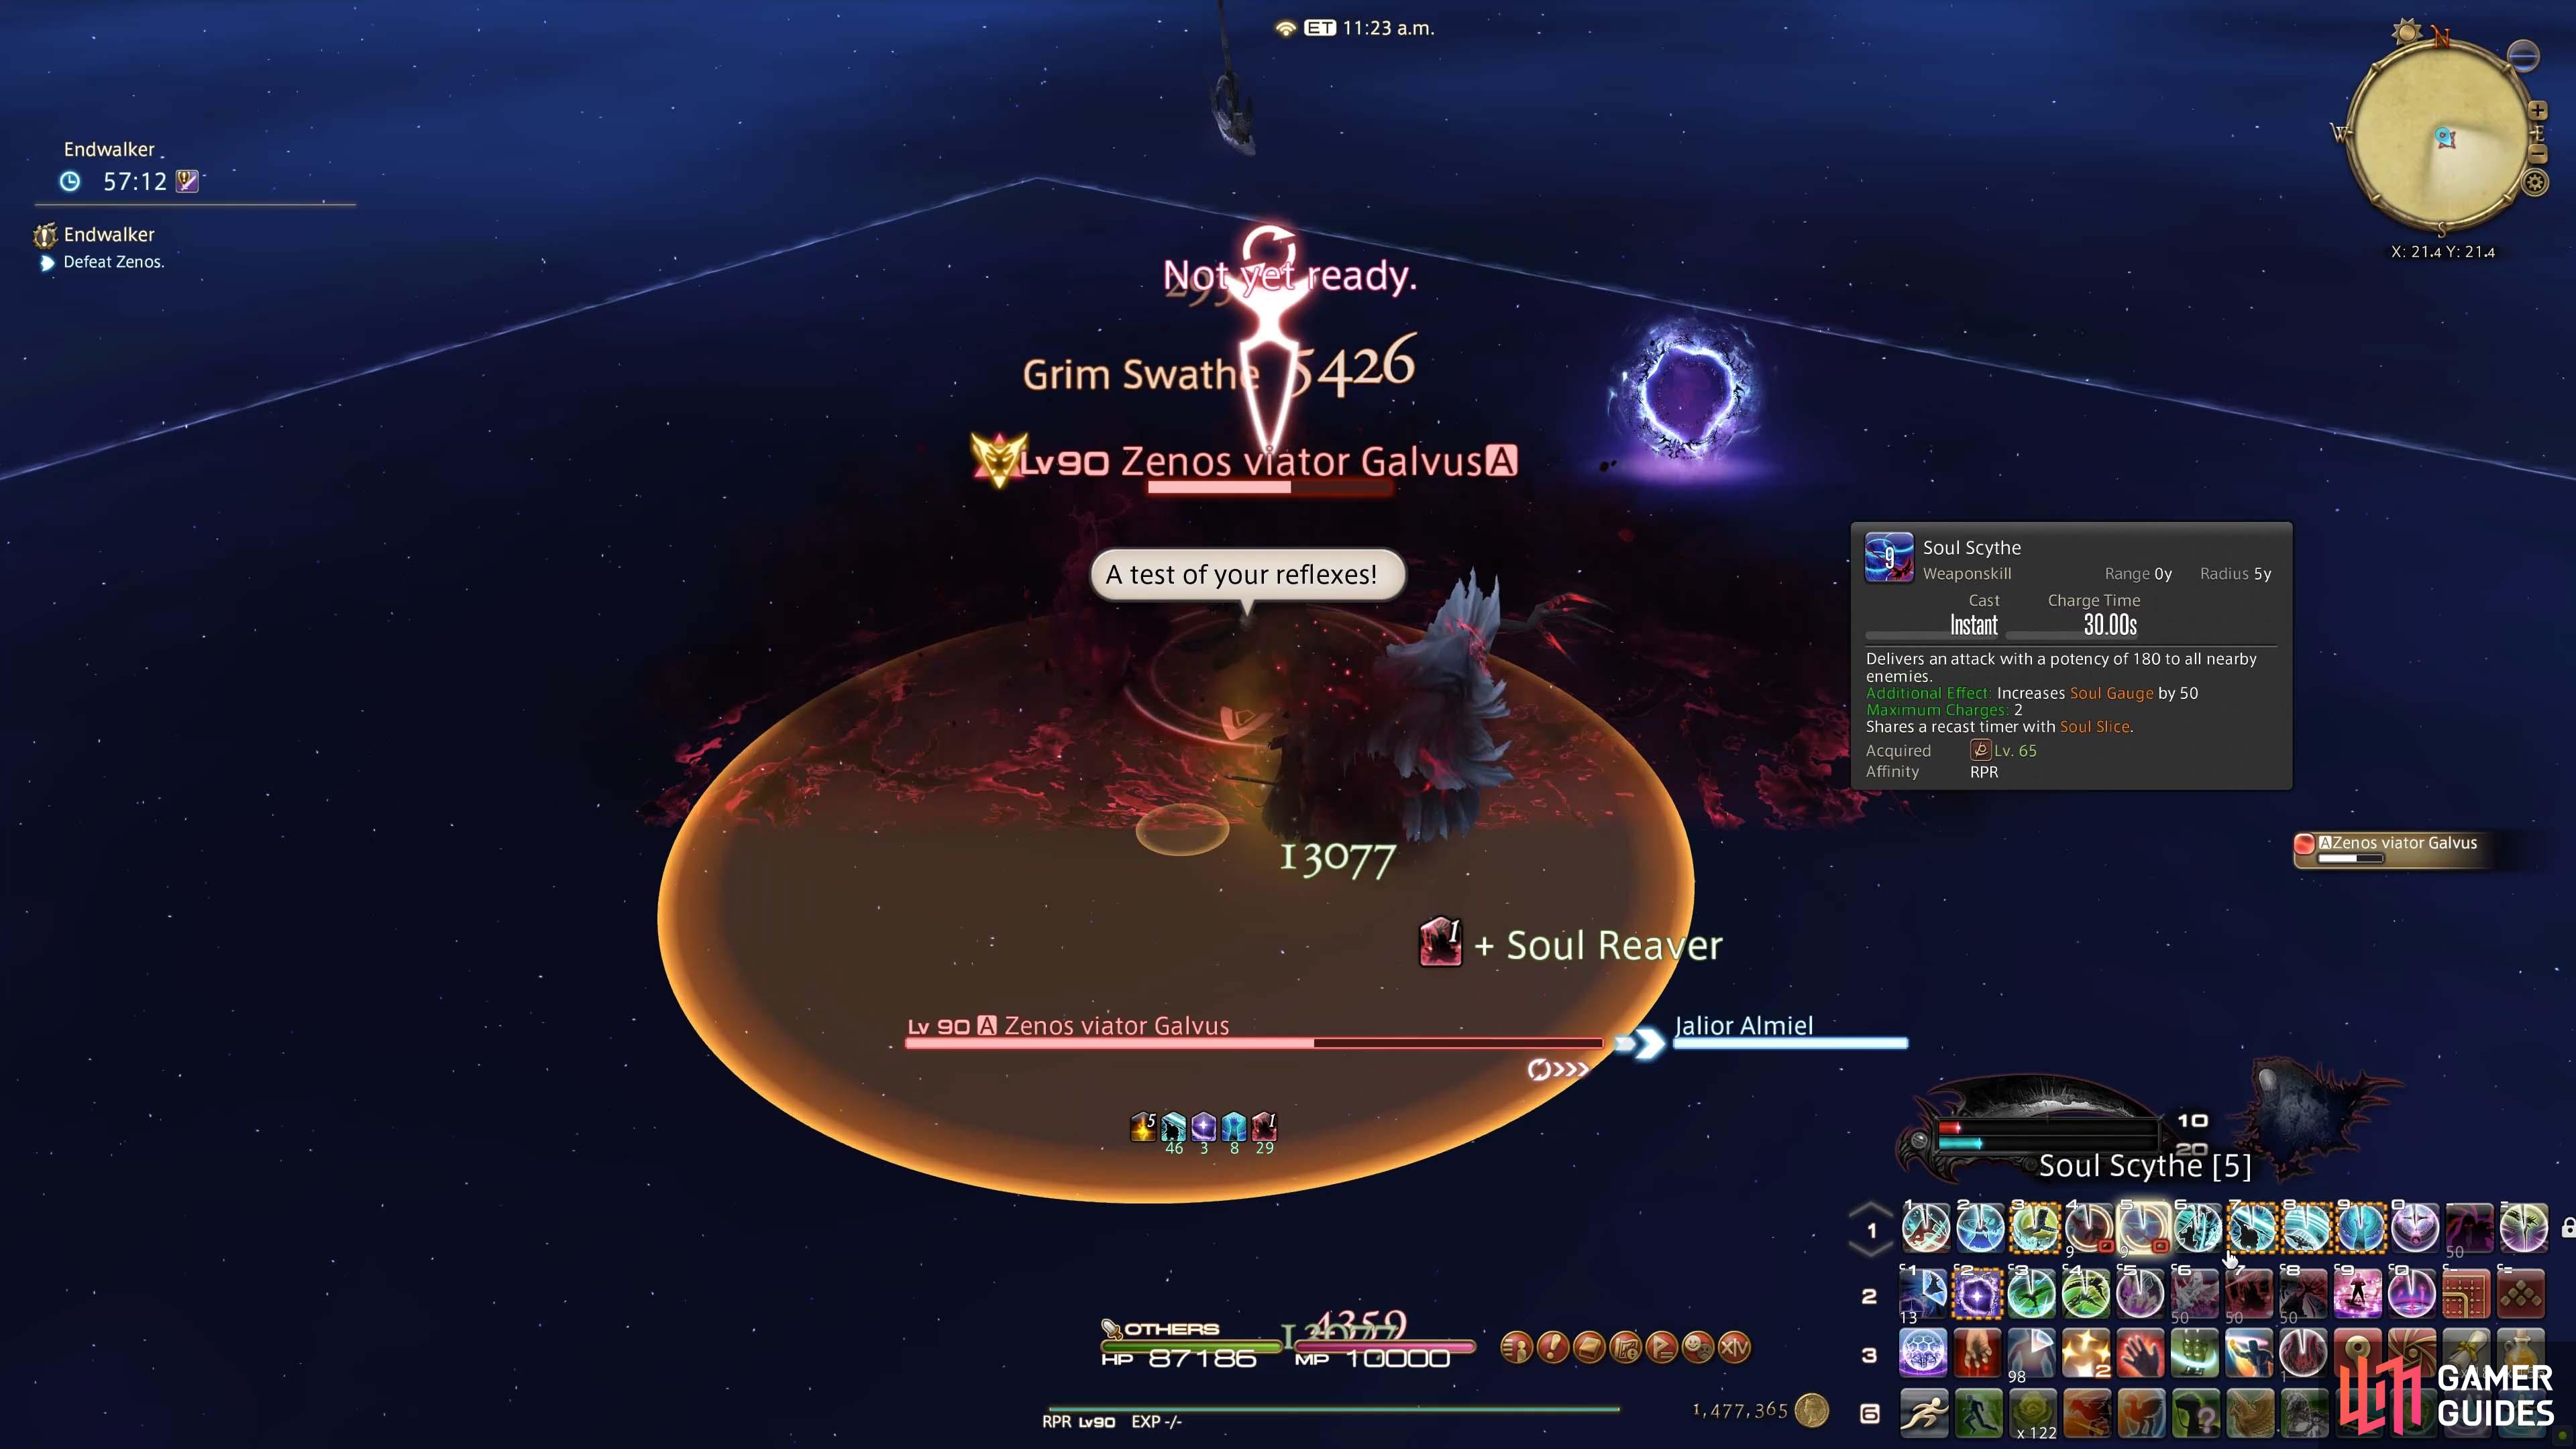
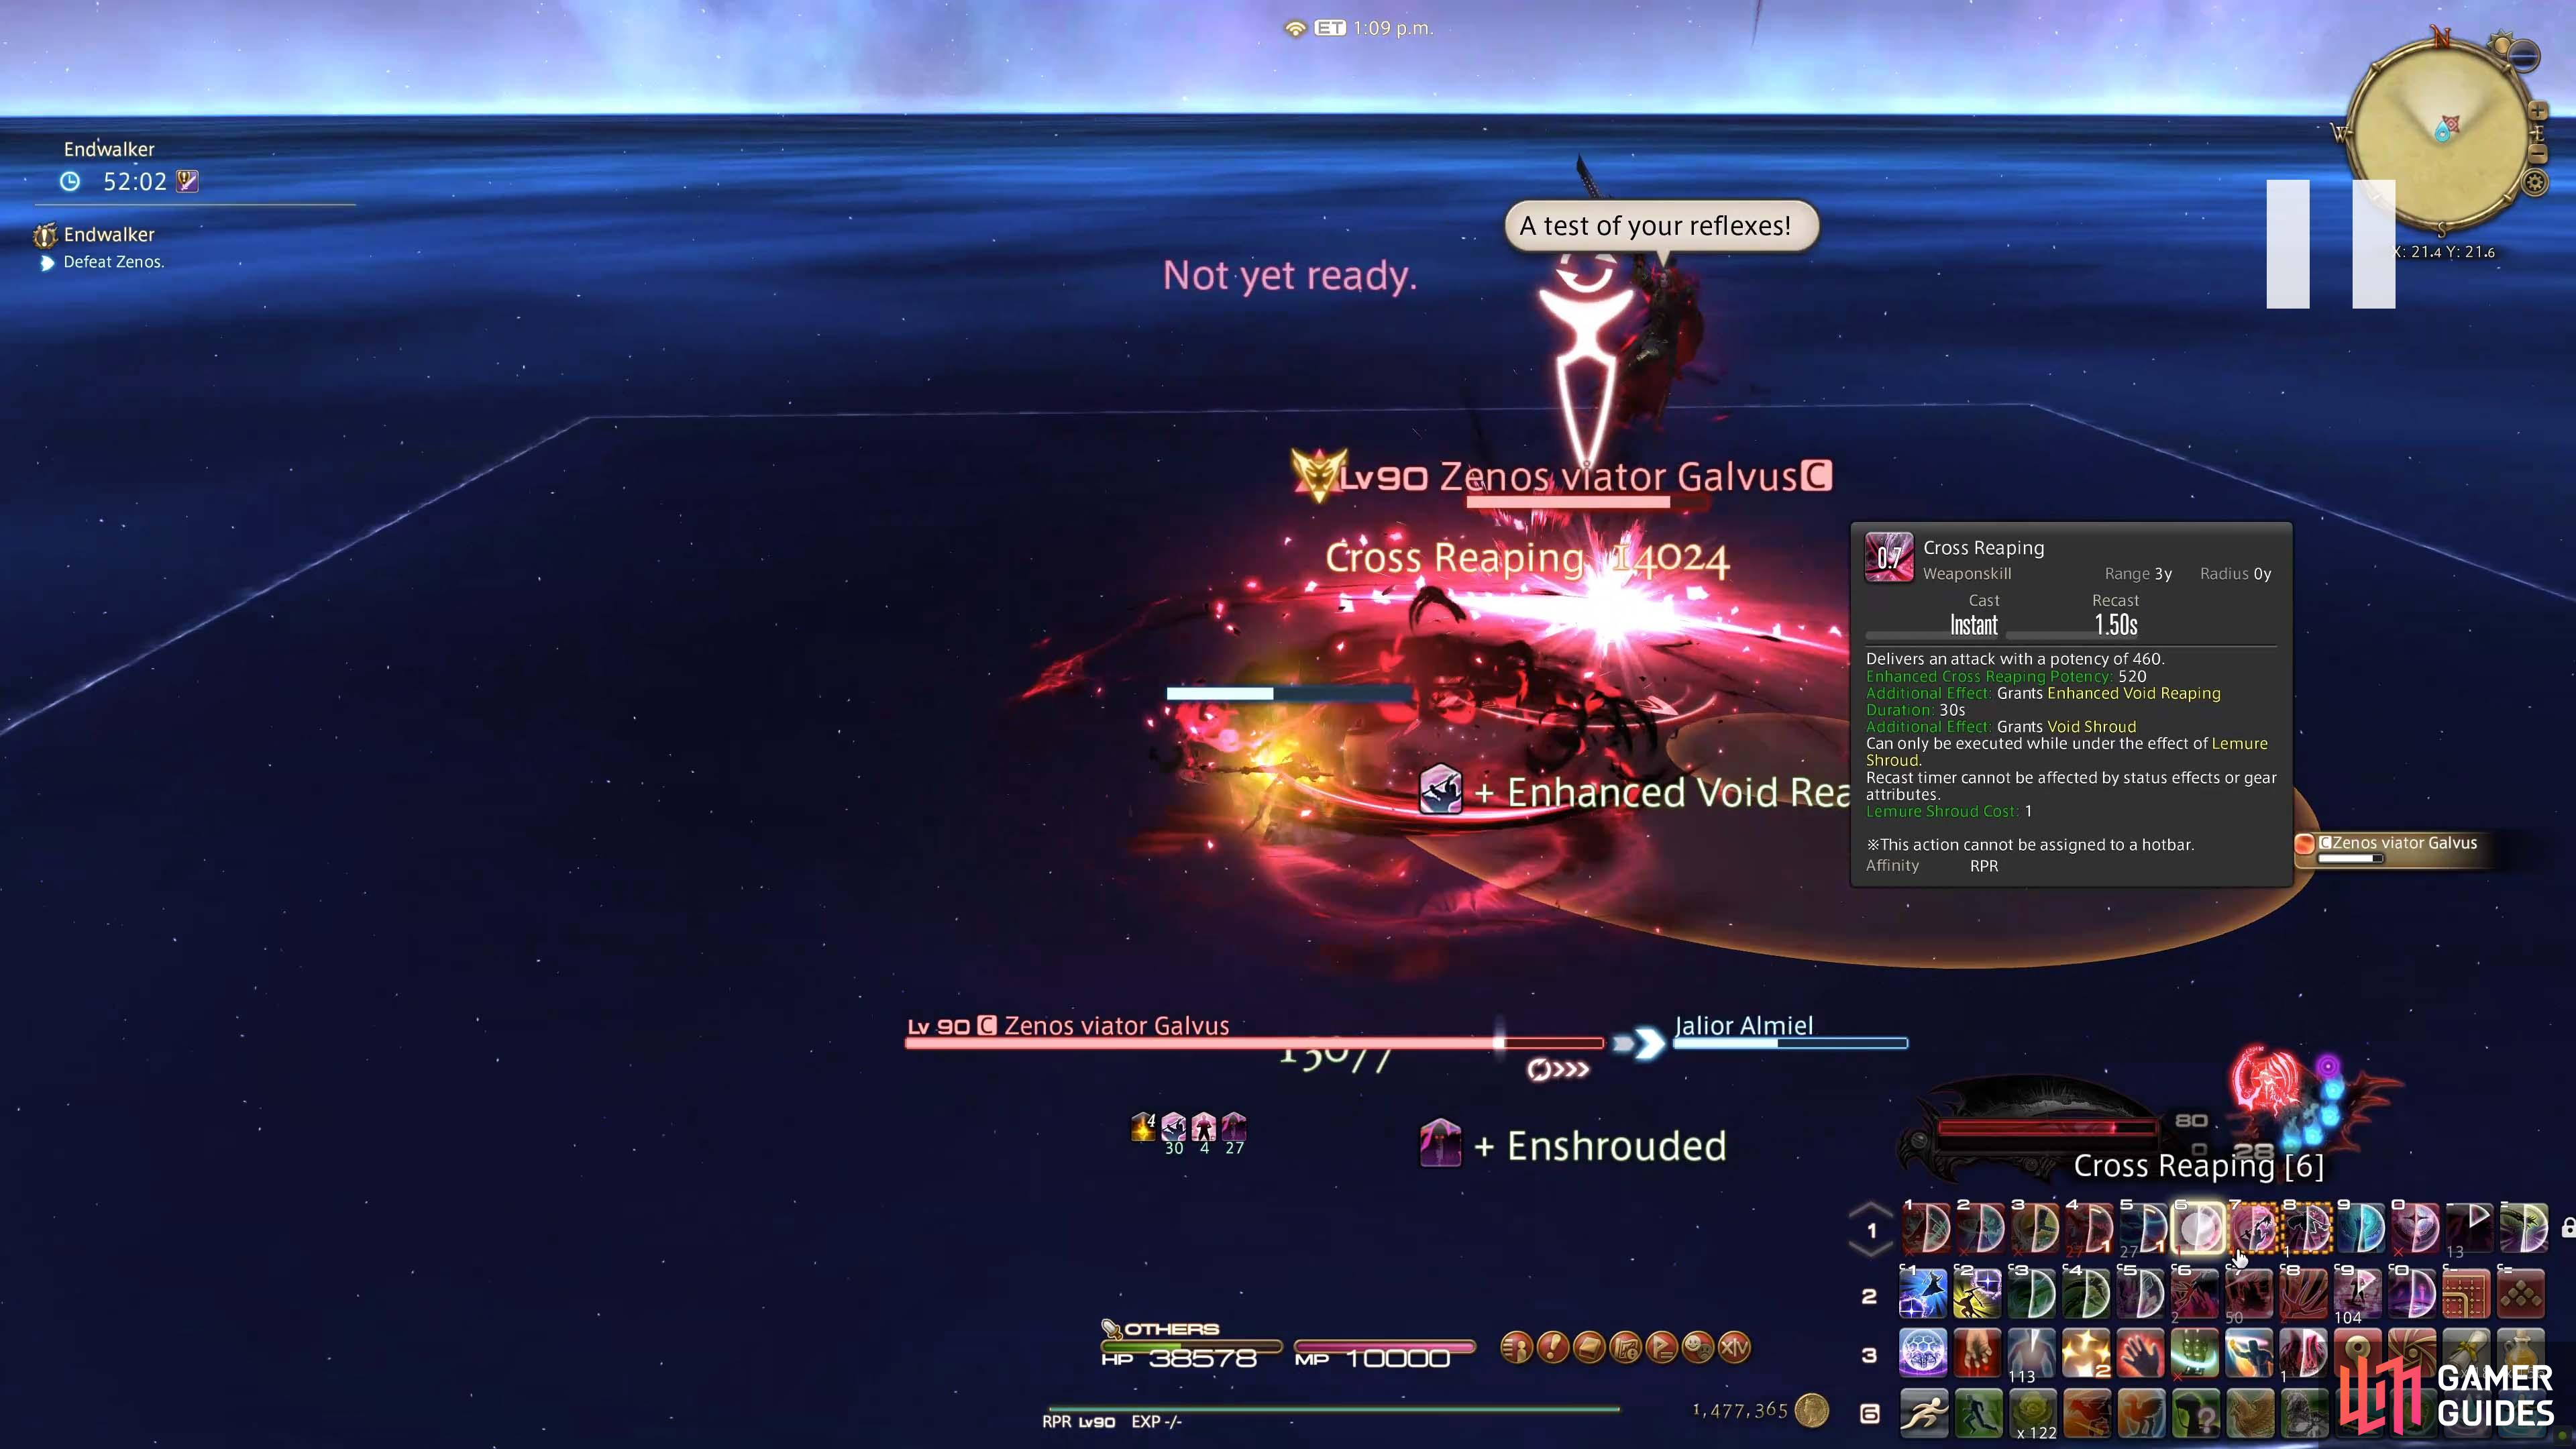
Zenos will then proclaim “A test of your reflexes!” and drop an orange circle directly below your current position. You must quickly move out of this to avoid being hit. Much like the earlier conal attack, the only indicator you have is his shout as the ground marker will only appear when he’s actually doing the attack. He will do this attack twice in a row.
Quick dodge out of the circle to avoid taking damage.
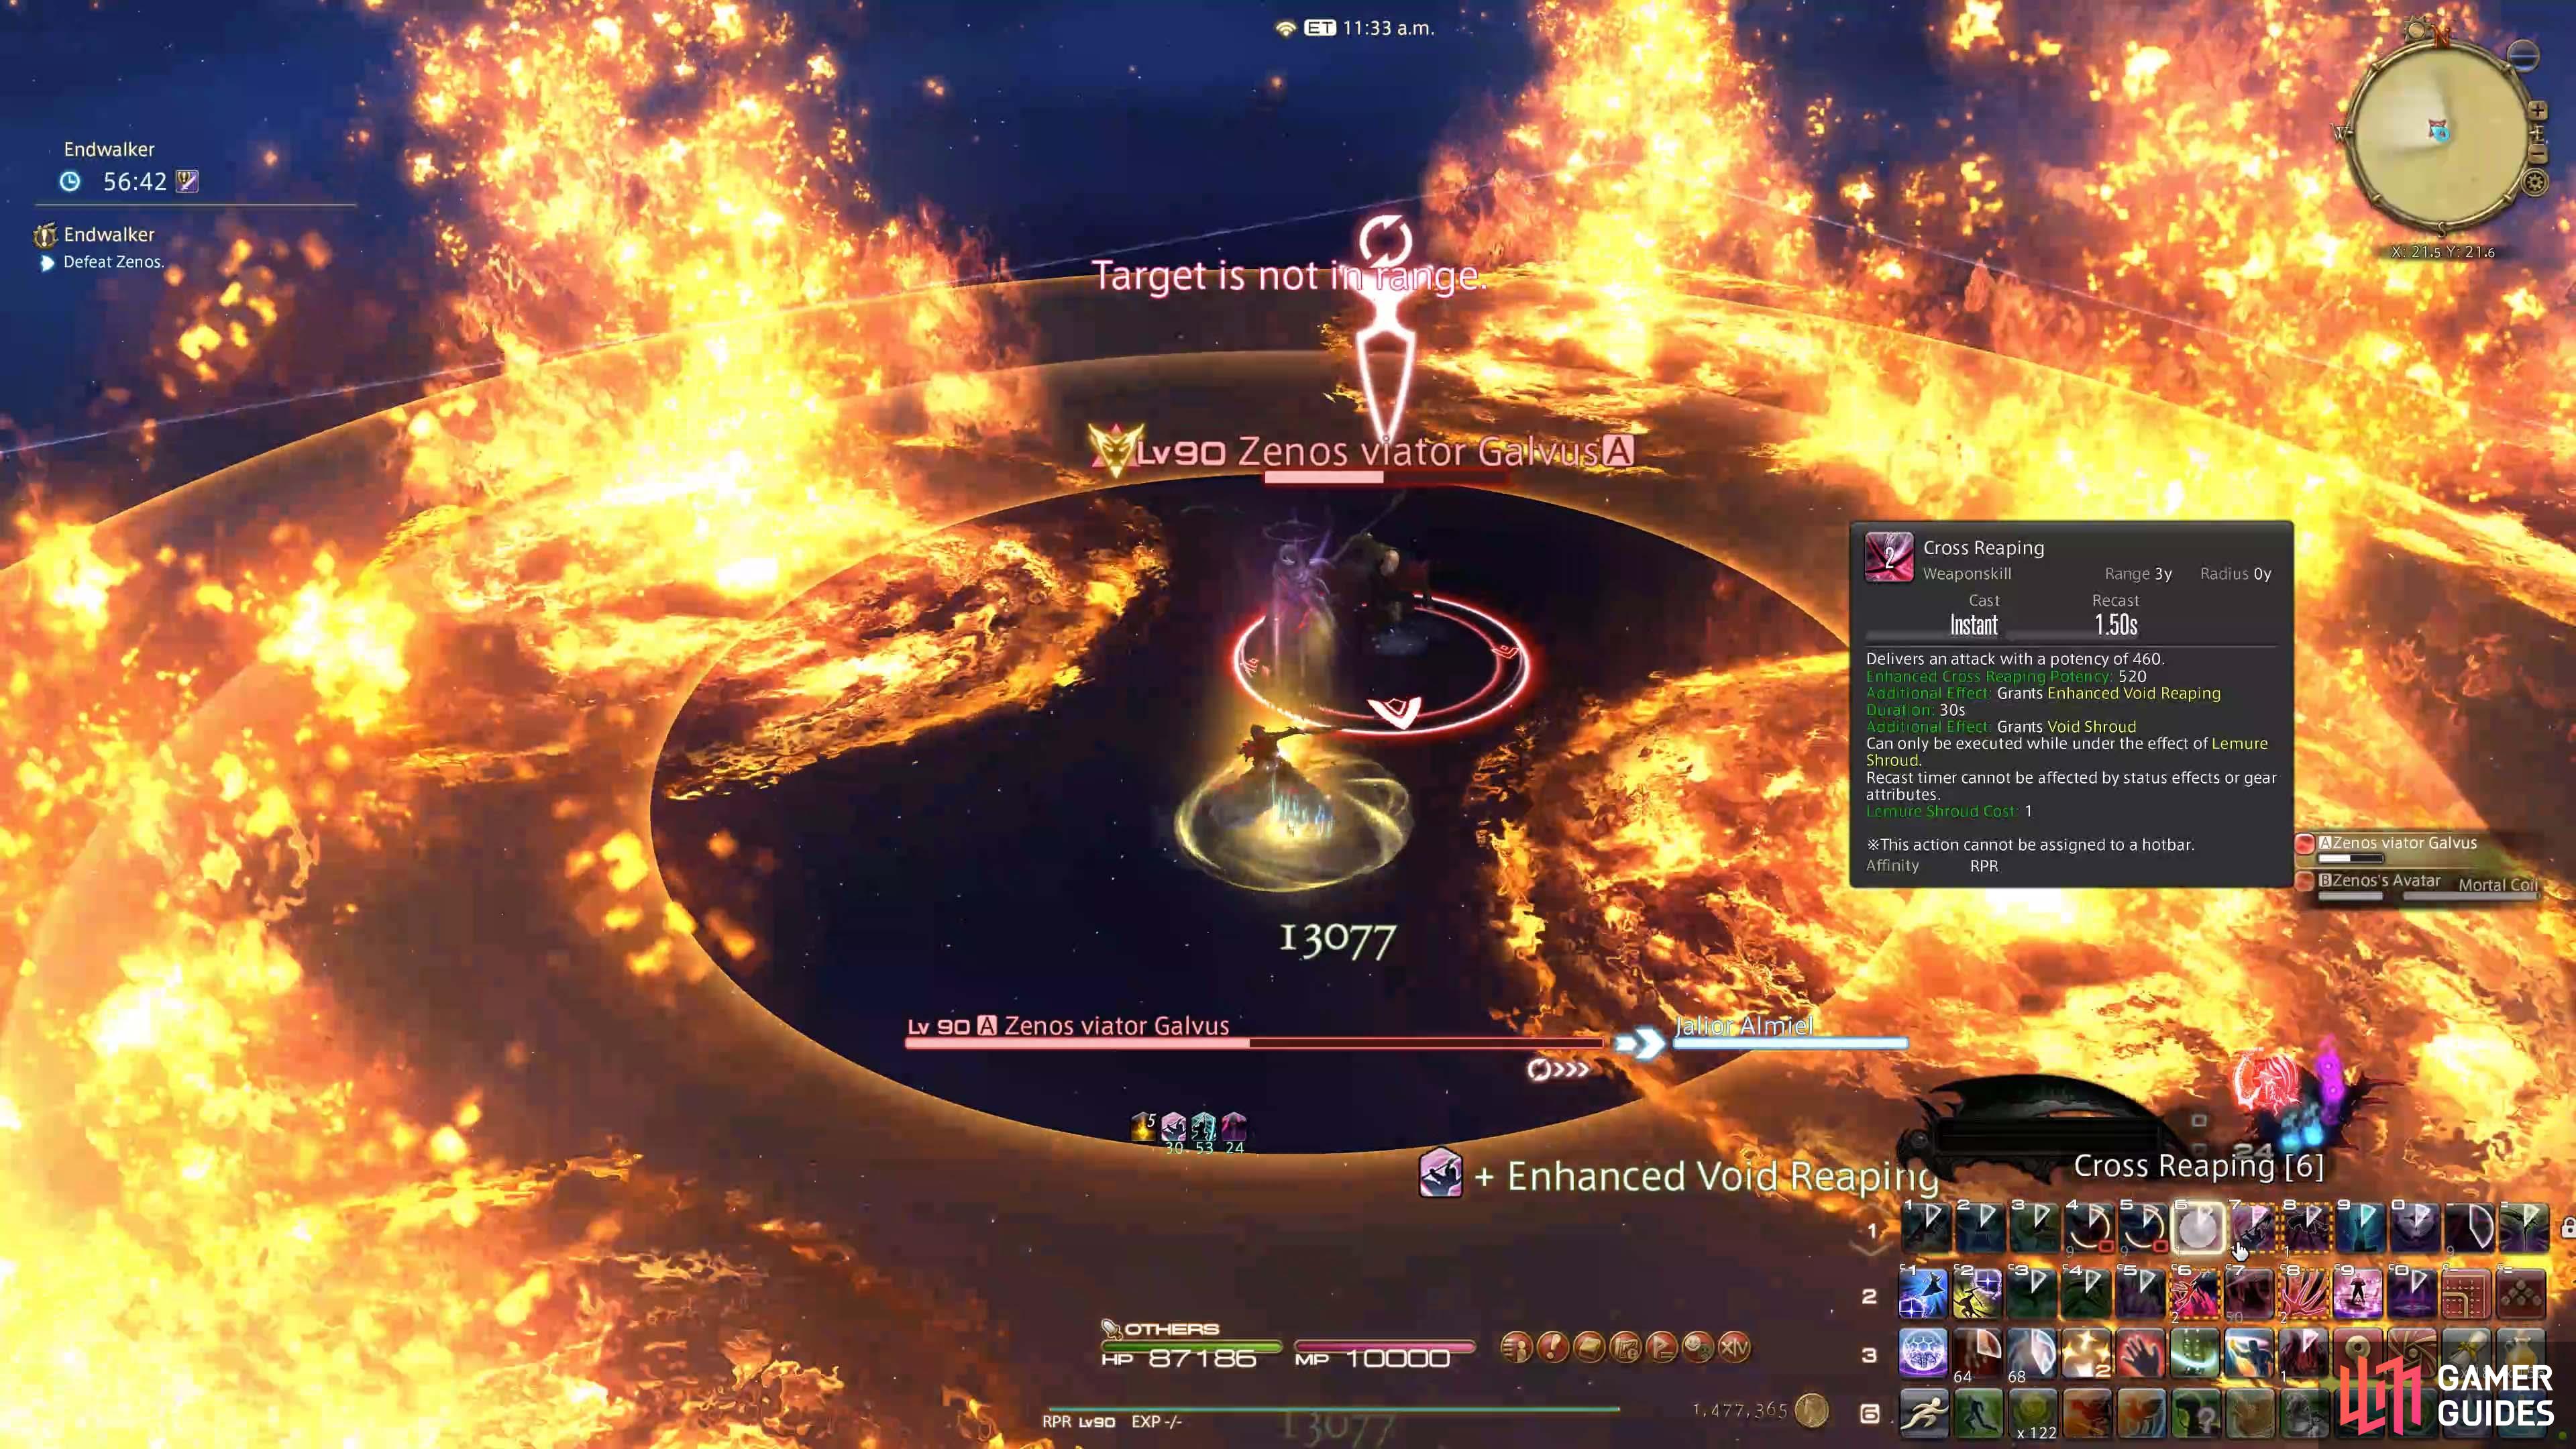
A new mechanic comes next where he will resummon his avatar who will cast Mortal Coil while Zenos casts Exoflare which is a large donut shaped AoE attack with four arrow markers appearing in the outer edges of the room. The arrows indicate the directional path of flame explosions that will steadily follow the arrows’ paths. You can stand either on the outer edge of the donut and avoid the arrows or in the inner safe circle, taking care to avoid the explosions.
After this spell resolves, Zenos may immediately do another “Mine for the taking to try and catch you off guard.
(1 of 3) Arrow Paths
Moving through all the primal’s powers, Zenos will next cast Diamond Dust. This will turn the platform completely into Ice. The player will then only be able to turn on the spot. Any movement in any direction will mean the player will skate in a fixed line in that direction until you reach the edge of the arena. Zenos will combine Diamond Dust with Star Beyond Stars, the fan shaped attack we saw earlier, so you must turn and skate to a safe area.
If that wasn’t enough, Zenos’s Avatar will reappear near the center again and cast Dead Gaze, indicated by a glowing red eye which you should be familiar with by now. Turn your back to the avatar to avoid this attack which will happen after the second Star Beyond Stars resolves.
(1 of 2) Zenos will cast Diamond Dust turning the arena into ice!
Zenos will cast Diamond Dust turning the arena into ice! (left), Skate away to safety. Keep your back turned to avoid Dead Gaze. (right)
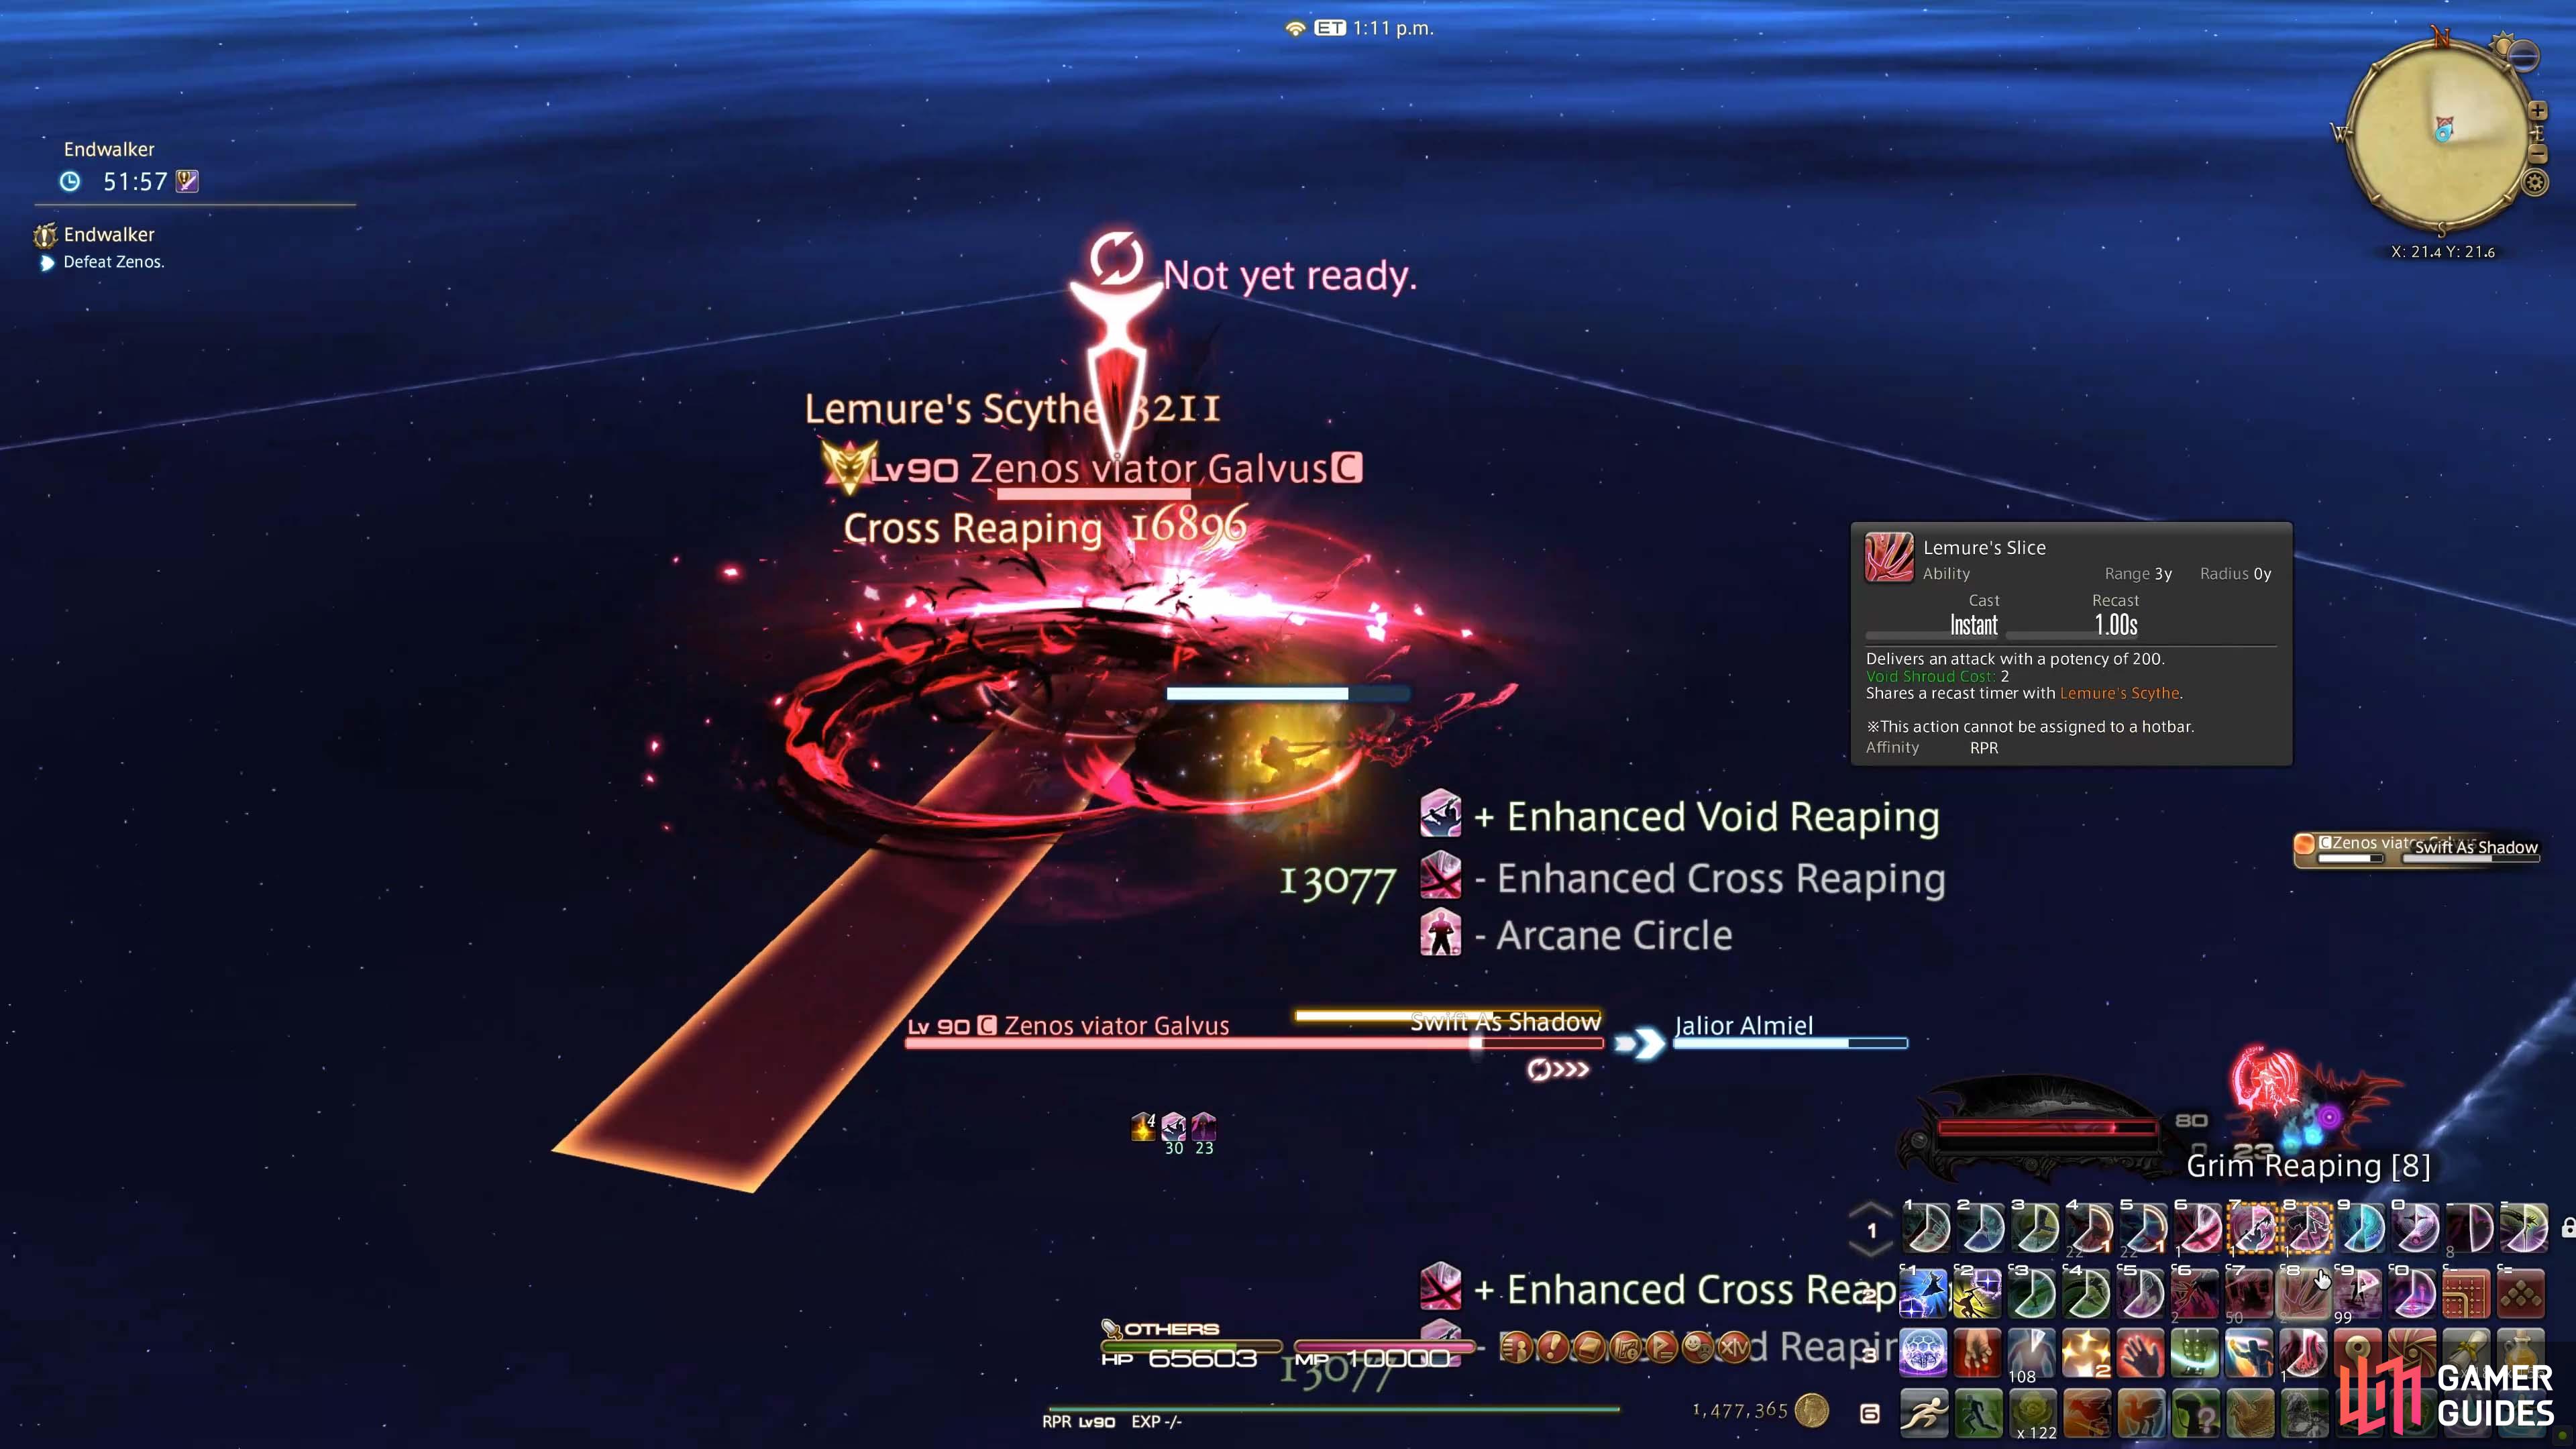
Zenos will now continue to rotate quickly through all of the above attacks so you must be quick to adapt to each attack as it occurs. Be especially aware of his “Mine for the taking” and “A test of your reflexes” attacks while he casts his others as you can easily get caught out.
Phase 2
After you take down his first health bar Zenos will knock you back with Tidal Wave (unavoidable) and you will be Down for the Count.
(1 of 3) Is it over?
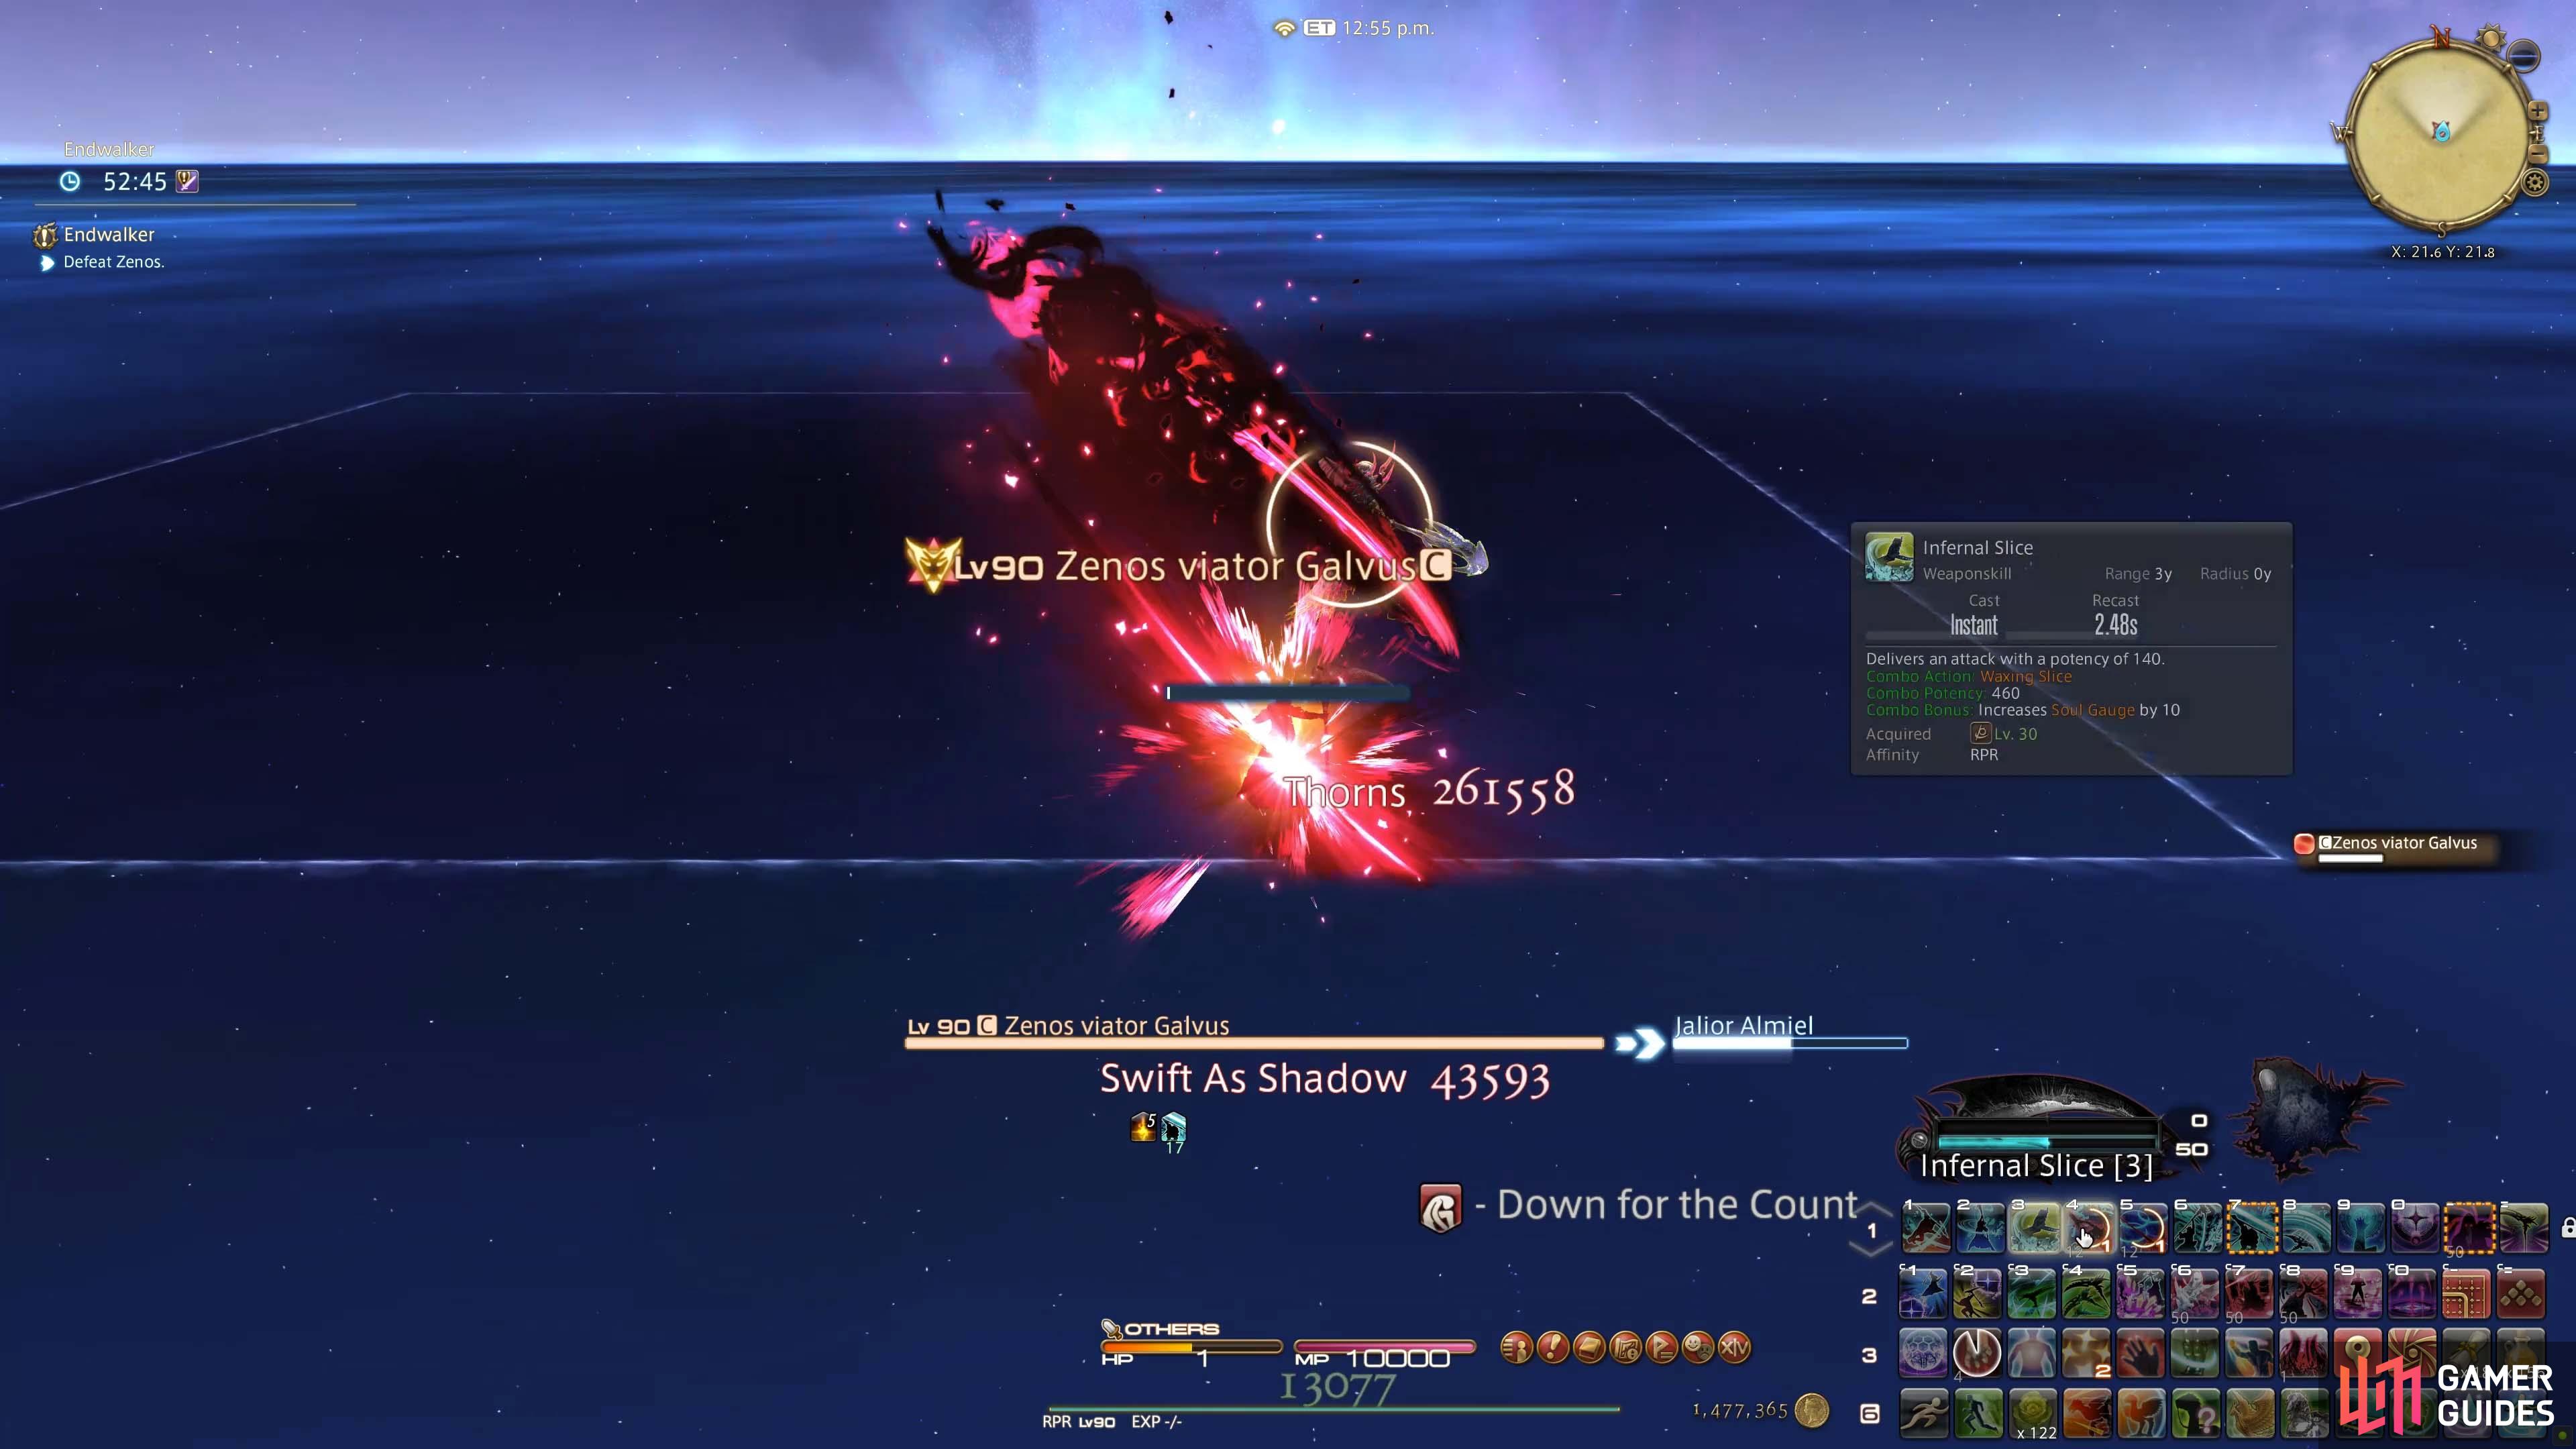
Zenos will now transition to the next phase and begin to glow red, during which he will attack you with Swift as a Shadow followed immediately by Thorns which is an instant multi-attack dive on the player that reduces your HP to 1. You may end up using one of your 6 Flames of Life buffs to survive this.
(1 of 2) Zenos power up!
Zenos power up! (left), Unavoidable attack at the start of the second phase. (right)
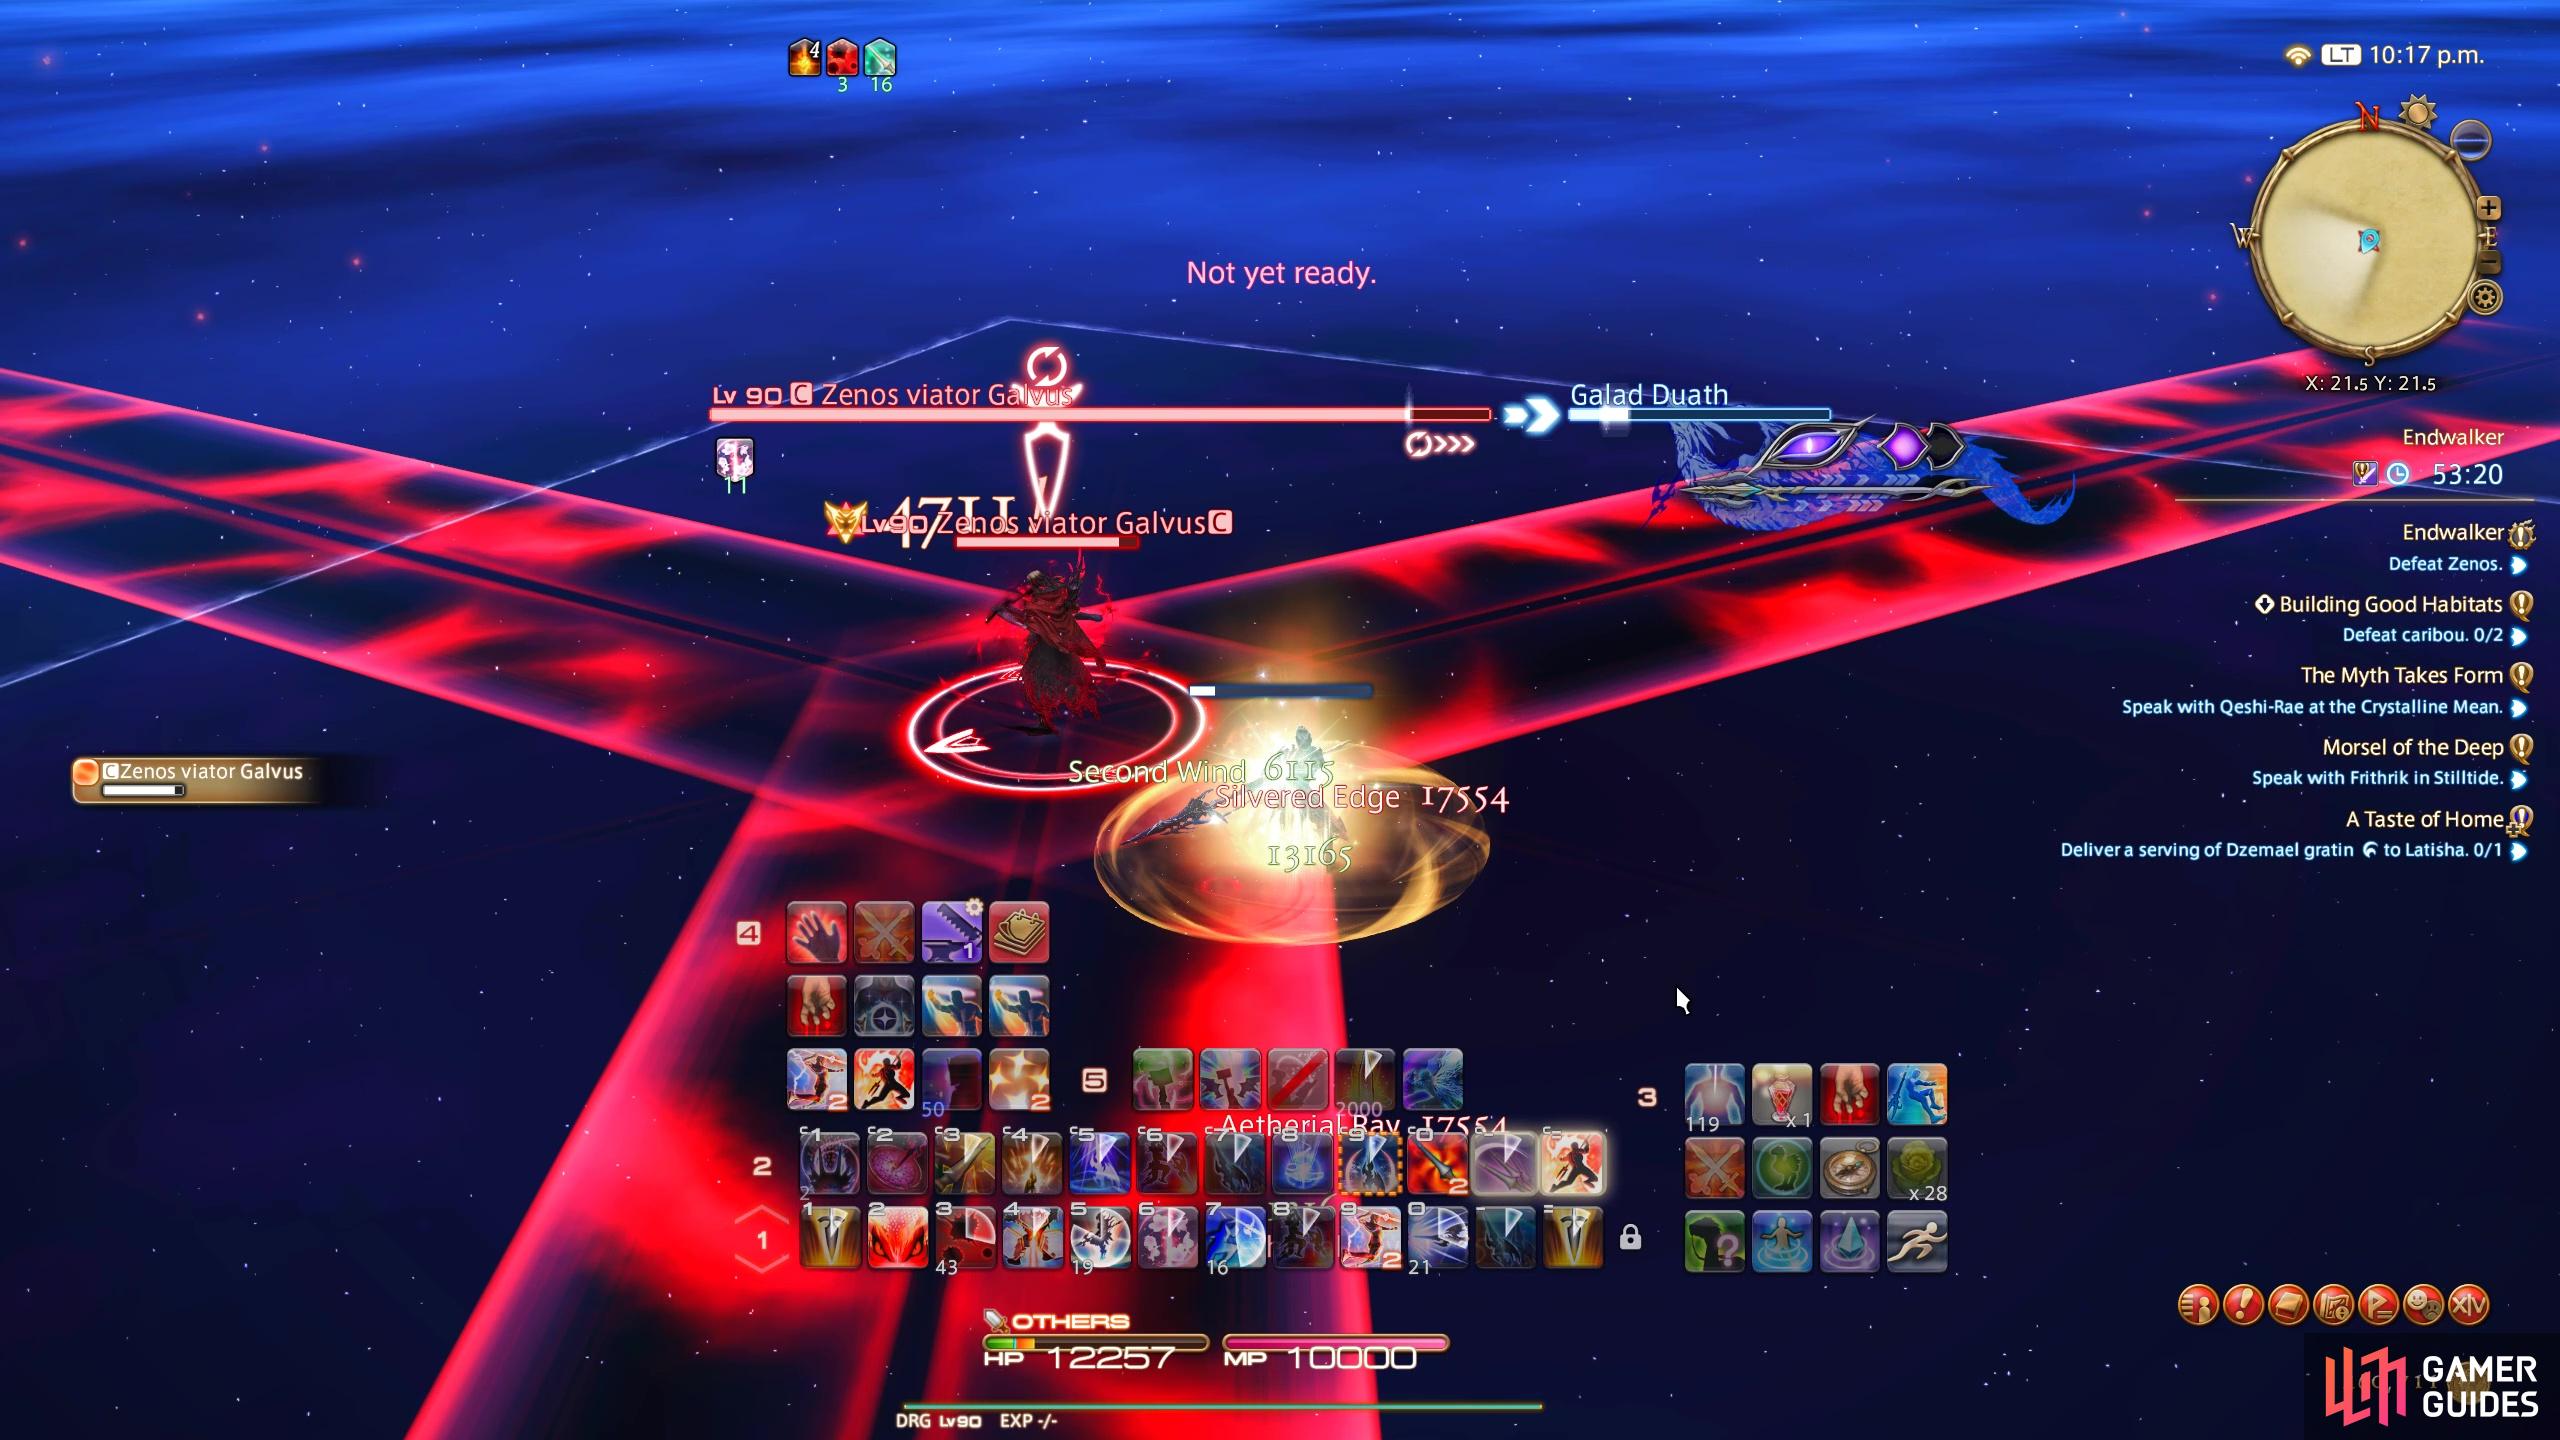
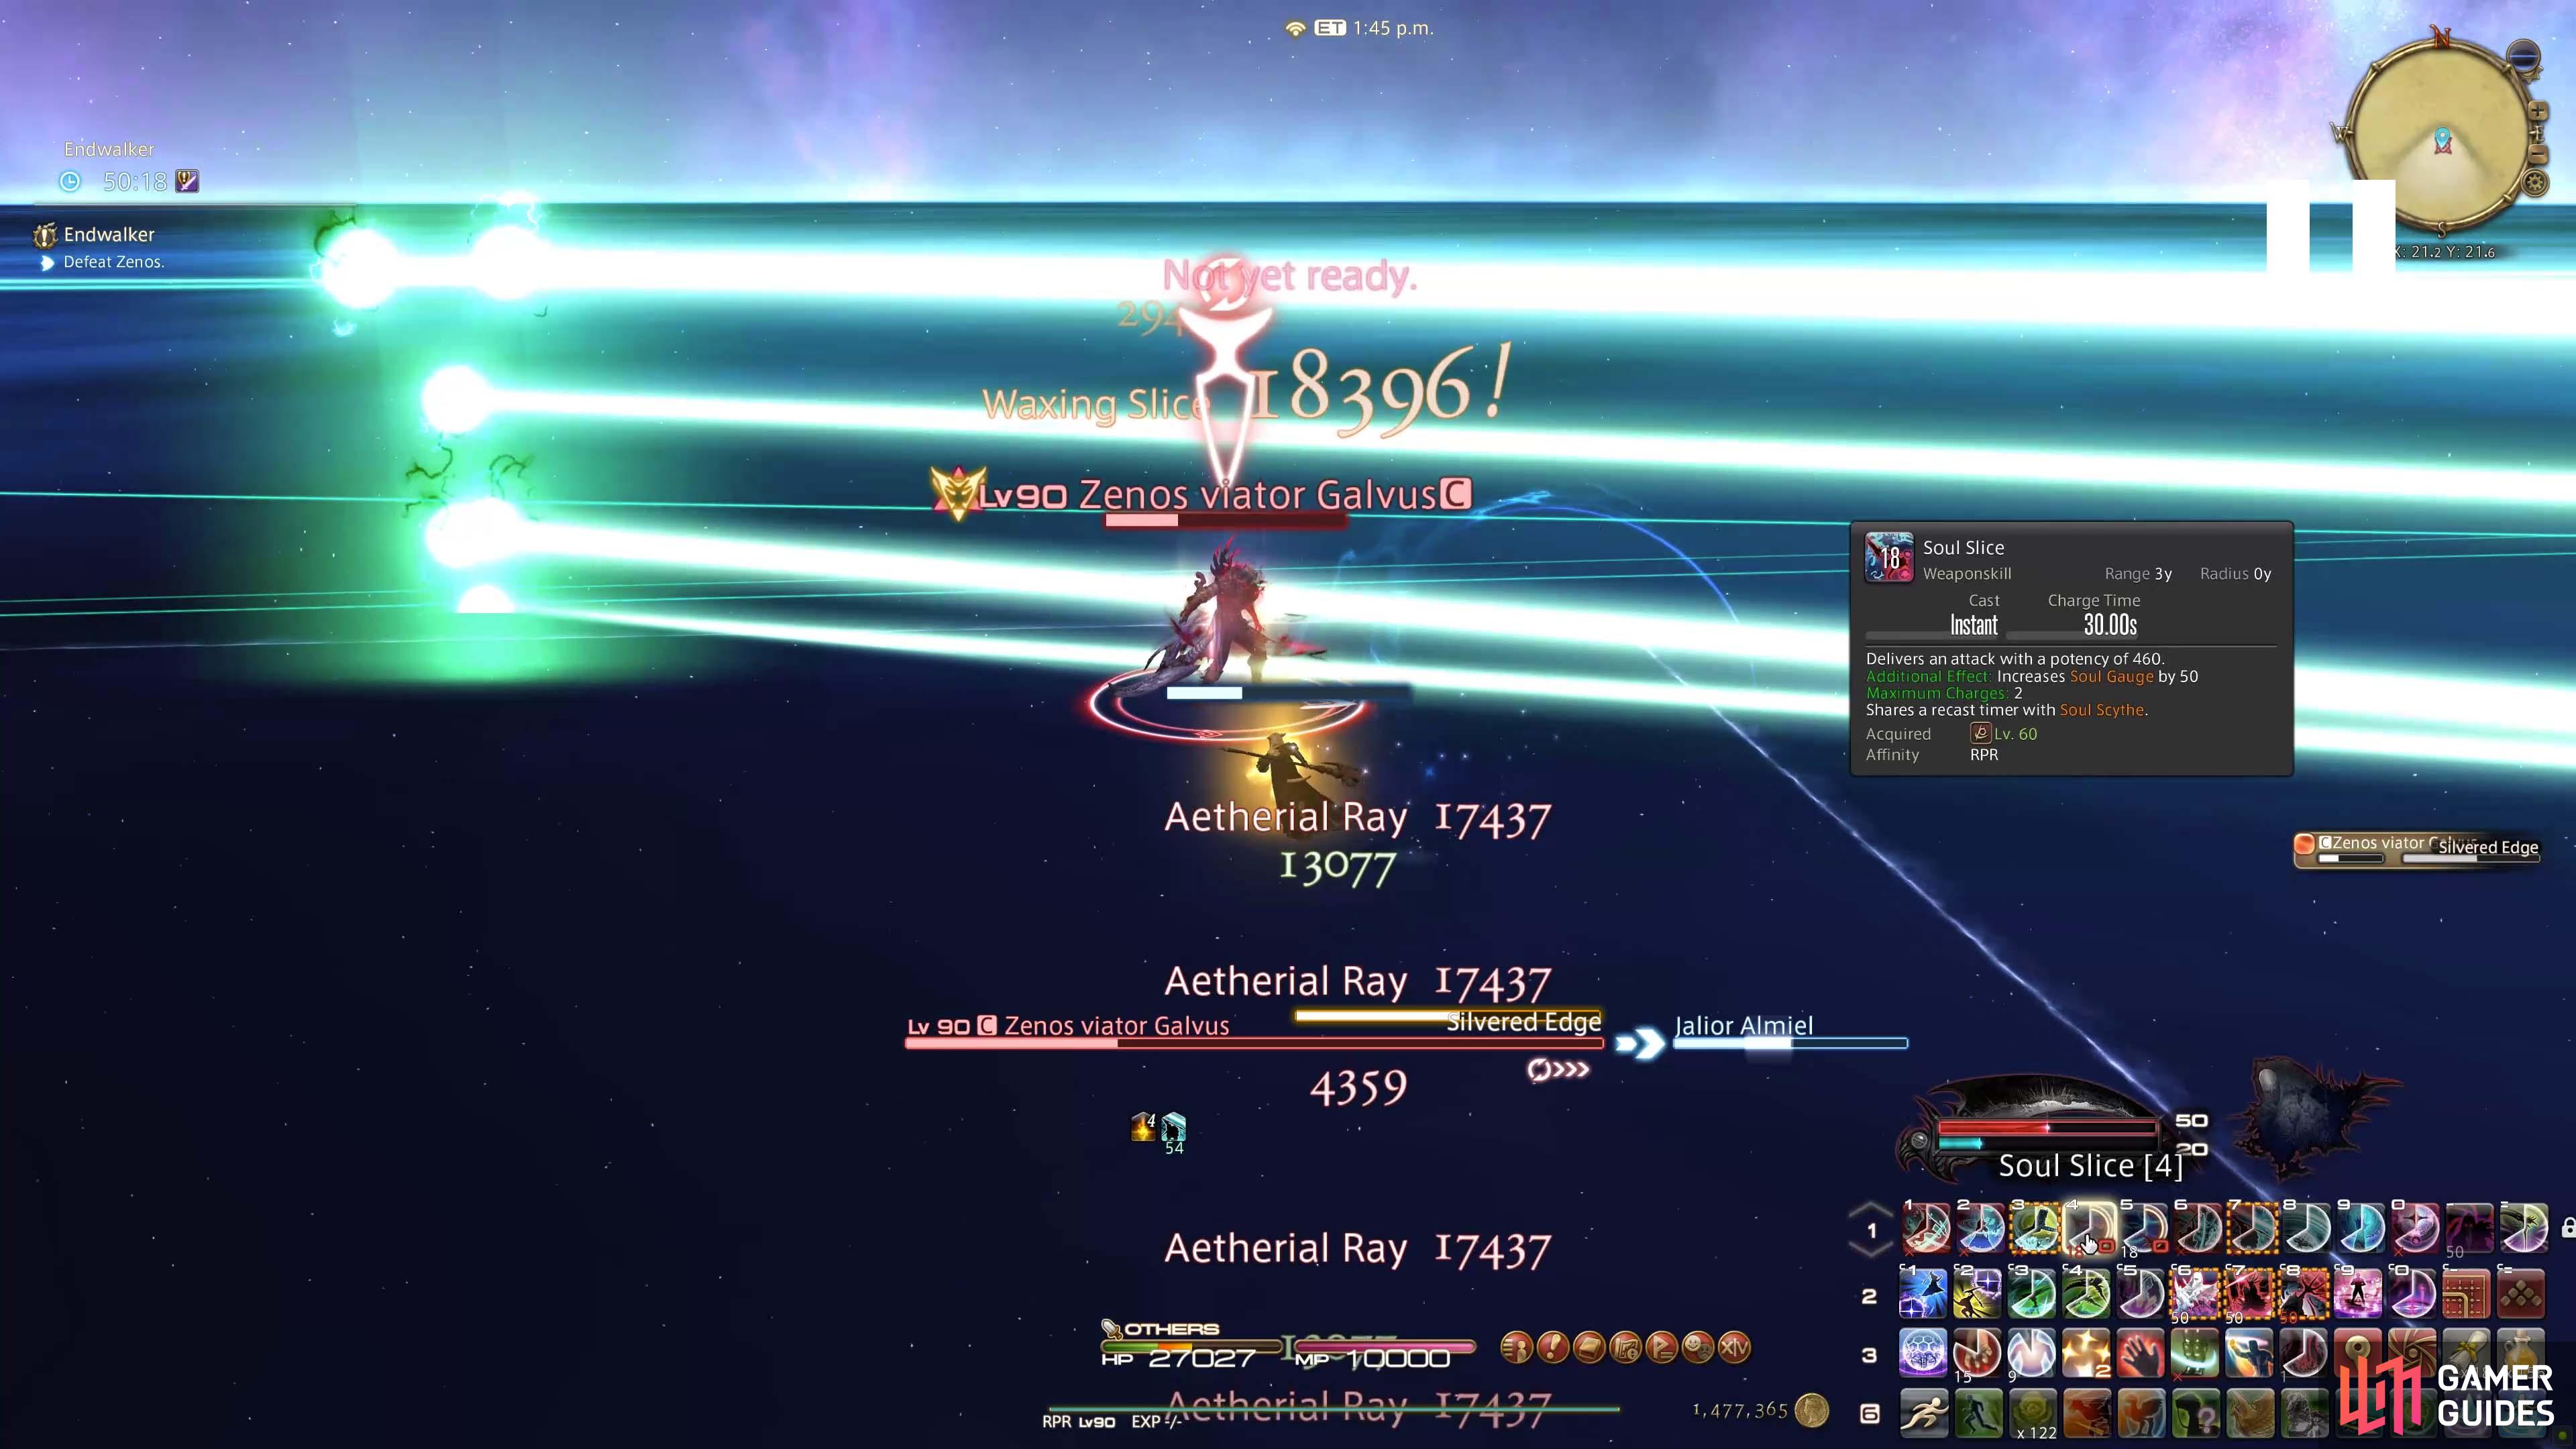
Next Zenos will cast Aetherial Ray which is a series of large green laser beams that focus on the players position, up and down and left to right. You can’t really avoid these so use defensive spells/cooldowns or Bloodbath where you can to get your HP back up. The end of this spell will be immediately followed by Silvered Edge. Silvered Edge is a tri-pattern line attack that flows from underneath Zenos and out.
(1 of 4) Aetherial Ray
Keeping you on your toes, Zenos will now continue testing your reflexes with his circle AoE attacks which will appear under your feet. He will then proceed to dive into the circle and hit you if you do not quickly dodge out of them.
Zenos reflex test.
He will next quickly attack with Swift as a Shadow, a deadly frontal line attack with a cast bar that you can move out of the way of.
Avoid standing in the orange line in front of Zenos when he casts Swift as a Shadow.
A new mechanic, Candlewick will be cast next. Two ground circle AoEs will spawn: one in the middle and a large one on the outside. The area in the centre will explode first upon Zenos performing the attack. Once this resolves, quickly dash inside the inner circle to avoid the outer area which will resolve next.
(1 of 3) Candlewick
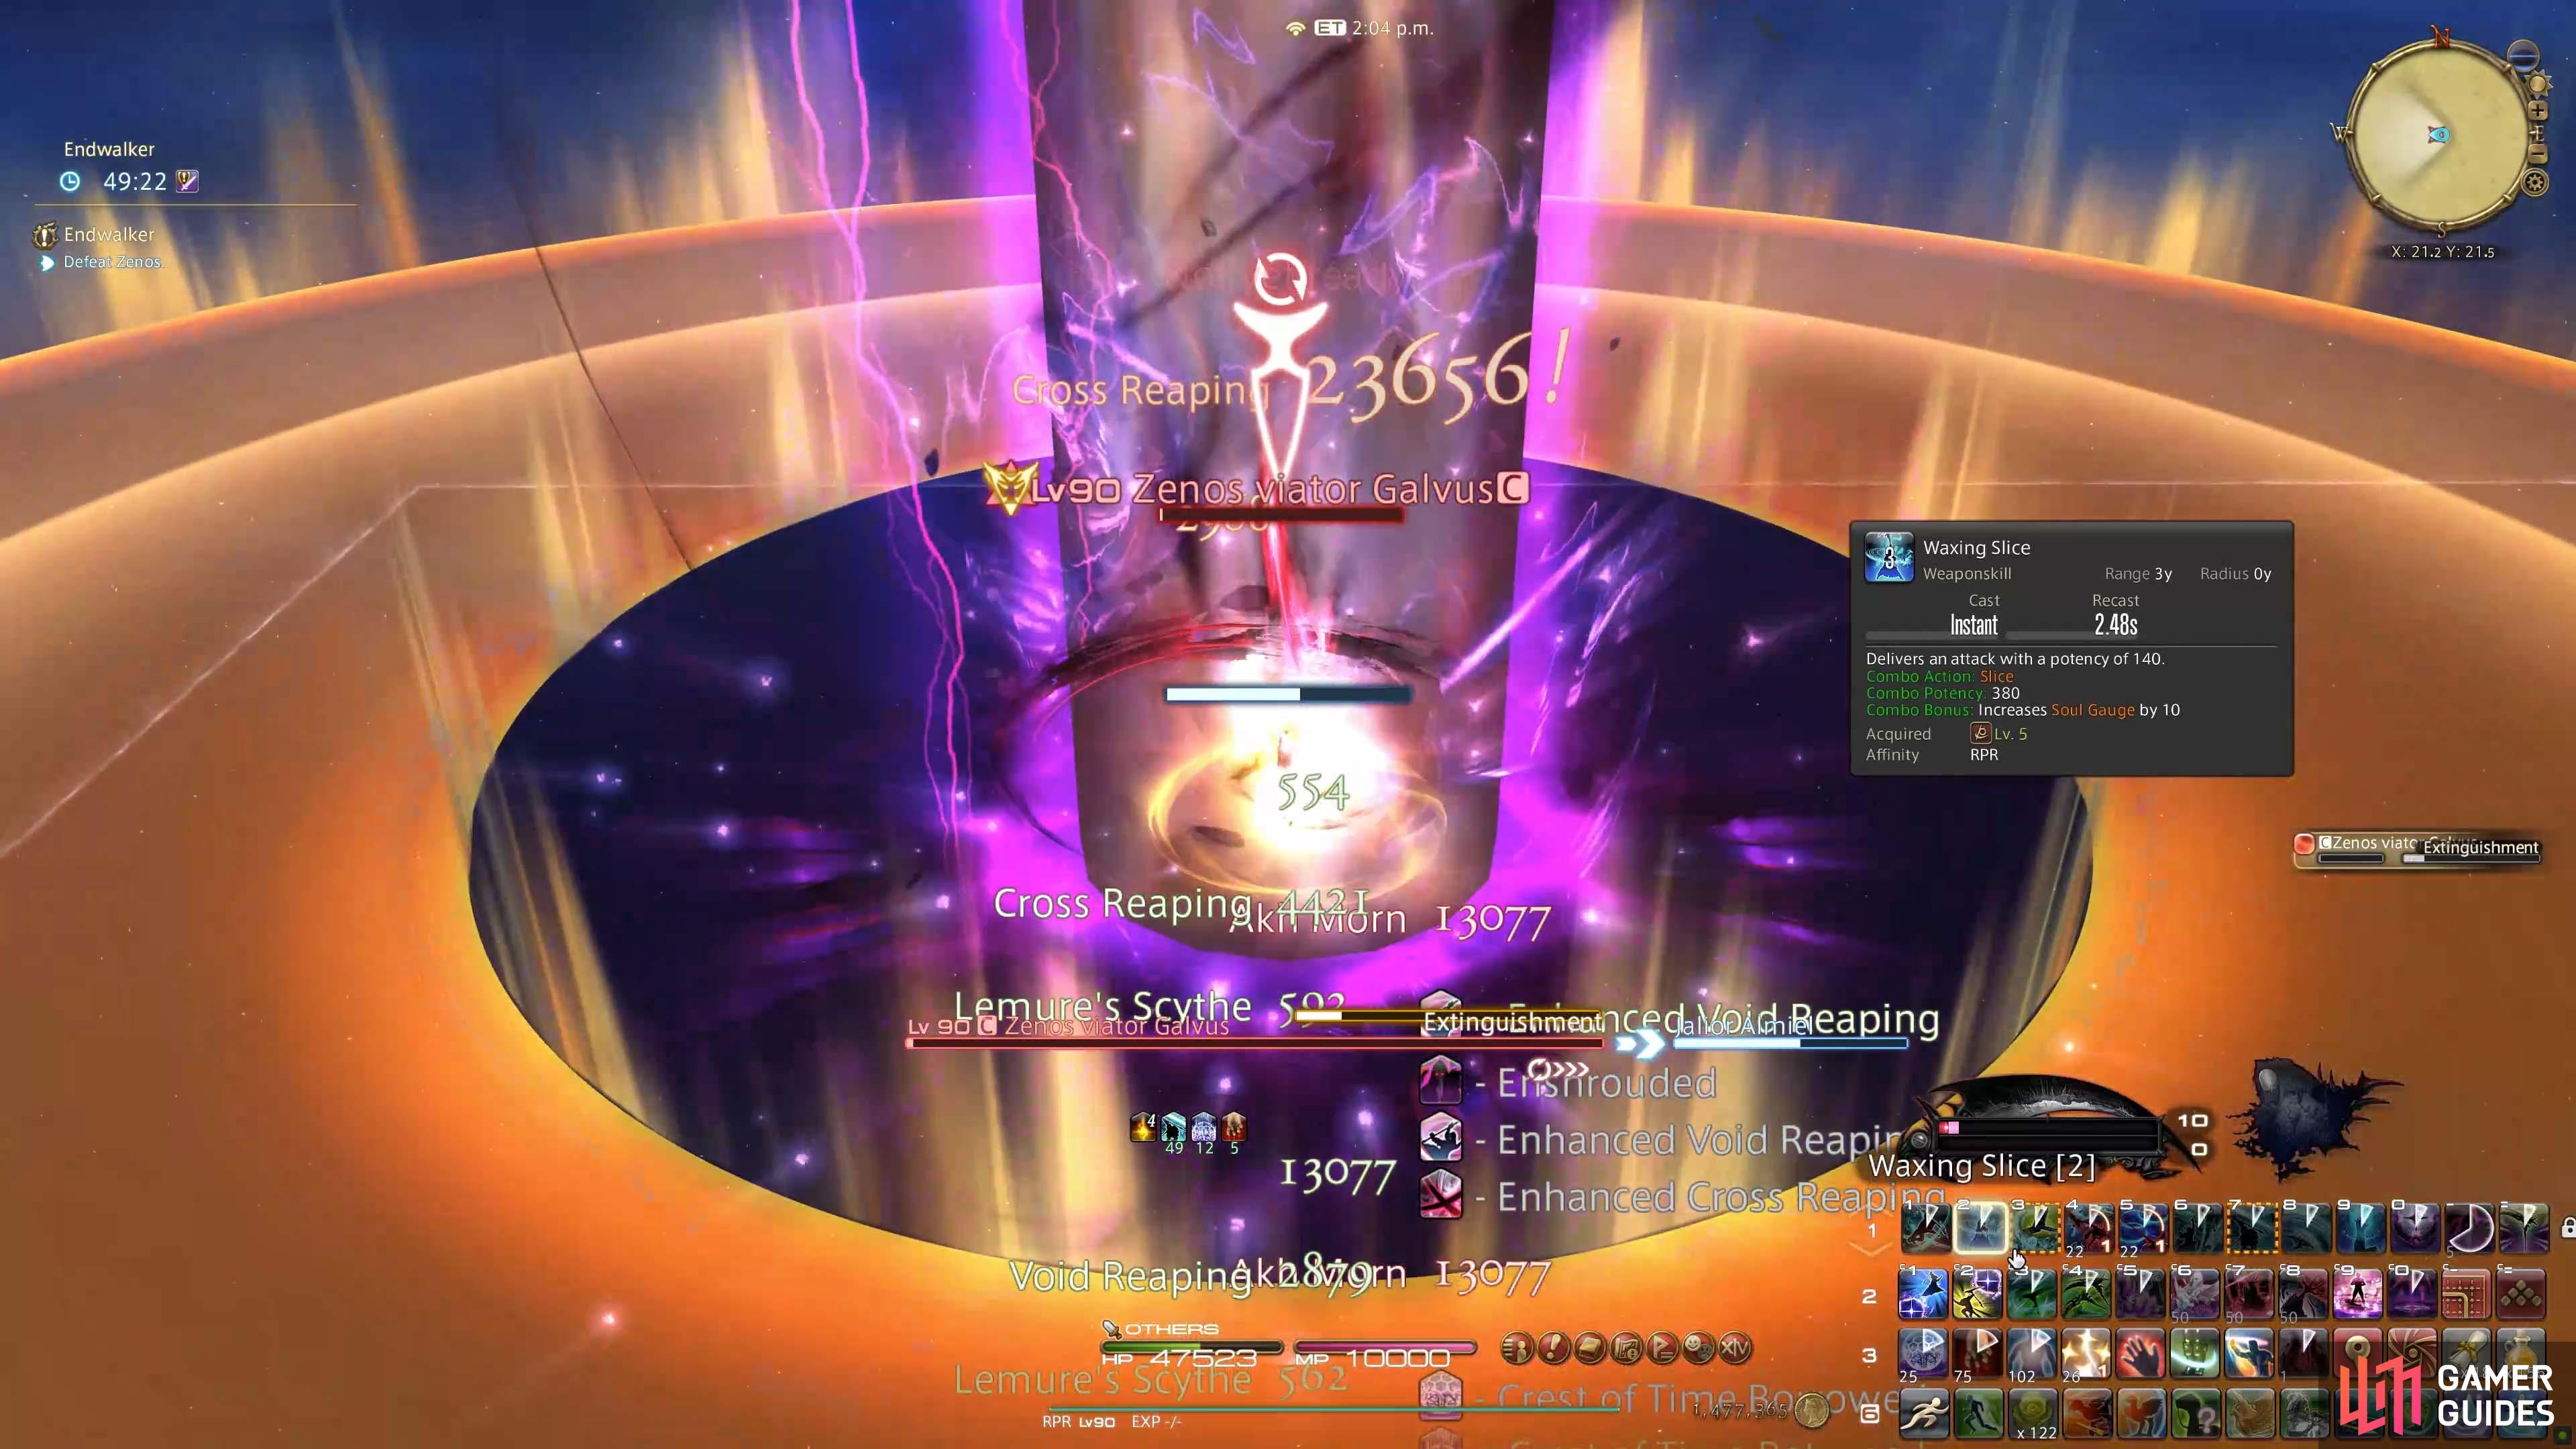
Another bout of reflex testing will follow into Akh Morn. During Akh Morn, a giant circular AoE attack Extinguishment will happen at the same time with only the center area around Zenos being safe. Immediately after, he will typically do another “Mine for the taking” and Swift as a Shadow attack as well.
After a few of the same attacks, Zenos will use a new attack called Unmoving Dvenadkatika. This is a fan AoE circle which spawns and will resolve in a clockwise pattern. You must move following the clock pattern as the segments resolve and then quickly move towards the outer edge of the center AoE circle to avoid The Edge Unbound directly after.
(1 of 2) Unmoving Dvenadkatika
Unmoving Dvenadkatika (left), The Edge Unbound circle AoE. (right)
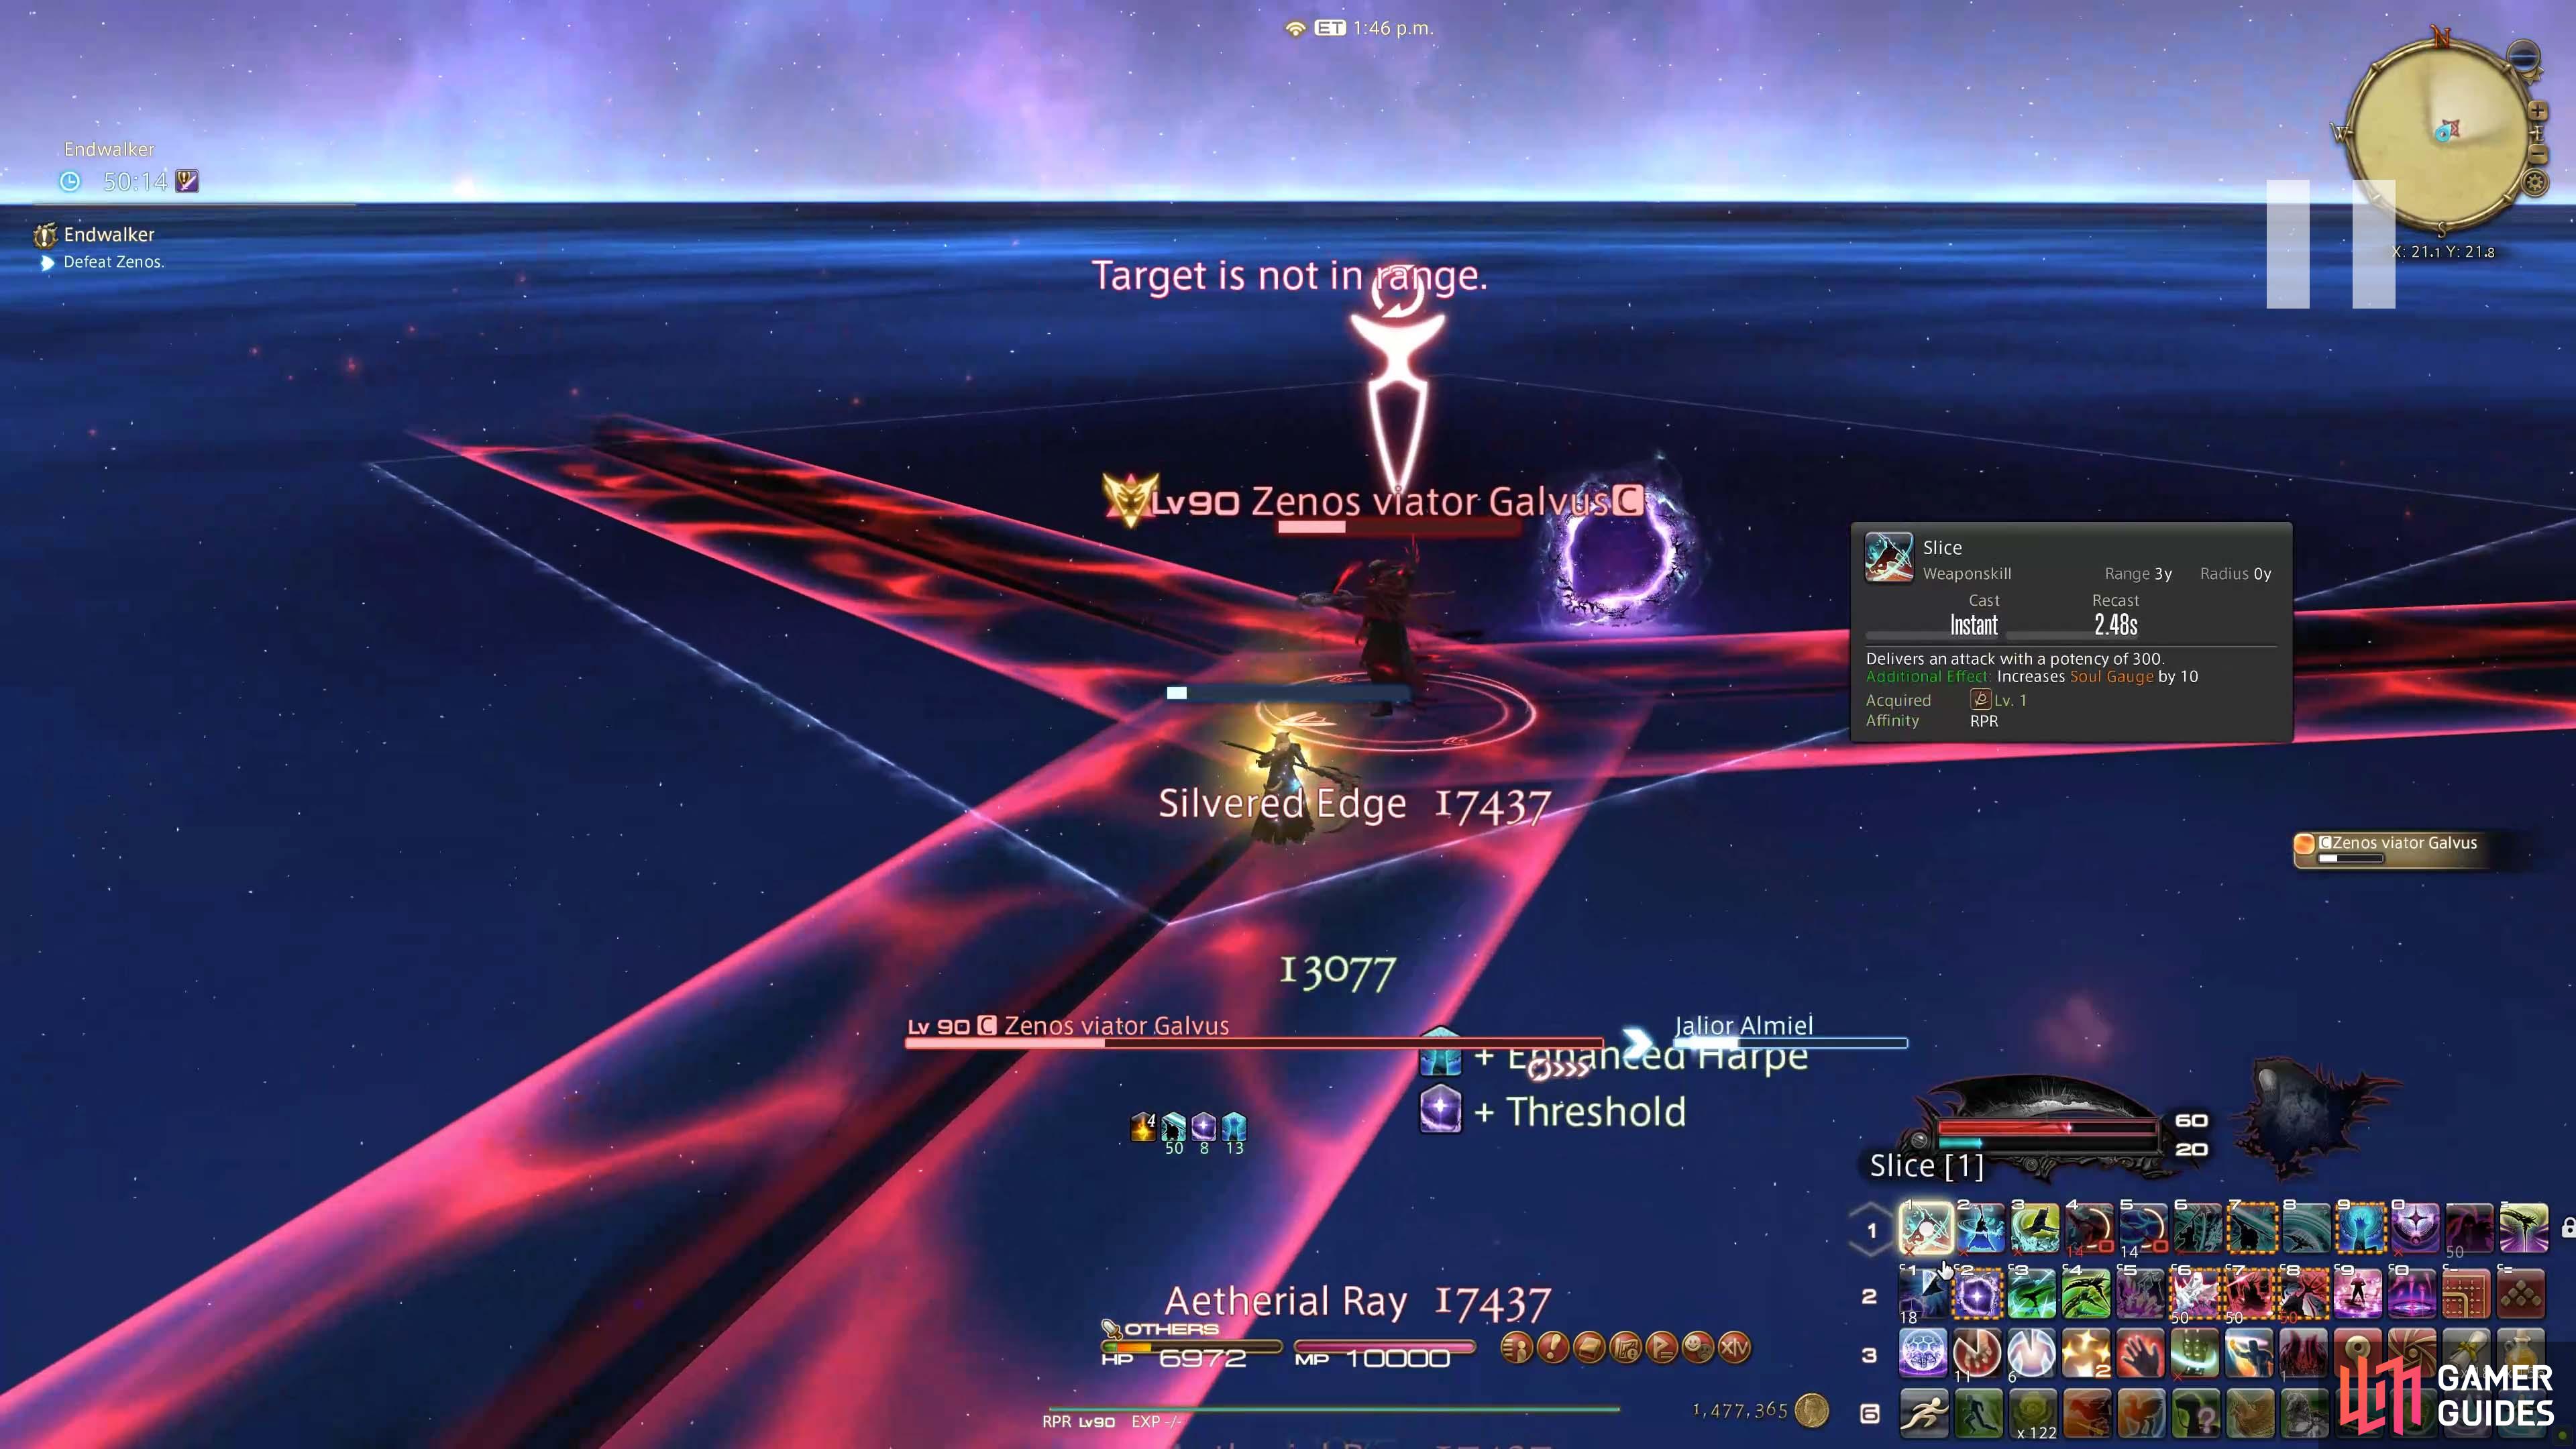
Next you must dodge the combination of Aetherial Ray and Silvered Edge.
(1 of 2) Silvered Edge
Silvered Edge (left), Aetherial Ray into Silvered Edge. (right)
At this point his life total will be close to zero but he will finish off with a final combination of Swift as a Shadow, Candlewick and Akh Morn. Zenos final attack is Extinguishment if he’s not dead by this point.
Extinguishment is Zenos final attack.
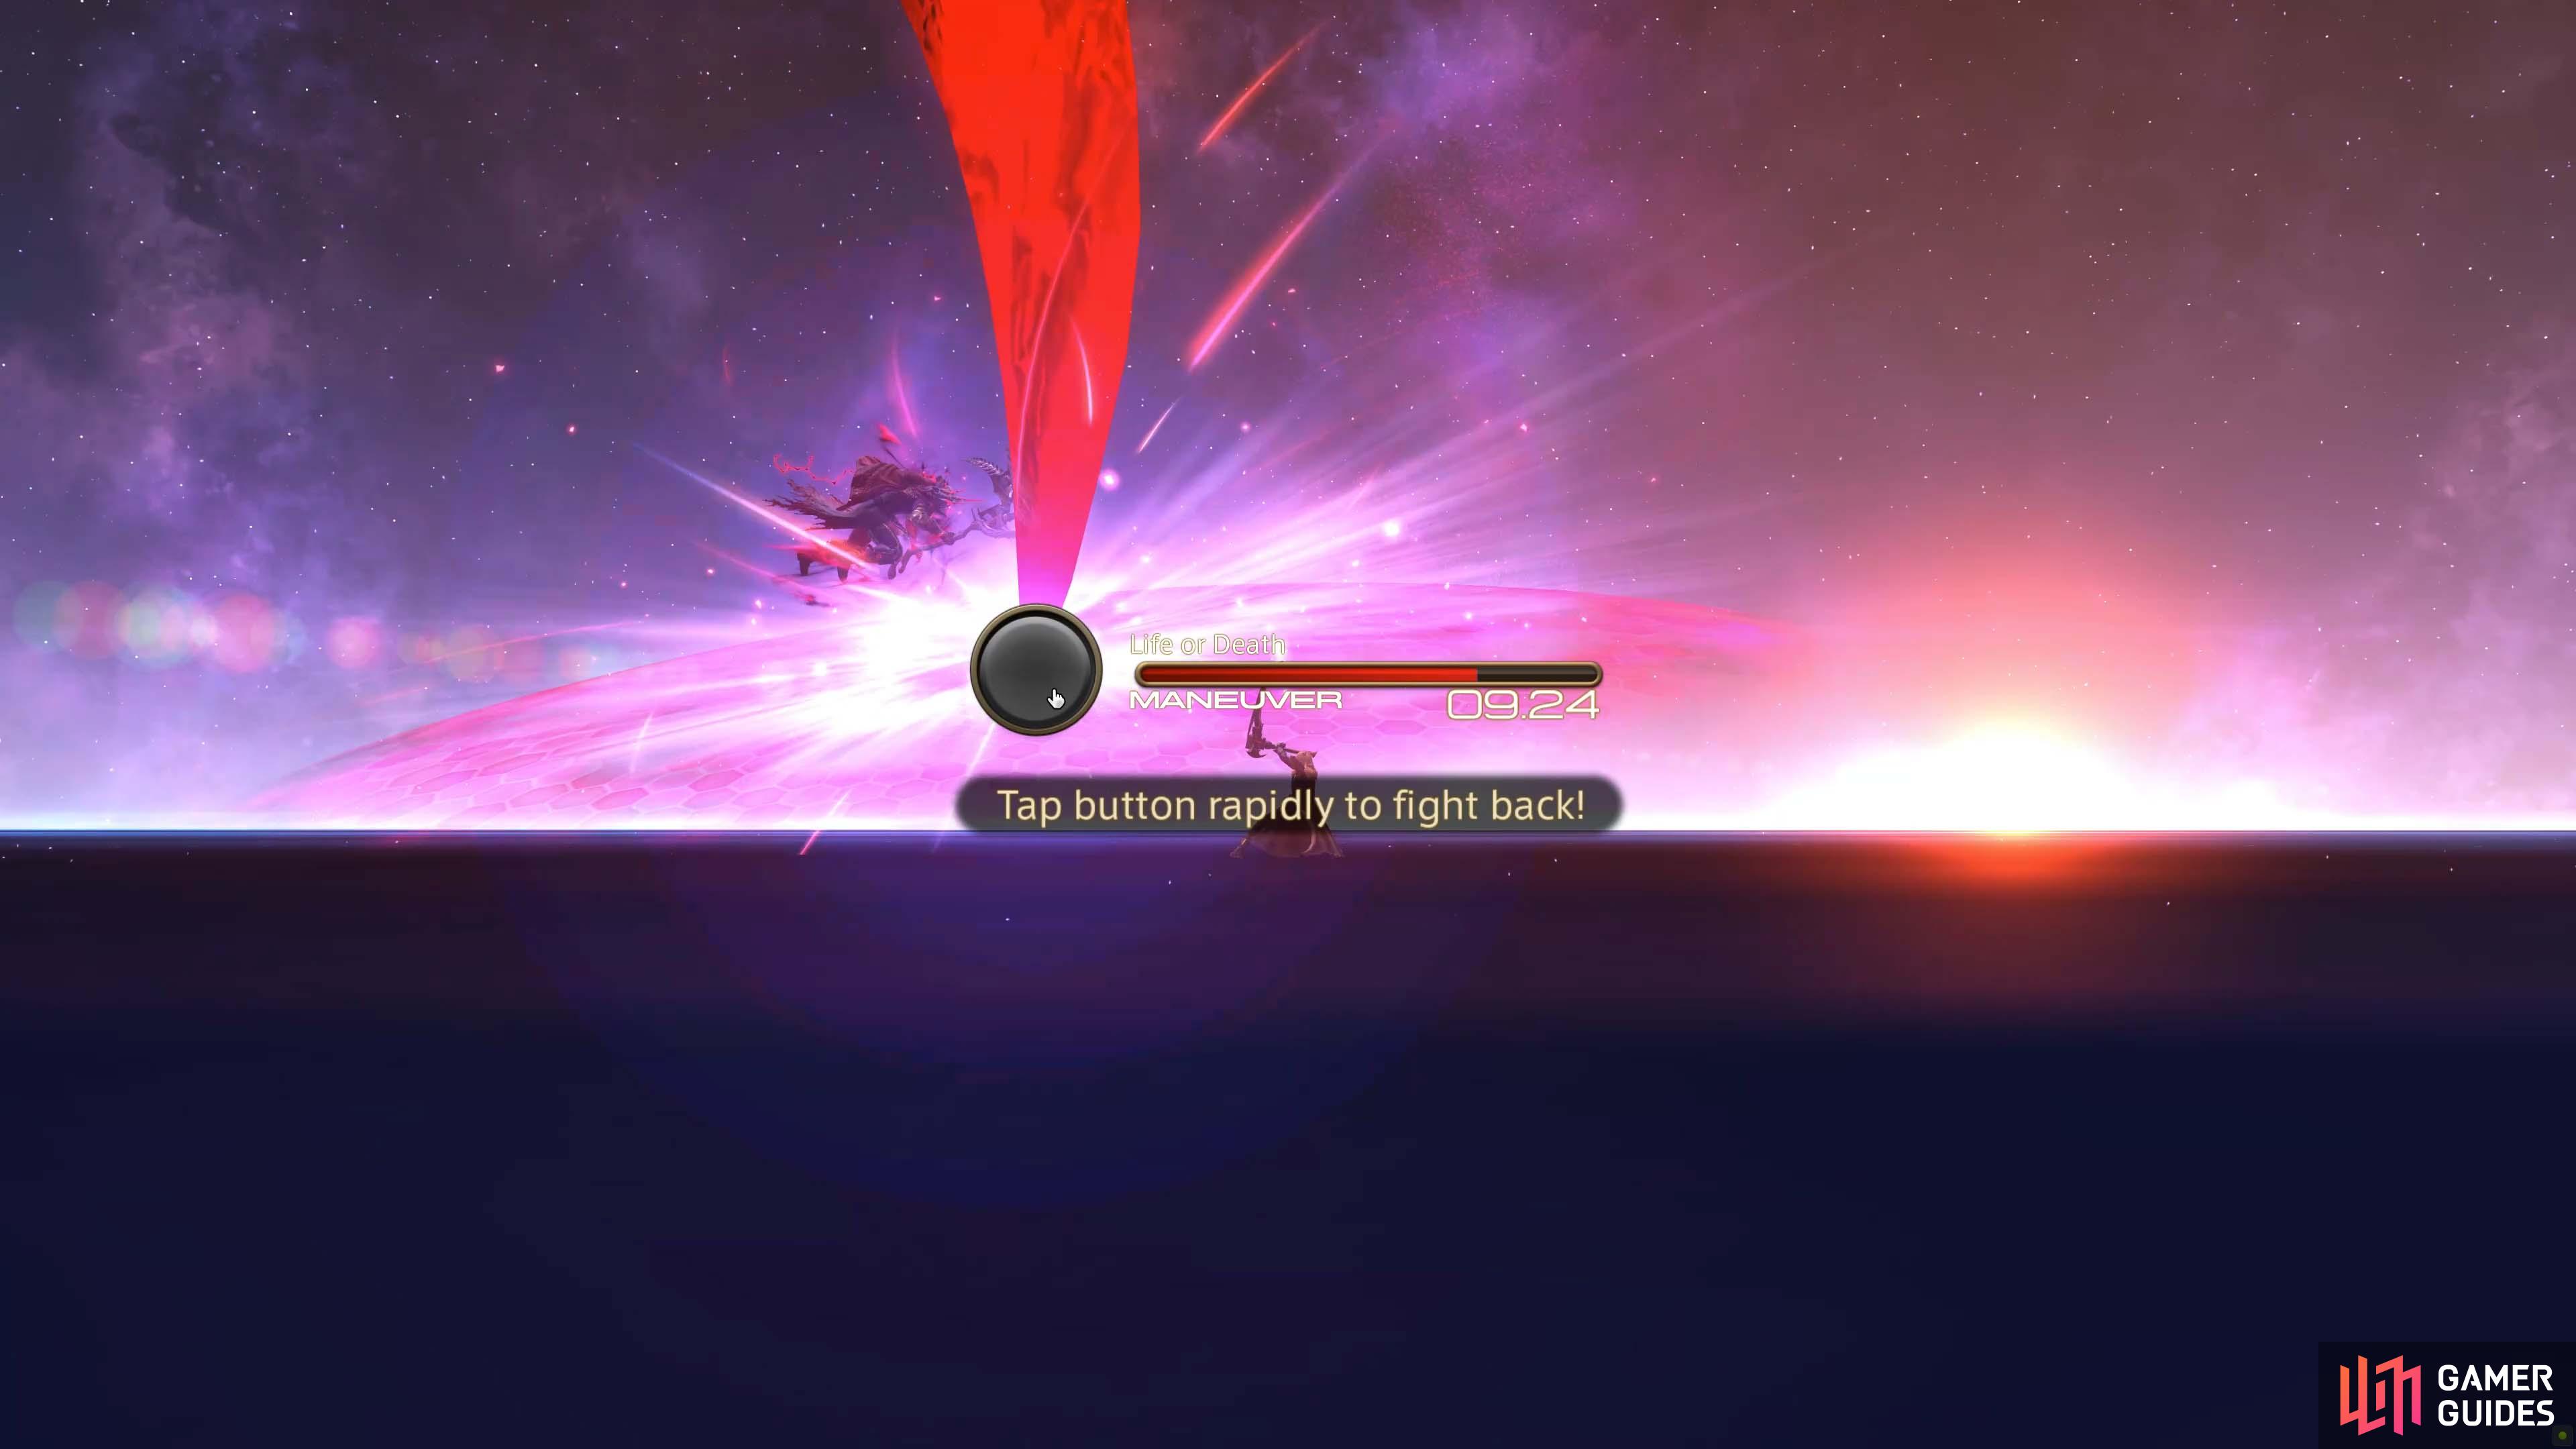
He will finally expend the last of his energy and unleash a deadly attack on the player which will use one of the Sparks of Hope. A quick-time event will follow, where you must click the button really fast to fight back. This is much easier to do on a controller but you should have ample time with a mouse too. Just don’t give yourself carpal tunnel syndrome in the process!
Life or Death.
And that’s it! Congratulations on finishing the Main Scenario for Endwalker. What a journey.
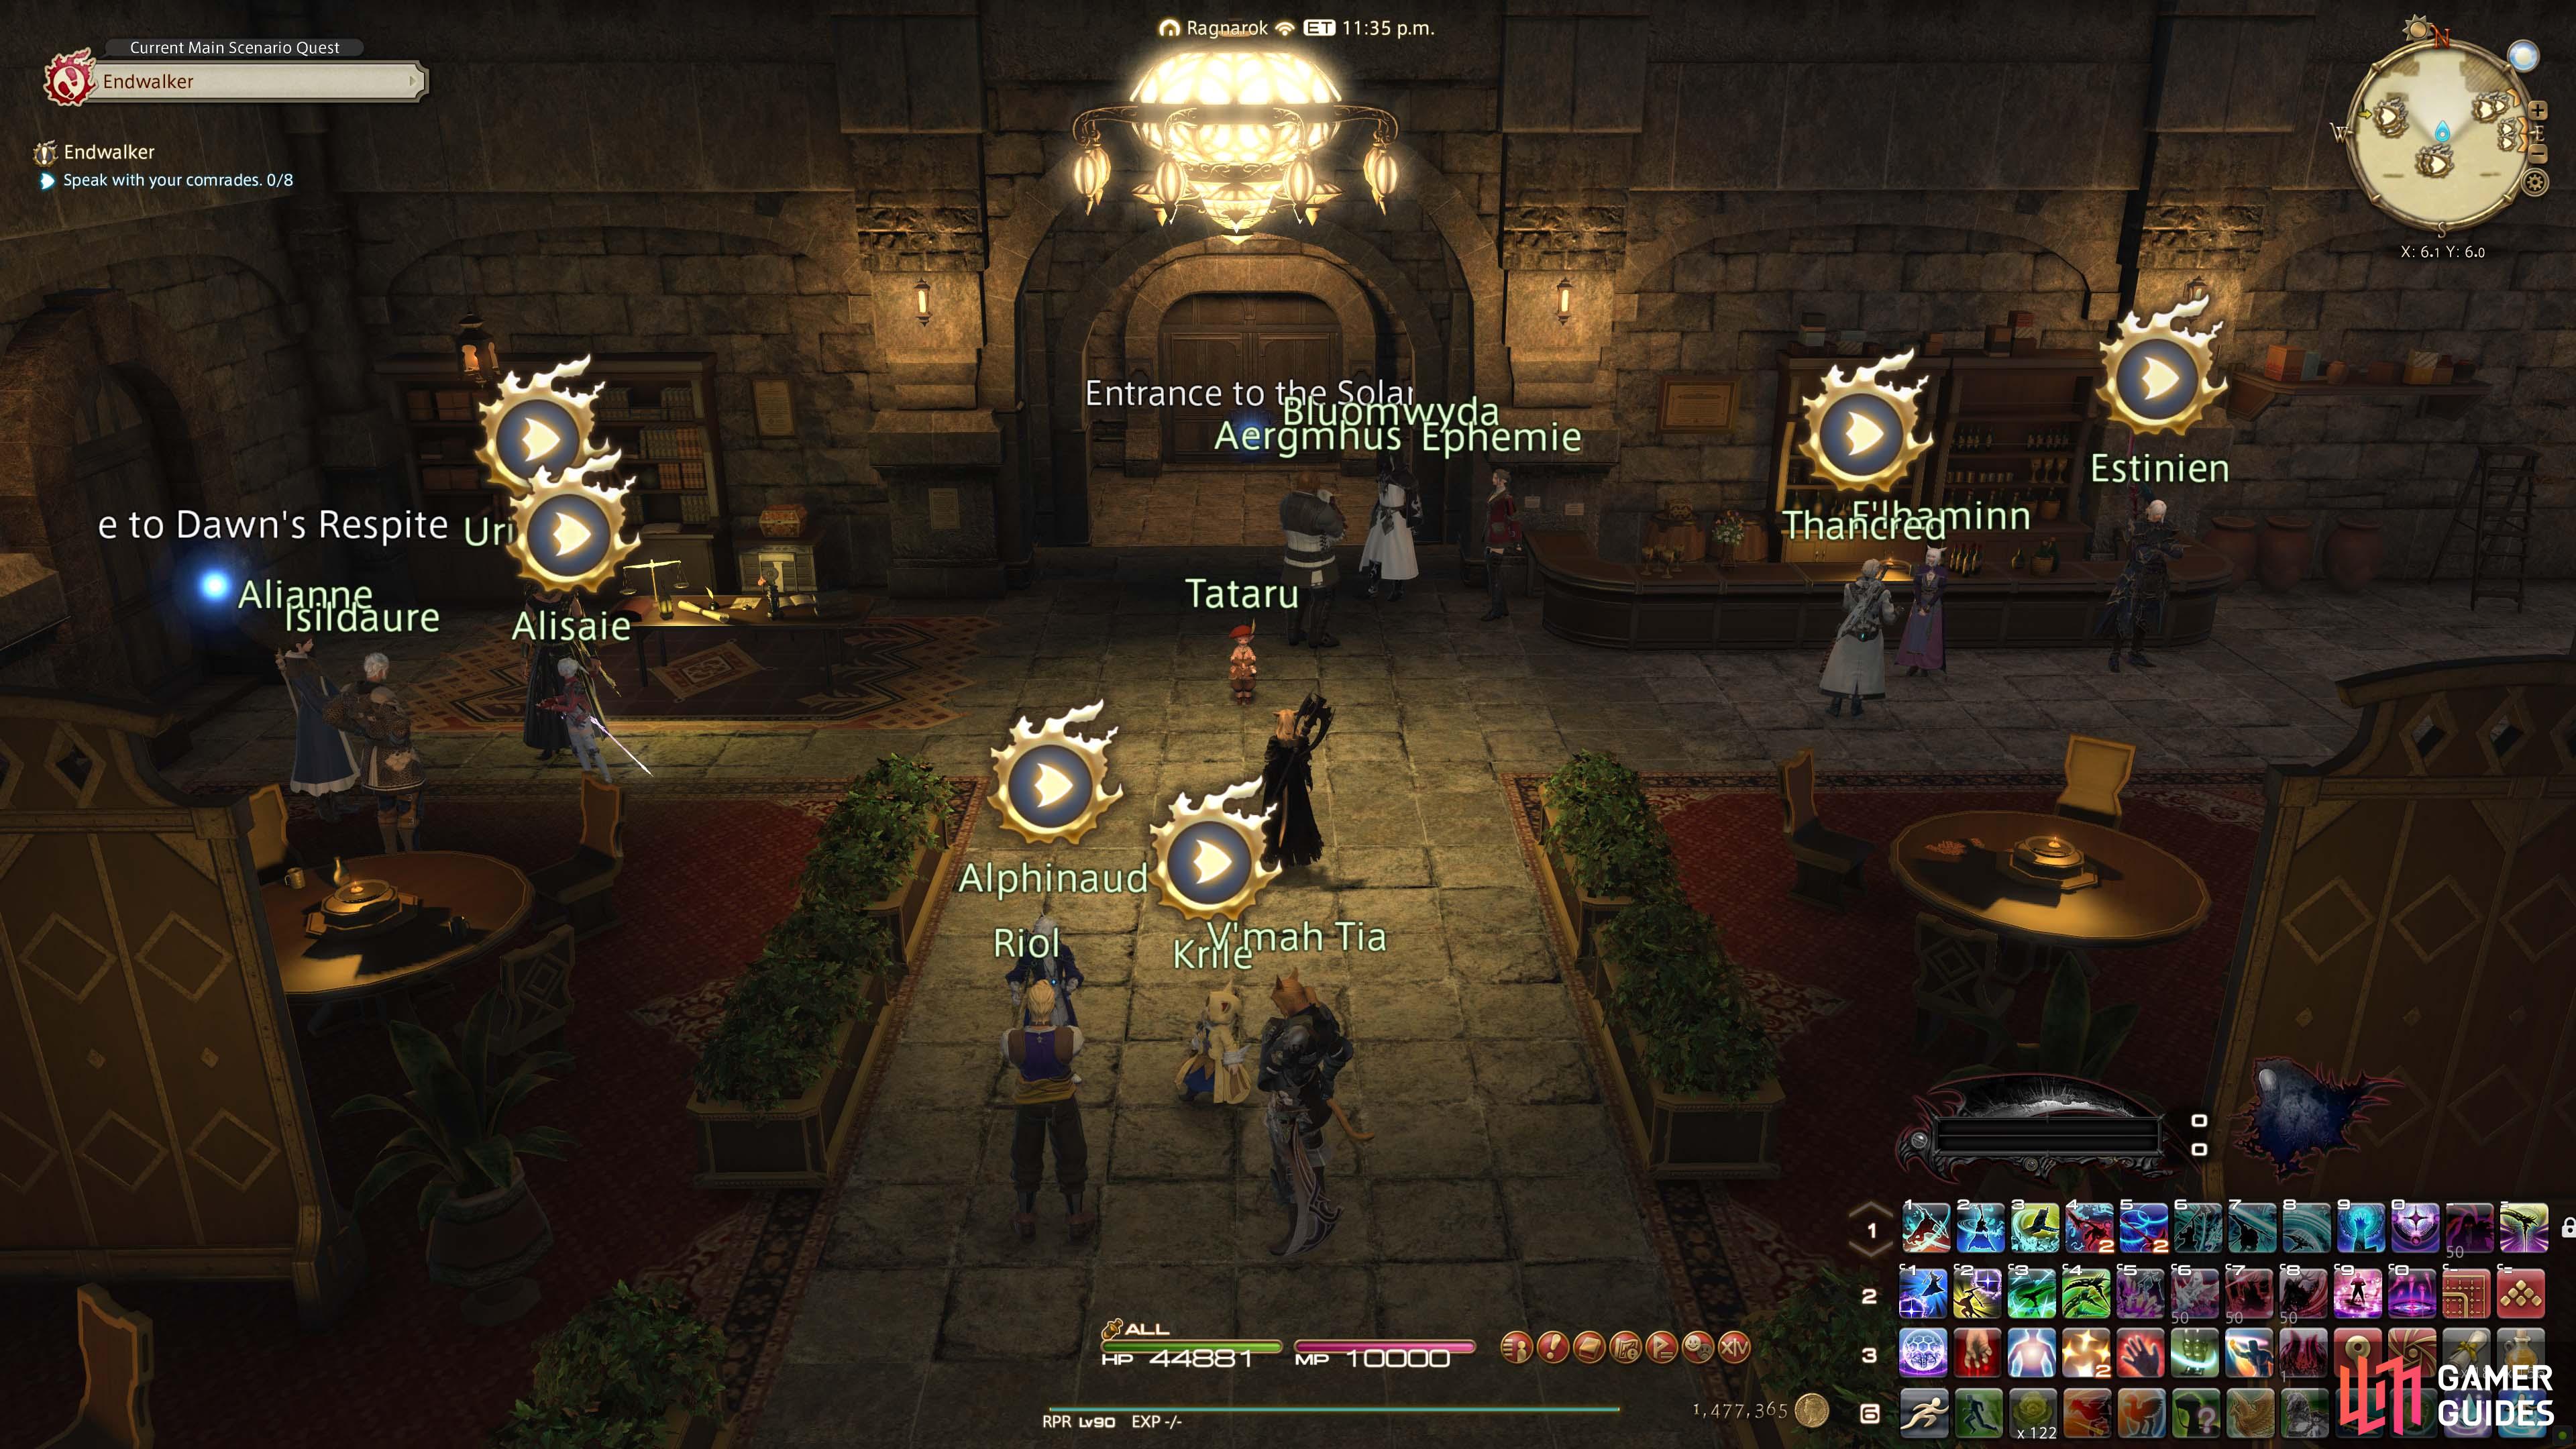
 Speak with your comrades. 0/8
Talk to your comrades.
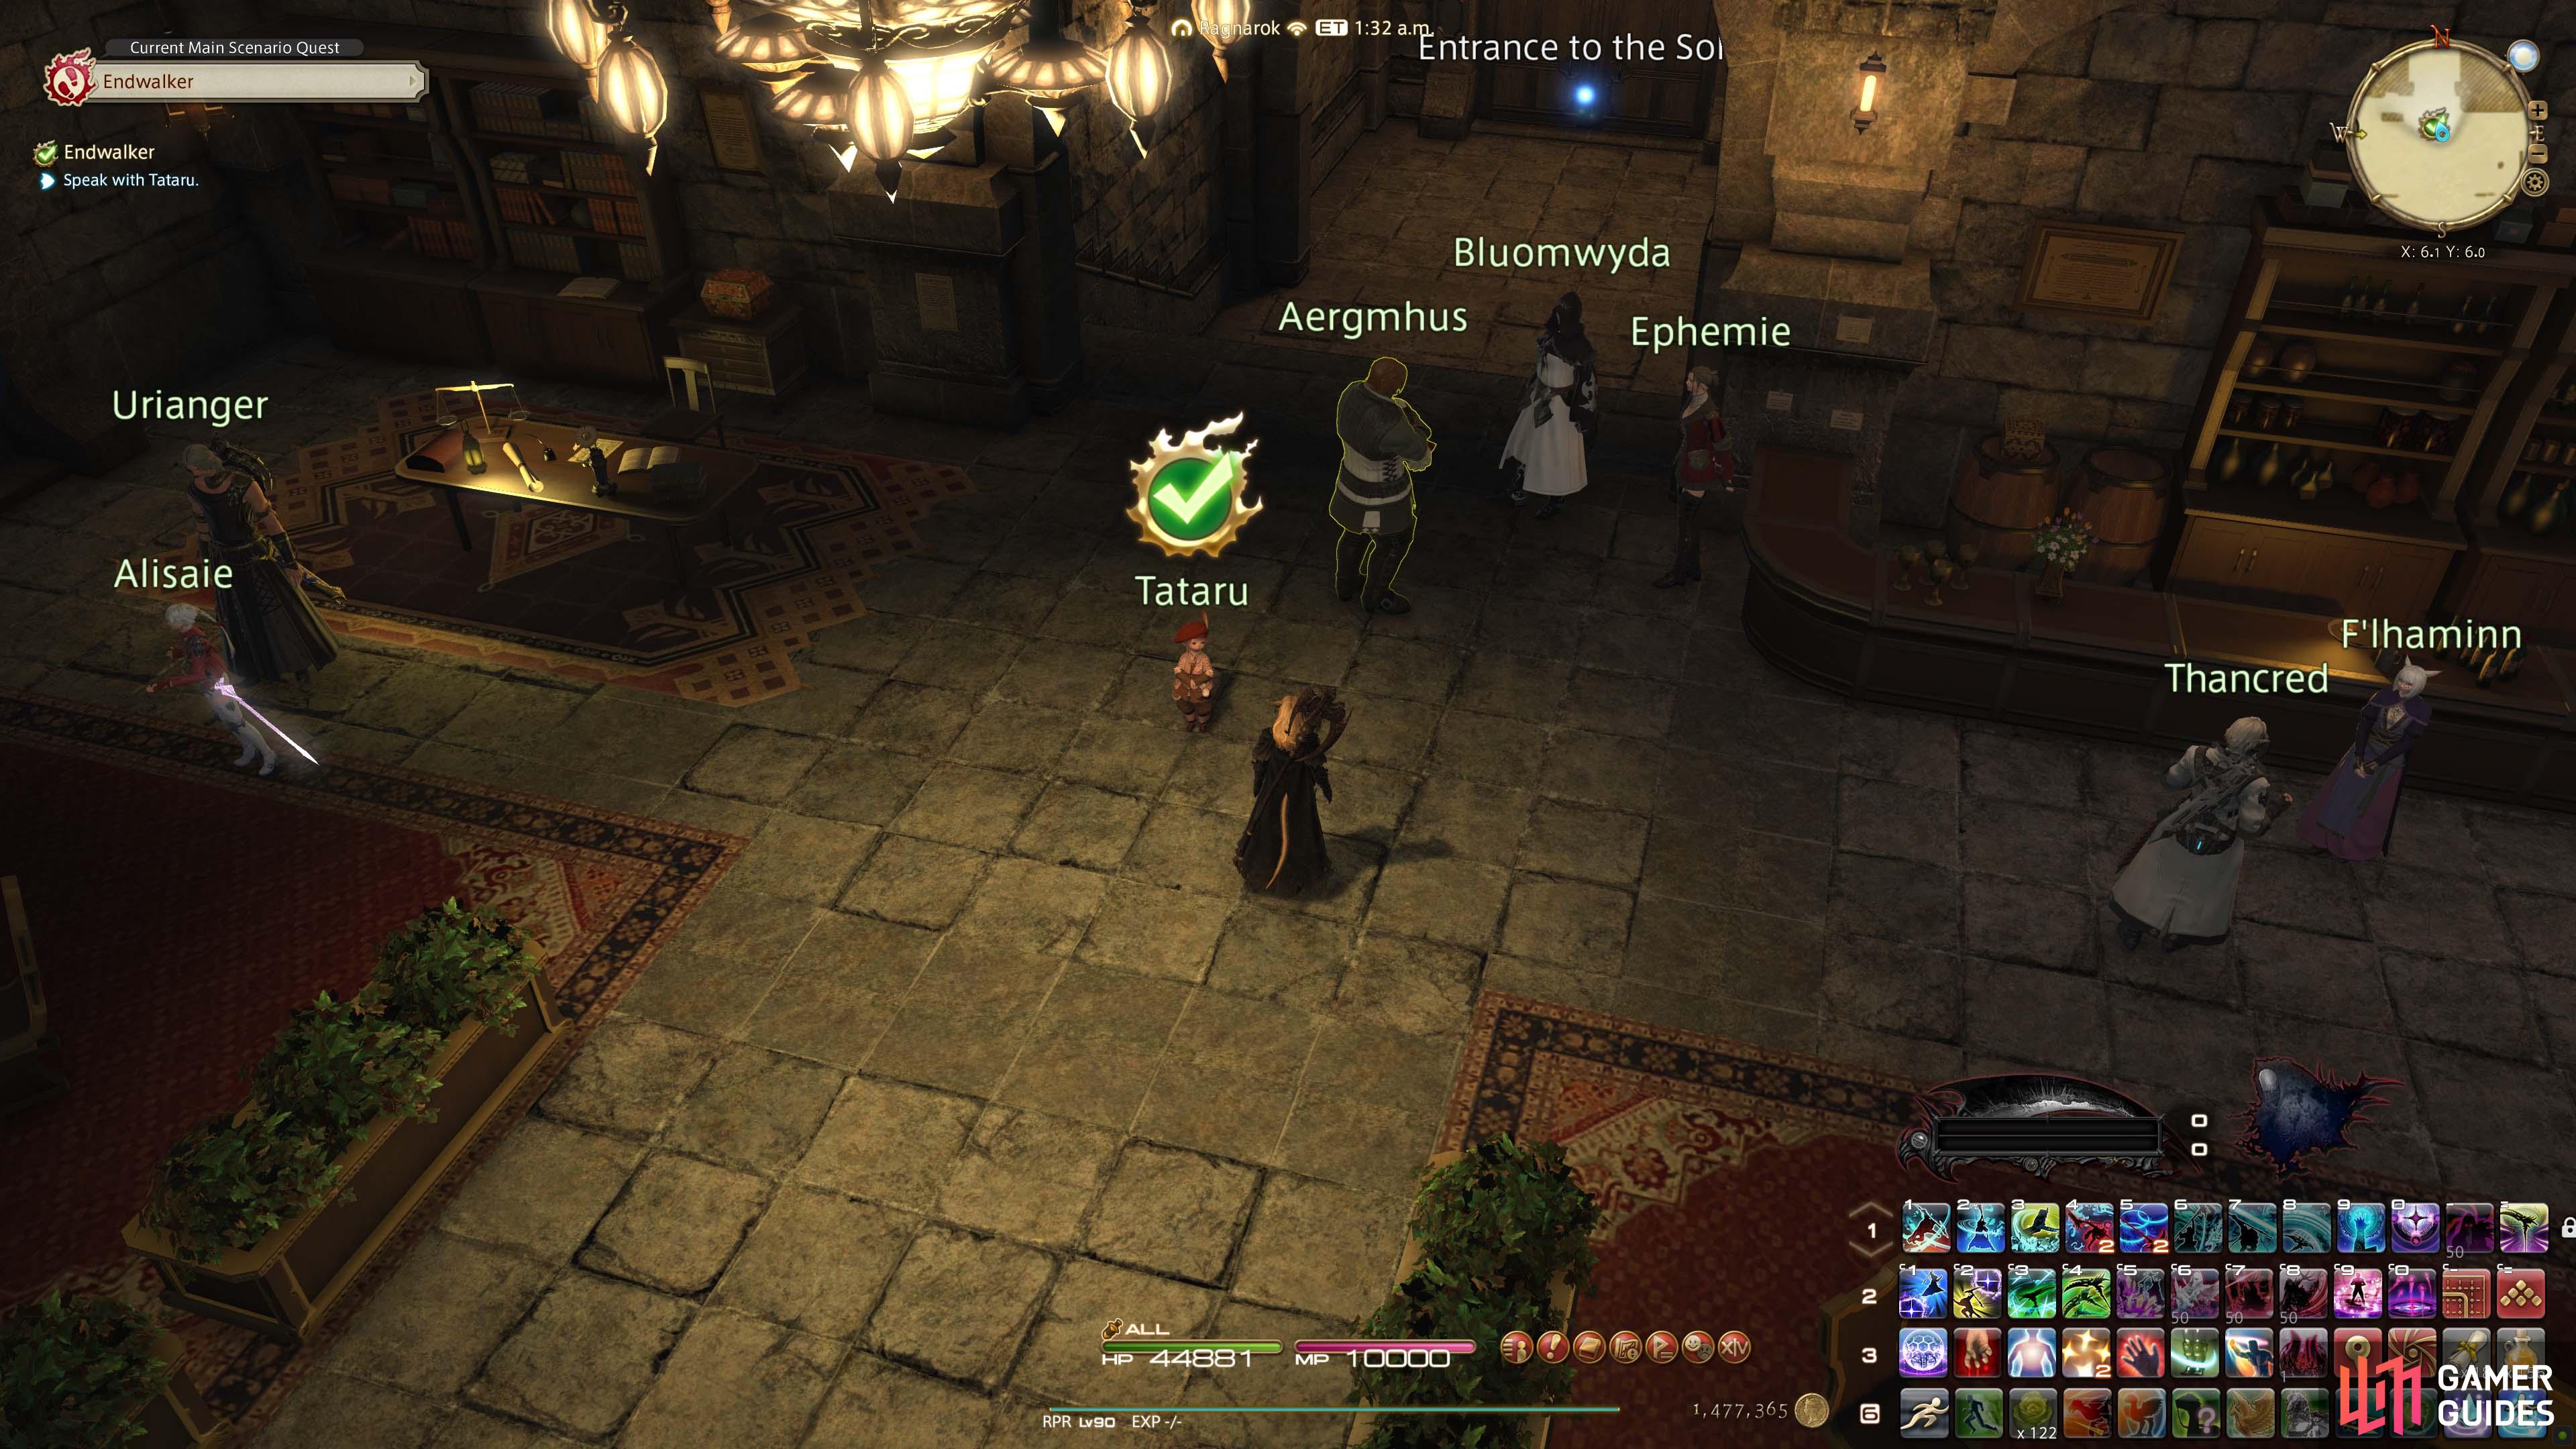
 Speak with Tataru.
Speak with Tataru to complete the quest!
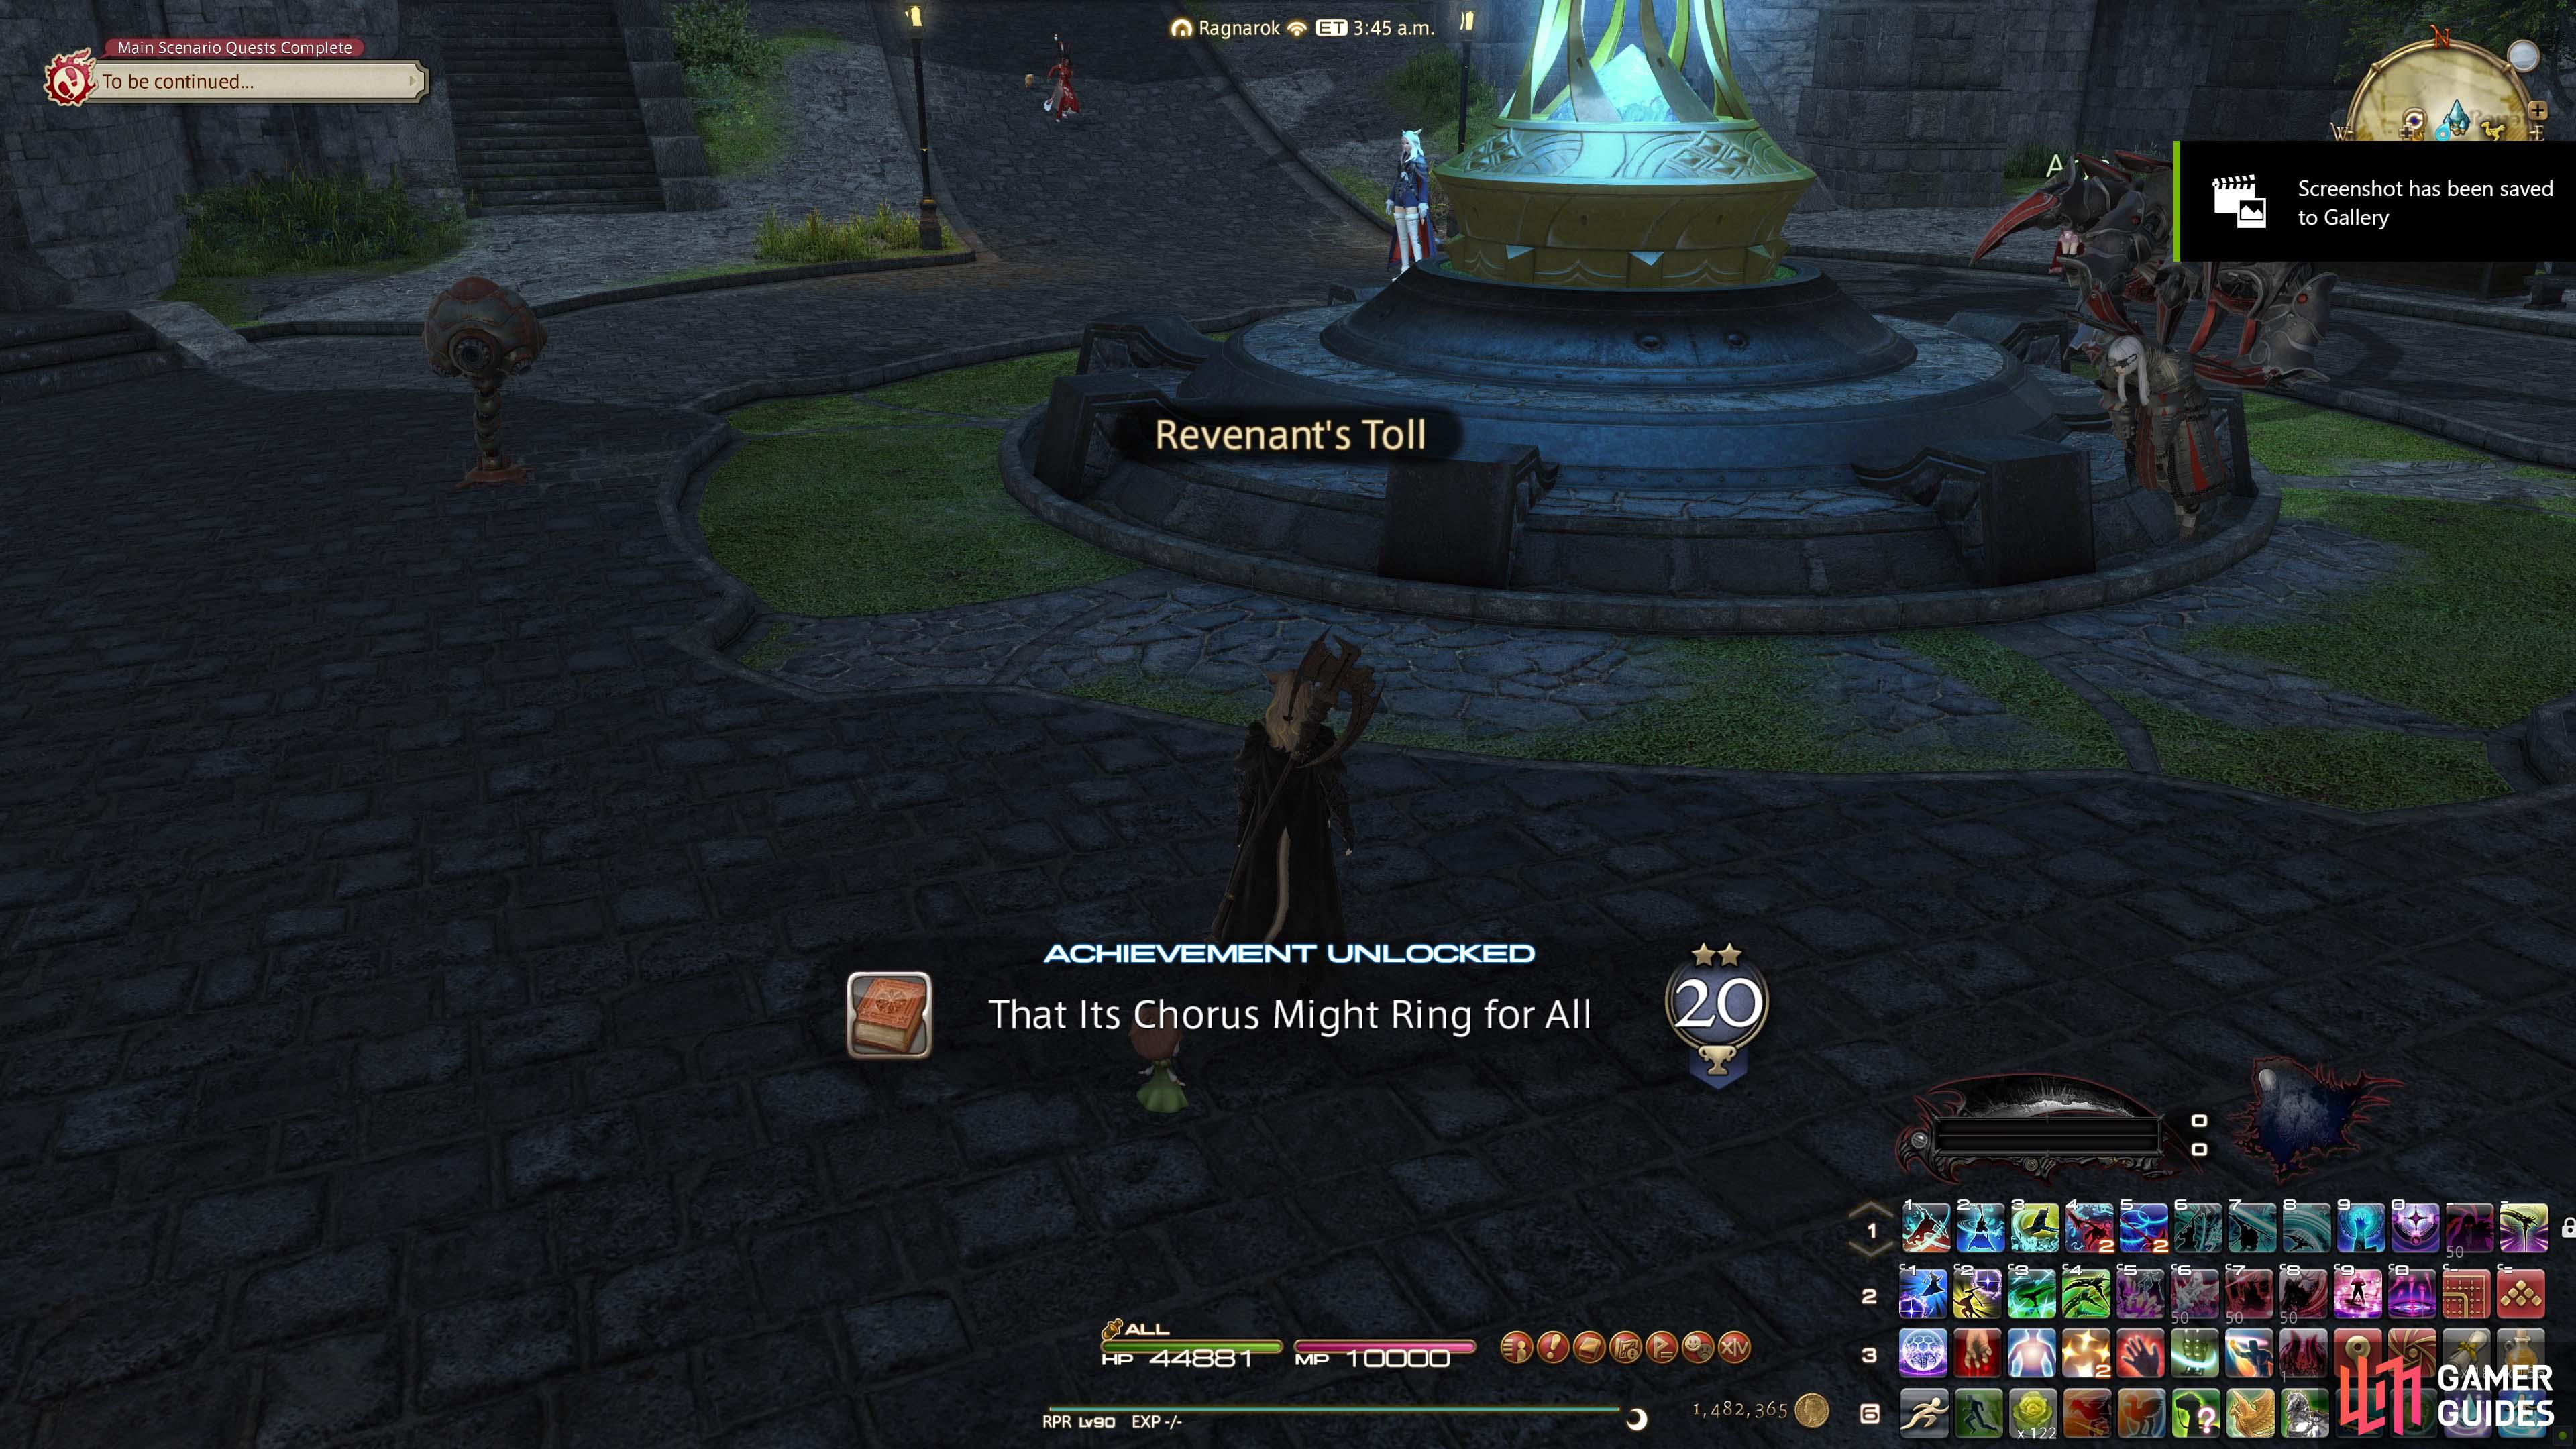
That it’s Chorus Might Ring for All achievement (20)
Completion Rewards
| EXP | Gil |
|---|---|
 – – |
 5,000 5,000 |
| Mount | Minion | Orchestrion Rolls |
|---|---|---|
Unlocks Quests
| Type | Quest Name |
|---|---|
 |
A Life of Regret (Level 80) |
 |
A Parent’s Love (Level 80) |
 |
Bodily Curiosity (Level 80) |
 |
Come Back to Us (Level 80) |
 |
Eat Like an Ea (Level 80) |
 |
Futures Lost (Level 80) |
 |
Left Alive (Level 80) |
 |
Loud and Proud (Level 80) |
 |
Remember Me (Level 80) |
 |
Stars Like Gems (Level 80) |
 |
That Once Rang Clear (Level 80) |
 |
The Body Beautiful (Level 80) |
 |
Work Woes (Level 80) |
 |
The Culture of Love (Level 90) |
| A Place to Train (Level 90) | |
| Cutting the Cheese (Level 90) | |
| I Wandered Sharlayan as a Minstrel (Level 90) | |
| Where No Loporrit Has Gone Before (Level 90) |

















 Sign up
No Comments