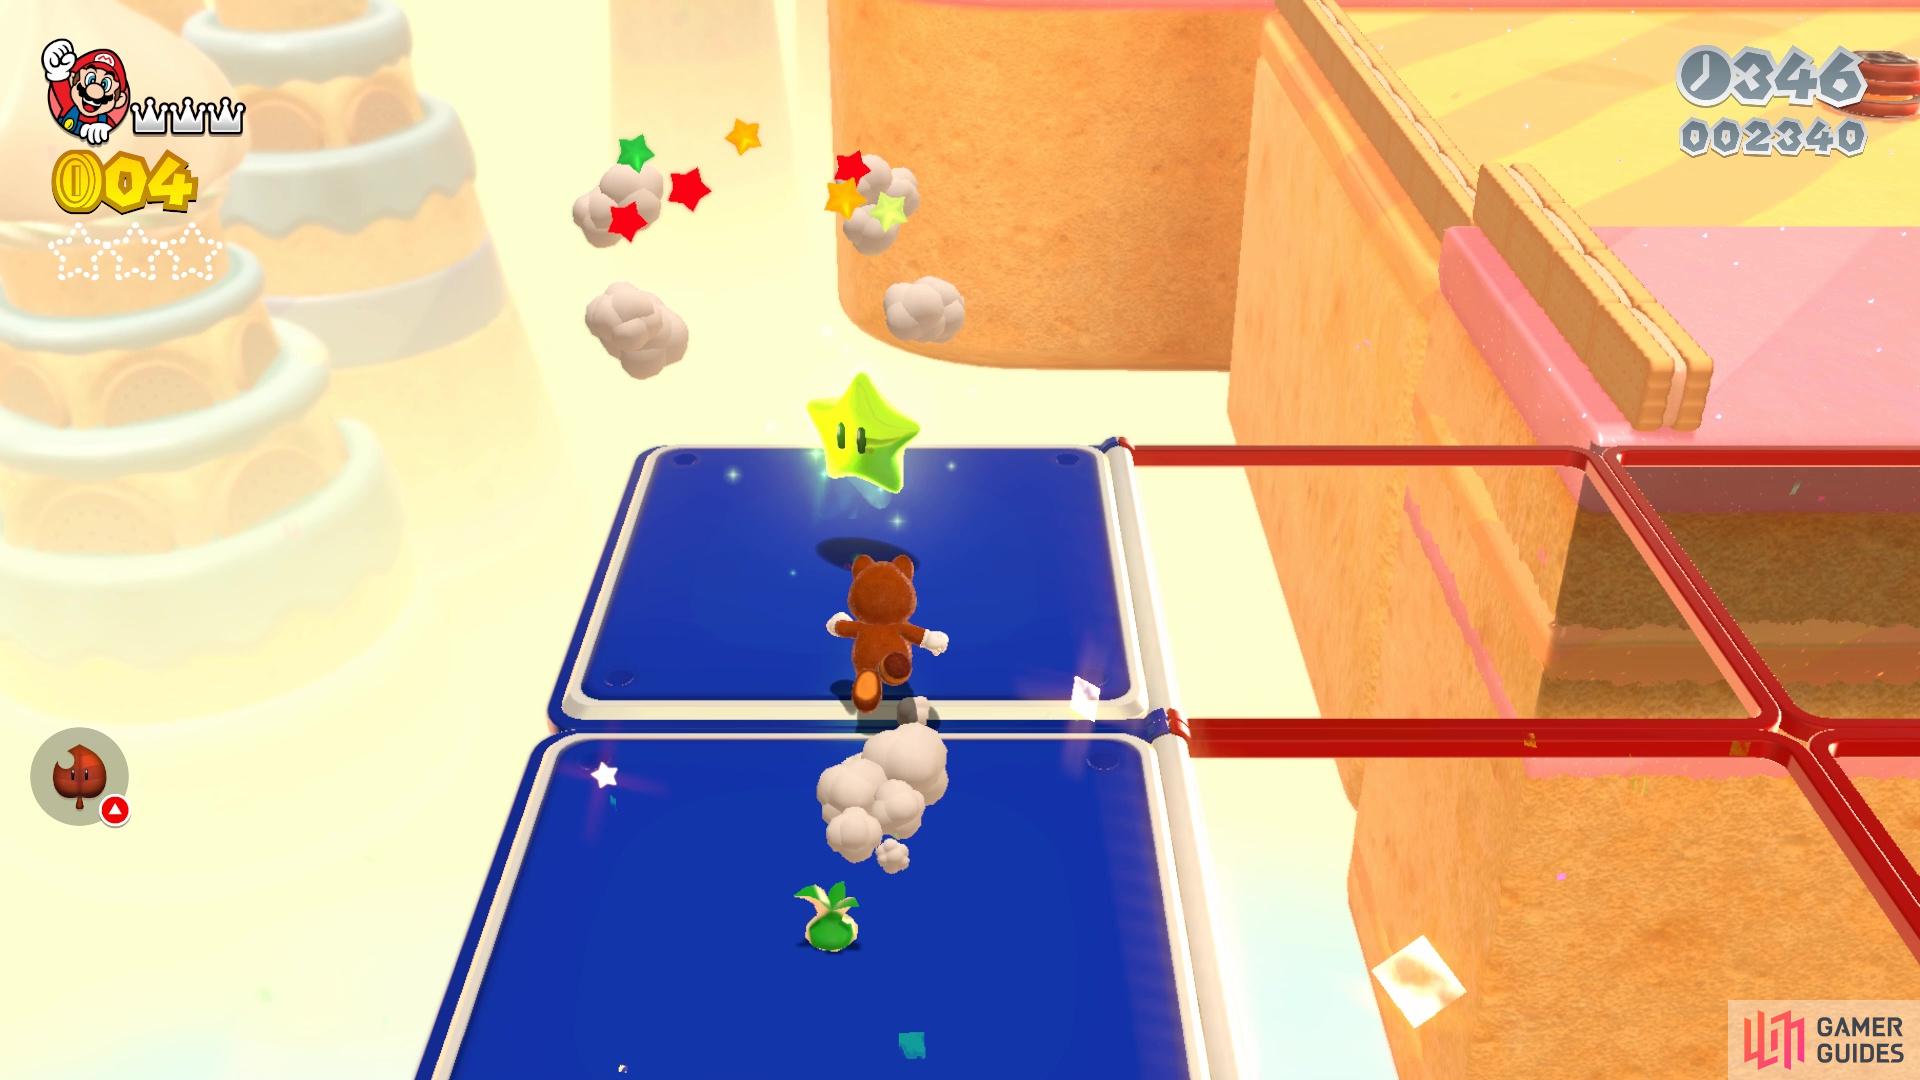
You will be introduced to the Red-Blue Flip Panels in this level, which are triggered by a jump. That means whenever you jump, the panels will switch from red to blue, and vice versa. The first area is something you can use to get adjusted to the Flip Panels, as falling won’t make you lose a life and you can use the Jump Panels to get back up to the main path. After the first section, hit the one ?-Block to get a power-up, then get ready for the second set of Flip Panels. Here, you will want to go to the top left corner to grab Green Star #1.
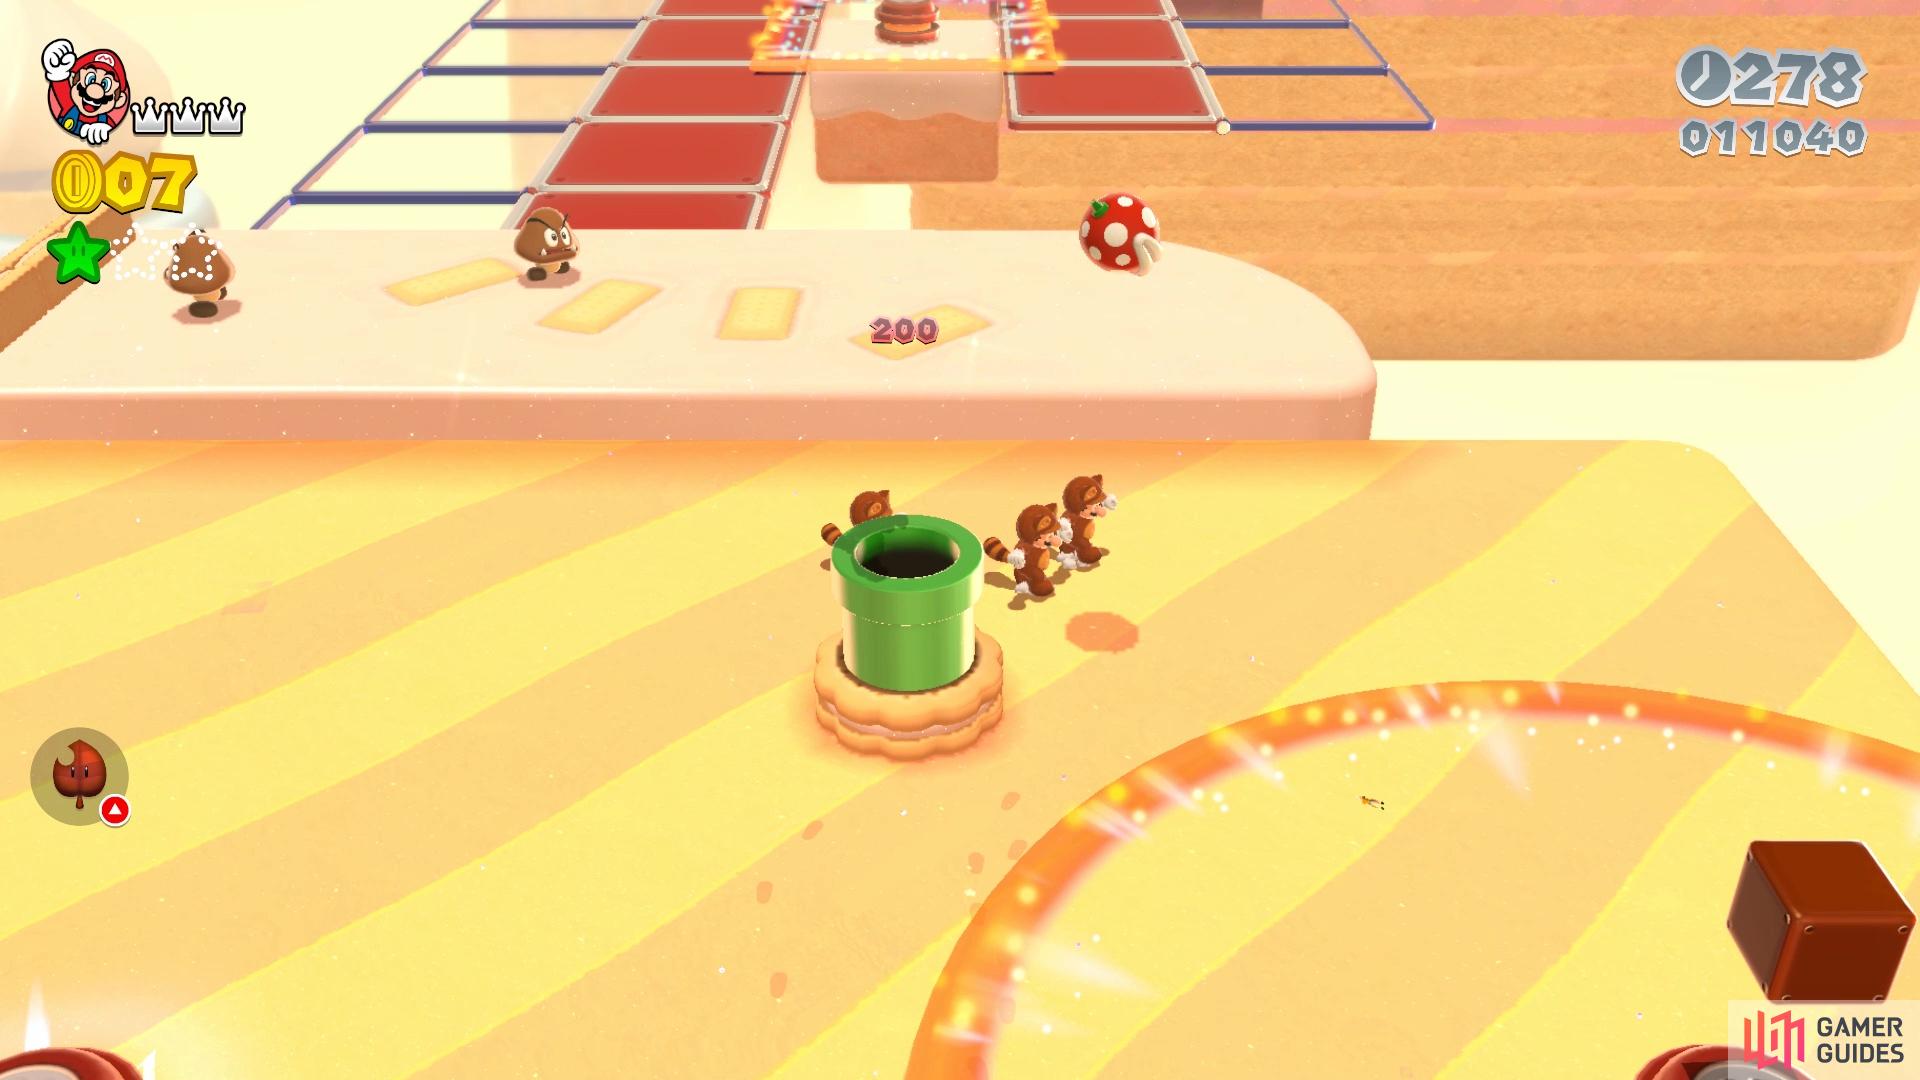
Ahead of the second section is a Ring Burner, which will constantly send out shockwaves that damage you on touch. If you stand on top of the Ring Burner, though, the shockwaves will stop until you get off of it. Do this to hit the ?-Block and get the Double Cherry from it, which will be needed a little later. The Flip Panels along the wall will have some Piranha Plants and Fire Piranha Plants. Note that you only need a single clone later and you can still get one more Double Cherry, so if you lose the clone here, it’s no problem. At the top of the wall, you will come to two more Ring Burners, another ?-Block (Double Cherry inside) and a pipe.
(1 of 2) The first Green Star will be out in the open on one of the flip panels
The first Green Star will be out in the open on one of the flip panels (left), Head down this pipe to do a little minigame for the second Green Star (right)
The first thing you should do is defeat the Piranha Plant occupying the pipe, then go down it while ignoring the Double Cherry. Hitting the P-Switch will cause a ball to fall, and you need to guide it to the lower left corner. To get this correctly, hit the P-Switch and make sure the blue panel is active on the first Flip Panel, and the red one is active on the lower one; this will net you Green Star #2. Upon returning, it’s still a good idea to ignore the Double Cherry, as you should see a Green Star Ring on the next set of Flip Panels. Getting the coins will be a bit difficult, since there is a Ring Burner blasting out shockwaves.
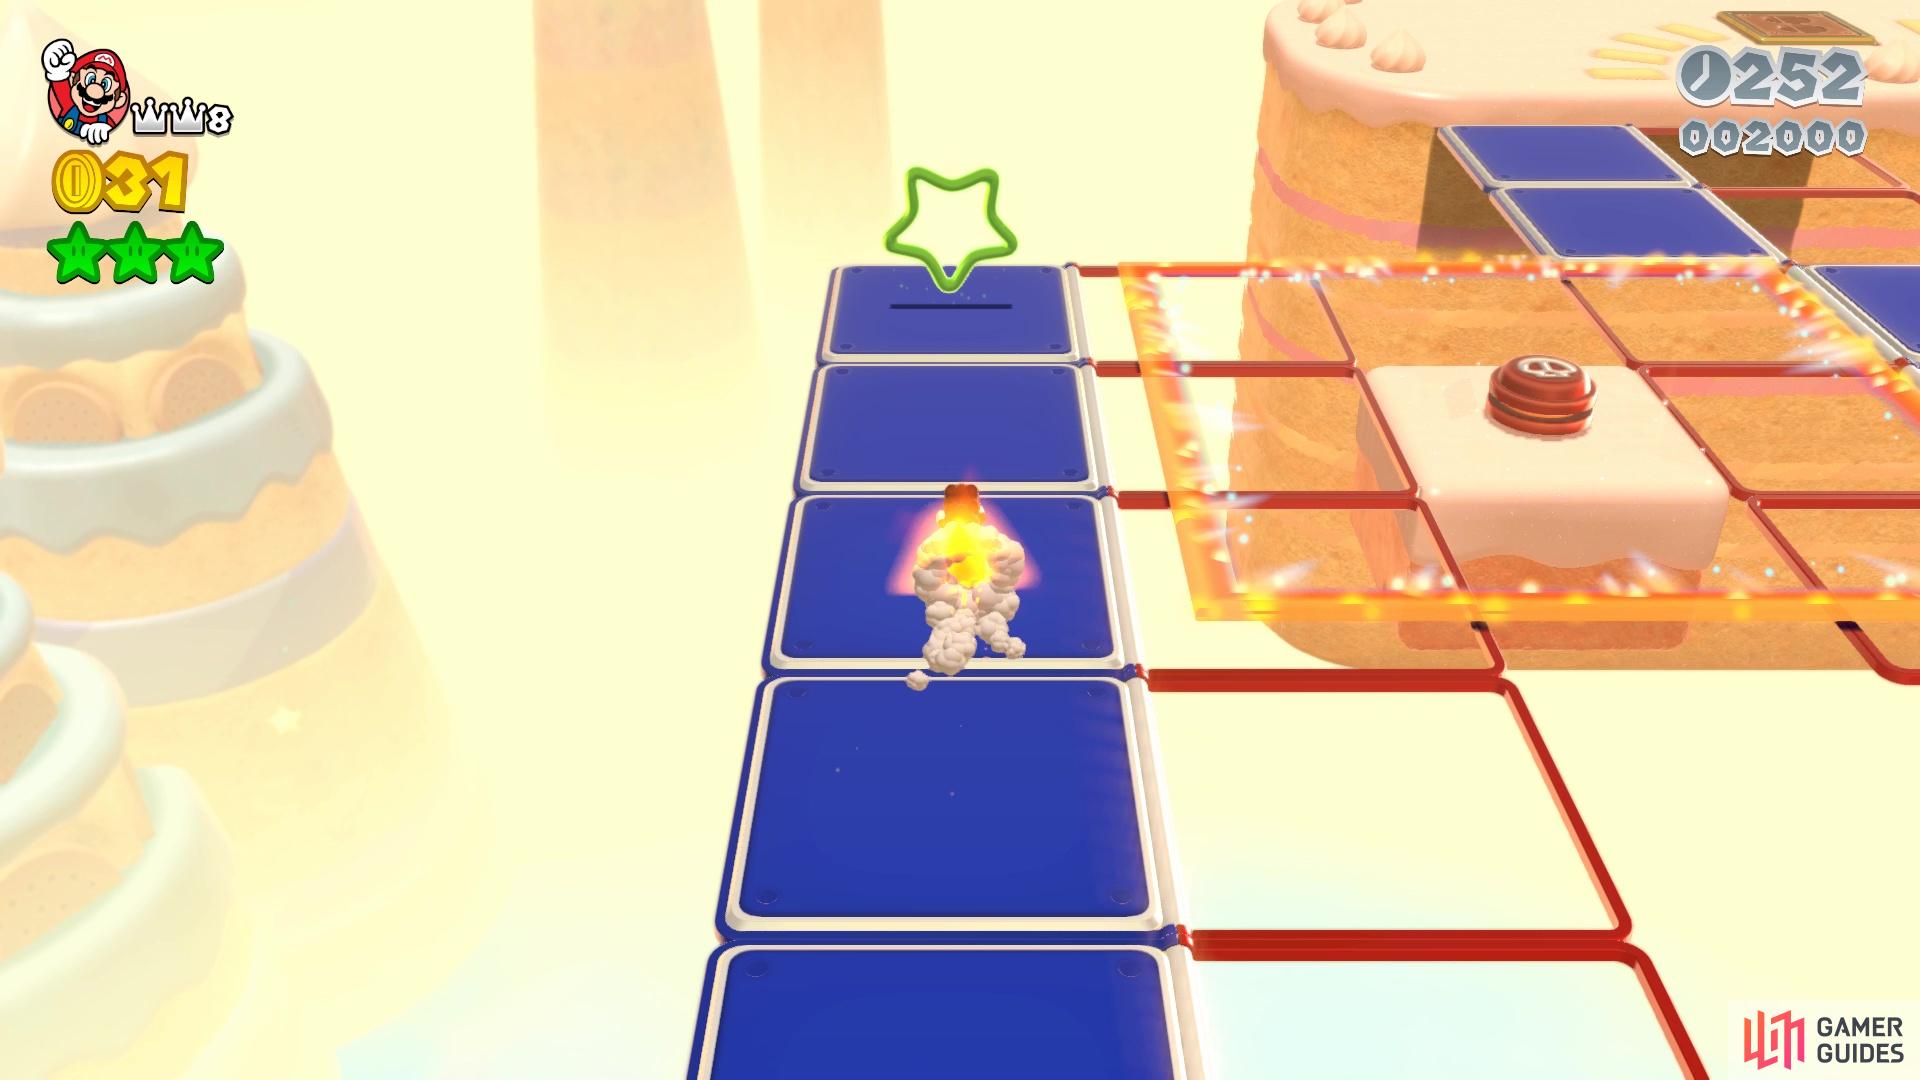
The first two coins appear just south of the ring, with the second two appearing above the Ring Burner. You will need to quickly go onto the right side Flip Panels and collect the final four coins from the blue panels to get Green Star #3. Remember that if you jump and feel like you’re going to fall into the pit, there is the mid-air roll to try and save yourself. If you manage to collect the Green Star first, then fall, the Green Star will be saved. With all of that out of the way, return to that Double Cherry and carefully cross the Flip Panels with the Ring Burner.
(1 of 2) Grab the green coins from the ring to get the third Green Star
Grab the green coins from the ring to get the third Green Star (left), The Stamp will require you to have at least one clone in order to grab it (right)
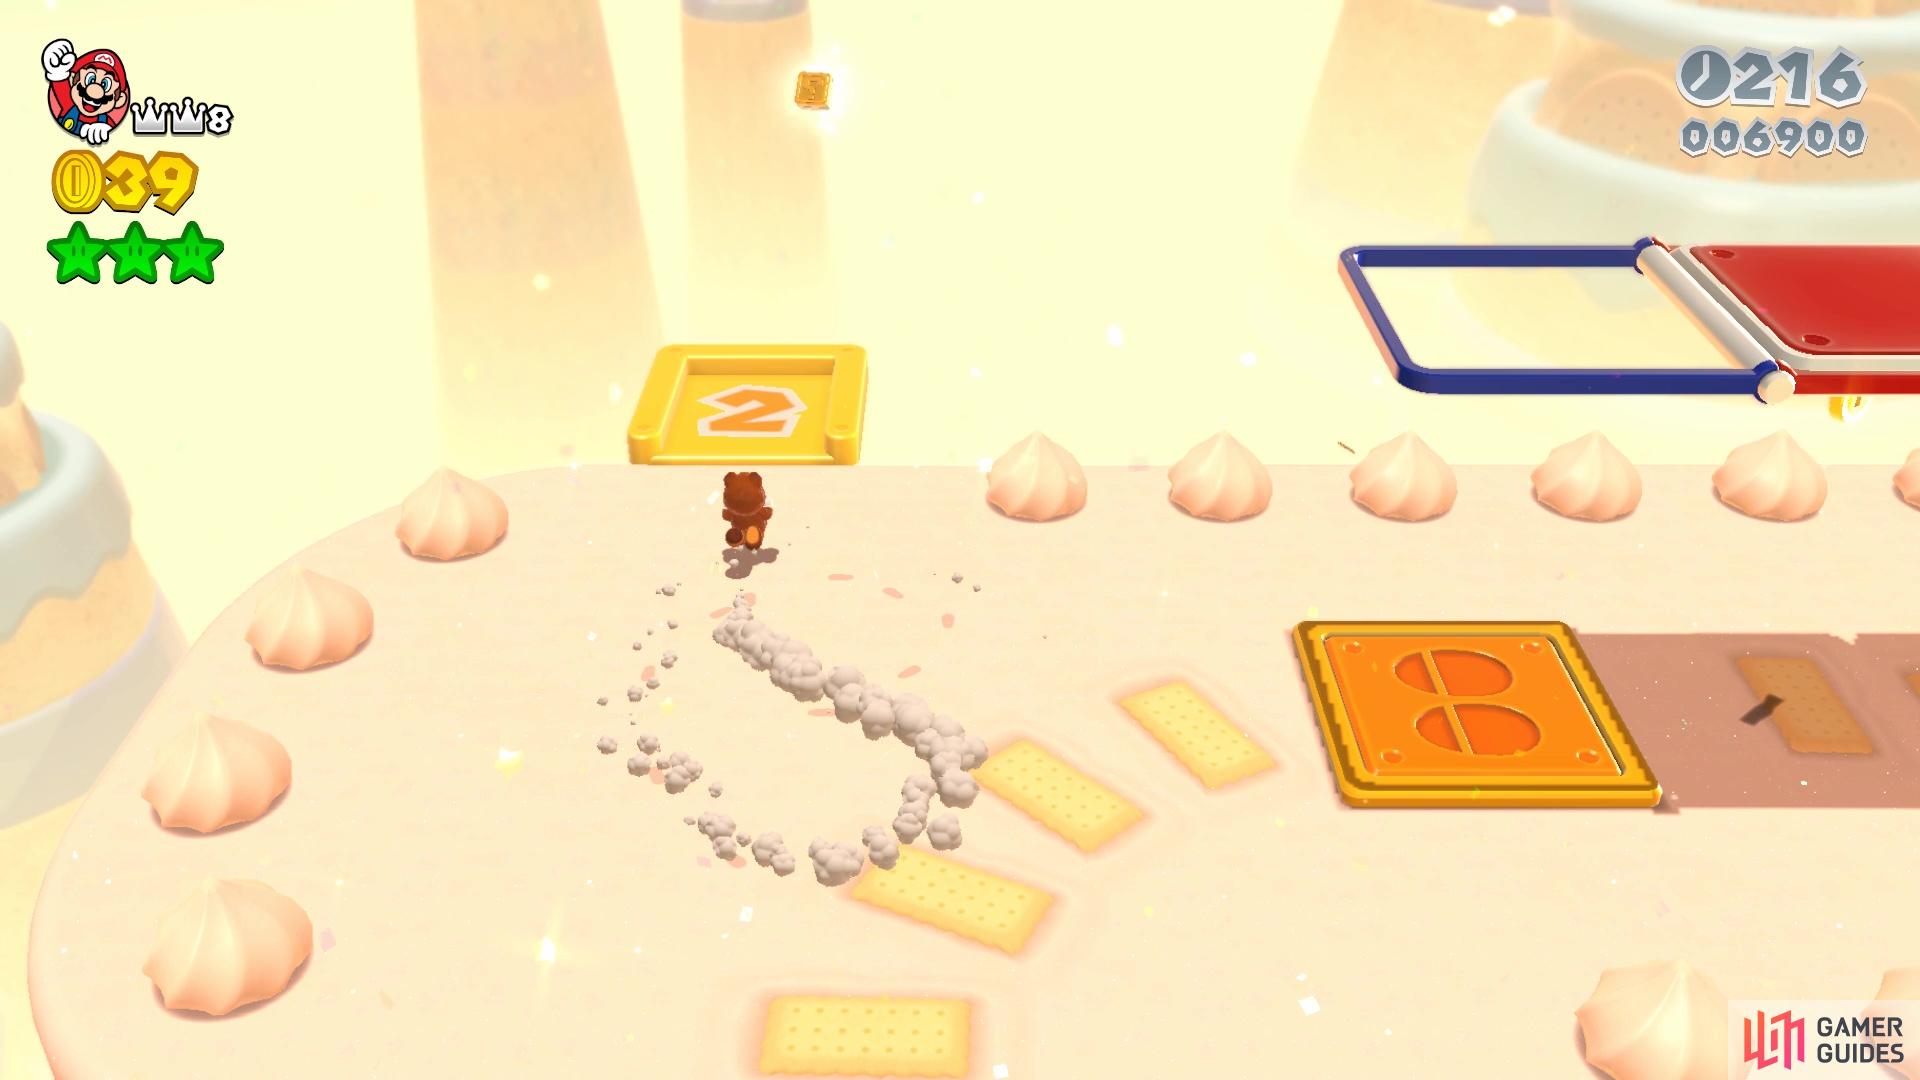
The final area will have a Multi-Vator, only needing one extra clone, which will carry you to the Stamp. If you don’t have one, you can simply bring in another player character to get it. Once you’ve collected it, use the Jump Panel and Flip Panels to get the top of the Goal Pole.


 Sign up
No Comments