Champion’s Road is undoubtedly the hardest level in the game, as well as possibly the longest. It’s the ultimate challenge and therefore, you are likely going to lose a lot of lives when attempting it. The best thing to do is to familiarize yourself with the course first, getting a feel for things. When you can get to the final obstacle without getting hit at all, then you can go farm some power-ups to have for that final obstacle. The Tanooki Suit is probably the best power-up for this level, though, so it’s ideal to go with that.
You’ll be seeing this quite often when you first attempt this level
The first obstacle in Champion’s Road will be some moving platforms and some Octoombas. Remember that Octoombas cannot be defeated unless you Ground Pound them, but it’s best to just ignore them here. Keep a lookout for any projectiles they shoot, since you want to dodge them. Once you get past all of the moving platforms and Octoombas, enter the clear pipe to start encountering some Fire Bros. Climb up the area, avoiding the Fire Bros and their fireballs, then you’ll get to the area with the Chargin’ Chucks.
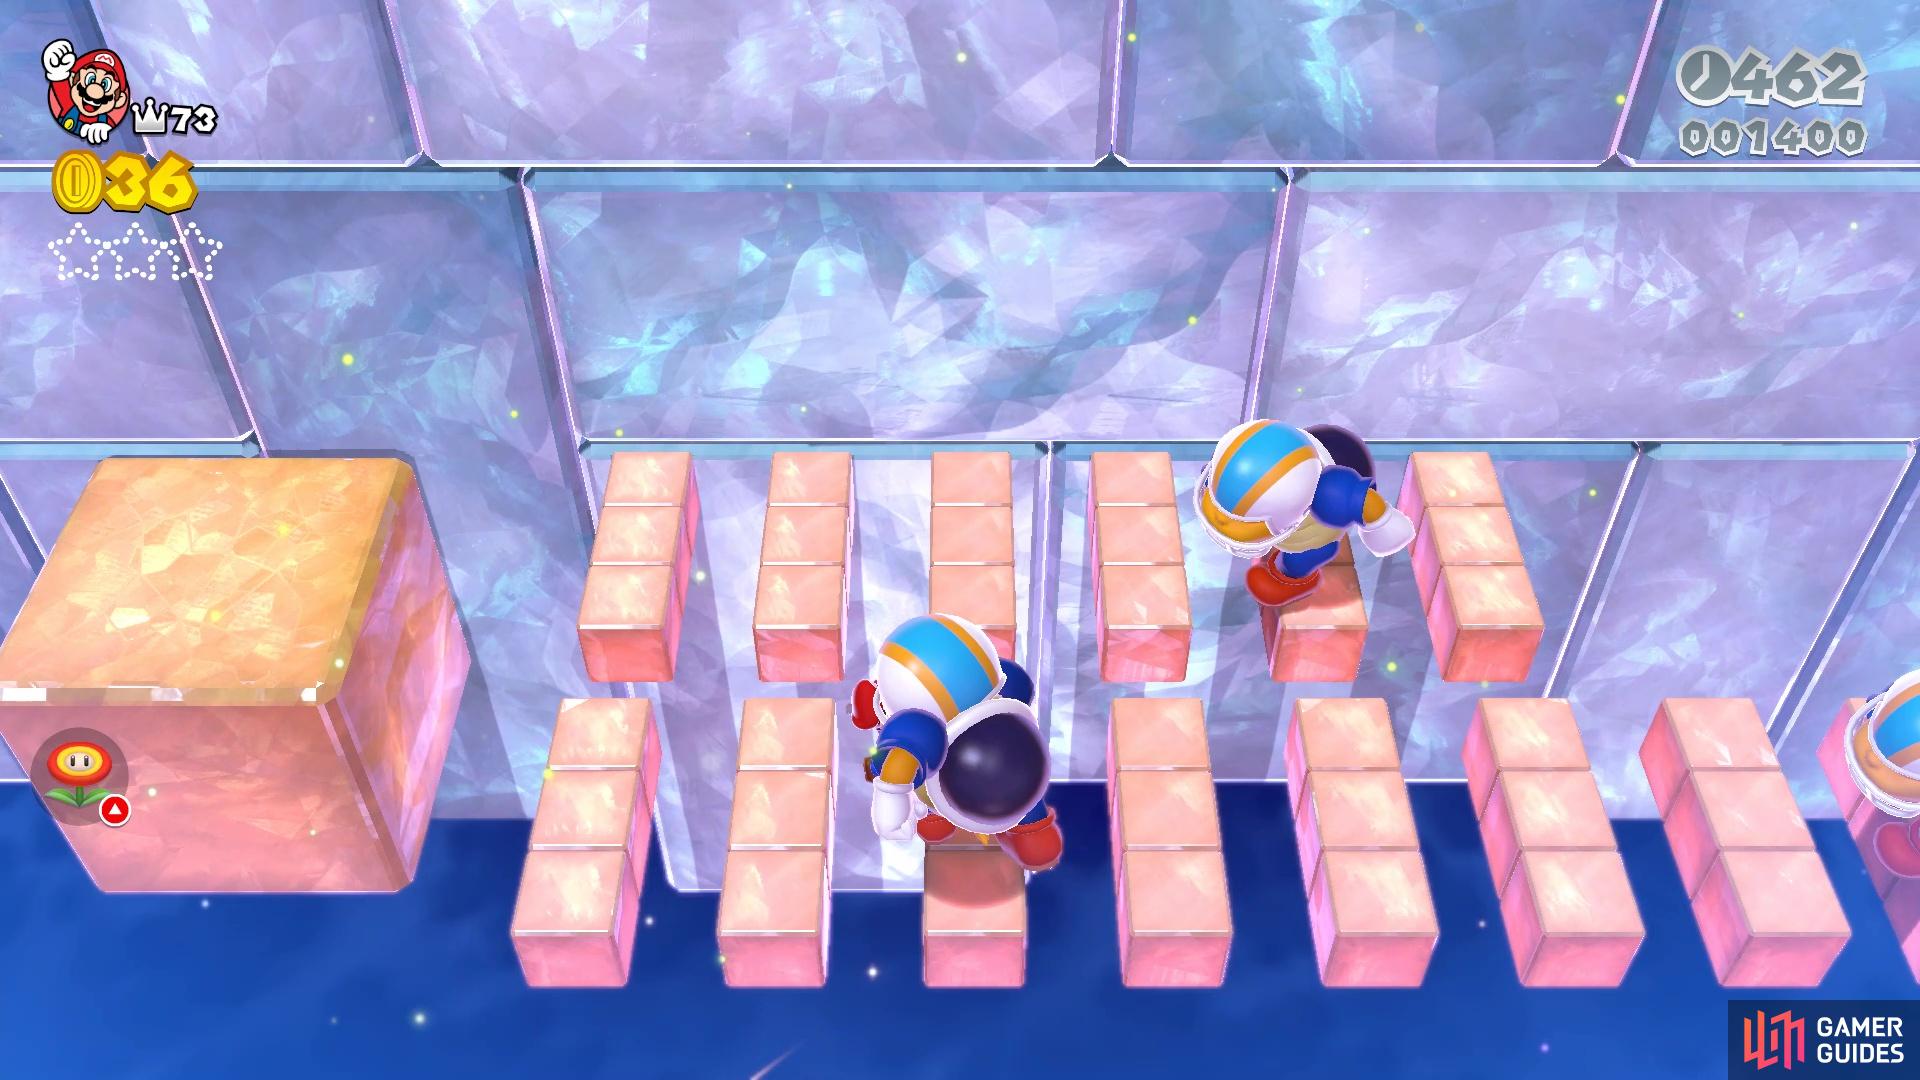
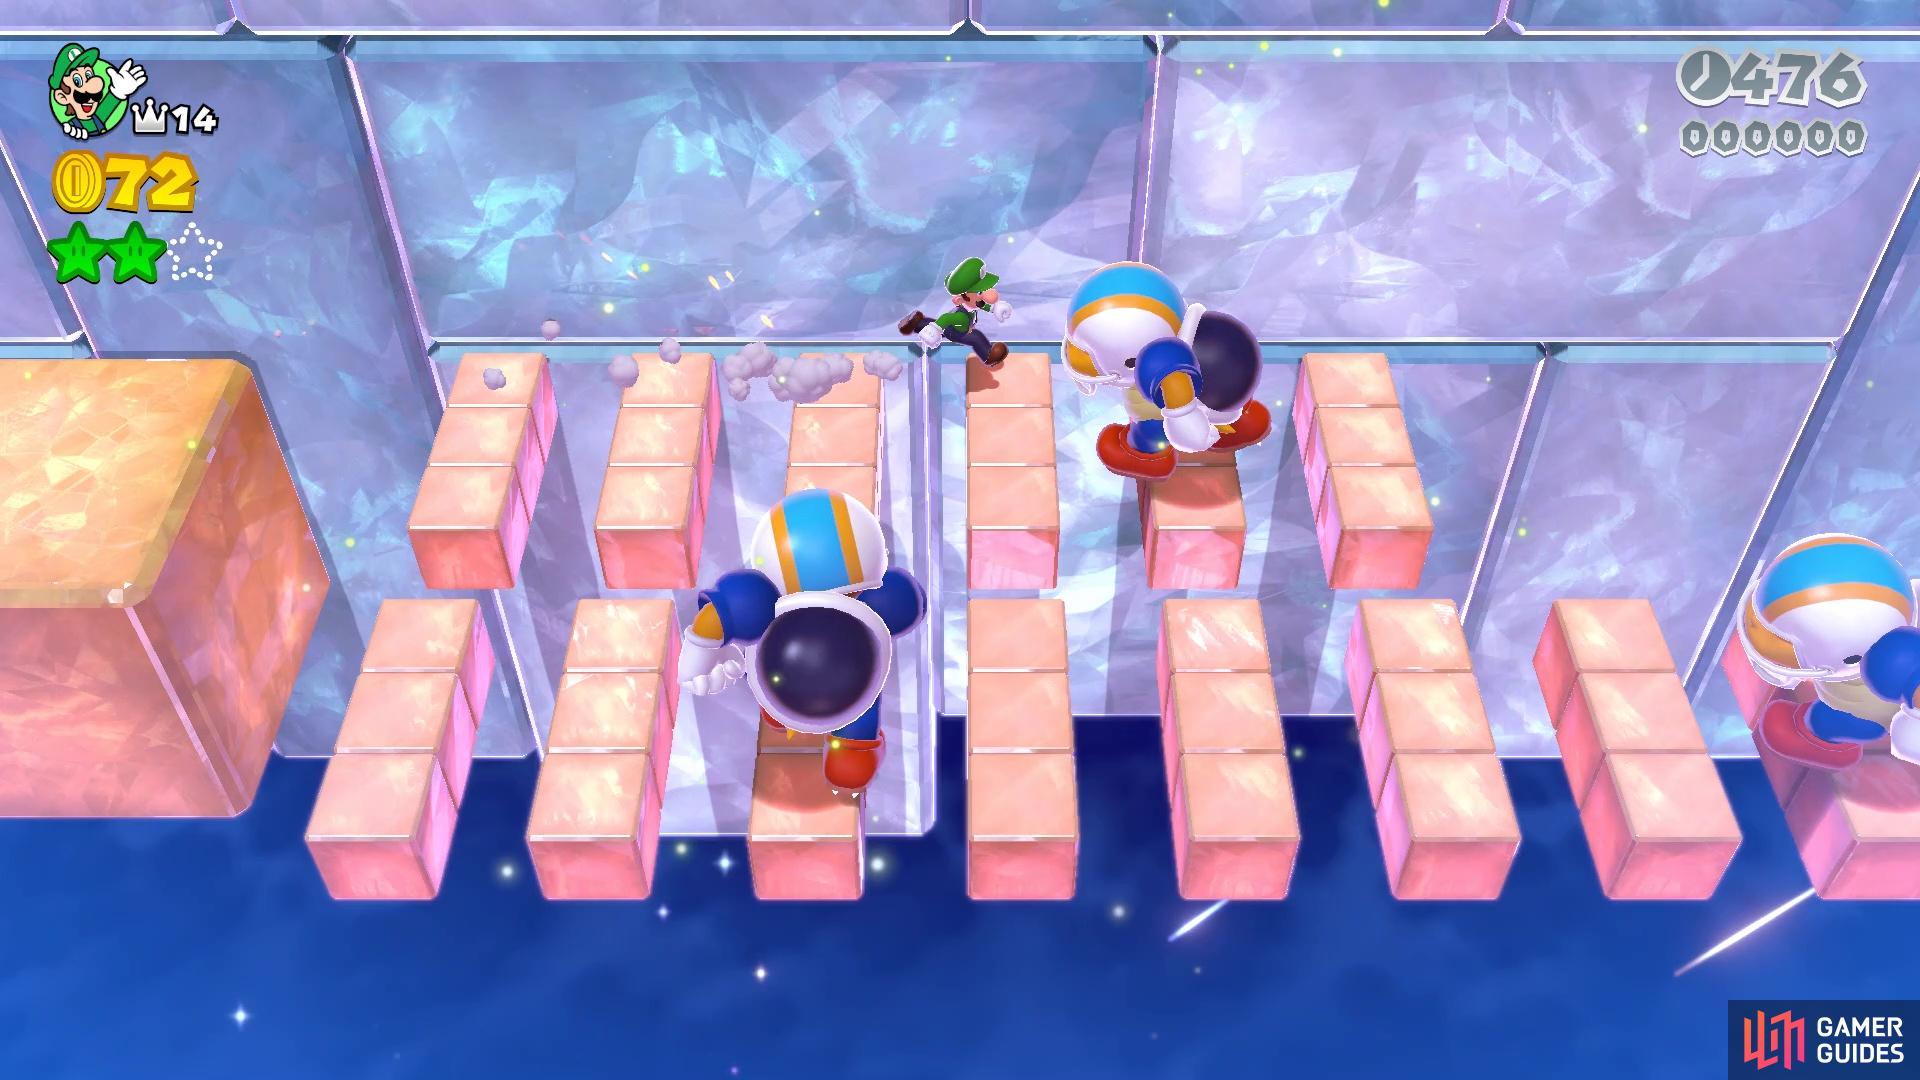
The area with the Chucks is a bit deceptive, as it’s made up of a lot of thin platforms, so you might think you need to do a lot of very meticulous jumping. However, for those well versed in Mario games, you might remember that sections with a one-gap space in between platforms can simply be run over without needed to jump. That holds true here, too, so you don’t really need to jump at all, unless you’re going over the Chargin’ Chucks. Even then, you should be fine, as long as you keep track of where you land and have enough speed.
(1 of 2) Try to avoid jumping in the section with the Chucks
Try to avoid jumping in the section with the Chucks (left), as sprinting is more than enough to get over the gaps (right)
To make things even simpler, the bigger gaps can also be sprinted over without falling, which is odd to say the least. With that knowledge, jump over the first Chargin’ Chuck and get to the second set. There will be two sets of tiny platforms here, so start by running along the top one until you get to the fourth block, then turn south and continue right, jumping over the Chucks in the way. Once you get to the end, you will find a Warp Box waiting for you, taking you to a Beep Block section.
Beep Blocks Bonzanza
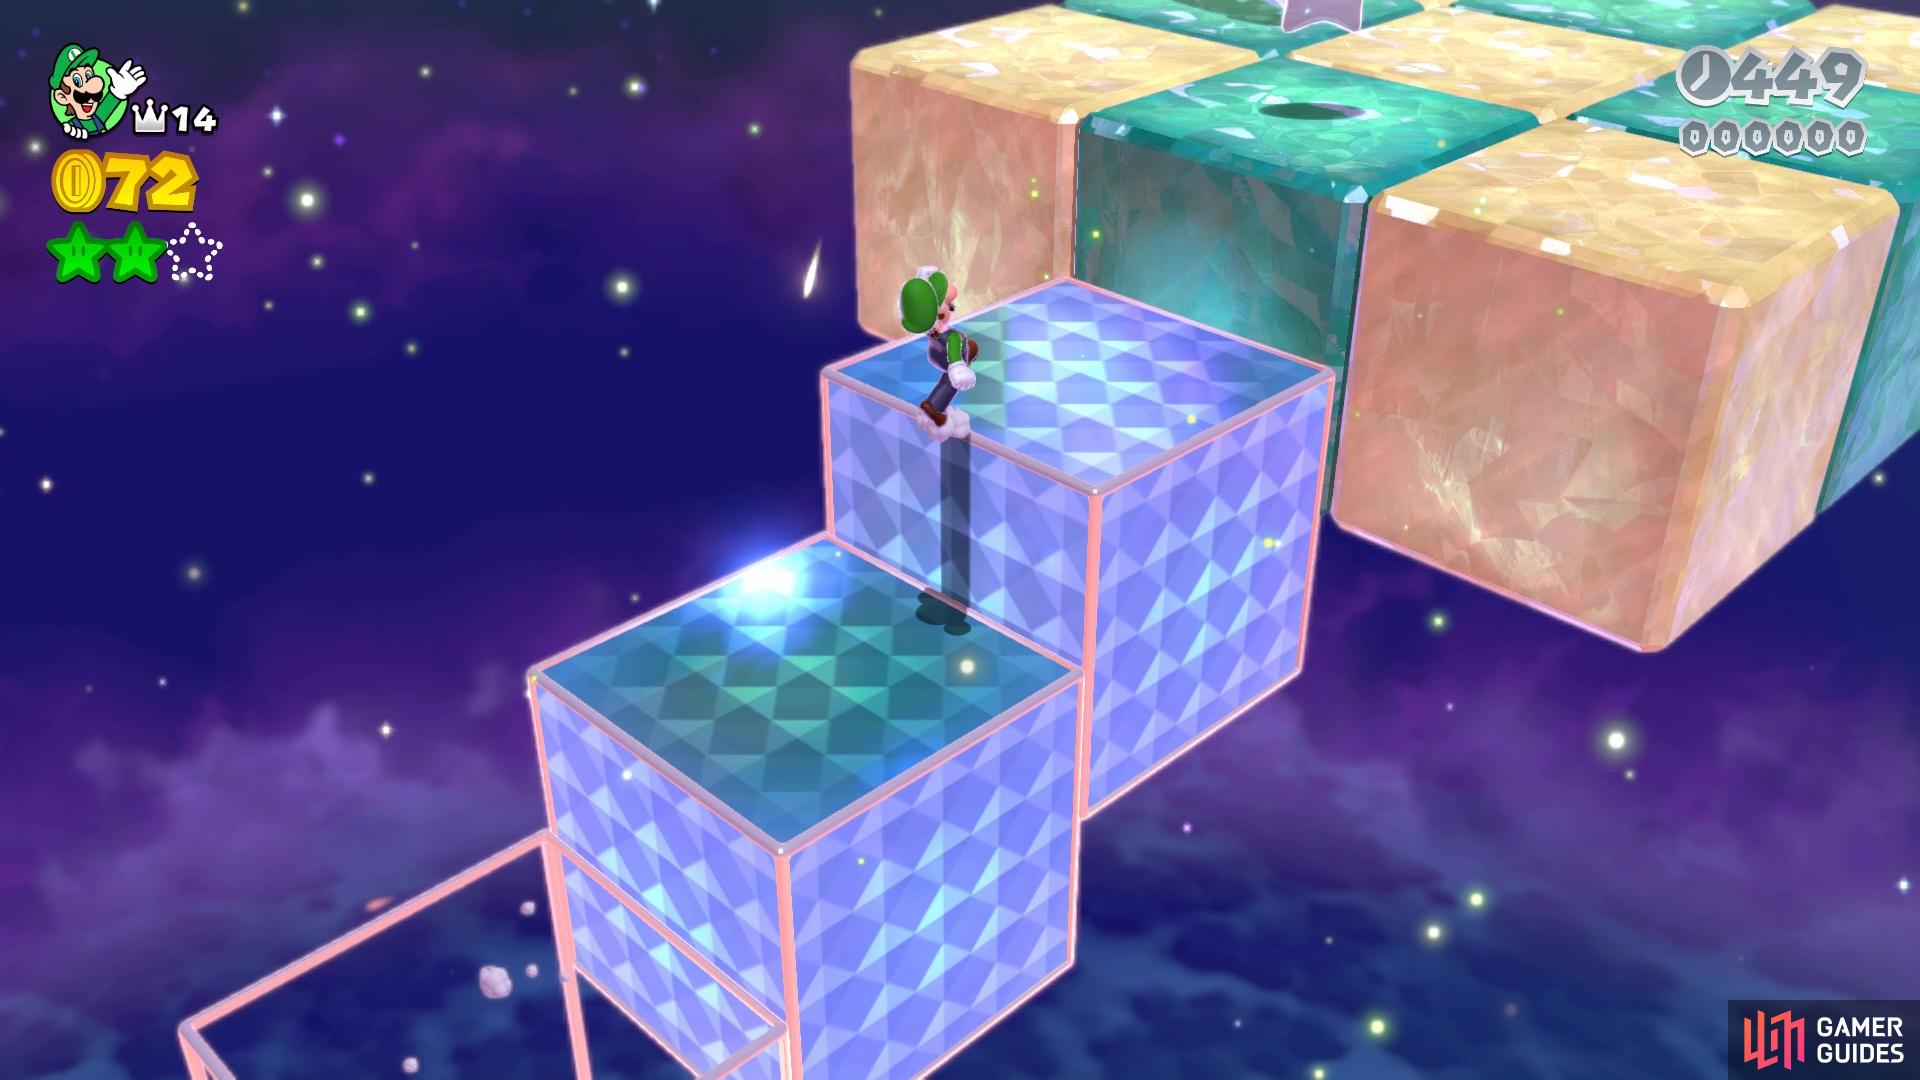
The Beep Blocks will alternate colors every second, similar to Blast Block Skyway in World Flower. That means you won’t be able to save yourself if you’re not over solid ground. The best thing to do here is to keep moving and note the placement of the Beep Blocks. The first crossing will start with blue blocks, then switch to red, and back to blue. Try to avoid doing big jumps here, as smaller jumps will make sure you land and get another jump off before the blocks switch. After this will be some Beep Block stairs, with the right side seemingly a little easier.
You will come to a longer jump here, but you might not need to do the longer jump at all. At the top of the stairs, if you jump from the blue blocks to the higher red one in one motion, you might have enough momentum to get to the stable ground by performing a mid-air roll. Another round of Beep Block stairs will be ahead, alternating between each color at first, then having two red ones in a row and finally, two blue ones in a row. You can wall jump off of the blue one if you don’t make it up both at once. Whenever you do get to the top, you’re rewarded with Green Star #1 and a clear pipe/cannon to the next area.
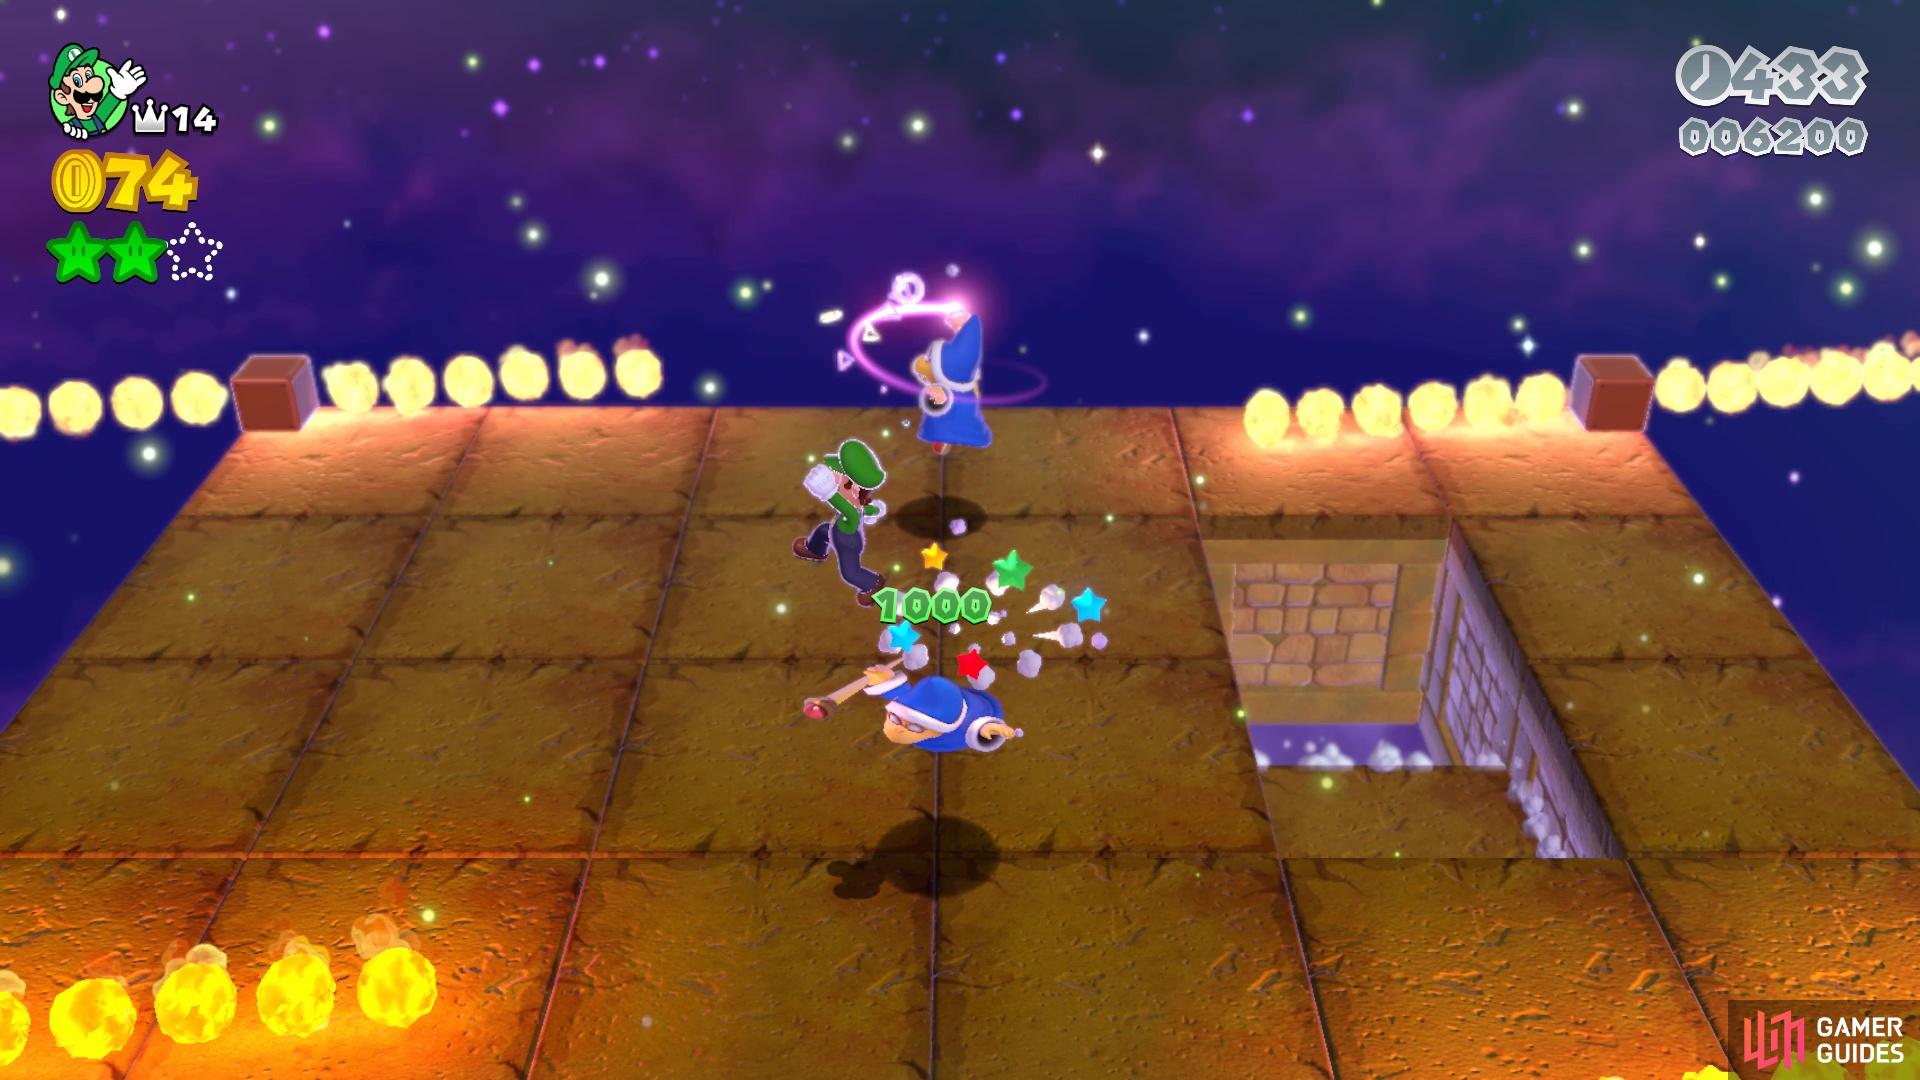
(1 of 2) Someone like Luigi can make the Beep Blocks section a lot easier
Someone like Luigi can make the Beep Blocks section a lot easier (left), Anticipate the Magikoopa’s teleport to easily defeat them (right)
You will land in an area with three Magikoopas, with rotating Fire Bars on each of the corners. Of course, the area is made up of blocks that will fall off and disappear for a few seconds before reappearing. So, you will need to watch your step and not make too many pieces of floor fall, while still going after the Magikoopas. Make sure to follow their magic once they teleport, as you can get a little bit of a heads up at their new location. Take the Warp Box that appears to the next section.
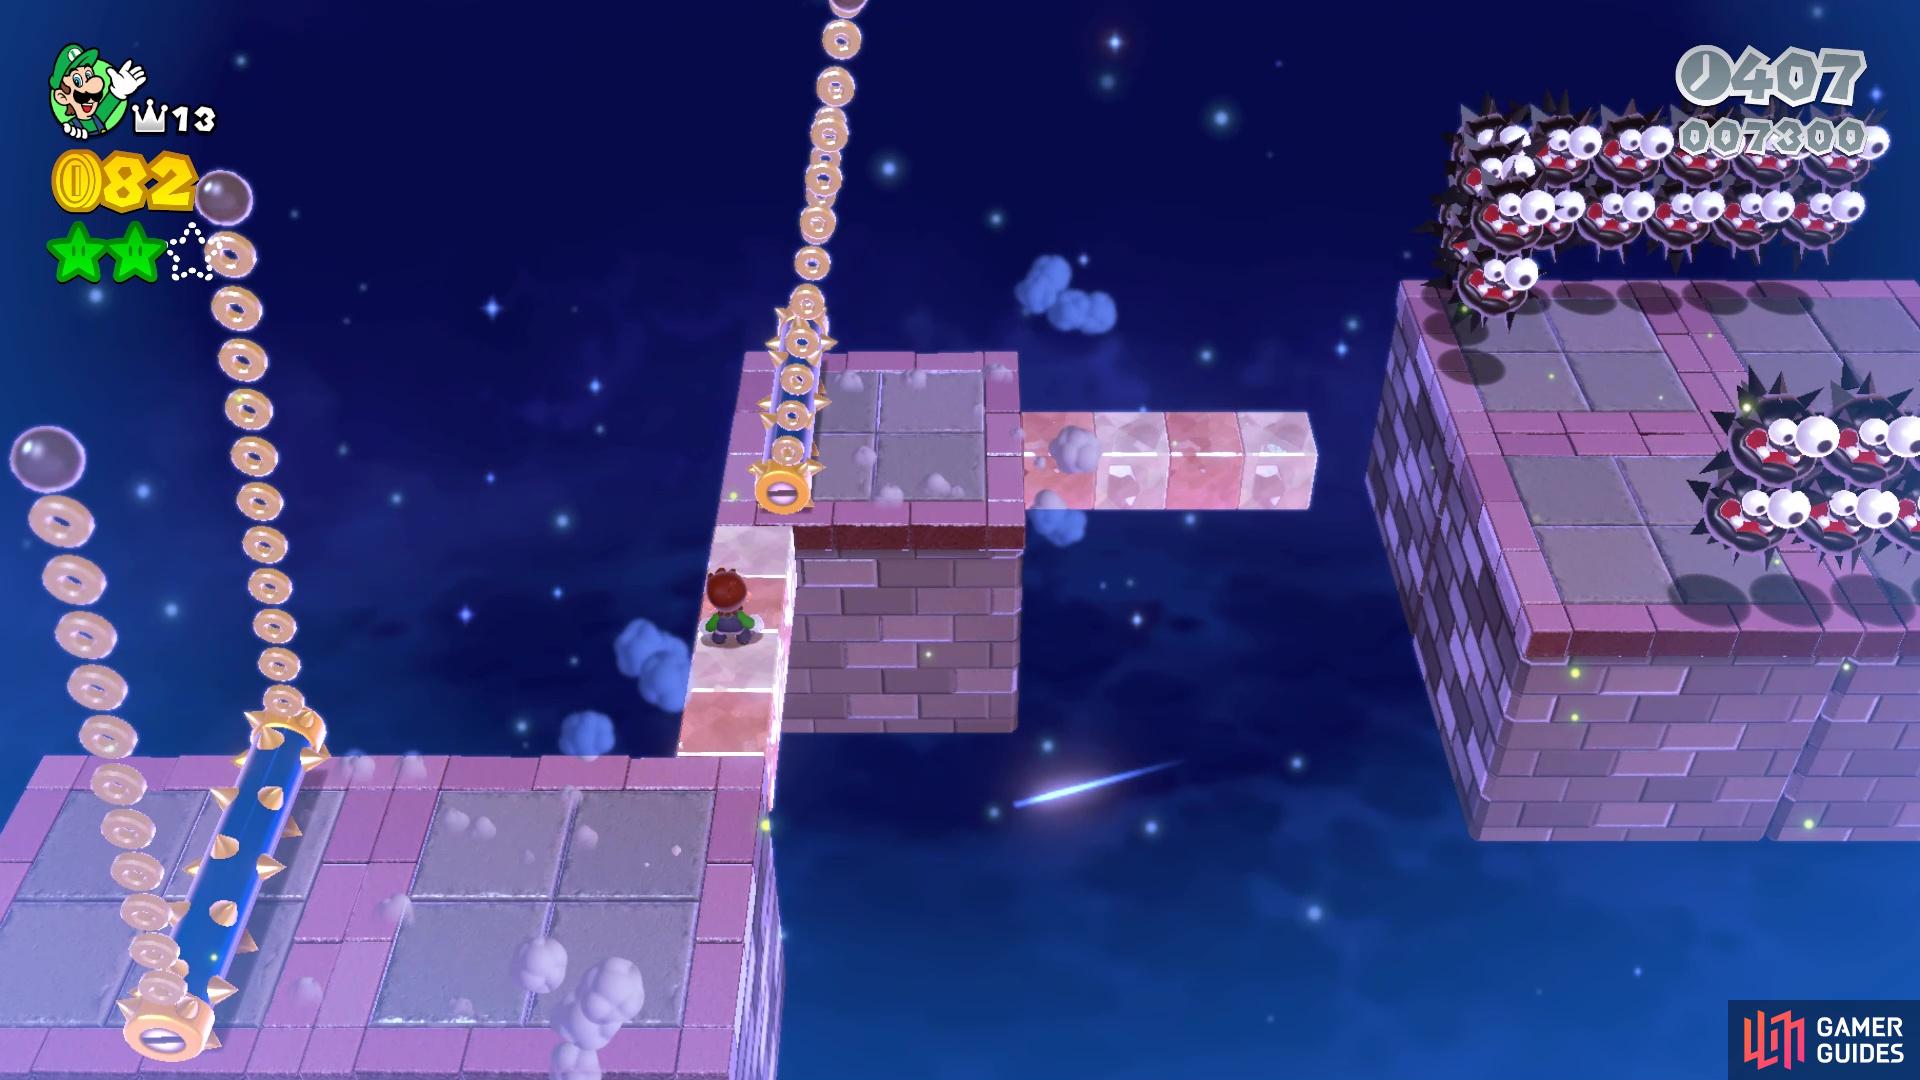
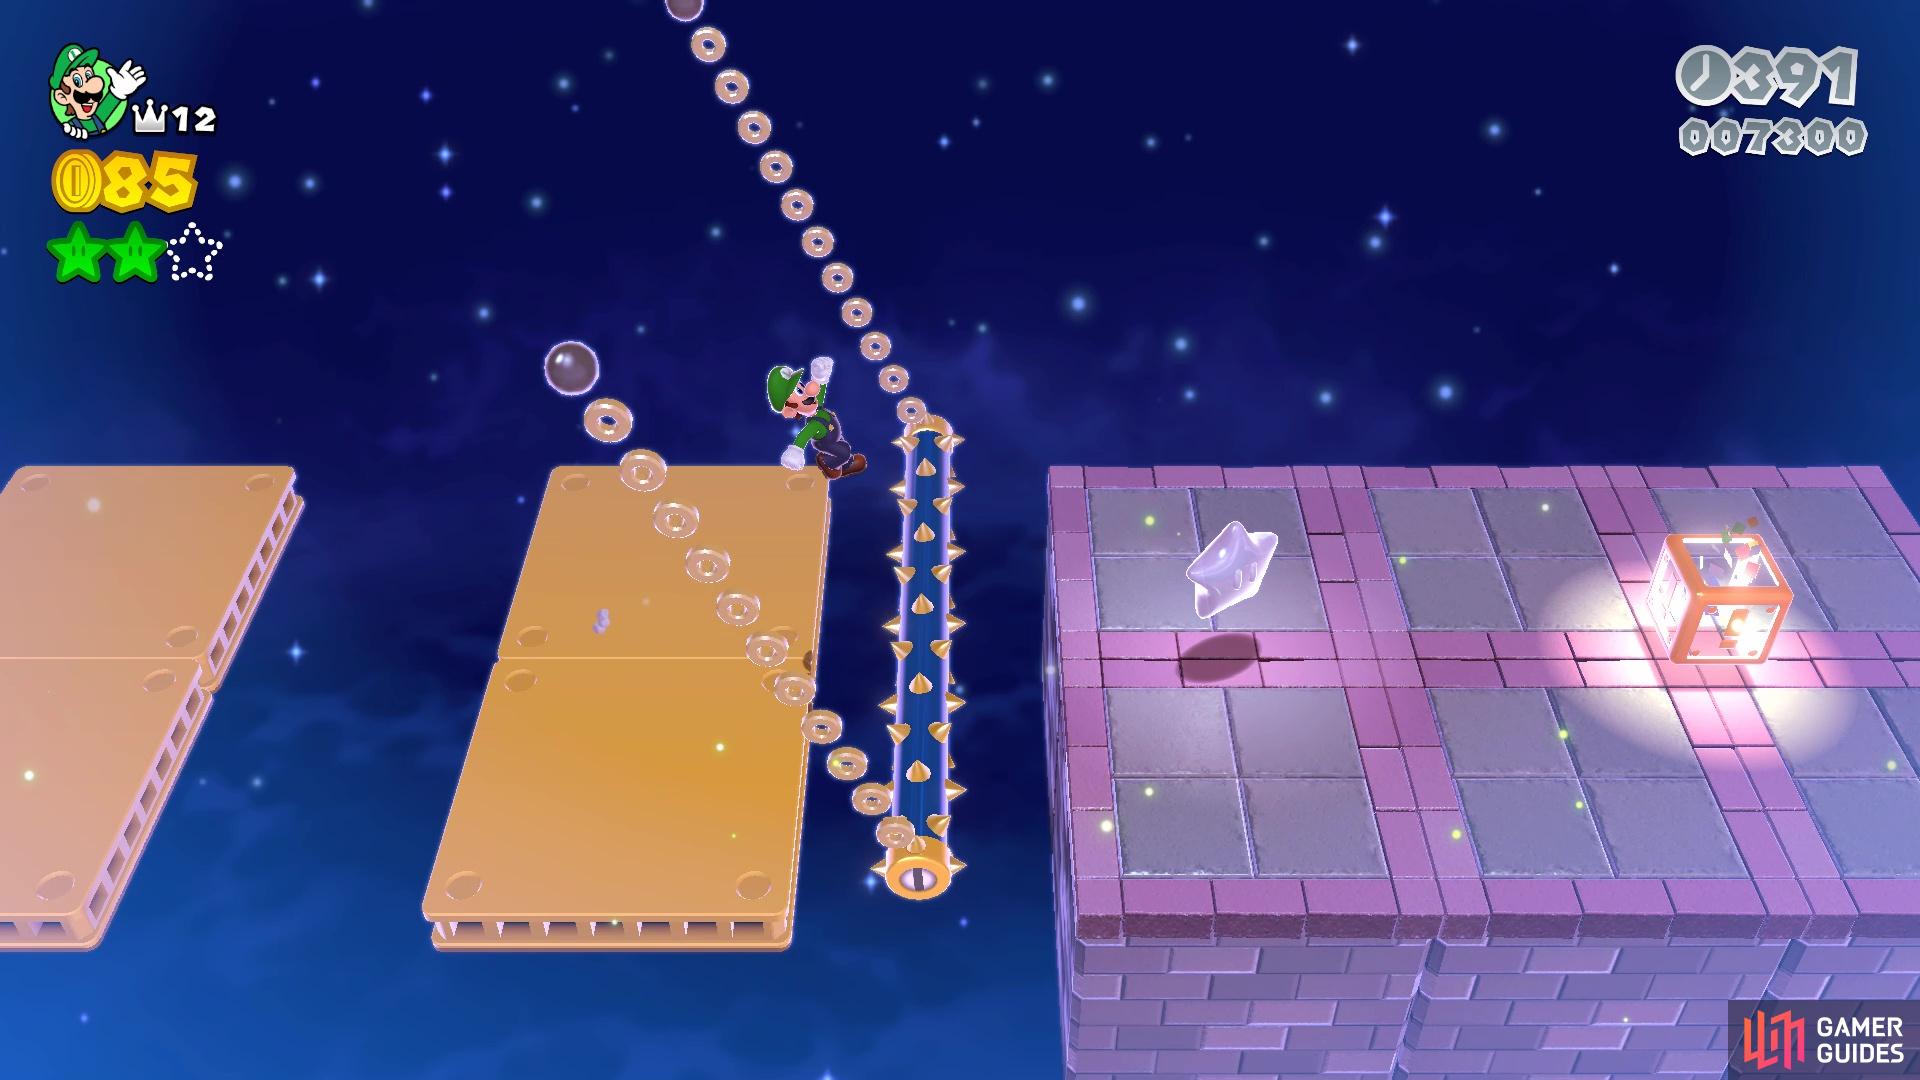
There will be spiked rollers swinging back and forth, while you attempt to cross to the far side. The spiked rollers are easy enough to dodge, It may look difficult, but it’s actually quite easy to jump over the spiked rollers here. After the second one, you’ll land on a moving platform, so make a leap over the roller as it comes back, then duck underneath the Fuzzies and leap to the next platform. Again, pass two more spiked rollers to a narrow pathway, where you can take a quick breather, as the roller cannot hit you here. Squeeze through the gap of the Fuzzies, then jump onto the moving platform ahead when you’re ready. You will need to dodge the rollers here, as you make your way to the next moving platform. Jump to avoid the spiked roller as it swings back, then leap to Green Star #2 and a pipe that takes you to the next section.
(1 of 2) You can take a breather on the one block areas
You can take a breather on the one block areas (left), Patience is the key to getting past the swinging spiked rollers (right)
Scaling the Walls
You will be at the bottom of a long vertical wall, complete with Horned Ant Troopers walking down the sides and a Jump Panel at the base. The idea here is to launch yourself in the air, land on the Ant Troopers and get a jumping boost off of them. The problem is that the space isn’t too large and you might stick to the wall instead of jumping off of the Ant Troopers. Another way you can tackle this section is to launch yourself into the air with the Jump Panel, then do a Ground Pound on the Ant Troopers. Since you’d be attacking the sides, you’re safe from their pointy helmets. Once the coast is clear enough, you should have easy access to the top of the wall.
The next wall is a little bit simpler, although it might be a bit tricky to get the controls just right. You will have some Piranha Creepers and you simply need to jump from left to right, until you reach the top. As soon as you leave the Jump Panel, hold down the jump button to get the best height for the next Creeper. Thankfully, you don’t fully defeat the Piranha Creepers, so if you fail and drop to the ground, then you can simply try again. At the top, you will be presented with the next section immediately.
Ground Pounding the Ant Troopers is one way to get past them
Here, you need to swim in a bit of water that will move to the right, then start moving left again. Of course, it isn’t a pleasant swim, as you have to navigate past some spiked blocks, some of which will be moving. Once you get to the right side, you will have to swim up very quickly, as the water will begin moving left. You may need to Ground Pound right after you start going left, in the upper portion and at the large drop, but don’t do it too low or you’ll hit the spikes below. At the end of the upper portion, you’ll need to Ground Pound to get to the pipe in time, which for some reason disappears whenever the water goes over it. It’s still there, so don’t worry about it not appearing.
Dash, Dash, Dash
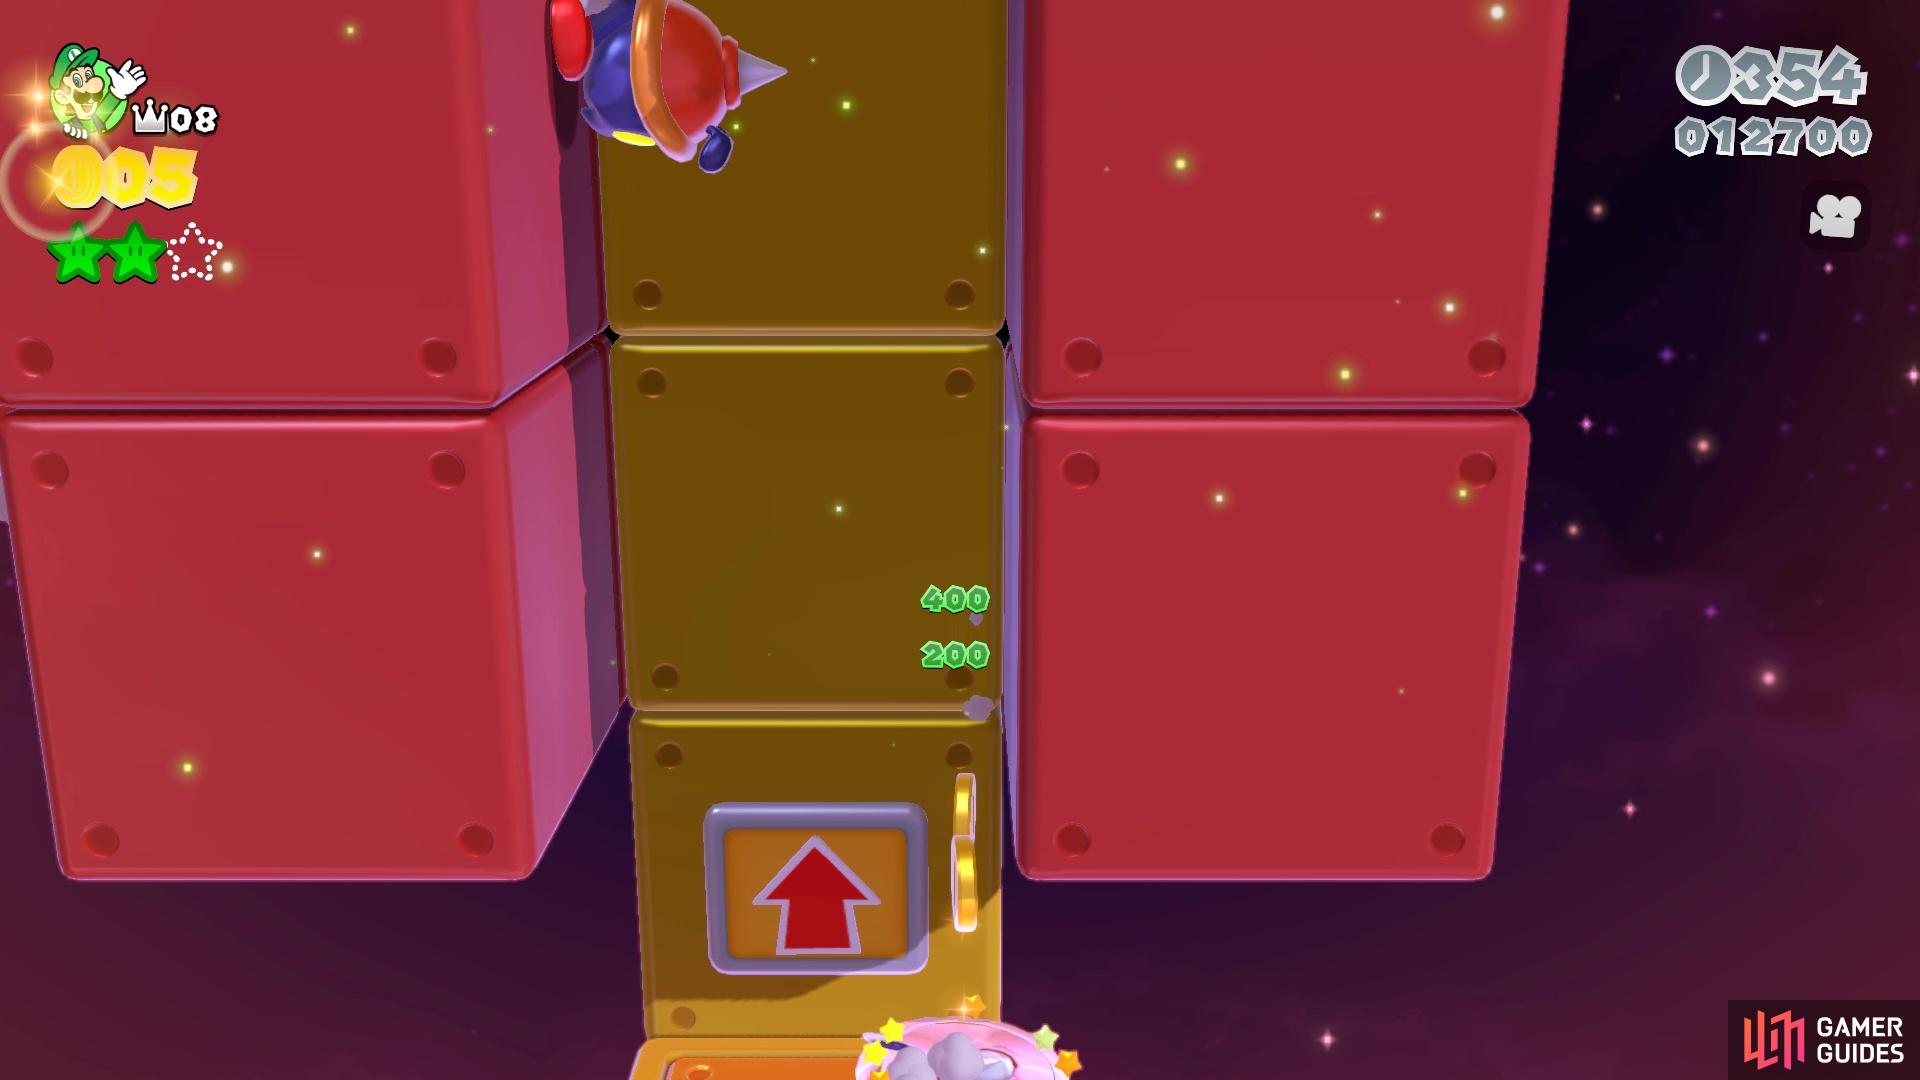
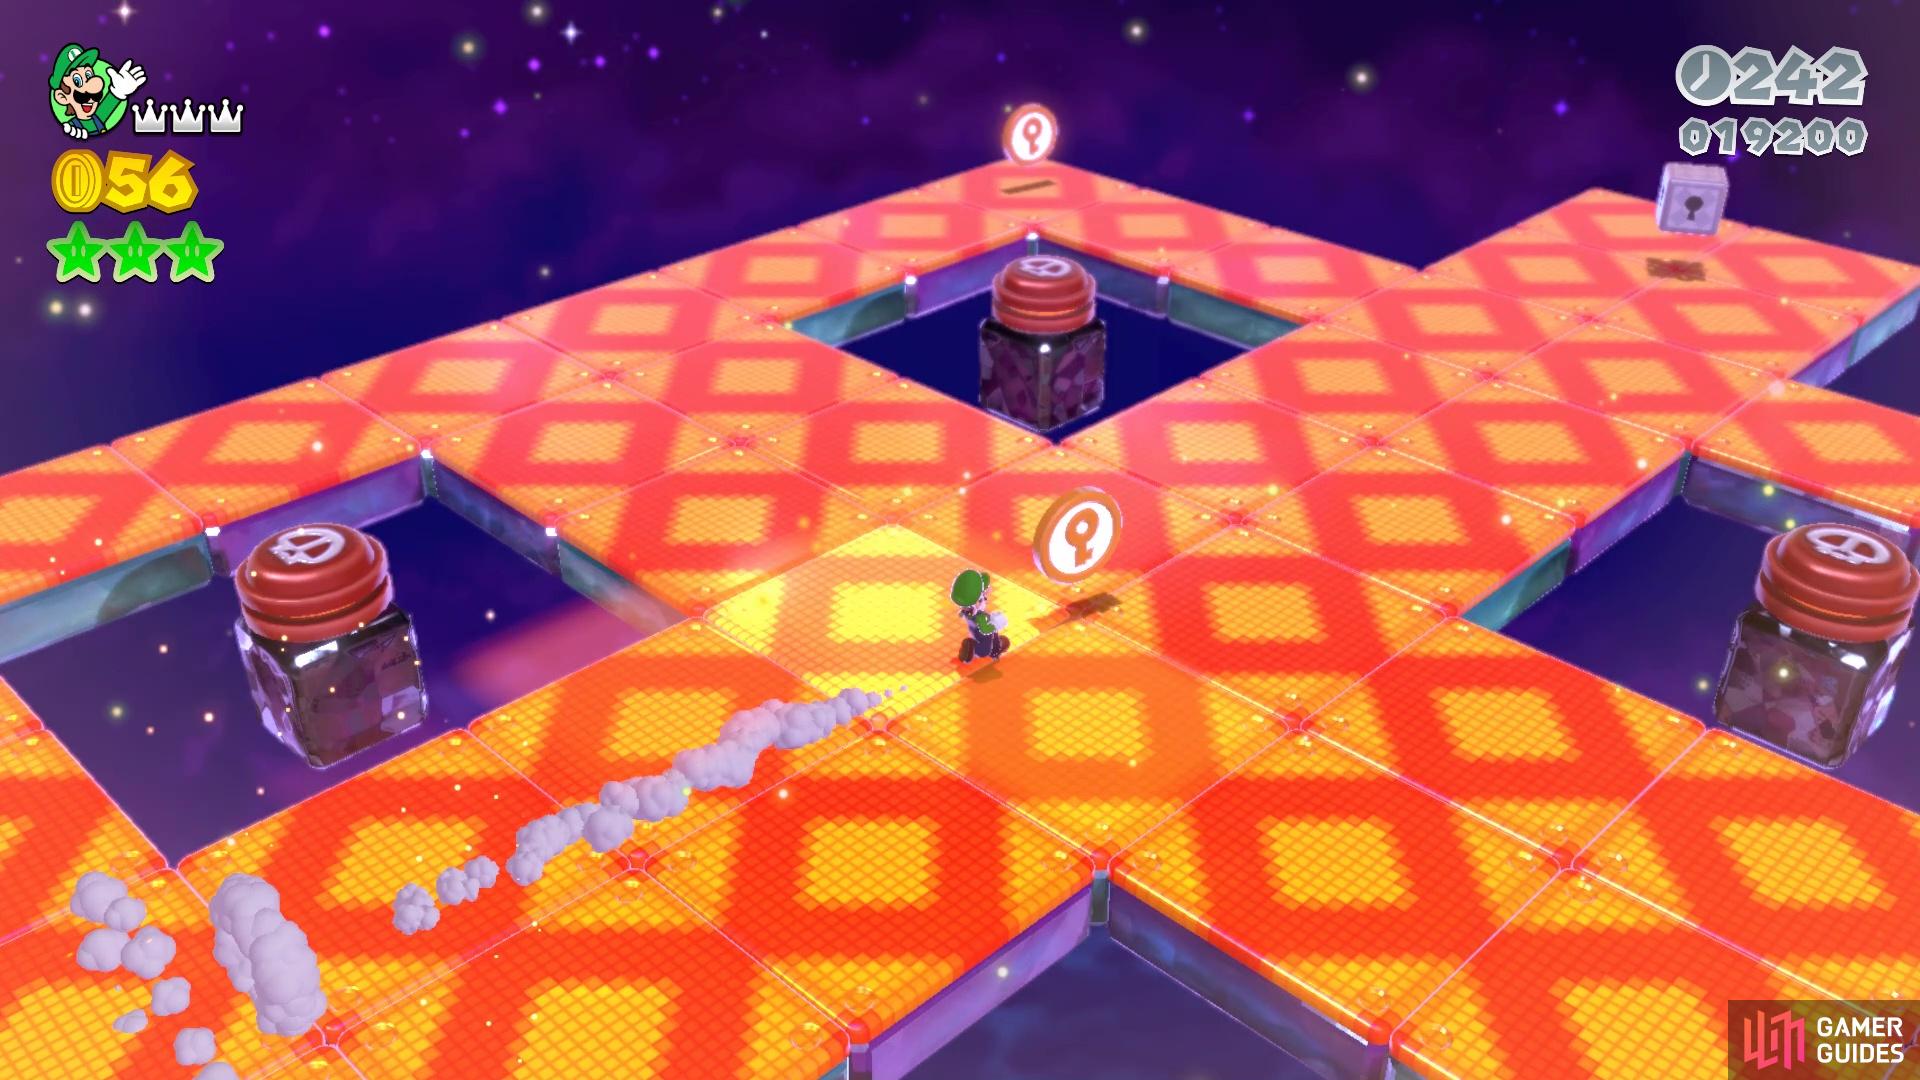
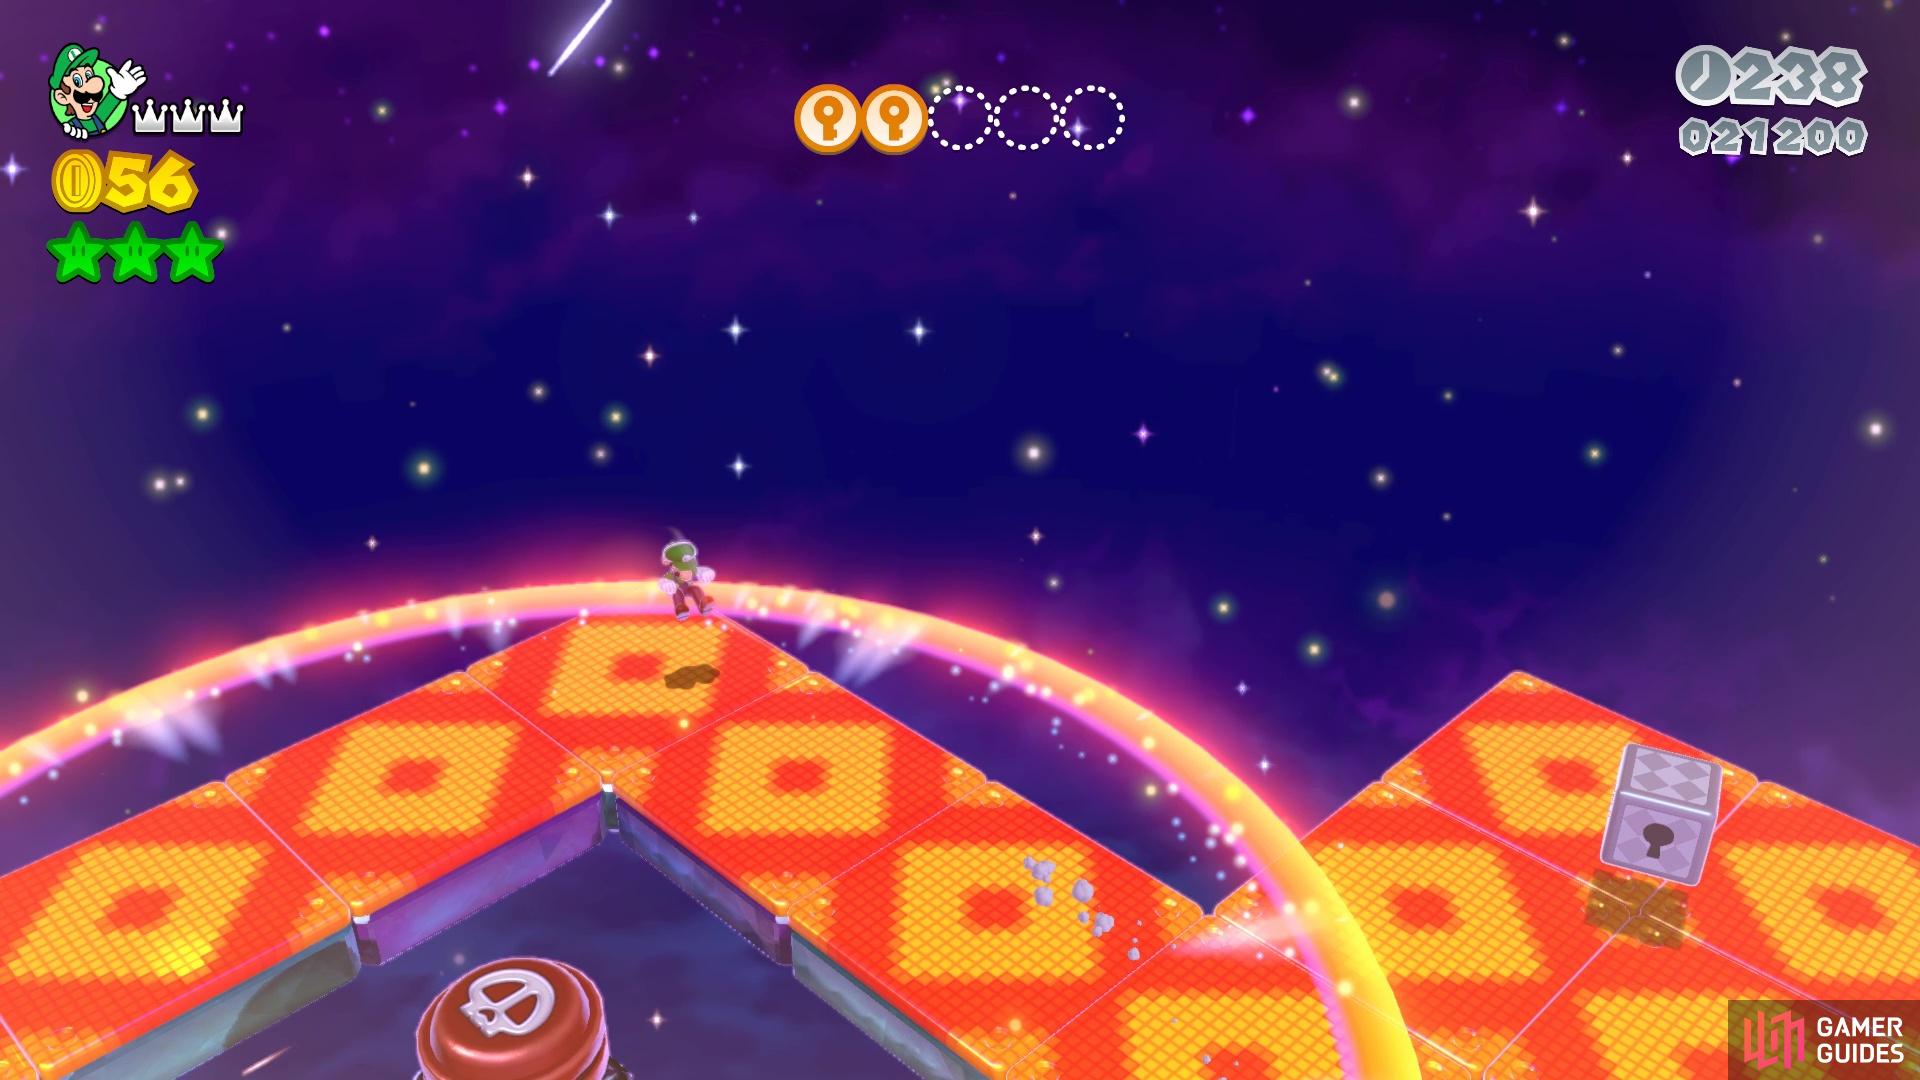
Launch yourself over to the hardest part of the level from the cannon, which will be the final actual section. The Ring Burners here will constantly shoot out shockwaves, while you won’t be able to stop moving because of the Dash Panels. Wait for the Burner at the start to go off, then start along the top of the Dash Panels. Make a small leap and race up the track, sticking to the top part, timing your jumps over the gaps. Stay at the top and trust that the Burners will go off on time, adjusting as you need to reach the far side. Continue racing up to Green Star #3, then run in circles here until the Burners go off.
(1 of 2) You need to collect all five Key Coins while always moving and dodging the Ring Burners
You need to collect all five Key Coins while always moving and dodging the Ring Burners (left), Ground Pounding can be used to stall in the air for a brief moment (right)
Jump up and over, going in a clockwise motion around the square, so you can grab all Five Key Coins in a single pass. After the second coin, you’ll want to jump in a circle then grab three and four, stopping in the middle to jump in a circle again to avoid the Burners. Grab the last key up the middle and into the Warp Box that takes you to the “Thank You message” you rightfully deserve. At the end, claim the Stamp and cap the Goal Pole.

 Sign up
No Comments