Like most major operations V participates in, the FIA’s attempt to infiltrate Hansen’s meeting with the netrunner twins and extract Songbird didn’t go… exactly to plan. After meeting Songbird at the mainframe, you chose to side with Reed, which led to Songbird going cyberpsycho and tearing her way through the stadium before ultimately being captured by MaxTac. Now you once again find yourself needing to rescue Songbird, this time from a MaxTac convoy, and you’ll need some outside help. This page will provide a walkthrough for the main job Black Steel in the Hour of Chaos in Cyberpunk 2077 Phantom Liberty, including info on the netrunners you can call.
Taking down the MaxTac convoy is no trivial feat - it’ll take a great deal of planning and a bit of luck.
List of Possible Netrunners and Outcomes
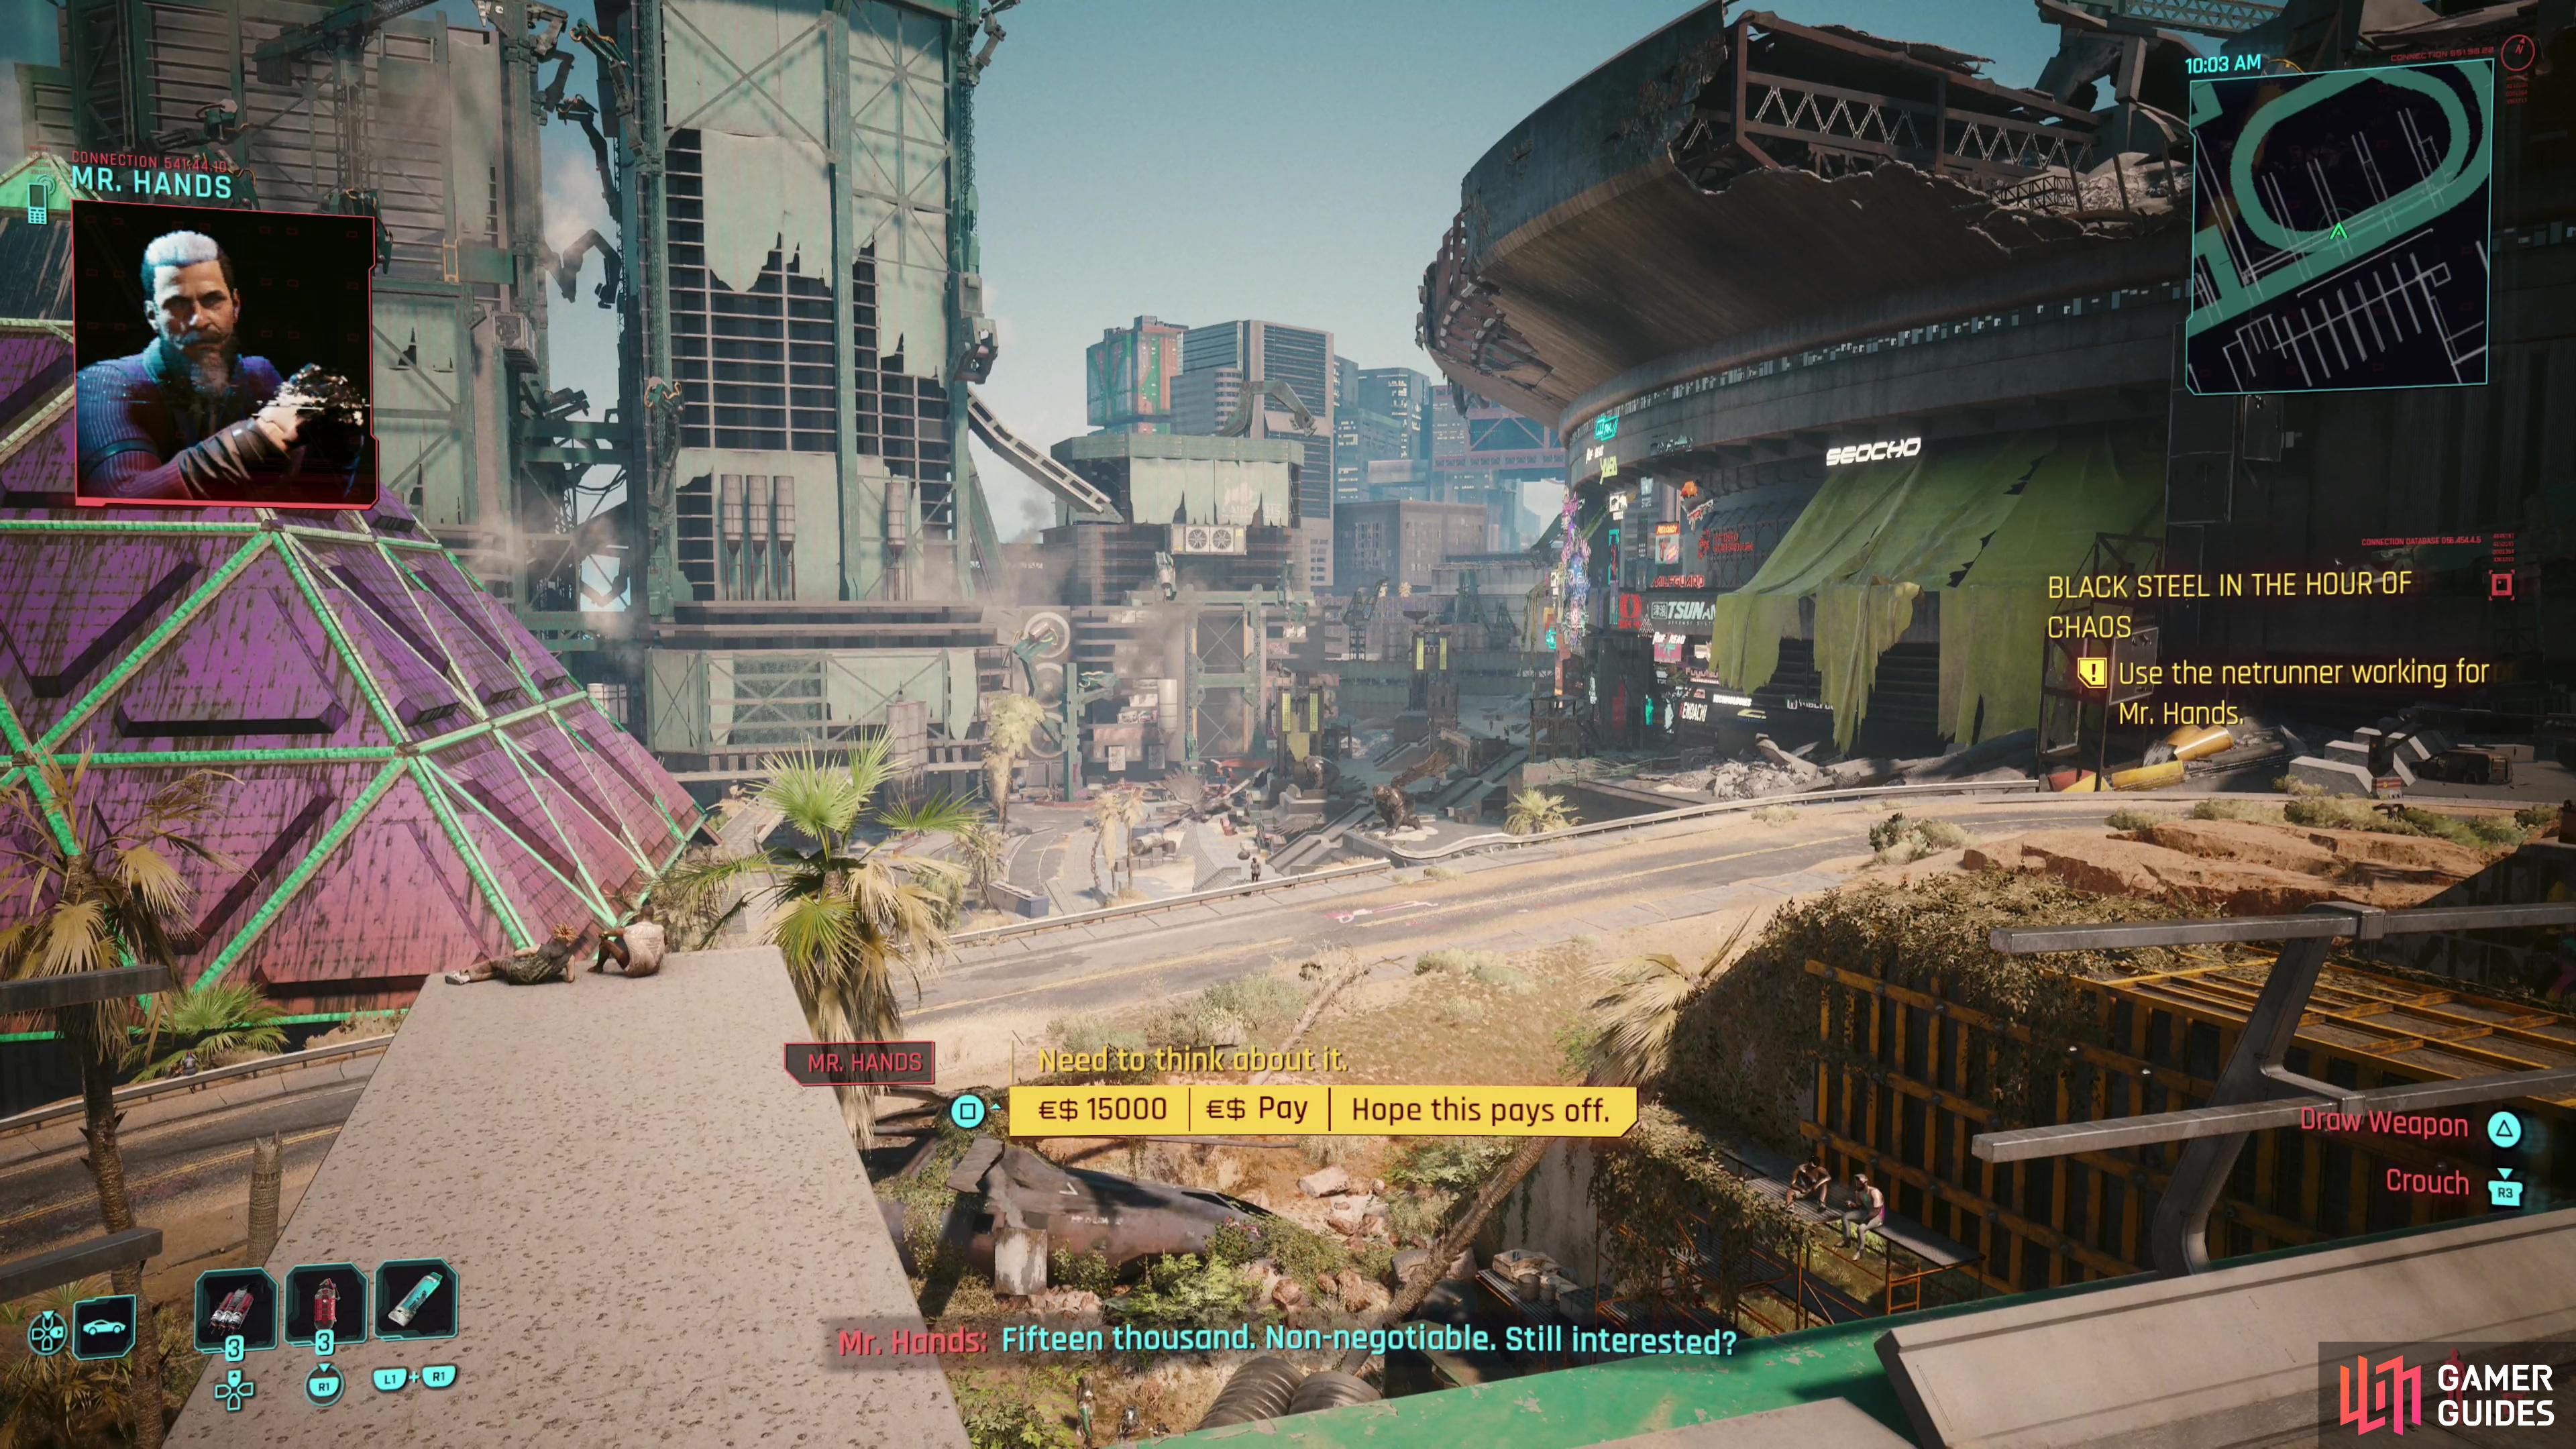
After Reed leaves you’ll have to get the ball rolling on this job by finding a netrunner to get info MaxTac - you’re going to have to steal her back from them before they transport her out of Night City, after all. By default, you can call Mr. Hands and he’ll come through by hooking you up with a competent netrunner… for a price. That said, there are other possible options depending on various main jobs, side jobs, and gigs you may have completed previously, just check the job’s details in your journal to get a list. You can also swap between active objectives by pressing the 
(1 of 2) The default option is to turn to Mr. Hands for a netrunner.
The default option is to turn to Mr. Hands for a netrunner. (left), He’ll set you up with Yoko in Kabuki, who offers you a way to earn back some of the money you spent hiring her. (right)
Mr. Hands
Calling him will cause him to assign a netrunner he knows, albeit at the cost of 15,000 €$. View this as a tax for skipping the main game. The only redeeming feature of this option (aside from being perhaps the only one available for Phantom Liberty players), is that you get to see the value of contracting with Mr. Hands as a client, instead of your usual view from the other side. After making the call and paying, wait 10 hours and you’ll get a text from Mr. Hands confirming the netrunner is ready. Fast travel to the Kabuki Market in Watson and talk to Yoko - the proprietress of a netrunner shop and T-Bugs old choom. Jack in when prompted and navigate the dialog - you can make some extra cash from Mr. Hands if you agree to flip him the deets of the ambush location. Something of a vulture, our dear fixer. It’s free money, albeit delayed until you’re functionally done with Phantom Liberty, but if you want extra scratch, you need merely accept the offer.
(1 of 5) Depending on your actions in the main game, you may be able to turn to some netrunner pals for assistance.
Carol Emeka
An Aldecados netrunner, you should be able to ring her up if you completed the main job Life During Wartime. She’ll turn you down in order to keep her clan safe, making her arguably the only sensible one in the bunch.
Chang-Hoon Nam
Complete the Gig: Wakako’s Favorite to gain access to him. Wakako’s favoritism is a sign of her poor taste in netrunners, as he does more harm (thankfully just to himself) than good. You’ll have to coax him out of retirement to help and you’ll get a taste of what’s coming when you have to pass an [Intelligence 20] check to correct him on a technical matter. Still, if you get him on board, wait 12 hours until you get a text, then travel to Crescent & Broad in Westbrook and follow the quest trail to Chang-Hoon Nam’s apartment and knock on the door. Chang-Hoon Nam will explain his difficulties and is clearly the worse for wear for his experience, and probably not safe in Night City anymore. Grab the shard and get out of there before you get Chang-Hoon Nam into more trouble.
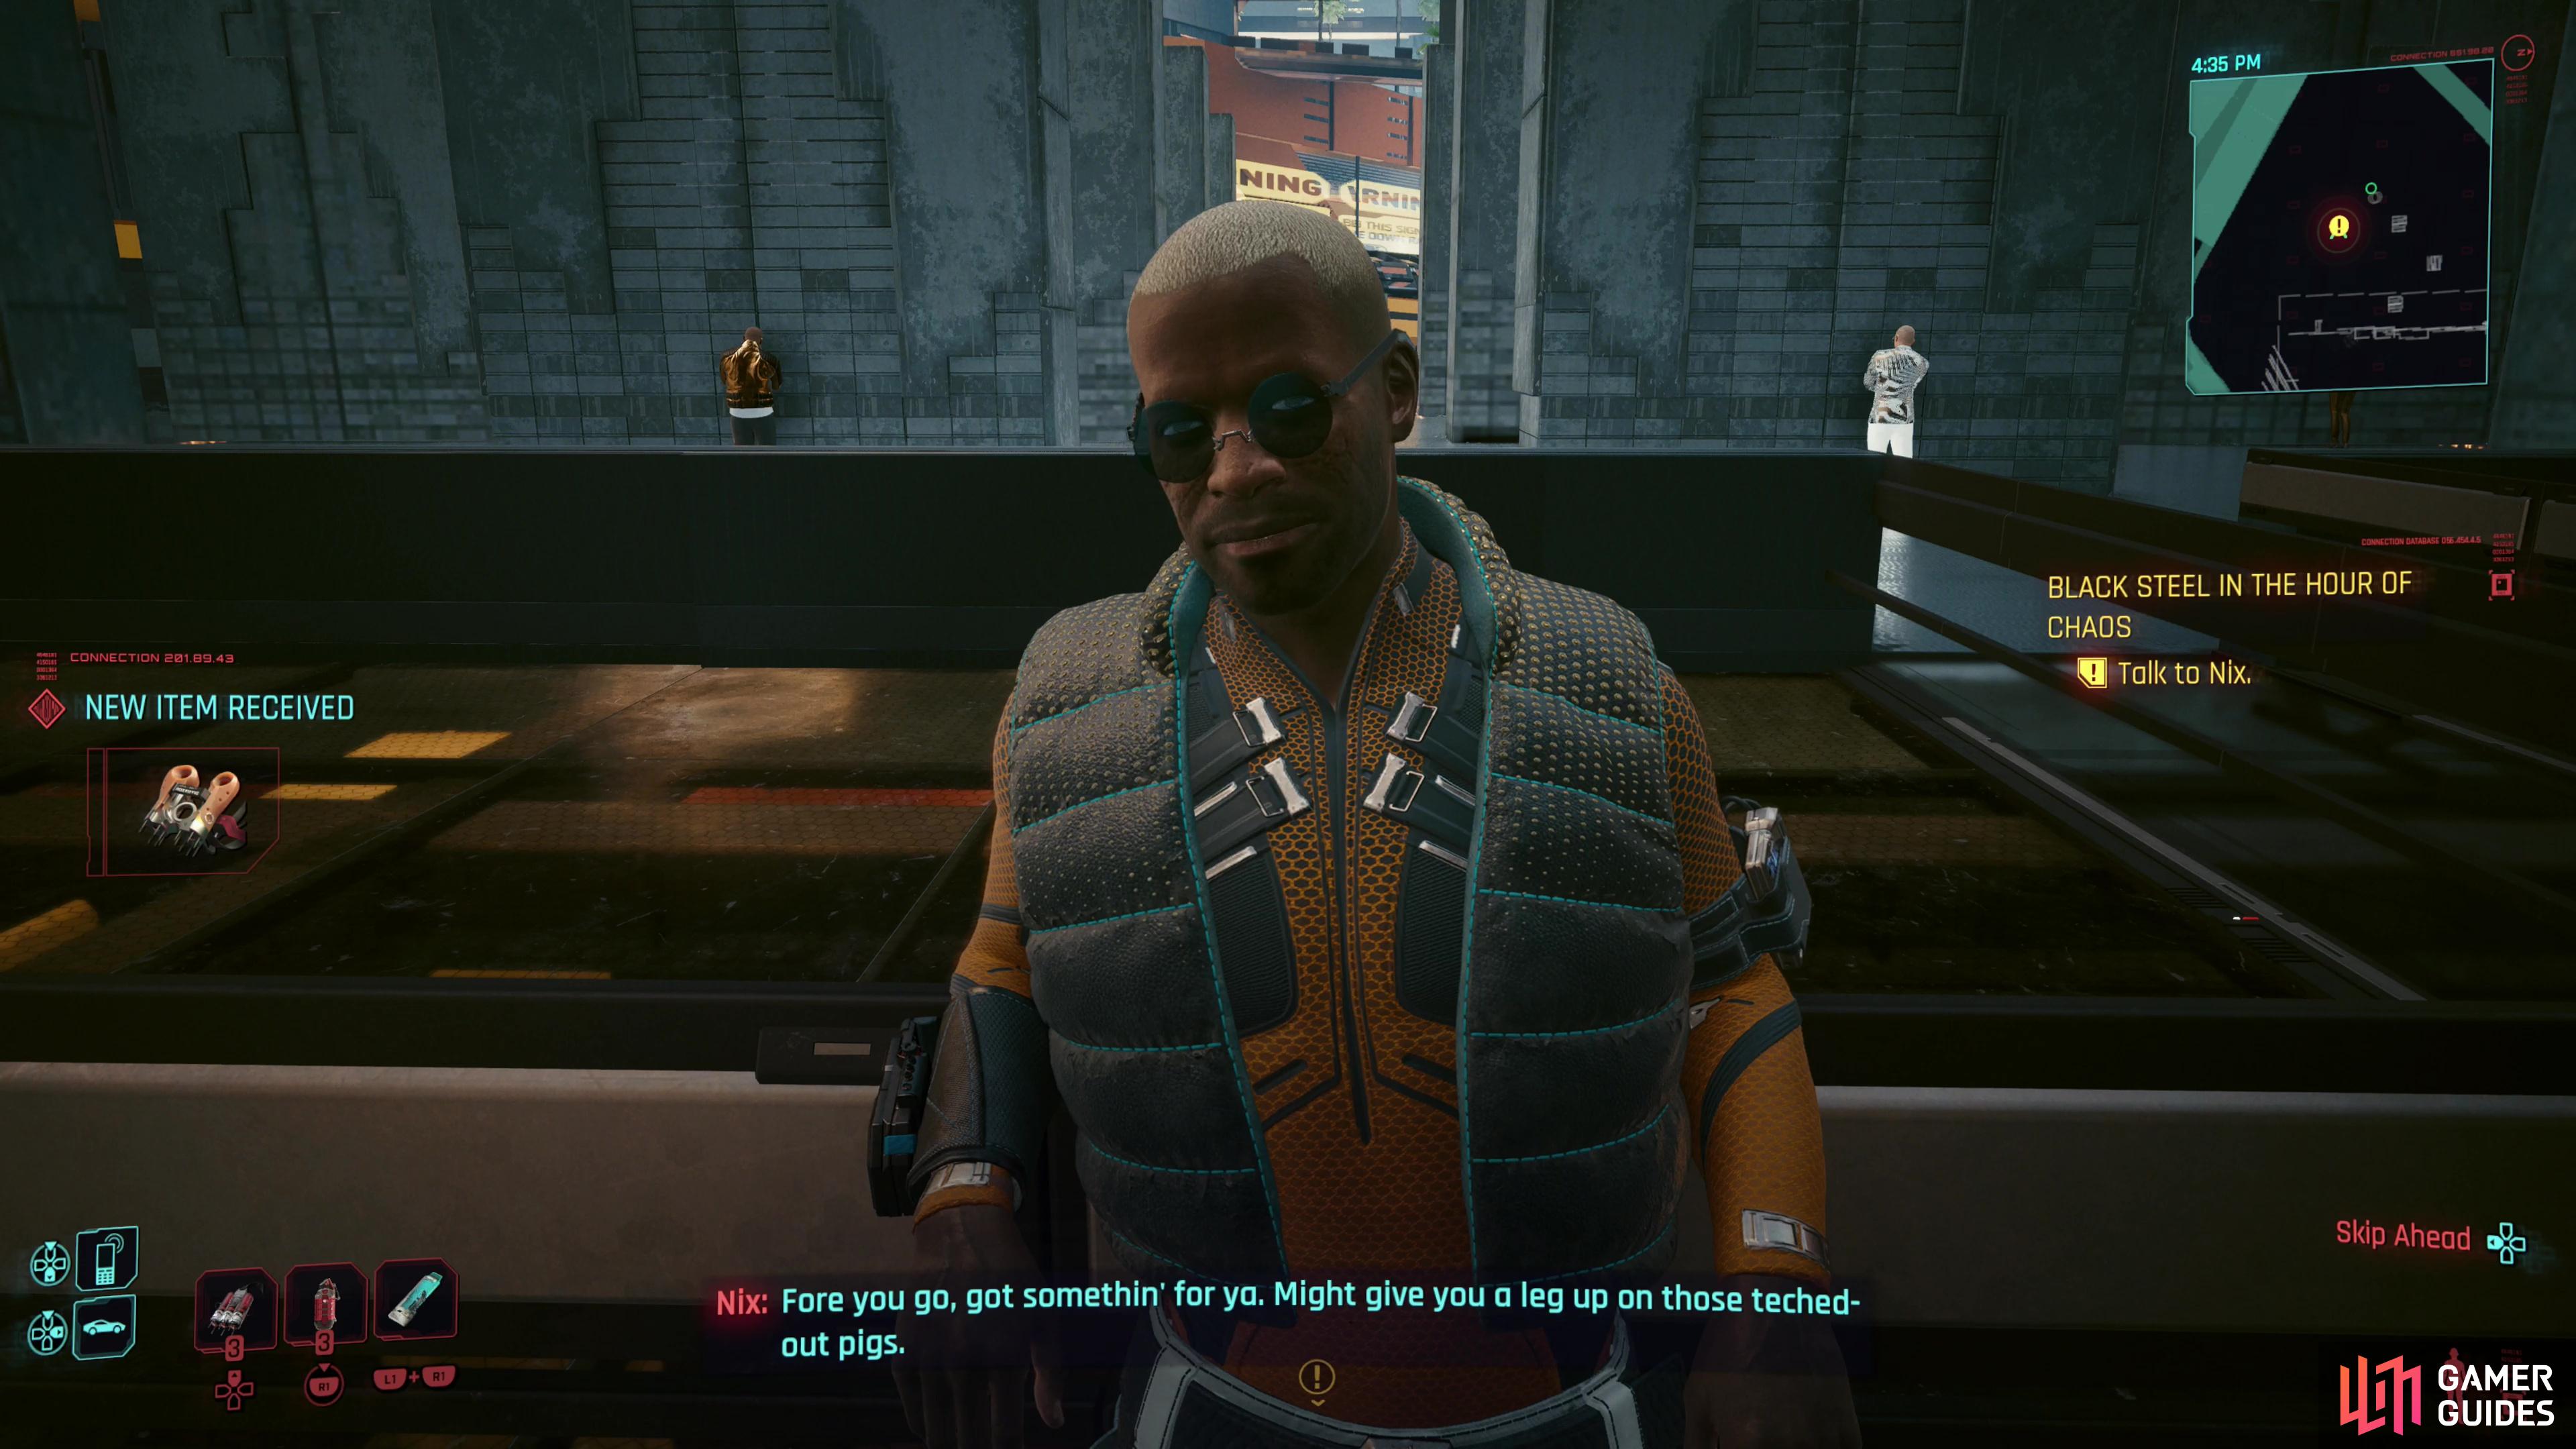
Nix
Complete the side job [Kold Mirage] (unlocks only after completing Ghost Town and [Spellbound]. Nix’s close call with Bartmoss didn’t teach him any lessons, except that he owes V a favor, so he’ll relent after talking up the dangers. Madlad. Wait six hours for a follow-up text, then fast-travel to Arasaka Tower and follow the quest trail to meet up with Nix. He didn’t just get the data, he got some Self-ICE cyberware (Frontal Cortex) just in case some netrunner tries to fry your brain. Given the circumstances, not a bad gift.
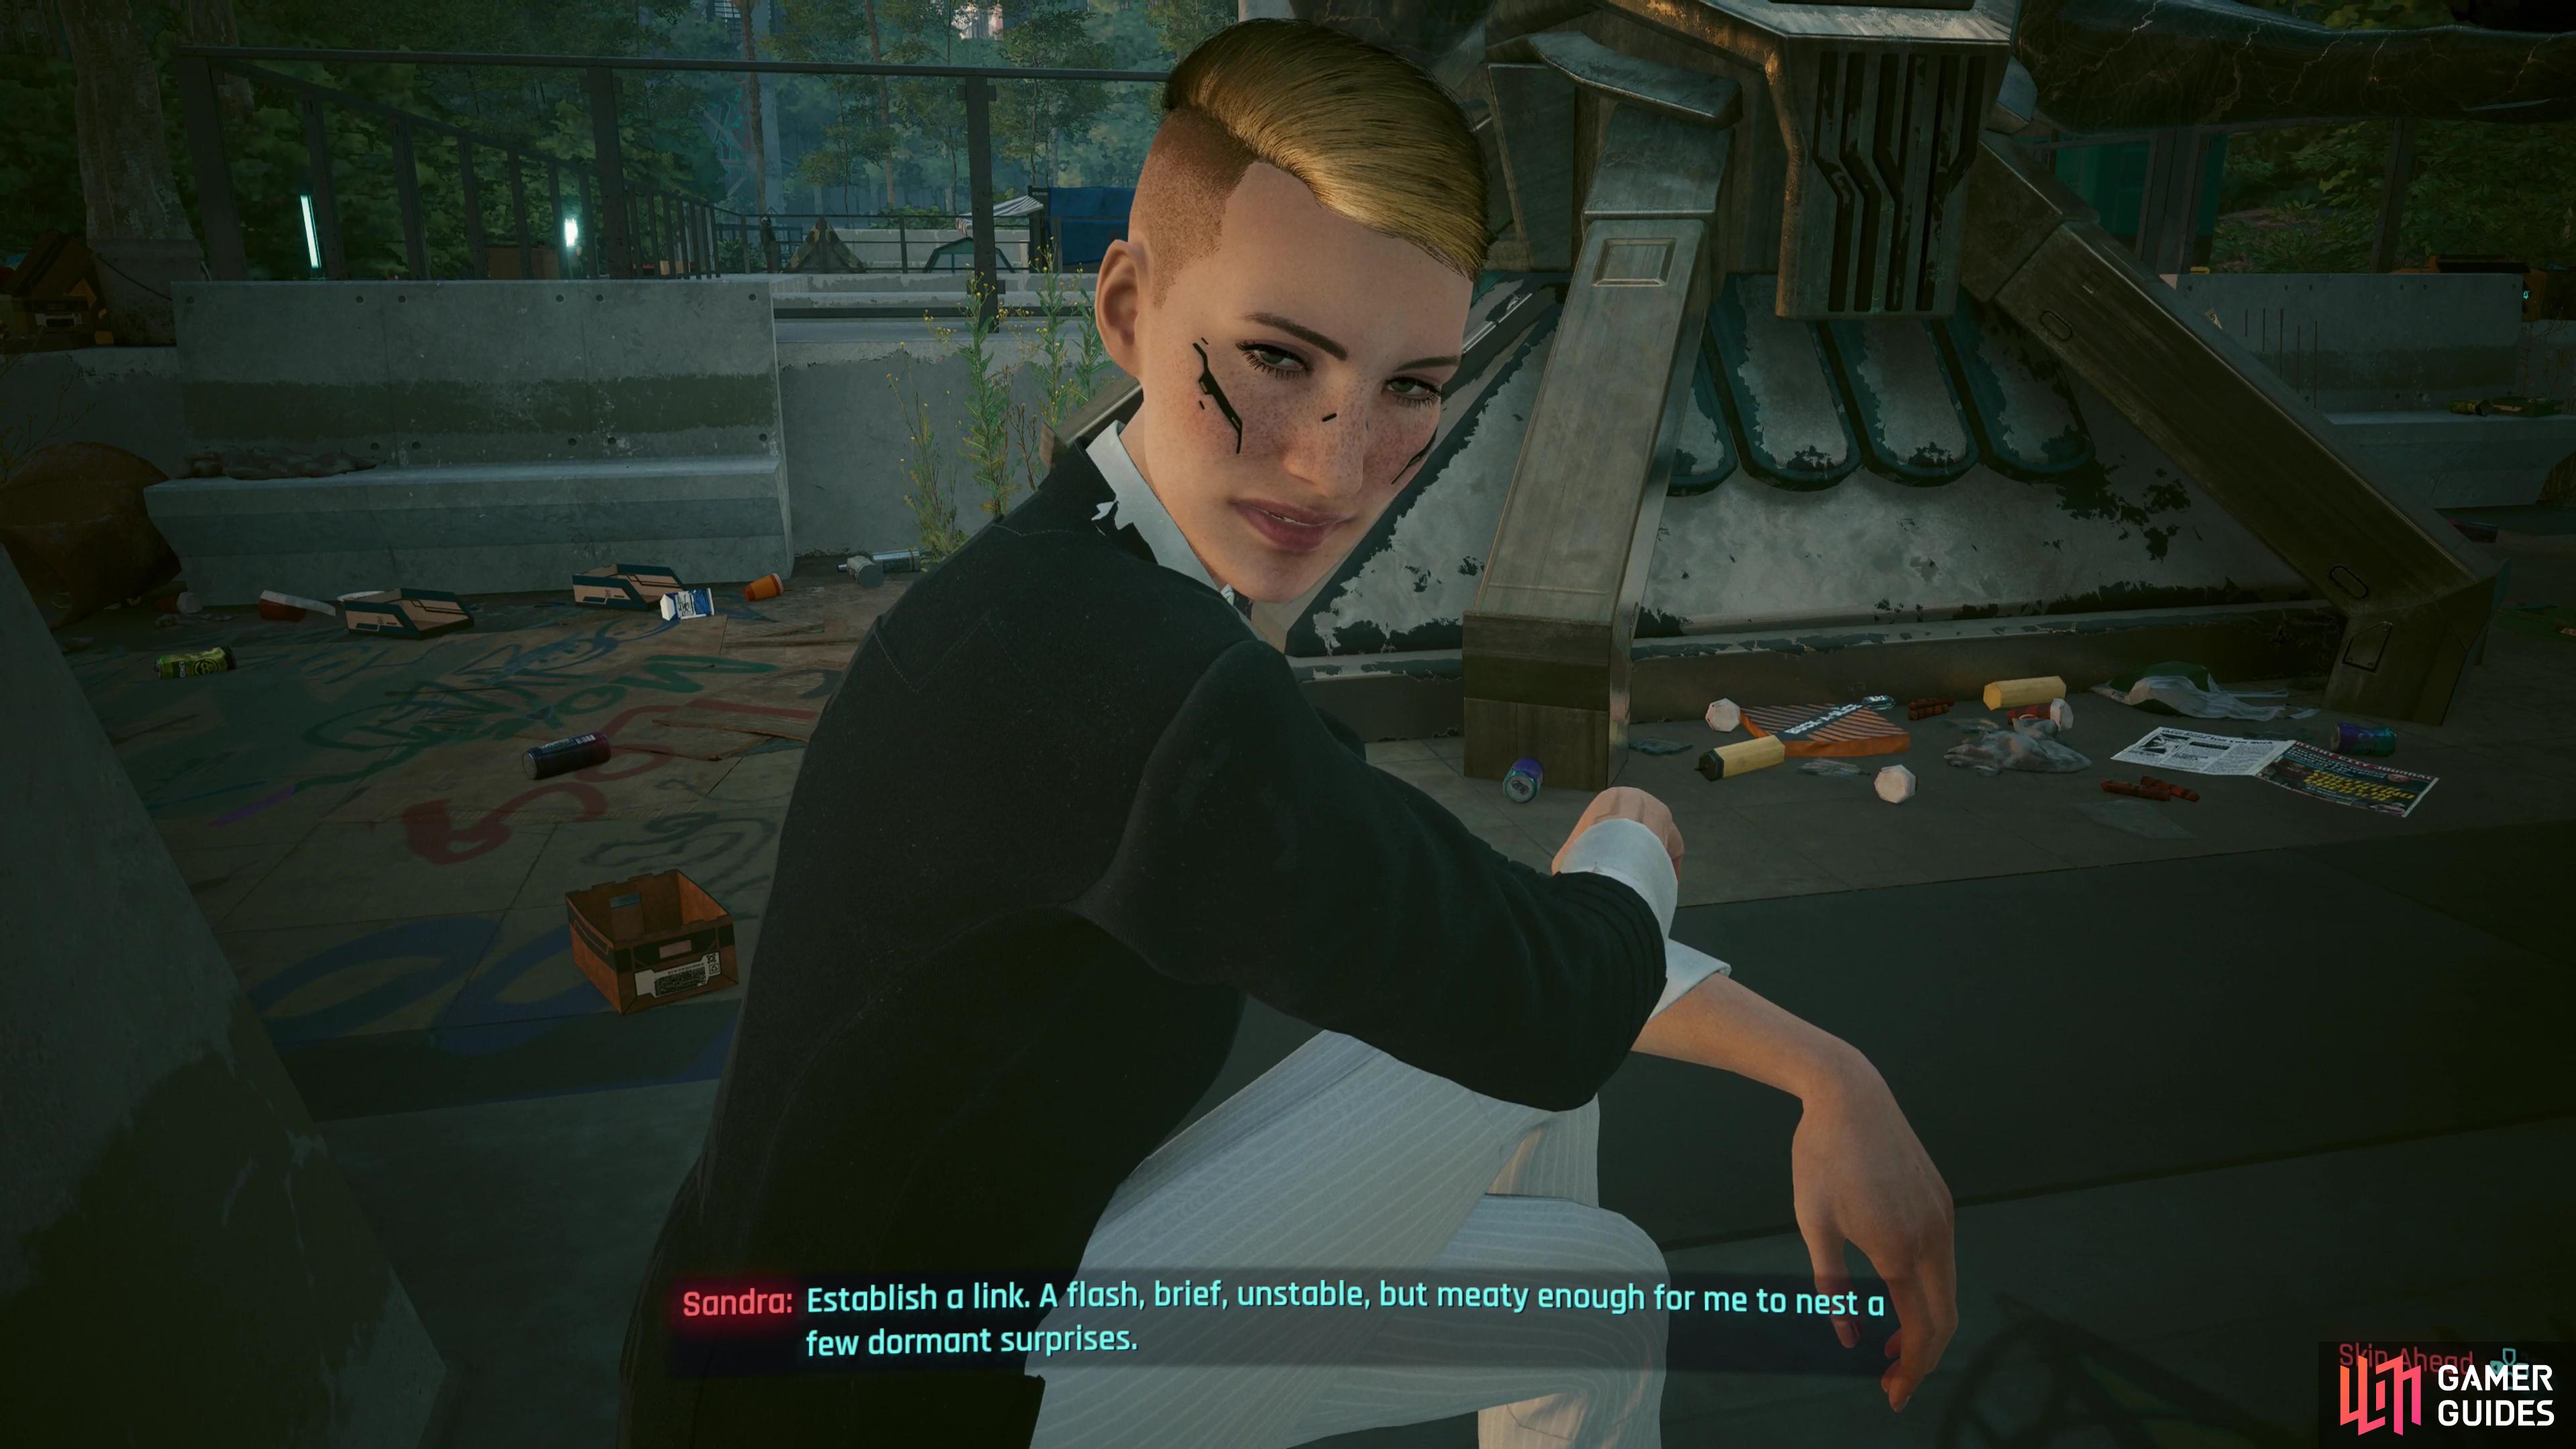
Sandra Dorset
A blast from the past, to get Sandra Dorset’s assistance you’ll need to have completed the side job [Full Disclosure]. To get Sandra’s help, V will guilt Sandra based on V helping her out in the past, and Sandra will agree… with some conditions that V has to agree to without hearing any details. Accept and wait 8 hours for Sandra to contact you again, then fast travel to Embers in Heywood and follow the quest trail to where Sandra is waiting. Sit and chat and she’ll ask you to upload a virus to the MaxTac elites you’ll be fighting, and if you agree, you’ll get your data. This is done after combat and requires almost no extra effort on your part.
(1 of 4) While planning the ambush you’ll get to choose between using turrets or mines, and where these should be deployed.
Planning the MaxTac Ambush - Turrets, Mines, Smoke Grenades
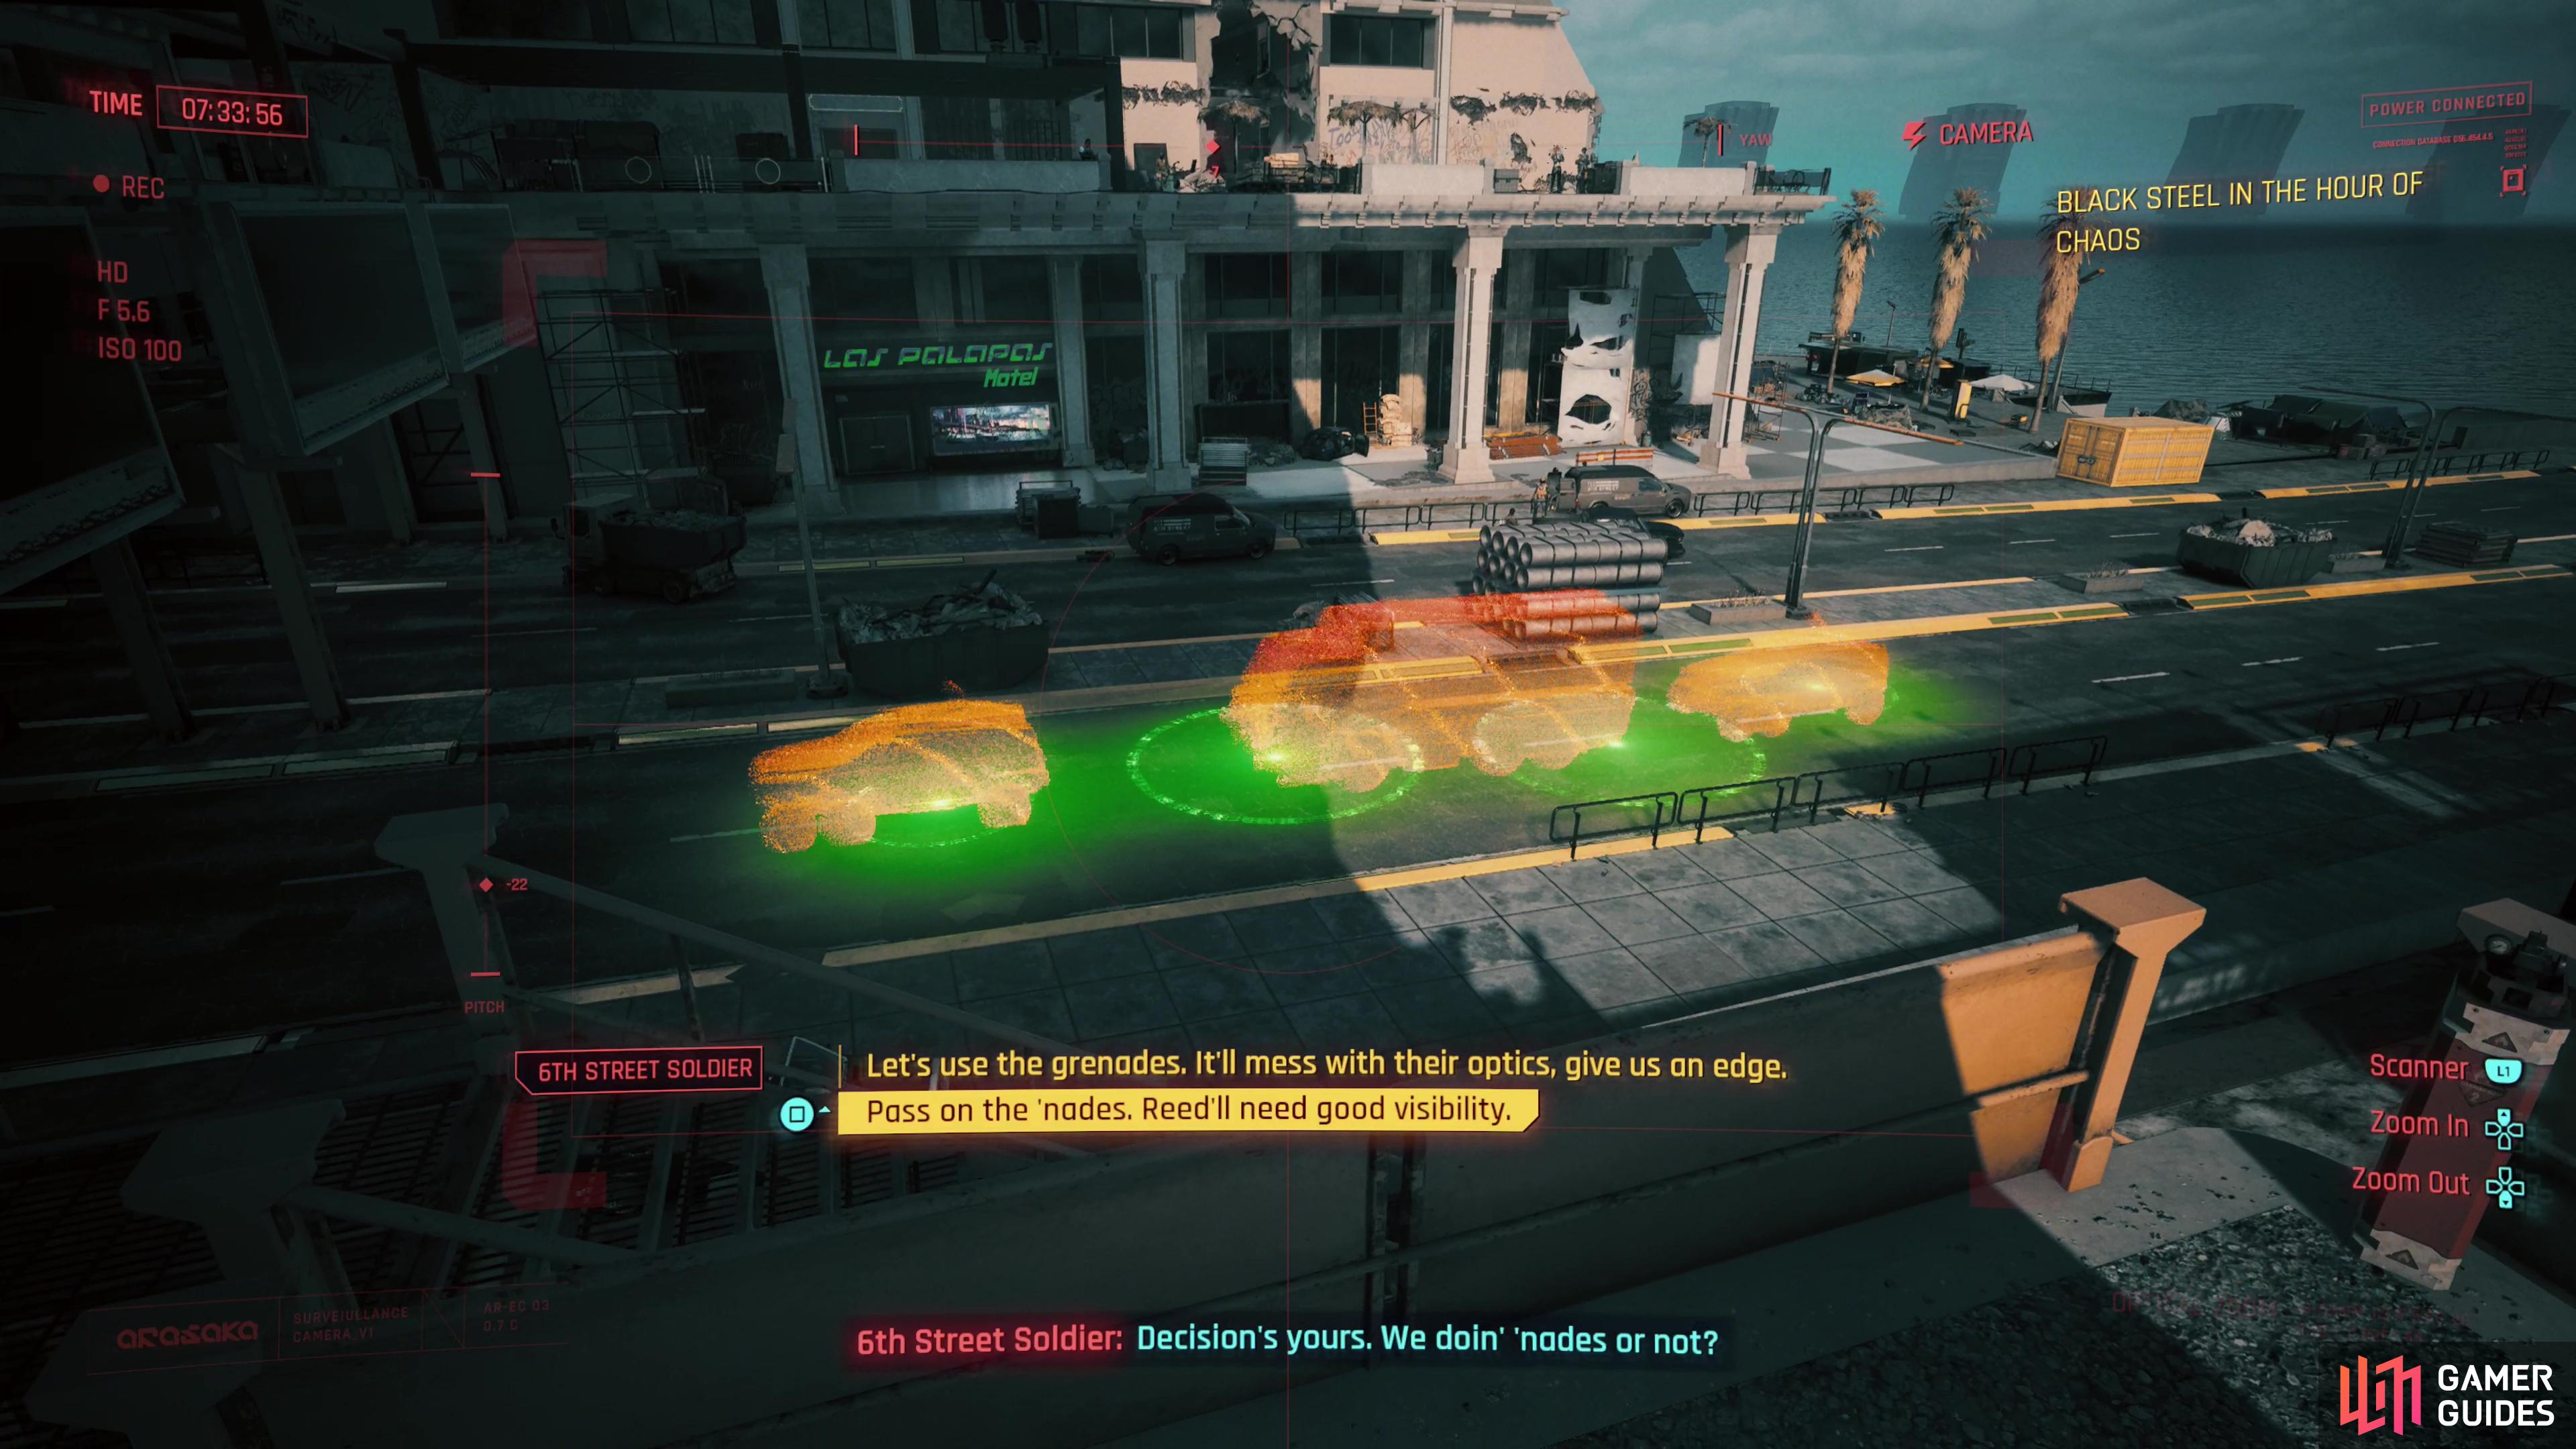
Get the data you need from one of the five (technically four) netrunners listed above and then text Reed and wait for him to contact you back. This only takes a moment, after which he’ll tell you to meet him at an old hotel. Fast travel to the West Wind Apartments in Pacifica and follow the quest trail to find Reed meeting with some 6th Street gangers… after being interrupted by Johnny. Say what you want to the gangers, then Reed, and follow him outside and after more chatter, you’ll end up planning the MaxTac ambush with a 6th Street Soldier.
Here you can customize the ambush to best suit your playstyle, whether you’re a melee bruiser, a crafty netrunner, or a deadeye sniper. You have several tools you can deploy in a variety of ways, although you’re usually choosing between 2-3 setups for each element, so it doesn’t get too granular. Still, we’ll discuss the pros and cons of each option so you know what you’re getting into.
Mines or Turrets
First choice is simple enough - you can have mines or turrets, but not both. Turrets are great all-rounders that can pick away at enemies and keep them off-balance, while the mines are a bit more temperamental since they only do anything if an enemy gets close enough, and most of them will probably be wasted on earlier, weaker waves of enemies. In pretty much every scenario we prefer the turrets, as they make it a bit easier to do just about everything.
You also get to choose whether to concentrate the turrets or split them up, and you can place the mines on the road where the convoy will be, or deploy them to guard the approaches to the terrace. It might seem like these choices could have some weight, but they just don’t seem to. In most cases, the mines and turrets will be wasted on the first wave of enemies, and they don’t do enough damage to make much of a difference, anyways. While the damage output of the turrets and the mines isn’t significant, the turrets are more consistent in dealing their damage and drawing aggro, so we pick them almost every time.
Smoke Grenades
Next you’ll need to choose whether you want to use smoke grenades or not. This will disrupt the enemies on the road, but it’ll also hinder Reed. Reed will be taking up sniper duties, and he’s most useful against the MaxTac elites, disabling them with his shots and allowing you to score hits of your own, which would otherwise be dodged due to their cyberware. That said, if you are a netrunner you can just use Cyberware Malfunction and Cripple Movement quickhacks to do the same job Reed would do, but better. If you aren’t a competent quickhacker and/or don’t have a netrunner cyberdeck installed, ditch the smoke bombs, otherwise, feel free to use them. Even then, this is another choice that doesn’t carry a lot of weight - Reed will still contribute, he’ll just shoot less frequently, and the MaxTac elites don’t seem terribly bothered by the smoke, so it’s something of a wash.
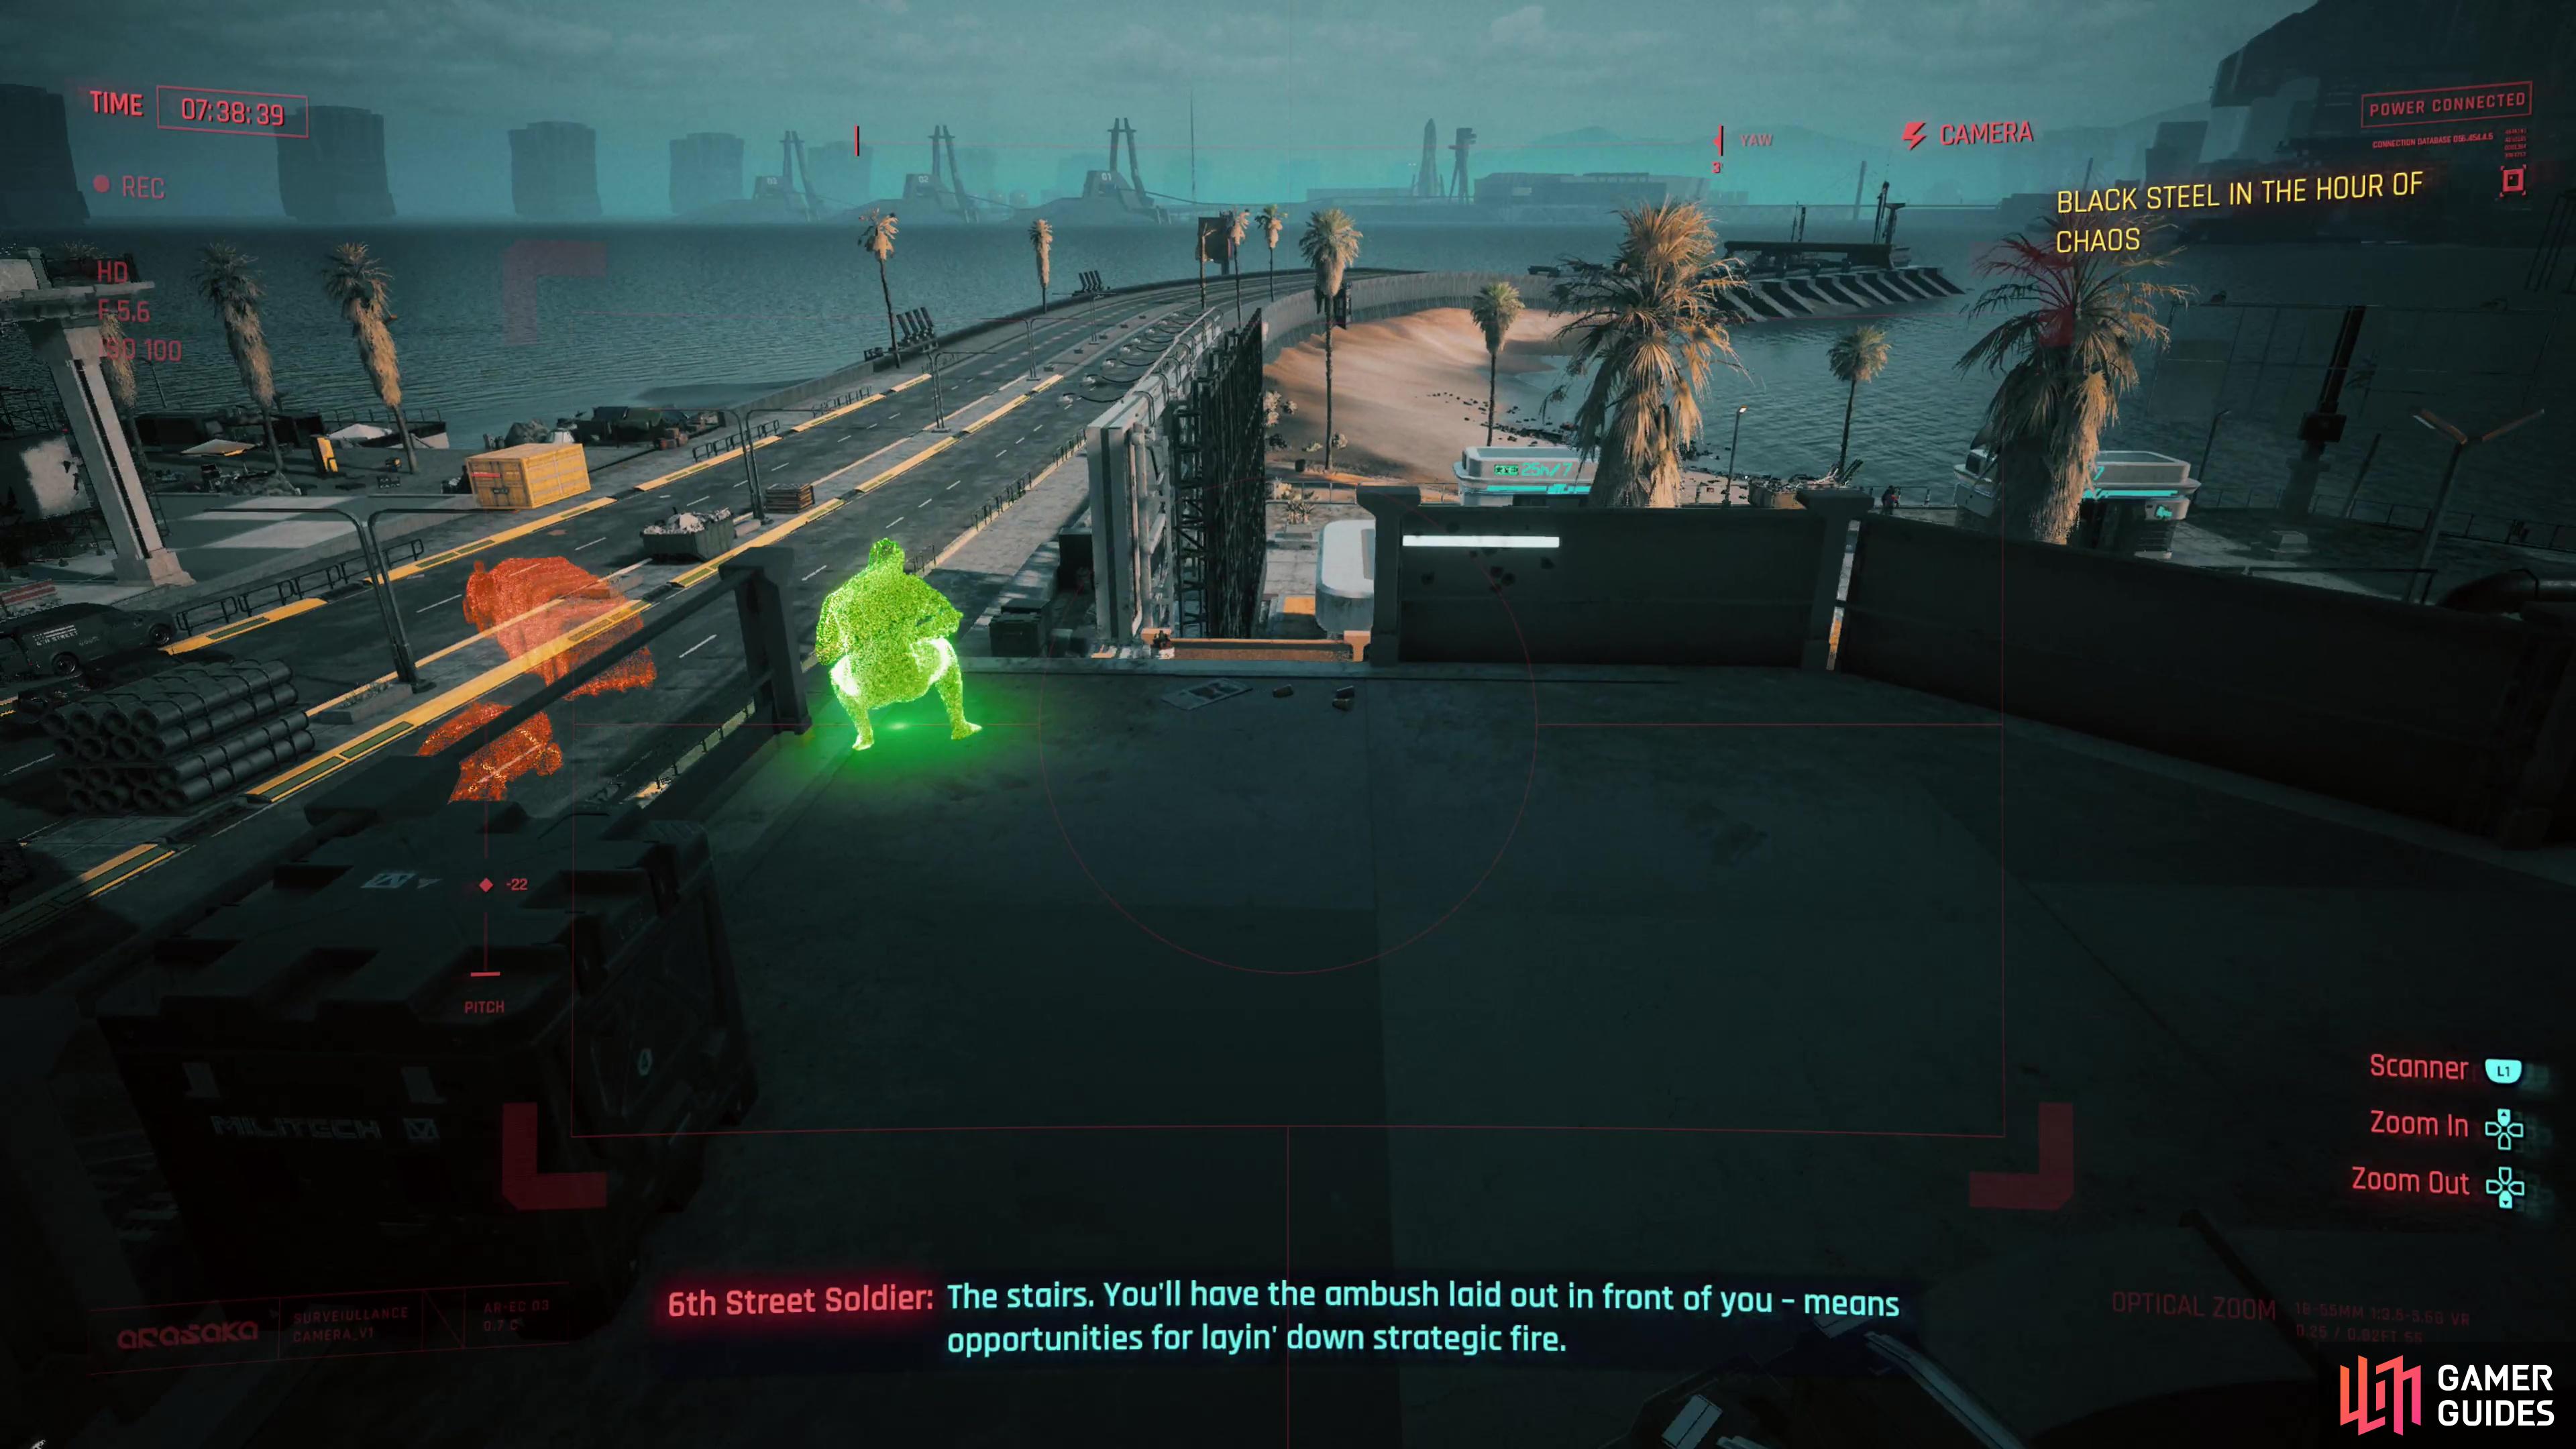
Starting Positions
Finally you’ll get to choose three starting positions: the terrace, stairs, and skybridge. The terrace is the best defensive spot, especially if you used mines, and while it might not have the best view of the battlefield, it’ll be more difficult for enemies to reach you. Stairs give a better view, but you’re also closer to enemies - ideal if you want to pick off a few enemies but aren’t afraid to mix things up. Finally, the skybridge is on the road and will allow you to just rush on into combat if you prefer to use close-range attacks. This doesn’t matter all that much - there are quick ways into the fray from any starting position, so if you want to stay safe and snipe, pick the terrace, otherwise it doesn’t really matter.
After setting up the ambush (or abdicating your responsibility) talk to Reed and say what you will - it doesn’t matter. This is also a good time to text Mr. Hands the coordinates of your ambush, if you paid for the services of a netrunner and accepted their offer. When you’re ready, go to one of the three starting spots and wait for the convoy, skipping time ahead.
Ambush the MaxTac Convoy
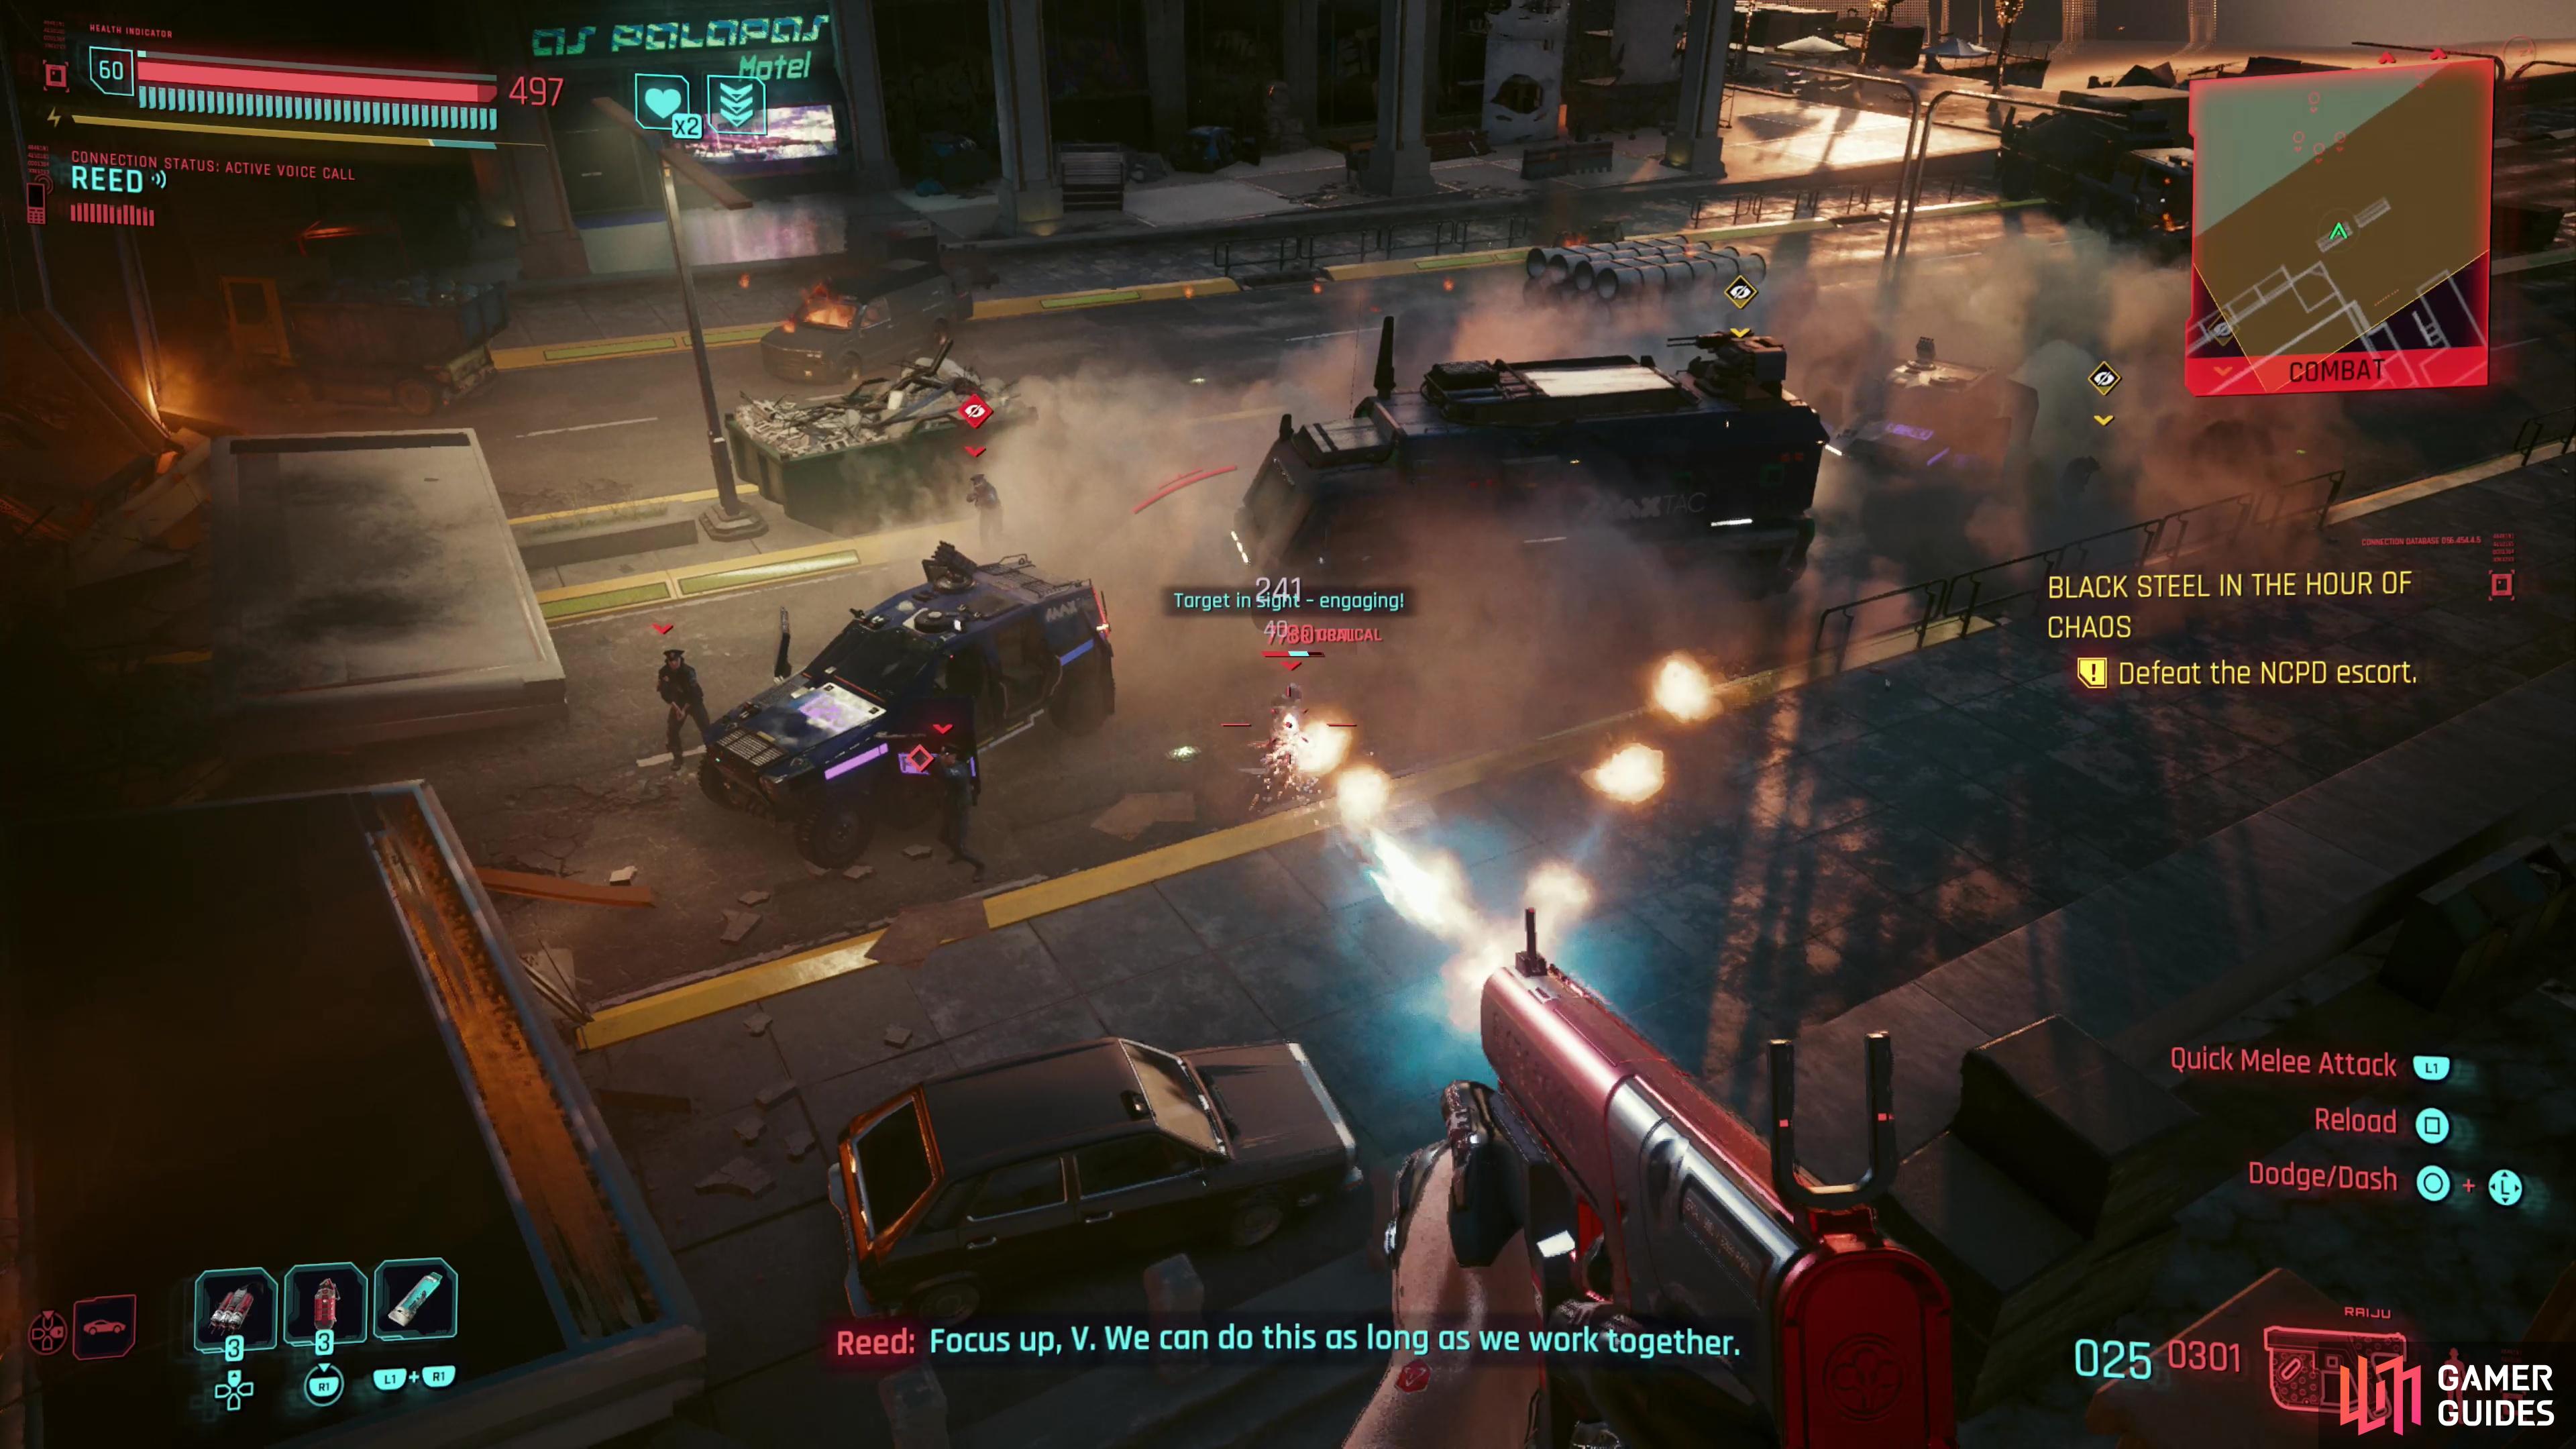
Time will skip forwards and Songbird will contact you shortly before the convoy arrives. Say what you want, then wait for the trap to spring closed, at which point you’ll need to dispatch the first wave of enemies. This includes several NCPD officers and their pet robots, neither of which are remotely dangerous. Put them down by whatever means you prefer and the mines and turrets will probably spend themselves on these enemies. Once they’re all defeated you’ll need to go up to the truck carrying Songbird and open the doors to continue the next phase of this encounter, so even if you prefer stealth or sniping, that’s just not an option here. In the end you’ll be left with the lingering effects of the smoke grenades (if you used them) while being forced to confront the MaxTac elite on the street.
(1 of 6) Jaspar Collins, the MaxTac netrunner, will try to quickhack you - follow the red lines and interrupt him,
How to Defeat the MaxTac Elite
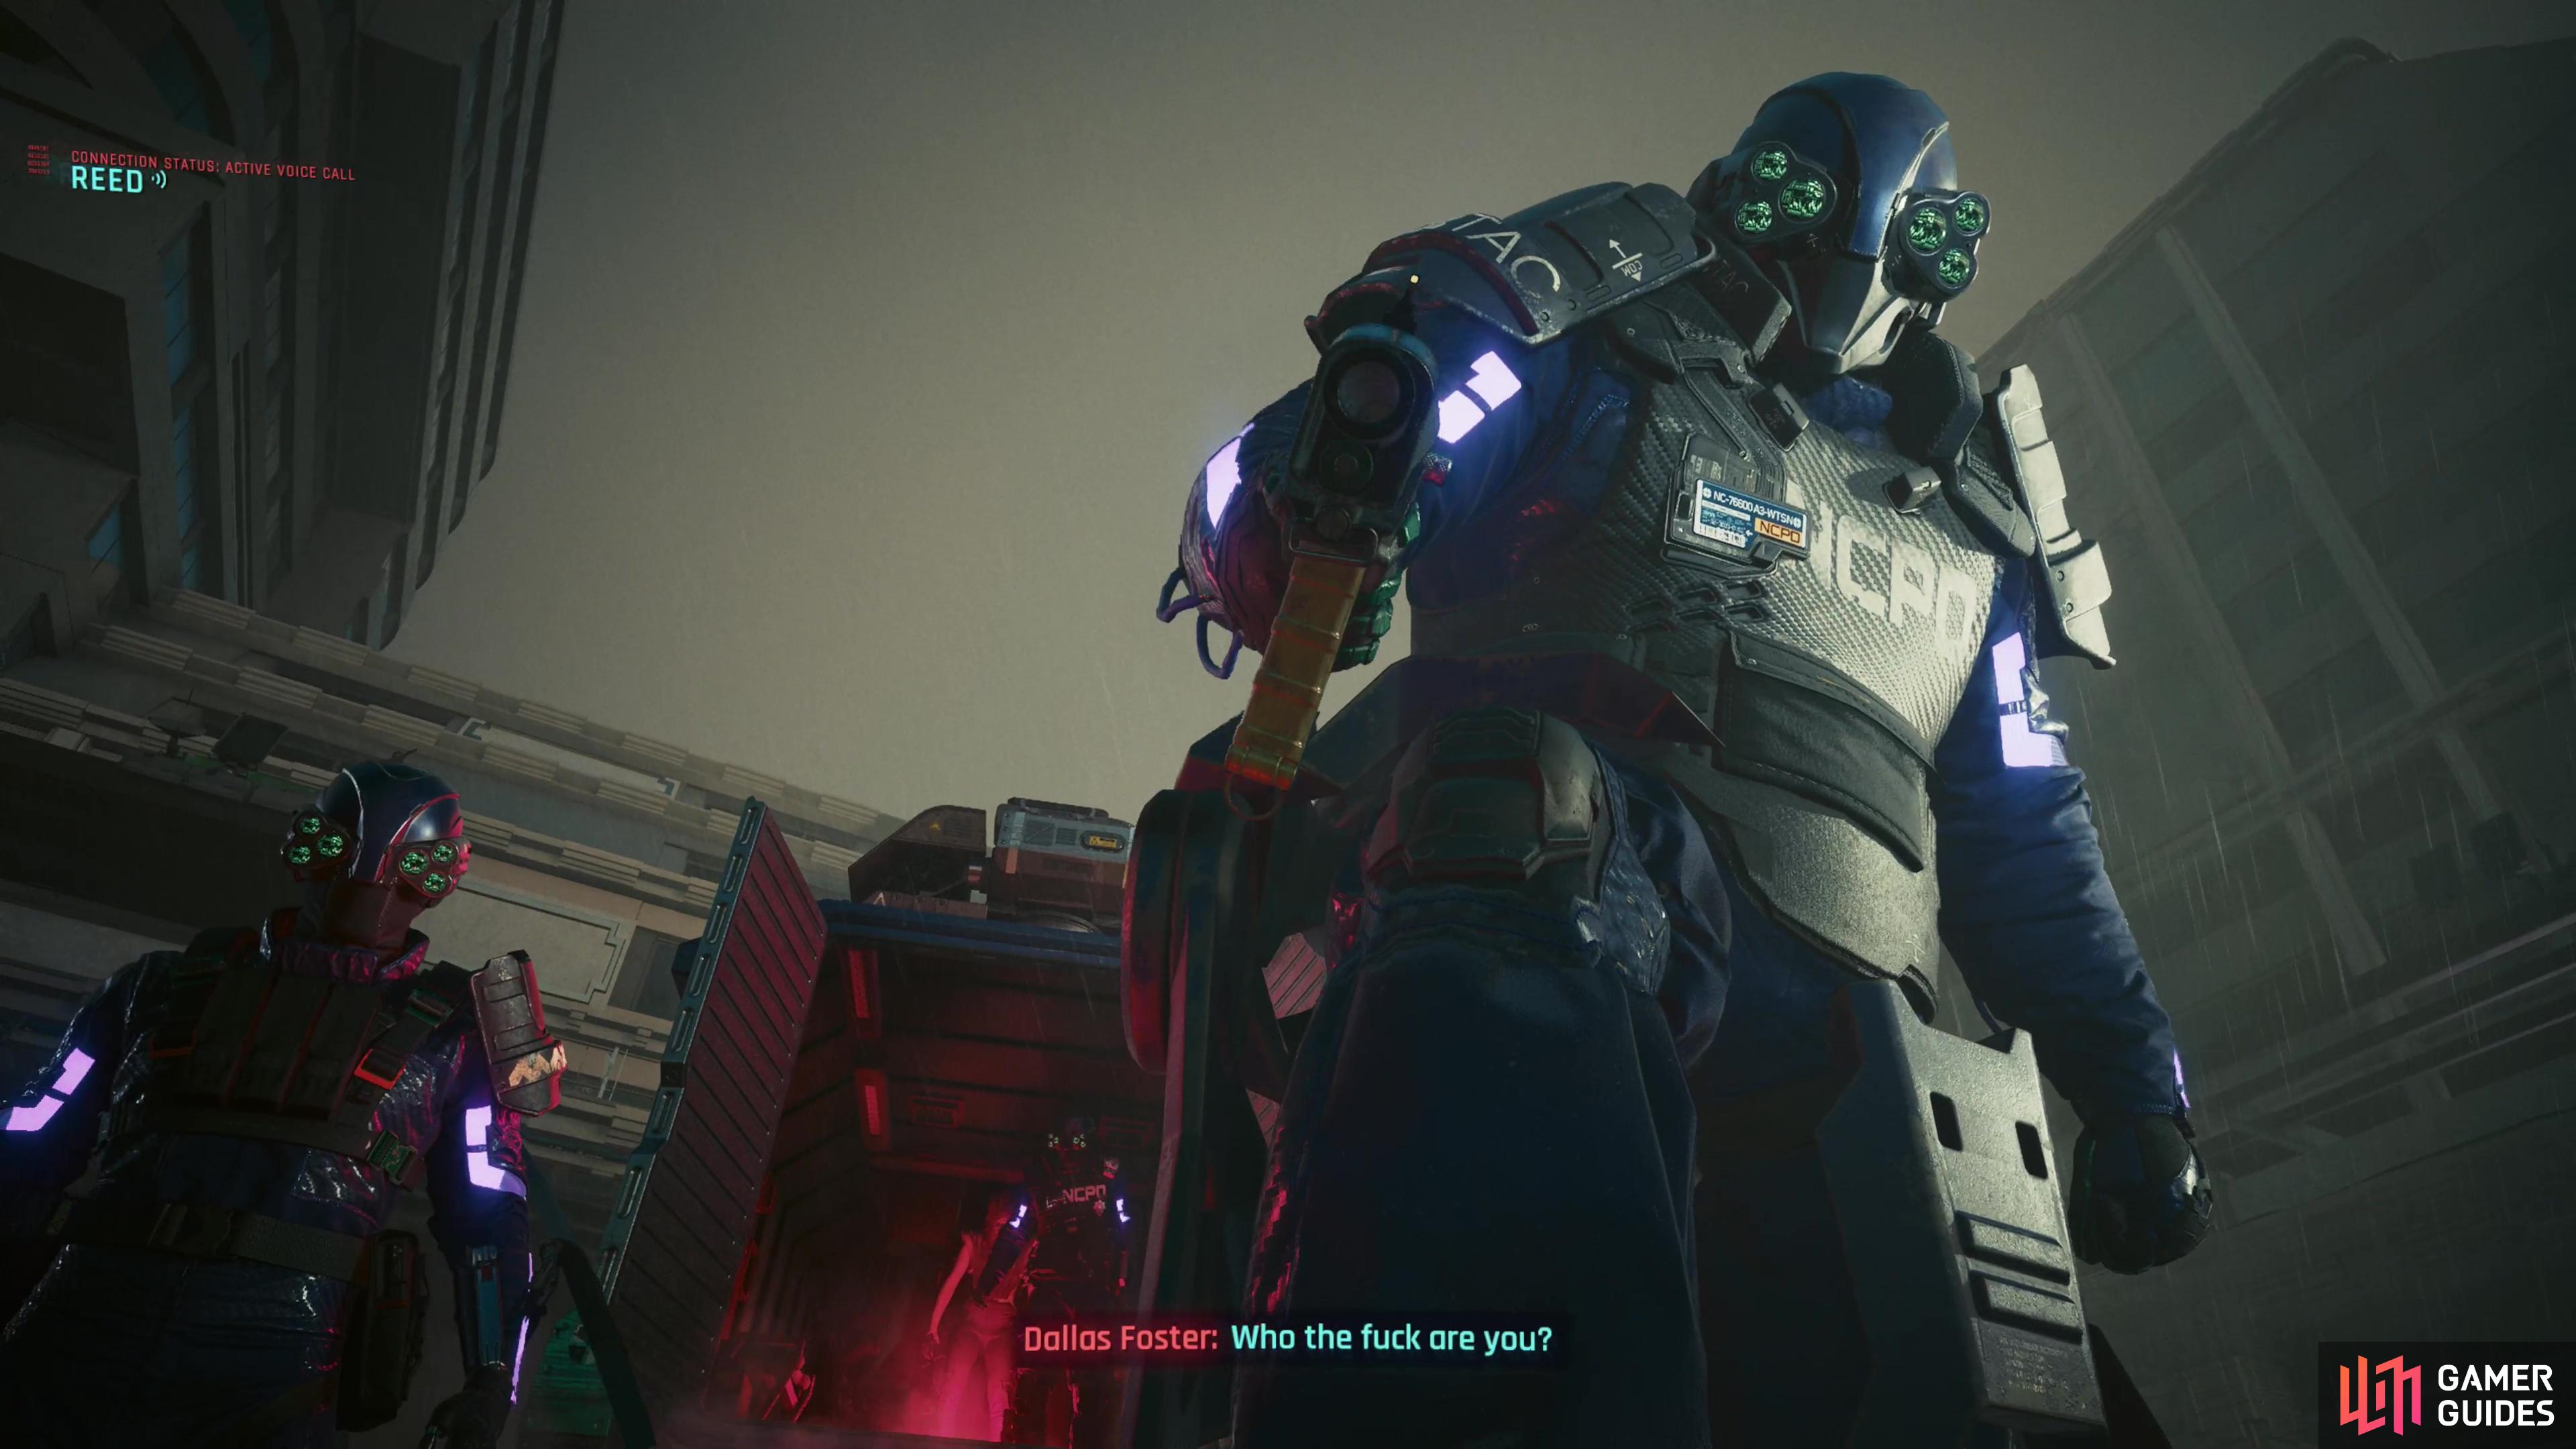
Open the doors and after a short scene you’ll find yourself facing a squad of highly dangerous MaxTac elite… at least, according to the in-game lore. For our money, their damage output is kind of poor, which is good since you’re funneled into fighting them up close, regardless of what your weapons and preferences are. Not so good if you want a decent challenge, though. There are four members of this supposedly elite squad, with different cyberware and armaments, as follows:
-
Asher Peterson: Wielding two mantis blades, he likes to dash around in order to get into melee range, and he’ll be constantly hounding you. That said, you can usually just dash away from his attacks, which are surprisingly weak. Just be wary when throwing grenades, he has a habit of getting in the way of your throws, and your grenades are far more deadly to yourself than to the MaxTac elites. Despite his speed, he’s somewhat less dodgy than the Dallas and Faye, probably because he can’t evade gunfire while he’s dashing at you, which leads to him taking a lot of hits. Cripple Movement is highly effective against him, and he may be the second one you want to take down - just to give yourself some breathing room. He’s gonna soak up a lot of your bullets, anyways.
-
Dallas Foster: The squad’s heavy, he’s less mobile than the others, but can still dash around and dodge bullets, he’ll just do the former less often. He’s moderately dangerous with his shotgun at close range and tanky, but it’s not too hard to keep away from him.
-
Faye Russo: Armed with an assault rifle, she’s the rangiest of the MaxTac squad, sans Jaspar. An all-rounder, she’s somewhere between Asher and Dallas in terms of speed and tankiness, but she can also dish out the most reliable damage since she doesn’t have to be as close, and isn’t prone to getting interrupted like Jaspar is.
-
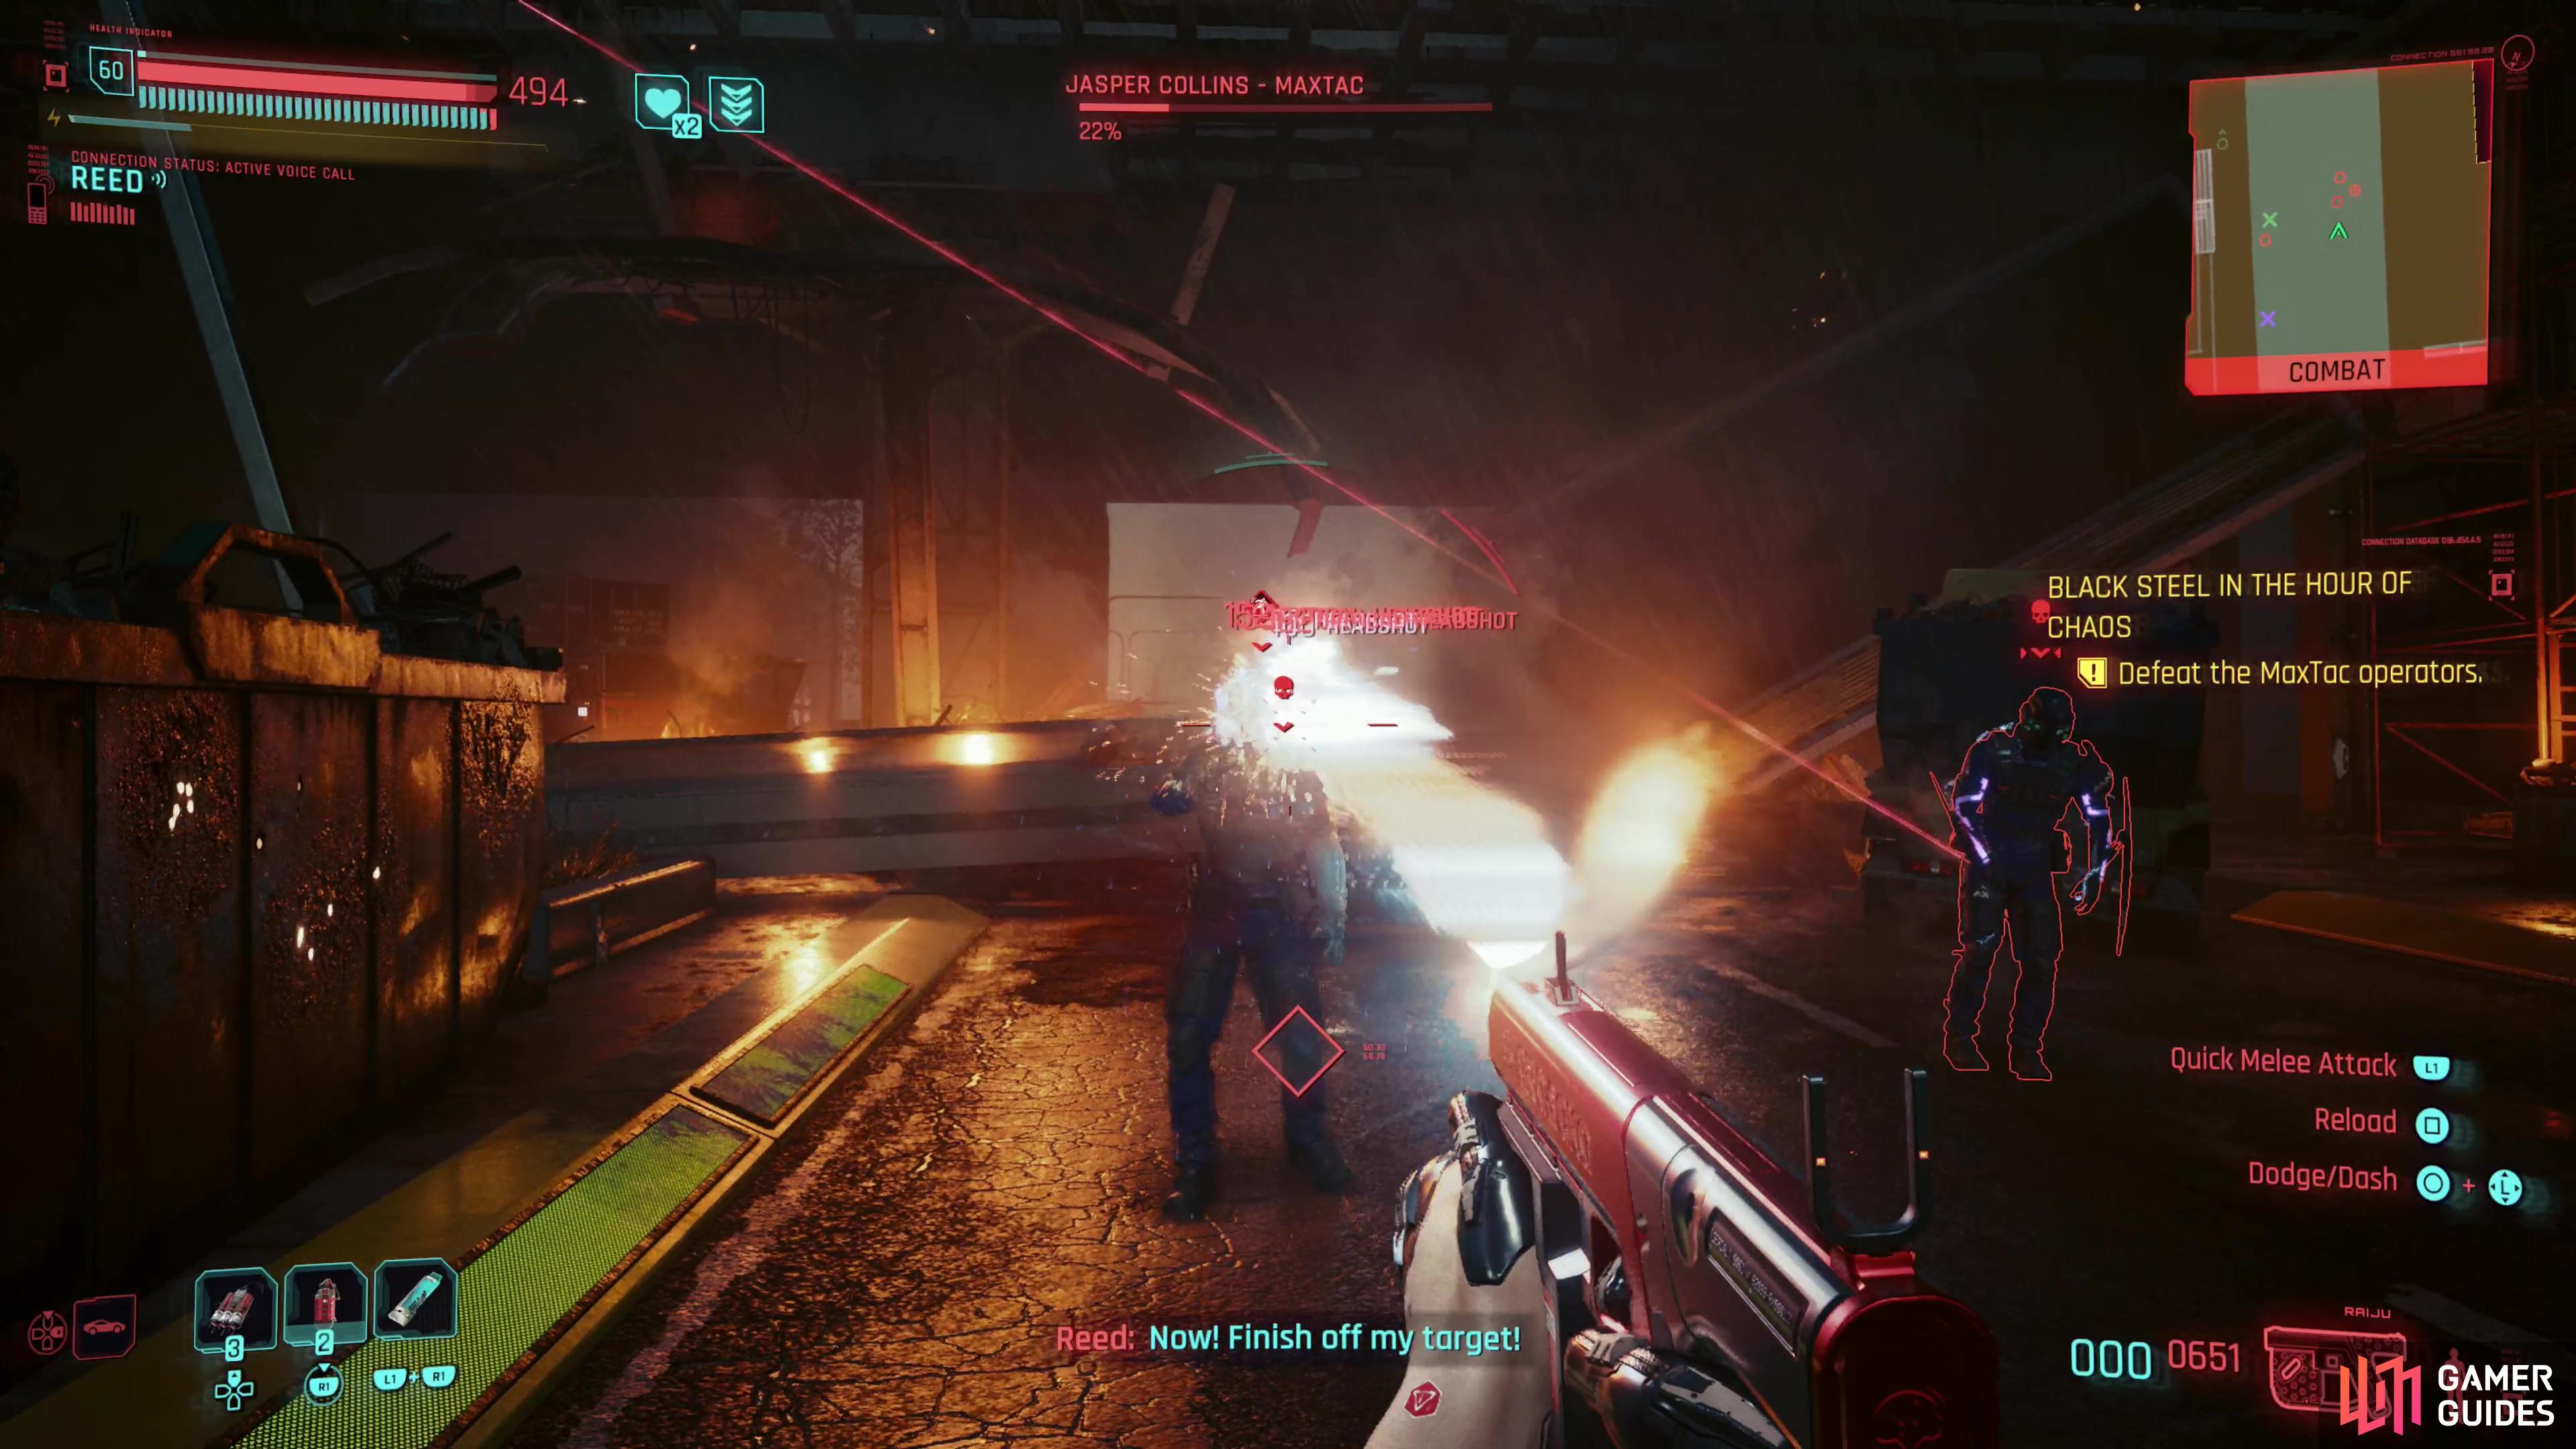
Jaspar Collins: The netrunner in this MaxTac squad, his primary goal is to seek cover, and start uploading quickhacks. Follow the red lines to find him when he does this and make taking him out your top priority, as you don’t need him debuffing you while you fight the others. He doesn’t have much in the way of defensive cyberware, nor is his ICE prohibitively resilient to quickhacks, so he shouldn’t be hard to dispose of.
You’re dealing with four bosses, all with their own health bars, and while none of them are as tanky as, say, Hansen was, it can be a bother keeping track of them all. They also are keen to auto-dodge your attacks thanks to their cyberware, which isn’t new if you’ve hunted cyberpyschos, but you rarely had to deal with more than one at a time before. There are two ways to mitigate their ability to dodge: hit them with quickhacks (most debilitating ones will work, but Cripple Movement works wonders on all of them, and uploading two stacks of Cyberware Malfunction will… well, it’s really in the name, isn’t it?) or let Reed debilitate them from afar. Keep an eye out for his red laser sight and the particular enemy he shoots will be stunned momentarily, incapable of dodging your attacks. It’s much easier to just use your own quickhacks, but if you don’t have access to them (if you’re using Sandevistan or Berserk, instead) or aren’t invested enough to keep your RAM costs manageable, Reed will keep you in the fight.
The MaxTac squad doesn’t deal significant damage, individually, at least not as long as you keep moving and don’t let Asher and Dallas get close or allow Jaspar to upload his own quickhacks. His tendency to seek cover and try to debuff you with quickhacks makes him a good first target - just follow the red lines pinging off his allies to find him, or counter quickhack him, if you prefer. Next, you should take out Asher, who is likely to soak a lot of damage charging after you, anyways. Getting rid of him should give you some breathing room, after which Dallas and Faye are easy enough to dispatch. Make generous use of your own quickhacks like Cripple Movement and Cyberware Malfunction, or save up Sandevistan/Berserk bursts for when Reed pops one of the MaxTac elites. In addition to Reed’s red laser sight, be on the lookout for vulnerability triangles, assuming you unlocked Vulnerability Analytics in the relic tree - it’s a nice way to boost your damage output.
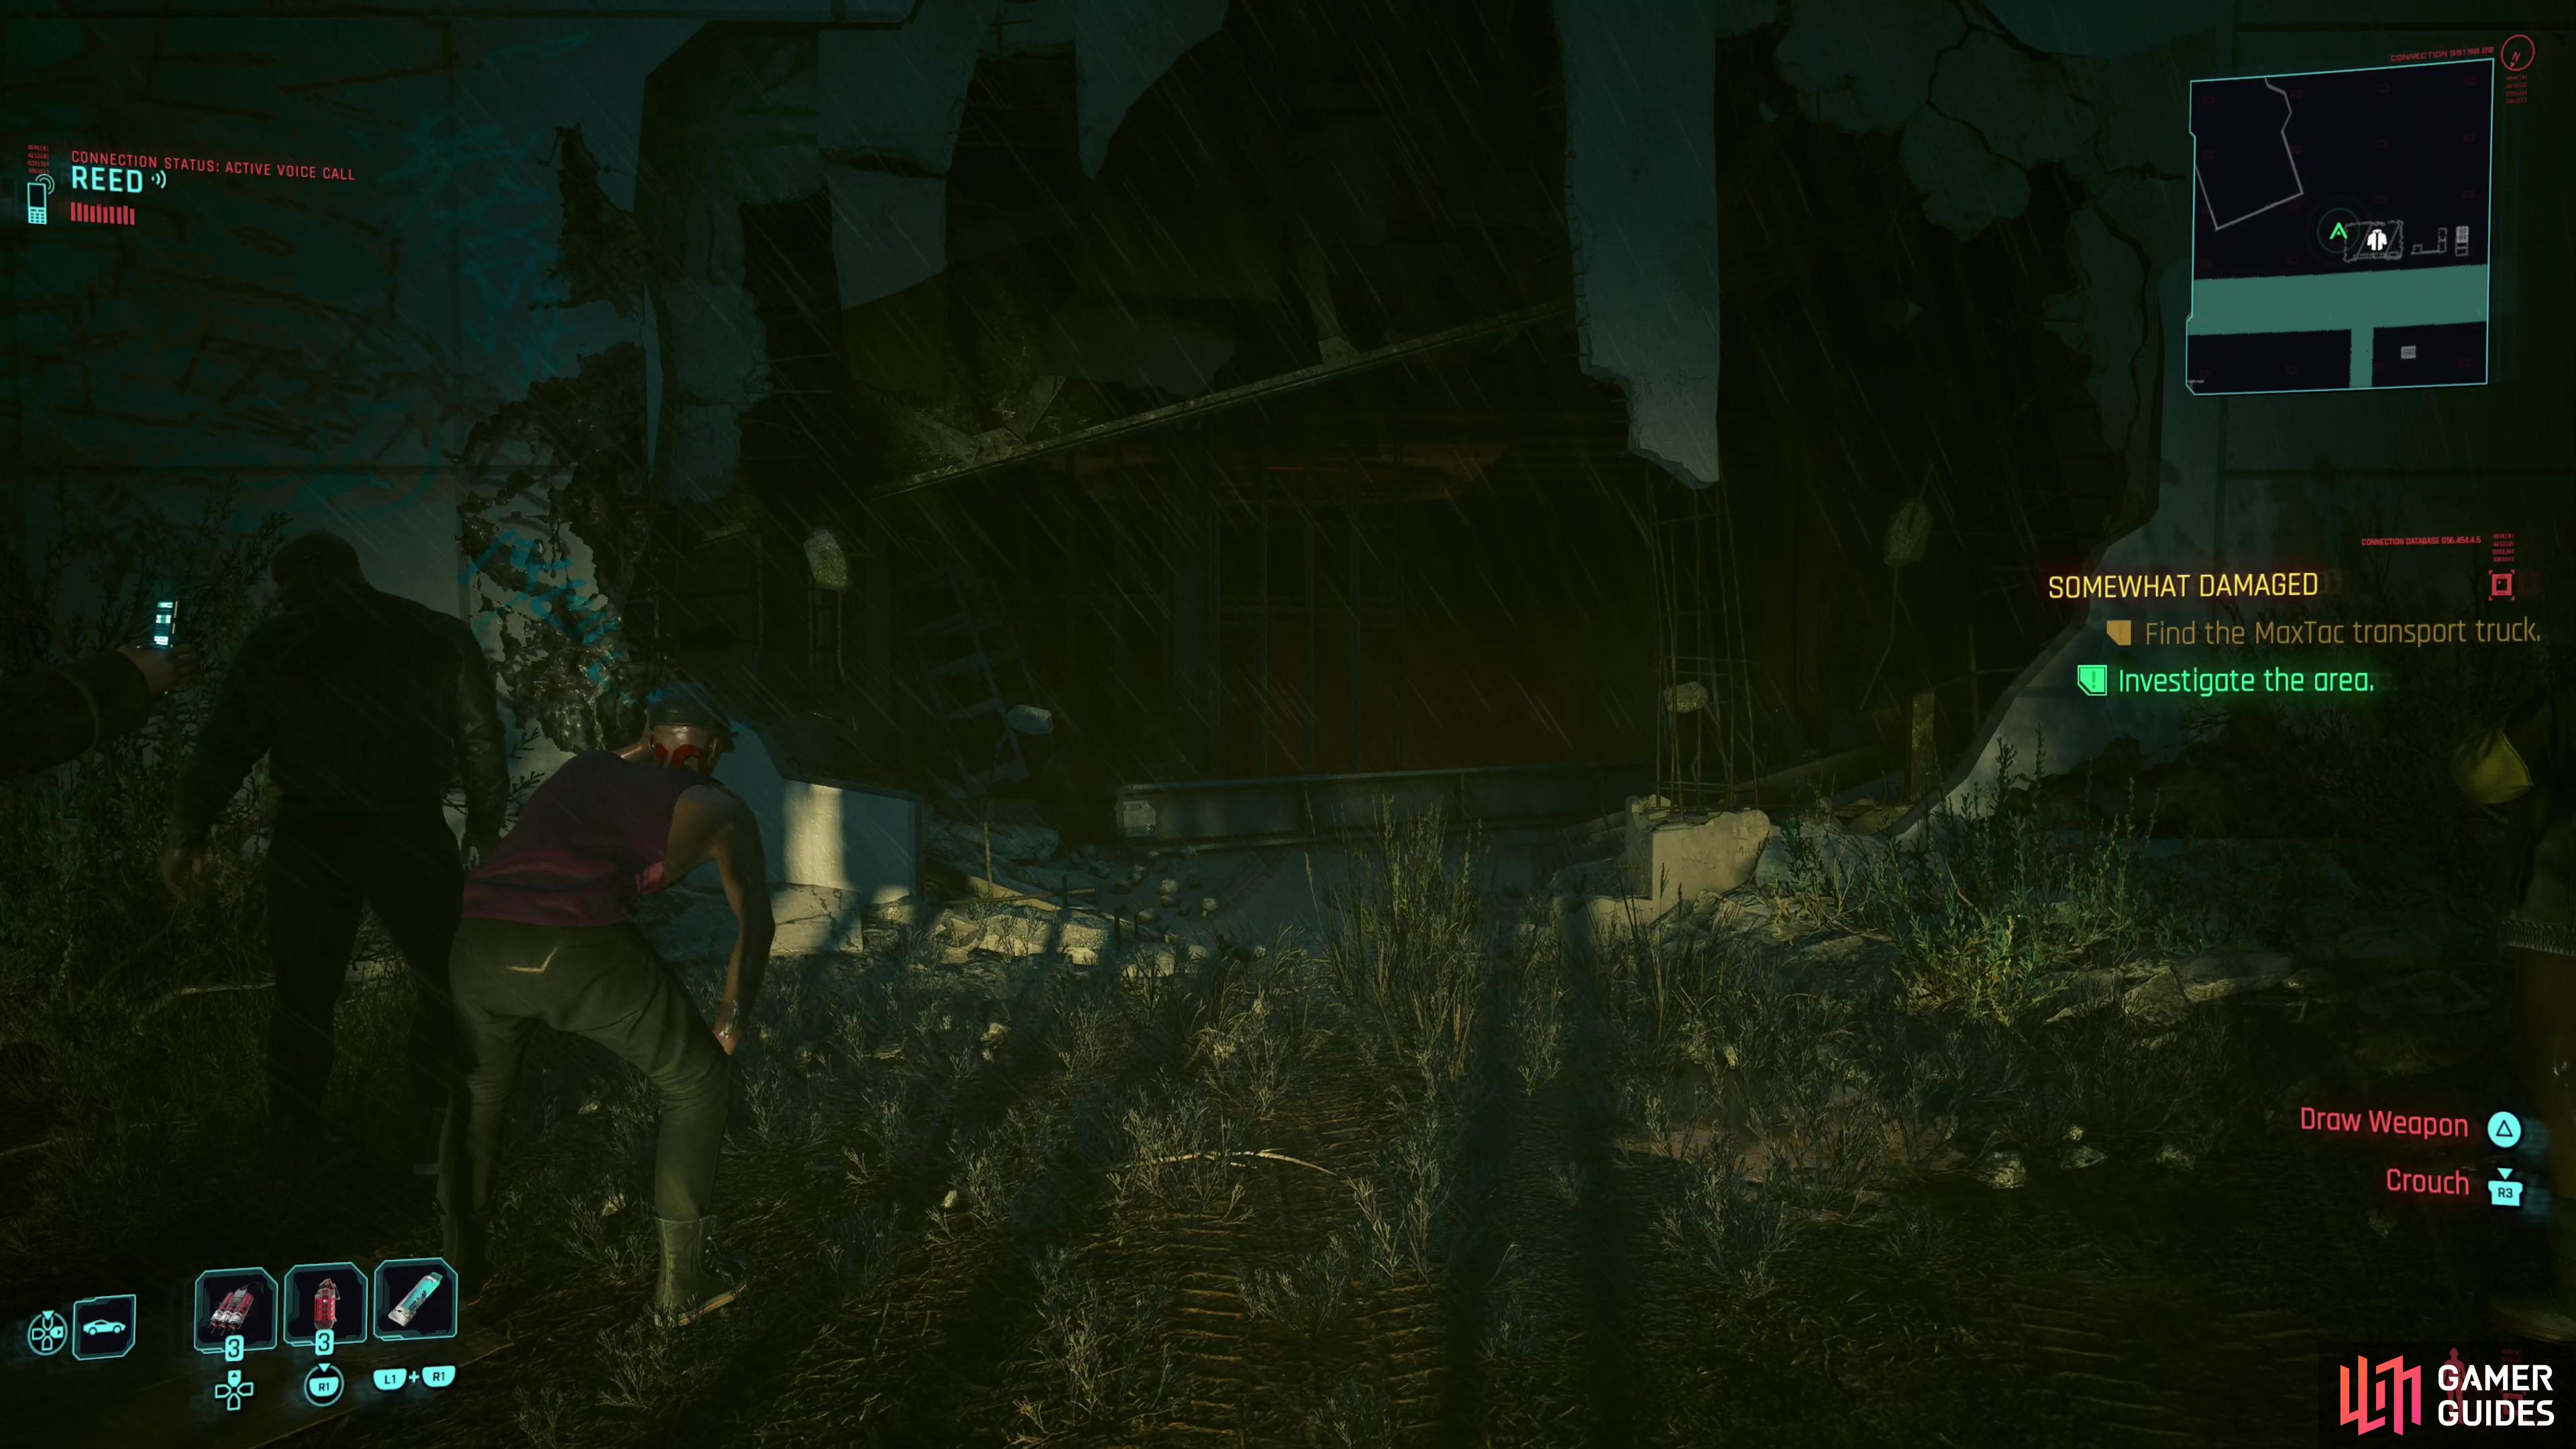
Chase Songbird down the streets until you find a building she smashed her way into, which marks the end of this job and the beginning of the next, “Somewhat Damaged”.
Defeat all four MaxTac elites and you’ll get a scene. When you recover, upload Sandra Dorsett’s virus to one of your downed foes (if you hired her as your netrunner) then chase after Songbird. Follow the quest trail until you reach a building where Songbird practiced an innovative new way of knocking. This quest will end without any fanfare and immediately transition to the final quest in Reed’s route, Somewhat Damaged.







 Sign up
No Comments