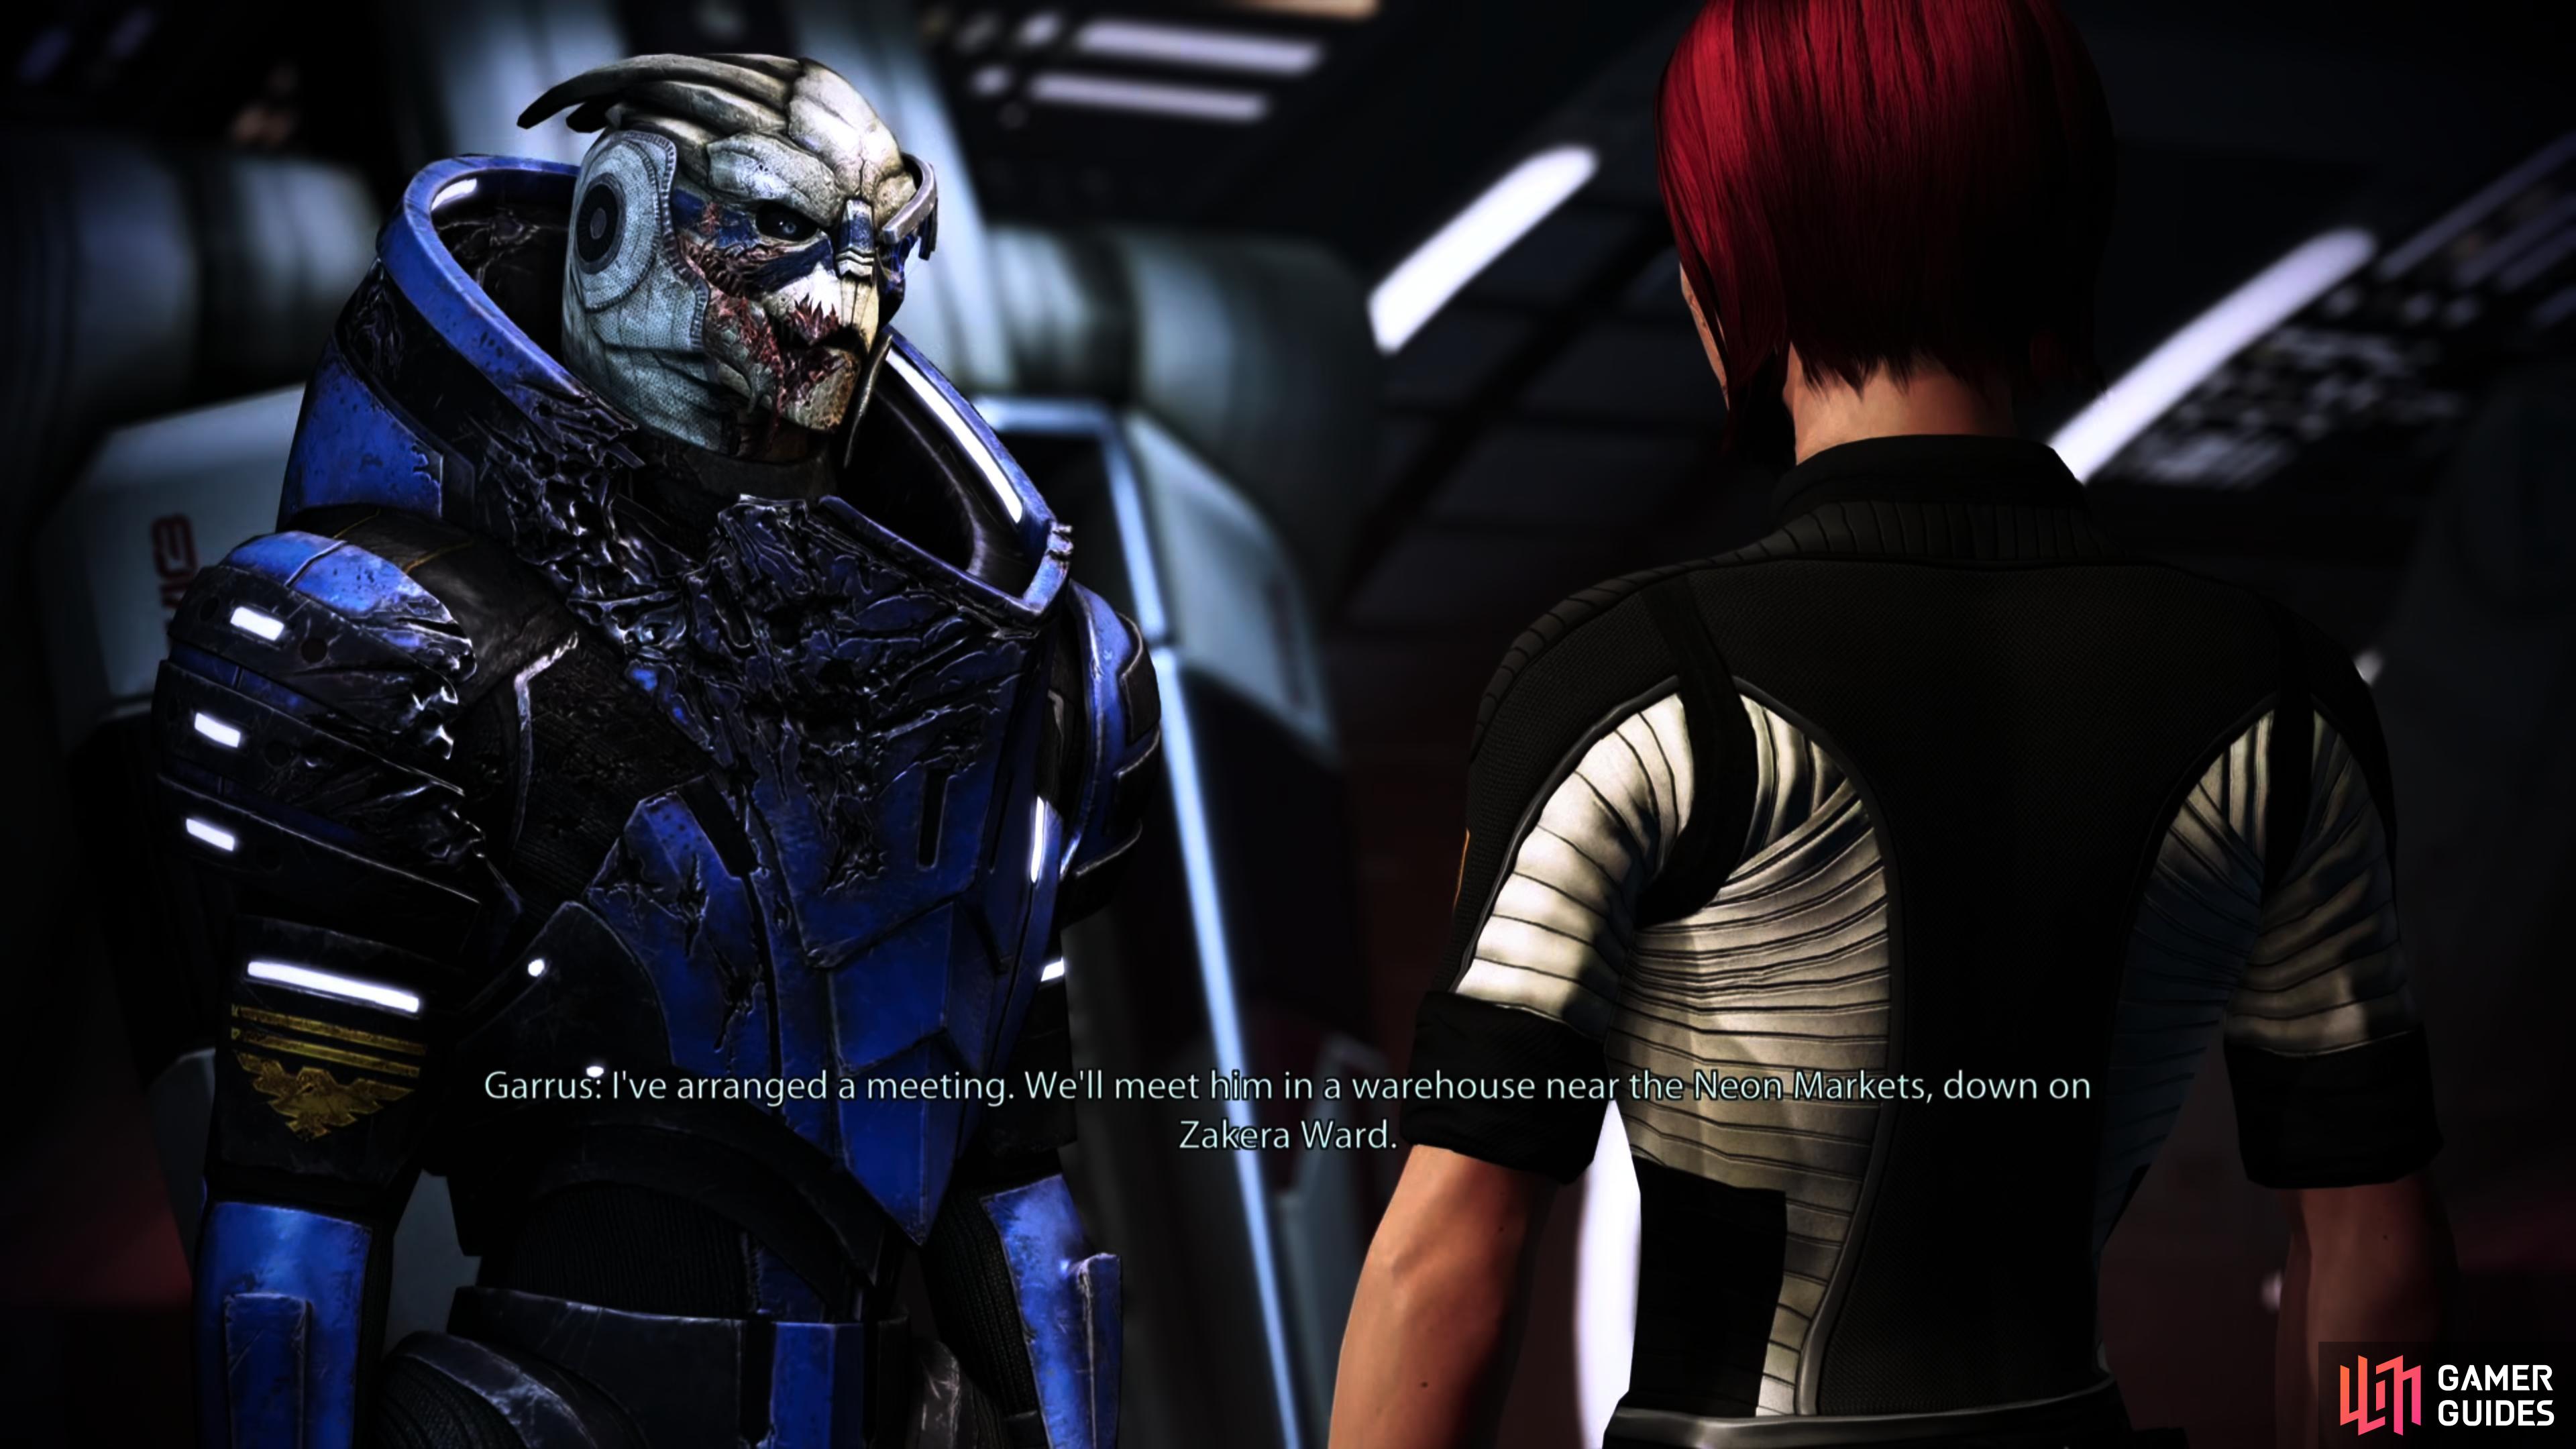
After completing several missions, Garrus will uncover a lead on the man who betrayed him on Omega, and will ask for you to help get revenge. This likely will not happen until after you complete the mission on Horizon. Accept his request to start this mission, then travel to the Citadel.
| Notable Items in This Area |
|---|
| Upgrade - Research Project: Sniper Rifle Damage |
(1 of 2) Talk to Garrus on the Normandy and he’ll try to secure your aid on a vendetta.
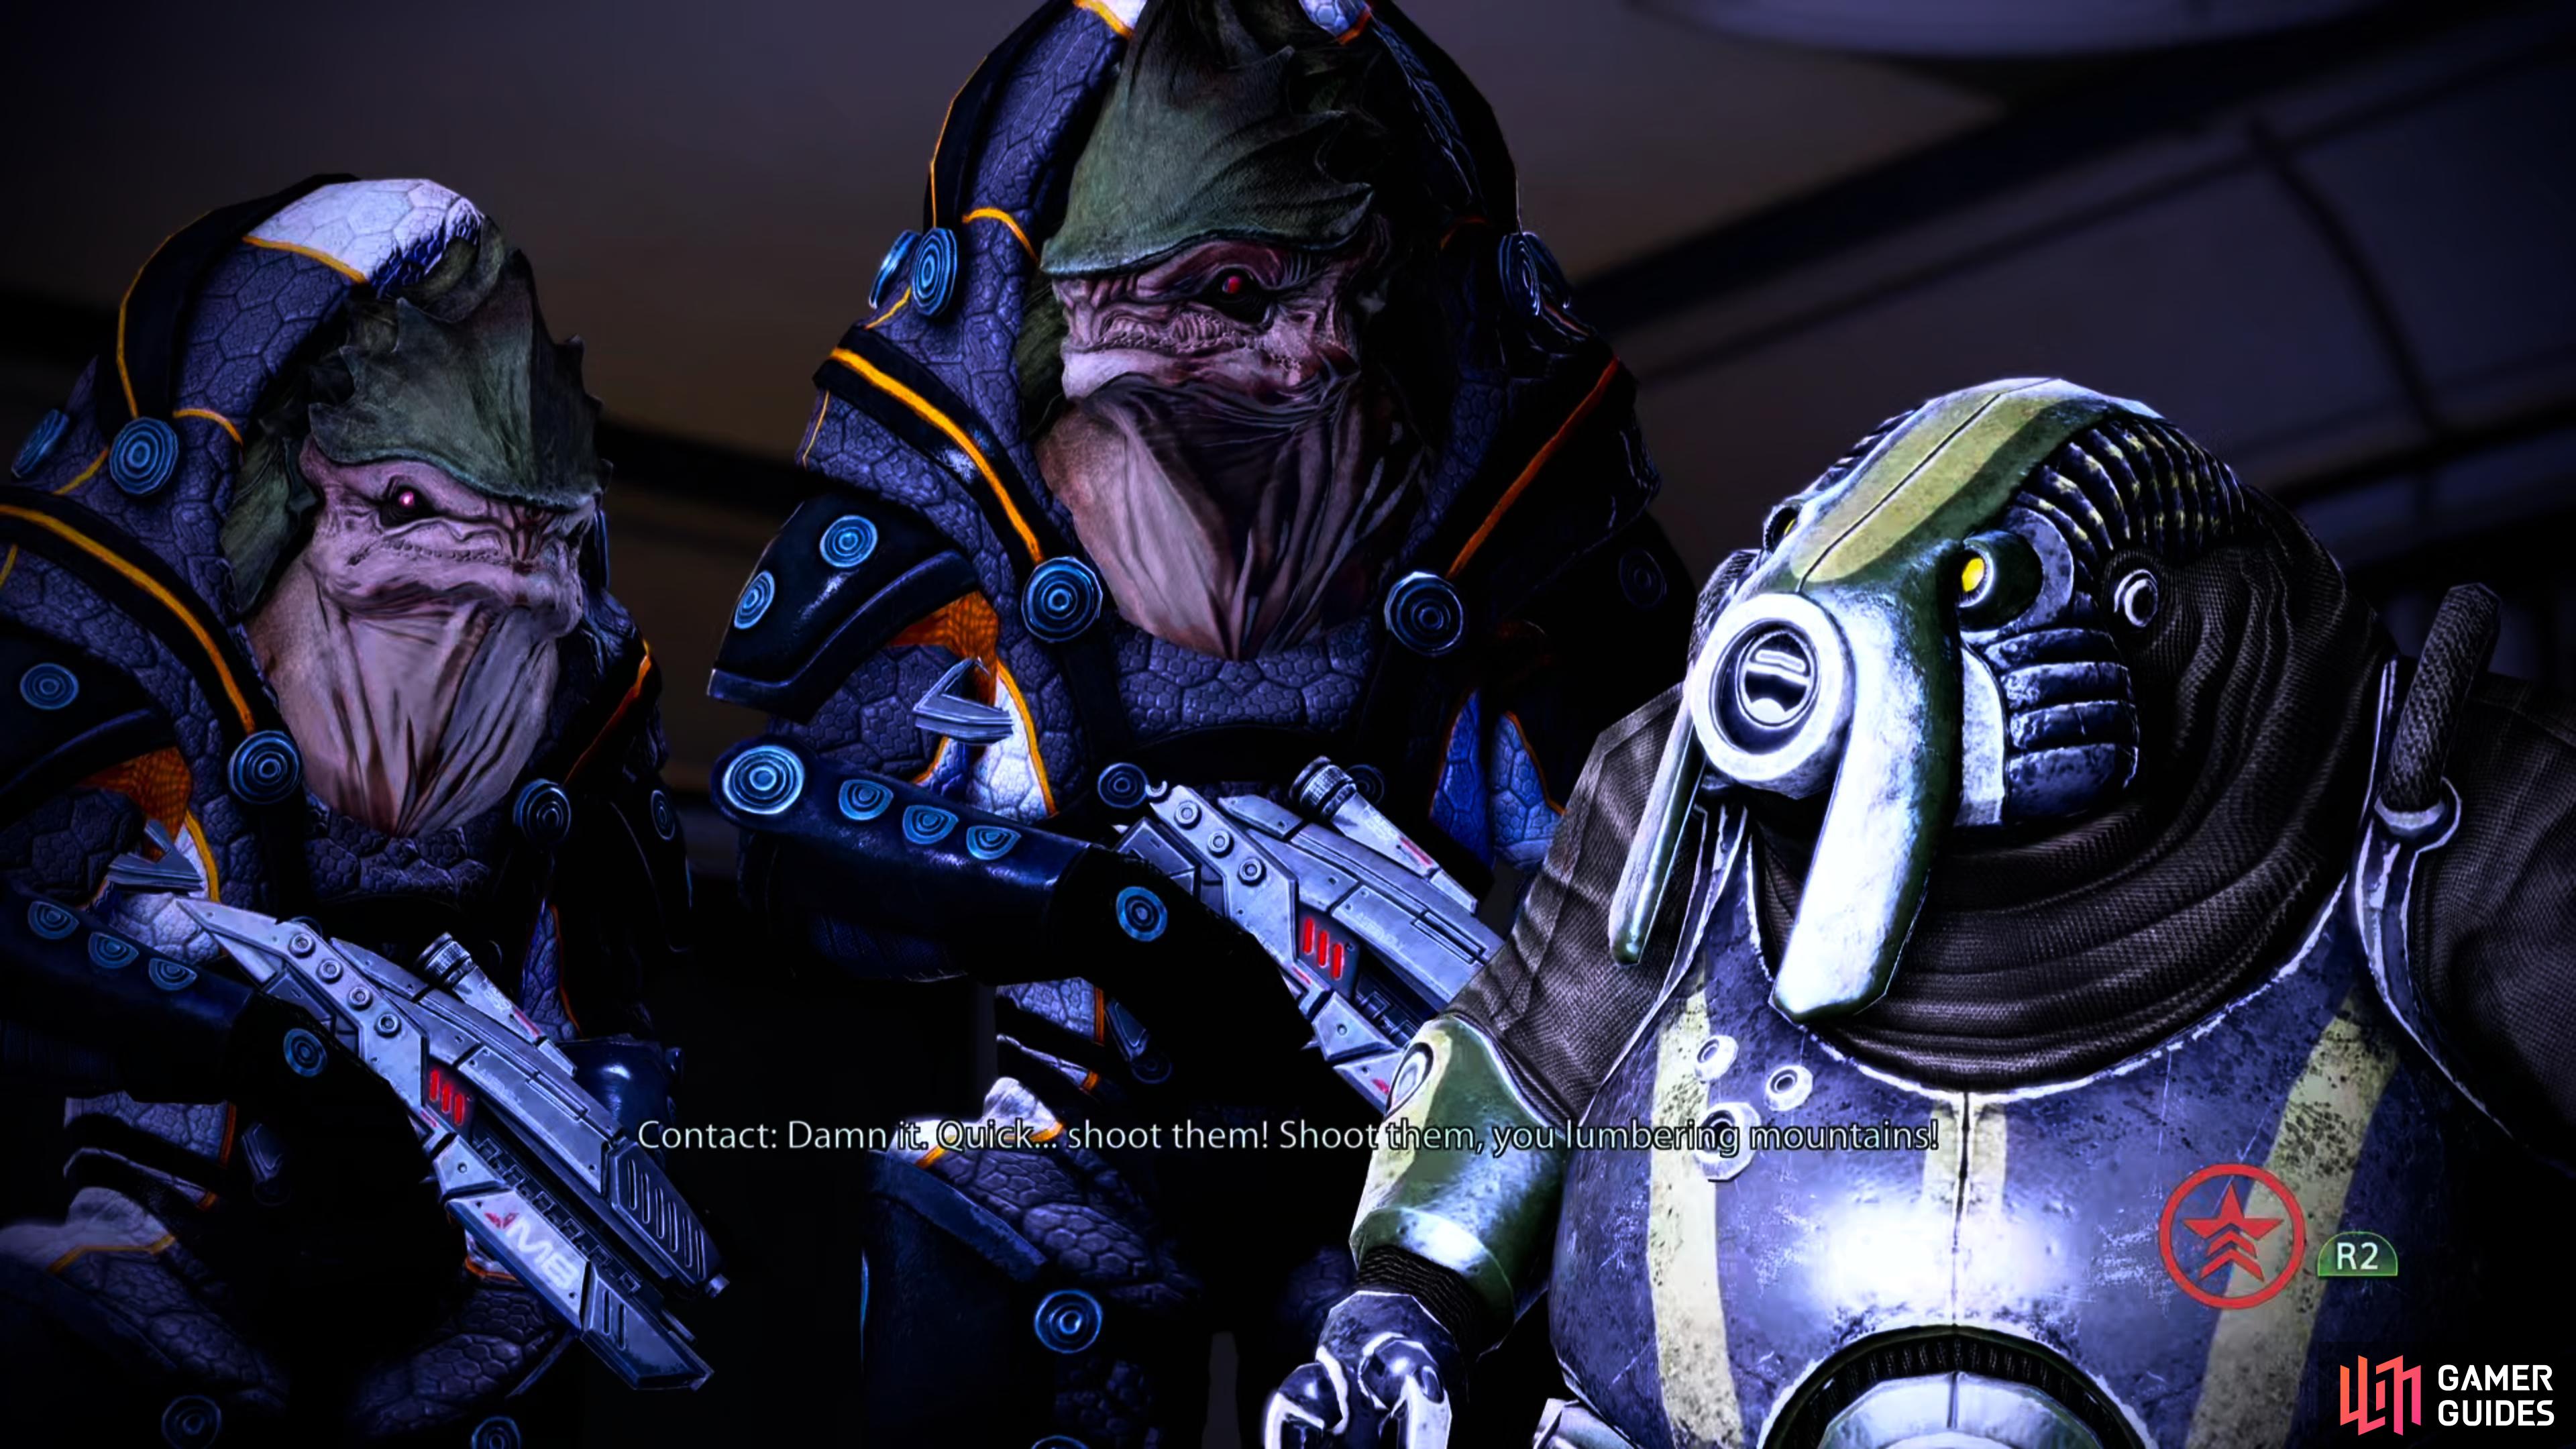
Talk to Garrus on the Normandy and he’ll try to secure your aid on a vendetta. (left), A Renegade interrupt will take out two krogan and get you the intel Garrus wants. (right)
After disembarking, make your way to the Warehouse on Floor 26. Enter and you’ll find yourself in a conversation with a volus, along with a pair of Krogan bodyguards, the latter of which can be dispatched with a Renegade interrupt. After disarming the volus, he’lll tell you where to go next. Head to the nearest rapid transport console and use it to travel to the Warehouse District.
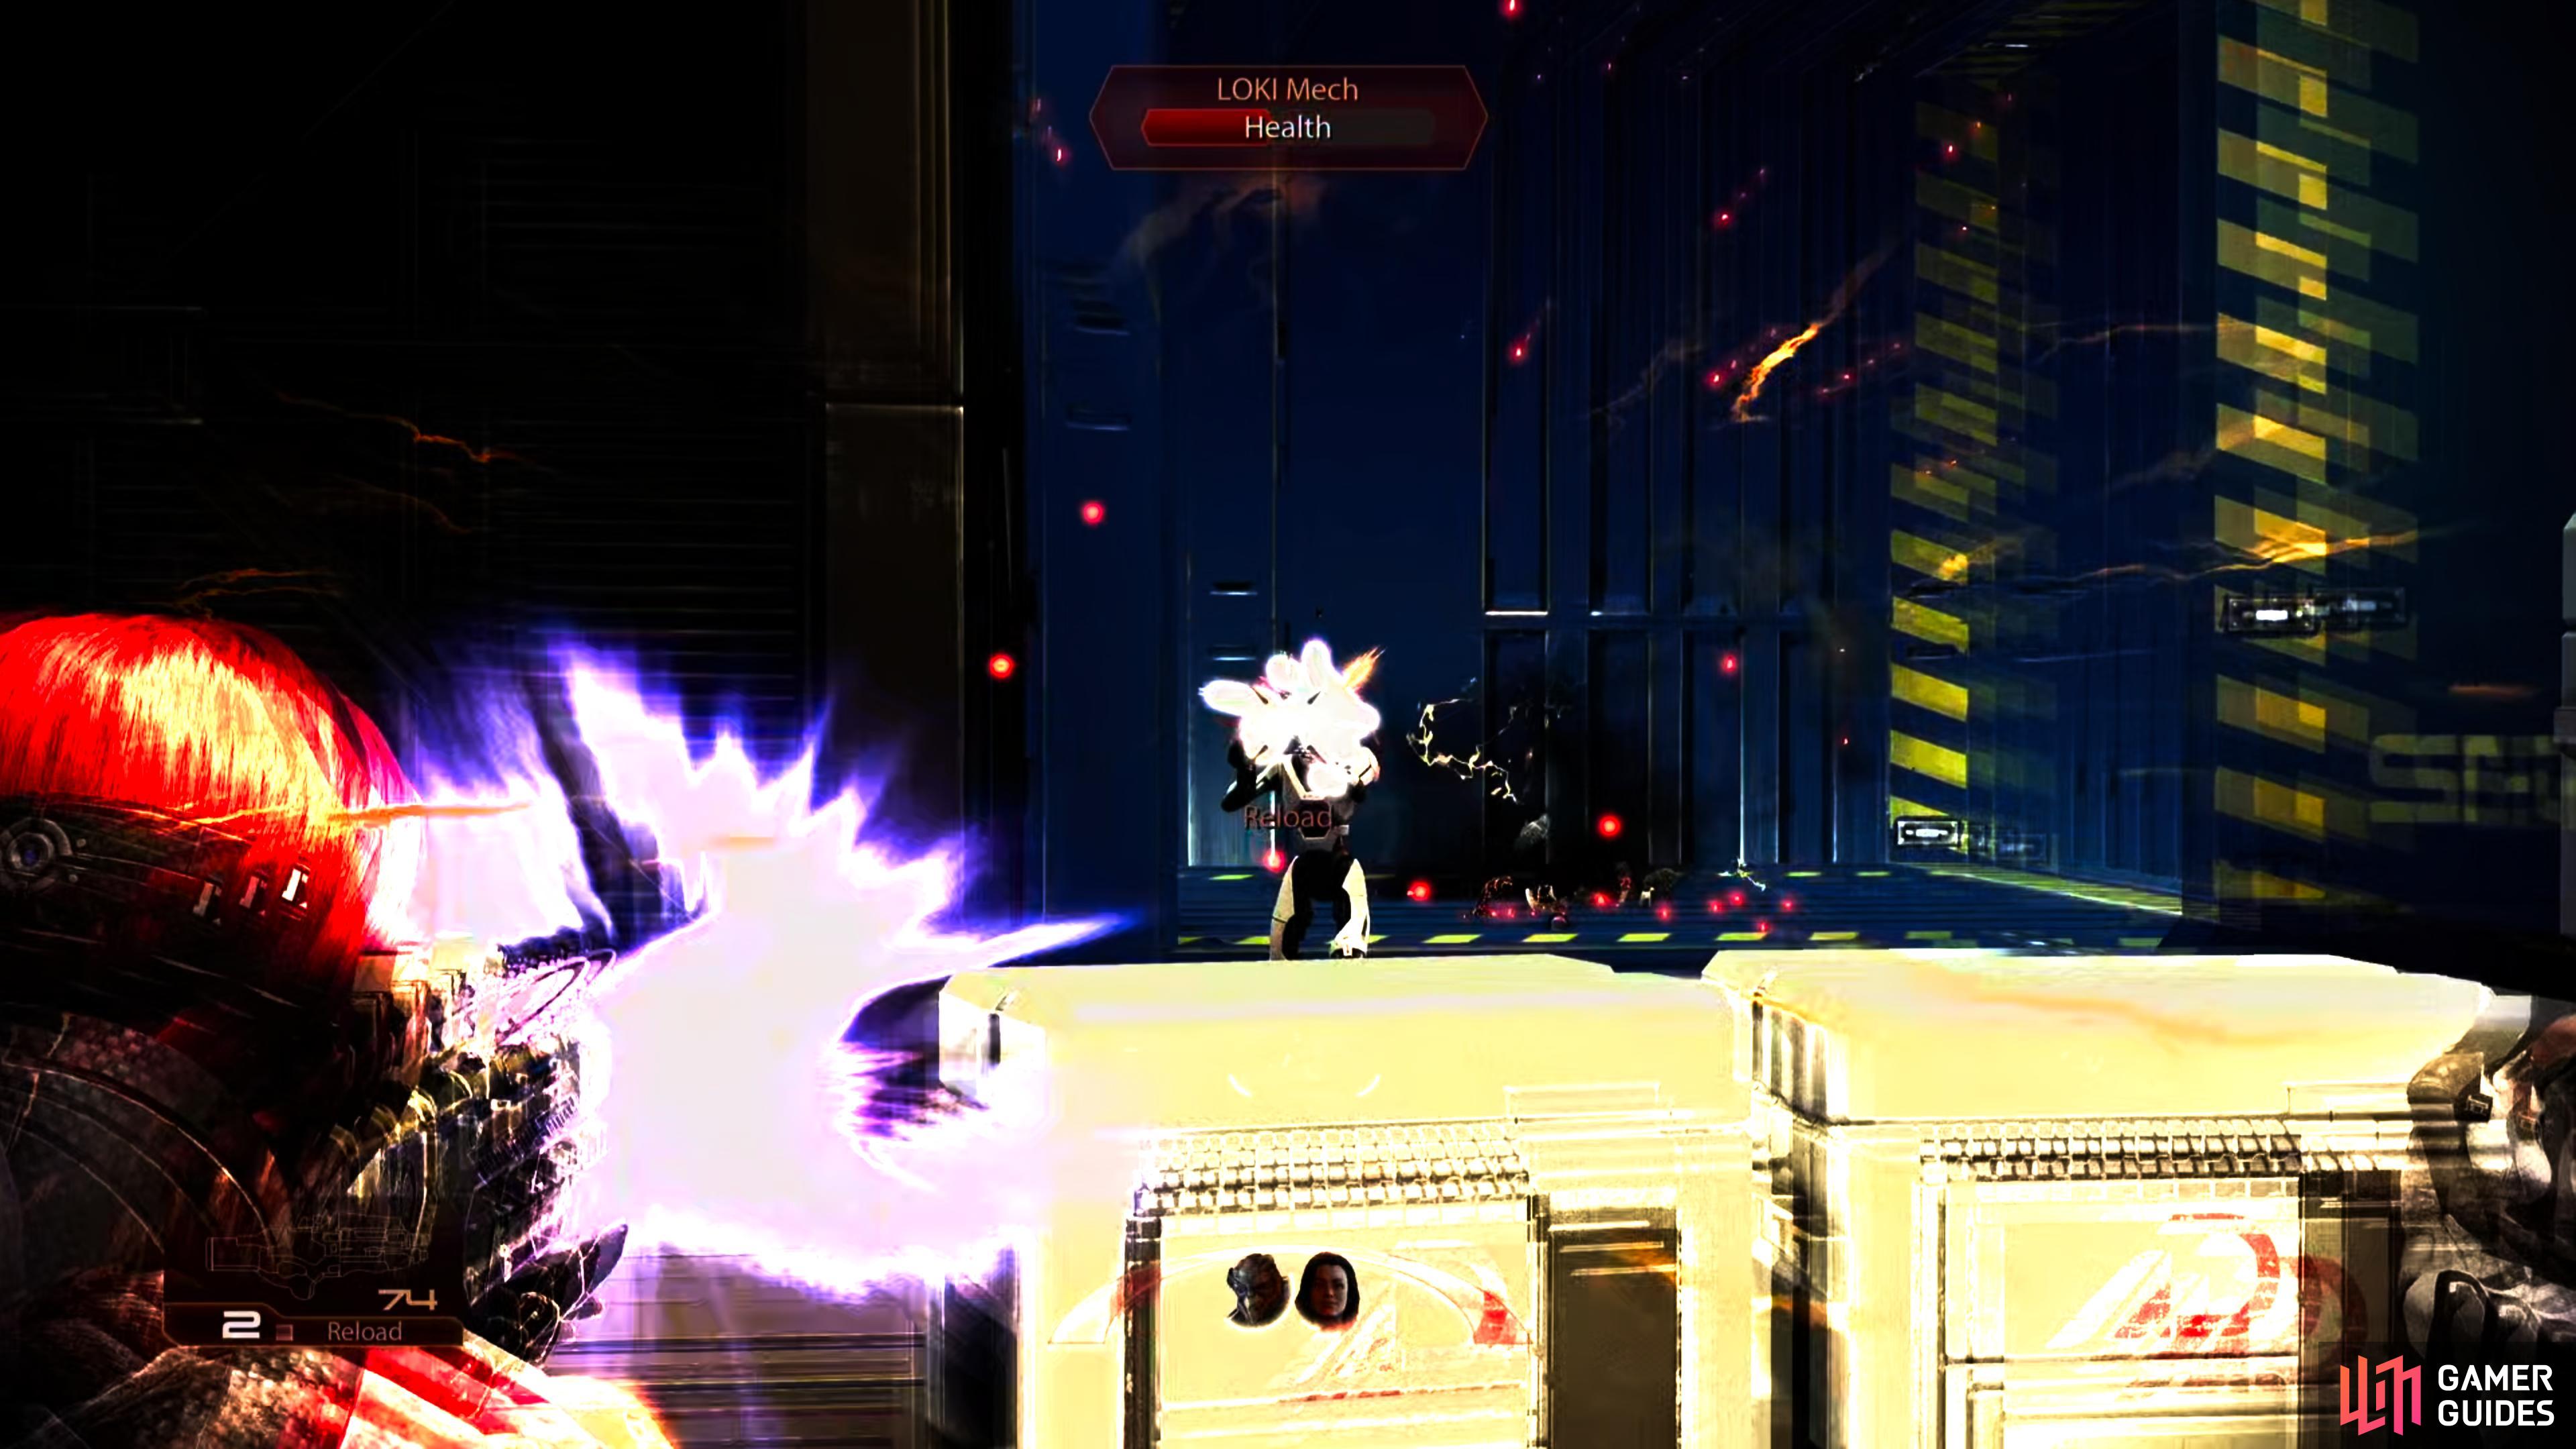
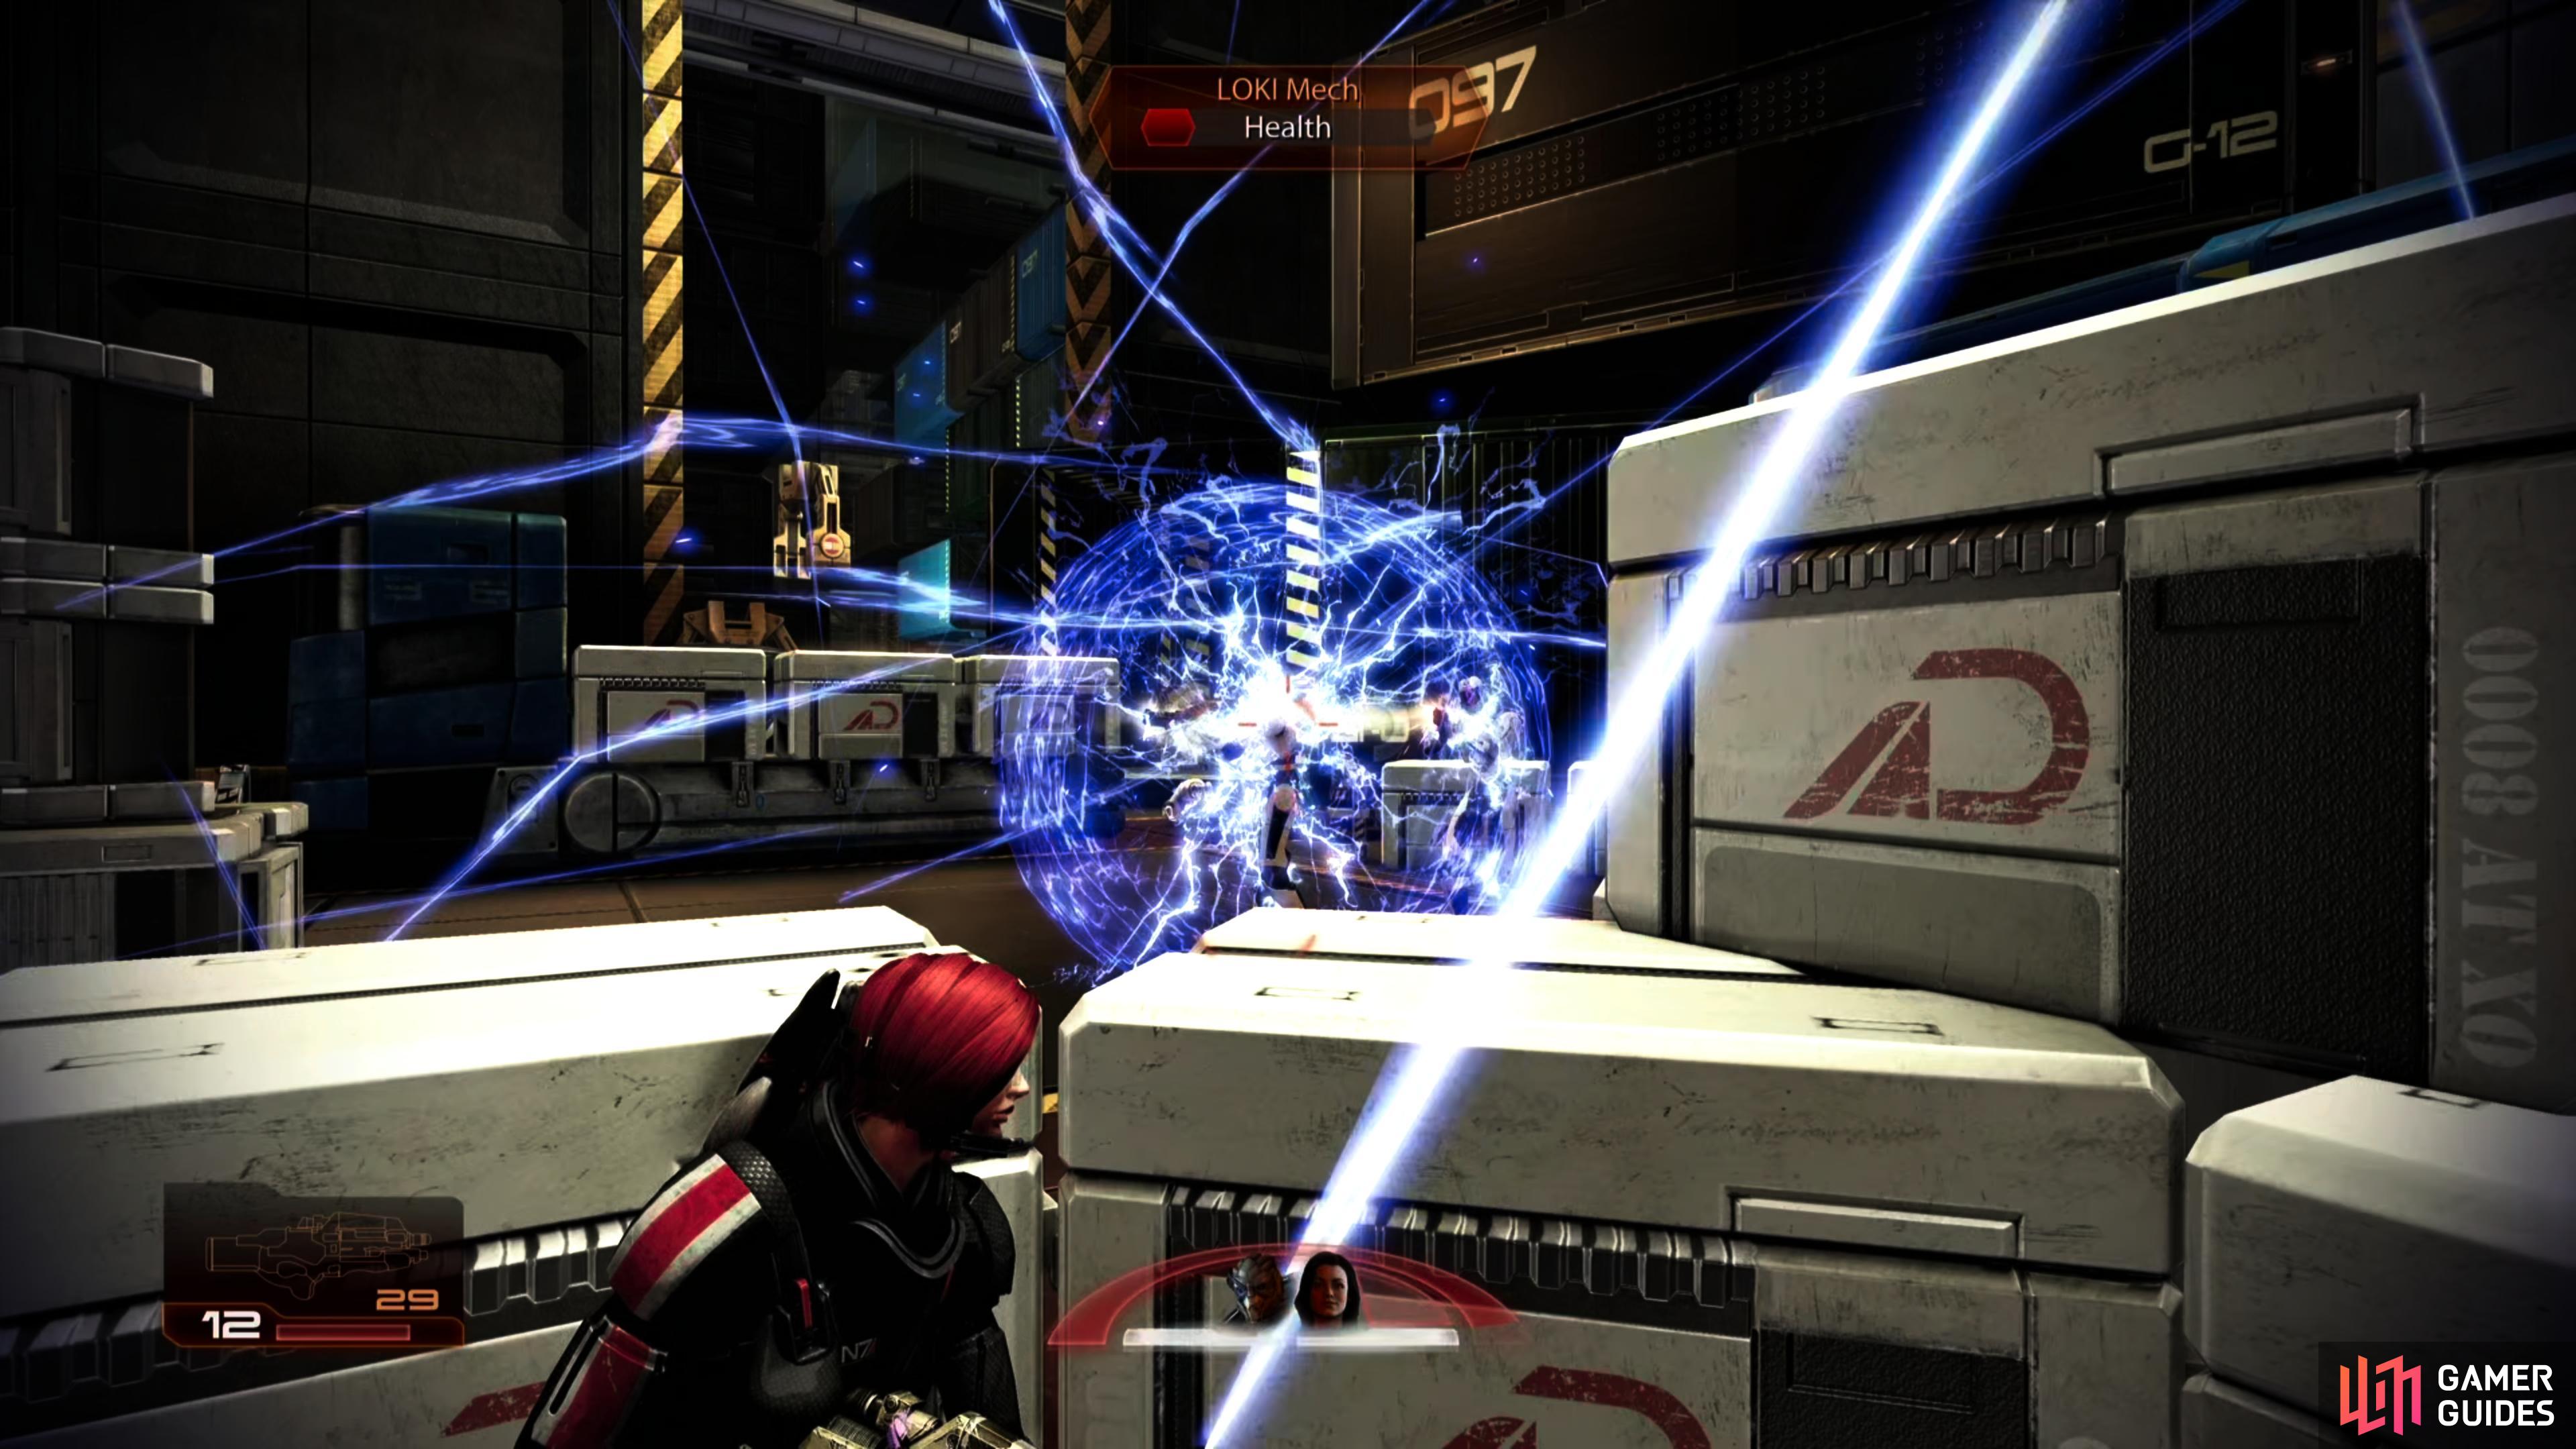
As soon as you land, you will see a short cutscene. As it ends, eliminate the two Blue Suns mercenaries and enter the door. Look to the left and just inside the door to find a trash can with credits inside. Continue to the left and the large blue crate in front of you will open and a pair of LOKI Mechs will crawl out to engage you. Smash them, then work your way through the stacks of crates to the right killing any mechs or Blue Suns mercenaries that get in the way. Just before you reach the giant doors leading to the next warehouse area, look on the wall to the left for a wall safe .
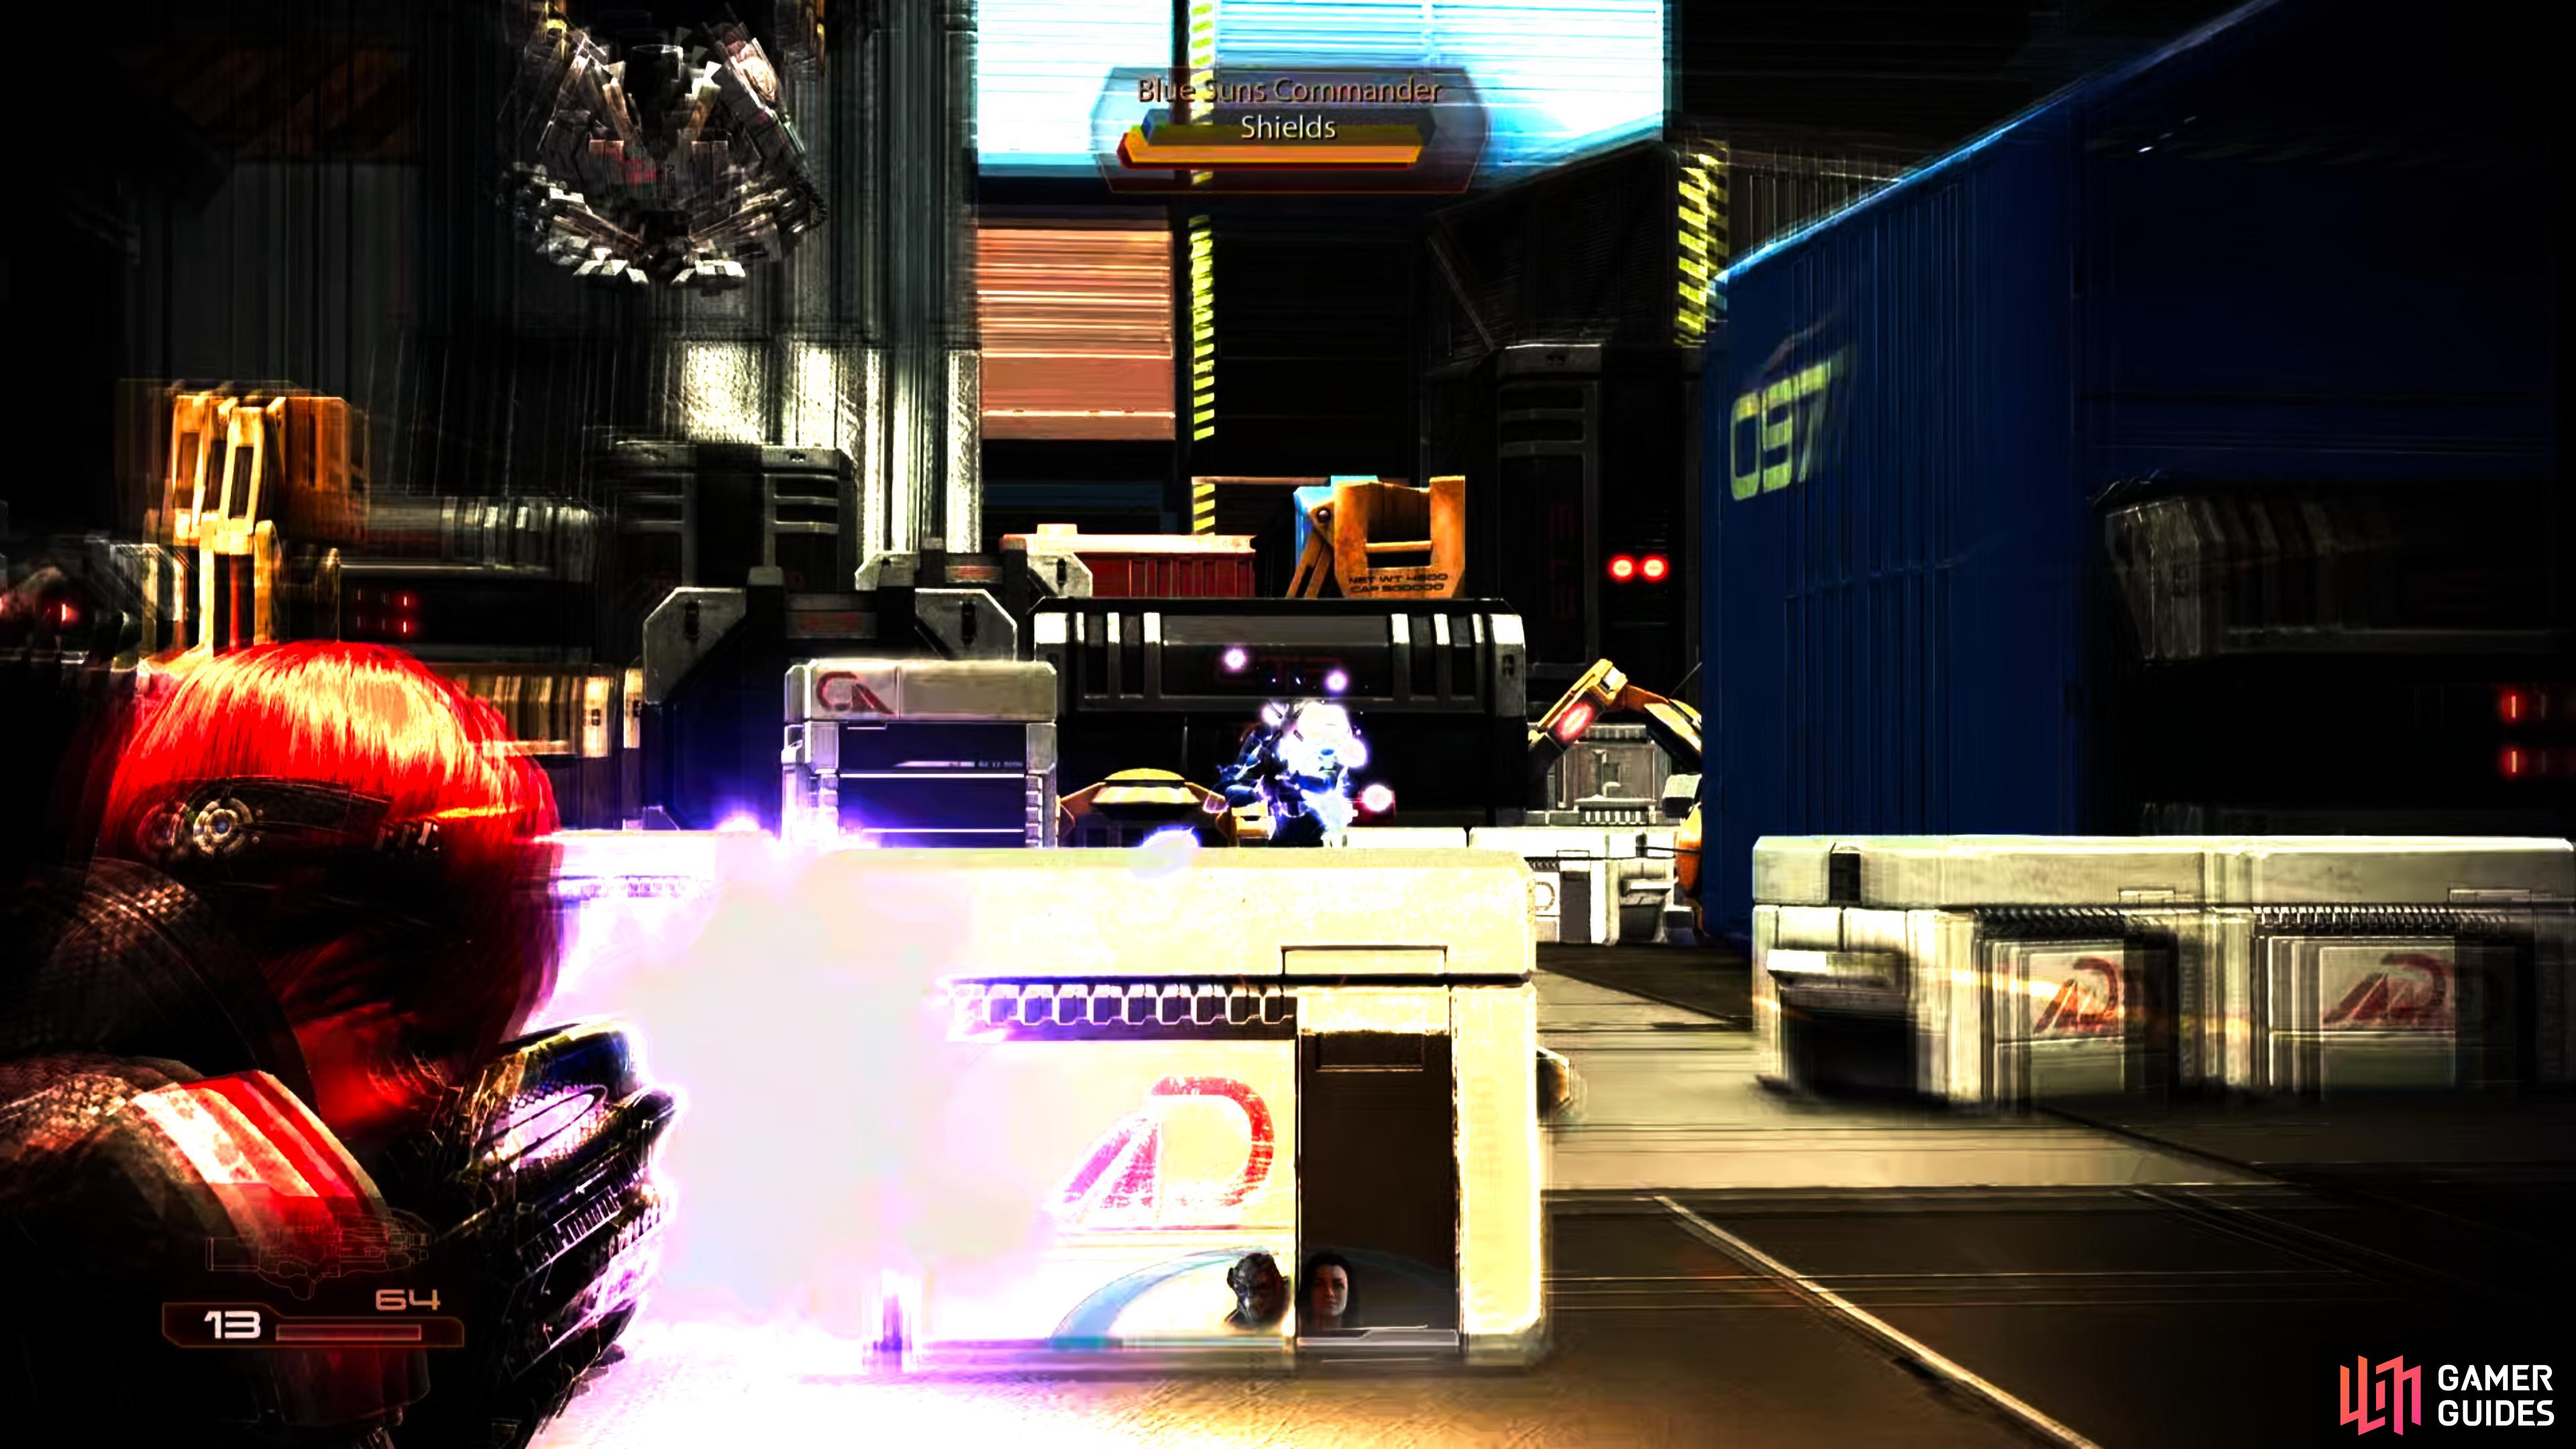
(1 of 3) You’ll face a variety of Blue Suns mercenaries on this mission,
Continue through the doors here, as you enter look straight ahead to salvage some circuit boards and a med kit, then follow the path around to the right. Turn the corner and work your way up the long hall here. Keep an eye out for hooks dropping LOKI mechs in front of you and also be vigilant for large storage crates being lowered to your level as they will usually open and spit out a couple of LOKI mechs each. As you move up, look in the second area to the right to find a pair of bypassable circuit boards. When you reach the far end, defeat the remaining Blue Sun forces holed up here and then hack the laptop on the desk and loot the nearby power cells, canister of refined Iridium and the med kit if required. When you are ready to go on, hit the bridge control.
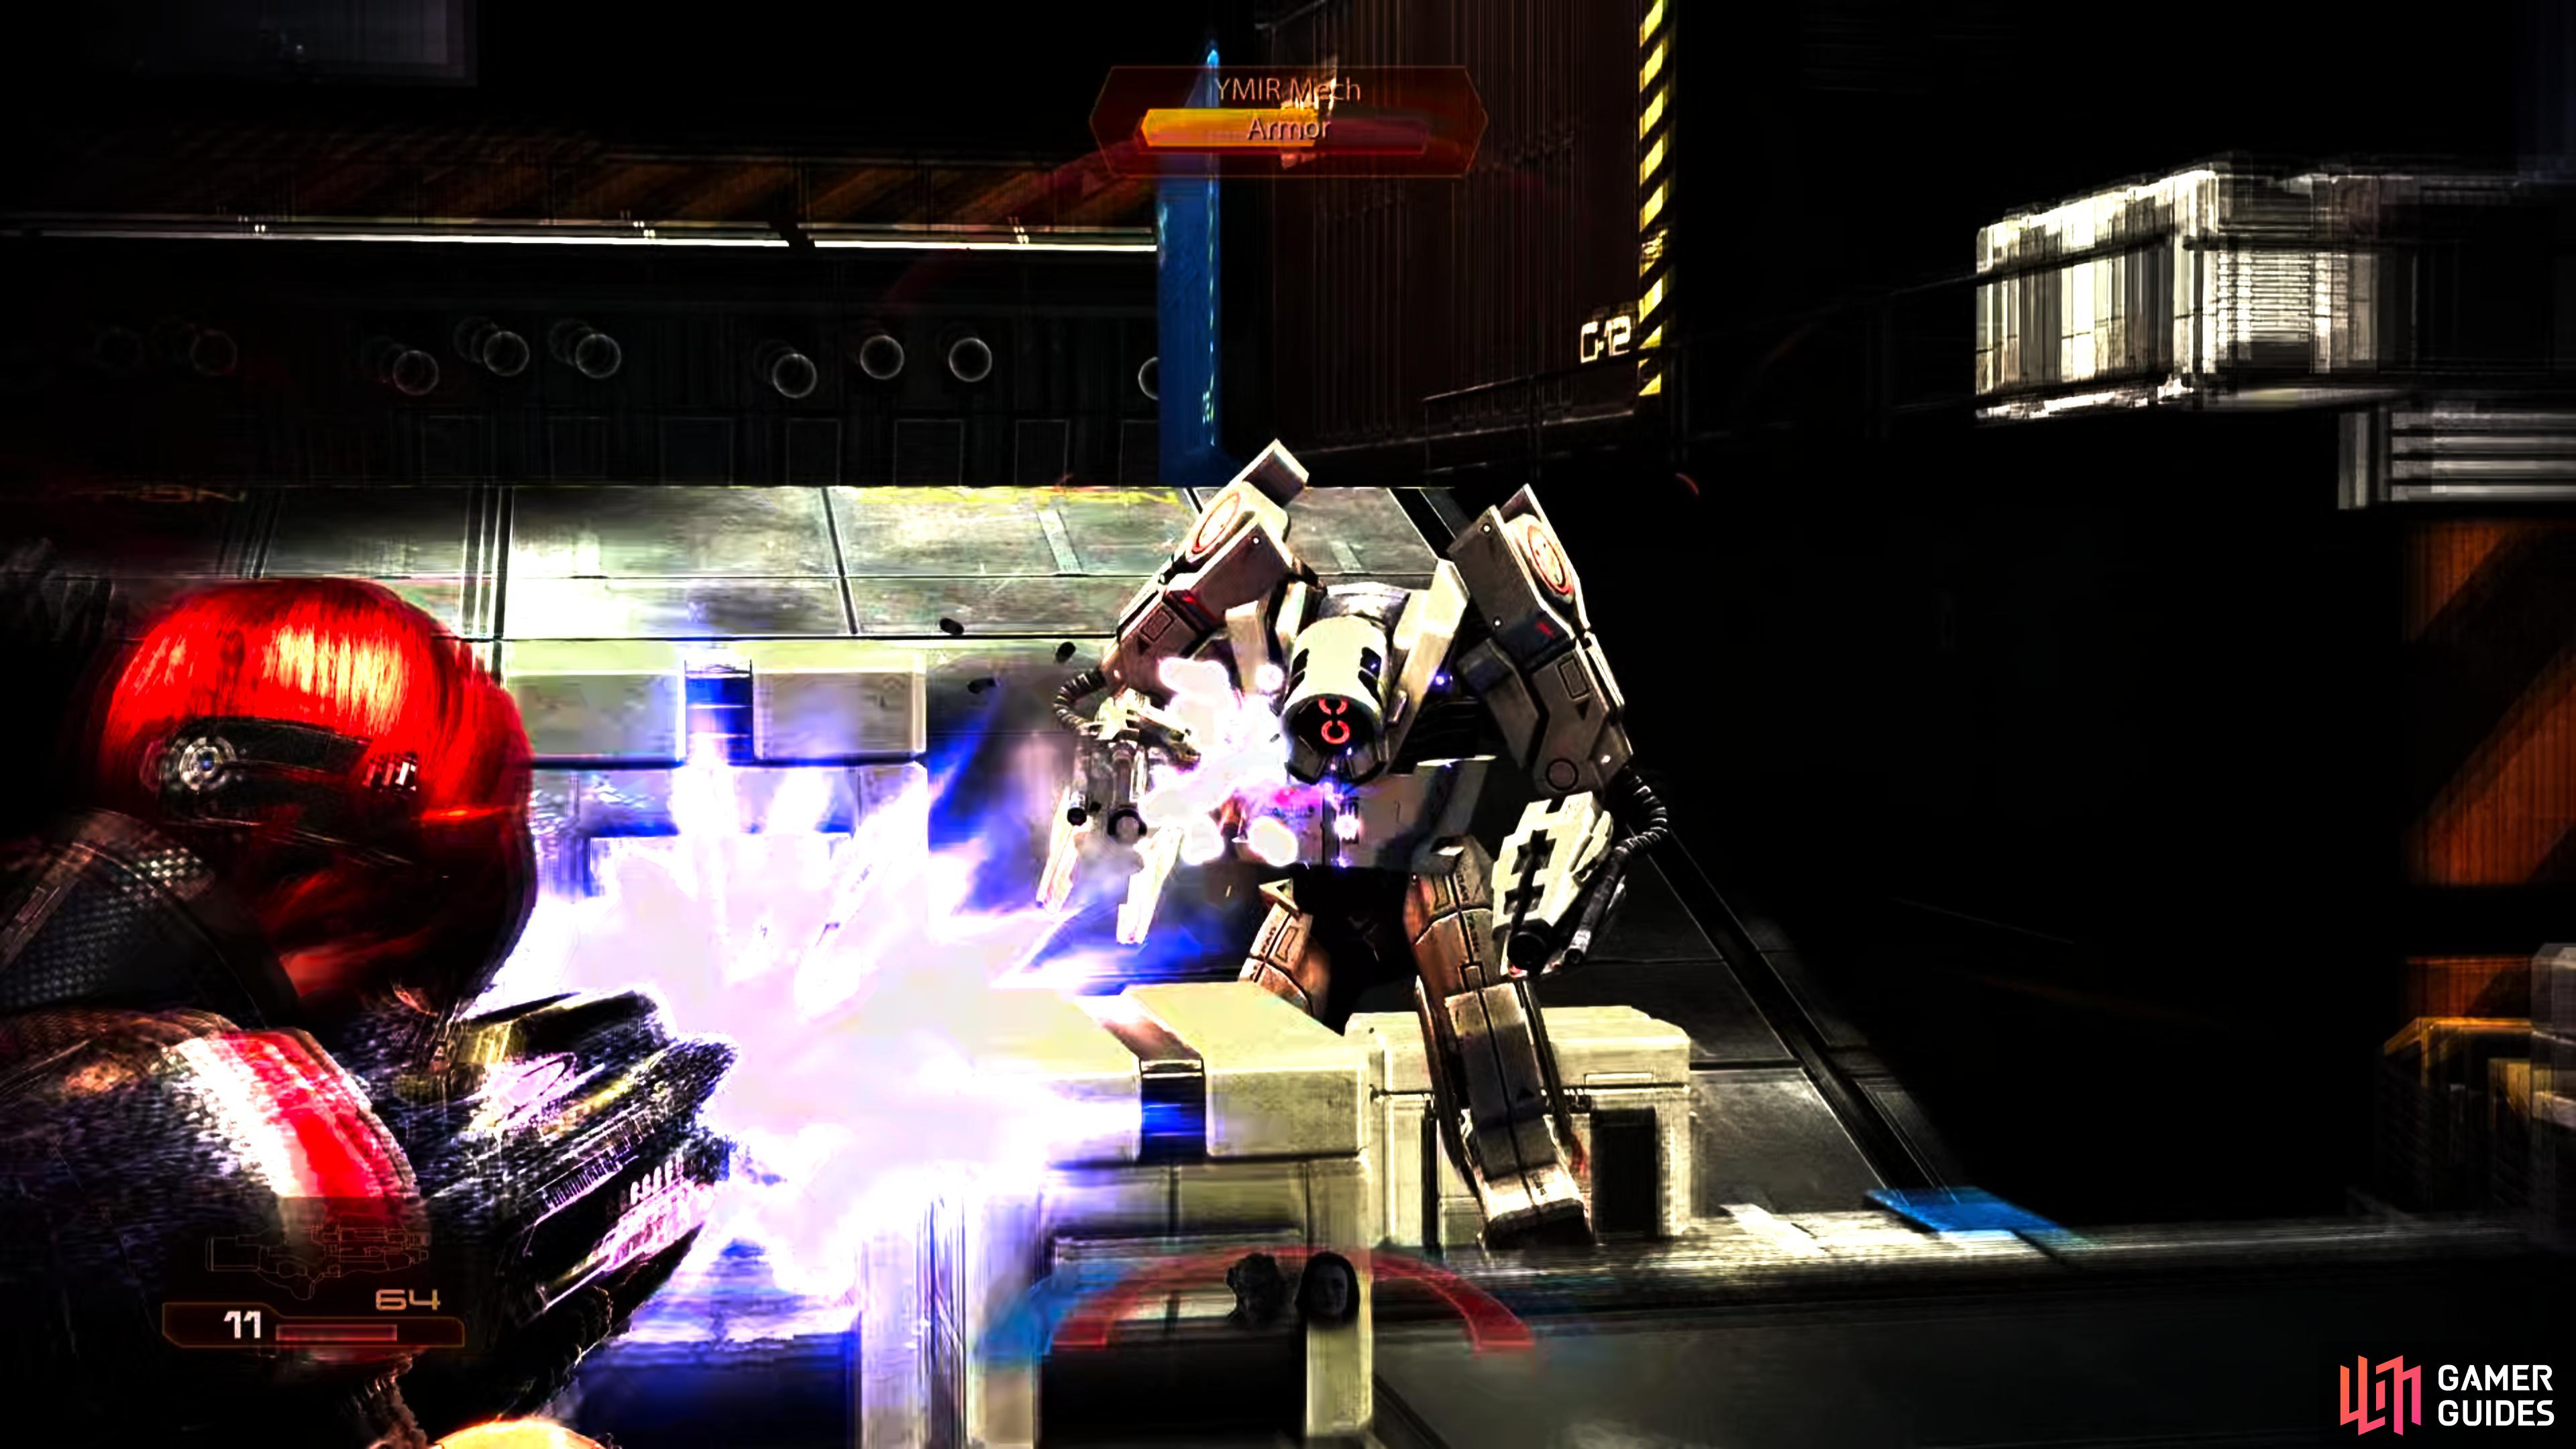
Take cover and work your way across the bridge killing the two mercenaries in the immediate area. Slowly move up and a Blue Sun Commander and a small group of troopers will appear to attack you. Stay in cover and eliminate these baddies. When they drop, a YMIR mech will be lowered into the area and another couple of mercenaries will join in its assault on your position. When they are all dead, enter the door on the left side of the area.
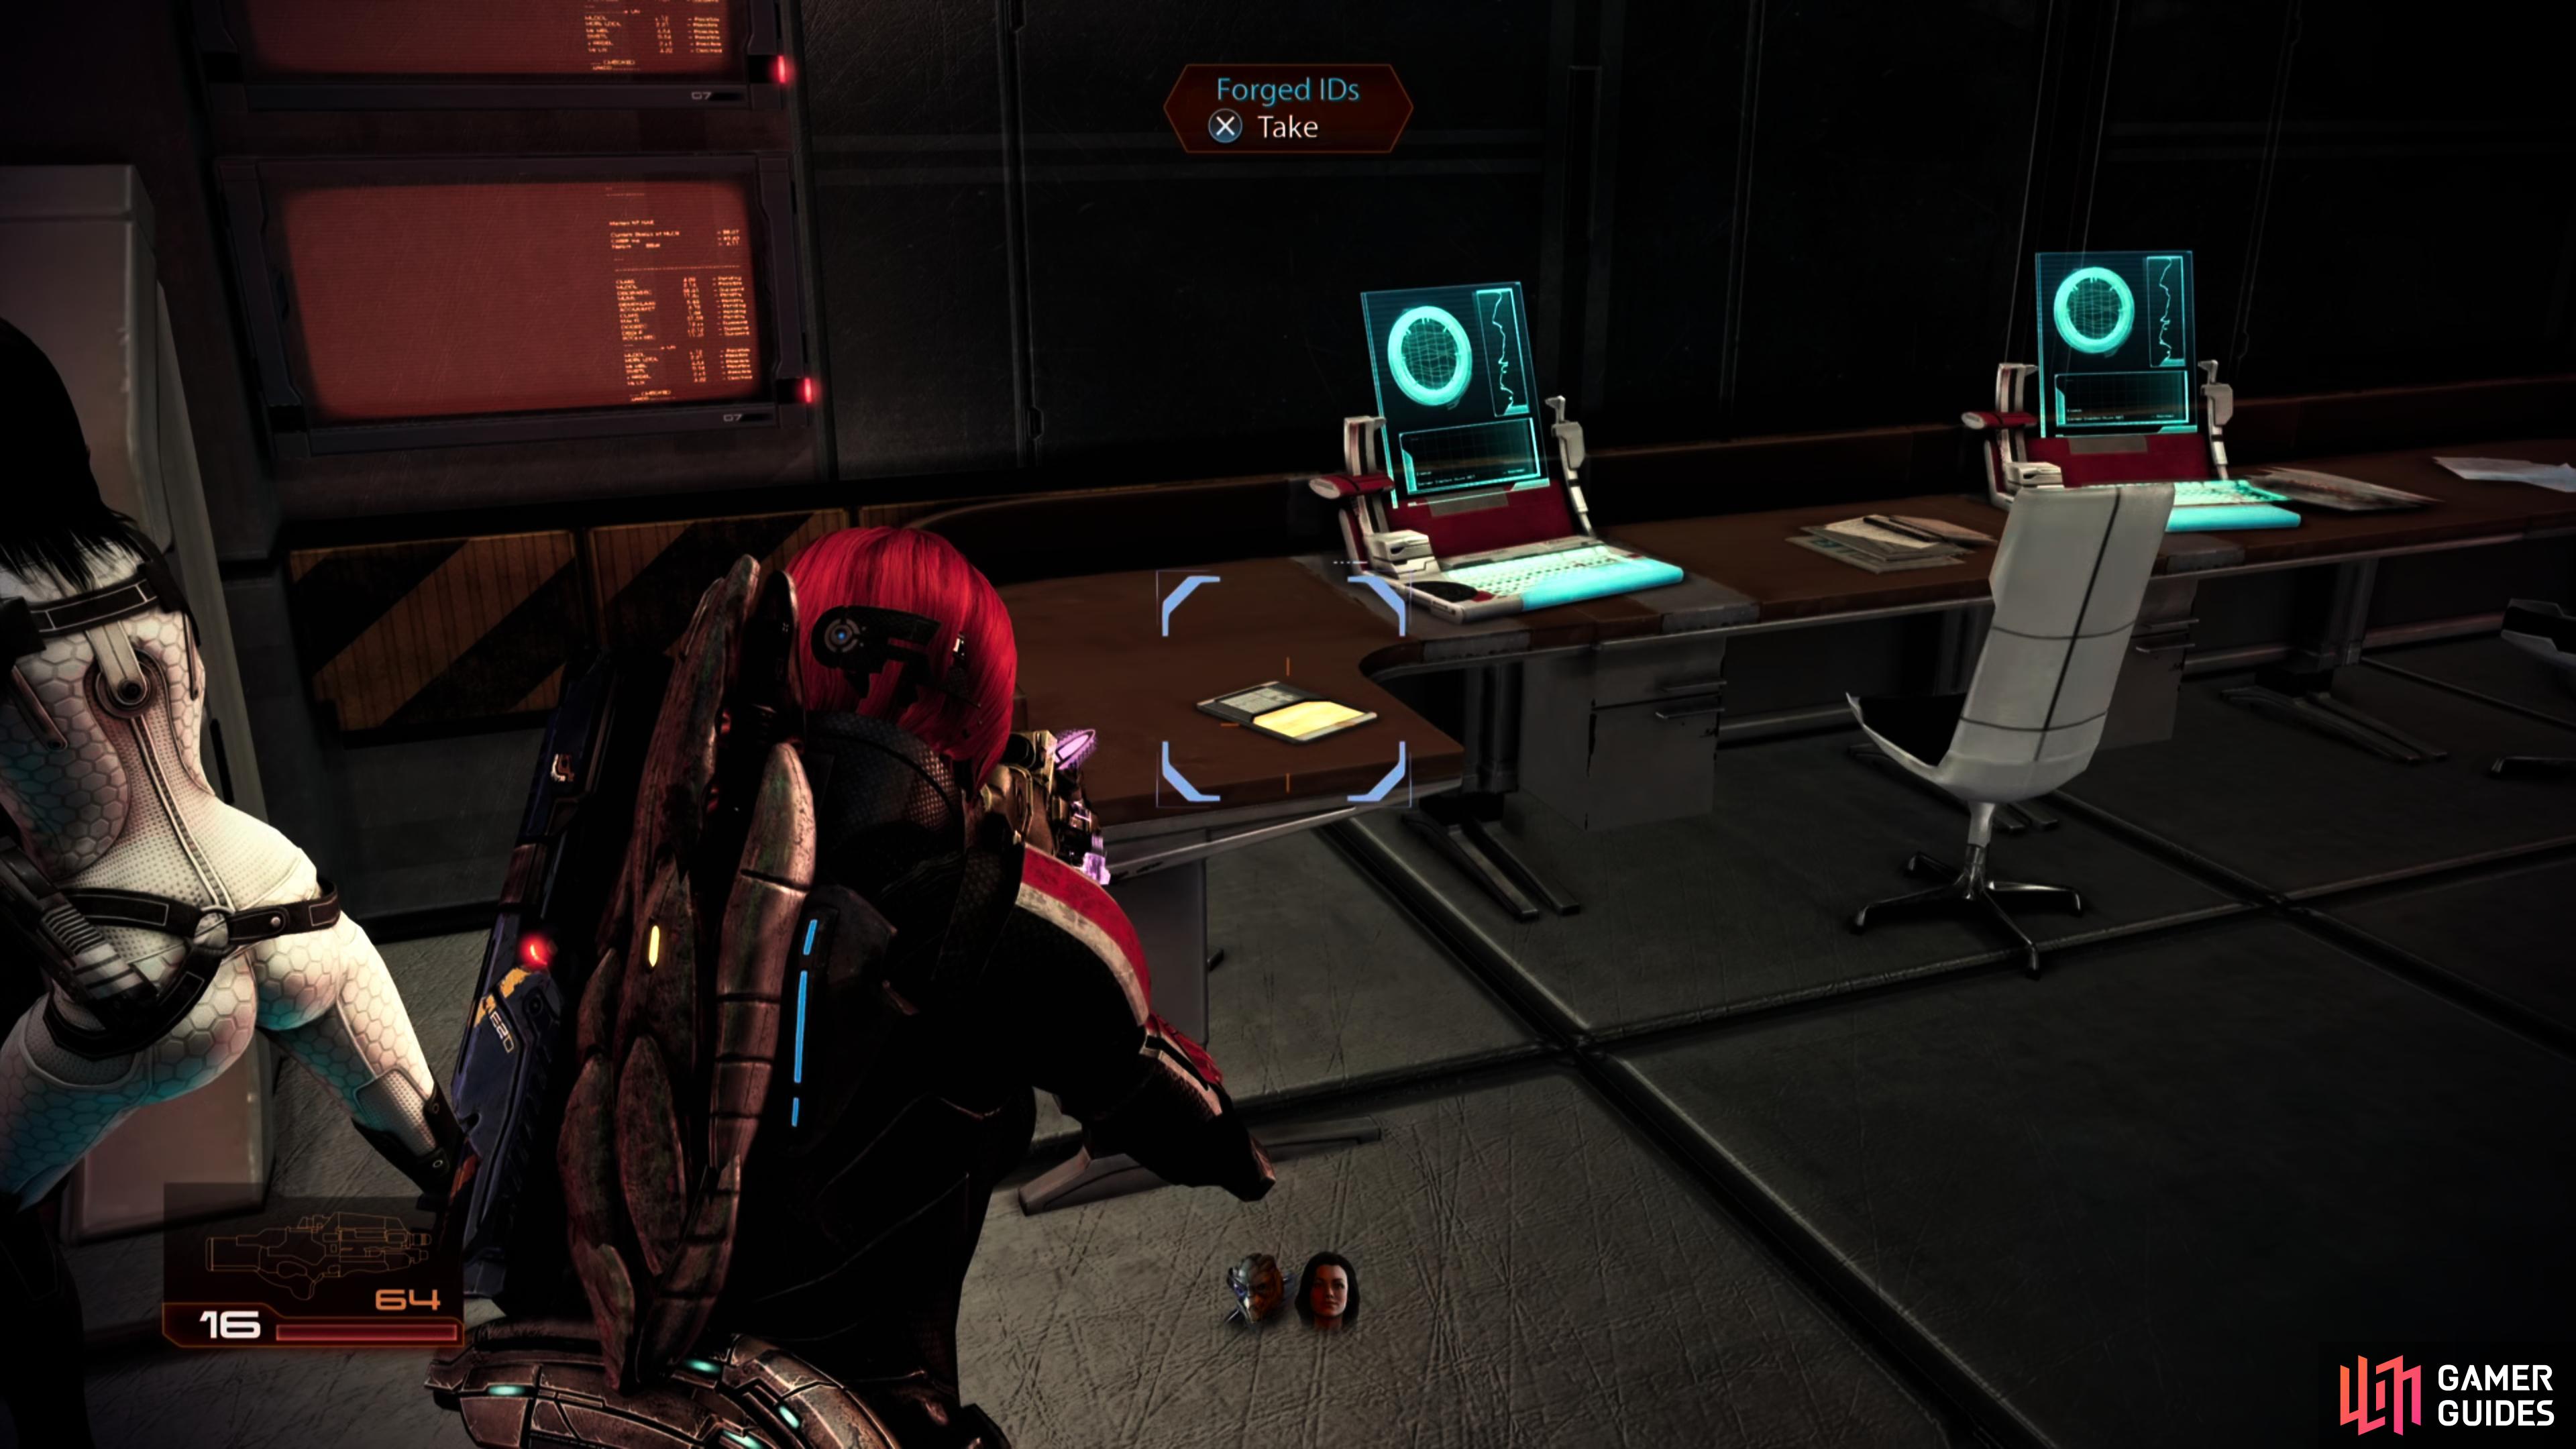
(1 of 2) Grab some Fake IDs,
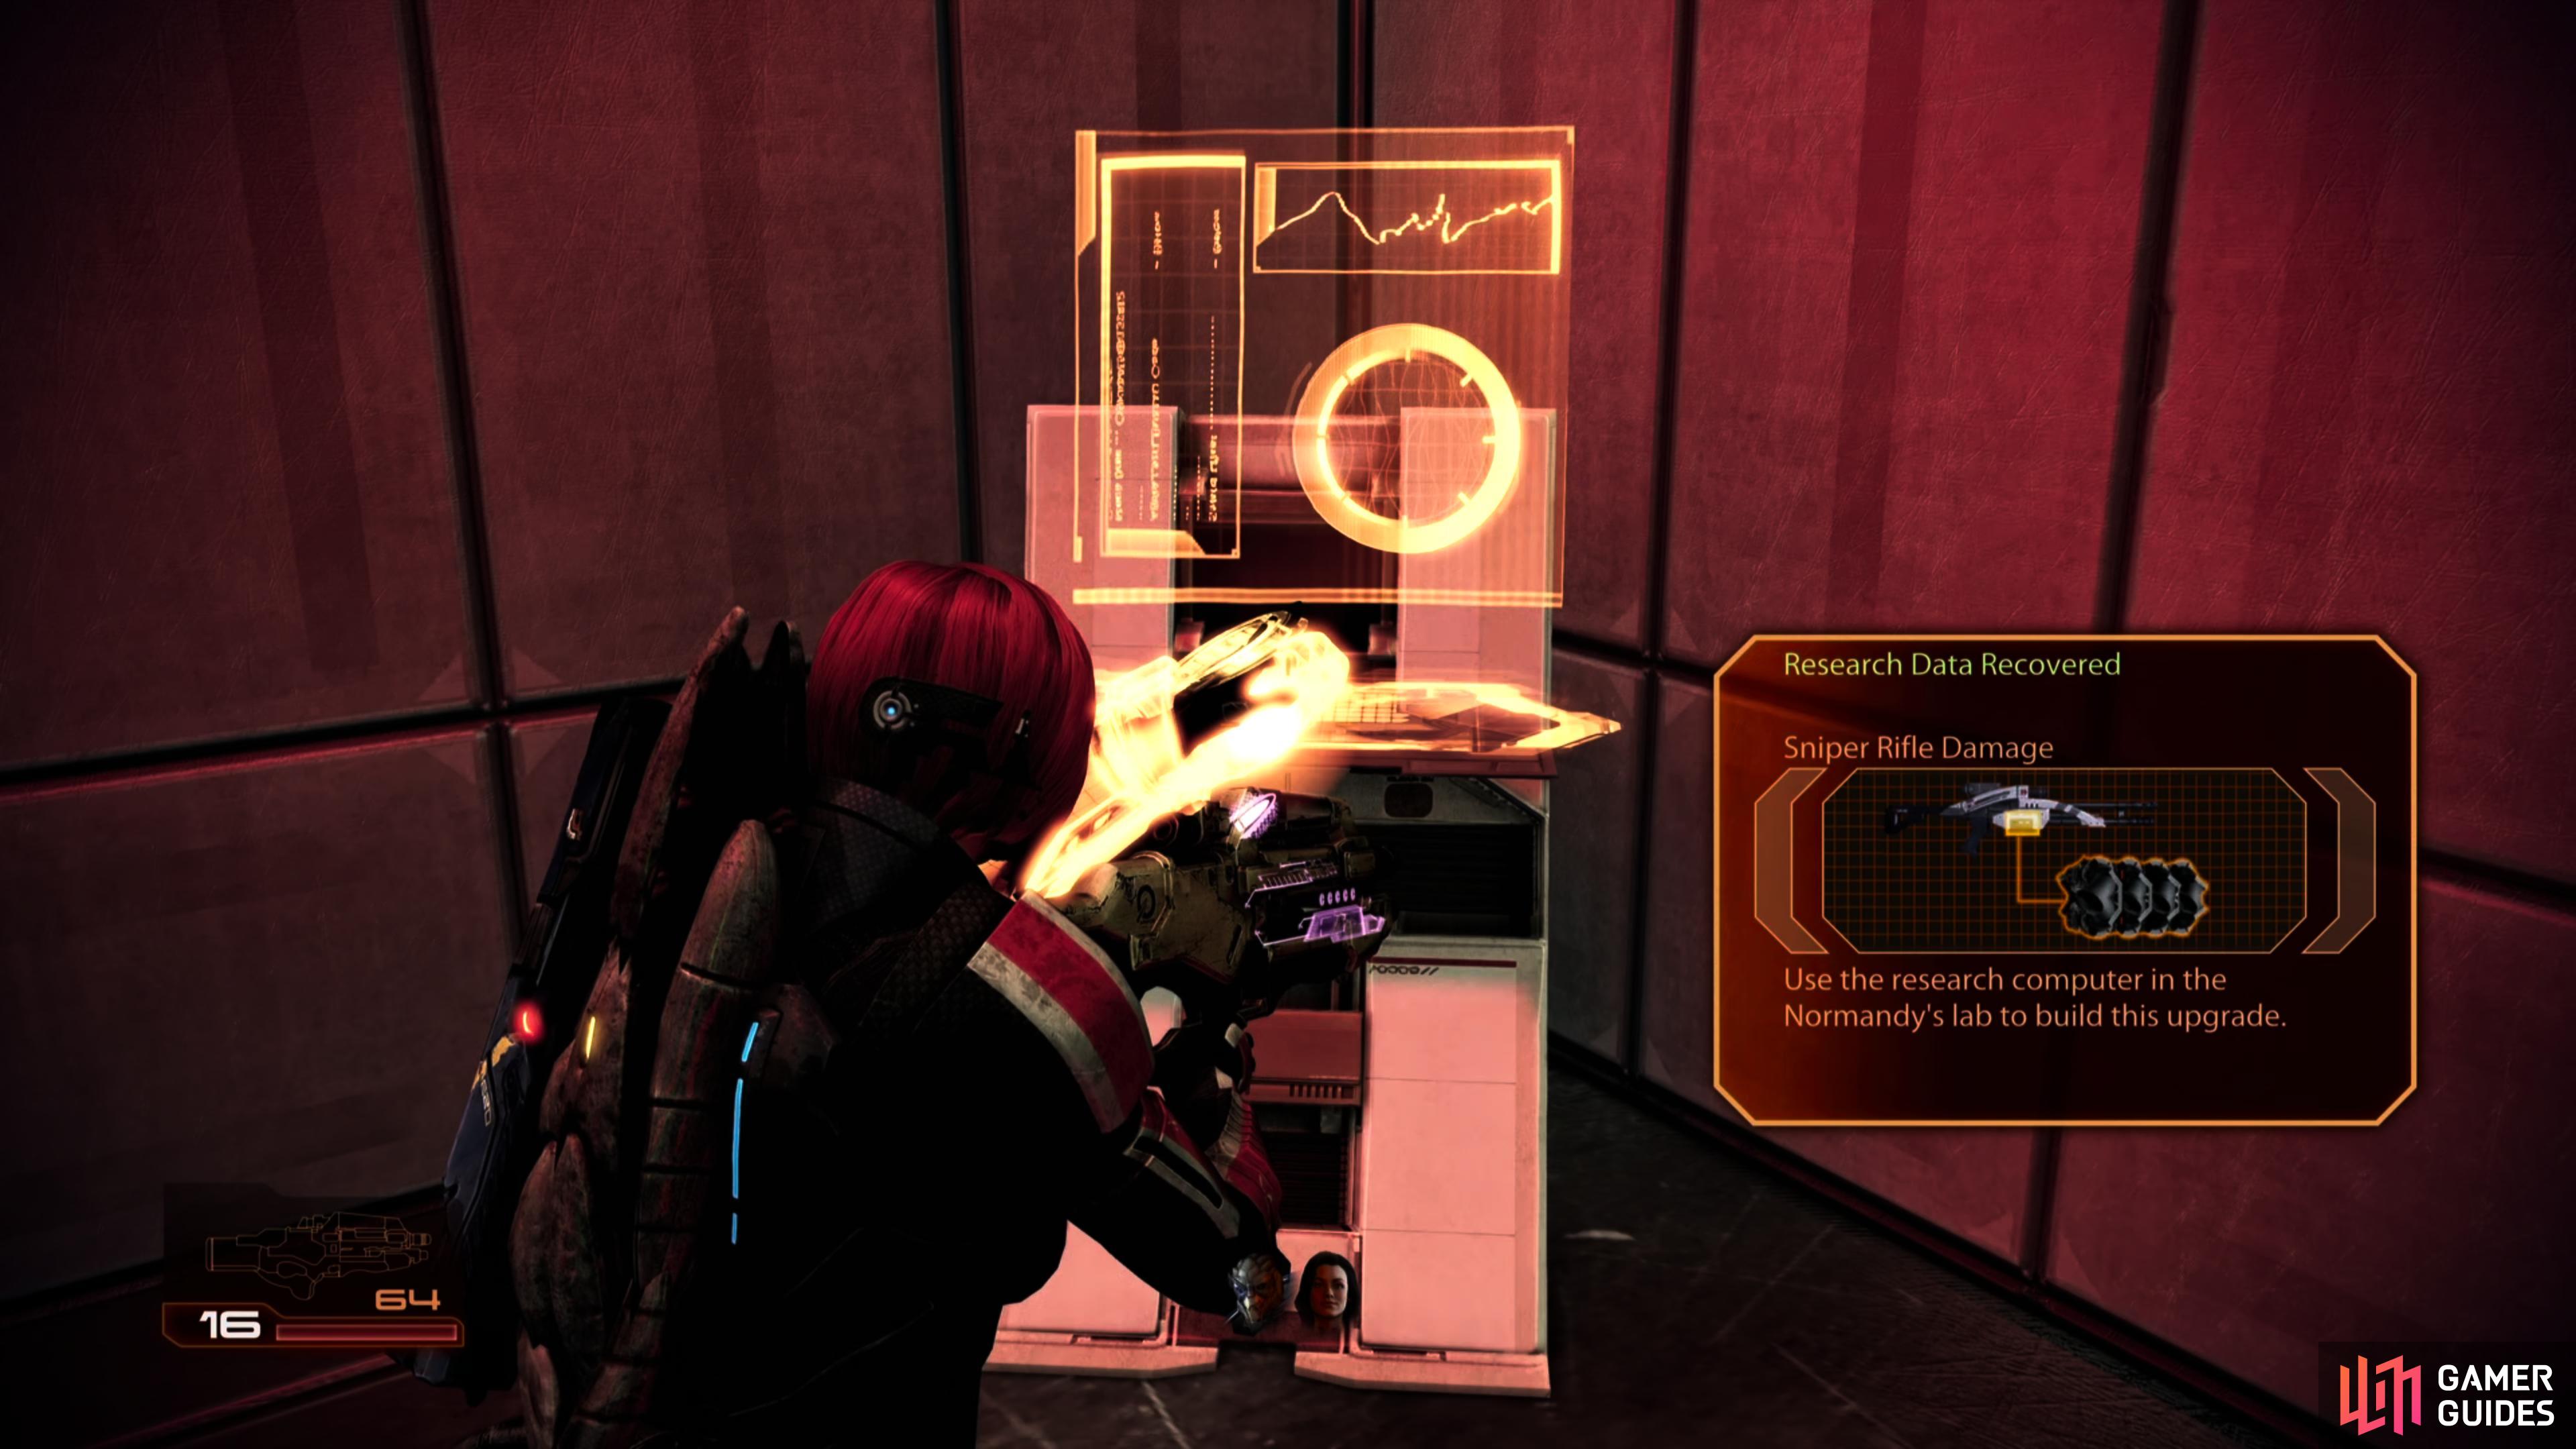
Grab some Fake IDs, (left), then hack a terminal to score a Sniper Rifle Damage upgrade. (right)
Explore the office here for a medical station, some power cells, a hackable wall safe and some Forged IDs, which you’ll need for the assignment [Citadel: False Positives]. Open the windows for a quick conversation with Garrus and when you are ready to fight once more, exit through the door on the right side of the room. Hack the terminal in the small sub-room for a Sniper Rifle Damage upgrade, then exit through the left door to confront Harkin.
As you enter, cruise to the left and take cover here. As you do, a group of LOKI Mechs will be dropped in front of you and several Blue Suns mercenaries will appear on top of various crates and vantage points around the room. Slowly move between cover and eliminate the threats as you do. When you reach the first platform you can vault up to on the right, do so and then again to the next right-hand platform to find a hackable data pad. Return to the floor. Climb up the platforms straight ahead and use them to reach the ground on the opposite side.
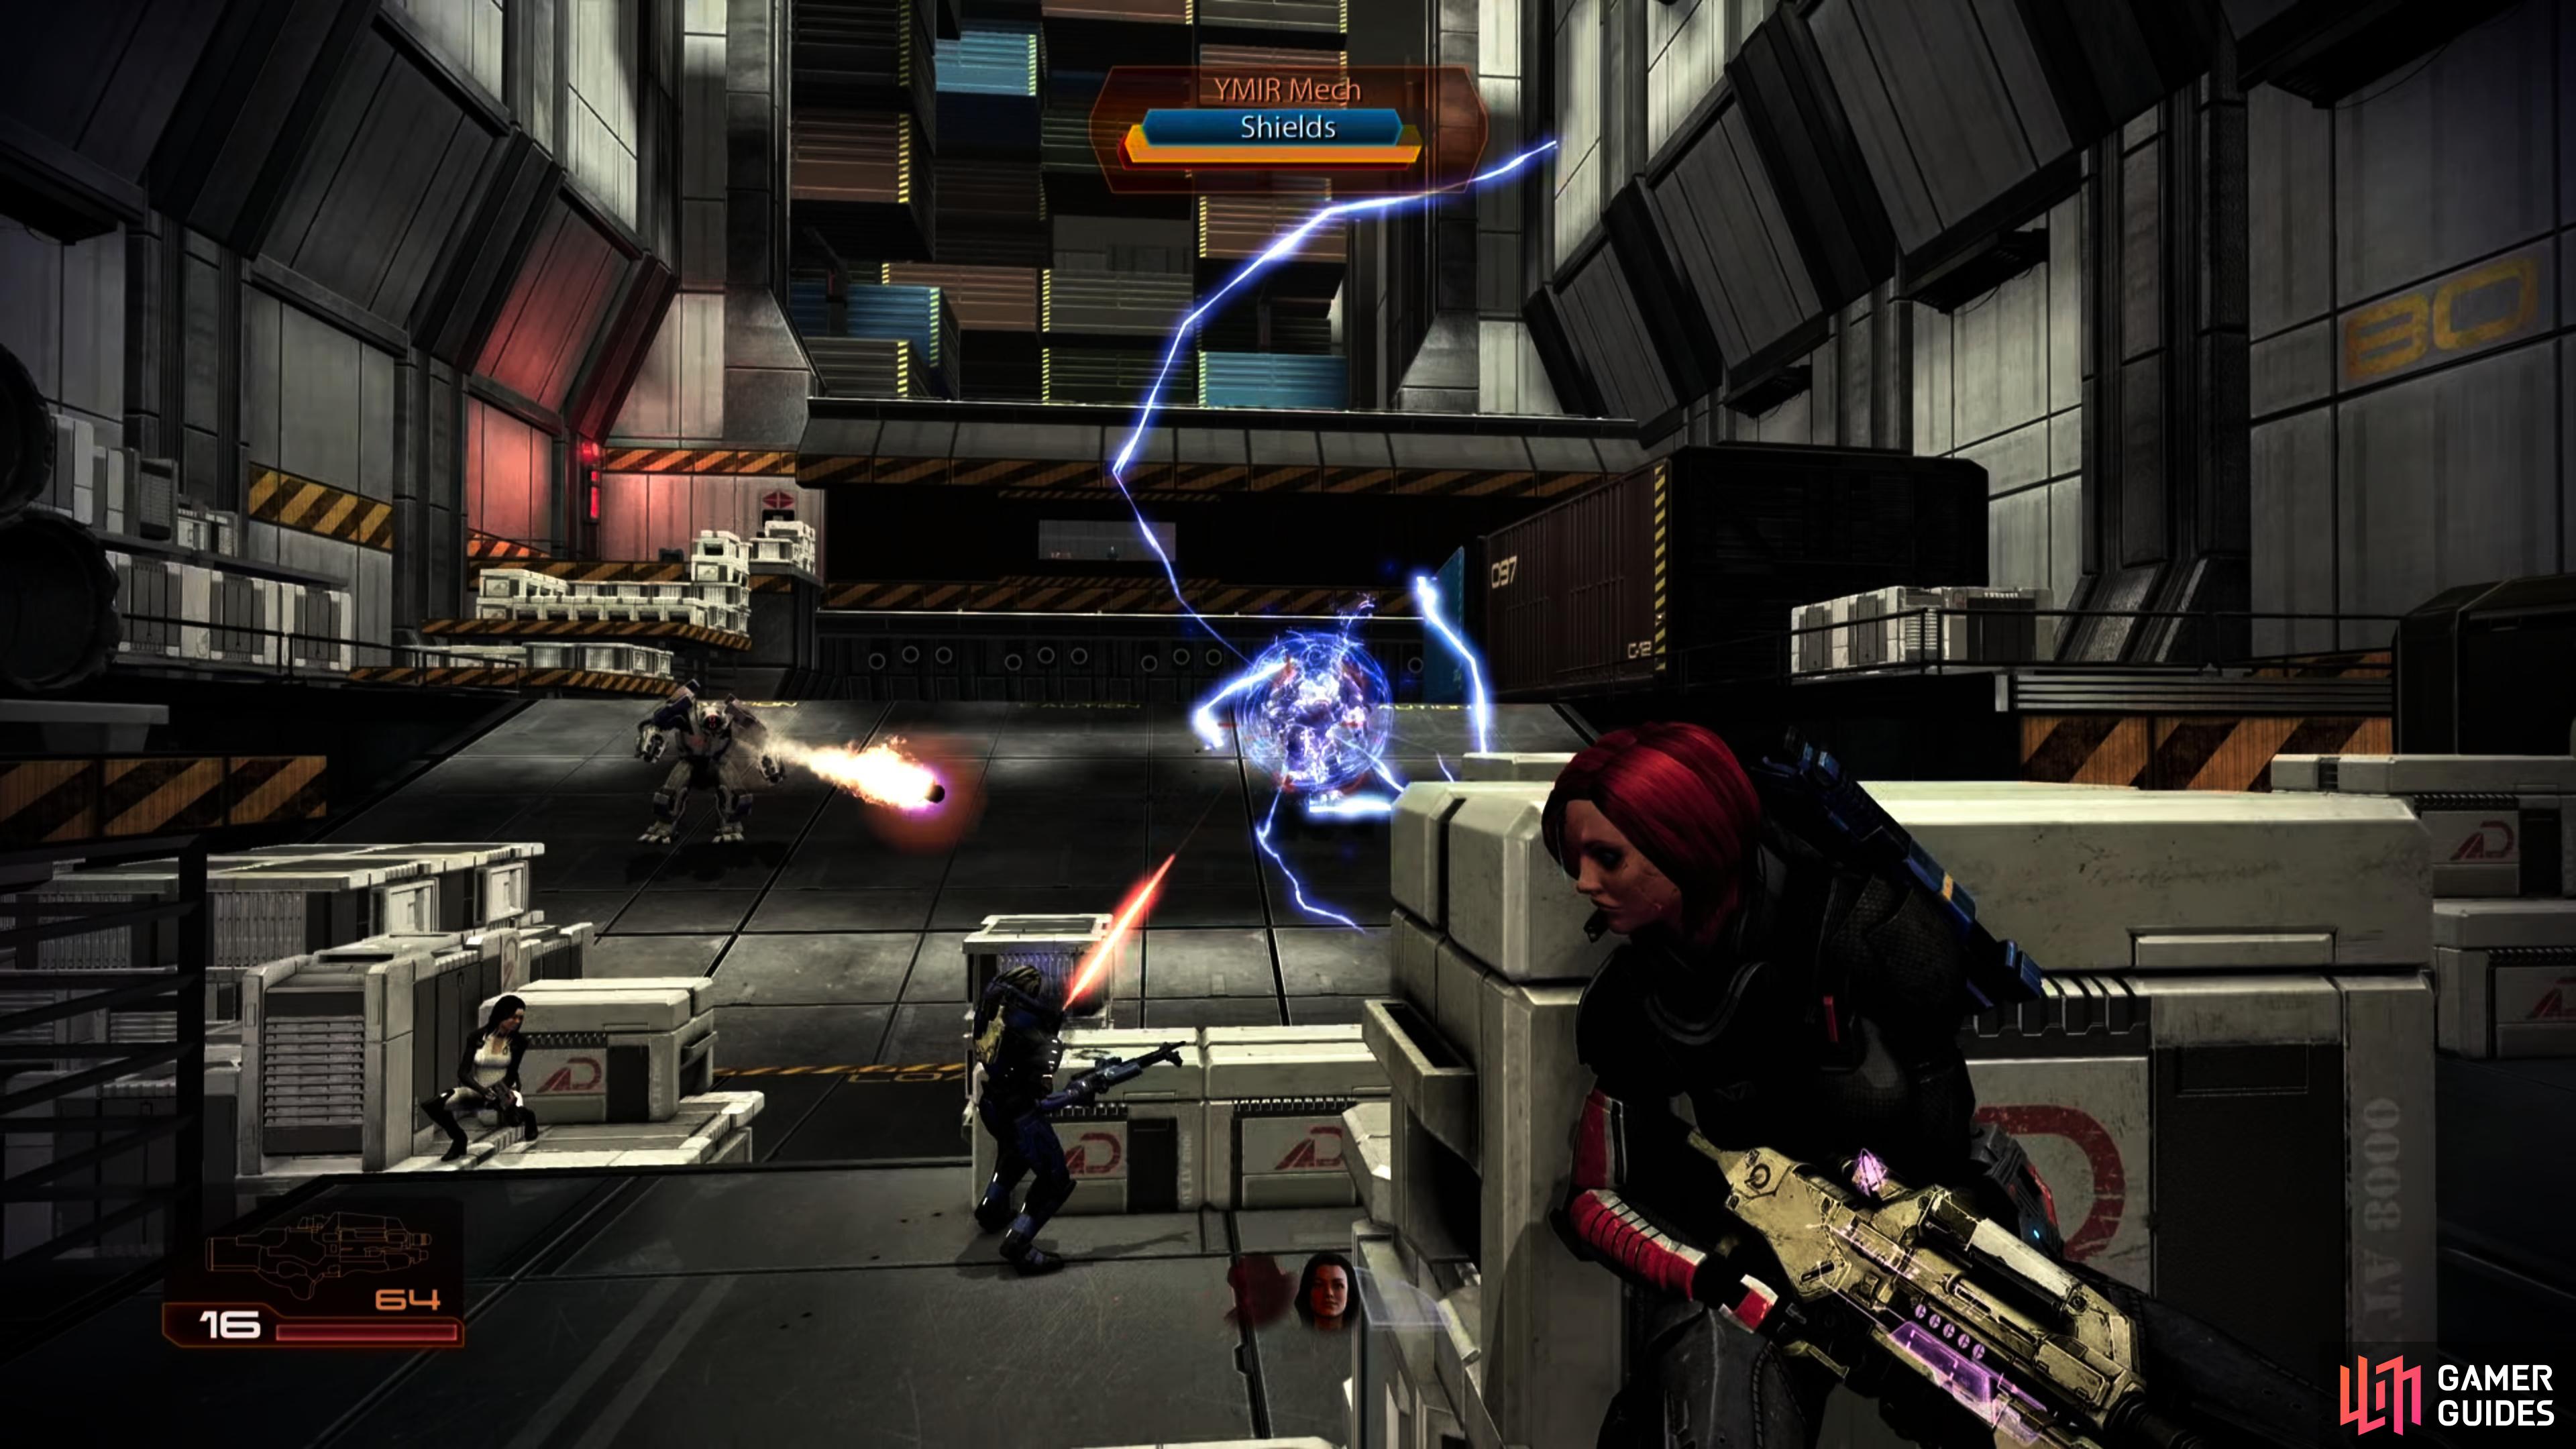
(1 of 2) Use Overload to strip the YMIR Mechs of their shields,
Use Overload to strip the YMIR Mechs of their shields, (left), then keep your distance and whittle down their armor and health - you’re essentially in a race against time as the massive machines inexorably advance. (right)
As you land, two YMIR Mechs will be dropped in. Climb back up a couple of platforms so they are unable to reach you and take cover behind the crates here. As usual, use your team’s various abilities to eliminate the barriers, then the armor and then drill them with whatever you feel like until they are scrap metal.
When both of the YMIR Mechs have been dealt with, return back down to the floor and climb the ramp ahead. Go to the left side of the building and you will see a series of platforms that are arranged in such a way that they can be climbed with continued cover vaulting. Before you do that however, you should eliminate the enemies on the platforms above.
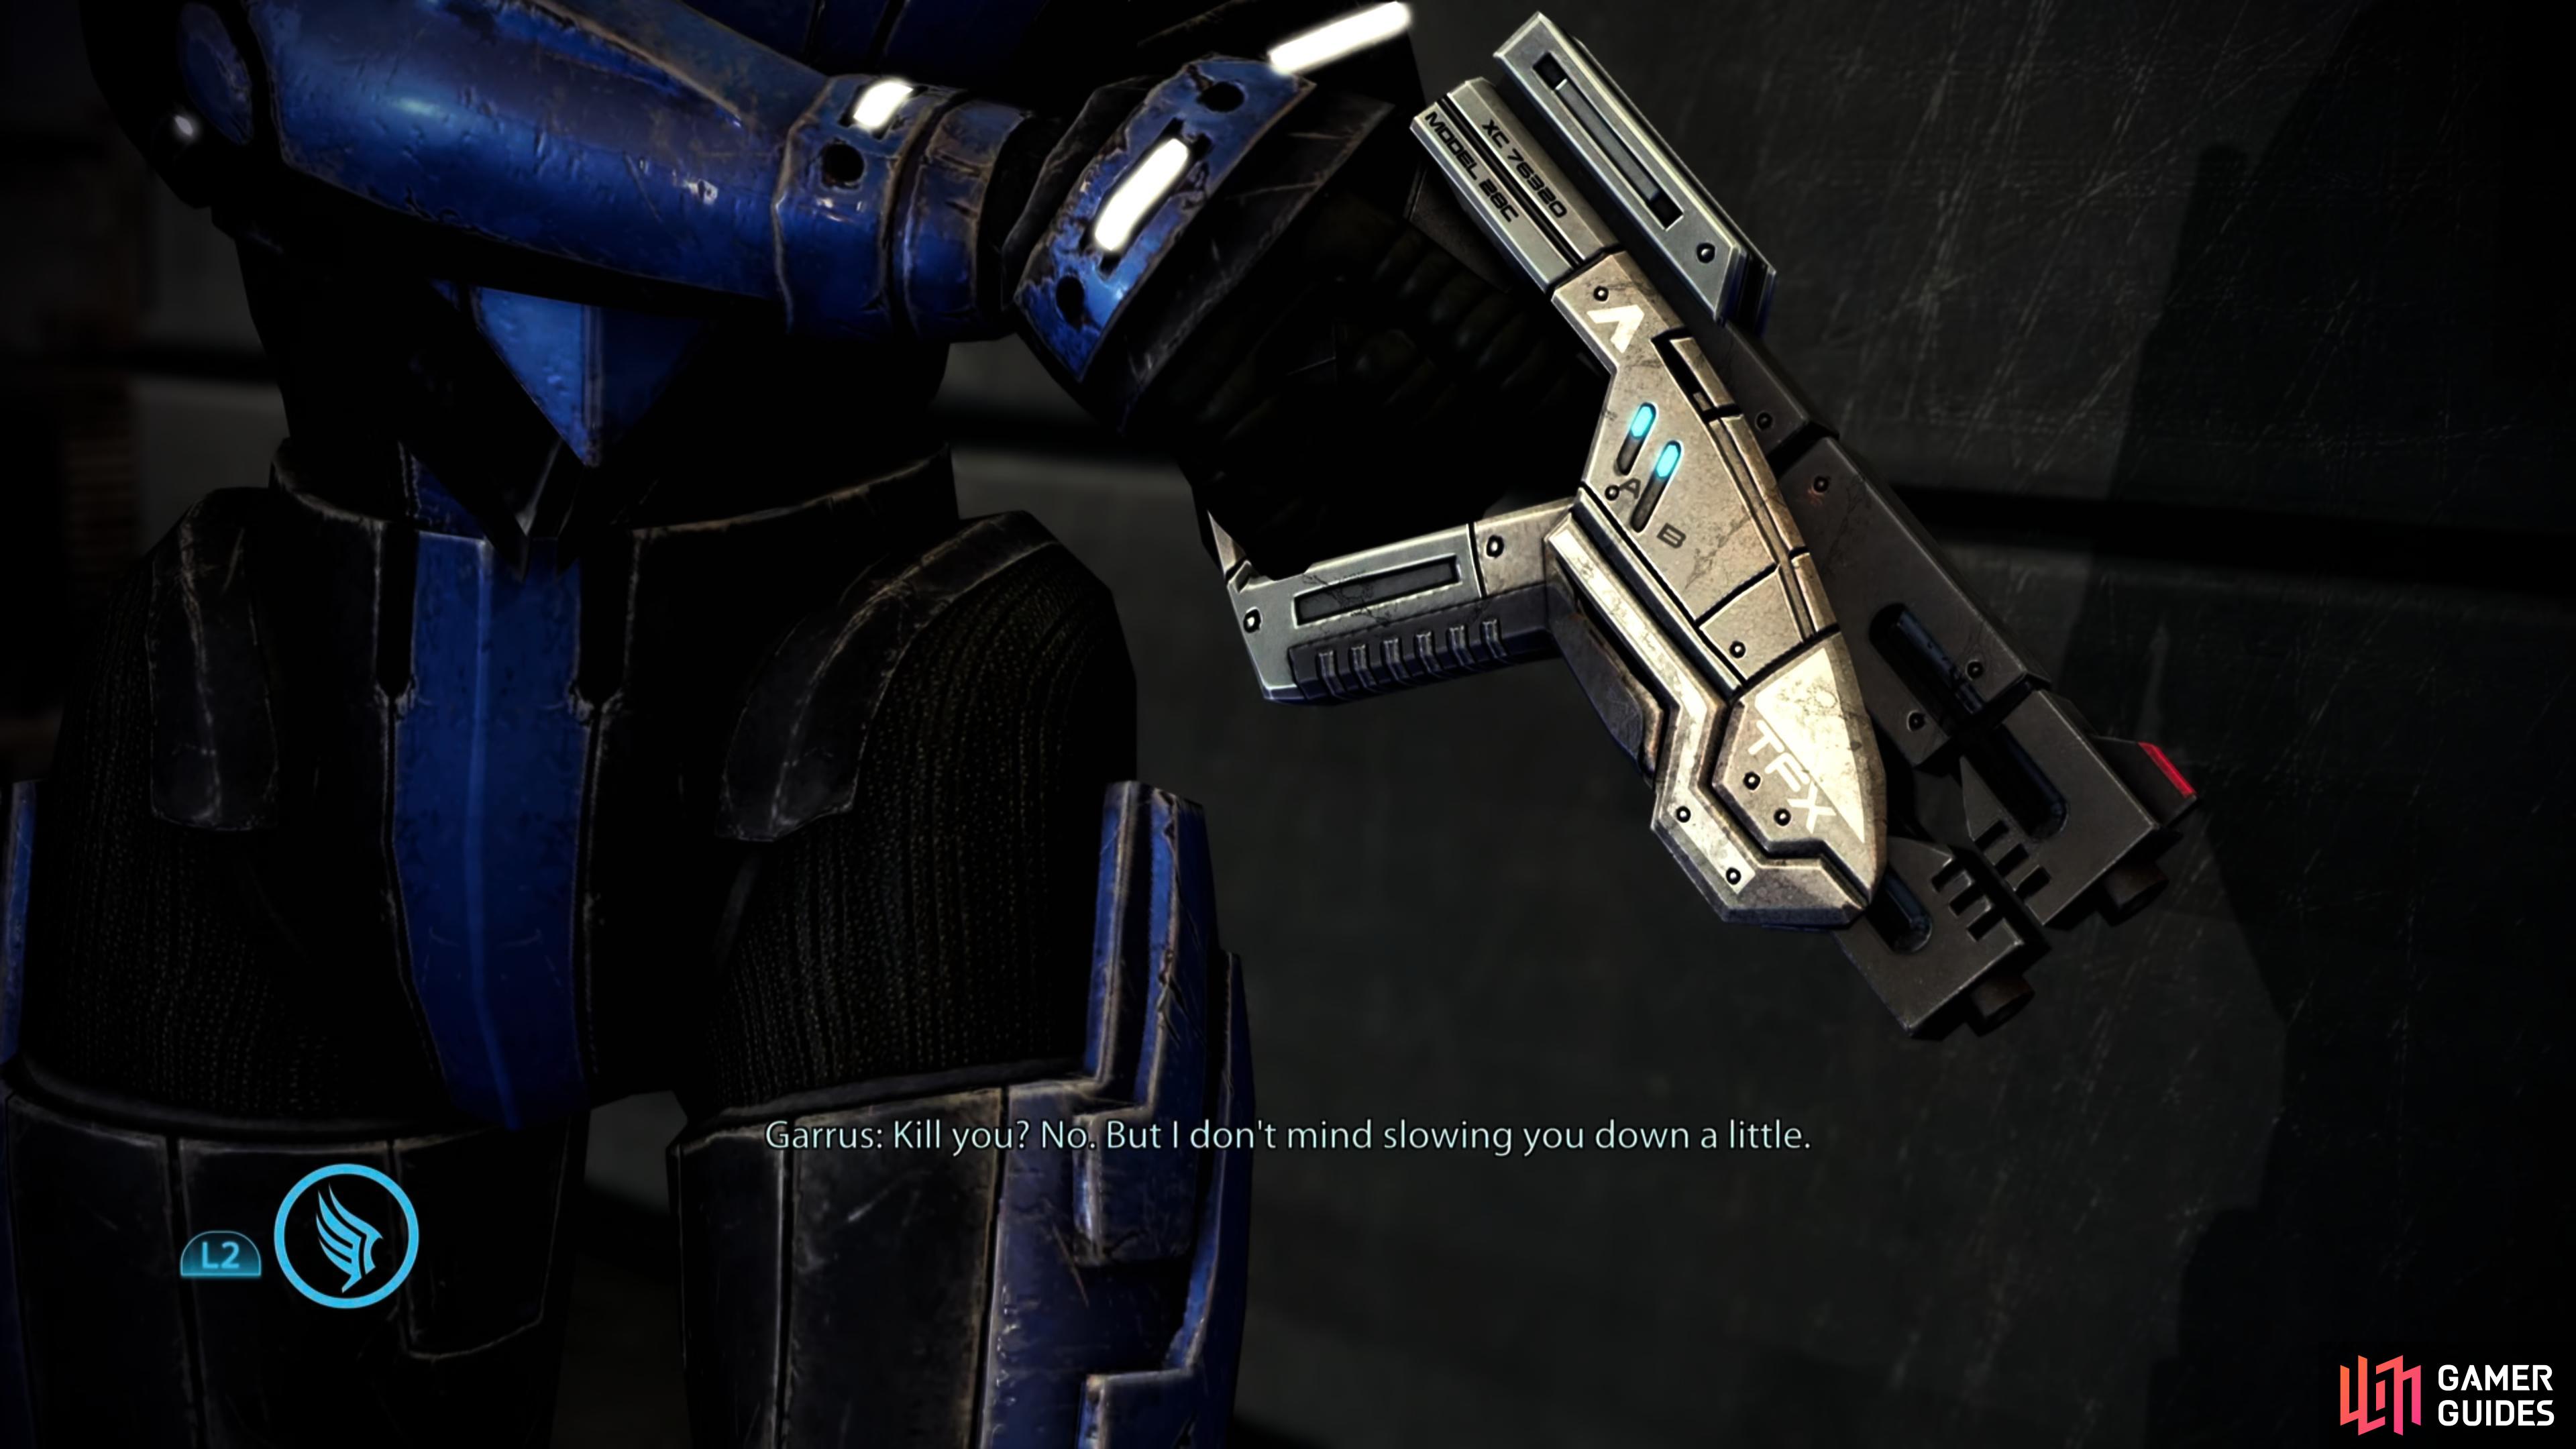
(1 of 2) During your confrontation with Harkin, you can restrain Garrus with a Paragon interrupt.
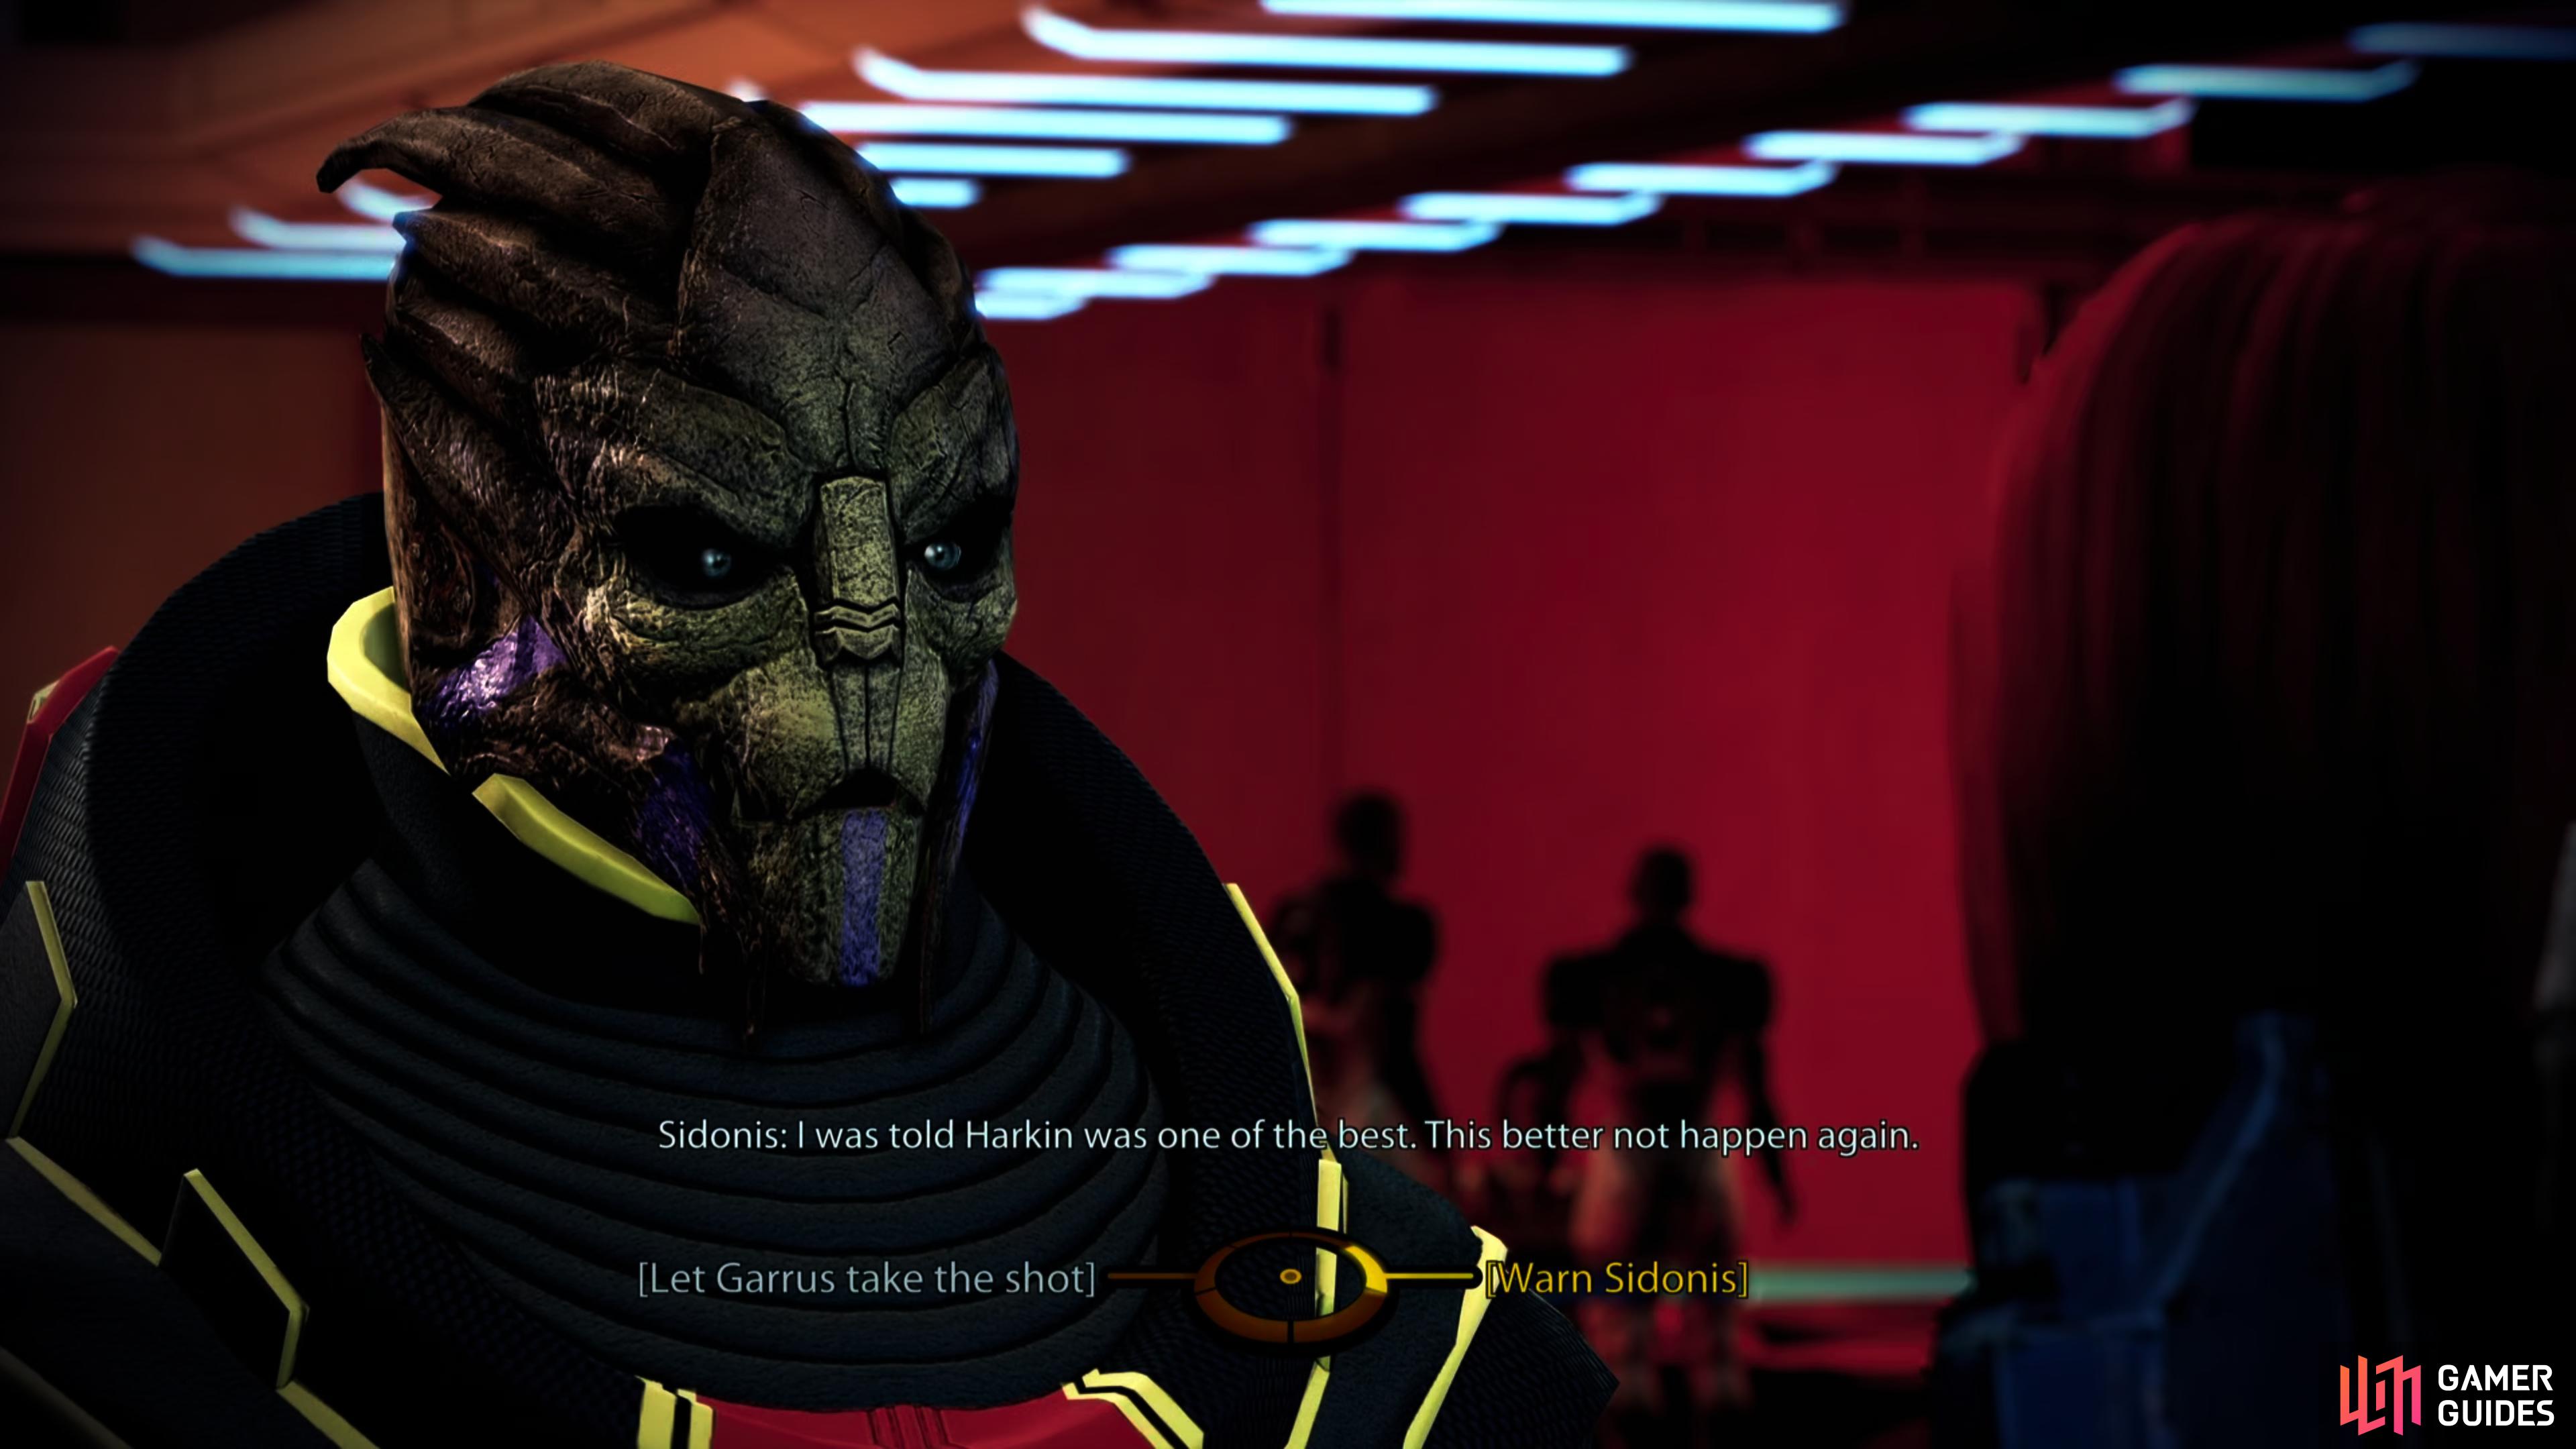
During your confrontation with Harkin, you can restrain Garrus with a Paragon interrupt. (left), Later you can help Garrus take out Sidonis, or help Sidonis escape. (right)
Once the coast is clear, climb up the platforms until you reach the top. At this point a lengthy scene will kick in, which mostly involves Garrus using heavy-handed methods to gain intel from Harkin, although you can restrain him somewhat with a Paragon interrupt. Afterwards, Garrus will go to take care of Sidonis, and you’ll need to either lure Sidonis to his death, or get in the way and keep Garrus from being too vindictive.
Make your decision and the mission will end.
| Mission Completion Rewards | |
|---|---|
| Experience Gained: | 750 (937) |
| Credits: | 15,000 + 13,800 |
| Iridium: | 2,000 |
| Powers: | Armor Piercing Ammo (Garrus) |
| Outfit: | Garrus |


 Sign up
No Comments