A while after recruiting (and waking) Grunt you’ll be informed that the krogan is acting up. Go check on him and you’ll find that he’s indeed restless. Where better to take a misbehaving krogan than Tuchanka? At the very least, you might find somebody who knows what’s going on. Talking to Grunt on the Normandy after being prompted to will start the mission “Rite of Passage”.
| Notable Items in This Area |
|---|
| Upgrade - Research Project: Shotgun Damage |
Travel to Tuchanka and make your way to the Urdnot Throne, where you’ll need to talk to the leader here and ask about Grunt. He will tell you Grunt needs to undergo a… Rite of Passage. Once the conversation is over, look at the map again and make your way to the Shaman. Approach the Shaman and listen to the conversation (note you can perform a Renegade action) and when it is over, tell the Shaman to begin the rite.
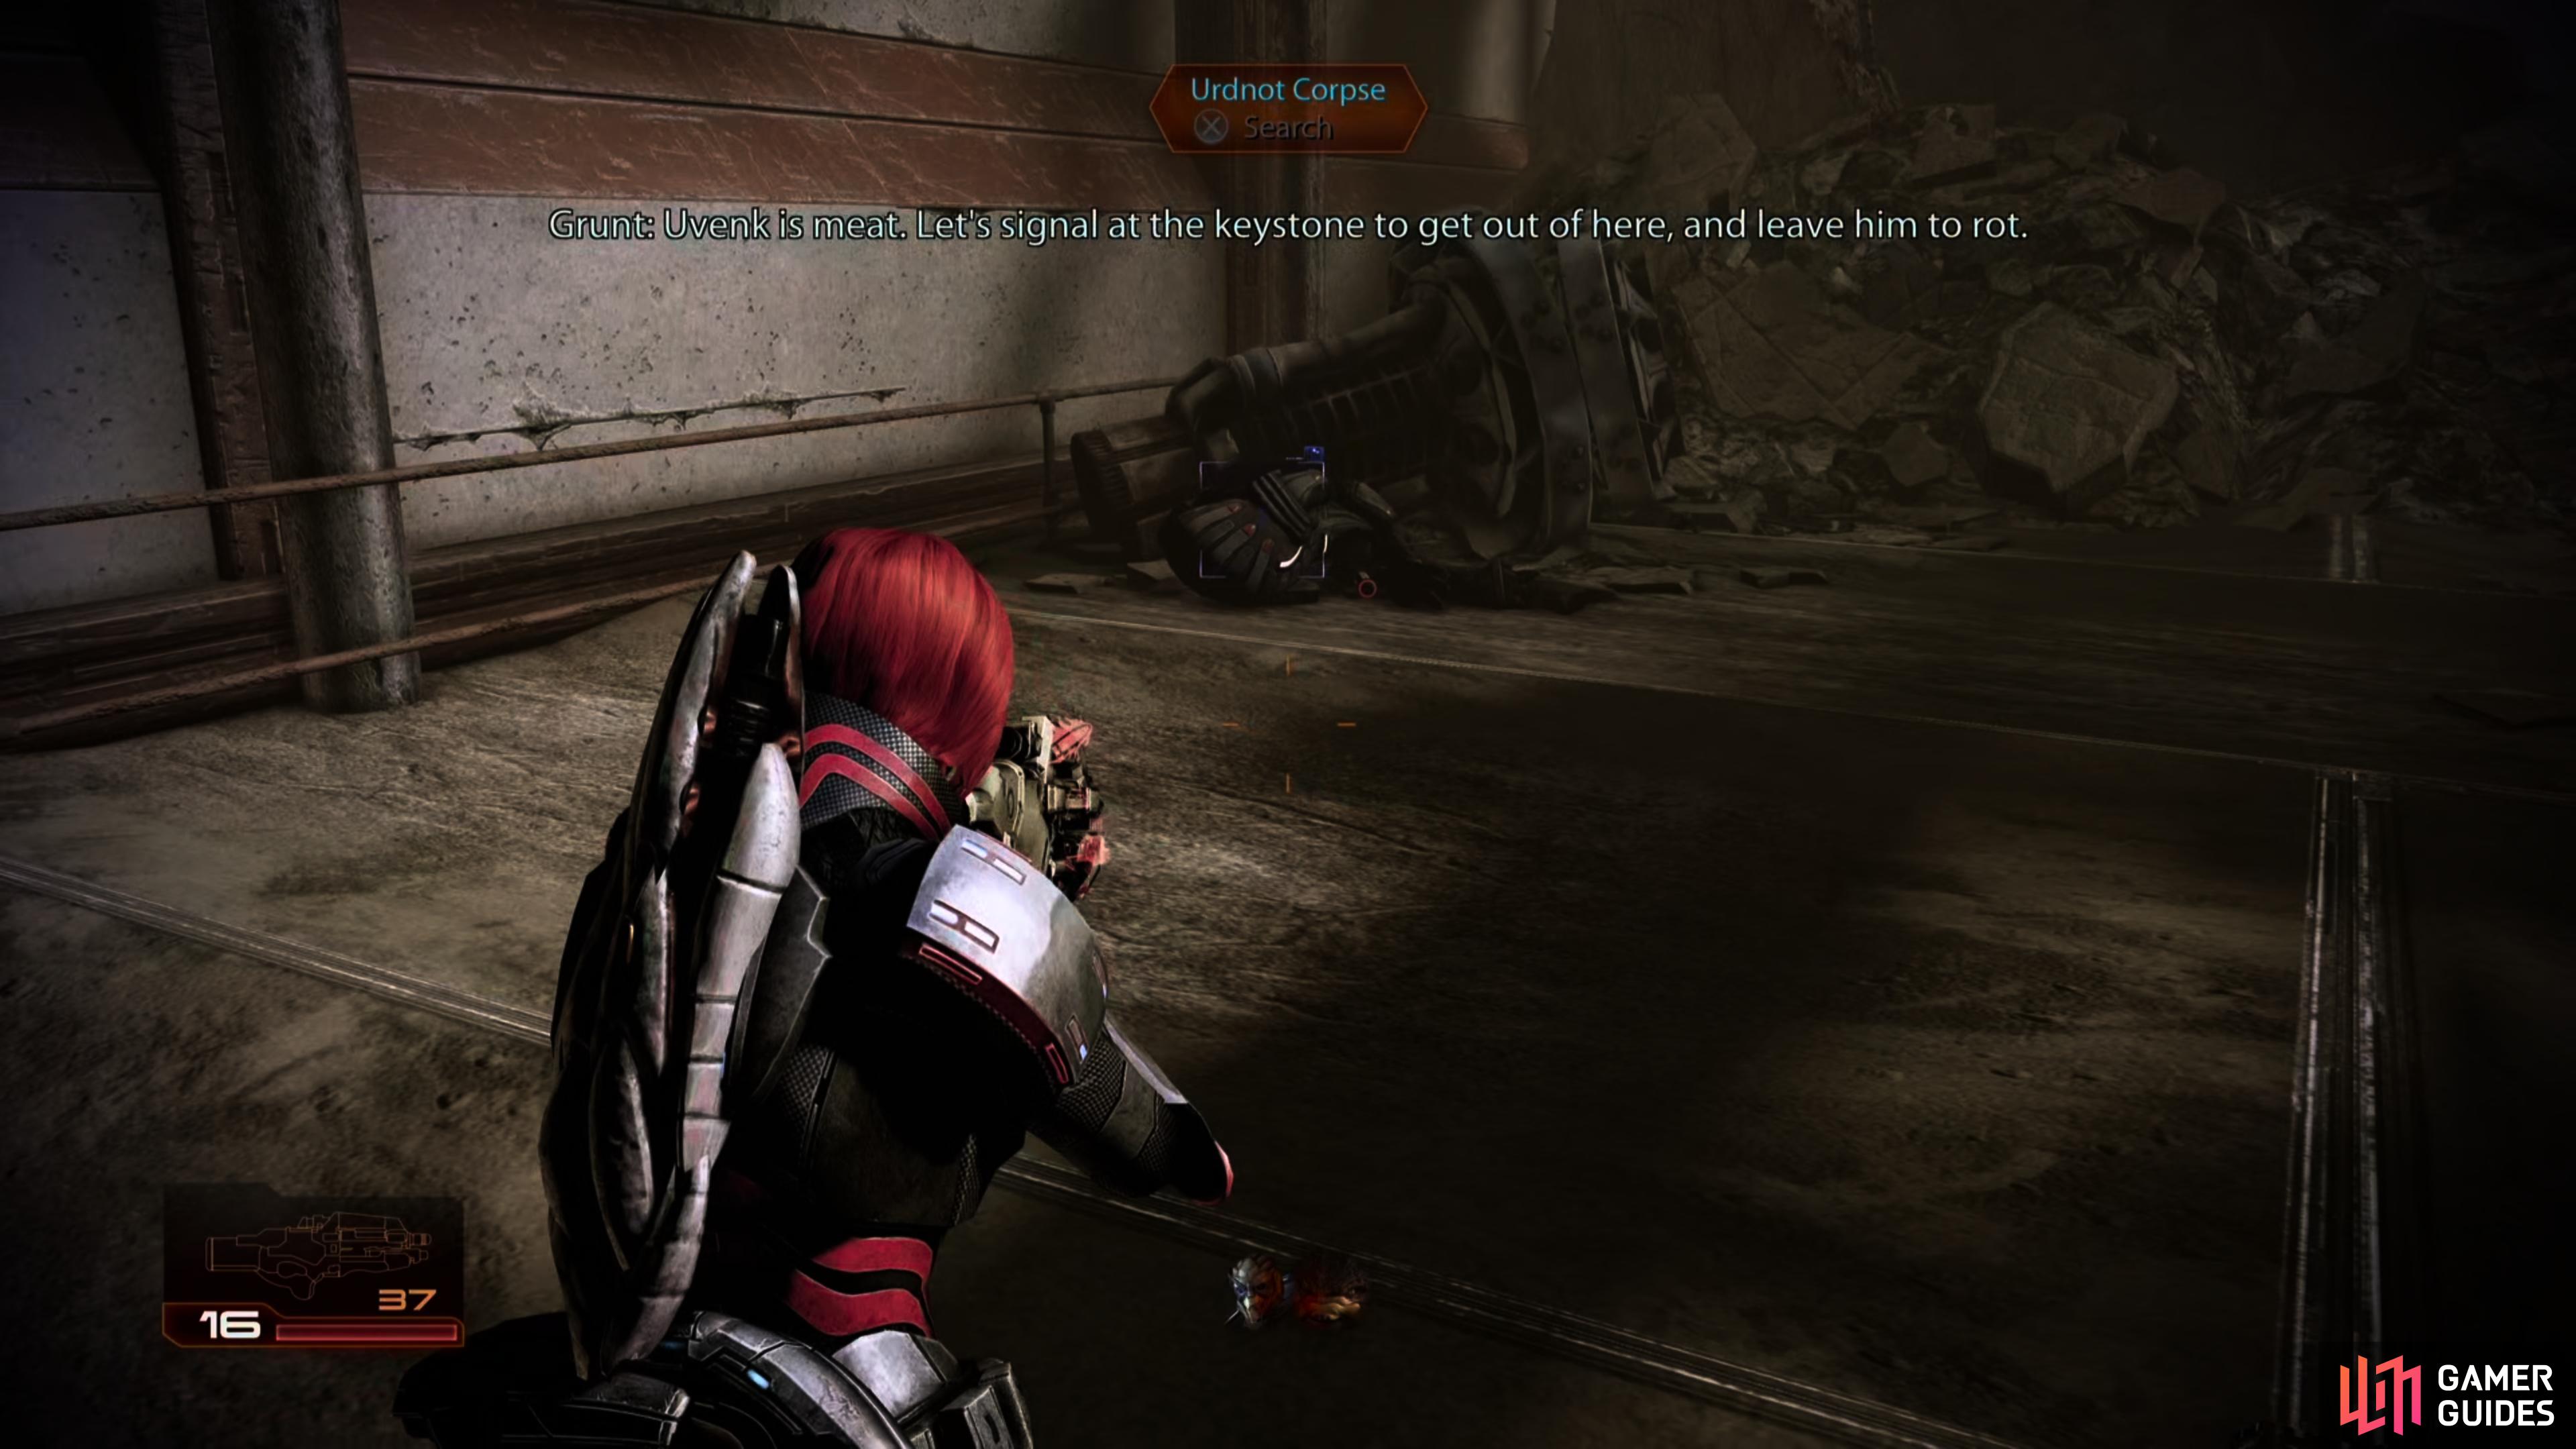
When you regain control, before you use the console in front of you, you should explore and loot the area. To the right is a bypassable turbine and a Krogan body you can examine for credits. On the lower section of the area to the right is a box of Power Cells . To the left of the keystone you will find another bypassable turbine and a second body to examine. On the opposite end of the area from the keystone, you will find a third body , a canister of Refined Platinum and another box of Power Cells . Around the area are three medical stations you may need in the next part of the mission, so only grab them if you do not have the maximum capacity.
When you are ready, hit the keystone to begin the rite.
(1 of 3) Be sure to search bodies when you arrive (unlike in the image provided), as one will yield a Shotgun Damage research project.
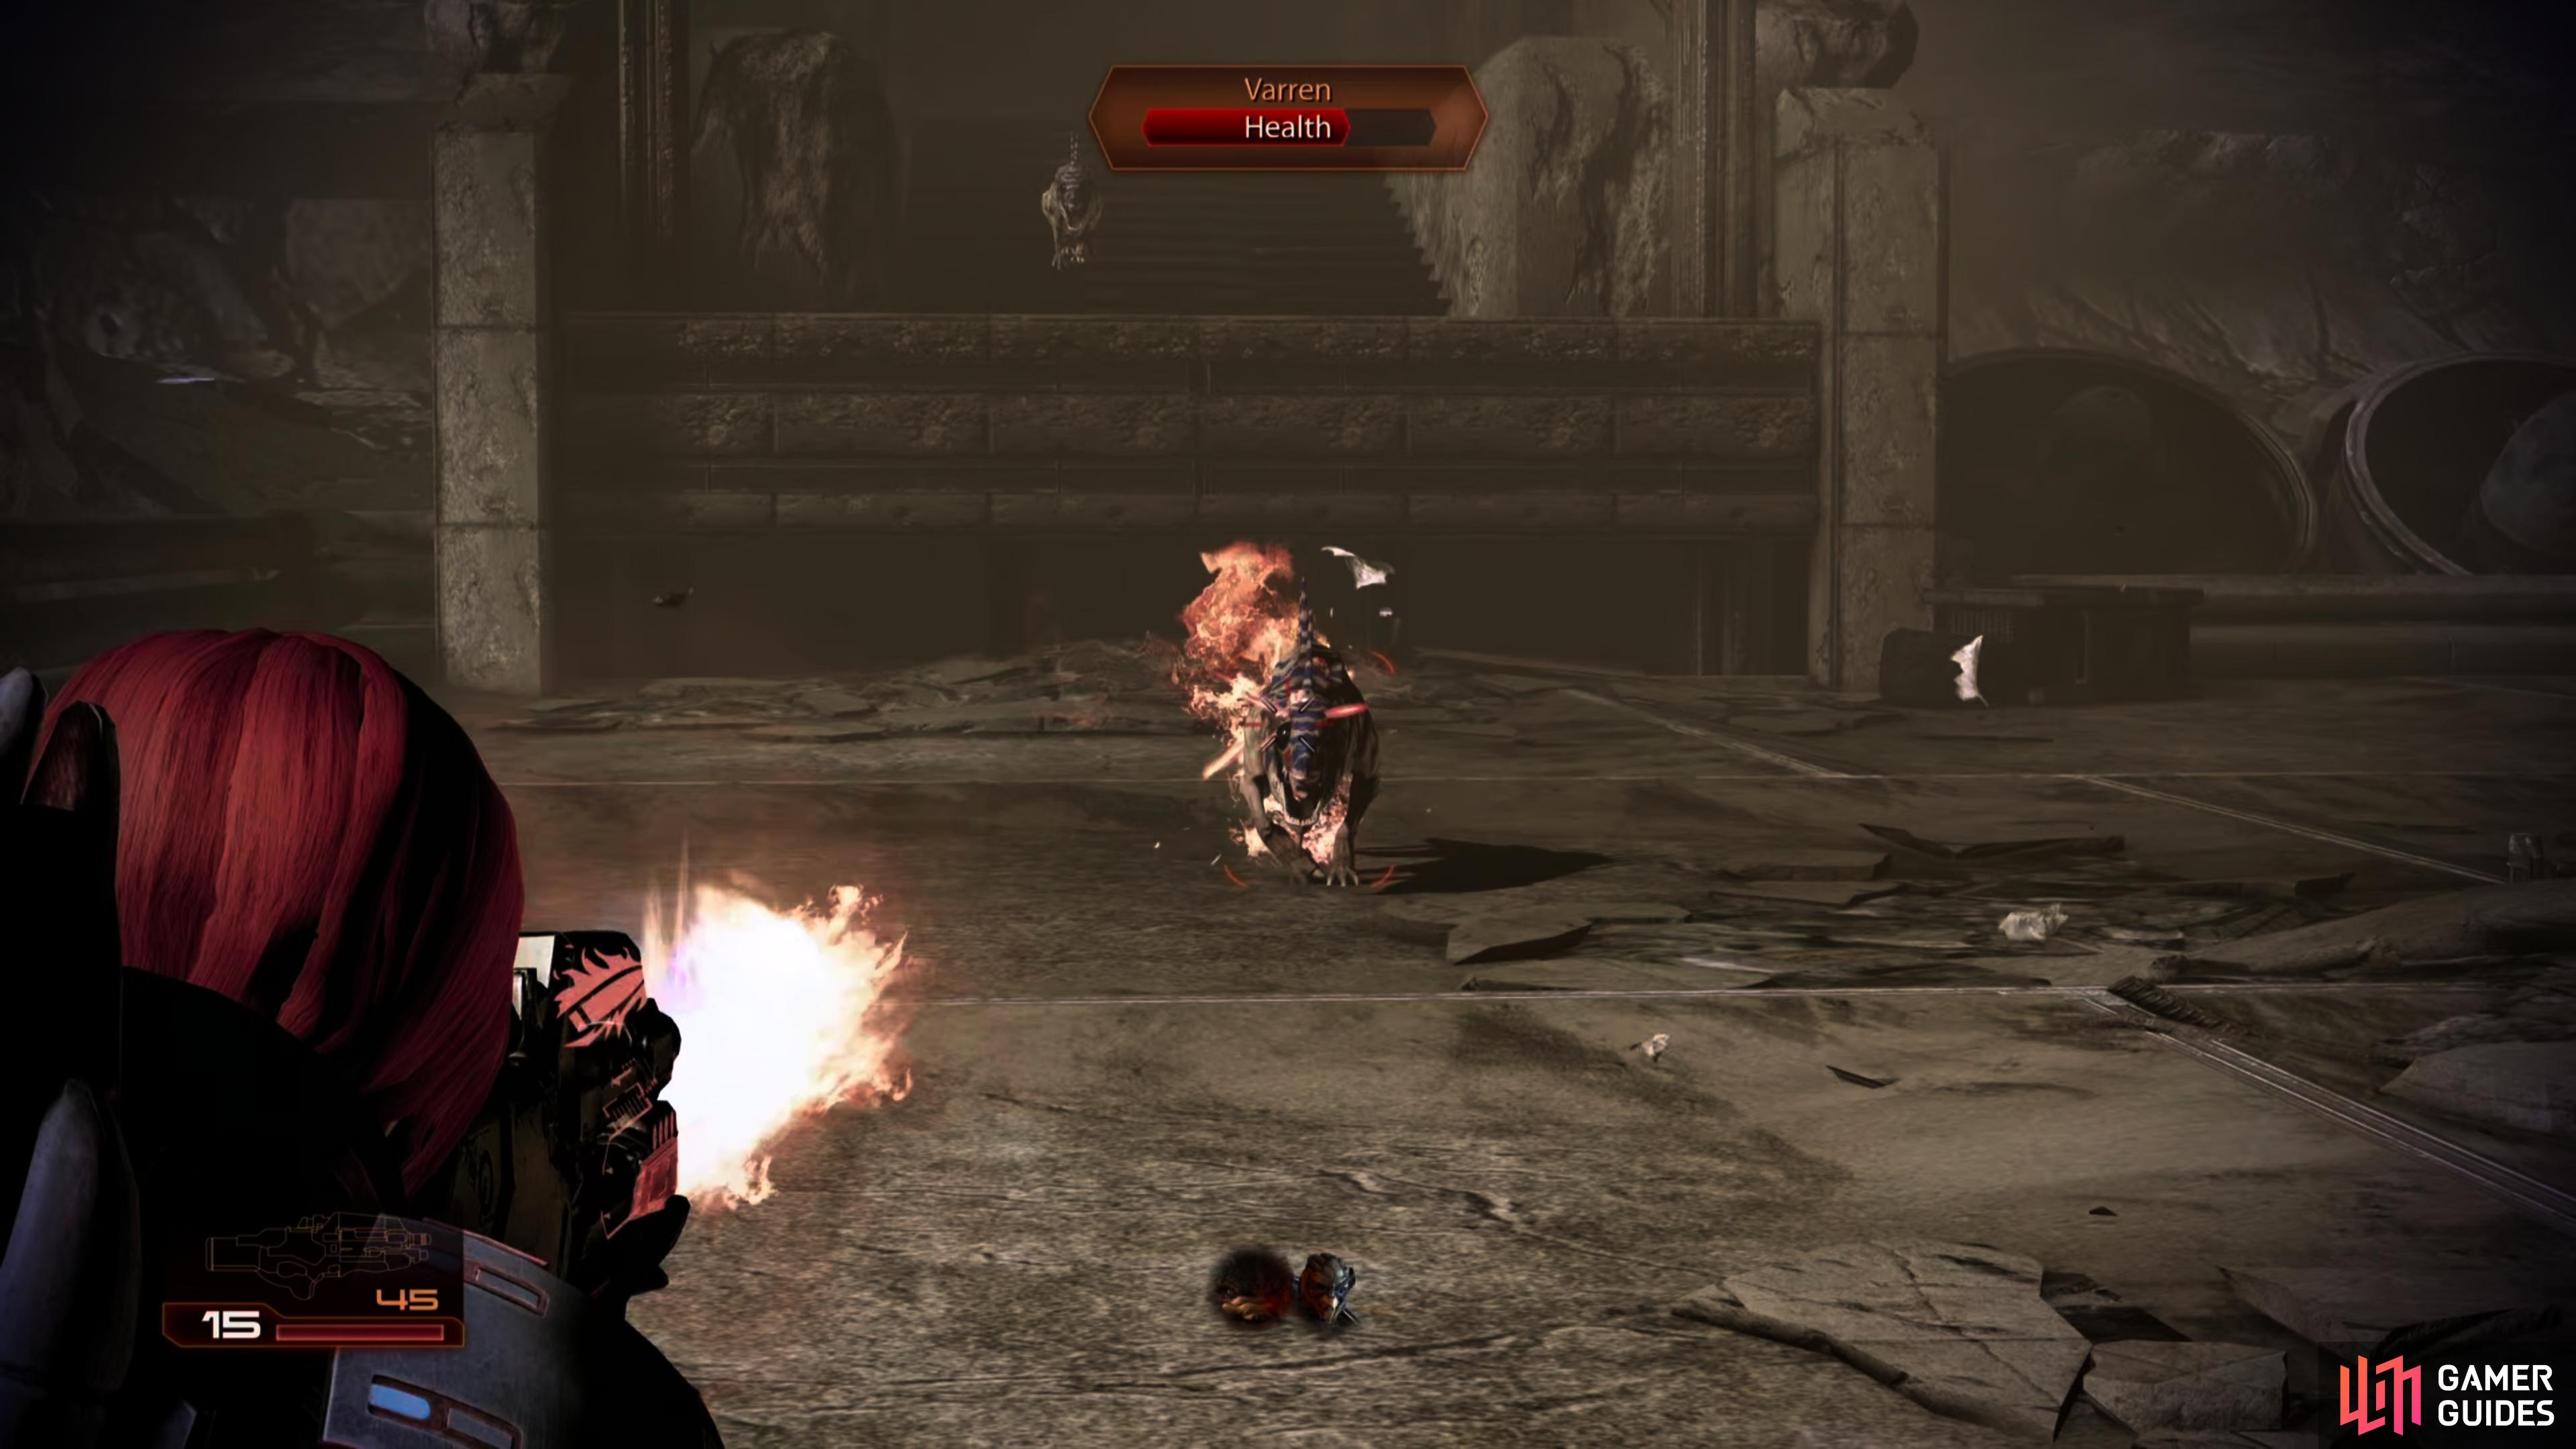
During the first phase of the trial, you will need to fight off around twenty Varren. The Varren will spawn from a pair of raised ledges to the left and the right of the lower area on the opposite side of the room from the keystone. To survive this round, you will need to stay in the open and do your best to avoid getting cornered. Keep moving and don’t worry about taking cover - just keep your shotgun nice and cosy and stay away from the teeth!
After the first wave, Grunt will prompt you to hit the keystone to continue.
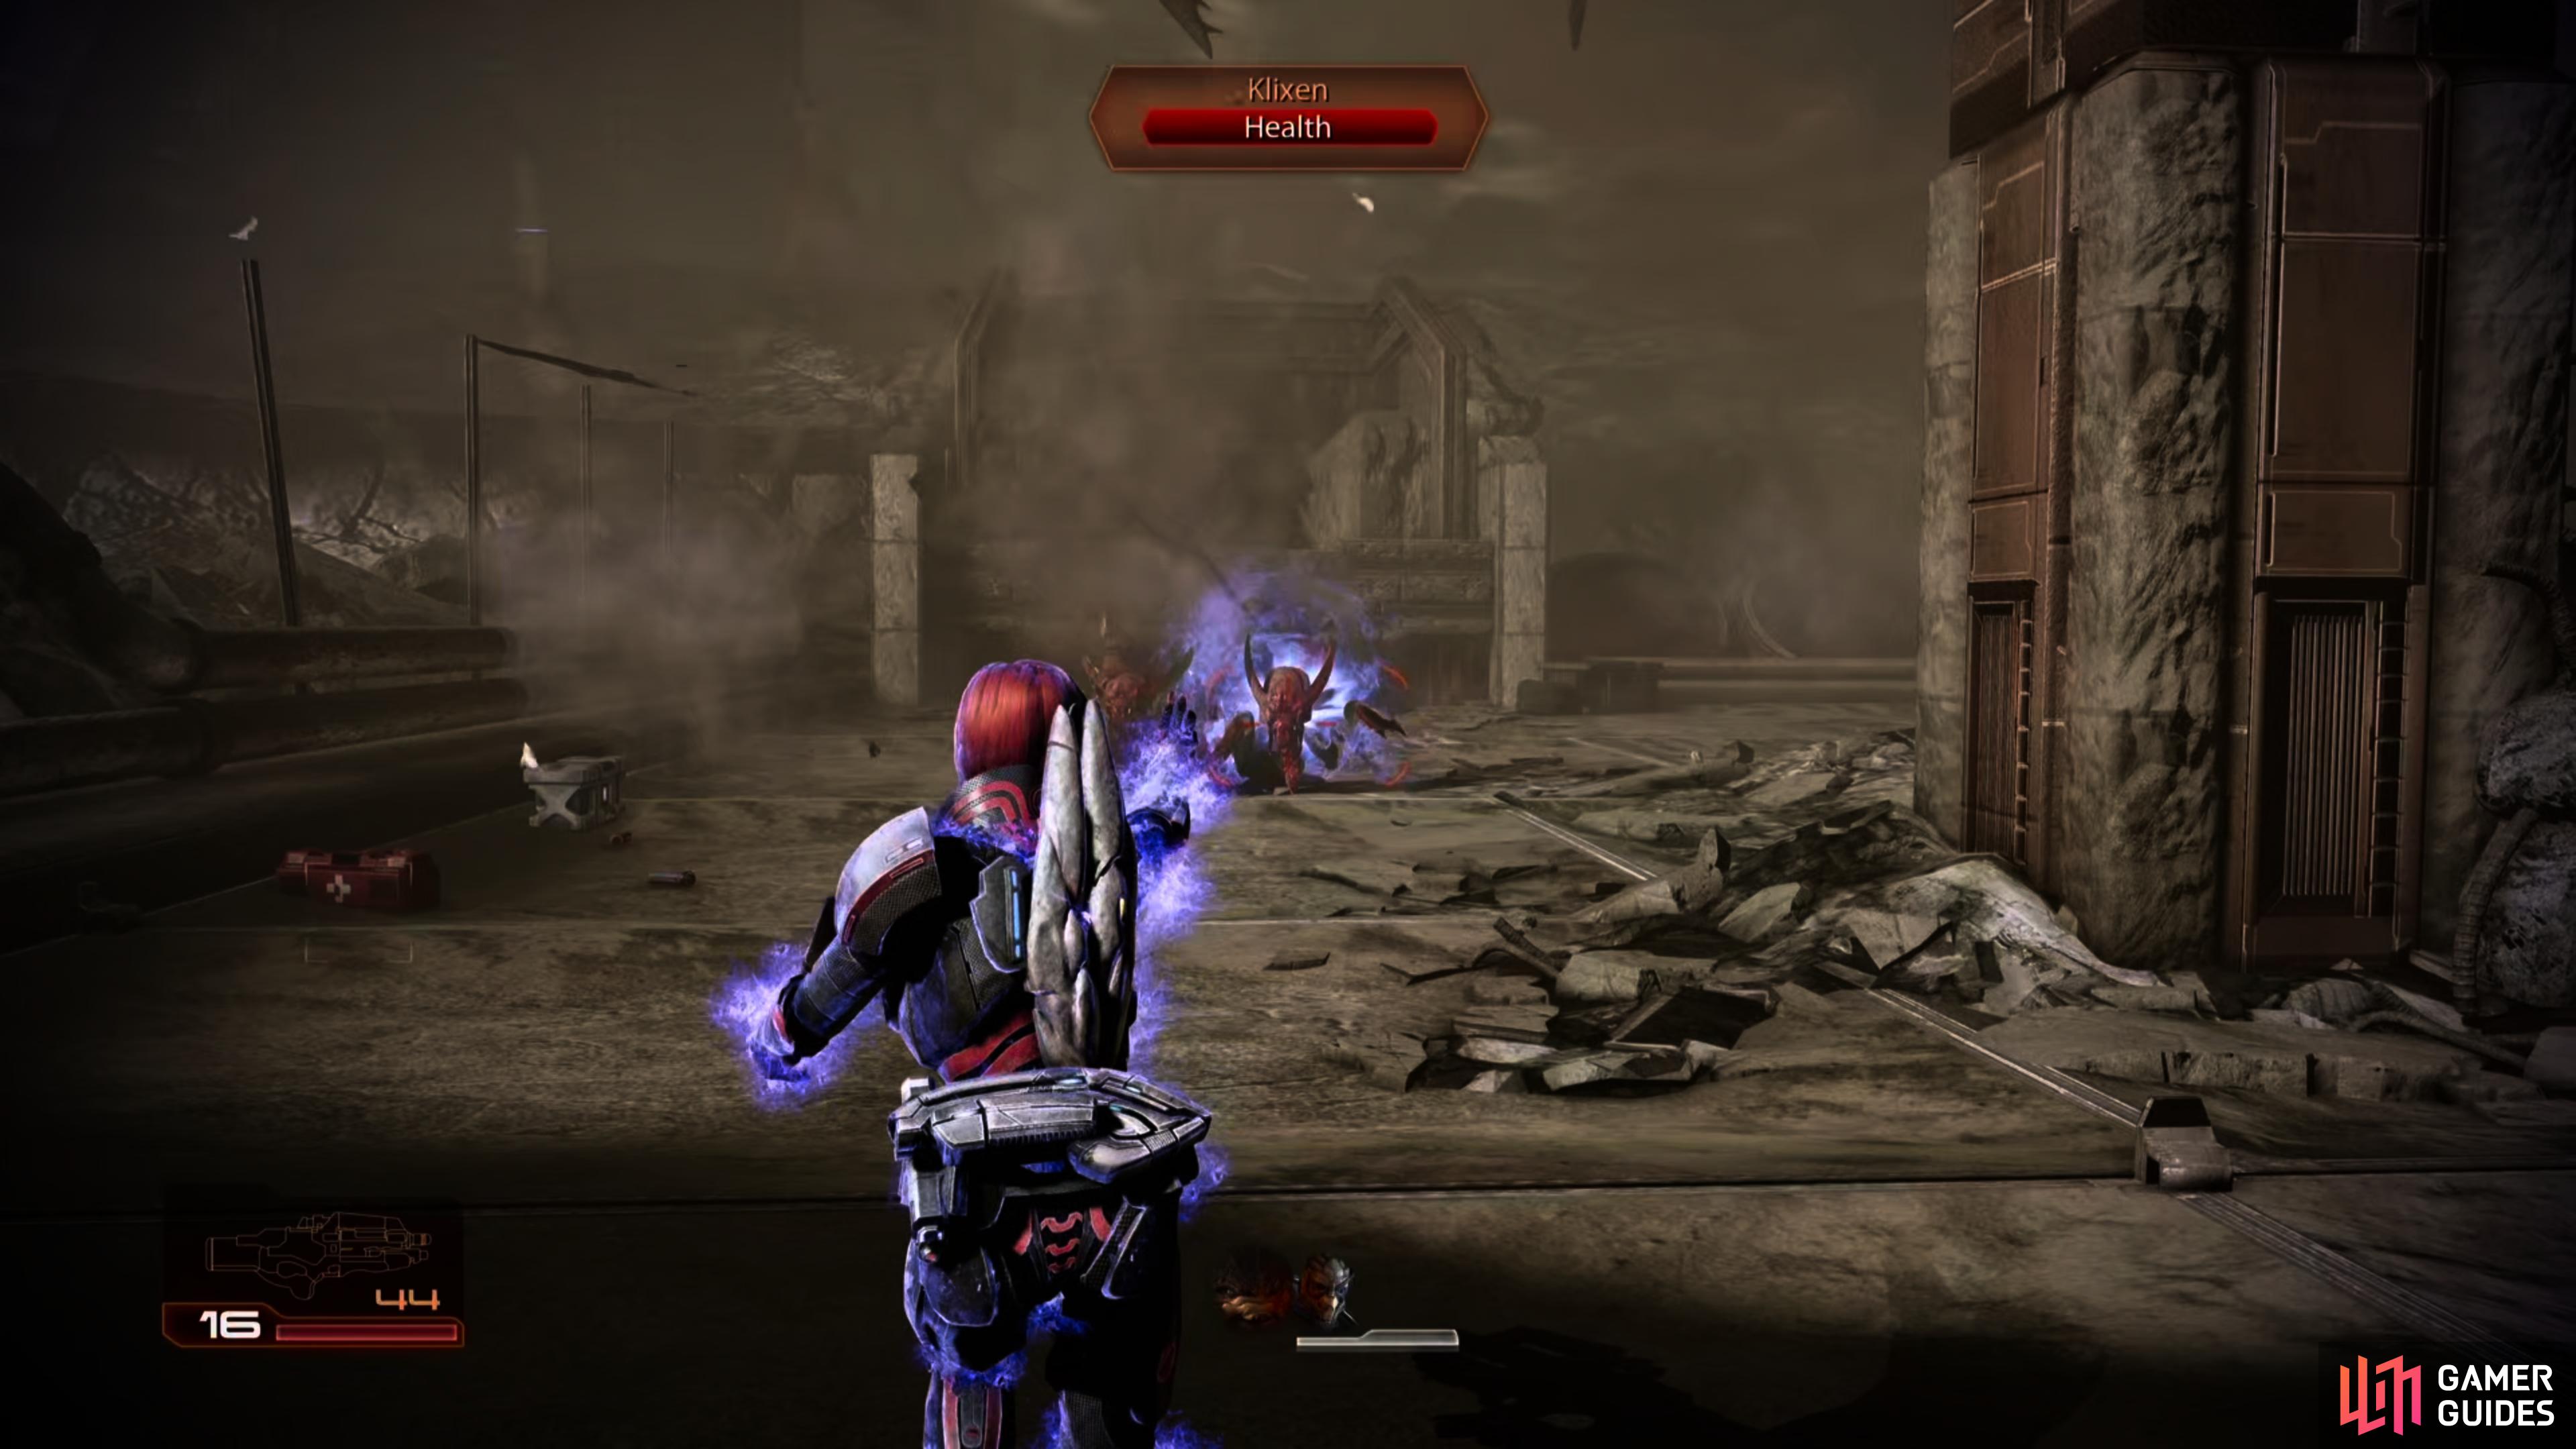
During the second wave, a ginat flying bug will come in and drop off Klixen - small, armoured insects that can explode when killed or if they get too close. Like the previous wave, your best bet is to kite them around the area whilst shooting when you have the chance. After killing around twenty of these the round will end.
Once again, hit the keystone to continue.
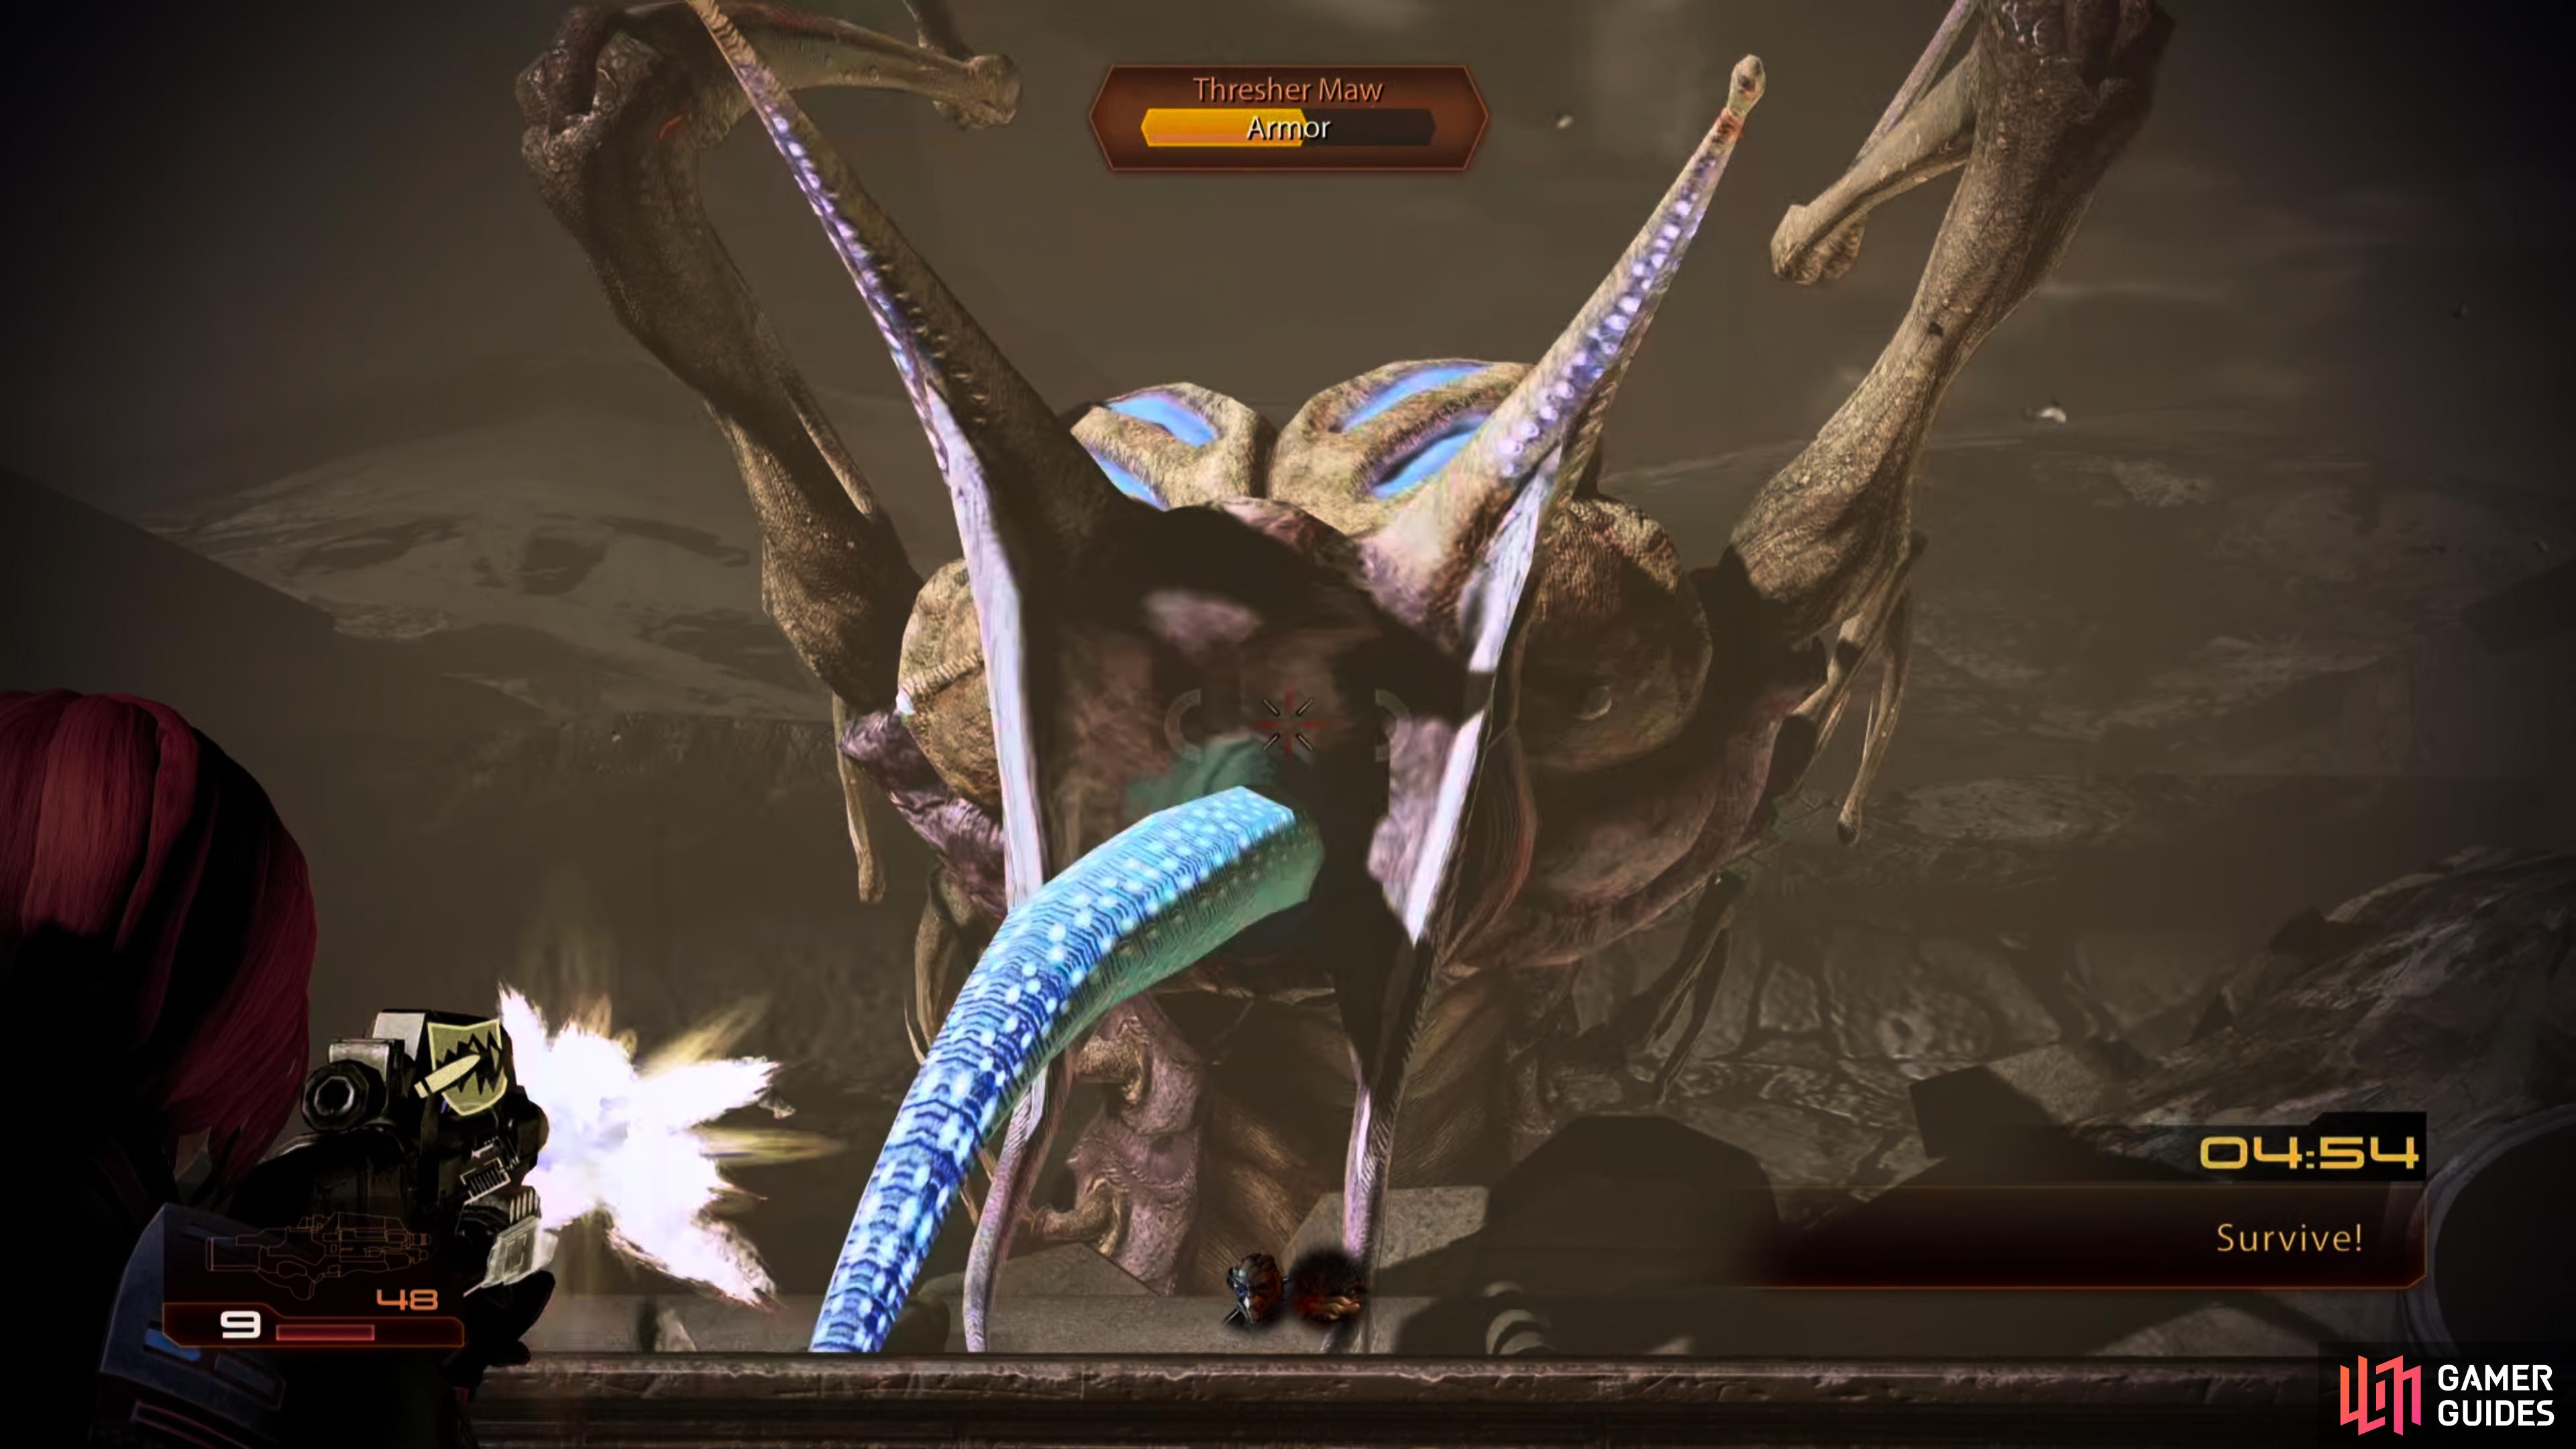
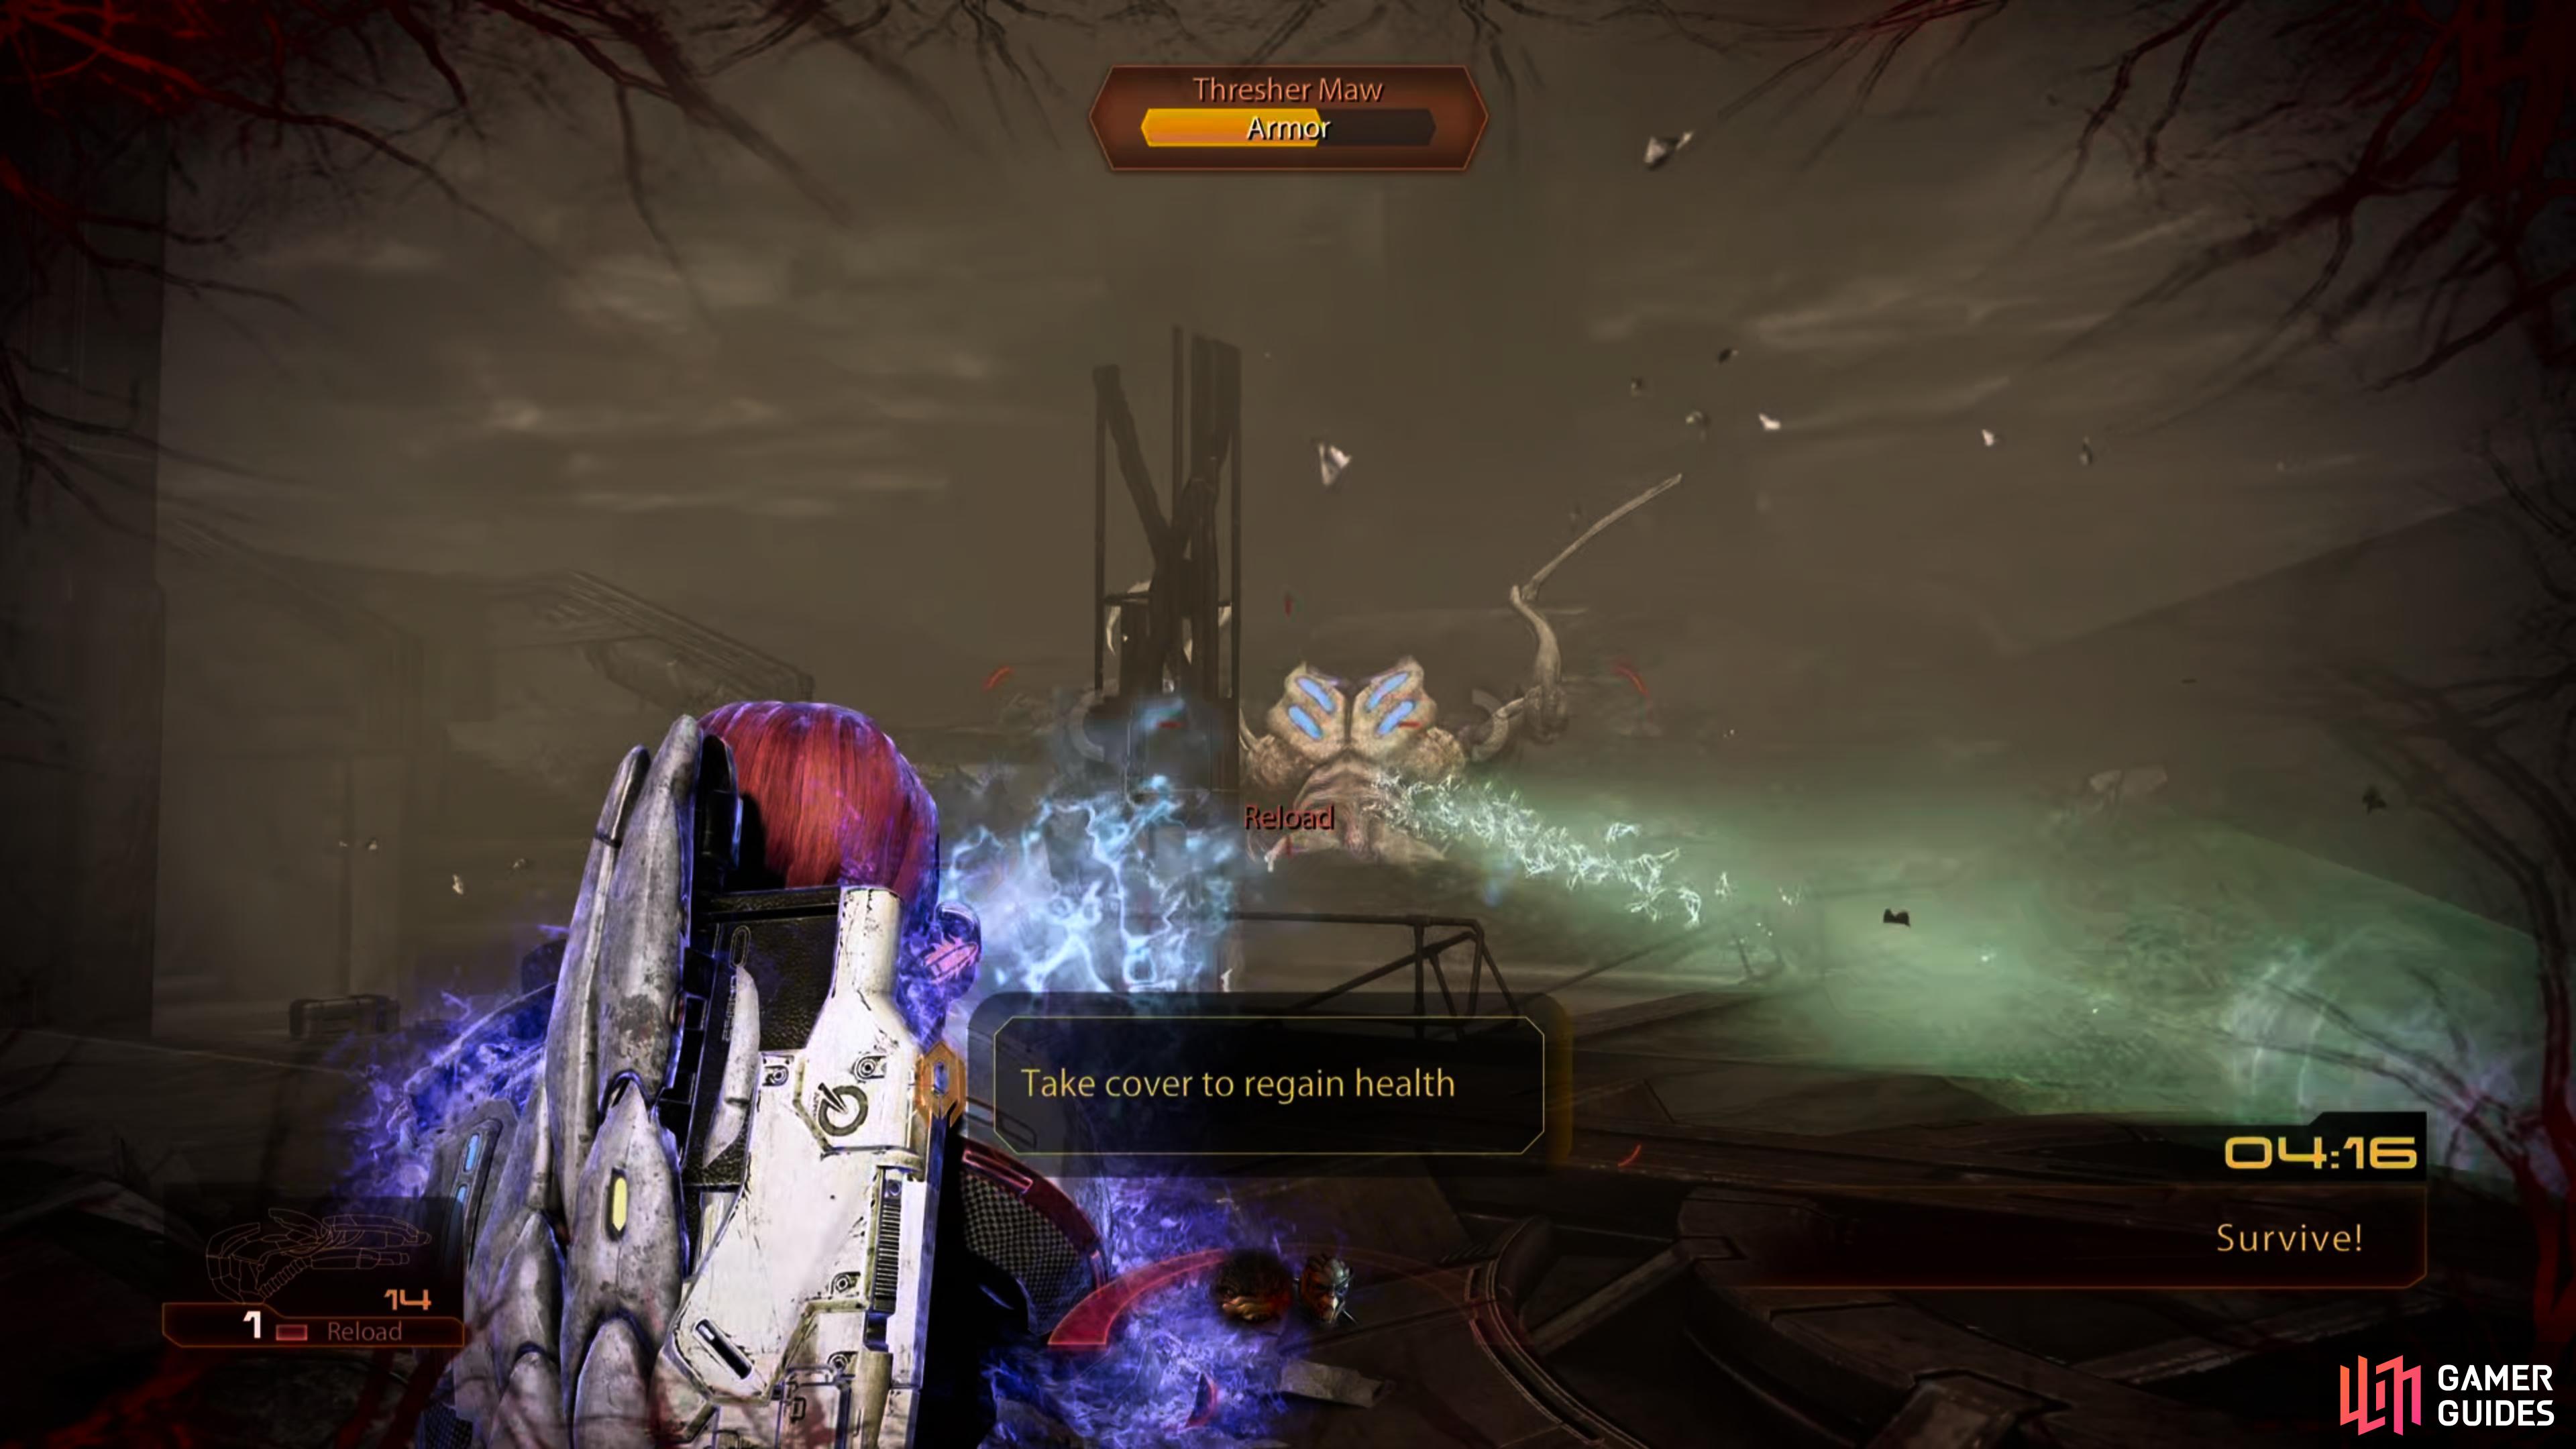
(1 of 2) Riddle the Thresher Maw with bullets from behind cover,
Riddle the Thresher Maw with bullets from behind cover, (left), but be wary of its spit attacks, as it can deal heavy damage. (right)
In the final wave of the trial, a timer will appear and a Thresher Maw will surface. The Thresher Maw will hang out just outside the operational area and will constantly spit at you; this spit is made up of some kind of death fluid which causes a massive amount of damage if it comes into contact with anyone. The Thresher Maw will not sit still and after a short time at a single location, it will submerge underground and surface in a different area. To kill it in a hurry, use all your armor-destroying abilities - incendiary ammo, incinerate etc. You should have no trouble killing it under five minutes.
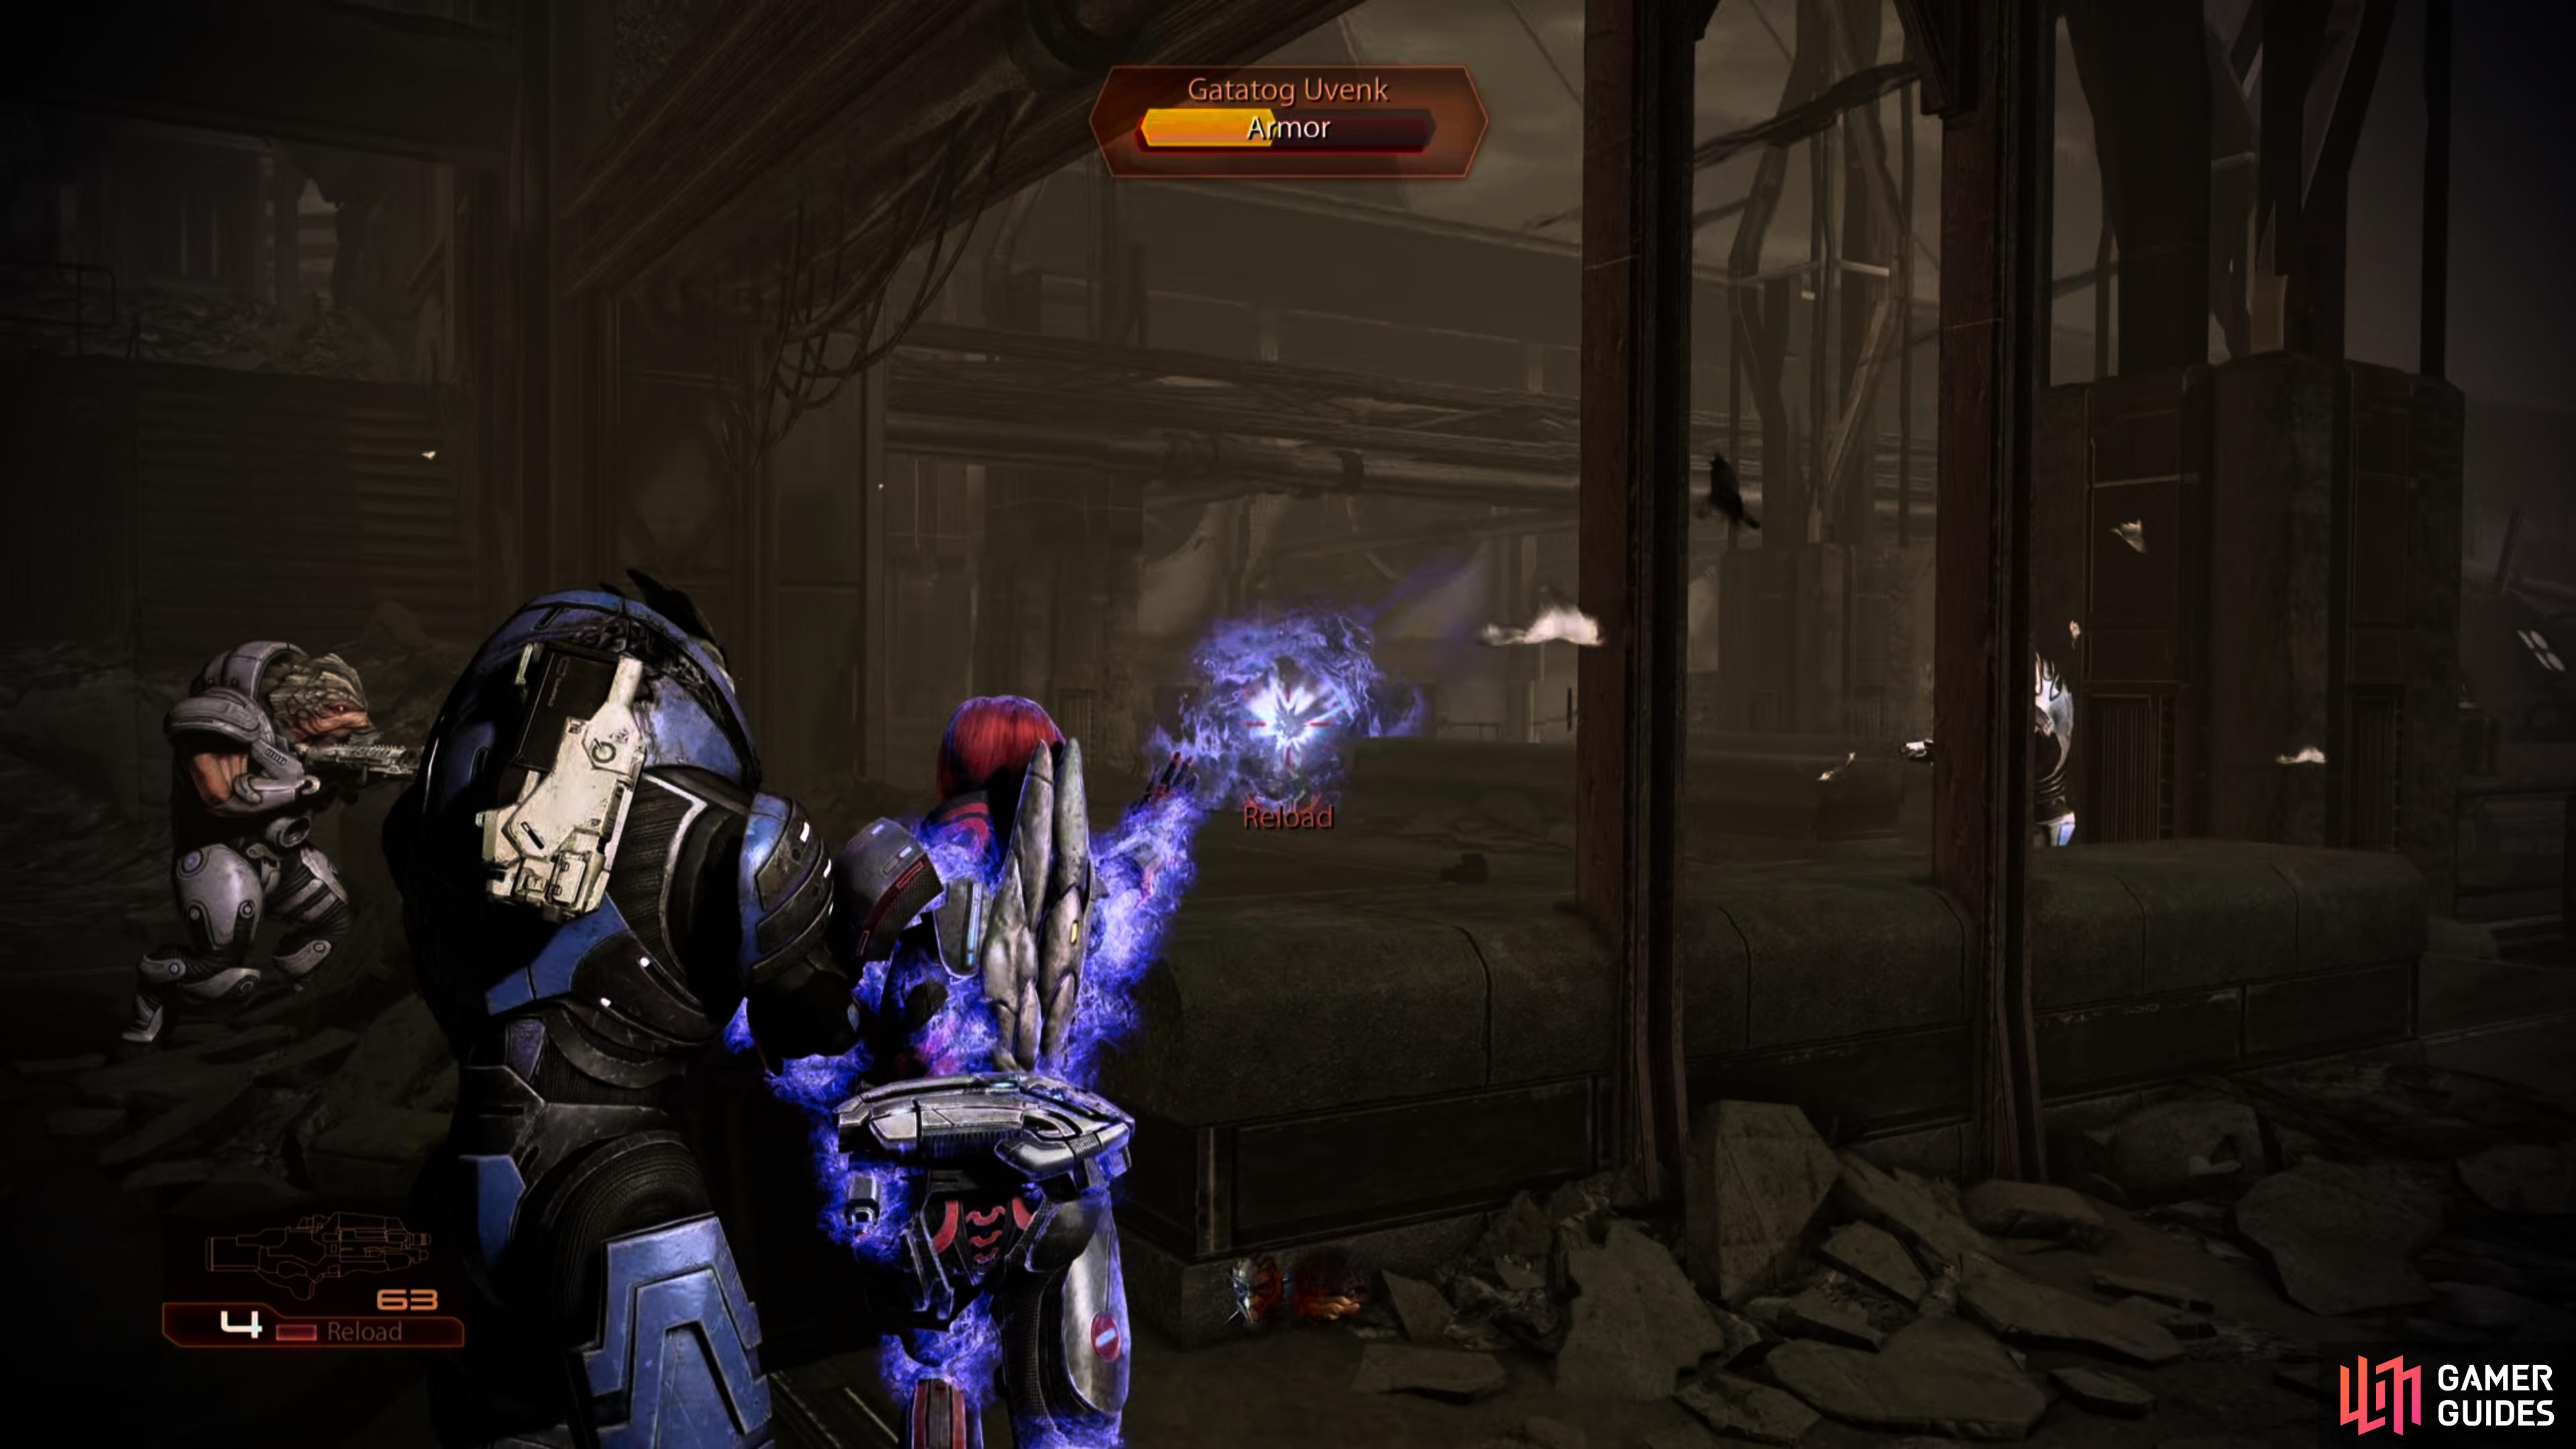
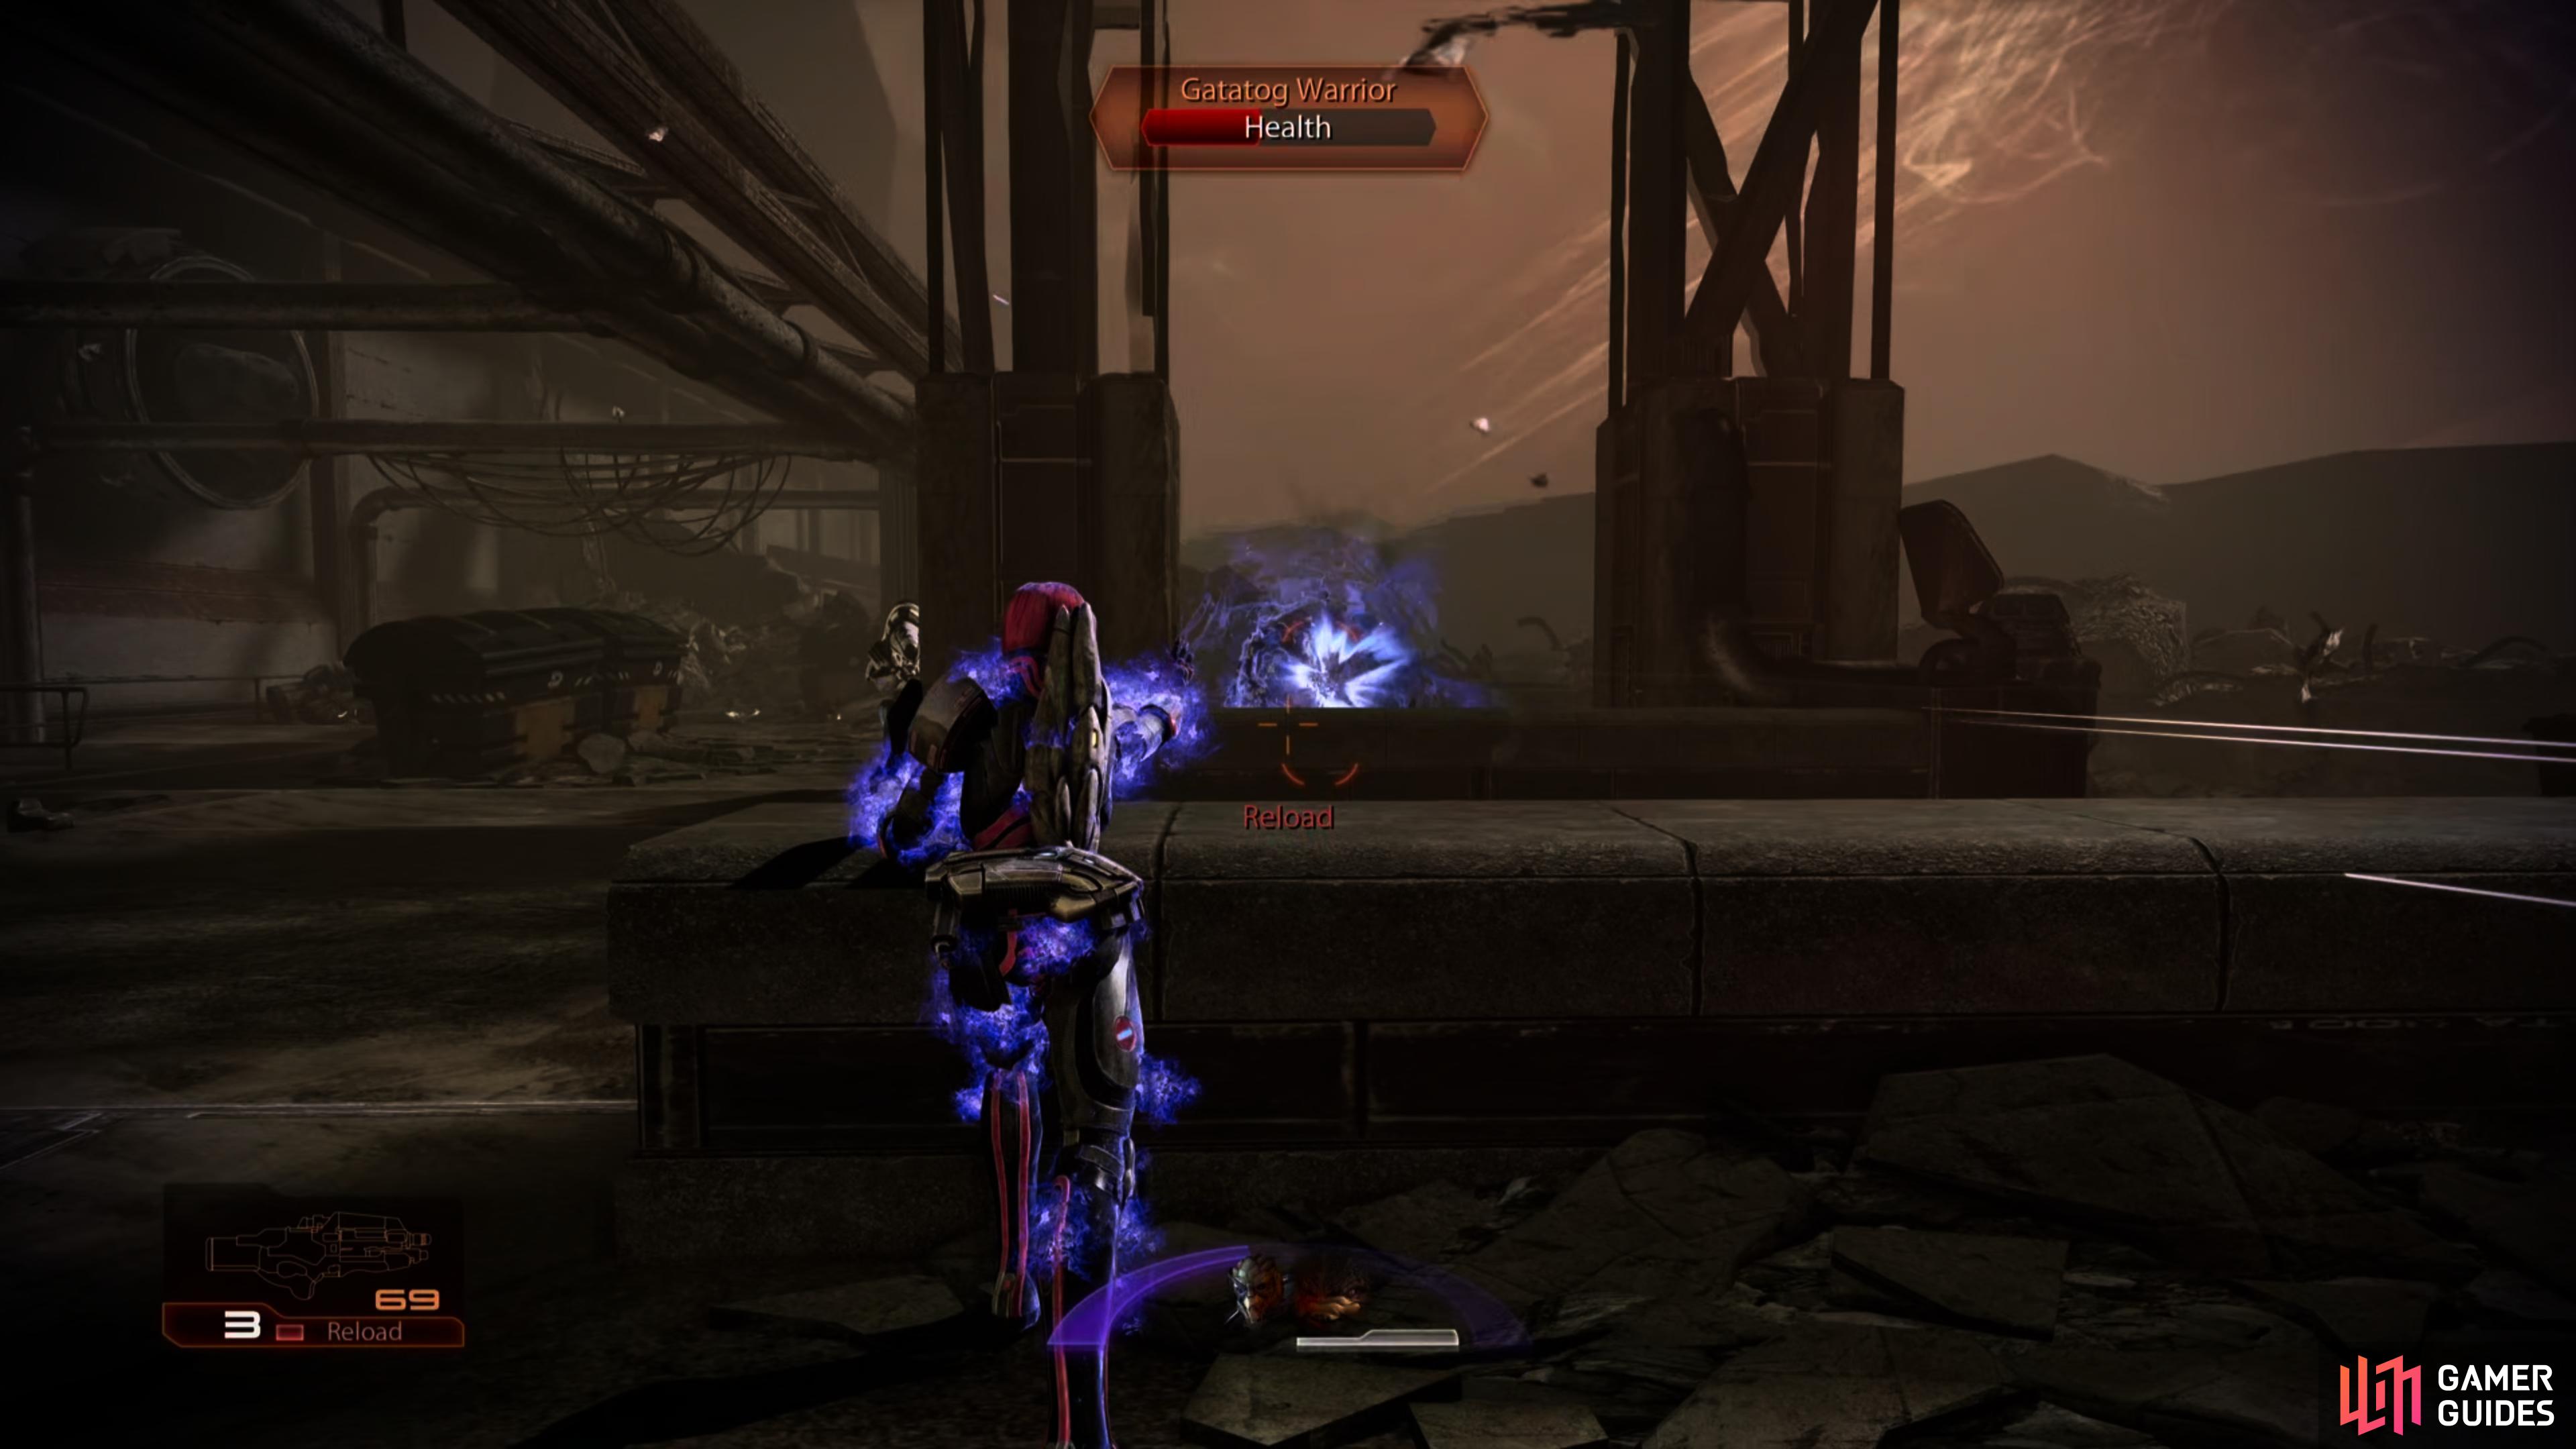
(1 of 2) Defeat Uvenk,
Defeat Uvenk, (left), then wipe out his remaining allies. (right)
After the Thresher Maw is defeated, your pal Uvenk will appear with a posse. After a conversation, he will attack; he has five Krogan Warriors with him, so try to take them down first before killing Uvenk to finish the mission.
| Mission Completion Rewards | |
|---|---|
| Experience Gained: | 750 (937) |
| Credits: | 15,000 + 15,000 |
| Powers: | Fortification (Grunt) |
| Outfit: | Grunt |



 Sign up
No Comments