You’ll gain access to this mission after the events at Freedom’s Progress, after which you’ll find yourself in the Omega Nebula system. Dock on Omega and talk to Aria, who will tell you about the Professor and Archangel and you’ll finally be able to start this mission in earnest. Before you do, however, we recommend you explore Omega, as there’s some shopping you can do… especially if you fancy assault rifles and/or shotguns.
| Notable Items in This Area |
|---|
| Weapon: M-15 Vindicator Battle Rifle |
| Upgrade - Research Project: SMG Damage |
| Upgrade - Research Project: Tech Damage |
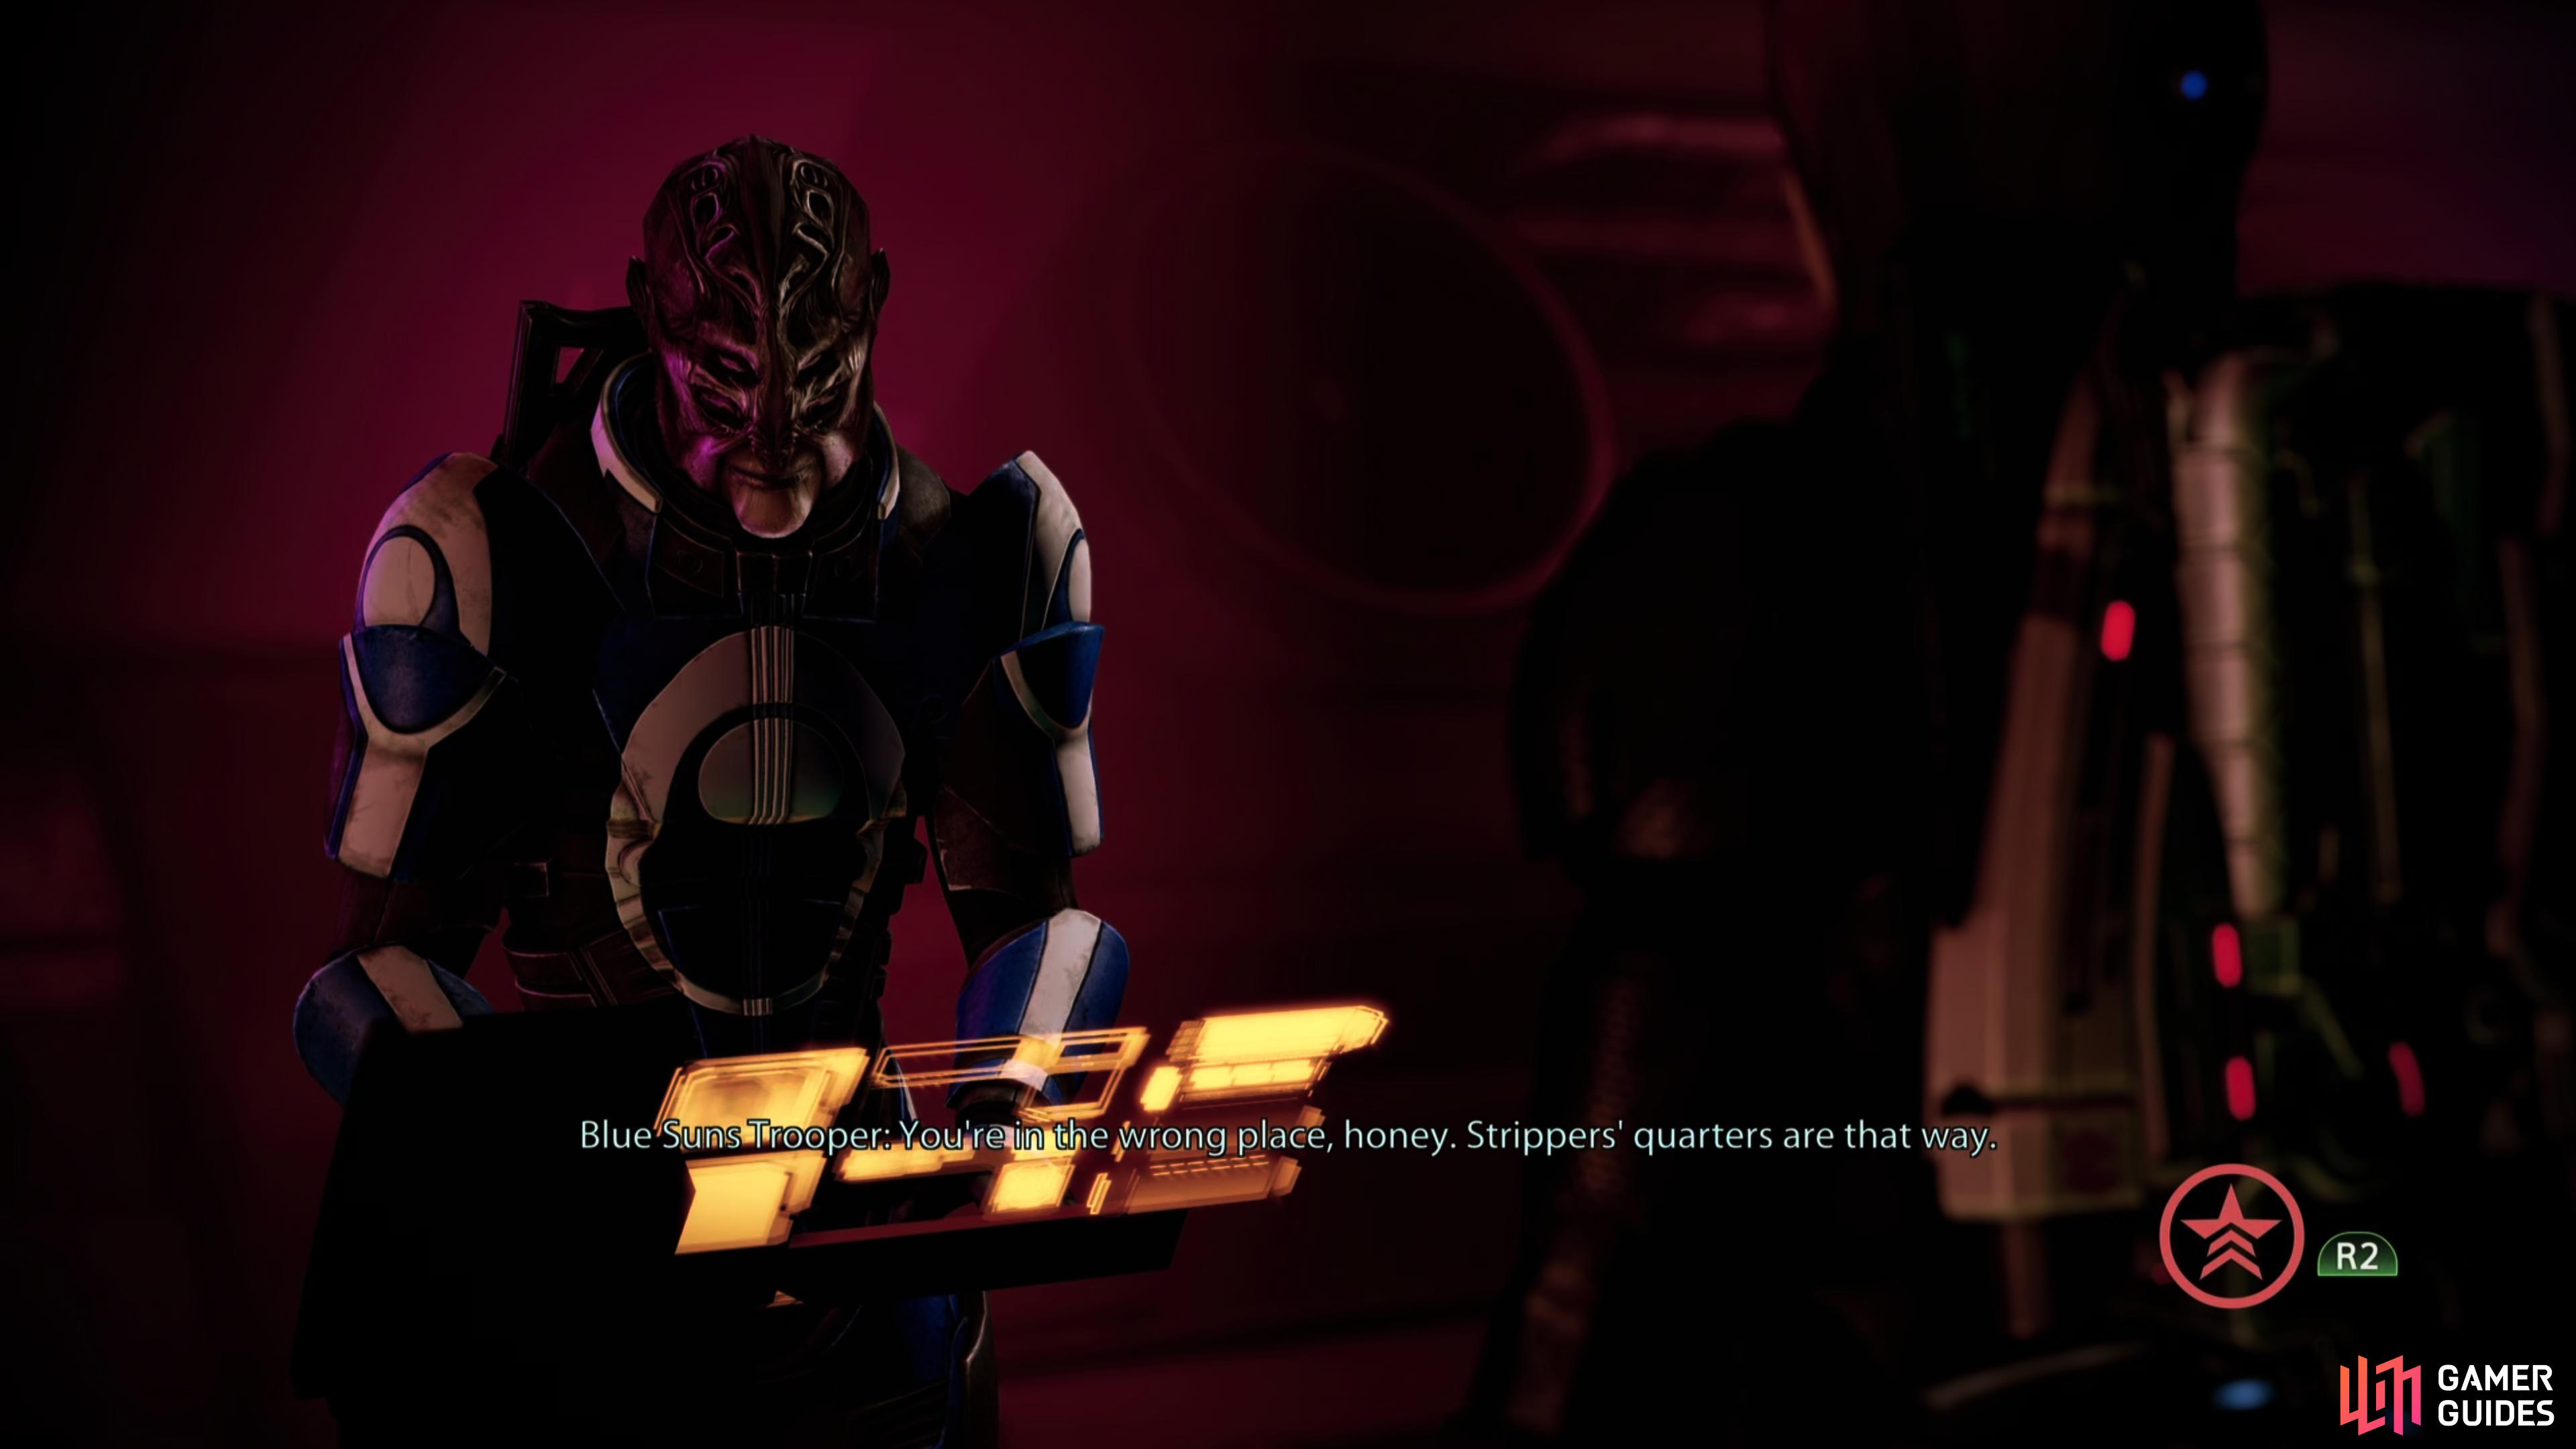
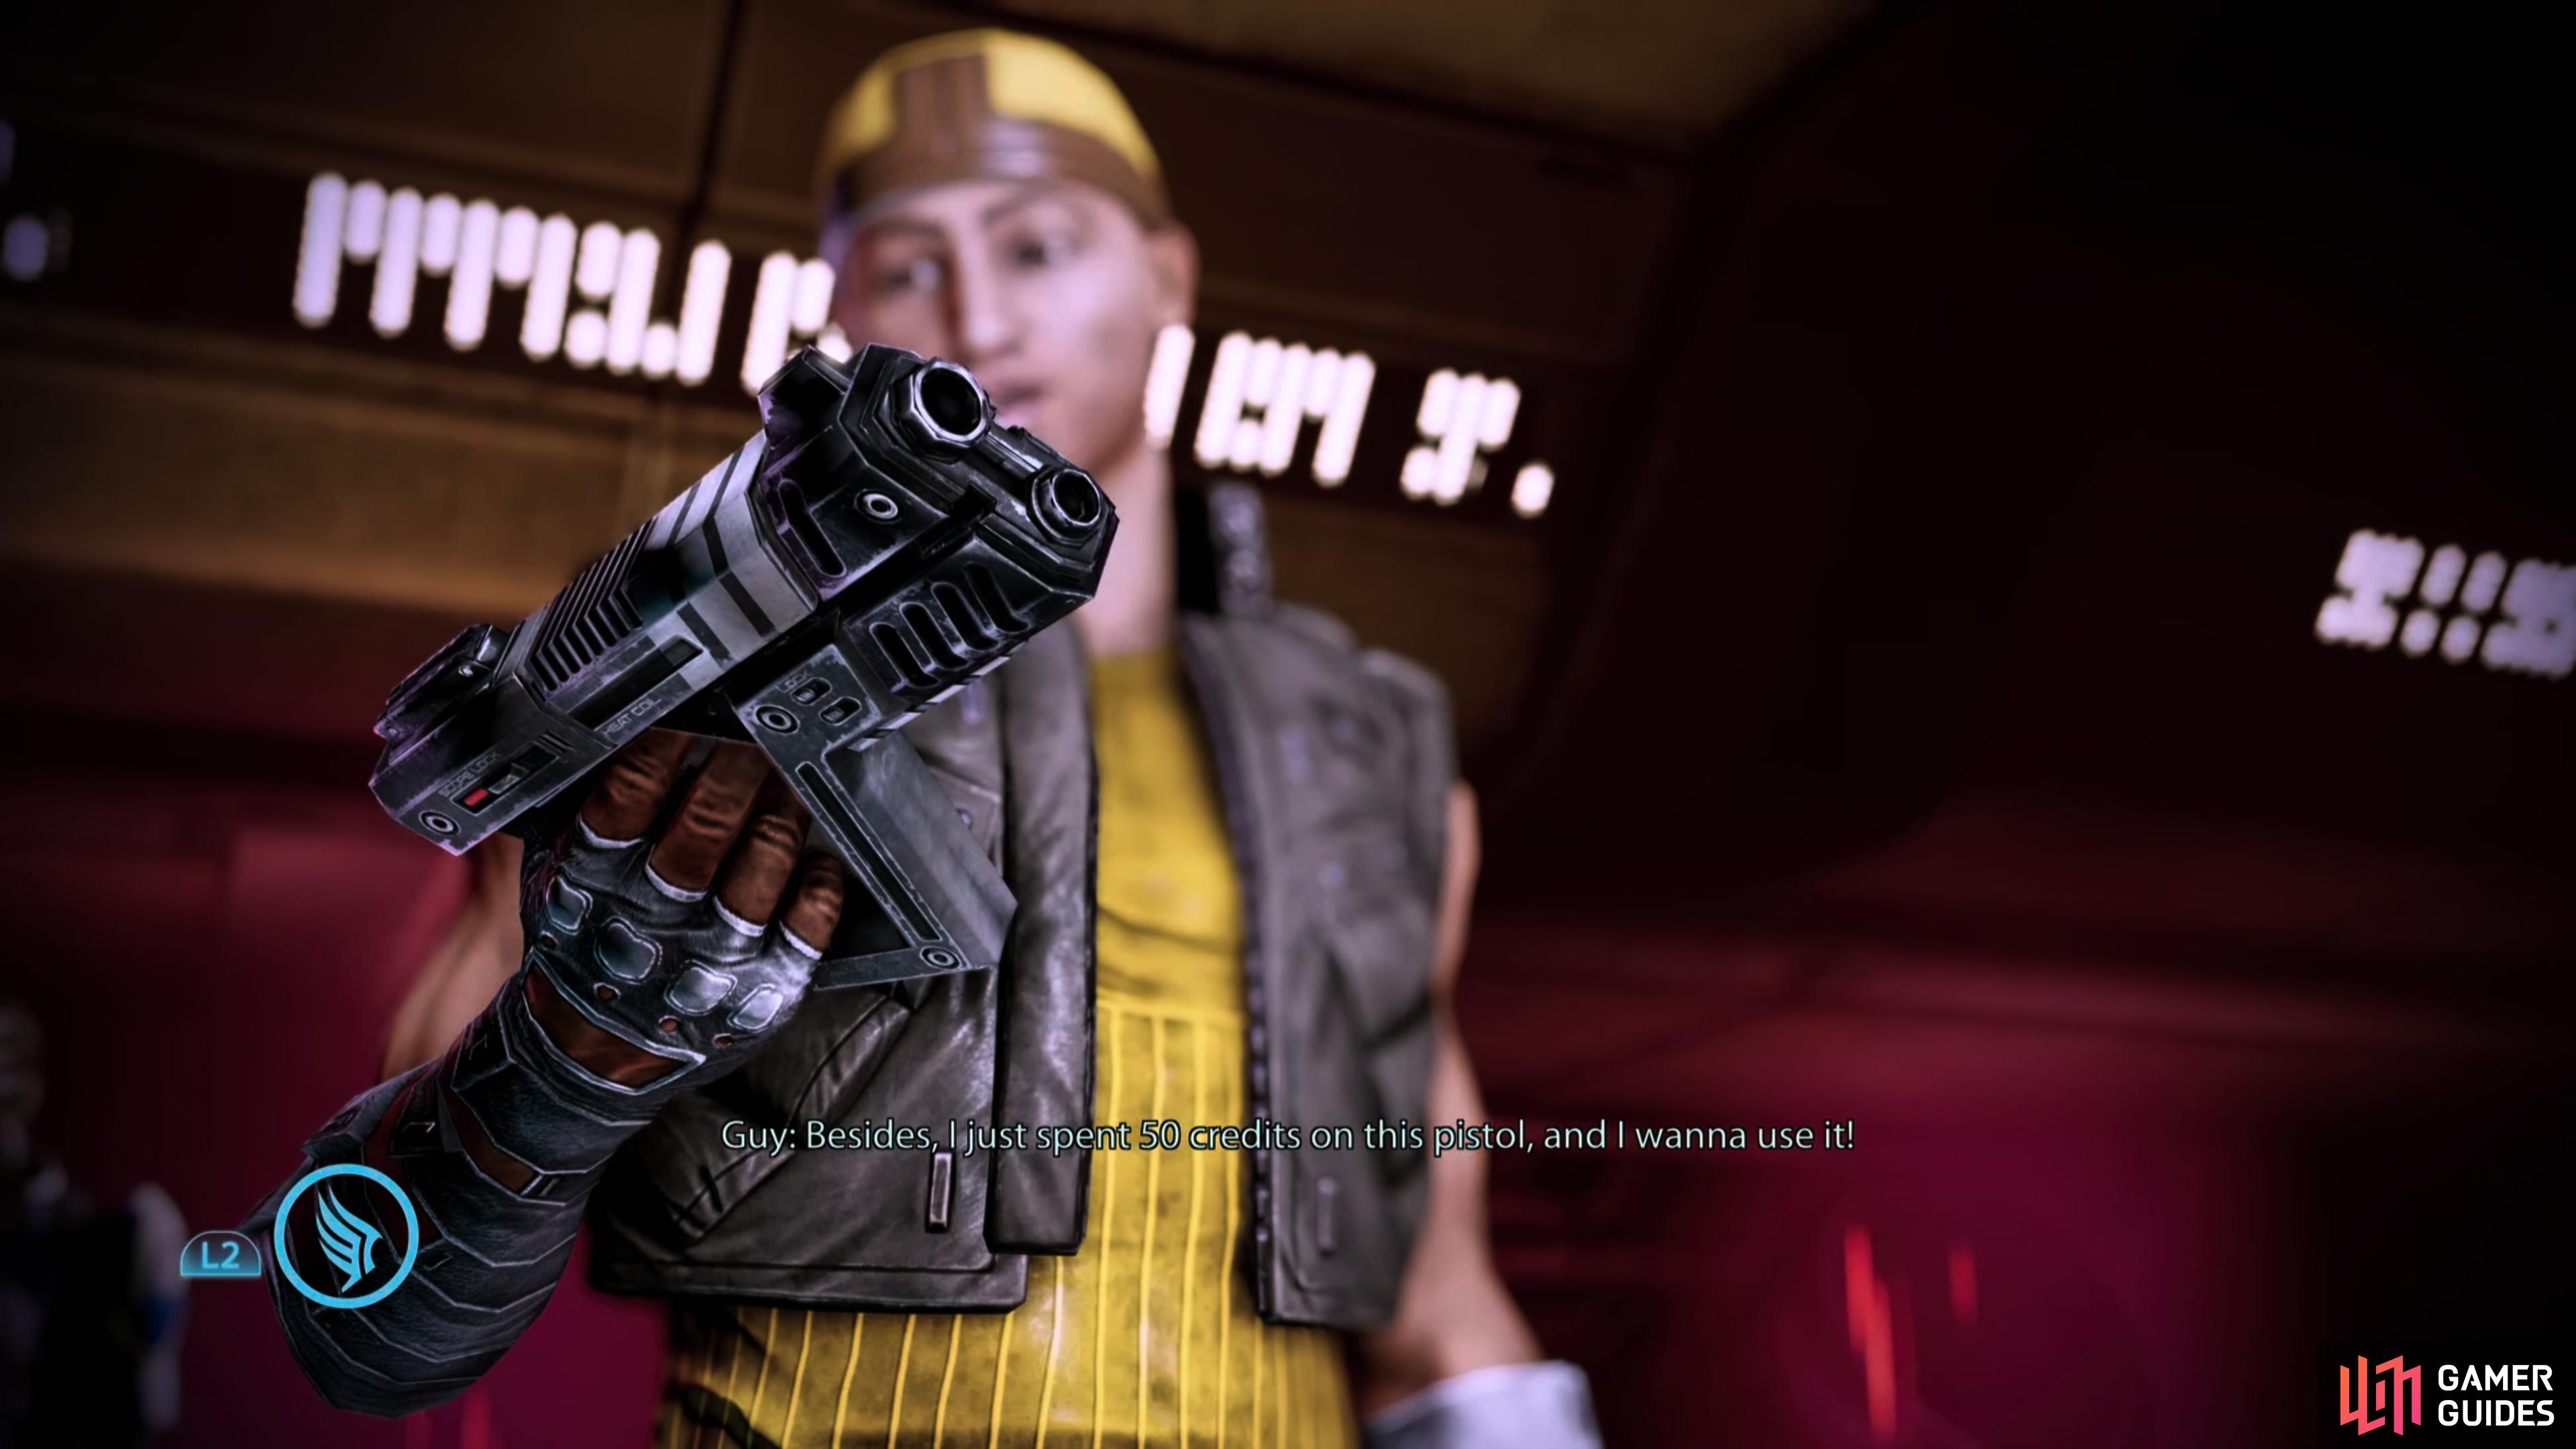
(1 of 2) Meet with the merc recruiter, where you may get a chance to perform a Renegade interrupt,
Meet with the merc recruiter, where you may get a chance to perform a Renegade interrupt, (left), as you leave, you’ll encounter a dumb kid who thinks having a gun makes him more than fodder - a Paragon interrupt will set him straight. (right)
After speaking with Aria, look at your map and find the marker for the Merc Recruiter - the mercenaries seeking Archangel’s head aren’t all that far away from Aria herself. Cruise over and talk to the recruiter and you may get to perform some interrupts; one when the recruiter insults you, and another when some dumb kid who is way out of his depth tries to enlist. Deal with them as you will, then make your way to the Transport Depot marker on the map. Talk to the Blue Suns driver here to journey out to the mission area.
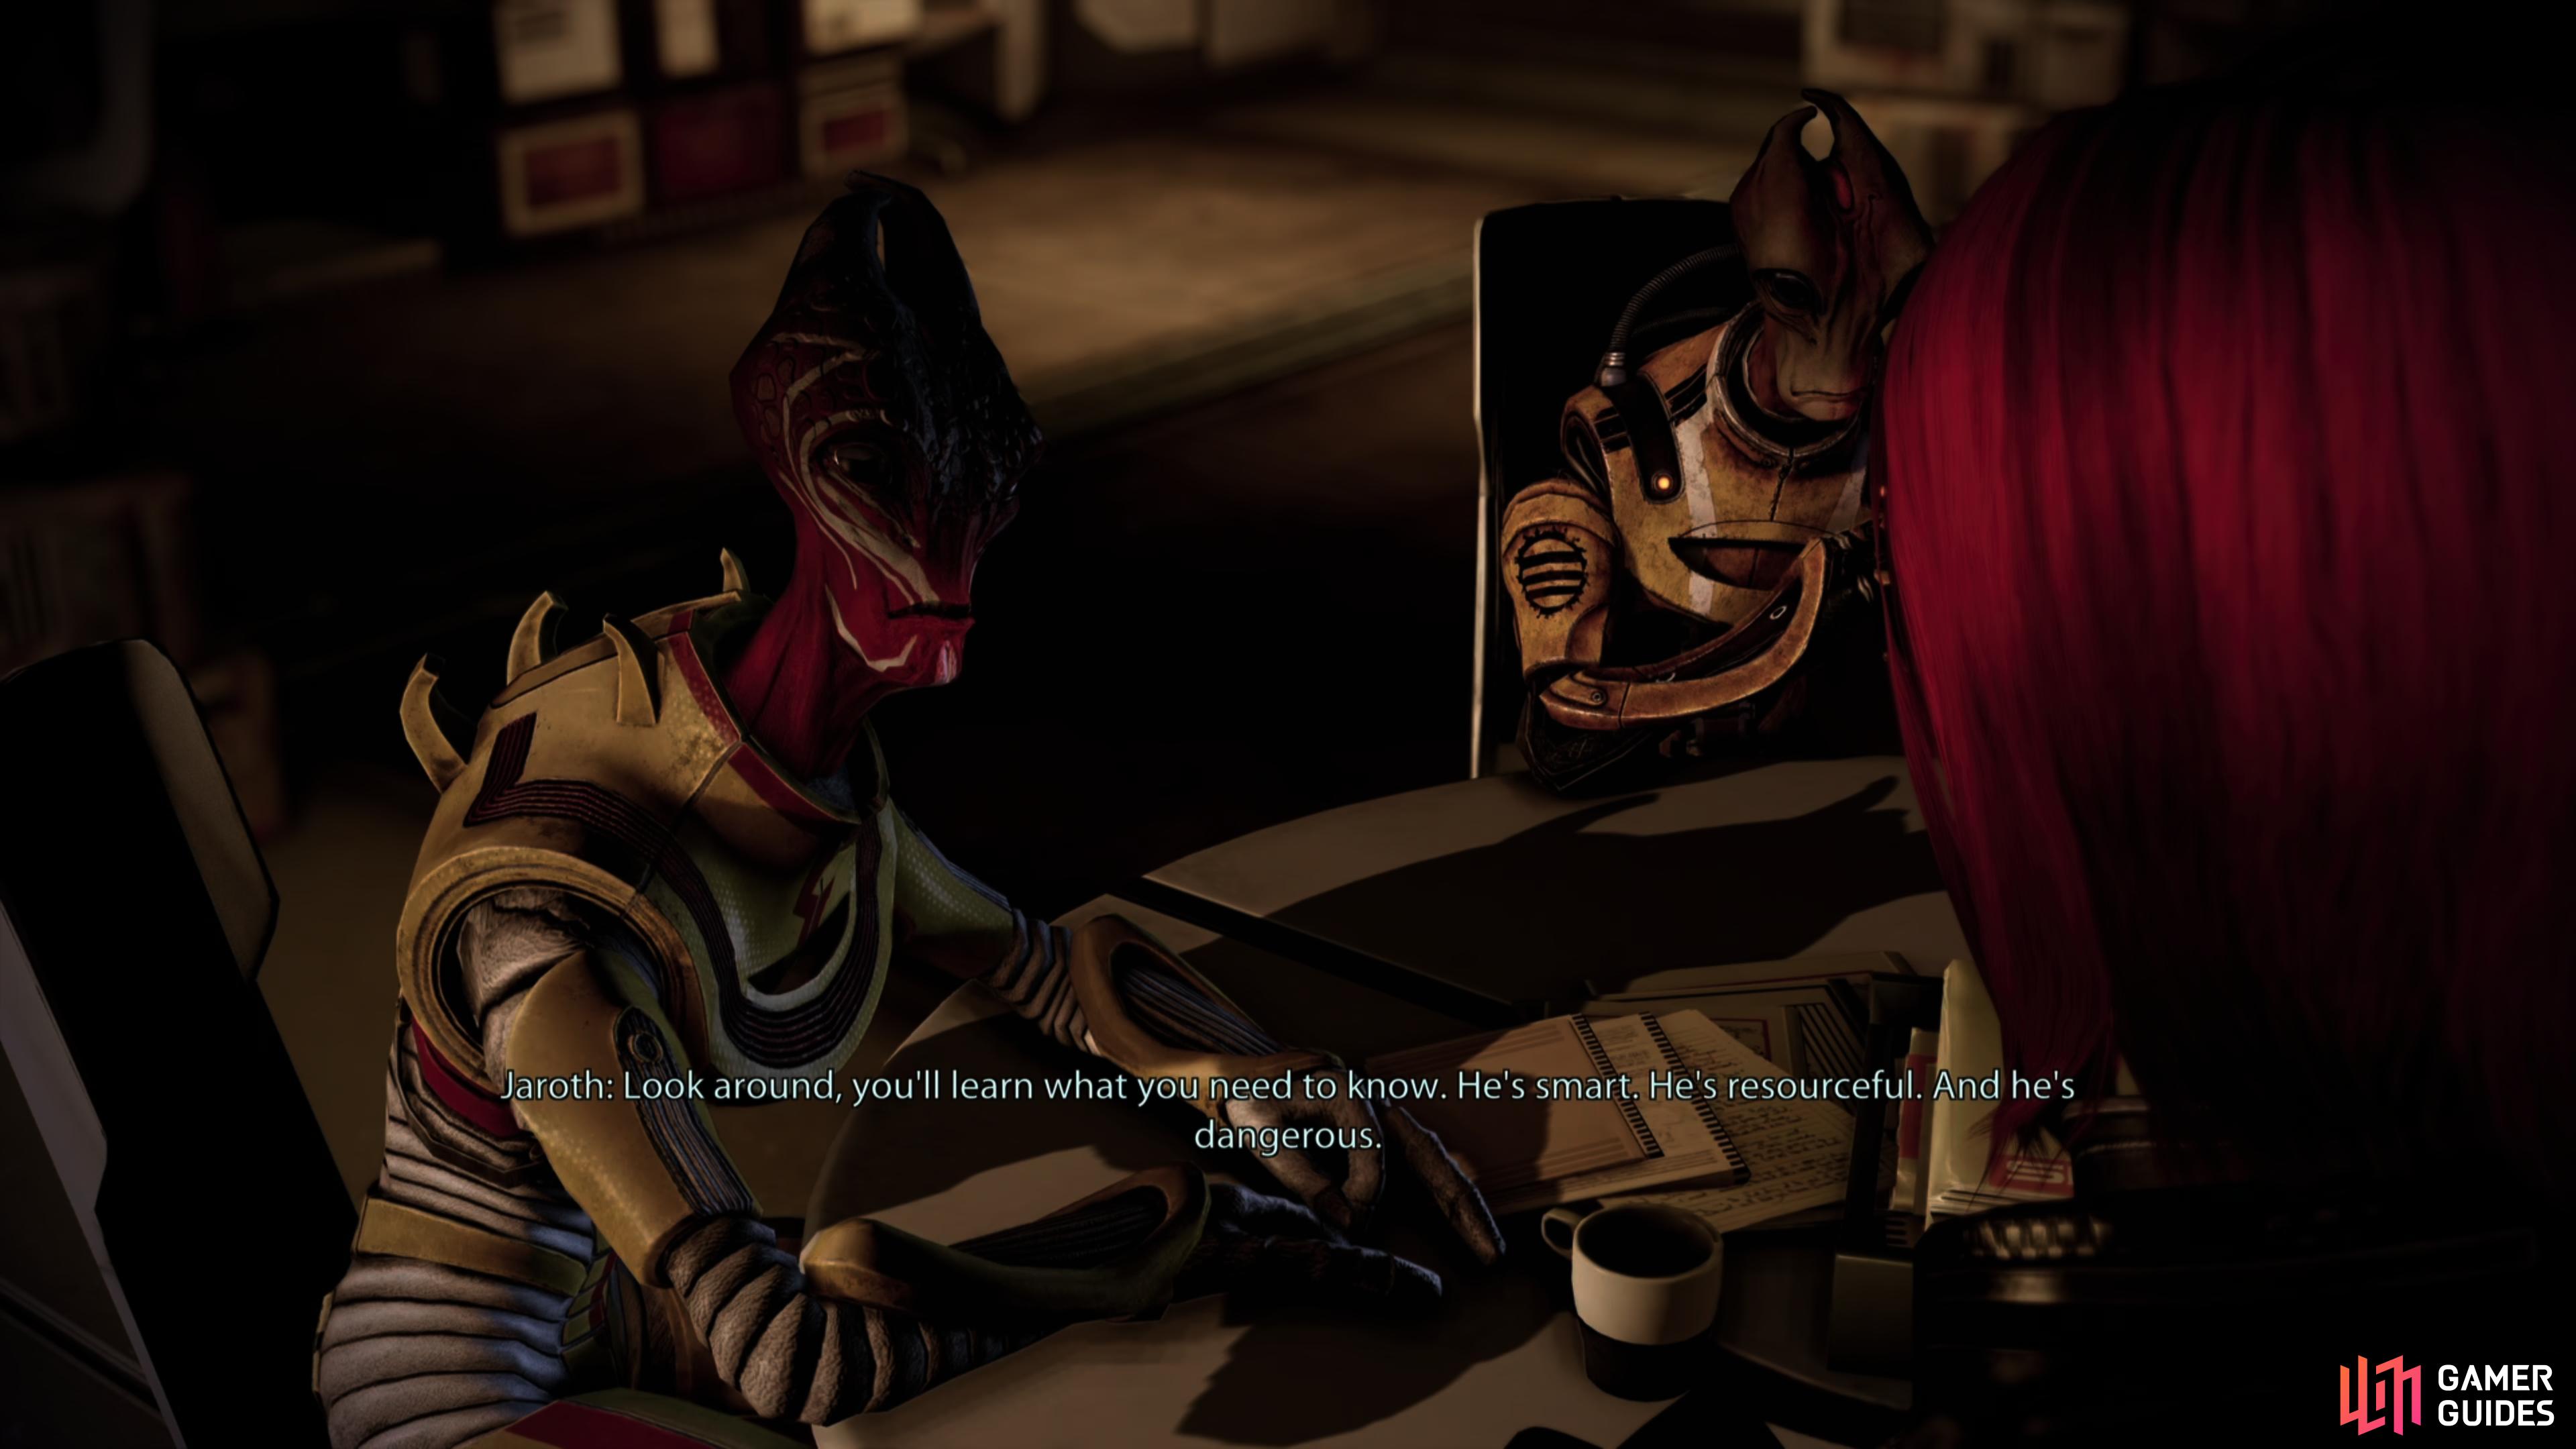
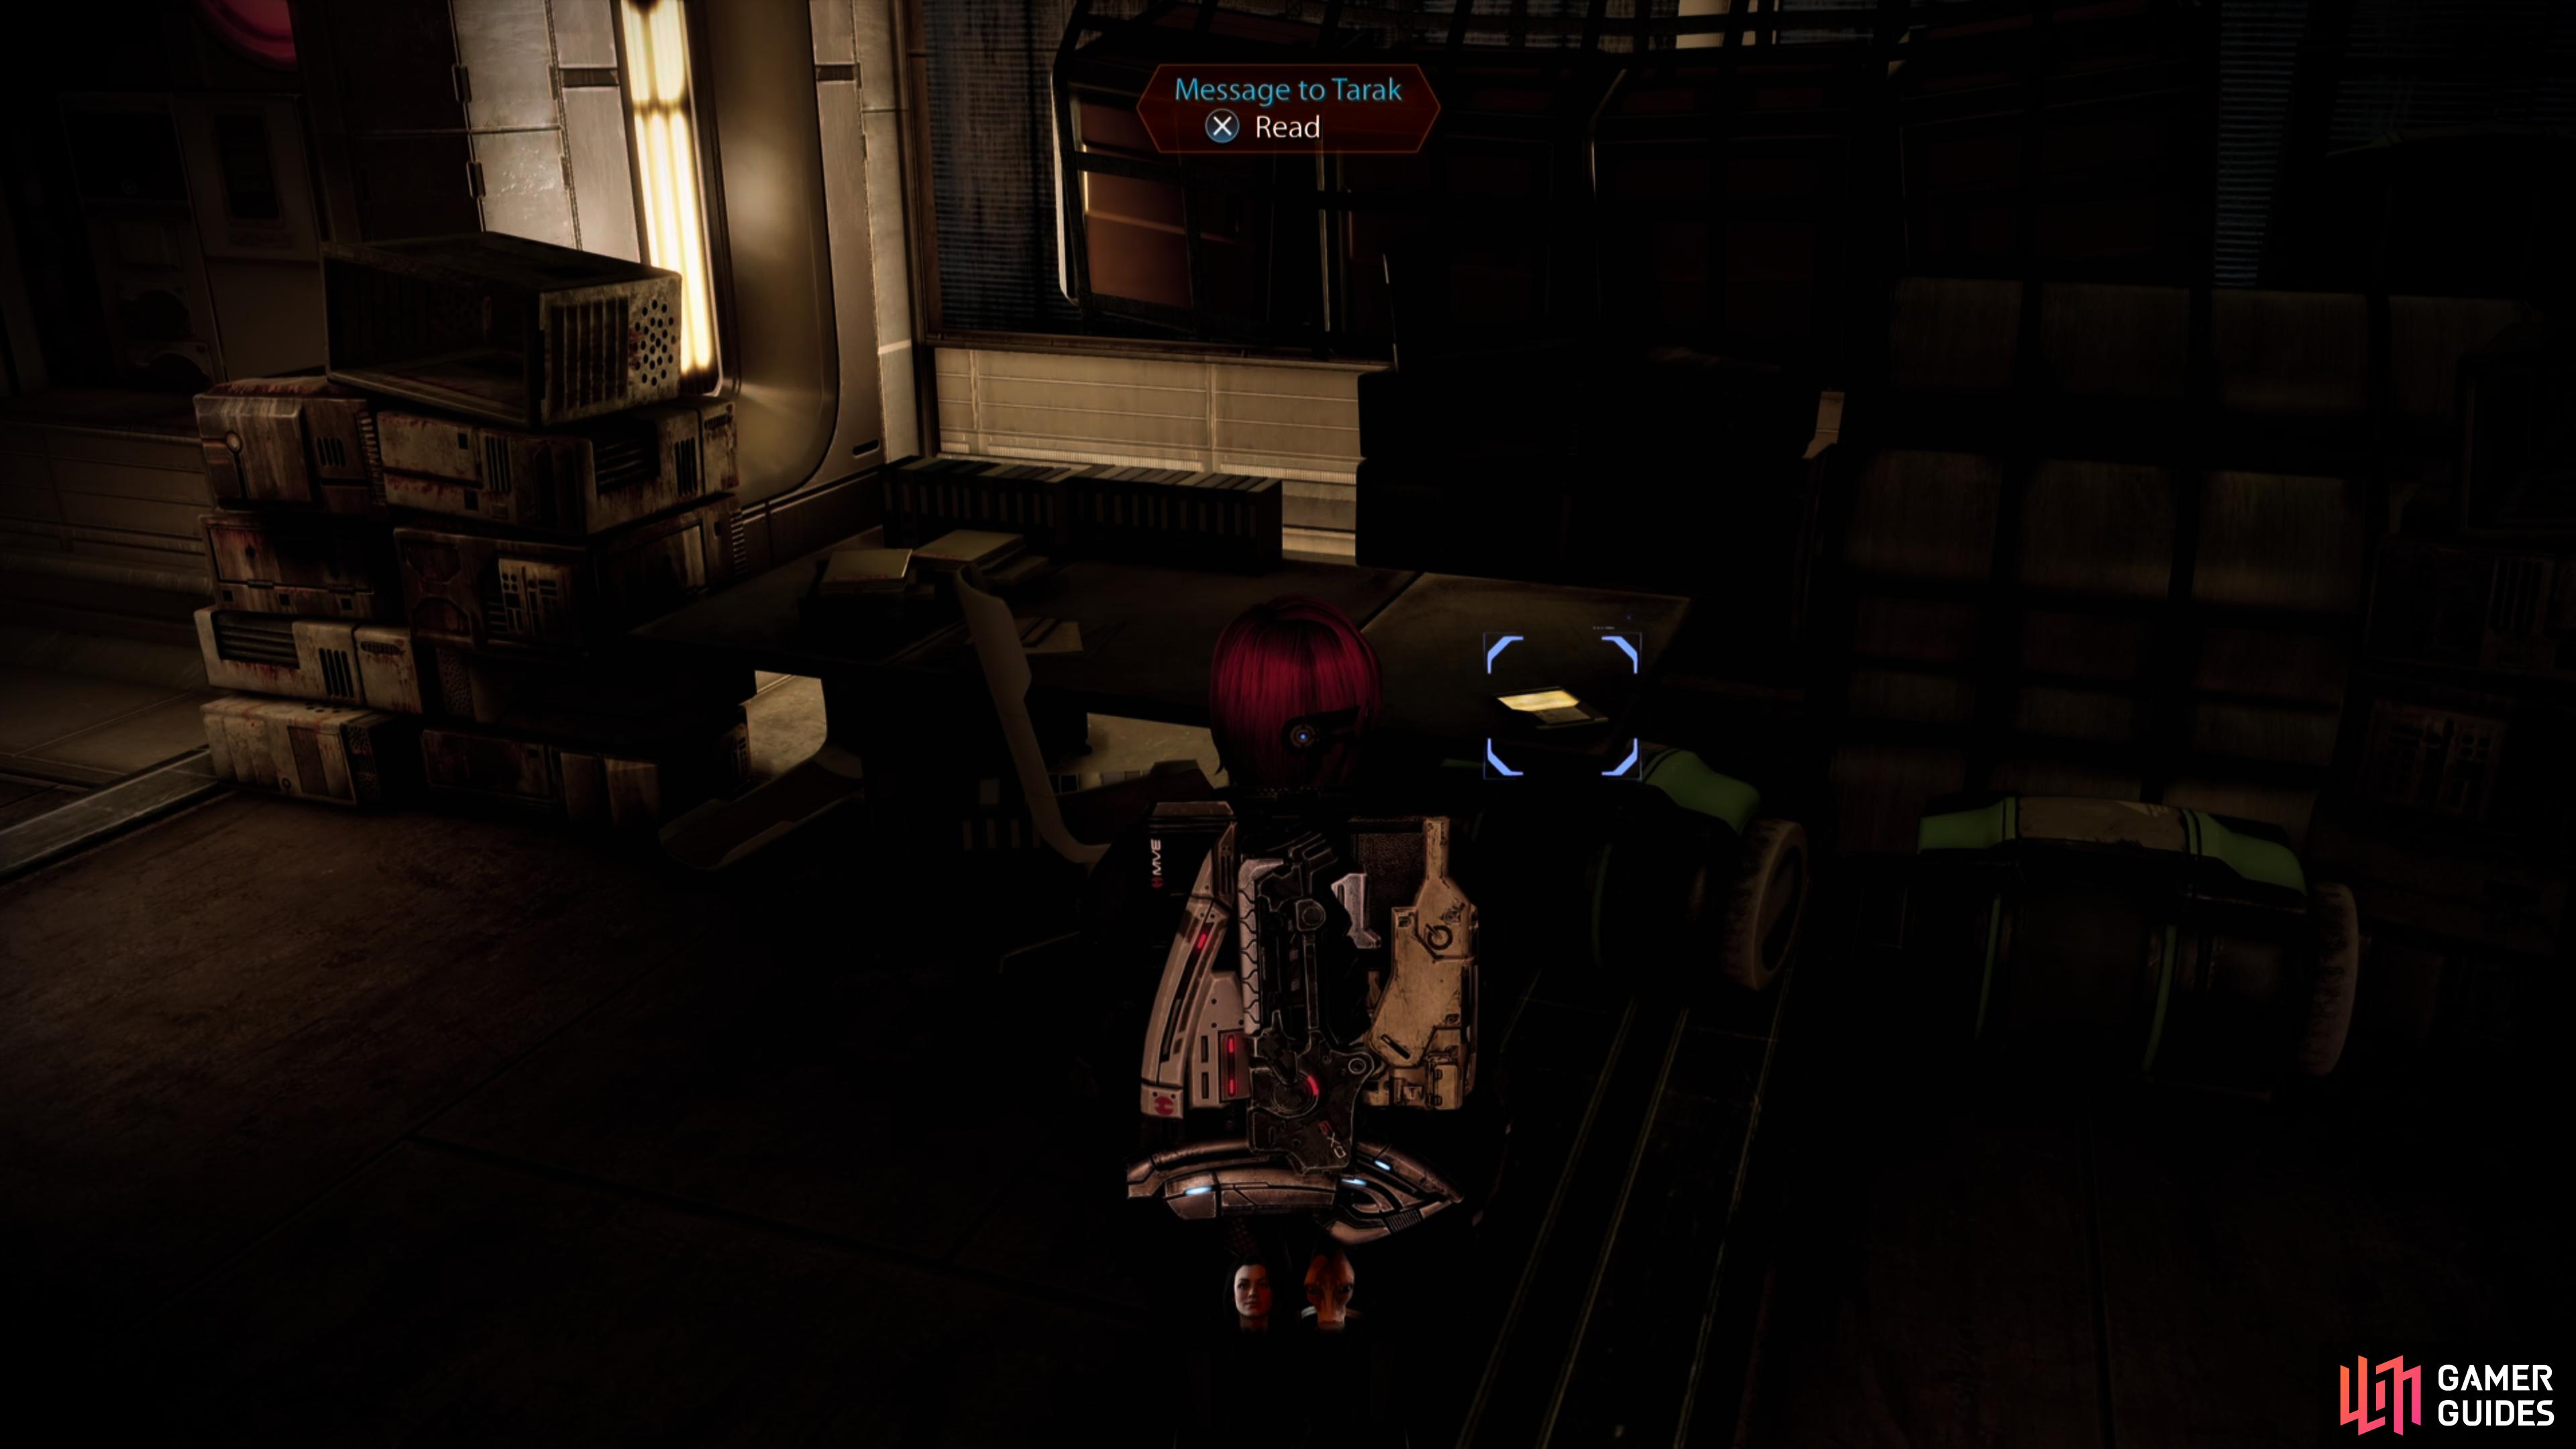
After landing and engaging in a short conversation, you will need to go and have a chat with Sergeant Cathka. Head up the stairs and down the alley on the left. Enter the door here. Grab the data pad off the table here for a side-mission (Omega: Archangel: Data Pad Recovered) that you can hand in later once you are off-mission. You can also talk to Jaroth if you wish to go over the plan once more.
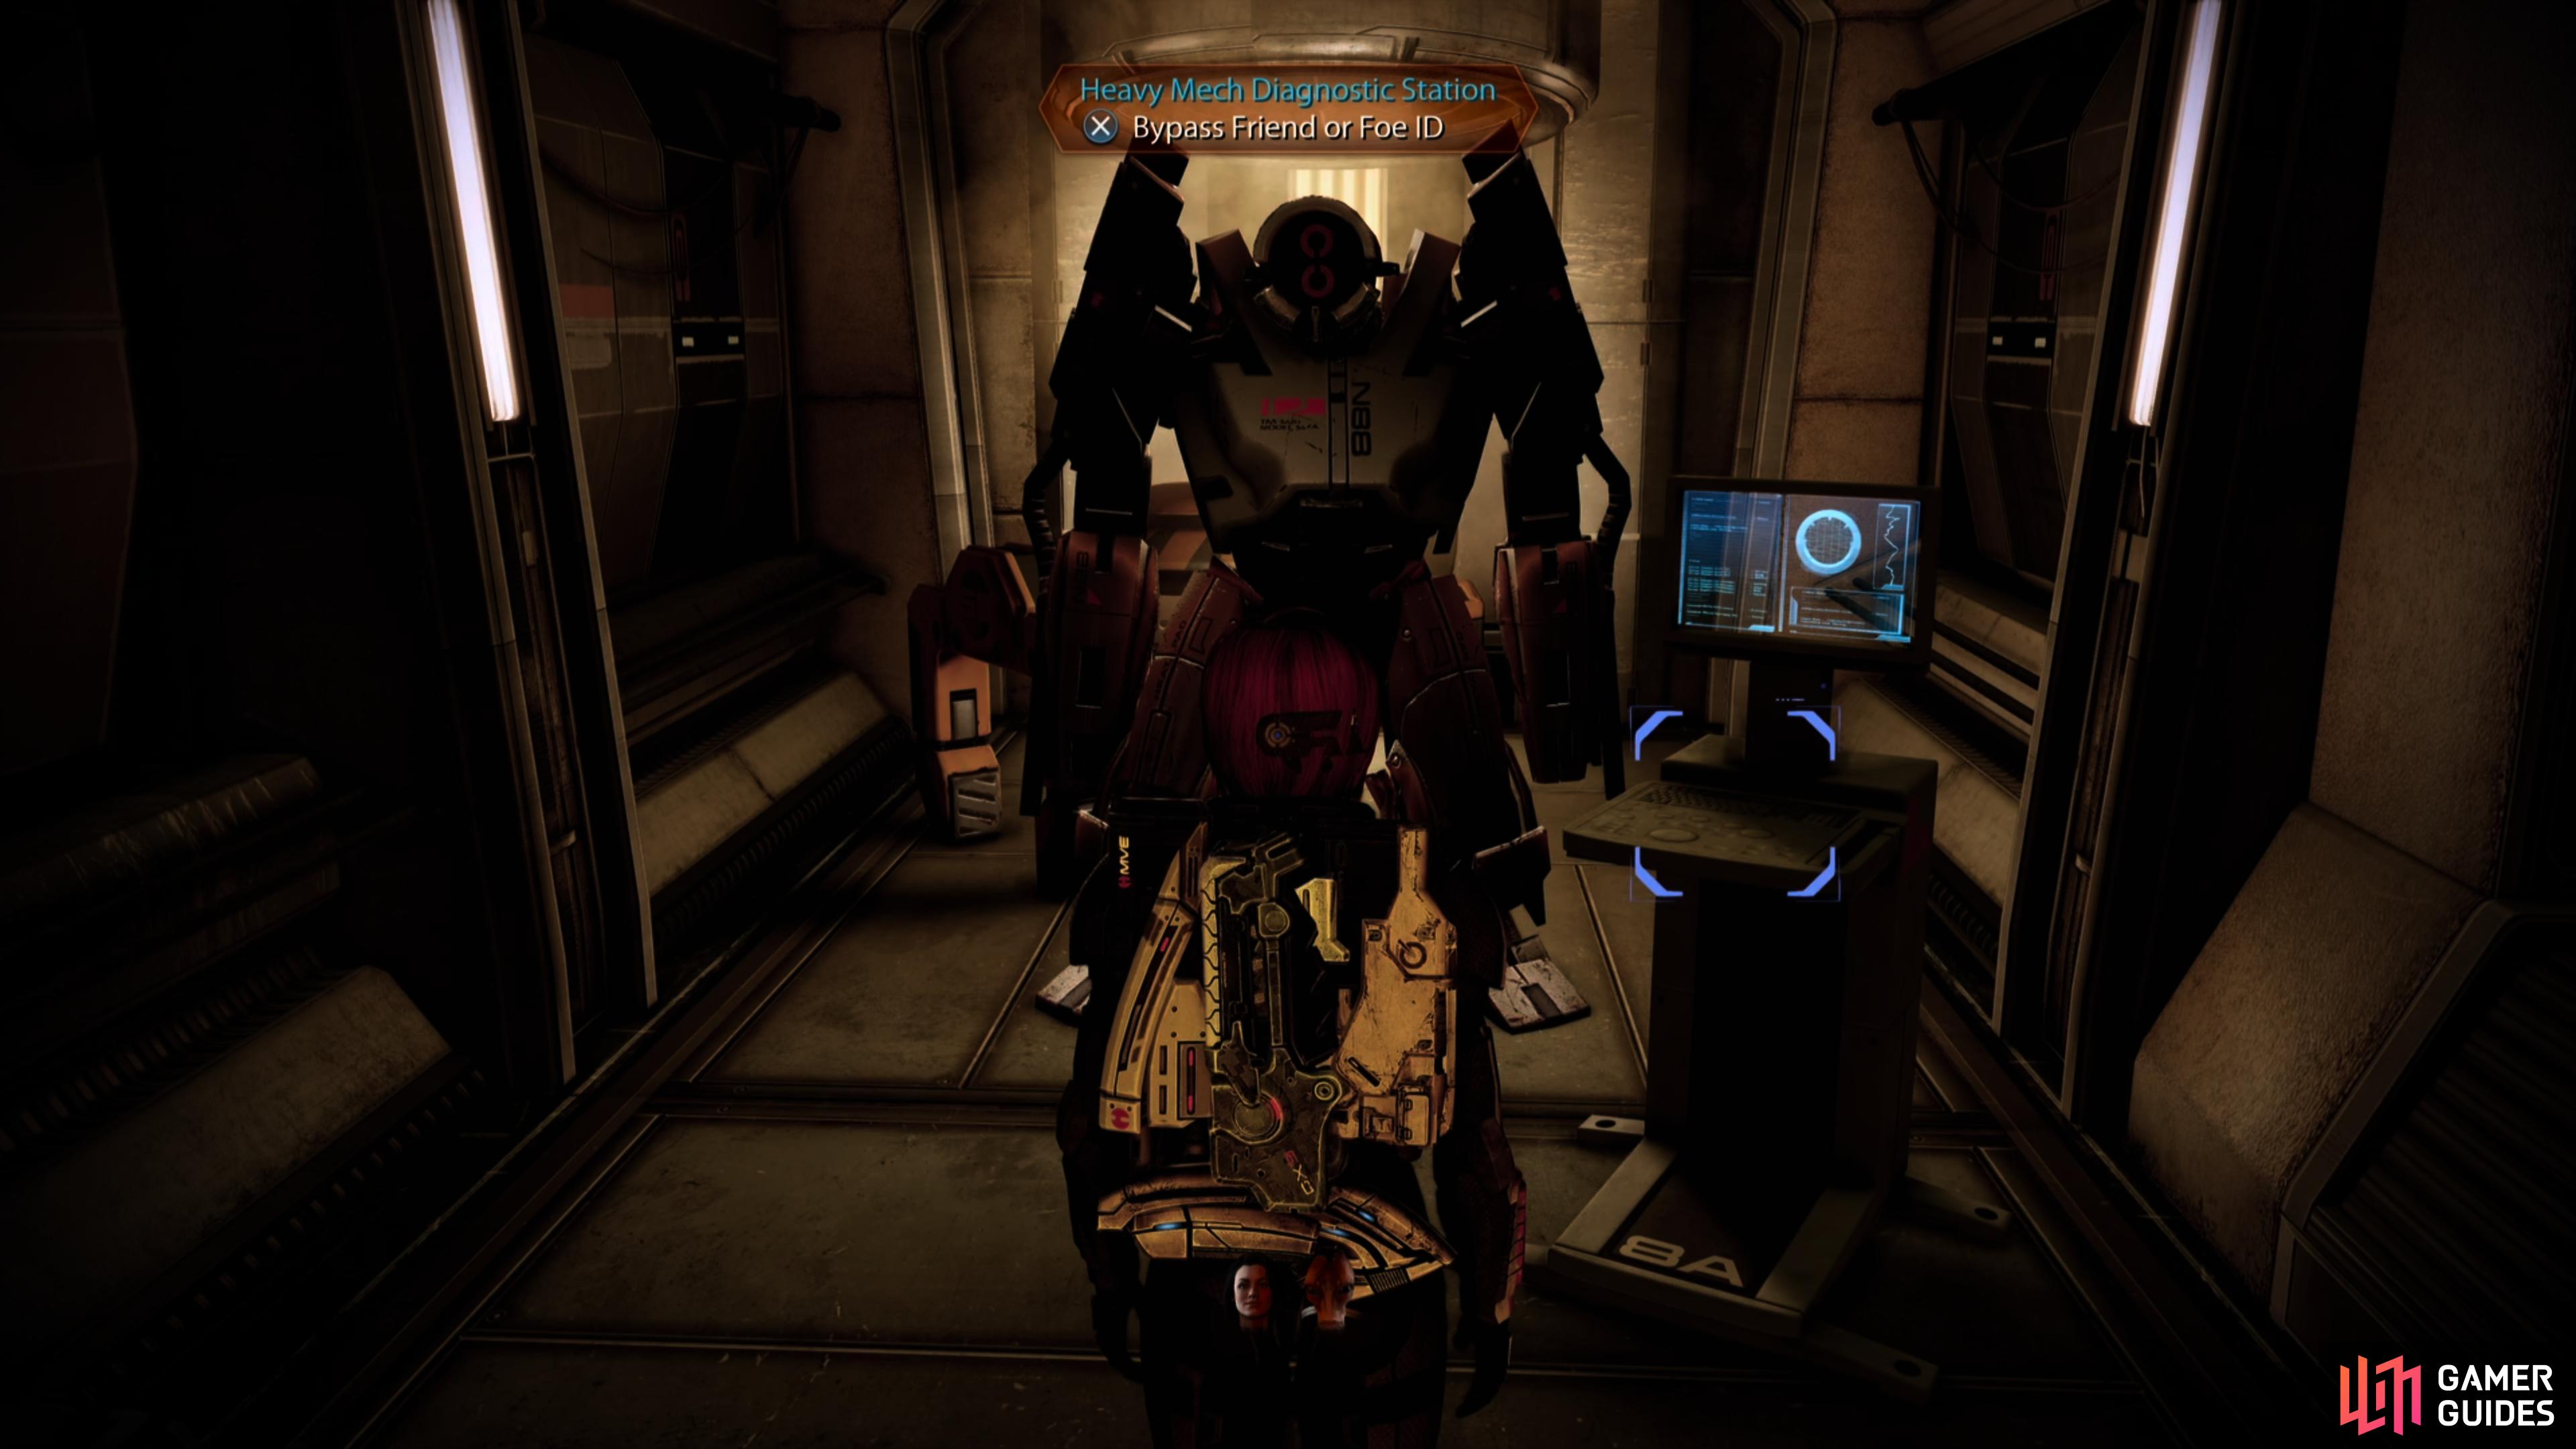
Exit through the next door and enter the door on the left down the hallway. Inside you will find a deactivated YMIR Mech. Use the console in front of the mech to re-program it to make the next part a bit easier. Hack the Data Pad on the table and grab the Refined Eezo here before returning to the hallway and exiting to the next area.
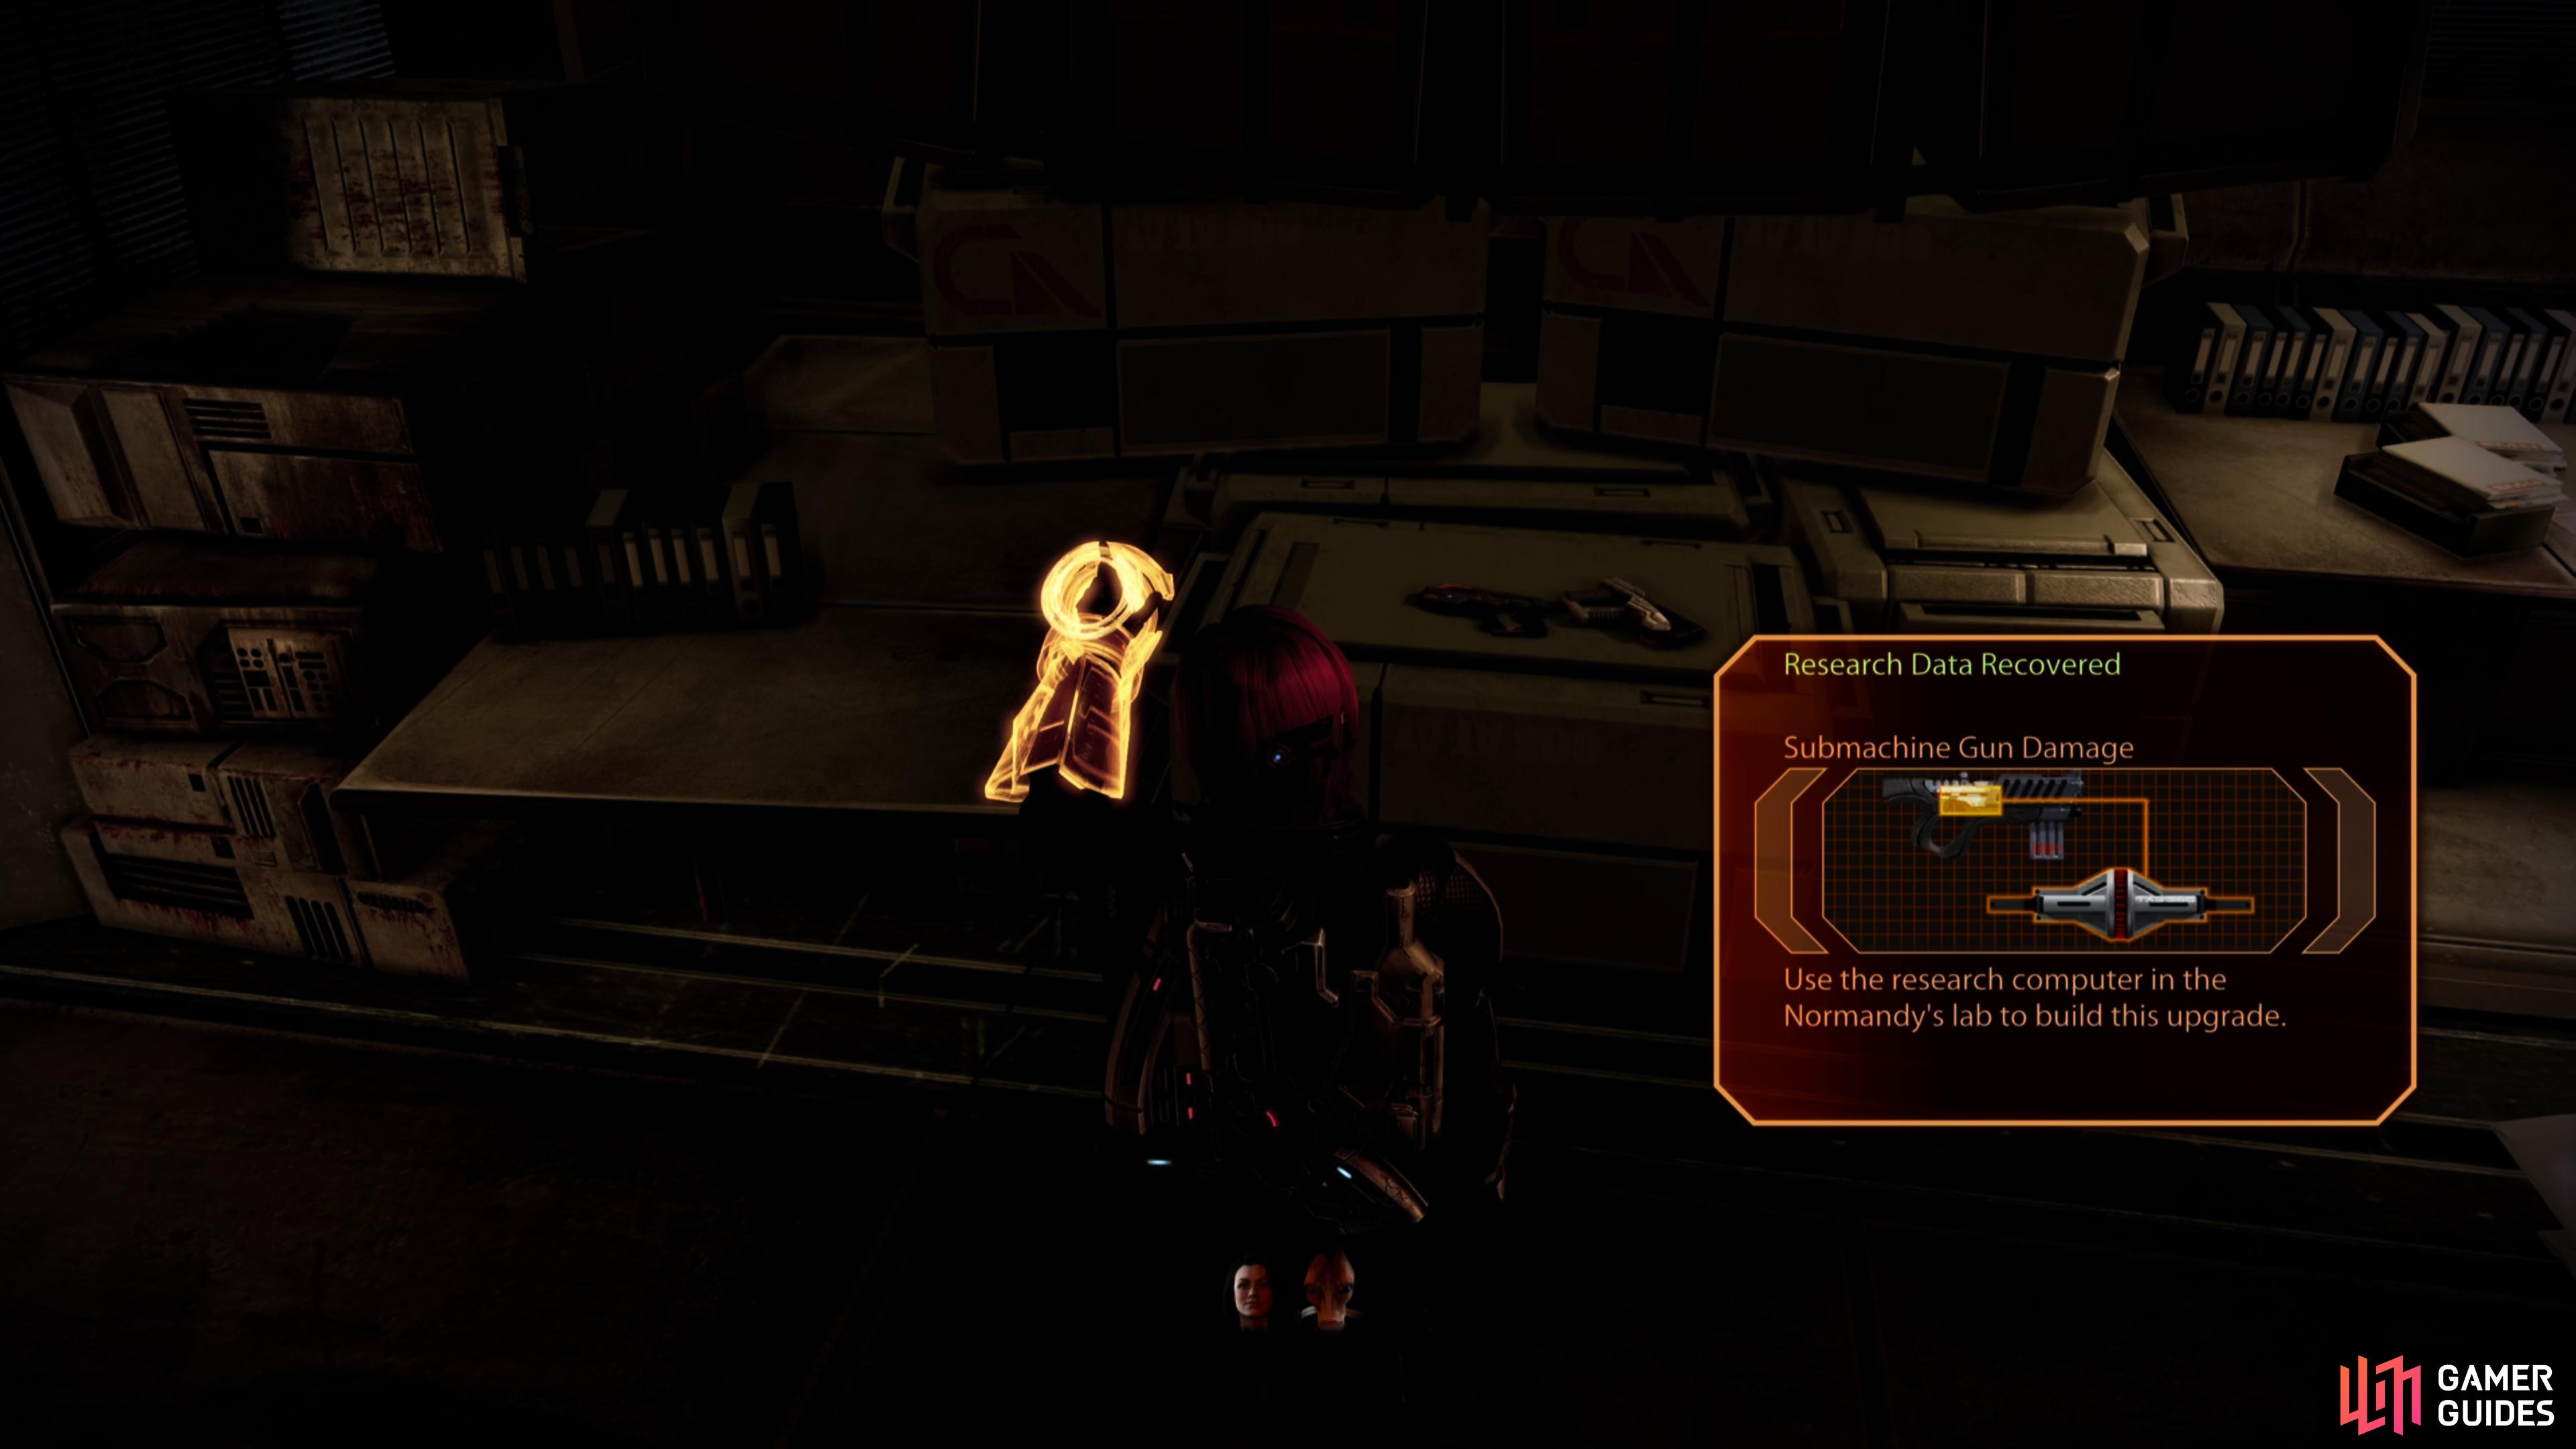
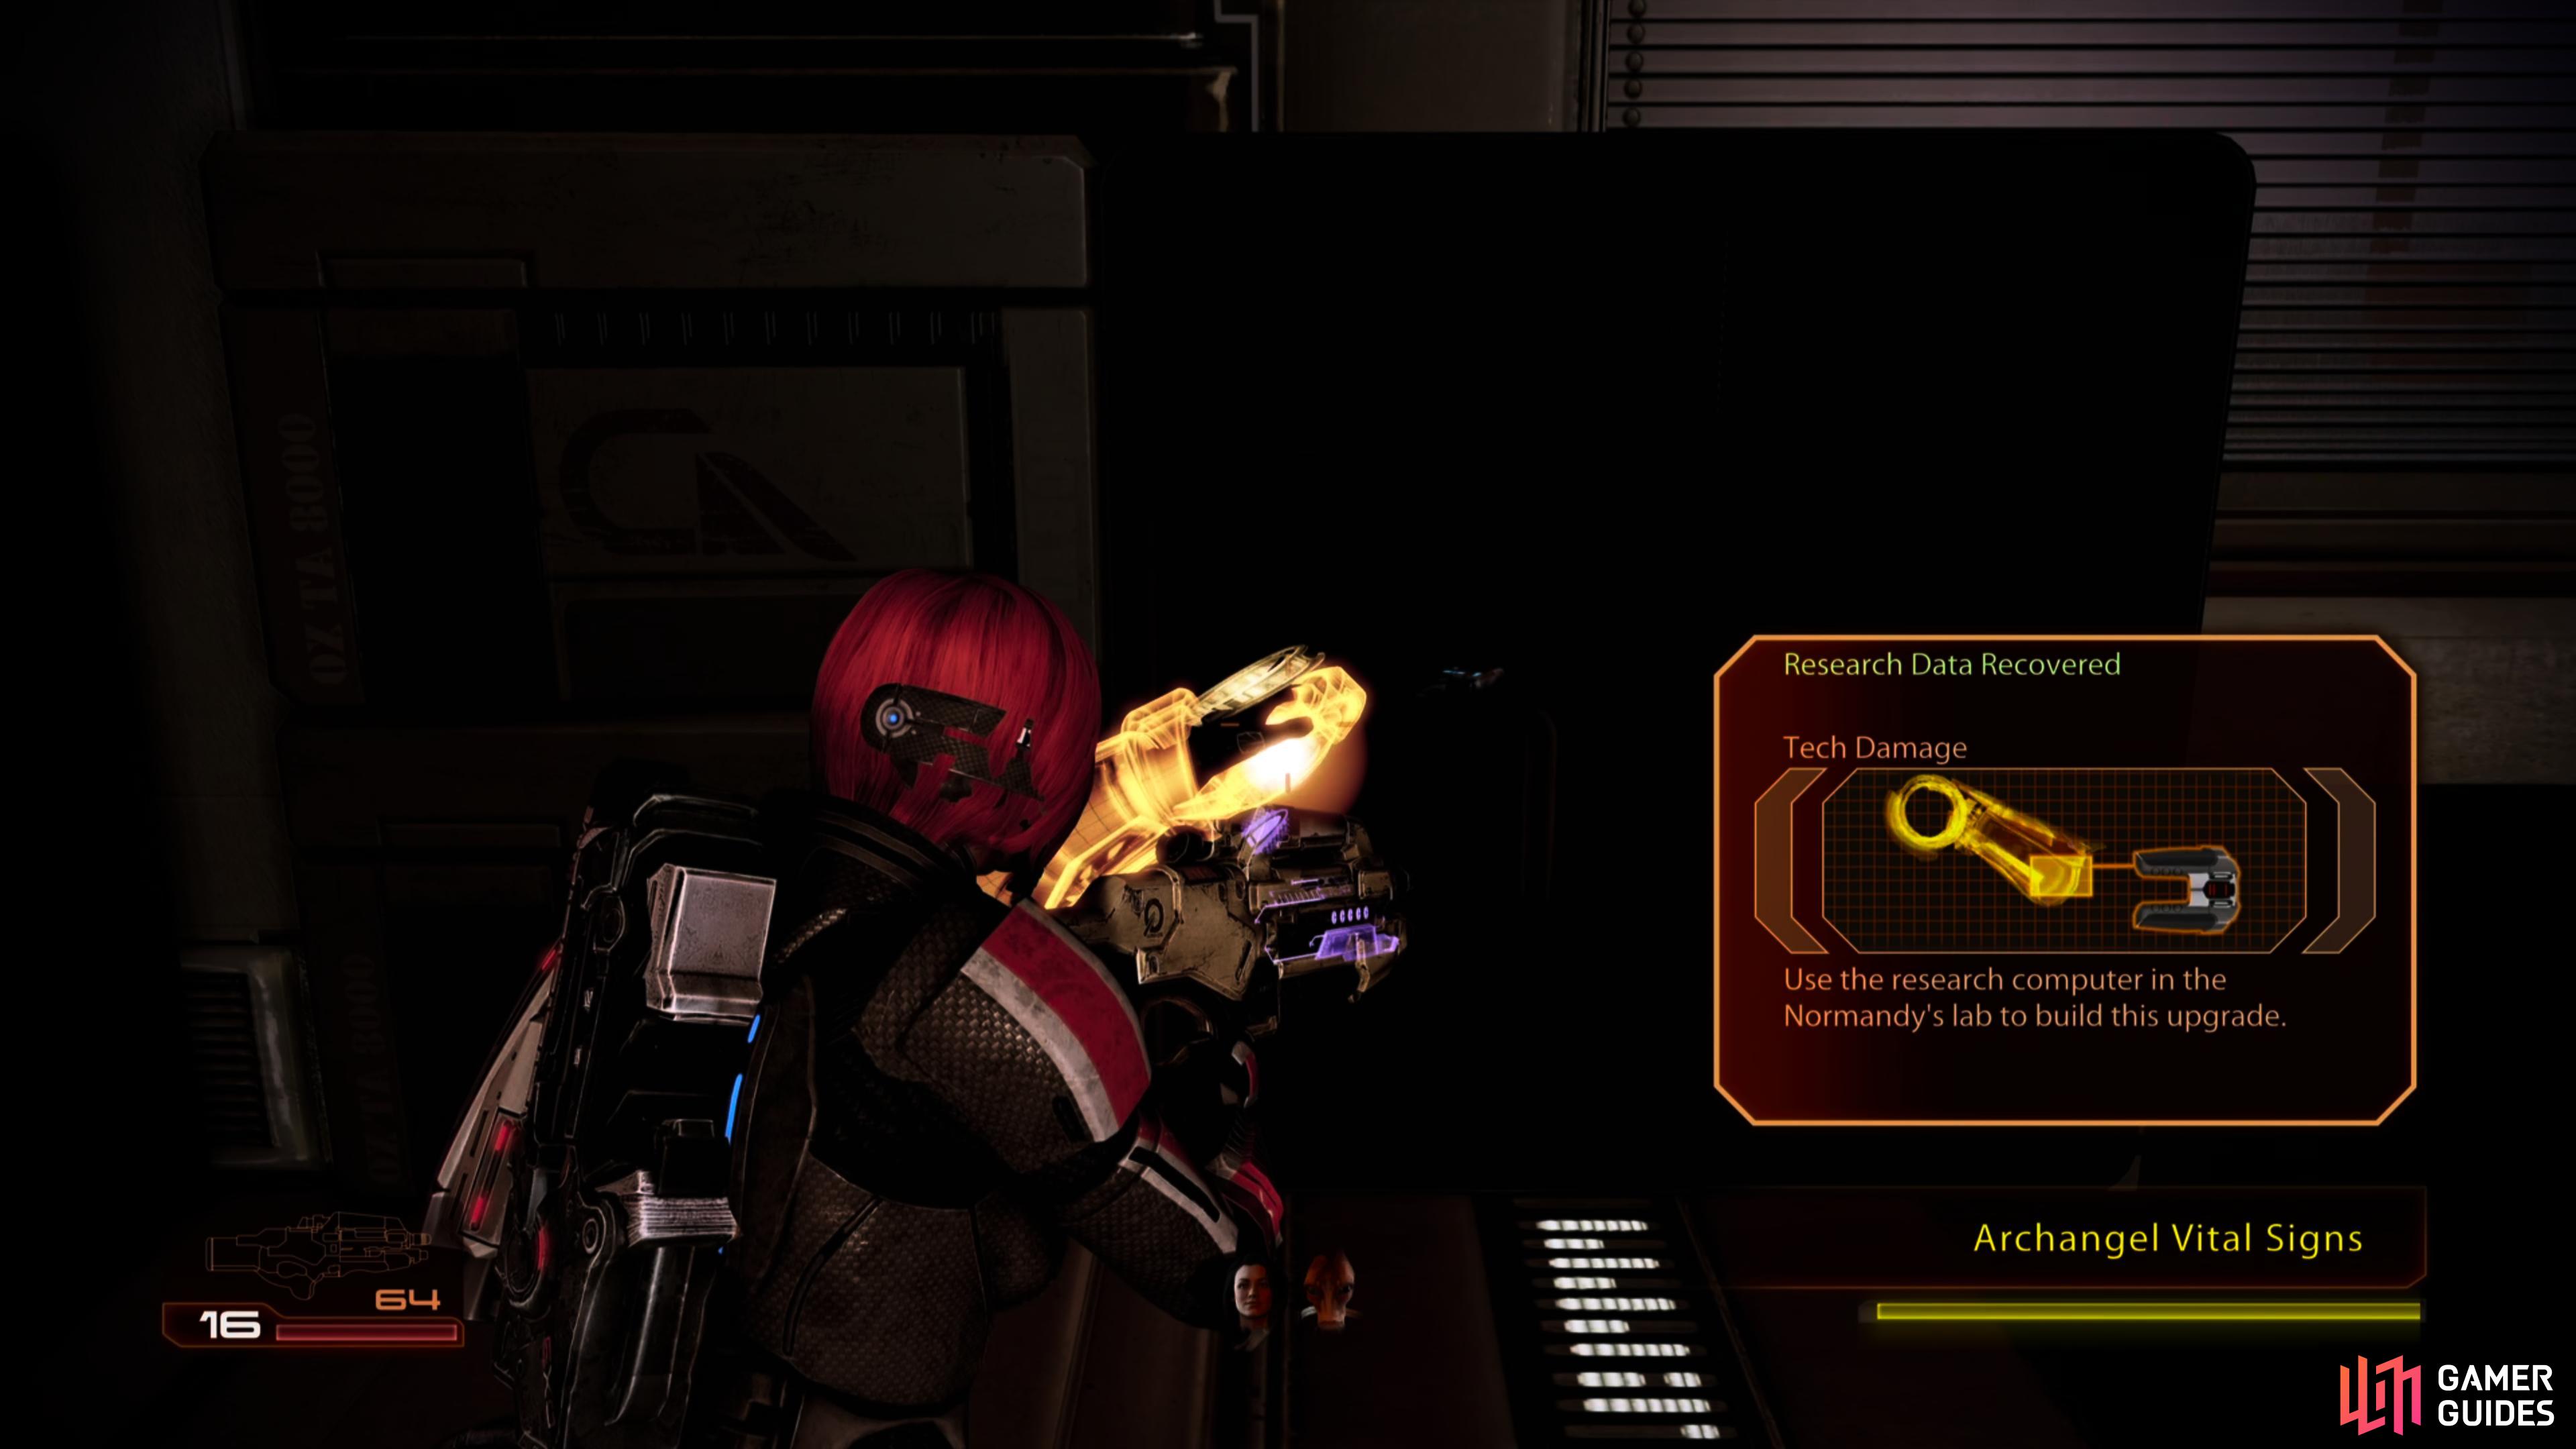
Enter ahead if you wish to chat with Garm about the mission or continue through the door to the right. Hack the Data Pad on the floor and then continue along the right-hand wall. Find and bypass the locked door here. Inside you will find thermal clips, a Data Pad and a Submachine Gun Damage upgrade. Exit and talk to Chalak’s assistant. He’ll lead you to Sergeant Cathka for a conversation. After a quick chat, Cathka will turn his back on you, and if you feel the need you can use the Renegade action that pops up here to make things a bit easier later on.
(1 of 3) Fight your way through the mercs, whose assault you were joining,
After the scene, cross the bridge and kill any mercenaries that get in the way. Enter the building at the far end of the bridge and eliminate any remaining mercenaries inside. At the foot of the ramp leading up to the next level, you will see a bookcase; examine the object here for a Tech Damage upgrade.
Climb the ramp and finish any remaining bad guys. On the left you will find an open door; hack the Wall Safe inside and pick up the Med Kit if required. Enter the door at the other end of the hallway to initiate a story scene.
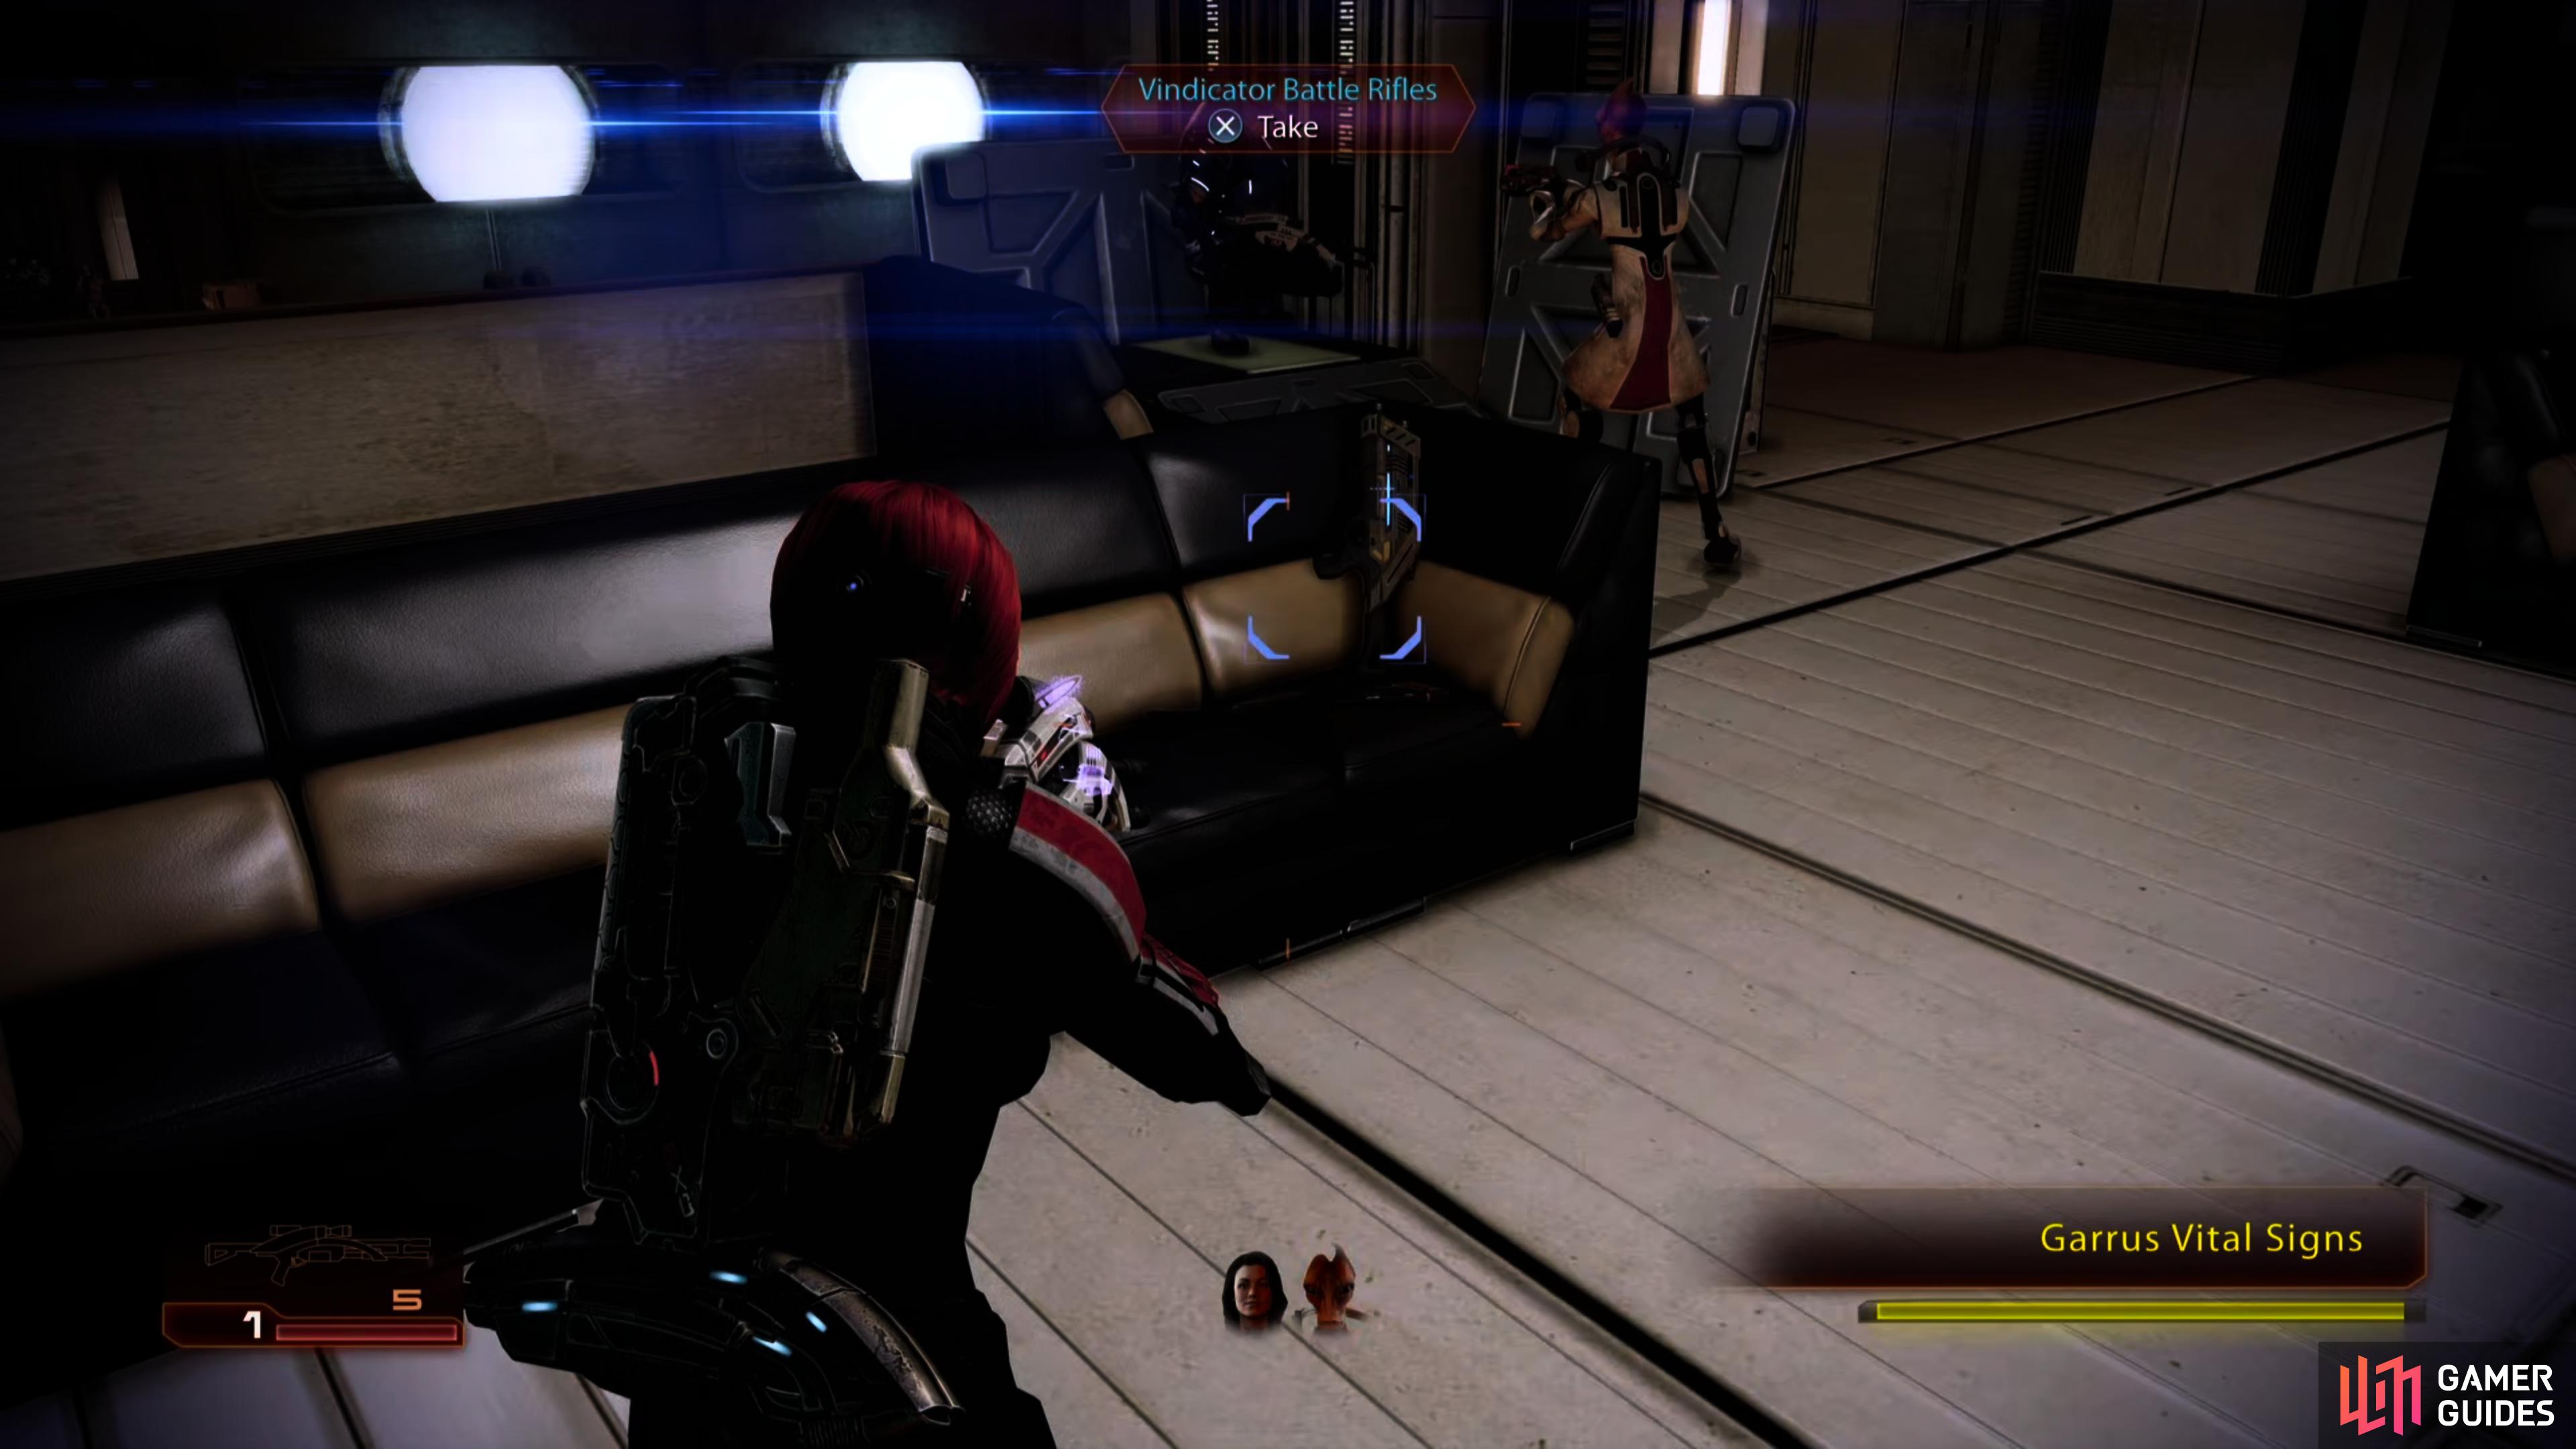
After the scene, you will need to defend Archangel and his current position. Quickly look at the couch nearby for the M-15 Vindicator Battle Rifle and across the room for a footlocker containing credits. Return to the window.
(1 of 4) The Eclipse mercenaries attack in several waves - first fend off some Loki Mechs,
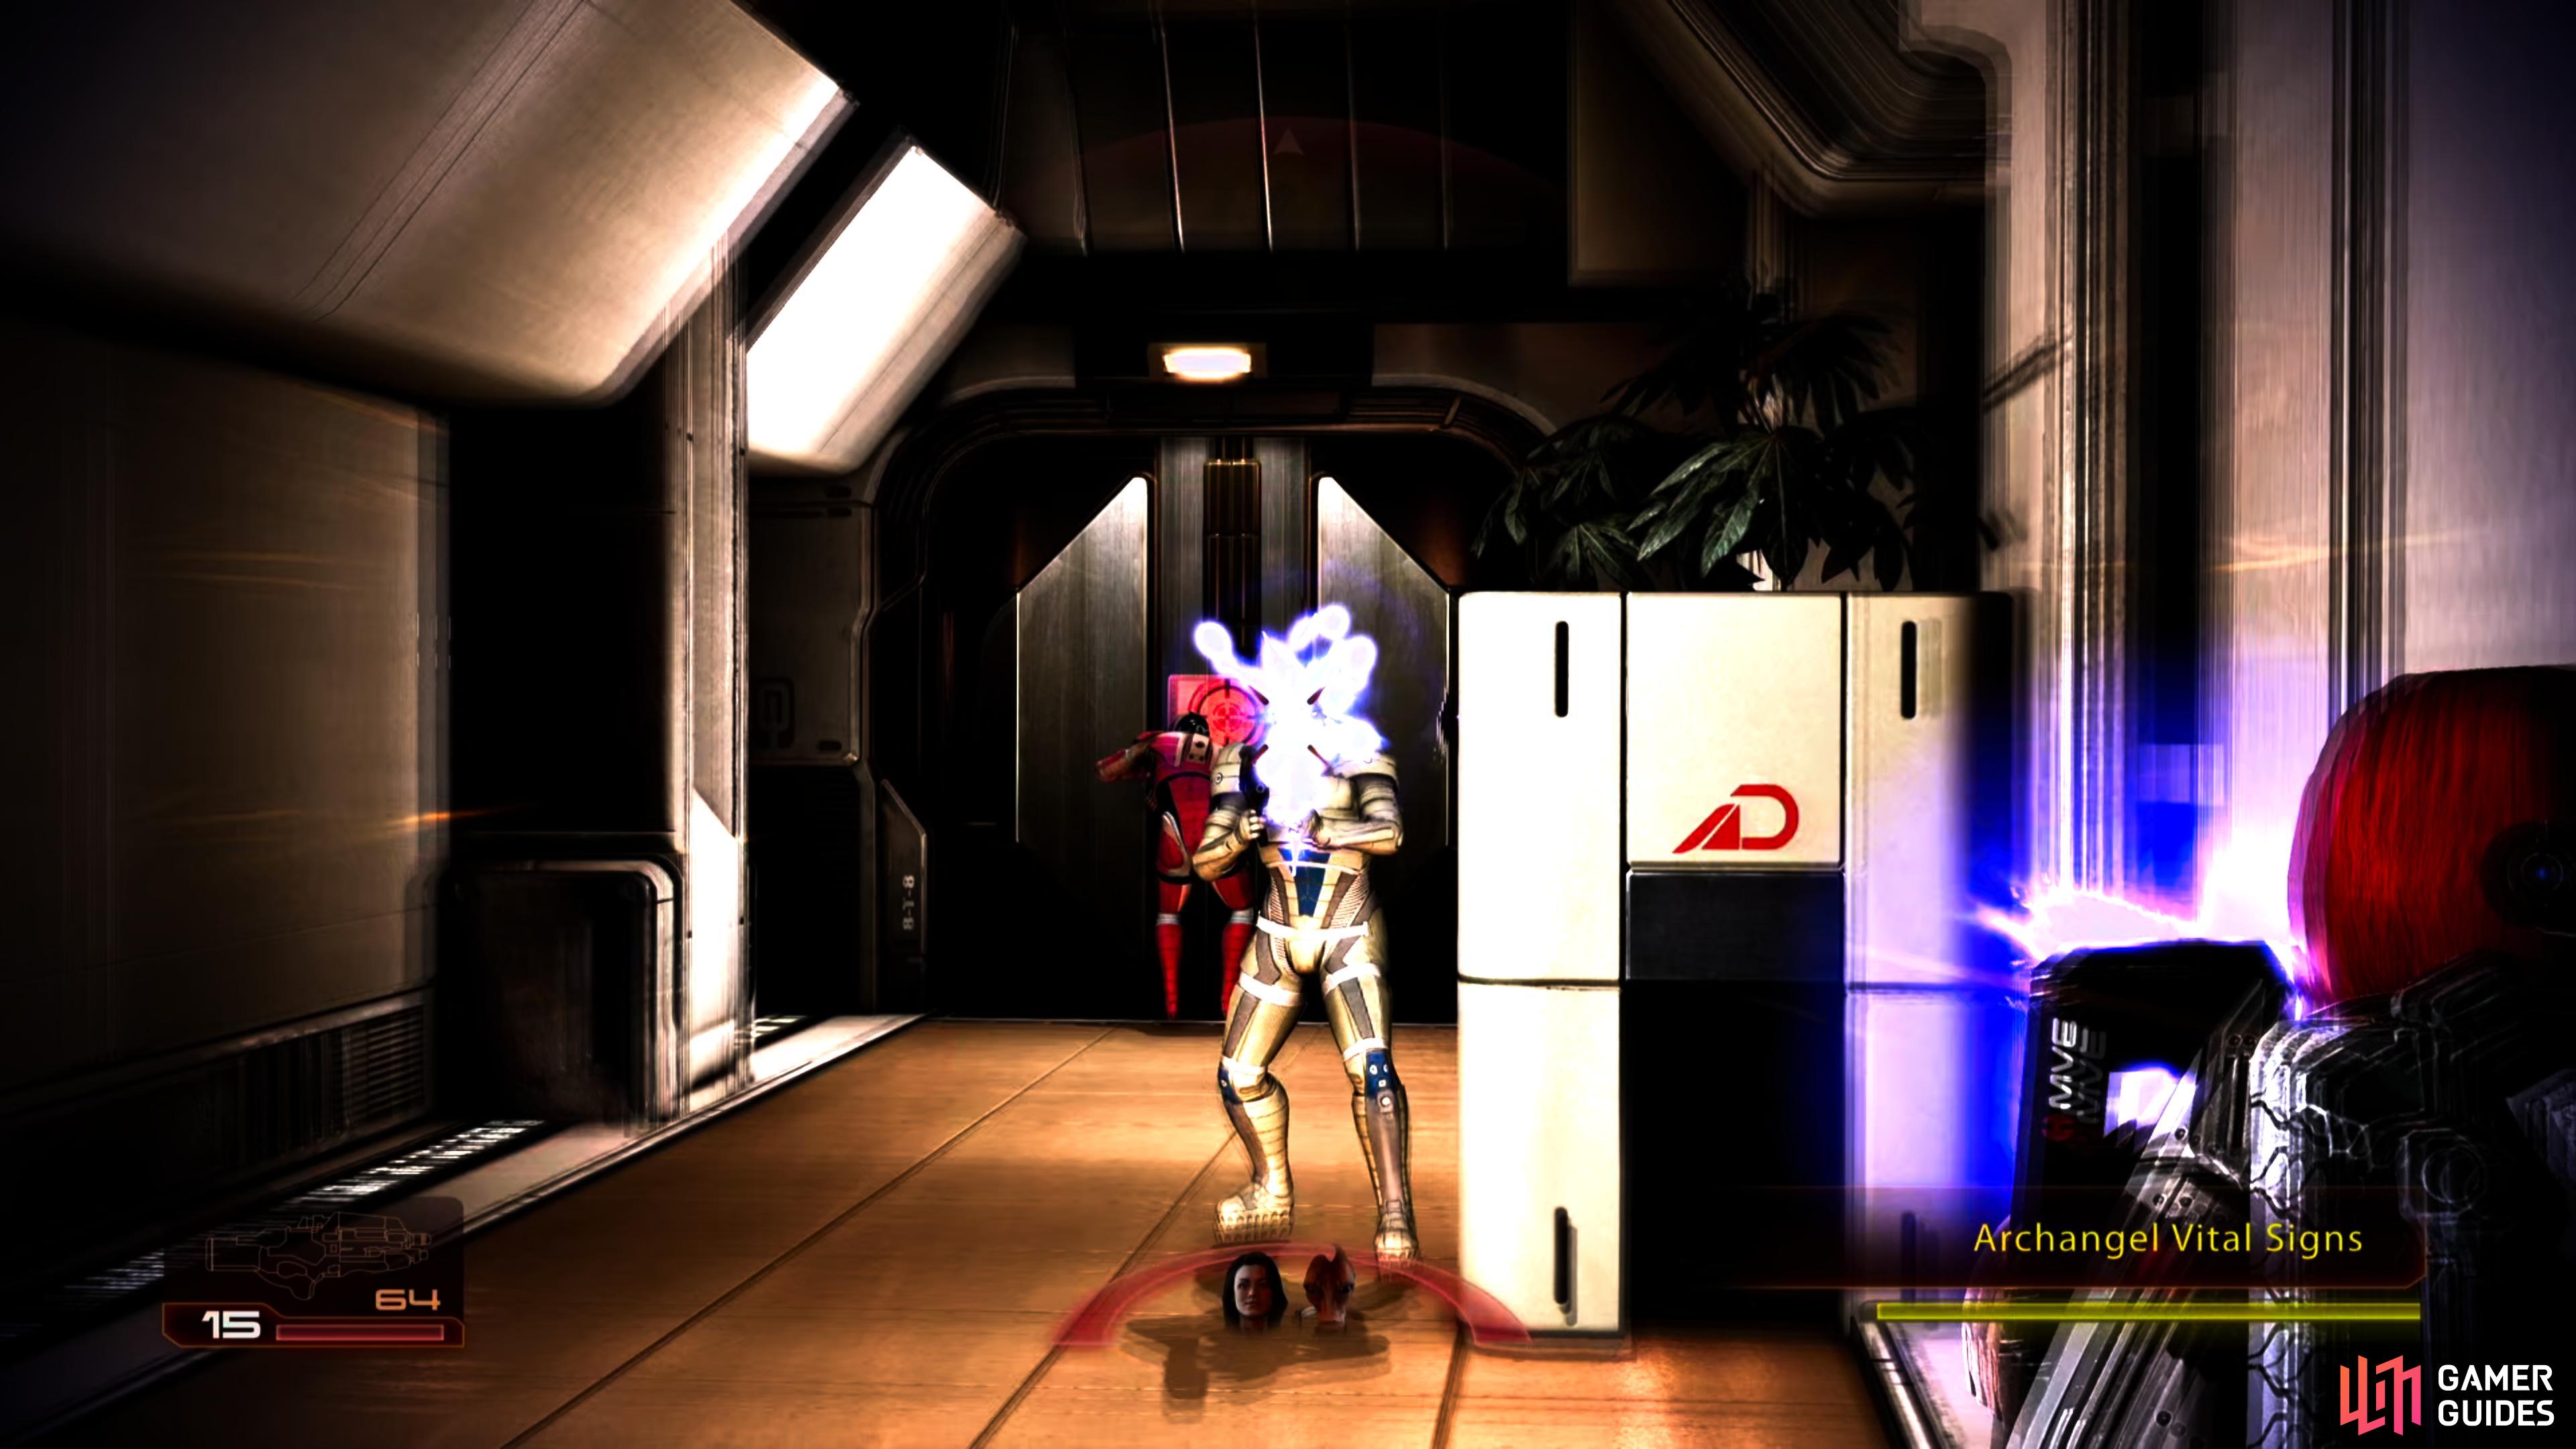
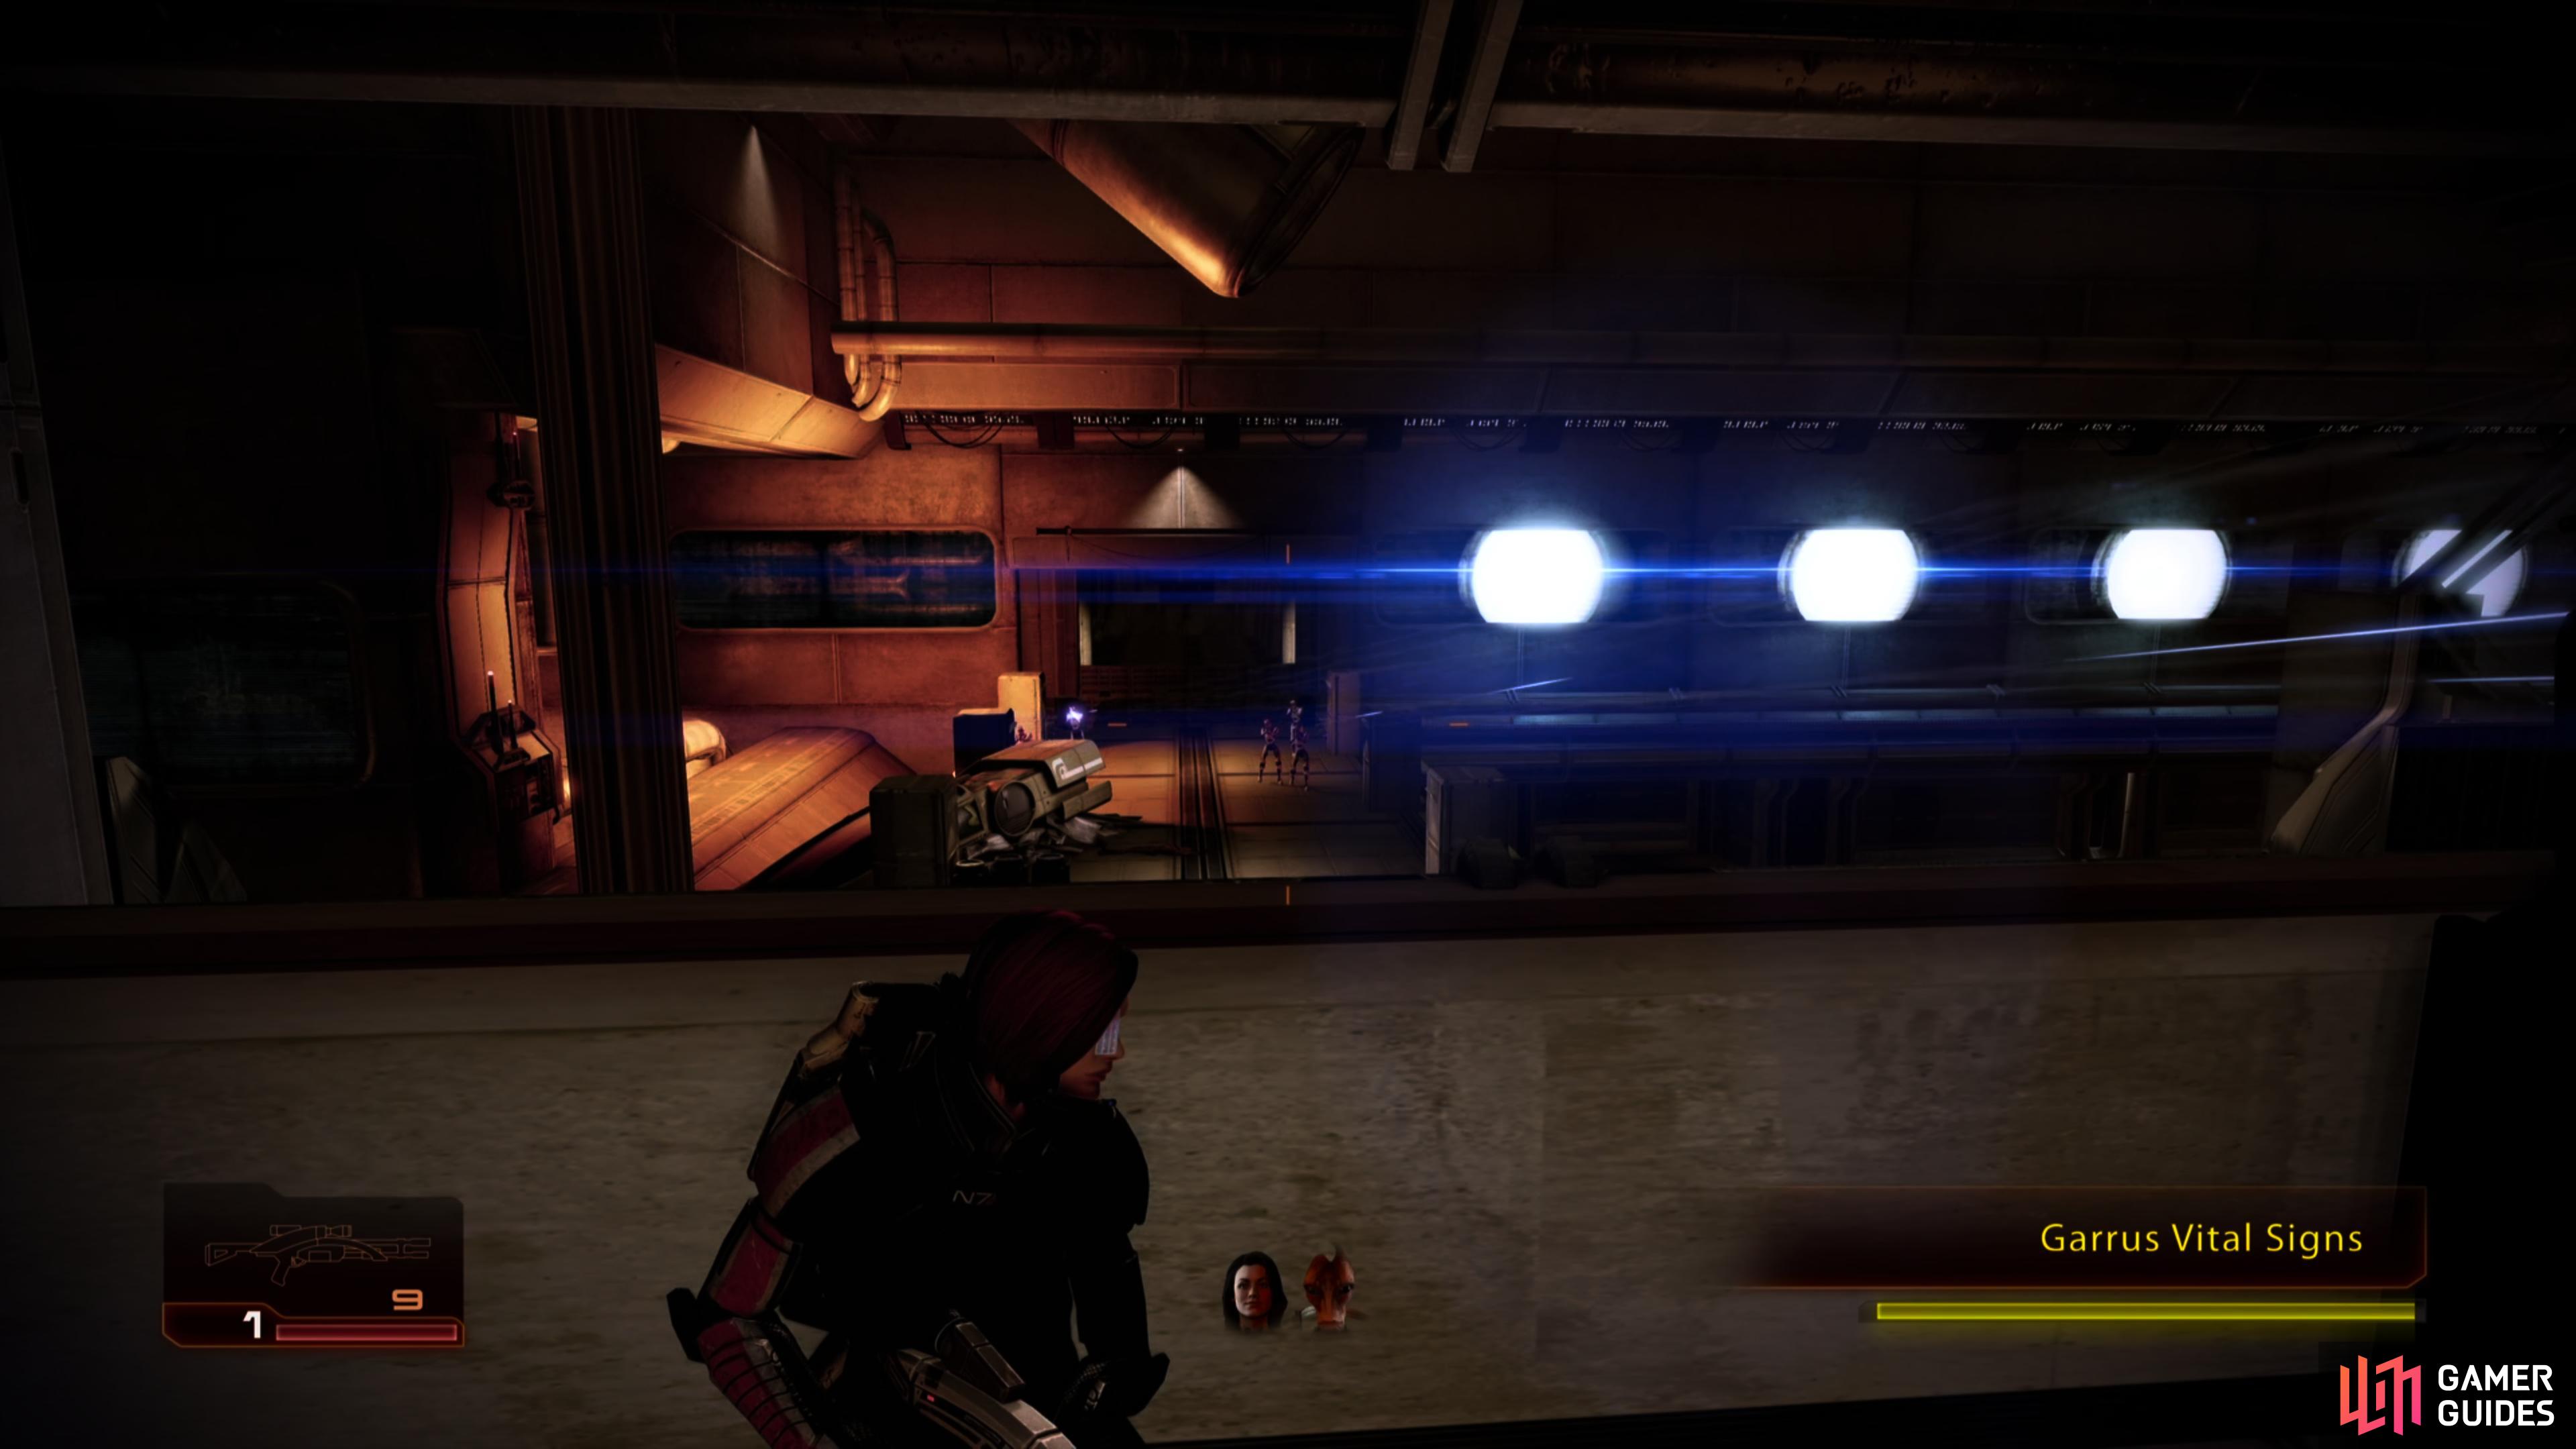
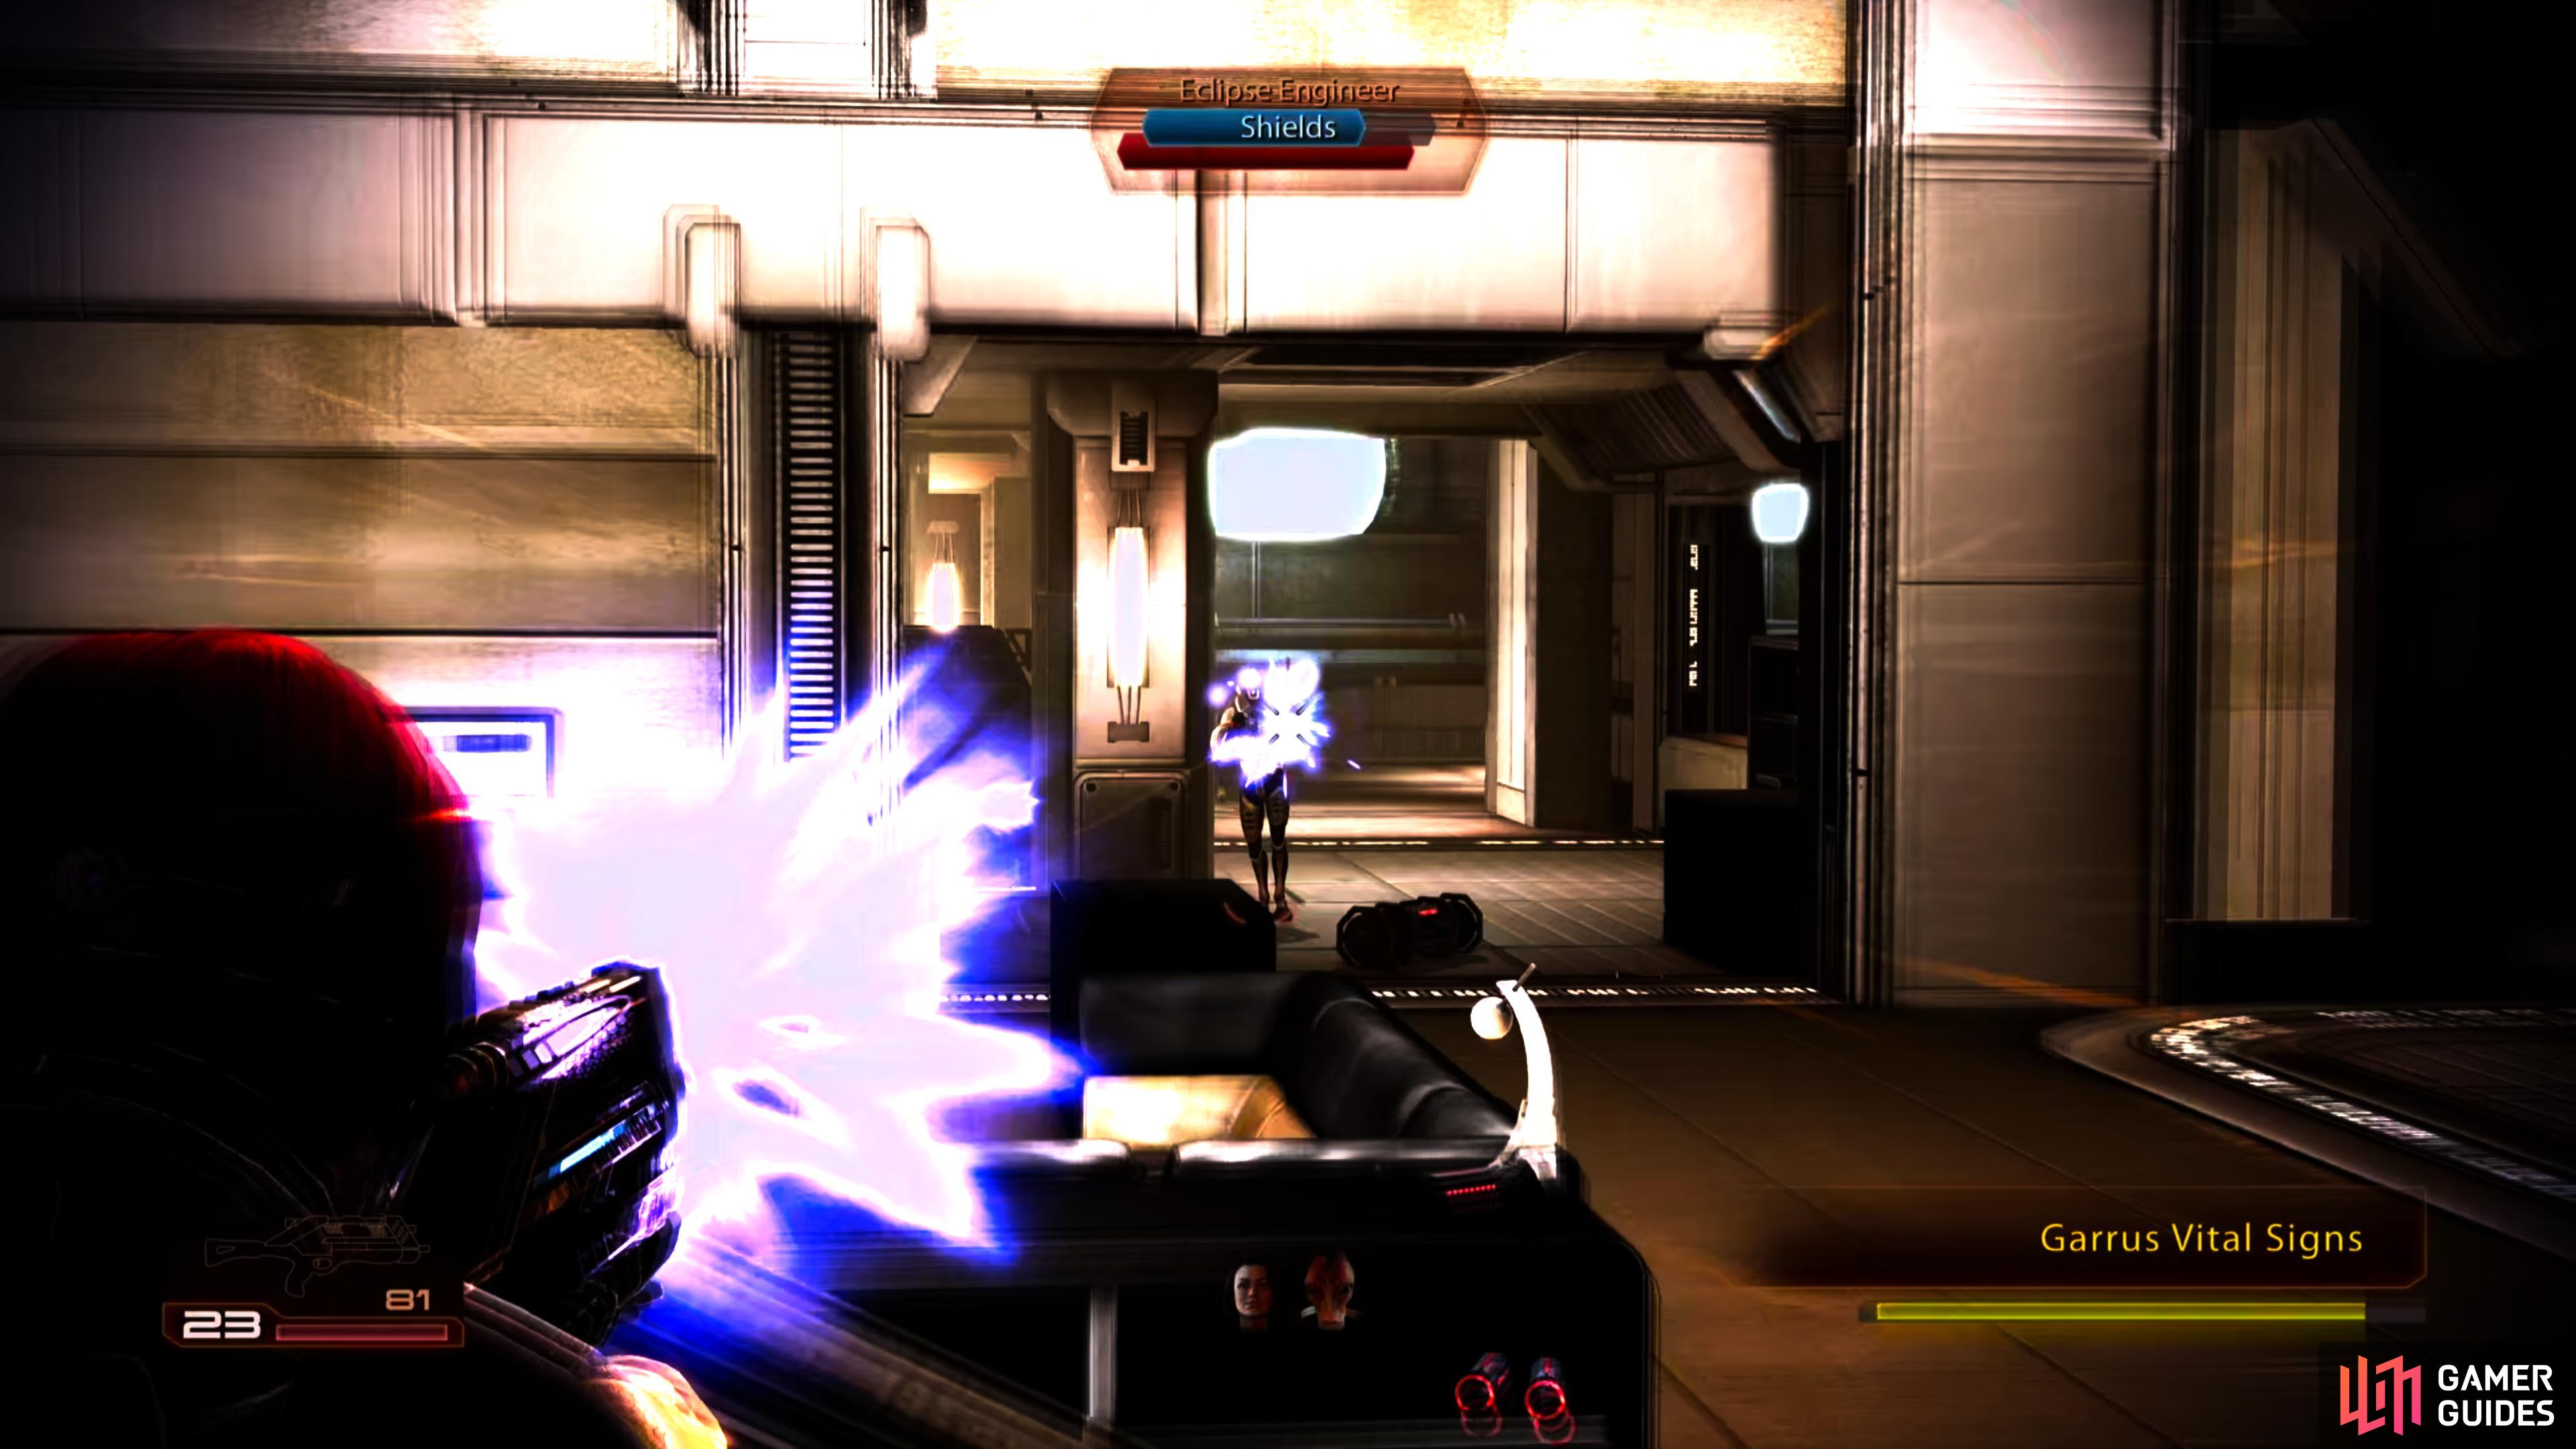
Your first challenge to defend against will appear straight after the conversation and will take the form of a squad of six LOKI Mechs starting across the bridge. Use your sniper/assault rifle to down these guys before they get too close. They will soon be replaced by a steady stream of freelance mercenaries. After about 5-6 of these guys, some Eclipse Engineers (shielded) and Eclipse Troopers will try their luck. The enemies will keep coming and eventually, you will be unable to keep up with the enemies coming across the bridge and some will enter the building. When they do, you will need to move out of the room with Archangel and defend the hallway and stairs outside.
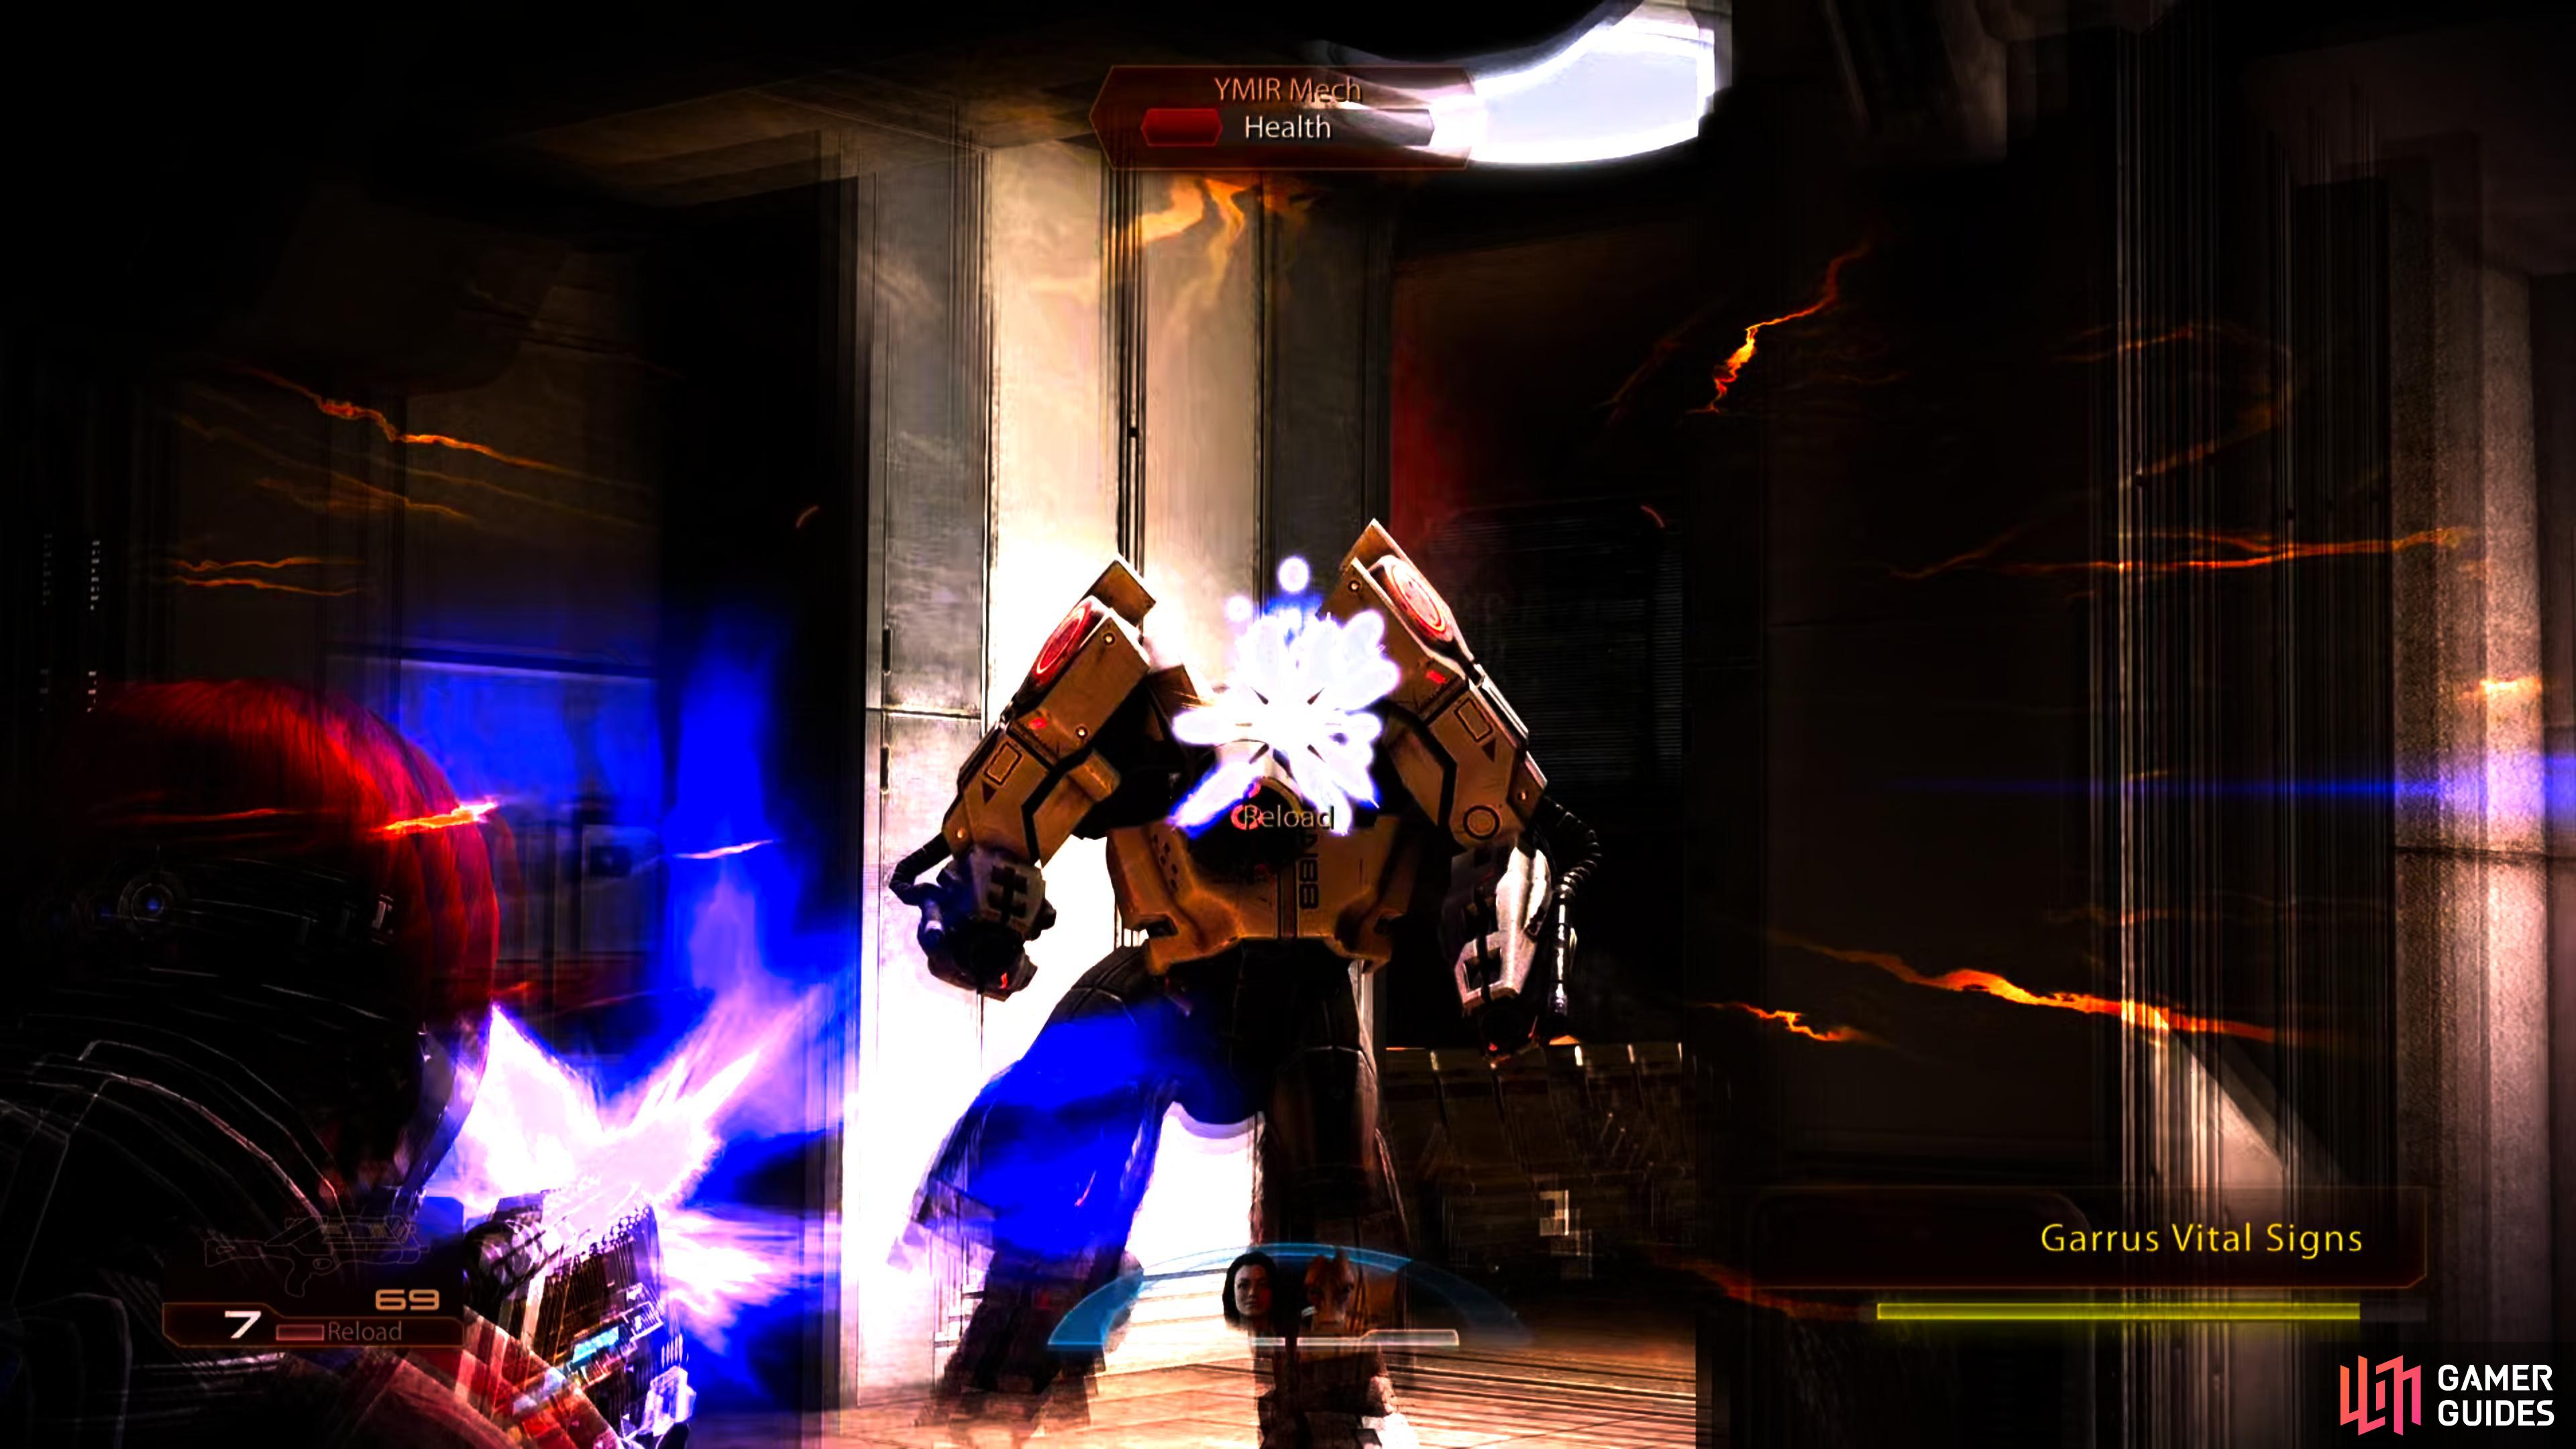
Once enough mercenaries have been killed, a short cutscene will play showing the YMIR Mech being lowered onto the bridge. If you hacked this before, it will start to attack the mercenaries, and you can assist it in doing so to make this part much easier. When its health gets low it will turn on you so watch out!
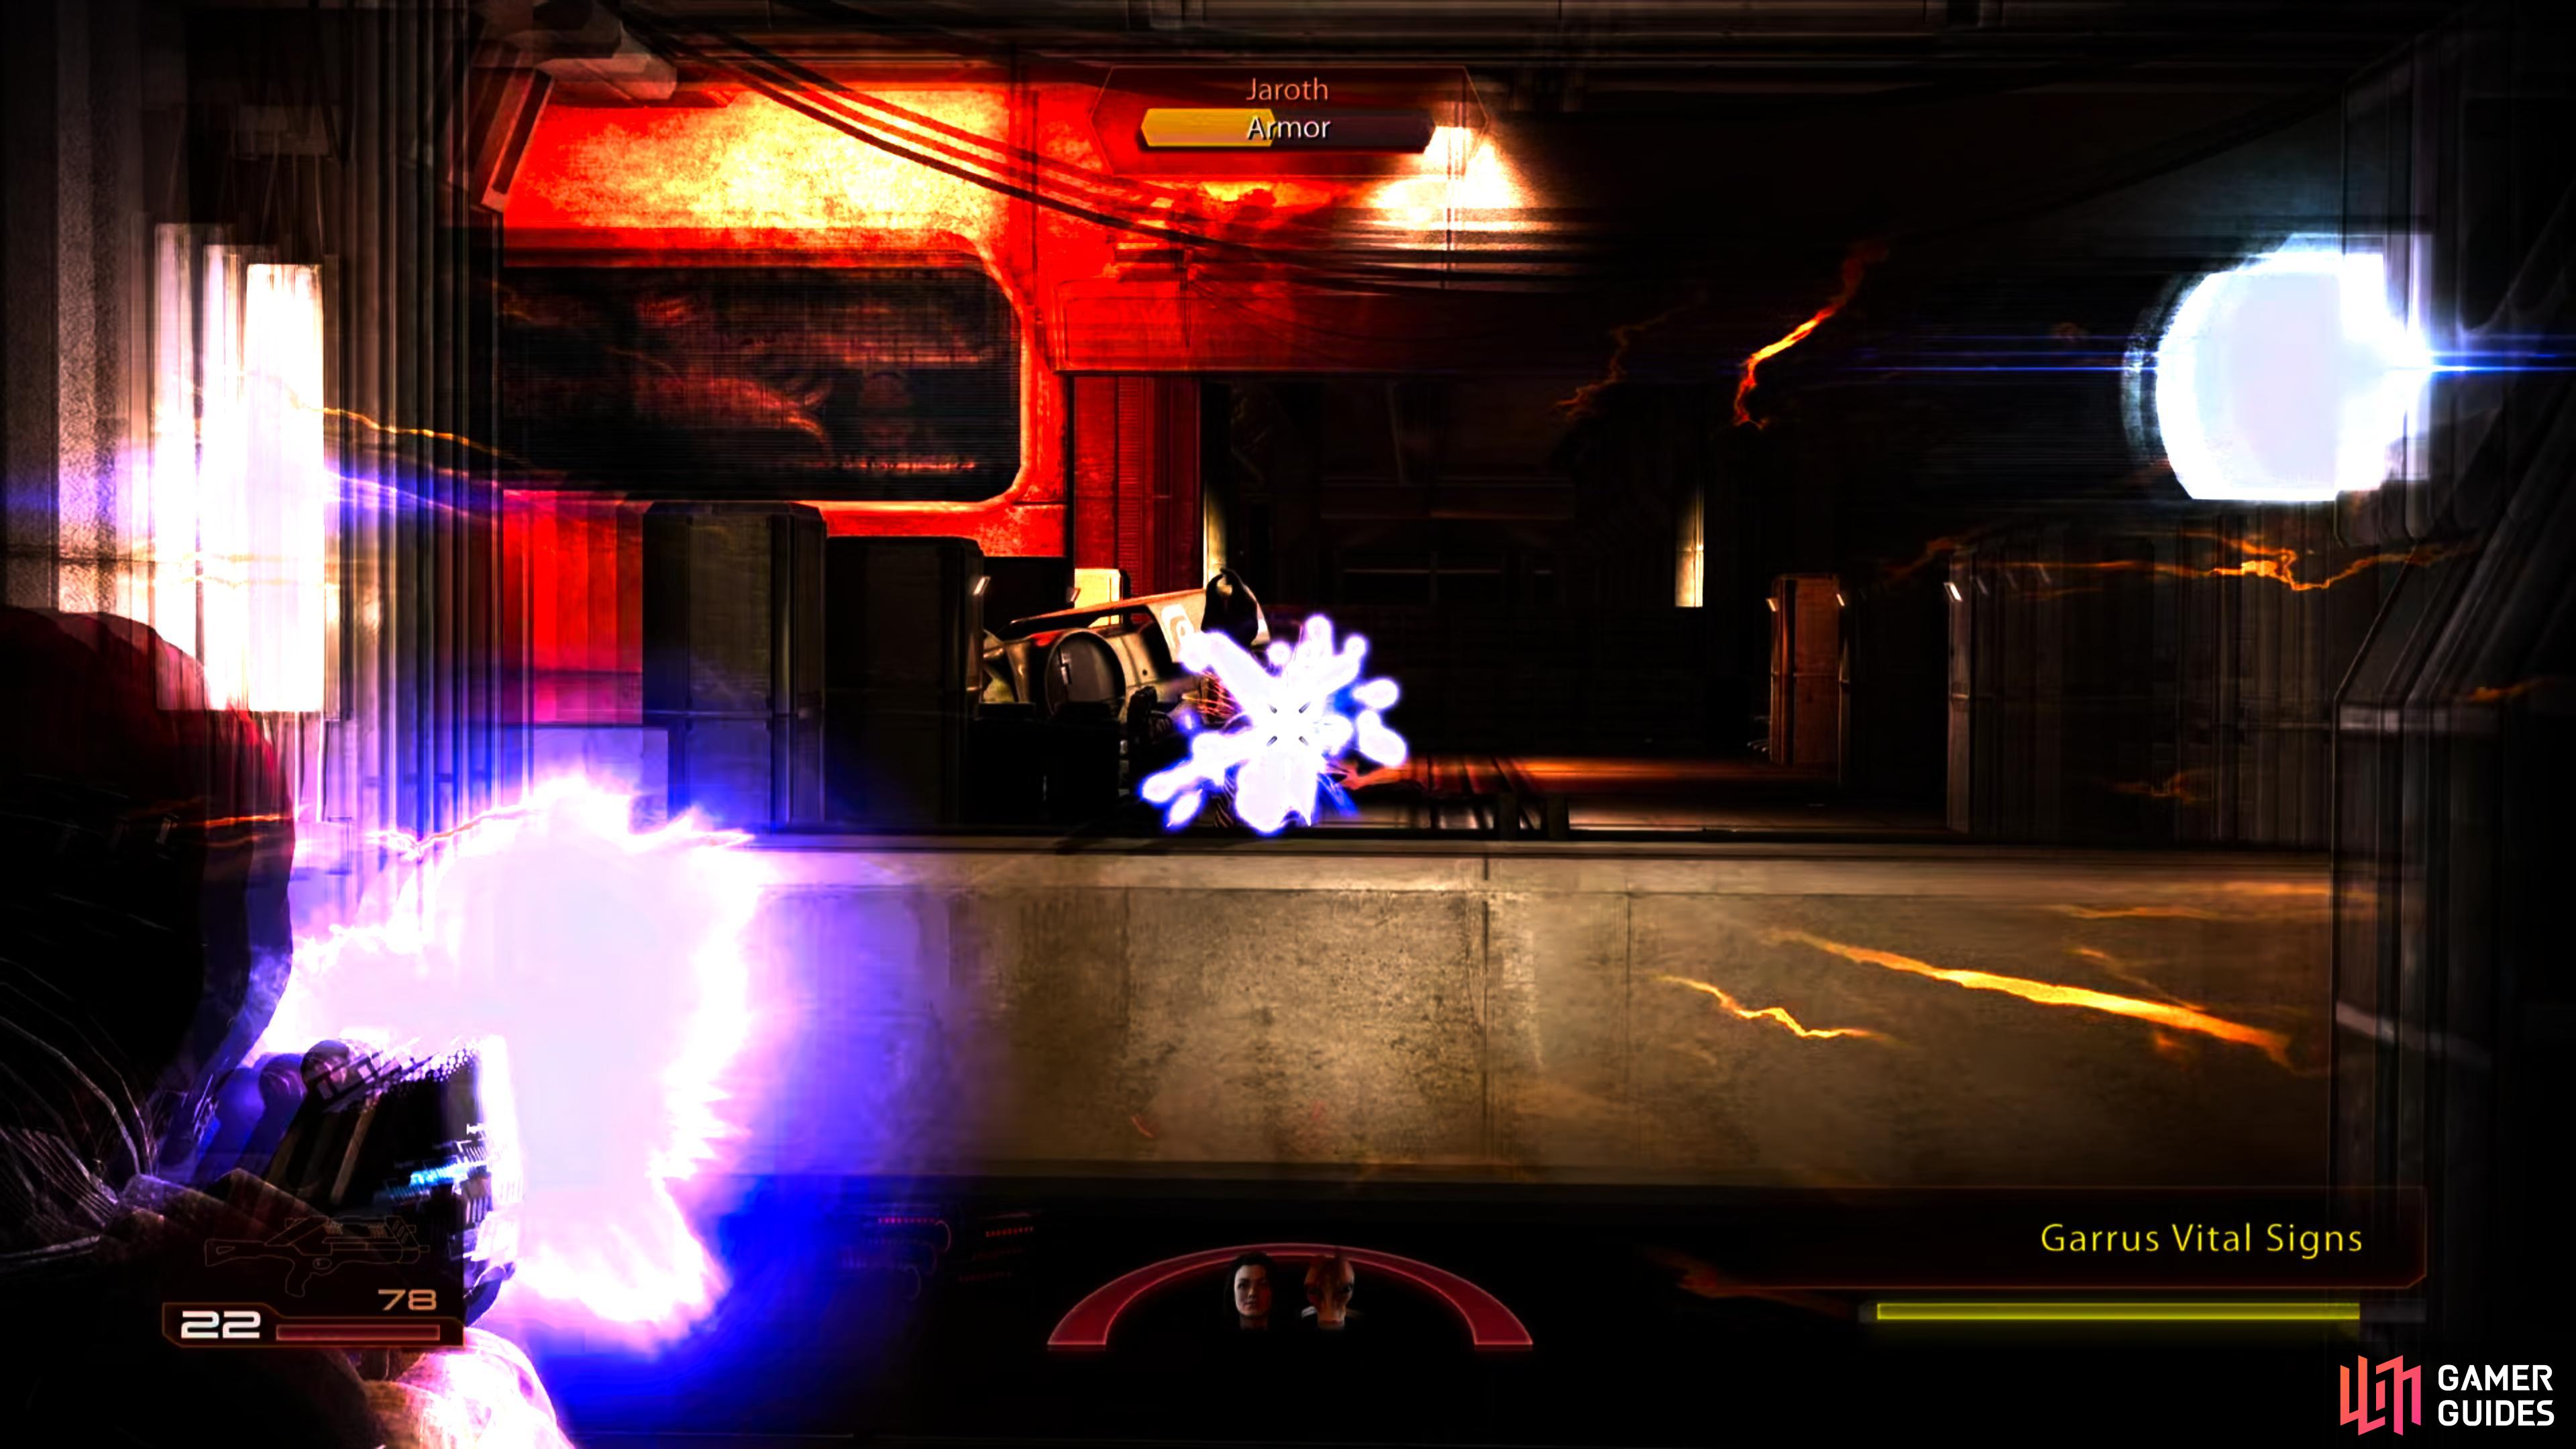
After the YMIR Mech is down, some Heavy Eclipse Soldiers will come across the bridge with the Eclipse leader, Jaroth. Jaroth has a shield and some armour beneath it, so use Miranda’s Overcharge ability to destroy the shield, and then go nuts on his armour and health. When Jaroth and his posse have been dealt with, return to Archangel and have a chat.
(1 of 2) Shortly after dealing with the Eclipse mercenaries, you’ll be informed the Blood Pack are coming up through the lower levels.
Shortly after dealing with the Eclipse mercenaries, you’ll be informed the Blood Pack are coming up through the lower levels. (left), Your task here is to seal three doors, although you’ll have to keep them clear of Blood Pack mercenaries as you do so. (right)
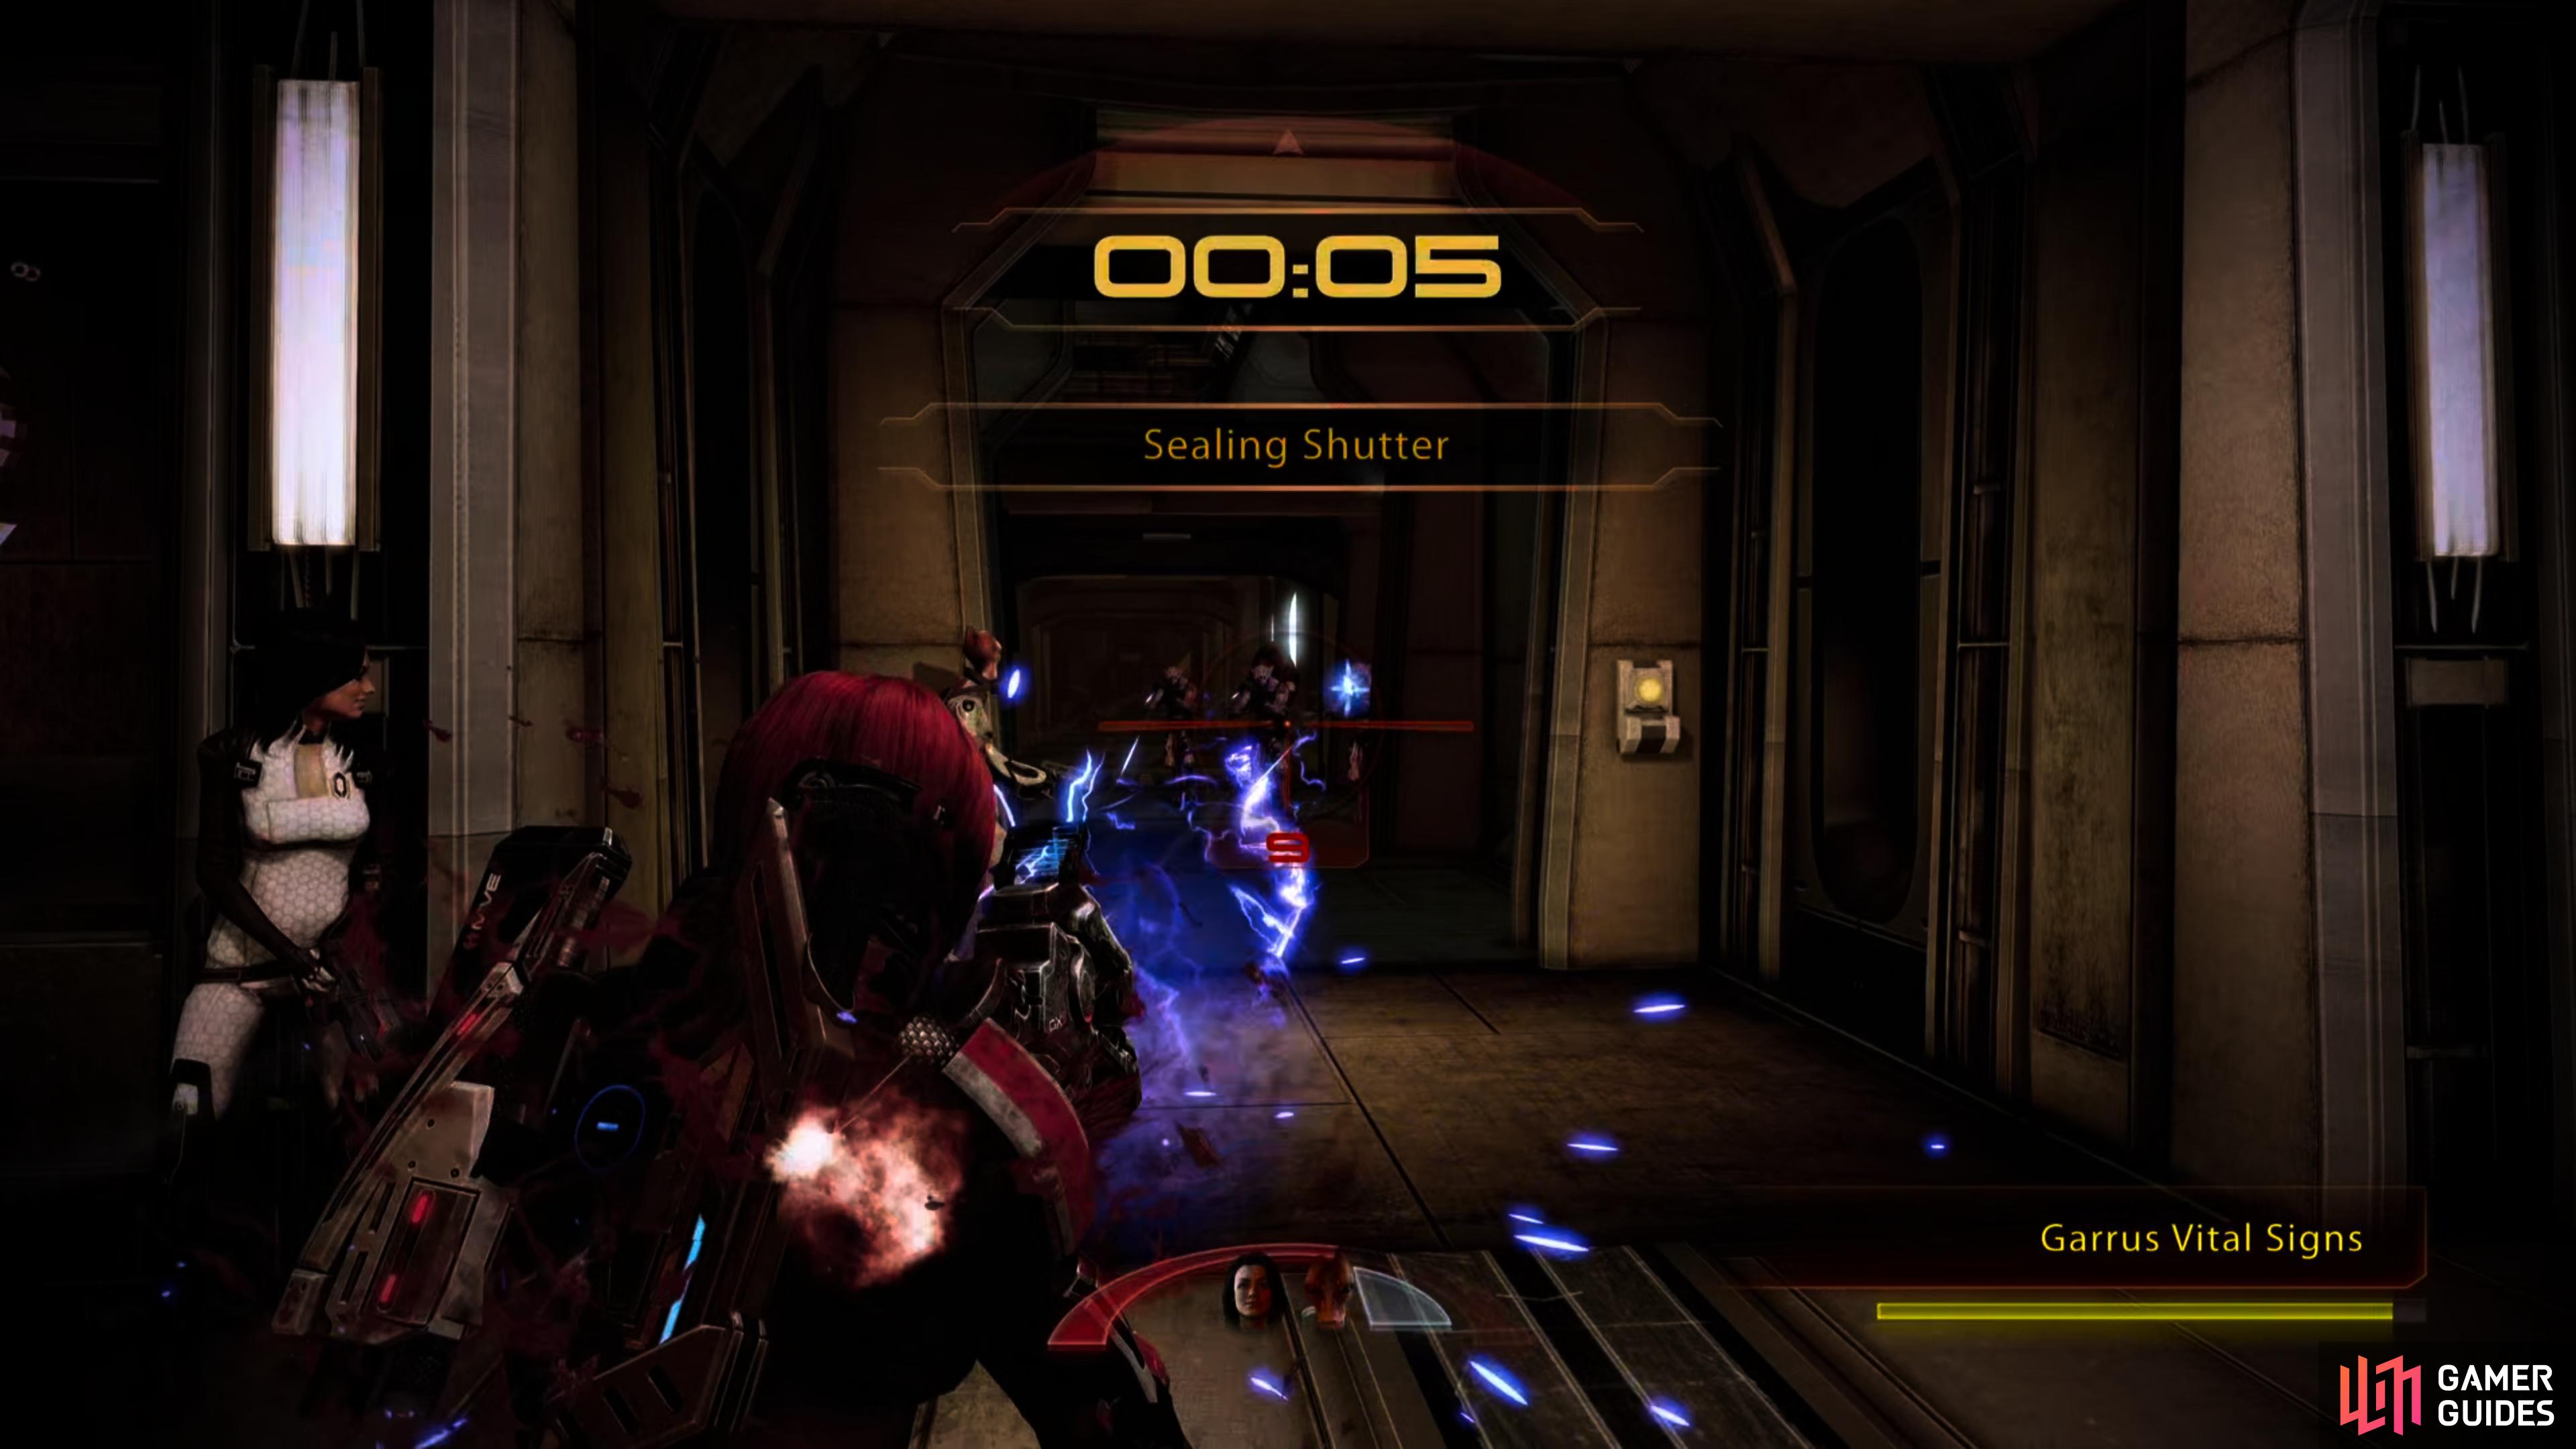
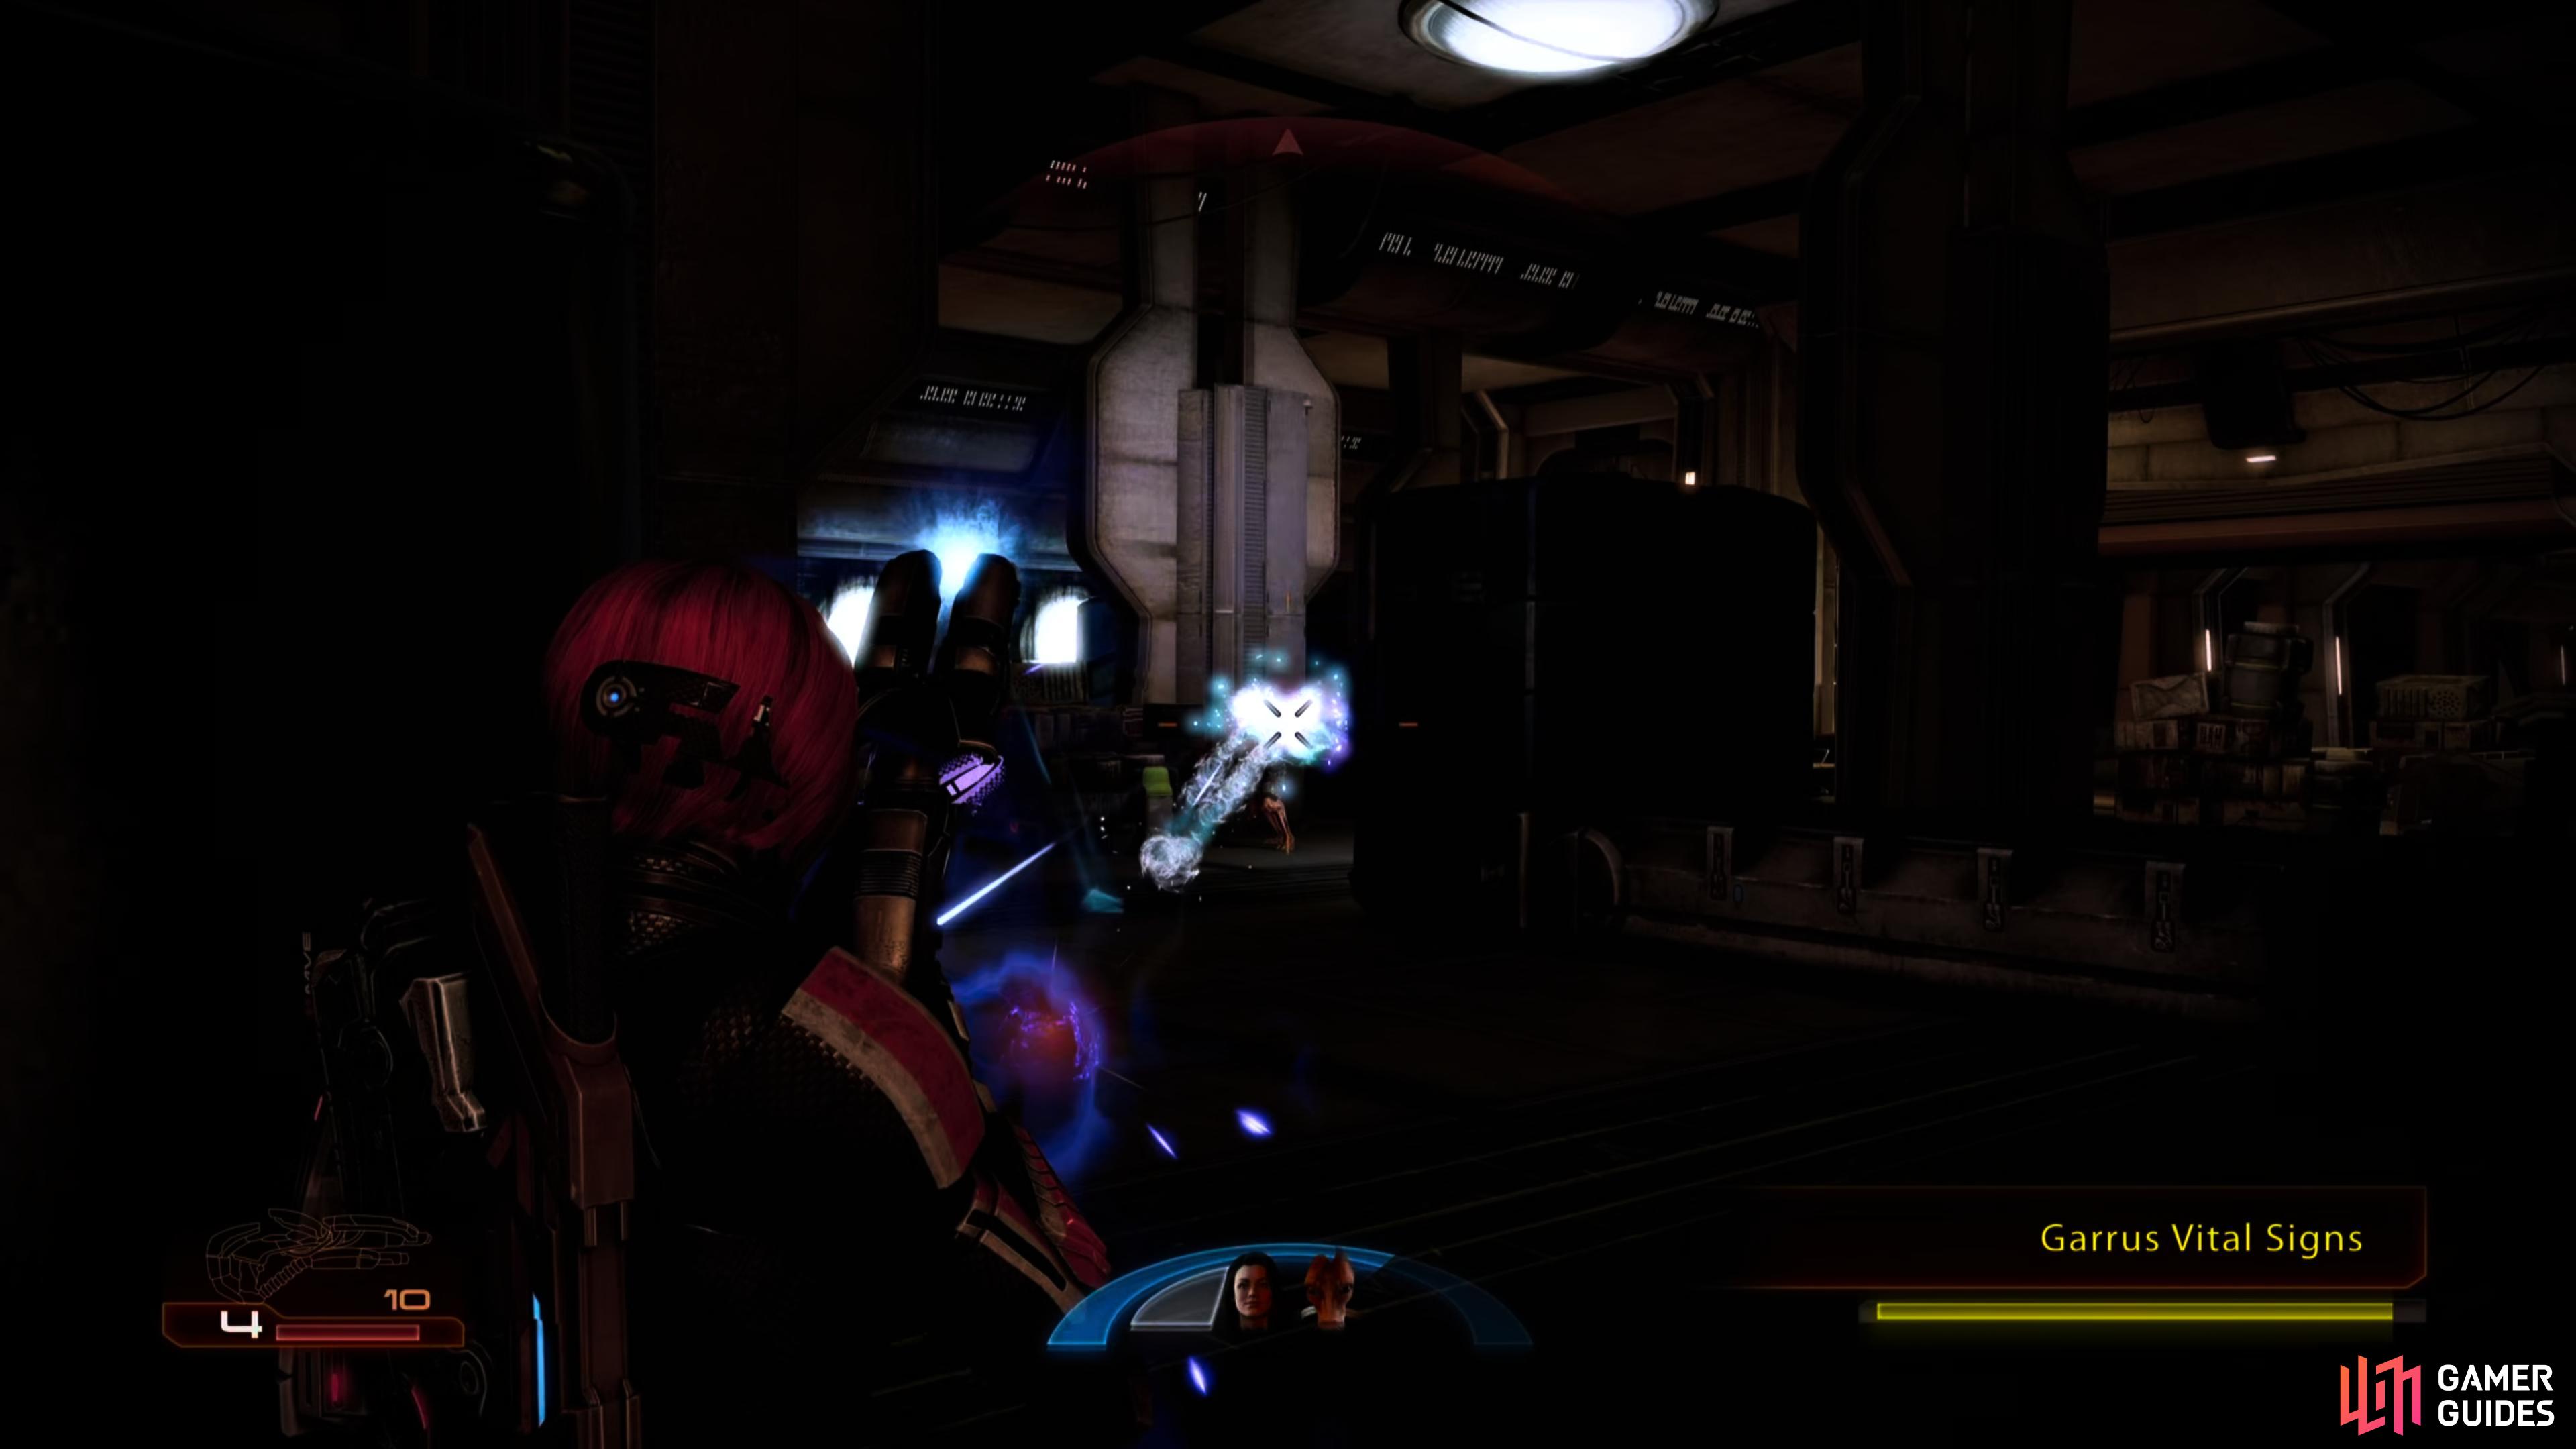
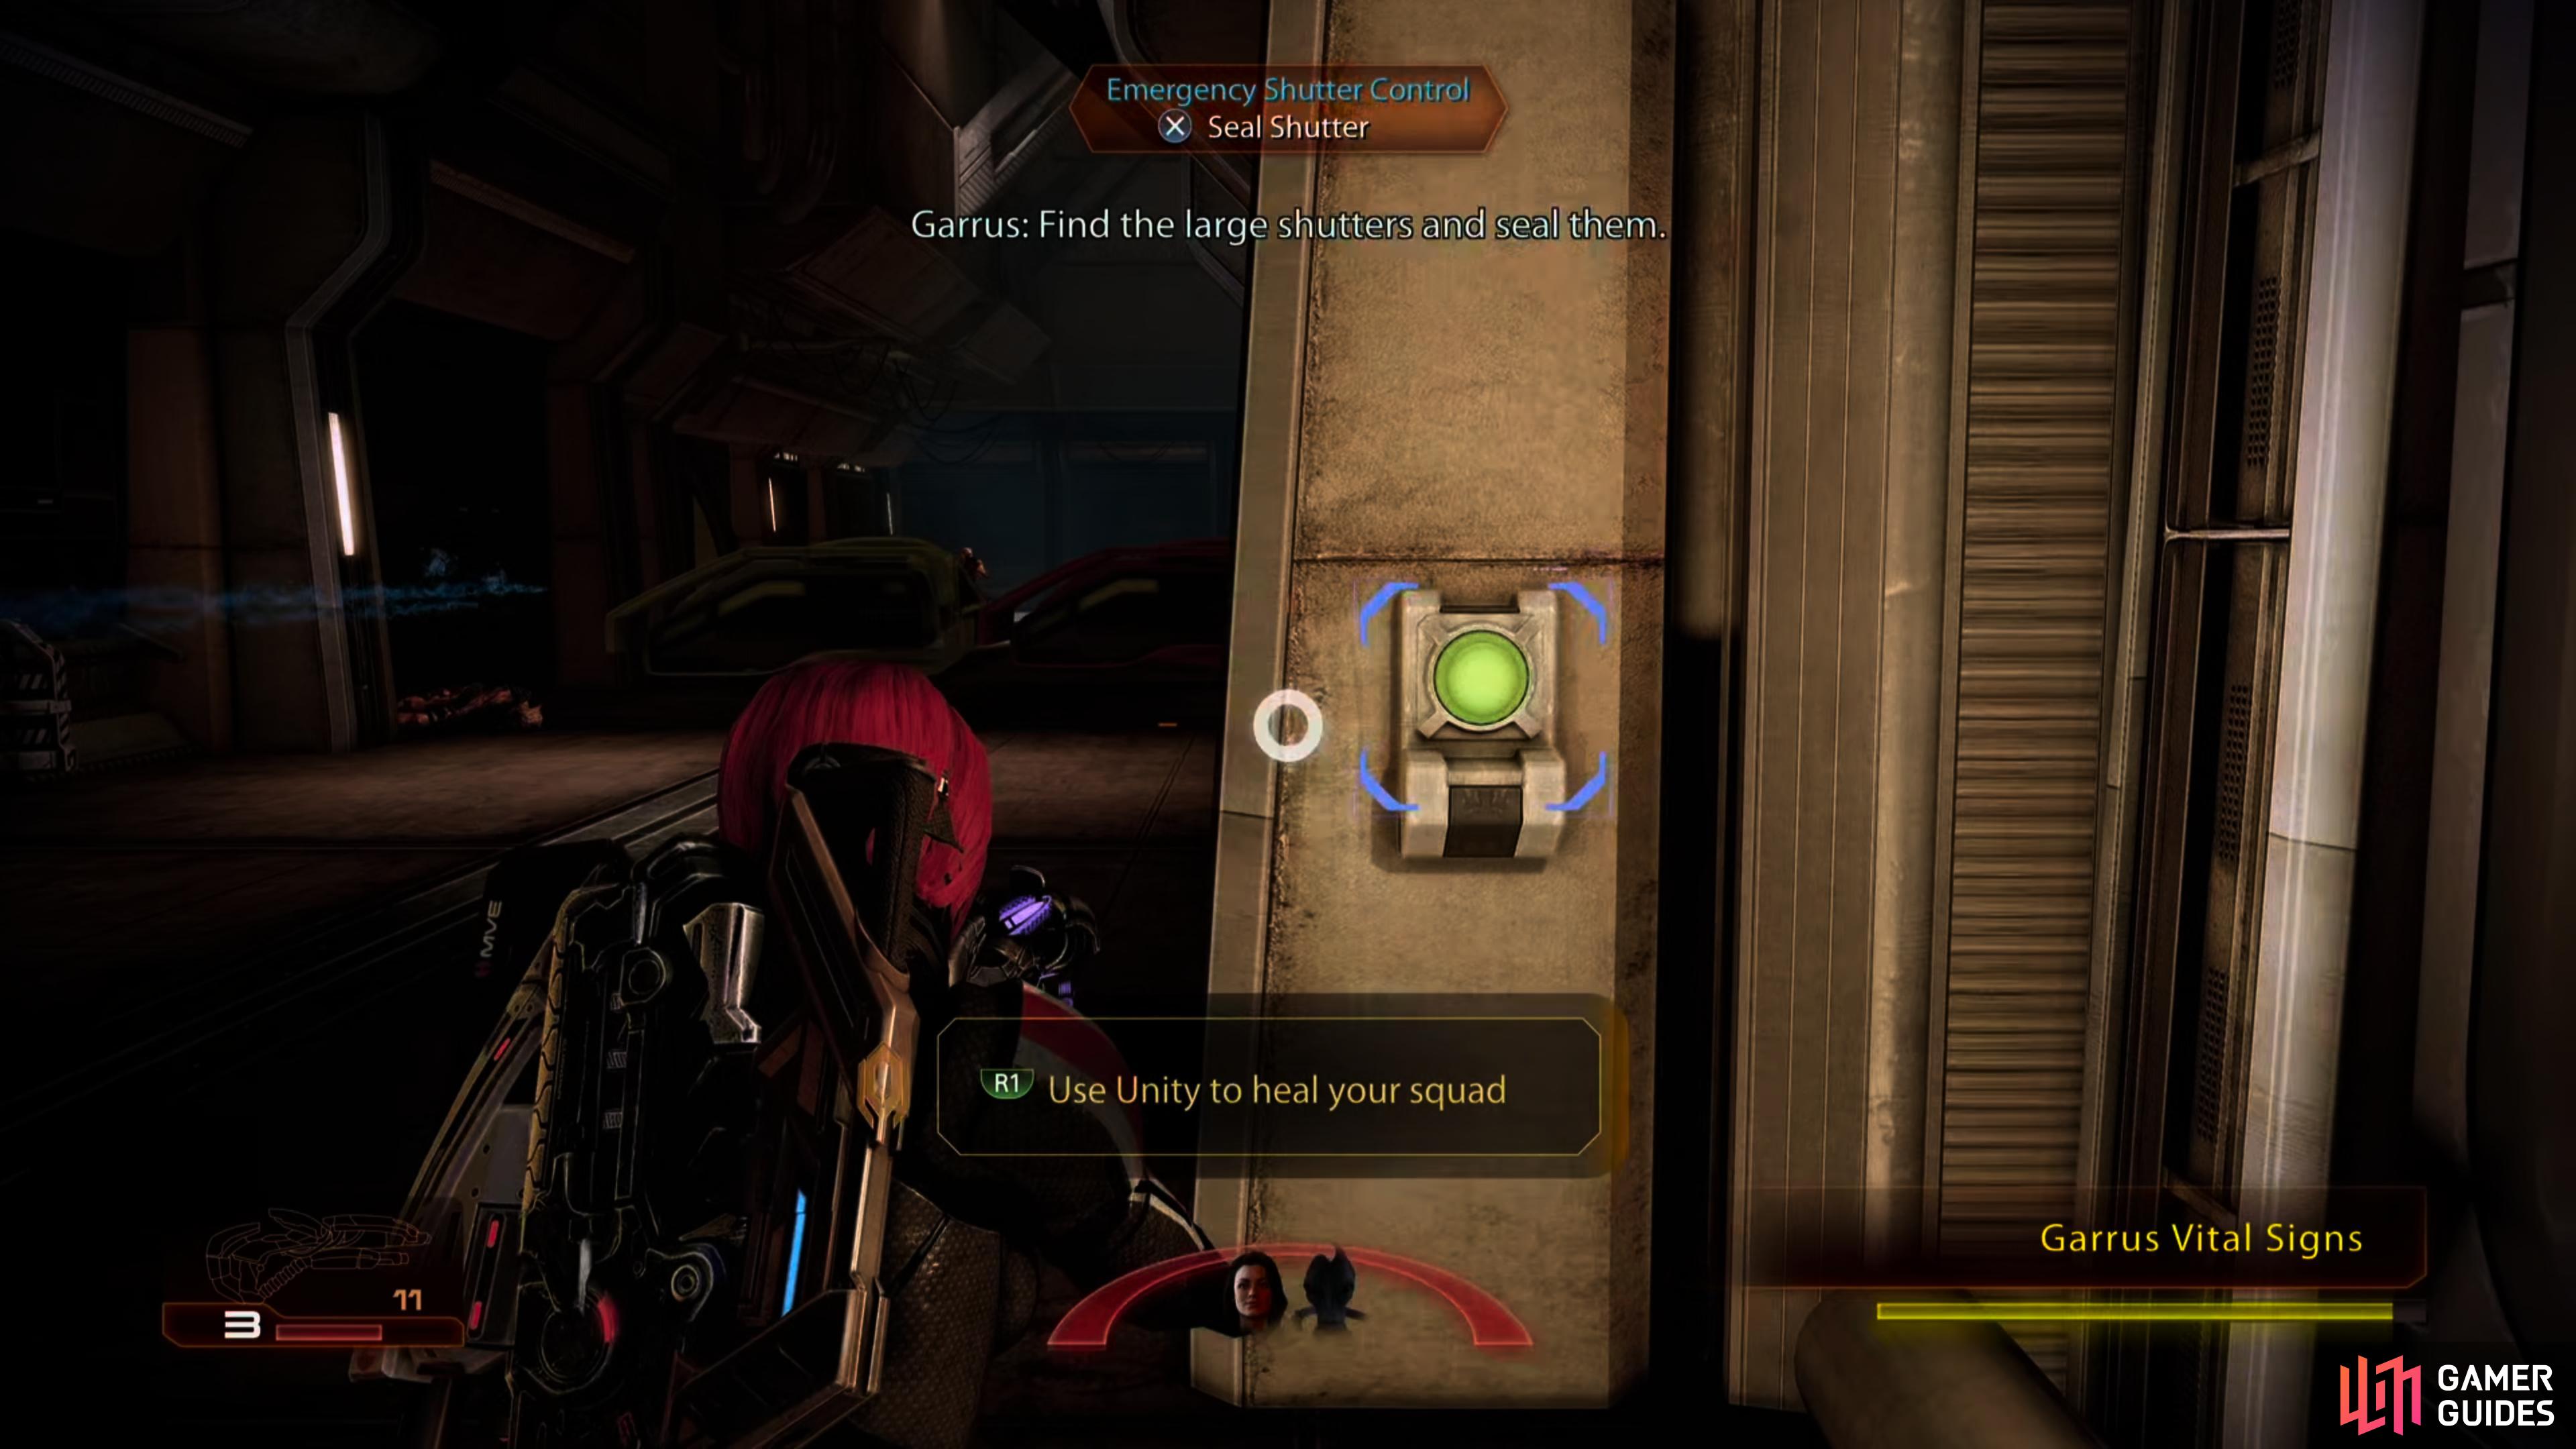
Afterwards, exit the room, return to the ground floor and enter the door located beneath the stairway. In the tunnels under Archangel’s holdout you’ll find three doors you have to seal - three doors defended by Blood Pack mercenaries. You’ll have to fight your way to the doors, hit a switch, then defend the door and keep it clear of Blood Pack mercenaries until it closes. Sounds familiar…
At the top of the area you’ll find a weapon locker you can use to swap out your gear if you want. Do so, head downstairs, then continue forward to find a door opposite the stairs. This first door is the easiest to seal, as you’ll only have to defend it as it closes.
(1 of 2) Pick off any targets of opportunity you find in the warehouse, but your goal should be pressing on to the door.
Pick off any targets of opportunity you find in the warehouse, but your goal should be pressing on to the door. (left), Blood Pack reinforcements will spawn continuously, so the sooner you seal the door, the better. (right)
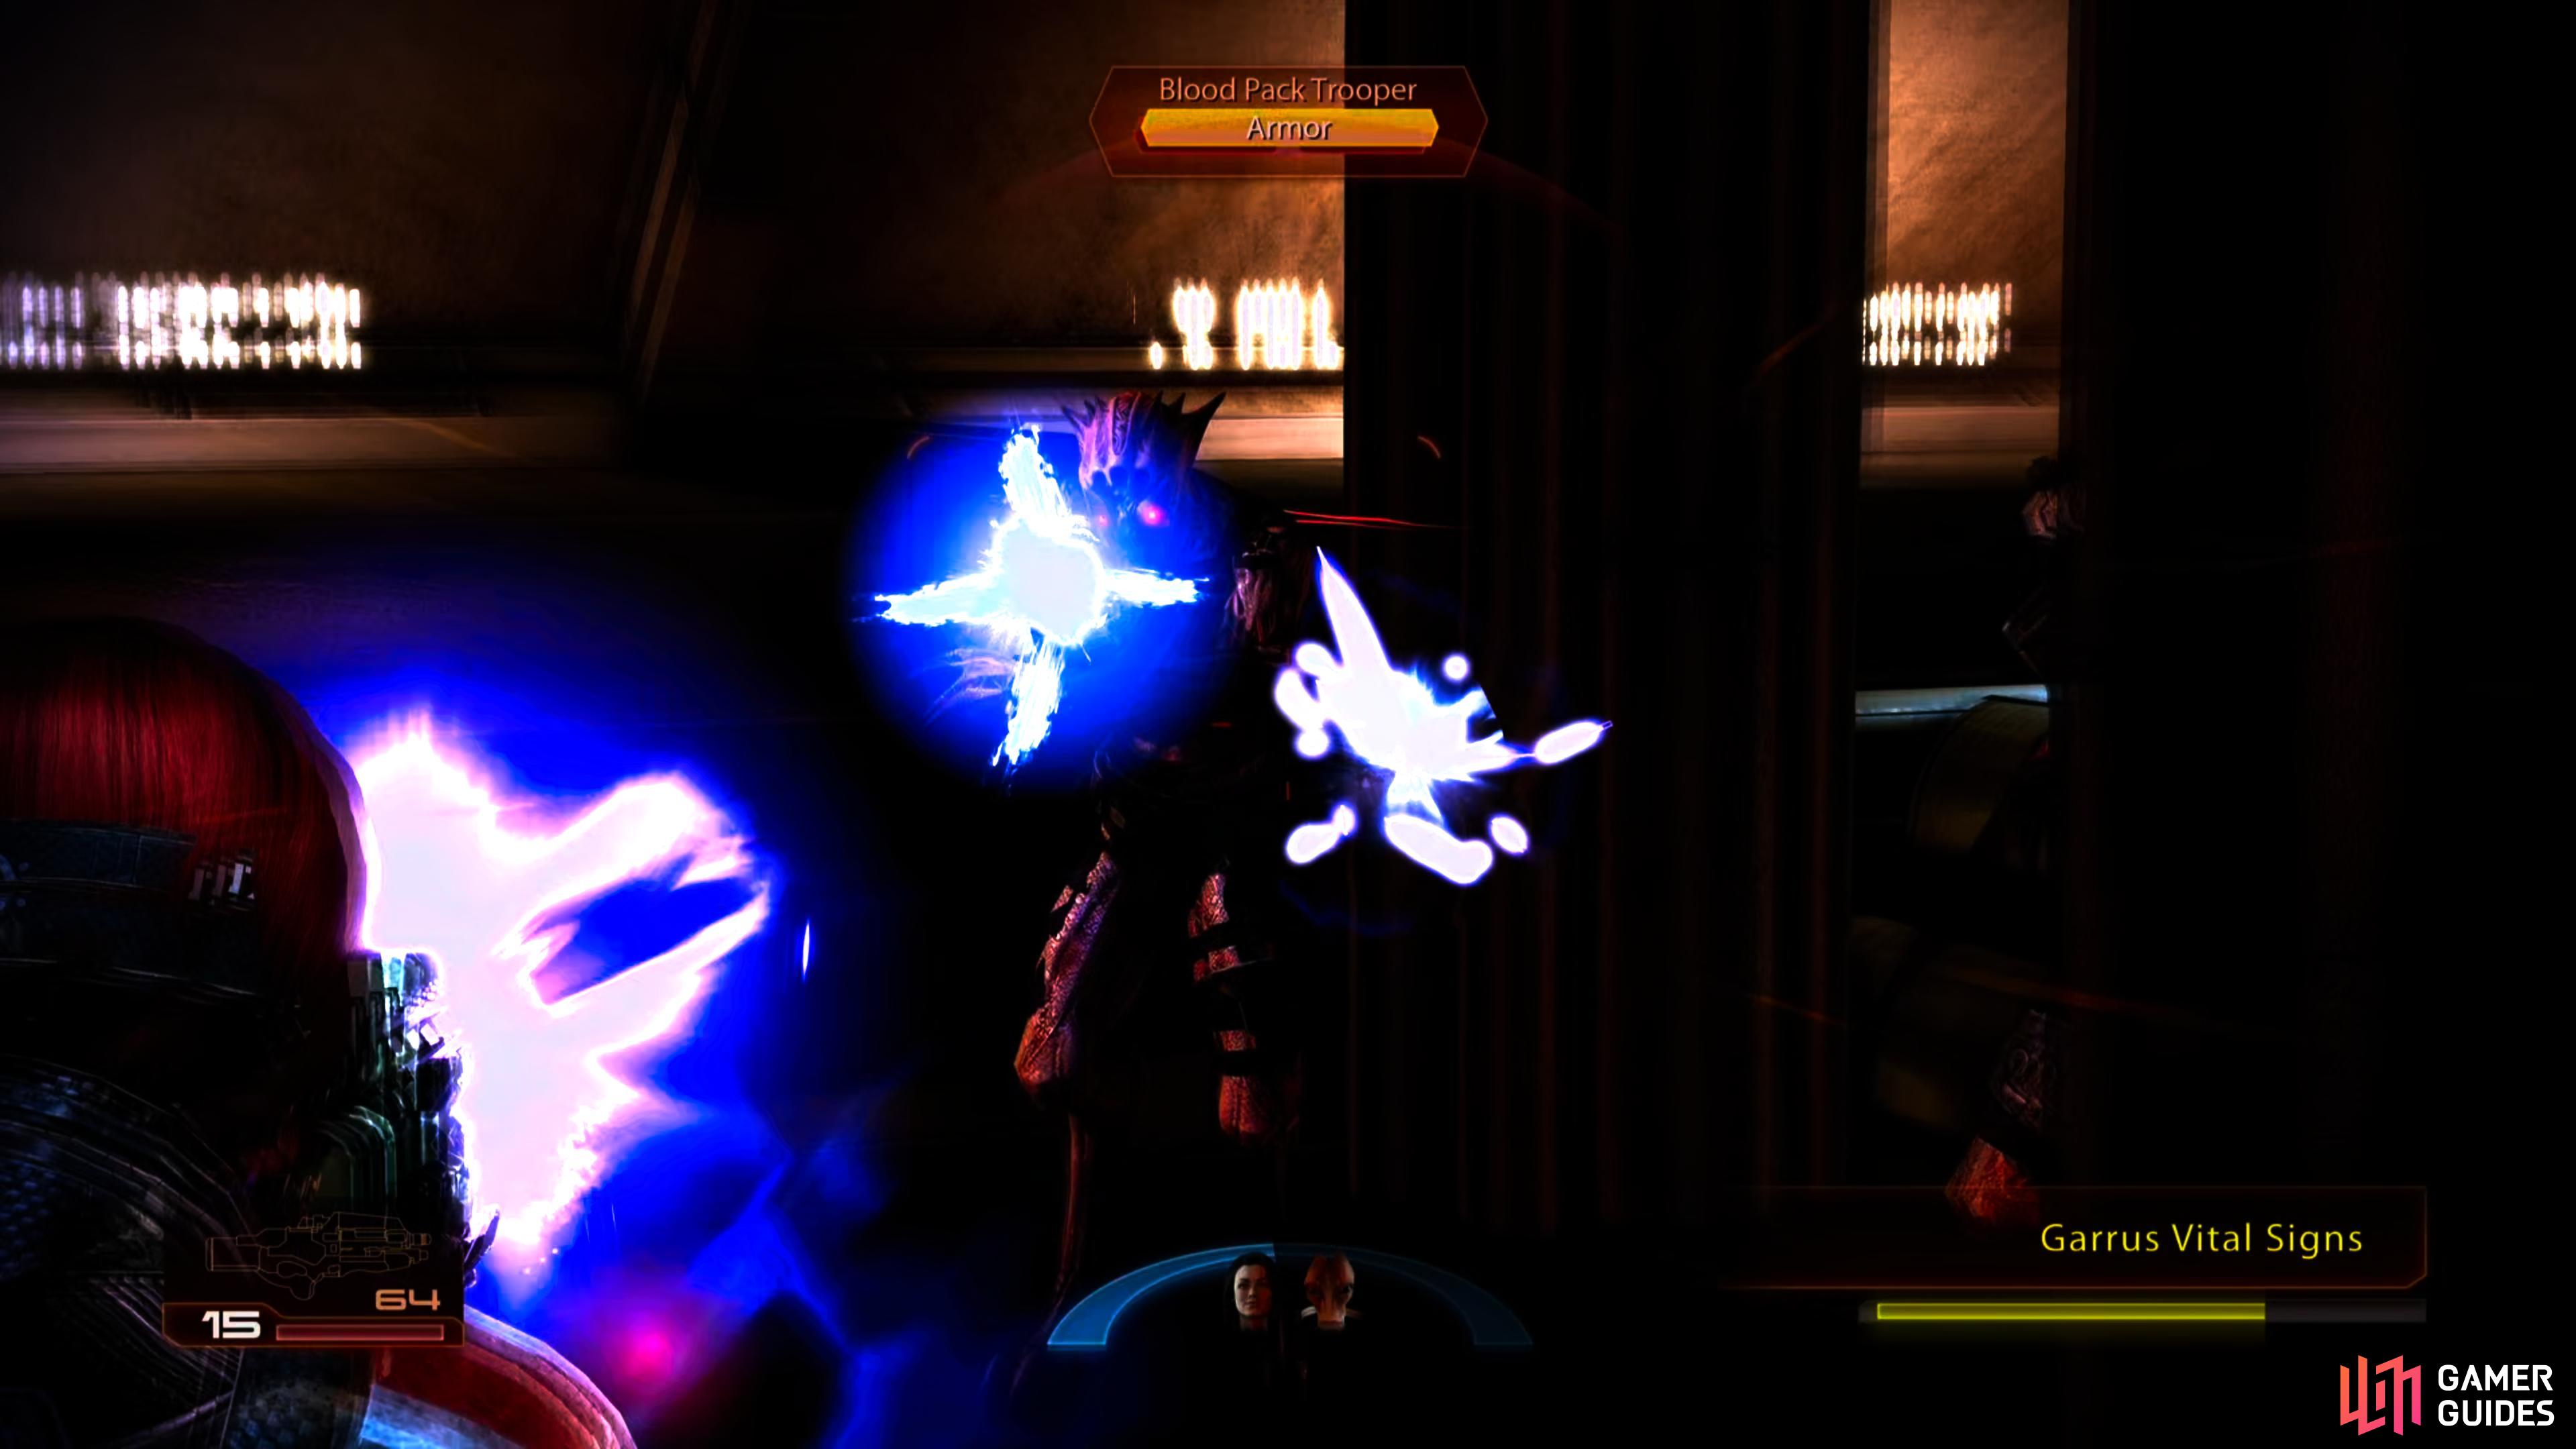
Once it’s sealed, turn right and go through a doorway to find yourself in a room full of crates. Crates and the usual Blood Pack mainstays, including varren, vorcha and the odd krogan. Try to work your way around the edge of the room, sticking to cover and only disposing of enemies as the opportunity/necessity arises. With luck you can quickly make your way to the shutter door opposite where you entered, hit the switch and defend it until it seals. More Blood Pack will continue to arrive as you delay, so trying to fight through every enemy can be counterproductive, although if your kill rate is high enough and you’re too timid to take a risk, a war of attrition may suffice.
(1 of 2) Fight through several vorcha - including pyros - in the hallway to the left,
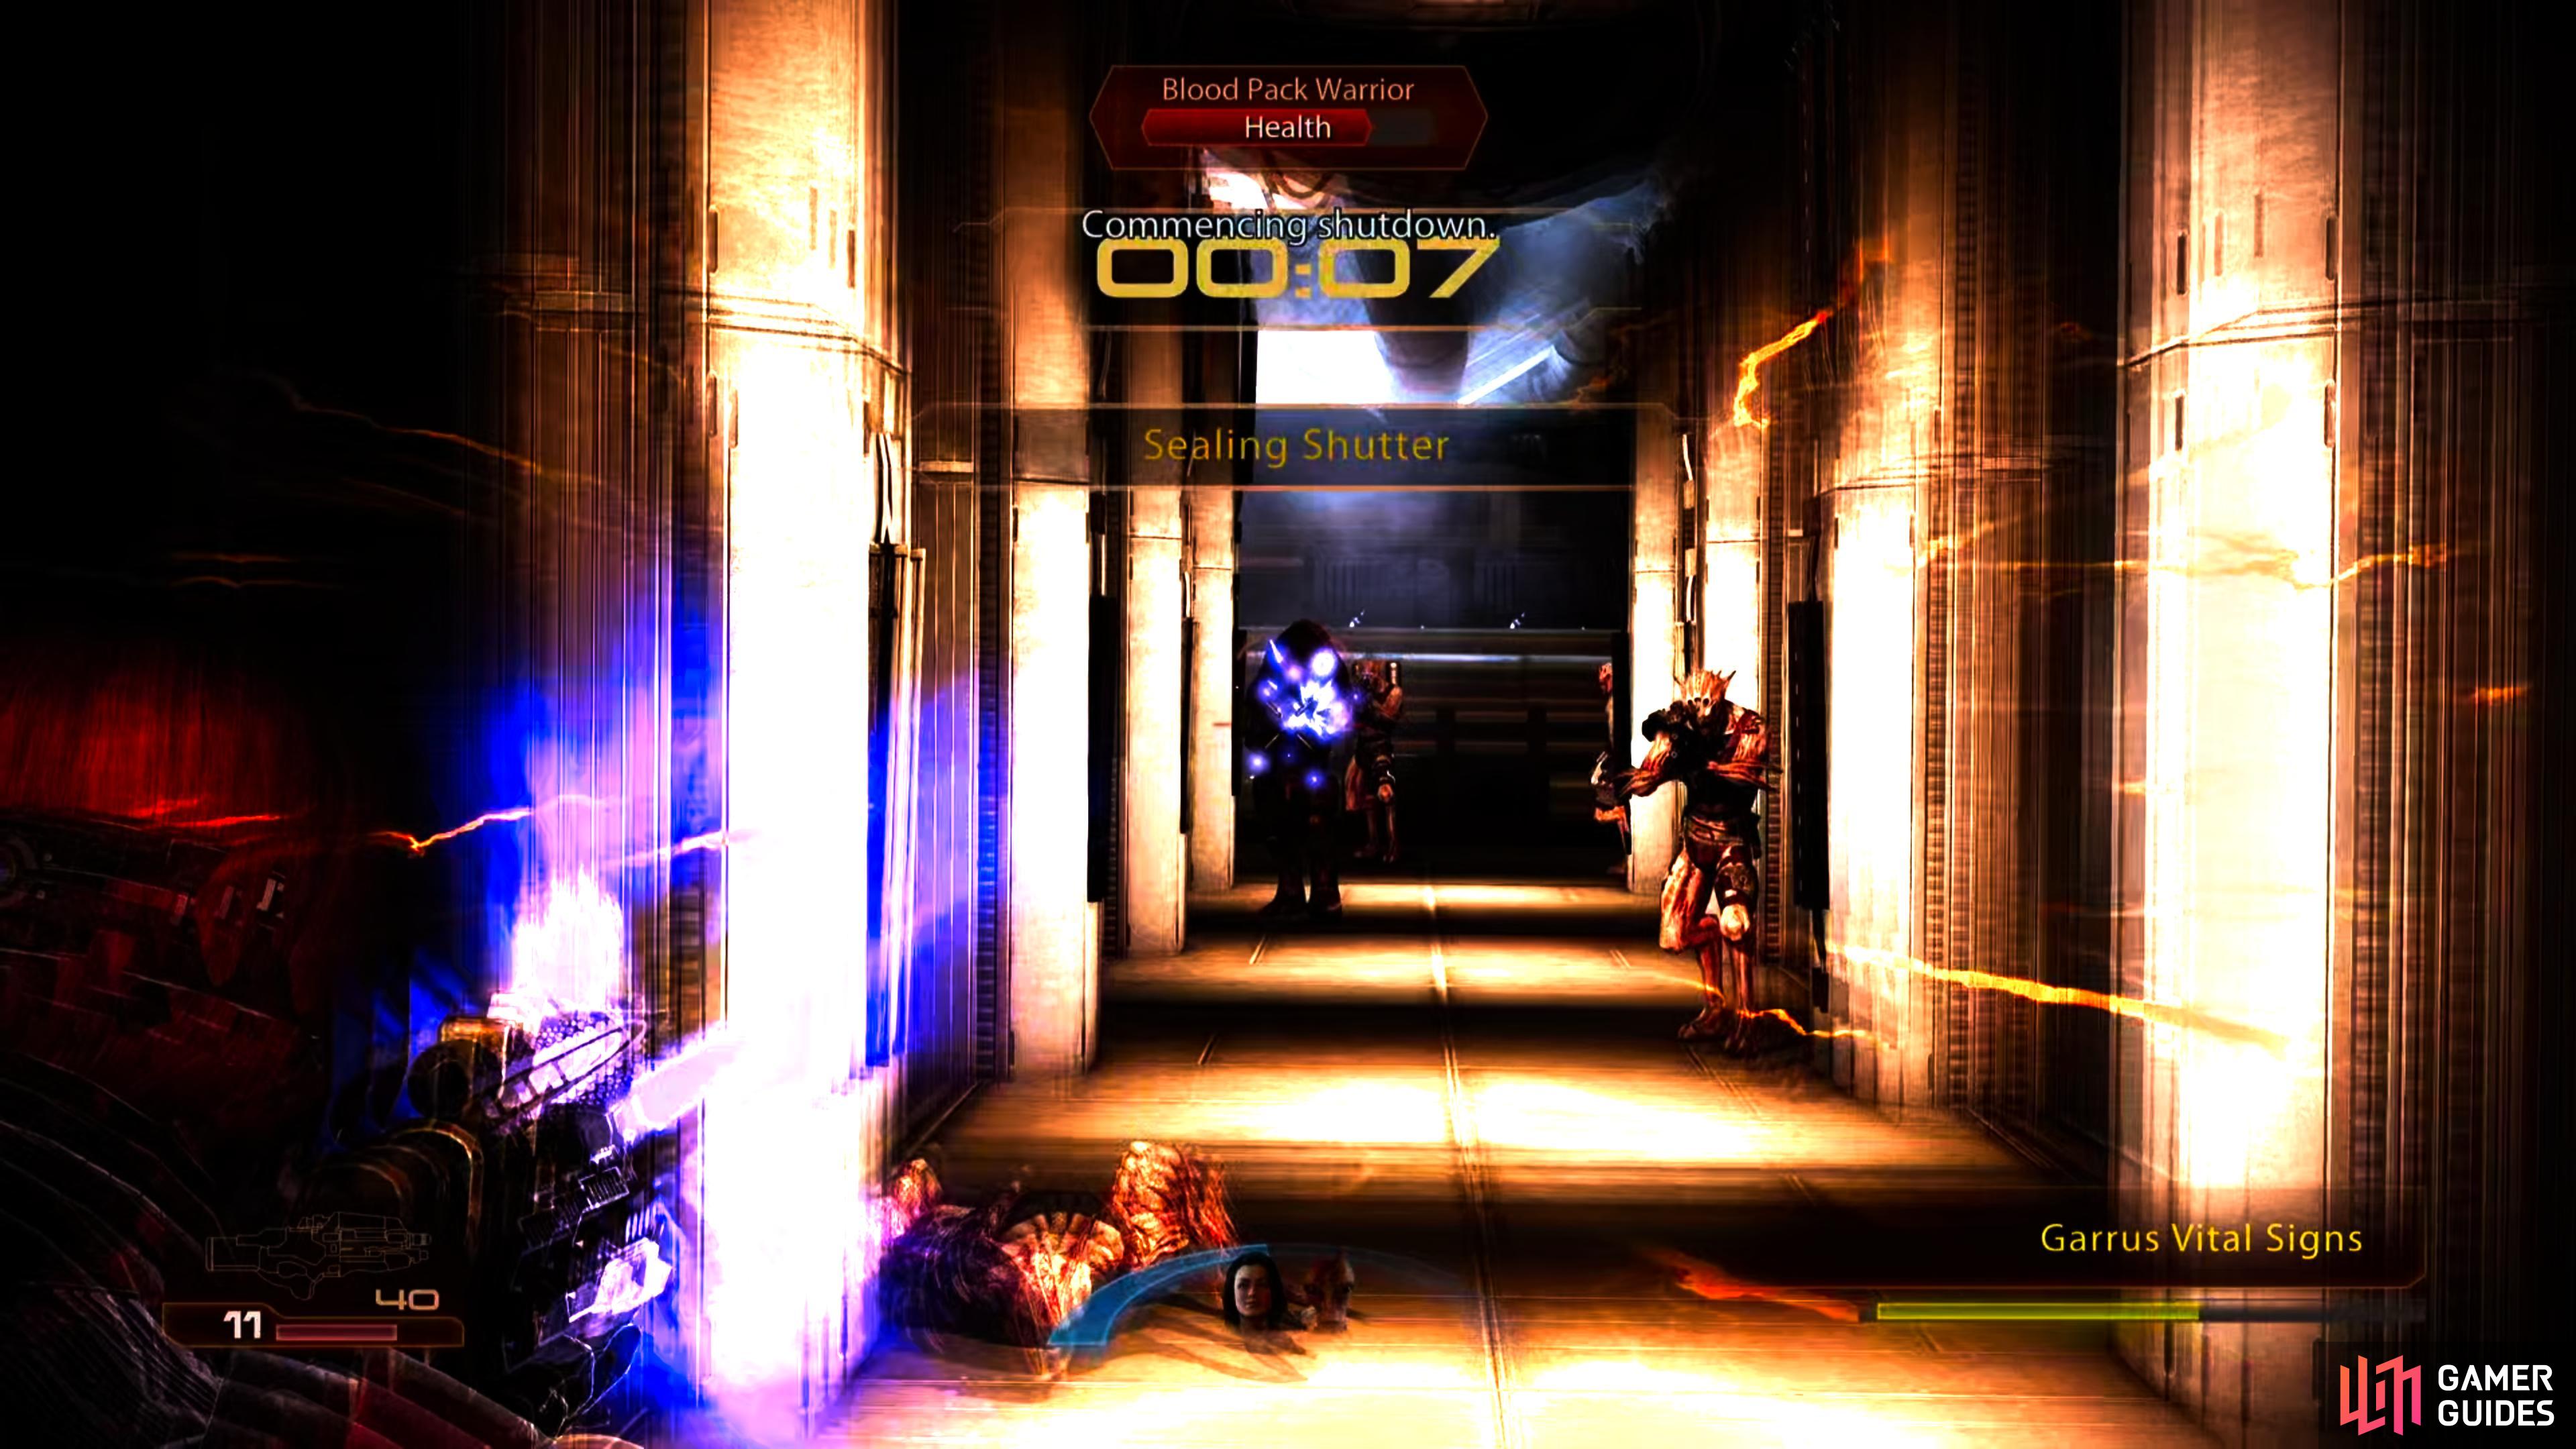
Fight through several vorcha - including pyros - in the hallway to the left, (left), then seal the third and final door. (right)
Seal the second door, clear out any Blood Pack in the warehouse, then return to the previous room and go through the doorway to the left to find yourself in a hallway. No choice but to fight through the vorcha ahead of you, and honestly, there’s not too many between you and the door switch. Just be wary of the pyro - especially when you round the corner - be aggressive, and fend off the Blood Pack when you hit the switch.
Once all three doors are sealed, a scene will play and you’ll find Archangel under assault by Garm and his Blood Pack mercenaries. You’re not left out of the fun, however, and you’ll reappear on the bottom level of Archangel’s holdout.
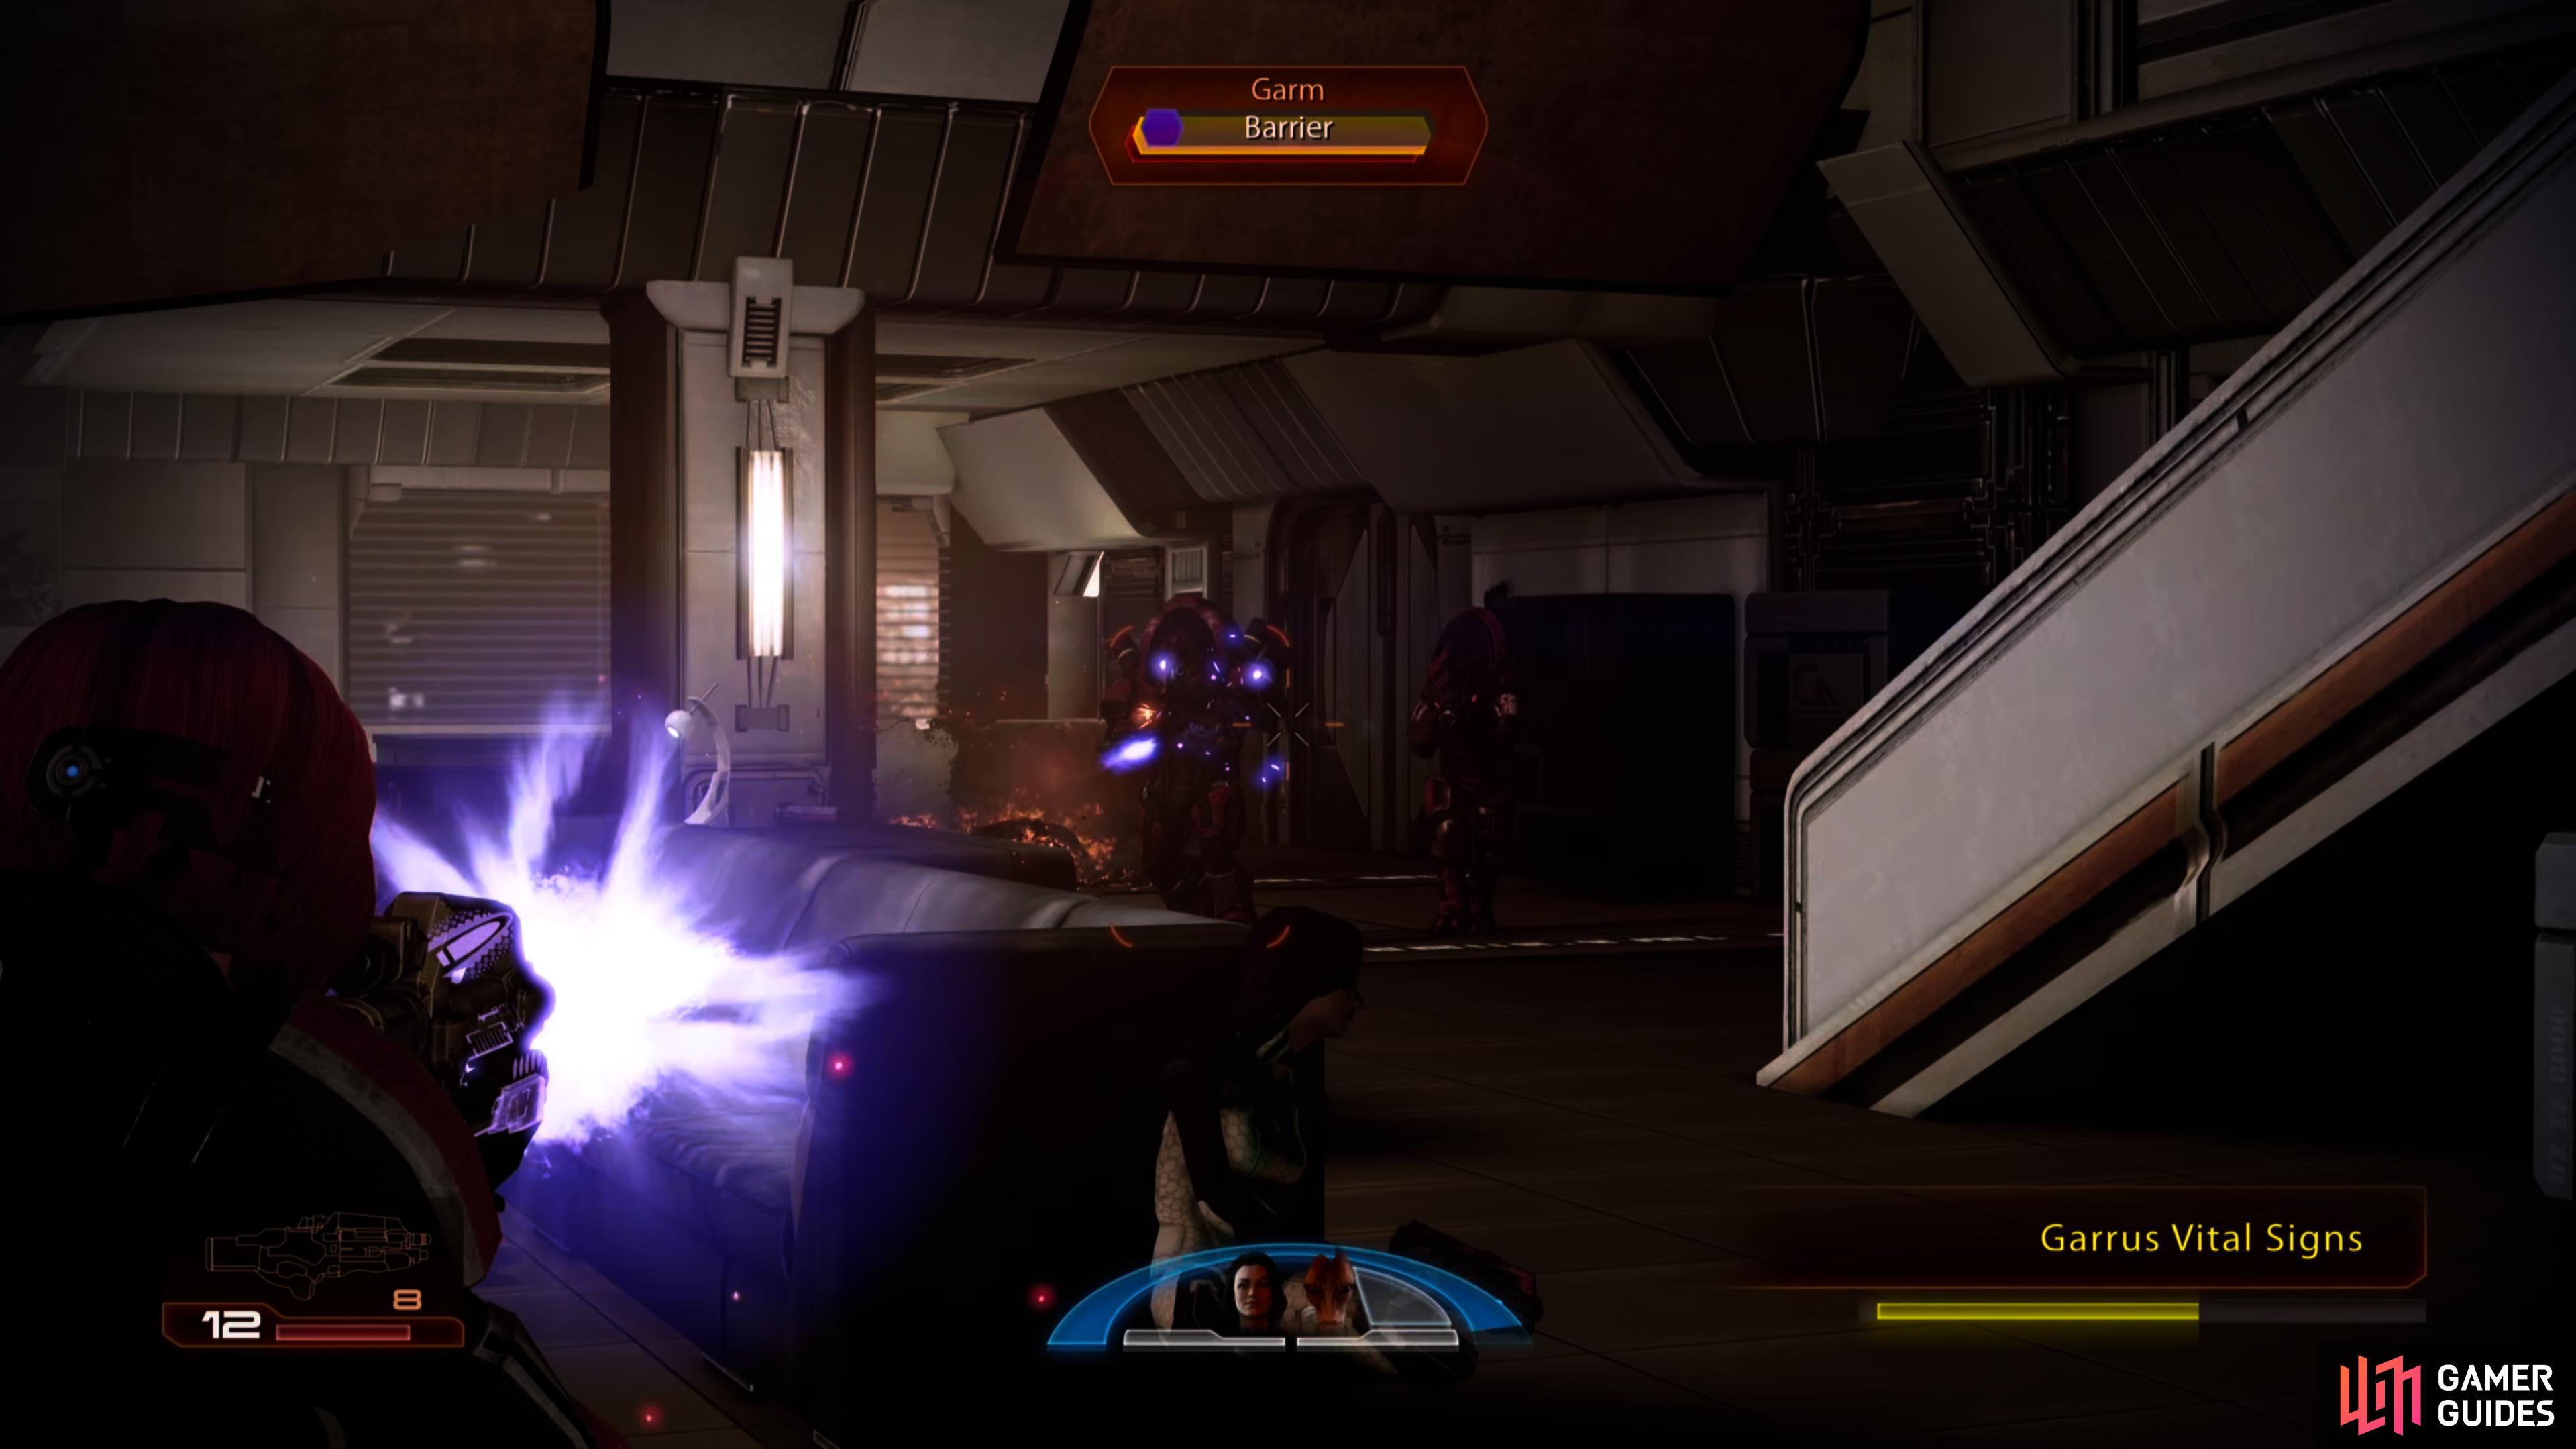
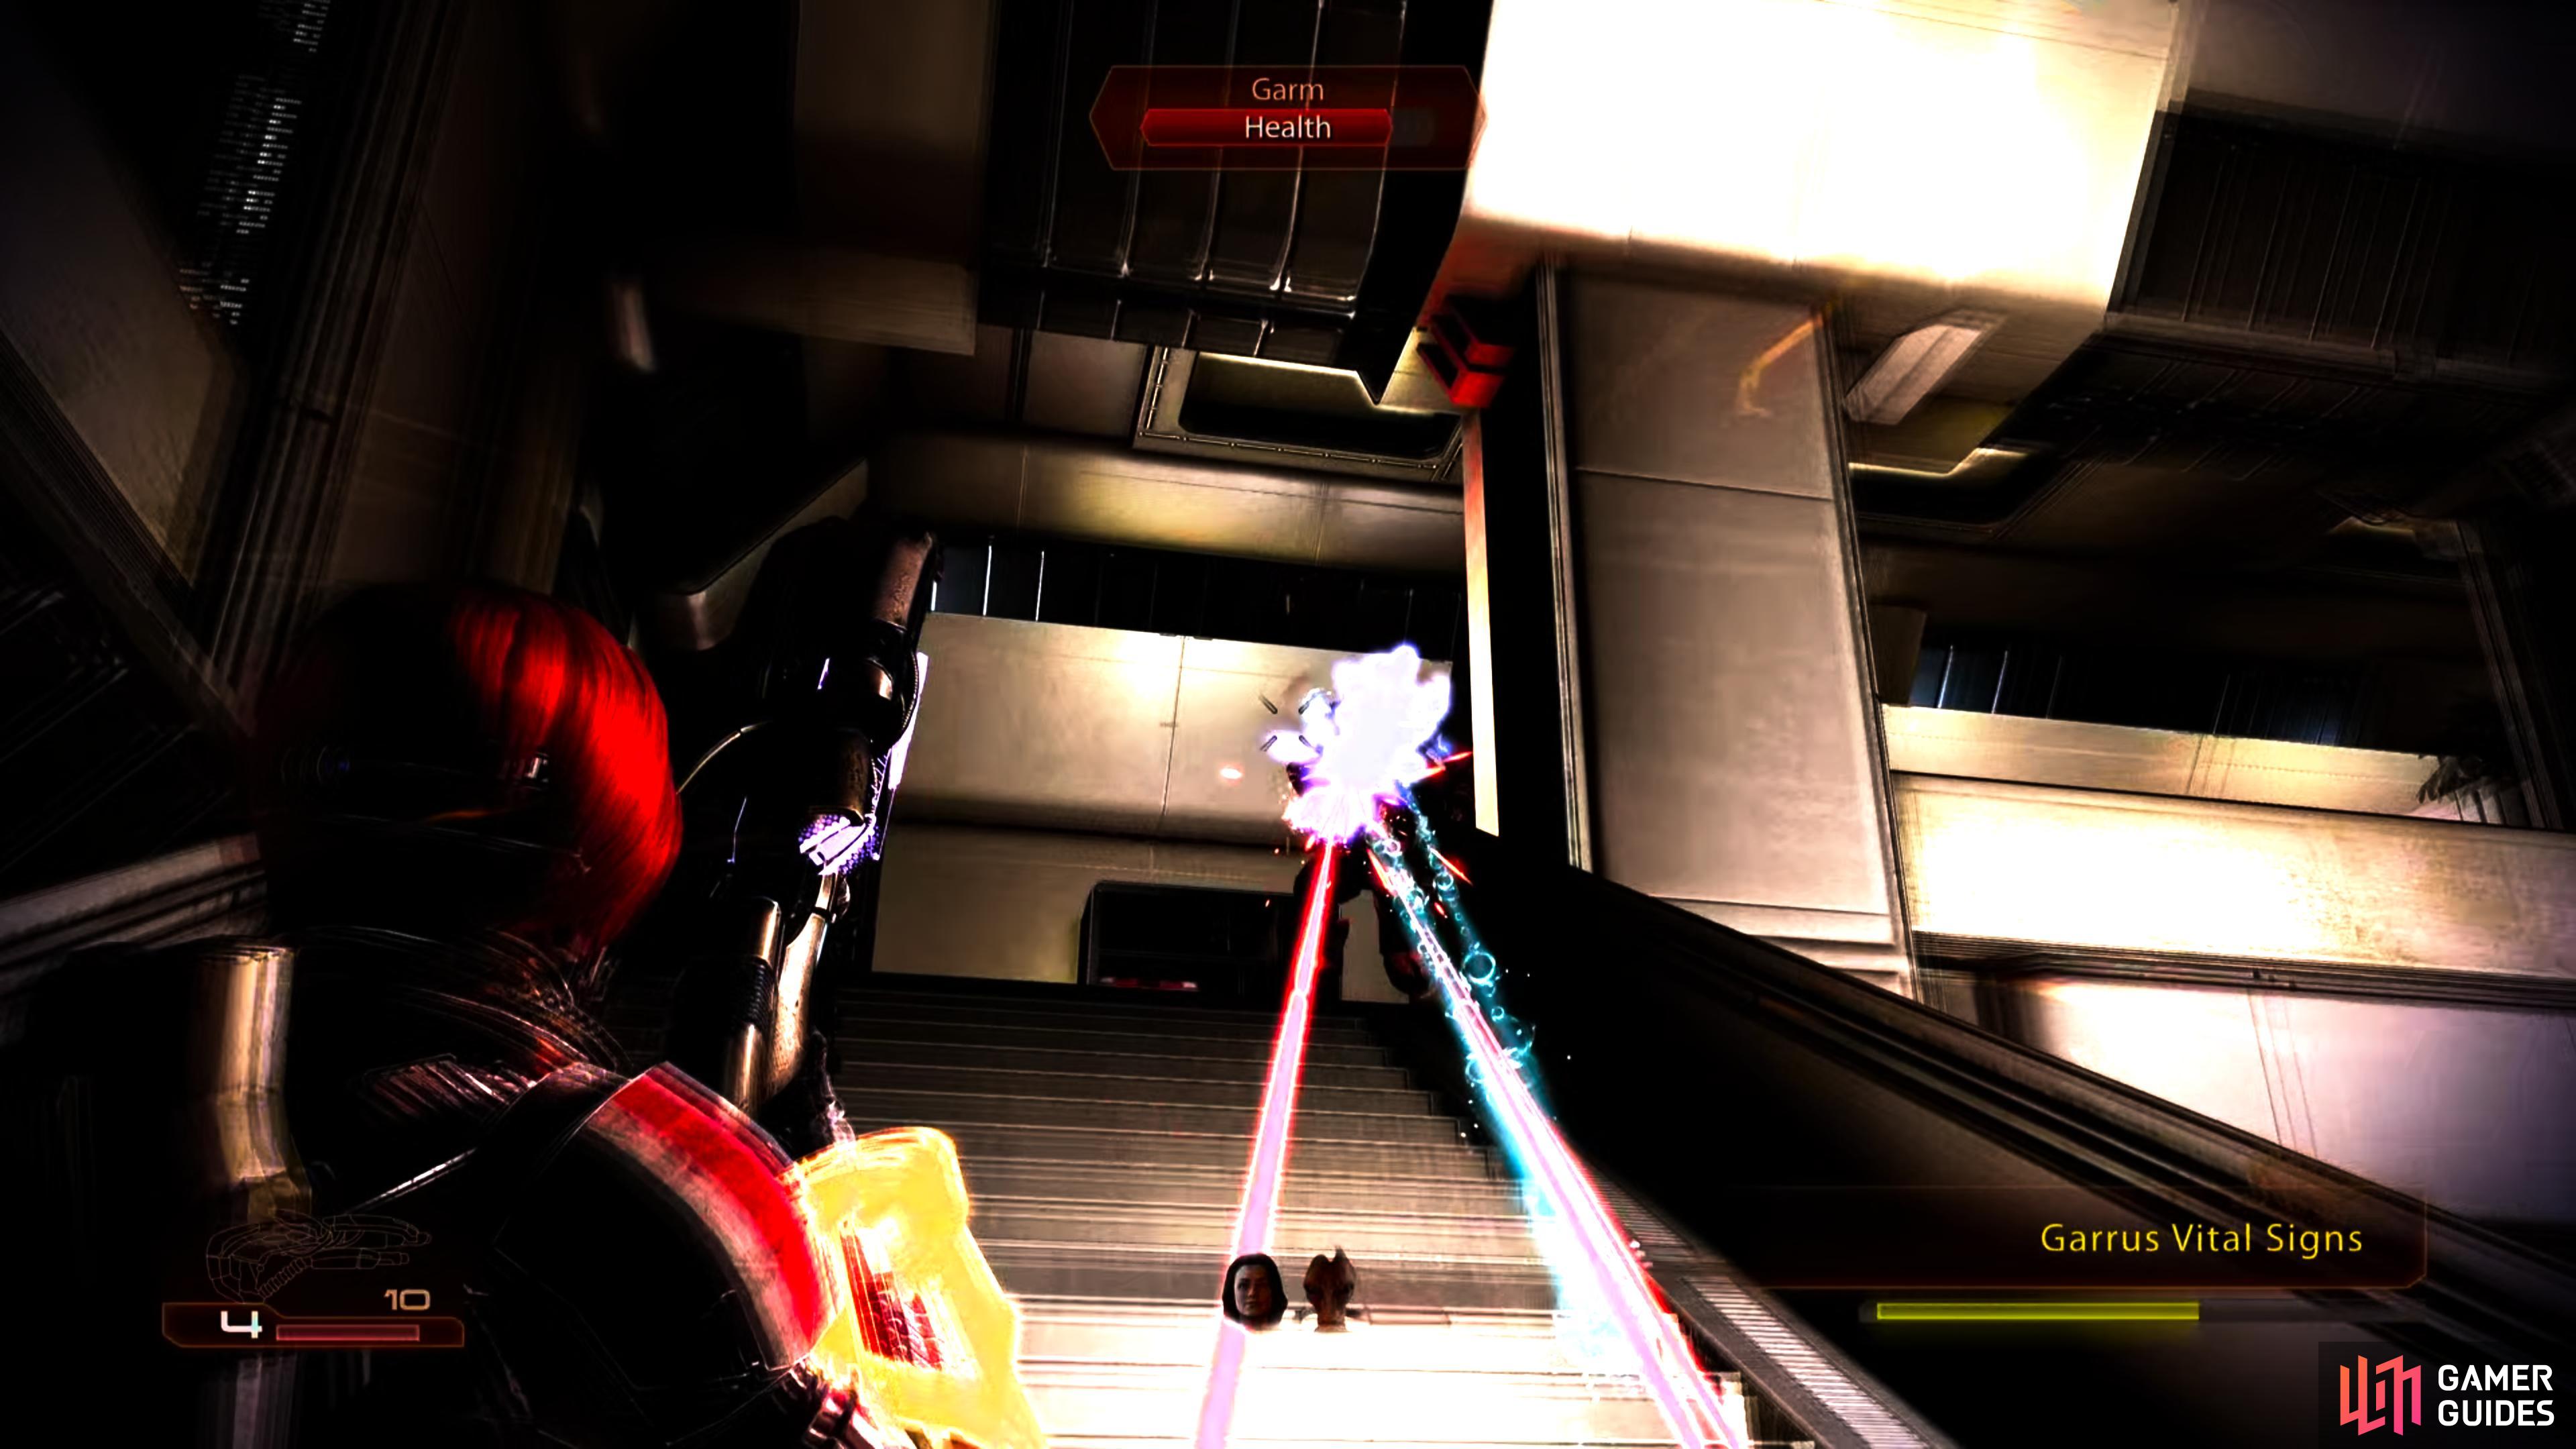
(1 of 2) After sealing the doors, you’ll return to help Archangel fend off Garm, who is protected by barriers and armor, and accompanied by a retinue of krogan.
After sealing the doors, you’ll return to help Archangel fend off Garm, who is protected by barriers and armor, and accompanied by a retinue of krogan. (left), Focus your attention on Garm as much as possible - he’s more interested in Archangel than you, so he leaves himself open to punishment. (right)
You must act quickly in eliminating the Bloodpack Vorcha and Varren in the immediate area before racing up the stairs. Garm, the Blood Pack leader and another Krogan will have ignored your fighting below and made a run straight for Archangel, so return to the room and help defeat the big fellows. Garm has a barrier and armour to eliminate before you can take his health out so use the Warp ability/ammo if you have it to make barrier smashing a bit easier. Once Garm is dead, grab some more ammo from around the place and when you are ready to continue, talk to Archangel.
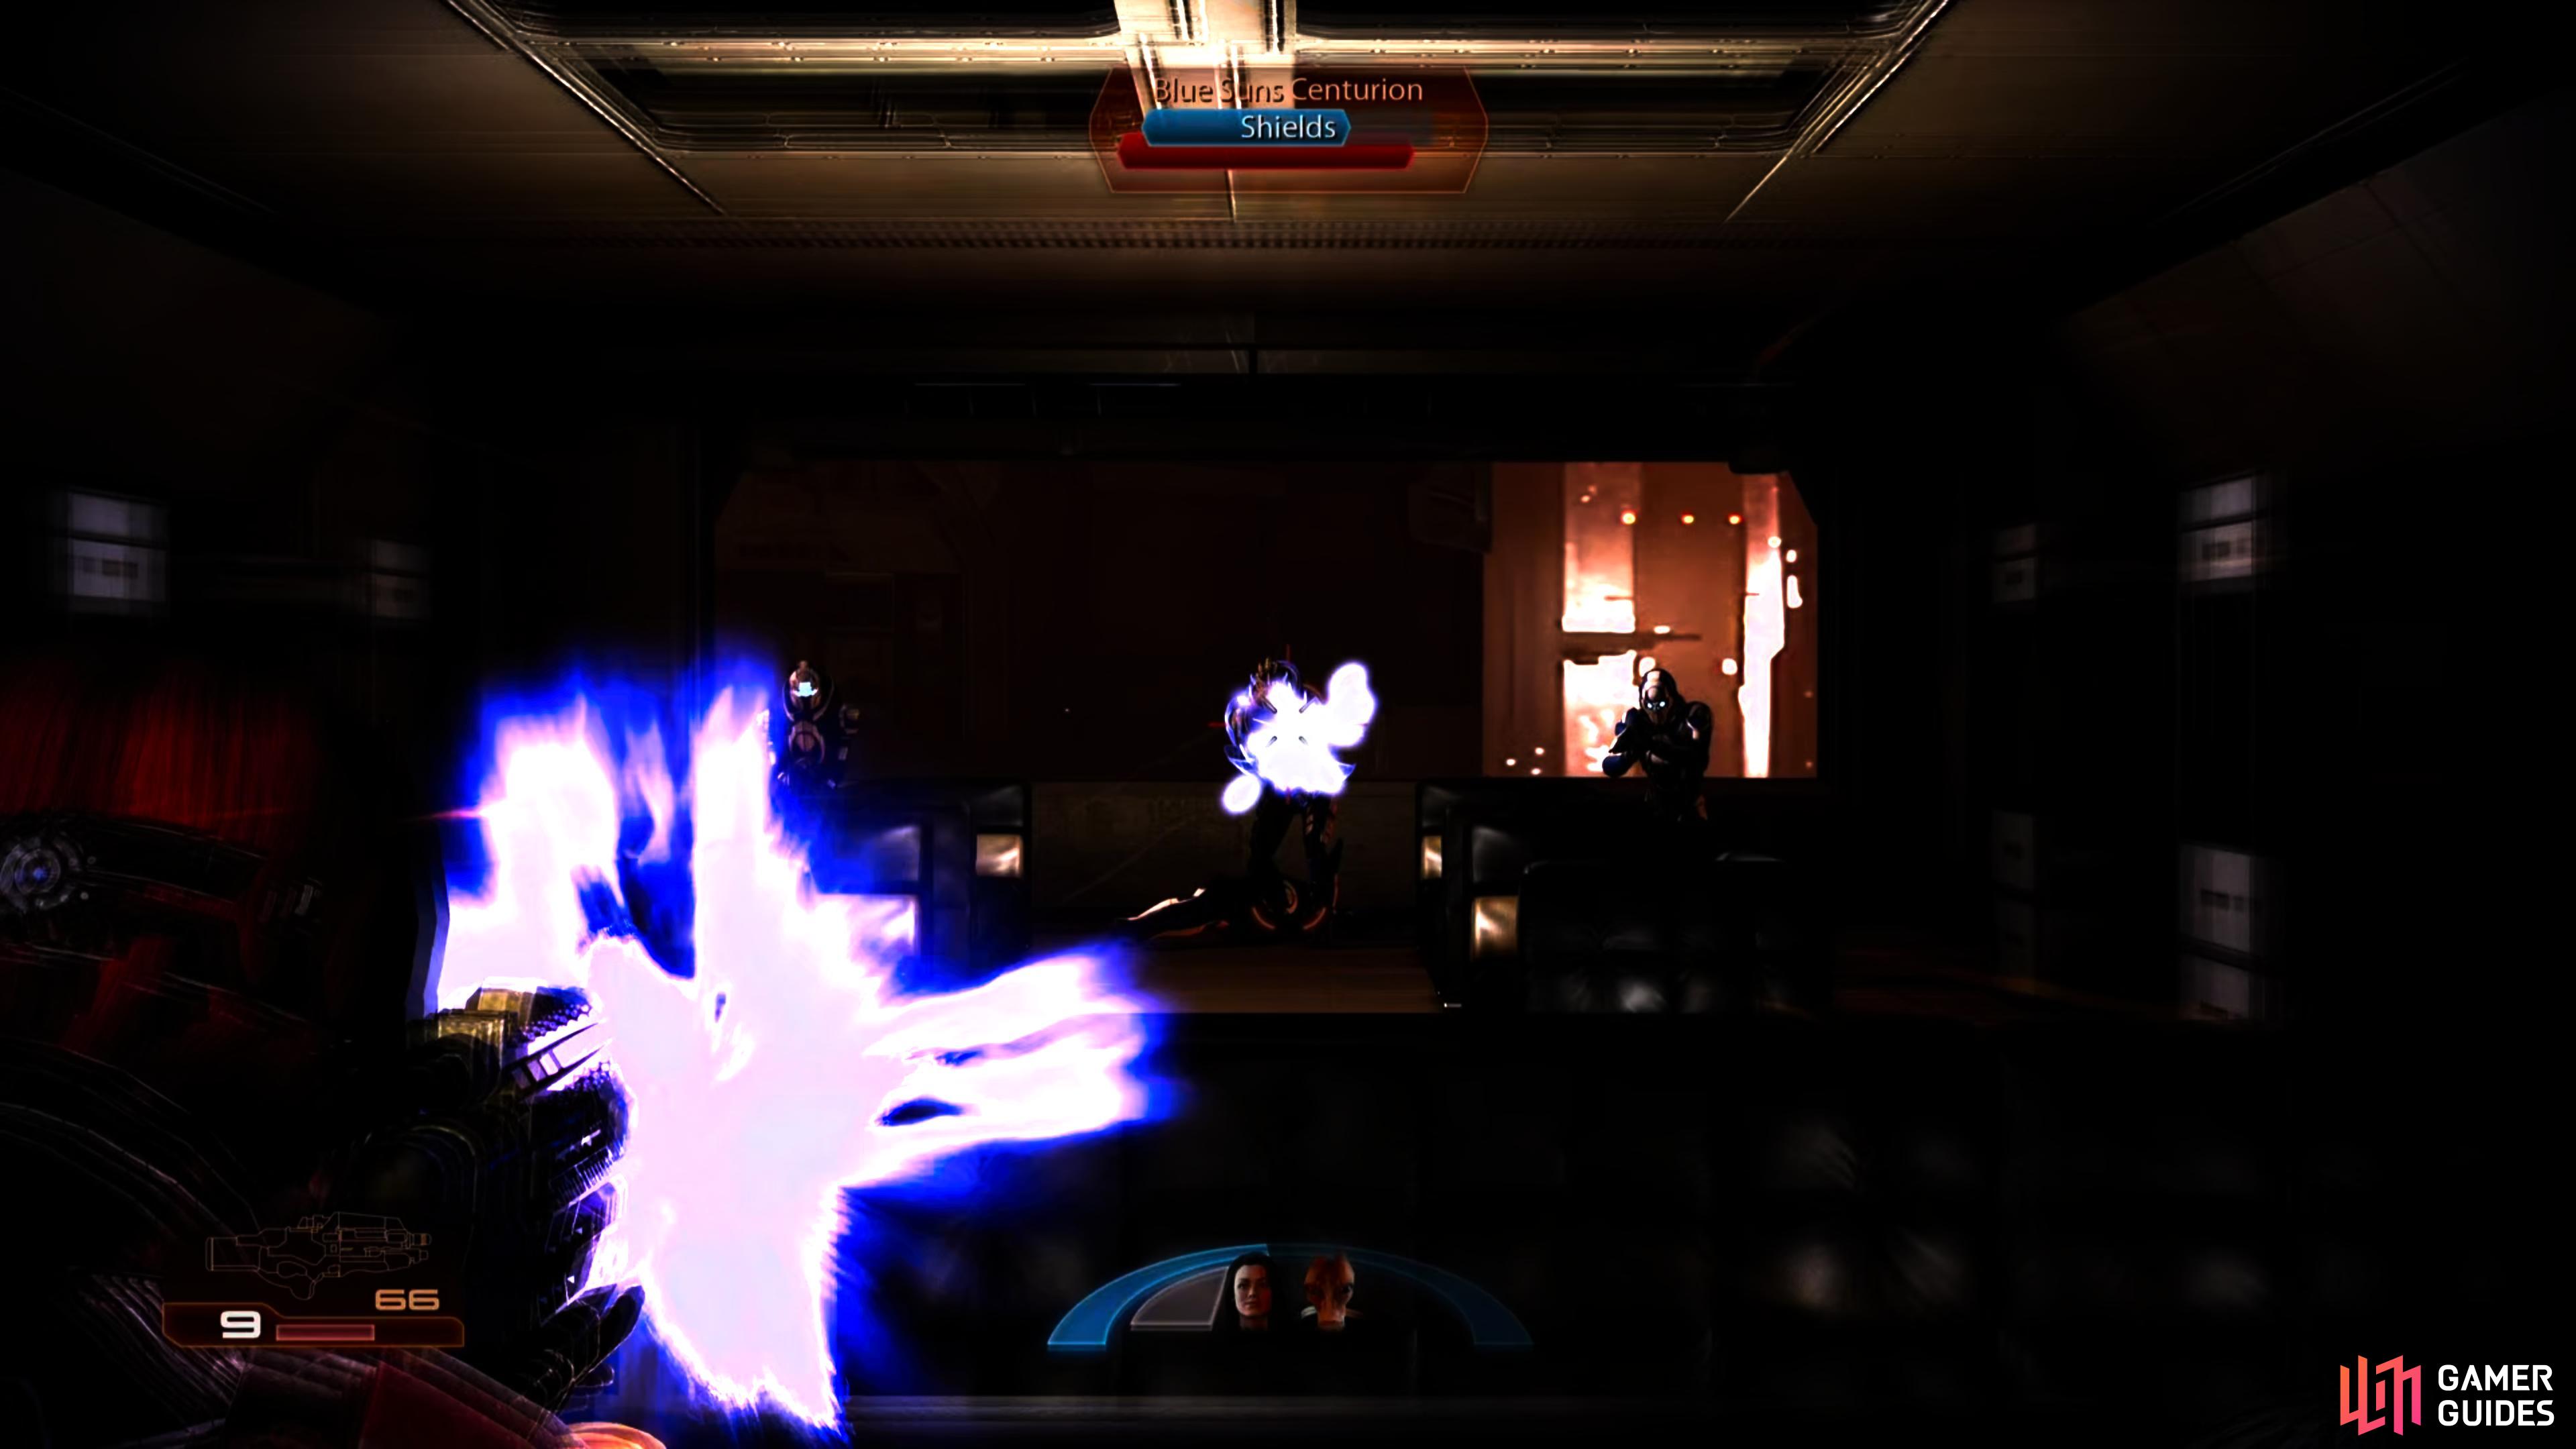
On the right side of the room a gunship piloted by the third and final mercenary leader, Tarak will appear and drop off a group of six or so Blue Suns mercenaries, along with a Blue Suns Lieutenant who is shielded.
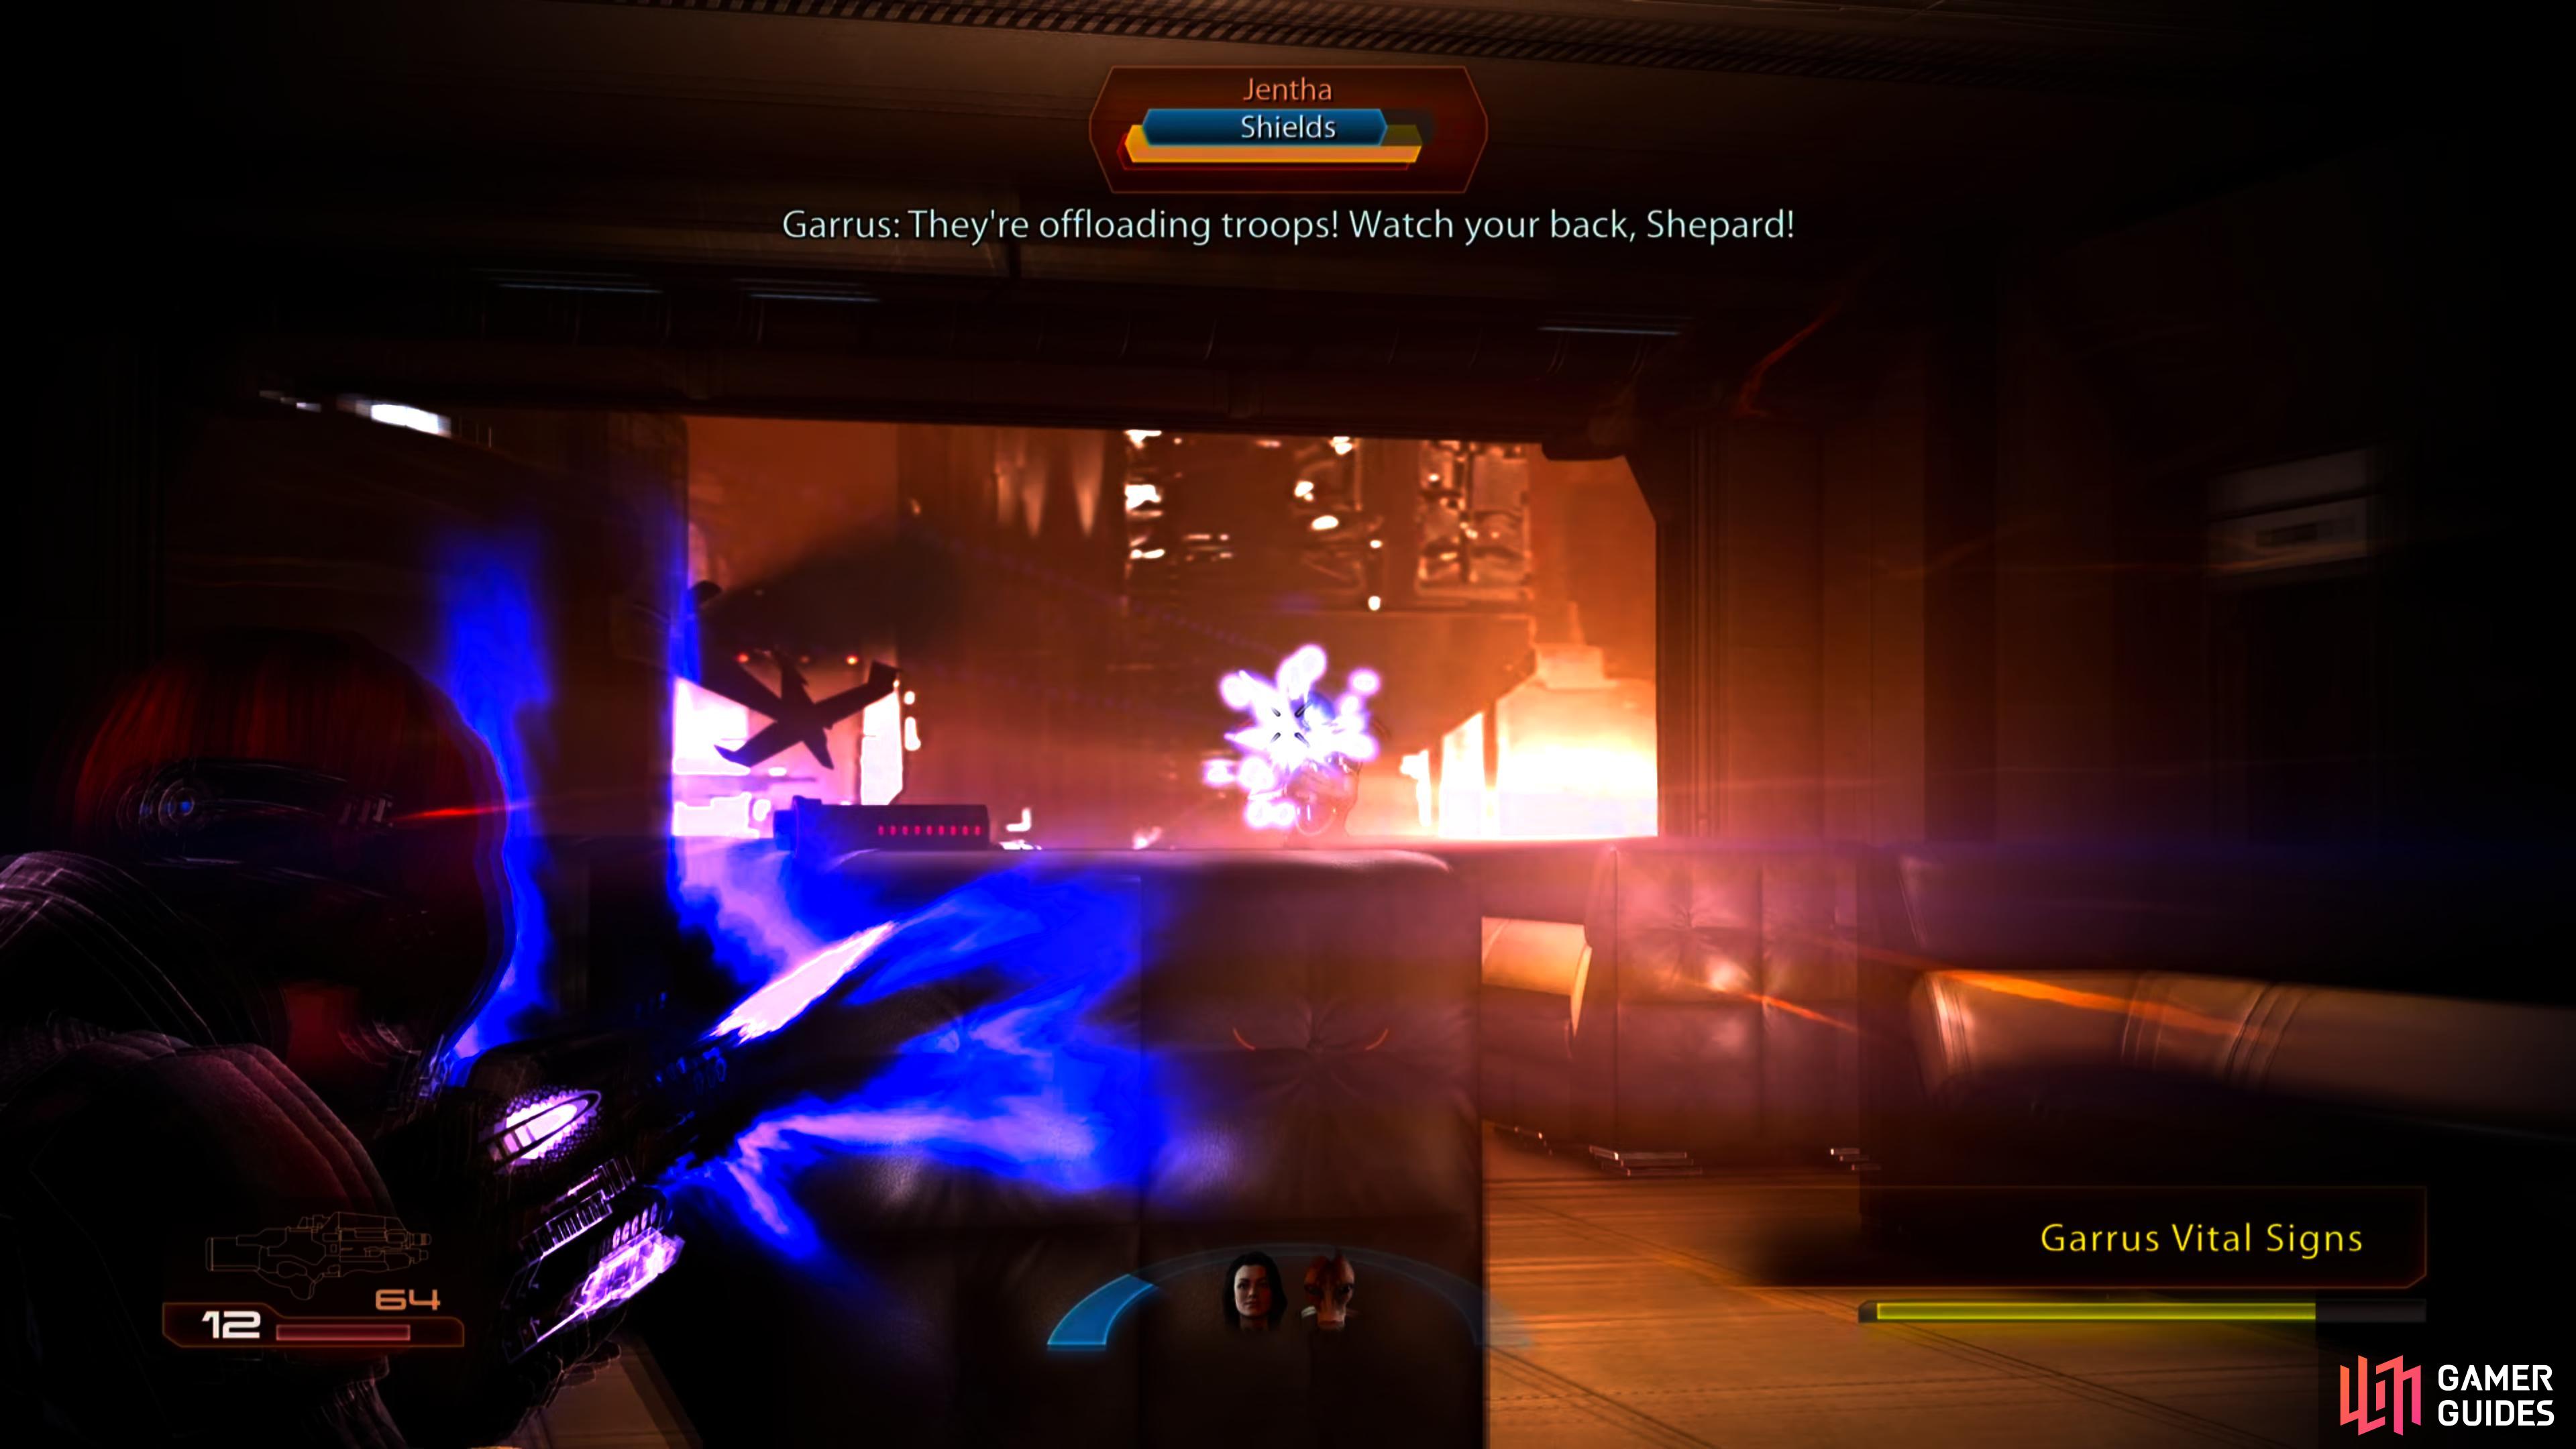
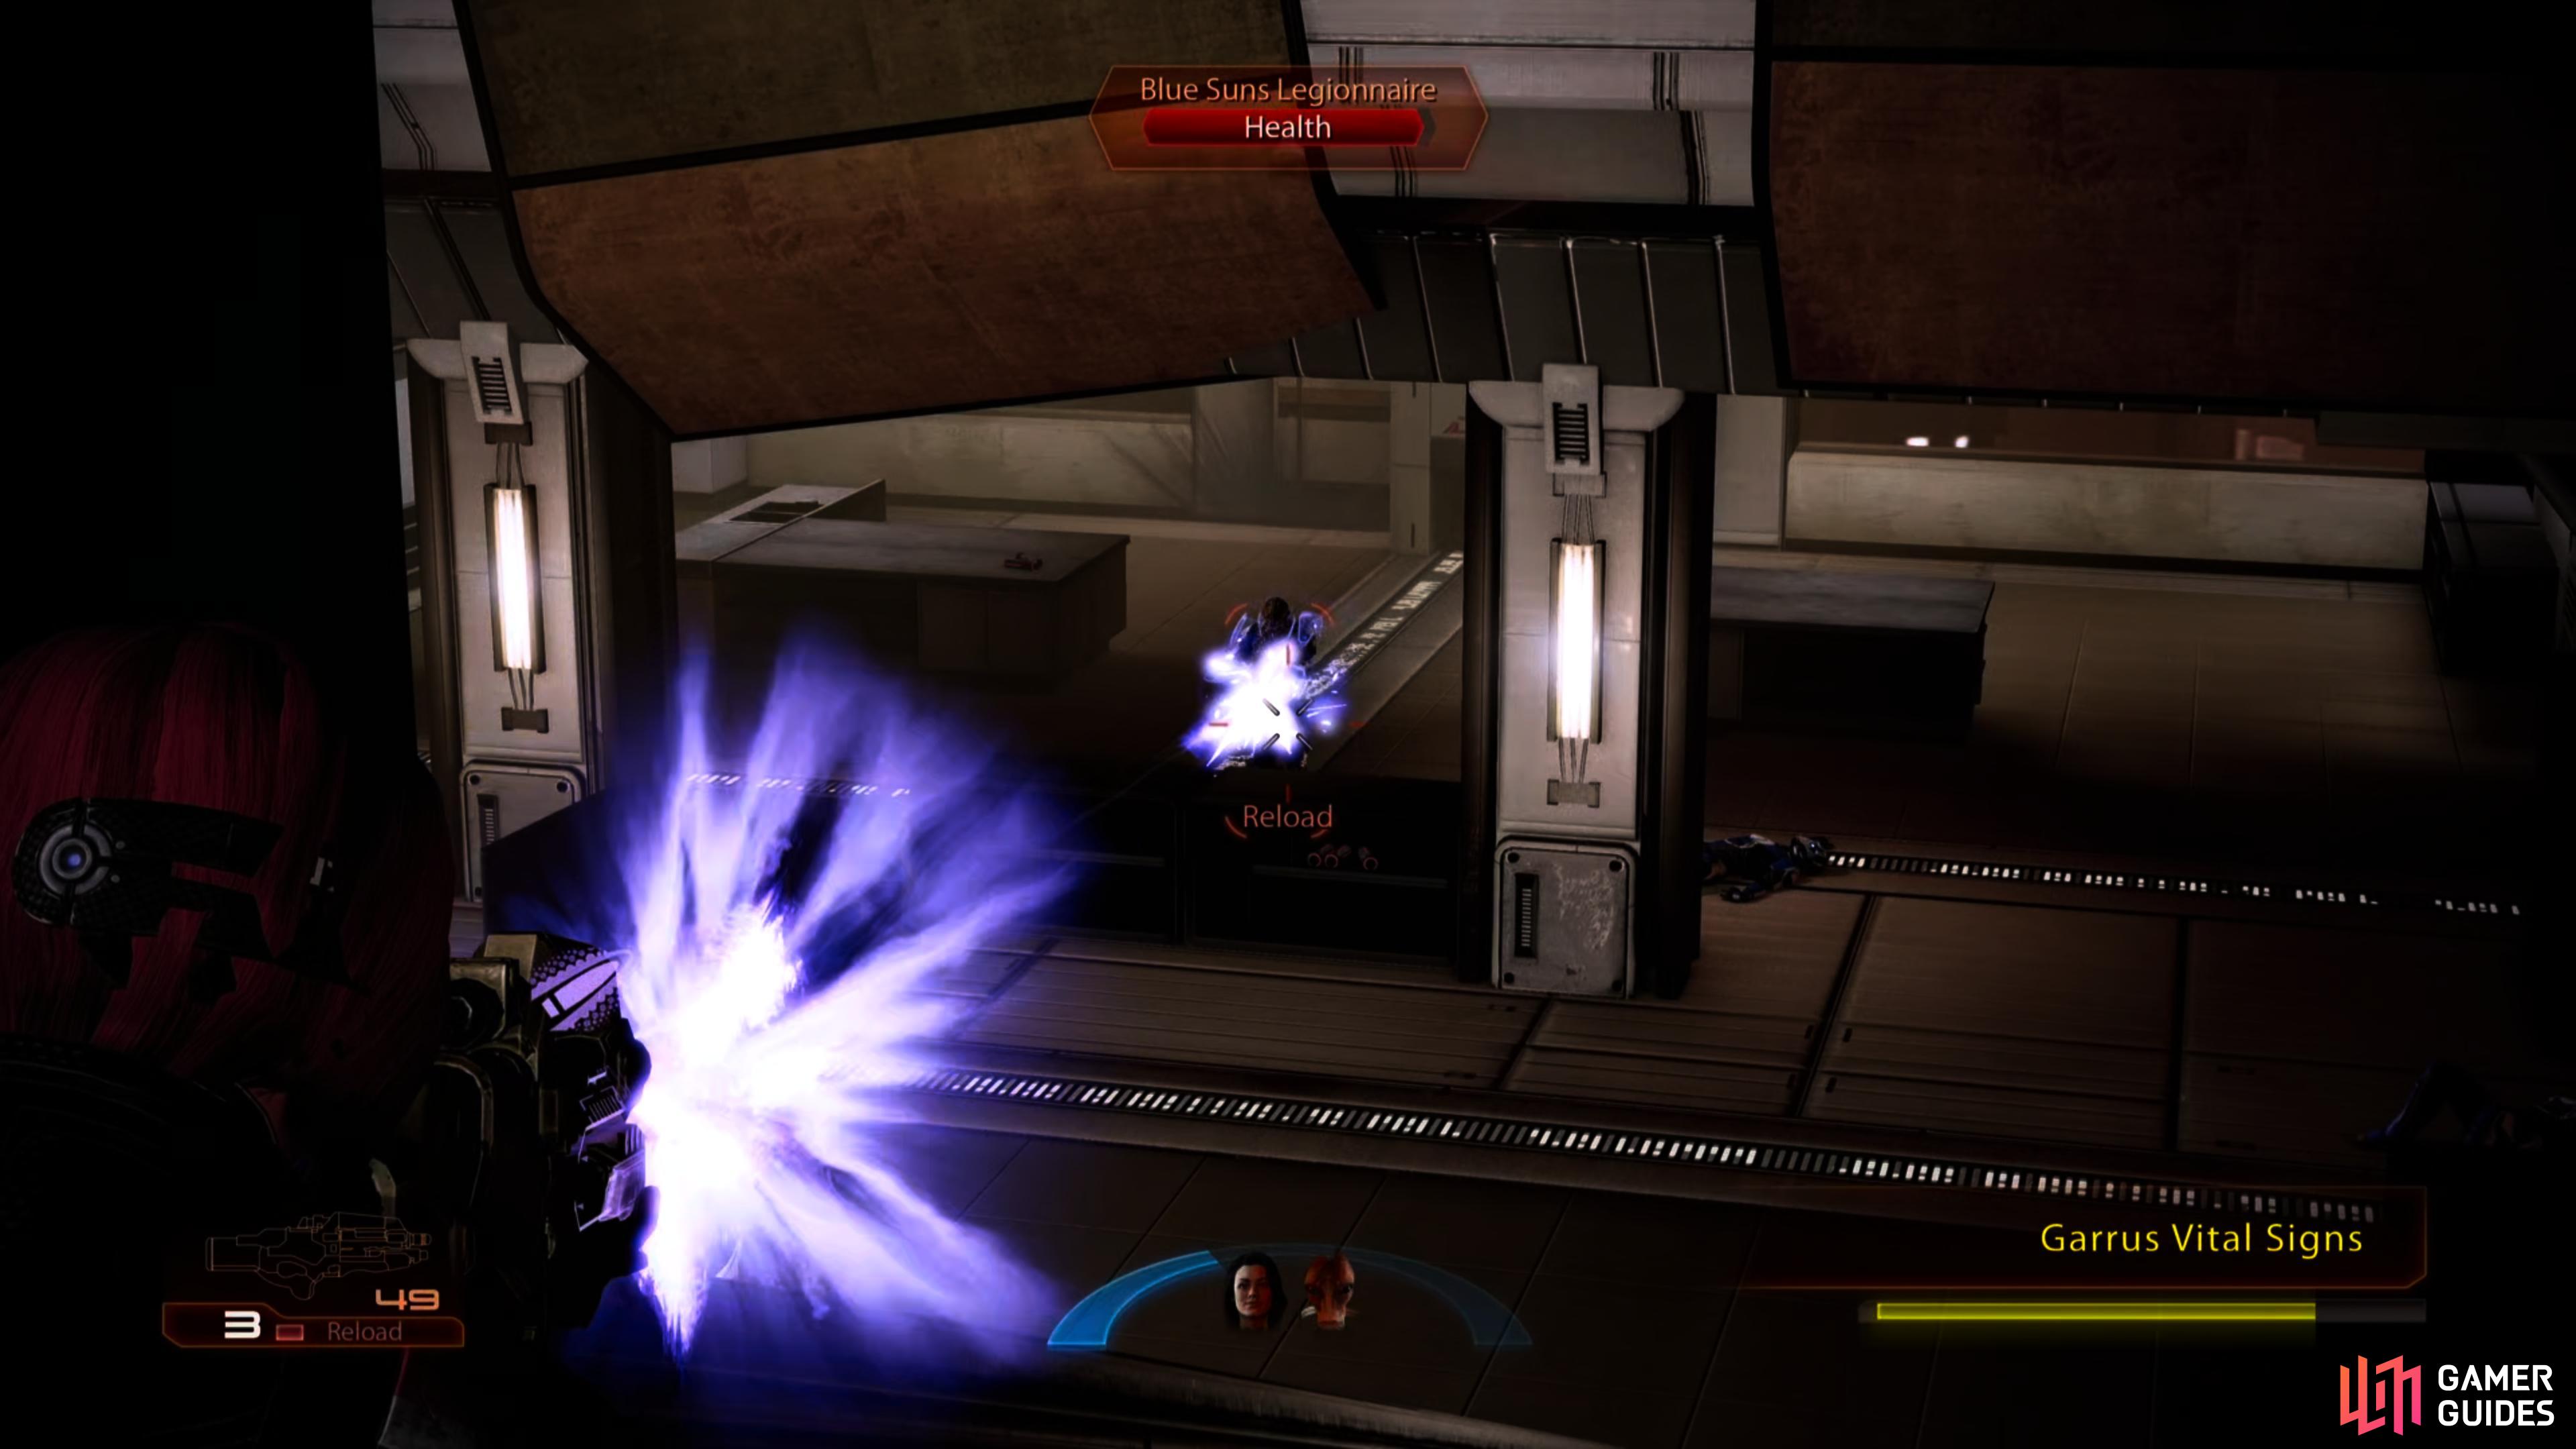
(1 of 2) The Blue Suns offensive consists of waves of troopers - led by Jentha - who drop into the upper level of Archangel’s holdout.
The Blue Suns offensive consists of waves of troopers - led by Jentha - who drop into the upper level of Archangel’s holdout. (left), After the threat nearby is repulsed, you’ll have to turn your attention to waves of attackers advancing via the lower floor. (right)
Eliminate the mercenaries from cover and be sure not to stay exposed for too long, as the gunship can, and will , shoot rockets at you with some pretty good accuracy. Once these guys have been taken care of, another group consisting of the same makeup will rappel into the room below. Watch out for the heavy troopers as they will carry rockets, and the Blue Suns Legionnaire and Centurion combo make up for the lack of a lieutenant. Both of these guys have a shield and a fair bit of health, so be sure to use your shield dampening abilities to assist in taking them down. Once all the hostile units are down, a short scene will play.
(1 of 3) The gunship will stop to drop off reinforcements from time to time, and when it does, focus on them exclusively.
You will now need to take down Tarak’s Gunship.
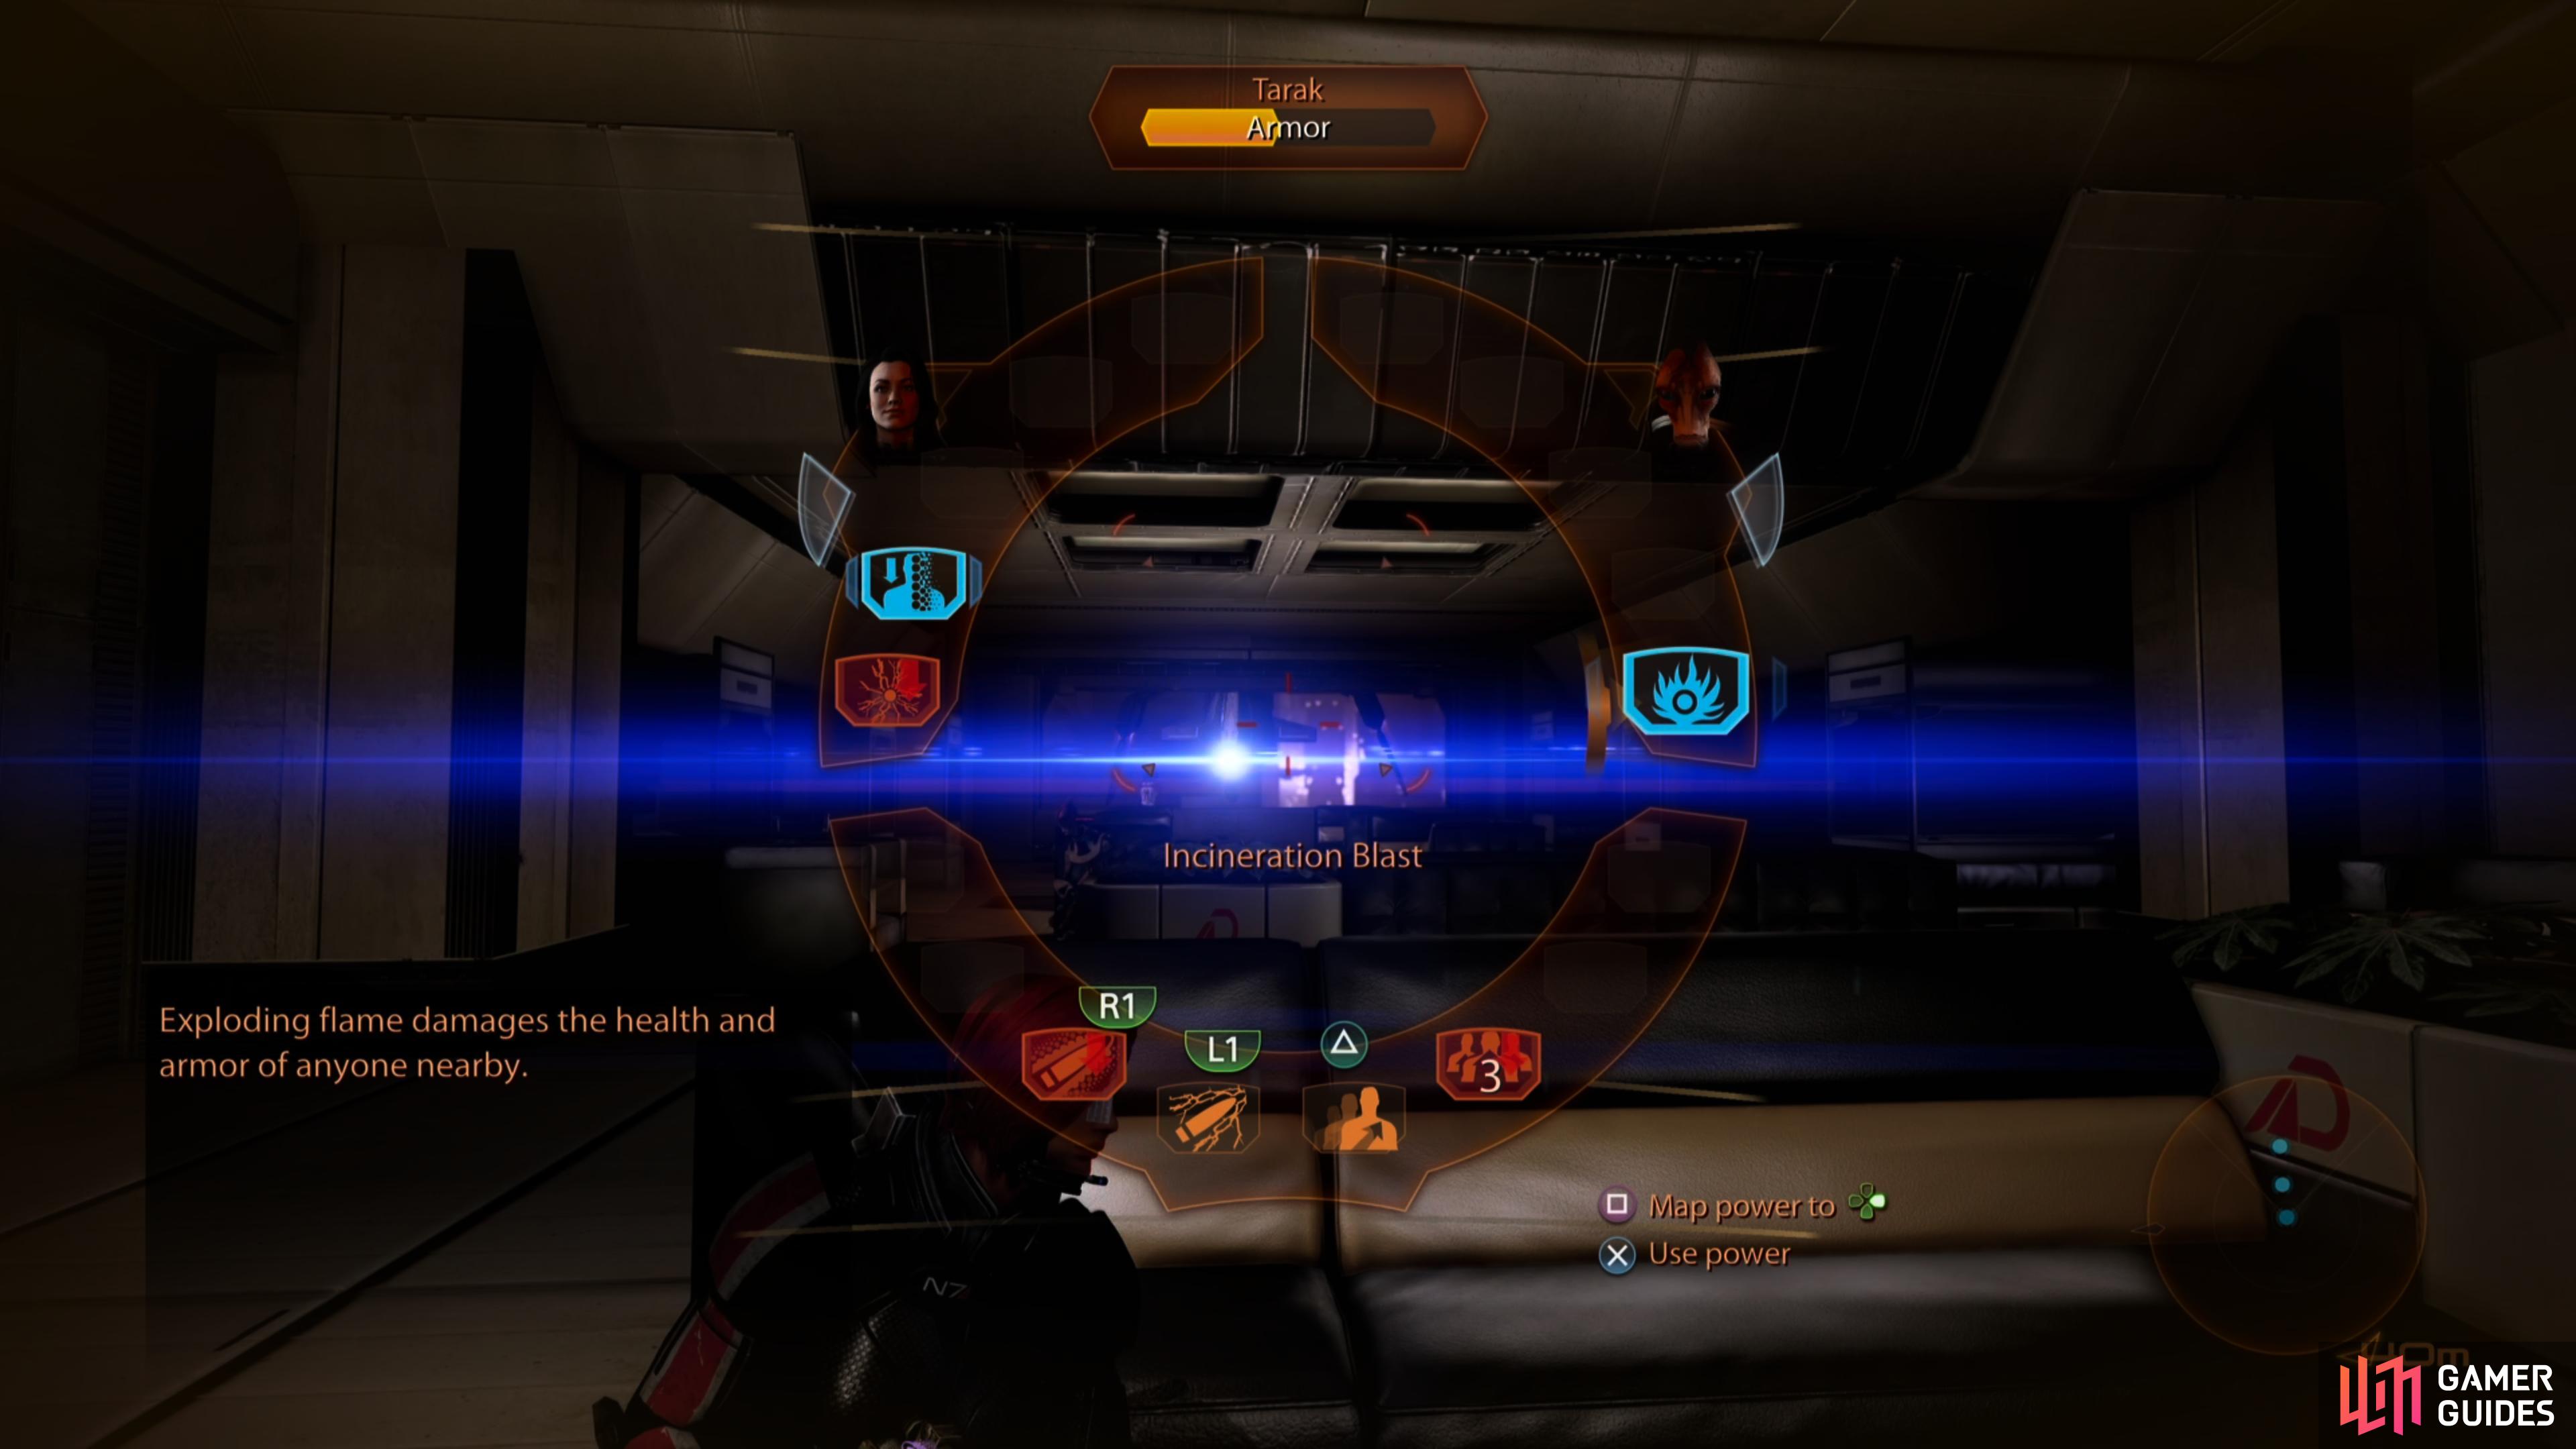
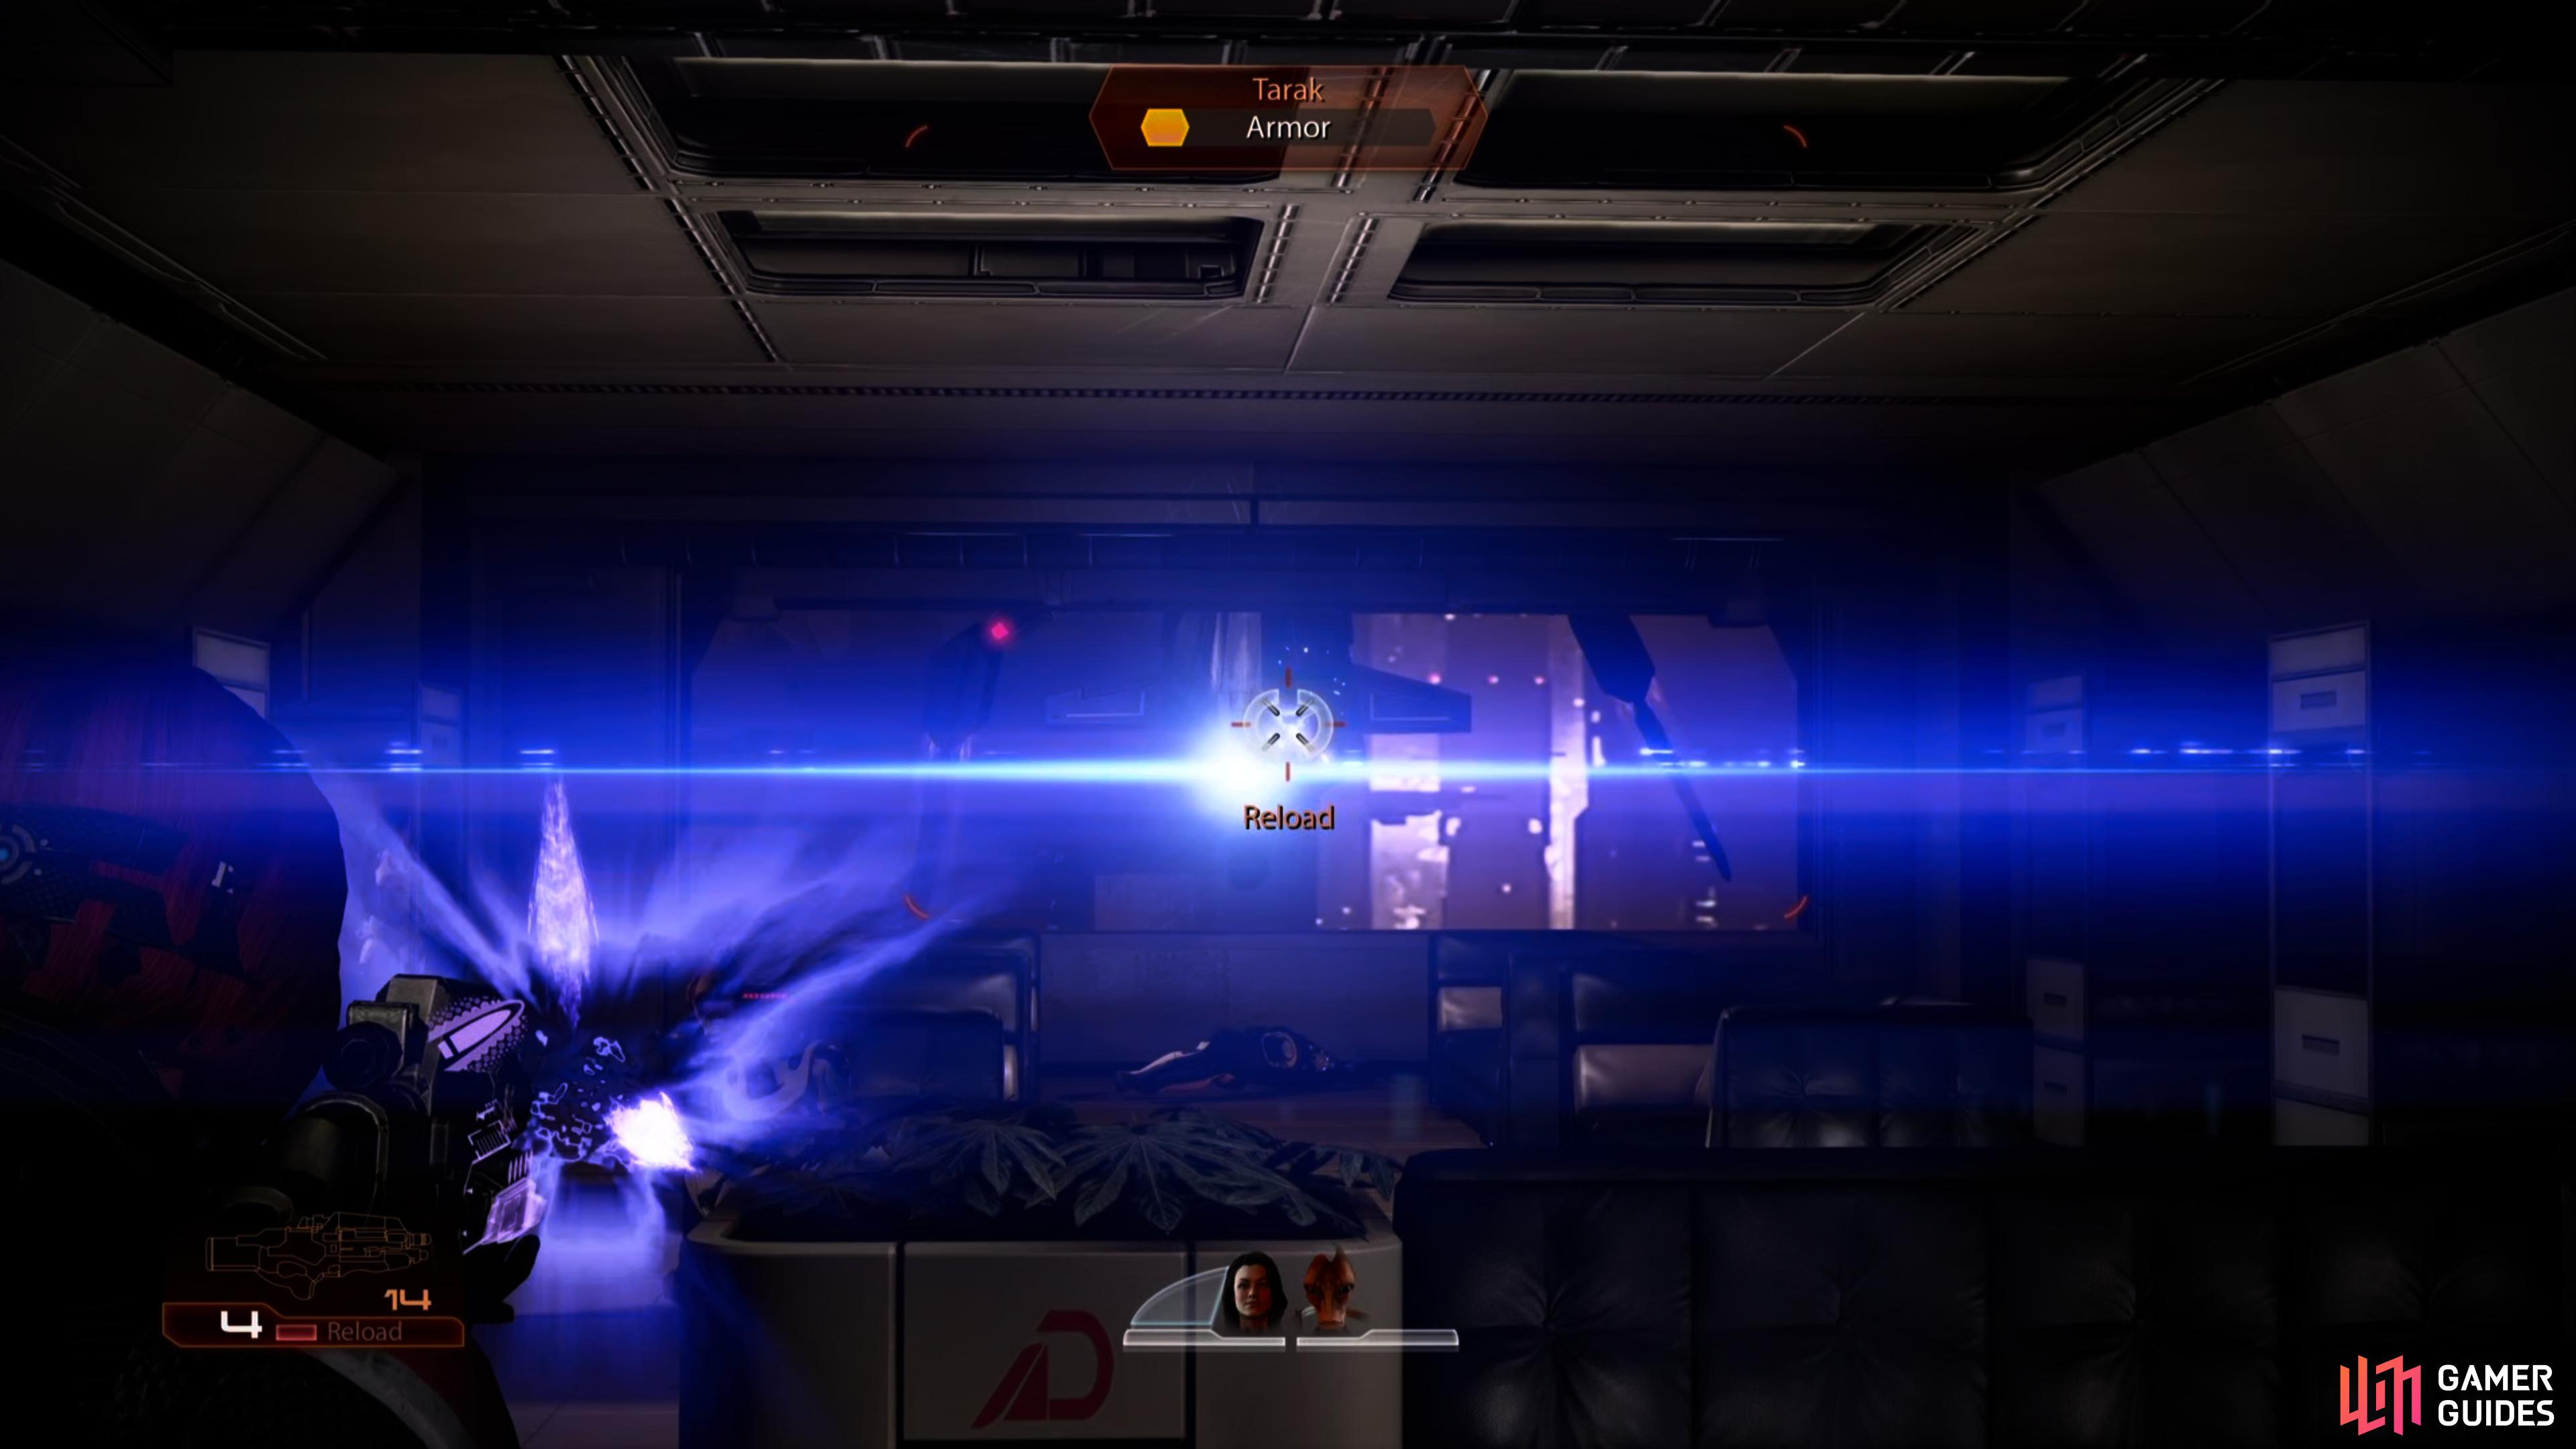
If you performed the Renegade action whilst talking to Sergeant Cathka earlier, the gunship will start at only 2/3 heath. The gunship will appear in two locations - firstly the window you looked out to defend the bridge earlier and the second position is on the right side of the room where it dropped off Blue Suns soldiers previously. The gunship fires an endless stream of rockets so staying in cover is a must. To take down the gunship, you should use your heavy weapons and any other armour-destroying abilities. Note that when it appears at the second window, it will drop off a group of three Blue Suns troops and retreat - eliminate the mercenaries and the gunship will return.
Once the mercenaries are all dead, focus your attention on the dropship, ensuring to shift cover positions as it moves between windows. Continue to pump away at the gunship until it explodes and this will trigger a cutscene to finish the mission.
After the mercenaries are defeated, you’ll be free to take what’s left of Archangel with you.
After a quick chat with Garrus on the Normandy, return to the galaxy map and decide where to go next. If you haven’t already completed Dossier: The Professor, that’s what we suggest you do next, if for no better reason than to be done with Omega for the time being. You can also seek out the Convict or the Warlord, as you prefer.
| Mission Completion Rewards | |
|---|---|
| Experience Gained: | 1000 (1250) |
| Credits: | 20,000 + 20,000 |
| Element Zero: | 500 |


 Sign up
No Comments