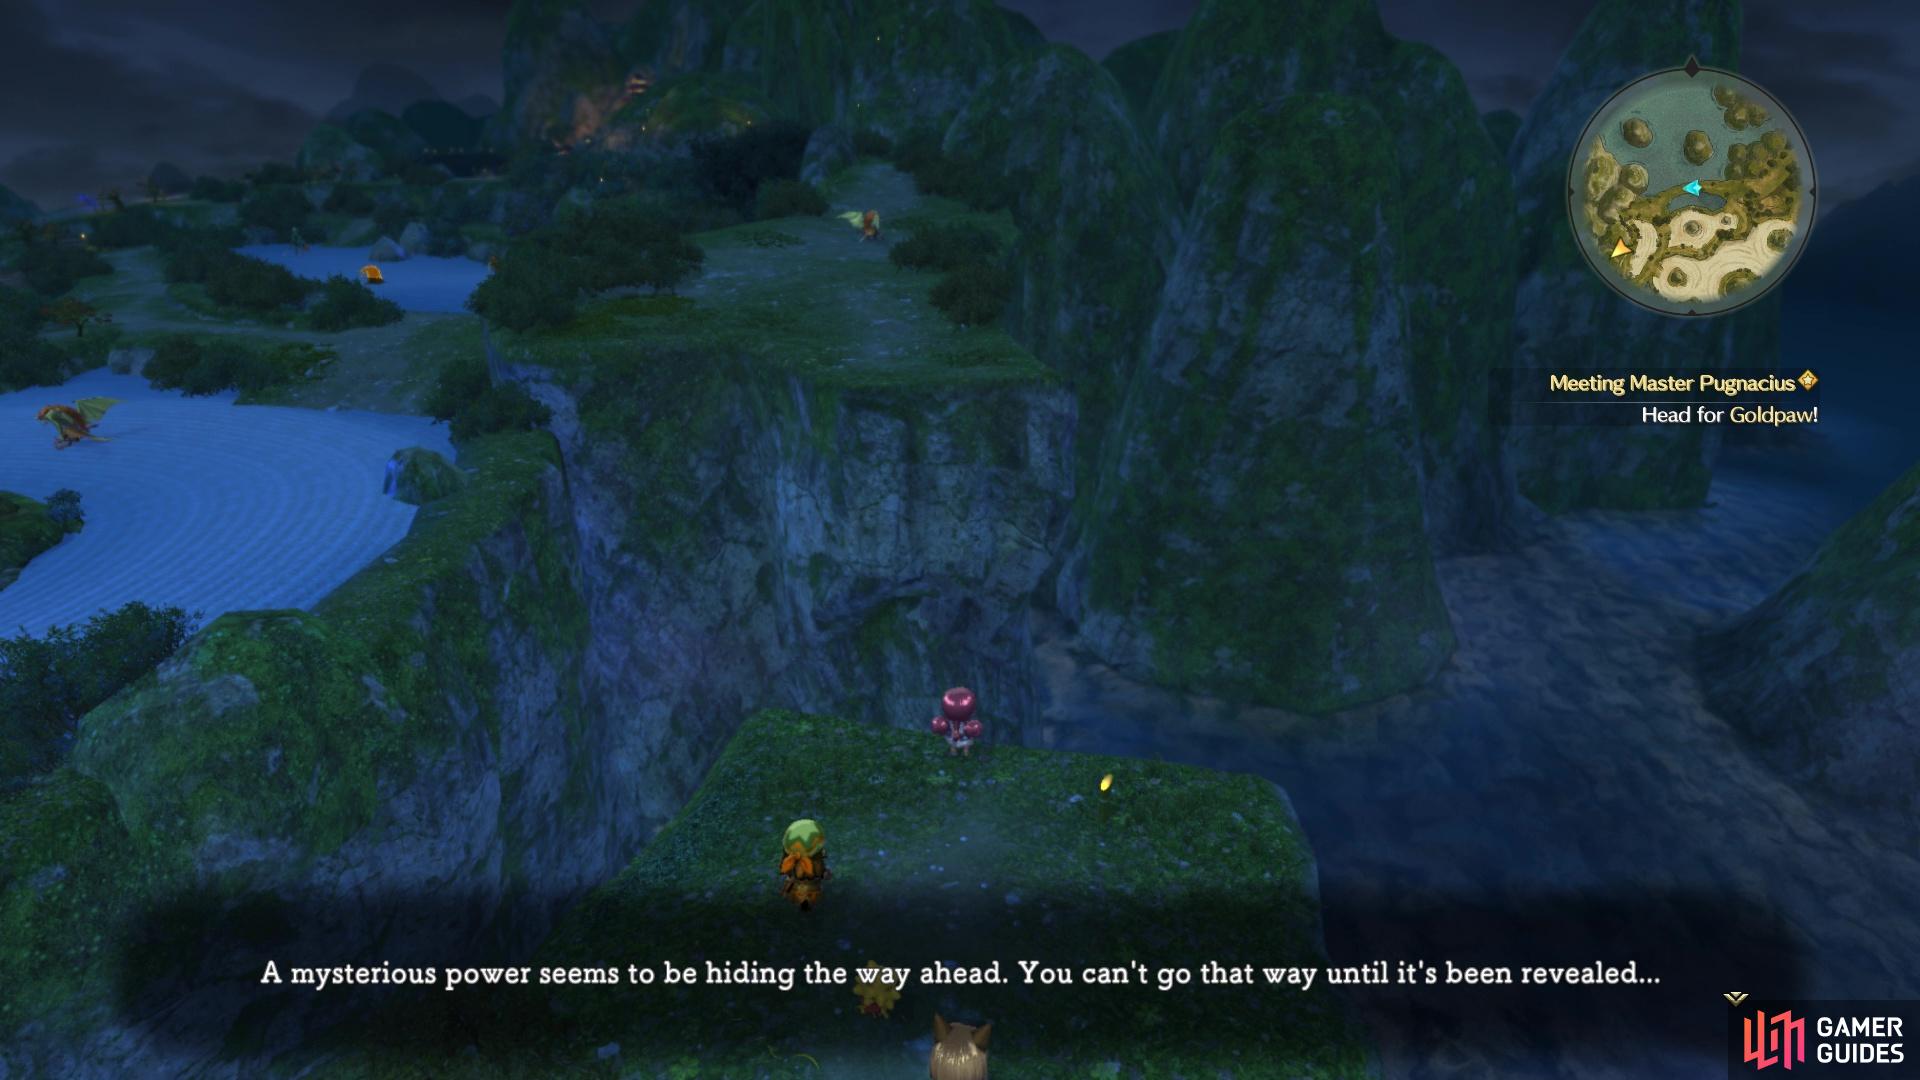
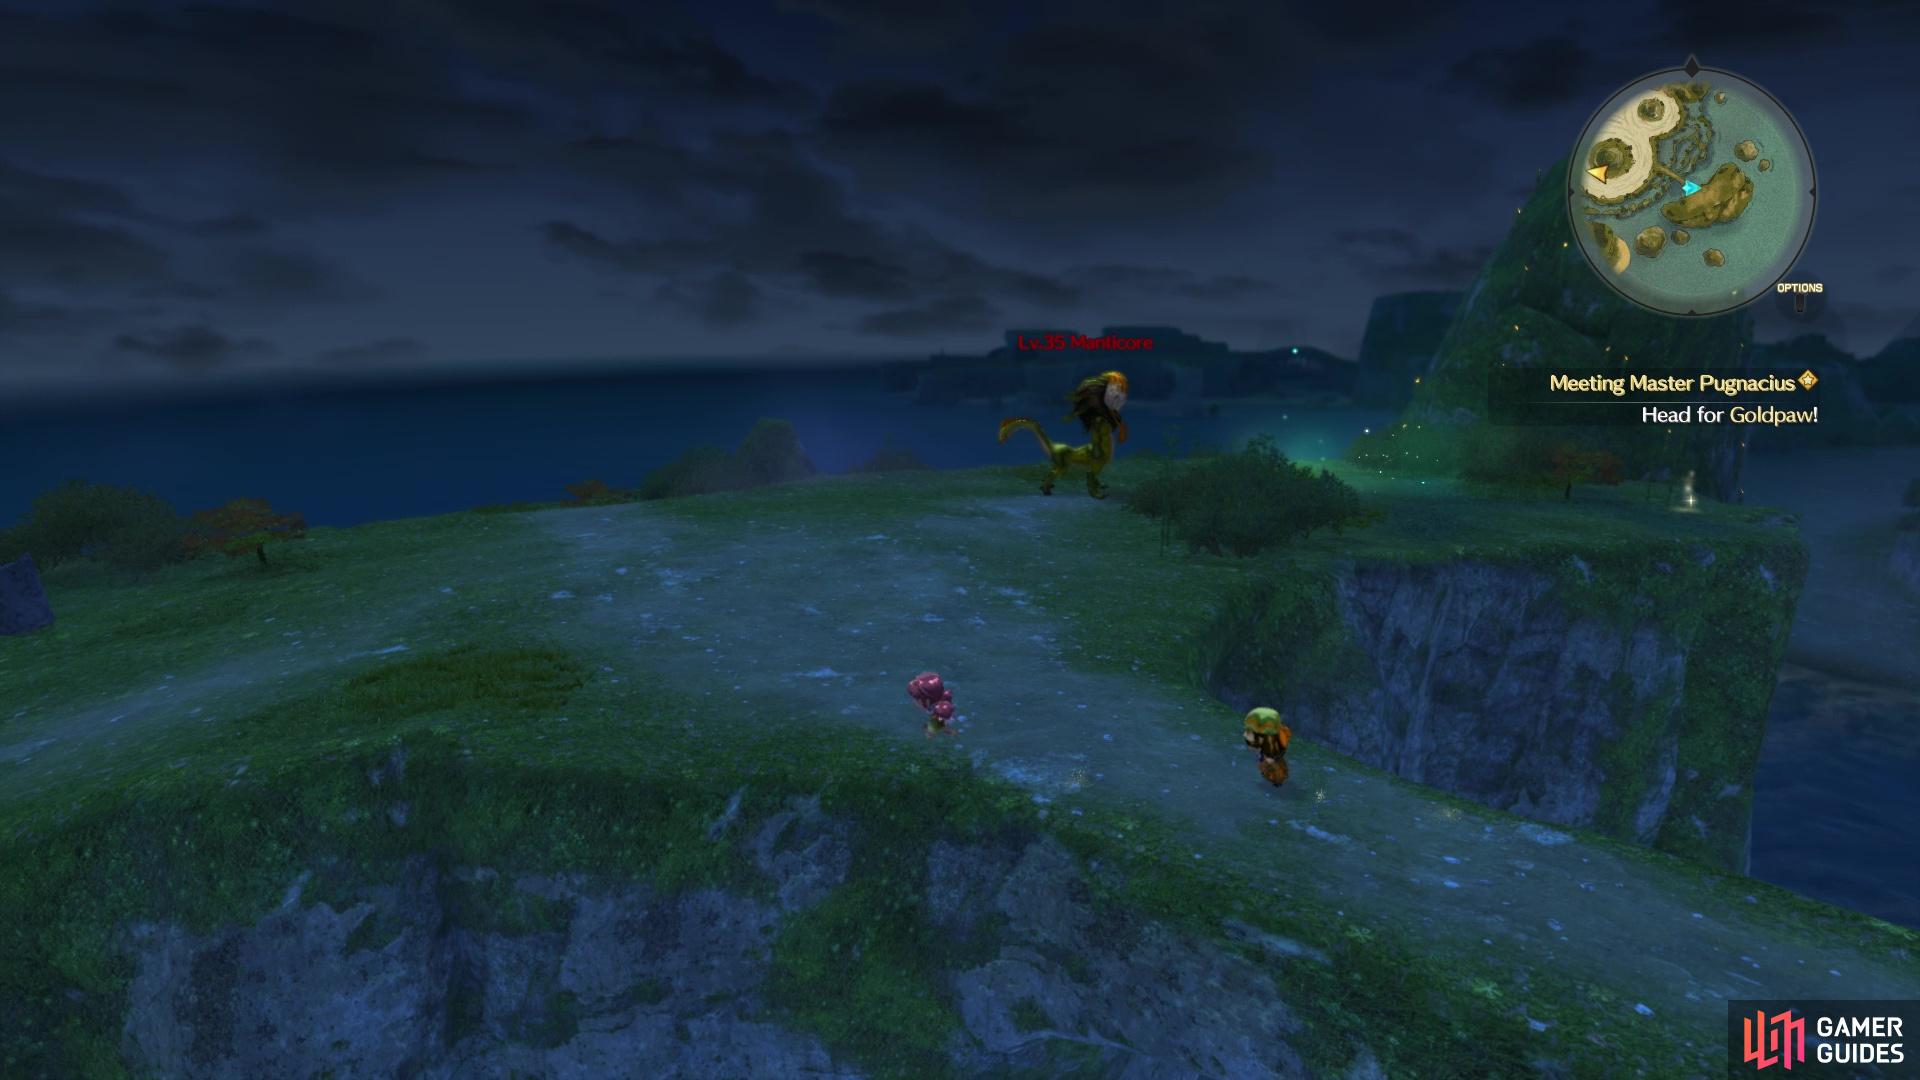
If you tried to go to the Eventide Trail section of the world map prior to meeting with Niall, then Batu would’ve stopped you. Now, however, you need to head in that direction, so set off and immediately turn south after crossing to the bridge to spot a chest in the near distance (Angel’s Tear). West of that chest is a small hill you can climb, where you can find another chest at the northern tip of land there (Spellcrafty Warlock’s Wand). Sticking up on this elevated area, travel southwest until you spot a Manticore, which will have a chest right next to it (Twangy Silk Slippers).
Continue west to find two ways to go, one along a thin bridge directly west and another that dips below you to the southwest. Unfortunately, while the bridge is complete on your map, it is broken, so you have to go the other way. Keep going west-southwest until you get to the end of the sandy area, then look southeast to spy a Trip Door (Calmlands). Double back to the east and look for the large rock formation in the middle of the lower sandy area, where there will be a chest on the ledge surrounding it (Sixth Censer); you will need to jump a little bit to get on this ledge.
Southwest of there is a bridge that leads to Sundown Coast on your map, but don’t cross it. Look on the northern side of this bridge to see a blue chest, and on the southern side is a normal chest, but you can’t reach it quite yet. Continue north to the northern tip of this lower sandy area and look for a treasure next to the large hill leading back to where you were earlier (Cool Platinum Ax). Return to the Sundown Coast bridge and cross it to see a high-level Manticore. Well, you certainly don’t want to be fighting that anytime soon, and this little island doesn’t really have anything you can get right now, as there is a few sparkles and a blue chest.
(1 of 2) You won’t be able to cross this bridge until later
You won’t be able to cross this bridge until later (left), Be wary of the high level Manticore by Sundown Coast (right)
Back to the mainland, trace the southern edge of the area as you go west, until you happen upon a rock that allows you to drop into the watery area below. This will allow you to turn around and grab that treasure earlier by the bridge (Angel’s Tear). Follow the southern edge here as you return back to the west and you’ll eventually run into another chest, containing a Sleep-Be-Gone. West of your position is a bridge that leads to the southern area, but you won’t be fully exploring here just yet, although if you cross it and travel west, you will find a chest at the end (Perky Light Tunic).
Start making your way to Goldpaw, which is easily noticeable on your map, but don’t enter it yet. There is a chest on a higher ledge and you can reach it by going around that ledge, to the north, then making a U-turn back to reach it (Hot Streak Spicy Noodles). Back on the path from before, follow it to the north to reach Eert Grove.
Eert Grove
You won’t find much here, except for a lone chest at the first dead end, which contains 3 Hardwearing Wools. The other path will have some enemies, as well as a split, but one leads to more monsters and the other will bring you to another of those mysterious, locked doors. That’s all that is here, so go back to the entrance and exit back to the world map. Make your way back to the bridge and finally enter Goldpaw.
Goldpaw
| Sparkle List |
|---|
| Classic Cabbage, Coarse Cord, Comfy Cloth, Coral-Pink Thread, Hardwearing Wool, Just-Right Button, Prickled Pepper, Sackcloth, Single Cream |
Well, isn’t this a nice change of scenery. When you regain control, activate the Trip Door right next to you (Great Gate), then it’s time to explore this town. Your objective is Fortune Square at the very top, but it doesn’t hurt anyone to take in the sights for a little bit. This place has a few shops in it and the first you come across is the Sweet Saffron Tea House, which is not too far north from the entrance. You will find food items here, which you can eat to provide a temporary buff to your characters.
At the fork in the road, head west first to find the Lucky Lotus Item Emporium. They have your normal consumables, so if you need to restock, go ahead and do that. Double back to the previous split and head straight north to find a weapon shop, the Iron Orchid Outfitters. If you need any upgrades, purchase them, then continue north to find the inn, which has a Trip Door in front of it (Dreaming Chamomile Inn). That’s about all of the sightseeing there is to do in Goldpaw, as there are no chests and just the sparkles to collect.
When you reach the Lucky Stars Casino, you will find another Trip Door just off to the side (Lucky Stars Casino). You won’t be able to go inside yet, so just continue north until you finally reach Fortune Square (another Trip Door here named, what else, Fortune Square). Walk into the marker for a scene, where you’re introduced to the law of the land, Lady Luck, as well as Master Pugnacius (that definitely seemed rigged). There’s nothing in the actual square, so head straight to the front door of Puggy’s mansion.
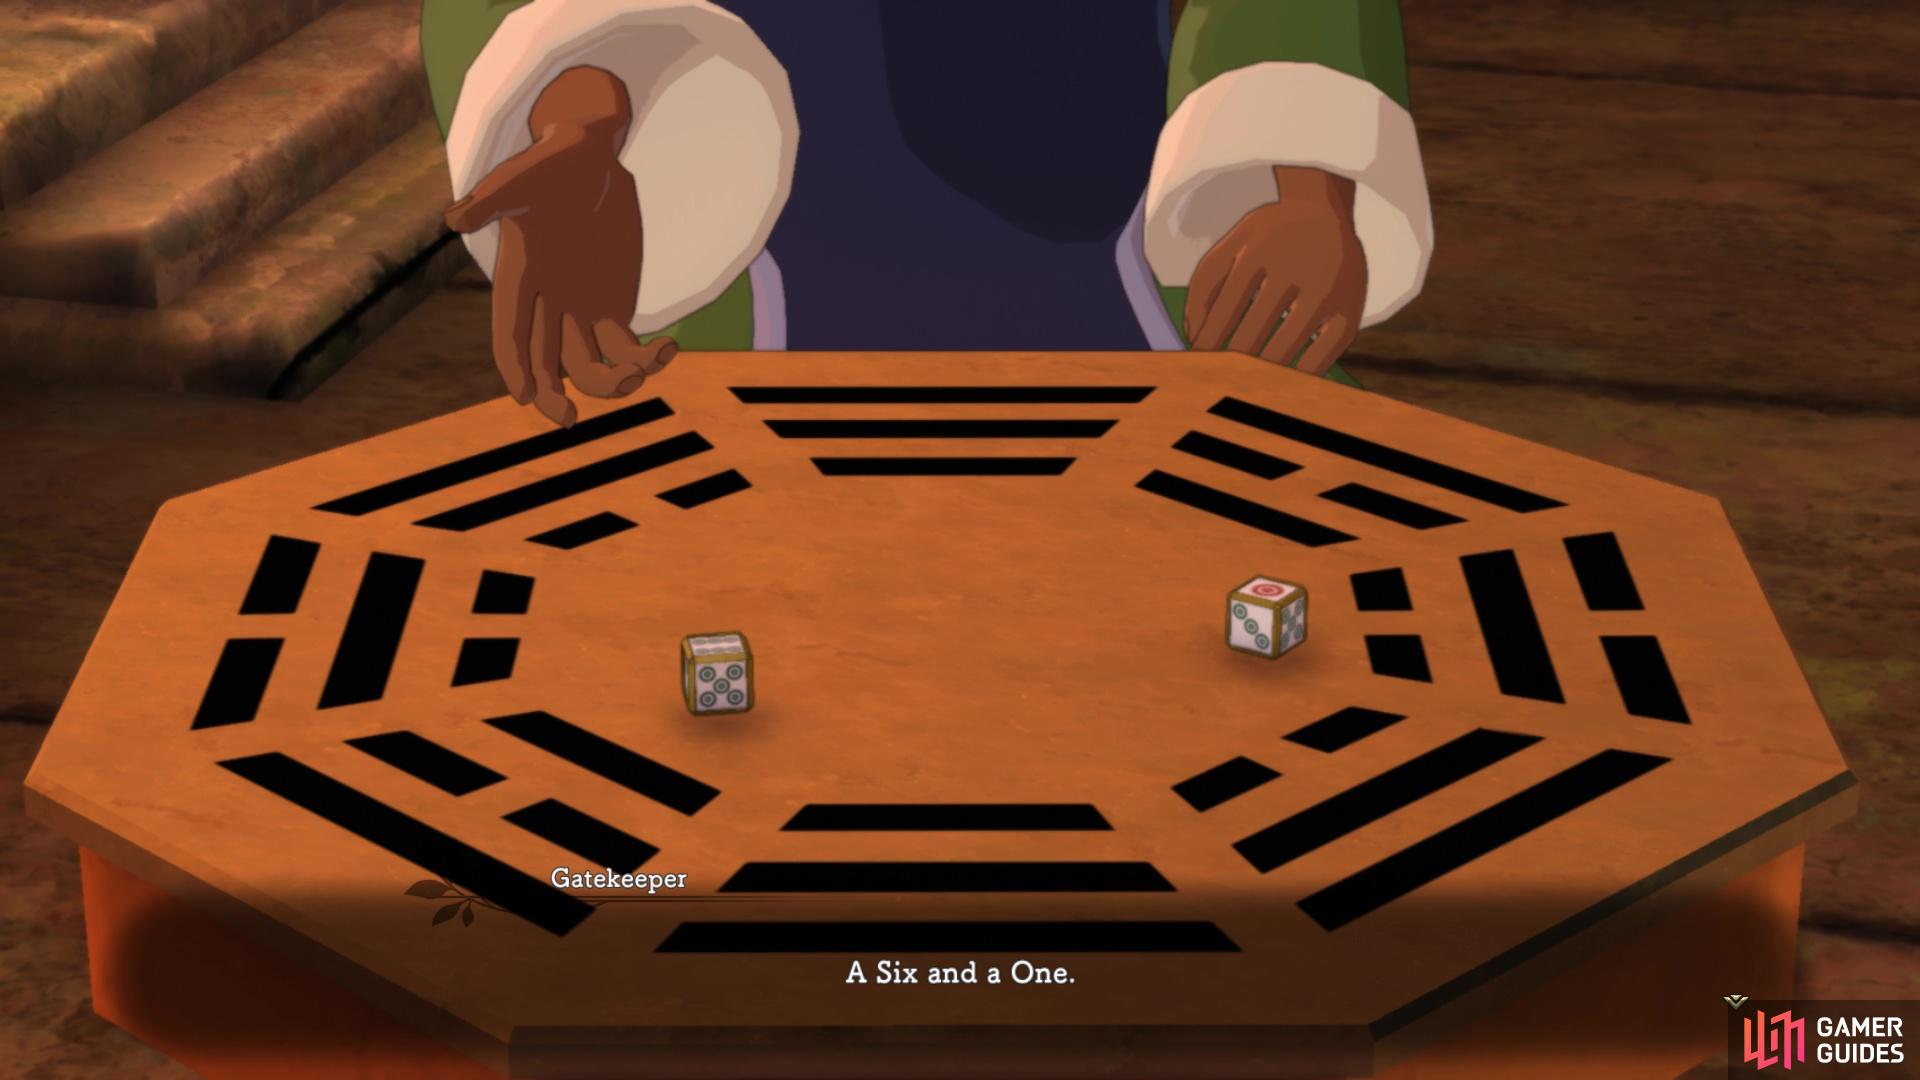
The gatekeeper won’t let you in, but thanks to Roland’s suggestion, he’ll consider it after playing a game of dice. You will need a thousand guilders for this, so speak to the gatekeeper when you’re ready. The game that is played is called Red and Black, which uses three dice. He will roll two dice, with you wagering on the third one. You will guess whether the total will be eleven or more (Red), or if it will be less (Black). The exception to this is when three ones or three sixes are rolled, which will reverse the outcome.
(1 of 2) No matter what you pick during the dice game
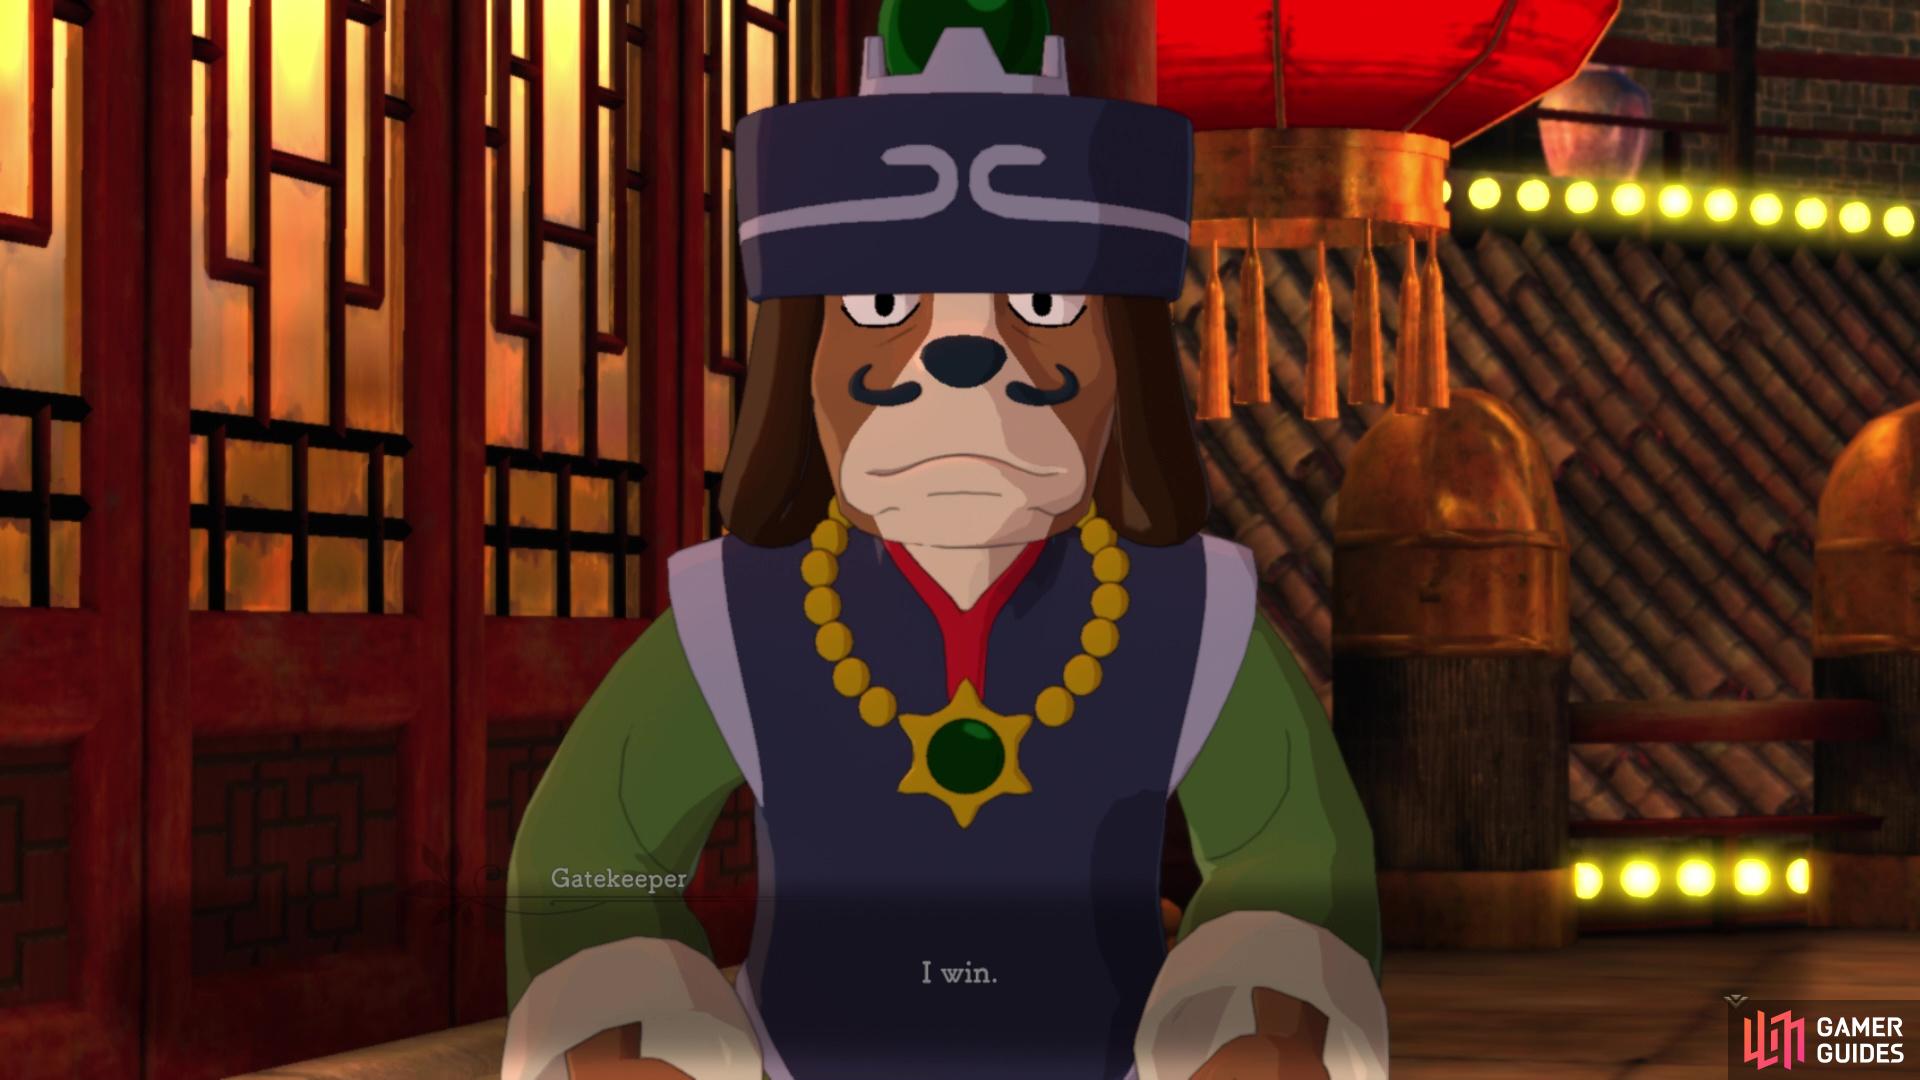
No matter what you pick during the dice game (left), you will lose as it is rigged (right)
The Cheating Scoundrels
Well, the game is rigged, so no matter what you pick, you will always lose. Agree to play more until you lose a total of three times, after which, the gatekeeper will ask for his ten million guilders. Wait, ten million!? You will be able to delay your debt, but not without having a constant reminder in the form of a bird hanging around you all the time. The party questions the legitimacy of the dice, so they plan on heading to the casino to try and procure one of these special die.
When you get to the casino, the guard won’t let you in because of your debt, but Roland convinces him otherwise. Inside, everyone will split up and you will need to speak with three specific people, all of whom are marked. Watch the scene that occurs after the fact, where Tani will mention she has something to show. Your next destination is the inn, and you’ll see how the dice are rigged. Lofty comes up with a plan, so visit the gatekeeper again and watch the plan unfold. Pugnacius offers to speak with us afterwards and annuls the debts. Head inside and speak with him, and he says you can inspect the large statue if you want, bringing us to the next major objective.


 Sign up
No Comments