Making Preparations
So, you’ve done the sidequests (or most of them) and farmed the Kingmakers a bit for levels. What can there be left in the game? Well, there are the Dreamer’s Mazes, which total nine for Sidequest 002, but there is another one that is a lot more challenging than the previous nine, the Faraway Forest Maze. This one has a total of thirty floors, with level bumps at floors 11 and 21, where you will be facing normal enemies at levels 90+. In fact, things are definitely tougher, as the final boss of the place is level 95 at Danger Level 1. So, you will want to be prepared for the long haul here, as you can’t save at all inside and must make the trek in one go.
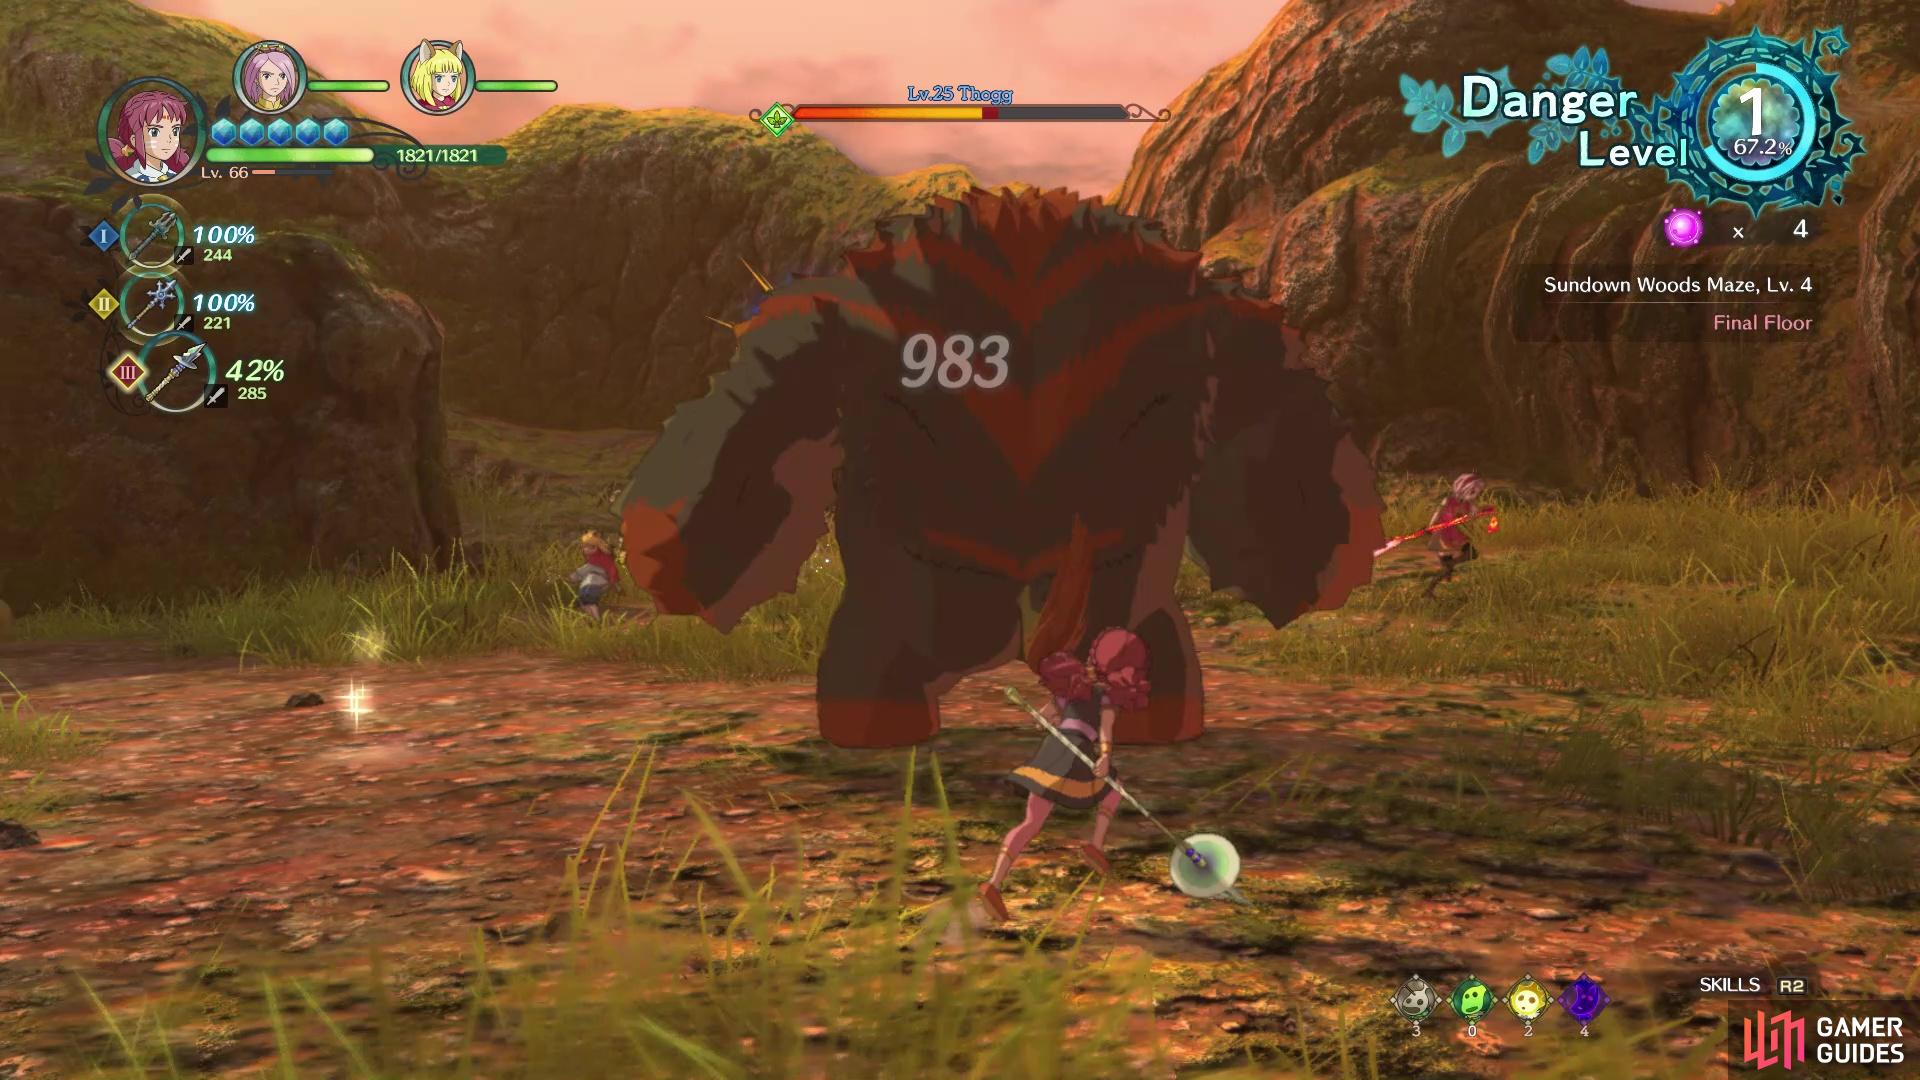
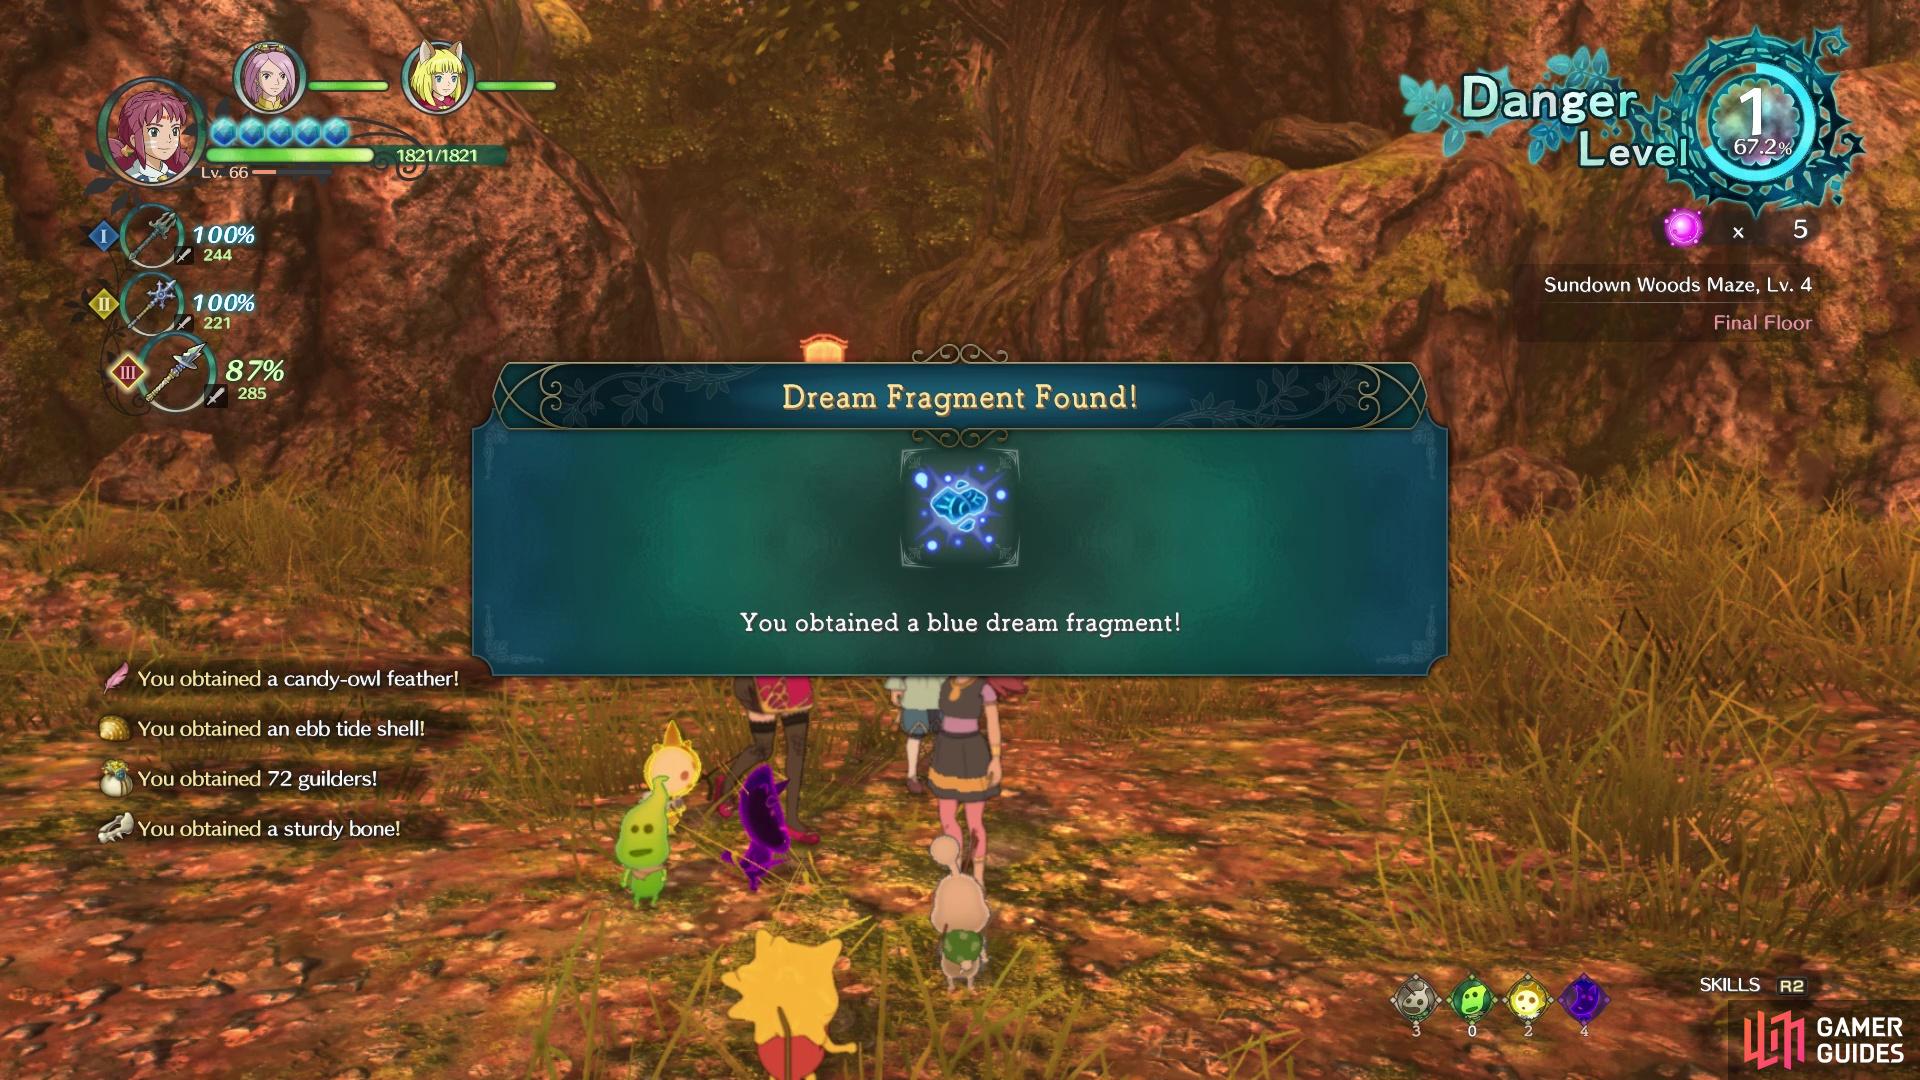
(1 of 2) The best thing to do is speed through the normal mazes to get to each guardian
The best thing to do is speed through the normal mazes to get to each guardian (left), and quickly defeat them for their dream fragment (right)
The first thing you want to do is buy a bunch of items, preferably from the General Store. Focus on the consumables and remember that while you can only buy 99 at a time, you can actually hold more than that in your inventory. The only bad part, of course, is that your items are limited to specific amounts in battle, but they will be replenished after the fight. Next, look through the armor and weapons list at the appropriate facilities in Evermore, and see which ones you can actually make. While pure stats are important, sometimes the abilities on the equipment might outweight a small loss in defense or attack power. For example, poison is considered one of the better things you can have on a weapon, since enemies can’t resist the poison if they are vulnerable.
The third thing you should look for are higgledies with certain skills, particularly ones with Higgledy Sirrah and Me Too, Me Too! The former skill will have them summon a knight onto the field, which hits for some nice damage and can act as a distraction. Me Too, Me Too! basically has a chance for that higgledy to mimic a skill, so they could potentially summon another knight. Make sure you level them up to the max to make them even more useful. A good set to use is the following:
| Higgledy | Where To Get |
|---|---|
| Gyre the Flyer | Higglery (4th Cookbook) |
| Frabjous the Fusilier | Higglery (5th Cookbook) |
| Charnel the Churnish | Higglery (6th Cookbook) |
| Boss-Woss the Bruiser | Higgledy Stone (Shrine That Time Forgot; On coast to the west of Broadleaf) |
Leveling Up Further
At this point, your levels should be in the lower to mid 70s, but if you want to make your trek through the Faraway Forest Maze easier, you might want a few more under your belt. There is one little trick that can make leveling to the max (99) very simple, but before you open up that opportunity, you’ll need to defeat the 50 Tainted Monsters. The majority should be simple enough at your current levels, except a few might prove to be a worthy challenge, like Storme and Ziggy. They usually have high health, especially Storme, and their damage potential is huge. However, you will be handsomely rewarded for your troubles, as another ten Tainted Monsters unlock after finishing off the first 50.
These ones are extremely strong and most will kill you in one hit, but there is one you will want to concentrate on, Horraura (she is #57 on the list). She spawns in the Old Well in Ding Dong Dell (enter through the Slums) and is pretty much a reskin of the Queen of the Dawn boss fight earlier in the game. What makes this Tainted Monster special is that she can summon the normal sylph-like monsters, but defeating these will give a tremendous amount of experience. Of course, dodging all of the projectiles and other attacks might prove a little tough, but once you get the hang of it and don’t be greedy with your attacks, then things will go a little smoother.
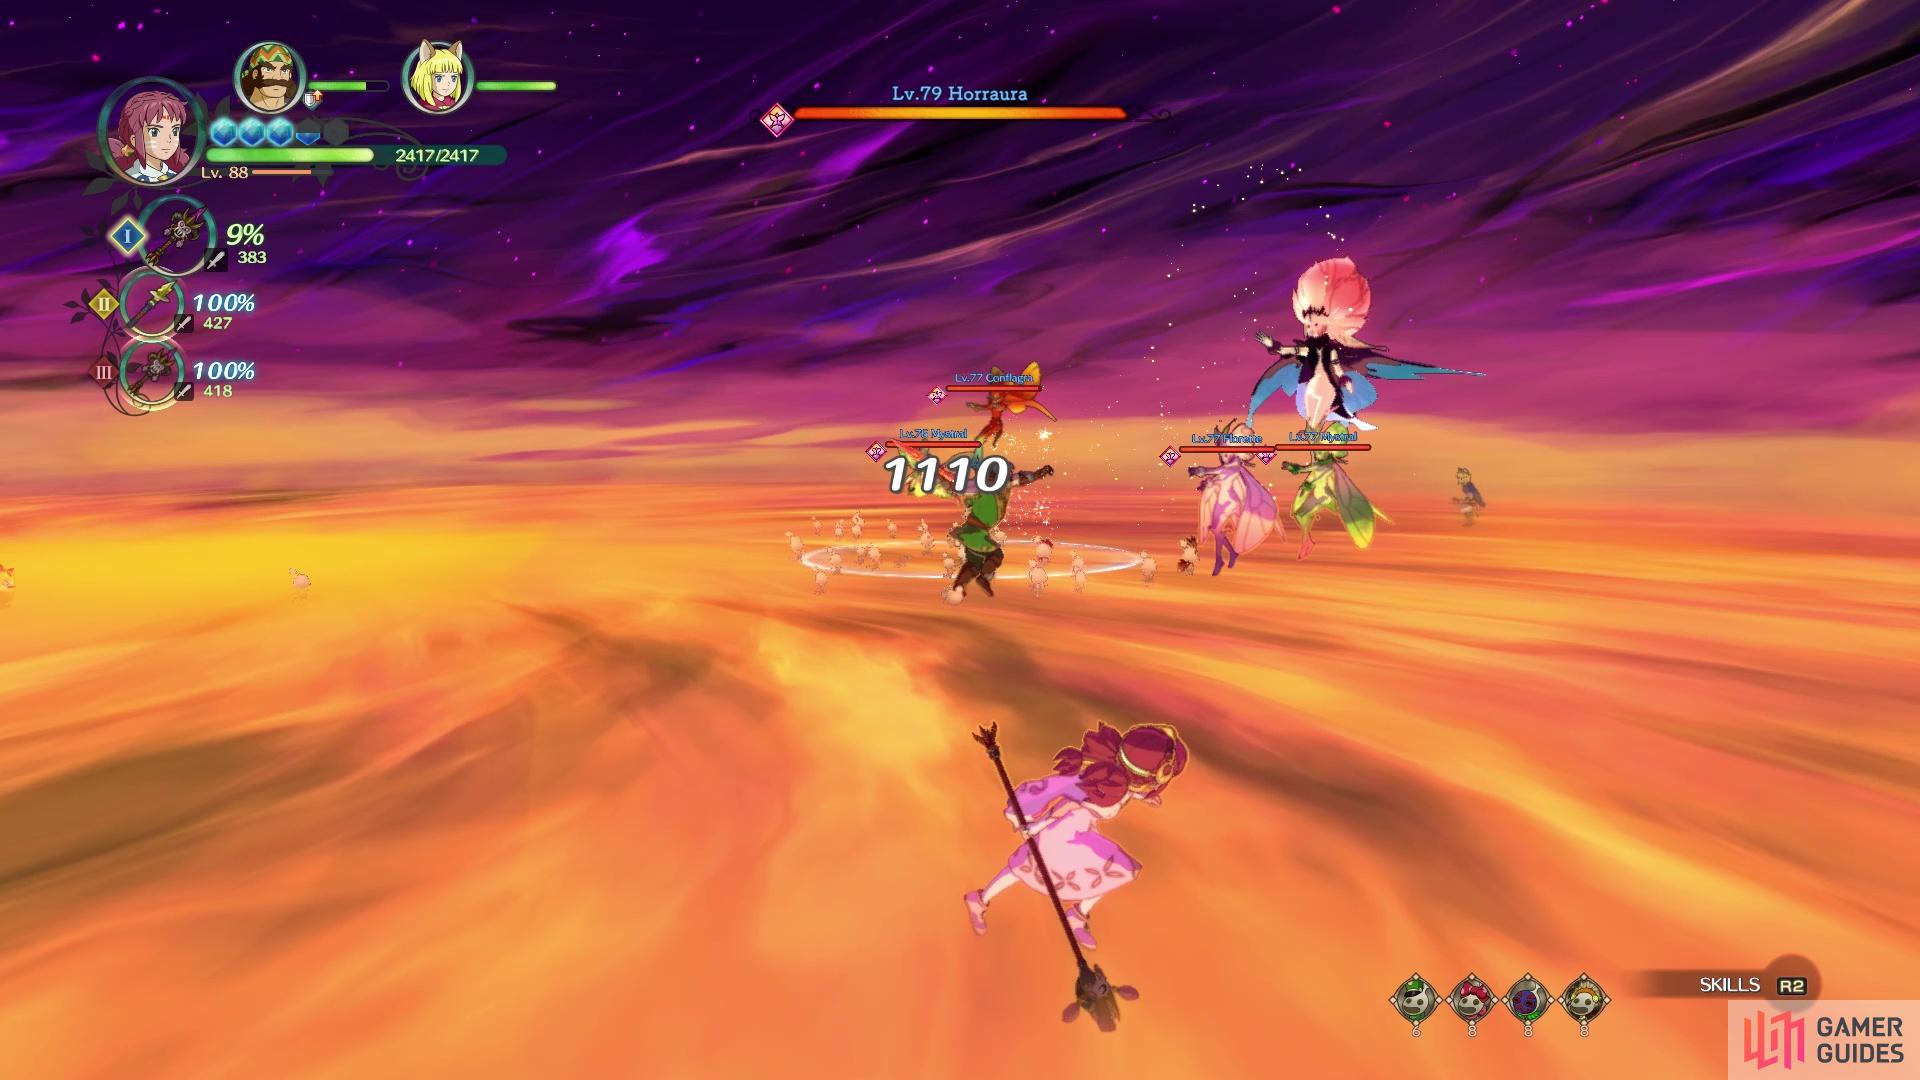
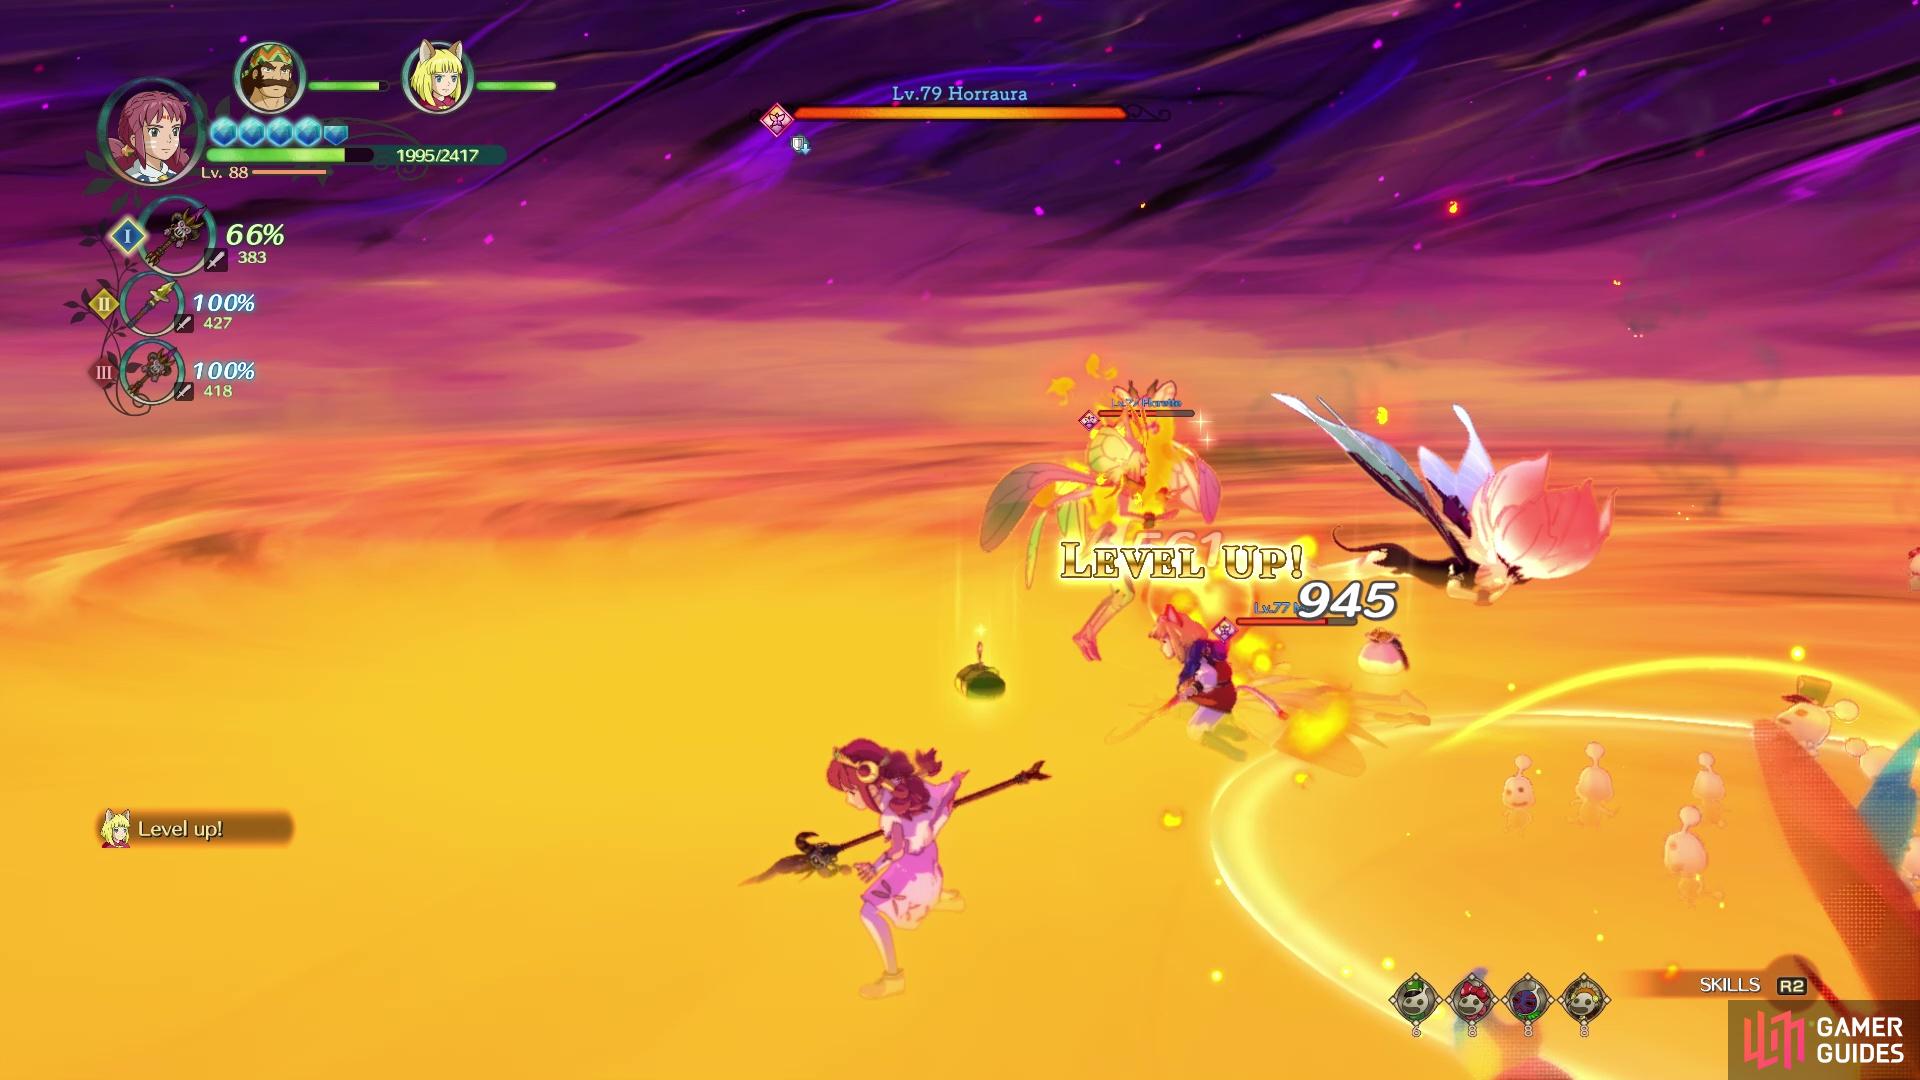
(1 of 2) Wait for Horraura to summon her minions
Wait for Horraura to summon her minions (left), then kill them to quickly level up (right)
The best way to approach leveling up from these enemies is to just keep doing battle, healing and resurrecting when necessary. When you’ve exhausted your current item supply, then escape and redo the fight. Make sure you never kill Horraura, as she won’t respawn and you won’t be able to utilize this trick. Don’t be afraid of running away should you fear your party will wipe. This is the fastest leveling method in the game, so once you feel you are at a comfortable level, leave and head to the Faraway Forest Maze.
Faraway Forest Maze
You should already know how to unlock this final, completely optional, Dreamer’s Maze. If you don’t, simply finish Sidequest 002 and Mileniyah will hand over the enhanced key. The island is located to the east of Broadleaf and you’ll have to venture through a little bit of a smaller dungeon to reach the door. Once you reach the door, save your game, then enter it. Faraway Forest Maze is essentially split into three different tiers: floors 1-9, floors 11-19, and floors 21-29. Floors 10 and 20 are always Floors of Respite, where the Danger Level doesn’t increase and you will be able to relax, while floor 30 will have the final boss of the place. Enemies in the final set of floors can have levels ranginging from 90 to 120+, depending on the Danger Level.
There are two points of focus for delving into this Dreamer’s Maze, one of which is to pick up all of those materials for the sidequests. You will have a much better chance of getting them after floor 20, so it might be in your best interests in quickly plow through the prior floors to get there. However, you don’t want to go too fast, since you will need the pink orbs to help lower the Danger Level, as this dungeon is pretty long and things can get especially dangerous on the later floors. You will want to be very careful you don’t go crazy with lowering the Danger Level with the statues, as their prices go very high, which is why you might want to go a little faster than normal on the earlier levels.
BOSS - Thwomp
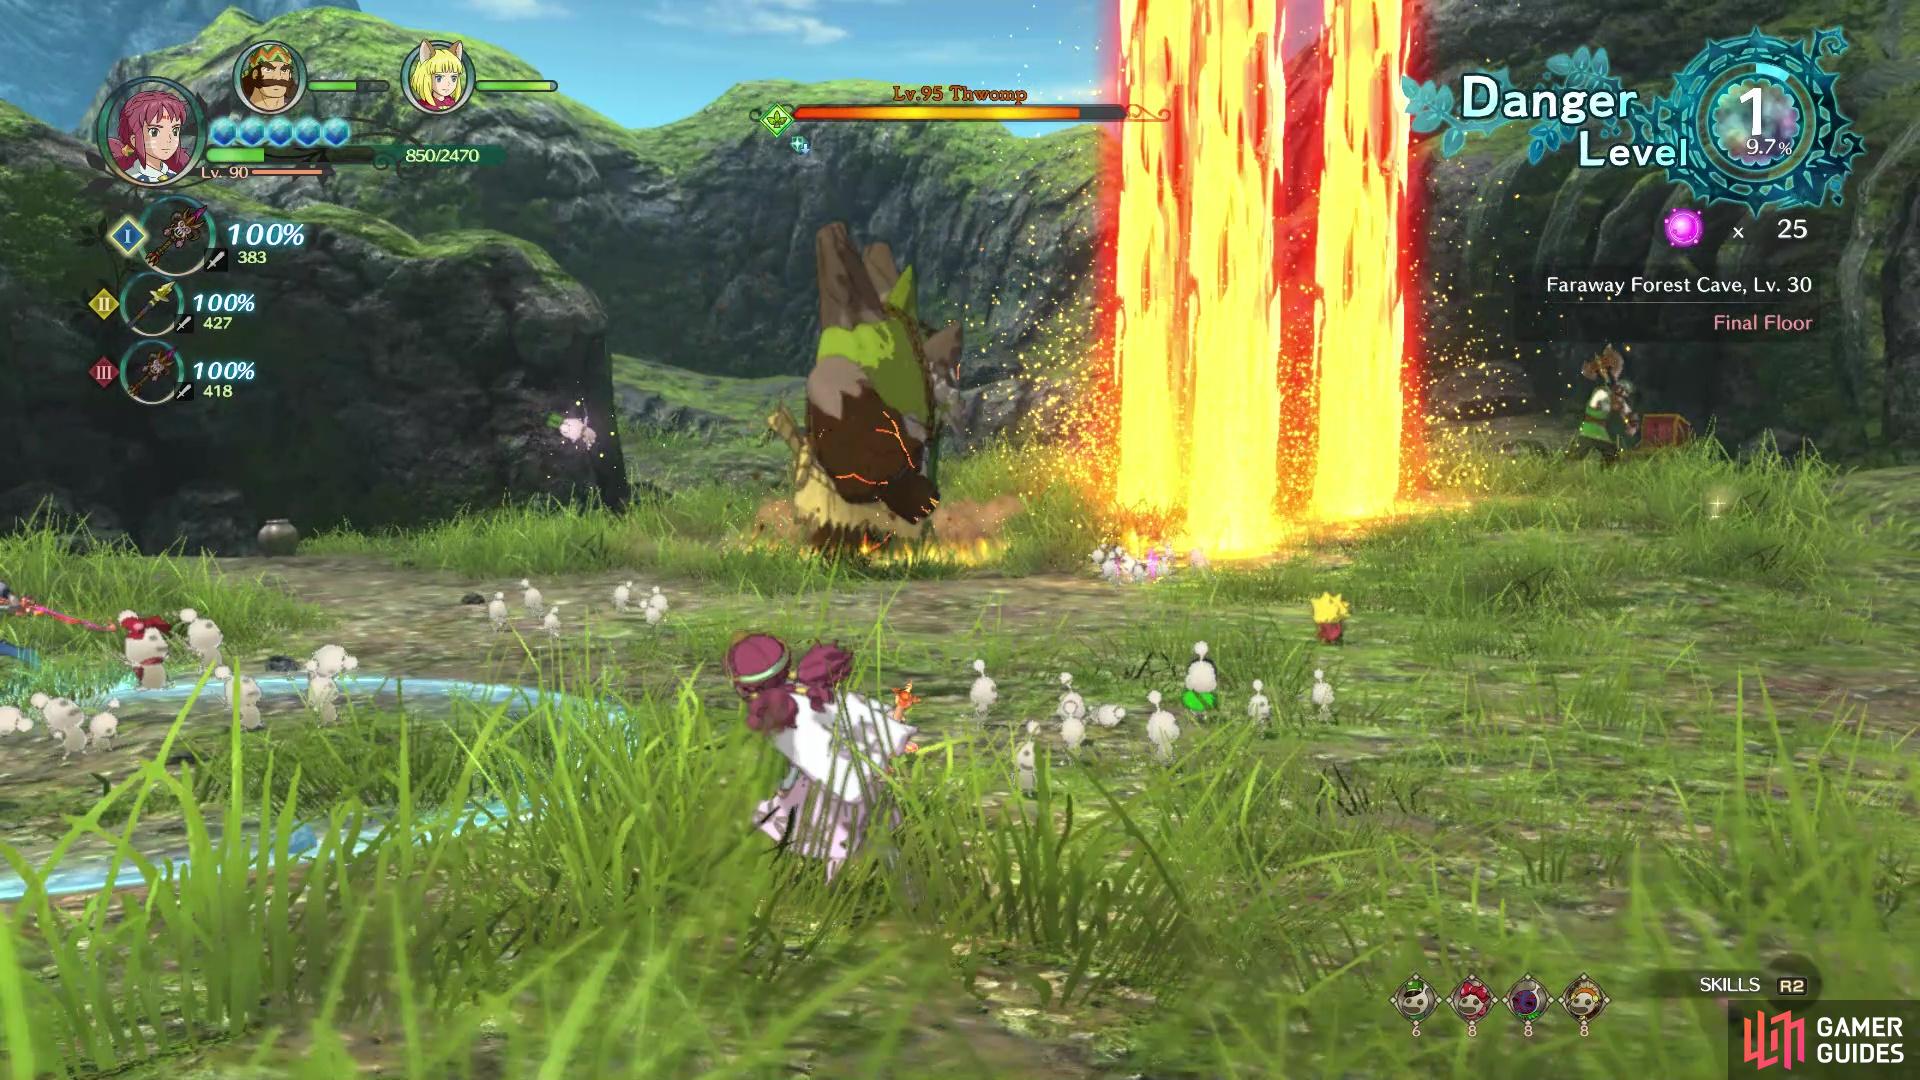
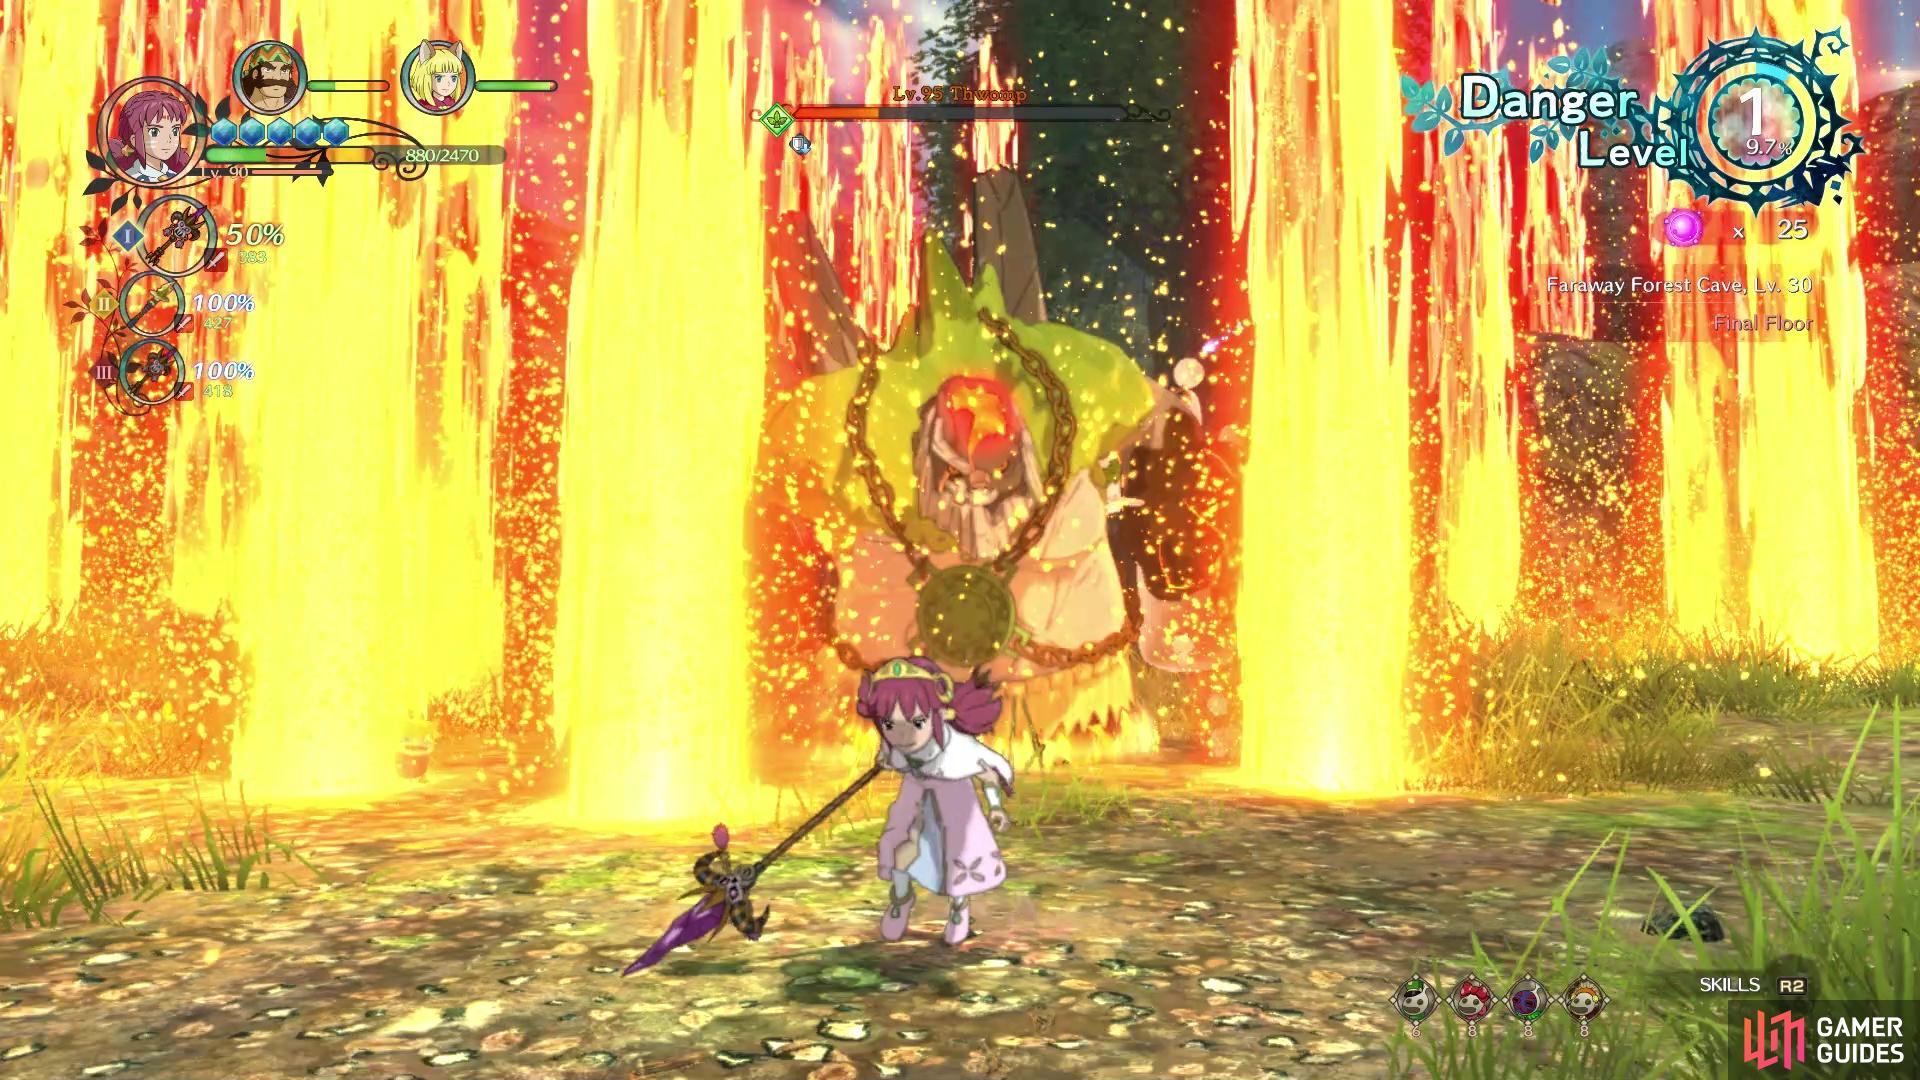
The final boss of the maze is named Thwomp and at first glance, you may think it’s another rehash of the large ape-like monsters. It has some similar moves, but it does do more than that. At the beginning of the battle, it will most likely just try to hit you with its punches or try and leap at you. However, as the battle goes on, it will begin doing some new moves, as well as other older ones. Thwomp can pound the ground with his hands, causing pillars of fire to come out and the amount will increase as its health lowers. You will also find that Thwomp will pound its chest, causing it to go into a rage mode.
(1 of 2) The only difference between Thwomp and regular enemies of this variety are the fire pillars he can spawn
The only difference between Thwomp and regular enemies of this variety are the fire pillars he can spawn (left), When he’s lower on health, Thwomp will create a lot of fire pillars (right)
Here, it will begin picking up pieces of the ground to throw at you, and Thwomp will be overall quicker in executing its attacks. It also has the wind-up projectile move of its cousins, which is fairly easy to avoid, since it takes so long to come out. Overall, this boss isn’t so hard, because its attacks are not difficult to dodge, but when it hits you, the damage will be huge. Poison is definitely something you want here, even moreso if you’re a lower level. Make sure you bring a lot of healing items here (well, as many as the game permits) and some food. The food you want to bring depends on what you need, whether it’s for attacking, defense or something different.

 Sign up
No Comments