The crafting system in Nightingale is one of the most complex that we’ve seen in recent times for survival games. Not only are there numerous different crafting stations that you’ll need to set up in your base, but you’ll also have to upgrade these as you go from their Simple and Refined versions, to the further upgraded Excellent forms and beyond. This means that you’ll need to plan your base carefully if you want to avoid having to constantly reconfigure it. One of the best ways to do this is to consider how you can store things more efficiently, using the storage methods available. On this page, we’ll give you some tips for the best ways to manage crafting materials, gathered resources, and more.
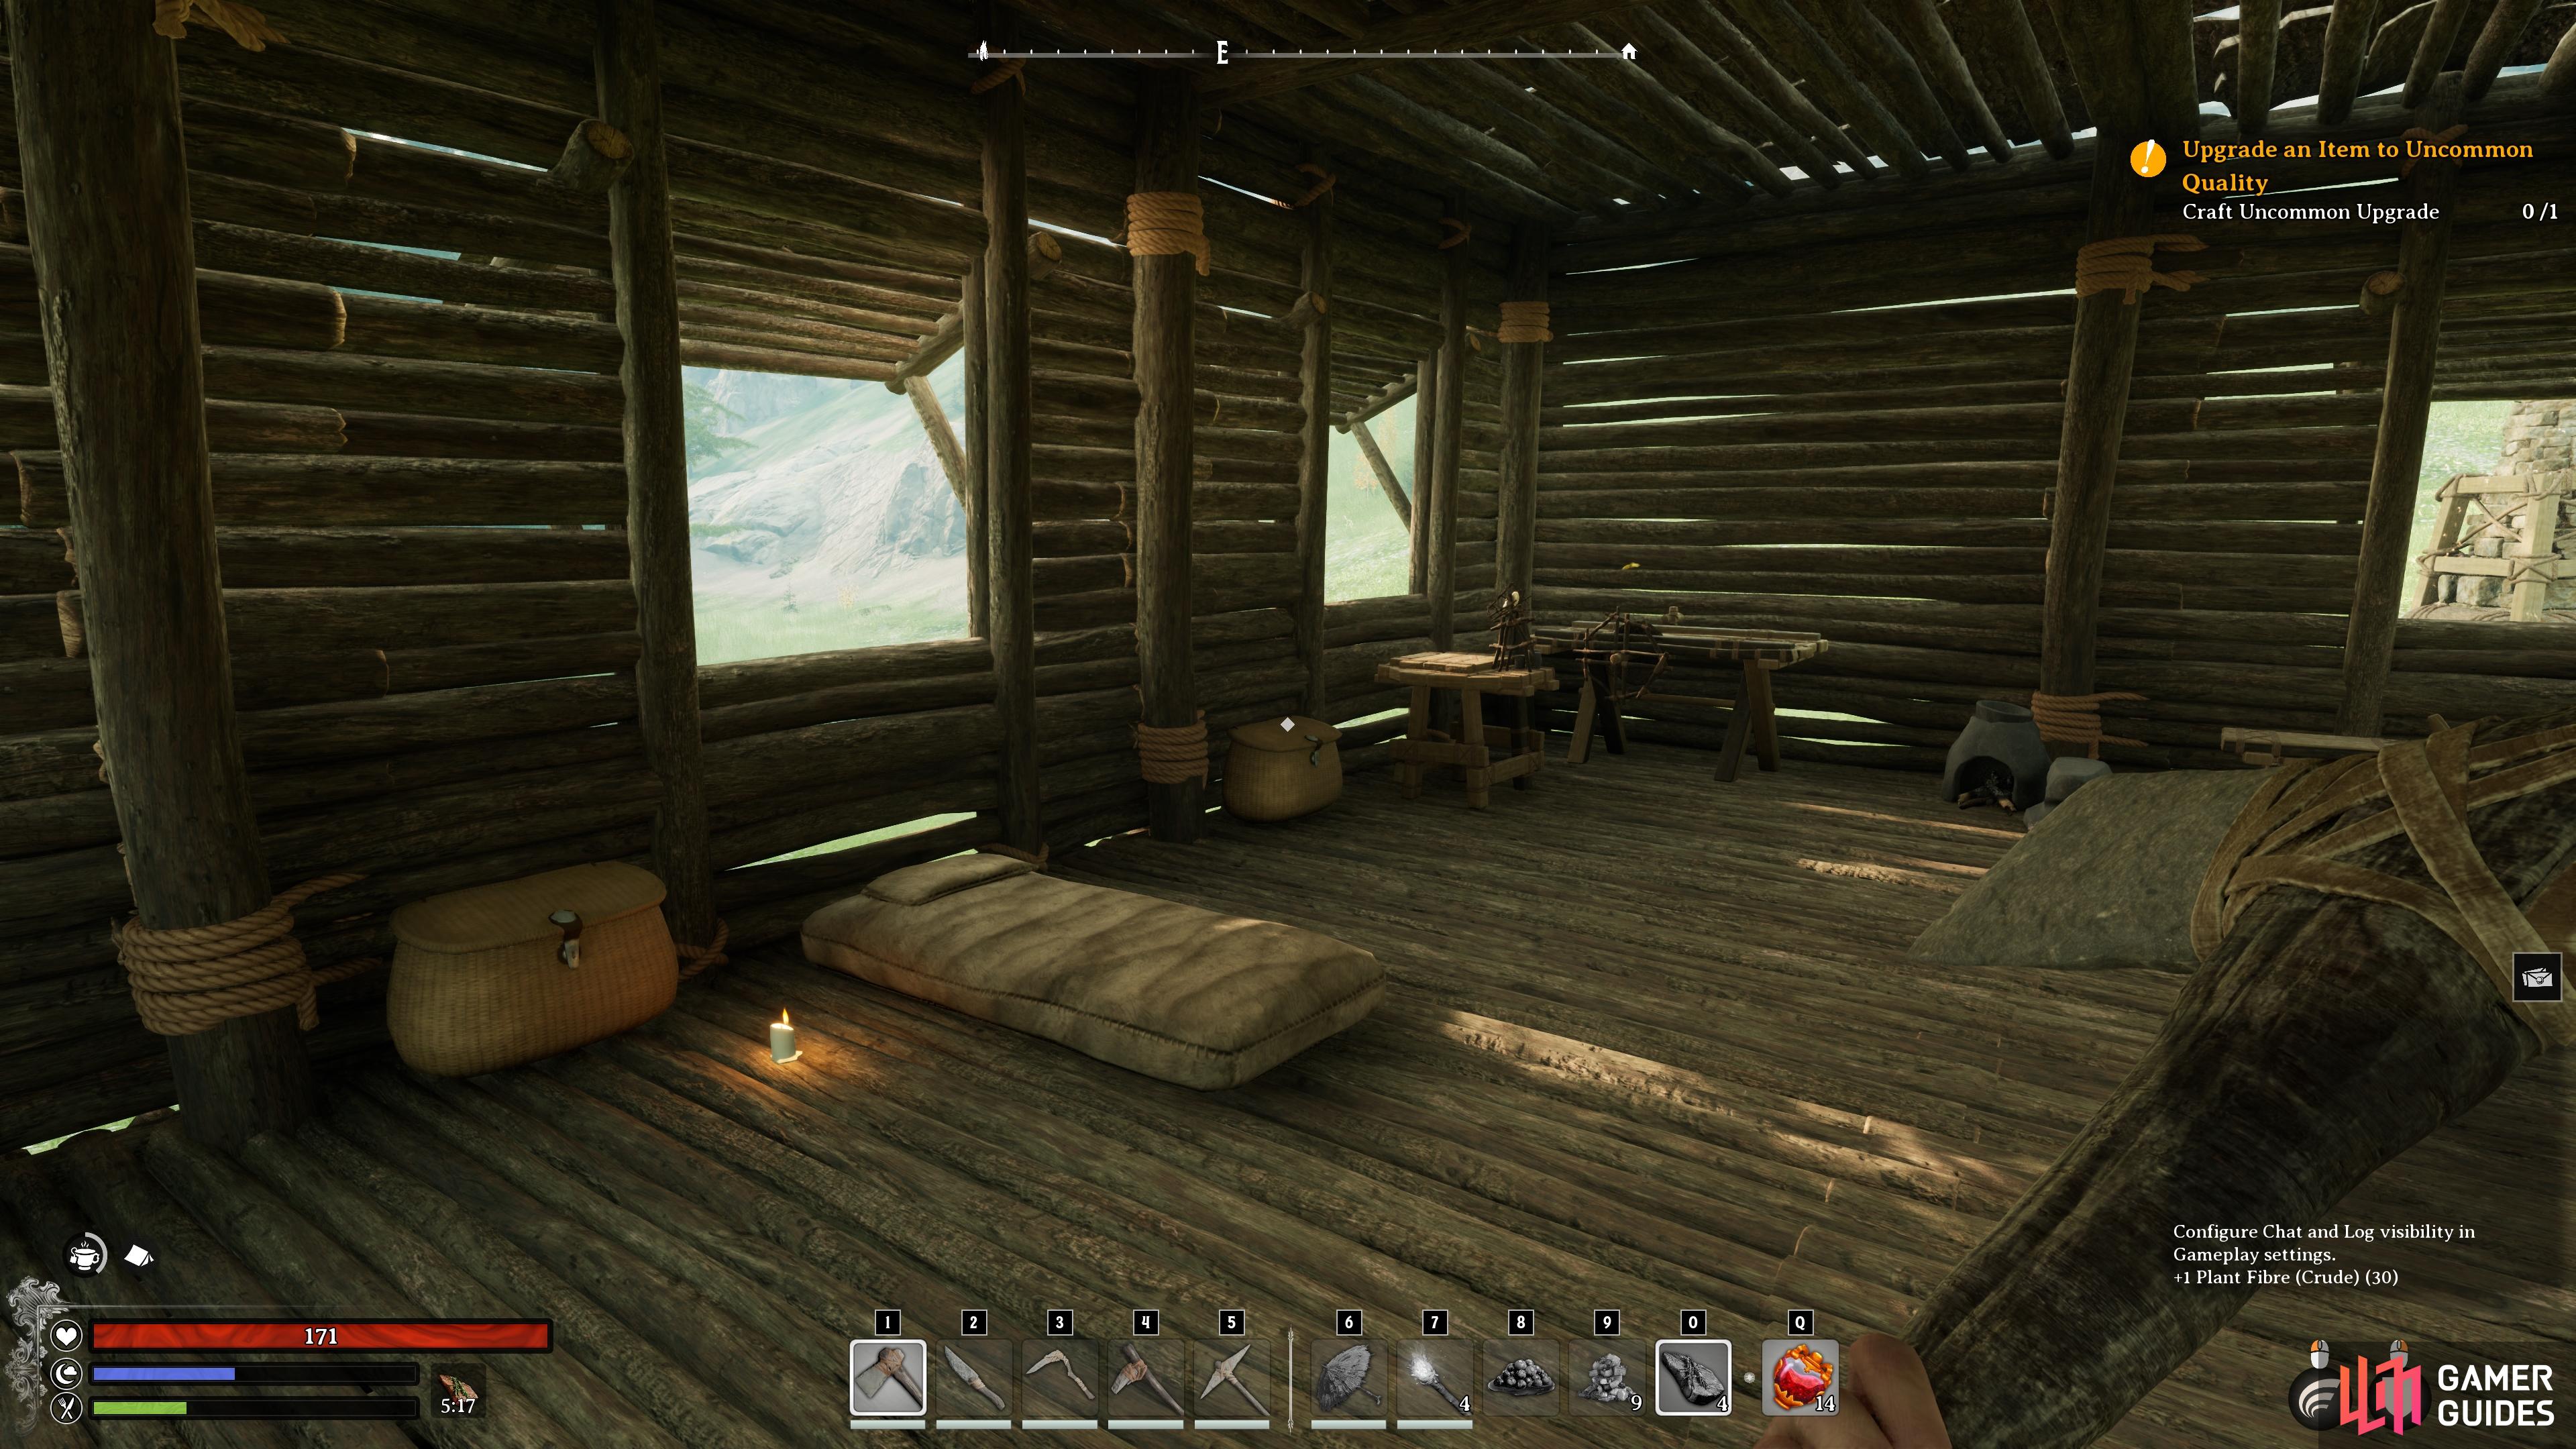
A couple of Angling Baskets will soon prove to be inadequate storage in Nightingale.
Crafting Stations and Storage
One of the first things you should consider when setting up a permanent base in your Abeyance realm is how to position crafting stations in relation to storage. As you’ll soon find out, you can’t just place crafting stations anywhere if you want them to function as efficiently as possible. Instead, you need to place specific crafting stations (and their associated augmentations) near other stations or built features that they’ll benefit from. For example, almost all crafting stations benefit from being close to a Campfire or Bonfire, so it’s a good idea to place these in a central position within your base, so that all the stations can draw from the benefits they provide.
Storage Options in Nightingale
Now that we’ve covered the basics about how to place crafting stations in your base, we’ll discuss some of the first storage methods that you’ll encounter in the game, and how to make the most of them.
Angling Basket
The Angling Basket is likely to be the first form of storage that you can use in Nightingale. As the name suggests, it’s a simple basket with a 15-slot capacity. They’re not too large, which makes them useful to place in small spaces that may not otherwise be used, but they do have an irregular shape, so they’re not ideal for stacking on shelves, for example. It’s the simplest form of storage you can have, and you’ll want at least two of them to store basic ingredients in the early game. Try placing them either side of your bed, or at the entrance to your base, to keep them out of the way of the crafting stations.
Weathered Trunk
The Weathered Trunk is the next storage option that you’ll unlock, and this one comes with a much greater 40-slot capacity. However, these trunks are much larger than the Angling Baskets, so they’ll take up far more space and you’ll soon find yourself running out of places for them if you only have a small hut of a building. You can either expand your base at this point or limit yourself to one or two Weathered Trunks in the center of a room. Alternatively, you can place Weathered Trunks outside to keep them out of the way, but that won’t be too convenient when you need to quickly check for specific resources near relevant crafting stations.
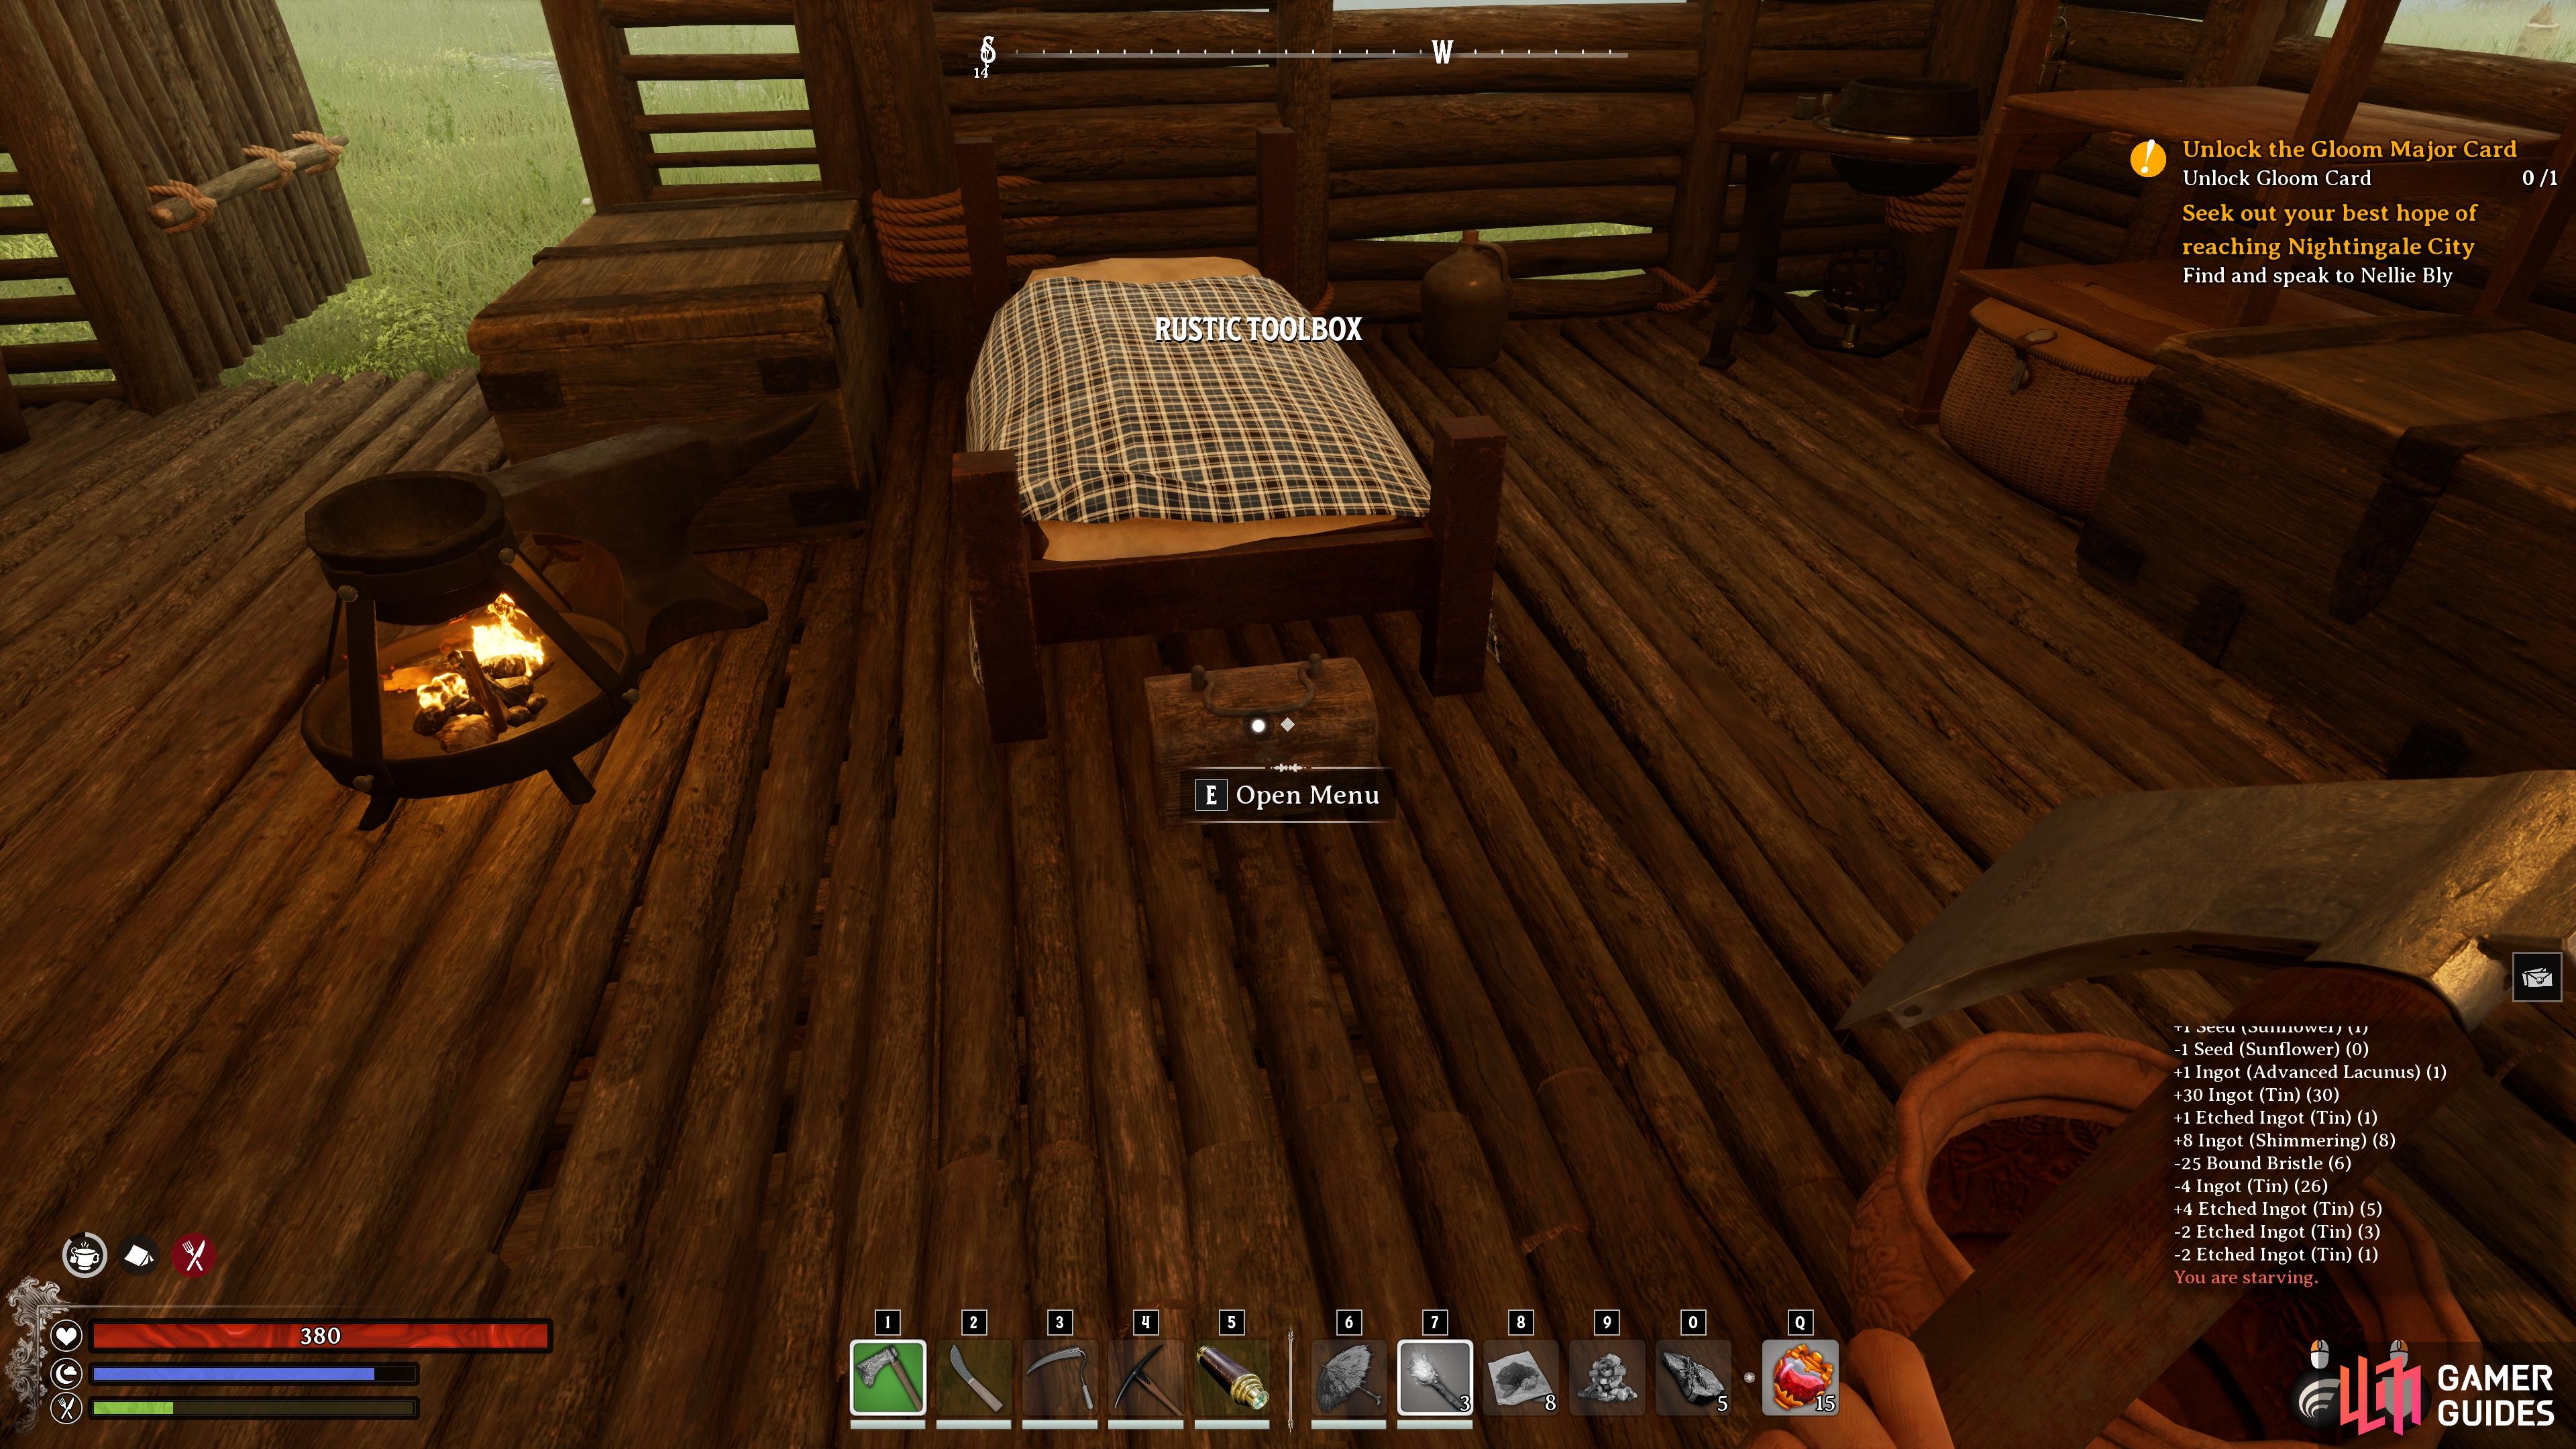
(1 of 2) A Rustic Toolbox can easily be placed at the end of your bed without taking up much space.
A Rustic Toolbox can easily be placed at the end of your bed without taking up much space. (left), You can place toolboxes on top of crafting stations where there’s space. (right)
Rustic Toolbox
It won’t be long before you unlock the Toolbox, most likely in the form of a Rustic Toolbox, and this basic one comes with a 15-slot capacity, just like the Angling Basket. The main difference between the two is that the Rustic Toolbox is far smaller than the basket, and its shape is more regular, so you can easily fit them into spaces where the baskets wouldn’t fit. A good place for toolboxes is at the end of your bed or just beside a crafting station, but perhaps the most useful feature they have is that you can put them on top of crafting stations. This is ideal if you want to place a small toolbox on top of a crafting station that has a large flat surface area, such as a workbench, and makes it easier for you to store only the most relevant items for that particular craft.
Voyager’s Steamer Trunk
Finally, you’ll eventually get the Voyager’s Steamer Trunk. This is essentially a much smaller version of the Weathered Trunk, but it retains the 40-slot capacity, so by using these you’re gaining space without losing any storage. You can place these in all sorts of ways around your base, including on top of crafting stations where there’s enough space, and they’re small enough to fit into all the nooks and crannies in a small hut that would otherwise be considered wasted space.
Make Use of the Utilitarian Shelf
Although the Voyager’s Steamer Trunks are small enough on their own so that you can place them much more conveniently than other storage items, they become even more efficient when you pair them with the Utilitarian Shelf. This item can easily be overlooked (found in the Furniture: Shelving menu), but it allows for one of the best ways to create efficient storage space when you realize that you can easily stack multiple Voyager’s Steamer Trunks on each shelf, and even on the ground just beneath the shelving unit. You can also put one on the top shelf, which is still easily reachable.
(1 of 2) Voyager’s Steamer Trunks can be placed beneath some crafting stations.
Voyager’s Steamer Trunks can be placed beneath some crafting stations. (left), The most efficient way to store baskets or steamer trunks is on a Utilitarian Shelf. (right)
And there you have it – some of the best methods for creating the most efficient storage configurations in Nightingale. We hope you found these ideas useful, and feel free to share any of your own in the comments below!


 Sign up
No Comments