(1 of 2) It might not be a Pokémon Gym, but it’s just as challenging!
It might not be a Pokémon Gym, but it’s just as challenging! (left), (right)
This gaping cavern is the site of Melemele’s first–and only–island trial. In place of the Pokémon Gyms of old, you must prove your skills as an Alolan Pokémon trainer by clearing all of the island trials, thus becoming the impressive-sounding island challenge champion. In other words, this is where things get serious.
Your task, as Ilima explains, is to seek out and defeat the three Pokémon hiding in their dens. Afterwards, you will be allowed to proceed to the Z-Crystal pedestal, where a very angry Totem Pokémon appears to be waiting. For your information, this is the Normal-type trial, meaning you’ll only face Normal-types Pokémon within.
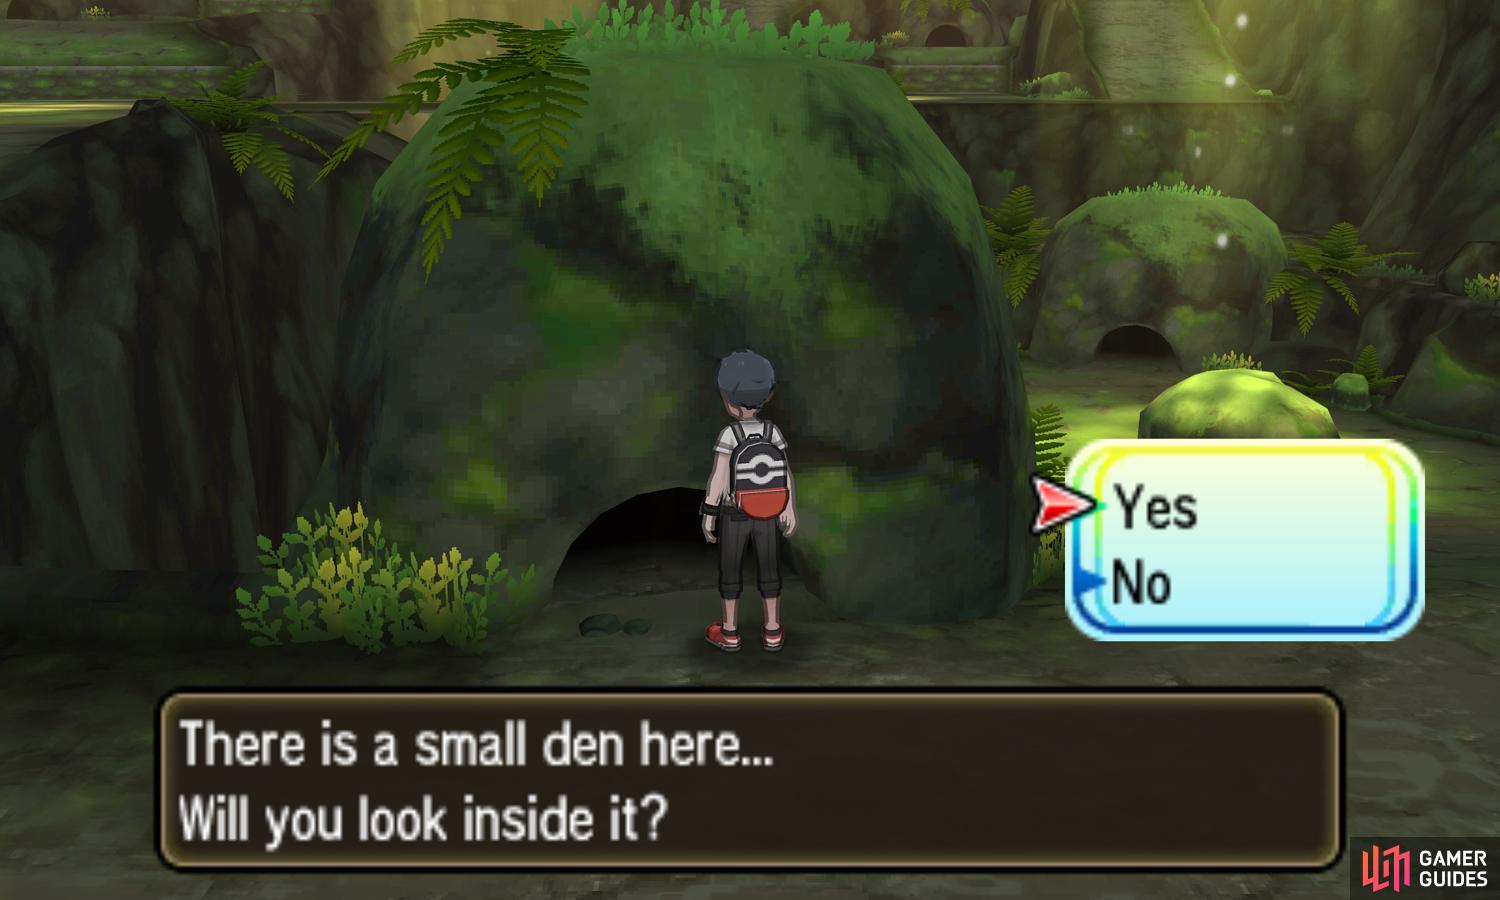
To start with, head north-east towards the small den where you saw the  Yungoos or Alolan
  Rattata emerge from previously. Press the A button to look inside, which will trigger a battle with the den’s inhabitant. No problem for a well-trained party, and if you have any Fighting-types like
  Makuhita,
  Crabrawler or
  Hawlucha.
Two more Pokémon to root out! From your current position, go east towards the south-east corner of the cavern. Hiding in plain sight is a Super Potion that you should take with you, just in case. Next, make your way towards the illuminated rock up ahead. Search the bottom of the rock for a hidden Revive.
From here, you should be quite close to the small den just above the rock. In fact, get close enough and the Pokémon inside will come straight to you! Like before, it’s just another Yungoos or Alolan Rattata, so nothing to panic about. After recovering from your surprise, head west up the slope to the west side of the cavern.
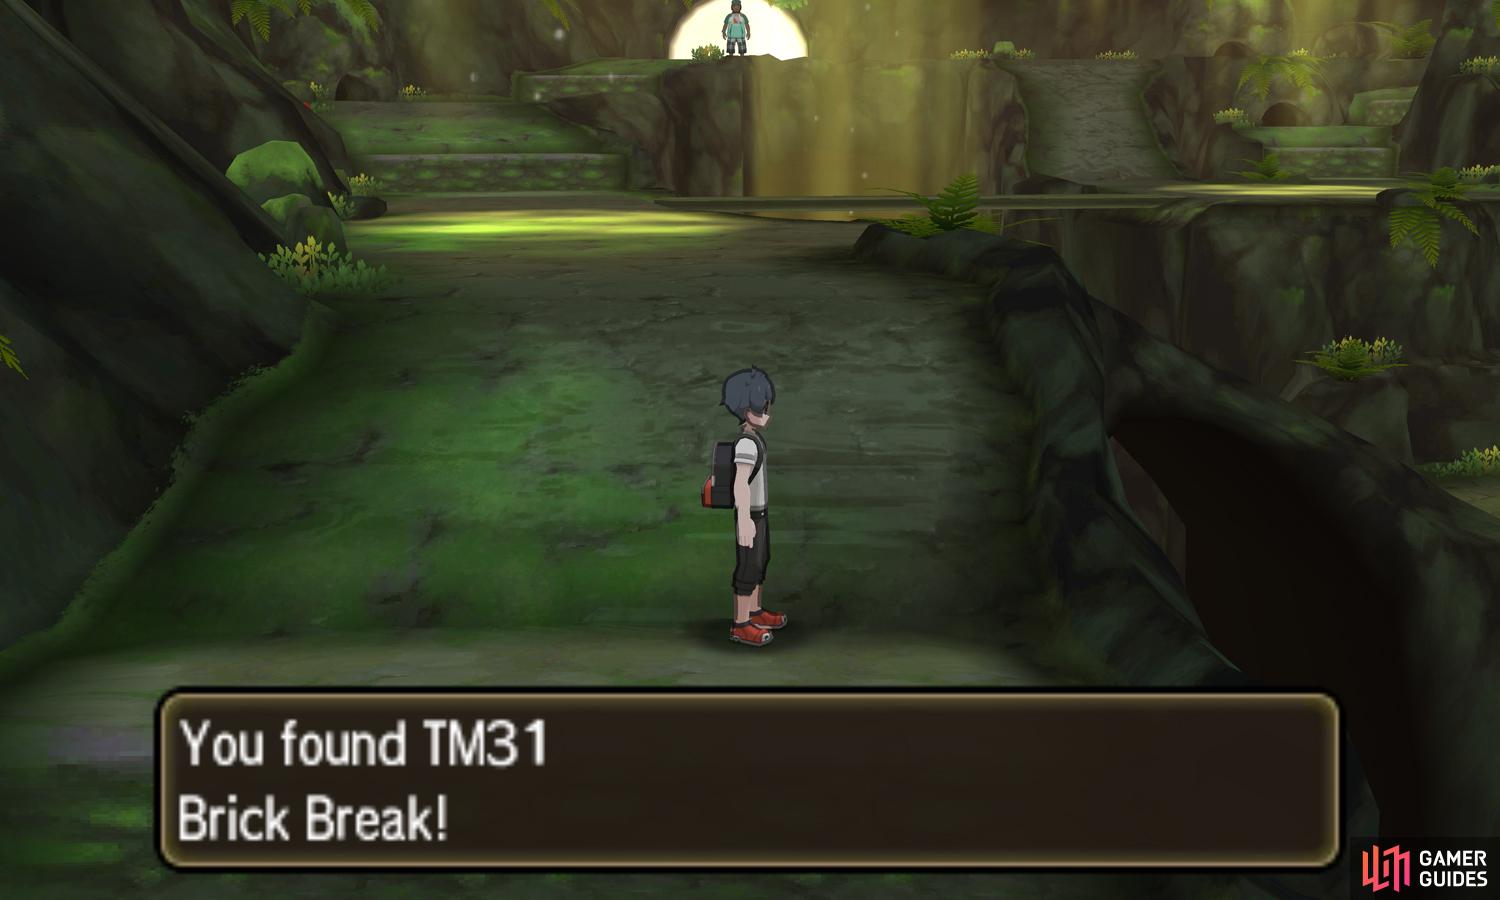
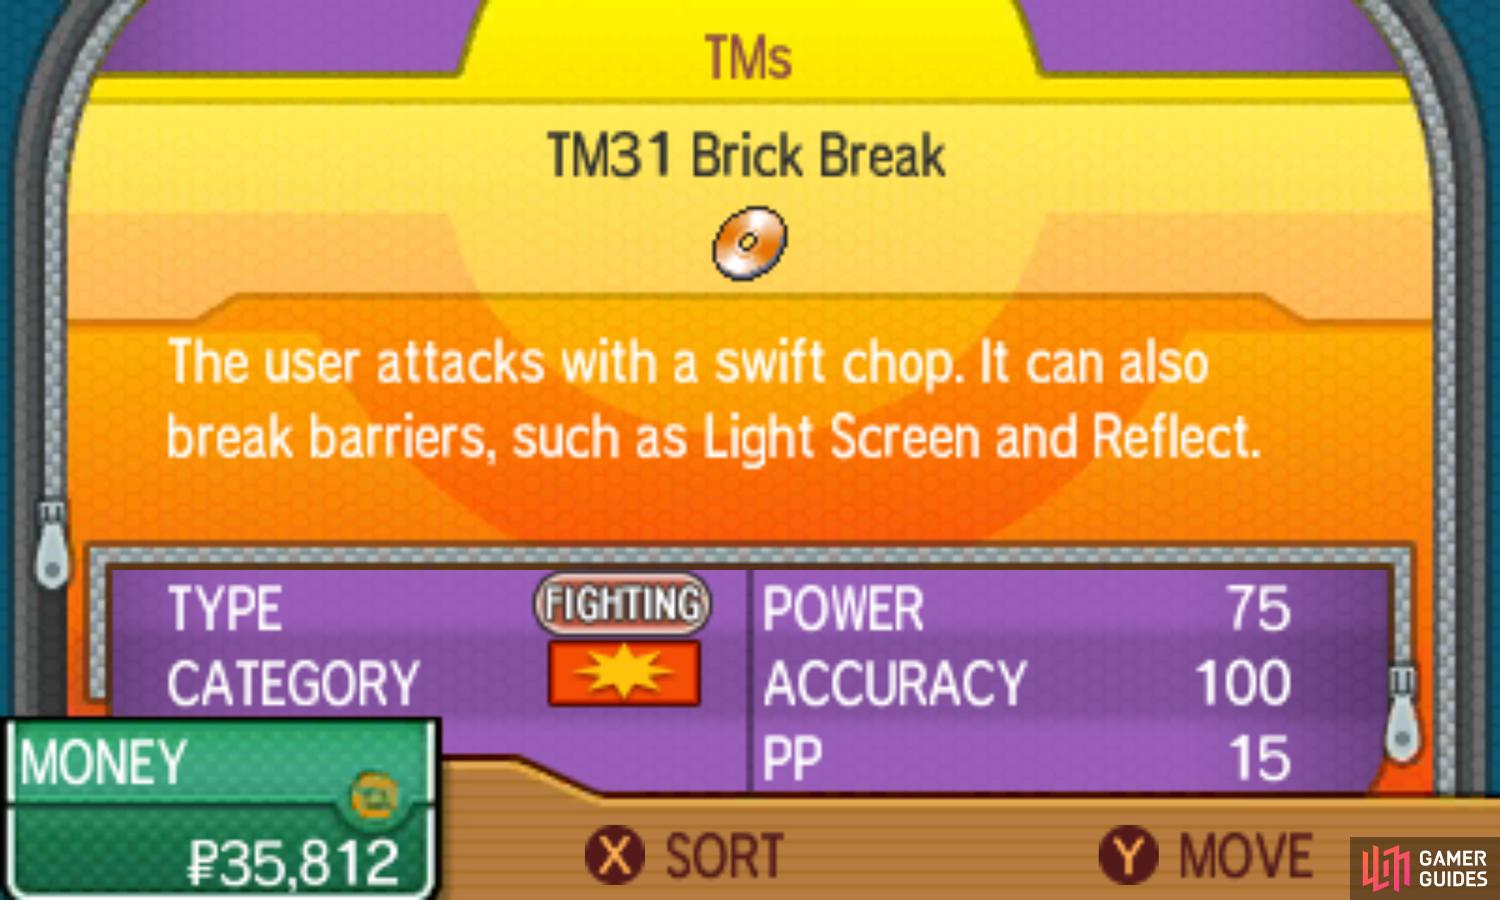
When you reach the part of the floor lit up by the light coming from above, slowly head south. Just before the ledge drop, pick up the TM31 Brick Break that’s sitting precariously by the edge. If you don’t have any Fighting-types for some reason, you can try teaching Brick Break to one of your Pokémon.
Return north and continue on past the illuminated part of the floor. Soon, there will be a rather dangerous-looking wooden plank to the right. Summon up your courage and cross it to the other side. Halfway along, you’ll catch sight of the third–and final–den inhabitant skulking around on the other side.
(1 of 2) Brick Break also breaks Alolan Ninetales’ Aurora Veil.
Brick Break also breaks Alolan Ninetales’ Aurora Veil. (left), (right)
Once you’ve safely crossed the wooden plank, carry on heading east, then north up the slope by the side of the cavern wall. At the top of the slope, press the A button in front of the small gap to crawl through it. Grab the second Super Potion in front of you, after you emerge, then drop down the ledge immediately to the left.
Look inside the small den to find… you’ve been duped? Jump over the ledge below and go around and up the slope to the left. Quickly check the small den in the north-east corner to see if you can catch the sneaky Pokémon. Nope, no dice, it’s moved again. Make your way west across this northern part of the cavern, towards the trial guide and the exit.
Next, head south-west, leaping over the ledge until you reach the final small den near the north-west corner. Peer inside to discover your folly once more. Grab the X Defense lying just below the den, then jump over the ledge below, back to the area before the wooden plank. Again, cross the plank east at your own peril.
Just before reaching the other side, the Team Skull goons from earlier will come to rain on your parade. C’mon, we don’t have time for this…
Team Skull Grunt
| Pokémon | Level | Type |
|---|---|---|
 Drowzee Drowzee |
11 | Psychic |
It’s the same  Drowzee as before, so put your Fighting and Poison-types away. Again, Dark-types are ideal, but Ghosts and Bugs can inflict considerable damage as well. Either way, it’s just one Pokémon, so simply mow it down and move on.
After giving the goons a sound thrashing, they’ll attempt to sabotage your trial regardless. But in reality, they’ve just made it possible for you to progress; how ironic! Once again, climb up the east-most slope, crawl through the gap and search the third small den. With nowhere to run, you’ll be attacked!
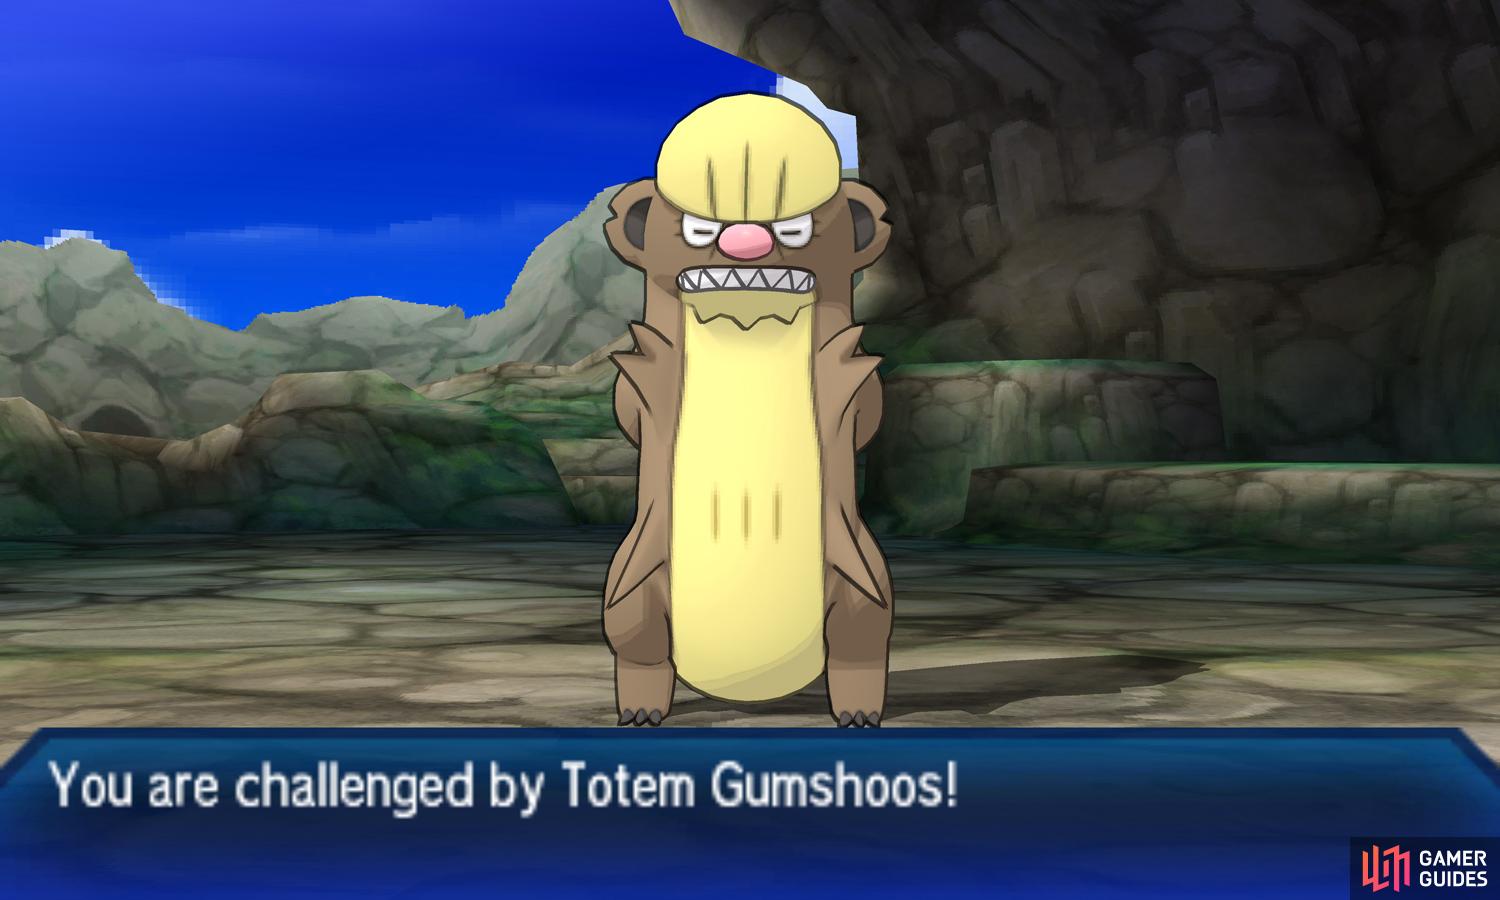
This time your opponent is a  Gumshoos if playing Ultra Sun or an Alolan
  Raticate if playing Ultra Moon–the evolved form of the previous den-dwellers that you defeated. That means you should exercise a lot more caution, but Fighting-types are still king, as are any well-trained Pokémon.
Defeat the third Pokémon and you’ll have completed the first half of your trial. Leap over the ledge and climb up the slope to the left, making your way to the exit along the north side of the cavern, where the trial guide is standing. This time, he won’t stop you, so exit the cave when you’re ready.
Totem’s Den
Outside, you’ll arrive in a small clearing with the Z-Crystal pedestal directly ahead. Inspect the pedestal and try to pull out the Z-Crystal to initiate the final–and most challenging–part of this trial. A battle with the cavern’s numero uno, the Totem Pokémon itself.
Totem Pokémon
(1 of 2)
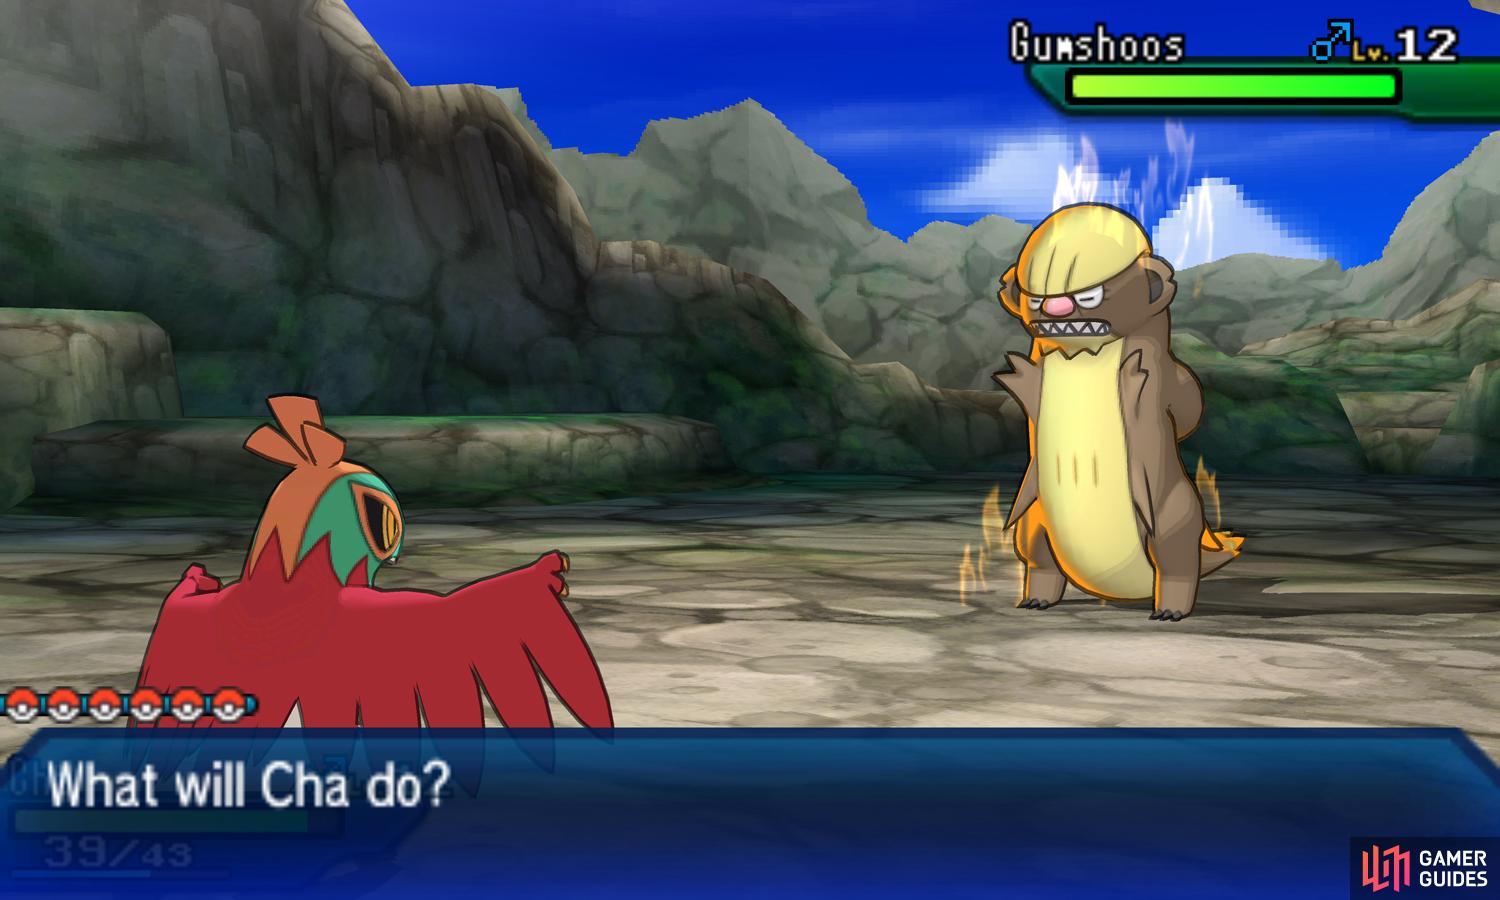
The Totem Pokémon you face is different depending on the game you’re playing, but the general gist is the same. At the start of the battle, the Totem Pokémon’s aura will grant it a small Defense boost, meaning physical-class moves will deal slightly reduced damage.
Every so often, the Totem Pokémon will call an ally Pokémon to assist it–Gumshoos will call Yungoos, while Raticate will call Rattata. When this occurs, you will fight two Pokémon simultaneously. Like a Double Battle, but you are only allowed one Pokémon, while the opponent has two. How terribly unfair…
The battle is over after all opposing Pokémon are defeated, but the Totem Pokémon will constantly call for allies if it has none, so ideally you should defeat the Totem first. Due to the numerical disadvantage, you want to aim to finish this battle as quick as you can–getting attacked by two Pokémon per turn can be brutal.
Because the Totems are Normal-types, Fighting-types will obviously excel. Doubly so in the case of Raticate, because it takes 4x damage due to it being Dark as well. Without them, you may struggle unless you’ve really been power-leveling your starter Pokémon, for instance.
The easiest way to deal with this threat is by relying on the traded Hawlucha from the Route 2 Pokémon Center. Not only is its Karate Chop super-effective, but it has a good chance of landing a critical hit, which deals more damage and ignores the opposing Pokémon’s stat boosts.
Pokemon Encounters - Verdant Cavern
| Name | Type(s) | Location (Rate) |
|---|---|---|
 Diglett (Alolan) Diglett (Alolan) |
Ground/Steel | Walking everywhere (35%) |
 Zubat Zubat |
Poison/Flying | Walking everywhere (35%) |
 Noibat Noibat |
Flying/Dragon | Walking everywhere (30%) |
 Yungoos Yungoos |
Normal | [Ultra Sun] Rustling spots in burrows (100%) |
 Rattata (Alolan) Rattata (Alolan) |
Dark/Normal | [Ultra Moon] Rustling spots in burrows (100%) |
Once the excitement has settled, leave the Verdant Cavern the way you came. The easiest way is to hop down the ledges along the west side. Of course, feel free to catch any Pokémon found in the cave. Now that there’s no trial going on, you’ll find wild Pokémon everywhere in the cave, not just near the small dens.
Back at Route 2
(1 of 2) Z-Moves can give you the upper hand in battle if used well.
Z-Moves can give you the upper hand in battle if used well. (left), (right)
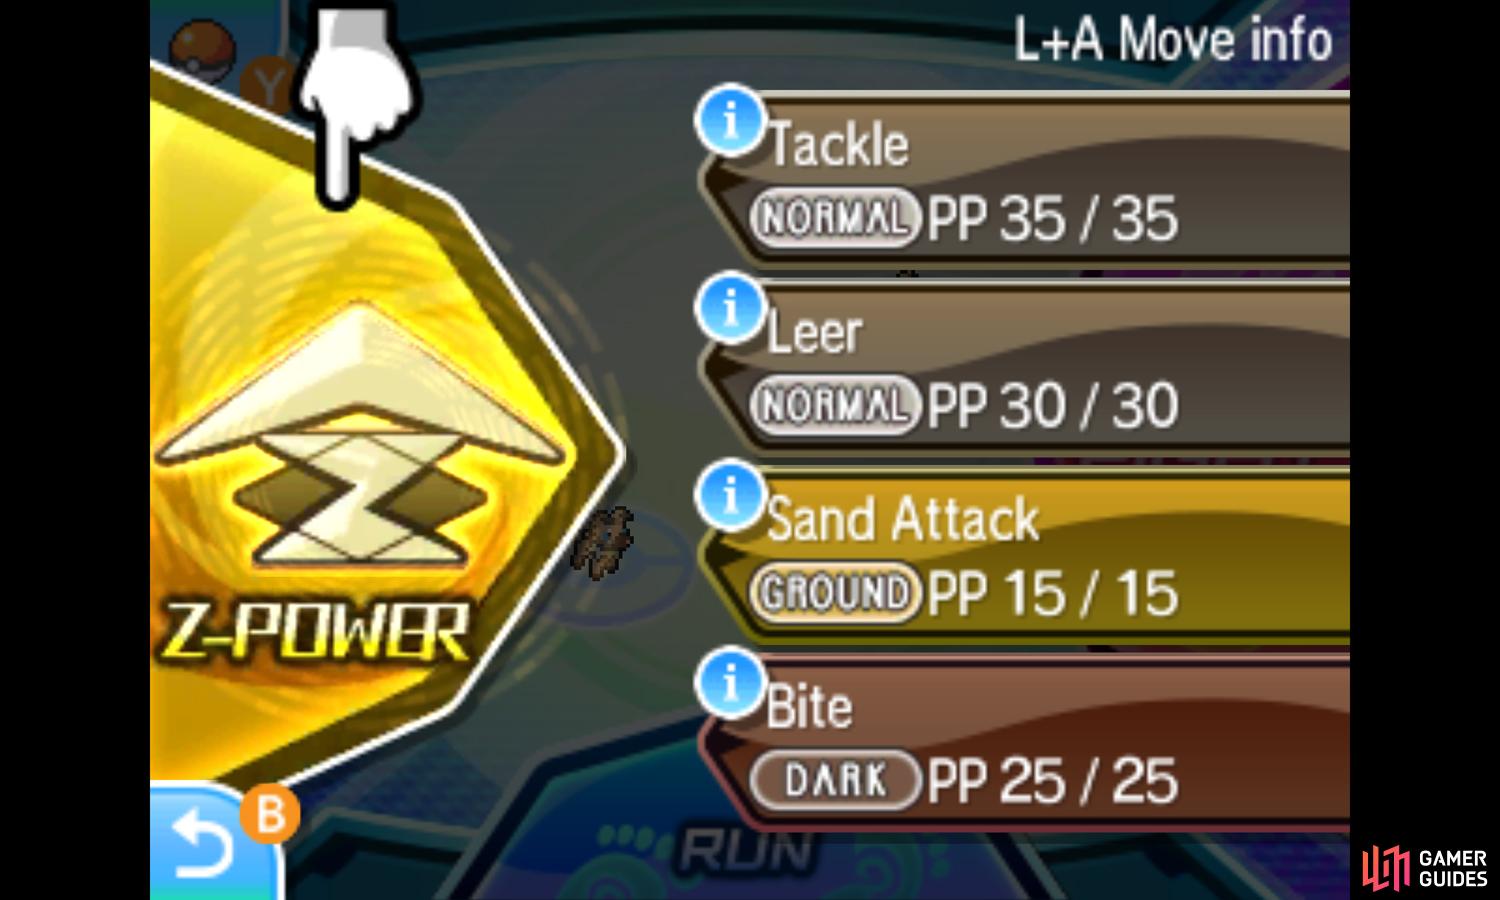
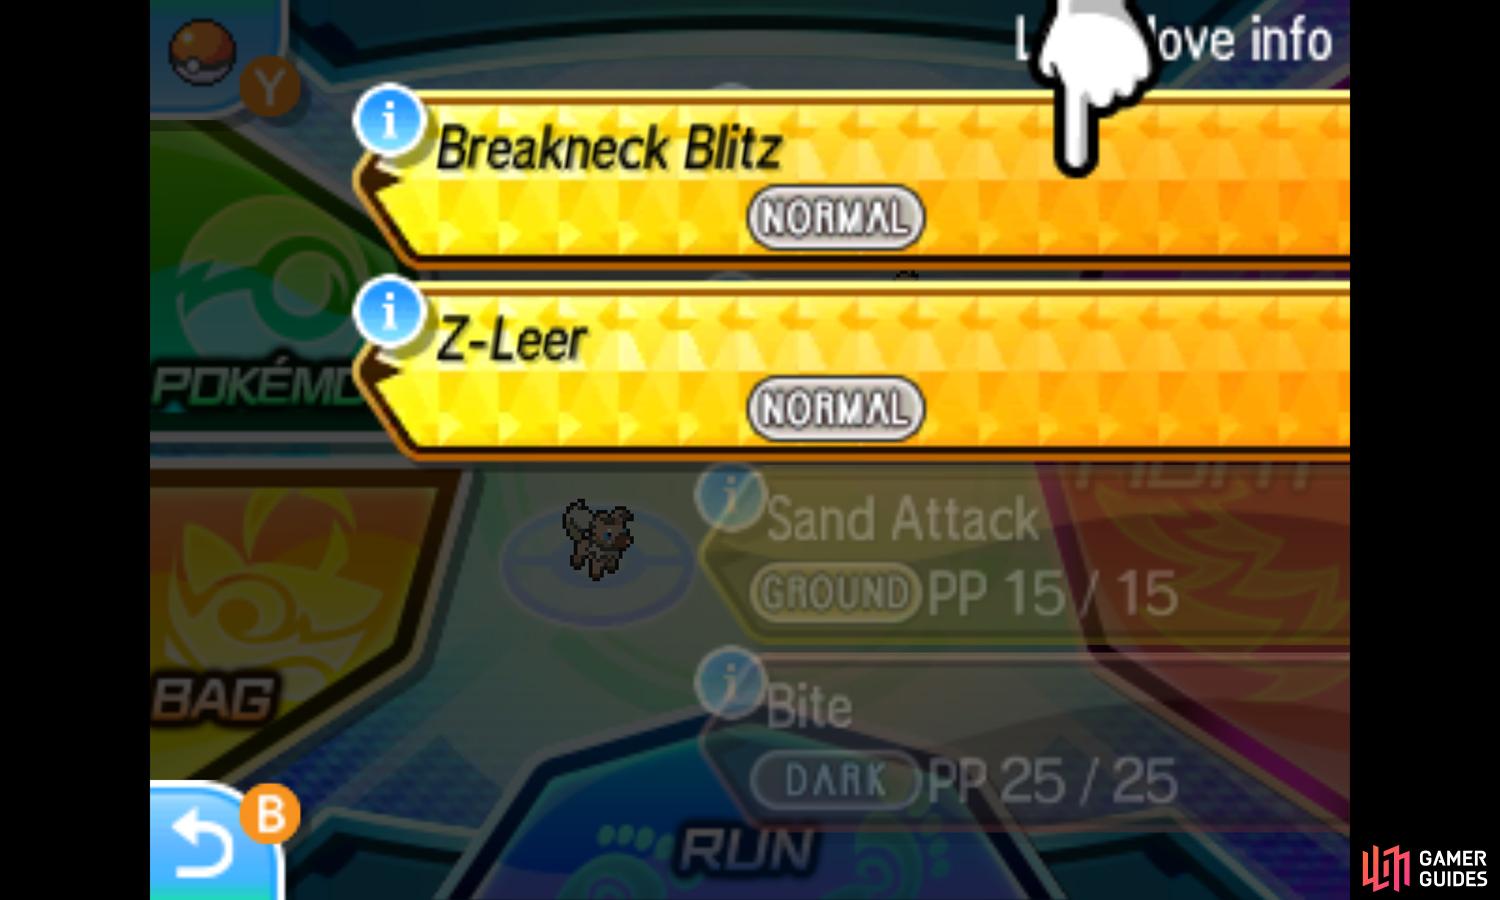
Back on Route 2, head towards Ilima waiting by the trial gates. Having proven your skills, he’ll unlock the captain’s barricade blocking the north exit, past the Pokémon Center. Now you’re free to continue exploring the rest of Melemele Island, beginning with Route 3. Before that though, Kukui will arrive to give you a demonstration.
After Kukui’s spectacular display, he’ll ask you to look for Lillie who’s probably somewhere in Route 3. Without further ado, you’d better head straight north to find her.

 Sign up
No Comments