This page covers the Attack on Crossbell event during the Finale of The Legend of Heroes: Trails from Zero. Details on how to earn all bonus DP, forge the ultimate weapon and earn all three Bonding Achievements.
The Attack on Crossbell is an event during the Finale chapter.
Earning all the Bonding Endings
When you get the option to save your game, make sure you do so and keep it as once you regain control following the events and battle here, you’ll be at the point where you can get a Bonding Ending and if you’re going for all three in one playthrough (as this guide has been directing you toward), you’ll need this save.
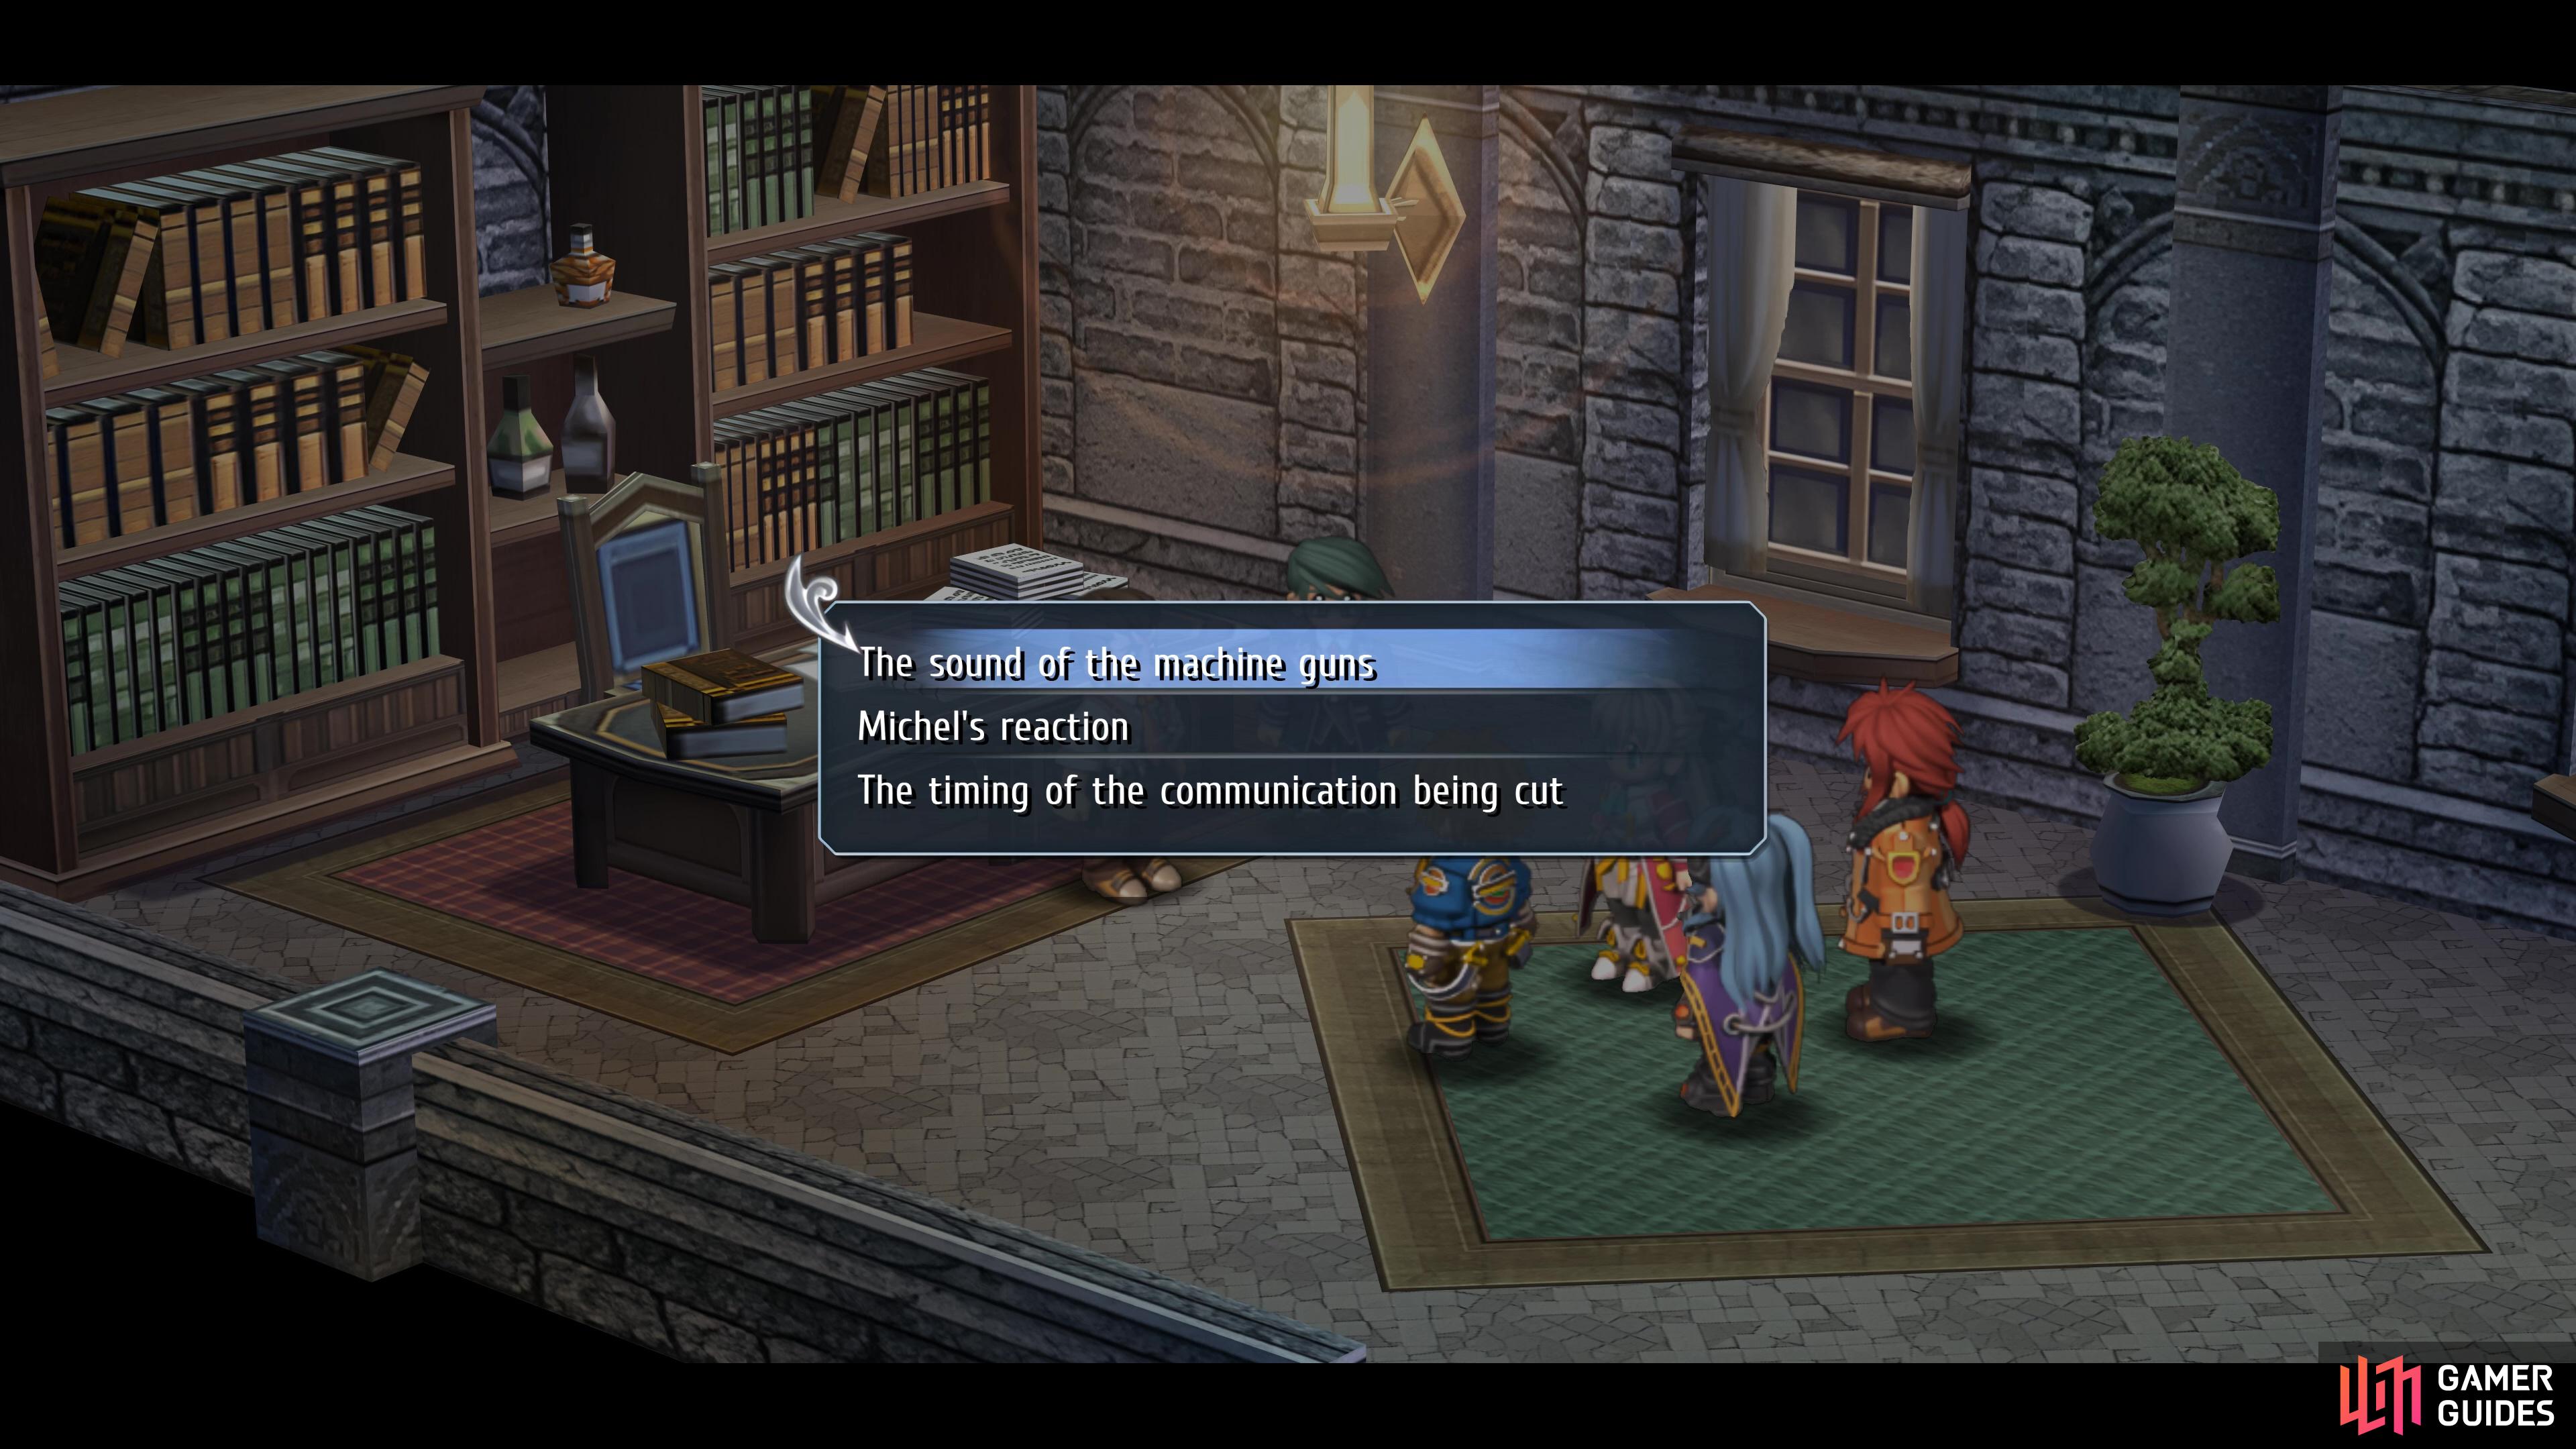
This part of the Finale will begin with everyone back at the SSS as many scenes take place and you’ll soon be prompted for a choice. Choose “The sound of machine guns (1st) to obtain 1 DP, then many more scenes will take over as Crossbell comes under attack. Eventually, the group will find them on the East Crossbell Highway, and you’ll be thrust into a battle.
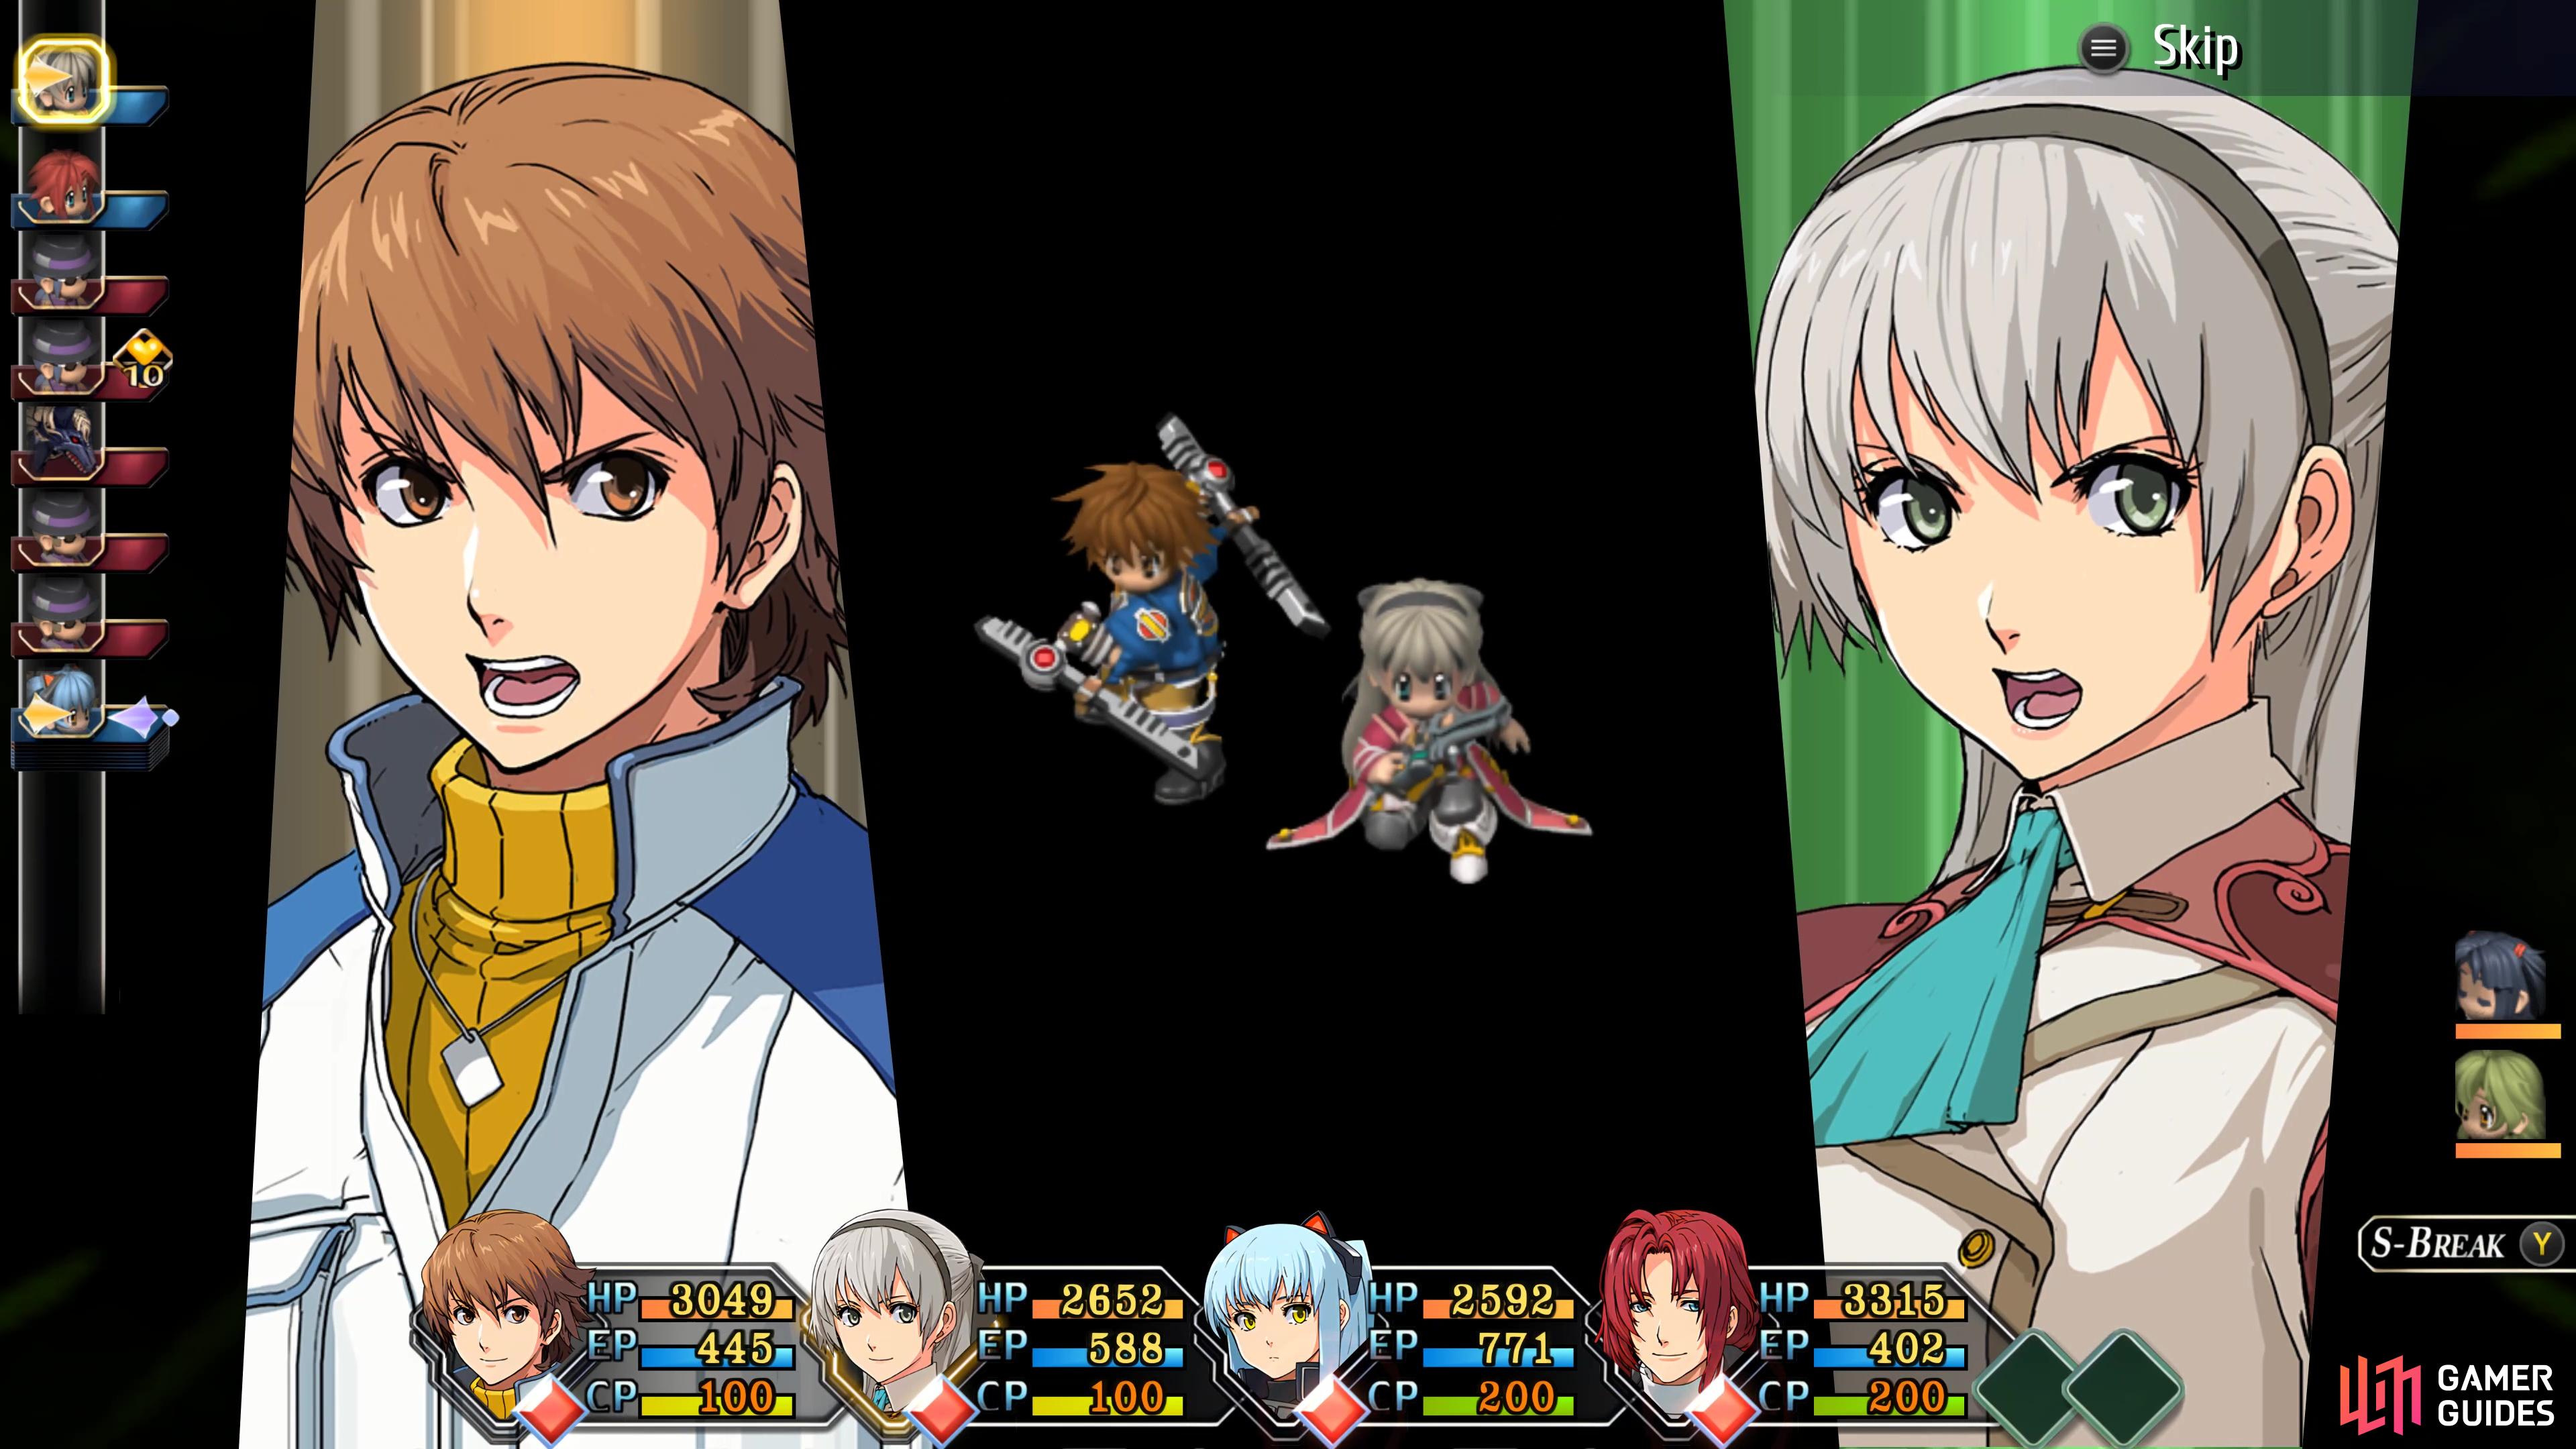
If you followed our advice throughout this guide and especially at the Point of No Return in Chapter 4, all three characters should only need a single Combo Craft with Lloyd to reach maximum Bond.
(1 of 2) Choose the top option for bonus DP
Choose the top option for bonus DP (left), then choose the character whose Bond Ending you wish to see in the following battle. (right)
If you’re going for all three endings, you’ll want to choose one of the characters you don’t want to end with the main Bond that you carry over to Trails to Azure, the sequel along with the Combo Craft you get. As for the battle itself, be sure to scan the only new entry here, the Mafioso - Machine Gun and then make use of S-Crafts and wipe the floor with them.
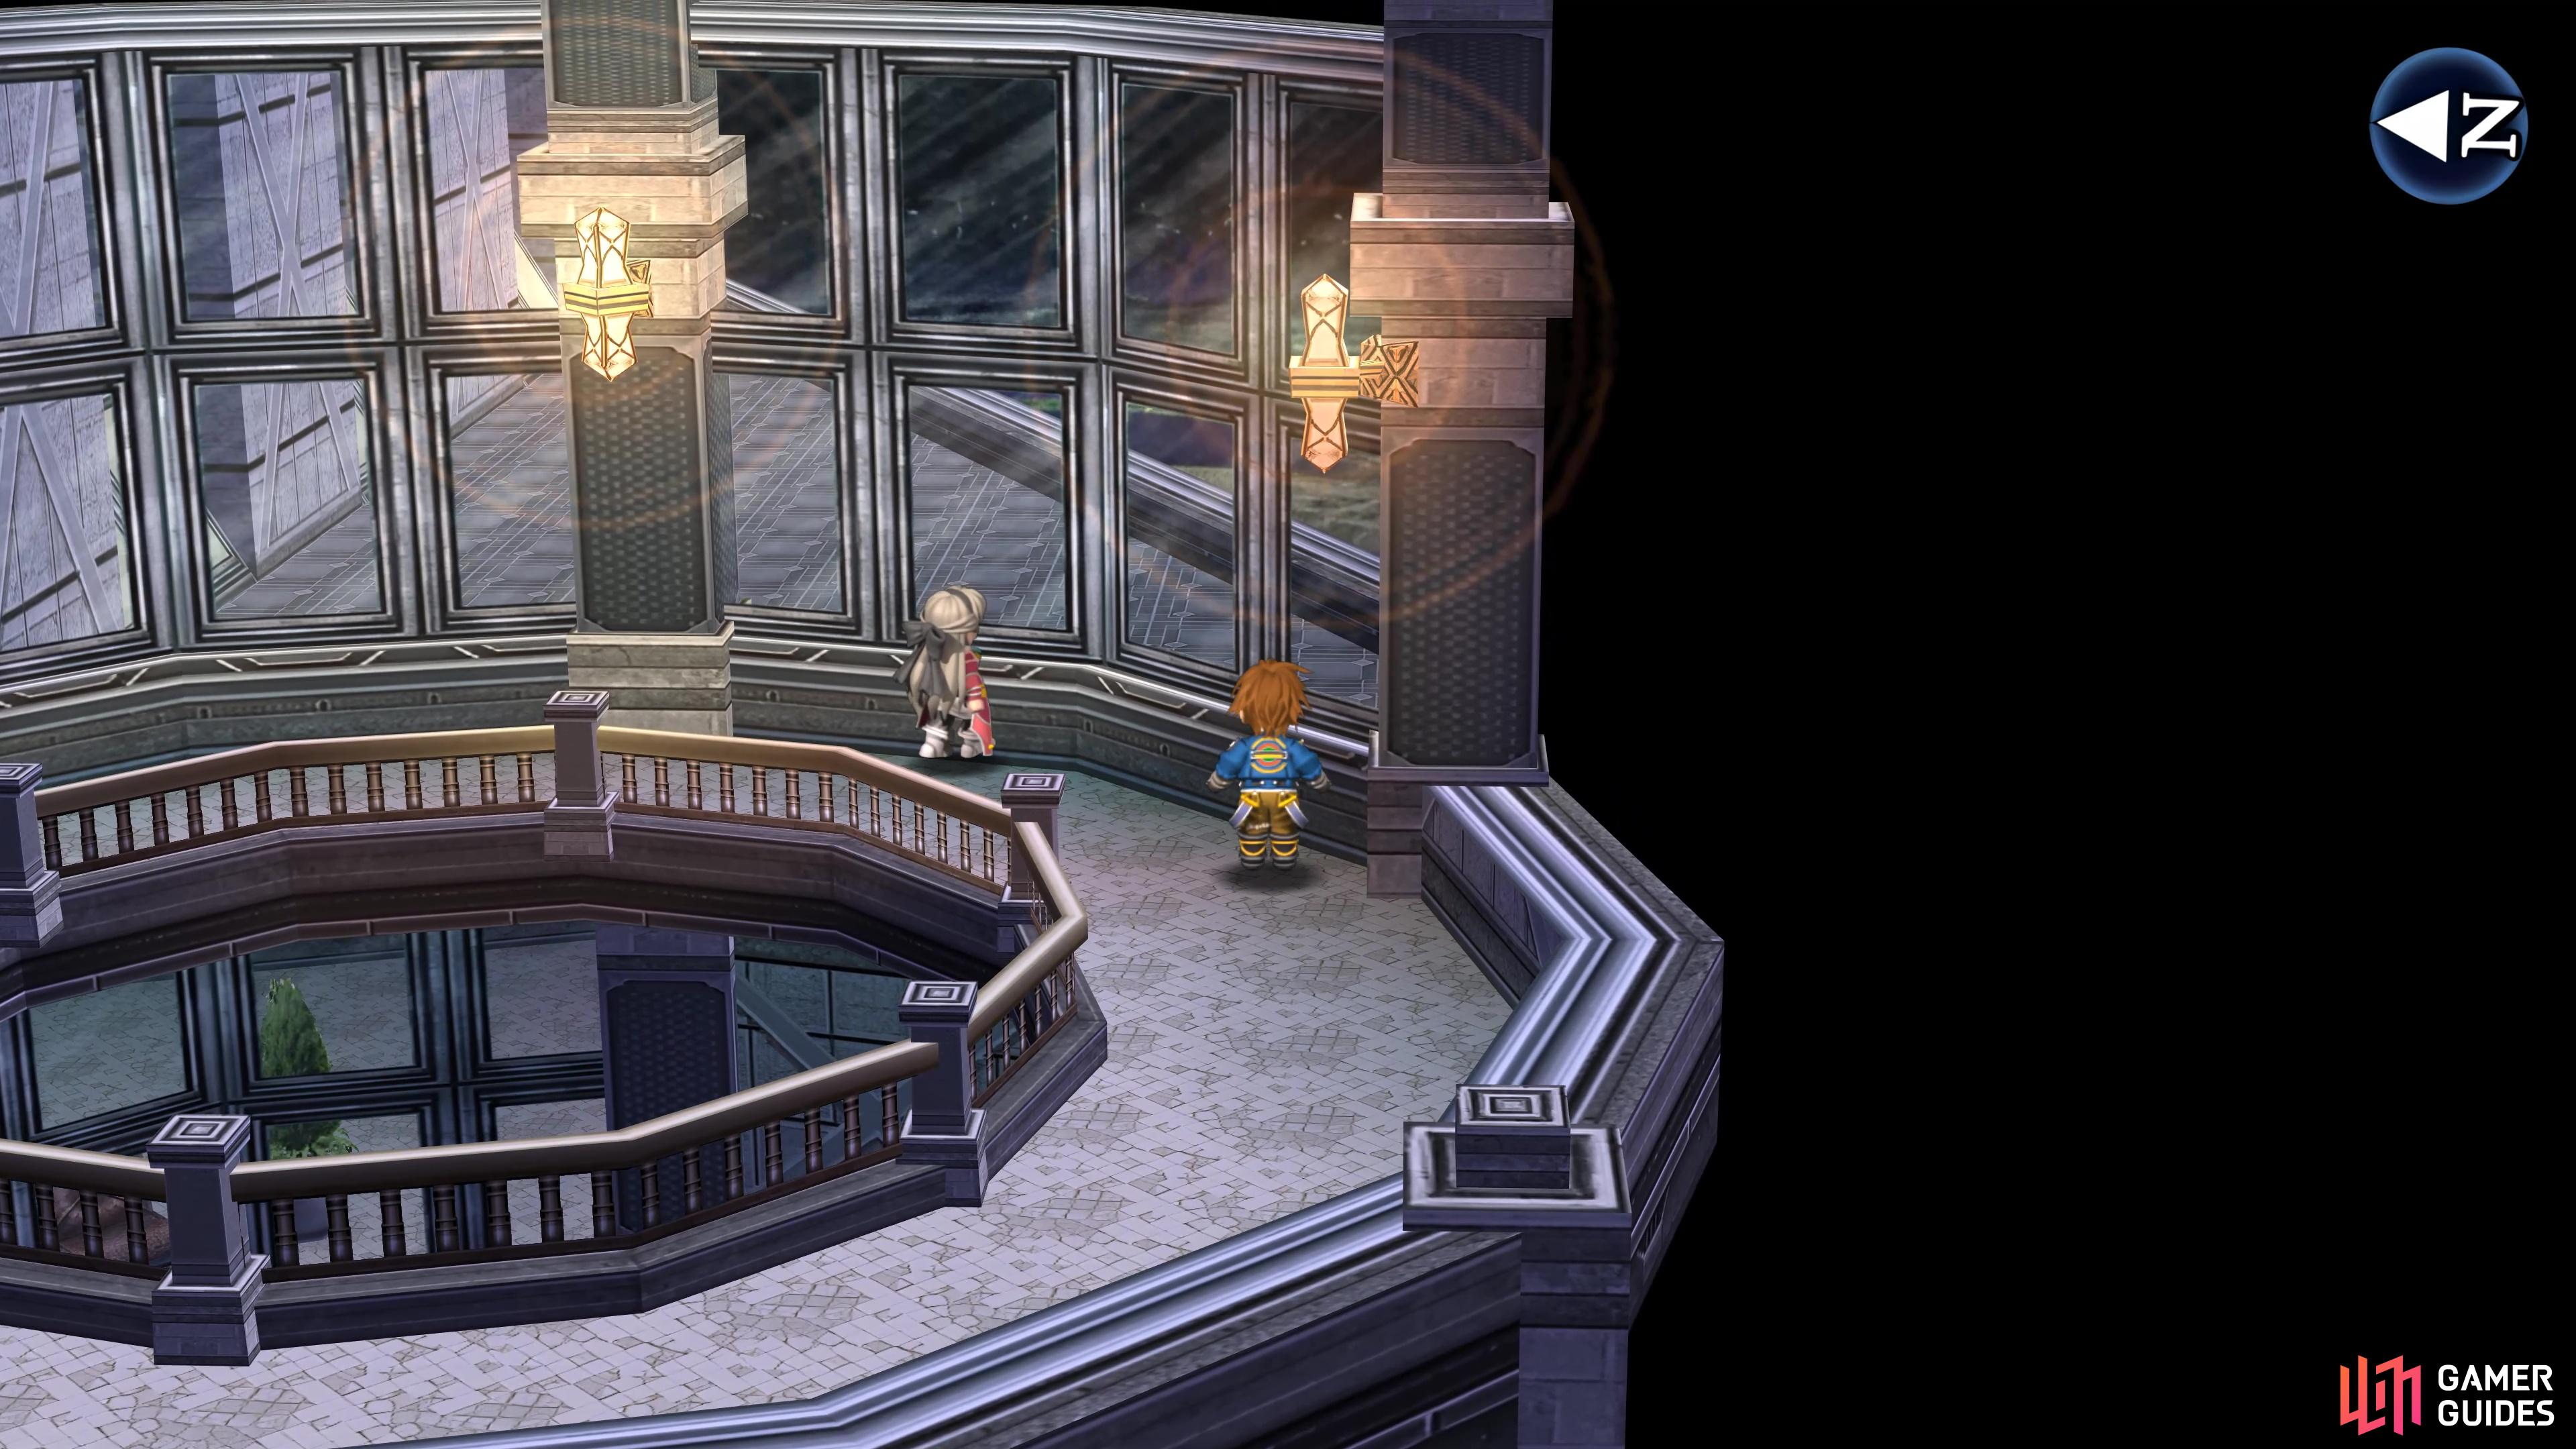
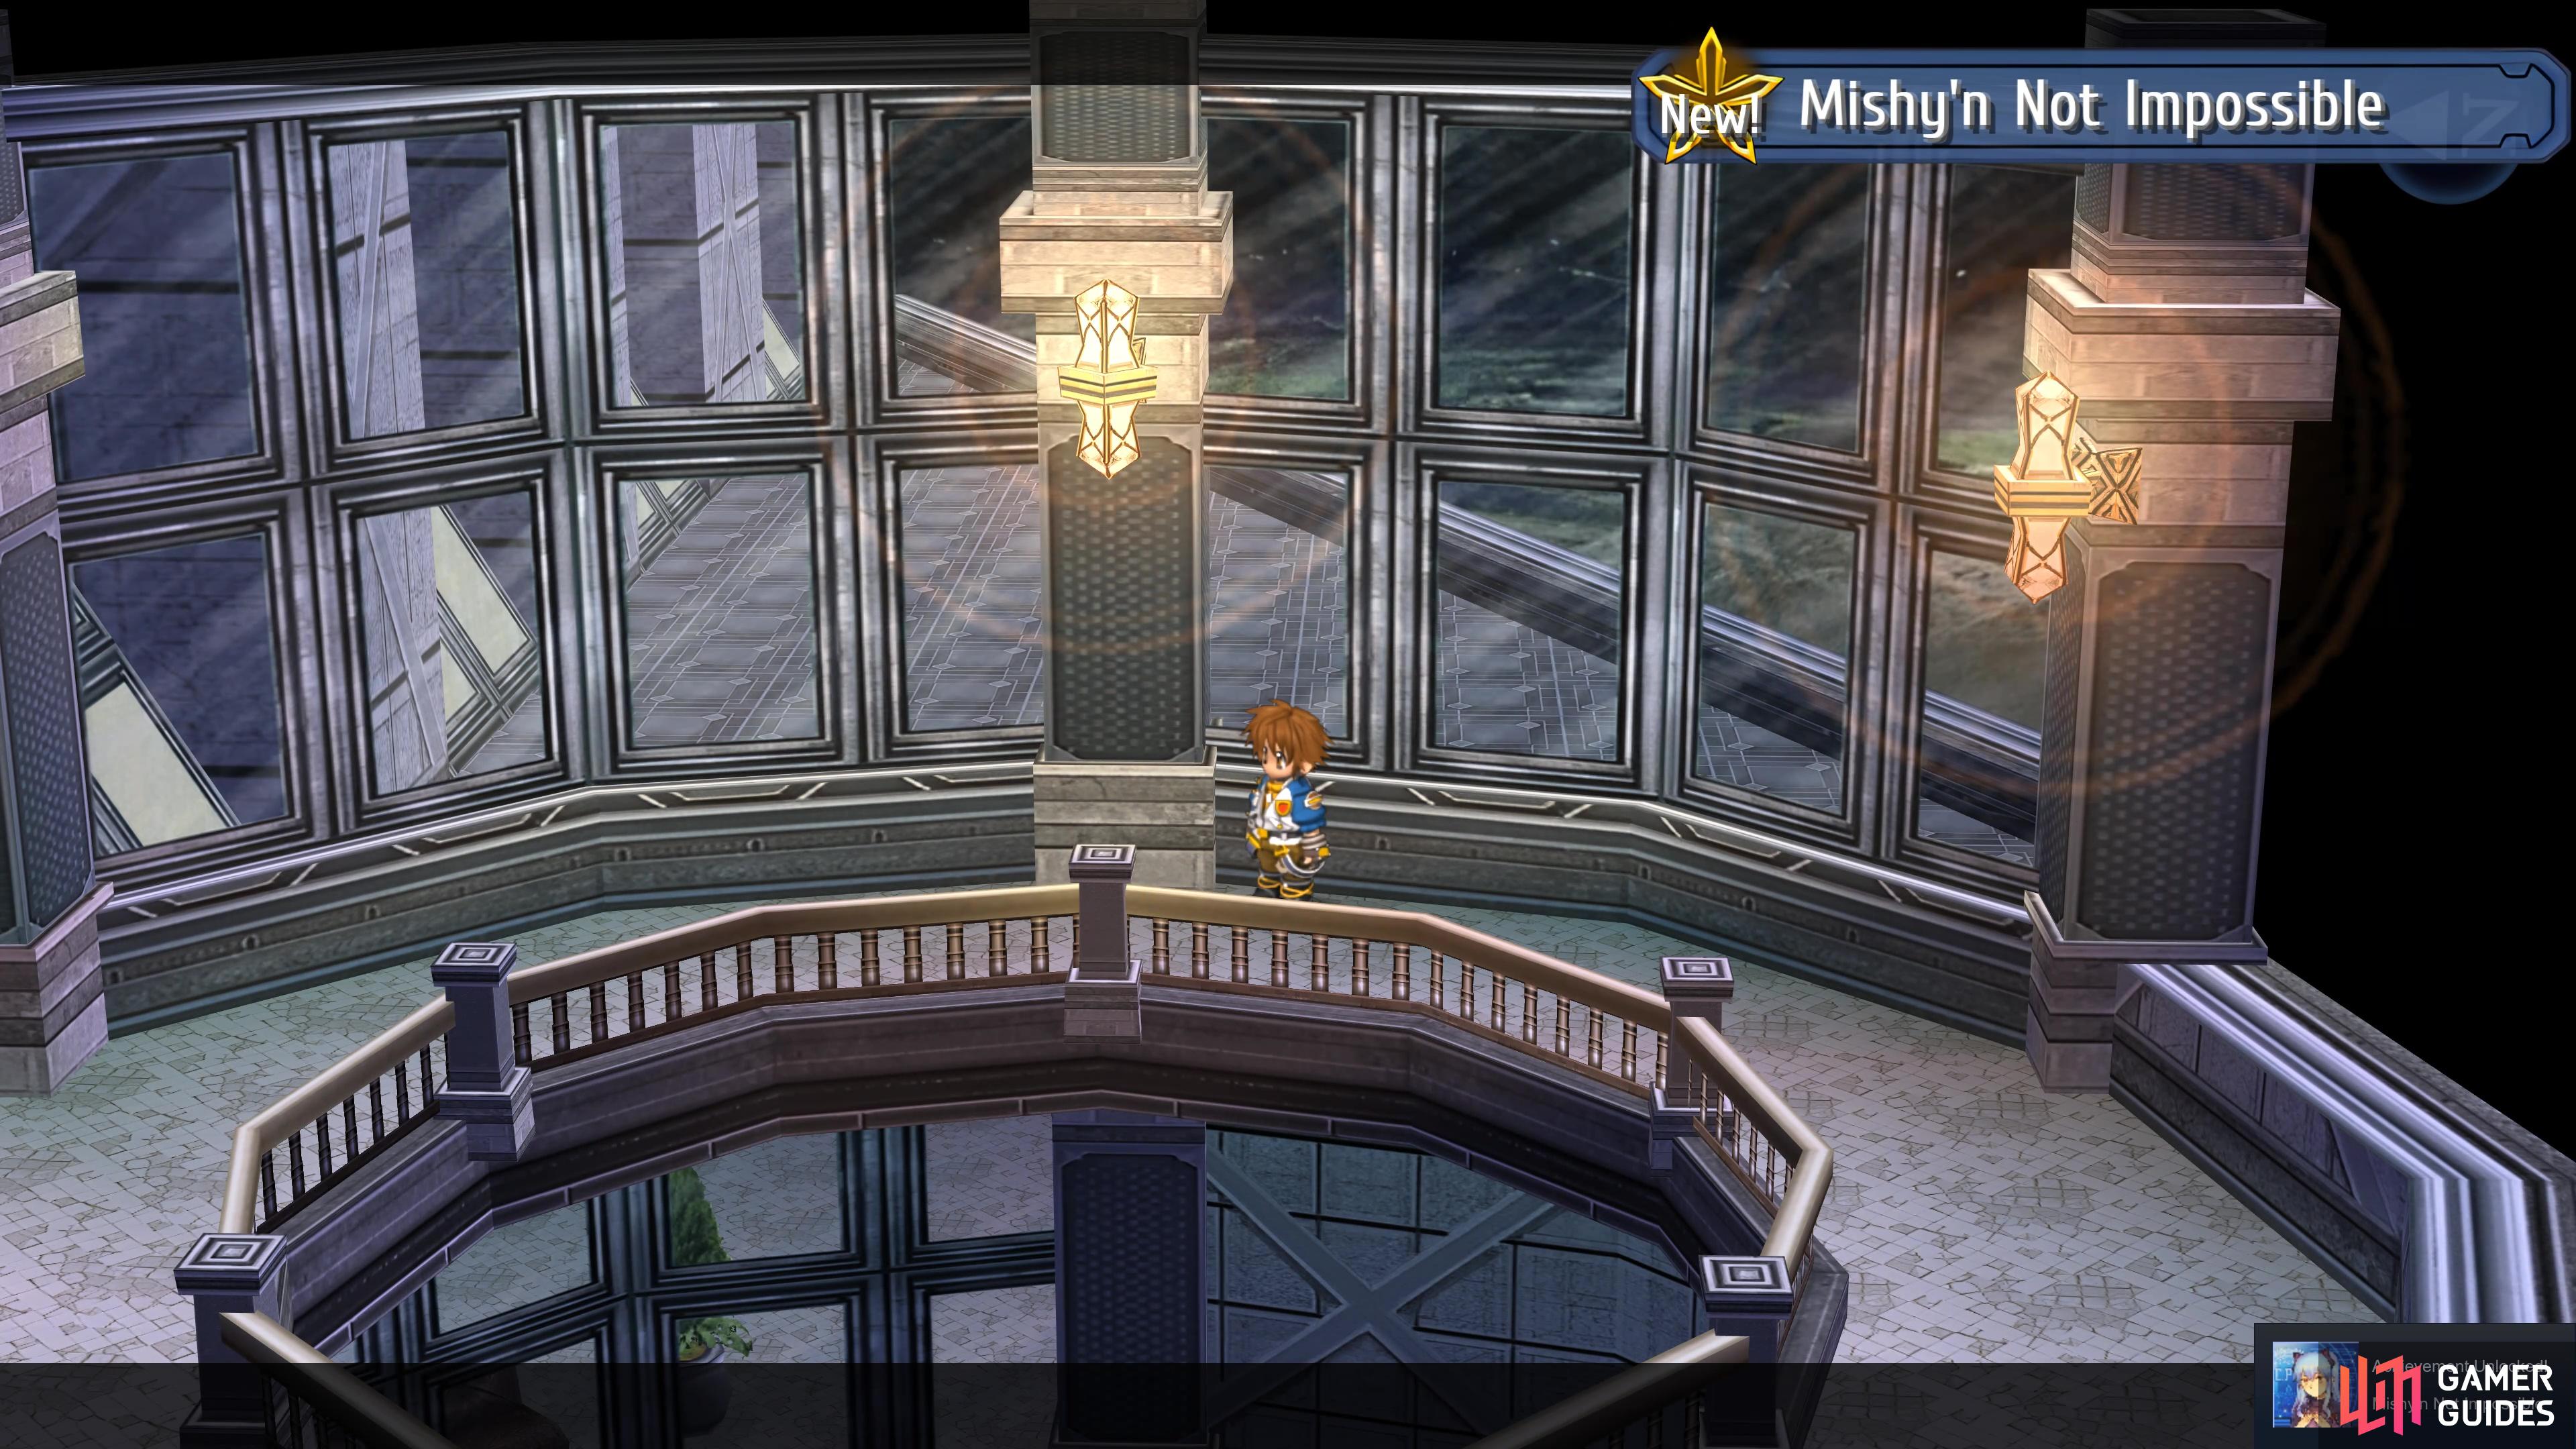
More scenes will follow and eventually, you’ll end up with controlling just Lloyd on the 16F of the IBC. If you’ve followed everything correctly, you’ll find the character with which you did the Combo Craft standing by the window. Speak with them and their Bond Ending will play out, upgrading their Combo Craft and unlocking their associated Achievement/Trophy. At this point, follow these steps if you wish to have all three Bond Achievements/Trophies in your Record in your first playthrough.
-
Save your game on a different slot from your main save at the start of this series of events.
-
Choose the other character who you don’t want to end up as your main Bond Ending that you carry through to Trails to Azure.
-
Use turbo and text skip to reach the battle and use the Combo Craft of that character.
-
On the IBC 16F, speak with that character to get their Bond Ending and then save on a different slot.
-
Reload your main save for the final time and advance to the battle, remembering to scan the Mafioso - Machinegun and use the Combo Craft with the last character.
-
Once you reach the IBC 16F, head to the window and speak with the character.
(1 of 3) You will find the character with the highest bond by this window
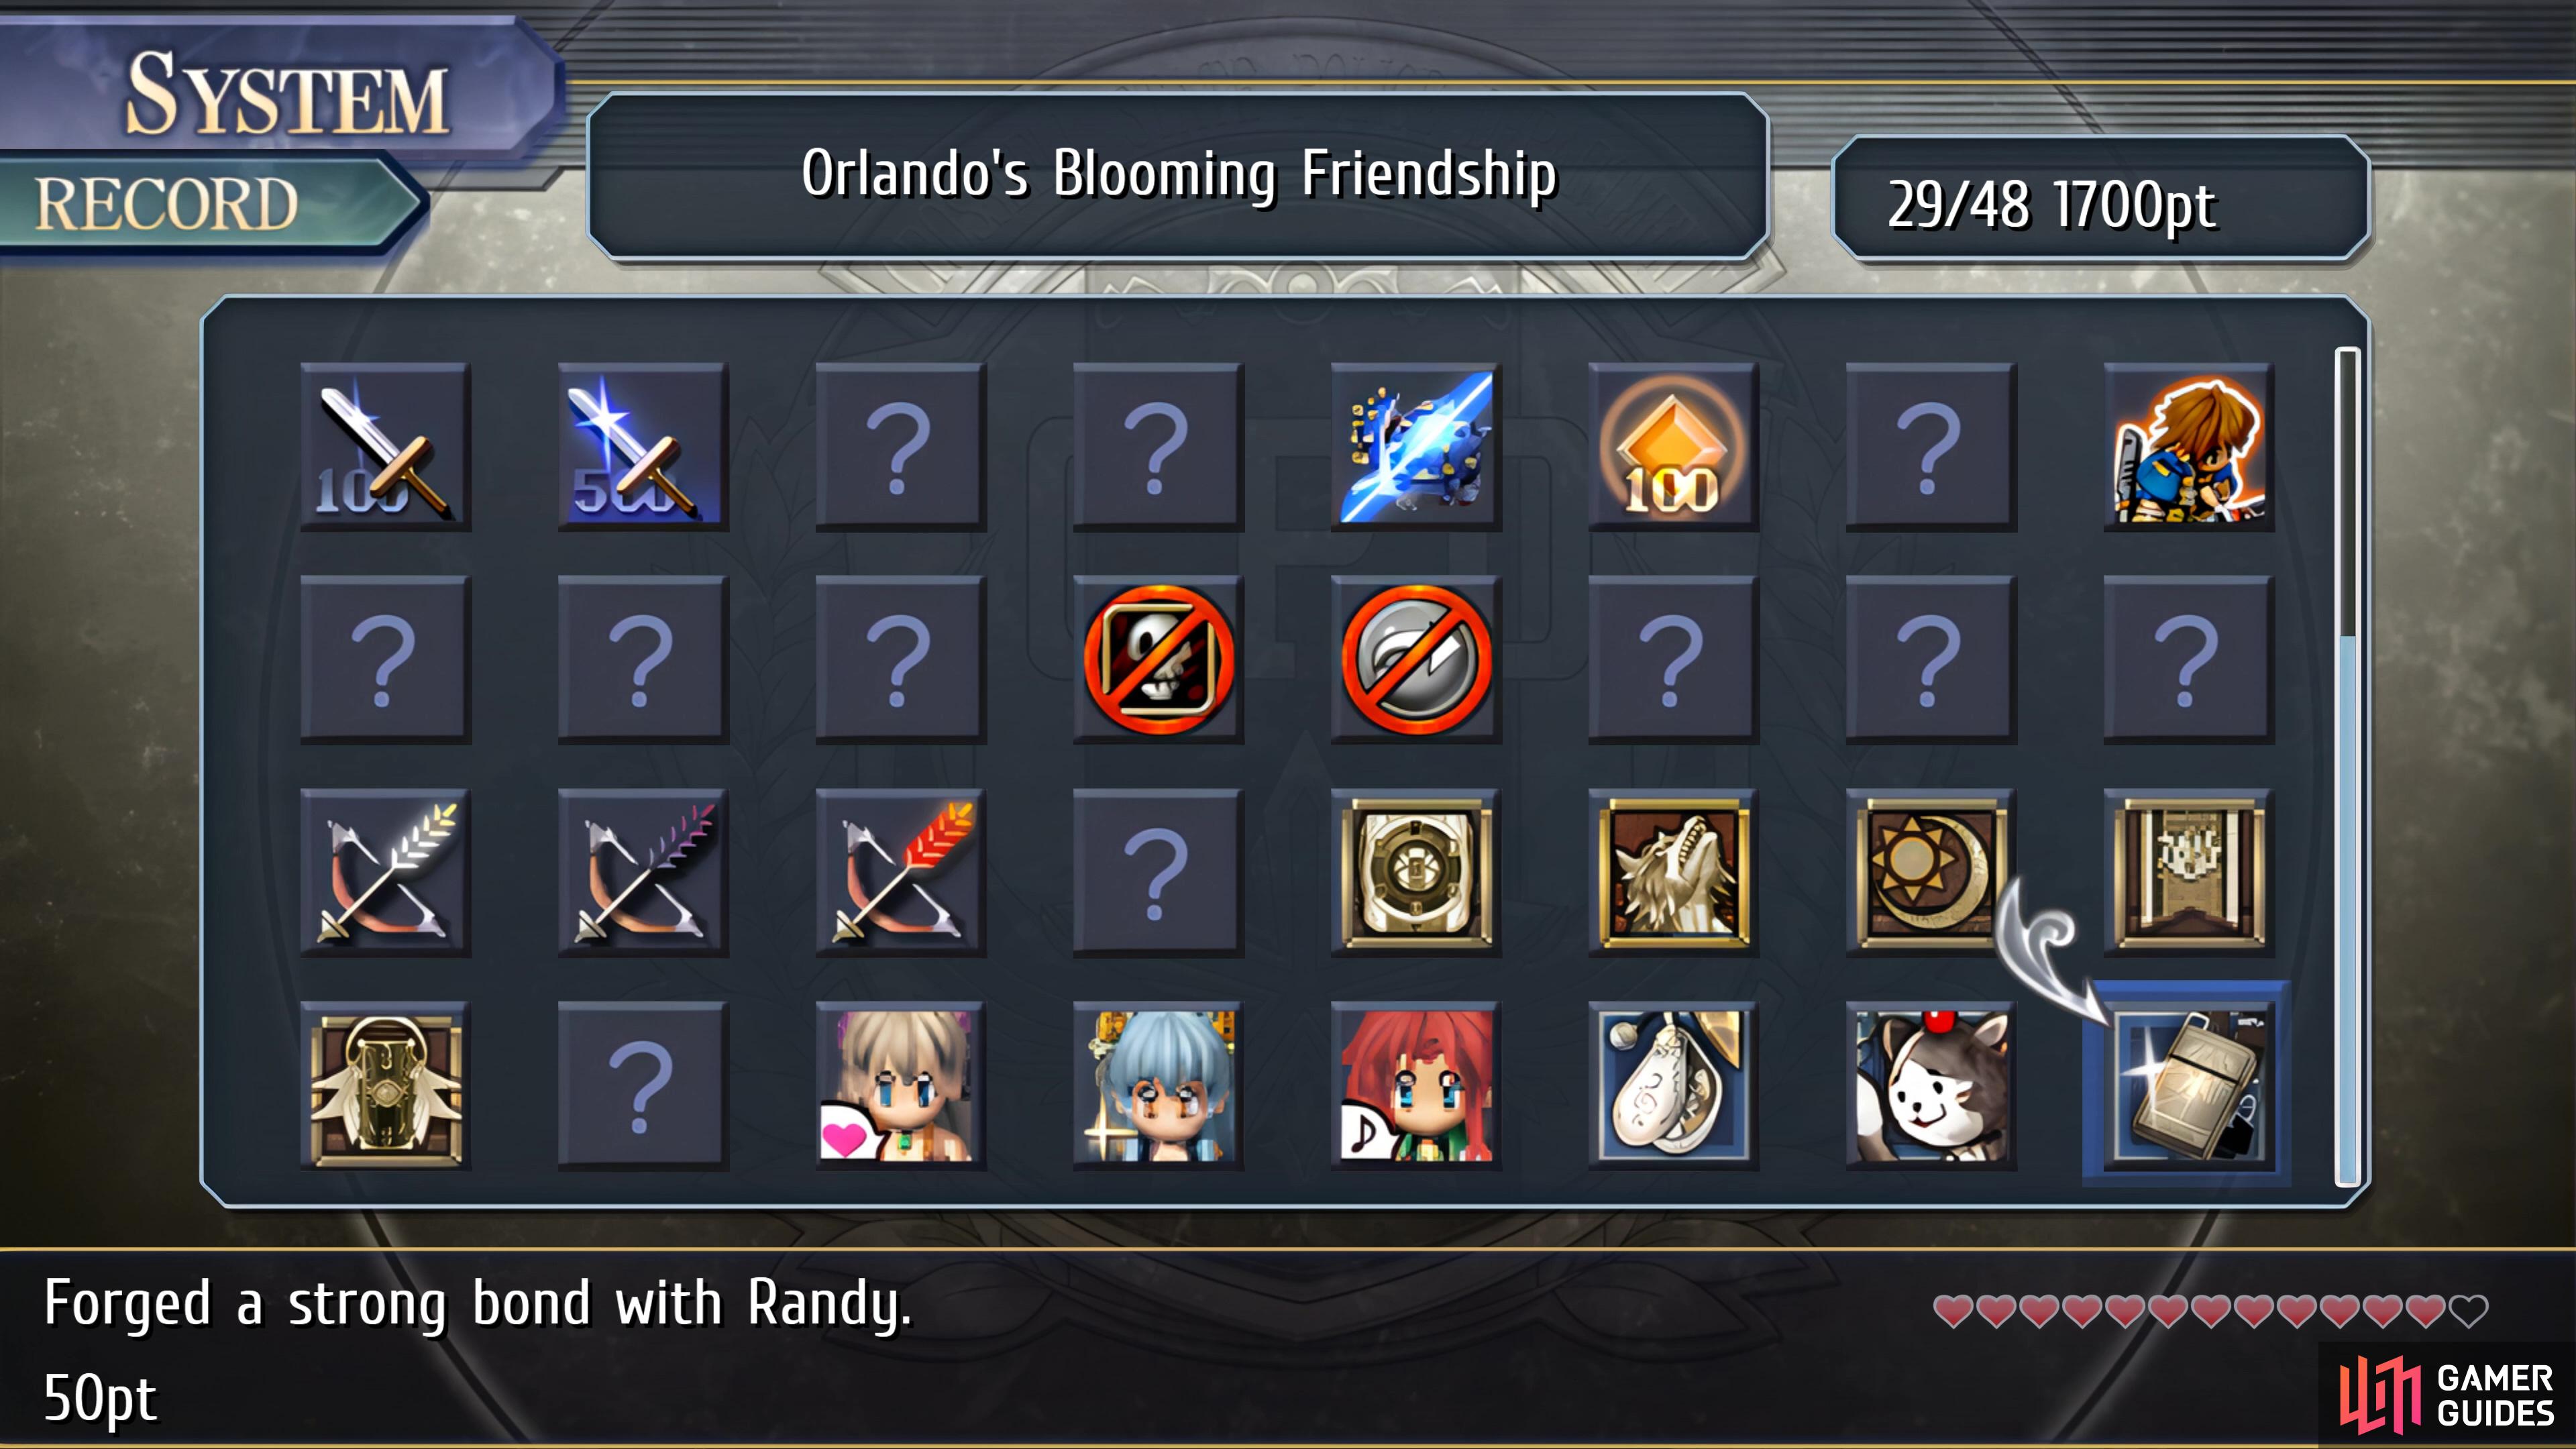
If you follow this correctly, check your records and you’ll see that you have all three Bond Endings in this one playthrough. If you wish to carry all three upgraded Combo Crafts through to Trails to Azure, you’ll need to play through the game three times unfortunately.
Defending the IBC
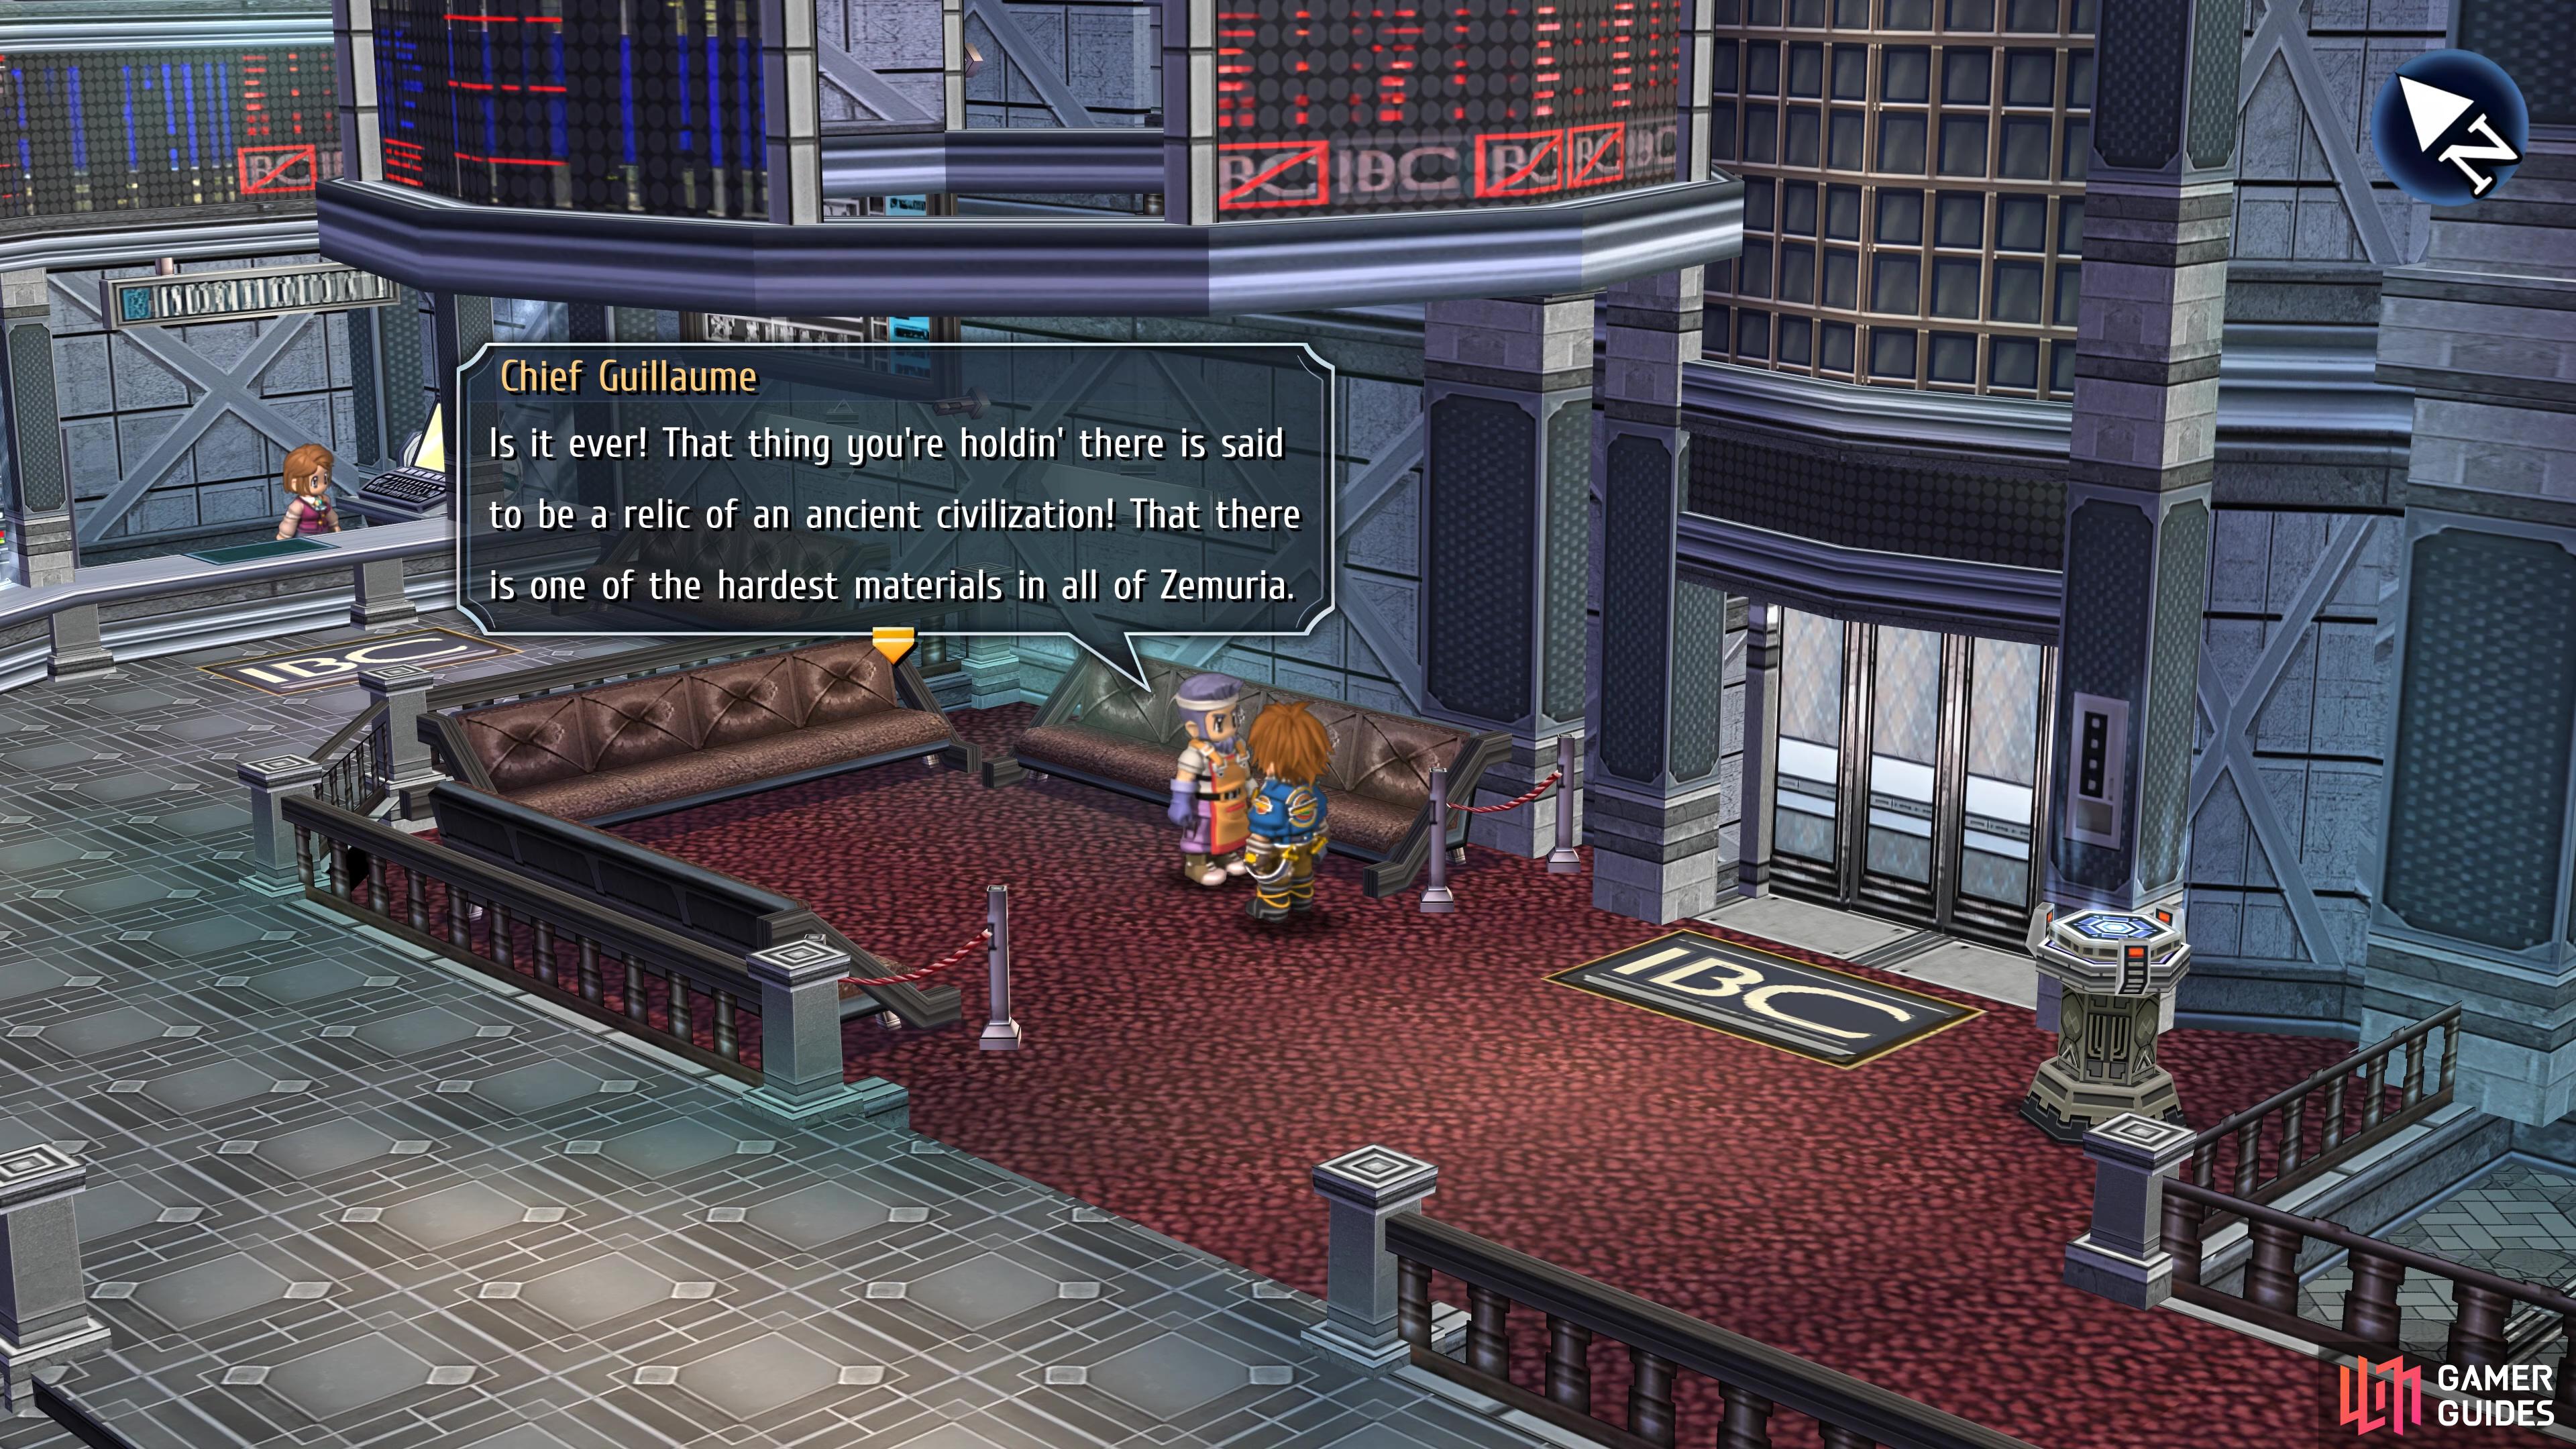
With all of that taken care of, it’s time to prepare for the upcoming assault on the IBC. Head down to the 1F and you’ll find Chief Guillaume near the elevator. Speak with him, and if you have the Zemurian Ore from handing over all chapters of Back Alley Doctor Glenn to Imelda, he’ll agree to make you one weapon. These are the ultimate weapons in Trails from Zero, and you only get one, so you’ll need to make a choice.
| Character | Stats |
|---|---|
| Lloyd | STR+180, DEF+30, ACC+10%, EVA+10% |
| Elie | STR+175, RNG+5, ACC+100% |
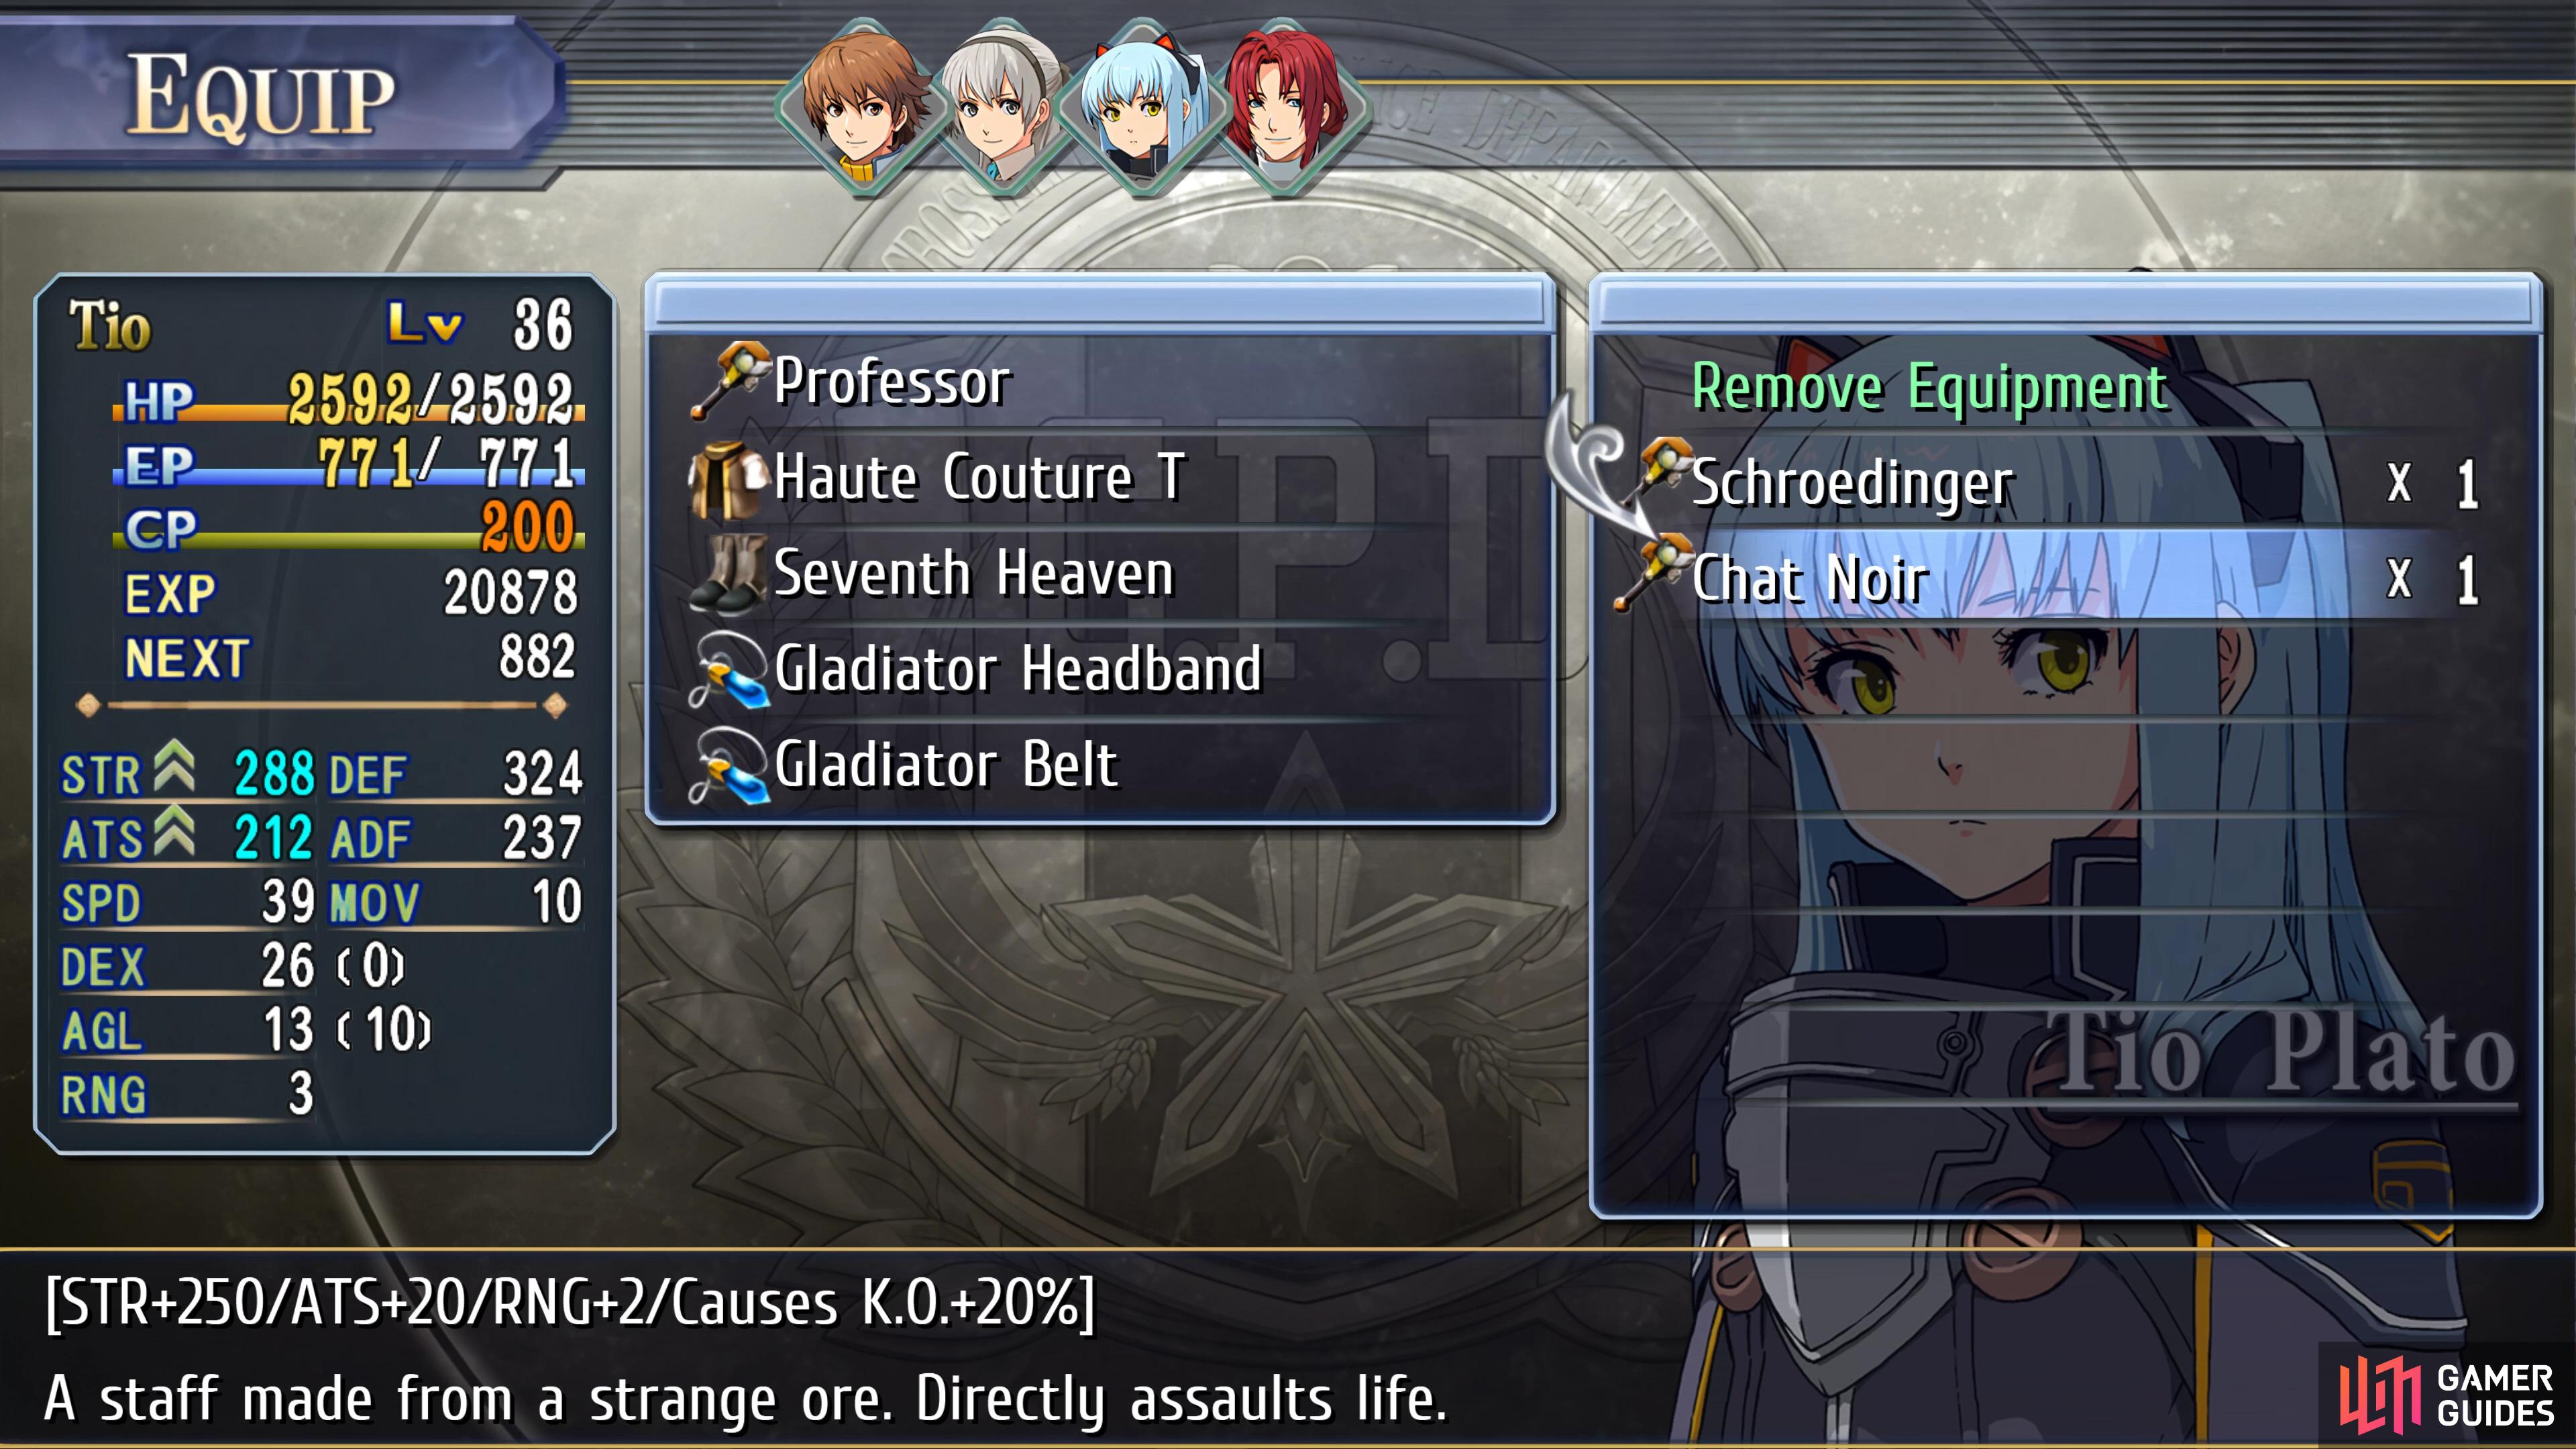
| Tio | STR+250, ATS+20, RNG+2, Causes KO +20% |
| Randy | STR+185, RNG+1, Causes Burn +20% |
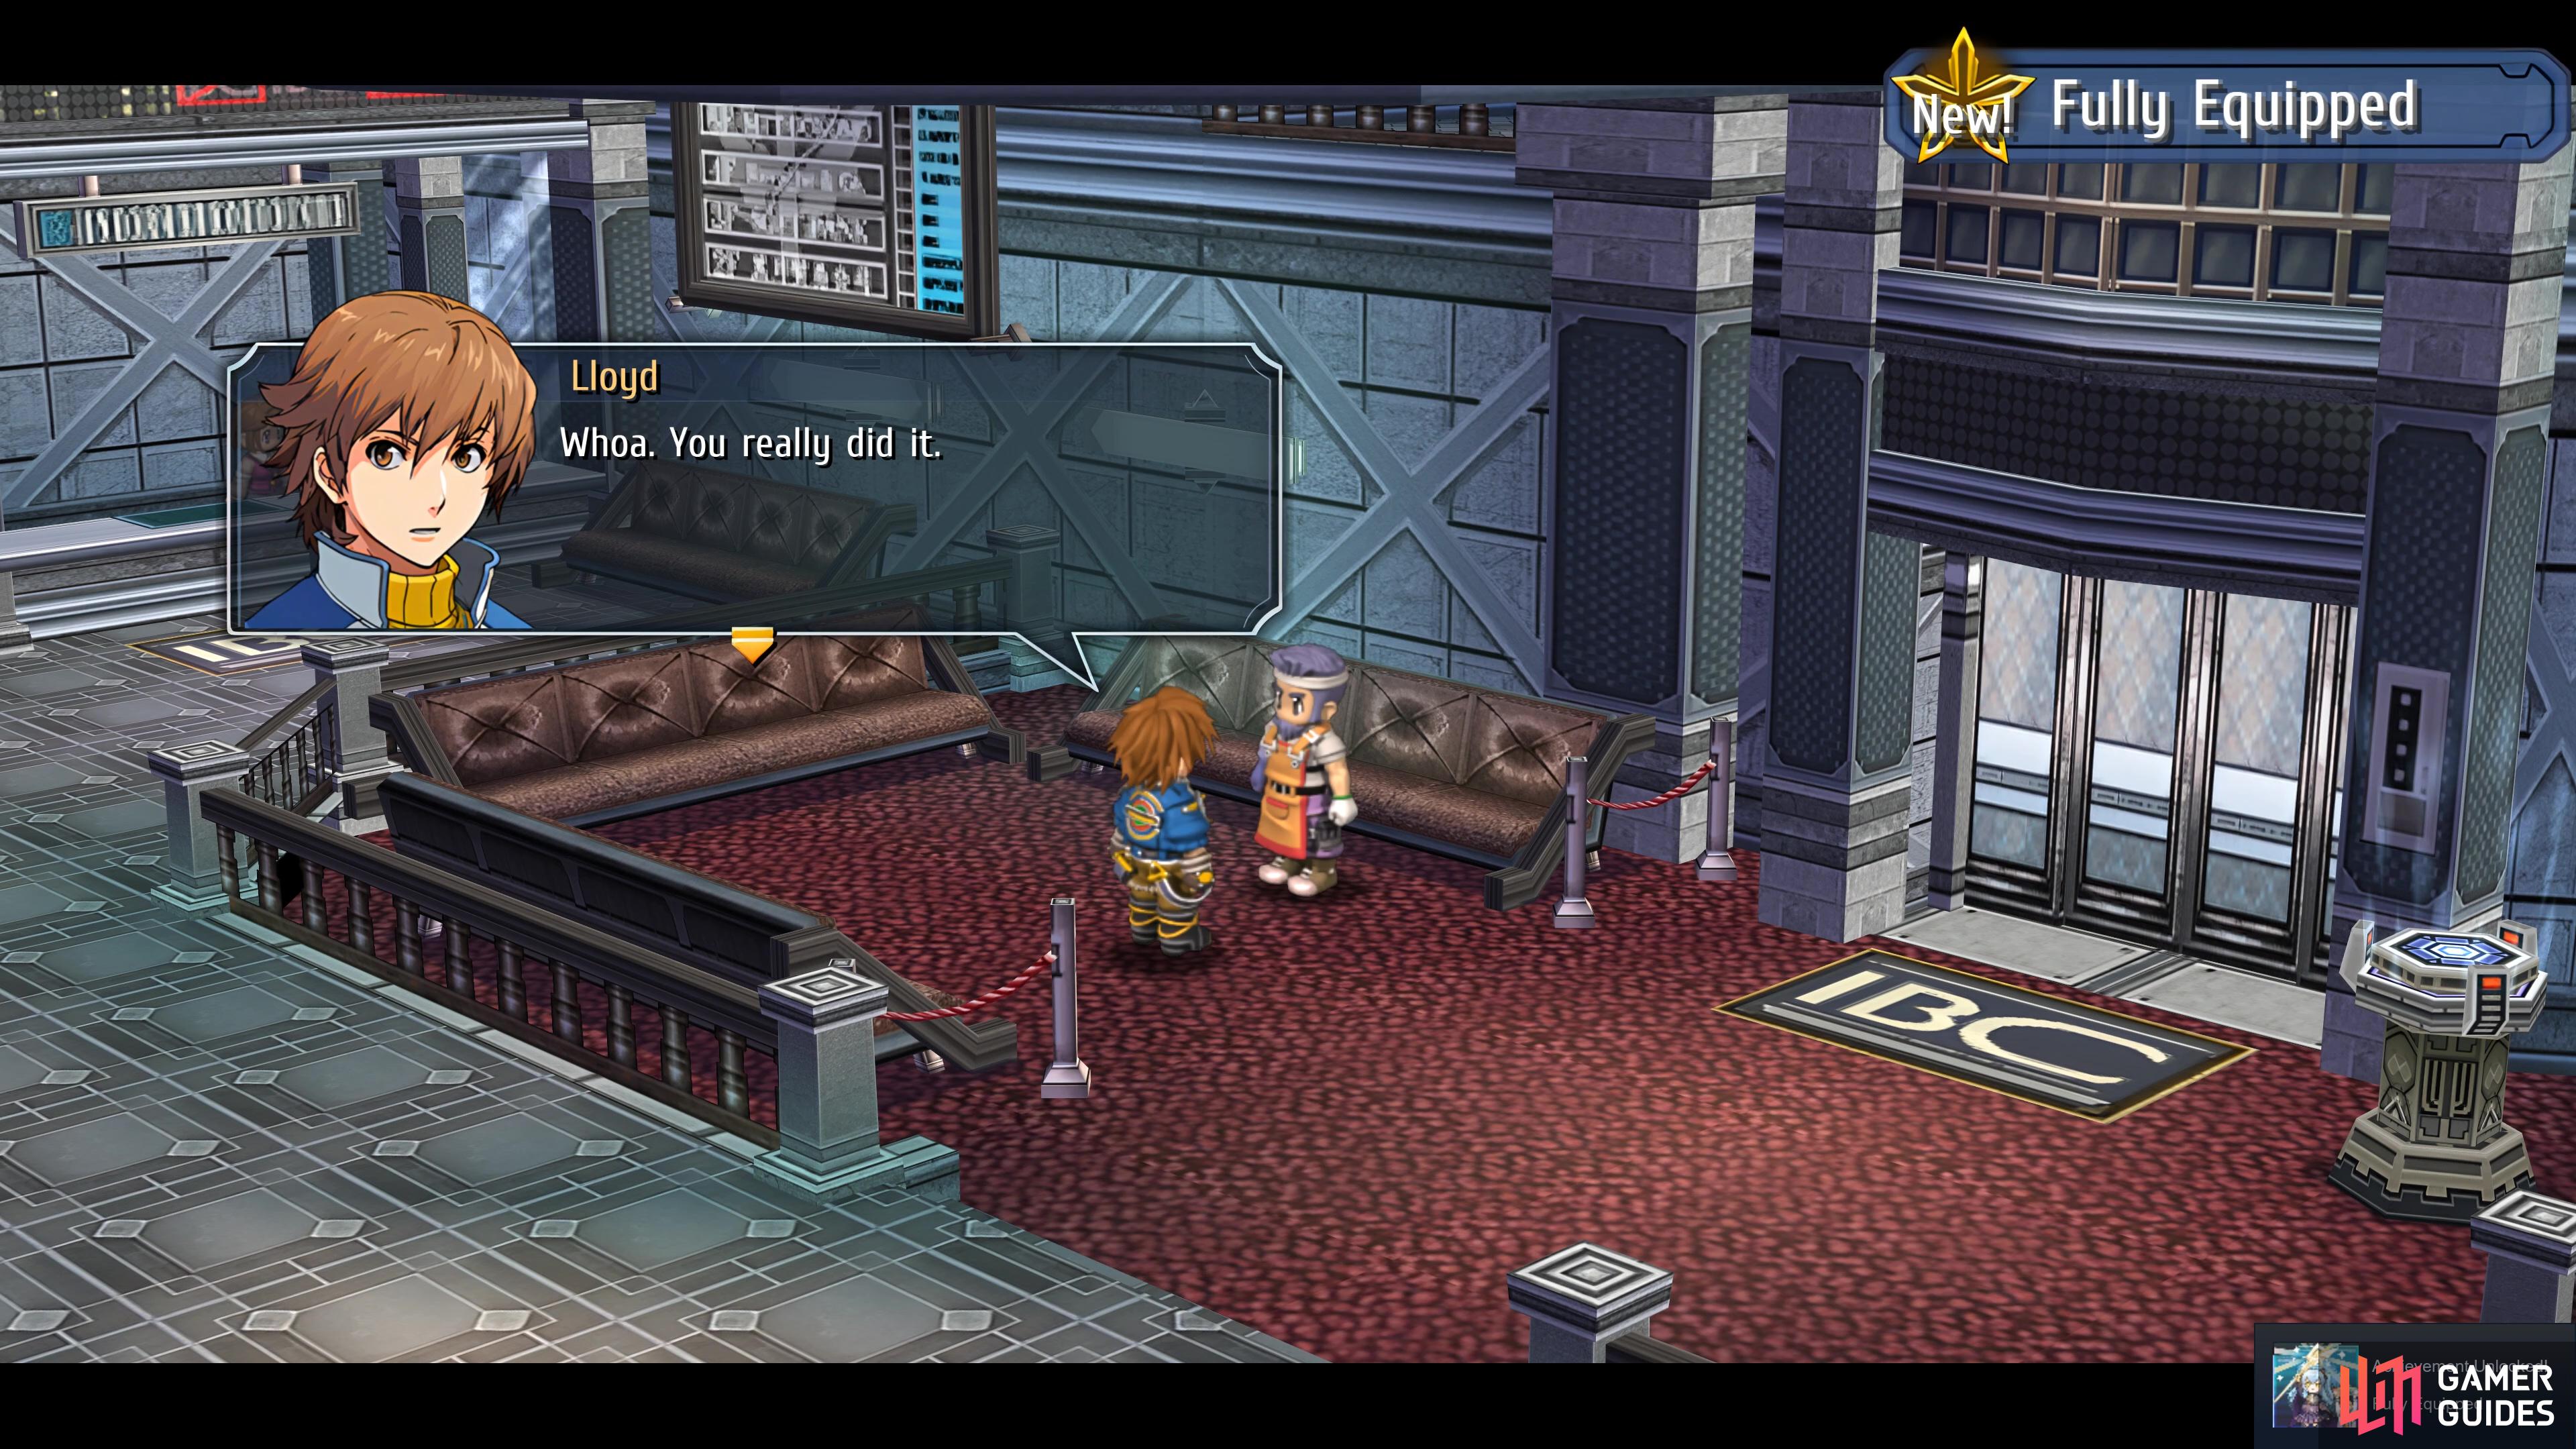
In our opinion, Tio’s weapon should be your choice, not only does it get the largest STR increase, but she also gets another boost to ATS and an additional effect to cause KO. Do note that the weapons you purchased from Gironde are more than enough to finish the game with and you’ll even find slightly better weapons than the Gironde ones in the final dungeon. This will also get you the Fully Equipped Achievement/Trophy.
(1 of 3) The chief will notice you have Zemurian Ore
You can also use his factory here to open any remaining slots or purchase some Quartz you may need, this is your last opportunity to do this. The two Receptionists will also function as shops, Corinna on the right will function the same as Neinvalli while Lanfei will have access to equipment from Gironde and consumables. This is the last time in the game you have access to these features, so if you have no slots to open or quartz to craft, feel free to exchange all of your Sepith.
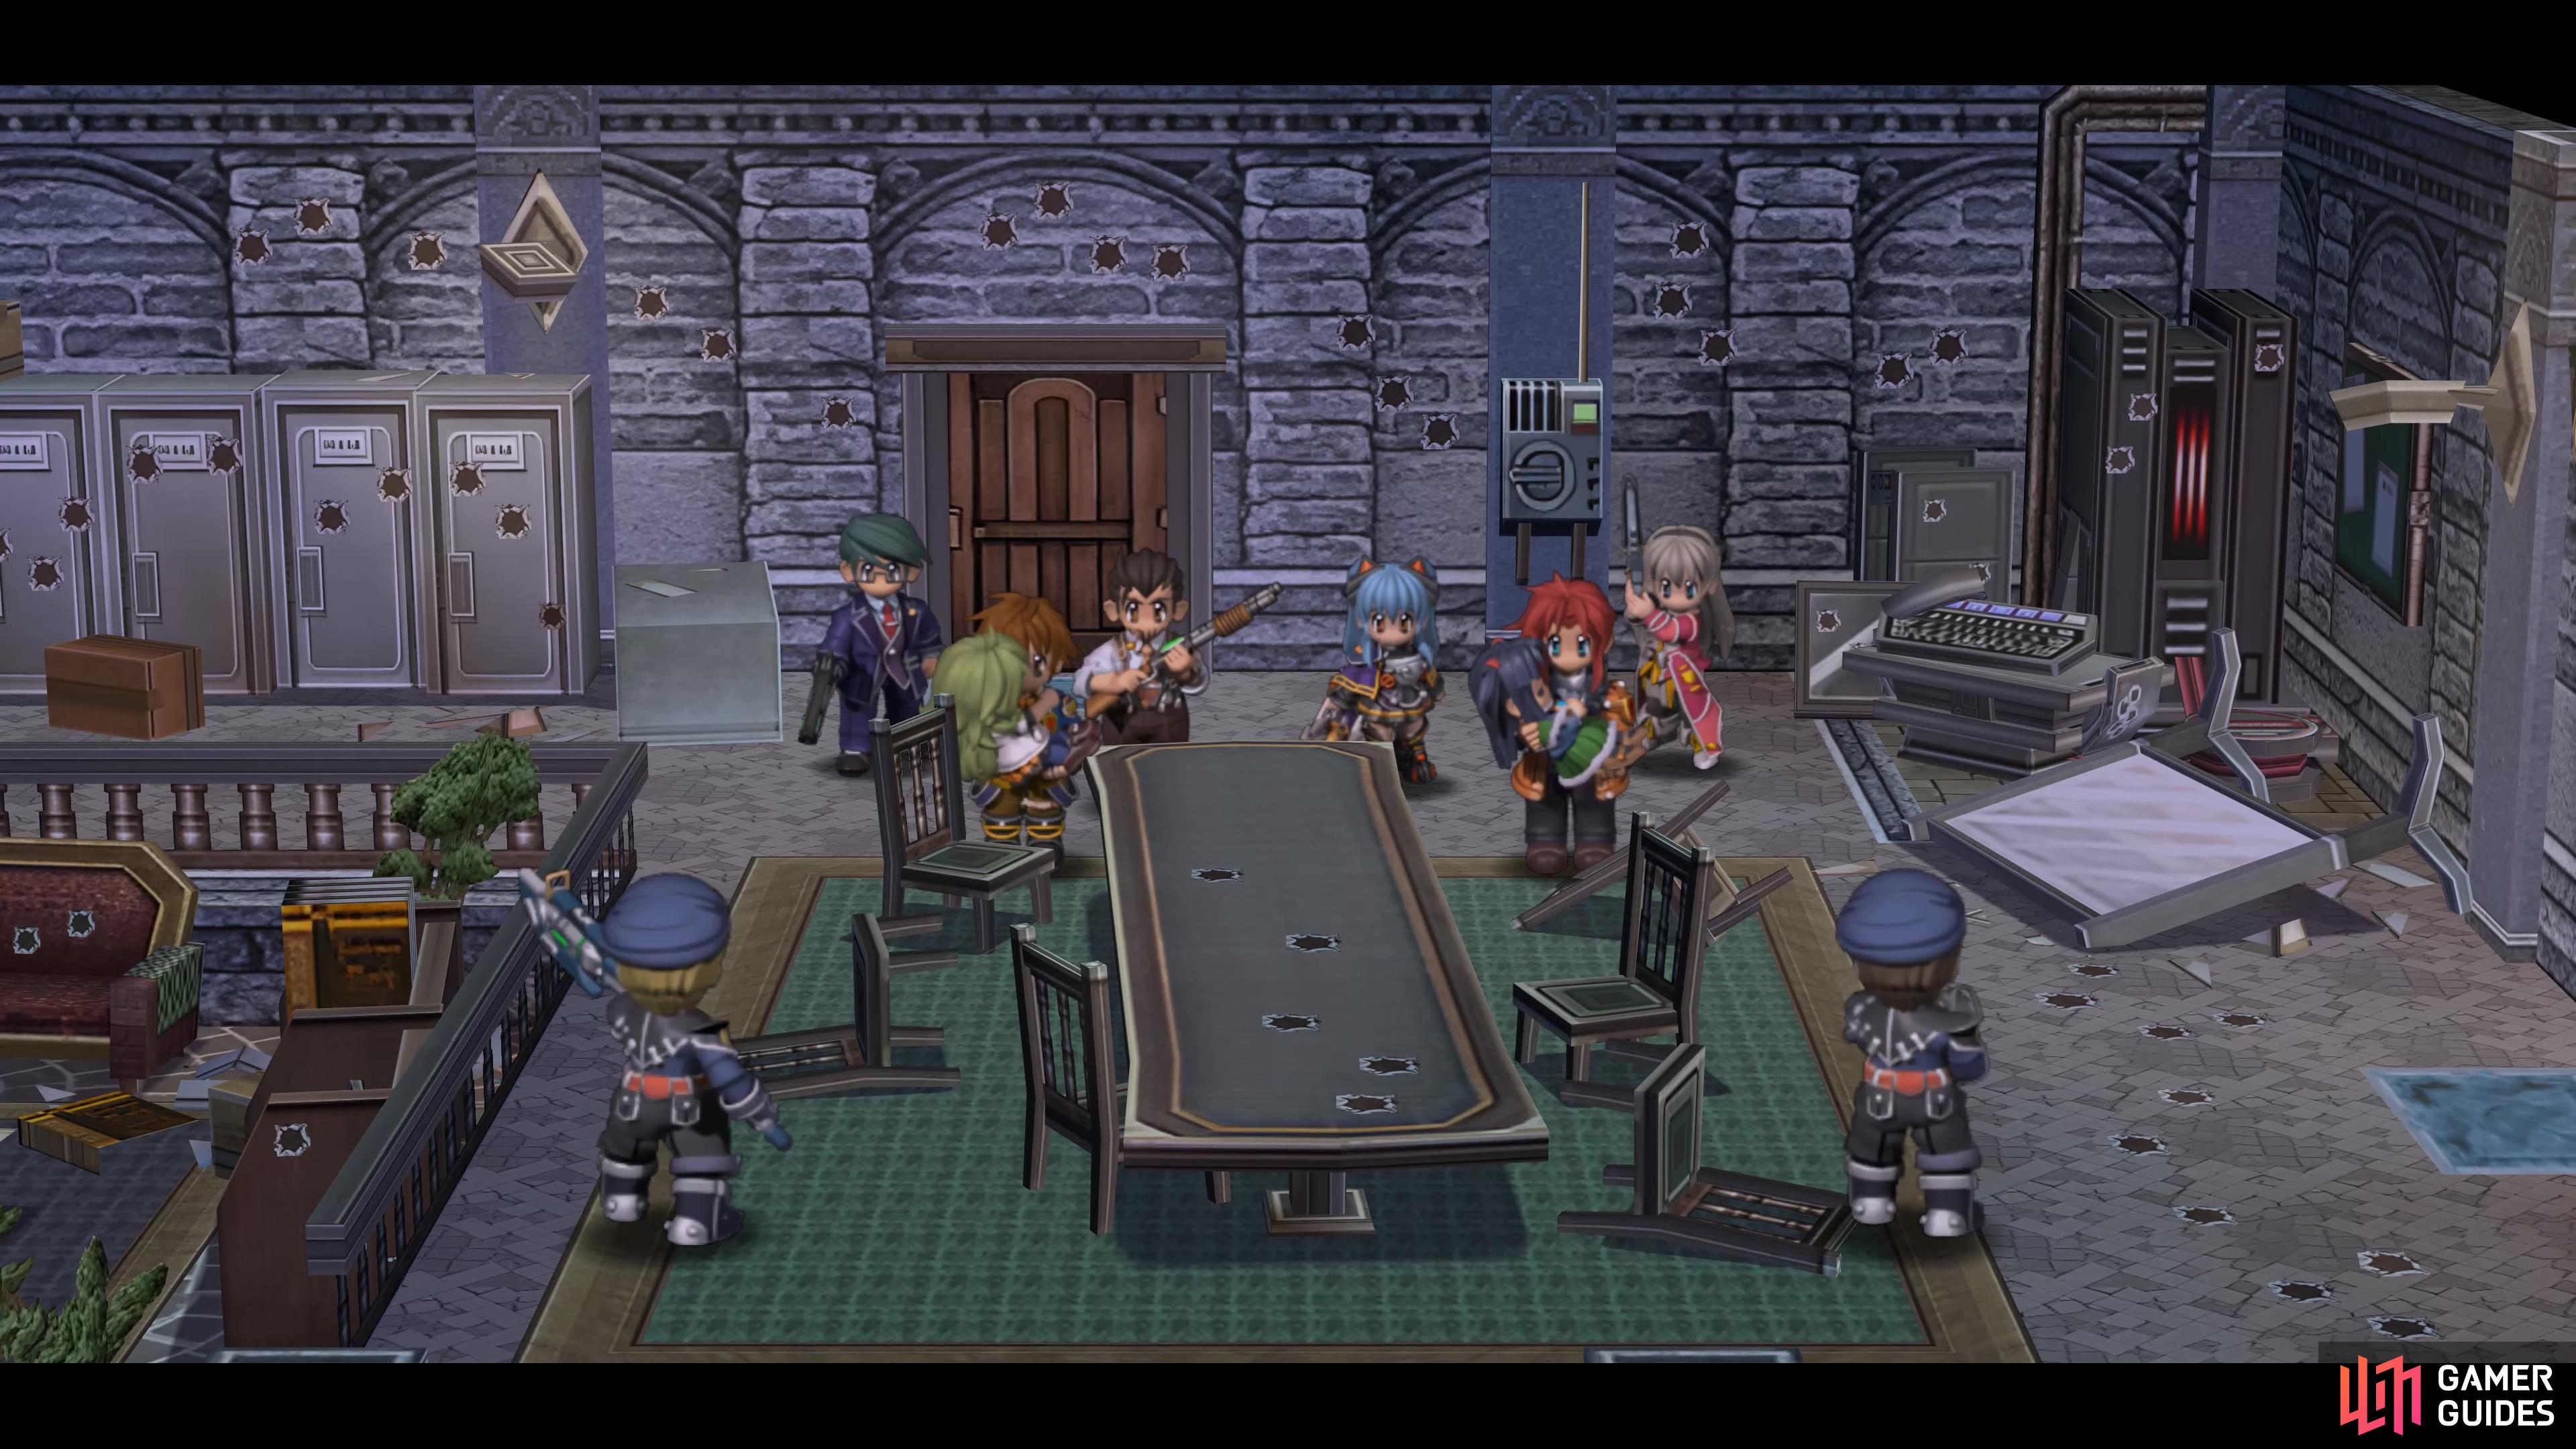
Once you’re ready to continue, you’ll need to speak to everyone. You’ll find Randy on the 1F, Tio on B5, KeA in the room next to Dieter’s office and Elie, Mariabell, and Dieter himself in his office. Once you’ve spoken to all of them, return to the elevator and a scene will trigger, looks like the attackers are trying to breach the IBC and the SSS decides to take up the line of defense.
This is your final opportunity to use any of these shops, you’re about to head into a series of six battles, each of which contains more enemies than the last and you won’t recover HP, EP, or CP between the battles. Once you’re ready, save your game and head outside to get the battles underway, here’s what you can expect:
| Battle | Enemies |
|---|---|
| 1 | Guardsman - Assault Rifle (2) |
| 2 | Guardsman - Assault Rifle (2), Guardsman - Halberd (1) |
| 3 | Guardsman - Assault Rifle (2), Guardsman - Halberd (2) |
| 4 | Guardsman - Assault Rifle (2), Guardsman - Halberd (3) |
| 5 | Warrant Officer Mireille, Guardsman - Assault Rifle (2), Guardsman - Halberd (2) |
| 6 | Guardsman - Assault Rifle (4), Guardsman - Halberd (4) |
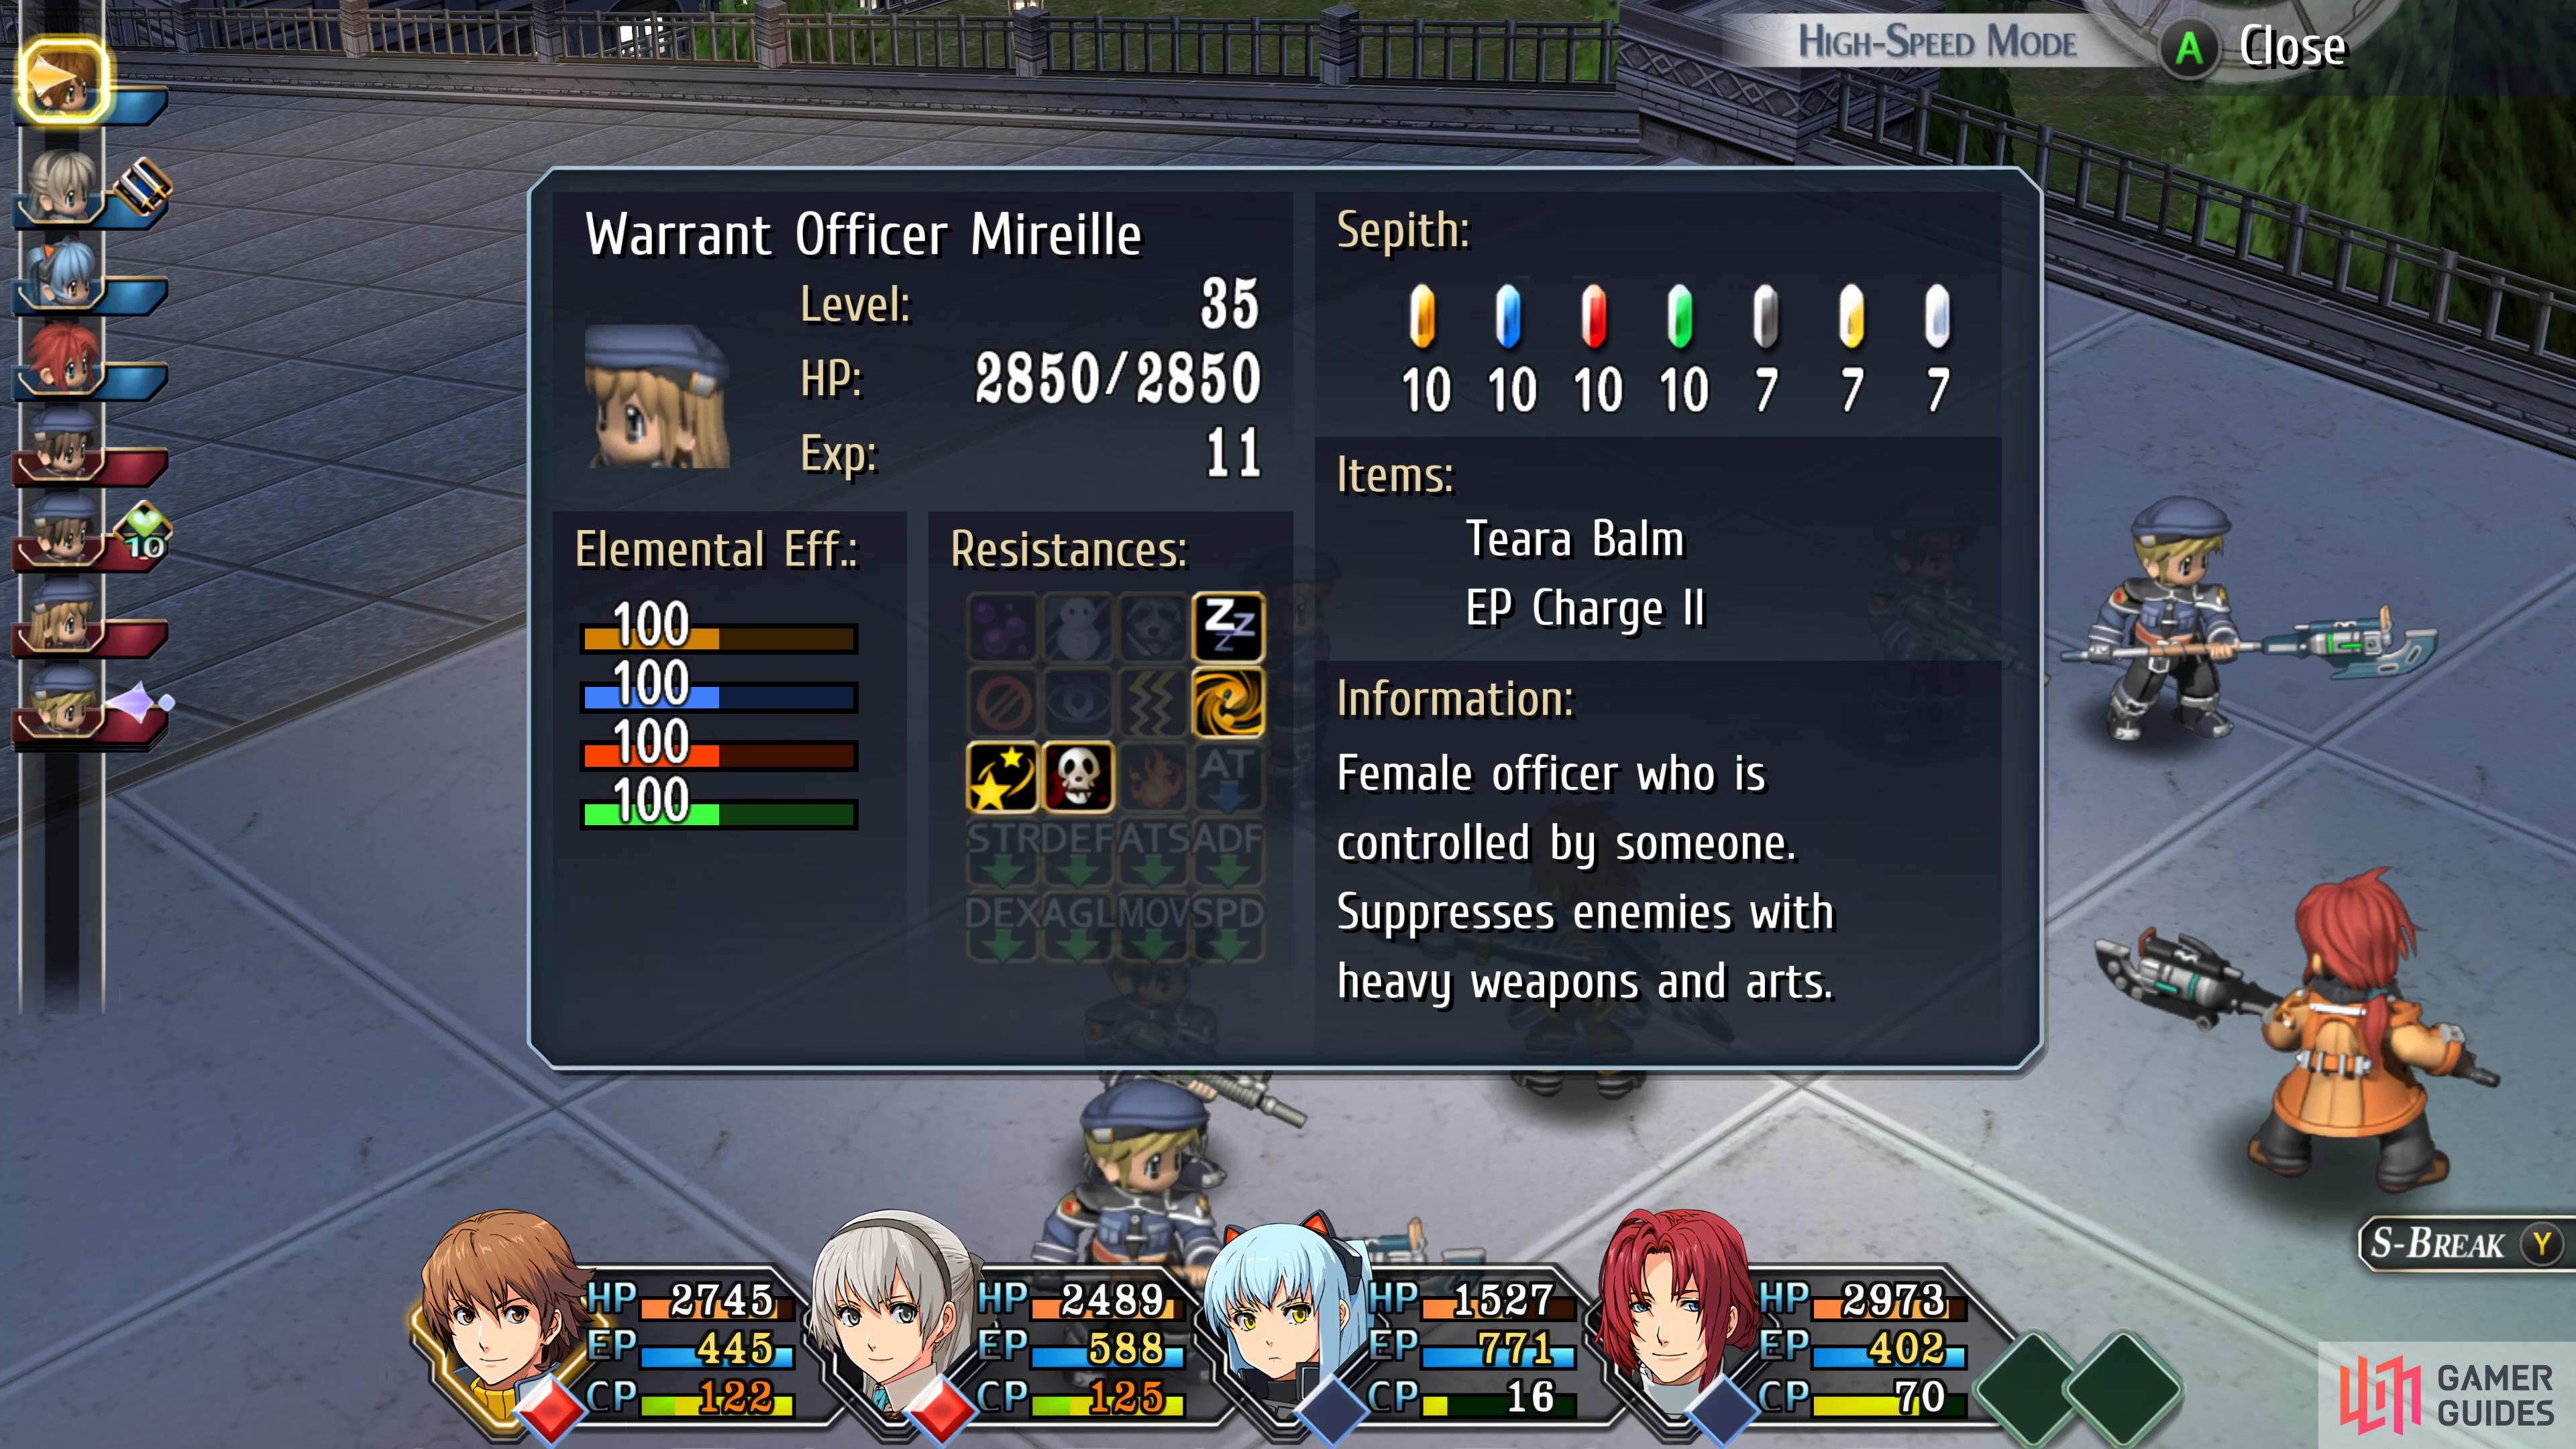
You’ll get 1 DP for winning each of battles 3, 4, and 5 while winning the final battle will grant a further 6 DP. There’s also three new scans to get, so be sure to get the Assault Rifle and Halberd users when you first encounter them and don’t forget Warrant Officer Mireille in the fifth battle.
(1 of 2) Don’t forget to scan Mireille in the fifth battle
Don’t forget to scan Mireille in the fifth battle (left), the final battle is a good opportunity to get this Achievement. (right)
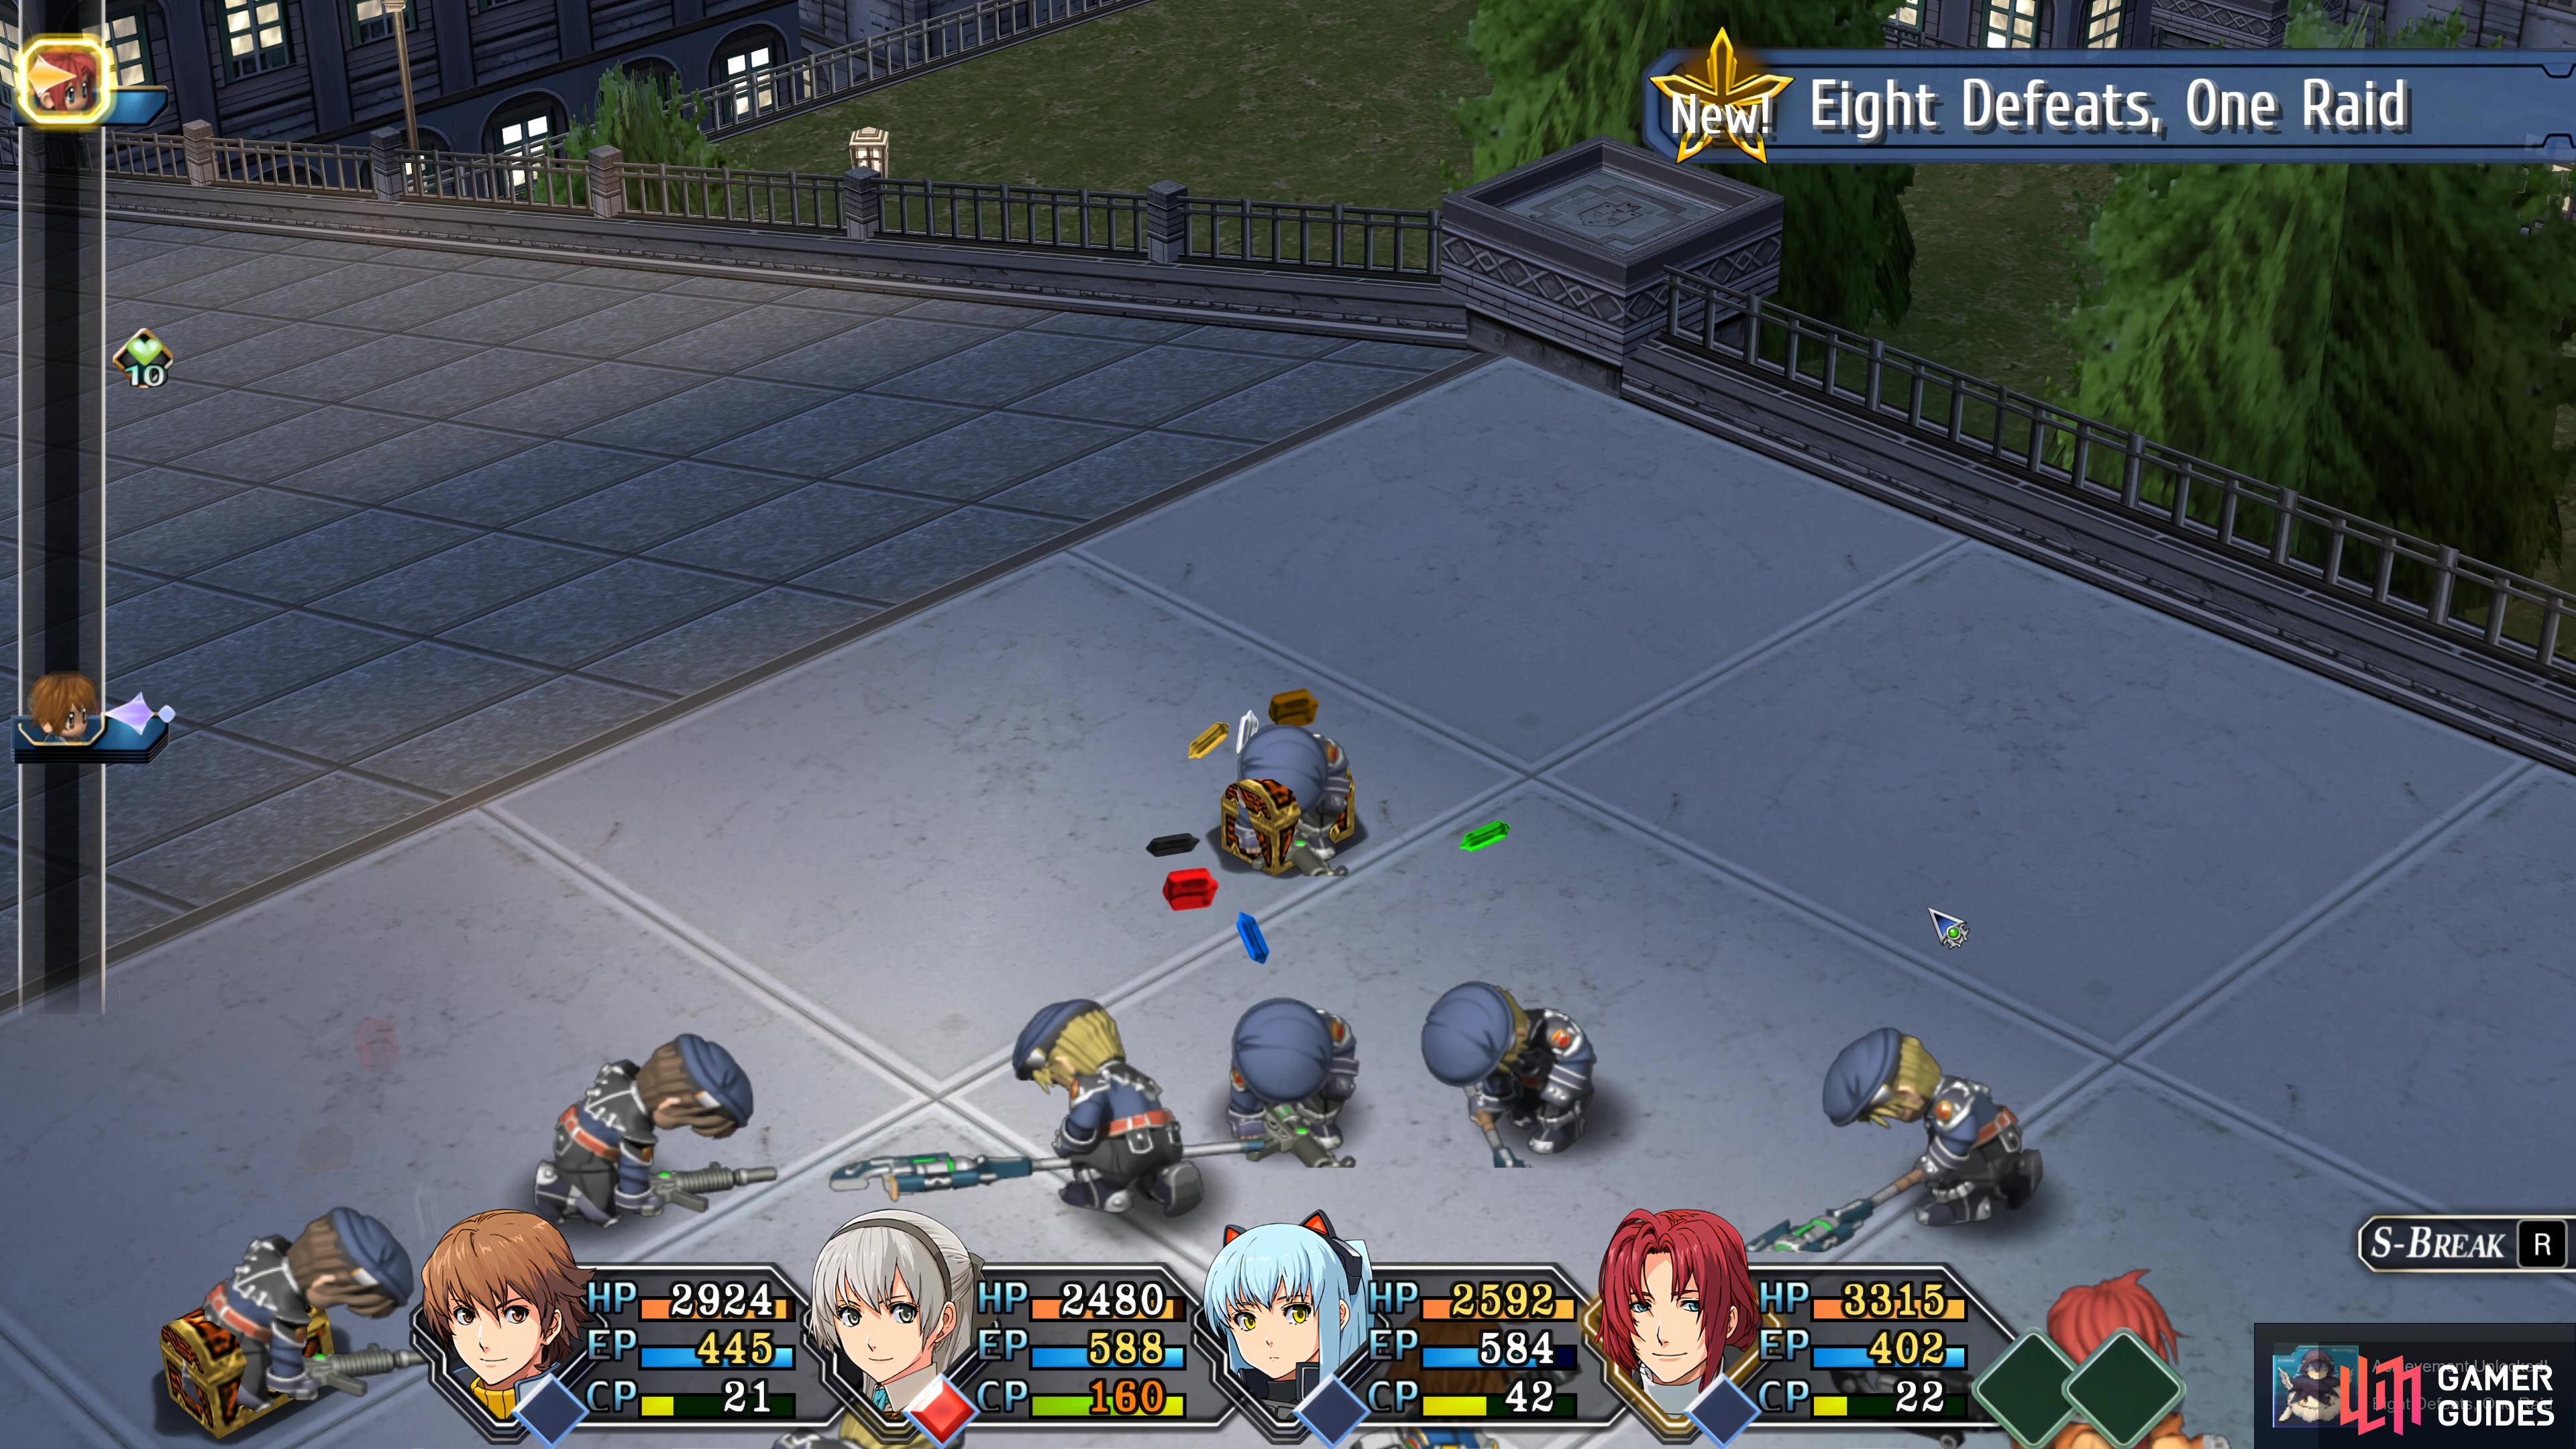
The final battle may look daunting with eight enemies, but using a combination of S-Breaks can take them out rather easily, in fact, this was the battle I got the Eight Defeats, One Raid Achievement/Trophy for defeating eight enemies at once. Of course, don’t neglect Randy’s Crash Bomb in these battles to blind the enemies and make your life a little easier. Also consider taking the time to heal up when you’re left with one enemy at the end of a battle.
Lengthy scenes will take over following your victory as the group finally learns the hiding place of the cult and make their way there to begin the final dungeon. You’ll also get your final Detective report during all of this, if you’ve completed every DP event and cleared all the Requests, you’ll reach the highest rank and obtain the powerful Lunar Gem along with the Following in His Footsteps Achievement/Trophy.

 Sign up
No Comments