Here, we’ll explain the game flow of Monster Hunter Rise and how to efficiently make progress in the game. If you’re a beginner to Monster Hunter, you’ll want to pay close attention!
Quest Structure
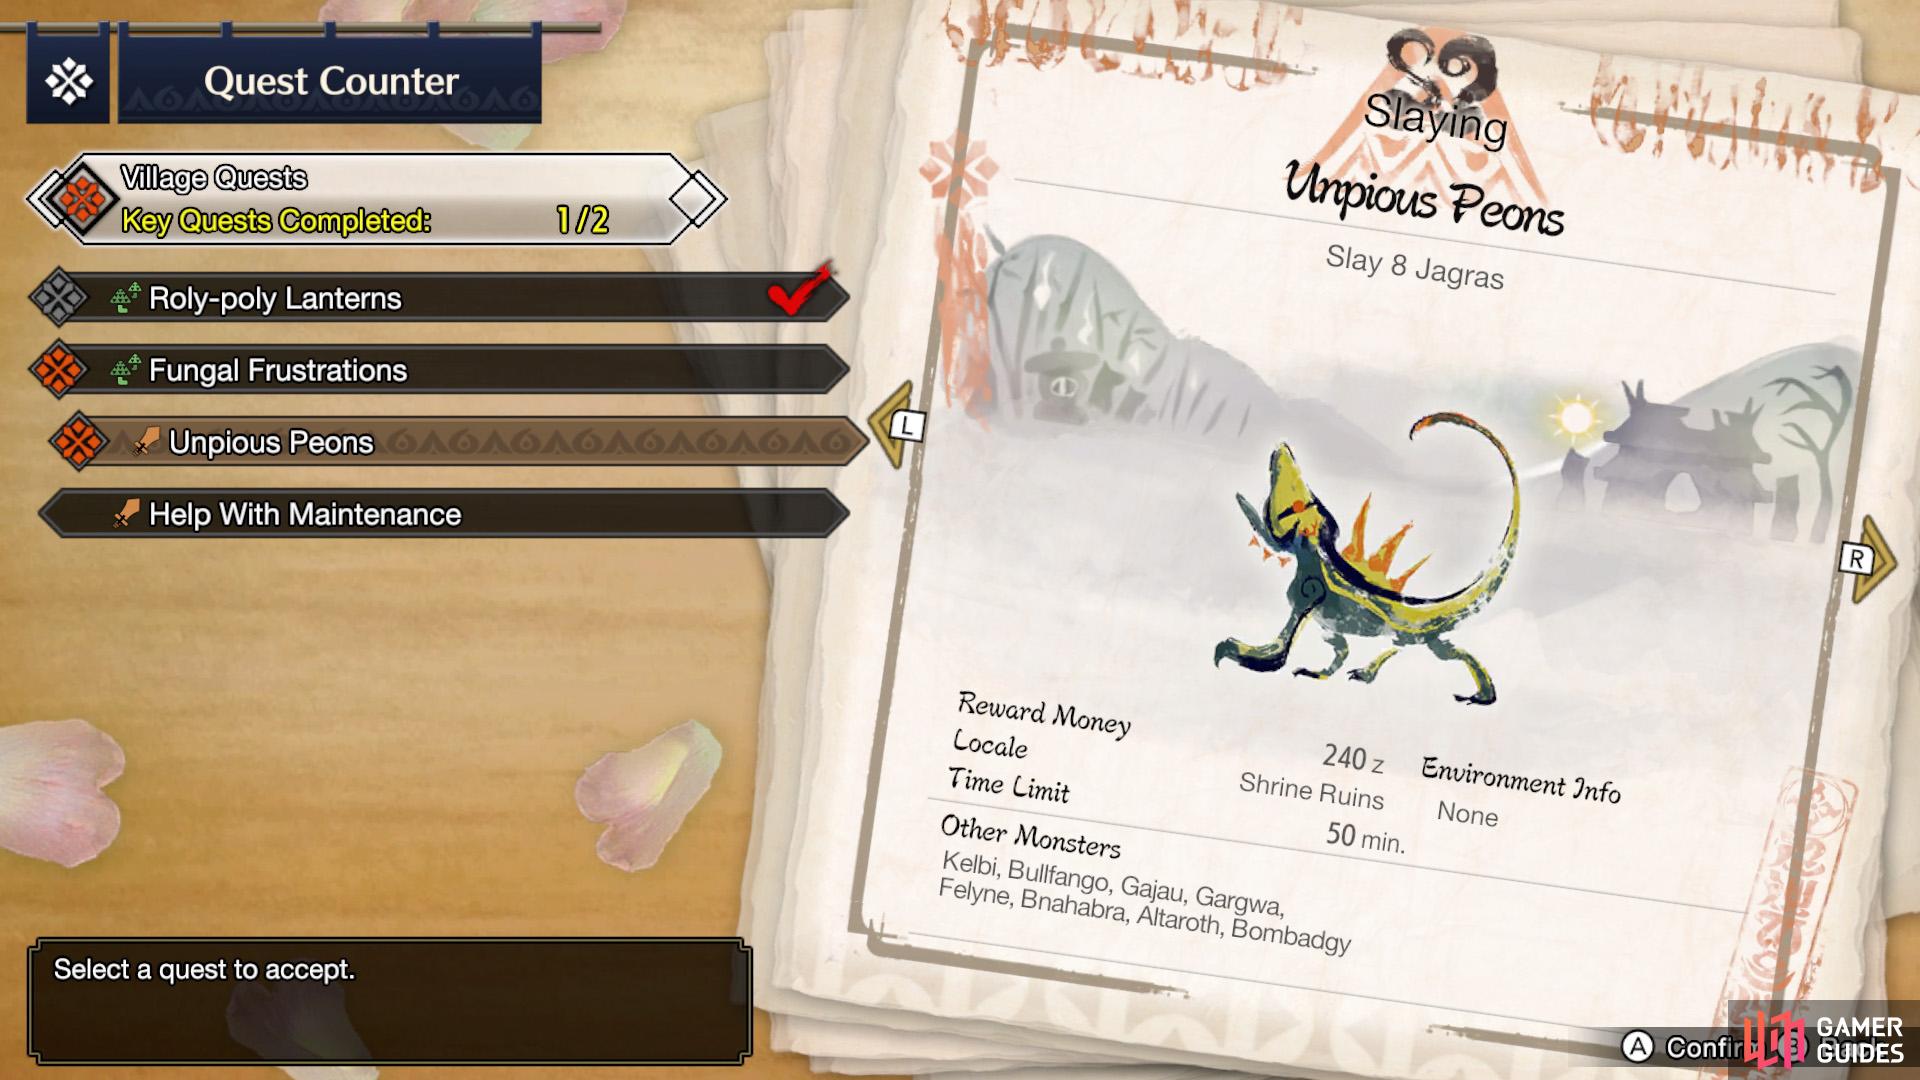
(1 of 2) Key quests have a diamond icon on the left.
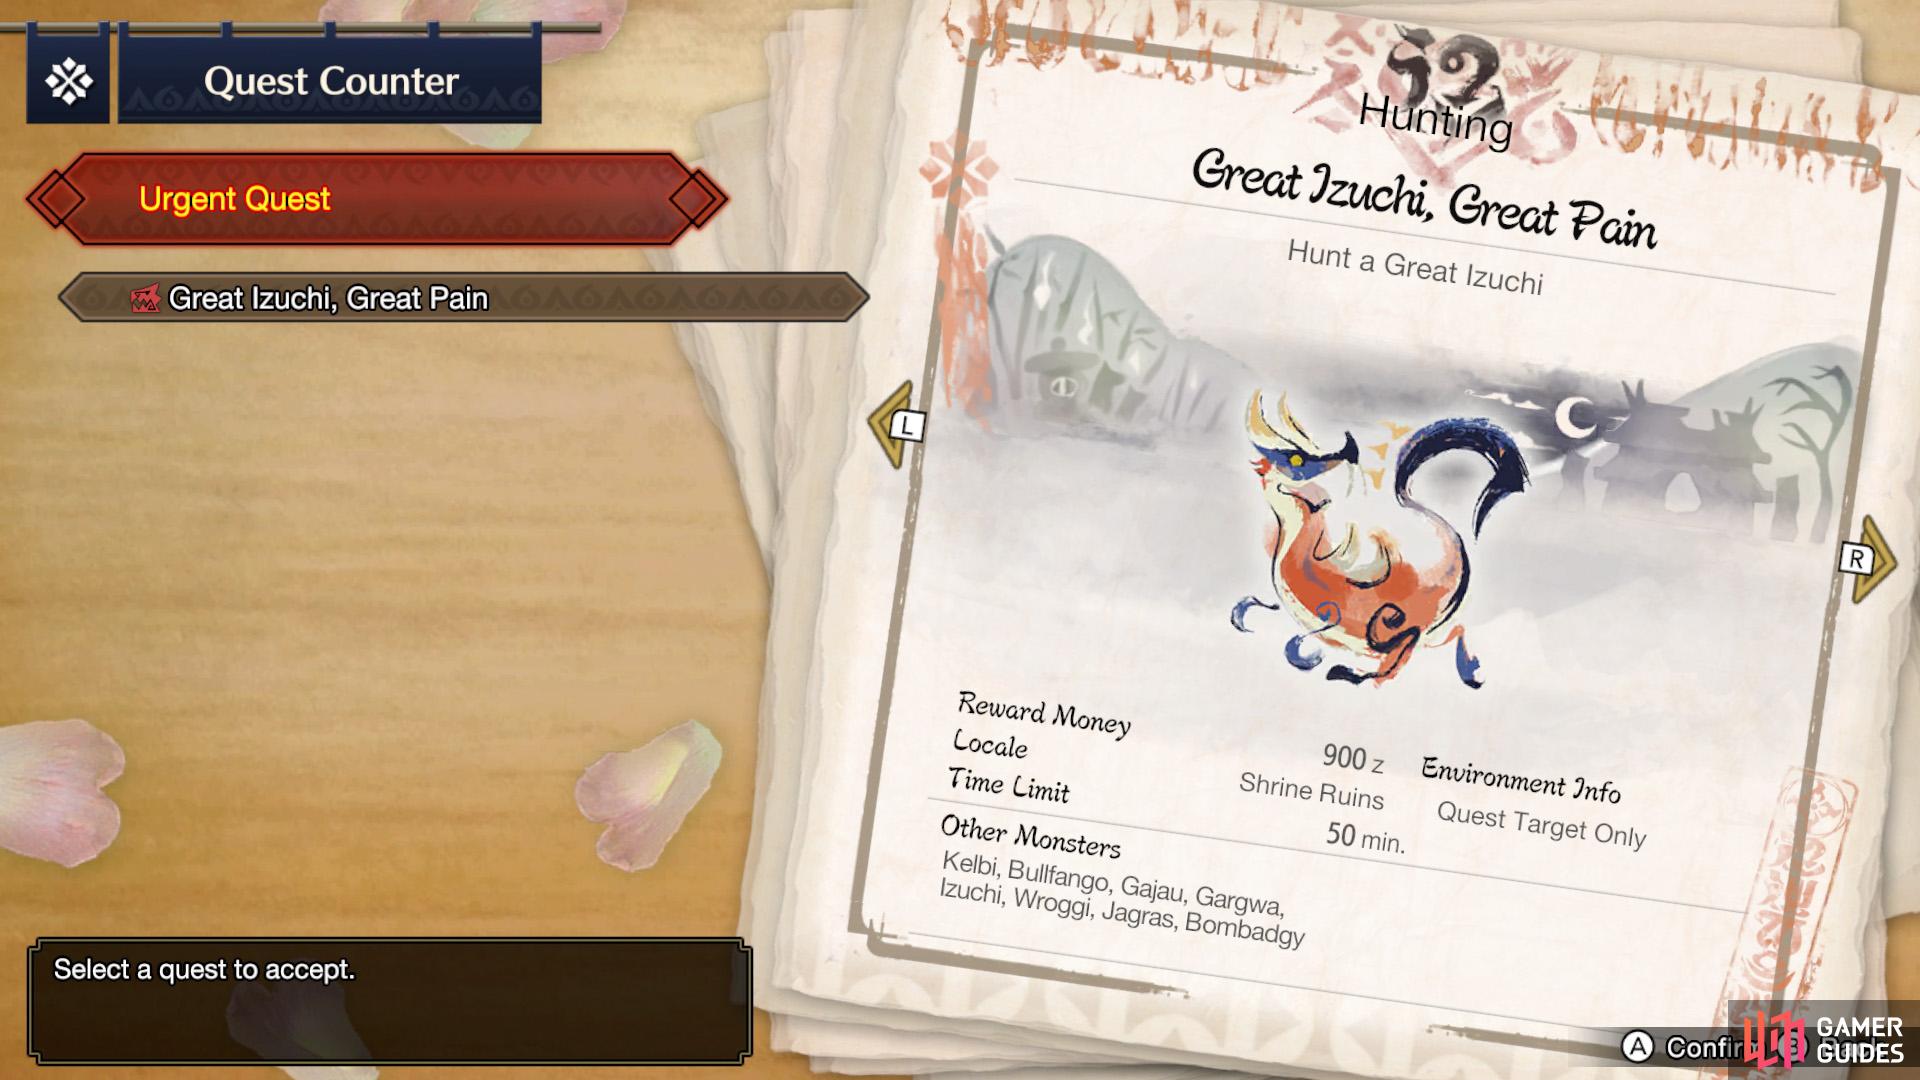
Key quests have a diamond icon on the left. (left), Despite their name, “Urgent” Quests do not have a time limit (they’re only urgent for the villagers). (right)
Rise is structured similarly to previous games in the series. As a newly-registered Hunter, you’ll be tasked with completing various quests to advance the story and increase your Hunter Rank. These quests can range from delivering materials, culling small monsters or–what the games are famous for–hunting the bucketload of large monsters.
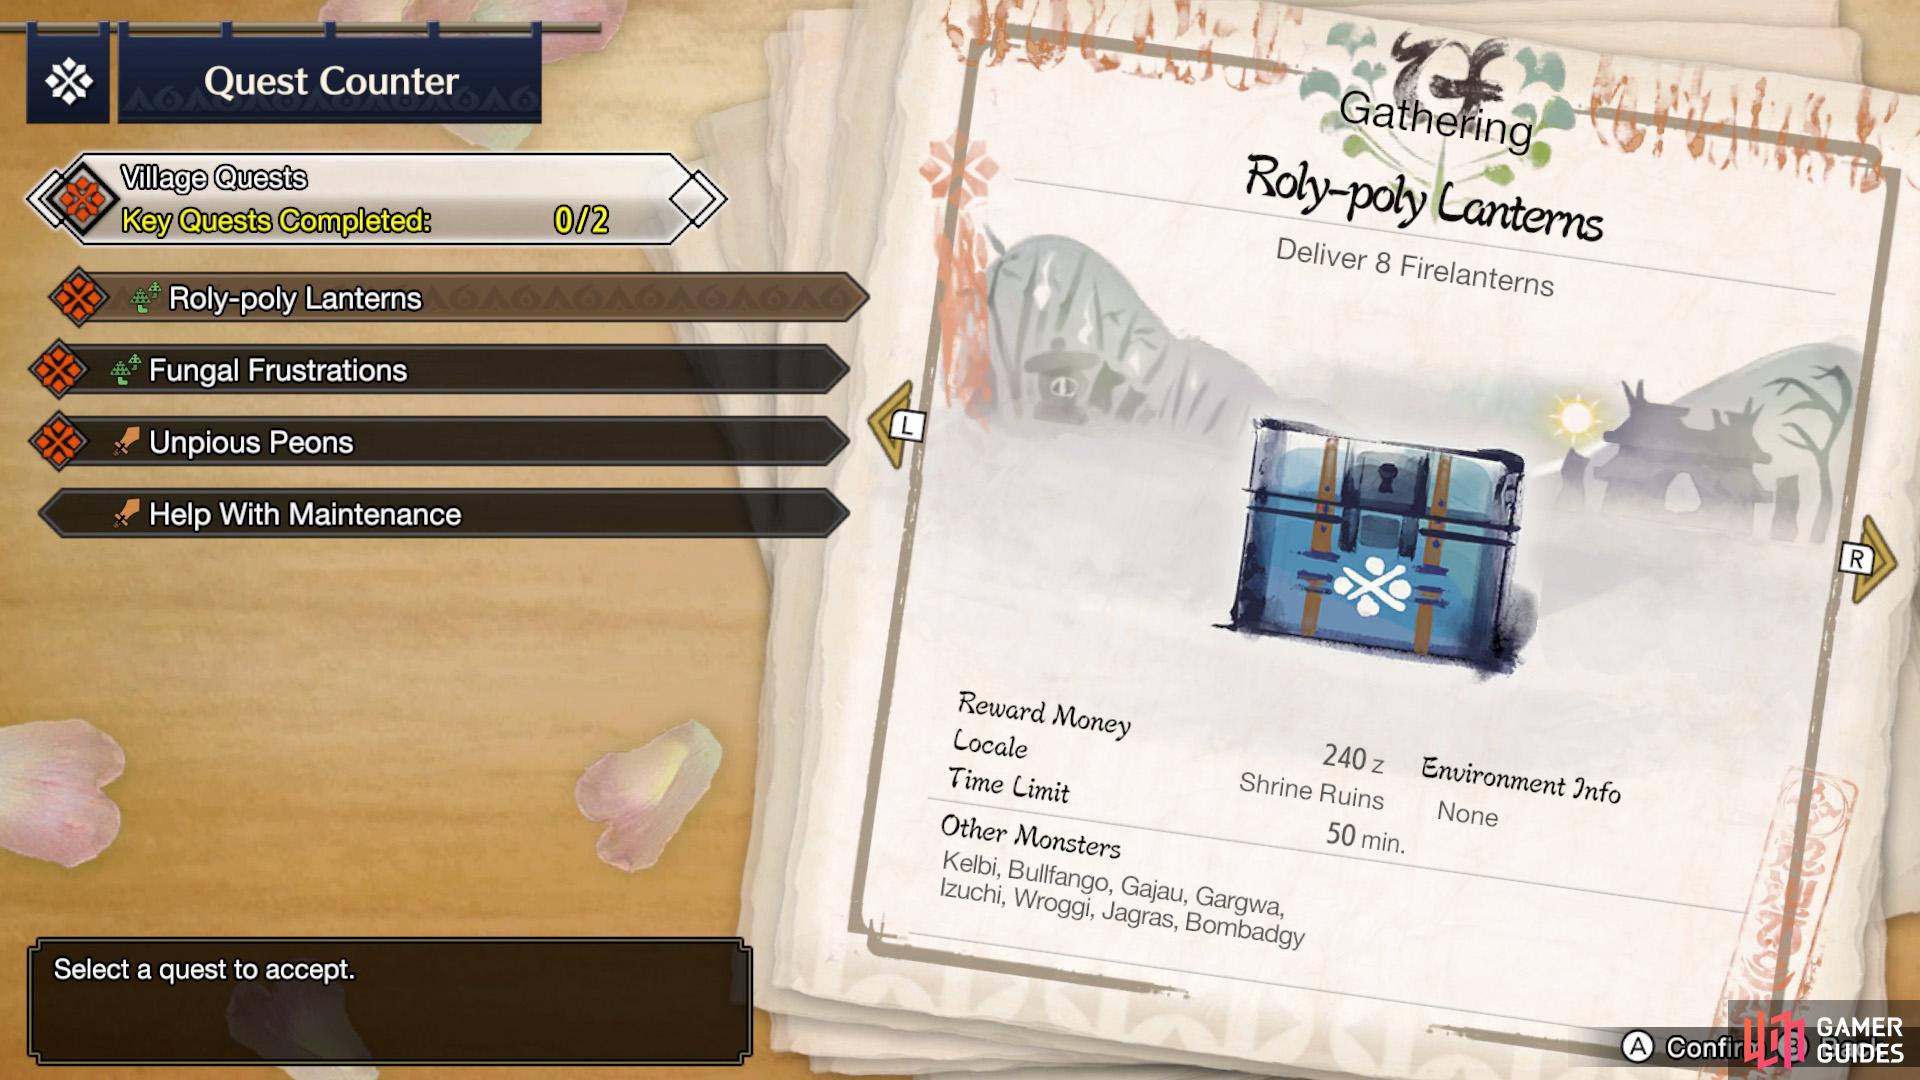
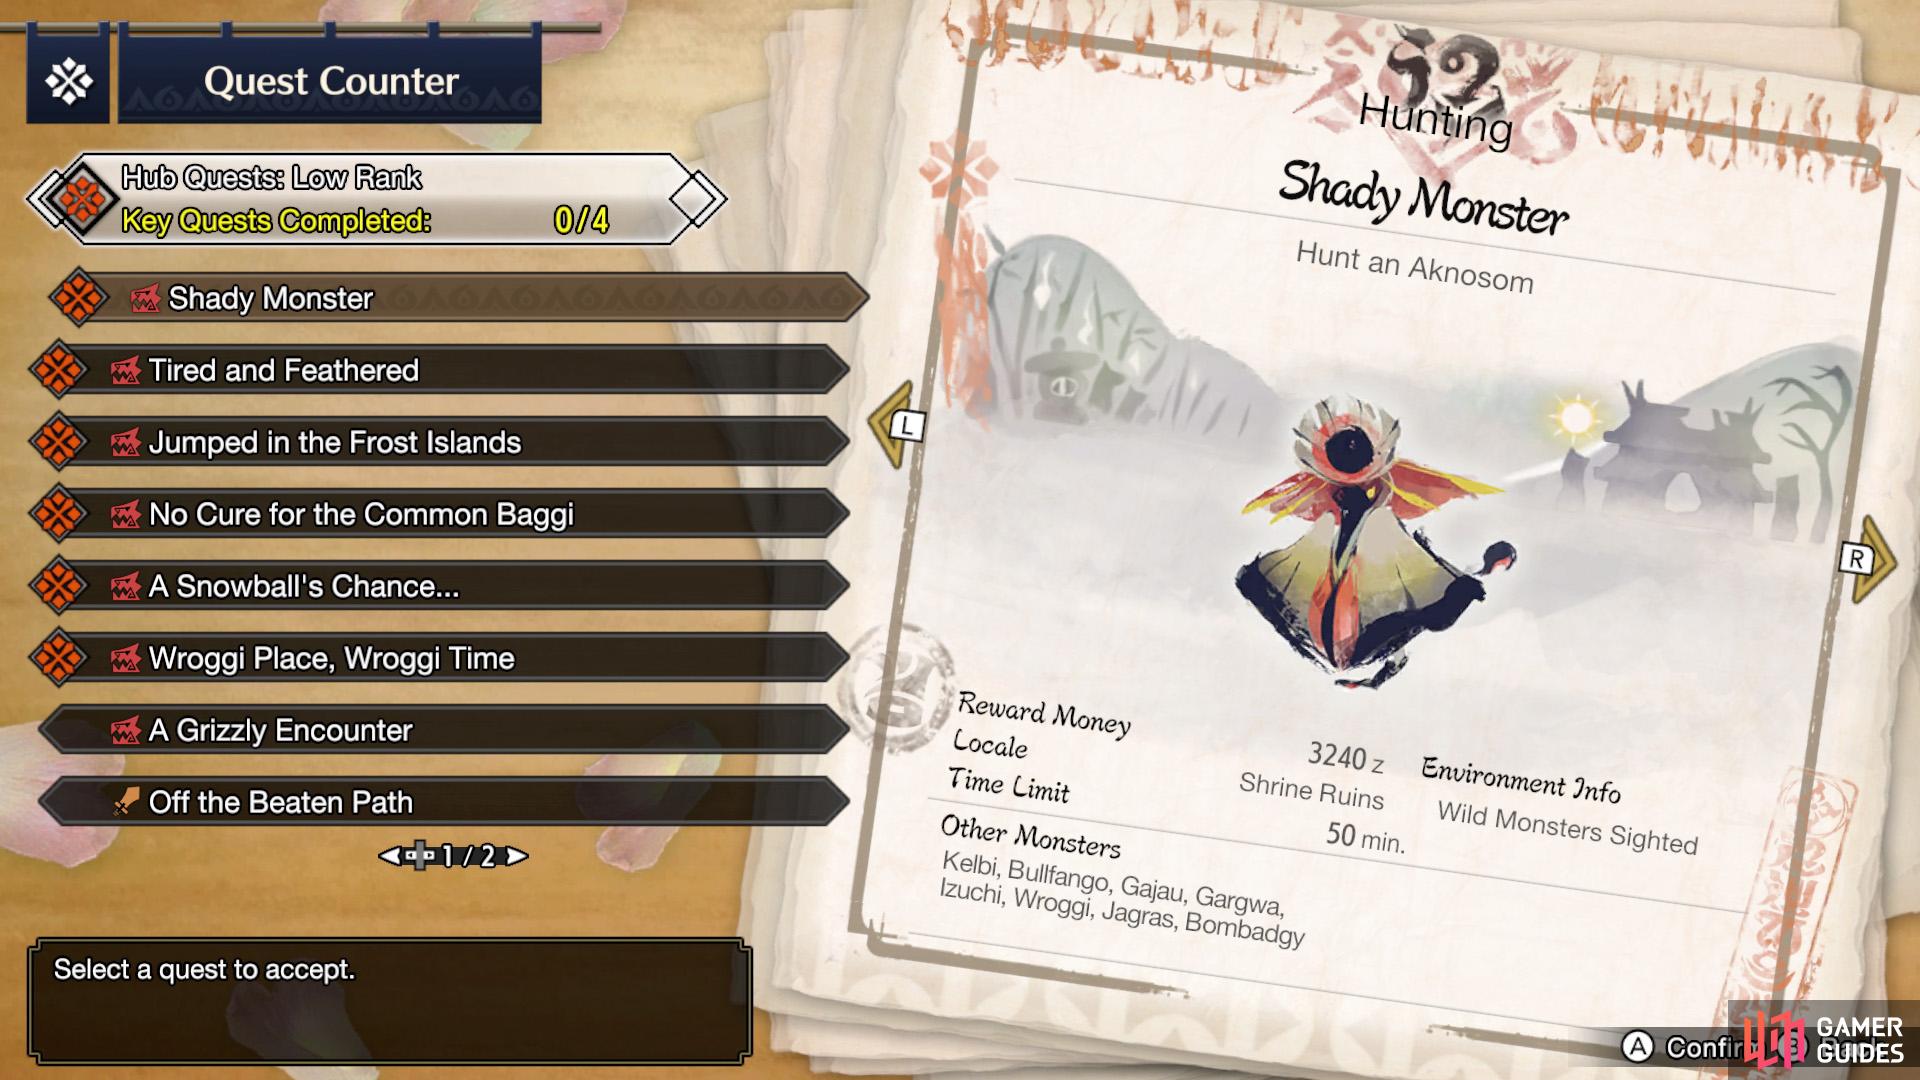
Quests have a star rating, which indicates the general difficulty of the quest. At the beginning, you can take on simple 1-star quests; eventually, you’ll tackle terrifying 5-star quests. In order to accept higher difficulty quests, you must first complete a certain amount of unique Key Quests. These quests have an icon next to them, to differentiate them from regular quests.
Once you’ve hit the target (you can see your progress in the top-right corner of the HUD), an Urgent Quest will be filed in the usual place. This is basically a Key Quest that bridges your current difficulty with the next one. Complete this Urgent Quest and the next tier of quests will be available to you (eg. 2-star quests, if you completed the 1-star Urgent Quest).
Before you hurry off to go hunting, note that quests are divided into two categories: Village Quests and Hub Quests.
What are Village Quests?
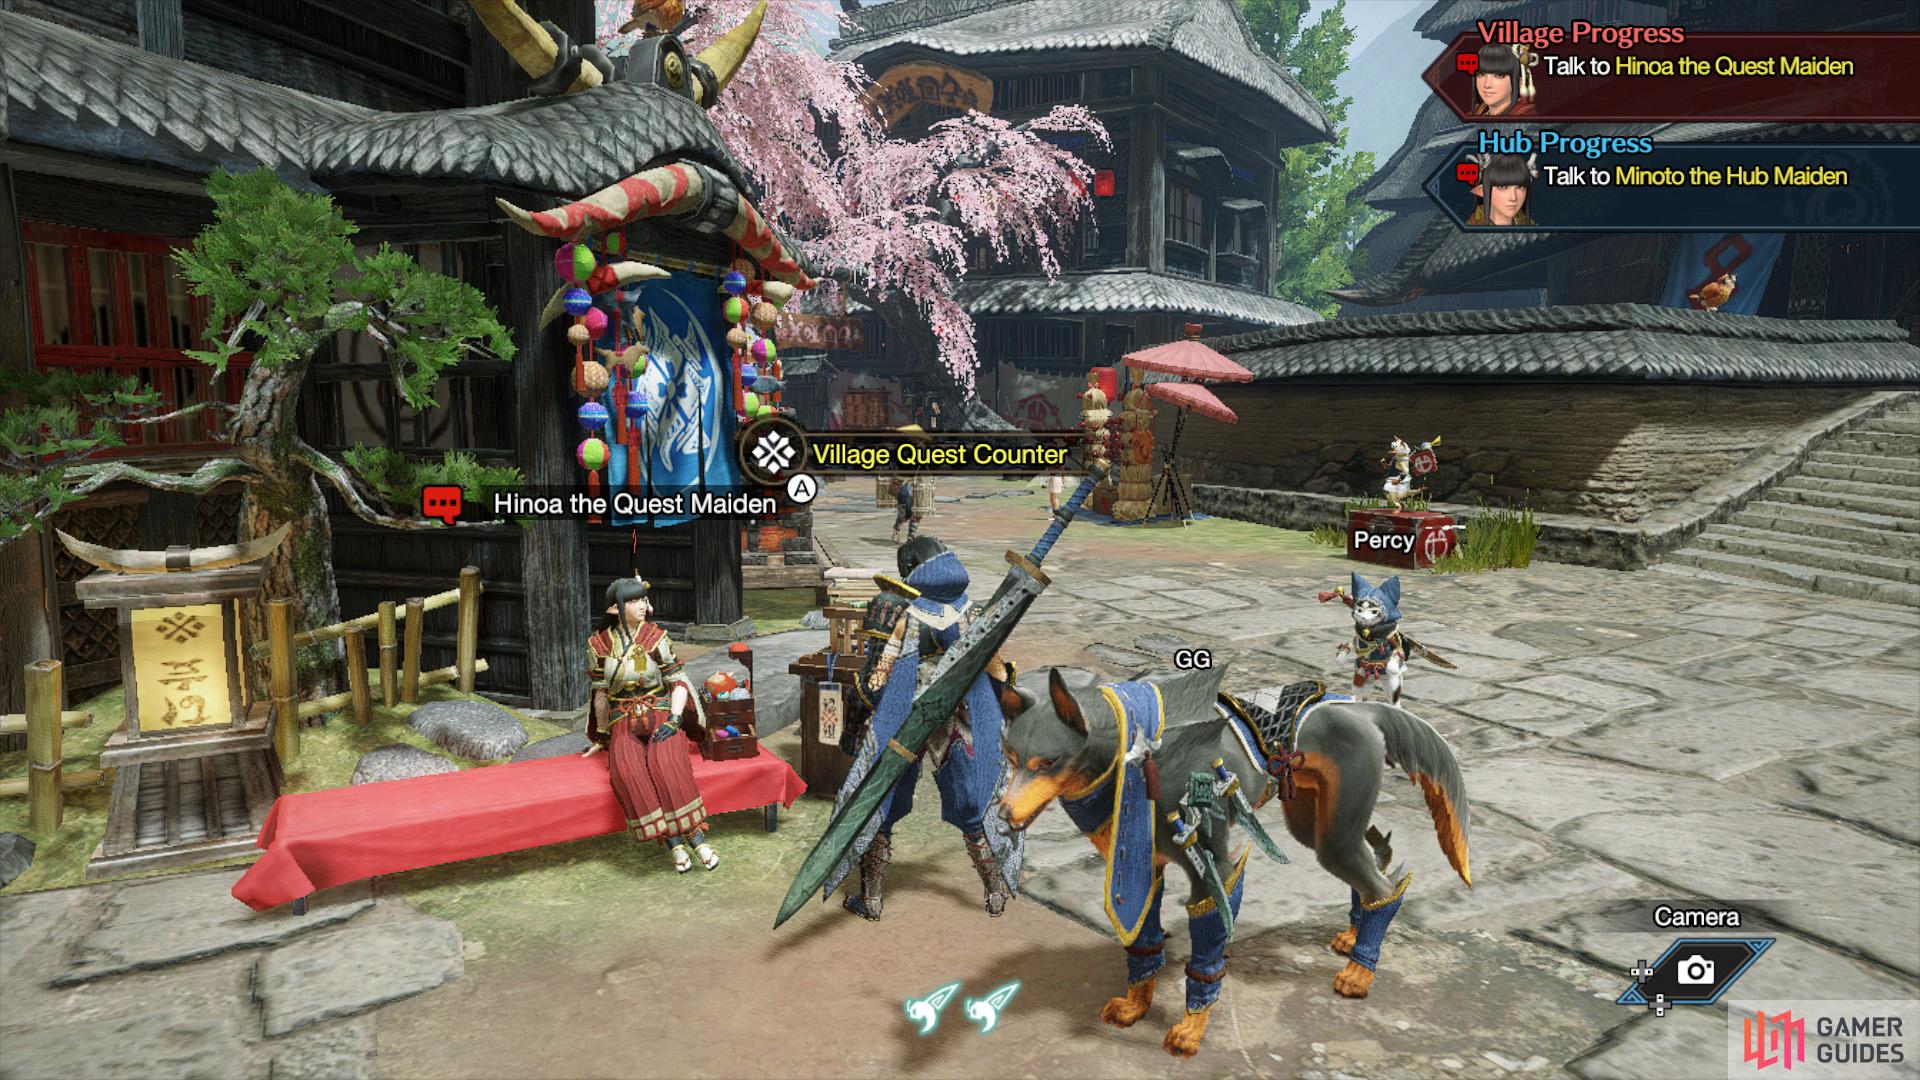
(1 of 2) Go look for Hinoa if you want to attempt Village Quests.
Go look for Hinoa if you want to attempt Village Quests. (left), There are many types of quests, although most (later ones especially) focus on large monsters. (right)
These are solo-only quests, available from Hinoa the Quest Maiden, found sitting near the center of Kamura Village. Completing these will advance the story of Kamura Village. Some of them can be fairly tough, but in general, they’re on the easy side, to ease you in. All Village Quests are considered Low Rank.
What are Hub Quests?
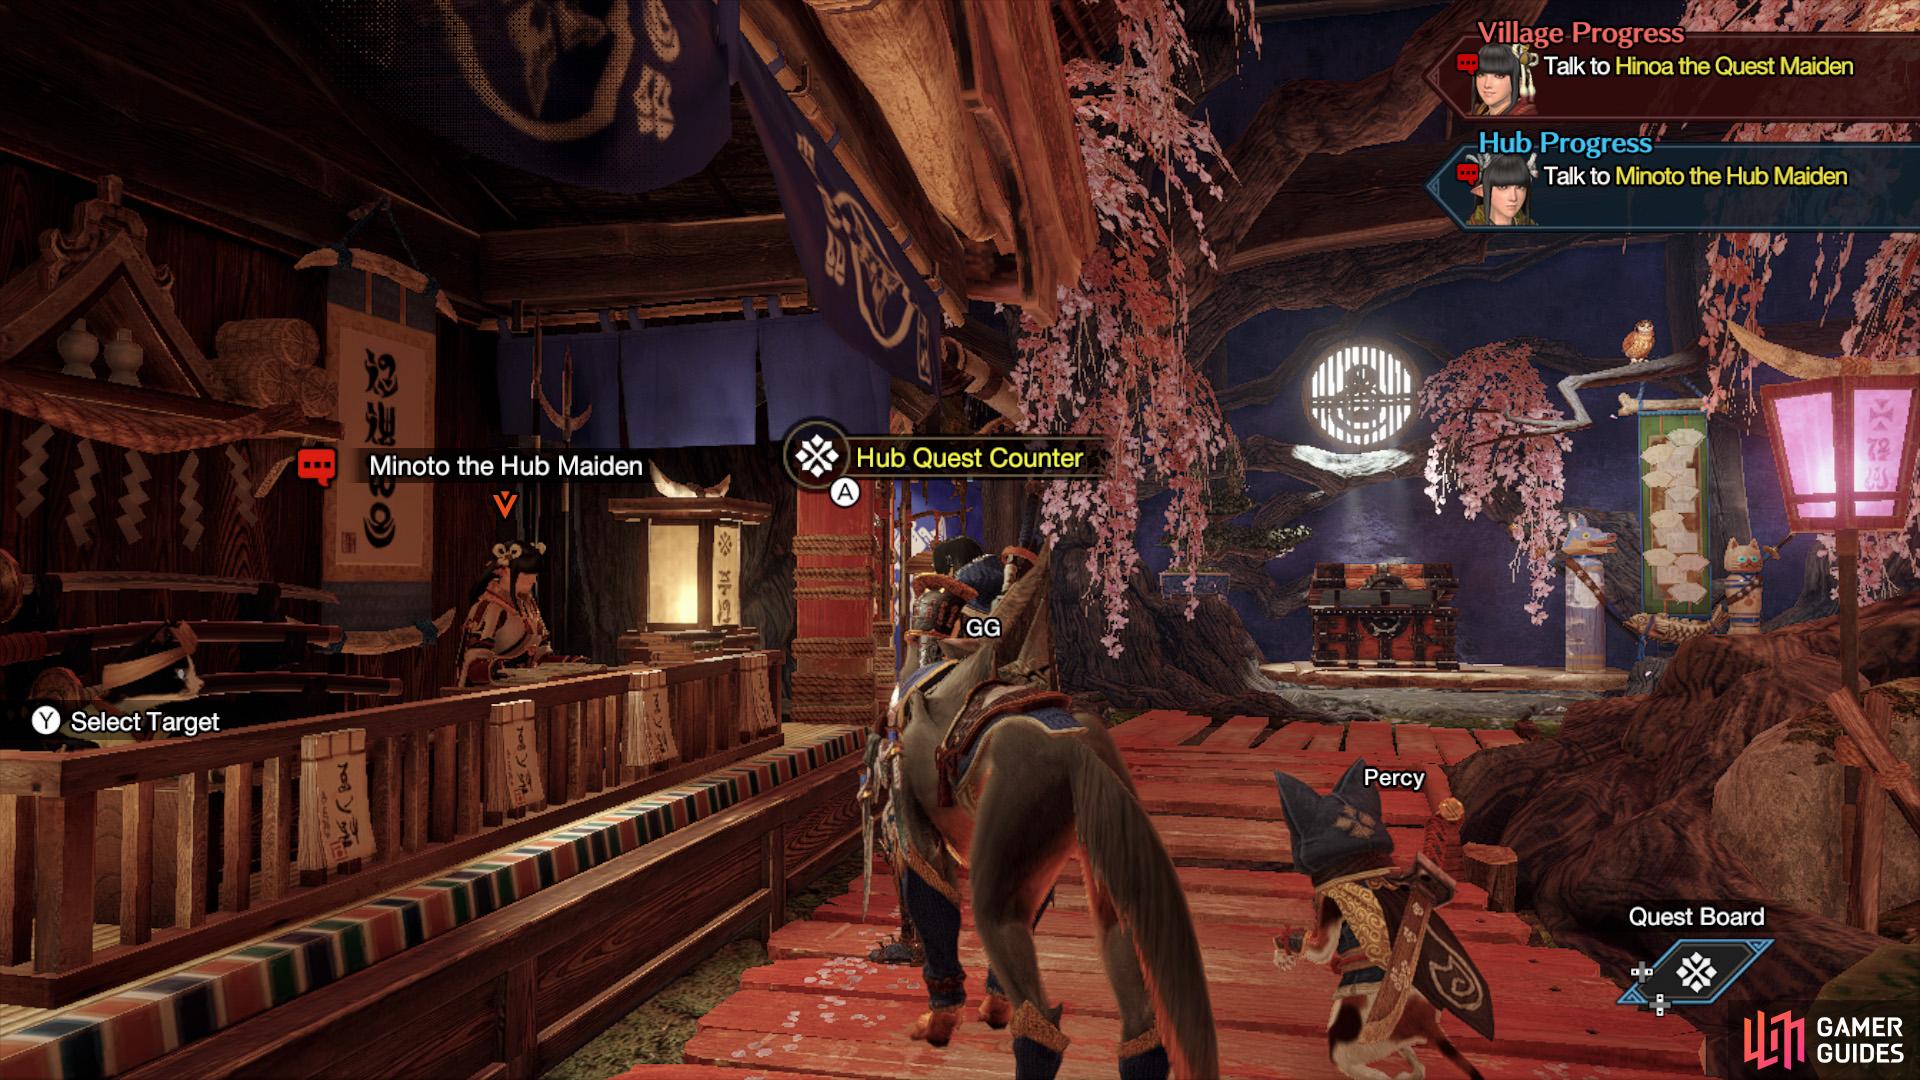
(1 of 2) Minoto is your gal for Hub Quests.
Minoto is your gal for Hub Quests. (left), You’ll find familiar quests here, but rest assured: they are tougher than Village Quests. (right)
Meanwhile, these are quests geared towards multiplayer, available from Minota the Hub Maiden, who’s waiting inside the Gathering Hub. The monsters in Hub Quests have higher HP compared to Village Quests; also, their HP scales according to the number of hunters. Hub Quests between 1 and 3-stars are Low Rank; ones that are 4-stars or above are High Rank.
Hub quests are designed to really challenge you–and should be undertaken by a full party, where possible. Although you might be able to get by with lower numbers for the easier quests.
Later on, as you get better at the game and have better equipment, that’s a good time to transition to Hub Quests. Otherwise, Monster Hunter veterans can jump straight into Hub Quests if they want. That said, playing through the Village Quests is a good way to easily farm early equipment and you’ll also unlock new features along the way.
Difference Between Low Rank and High Rank
Low Rank and High Rank are two entirely different classes of difficulty, on top of the star rating. As you can probably surmise from the names, High Rank is tougher than Low Rank. High Rank applies to 4-star and above Hub Quests only; Village Quests are all Low Rank.
Game Flow
There’s a lot of complexity to Monster Hunter–enough to give many beginners a brain overload. But the core game loop is actually pretty straightforward. This information is meant for new folks; if you’re a veteran, feel free to skip ahead or you could sit back and nod away.
Defeat Your First Large Monster
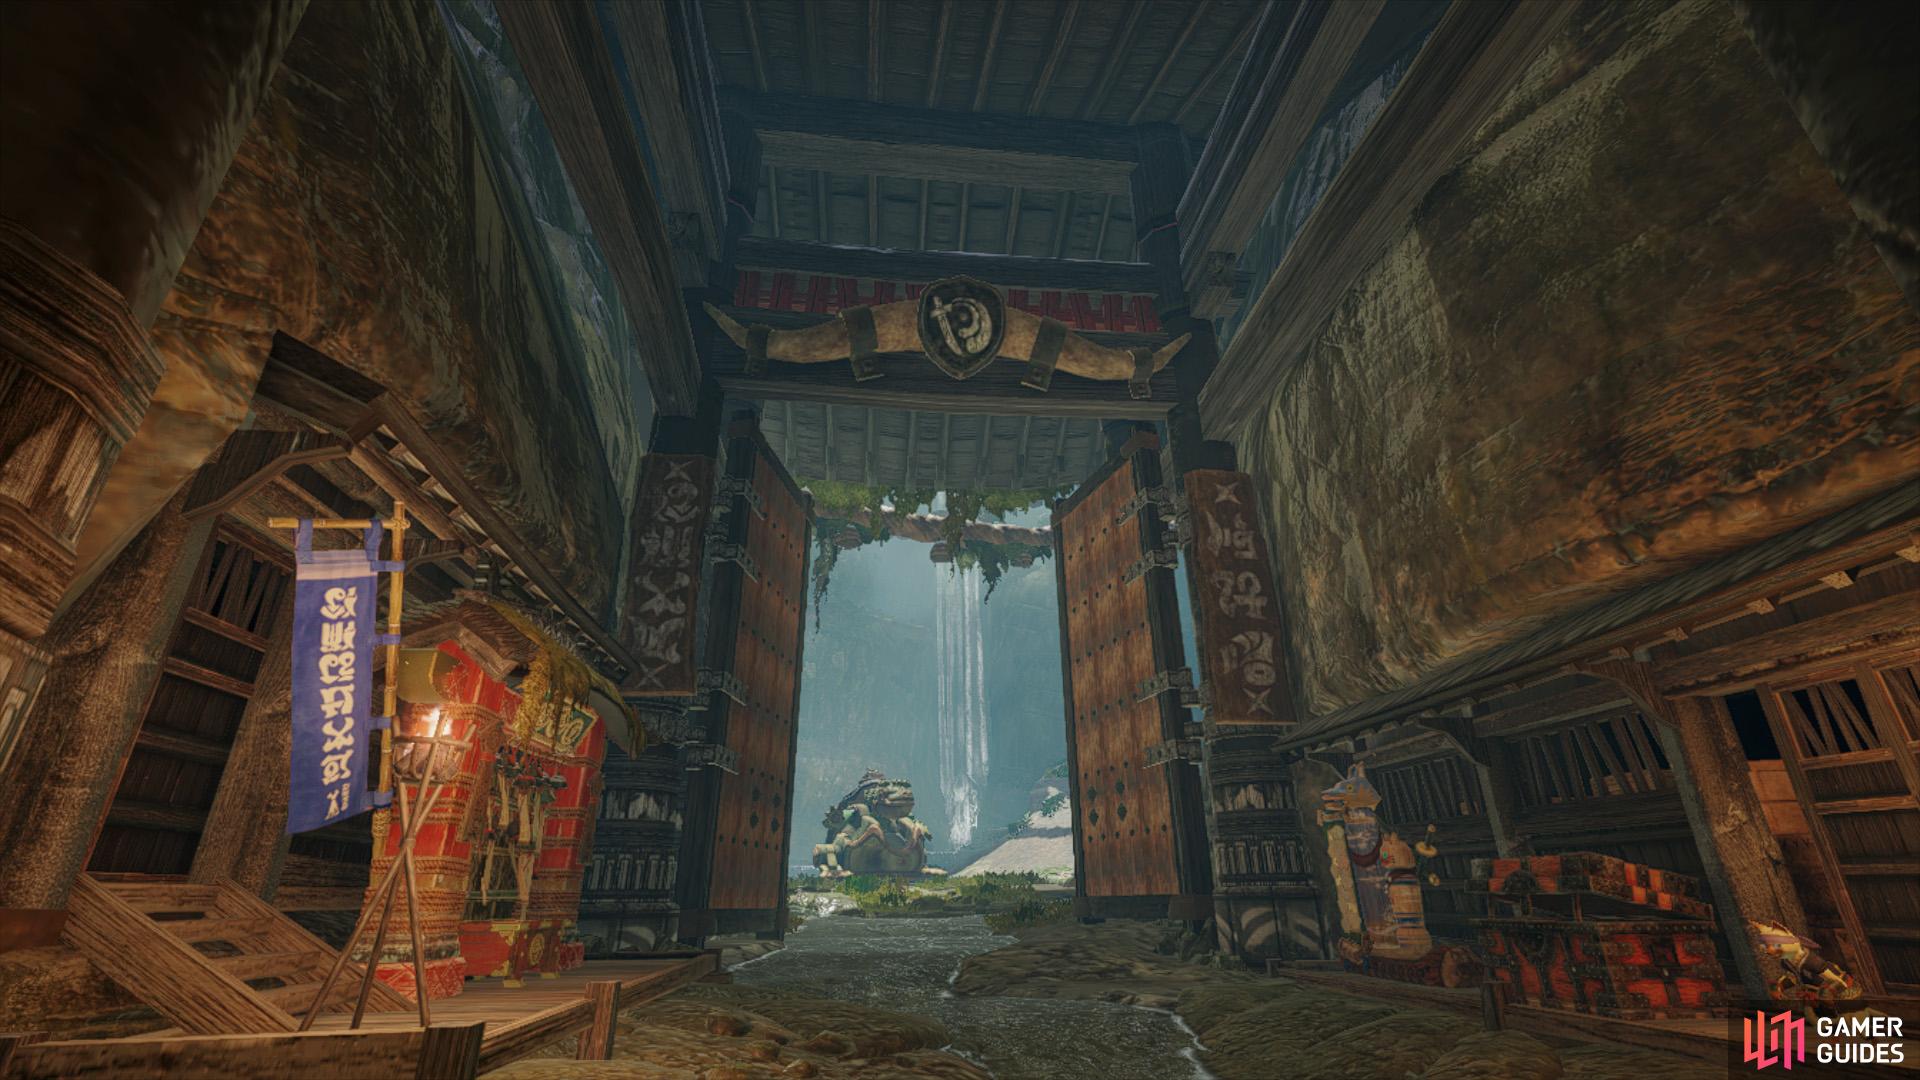
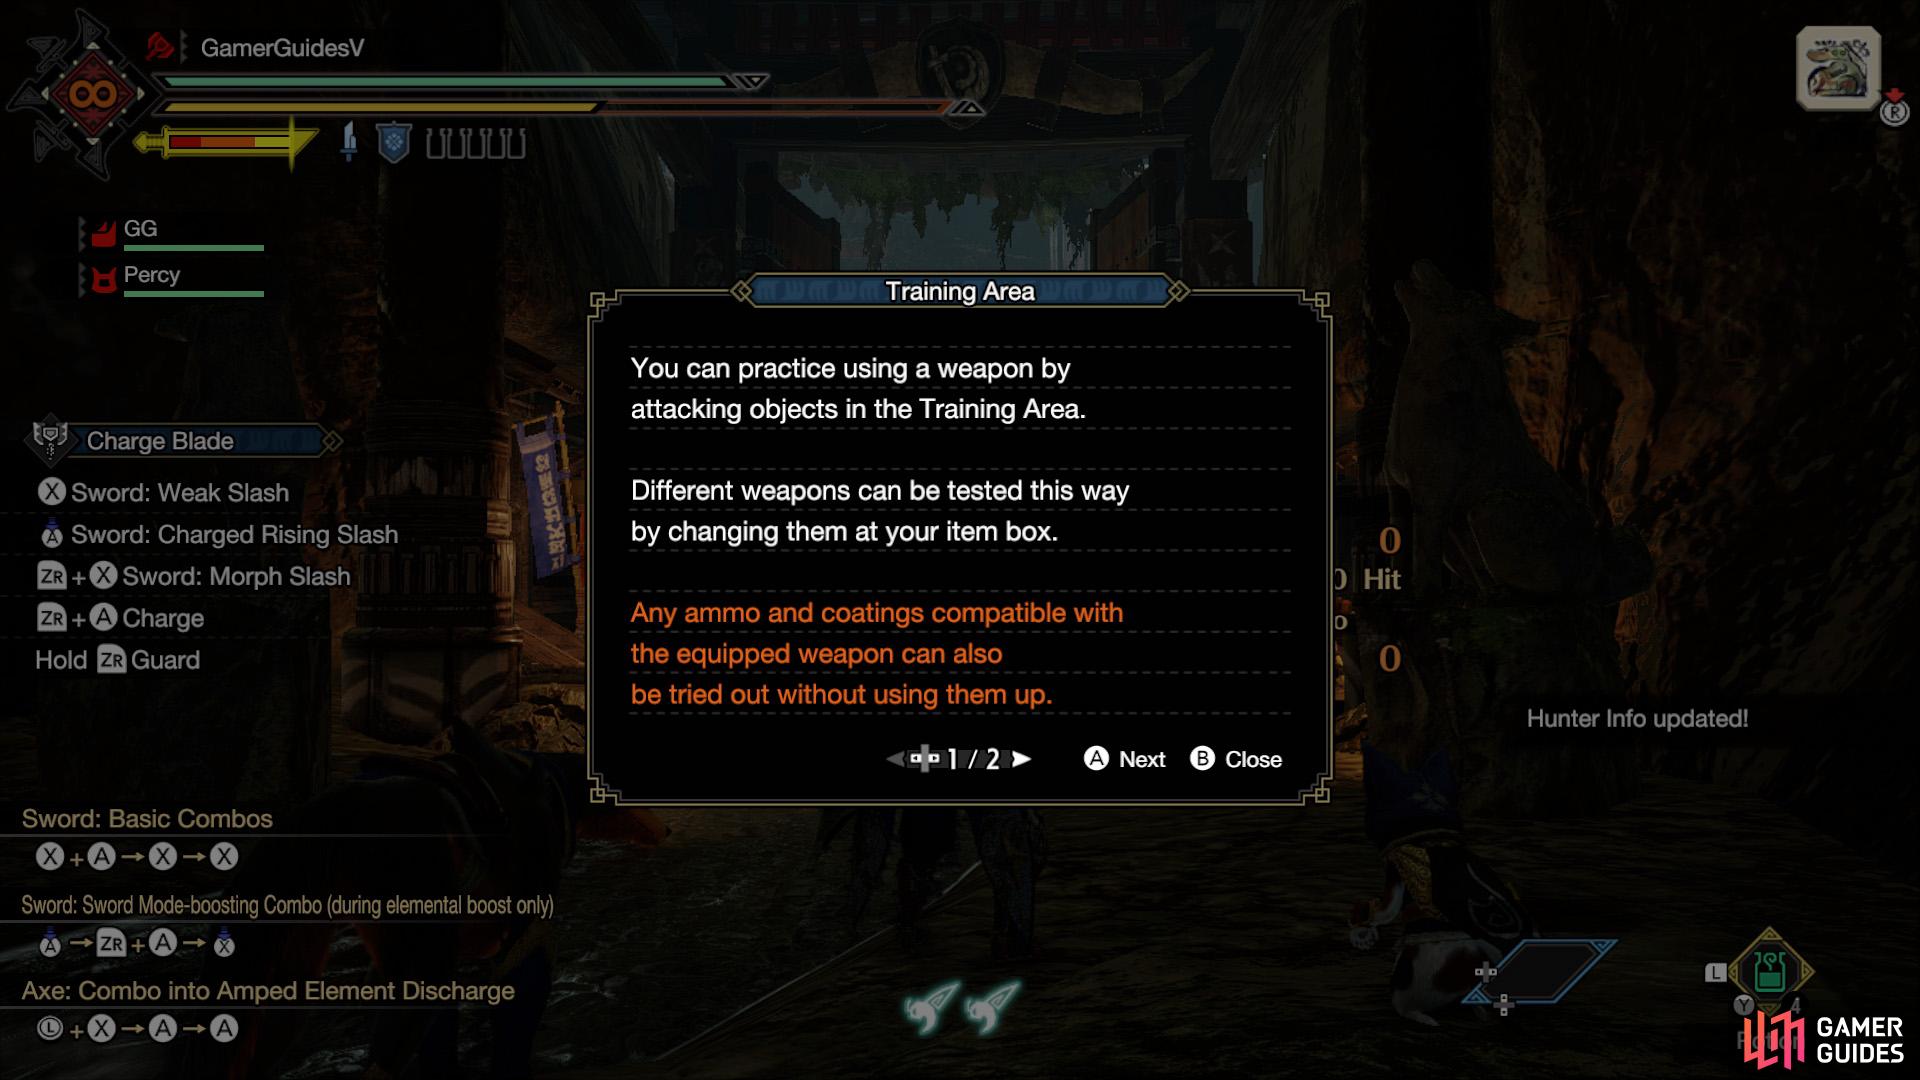
(1 of 2) The training area can be accessed via the boat in the Buddy Plaza.
The training area can be accessed via the boat in the Buddy Plaza. (left), In the training area, you can practice against dummies. The game also displays all the combos. (right)
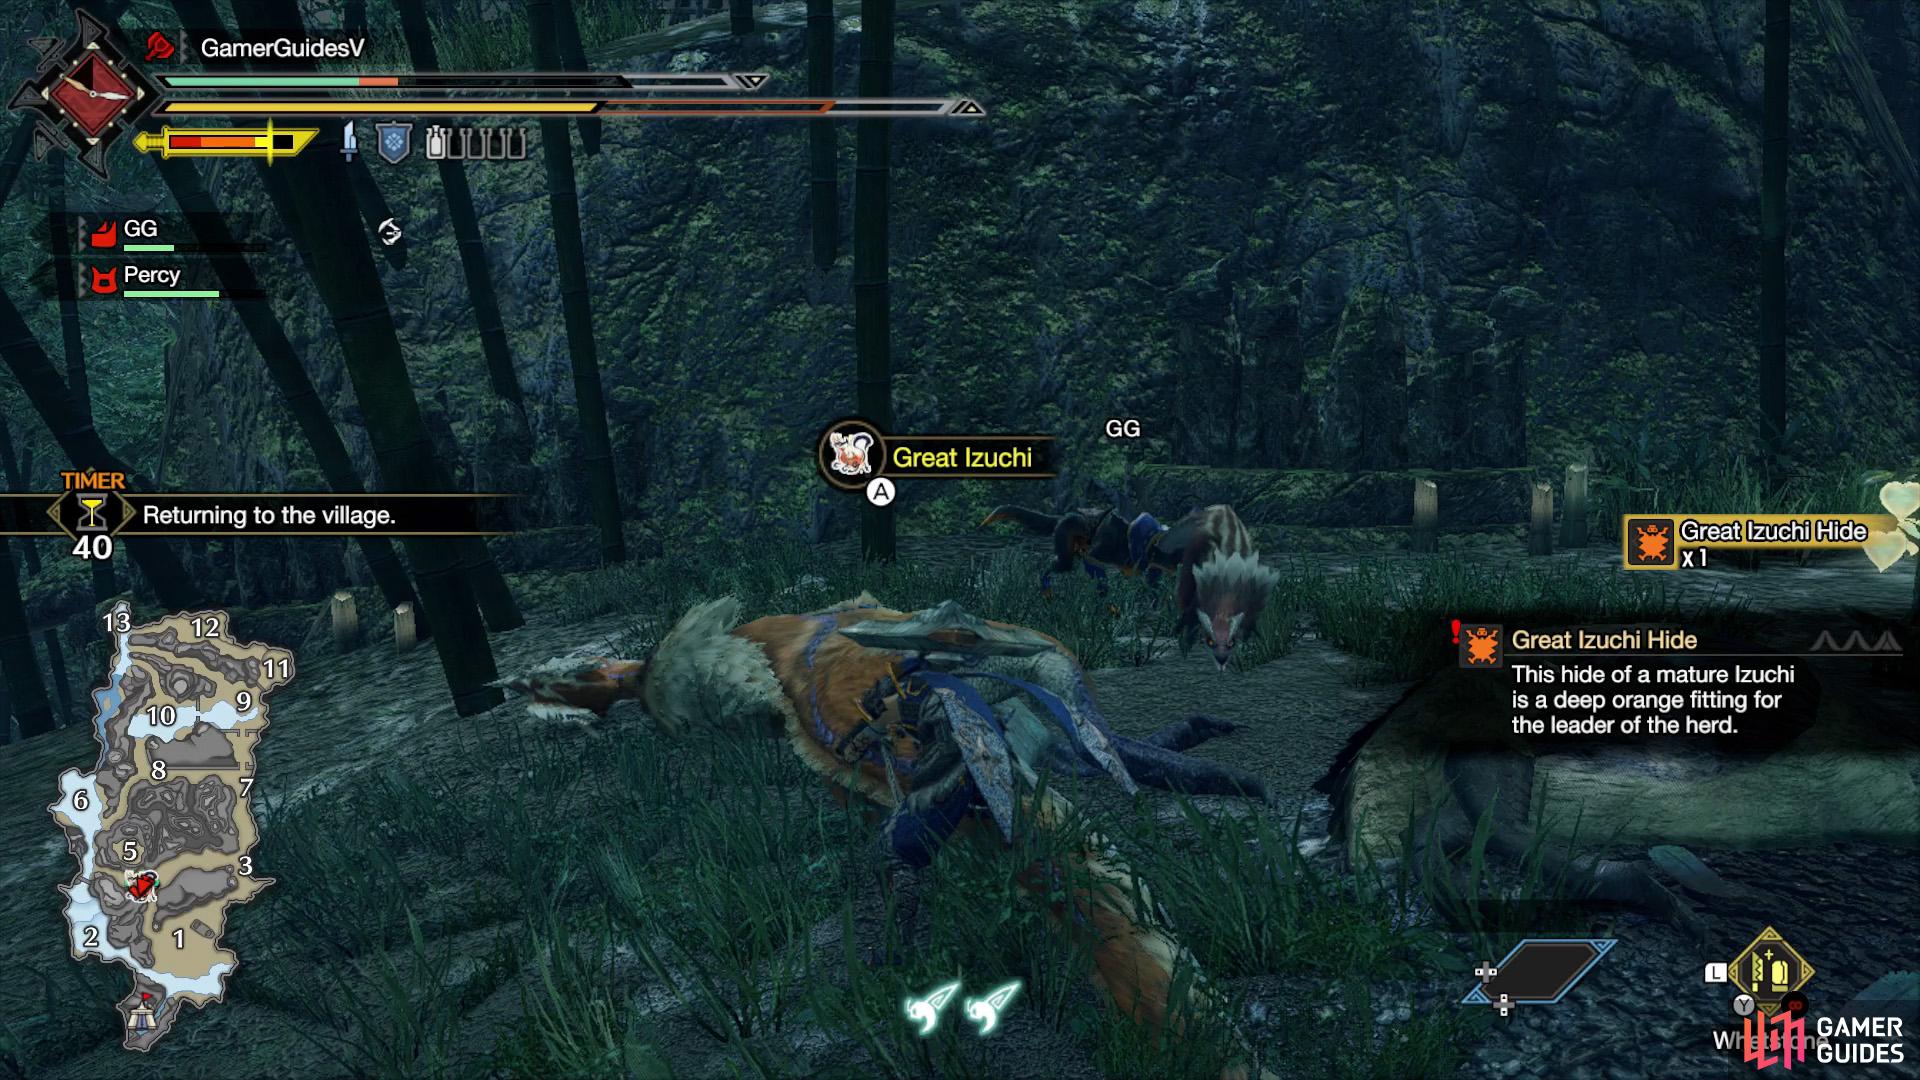
The first hurdle will be hunting your first large monster–likely the Great Izuchi, in the 1-star Urgent Village Quest.
A good frame of mind is to treat Monster Hunter like a fighting game. Before rushing to the fray, try to take the time to learn and practice your weapon combos. Start by practicing in the training area or in an empty area during a safe and uneventful quest. Then try using your weapon against small monsters.
Once you’ve got a good handle on your weapon, we recommend doing some pre-hunting preparations. This might seem boring, but it can save you a lot of frustration during the actual hunt.
-
Check that your item pouch has all the essentials. To begin with, you’ll want Potions and Mega Potions to restore health, plus items to replenish stamina, like Rations and Well-done Steak. You will get some recovery items for free during the hunt, but not a lot.
-
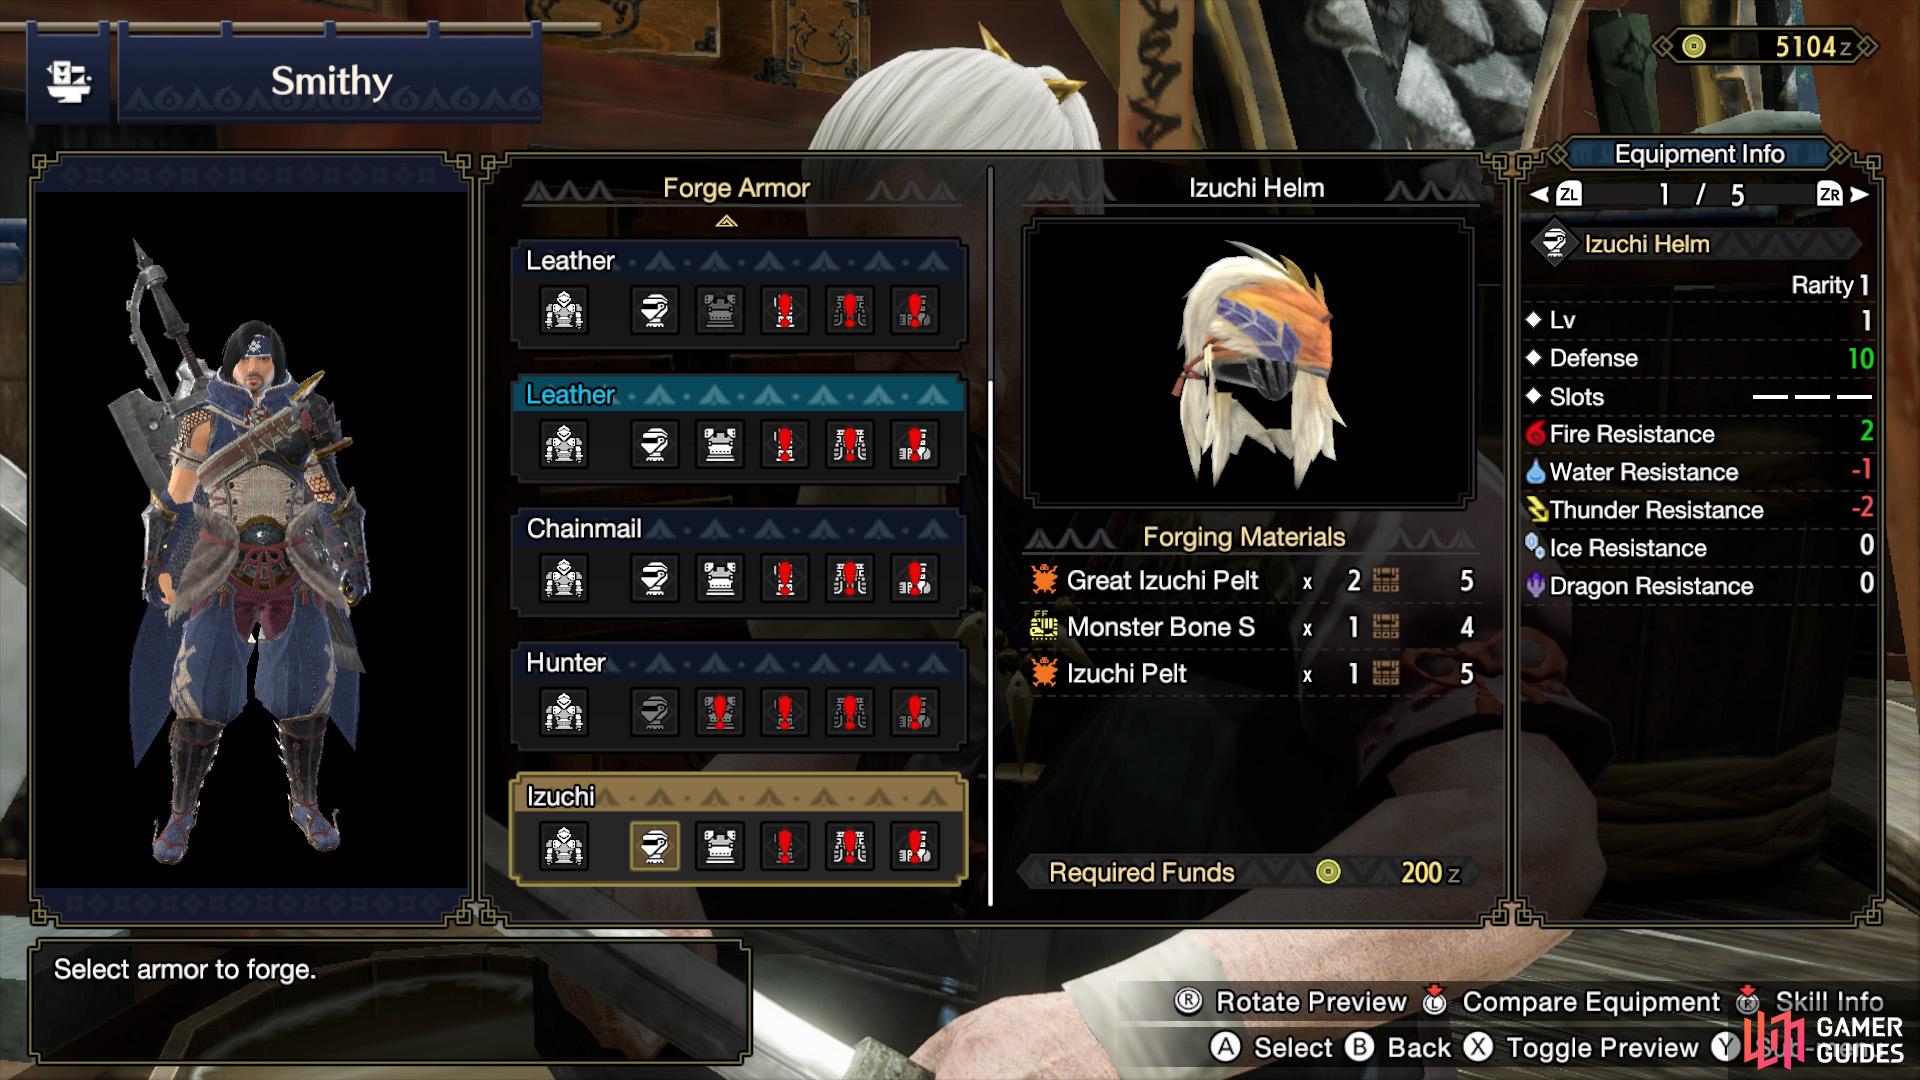
Next, see if you can upgrade or improve your weapons and armor. For tougher fights, every little helps. The majority of weapons and armor require materials from large monsters, which you won’t have yet. But there are some that you can create with materials found from the environments, like ore or bones.
-
When you think you’re basically ready, go and visit the canteen on the way to the Gathering Hub entrance and order some delicious Bunny Dango. On top of potentially getting some useful bonuses, eating a meal will boost your maximum Health and Stamina.
Finally, check that you’ve got plenty of time. Don’t start the hunt when you’re on the bus, for example. Well, you can suspend your Nintendo Switch. But it’ll probably be easier for your mind if you finish the hunt in one sitting. If you need further help with the hunt iself (some of the monsters can be really tricky), don’t be shy to look up a guide.
Farm the Same Large Monster
(1 of 2) Defeated a monster? Congratulations. Now do it again.
Defeated a monster? Congratulations. Now do it again. (left), Go to the Blacksmith to forge weapons and armor using your new materials. (right)
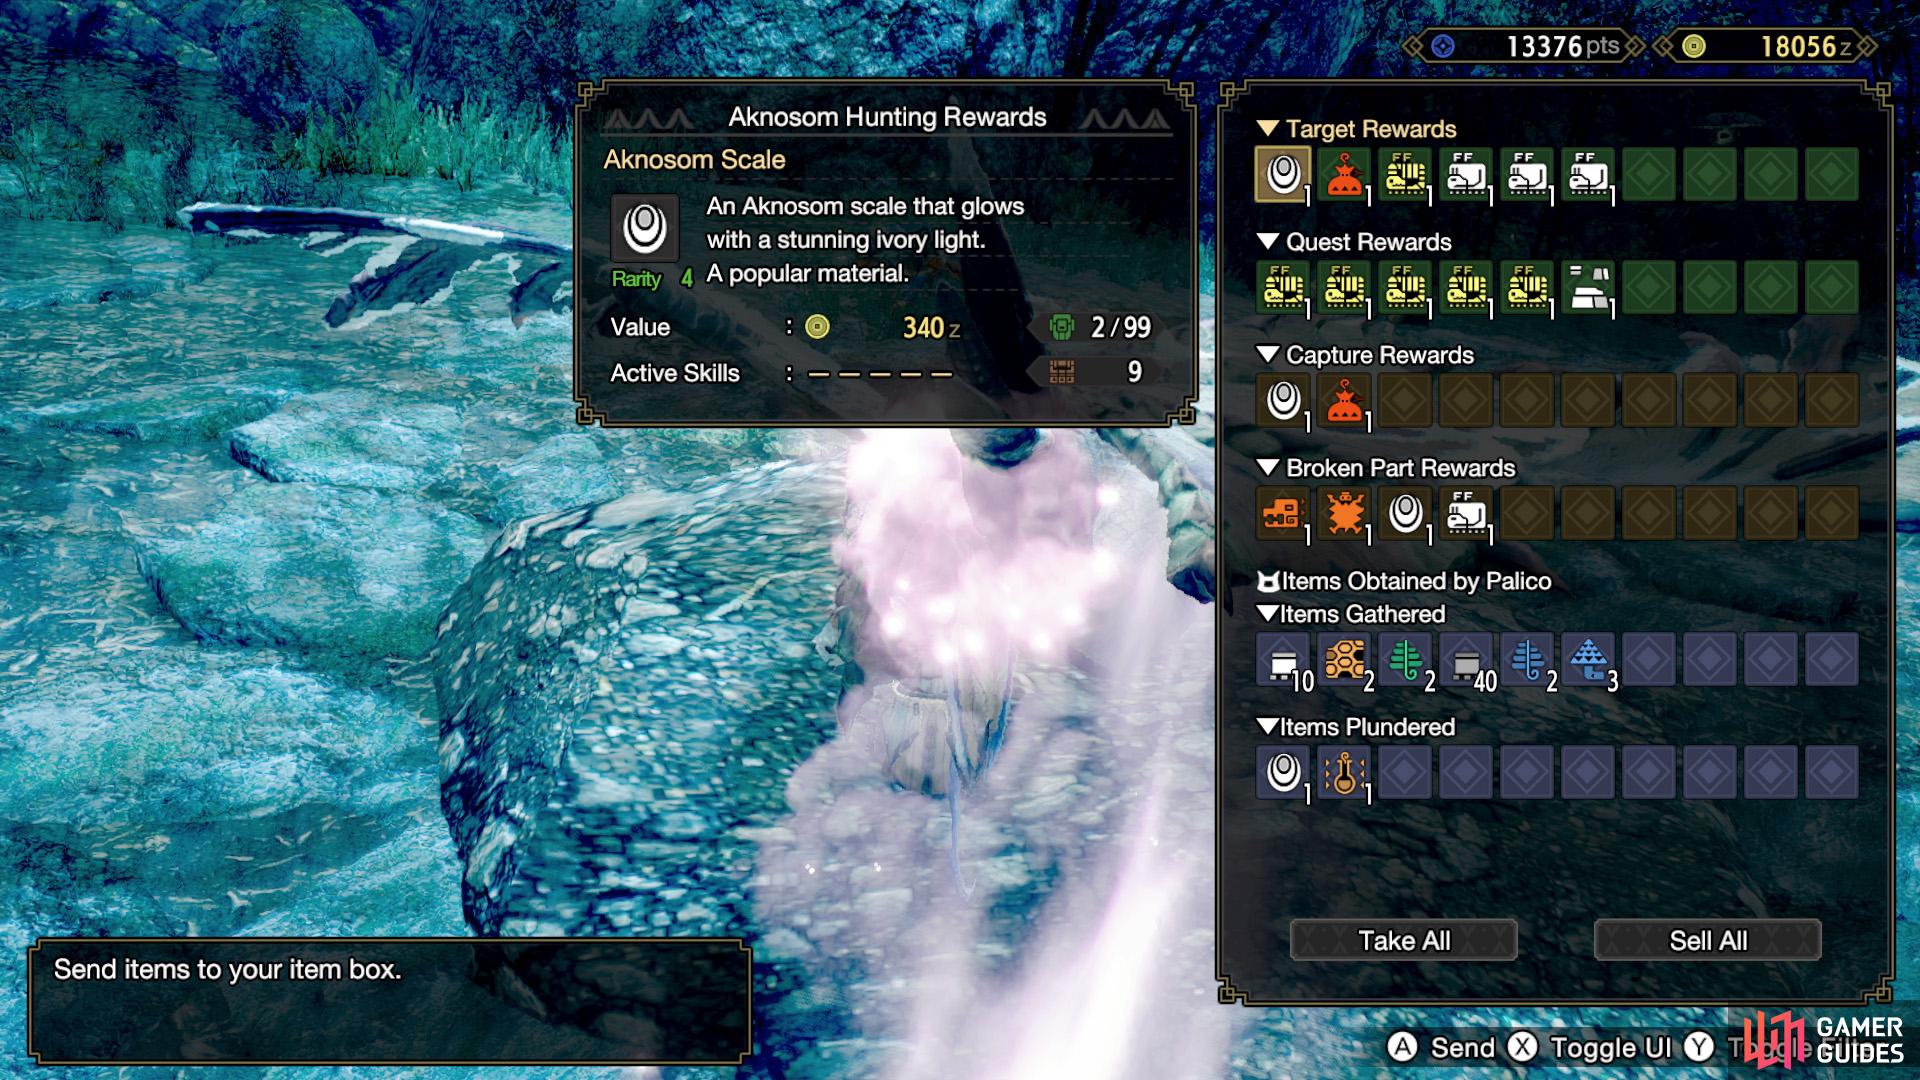
Hopefully you managed to defeat the large monster. If it’s your first one or a milestone monster, guess what, you’ll probably want to fight it again and again, until you’ve got enough materials to craft that monster’s weapon and armor pieces.
There’s also another bonus: By fighting the same monster(s) multiple times, you’ll have more opportunities to learn your weapon. Once you’ve completed your weapon and armor set, it’s time to…
Move On to the Next Large Monster
(1 of 2) Gradually work you way up, fighting stronger and stronger monsters.
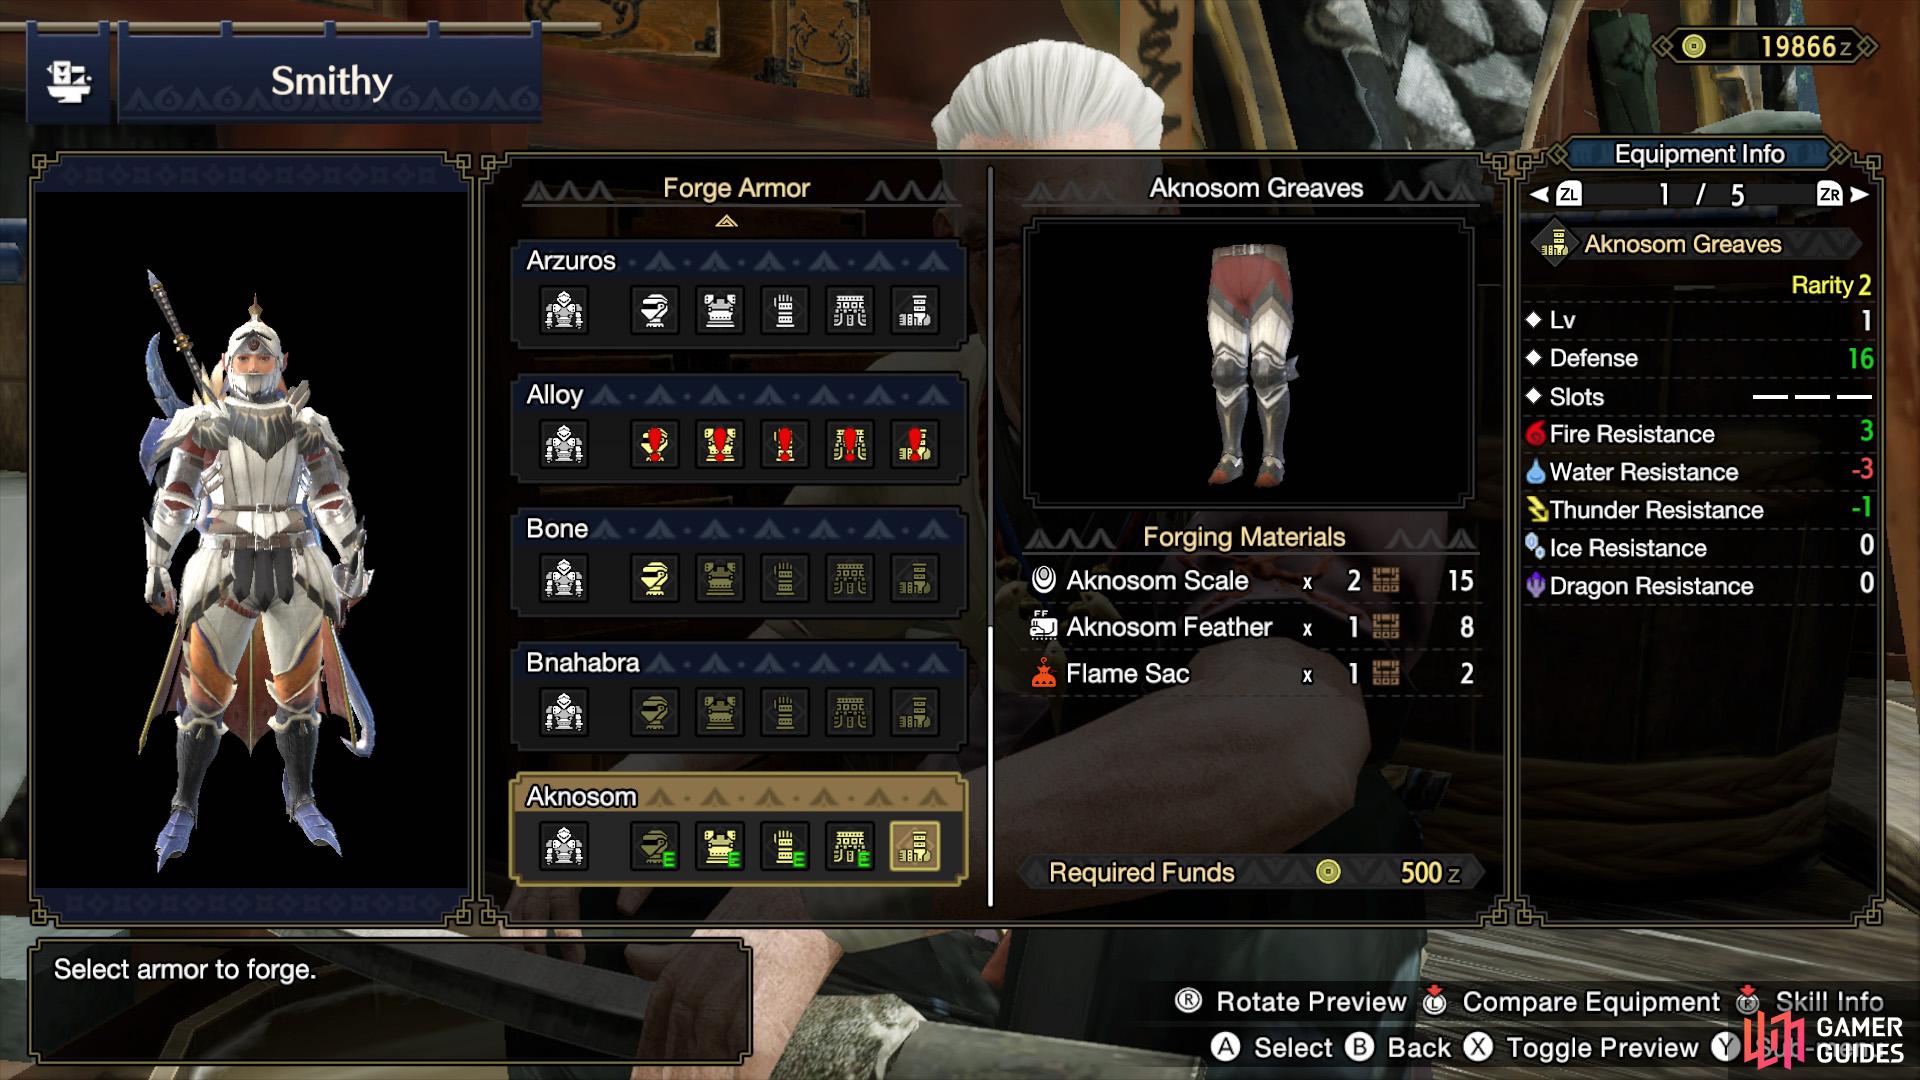
Gradually work you way up, fighting stronger and stronger monsters. (left), After hunting a new large monster, check if their weapon/armor is a worthwhile upgrade or not. (right)
In other words, the very first step, but now against a slightly stronger monster. Then once you defeat this monster, you repeat step 2, but crafting the weapon and armor pieces for this monster. Afterwards, rinse and repeat until you’ve beaten the game or you’ve had your fill.
Obviously, the further you get into the game, the deadlier and more intelligent the large monsters become. So even if you keep up with your equipment, you’ll always need to be on your toes. We hope you like a good challenge!
Gather Some Friends!
At any point, if you get a bit stuck or bored, it could be a good time to try out some multiplayer Hub Quests. While you can enjoy Monster Hunter as a solo experience, multiplayer is where the games really shine. With multiple hunters afoot, you can divvy up the workload and enjoy a real sense of camaraderie from fighting together. (Plus if you or another player messes up, you can all laugh at eachother.)
If you’re lucky to have some friends or you encounter huners who are further ahead in the game, they can potentially carry you, allowing you to more easily obtain materials that you’d have a hard time getting yourself. You could then use these to craft better equipment. Which, if you’re lucky, could be enough to get you out of a rut.
 Sign up
No Comments