Many secrets are lurking in the darkness of Jiquani’s Machinarium, and the most dangerous of these may be the statue of a warrior sealed away in a small chamber. Like many things in this dungeon, this statue is merely dormant - slumbering, waiting for a foolish adventurer to disturb it and rouse it from its slumber. This page will provide strategies for defeating the optional boss Blackjaw the Remnant in Path of Exile 2.
Page Breakdown
Blackjaw the Remnant Location
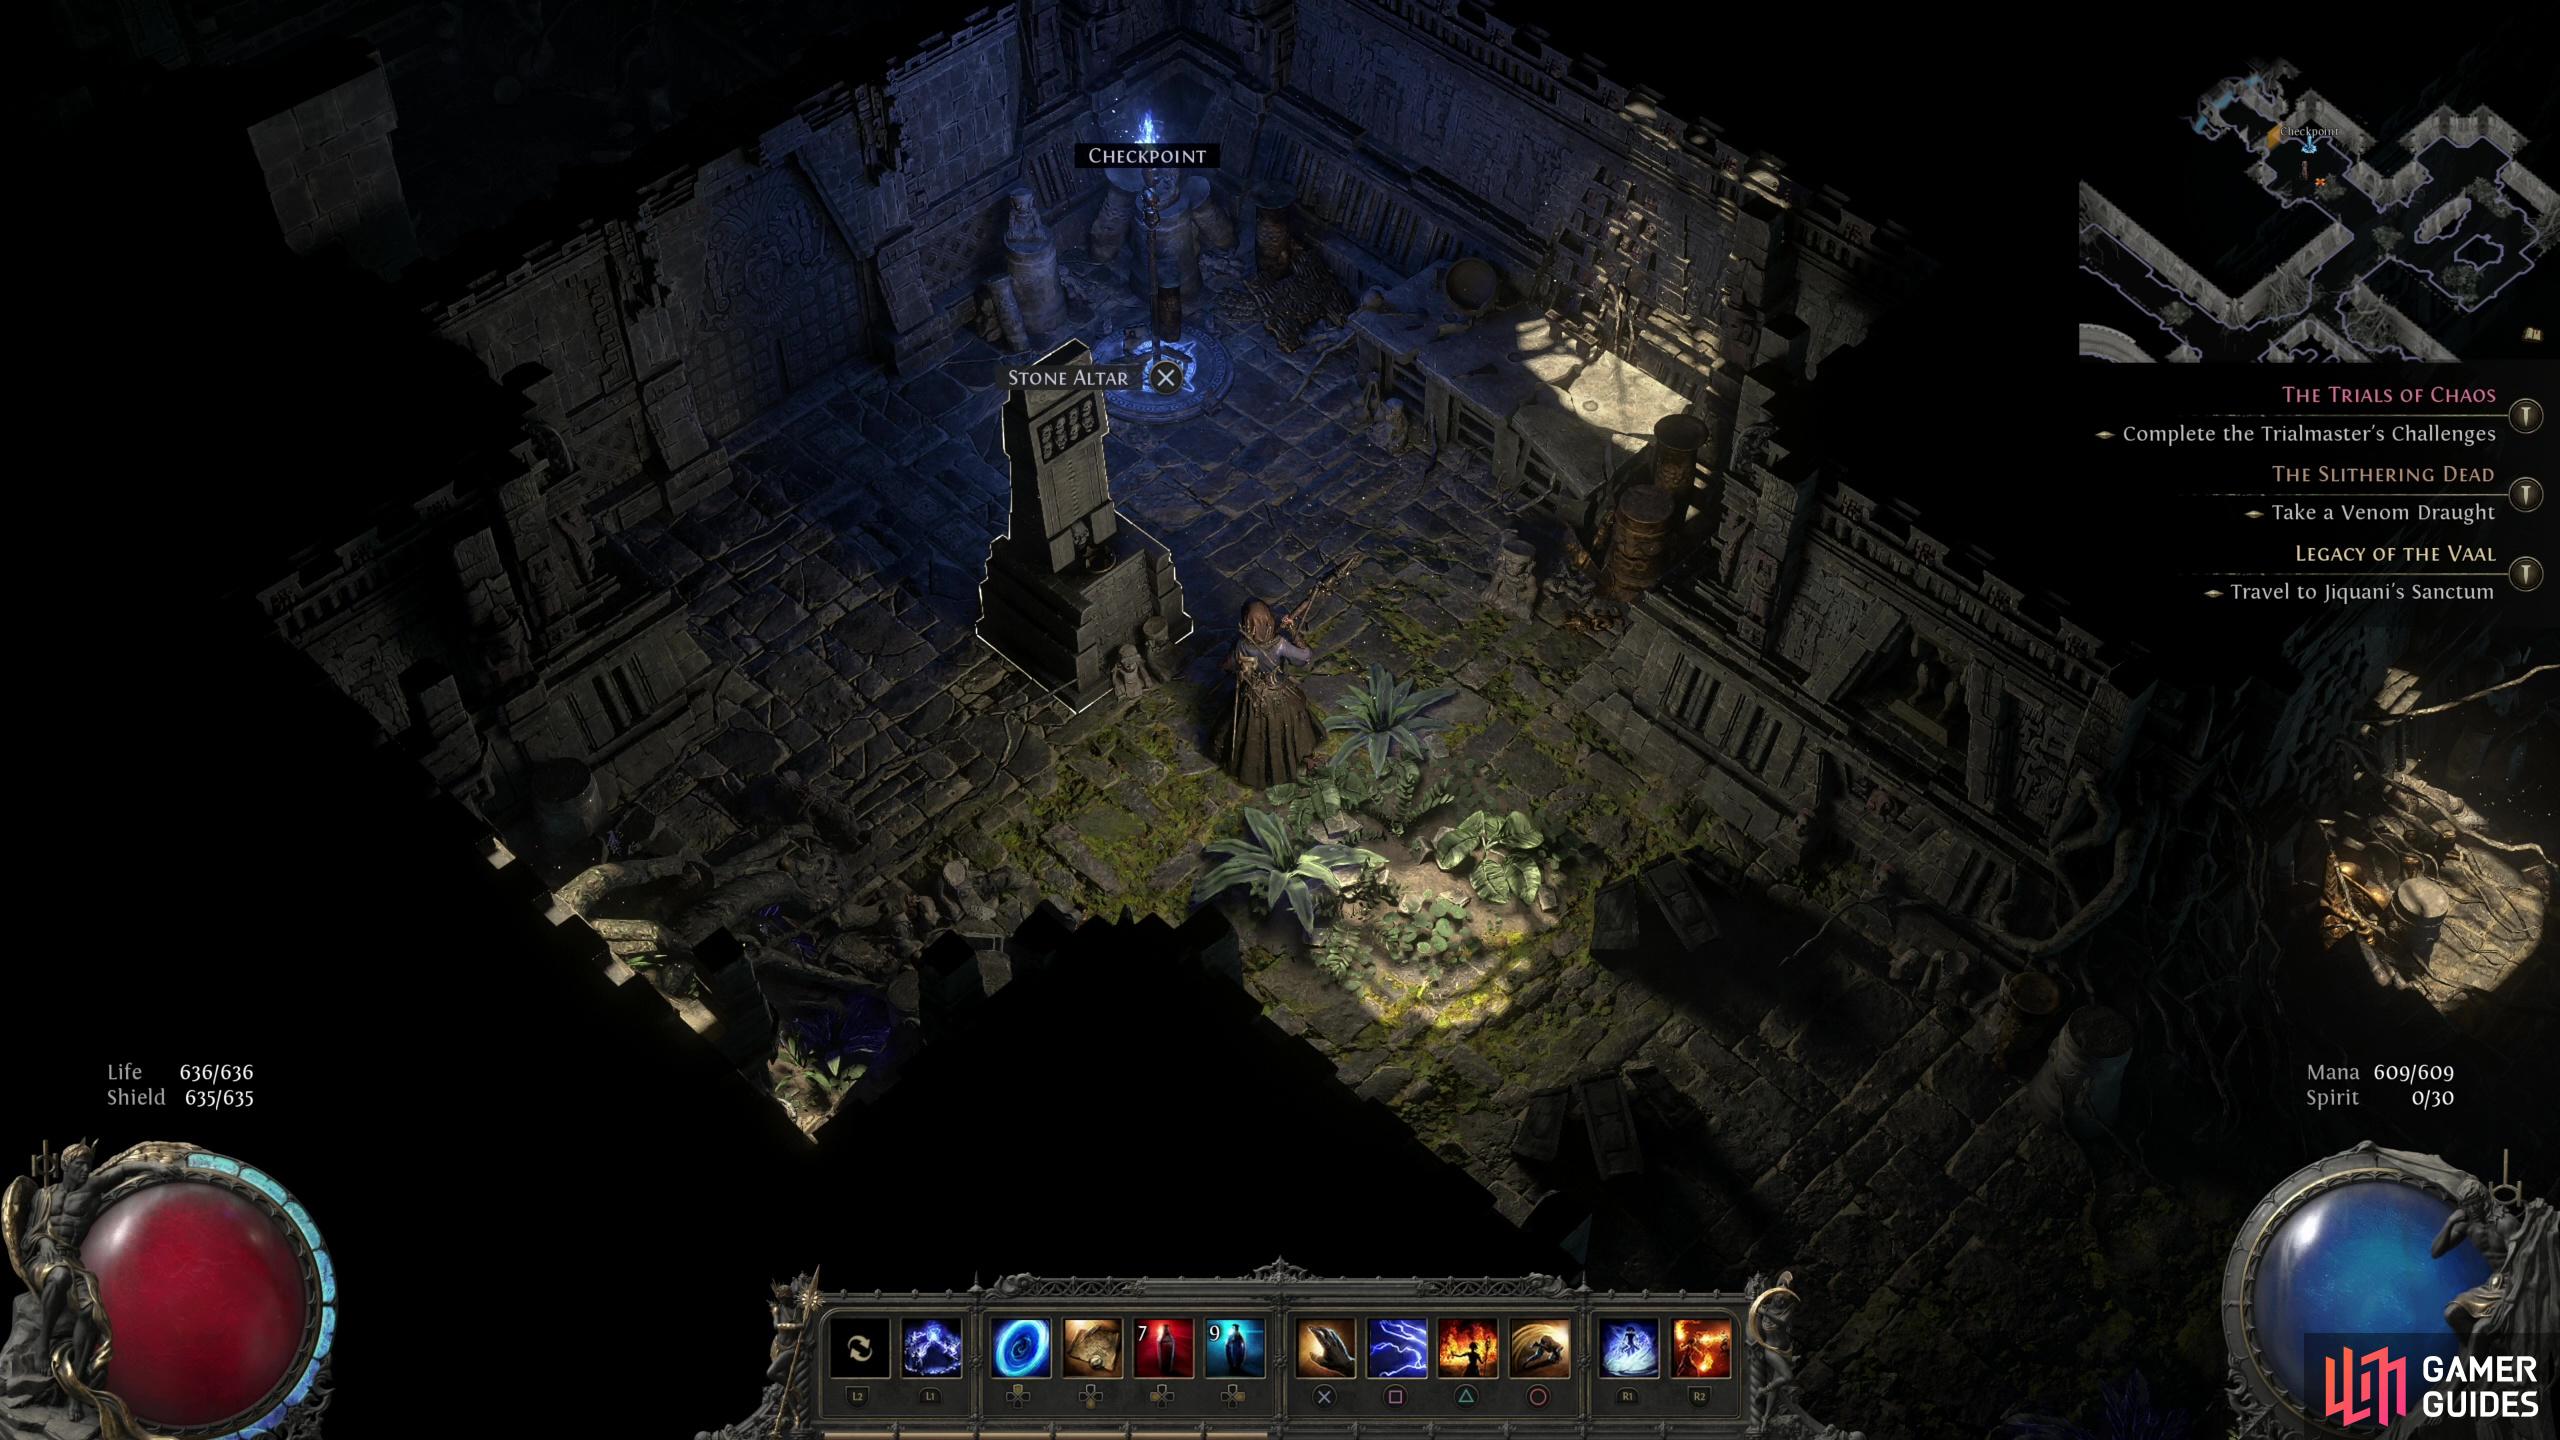
You’ll find this optional boss tucked away in a corner in Jiquani’s Machinarium, and like most optional bosses, his exact location is random and comes with its own set piece arena. In this case it’s a small chamber that is sealed with a Stone Altar, which must in turn be activated by finding and installing a Small Soul Core into it. Once done the door to the chamber will open. There’s also a checkpoint nearby, so it shouldn’t be hard to confirm this boss’s location; sealed door, Stone Altar in front of said door, checkpoint nearby - you’re probably in the right place. Just head inside and approach a statue in the middle of the room and Blackjaw the Remnant will awaken and attack. To avoid suffering damage from his fire breath attack at the start of the fight, you should just run behind the statue before it animates.
(1 of 2) Grab a Small Soul Core as you explore,
Grab a Small Soul Core as you explore, (left), and use it on a Stone Altar to open the way to Blackjaw’s chamber. (right)
Blackjaw the Remnant Boss Strategy
This boss is, for our money, one of the more dangerous foes in the game. He hits hard, has ranged attacks, and can combo. Early in the fight he won’t be that much trouble - dodge his hammer strikes and you’re fine - but once he starts comboing them together and adding more AoE and range into the mix you’ll need to change up your game. Some attacks may require you to make use of the scenery to avoid, others you’ll have to get close and dodge smartly to survive, and even against these tactics Blackjaw the Remnant has a counter to. No way around it, you’ll just have to “git gud”, learn the bosses’ attacks and be ready to react accordingly. We’ll list and describe his attacks below to help you out:
Fire Breath
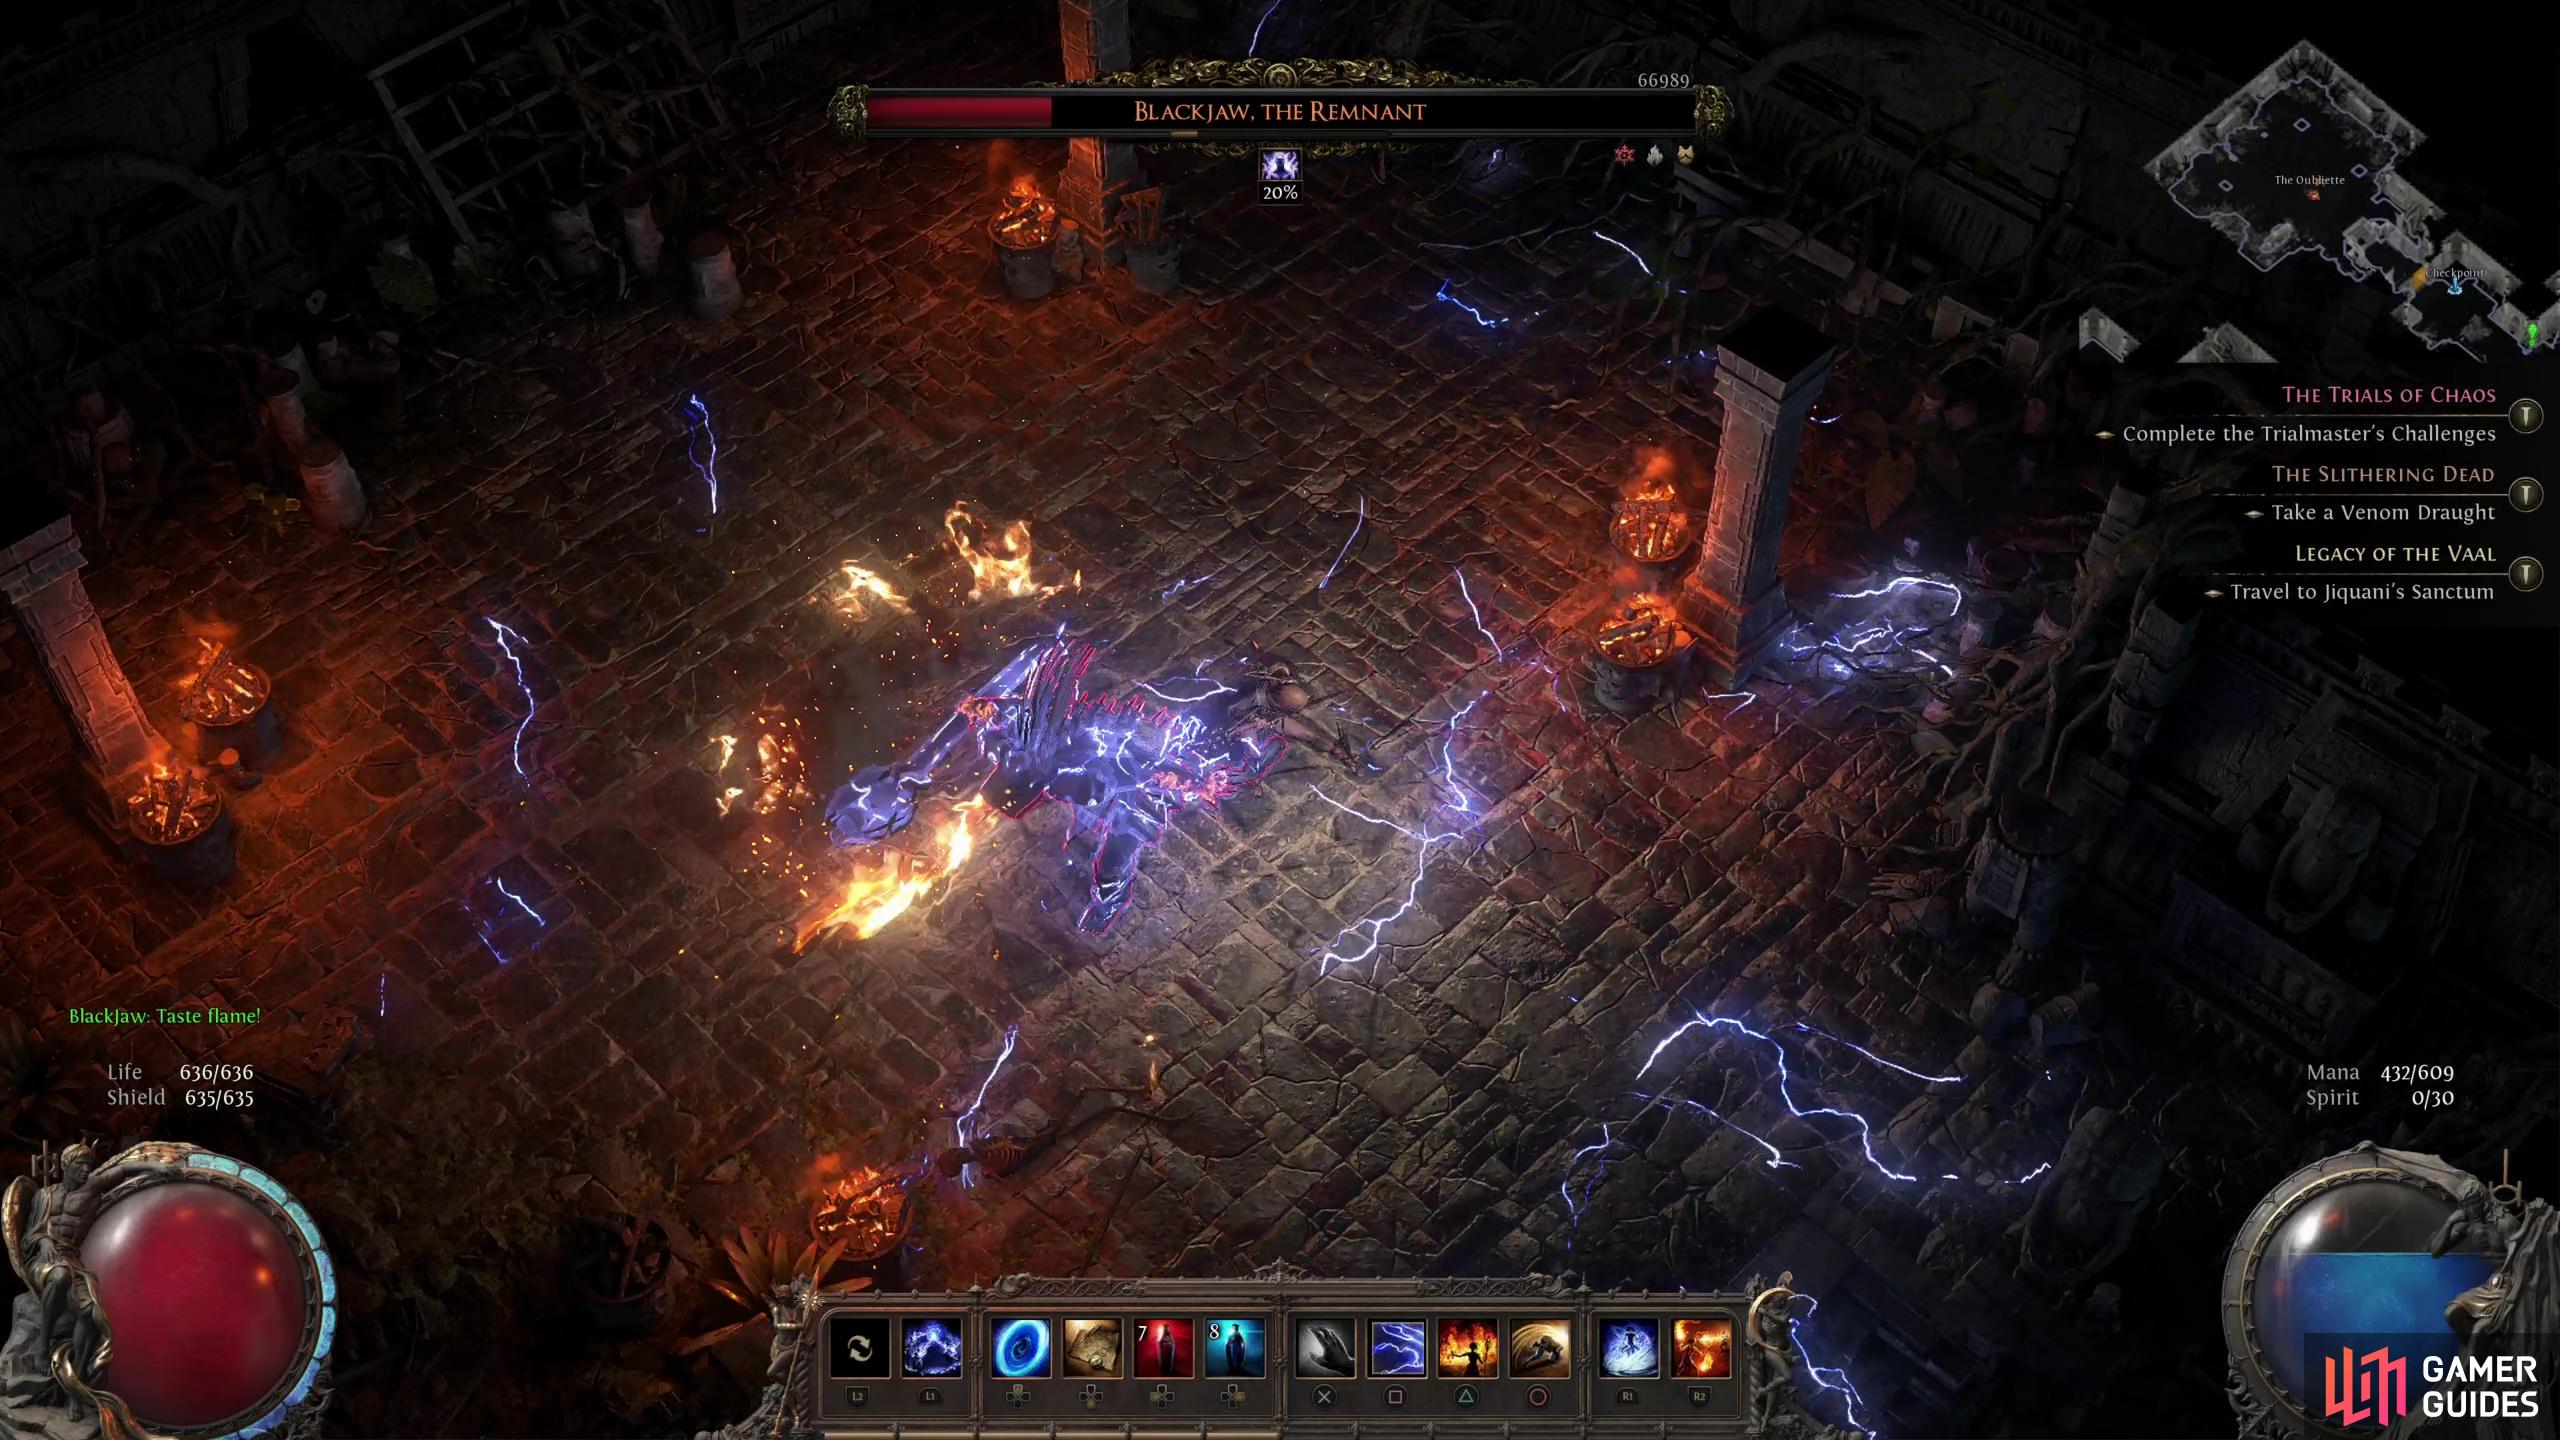
Blackjaw the Remnant will open up fights with this attack, and will persist in using it periodically until the third phase of the fight. With surprisingly little windup, Blackjaw will spew a stream of fire, quickly directing it in an arc in front of him. It deals moderate damage, provided you limit your exposure to it, and continues inflicting damage for a short while after you escape the flames.
Pommel Push
One of Blackjaw’s weaker attacks, if you get too close he’ll attempt to remind you of the virtues of personal space by shoving you back with the pommel of his axe… mace? We’ll go with axe. It’ll still deal a few hundred damage, but that’s fairly standard for this point in the game - painful enough that you don’t want to tank it, weak enough that it’s not essential to dodge it.
(1 of 2) Blackjaw will start the fight out with a fire breath attack, and will occasionally use it later in the fight as well.
Blackjaw will start the fight out with a fire breath attack, and will occasionally use it later in the fight as well. (left), Along with the odd axe swing, he can also use pommel pushes to keep you honest. (right)
Axe Swing
Another common attack, this is a simple swing that hits an arc in front of Blackjaw. It’s not terribly powerful, but it is one of the bosses’ faster attacks.
Axe Slam
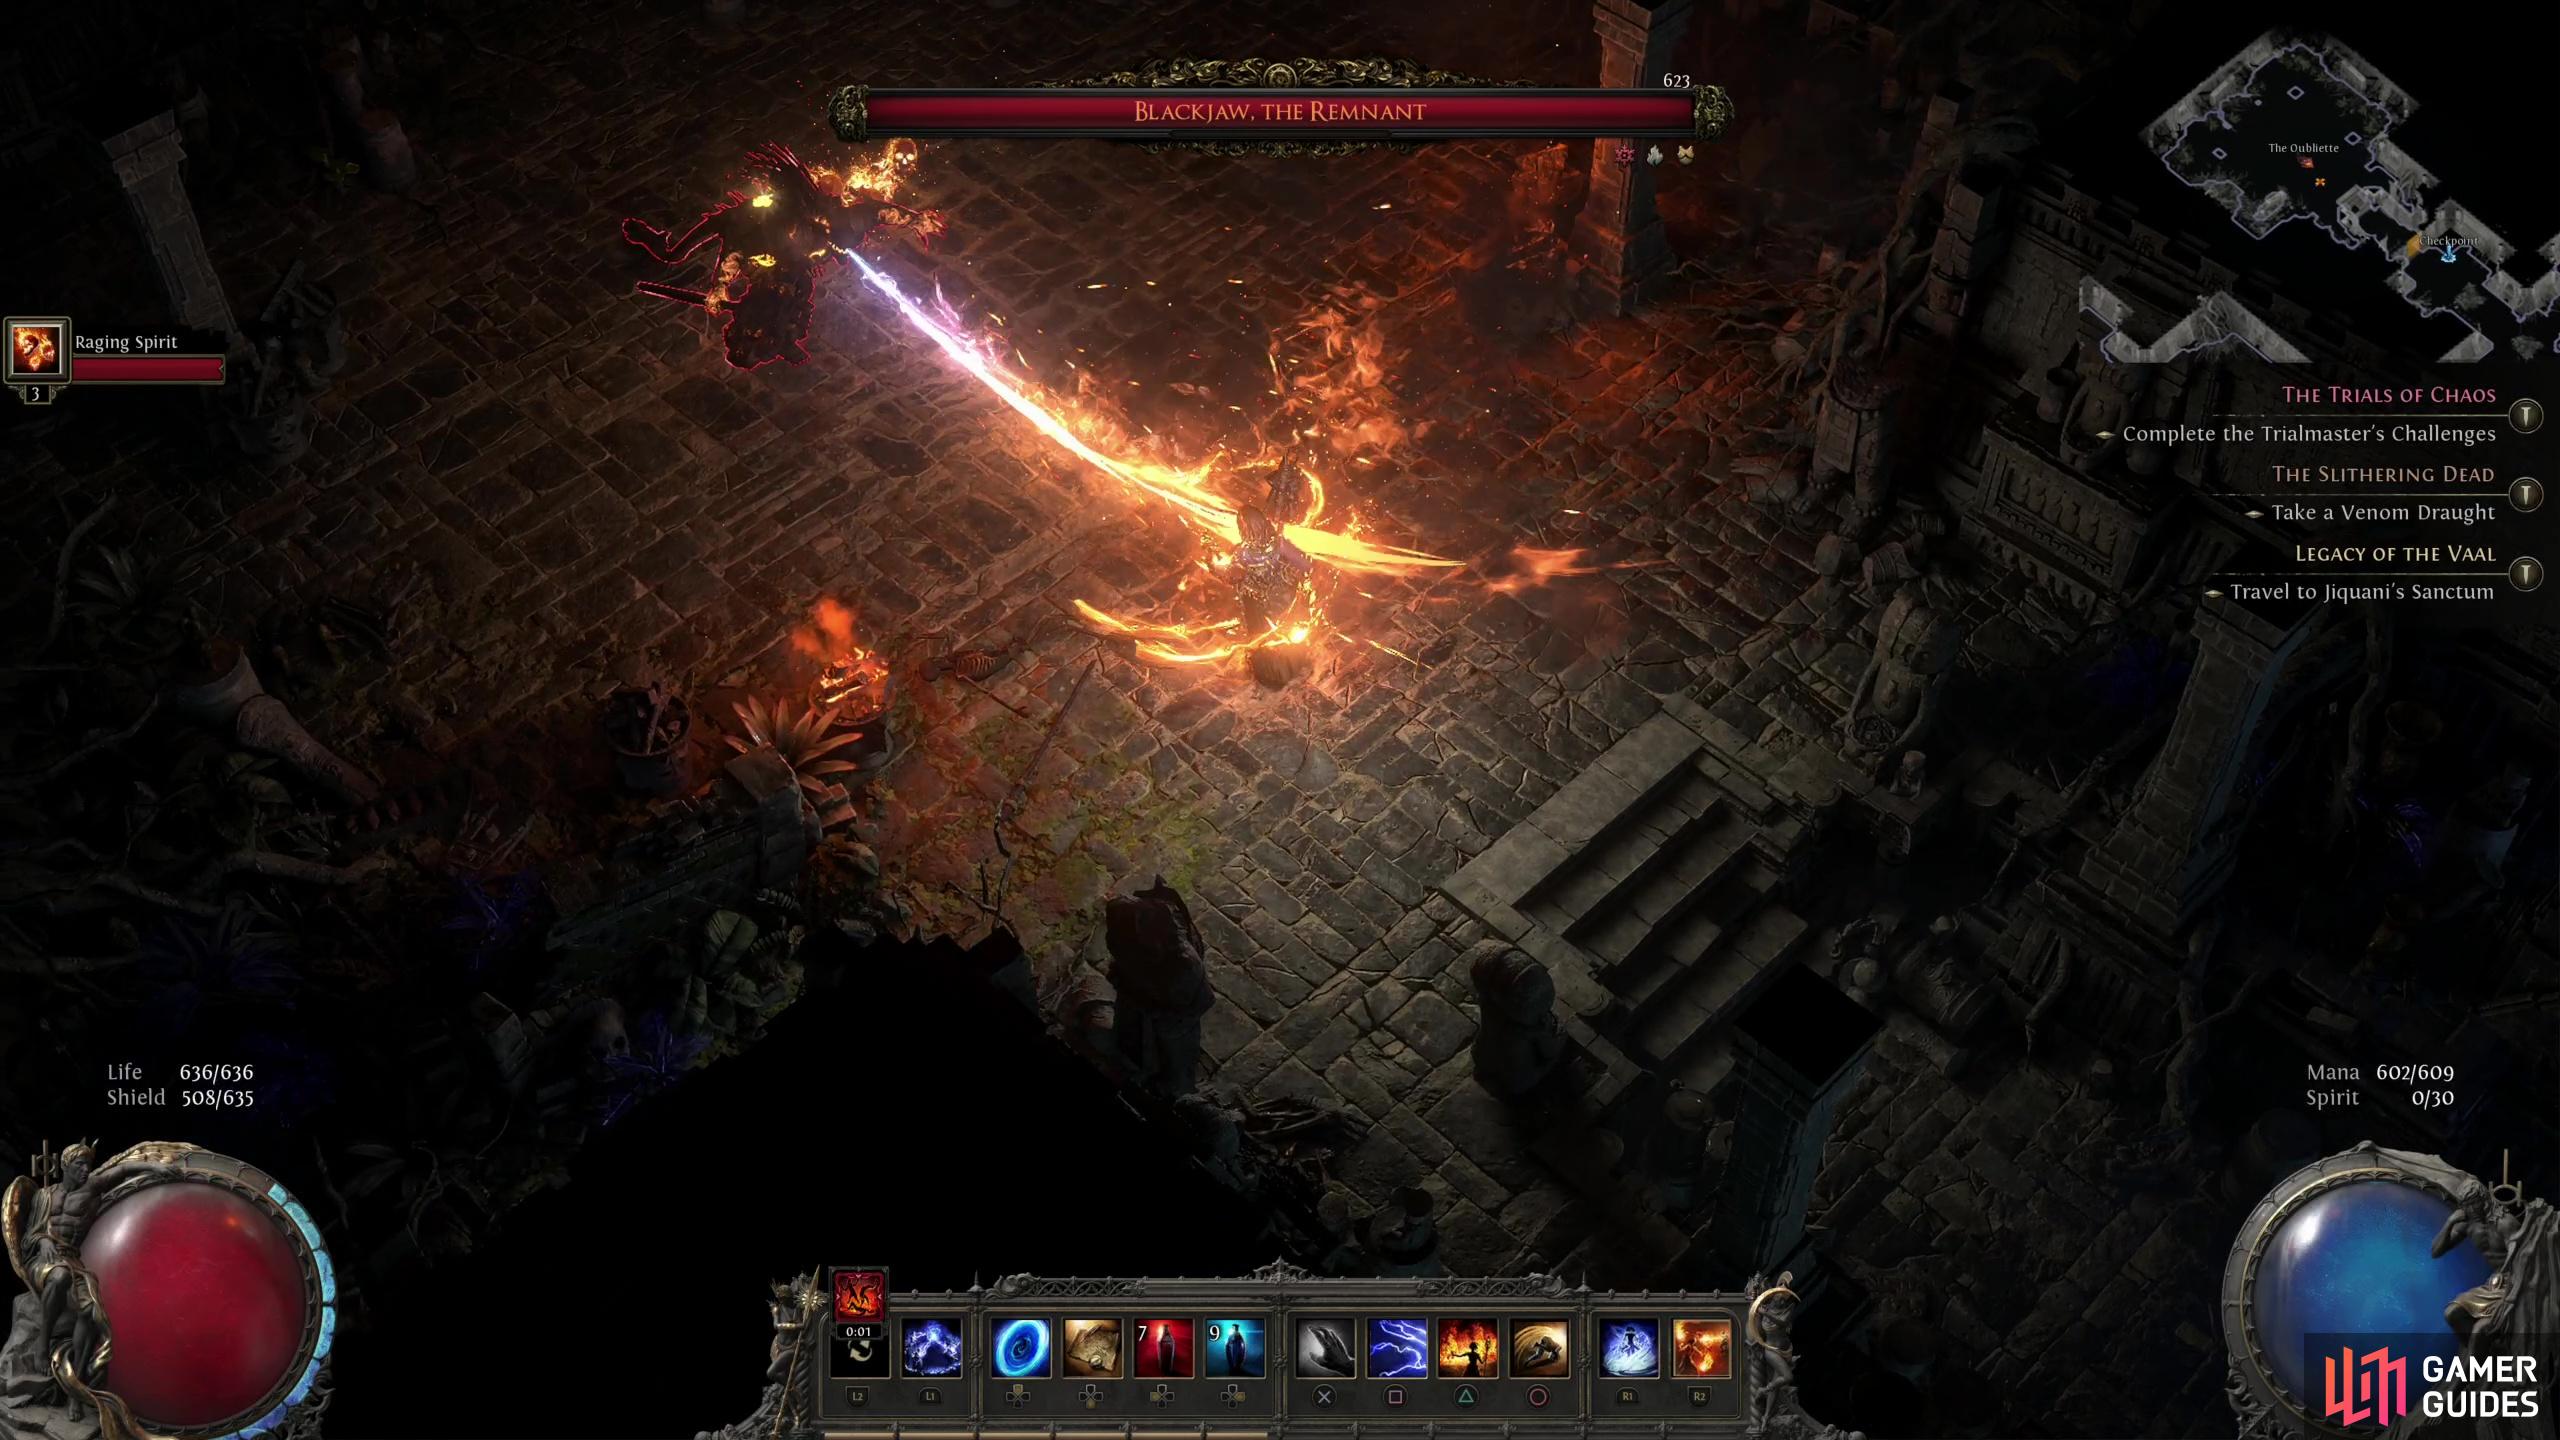
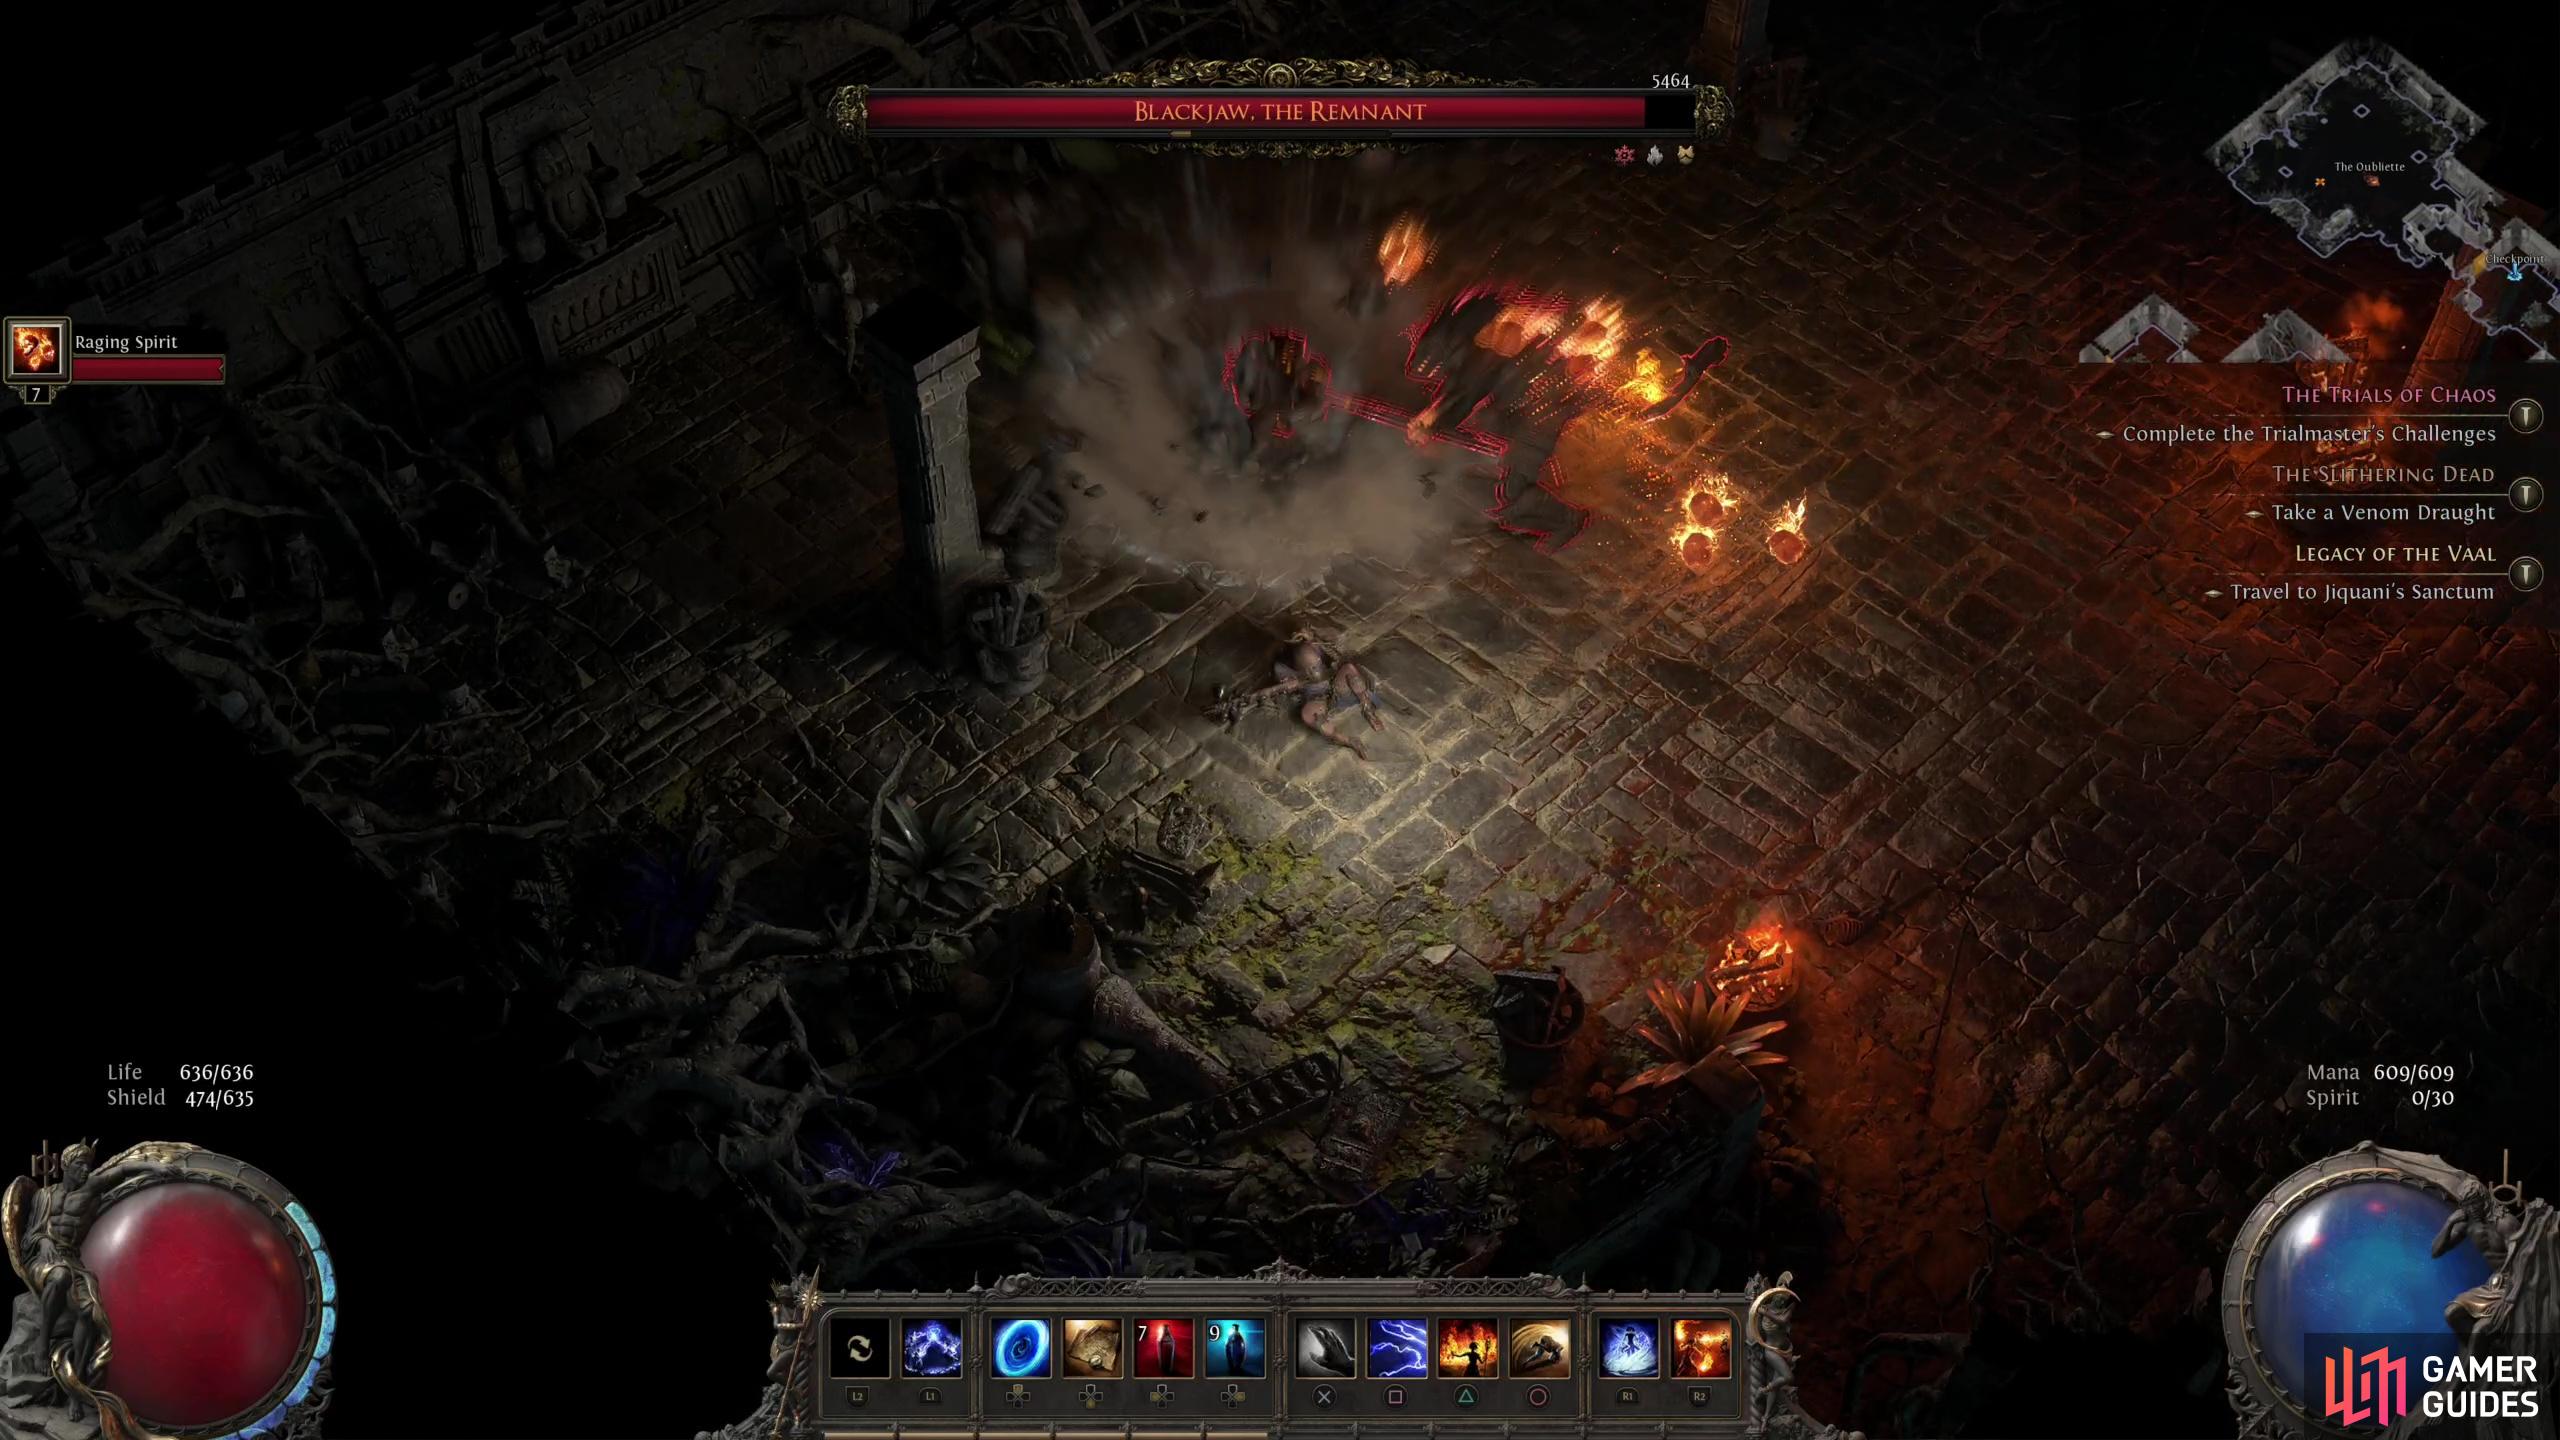
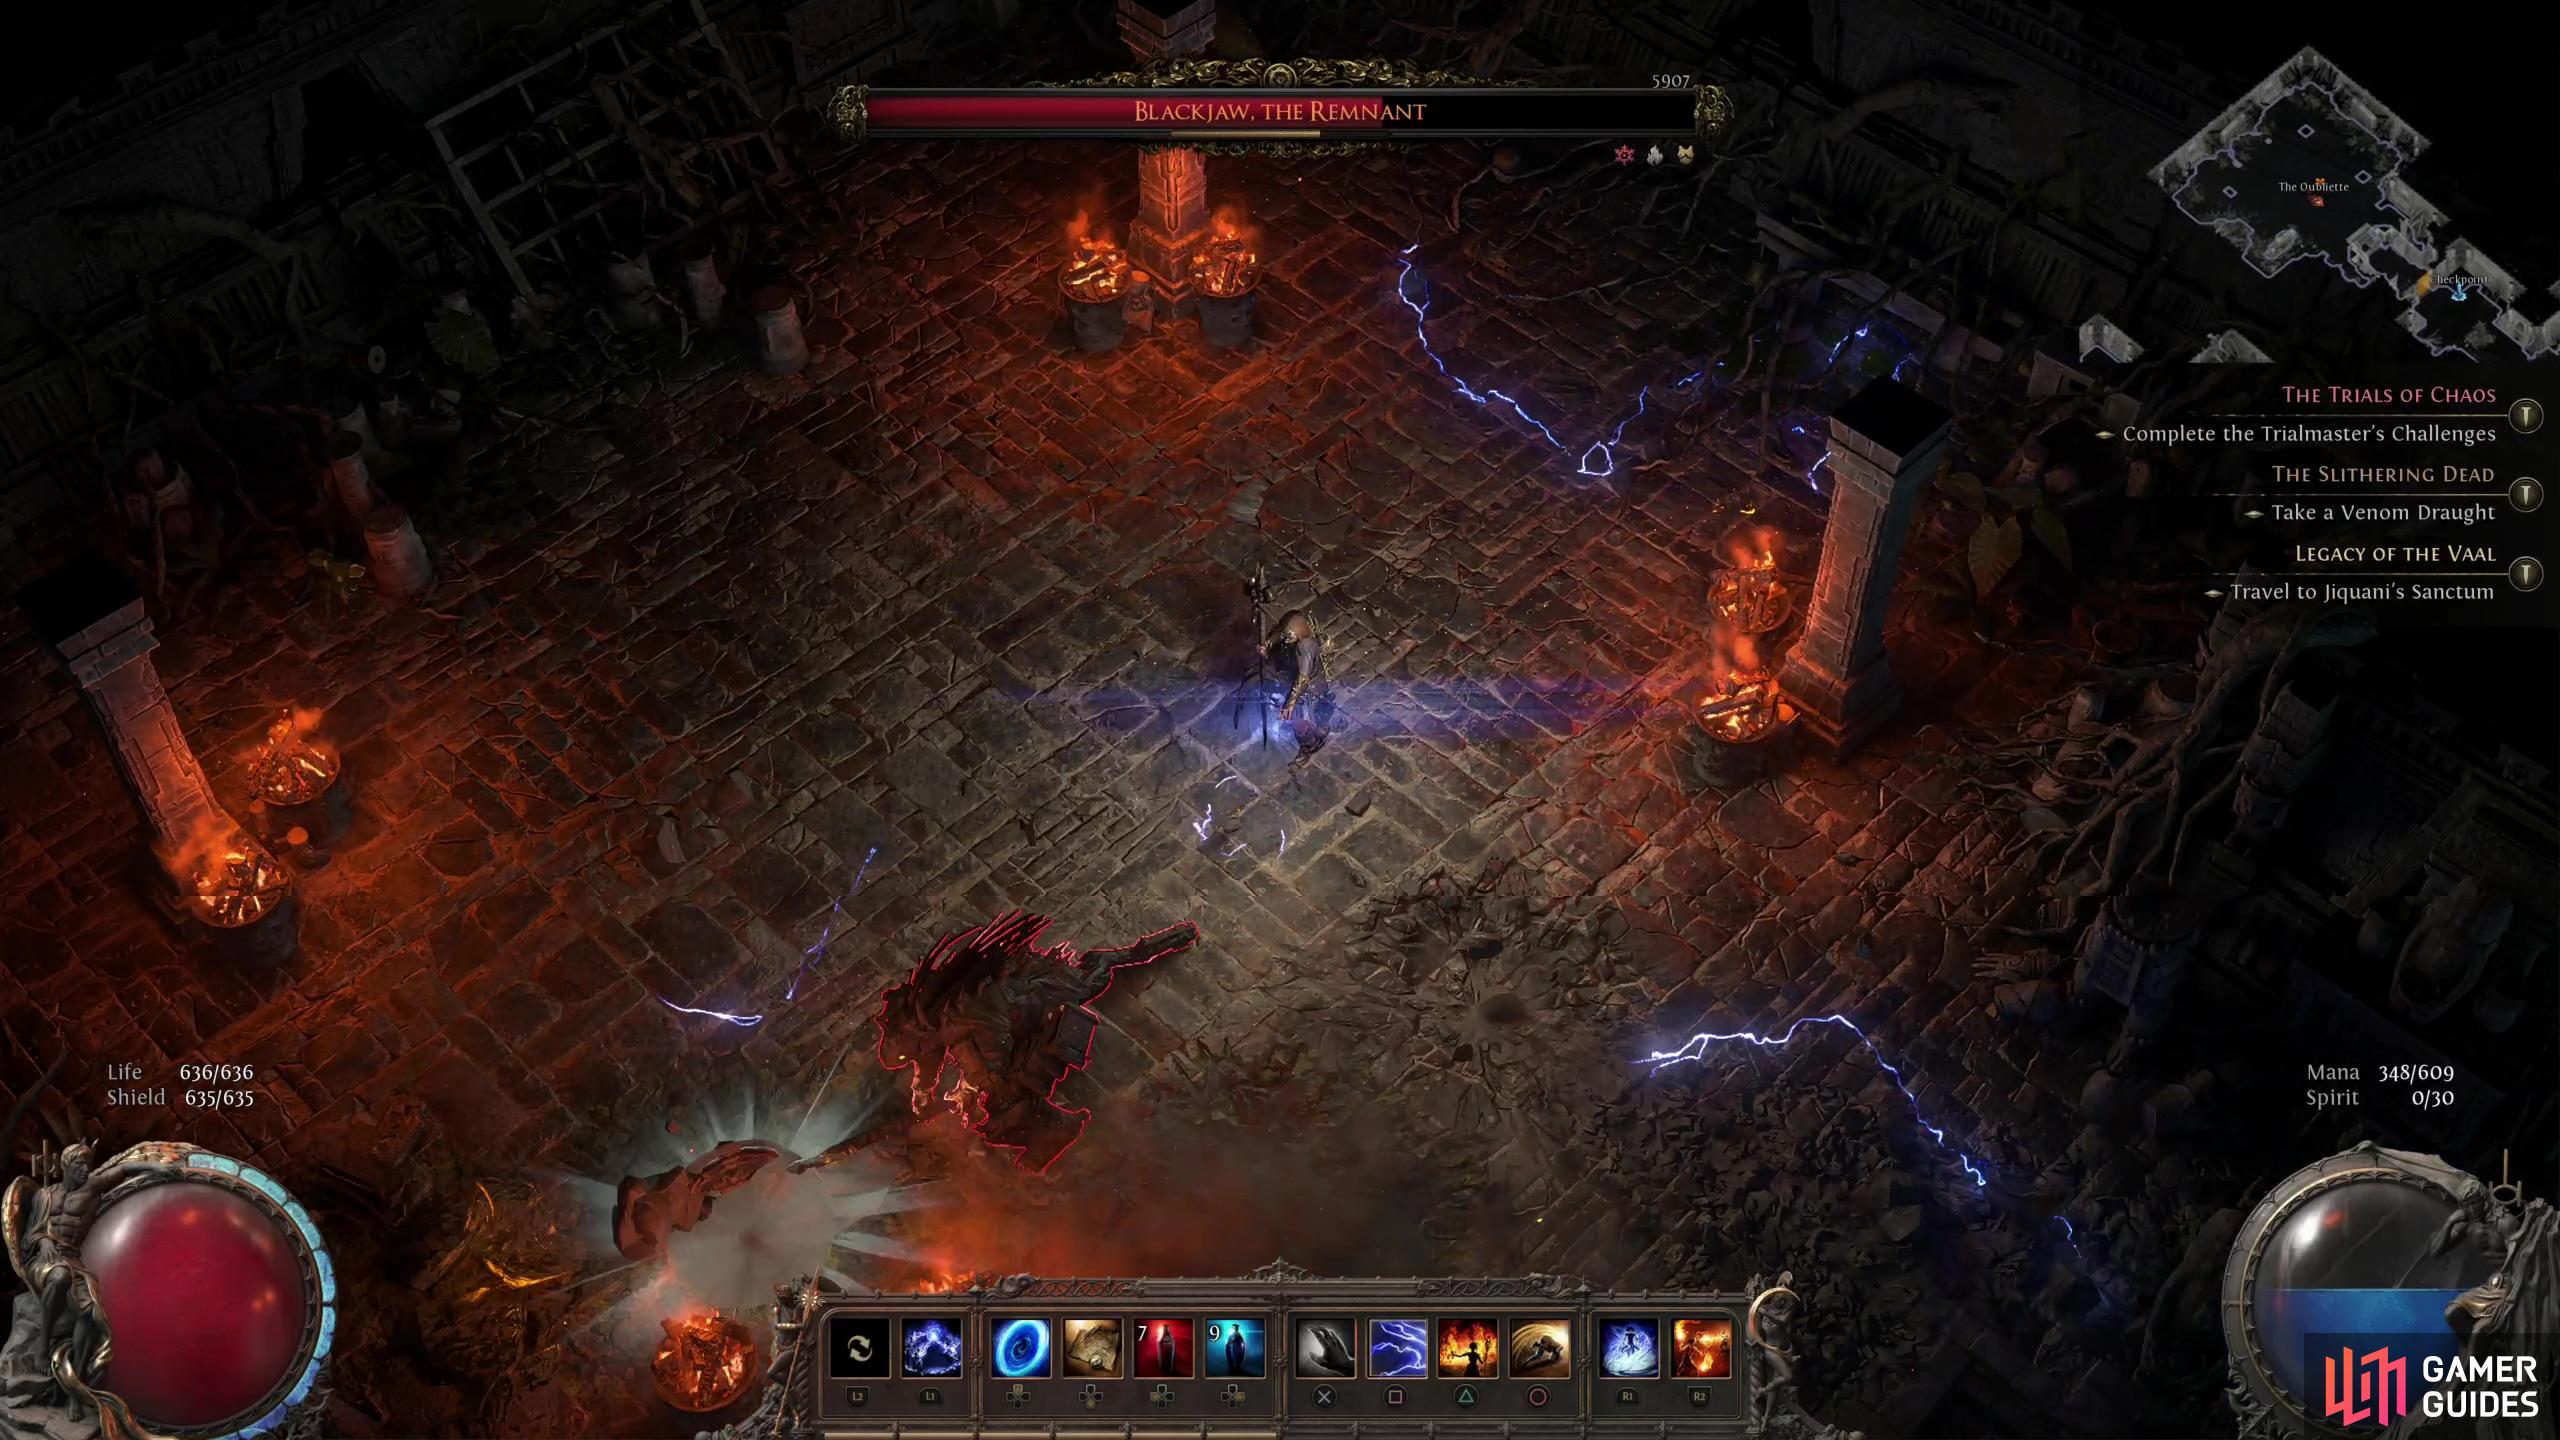
If you’re going to be wary of any of Blackjaw’s early attacks, this is the one. Blackjaw will rear his hammer back behind his head before slamming it on the ground in front of him. It’s not a slow attack, but it has more windup than his other melee attacks and is fairly easy to dodge if you see it coming. It’s also worth noting that Blackjaw doesn’t track well with this attack, but it does have a moderate AoE when it strikes, so it can still catch you if you’re a mite too slow. It deals heavy damage (expect 500+ damage) per hit, which is painful, but not devastating. Still, you’d best get used to it, as the attack will evolve as the fight goes on (see the Shockwave Slam Combo, below).
Once you return Blackjaw the Remnant to around 75% of his health, he’ll start taking the fight more seriously, adding attacks to his arsenal that compensates for some of his prior weaknesses and forces you to adjust or suffer. If you’ve been keeping your distance from the boss or dodging away from him… both end up being punished severely going forward. To endure and succeed you’ll need to stick close to your enemy and dodge roll behind him when he attacks. This might make it more likely that you’ll take hits from some of his more common melee attacks (“Pommel Push” and “Axe Swing”, mostly), but it’ll help you avoid his more dangerous attacks - a fair trade off.
(1 of 4) Early on, Blackjaw’s most powerful attack will be a well-telegraphed overhead axe slam.
Shockwave Slam Combo
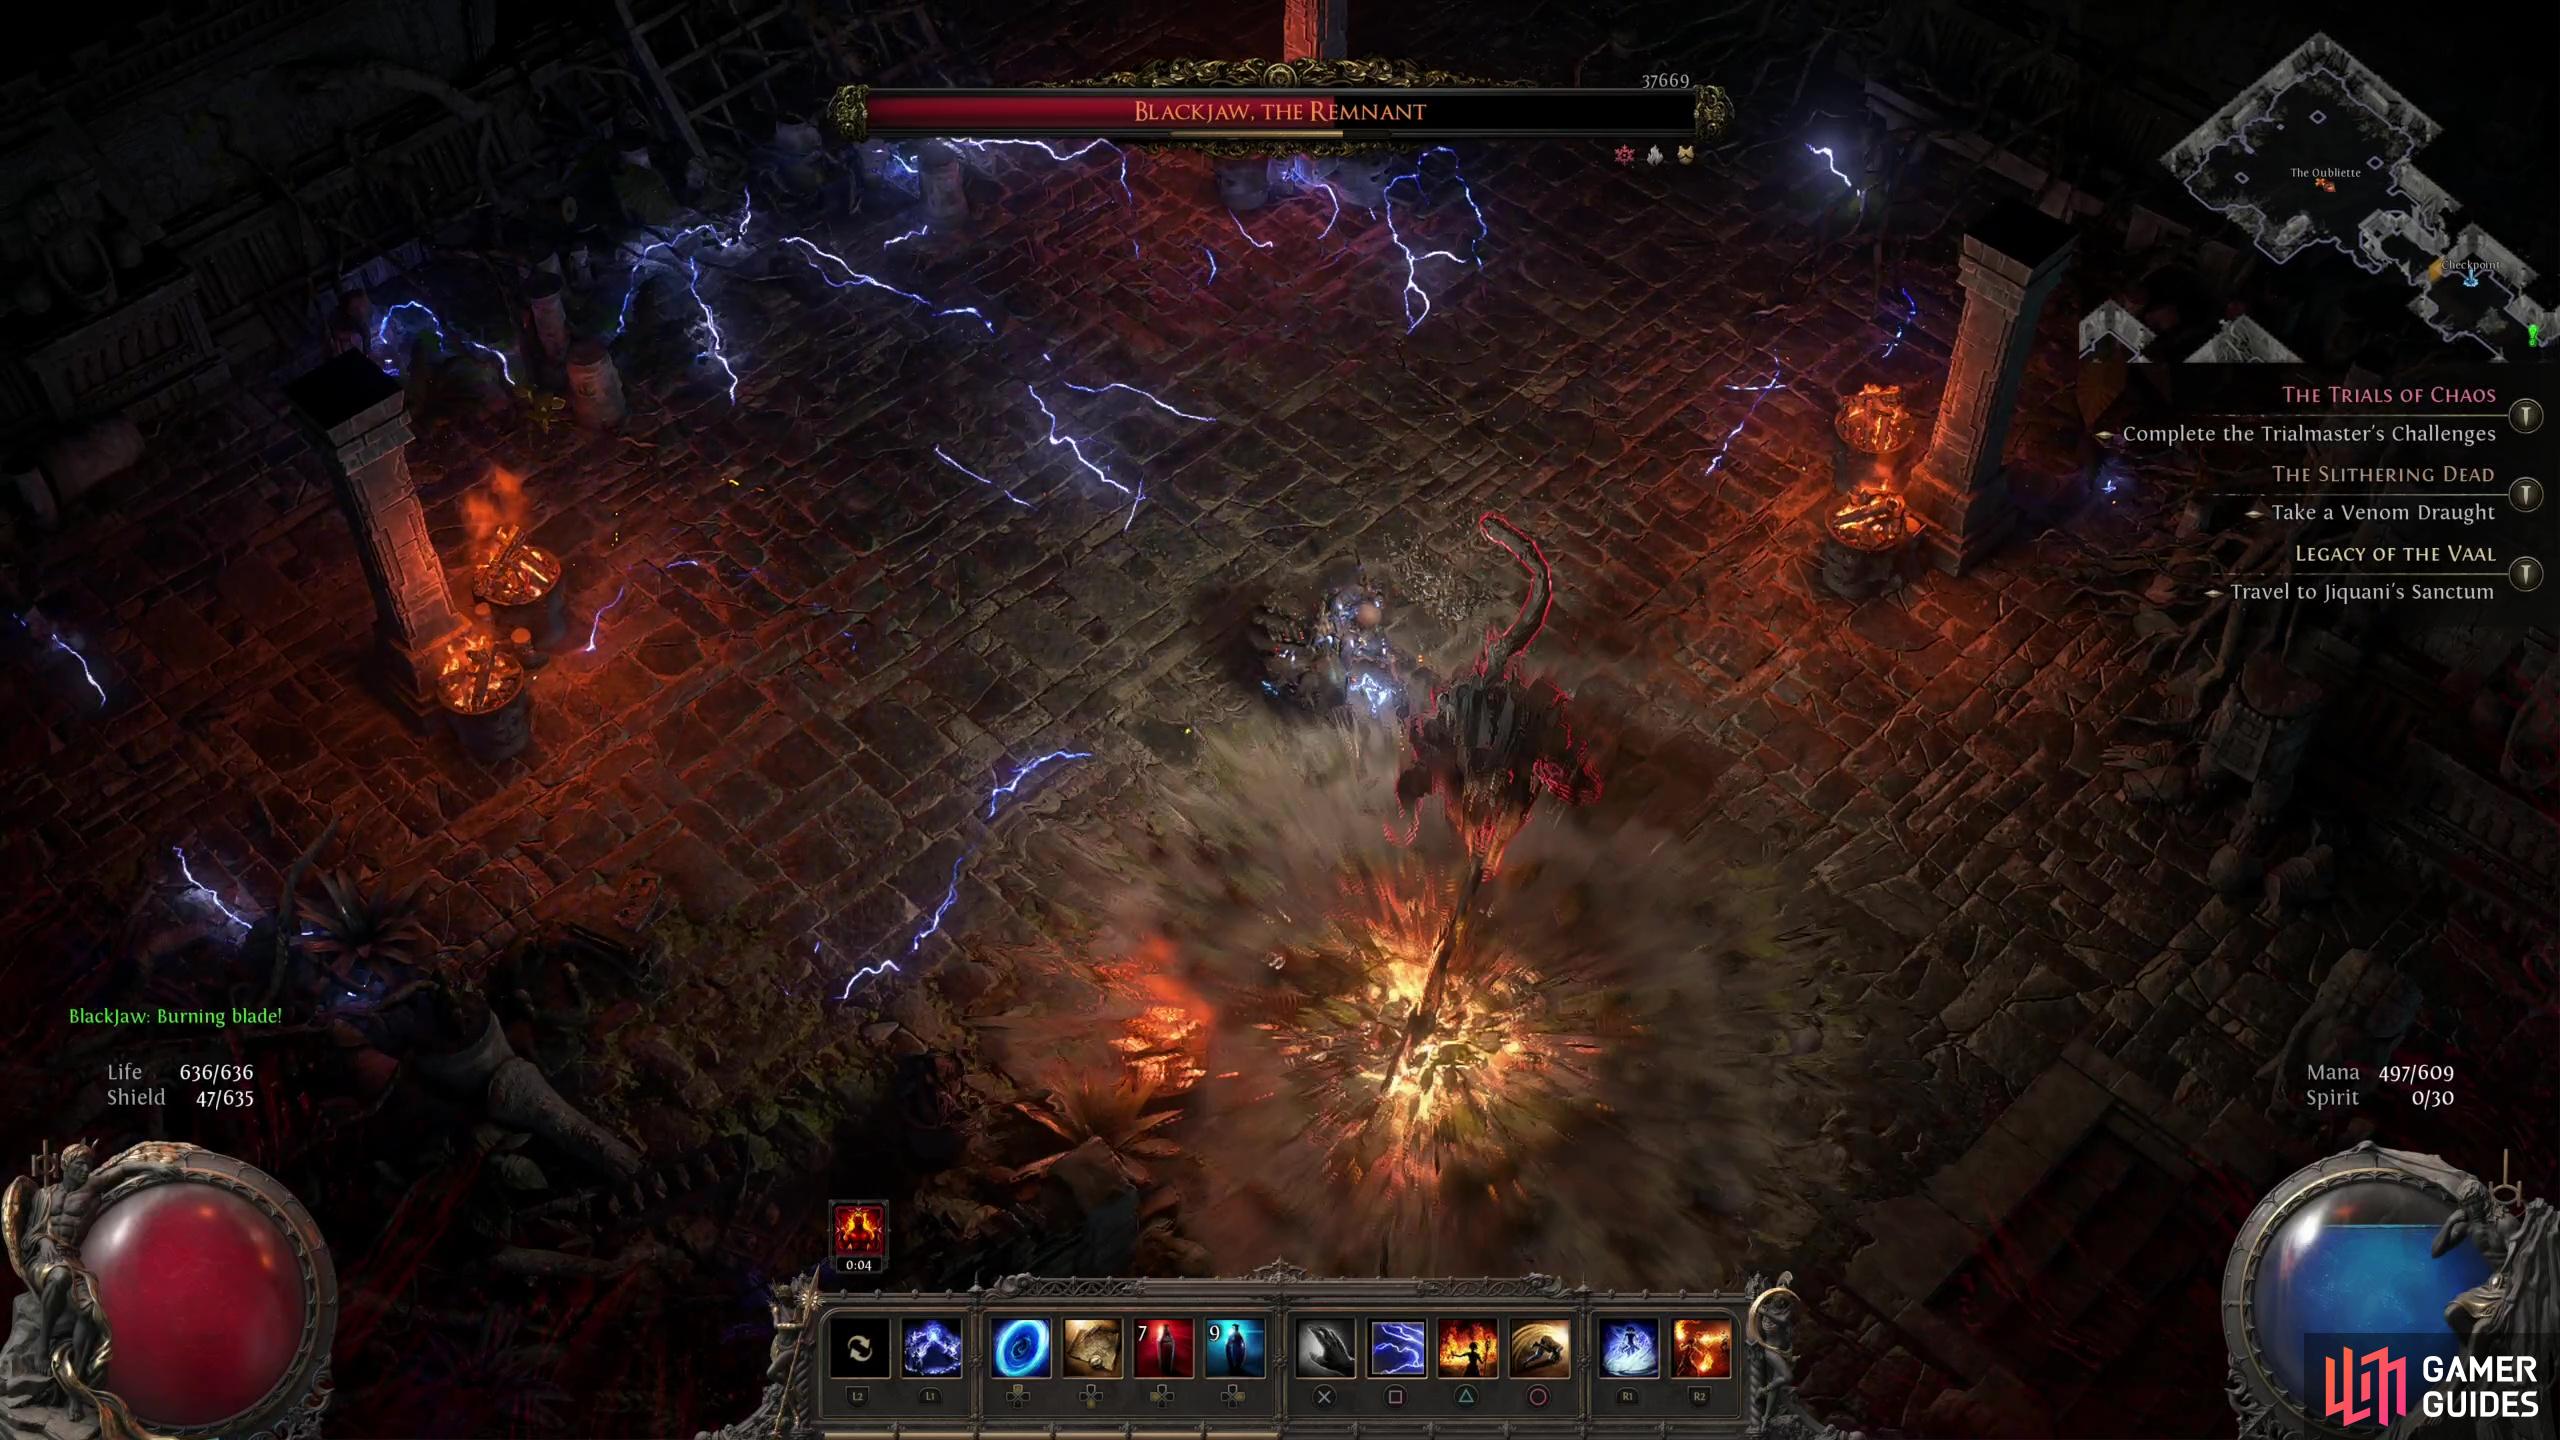
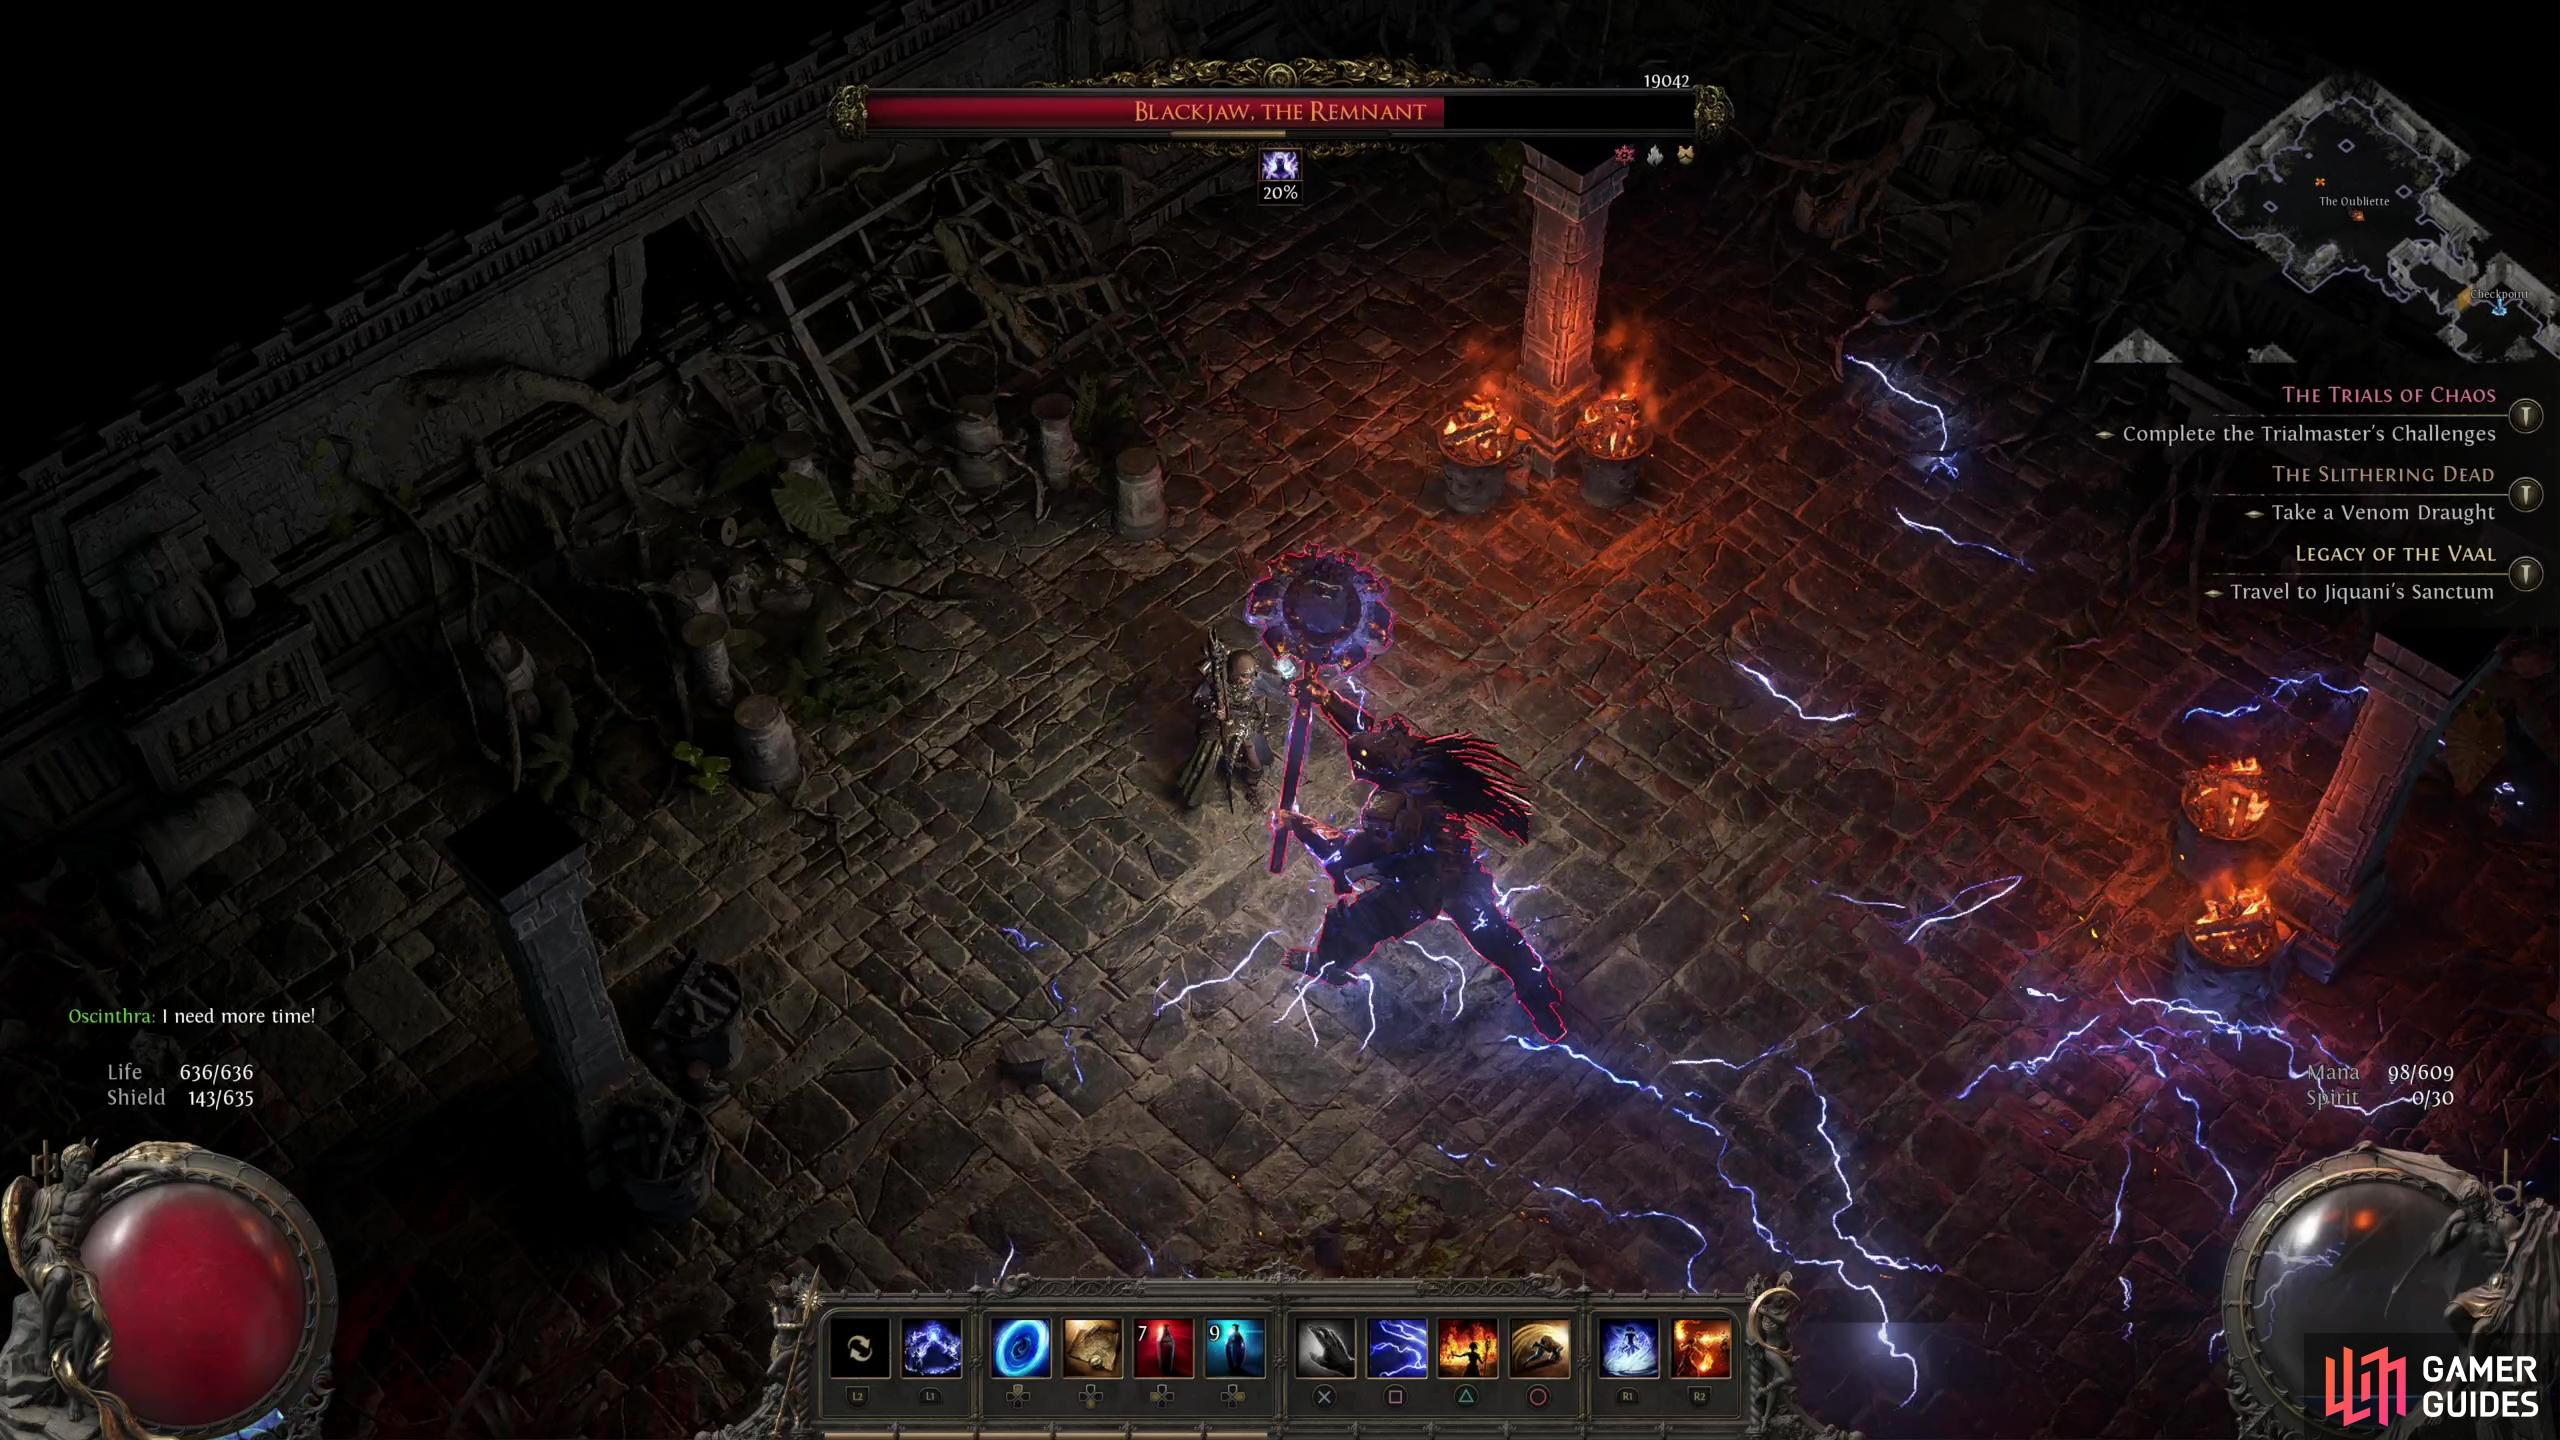
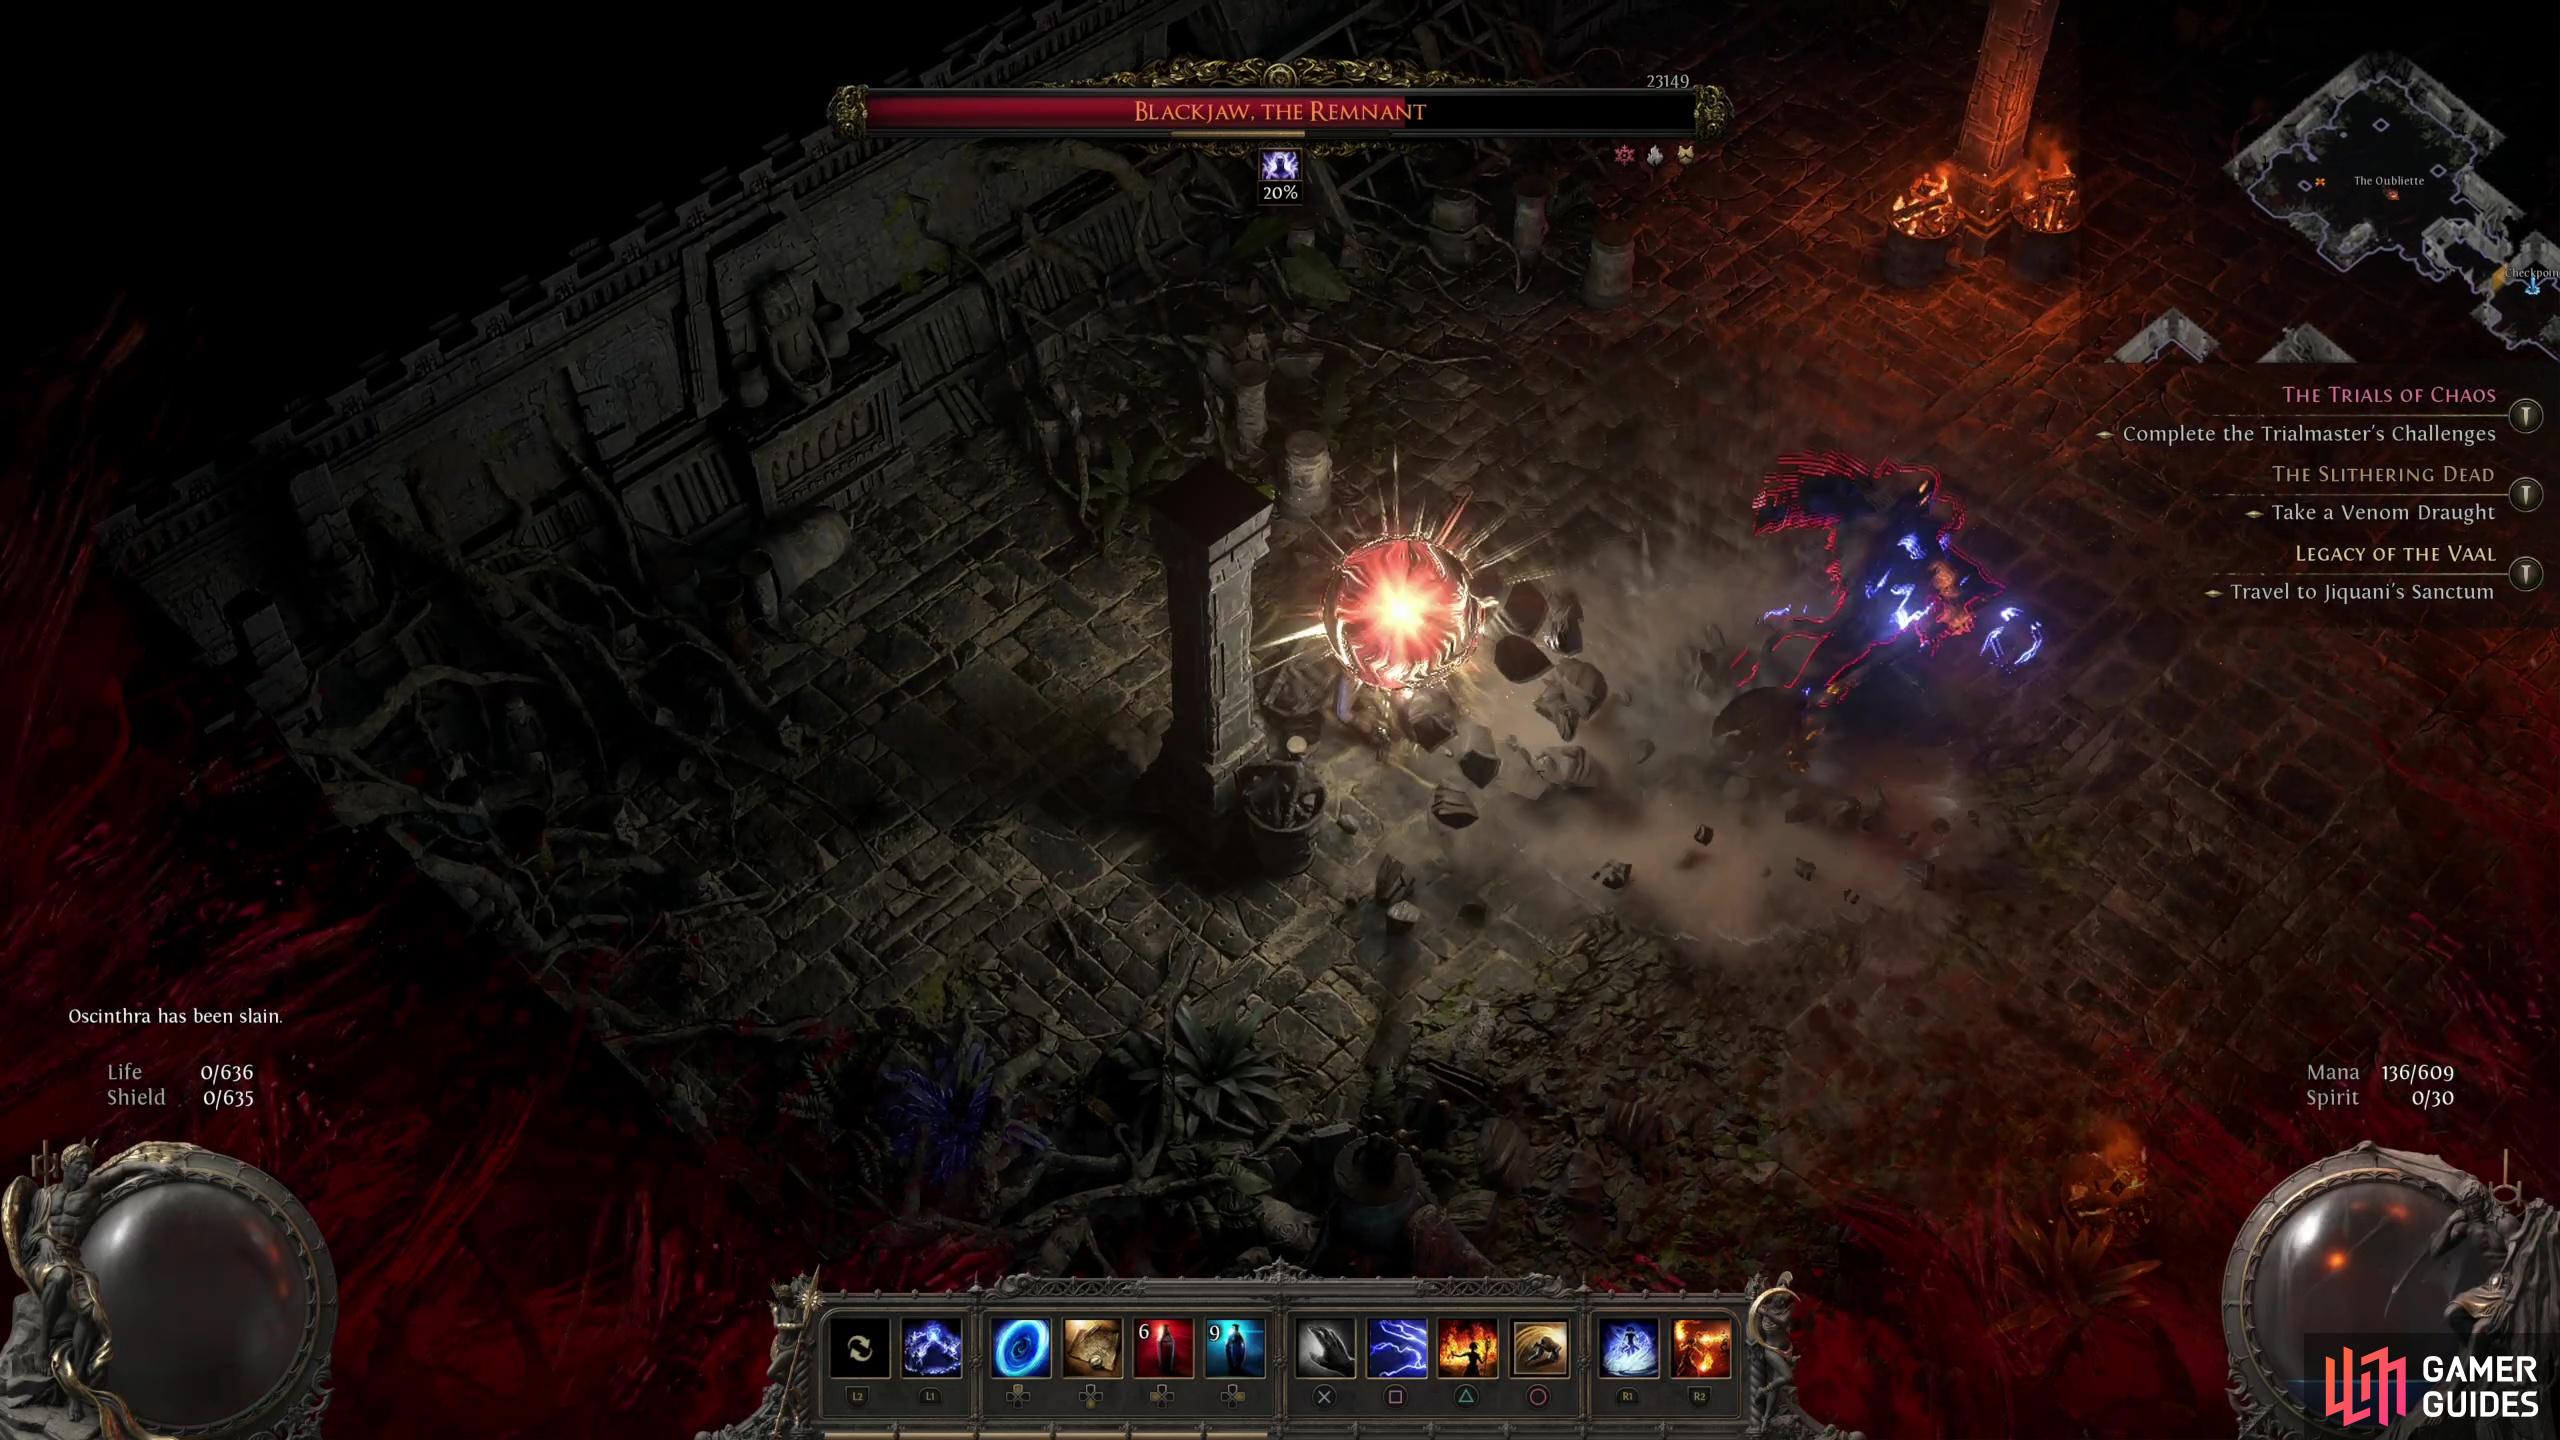
Most bosses have attacks that define how you’ll have to fight them, and barring any overpowered build, the “Shockwave Slam Combo” is that attack for Blackjaw the Remnant. At a glance it looks like his “Axe Slam” attack, save that he will perform three mighty chops in quick succession, with more time between the first and second attacks than the second and third. Each attack deals the same heavy damage over a moderate AoE, but they now also send out a shockwave that deals full damage in a line at a surprisingly long range - if you can see Blackjaw, this attack can probably hit you. The pillars in the corner won’t protect you from this attack (although don’t write them off entirely - there’s another attack they’ll help you avoid) and dodging one probably means you’ll get hit by the next. Oh, and Blackjaw can track between swings; the first attack hits where he was initially aiming while the next two can be shifted by about 20-degrees, up to a 45-degree (or so) rotation over the course of the combo. If you keep your distance or try to roll around him, he’s almost certainly going to hit you. If you roll behind him, he’ll whiff with all three attacks.
Leap Slam
A leaping slam with his axe, Blackjaw can cover a little or a lot of ground with this attack, so don’t think you’re not going to see it regardless of what range you’re keeping. It deals heavy damage and has a sizable AoE, but doesn’t track well and honestly isn’t that hard to avoid.
Flaming Sweep
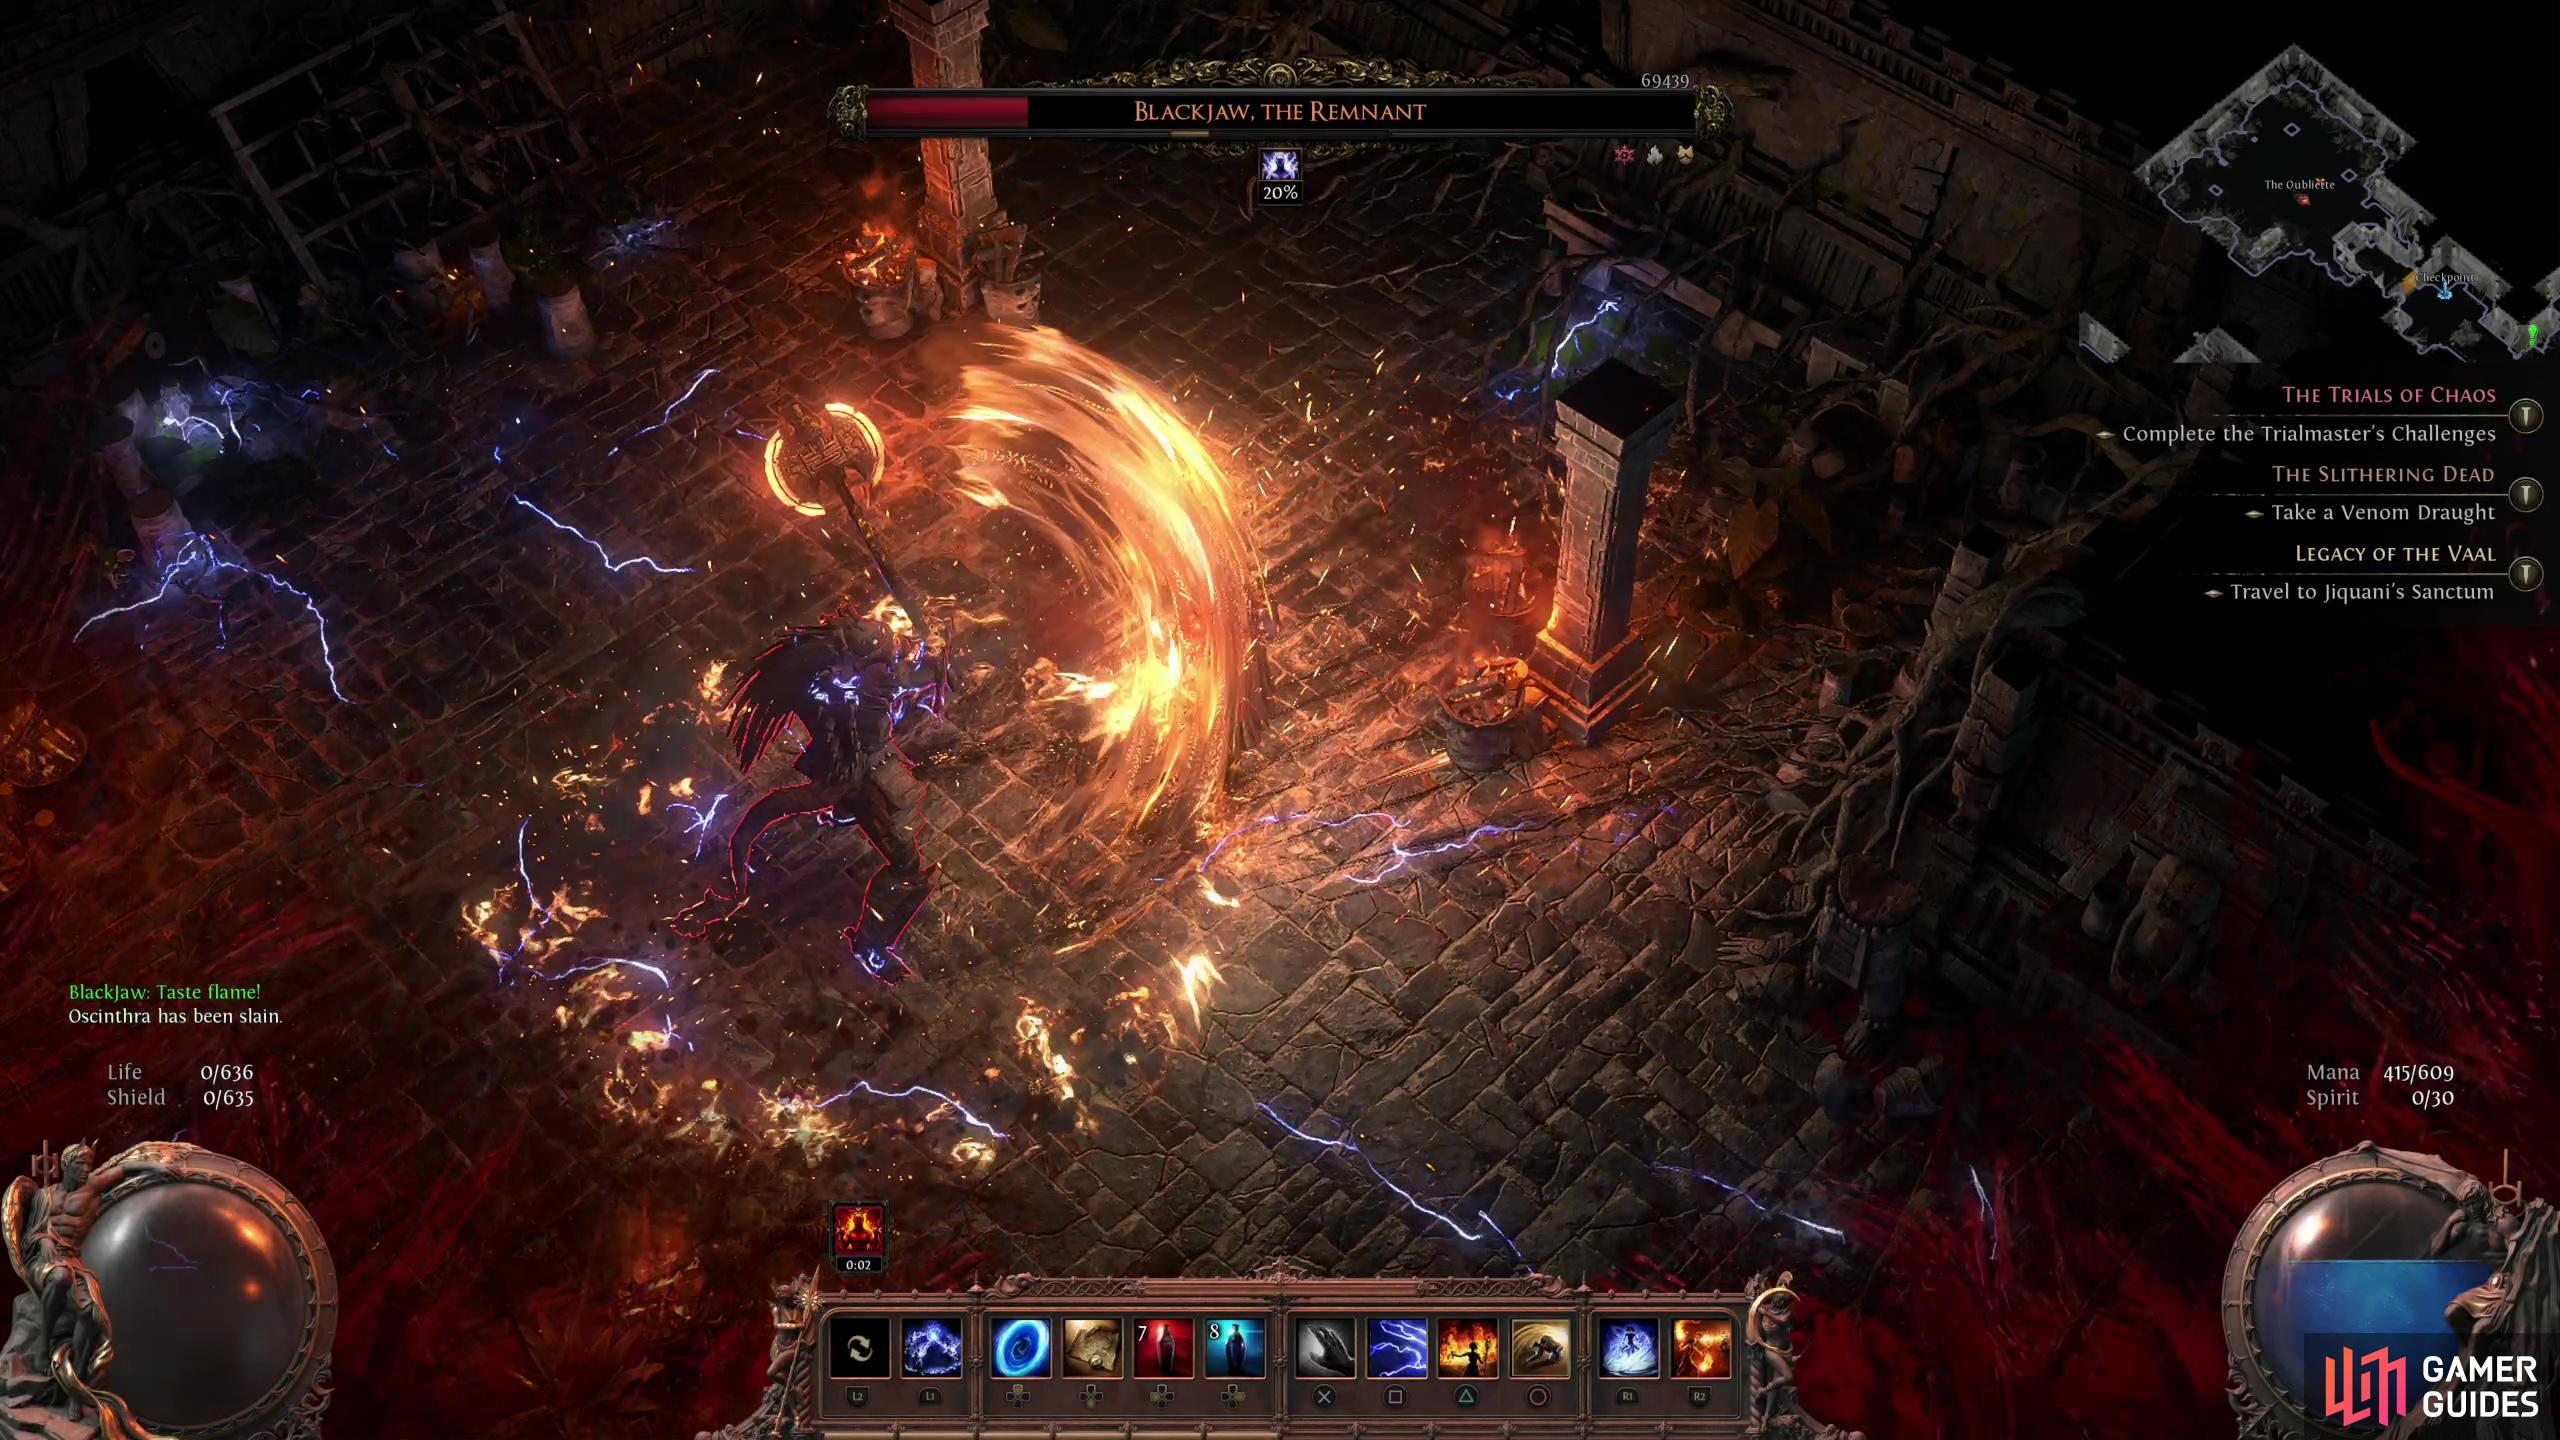
Blackjaw will sprew fire on his axe, then perform a powerful sweep with it, striking roughly an 180-degree arc in front of him. This attack deals tremendous damage (700+), but it doesn’t track and Blackjaw advertises it well - if you see him stop to spew fire on his axe, just get behind him. It’s also worth noting that other attacks performed after this may also be imbued with fire, increasing their potency - his “Leap Slam” and “Axe Slam” especially gain damage and increased AoE. You’ll still avoid them in the same way, but errors will be punished more harshly.:::image-block-2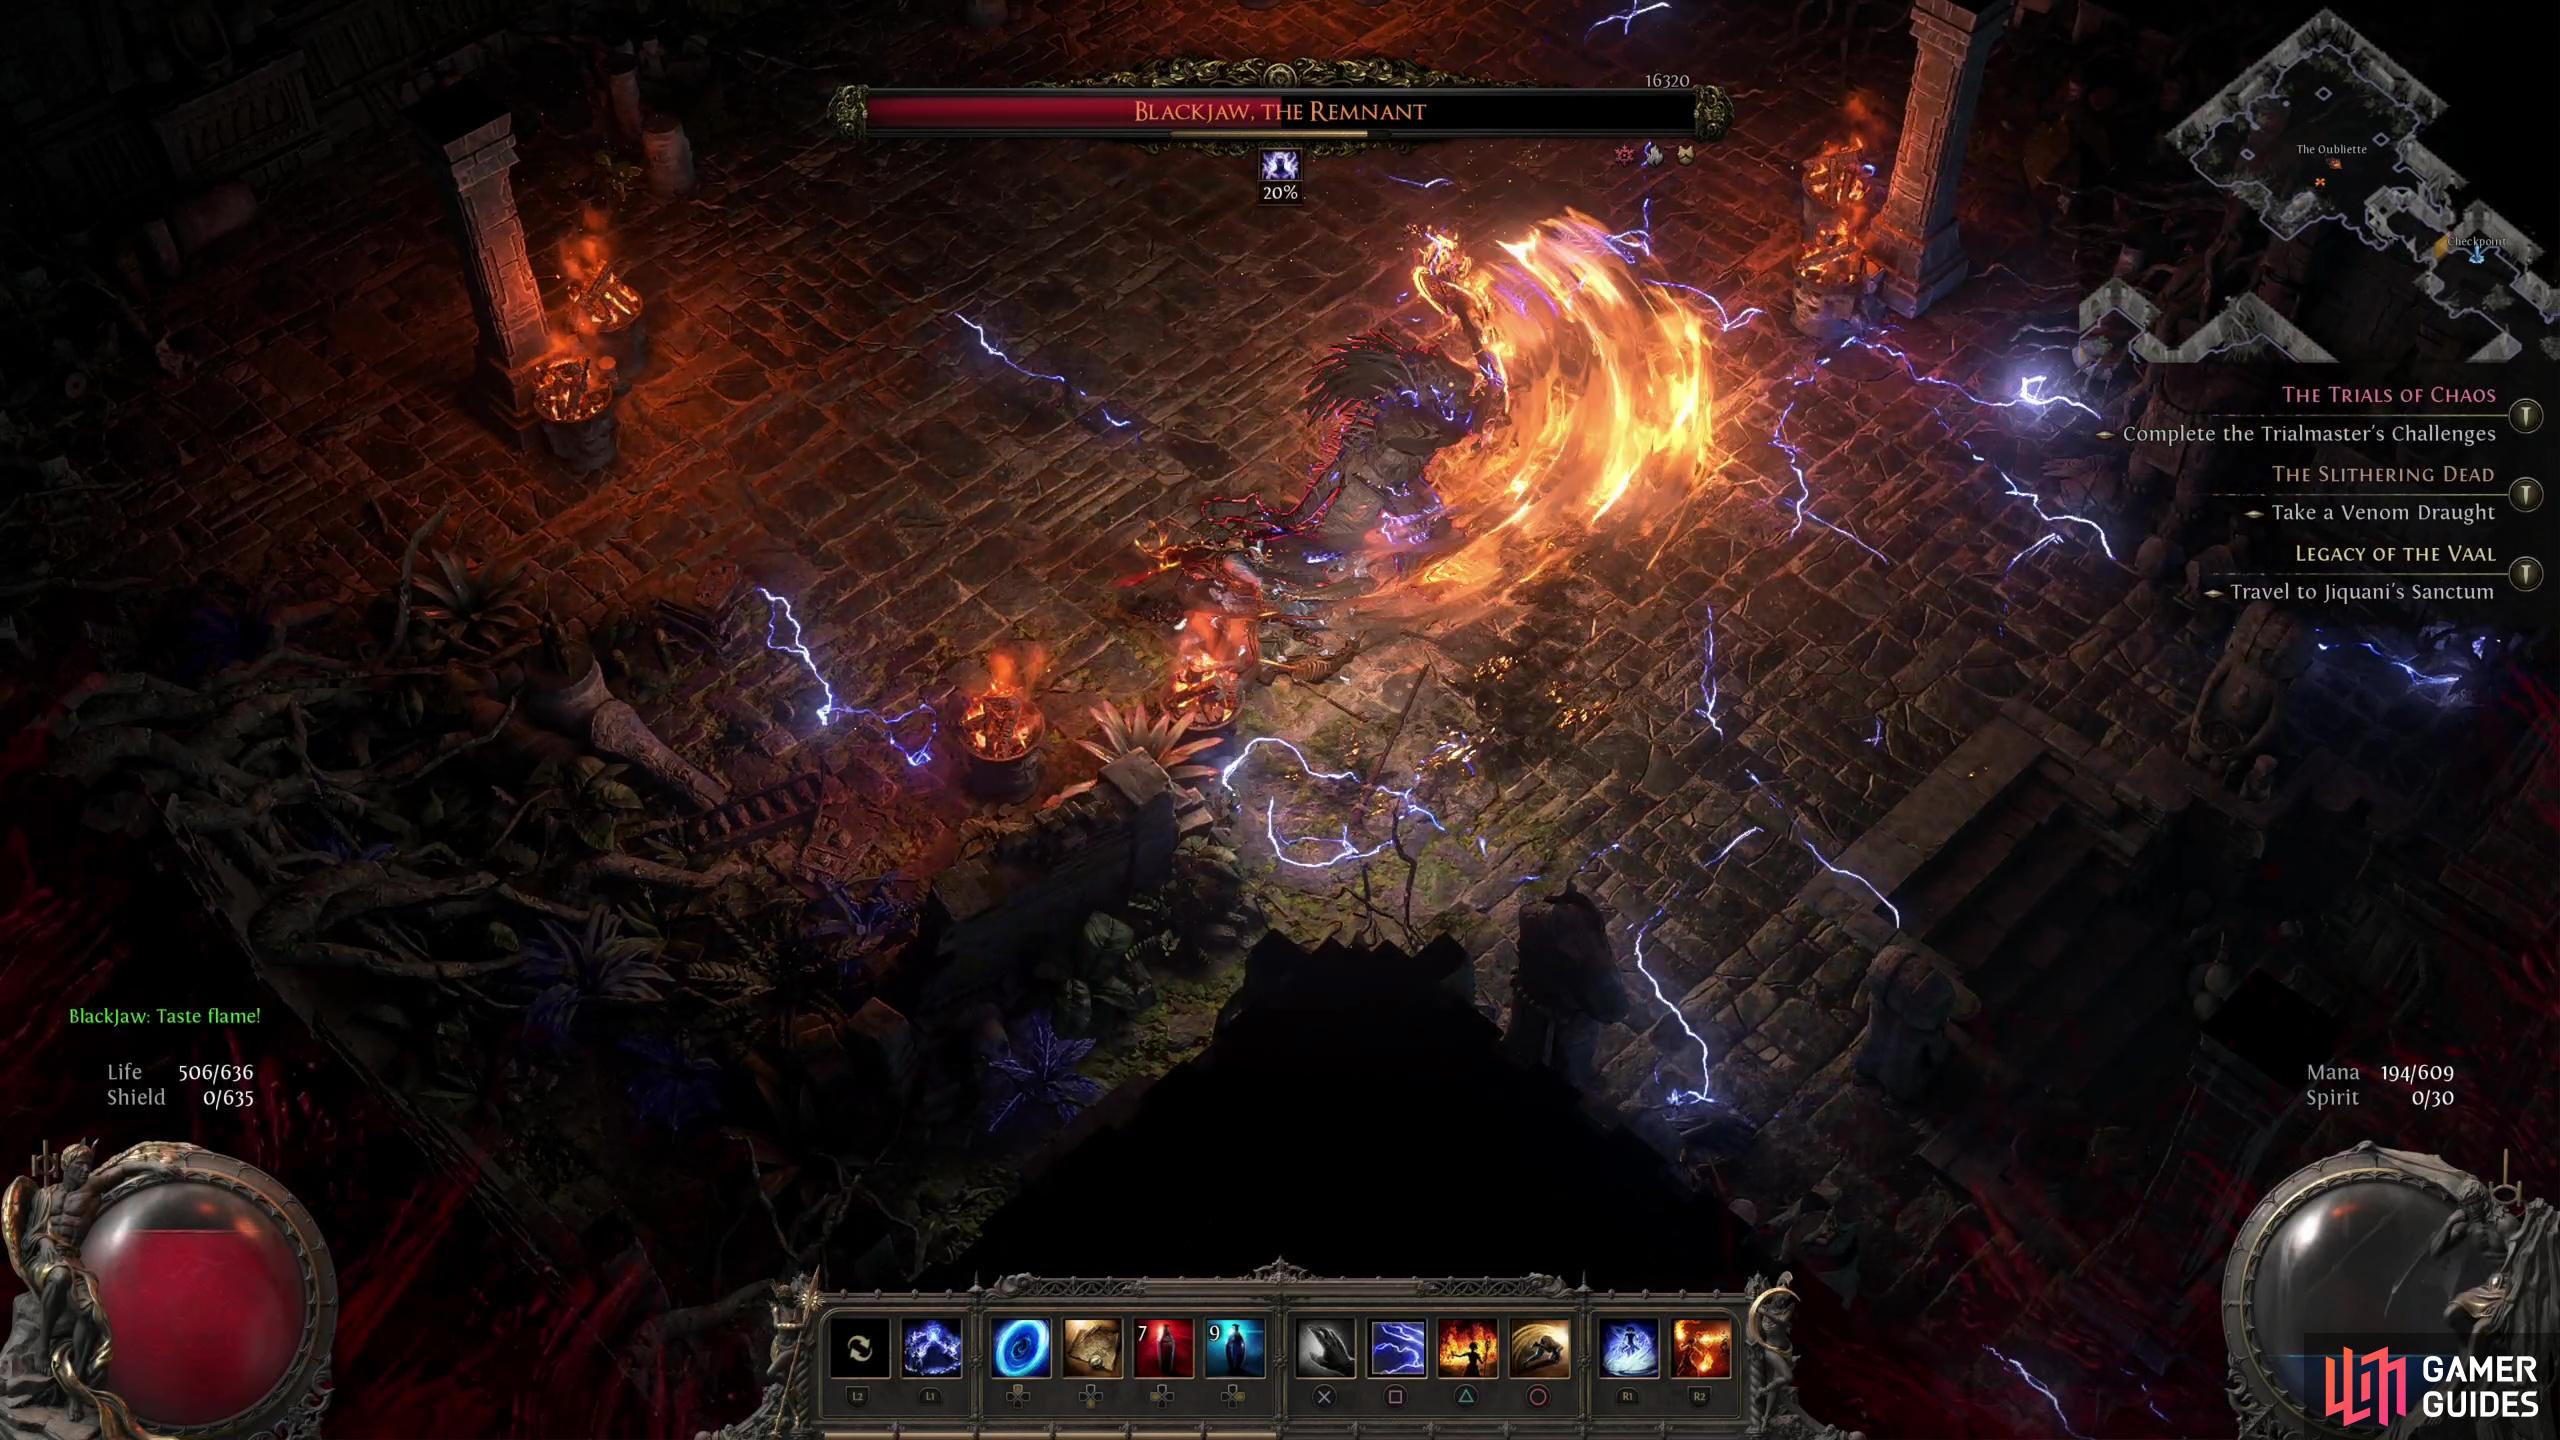
:::
Hellfire Combo
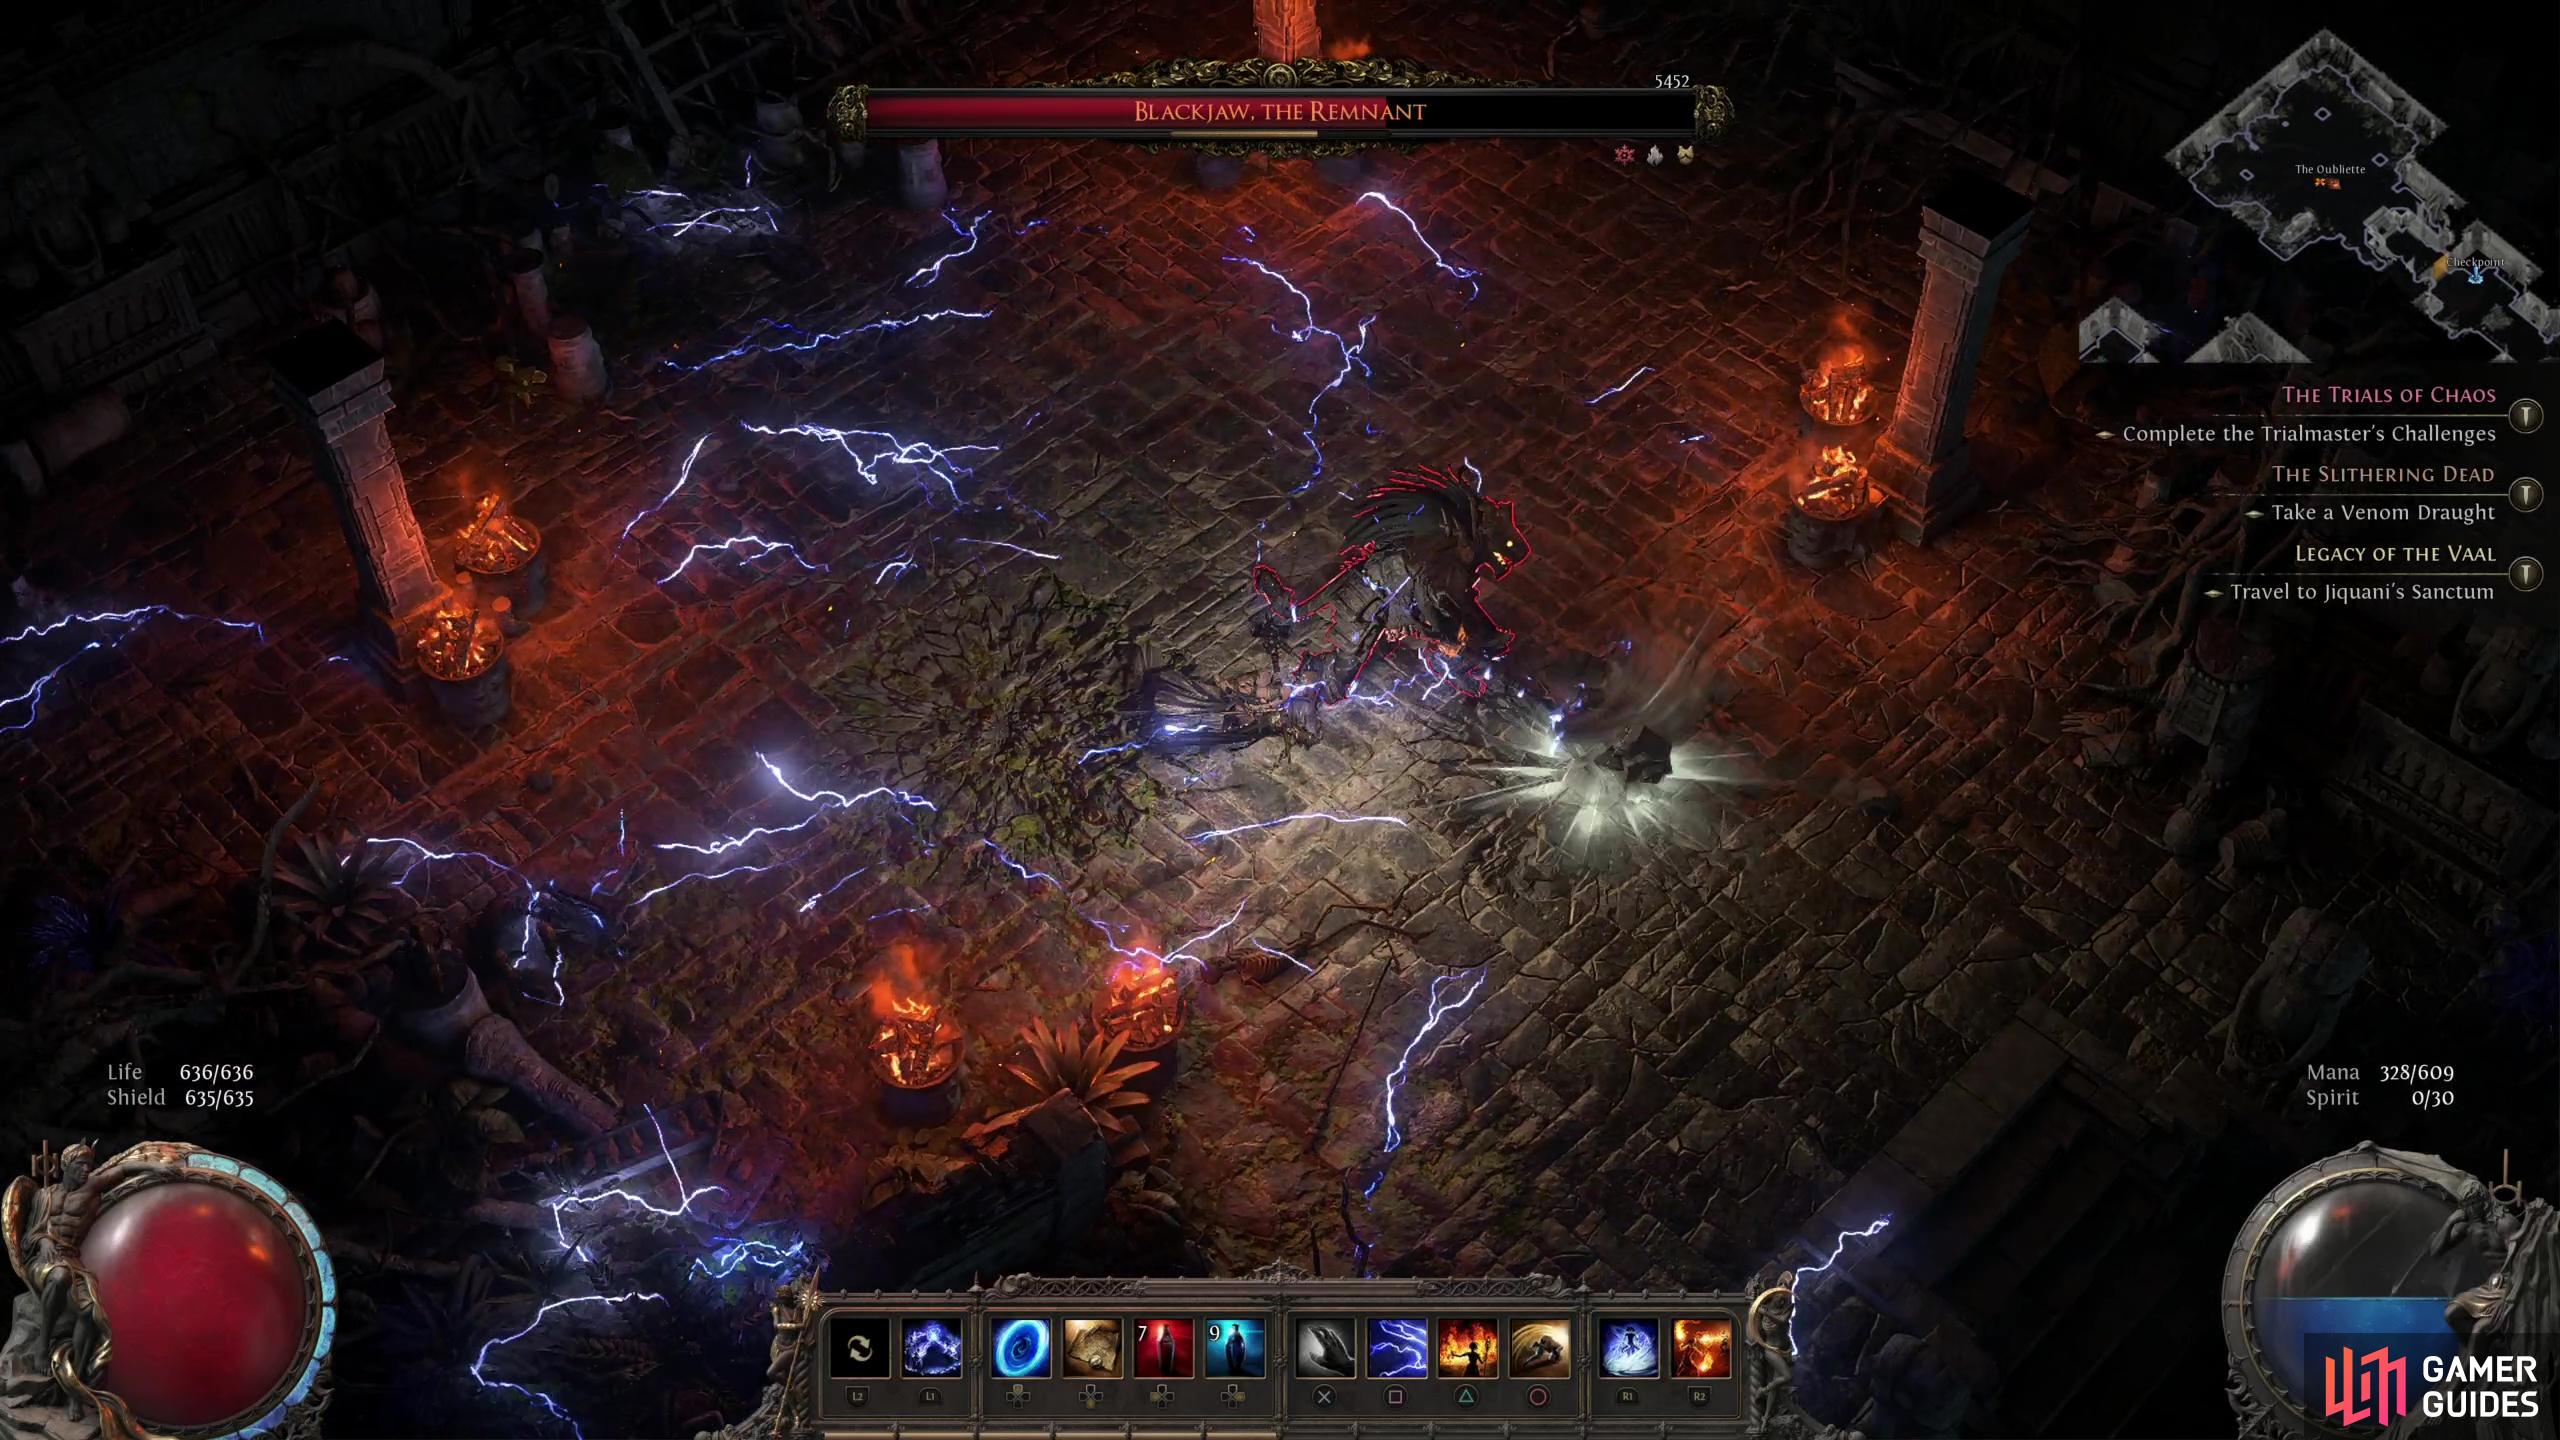
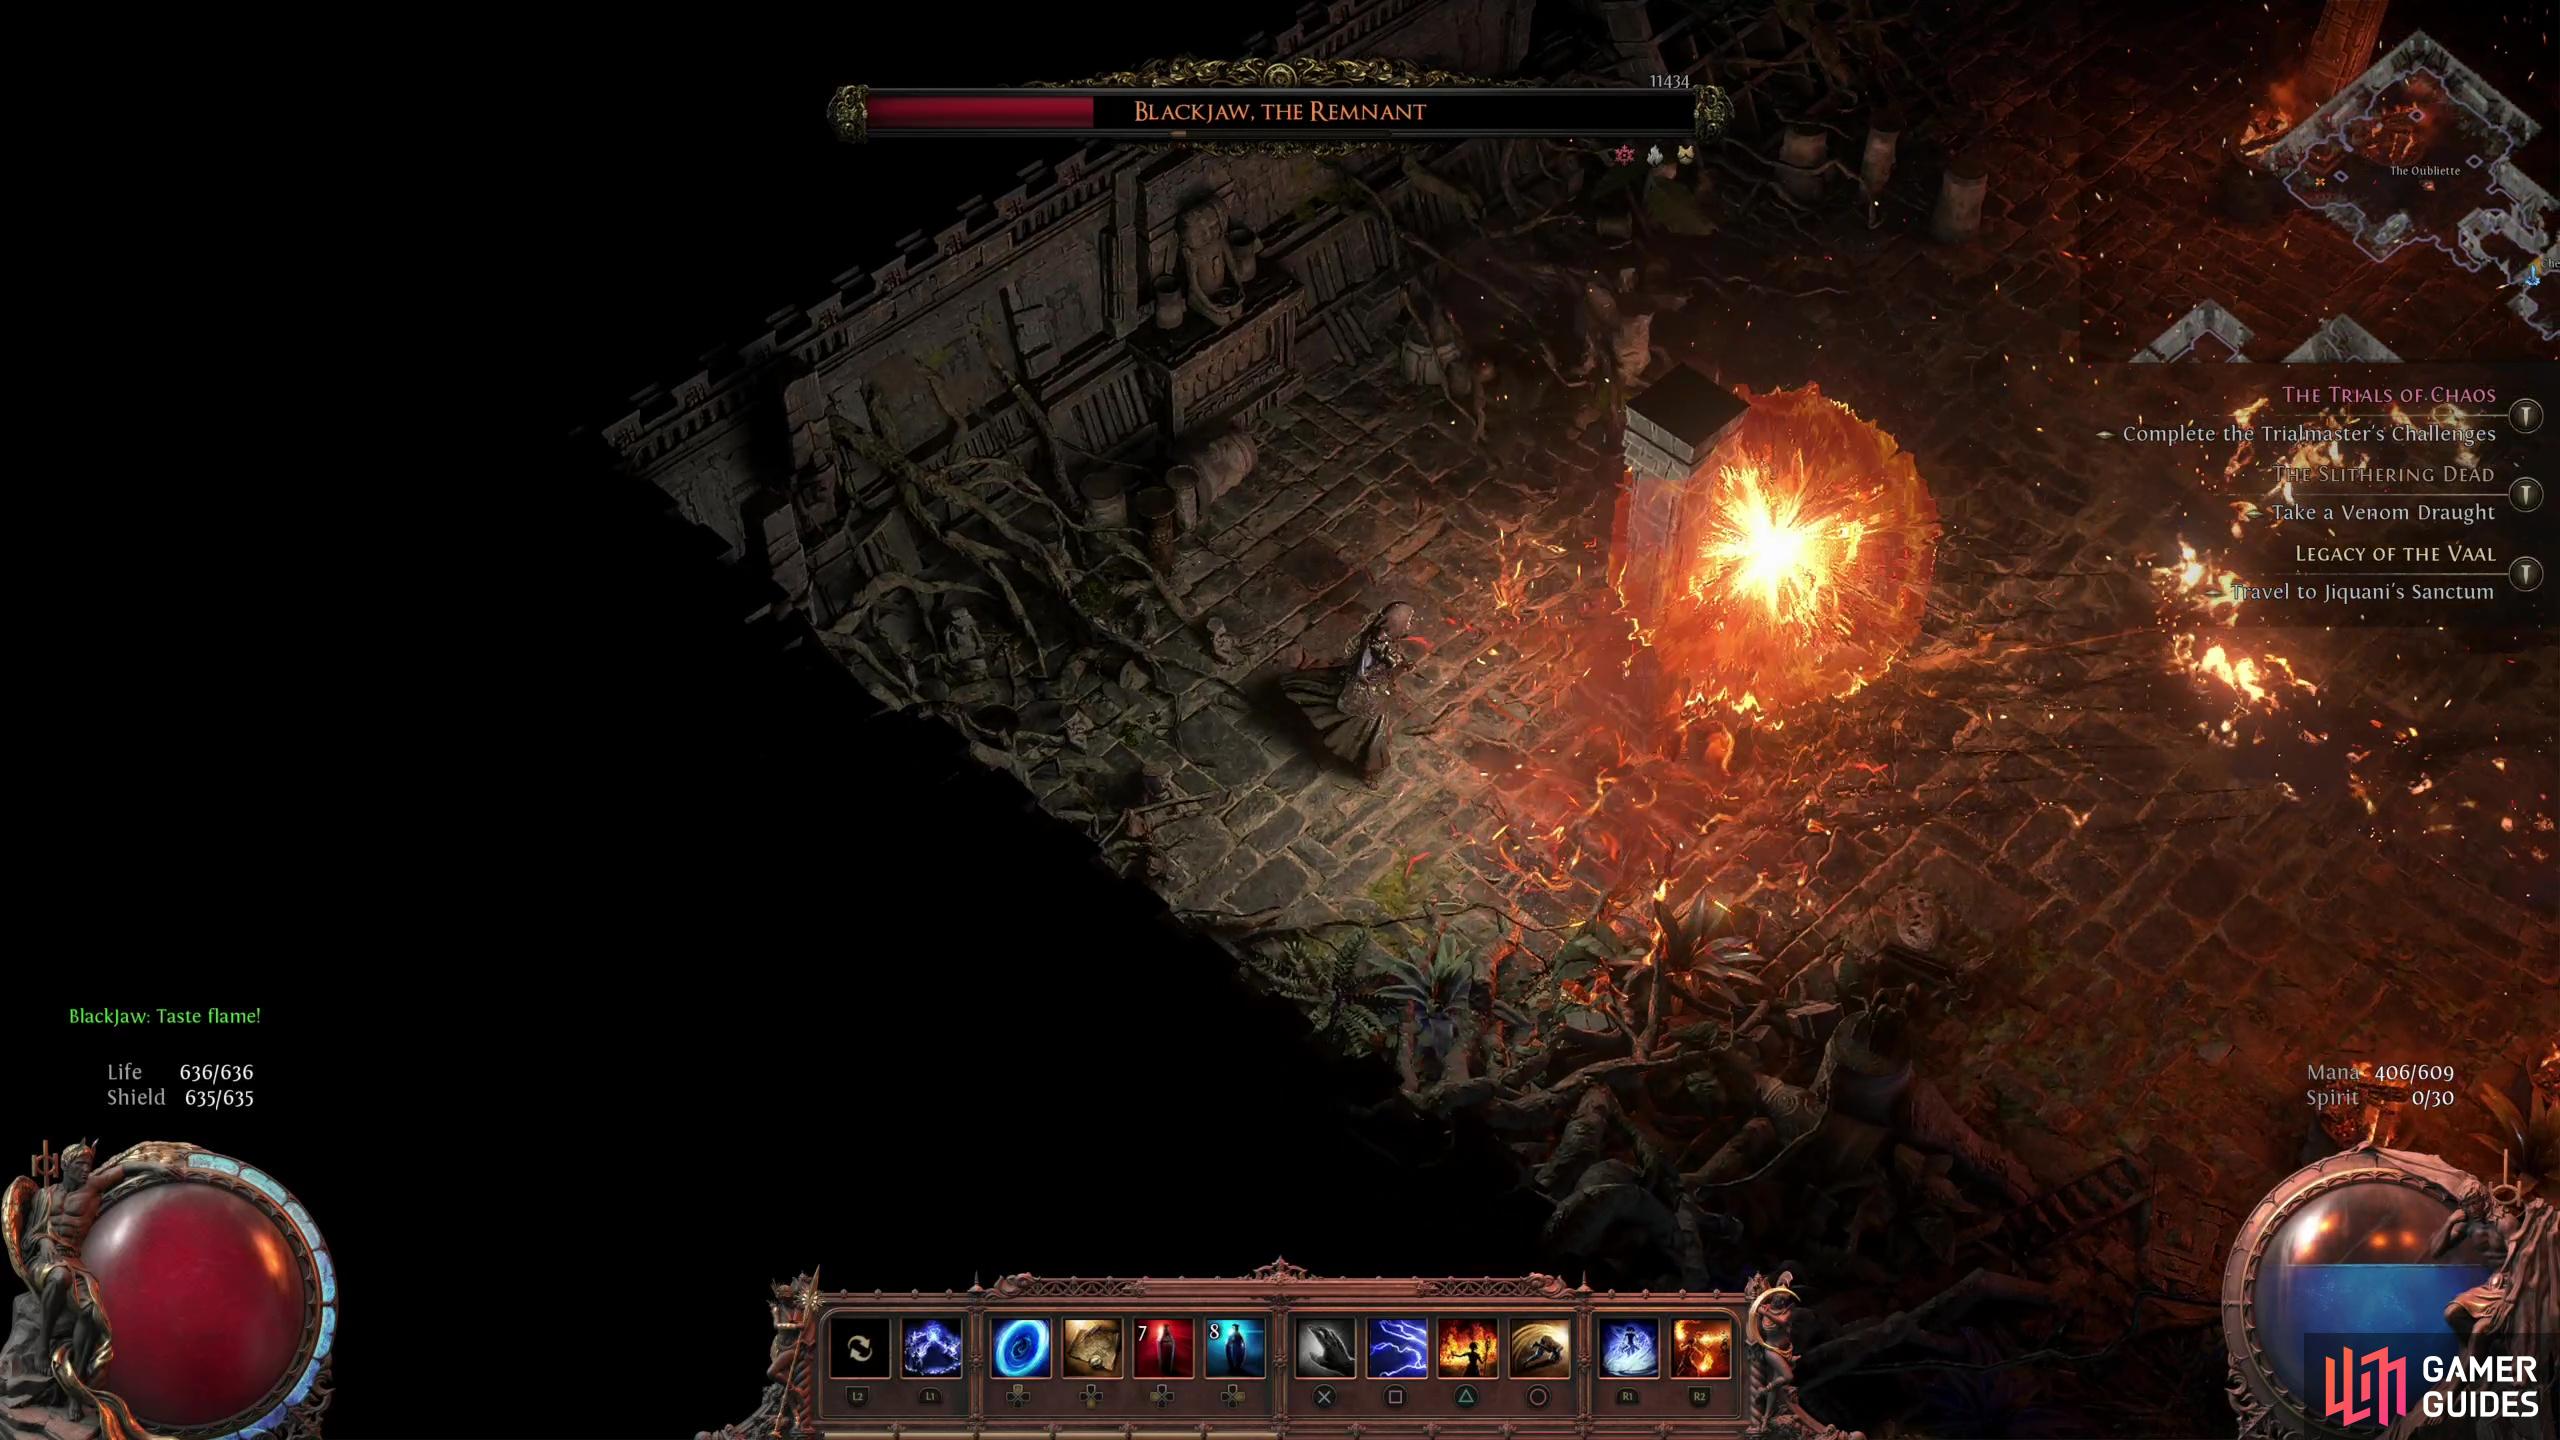
The final and perhaps most deadly trick Blackjaw has to play, this sneaky attack directly punishes you for learning how to survive his “Shockwave Slam Combo”, then goes to great lengths to remind you why you took the effort to counter the aforementioned attack. Blackjaw the Remnant will spew fire on the ground around himself, forming a ring. This directly counters the strategy of sticking close so you can dodge his attacks, and if you don’t let yourself bake in the flame ring you’ll likely be caught by the second wave of this attack - a flurry of fiery axe swings that expel gouts of fire. These only deal moderate damage (200-300), but Blackjaw will unleash five of them in quick succession, and along with the damage of the fire ring, this could well prove fatal. Instead of trying to roll behind him, when you see Blackjaw laying down the fire ring, run behind one of the pillars in the corner of the room and let it shield you from Blackjaw’s fireballs.
(1 of 3) Once reduced to 50% or so of his health, Blackjaw will drop a ring of fire around himself,
Once this combo ends, however, you need to be ready to run back up to Blackjaw, as he’ll almost certainly perform his “Shockwave Slam Combo”. If he catches you at range with this, you’re probably dead. So to reiterate, if you see him creating a ring of fire, run behind a pillar, and once the 5-hit fireball combo ends, run back up to Blackjaw so you dodge behind him and survive his “Shockwave Slam Combo”.
Blackjaw the Remnant is a physical brute, no two ways about it. Having physical resistance and fire resistance will help, but neither of these are required nor will they likely prove decisive - his attacks are too powerful and Blackjaw has potent combos, so you’ll likely just have to learn how to dodge his attacks. Fortunately, you already had practice with a similar boss early - Blackjaw the Remnant is, in many ways, similar to the Mighty Silverfist. The latter had more powerful single-hit attacks, but the solution is largely the same - you want to stay close to Blackjaw the Remnant and when you see him attack, dodge behind him. Keeping your distance works well at first, but once Blackjaw enters the second combat phase (at around 75% of his health) he’ll start using his “Shockwave Slam Combo” and “Leap Slam” attacks, which give Blackjaw both range and tracking enough to make him more dangerous at a distance. Simply put, if you can’t see his attacks coming (an unfortunate side effect of keeping your distance), you’re probably going to get wrecked, and Blackjaw’s “Shockwave Slam Combo” has enough range, speed and tracking to punish you even if you’re dodging.
Stay close, learn Blackjaws attacks, and dodge behind him when he attacks. This works well enough at the start of the fight, but during phase two it’s an absolute lifesaver, as it’ll keep you safe from his “Shockwave Slam Combo” - this attack will likely cause your death until you learn how to dodge it.
At around 50% of his health, Blackjaw the Remnant will throw a wrench into your strategy with his “Hellfire Combo” attack. First he’ll breath a ring of fire on the ground around him, then perform a five-swing flaming axe combo that shoots out fireballs. The fire ring wards you away from Blackjaw and the fireball combo punishes you, but you can avoid the fireballs by seeking refuge behind a pillar. Once the fireball attack ends, however, you need to quickly close back in with Blackjaw as he’s almost guaranteed to unleash a “Shockwave Slam Combo”, which will kill if you’re still hiding behind a pillar.
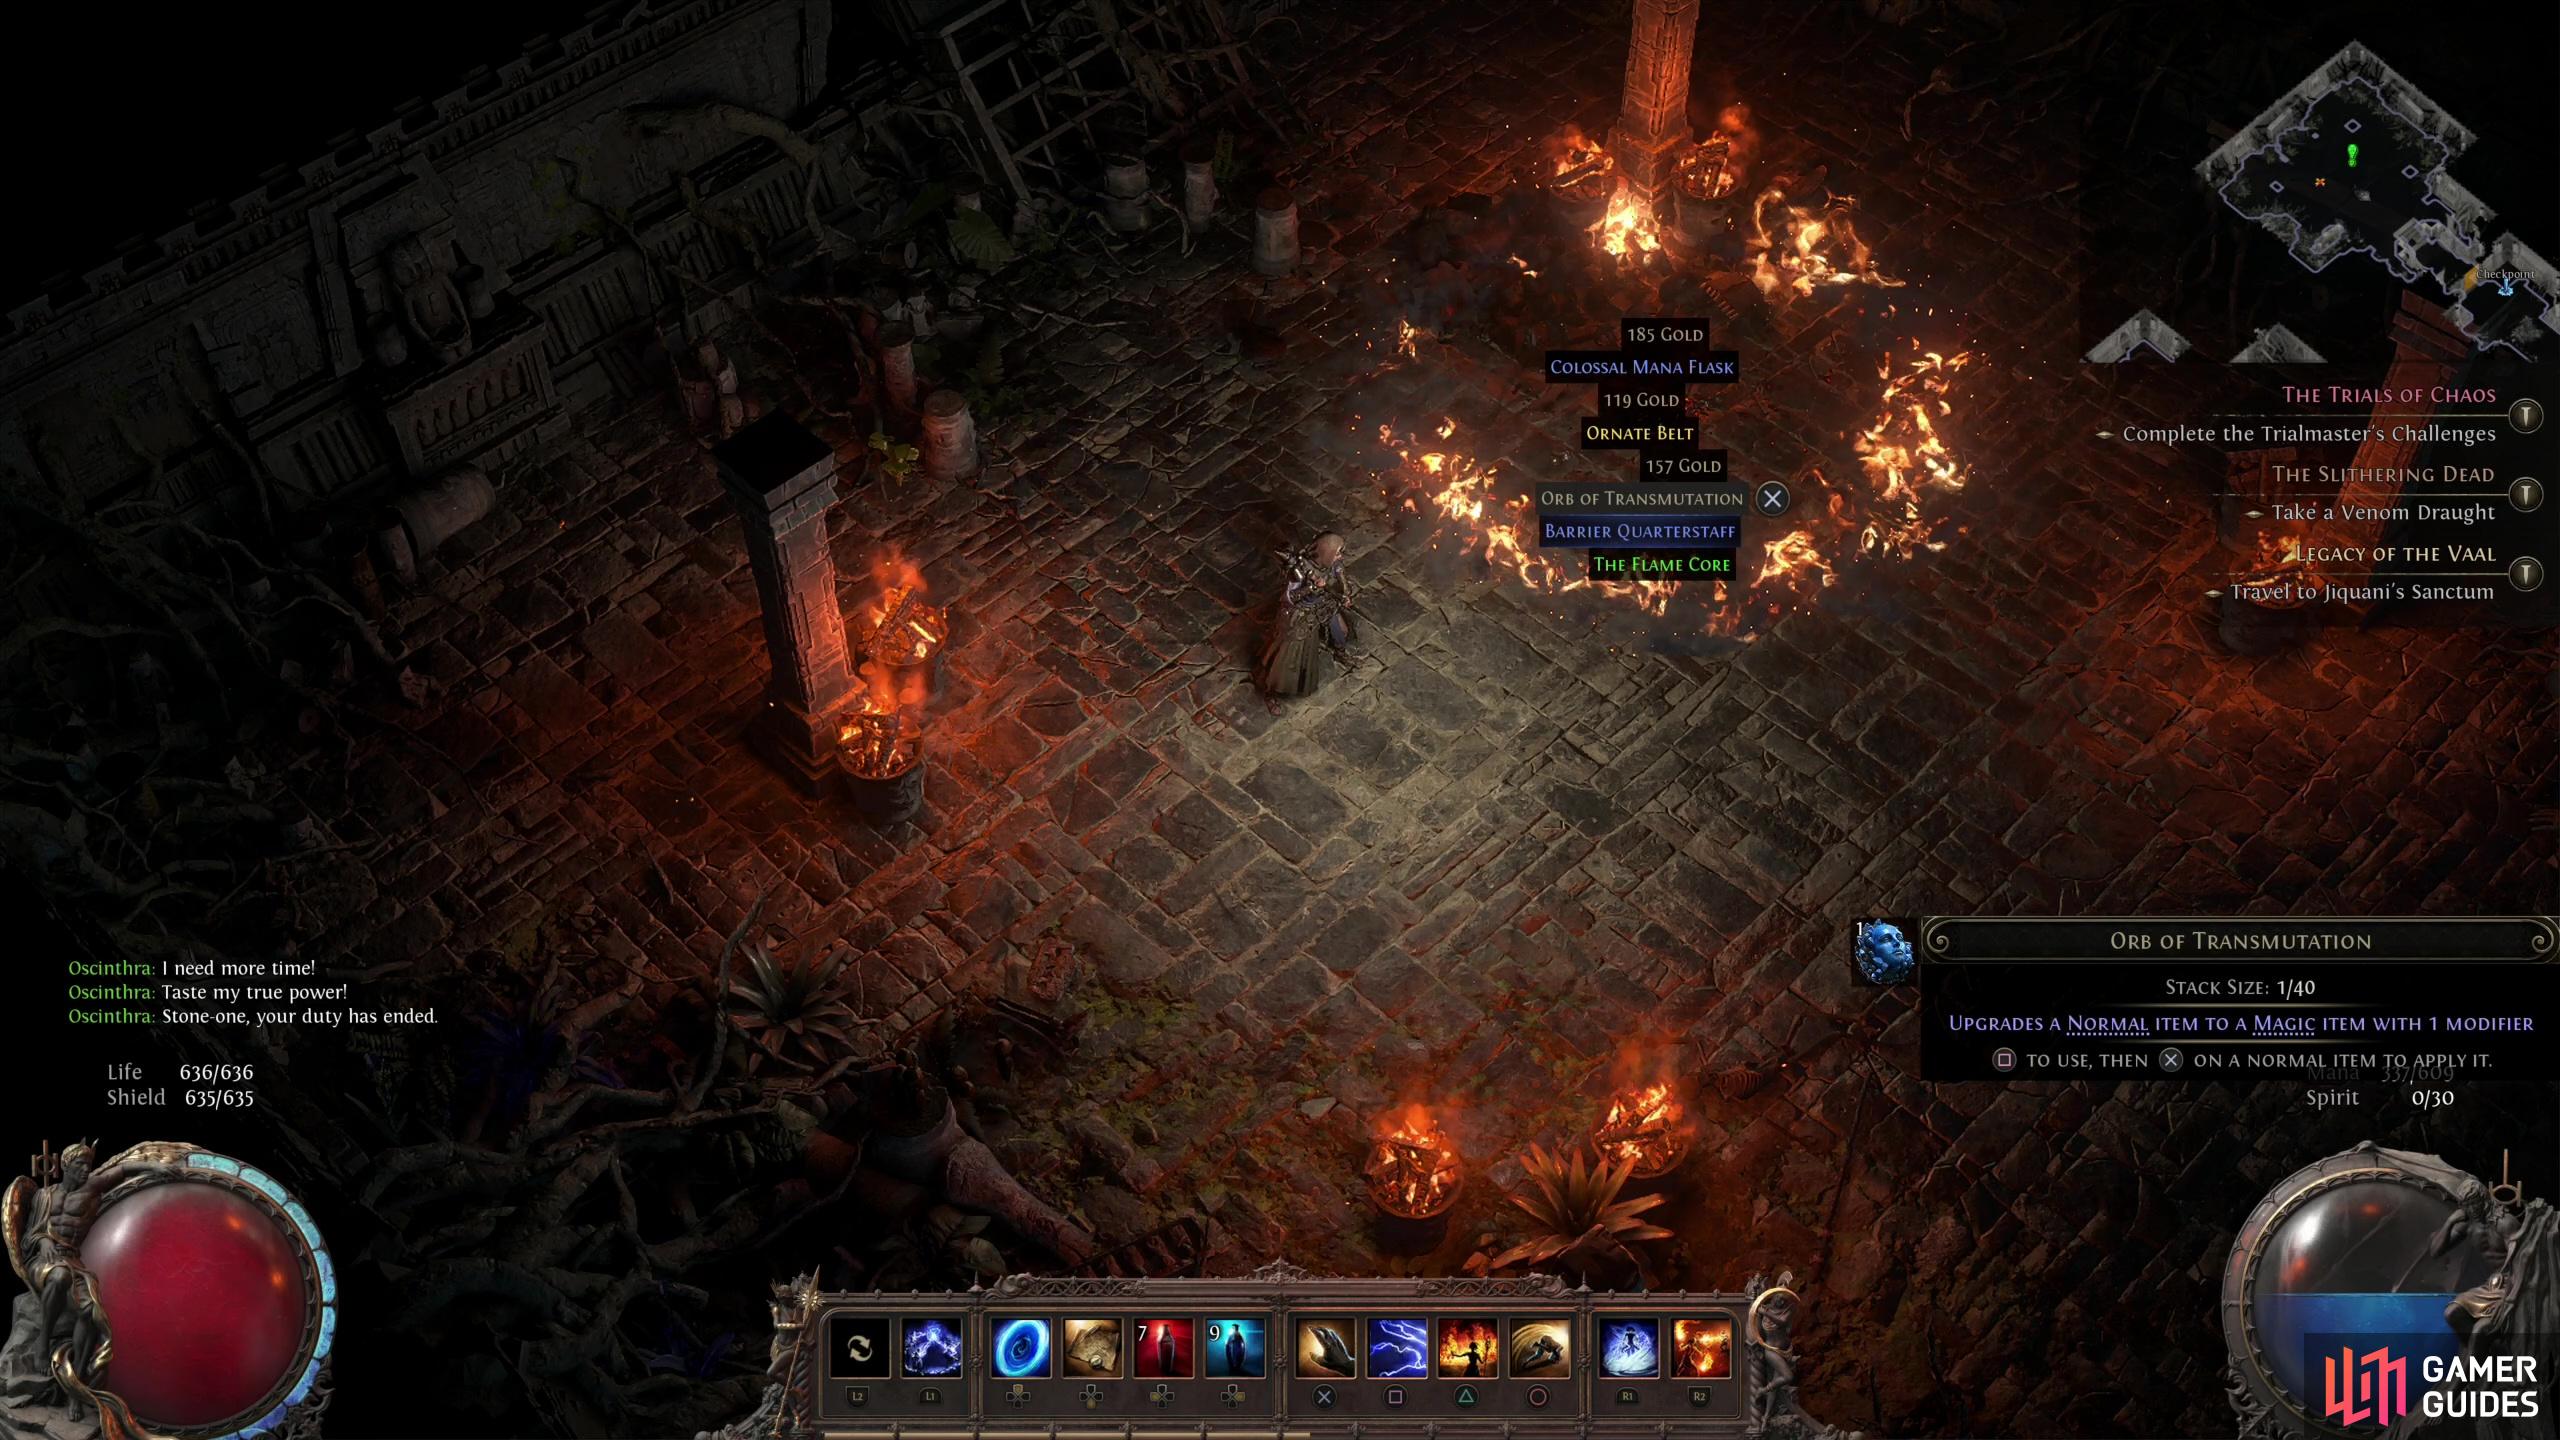
Defeat Blackjaw the Remnant to claim The Flame Core, which will permanently increase your fire resistance by +10%.
Blackjaw the Remnant is a well-designed, fun boss that demands you learn his routine… then plays a gotcha to screw you over and force you to adapt. Once you defeat him, however, you’ll obtain The Flame Core, a unique consumable that permanently improves your fire resistance by +10%!


 Sign up
No Comments