Trial of Chaos in Path of Exile 2 is a difficult activity that rewards you with ascendant skill points upon completion. Read on to find out the best modifiers to pick, and what ones to avoid to make the trial as easy as possible.
Trial of Chaos will reward you with Ascendancy Points upon completion.
Table of Contents
If you want to jump to a specific section, click on the links below.
Unlocking Trial of Chaos
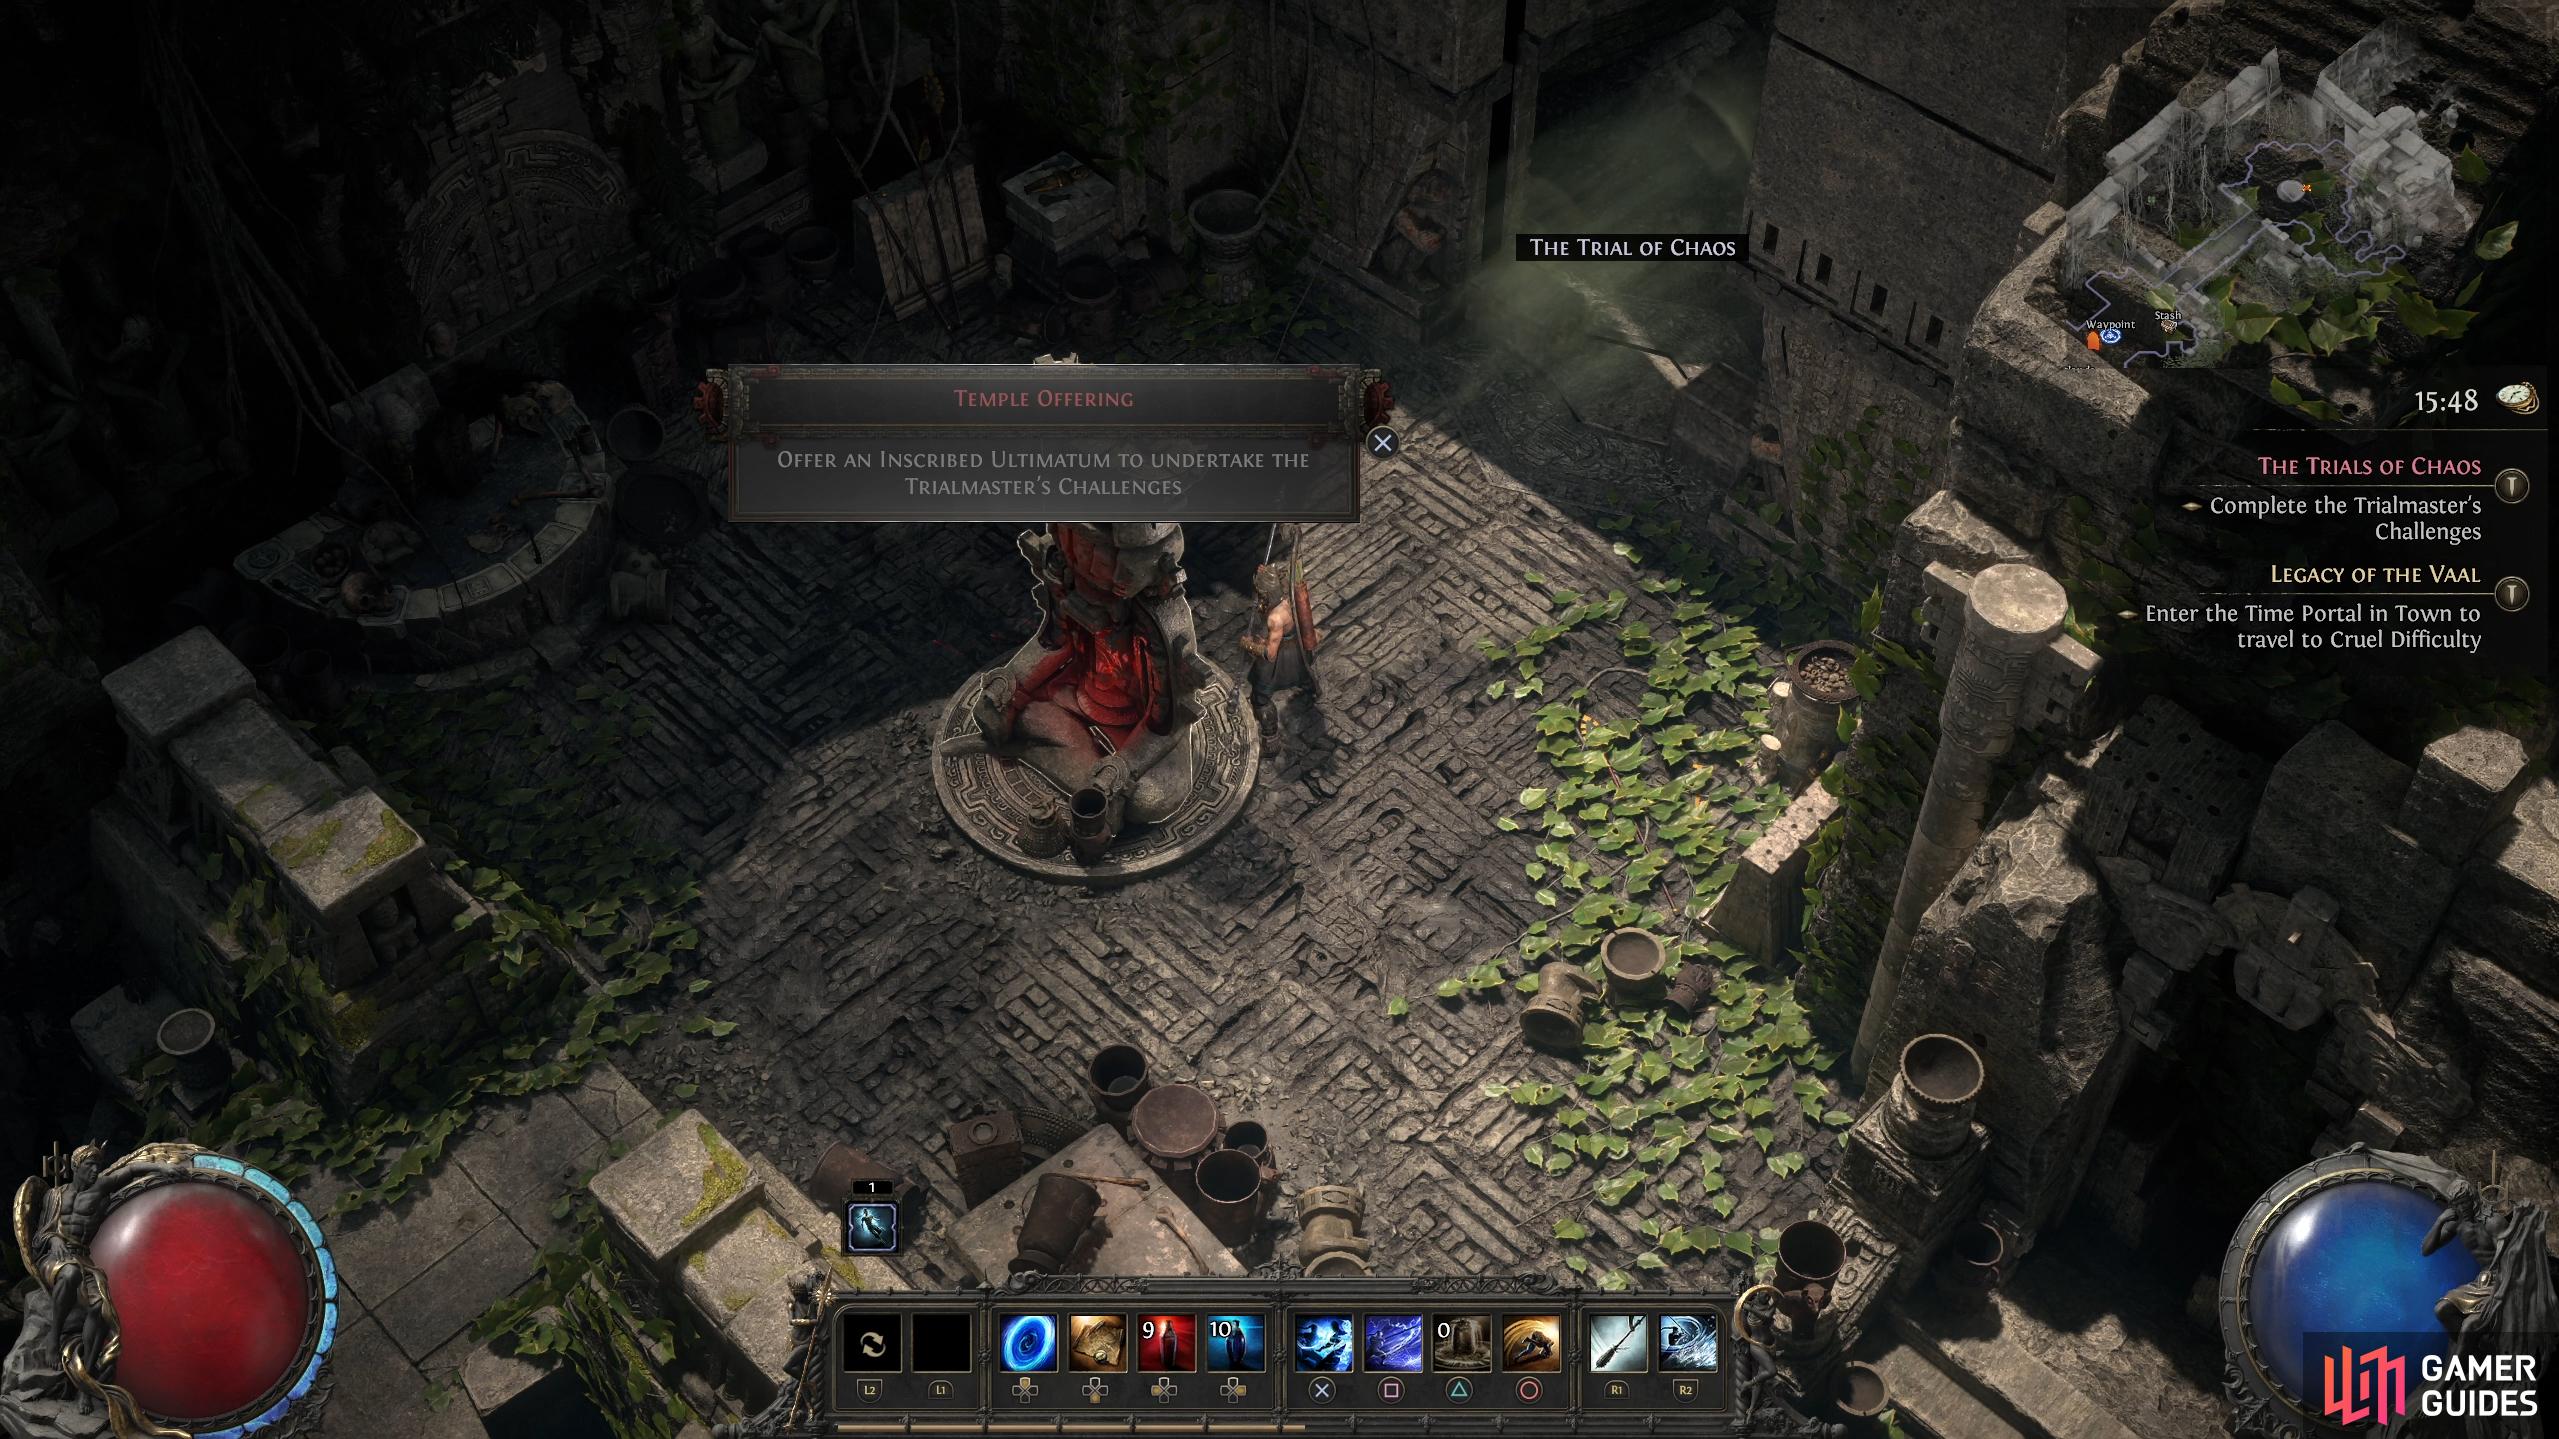
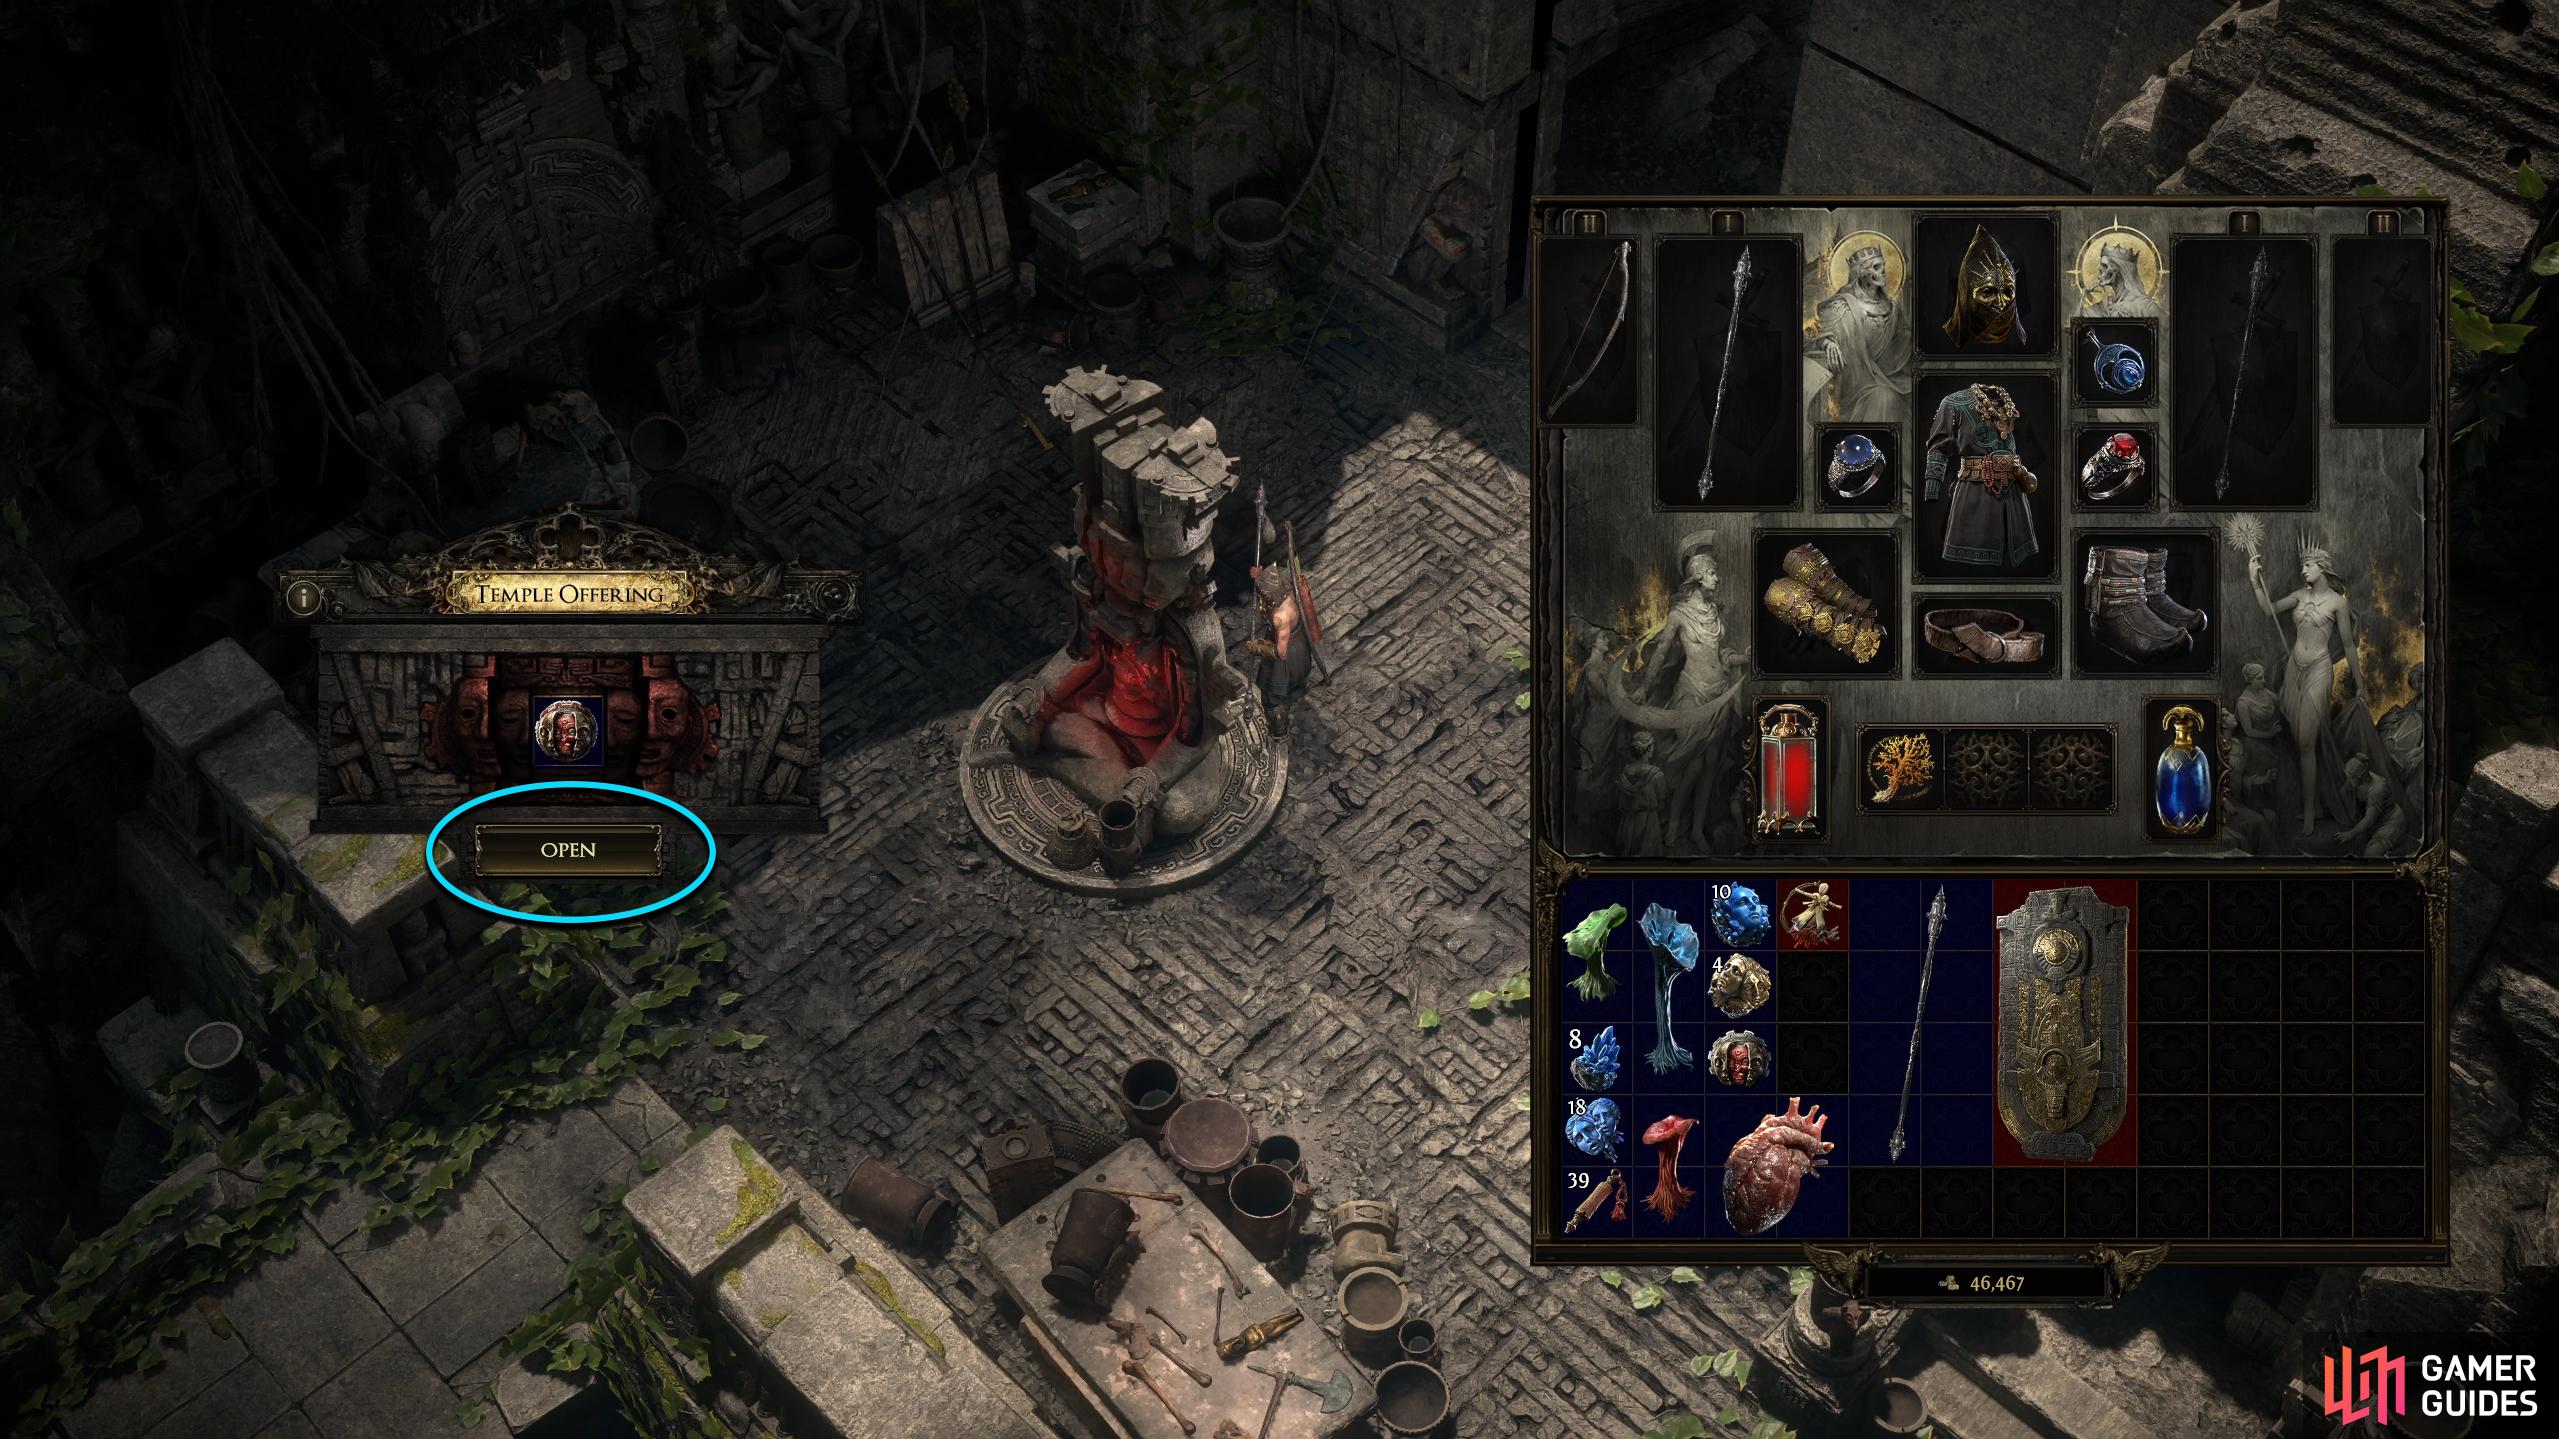
Trial of Chaos becomes available after defeating Xyclucian the Chimera and picking up the Chimeral Imbued Ultimatum that it drops. You will find Xyclucian in the Chimeral Wetlands during the Legacy of the Vaal main story mission at the start of Act 3. Once you have the Chimeral Imbued Ultimatum, you must find the trials themselves. Unfortunately, this means searching the entire Chimeral Wetlands until you find a pillar hidden within a small temple. After you find the pillar, place the Chimeral Imbued Ultimatum into the empty slot to unlock the trial. From now on, these trials can be accessed from the main map.
Place the Chimeral Imbued Ultimatum into the Temple Offering socket to start the trial.
Trial of Chaos Explained
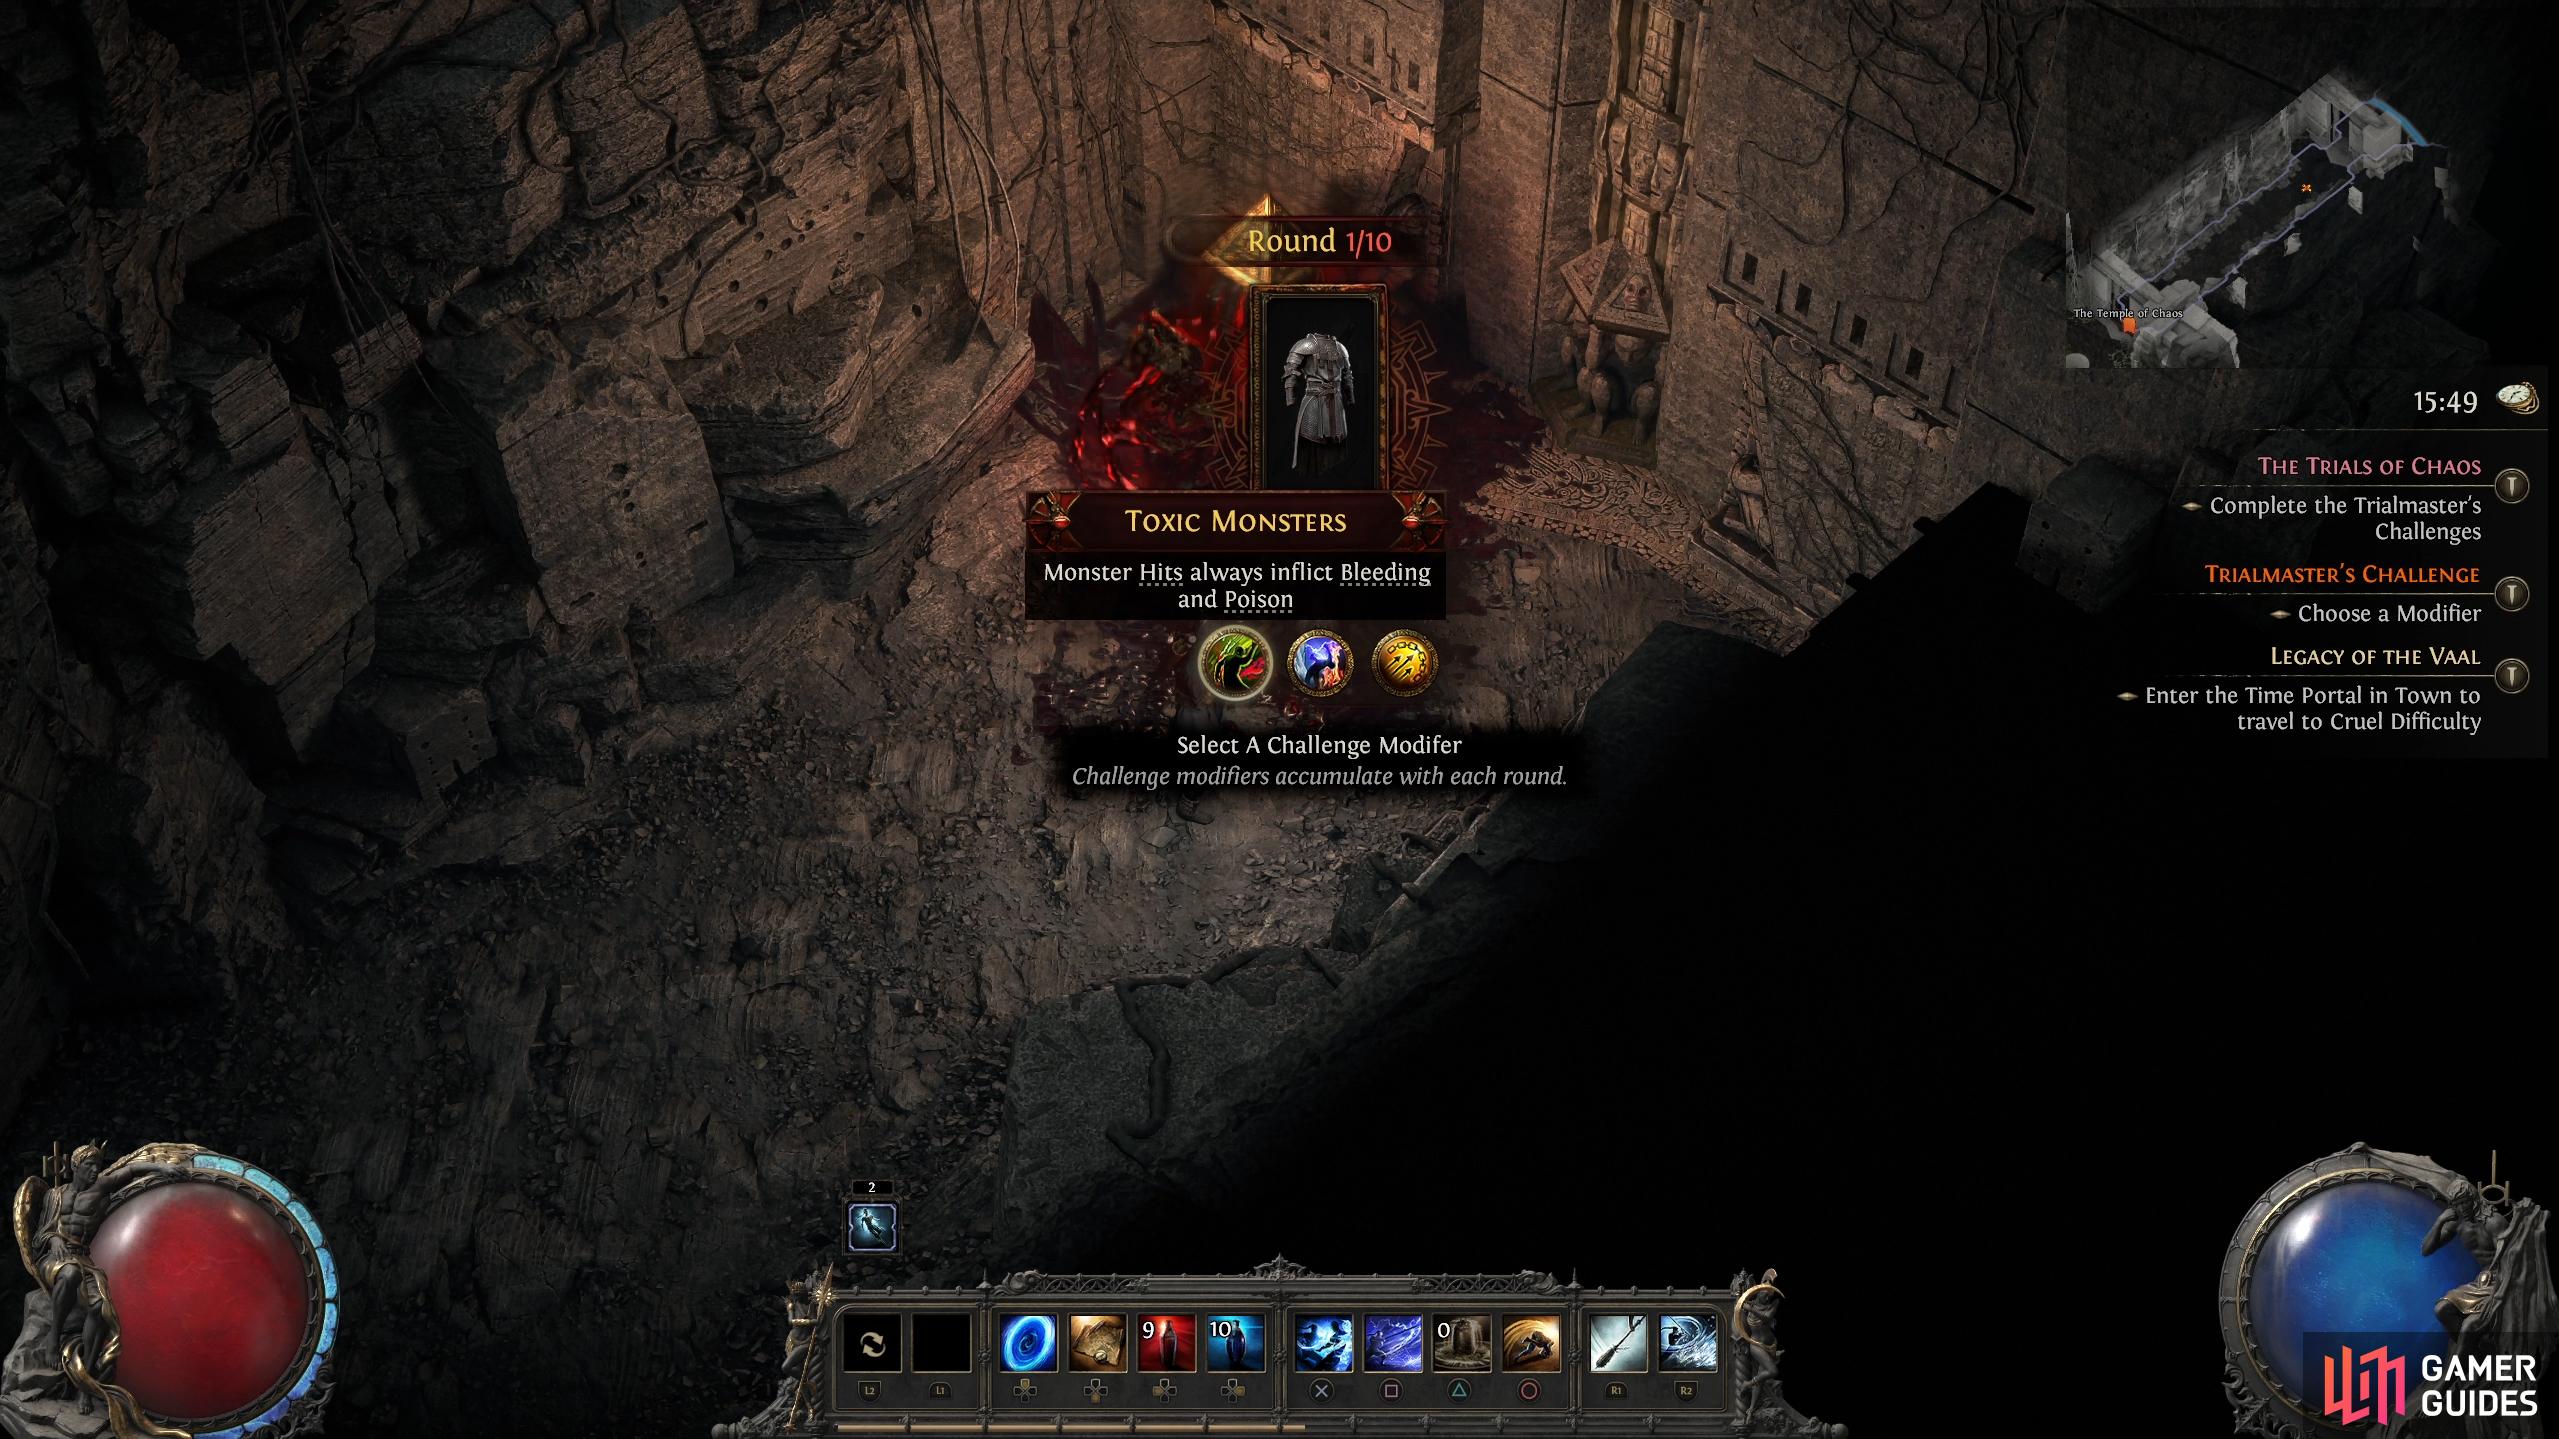
Upon entering the trial, follow the linear path until you find the altar named “Temple Offering”. Here, place the Chimeral Imbued Ultimatum you received from Xyclucian the Chimera, and the door opposite will open. If and when you die during the trials, you’ll need to close the portal to the trial and open it back up from this altar. In the next room, follow the path until you reach The Trialmaster, who’ll instruct you to select one of three modifiers, also known as tribulations.
This will make the next round and all the following ten rounds receive a negative effect such as hazards that appear frequently throughout the trial, a negative effect to you, or a positive effect to the enemies. Also, you’ll get a preview of the reward for that round.
(1 of 2) Each round you’ll need to select one of three modifiers which persist until the end of the trial.
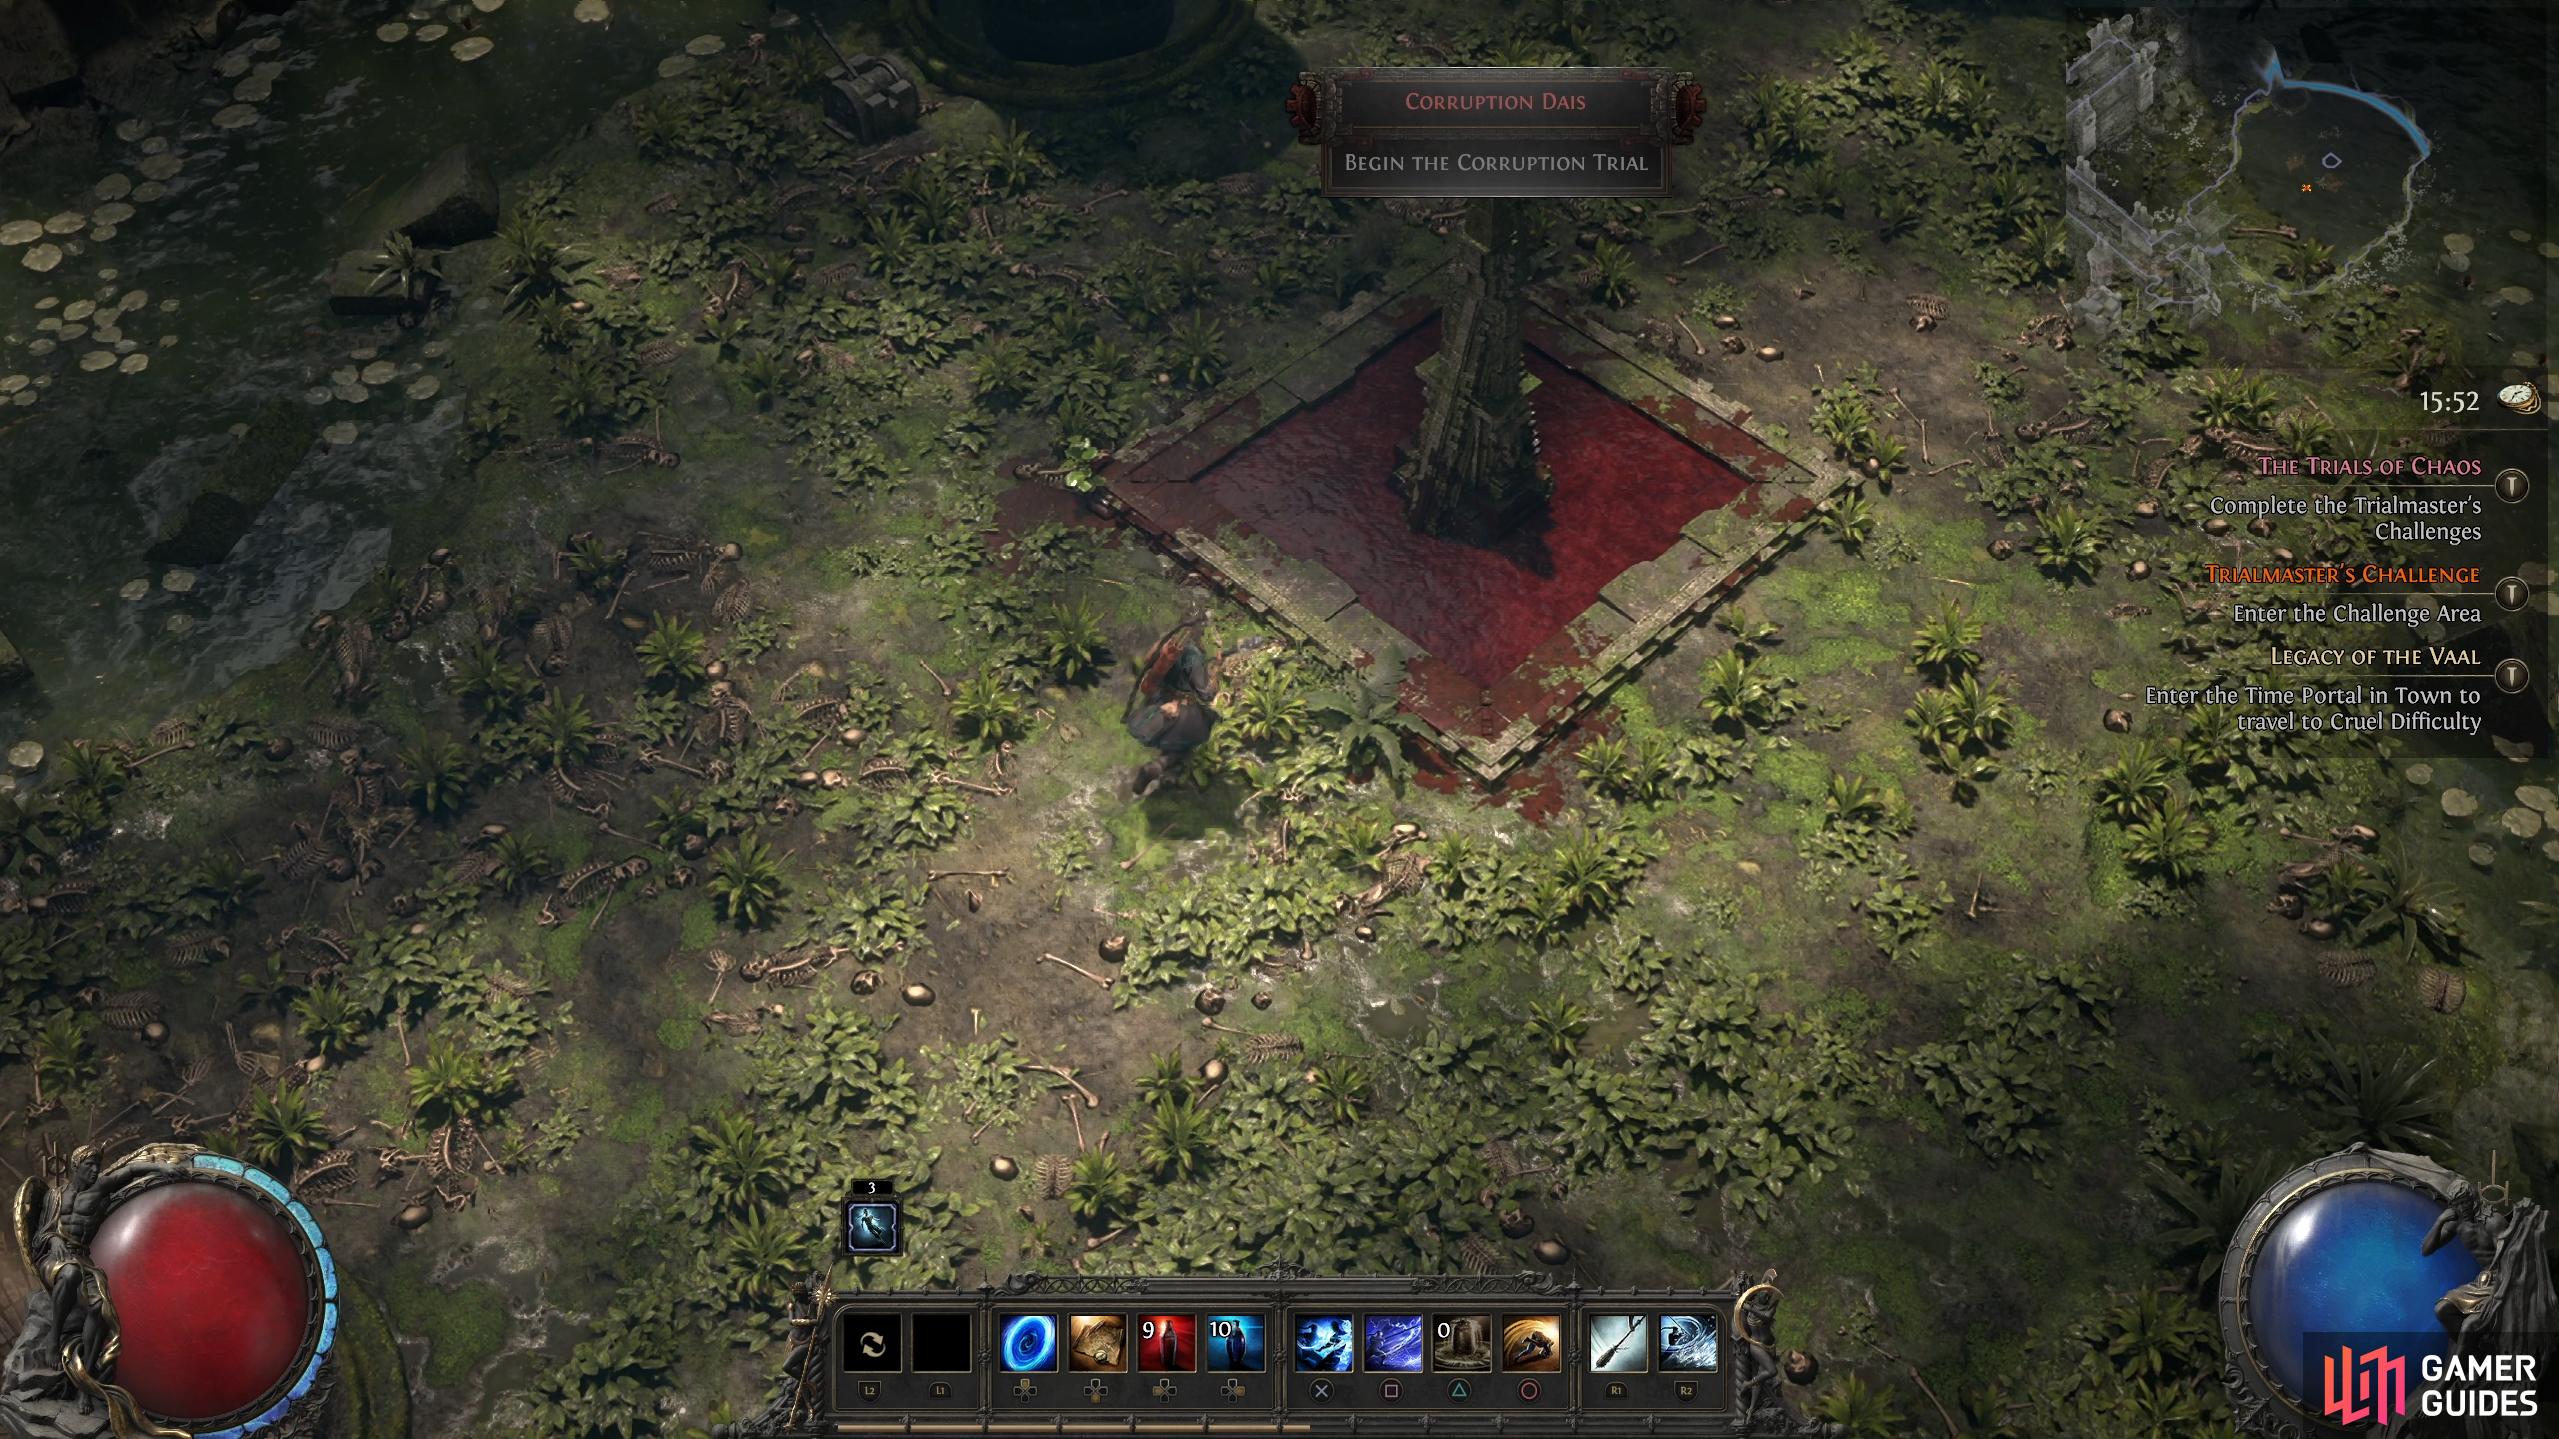
Each round you’ll need to select one of three modifiers which persist until the end of the trial. (left), There are several objectives given to you at random. This one requires you to survive the time limit. (right)
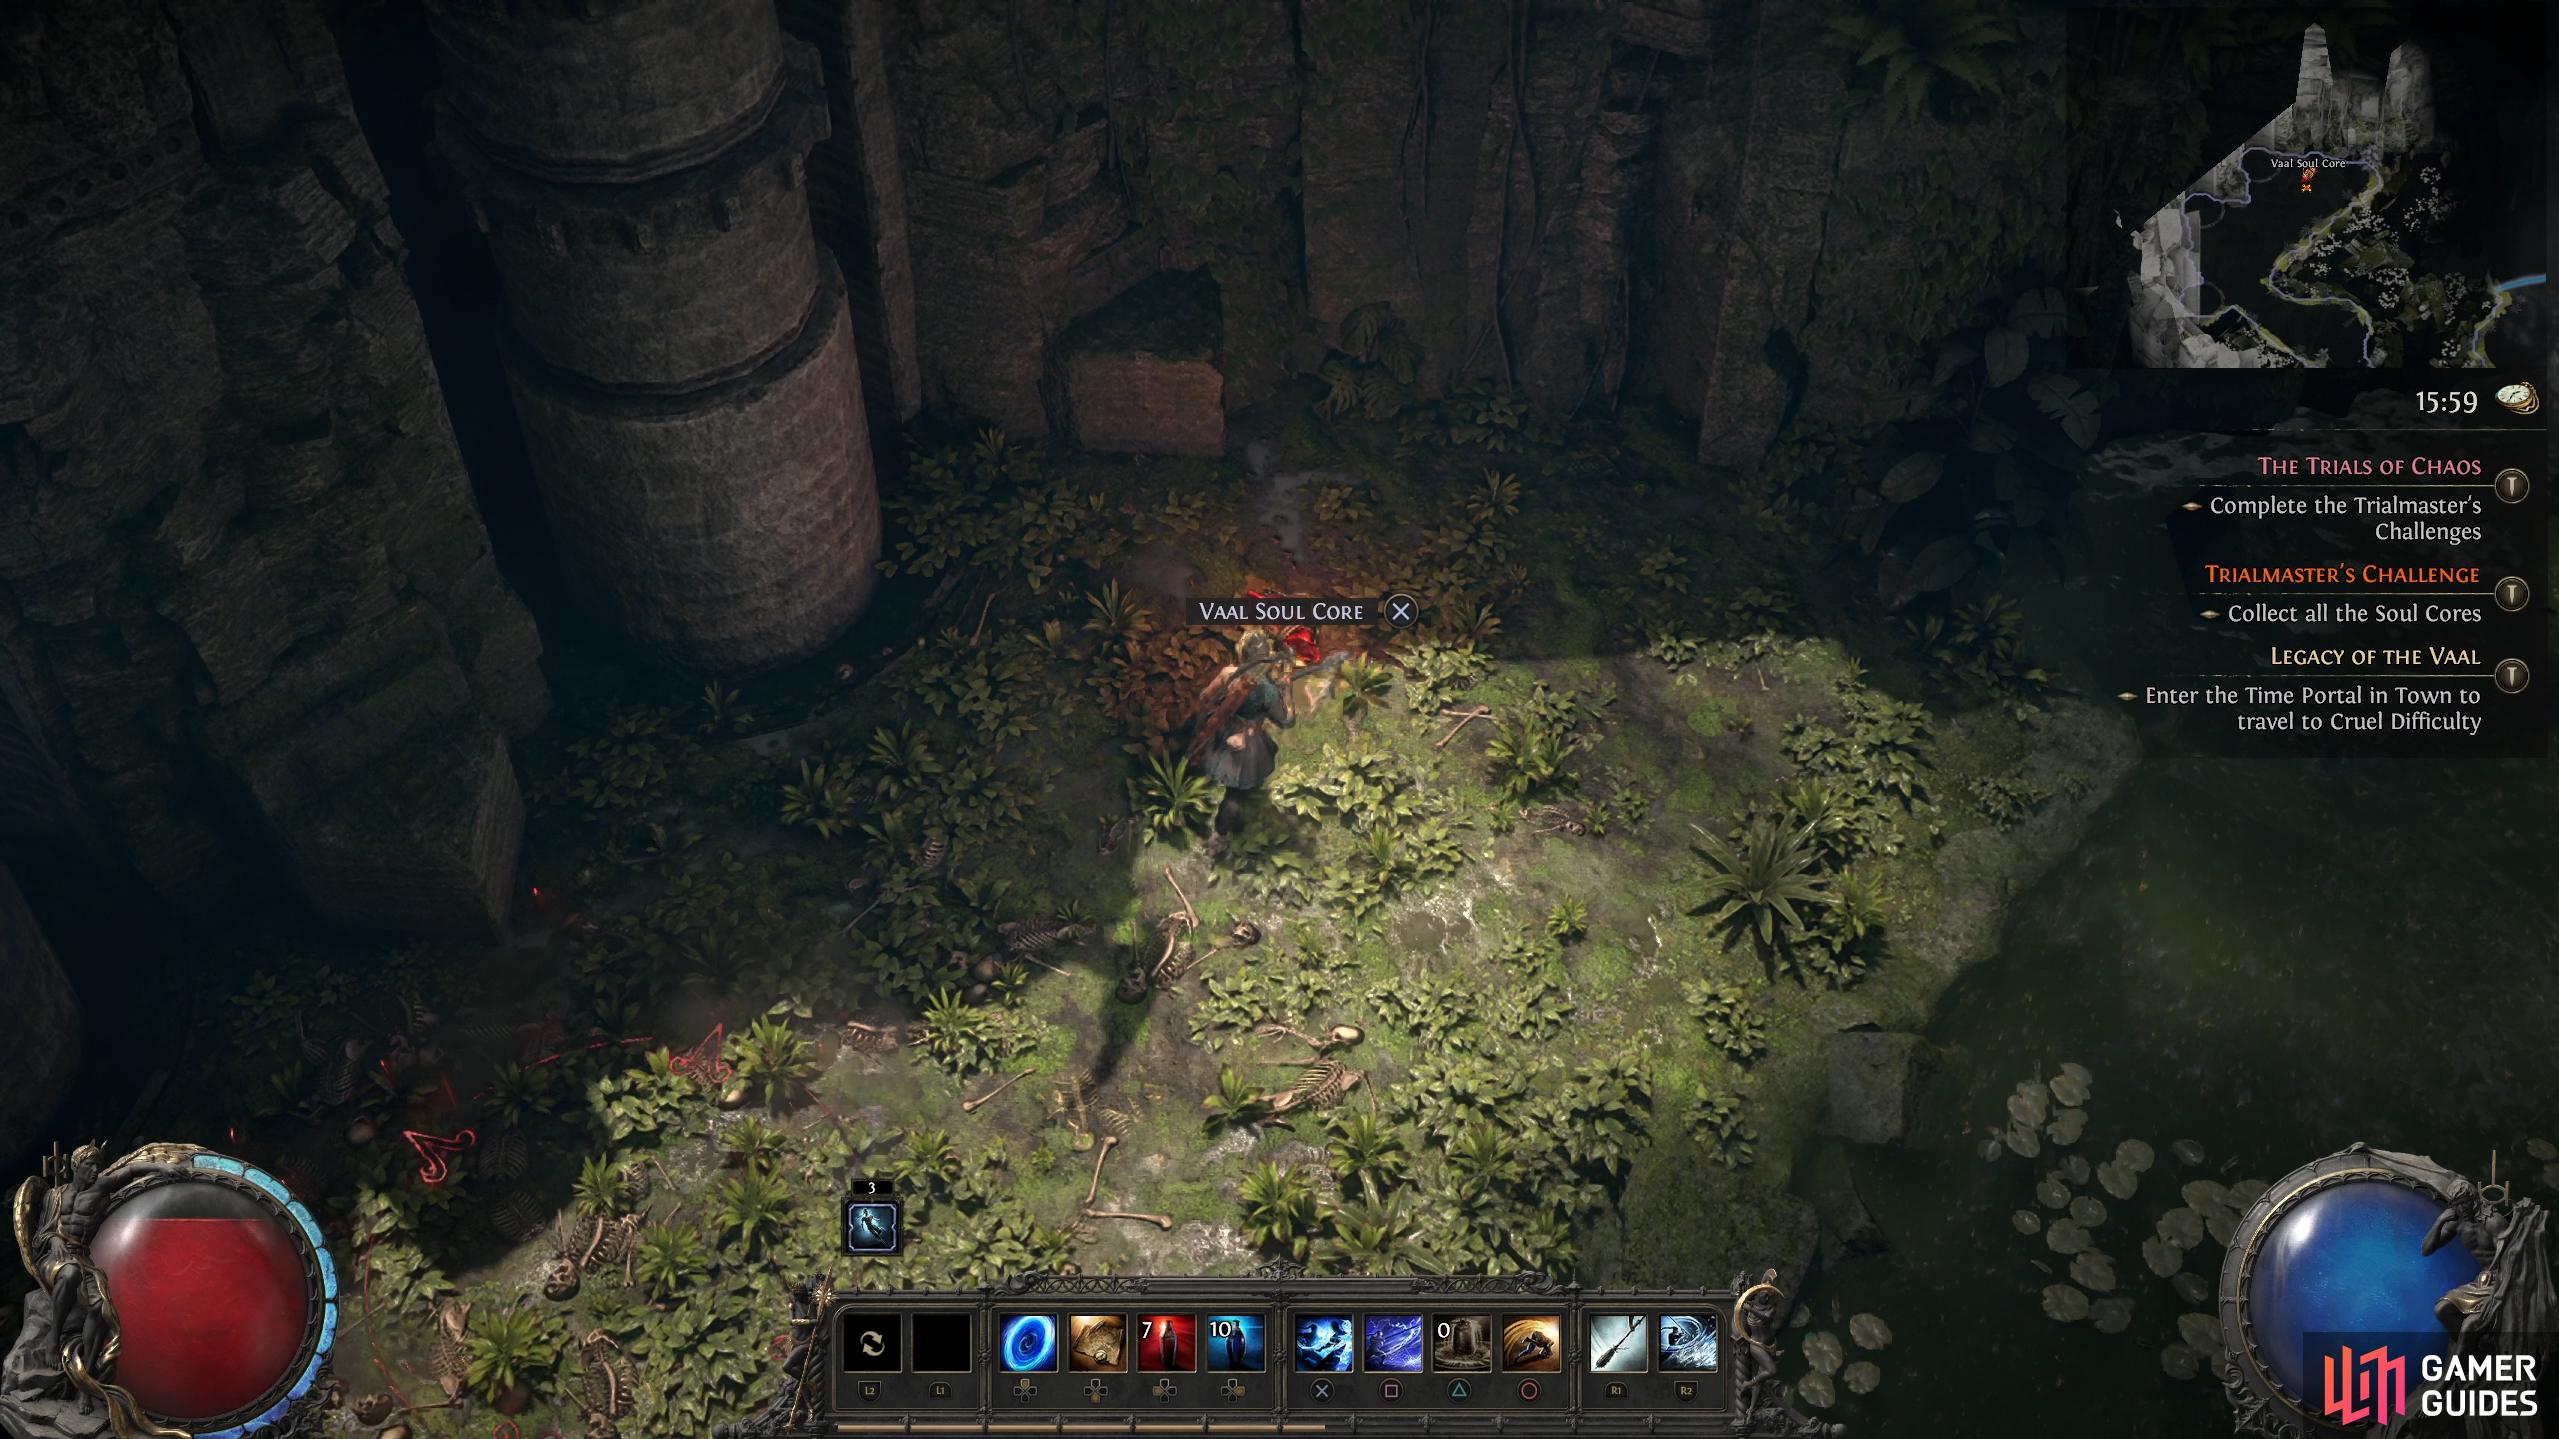
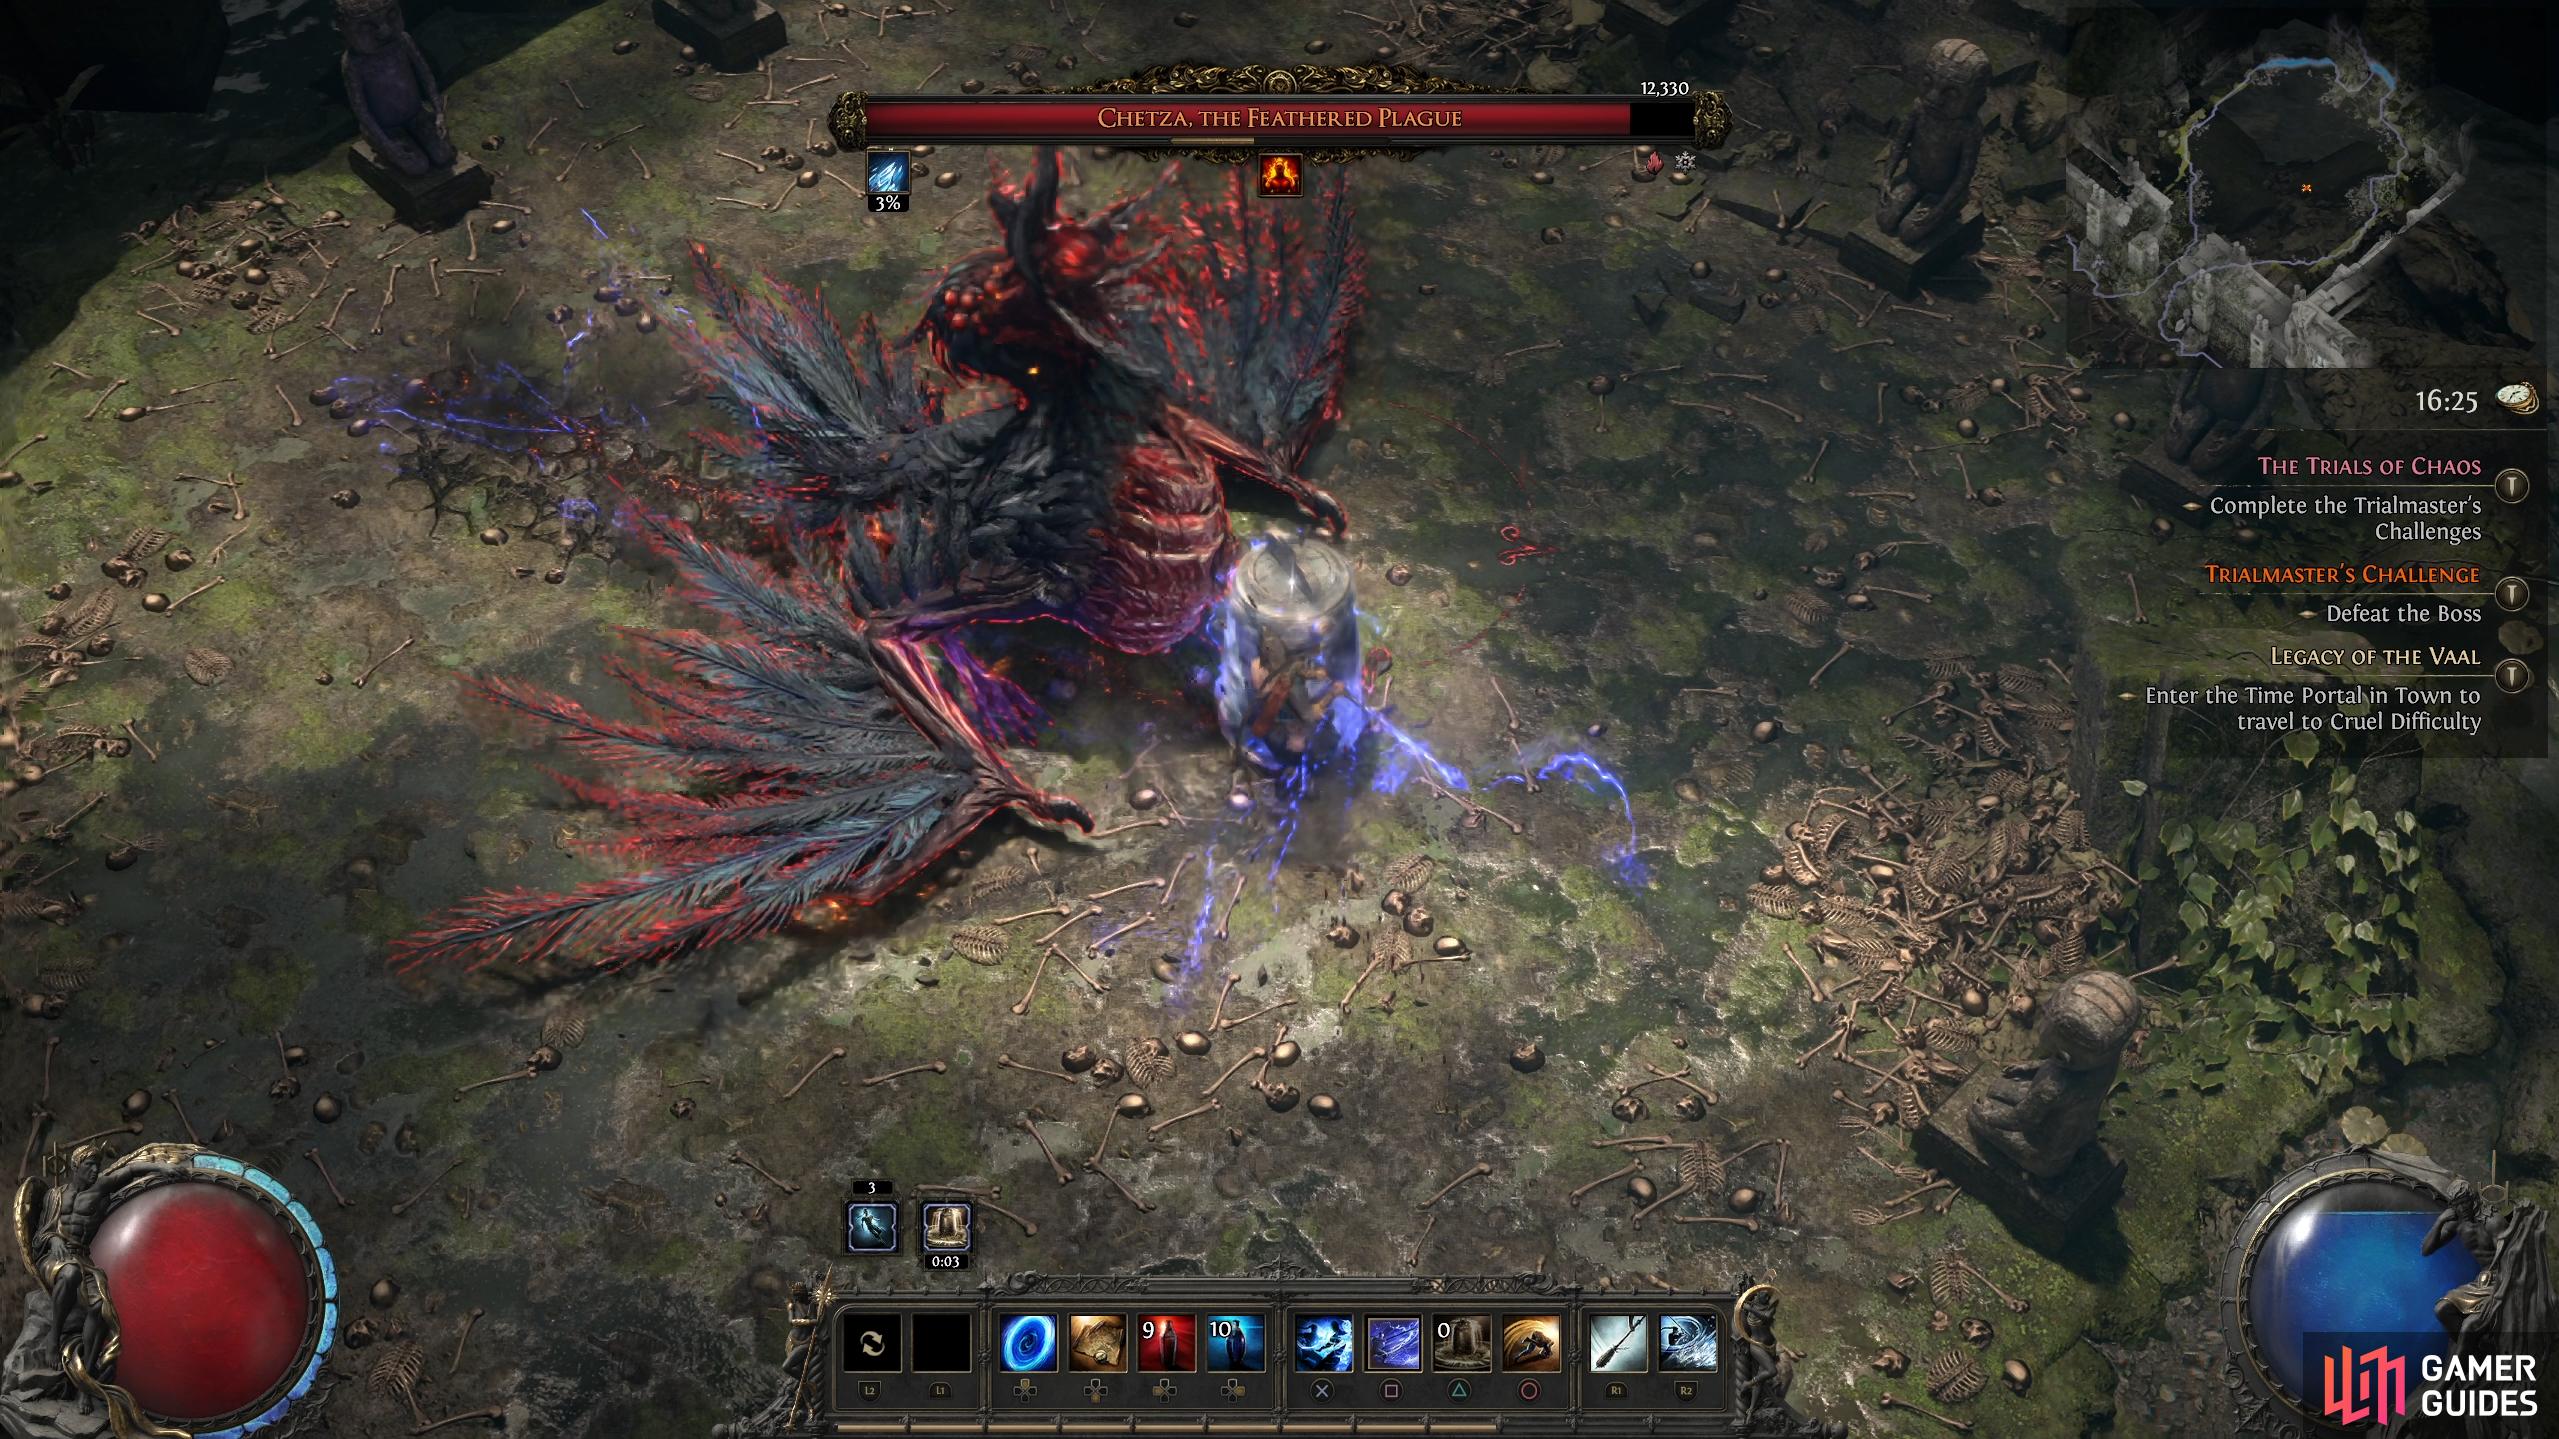
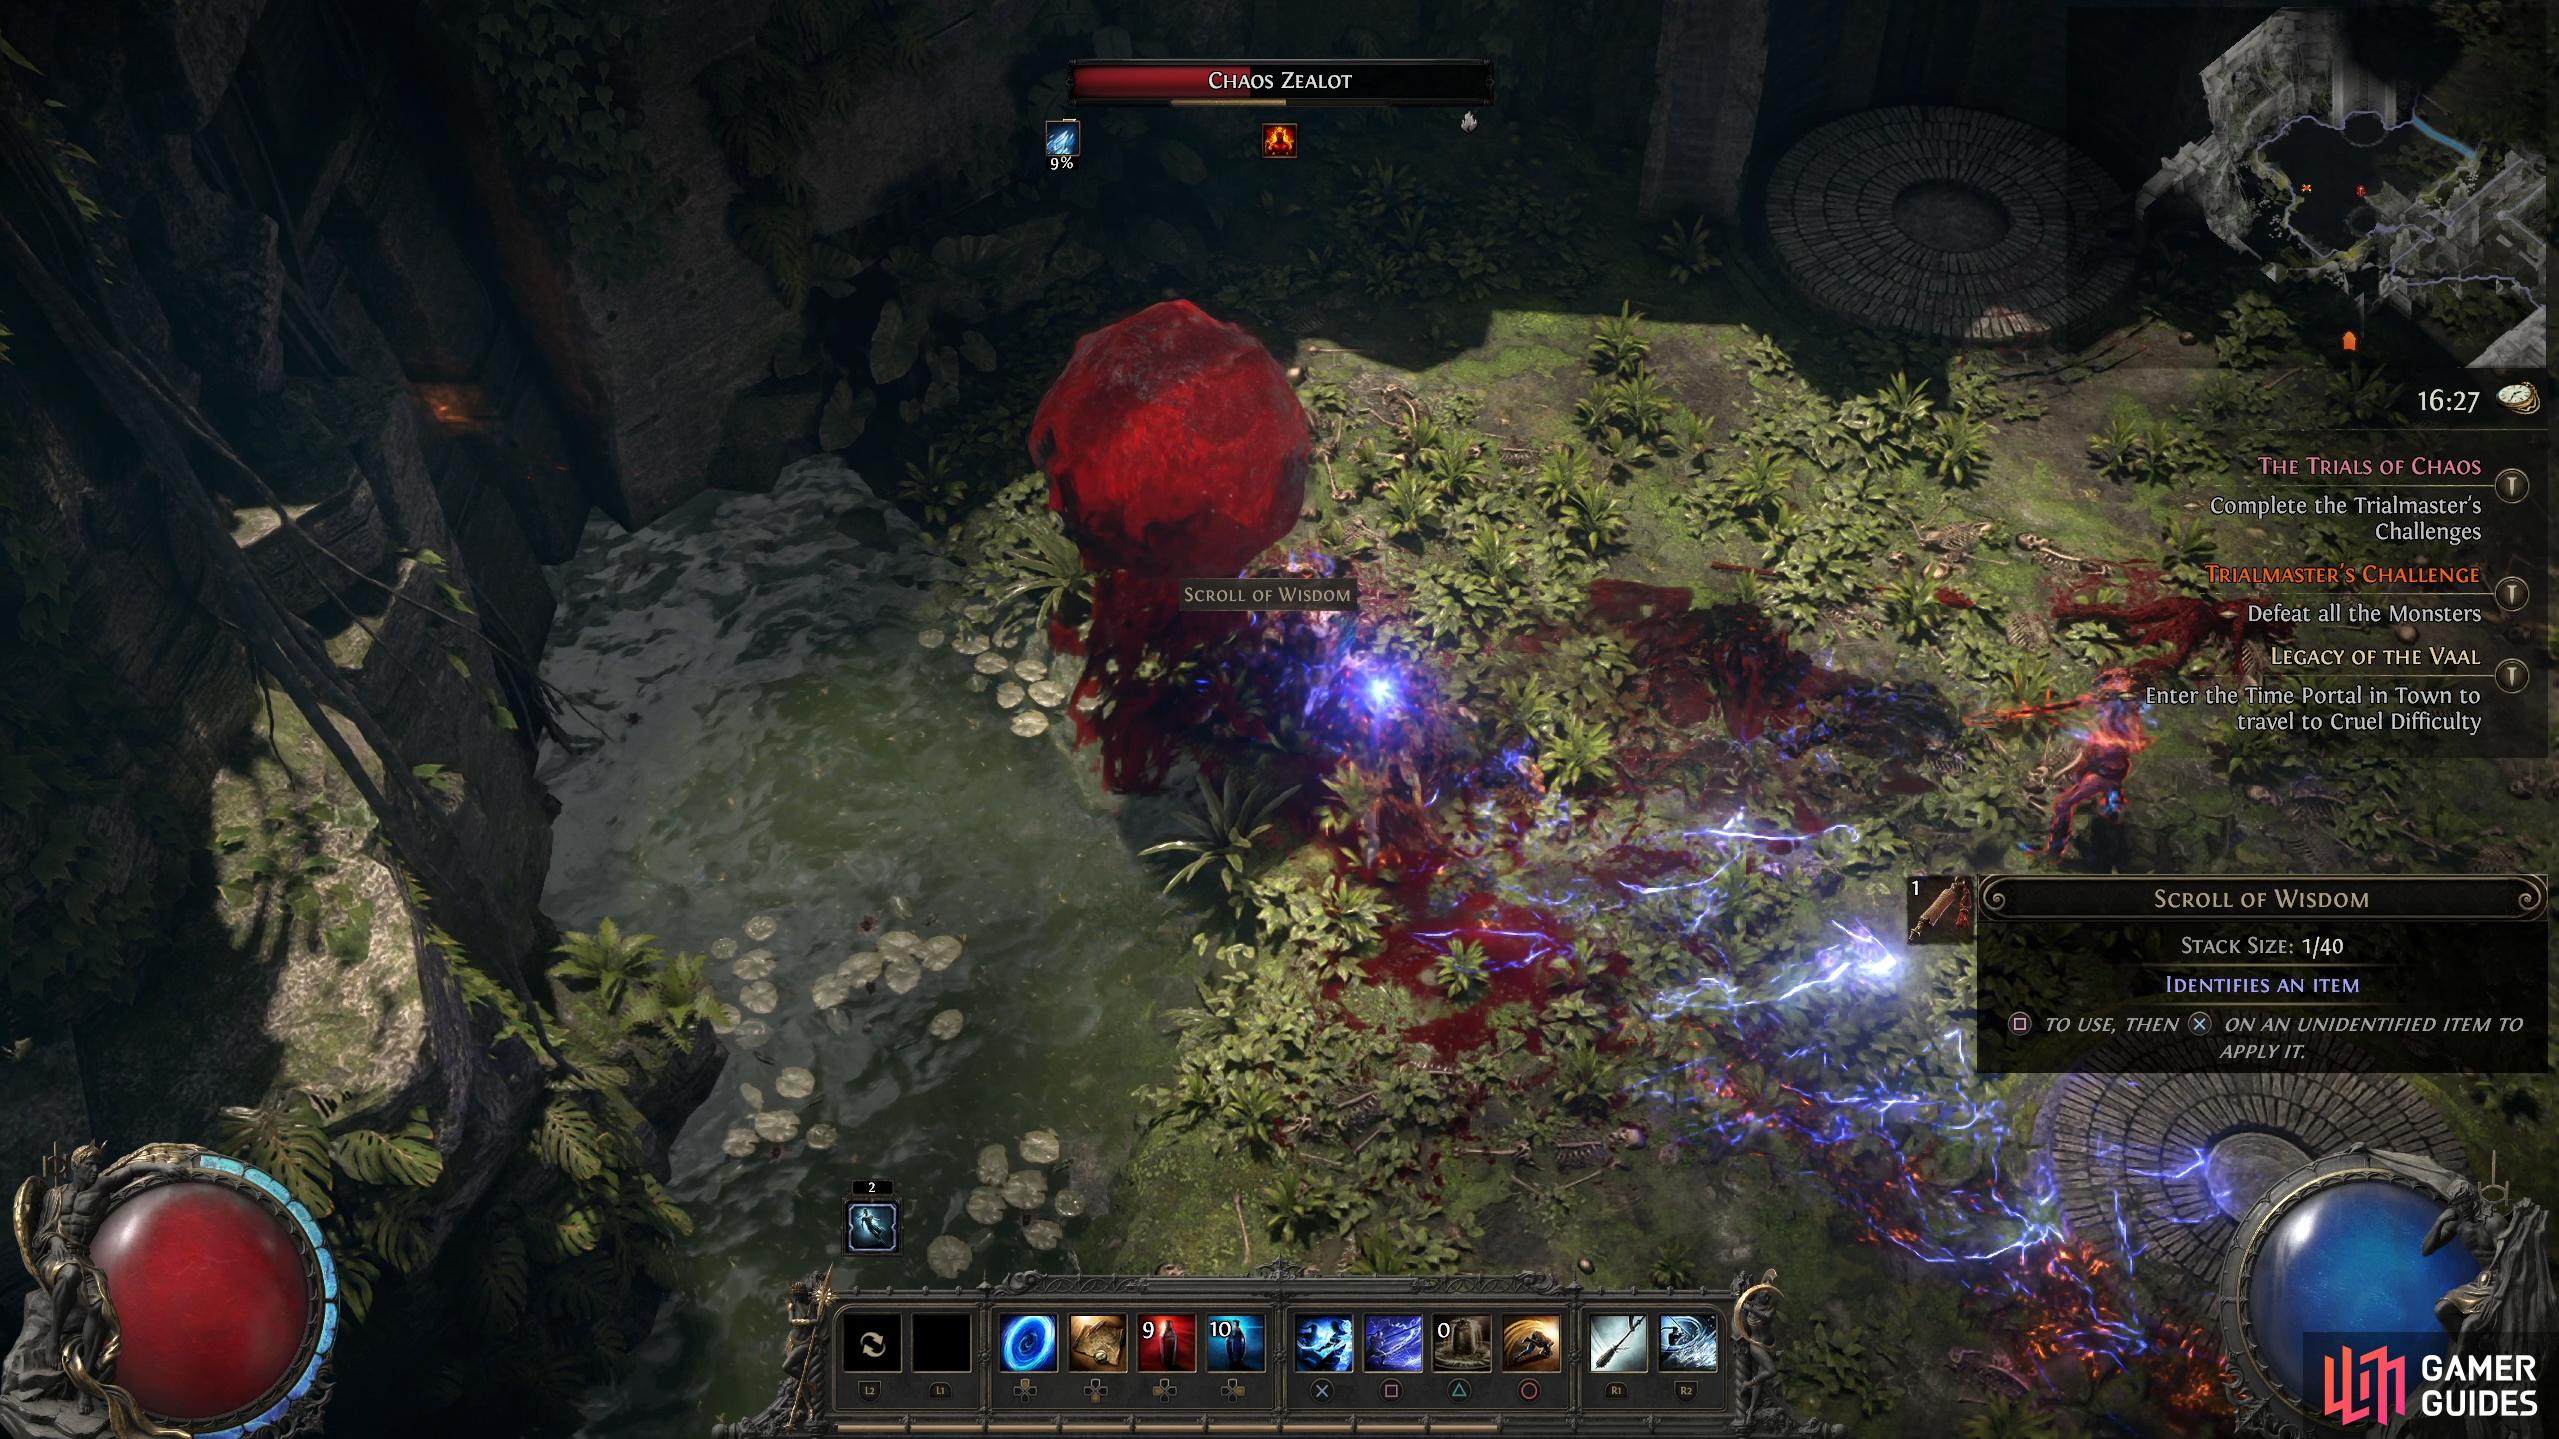
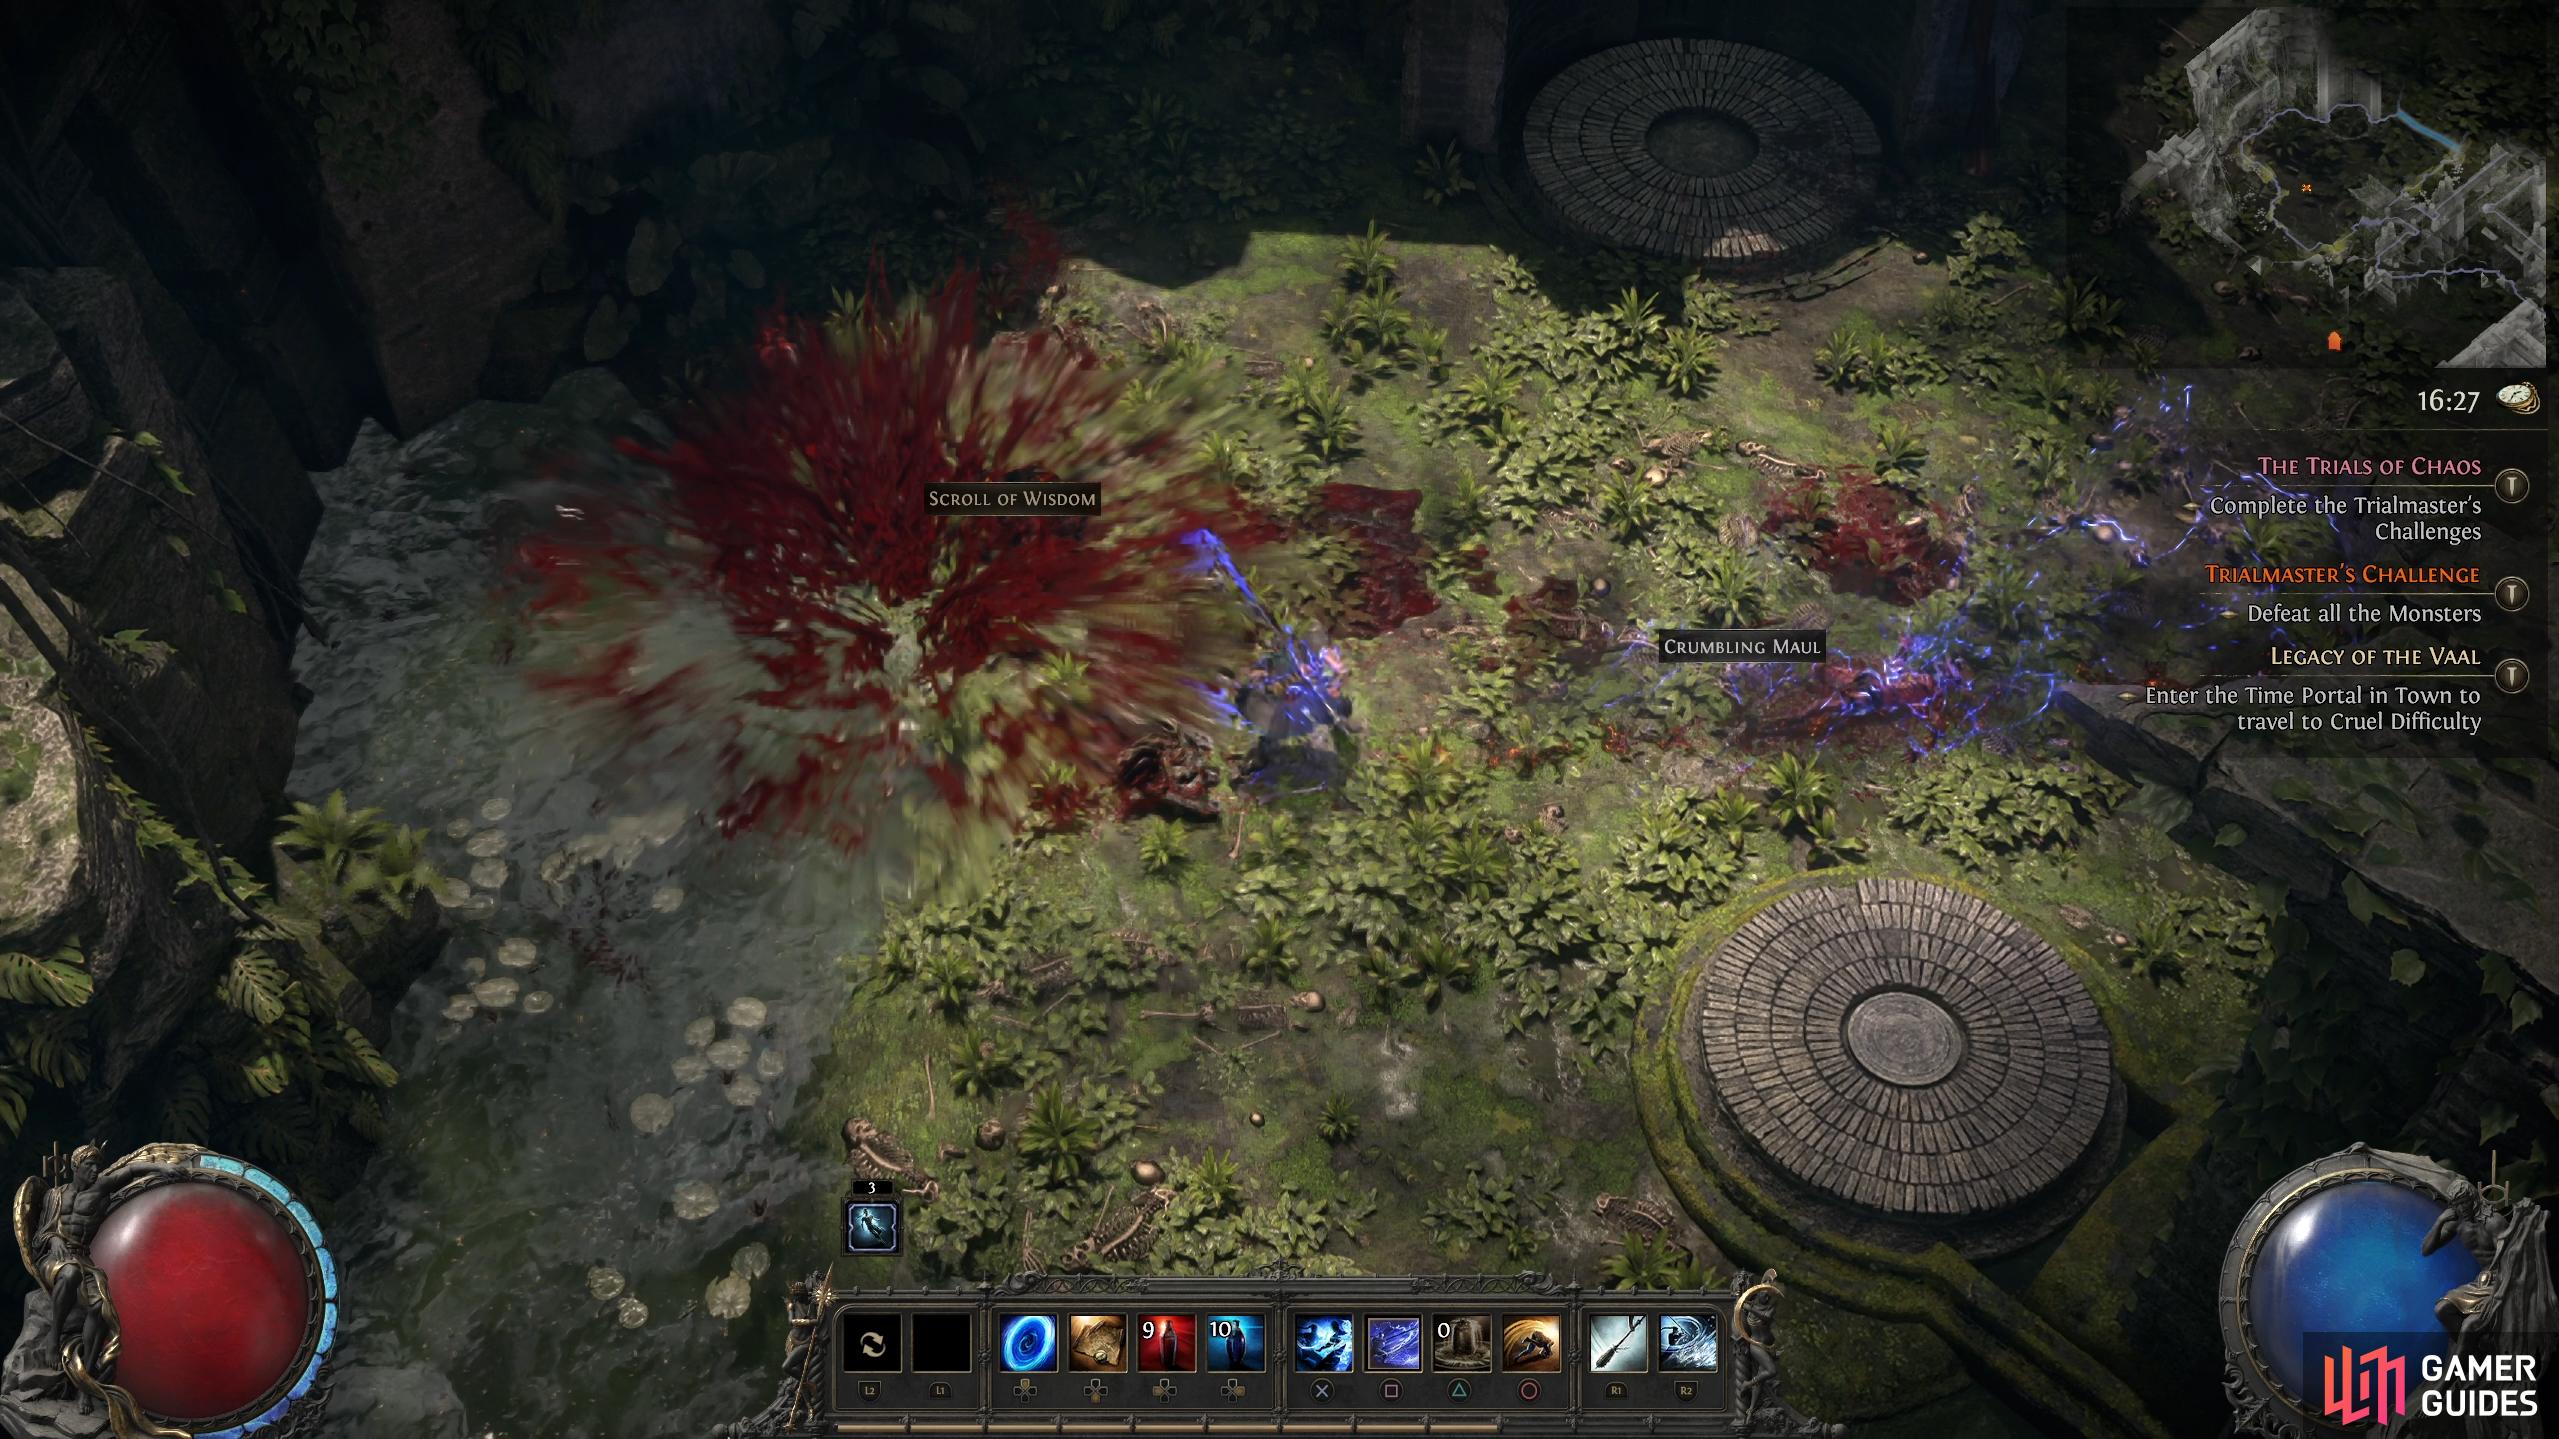
Once you’ve selected the modified, the door will open, so proceed into the next room to begin the first round. The objective on each floor is somewhat random, but it’ll be one of: Defeat all monsters, defeat a boss, move the statue through the floor, collect soul cores, or complete a corruption trial, which is surviving the time limit while enemies keep respawning.
Once you’ve completed the objective of that round, you’ll reach the next round where you’ll find The Trialmaster and another set of three modifiers, which you select. You’ll keep doing this for all ten rounds until you complete the trial and get your rewards.
(1 of 2) Another objective you’ll encounter is to gather three Vaal Soul Cores and place them in the statues at the entrance.
Another objective you’ll encounter is to gather three Vaal Soul Cores and place them in the statues at the entrance. (left), You’ll even encounter bosses during the trial, and yes, the modifiers are present in these. (right)
Trial of Chaos Tribulations
All these modifiers are various degrees of bad, but some are not as bad as the others. Below, you’ll find every modifier, and what we perceive as the best ones to take, should they appear.
The Good
None of these are actually good, but they’re better than the rest and should cause you the least amount of problems. The absolute best of these are Drought, Blood Globules, Lessened Reach, Stormcaller Runes as these are relatively easy to deal with.
| Icon | Modifier | Description |
|---|---|---|
 |
Blood Globules | Globules of blood manifest nearby, tracking you. When above you they will fall, dealing physical damage. |
 |
Blood Globules II | Globules of blood manifest nearby, tracking you. When above you they will fall, dealing Physical damage and creating damaging blood ground. |
 |
Lessened Reach | 50% less Area of Effect and Projectile Speed. |
 |
Drought | Monsters grant no Flask or Charm Charges on death. |
 |
Lethal Rare Monsters | Rare Monsters have 2 additional modifiers. 30% increased Rare Monsters. |
 |
Unstoppable Monsters | Monsters cannot be stunned or slowed. |
 |
Resistant Monsters | Monsters have +40% to all resistances. |
 |
Entangling Monsters | Monsters inflict Grasping Vines on Hit. |
  |
Turrets | Challenge area contains turrets that will periodically fire elemental projectiles ahead. |
 |
Vaal Omnitect | An ancient Vaal machination will deploy attacks against nearby intruders. |
 |
Reduced Resistances | -15% to Elemental Resistances, -10% to Maximum Elemental Resistances. |
 |
Monster Speed | Monster gain 20% increased Skill Speed. |
 |
Petrification Statues | Challenge area contains several statues that petrify you if you stand within their gaze for a duration. |
 |
Stormcaller Runes | Runes will appear that will call deadly lightning storms if you remain in them. |
 |
Impending Doom | Rings of Doom appear on the ground which grow over time, exploding for physical damage once they reach a maximum area. |
 |
Damaged Defenses | 40% less defenses. |
(1 of 2) Blood Globules is one of the better modifiers to go for.
Blood Globules is one of the better modifiers to go for. (left), All this does is drop an orb of blood at your location. Simply move out of the place it will drop on to avoid it. (right)
The Bad
Worse than the previous modifiers but not the worst you can pick. The best here are: Heart Tethers, Chaotic Monsters I, Pyramid Beams I, and Volatile Fiends.
| Icon | Modifier | Description |
|---|---|---|
 |
Heart Tethers | Bloody hearts appear that apply tethers, slowing you. Breaking the tether will stun you. |
 |
Heart Tethers II | Bloody hearts appear that apply tethers, Slowing you. Breaking the tether will Stun you and cause you to become vulnerable to damage for a duration. |
 |
Stalking Shade | An invulnerable shade stalks you, inflicting Ruin with its Melee hits. The Trial will Fail when you reach 7 stacks of Ruin. |
 |
Chaotic Monsters | Monsters gain 20% of damage added as extra Chaos damage. |
 |
Chaotic Monsters II | Monsters gain 50% of damage added as extra Chaos damage. |
 |
Deadly Monsters | Monsters have 300% Critical Hit Chance. |
 |
Deadly Monsters II | Monsters always deal Critical Hits. |
 |
Toxic Monsters | Monster hits always inflict bleeding and poison. |
 |
Time Paradox | Buffs expire three times faster and Debuffs expire three times slower. |
 |
Pyramid Beams | Pyramid objects appear, projecting four rotating lasers that inflict Corrupted Blood on Hit. |
 |
Volatile Fiends | Monsters release deadly volatiles on death. Rare monsters leave larger ones. |
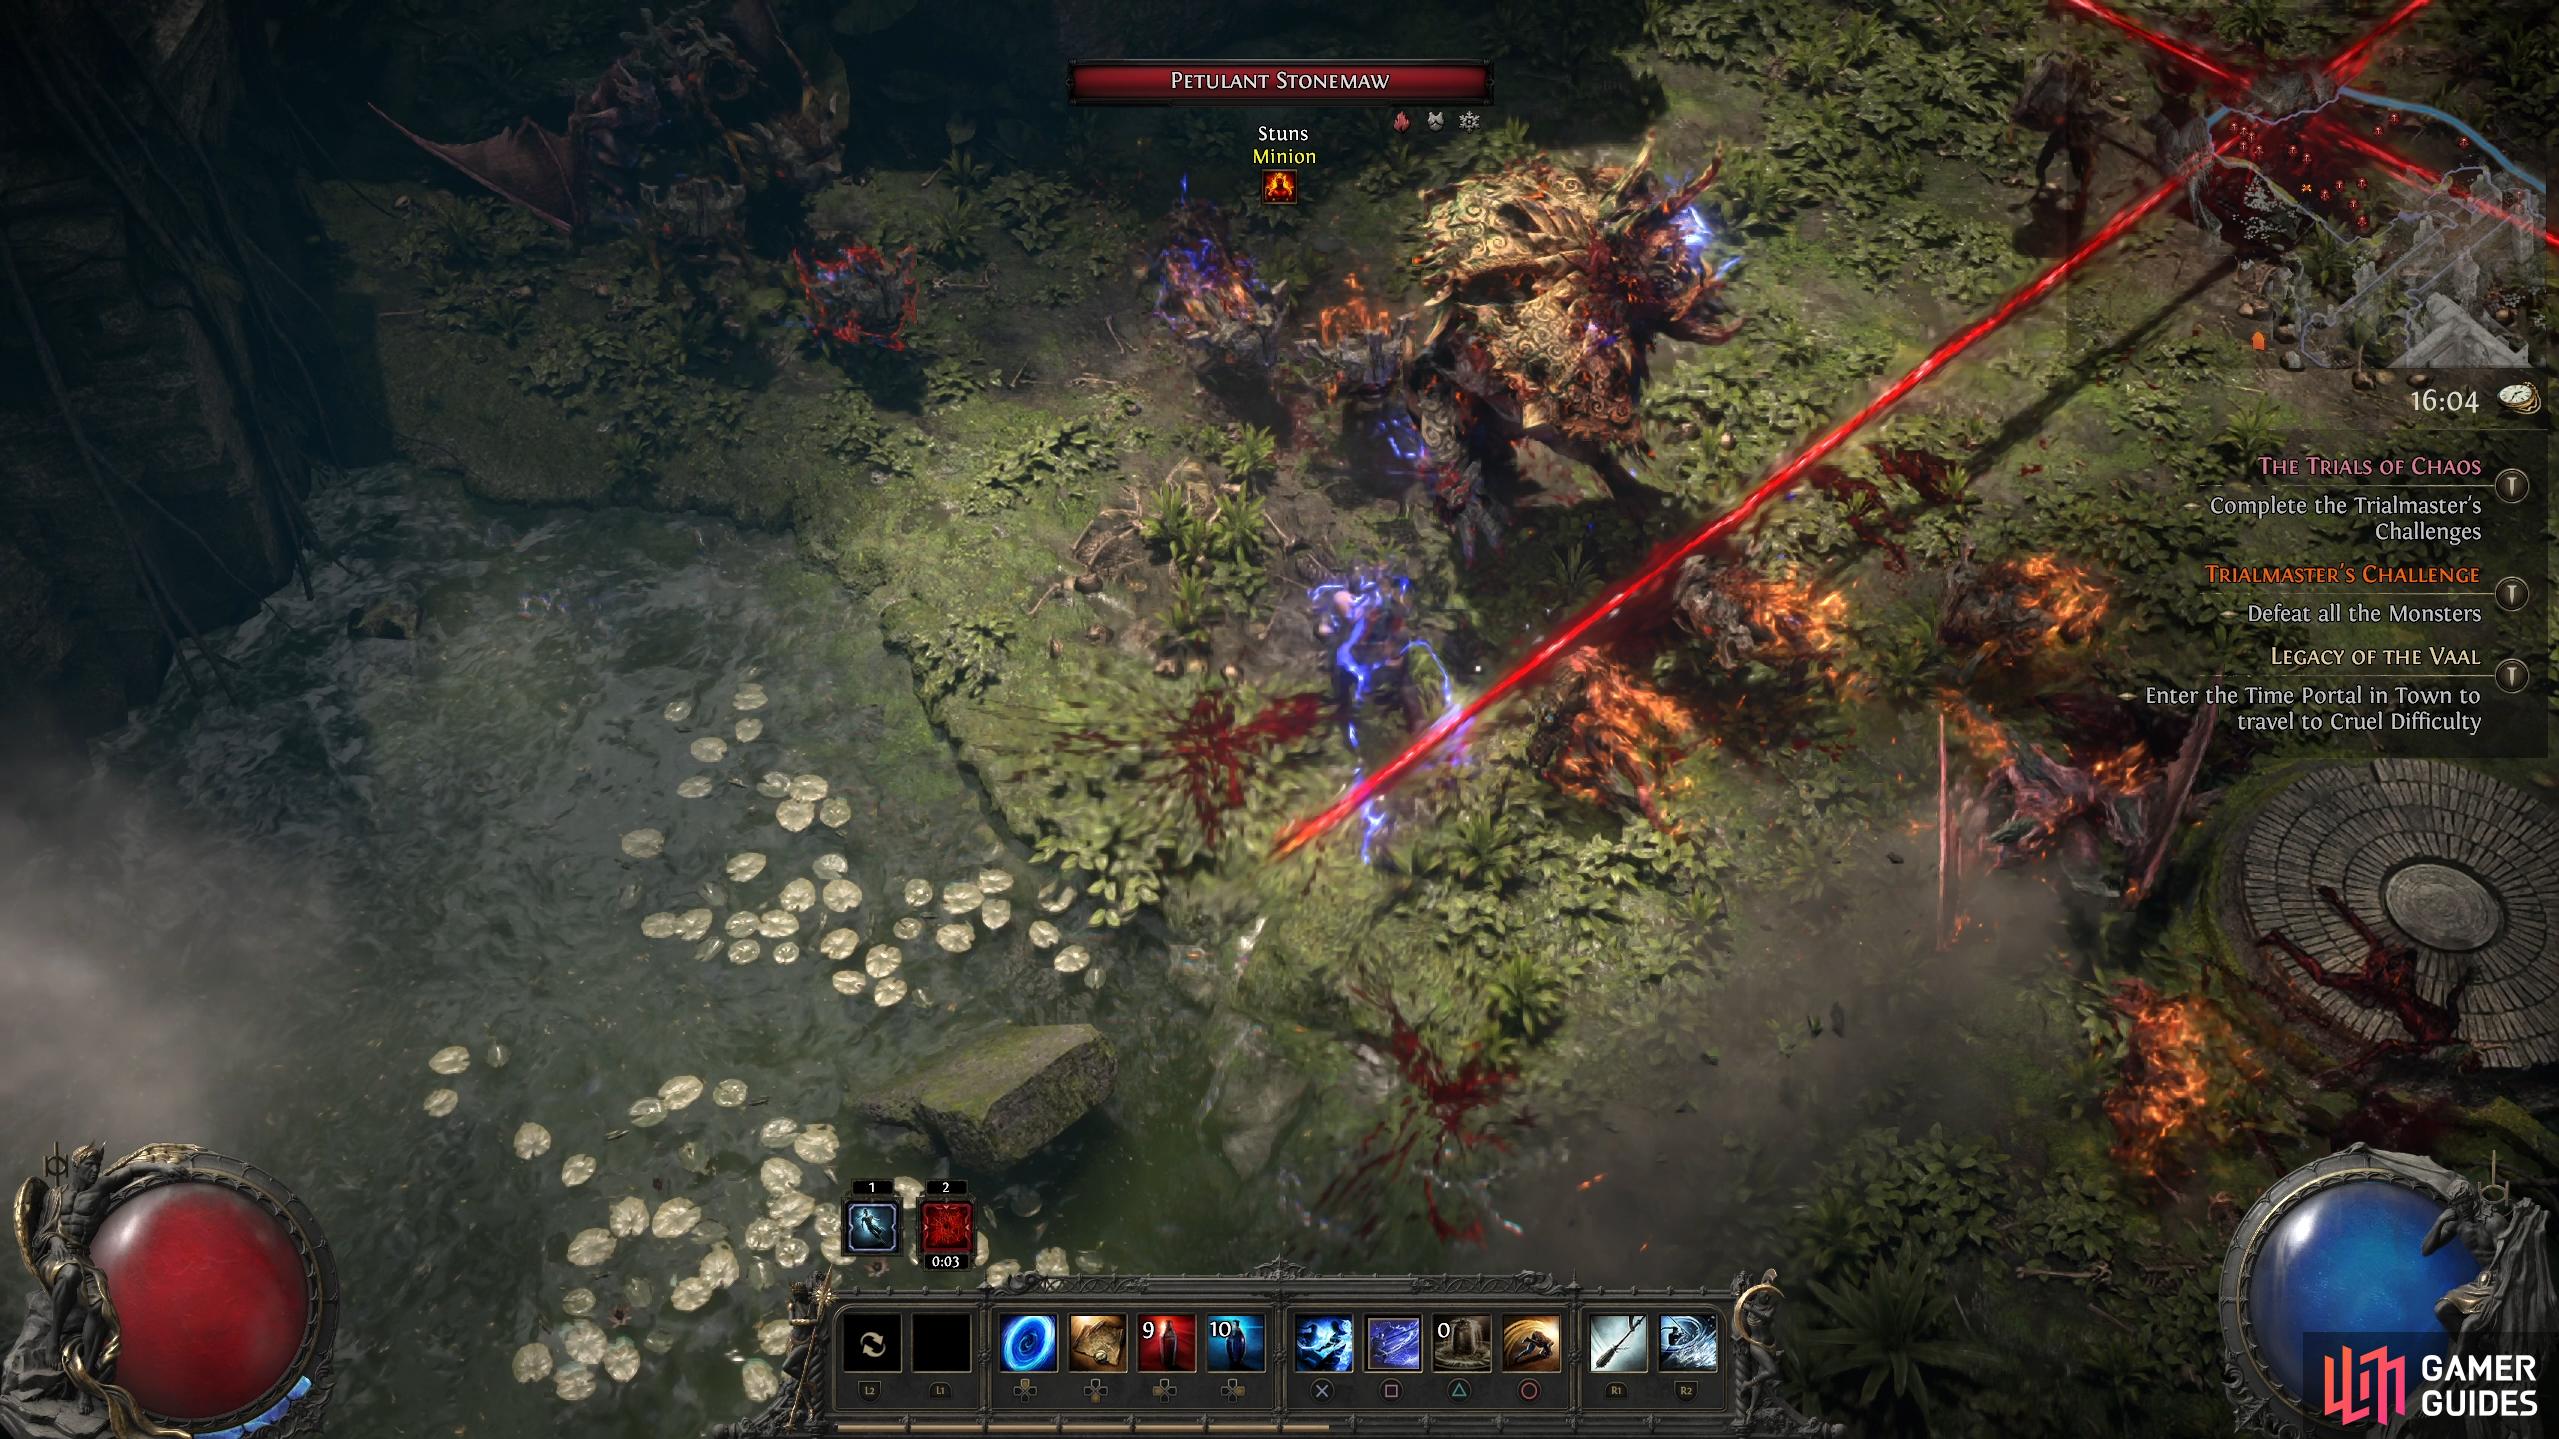
Pyramid Beams is a pain to deal with as it’ll rotate beams that cover a large area near you.
The Ugly
These modifiers should be avoided like the plague, but if you have to pick one or more of them. Here are the best: Impending Doom II, Stormcaller Runes II, Vaal Omnitect II, Reduced Recovery I. As we said, these modifiers should only be chosen if none of the modifiers in the above lists appear. Try not to pick any of these.
| Icon | Modifier | Description |
|---|---|---|
 |
Impending Doom II | Rings and circles of Doom appear on the ground which grow over time, exploding for Physical damage once they reach a maximum area. |
 |
Stormcaller Runes II | Large runes will appear that will call deadly lightning storms if you remain in them. |
 |
Stormcaller Runes III | Many large runes will appear that will call deadly Lightning storms if you remain in them. |
 |
Petrification Statues II | Challenge area contains several statues that Petrify you for a long duration if you stand within their gaze for a short duration. |
 |
Vaal Omnitect II | An ancient Vaal machination will deploy an array of attacks against nearby intruders. |
 |
Vaal Omnitect III | An ancient Vaal machination will deploy a powerful array of attacks against nearby intruders. |
 |
Damaged Defenses II | 75% less defenses. |
 |
Enraged Bosses | Bosses deal more damage and take less damage. |
 |
Stalking Shade II | An invulnerable shade stalks you, inflicting Ruin with its Melee hits. The Trial will Fail when you reach 7 stacks of Ruin. |
 |
Stalking Shade III | An invulnerable shade stalks you, gaining speed and inflicting Ruin with powerful Melee and Projectile hits. The Trial will Fail when you reach 7 stacks of Ruin. |
 |
Escalating Damage Taken | In each encounter room, damage taken will slowly increase by 1% per second, up to 50%. |
 |
Pyramid Beams II | Pyramid objects appear, projecting four fast rotating lasers that inflict Corrupted Blood on Hit. |
 |
Reduced Recovery | 40% reduced Life, Mana, and Energy Shield Recovery Rate. |
 |
Reduced Recovery II | 75% reduced Life, Mana, and Energy Shield Recovery Rate. |
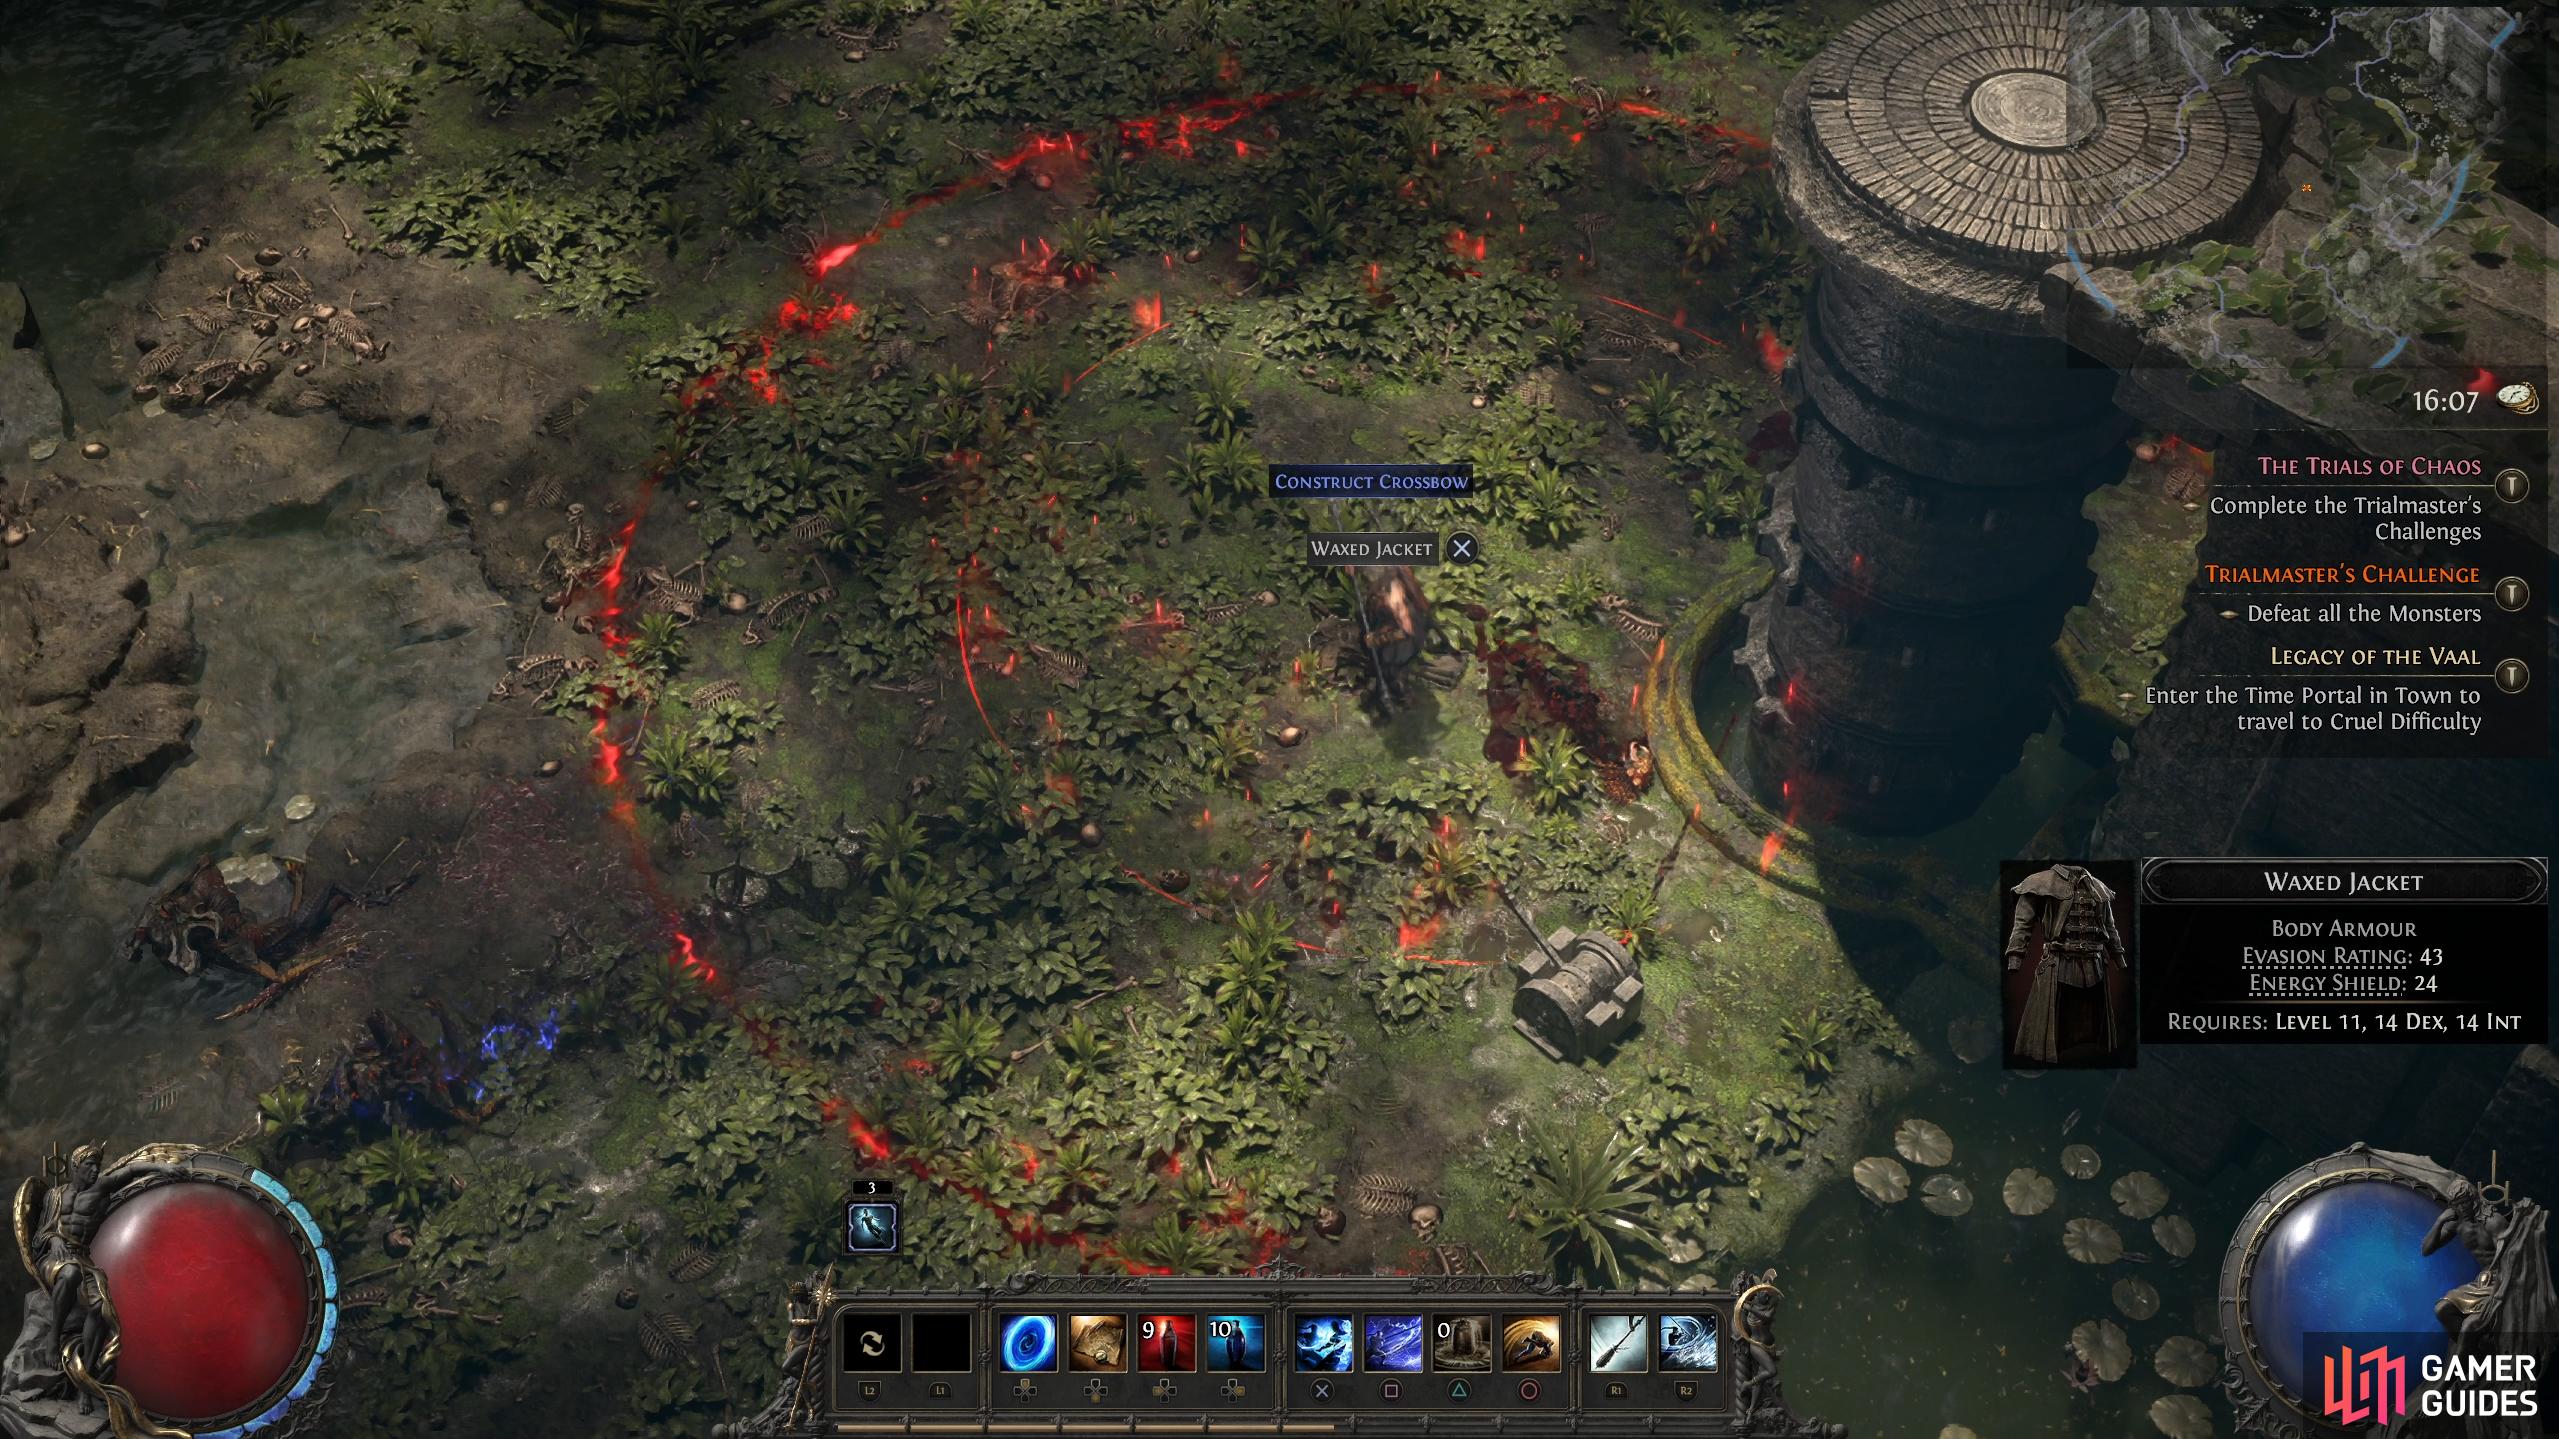
The later versions of Impending Doom can cover a lot of area, forcing you into the corners of the map. This is bad when you’re fighting hordes of monsters.
That’s it for the modifiers that you’ll get during the Trial of Chaos. The trial is difficult regardless of what you pick, but hopefully by using the preferred modifiers listed above, and a little bit of luck, you should come through them unscathed.

 Sign up
No Comments