The building system in Sons of the Forest has been extensively revised from the one featured in its predecessor, The Forest. There was already a decent amount of freedom to build in the first game, but SotF brings it to a whole new level. In particular, the new chopping system allows you to cut through logs with more precision, making it easier to create level surfaces on uneven ground, build structures with less uniformity, and even reduce waste when it comes to recycling smaller logs to form larger beams.
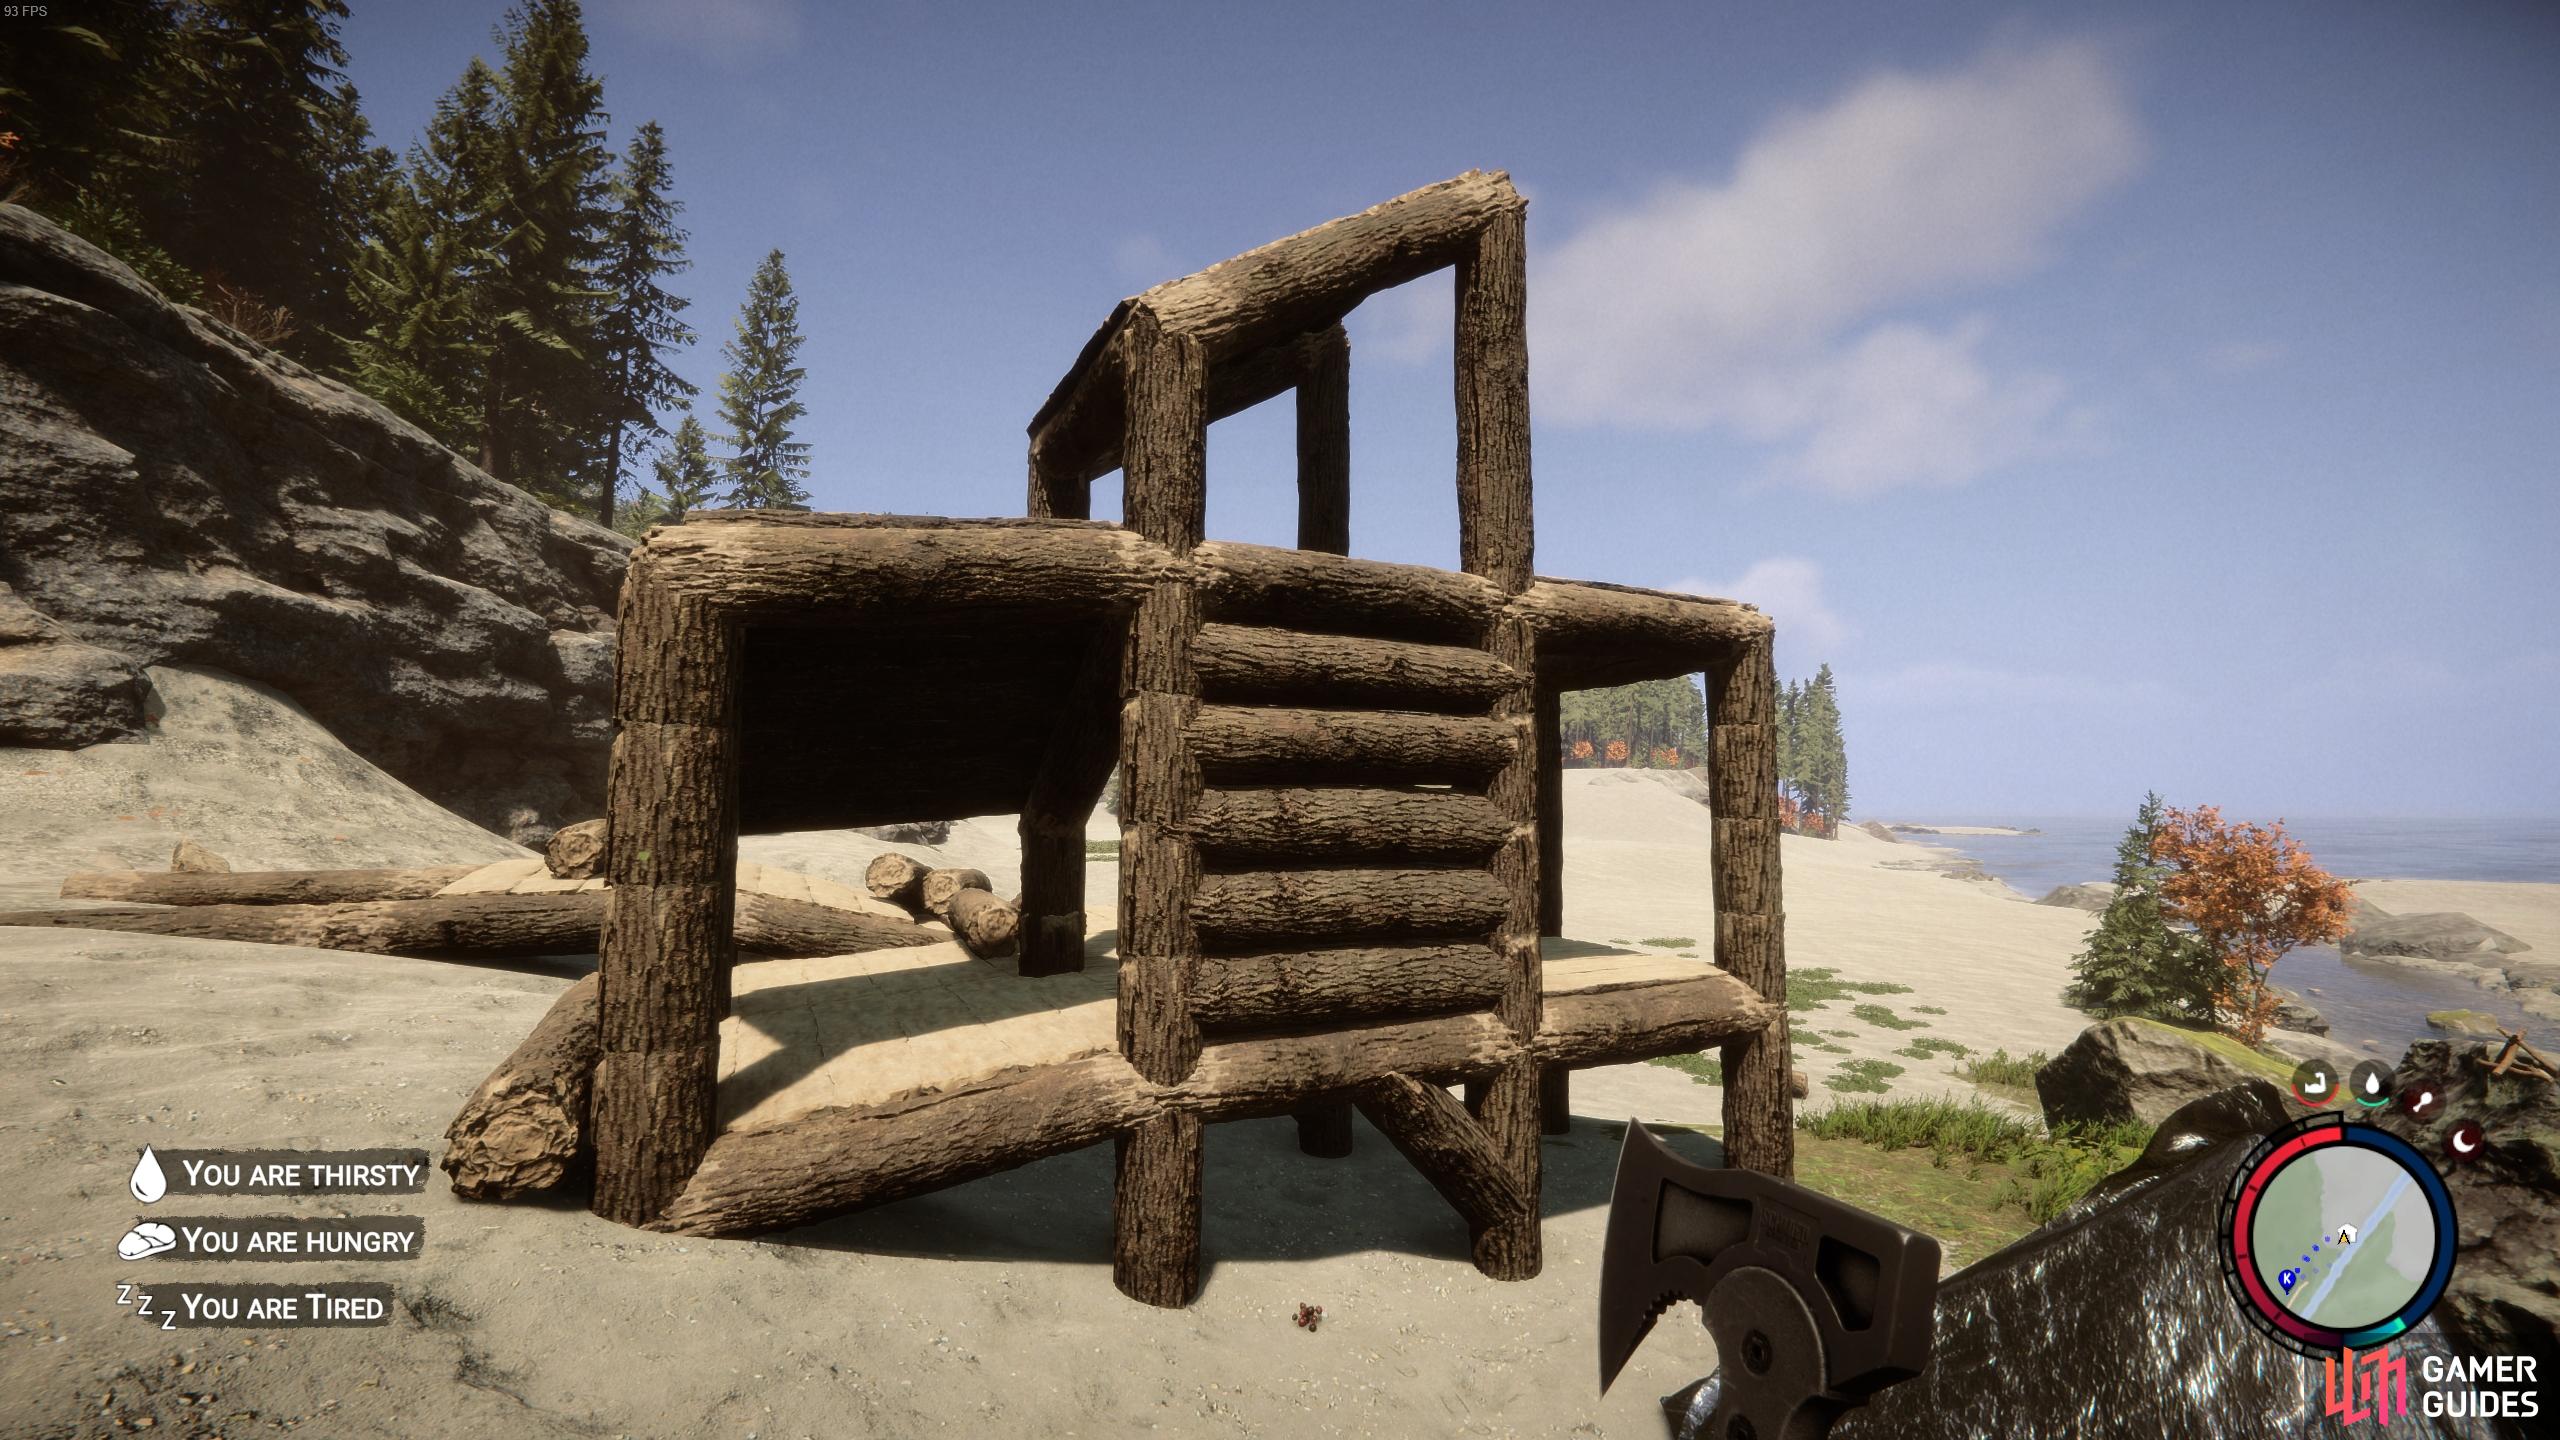
Freeform Building in Sons of the Forest.
On this page, we’ll tell you everything you need to know about how to use the new building system in Sons of the Forest.
Guide for Building Freeform Structures in Sons of the Forest
As you venture out into the wilderness of Sons of the Forest for the first time, it’s easy to feel overwhelmed by all the survival mechanics that you need to quickly learn, especially if you’re a new player with no experience of The Forest. It’s likely that your first concern will be learning how to survive by keeping yourself fed and watered, and to that end you can see our guide on How to Survive Your First Night in Sons of the Forest. Once you’re able to sustain yourself enough to the point where you can spend an entire day building your first base, you can begin to get to grips with the build system.
Use Kelvin to Help Gather Materials and Build
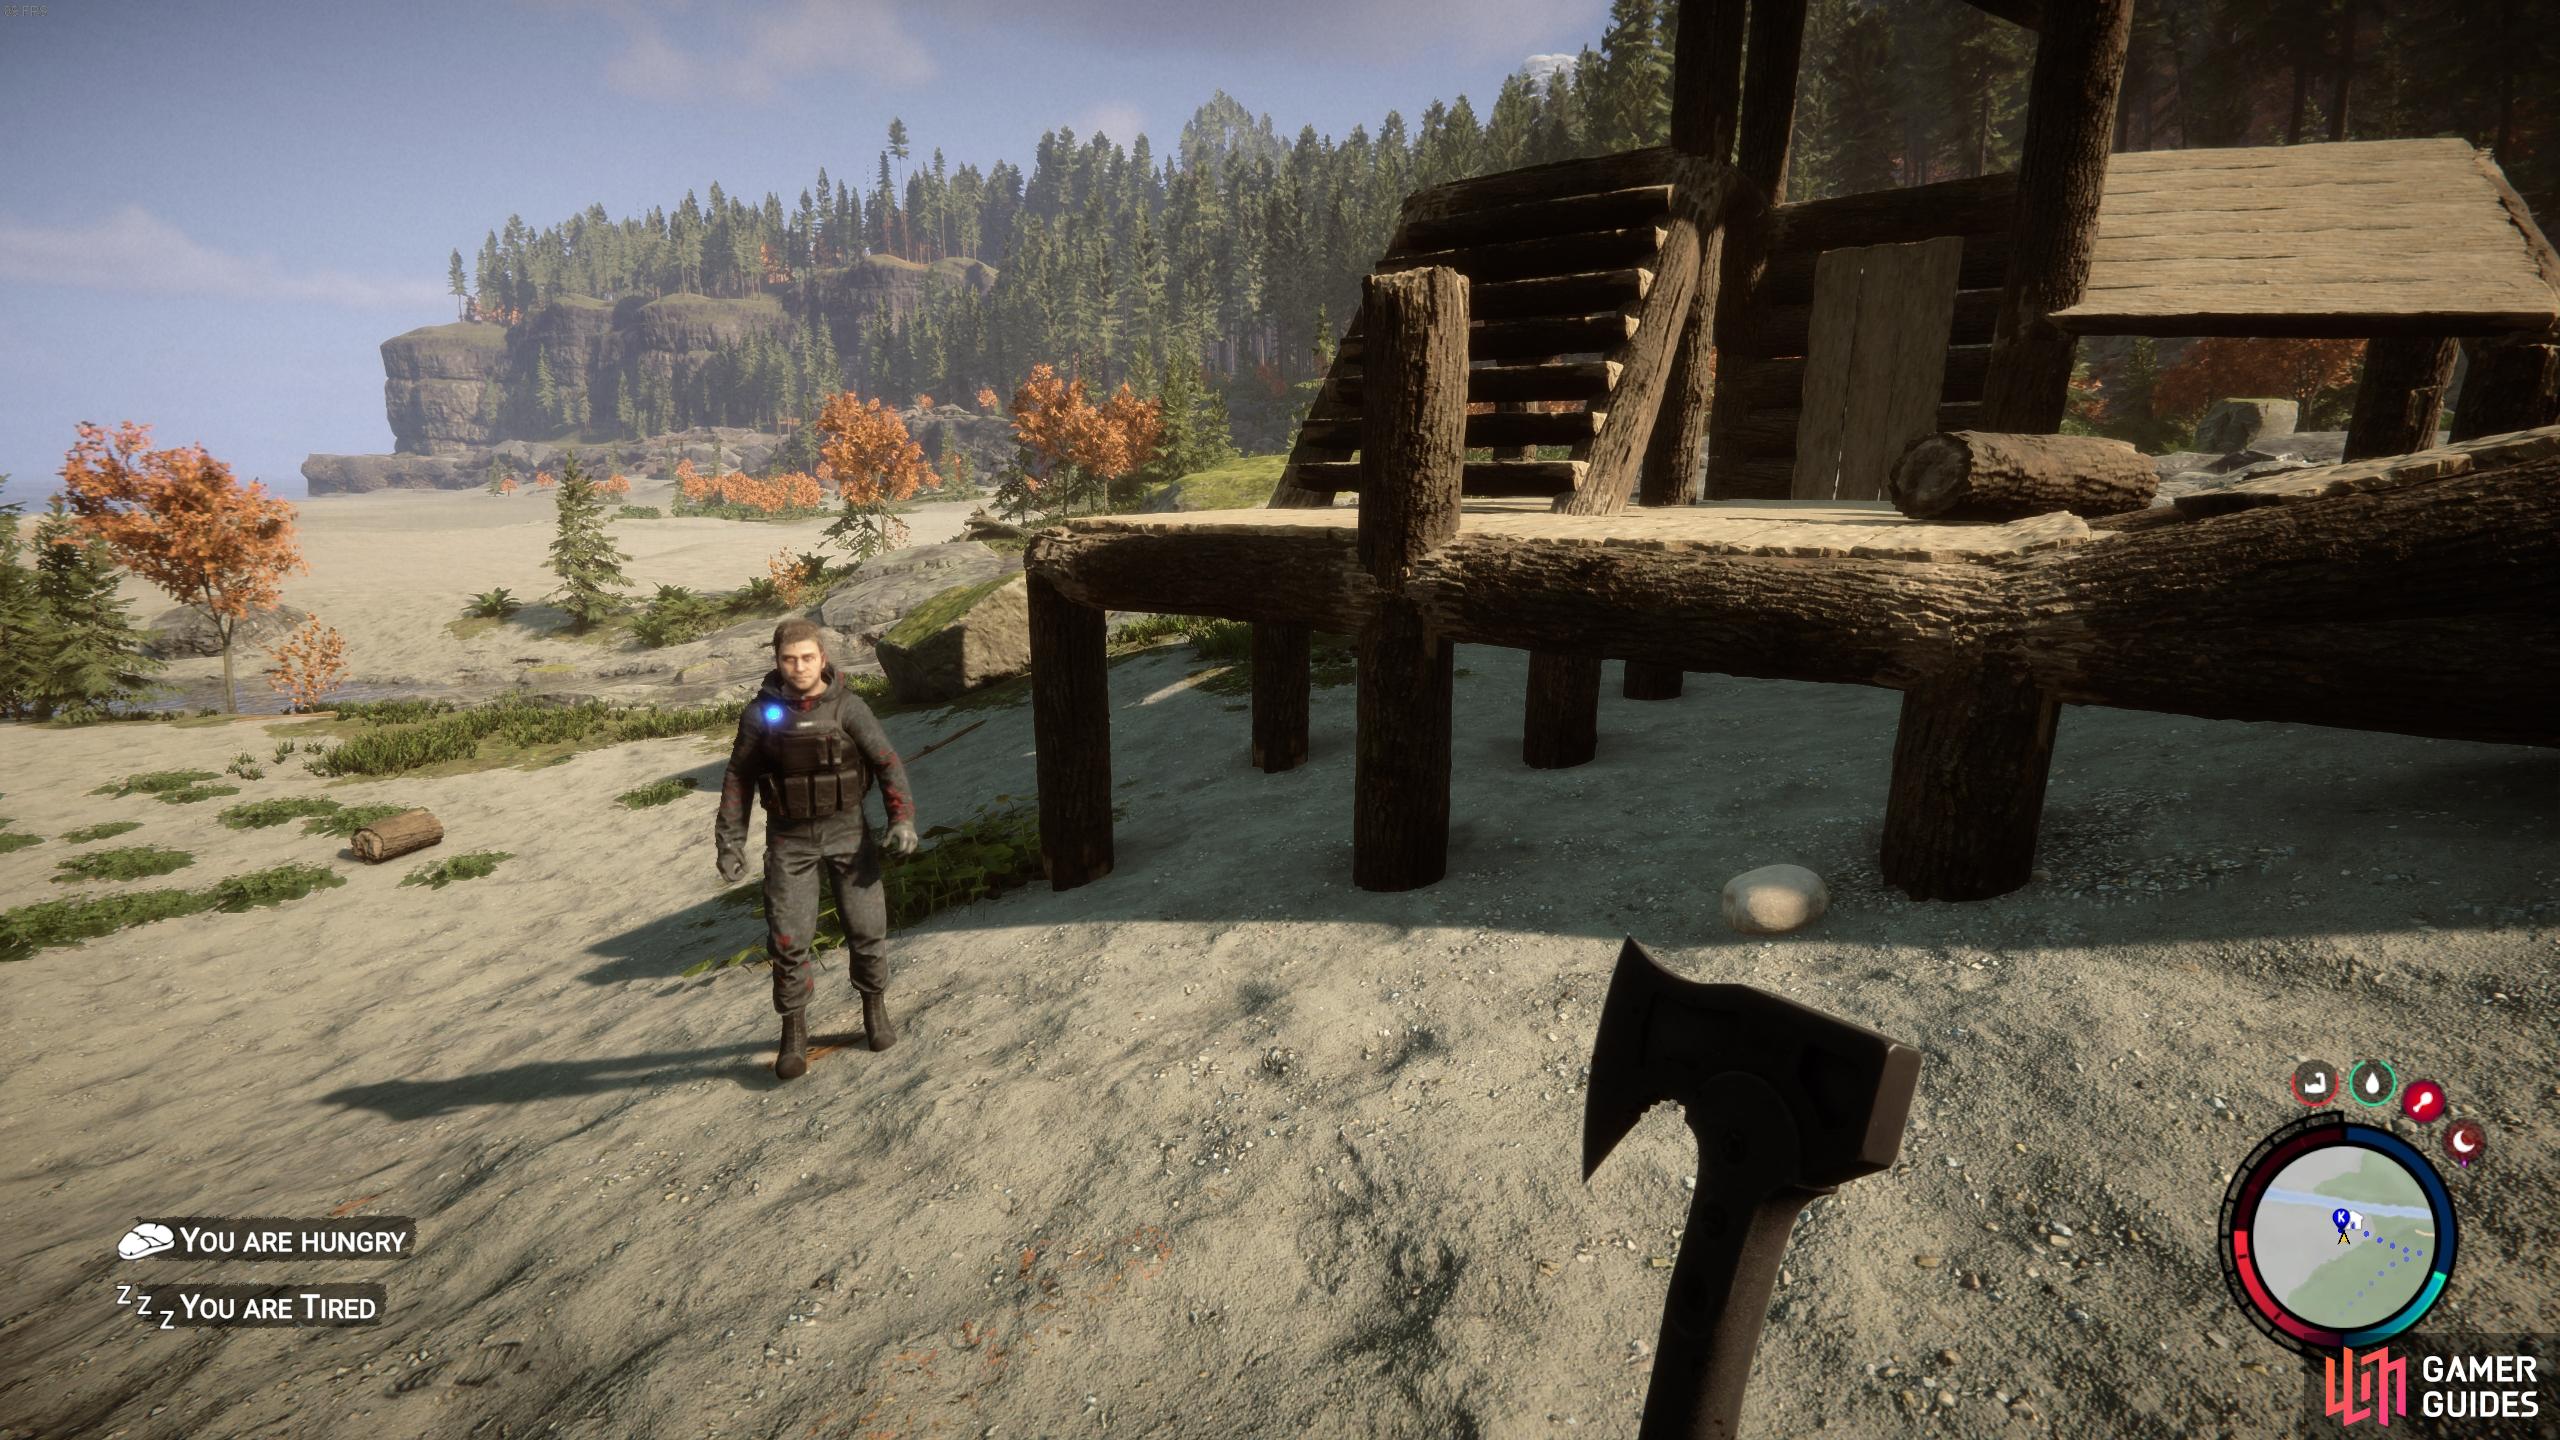
One of the most significant changes for solo players from The Forest to Sons of the Forest is that you now start the game with a helpful companion, named ![]() Kelvin. He’s a slightly brain-dead colleague who you rescue from the helicopter crash at the beginning of the game, and you’ll quickly learn the basics of how to give him commands using the notepad. There are a number of useful building-centric commands that you can issue to make your life easier, including asking Kelvin to fetch specific materials such as sticks, rocks, and logs. You can also ask him to clear an area of 5, 10, or 20 meters, which is especially useful when you need to clear a large space for a building project.
Kelvin. He’s a slightly brain-dead colleague who you rescue from the helicopter crash at the beginning of the game, and you’ll quickly learn the basics of how to give him commands using the notepad. There are a number of useful building-centric commands that you can issue to make your life easier, including asking Kelvin to fetch specific materials such as sticks, rocks, and logs. You can also ask him to clear an area of 5, 10, or 20 meters, which is especially useful when you need to clear a large space for a building project.
(1 of 2) You can ask Kelvin to gather sticks, rocks, logs, or clear an area of all three.
You can ask Kelvin to gather sticks, rocks, logs, or clear an area of all three. (left), You may need to adjust where you ask Kelvin to place the materials as you build. (right)
Use the Tactical Axe to Chop Down Trees for Logs
At the heart of any building project in Sons of the Forest is gathering a good bunch of logs to form the basis of a wooden structure. It’s a good idea to gather a reasonable amount of logs before you get stuck into a building project - at least 10, let’s say - since you can then experiment with placing them in the space you’ve planned to build. If you need help with identifying a good area to build your first base, take a look at our Best Base Locations Page. Once you’ve identified a good spot, you can get to work with helping Kelvin to chop down trees, cut through branches, and you might as well pick up a few rocks along the way too (these will be useful later).
Once you’ve got a bunch of logs together, you can make a good start to learning the basics by opening your Guide Book by pressing 

How to Reshape Logs to Build Floors, Stairs, Ramps, Walls, Roofs, Doors, and Windows
The possibilities are nearly endless in terms of the exact form of your finished structures, but there are some basics in the building system that you’ll need to get to grips with first. We’ll show you how to create the most essential forms of a structure in each of the sections below.
How to Build Floors in Sons of the Forest
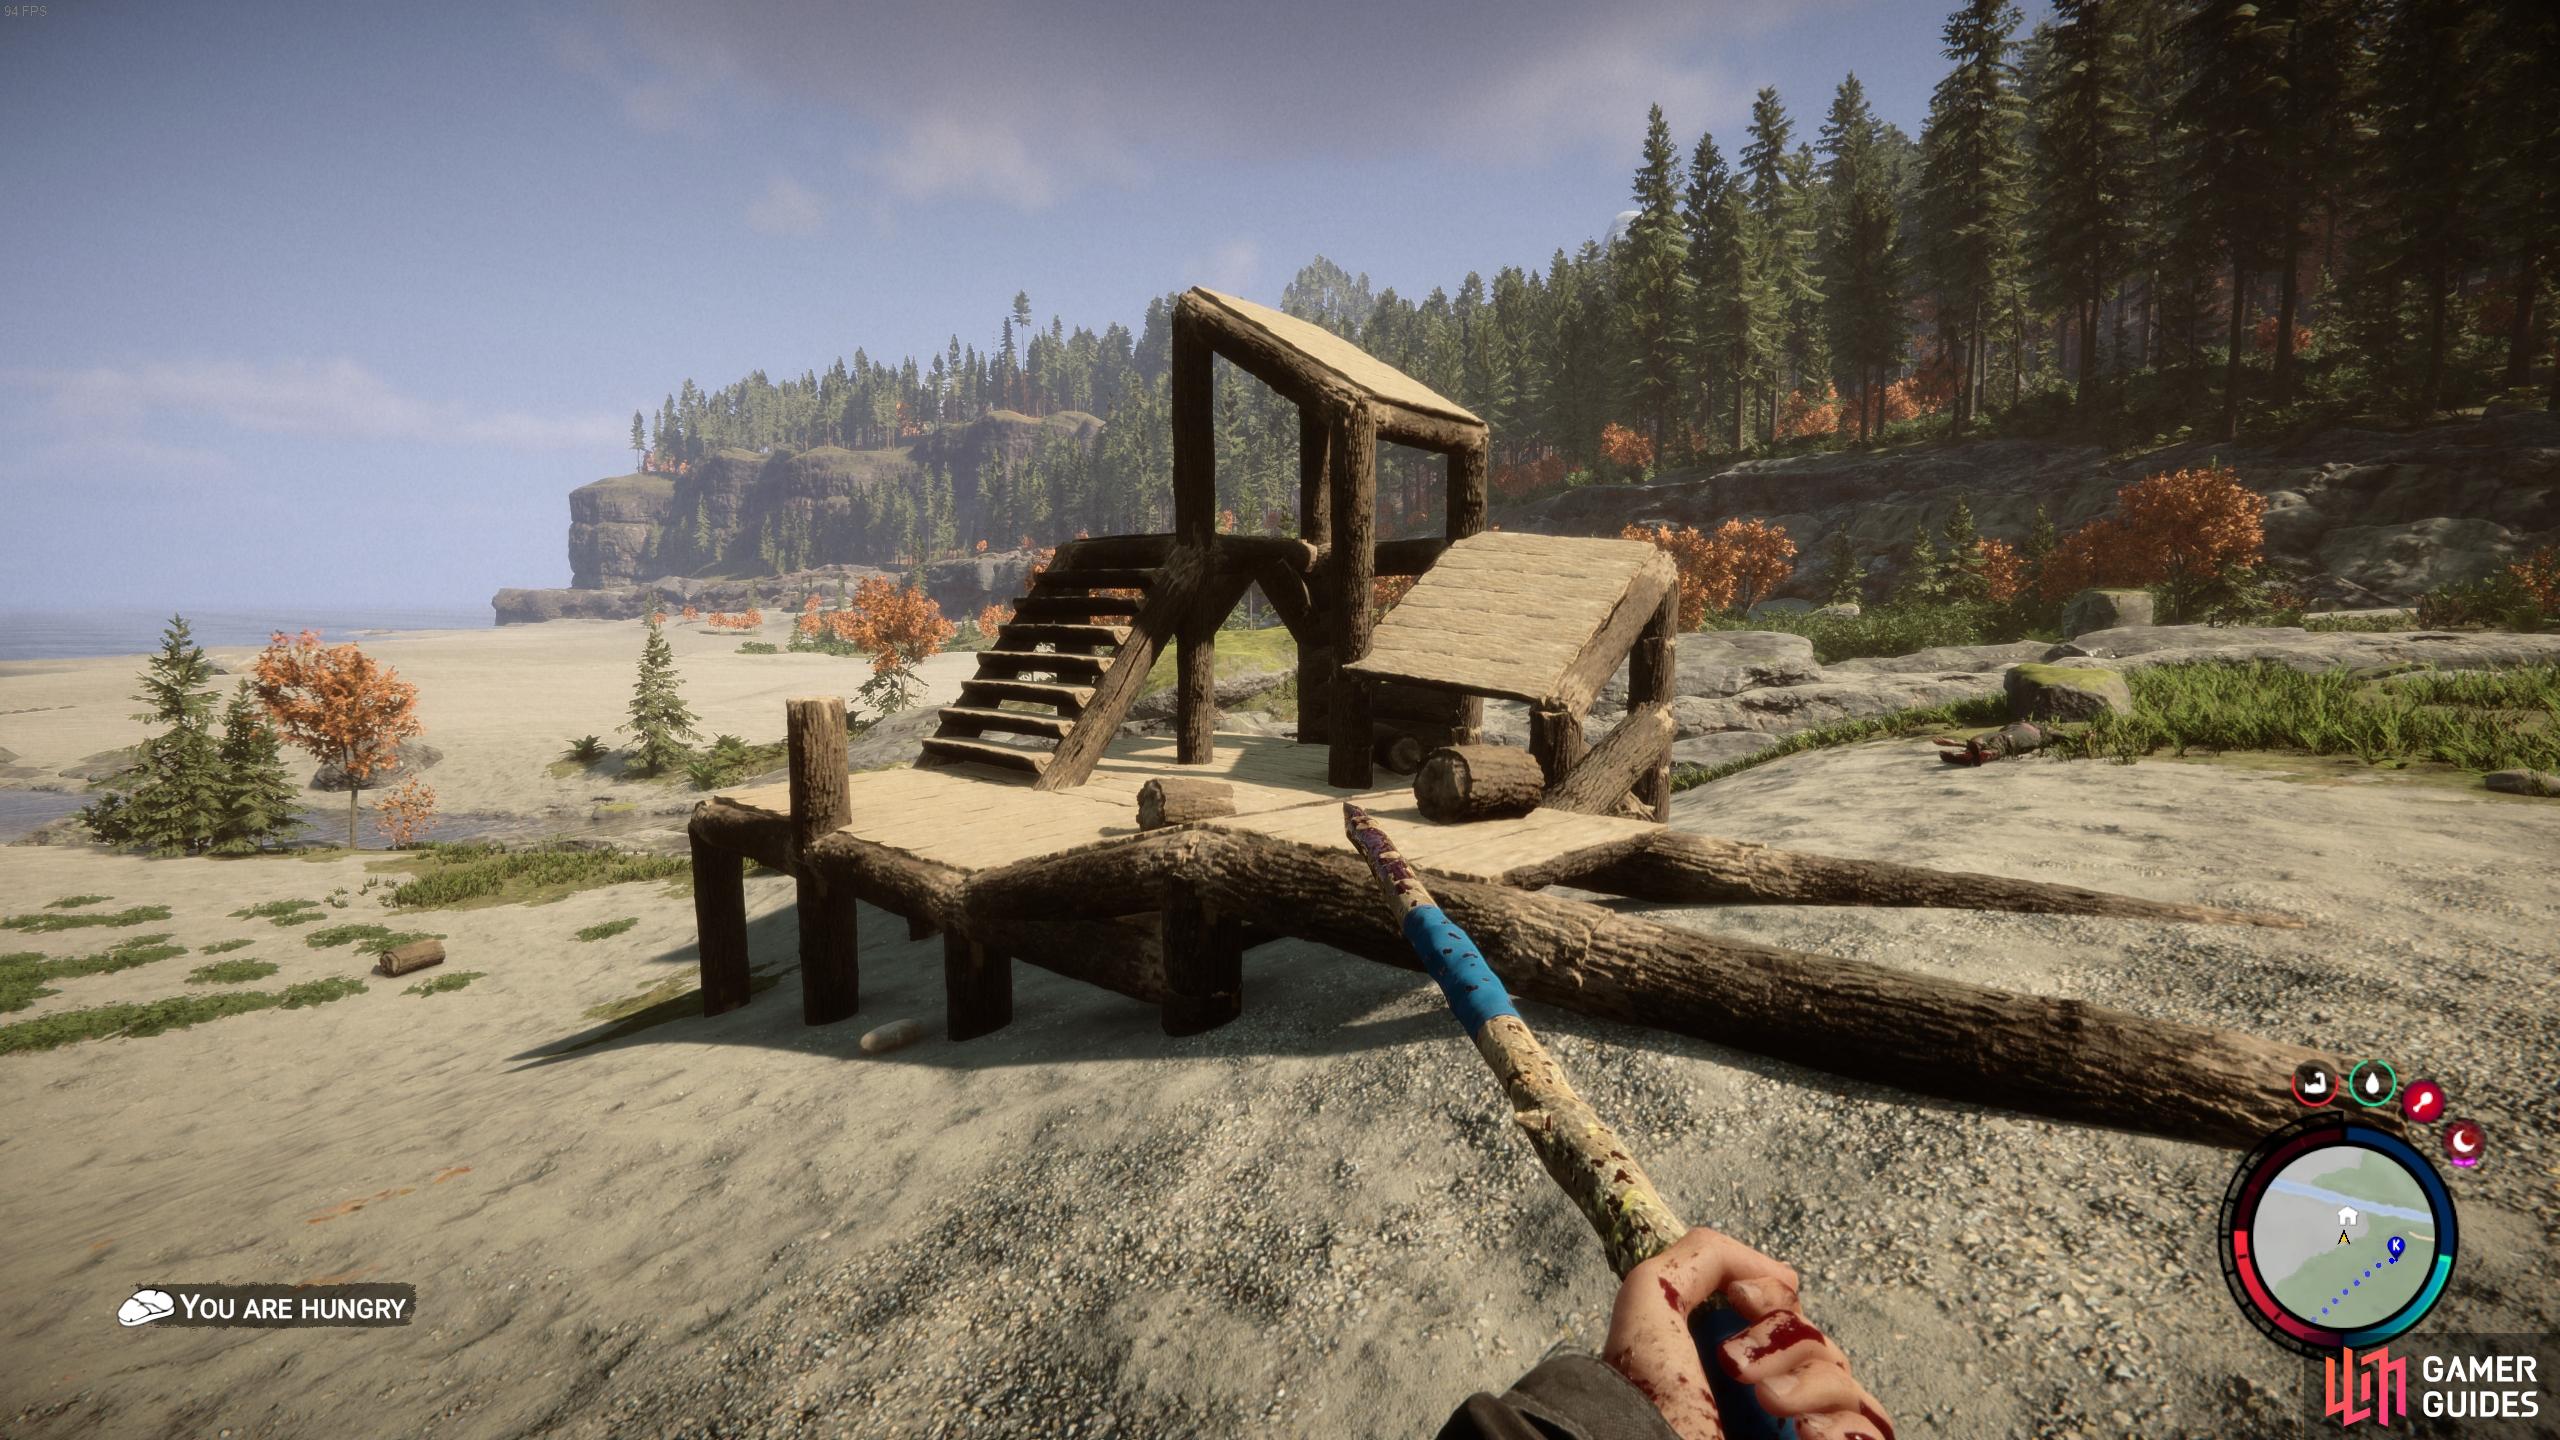
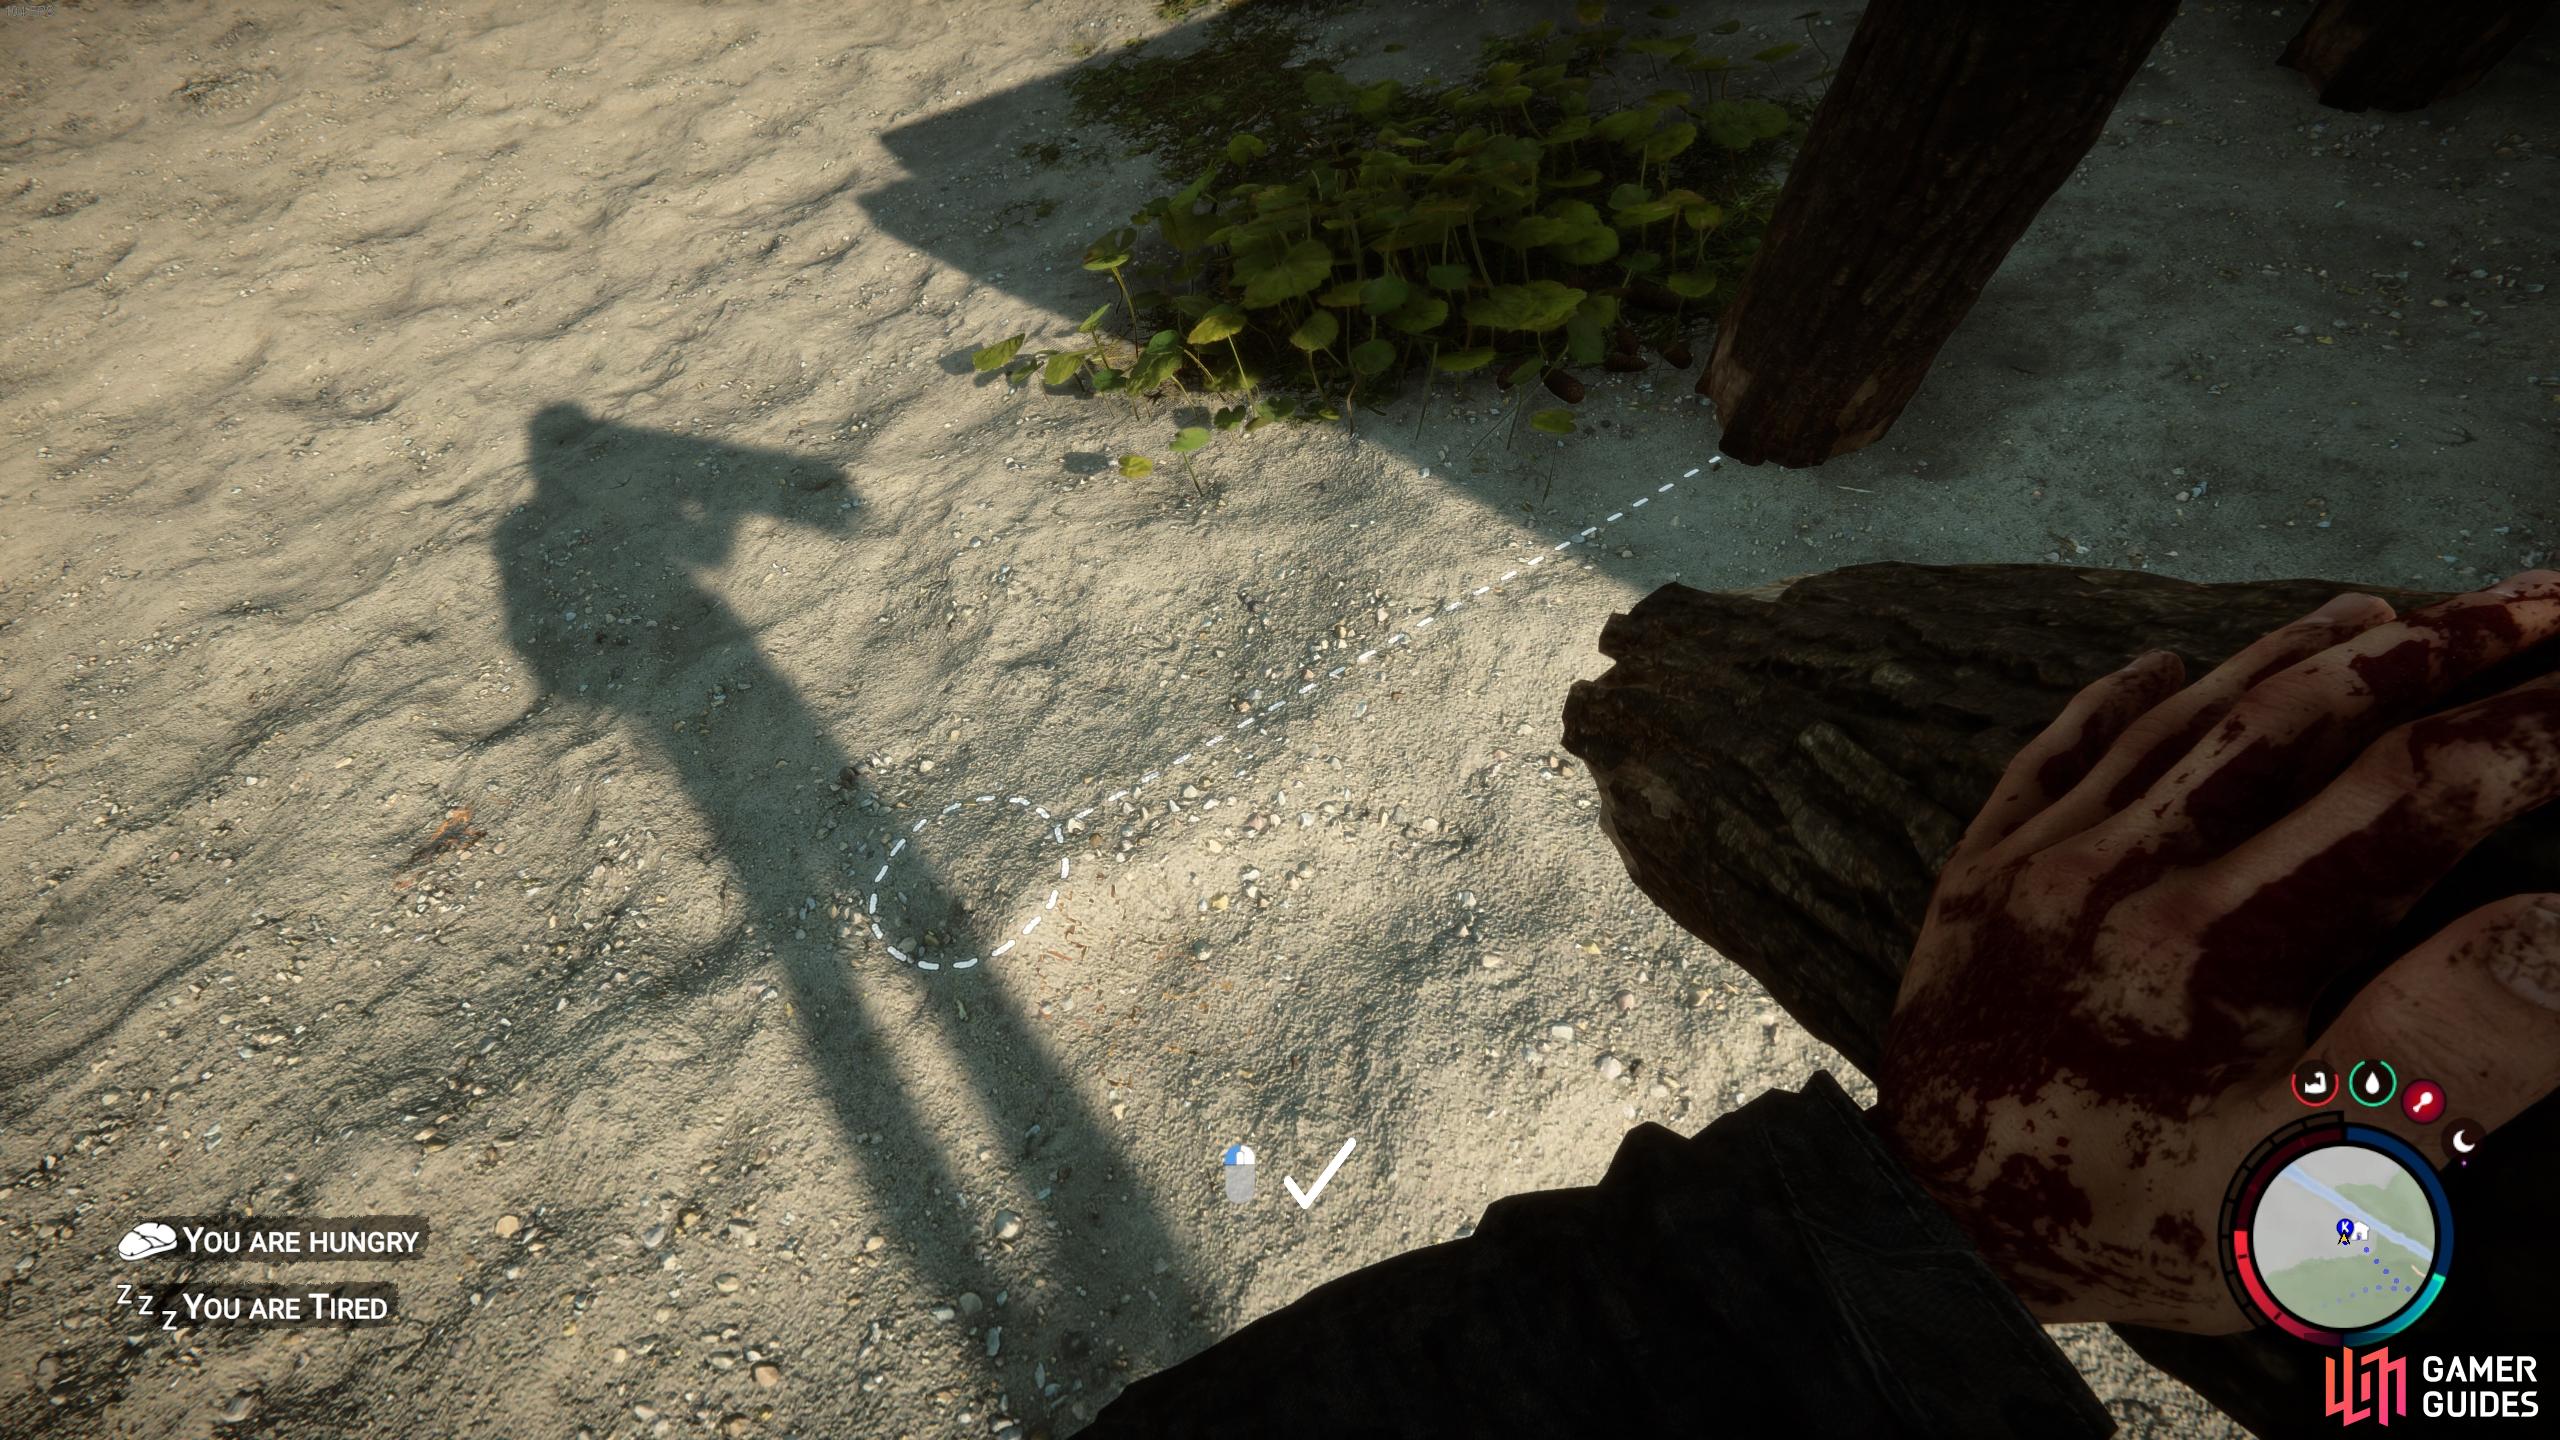
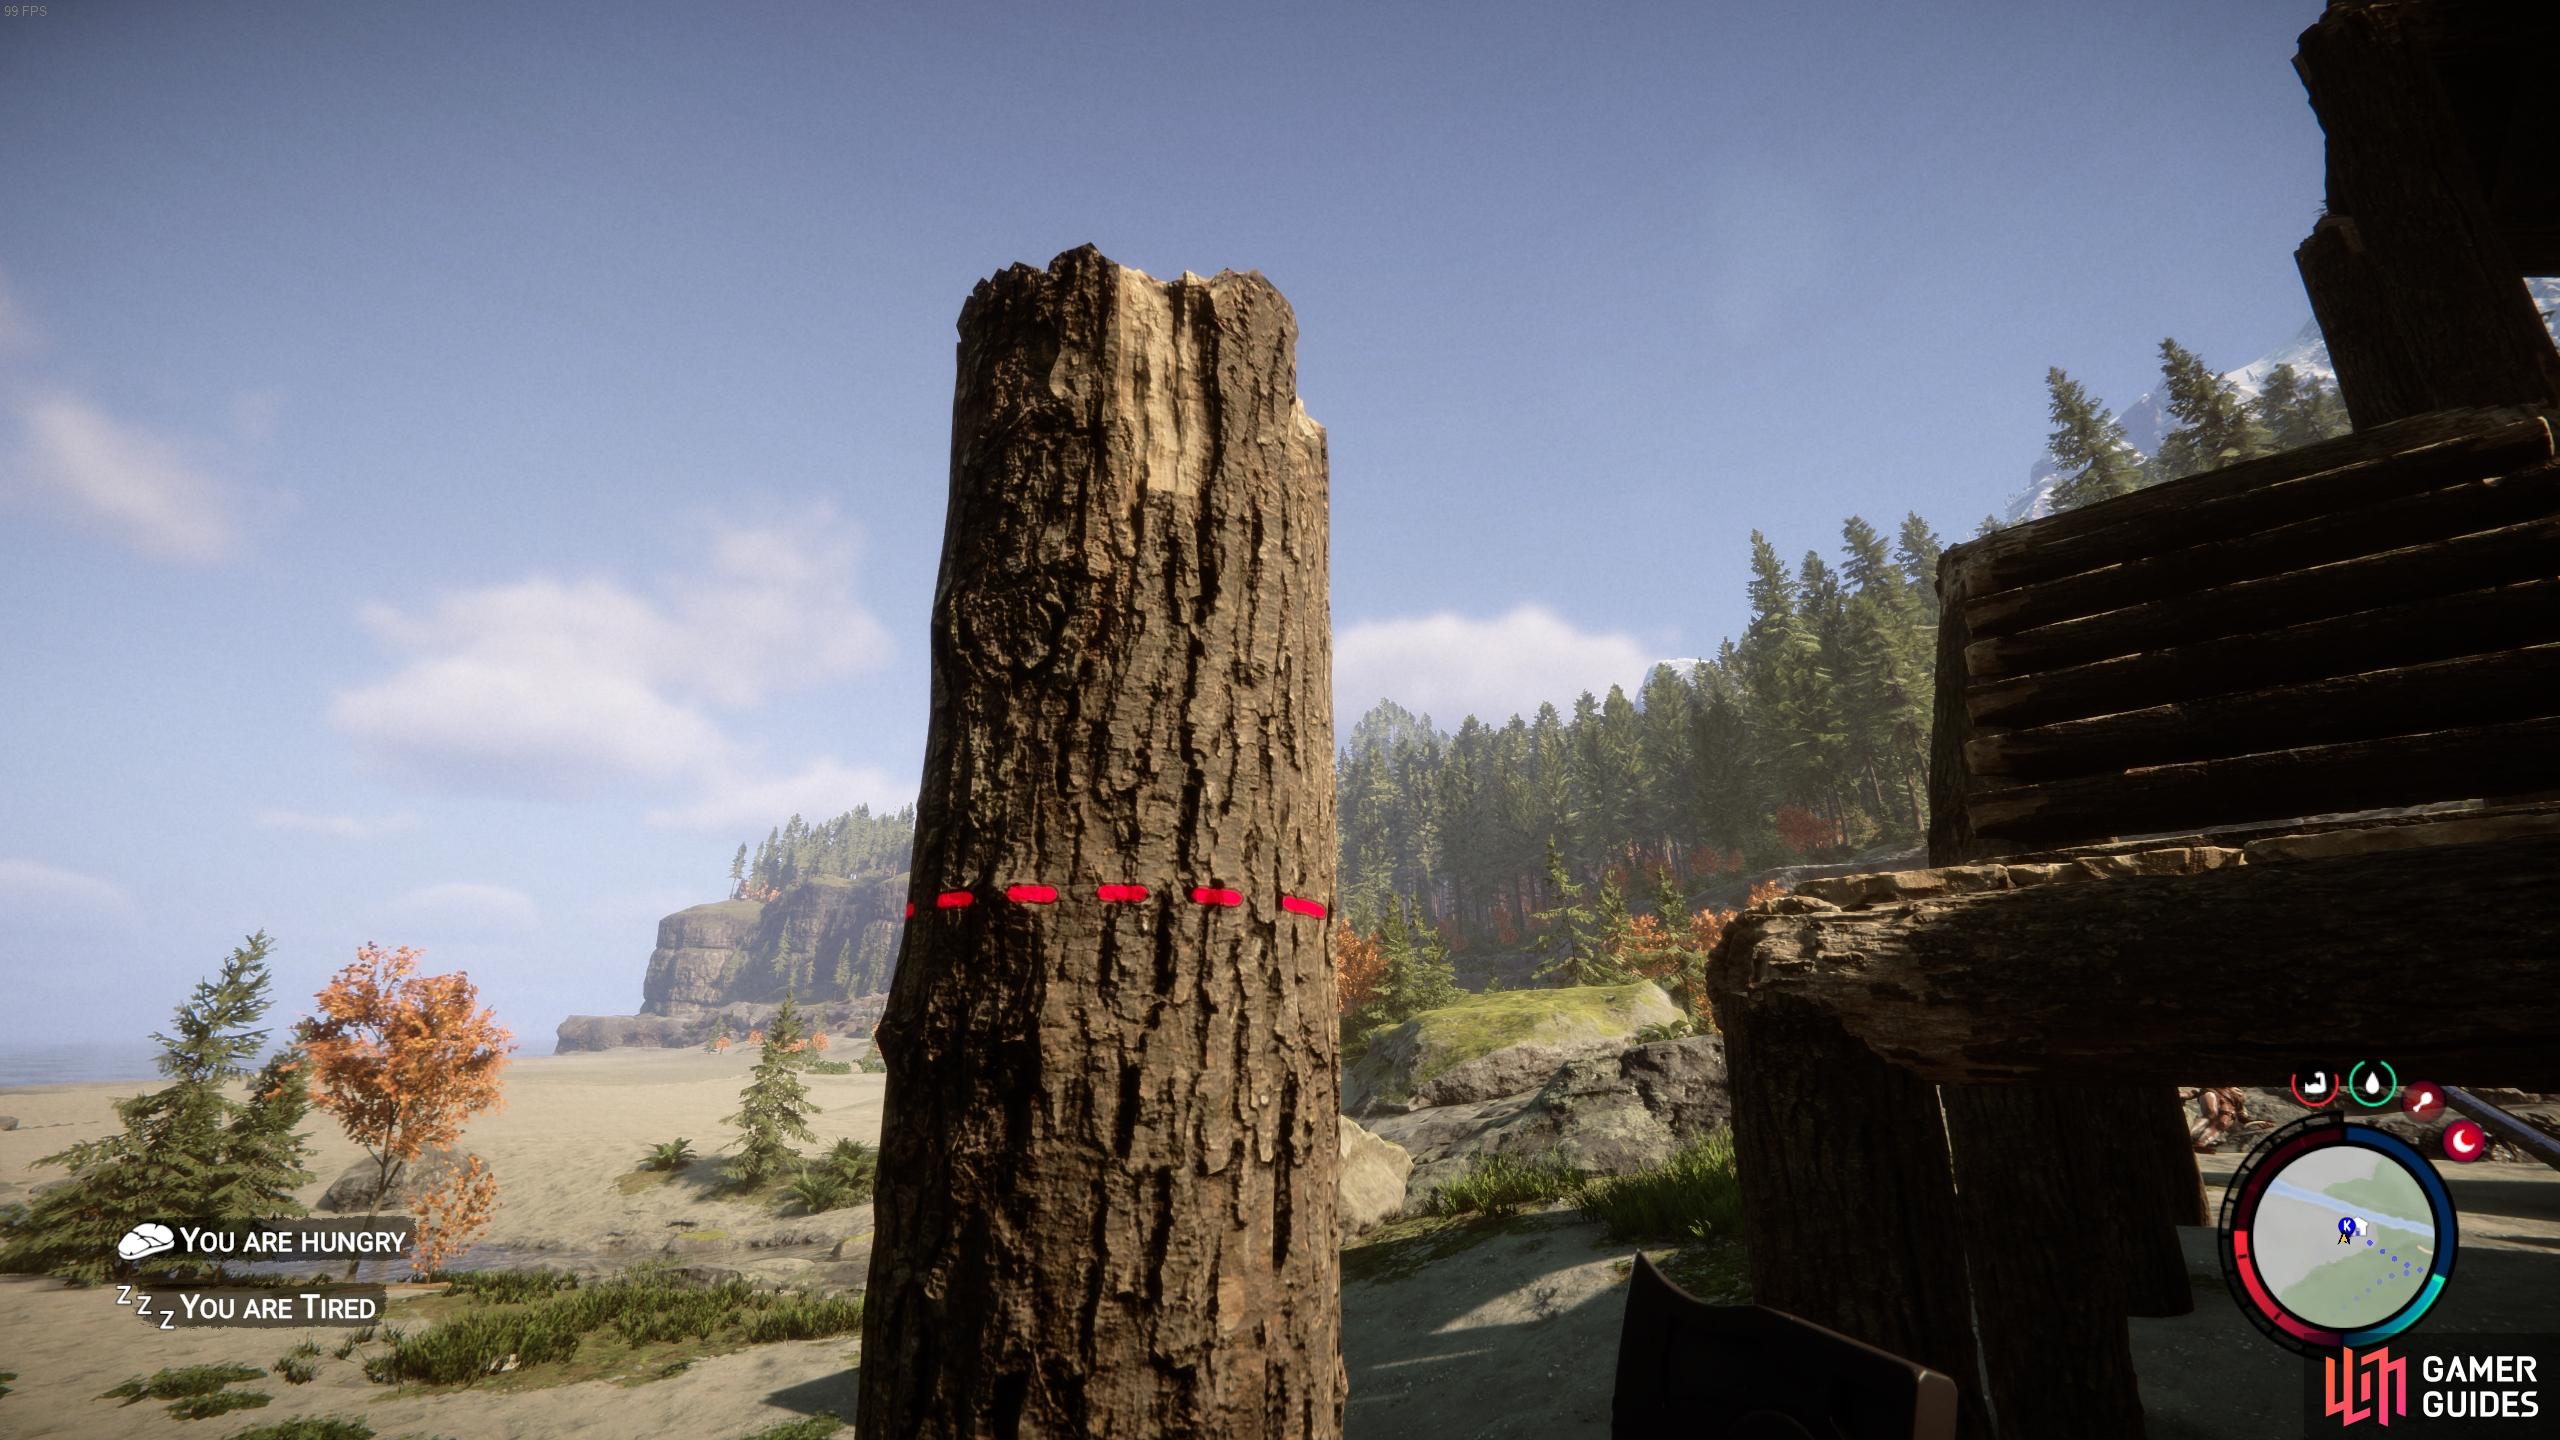
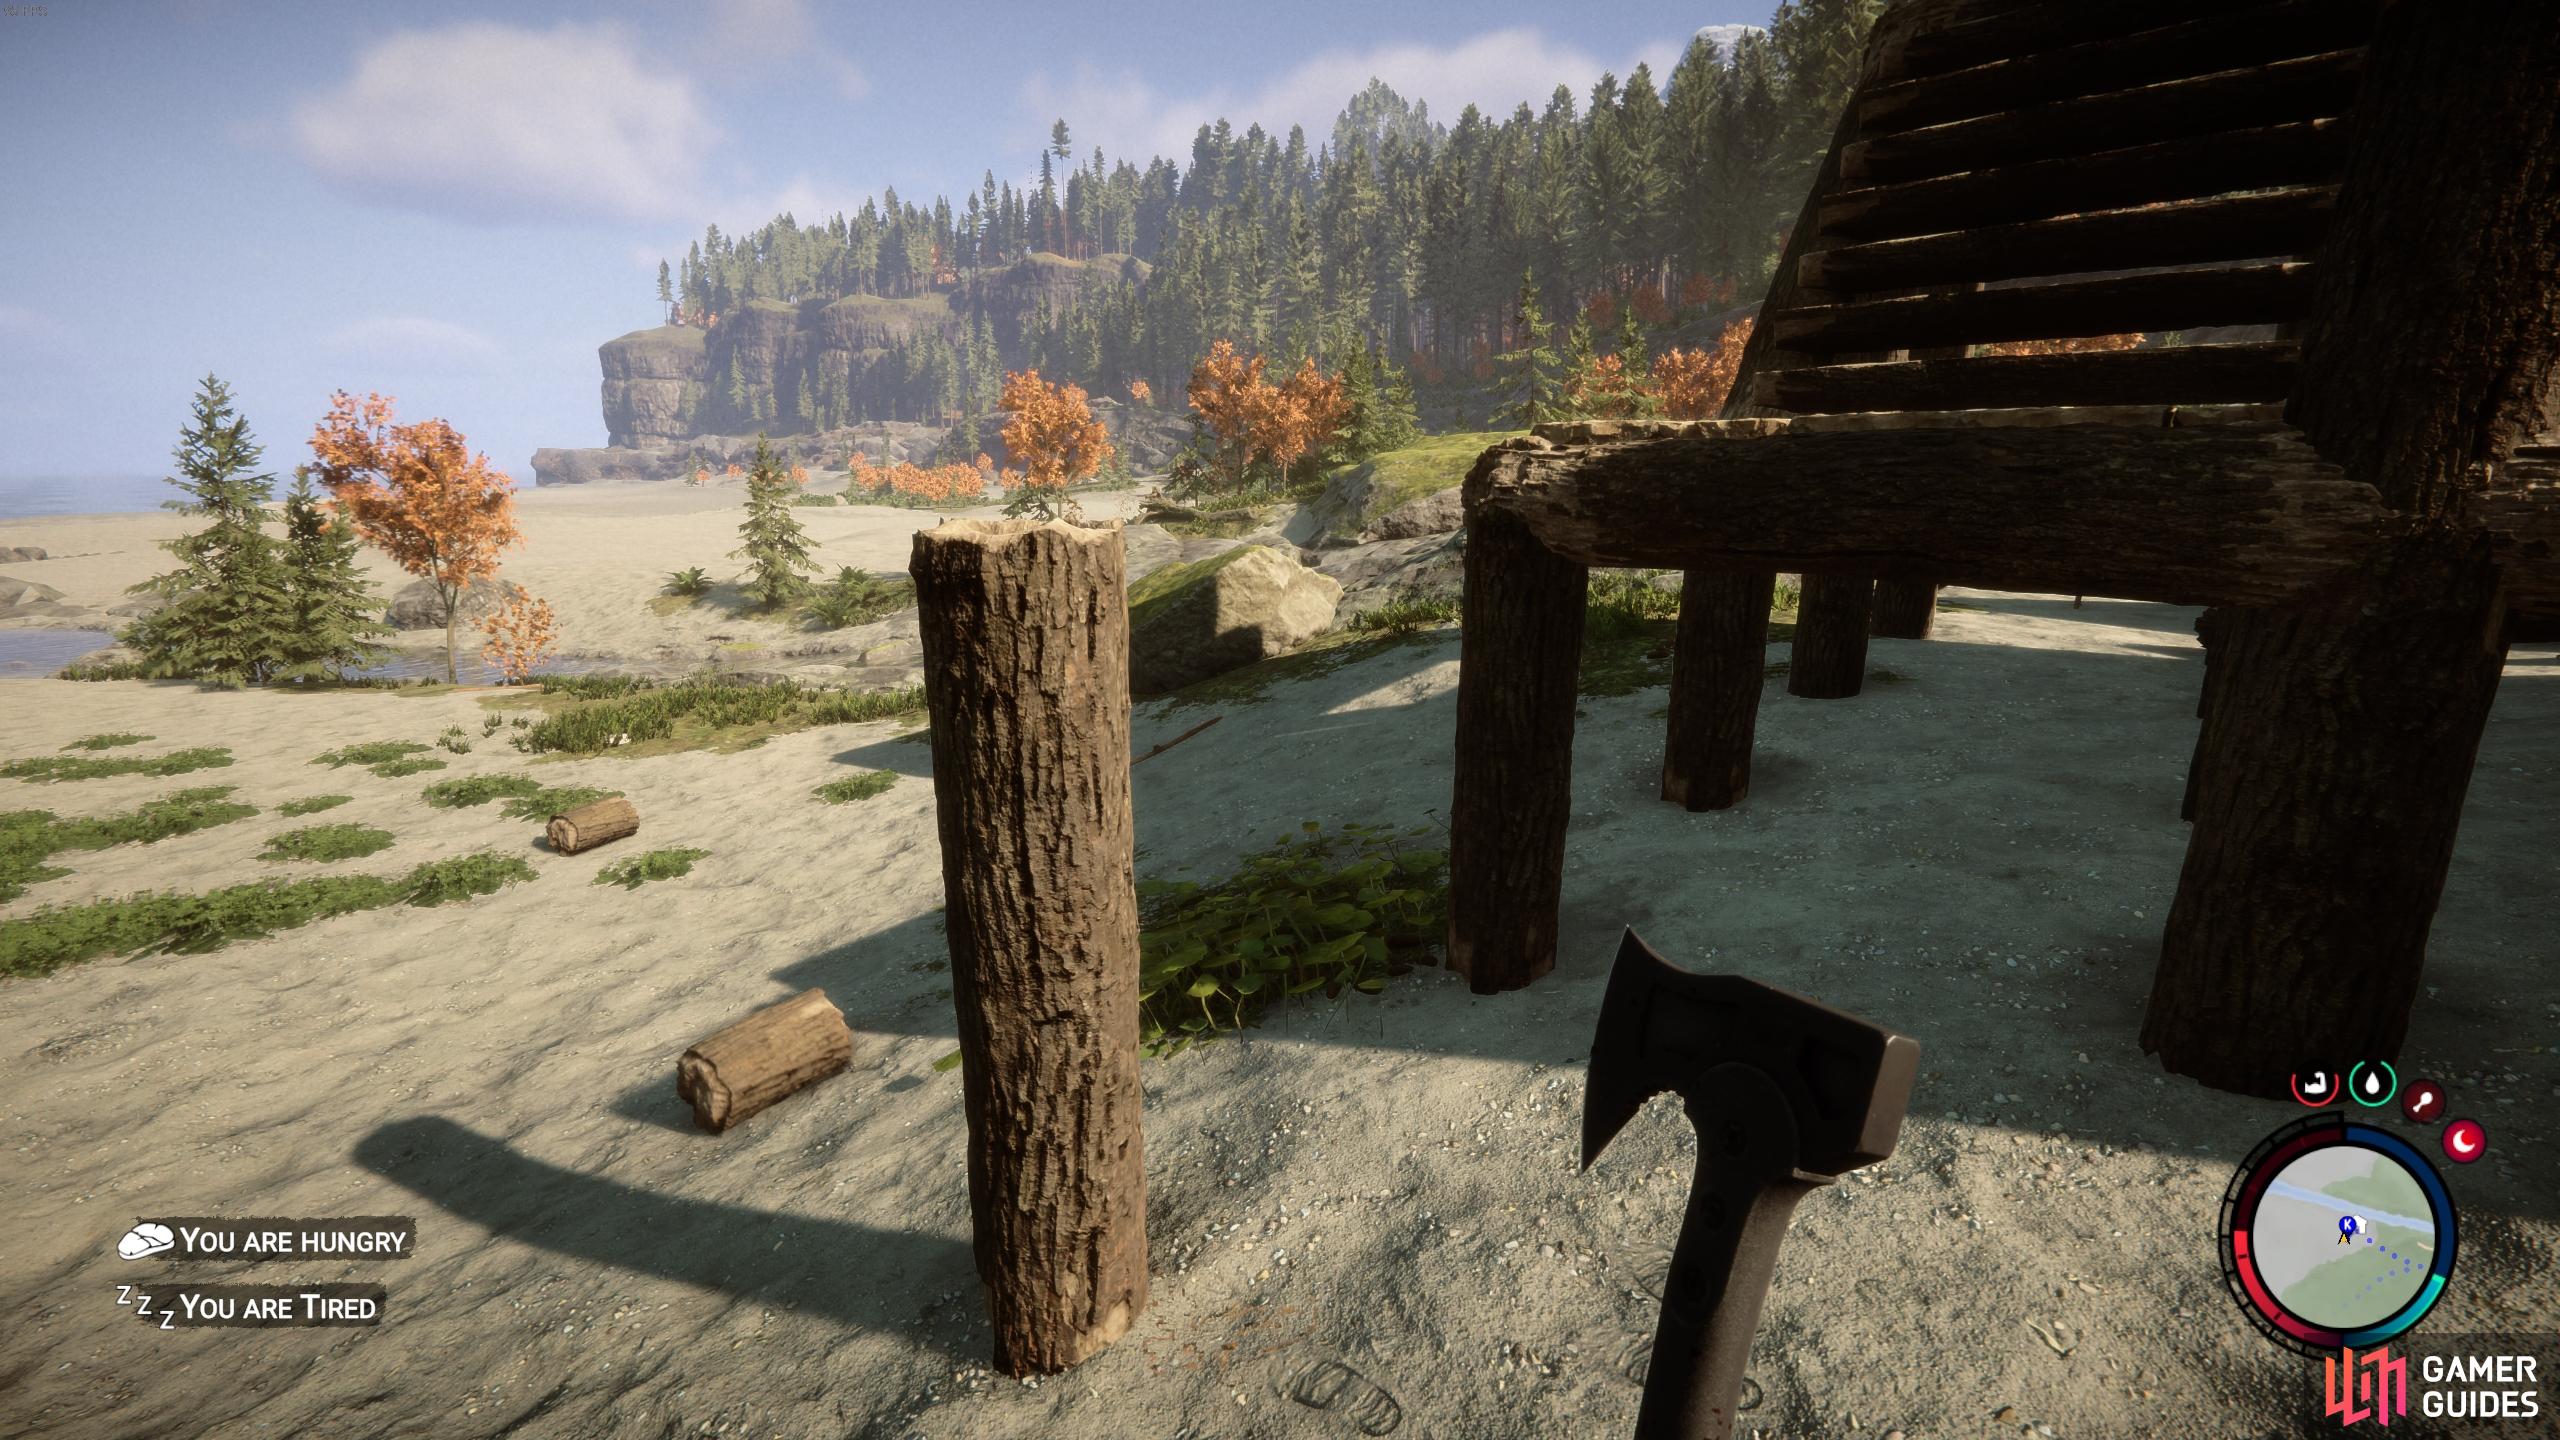
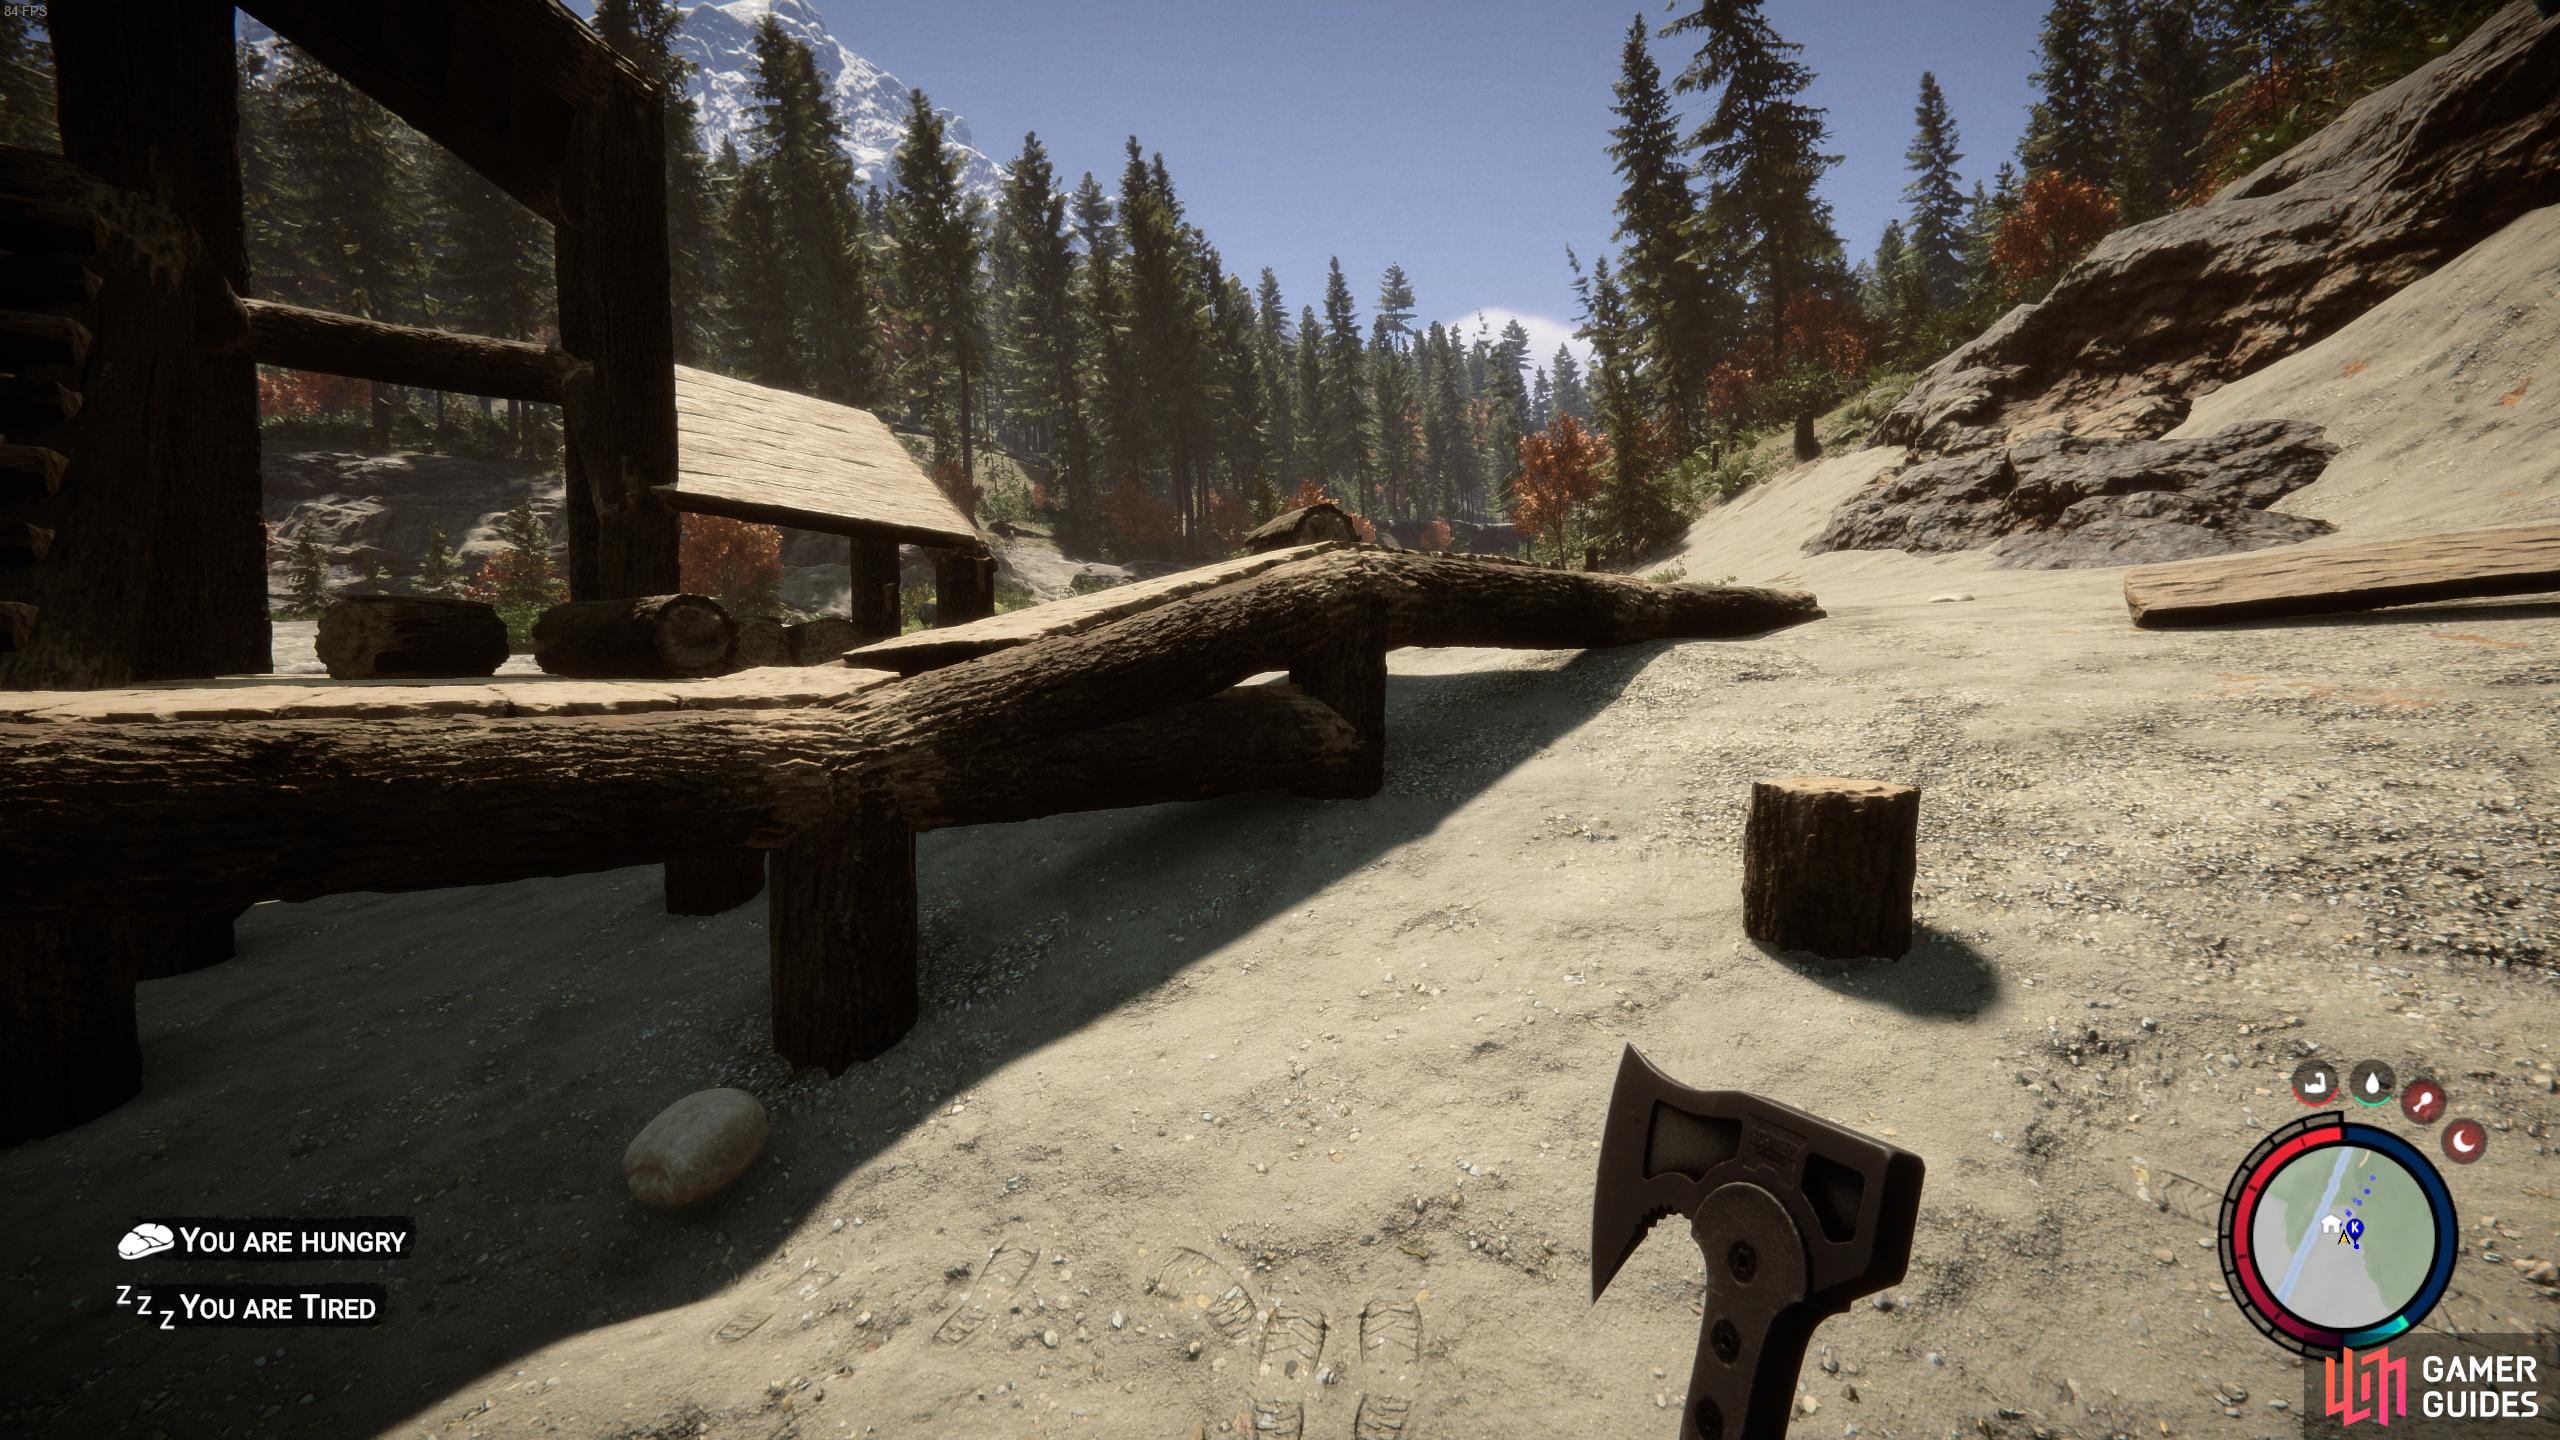
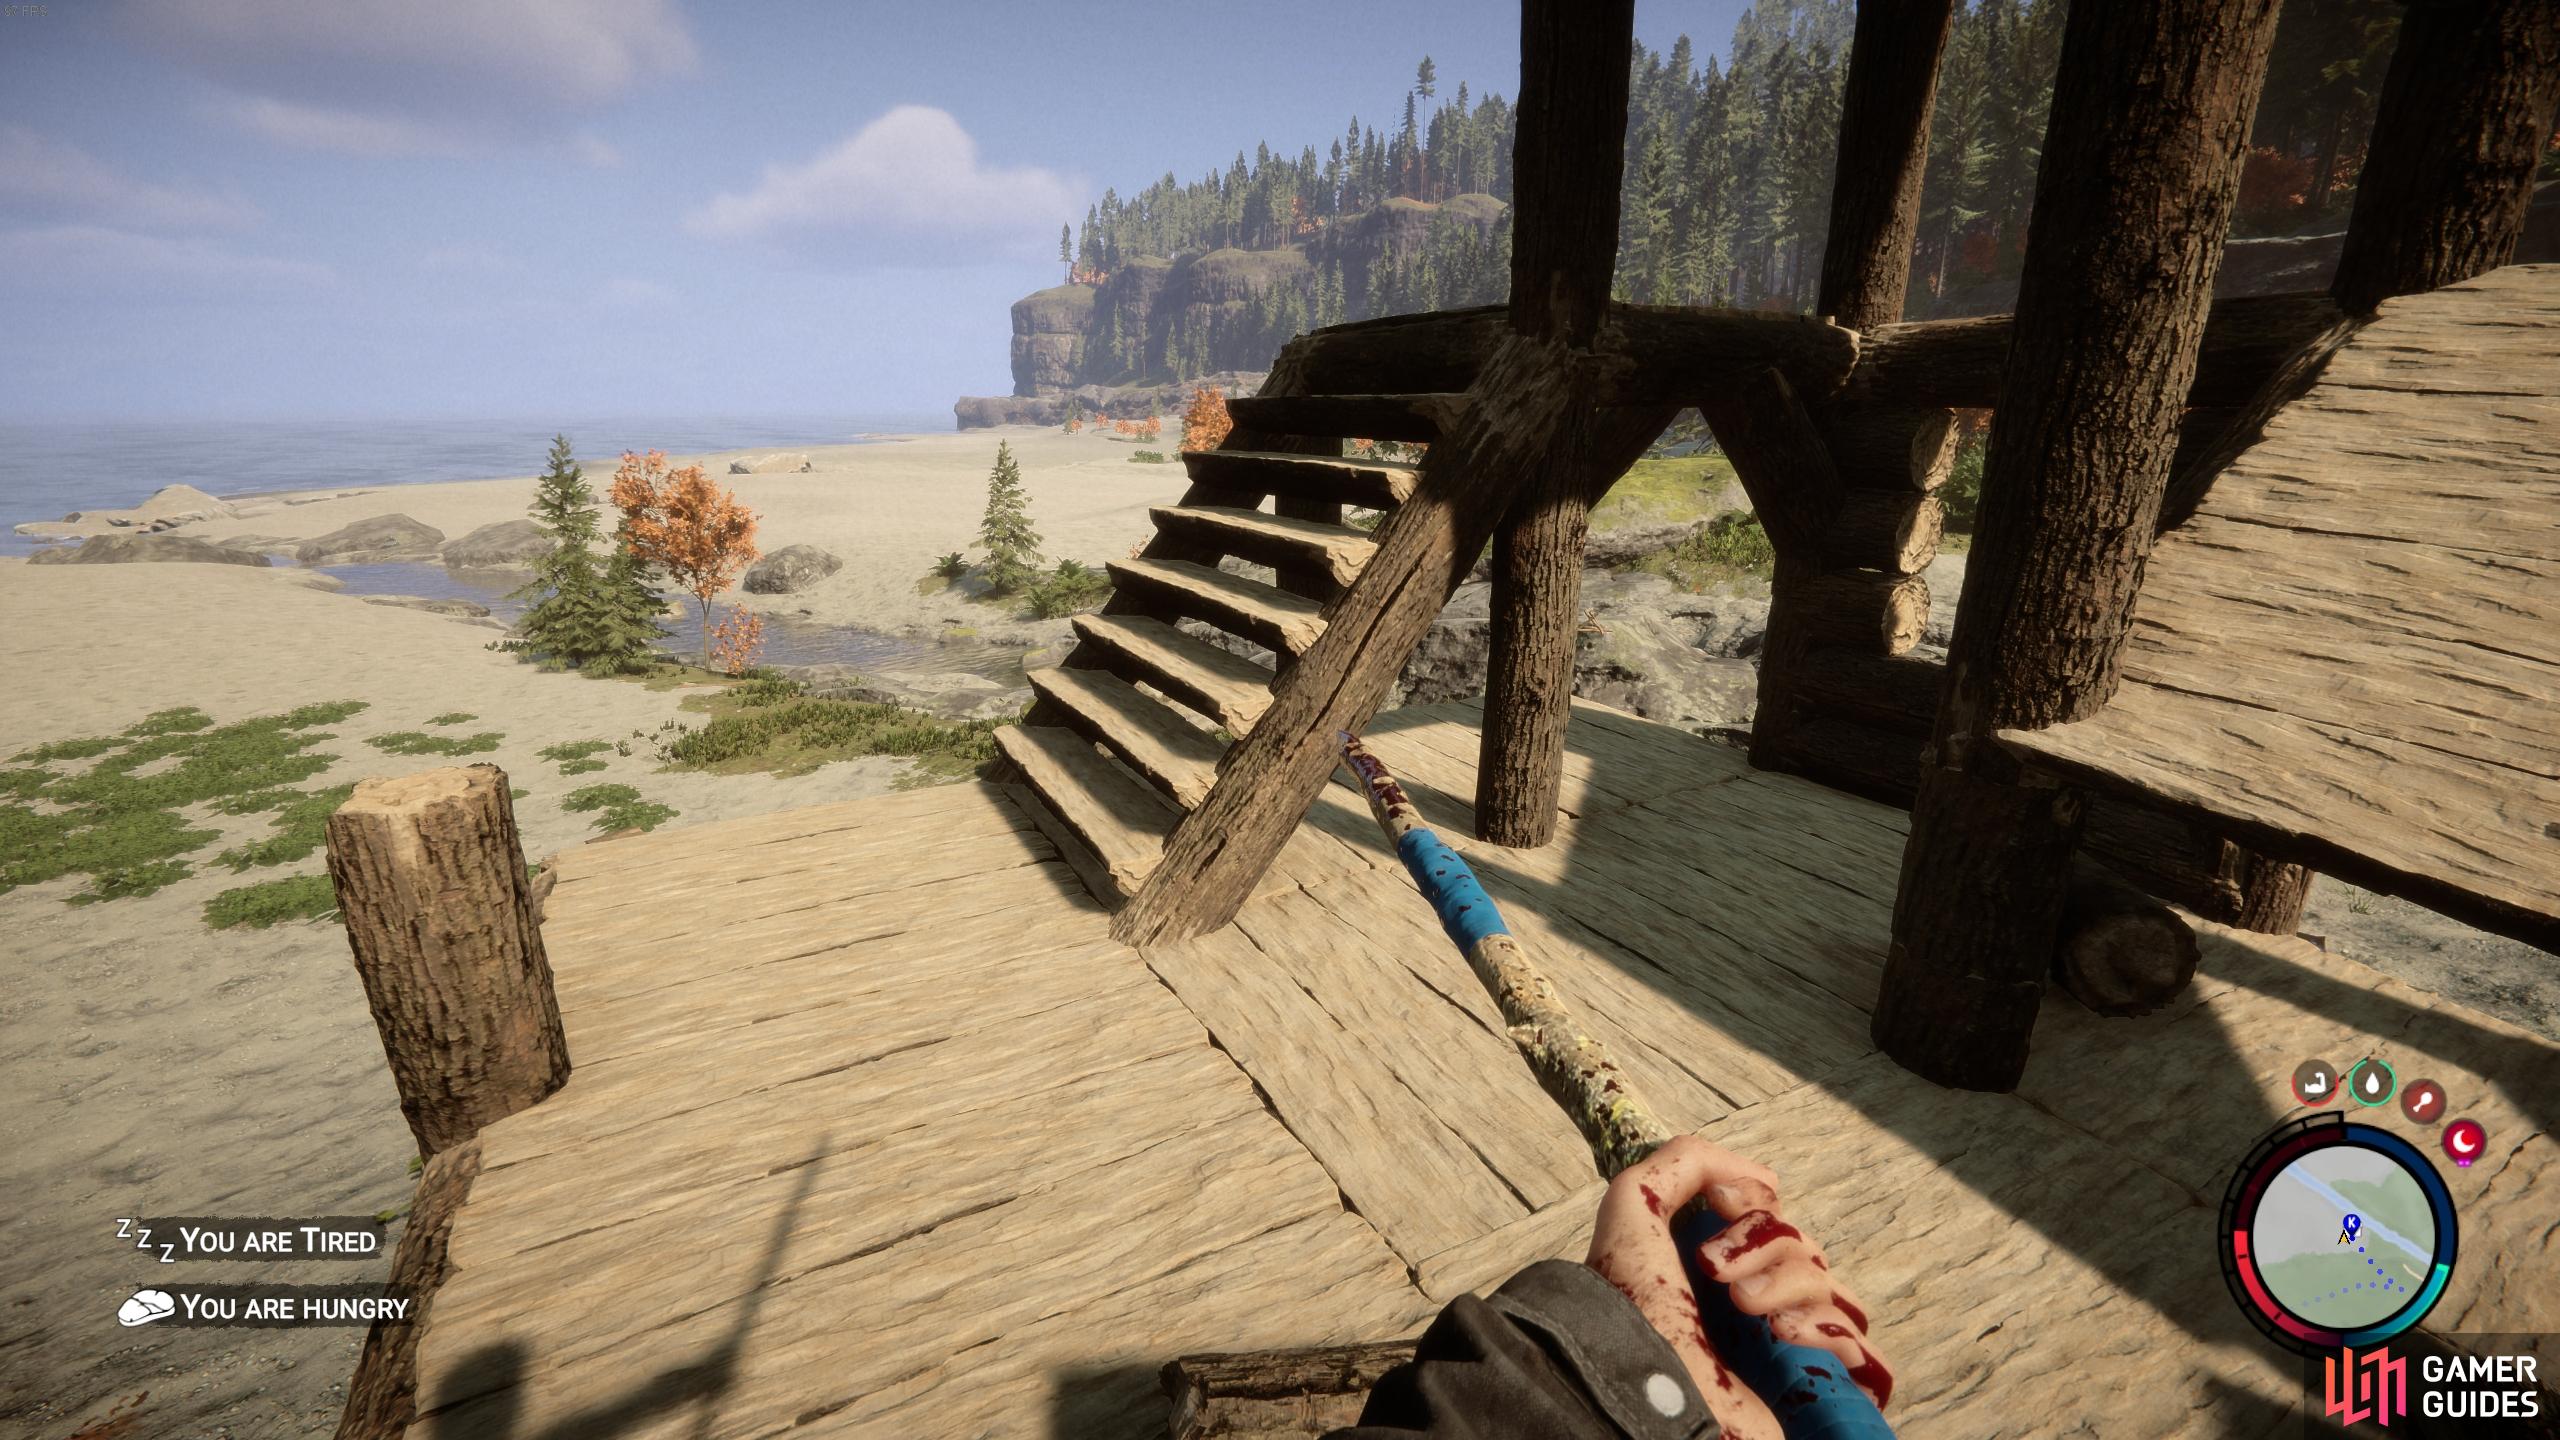
One of the first things you’ll need to do before you begin any building project is to make sure that you can create a flat surface for a floor. There’s a lot of topographical diversity in Sons of the Forest, and chances are that you’ll want to build something on an uneven surface at some point. The easiest way to ensure a flat surface is to first place a series of struts on the ground. You can start this process by taking one log and placing it vertically on any boundary where you want the initial outer walls of your structure to be positioned. If you’ve placed the log just beneath a cliff edge to bring the tip of the log up to the surface of the cliff, you can leave it intact as you continue to build along the cliff side. In this way you can extend the level surface area from a cliff edge to a space beyond it.
However, if you want to ensure a level floor surface in an area that is already mostly flat, you can save material from logs by either chopping the log up into sections while it’s on the floor, or placing it on the ground first, then chopping it while it’s in place. Either way, your goal is to get the smallest possible stump in this scenario, and continue this pattern for the entire space that you want to place a floor. You will need to connect each point in the struts with more log pieces initially, but once the main structure is in place with multiple logs connected a floor space, you can go between the connection points and remove any logs that you’re able to by pressing 
(1 of 4) You’ll need to build a series of struts to hold any floor surface up.
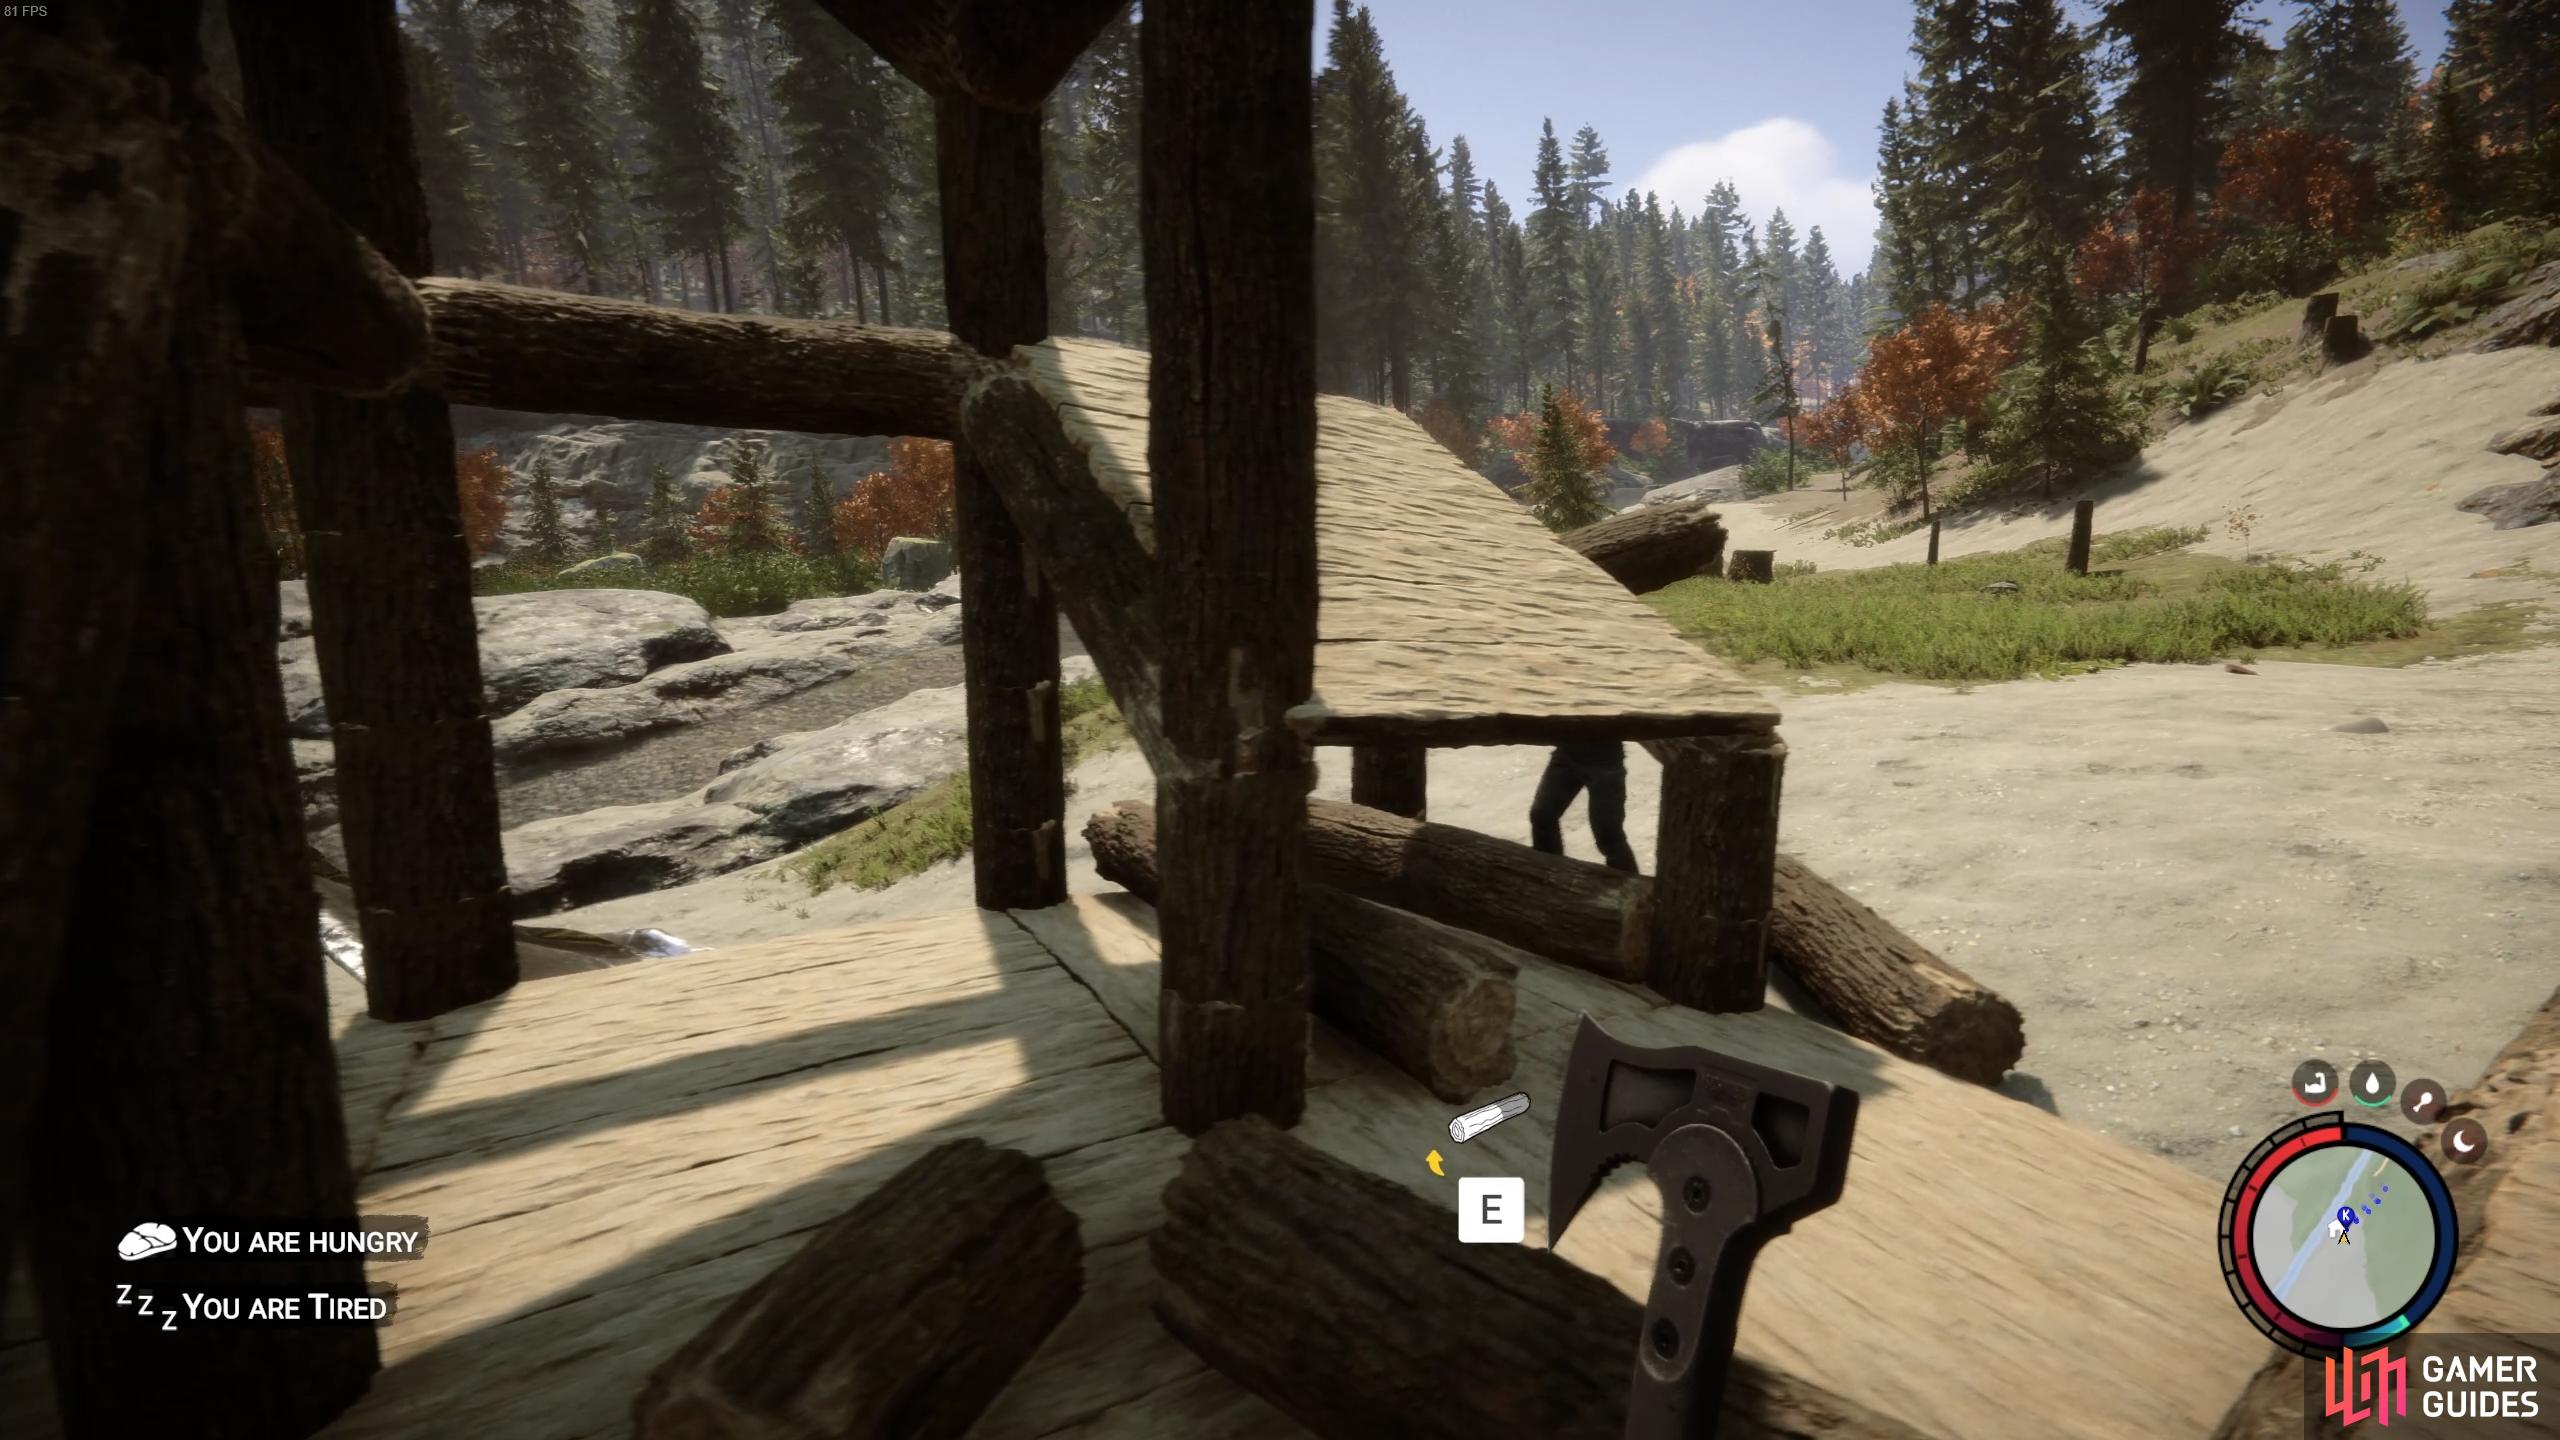
Once you have a set of struts which are connecting multiple logs over a flat surface area, you can begin to place fully intact logs over the surface. This will begin to create a floor, as each log provides two planks of flooring. You can create an entirely flat floor if you wish, but there’s also the option to create multiple levels of flooring with stairs, or slight adjustments over landscape features with ramps, as we’ll explain below.
How to Build Stairs and Ramps in Sons of the Forest
It’s not immediately obvious how to build stairs or ramps in such a freeform build system. You can check your Guide Book for a few visual hints, but when it comes down to it you need to experiment with the placement of logs to fully understand what you’re capable of building. In general, you’ll probably want to build stairs before you attempt to construct any ramps, since the latter are mostly useful for overcoming incompatibilities with flat surfaces which encroach in your building area.
The most simple set of stairs can be built by placing two logs diagonally, facing downwards from two existing vertical logs. Once you’ve placed these two logs at one log’s length between each other, you can take another large log and, while looking at it on the ground, wait for the red line to appear down its vertical center. You can then chop it in half to create a flat surface on one side of a log segment.
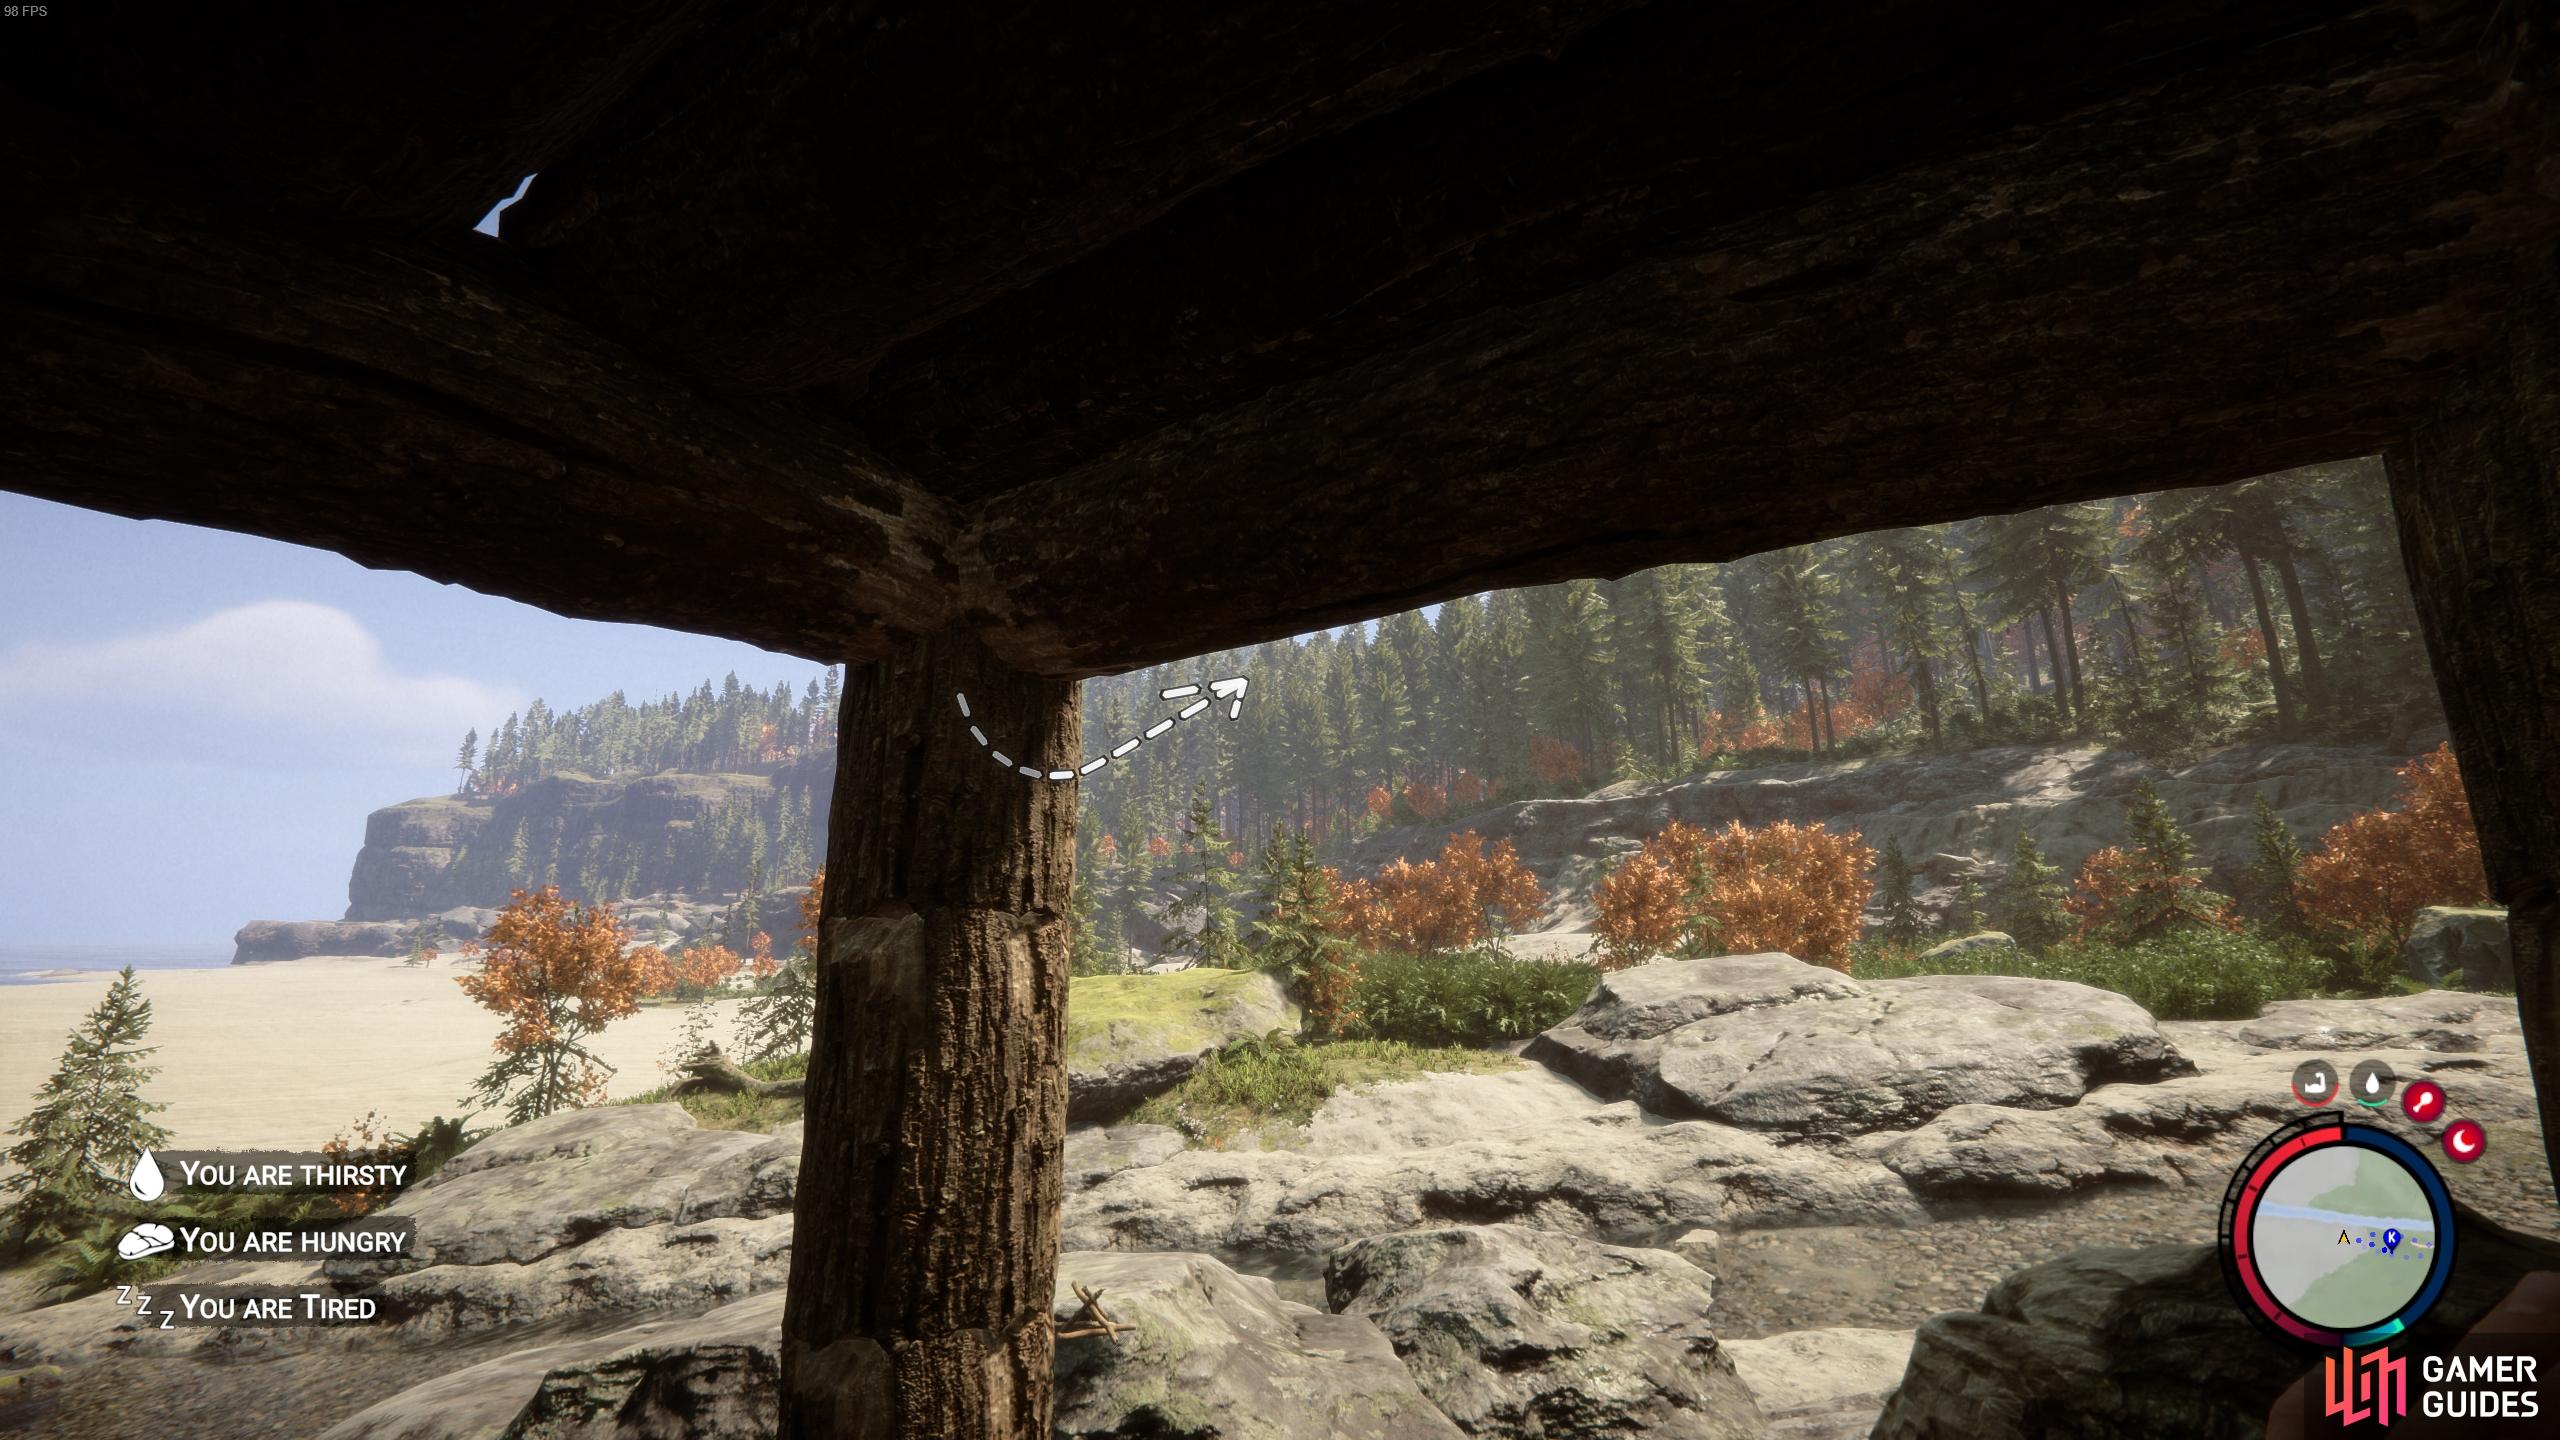
(1 of 2) You can build ramps on struts to ensure that the floor for your building can cover uneven terrain.
You can build ramps on struts to ensure that the floor for your building can cover uneven terrain. (left), Try to build your stairs before placing walls to see how much space you’ll have to maneuver. (right)
Now that you have a flat surface on one side of each log segment, you can pick it up and look at the space between the two logs that you placed diagonally. You should see an arrow pointing horizontally, left or right, which indicates the placement of the half log segment. If you place this in its default state, you will create a ramp structure - a flat surface with a clean diagonal slope upwards. You can adjust the angle of this sloping based on the height of the logs which are supporting the diagonal logs.
However, in order to place stairs, you need to right click 
How to Build Walls in Sons of the Forest
Once you’ve got a good foundation to a building with a flat surface floor and any stairs placed where relevant, you can begin constructing the walls for your building. This is a comparatively simple process which mostly involves placing multiple logs on top of each other. You can visualize this by imagining two whole logs placed vertically next to each other. To turn this into a wall, you need to place one log horizontally on the ground between them, then keep adding to this until you’ve placed enough logs to cover the space between the vertical supports.
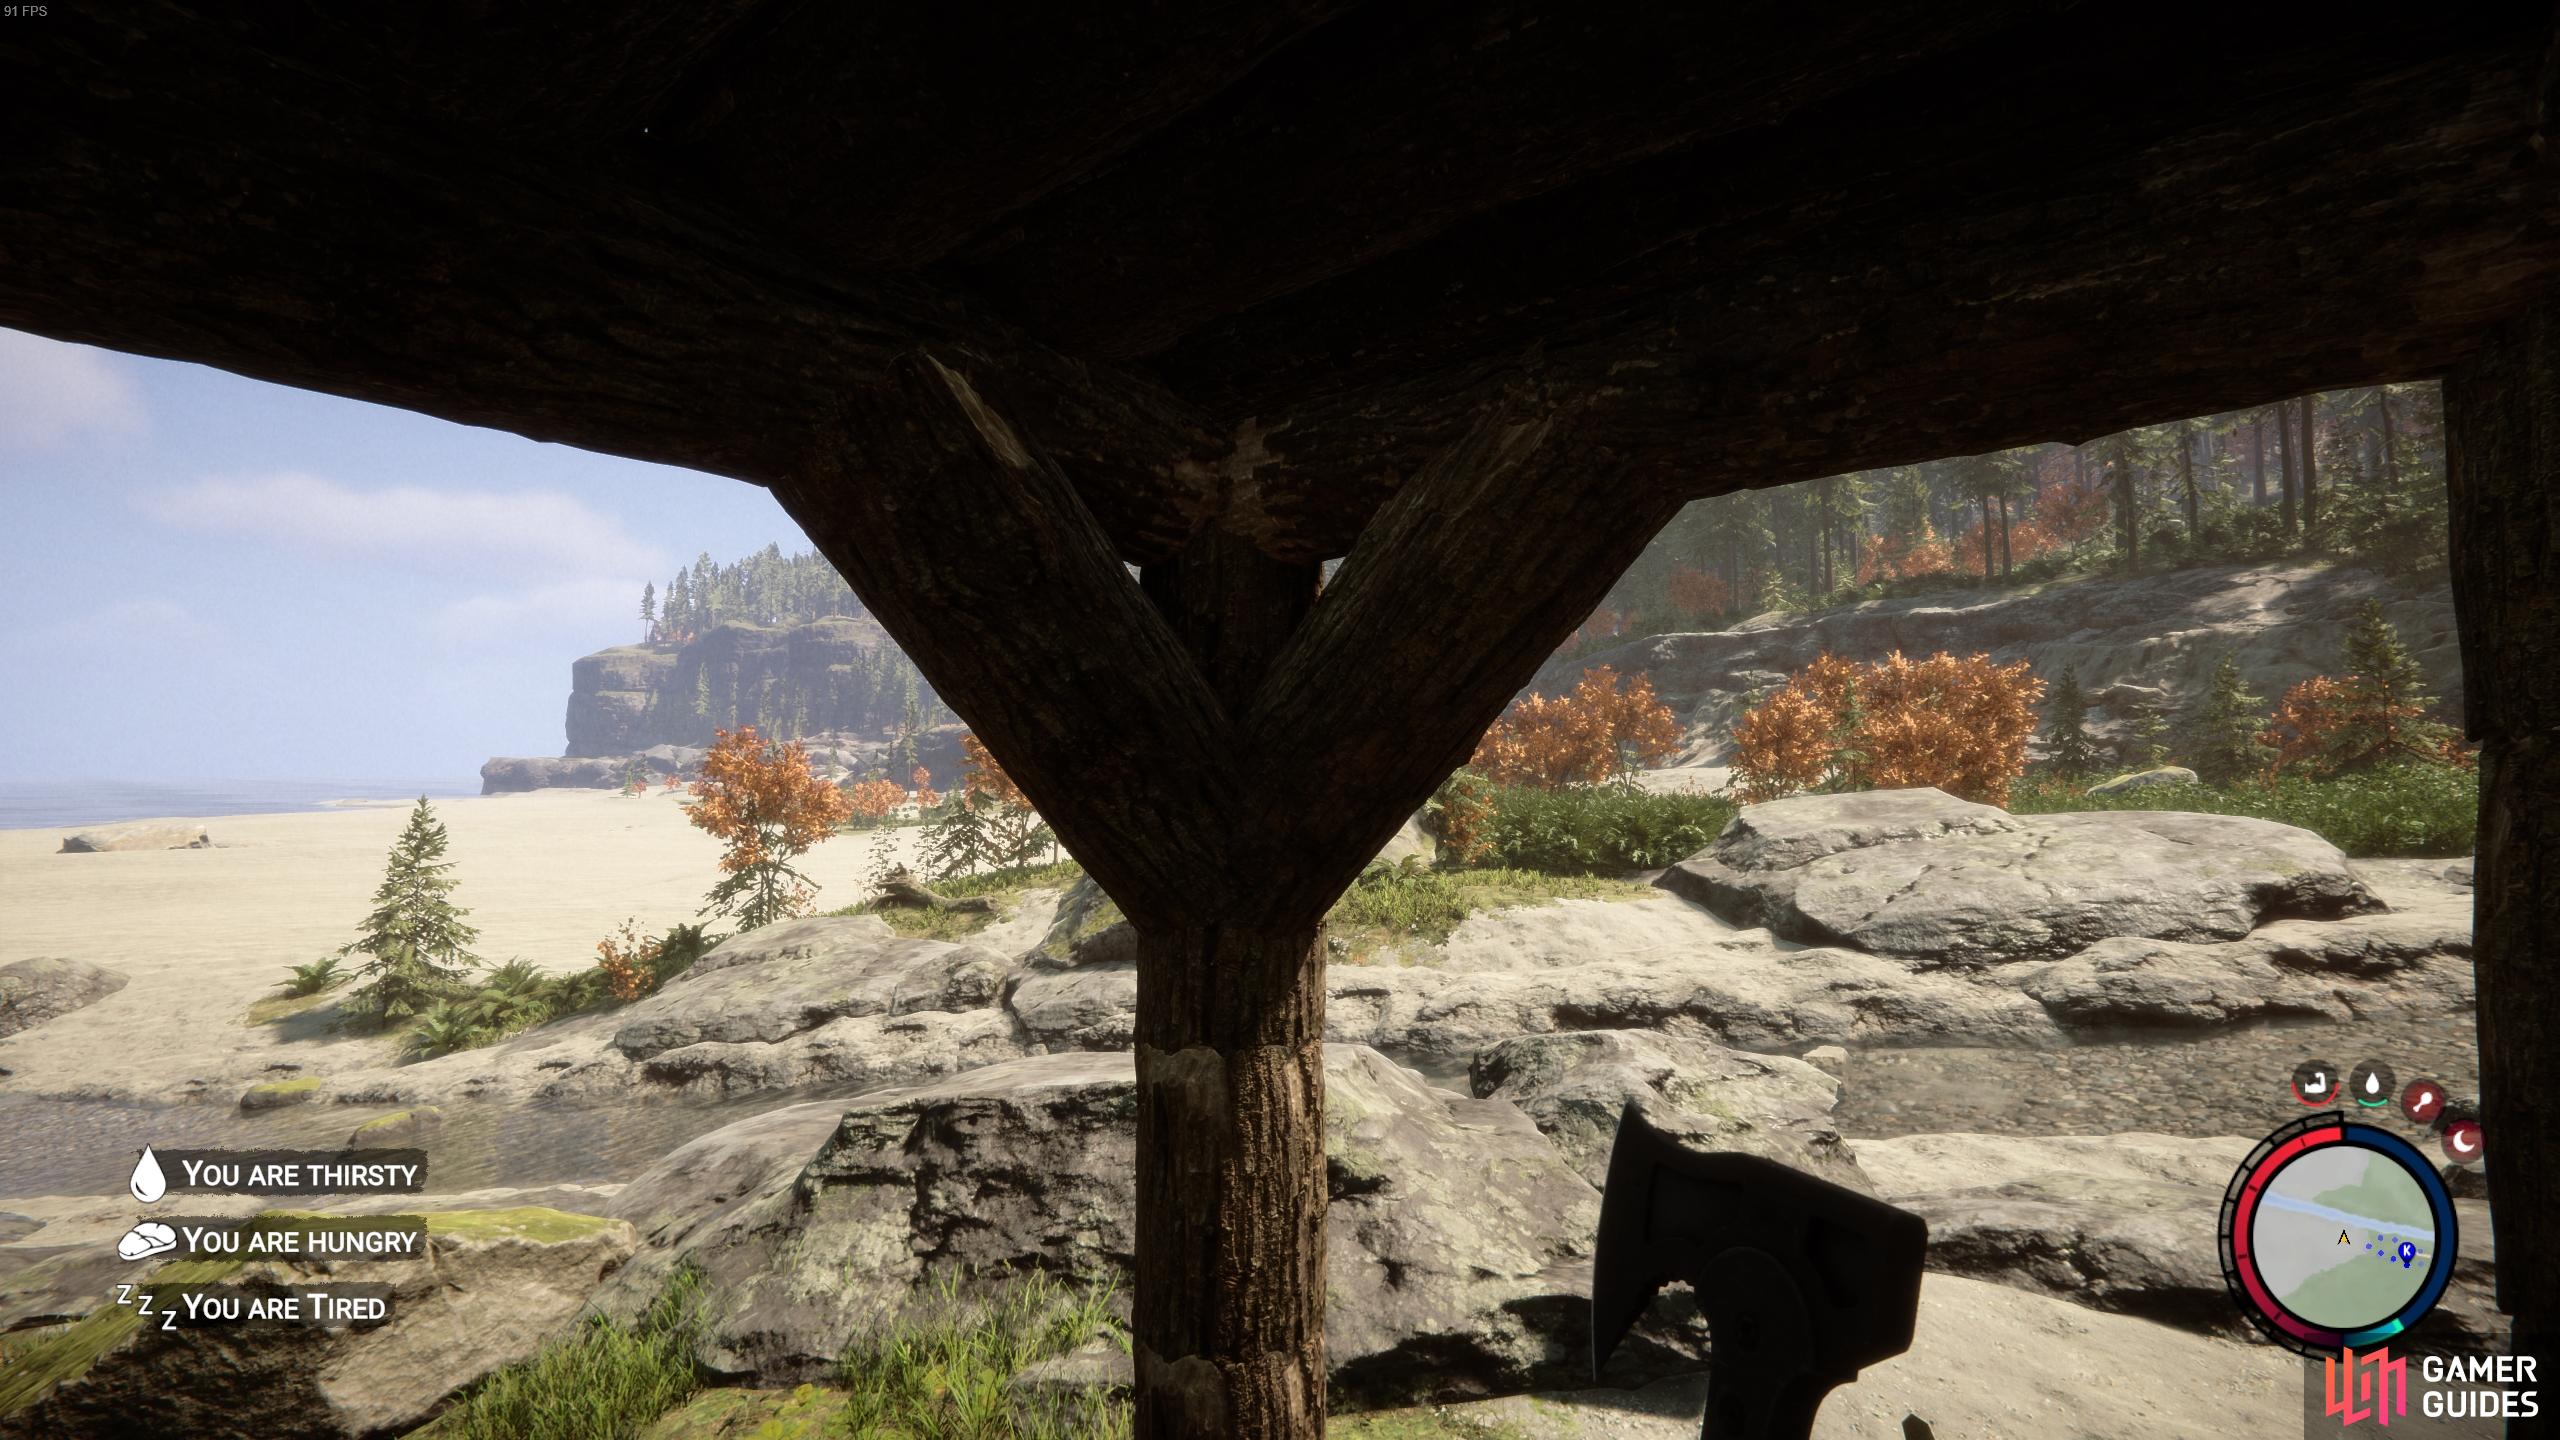
You can follow this same principle as you place walls across the entire structure of your building, but you can also add a bit of flair to your walls by placing smaller logs diagonally in their corners. This can reinforce the structure that it’s supporting, but also slightly stylize the wall from both the inside and out. You can see an example of this in the screenshots below.
(1 of 3) You can stack logs to build a basic wall for any structure.
How to Build Doors and Windows in Sons of the Forest
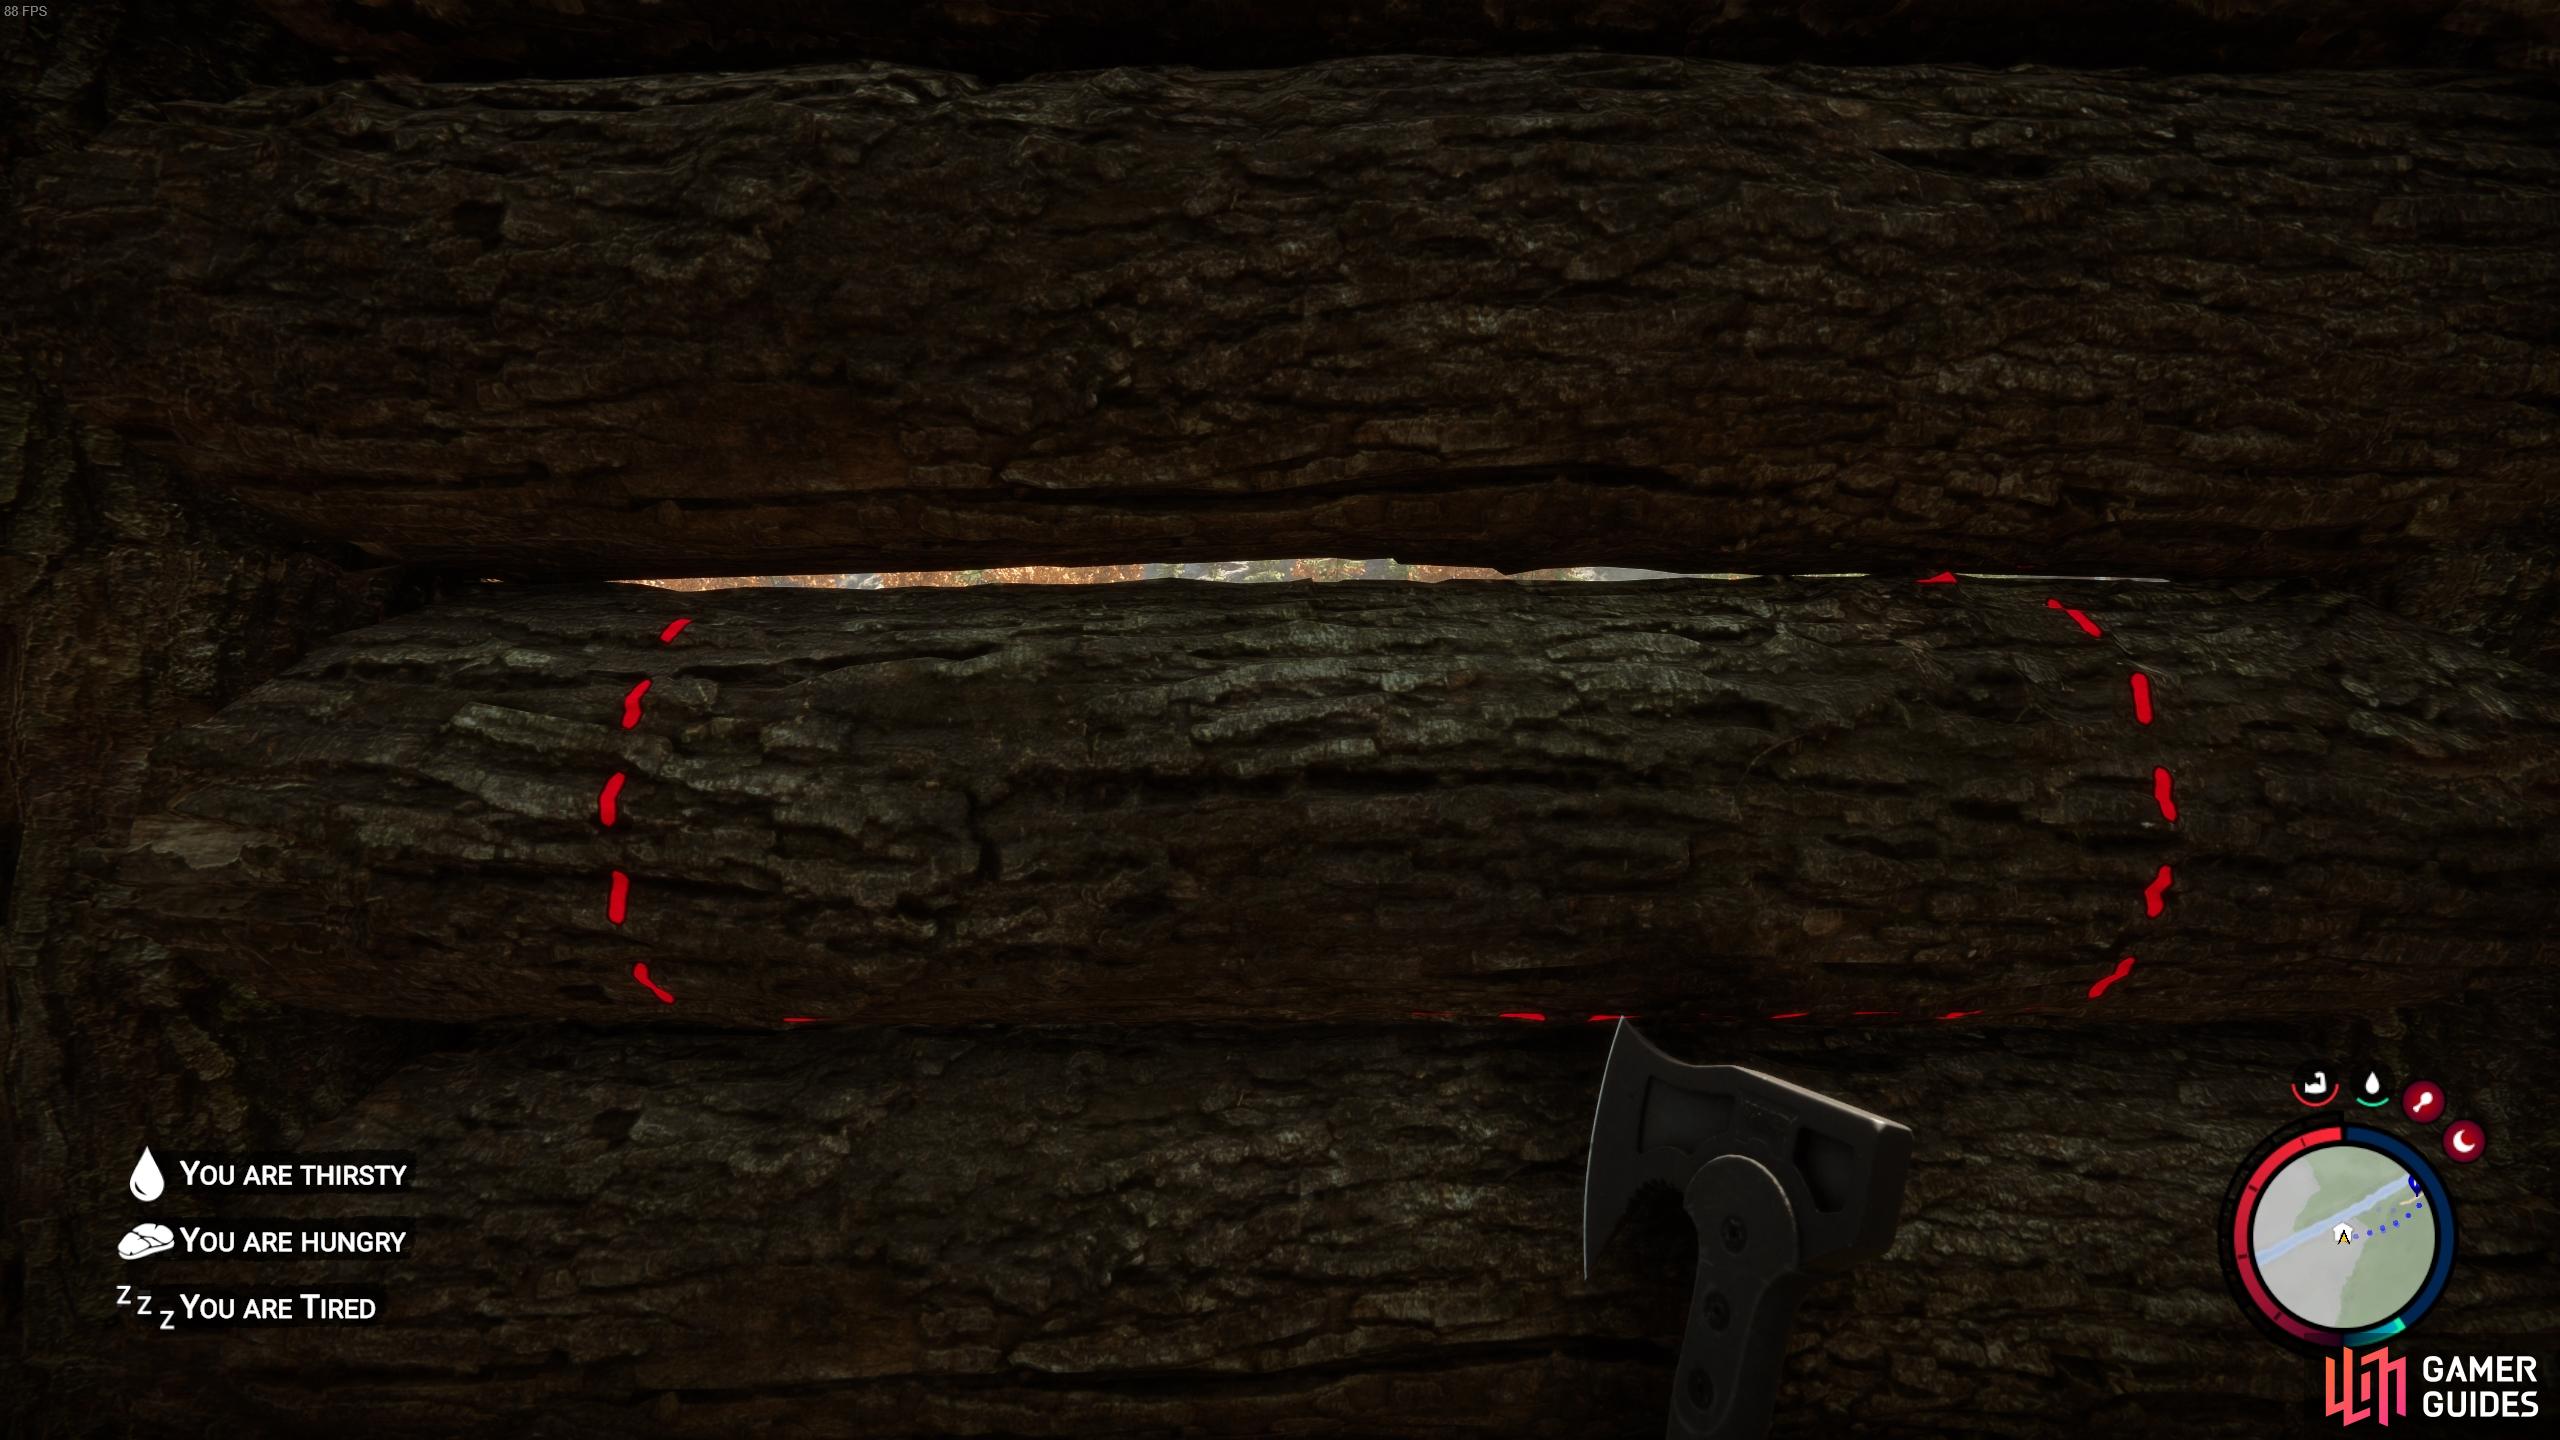
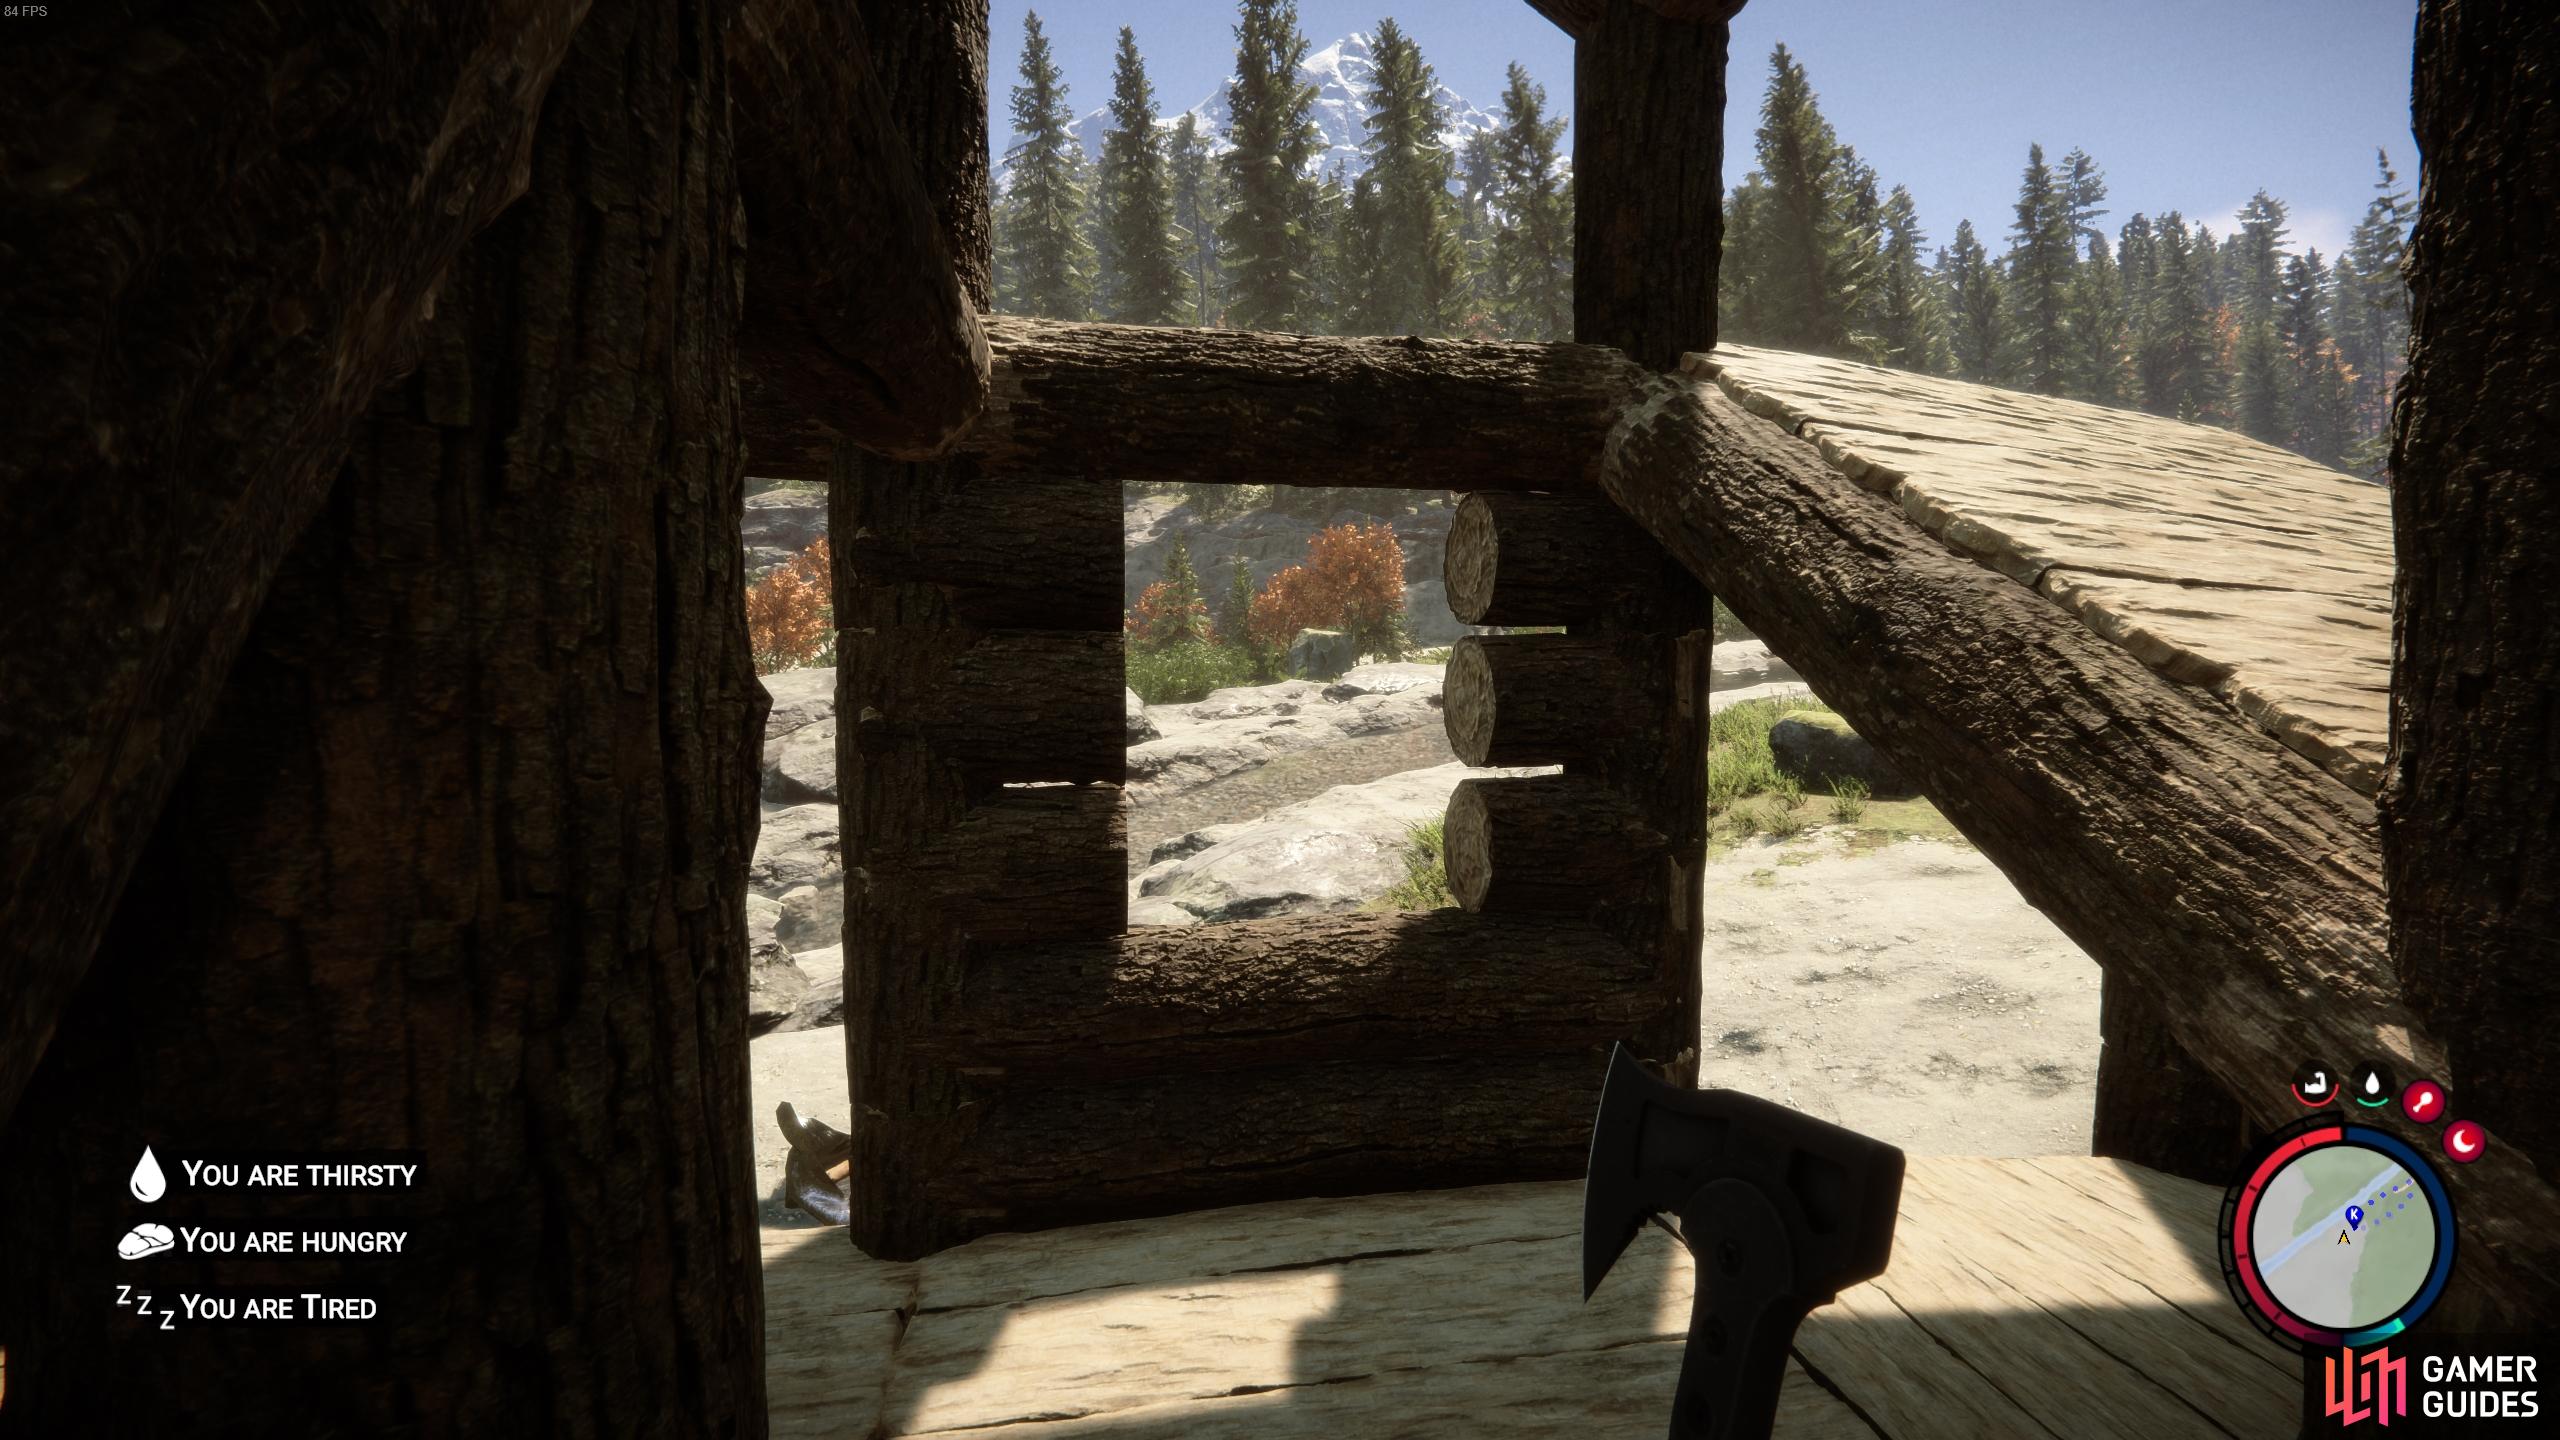
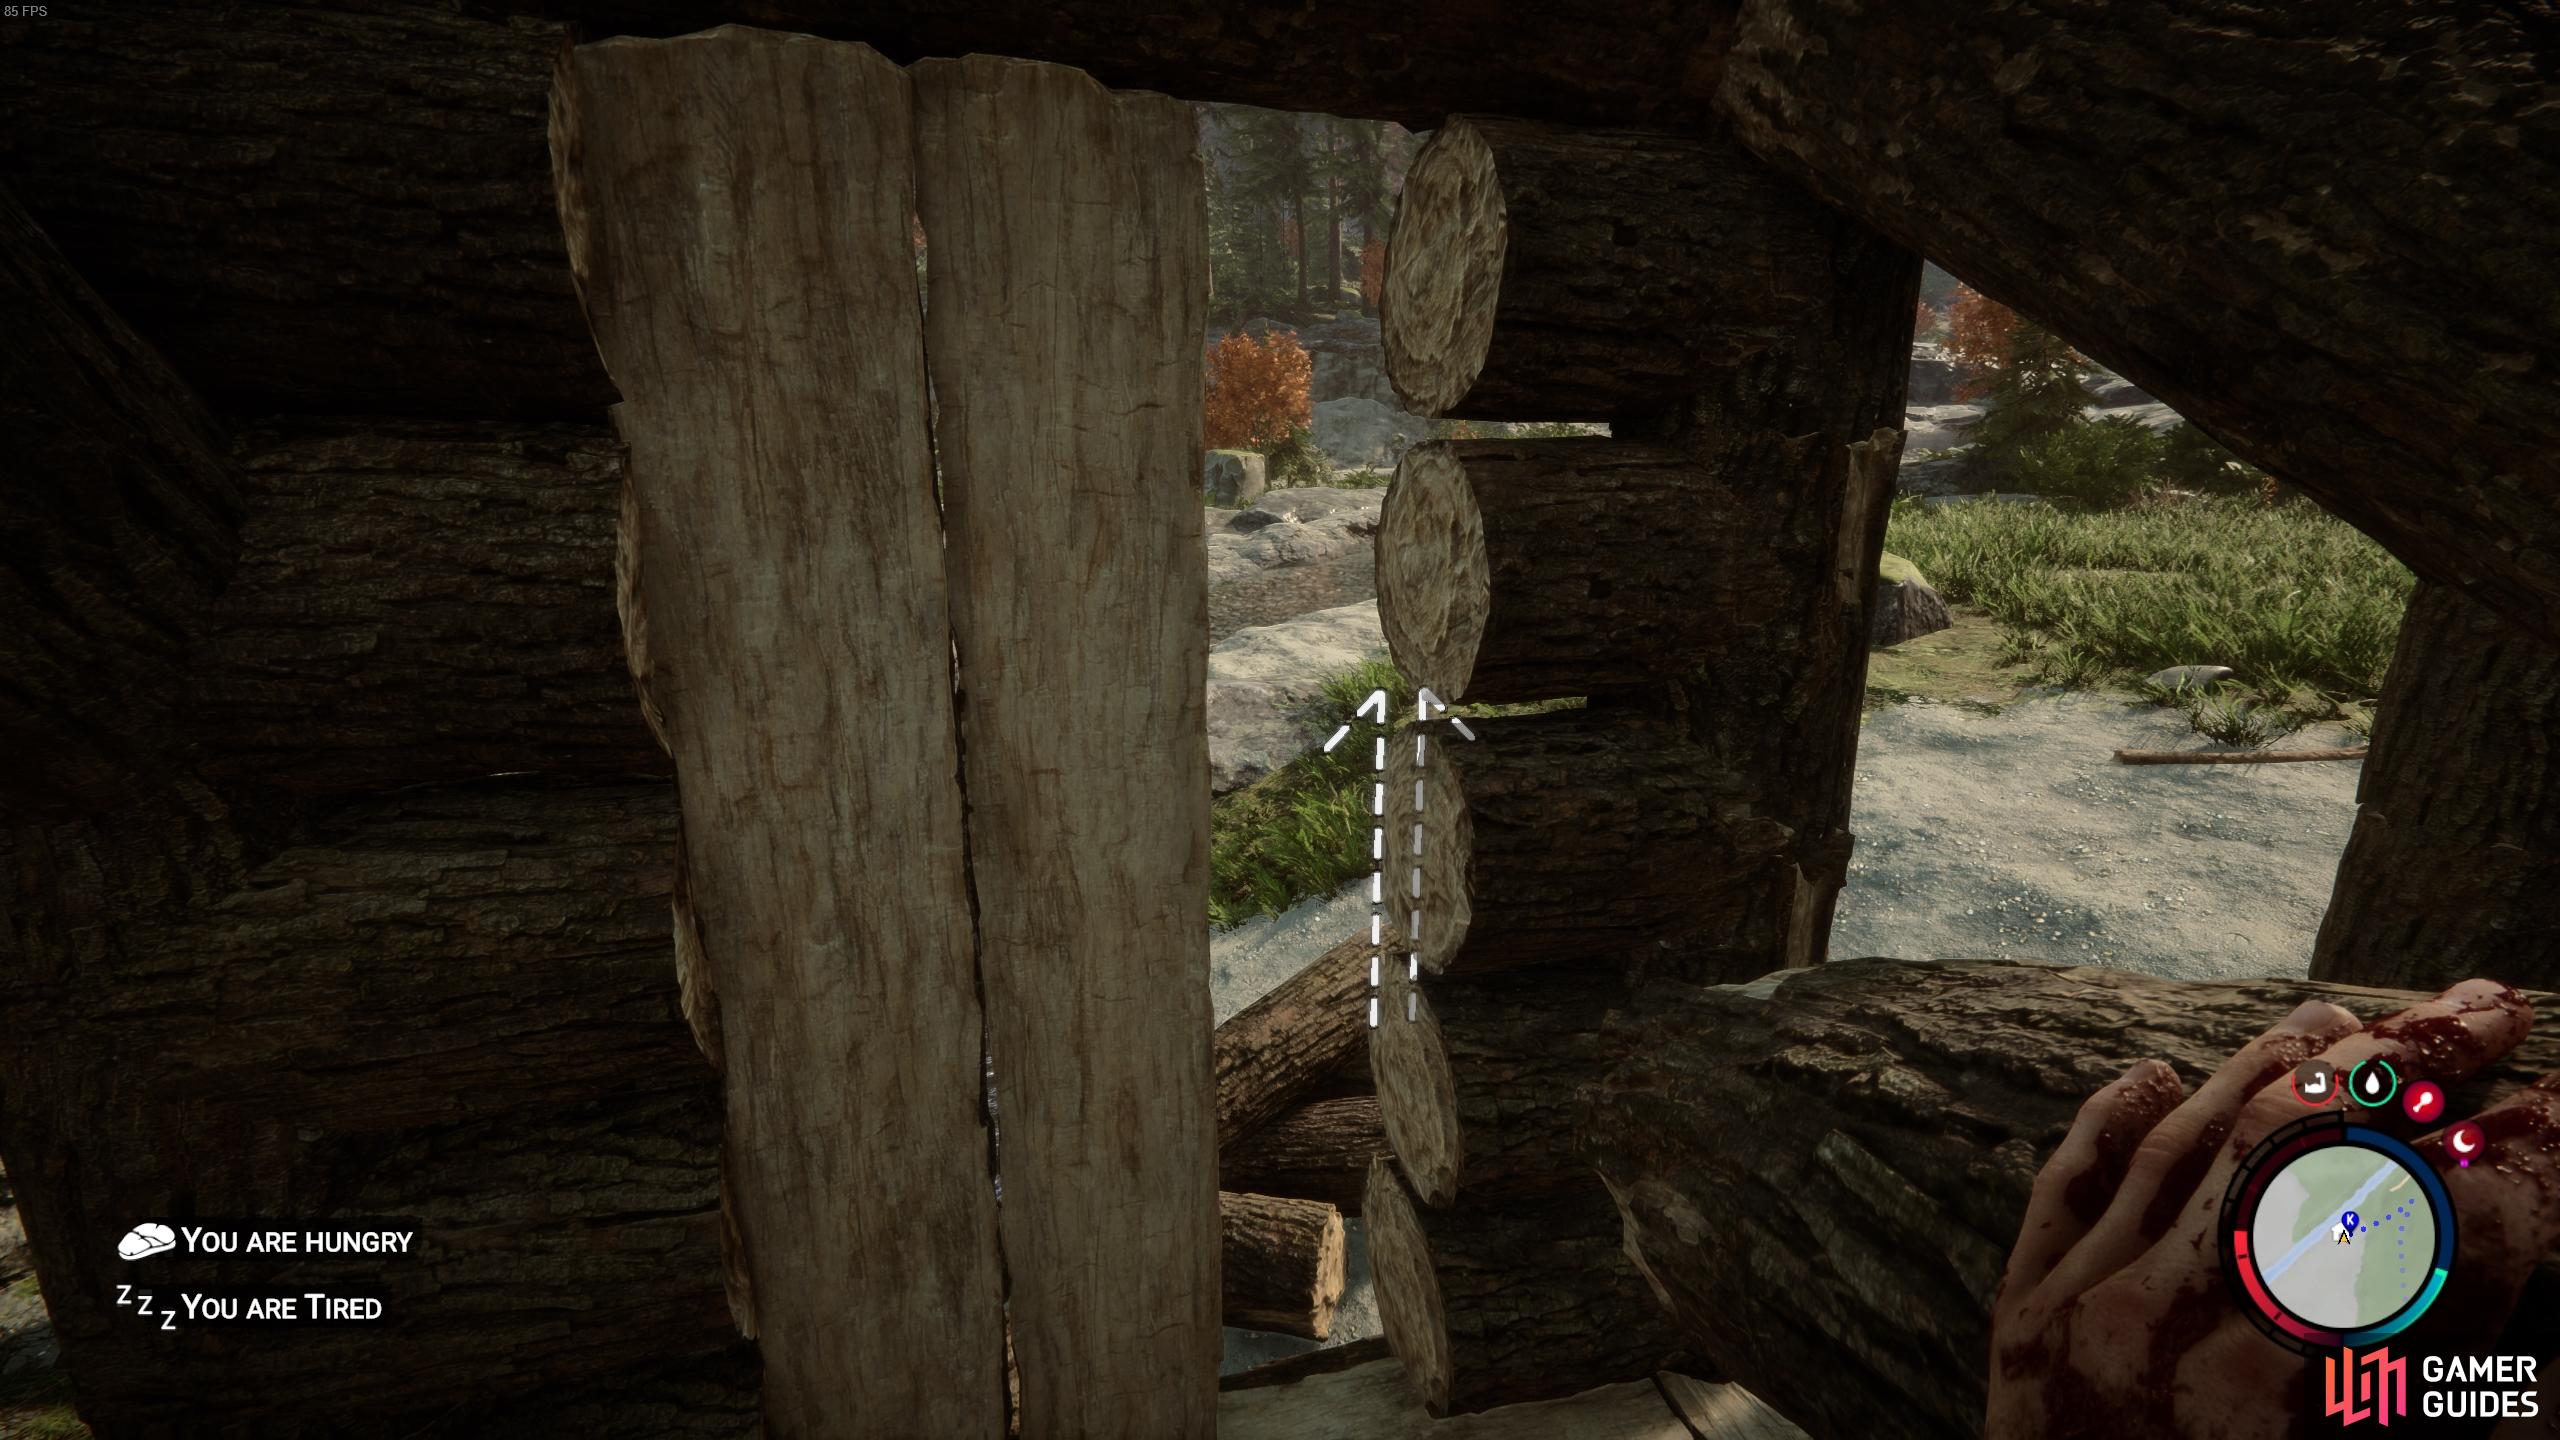
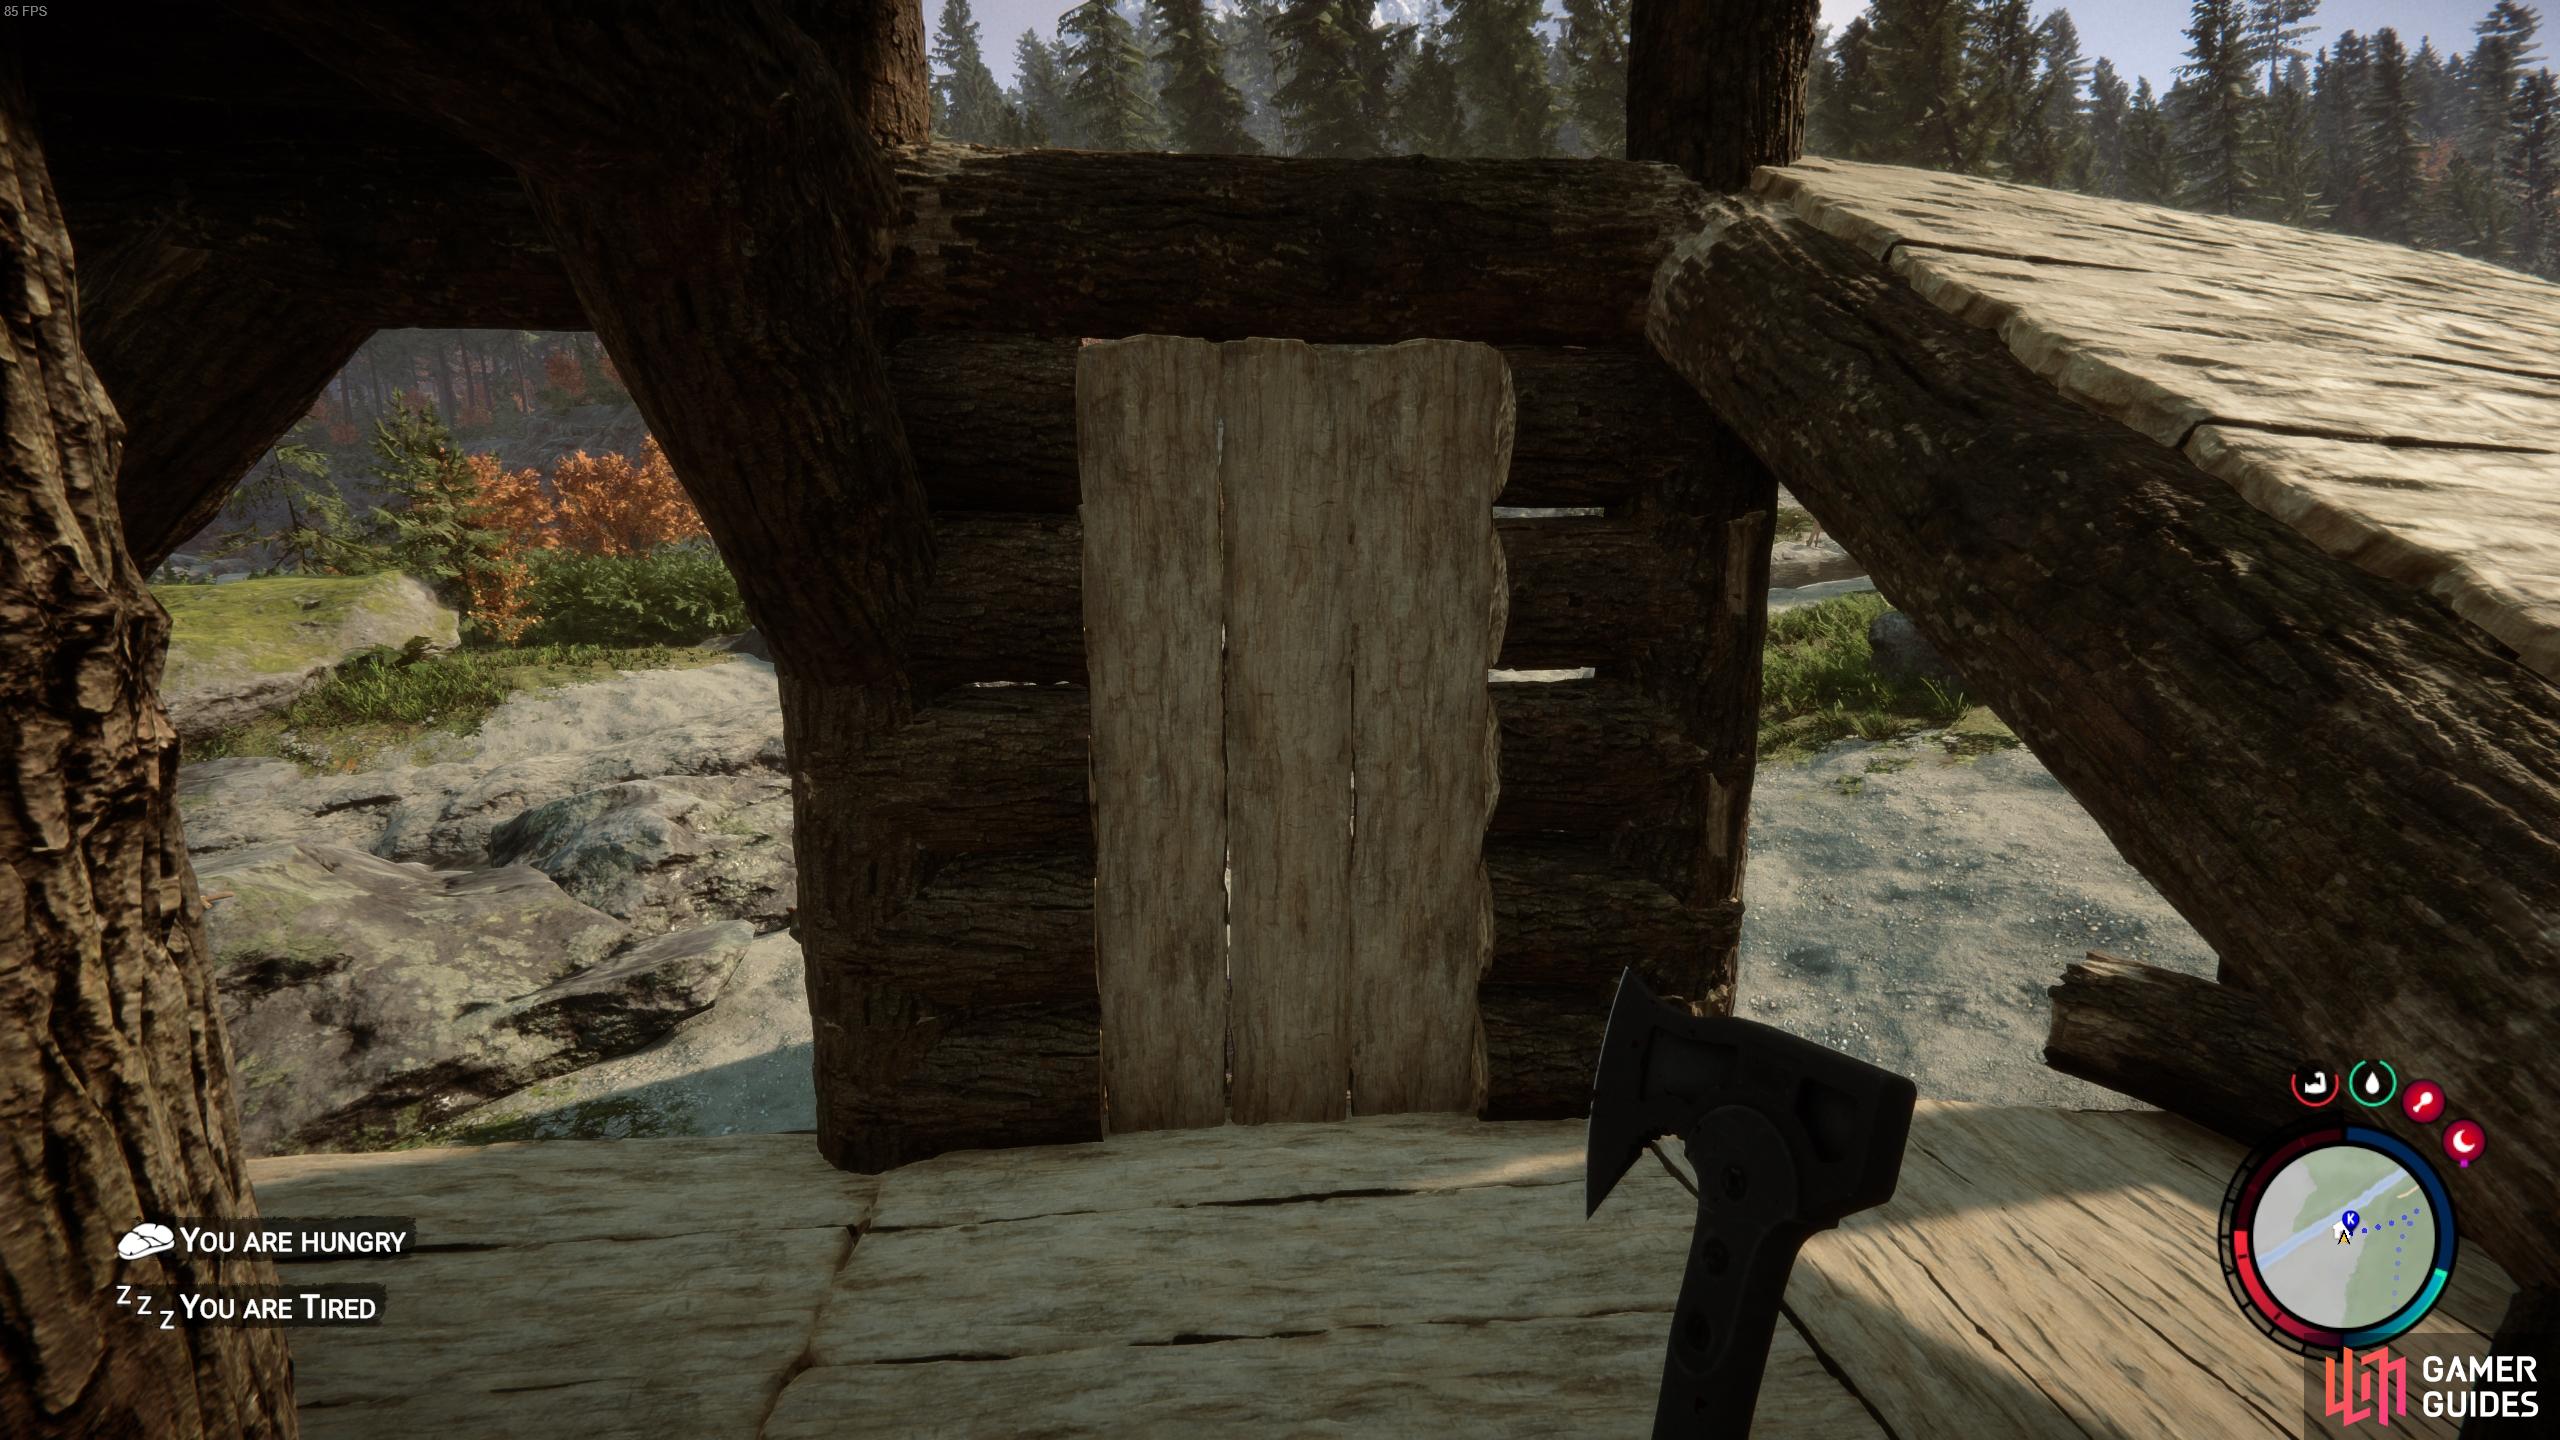
The process of creating windows and doors in Sons of the Forest is quite different from most other build systems. You won’t be placing a pre-built structure from a template, but instead you can cut doors and windows out of existing walls. In the same way that you chop a log up by aligning the red line before you cut to the size that you want, you can look directly at a log wall to see lines where you can chop. In the process, you’ll create holes in the wall structure which you can gradually form into a window or door of your desired shape and size.
Although a window only requires that you essentially create a hole in the structure of the wall, to place a door you’ll need to cut enough chunks of wood out of the walls structure, then replace some whole logs as you position them vertically. This will automatically form a door that you can open and close while walking through it.
You should consider placing windows and doors at strategic points in your building. In general, you’ll want enough windows facing areas from which you’re likely to be attacked by cannibals. You can even create small slits in the wall, giving you just enough space to shoot from with a bow or gun, but not enough for the enemy to get through. In terms of doors, you should probably think about placing enough doors for you to escape the interior of your building from multiple sides, just in case you get trapped inside with some hungry cannibals!
(1 of 4) Look directly at a wall to see the red lines where you can chop the wood.
How to Build Different Roof Types in Sons of the Forest
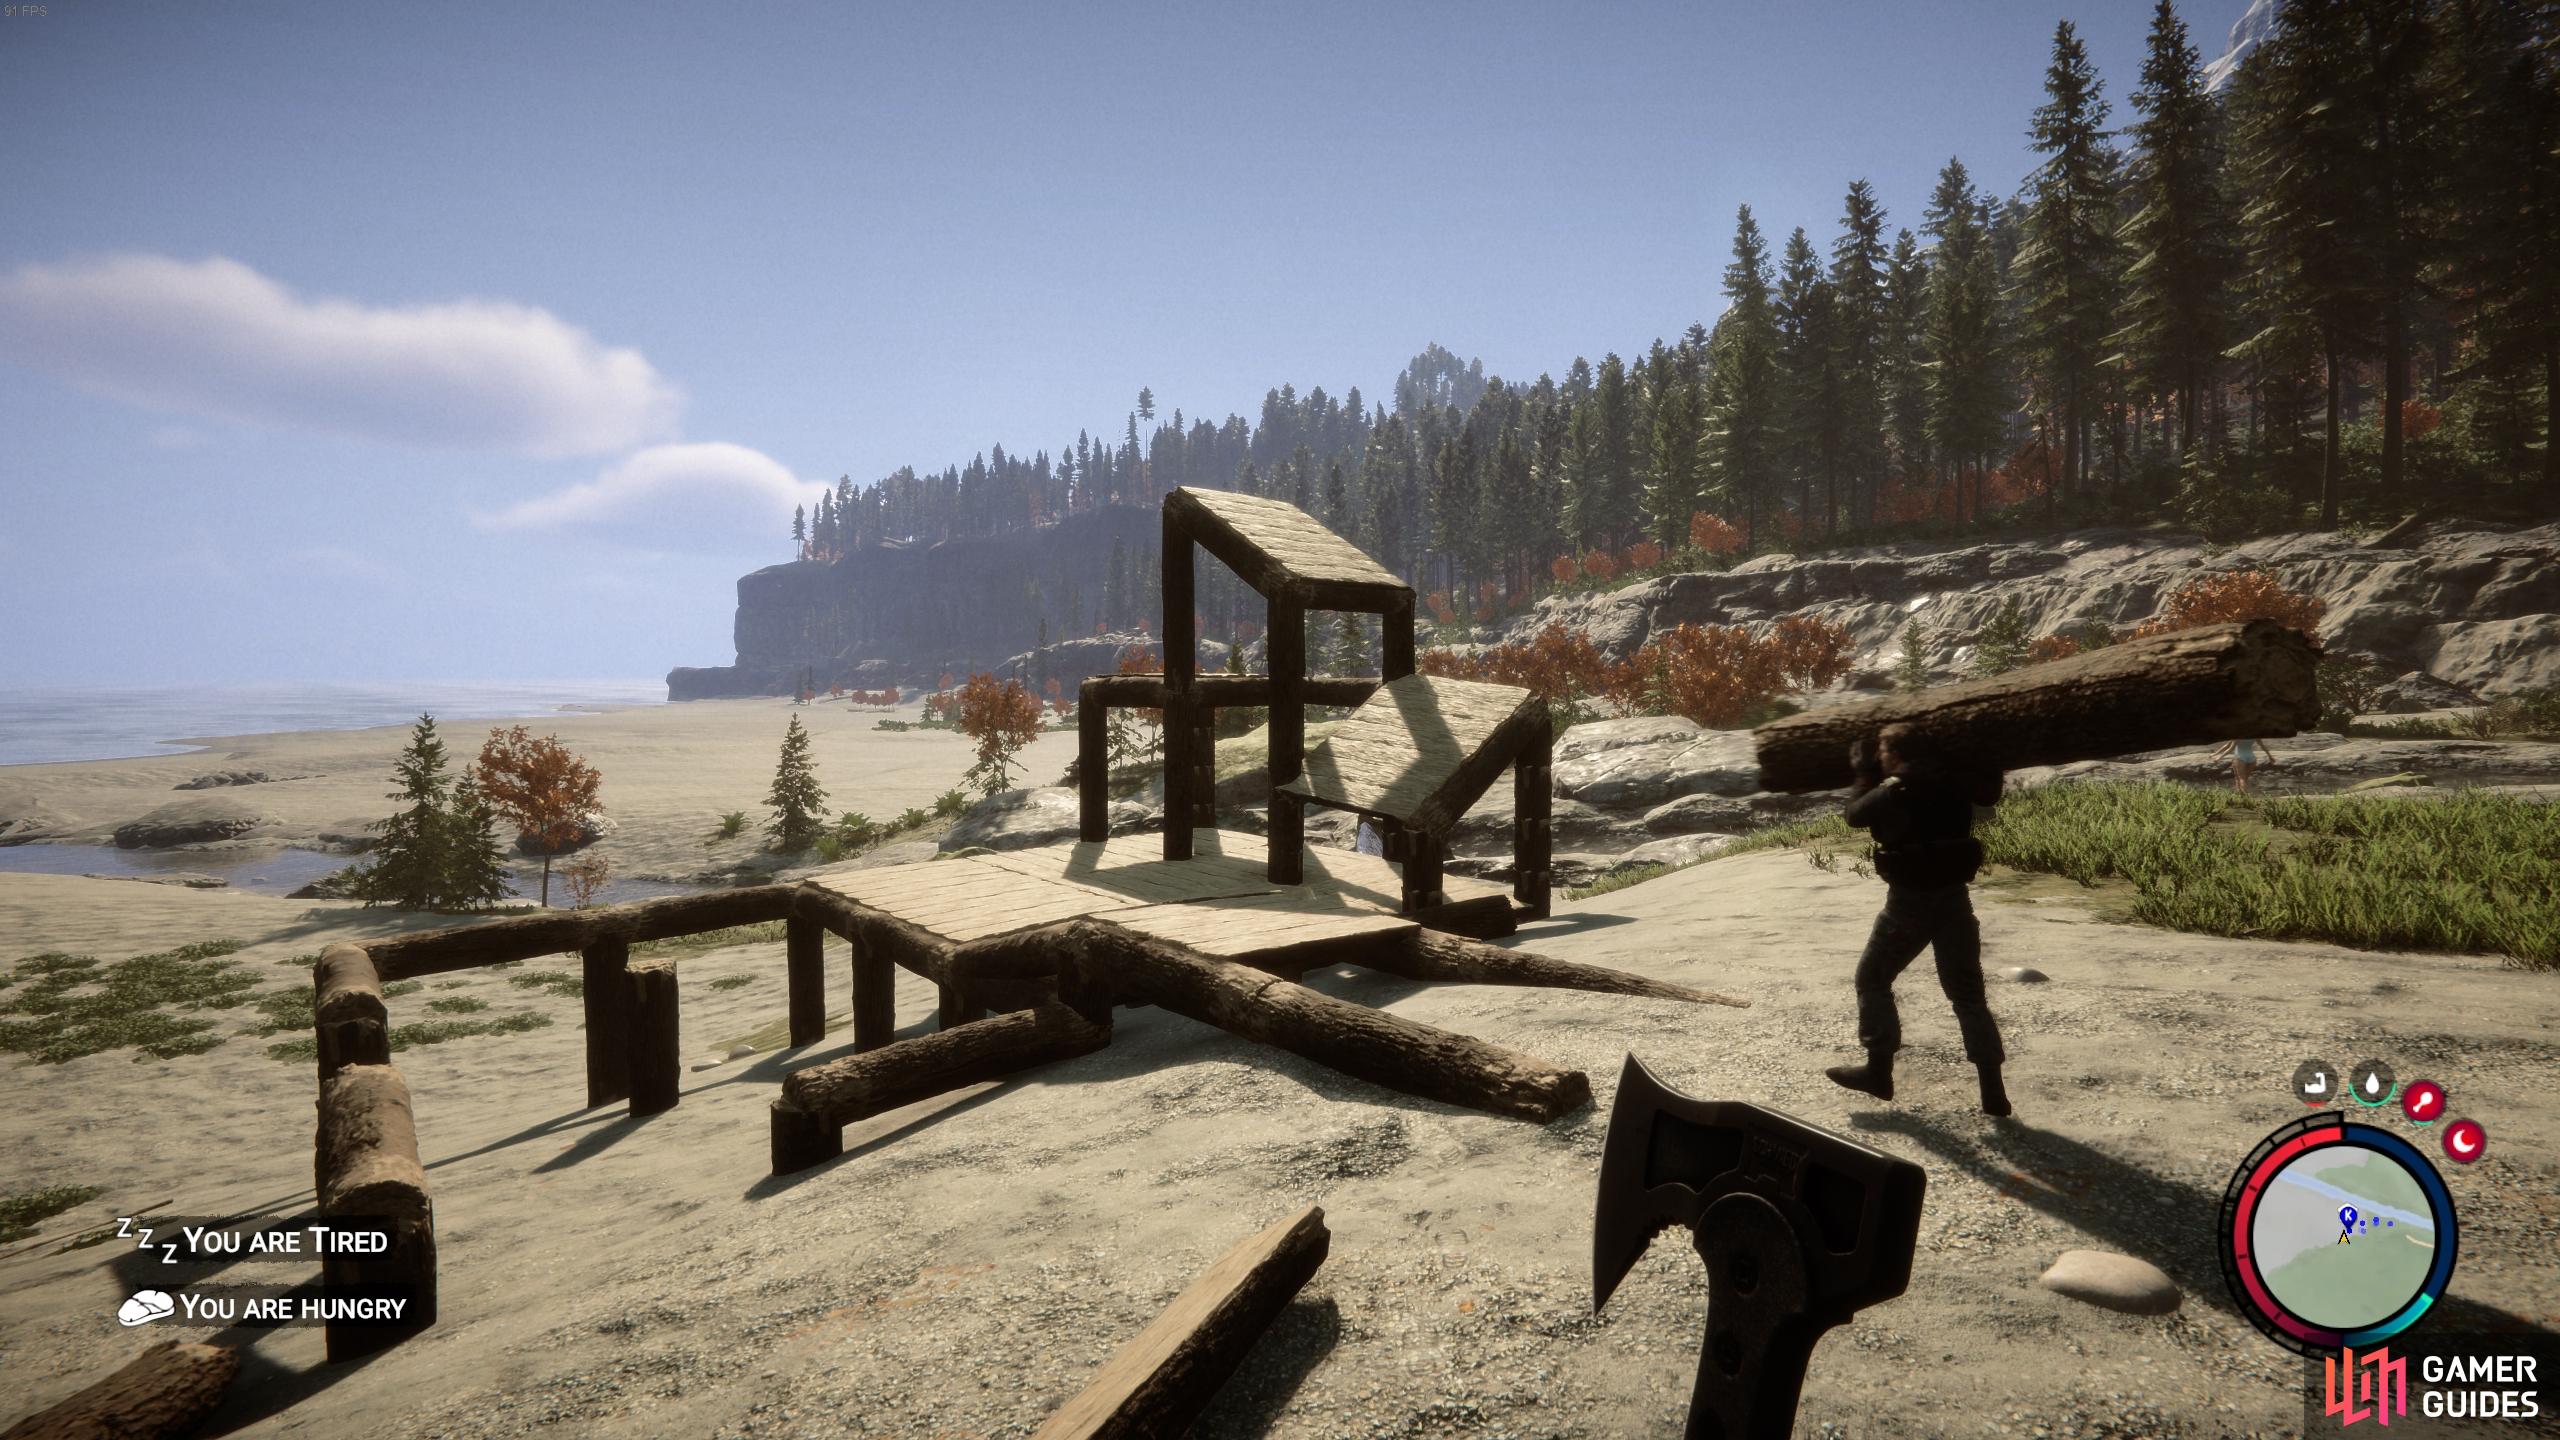
There are two main methods to create a roof for your building in Sons of the Forest. The first of these involves building a flat roof, which can be done by cutting one whole log in half to create two flag segments, in the same way you do for stairs or ramps. You can then place the log segments between some logs which have already been placed until any gaps are completely covered. Although this will function as a roof to keep you dry and warm, it’s not the most aesthetically pleasing. If you want the look of a more traditional angled roof, you’ll need to use the same build principle as you do for ramps (mentioned above).
First, you should place logs diagonally facing inwards towards the interior of your building. You’ll need to plan this ahead by visualizing how much of an angled slope you want to see in your roof. If you only want a slight angle, you can stop at one log’s length of diagonal structure. If you’d prefer a taller slope for a larger building, you’ll need to keep the structure going diagonally, although this may require some temporary scaffolding to help you position the logs. Alternatively, you could try a tiered roof system where you place one sloped roof first, then one flat, then one more sloped and so on.
Although there’s only one basic material to use in building at the moment (wooden logs), there are quite a few possibilities in terms of customizing the style of your roof. If you’re unsure of how to go about it, try creating some different roof structures on a test foundation first, then see which one you like and which one you think might be easiest to implement with the building project that you’re planning.
You can create a small project to experiment with different types of roofs and other structures.
Building Bridges, Fences, and Defensive Walls
Once you know how to build a basic building with a floor, stairs, walls, windows, and doors, you should be familiar enough with the system to start thinking about more complex forms of structure. You can find recipes for different types such as tree houses, bridges, and defensive walls in your Guide Book, but rest assured that the basic principles of placing logs and sticks while chopping them up for the desired result remains the same. You might want to consider creating a bridge which connects your base to a lookout tower, or across a difficult piece of terrain. Fences can be useful to establish the boundaries of your base, but they won’t keep most enemies out. Defensive Walls are more effective here, especially if you cut spikes in the top part of their structure, which will damage any enemies that seek to climb inside!
We hope you’ve found this building guide useful for your adventures in Sons of the Forest. If you’re looking for more guide content be sure to check our tips and tricks section, our story section, companions guides, enemy types, crafting, and equipment.


 Sign up
No Comments