This page details The World-Eaters Eyrie main story quest in Skyrim, including how to reach Alduin’s portal to Sovngarde at Skuldafn Temple by flying with the dragon Odahviing.
The World-Eaters Eyrie, Skyrim.
| Quest Info | Description |
|---|---|
| Objective | Battle through Skuldafn to reach Alduin’s portal to Sovngarde. |
| Quest Giver | Odahviing |
| Location(s) | Skuldafn Temple |
| Prerequisite | The Fallen |
| Next Quest | Sovngarde |
| Reward | Nahkriin (Dragon priest mask), Storm Call (shout, one word) |
Quest Overview
-
Set Odahviing free.
-
Talk to Odahviing.
-
Reach Alduin’s portal to Sovngarde.
-
Enter Sovngarde.
How to Enter Sovngarde to Confront Alduin
Now that you’ve captured the dragon Odahviing and interrogated him to confirm that Alduin is in Sovngarde, you need to find a way there. This can’t be done without Odahviing’s help, so you’ll have to trust him by setting him free so that he can fly you to Skuldafn Temple. To set Odahviing free, speak to the Whiterun guard who is standing on the second floor of the great porch, where Odahviing is trapped. You can then speak with the dragon to begin the journey to Skuldafn Temple.
Skuldafn Temple Courtyard
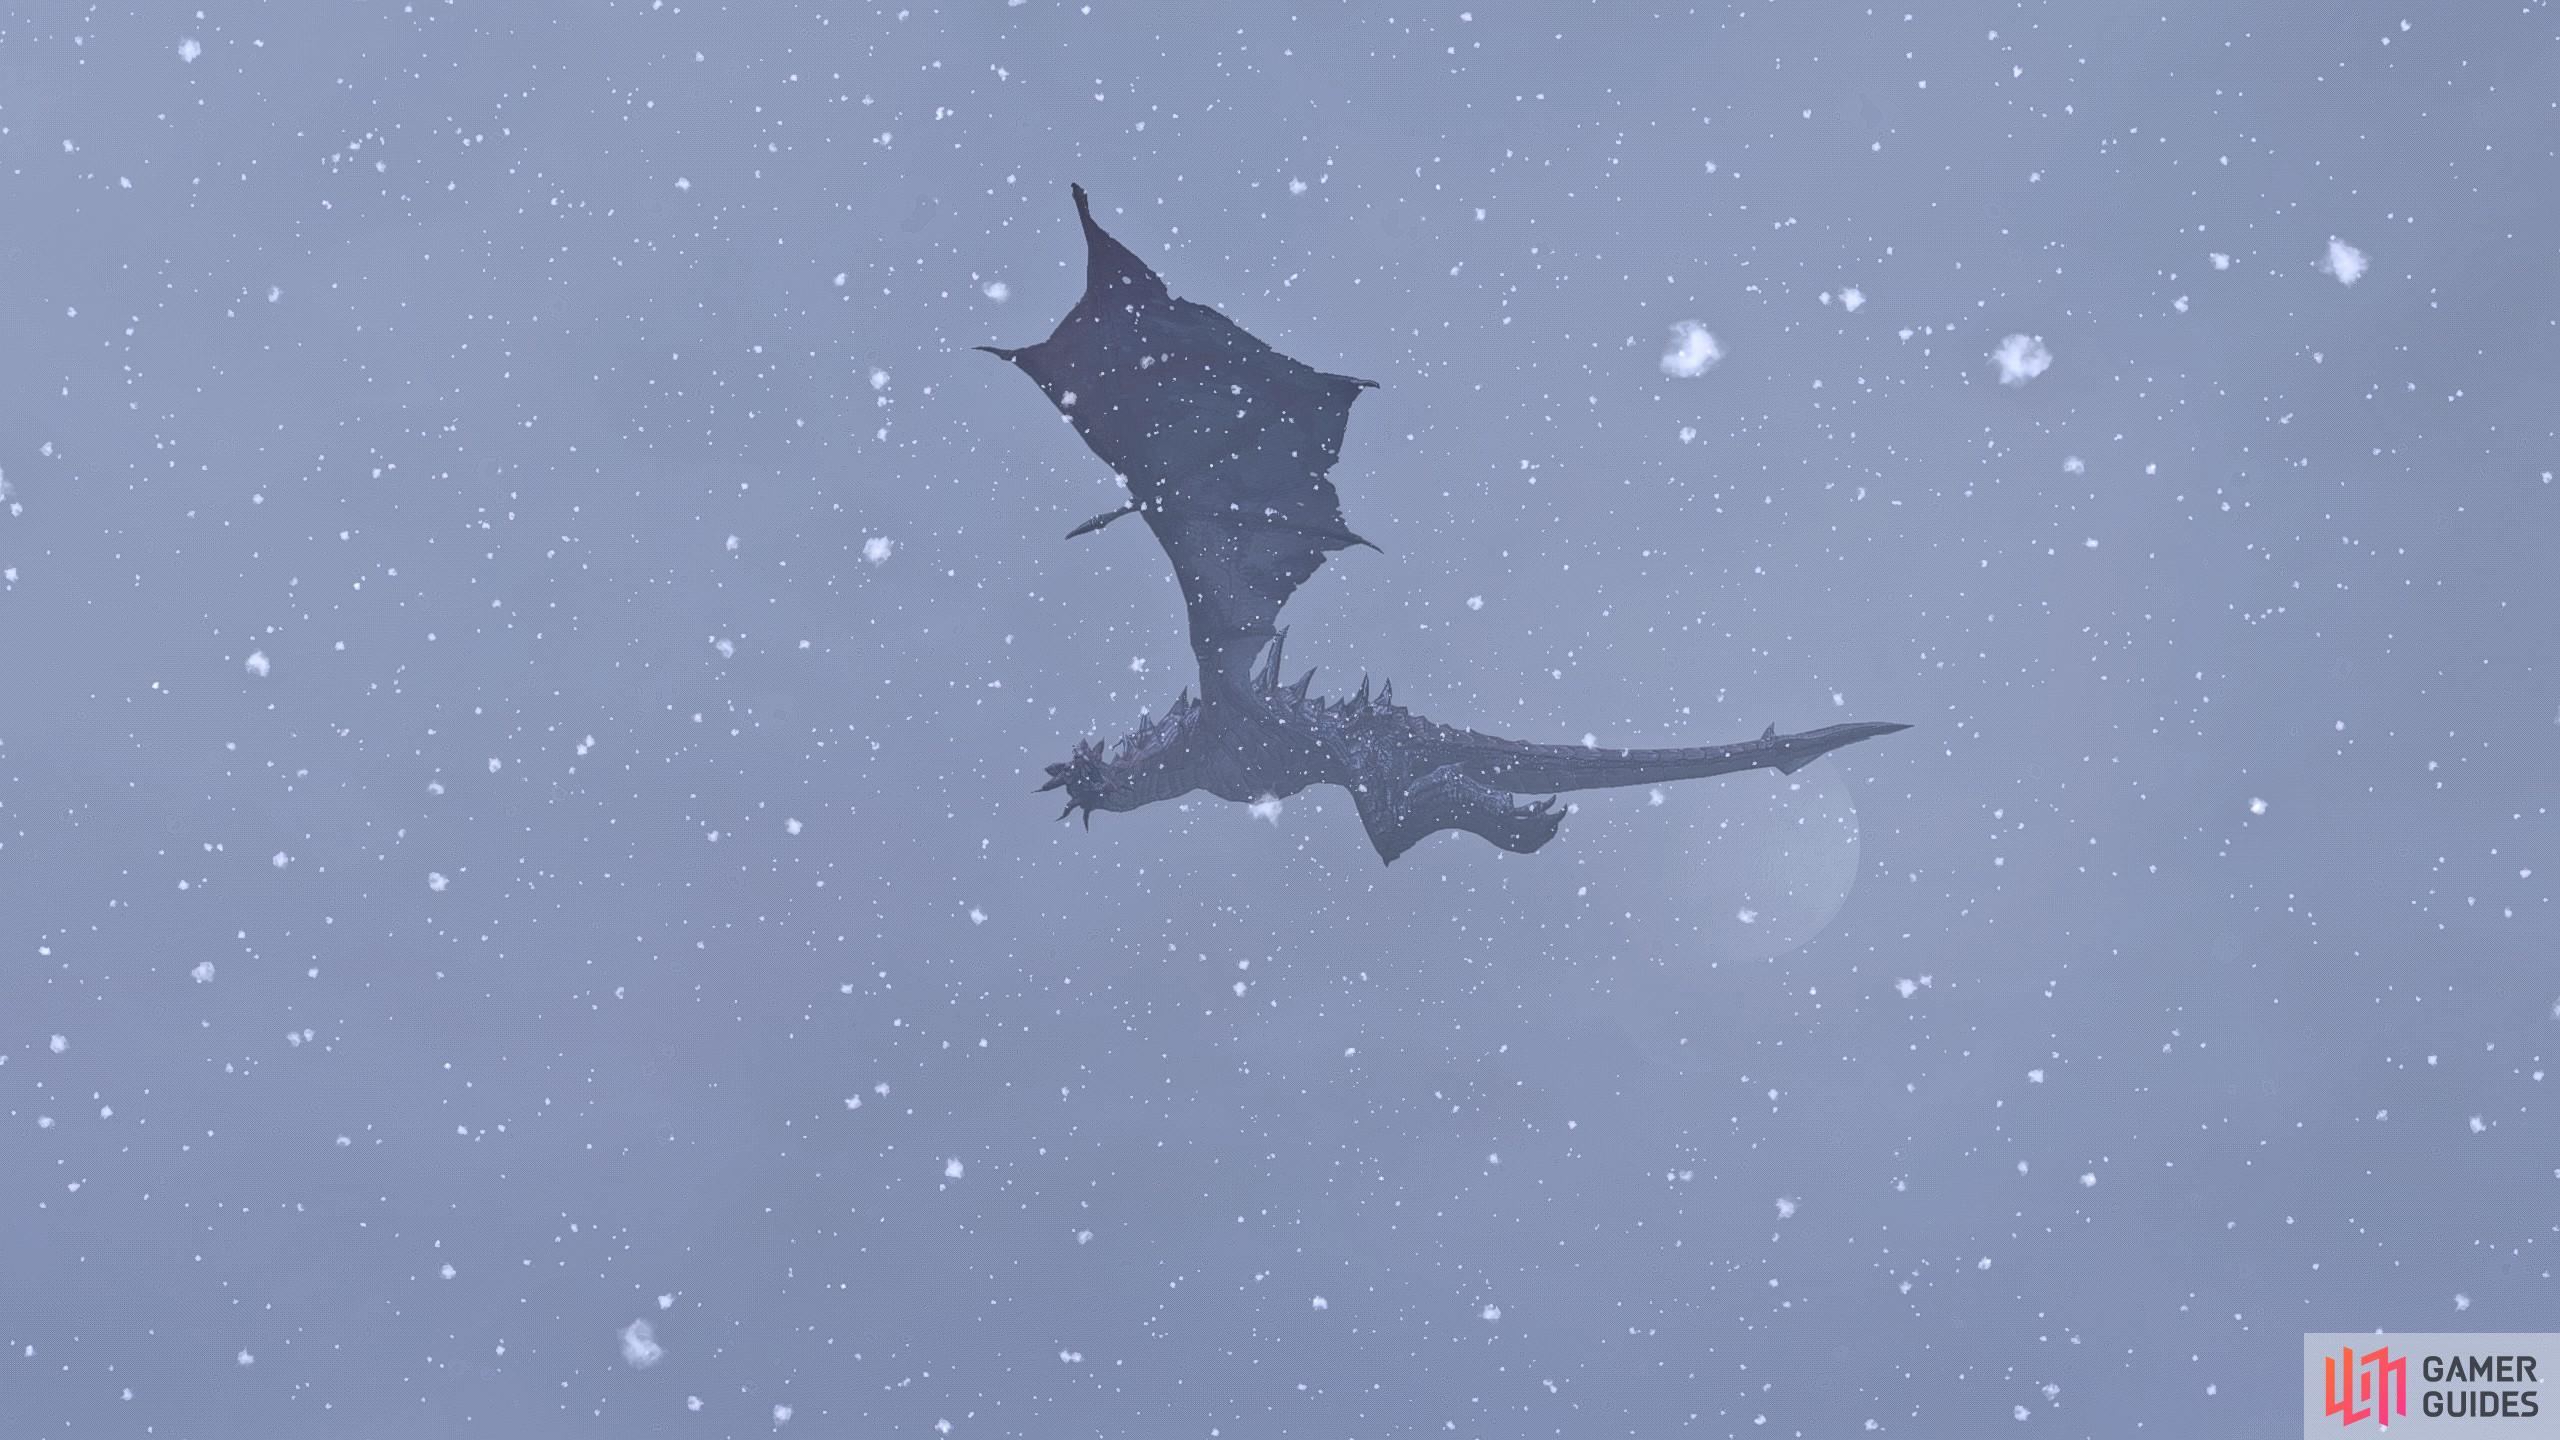
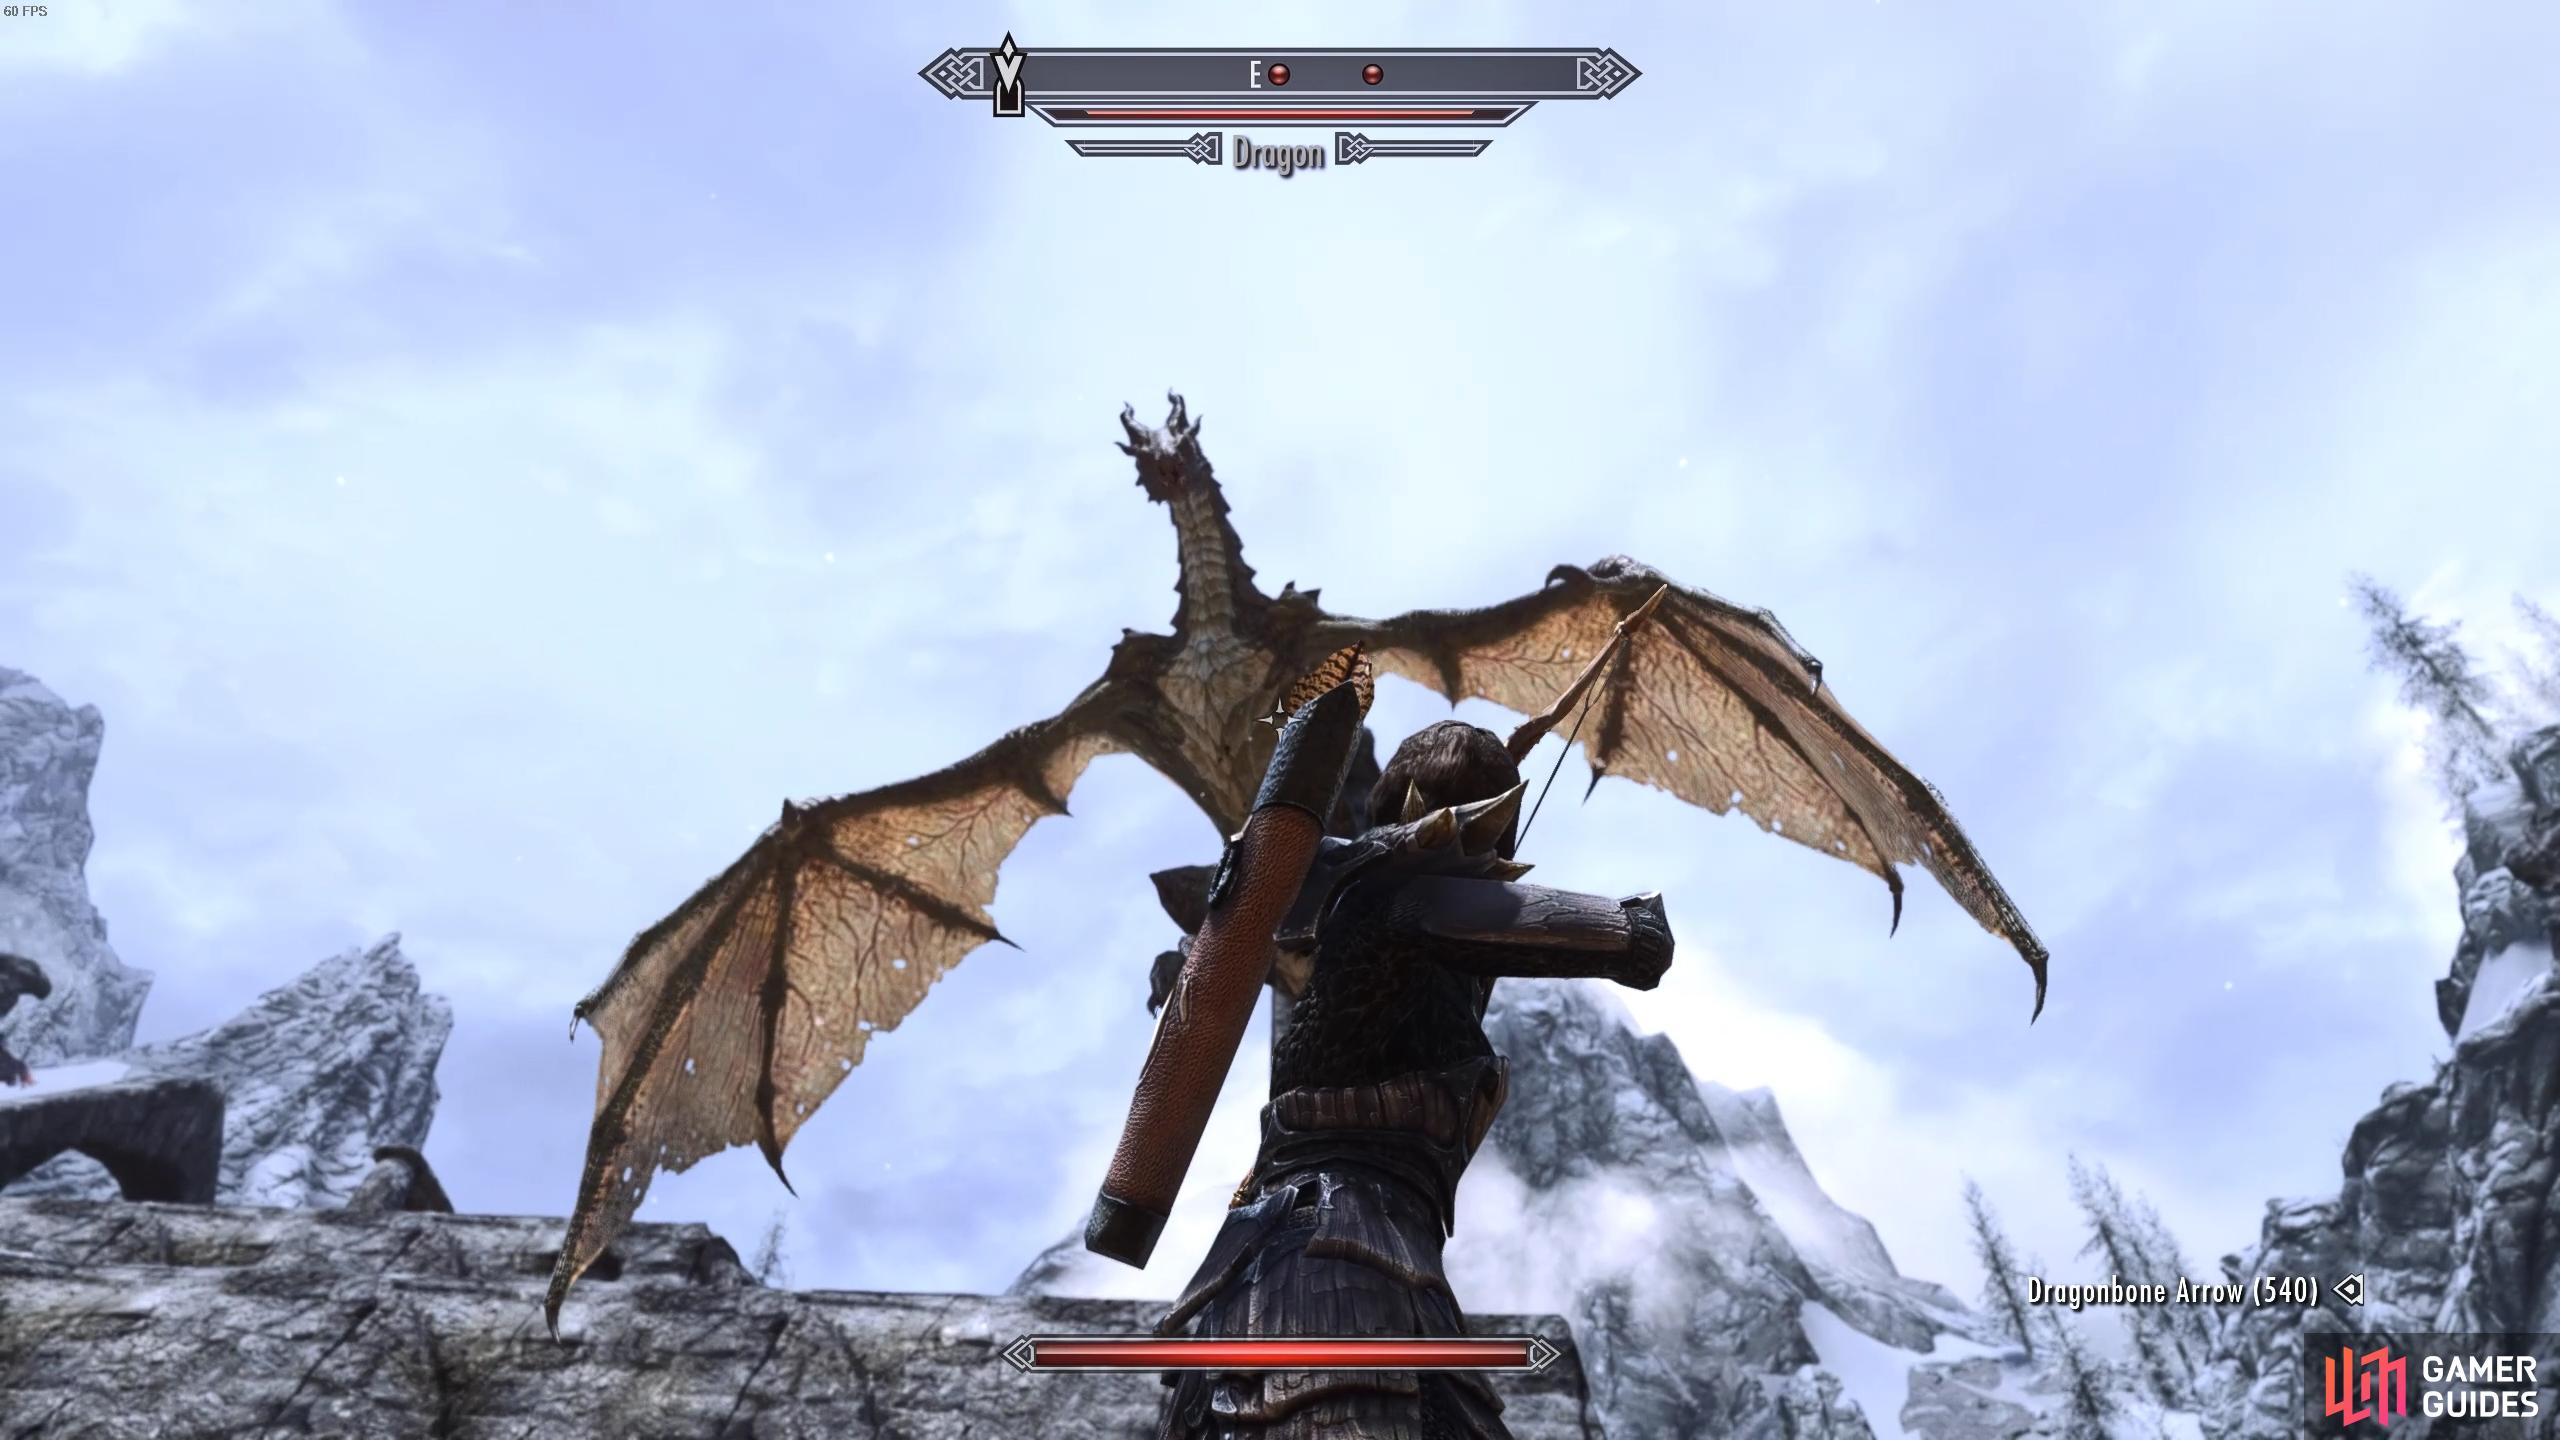
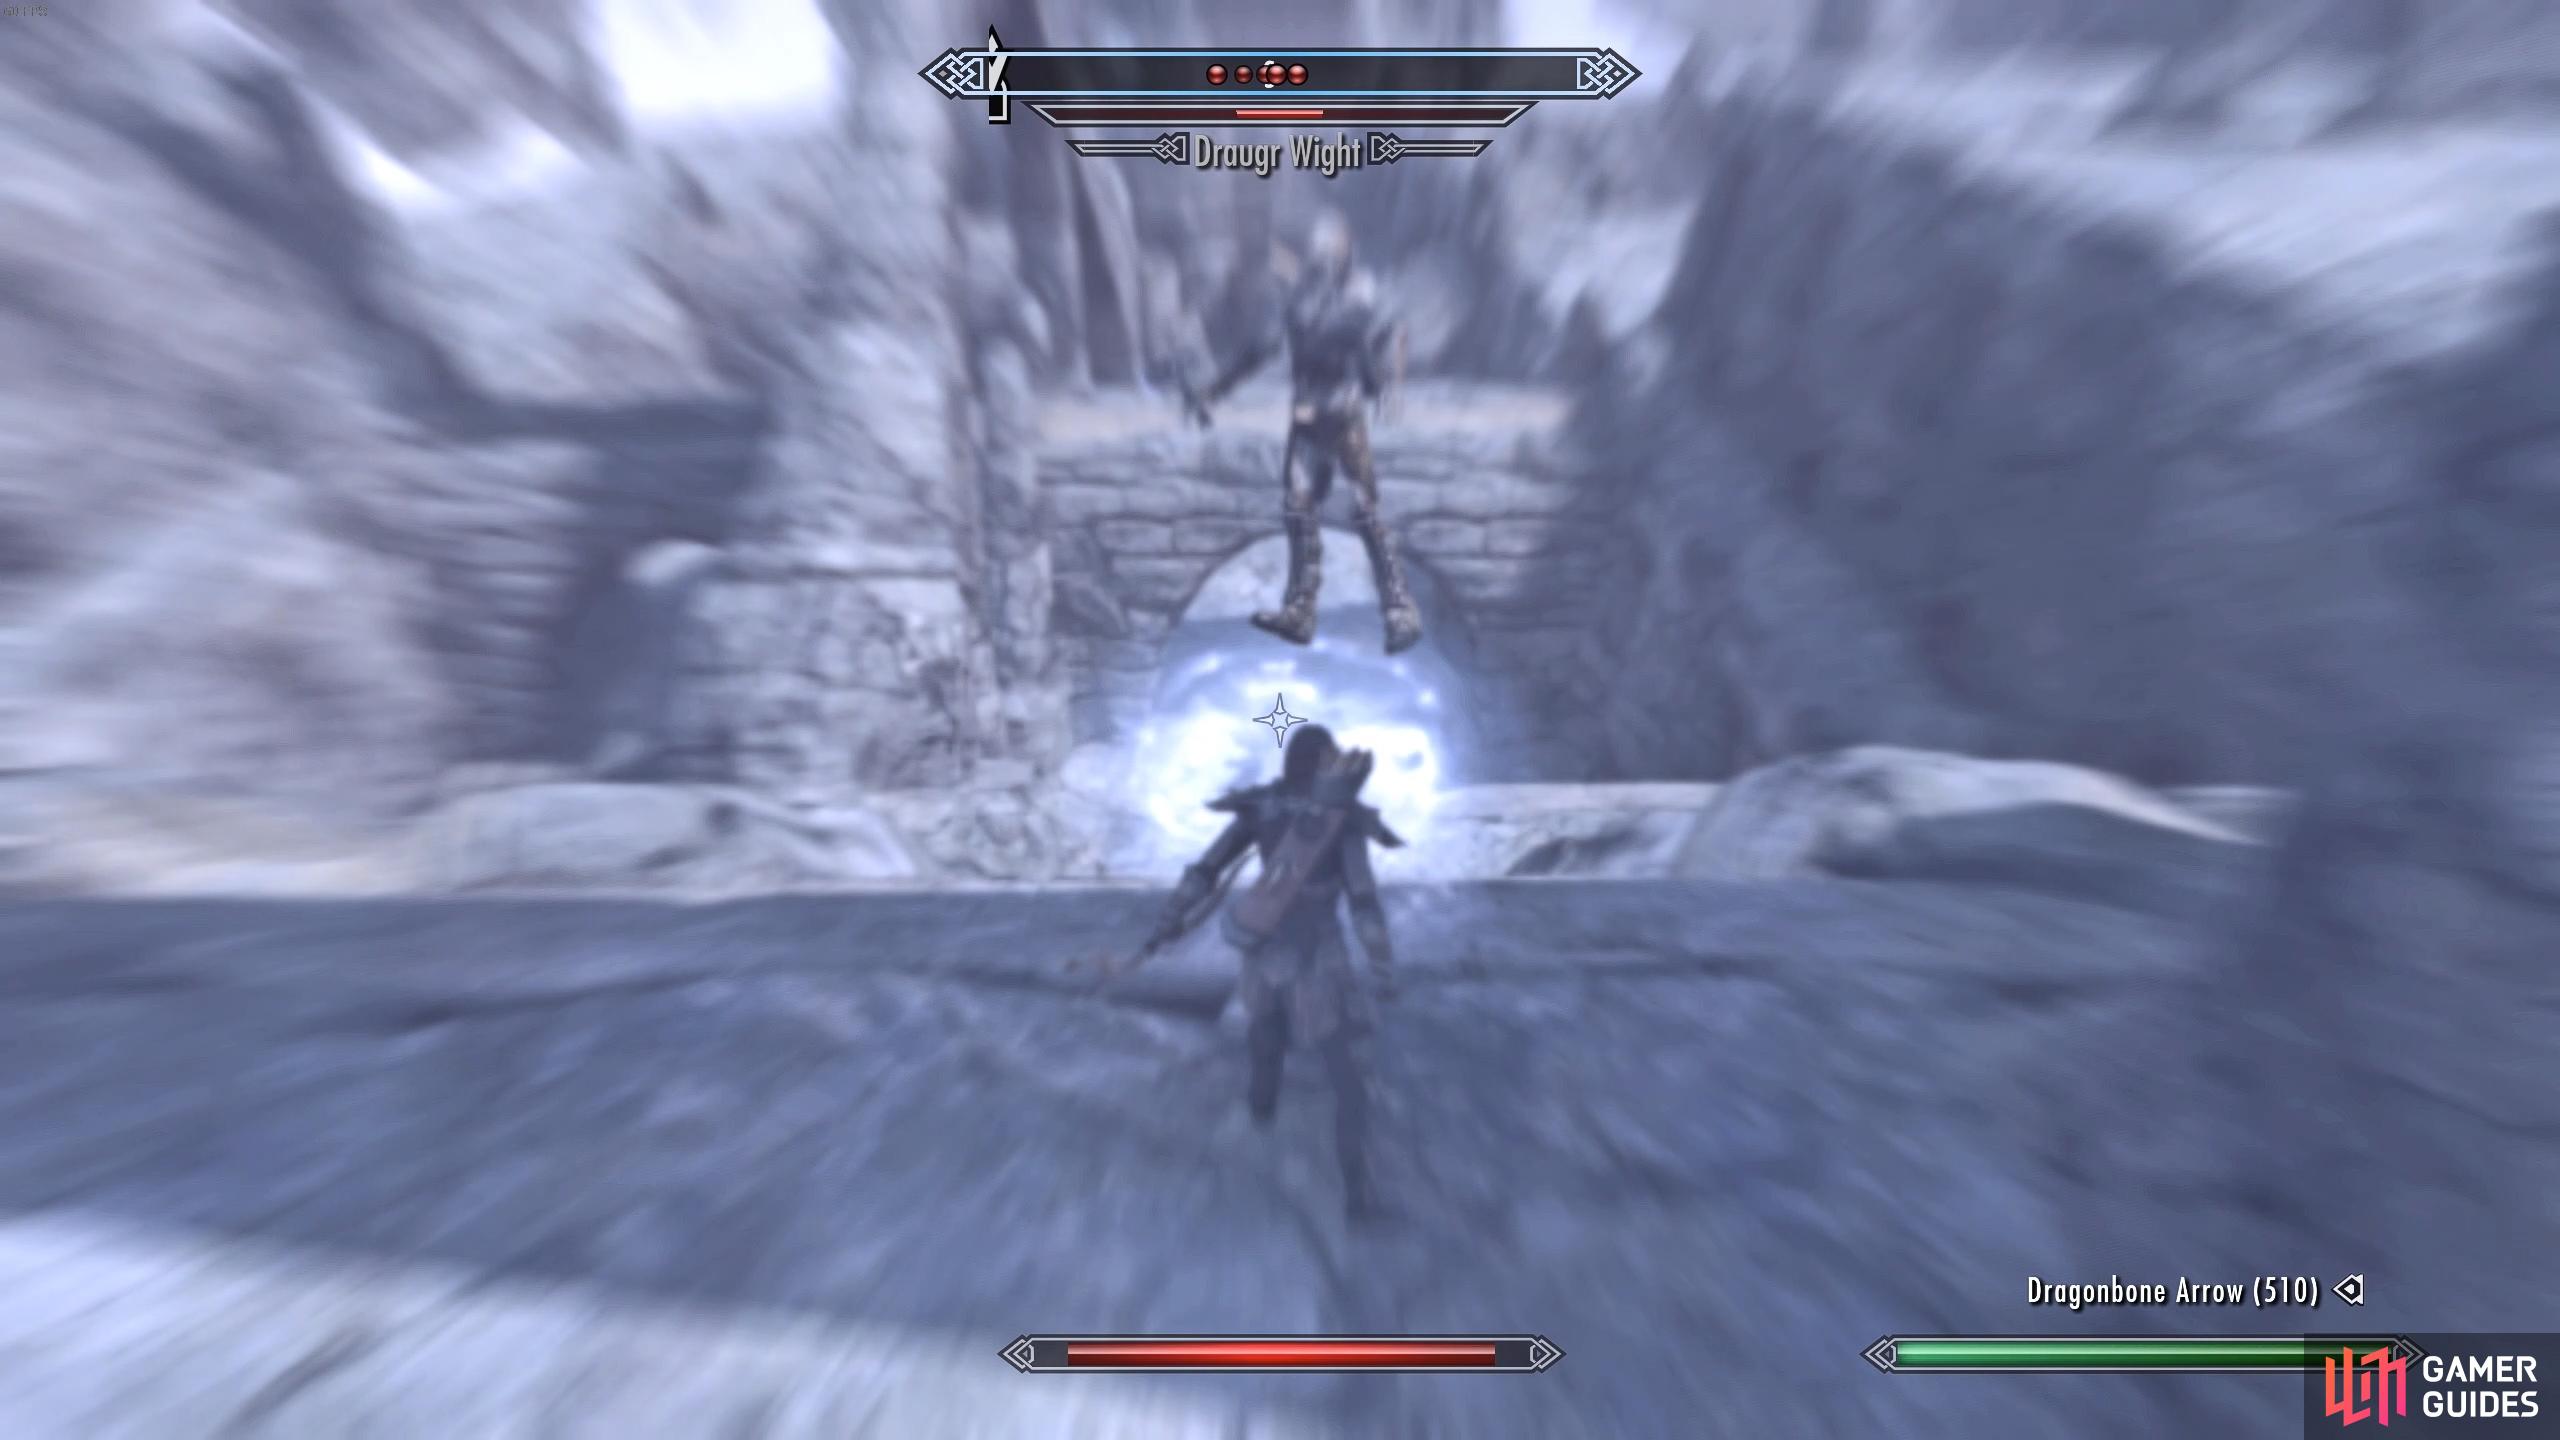
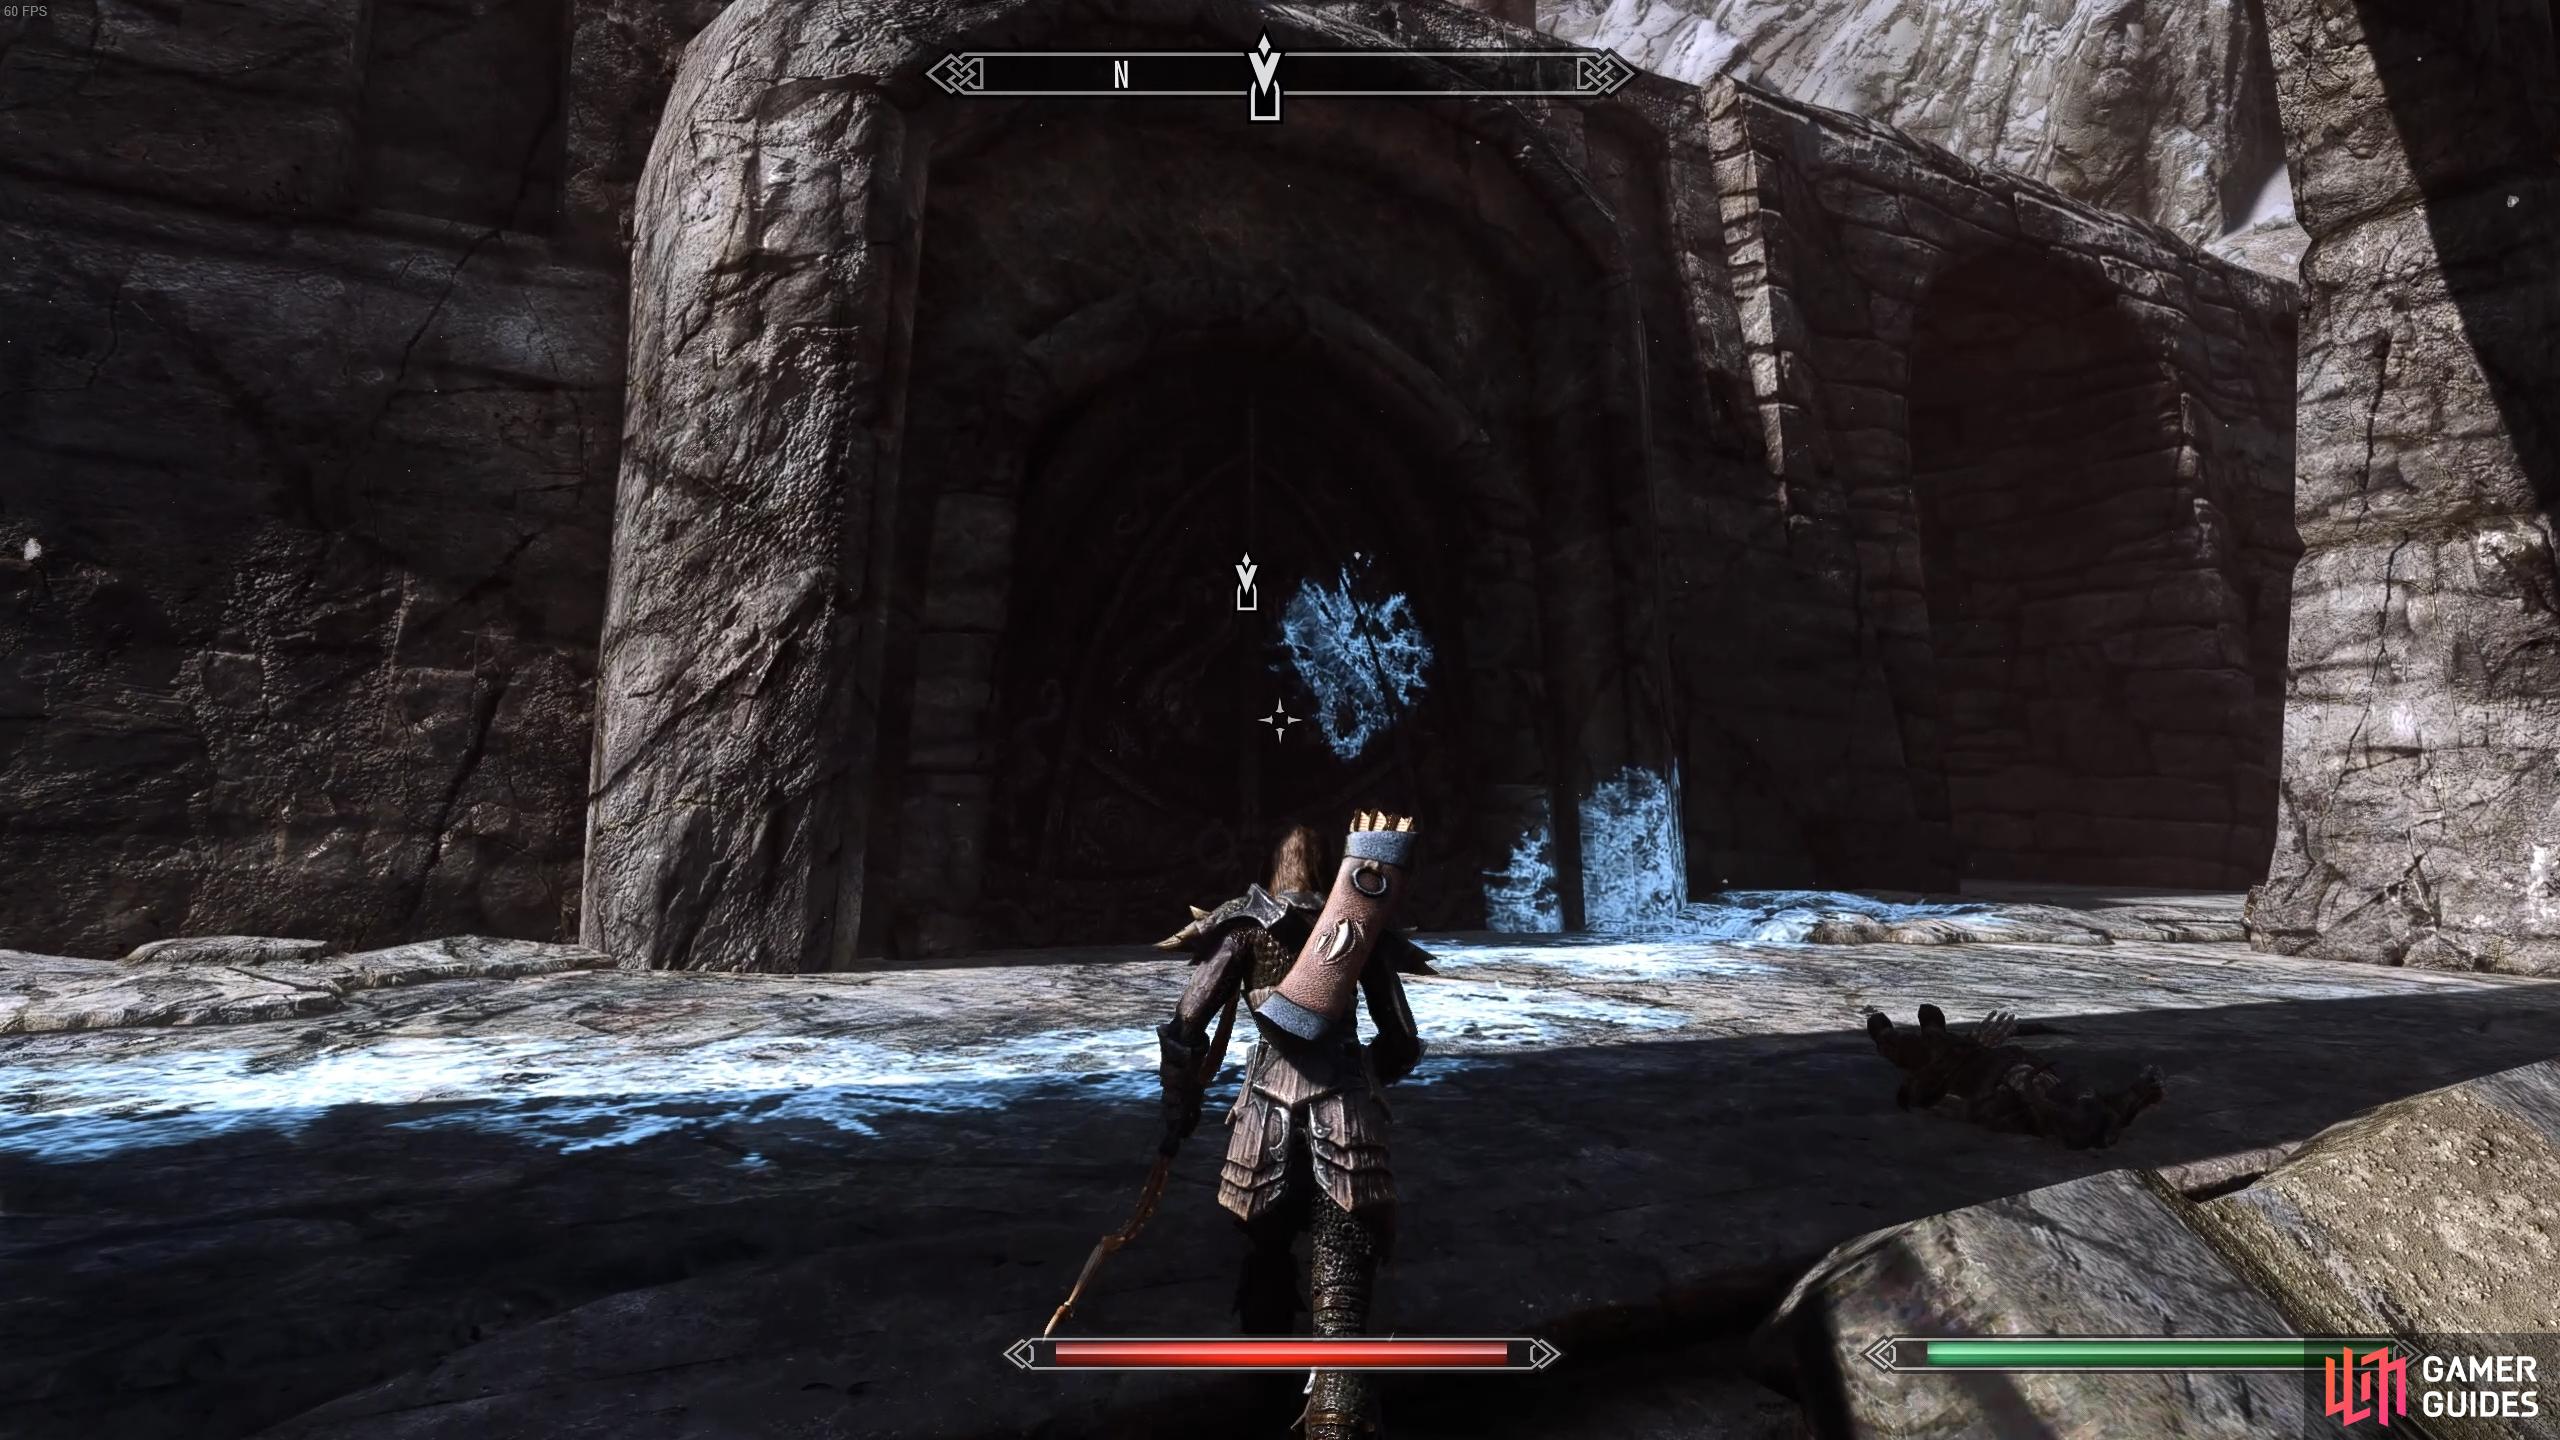
The dragon Odahviing will land near the entrance to Skuldafn Temple, telling you that he’ll wait for your return, or for Alduin. As you make your way into the courtyard of the temple you’ll encounter a number of powerful draugr. Most of the draugr here are capable of using shouts, but they can also inflict a lot of damage with their basic attacks. However, these aren’t the only thing you’ll need to worry about in the courtyard. You’ll also be ambushed by two dragons, but at different times. Try to stay in the first part of the courtyard as you fight the first dragon so that you avoid attracting the attention of the second too soon.
The dragons that you encounter here aren’t particularly special, but since you have no companions here you may find the fight slightly more difficult than normal. The surrounding landscape is a bit of a double-edged sword here, since you can use the architecture to hide effectively from the dragon fire, but you’ll also find that using Dragonrend will often cause the dragon to land further away from you, on a platform that might take you a while to reach. In the process, you could also pull more draugr or even trigger the second dragon, so it’s a good idea to wait for the dragon to hover before you use the most damaging ranged skills.
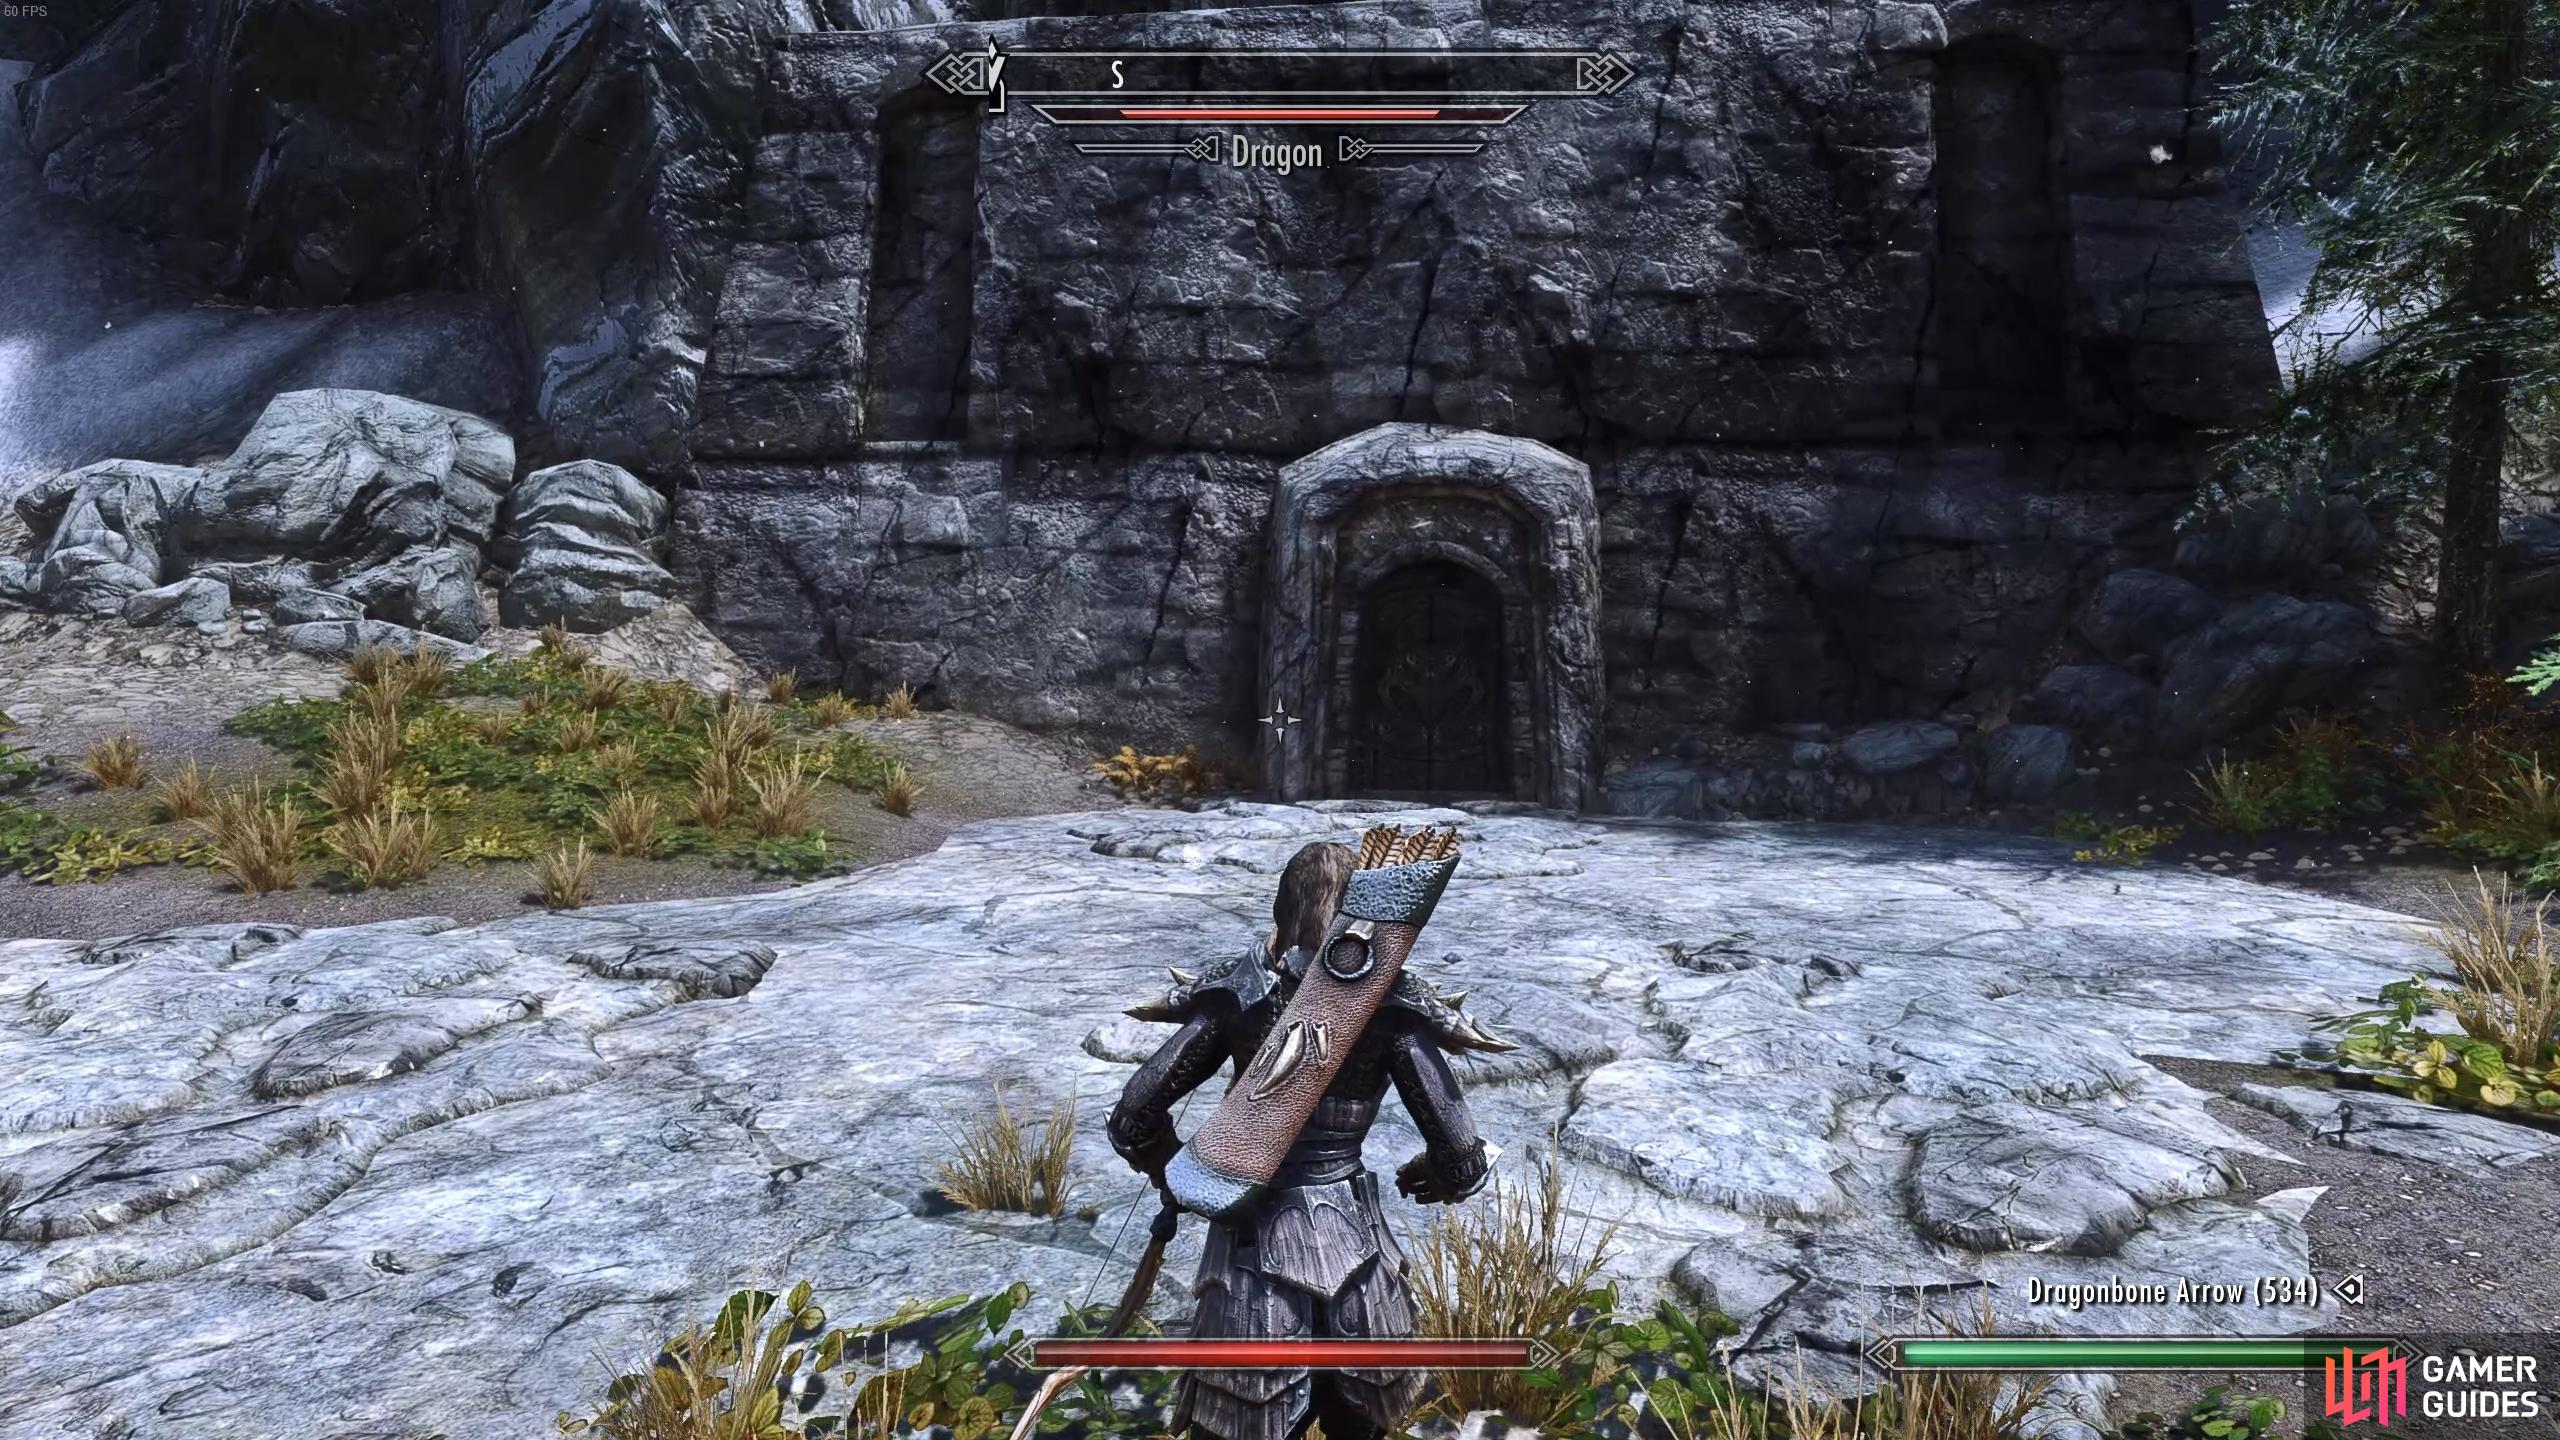
If you find yourself in a difficult spot with the dragon and the draugr, you can always run into the nearby Skuldafn South Tower. However, keep in mind that if you do this, the health of the dragon will reset to full, and you’ll need to begin the fight again when you exit. It’s still useful to know that you can take cover and recuperate while you consider tactics, but be careful not to venture too far into the tower if you’re on low health, since there are plenty of draugr inside.
(1 of 4) Wait for the dragons to hover before attempting to use your most damaging attacks.
Skuldafn Temple - How to Open the Gates
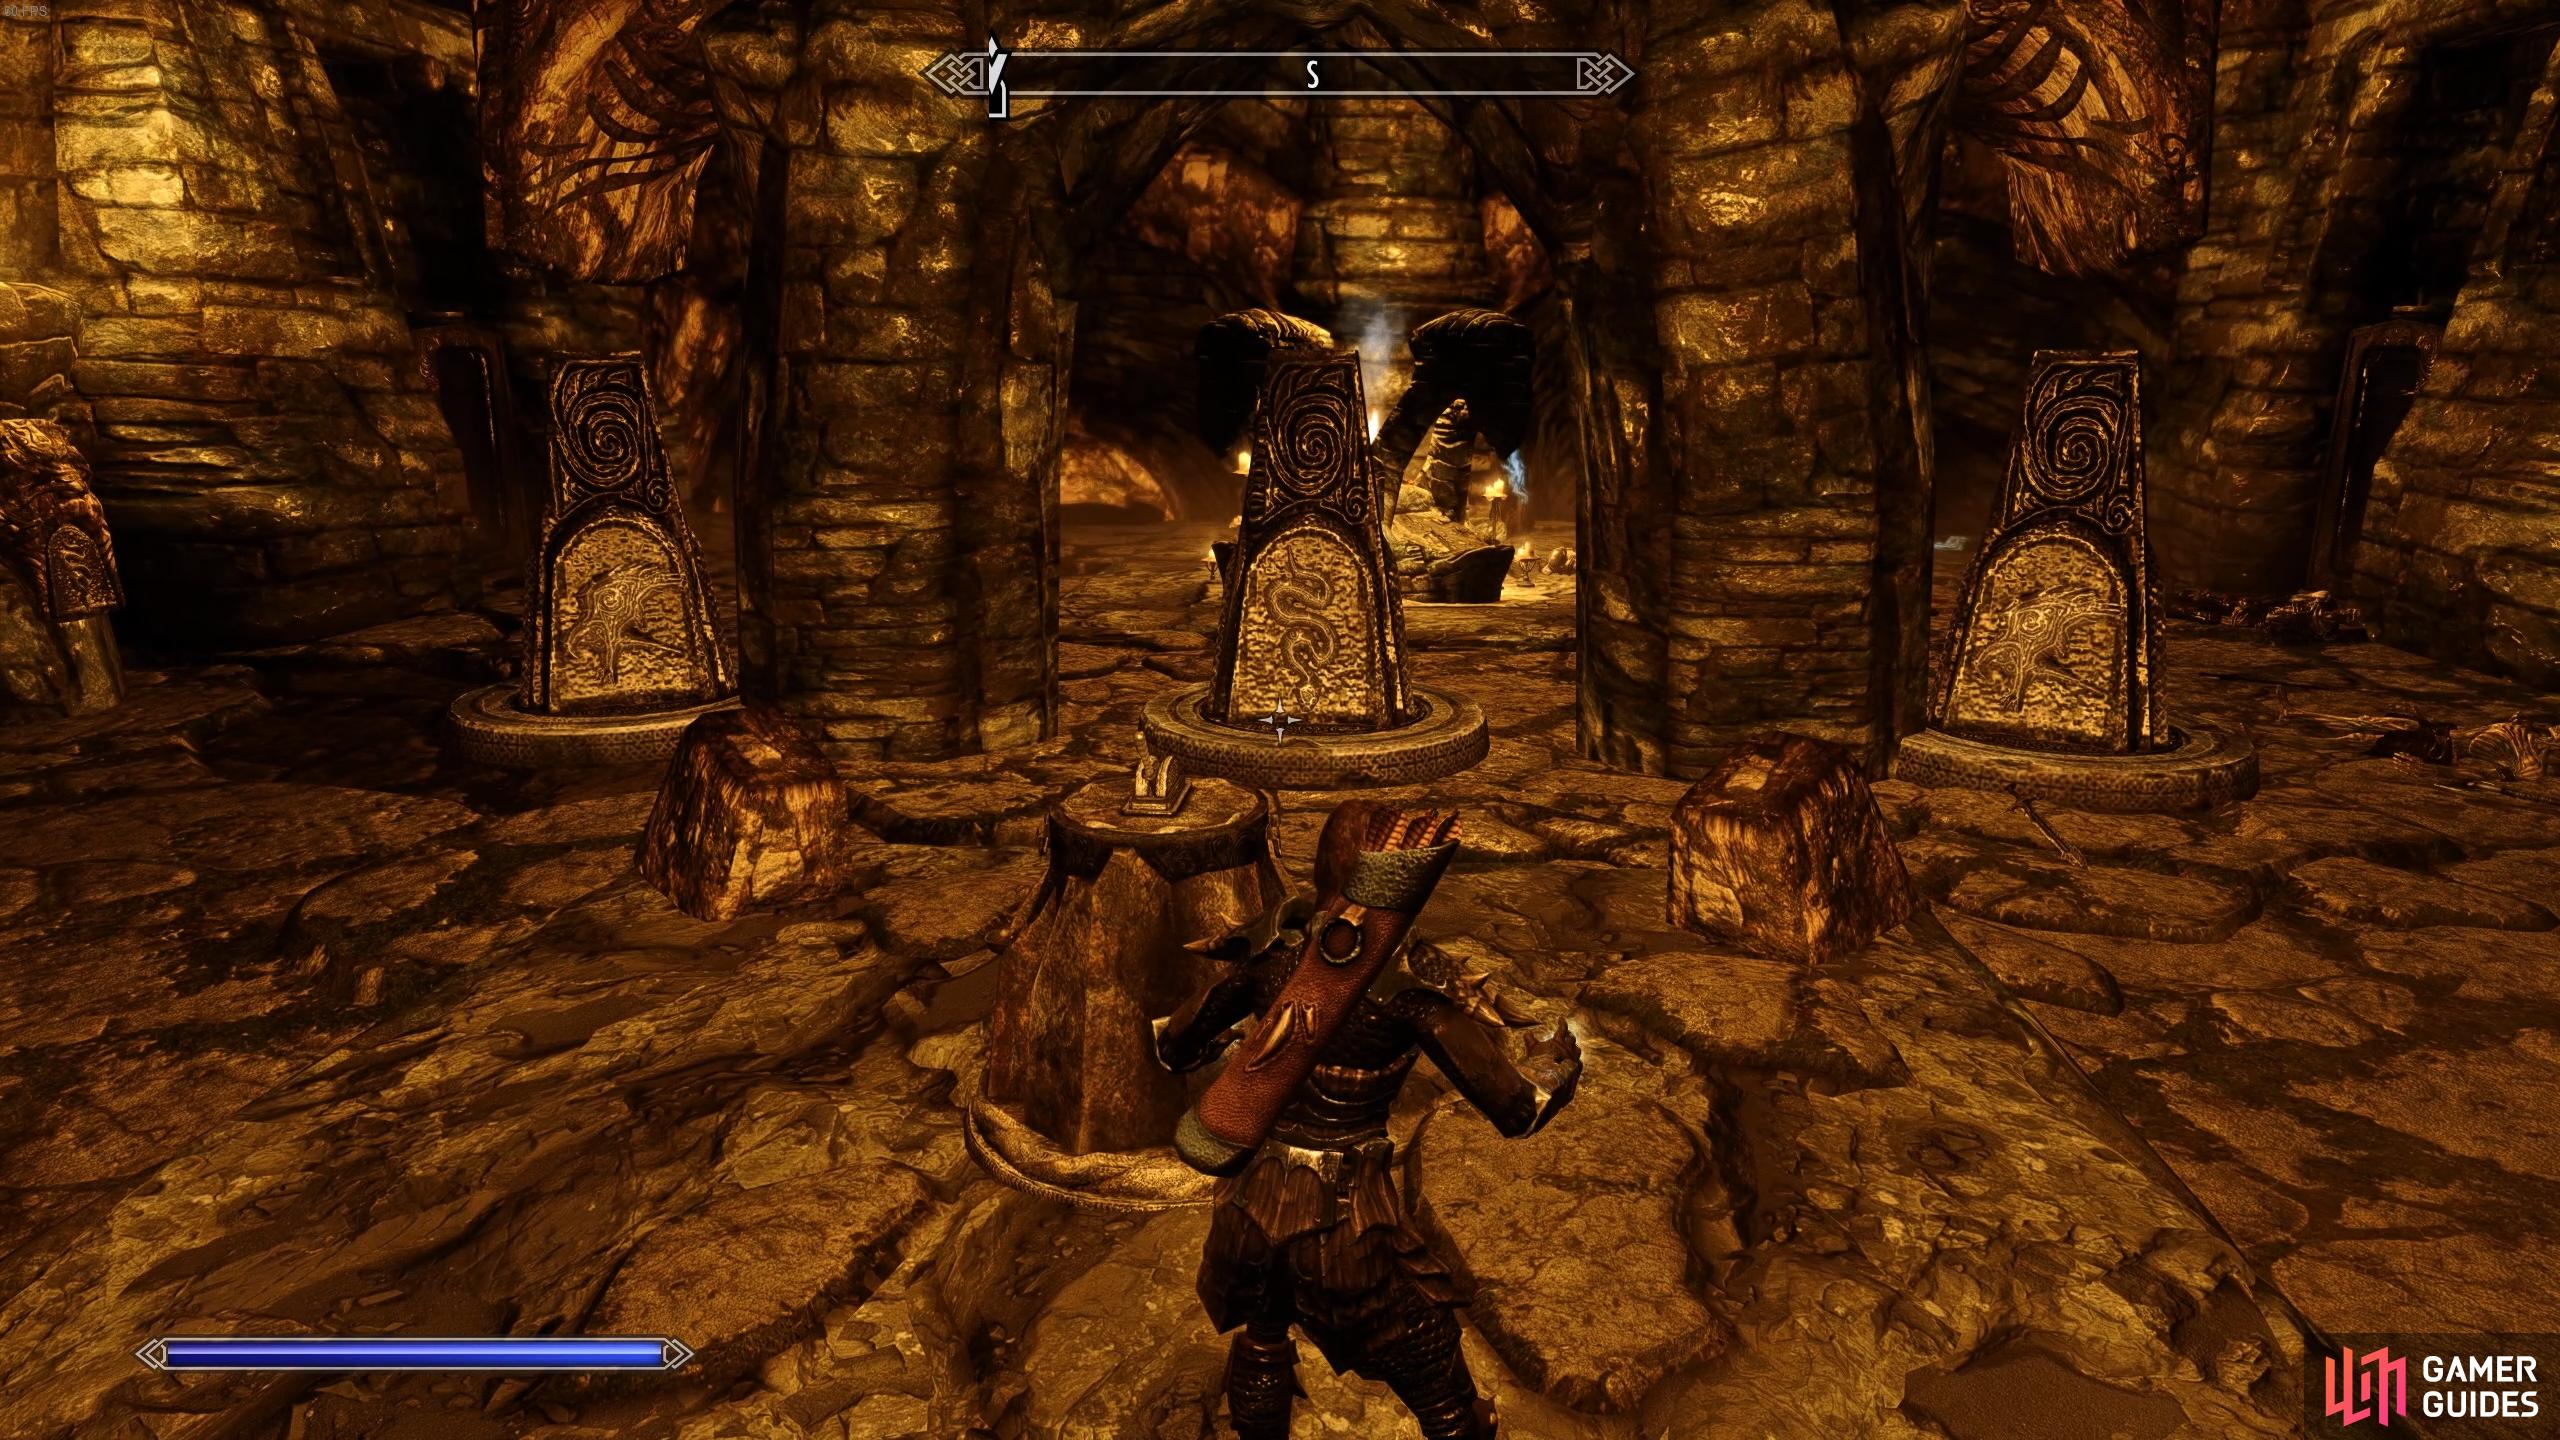
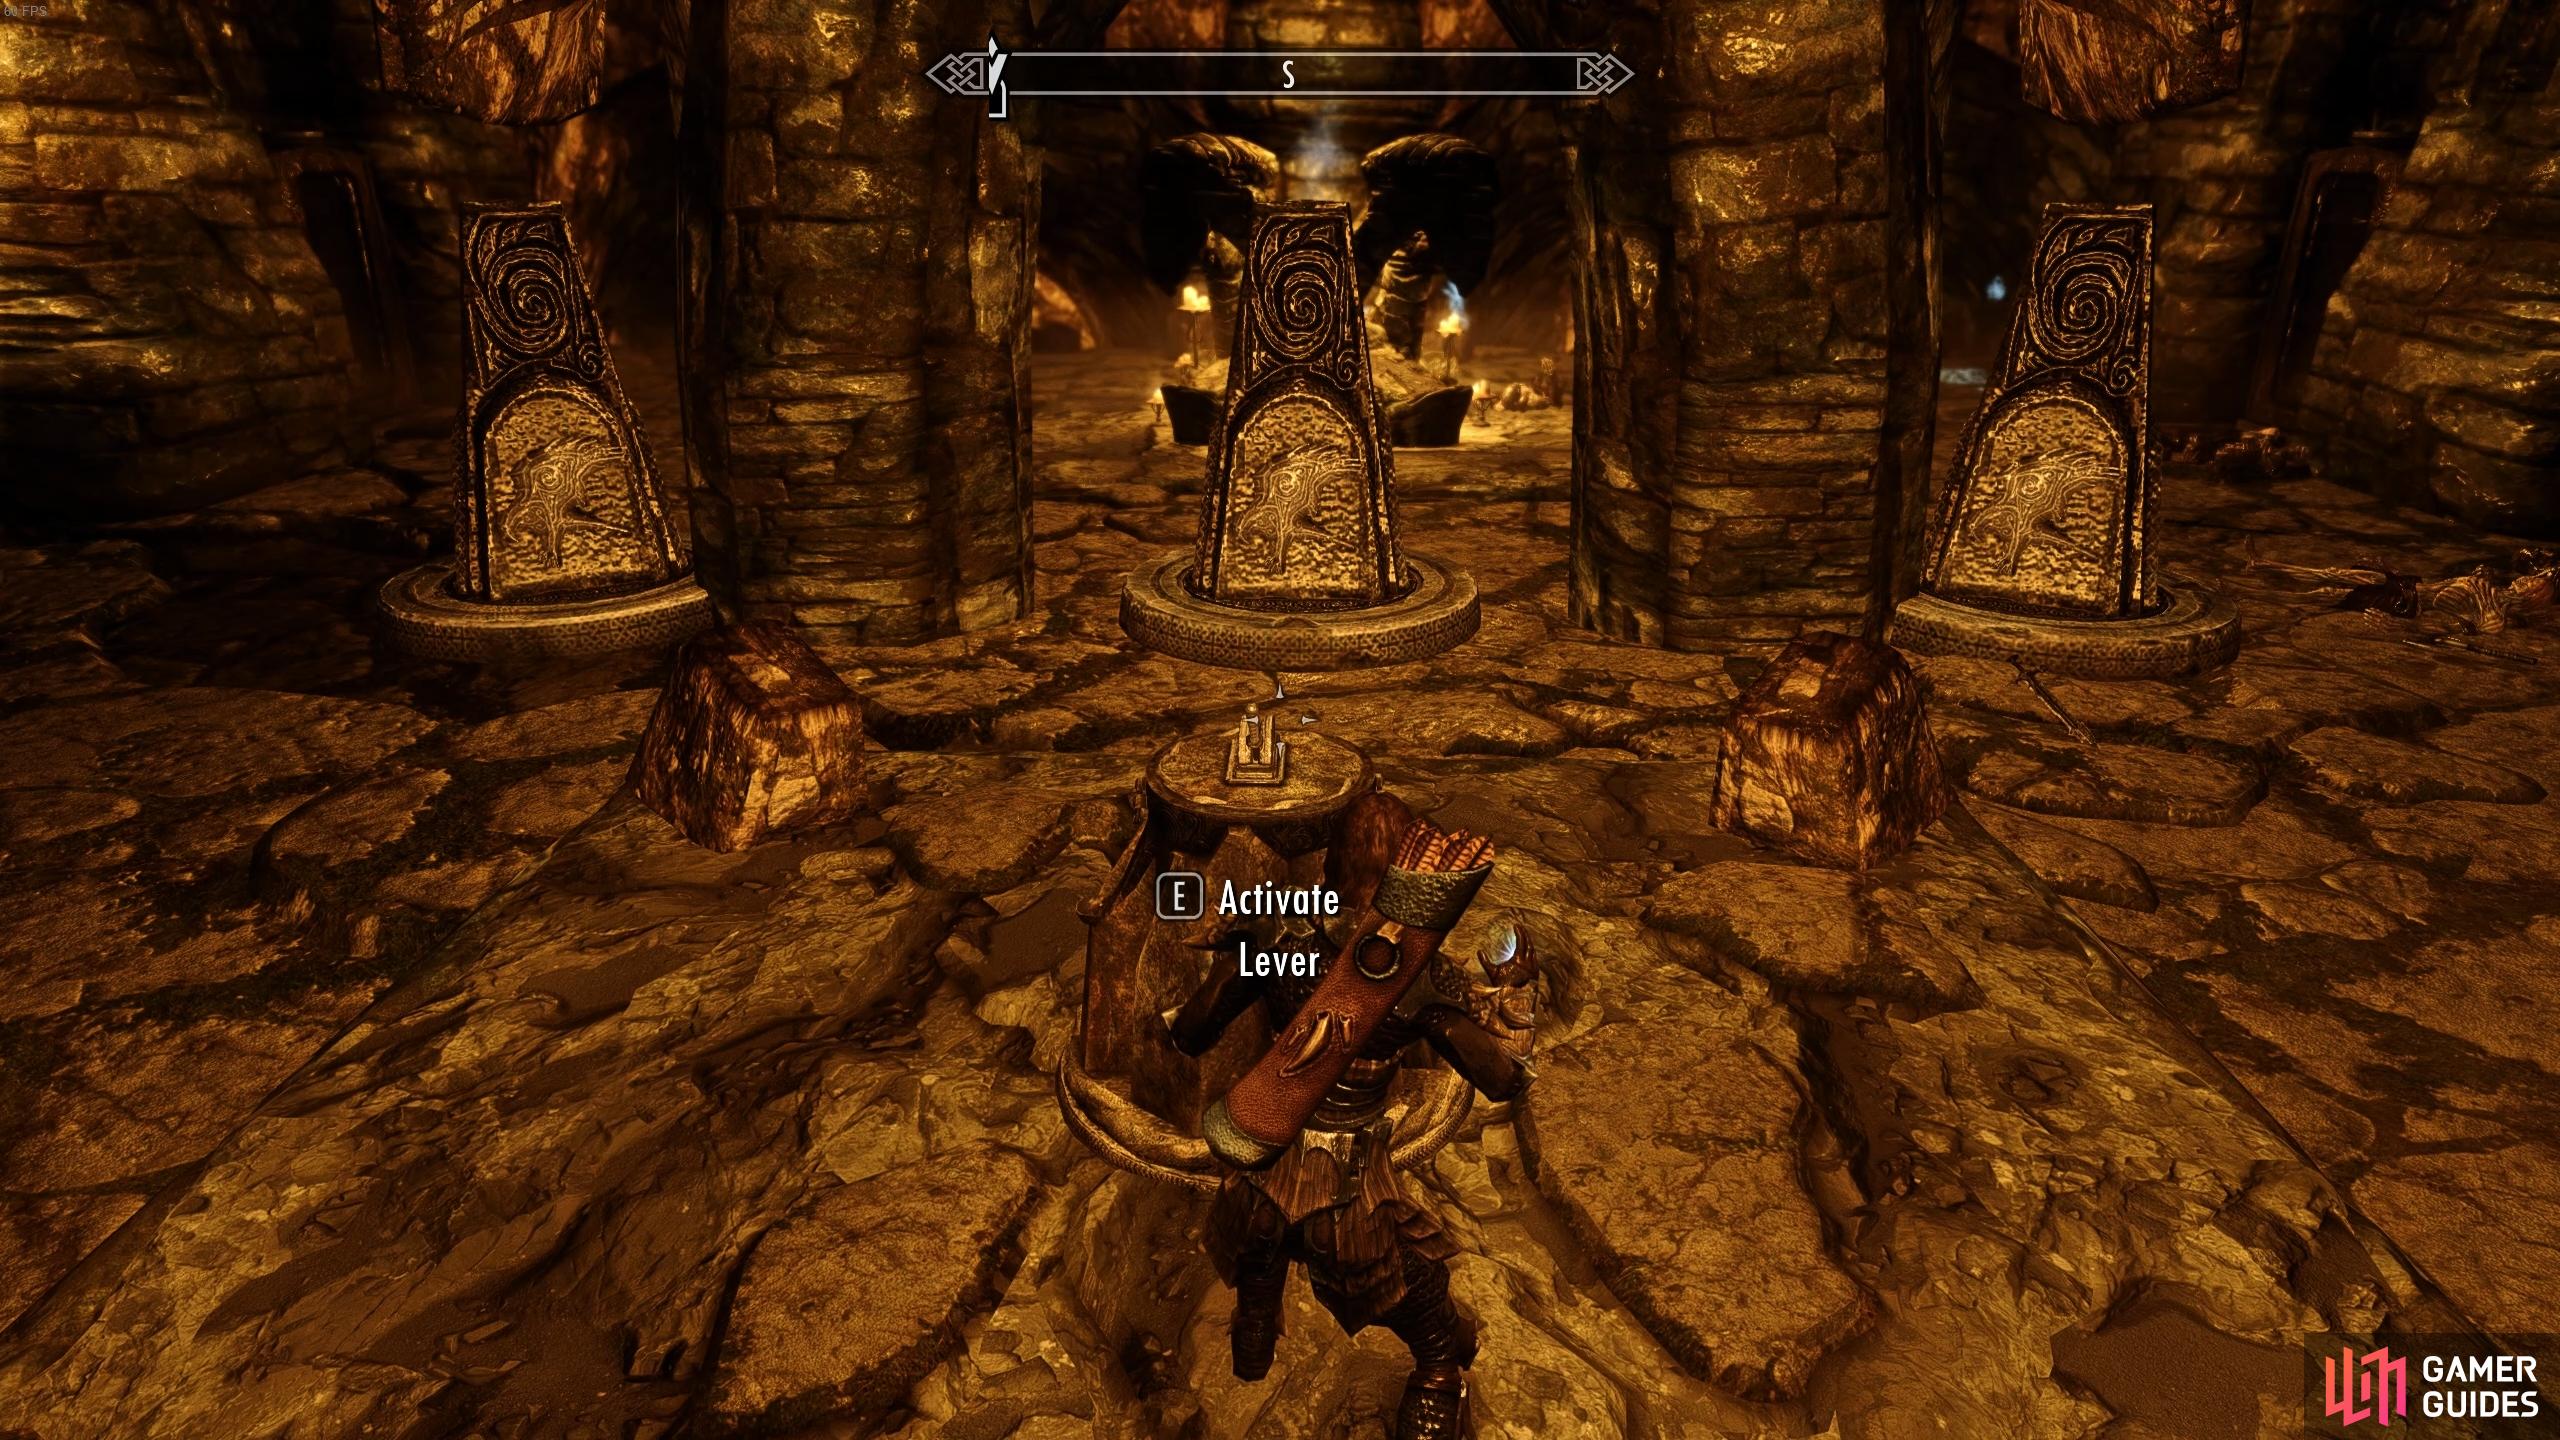
After you’ve defeated the dragons and draugr in the temple courtyard, you can make your way into the temple itself through the doors at the top of the stairs. You should be careful in here: it’s easy to pull too many draugr at once, so be patient and take your time with small groups of them if you’re low level or not properly armored. You’ll find plenty of urns in here to loot once you’ve defeated the draugr, and some chests. As you make your way further inside, you’ll encounter a stone pillar puzzle with a lever. You can adjust these pillars to open either the gate on the left or the gate on the right (when facing north away from the pillars).
To open the gate on the right, change the pillars to show the following symbols (when facing south): bird - bird - bird.
To open the gate on the left, change the pillars to show the following symbols (when facing south): bird - snake - bird.
(1 of 2) The correct order to open the left gate.
The correct order to open the left gate. (left), The correct order to open the right gate. (right)
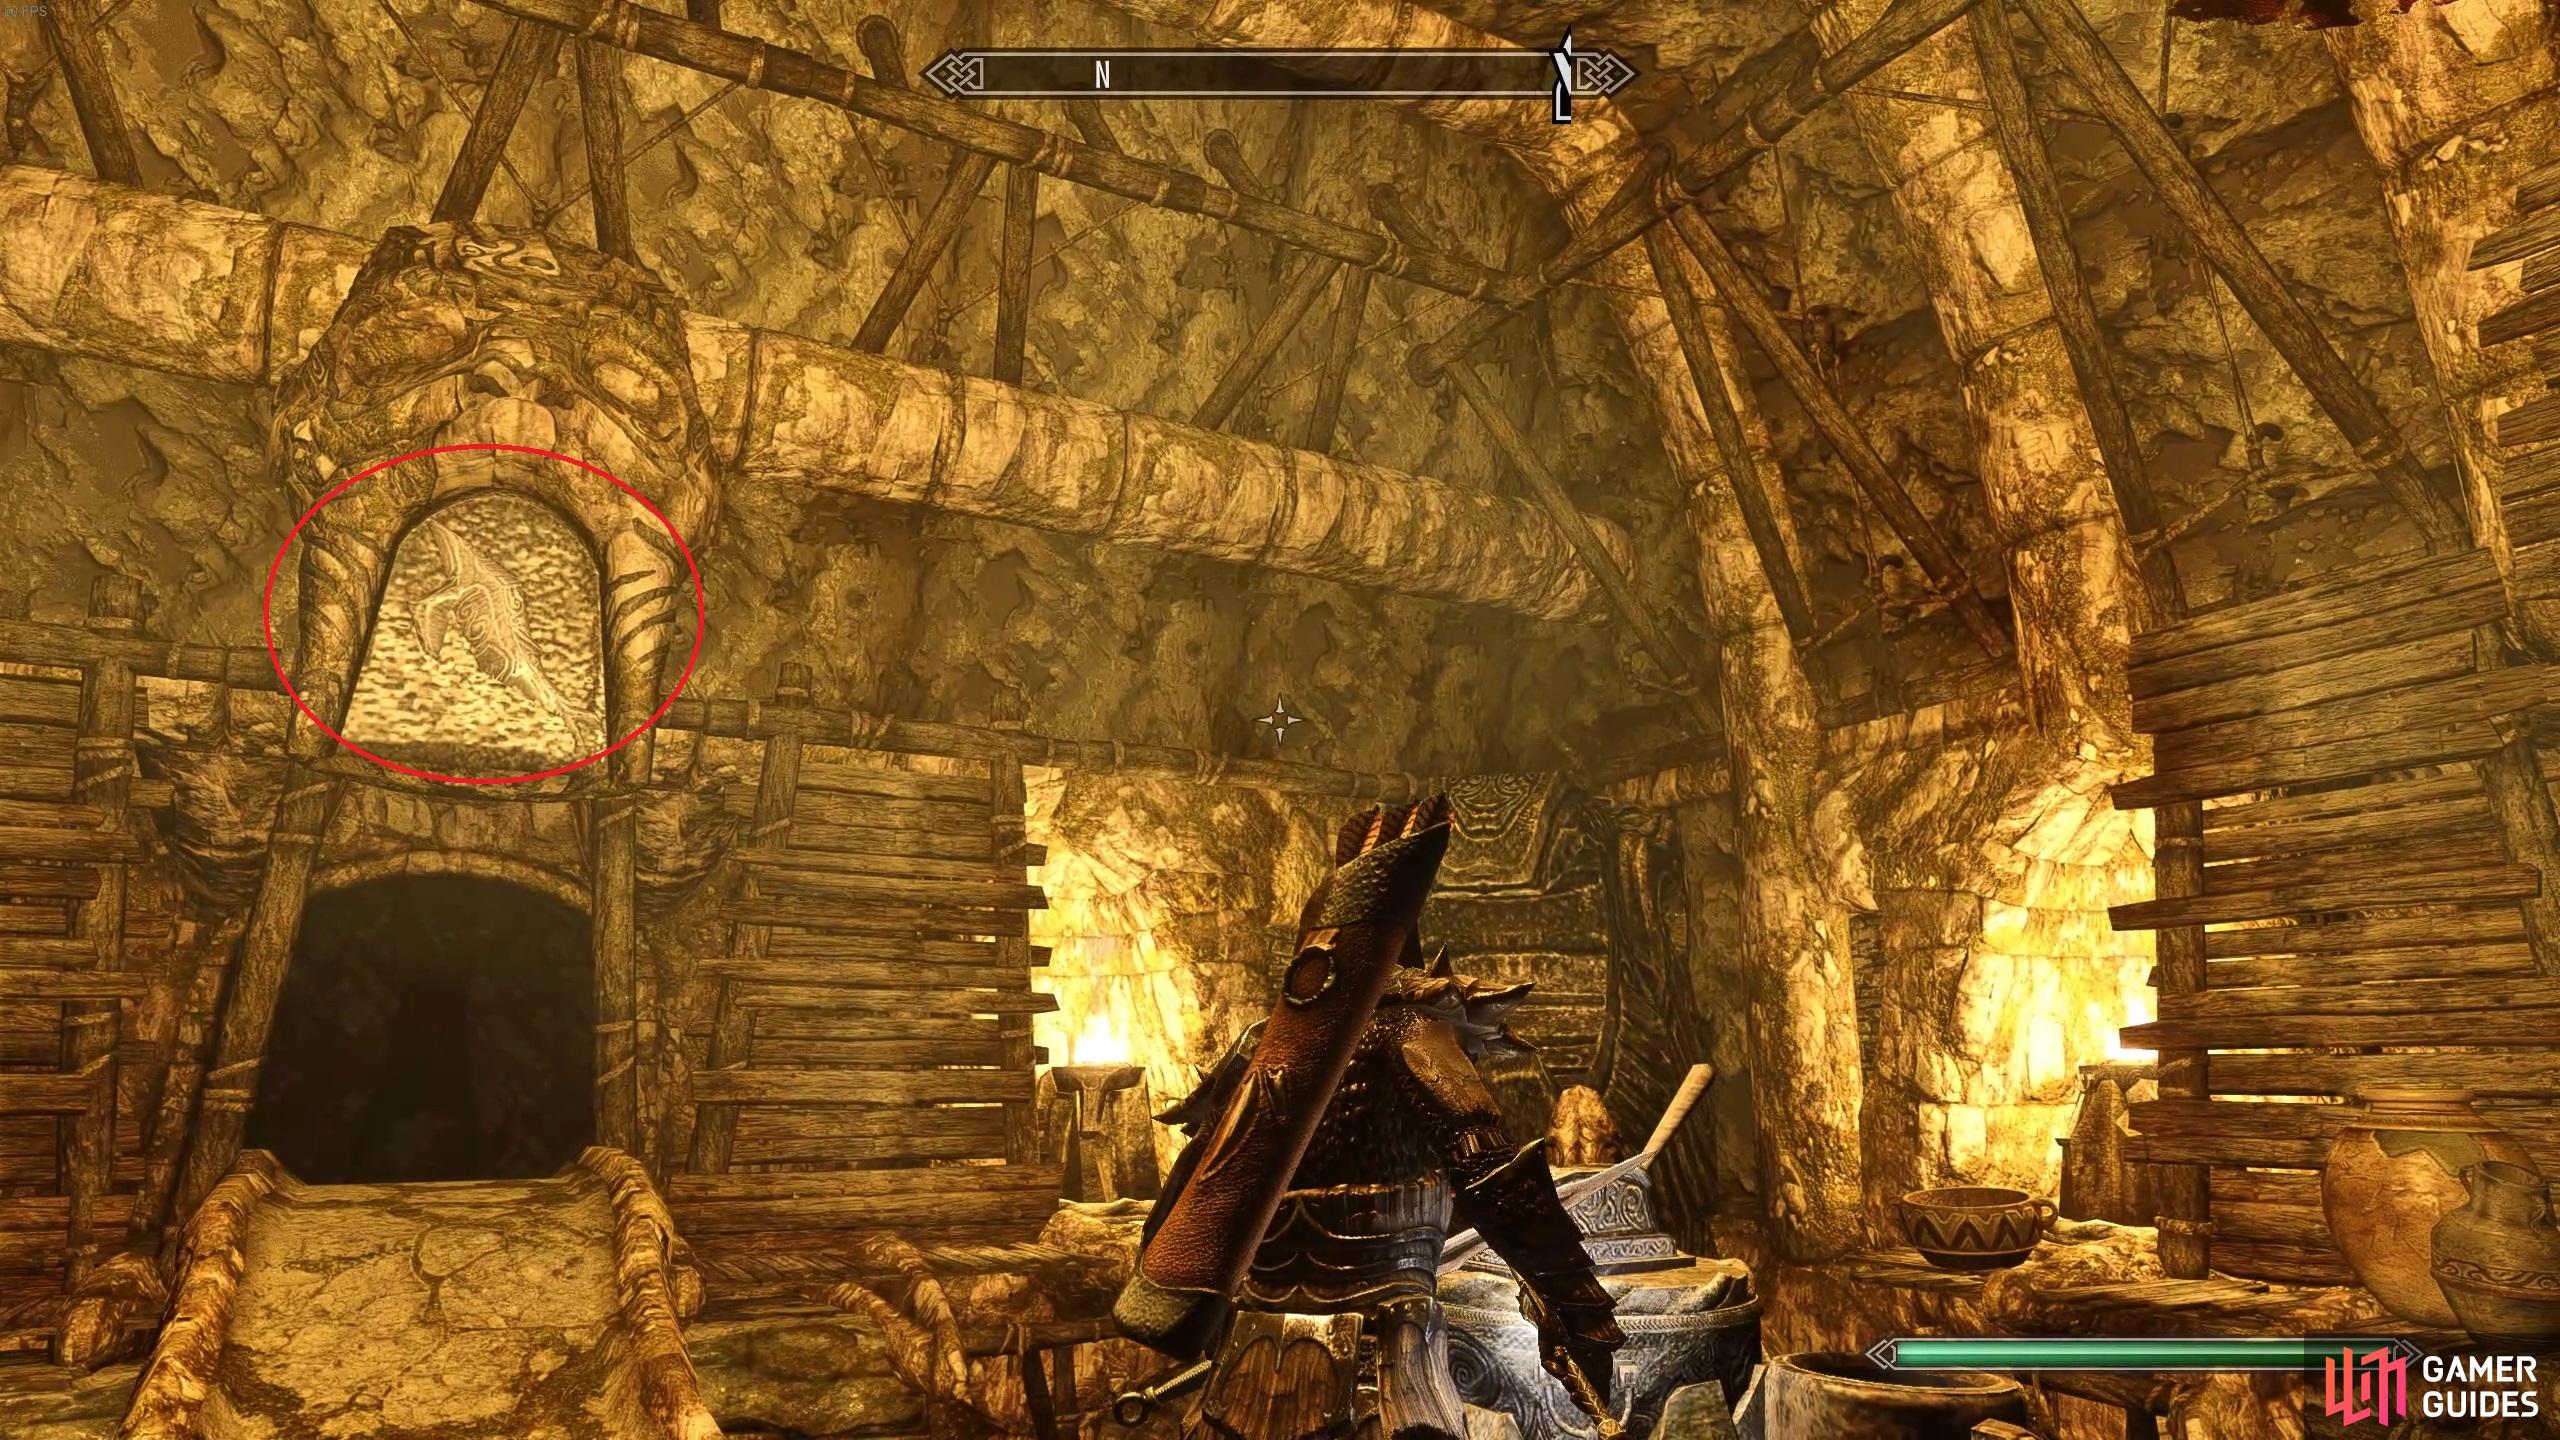
Once you’ve looted the chest beyond the gate on the right, you can continue beyond the gate on the left. You’ll soon enter a tomb with more draugr, which leads to a spider lair. Kill the spiders and look for a chest hidden under some webs near an iron door. Beyond the door you’ll find more draugr, and another puzzle. This one is pretty simple. All you need to do is mirror the symbols which are above the pillars, as follows:
Northern pillar should be a whale, southern pillar should be a bird, western (bottom) pillar should be a snake.
Once you’ve corrected the pillars, pull the lever at the centre of the room to lower the bridge. you can now go through to the next area, where you’ll find more draugr. Before going into the room with the spiral stairs leading upwards, note that there’s a Trap Floor Plate here which sparks the oil below and shoots arrows at you. Loot the place and take the stairs up. If you’re fast (and have ranged) you can shoot down the pot above the oil up here to fry the three Draugr. Loot the chest up here and hit the lever to continue.
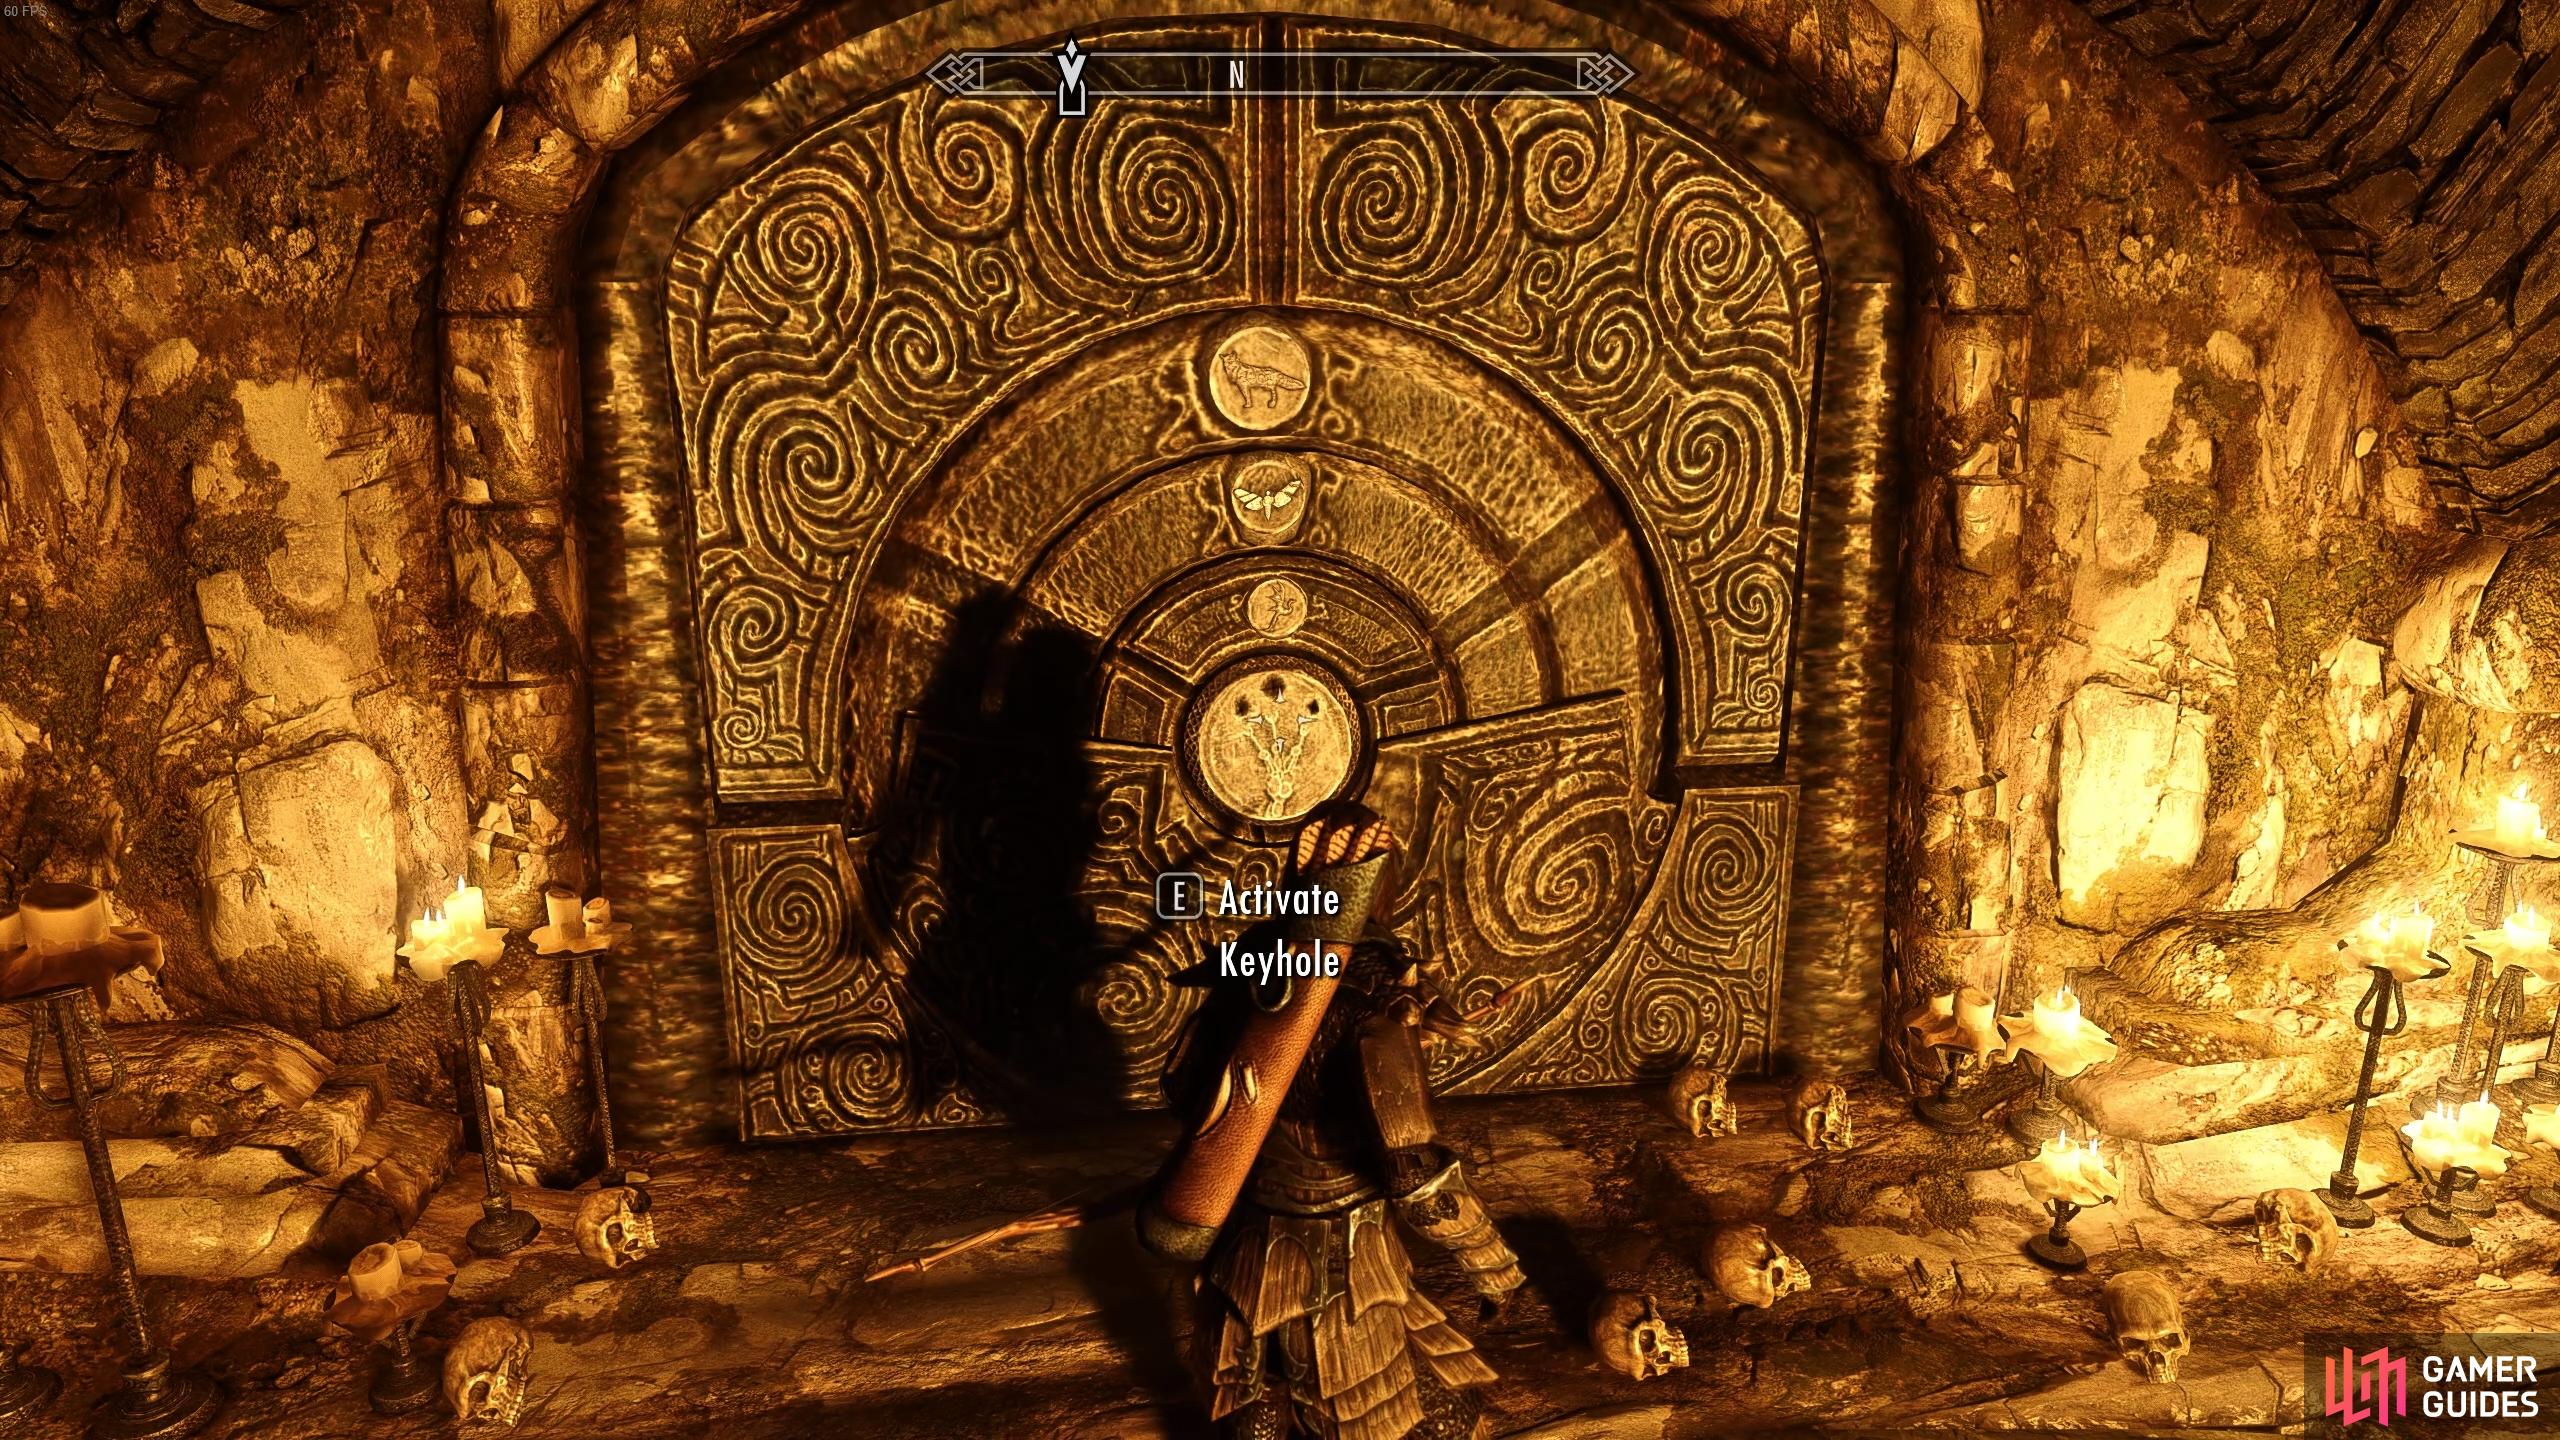
As you move forward you’ll reach a seemingly empty section of the temple. Be careful of the oil spill once you reach it as a pot will ignite it all. At the end of this path is a Draugr Wight Lord, a fairly tough enemy but nothing you shouldn’t be able to manage at this point. Once you’ve killed him, be sure to loot a Diamond Claw from the corpse. You’ll need to use this to open the door with the symbols on, just as you did with the first dungeon at Bleak Falls Barrow. You’ll need to match the symbols on the door with those on the claw, with the wolf symbol on the top ring, the moth on the middle ring, and the dragon on the bottom ring.
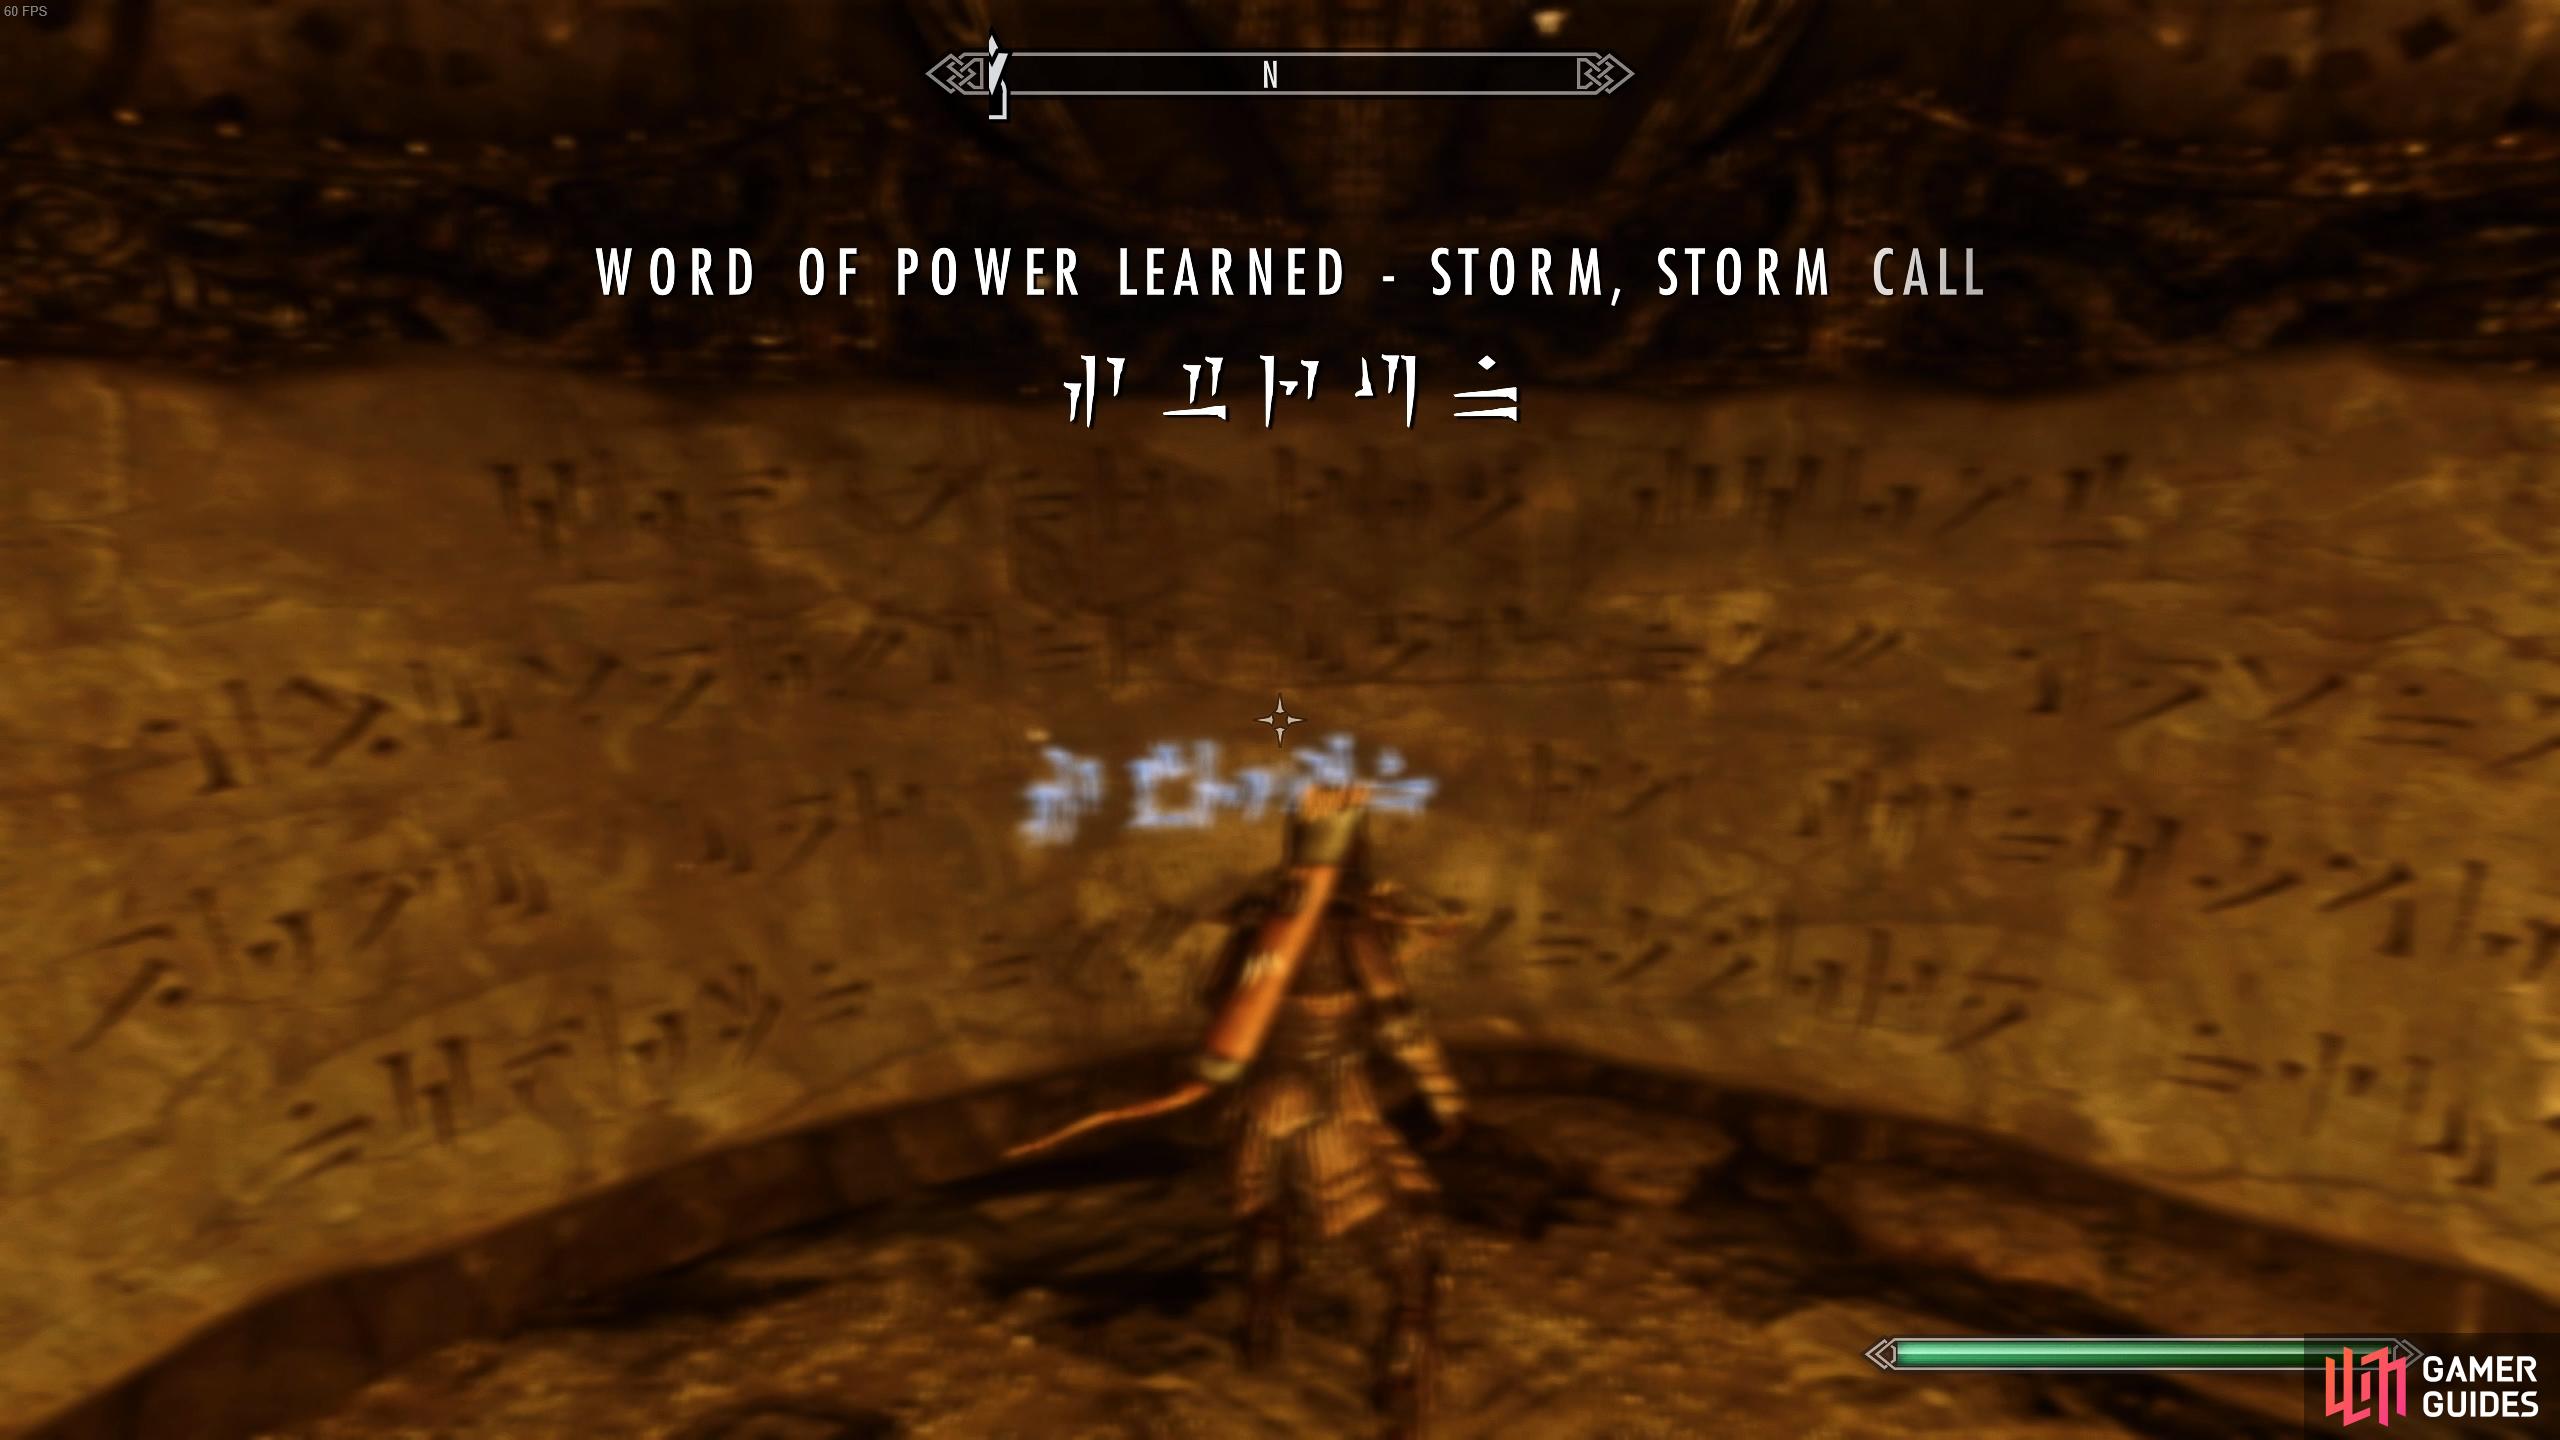
Once you’re beyond the door you’ll find a dragon wall, which holds a new shout: Storm Call - Storm. This is an expensive shout that still needs a dragon soul to power up. The shout does what you might expect: summons a storm in the area when you’re outside. Head onwards, loot the room you come to on the right, and proceed out into Skuldafn.
(1 of 4) Mirror the symbols above the pillars for the correct order before you pull the lever.
Defeat the Dragon Priest Nahkriin
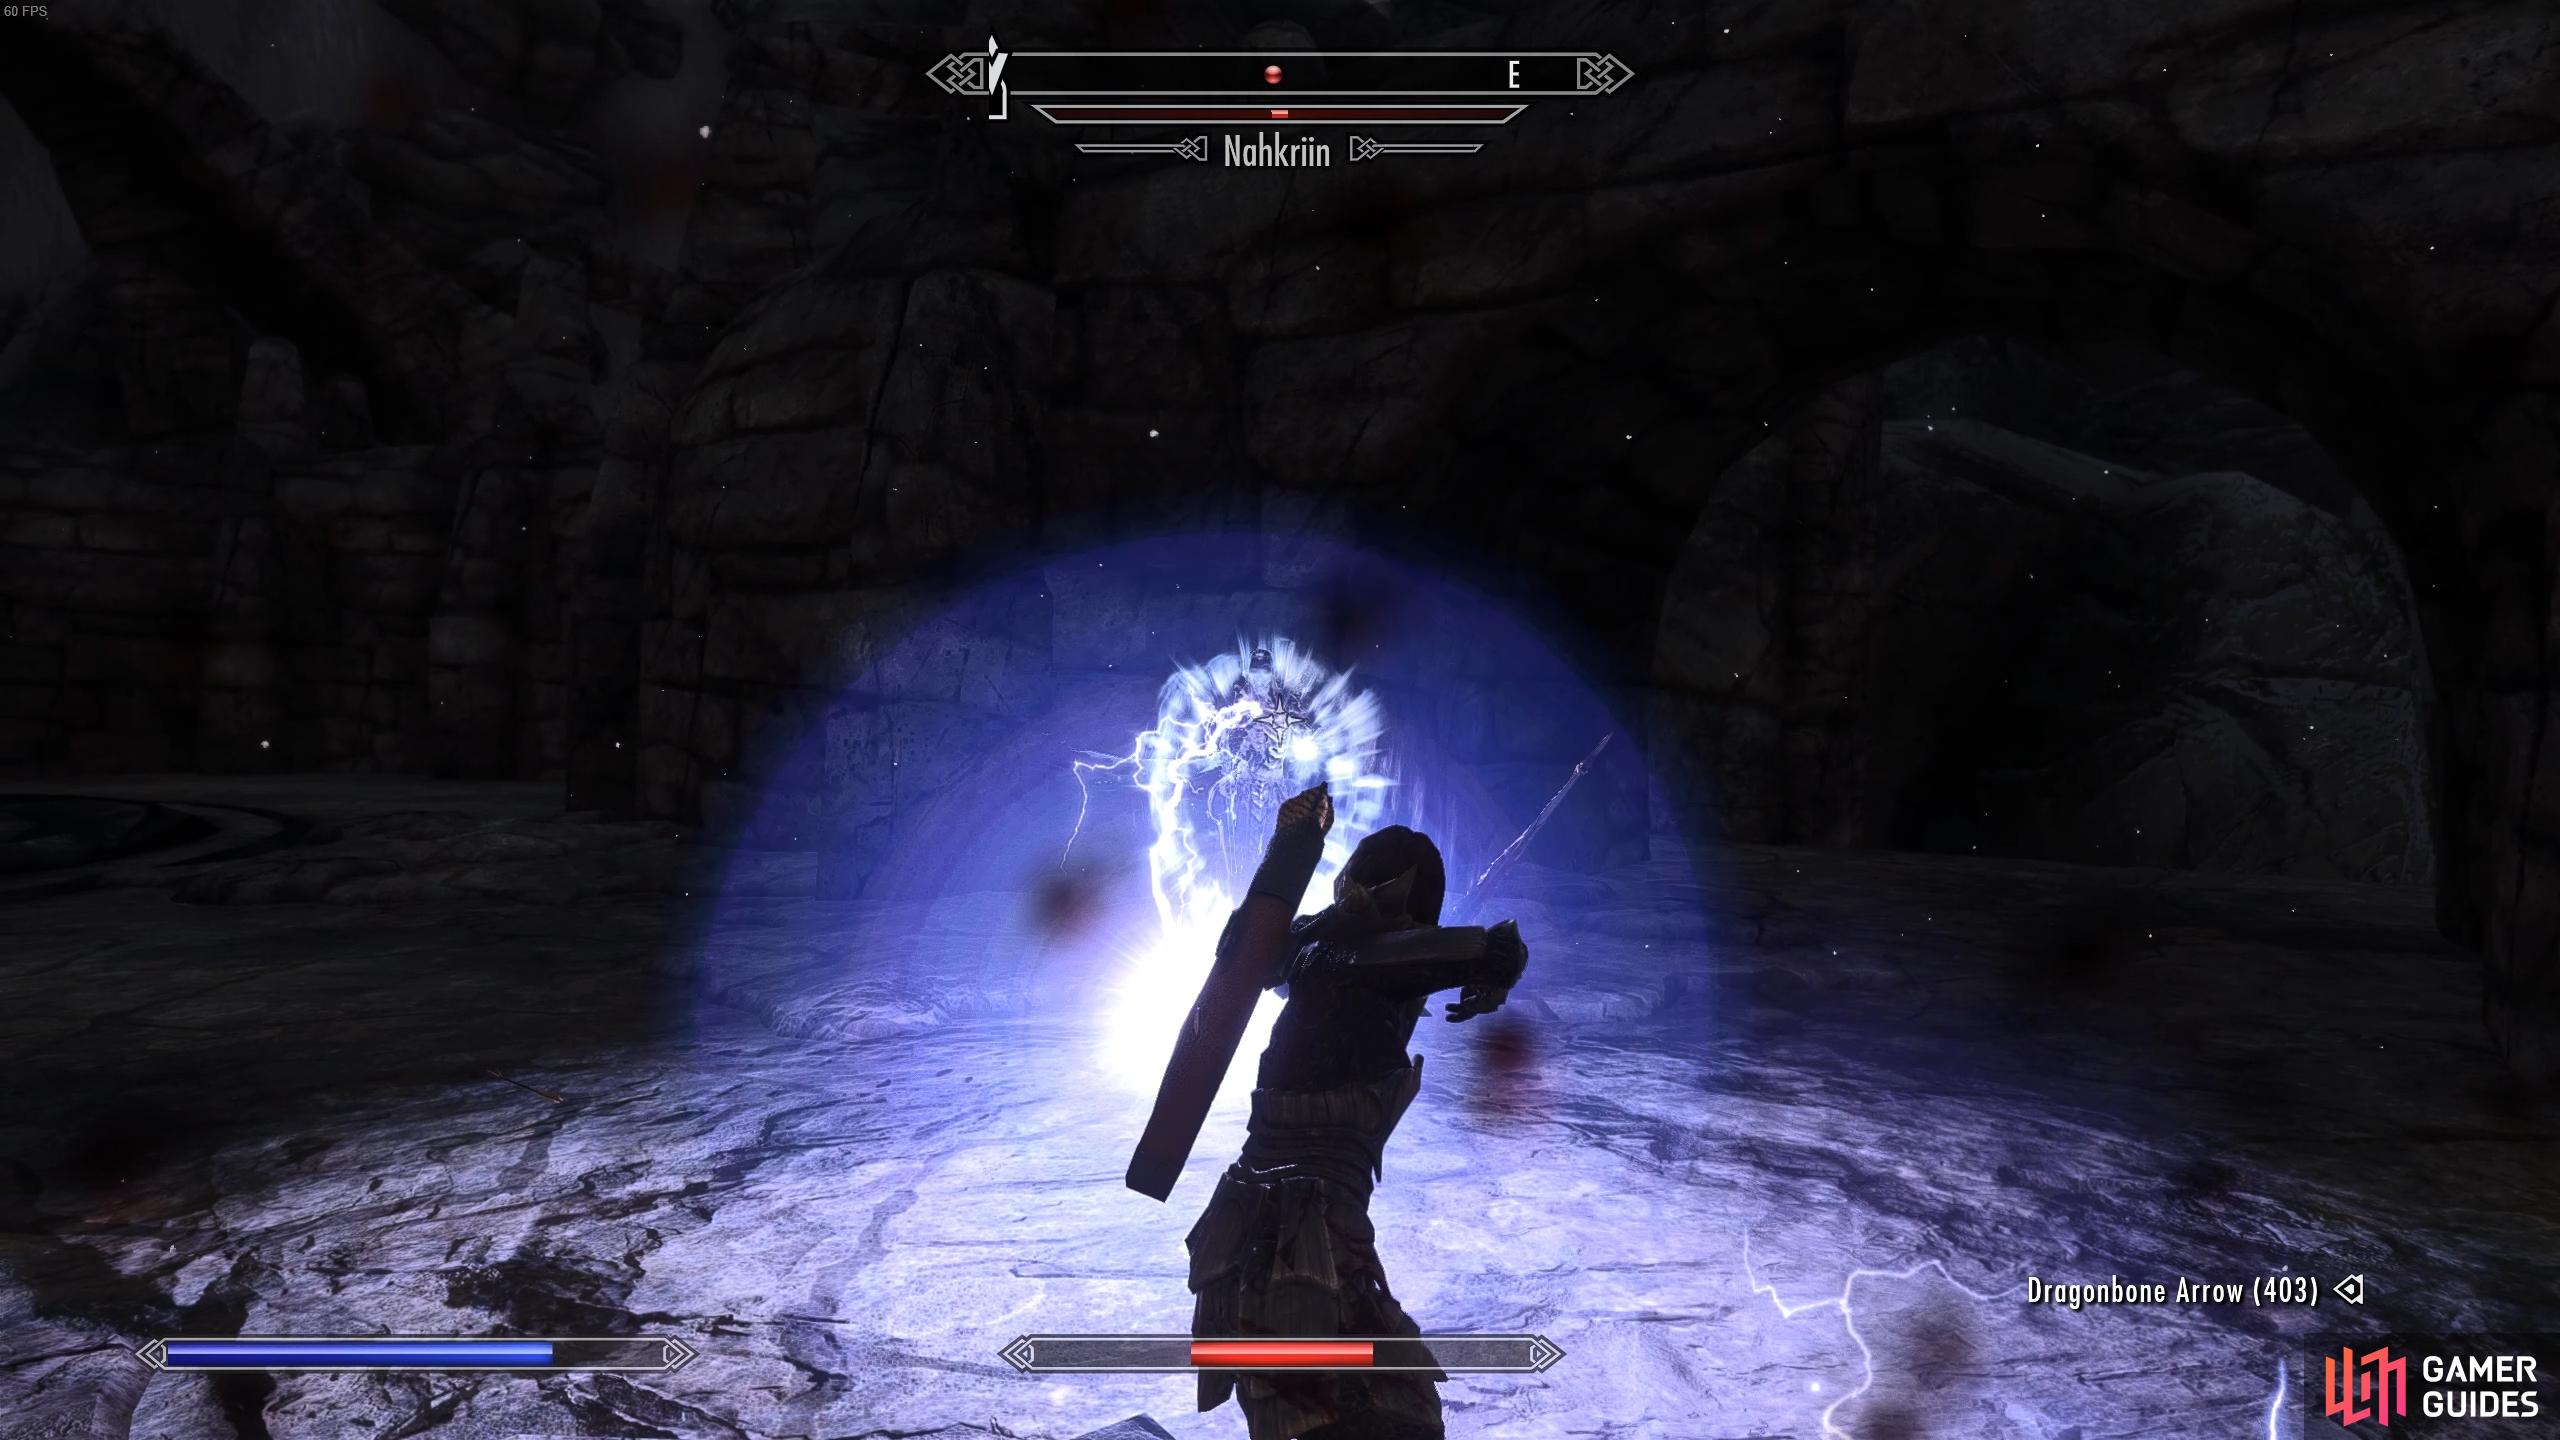
Now that you’re outside the temple you’ll encounter more draugr. Kill them and explore the ruins, then make your way to the highest point where the portal to Sovengard is located. The portal is guarded by a dragon priest named Nahkriin, who hits pretty damn hard if you’re not well armored, so it’s a good time to make a hard save.
Nahkriin is one of the eight high-ranked dragon priests in Skyrim. A master of ice magic, Nahkriin will often summon a storm familiar to assist. The ice magic of Nahkriin can be highly damaging, so you’ll need to be ready with plenty of healing potions and spells. At the same time, the best way to end this fight is to inflict as much damage as possible, as quickly as possible. You might say this is good advice for most fights, but here it really matters. The dragon priest can inflict a lot of damage, and you have a finite amount of healing that you can pull off to counter the damage.
If you’re a class with a lot of ranged damage such as an archer or mage, you’ll have an easier time to take pot shots and fight dirty, using the surrounding landscape to your advantage. You’ll likely need to make use of the stonework as you did with the dragons earlier, saving your most damaging attacks for the most opportune moments. So long as you’re reasonably well armored with decent high damage weapons, you should be fine.
Once you’ve defeated Nahkriin be sure to loot them, then interact with the dragon seal to activate the portal to Sovengard. All you need to do now is jump into the portal to be transported to Sovengard, thereby completing this quest.

 Sign up
No Comments