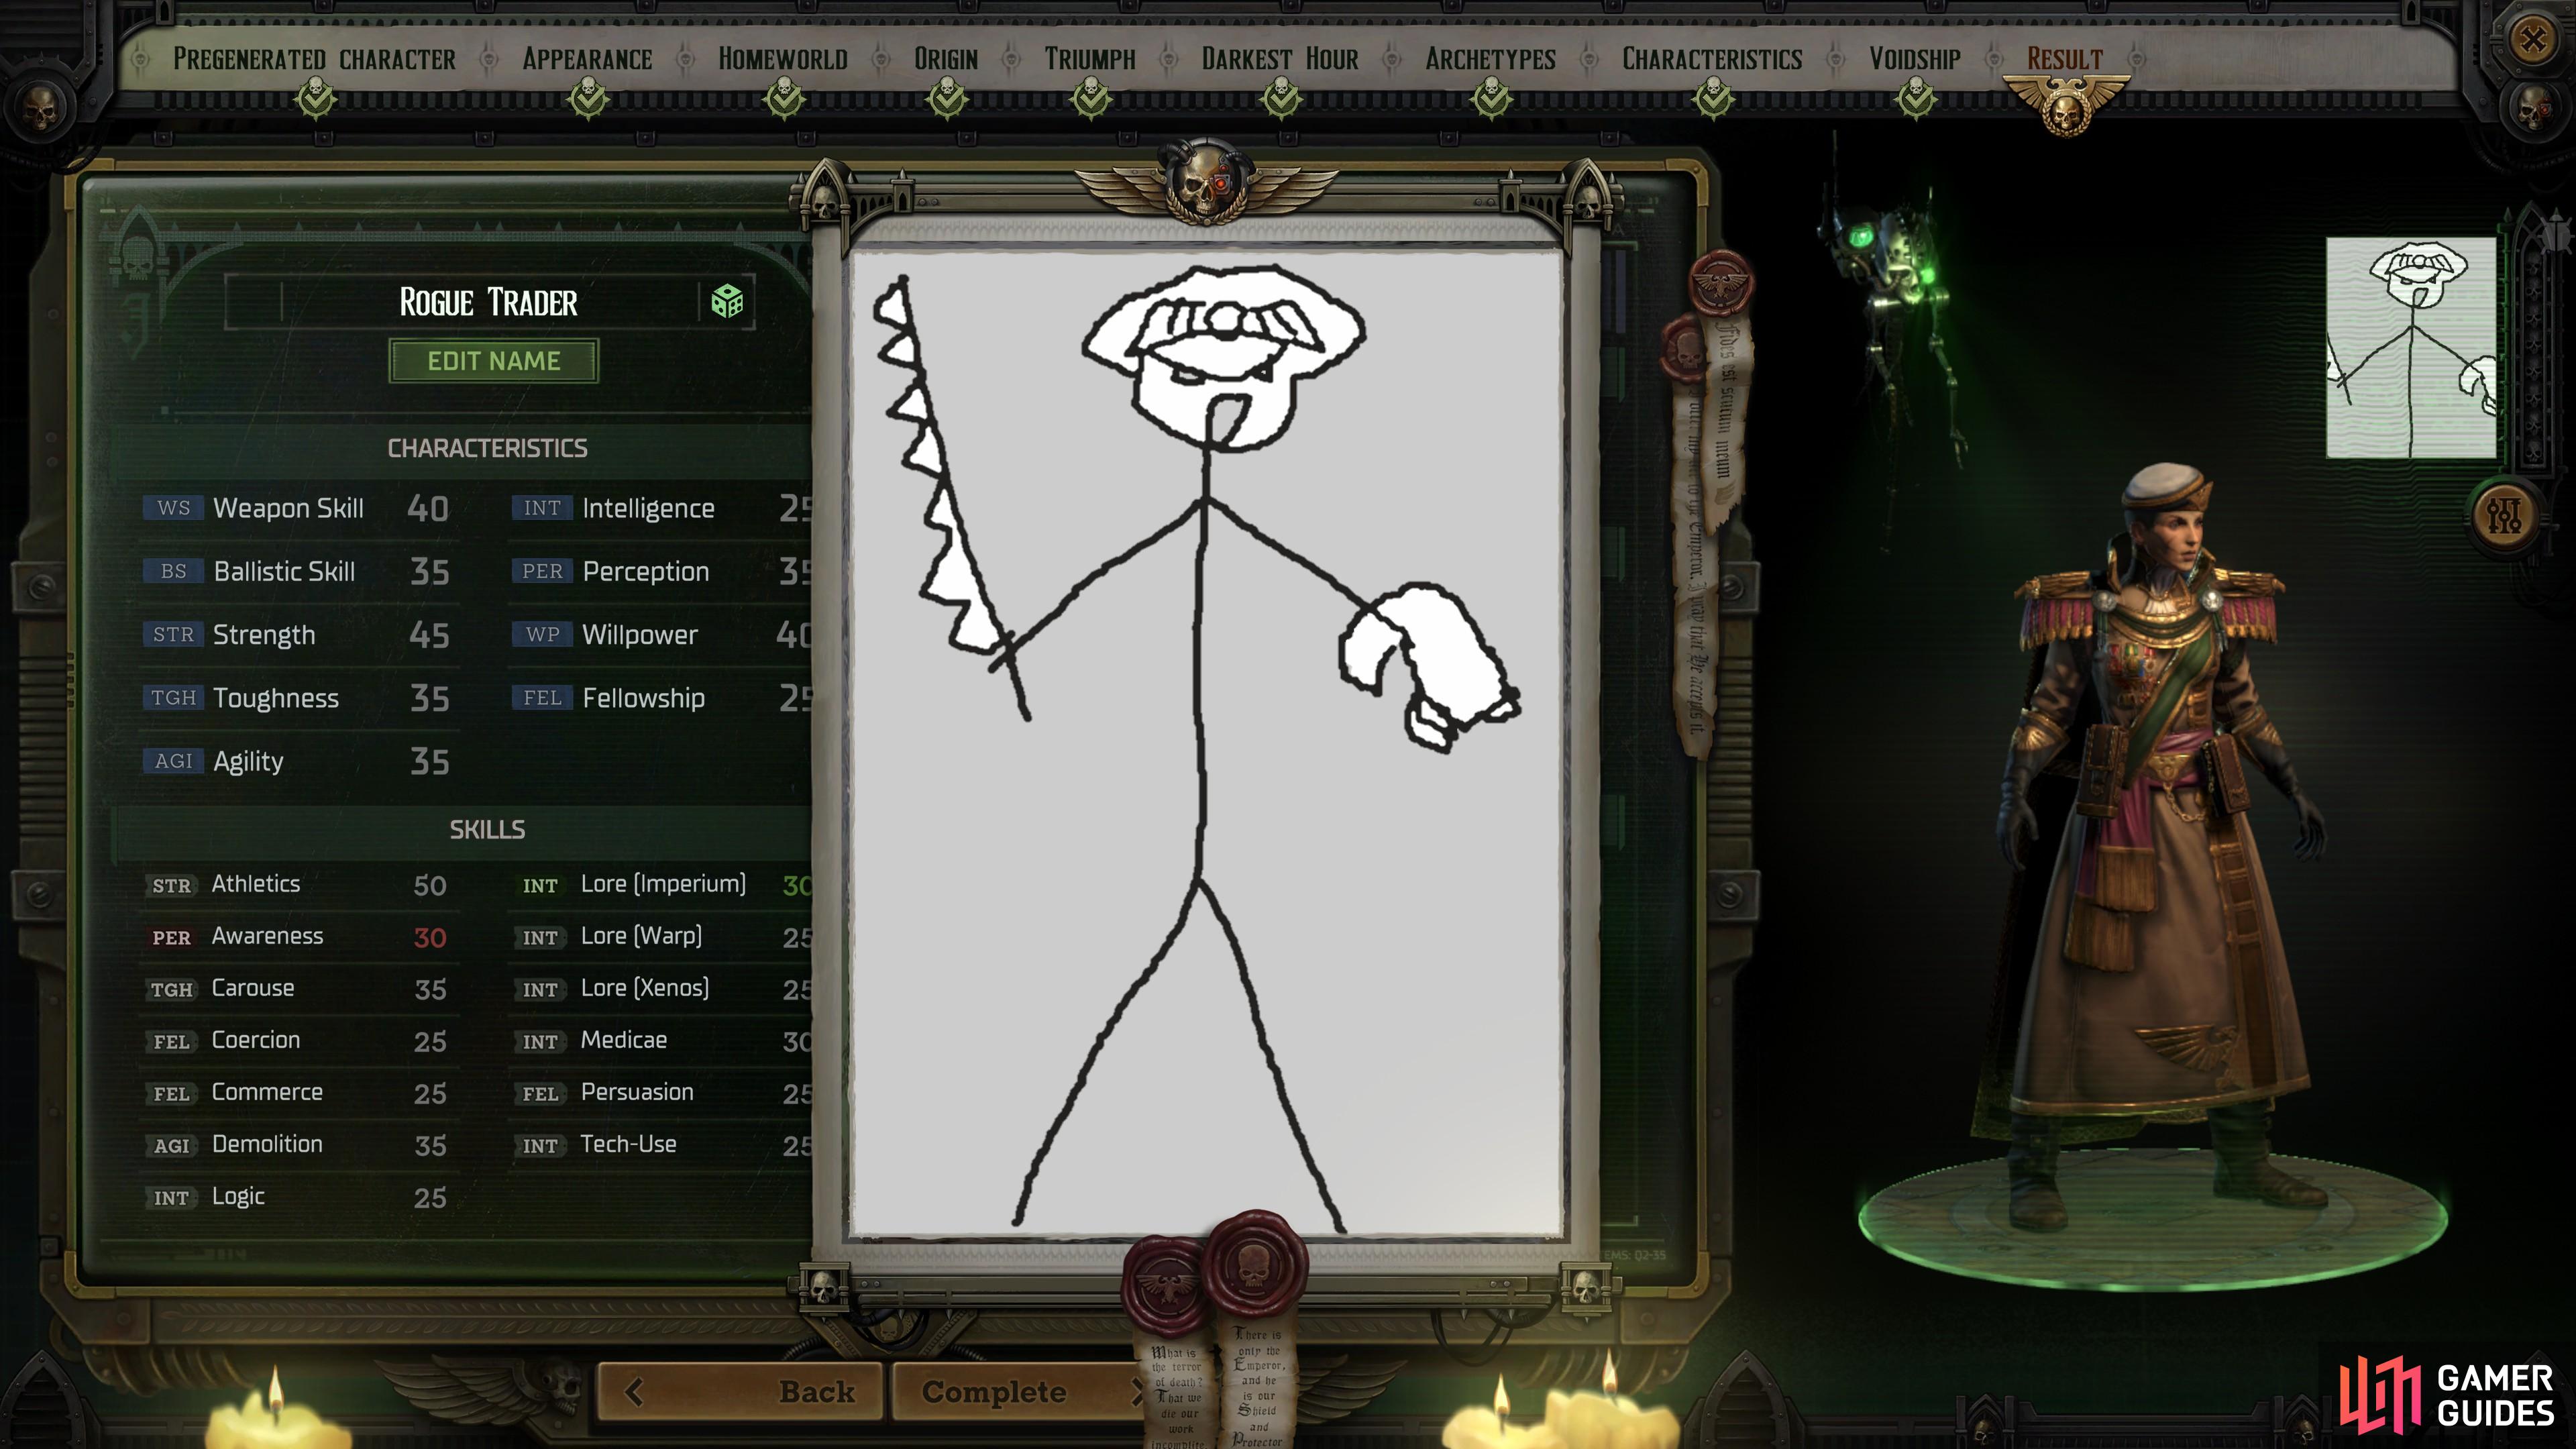
There are plenty of portraits available to represent your protagonist in Rogue Trader, but sometimes you’re just not vibing with the options on hand. Good news! You can use your own custom portraits, and for a setting like Warhammer 40,000 there’s tons of official art from Games Workshop and fan art you can use (ideally with permission) to represent your Rogue Trader. This page will provide a handy dandy guide for creating your own custom portraits in Rogue Trader.
Where to Find the Portraits Folder in Rogue Trader
Before you go fussing around with whatever image you found or created, you’ll need to locate the aptly named “Portraits” folder on your PC. The default route is as follows:
Local Disk (C:) > Users > PC Name > AppData > LocalLow > Owlcat Games > Warhammer 40000 Rogue Trader
Just locate the Portraits folder and you’re in the right spot. Within the Portraits folder, you’ll want to create another folder named “0001”. You’ll be putting your images in this numbered folder.
With a little effort, you can use your own beautiful artwork for your character portrait in Rogue Trader.
Custom Photo Sizes
Rogue Trader uses three different portraits at various times, including a full-length portrait (pretty much exclusive for the Biography page in your character screen), a medium-sized portrait (seen on the stats page on the left of many menus, including your inventory) and a small-sized portrait, which can be found during the top of the screen during most gameplay segments, to the left of the screen during combat (for the turn order indicator) and in dialog. You will need to name these photos “Fulllength”, “Medium” and “Small”, respectively, and place them in your numbered (e.g. “0001”) folder in the “Portraits” folder. They also must be PNGs. Their sizes are as follows:
| Portrait Type | Size (Pixels) | File Type |
|---|---|---|
| Fulllength | 692 x 1024 | PNG |
| Medium | 330 x 432 | PNG |
| Small | 185 x 242 | PNG |
It’s also worth noting that if you want your own custom portrait to match the ones found in the game, the portraits used aren’t just identical, smaller versions of each other. Each one is cropped progressively small to focus on the character portrayed differently. The “Fulllength” portrait shows the entire character, from head to feet, the “Medium” portrait focuses on the upper body, usually from the waist up, and the “Small” portrait is just a headshot (i.e. from the neck up, at most). It’s not necessary, but it’ll help keep your image from looking (more) out of place.
How to Select Custom Portraits In-Game
Once you have three PNG files cropped and named as instructed above, move them into your numbered folders and boot up the game. When you go to create a new character (be it a protagonist for a new playthrough or a mercenary hired on your voidship), proceed to the “Appearance” menu, select “Portraits” and then “Custom”. If you followed the instructions above correctly, the “Small” portrait should appear in one of the boxes, you need only select it. And just like that, you’ve got your own portrait to use in Rogue Trader!


 Sign up
No Comments