Grey Wardens are the experts when it comes to blight and darkspawn, and since the Evanuris are using both as their primary weapons, it makes sense to seek out their expertise. Of course, if they Grey Wardens were ever competently led, there wouldn’t be Dragon Age games. When your pleas fall on hostile ears, you’re left with no choice but to appeal to what few sympathetic Grey Wardens exist who may be willing to challenge the First Warden. This page will provide a walkthrough for the main quest ![]() A Warden’s Best Friend in Dragon Age: The Veilguard.
A Warden’s Best Friend in Dragon Age: The Veilguard.
Page Breakdown
| Quick Search |
|---|
| Starting A Warden’s Best Friend |
| Find an Eluvian to the High Anderfels |
| Find Warden Remi |
| Solve the Warden Statue Puzzle |
| Find Warden Lancit |
| Rescue the Griffons |
| Boss: Frenzied Ogre |
Starting A Warden’s Best Friend
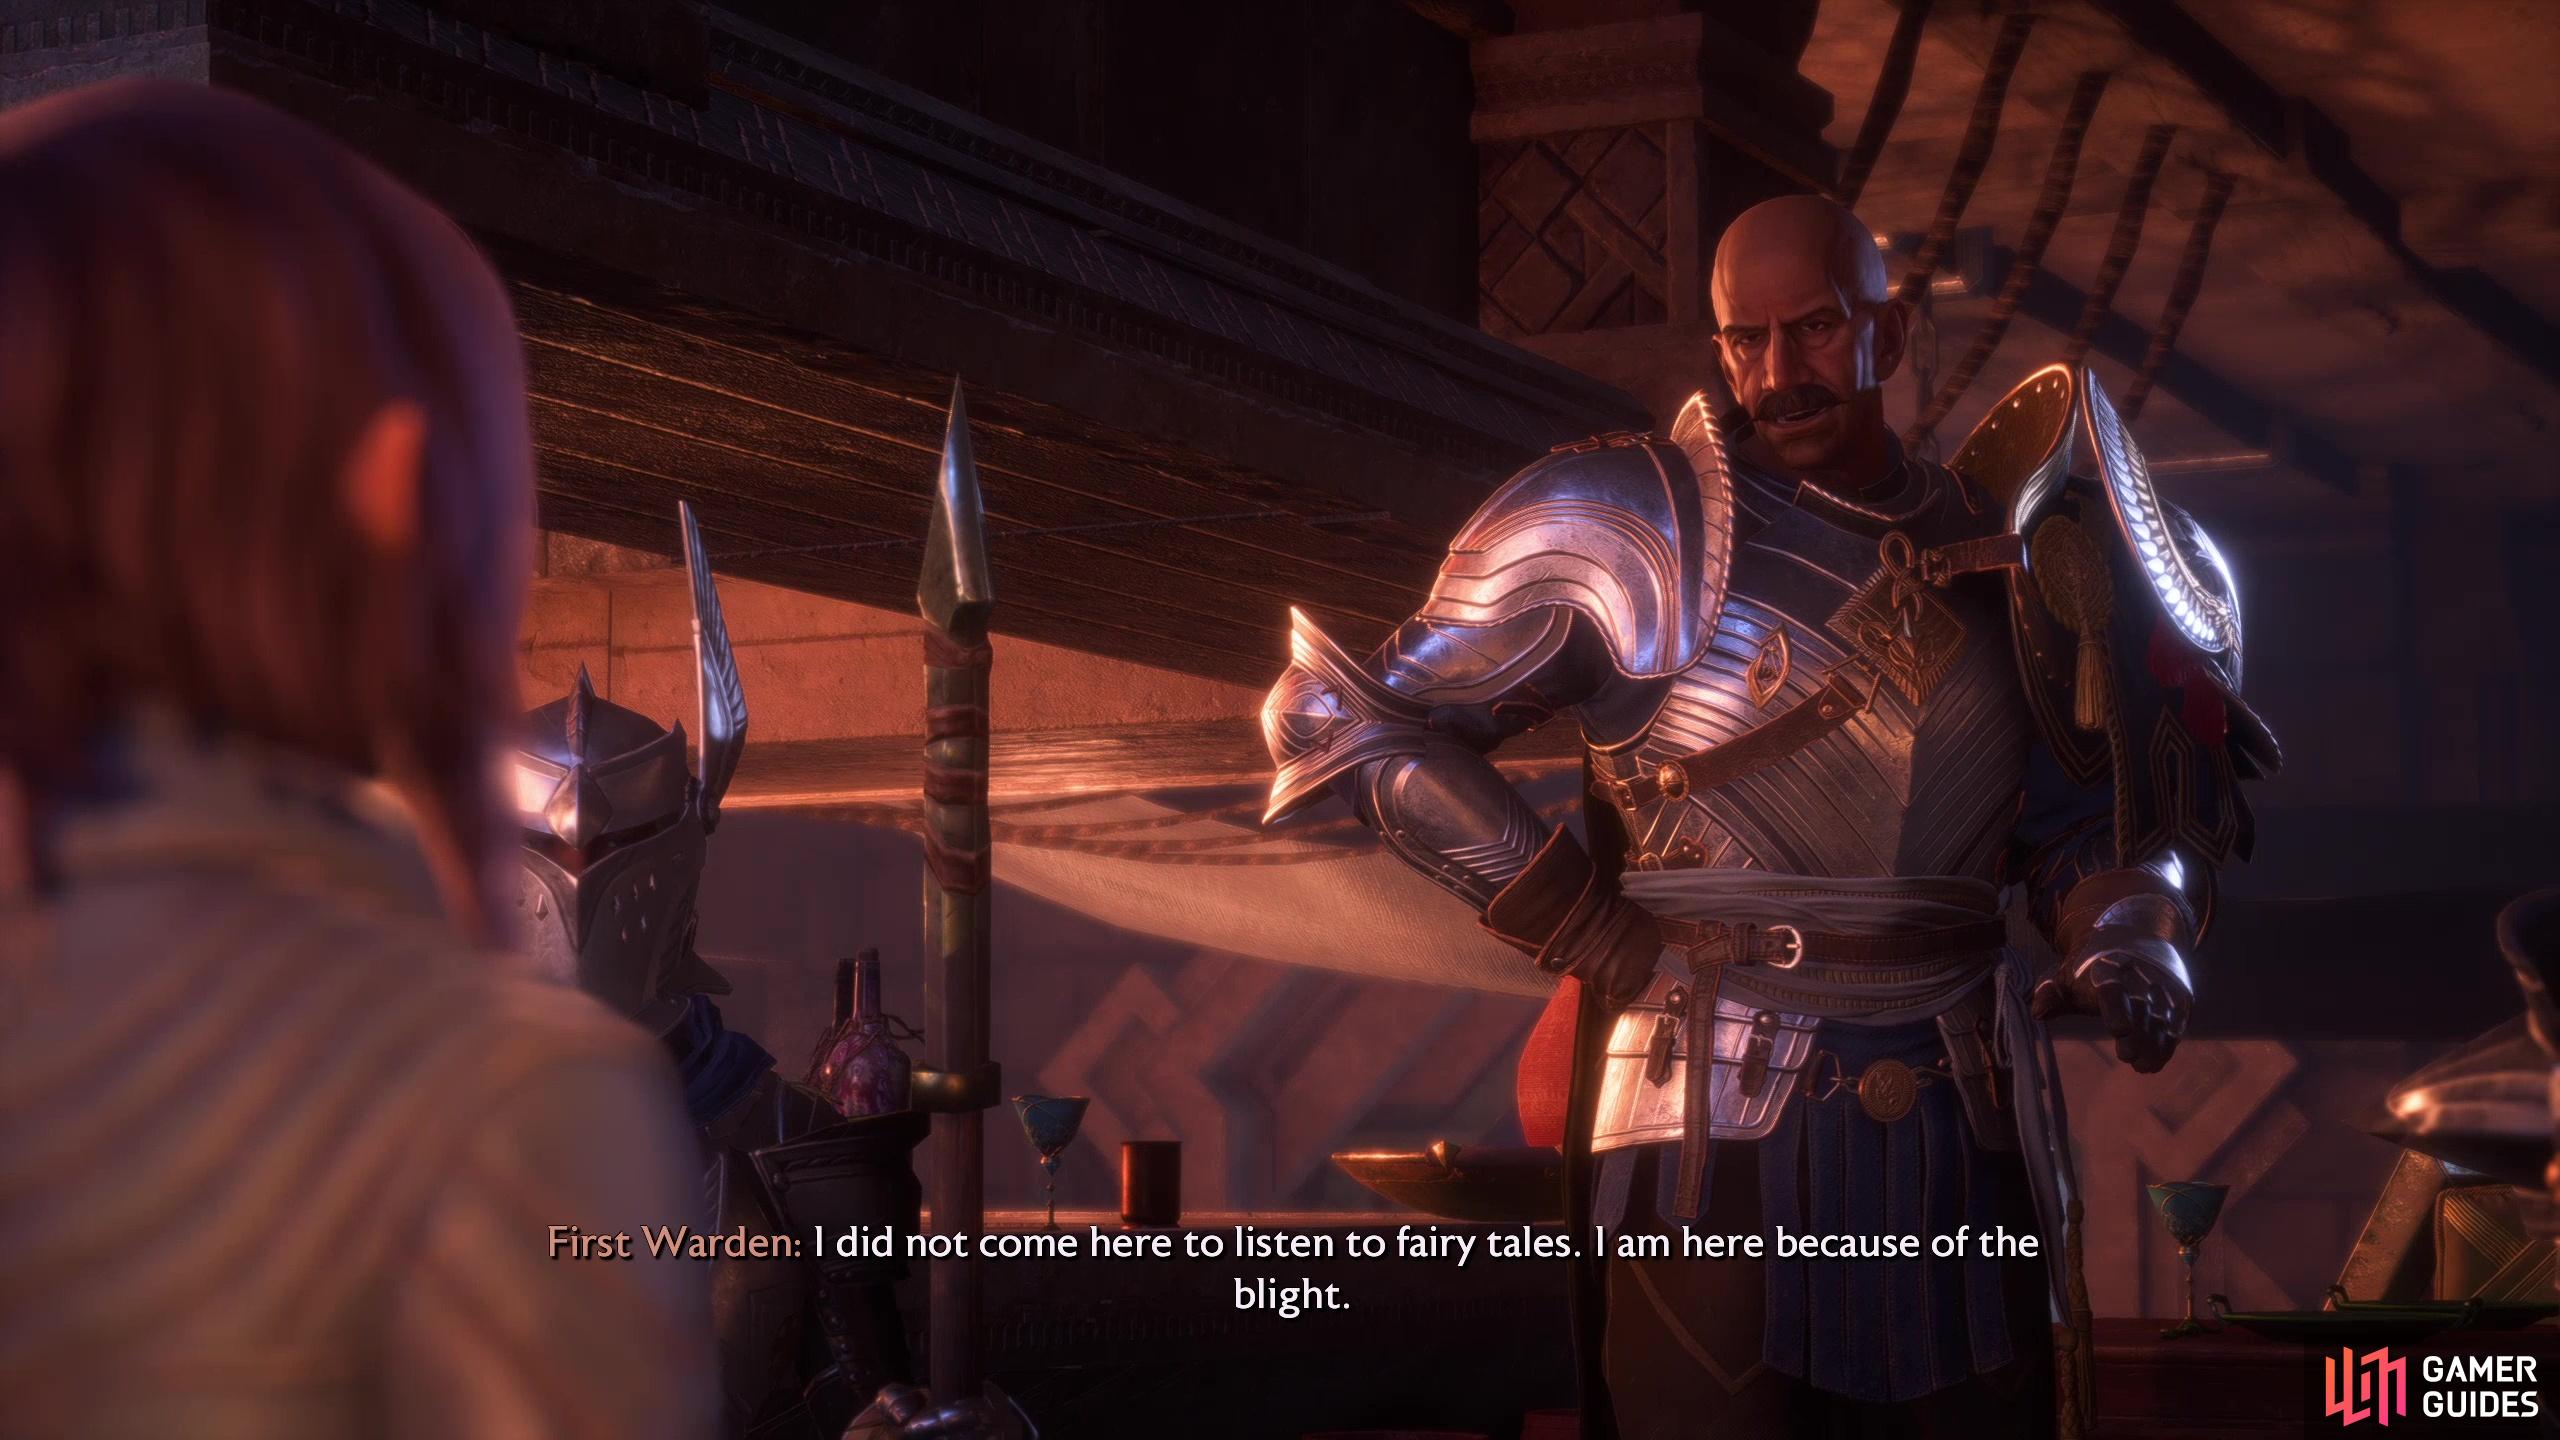
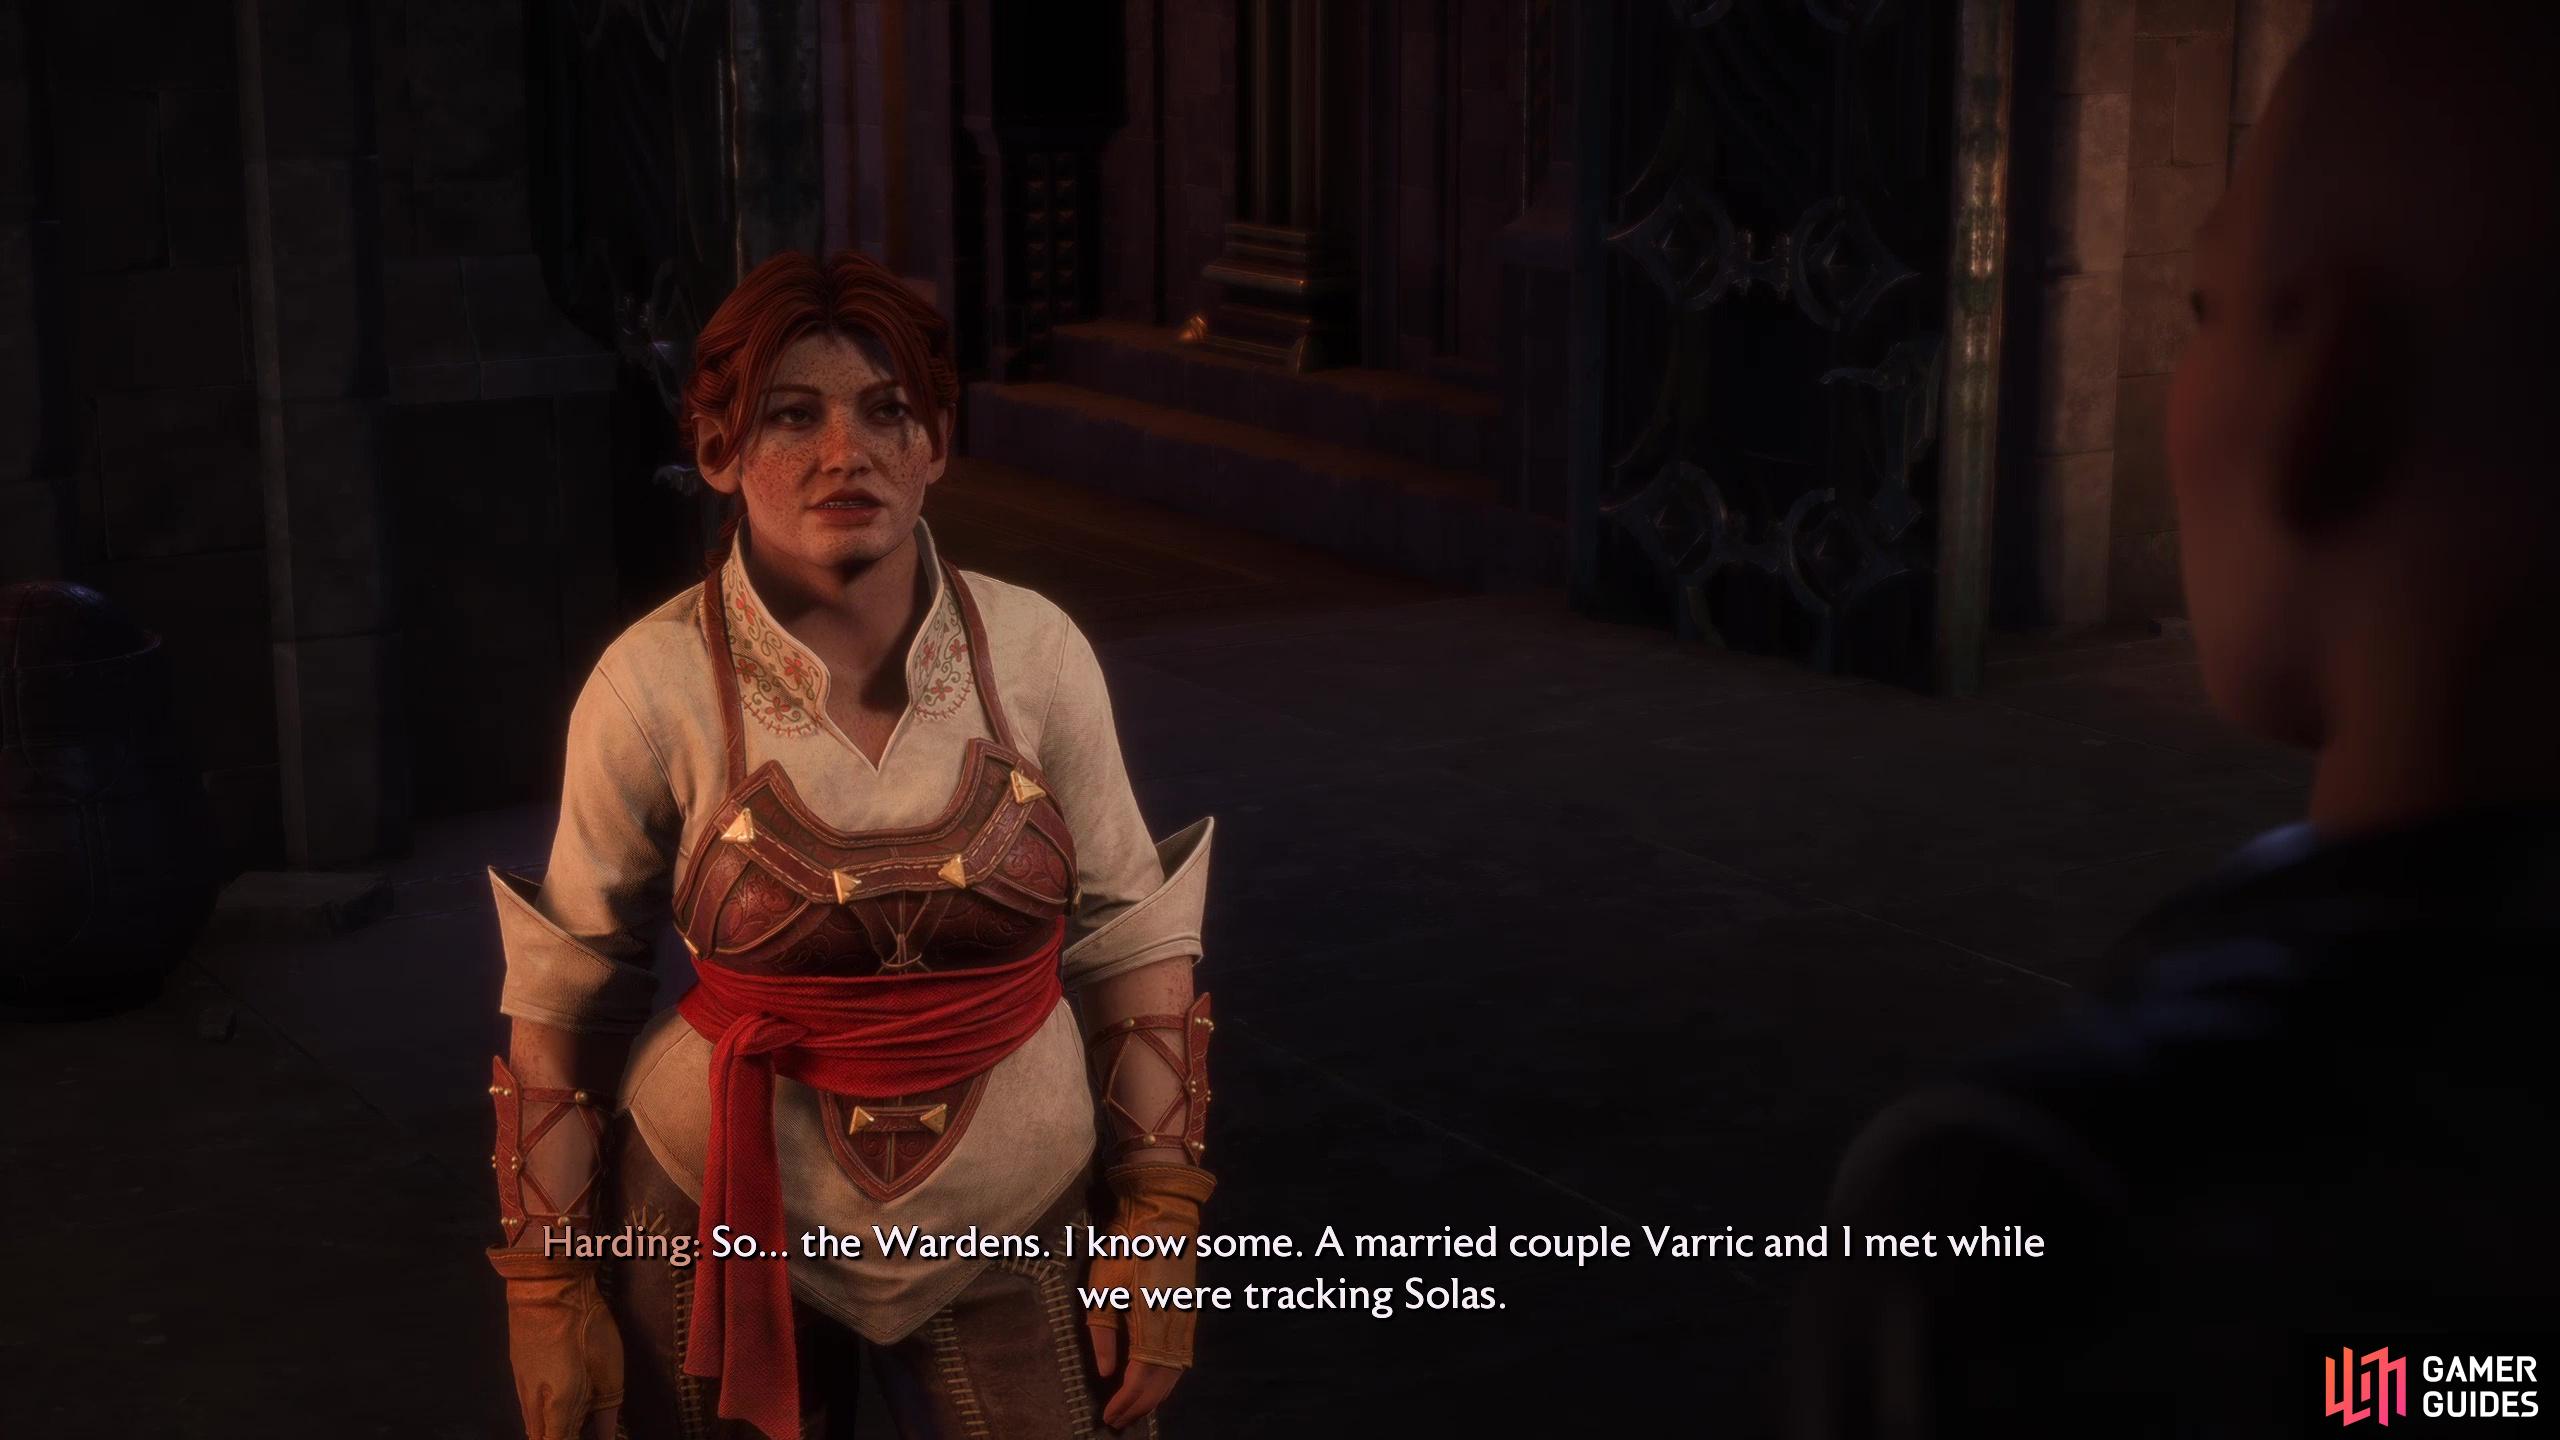
Complete the quests Sea of Blood and ![]() Shadows of Minrathous and you’ll be tasked with meeting the First Warden during the transitional quest In Peace, Vigilance. When the First Warden proves to be less than helpful, talk to Varric in The Lighthouse and Harding will interrupt and mention a married Warden couple she can put you into contact with. Why some random Wardens would assist you when the First Warden is actively hostile, and how useful a few Wardens would be when you need the entire order are… questions, but we’ve no better leads and have to start somewhere. In any event, this quest will start after you talk to the aforementioned dwarves in The Lighthouse.
Shadows of Minrathous and you’ll be tasked with meeting the First Warden during the transitional quest In Peace, Vigilance. When the First Warden proves to be less than helpful, talk to Varric in The Lighthouse and Harding will interrupt and mention a married Warden couple she can put you into contact with. Why some random Wardens would assist you when the First Warden is actively hostile, and how useful a few Wardens would be when you need the entire order are… questions, but we’ve no better leads and have to start somewhere. In any event, this quest will start after you talk to the aforementioned dwarves in The Lighthouse.
(1 of 2) Meet with the First Warden during “In Peace, Vigilance”,
Meet with the First Warden during “In Peace, Vigilance”, (left), then back at The Lighthouse Harding will get you into contact with some less hostile Wardens she knows. (right)
Find an Eluvian to the High Anderfels
A new region means you need to delve the Crossroads for a new eluvian - this will be the last time this happens, with subsequent areas being unlocked without the need to scour the Crossroads. Head to the Crossroads and head to the eastern edge of Beacon Island to find that a new dock has opened up - take the northernmost one and the Caretaker will row you over to the newly-unlocked Heights of Athim. There’s a good bit to explore here, darkspawn to kill, treasure to find, but we’ll leave that up to you, concerning ourselves only with the eluvian we seek.
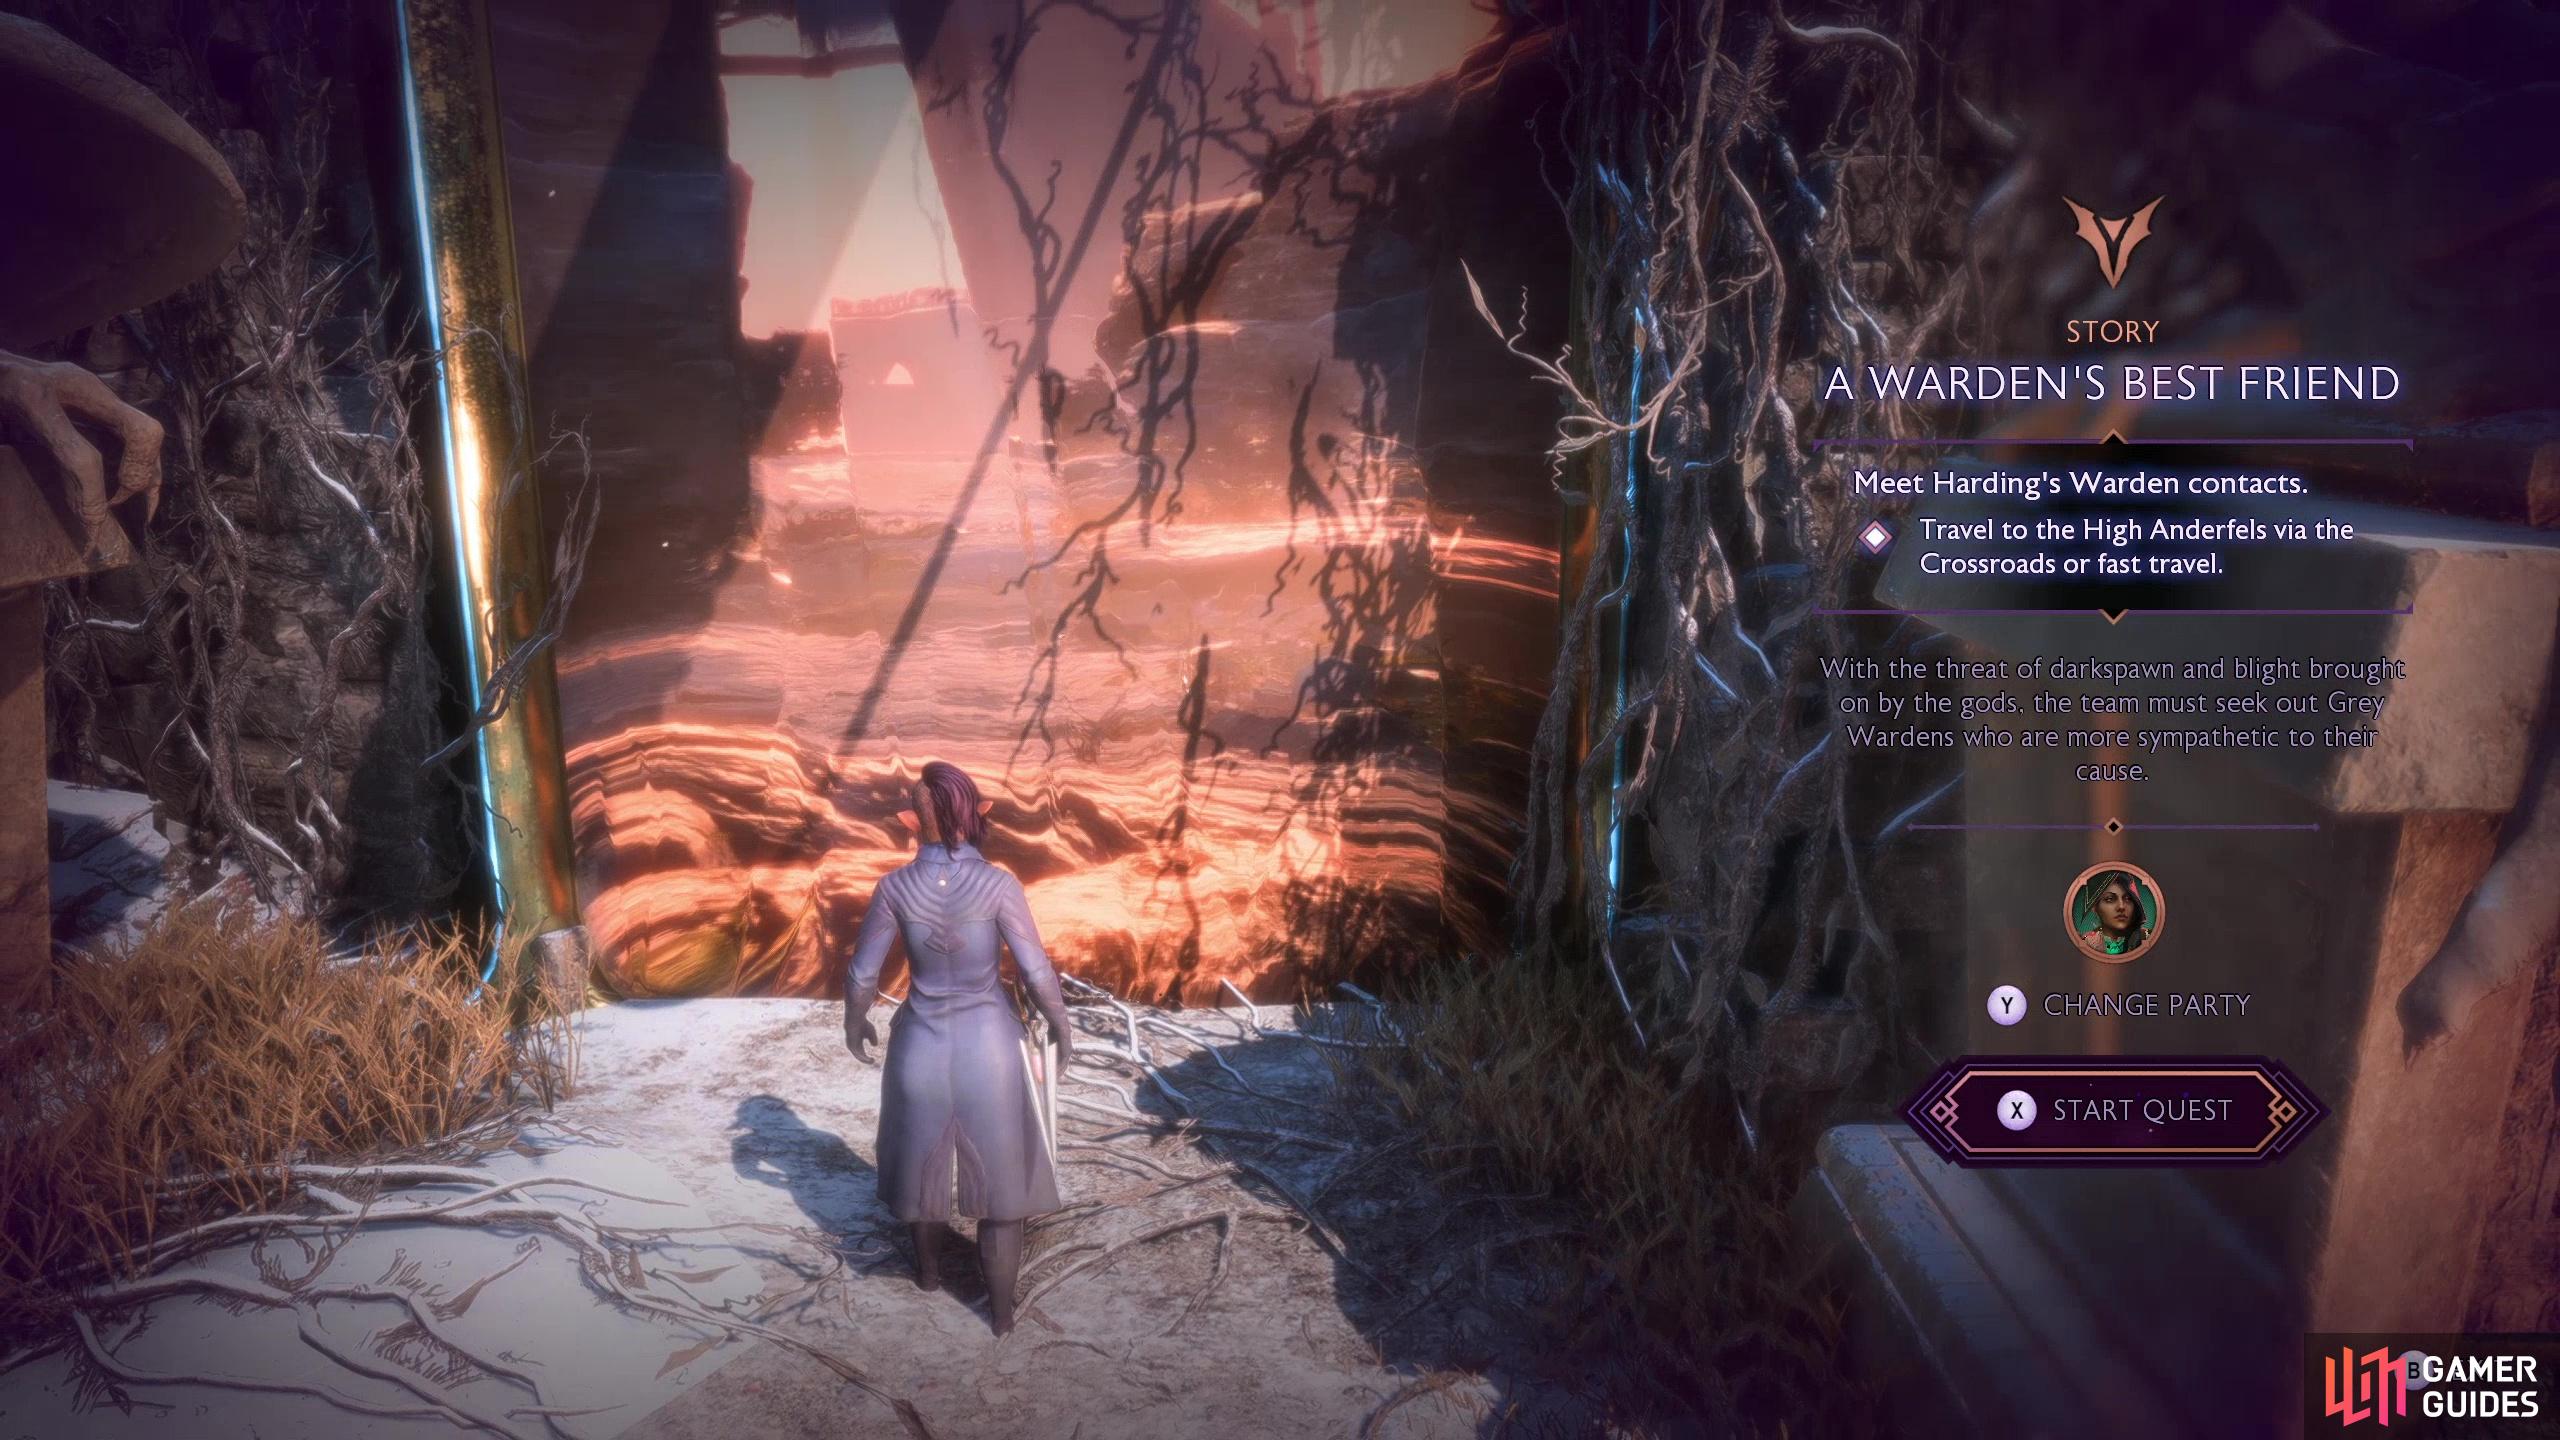
Venture northeast, through some ruins and up some stairs to reach a snowy area crossed by abandoned mine tracks. Follow them into a mineshaft to the west and note that on subsequent visits to this area you should expect darkspawn to pester you. Exit out the mineshaft and you’ll find yourself standing in front of several eluvians - the one you seek is to the northwest.
(1 of 2) Travel to the Heights of Athim in the Crossroads to find an Eluvian that’ll take you to the High Anderfels.
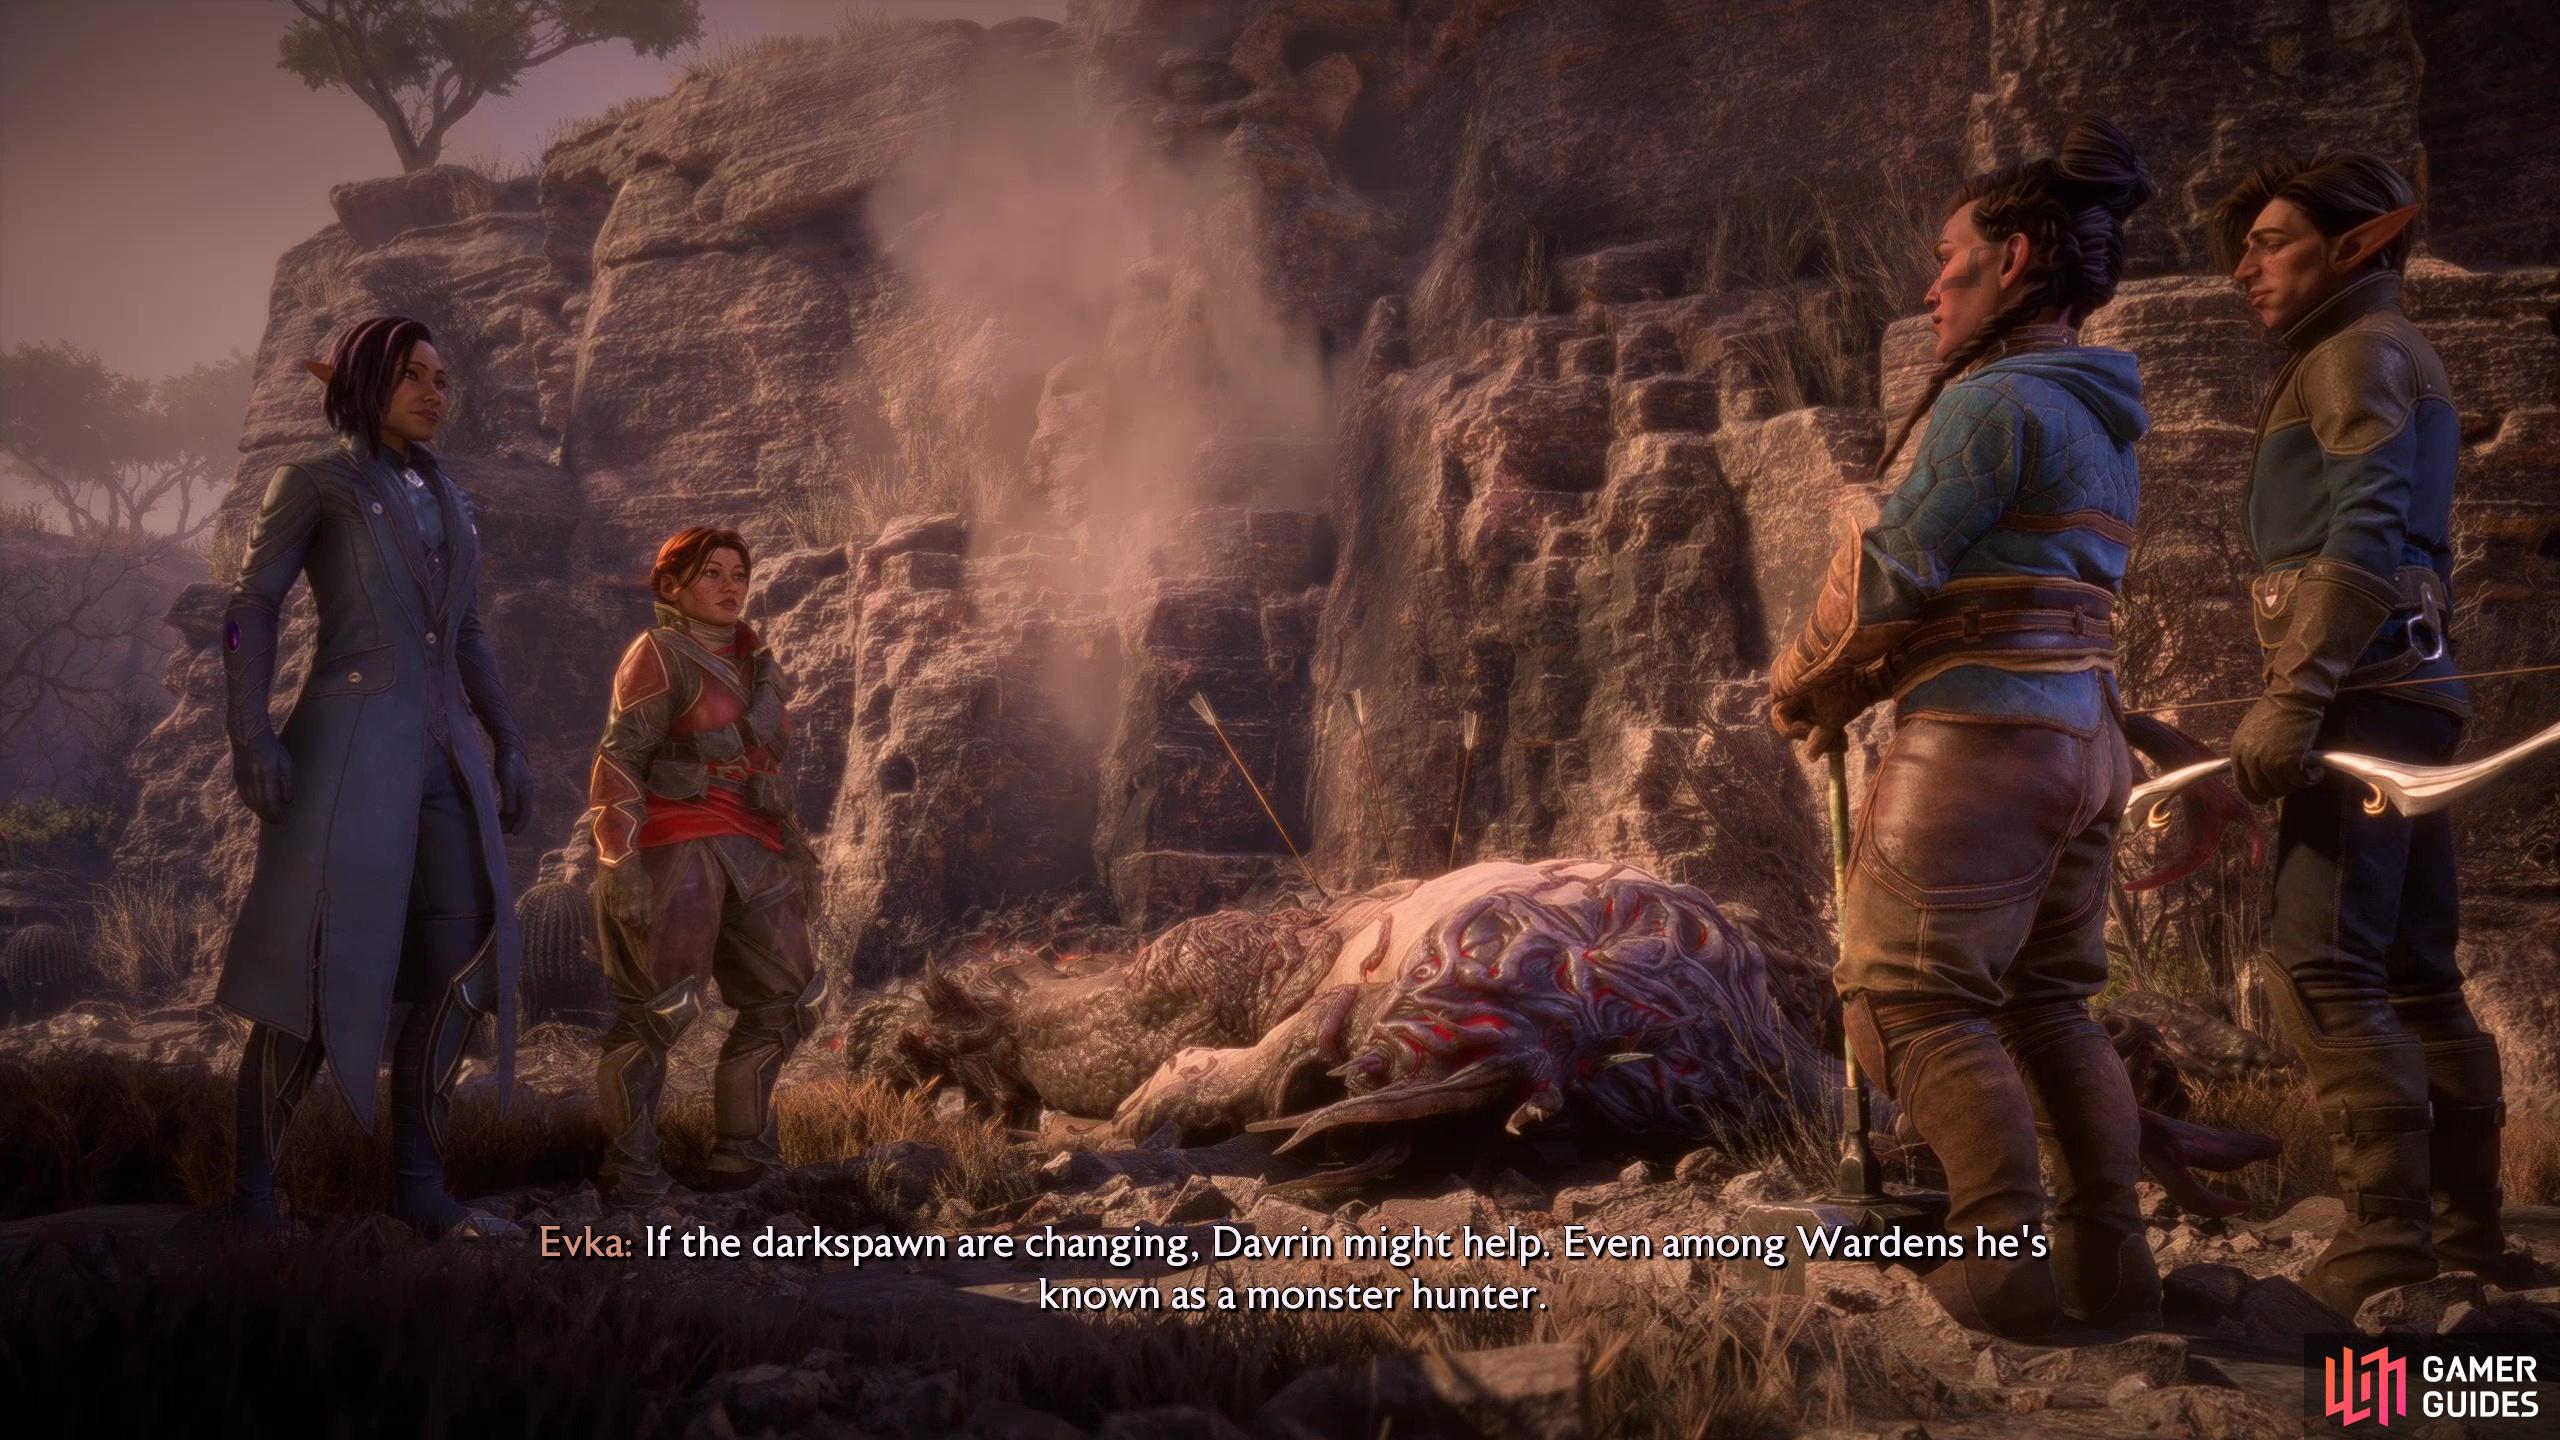
Travel to the Heights of Athim in the Crossroads to find an Eluvian that’ll take you to the High Anderfels. (left), Once there, meet with Harding’s Warden friends and they’ll refer you to another Warden - Davrin. (right)
Find Warden Remi
Pass through the eluvian to reach the High Anderfels, confirm your party (you only get one companion) and after chatting with the Wardens Harding mentioned you’ll be referred to another Warden named Davrin, and after more scenes he’ll join your party and this quest will finally start rolling.
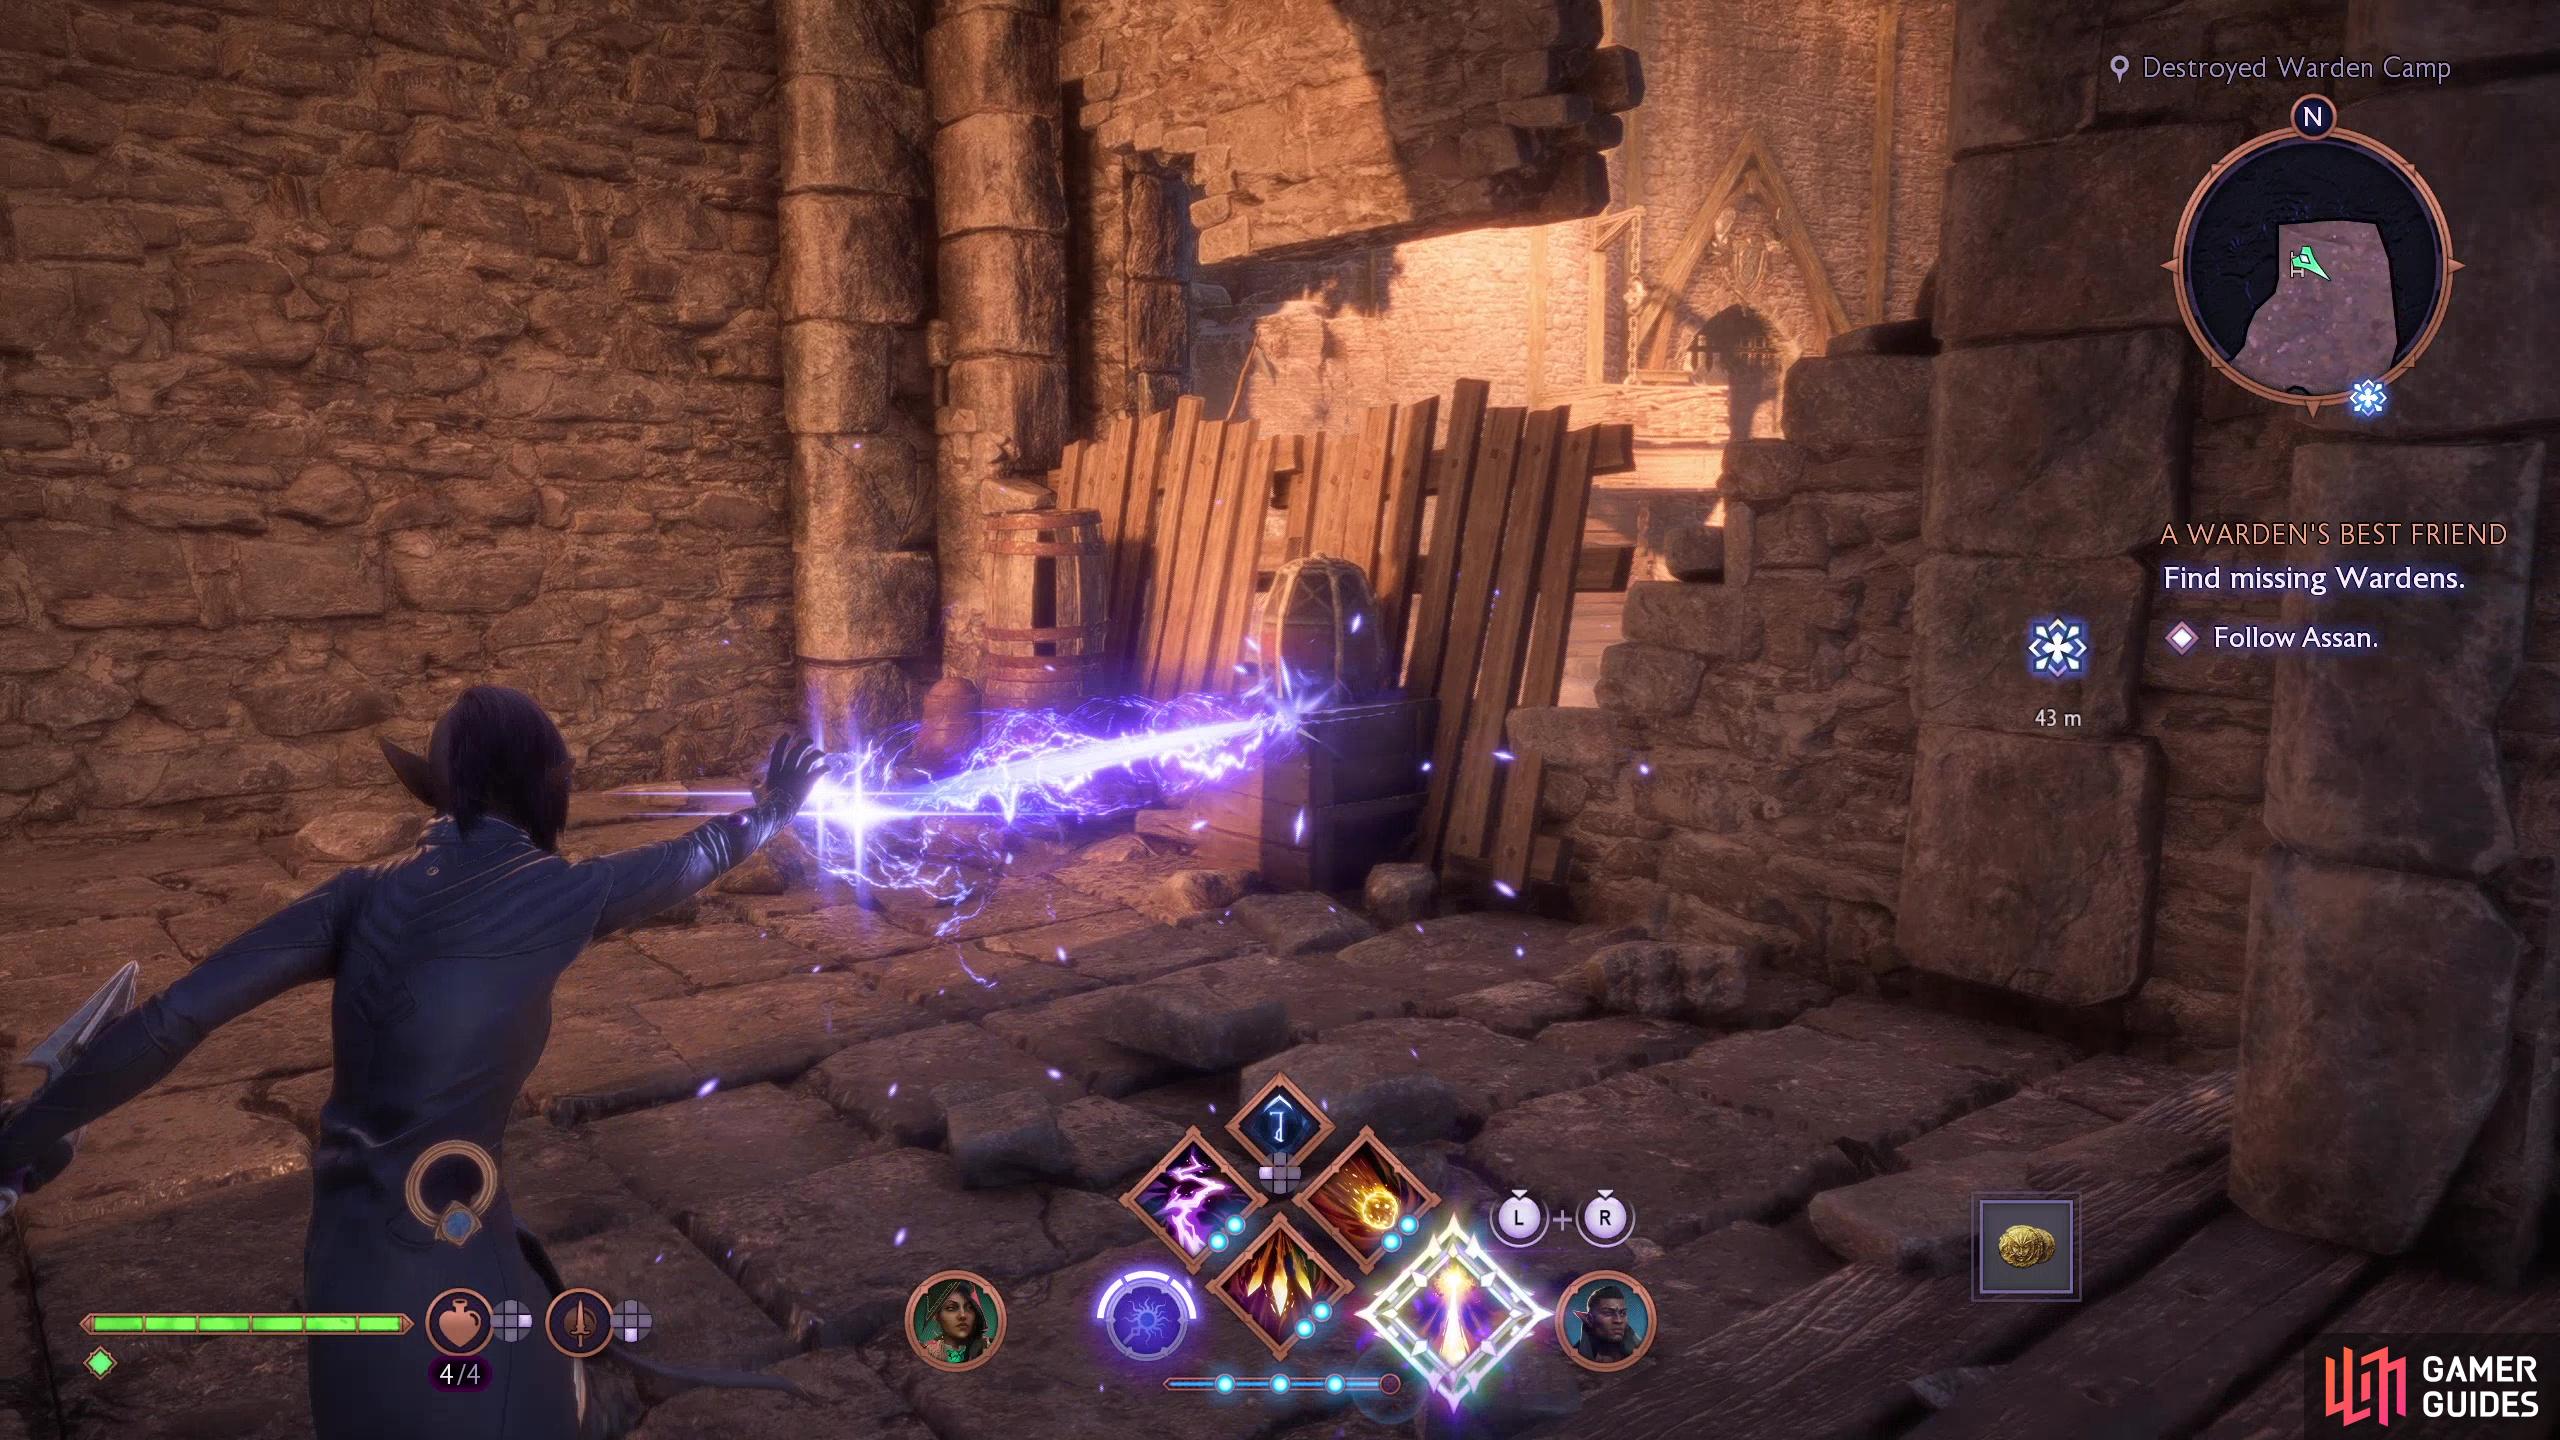
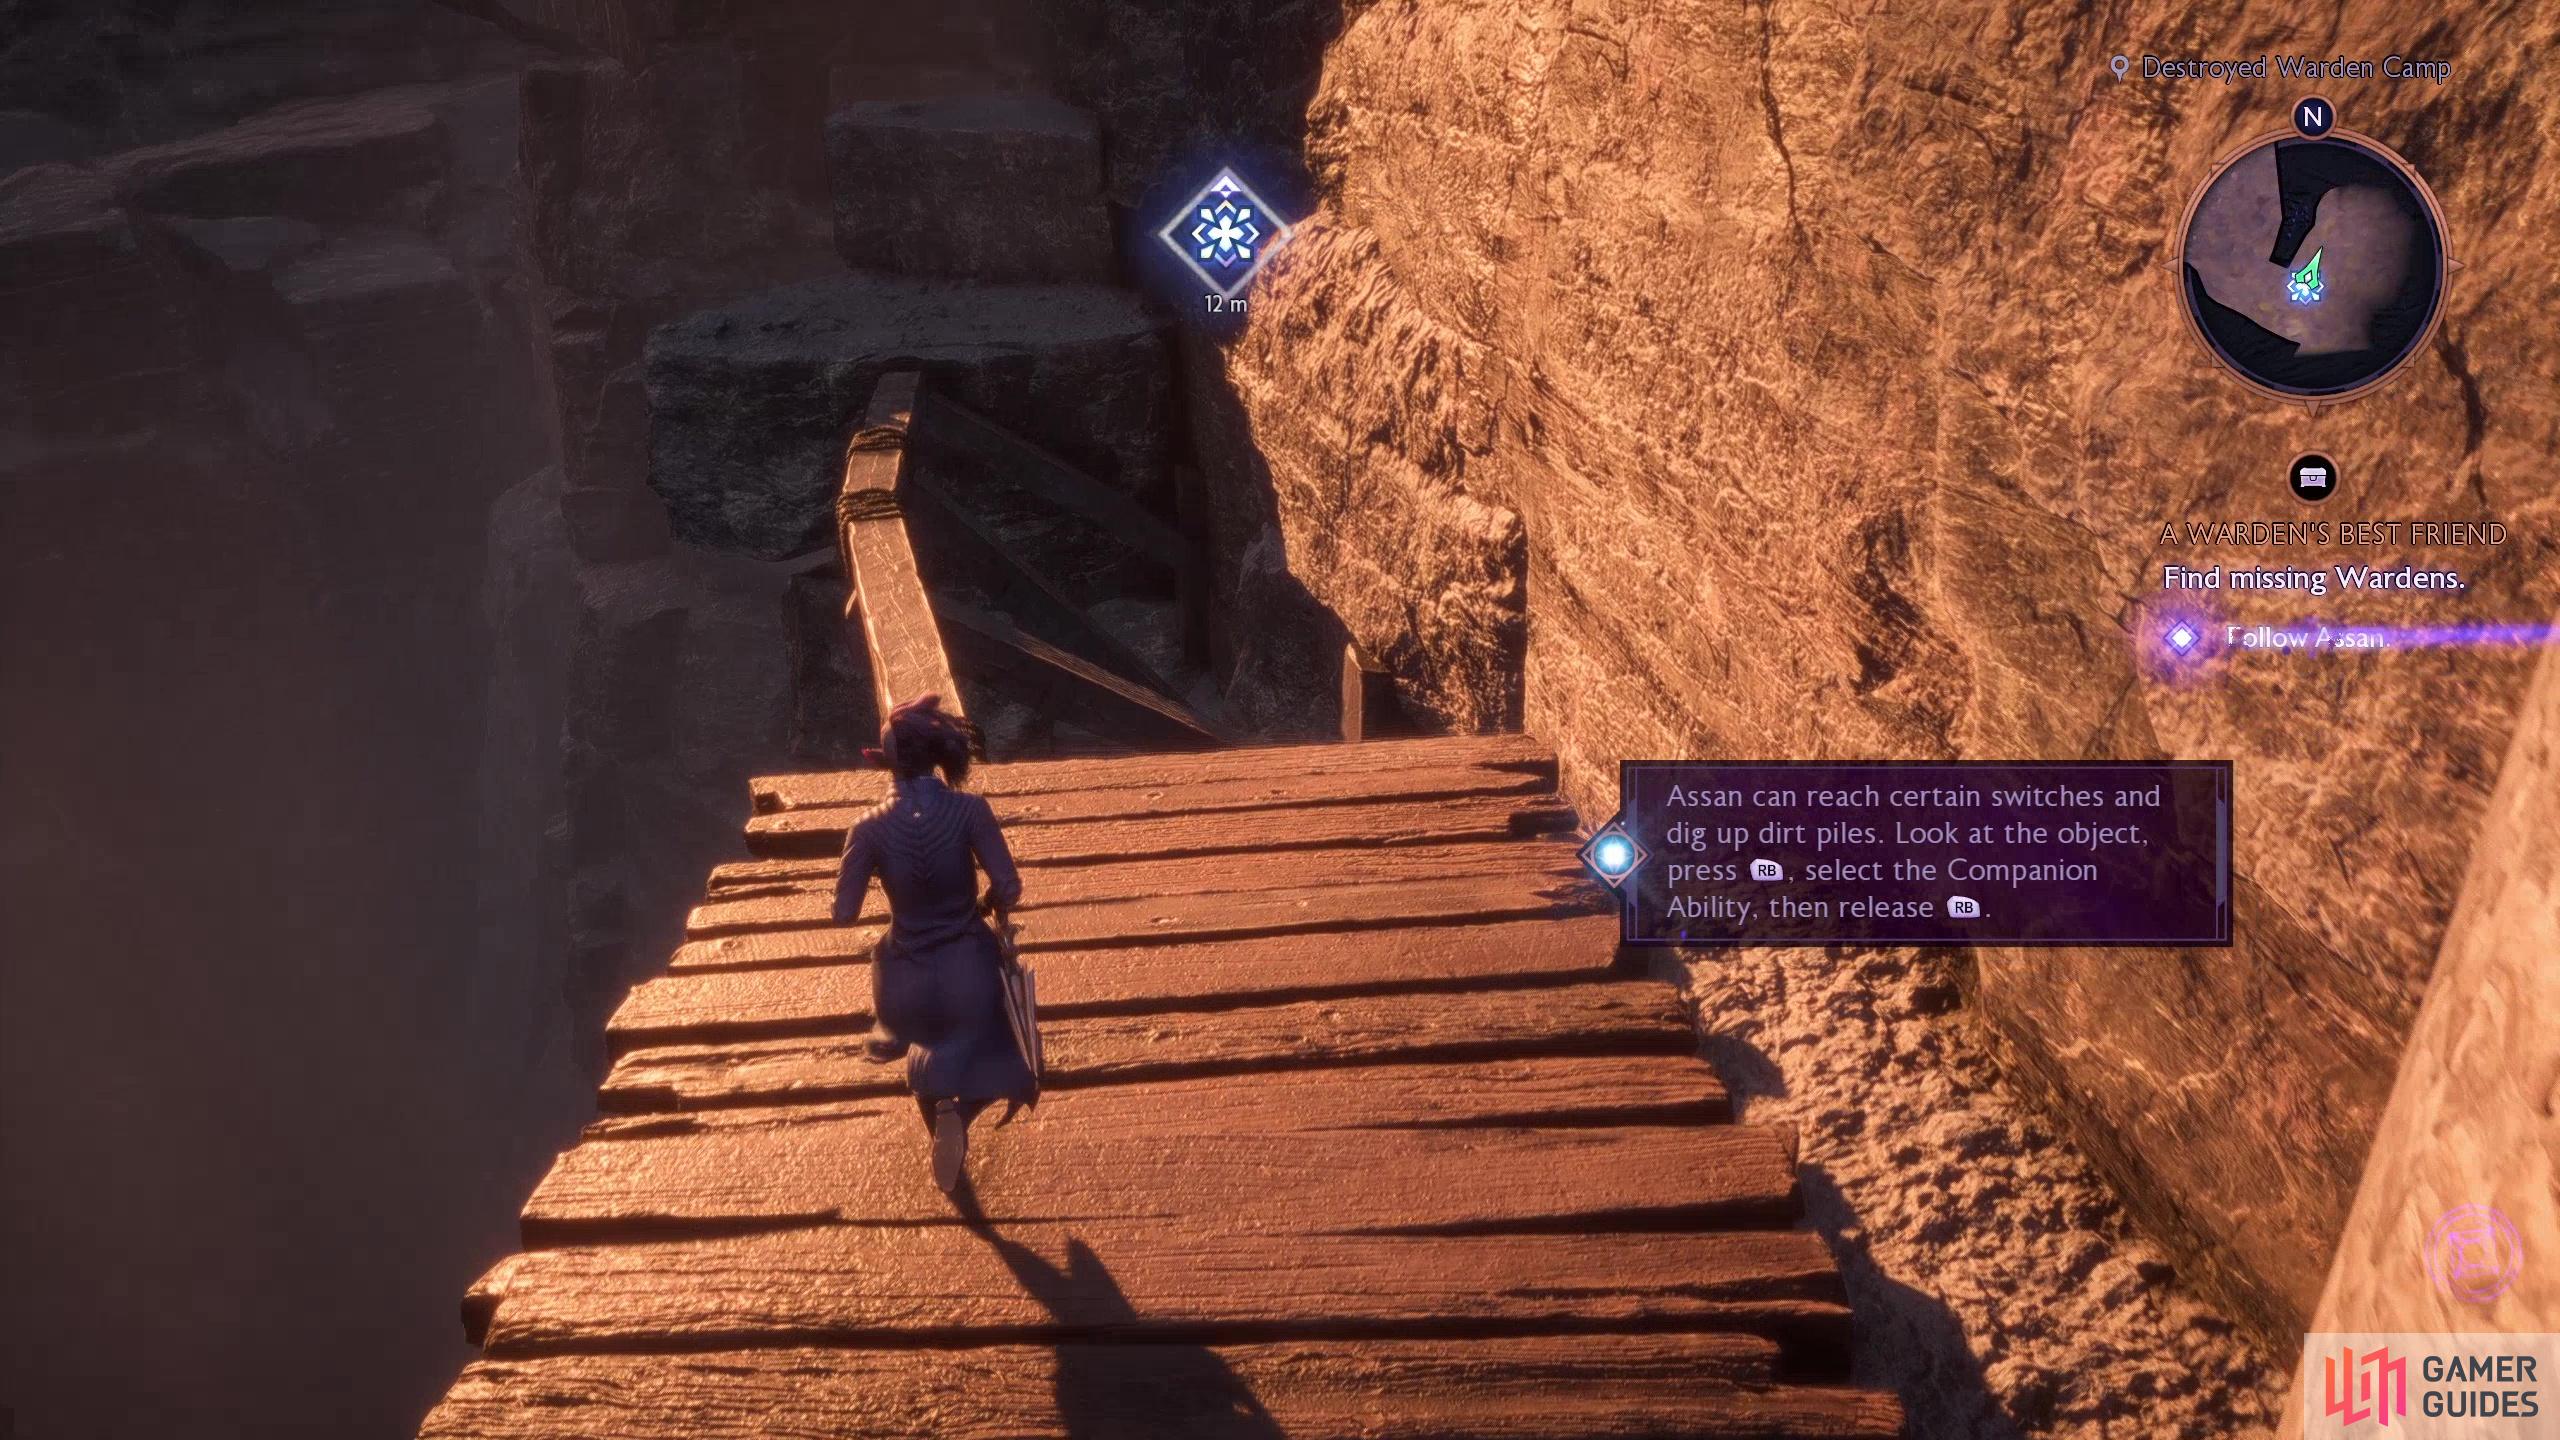
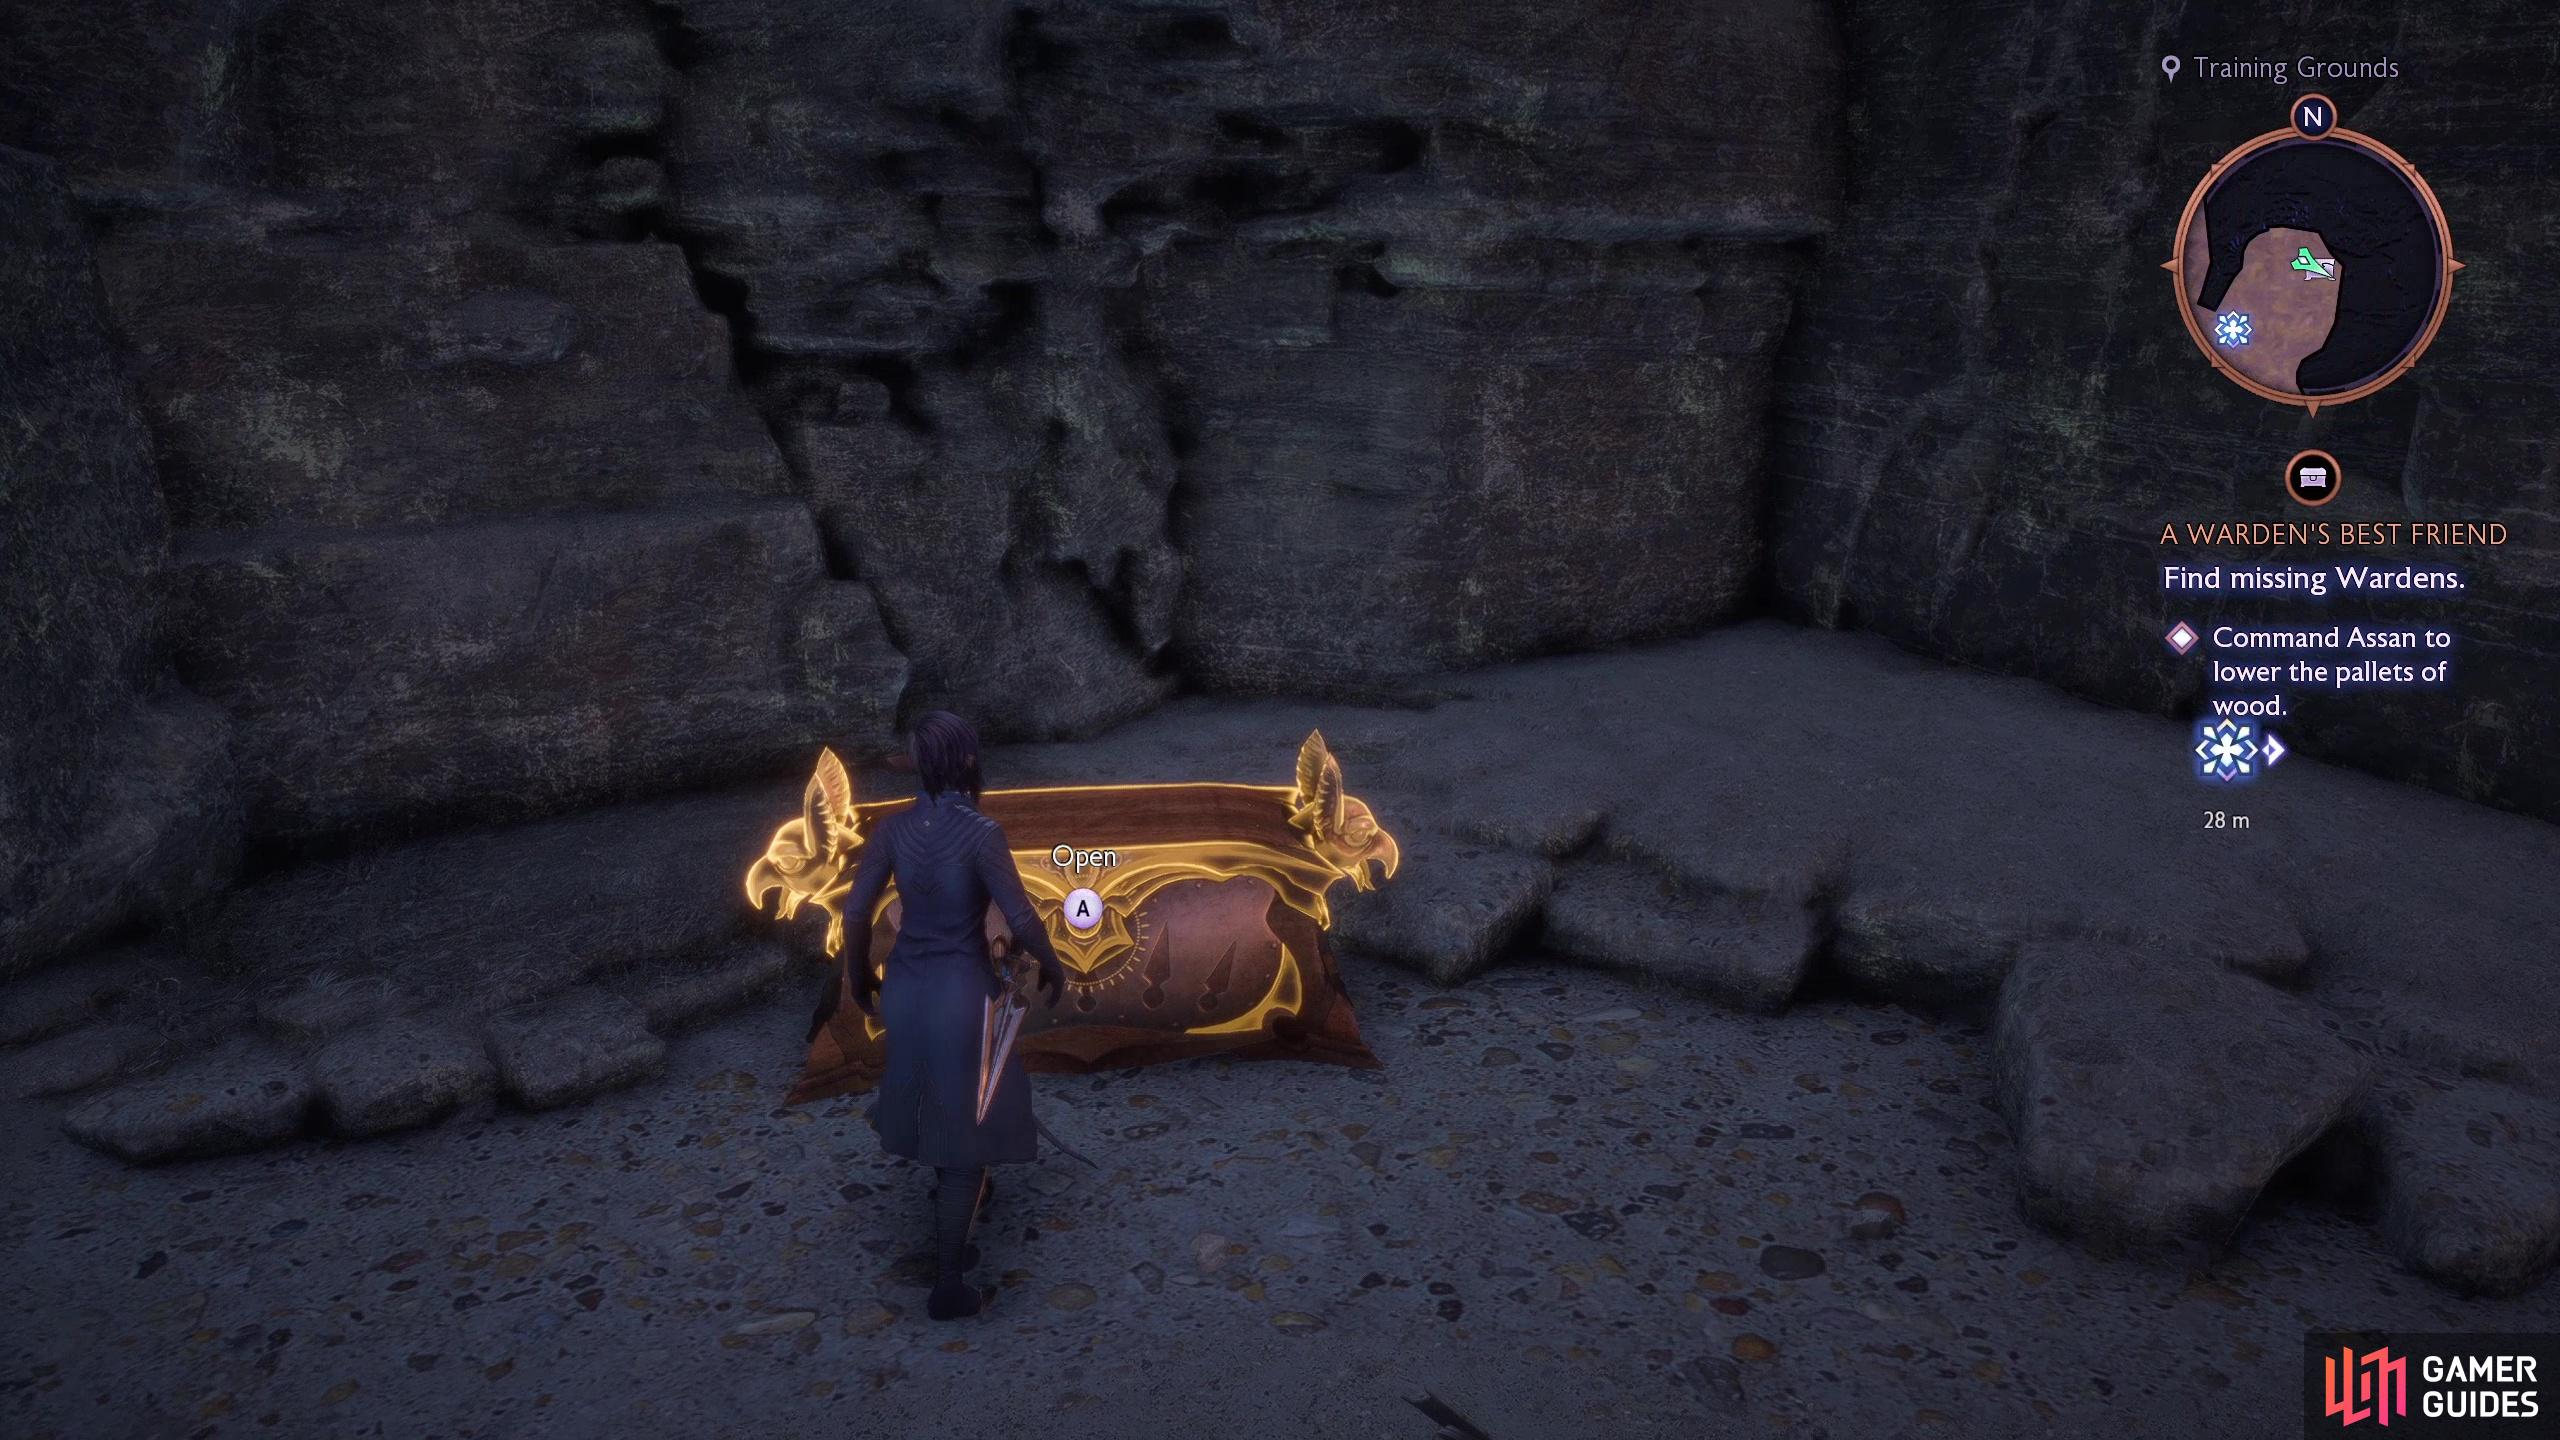
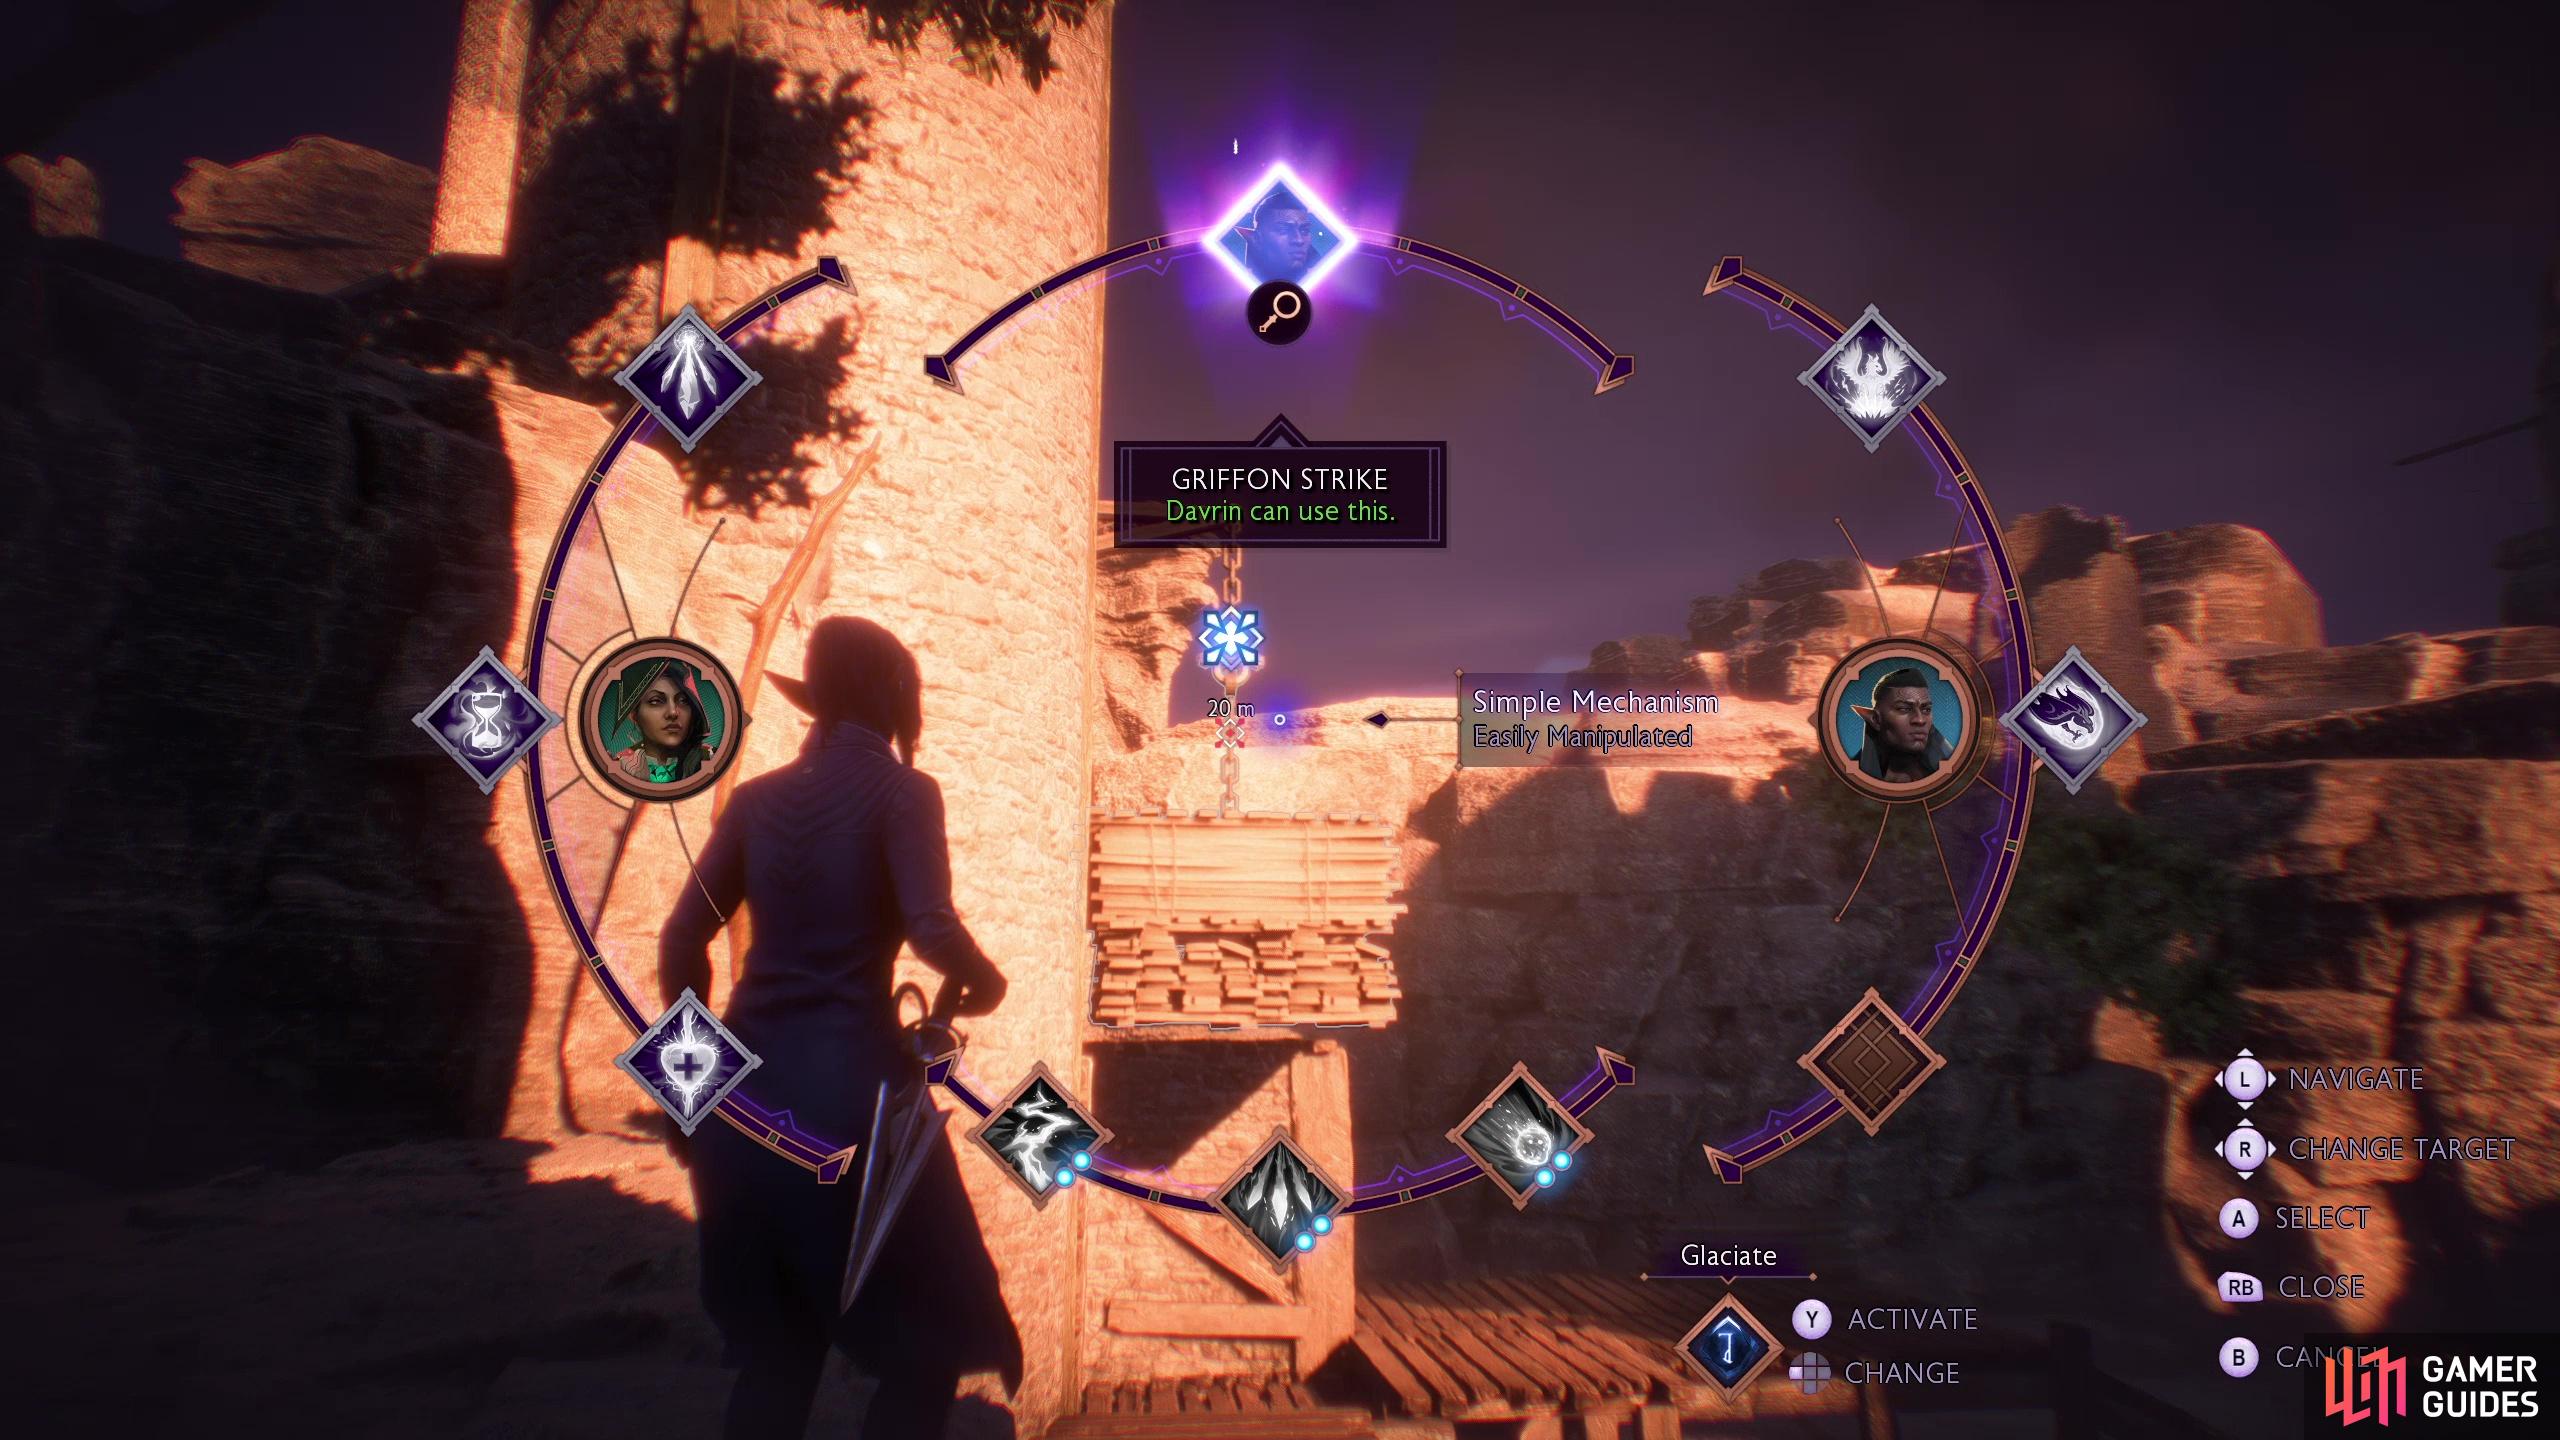
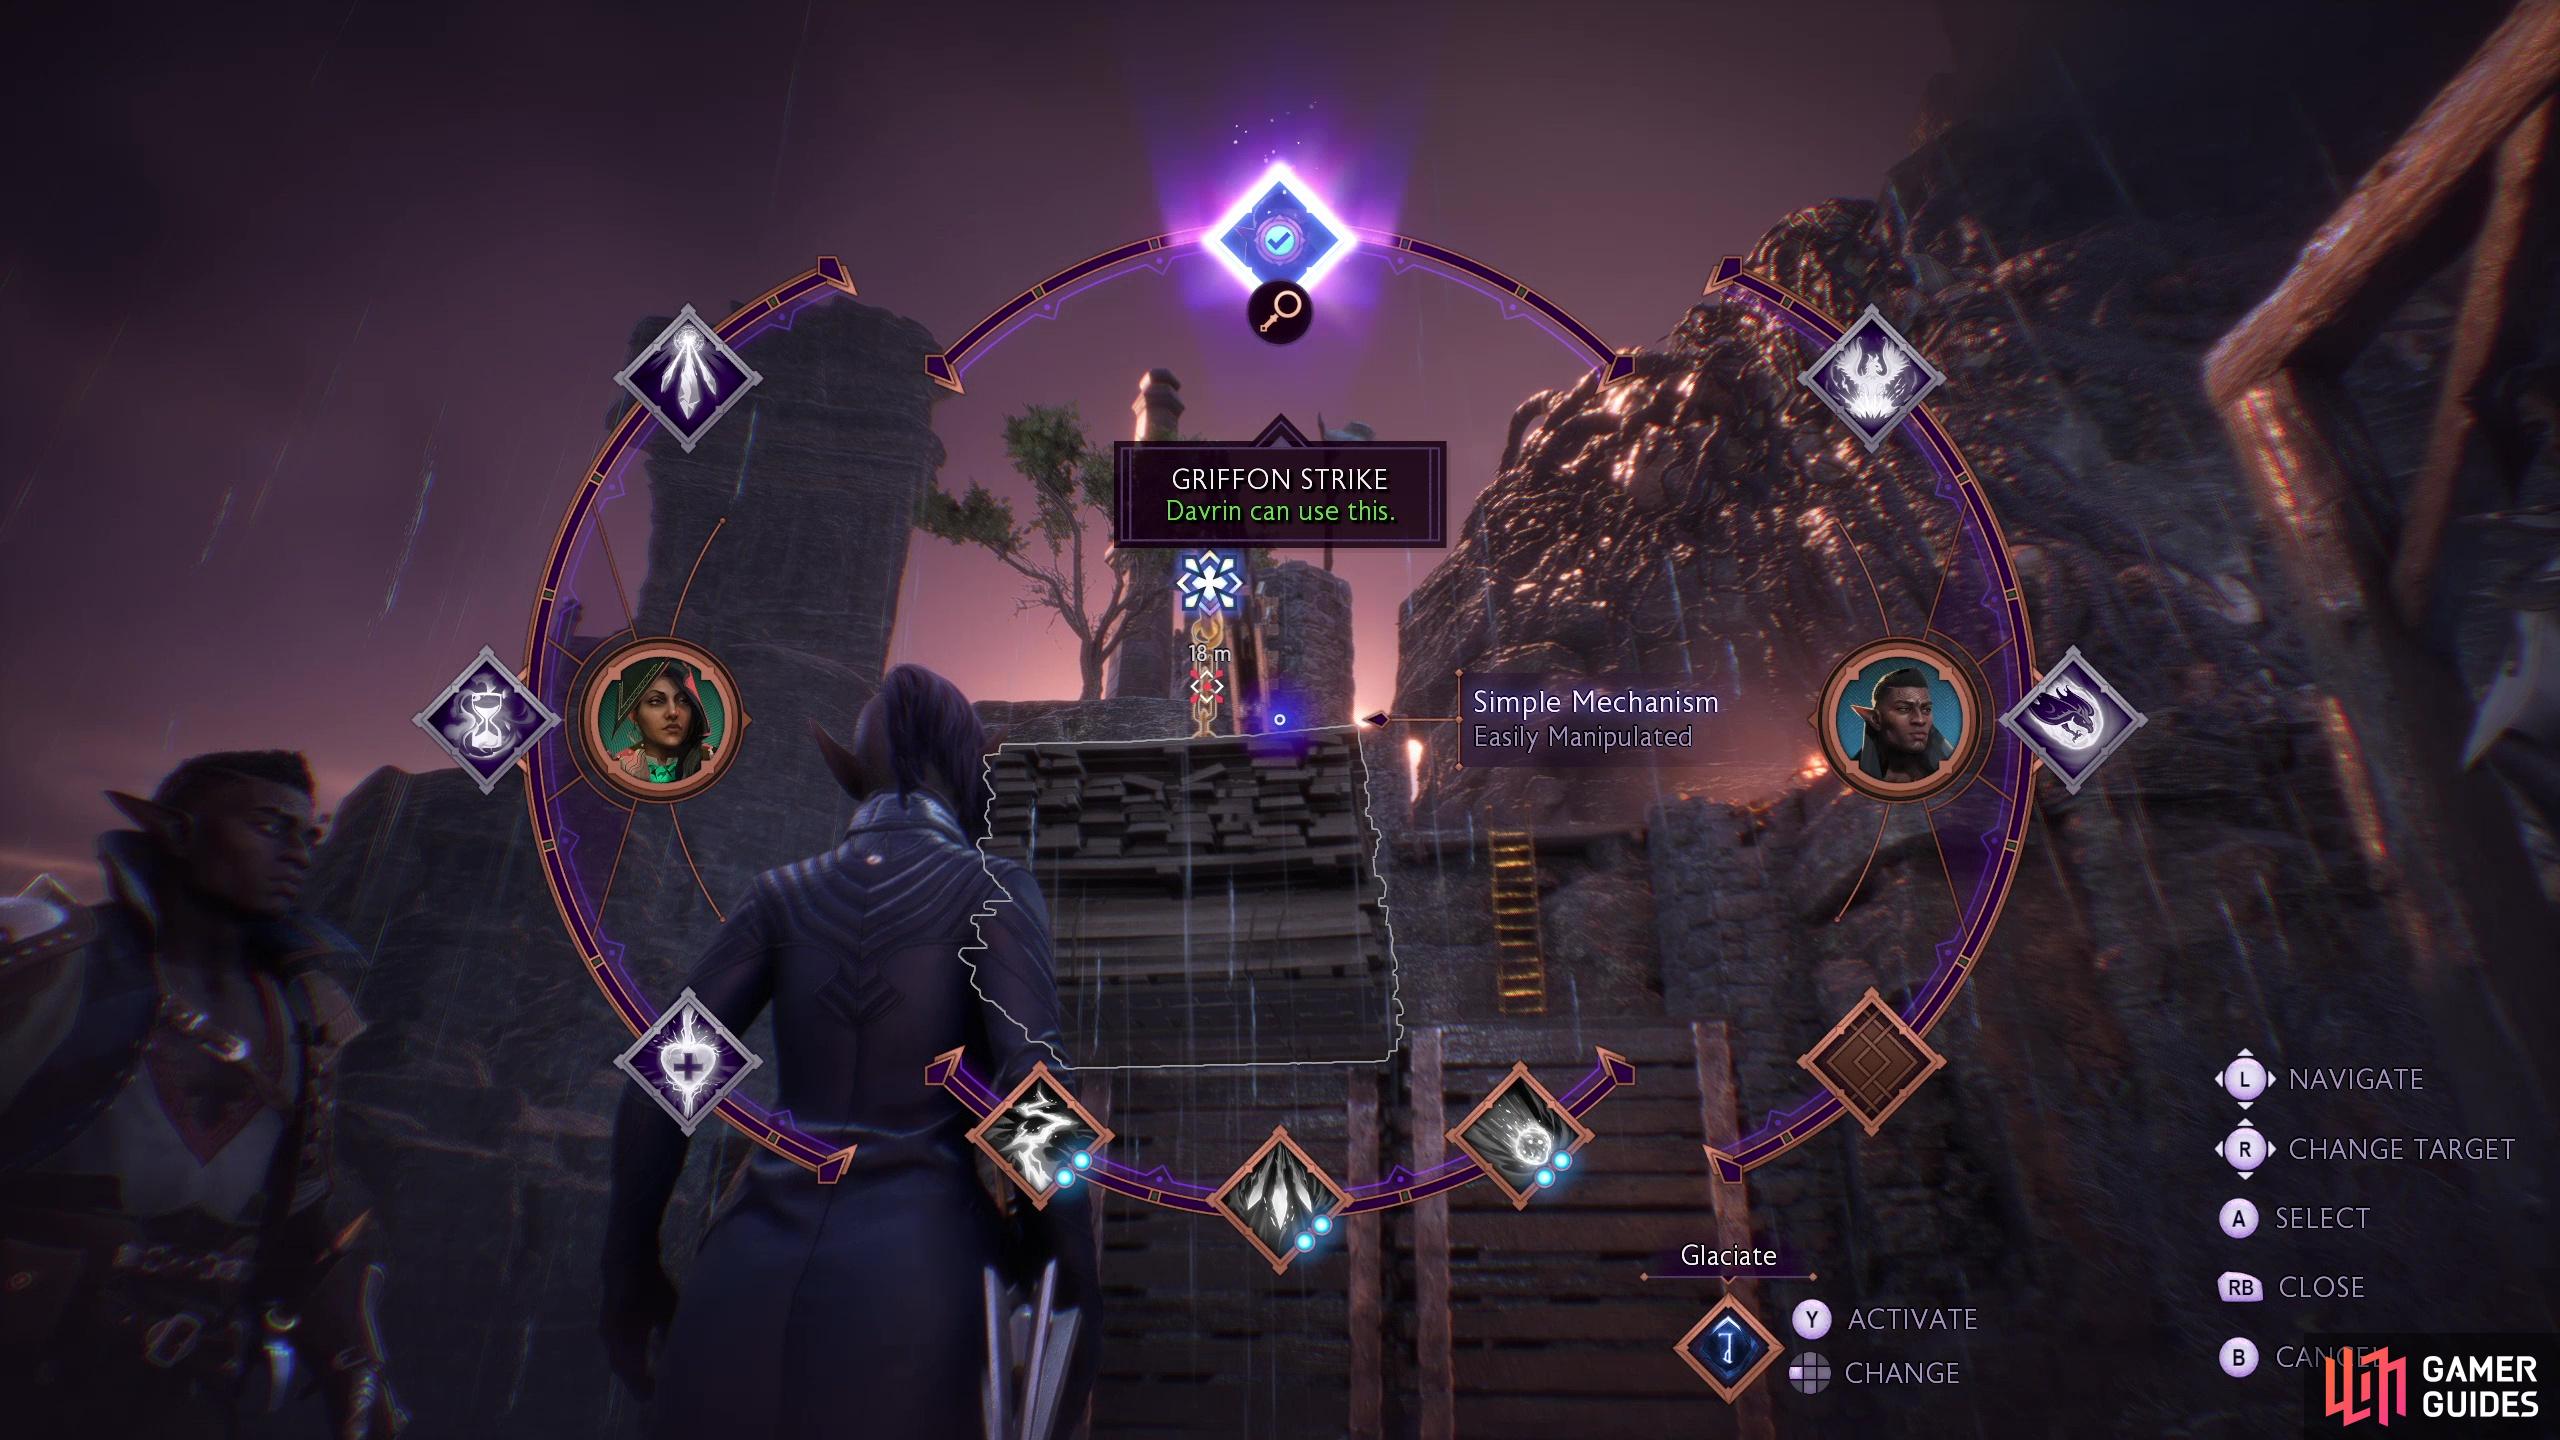
Once you’re back in control, you’ll be at the “Destroyed Warden Camp” area. Follow Davrin north to a tower, outside of which you’ll find some dead darkspawn, which aren’t what Davrin was looking for. Enter the tower, go up some stairs along the exterior, climb a ladder, then destroy a barricade to the south to reveal a small chest through a hole in the wall. Exit the tower to the north and follow a wooden walkway around, jumping a gap when necessary until your progress is halted by a ledge. Look up and left to find a pallet suspended in the air and use Davrin’s “Griffon Strike” ability on it to knock it down. Climb up the pallet, which you can use to reach the nearby ledge… but first, drop off to the north, climb some ledges and turn east, then loot a large chest.
(1 of 4) Destroy a barricade in the tower to reveal a hidden chest,
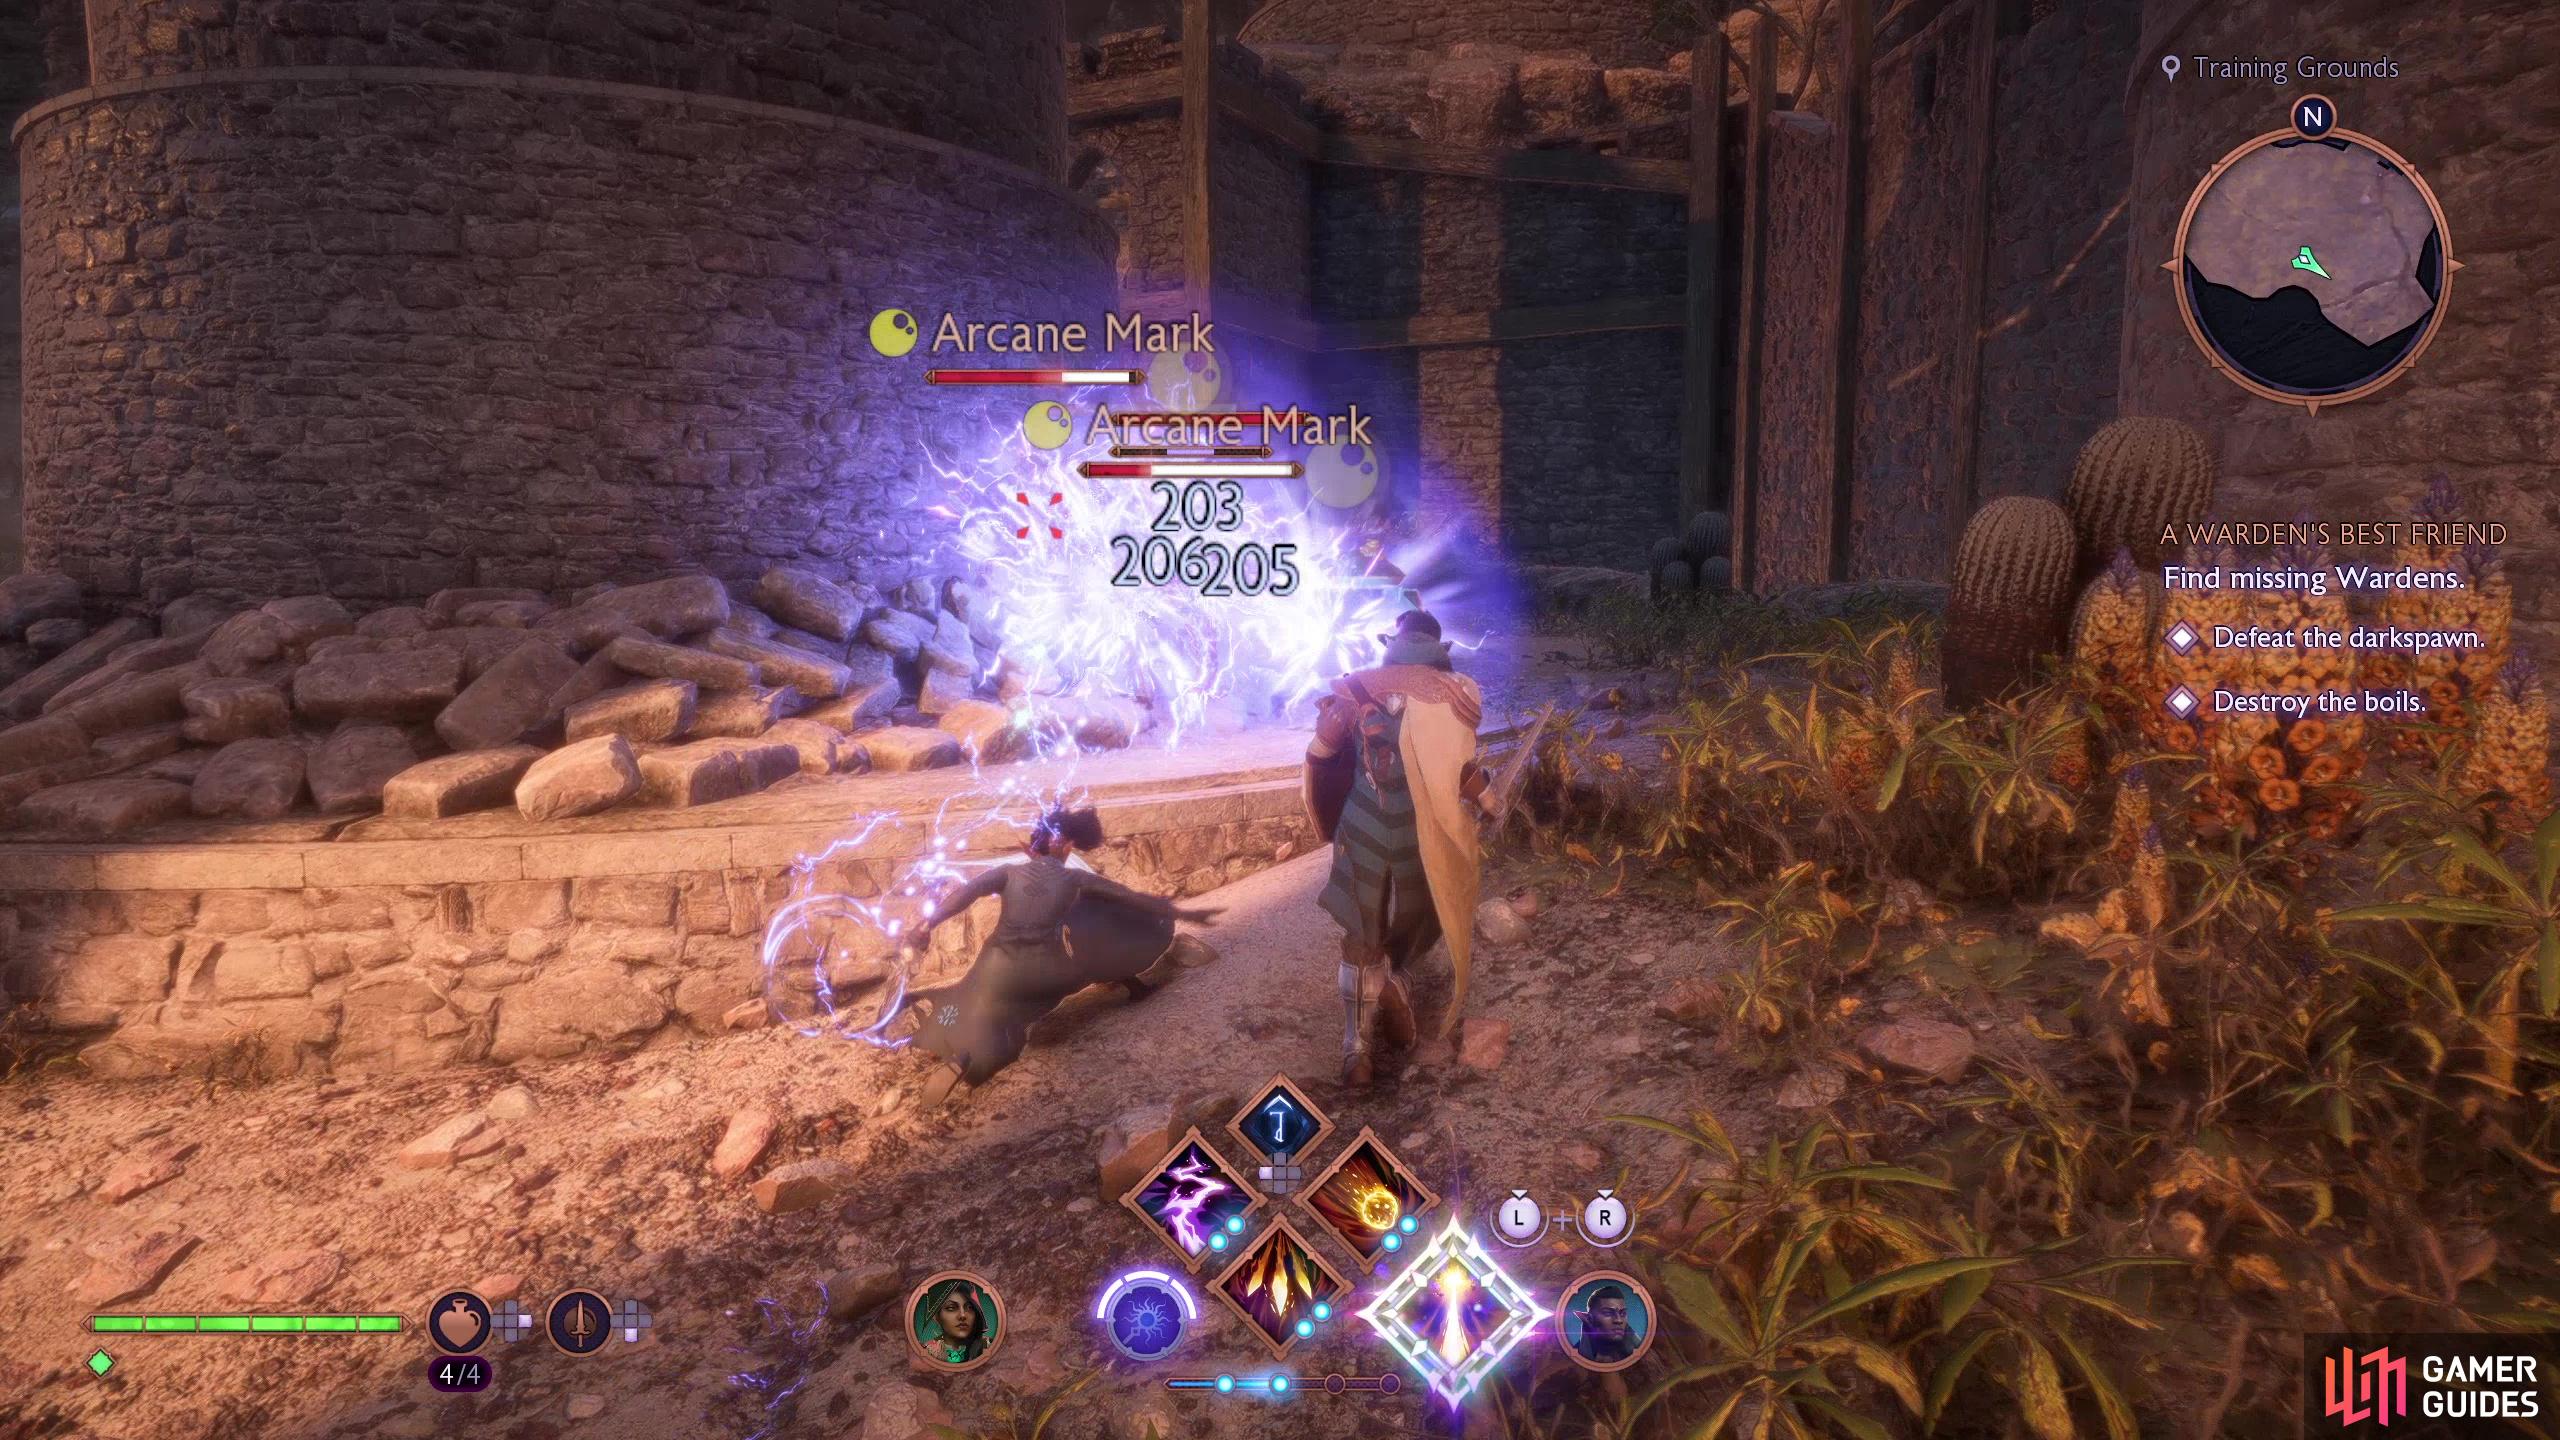
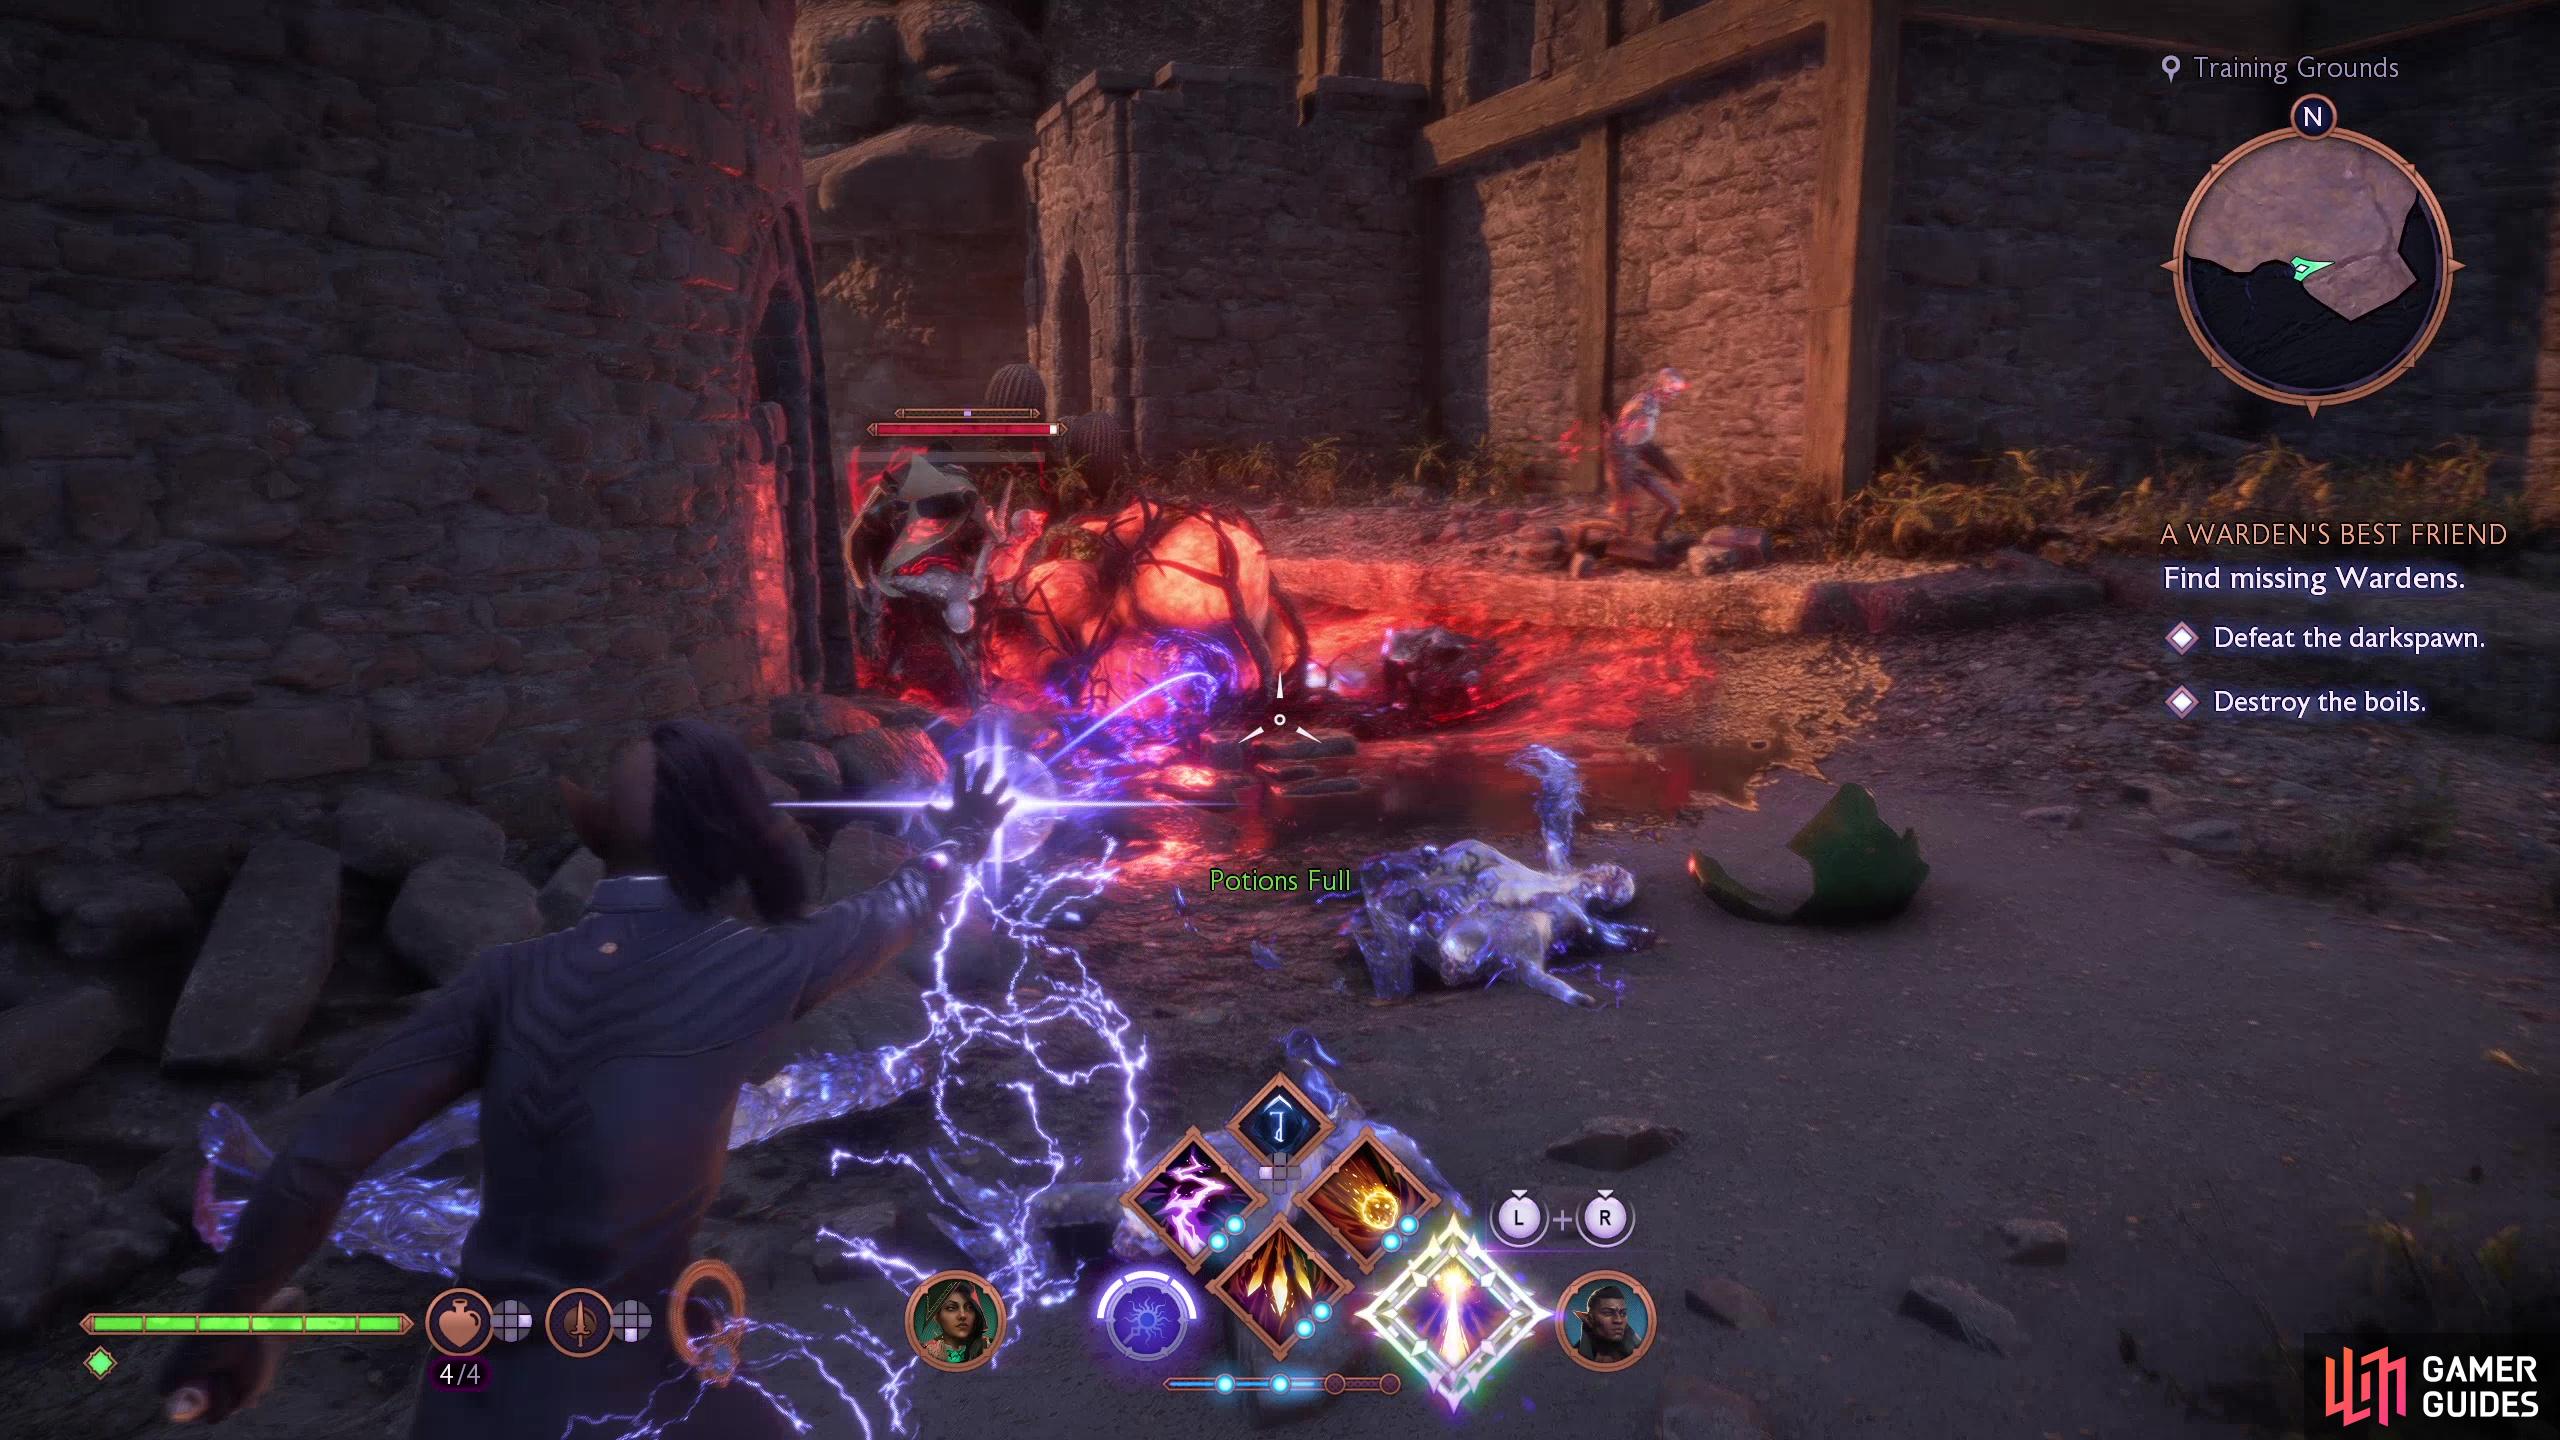
Backtrack to the pallet, climb it, then onto the nearby ledge, then go through two gates to the southeast and drop down to reach the “Training Grounds”, where you’ll find your first combat of the mission. It’s only Ghouls, but what they lack in quality they make up for in quantity, and there are two blight cysts you need to pop (one behind a stone tower) to keep their numbers remotely in check. After they’re defeated, find Warden Remi near a gate to the northeast and after some chatter you’ll need to solve a statue puzzle to get the gate open.
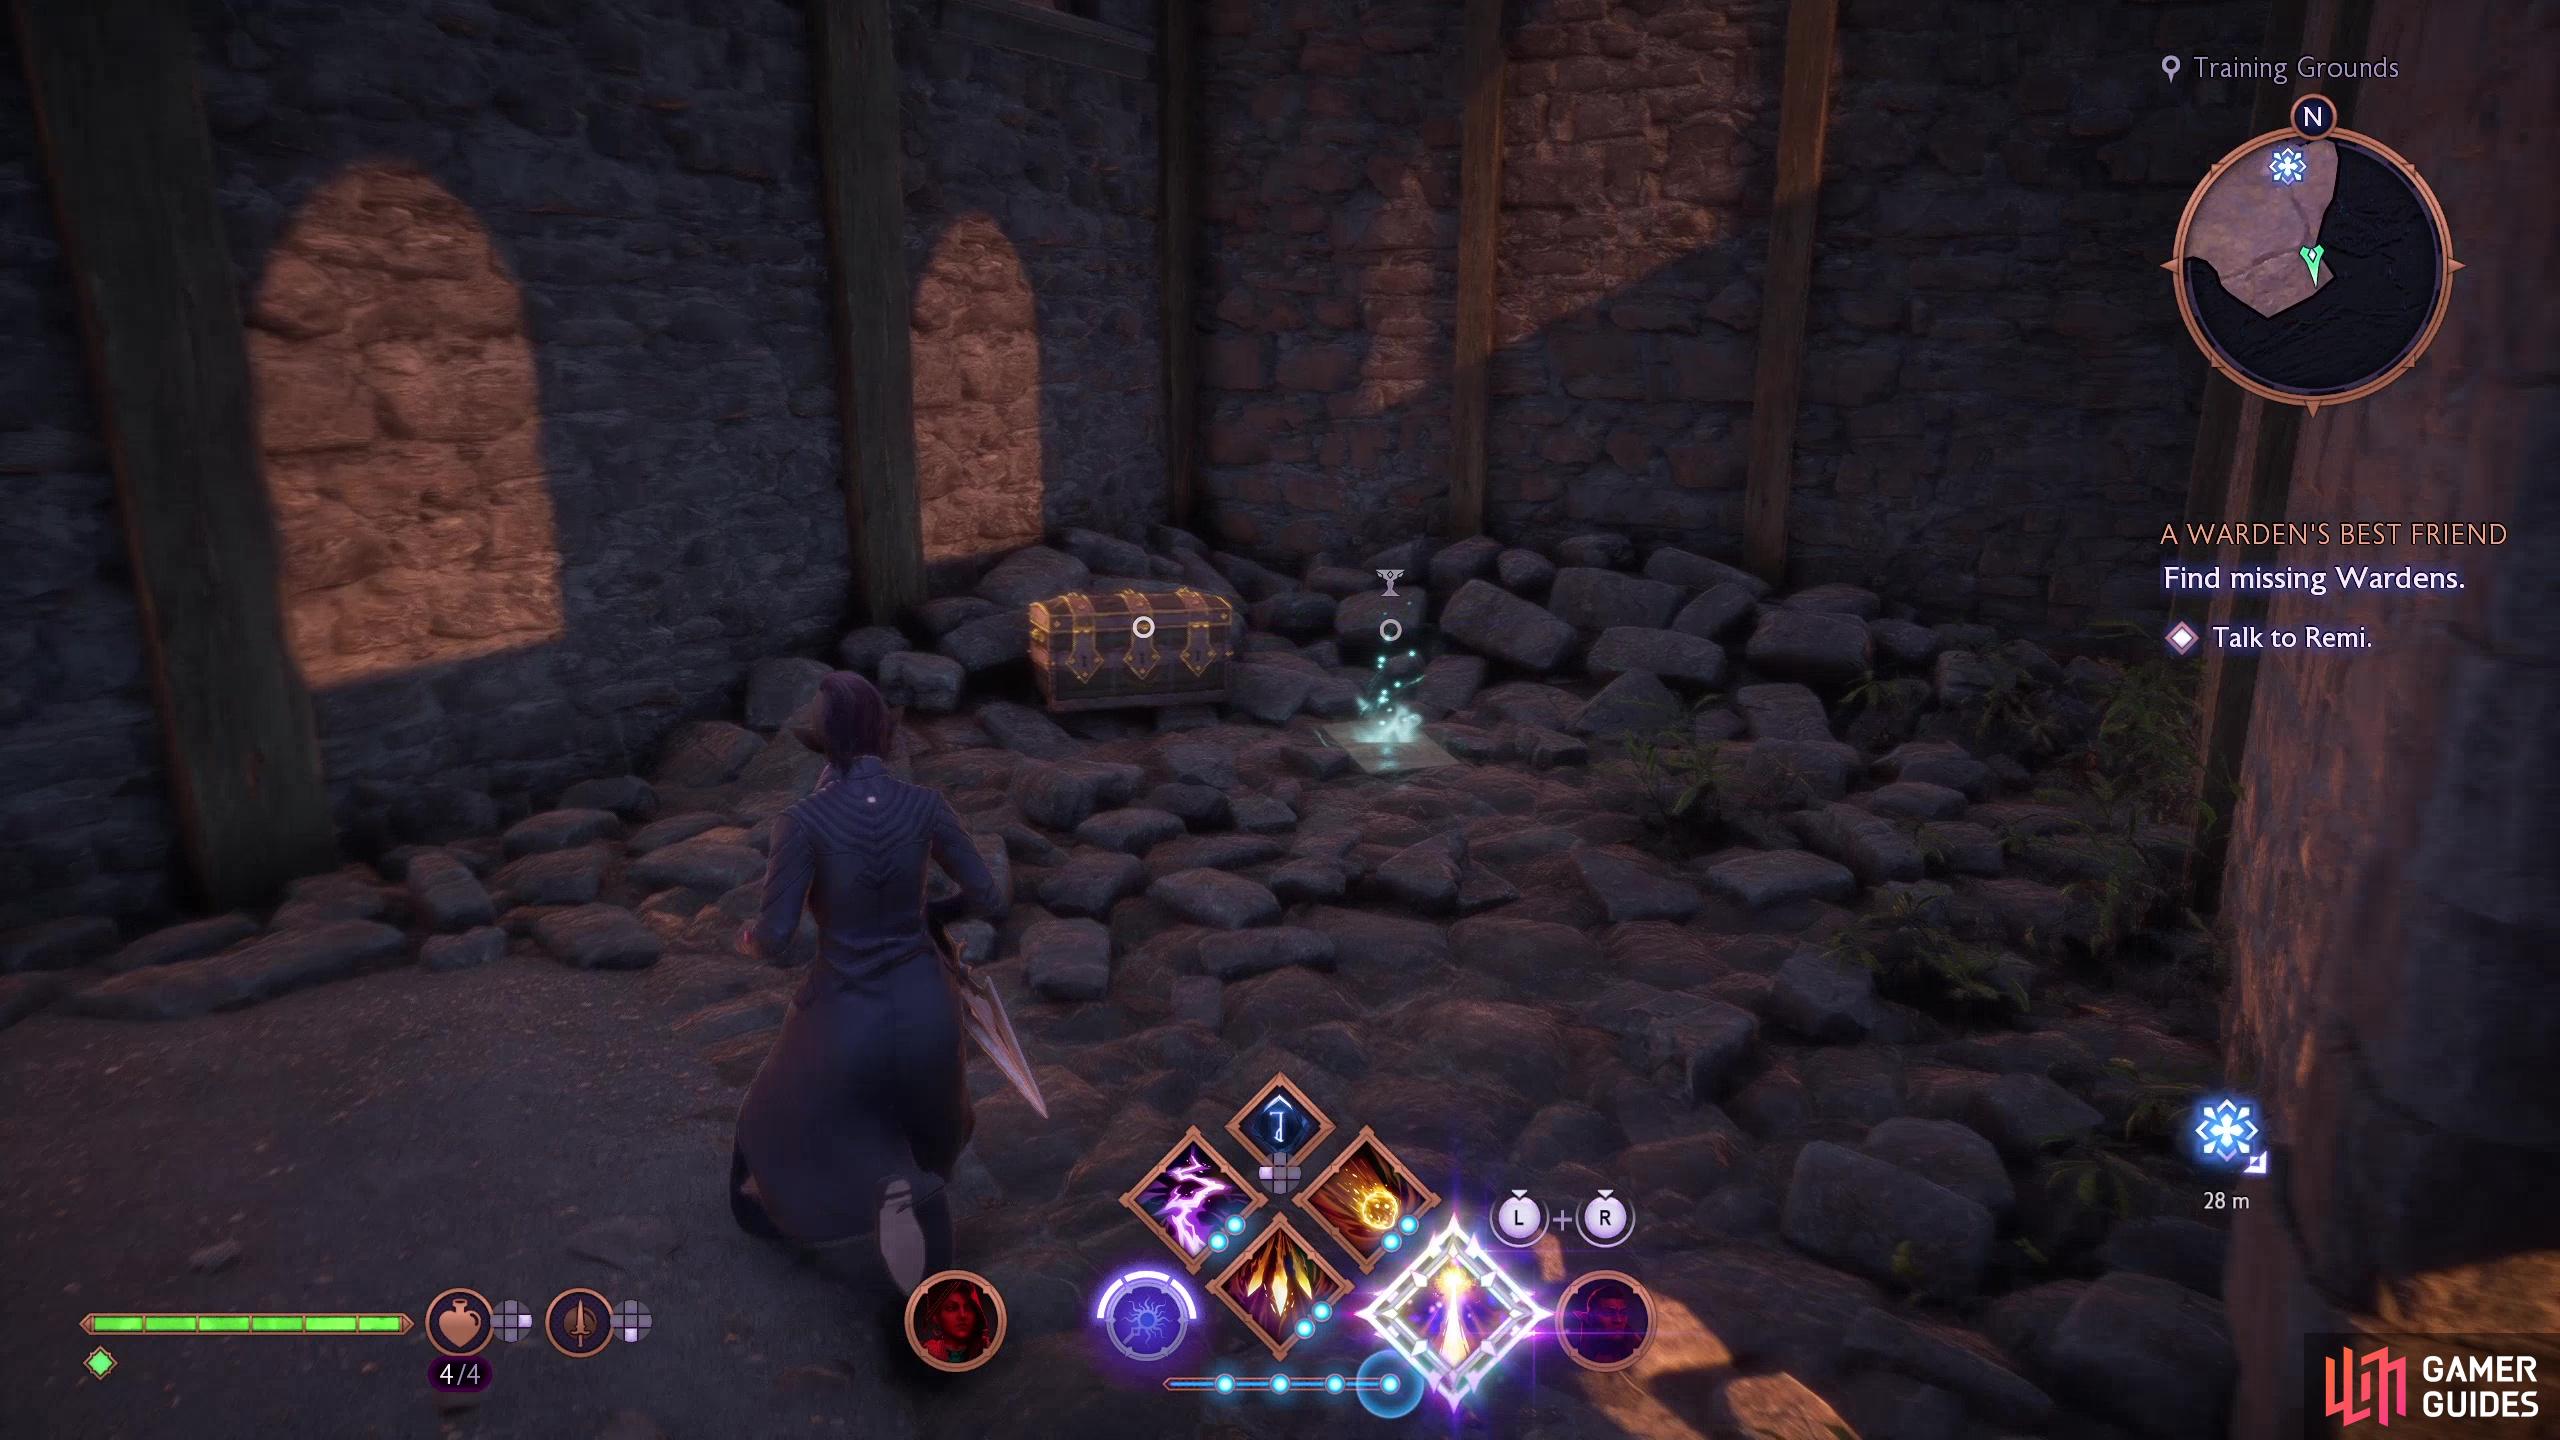
Before that, however, there’s a bit of treasure to find. Enter a doorway to the southeast and you’ll reach a small chamber housing the Lost Sketchbook: Horns memento (+50 Caretaker Power) and a small chest. Grab them before, then attend to that puzzle.
(1 of 3) In the Training Grounds you’ll find plenty of Ghouls…
Solve the Warden Statue Puzzle
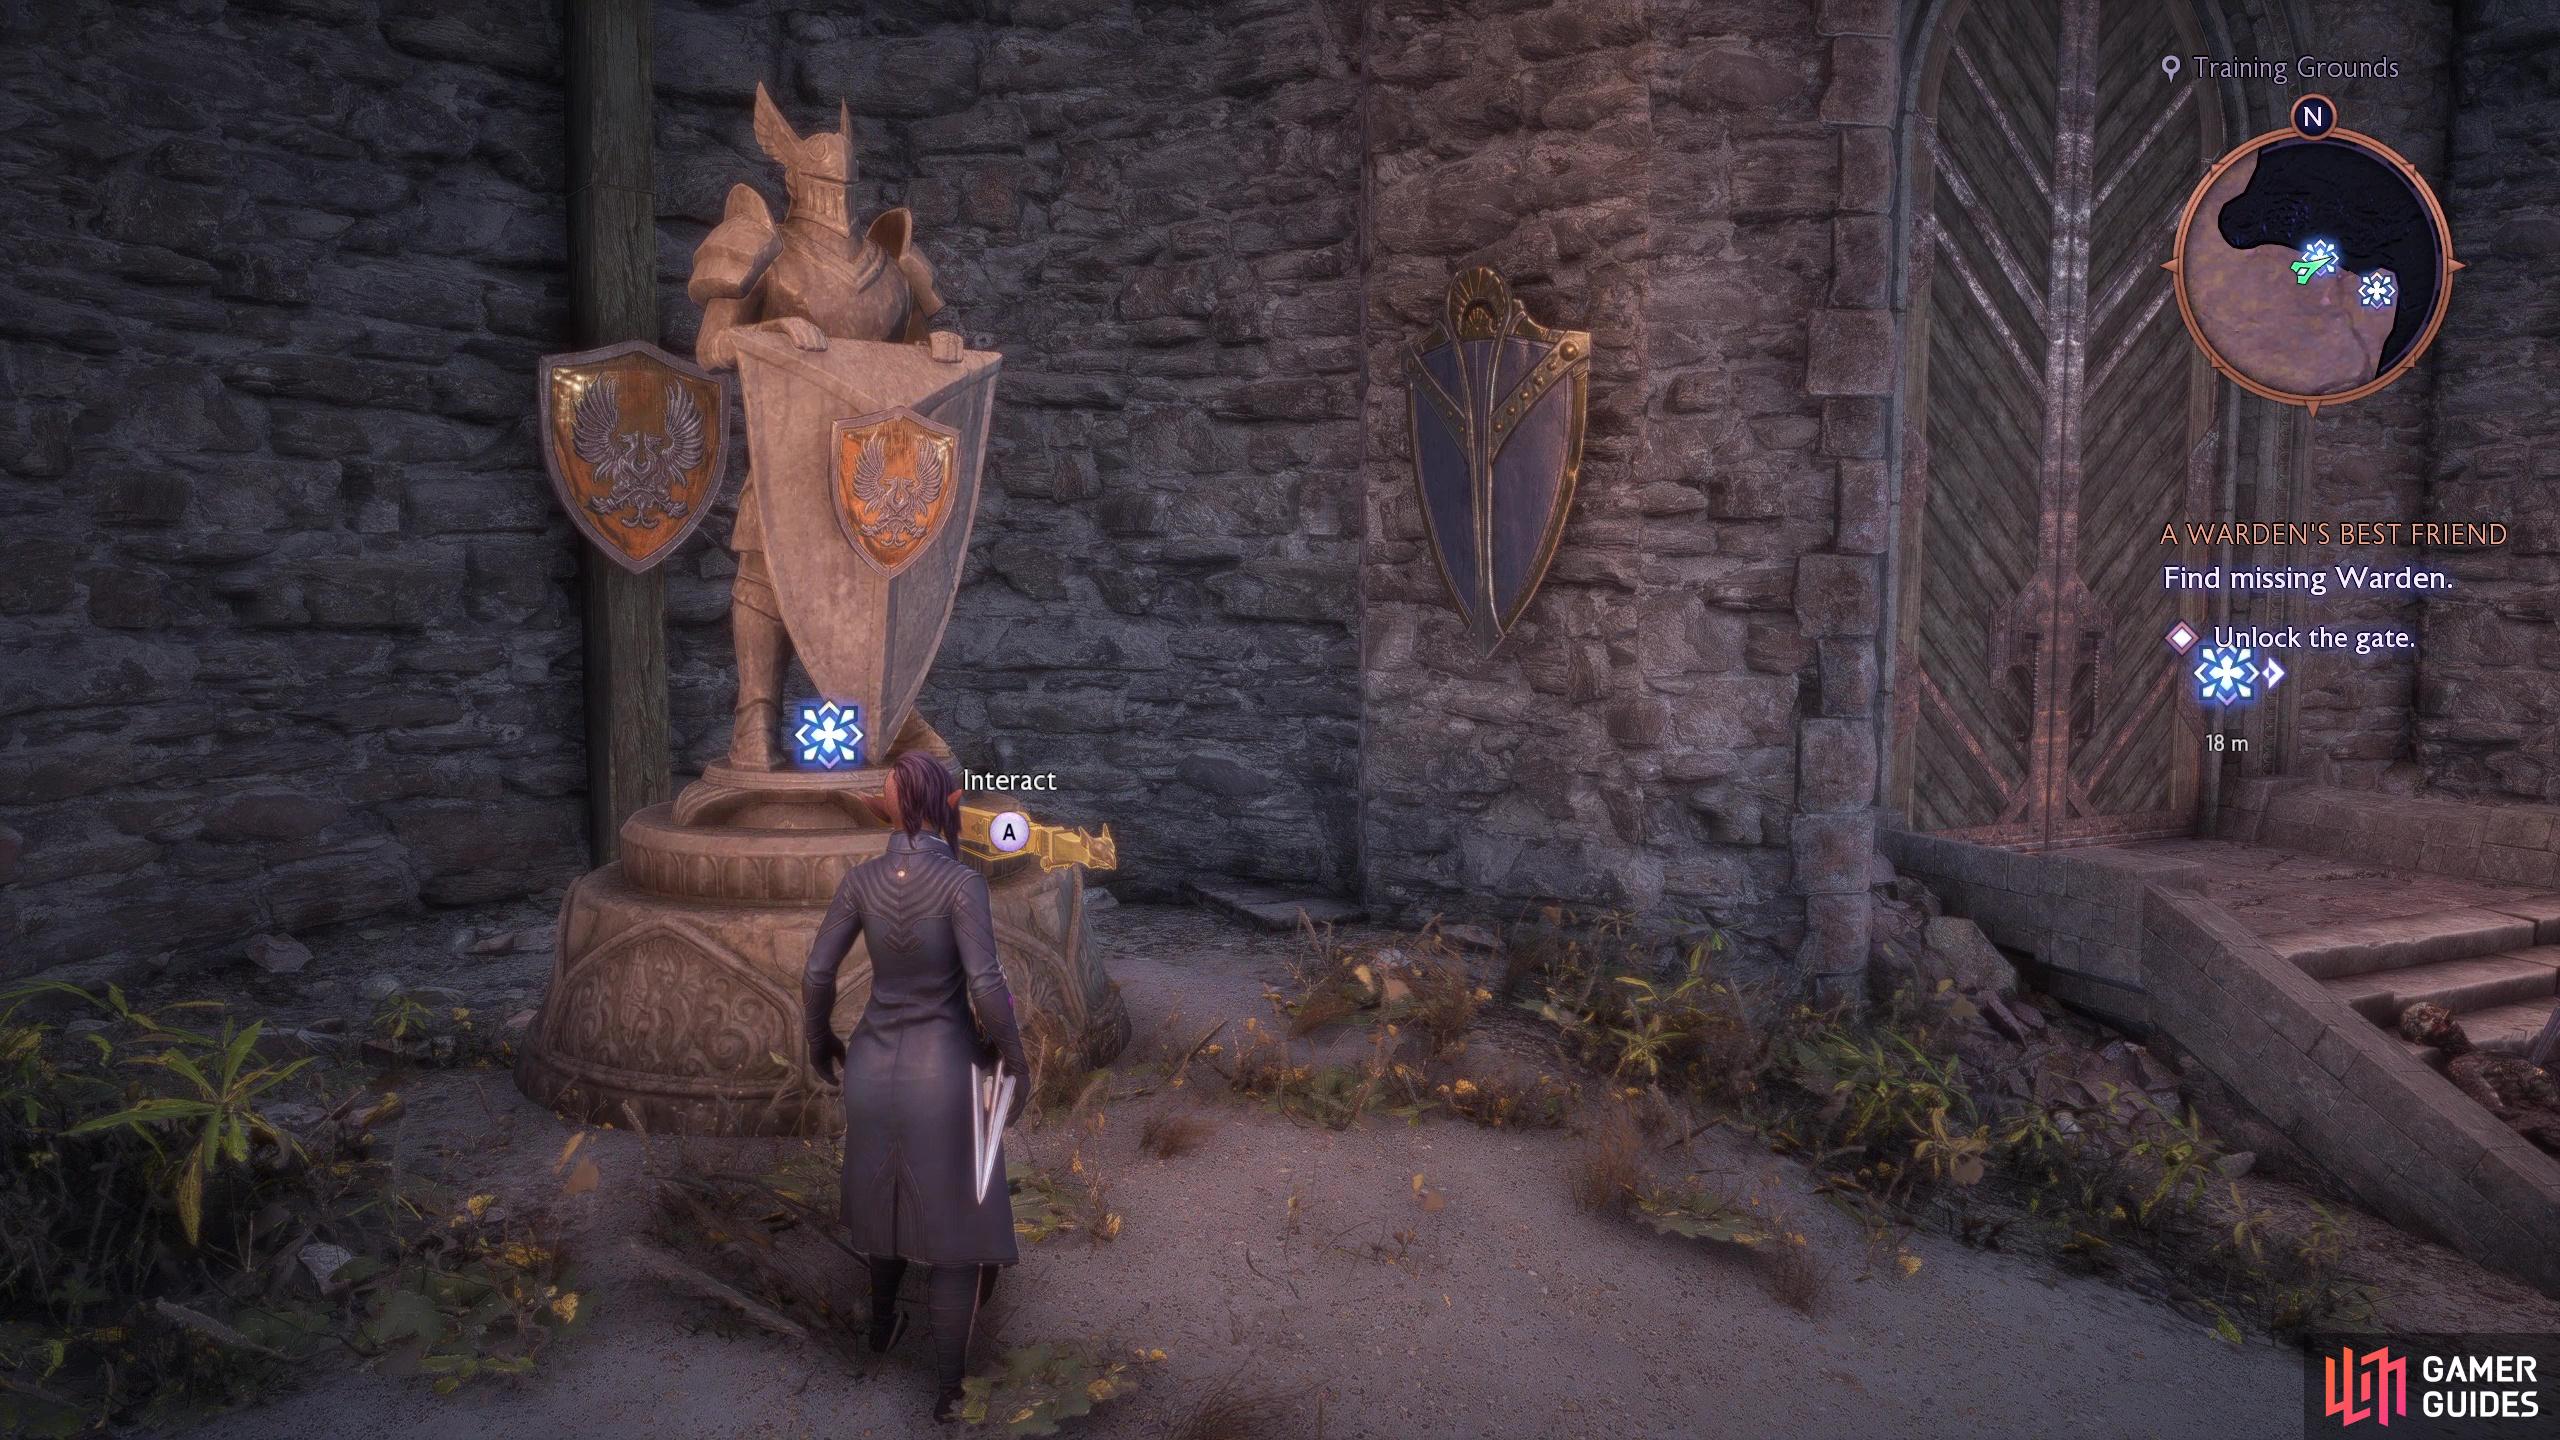
This is a pretty simple puzzle - there are two statues, one on either side of the gate, and they’ve got an emblem emblazoned on their shield, along with three shields on the walls near them. All you need to do is rotate the statues so they’re facing the emblem on the wall that matches what’s on their shield. Both statues, suitably enough, have shields emblazoned with winged griffons on them, so rotate the left statue to face the interior of the alcove and the right statue to face right.
Turn the Warden statues to face the shield whose emblem matches their own.
Find Warden Lancit
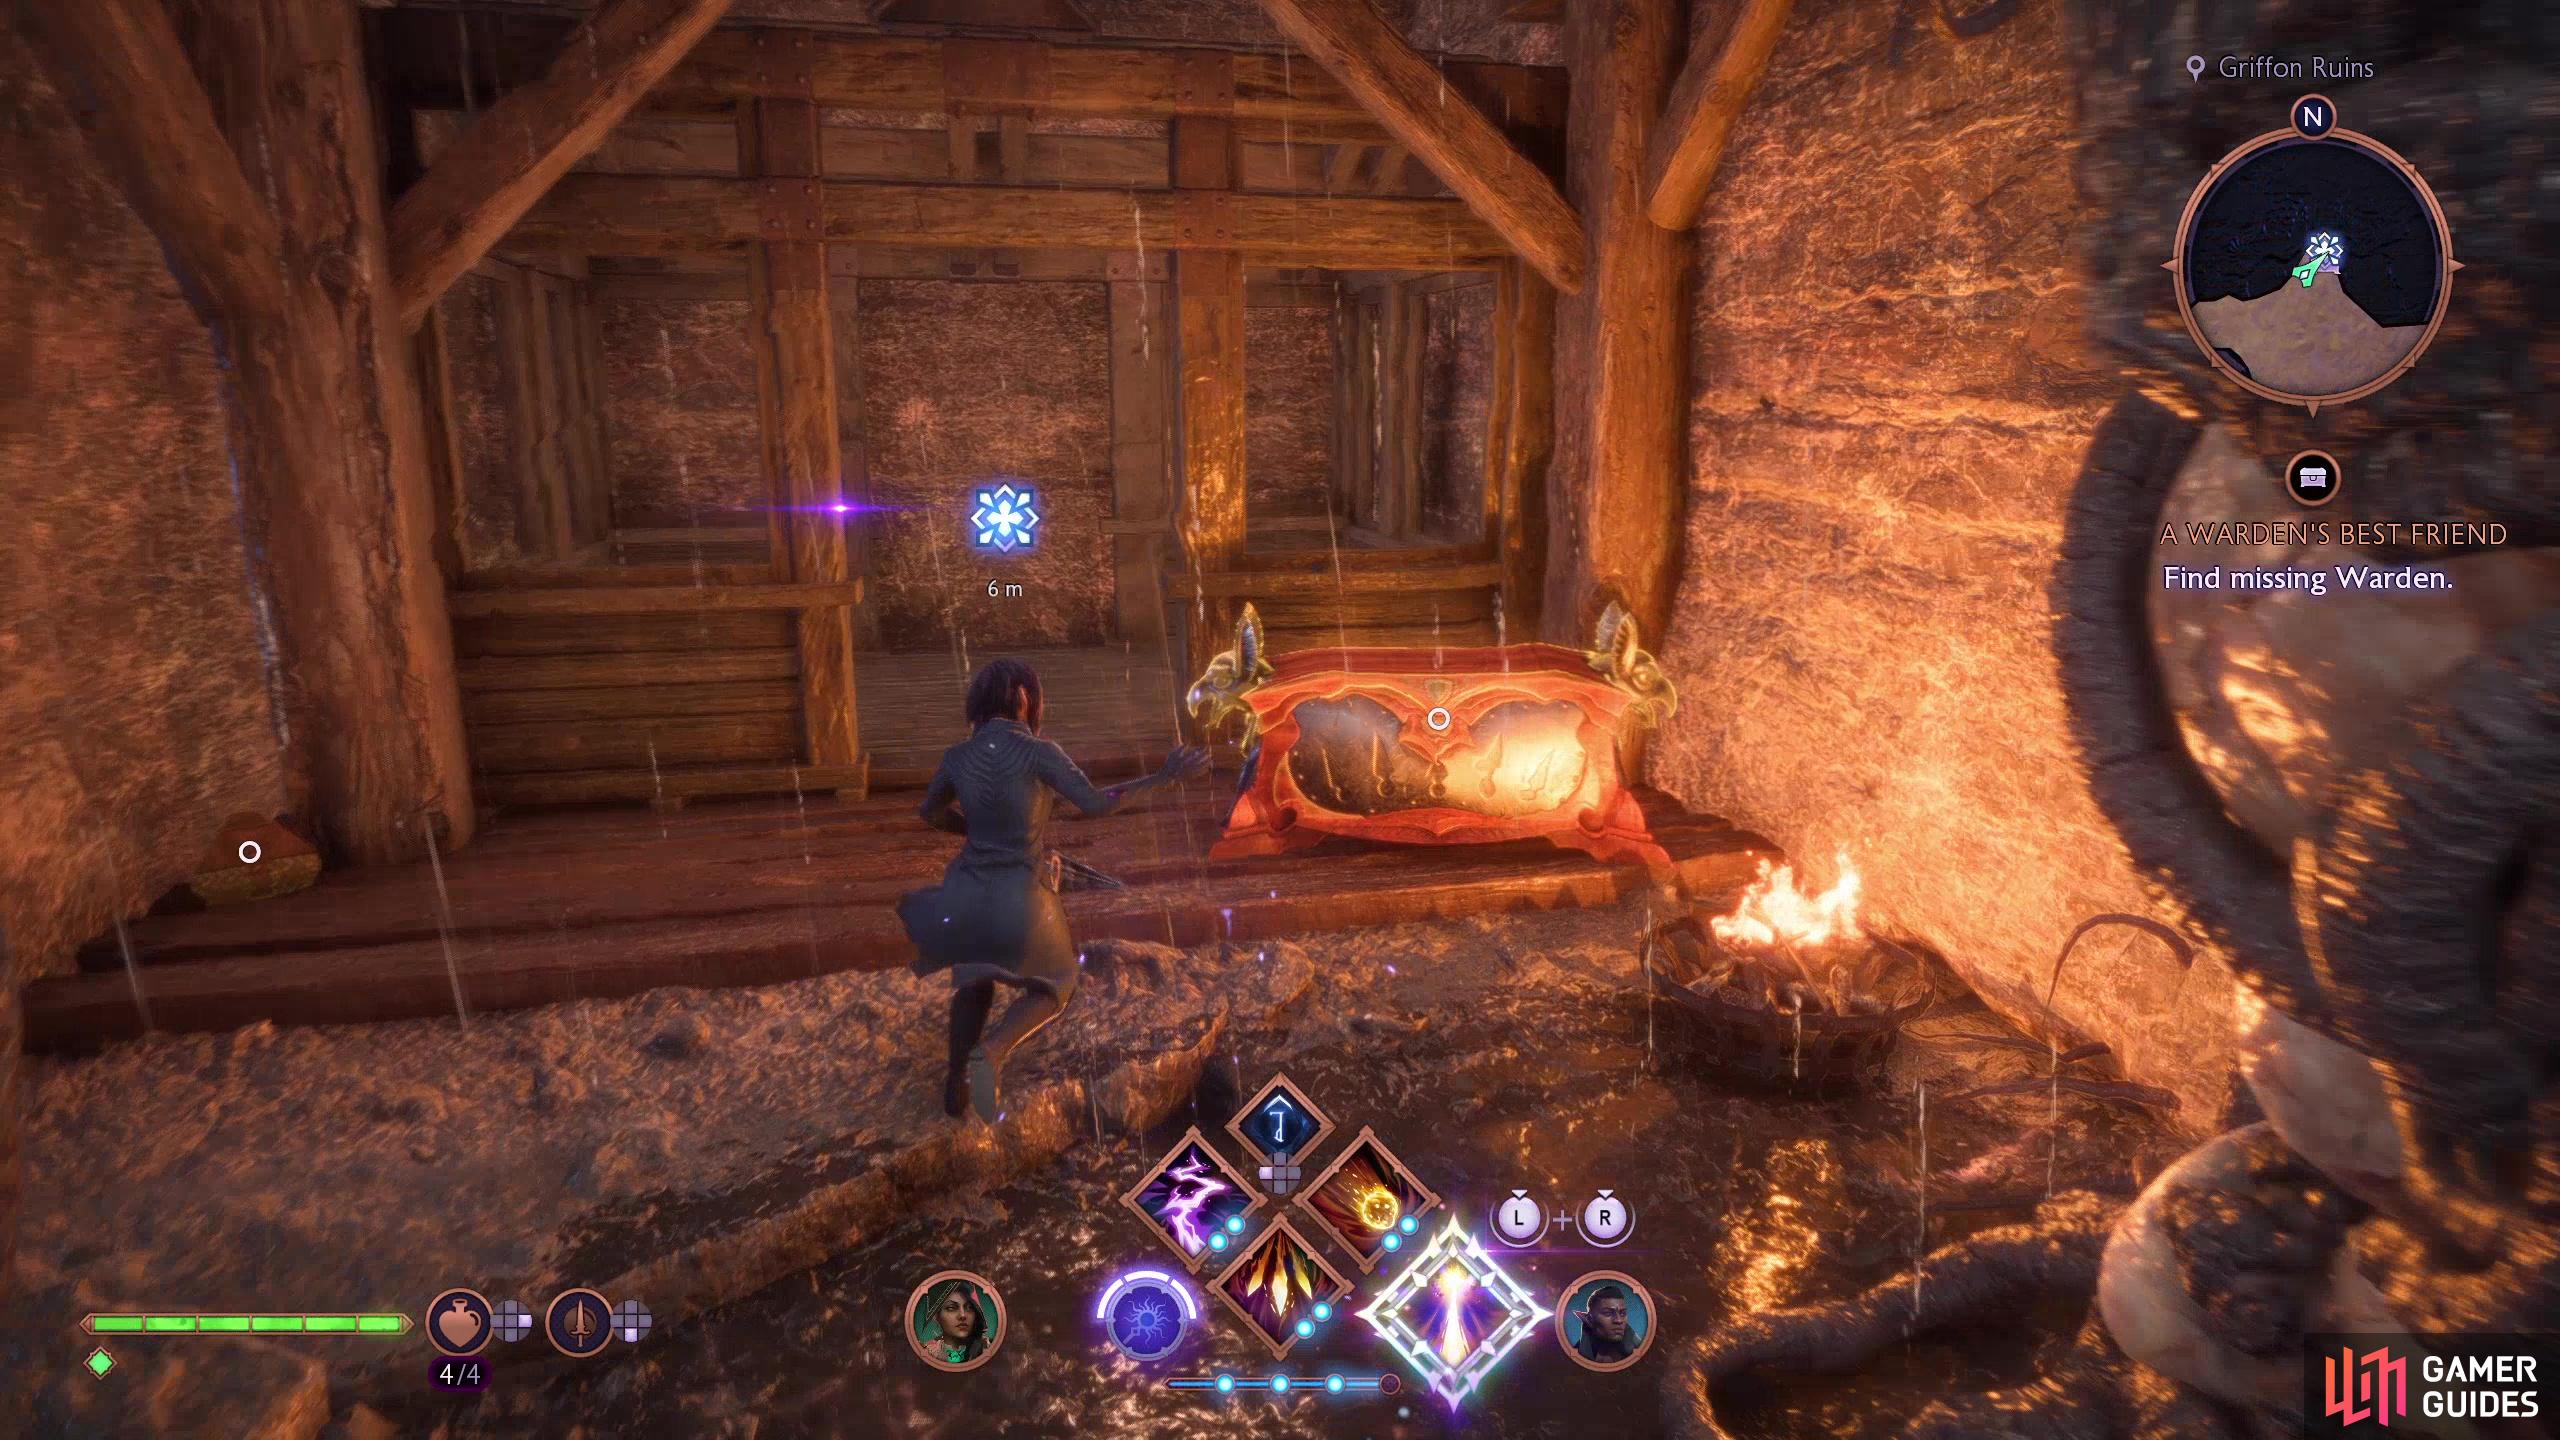
Cross through the gate to reach the “Griffon Ruins” and loot a small chest alongside the trail, then follow the linear path ahead, crossing under a bridge and enjoying (or enduring) some banter between your teammates as you go. Eventually you’ll come to a collapsed wooden bridge - for an alternate route, use “Griffon Strike” on a pallet to the north, jump across, then climb some ledges and a ladder to find more darkspawn.
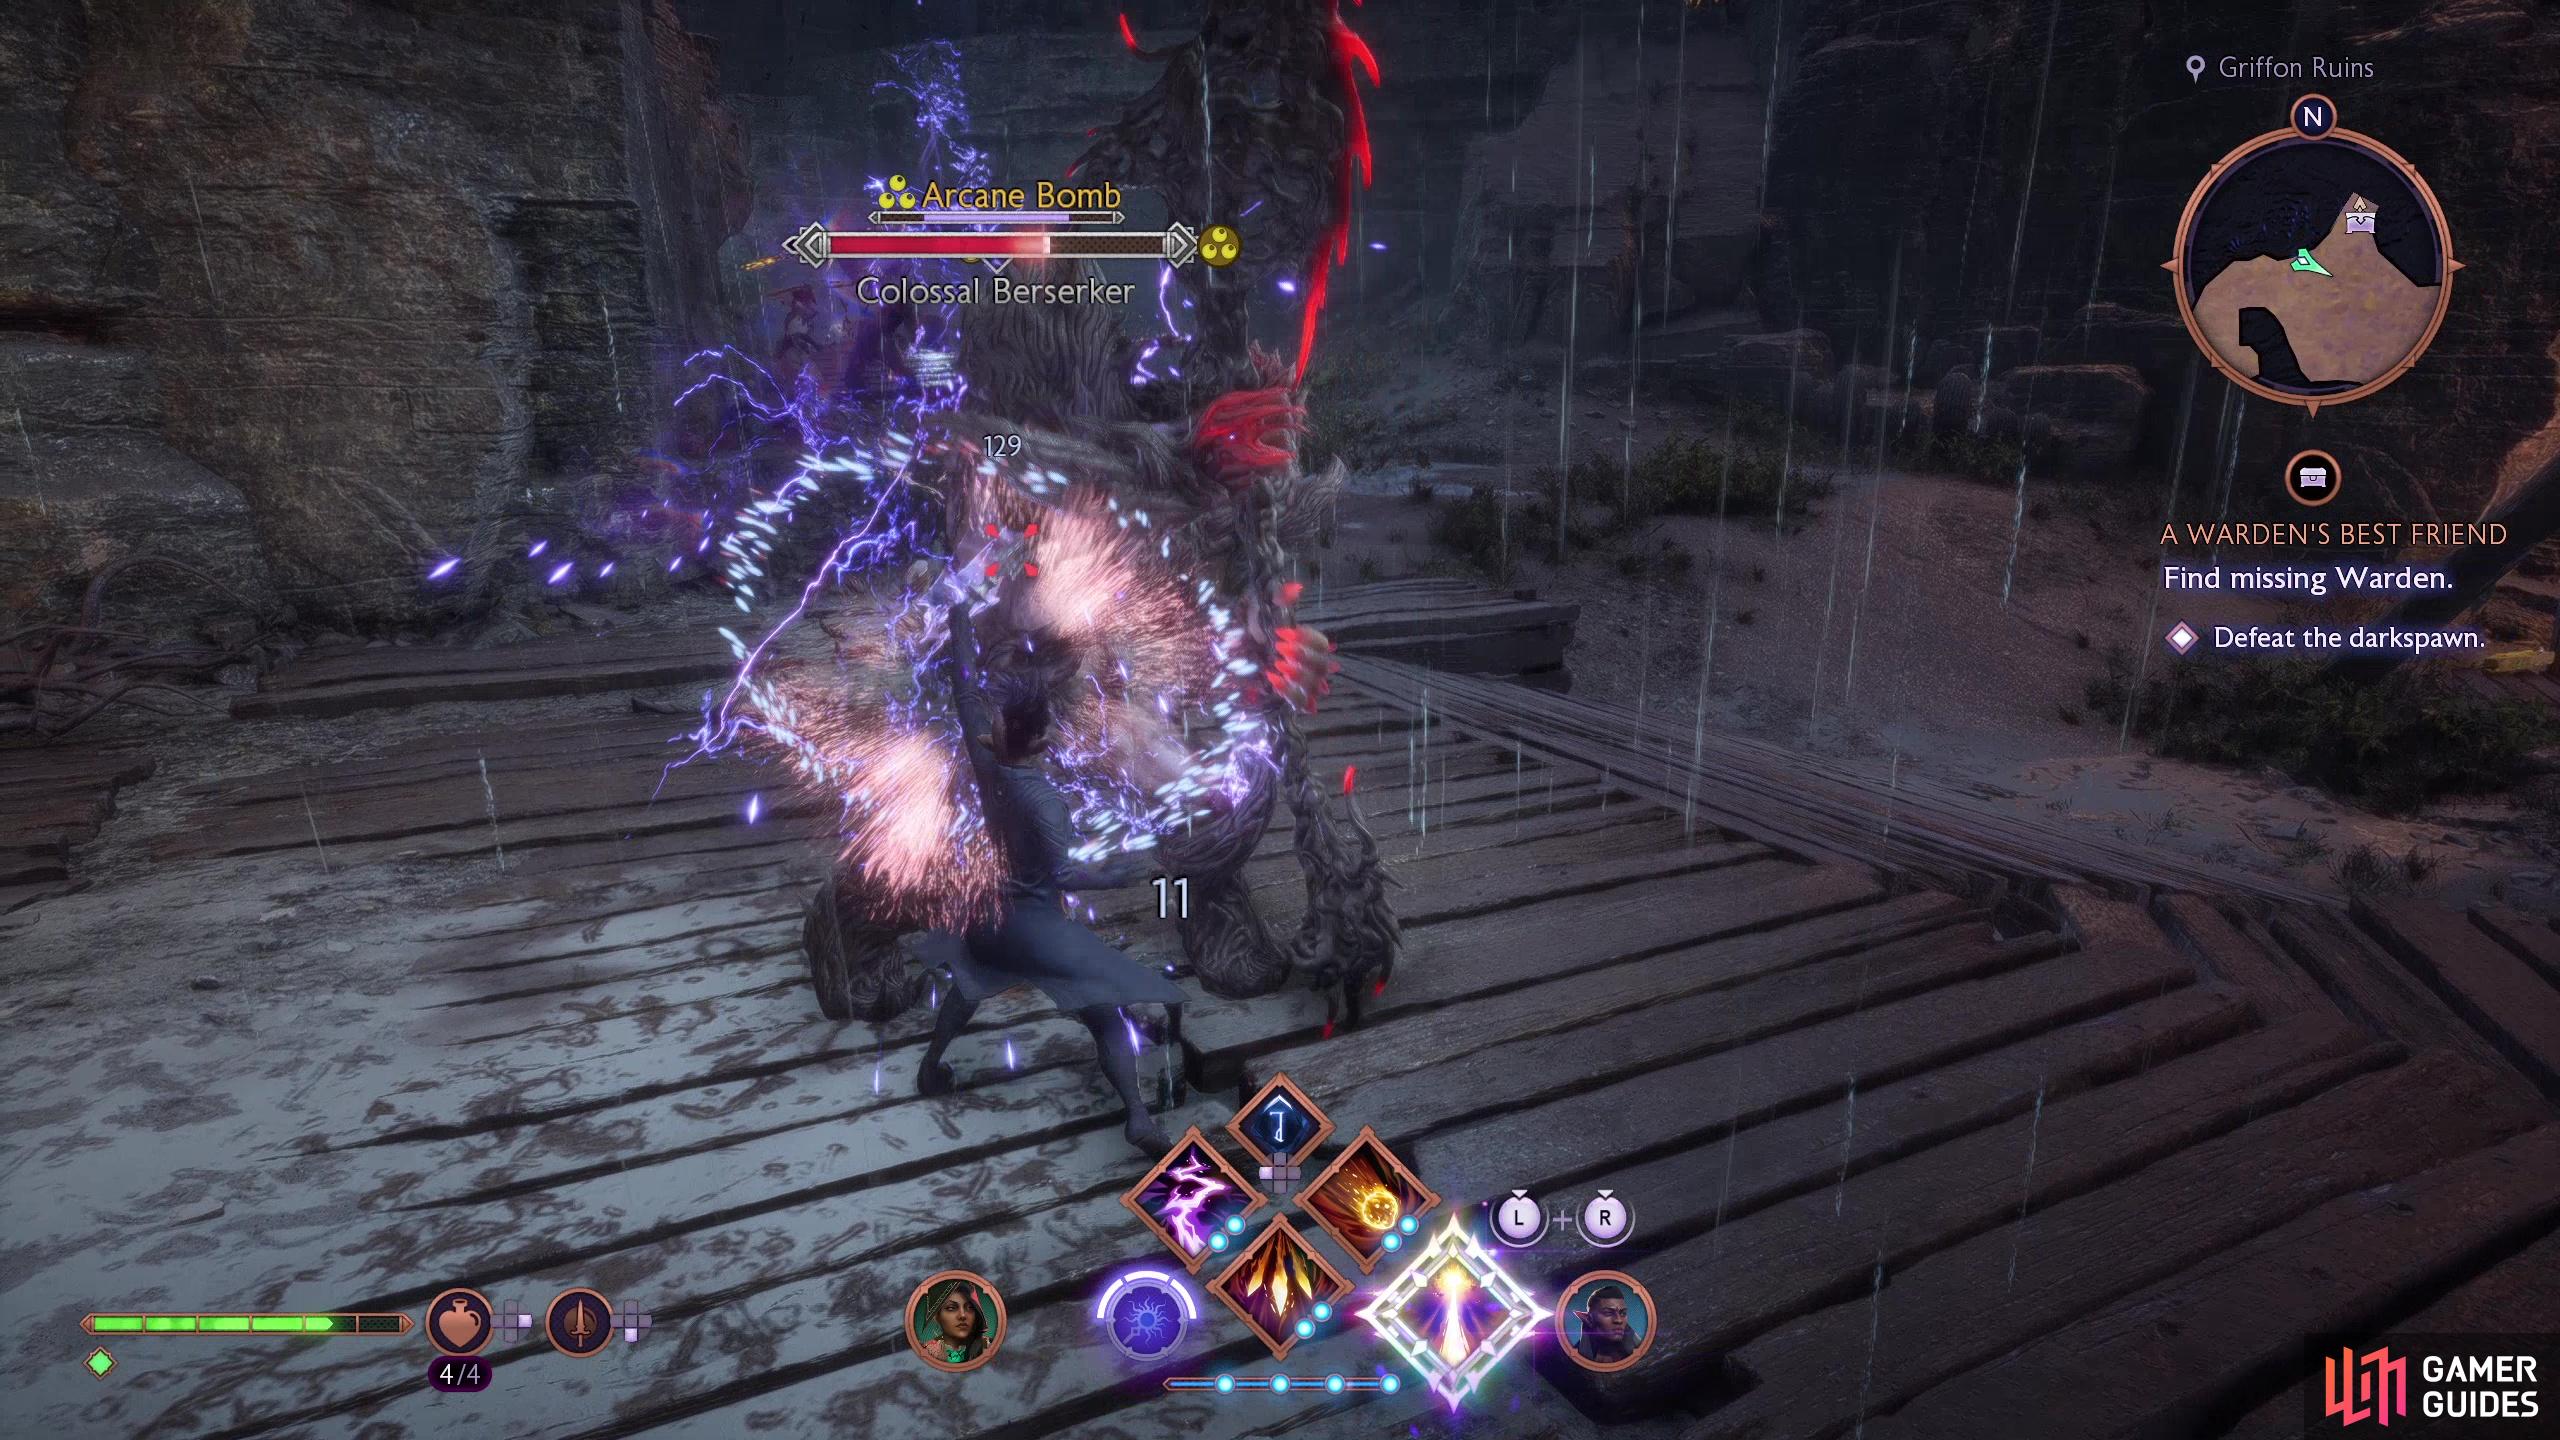
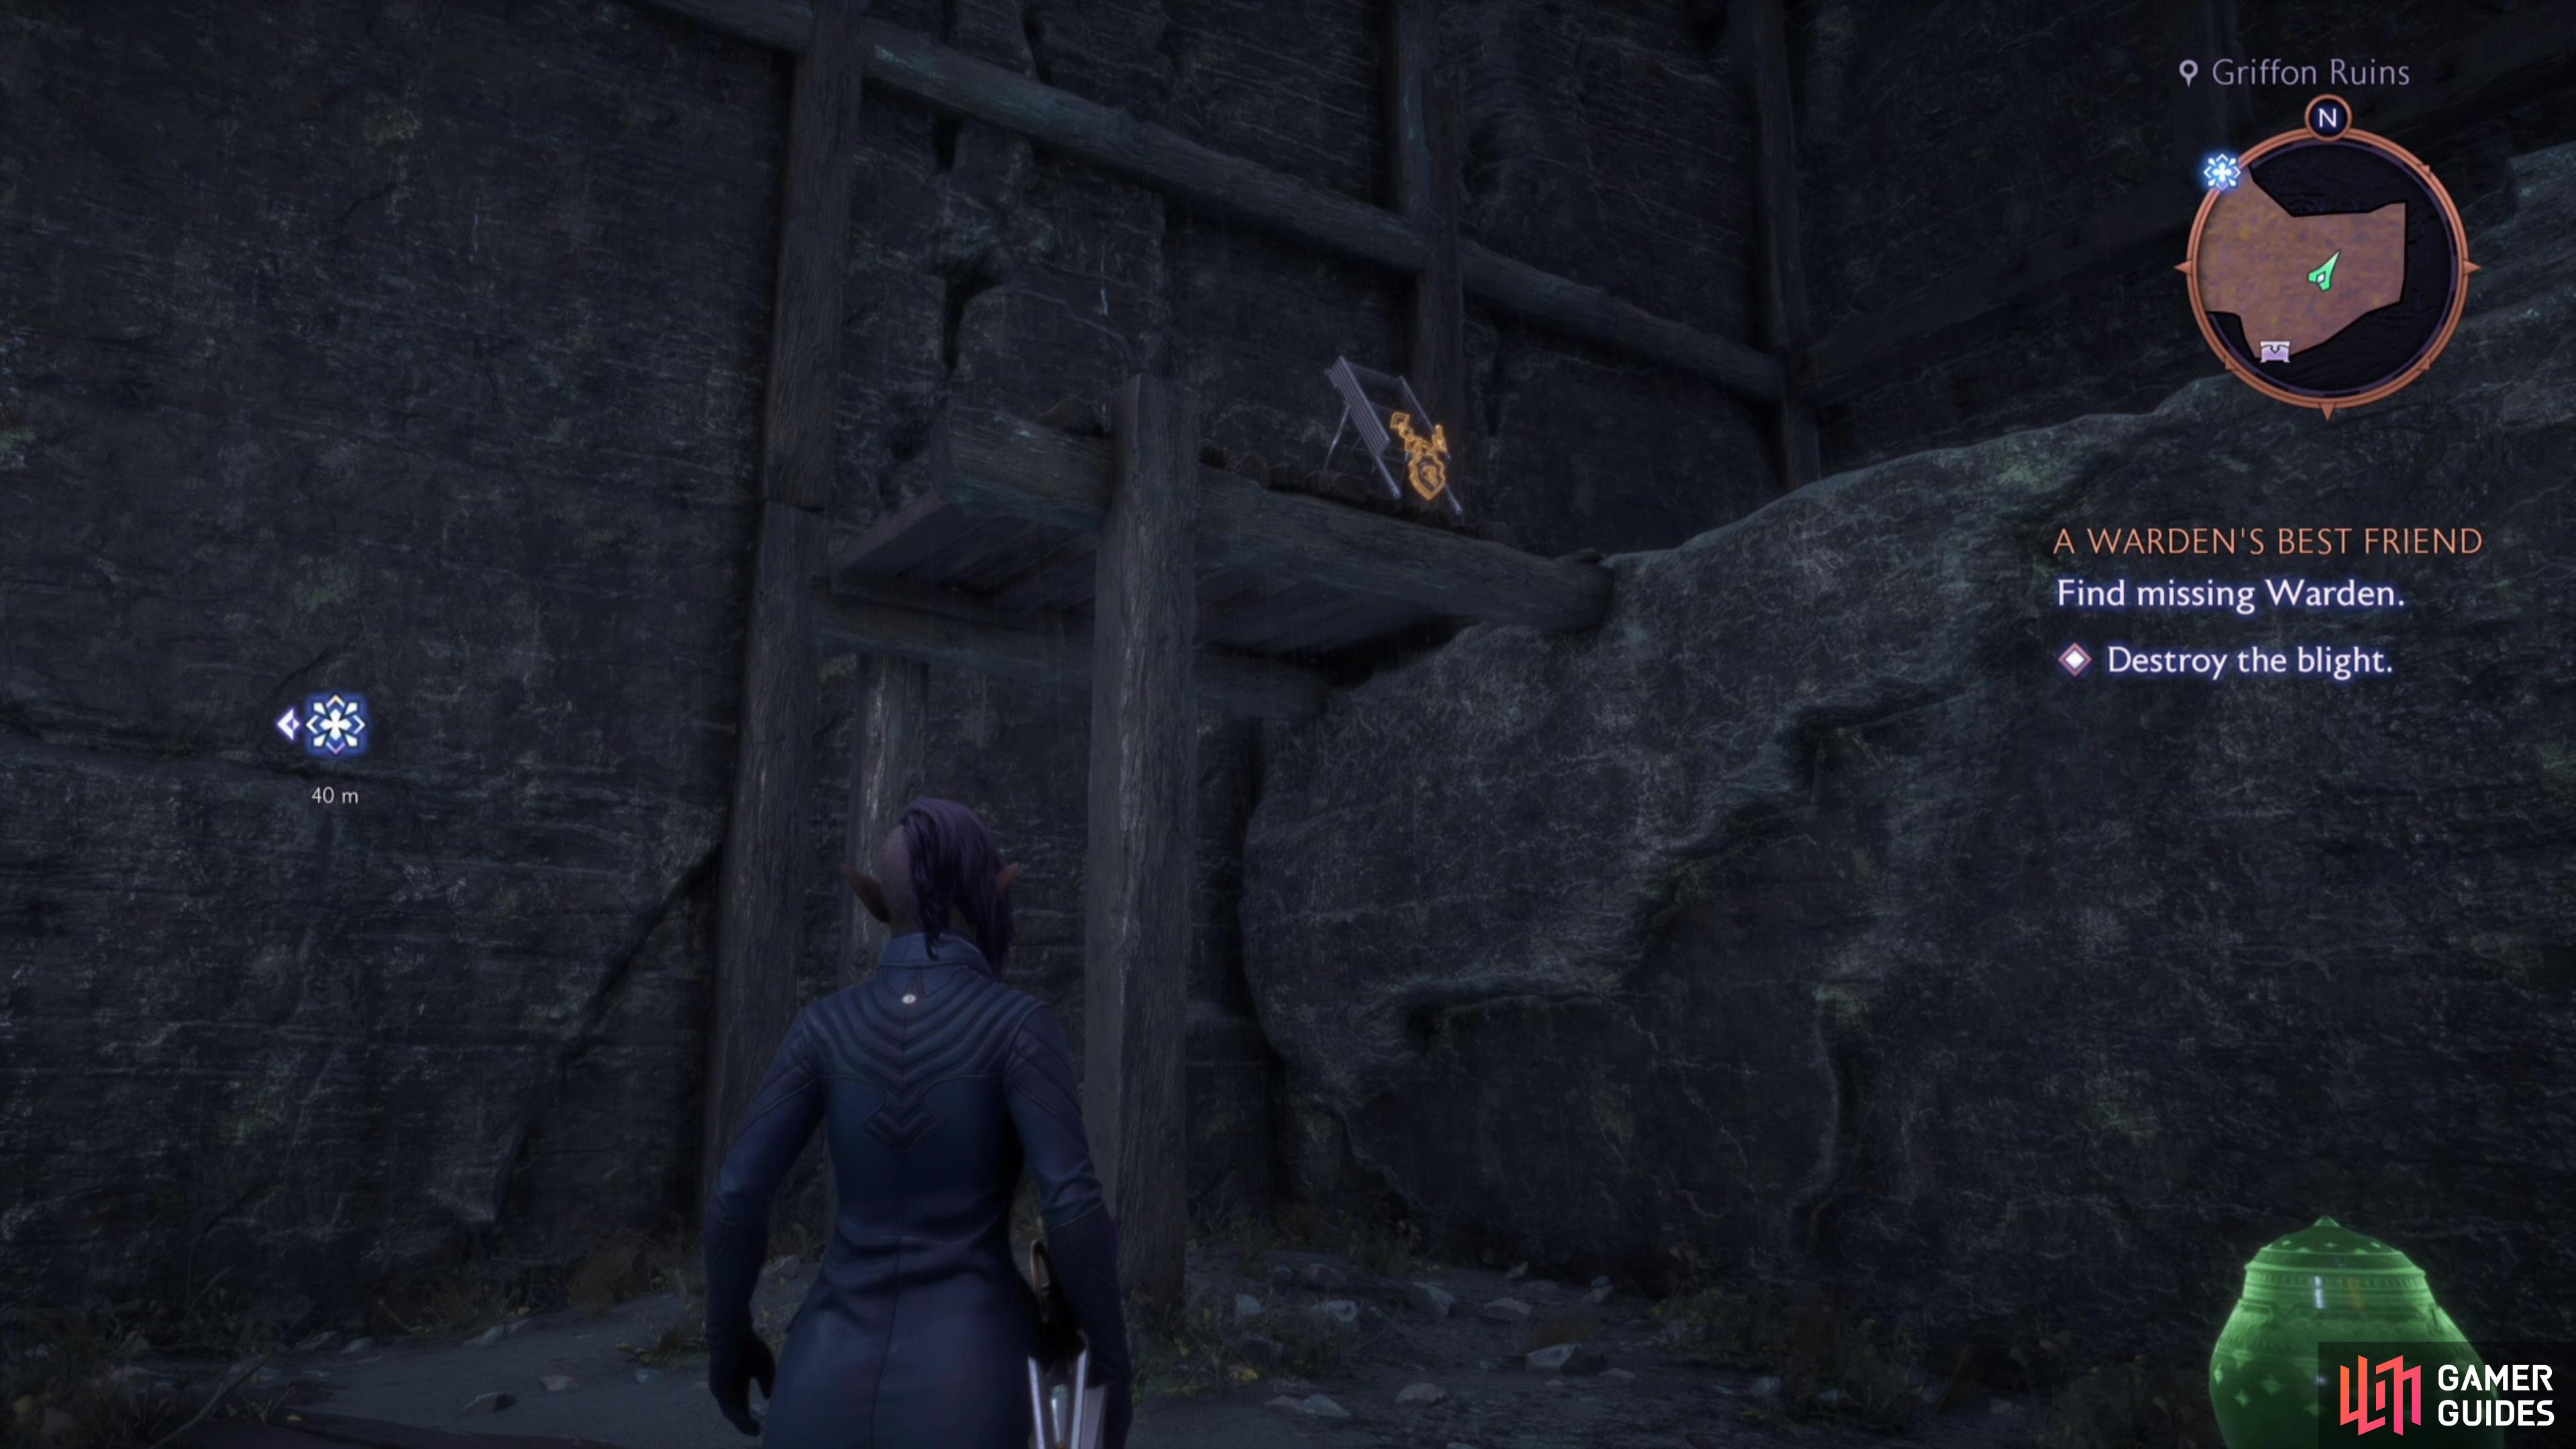
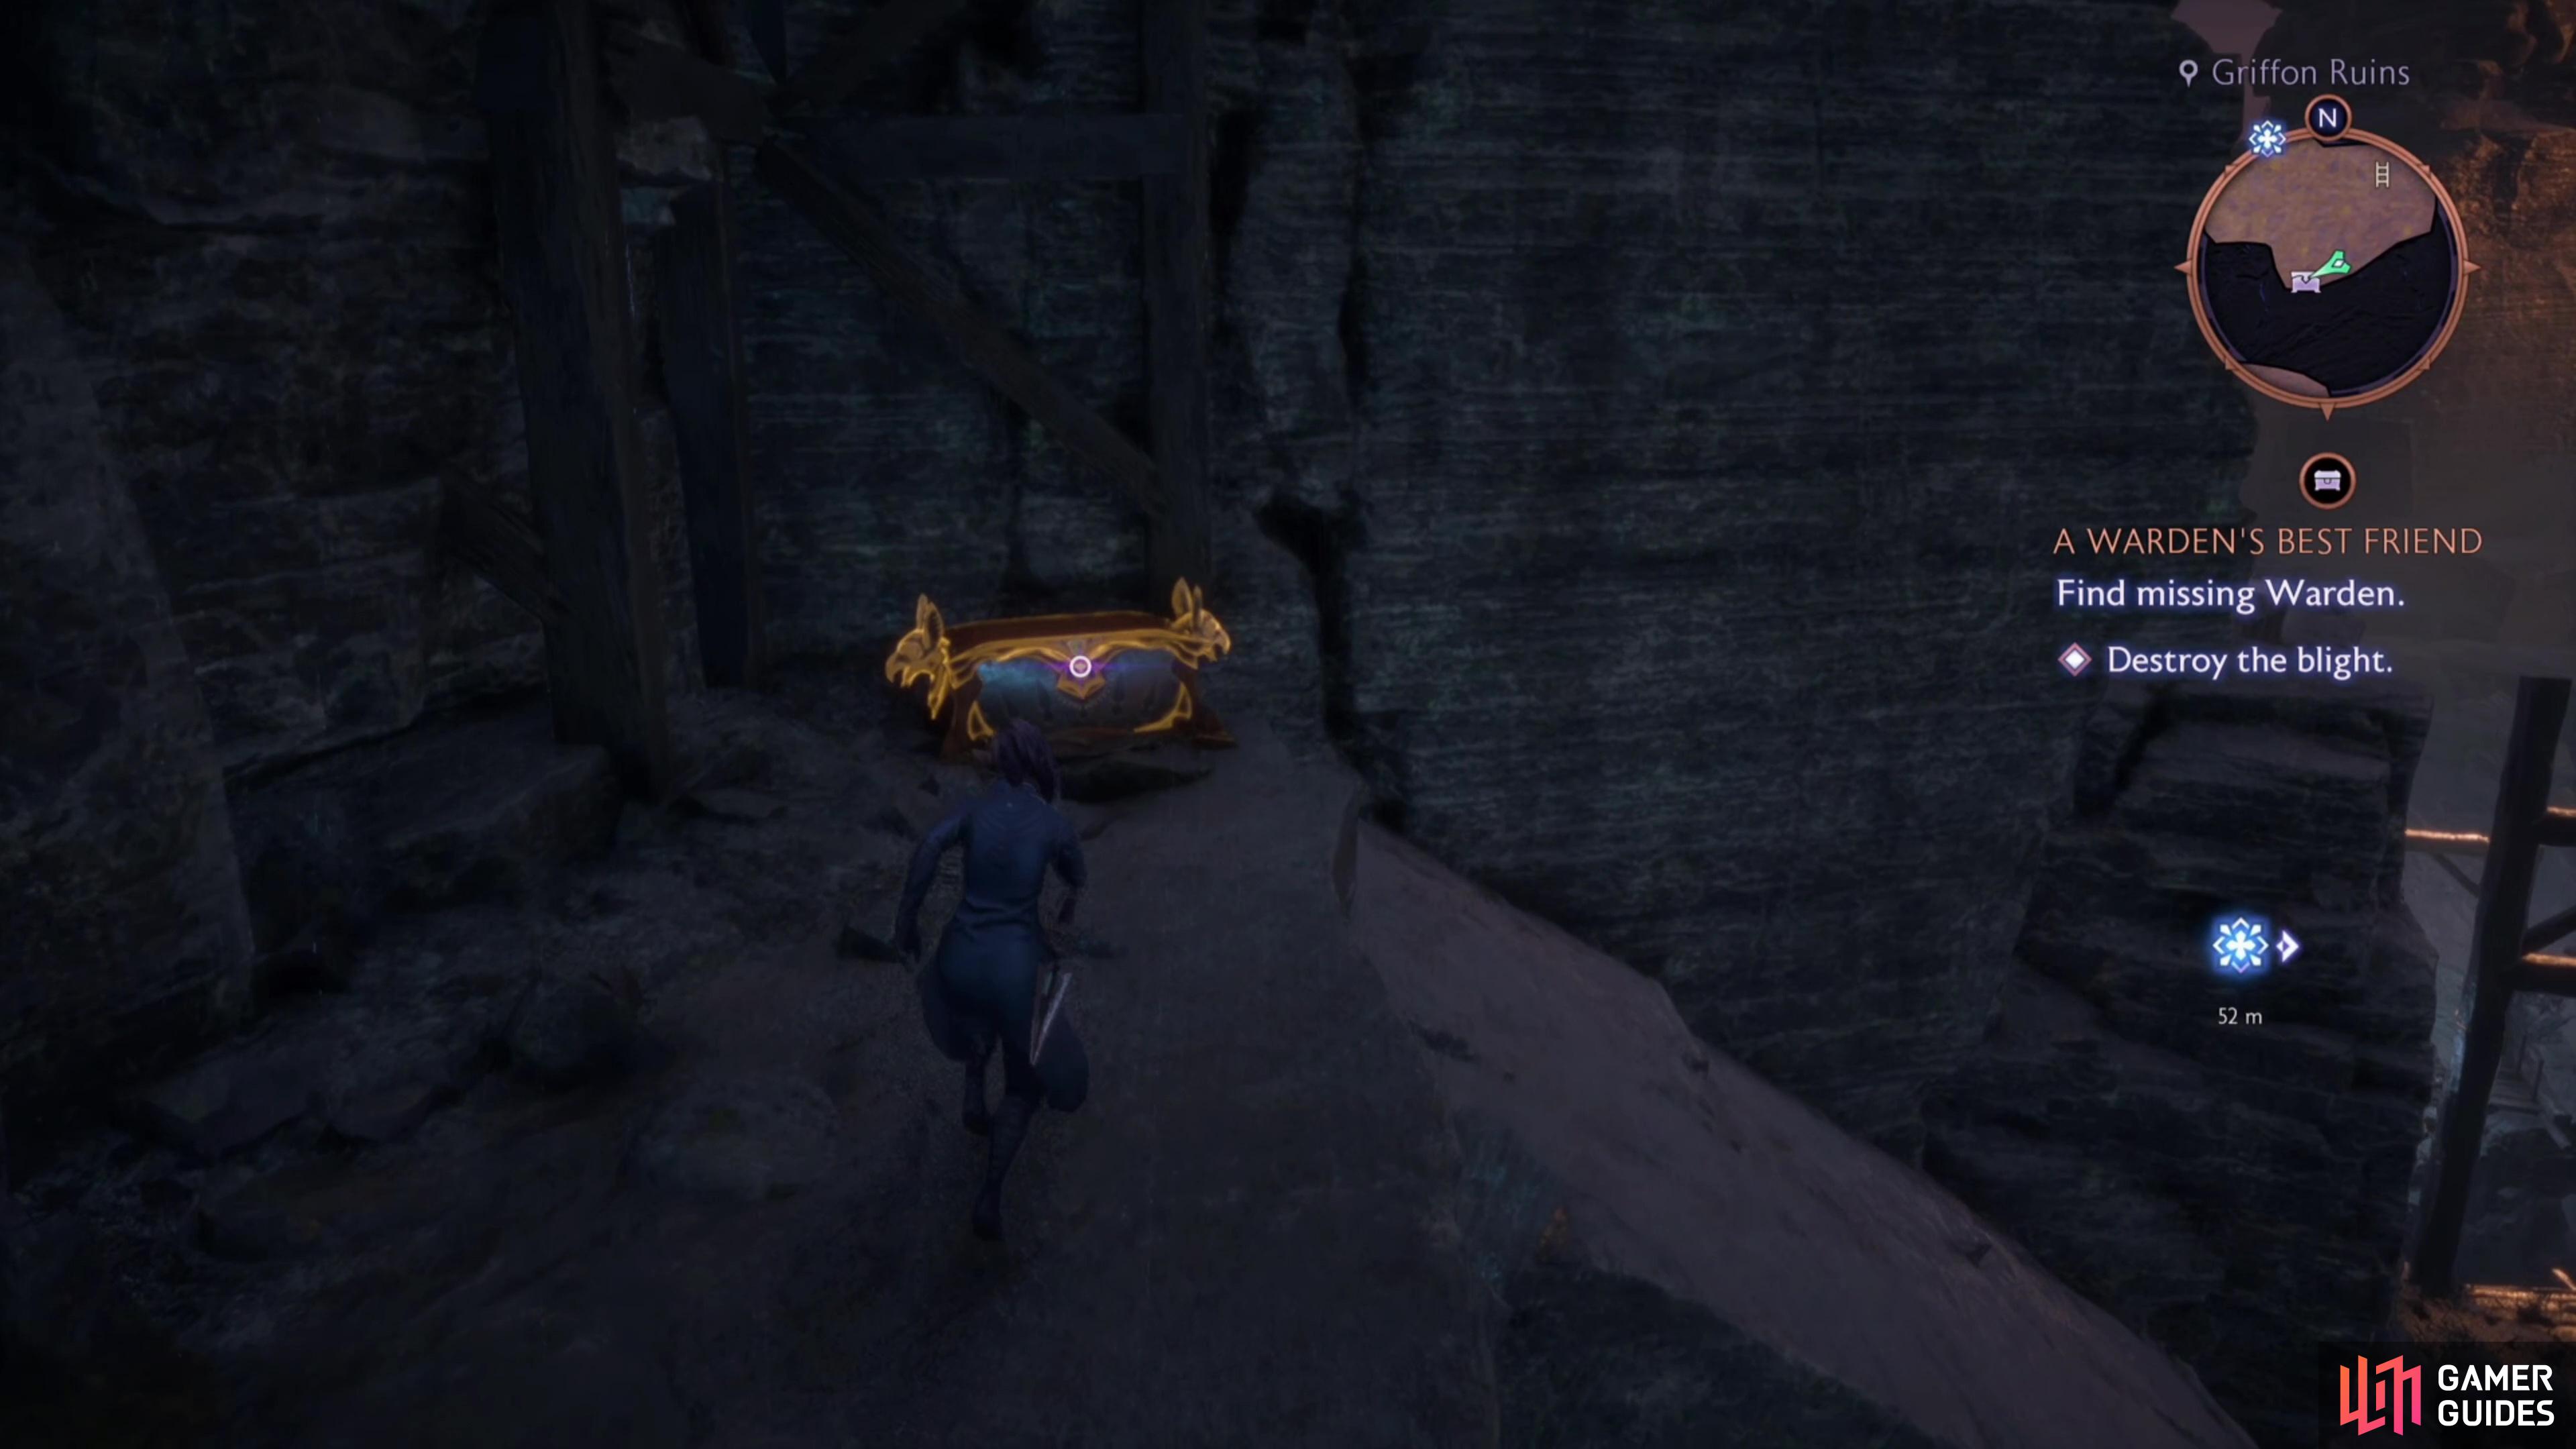
Your foes lie to the east, and initially they’ll include a Hurlock Spiker and a bunch of Ghouls. Cut through them, however, and a Colossal Berserker, another Hurlock Spiker and more Ghouls will spawn. No tricks here, you just gotta kill them all. Be sure to loot the dead Colossal Berserker, as he may drop some gear (in our game it dropped a ![]() Reinforced Binding, then note the sealed blight passage to the north. Before you go through it, head to the eastern edge of the area and look up at a wooden platform to find a locked ladder. Use ranged attacks to knock the ladder down, then climb up, turn south and scale some ledges, then continue west to find a chest. Plunder it, slide down a slope, then carve your way through the blight passage to find another large chest near an elevator.
Reinforced Binding, then note the sealed blight passage to the north. Before you go through it, head to the eastern edge of the area and look up at a wooden platform to find a locked ladder. Use ranged attacks to knock the ladder down, then climb up, turn south and scale some ledges, then continue west to find a chest. Plunder it, slide down a slope, then carve your way through the blight passage to find another large chest near an elevator.
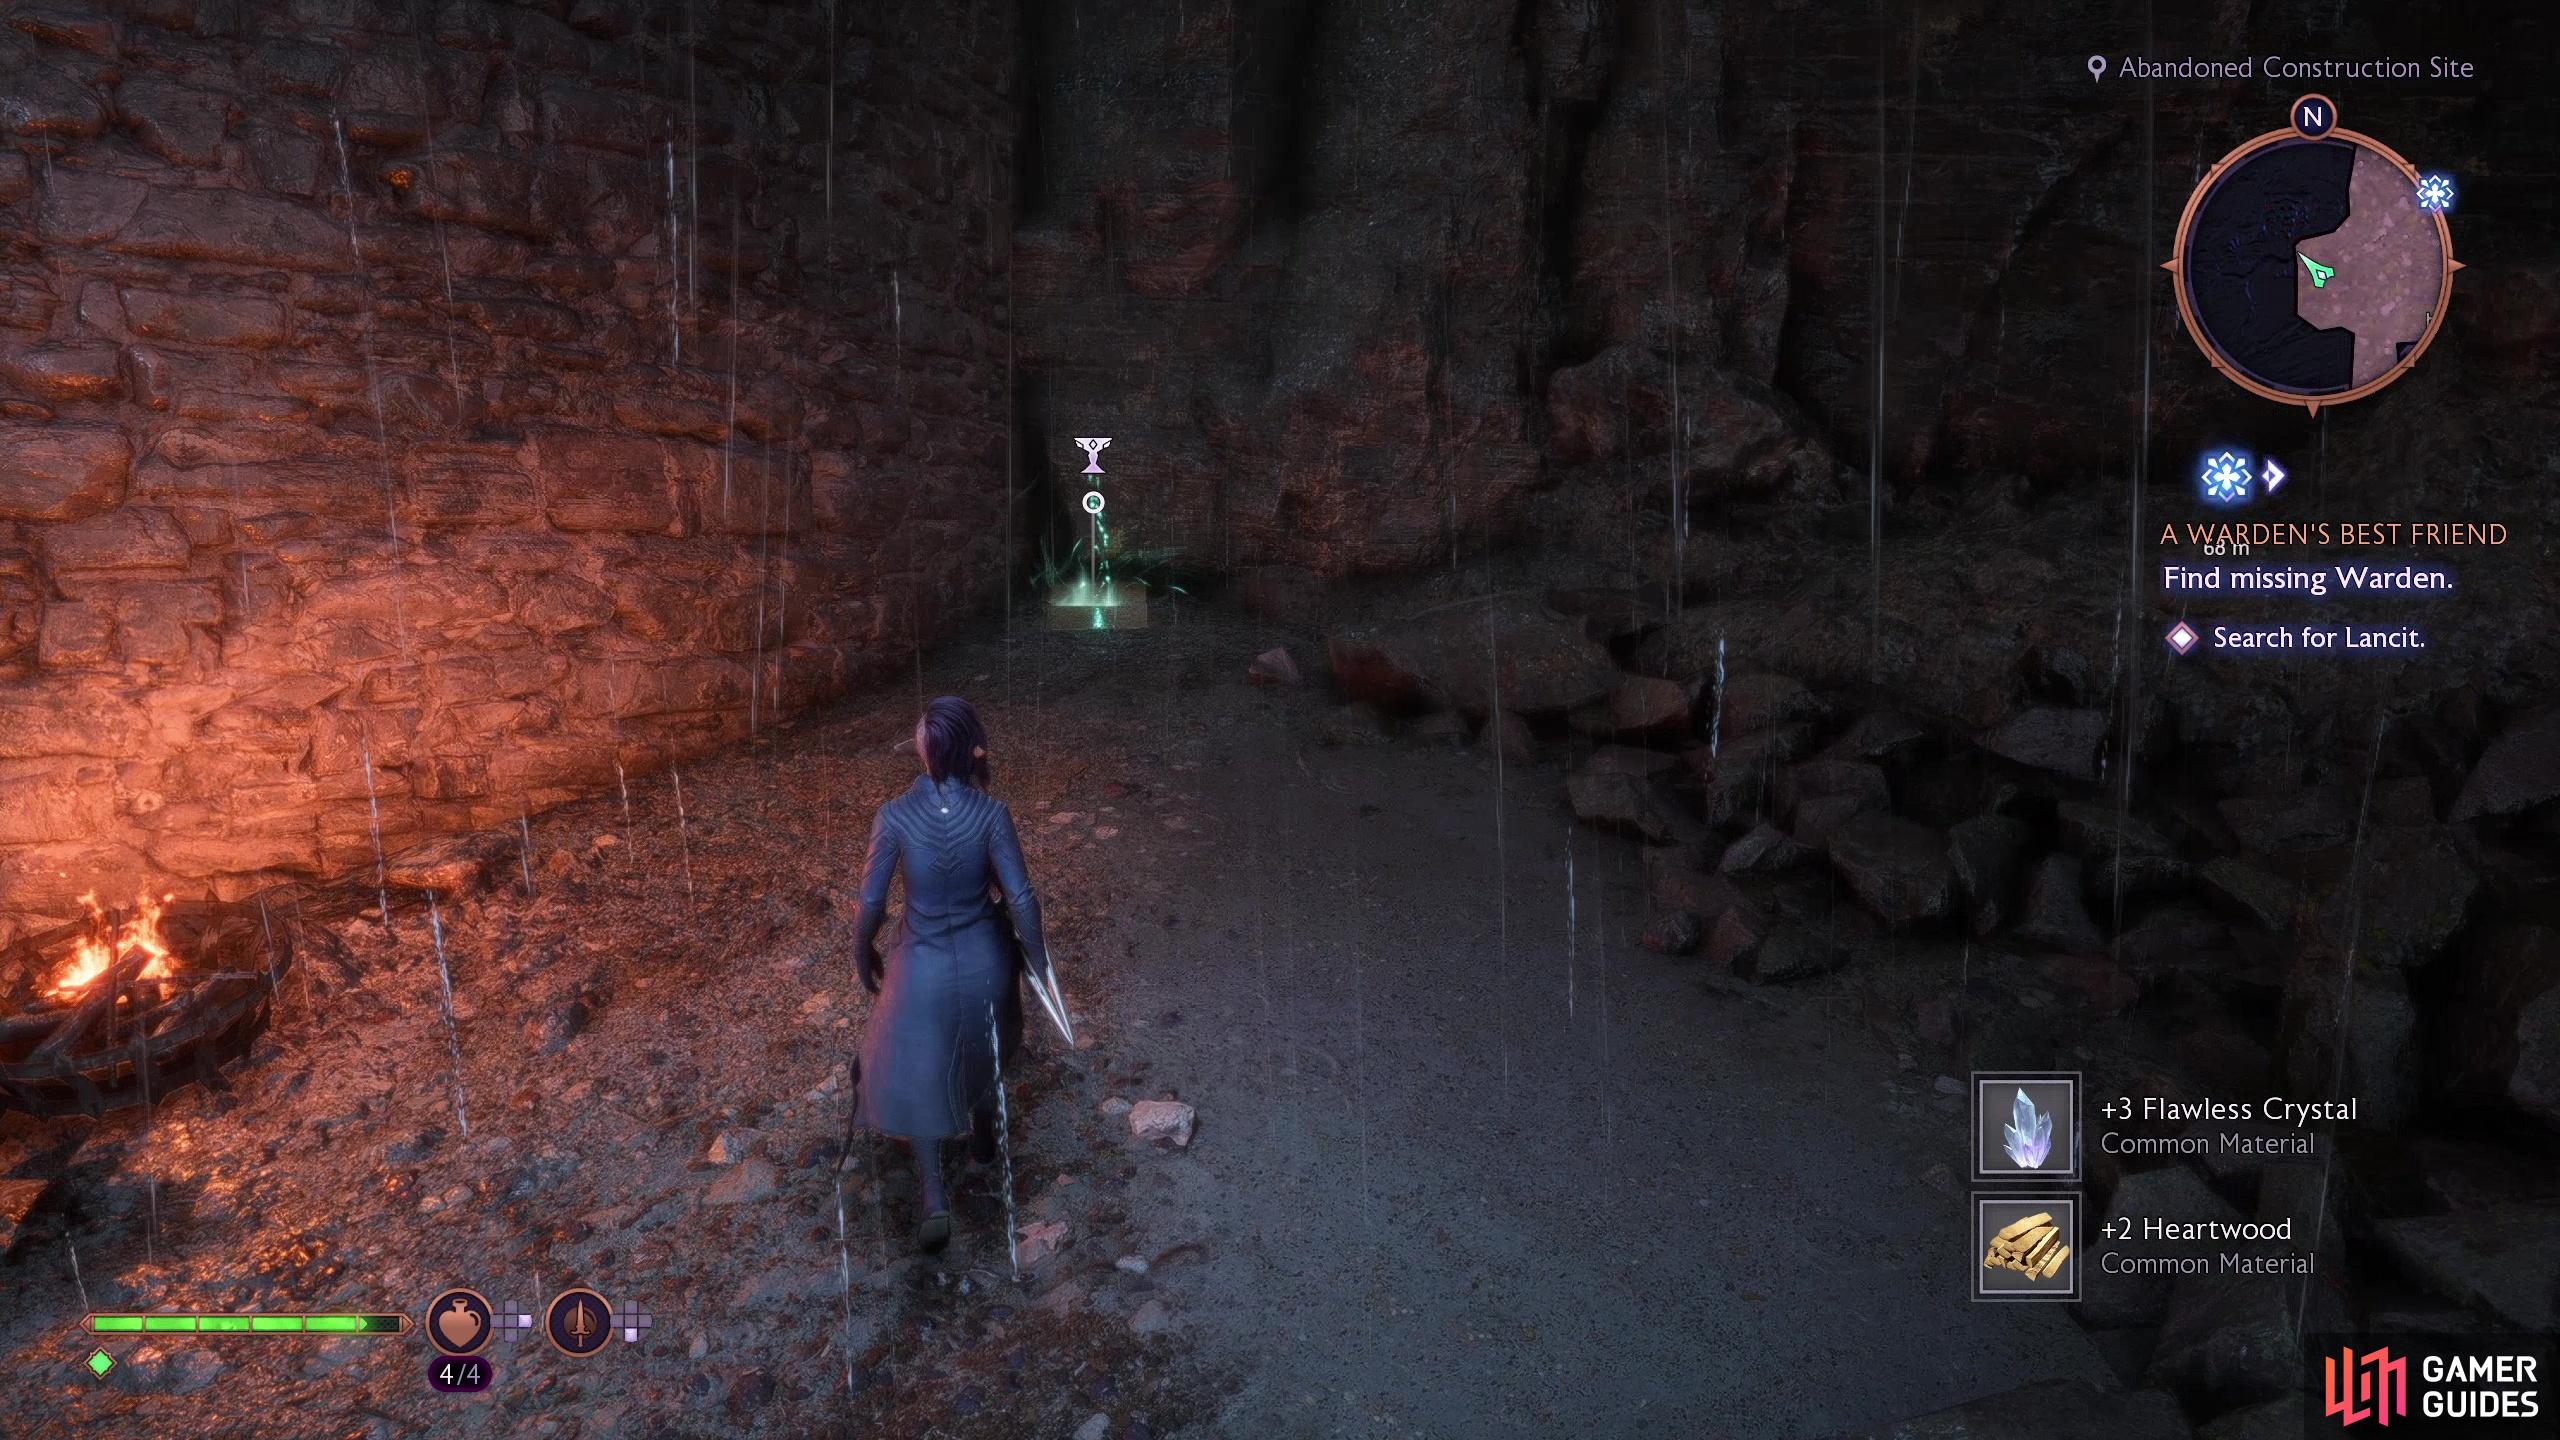
Ride the elevator up to reach the “Canyon Edge” area and follow the linear path ahead, jumping gaps when necessary until you reach a zipline. Ride it across to the north to reach the “Abandoned Construction Site” where you’ll be greeted by a squad of Hurlocks (armed with two-handed axes), a Hurlock Spiker and some Ghouls. Eradicate them, then search the area - you’re supposed to make your way northeast up some stairs towards a blighted gate, but first search the southern edge of the area to find a ladder along a cliff near a zipline. Descend it, drop down some ledges to the west and pick up the Lost Sketchbook: Wings memento (+50 Caretaker Power).
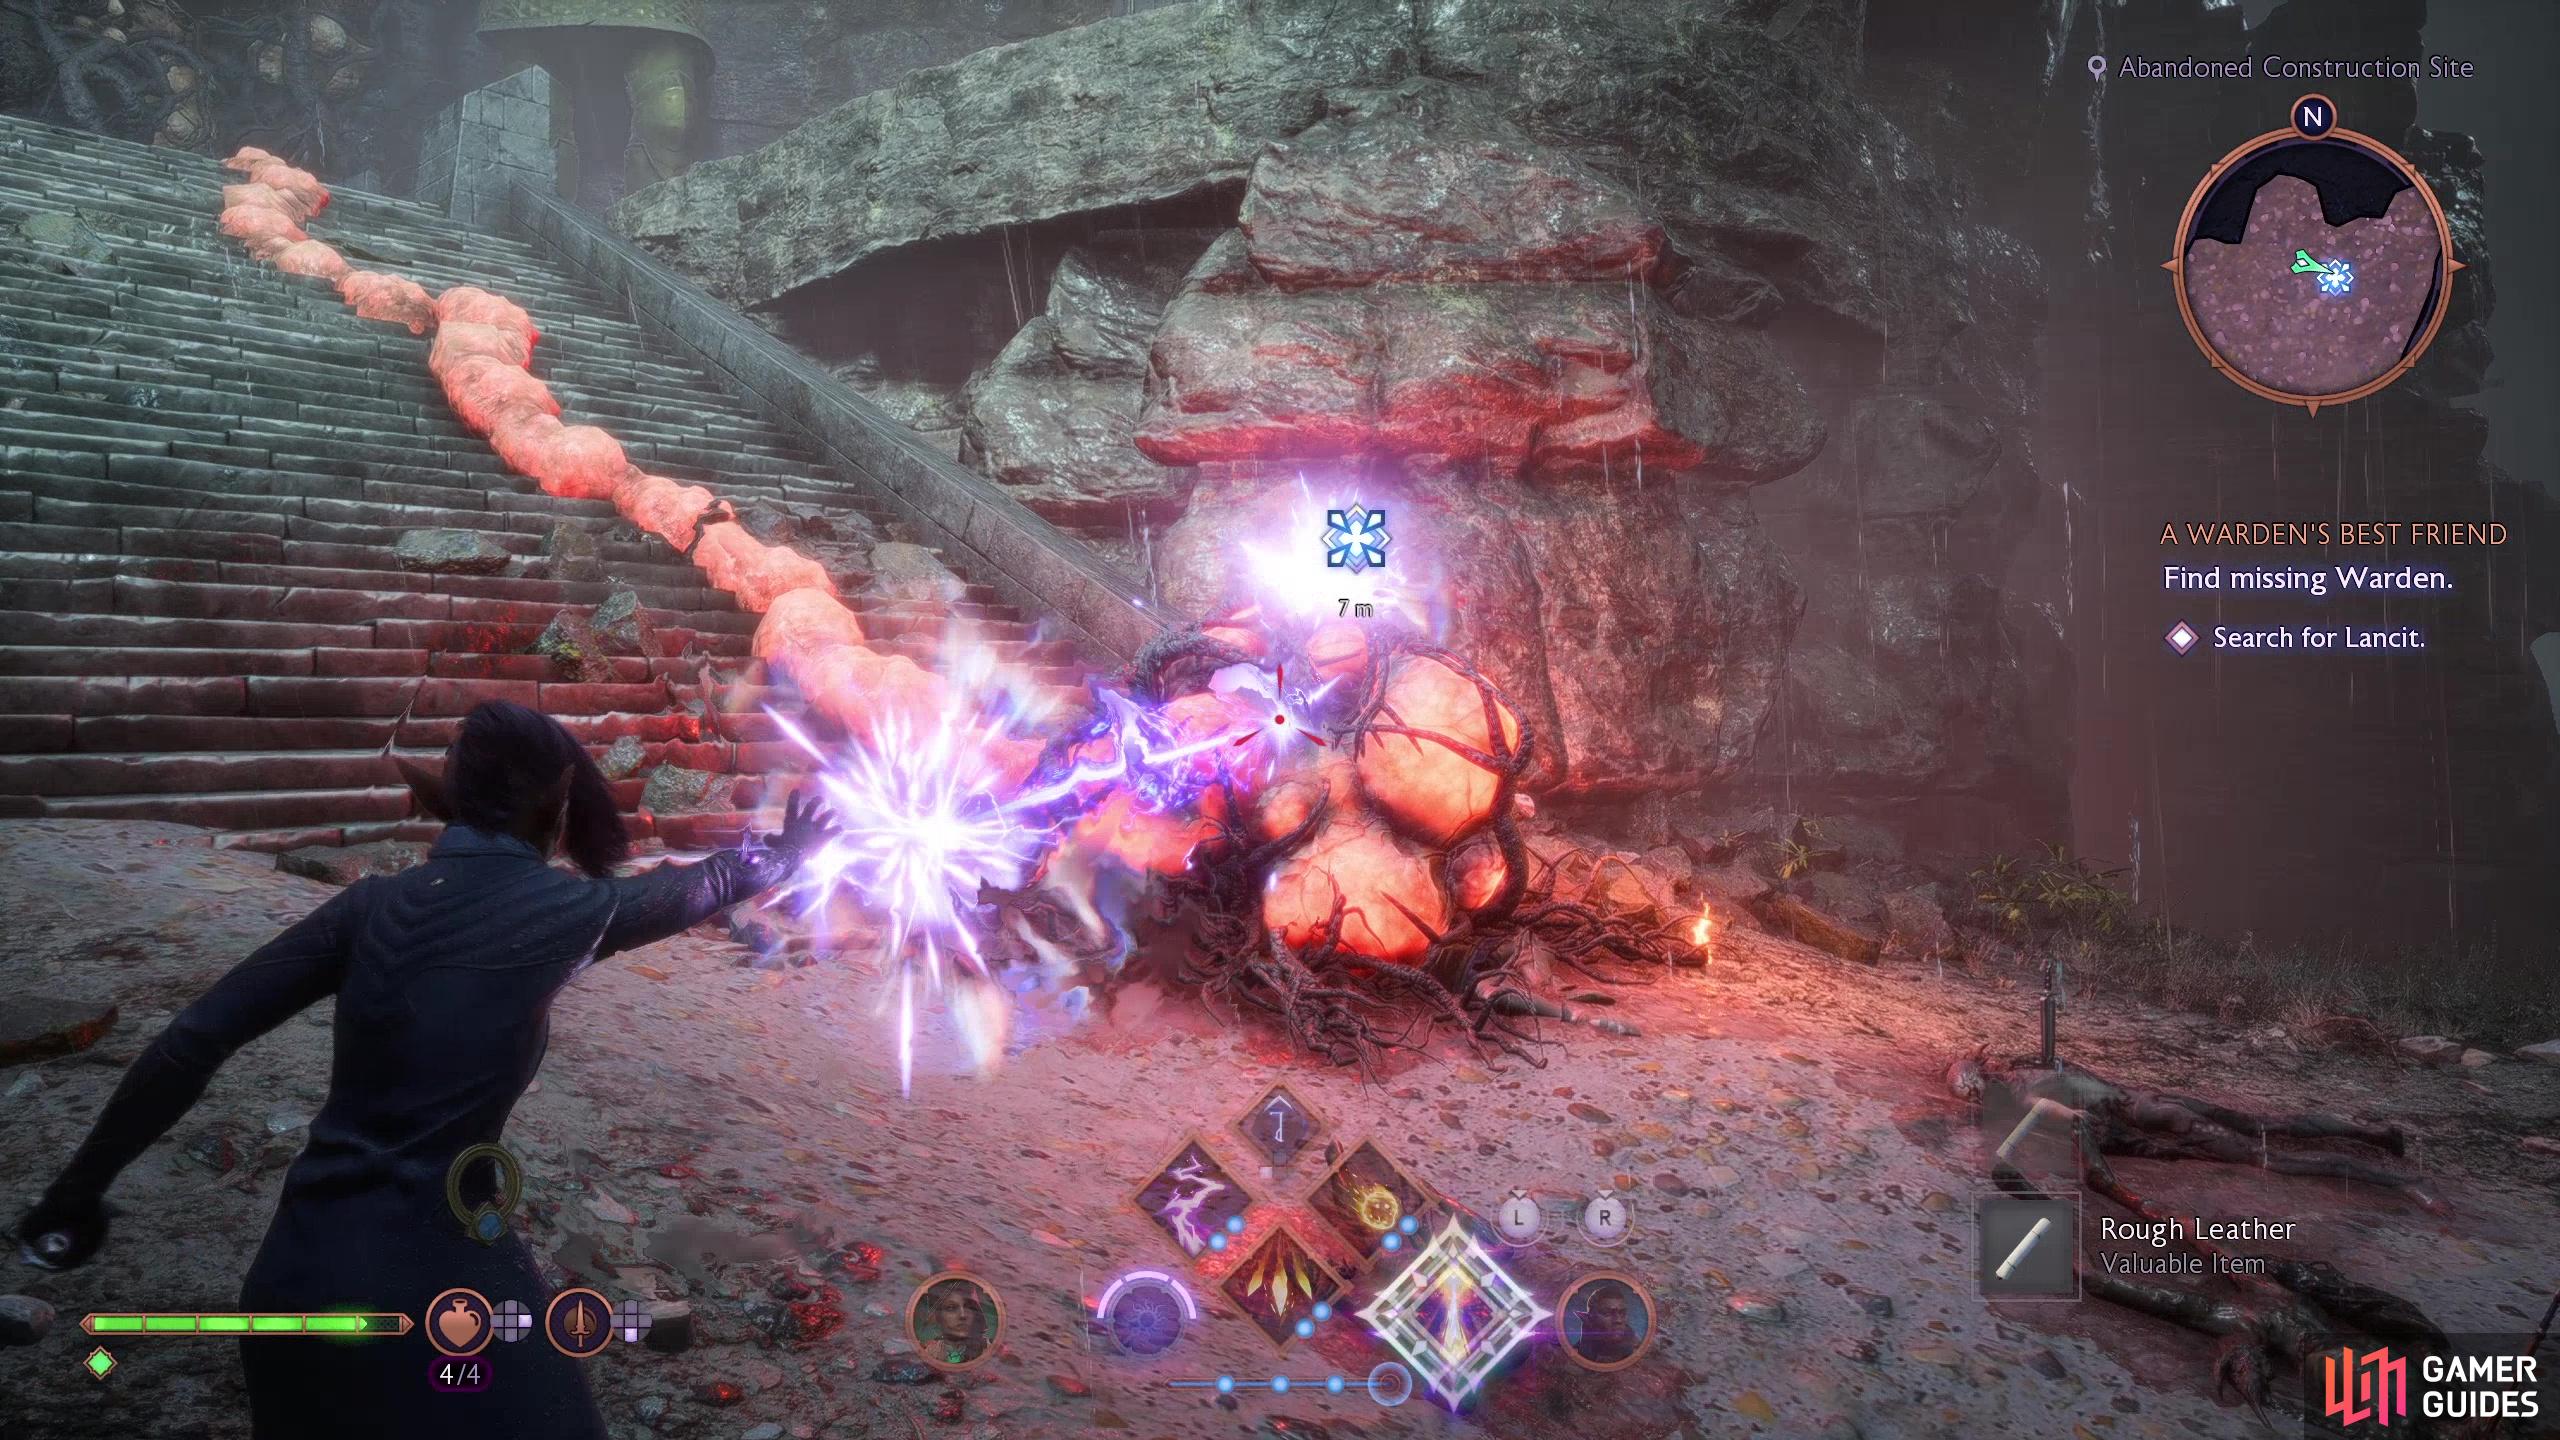
Climb back up and head up the stairs to the northeast towards the blighted gate, dispatching a few more darkspawn as you near the gate. Once done, pop a marked blight cyst to find the Warden you’ve been hunting for, then destroy the blight blocking the gate at the stairs to reach the “Griffon Aerie”.
(1 of 2) In the “Abandoned Construction Site” area, descend a ladder to find the “Lost Sketchbook: Wings” memento,
In the “Abandoned Construction Site” area, descend a ladder to find the “Lost Sketchbook: Wings” memento, (left), then destroy some blight near the stairs to the northeast to discover Warden Lancit. (right)
Rescue the Griffons
After a brief cameo by the creature that has been stalking the Wardens in this area, destroy some Ghoul Bursters and continue upstairs to find the rest of the griffons, currently beyond your reach thanks to the Gloom Howler’s magic. Work your way around the cages to find another blight passage, loot a small chest on the ground nearby, then cut through the blight and continue north.
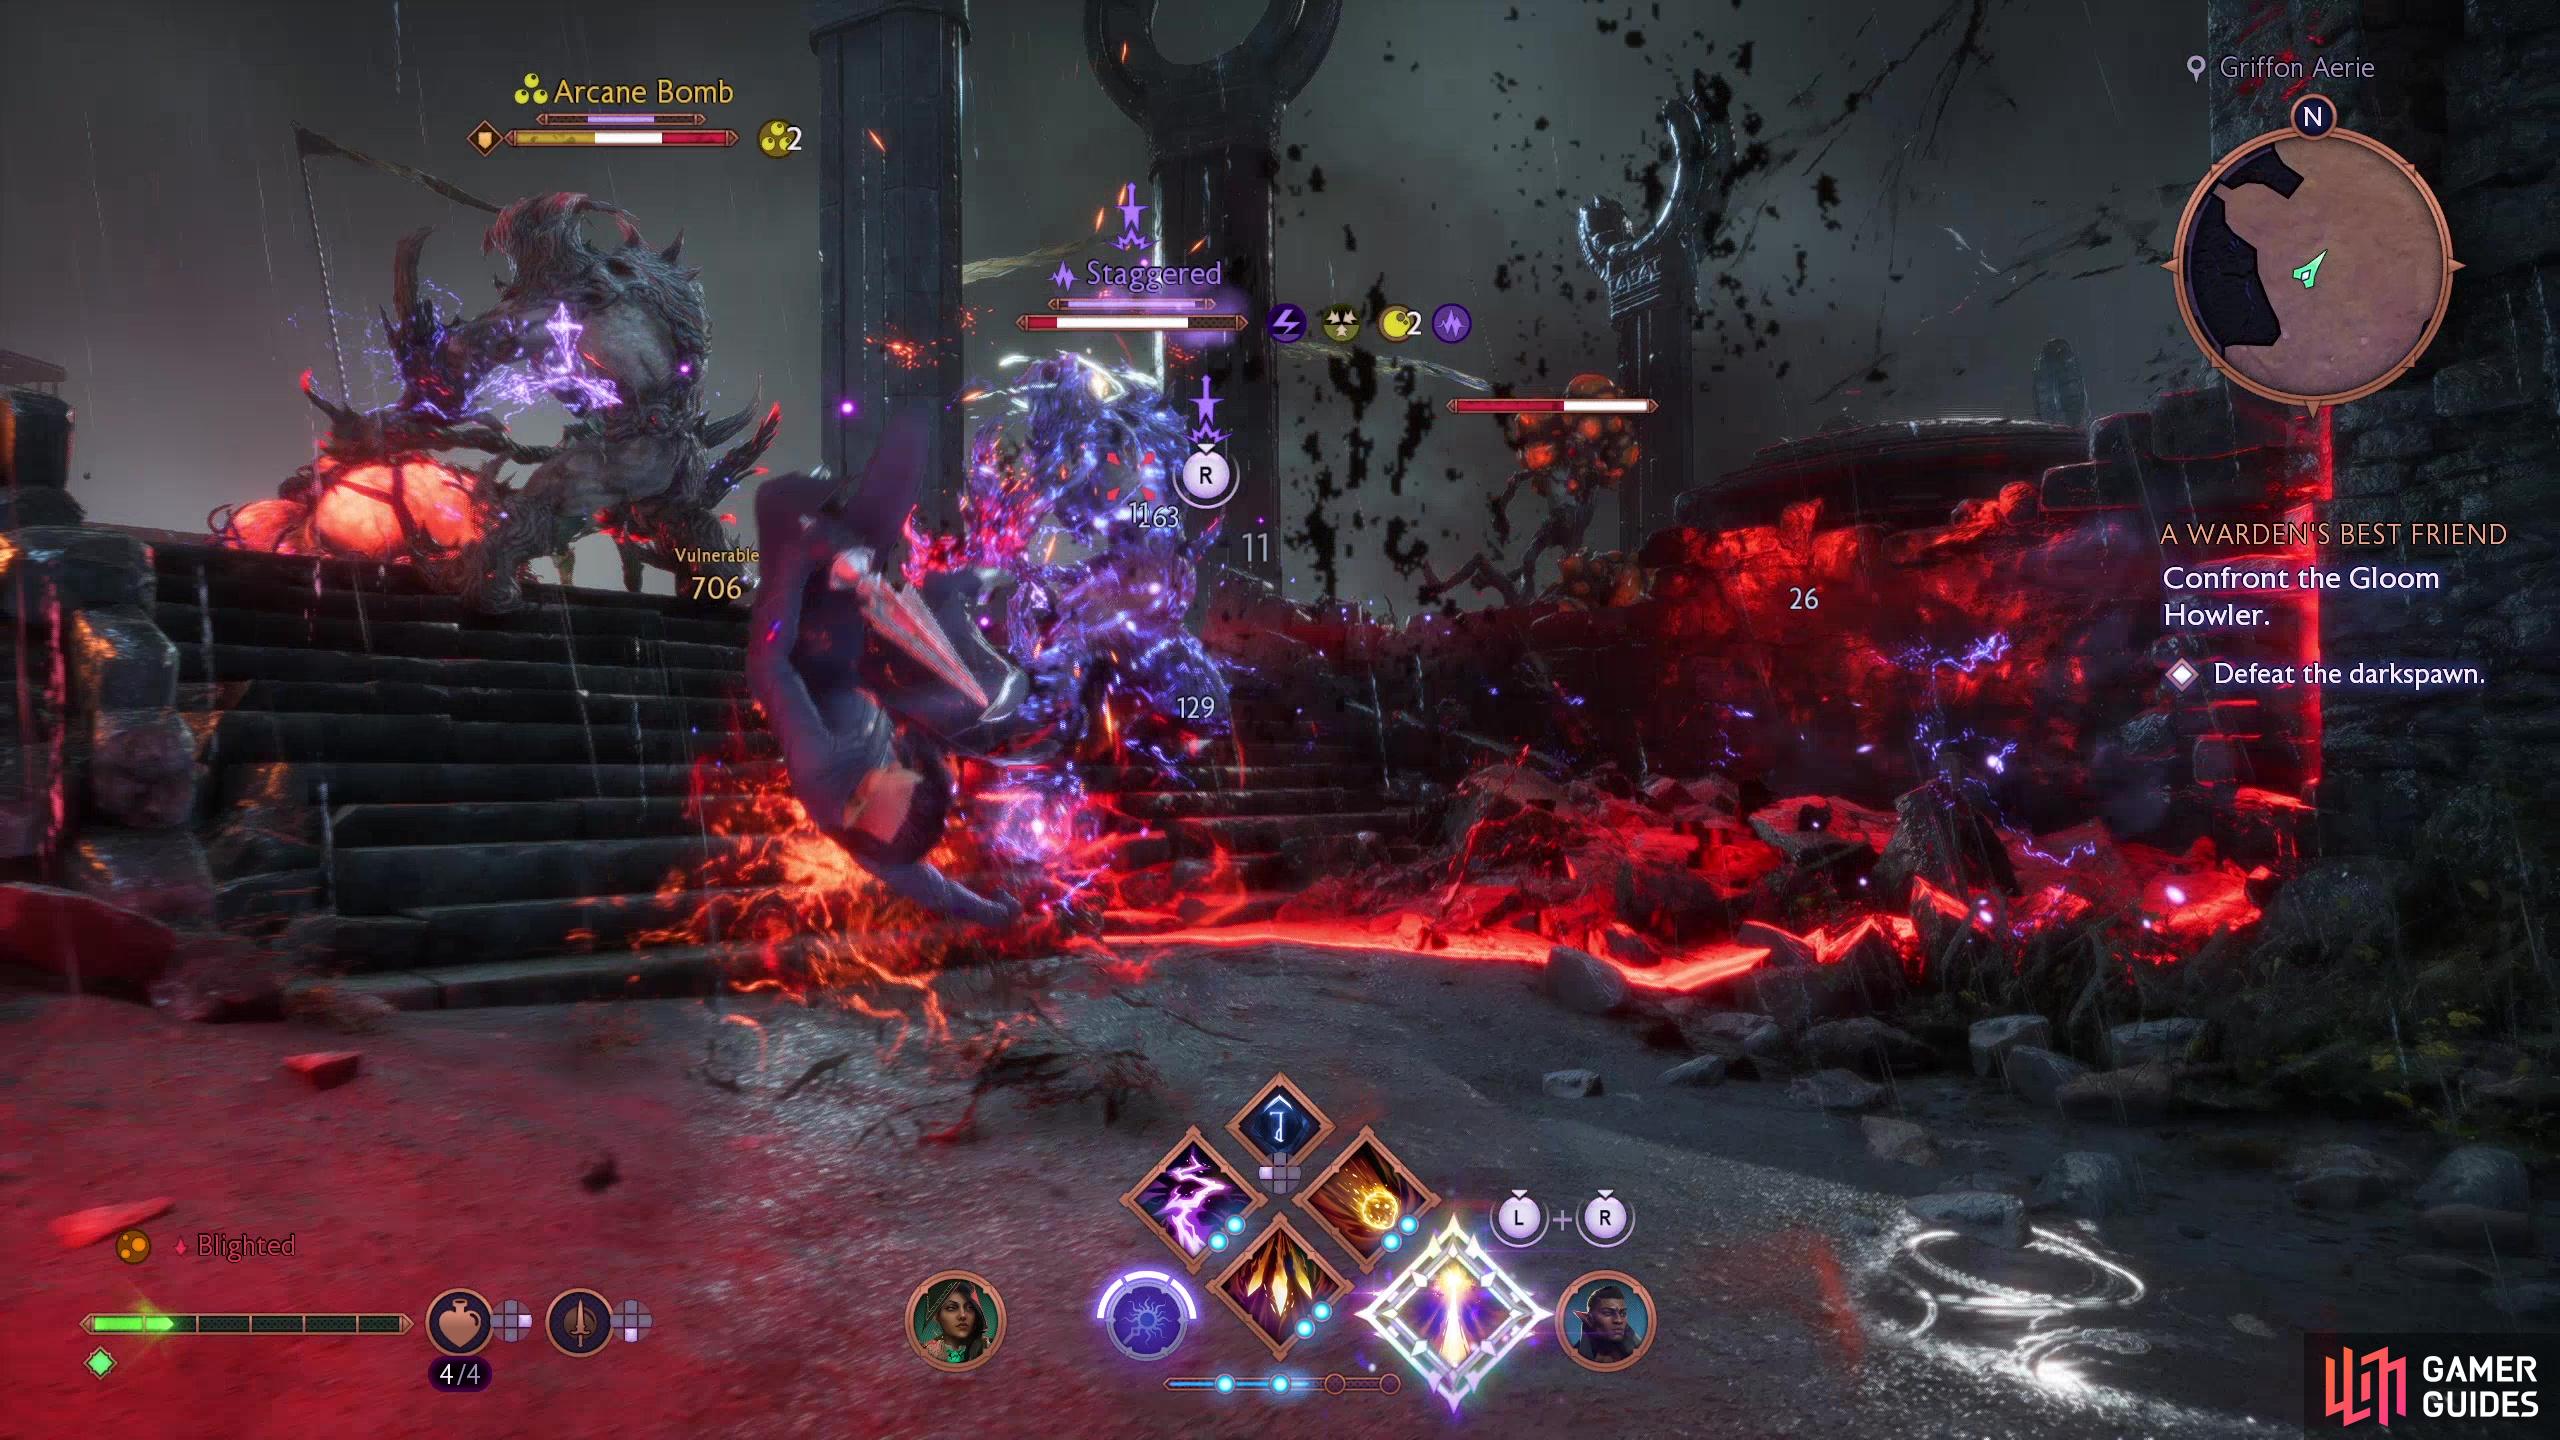
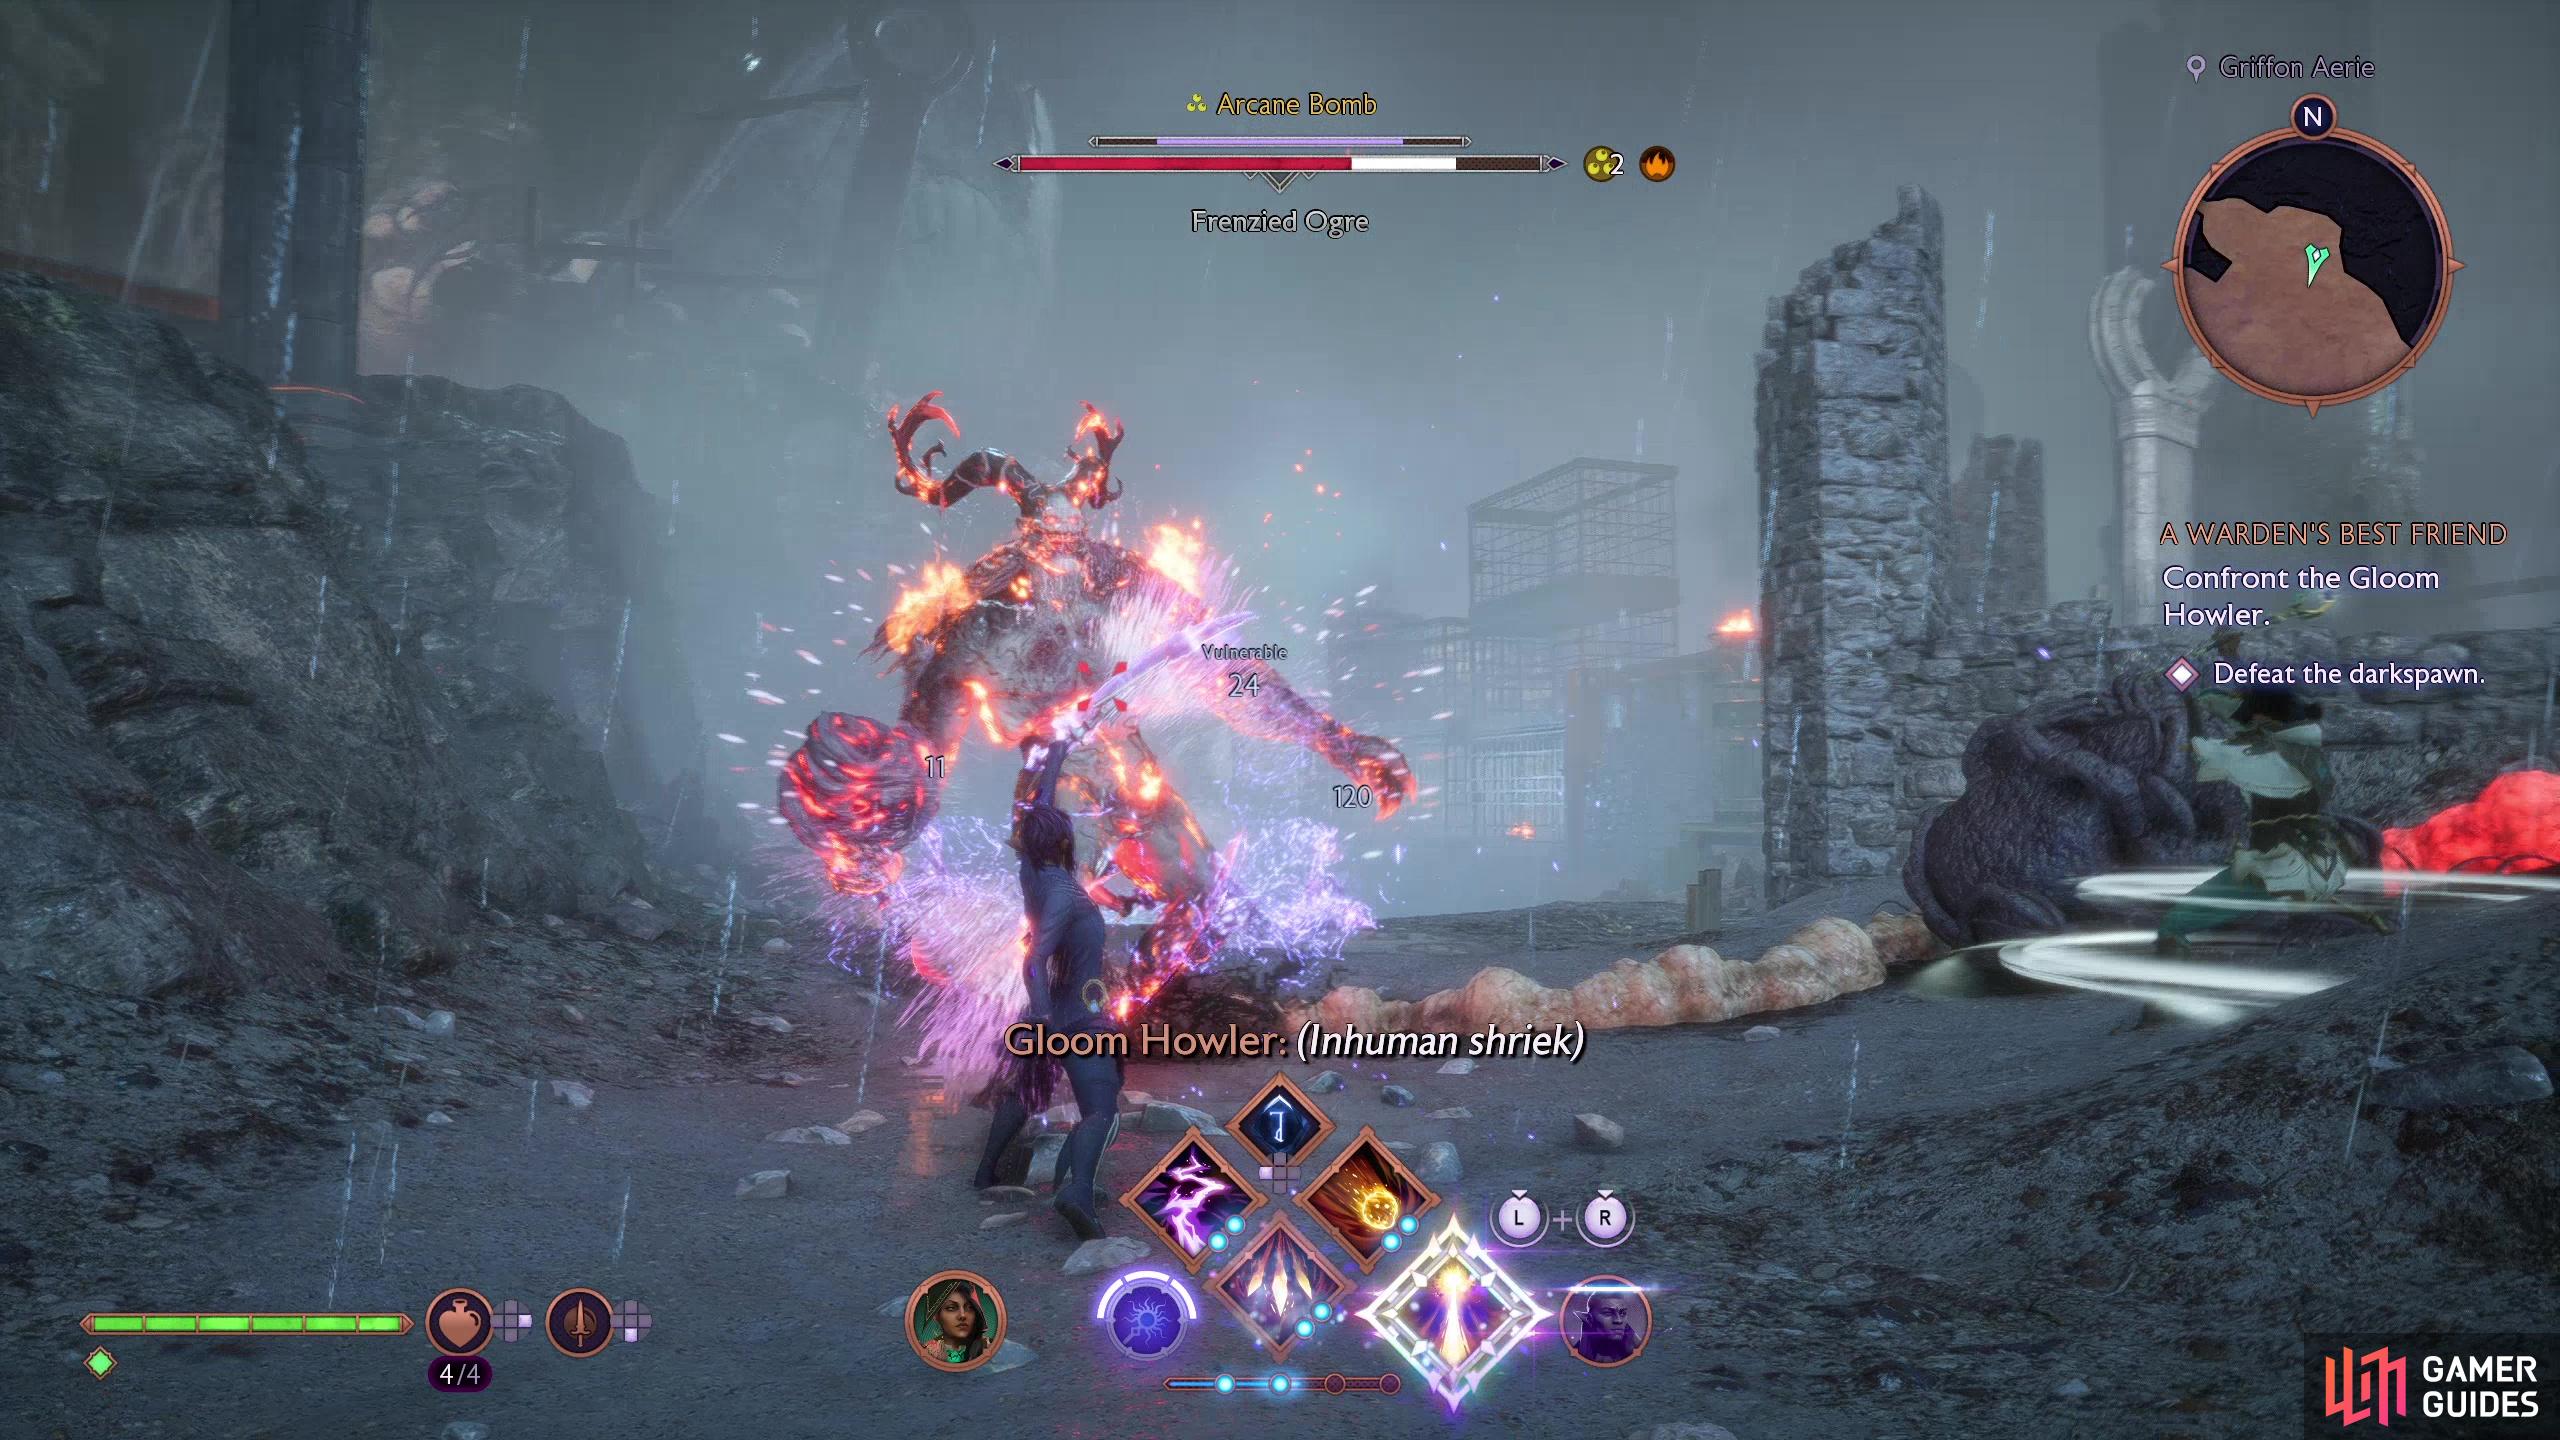
Through the blight you’ll find more darkspawn waiting, exclusively including variants you’ve seen before - Hurlocks armed with axes, a Hurlock Spiker being a nuisance on high ground, and some Ghoul Bursters. You don’t need to deal with the blight cysts, just pick off the Ghoul Bursters so they can’t pop near you unexpectedly and cull the rest of the darkspawn at your leisure. When they’re dead, a larger, more powerful darkspawn will appear, a Frenzied Ogre.
(1 of 2) Be wary of Bursters lurking about - they’ll ruin your day if they get close enough to detonate!
Be wary of Bursters lurking about - they’ll ruin your day if they get close enough to detonate! (left), Defeat the lesser darkspawn and a more formidable foe will emerge - a Frenzied Ogre! (right)
Boss: Frenzied Ogre
If you fought any Champions thus far, you’ll know what to expect - Ogres have unblockable charge attacks, leaping slap attacks and overhead swats with their clubs, but their horizontal swings can (and arguably should) be countered. The can also reach into the ground and conjure a persistent stream of AoE bursts of blight. All in all, a durable foe, but not a difficult one, once you get used to its attacks. Cut through the creature’s armor and whittle its health down, then loot it to score some gear.
Pop some blight cysts reveal some ledges to the east (assuming said blight cysts weren’t destroyed during the fight), then climb up to the east and watch the scenes that follow to complete the quest. You’ll gain the quest’s EXP after you defeat the Frenzied Ogre, but you’ll also gain +100 Grey Wardens Strength at the end of the mission. No time to rest on your laurels, however - after this quest ends you’ll be presented with another looming calamity, followed by one of two quest, either ![]() On Deadly Wings or On Blighted Wings, depending on what choice you make.
On Deadly Wings or On Blighted Wings, depending on what choice you make.

 Sign up
No Comments