Despite being elven gods, the Evanuris have made it clear that they won’t let a trivial thing like race get in the way of their pursuit of power. Elgar’nan is a petty tyrant willing to make use of any creature so long as his prospective minions are willing to bend the knee while Ghilan’nain is more concerned about corrupting creatures into blighted monstrosities with more regard for what she sculpts them into rather than that they started out as. Needless to say, neither are getting overly sentimental about spilling elven blood if need be, and their sacrificial scheme in Arlathan Forest makes this abundantly clear. This page will provide a walkthrough for the main quest ![]() Blood of Arlathan in Dragon Age: The Veilguard.
Blood of Arlathan in Dragon Age: The Veilguard.
Page Breakdown
Starting Blood of Arlathan
Complete the main quest Unwanted Guests to learn what the Venatori are up to in Arlathan, after which you’ll need to complete a short transitional quest Grim Bonds that sets the stage for Blood of Arlathan, which will begin after you complete Grim Bonds. To get this quest started, travel to Arlathan Crater and note that you have to bring Neve along. A bit surprising, considering the objective, but the reasoning will make sense shortly after the quest begins.
Complete the quest “Unwanted Guests” to discover the Venatori presence in Arlathan Forest, then confer with your allies during “Grim Bonds”, which ultimately leads to this quest.
Infiltrate the Venatori Gathering
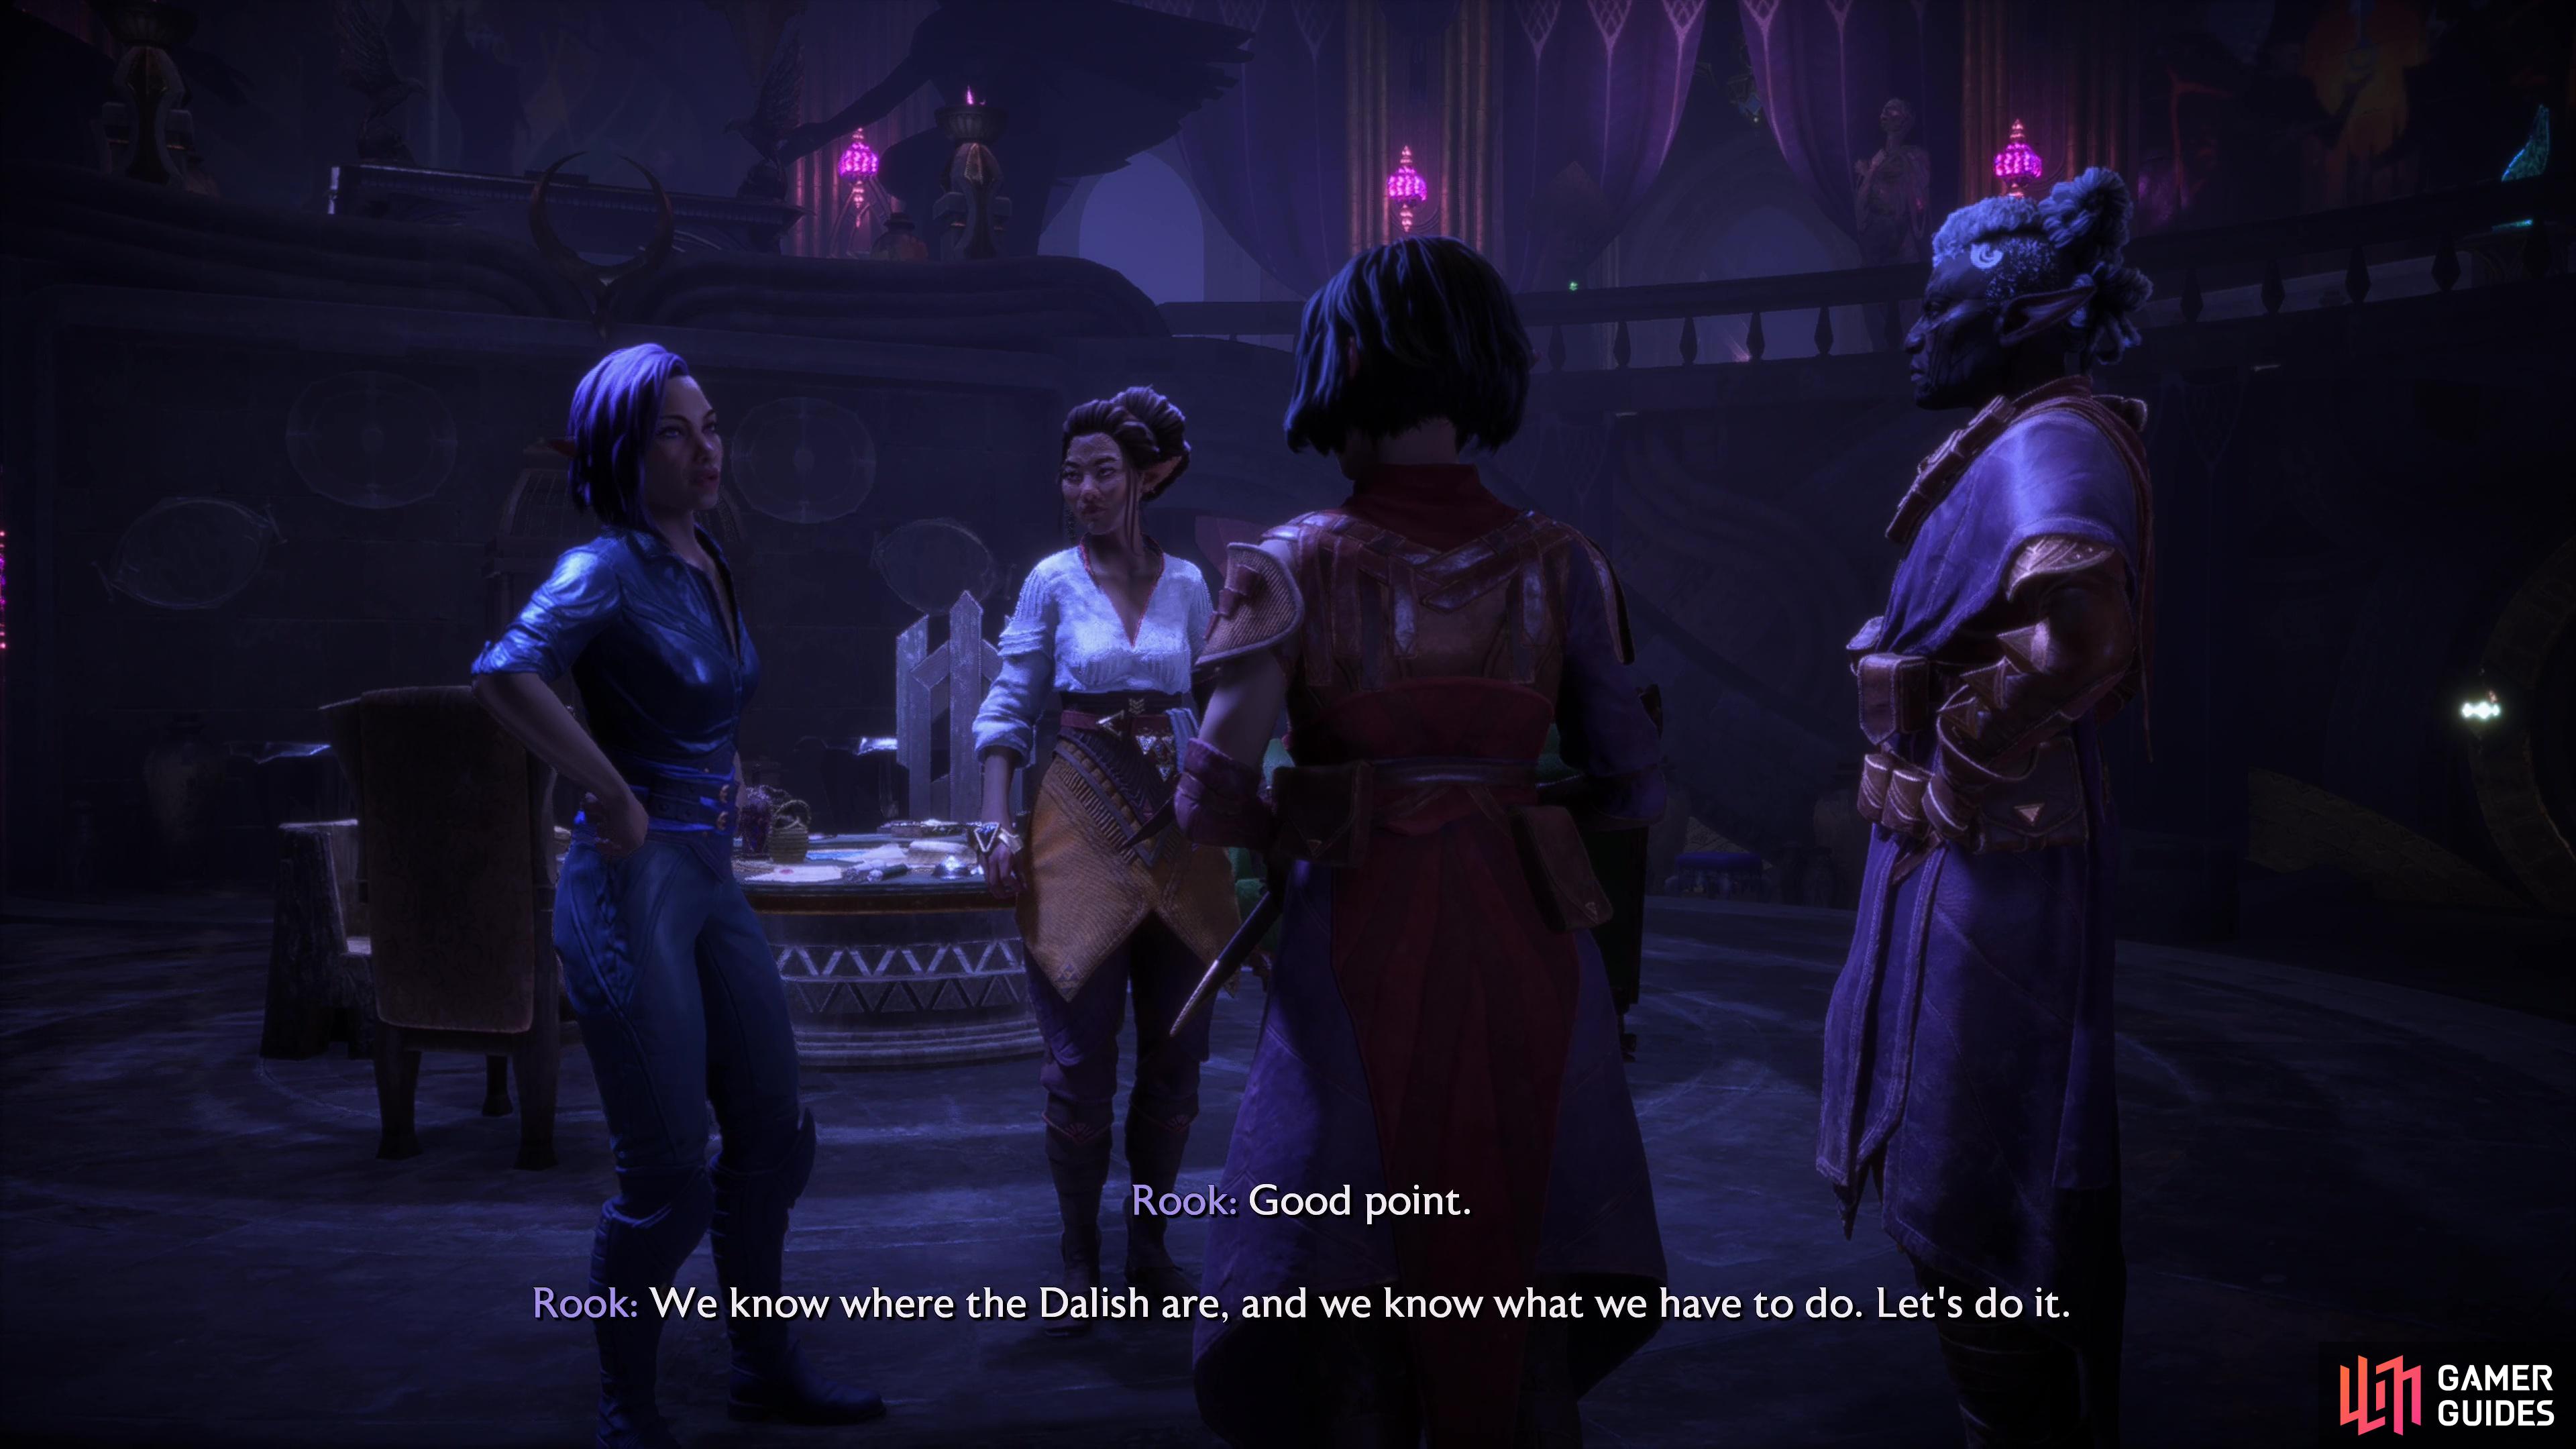
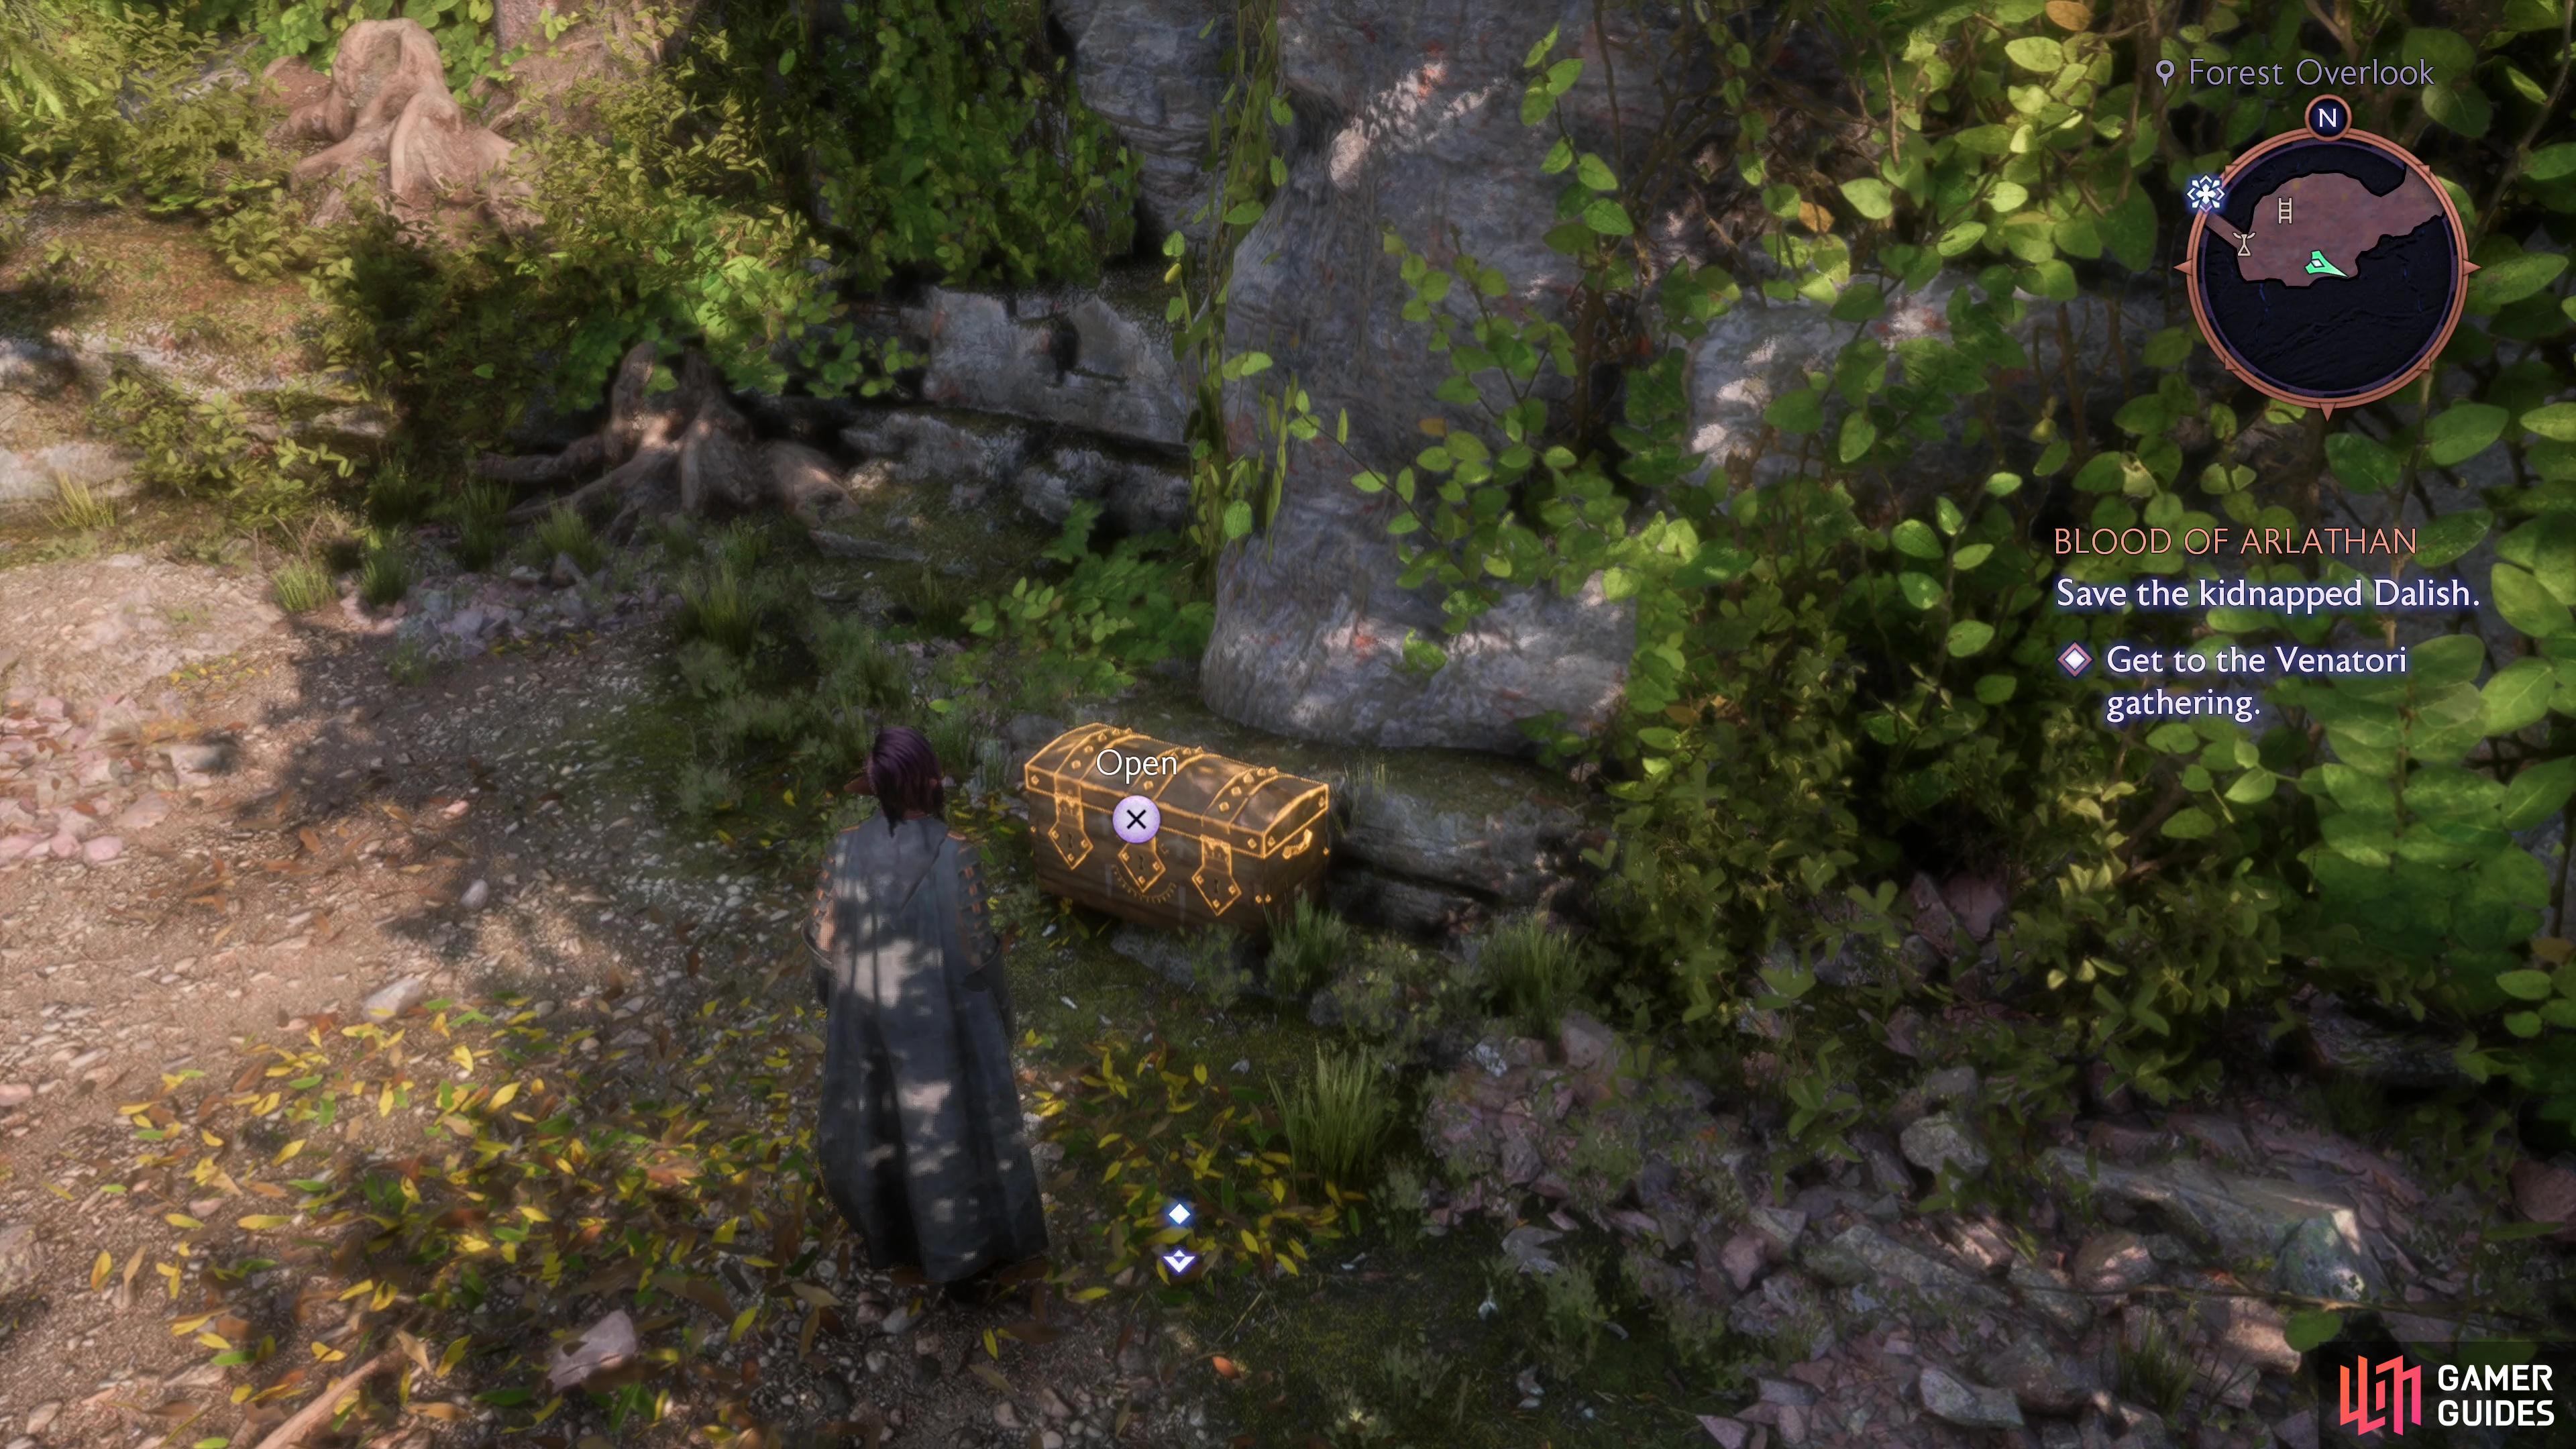
After some chatter you’ll learn why Neve is joining you on this quest and you’ll don disguises, functionally eliminating combat as a concern for now. That doesn’t mean there’s no loot to be gained, however. Head forward along the linear path ahead, dropping down ledges and sliding down slopes until you find a zipline to the west. Ignore it for now and instead head to the northern edge of this area where you’ll find a ladder scaling a cliff to the south. Climb it, jump a gap to the south, turn east and loot a chest containing the ![]() Death’s Disciple cosmetic. Drop back down and take the zipline to the next area.
Death’s Disciple cosmetic. Drop back down and take the zipline to the next area.
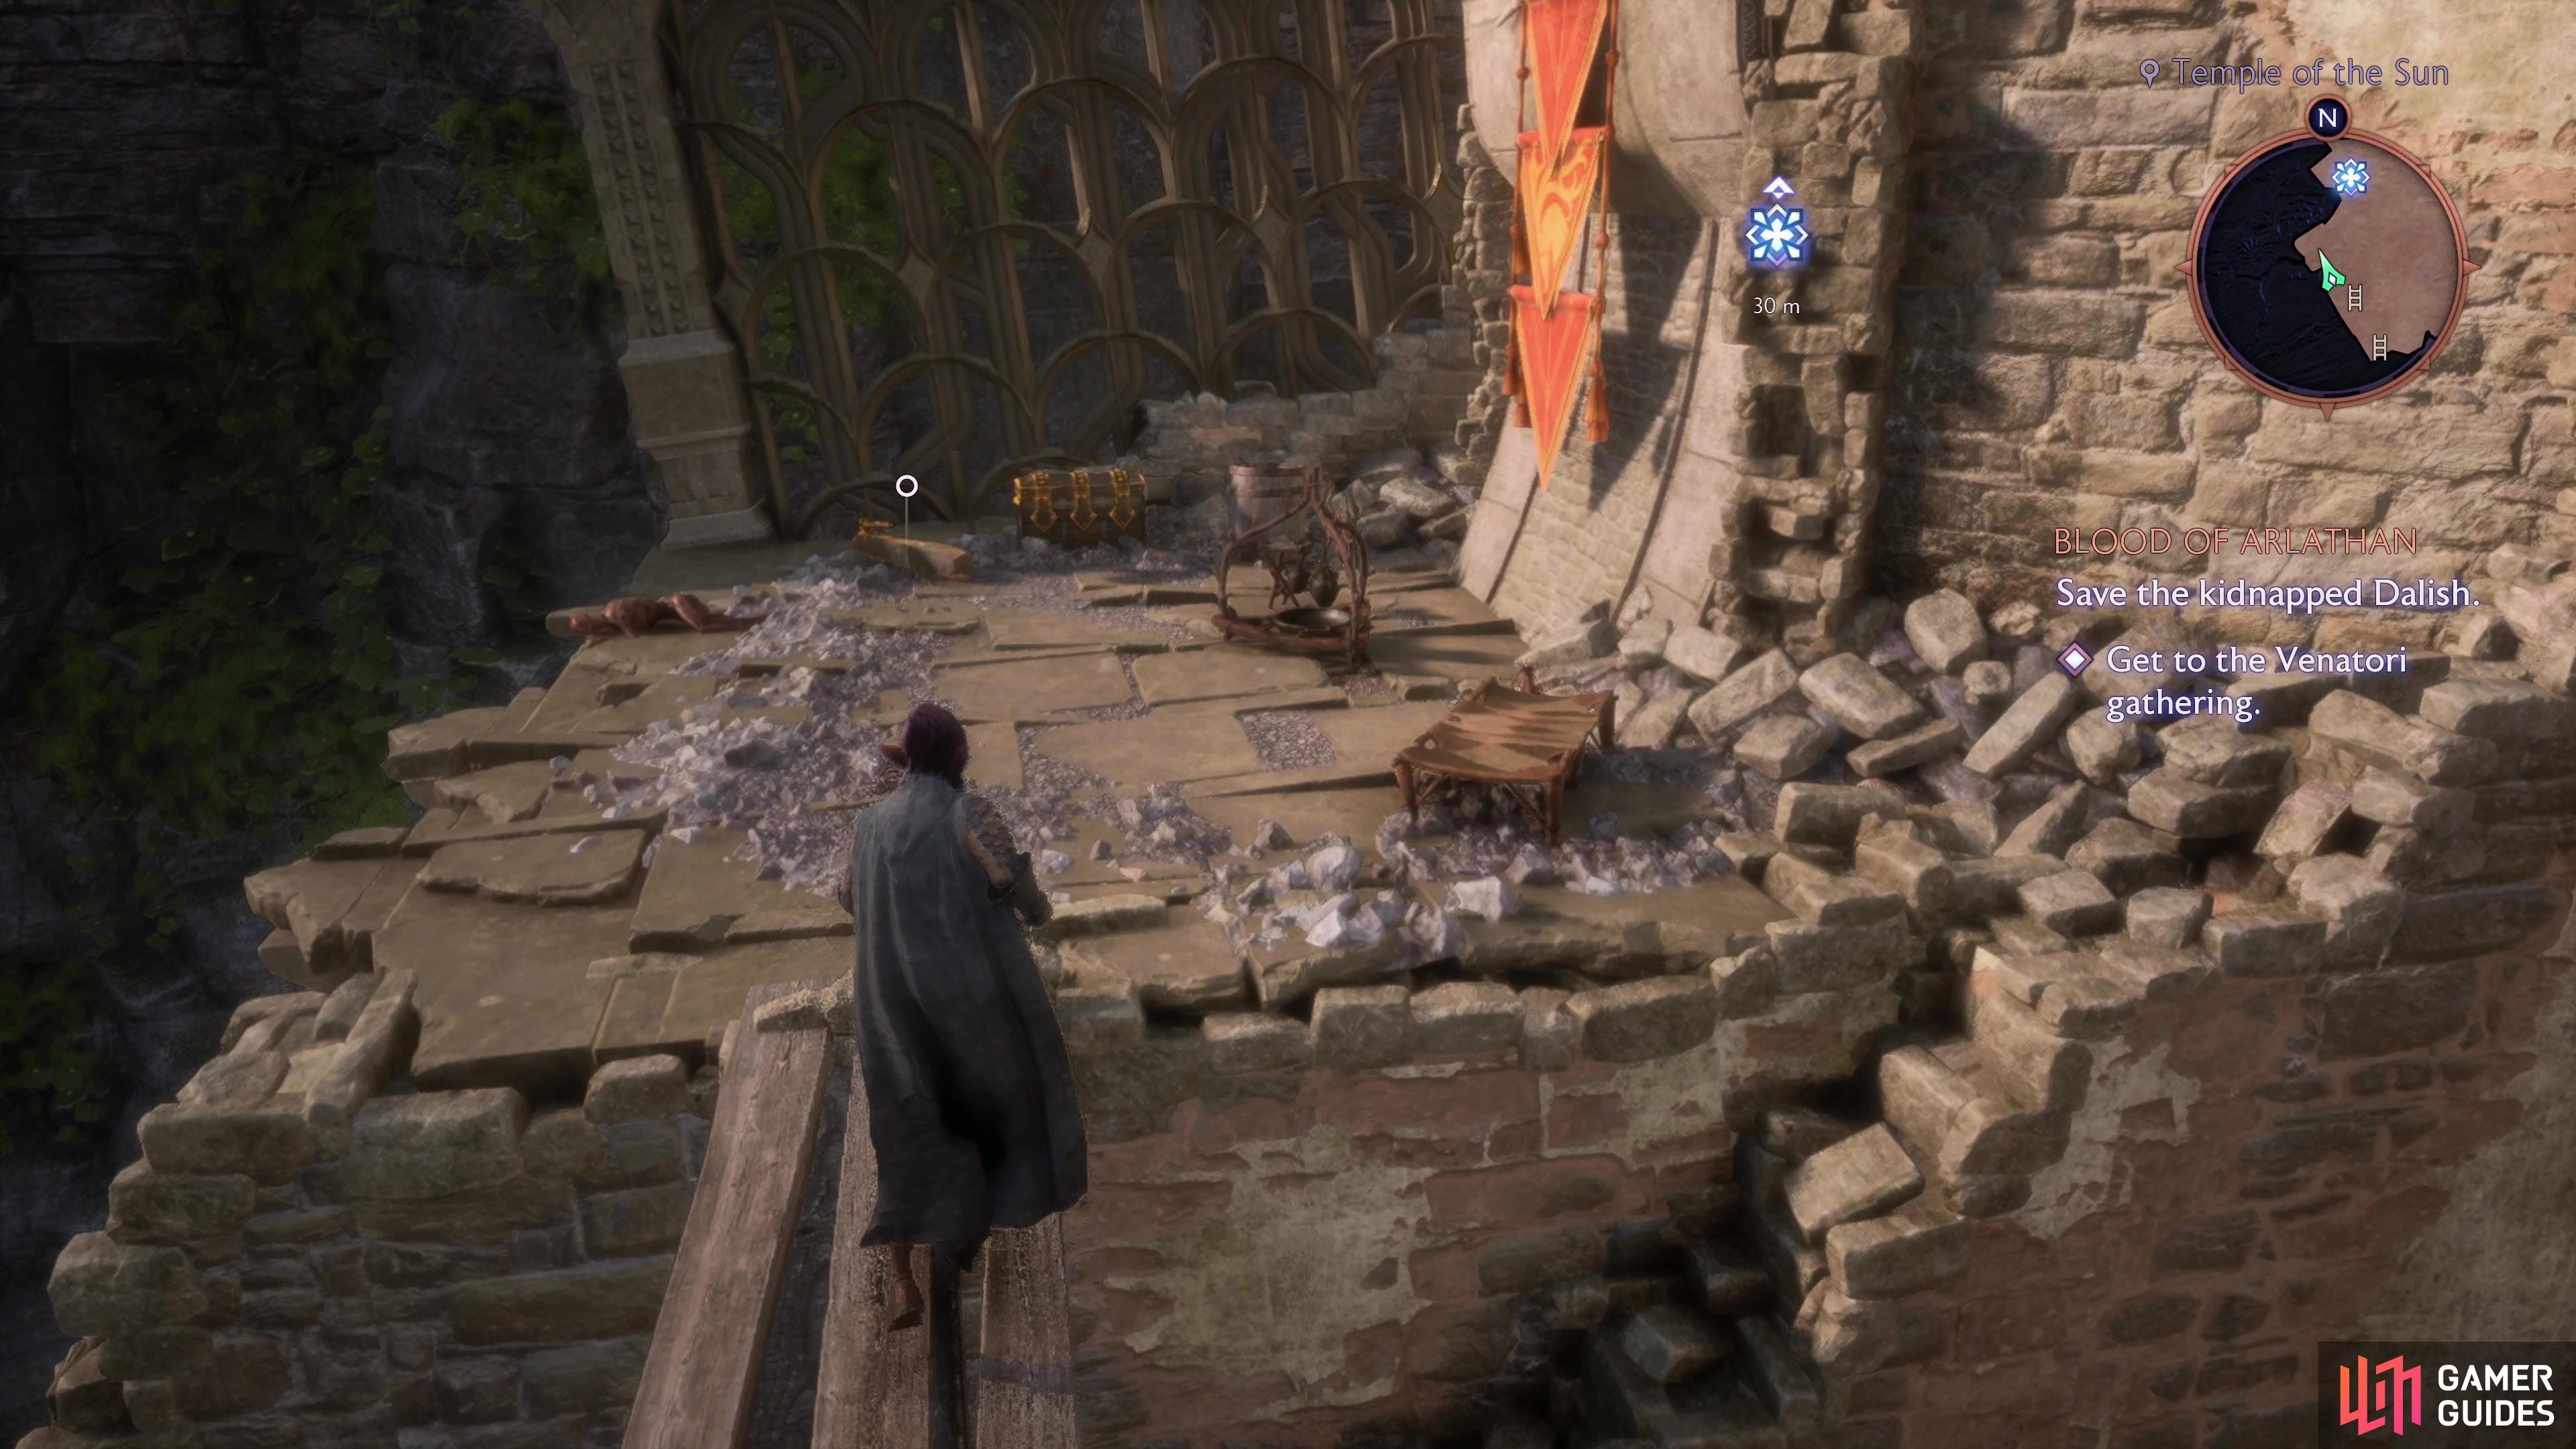
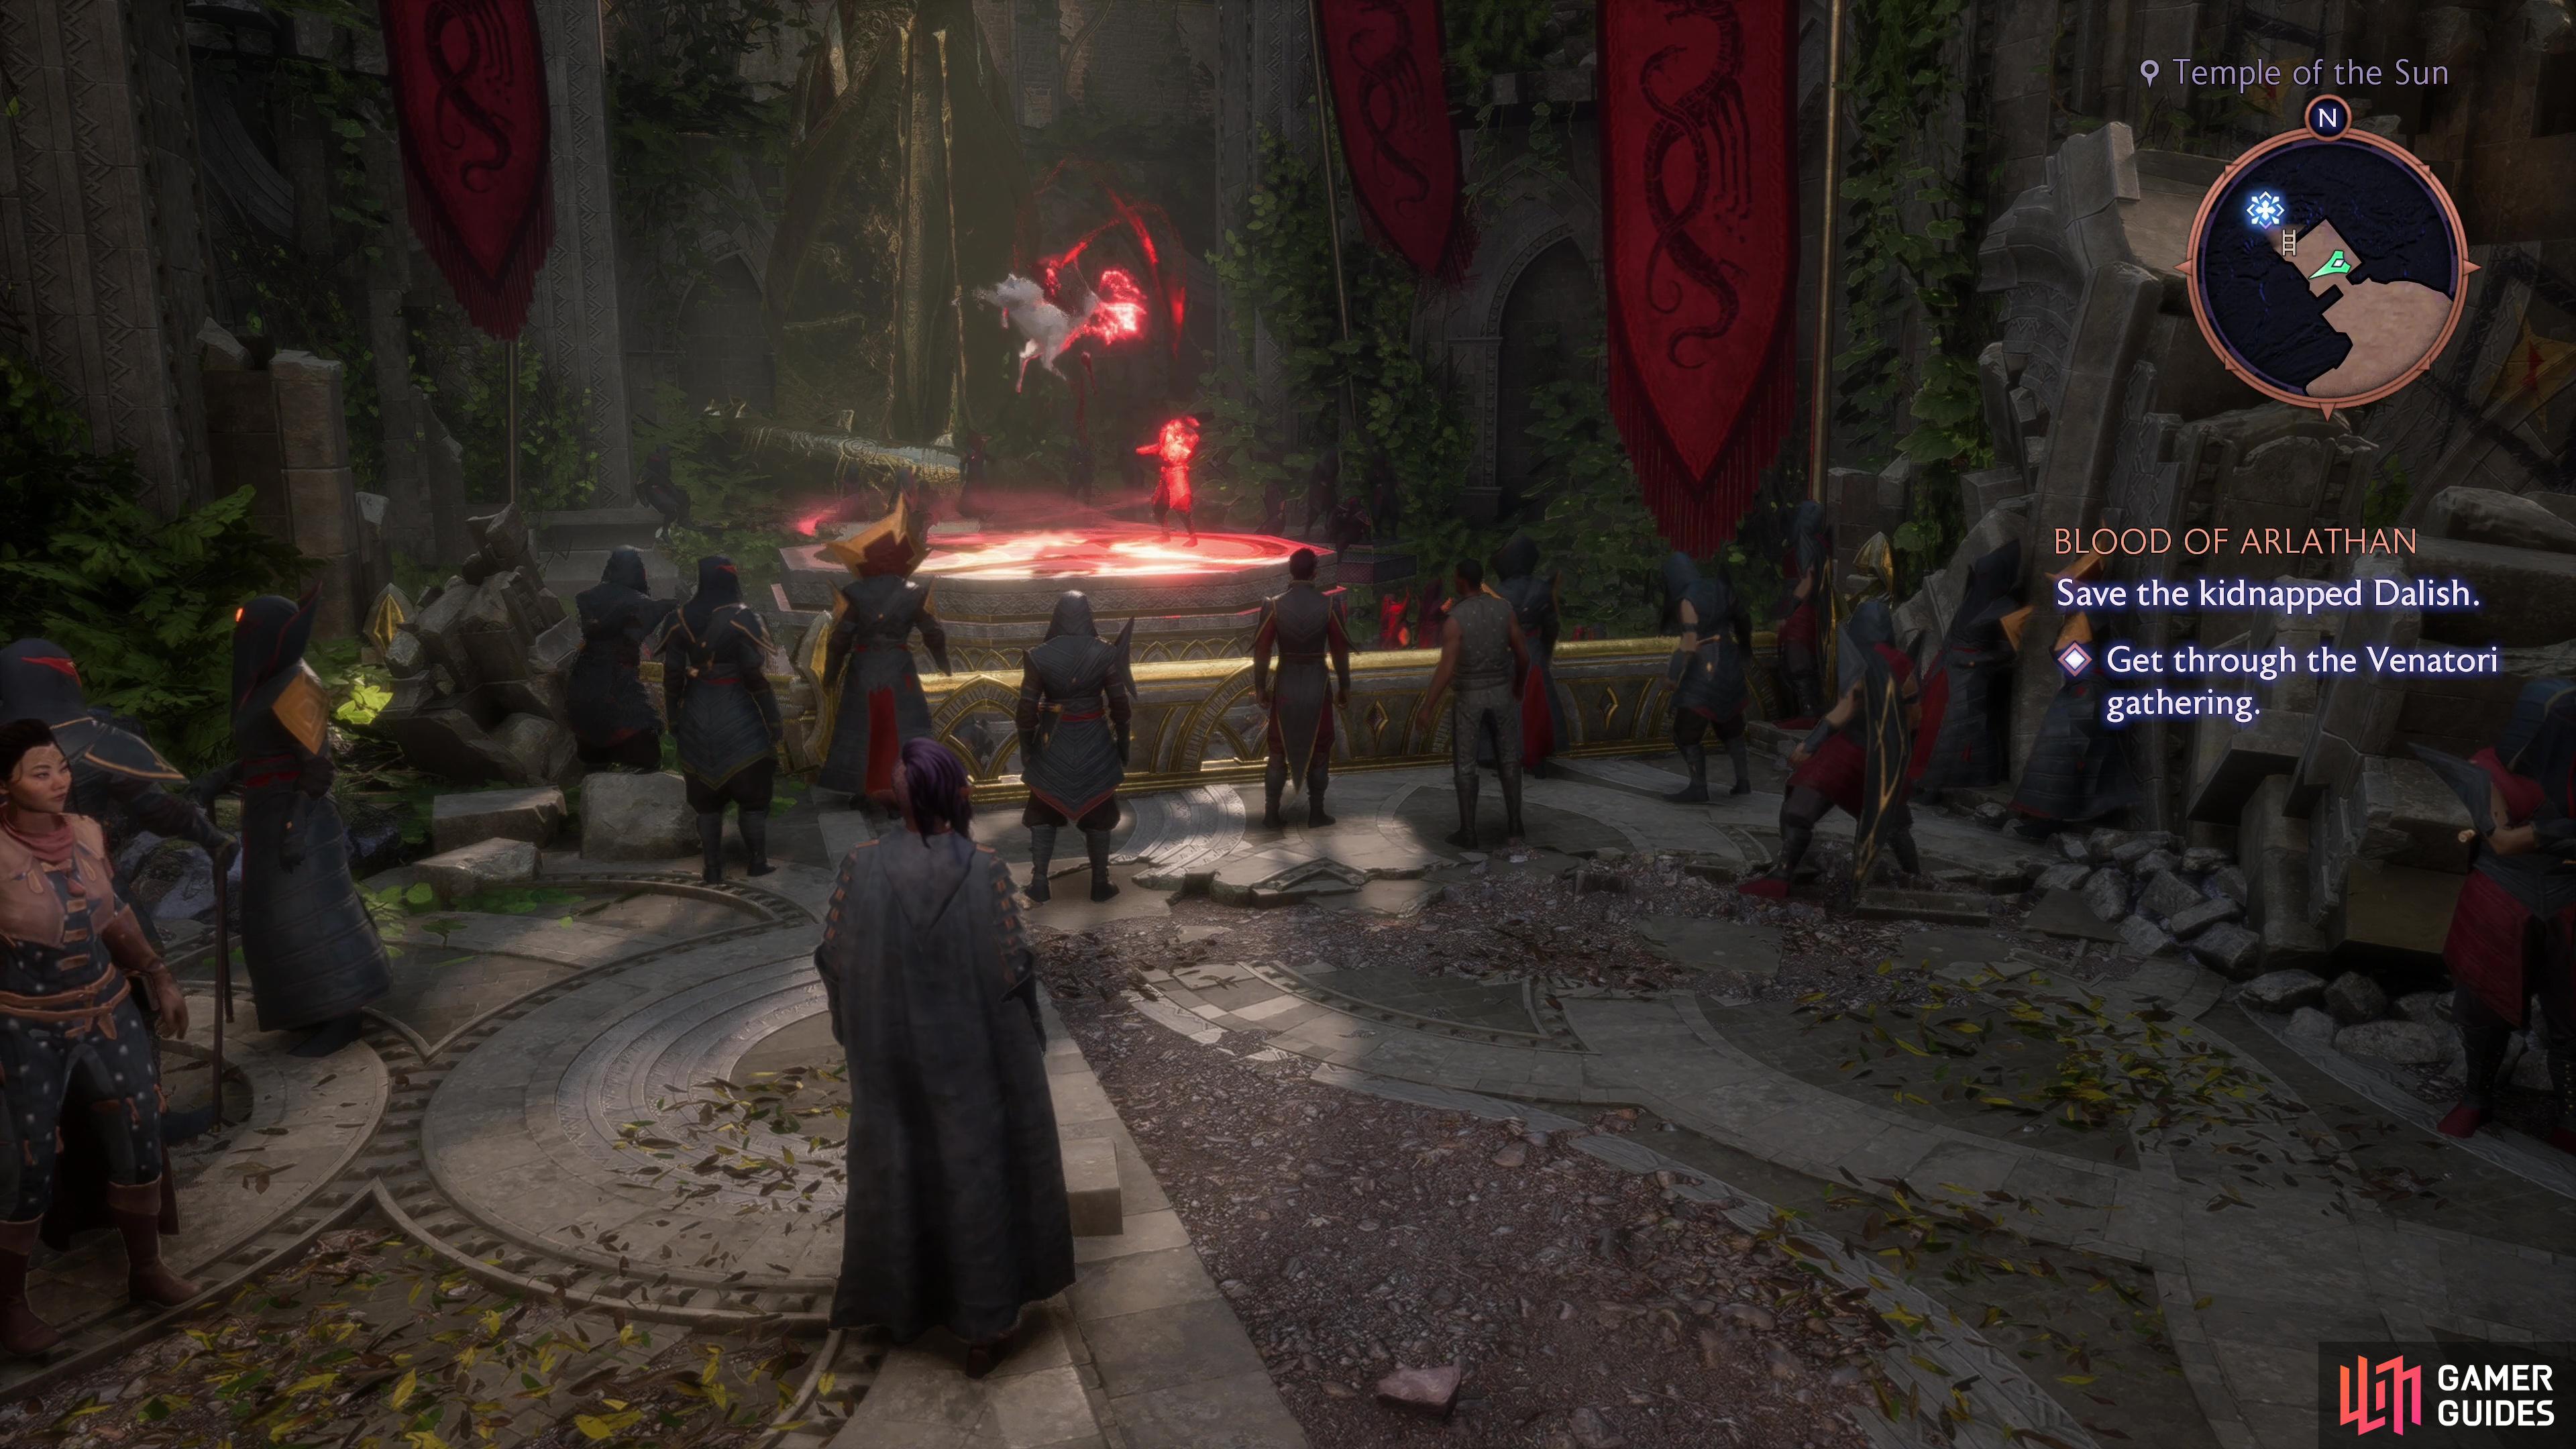
You can score another treasure chest here. From where you land after the zipline, make your way northwest, then southwest to reach some ruins. Take a ladder down to the southwest, turn northwest and cross some beams to find another chest. Climb back up both ladders and work your way northwest and drop off a ledge to find a gathering a Venatori, who are making merry by using blood magic to tear apart a halla. Lovely people. Climb a ladder to the northwest, drop off a ledge, then turn around and loot a small chest for some gear. When you’re ready, go through a door to the northwest to find the main gathering of Venatori.
Make your way northwest and if you spared the mayor of D’Meta’s Crossing you’ll find him here, rubbing elbows with the Venatori. Unfortunately there’s no way to take back your mercy now. Go northeast through some double doors, climb over some brickwork and drop down into an isolated chamber where you’ll find a chest. Loot it, climb back out, then continue through the Venatori gathering. You’ll overhear some Tevinter political schemes, some daydreaming about an alliance forming with Rook, and you’ll get to see Neve put on her best mage-snob facade. The path is linear enough and there’s not much you can do besides pick up lumber and make your way forward until you trigger a scene, which complicates matters. Afterwards you’ll discard your disguises and the combat portion of this quest will begin.
(1 of 4) Climb a ladder near a zipline, then jump a gap to find this mission’s first chest.
Save the Kidnapped Dalish
The first bit of this level has allowed you to stroll about and pick up treasure without much fuss, and the next bit is something of the opposite - forcing you to fight numerous enemies with scant prospects of remuneration. Nothing for it - let’s get down to our bloody business.
Ruined Aqueduct
Make your way north, then northwest under a bridge, past which you’ll find your first Venatori, who are more numerous than exceptional. These consist of around half a dozen soldiers, an executioner and a mage on high ground. Fight your way northwest and more will spawn, including another mage on high ground and a centurion that emerges from a door after you climb your way onto higher ground to the northwest - likely in pursuit of the second aforementioned mage.
Kill your way to the northwest, climb onto higher ground, then turn southwest through some door to spot Elgar’nan’s archdemon in the distance. Continue southeast then drop off a ledge to the southwest, dispatch some Venatori Soldiers led by an executioner at a camp, then continue up a slope to the west. Climb a ledge to the south, then drop off another ledge further to the south before turning west and dispatching another pair of soldiers and a mage.
Temple Gardens - Venatori Crystal Puzzle
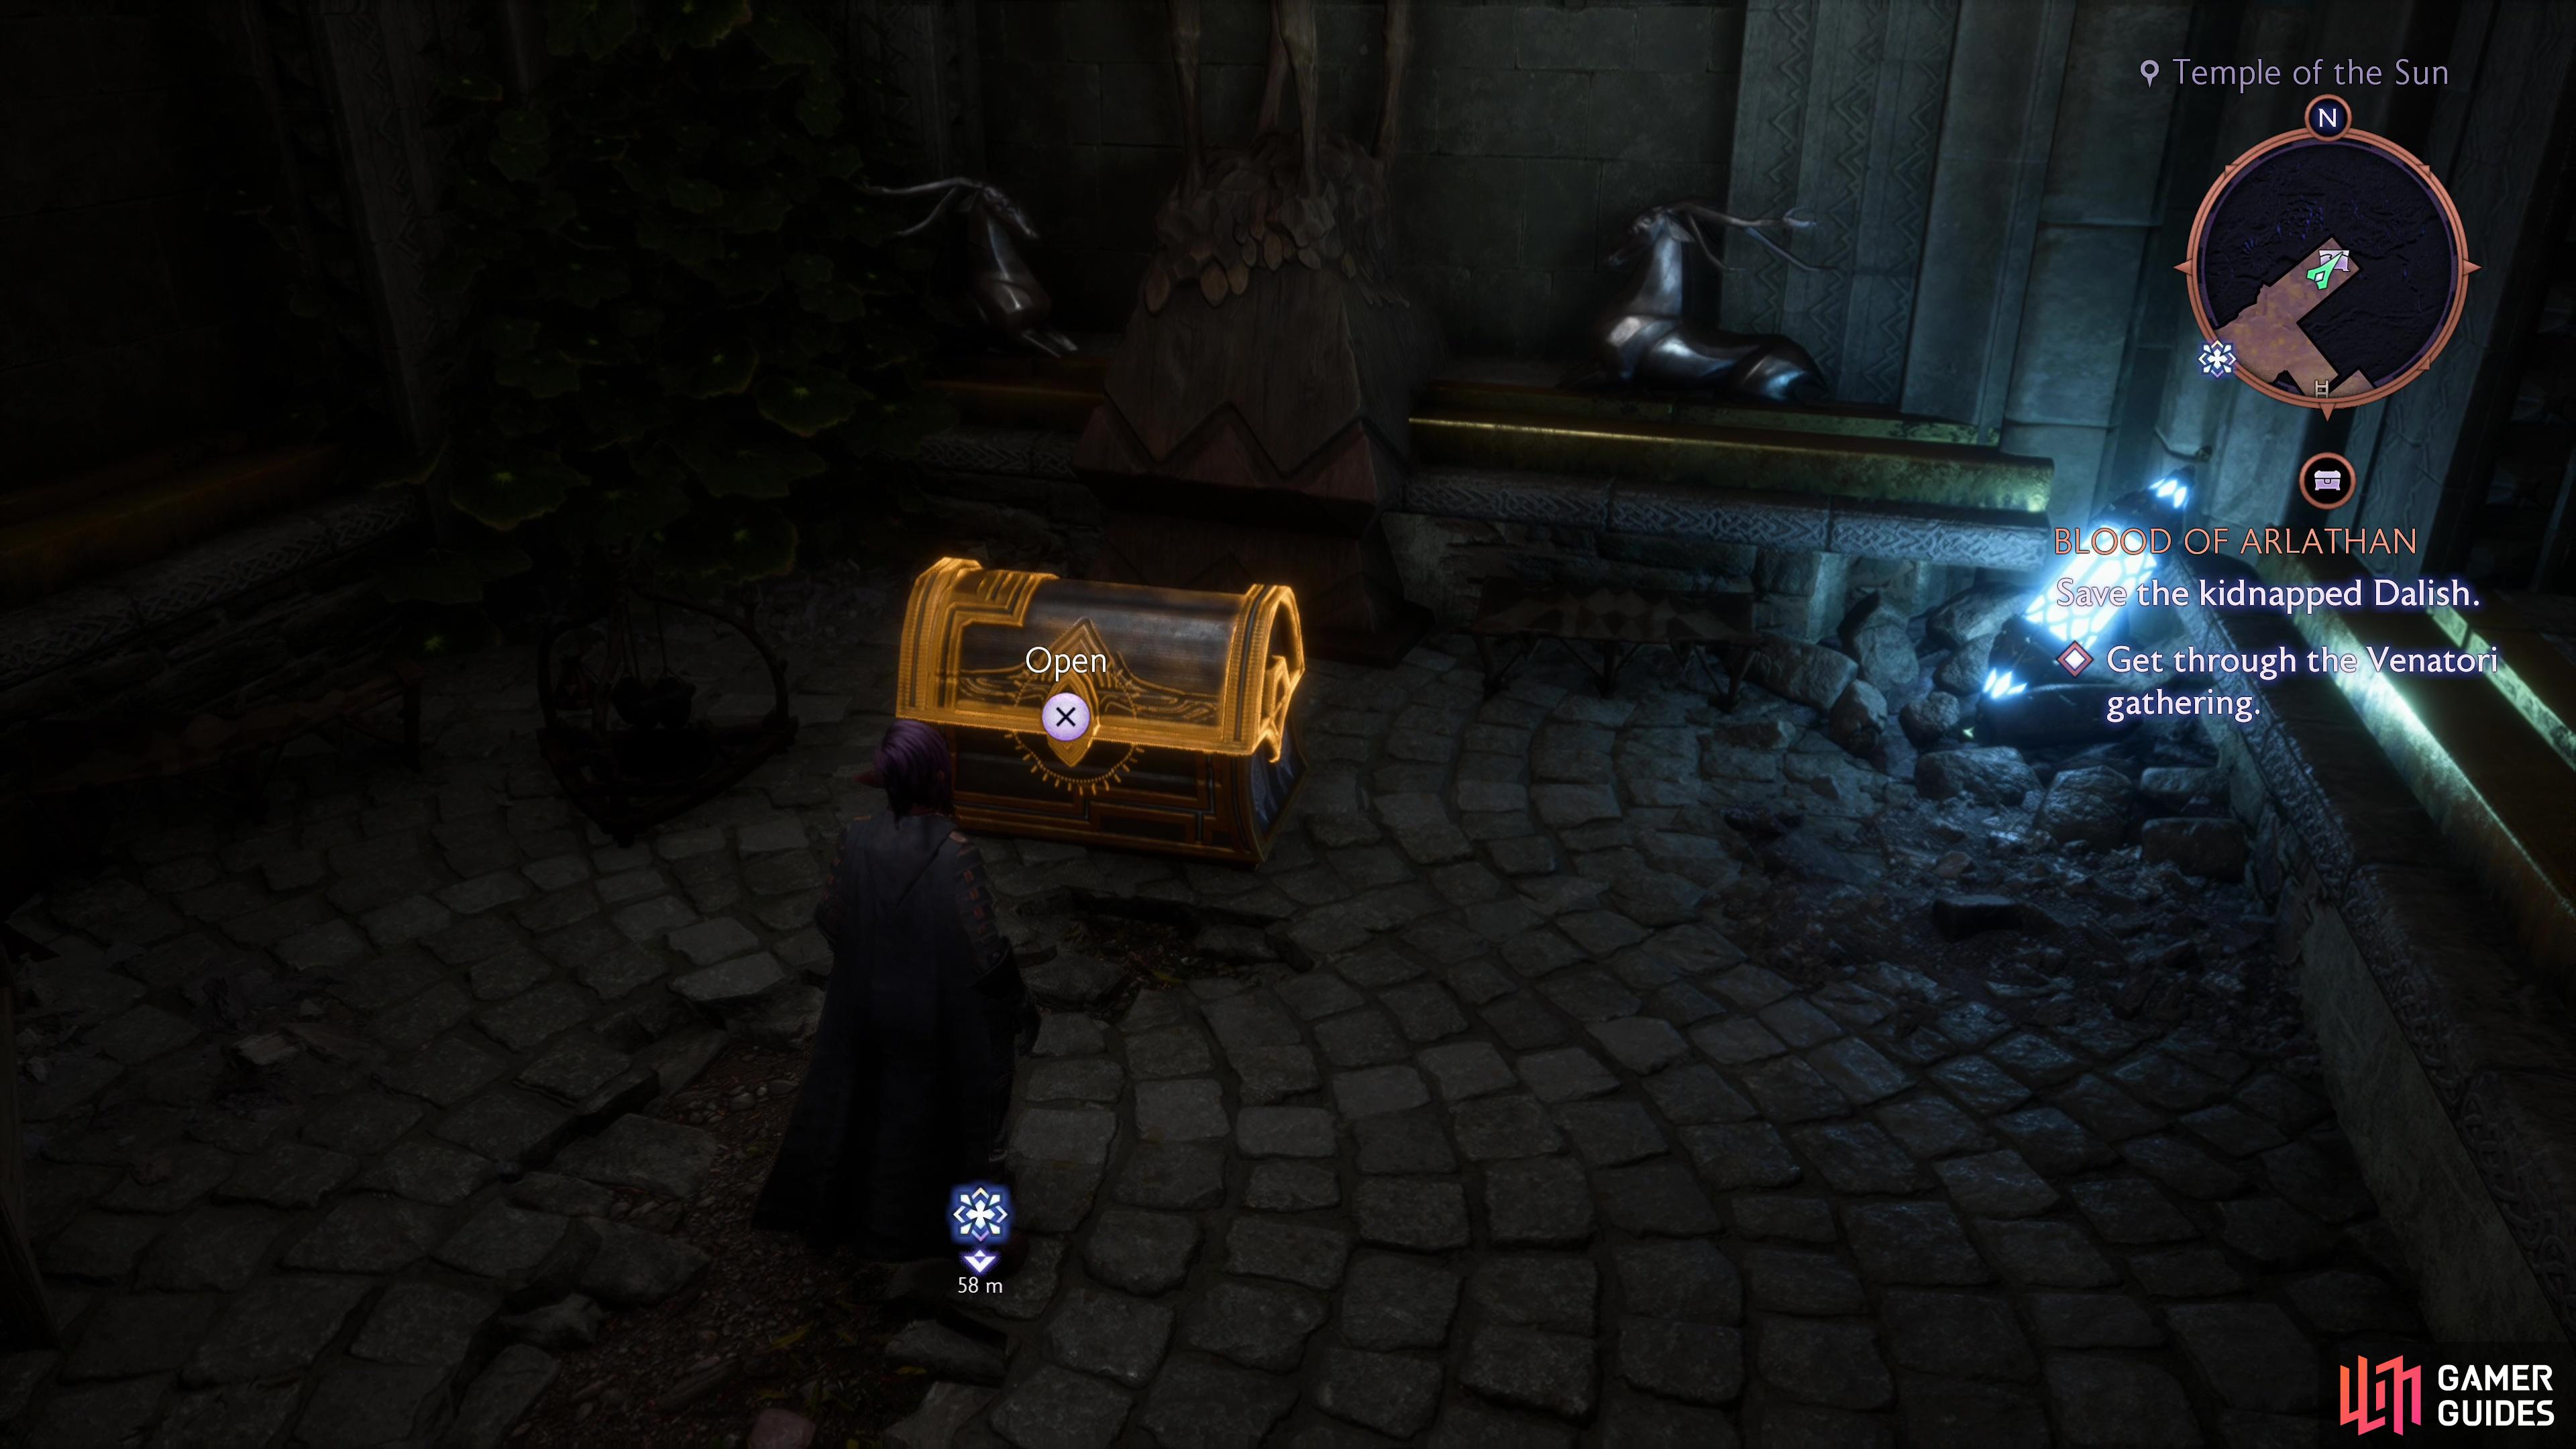
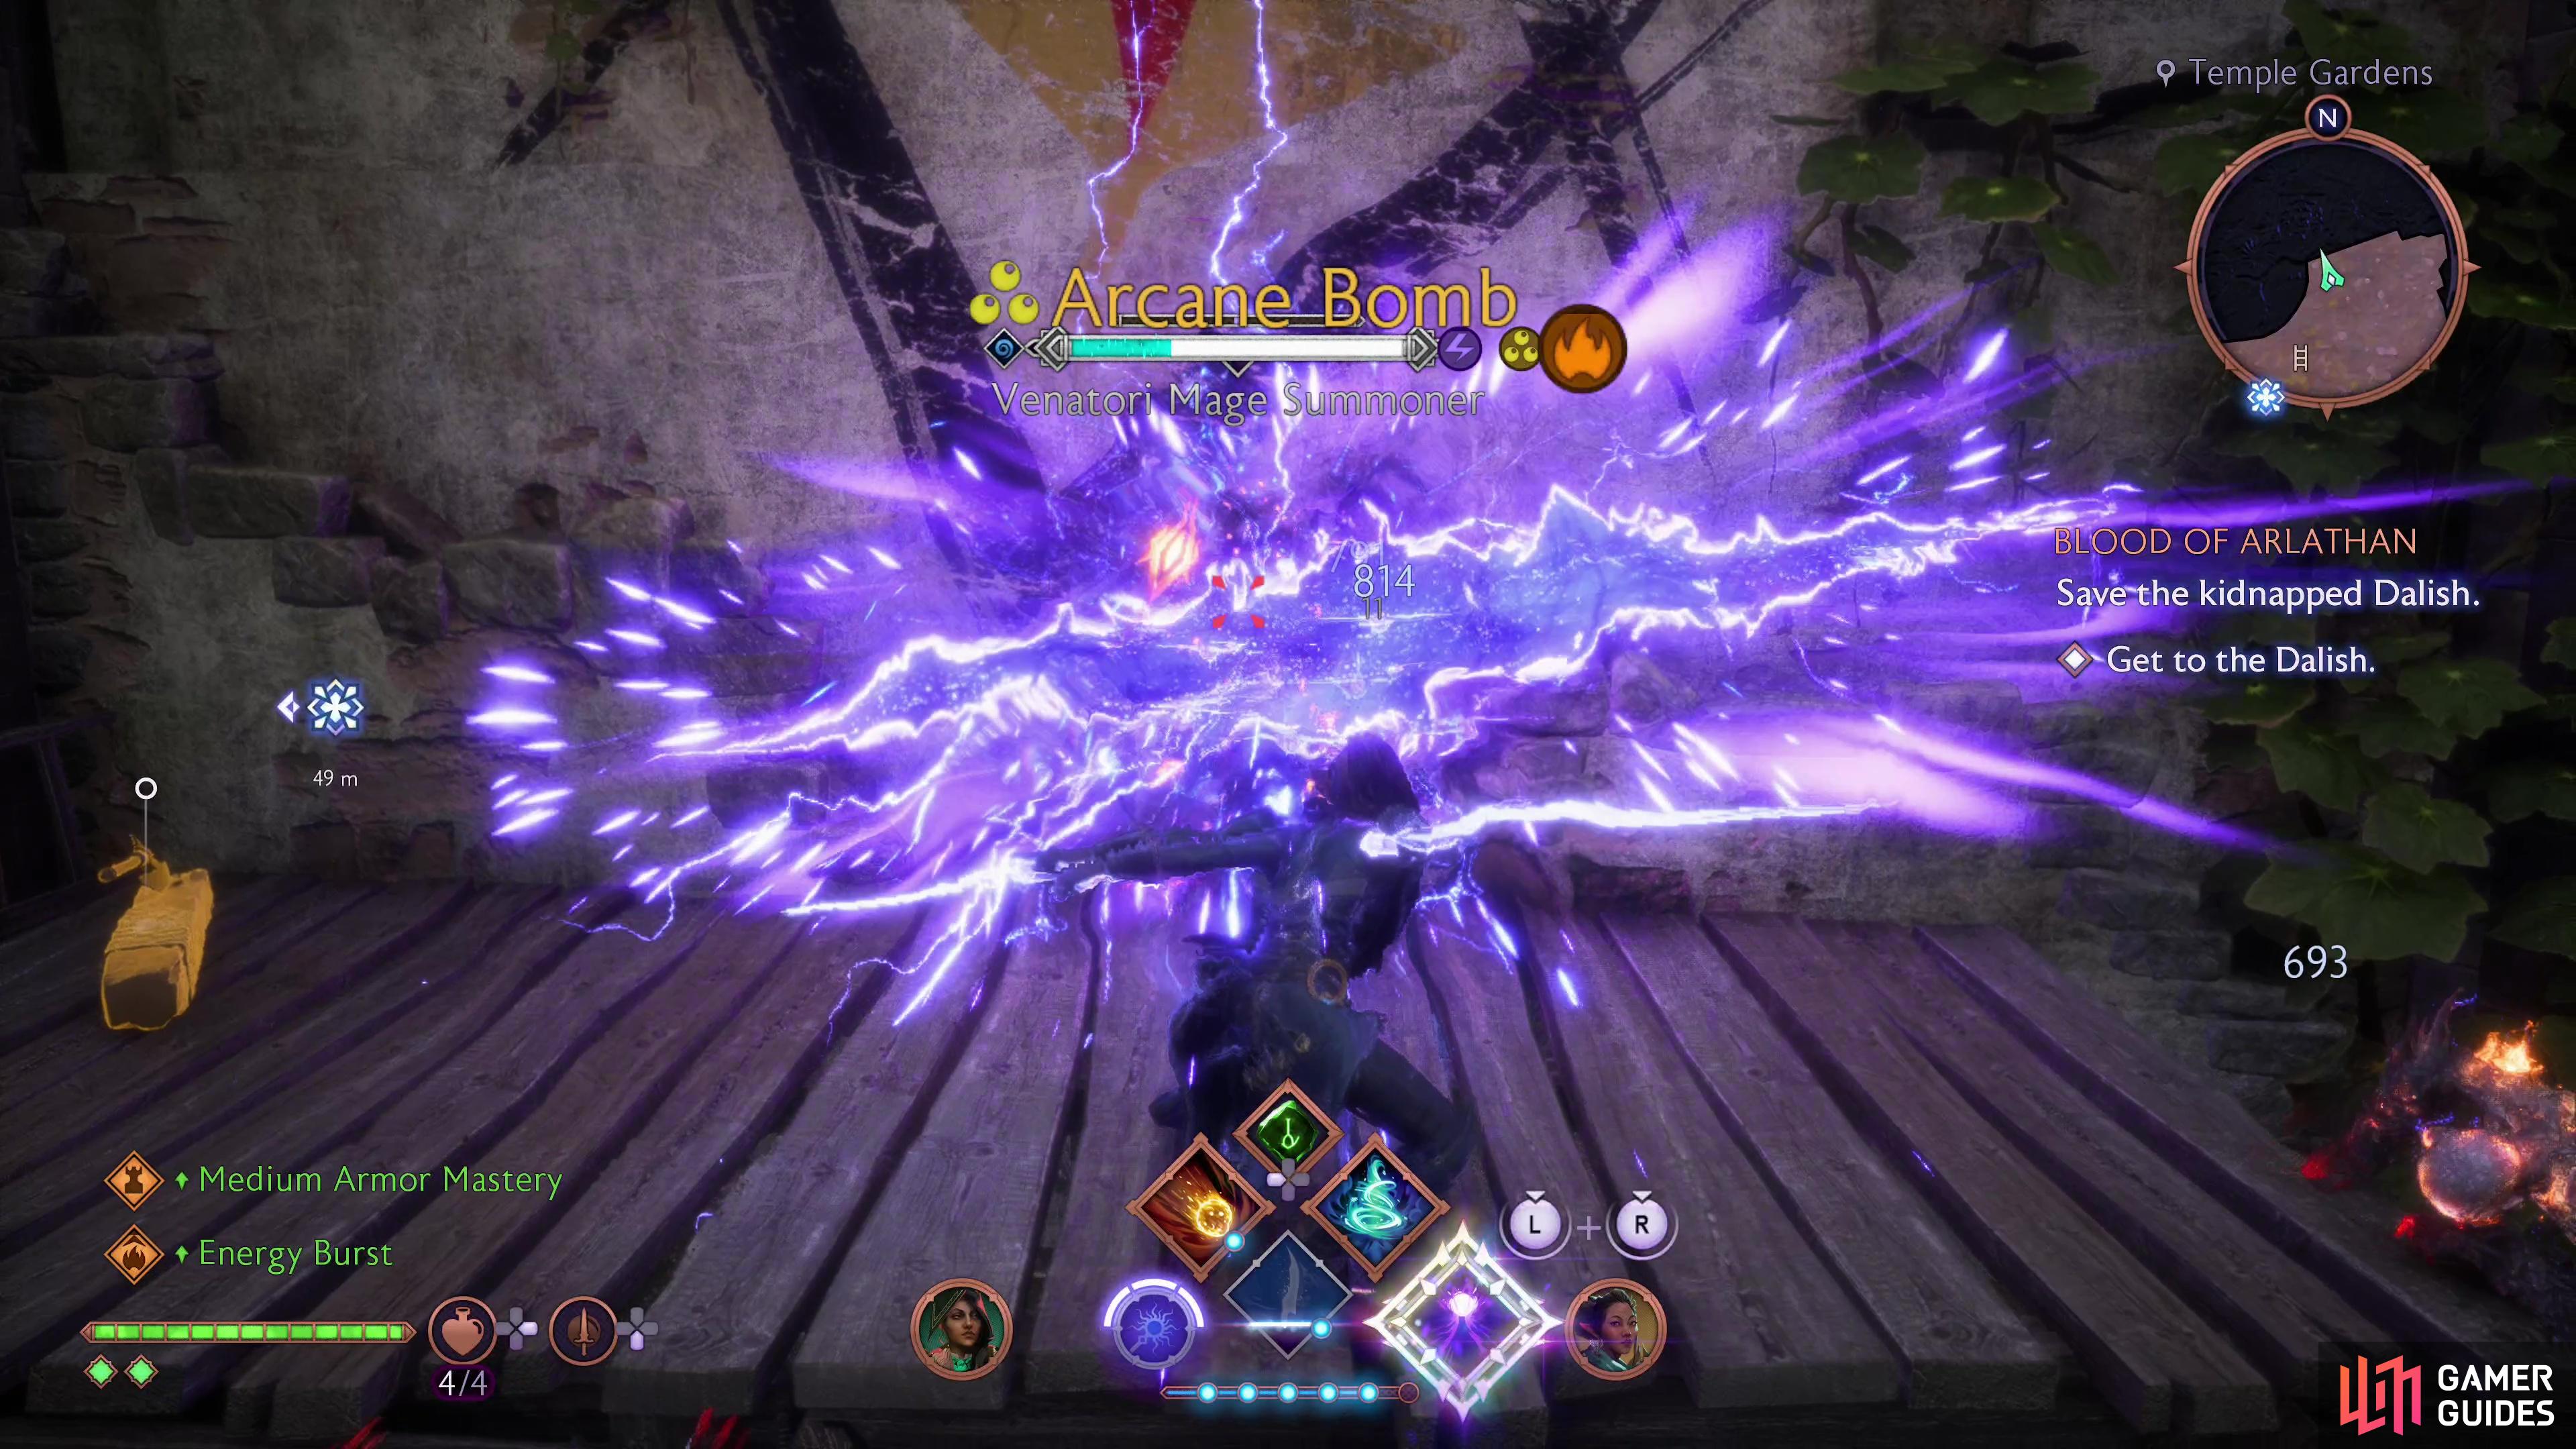
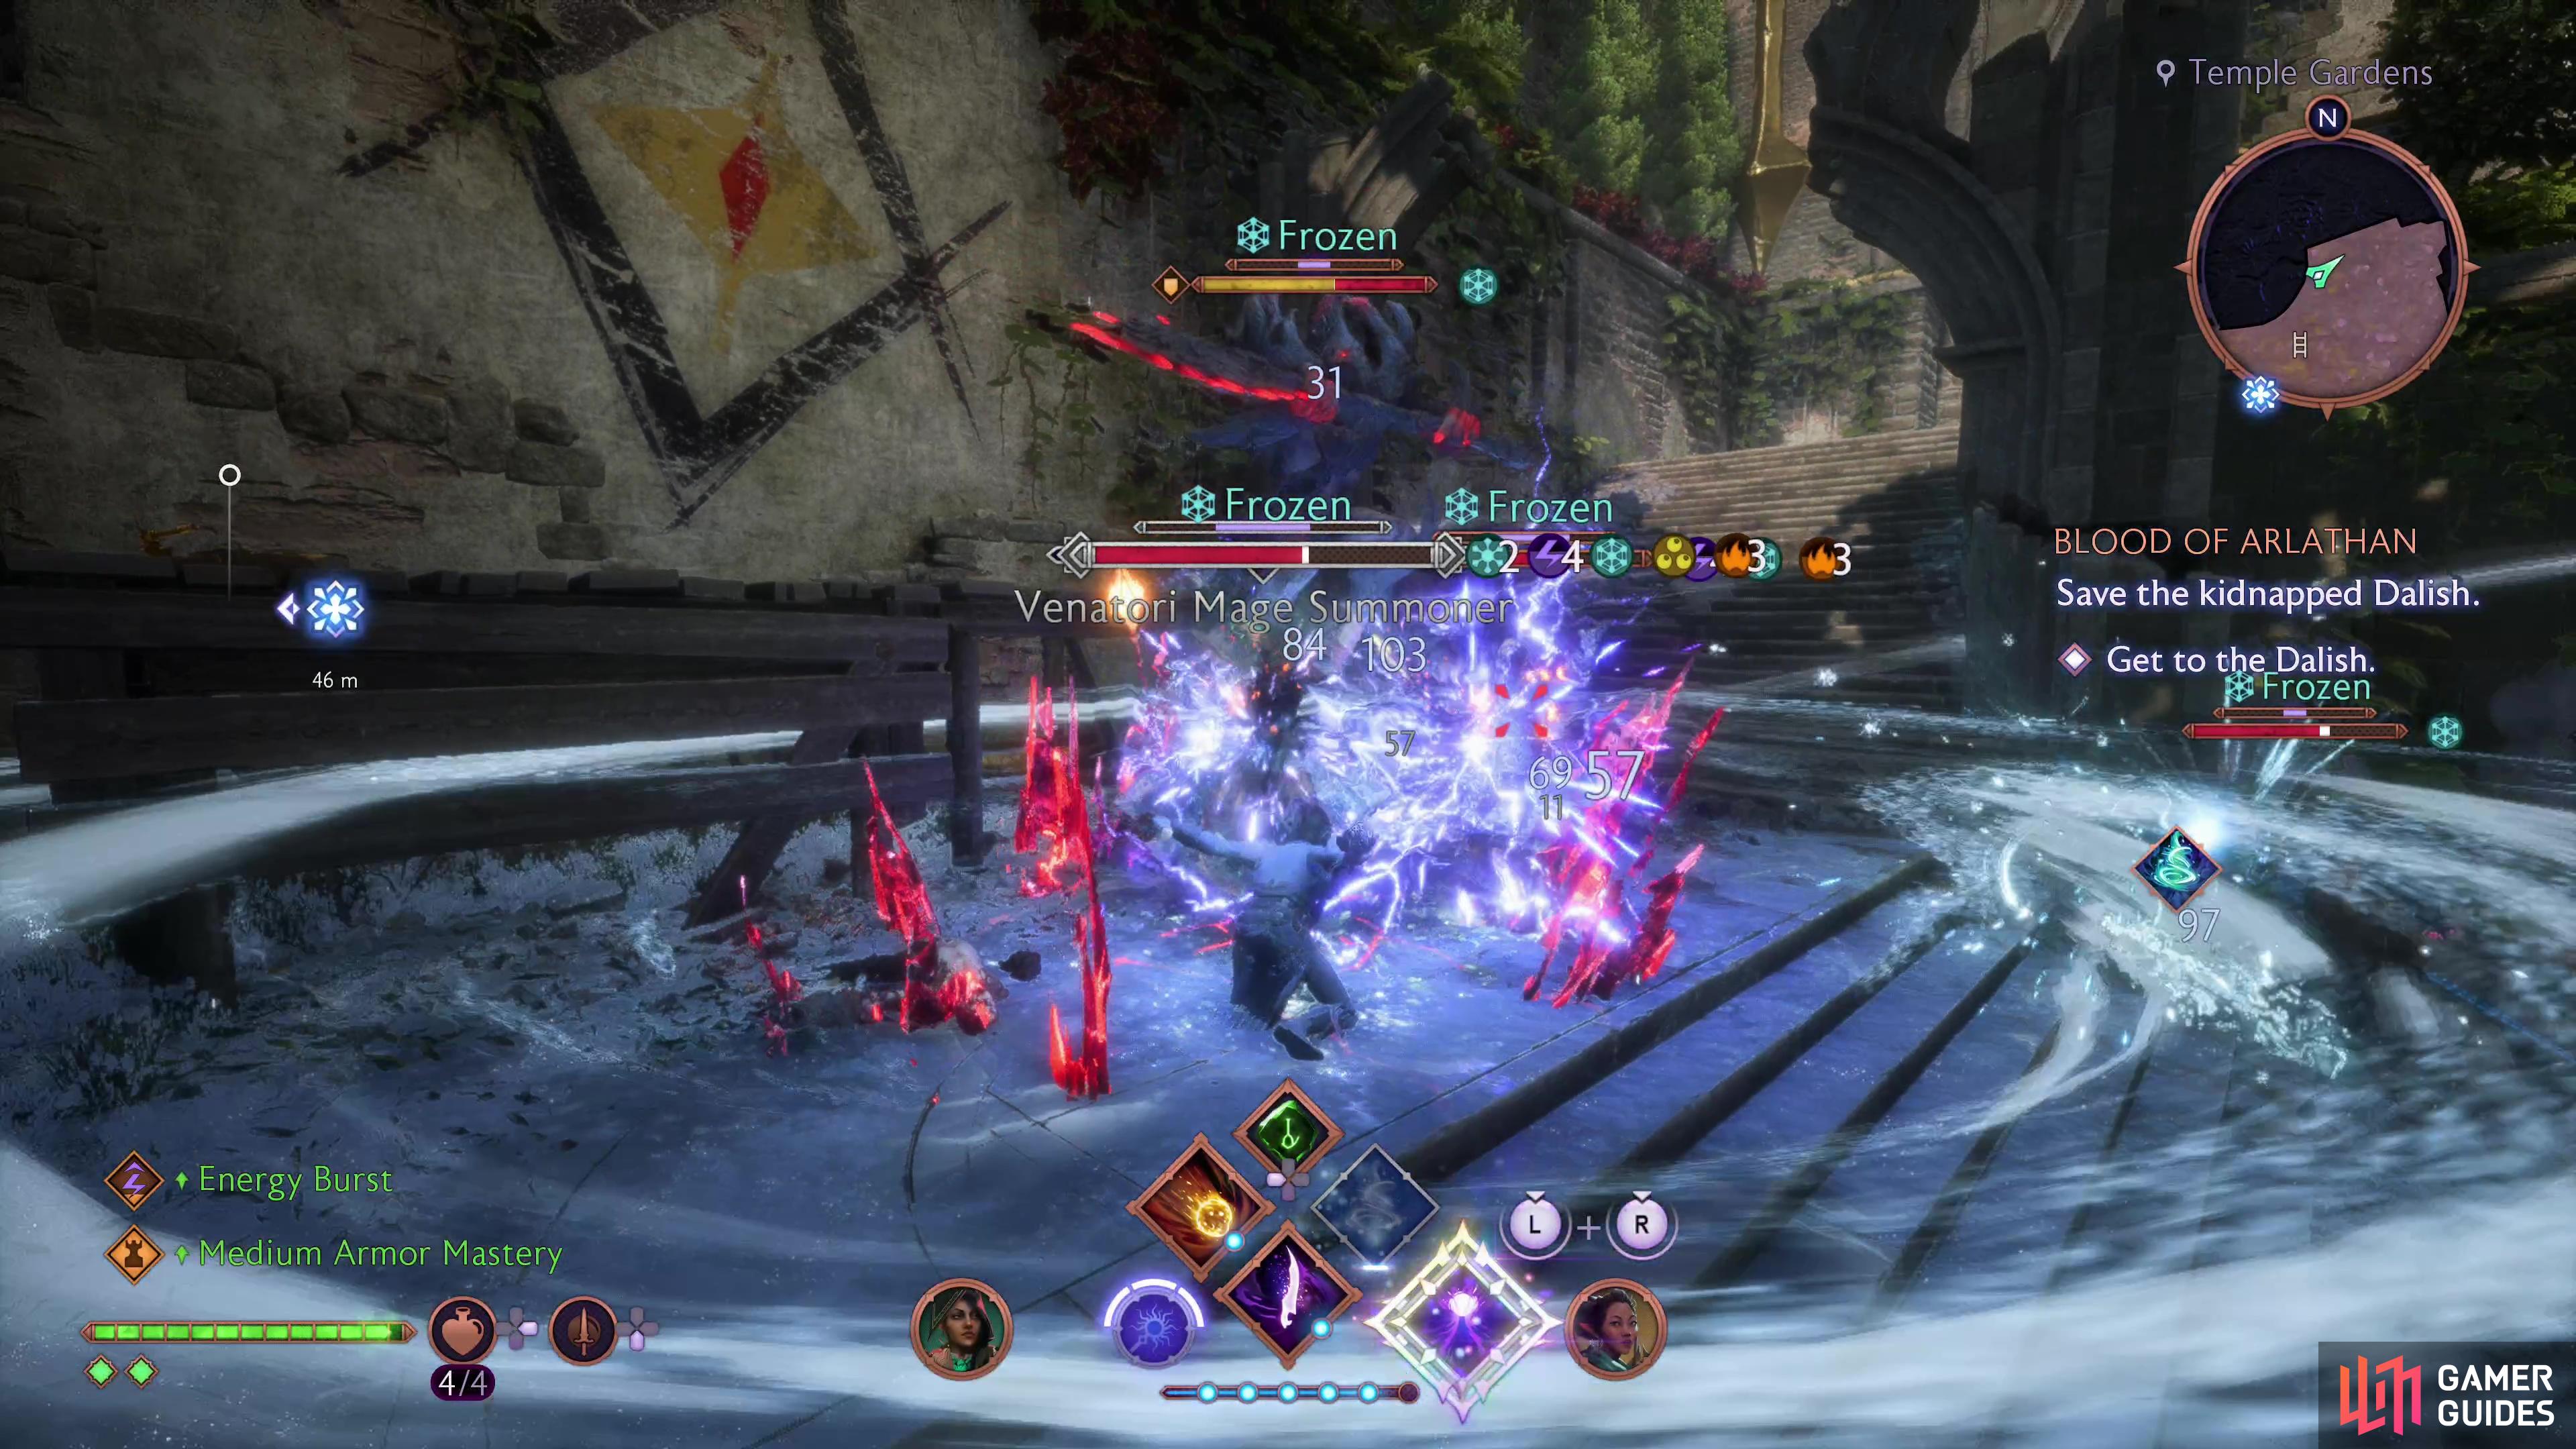
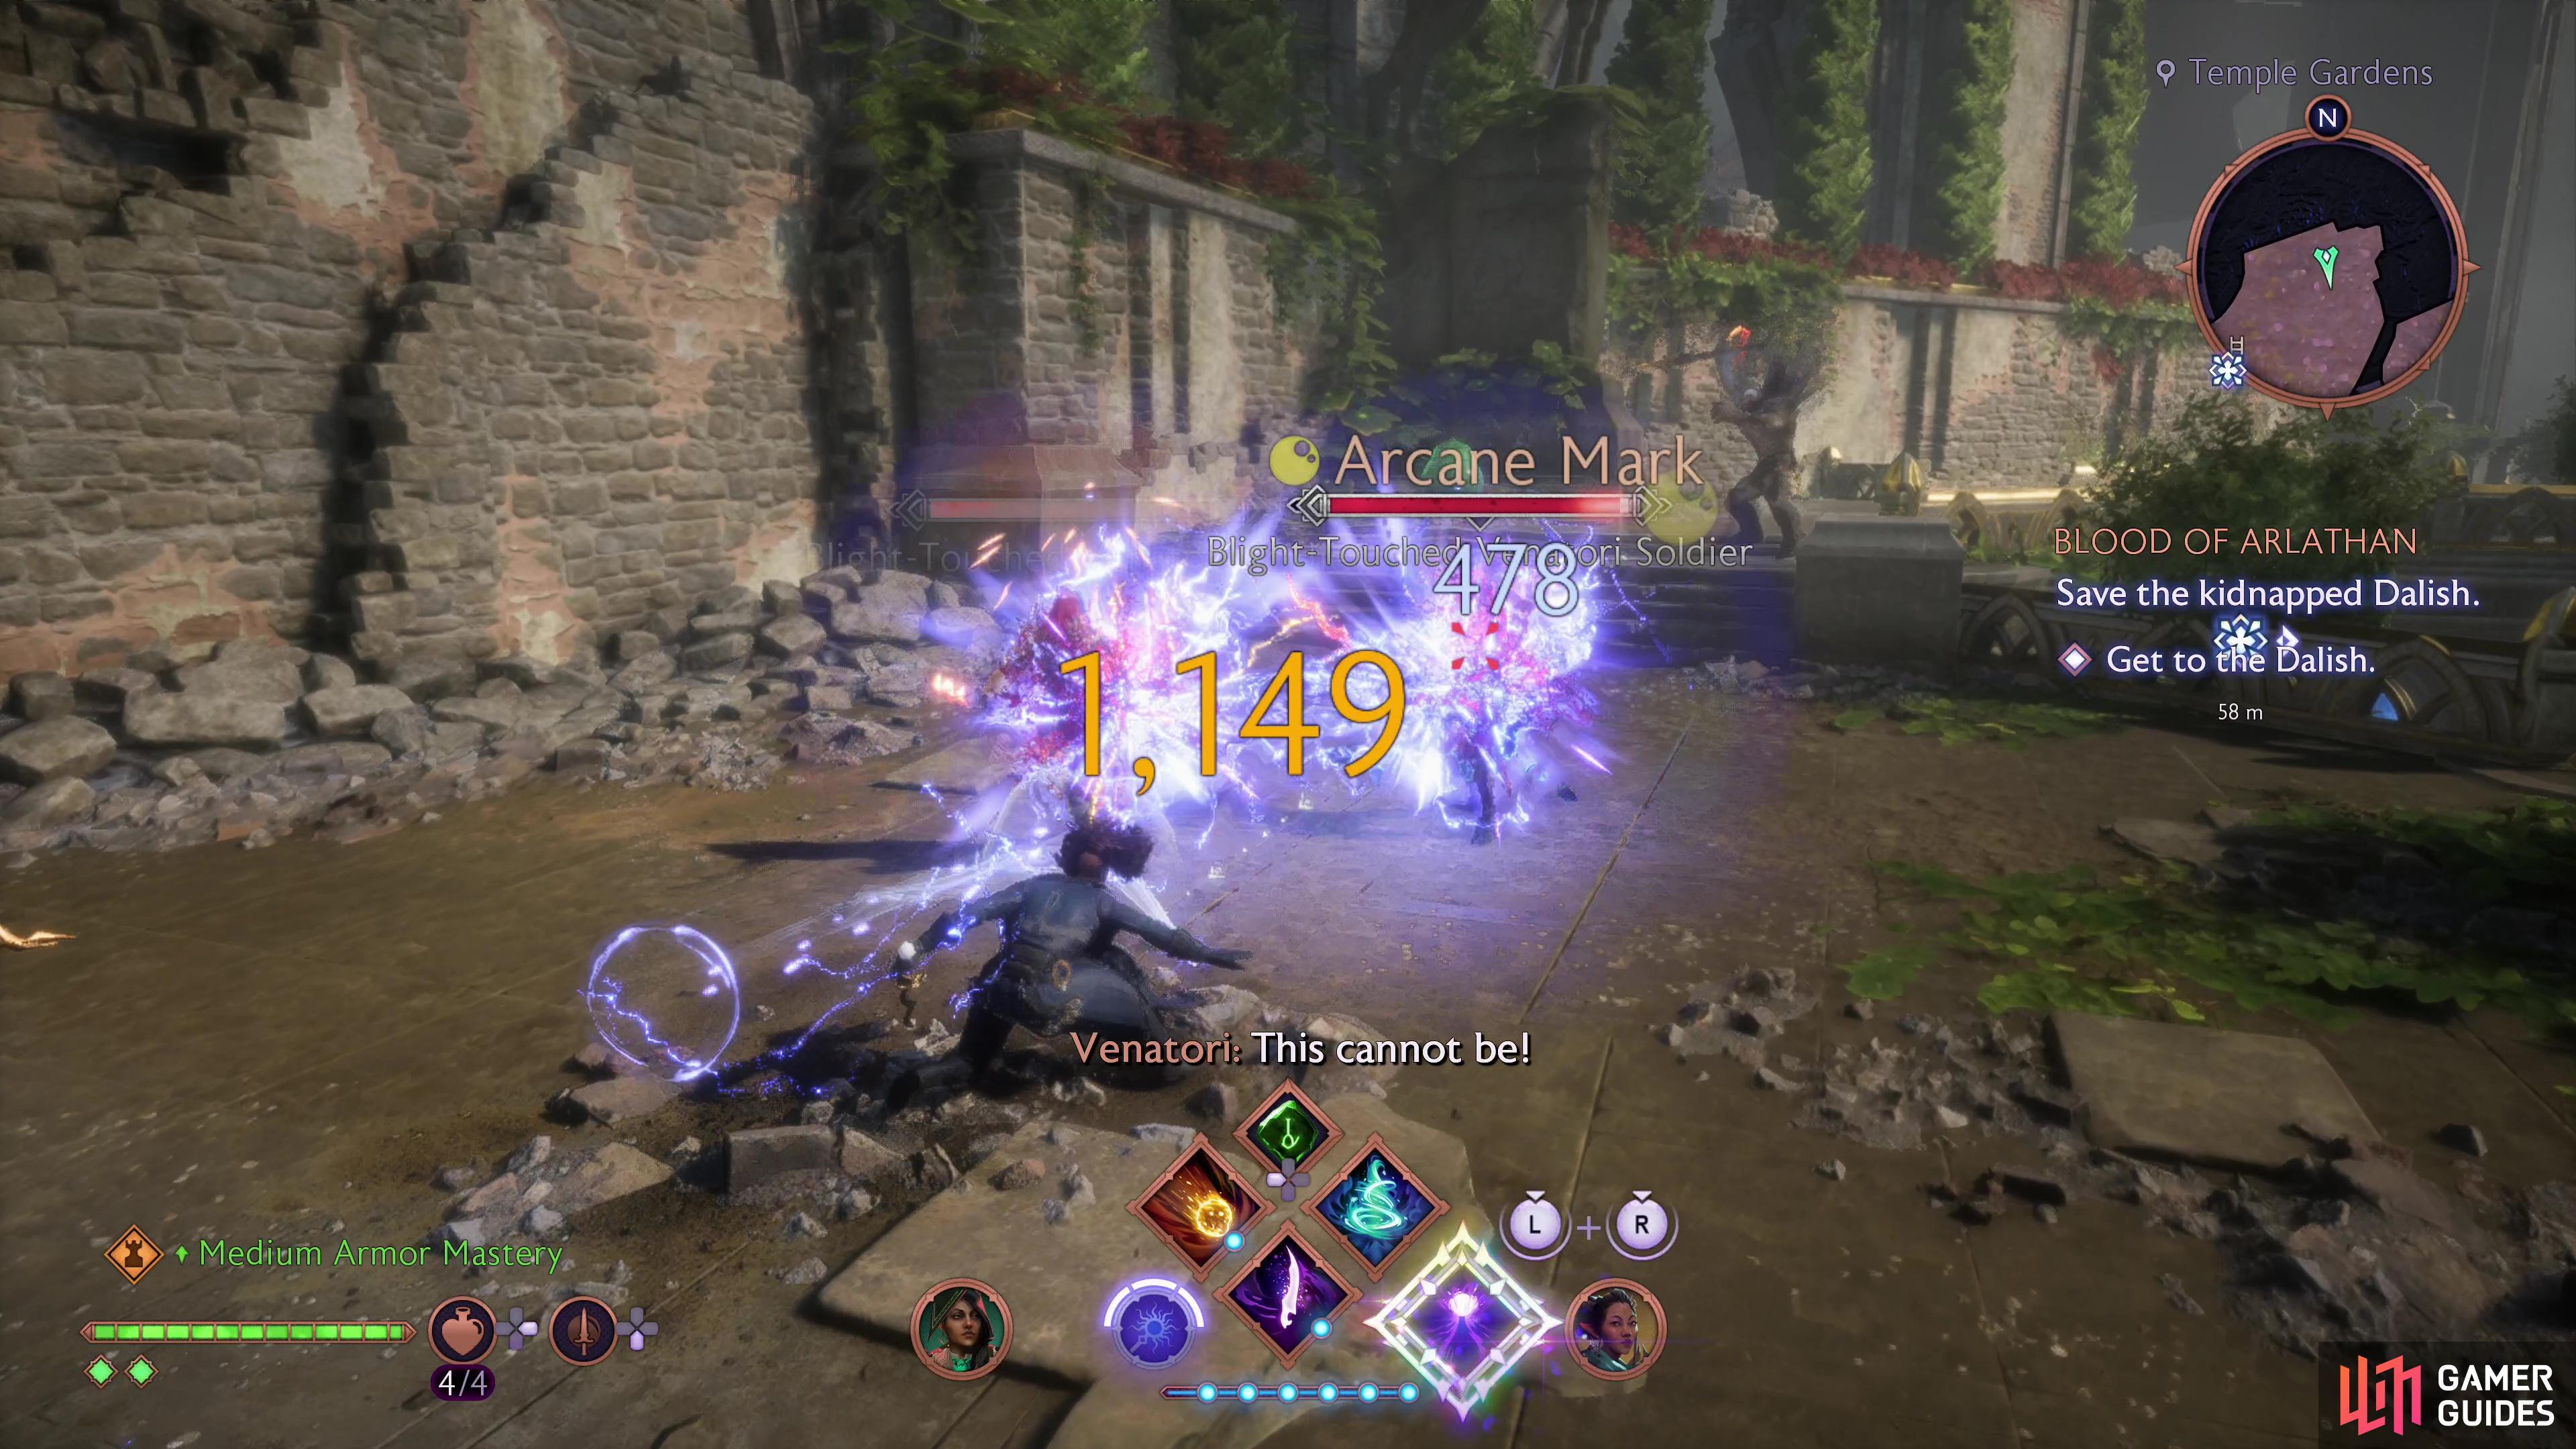
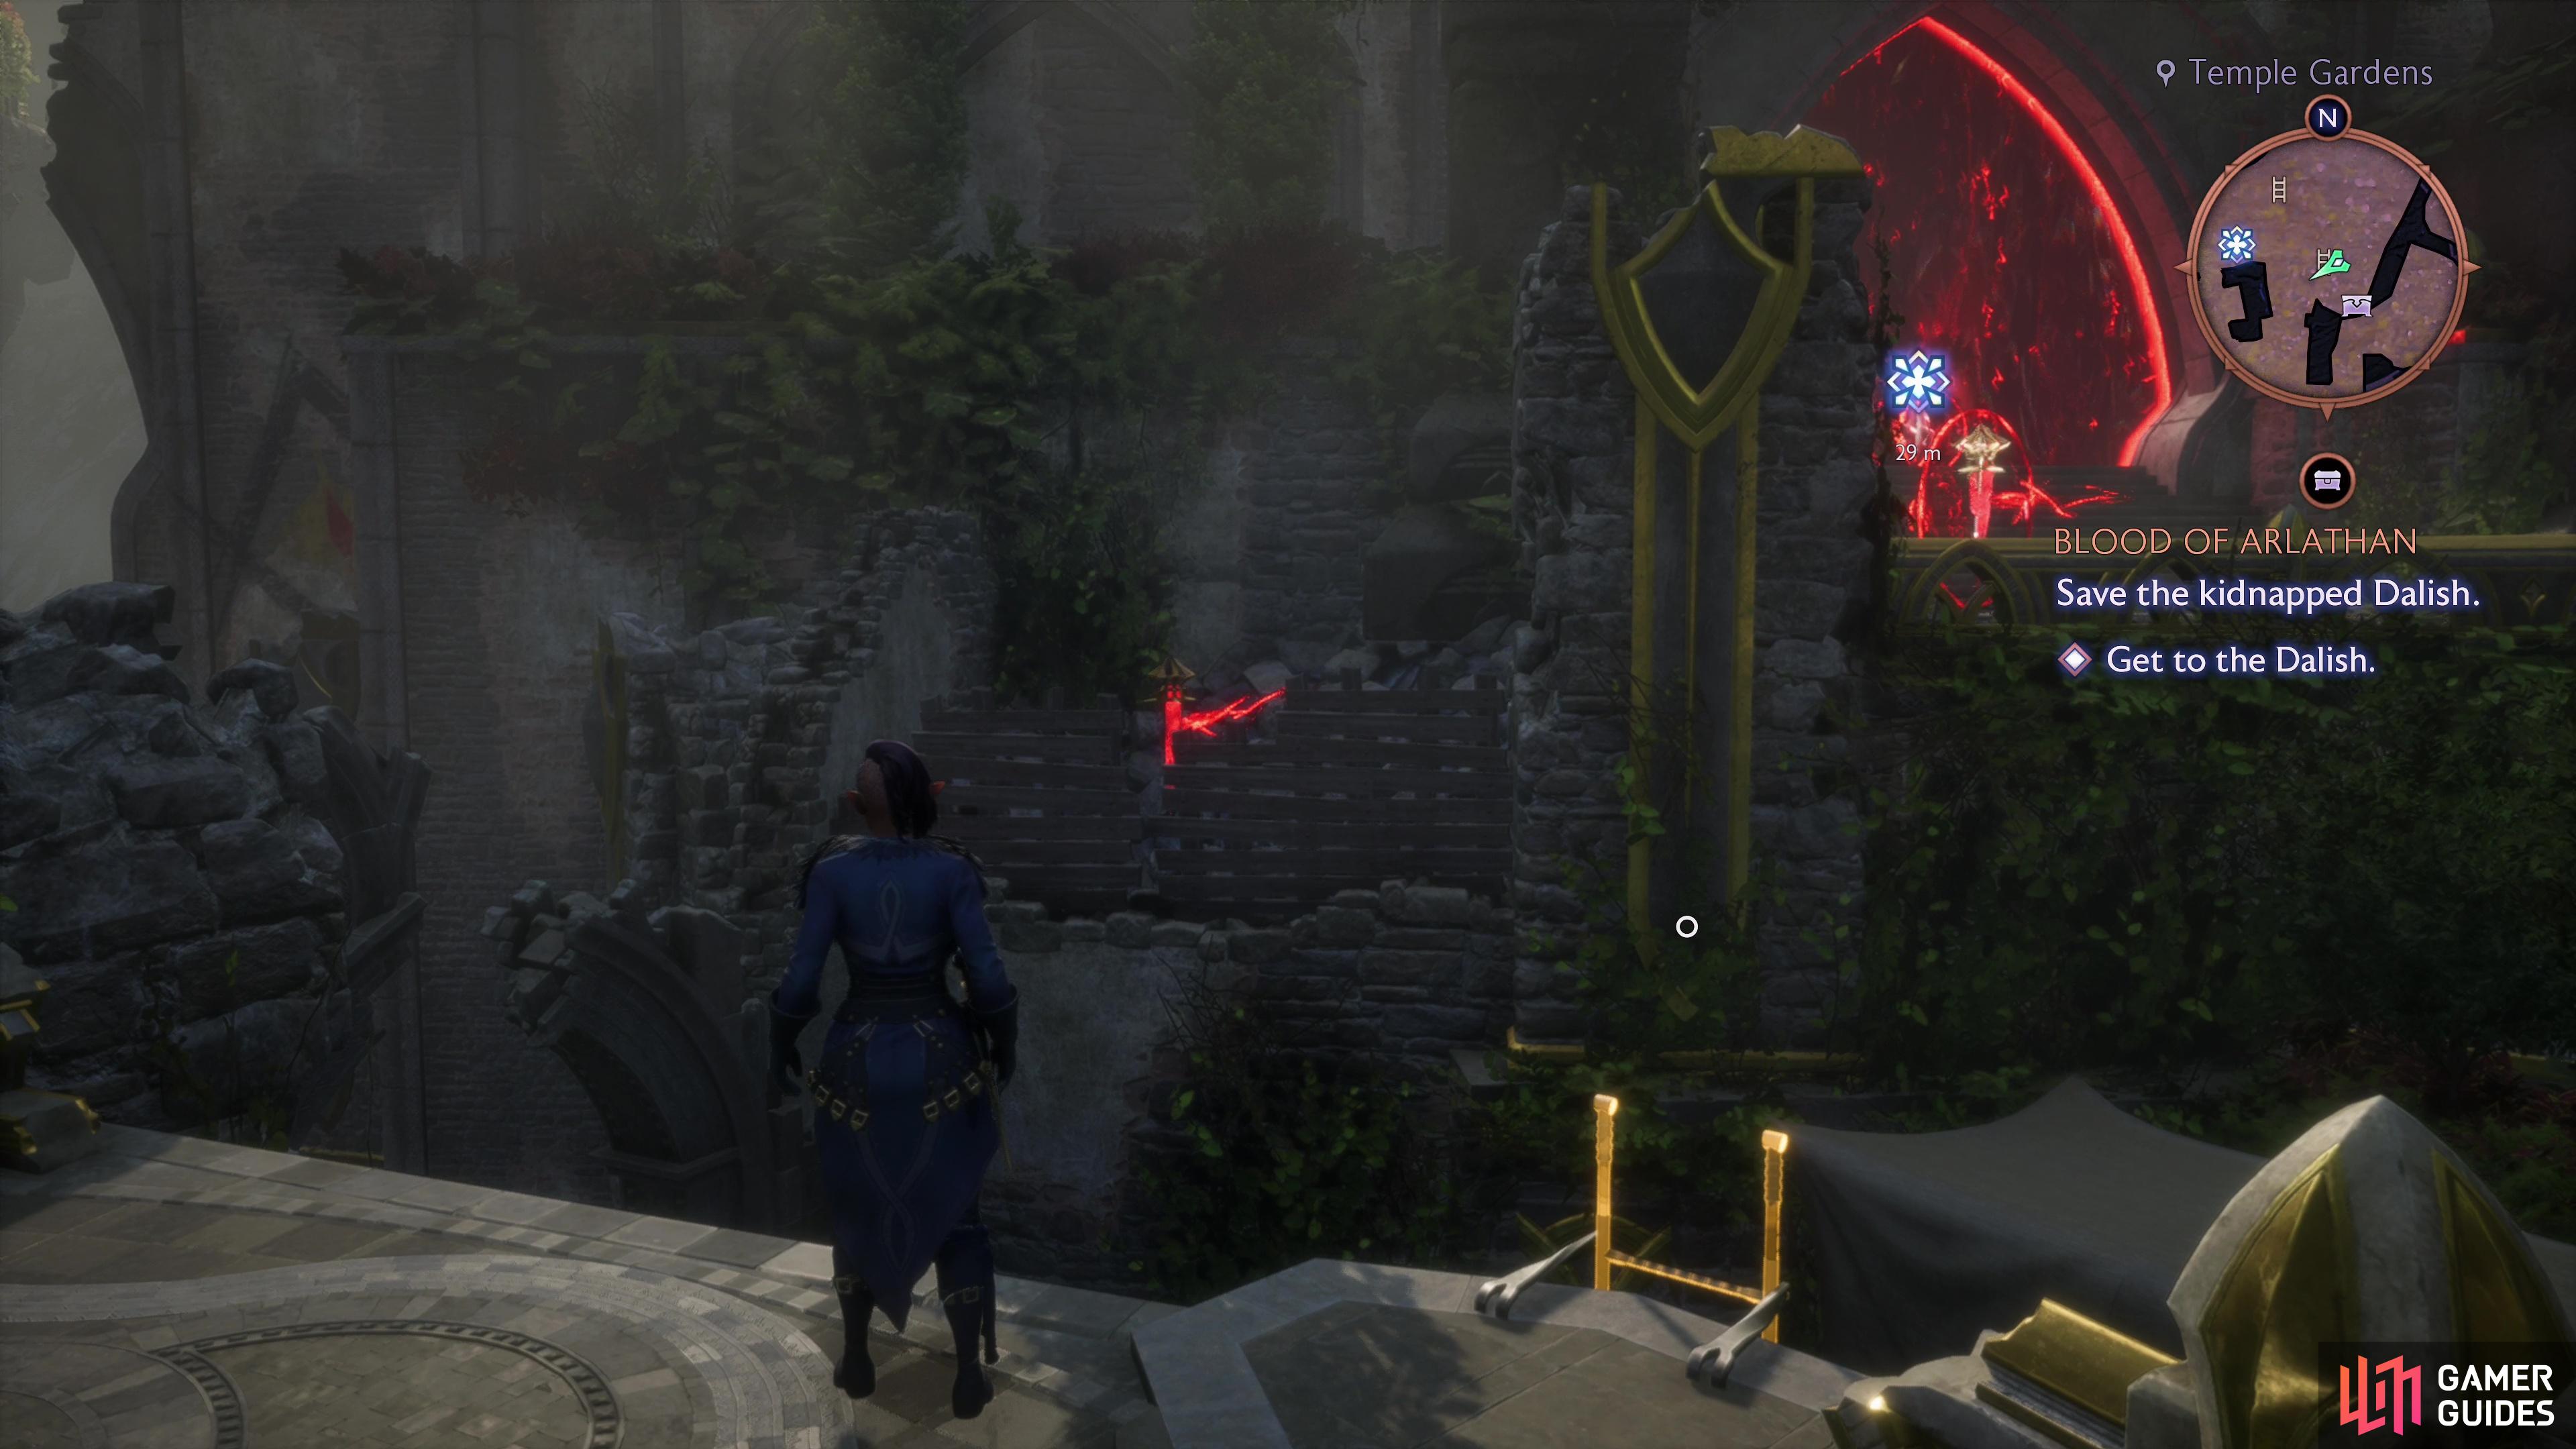
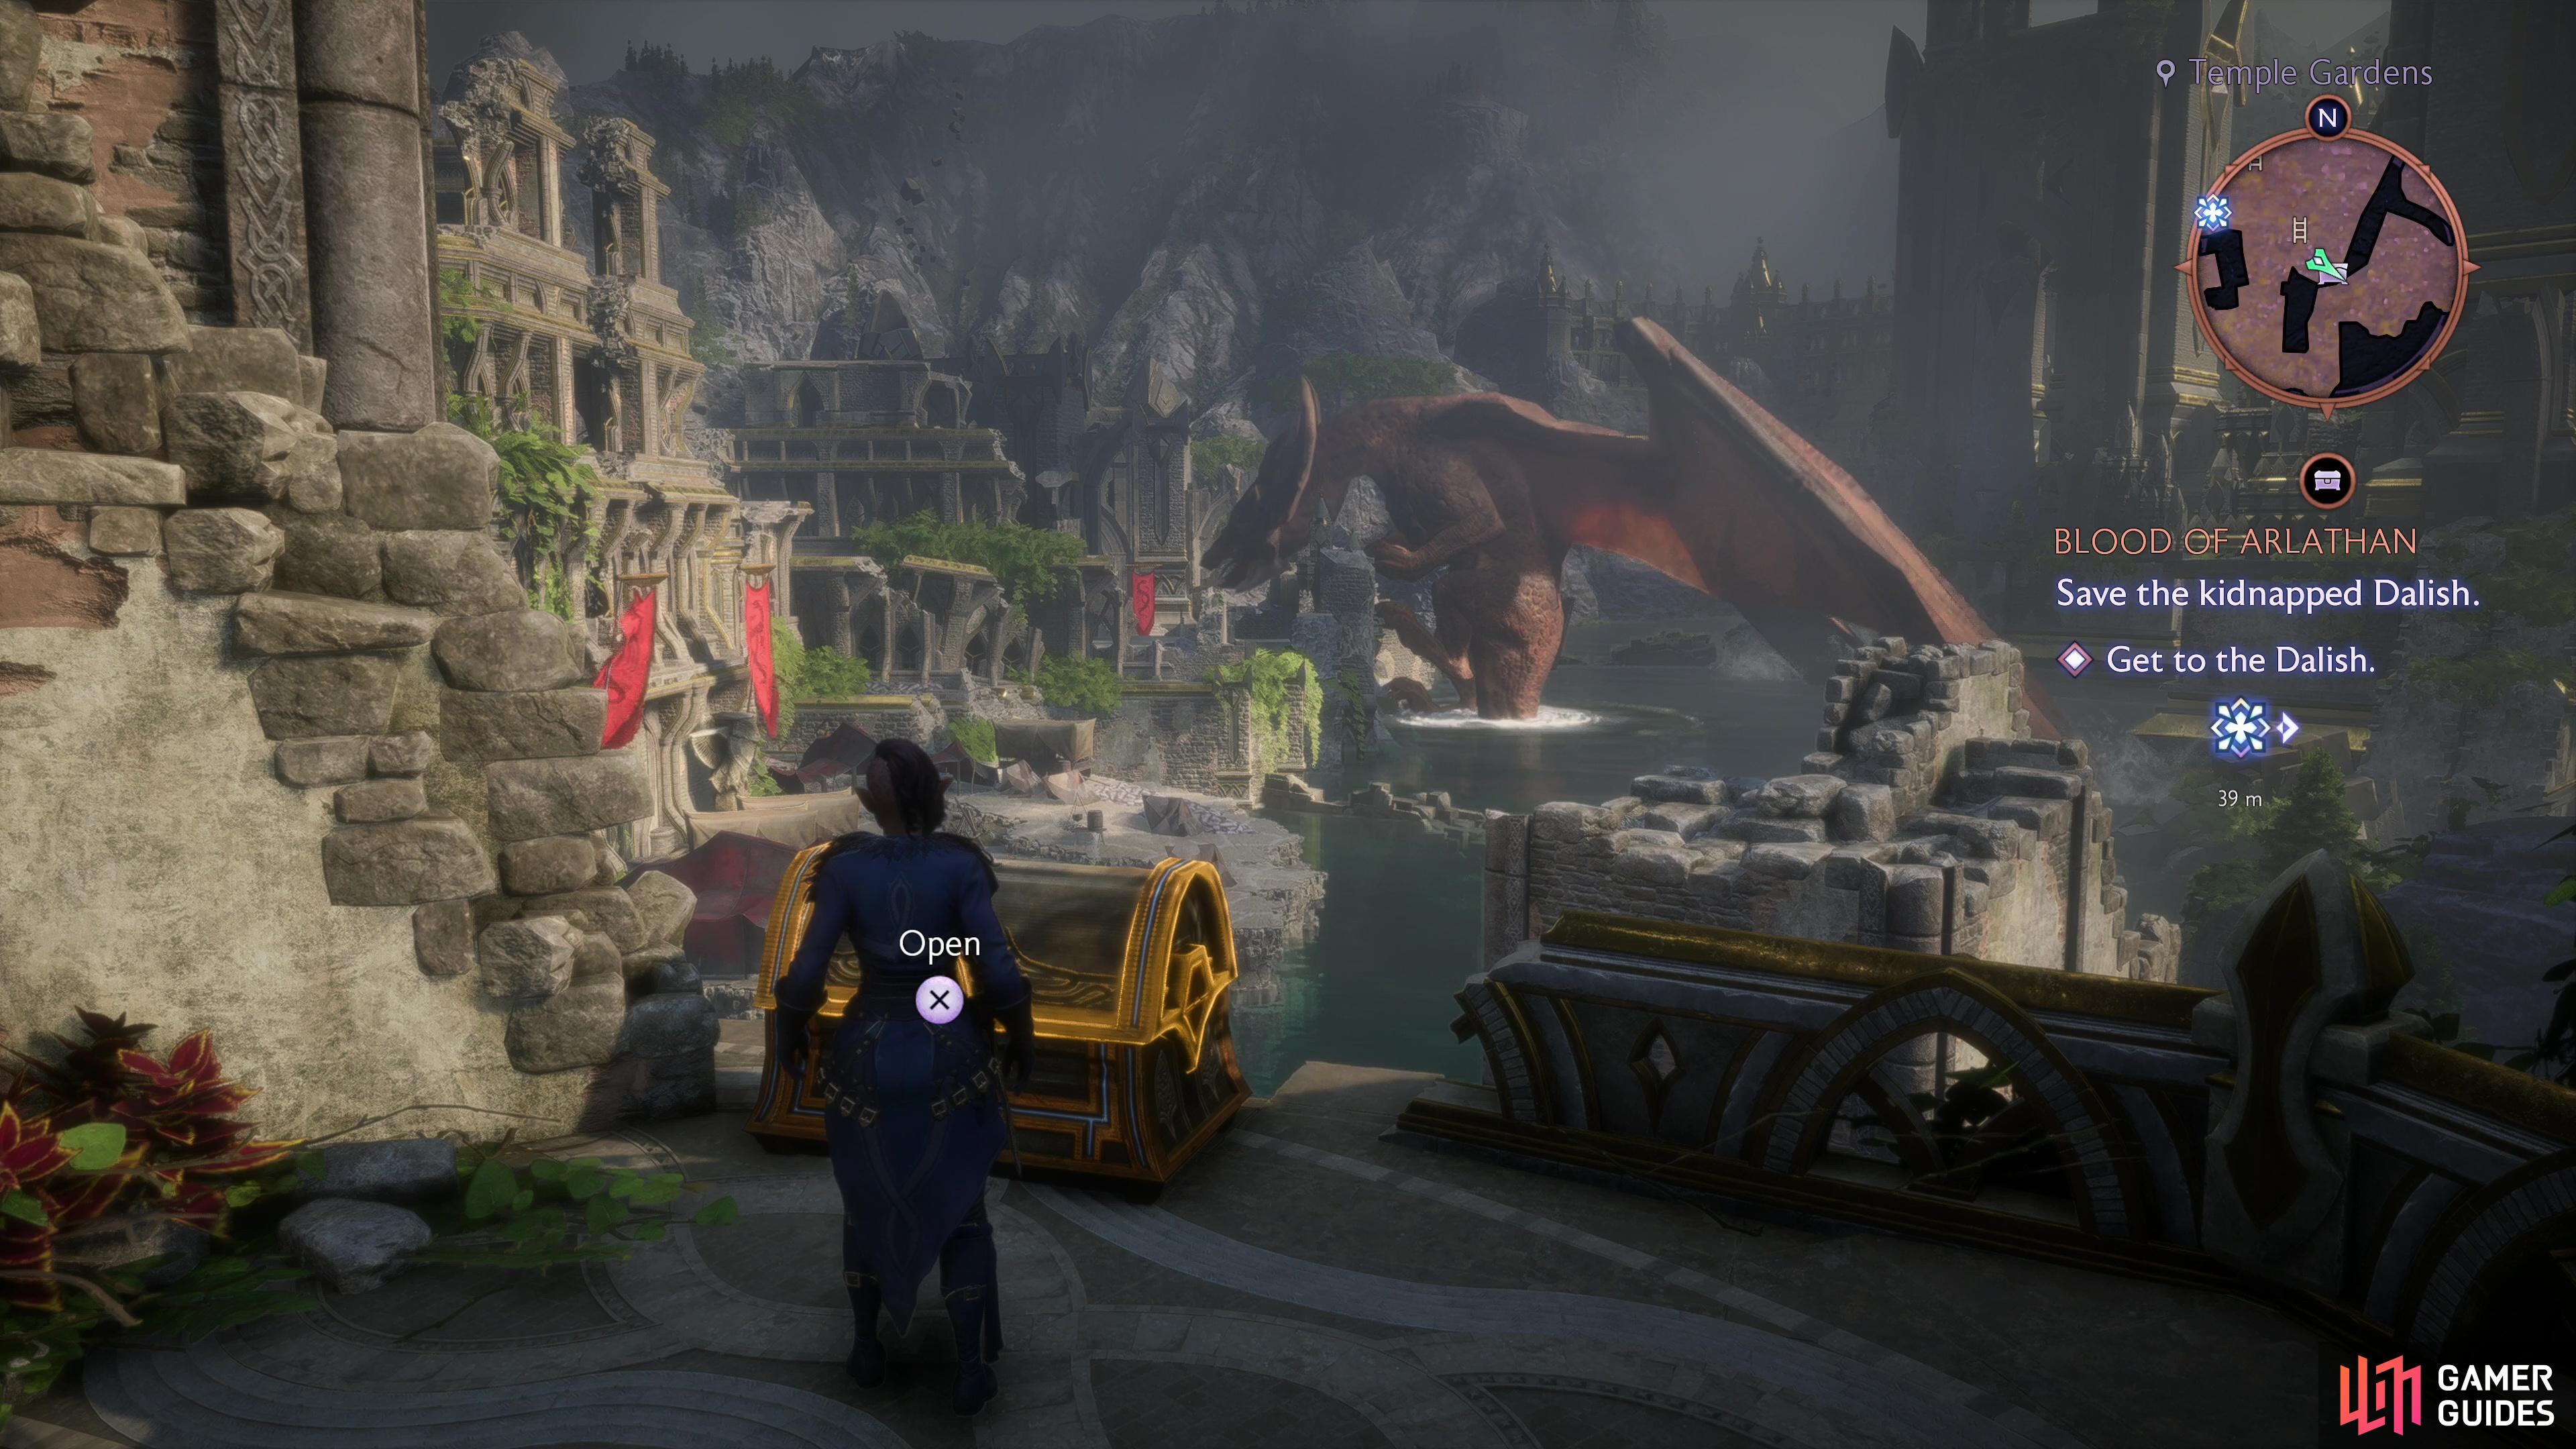
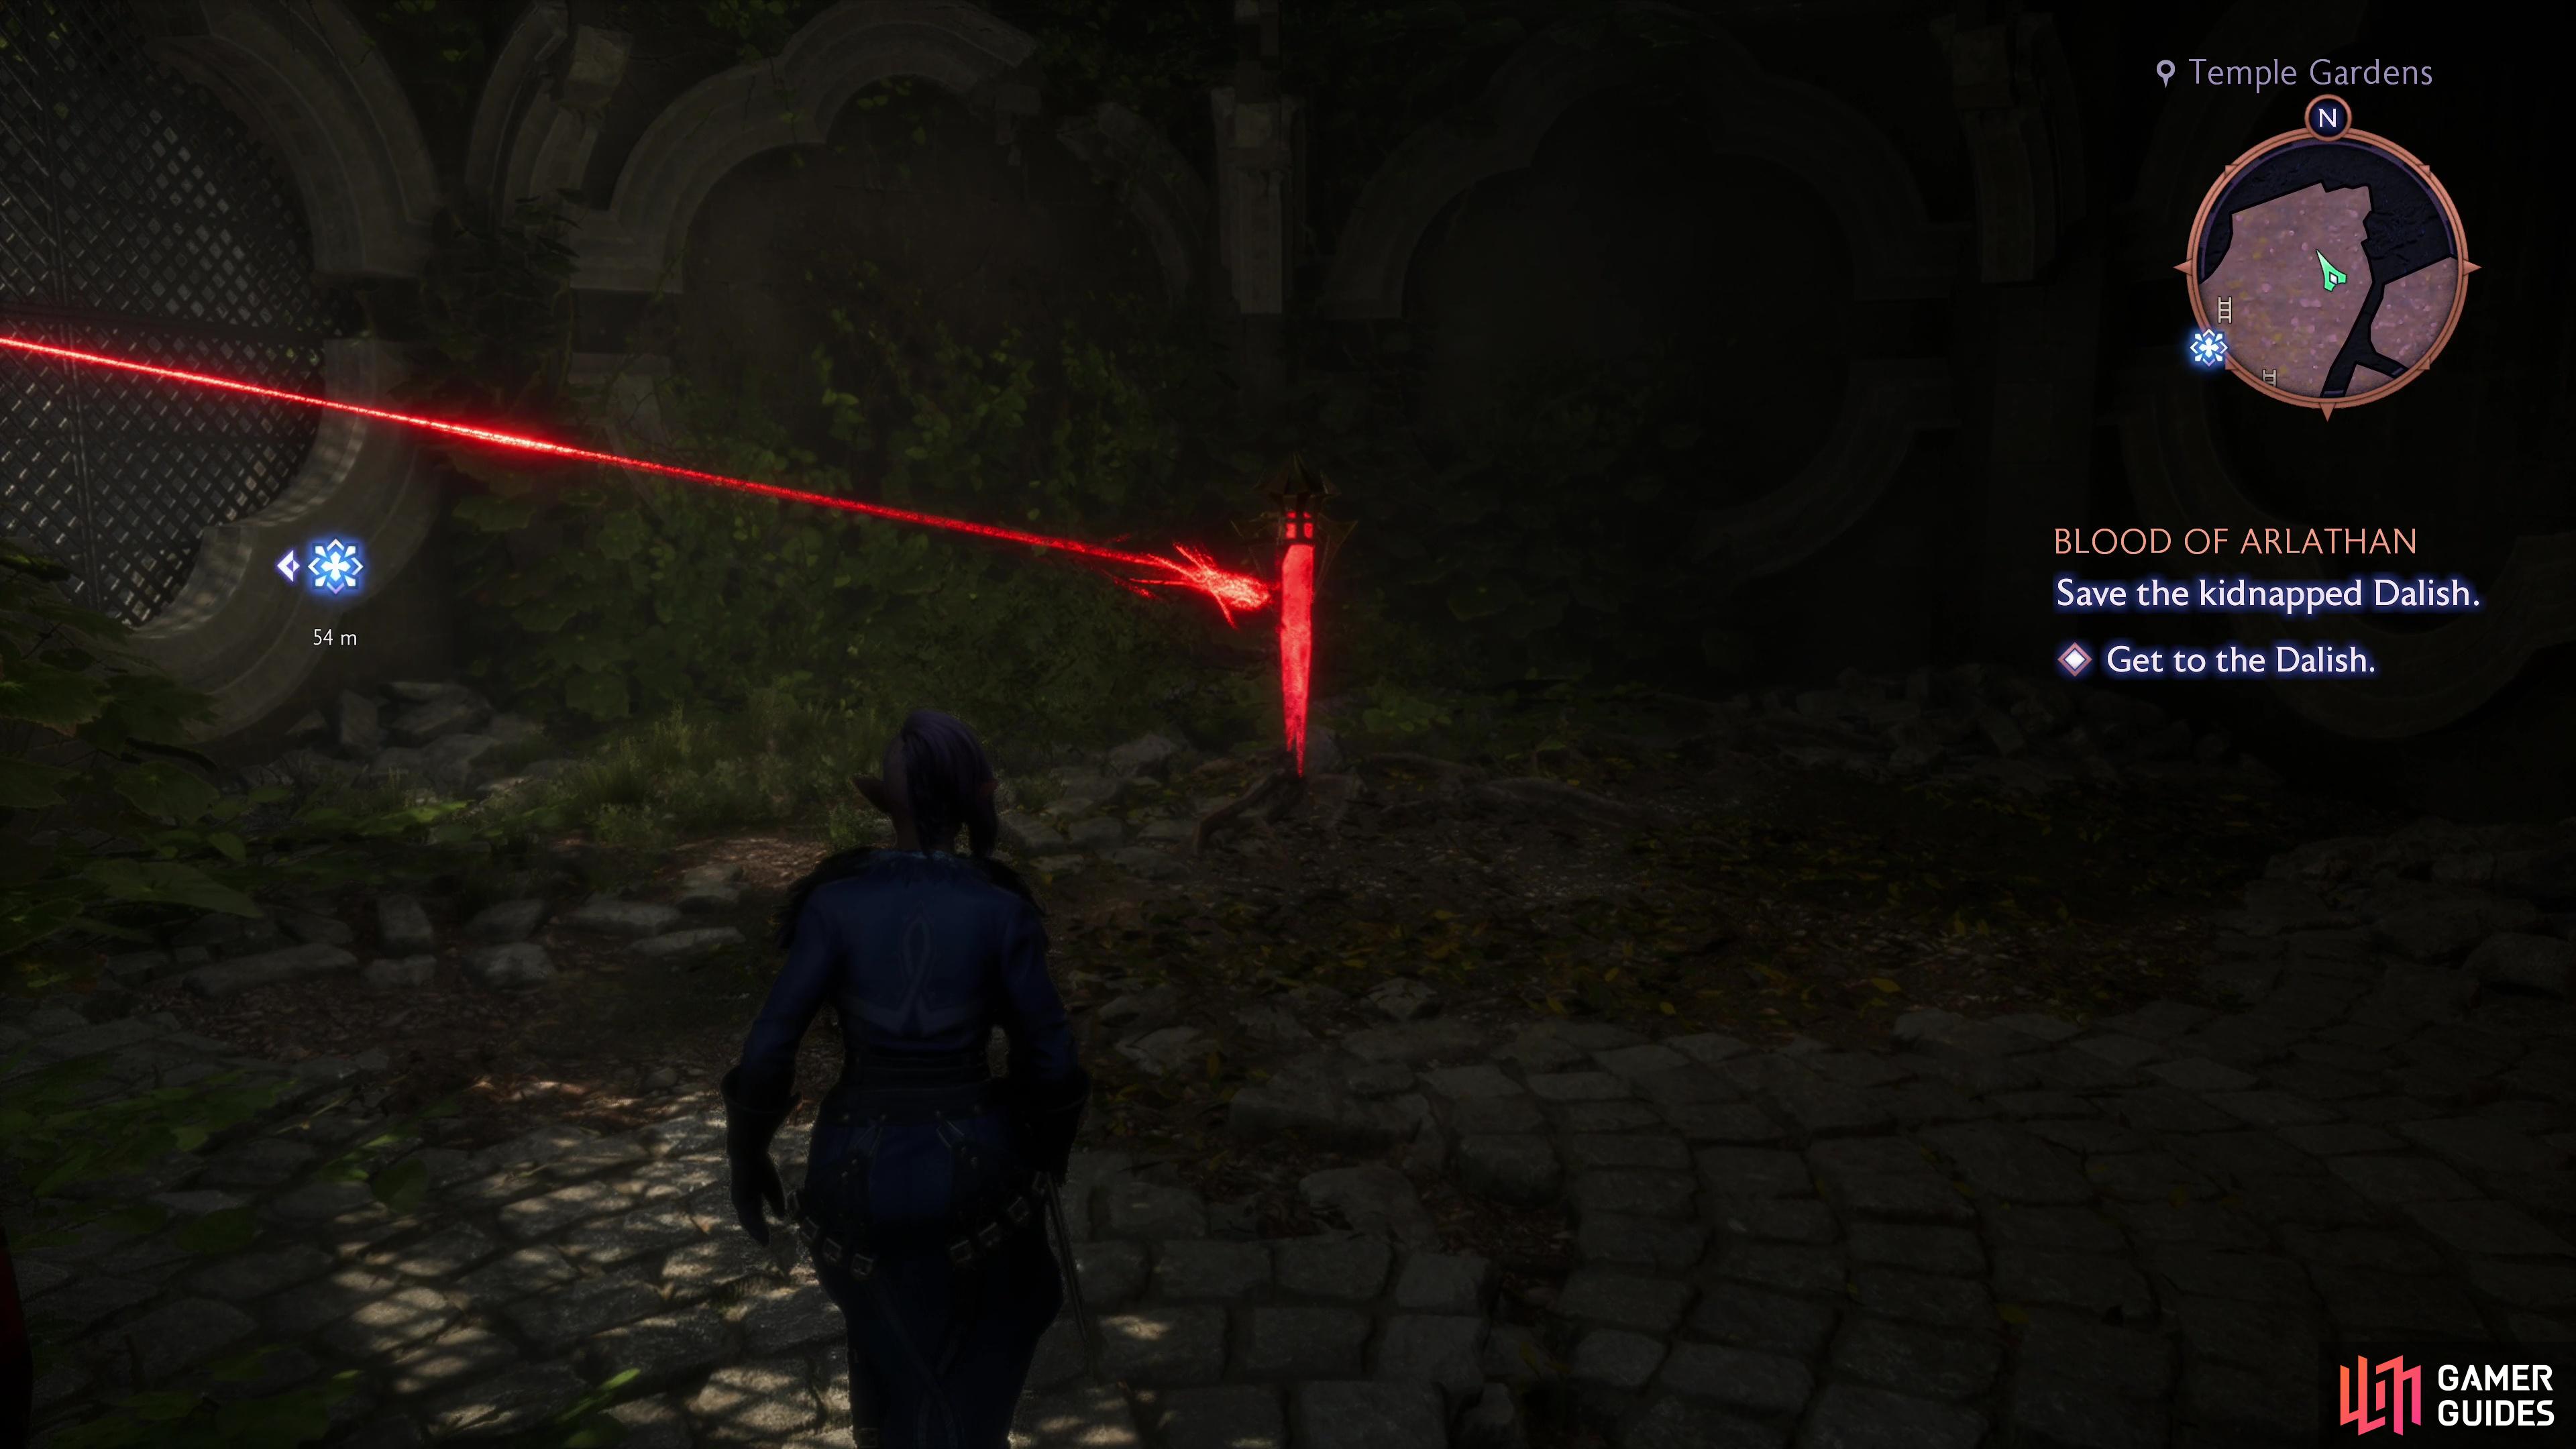
Follow a trail north to reach the Temple Gardens area (exploring the high ground west of where you fought the last Venatori Mage yields minor treasure, at best), cross a broken arch and head past a wagon to find explosive barrels under a bridge. Use ranged attacks to destroy them - they’re rigged to blow as part of an as of yet unsprung ambush. This ambush won’t give you any advantages, but it does prevent you from starting out the fight injured. Once the barrels explode, run ot the northern edge of this area to find a Venatori Mage Summoner on a wooden platform. This nuisance will summon Undead Warriors repeatedly unless dealt with, so try to make him a priority. Joining this mage will be numerous darkspwan, likely descending from the stairs to the east, including ghouls and a hurlock. Kill them, then head upstairs to the east to find more foes, including a pair of Blight-Touched Venatori Soldiers (they fight like normal Venatori Soldiers, but inflict blight and have more health), a darkspawn javelineer, and probably the odd ghoul.
(1 of 4) Destroy some explosive barrels to thwart an impending ambush,
Destroy your foes and note that a bridge runs to the west, leading to some stairs at the top of which is a Venatori barrier, made impervious by numerous crystals. Time for a scavenger hunt, and fortunately finding all these Venatori crystals will lead us to explore the entire area.
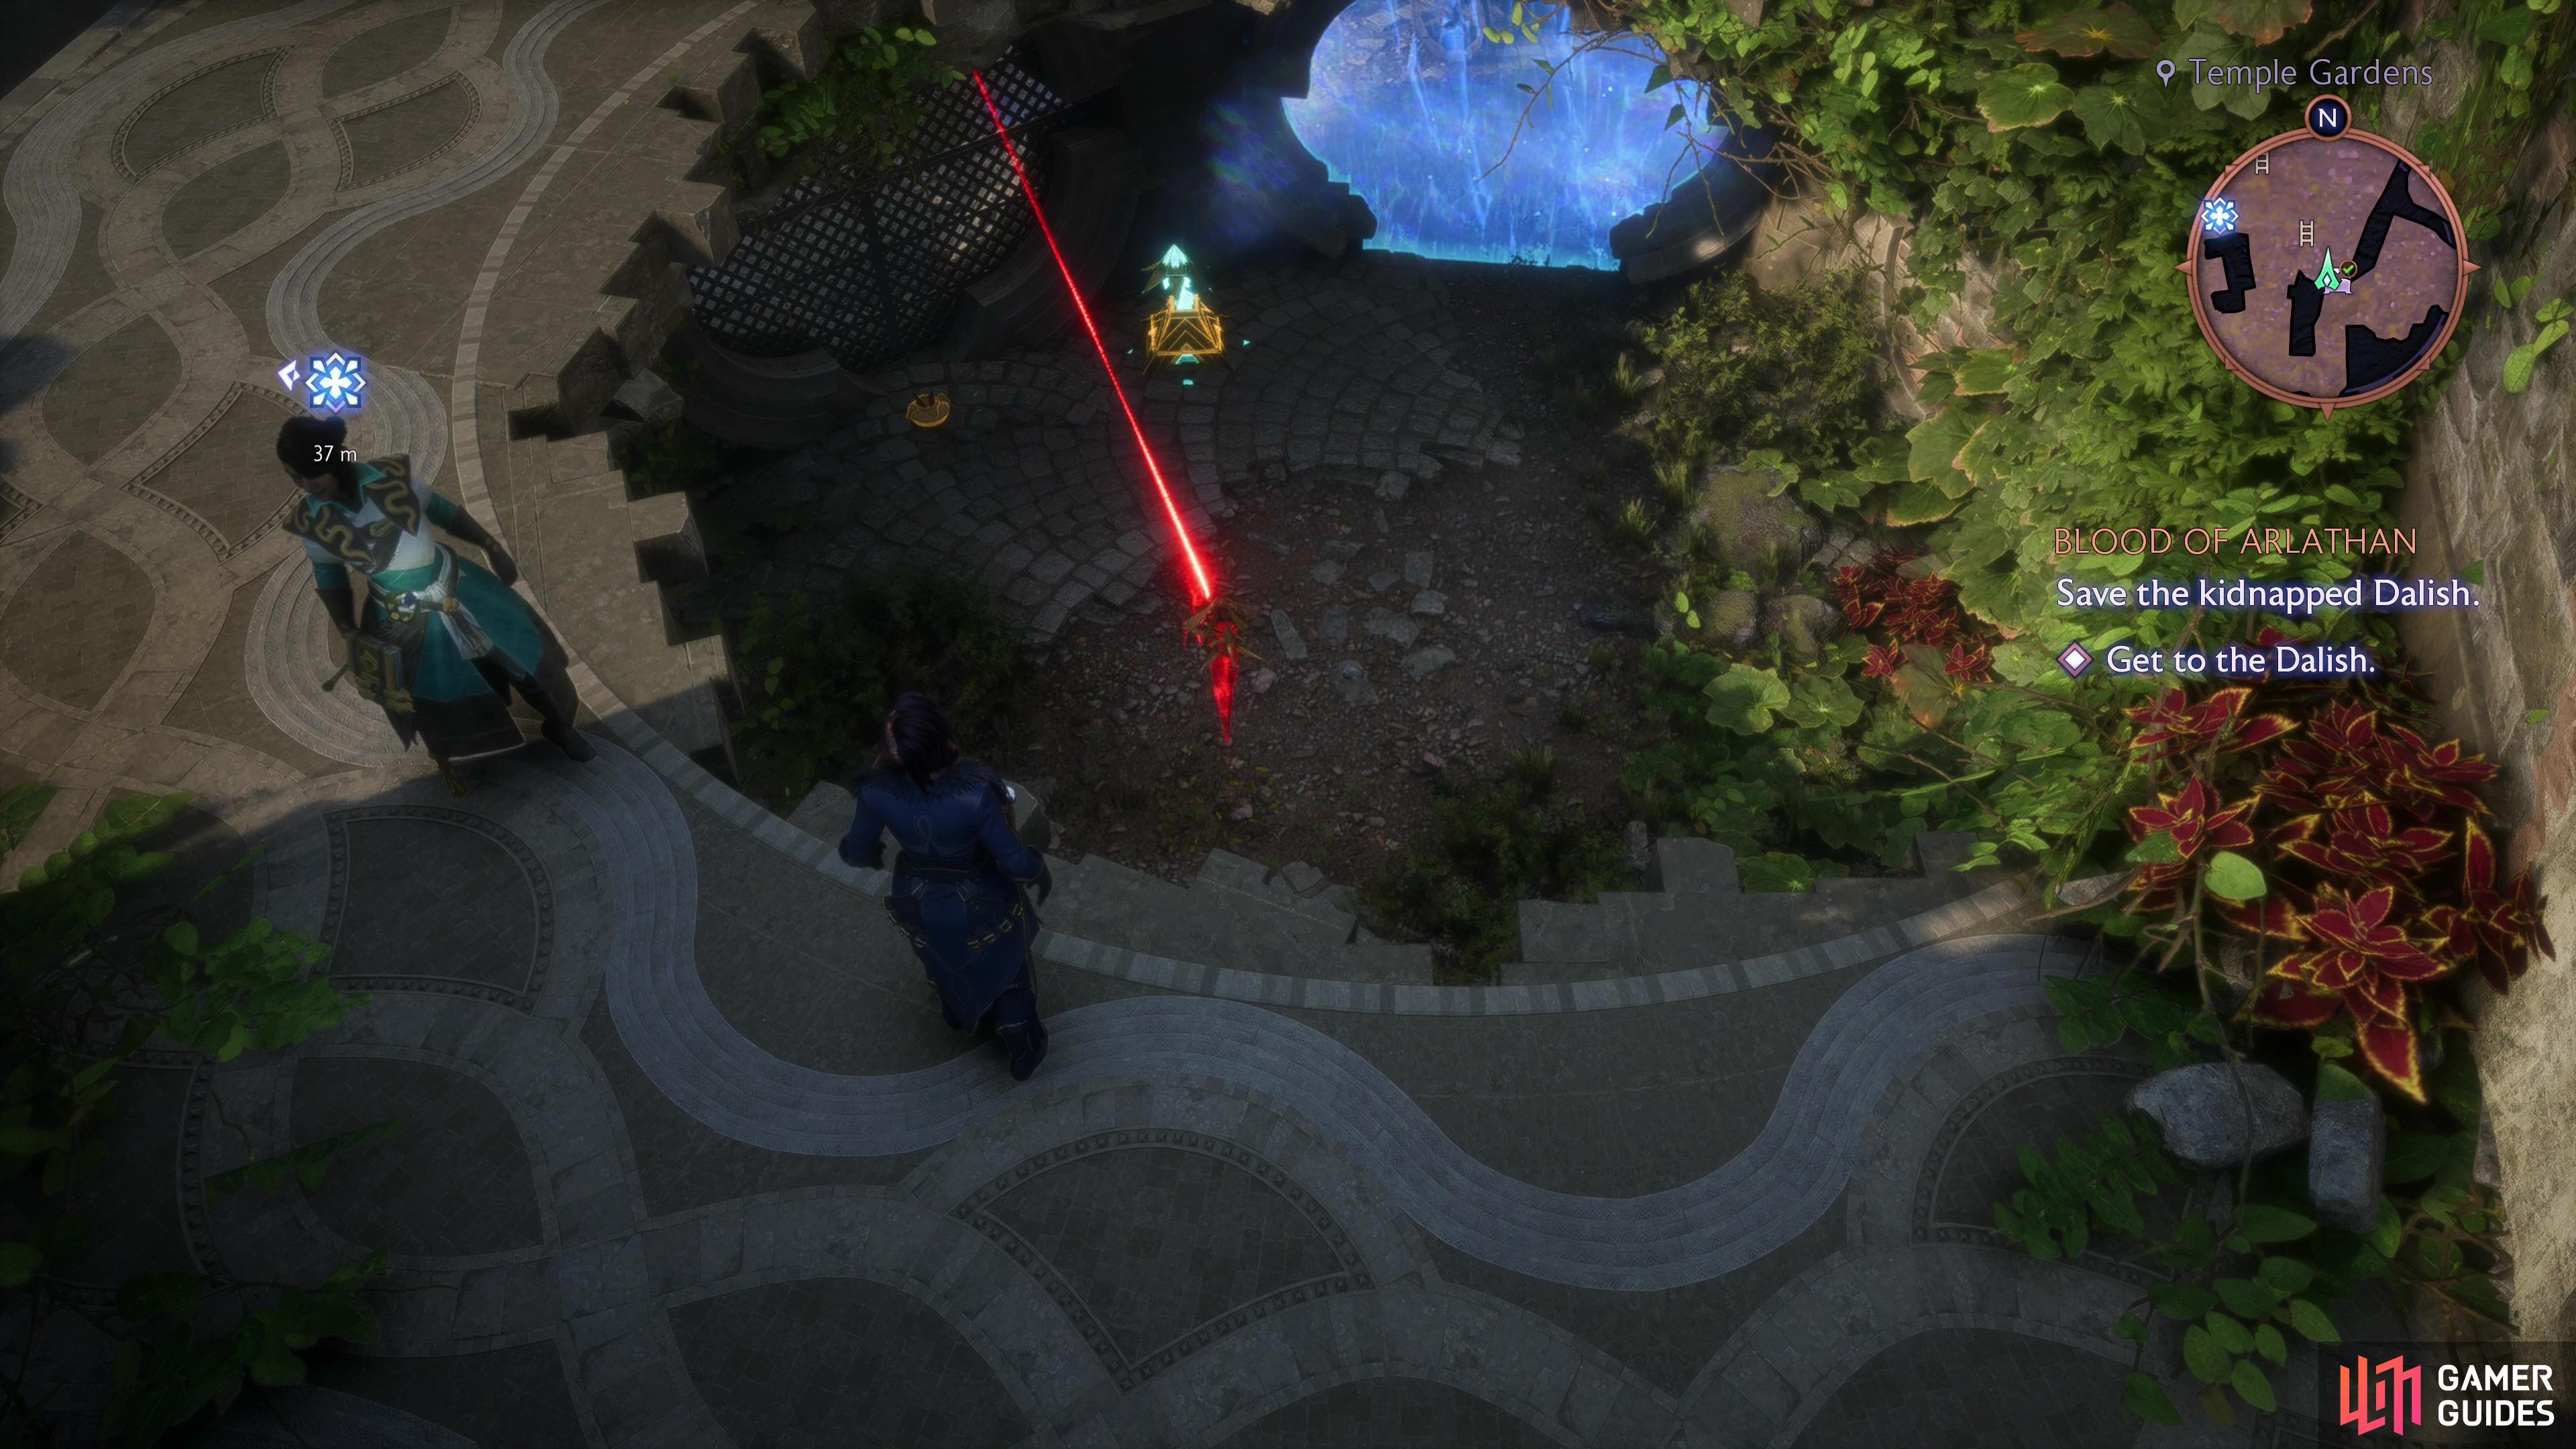
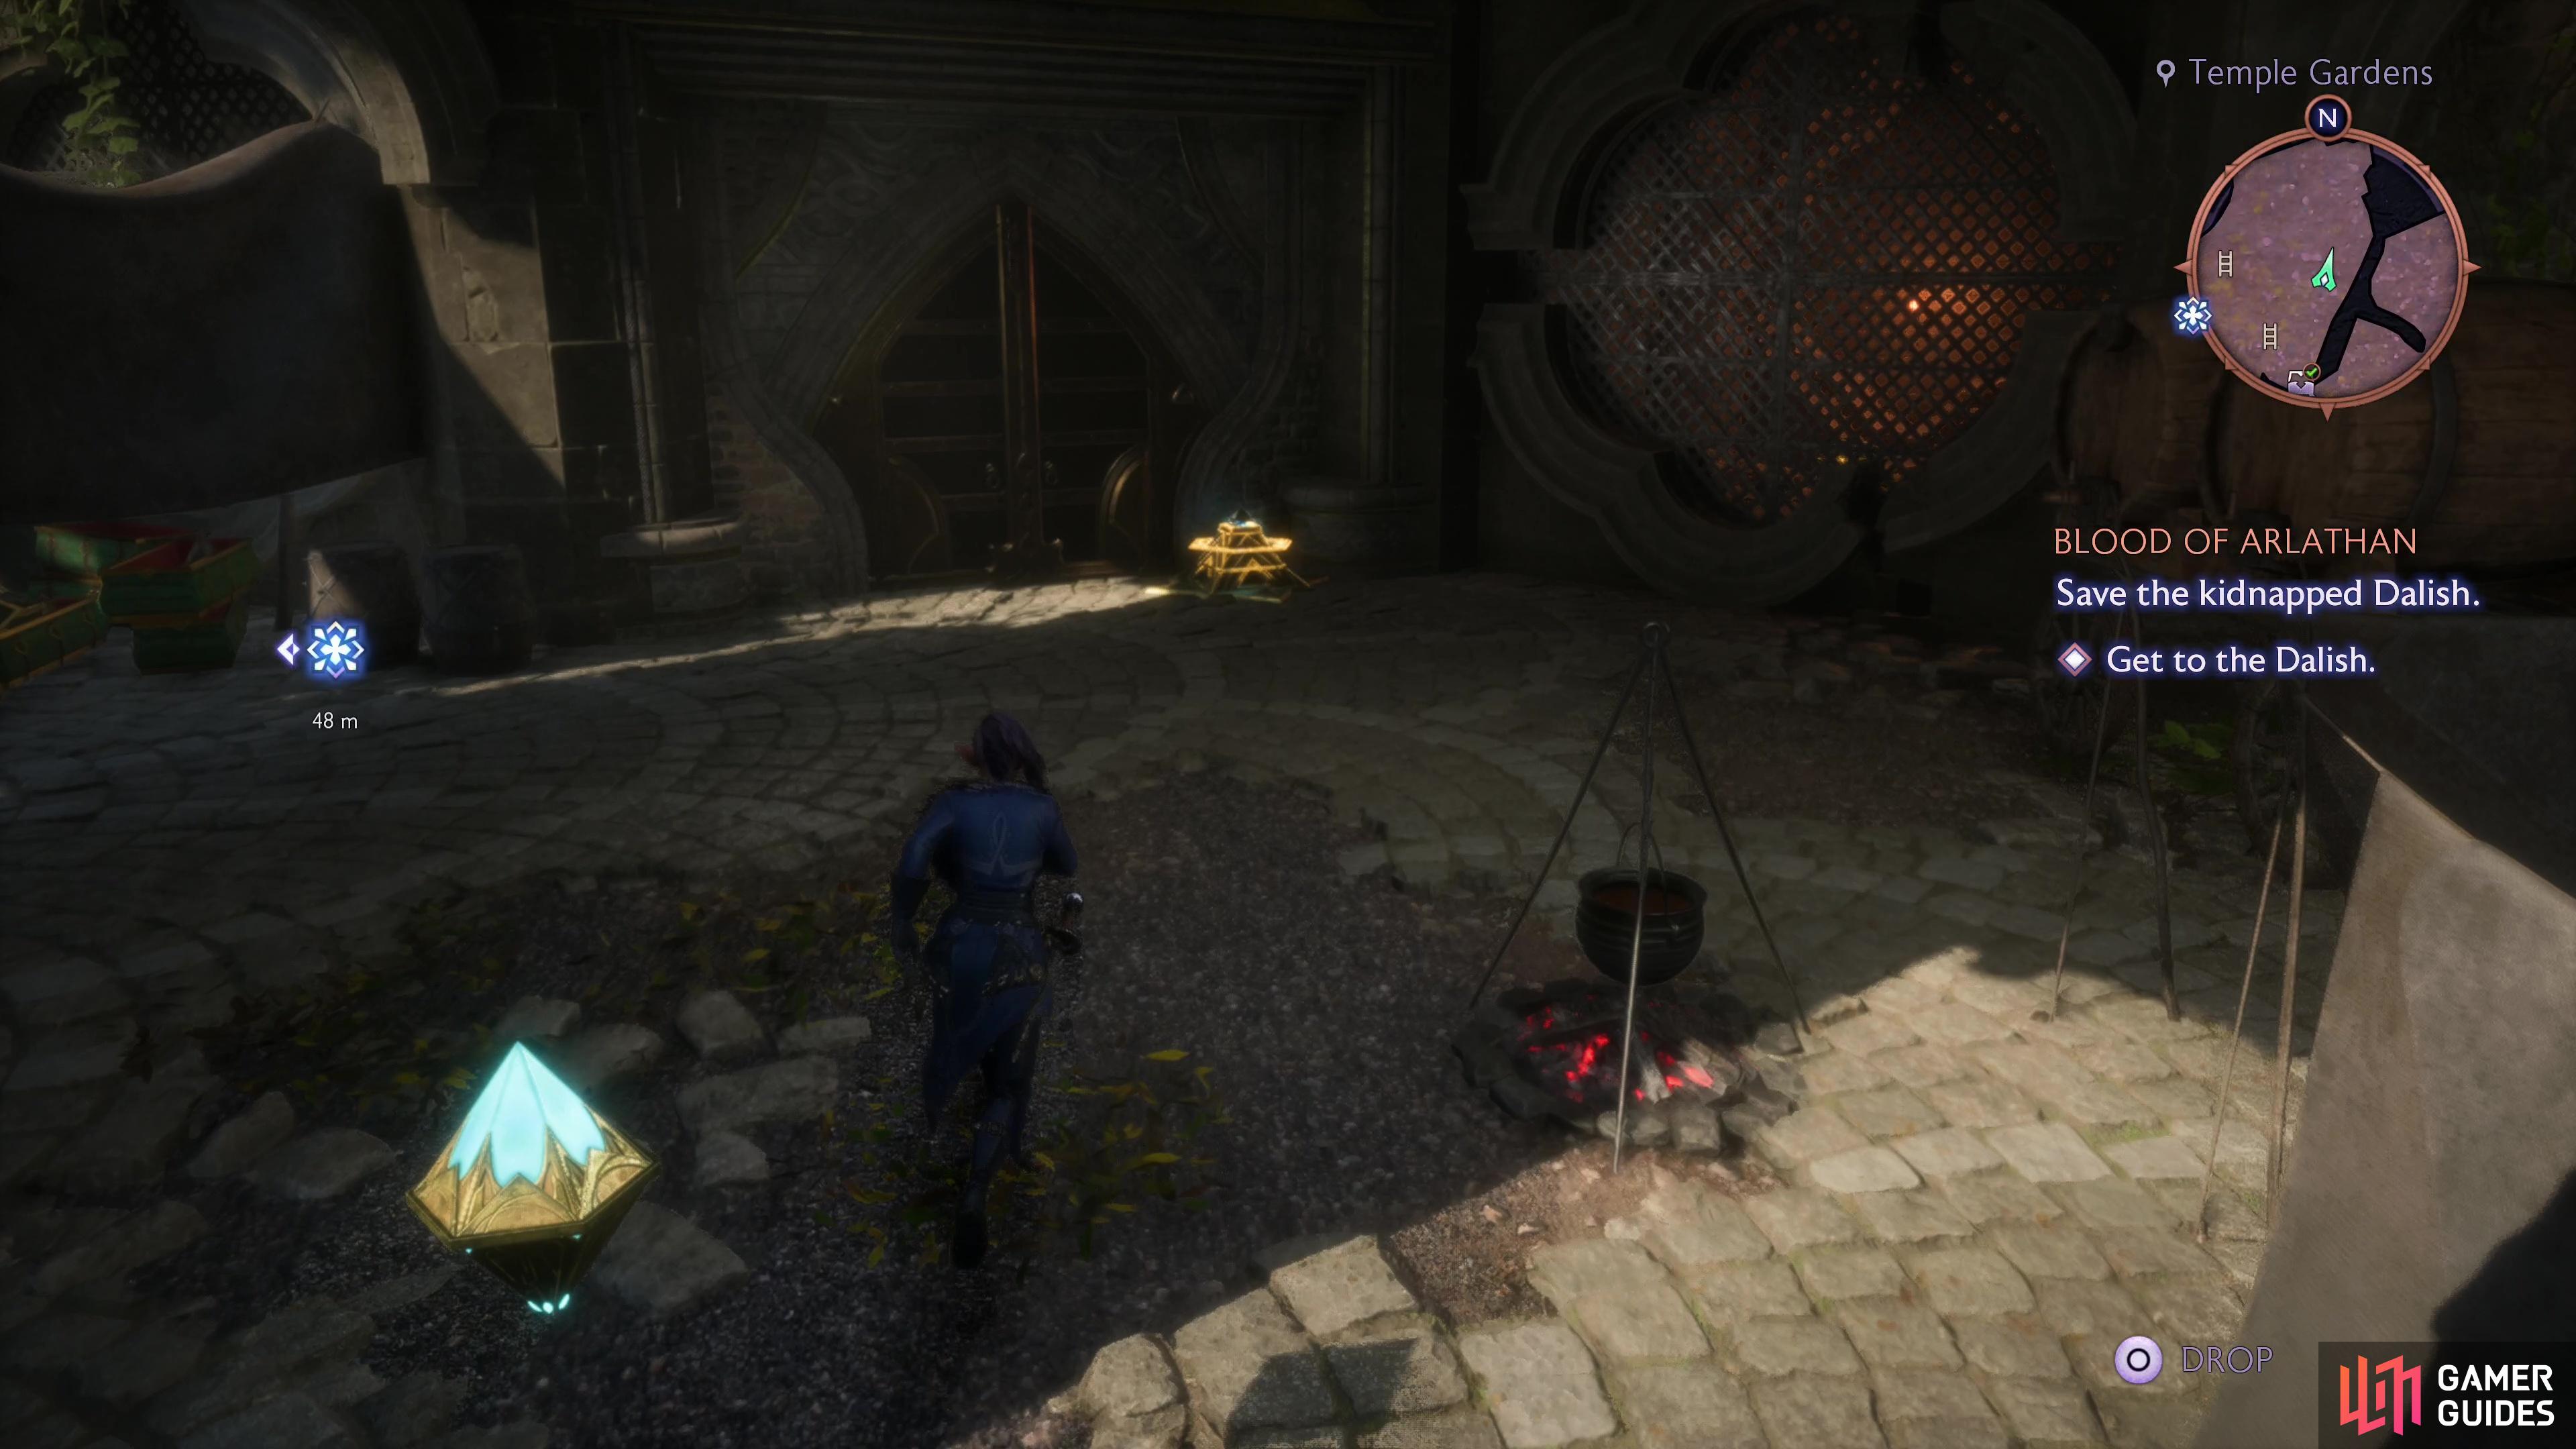
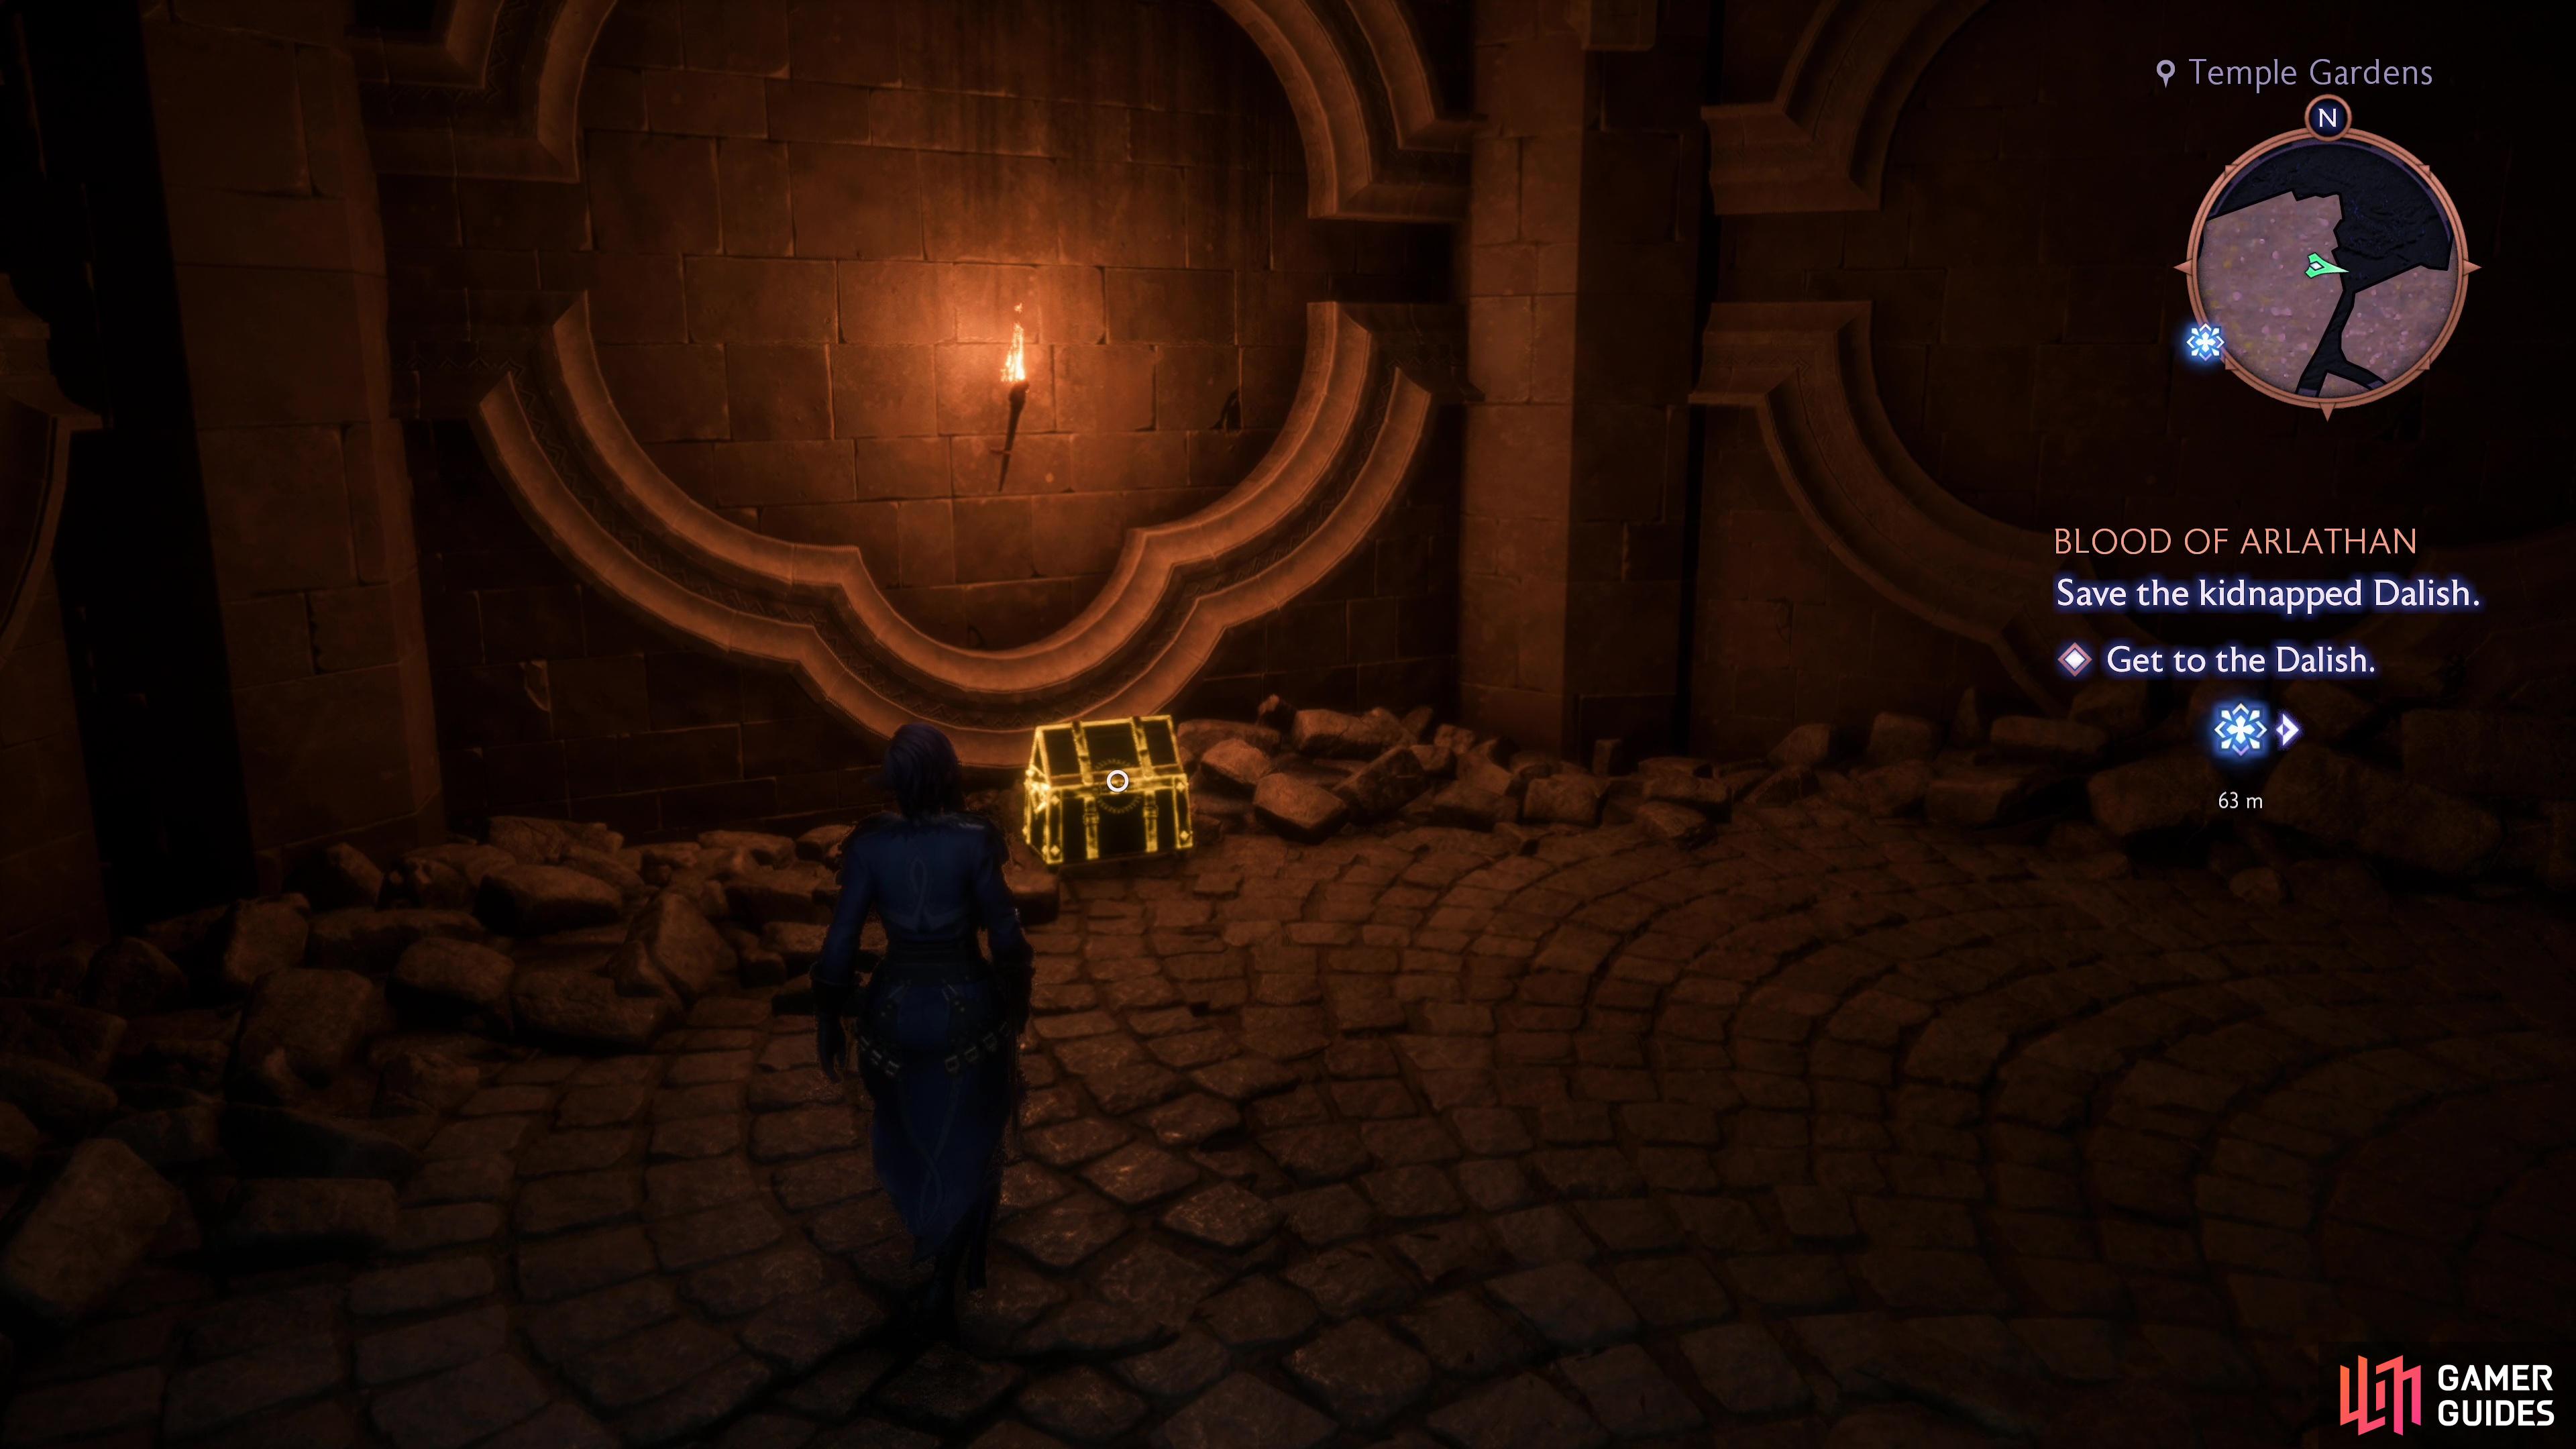
From the eastern end of the bridge turn south to find a segmented walkway running southwest. Jump two gaps to reach an enclosure sealed from entry on the ground by a barrier. Since you’re not on the ground, however, you can just drop in the hole in the roof. Before that, however, make your way west around the hole, kick down a ladder, look across the area to the west to find an unshielded crystal behind some wooden barriers. Destroy this crystal with a ranged attack, loot a chest to the southeast, then drop down into the hole. Destroy another Venatori crystal floating around in here, grab a power crystal to the north to lower the nearby barrier, then carry the power crystal north to some sealed doors near a receptacle. Install the power crystals into the receptacle, open the doors, then zorch another Venatori crystal, then turn east to find a small chest.
(1 of 6) After defeating the Venatori and Darkspawn in the Temple Gardens, jump some gaps to the southwest and look west to spot an unshielded Venatori crystal behind some wooden barricades.
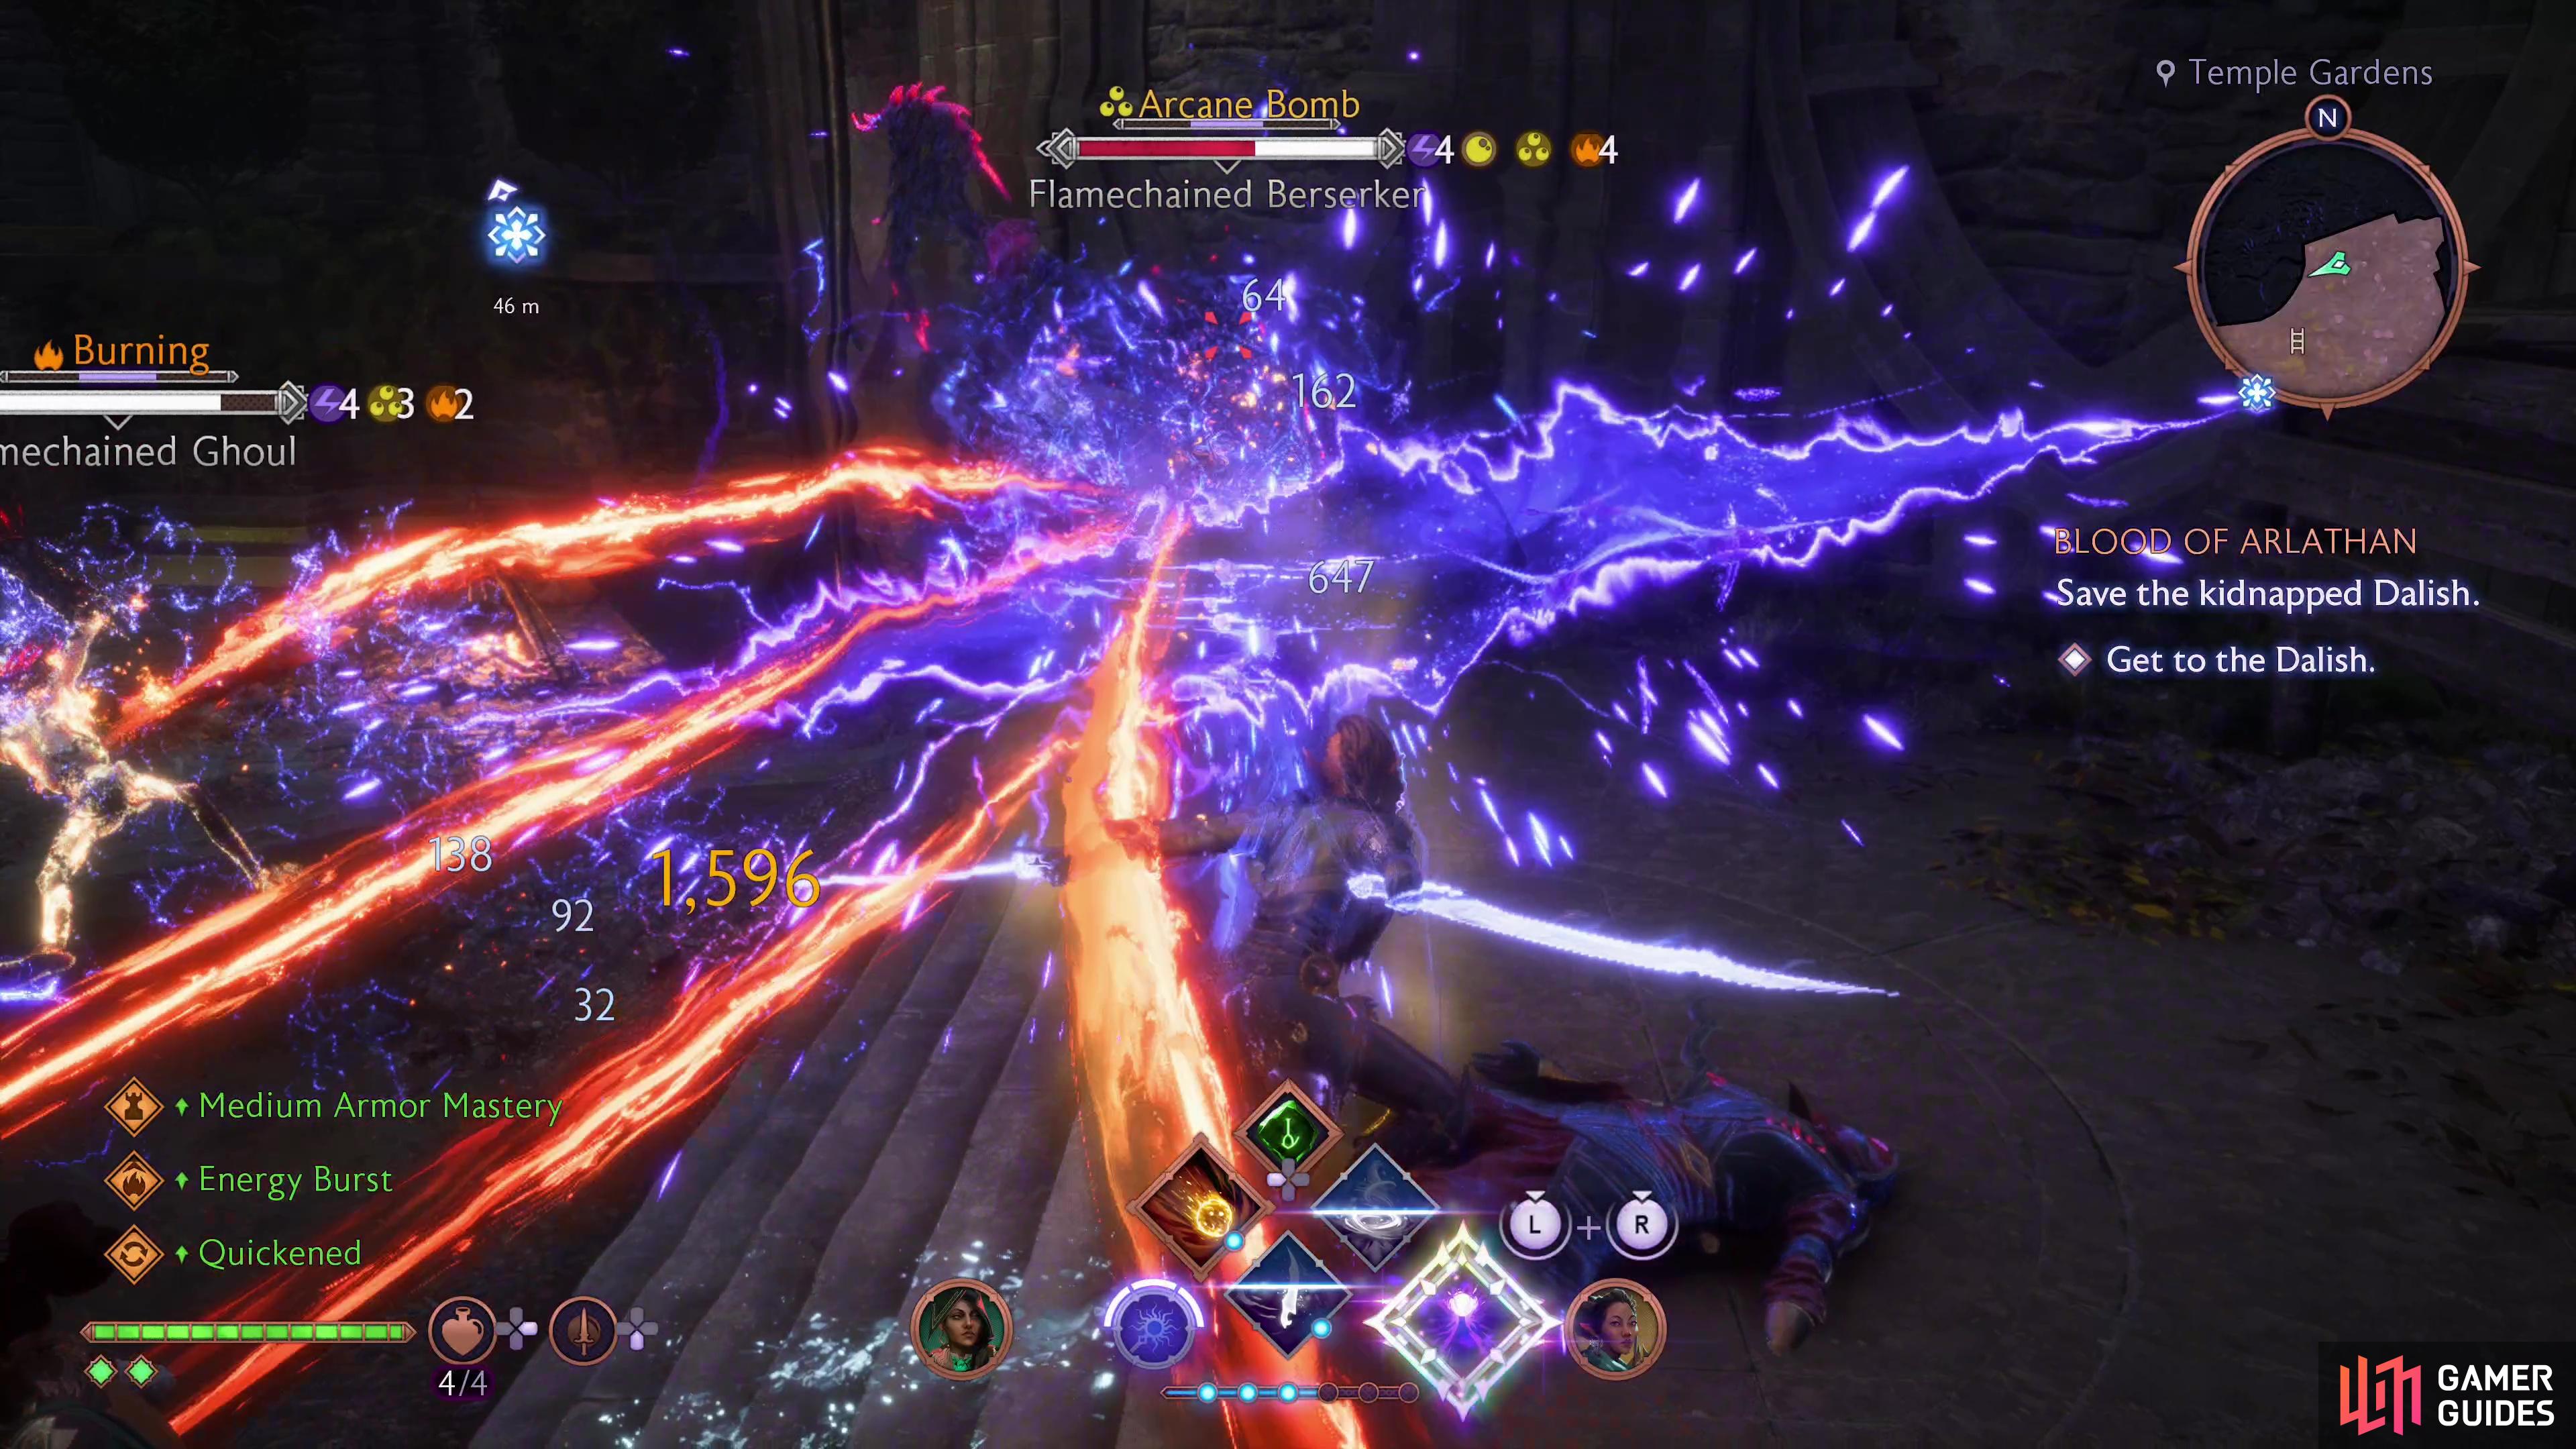
Exit the room and head back outside to find yourself under assault by a Flamechained Ghoul. This is just the first of a linked squad of enemies, including several more Flamechained Ghouls and a Flamechained Berserker which will be descending the stairs to the north, accompanied by two Venatori Soldiers. Focus on the Flamechained Berserker, as it’s the lynchpin of this mob of bound darkspawn, and once you bring that foe down the rest should be merely a matter of mopping up.
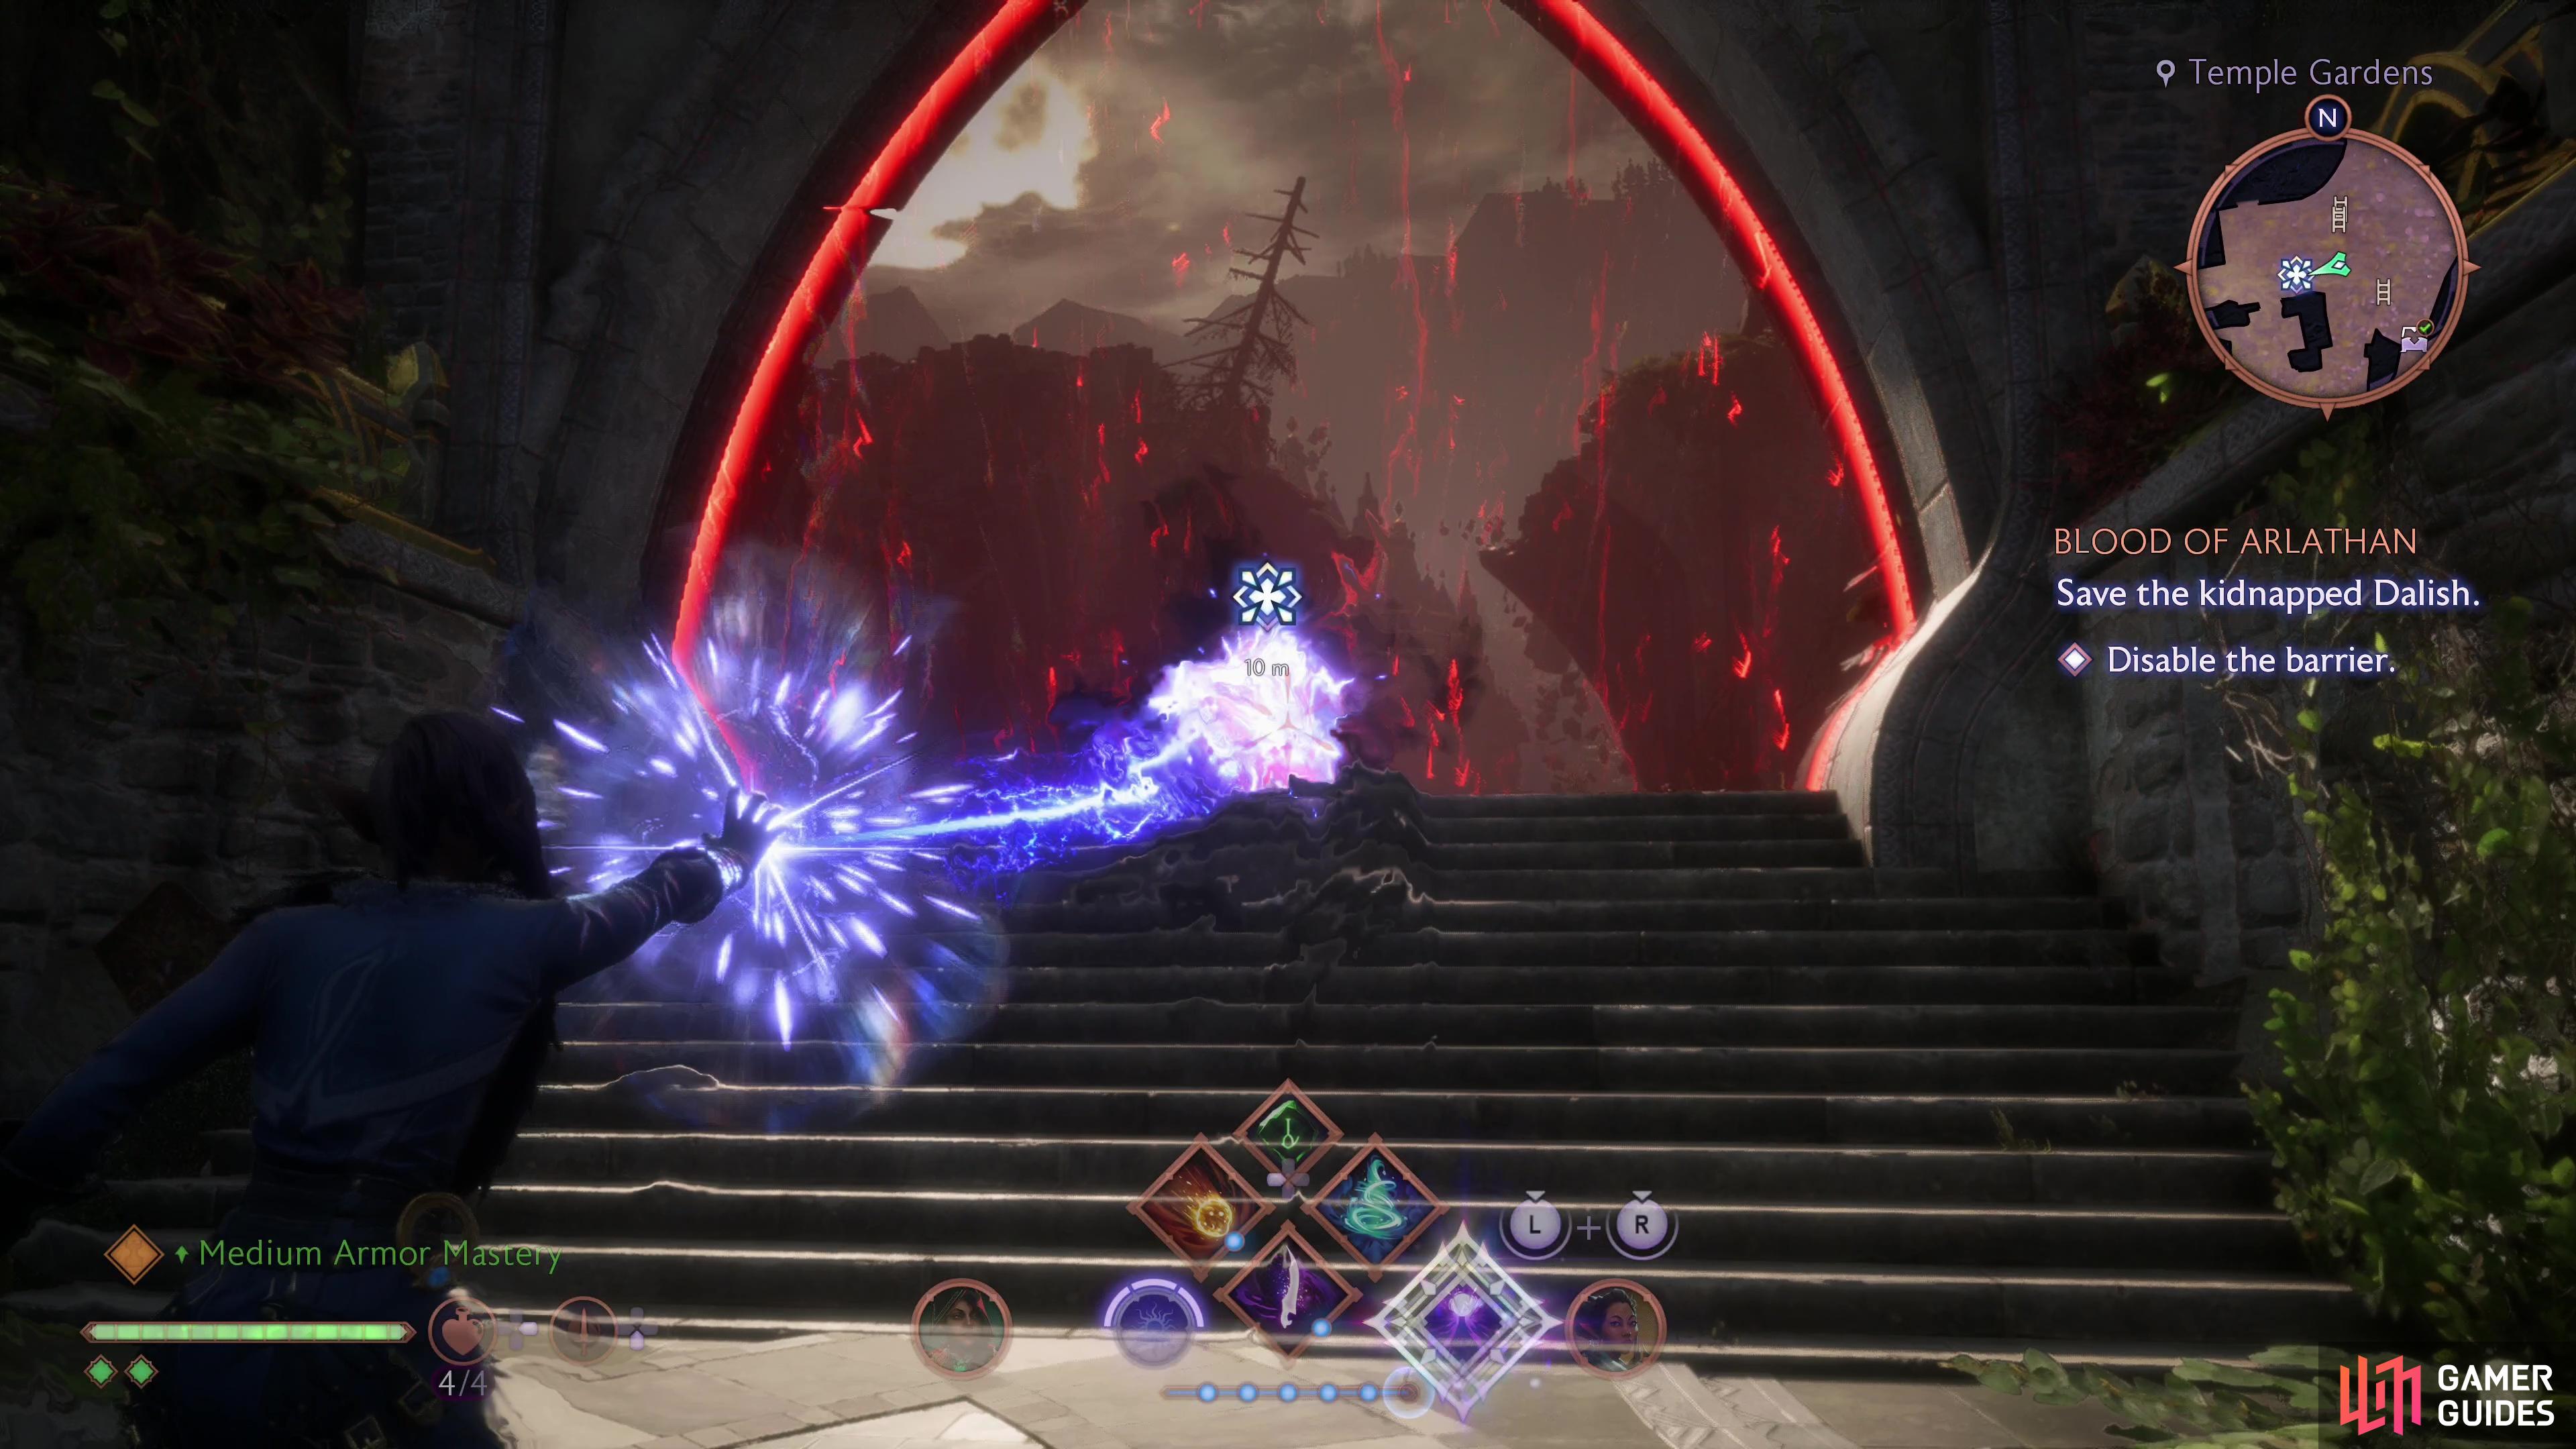
Crush your foes, continue back upstairs and cross the bridge towards the still intact Venatori barrier. Halfway across, blast a barrier off the bridge to the south, then continue across to find the final four crystals, not even remotely hidden. Destroy the two unshielded ones on either side, then the middle one, then take down the crystal powering the barrier itself. You’ll get 210 EXP for your trouble.
(1 of 2) After destroying a few Venatori crystals you’ll be attacked by some Flamechained Darkspawn - focus on the Flamechained Berserker to break your enemies,
After destroying a few Venatori crystals you’ll be attacked by some Flamechained Darkspawn - focus on the Flamechained Berserker to break your enemies, (left), then destroy the rest of the Venatori crystals and then the barrier they power. (right)
Well, that was a bit of work, but now that you’re done with that bit you’ve… still got a rather lot to go, actually. Go through the barrier, turn south and walk through a gap in the wall, then continue south past a tent to loot a small chest. Backtrack through the wall to the north, drop off a ledge (also to the north), then go up some stairs to the west to reach the Remnant Isles area.
Remnant Isles
This place is expansive, but it’s a lot of empty calories, the illusion of choice without much substance. To the northwest is a broken bridge at the end of which is a tiny chest. Loot it, then head northeast where you’ll find two staircases, one north, one east. Both will get you where you want to go. For the only noteworthy bit of loot in this area, go up the stairs to the north, jump a rather long gap, pass enter a building to the north, turn left (west) and blast a wooden barricade in a doorway, exit via said doorway and loot a small chest to score the ![]() Forest Guardian’s Veil cosmetic and some other, minor treasures.
Forest Guardian’s Veil cosmetic and some other, minor treasures.
Court of Tribute
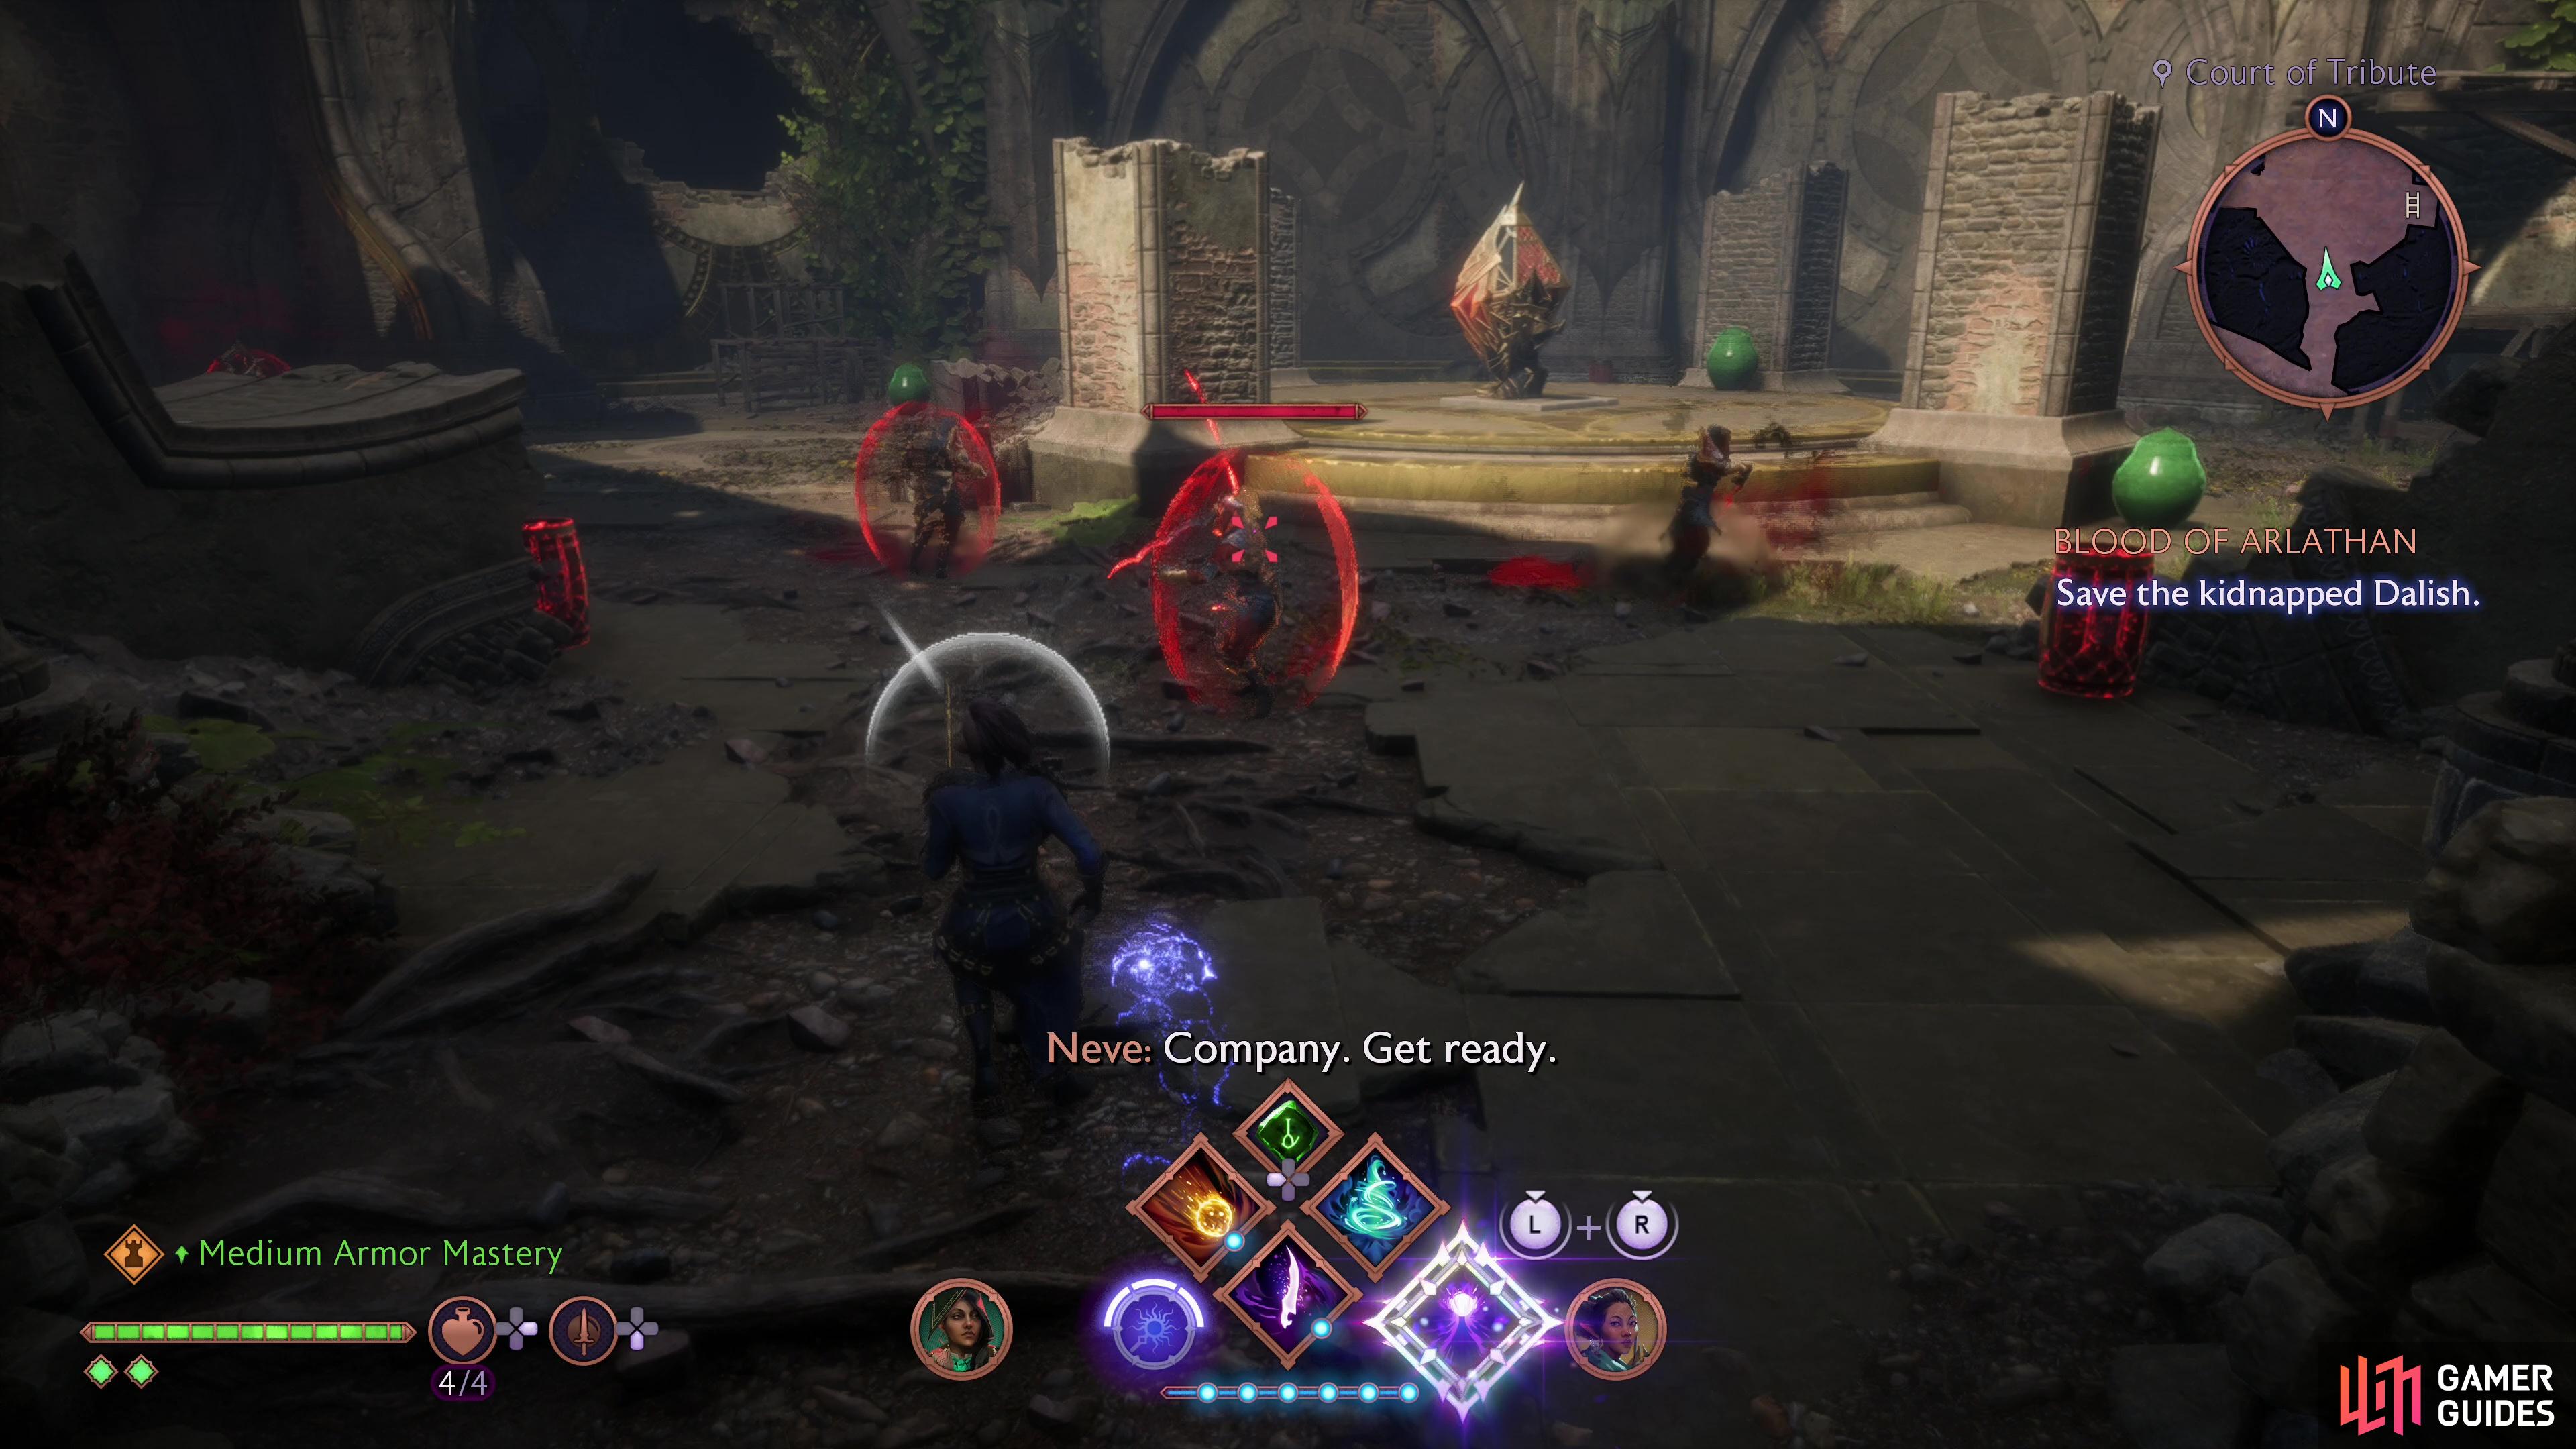
Once you’ve got this chest, feel free to scour the area for whatever other minor loot you can find, then press on to the Court of Tribute to the north. Slide down a slope and you’ll find yourself in another tussle with the Venatori - this time just some soldiers, but some of them will be protected by barriers. This marks the reemergence and an old annoying trend of having to hunt down Venatori crystals to make enemies vulnerable, which you will be seeing again during this mission.
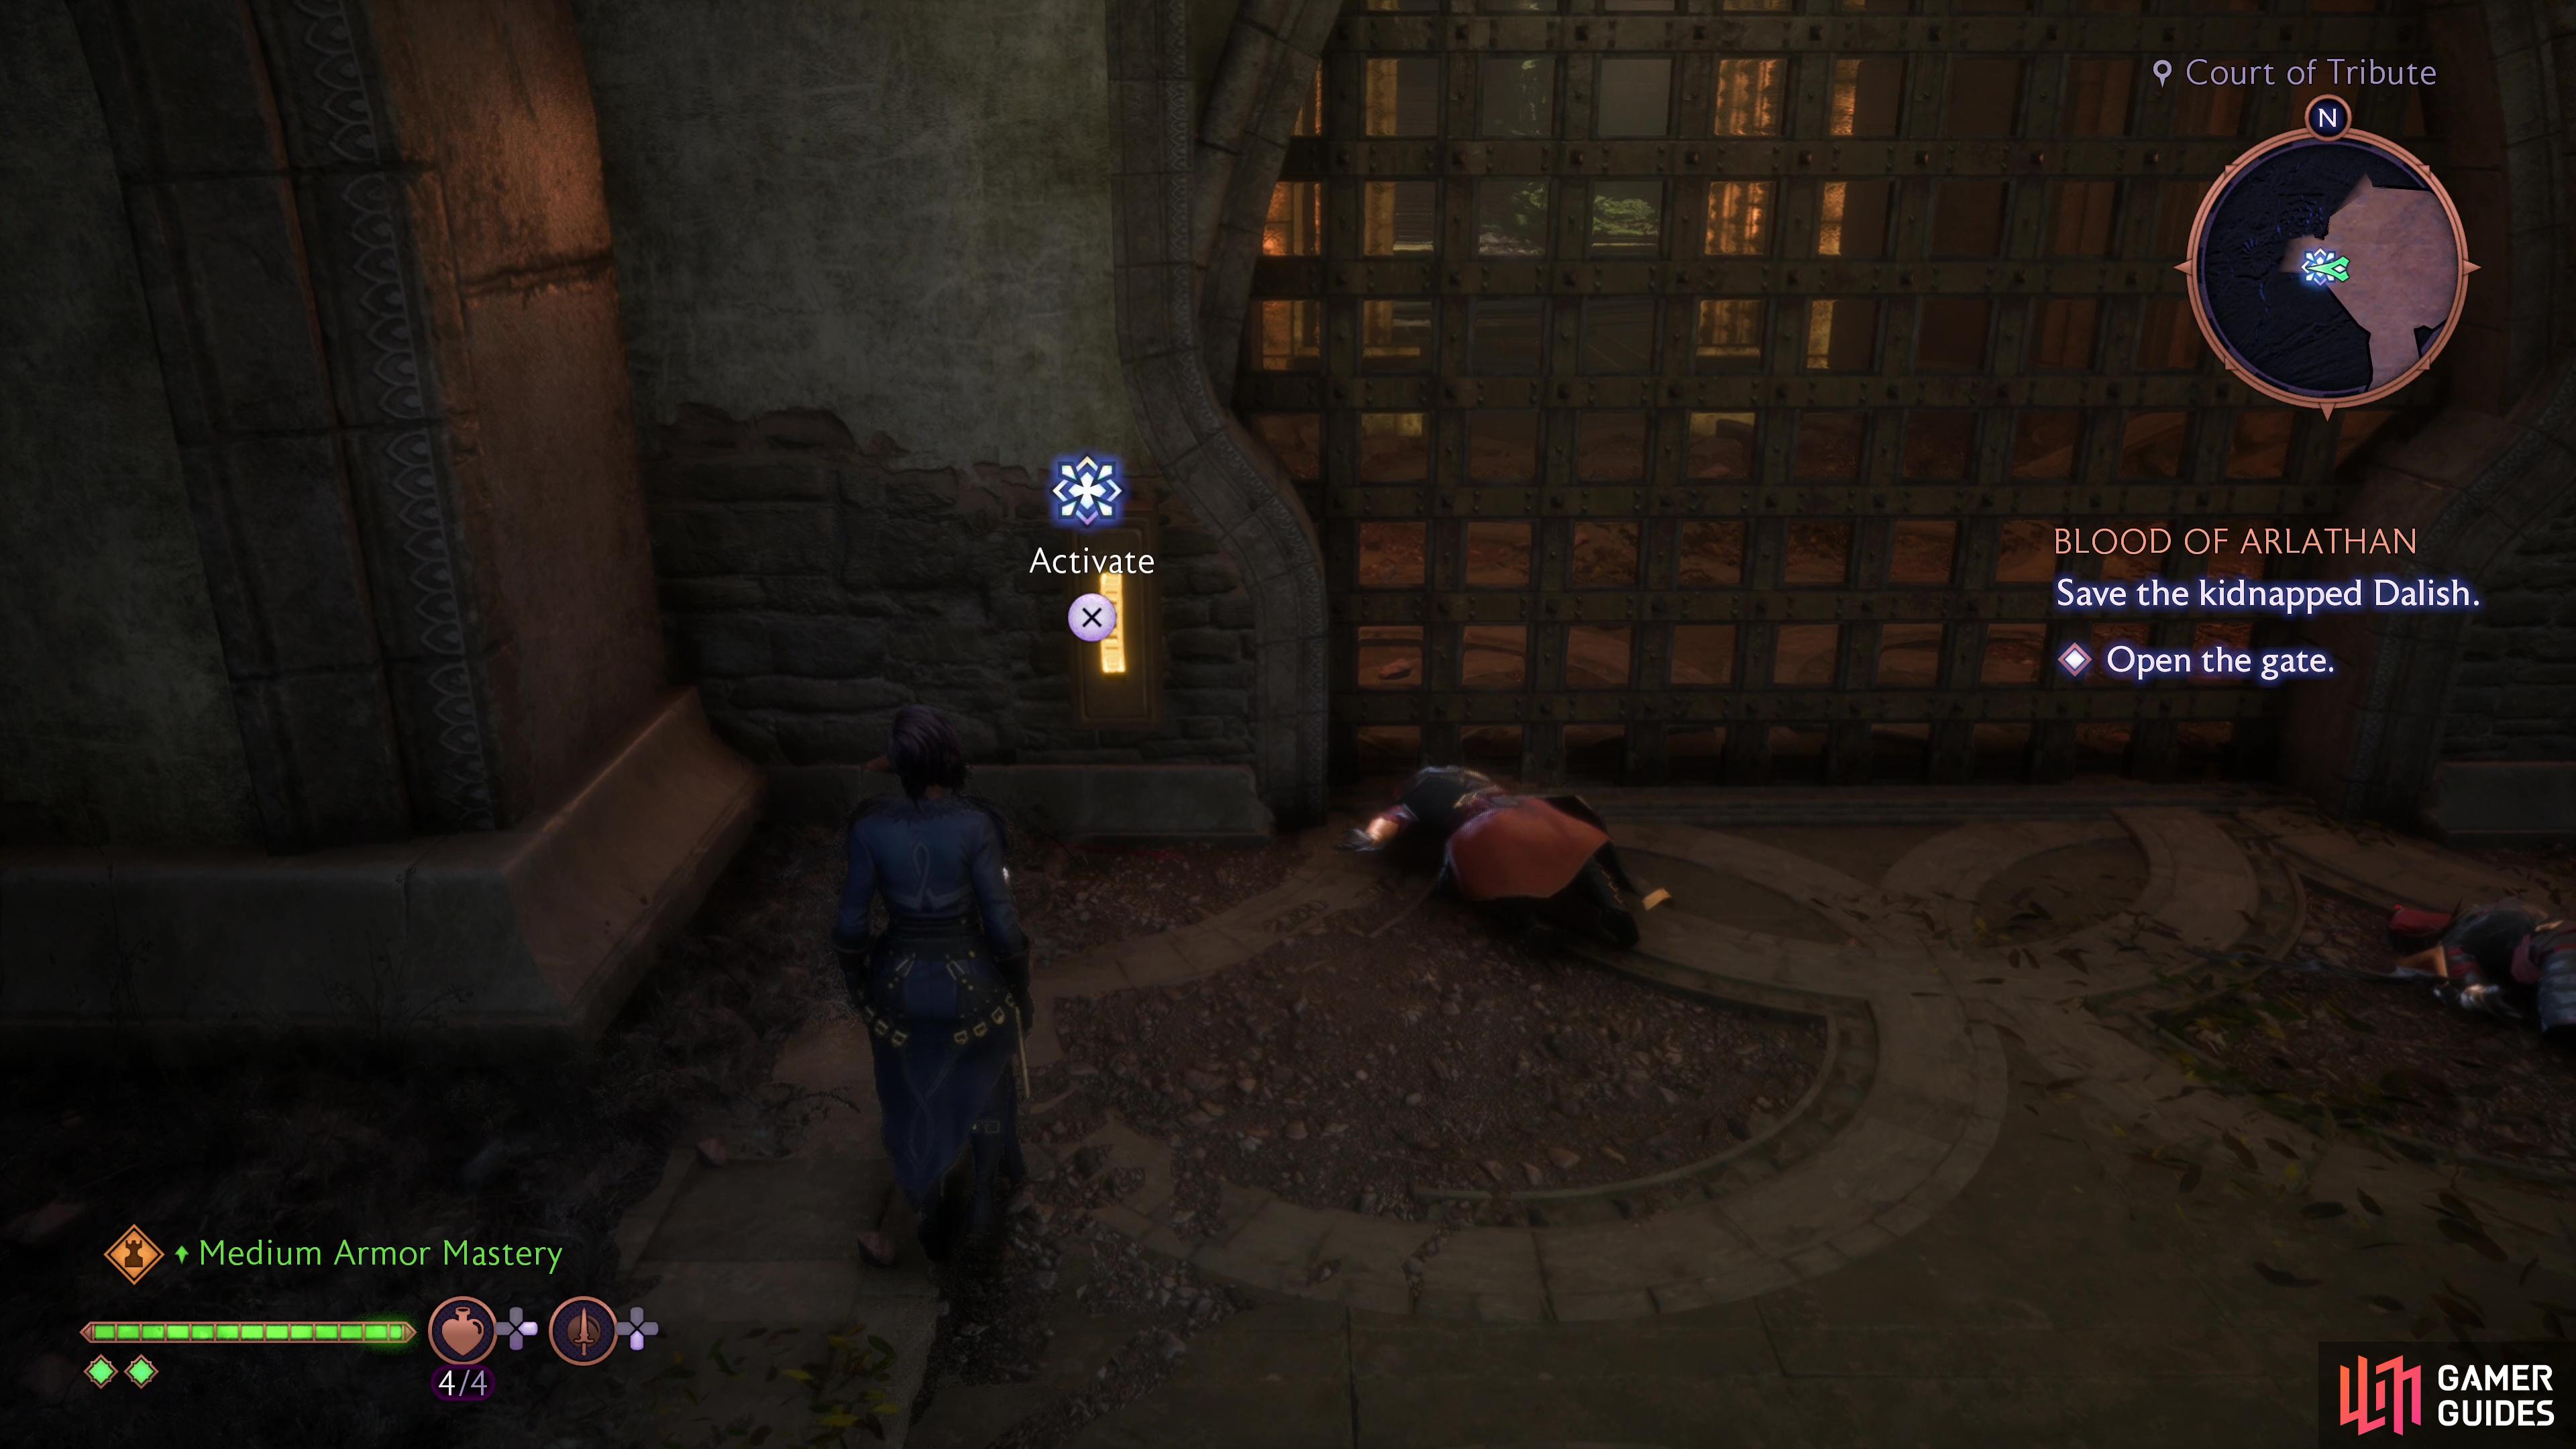
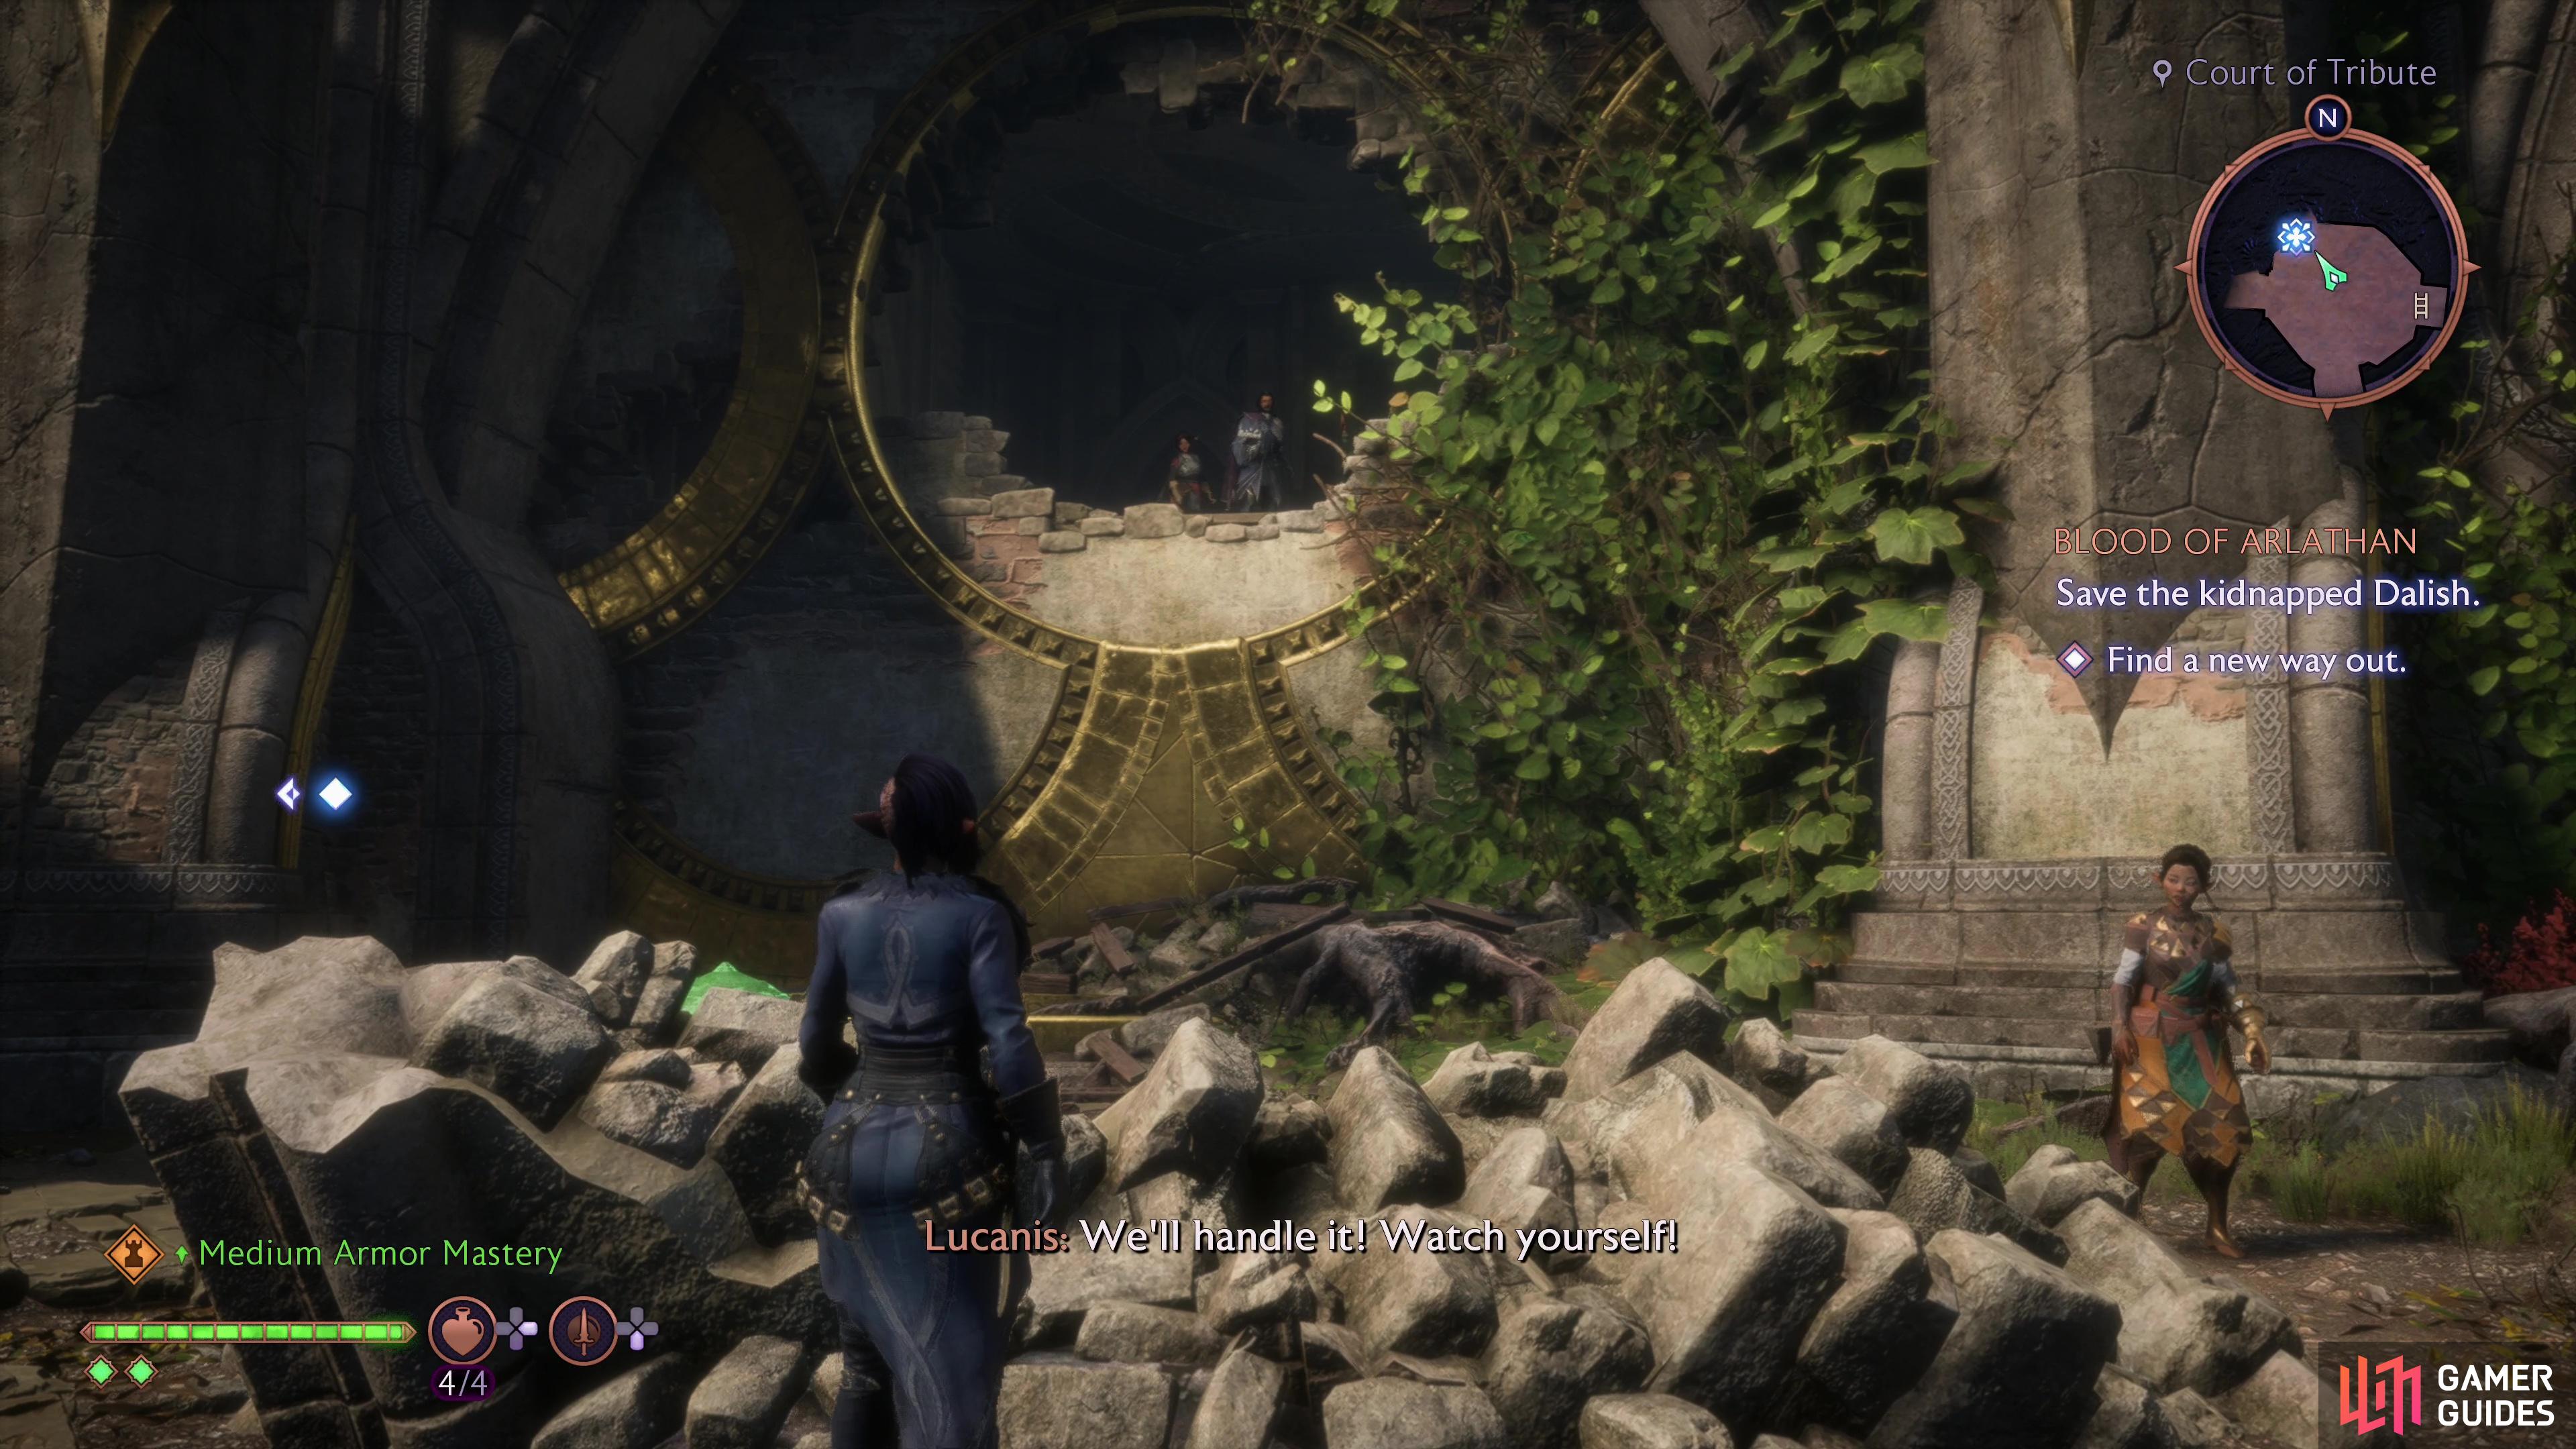
Ignore the impervious Venatori and onto the dais in the middle of the area, where an elven automaton sleeps. The Venatori crystal you seek is on the western edge of the dais - destroy it, then finish off the Venatori, who aren’t quite as smug now that they’ve lost their invulnerability. Once done, continue west and open a gate… or at least try to. When that proves fruitless, head to some scaffolding leading up to a hole in the wall to the northwest. Gravity betrays you. Shortly afterwards your out-of-party companions will show up and offer to get the gate open for you, starting… you guessed it, a holdout segment.
(1 of 4) Reach the Court of Tribute and you’ll discover Venatori who have shielded themselves.
Defeat the Blood Forge
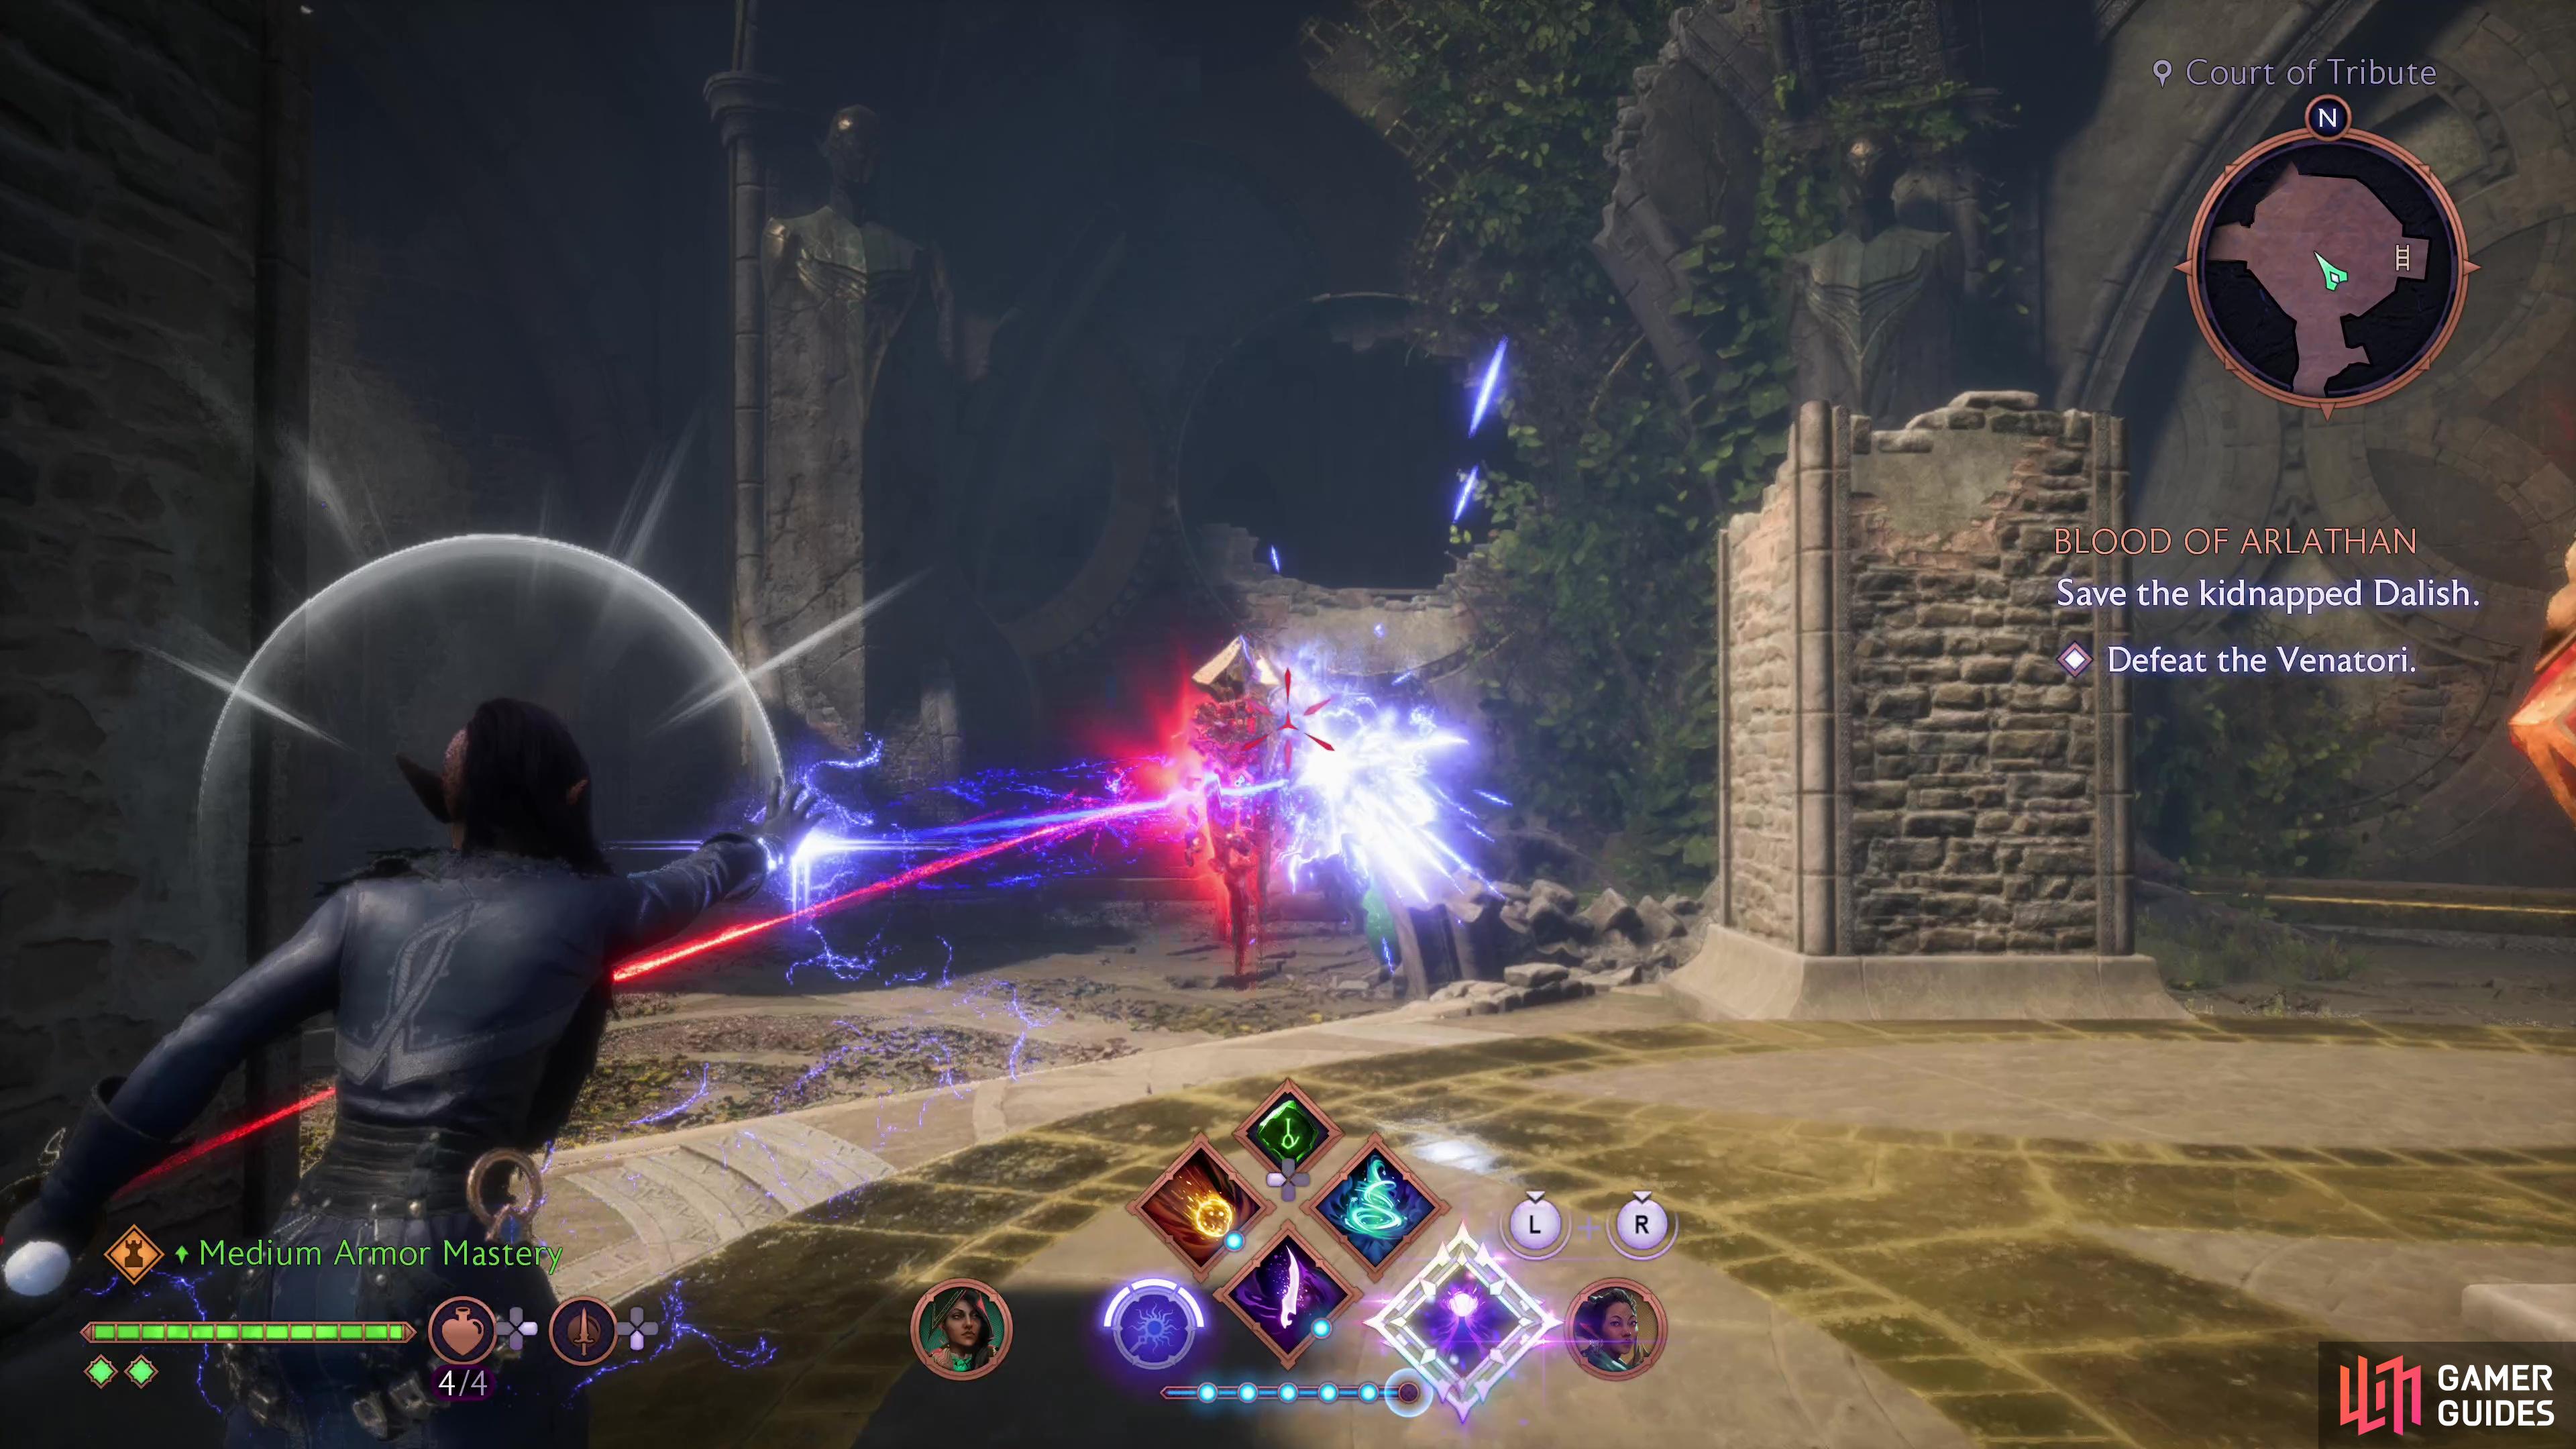
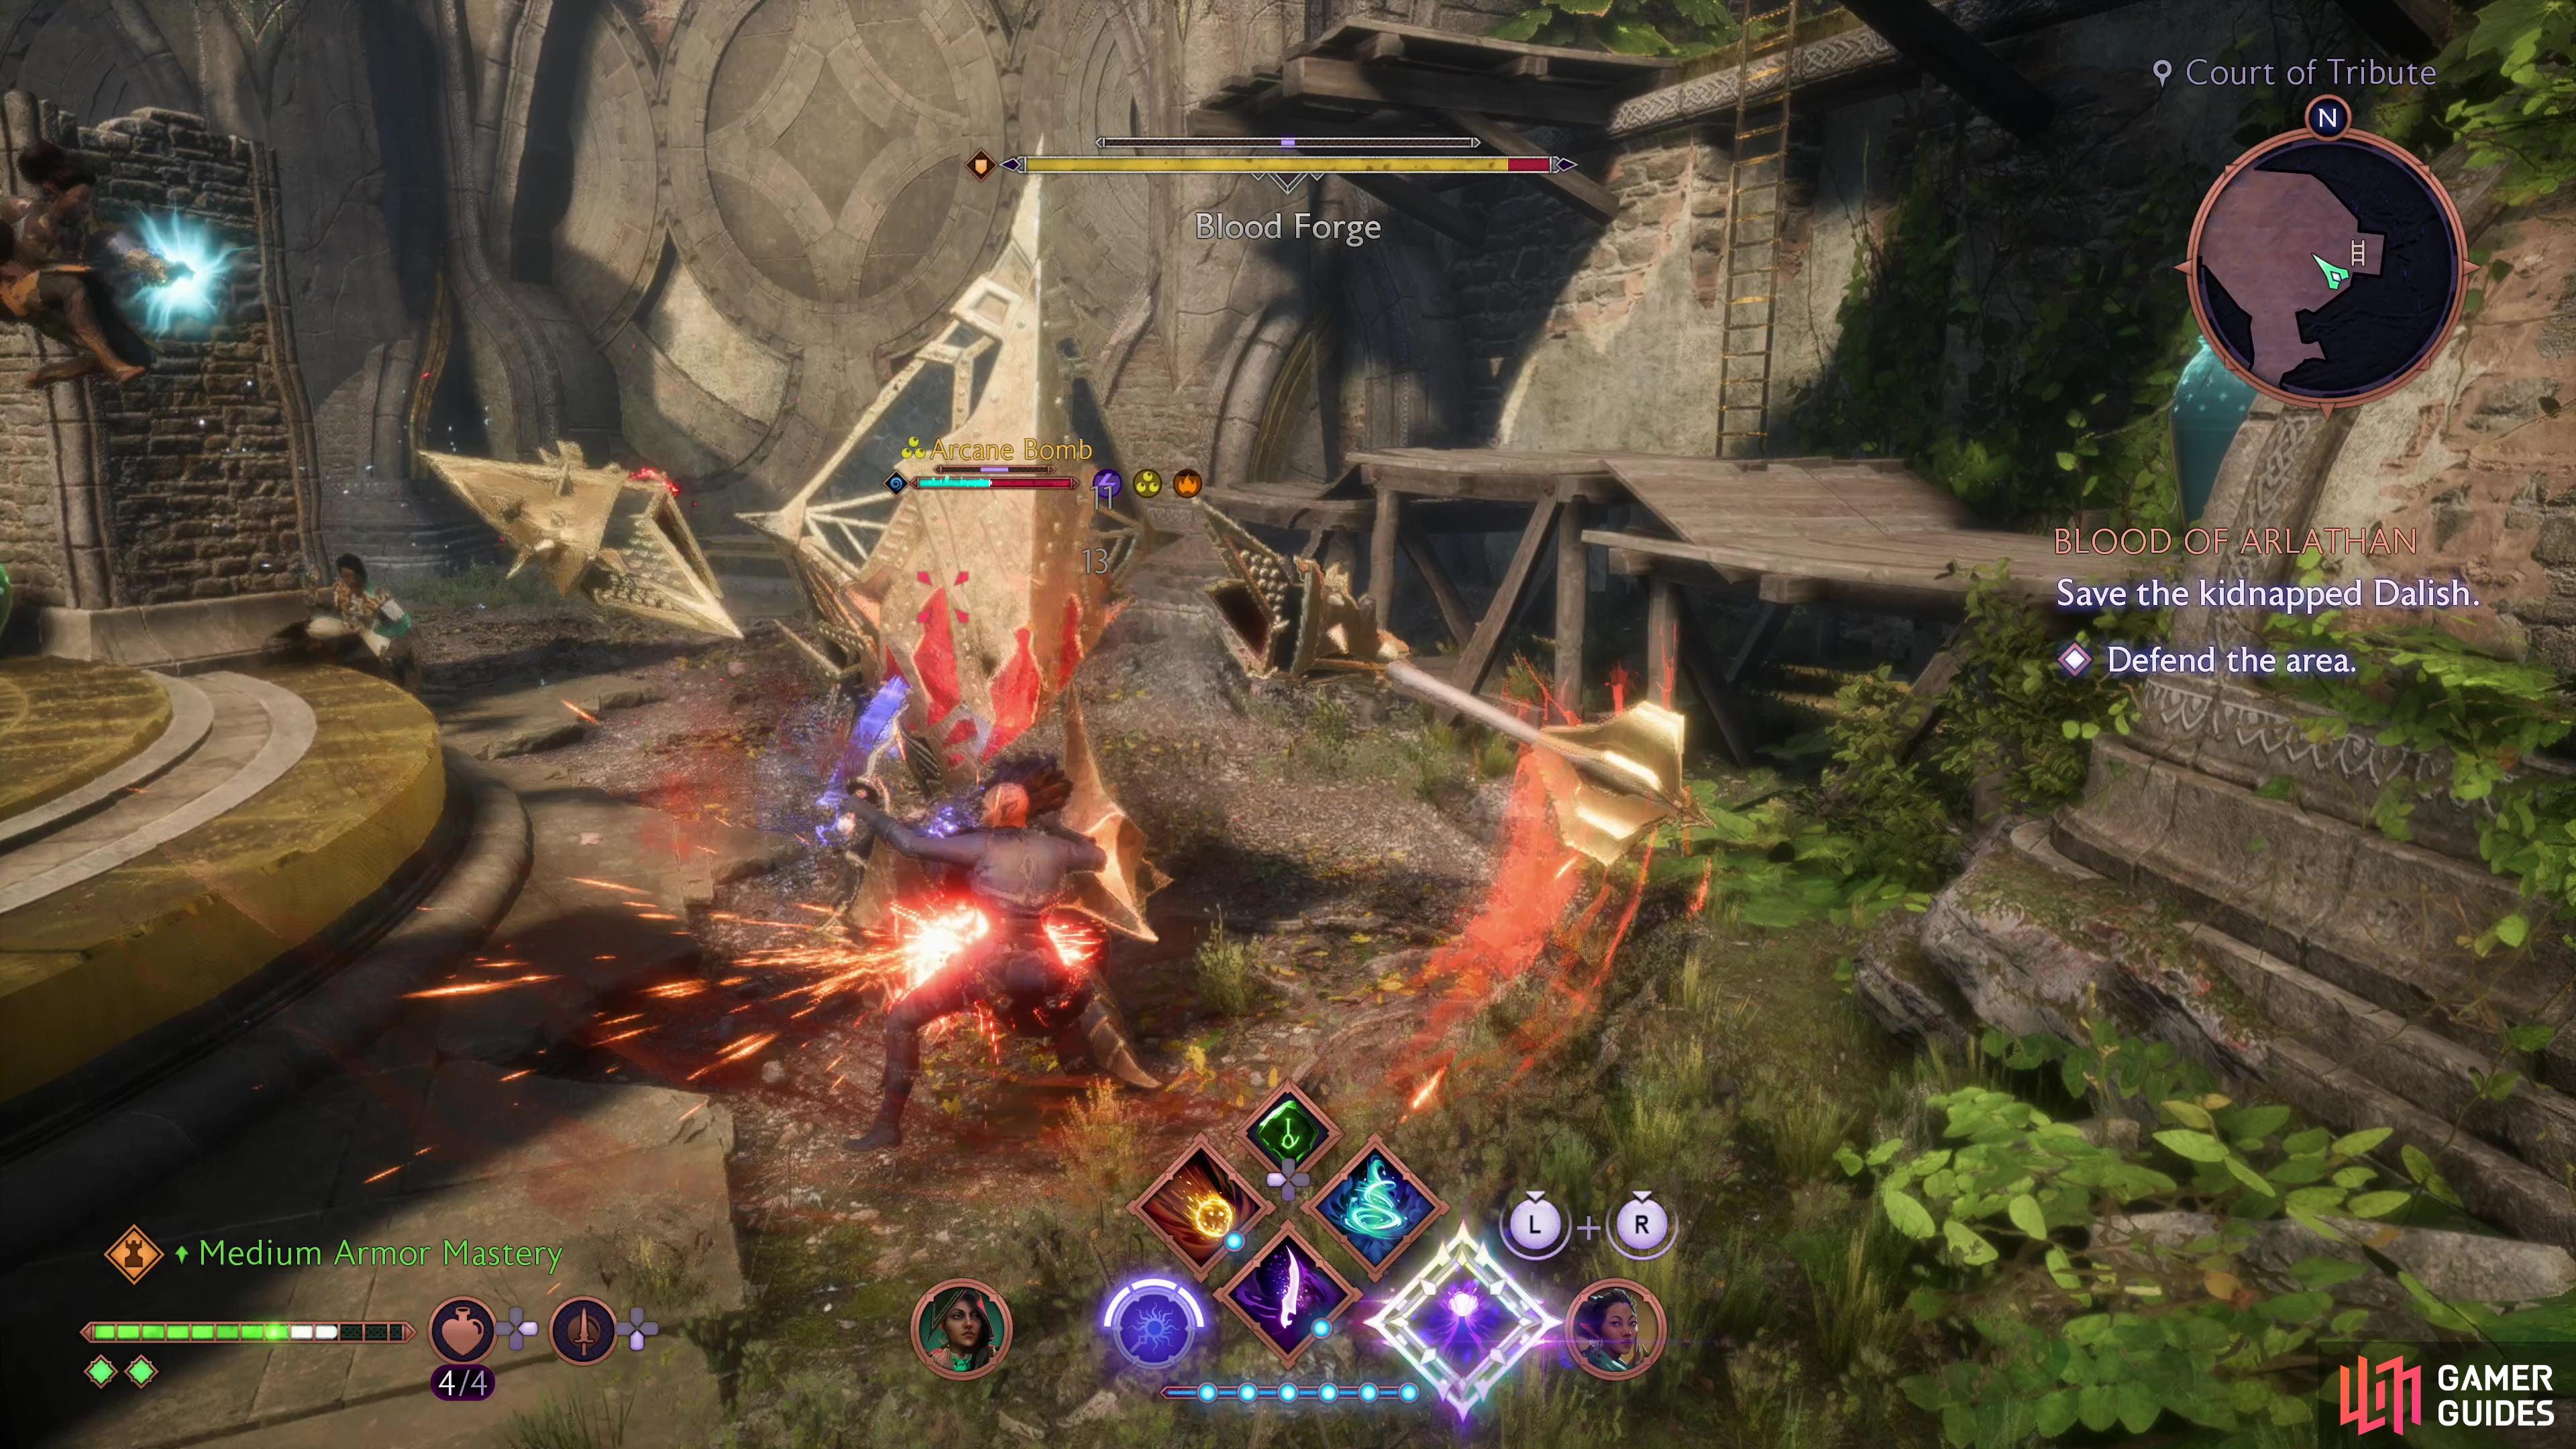
Of course things can’t be easy, and while your companions goof around trying to get the gate open, you’ll have to repulse waves of Venatori. The first wave of foes you’ll encounter including soldiers and an executioner, the second wave includes centurions and a Master Venatori War-Mage, while the third is where the real fight begins, as the elven automaton the dais awakens and attacks.
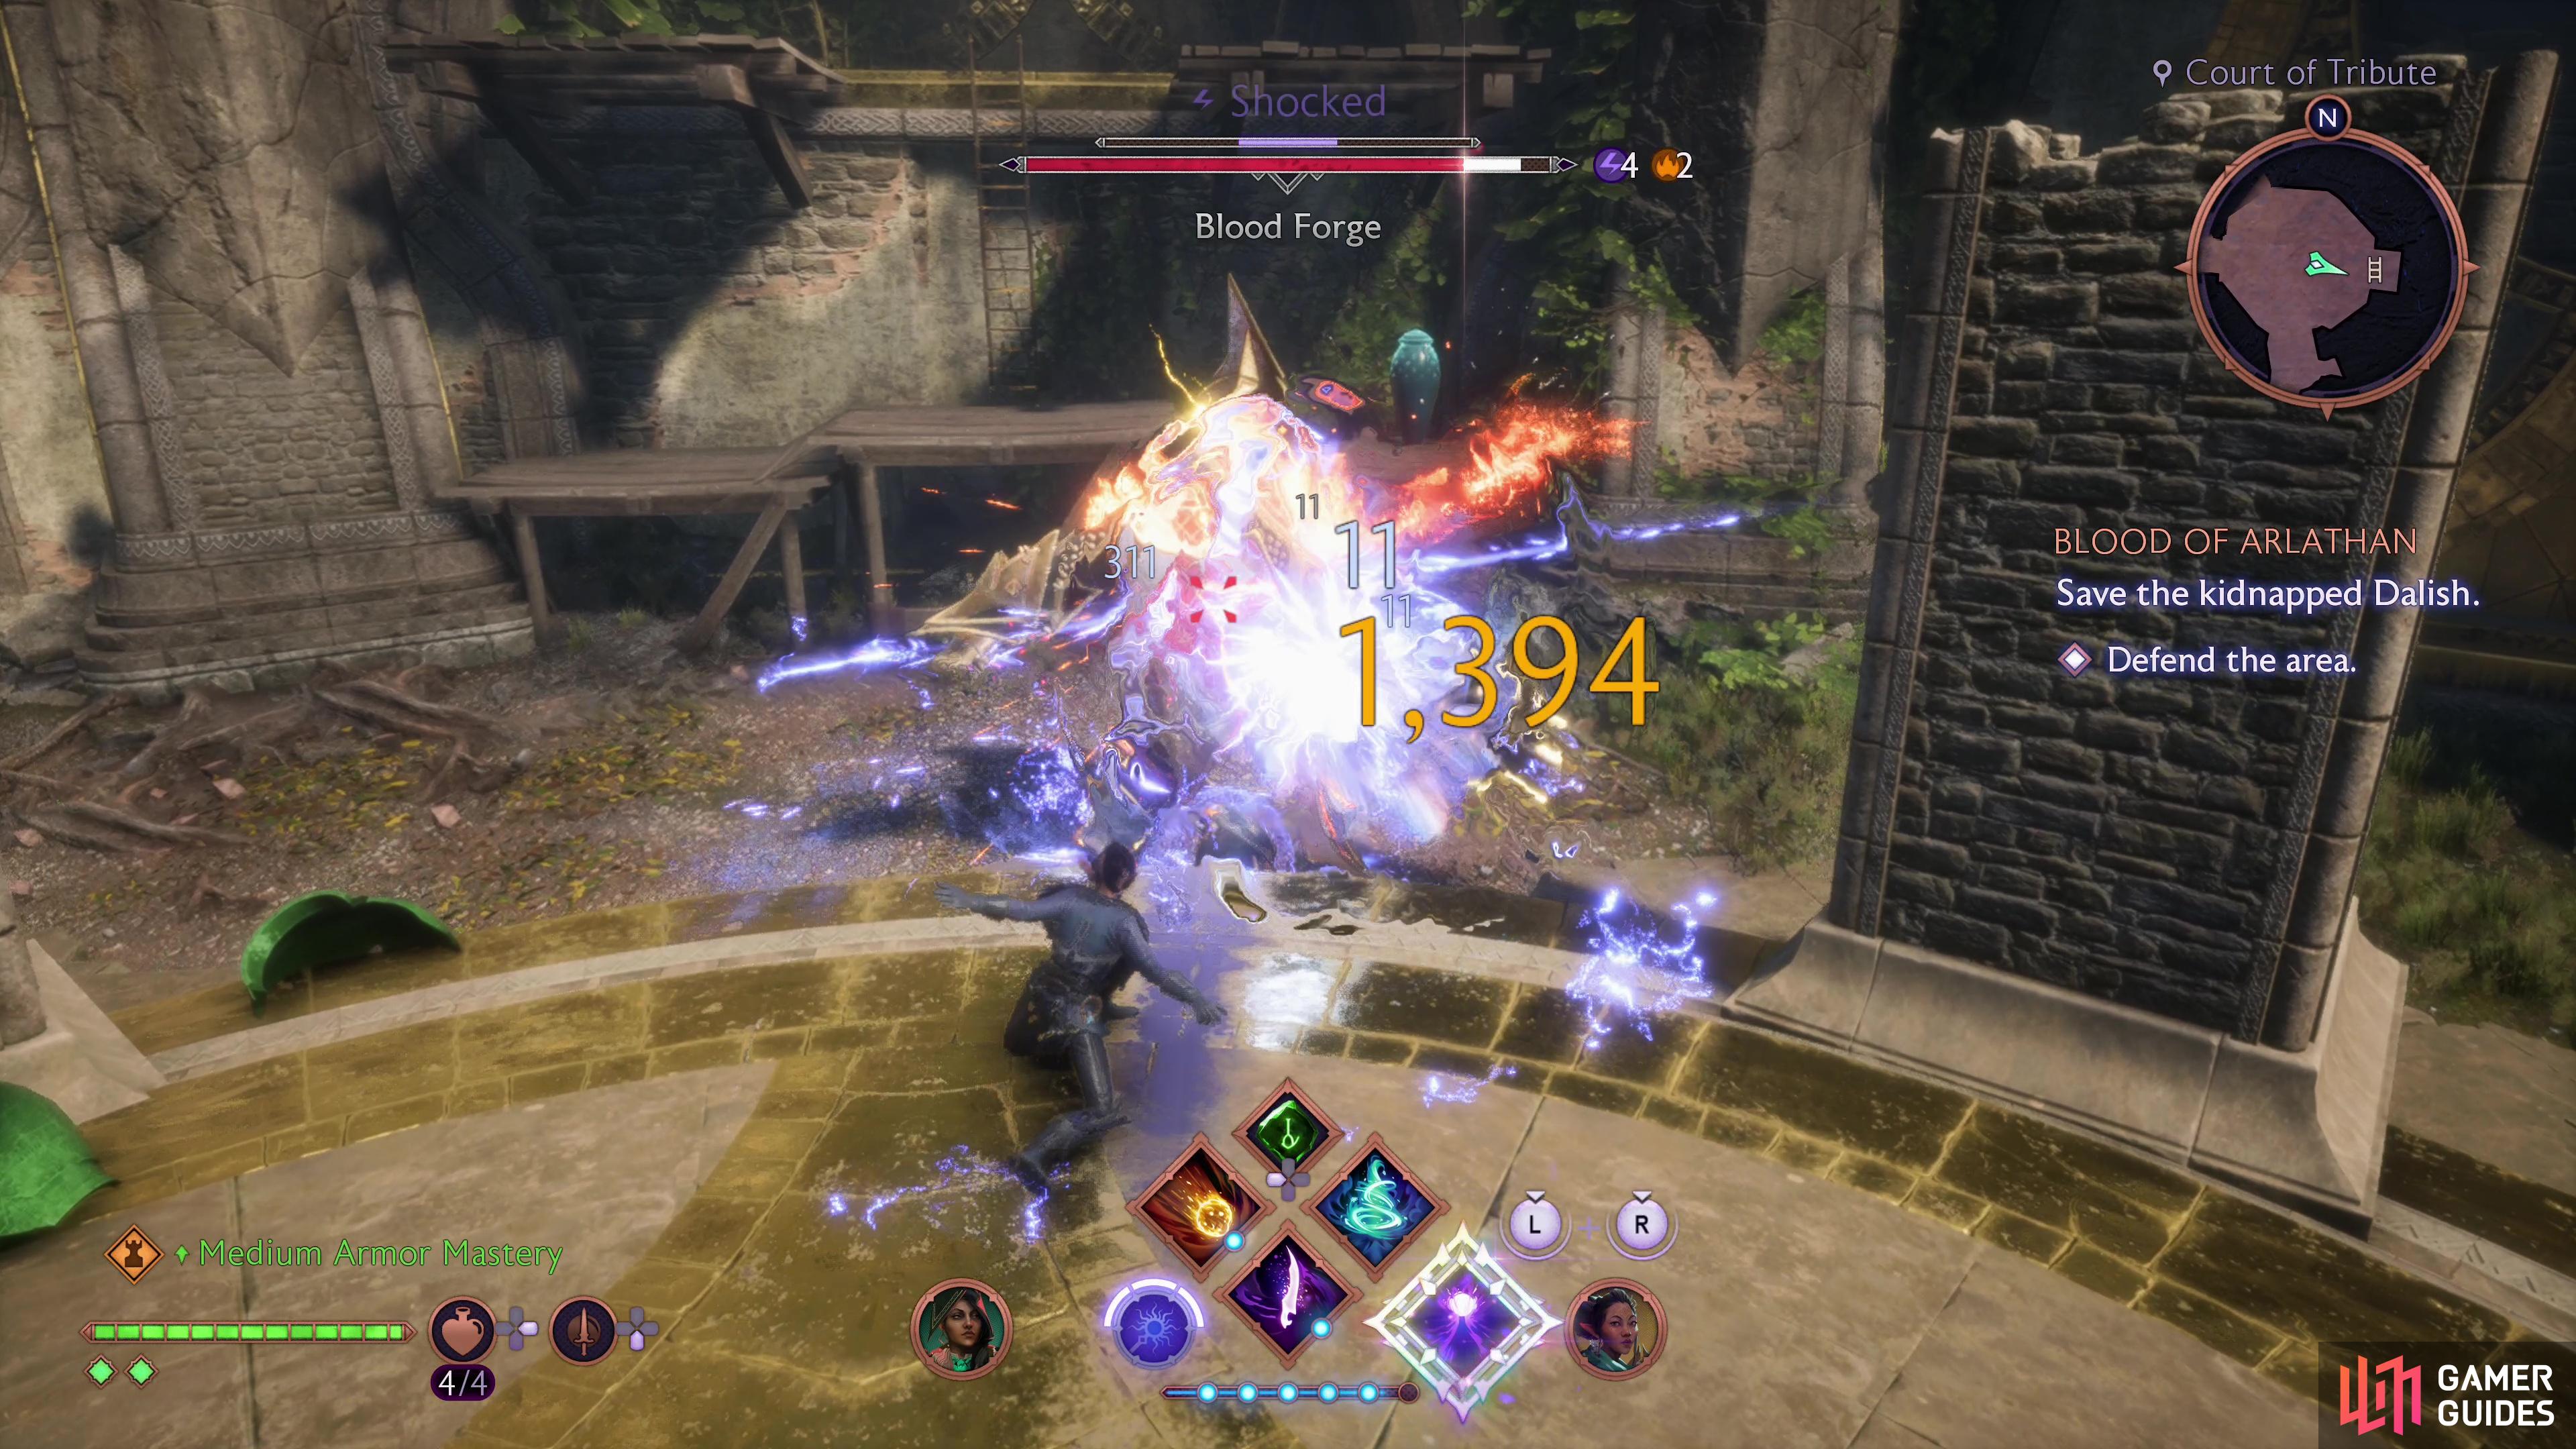
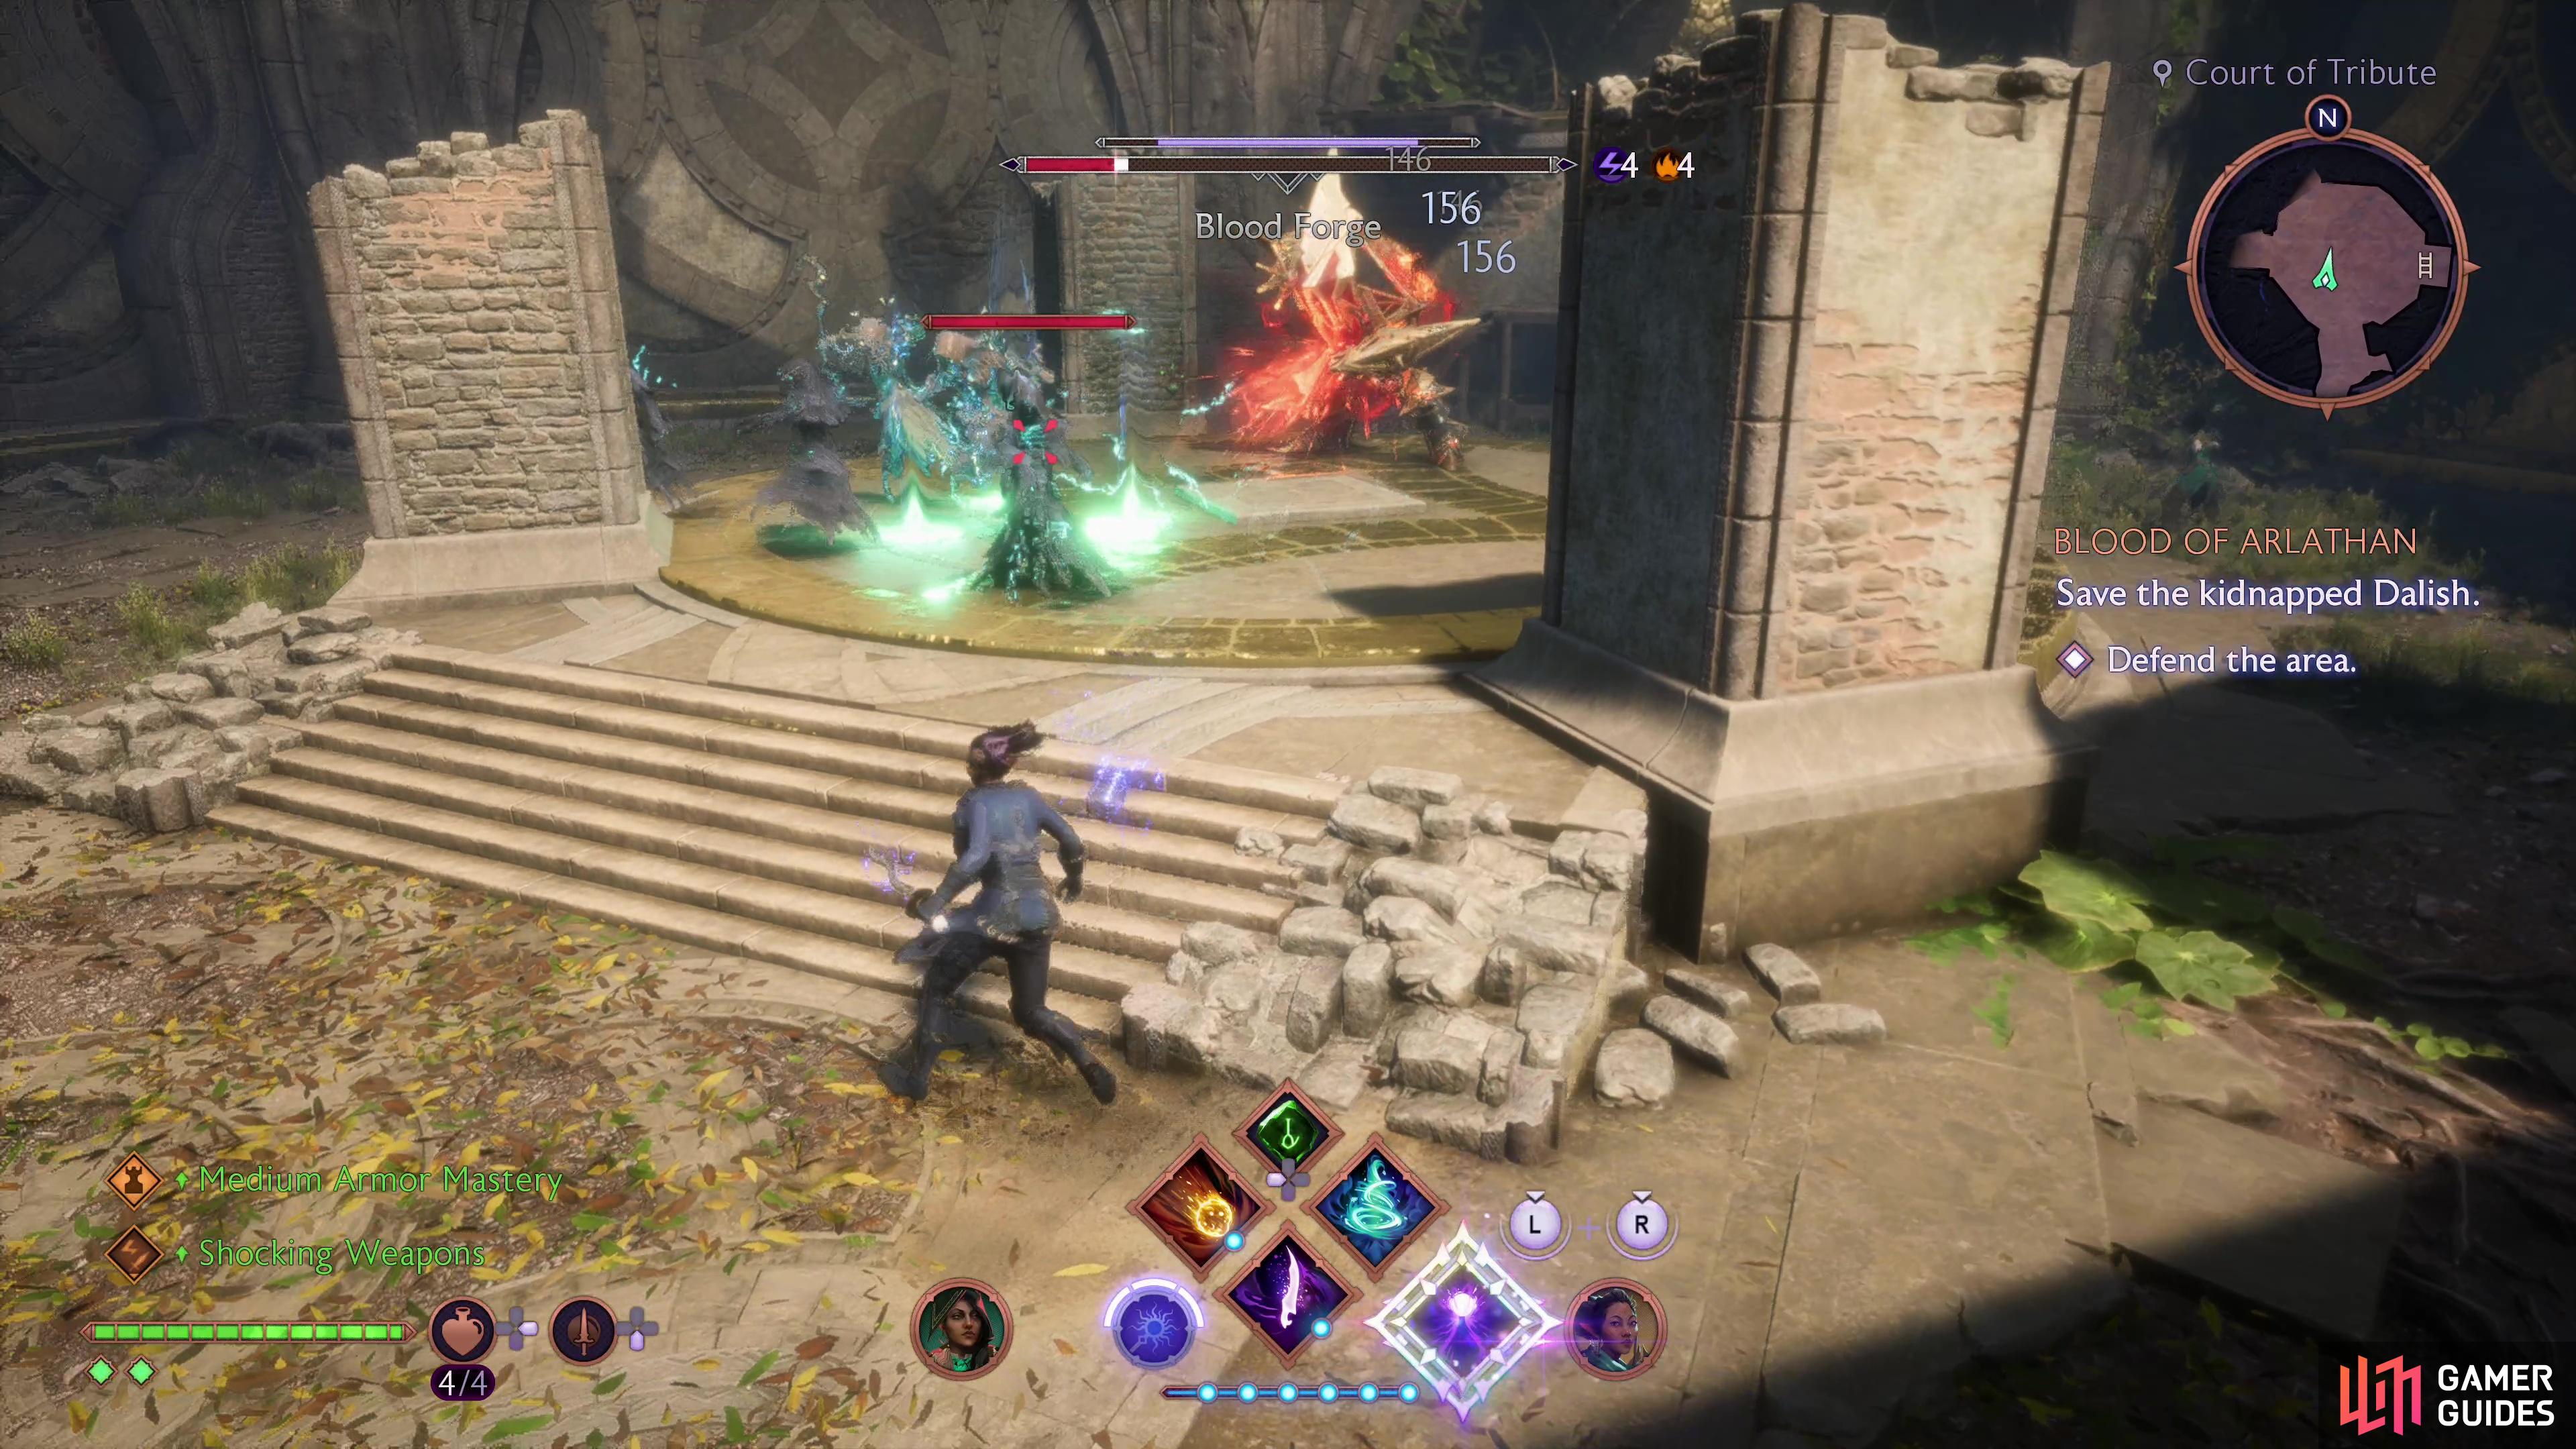
This automaton is the Blood Forge, a named variant of a rare miniboss you’ve likely encountered before. These golems can shoot fire in a vertical line or in a more sustained, horizontal manner, in the latter case performing multiple sweeps. When the Blood Forge focuses on its horizontal beam sweeps it’s highly vulnerable to attack, if you can get behind it. Otherwise the Blood Forge can attack with its heavy mace, both singular attacks and an advancing, spinning barrage.
If that’s not enough, Blood Forge can also summon Shades, both melee and ranged variants, and in addition to these minions a Venatori Mage joins Blood Forge at the start of the fight, one some high ground east of the dais. Once defeated Blood Forge will get no further Venatori aid, however, having to rely solely on the Shades it summons. Blood Forge is weak to ice and vulnerable to fire.
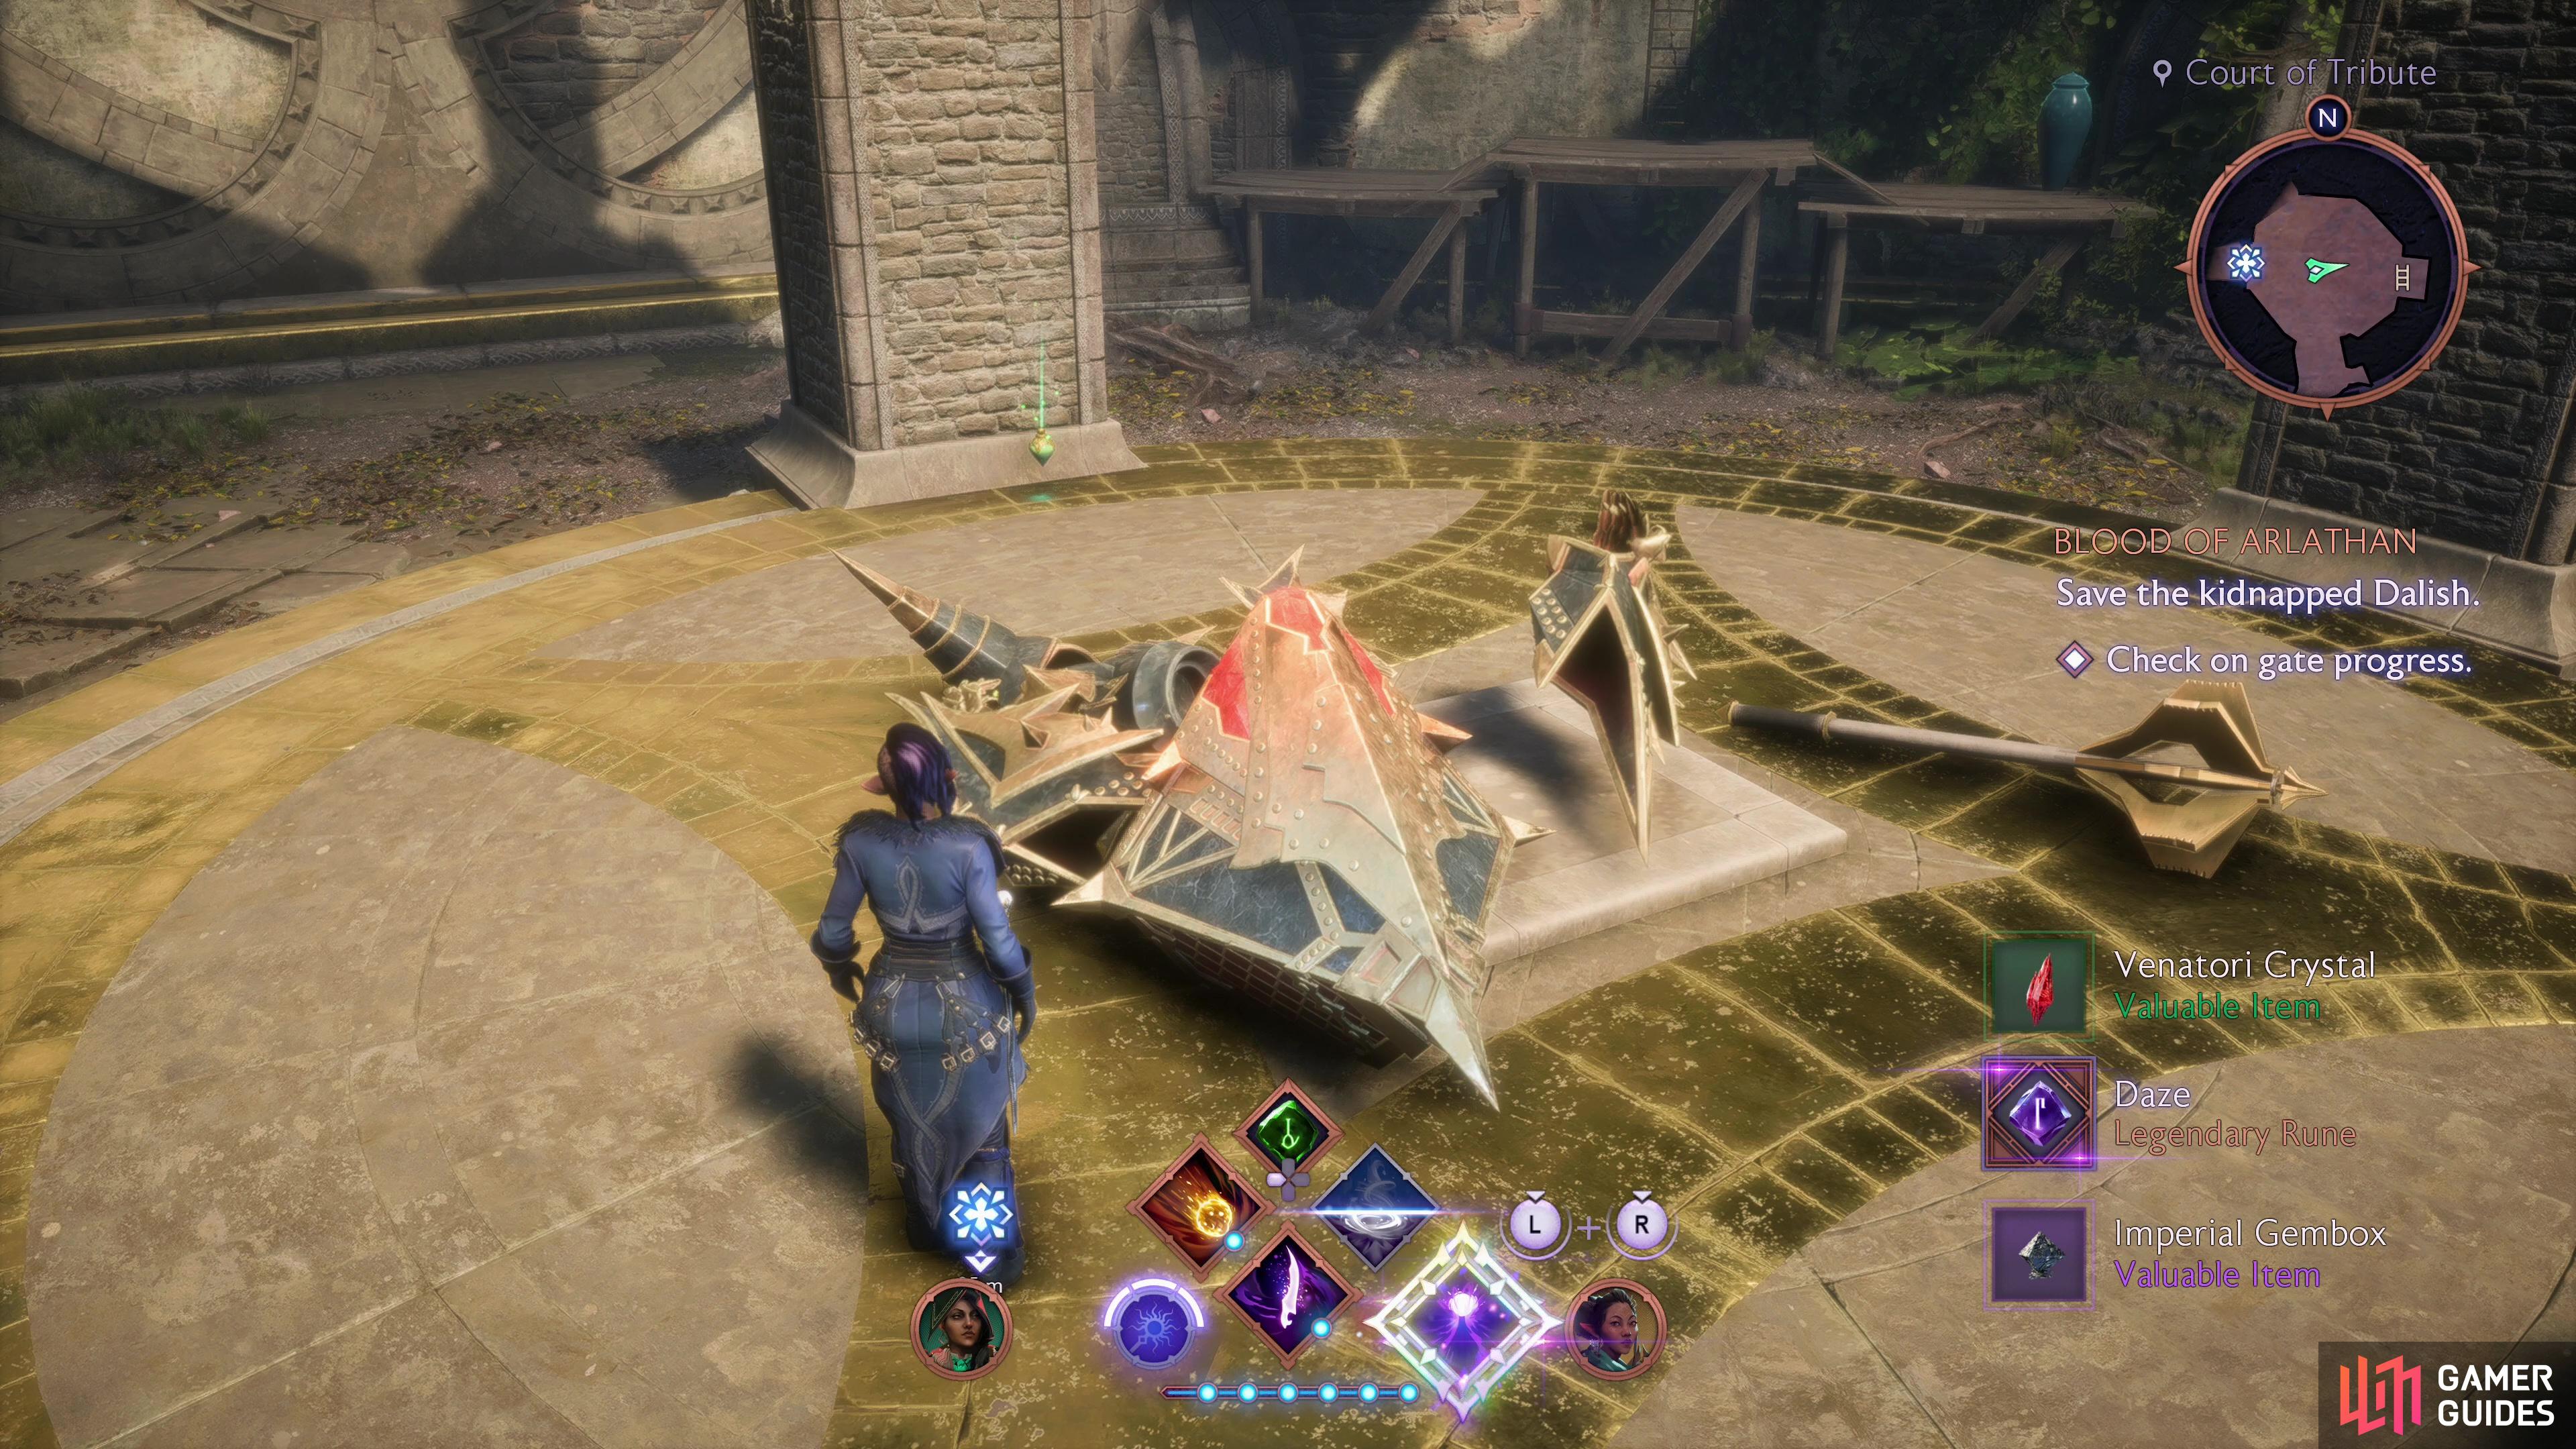
During the fight with the Venatori leading up to Blood Forge’s activation, one should drop a box containing the Pursuant’s Implements cosmetic, while the Blood Forge itself will forfeit the ![]() Daze rune.
Daze rune.
(1 of 4) Blood Forge can attack with its hefty mace, or by spewing beams of fire,
Sanctum Halls - Roof Treasure
Deactivate the pesky automaton and go through the gate, which your companions finally open for you. Continue west through the ruined palace you find yourself in, dealing with Elgar’nan’s persistent intrusions as you go. If you keep going west you’ll find some mist blocking your path, which leads to the next major segment of this quest, but before you enter the mist, there are a few treasures hidden in the Sanctum Halls, one of which is actually quite tricky to find.
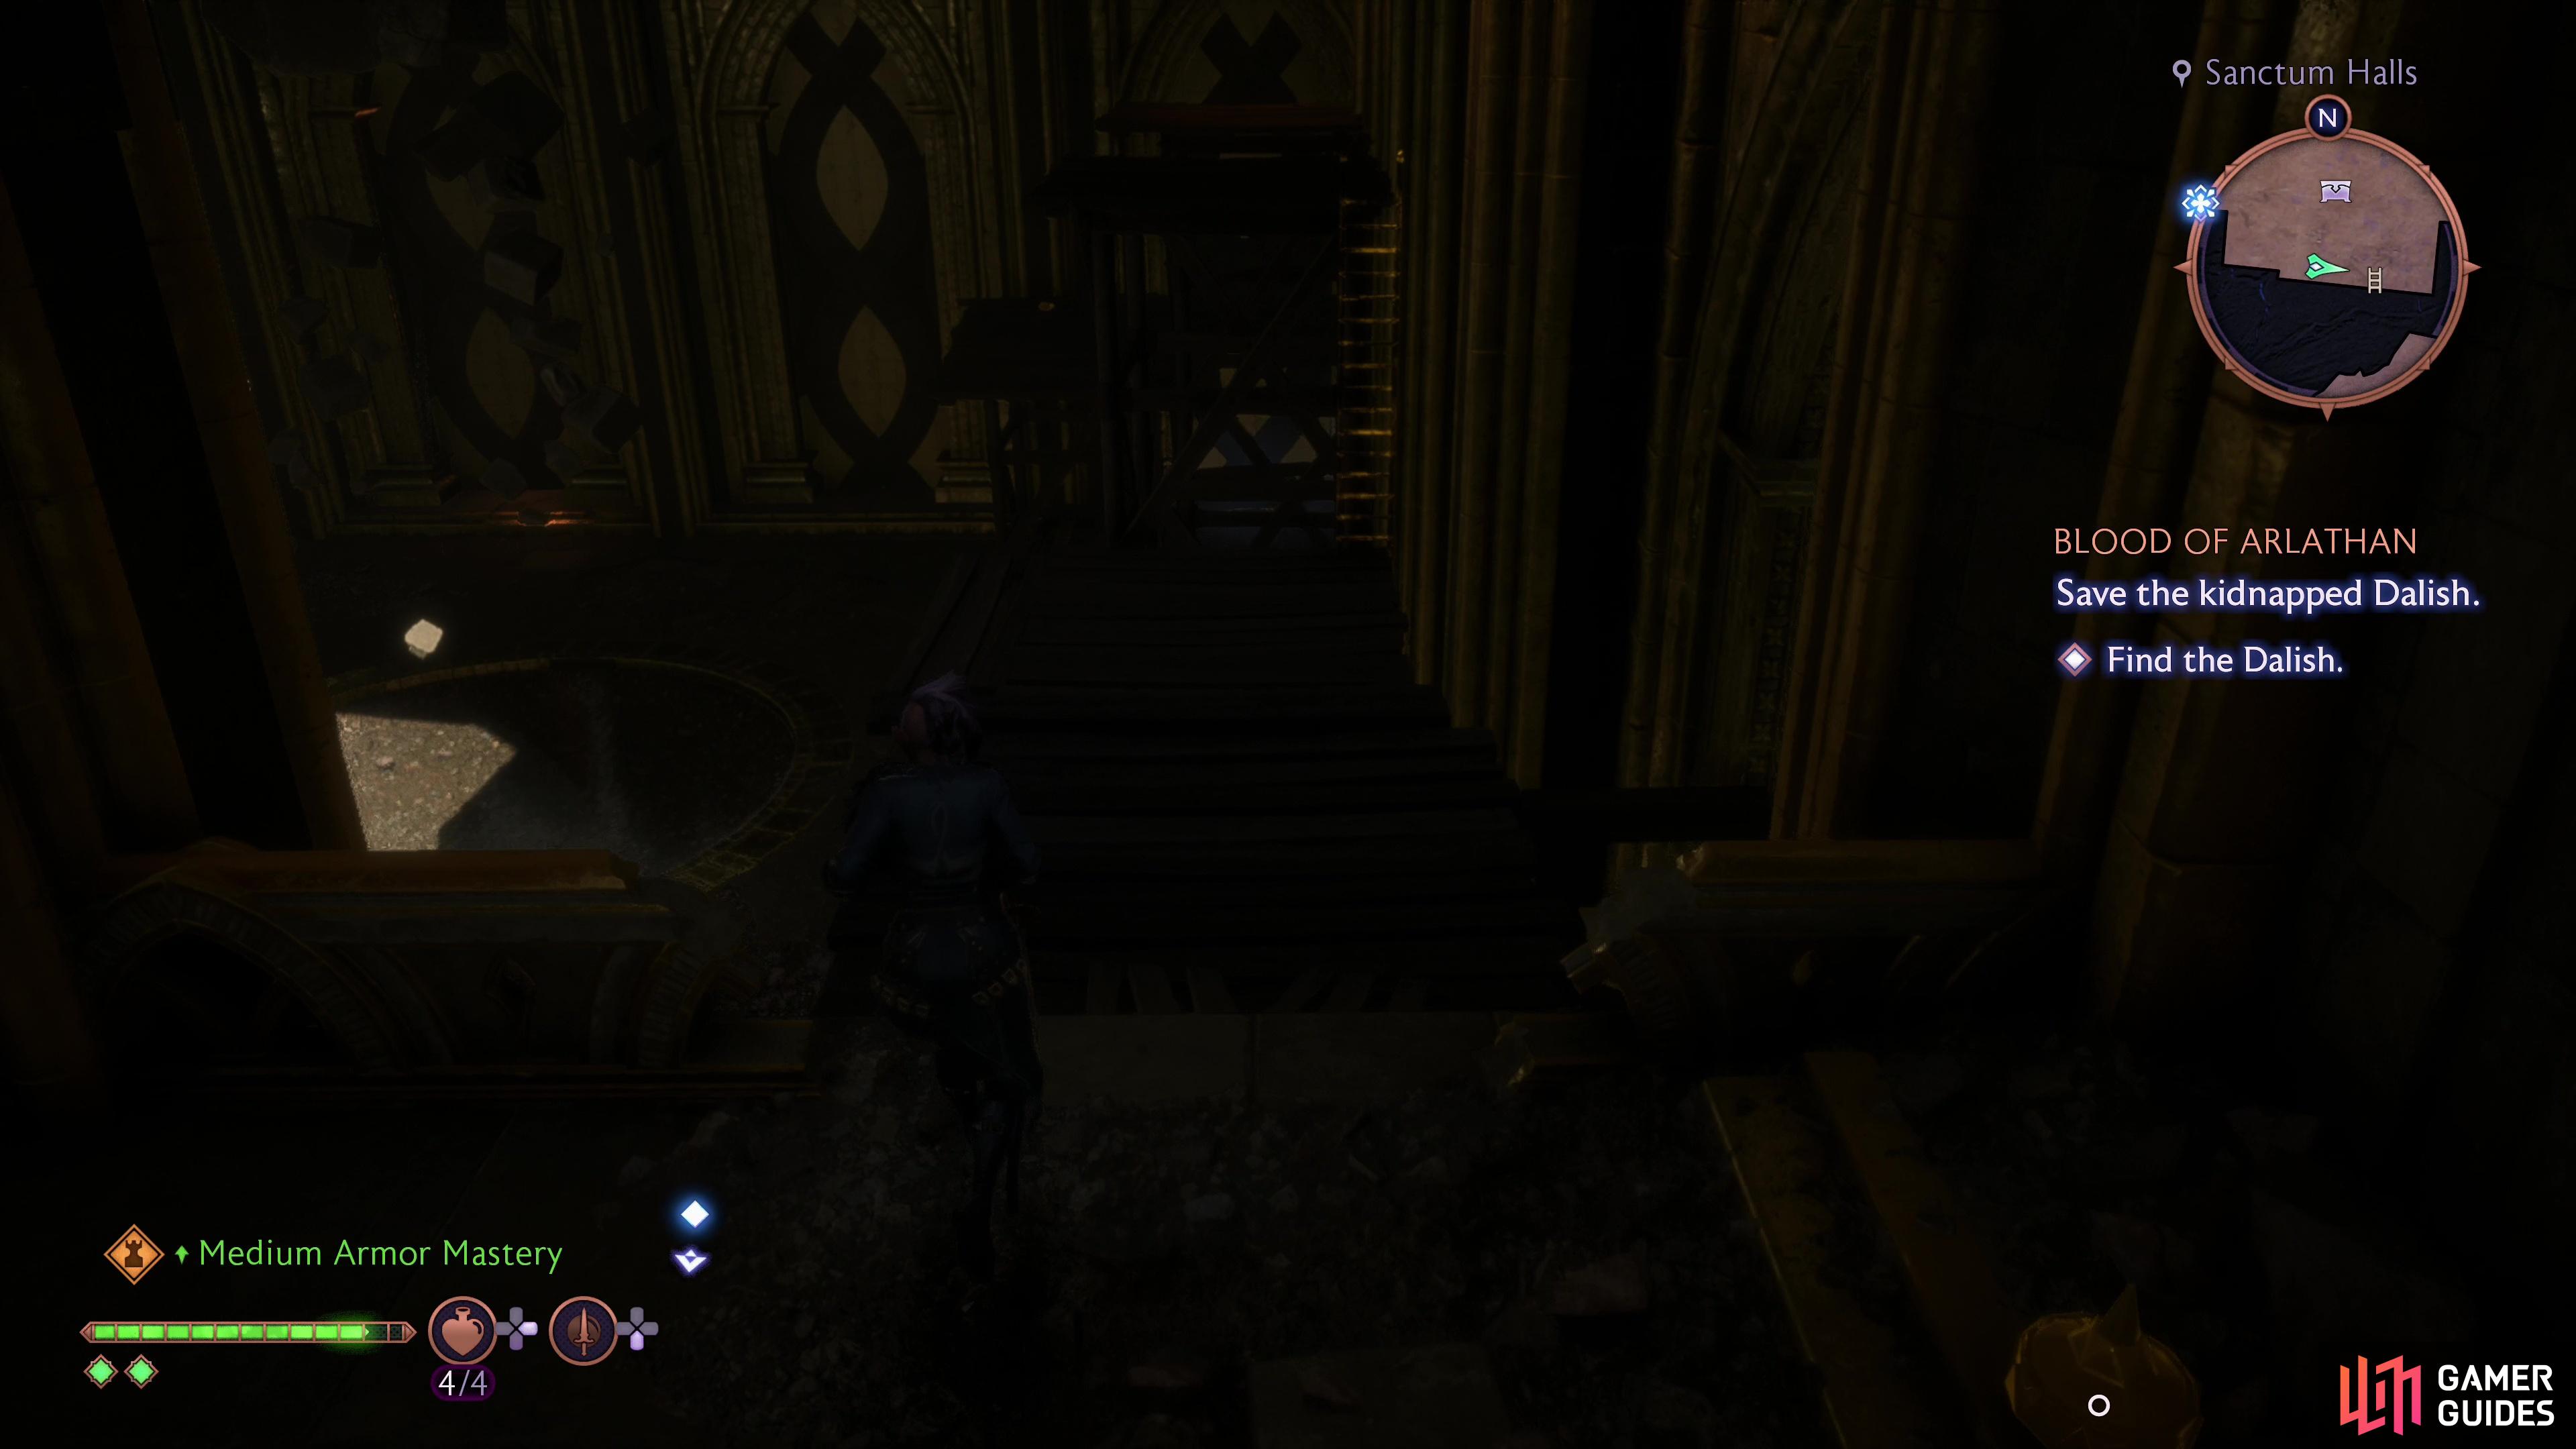
From the gate you entered through, go west and up some stairs, then turn left (south) at a statue and head up another flight of stairs, and once atop them turn left (east) again. Pass through a railing and onto some wooden platforms and work your way east, climbing a ladder, leaping a gap and dropping down to the east to find a passage to the south. Enter, smash the crates you find and behind them you’ll find a small chest containing the Heavy Nevarran Tome cosmetic.
(1 of 3) Go up some stairs to the south and cross some wooden platforms,
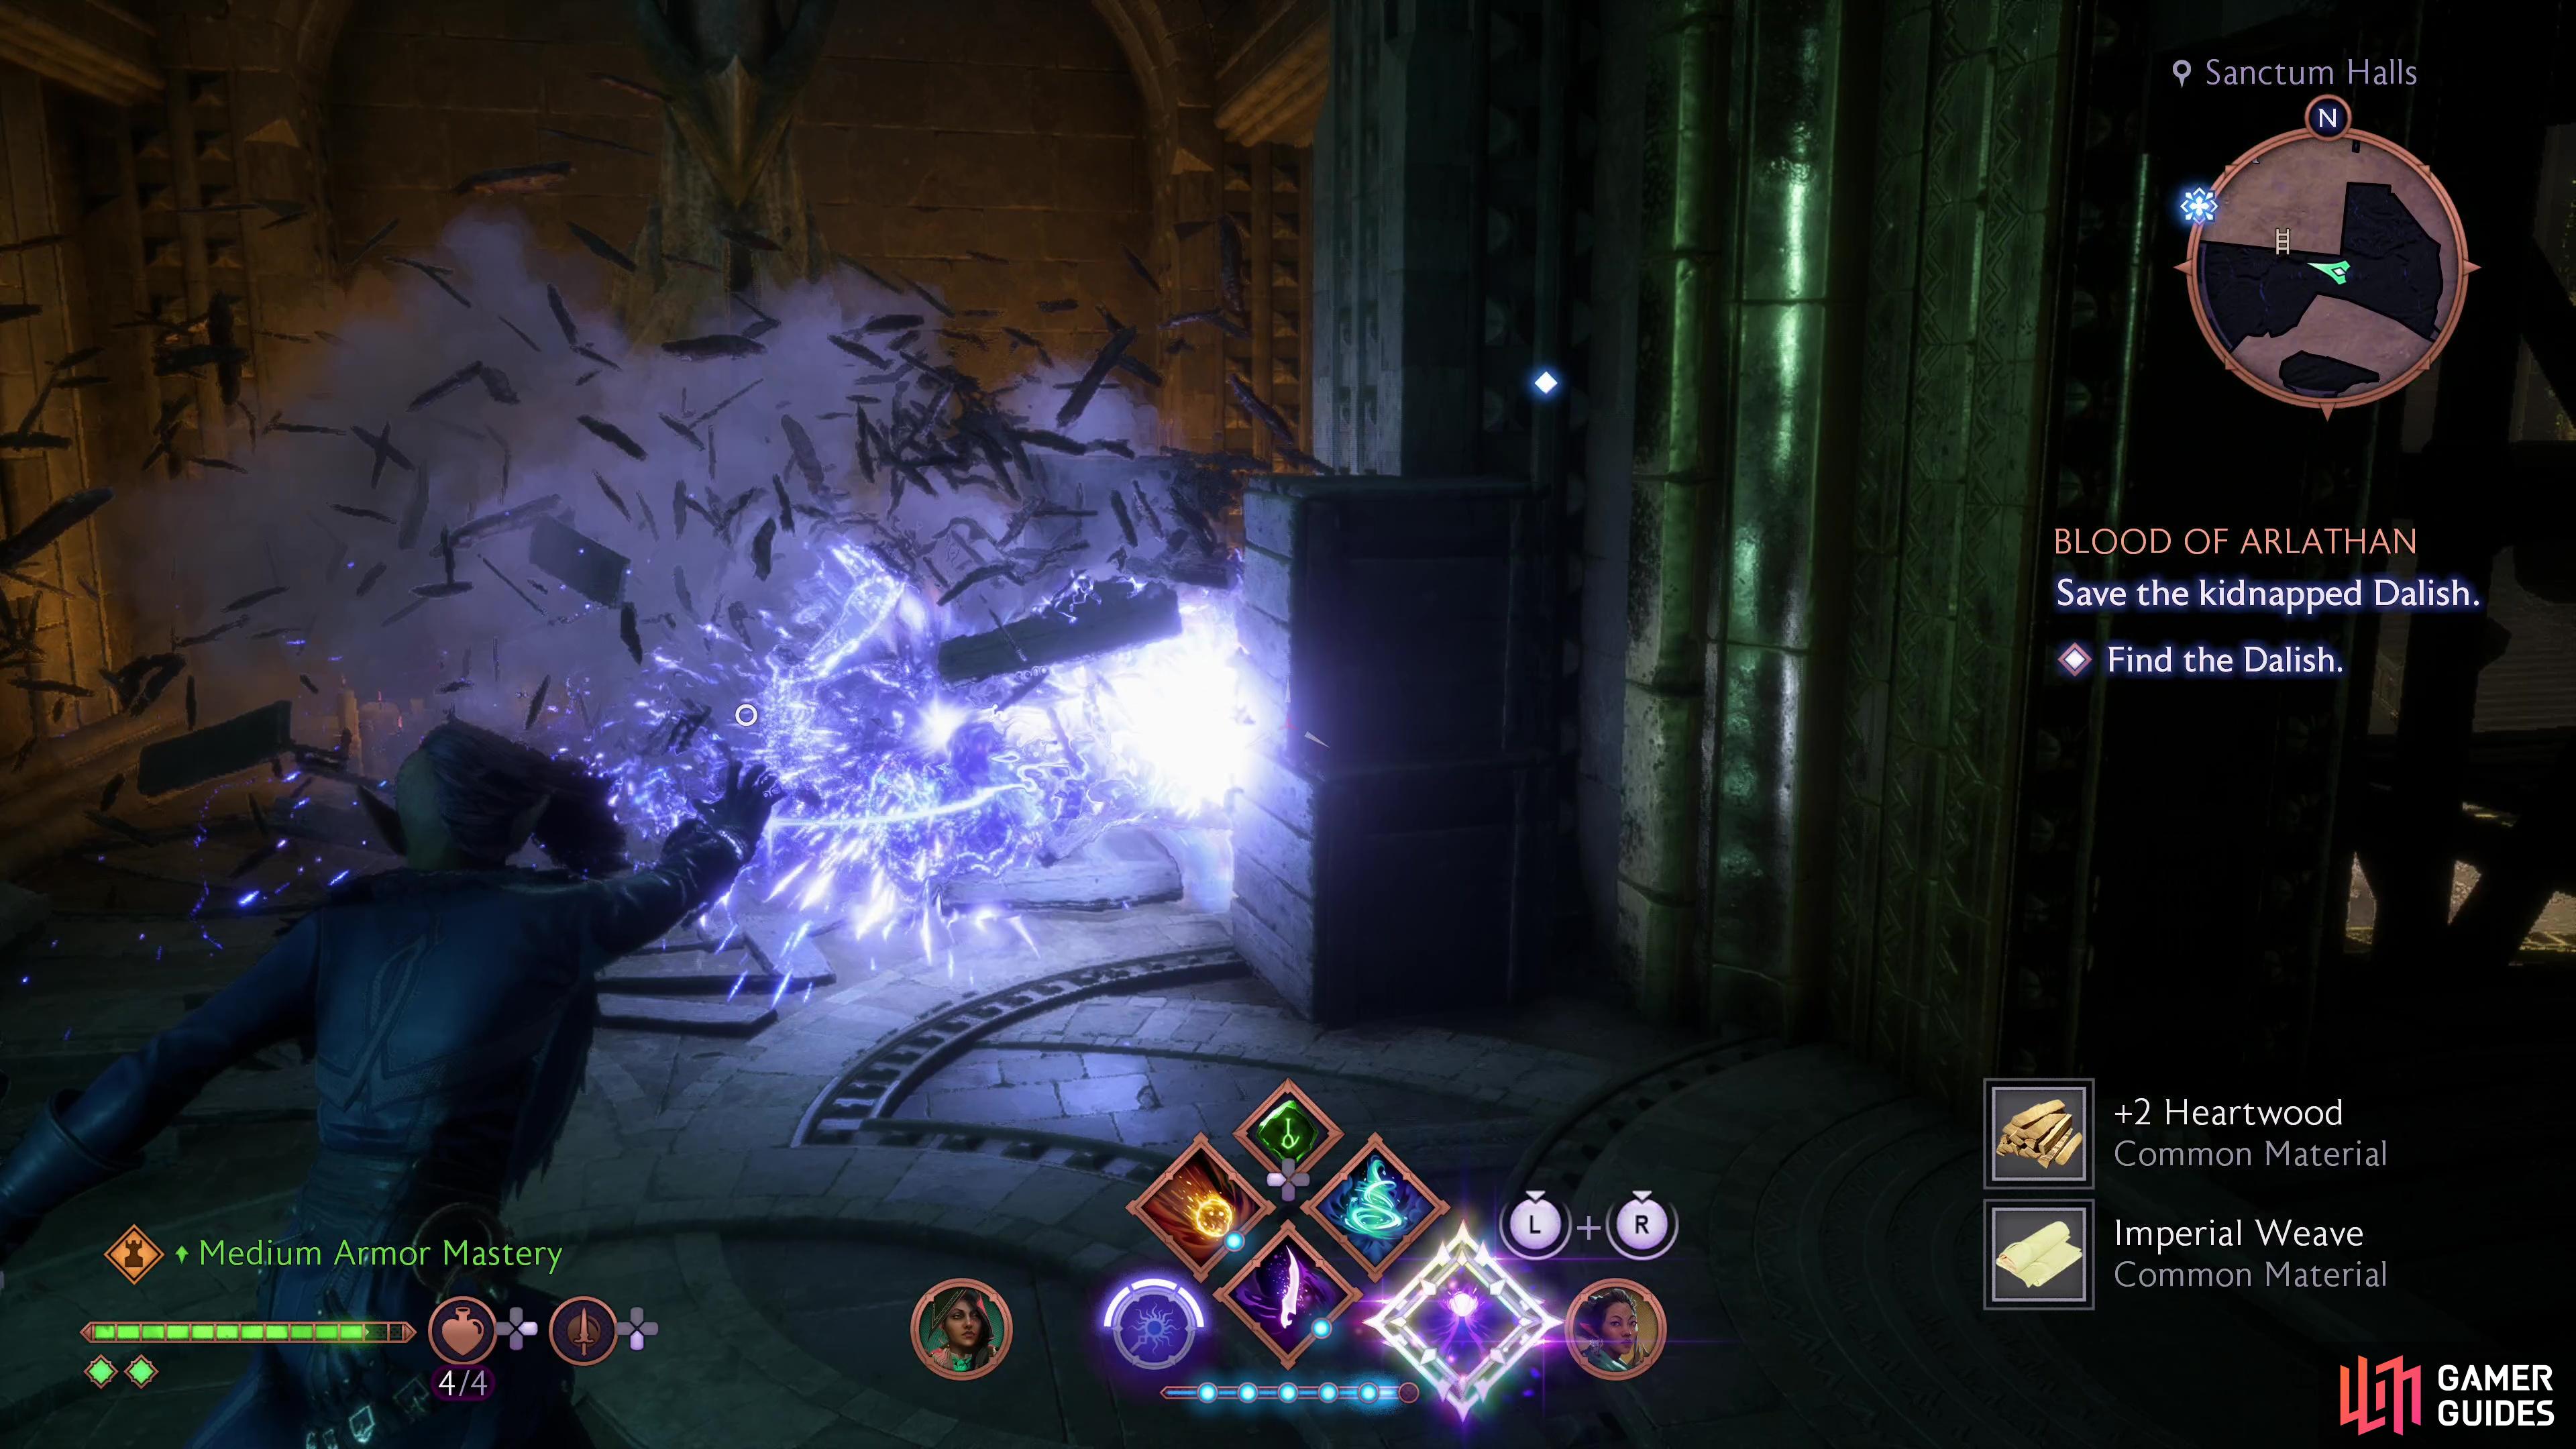
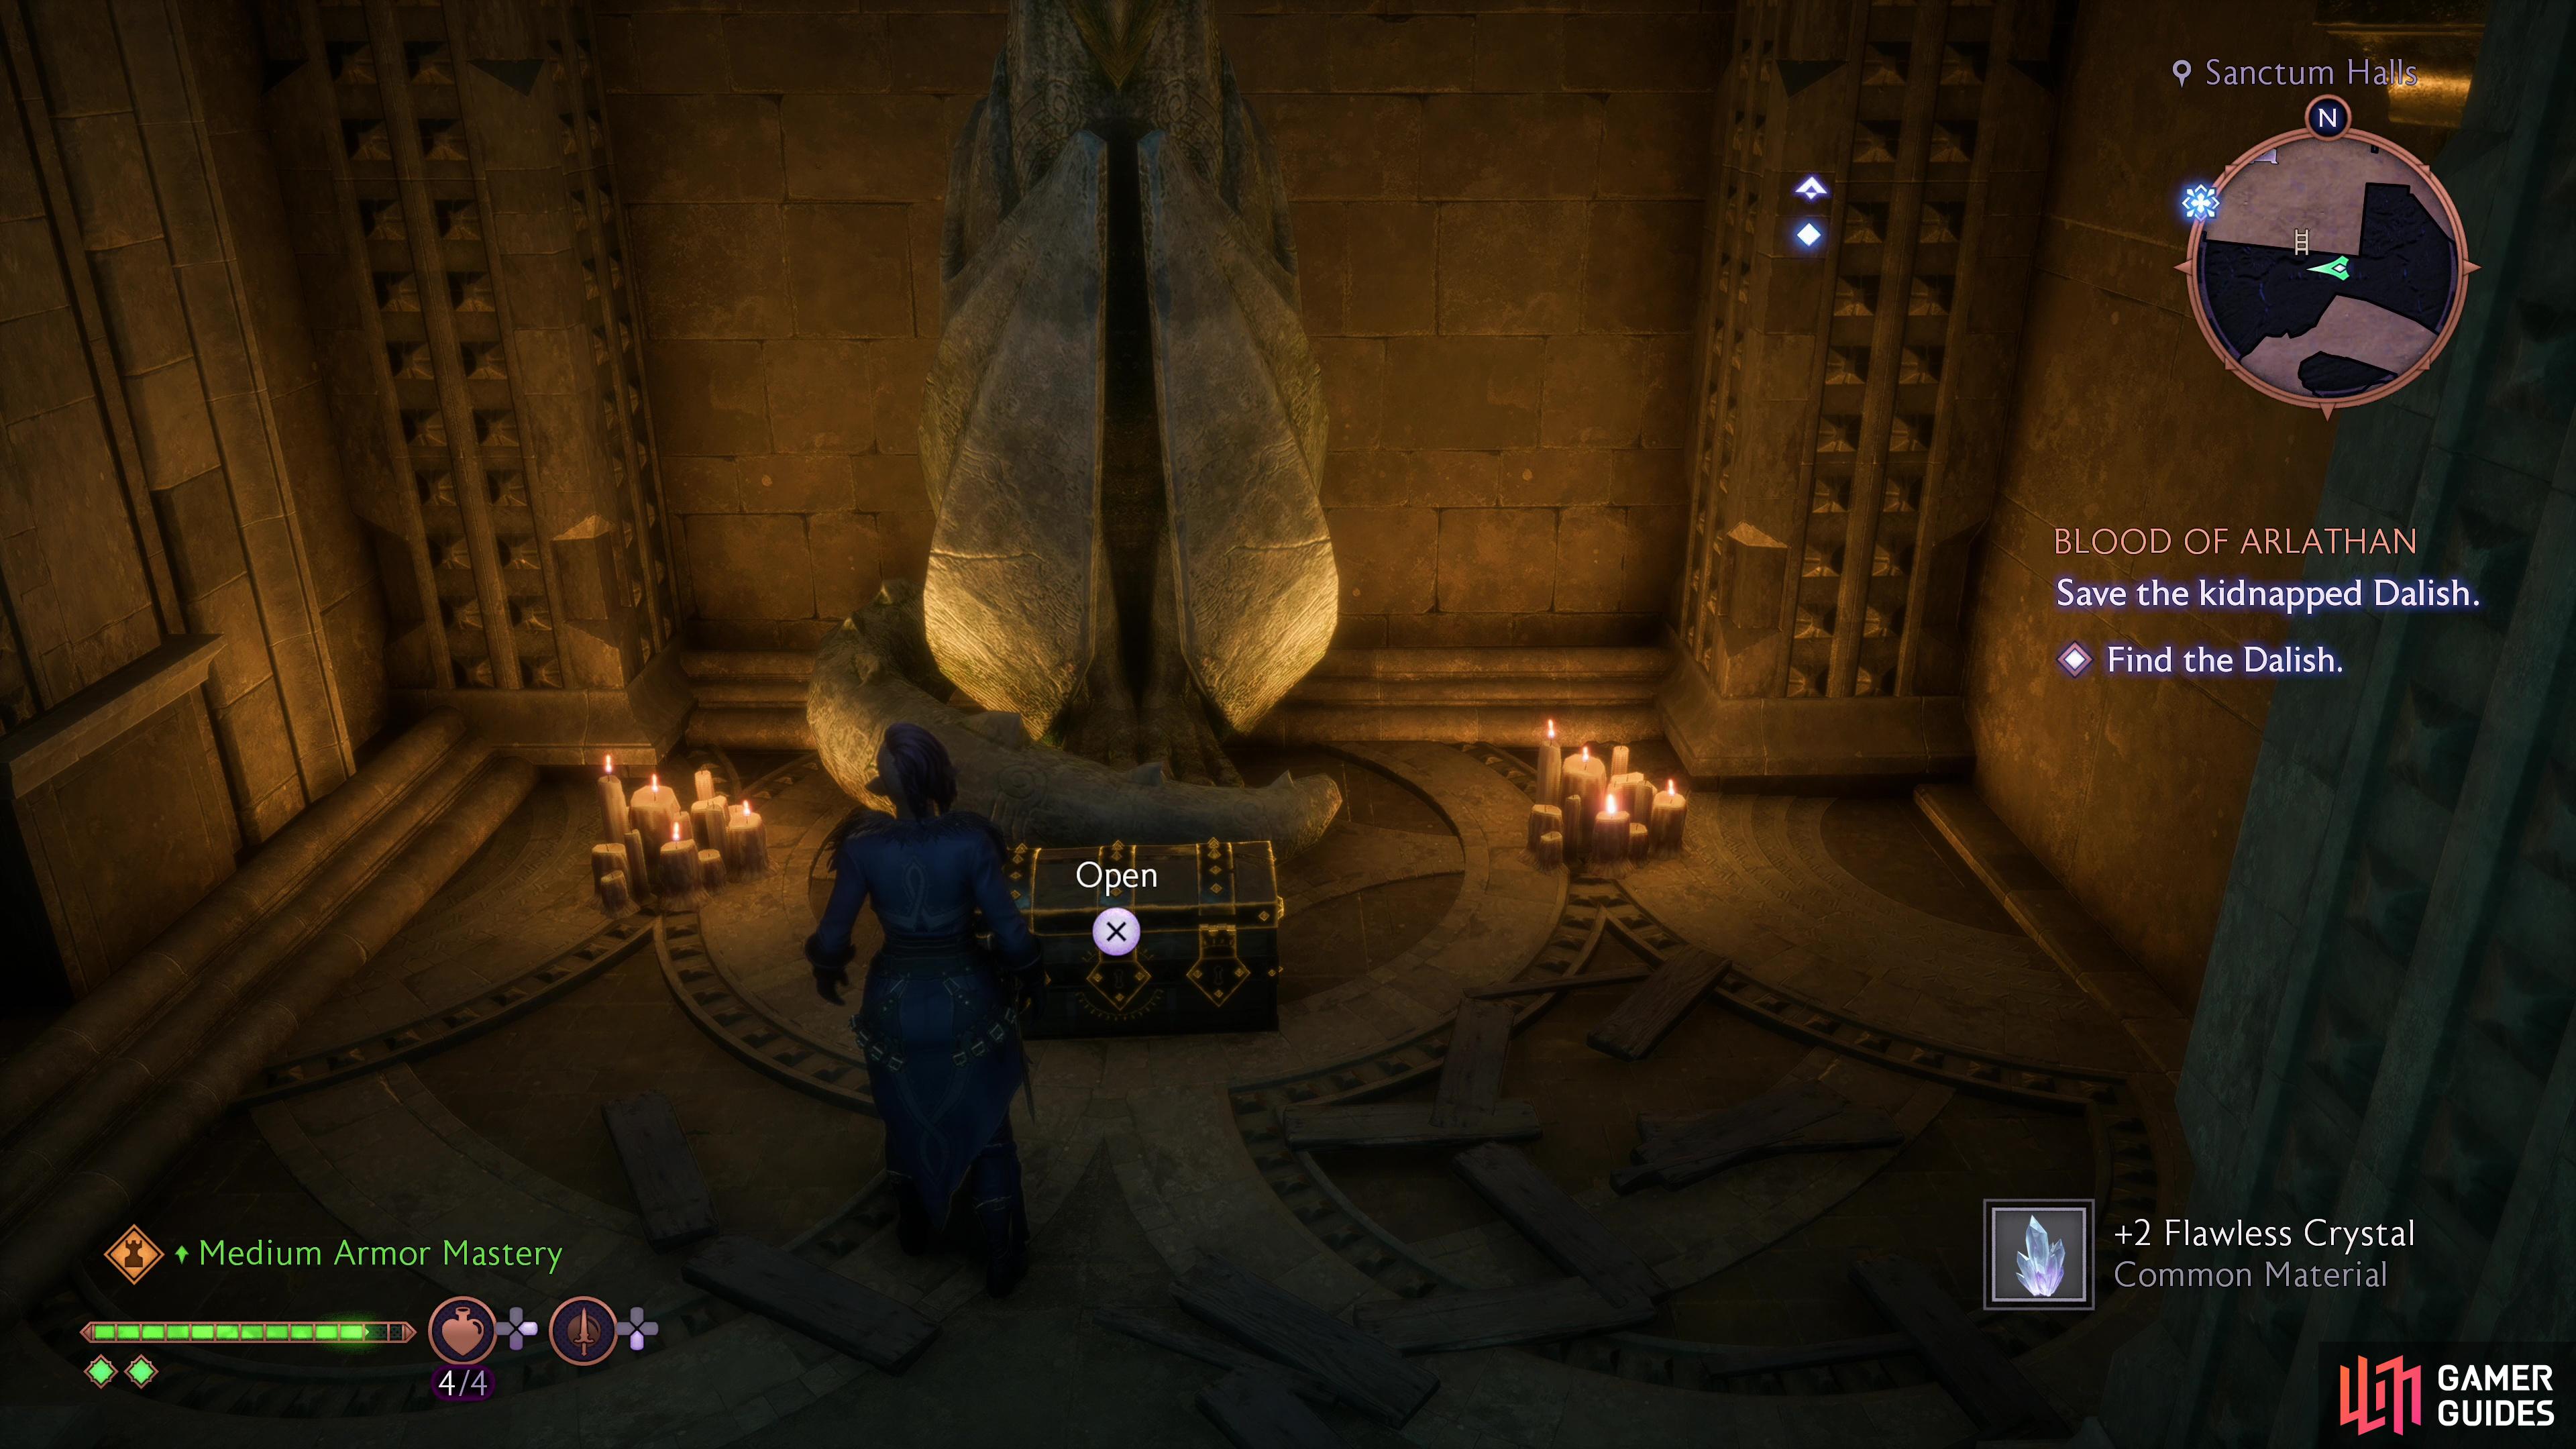
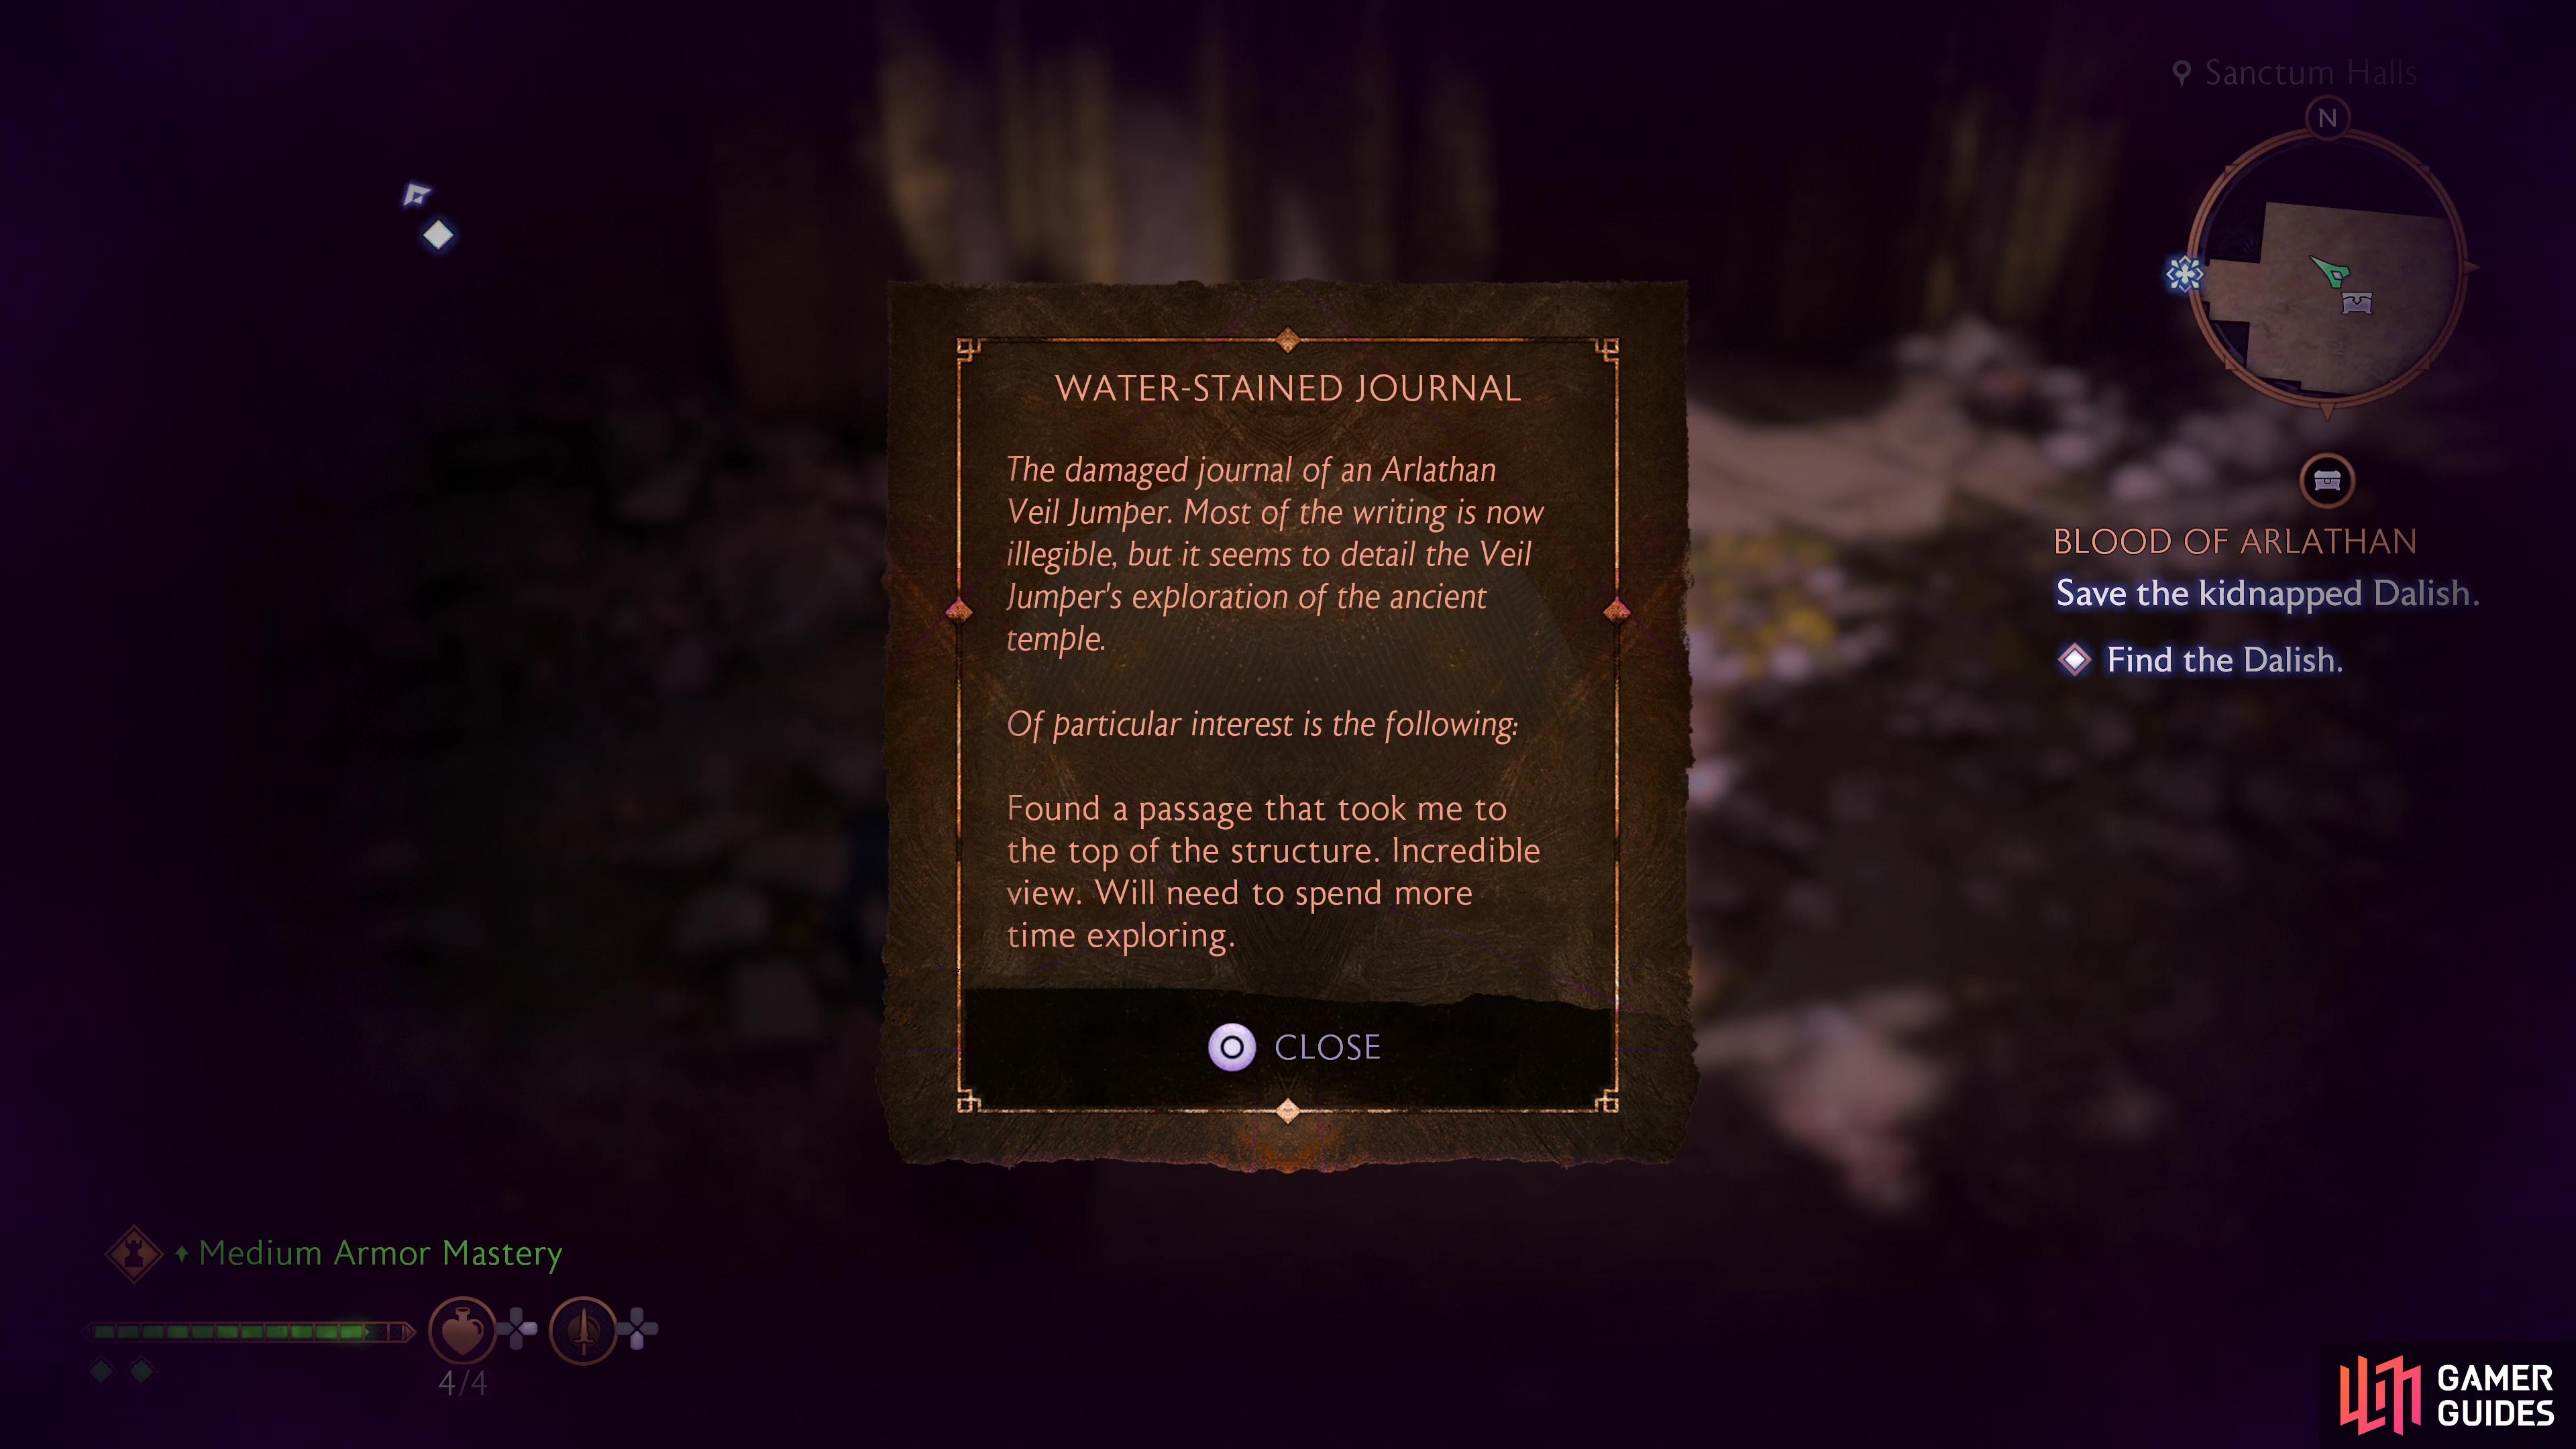
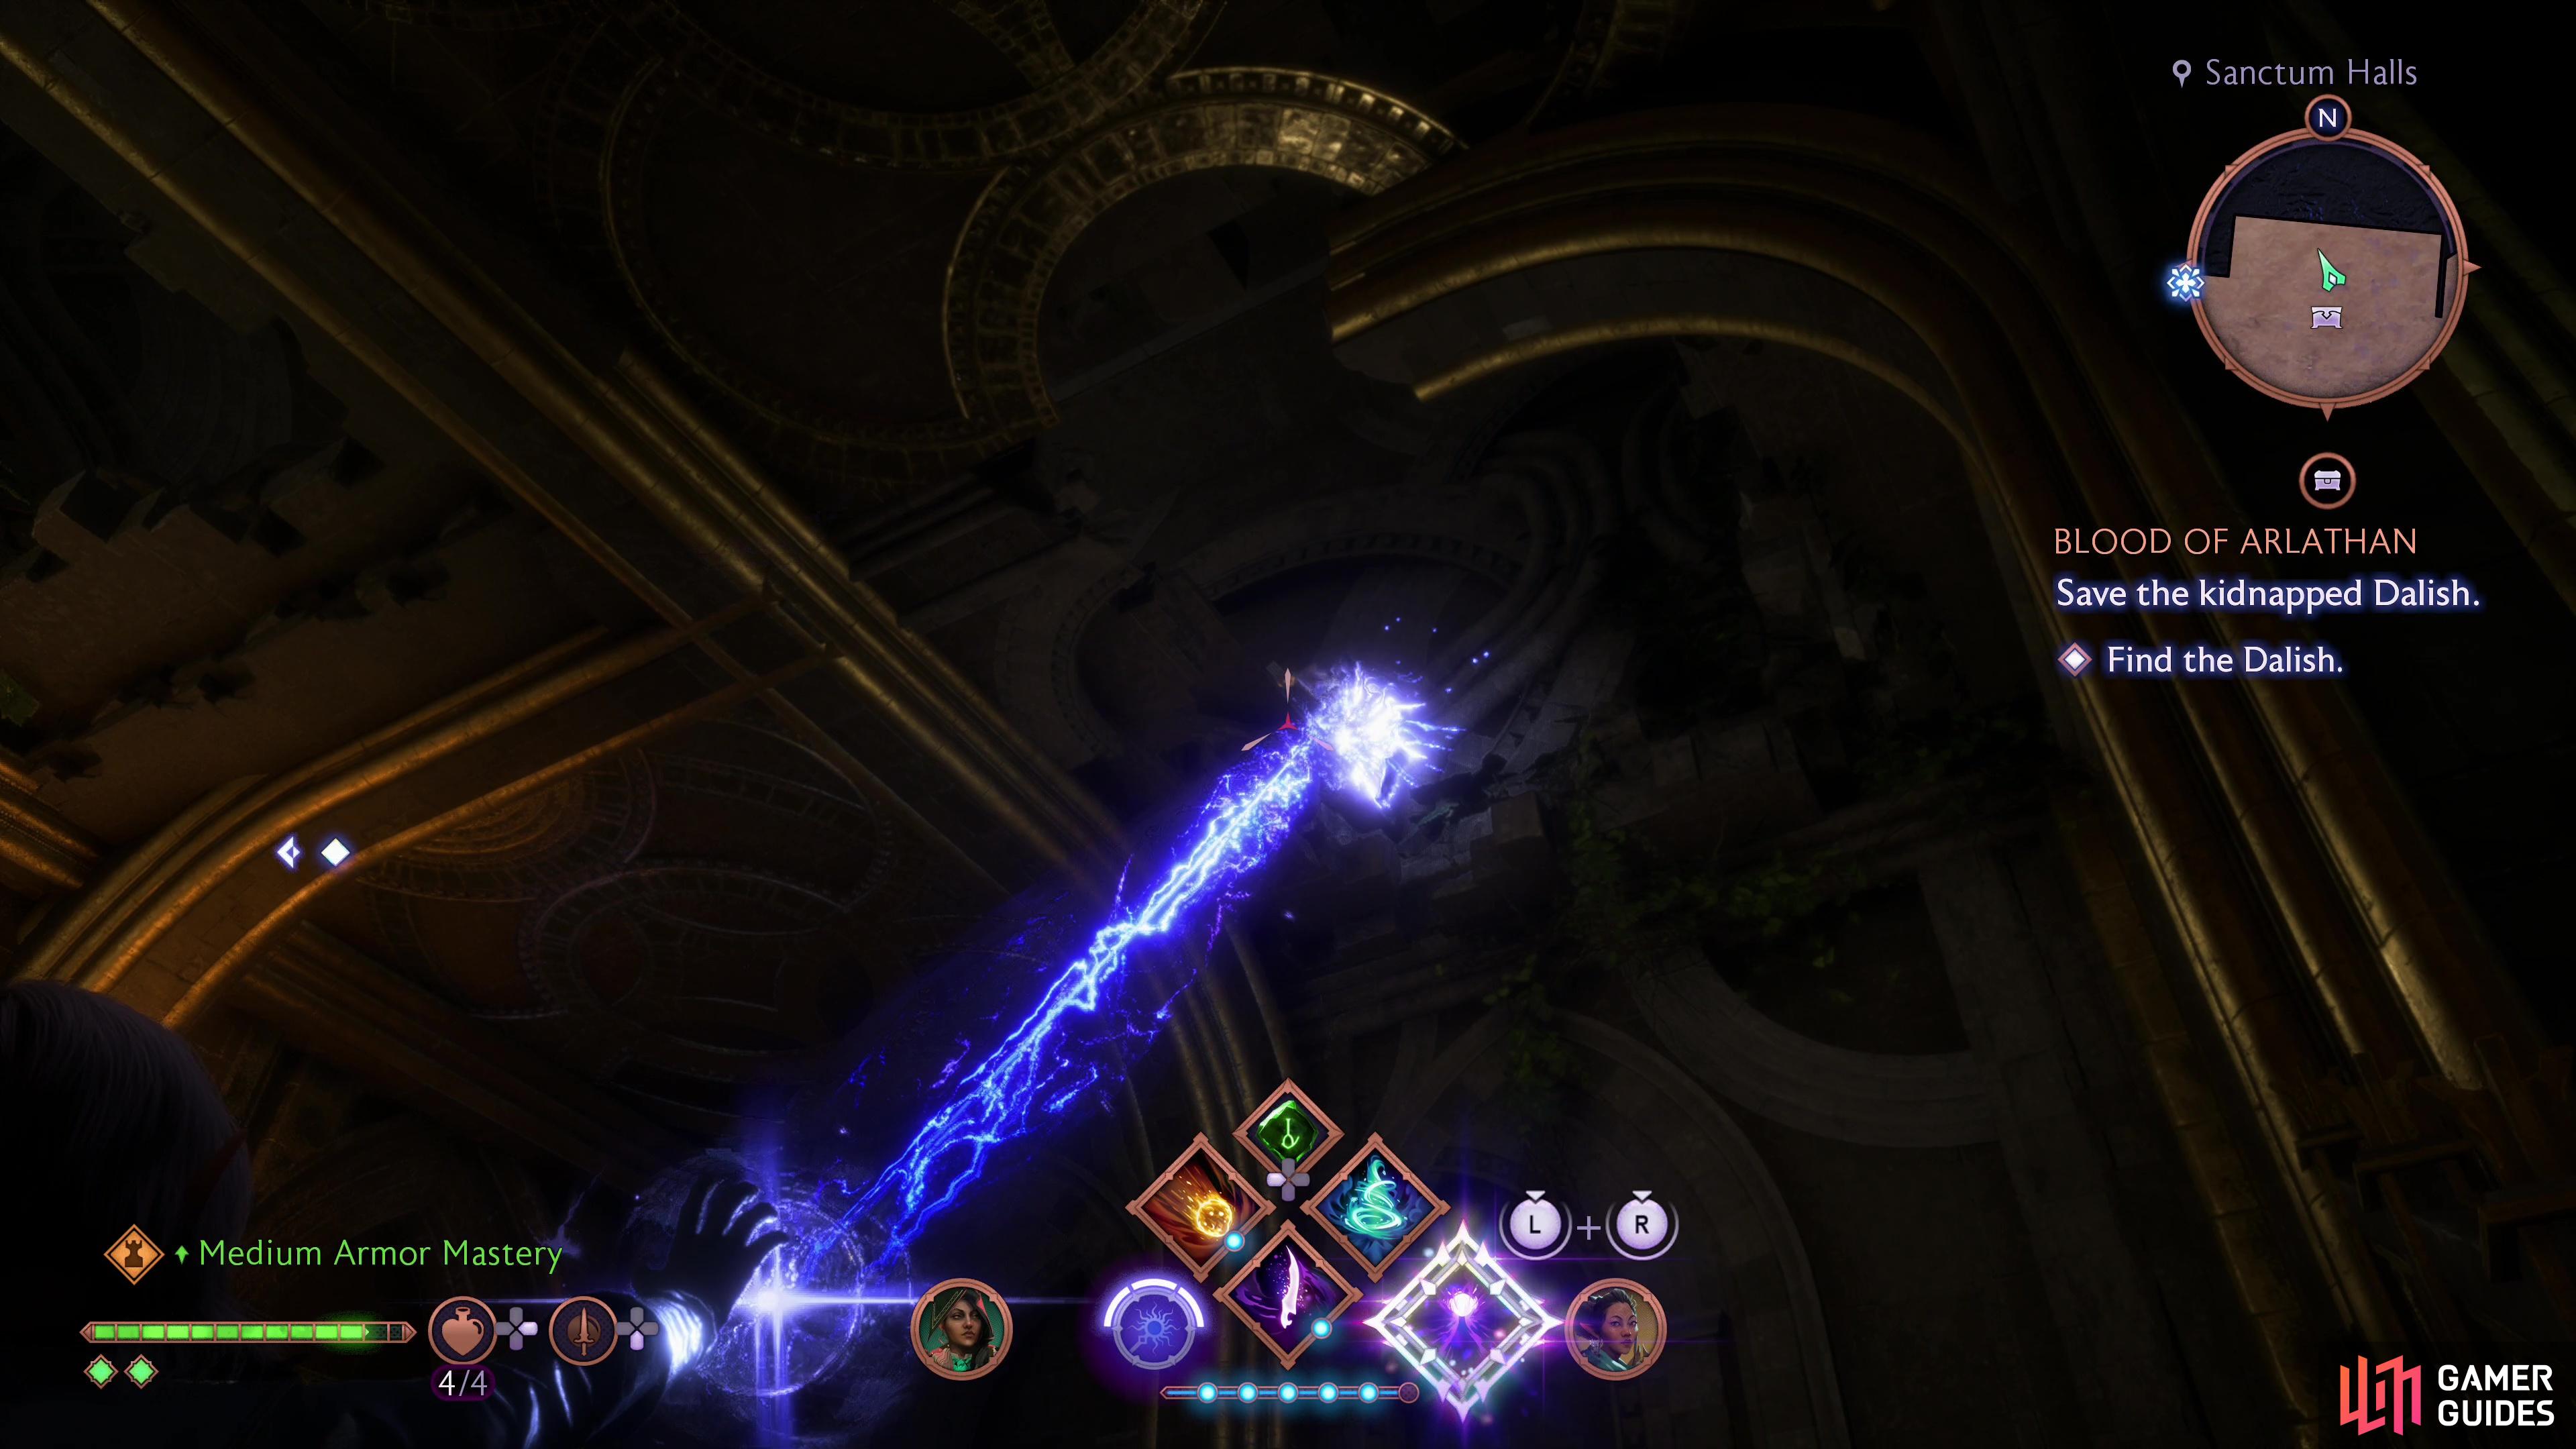
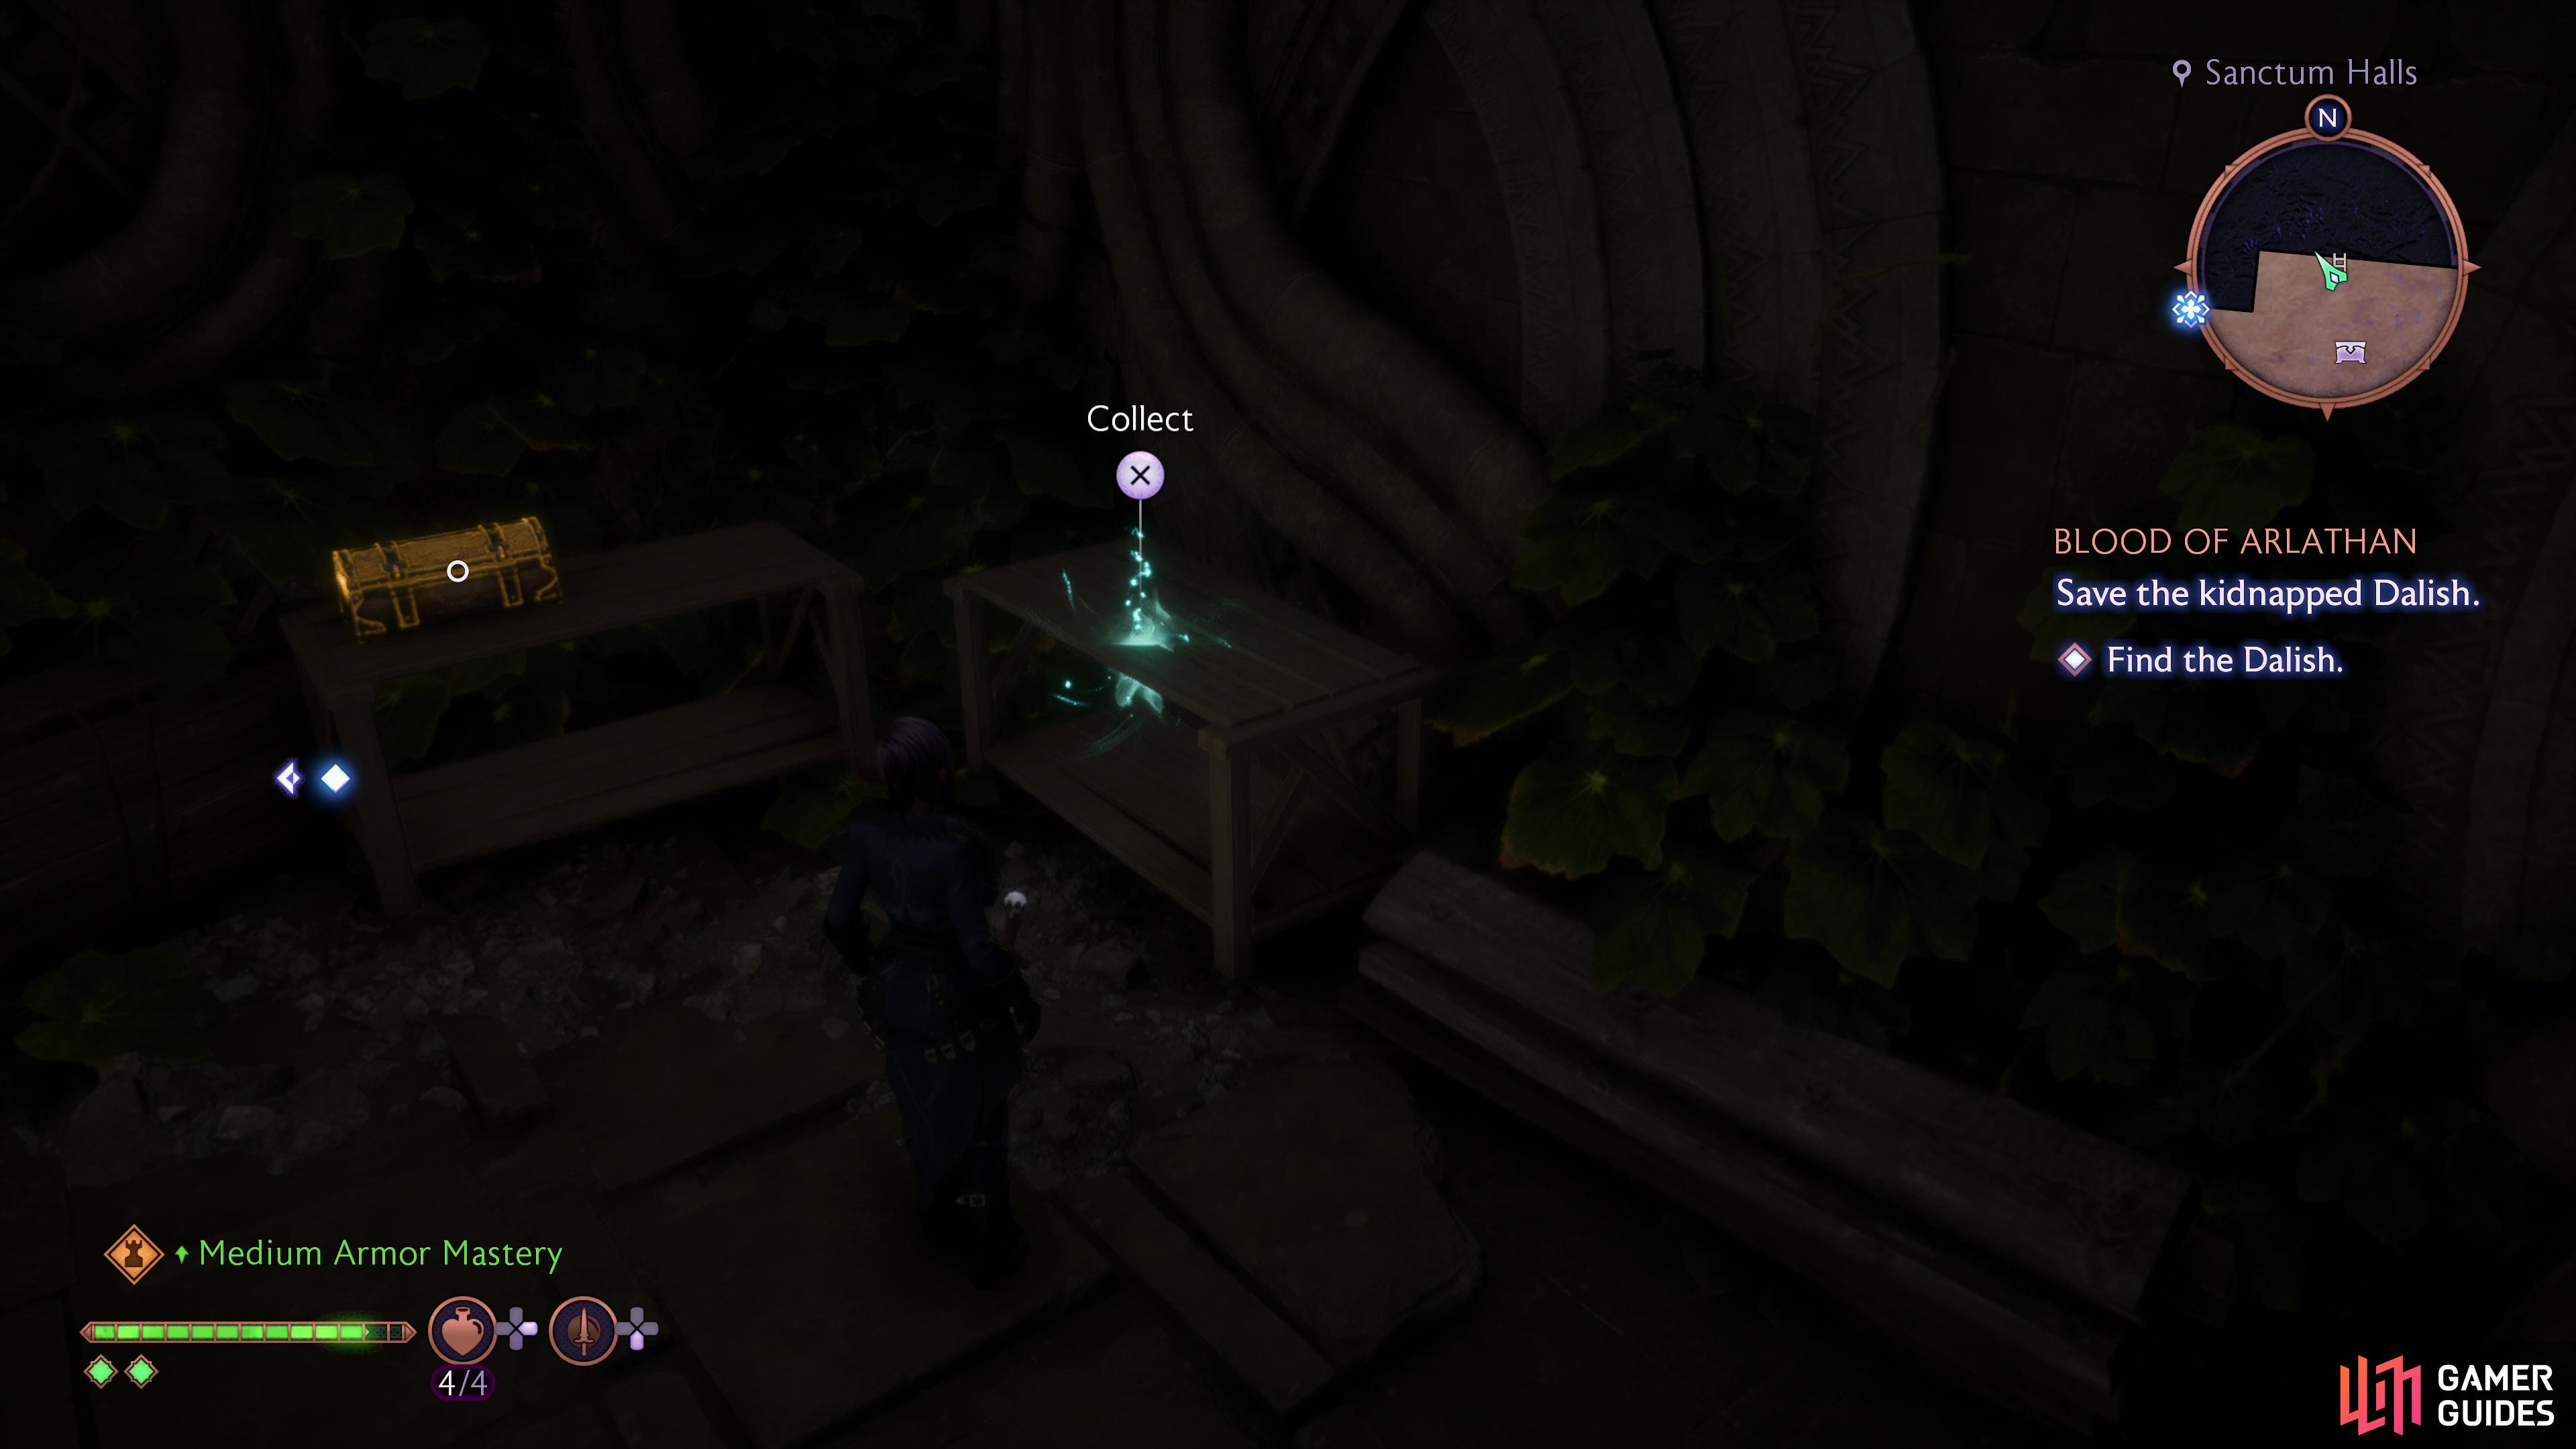
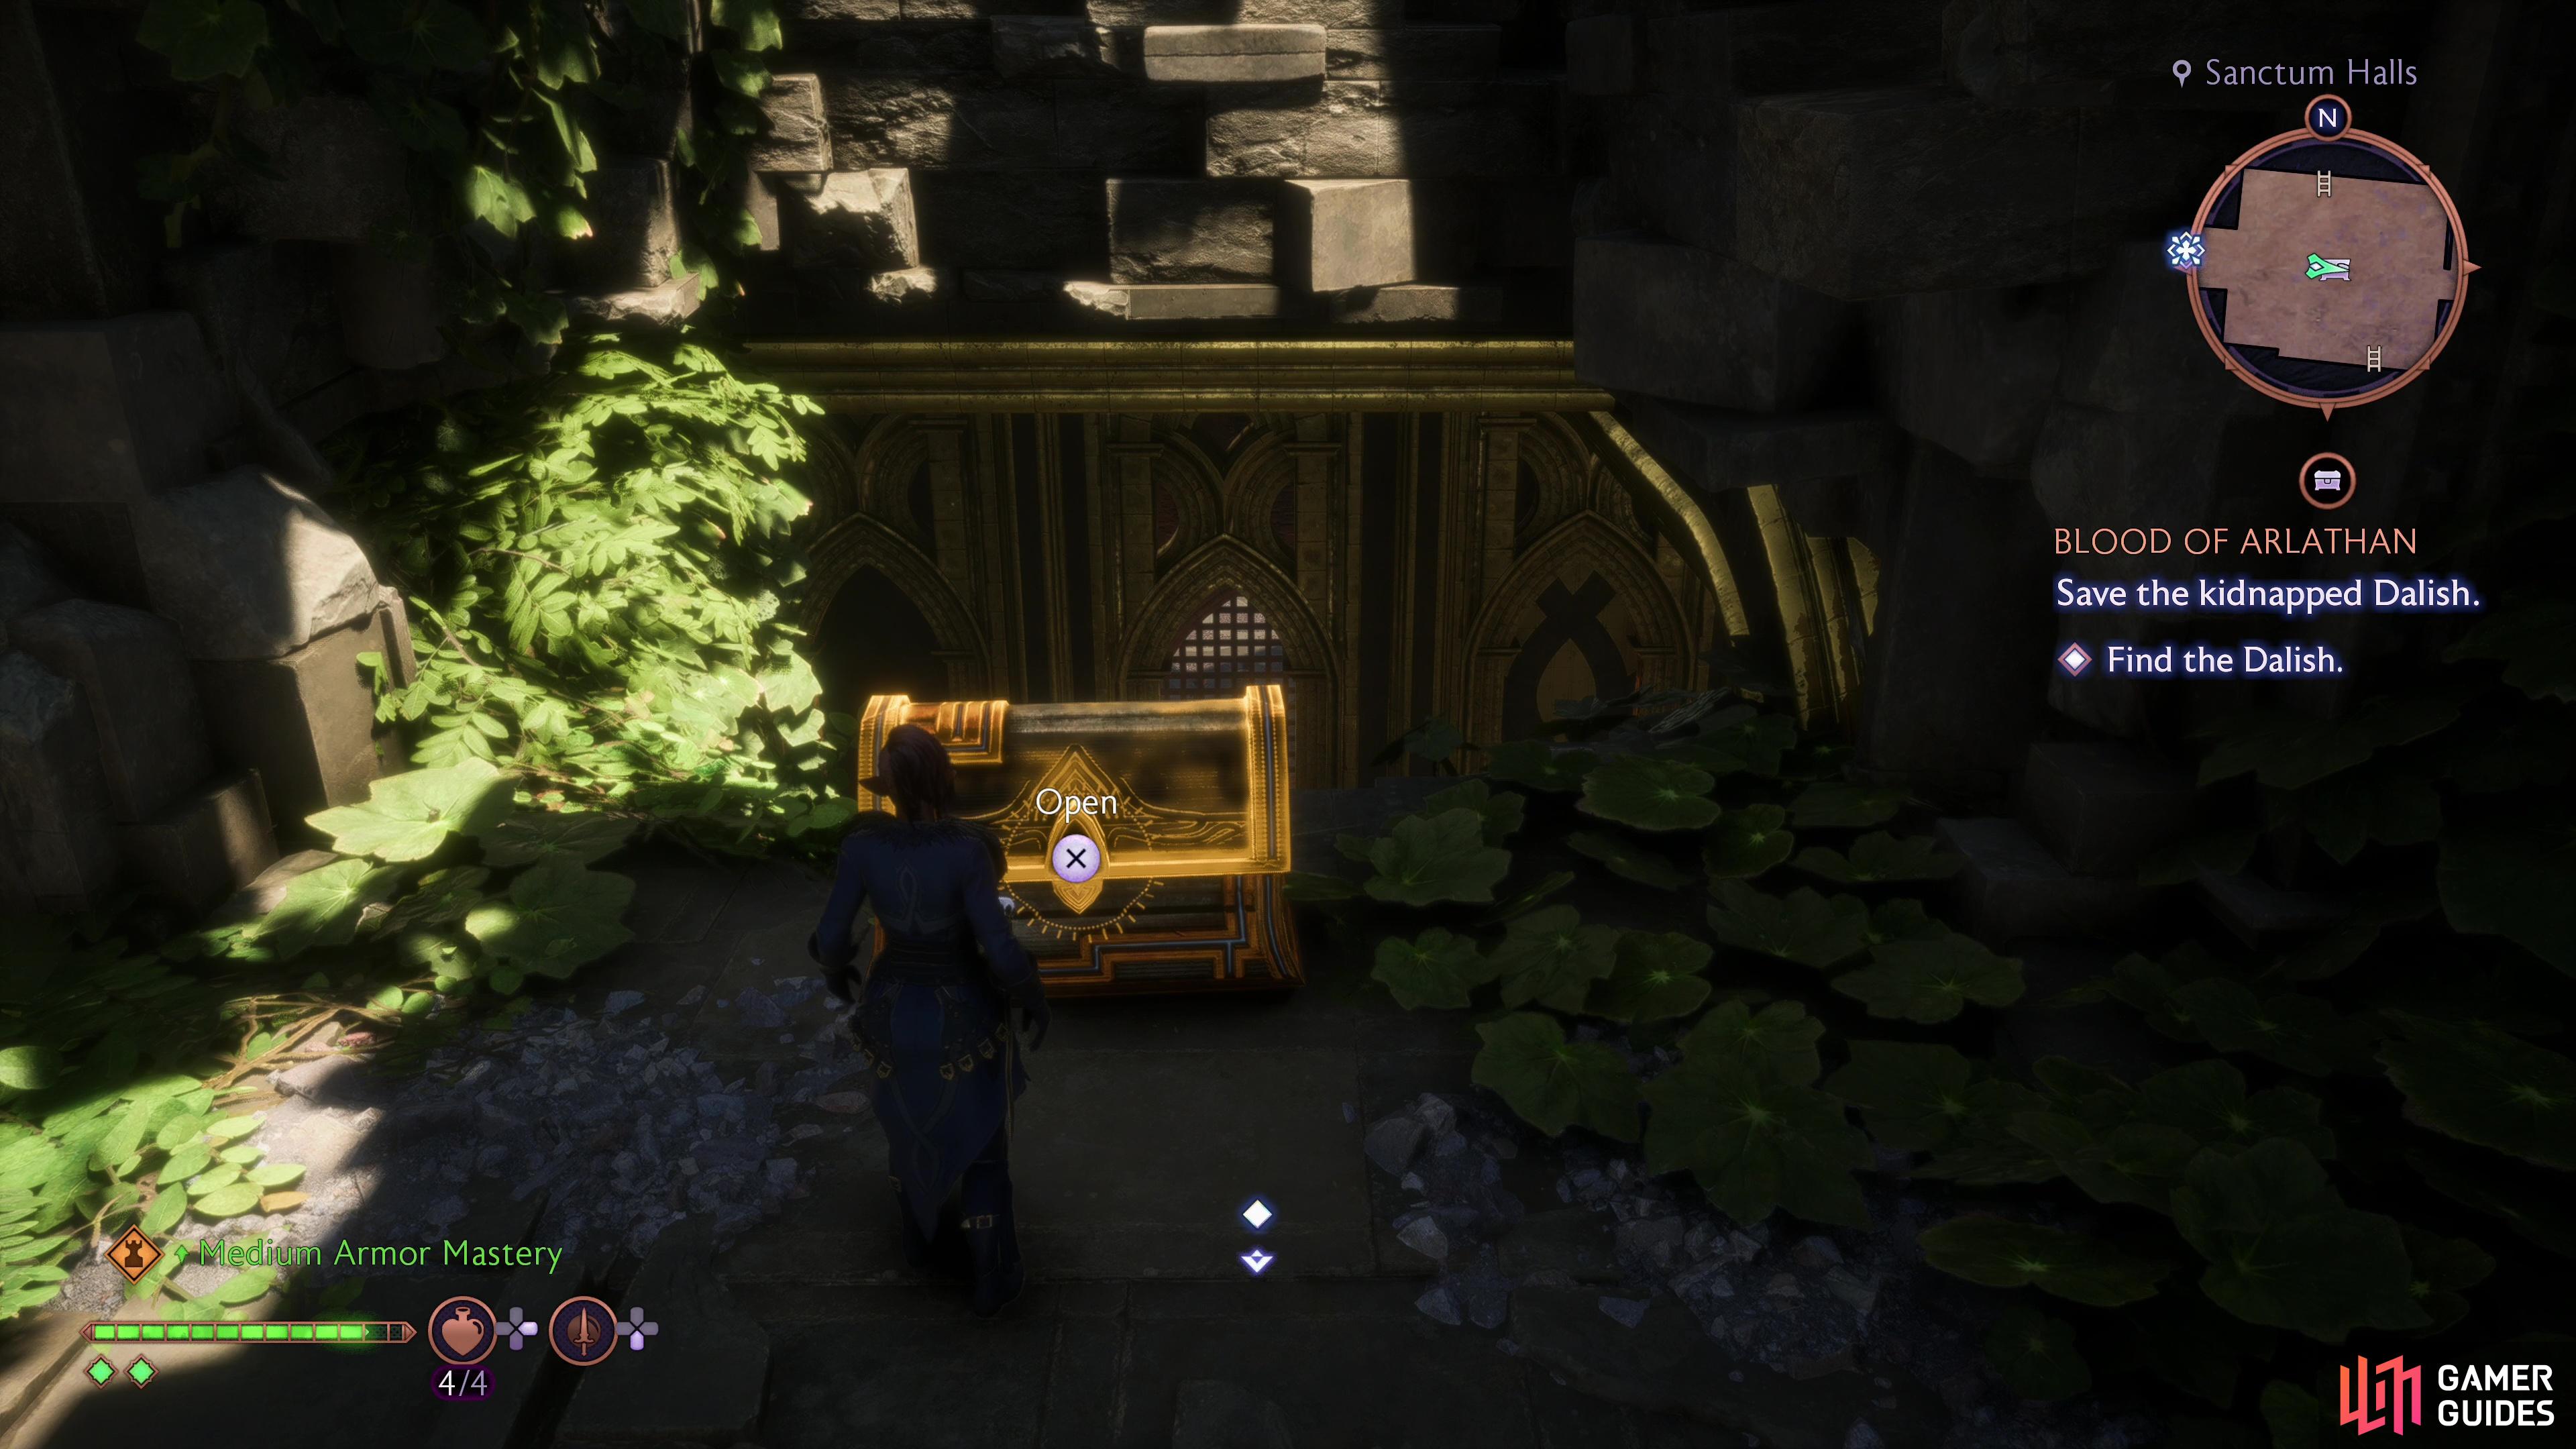
Drop back down to the ground floor of the Sanctum Halls to the north, go back upstairs to the west, then turn right (north) and head upstairs. If you search on a stone to the southwest to find a Water-Stained Journal which mentions some “passage that leads to the top of the structure”, which is well worth investigating. Backtrack to the stairs you just ascended and note a stone ledge to the north. If you look up you should spot a hole in the ceiling, where a ladder can just barely be seen - it’s at a bit of an odd angle and isn’t easy to spot during casual exploring. Use a ranged attack to knock it down, then climb up. Once near the roof, loot a Mysterious Gem memento off a table (Caretaker Power +50), then turn south and jump a gap to loot a chest.
(1 of 4) Find the “Water-Stained Journal” to note rumor of a passage up to the roof.
Escape Elgar’nan’s Trap
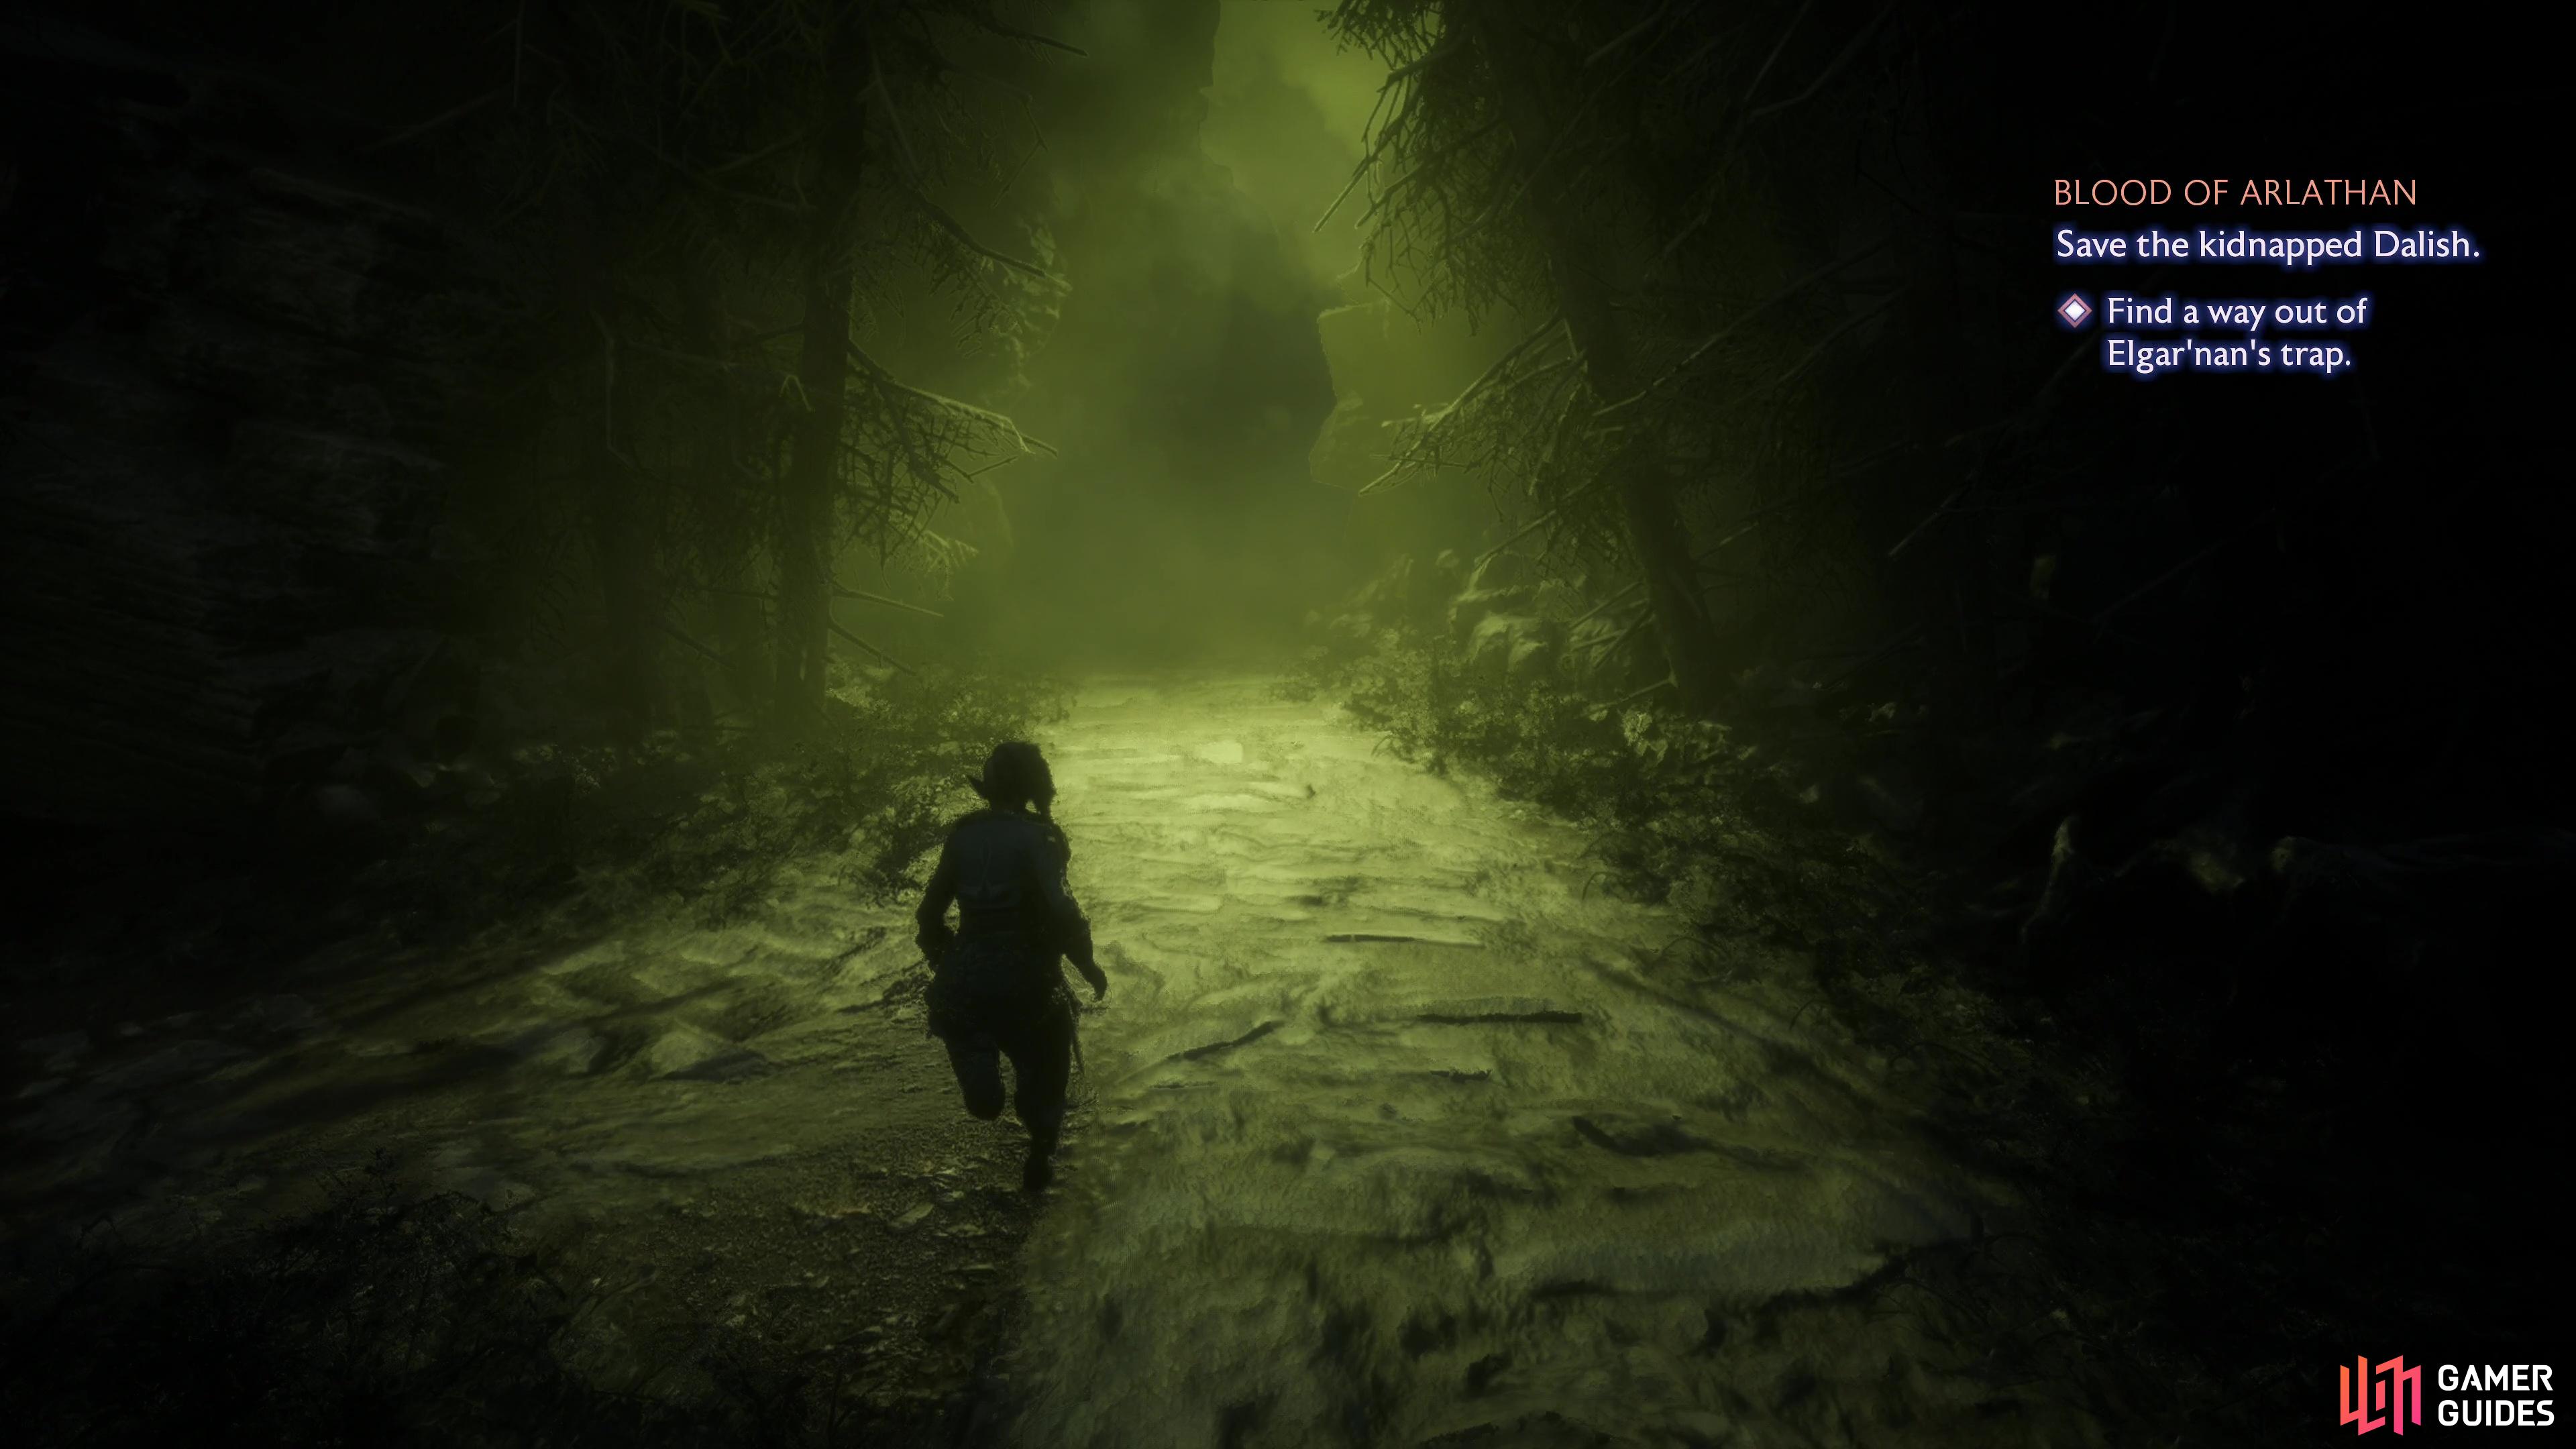
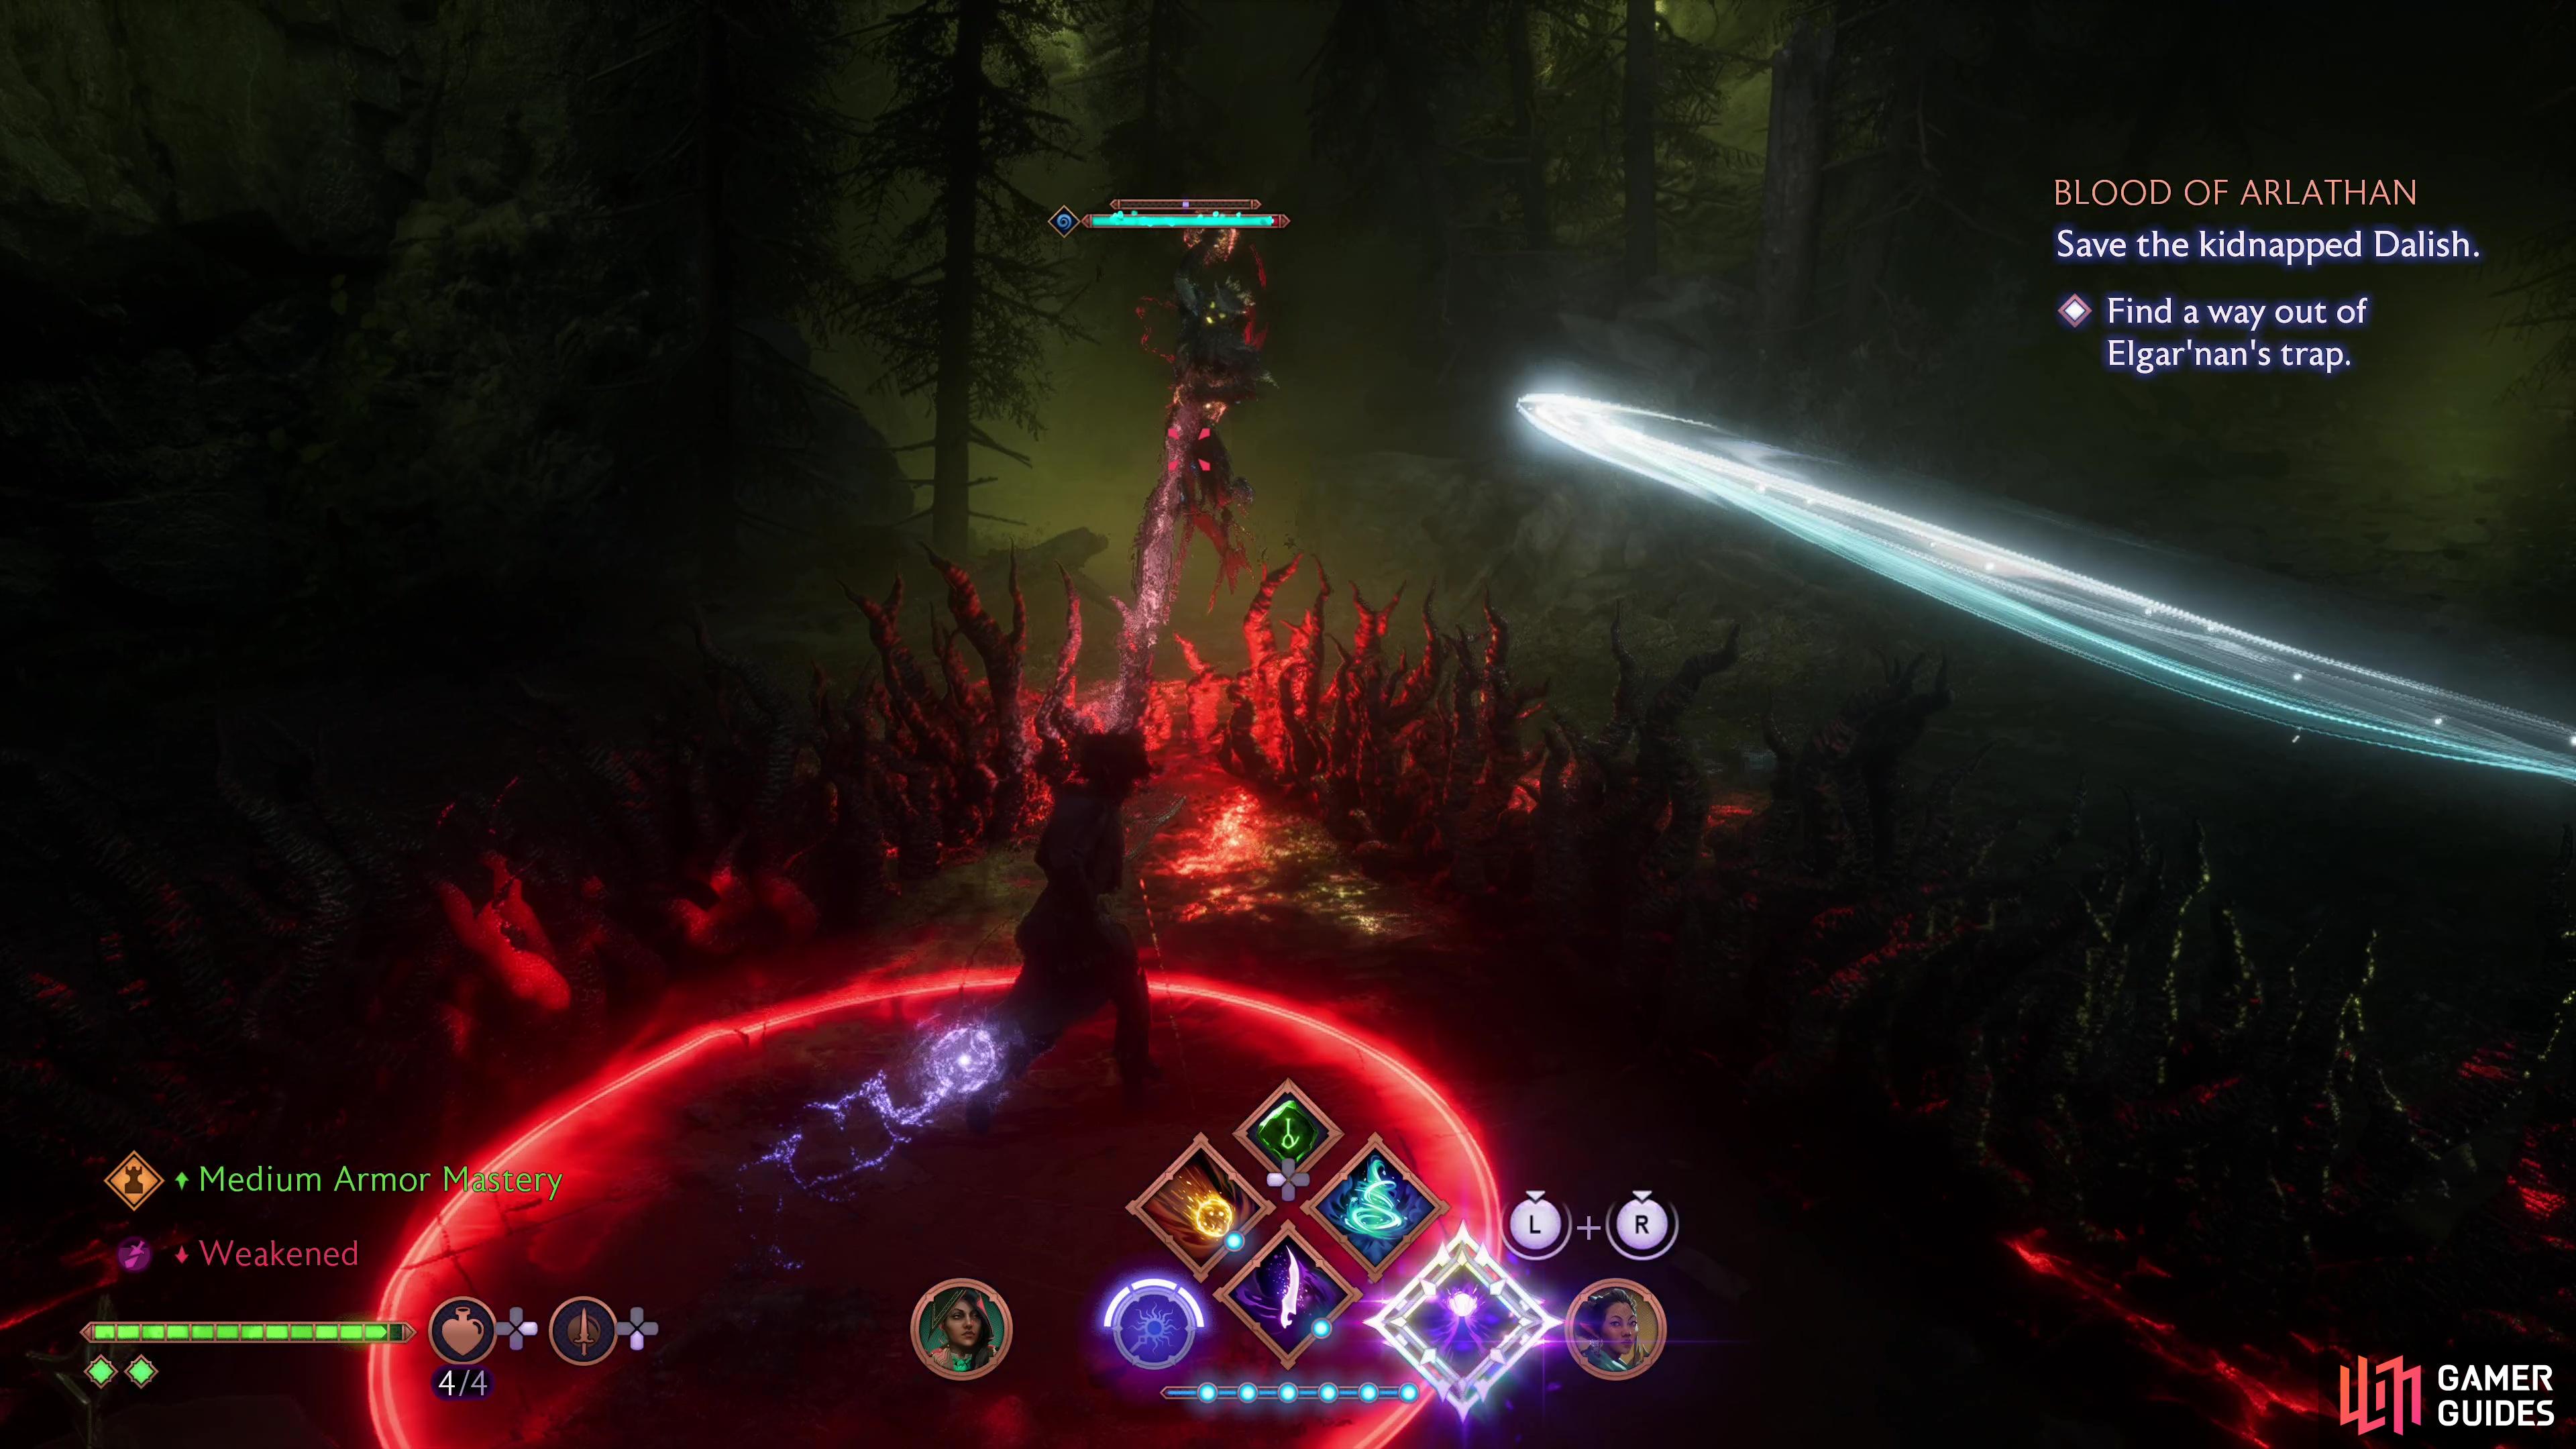
Work your way back through the Sanctum Halls to the west and enter the mist, whereupon you’ll be teleported to a shadowy mockery of the ruins in Arlathan Forest. Continue forward, drop down a ledge, and take one of three passages deeper into the forest - it doesn’t matter which one, just keep pressing on and after you make some progress and endure some chatter you’ll appear back at the beginning of the area. Repeat the process again, save this time the forest will have pools of blight strewn about, and the path you picked the first time is now sealed. Advance until you reappear at the entrance again, then go to make a third trip, save this time you’ll find an Alpha Emissary at the hub area from which the paths you’ve been taking branch off. Kill this wretched darkspawn mage, take the third path, and when your last attempt at exploration fails you’ll get another voice on your head - a less unwelcome bit of deus ex machina.
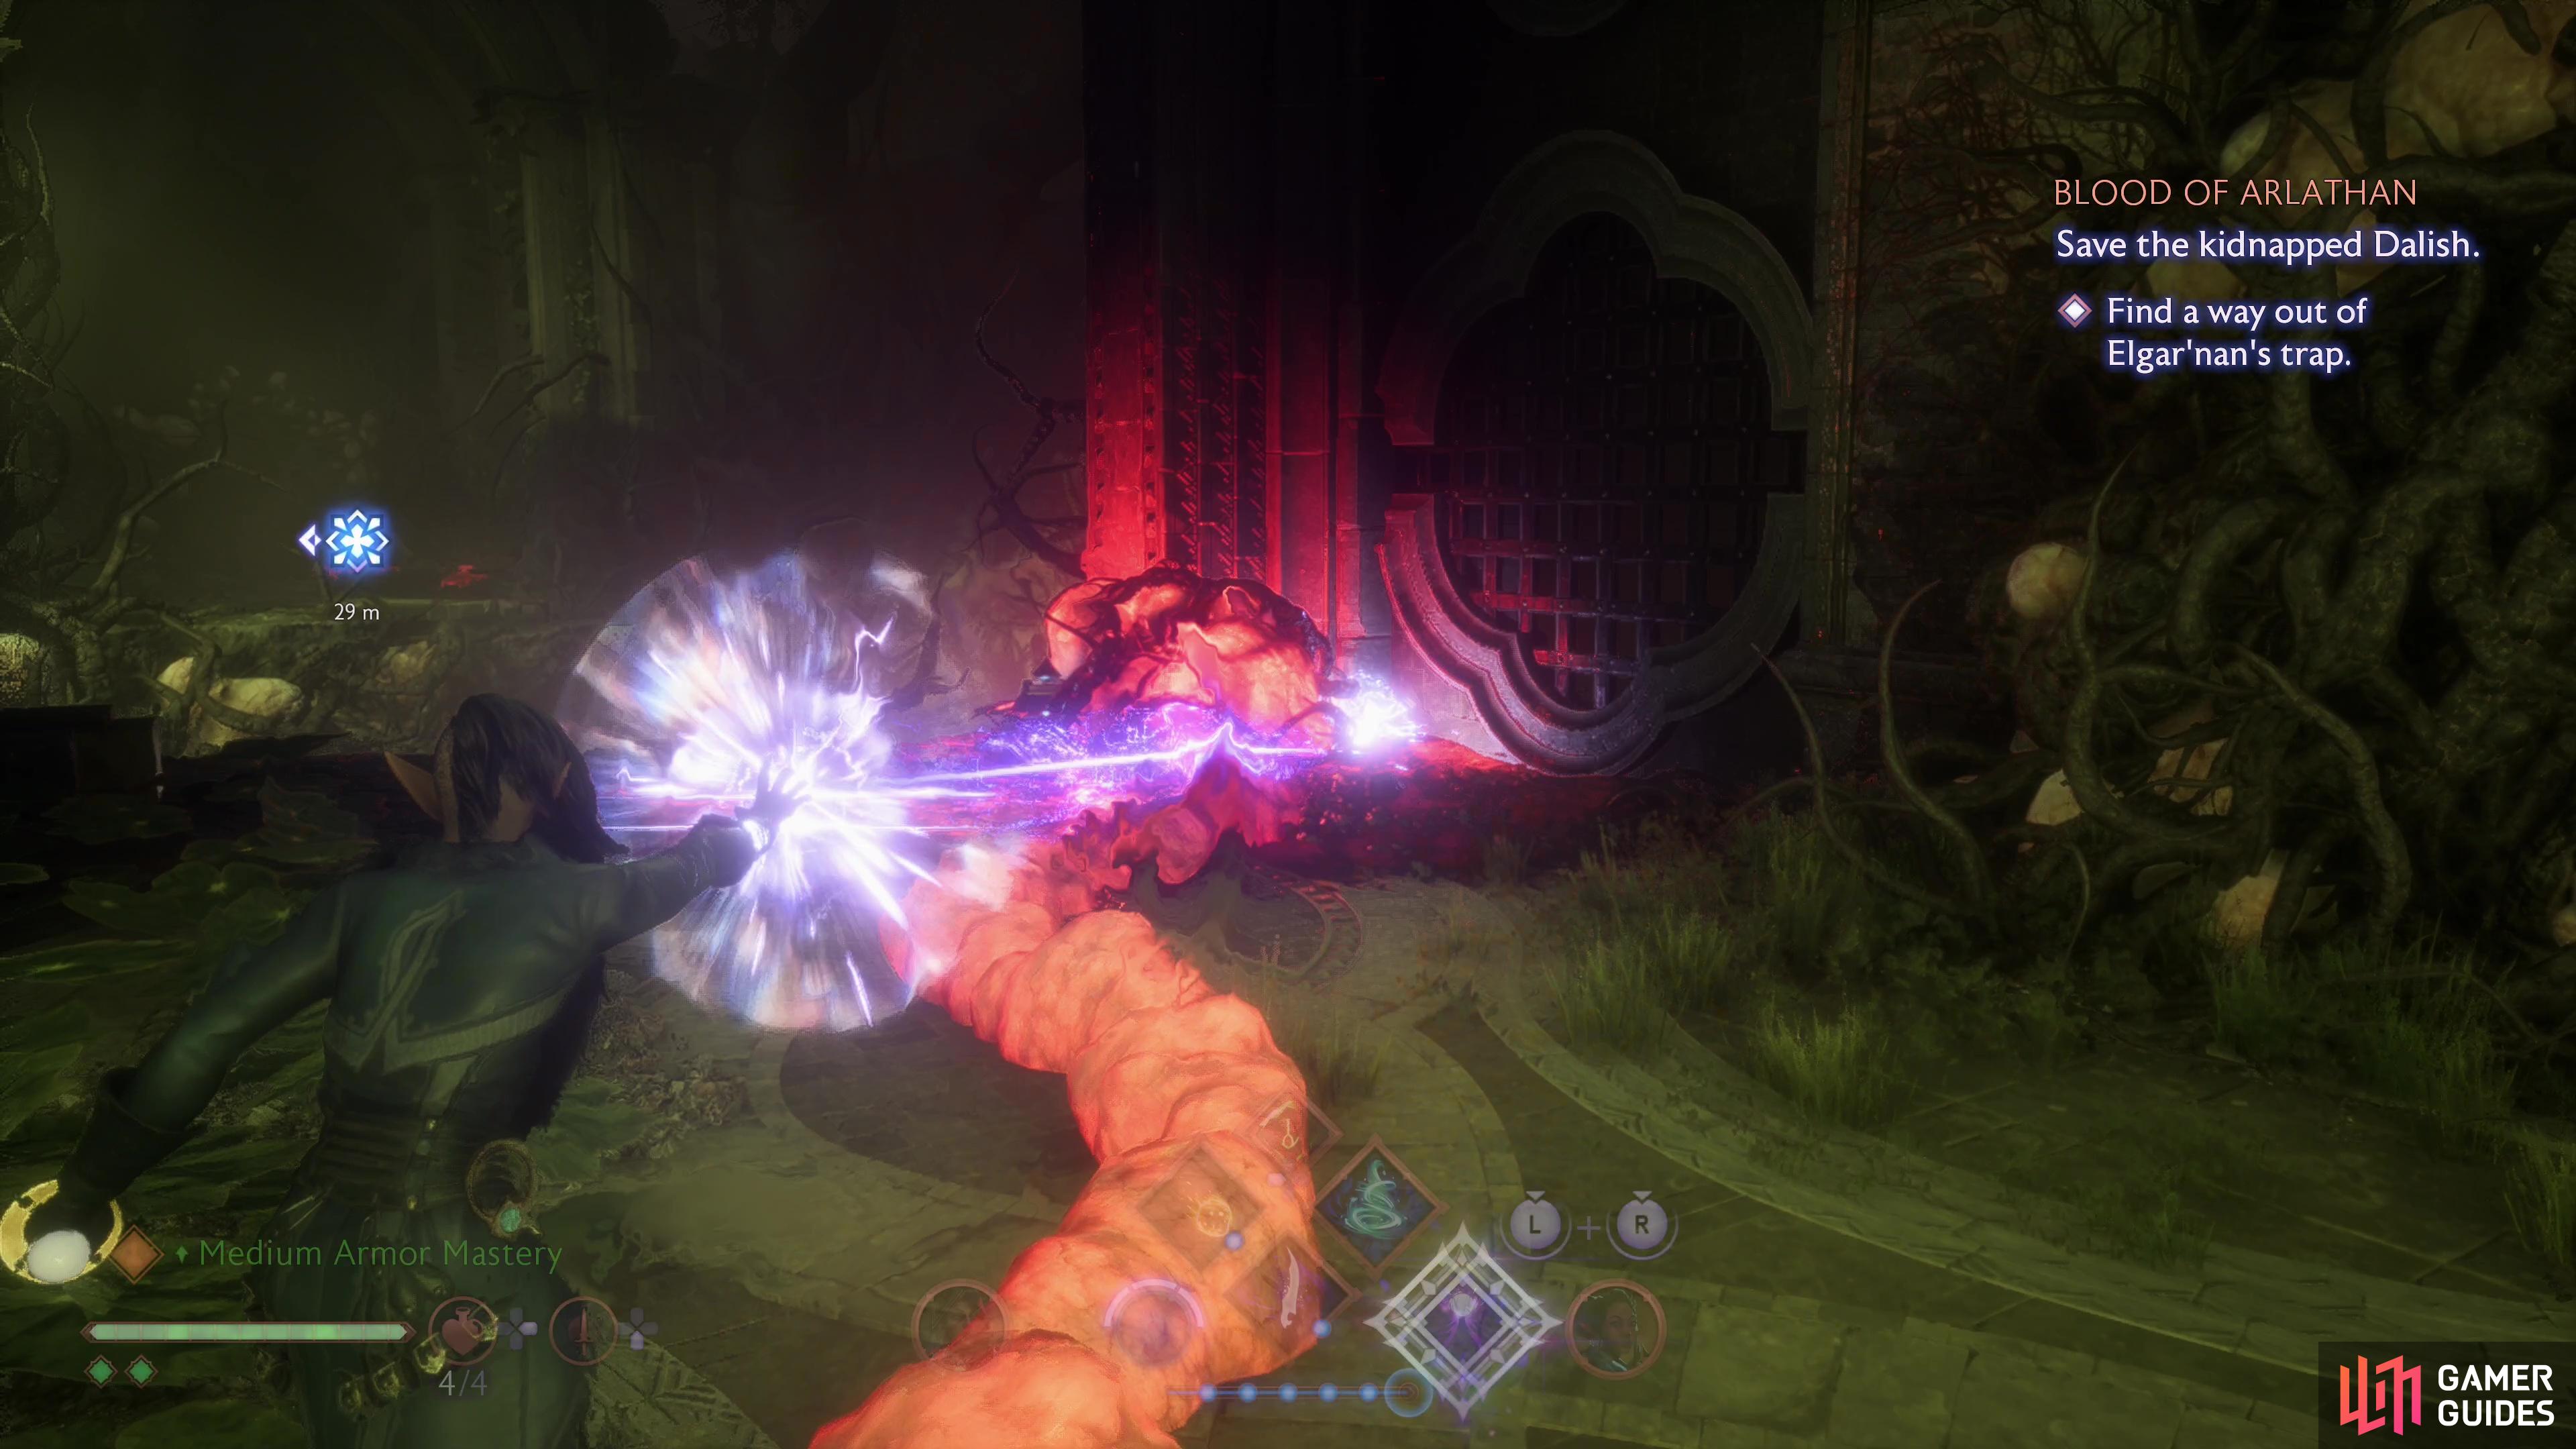
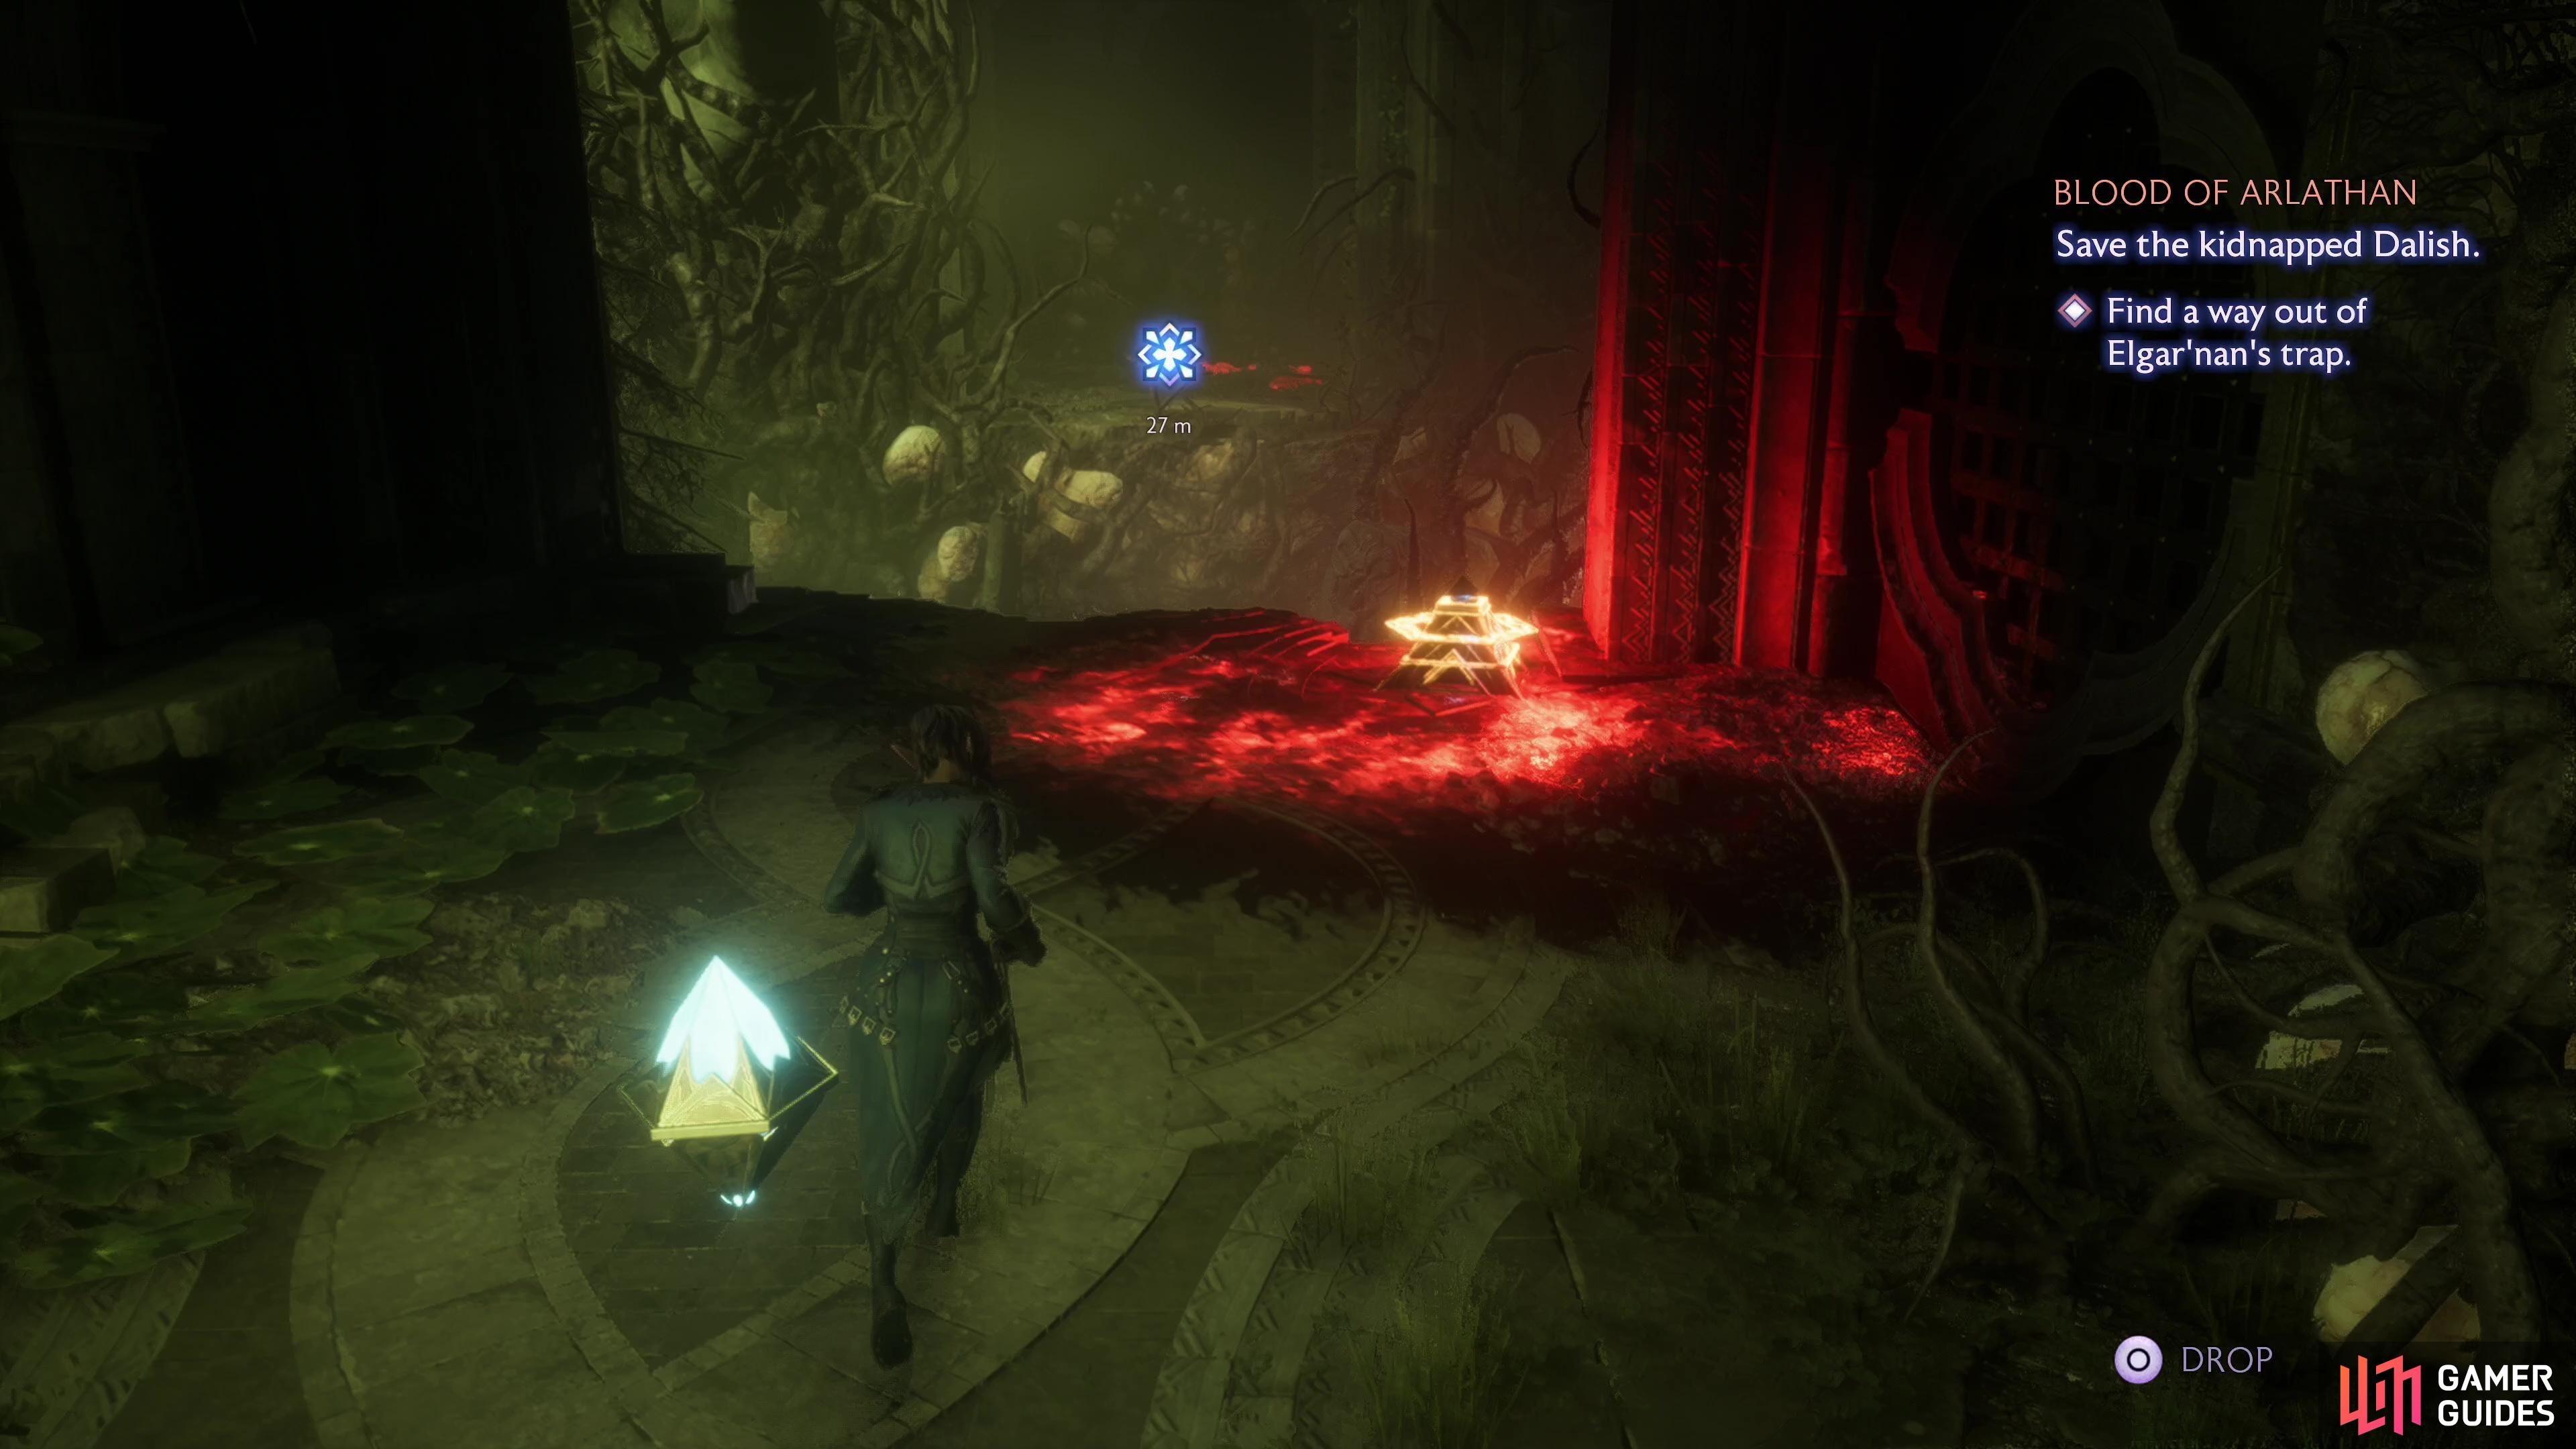
From the beginning of the area, head forward and drop off the ledge back into the hub area again, and after some chatter a path to the left will reopen. Advance the only way you can and you’ll find a blight cyst. Pop it and note the receptacle it was covering, now uncovered, then destroy a blight barrier and pass through to find some doors. Open them, grab a power crystal floating beyond, then put it in the receptacle under the blight cyst you just popped to create a bridge.
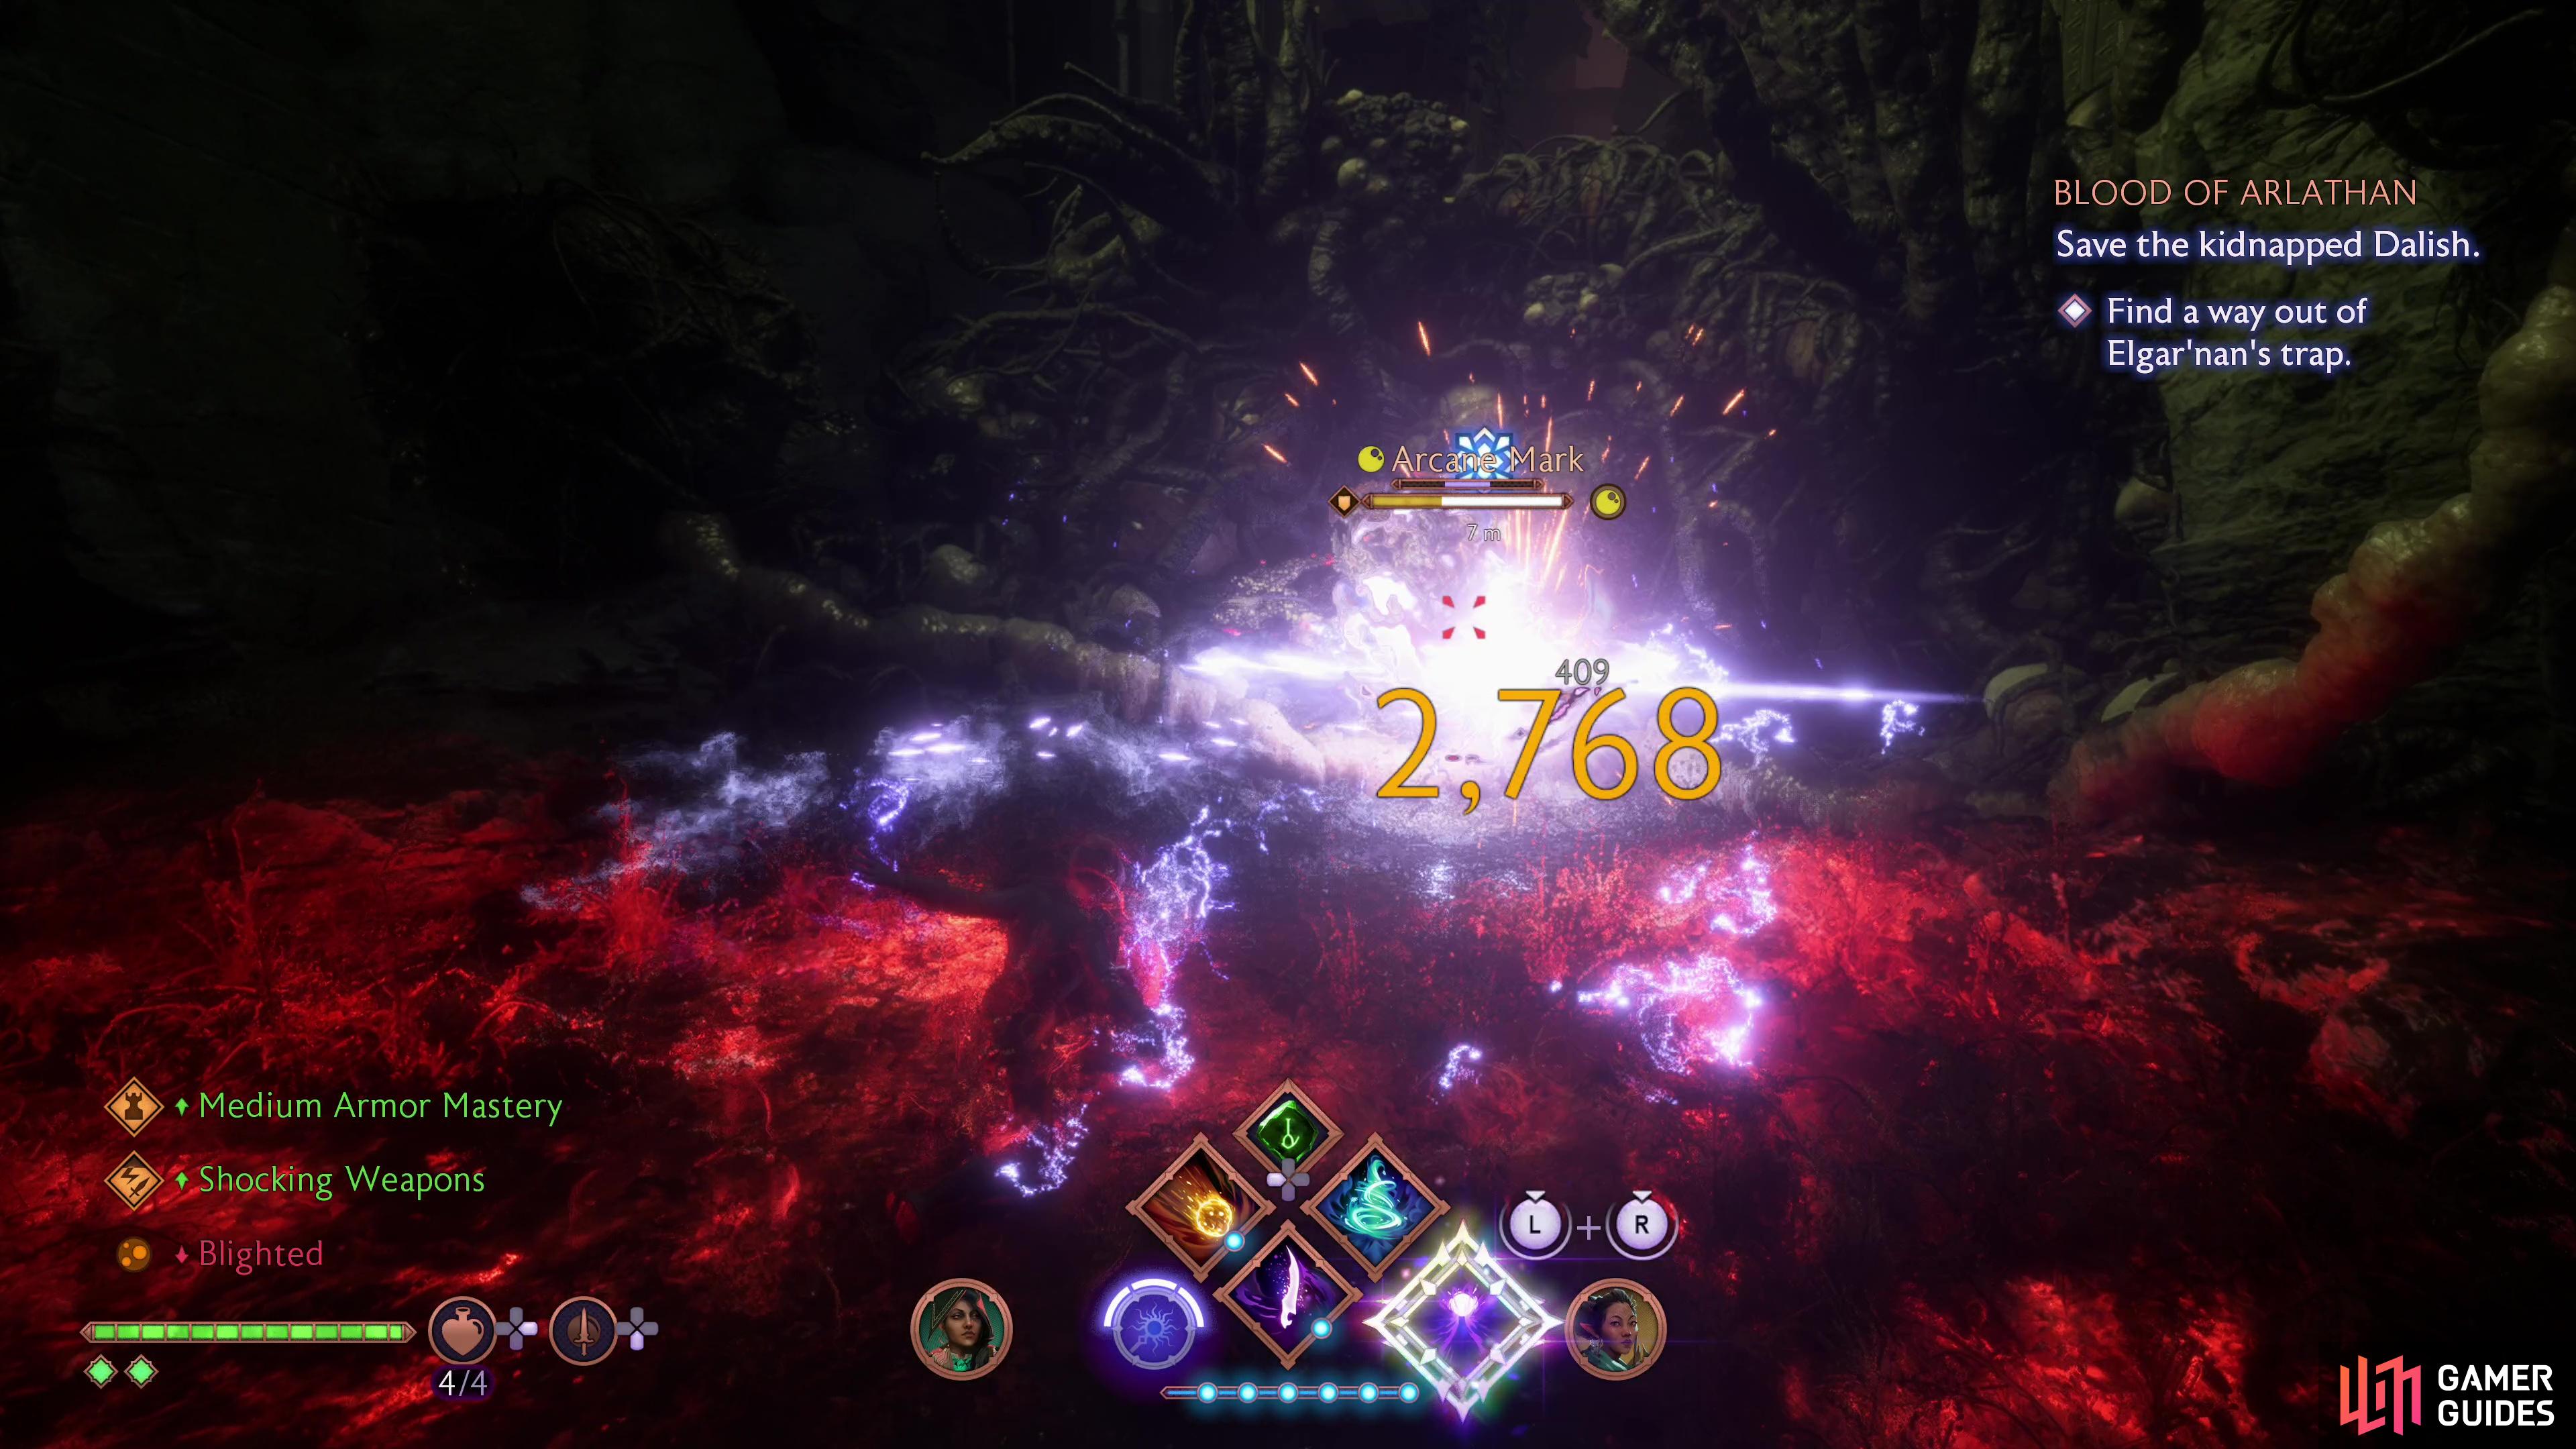
Cross the bridge you created and pop two more blight cysts and clear a blight passages at the gods in your head argue with each other. Continue through the blight passage, dispatch the Alpha Hurlock that emerges, then clear more blight cysts and another blight passage before pressing on, where you’ll find… you guessed it, more blight! Pop all the blight ahead of you, defeat another hurlock and some ghouls, then continue across a bridge and towards some misty ruins to escape Elgar’nan’s trap.
Temple Library
On the plus side, you’re free, emerging from the fog in the Temple Library. On the down side, however, you’re only free because Elgar’nan would rather bicker with his cherished rival than deal with you. Kind of insulting. Oh well, you’re getting close to the end, now.
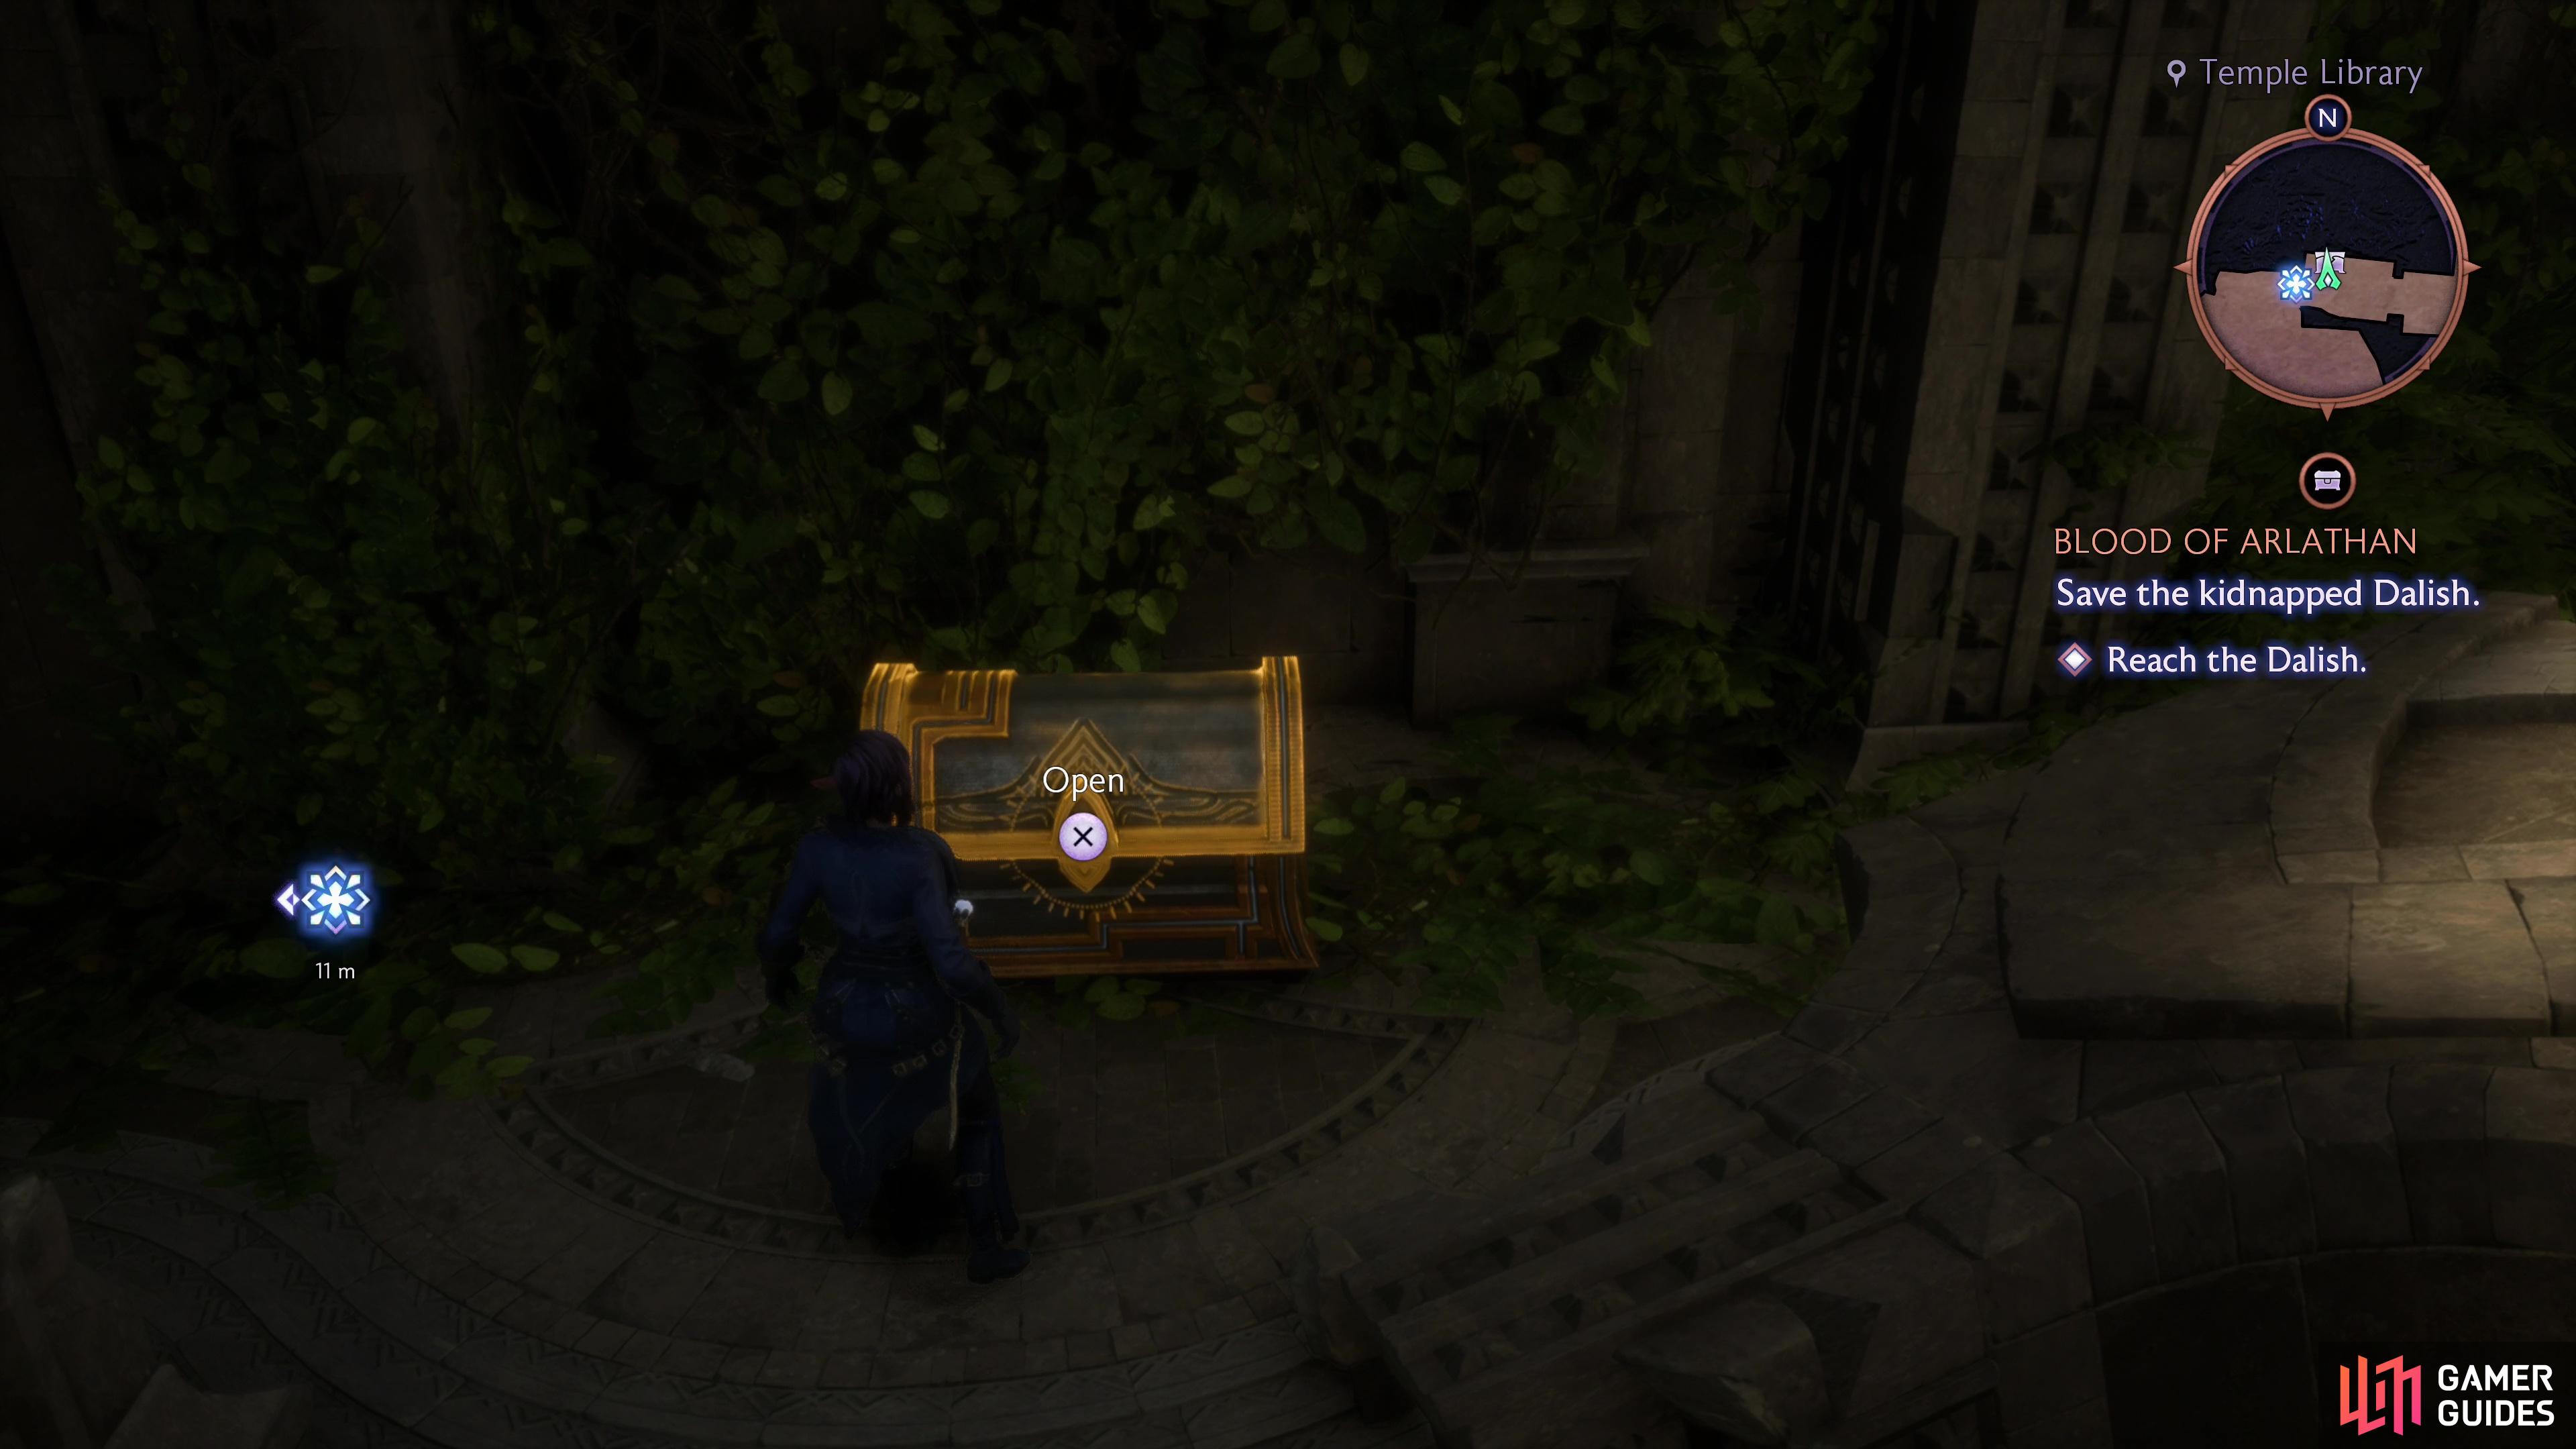
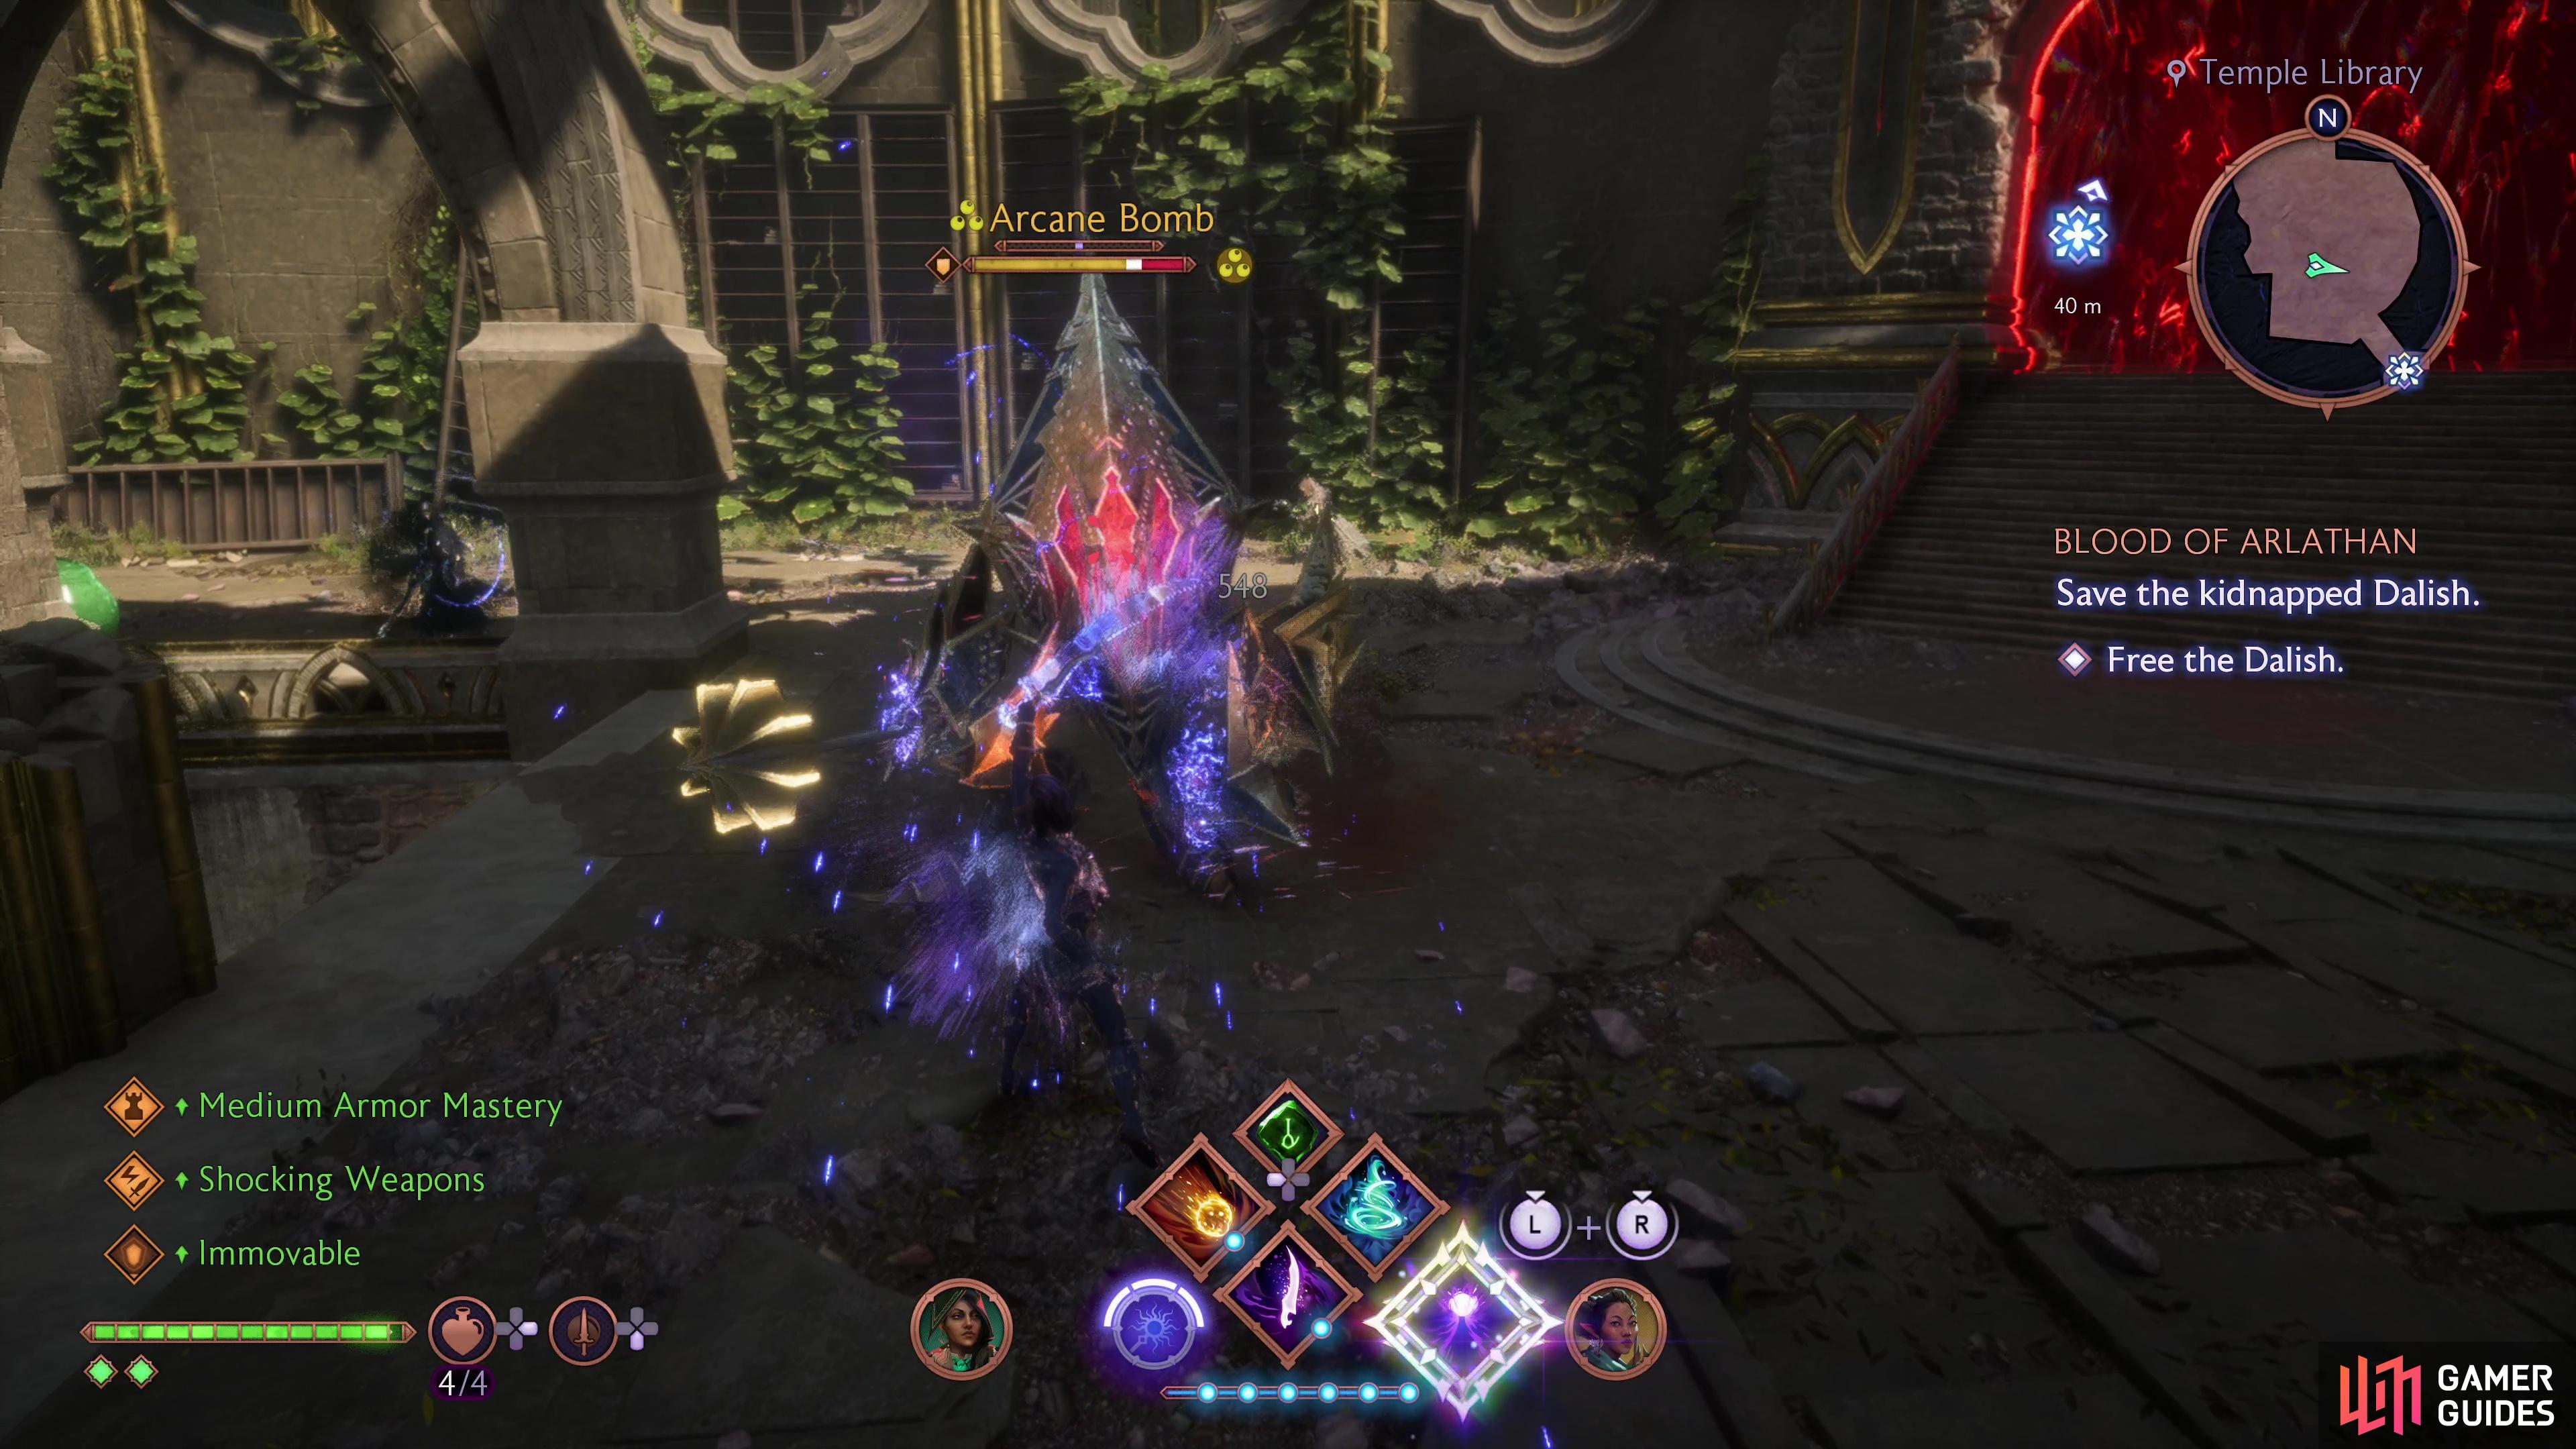
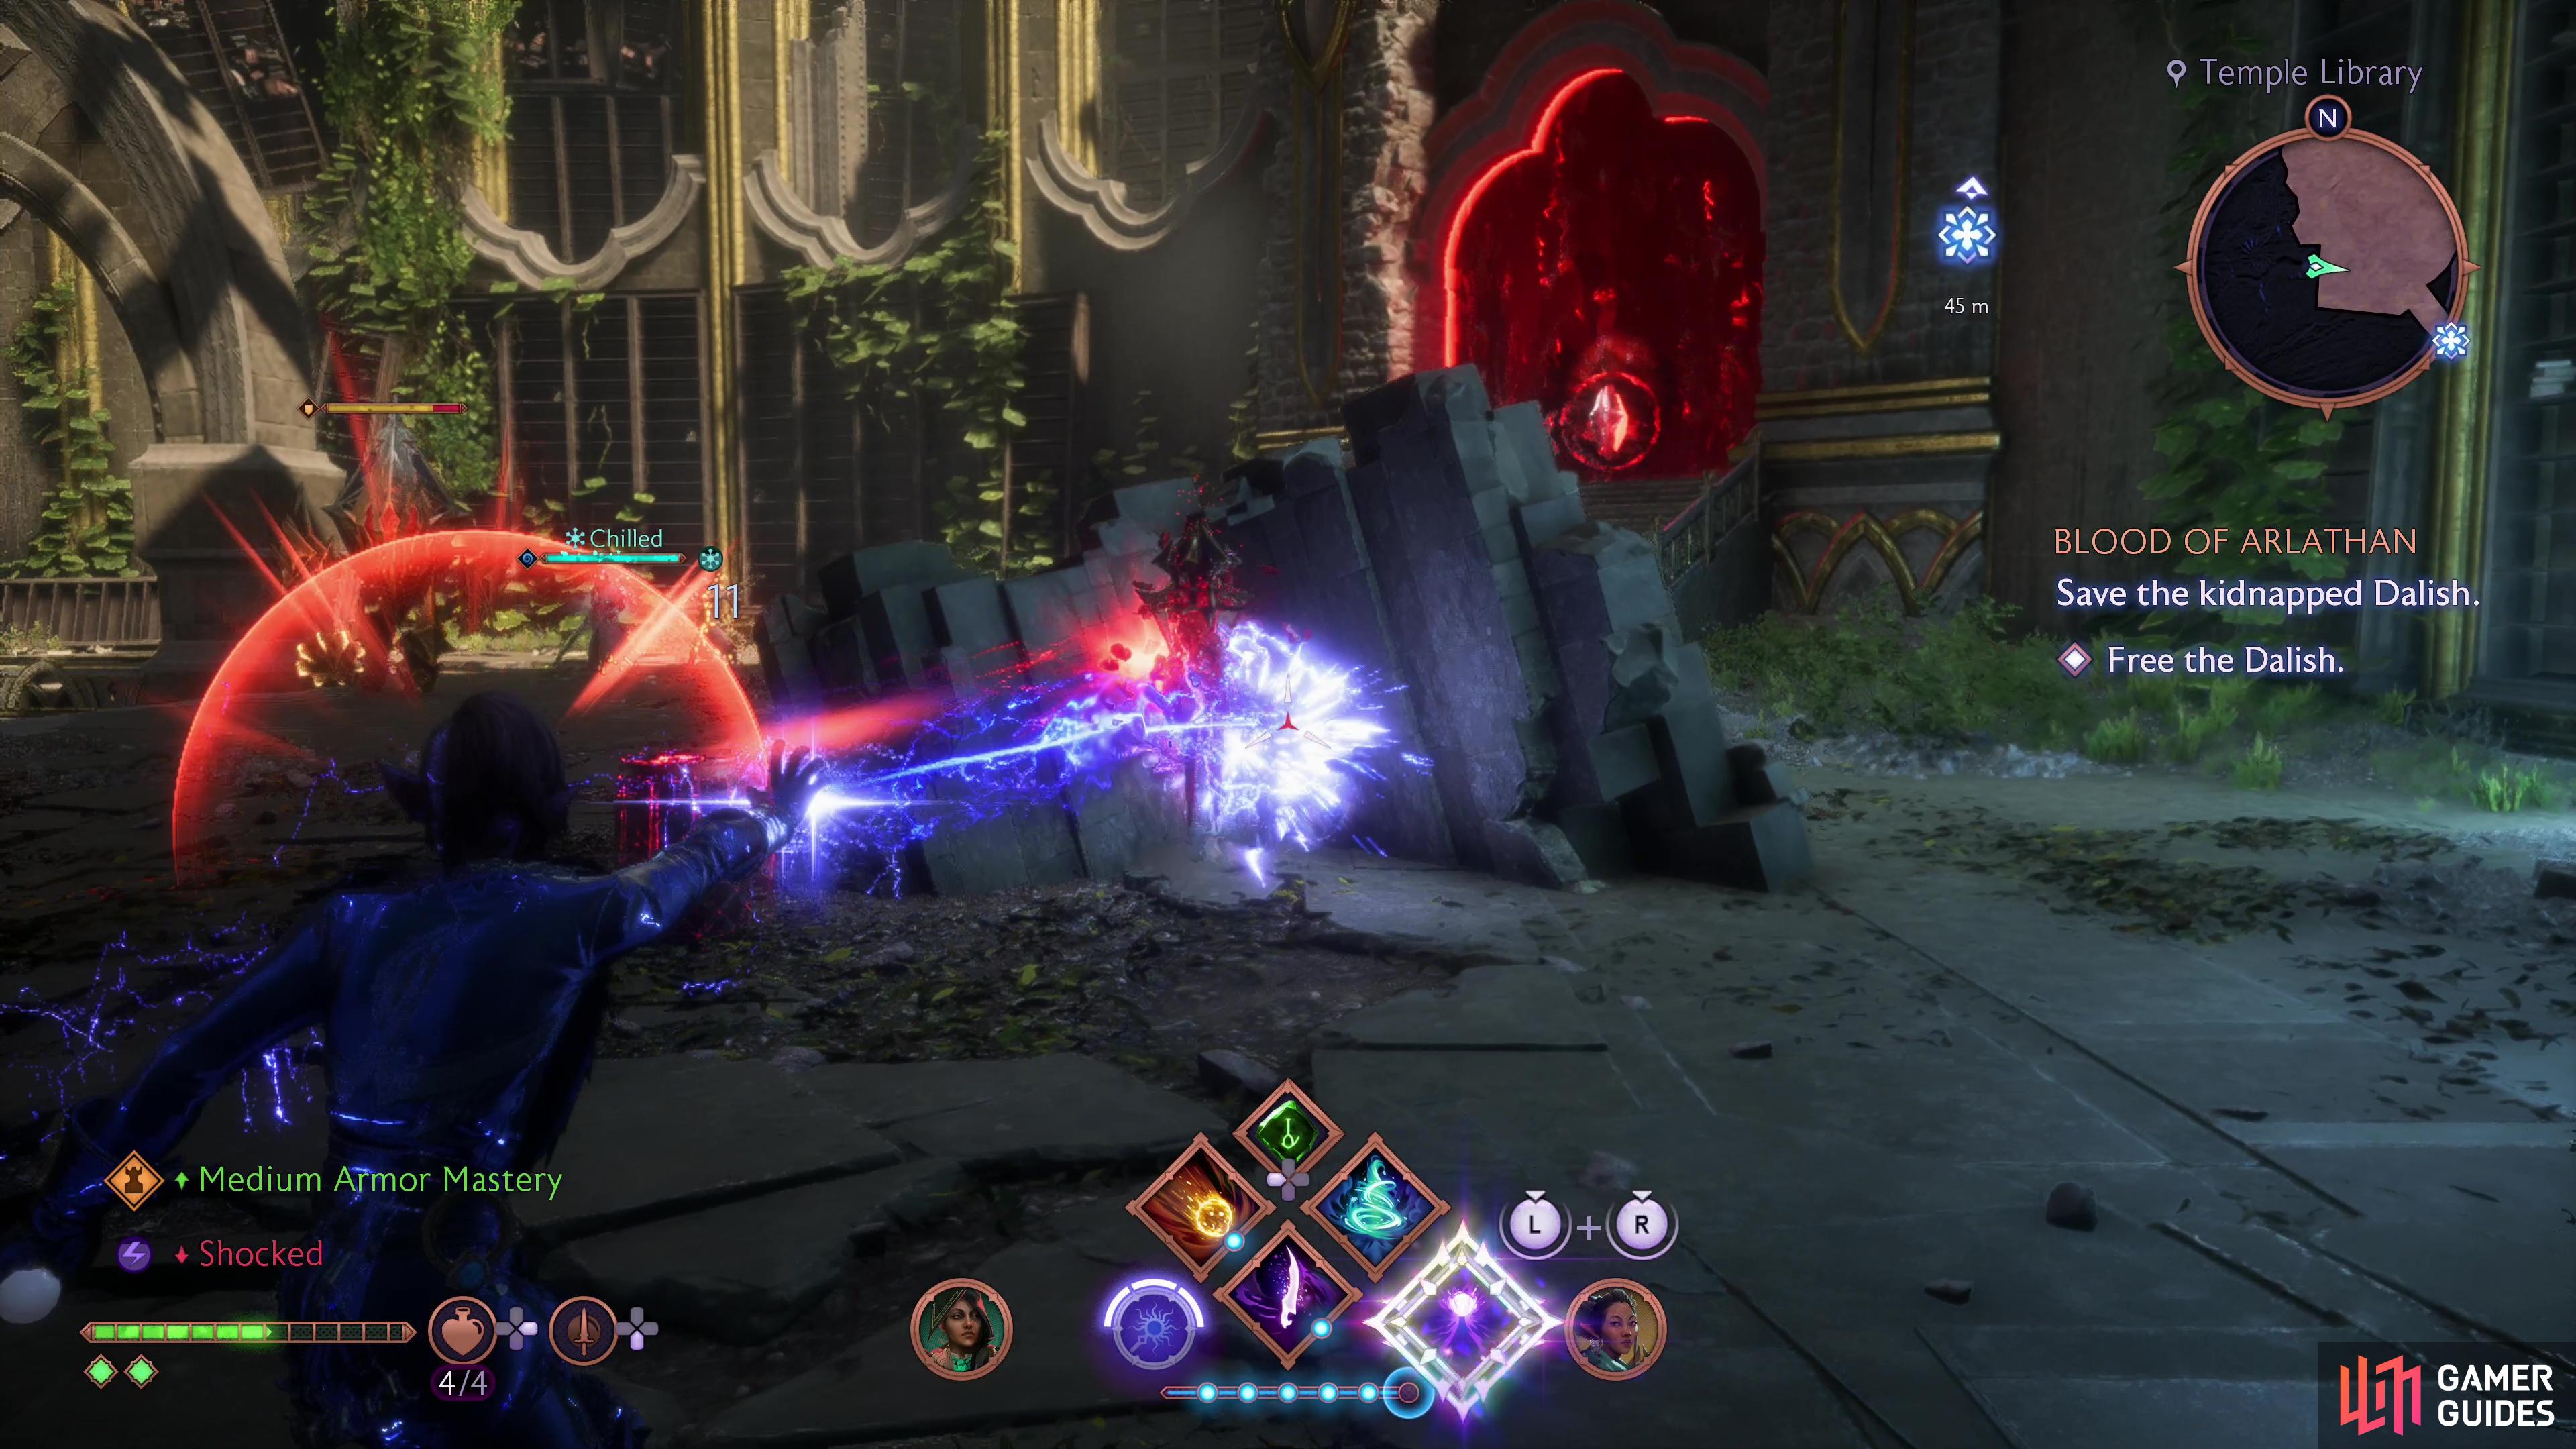
Head upstairs, turn north and loot a chest, then go through some doors at the top of said stairs, exit outside and turn south to spoke an open area of ruins where more Venatori and their vile crystals dwell. On the low ground below you is a bursting crystals that regularly deals damage in a wide area after charging up - you may have encountered these during the side quest An Academic Interest and you can interrupt them by destroying the smaller crystals they generate above them (they’ll detonate after generating three smaller crystals), but it’s best to destroy the large crystal to prevent it from being a distraction.
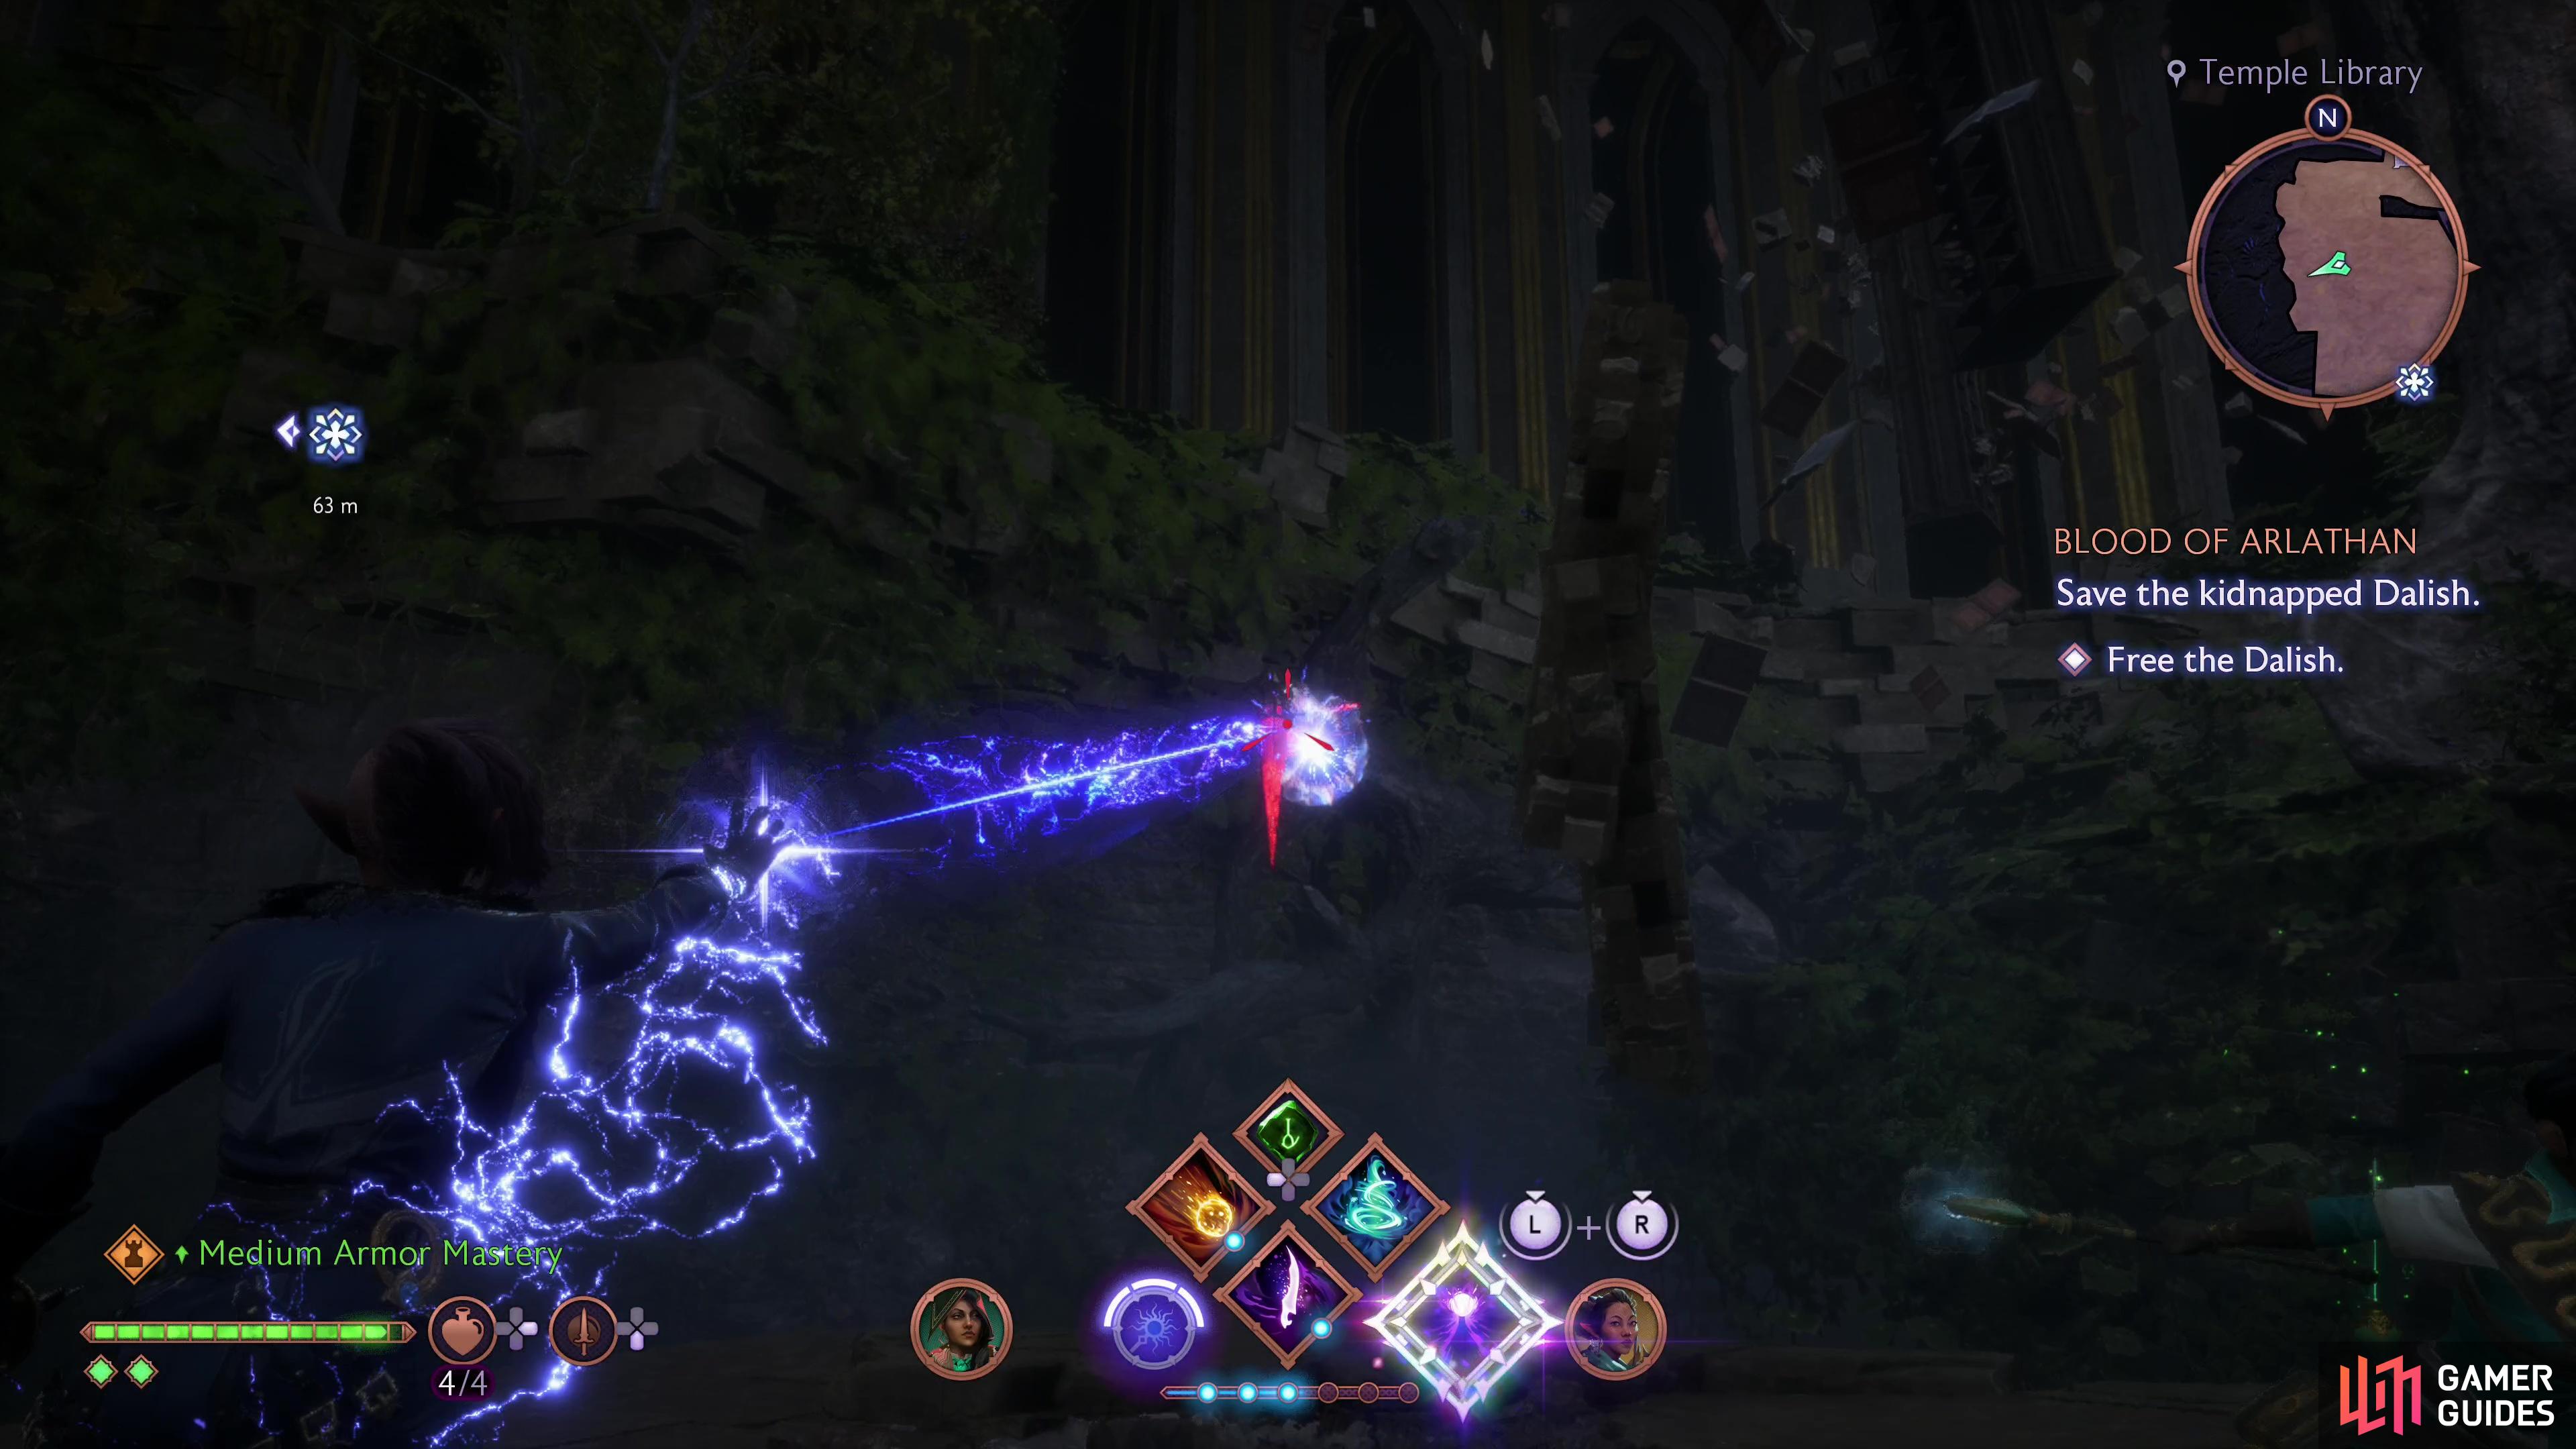
Problem is, it’s shielded, and several Venatori Soldiers and a pair of centurions guard them. Worse, one of these centurions will also be protected by a barrier, forcing you to destroy the Venatori crystals in specific order. The first unshielded Venatori crystal is behind a floating slab of stone floating over the void to the southwest, the second is on the ledge near where you entered and once those are gone you can destroy the bursting crystal. Luring the enemies up to where you entered and killing the vulnerable ones there isn’t a bad idea, as the centurions are slower and will bother you less while you hunt down the crystals as compared to the soldiers. Once the Venatori crystals are gone, destroy the remaining, now vulnerable enemies, then destroy a barrier up some stairs to the east.
(1 of 4) After escaping Elgar’nan’s trap, loot a complimentary chest,
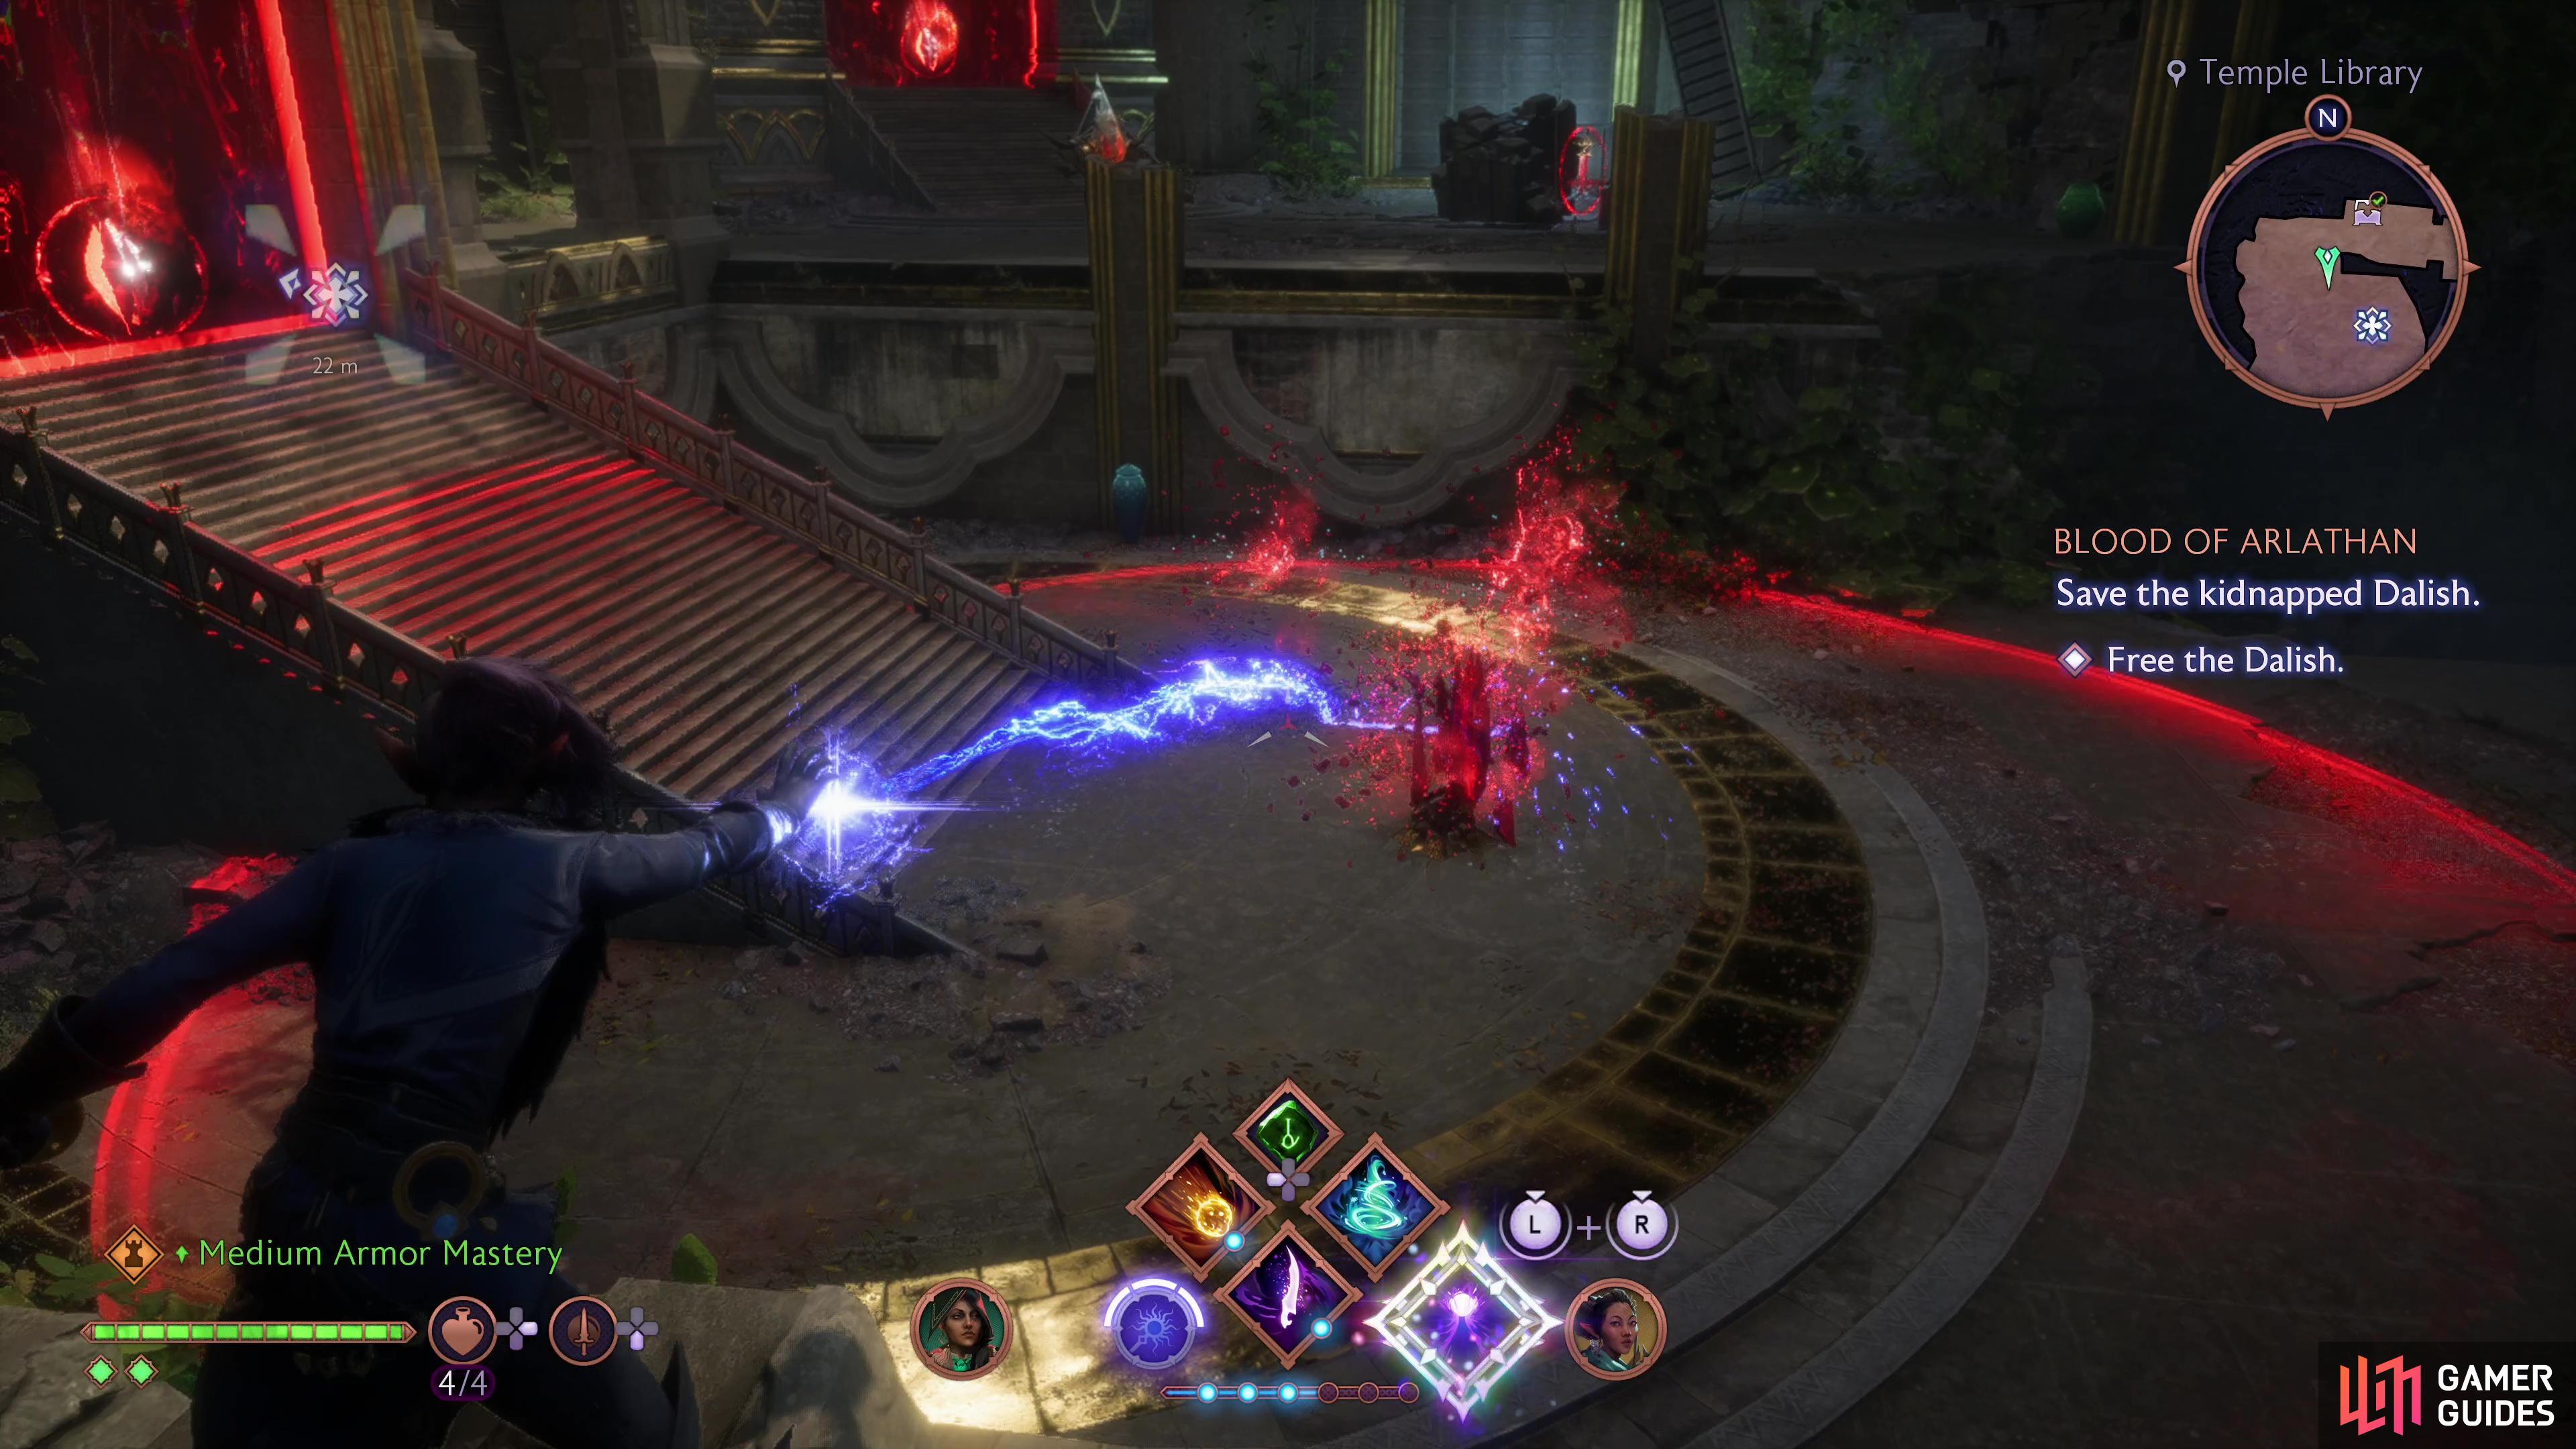
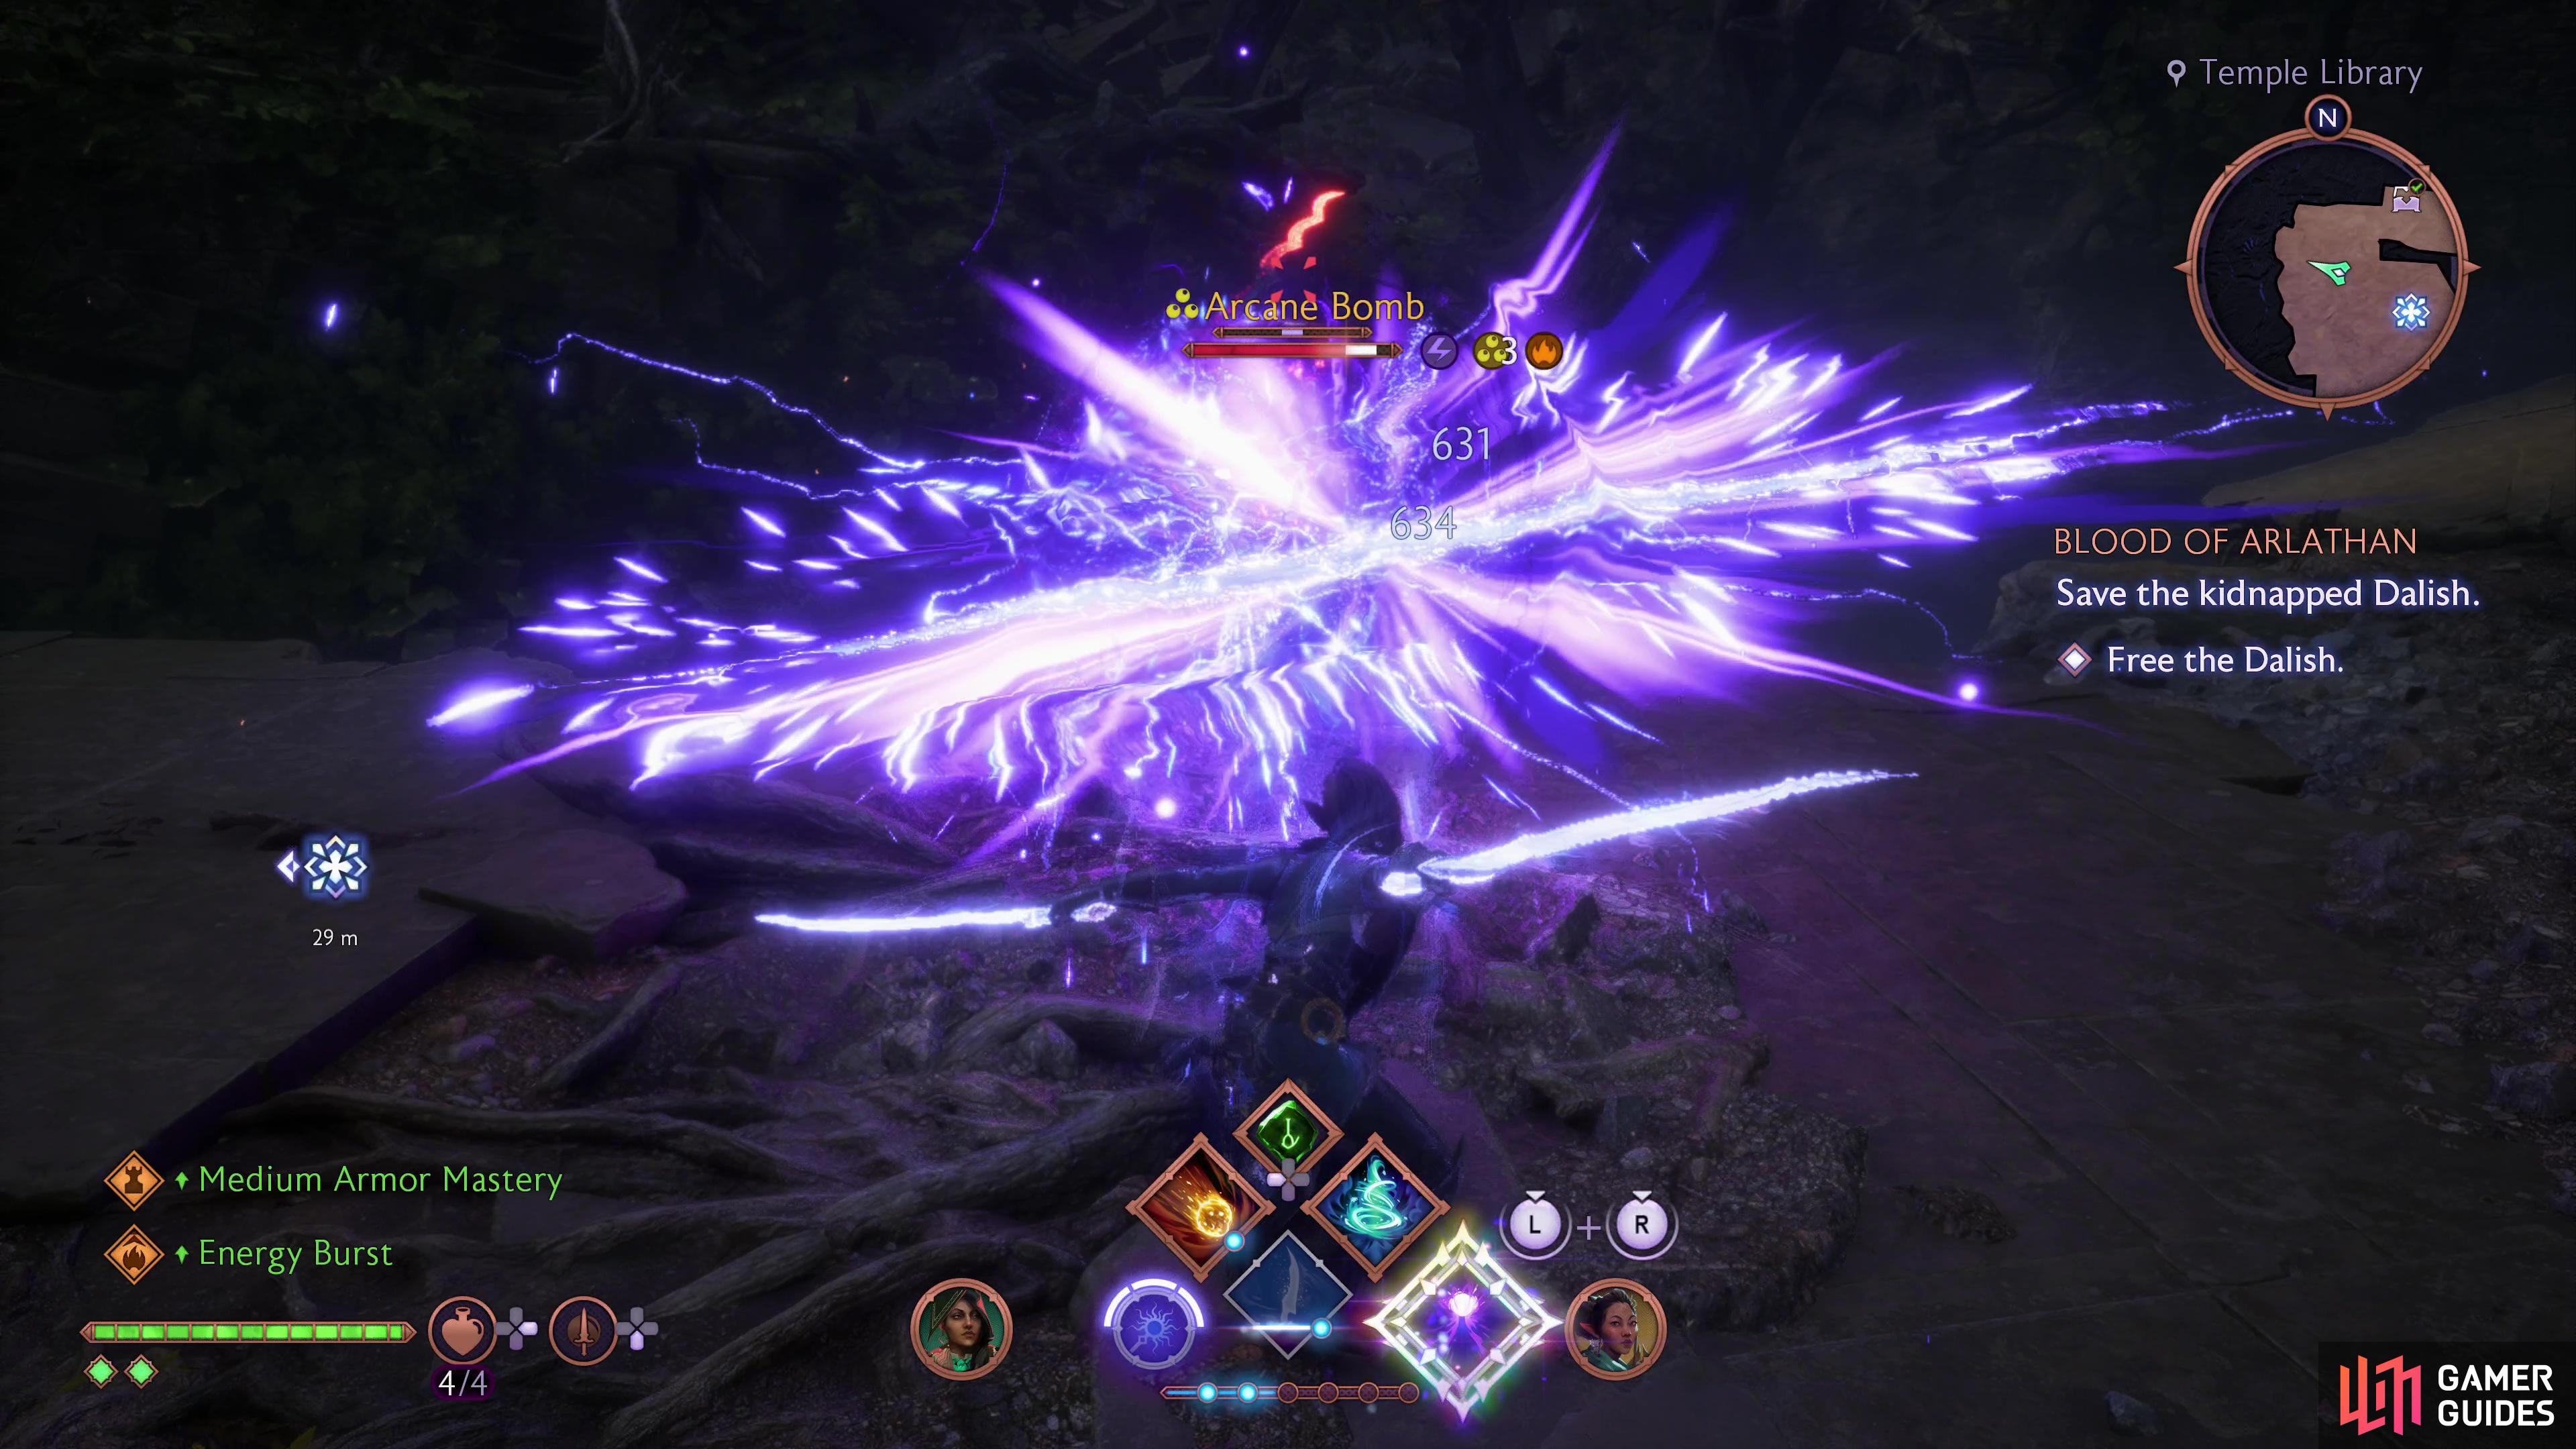
Time for the final fight of this mission. Head up the stairs past the barrier then follow the walkway south and west. You’ll be attacked by three enemies, a Venatori Executioner, a Venatori Soldier and a Blood Forge Prime. The two cultists are protected by a crystal, while the Blood Forge Prime fights like the previous miniboss, save it doesn’t have a fancy boss bar, is less durable, and doesn’t summon Shades. Ignore them for now and seek out a chunk of ruins to the southwest, behind which lies the offending crystal shielding the Venatori. Destroy it and kill your foes, then destroy a final barrier up some stairs to the southeast, beyond which lies the kidnapped elves. Loot a chest outside their pen, then free the elves to finish the quest.
(1 of 2) Advance to encounter a Blood Forge Prime - despite its name, it’s less durable than the miniboss you fought earlier,
Advance to encounter a Blood Forge Prime - despite its name, it’s less durable than the miniboss you fought earlier, (left), before you bother with the automaton, however, seek out another Venatori crystal so you can kill the two cultists accompanying Blood Forge Prime. (right)
A good bit of chatter ensues, and after chatting with the rescued Dalish and Strife you’ll earn 6,250 EXP, ![]() The Crafty Recruit cosmetic and +250 Veil Jumpers Strength. The transitional main quest The Words of the Wolf will also start now.
The Crafty Recruit cosmetic and +250 Veil Jumpers Strength. The transitional main quest The Words of the Wolf will also start now.


 Sign up
No Comments