The Lighthouse acts as the main hub area in Dragon Age: The Veilguard where you can talk to your companions, change your outfits, craft, and much more. However, there are a few hidden puzzles here that lead to chests, which are difficult to solve. Read on to find out where you can find the Lighthouse chests, and how you can complete the puzzles accompanying them.
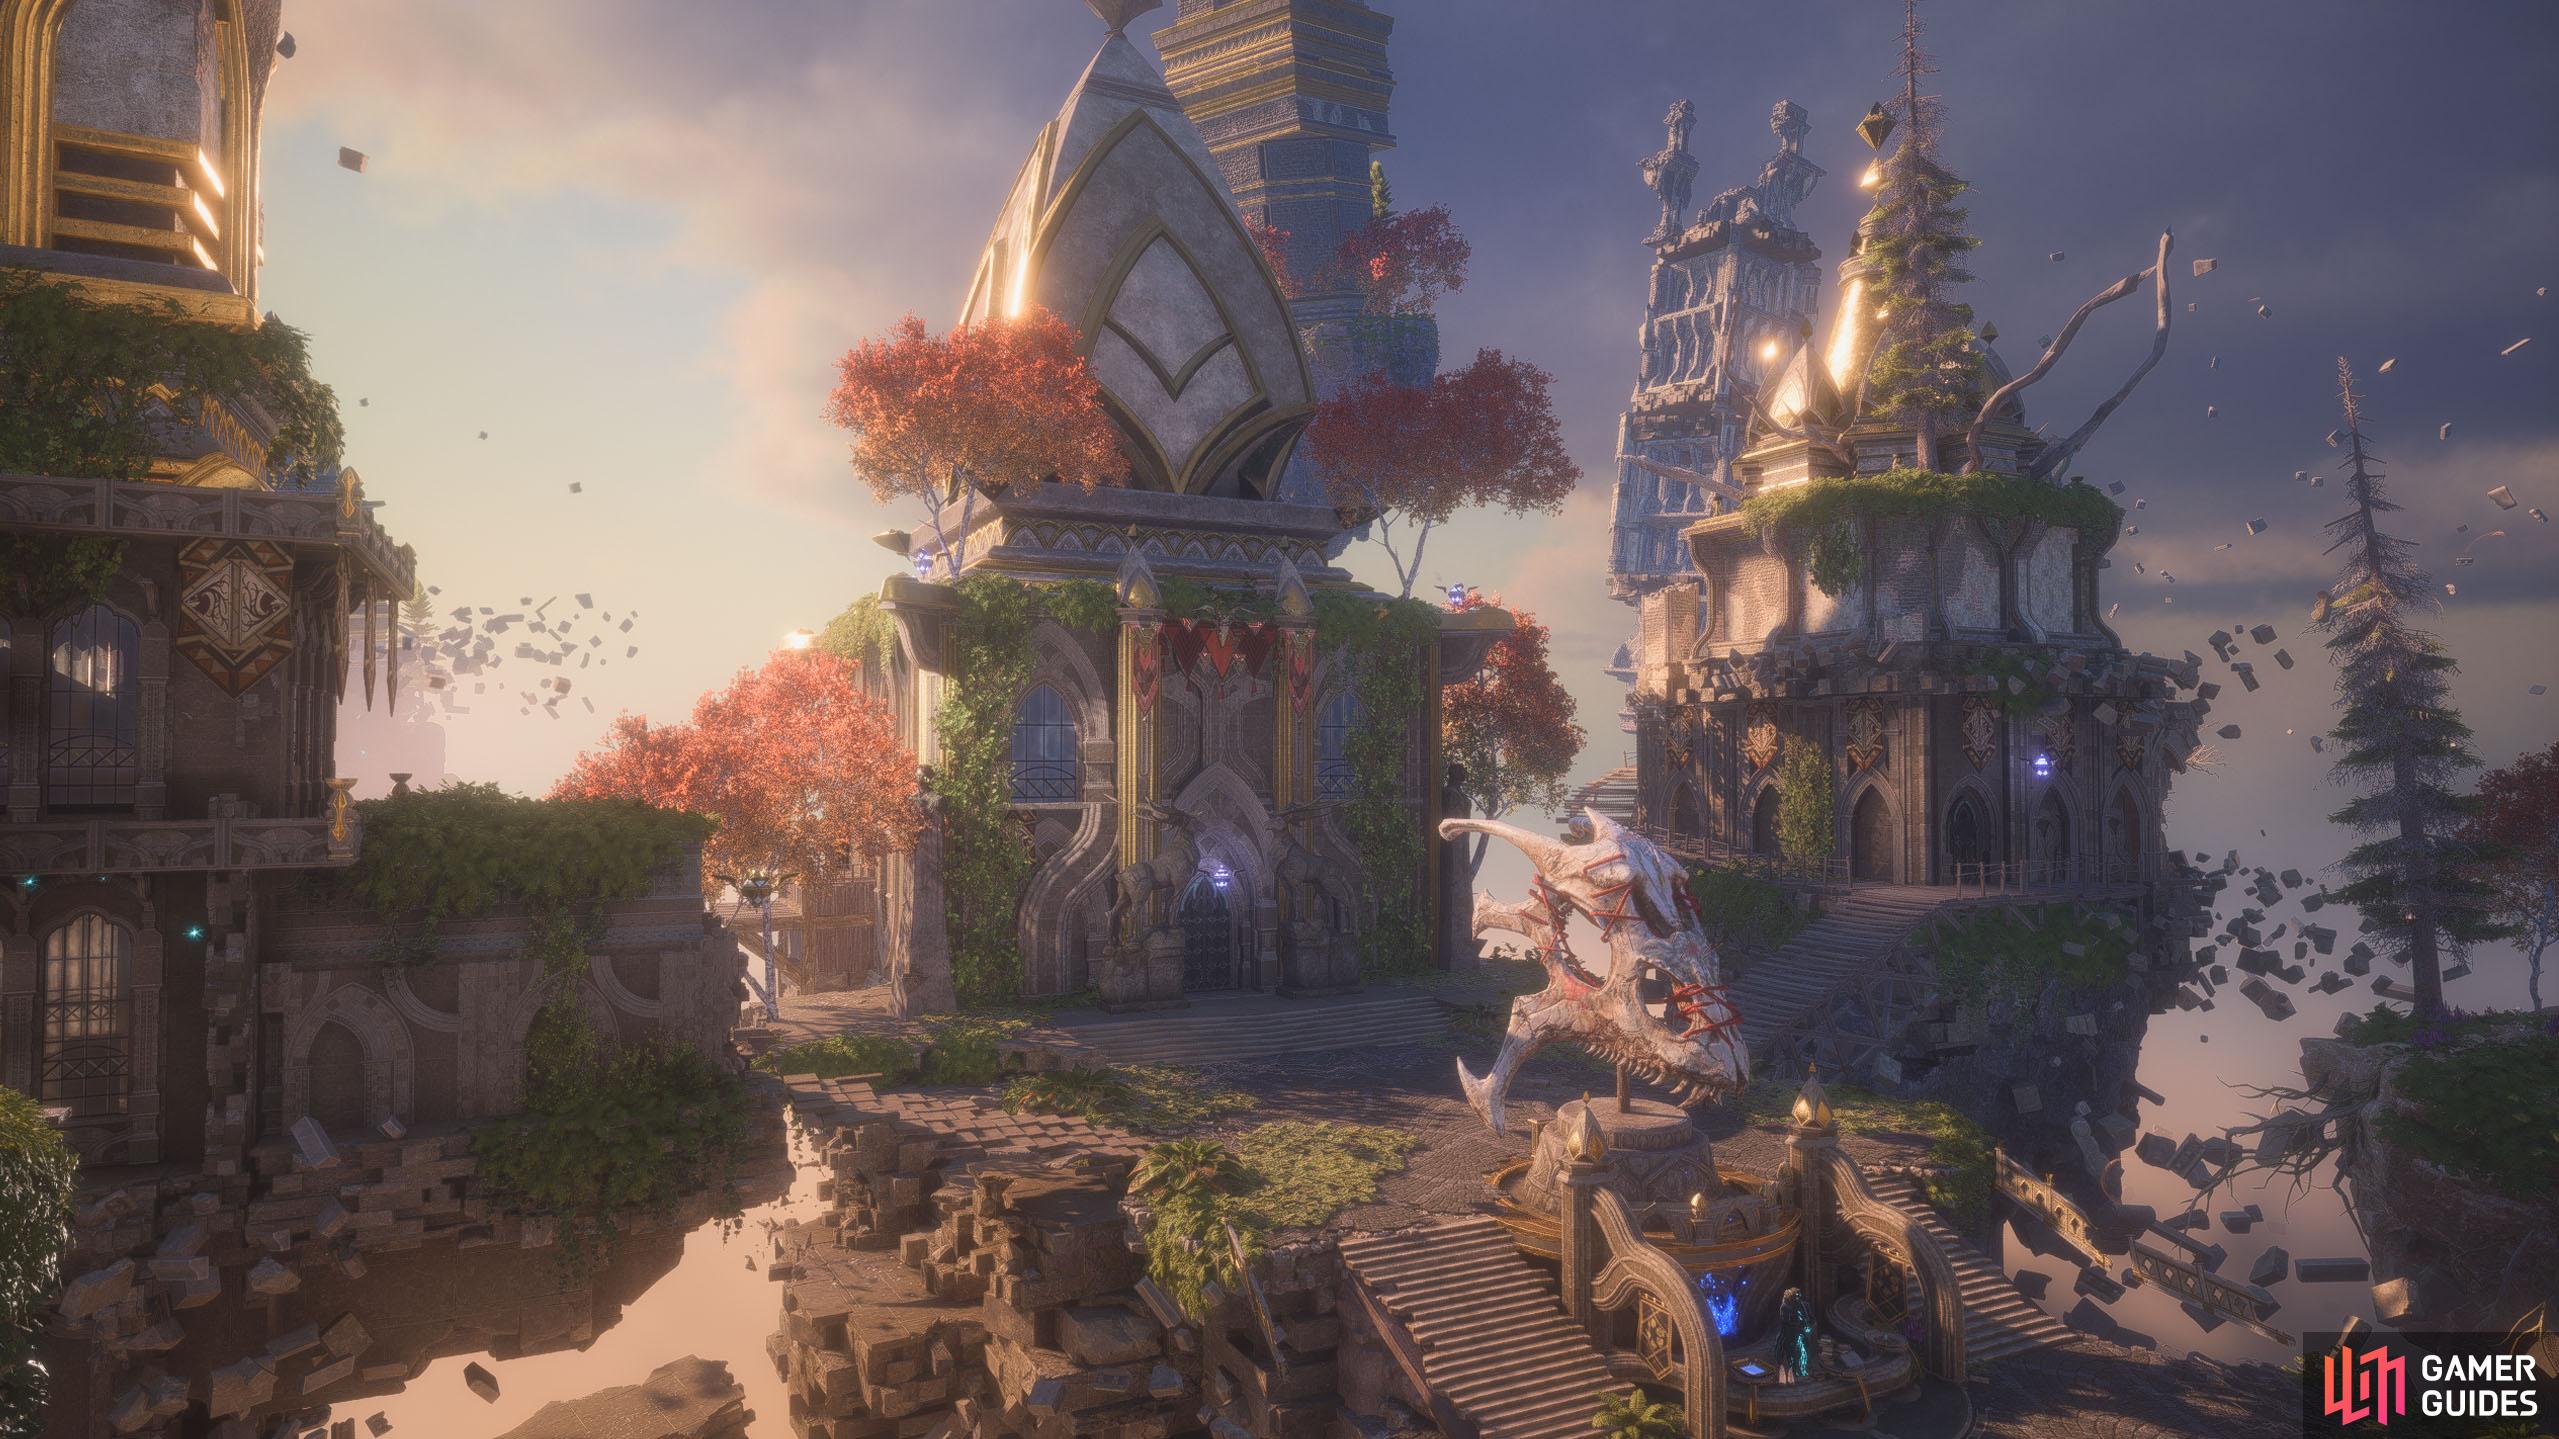
The Lighthouse is the main hub of Dragon Age: The Veilguard.
Table of Contents
If you want to jump to a specific section, click on the links below.
Lighthouse Statue Puzzle - Unlocking the Music Room
Before you can find the chests, you’ll need to unlock the Music Room that is situated to the right of the table in the Library. To do this, you’ll need to complete a short puzzle. In the main courtyard area of the Lighthouse (outside), you’ll need to find six statues that you need to rotate to the correct position. These statues come in sets of two and need to be facing each other to complete the puzzle.
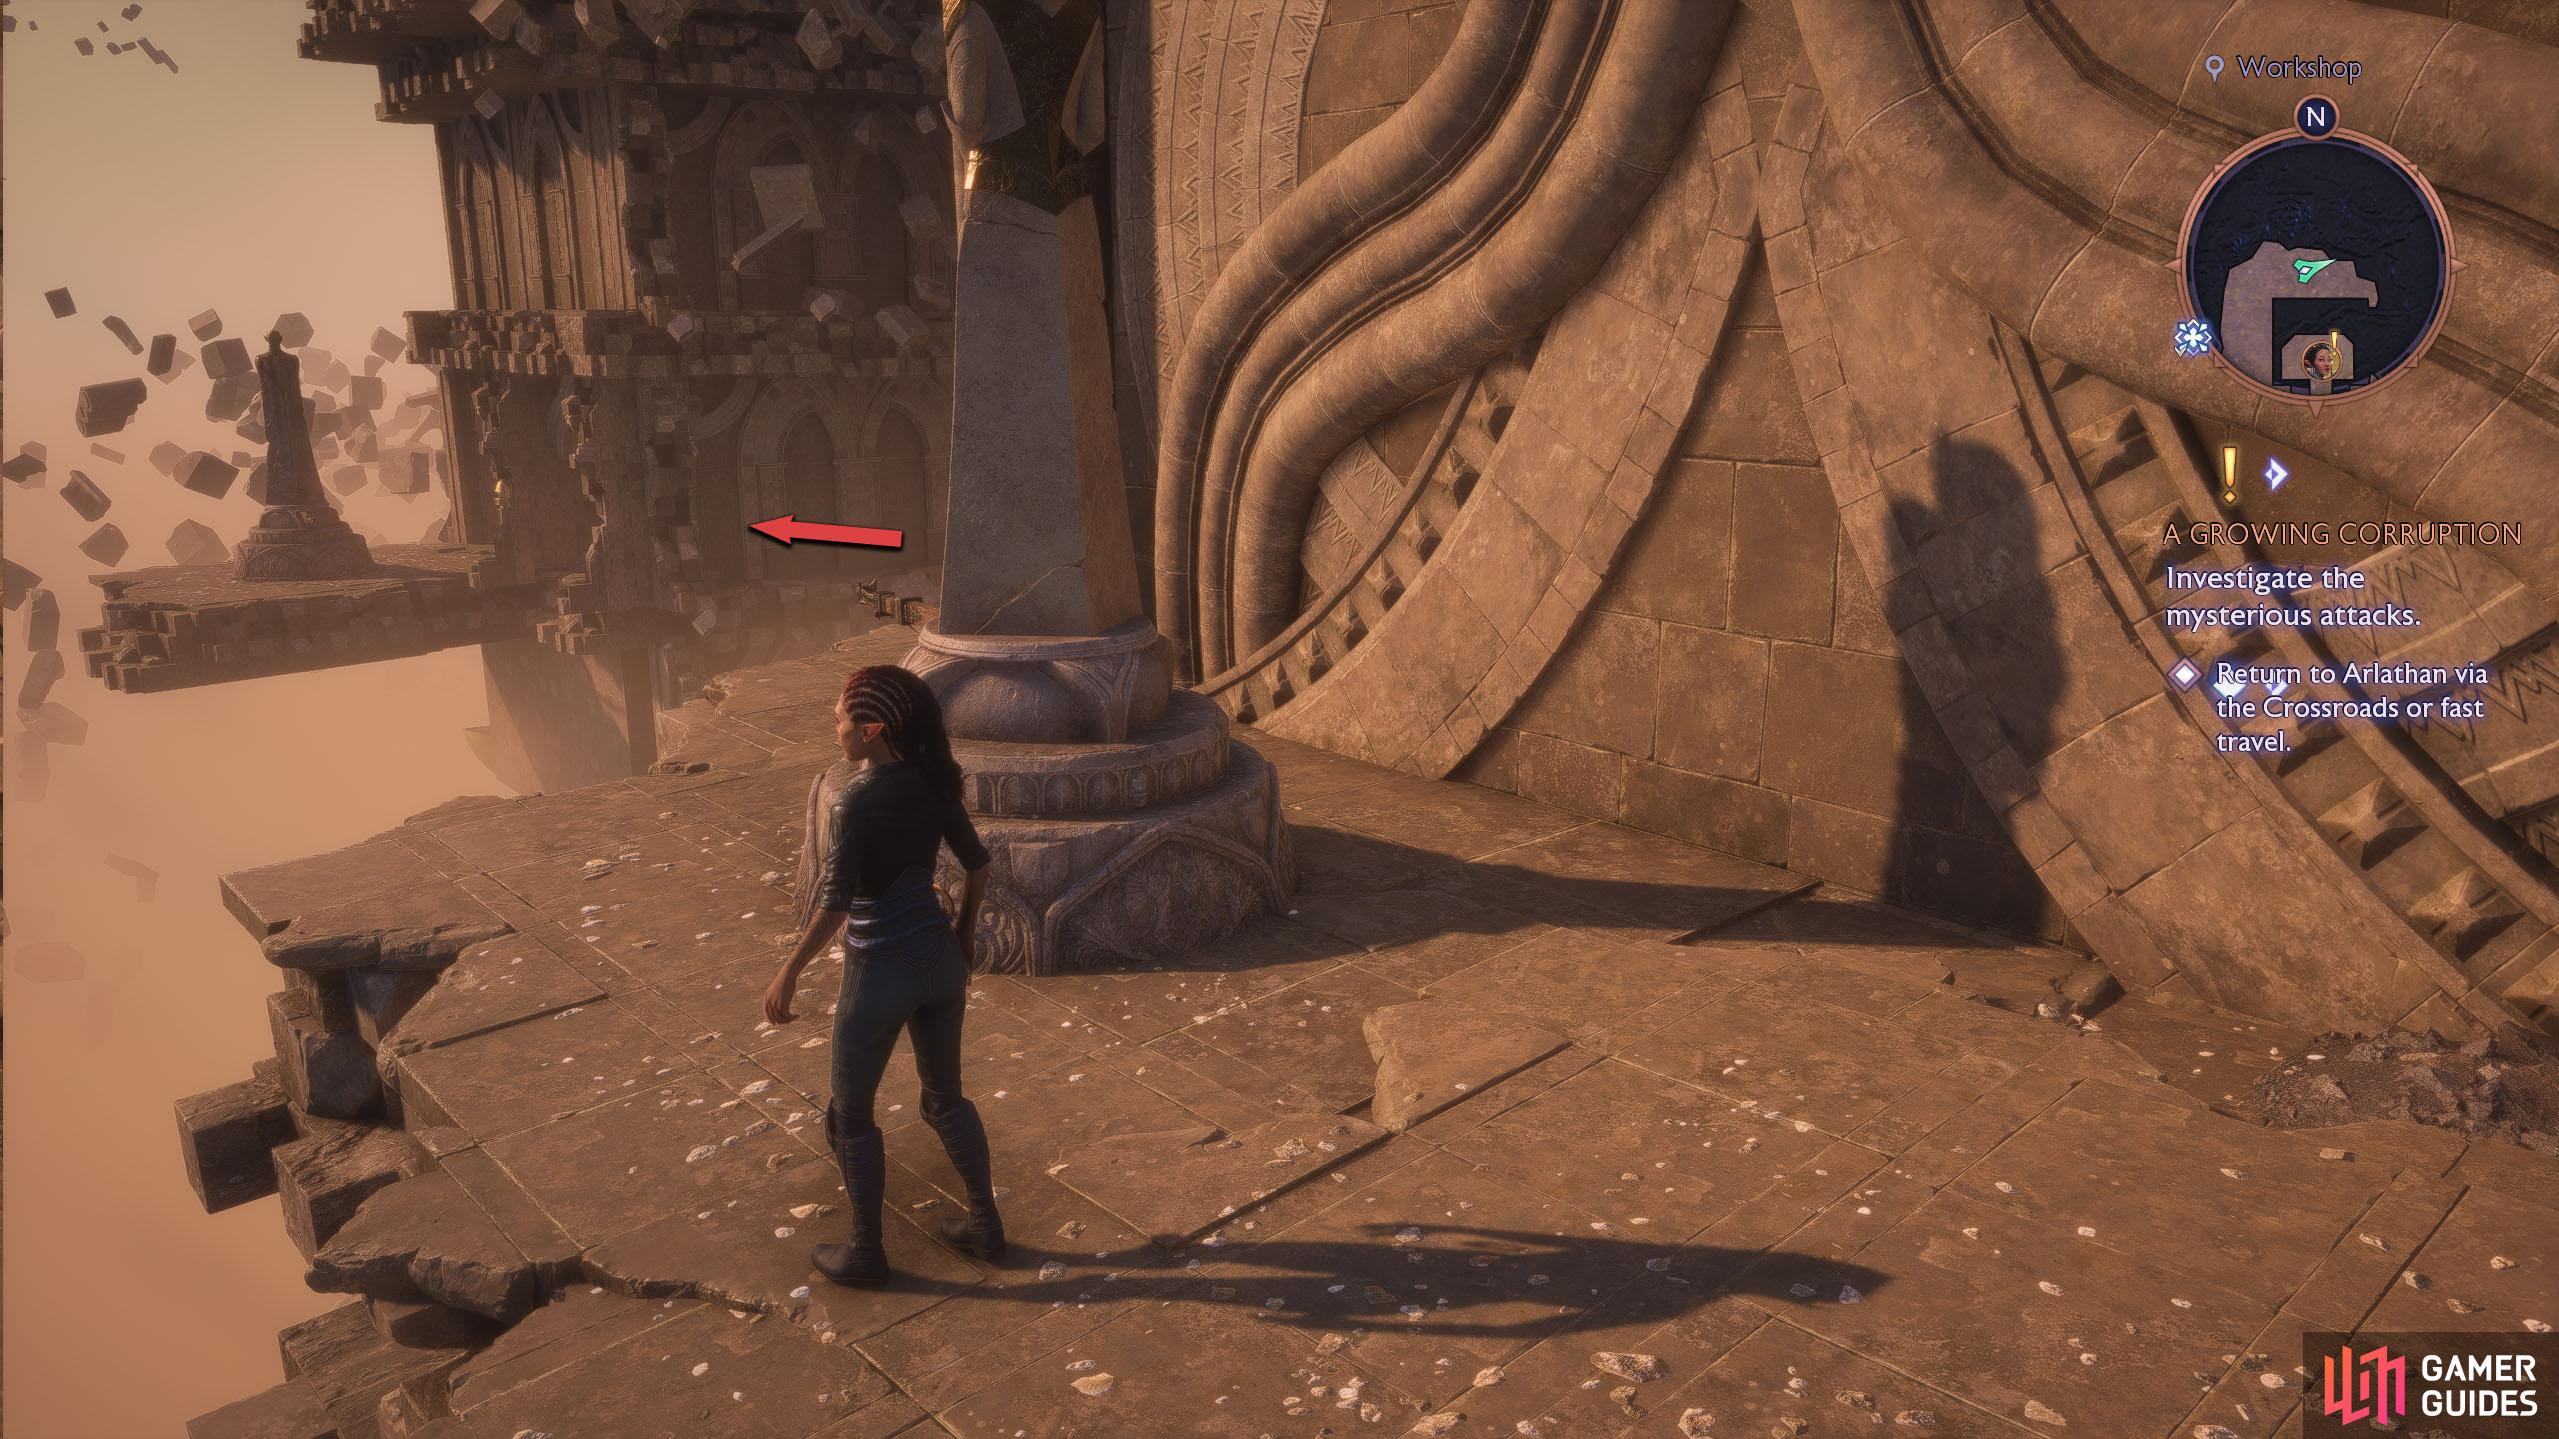
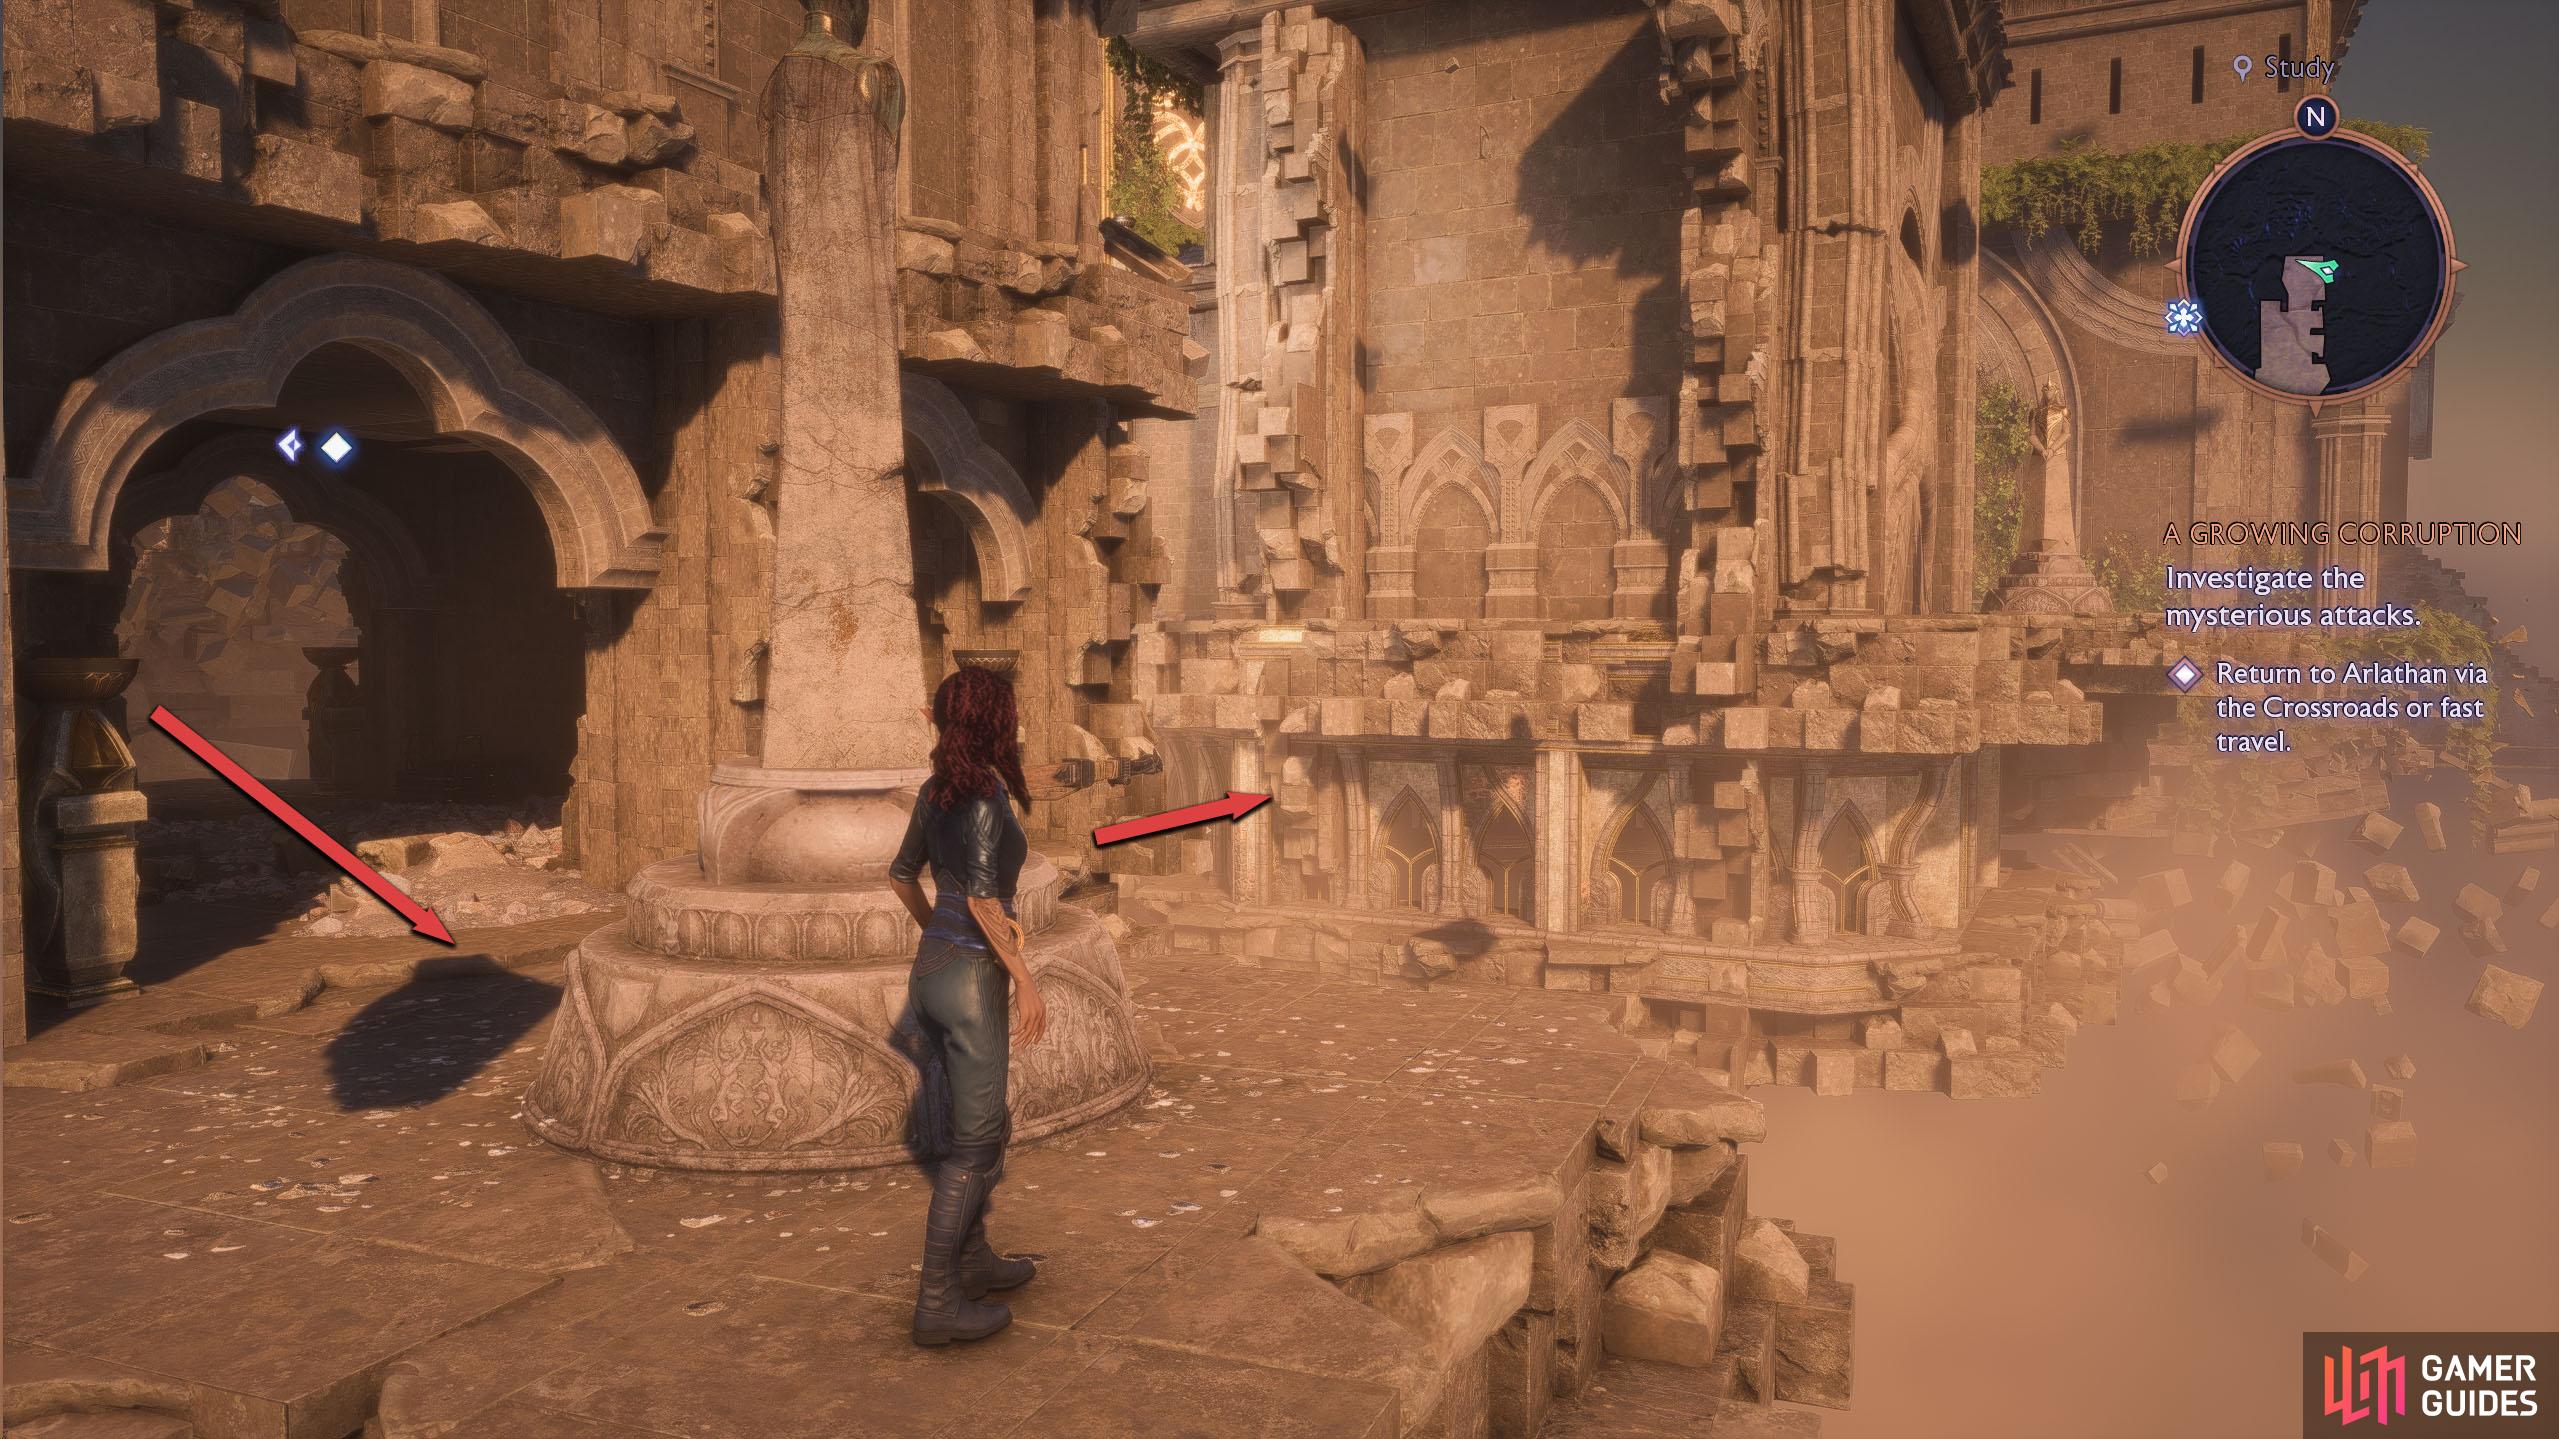
The first set of two statues can be found behind the Workshop (first left from the entrance) and behind the Study (second left from the entrance). You can access the Workshop statue simply by walking around the left of the building, however, you’ll need to walk under the Study to reach that statue. When you get to the path leading to the Study, drop to the platforms below the bridge and follow the path underneath the building.
(1 of 2) The first statue is behind the Workshop, accessed by walking around the building to the left.
The first statue is behind the Workshop, accessed by walking around the building to the left. (left), Behind the Study, you’ll find the second. Go under the building to reach this one. (right)
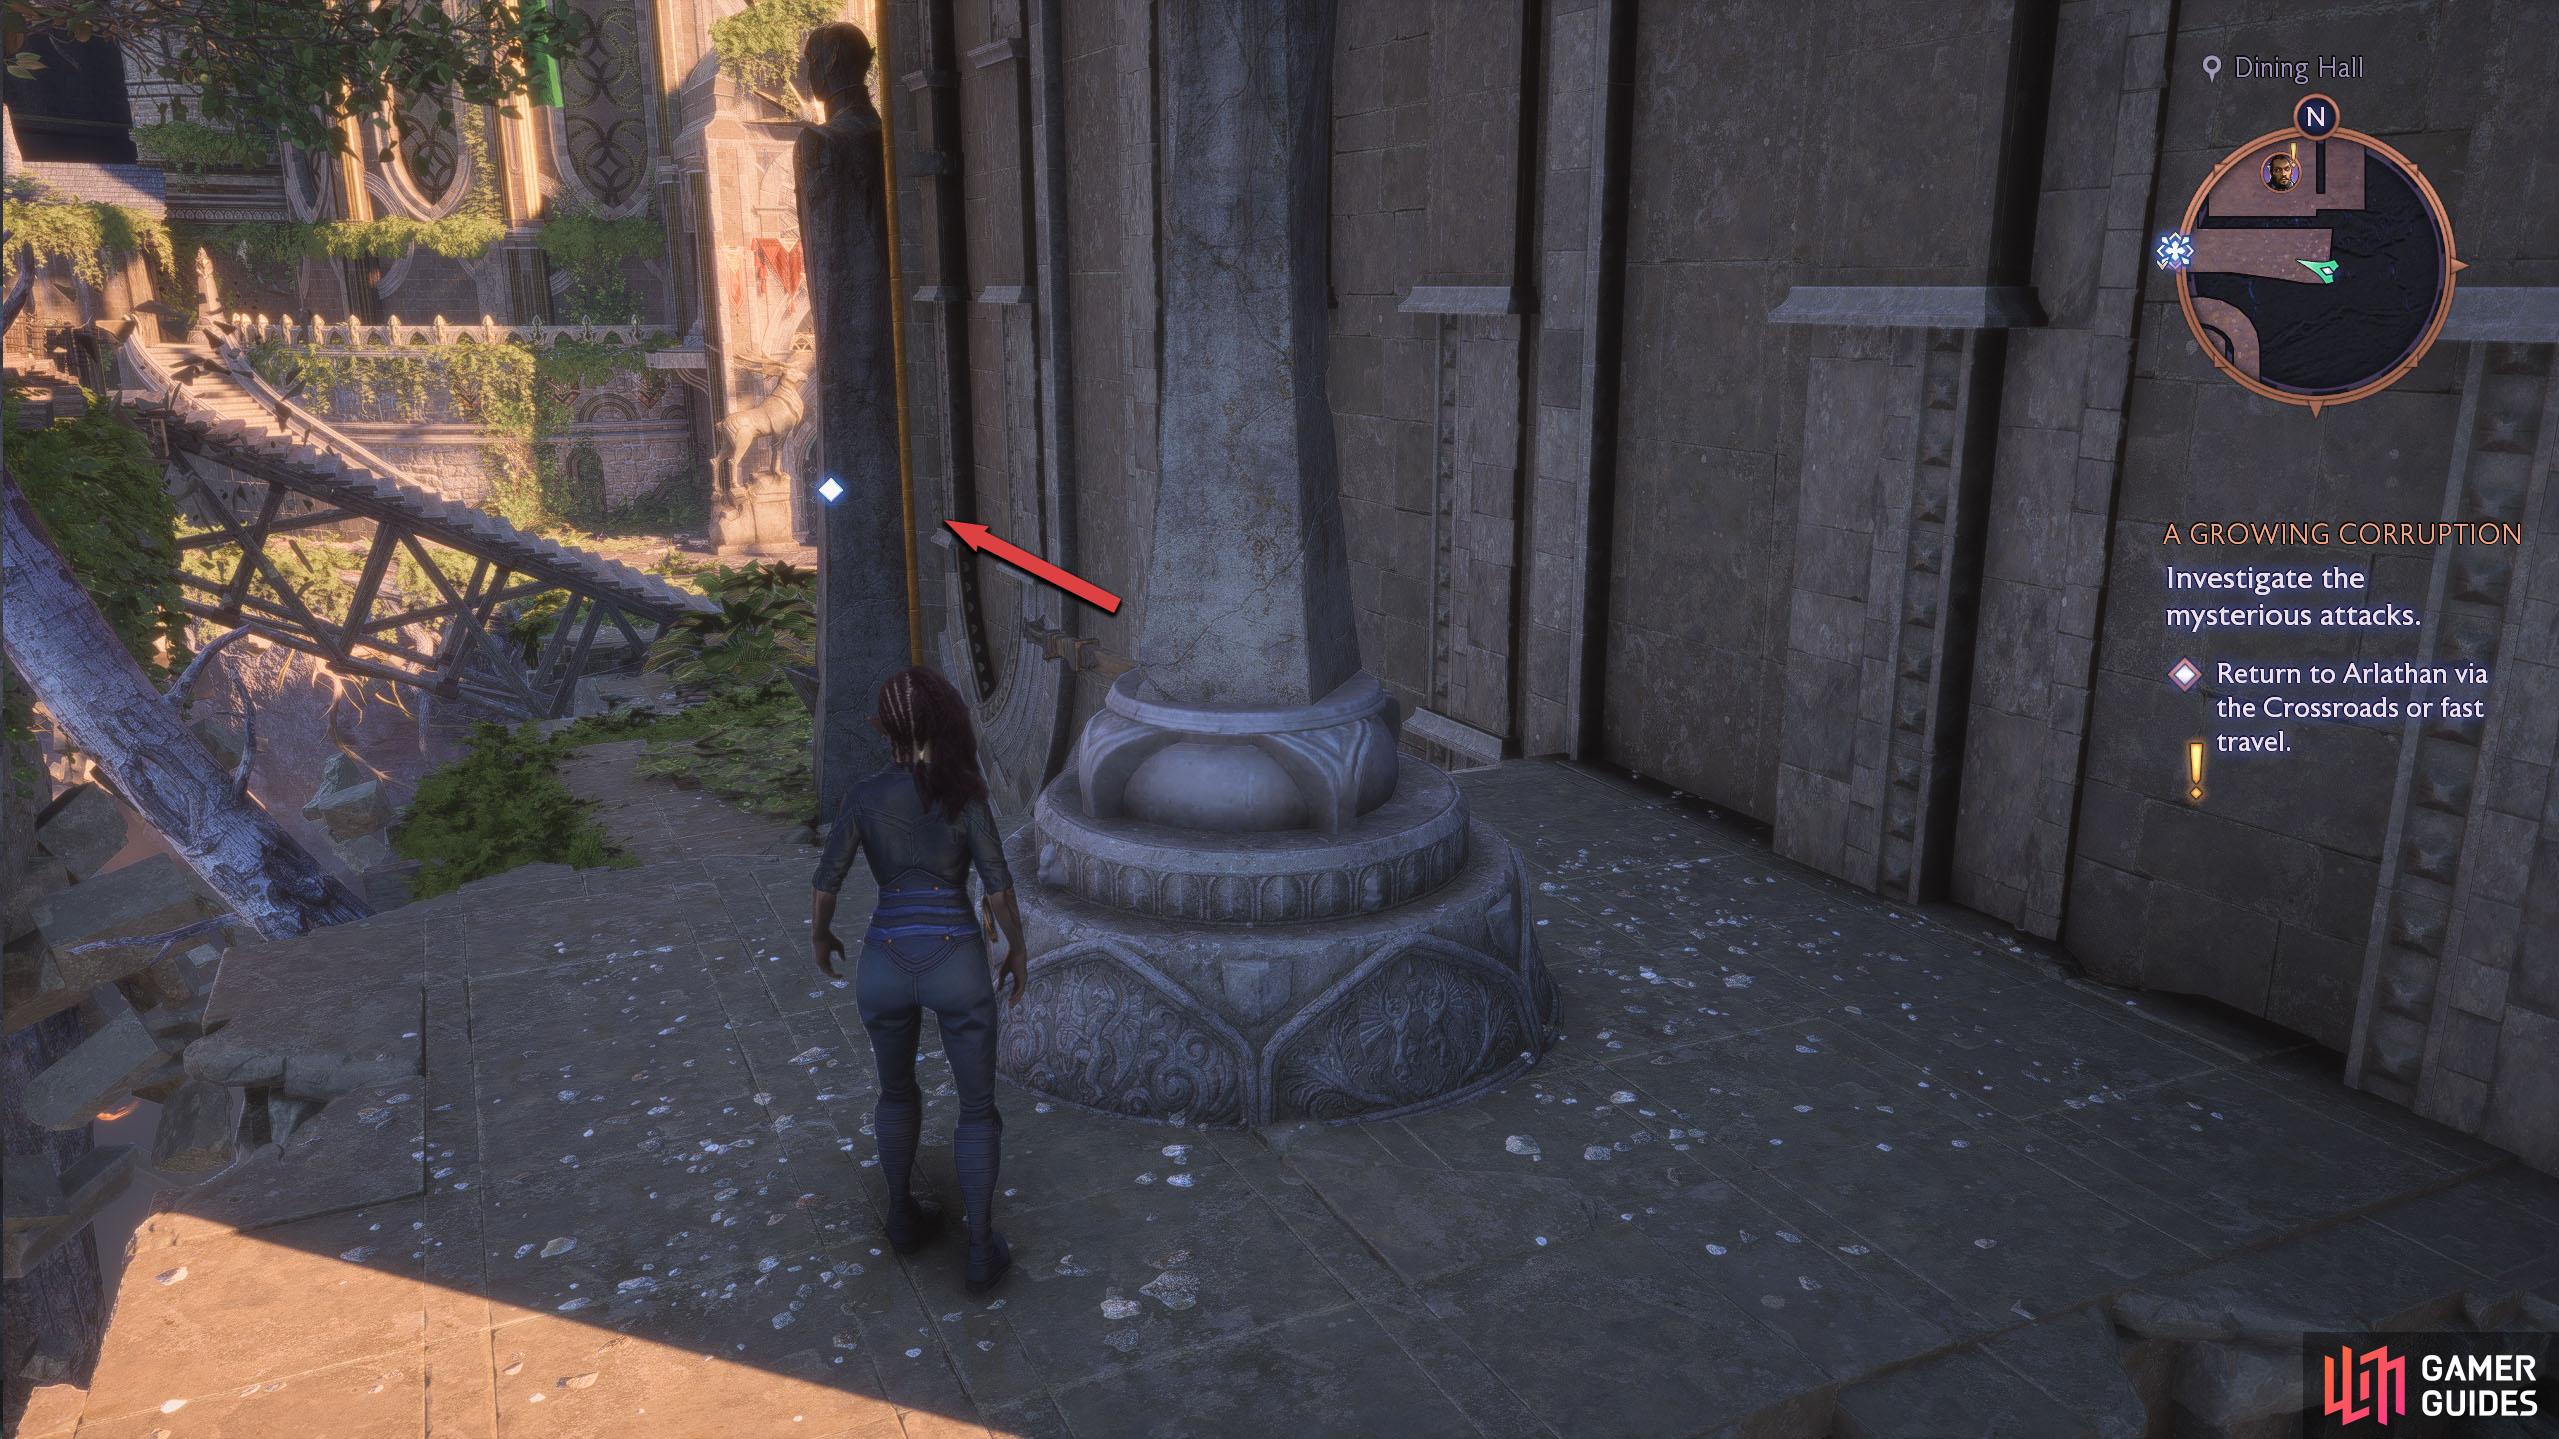
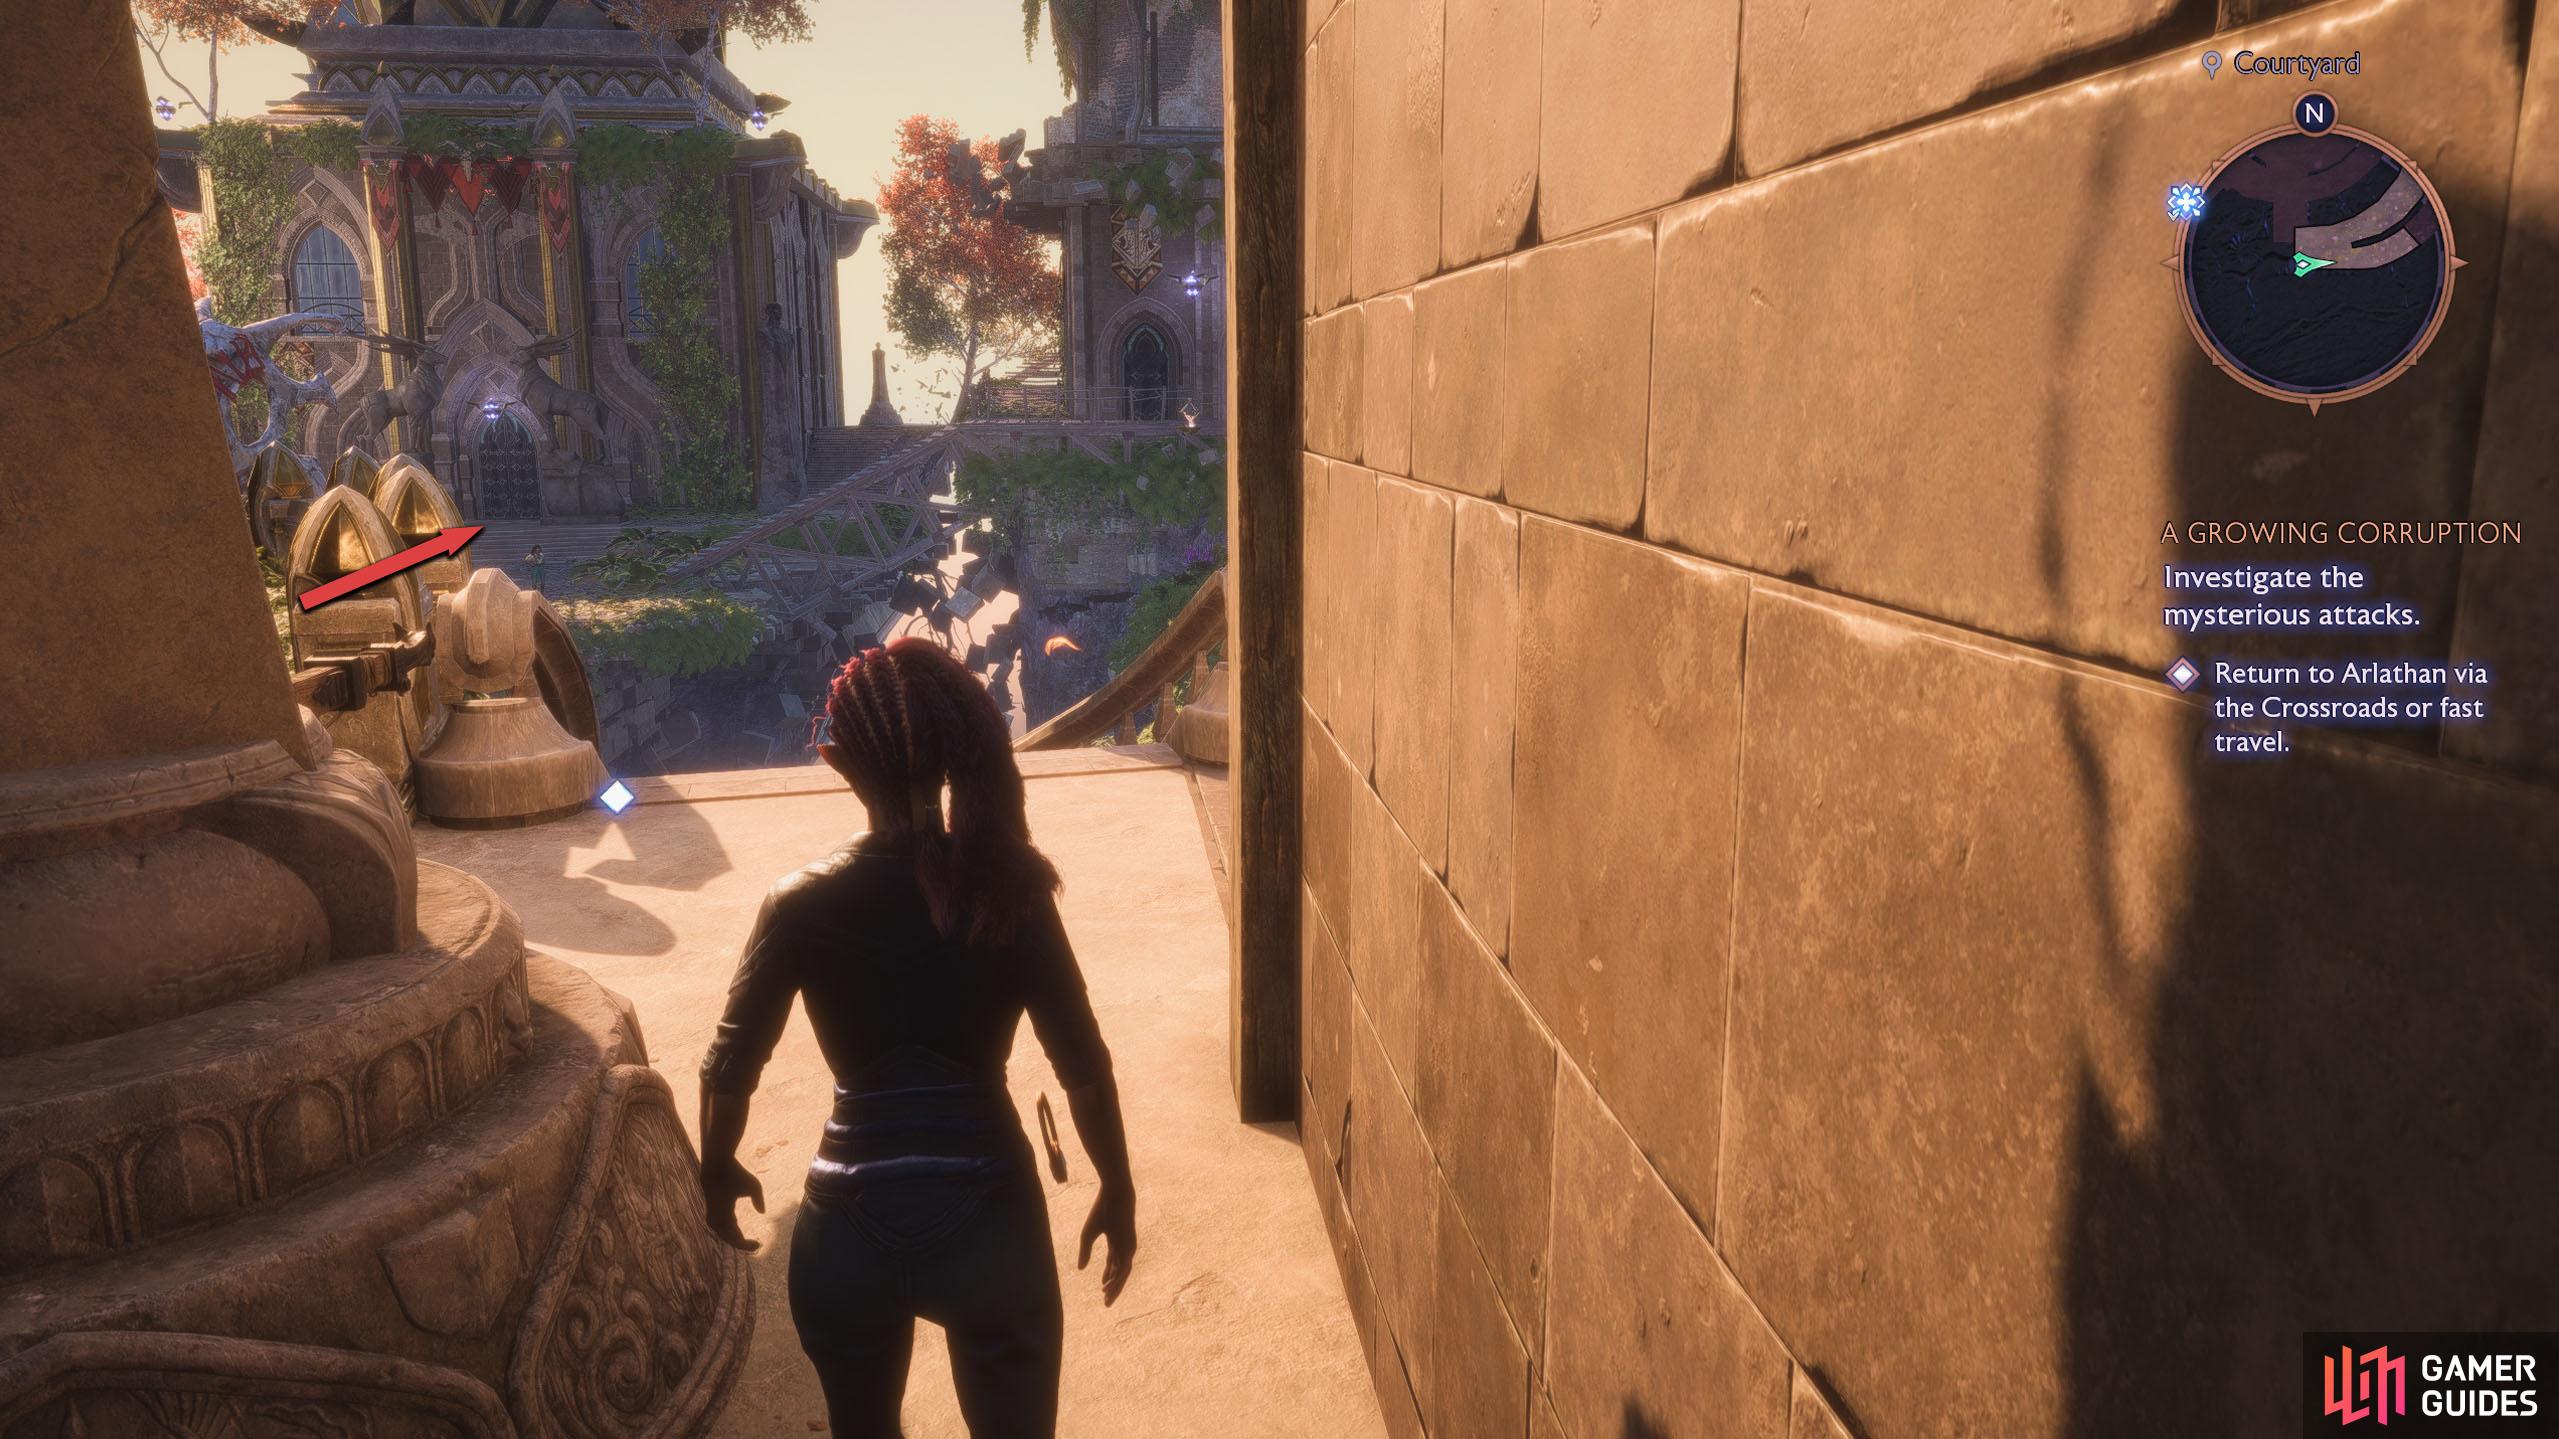
For the second set of statues, you’ll want to go to the Dining Hall, which is the furthest building to the east, and walk around the right side of it to find the statue at the top of the stairs. Rotate this west. Head back to the main entrance and go up the curved stairs to the left to find the second statue. Rotate this to face the Dining Hall Statue to the east.
(1 of 2) You’ll find the third statue to the right of the Dining Hall.
You’ll find the third statue to the right of the Dining Hall. (left), Opposite the Dining Hall, go up the stairs to find the fourth statue. (right)
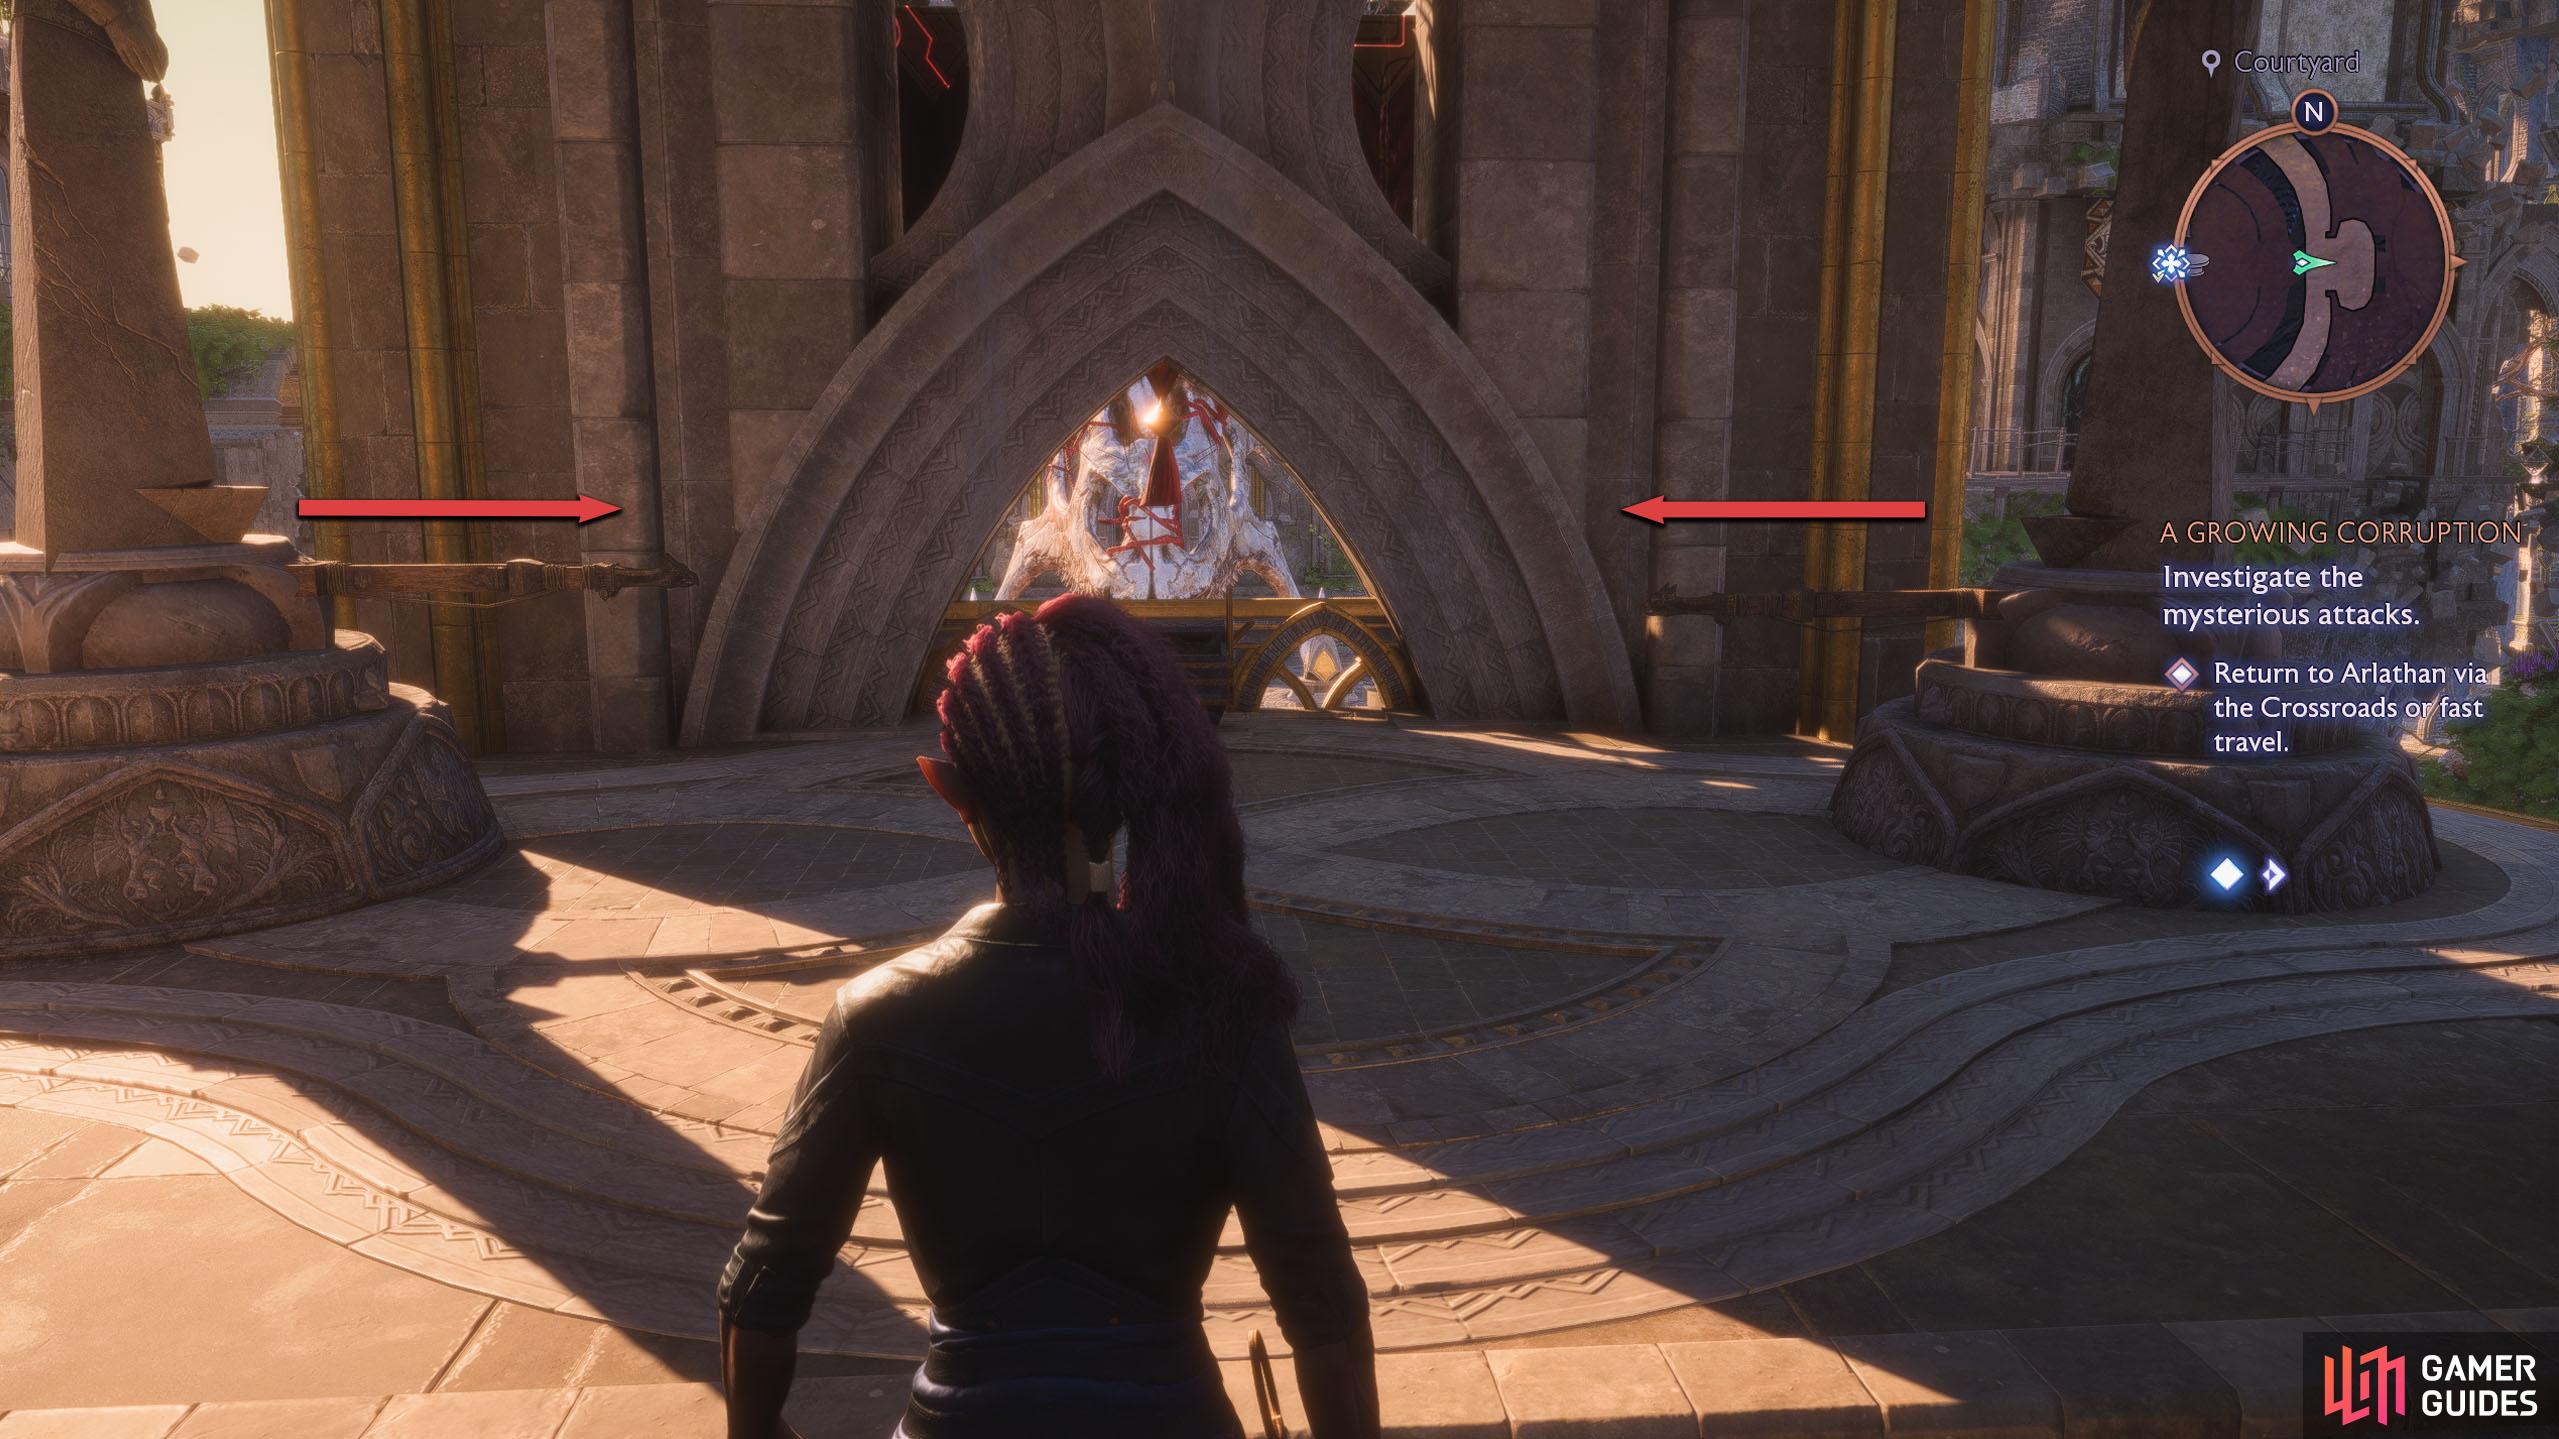
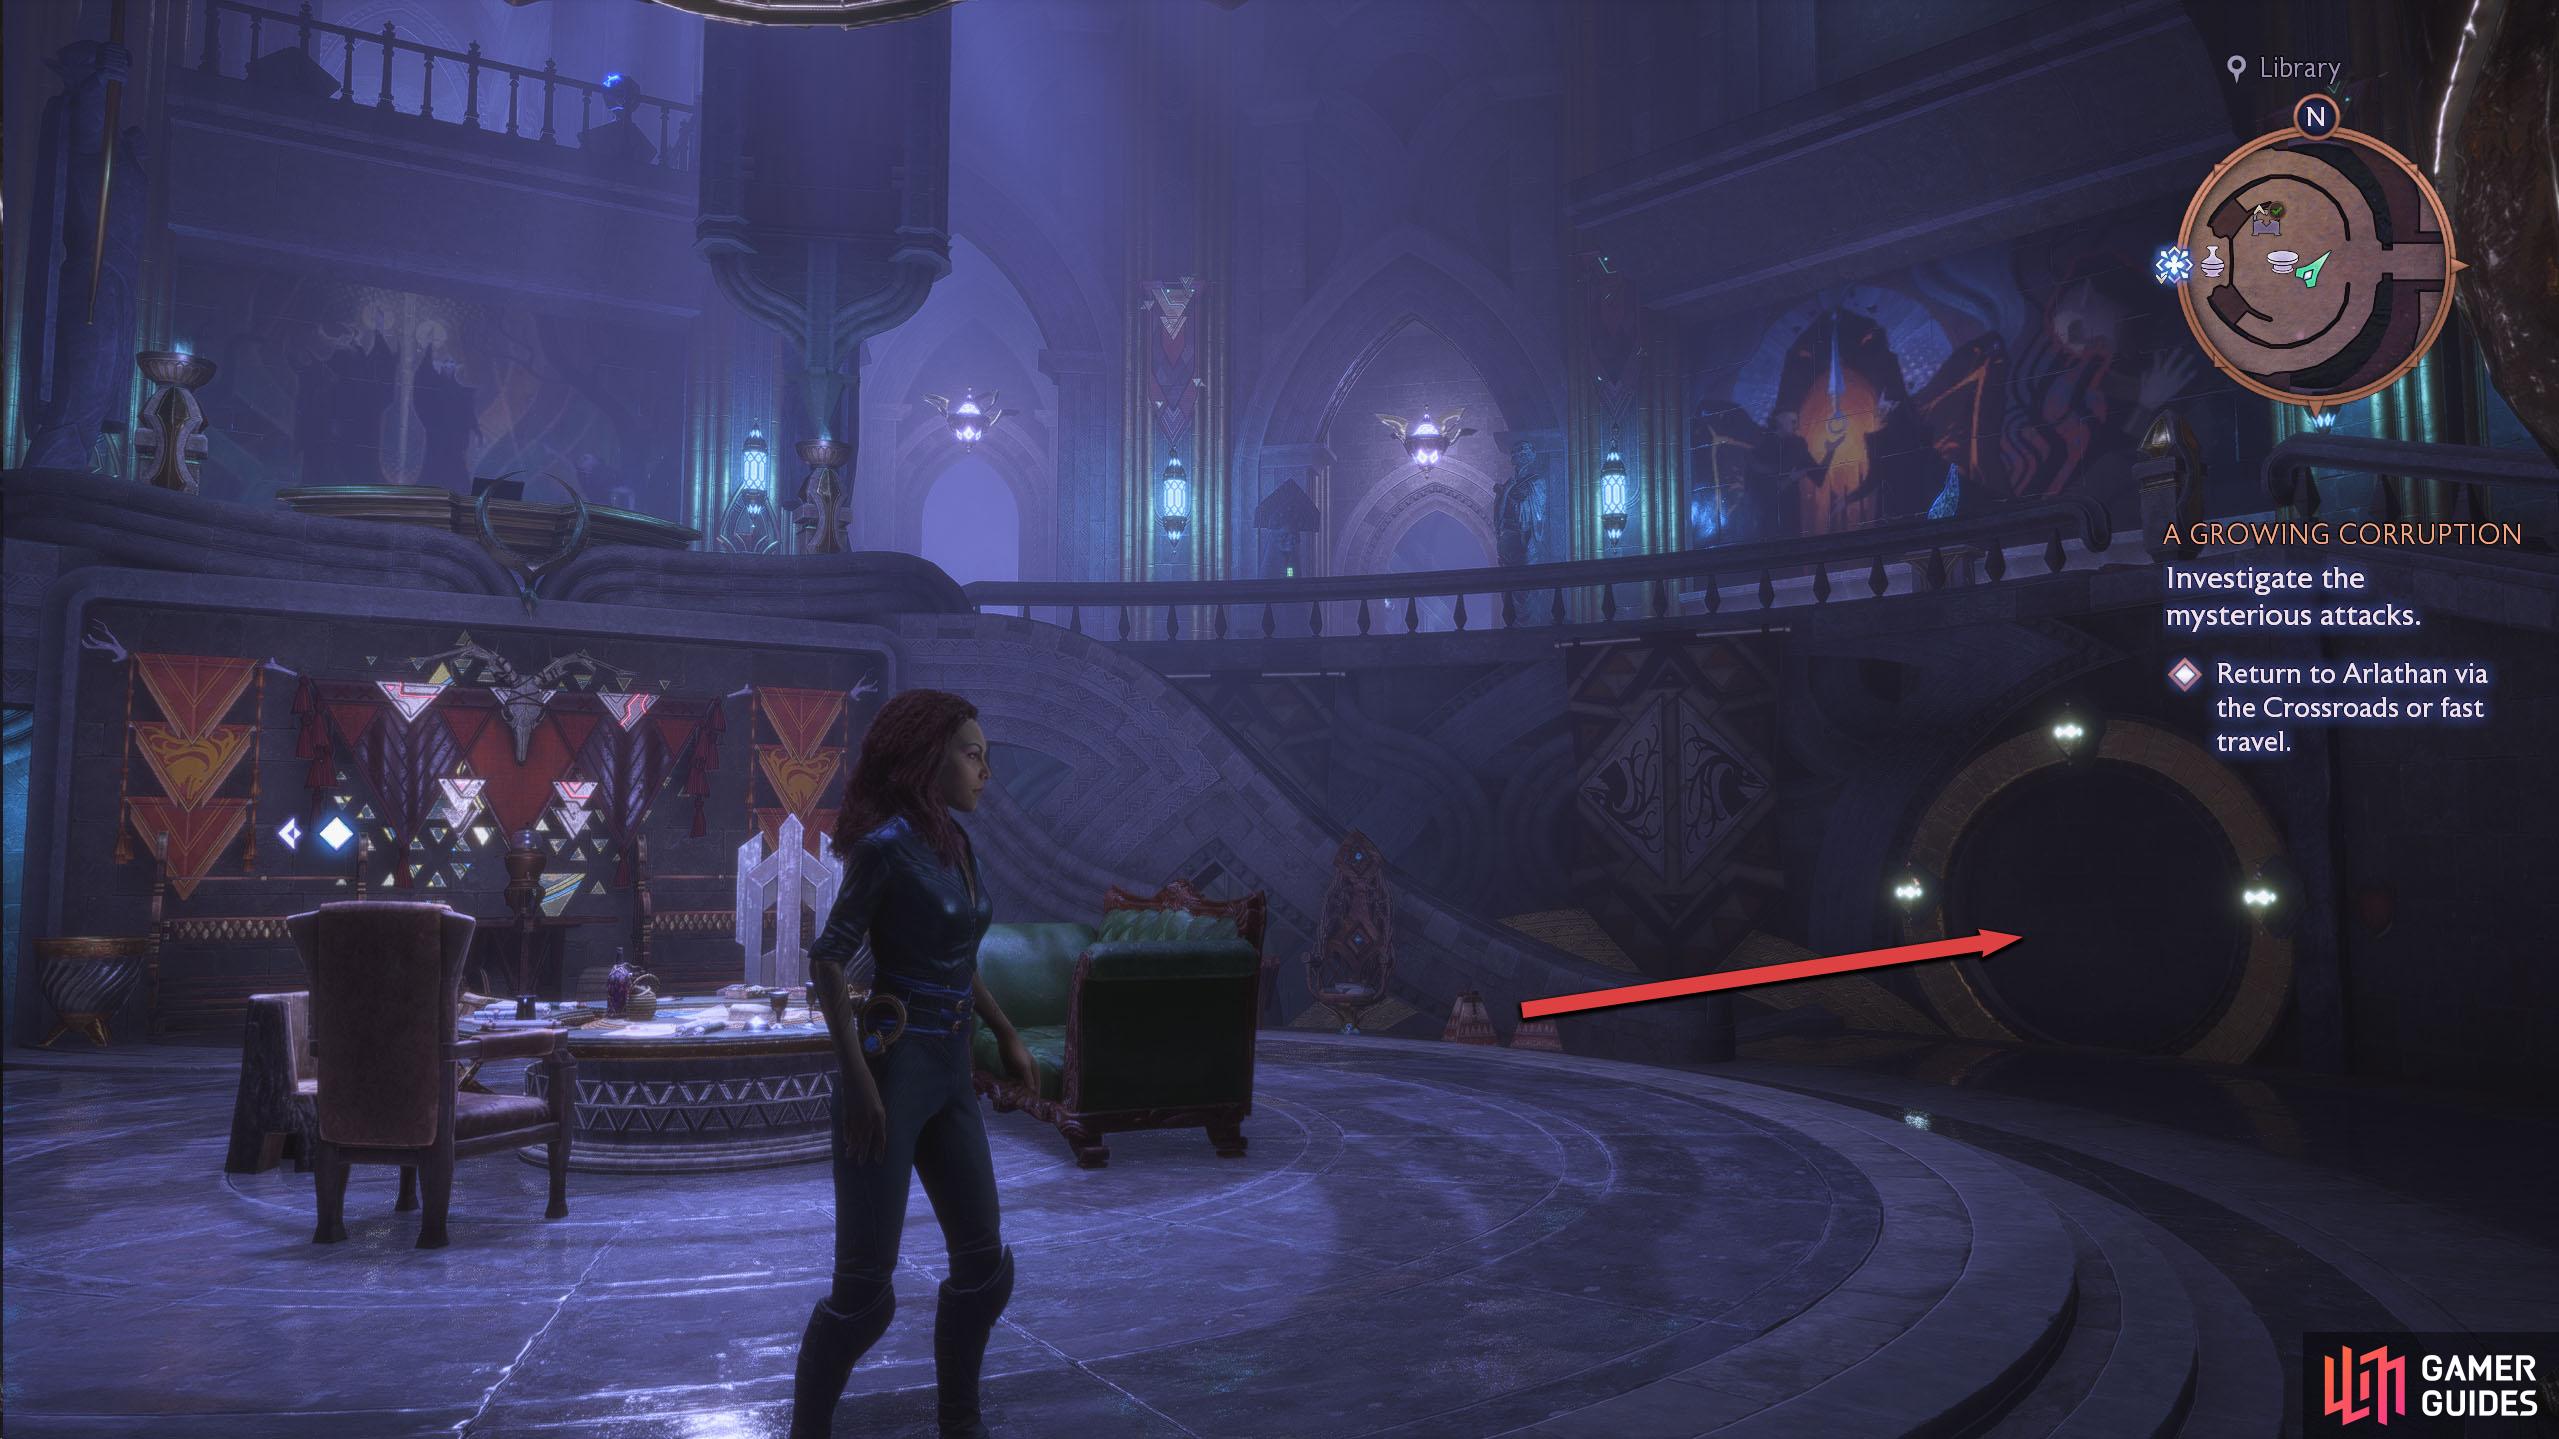
Finally, the last two statues can be found above the main entrance. Follow the balcony north from the previous statue, and you’ll find both of the remaining statues next to each other. Rotate both of the statues to face each other, and you’ll hear an unlocking sound. Head inside the main building and go to the Library. To the right of the table is a circular room to your right, which is the Music Room.
The last two statues are on the courtyard balcony, above the main entrance.
Wisp Music Room Puzzle
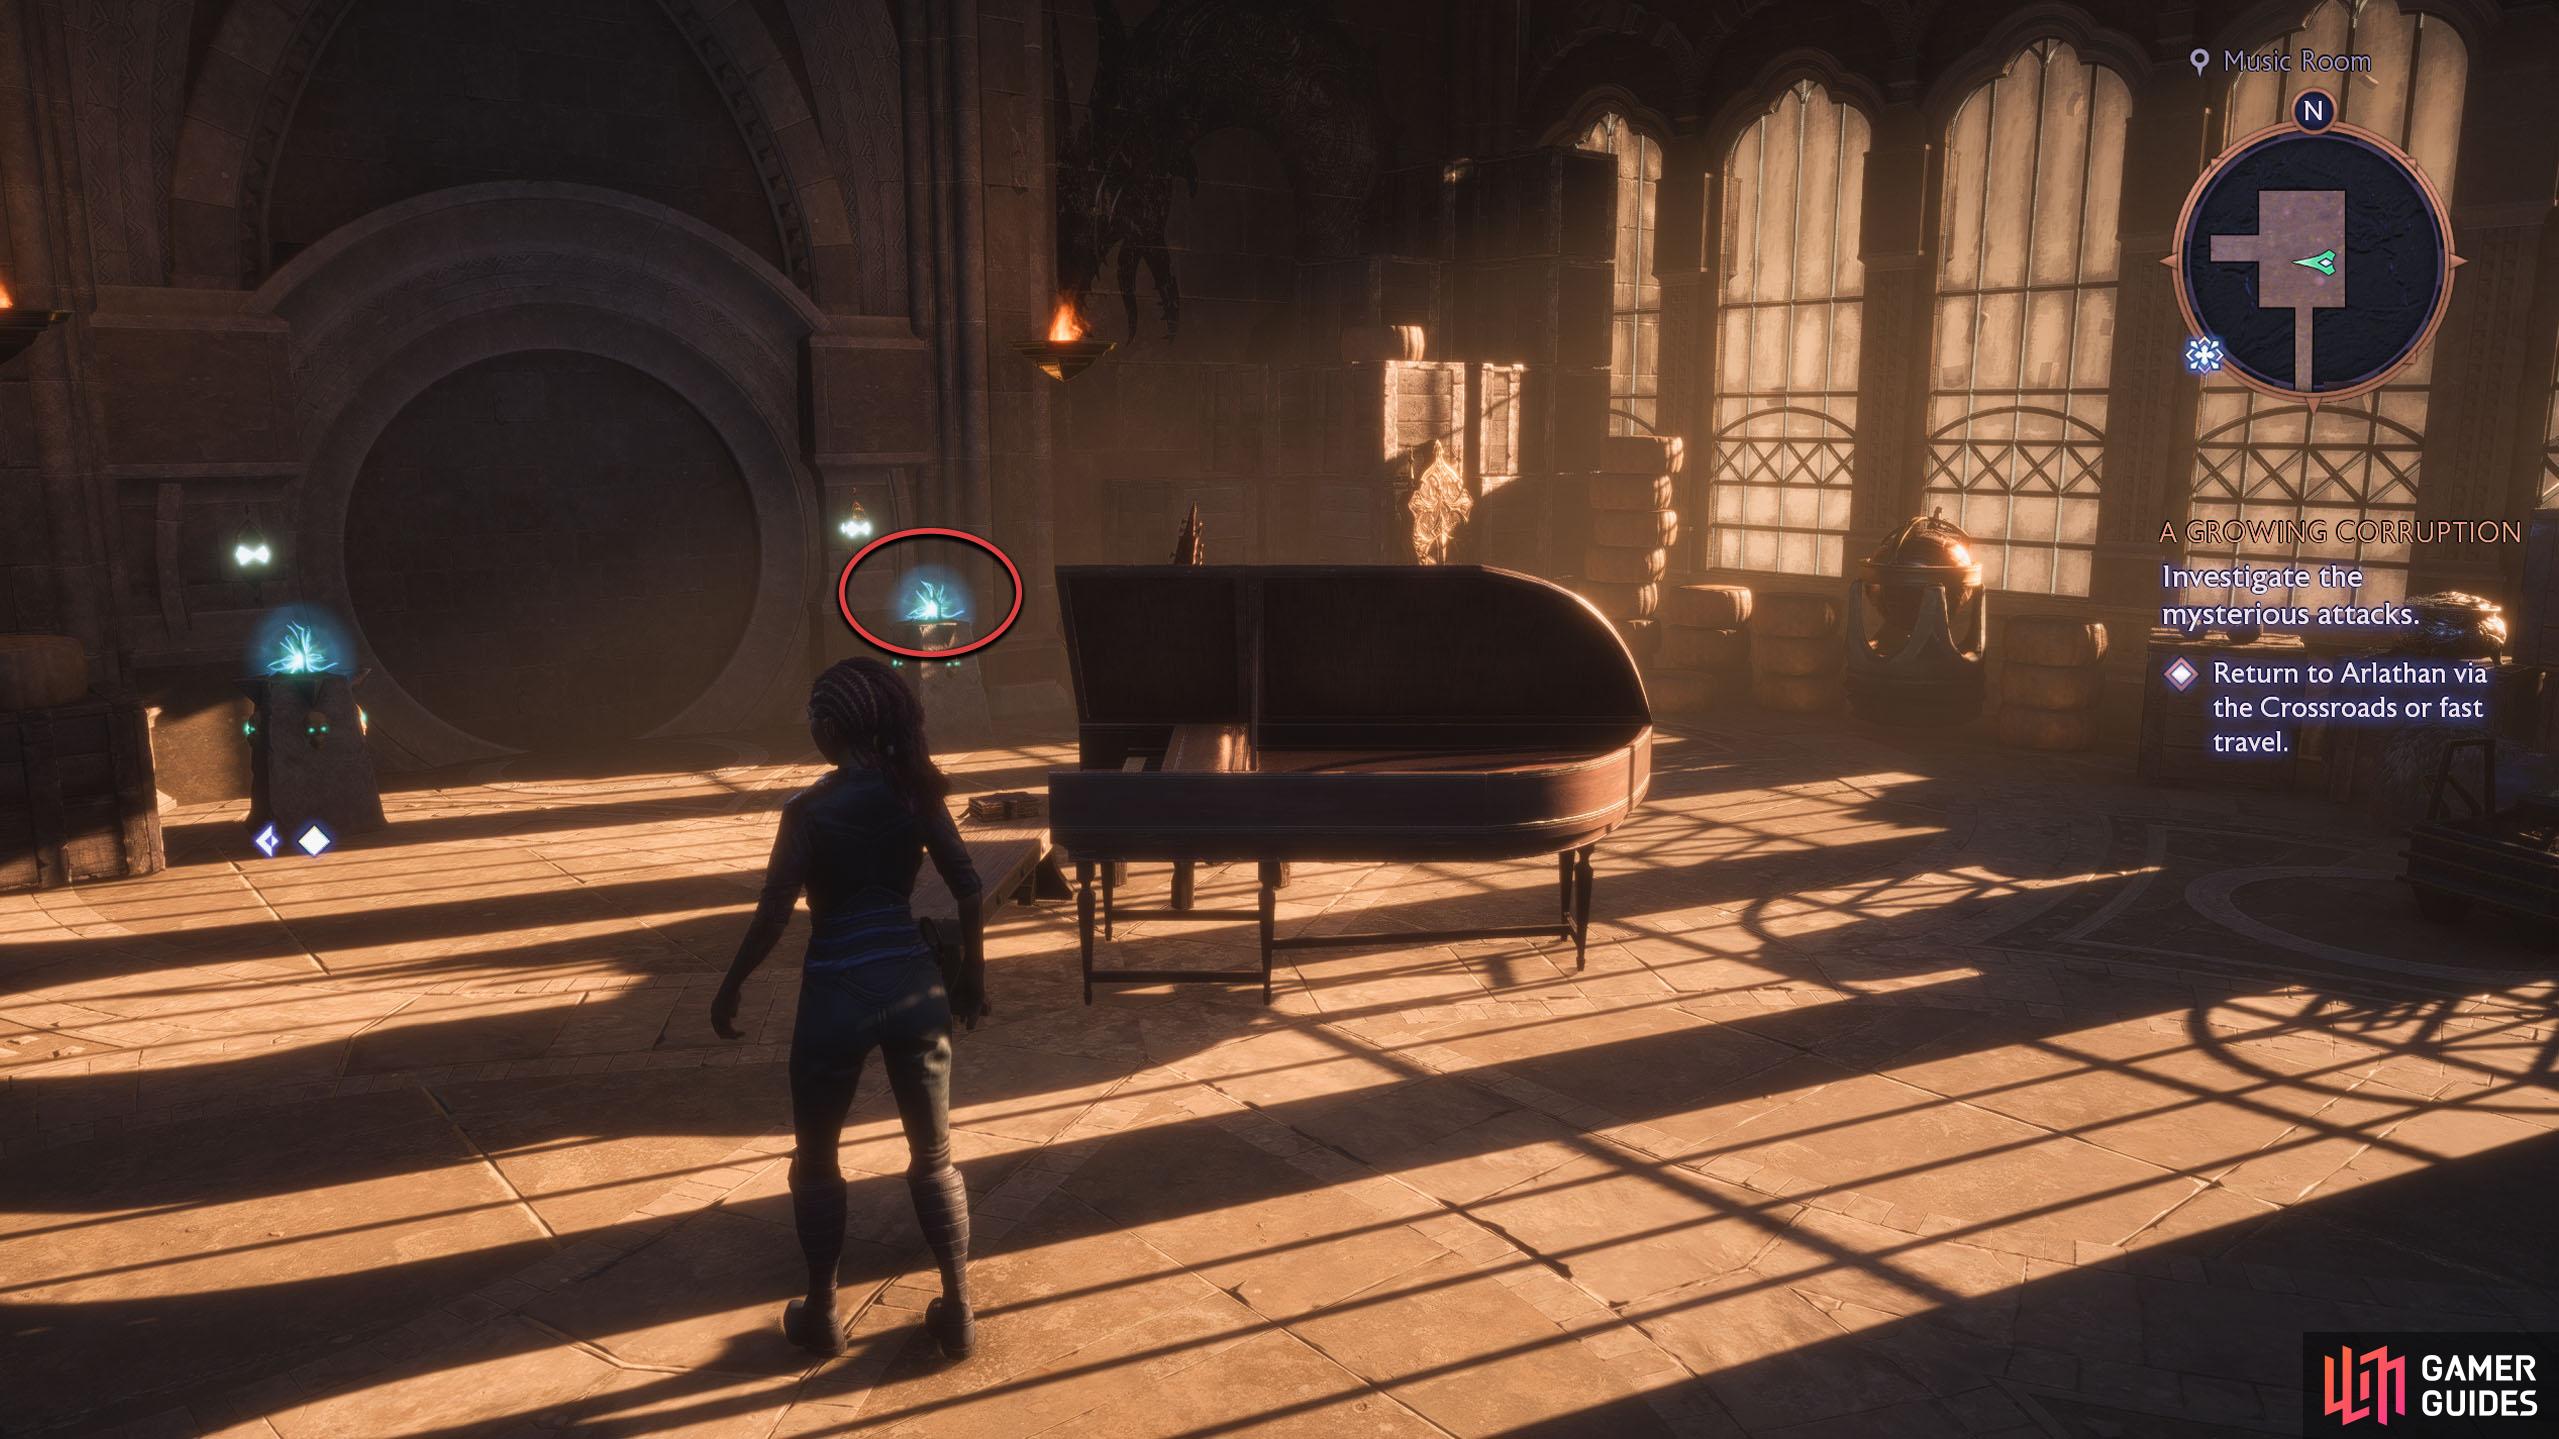
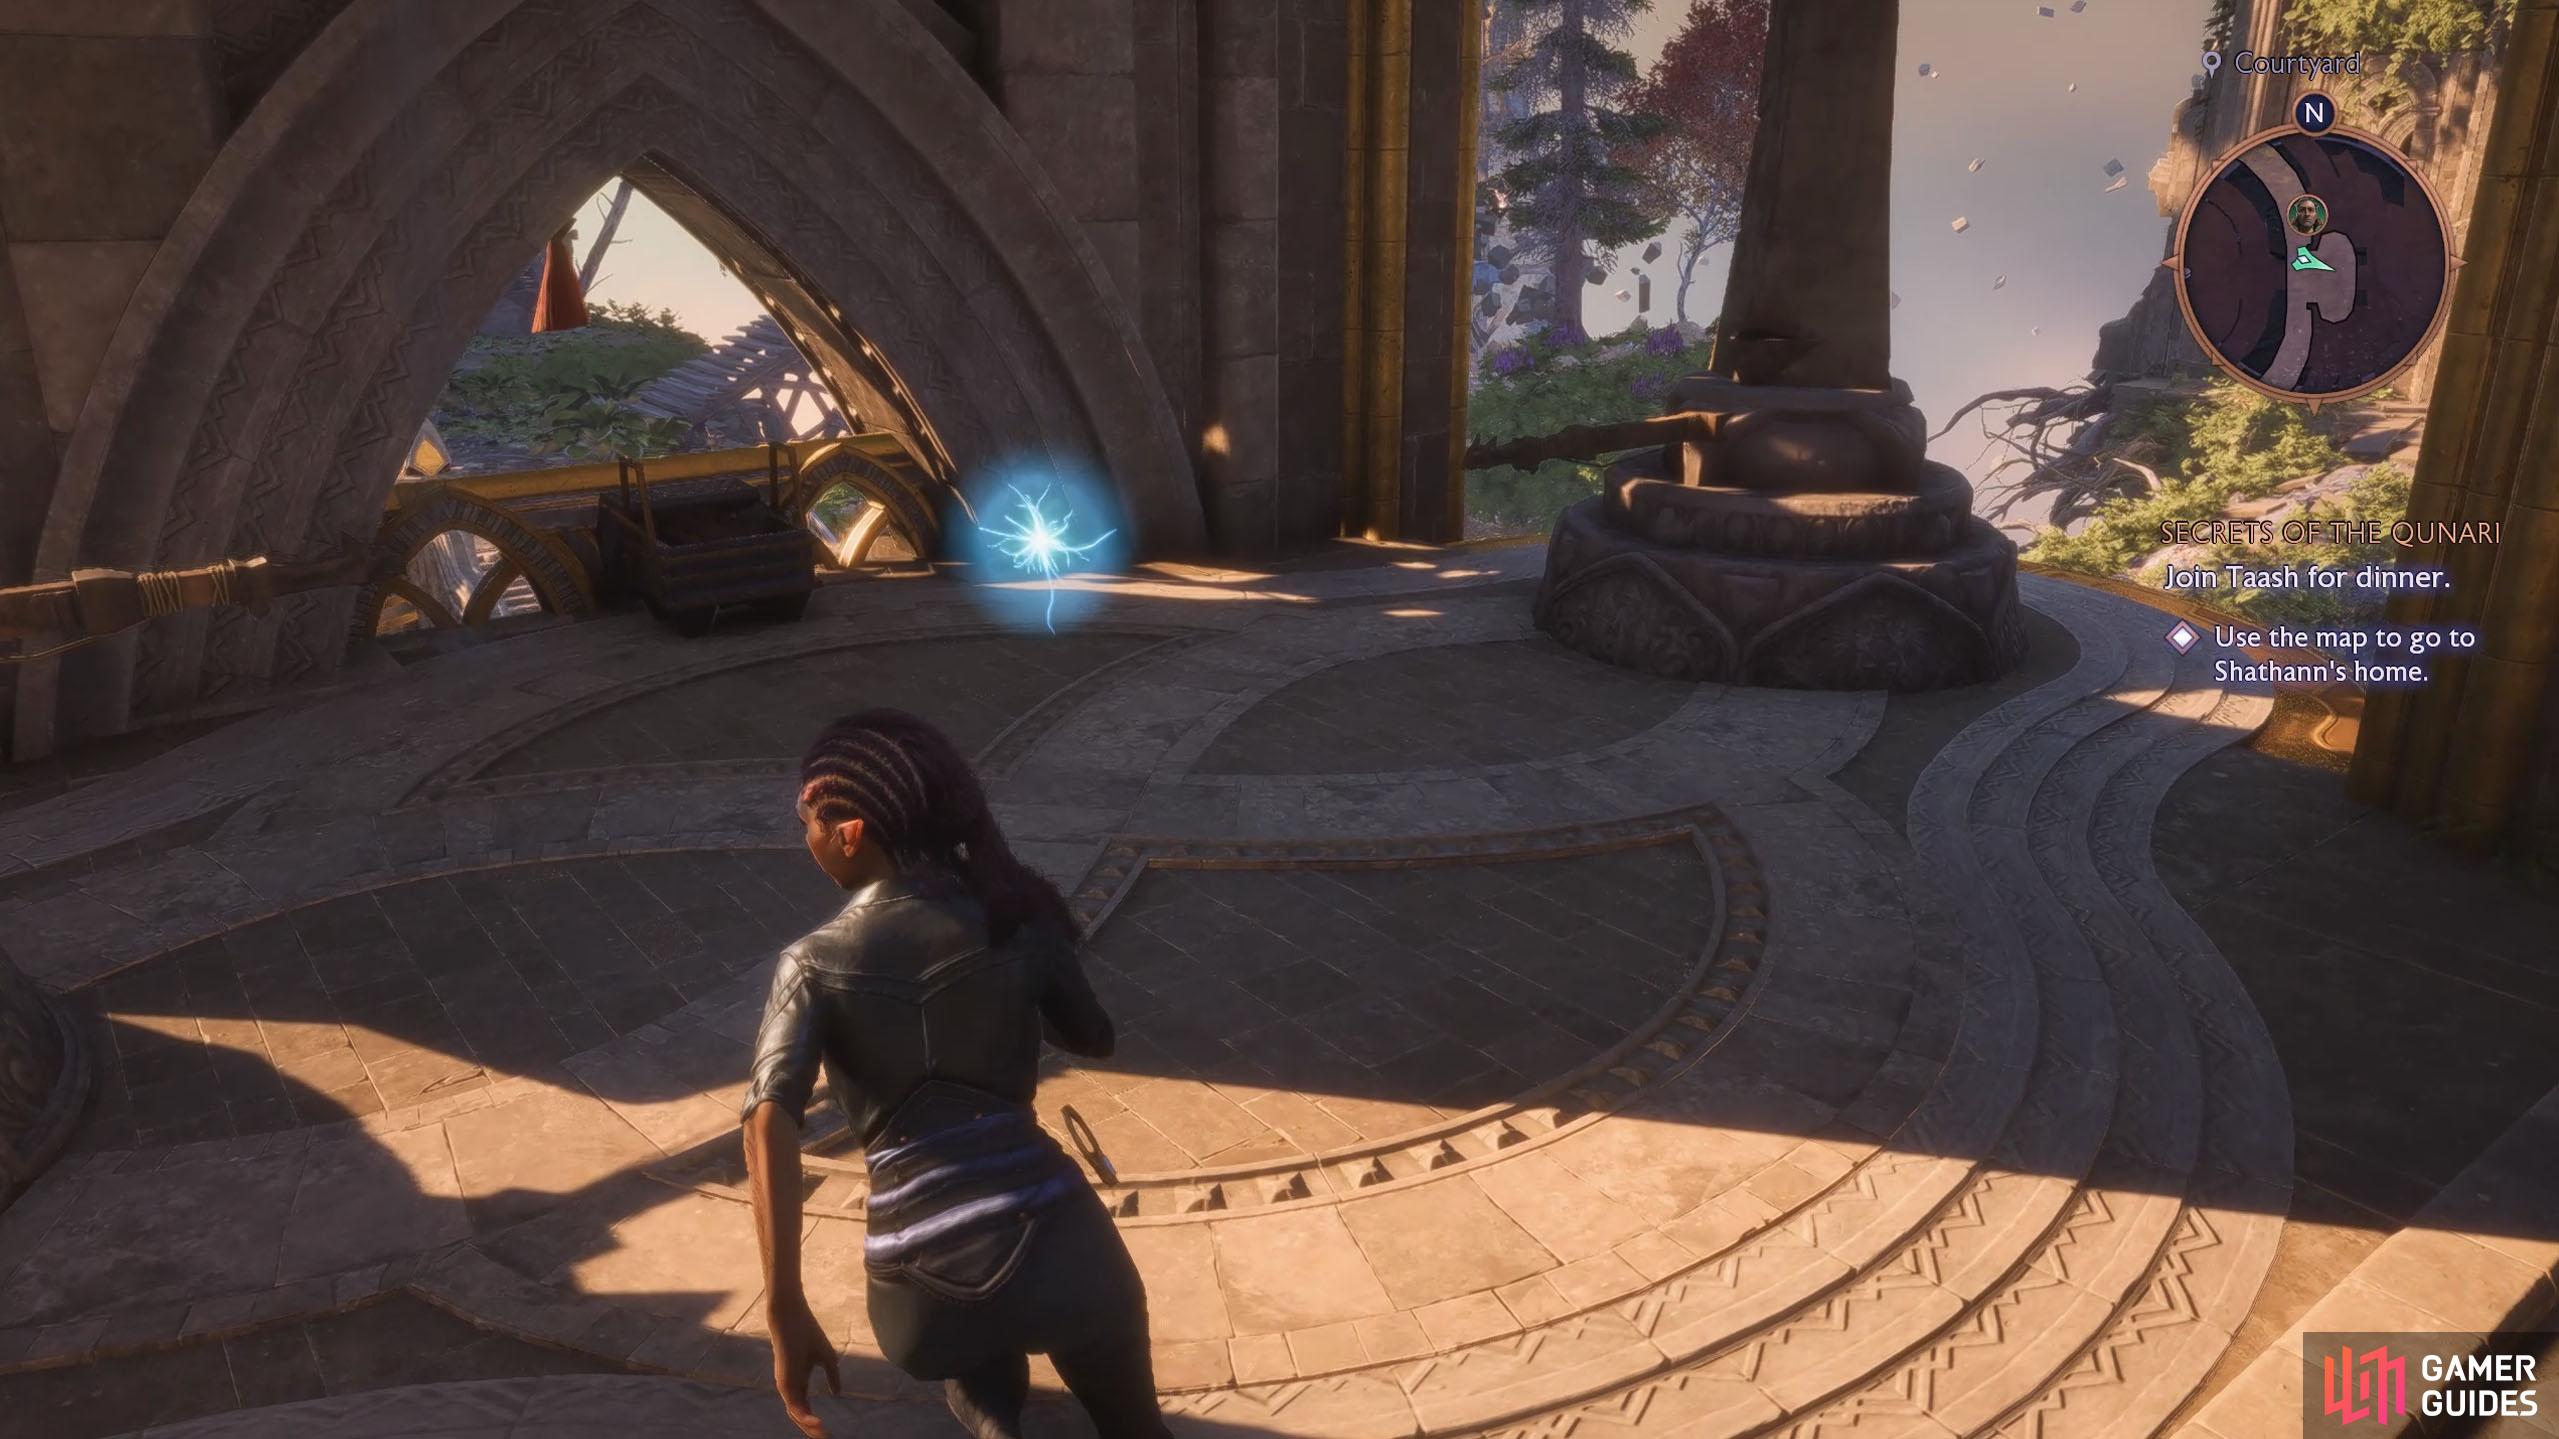
Inside the room, you’ll find a piano in the center, and opposite that, another circular door with two pedestals on either side of it. To enter this room, you’ll need to find a Wisp and place it on the right pedestal. The Wisp can be found outside, above the main entrance, in between the two statues you rotated last. If the Wisp isn’t there, you may need to progress the main story until it appears. We recommend at least unlocking Emmrich first, as you won’t know about the Wisp puzzles until you meet him.
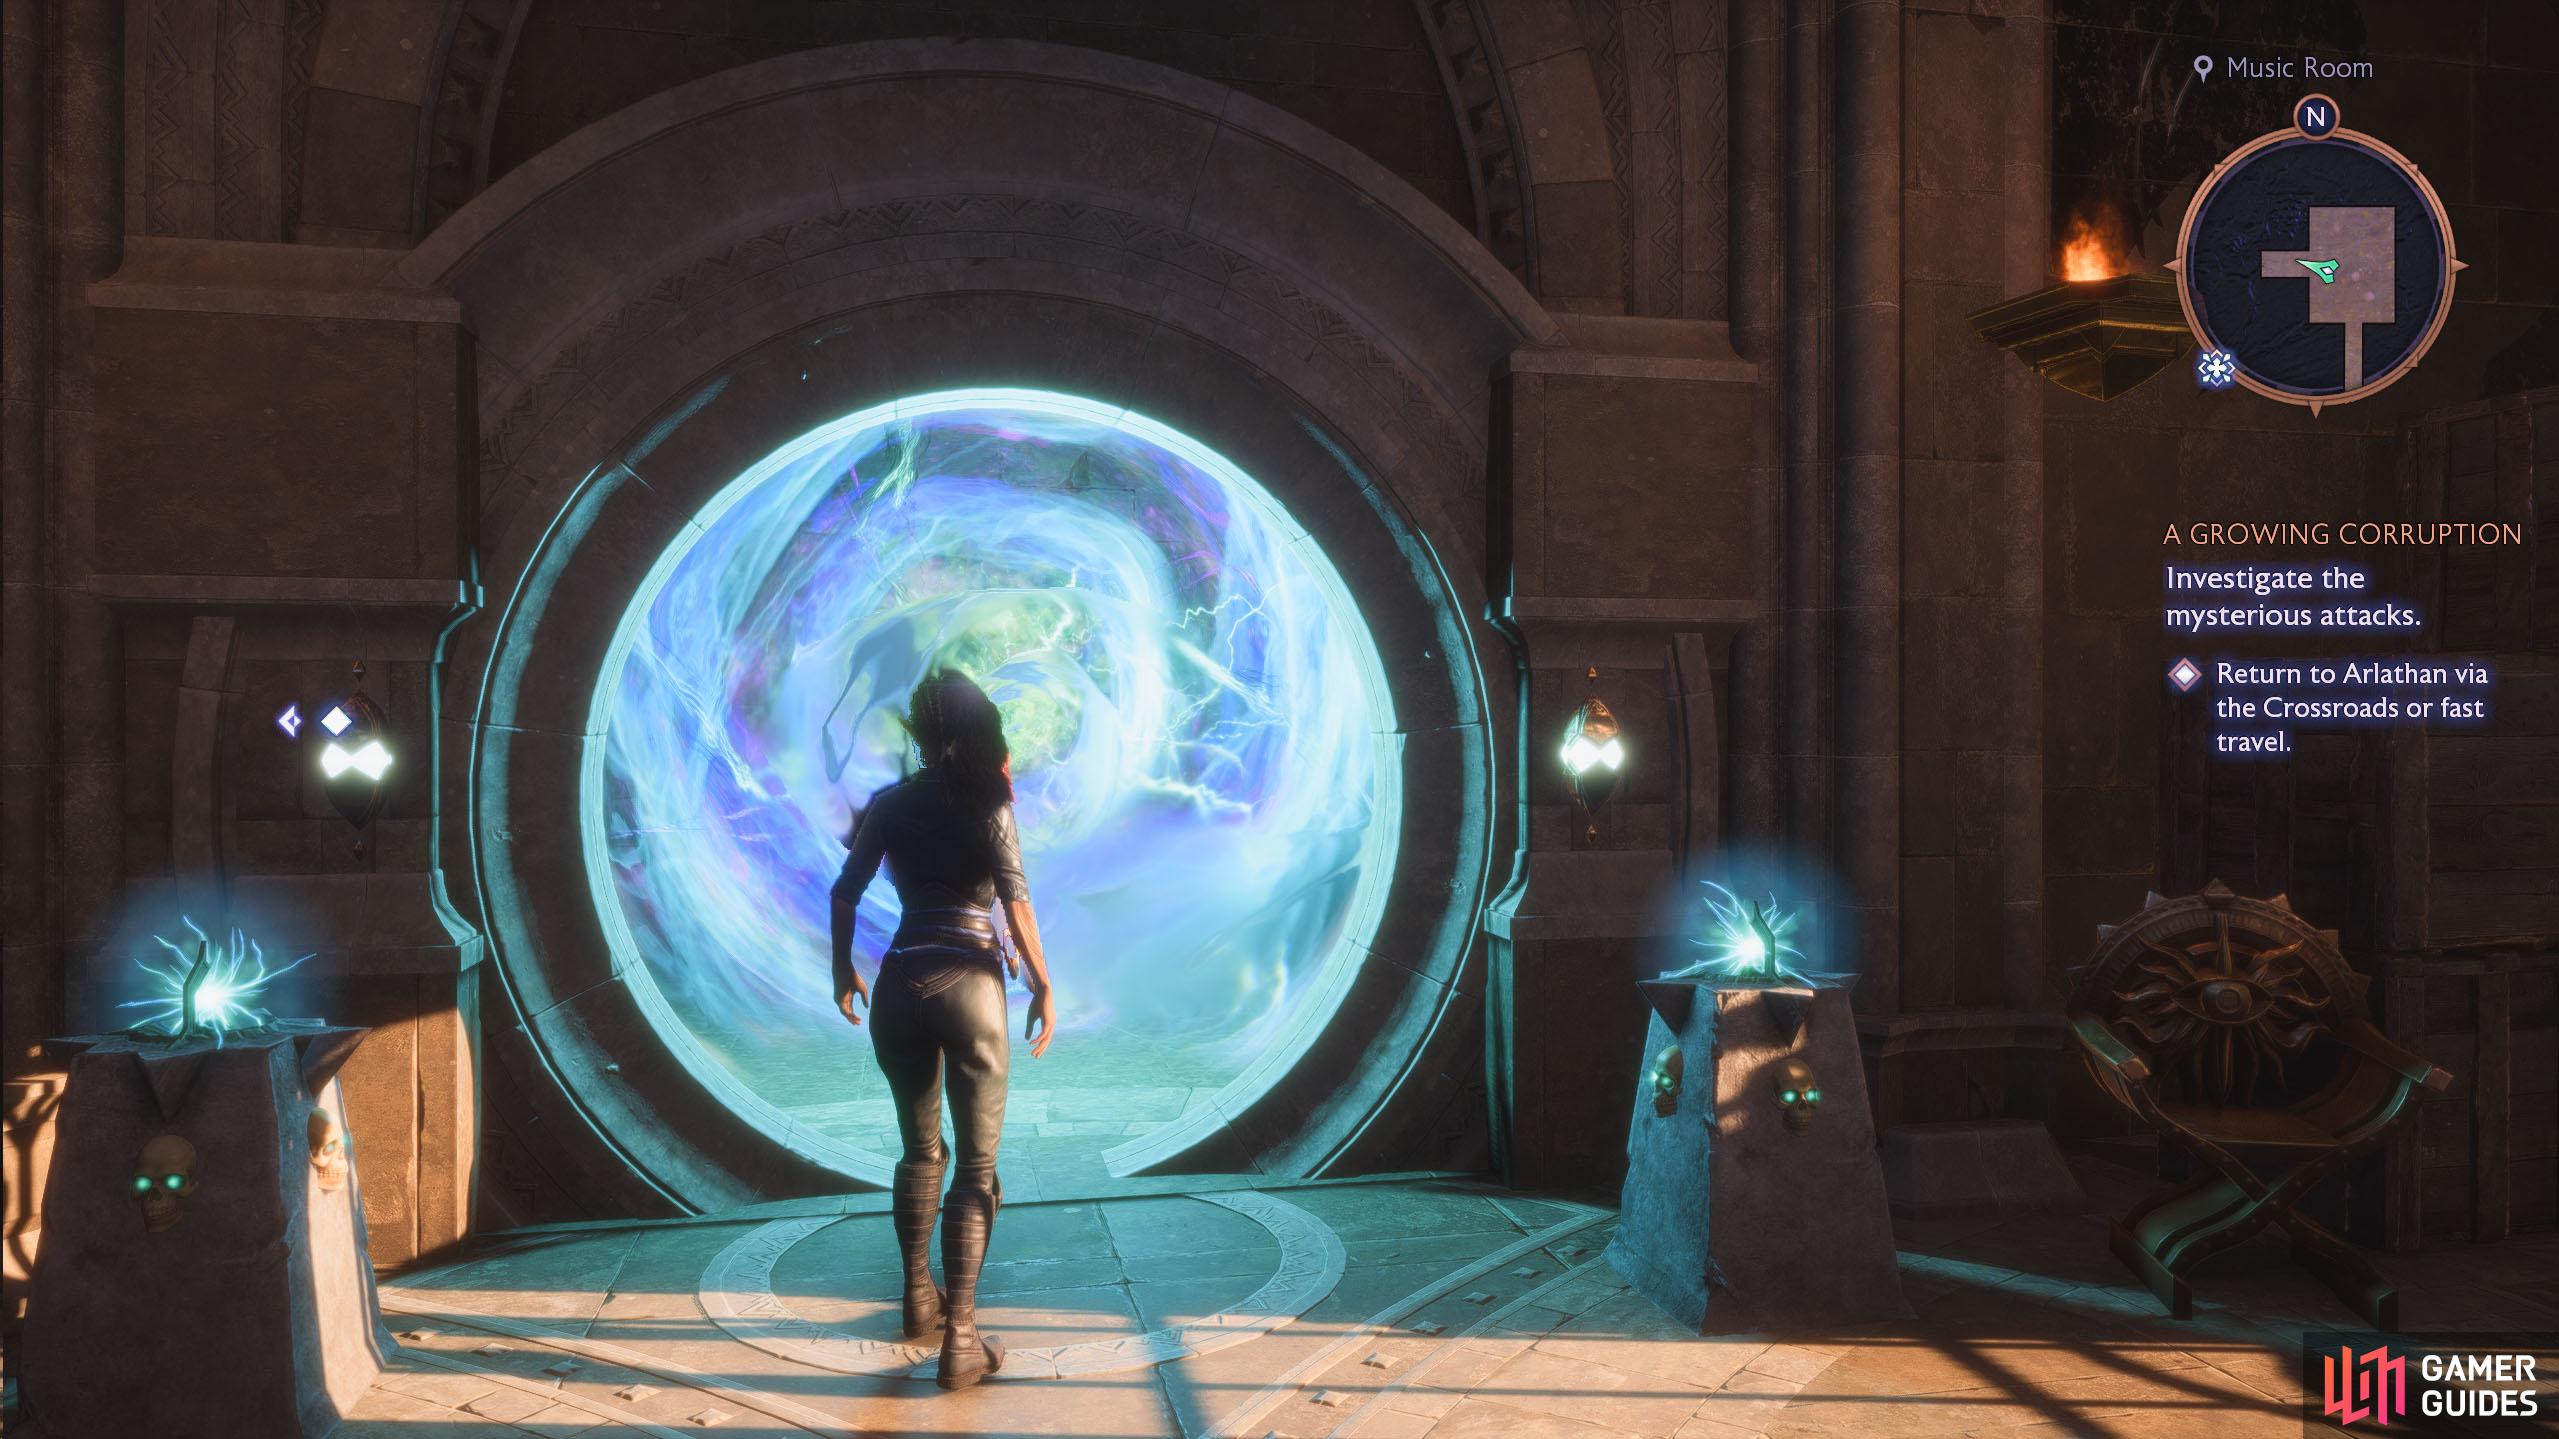
When you get the Wisp, jump down to the Courtyard, enter the main building, and run into the Music Room to place it on the right pedestal. You will have a short amount of time before the Wisp returns to its original location, so make sure you do this quickly. Upon placing the Wisp on the pedestal, the circular door will open, displaying a portal.
(1 of 4) After activating the statues, the Music Room will unlock.
Library Balcony
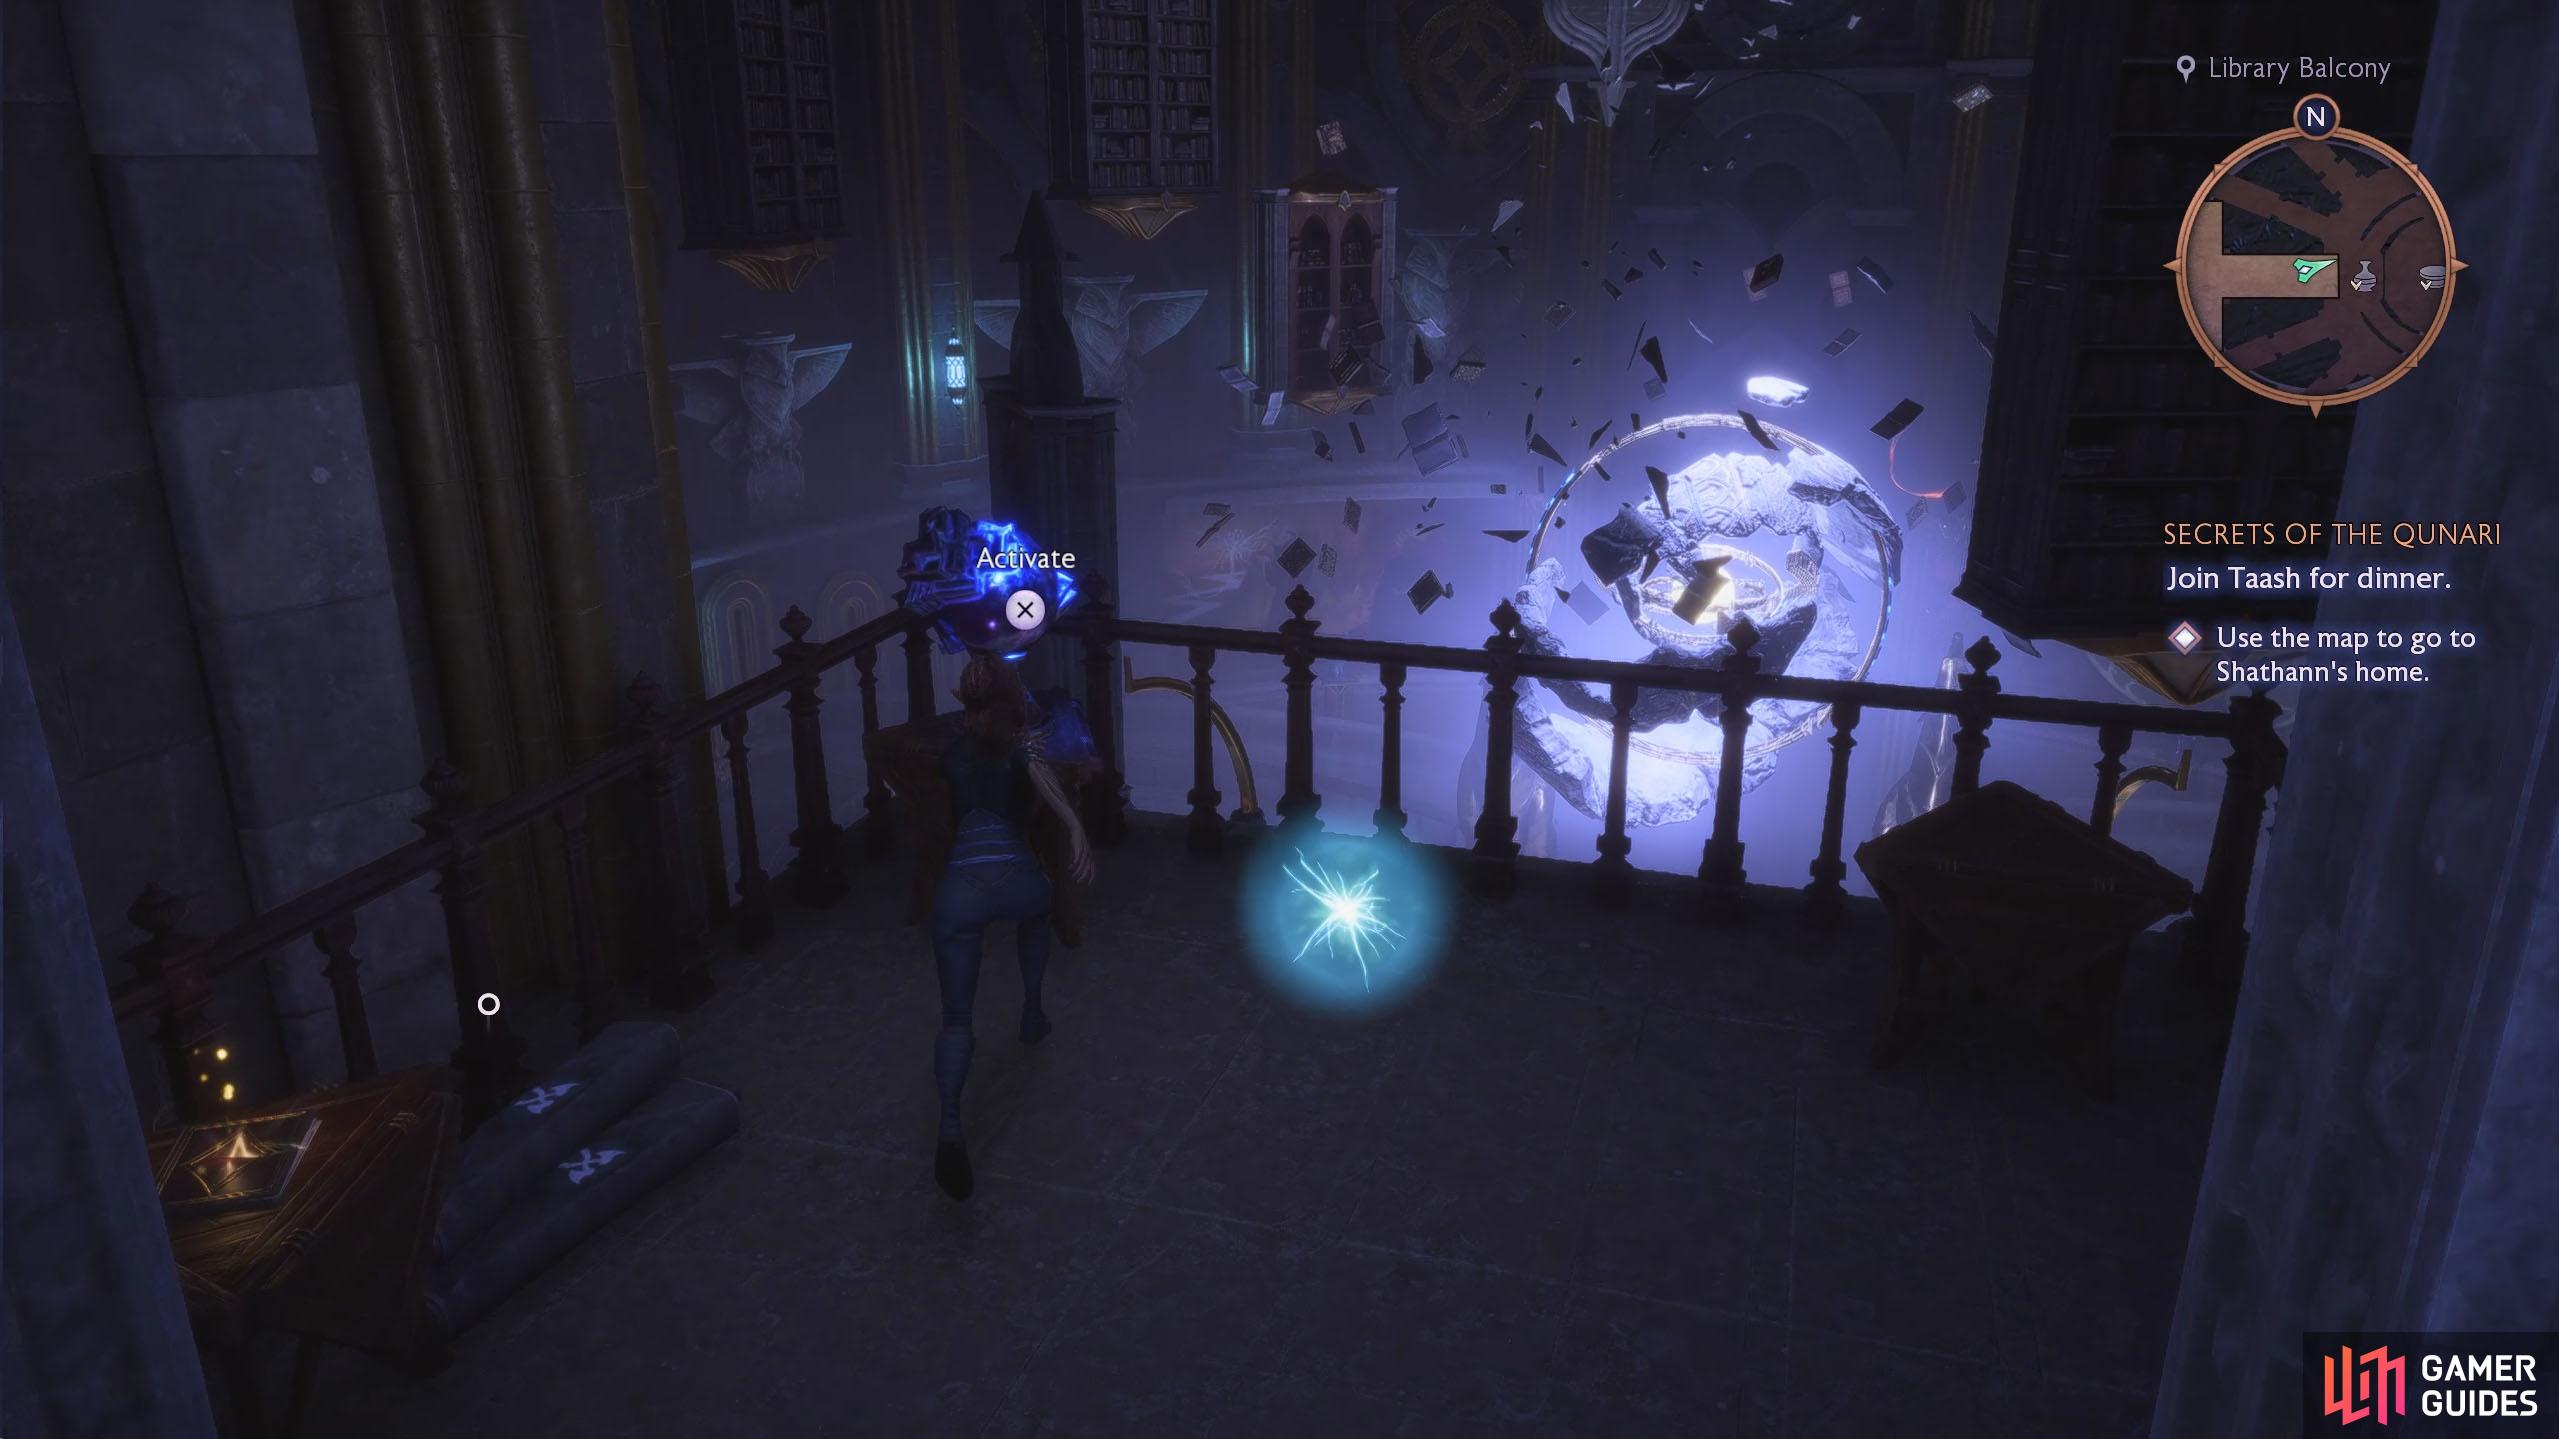
Enter the portal to take you to the Library Balcony. Note, that if you jump off from the balcony here, you’ll unlock the “Nostalgia Trip” achievement. On the balcony, you’ll find a small chest, a few materials, a lore note, a Wisp, and a globe-like object to the left. Interact with the object to fix the Astrolabe, and the Caretaker will tell you that it’s restored to whole, unlocking a discount for the Workshop Upgrades as well as 500 Caretaker Points. Pick up the nearby Wisp and place it on the pedestal opposite the portal to unveil another portal. Go through the new portal, and you’ll be outside in the Watchtower area.
On the Library Balcony, interact with the object to restore the Astrolabe, and then place the Wisp on the pedestal opposite the portal.
Watchtower Puzzle
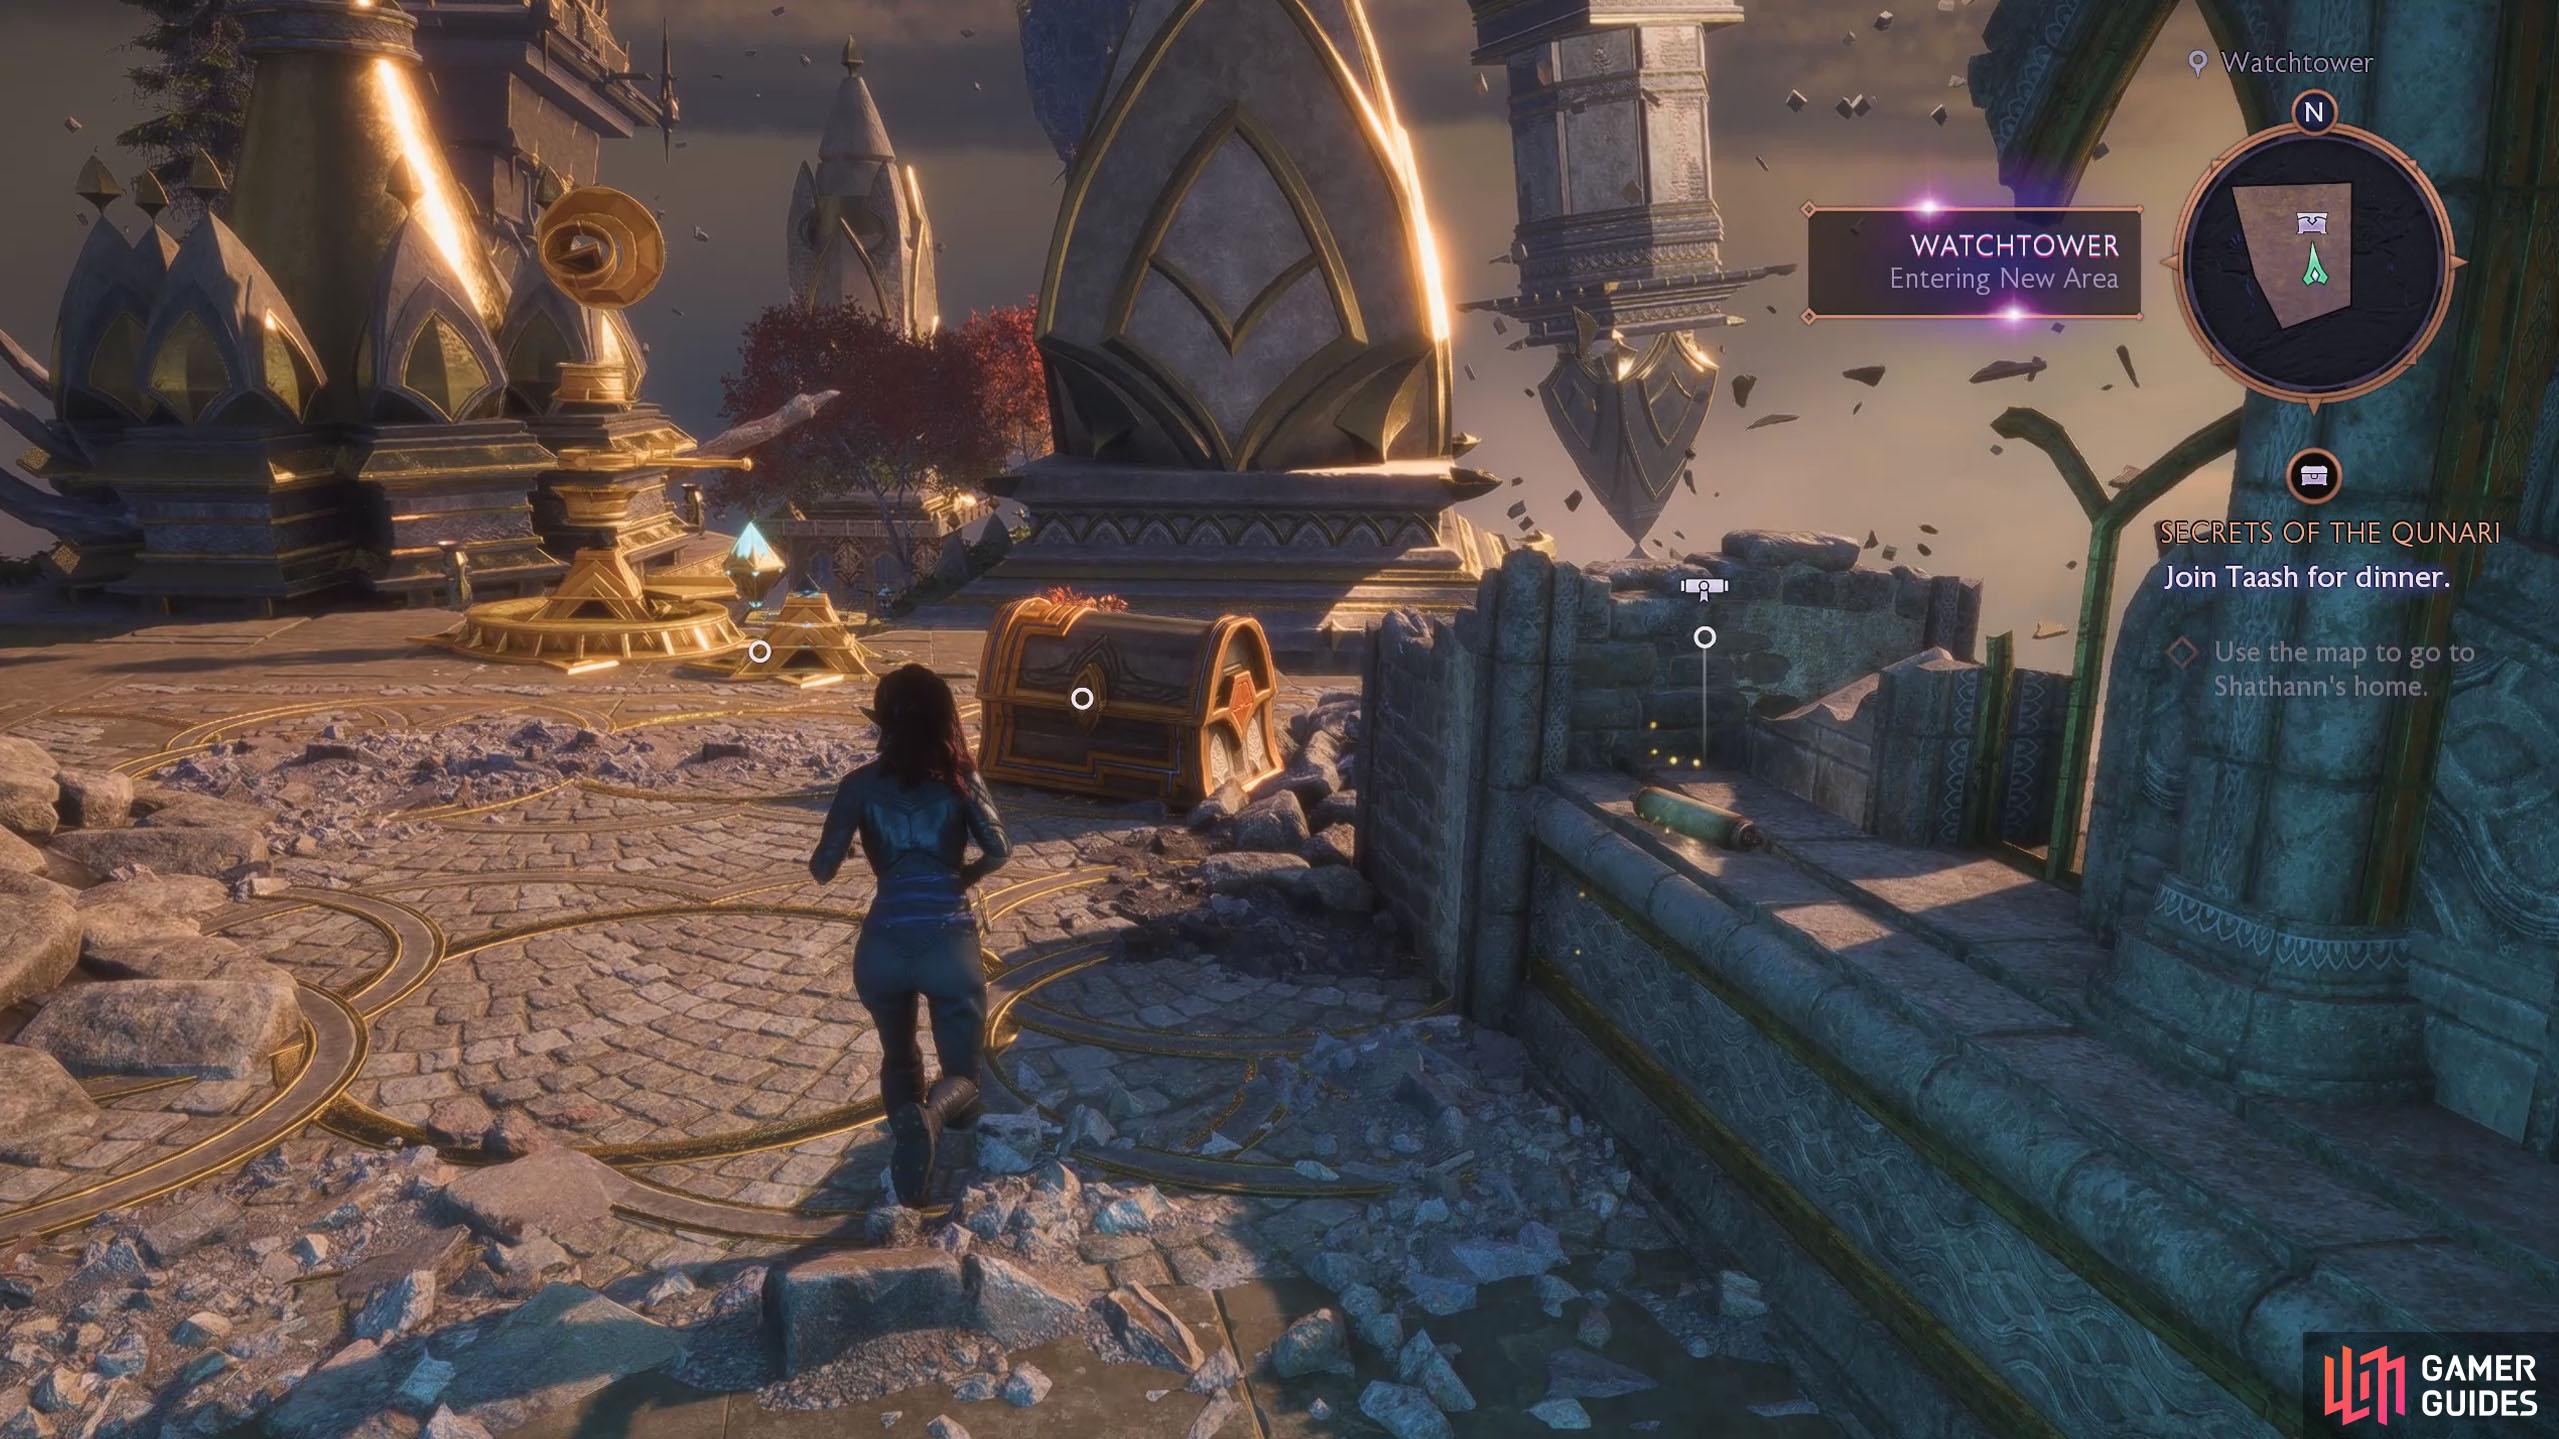
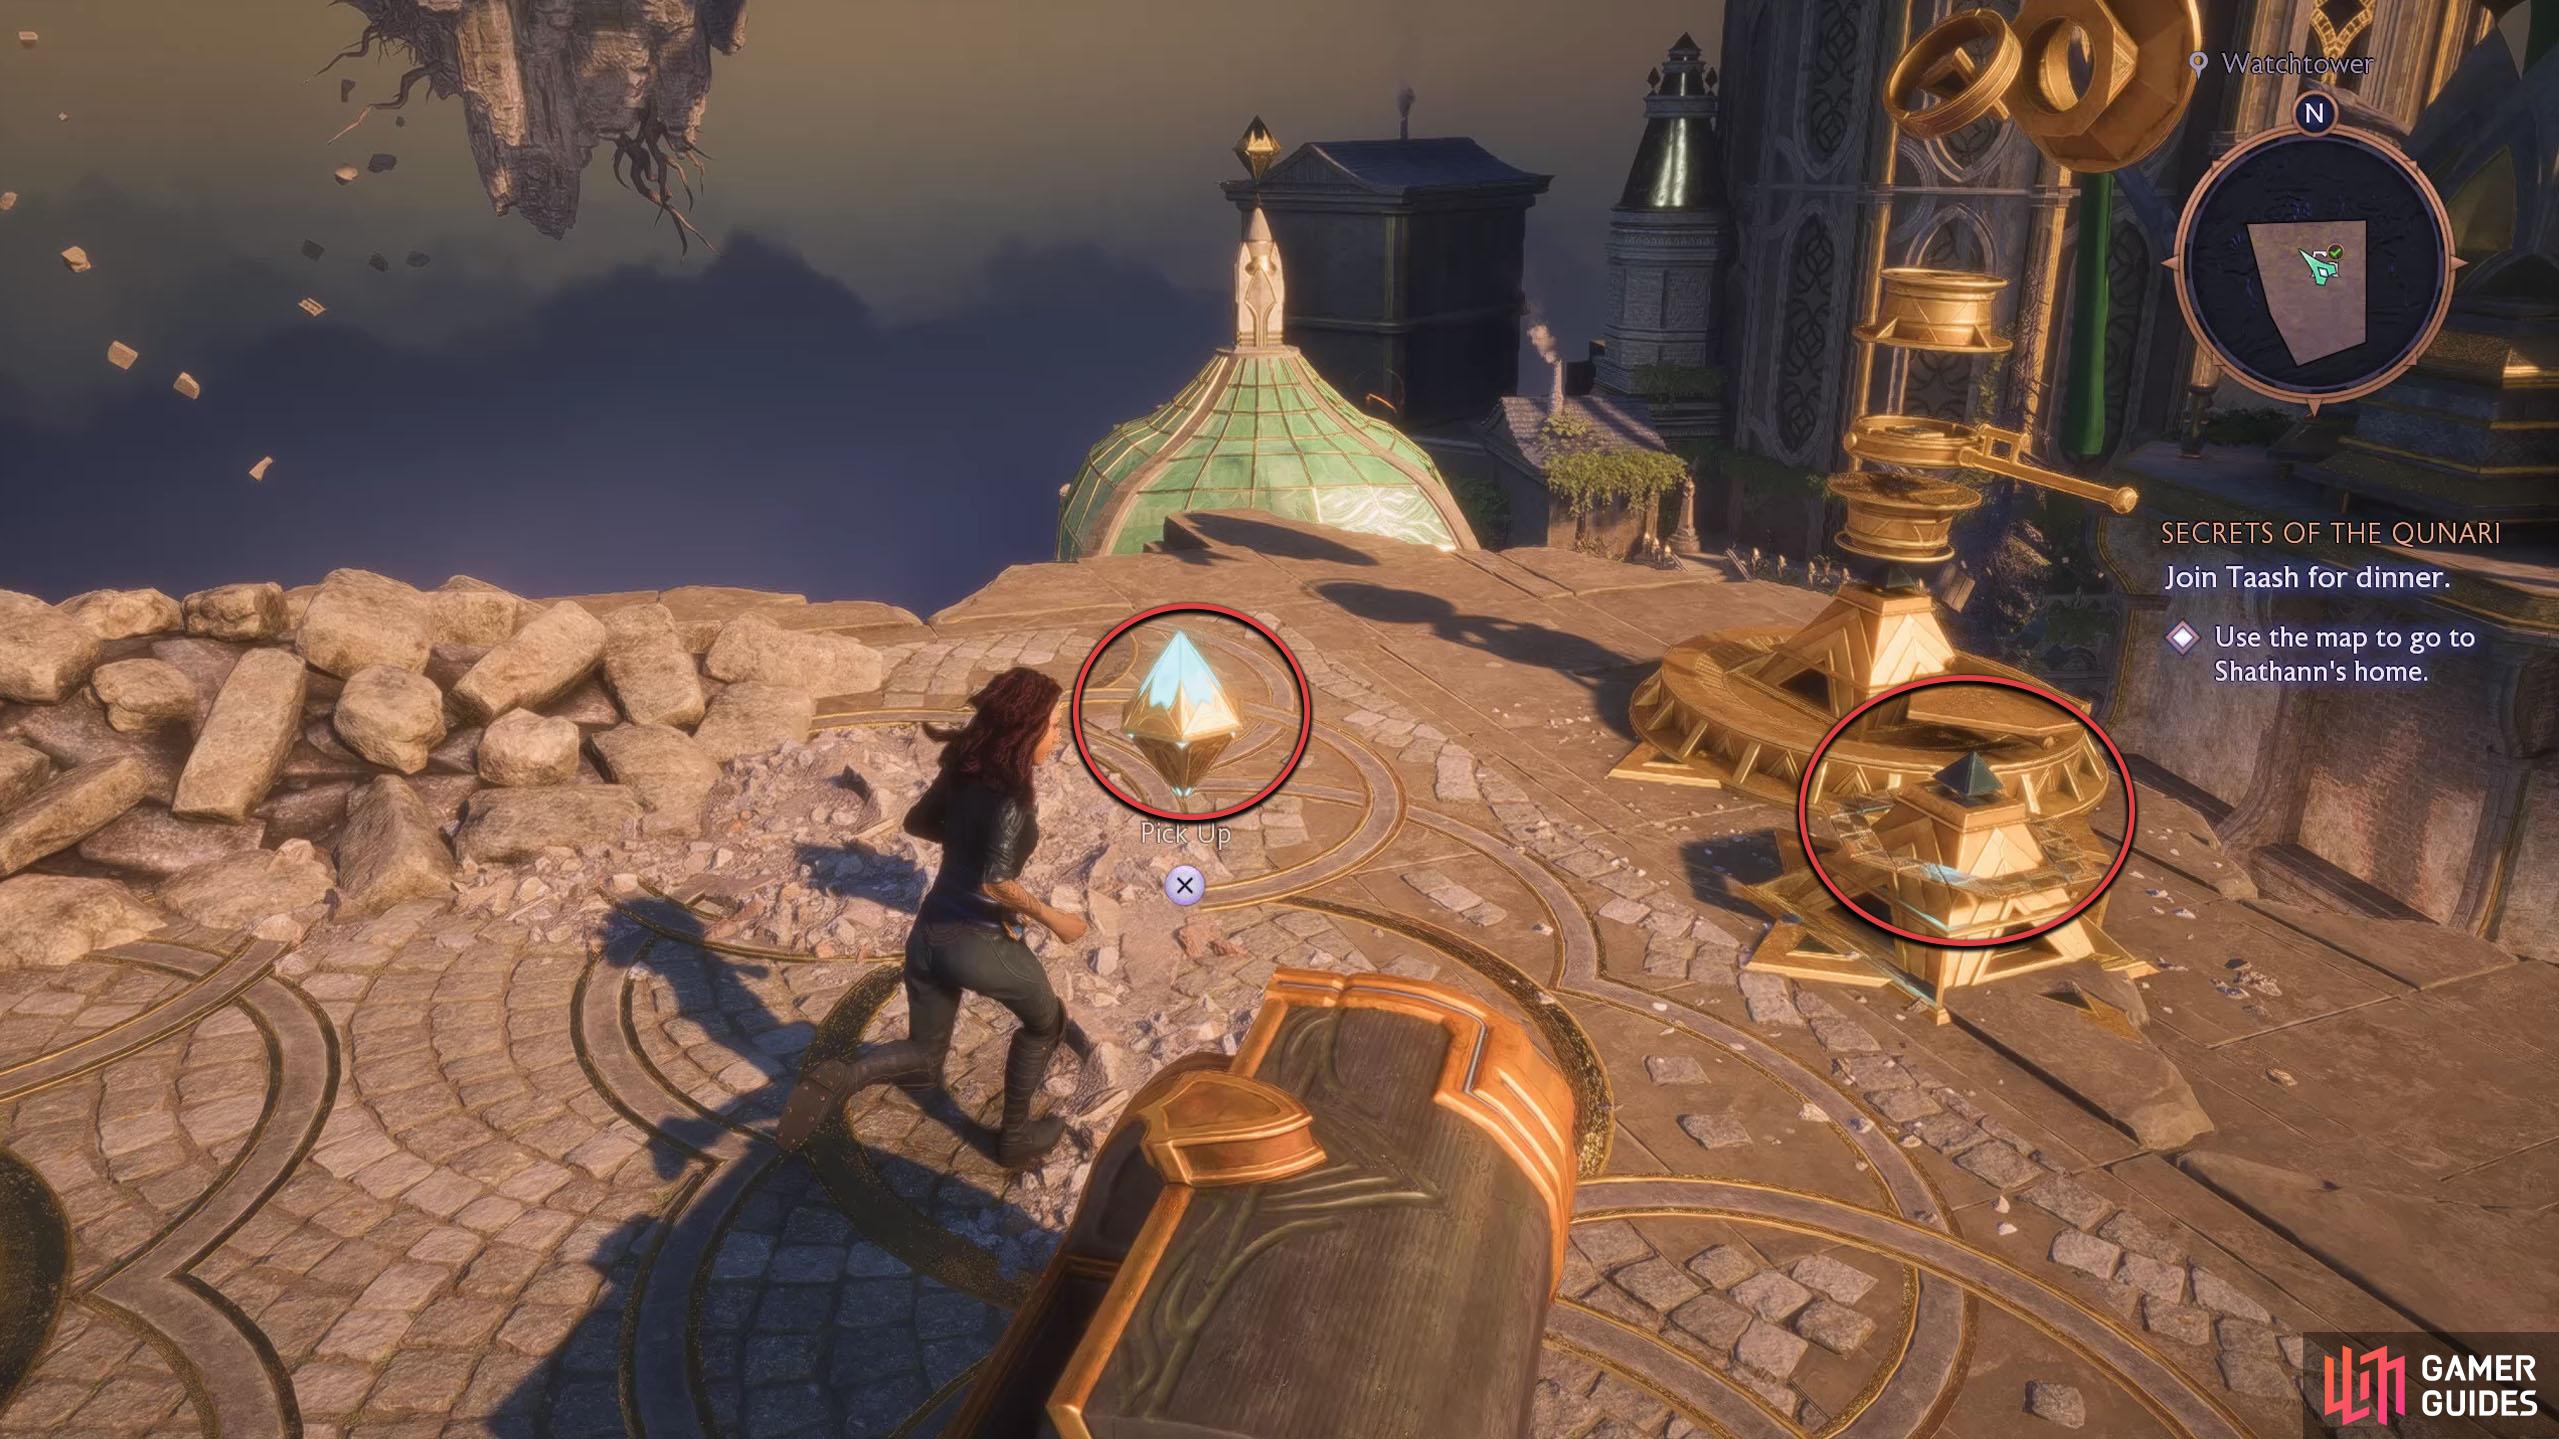
Immediately to your right, you’ll find the first of two chests, as well as a lore note. Open it up before you start the next puzzle. Depending on how far you are through the game, you’ll have done plenty of the beam puzzles by now. If not, well, you need to place the small Power Crystal (floating triangle object) onto the nearby relic device to power it up.
(1 of 2) In the Watchtower area, open the chest.
In the Watchtower area, open the chest. (left), Now, place the Power Crystal onto the relic device to power it up. (right)
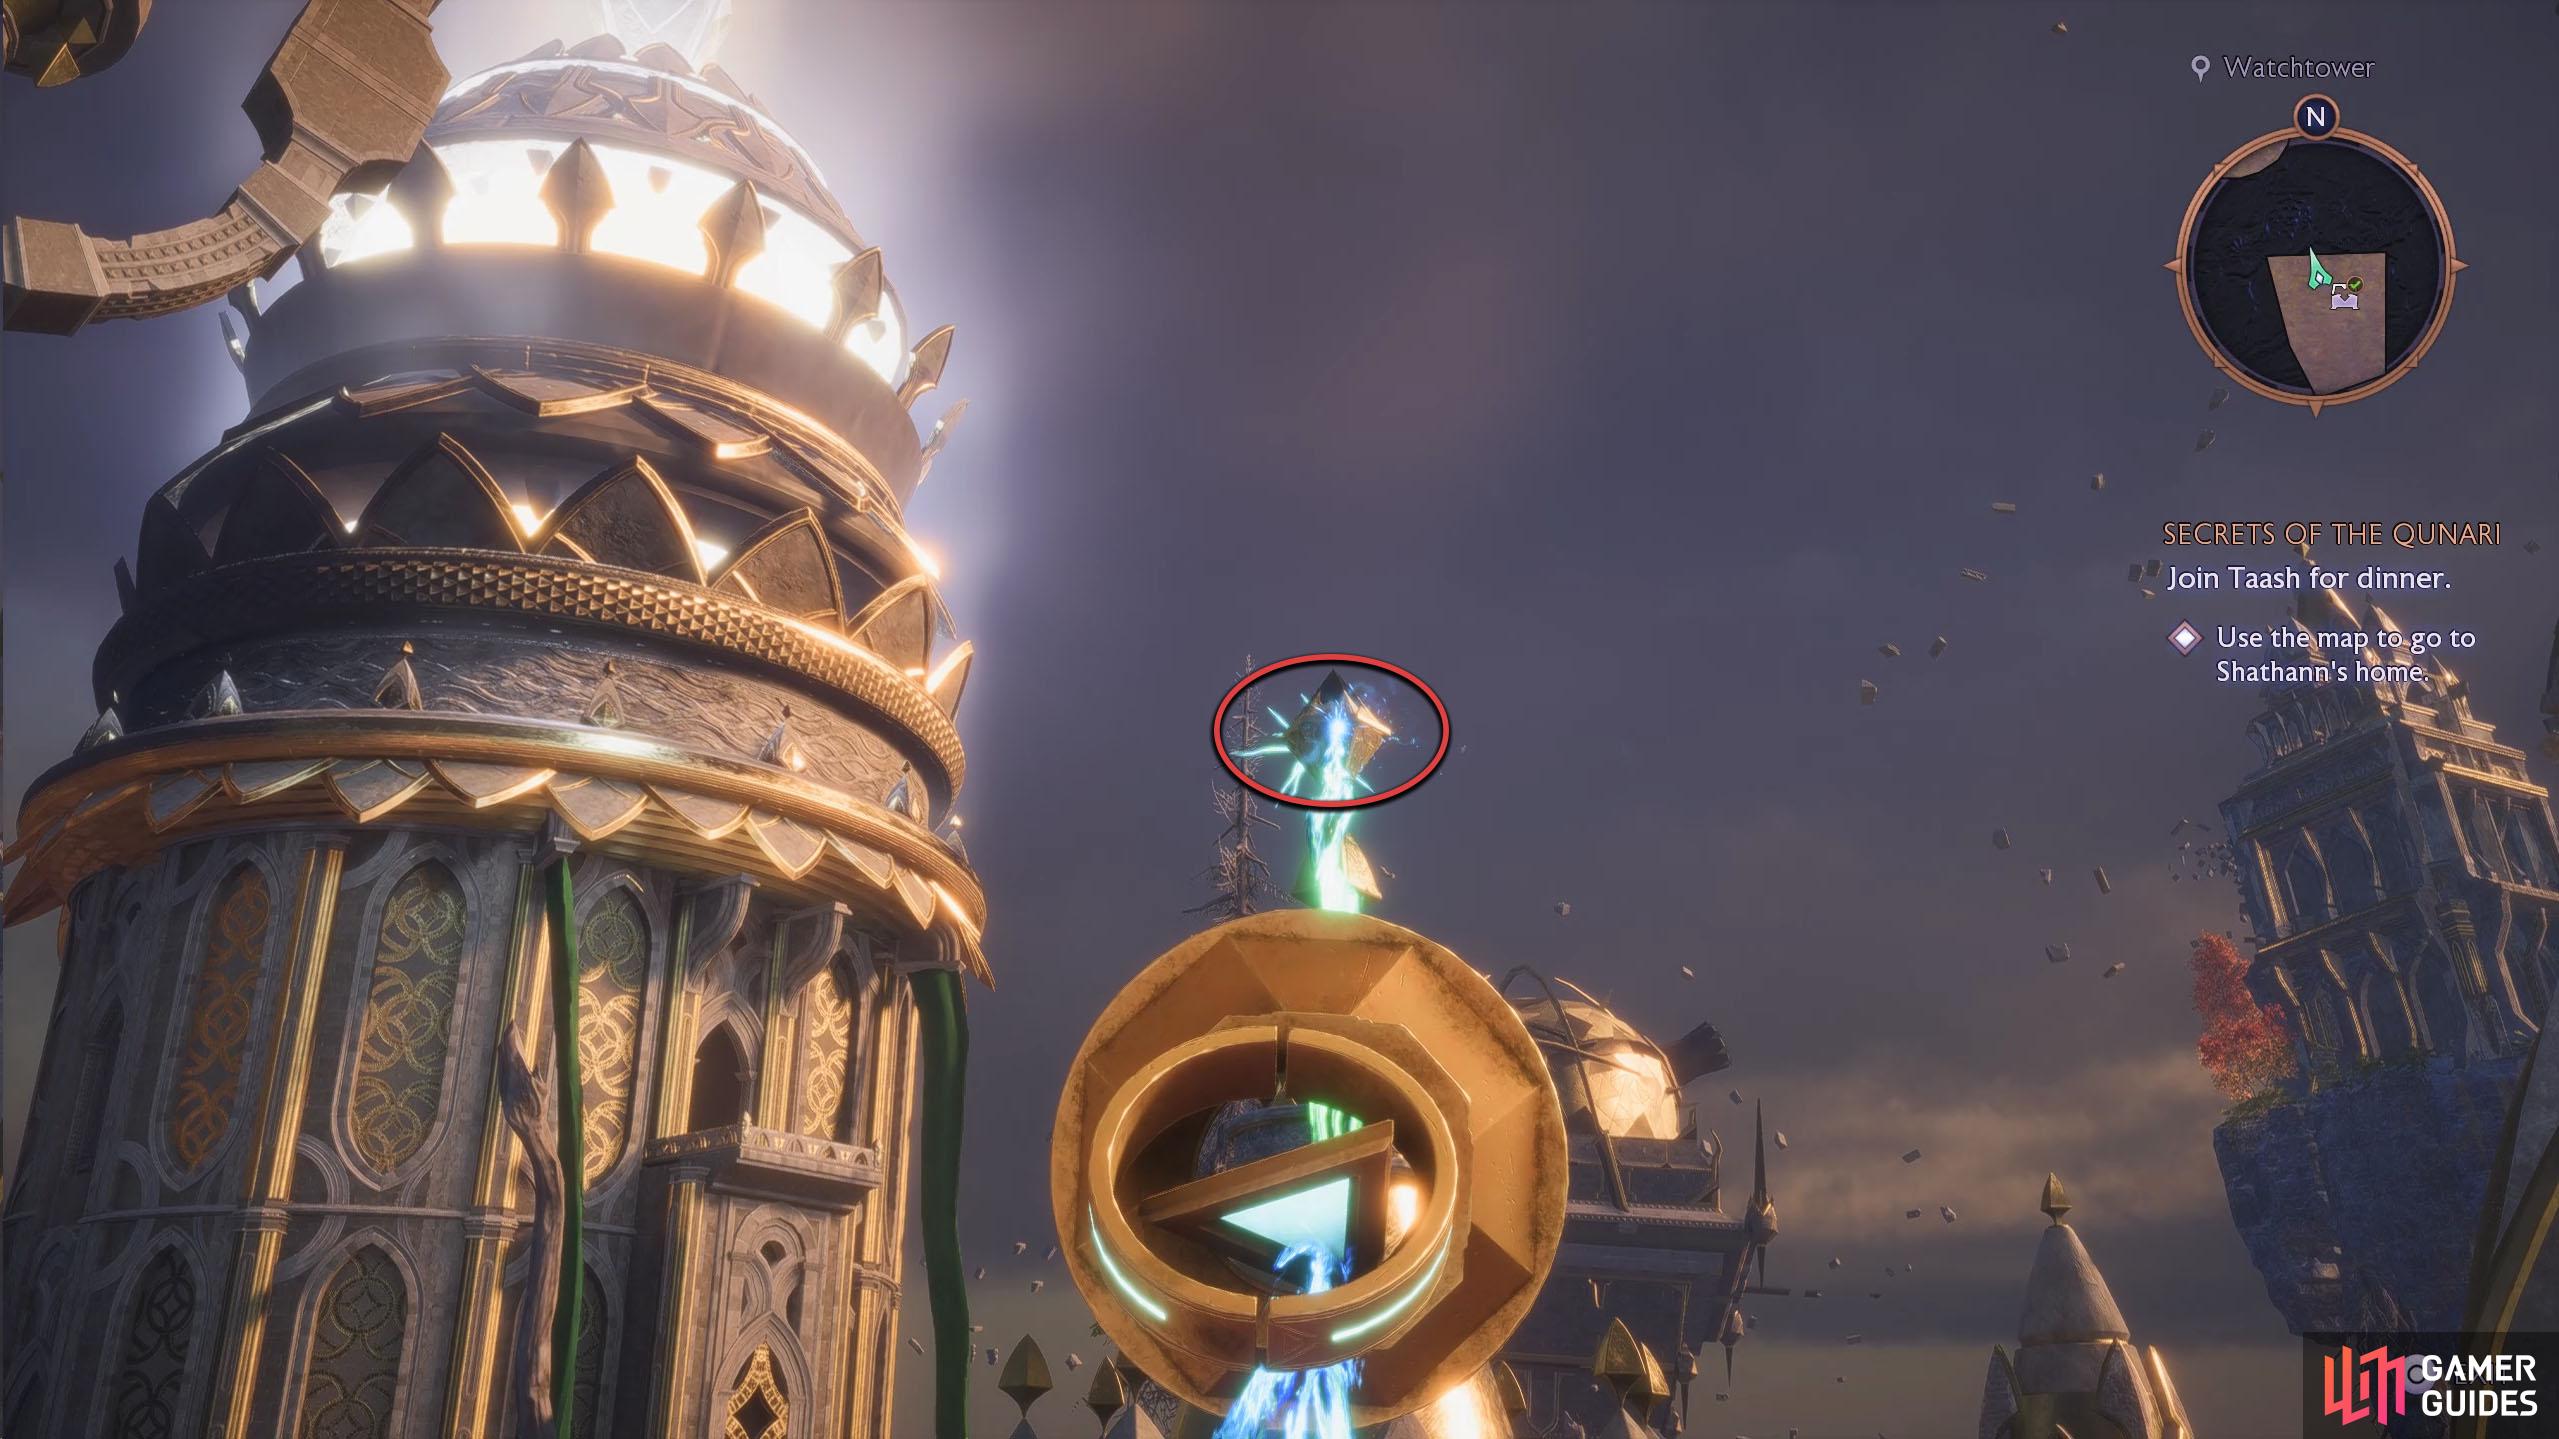
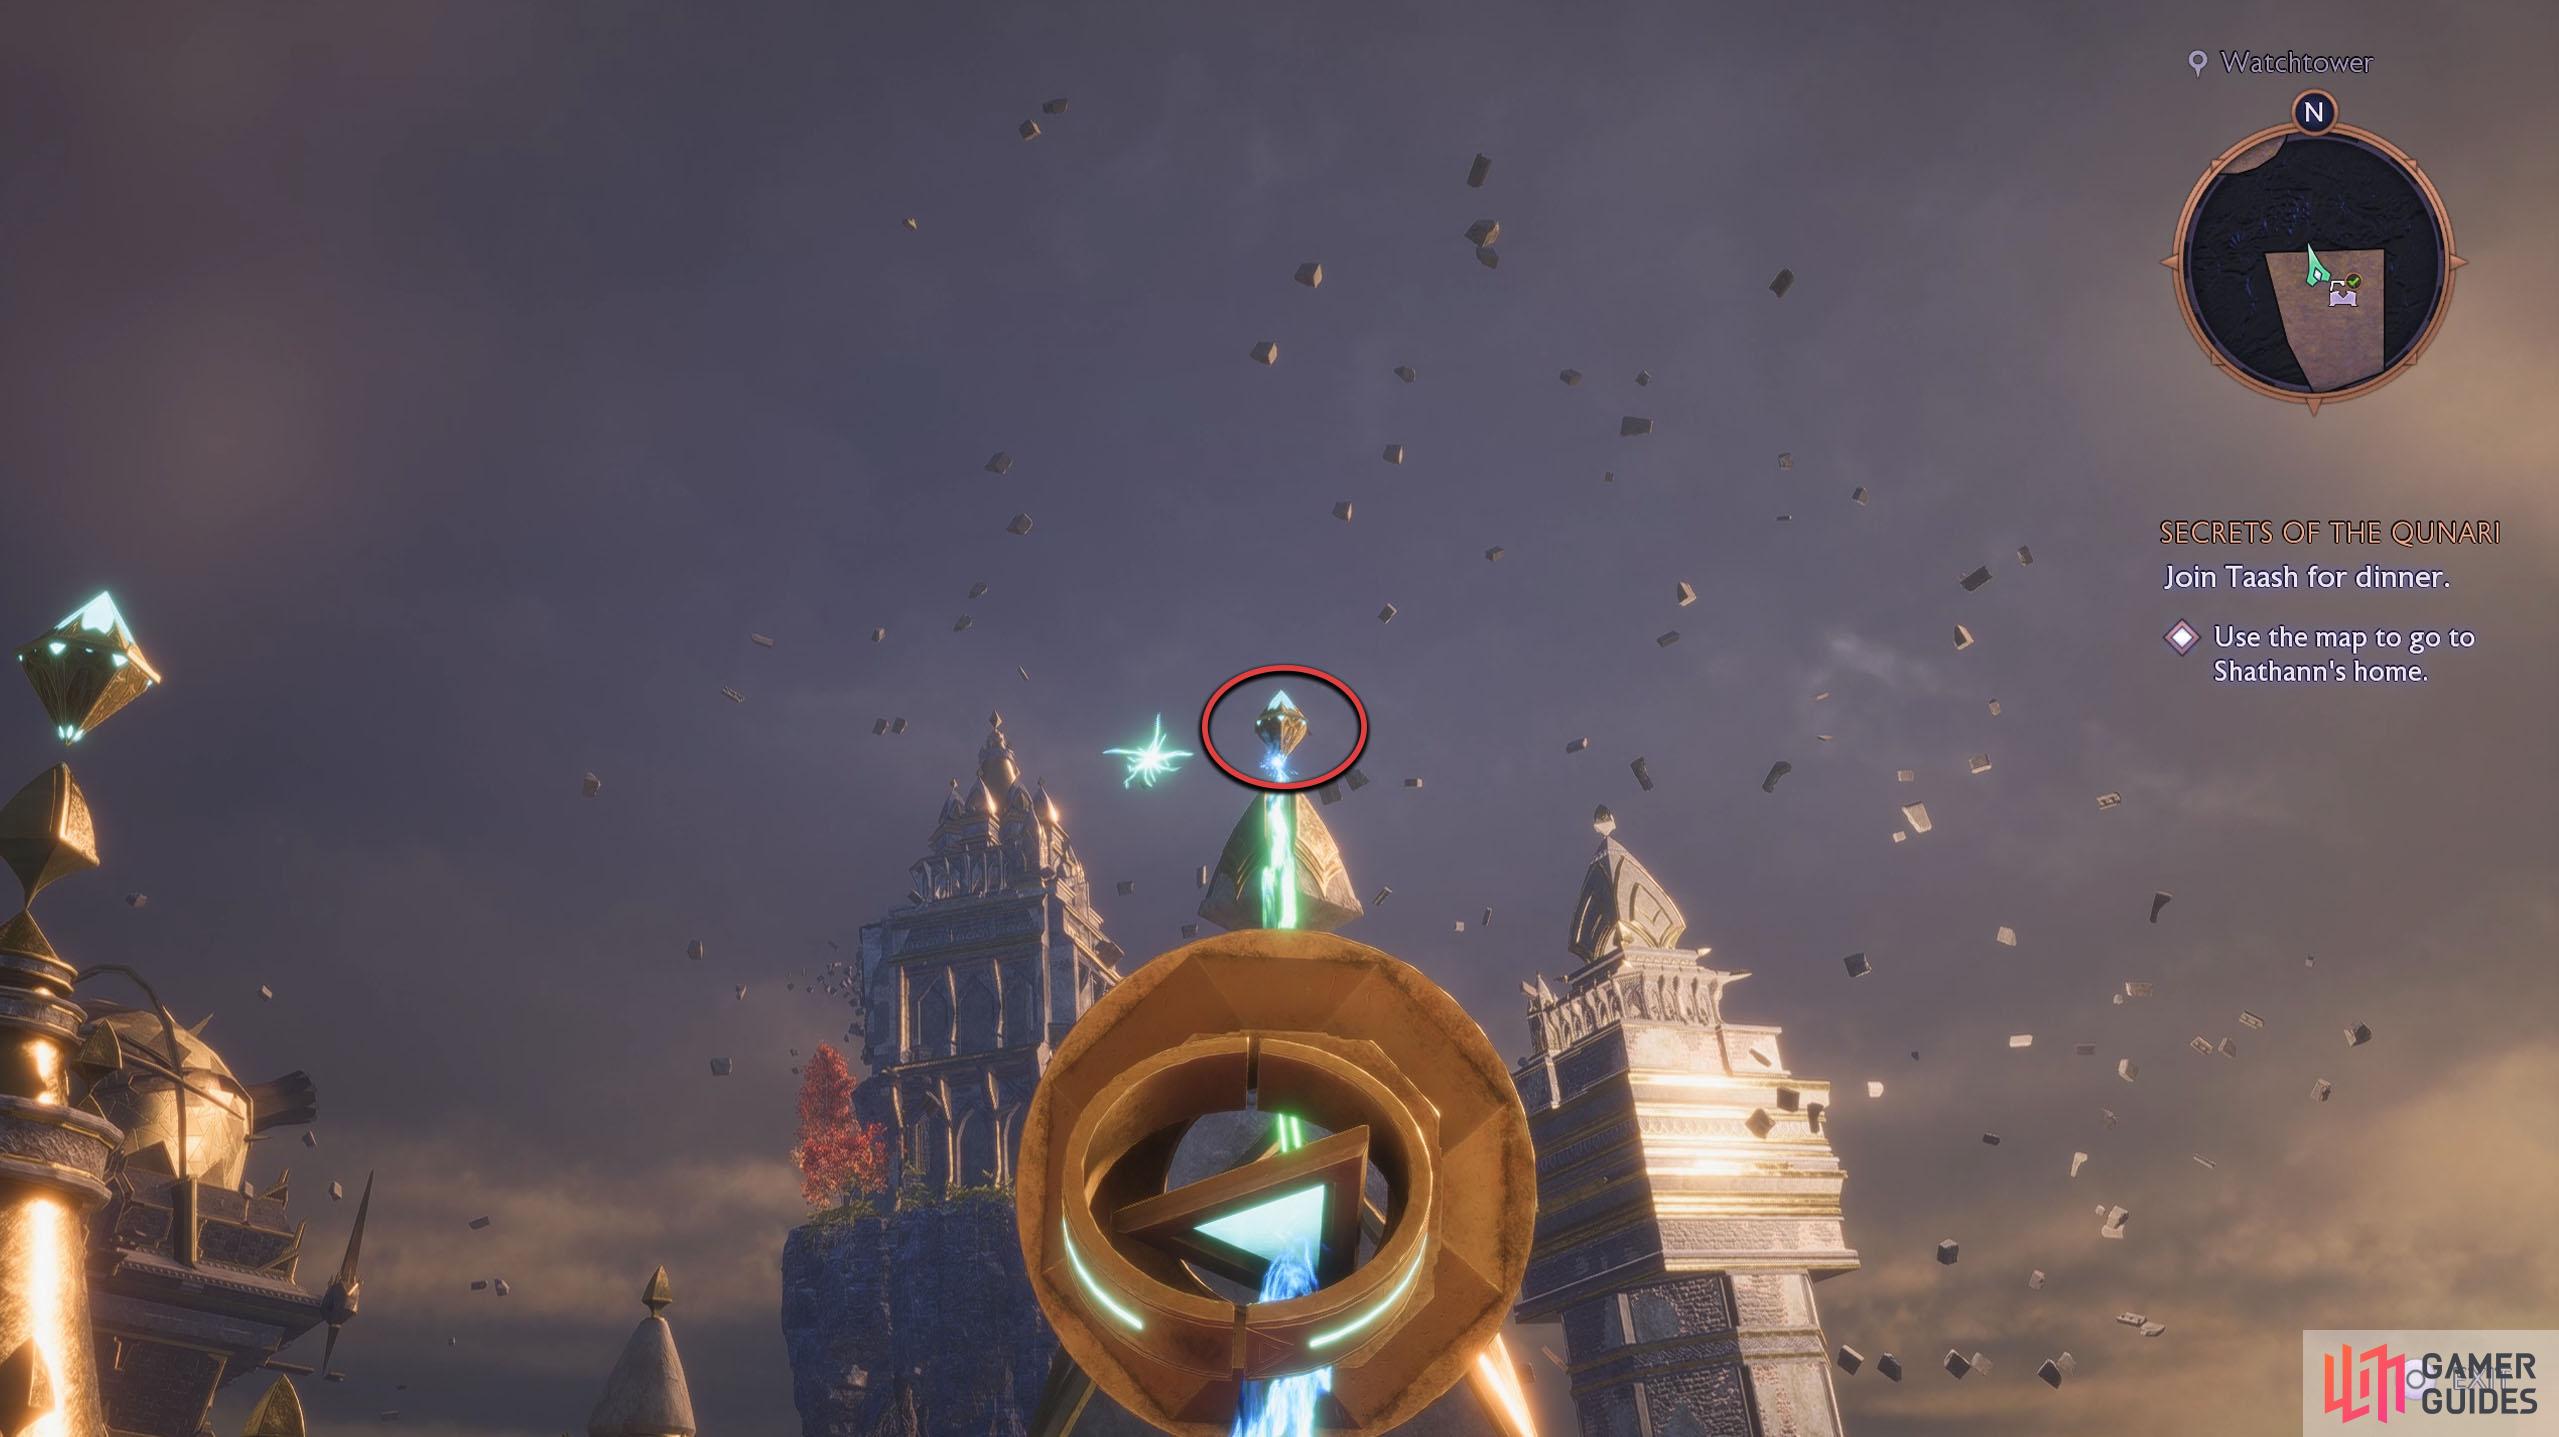
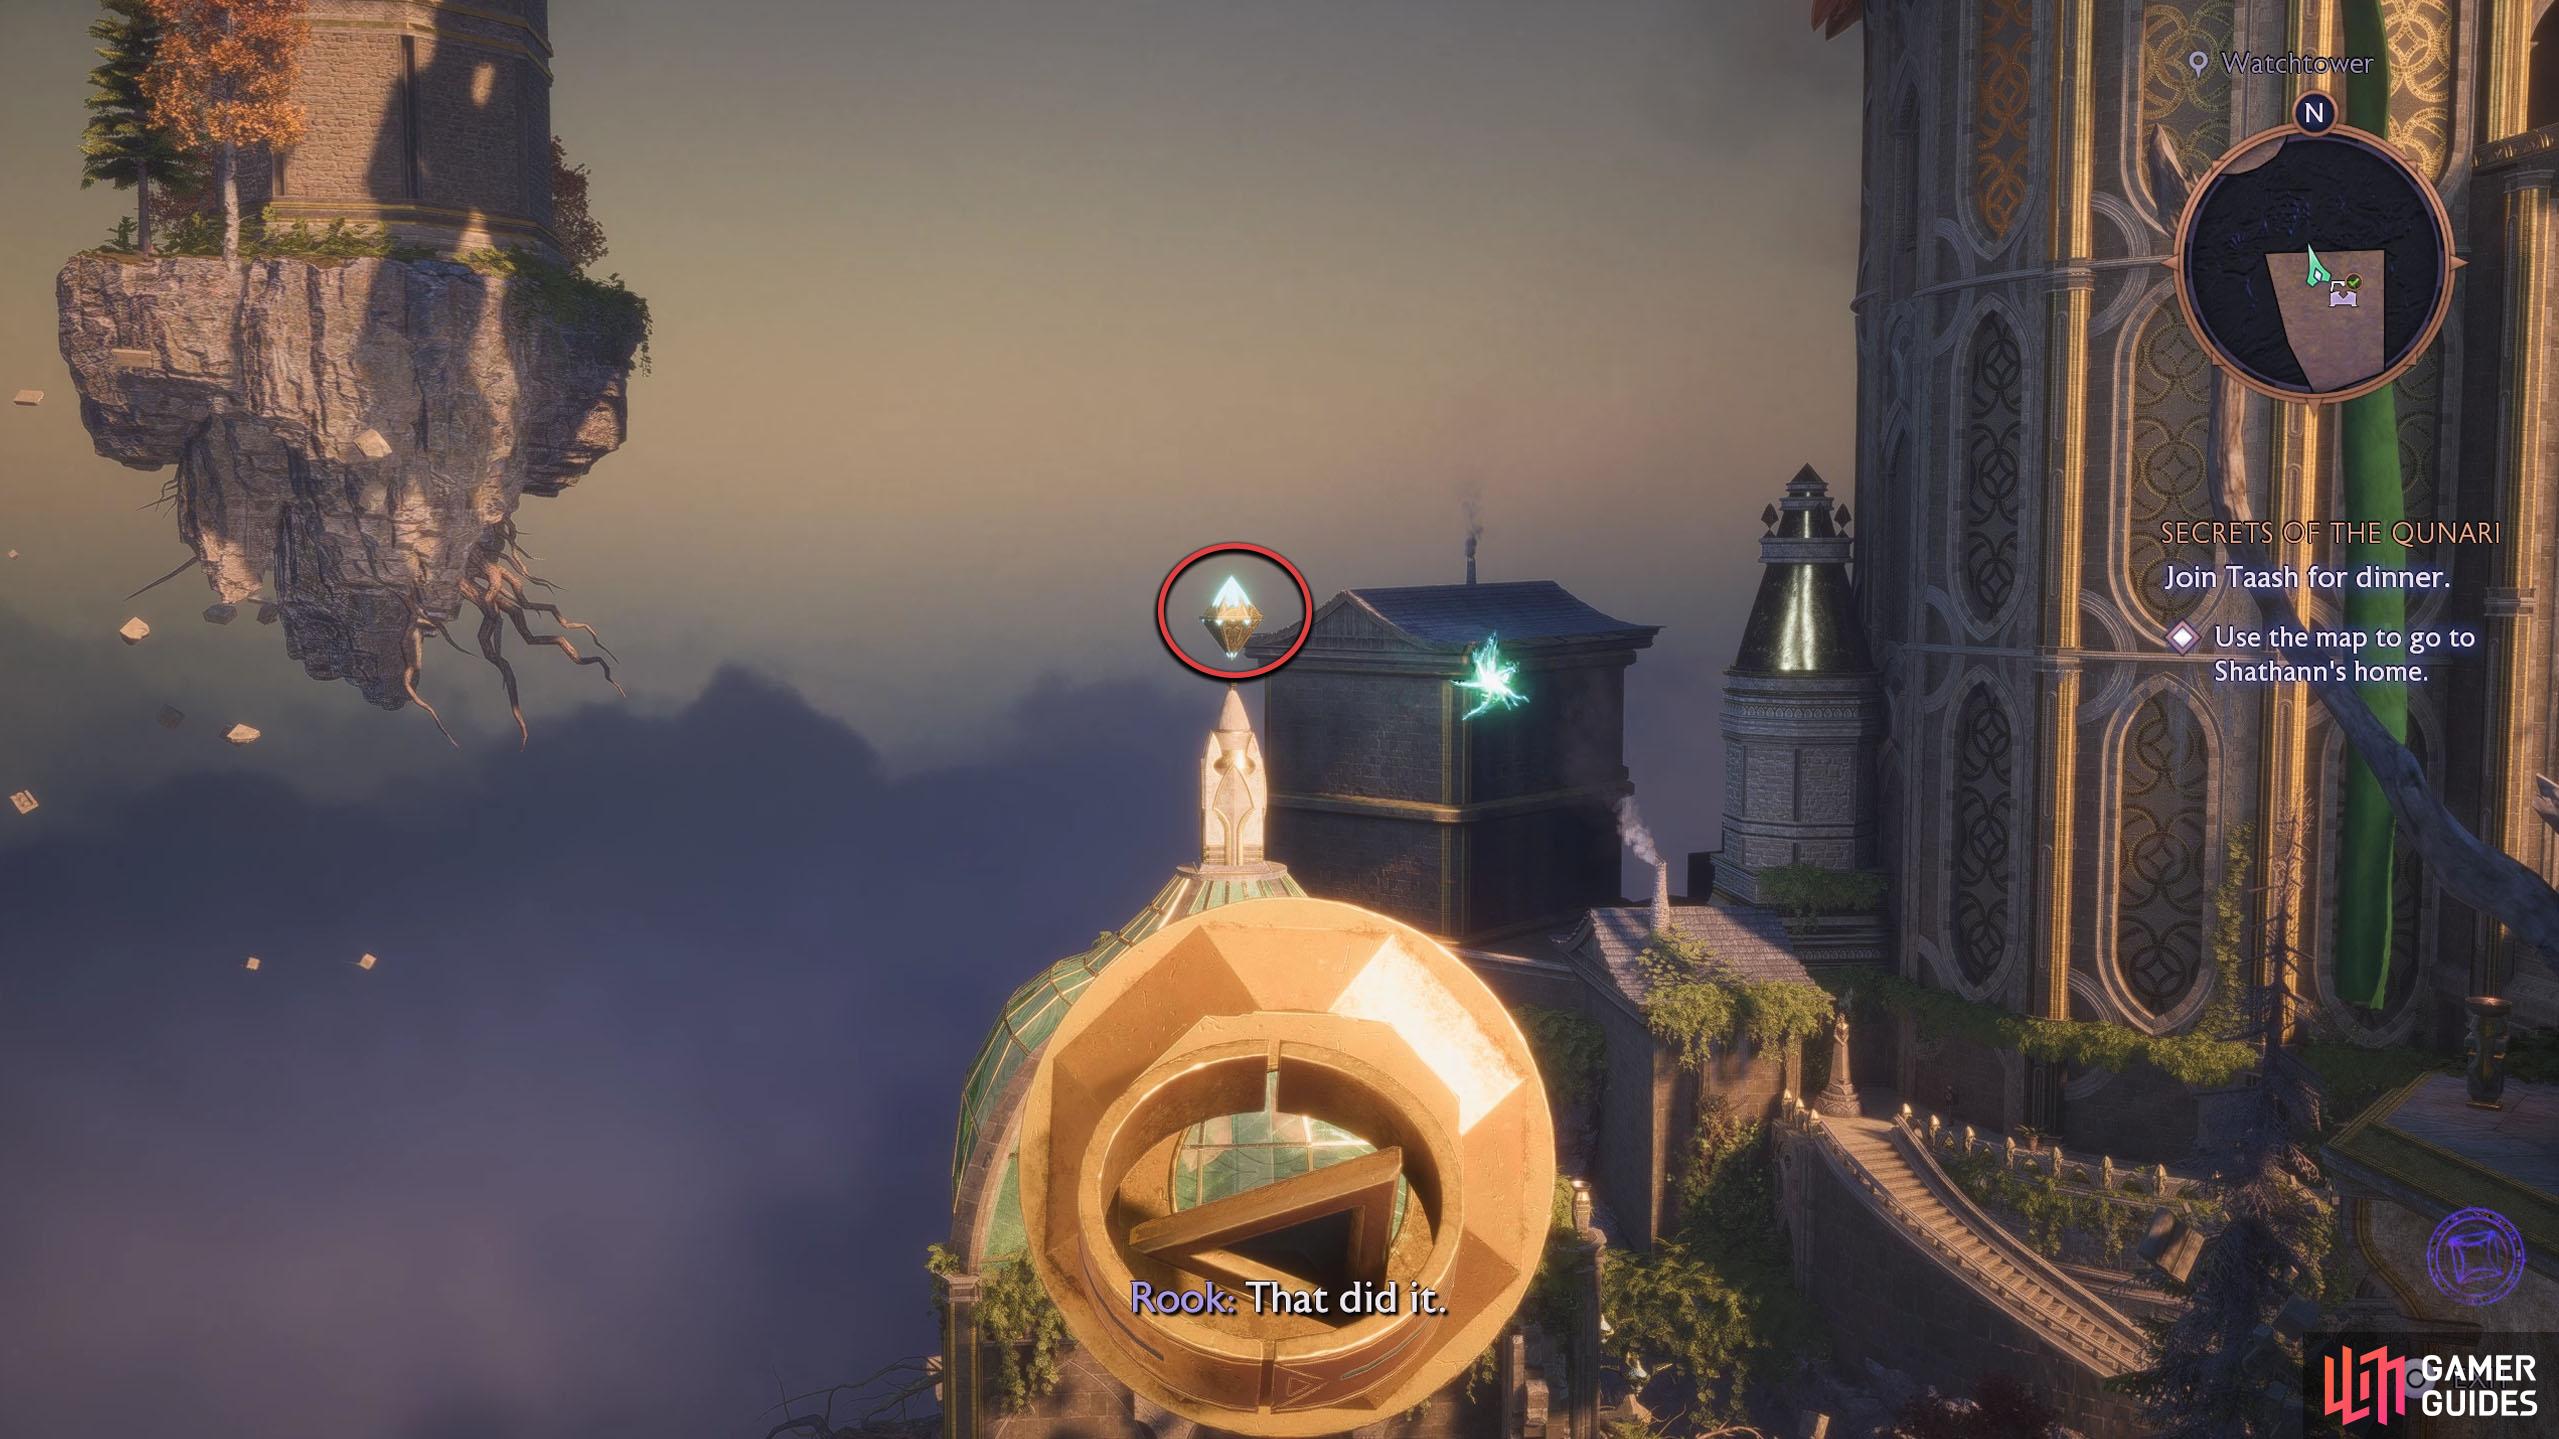
Next, you want to direct the beam onto three floating diamond devices. The first one is to the north, slightly above you, the second is to the right of it, and finally, the last one is to the left of the first one. You may find the last one more difficult to find, so from the central diamond, rotate to the left, and look down a bit to find it. Once you’ve powered up all three diamonds, they’ll send wisps out.
(1 of 3) Direct the beam onto the floating diamonds to send a Wisp to the door opposite the Music Room.
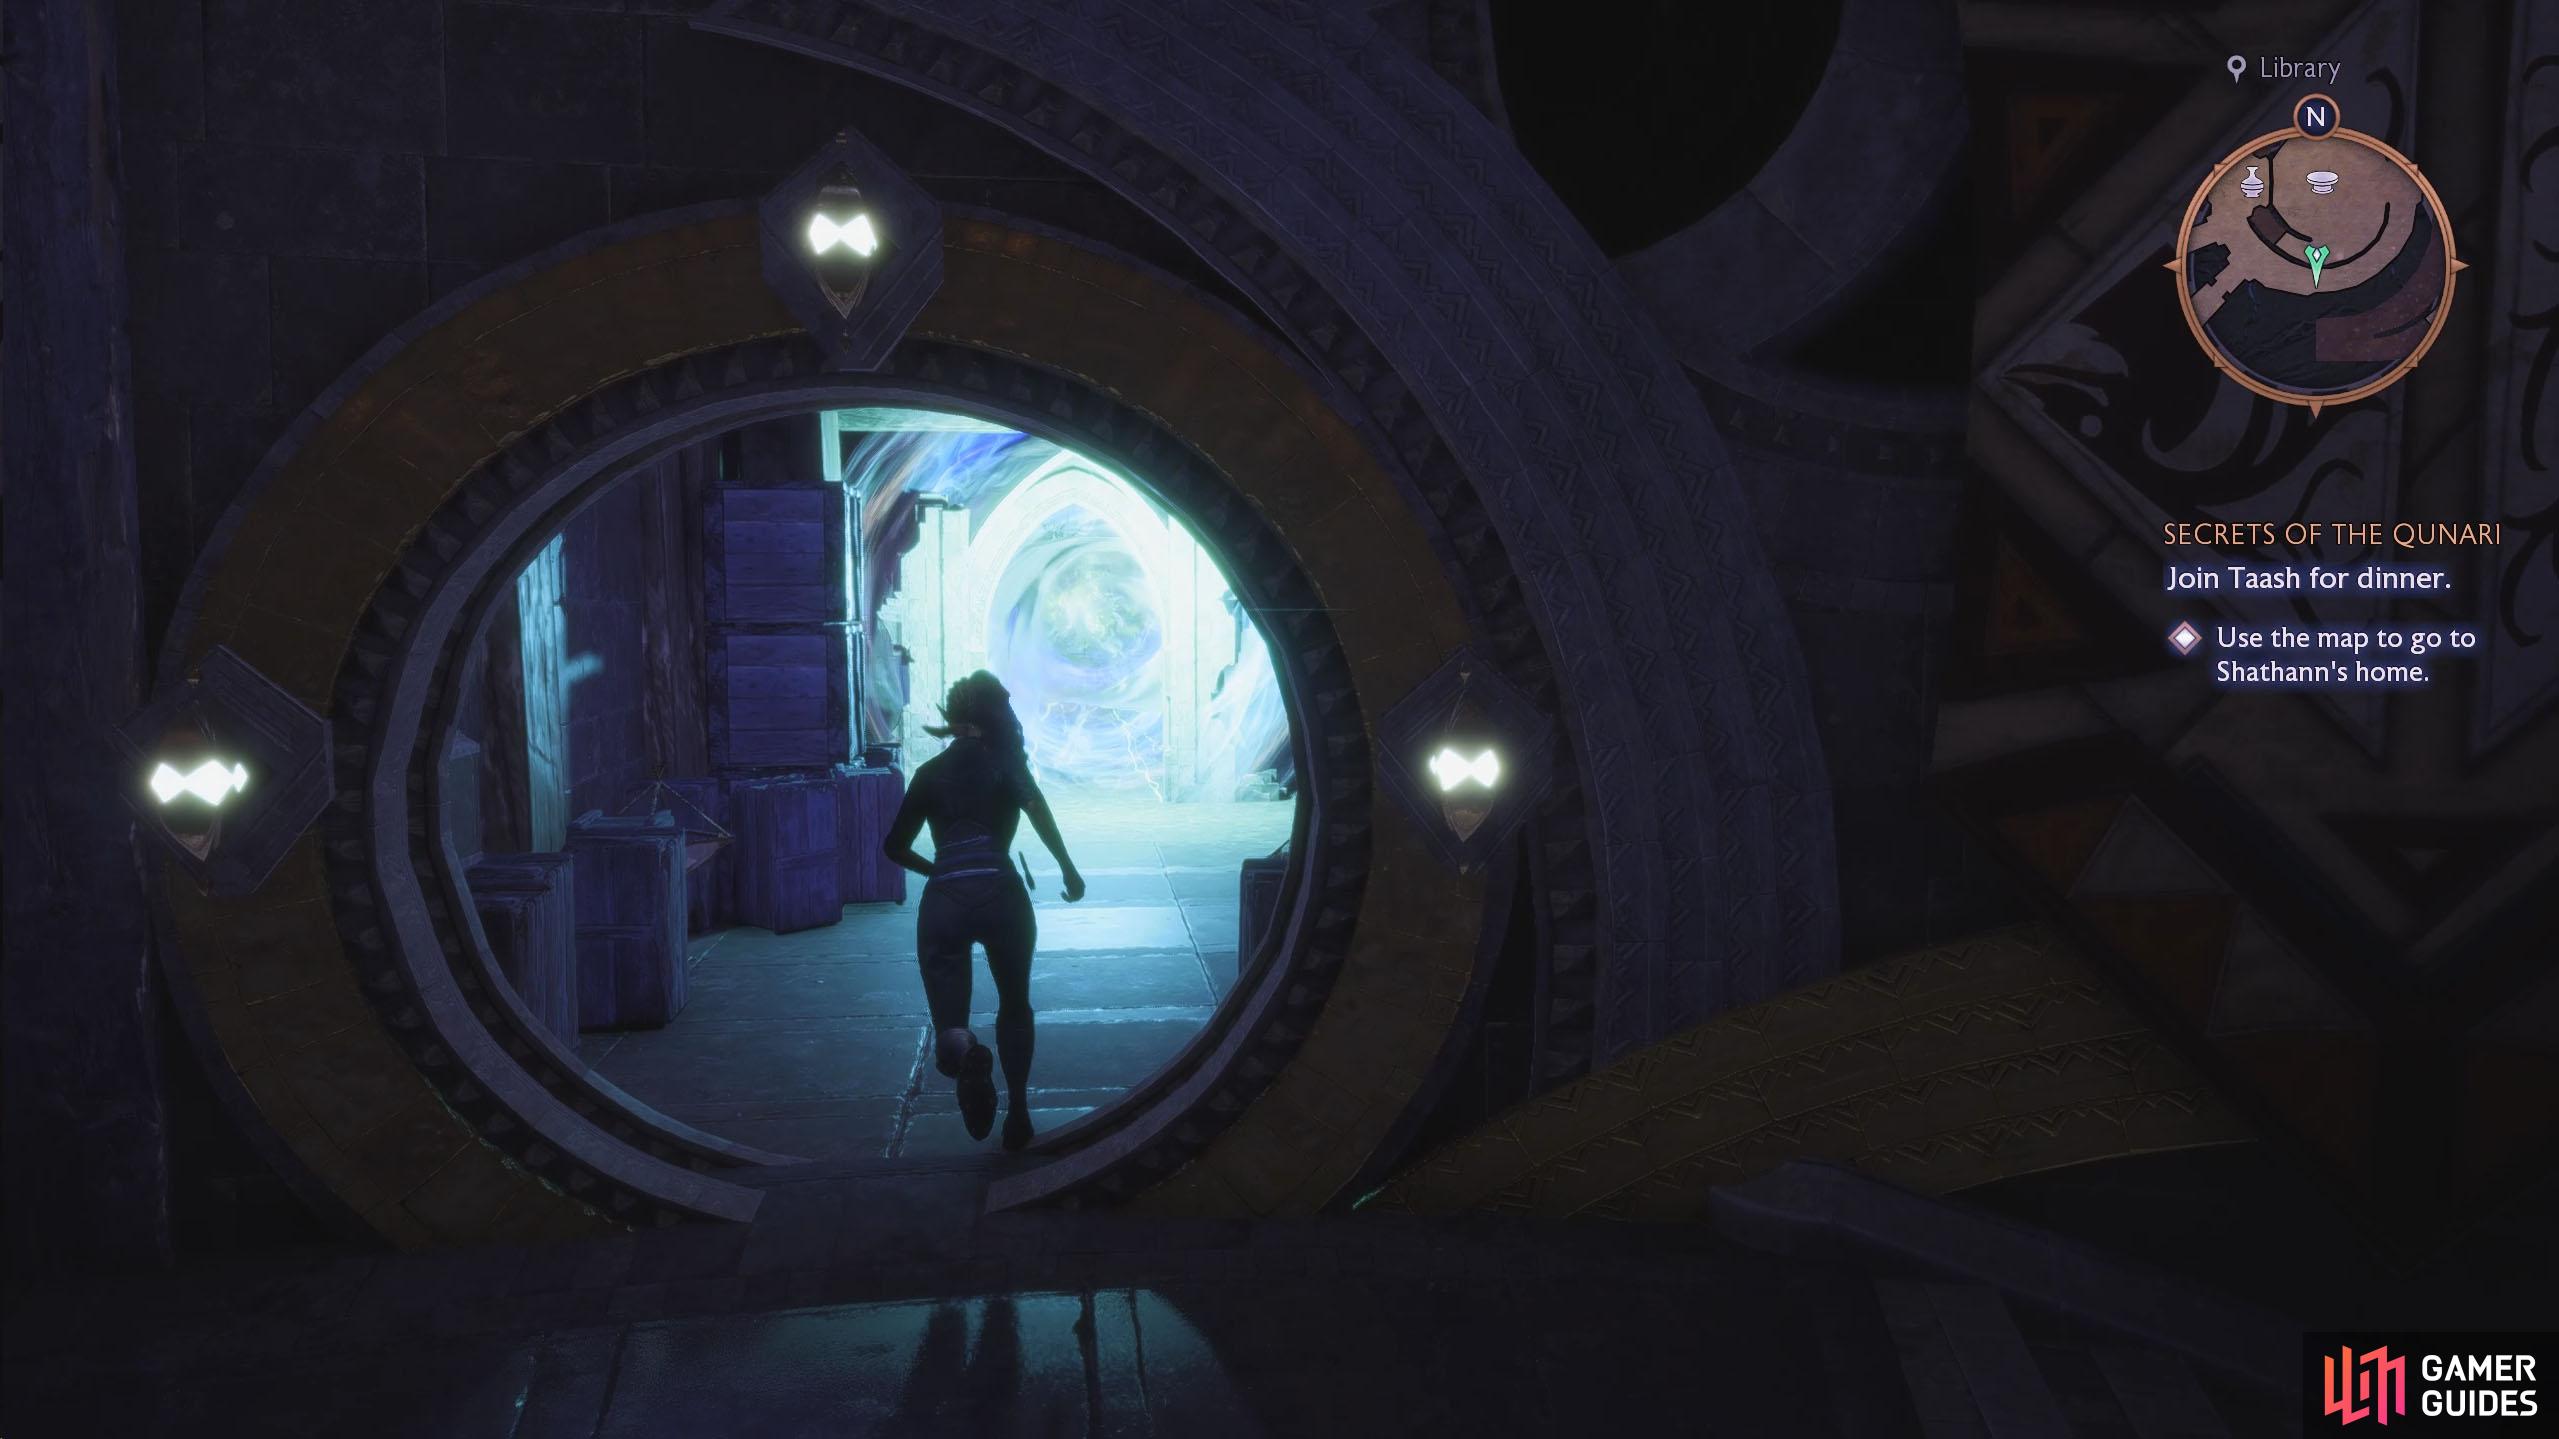
Return to the first floor of the Library in the main building and enter the small circular door to the left of the table (opposite the Music Room). This will unveil a corridor with yet another portal. Go through the portal to end up in “The Wolf’s Den”, also known as Solas’ personal room.
(1 of 2) By doing the beam puzzle, you’ll unlock access to The Wolf’s Den, opposite the Music Room.
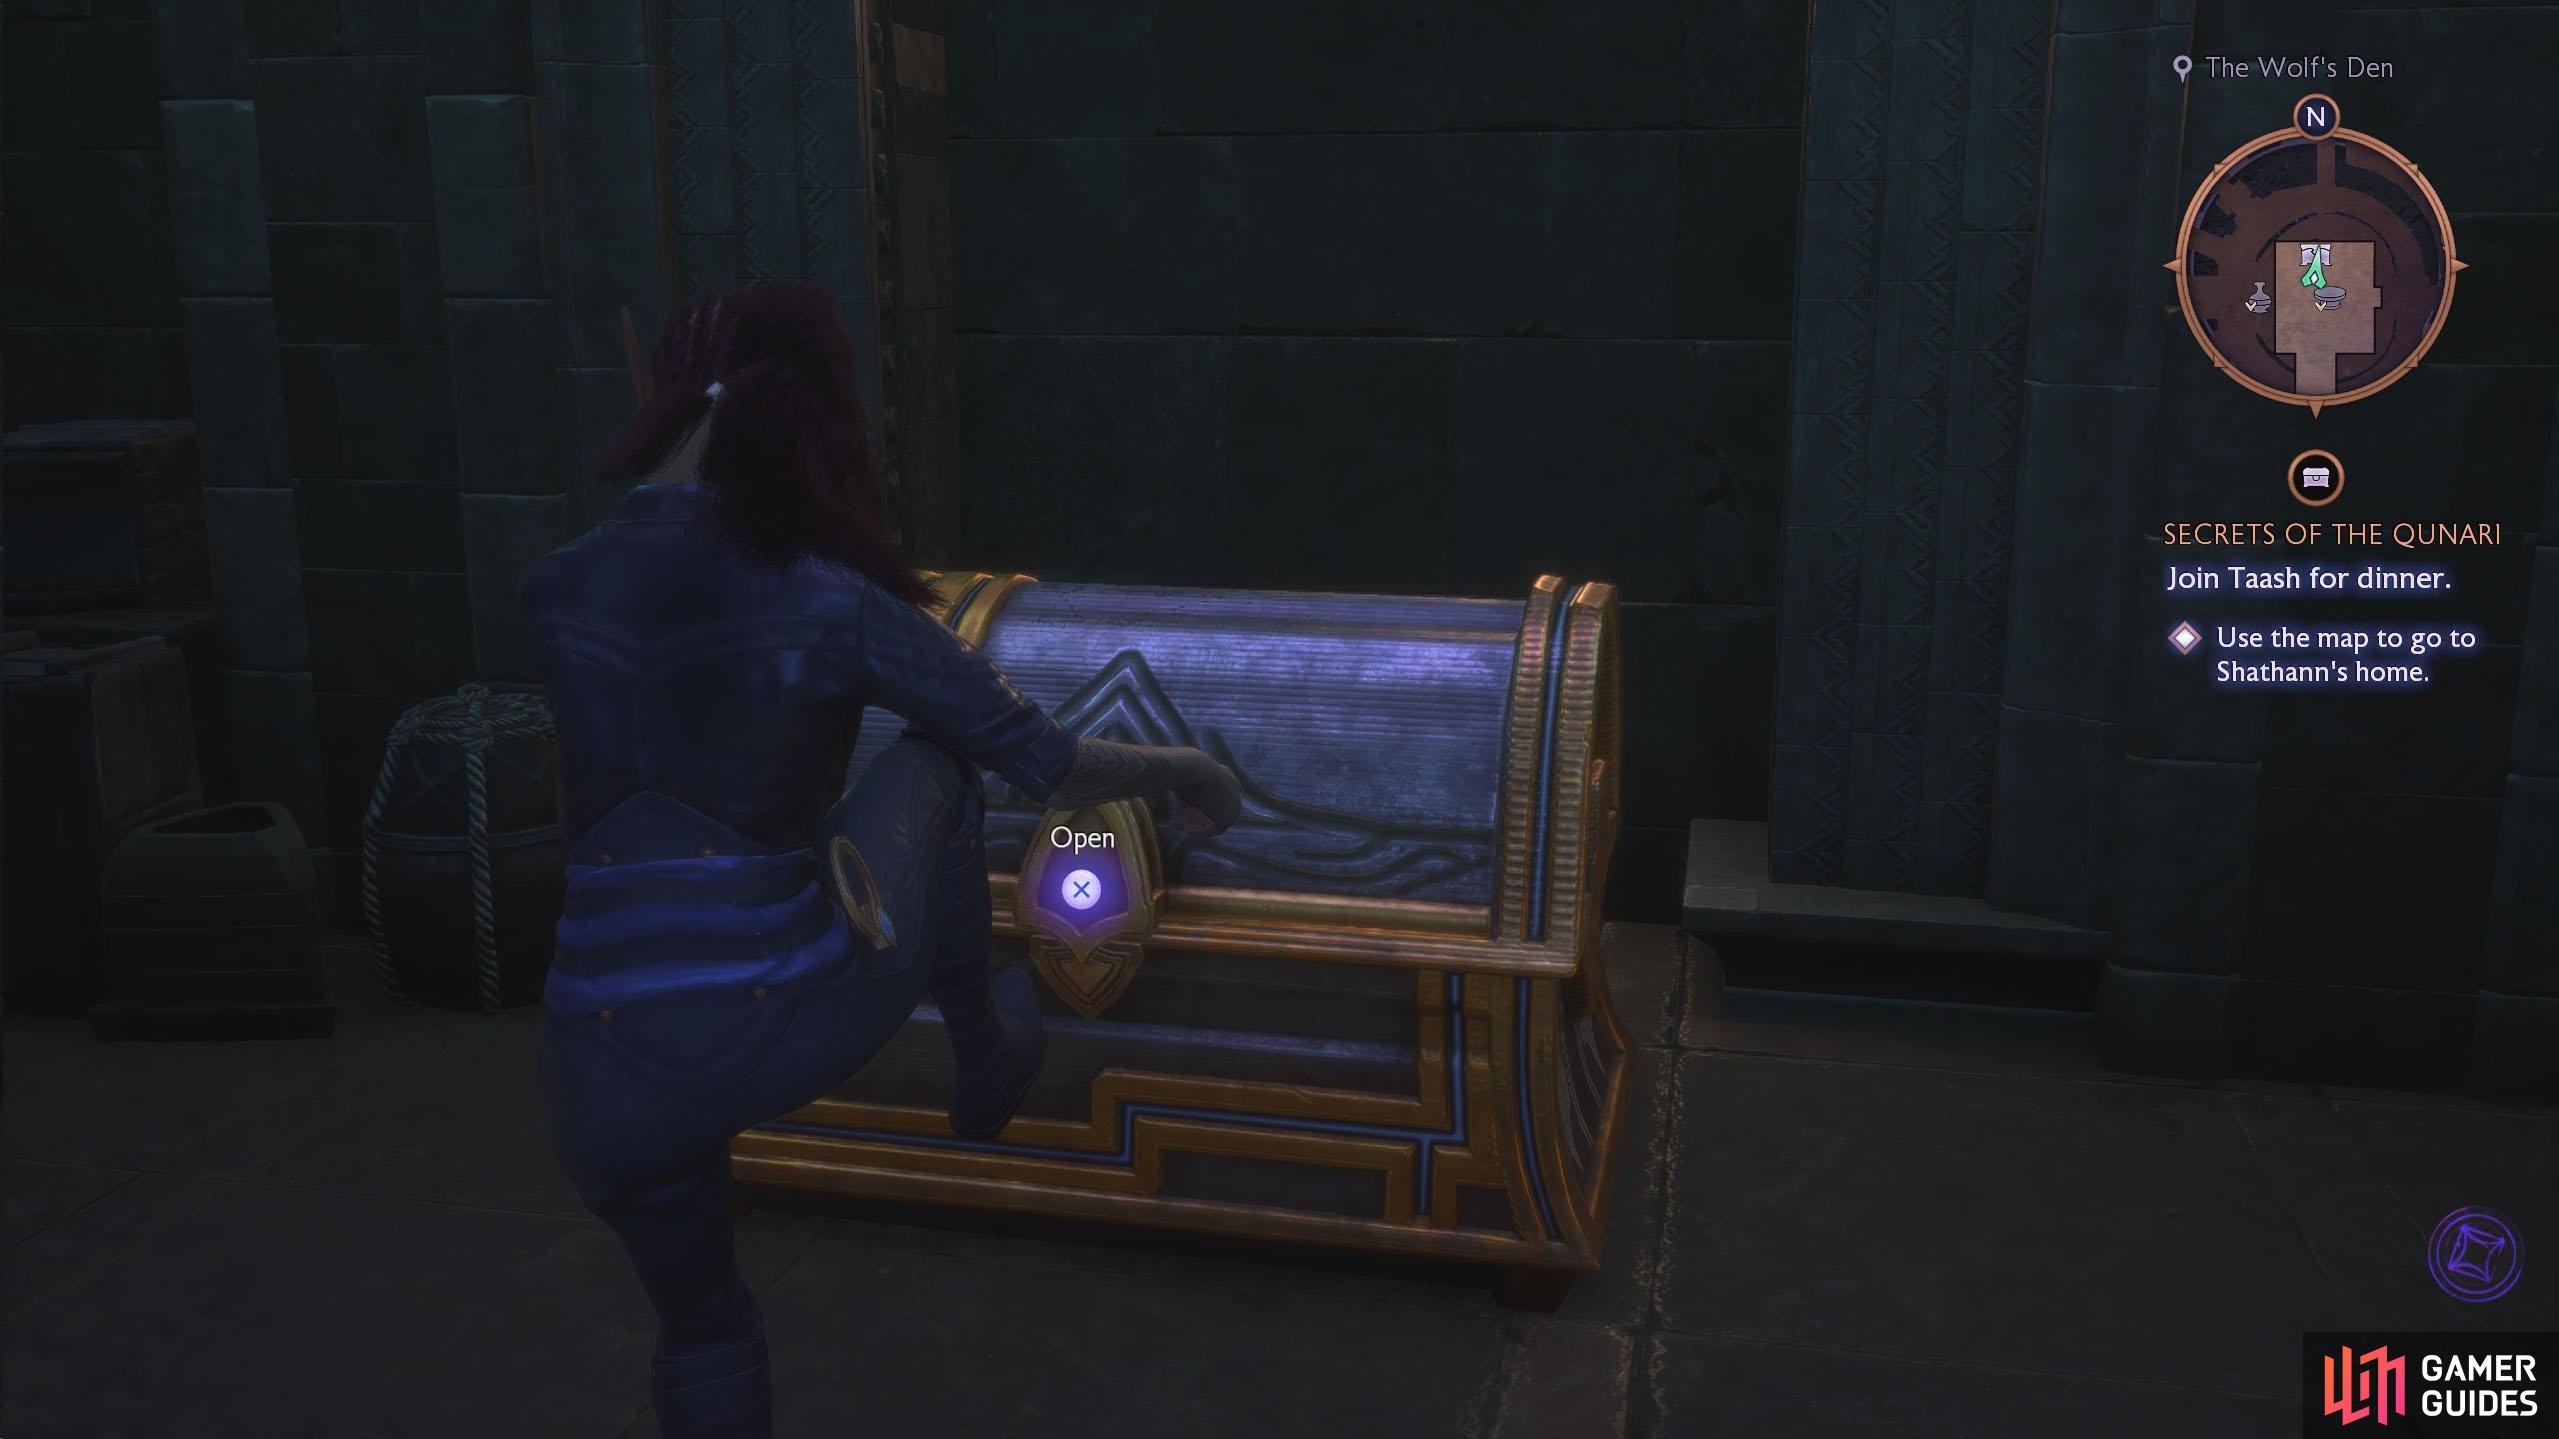
By doing the beam puzzle, you’ll unlock access to The Wolf’s Den, opposite the Music Room. (left), Enter the portal to find Solas’ secret room, where you’ll find the final chest. (right)
As you enter the room, you’ll find the final chest ahead, another smaller chest to the right, and a lore note on the desk to your left. Congratulations on obtaining all the Chests in the Lighthouse!

 Sign up
No Comments