
One of the few Creation Club DLCs incorporated into the next-gen version of Fallout 4 that doesn’t involve the Enclave, the quest ![]() When Pigs Fly tasks you with resolving a merchant dispute in the heart of
When Pigs Fly tasks you with resolving a merchant dispute in the heart of ![]() Lexington. While the quest is mostly linear, your choices at the end determine which legendary weapon you get - ether way, this quest adds several new types of weapons for you to play with. This page will provide a walkthrough for When Pigs Fly in Fallout 4, including how to get the Penetrating
Lexington. While the quest is mostly linear, your choices at the end determine which legendary weapon you get - ether way, this quest adds several new types of weapons for you to play with. This page will provide a walkthrough for When Pigs Fly in Fallout 4, including how to get the Penetrating ![]() Chinese Grenade Launcher Rifle or the
Chinese Grenade Launcher Rifle or the ![]() Flakker.
Flakker.
(1 of 2) To start this quest make your way to an unmarked spot in Cambridge, southeast of Lexington,
To start this quest make your way to an unmarked spot in Cambridge, southeast of Lexington, (left), where you’ll find that a merchant named Suggs has set up shop. Check out his terminal to advance the quest. (right)
How to Start When Pigs Fly
Like most content added to the base game via the next-gen update, all you need to start this quest is to have a patched, up-to-date version of Fallout 4. These quests should all trigger upon your escape from Vault 111 near the beginning of the game. Once it unlock, just select the quest When Pigs Fly from your Pip-Boy and it’ll direct you to an unmarked location southeast of Lexington, just south of Wattz Consumer Electronics, east of Kendall Hospital and west of Cambridge Crater.
Head on over to the quest marker to find a small garage which is now serving as the storefront for a merchant named Suggs. He’ll only say generic merchant stuff if you talk to him (adding new voice acting to a game via mods is a rarity) he can sell some new weapons, like the ![]() Nail Gun and the
Nail Gun and the ![]() Saw Blade Launcher, as well as more common weapons and ammo. To move things along, investigate the terminal behind him and read all the entries to learn about his disgruntled companion, Marvin, gone missing some days back, and info on some of the weapons Suggs has been hired to create.
Saw Blade Launcher, as well as more common weapons and ammo. To move things along, investigate the terminal behind him and read all the entries to learn about his disgruntled companion, Marvin, gone missing some days back, and info on some of the weapons Suggs has been hired to create.
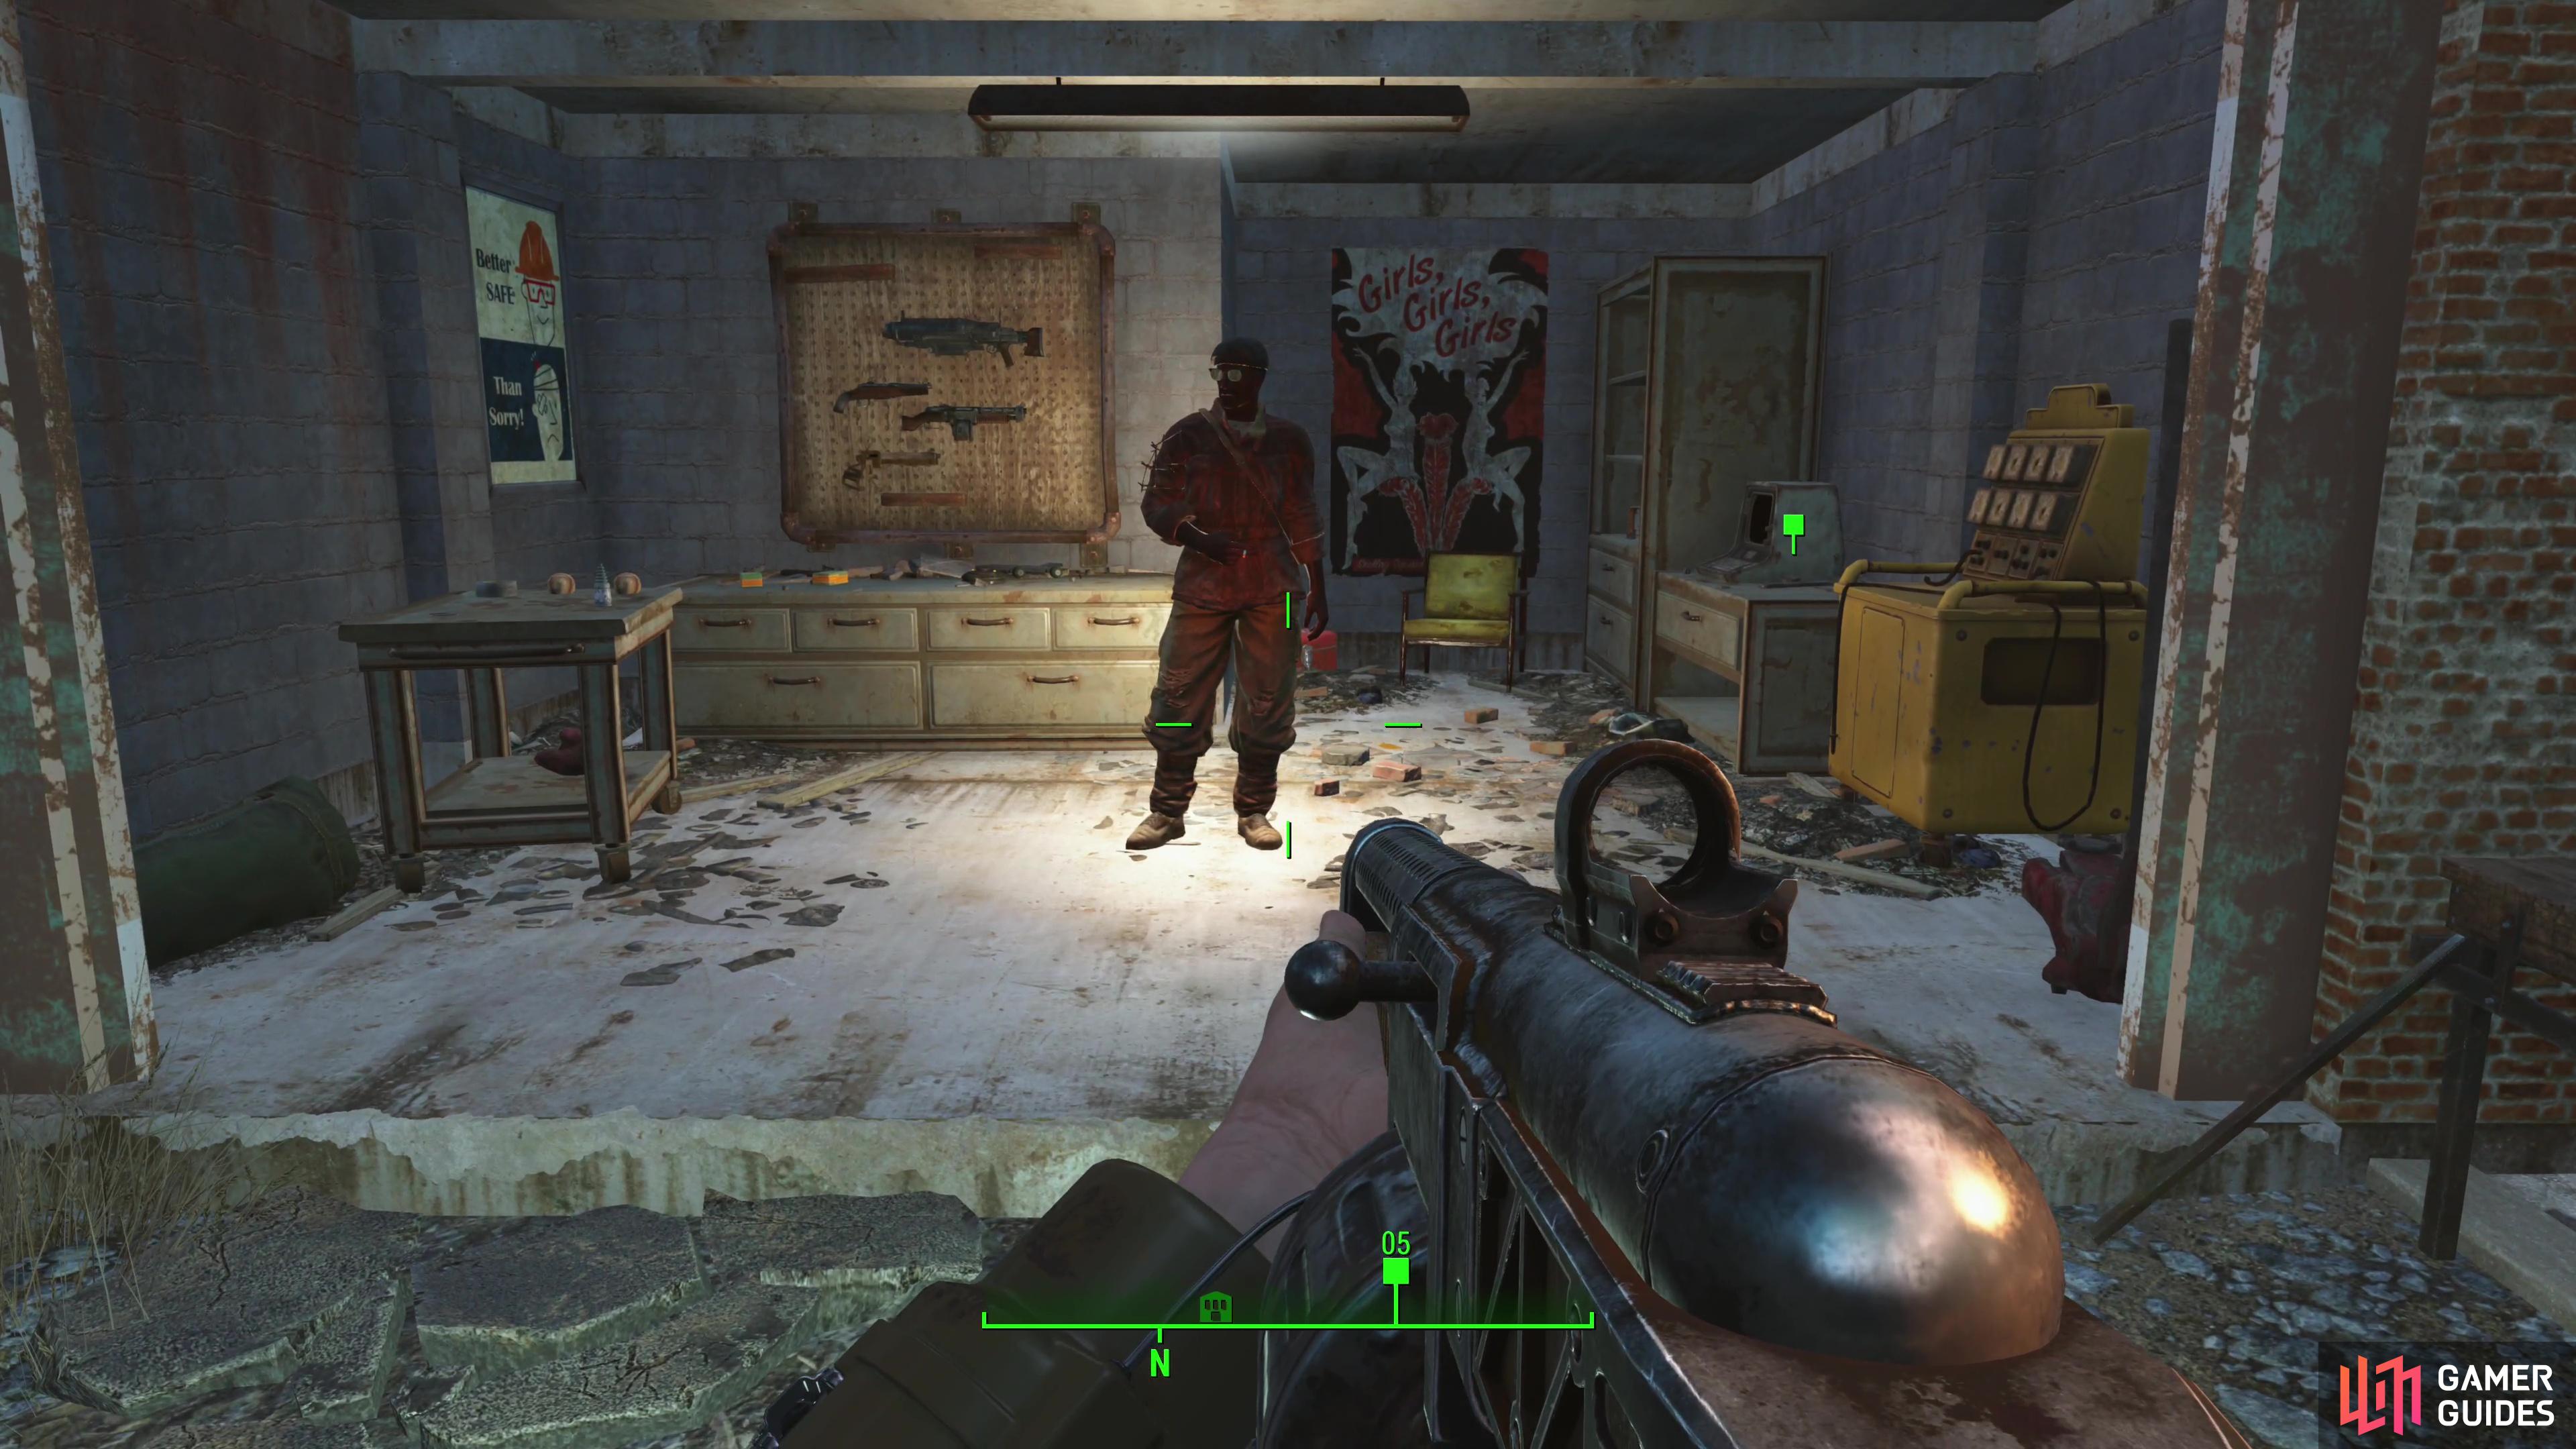
(1 of 2) Fight through Raiders in Monsignor Plaza to reach Marvin’s shop, then kill Marvin’s hired muscled.
Fight through Raiders in Monsignor Plaza to reach Marvin’s shop, then kill Marvin’s hired muscled. (left), Search the counter for a legendary Grenade Launcher Rifle and Marvin’s Note, the latter of which details the next phase of Marvin’s scheme. (right)
Investigate The Competing Shop at Monsignor Plaza
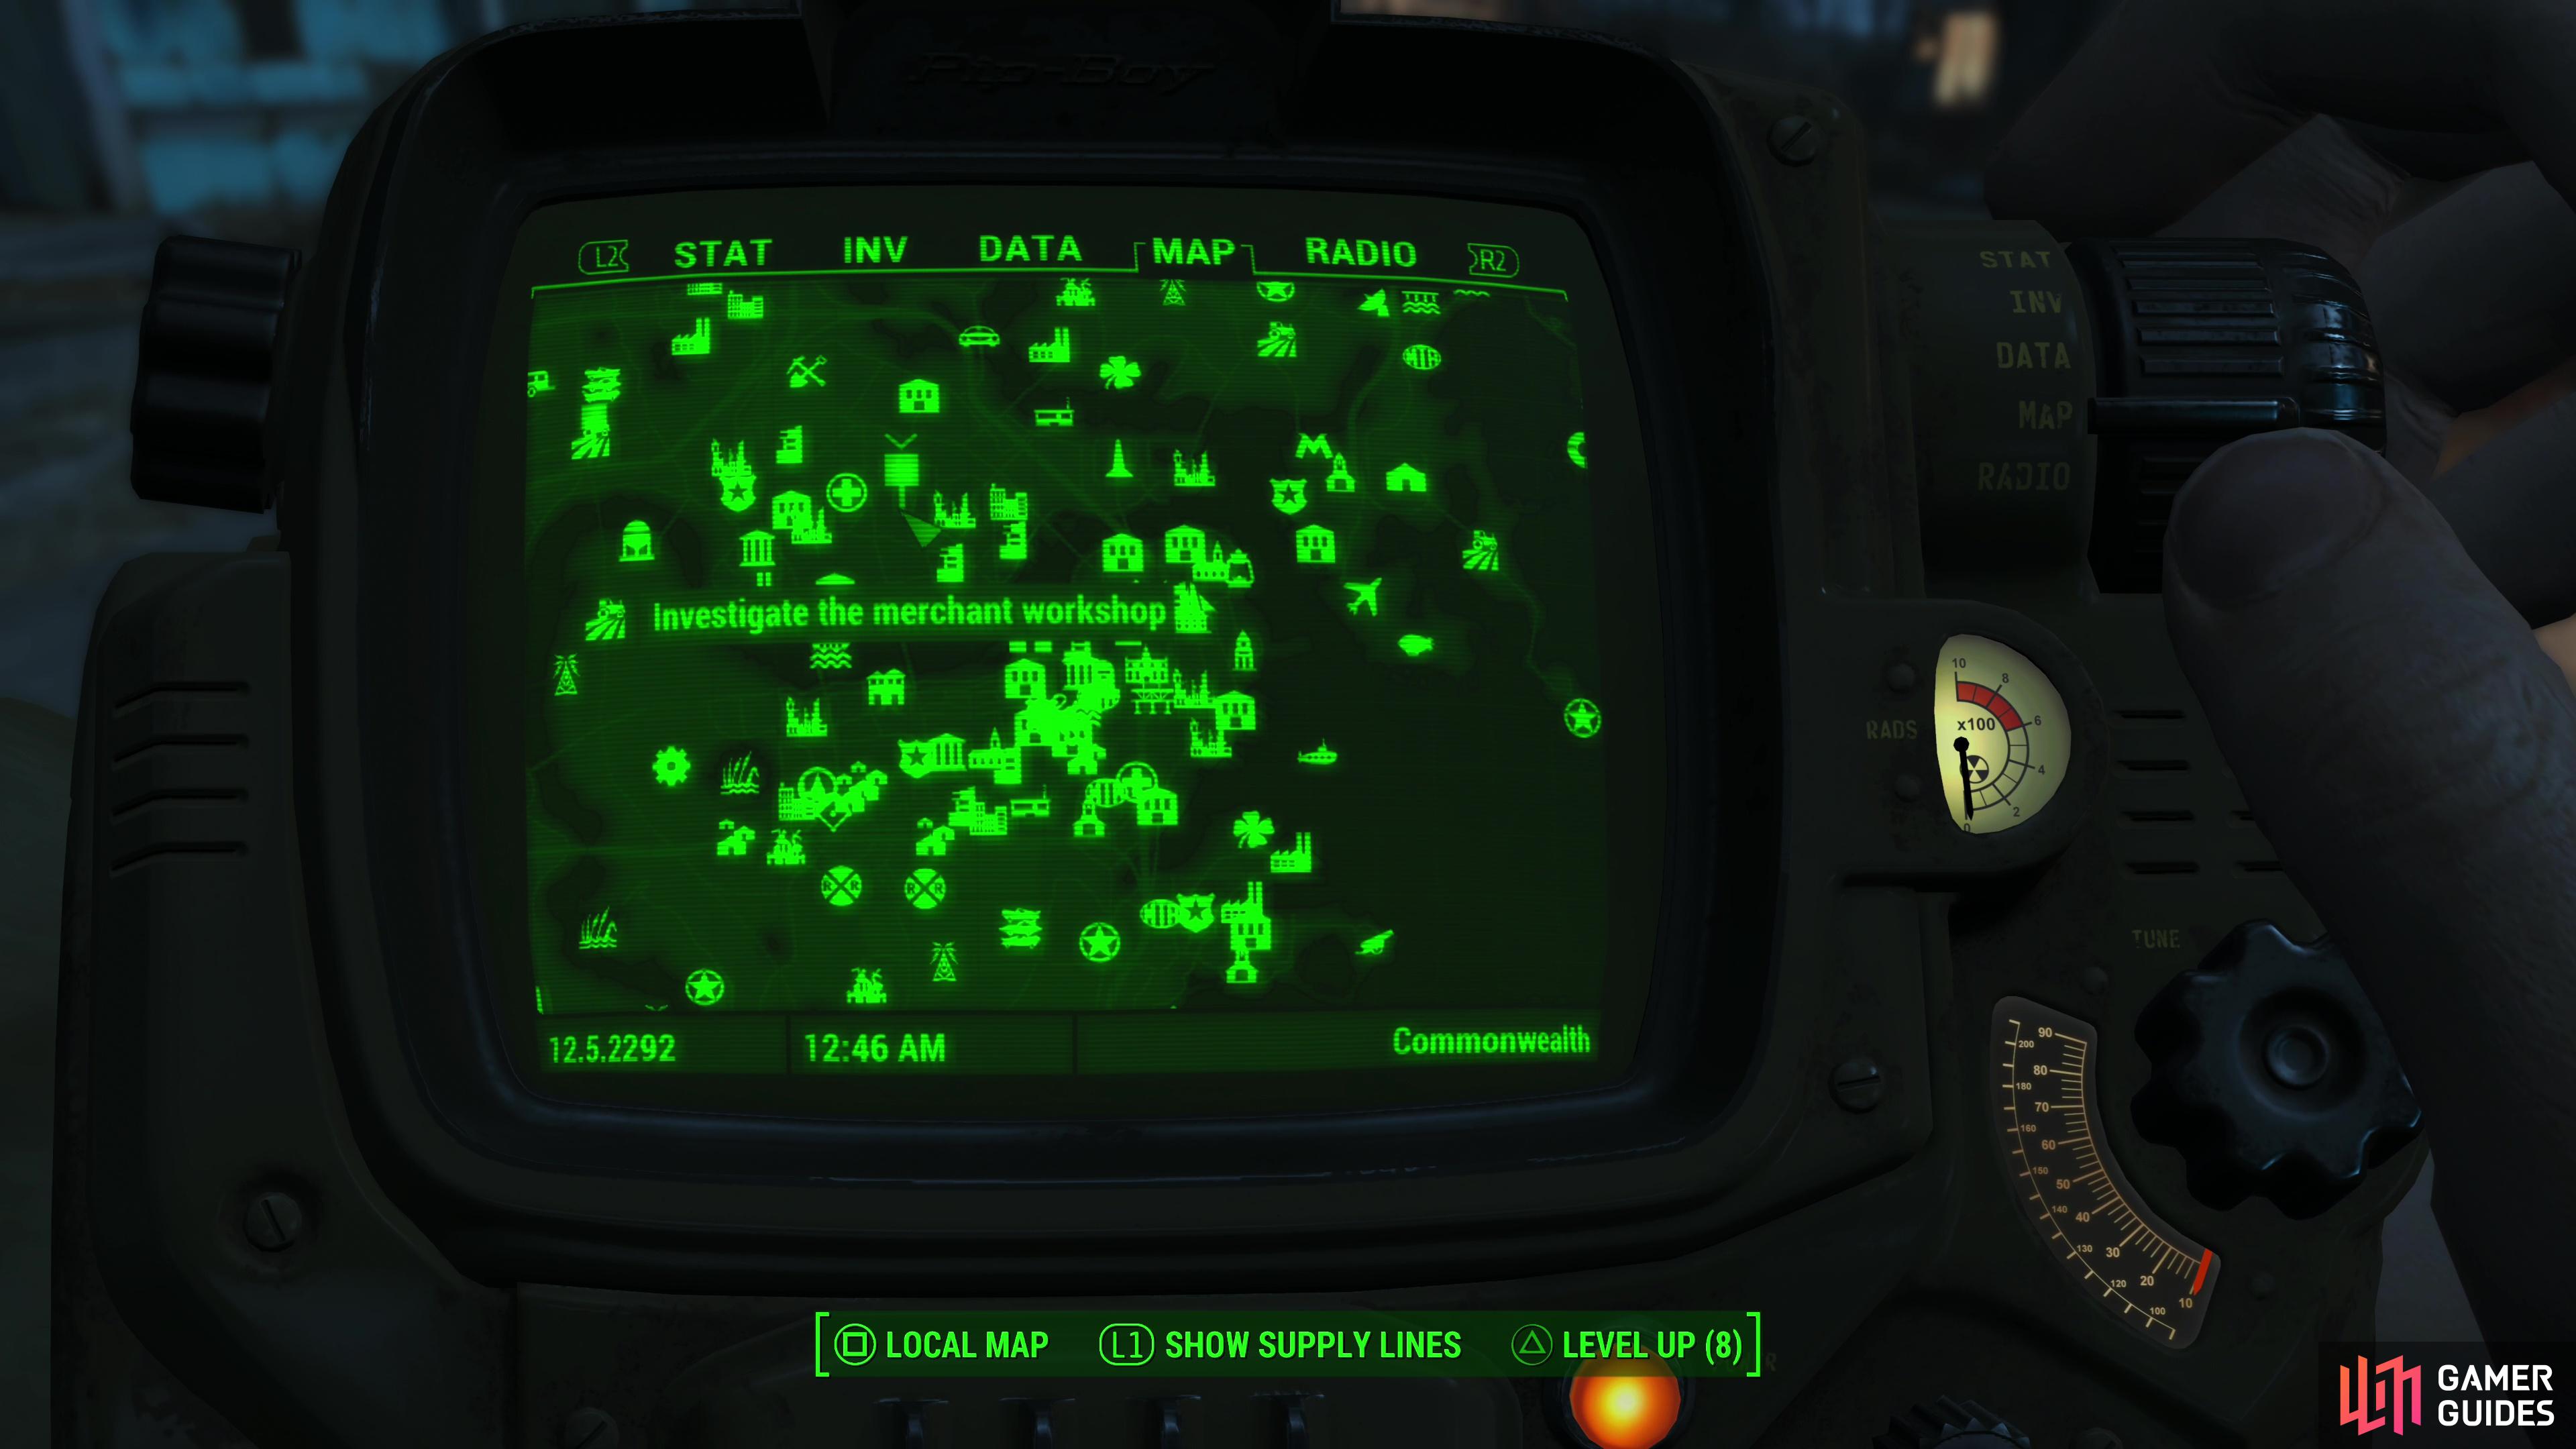
Reading the entry [Weapons Dealer in ![]() Monsignor Plaza] will update the quest and direct you towards Monsignor Plaza, a Raider-infested shopping center to the southeast. If you head due east you’ll venture through the heavily irradiated and Ghoul-infested
Monsignor Plaza] will update the quest and direct you towards Monsignor Plaza, a Raider-infested shopping center to the southeast. If you head due east you’ll venture through the heavily irradiated and Ghoul-infested ![]() Cambridge Crater, while if you go south and east you’ll have to deal with a second Raider base near Monsignor Plaza, although this can make finishing the quest easier in the long run, as these Raiders won’t be around to cause trouble. The safest way to your destination is north, then east, but whatever route you take the odds of you running into Raiders, Super Mutants or Ghouls is rather high.
Cambridge Crater, while if you go south and east you’ll have to deal with a second Raider base near Monsignor Plaza, although this can make finishing the quest easier in the long run, as these Raiders won’t be around to cause trouble. The safest way to your destination is north, then east, but whatever route you take the odds of you running into Raiders, Super Mutants or Ghouls is rather high.
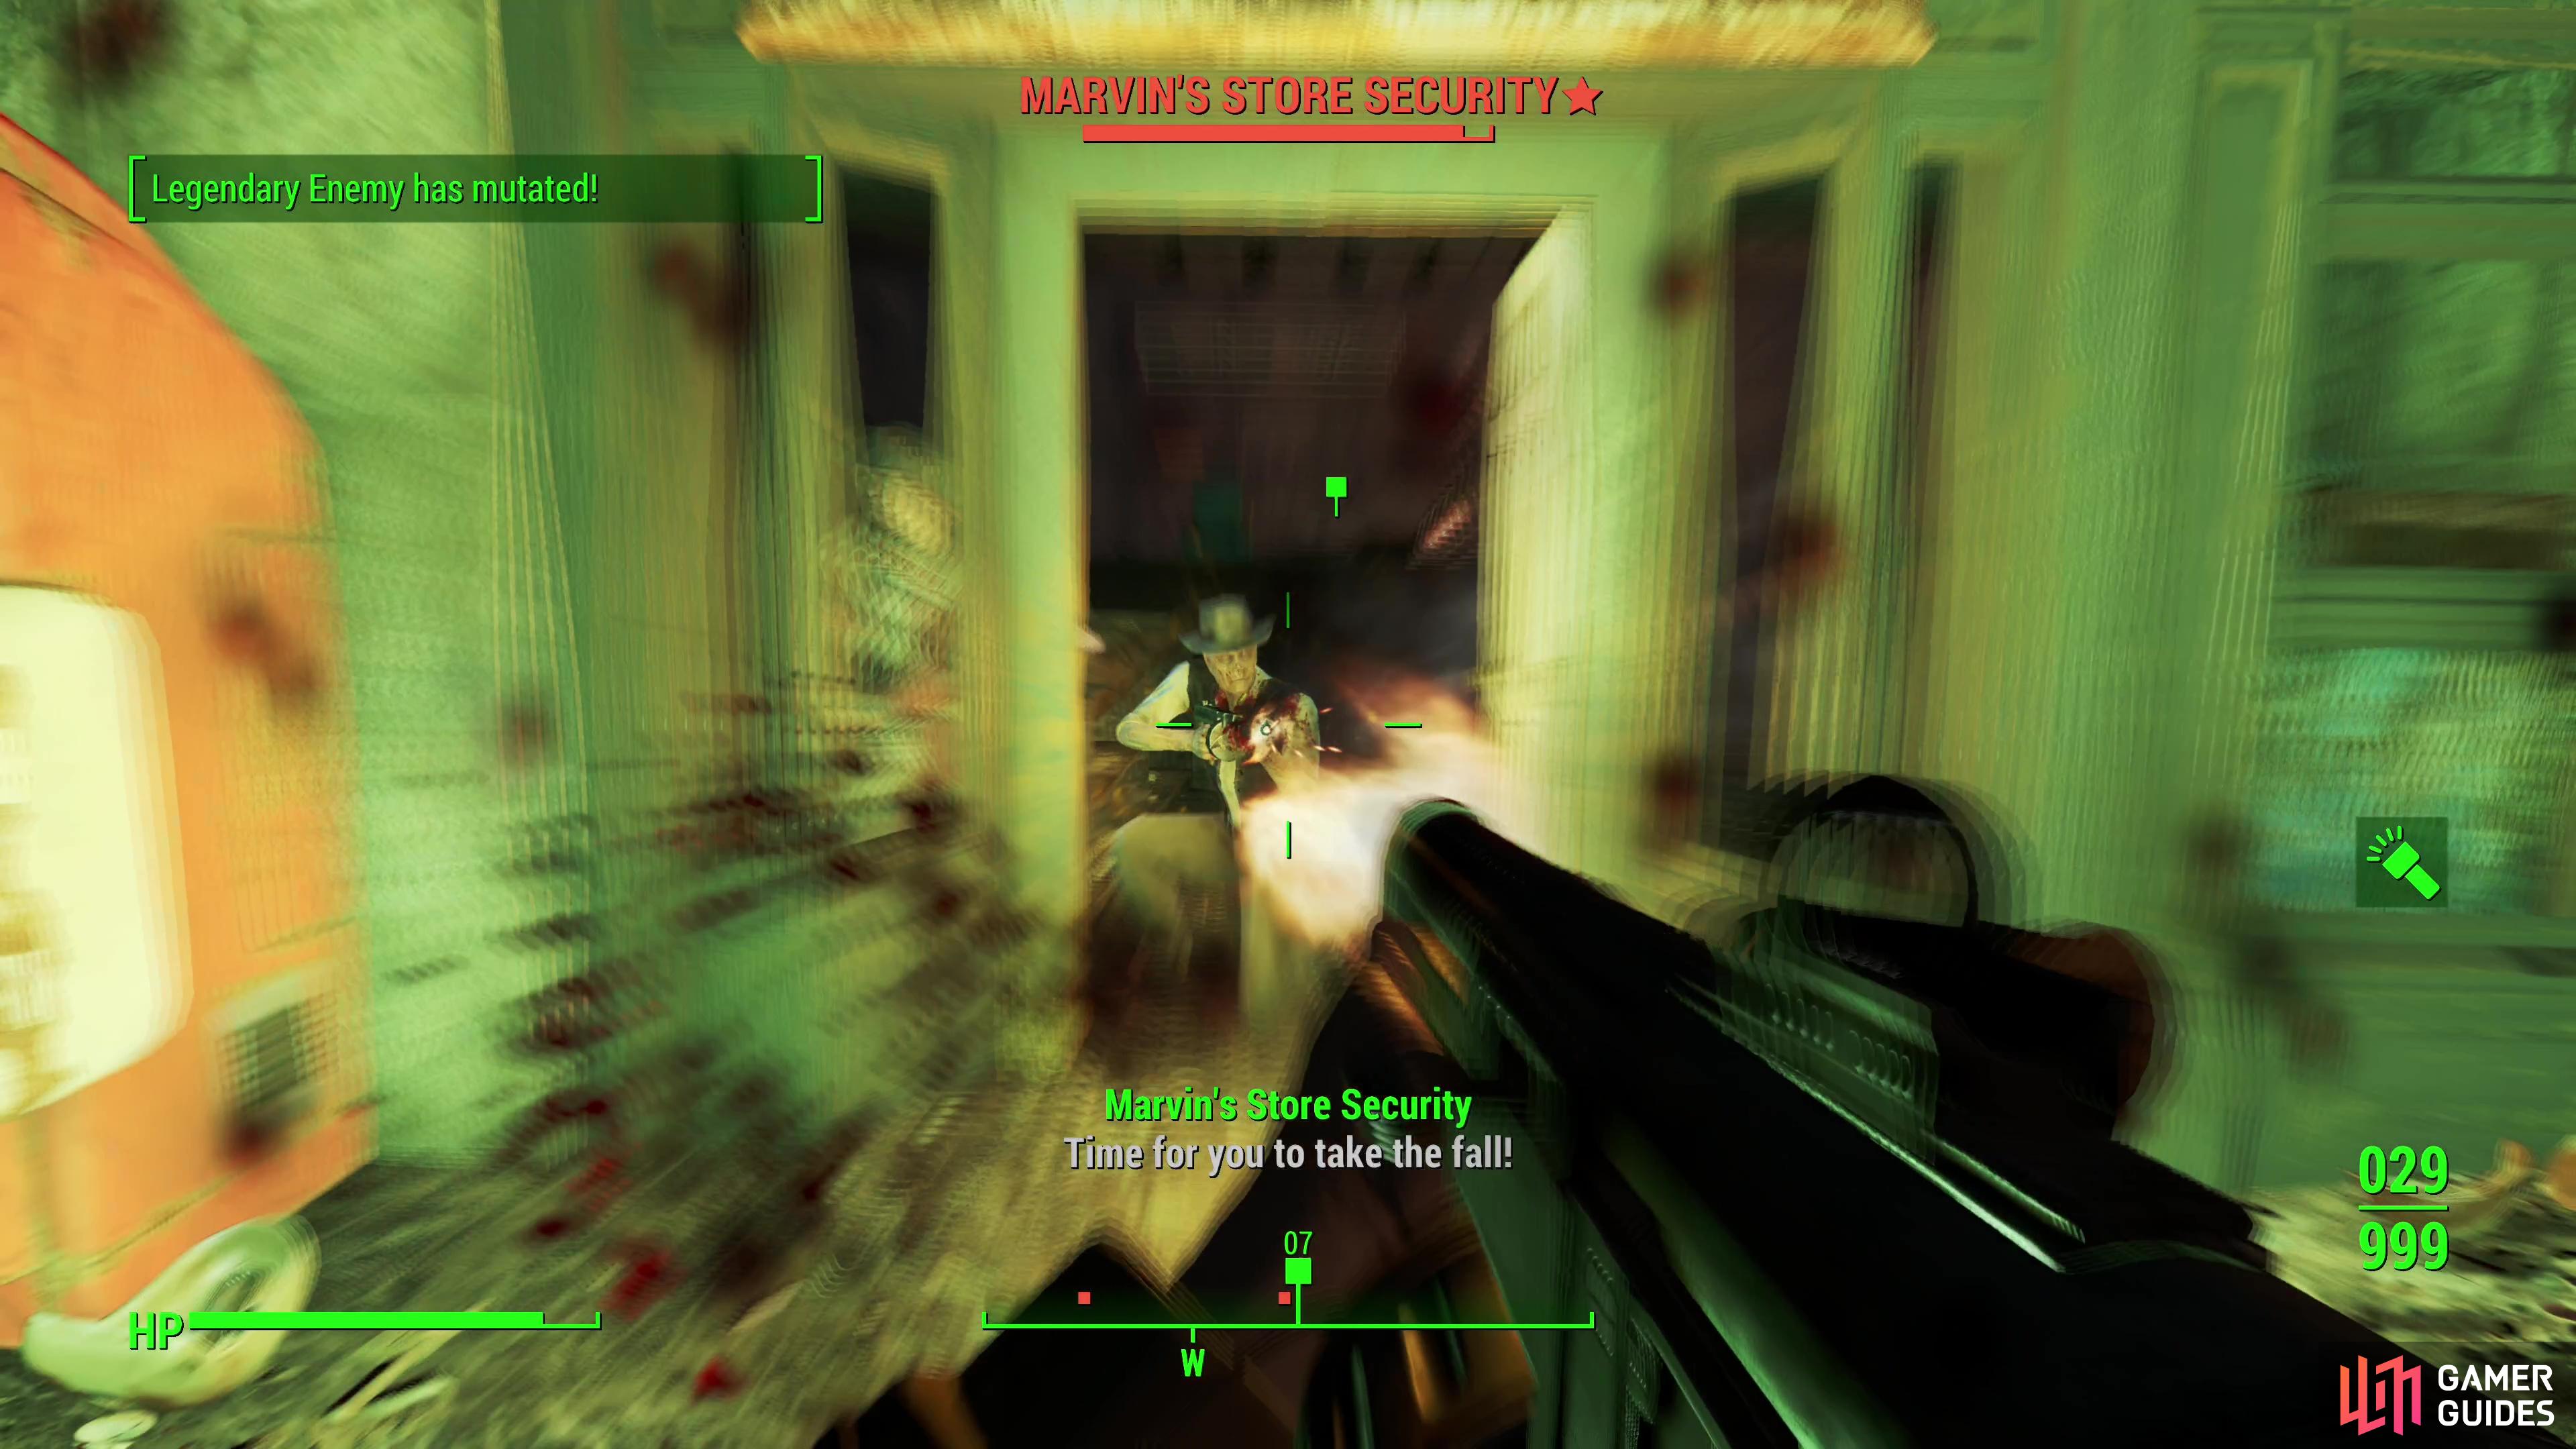
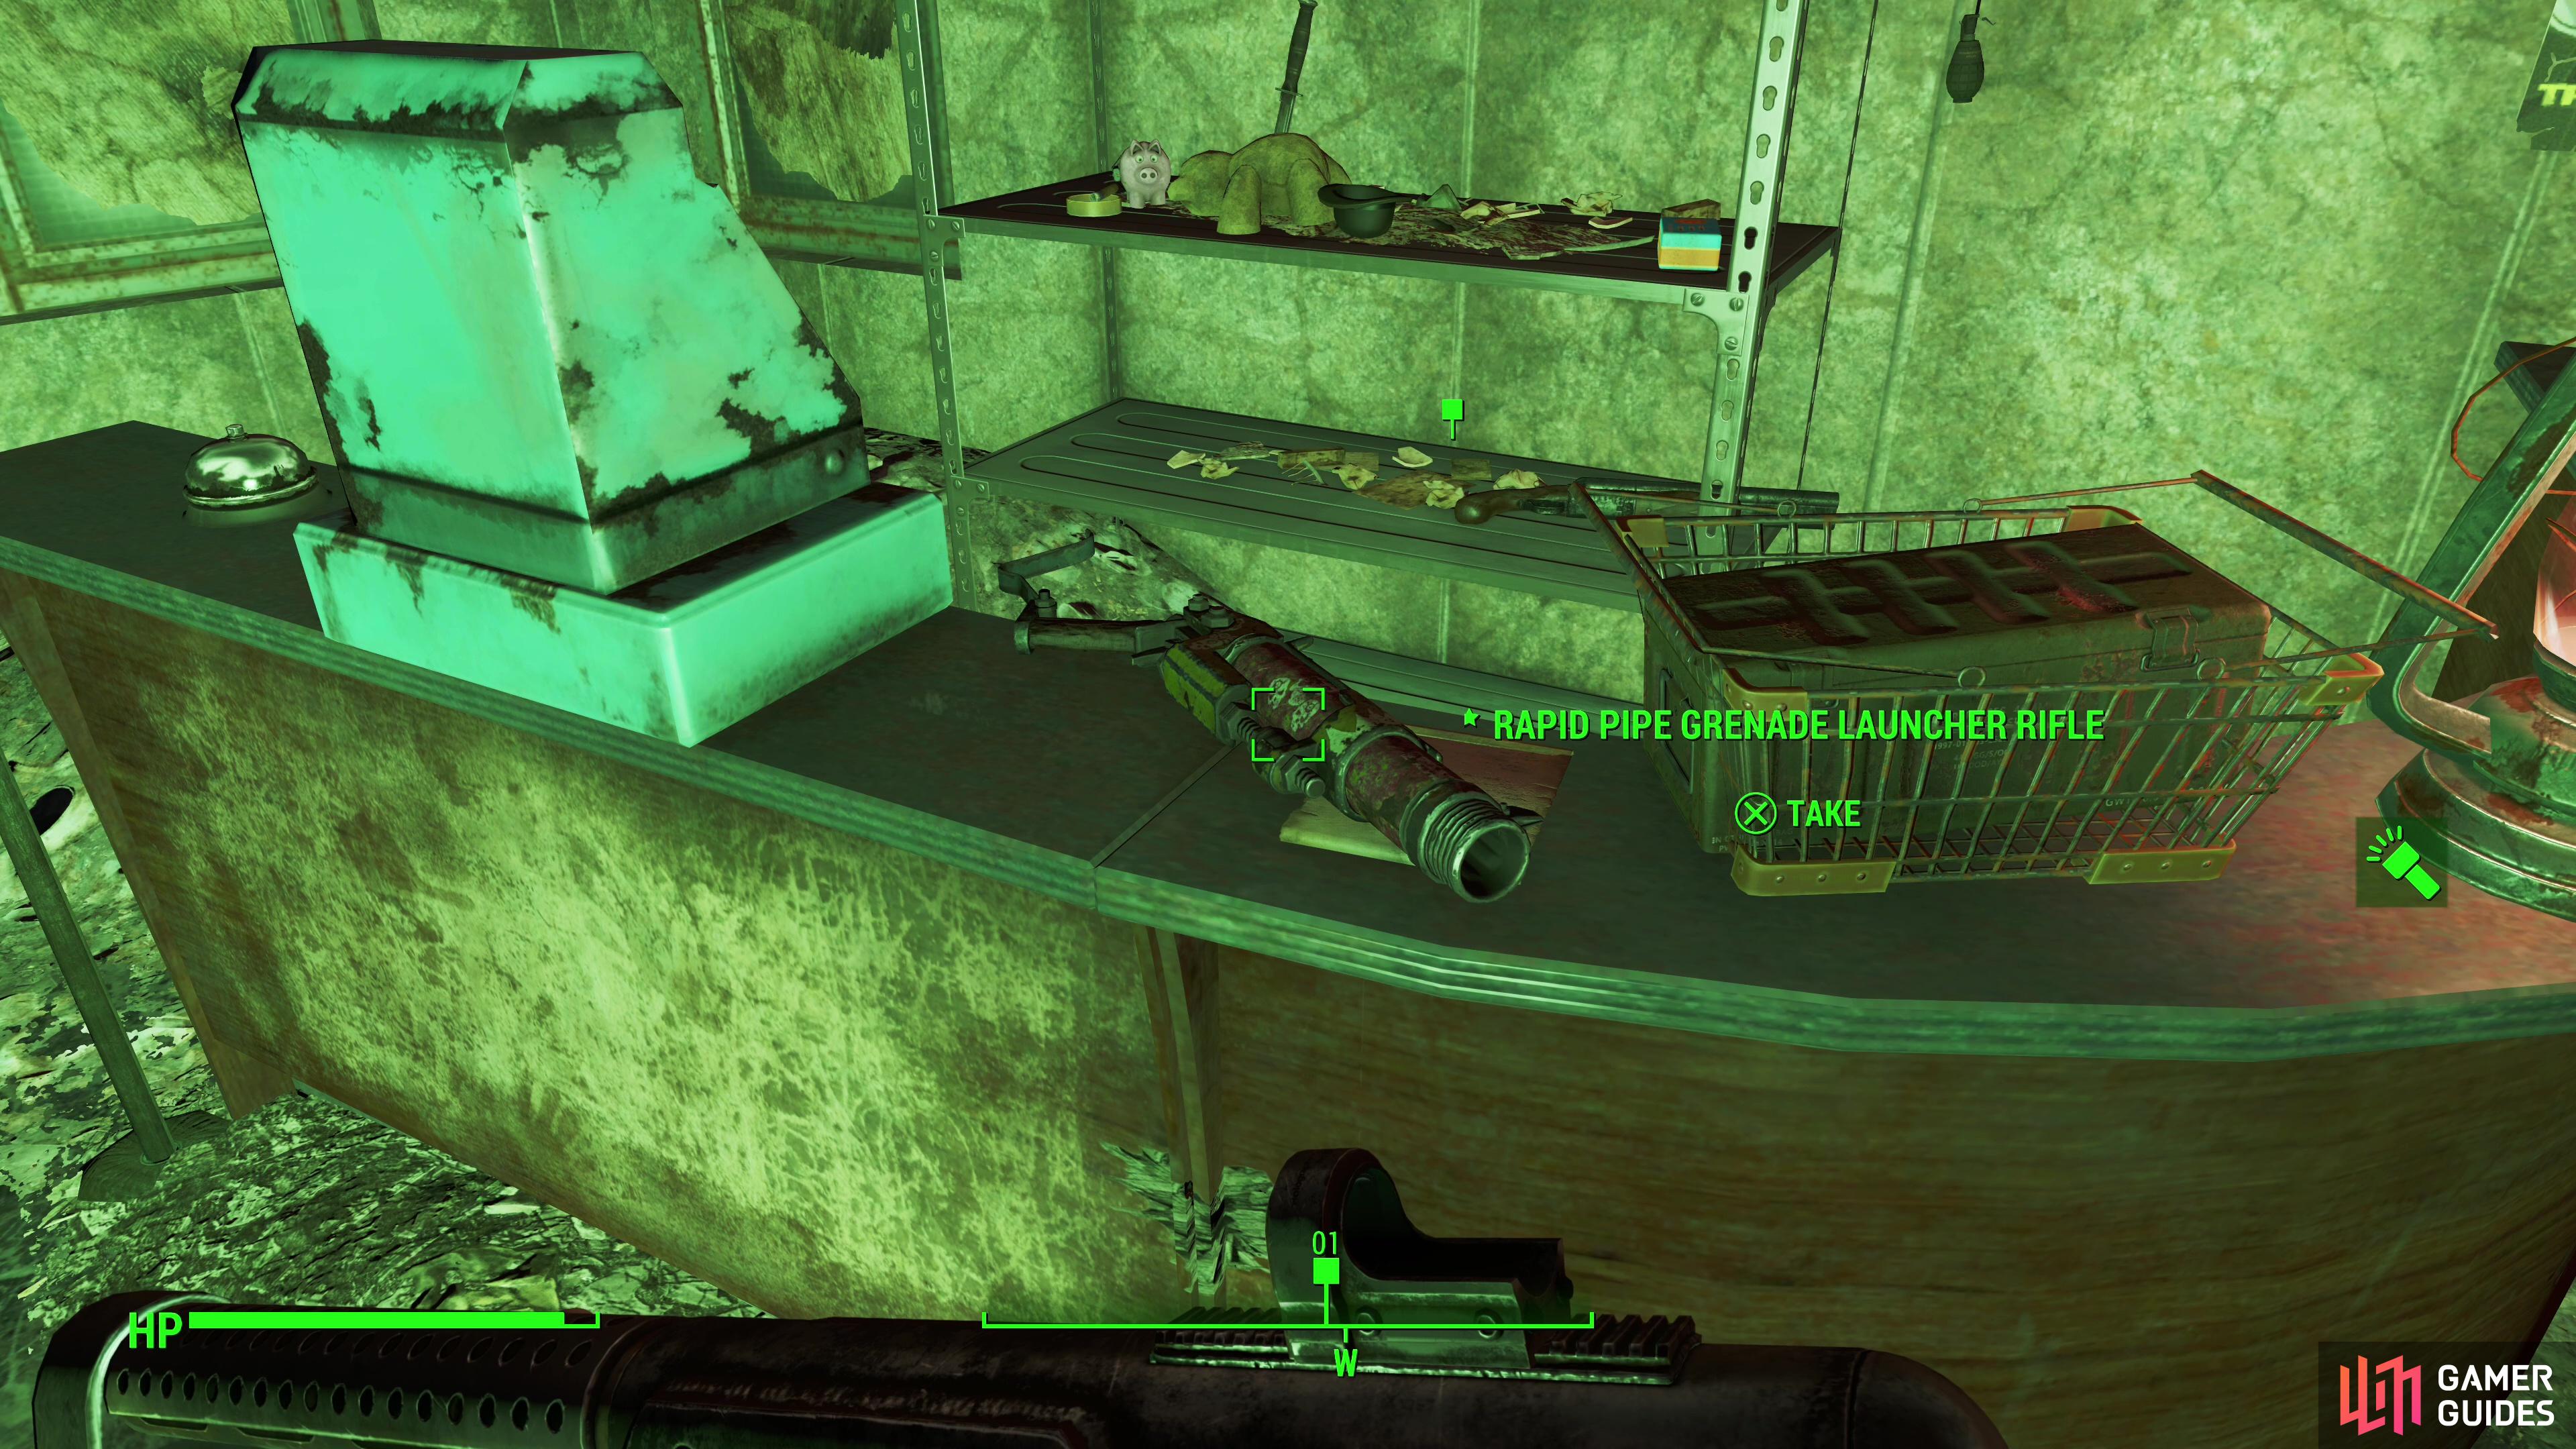
Enter via the northeastern edge of the building after dispatching a room full of several Raiders and their pet turret, and once inside fight your way south, then west to reach some stairs leading up. Once upstairs immediately turn right (west) to find a small store occupied by two “Marvin’s Store Security” goons. Kill them and loot a Rapid Fire Grenade Launcher Rifle off the counter, next to which is Marvin’s Note, which spells out the wayward merchant’s revenge plot. This updates the quest and gives you Marvin’s location at the ambush spot he has set up. If you loot the shelves behind the counter, be wary of a Grenade Bouquet trap - your prize for bravery here includes several ![]() Piggy Bank Mines, an item you’ll be seeing more of shortly.
Piggy Bank Mines, an item you’ll be seeing more of shortly.
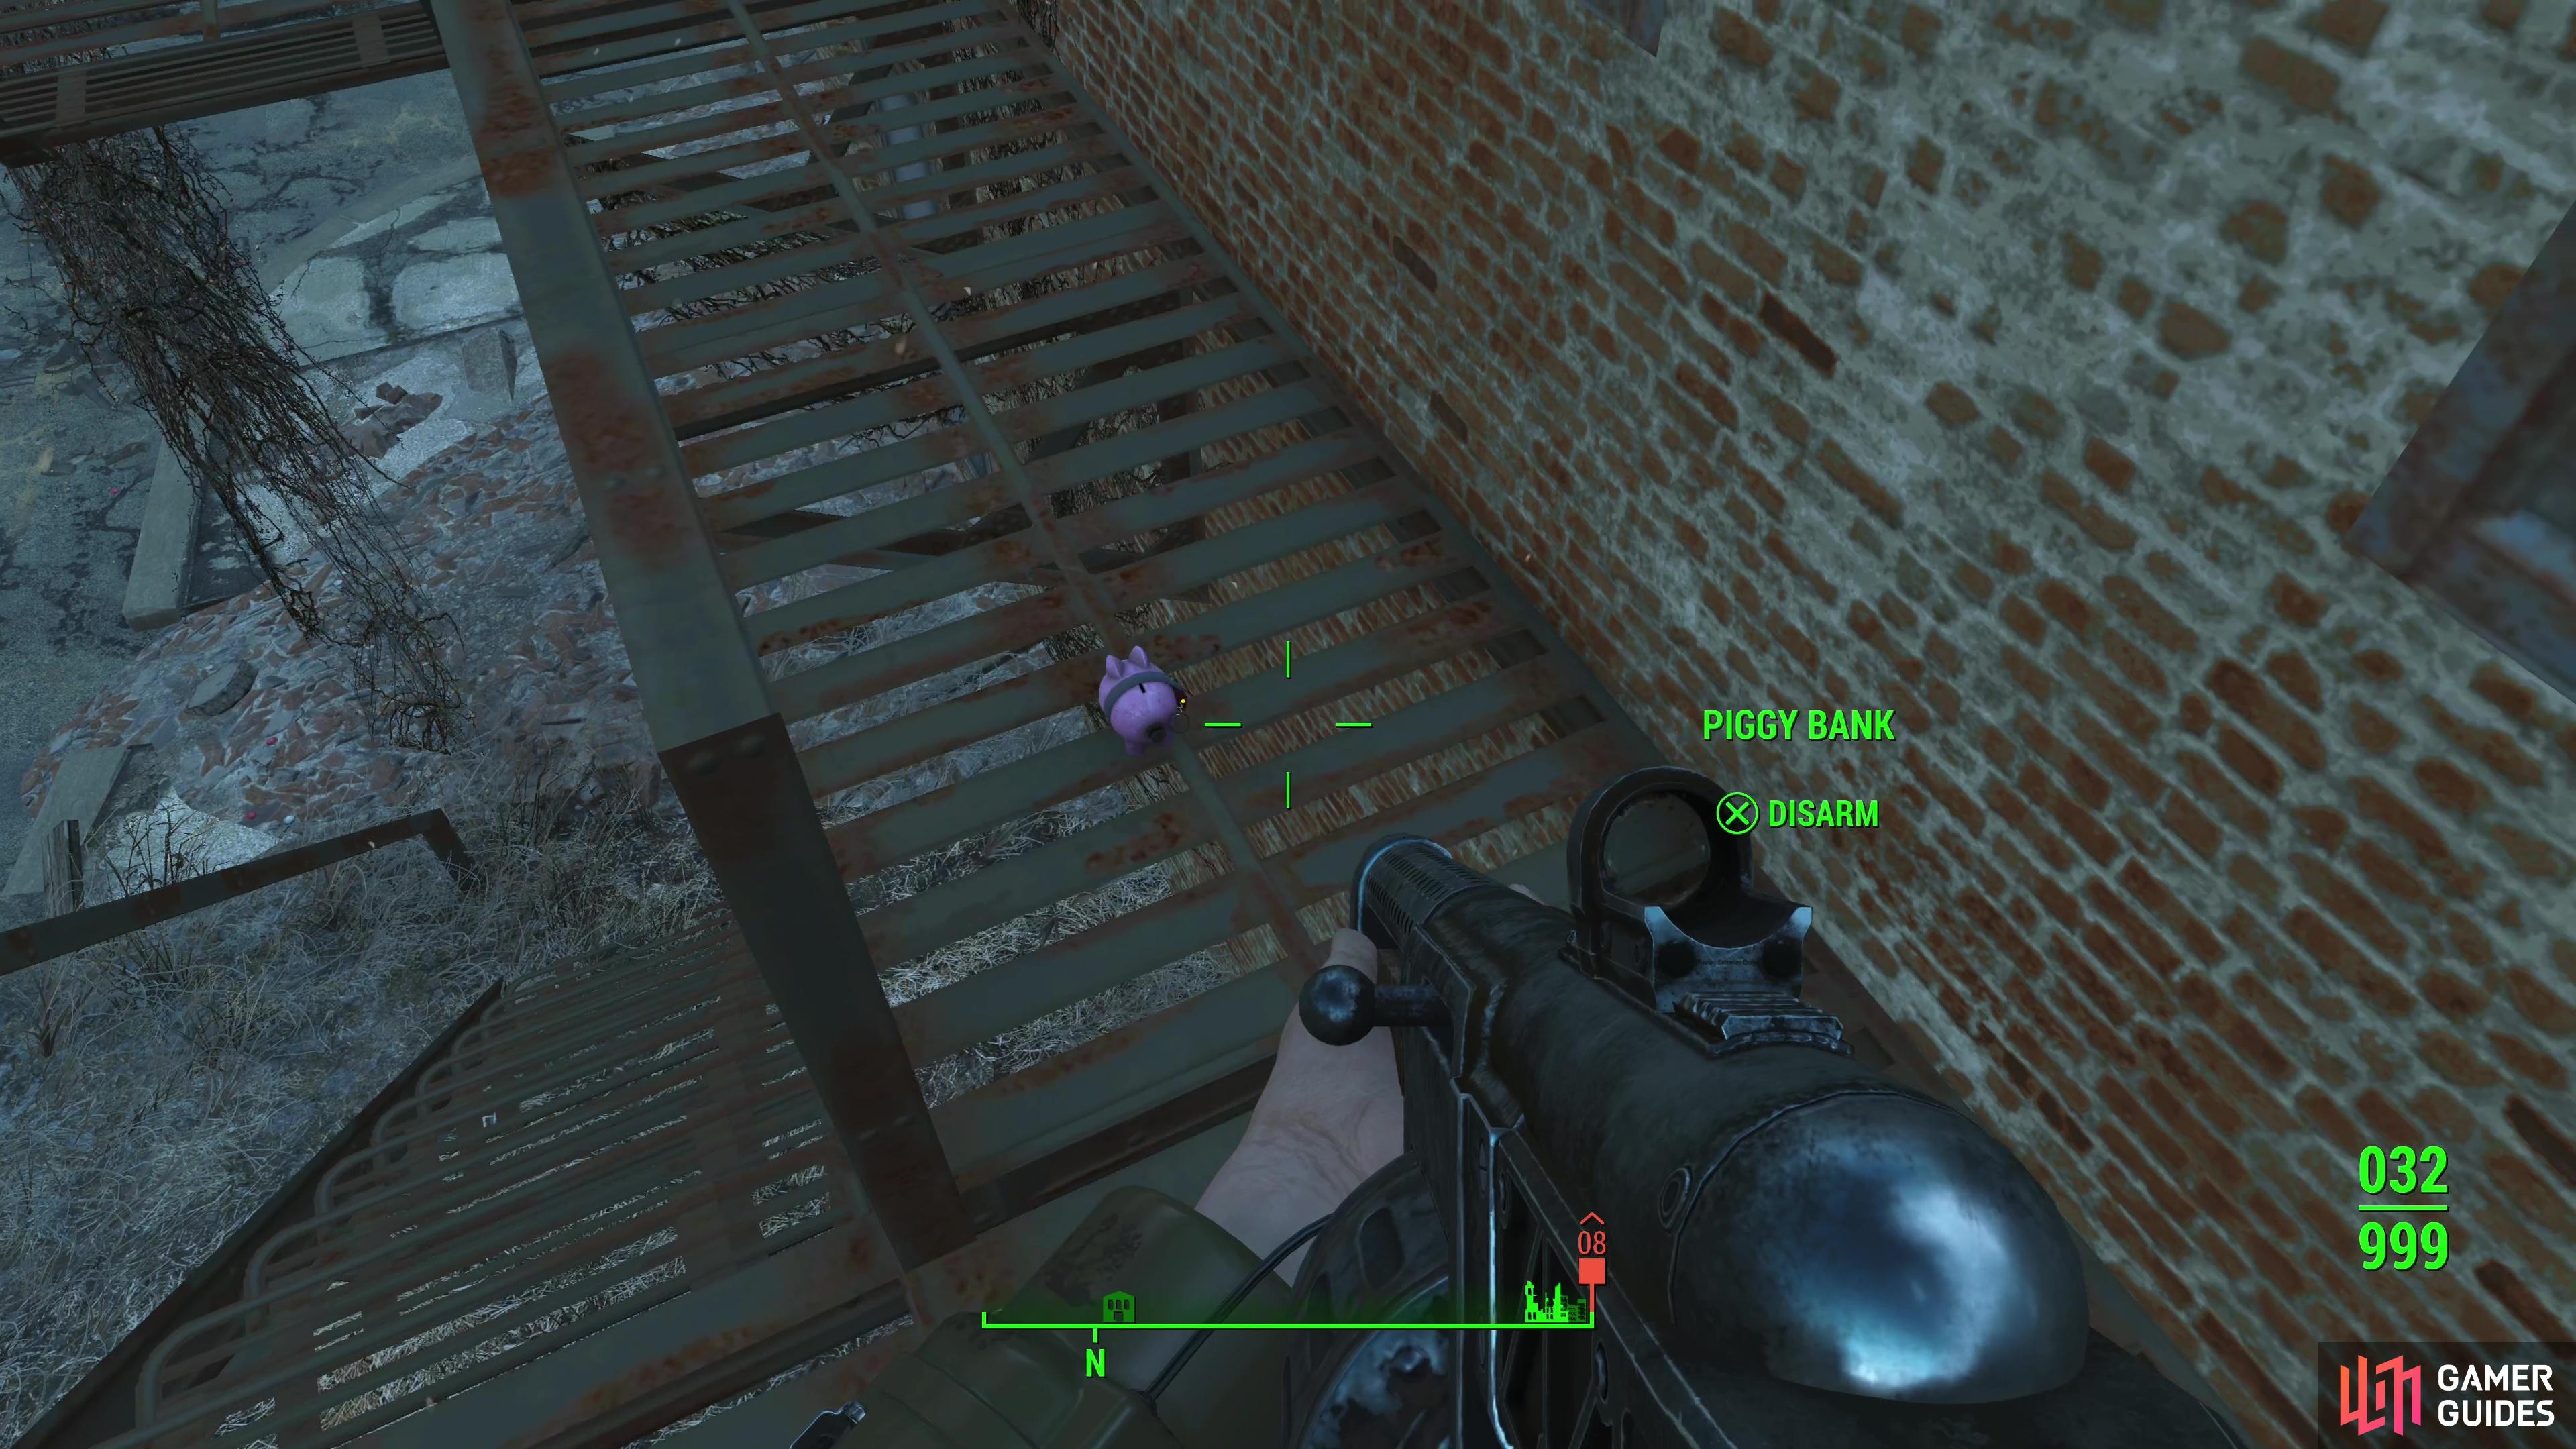
(1 of 3) Head to Marvin’s ambush site and disarm some Piggy Bank Mines as you ascend the fire escape.
Foil Marvin’s Ambush
Leave Monsignor Plaza and make your way to the new quest marker, which leads to a brickwork building with a fire escape on the western side. Be cautious as you approach, as Marvin is not above using his silly ![]() Fat Man variant, the
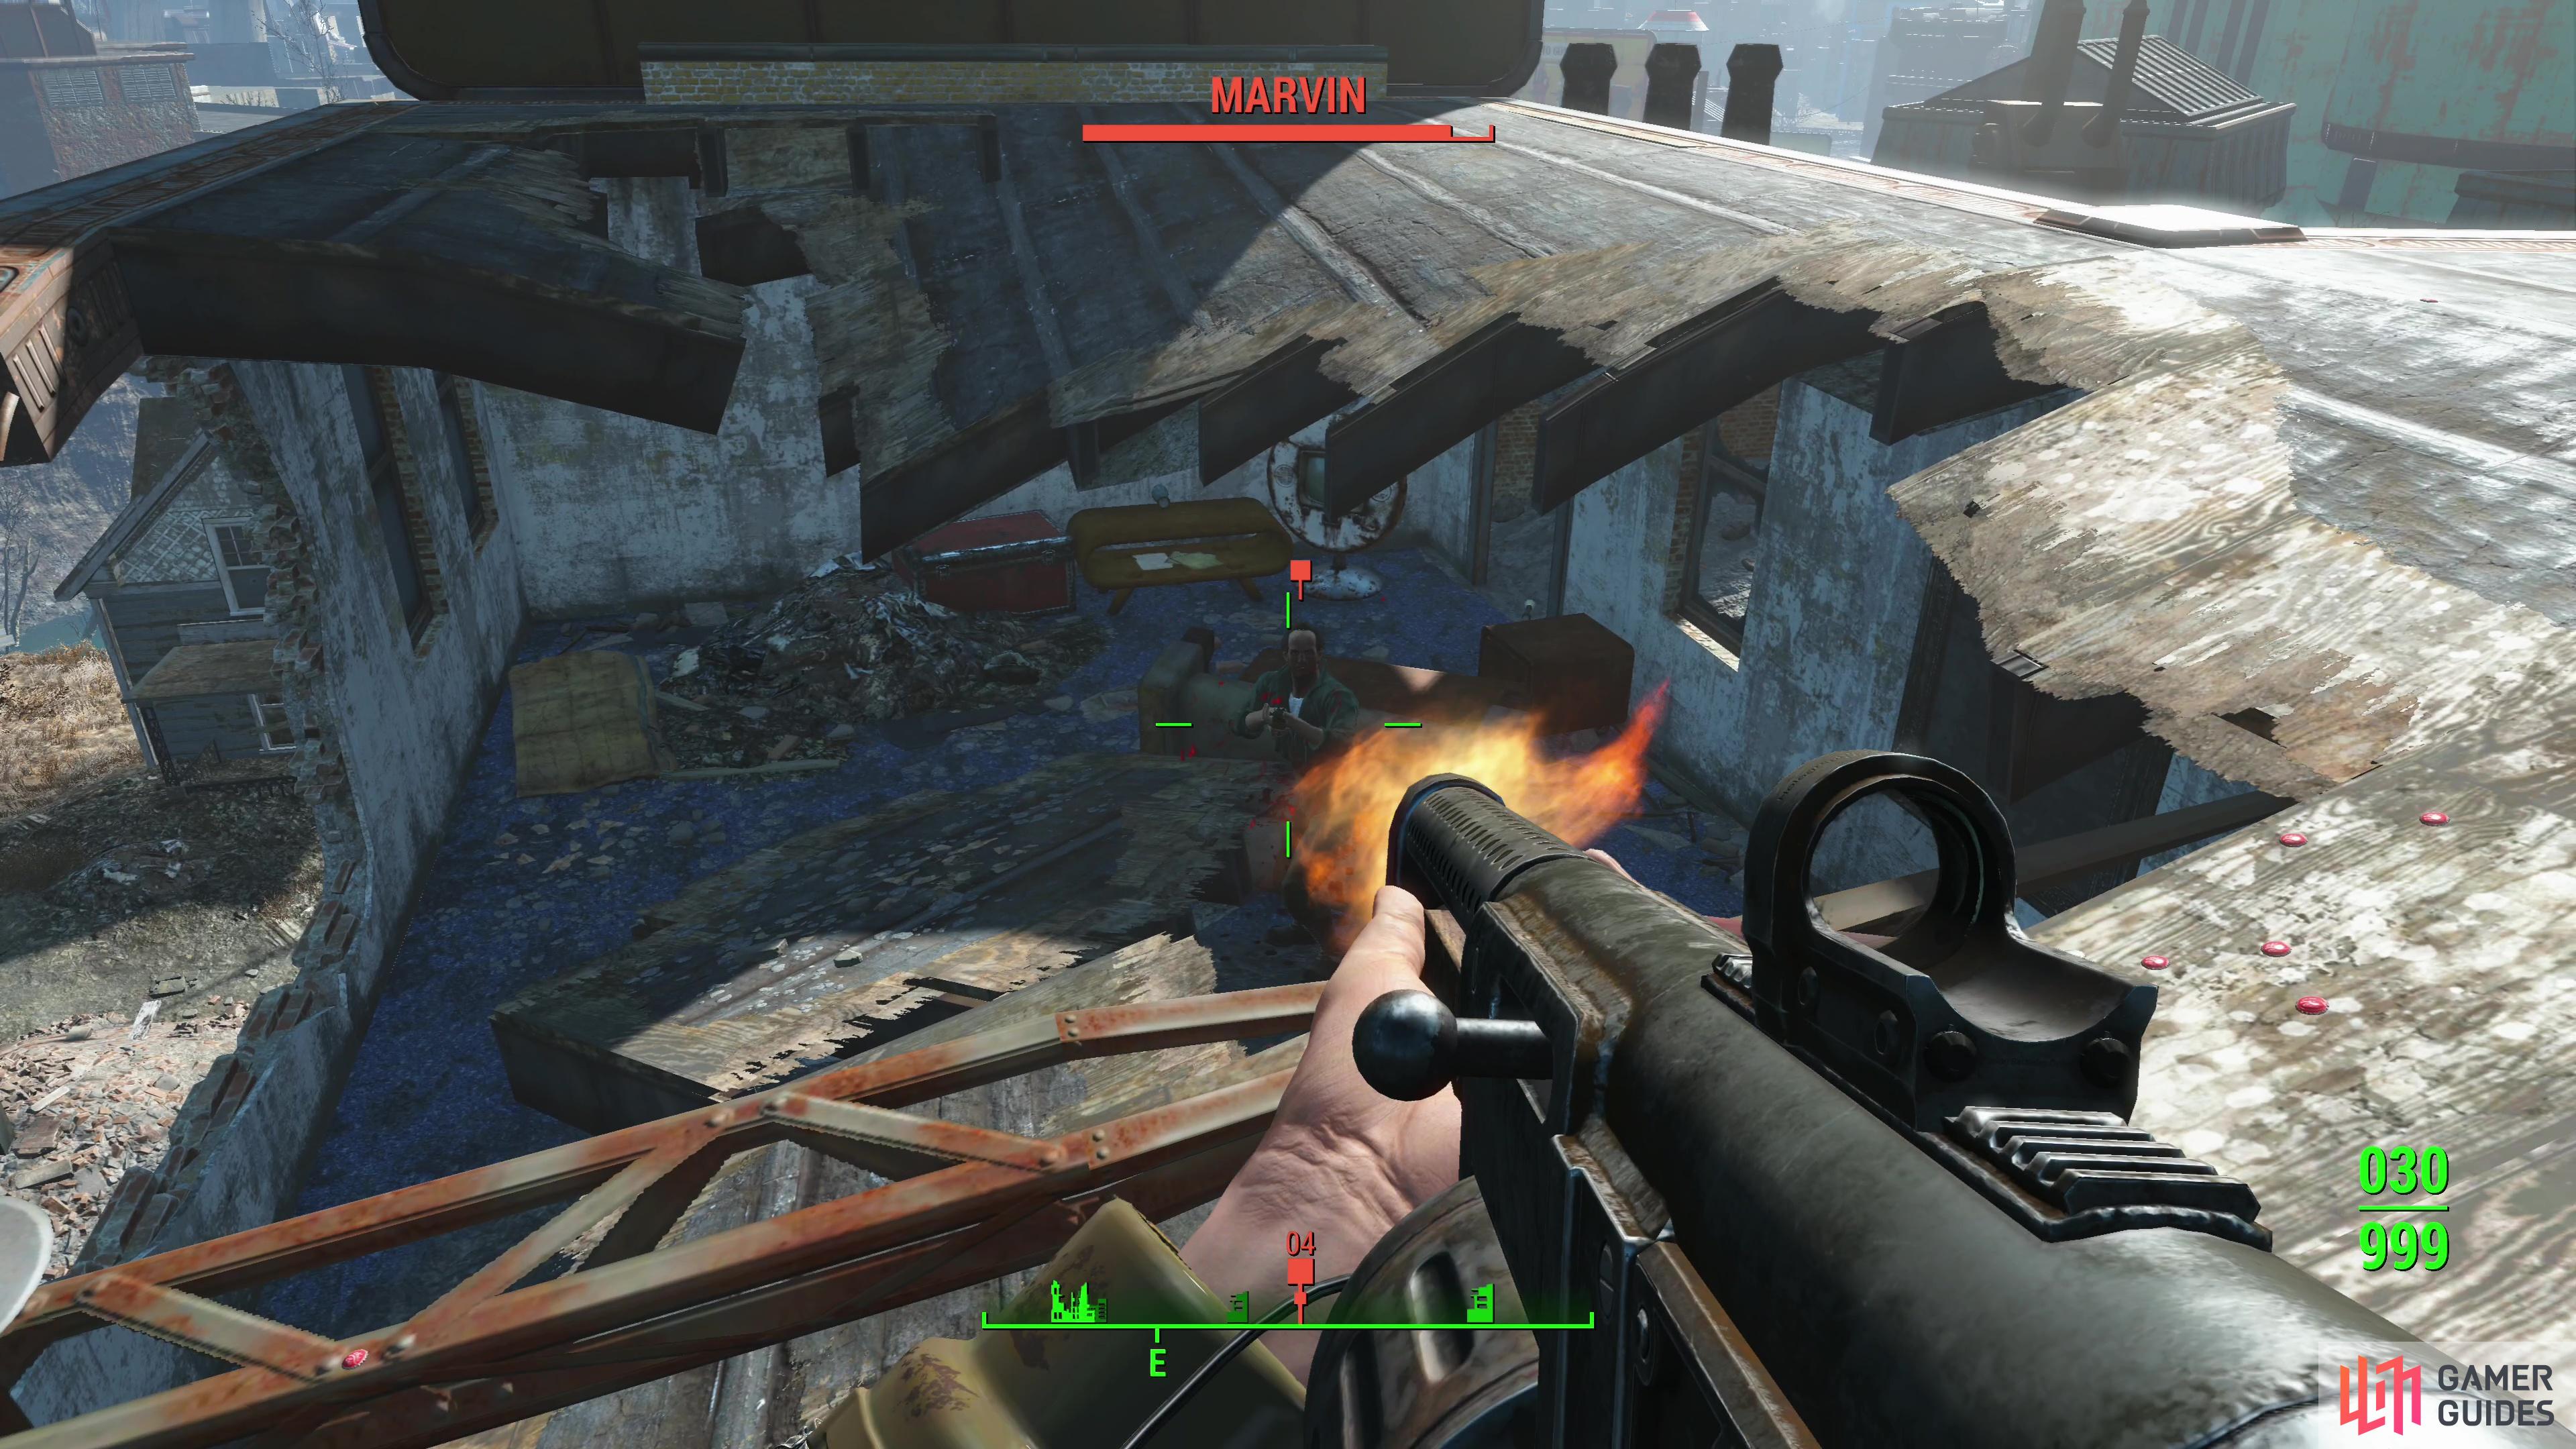
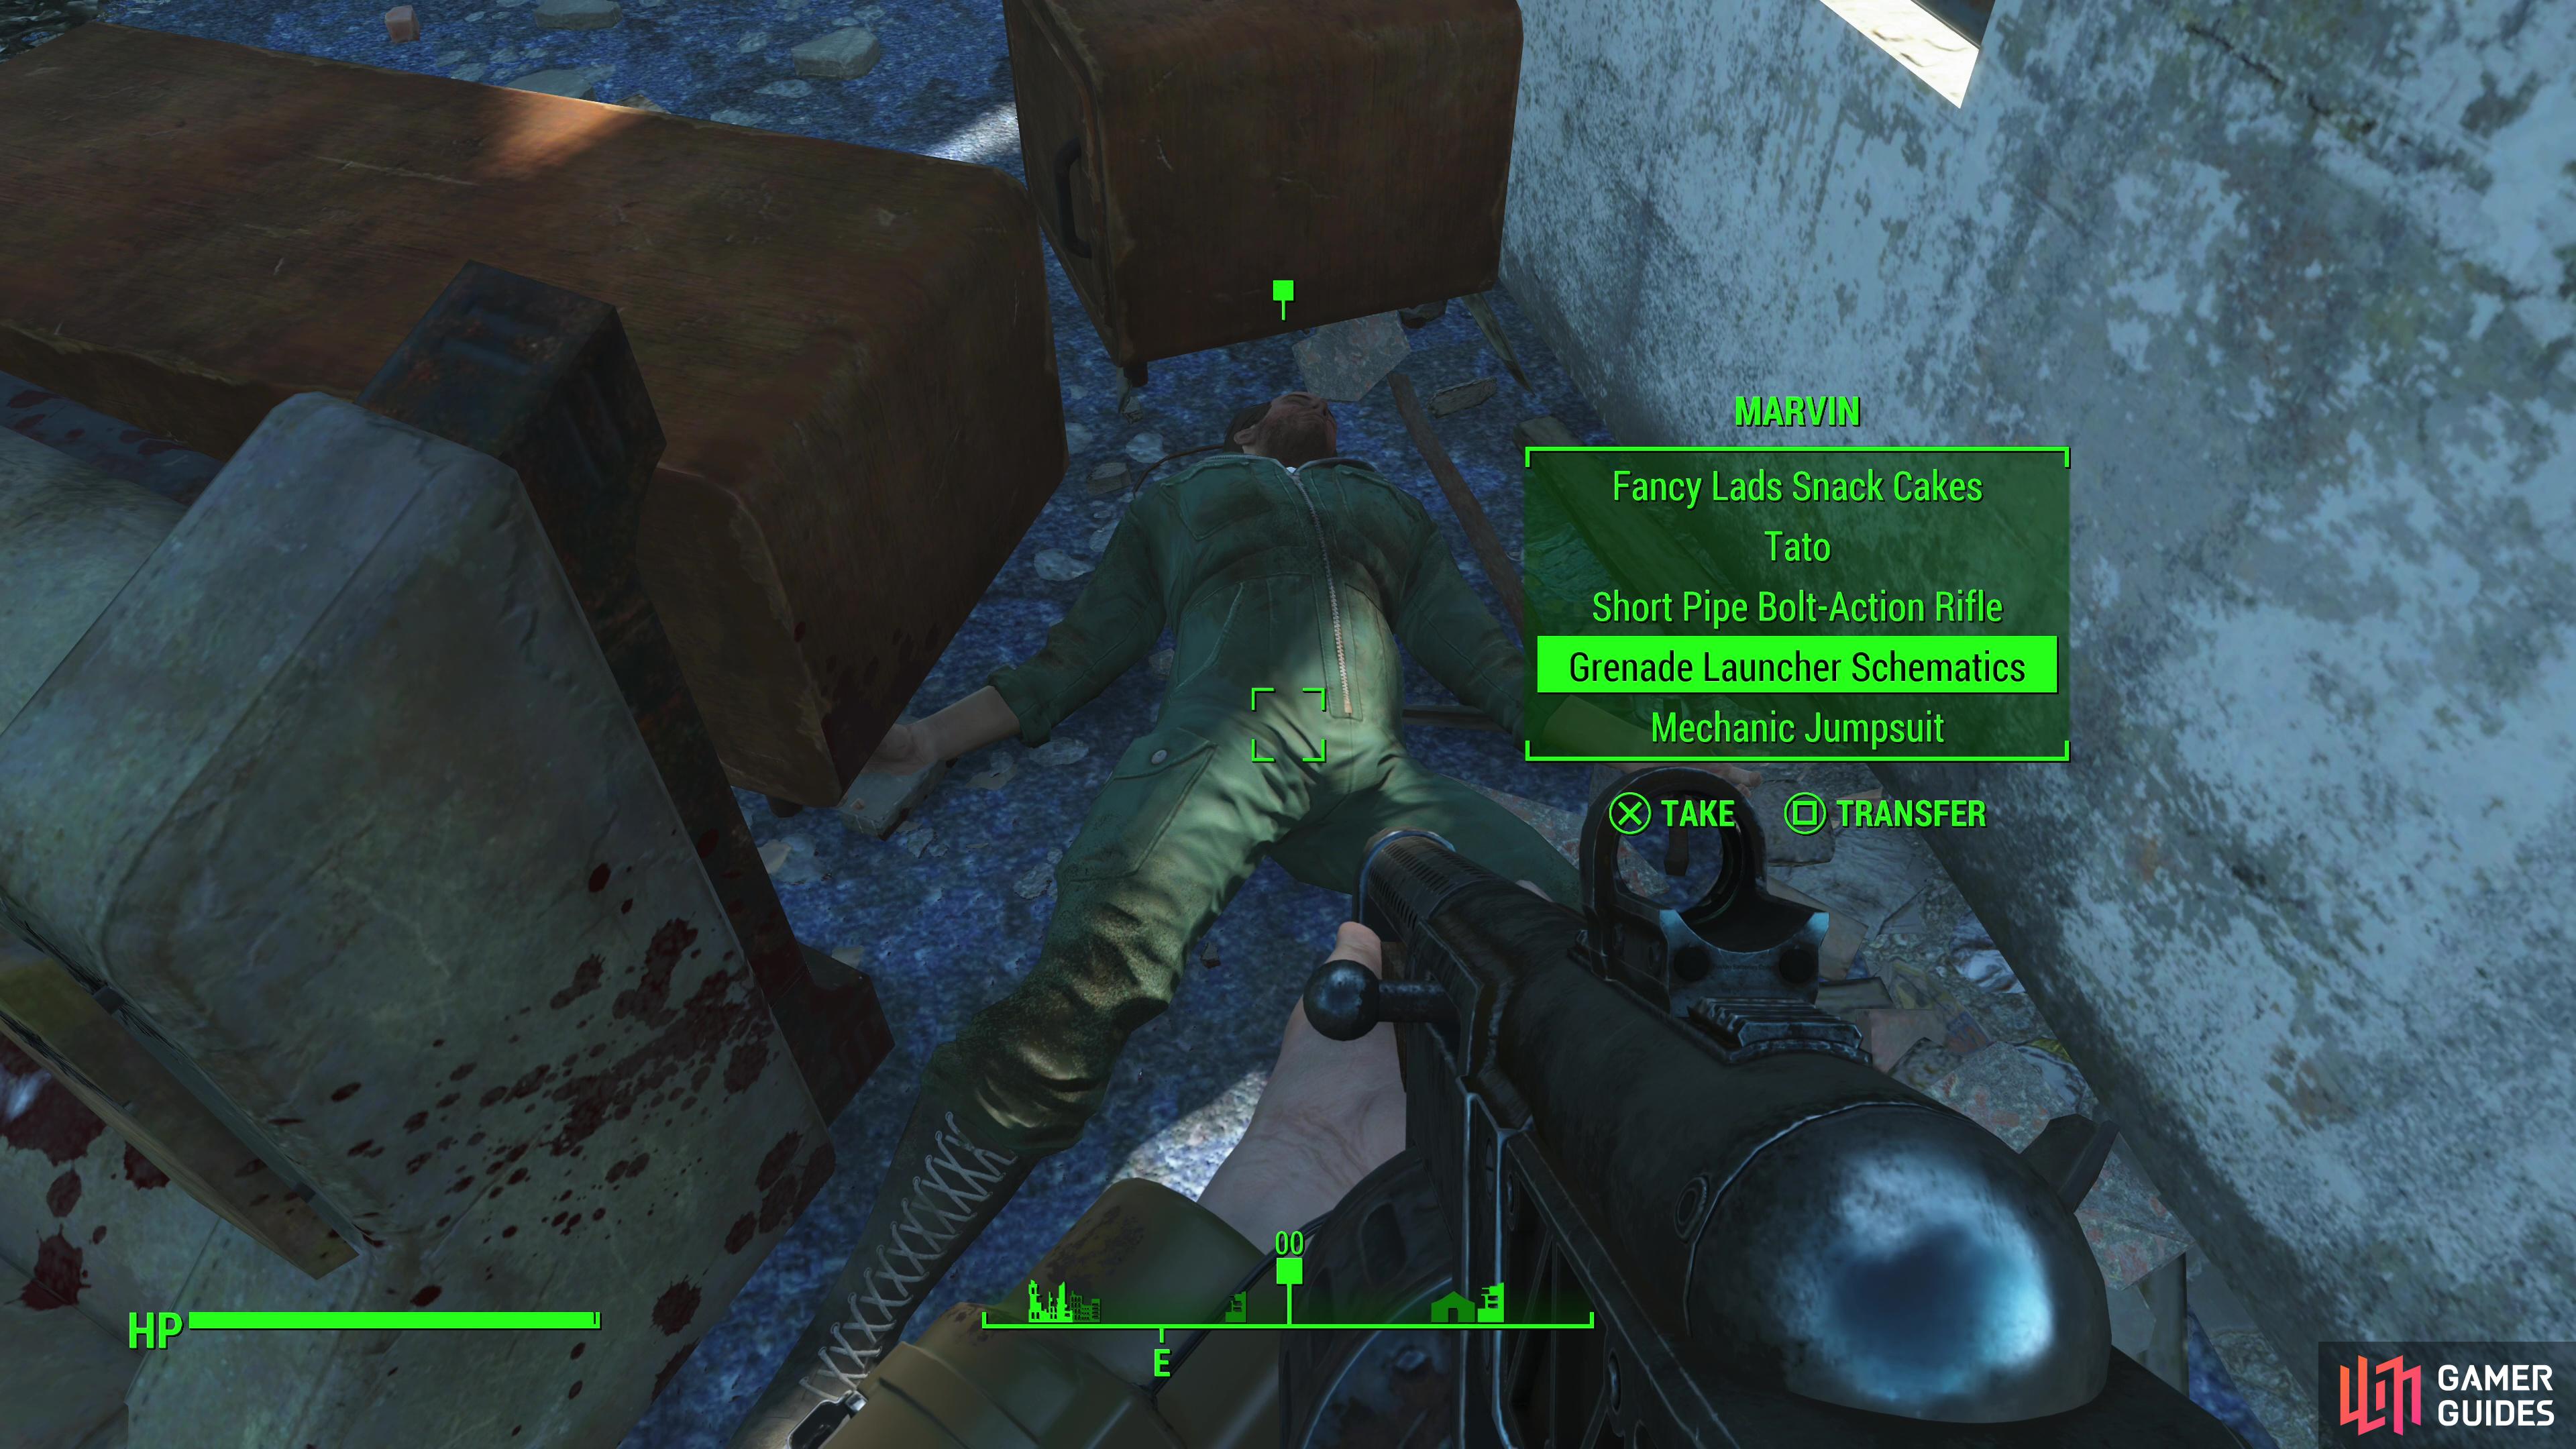
Fat Man variant, the ![]() Piggy Bank Fat Man, as you approach, and the fire escape is also rigged with several Piggy Bank Mines that you’ll want to disarm as you ascend. Approach the roof and you’ll need to deal with more of Marvin’s goons and the man himself, who will (usually) sensibly switch to a less suicidal weapon. Kill Marvin and loot him for his unique weapon and the stolen Grenade Launcher Schematics, then head back to Suggs’ store across the street.
Piggy Bank Fat Man, as you approach, and the fire escape is also rigged with several Piggy Bank Mines that you’ll want to disarm as you ascend. Approach the roof and you’ll need to deal with more of Marvin’s goons and the man himself, who will (usually) sensibly switch to a less suicidal weapon. Kill Marvin and loot him for his unique weapon and the stolen Grenade Launcher Schematics, then head back to Suggs’ store across the street.
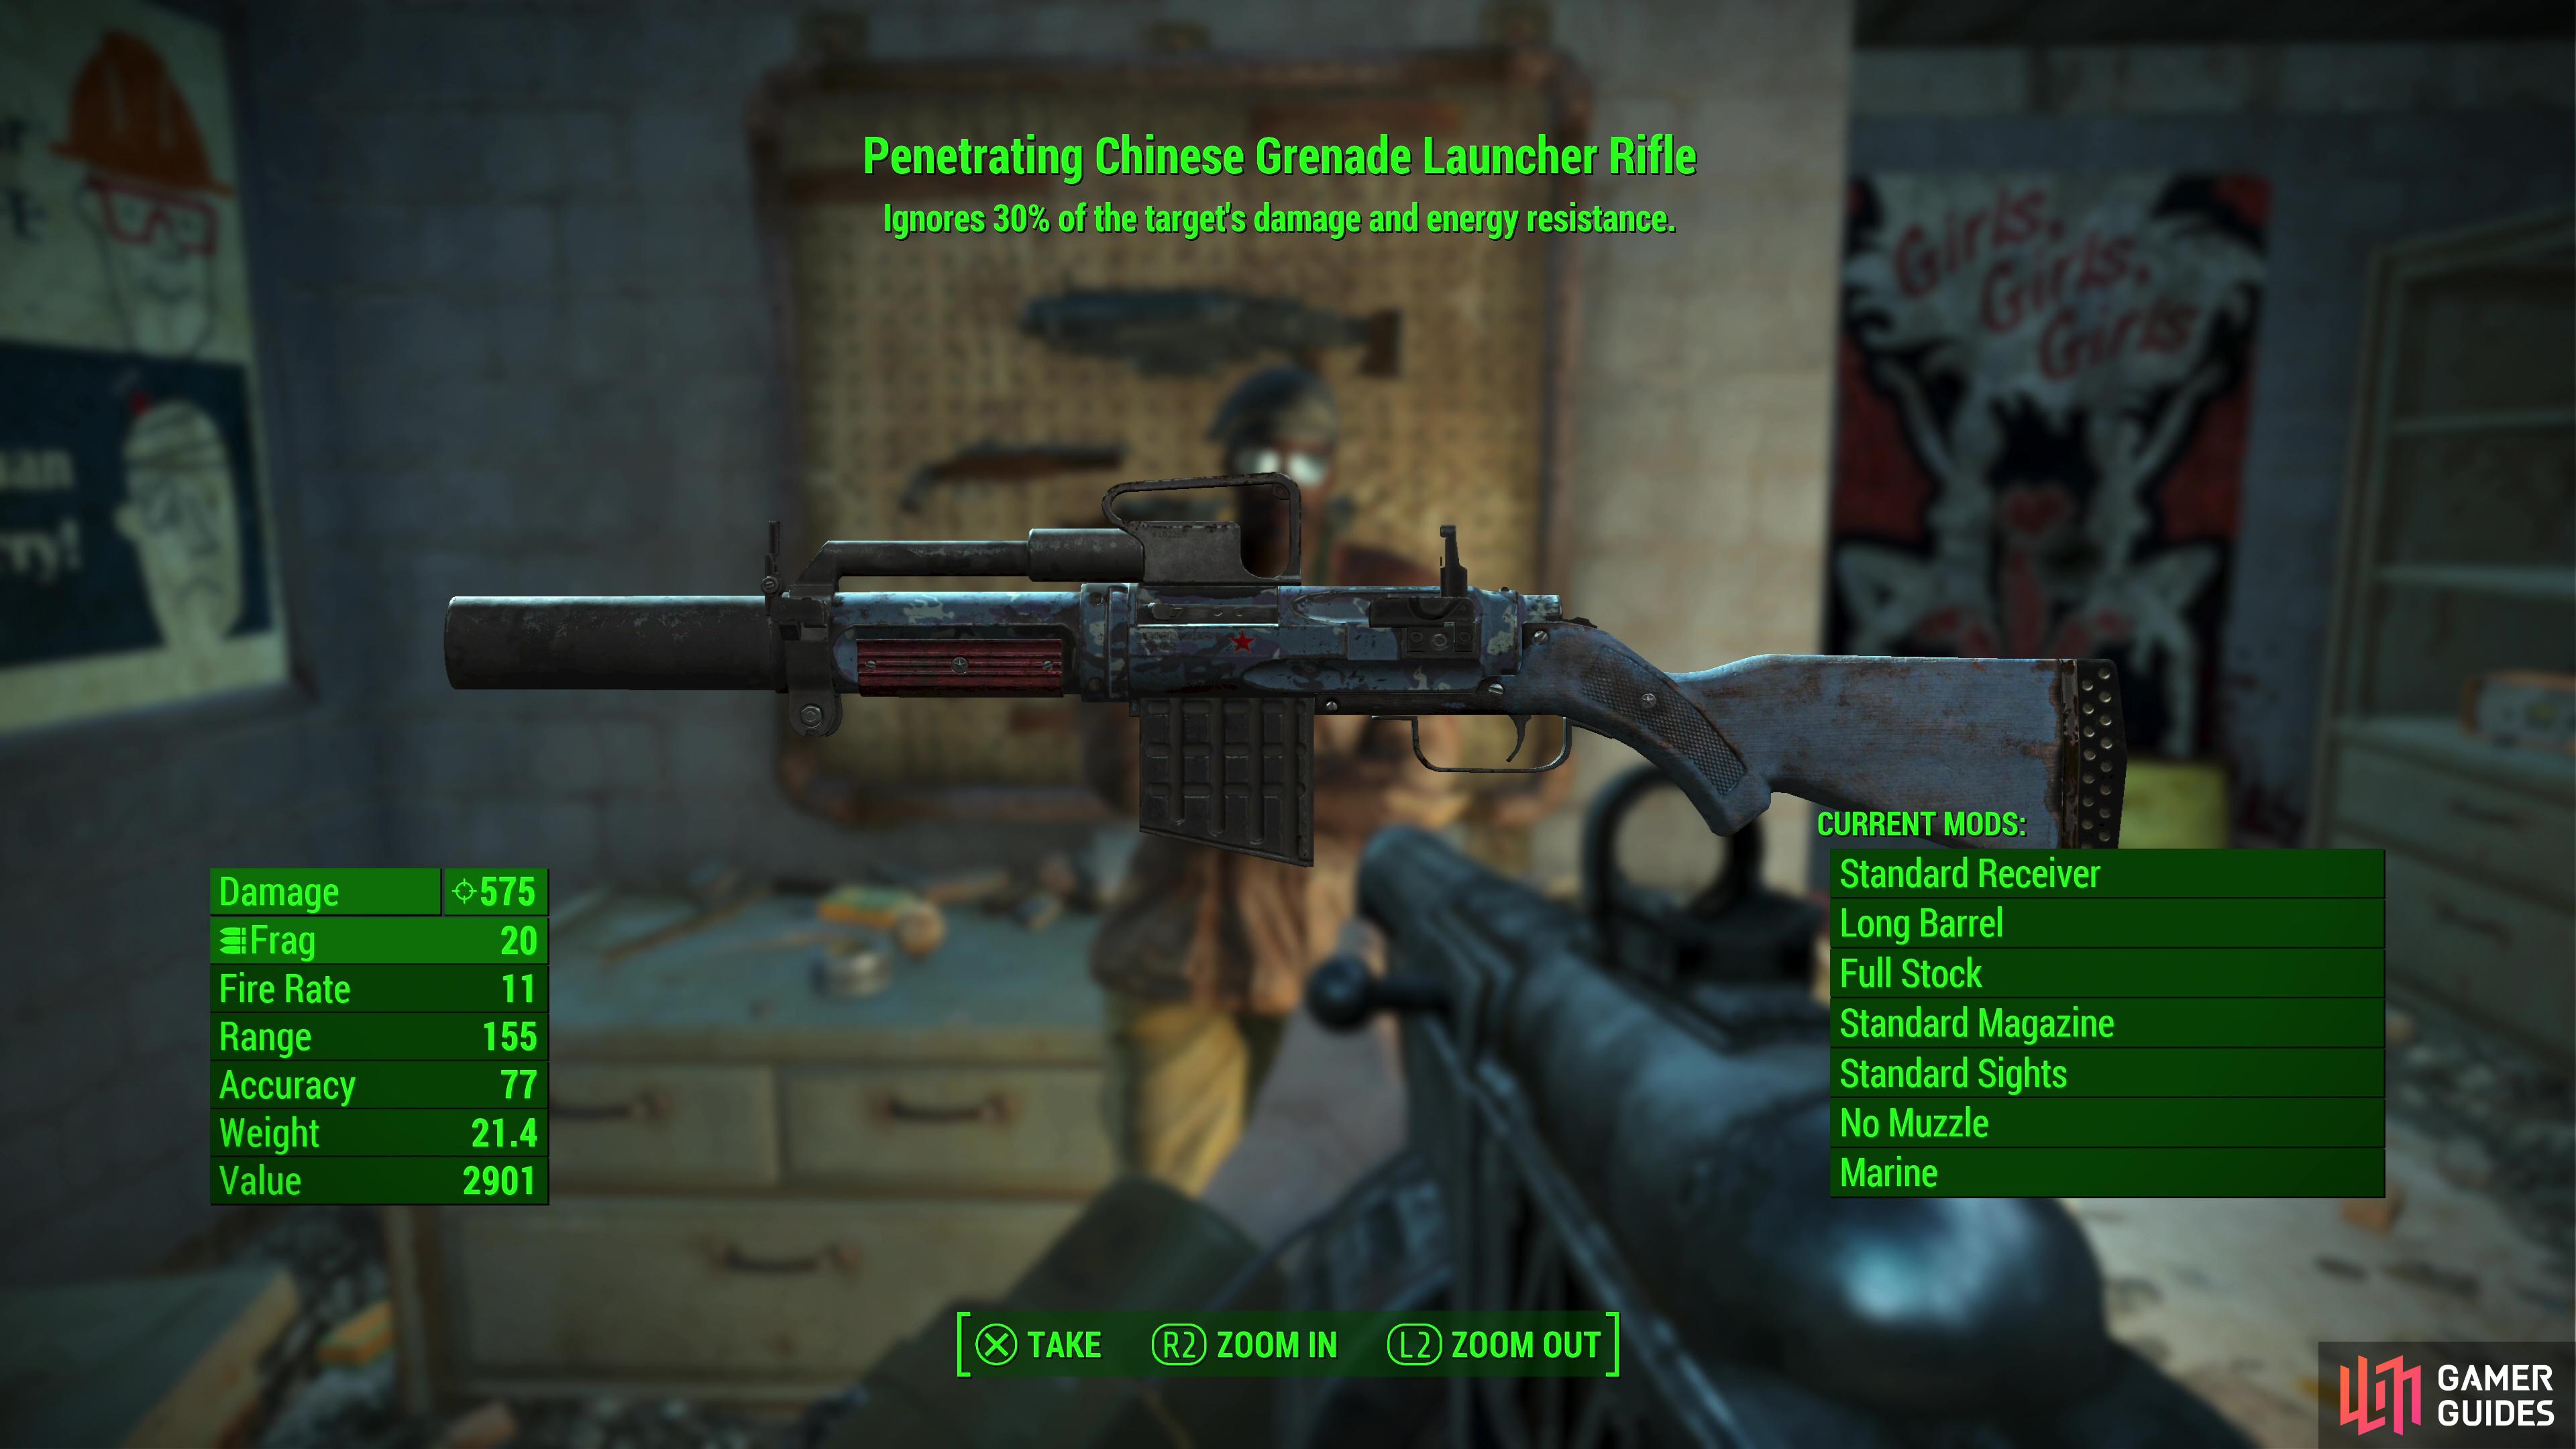
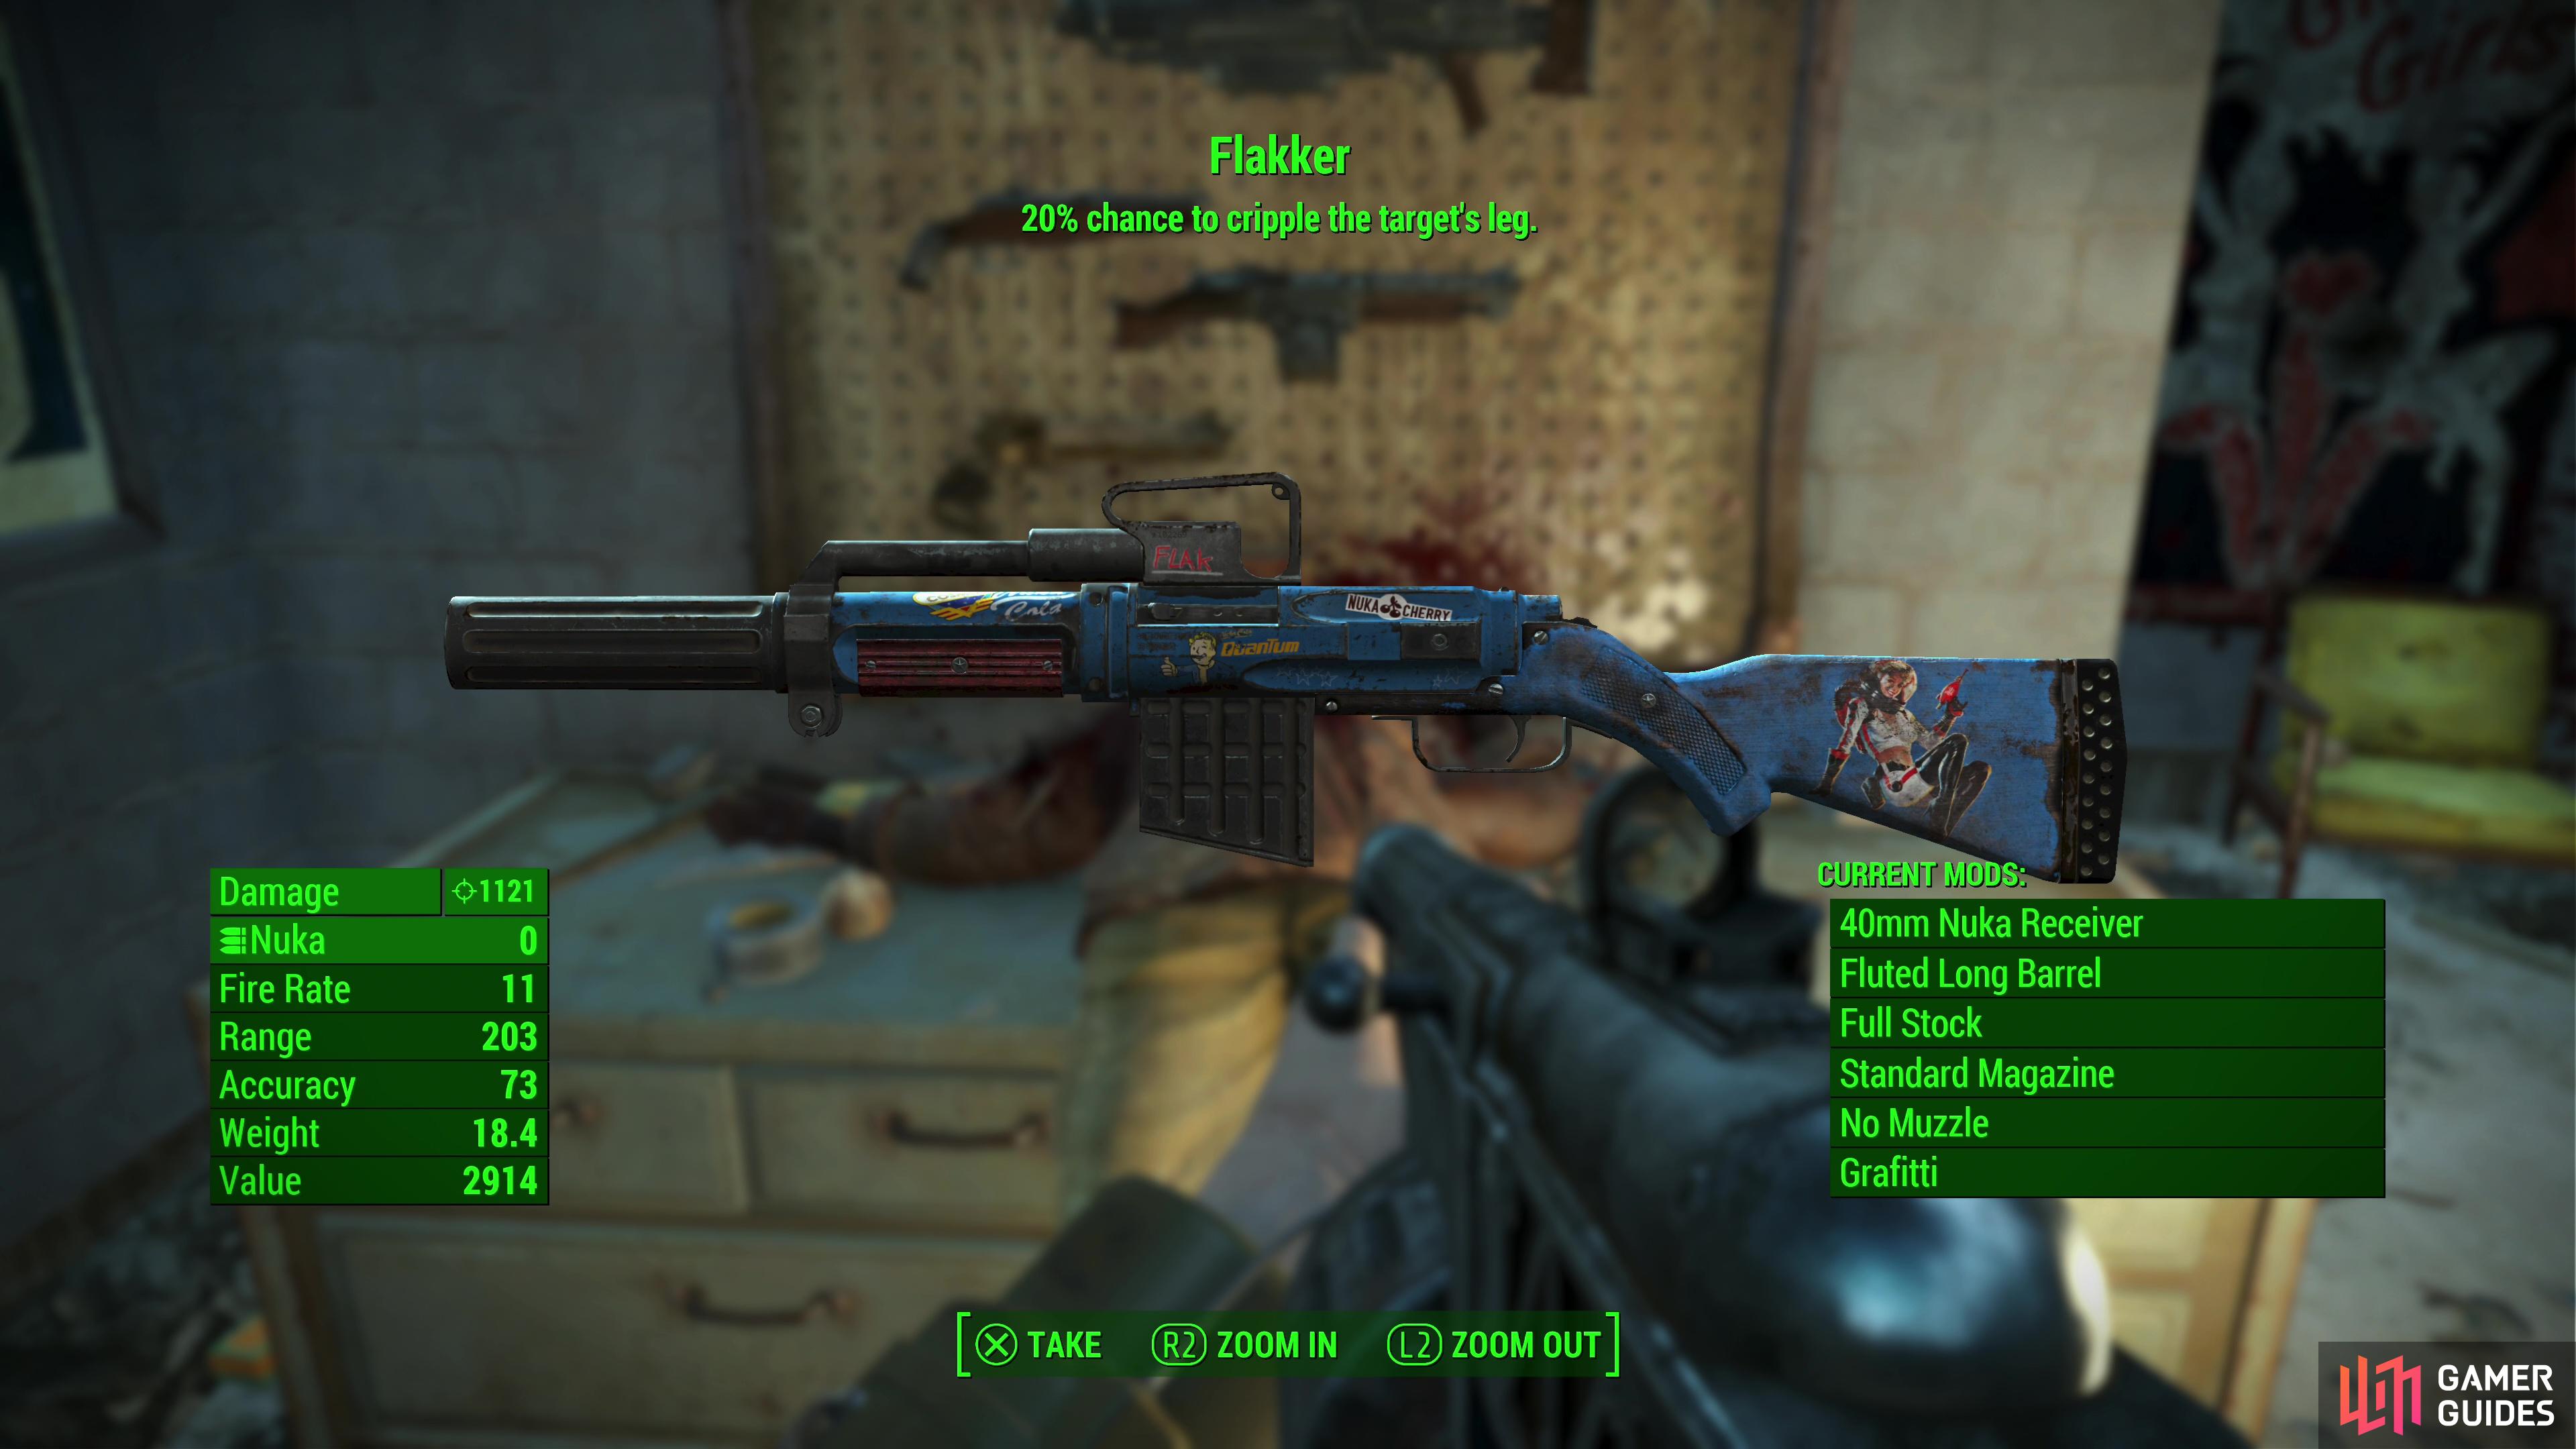
(1 of 2) If you give the schematics to Suggs, he’ll reward you with a Chinese Grenade Launcher Rifle.
If you give the schematics to Suggs, he’ll reward you with a Chinese Grenade Launcher Rifle. (left), Or you can kill Suggs and take his unique Flakker weapon. (right)
Return the Schematic or Kill Suggs
You’ll likely find some more of Marvin’s thugs pestering Suggs, which is just as well, as Suggs can’t be permanently killed by them. One of them is likely to have a ![]() Baseball Launcher, so be sure to grab that. Now for the one and only choice in this quest - if you talk to Suggs you’ll give him back the schematics and he’ll reward you by giving you the Penetrating Chinese Grenade Launcher Rifle. Alternatively you can just kill Suggs and loot him for his unique Flakker weapon. Both options complete the quest, and you cannot get both weapons, as it despawns from Suggs’ inventory when you give him the schematics. Creating a hard save before talking to Suggs can be a good idea, as it allows you to test both weapons out and pick your favorite, but if that’s not enough to make a decision, keeping Suggs alive allows you to continue to purchase his odd weapons and ammo.
Baseball Launcher, so be sure to grab that. Now for the one and only choice in this quest - if you talk to Suggs you’ll give him back the schematics and he’ll reward you by giving you the Penetrating Chinese Grenade Launcher Rifle. Alternatively you can just kill Suggs and loot him for his unique Flakker weapon. Both options complete the quest, and you cannot get both weapons, as it despawns from Suggs’ inventory when you give him the schematics. Creating a hard save before talking to Suggs can be a good idea, as it allows you to test both weapons out and pick your favorite, but if that’s not enough to make a decision, keeping Suggs alive allows you to continue to purchase his odd weapons and ammo.
 Sign up
No Comments