Walkthrough for the ![]() Bedford Station area in Fallout 4.
Bedford Station area in Fallout 4.
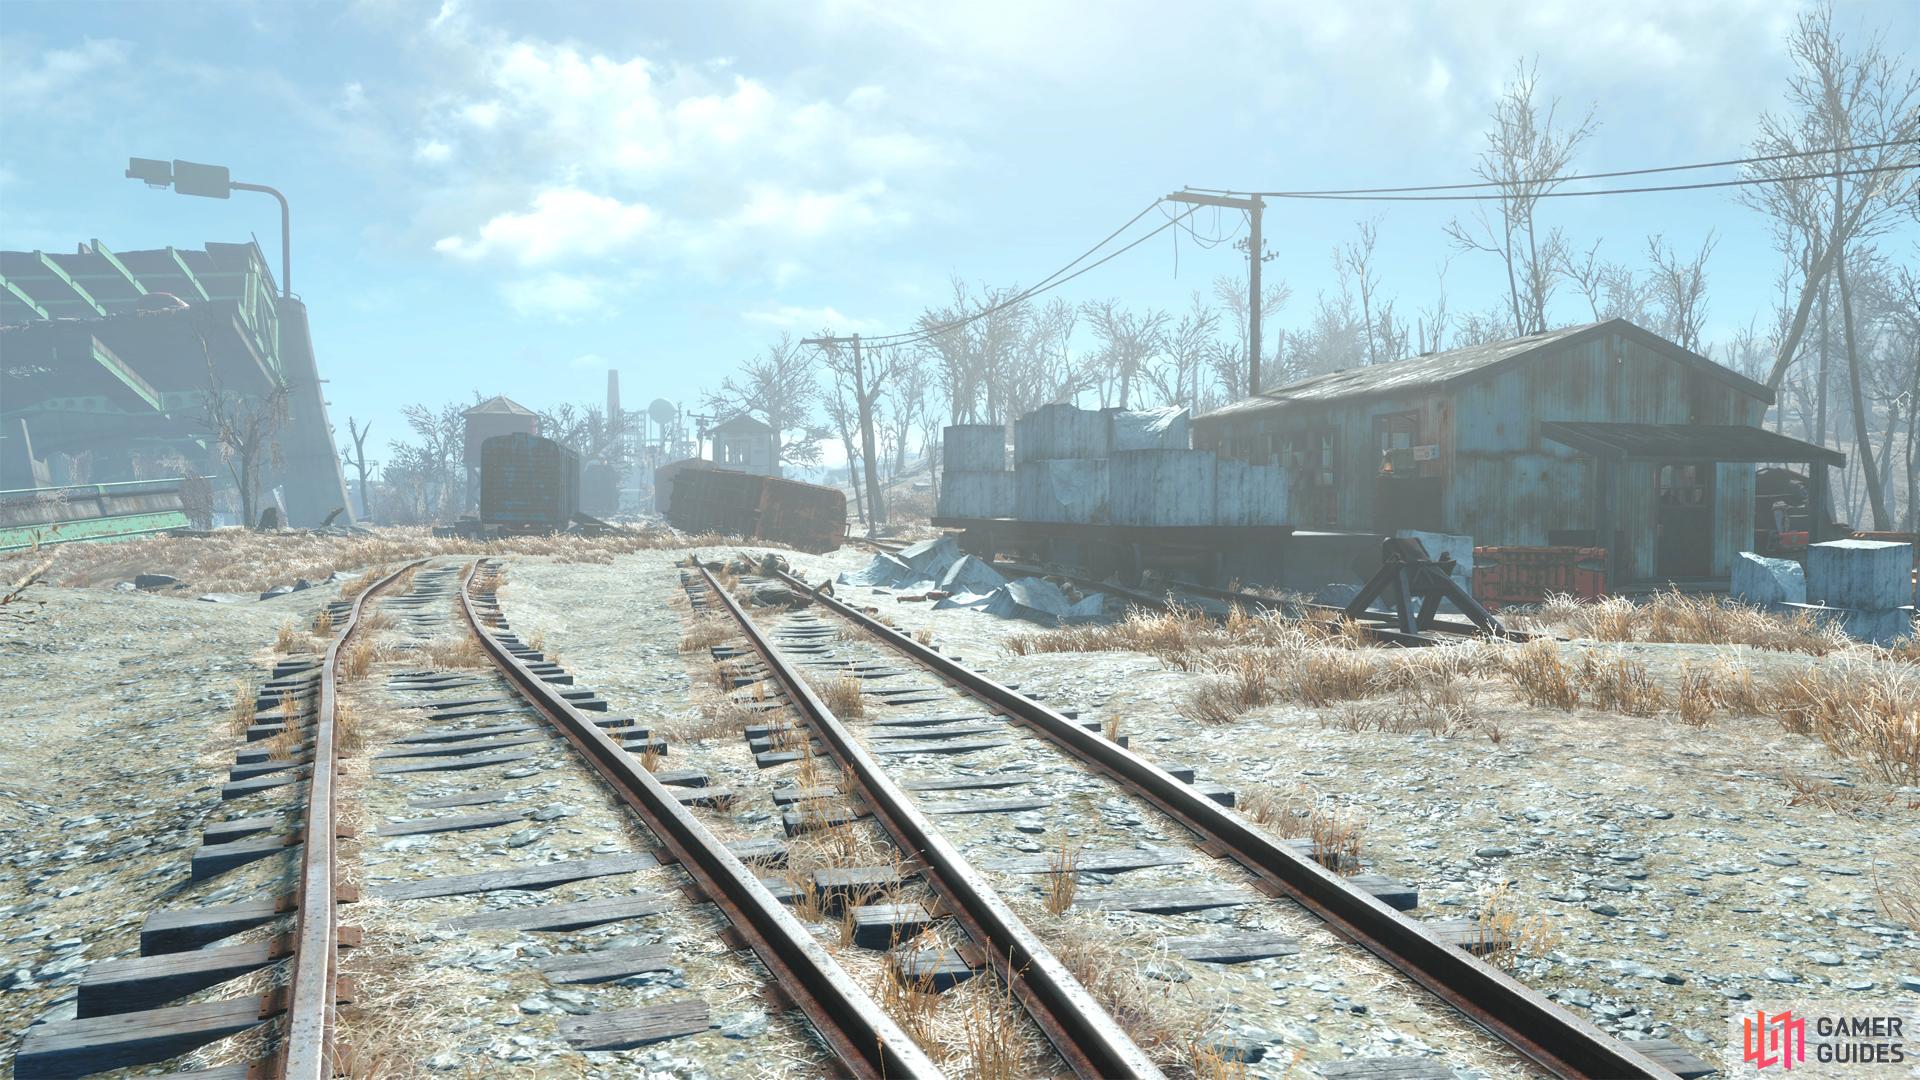
Bedford Station, seen from the north.
Bedford Station can be found northeast of the Starlight Drive-In or northwest from the Rotten Landfill. If you can find the train tracks running between the two areas, you should be able to follow them to the Bedford Station.
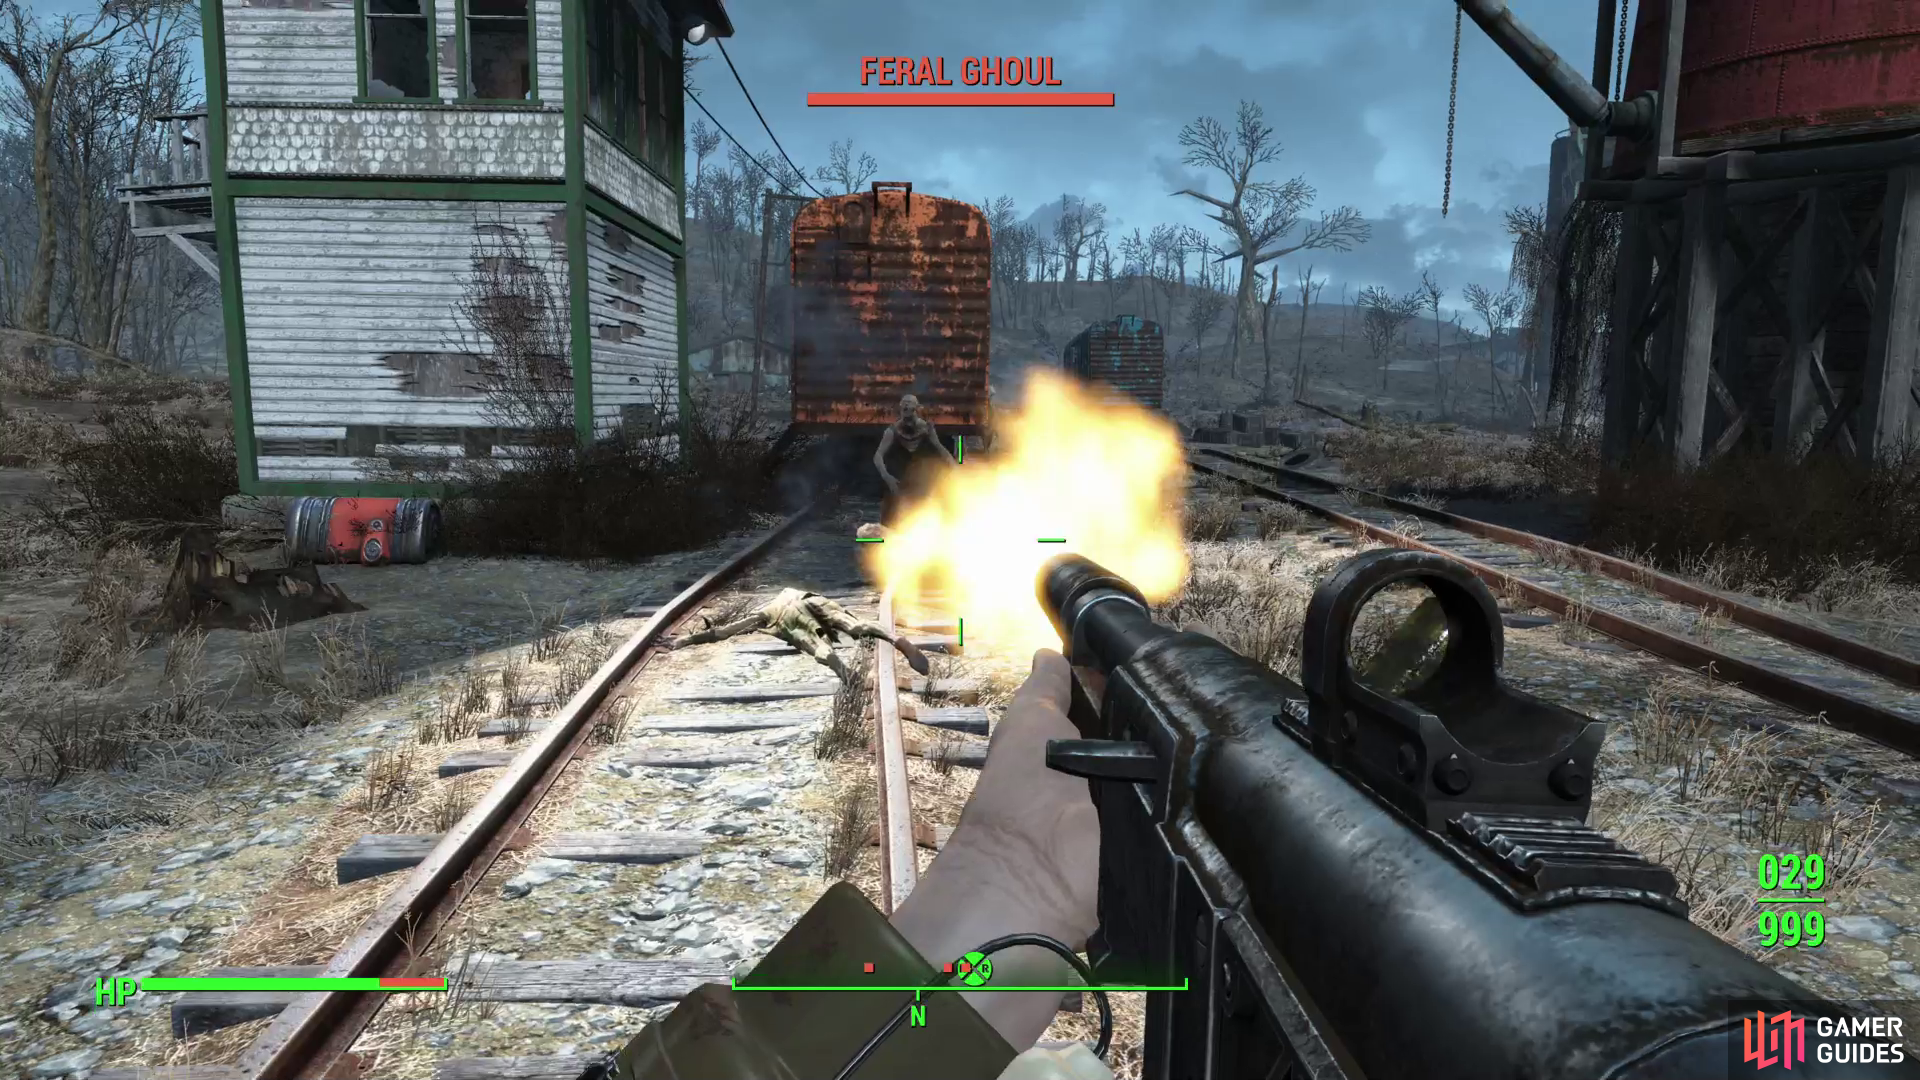
(1 of 2) Bedford Station is crawling with Feral Ghouls.
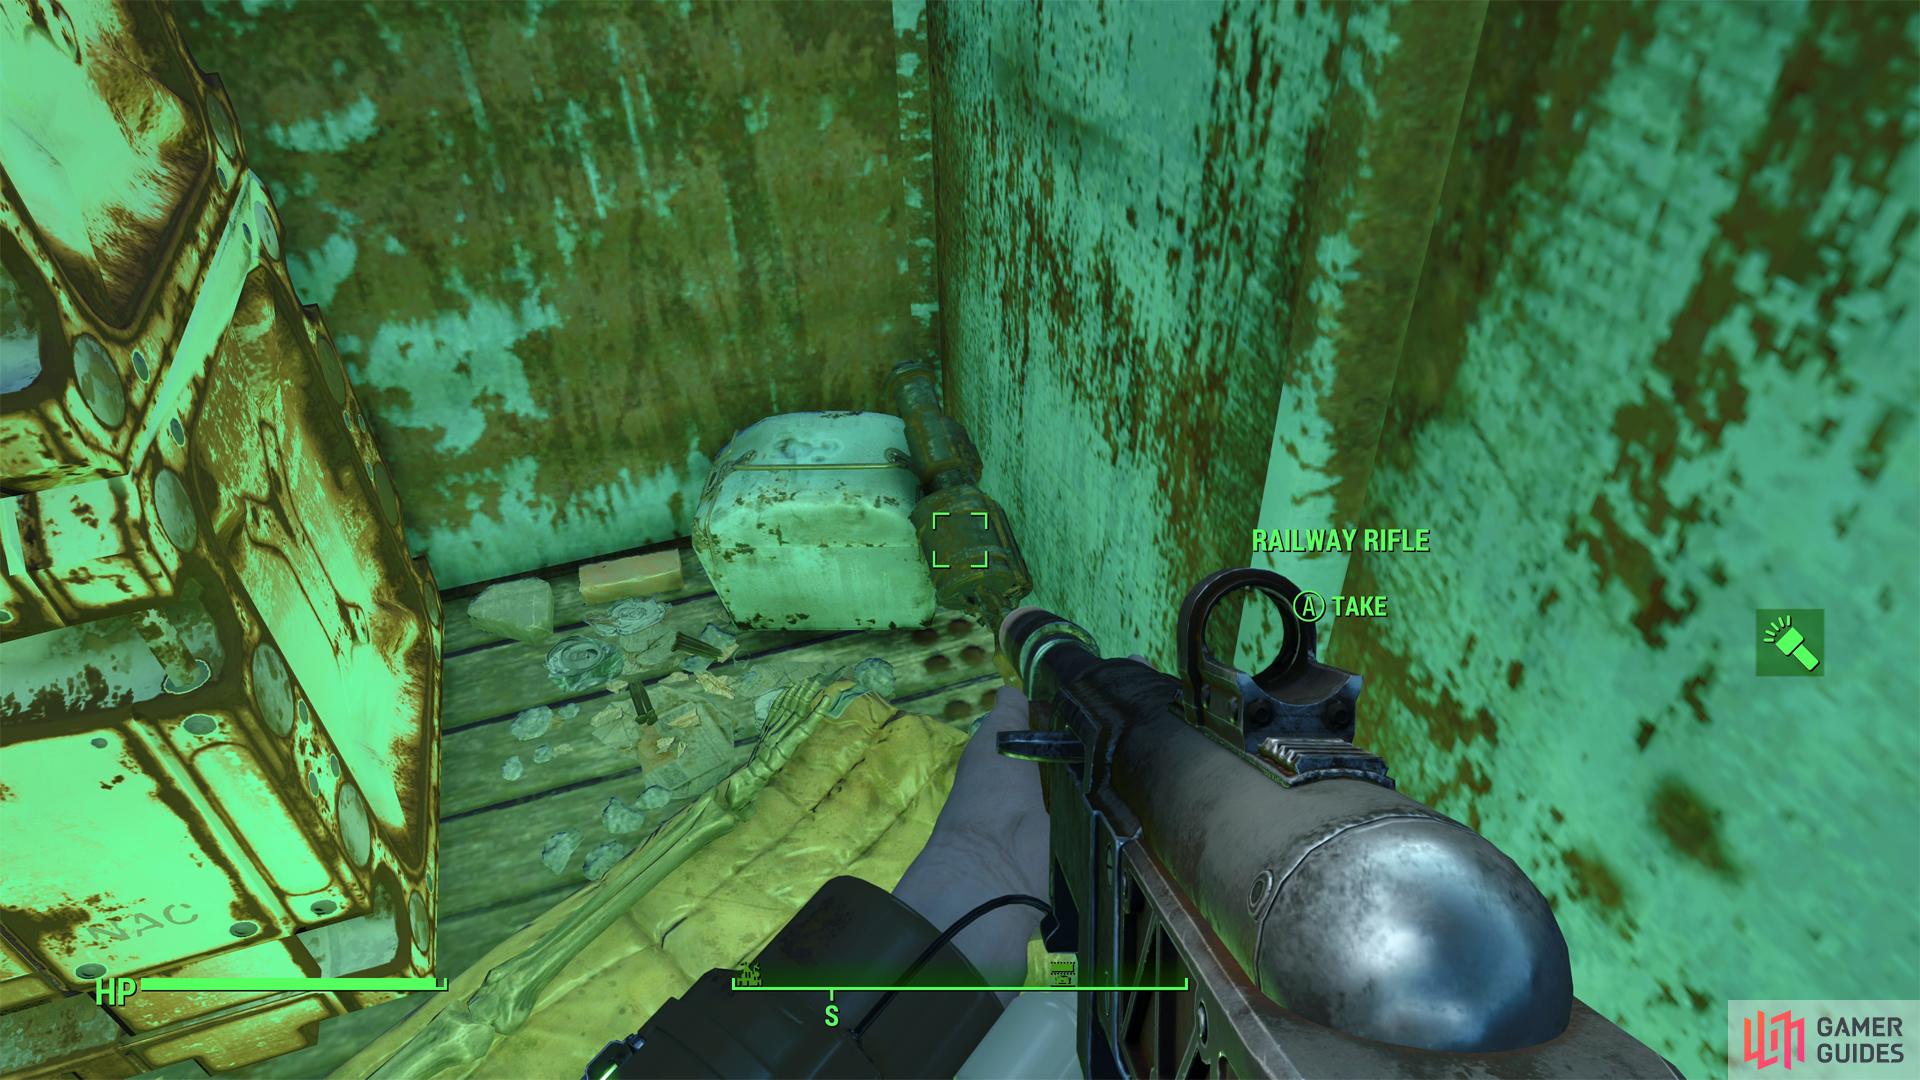
Bedford Station is crawling with Feral Ghouls. (left), If your level is sufficiently high, you can find a Railway Rifle in one of the boxcars. (right)
Exploring Bedford Station
Assuming you follow the tracks from the south to reach Bedford Station, you should come across a blue train car still on the tracks. Jump up inside and search it to find a Sleeping Bag you can use to recover lost health (this may be useful soon), a Railway Rifle and some ![]() Railway Spikes. The Railway Rifle is a powerful, slow-firing, mid-range weapon with one serious downside - its ammo isn’t all that common, being stocked by only a handful of merchants and found in a few static locations across the Commonwealth.
Railway Spikes. The Railway Rifle is a powerful, slow-firing, mid-range weapon with one serious downside - its ammo isn’t all that common, being stocked by only a handful of merchants and found in a few static locations across the Commonwealth.
Continue following the tracks north and you’ll run into this location’s inhabitants, if you haven’t seen them shuffling about already: Feral Ghouls. There are about half a dozen of them you can currently provoke, with another group further north near the loading dock building. All in all you can expect to encounter around a dozen Feral Ghouls here, including a leveled specimen near the loading dock building.
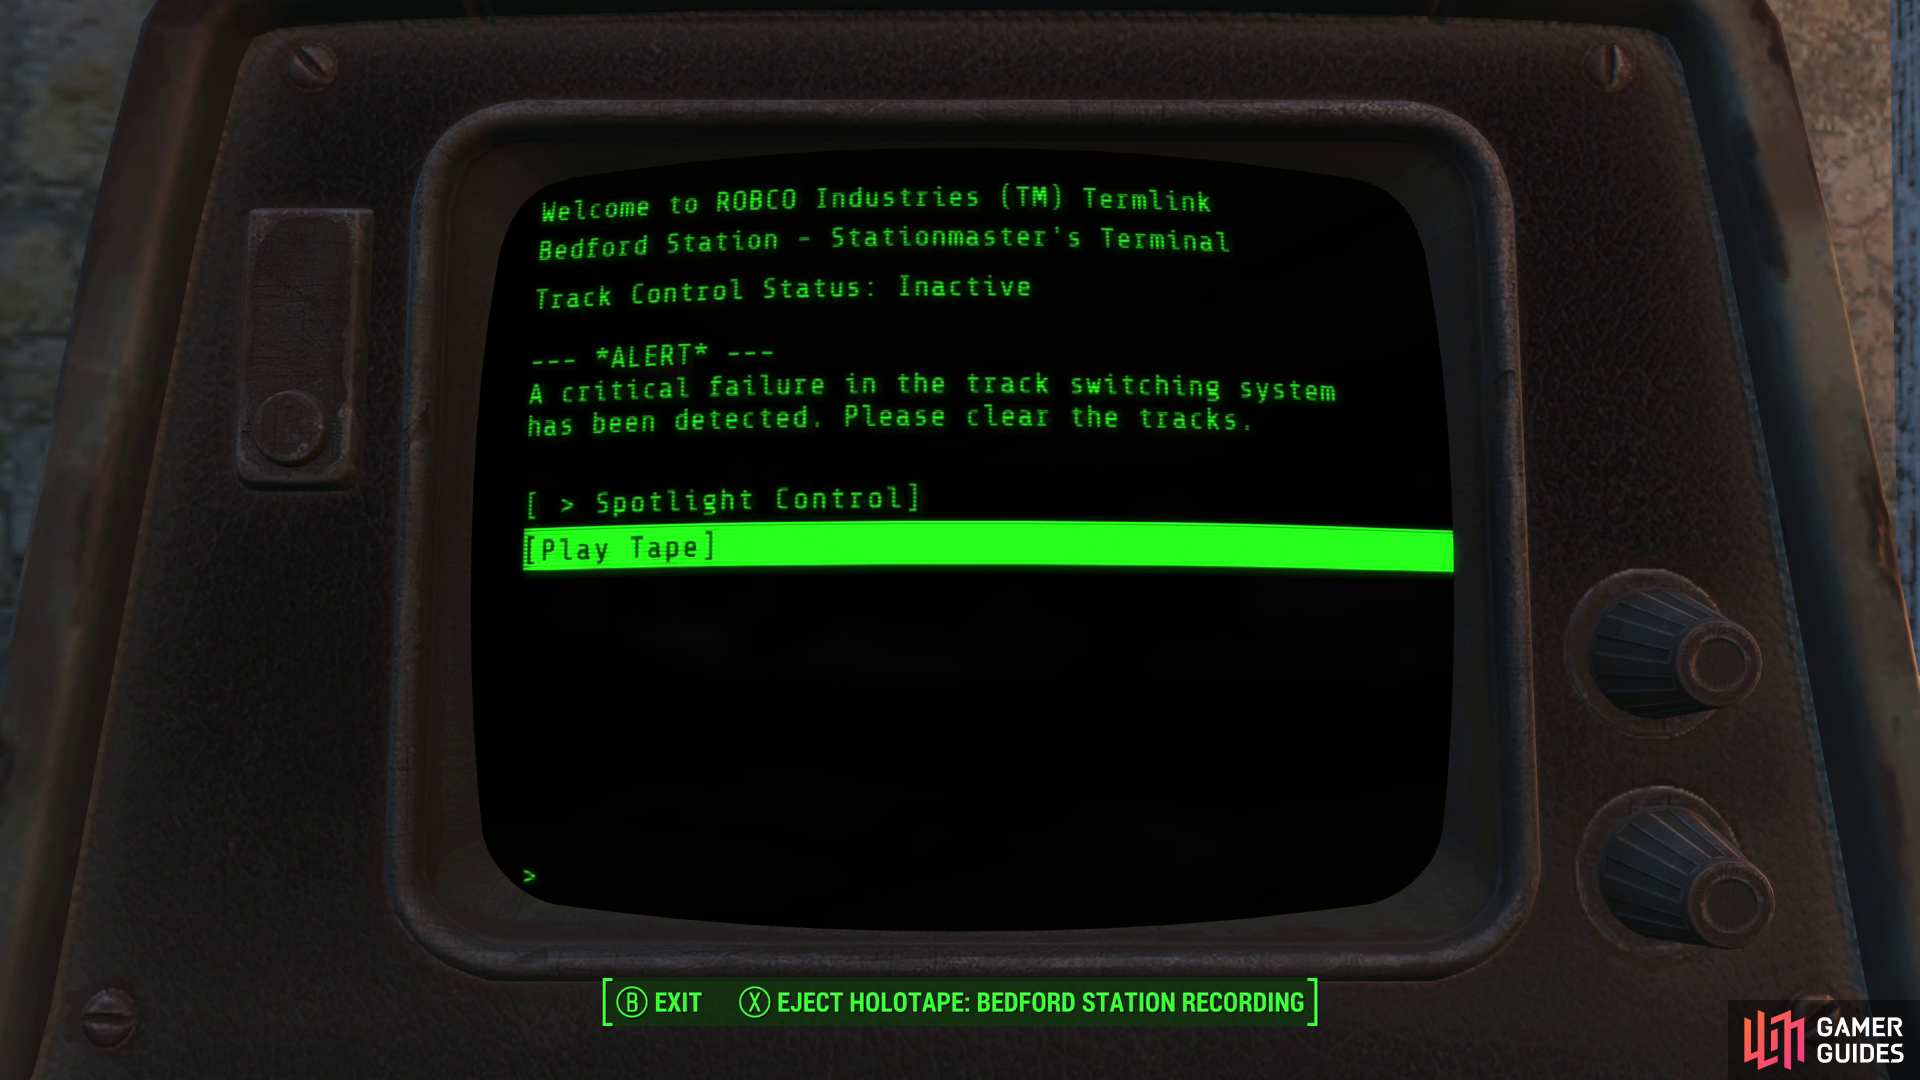
(1 of 4) Search a terminal in the rail tower to find the Bedford Station Recording.
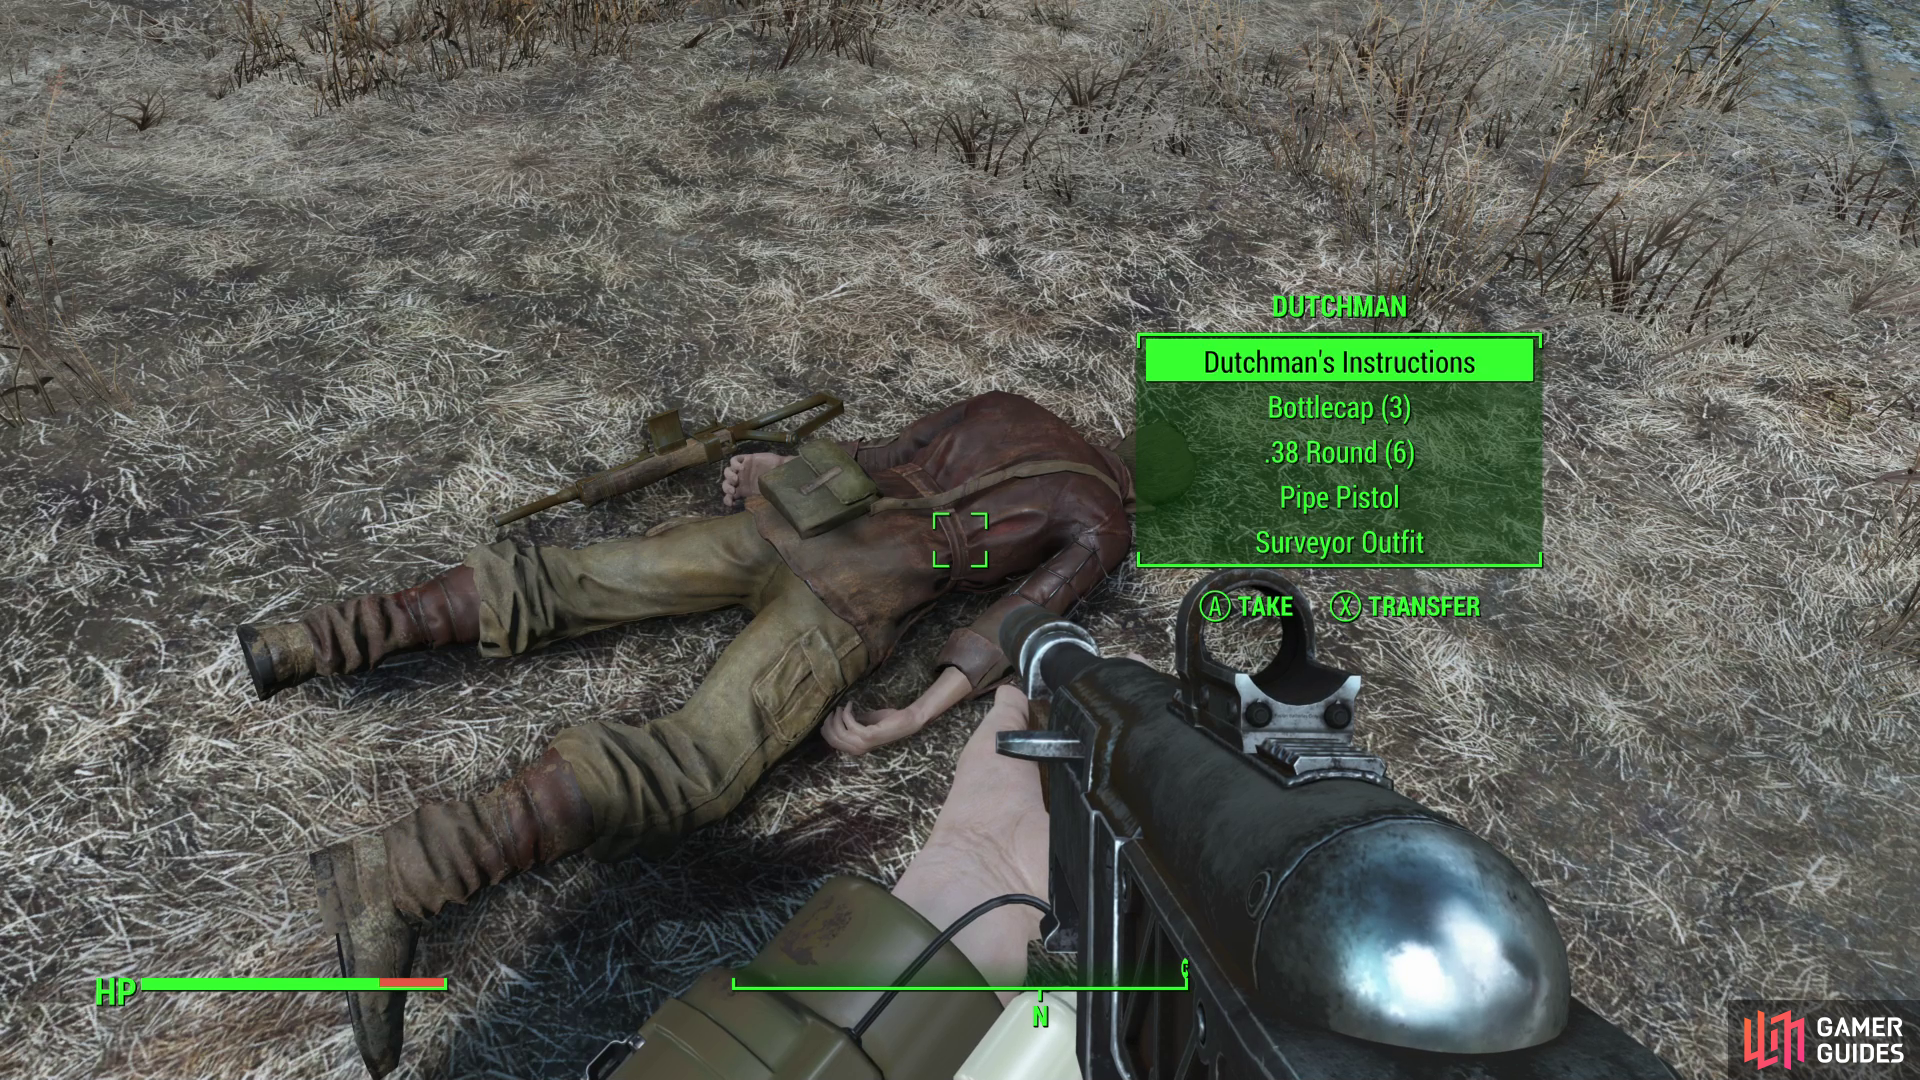
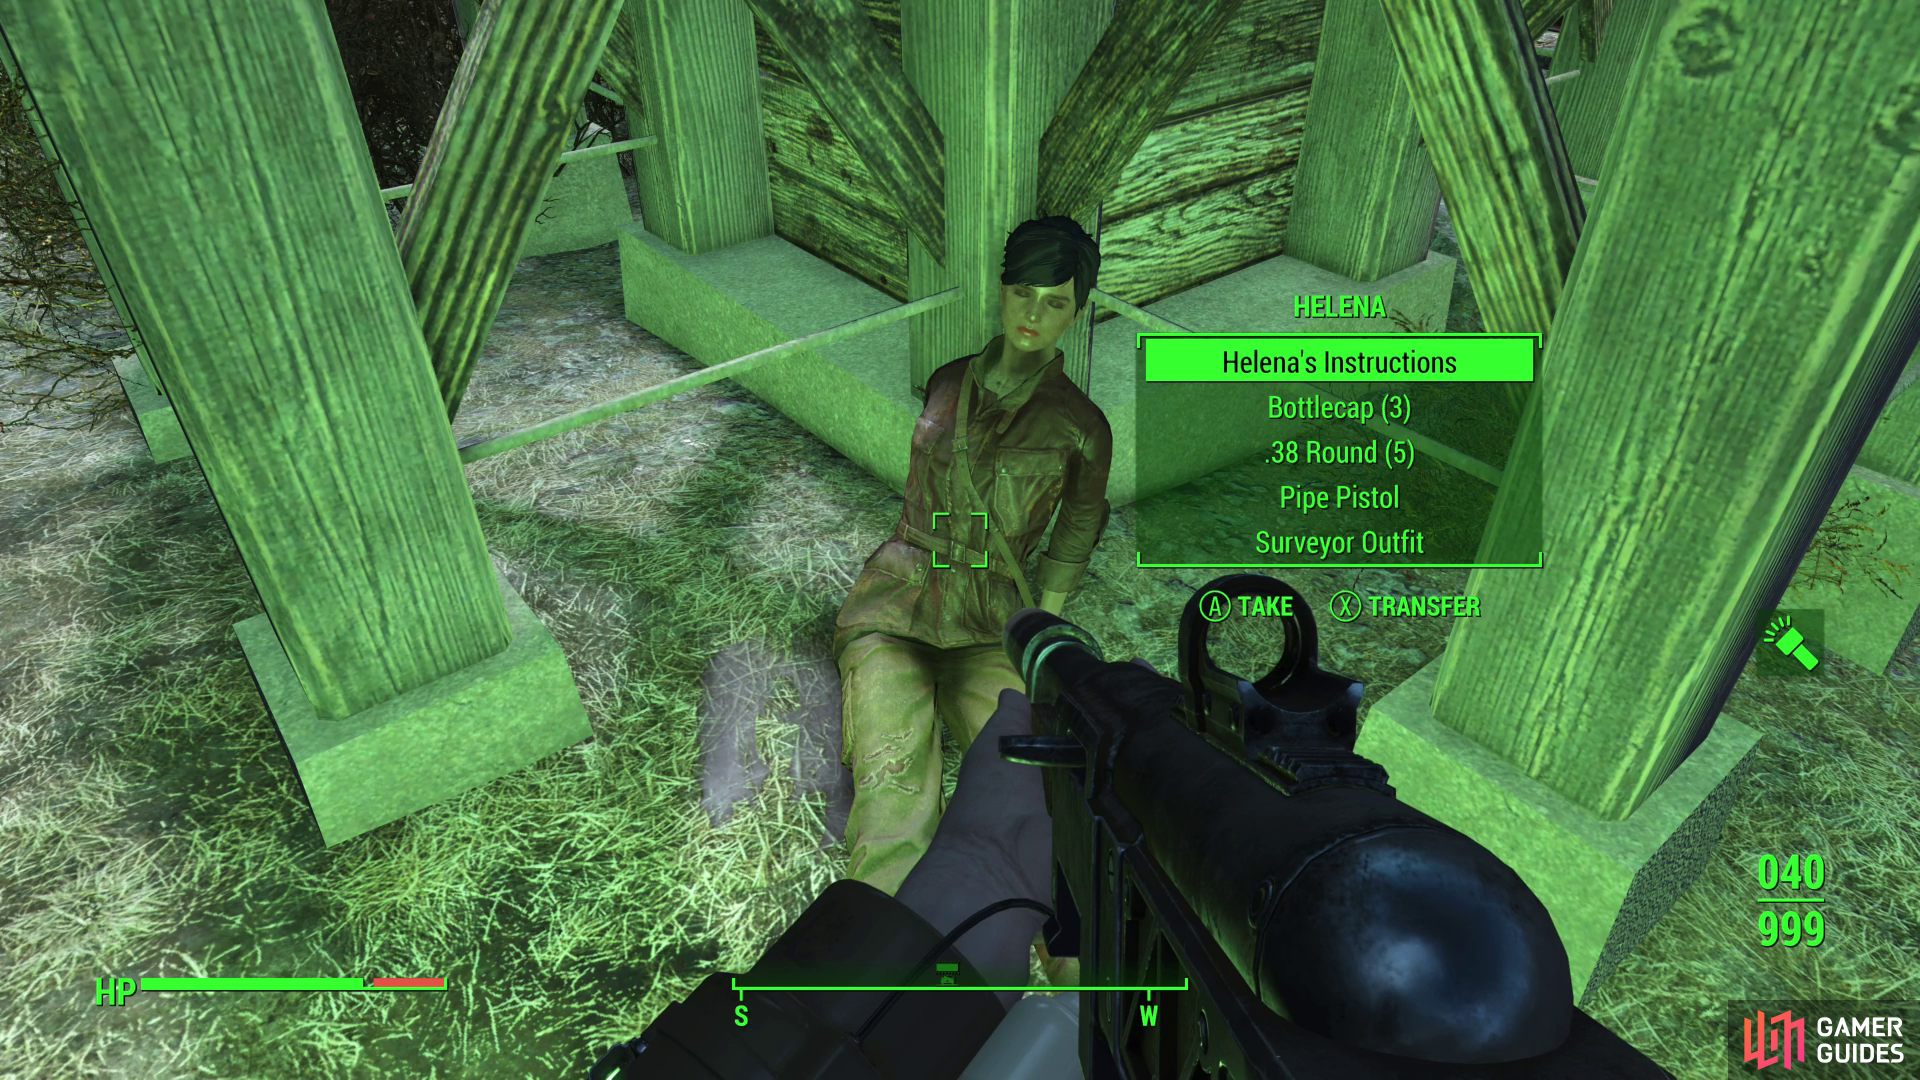
Pick off Ghouls as you venture north and when it’s safe, search inside a white rail tower to find the “Stationmaster’s Terminal”, loaded into which is the Bedford Station Recording. Eject it and listen to it (or perhaps the other way around, as you prefer) to hear some details about a botched rescue attempt. The bloodstain near the terminal probably doesn’t bode well. Leave the tower and search just north of the stairs to find the body of Dutchman - one of the voices in the recording - who possesses the note Dutchman’s Instructions, which mentions a blue barrel full of goodies. East of this rail tower you’ll find a water tower; search its base to find the corpse of Helena - another person mentioned in the recording - who possesses Helena’s Instructions.
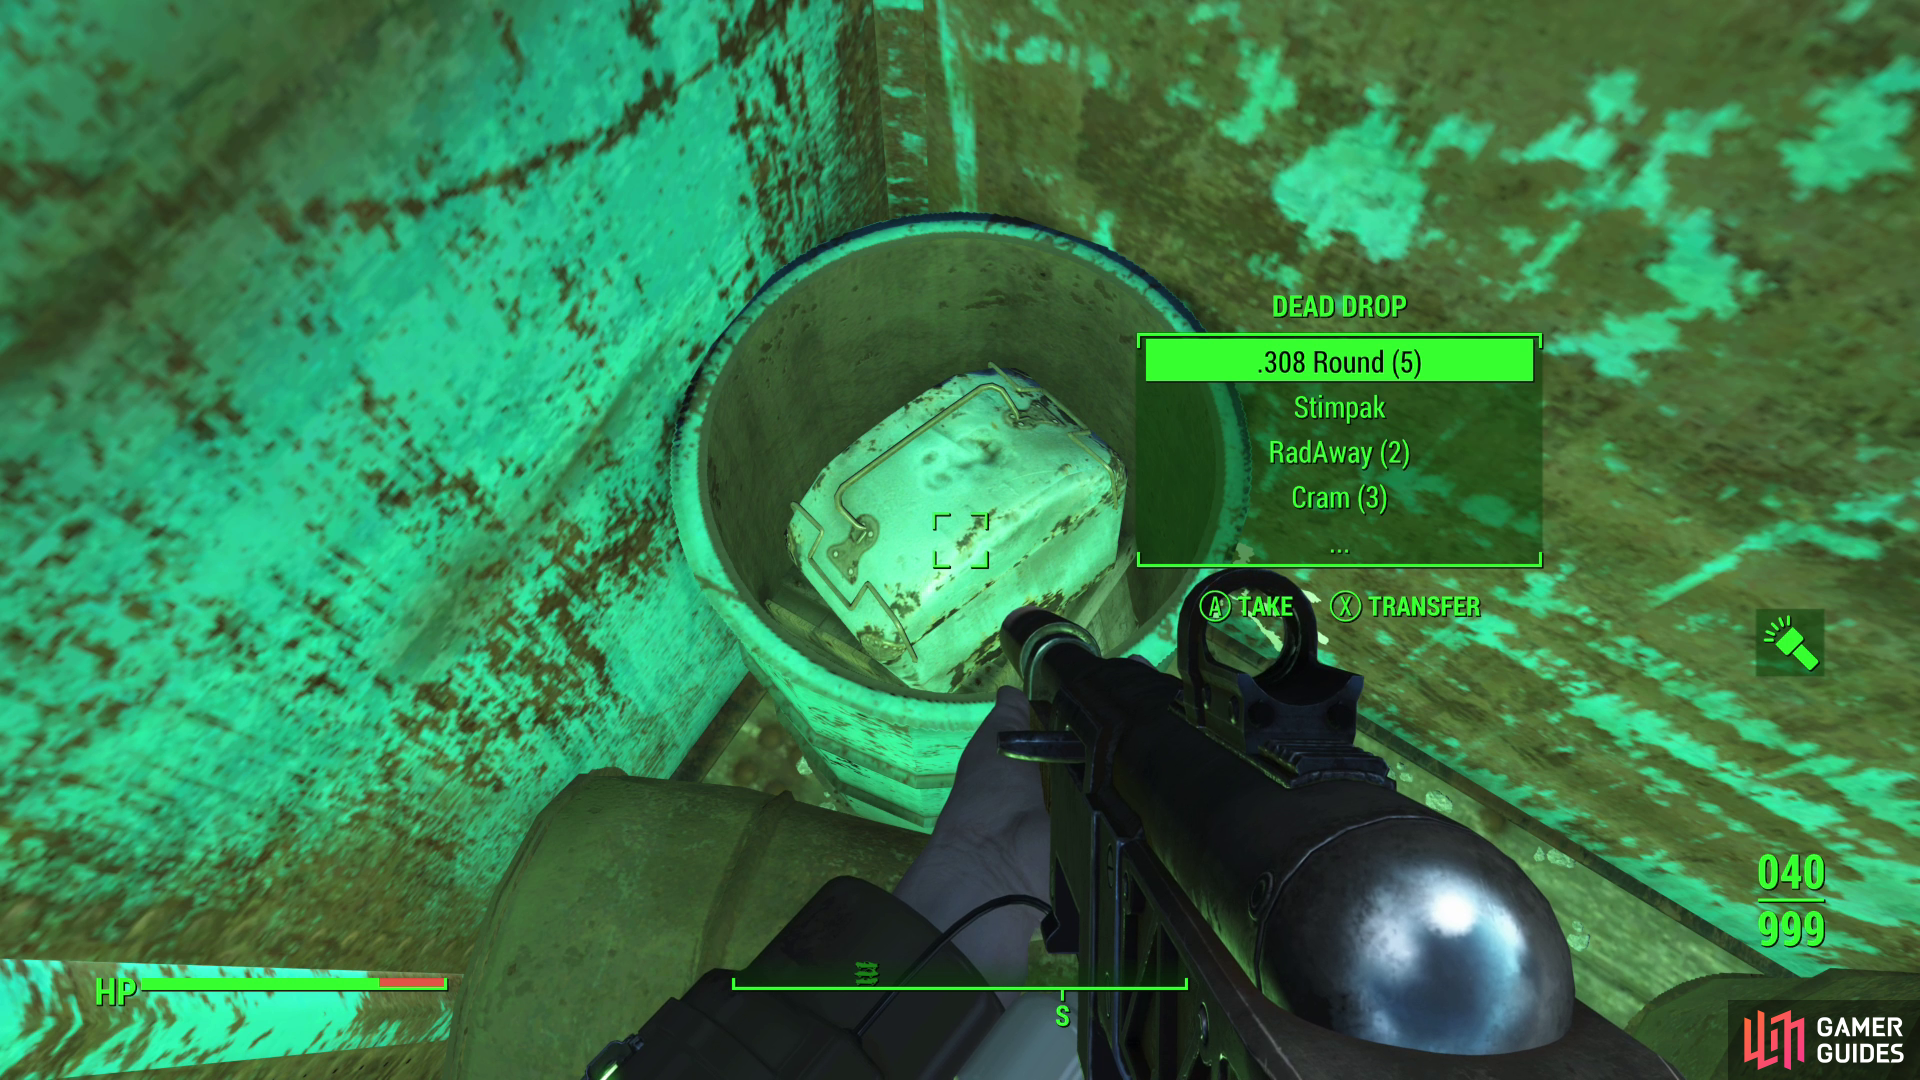
Keep following the tracks north, picking off any Ghouls that challenge you, then enter a second blue train car. Search the southern end of the car to find a blue barrel inside of which you’ll find a Dead Drop container full of loot, including ammo, chems, food and other items.
Finally, continue north to reach the loading dock building, around which more Ferals luck (some of which will likely be playing possum). Kill the Ghouls and search the building; you can find a “Loading Dock Terminal” inside, which just reveals some potentially shady traffic between this location and a nearby quarry. Search for a Cargo Handler’s Note on the floor near a trashcan to confirm both the corruption and its nature. Otherwise, there’s little in the way of noteworthy loot here.

 Sign up
No Comments